
If I had to guess a number, I’d say conservatively that I have probably made about 280 loaves of sourdough bread since I developed my starter back in the spring of 2016. That’s figuring an average of one loaf per week for 5½ years. Of course, there have been some weeks that I have baked much more than that (especially during holiday seasons) and others that I have not baked at all, either because our schedule didn’t allow it or we didn’t need it or, as has been the case recently, because we didn’t have a kitchen.
What to do with my sourdough starter was a big part of the discussion when my husband, Les, and I sat down to figure out the details of our kitchen renovation, which I am pleased to say is nearly done. Would I just let the starter go to sleep and try to revive it when all was said and done? I supposed that I could at least make my Sourdough English Muffins, which are cooked on a griddle. Or should I keep feeding the yeasty rascal on schedule and just call the discard a total loss? That would be a shame.
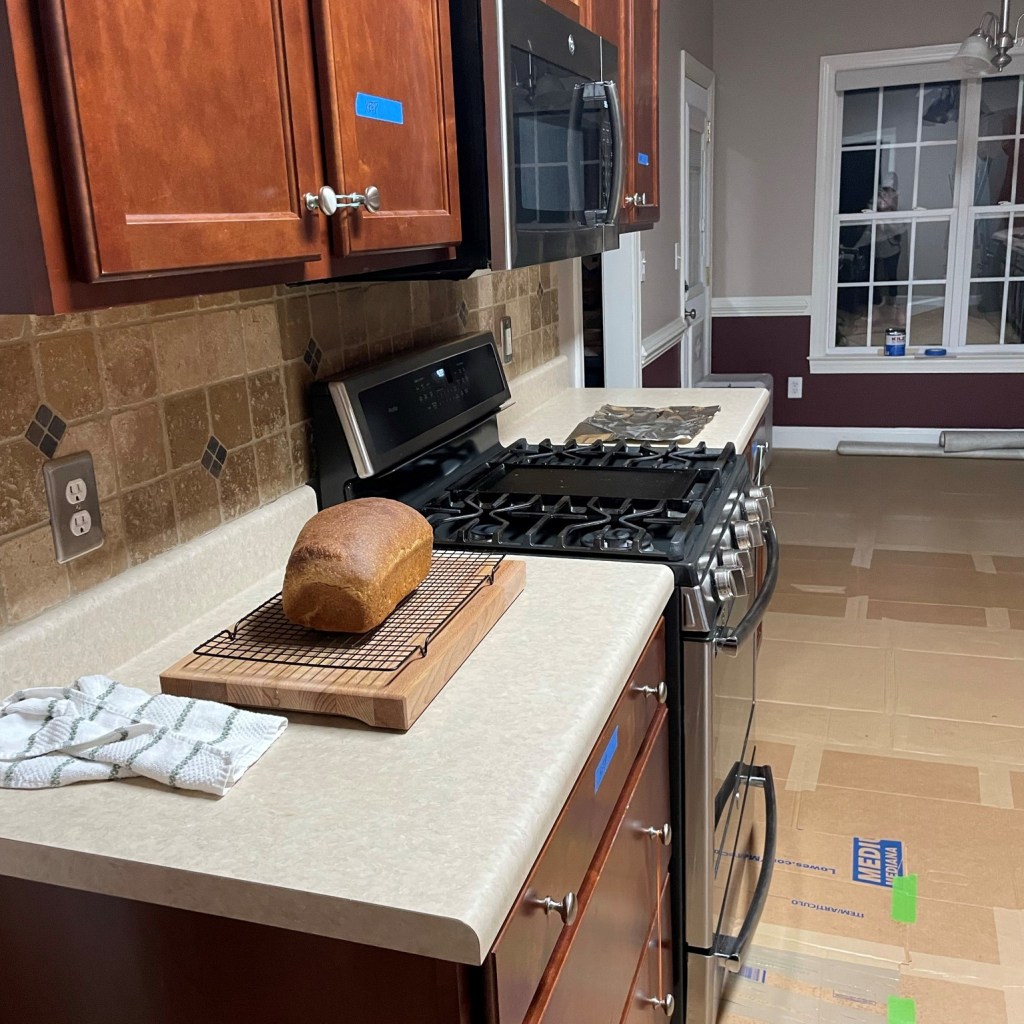
A freshly baked loaf of homemade sourdough bread was the last thing I made in our old, time-worn kitchen, and it is the first thing I have made in the shiny new kitchen, even though a few loose ends remain before we can do our big reveal. The bread I made both times was this one—a sourdough-based recipe by Maurizio Leo, a master bread maker whose own blog, The Perfect Loaf, has been on my radar for about a year, thanks to a few contributions he has made to the King Arthur Baking website. Maurizio is a genius when it comes to sourdough, and I can hardly keep up with my desire to bake everything on his blog at least once.

This bread, which Maurizio has named Sourdough Sandwich Bread with Pre-cooked Flour, is a favorite at our house because of its softness, height, chewy crust and versatility for sandwiches, toast and just plain eating with a fat schmear of soft butter. As the recipe name suggests, there is an amount of the flour that is pre-cooked, specifically with whole milk, and this pre-cooking of the flour creates a sticky, roux-like addition that lends a beautiful texture to the finished bread and, as a bonus, prolongs its shelf life. This pre-cooking technique itself is not new; the Japanese have been doing it for a long time, and they call it “tangzhong.” But the combination of that milk-cooked method with sourdough and no added commercial yeast sends it straight over the top for me. Quite simply, I love this bread.
I’m happy to report that I have been able to make bread, even without access to my beloved oven during this remodel, thanks to the generosity of a couple of our neighbors, who offered their own ovens as surrogates. They received their own loaves of this bread as a barter for their oven services (not to mention the benefit of that lingering aroma), so it was a win-win situation.

So, have I put my own spin on this fantastic bread? Kind of, but not much. My method of steam baking is less sophisticated than what Maurizio Leo describes in his original recipe, but it works. I have fiddled with the ratio of flours in favor of greater percentage of whole grain and have even swapped in whole rye for the pre-cooked part several times, and the bread still comes out terrific. I have also subbed out the honey—with brown sugar, maple syrup, molasses and even sorghum—and it wows me every time. Finally, I’ve halved the original recipe because I usually only make one loaf at a time (unless, of course, I’m baking at a neighbor’s).
One of these days, I’ll get around to trying some of Maurizio’s other recipes; I especially want to check out the Jalapeno Cheddar Sourdough Bread (yum!), and for sure, my Thanksgiving table deserves his Super-soft Sourdough Rolls this year. How ridiculous is it, given that I love making fresh bread, that I have never made it at Thanksgiving? I guess I have been too busy with everything else for the table, or else I didn’t plan well to have the oven free, but this will be the year.
In the meantime, I’ll keep making this darn-near perfect bread, my favorite, go-to sourdough. Enjoy!
Before you begin:
This recipe requires use of a mature, ripe starter. Plan to feed your starter eight to 12 hours before making this dough.
All ingredients are listed by weight. I highly recommend use of a digital scale for sourdough baking.
Plan to have a shallow pan available for steam baking. It is also helpful, but not essential, to have a digital thermometer for testing doneness of the bread at the end of baking time.
Ingredients
148 g whole milk
38 g whole wheat flour* (see notes)
175 g room temperature water
18 g honey*
32 g olive oil
106 g sourdough starter, recently refreshed (starter should be 100% hydration)
295 g bread flour
78 g whole wheat flour*
8.5 oz. fine sea salt
*Notes
I have had great success using whole grain rye flour in the first step of pre-cooking. The resulting dough will be rather sticky, but I find it more manageable to handle it with wet hands.
If you want to increase the nutrition by using more whole wheat flour in this recipe, try swapping about 30 grams for equal amount of the bread flour. Greater adjustment may require that you also increase the volume of water by a small amount, as whole wheat flour absorbs more water.
Alternative sweeteners can be an equal swap by weight if they are liquid. If you swap in sugar or brown sugar, try using two heaping tablespoons, and add them with the dry ingredients rather than in the starter mixture.
Instructions
The images in the how-to are from a previous bake, so please don’t be startled to see the old kitchen.
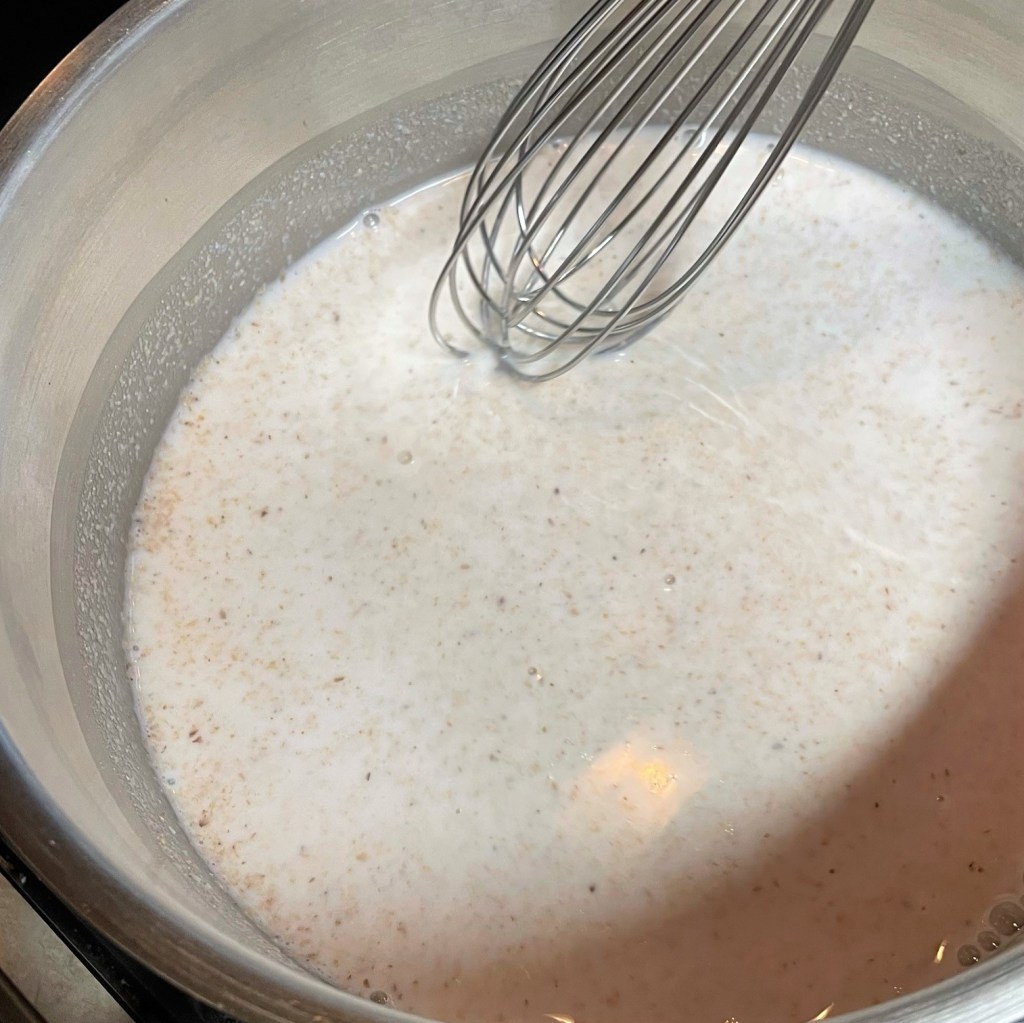
Use a whisk to blend the milk and flour together, and cook over medium heat until it begins to thicken. 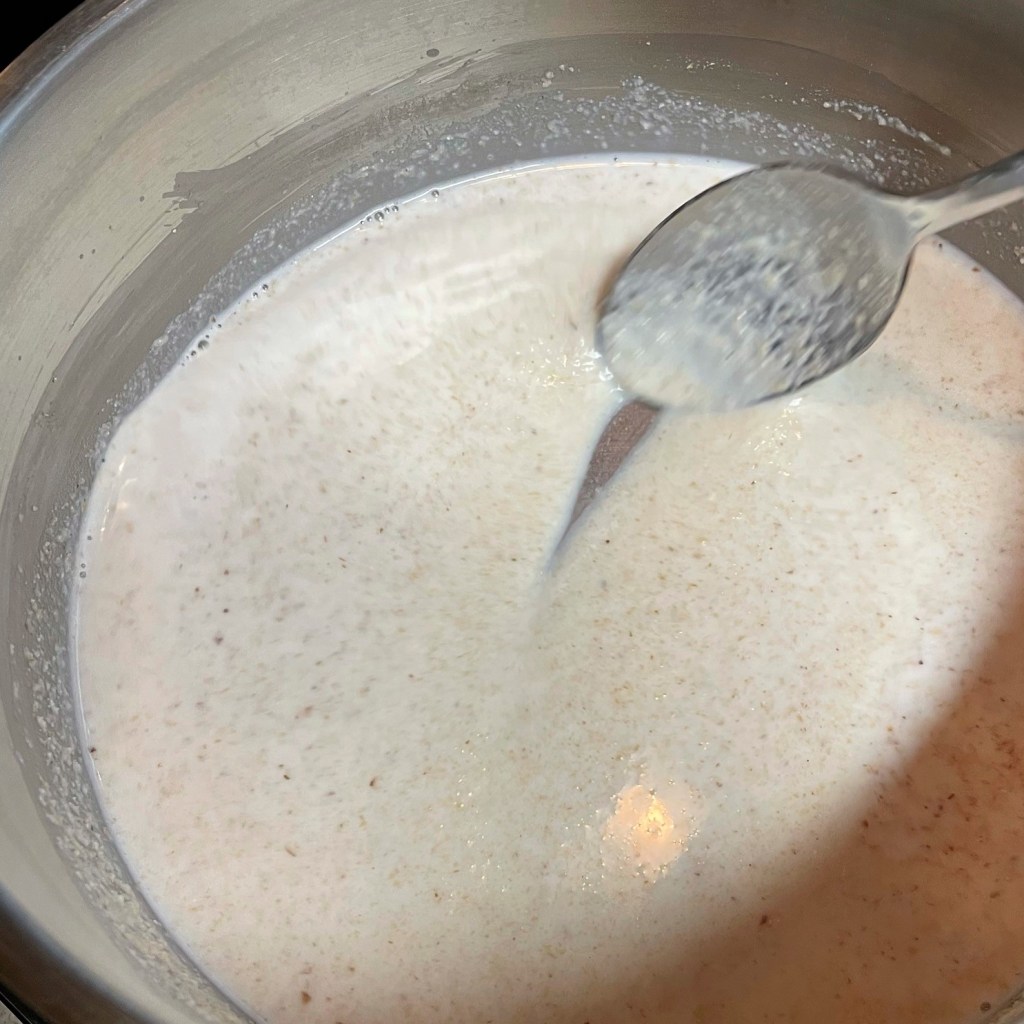
When the roux begins to thicken, switch to a spoon (or you’ll never get it out of the whisk). 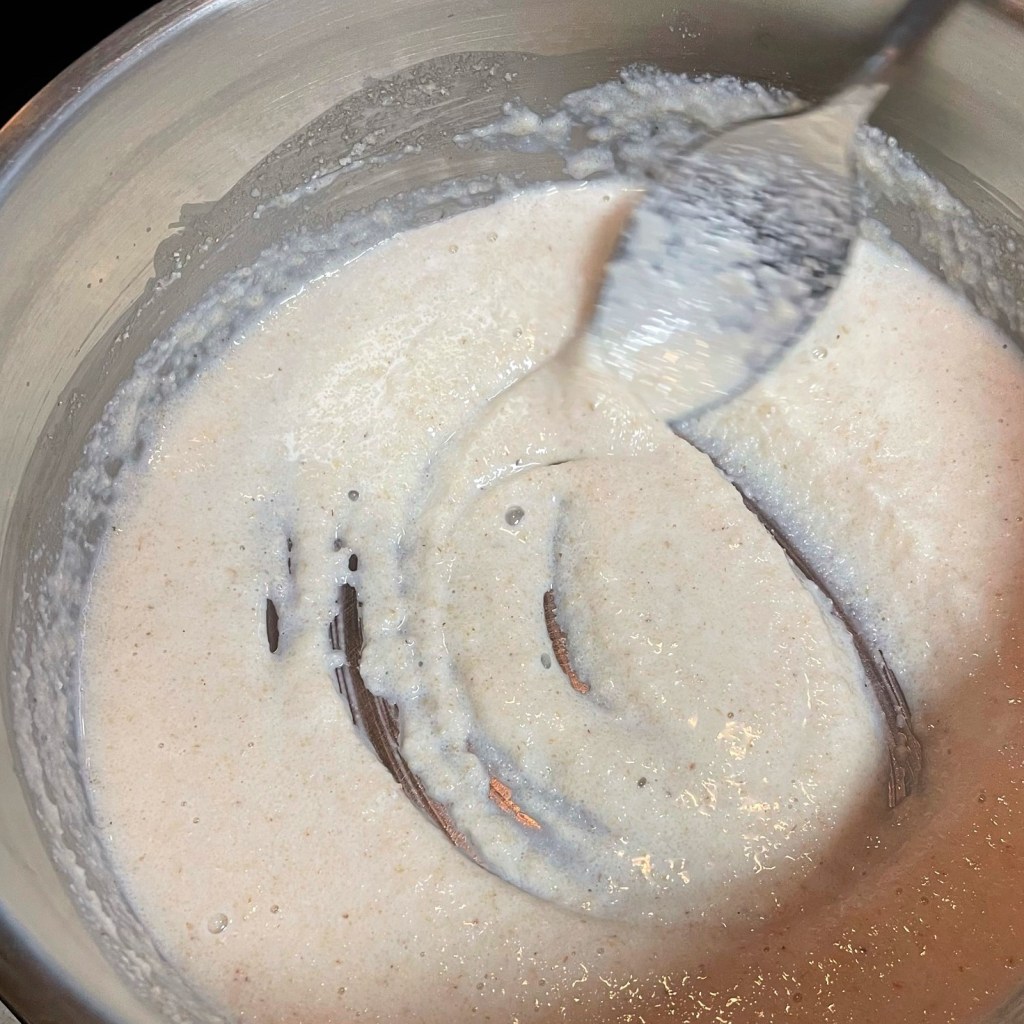
It will seem like nothing is happening, until all at once, it becomes like wallpaper paste. 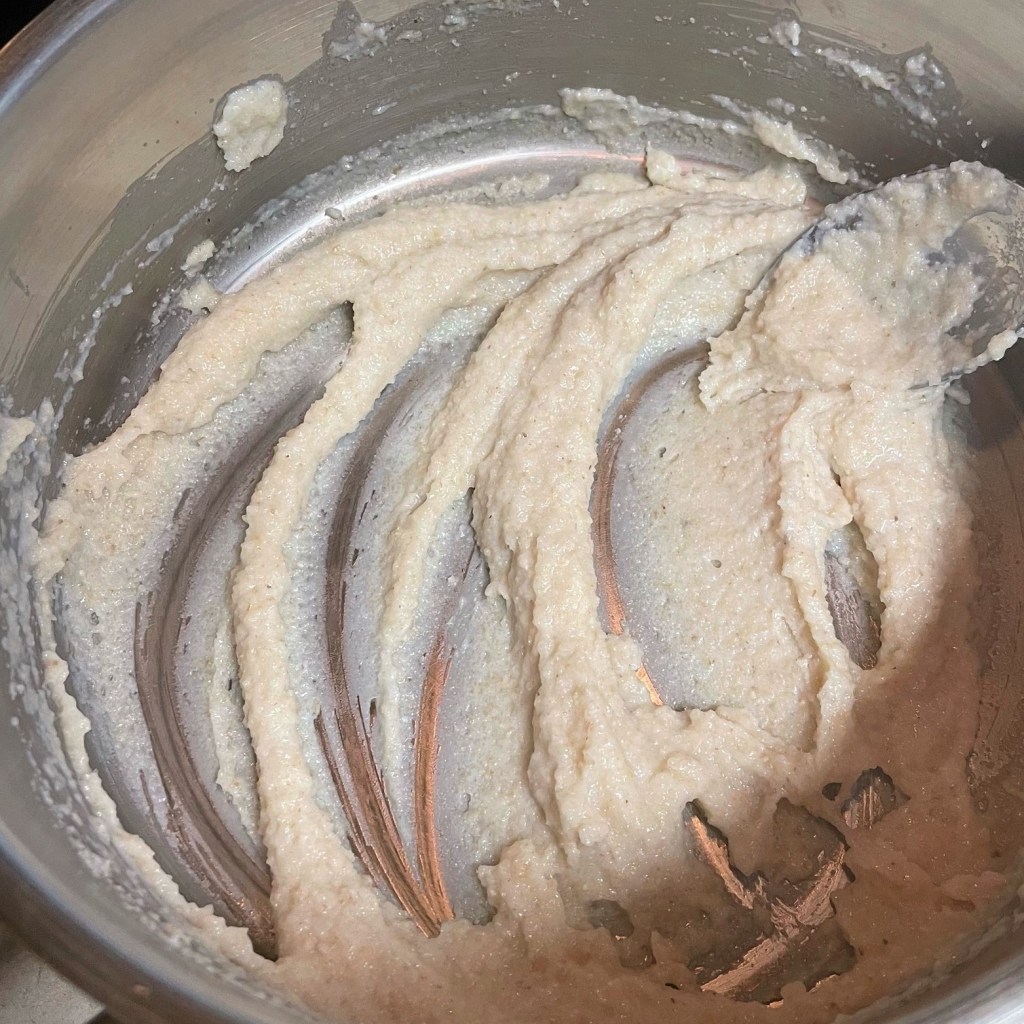
When it is cooked to this point, remove from heat. You can cool it in the pan while you prep for the next steps. 
Or spread it out onto a plate or parchment paper to cool faster. 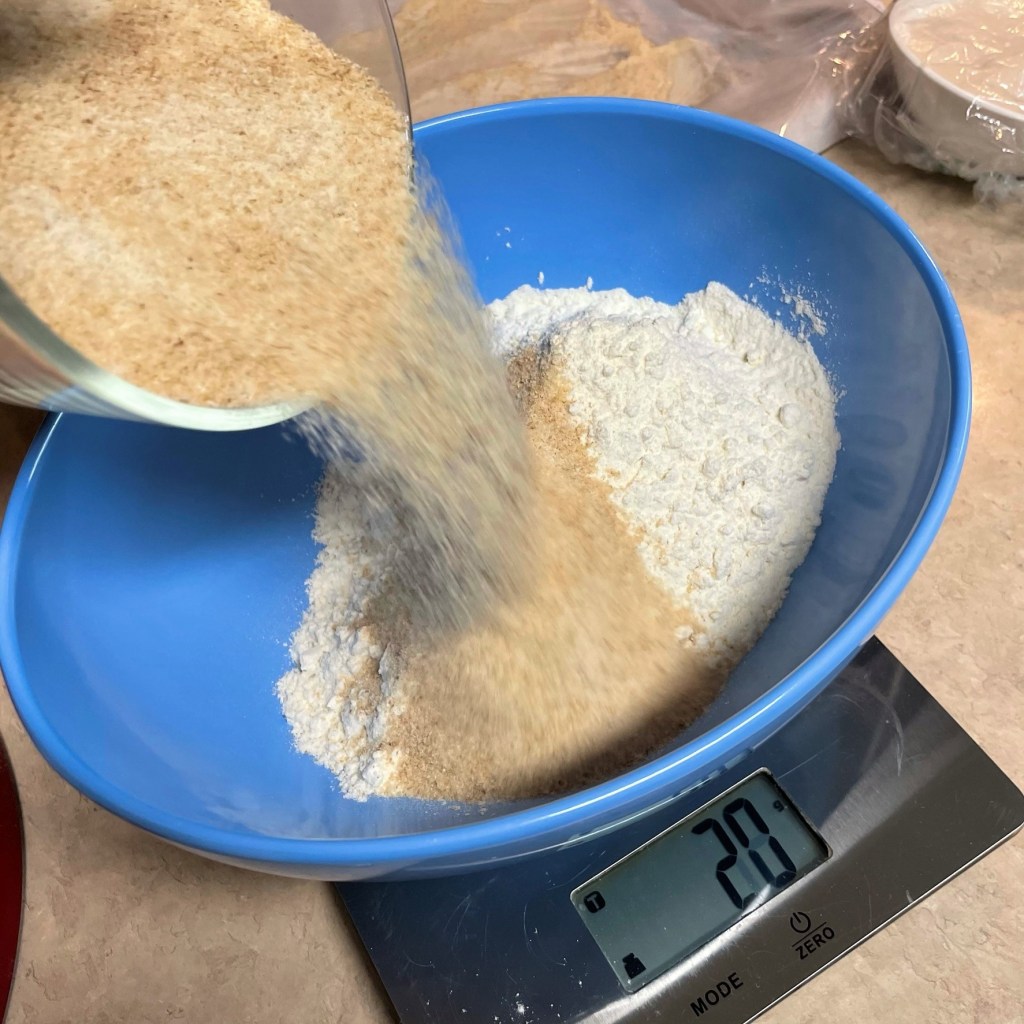
Measure by weight for accuracy. For this particular loaf, I used freshly milled Kamut flour in place of the usual whole wheat. 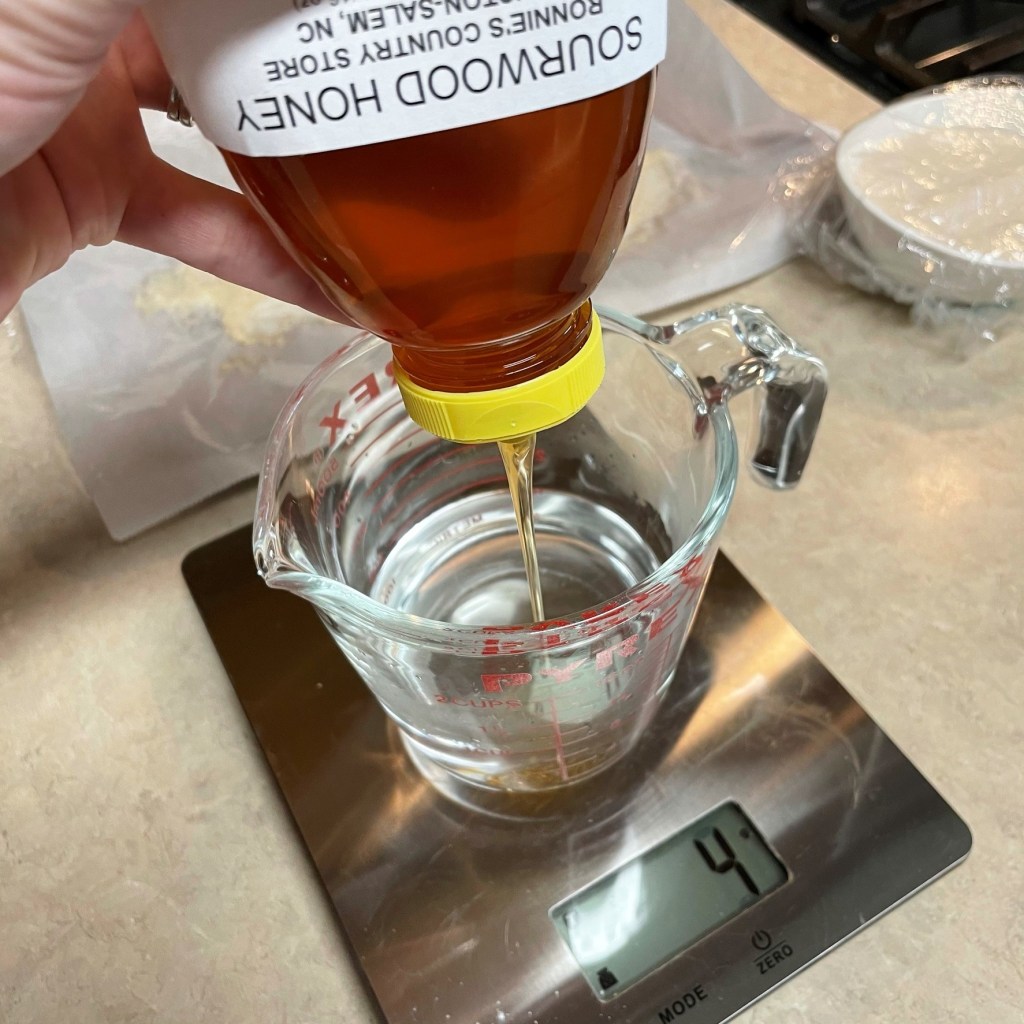
Measure the liquid ingredients by weight, too. Water, honey and oil. 
Stir until the honey is dissolved. 
Mix together the two kinds of flour with the salt. I’ve used Himalayan pink salt so we can see it in pictures. 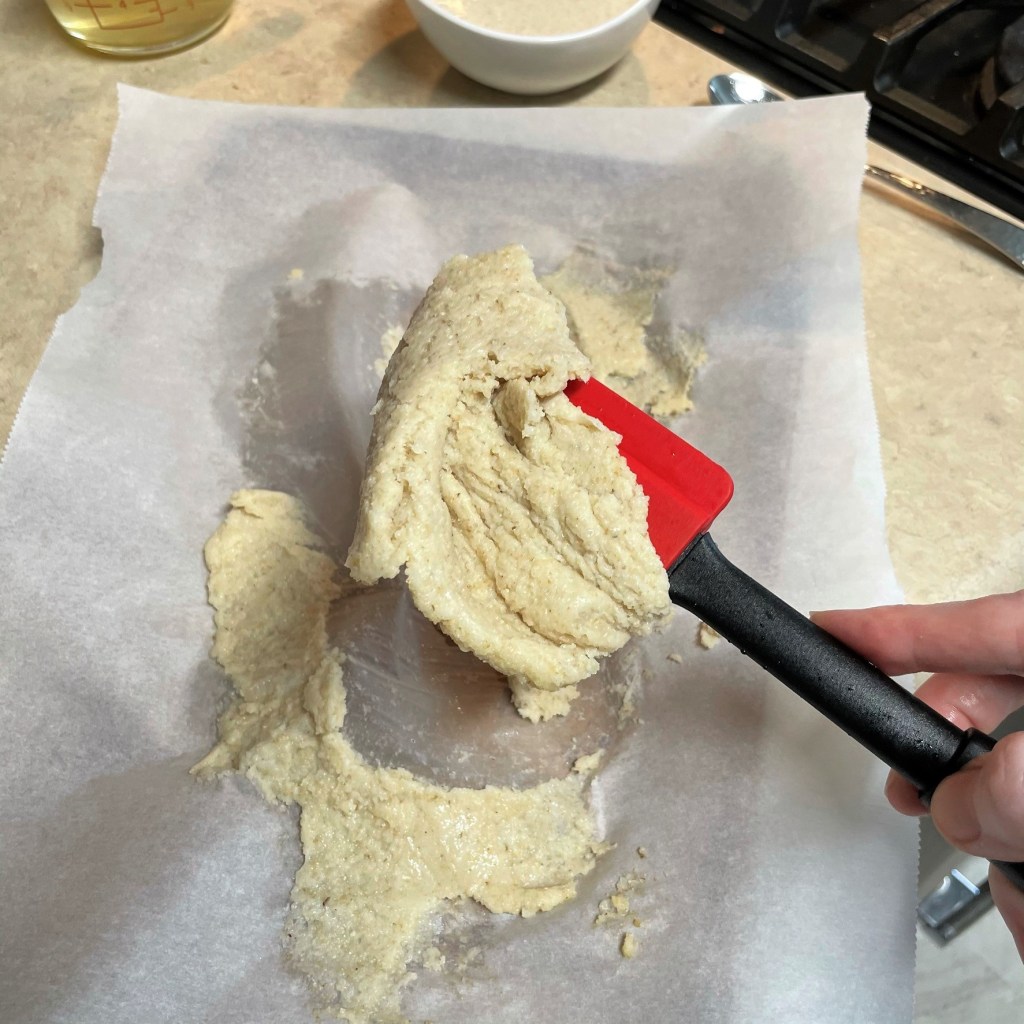
The roux mixture will be quite firm after cooling. 
Be sure you feed your starter the night before, so it is good and active. 
Combine the roux, starter and liquid ingredients. 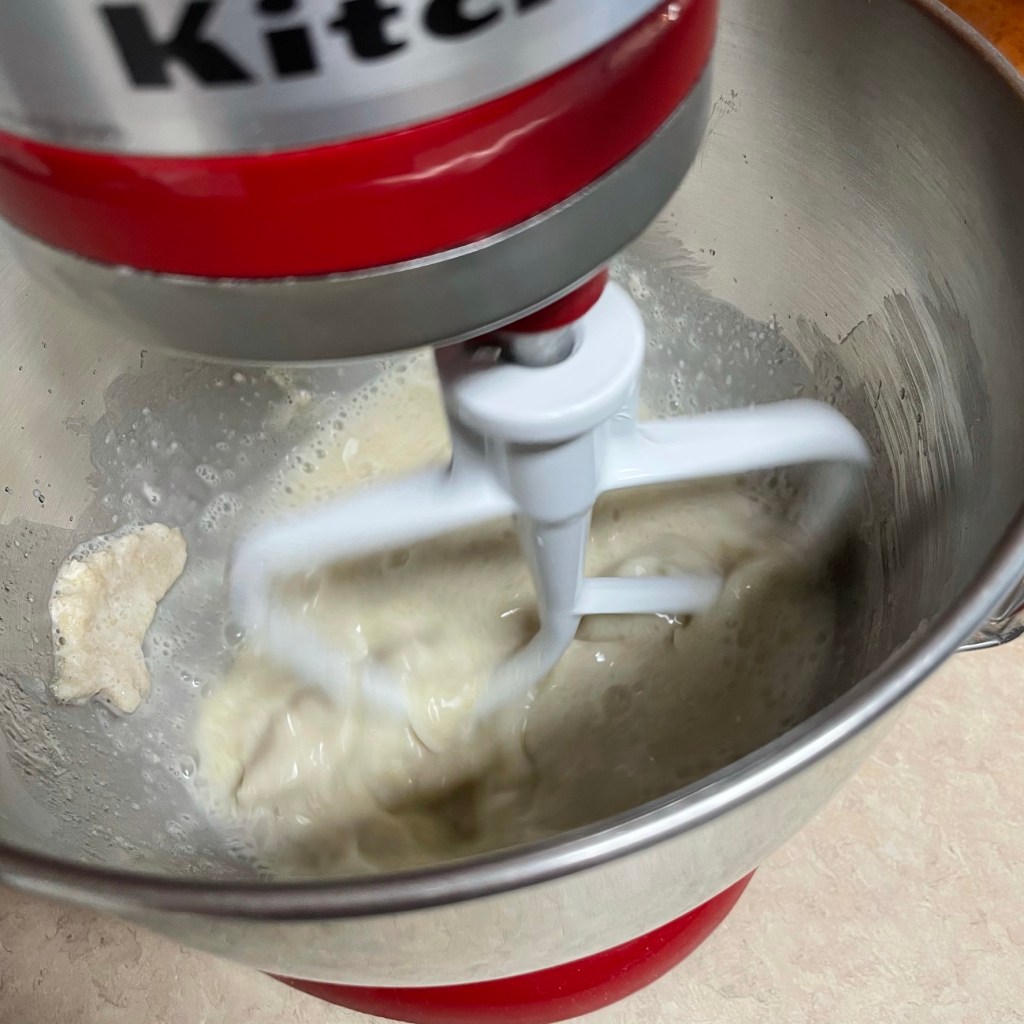
Mix with beater blade until evenly combined. 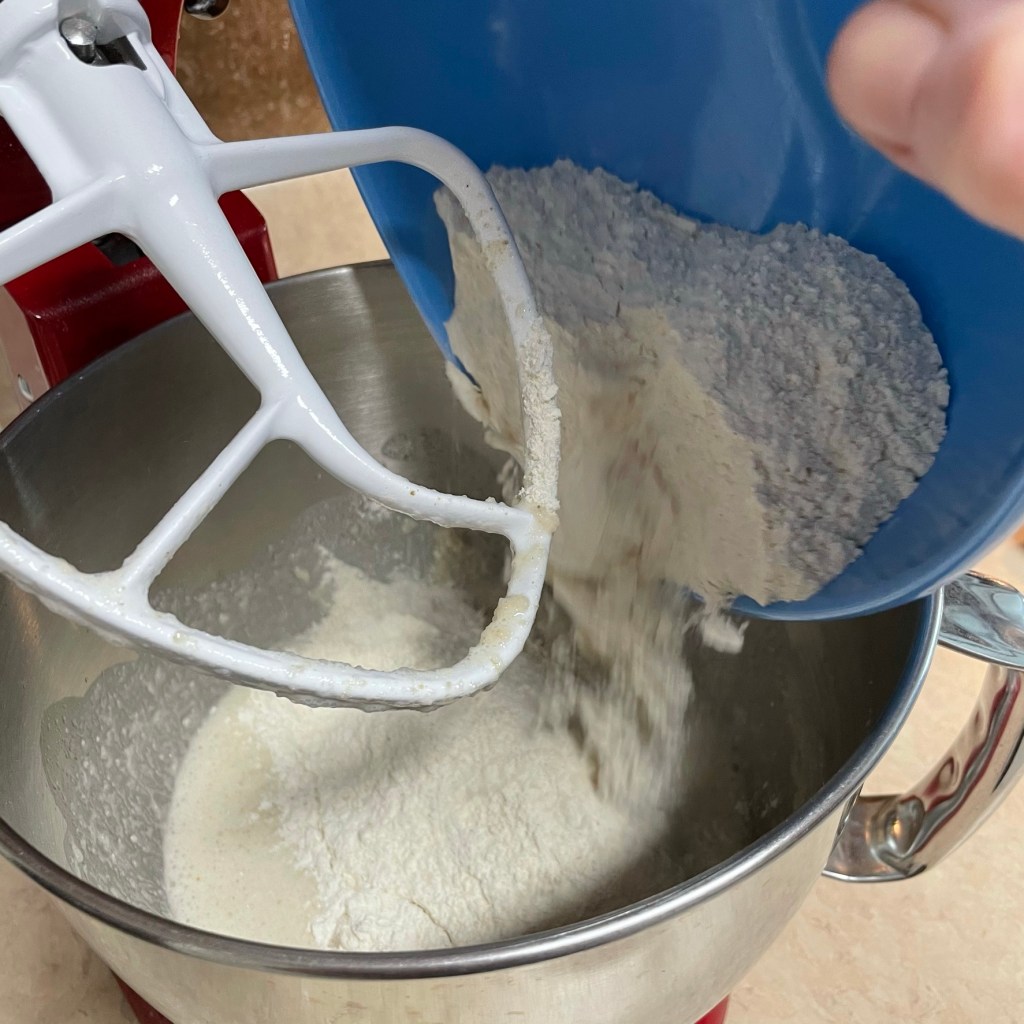
Add the flour ingredients all at once. 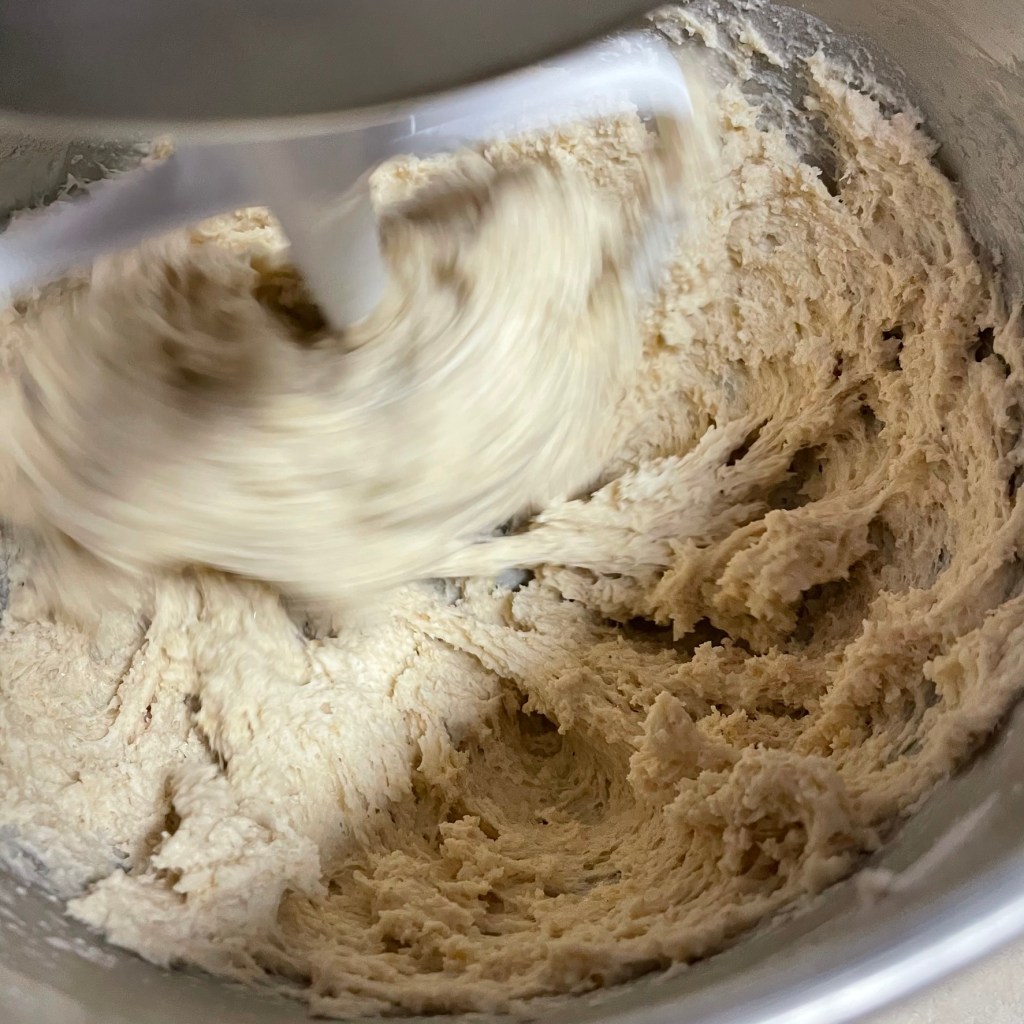
Mix with beater blade until all flour is incorporated and dough begins to organize on the beater. This will only take a minute or two. 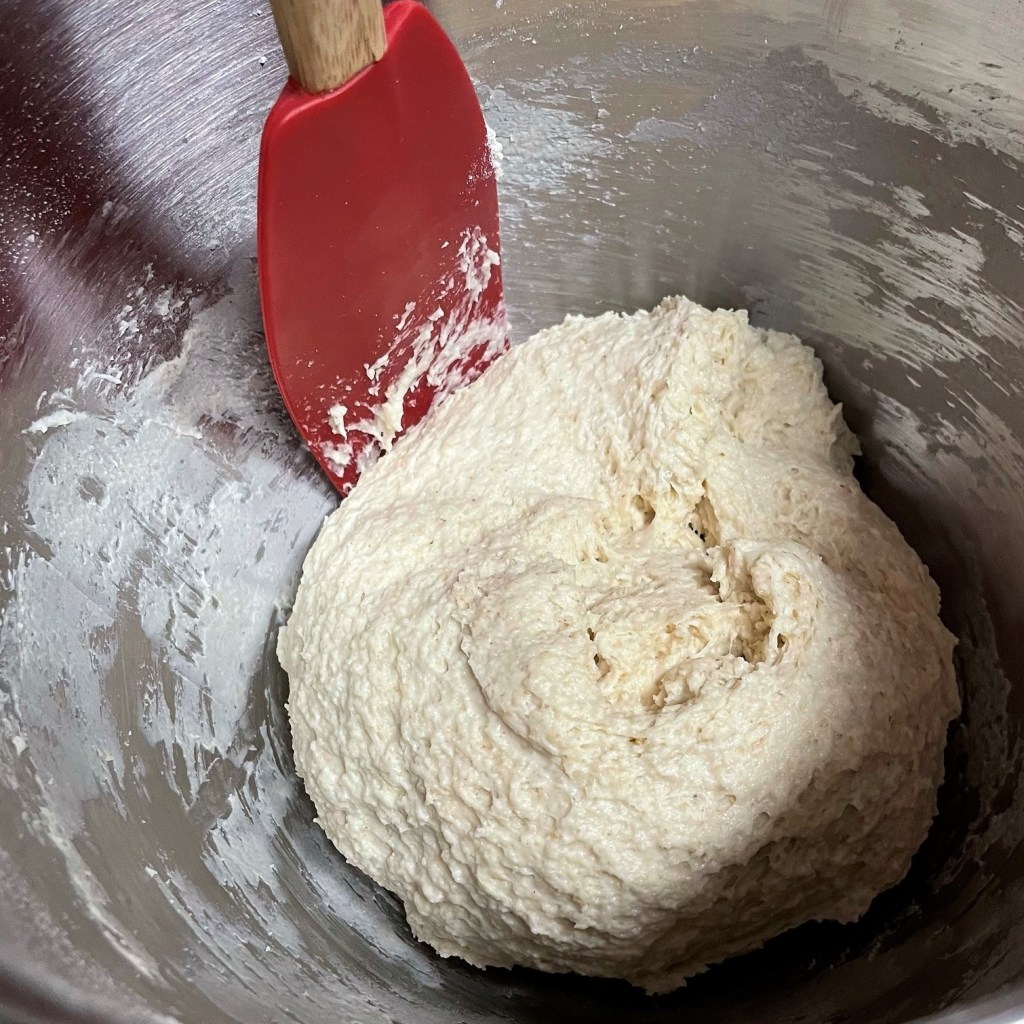
Scrape the dough off the beater and let it rest for at least 20 minutes; 30 is better. It will look rather shaggy at this stage. 
After the rest time, use the dough hook to knead the relaxed dough for about 7 minutes. 
The dough will still be sticky and stretchy. Resist the urge to add more flour. Transfer to an oiled bowl, cover it and rest it 30 minutes. 
Stretch and fold the dough at 30 minute intervals. Use wet hands to lift and stretch one side up and toward the center. Rotate the bowl and do the opposite side. 
Finish by stretching and folding the ends created by the first two stretches. 
Turn the dough so that the folded ends are underneath. Cover and rest until the next stretch time. 
When dough has doubled in size, shape it by spreading it onto a lightly floured (or very lightly oiled) counter. Begin at the long end and roll up tightly. 
Tuck in the ends early in the roll, and again if needed to keep uniform cylinder shape. 
Keep the dough as tight as possible to avoid air bubbles. 
When the roll is complete, pinch the end to seal it together. 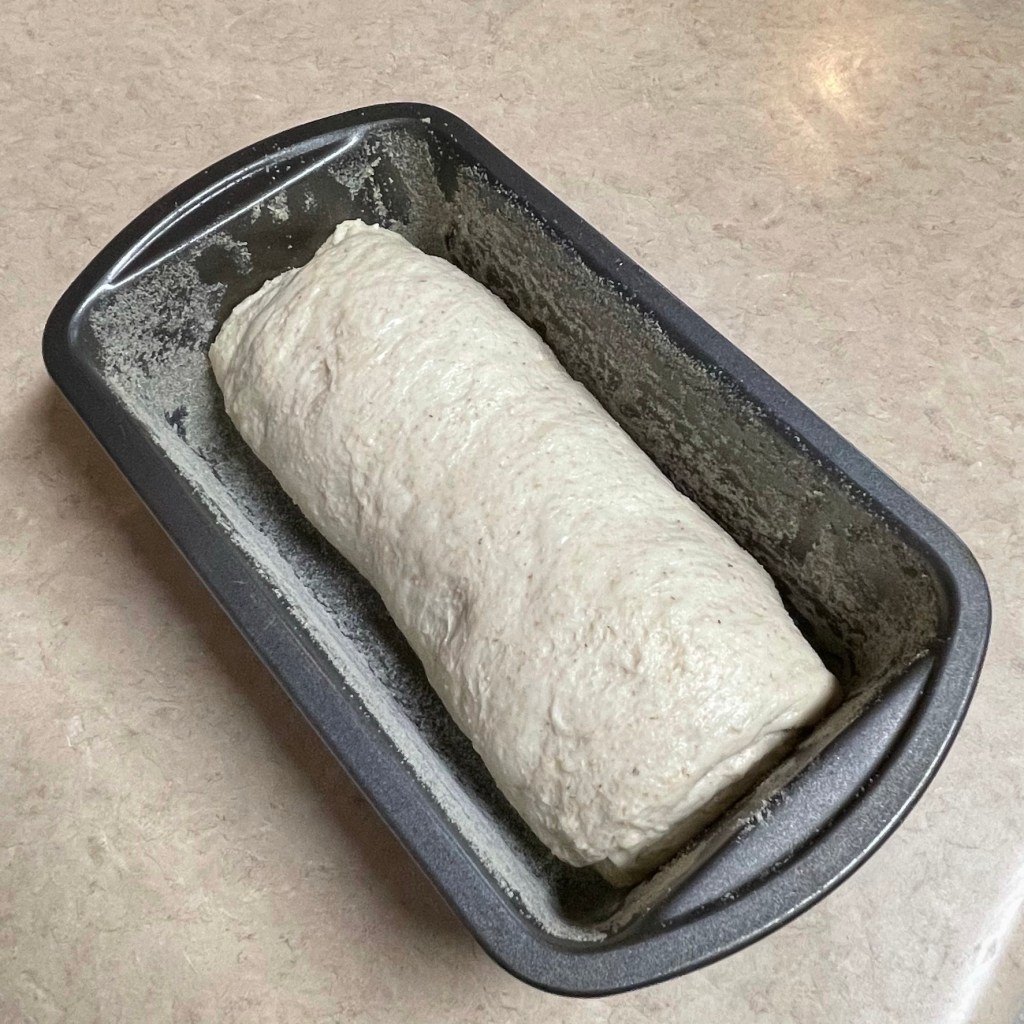
Place the dough, seam side down, into a loaf pan that has been greased and dusted with semolina or fine cornmeal. Cover and proof for about 90 minutes. 
Dough is ready to bake when it has risen to about an inch above the rim of the pan. 
Bake on the center rack at 400° F, with a steam pan with hot water on the lower rack. 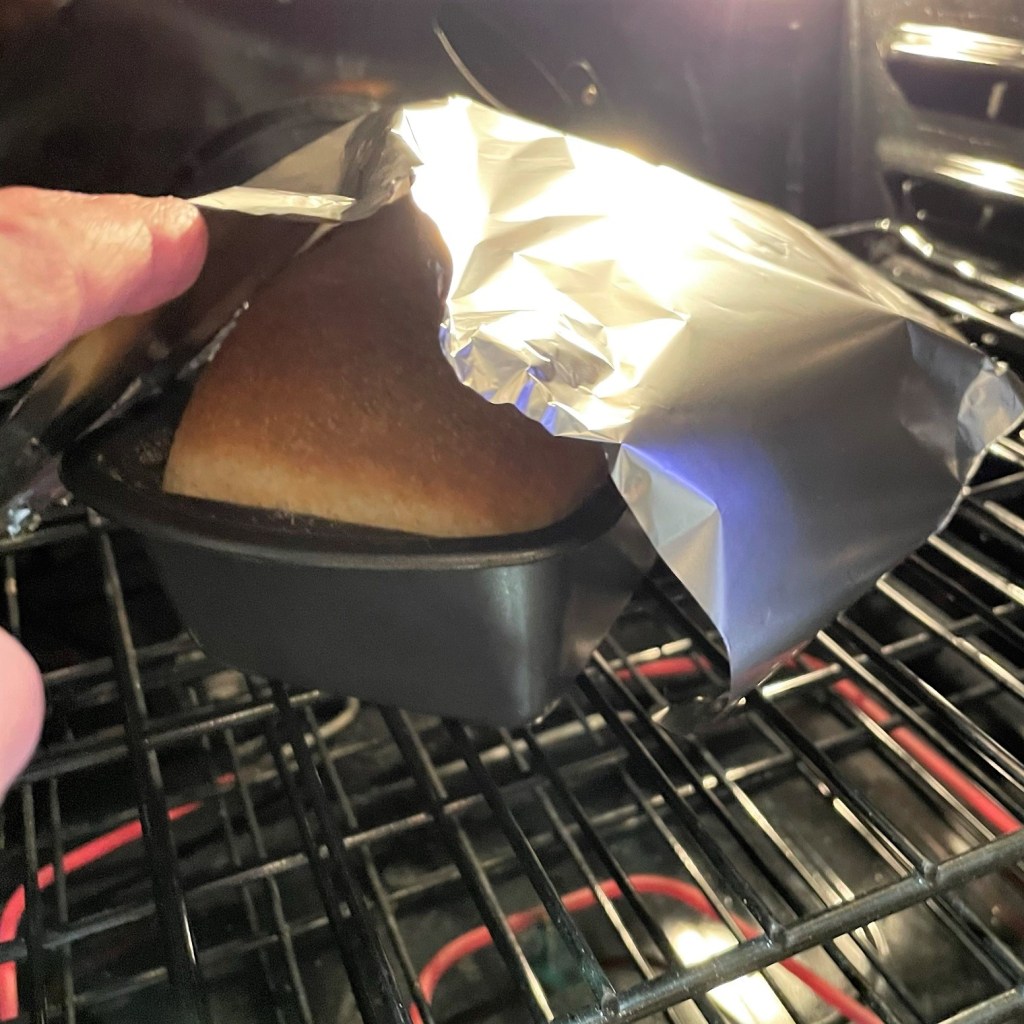
After 20 minutes, remove the steam pan and rotate the loaf. Tent it loosely with foil if it is browning quickly. Bake 25 more minutes. 
The honey in the bread contributes to the golden crust. Remove the loaf immediately to a cooling rack. 
When finished, the bread should register around 205° F inside. This is just right! 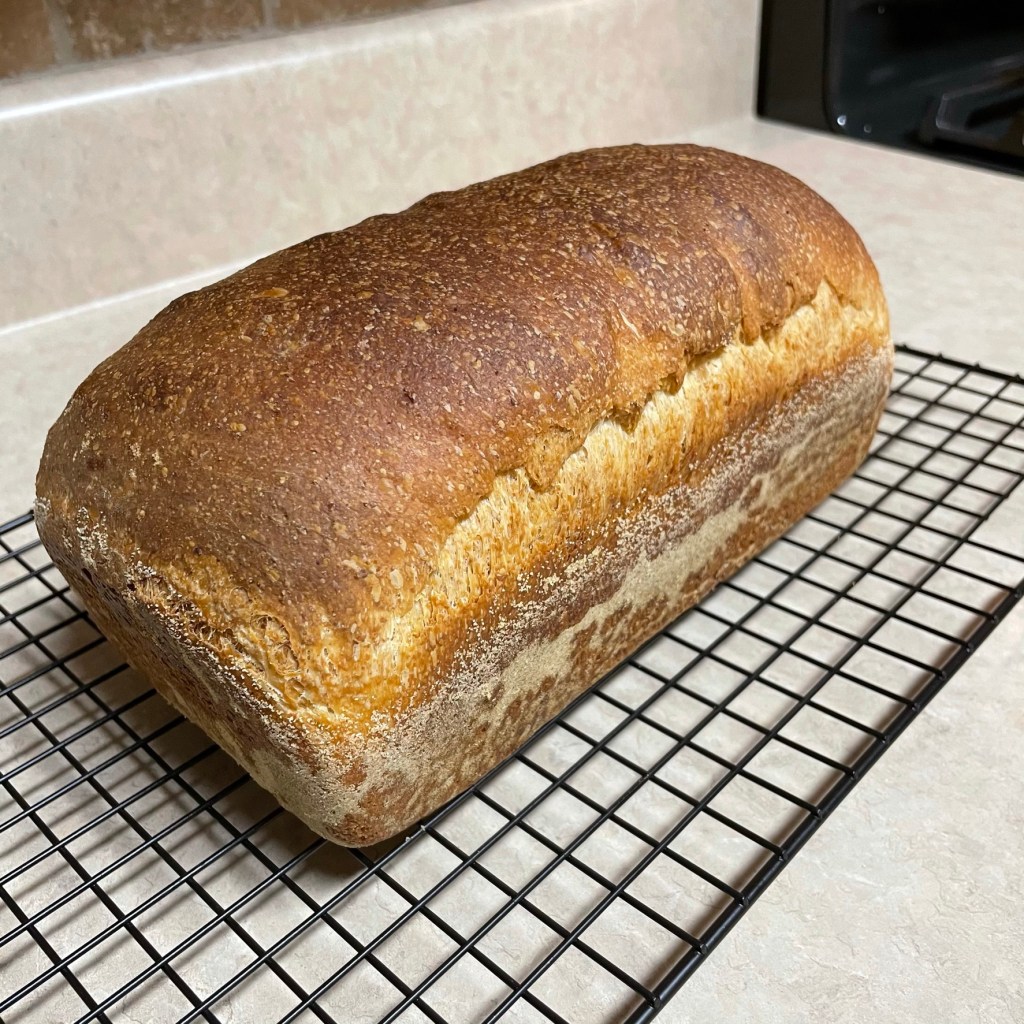
This bread makes the best sandwiches and toast!
- Whisk together milk and first amount of flour in a small saucepan. Cook over medium heat, whisking constantly, until mixture thickens and becomes sticky and heavy. Remove from heat and spread the mixture out onto a plate to cool for several minutes.
- Combine bread flour, whole wheat flour and salt in a bowl.
- In the bowl of a stand mixer, combine starter, water, honey and olive oil until blended and smooth. Add pre-cooked flour mixture and blend with the beater blade until smooth. Add dry ingredients all at once and mix with the beater blade until all the flour is incorporated and the dough begins to look organized on the blade. Scrape dough from blade and cover the bowl. Allow it to rest for about 30 minutes before kneading.
- Switch to the dough hook, kneading the dough on speed two for about 7 minutes. Spray a large glass bowl with oil and transfer the dough into the bowl. Cover and rest it for 30 minutes.
- Wet your hands, then stretch and fold the dough like this: Loosen the dough from the edge of the bowl that is farthest away from you and lift it, stretching and folding it down toward the center. Rotate the bowl to fold the opposite, then rotate the bowl to repeat the folds on the sides of the dough. Cover and rest again and repeat the folds twice more at 30-minute intervals.
- By the final stretch and fold, you will find that the dough has built enough strength to feel resistant. Prepare a large loaf pan, oiling and dusting with semolina or cornmeal if needed to reduce sticking.
- Shape the loaf by flattening it out onto a flour-covered board, the rolling it up tightly into a cylinder shape. Pinch the final rolled edge to seal it, and pinch the ends of the roll. Cover the loaf pan with plastic wrap or an elastic bowl cover and let it nap in a warm spot in the kitchen, with no drafts. Final proofing will be about 90 minutes.
- Preheat oven to 400° F, with one rack in the center of the oven and another rack below it for the steam pan. When oven reaches temperature, place a shallow pan of hot tap water on the lower rack and allow it to preheat 10 minutes longer.
- Bake the bread with steam for 20 minutes. Remove the steam pan, rotate the bread for even browning, and cover with a loose tent foil if the bread is browning quickly. If the loaf is still pale, the foil may not be necessary. Bake an additional 25 minutes without steam. Internal temperature of finished bread should be 205° F. Remove from pan right away and cool on a rack.


Pingback: Sourdough Pumpkin Rye Sandwich Loaf | Comfort du Jour
Pingback: Ultimate Thanksgiving Leftover Pizza | Comfort du Jour