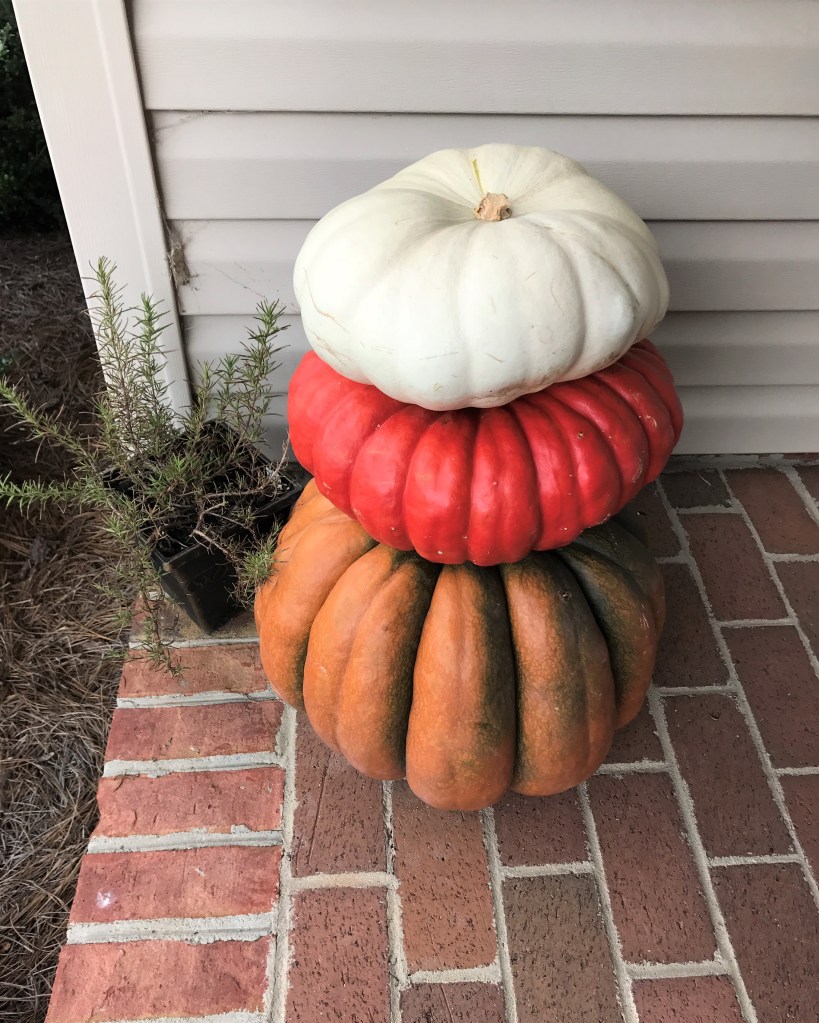
To say that I’m excited for fall is a bit of an understatement. After stiflingly humid North Carolina summers, I am always eager for the relief that comes in mid-September. I can finally open the windows each morning to let the cool, fresh air permeate our space (at least until afternoon, when the temps rise back into the 90s), and my soul starts longing for all the culinary comforts of the fall and winter seasons—warm herbal teas in the evening, soups and stews that nourish us from the inside out, and the return of what I like to call the Sunday Supper.
This meatloaf is one of my very favorites, though calling it a meatloaf may not do justice to the elegance of the meal, especially if you go the extra mile to make the French Onion Gravy recipe that accompanies it on my plate.
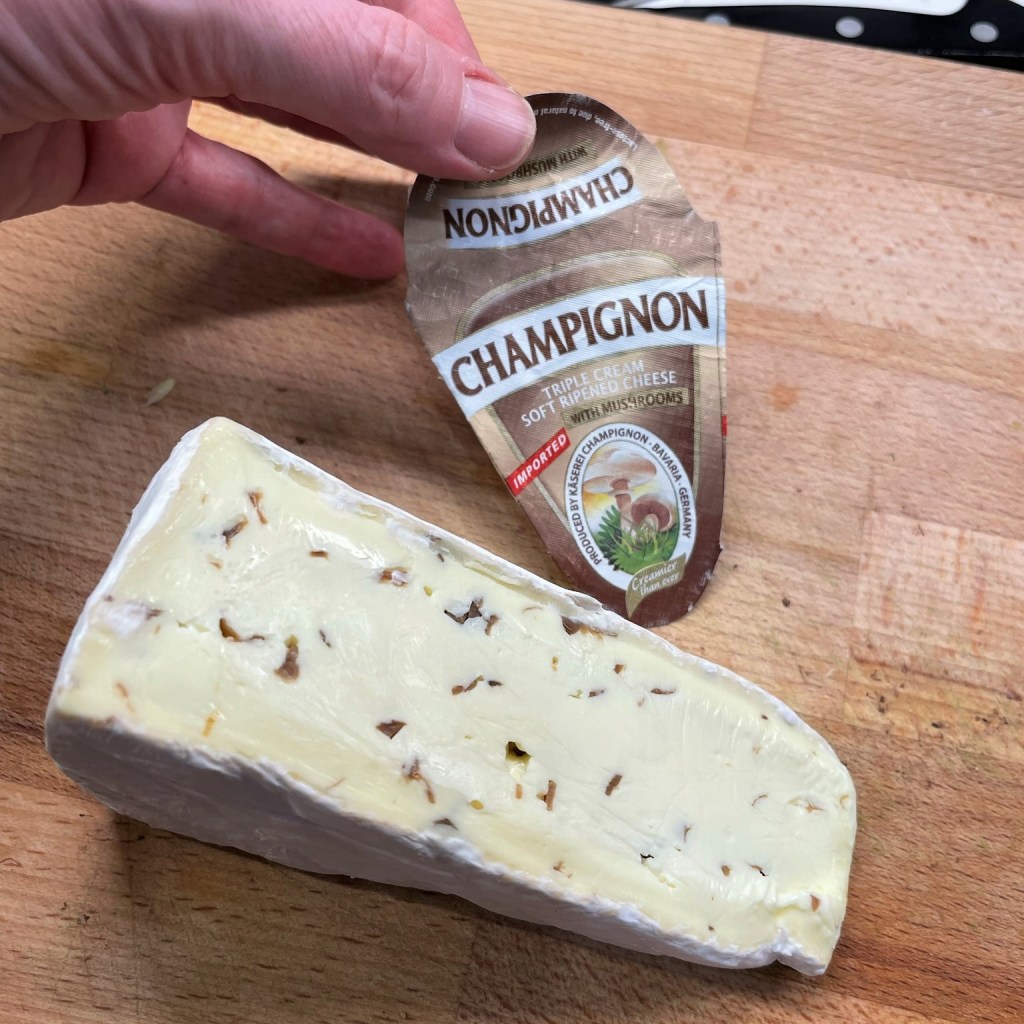
My first inspiration for this recipe came many years ago when I spotted a wedge of creamy, mushroom-studded brie in the specialty cheese section at Trader Joe’s. It was begging to be part of something special and so I incorporated it into my usual, plain-Jane turkey meatloaf and I never looked back. I have since seen the cheese branded by other companies as well, and I actually bought this one from another supermarket. If you cannot find brie with mushrooms, substitute any other brie, and preferably one that is sold in large wedges, as it is easier to slice evenly for the rollup.

There will be plenty of mushroom in the mix anyway, as I slice and brown nearly a whole package of “baby bellas” to layer with the brie. Oh, and sauteed mushrooms and onions also get chopped and blended right into the meat mixture as well. Yes, this is definitely a mushroom-lover’s meatloaf!
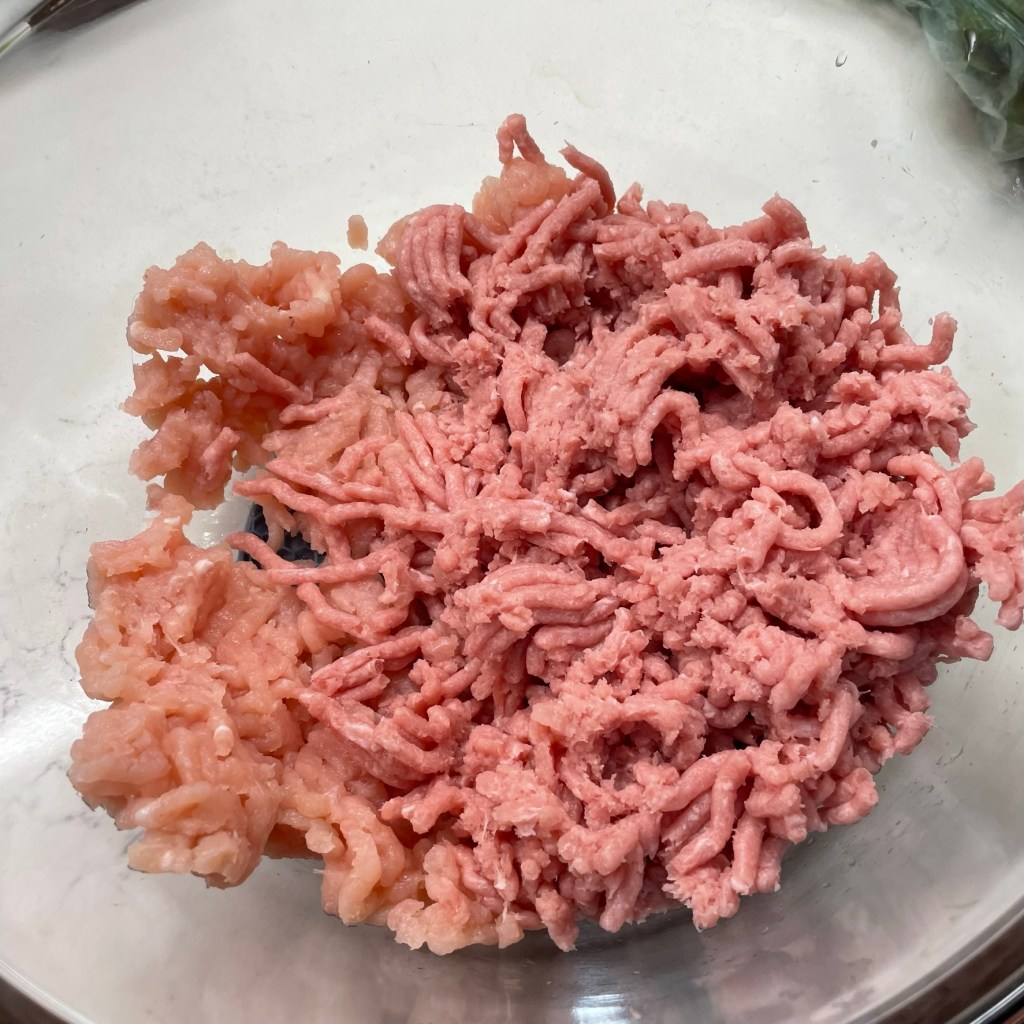
I like using a combination of ground turkey (93% lean) and ground turkey breast (99% lean) for this, because the turkey breast on its own tends to go dry during baking, and the other on its own is almost too soft to shape properly. I suppose this meatloaf could also be made with lean ground beef, but I love it with ground turkey, which has a lighter flavor and leaner calorie load—though I’m sure the brie filling that oozes out into every bite probably cancels out that second part.

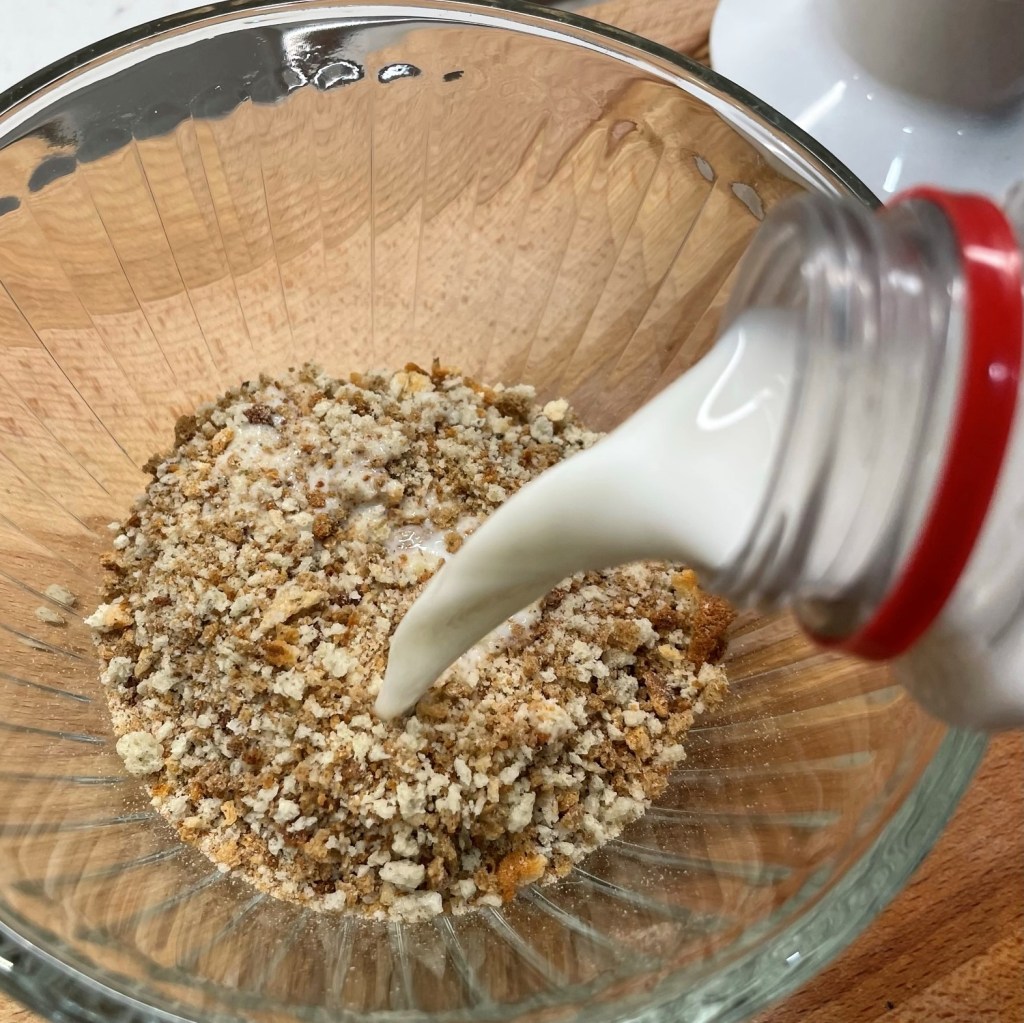
To give this meatloaf a hint of Thanksgiving (we are already counting down at our house), I have used dry stuffing mix (which I crushed into crumbs) in the panade, and it forms a glue to hold it all together. Feel free to substitute your favorite bread crumbs. Use less milk for this one than you normally would in a panade, because the turkey meat mixture is fairly loose and it benefits from the sturdier, almost crumbly panade.
The richness of the brie demands a little balance as well, so don’t omit the fresh parsley. Putting this meatloaf together is not as complicated as it might seem. At the end of the post is a click-to-print recipe, but I’ll walk you through it so you can see how easy it really is.


Parchment paper is my best friend for the task of shaping the meatloaf, but waxed paper would work in a pinch. Take your time, be sure the long edge and ends are sealed, and bake it on a cookie sheet rather than in a pan, for a beautiful crust. Give it 45 minutes at 400° F, and let it rest for at least 10 minutes before slicing.


As for the gravy, well, I probably had you at “French onion.” It’s simple enough to make, but it does call for a special ingredient in the Herbes de Provence, which is a blend of herbs well known in the south of France. If you don’t have or can’t find it, substitute a blend of thyme, rosemary, marjoram and lemon peel. It won’t be quite the same, but these flavors will help to highlight and complement the onions. Use sweet or yellow onions and your choice of chicken or vegetable broth.


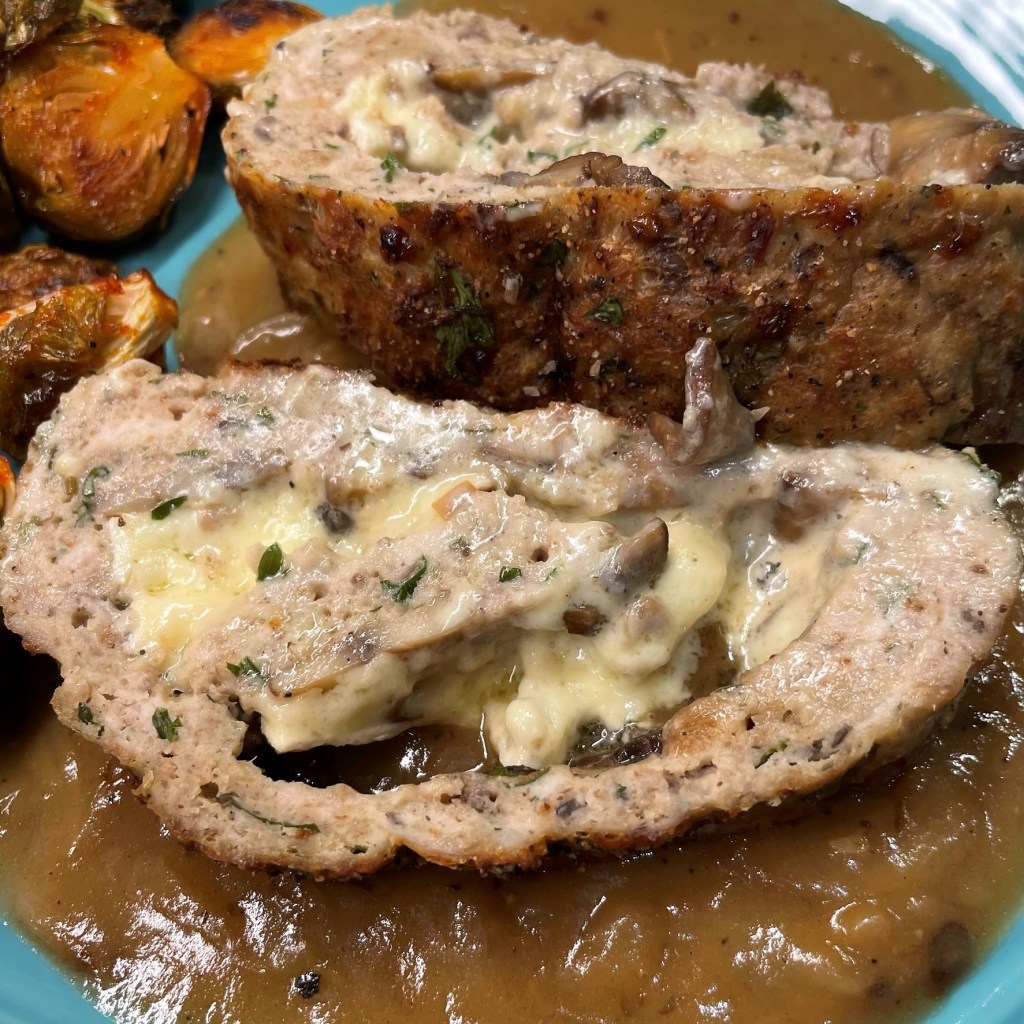
Serve the meal by ladling a portion of gravy directly onto the plate, and top with thick slices of the brie and mushroom-stuffed meatloaf. This entree does not need mashed potatoes, but if you crave them, may I suggest my hubby’s fantastic Garlic Mashed? You won’t regret it. 🙂
Brie & Mushroom-stuffed Meatloaf
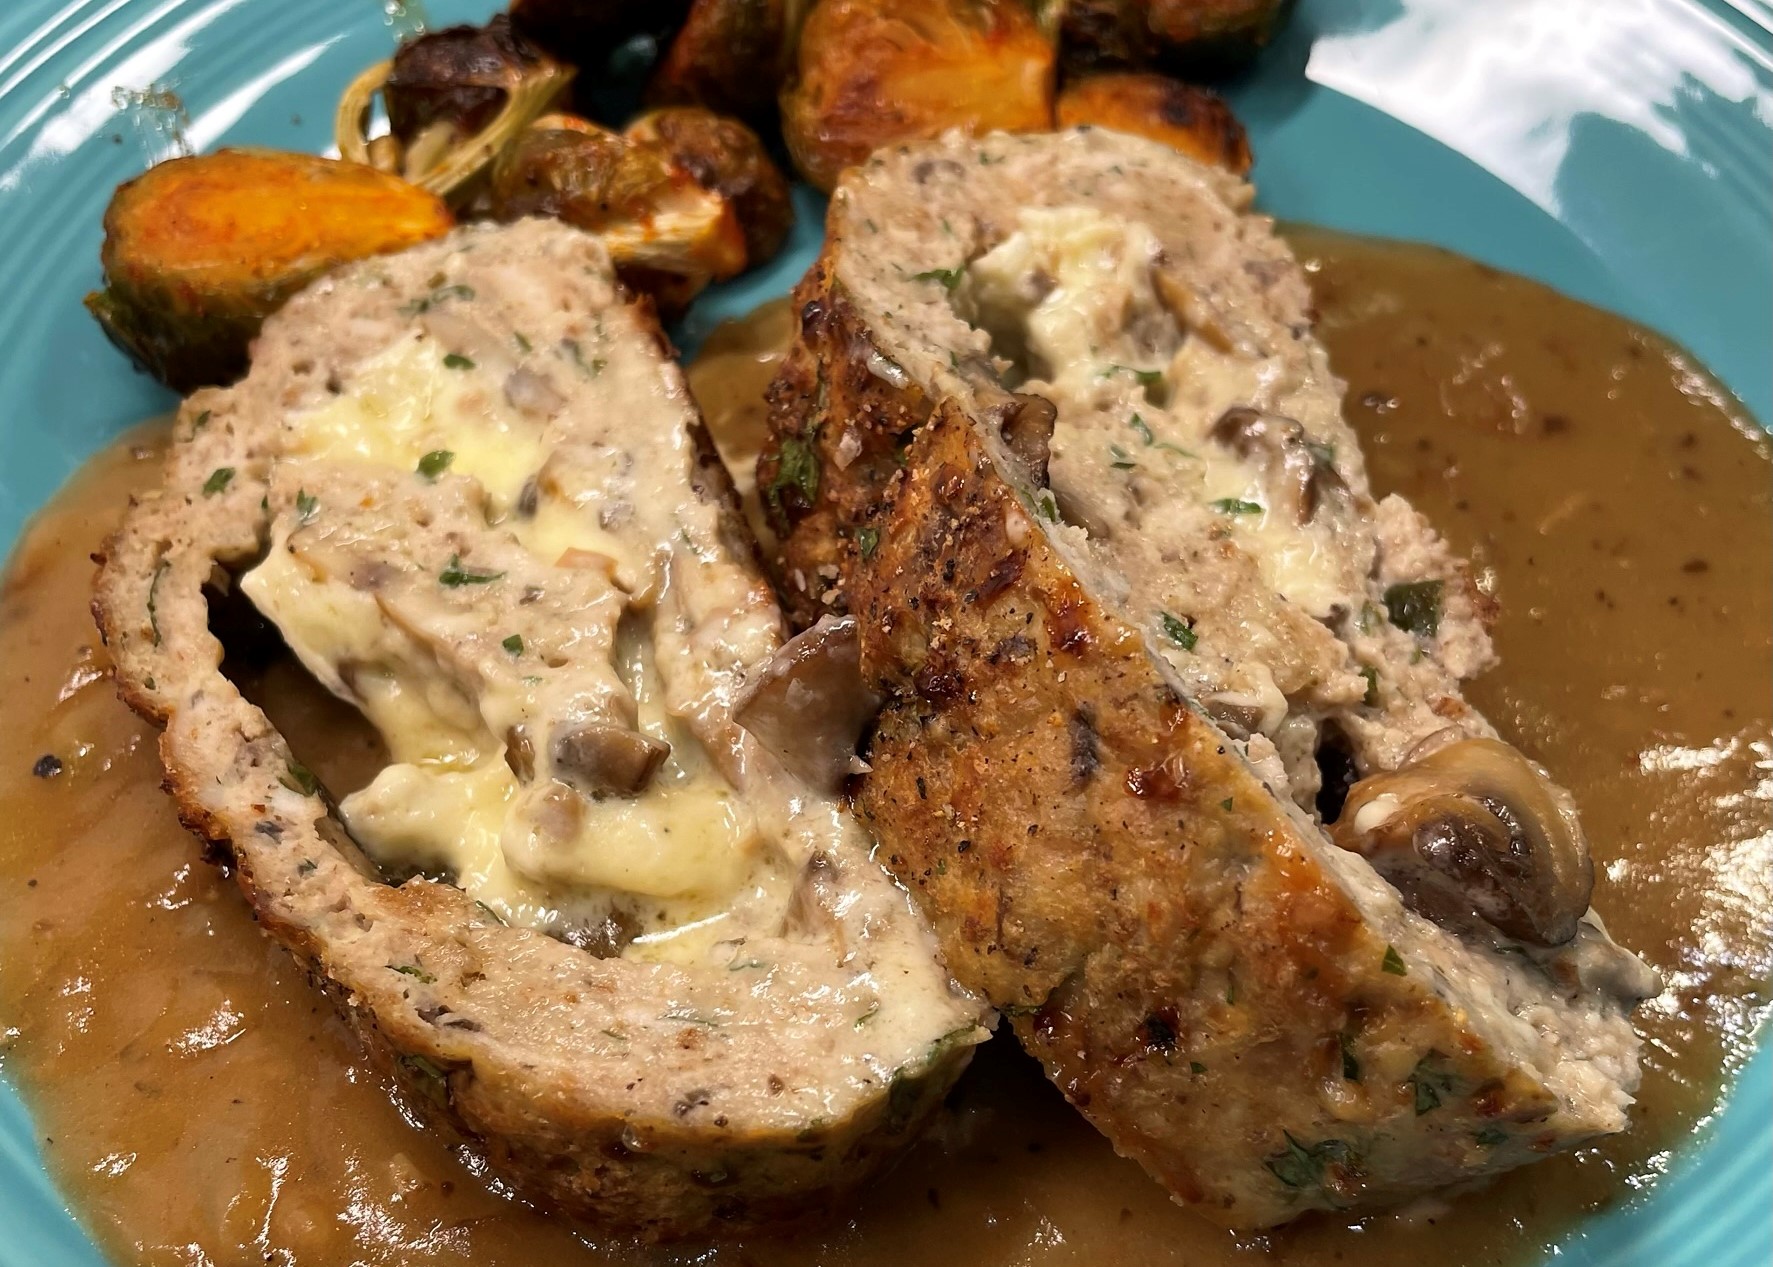
Don't let the fancy swirl pattern in these meatloaf slices intimidate you! With a little patience and a sheet of parchment paper, you can make this delicious turkey meatloaf that literally oozes with comfort!
Ingredients
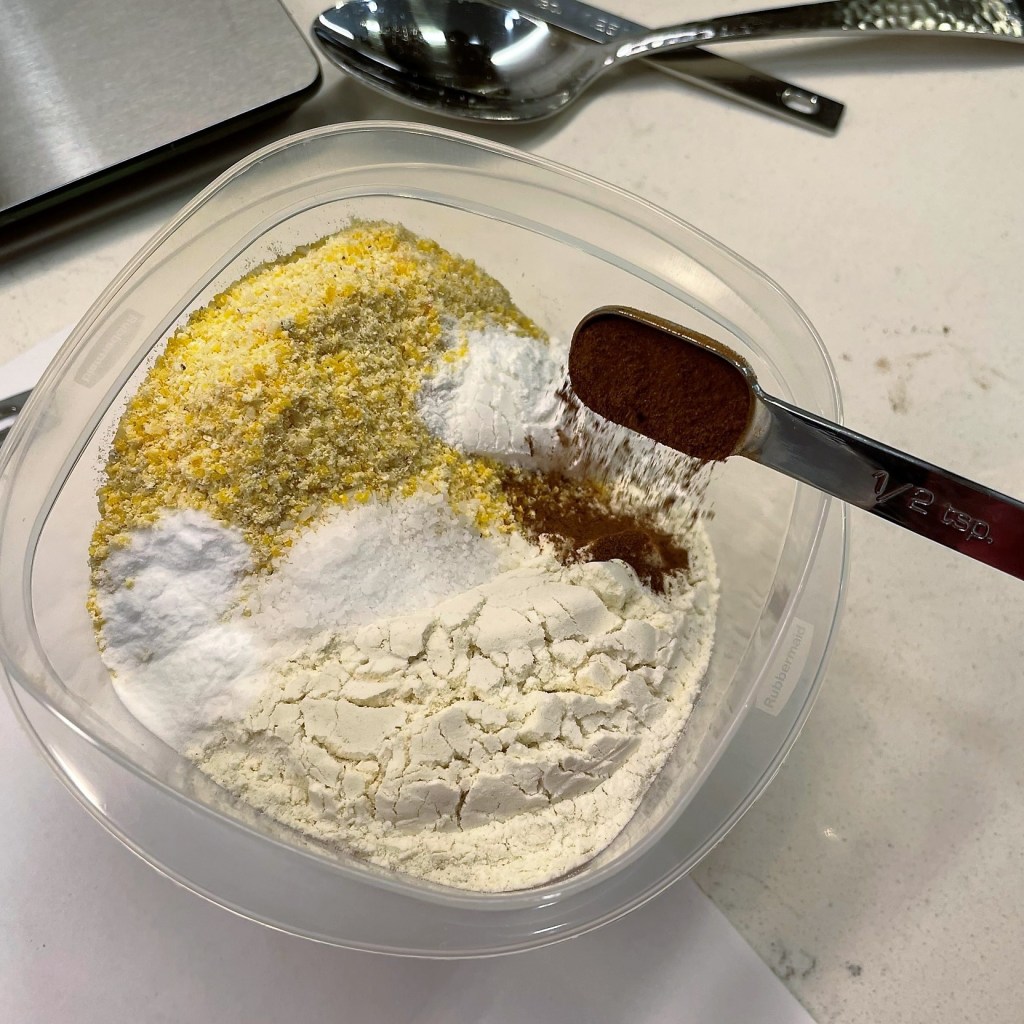
- 3/4 cup dry herb stuffing mix (such as Pepperidge Farm), crushed into small crumbs
- 1/2 cup milk
- 3 Tbsp. extra virgin olive oil, divided (note directions for when to use)
- 1/2 sweet onion, minced
- 12 oz. carton cremini mushrooms, divided
- 1 lb. ground turkey (93% lean)
- 1/2 lb. ground turkey breast (99% lean)
- 1 large egg
- Kosher salt and freshly ground black pepper
- Small handful chopped, fresh parsley
- 6 oz. brie (with mushrooms, if possible)
Directions
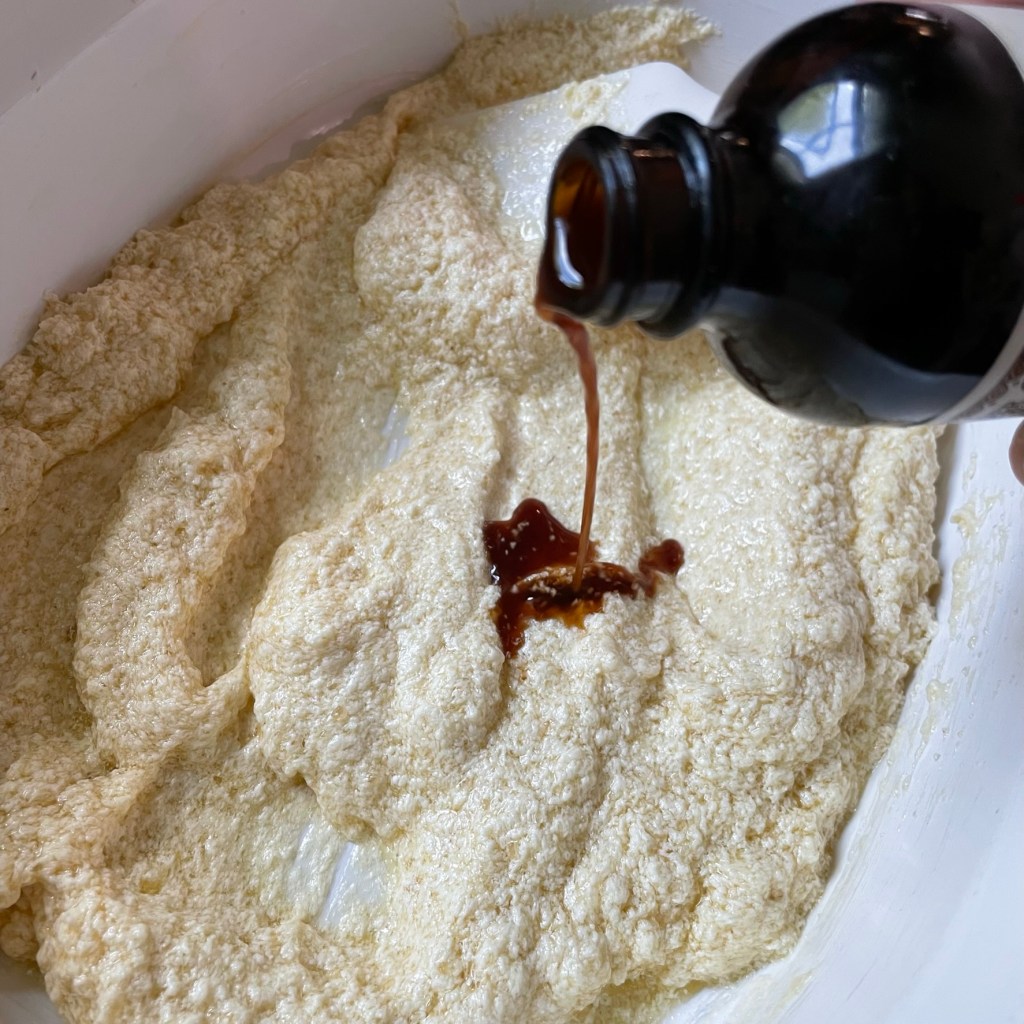
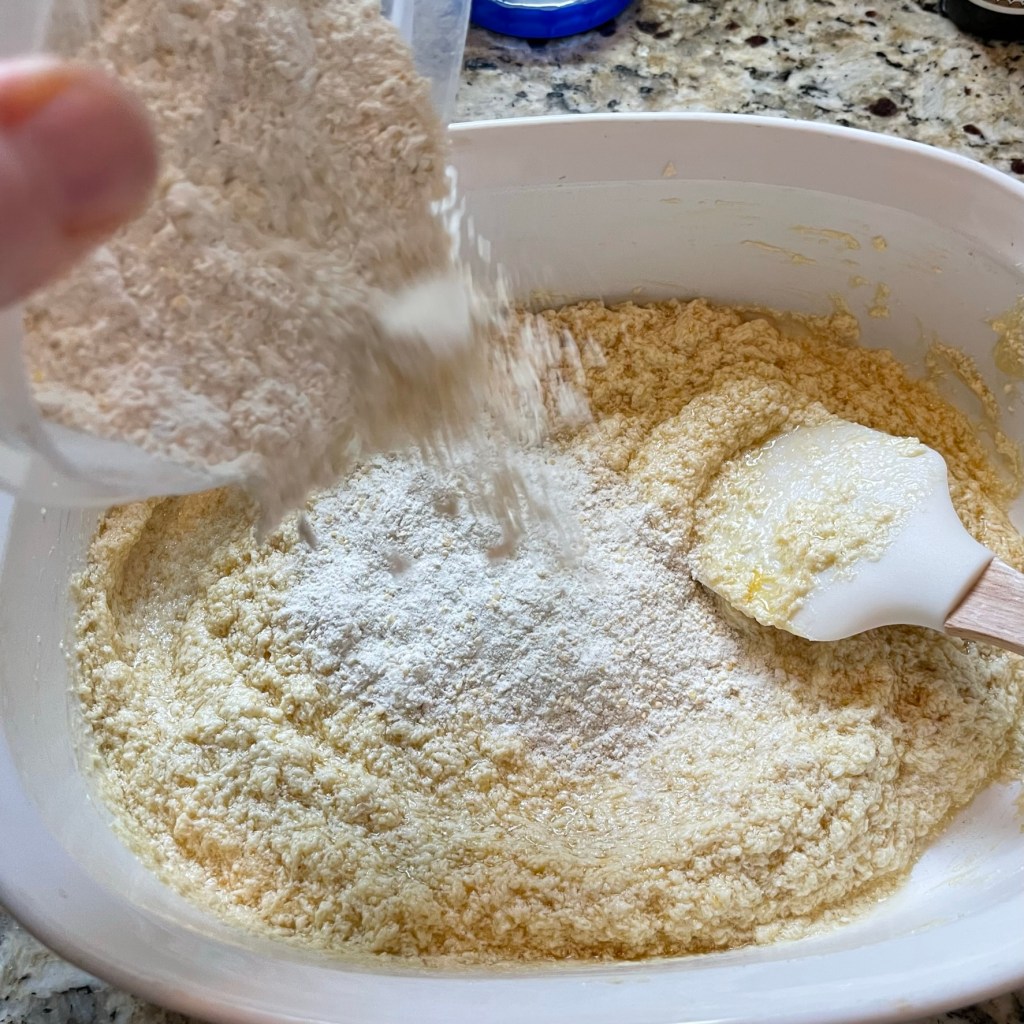
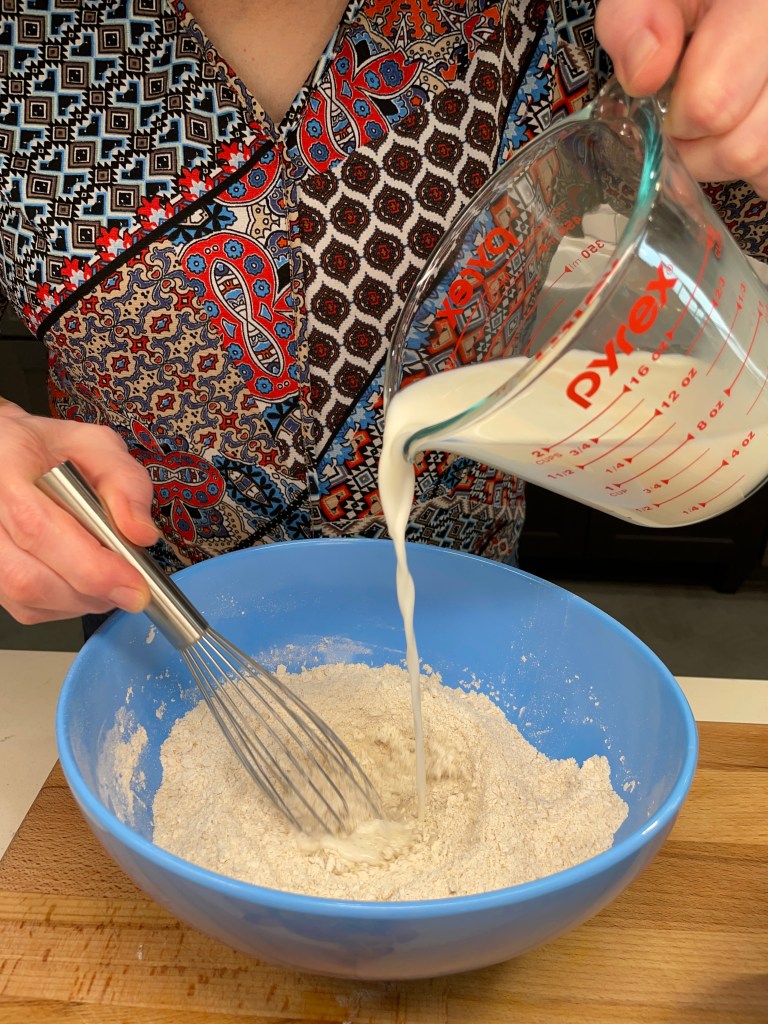
- Make a panade, combining the dry stuffing mix with milk. You should have just barely enough milk to cover the stuffing mix. Let this rest while you prepare the rest of the meatloaf mixture.
- Clean and trim all the mushrooms and divide them, chopping enough into small pieces to measure about 1/2 cup. Slice the remaining mushrooms into thin slices and set aside.
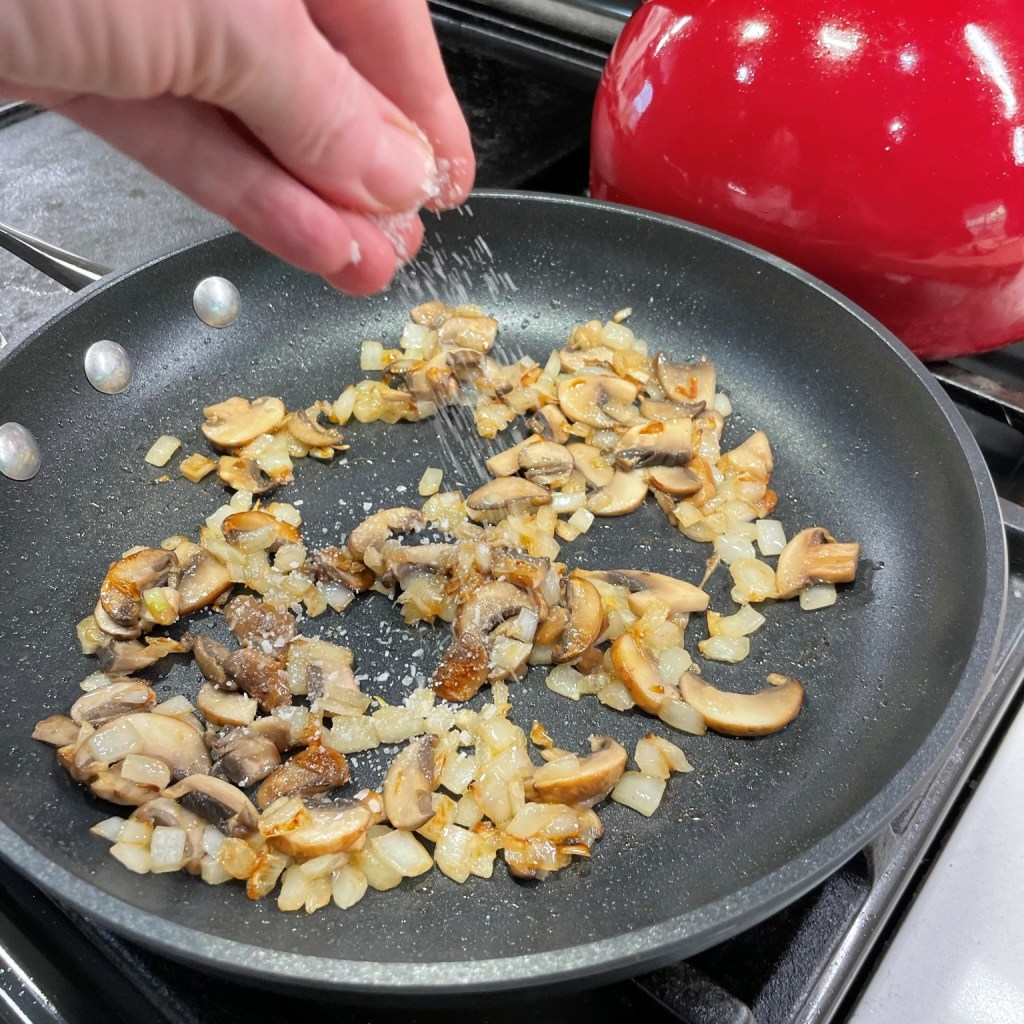
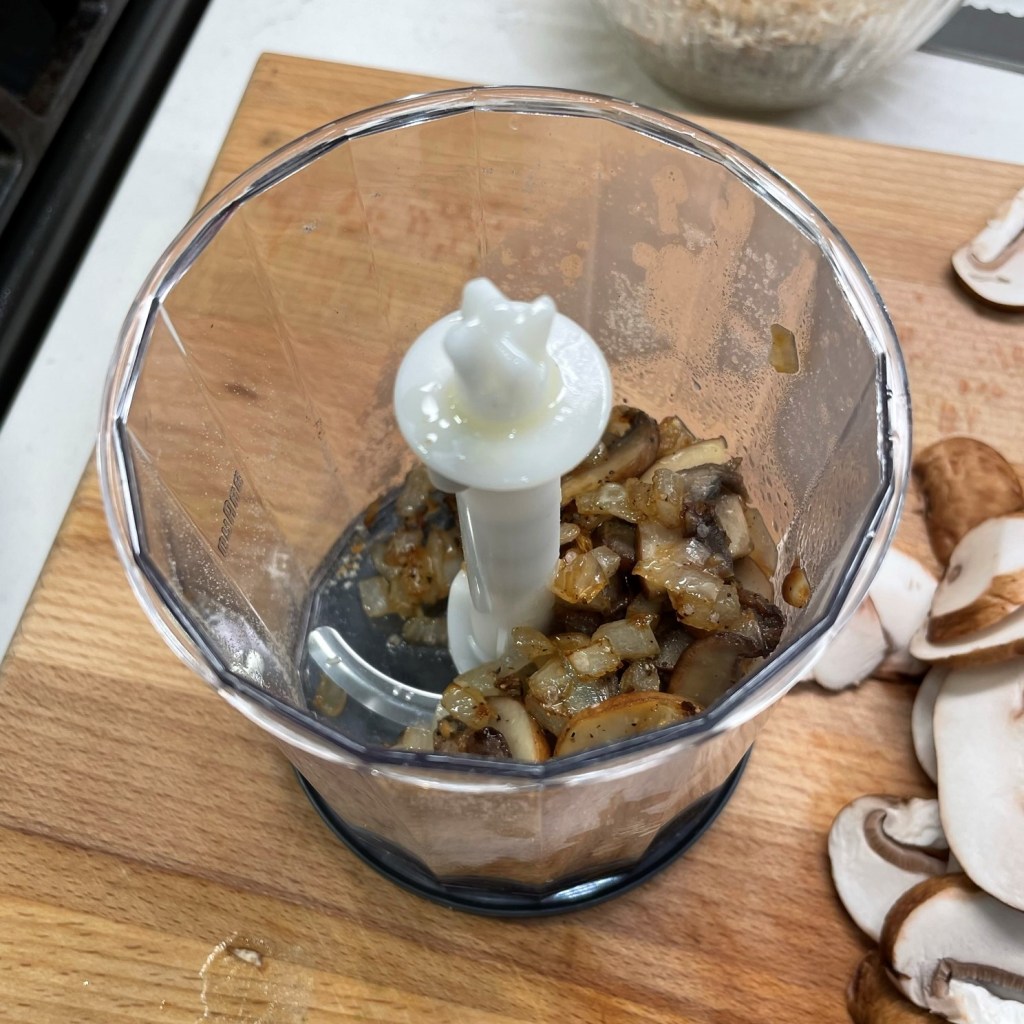
- Place a non-stick skillet over medium heat with a tablespoon of olive oil. Sauté the minced onion until translucent. Season with Herbs de Provence, salt and pepper. Add the chopped mushrooms and sauté together until the mushrooms are soft and most of their moisture has evaporated. Cool this mixture and then process (or chop) into smaller bits.
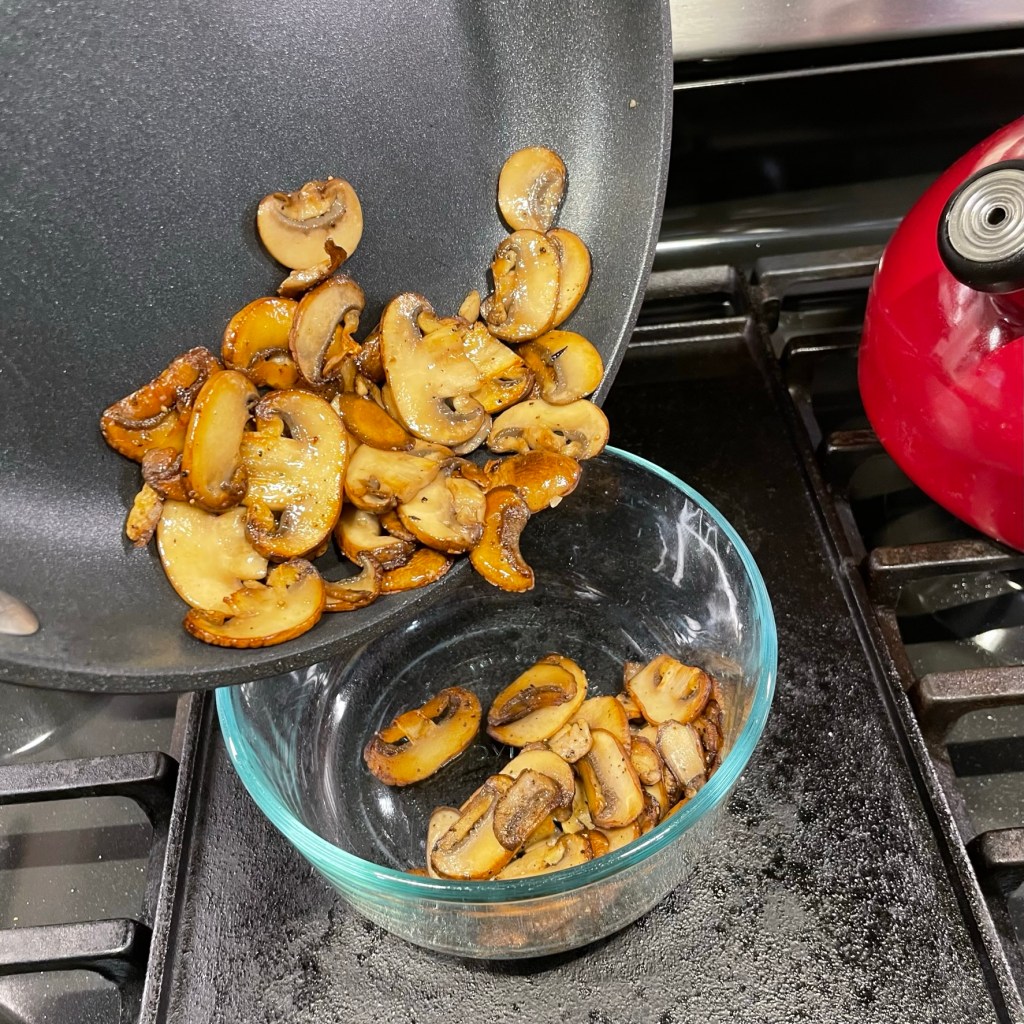
- Add another tablespoon of olive oil to the skillet and brown half of the sliced mushrooms until they are golden on both sides. Repeat with the remaining oil and mushrooms. Don’t be tempted to cook the mushrooms all at once, unless your pan is very large. If they are crowded in the pan, they will cook by steaming rather than browning, and you’ll lose the texture of the mushrooms. Transfer the browned mushroom slices into a bowl to cool.
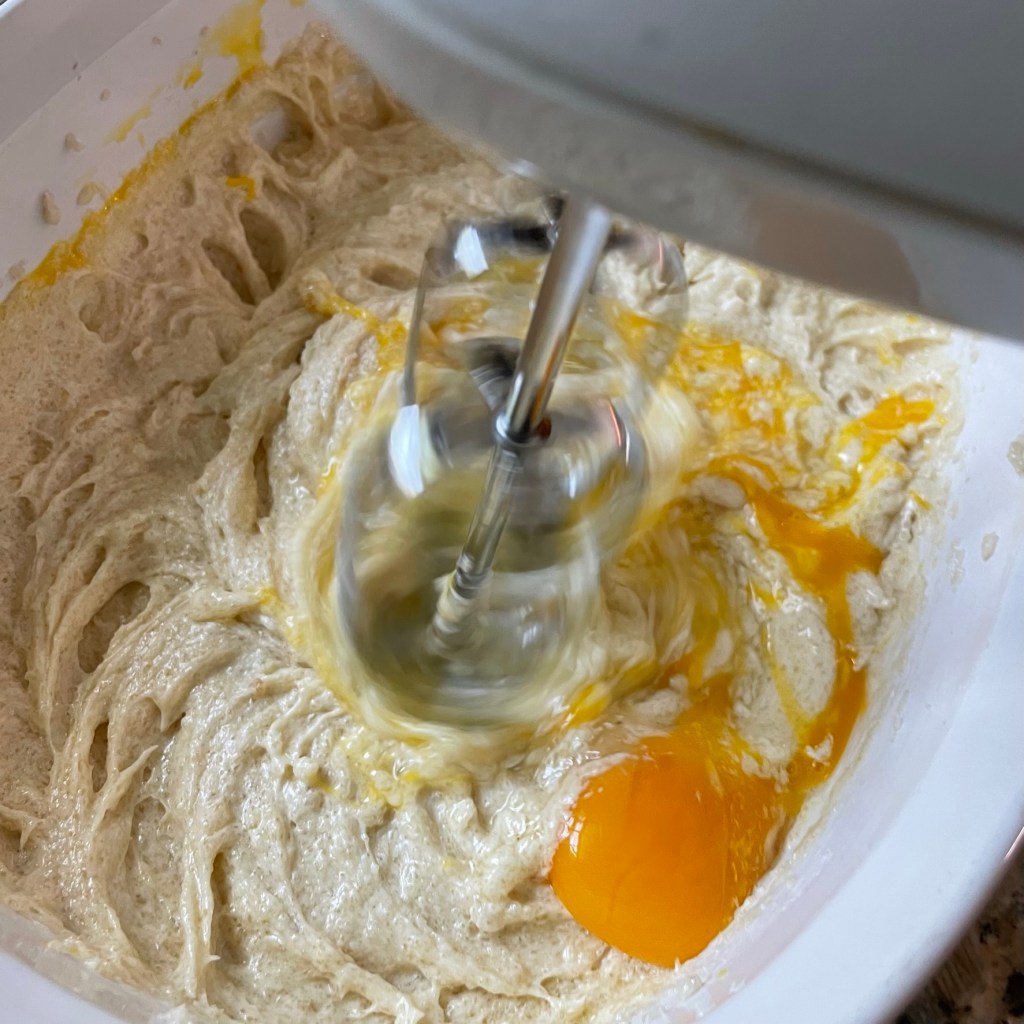
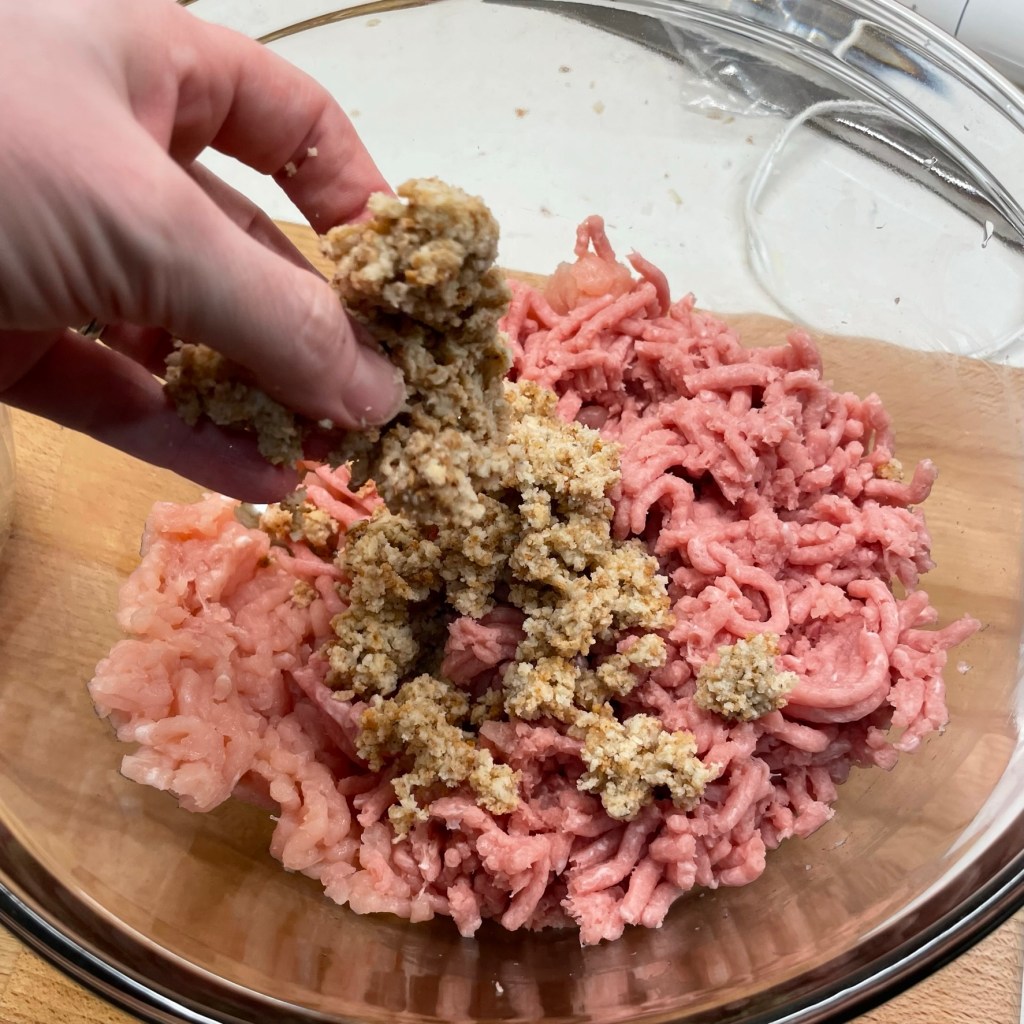
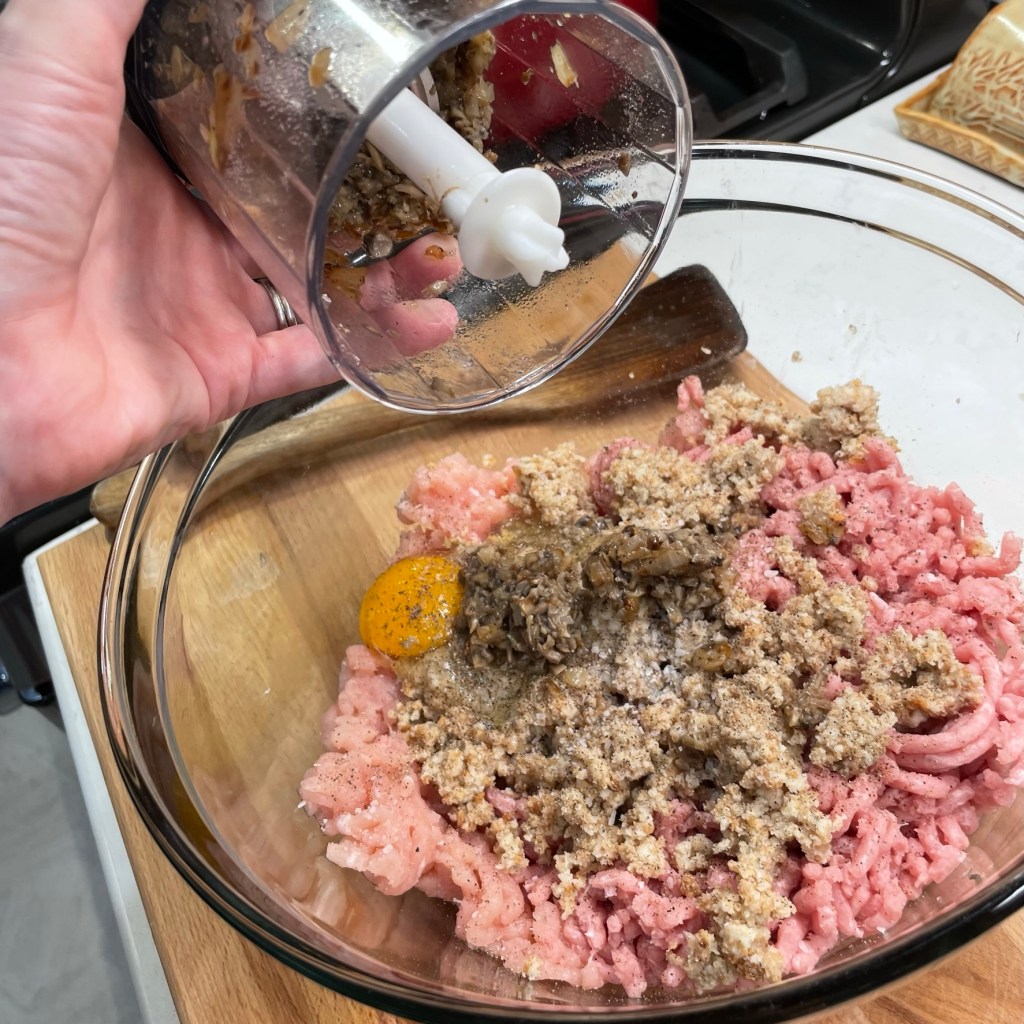
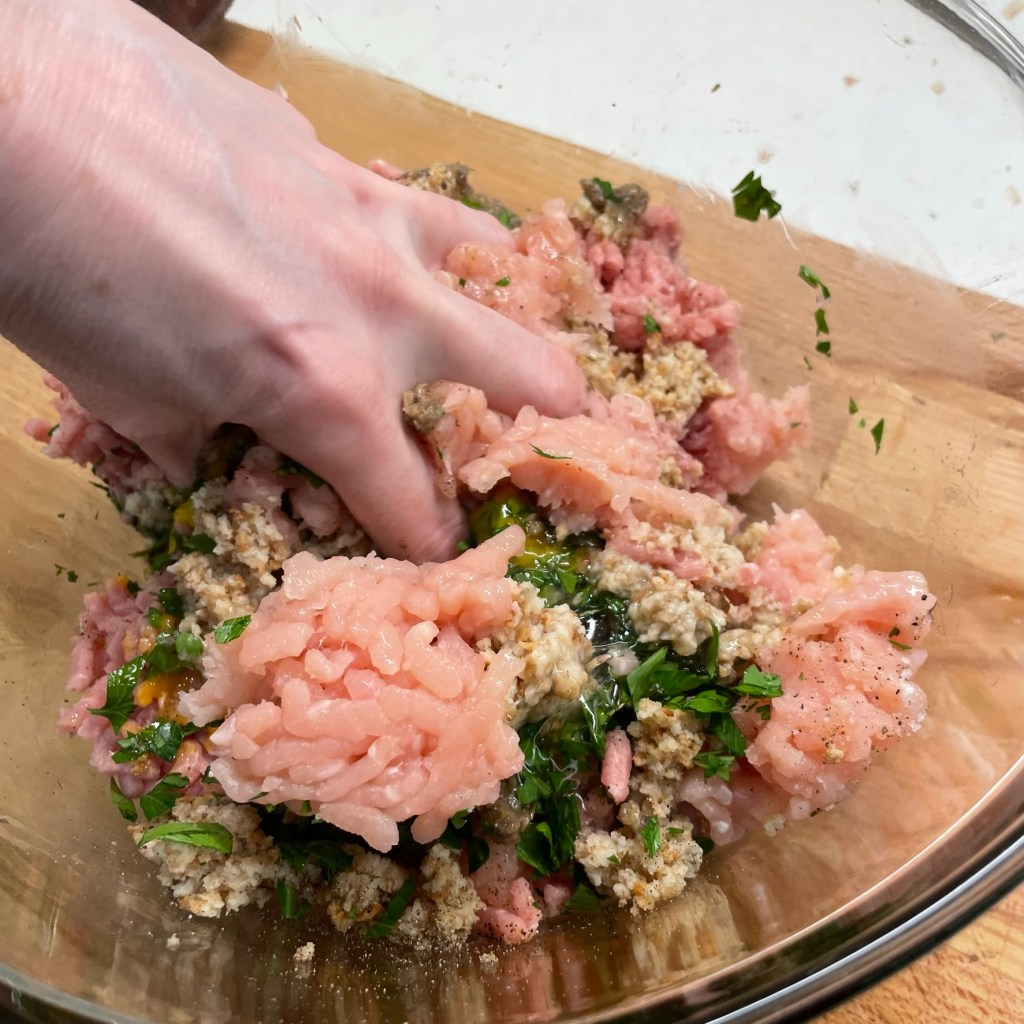
- In a large mixing bowl, combine the ground turkey (both), egg, panade, mushroom-onion mixture and parsley. Toss in a generous pinch of salt and a few twists of black pepper. Use your hands to evenly combine these ingredients until they are uniform, but try not to overwork the mixture.
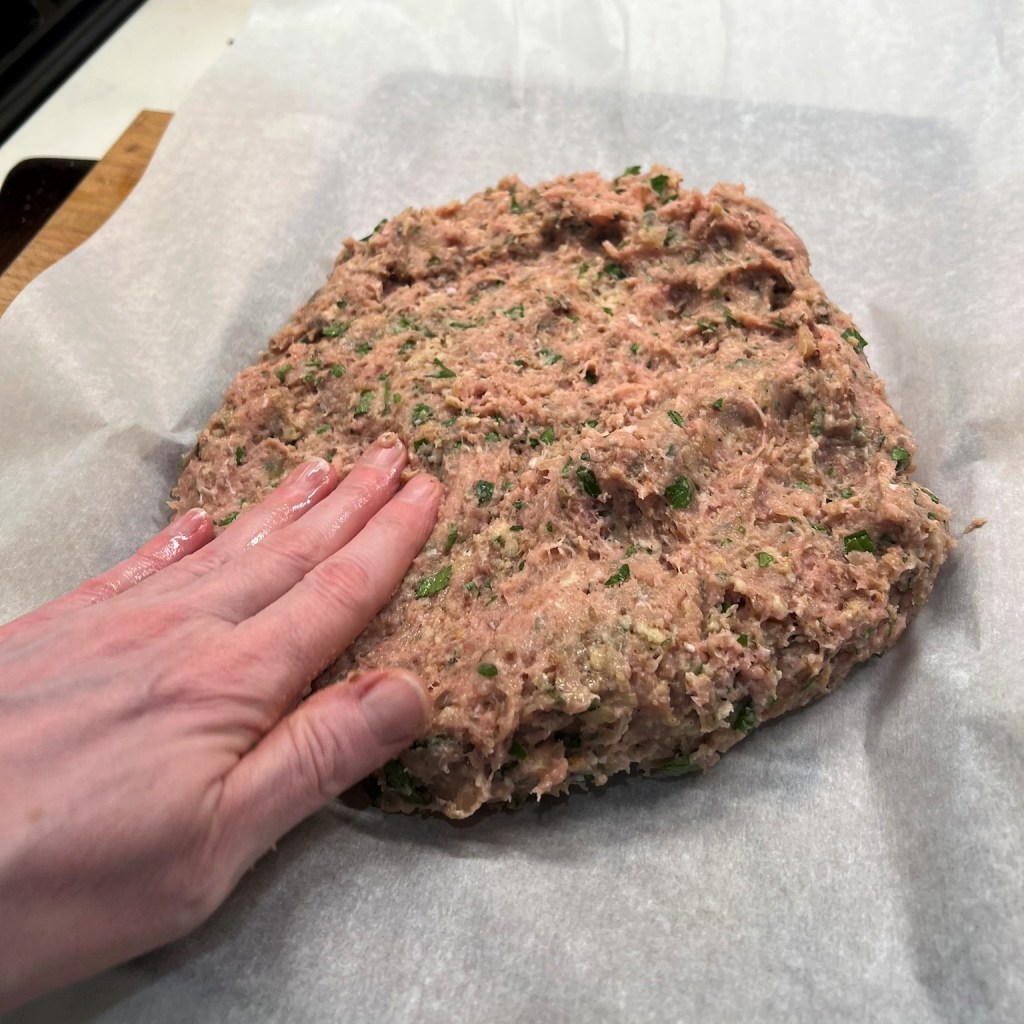
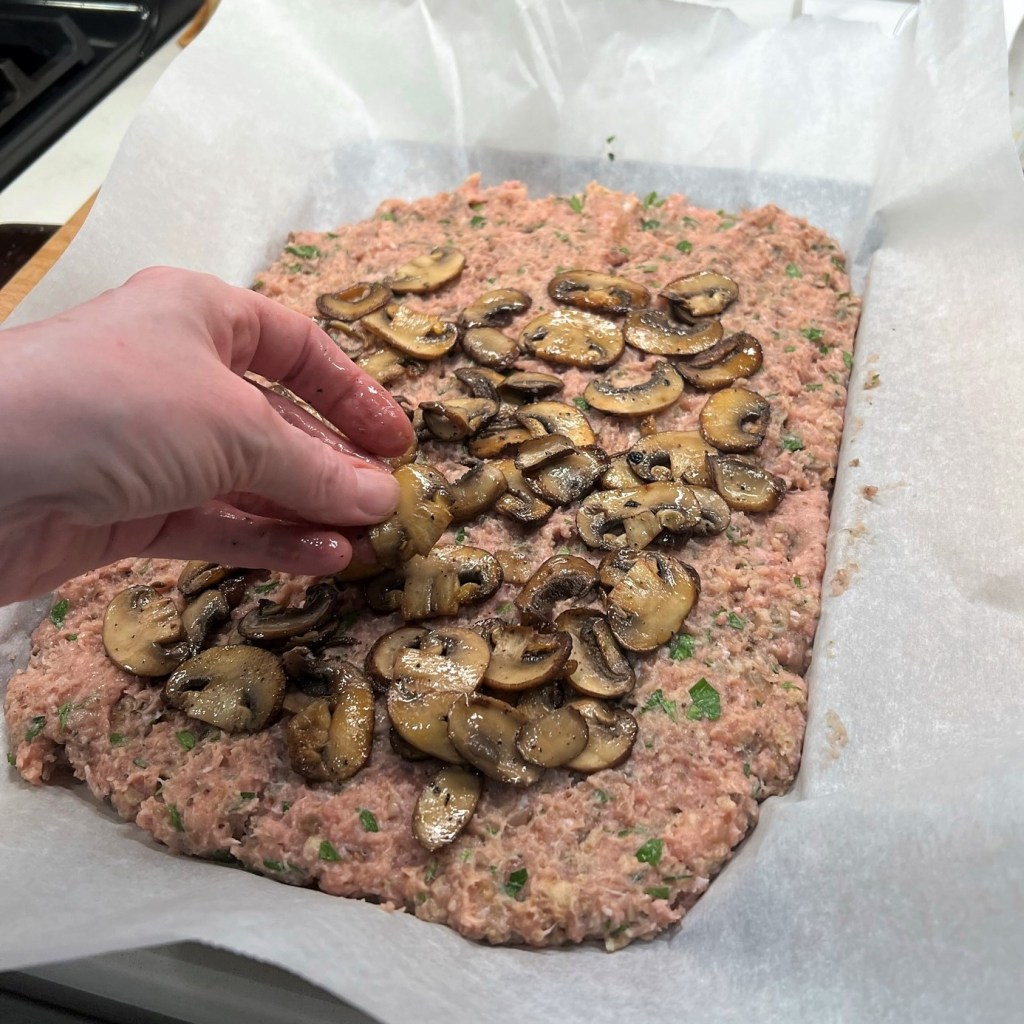
- Line a baking sheet with parchment paper. Transfer the meatloaf mixture onto the parchment, using oiled hands to pat it into a rectangle about 9 by 12 inches, and about 3/4-inch thick. Layer the browned mushrooms evenly over the surface, leaving a 1-inch border around all edges. Cover with plastic wrap and refrigerate about 30 minutes to firm up. Use this time to preheat the oven to 400° F and to prepare the French onion gravy.
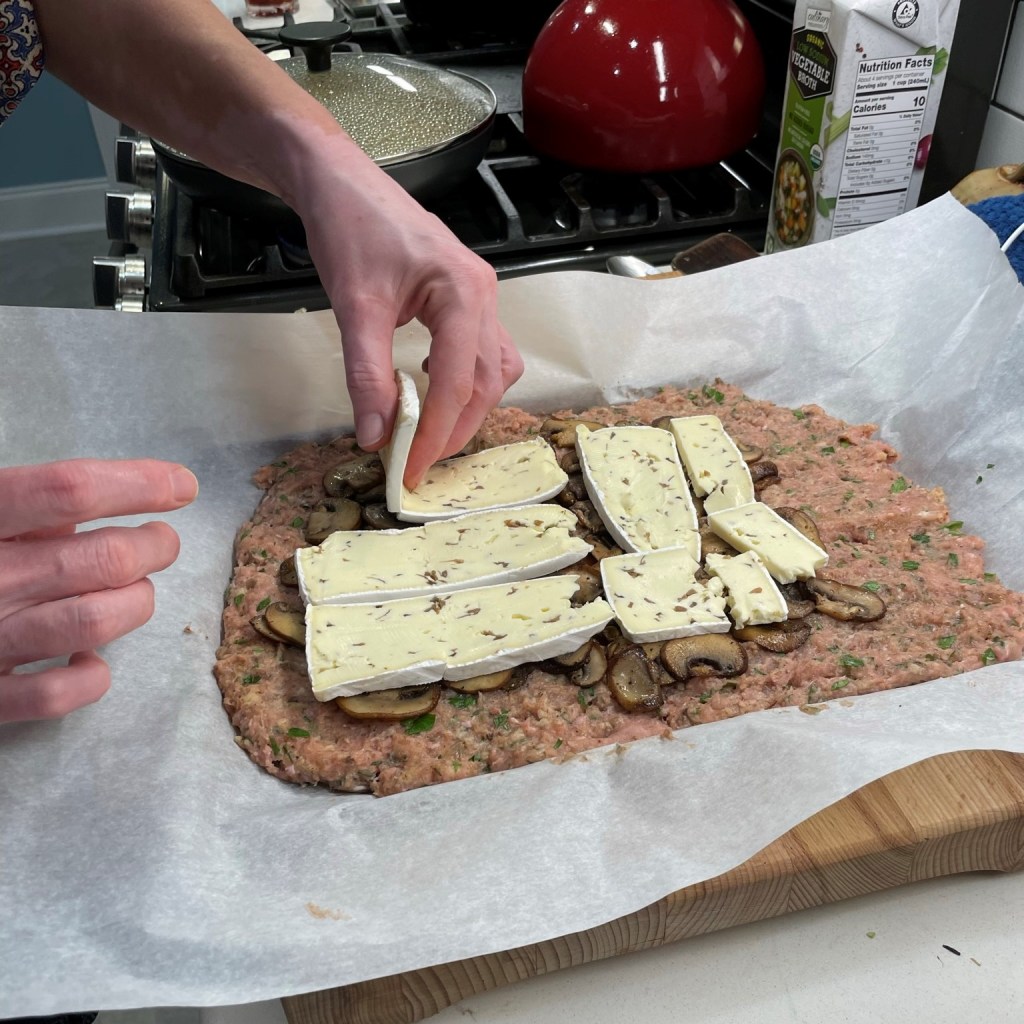
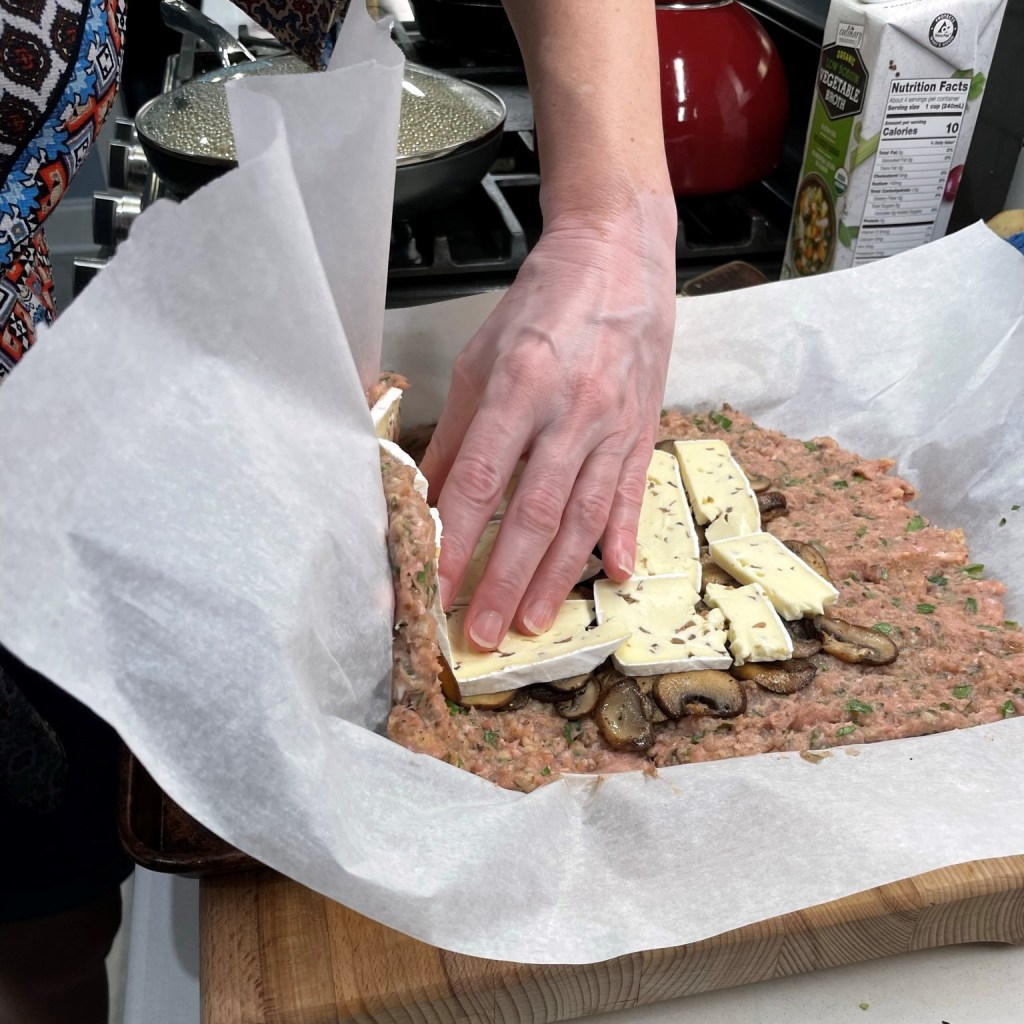
- Slice the brie cheese wedge into uniform thickness pieces, about 1/4-inch thick. Arrange the slices in a single layer all over the chilled meatloaf, keeping a 1-inch border along both sides, and at least 2 inches from the far, short end. This will help prevent the brie from melting out of the meatloaf during baking.
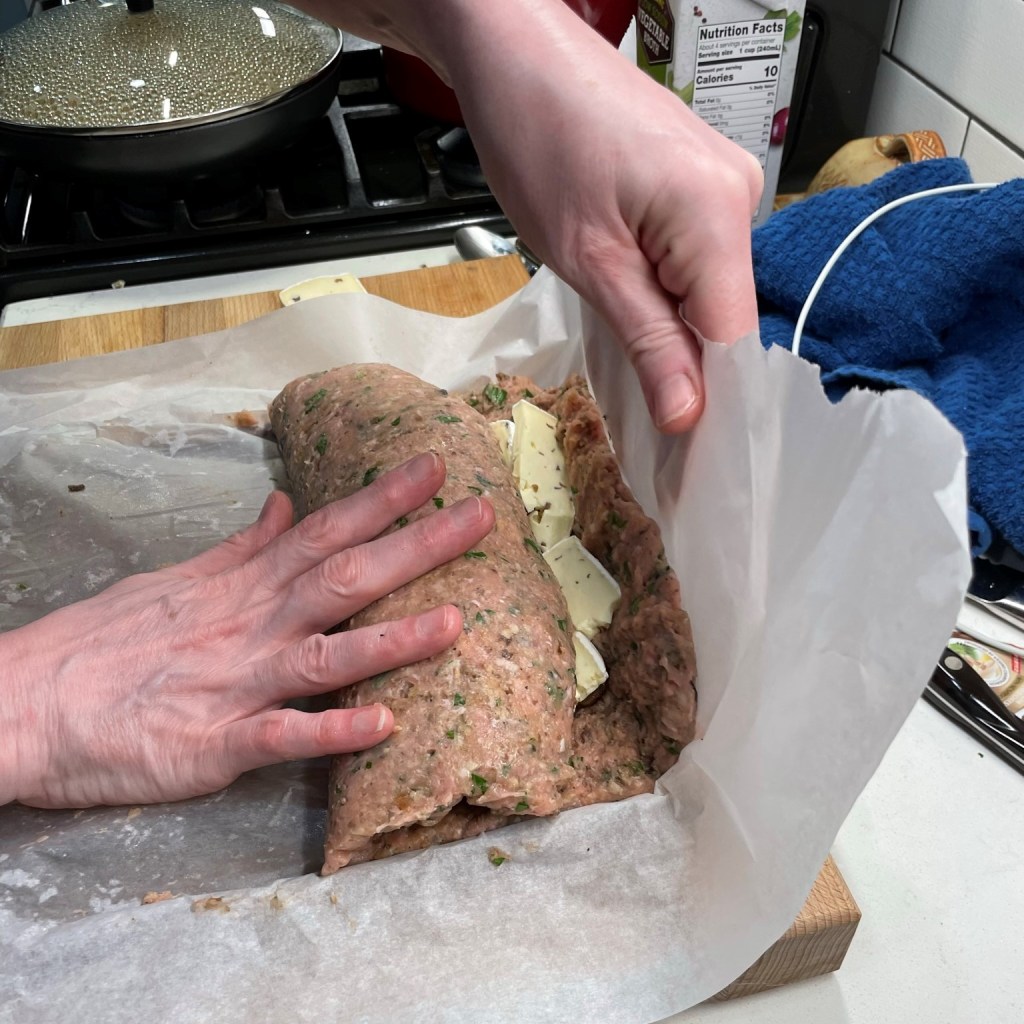
- Use the parchment paper to assist rolling the meatloaf, beginning with the short end near you. Bend the brie, if needed, so that it will roll easier. Keep the roll snug as you go, and pinch to seal all edges, finishing with the end seal on top of the roll. Sprinkle the surface of the meatloaf lightly with kosher salt and bake for 45 minutes, until the meatloaf is browned with a slight crust all over; internal temperature will be about 160° F. Remove it from the oven and allow it to rest about 10 minutes before slicing. The residual heat will continue to cook the meatloaf during this time.
- Serve with French Onion Pan Gravy.
French Onion Pan Gravy
Ingredients
- 1 large sweet onion, thinly sliced into crescent shapes
- 2 Tbsp. extra virgin olive oil
- 1/2 tsp. Herbs de Provence seasoning
- Kosher salt and freshly ground black pepper
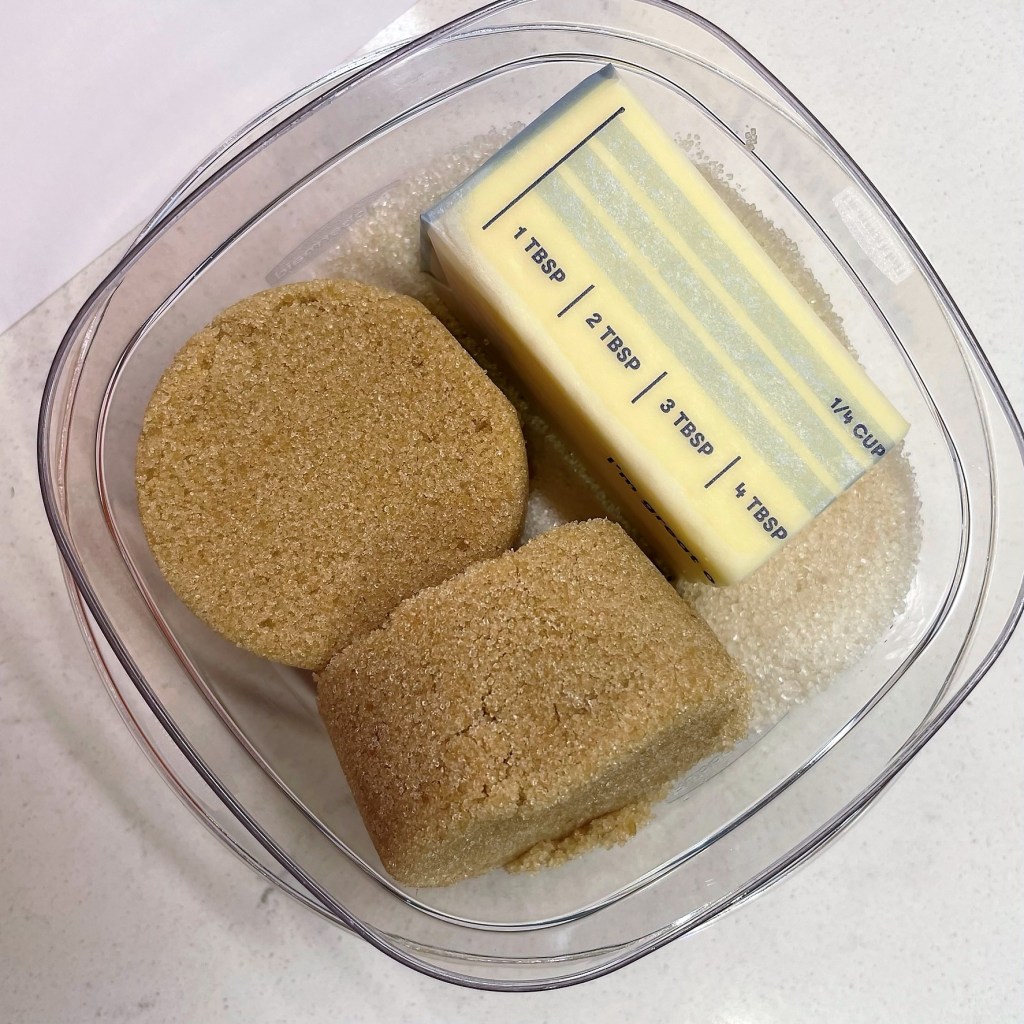
- 2 Tbsp. butter
- 2 Tbsp. all-purpose flour
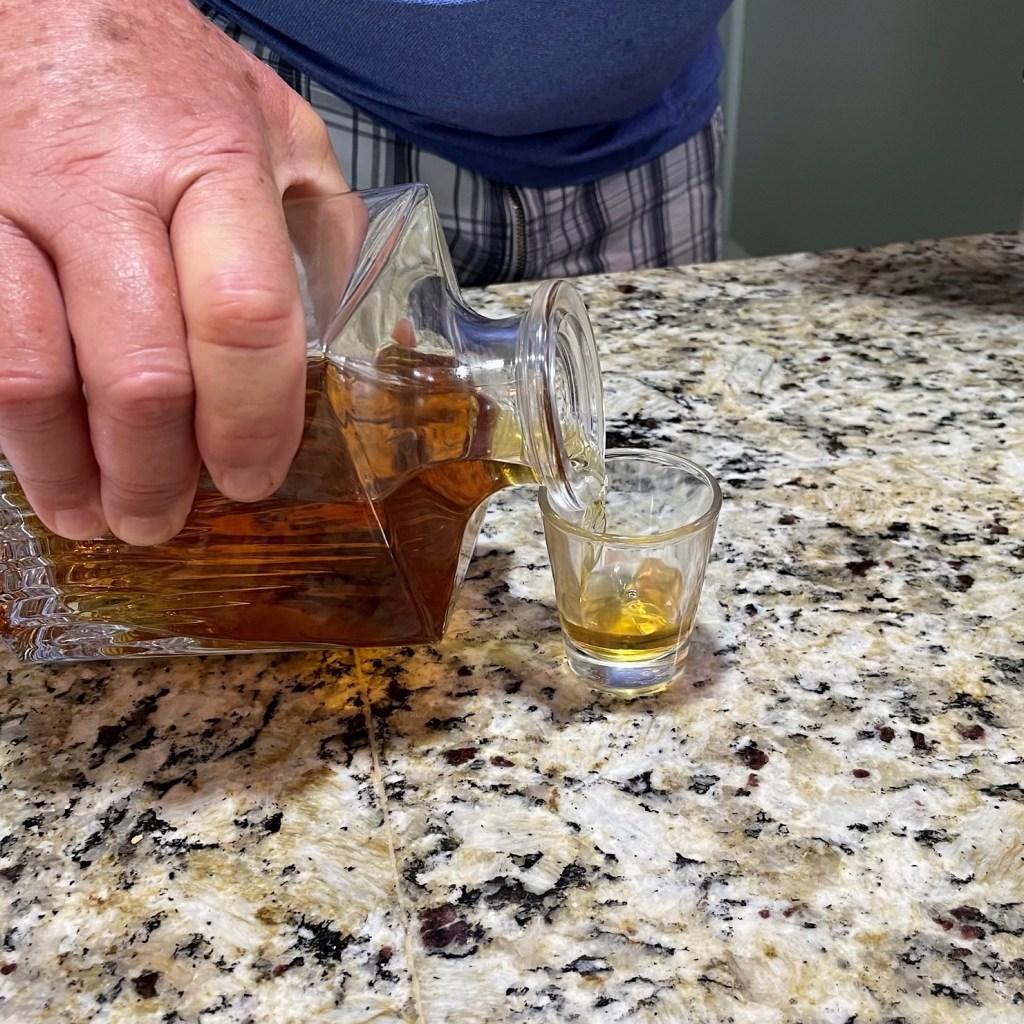
- 2 Tbsp. dry vermouth (or dry white wine)
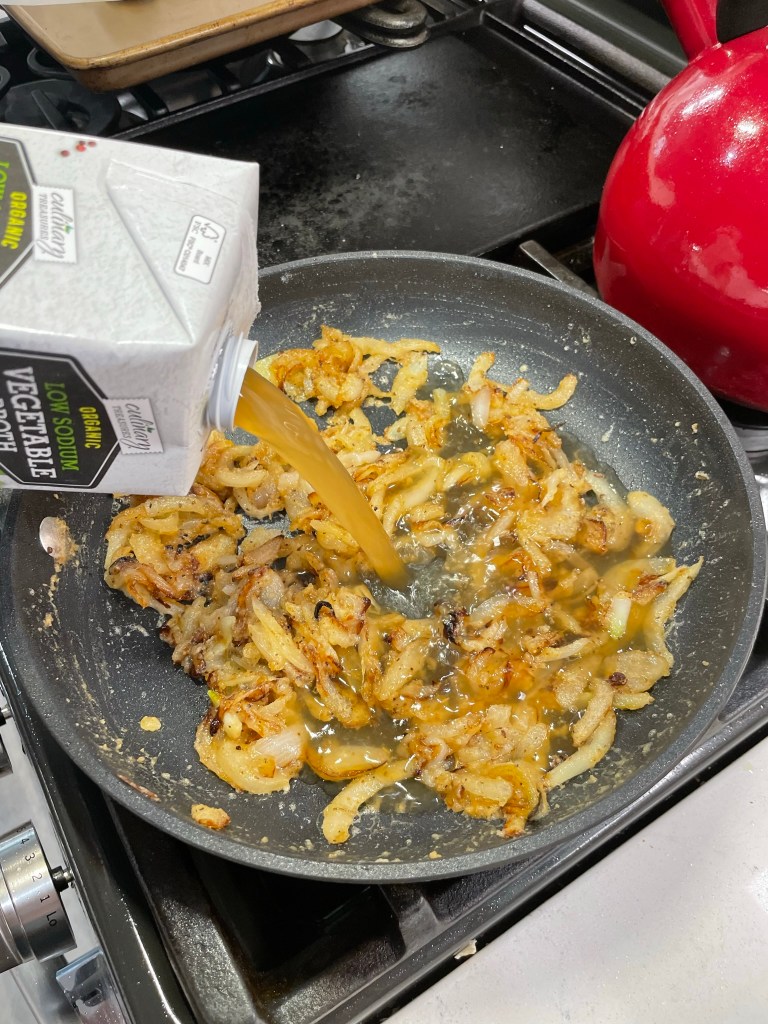
- 3 1/2 cups low-sodium vegetable broth
- 1 tsp. bouillon paste (optional, for richer flavor)
Directions
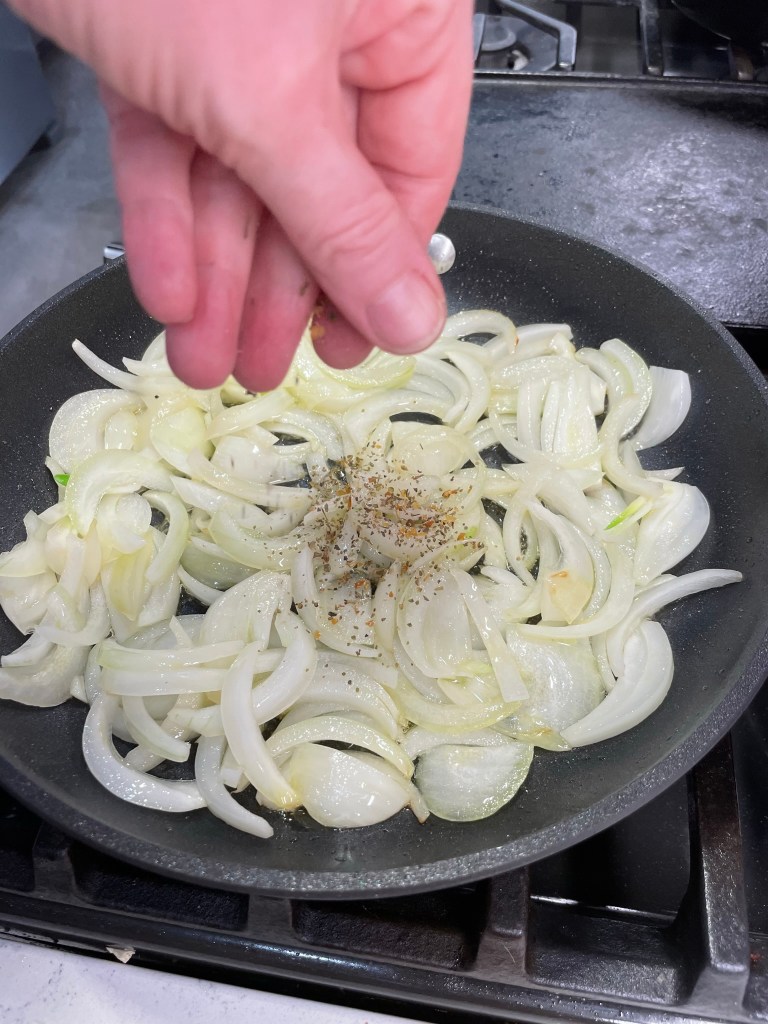
- Heat a large skillet or shallow sauce pot over medium heat. Swirl in olive oil and saute the onion crescents until translucent. Season with Herbs de Provence, salt and pepper and continue cooking until onions begin to caramelize.
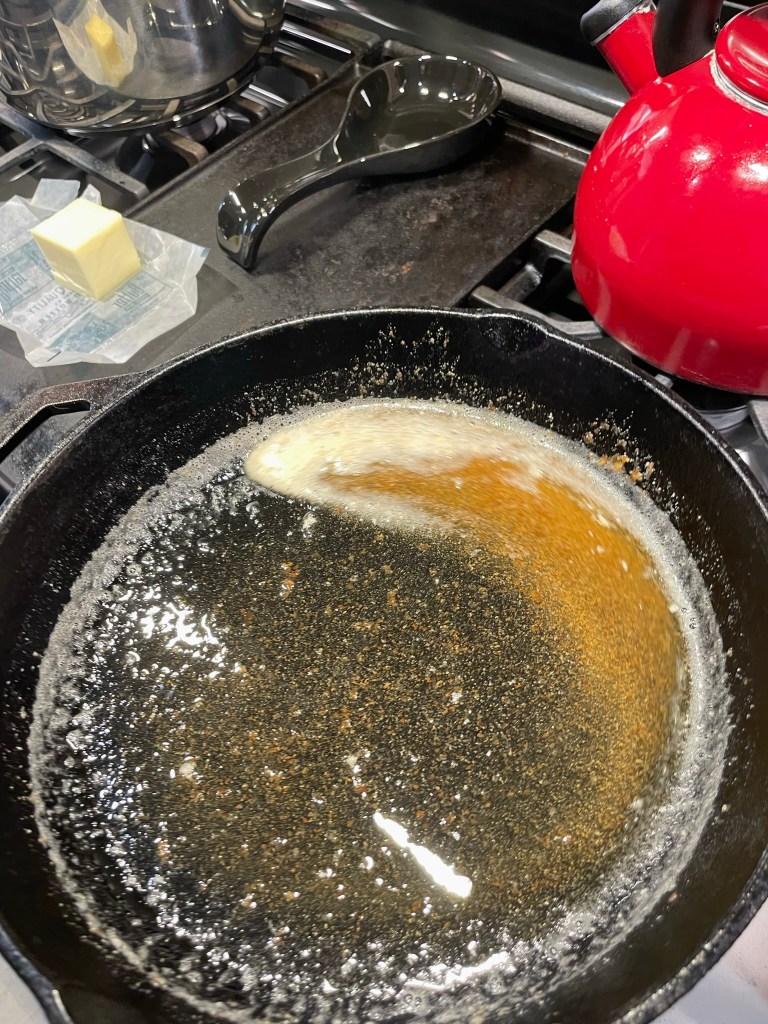
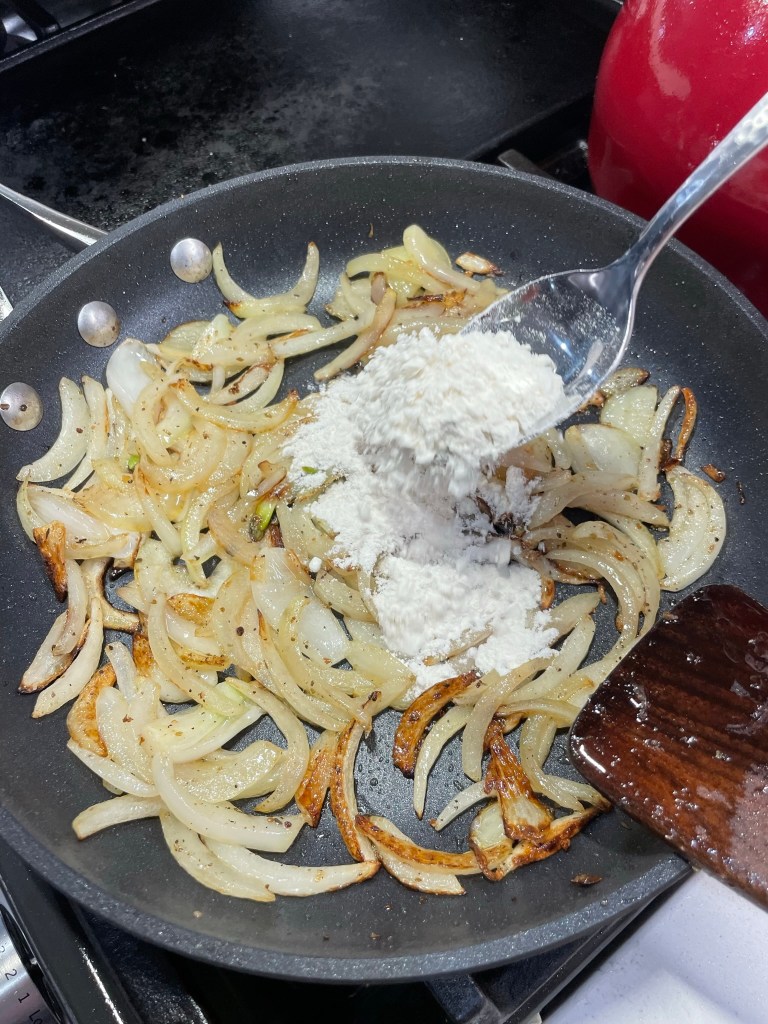
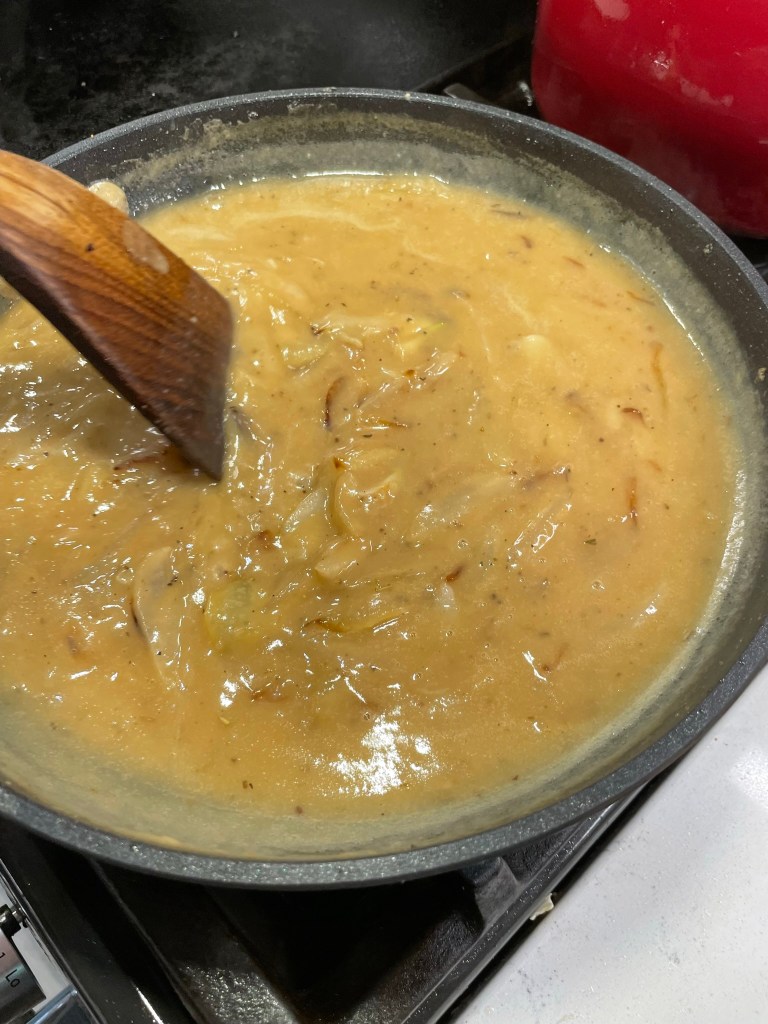
- Sprinkle flour over the onions and add the butter, stirring to melt the butter and evenly coat the onions in roux. Cook until the onions no longer appear dry from the flour, about 5 minutes.
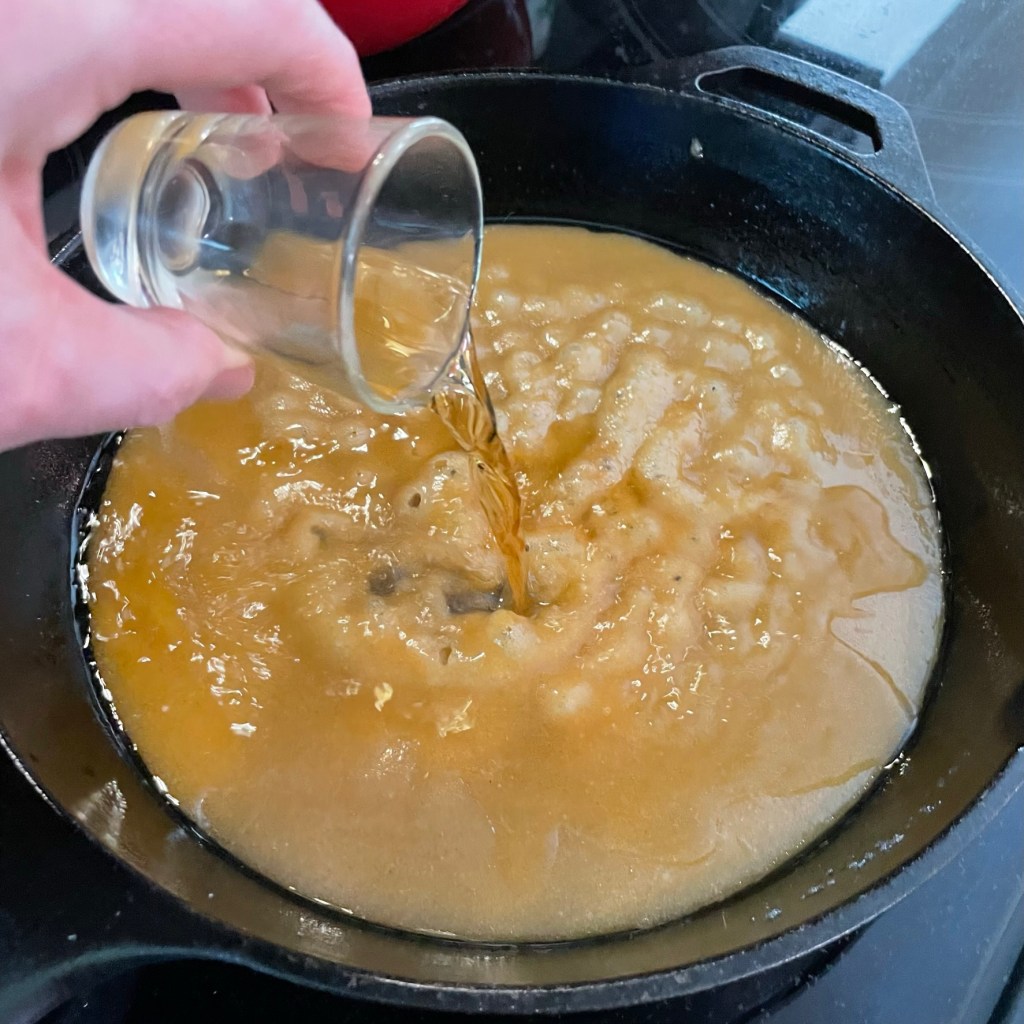
- Add dry vermouth to the skillet and stir to deglaze any browned bits. The liquid will probably dissipate rather quickly. Add broth, about half at a time, stirring to distribute evenly. When sauce begins to bubble and thicken, reduce heat to low and cover the skillet. Let it simmer while meatloaf is in the oven.
- Just before serving, taste and adjust seasonings. For additional richness, swirl in a heaping teaspoon of bouillon paste.
- Plate a ladle-ful of gravy, and top it with slices of the brie and mushroom-stuffed meatloaf.