Ice cream is one of my favorite desserts to make. It’s usually just me and my husband at the table, so I rarely make cakes, pies or other large-scale desserts because we don’t want all those leftovers in the house. But ice cream. Now that’s a treat that we can enjoy over a week or two, and for the holidays this year, I wanted to do a Christmas-y flavor. I had considered doing an ice cream with My Dad’s Irish Creme, which I made last week for sipping by the chiminea, though it has been unseasonably warm in North Carolina so we have only done that once. I’ll need to give that one some thought, because so much of the flavor comes from a hefty amount of Irish whiskey and that will hinder the freezing. I also considered eggnog ice cream, which can be made with less alcohol, but I could not find a commercial eggnog that wasn’t made with high fructose corn syrup (bleh). Maybe next year, with more careful planning.

This peppermint-and-chocolate combination won me over after my husband tasted one of these little peppermint bark candies. Mint is not a favorite of his, but combined with the chocolate, he declared it a winner. I wanted to include these candies in the finished ice cream, and I also wanted the ice cream base to have a minty flavor.
My inspiration for that part came from a post shared recently by one of my blog pals, Chef Mimi, who presented a gorgeous peppermint chocolate cocktail made with vodka that had been infused with candy canes. I thought, “well, why wouldn’t that kind of infusion also work in a base for ice cream?” And, as you can see, it does!
Unlike most of my ice creams, which begin with a cooked egg custard base, this one gets its rich texture from sweetened condensed milk. The base peppermint flavor and pretty pink color are the result of having dissolved a couple of candy canes into the milk portion of the ice cream, and I added chopped up chocolate peppermint bark squares at the end for a fun candy surprise.
An ice cream machine is recommended for this recipe, which will yield 1 1/2 quarts.
Ingredients
1 cup whole milk
2 regular size candy canes (if you have mini candy canes, I recommend using about 4 of them)
14 oz. can sweetened condensed milk* (see notes)
1 1/2 cups heavy cream
1/2 tsp. peppermint extract oil
1/2 tsp. real vanilla extract
9 Ghirardelli dark chocolate peppermint bark squares, chopped
1 oz. good vodka*
Your favorite hot fudge sauce (optional, but yum!) for serving
*Notes
Sweetened condensed milk is great for ice creams that do not have a custard base, especially when you want to have a brighter “white” base color. I used the whole milk version of Eagle brand, but I expect you could also use a reduced-fat or even fat-free version of condensed milk; if you choose a lower fat option, expect a slightly “icier” texture in the finished ice cream.
A small glug of vodka, mixed in for the final minute of freezing, ensures that the ice cream will scoop easily straight from the freezer. If you prefer not to add alcohol (or, certainly, if you intend to share the ice cream with children or non-drinkers), you can skip this ingredient. Simply take the ice cream from the freezer about 10 minutes before scooping.
Instructions
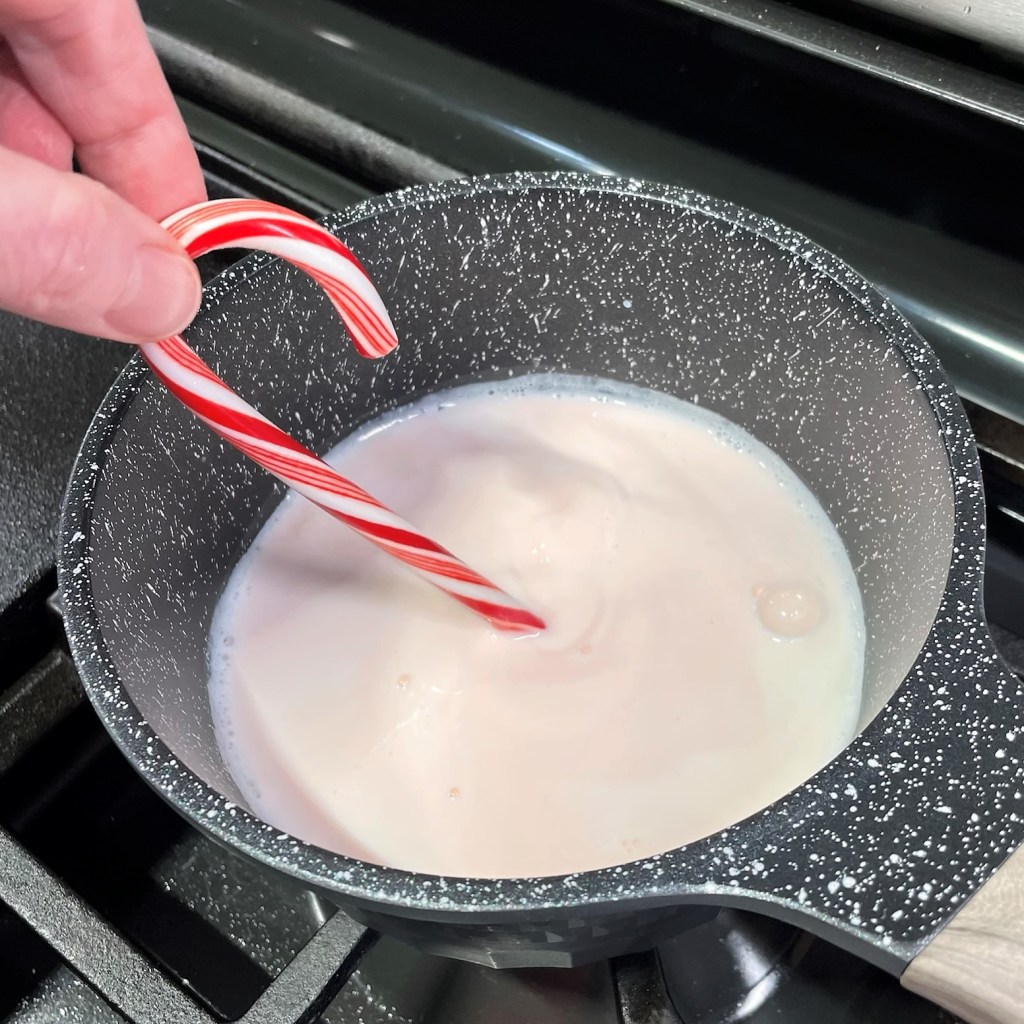
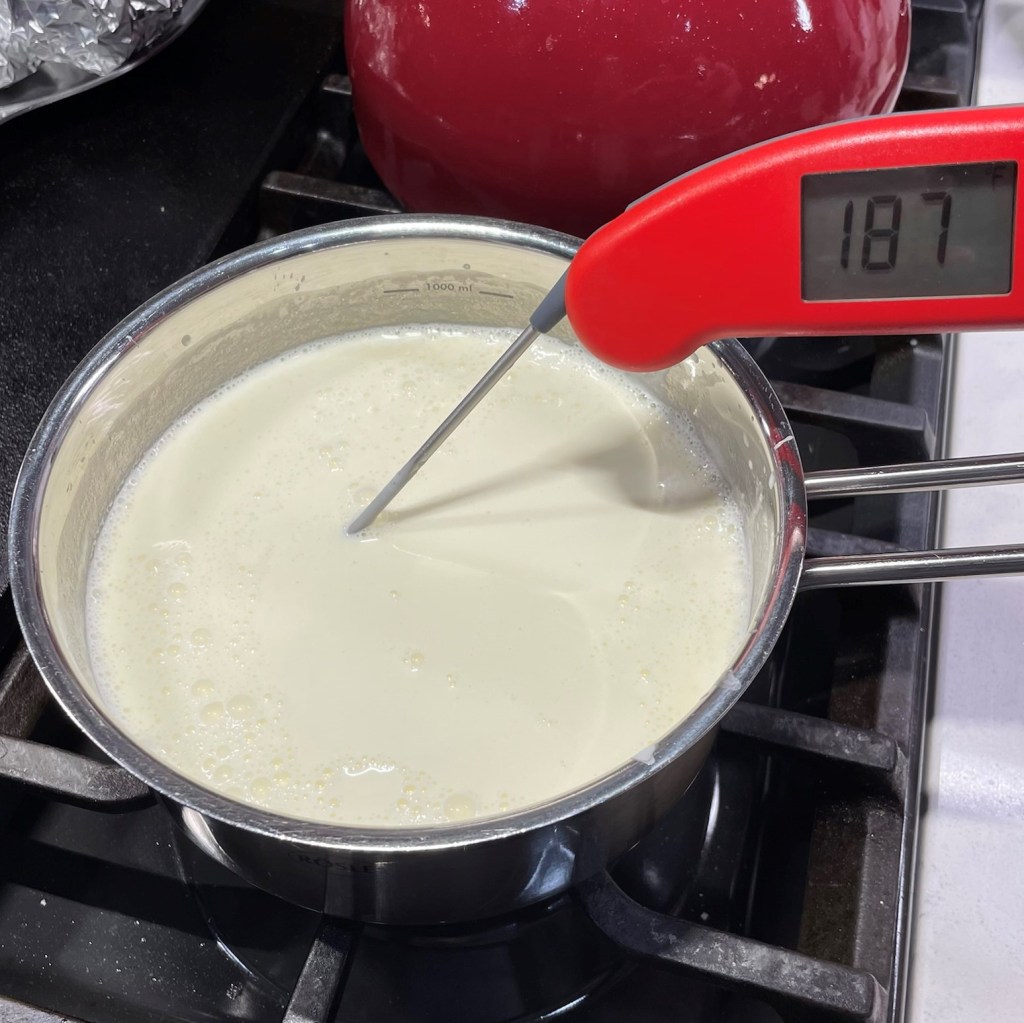
Warm the milk over medium-low heat, and let the candy canes dissolve in it. 
The fully dissolved candy canes will turn the milk a pretty pink color! 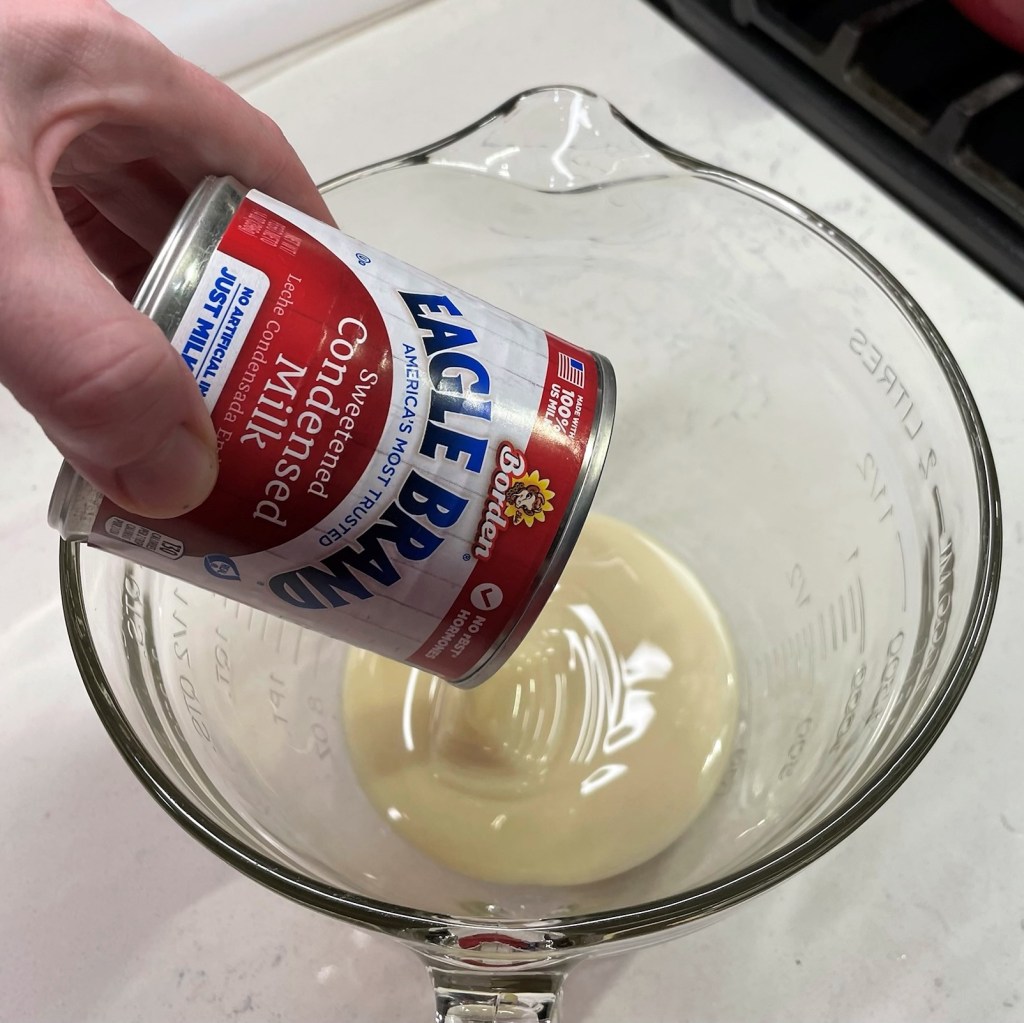
Condensed milk is very sweet, so there is no need for additional sugar in this ice cream recipe. 
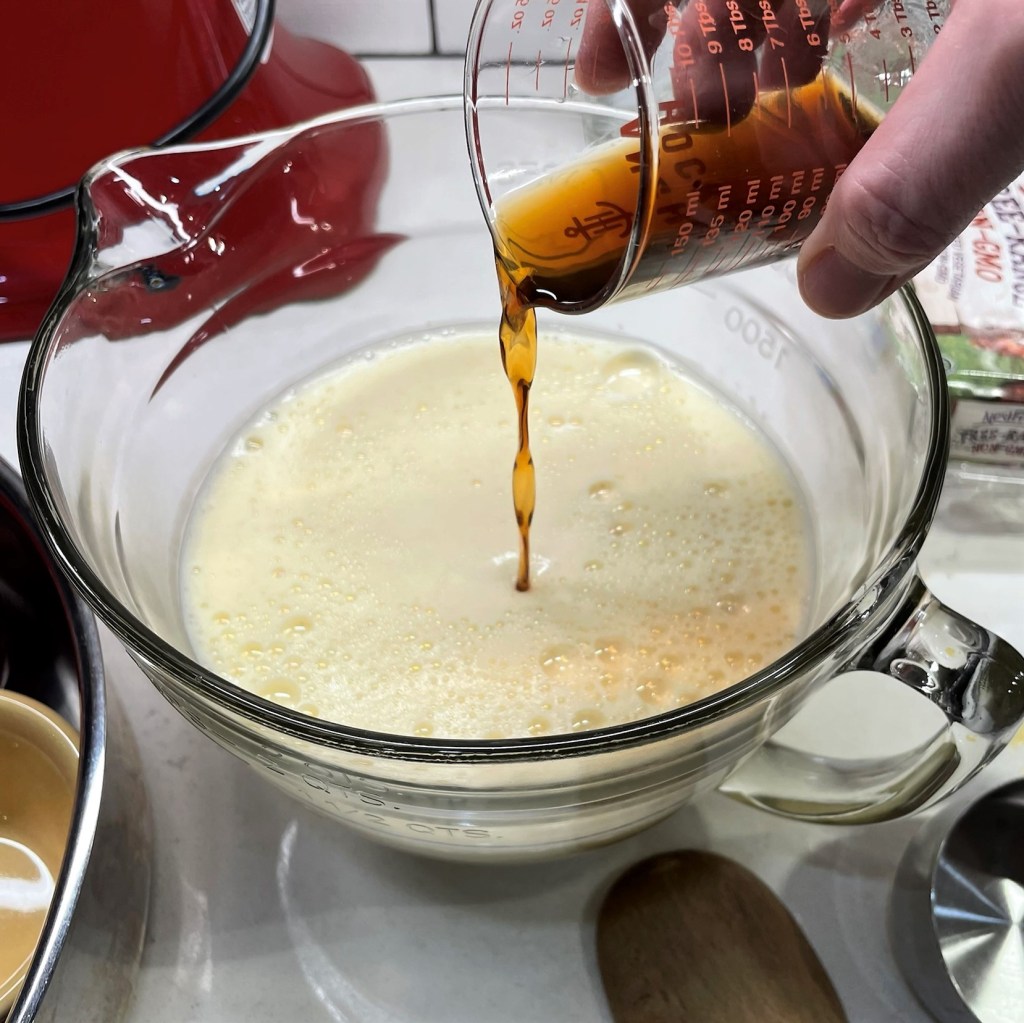
Whisk the heavy cream into the condensed milk. 
Bring on the minty pink milk! 
I added a touch of peppermint oil to boost the minty flavor. 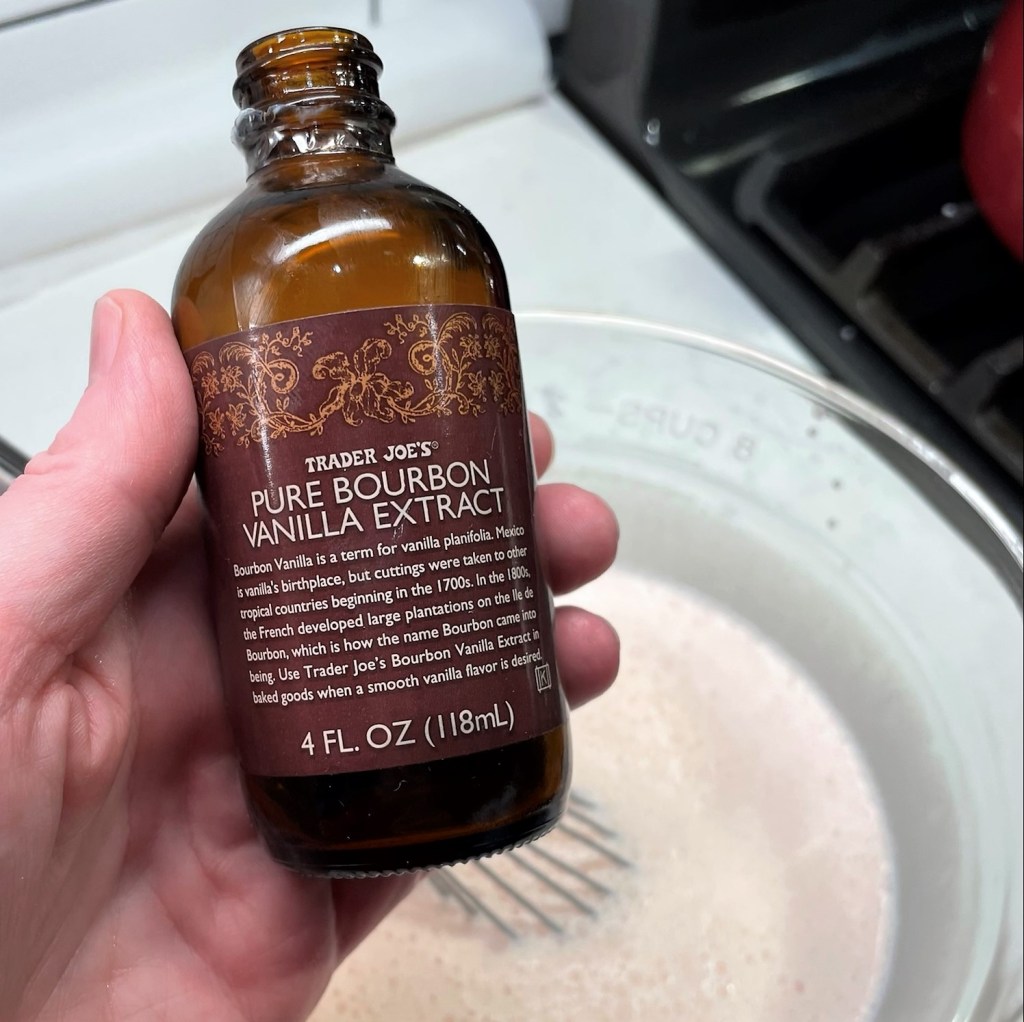
And a small bit of real vanilla to soften the sharp peppermint flavor. 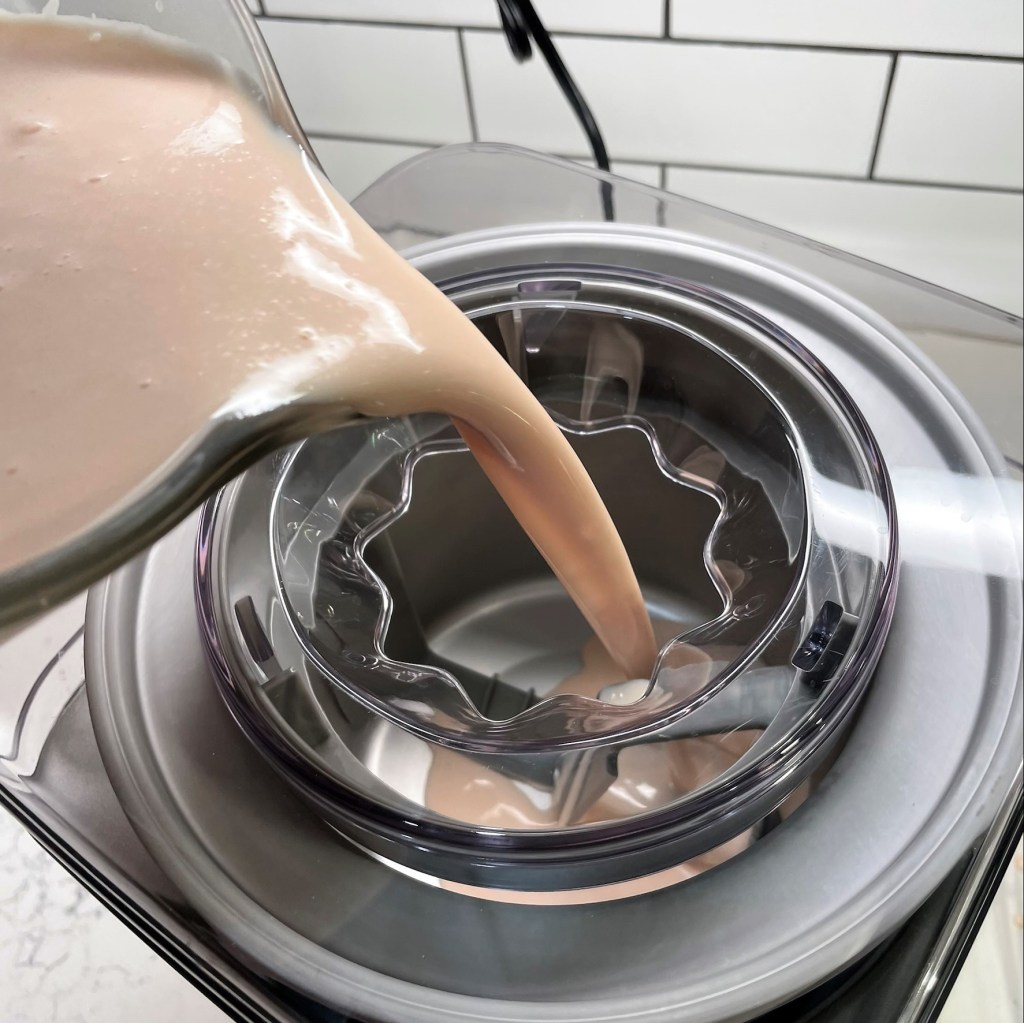
After chilling the ice cream base completely, freeze according to manufacturer’s instructions in your ice cream machine. 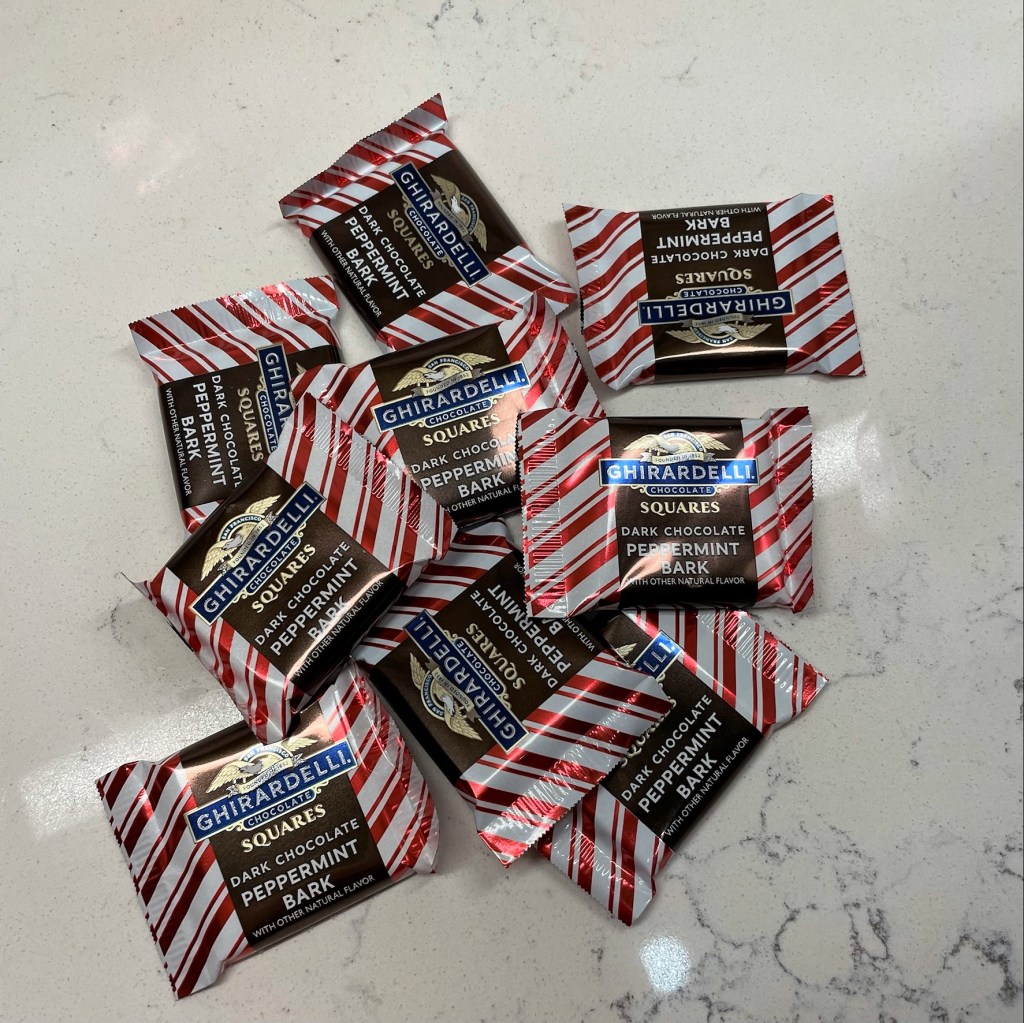
I used nine of the peppermint bark squares in the ice cream. 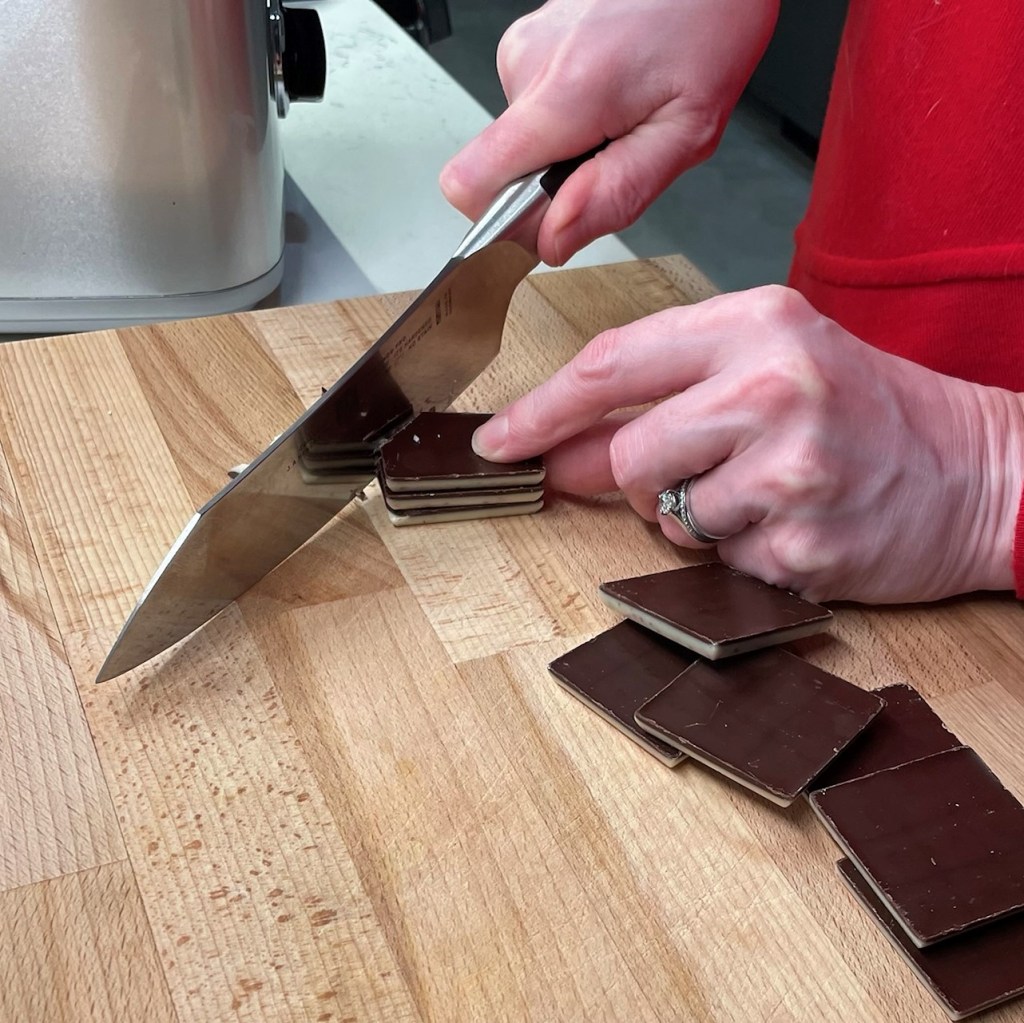
Cut the peppermint bark squares into smaller bits and put them in the freezer to get them nice and cold. 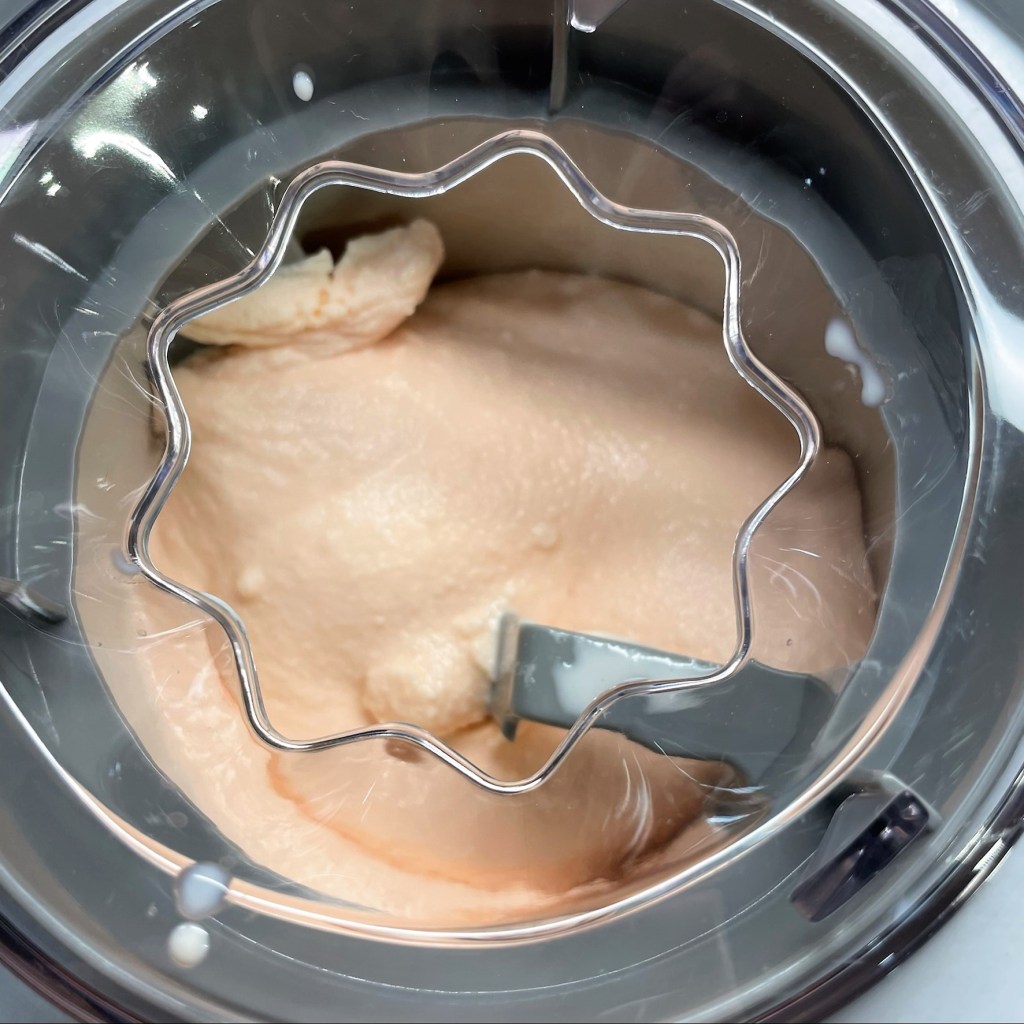
My ice cream machine churns the mixture in about 25 minutes. 
Add in the peppermint bark bits and churn a couple more minutes to thoroughly incorporate them. 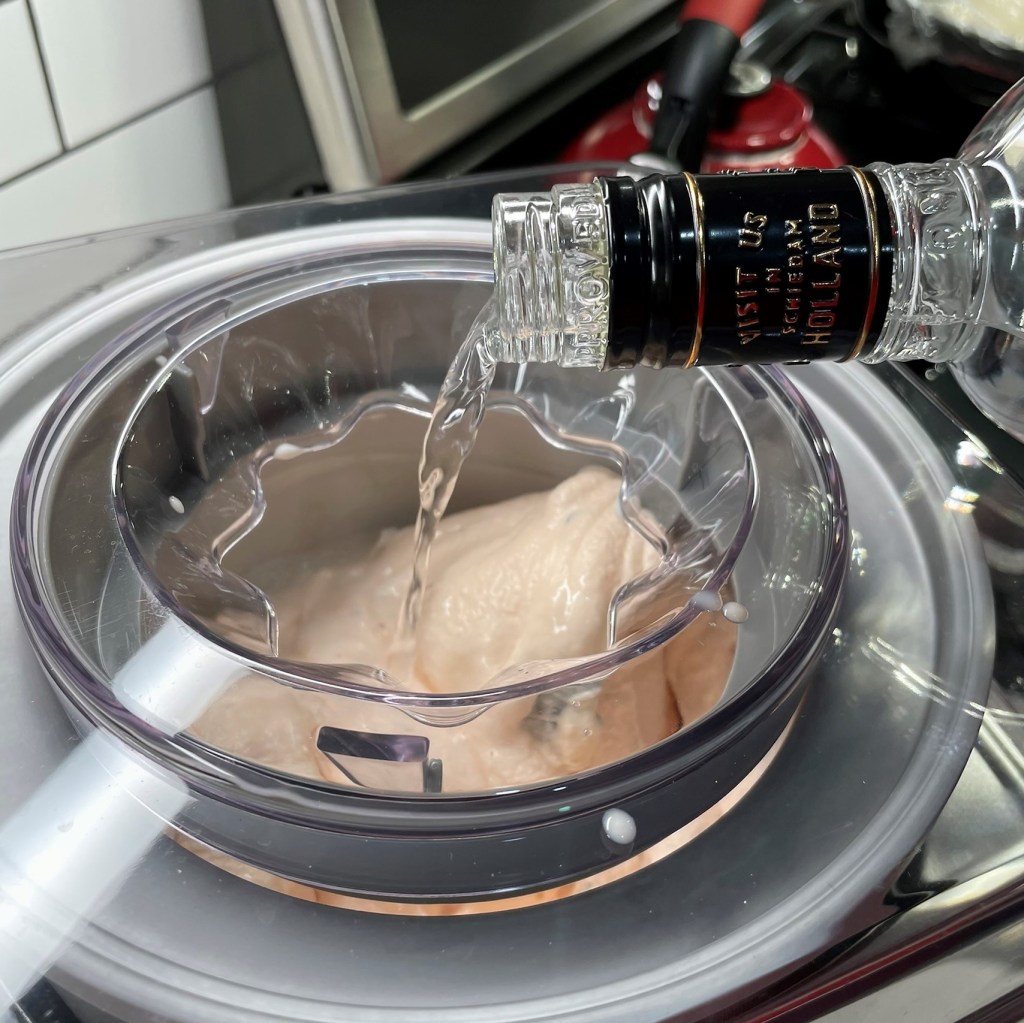
A splash of vodka at the very end gives the ice cream a very scoopable texture, straight from the freezer. 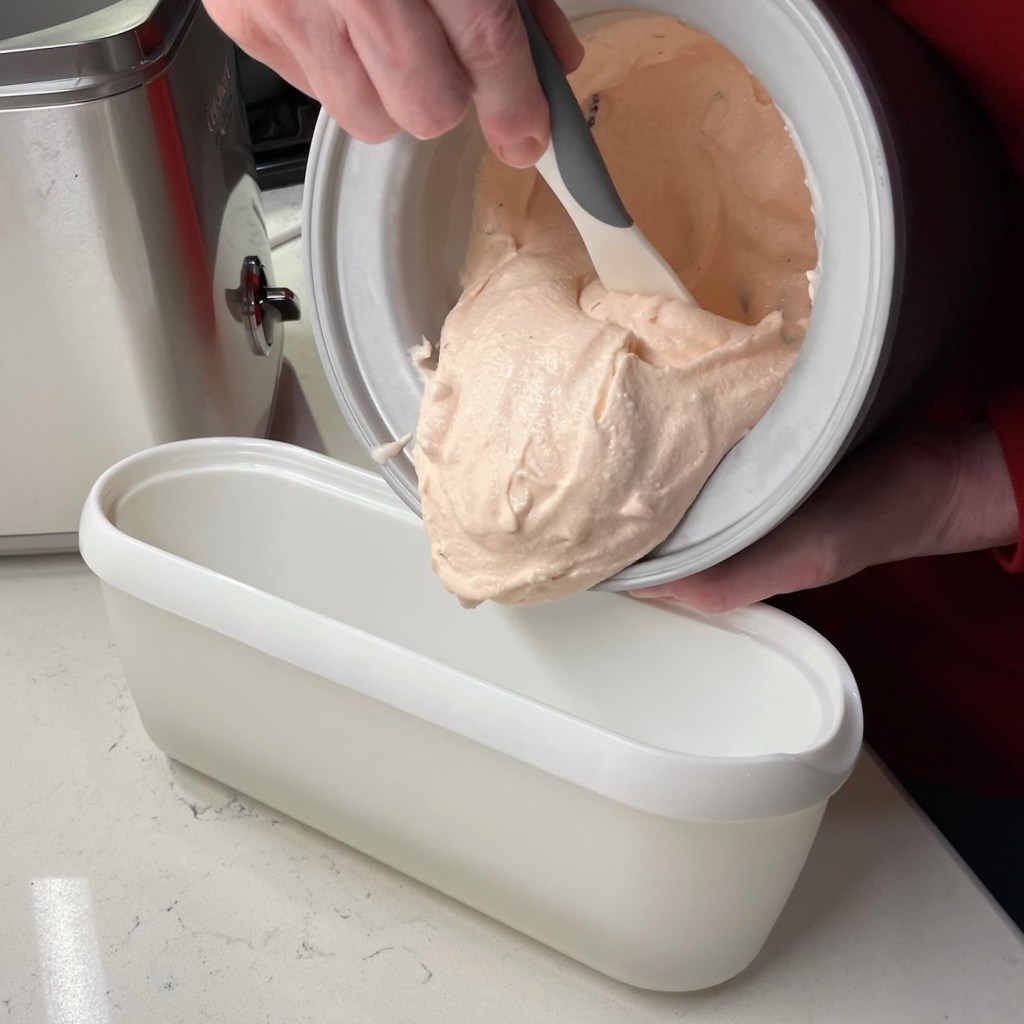
Transfer the ice cream to an insulated container and freeze overnight. 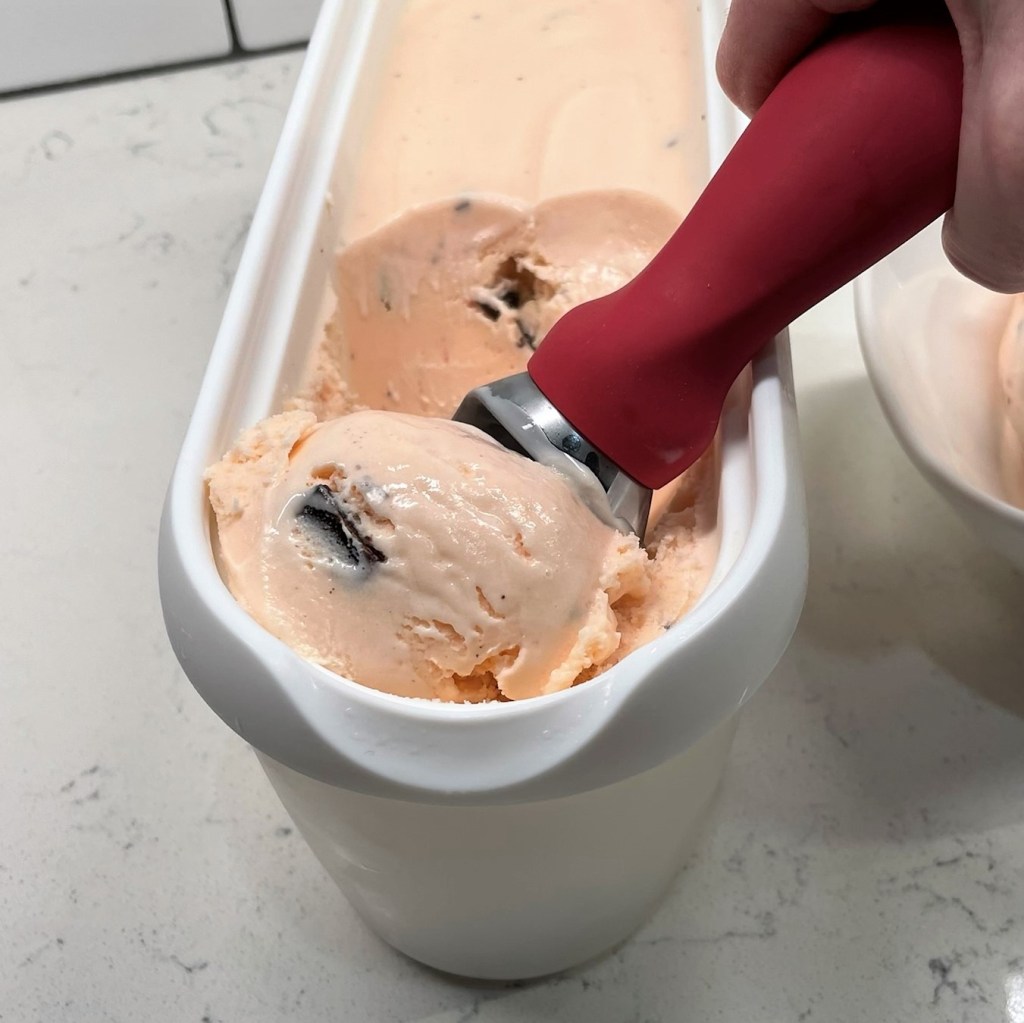
Time to serve, and the splash of vodka has done its job. It’s OK to leave it out; just give the ice cream a few minutes on the counter before scooping. 
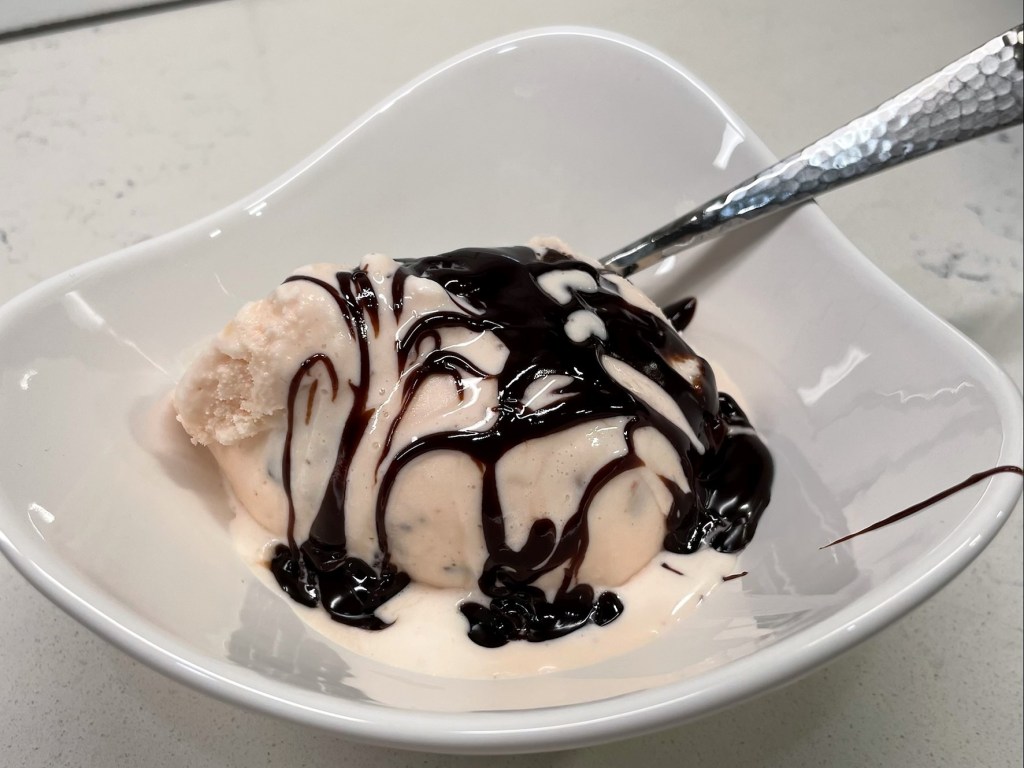
Each scoop has a luscious peppermint flavor throughout the whole ice cream, and the bits of peppermint bark are a fun touch! 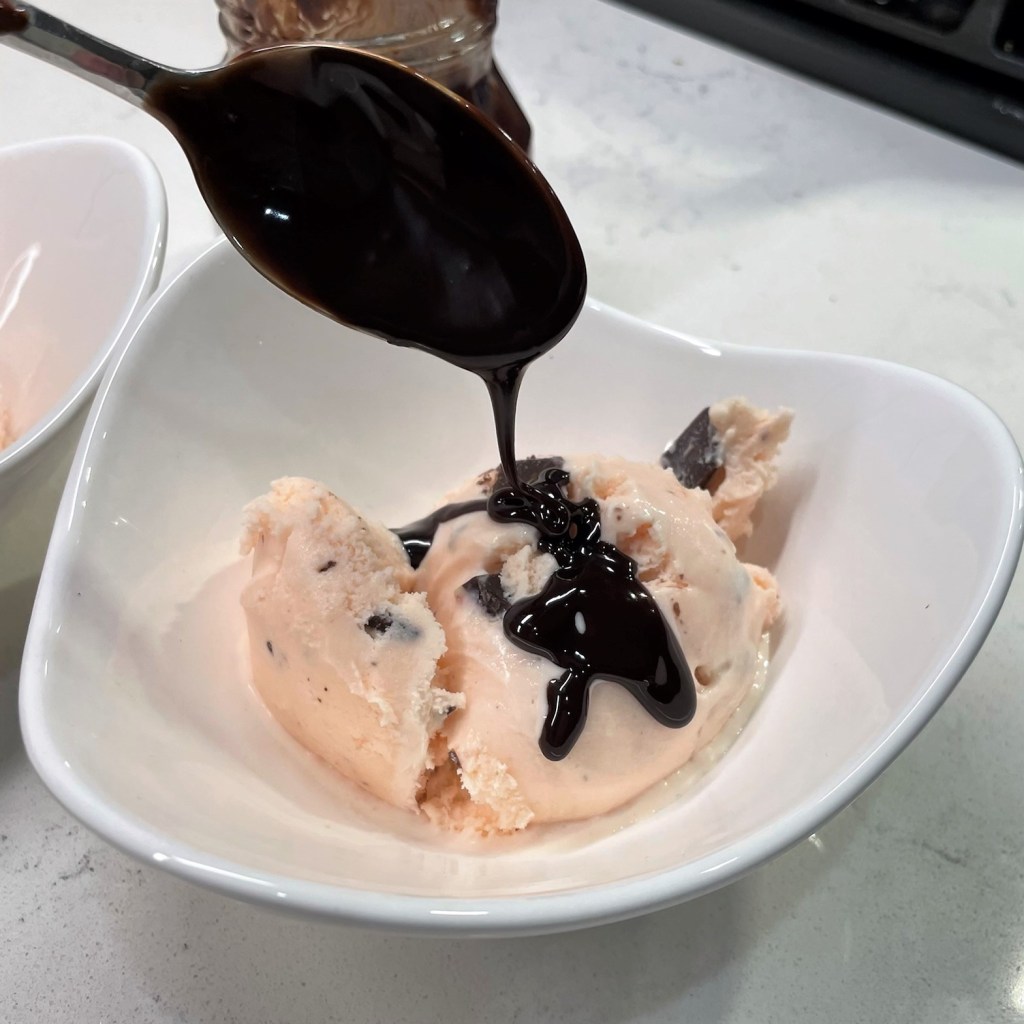
For a little extra yumminess, we served it with a drizzle of hot fudge sauce.
Heat whole milk and candy canes in a small saucepan, over medium-low heat. As the milk warms, the candy canes will melt into it, creating a pretty color and a delicately sweet minty base. As I think of it, I imagine that this milk could also be used to make a minty version of hot cocoa. Maybe next Christmas!
When candy canes are fully dissolved, remove milk from heat and cool then chill in the refrigerator.
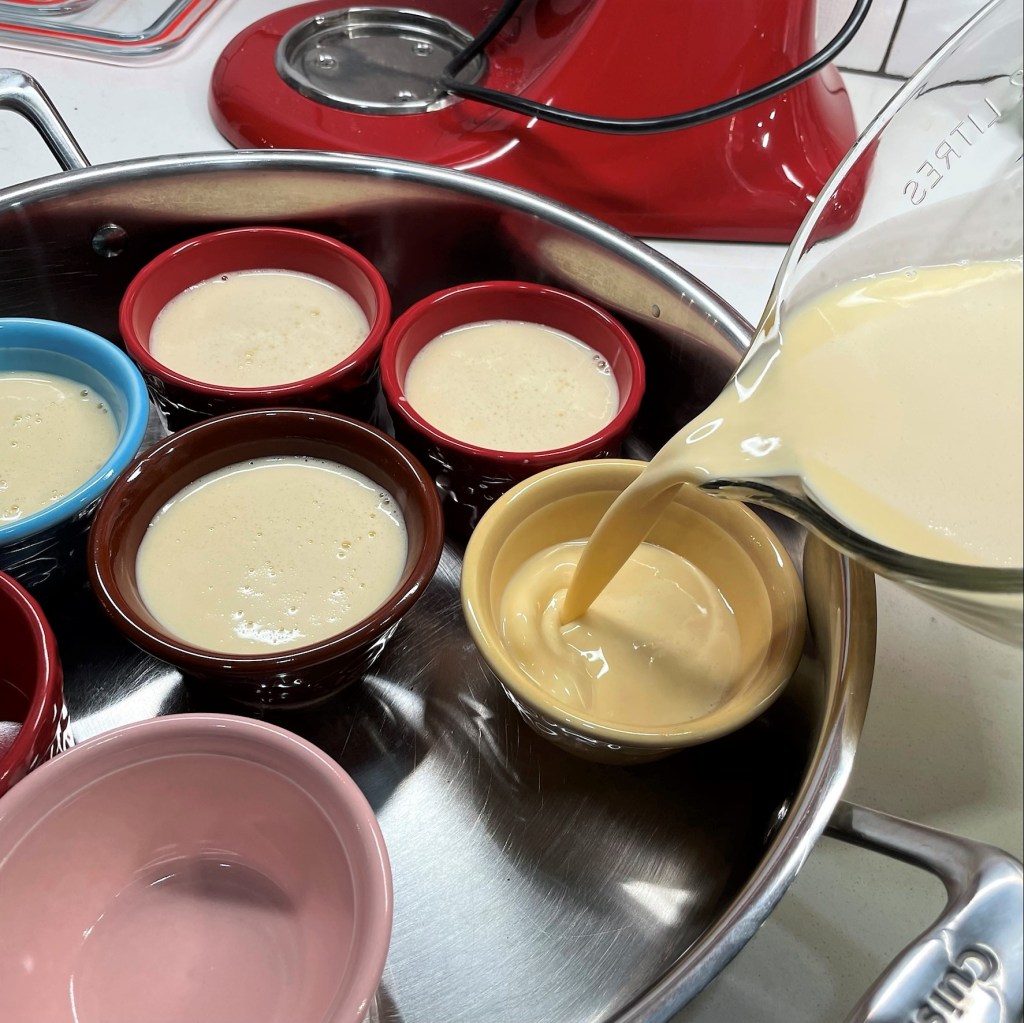
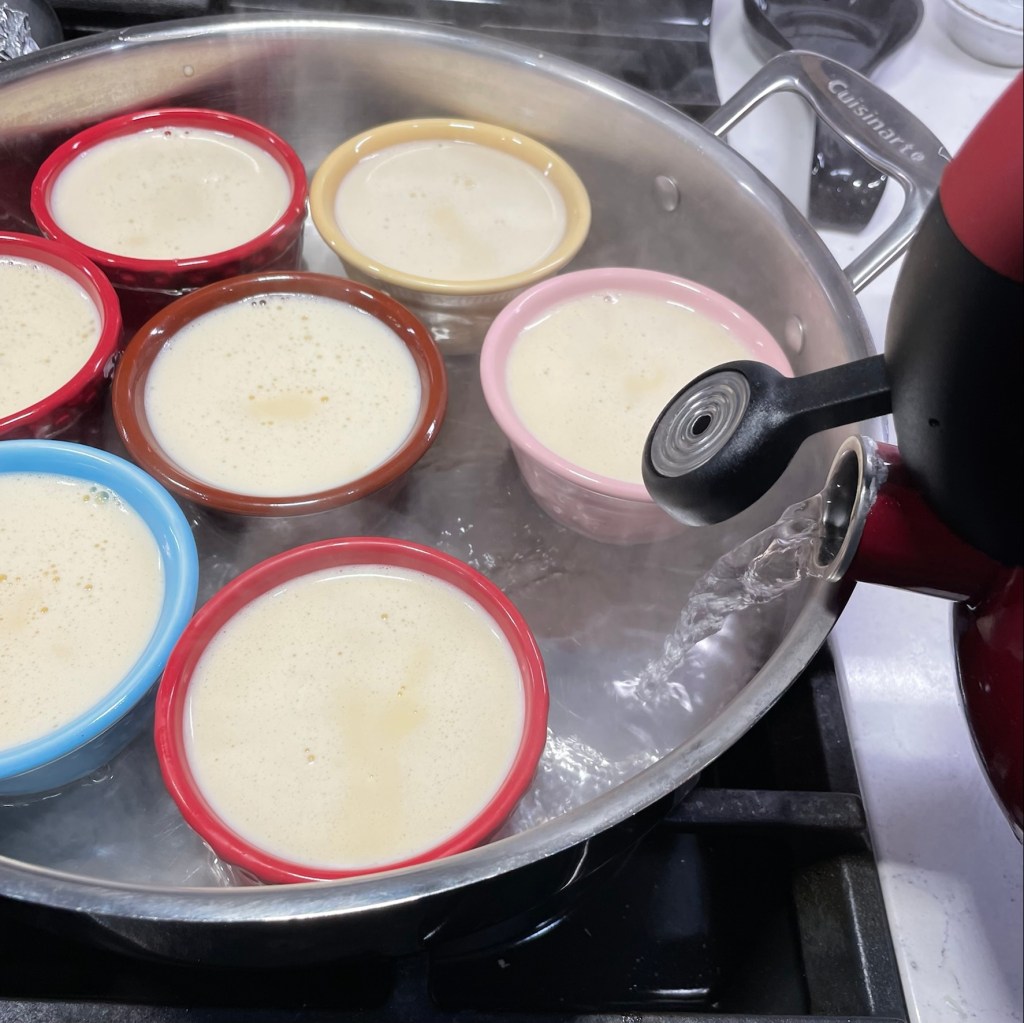
In a large bowl or mixing pitcher, blend together the sweetened condensed milk and heavy cream. Whisk in the peppermint milk. Stir in the peppermint and vanilla extracts. Cover and chill for several hours (maybe even overnight) until the mixture is very cold.
Put the chopped chocolate-peppermint bark in the freezer while you freeze the ice cream mixture.
Prepare your ice cream machine, following manufacturer’s recommendations for freezing the ice cream mixture. When the ice cream reaches the fully churned stage, add in the chopped peppermint bark pieces and churn an additional two minutes to evenly incorporate the candy pieces.
Finally, add the vodka and churn until the liquid has disappeared. This trick will improve the texture of the ice cream for very easy scooping straight from the freezer. The vodka is indiscernible in the ice cream, but if you (or someone you are feeding) avoids alcohol, it can easily be omitted.
Transfer the finished ice cream to an insulated freezer container and place it in the freezer for several hours, or preferably overnight. Serve it with warmed hot fudge topping for an extra special holiday treat!