With so much to do in advance of Thanksgiving, it may seem a little nuts to make the gravy ahead but hear me out on this. There are two big reasons I like to make this vegan mushroom gravy, and neither is related to having a vegan guest at the table.
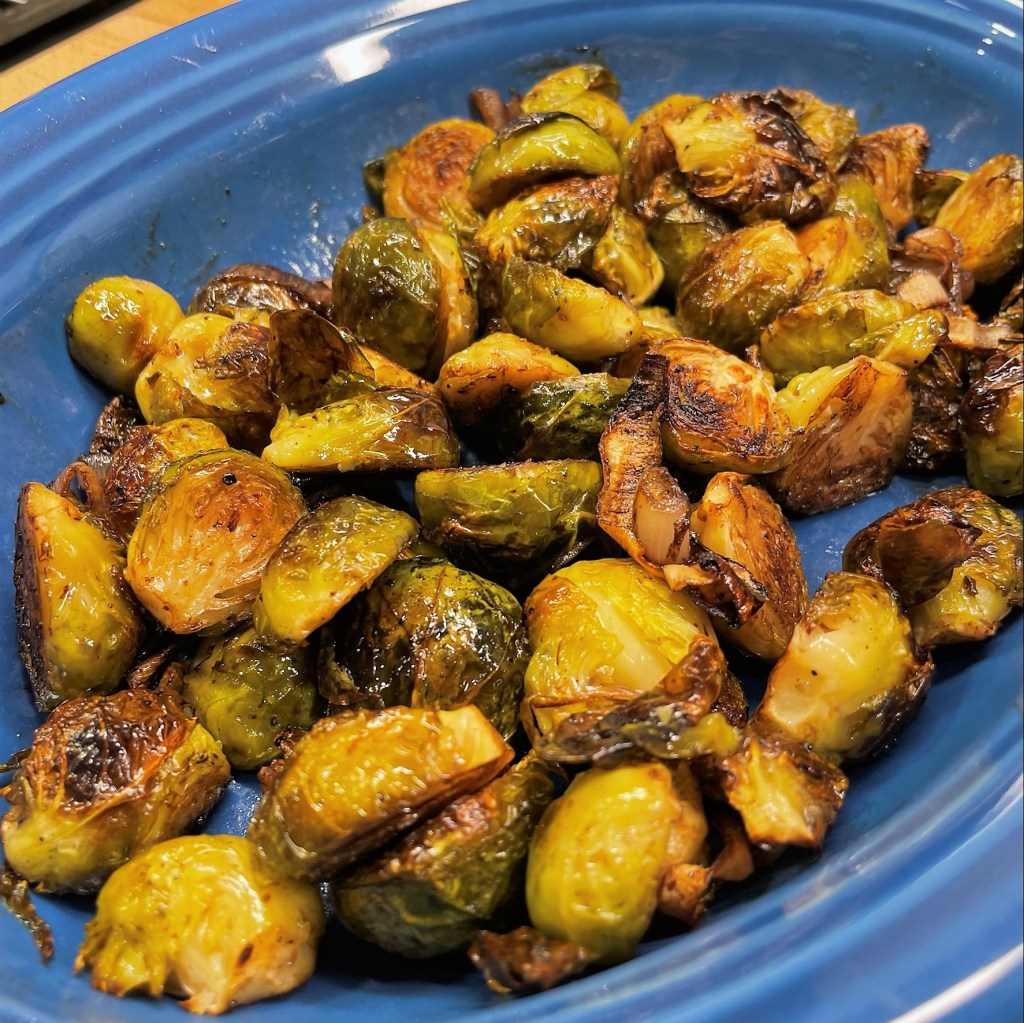
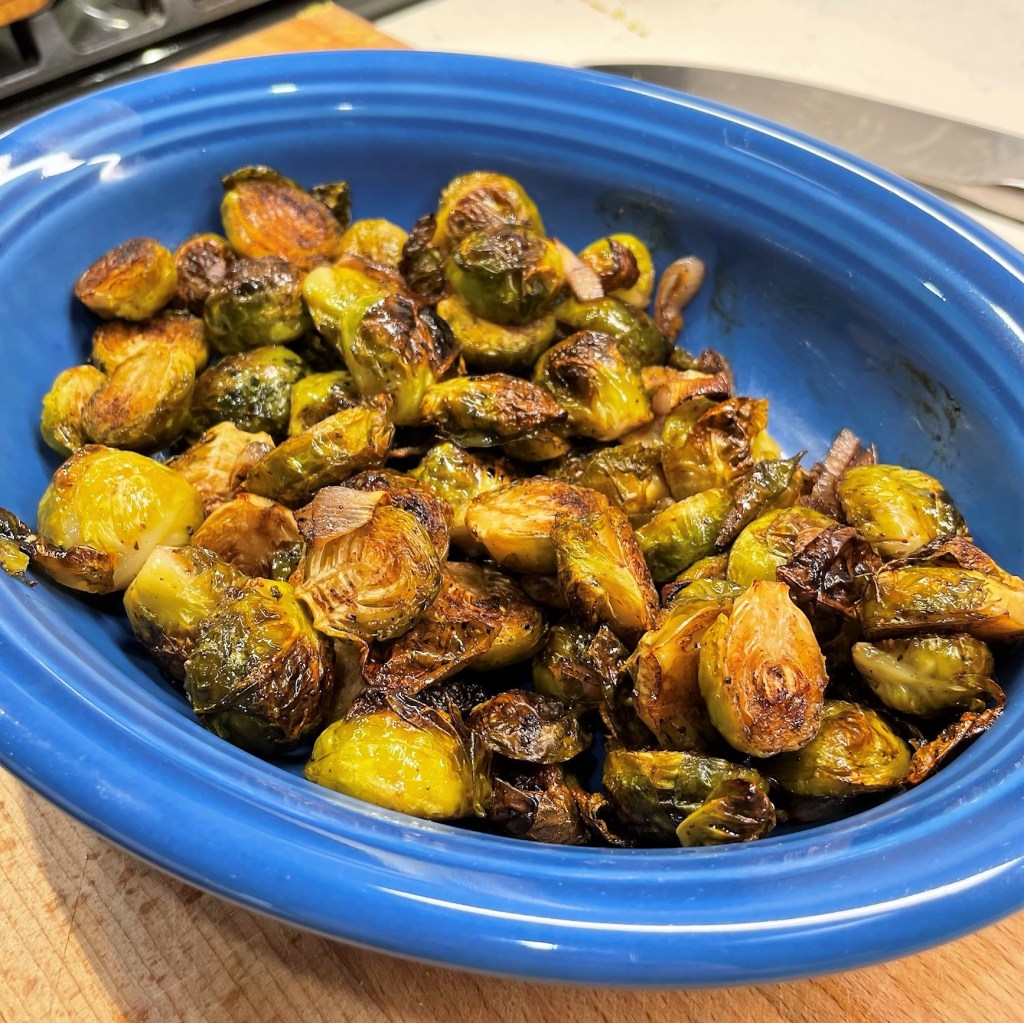
First, the final minutes before dinner are hectic—the turkey has to be rested before carving, and the oven braces itself for round two, as I shove a baking sheet of vegetables in to roast or a casserole for final re-heating. The warmed dishes all need to be brought to the table and you can’t really make the turkey gravy until after the bird has emerged from the oven. If something goes wrong with the turkey gravy (been there, done that), I love having the savory, earthy flavors of this mushroom gravy as a backup.
Secondly, the mushroom gravy is less heavy—both in flavor and in calories—than a typical turkey gravy. It more than satisfies my craving for gravy without cranking up my cholesterol levels. Besides being completely delicious and easy to make several days ahead of the holiday commotion, this gravy can do double duty as a sauce for green bean casserole. And when we do have a vegan guest at the table, I like to do just one version of that dish for everyone to enjoy.
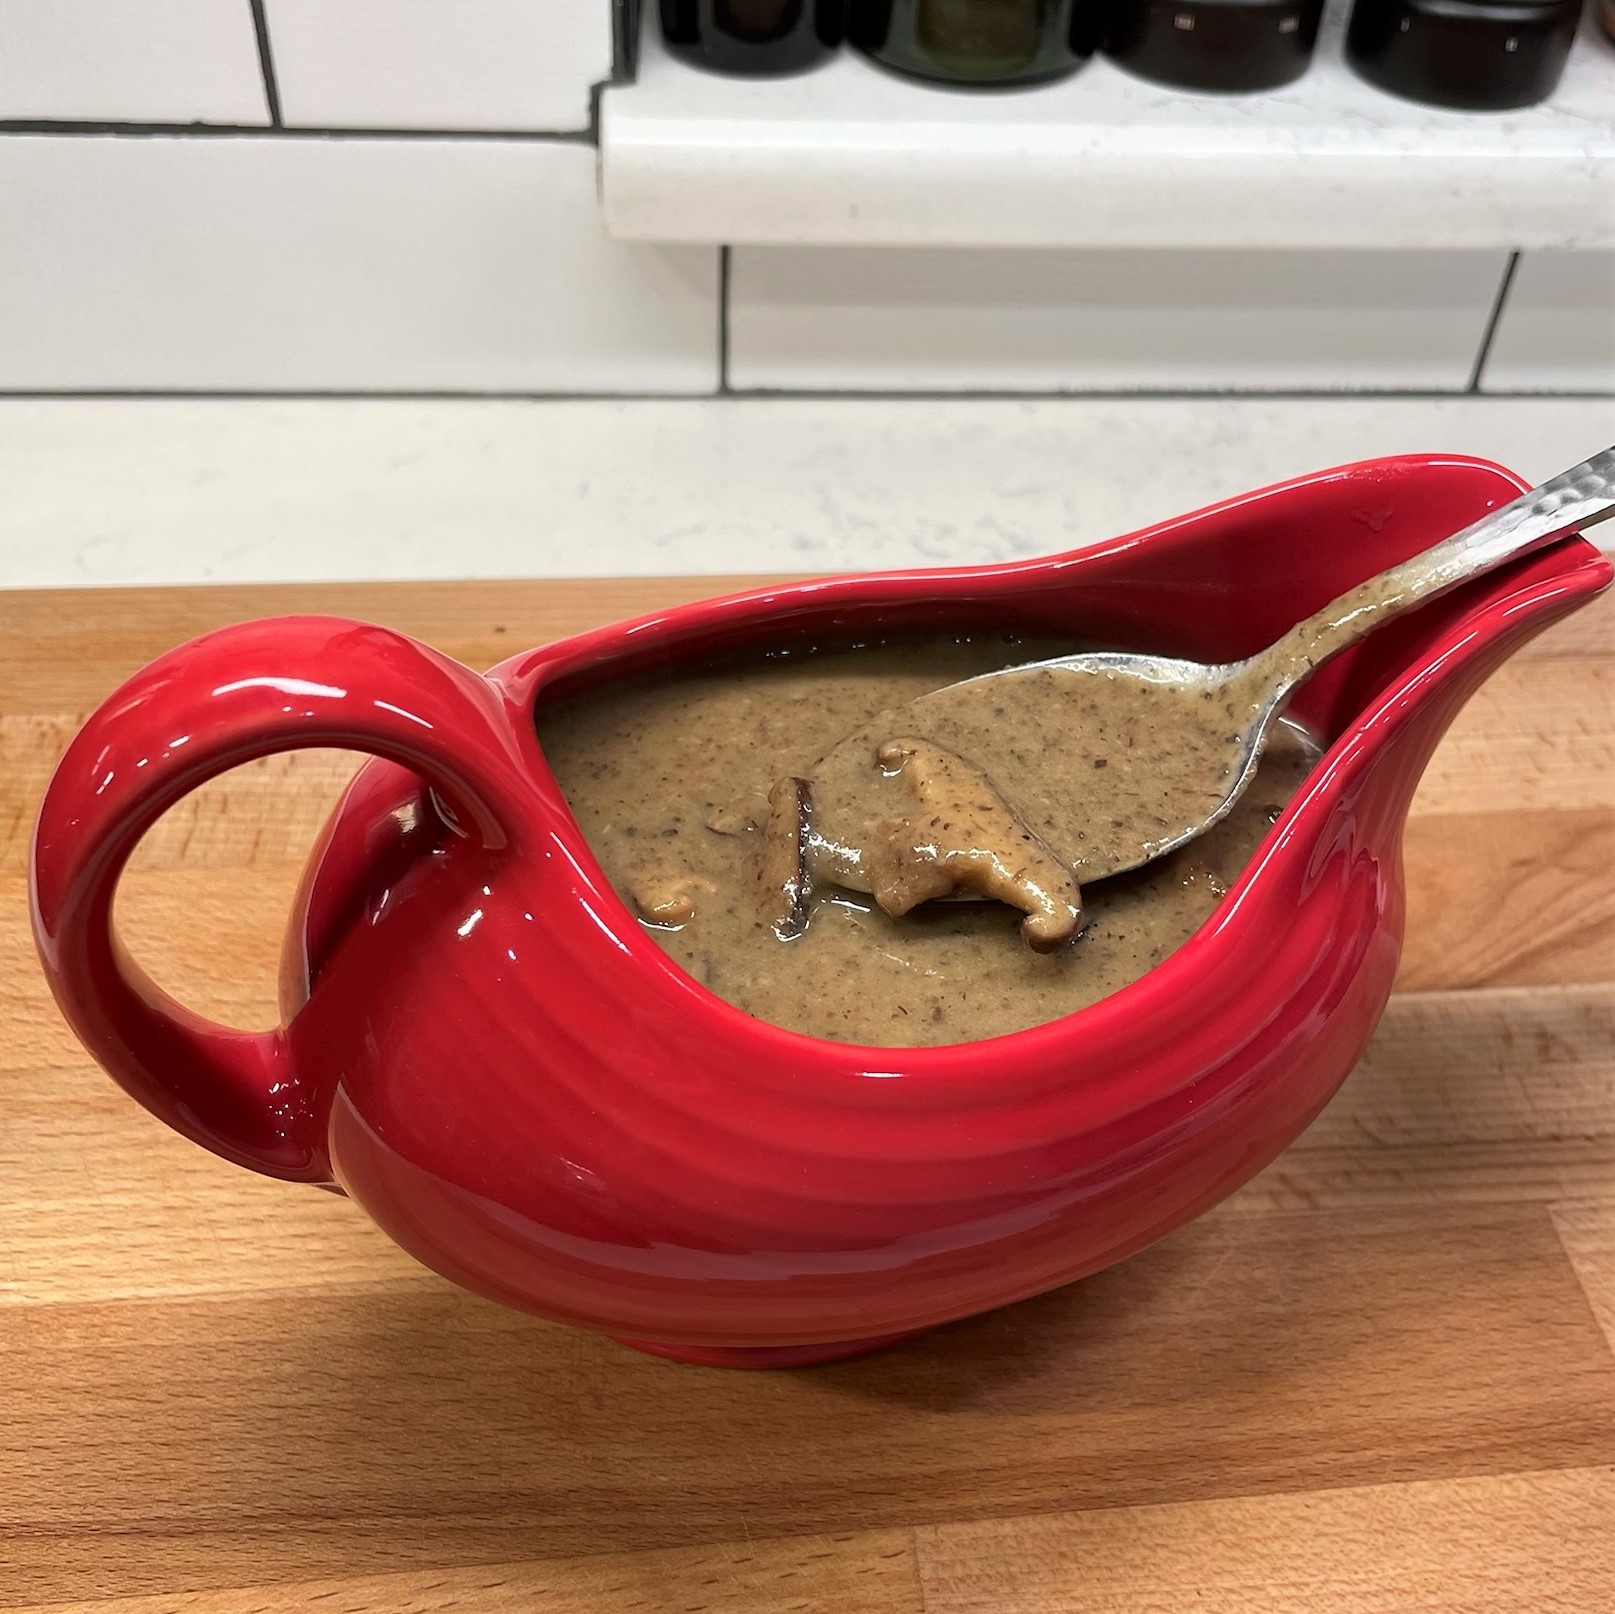
Rave reviews from all around the table, made from simple ingredients and easy to do ahead; this is a winner no matter how you slice, er, pour it. 😉
Ingredients
8 oz. carton of cremini mushrooms, cleaned and diced or pulsed in processor
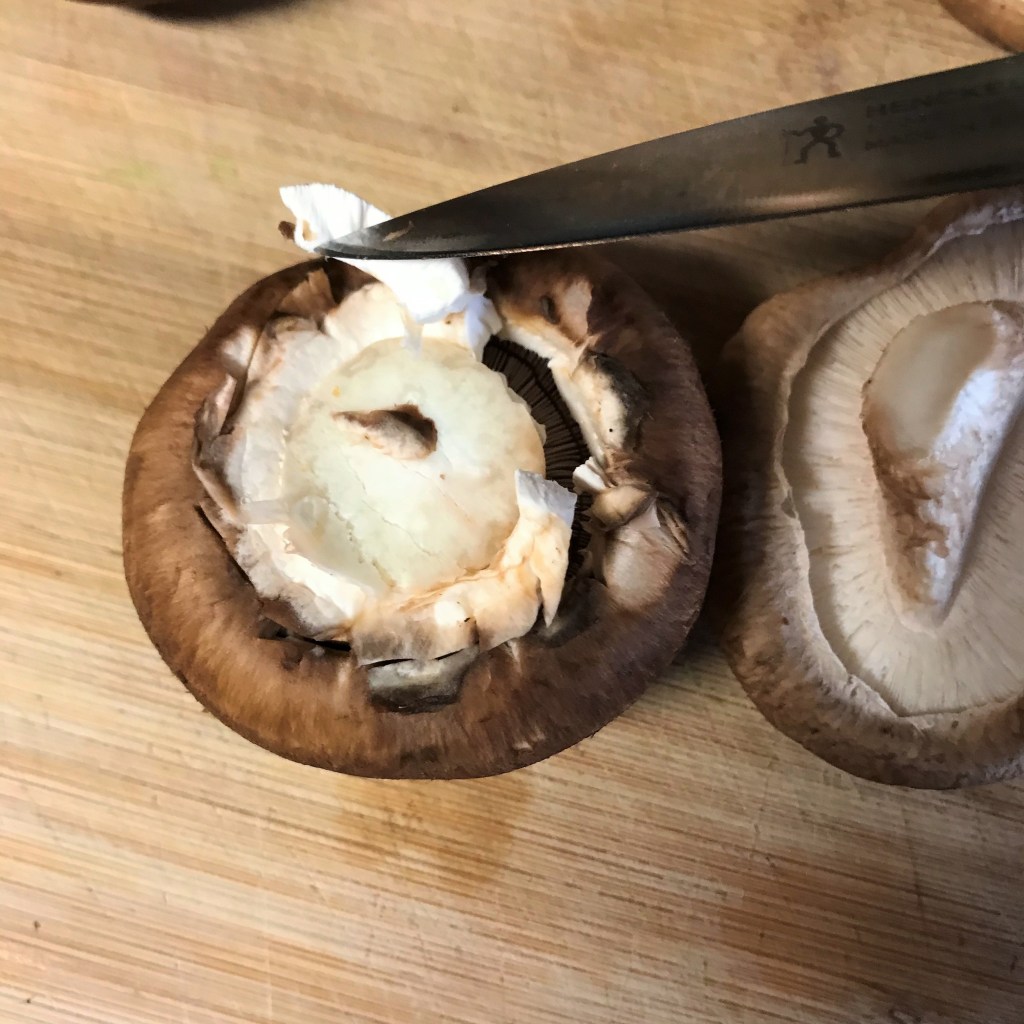
4 oz. shiitake mushrooms, thinly sliced
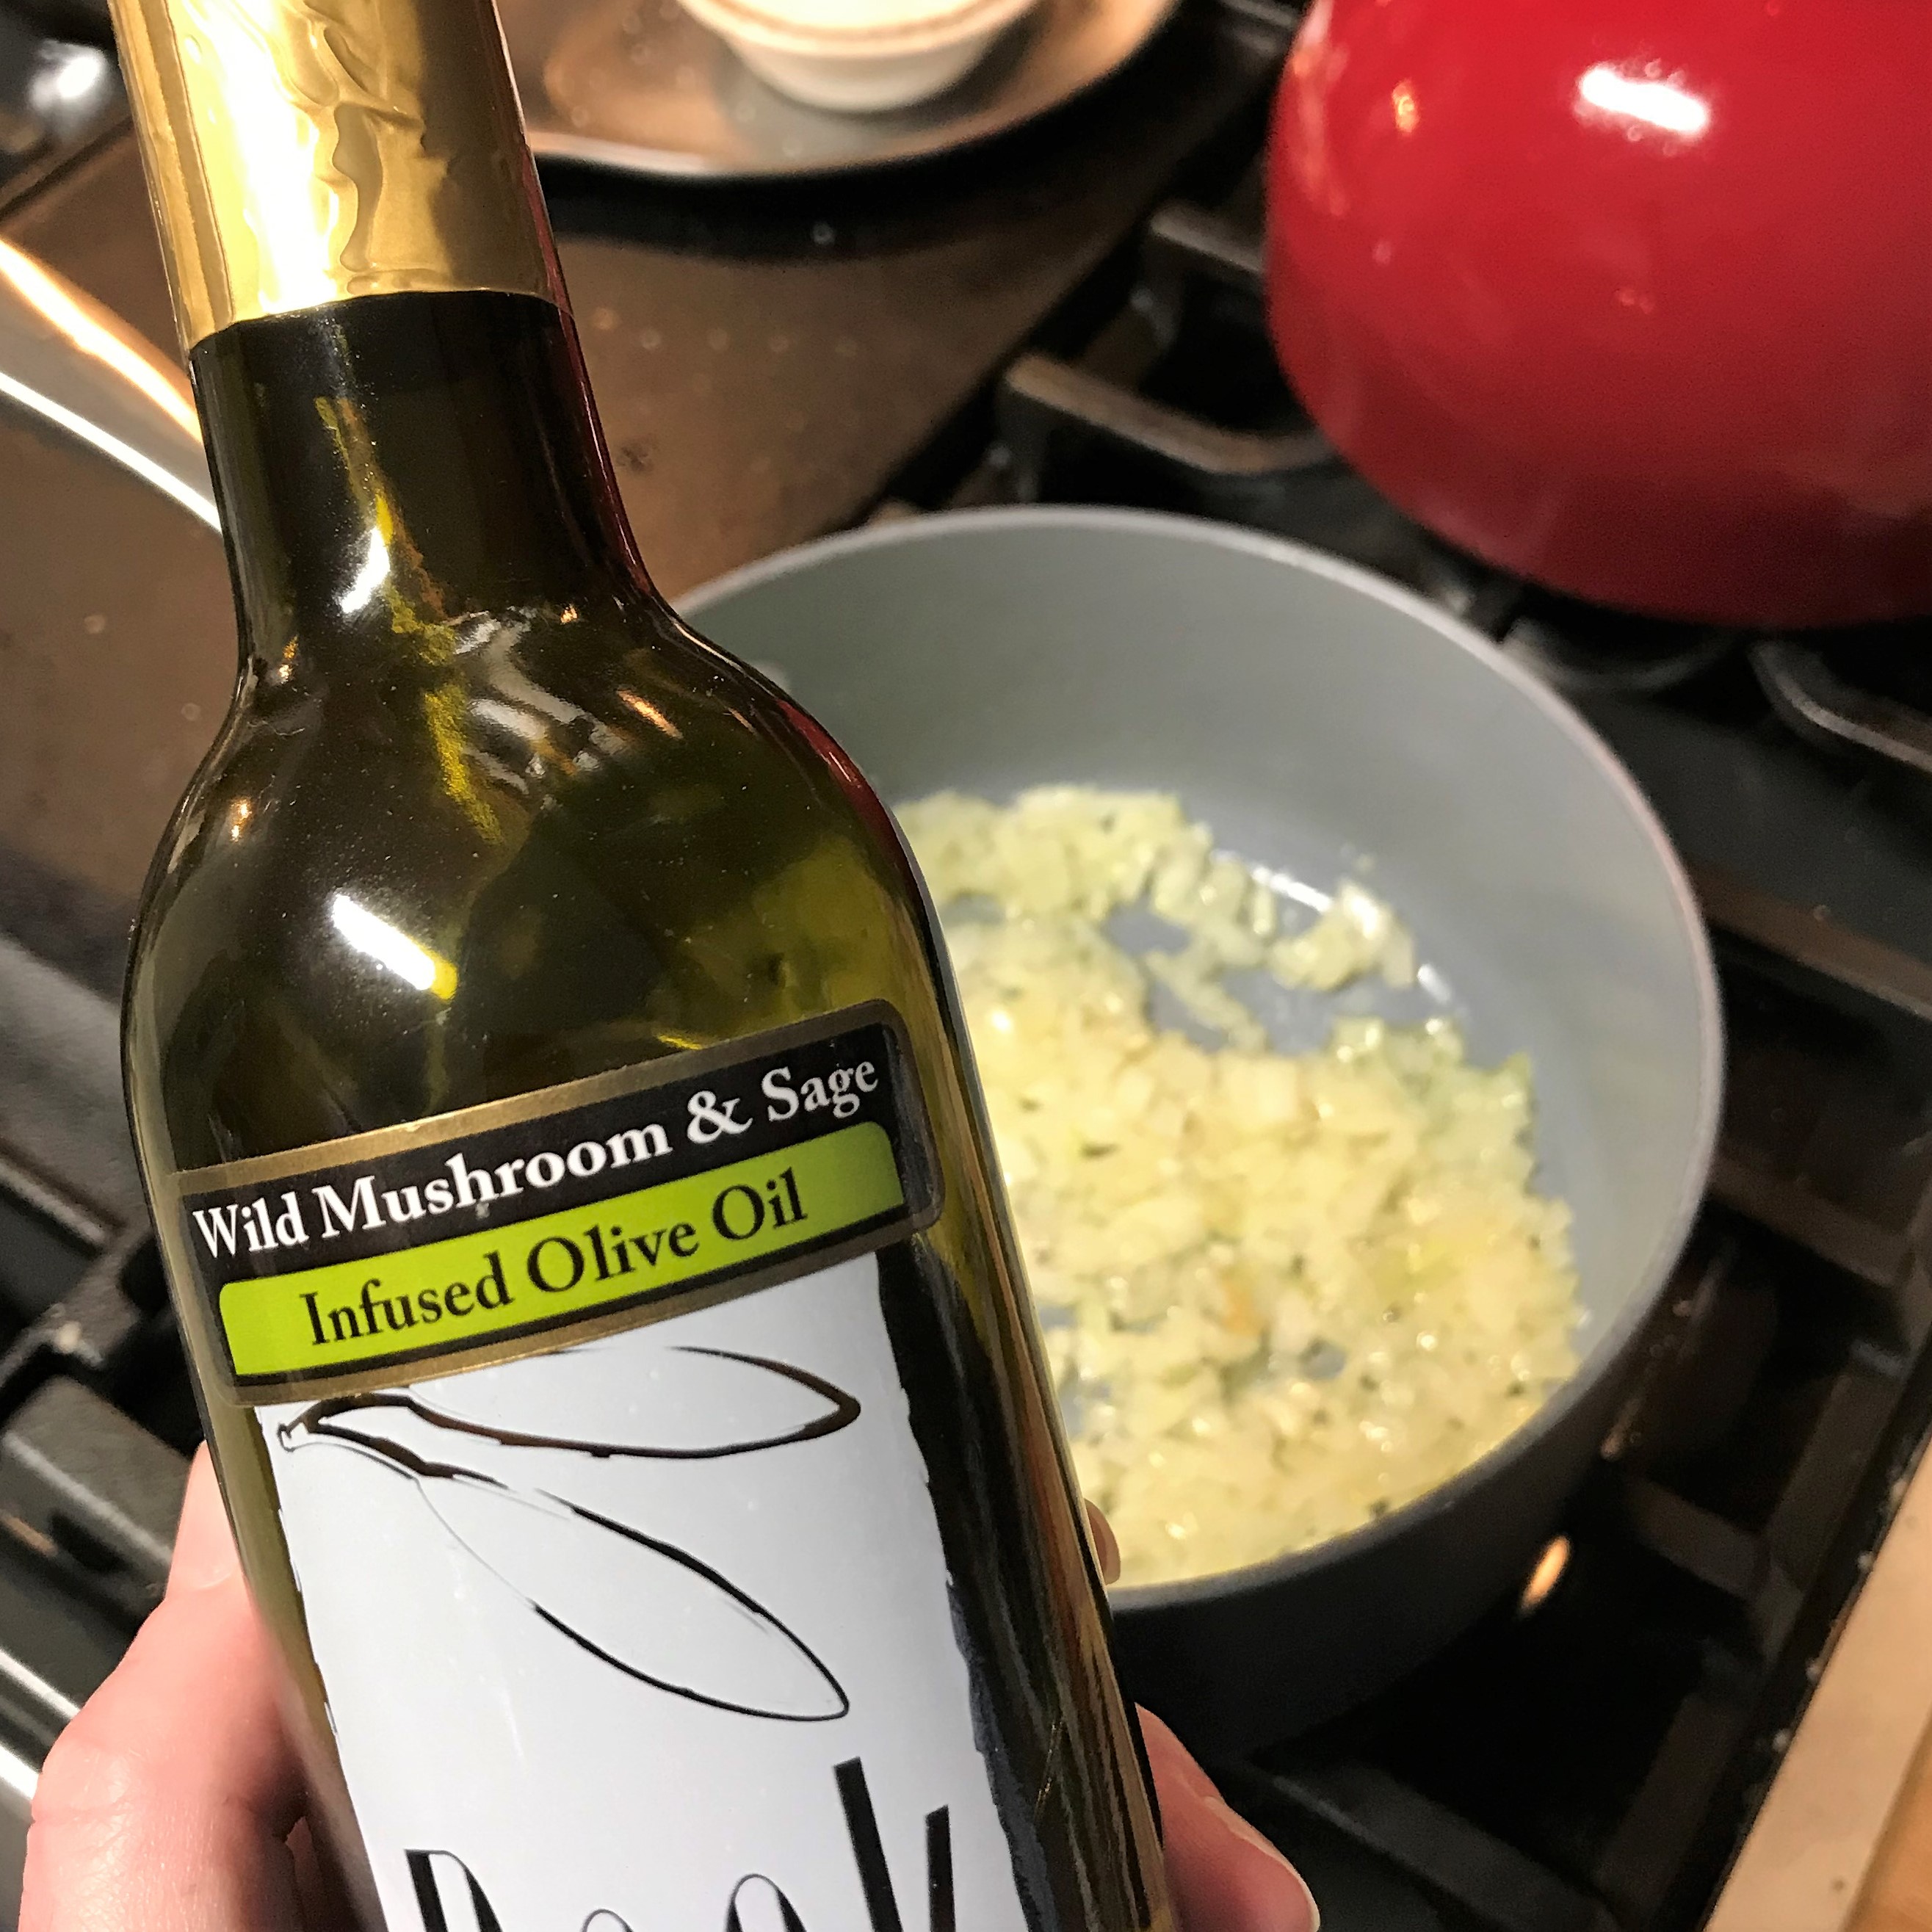
4 Tbsp. mushroom and sage-infused olive oil (+ 2 Tbsp. more later in the recipe)
Kosher salt and freshly ground black pepper
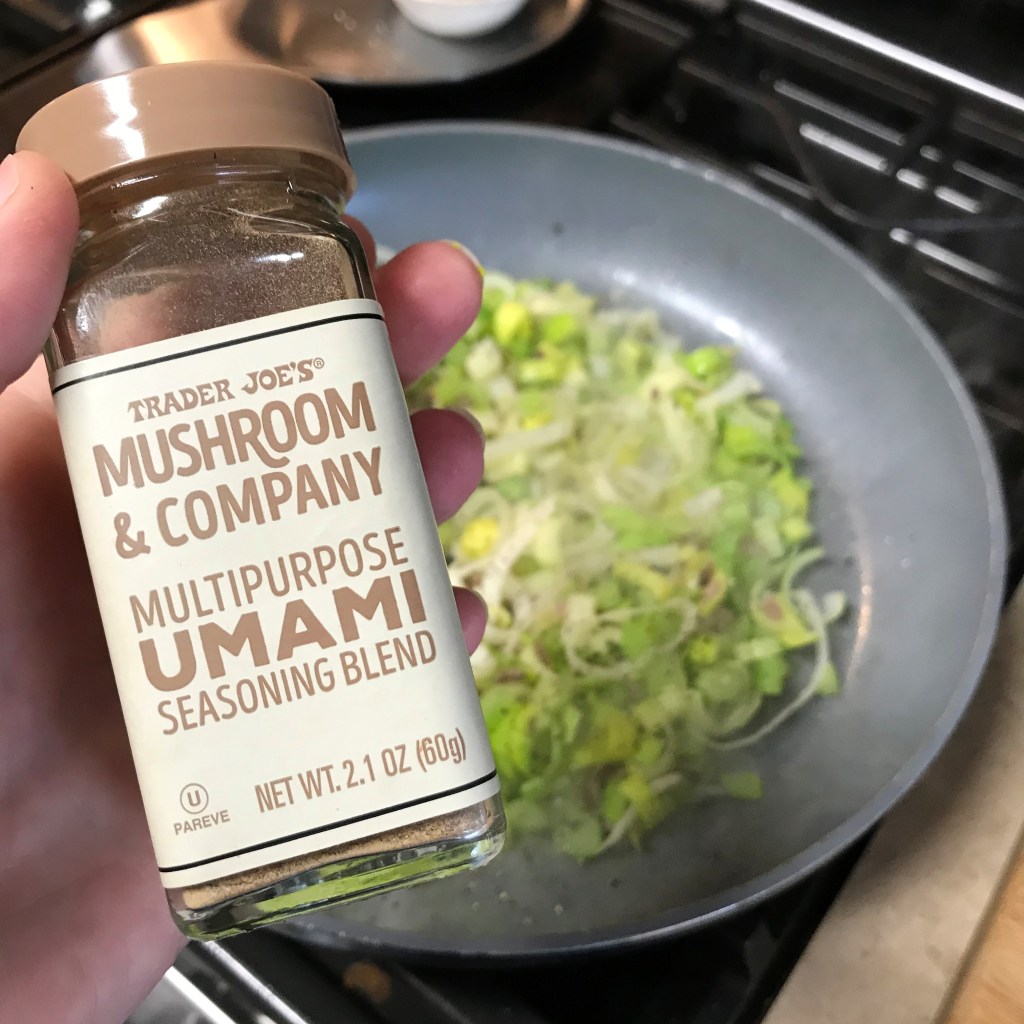
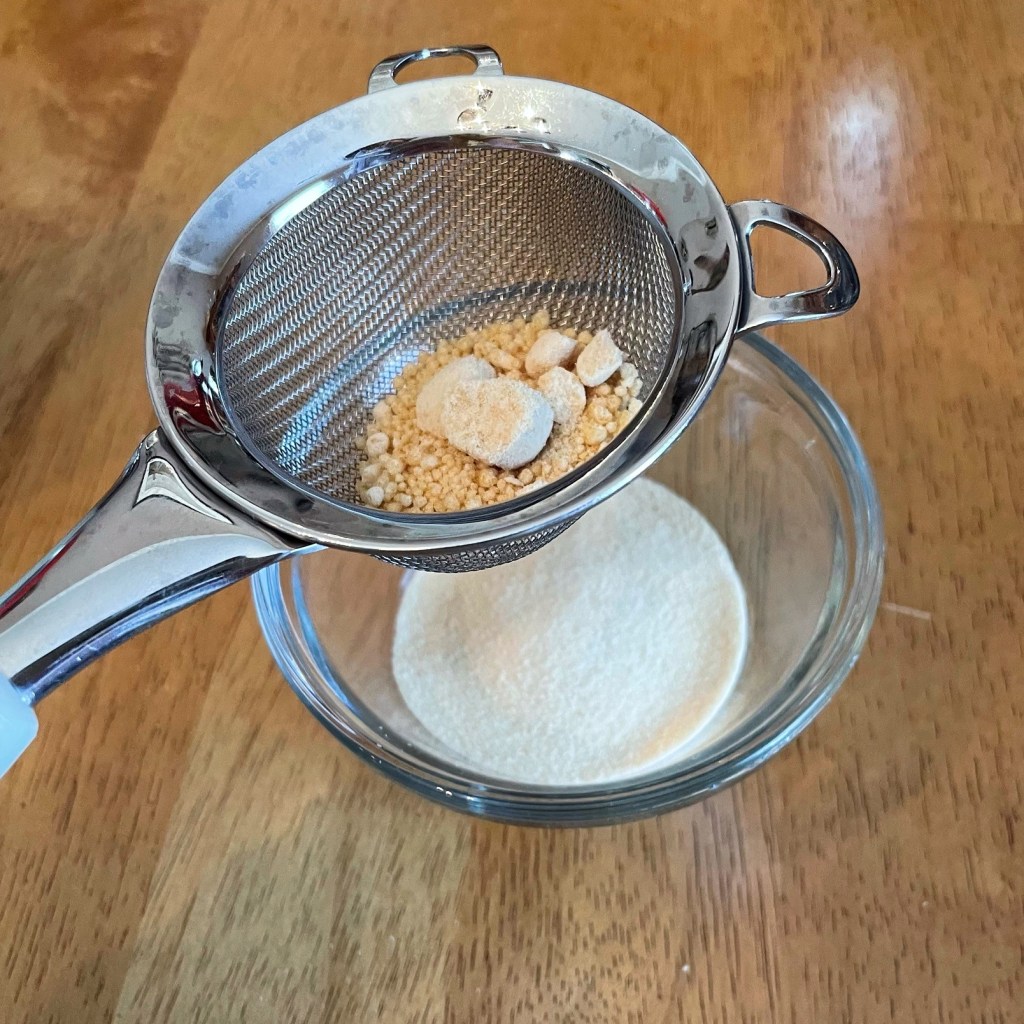
A few shakes umami seasoning* (see notes)
A few shakes poultry seasoning
1 shallot, minced
3 Tbsp. all-purpose flour
3 cups low sodium vegetable broth*
2 Tbsp. dry white wine
1 bulb prepared roasted garlic*
*Notes
The umami seasoning is a Trader Joe’s product, and it gets plenty of use whenever I’m making a vegan dish. The ingredients are porcini and white mushroom powders, dried onions, ground mustard, crushed red pepper and dried thyme. It brings a depth of savory flavor to everything it touches, but if you cannot find it, I would recommend substituting with the flavors you do have and also use prepared mushroom broth in place of the vegetable broth. Look for mushroom broth in cartons in a well-stocked supermarket.
I always choose low sodium broths because it helps me control the overall sodium of a recipe. In this recipe, I specifically used a vegetable broth that does not contain tomatoes.
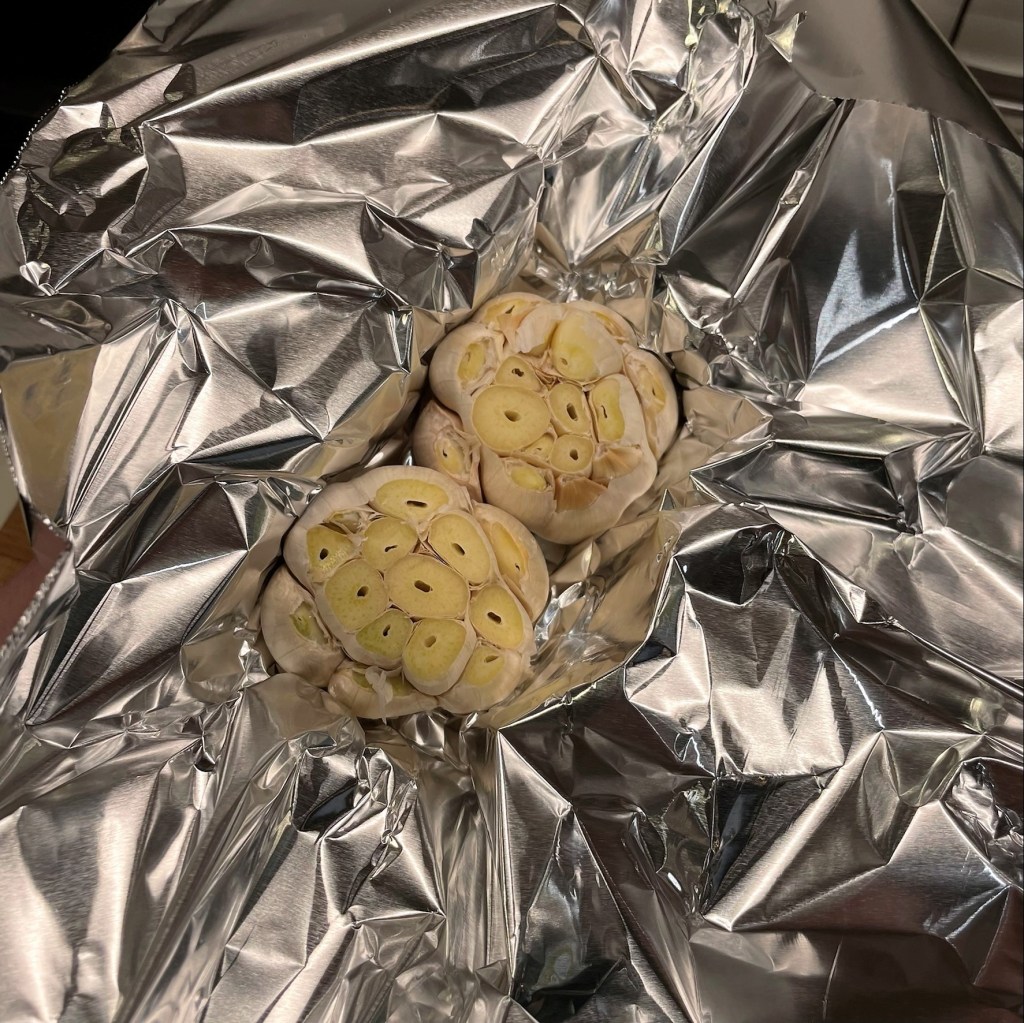
Roasted garlic is easy to make at home, and it gives a lot of depth and complexity to this mushroom gravy. If you have never made your own roasted garlic, please check out this post for step-by-step instructions.
Instructions
As usual, the photos tell the story better than written instructions. Please have a look at the slides and keep scrolling for a downloadable pdf for your recipe files.
First things first, make your roasted garlic, which is needed for this recipe. My instructions for this is linked in the ingredients list. 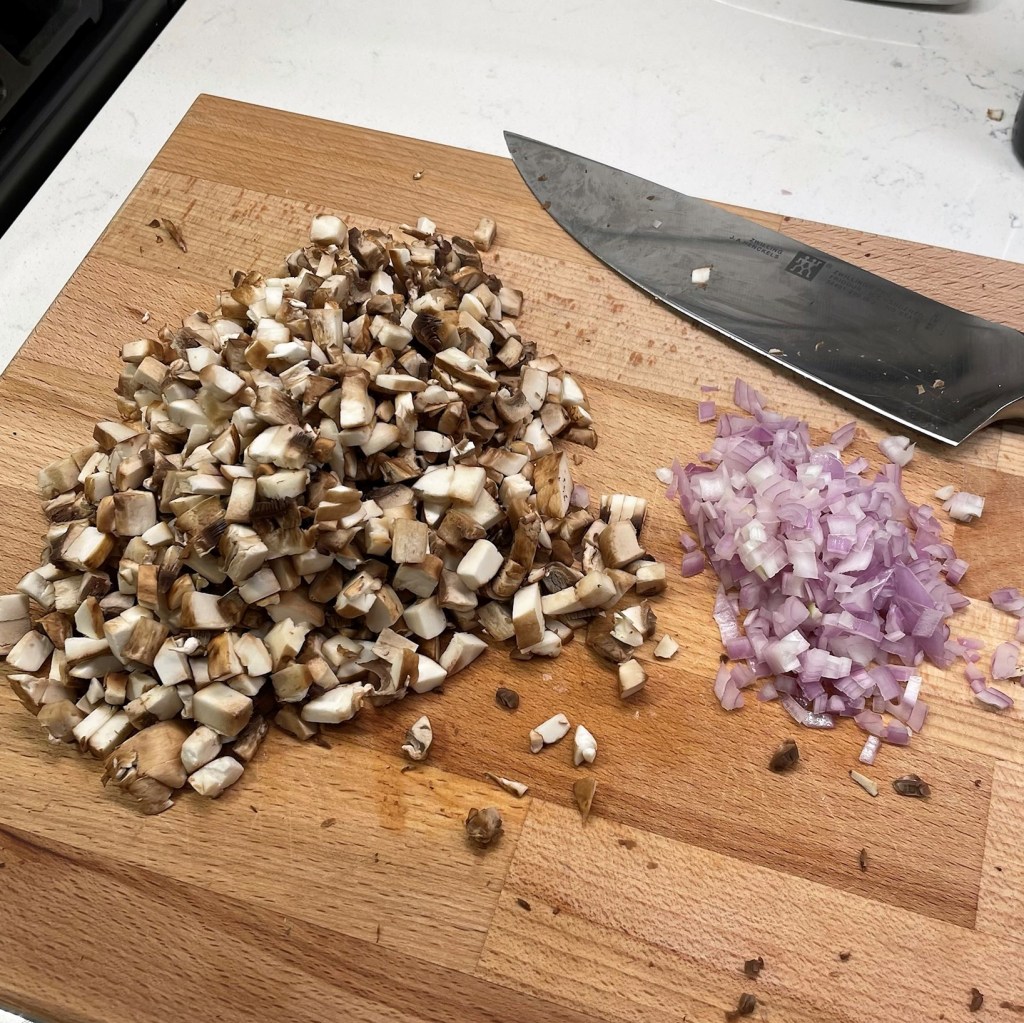
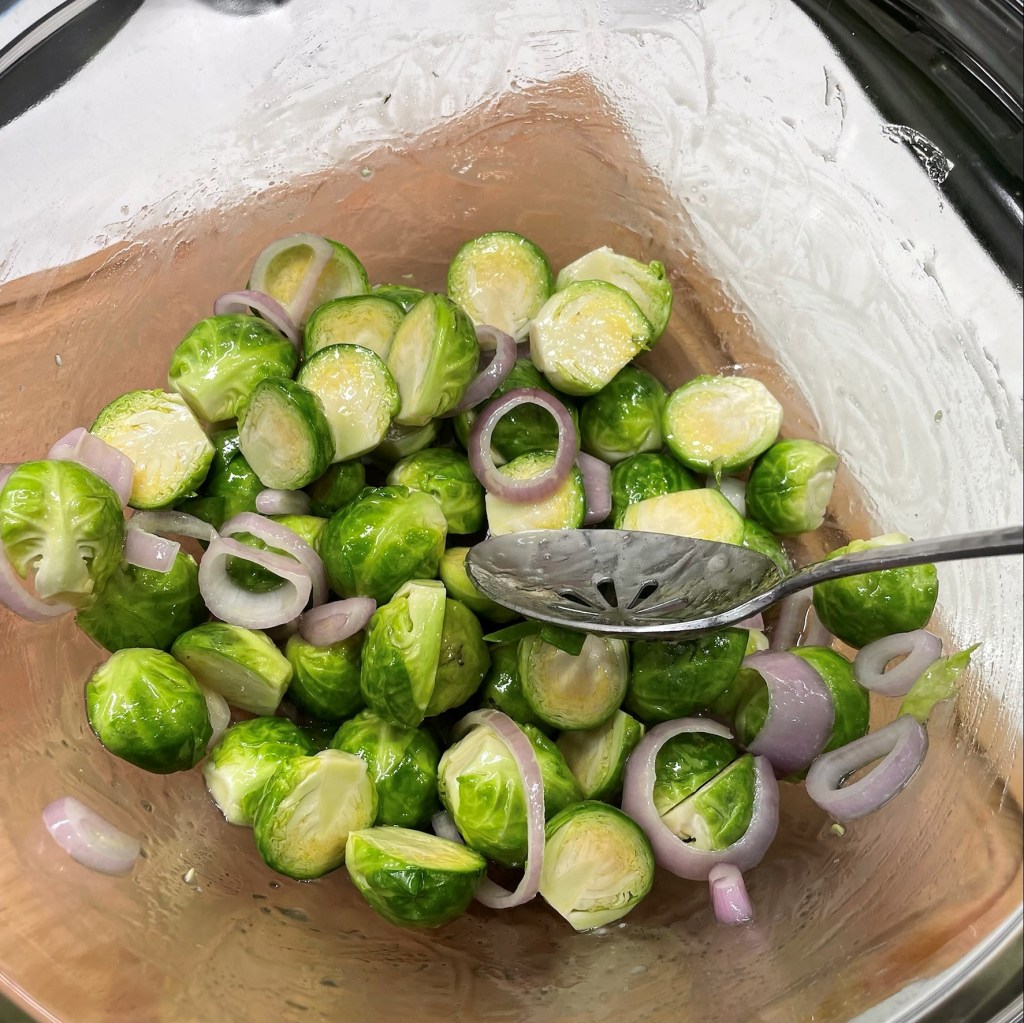
Cut the cremini mushrooms and shallots into a fine dice. If you prefer, use a food processor and pulse about six times. 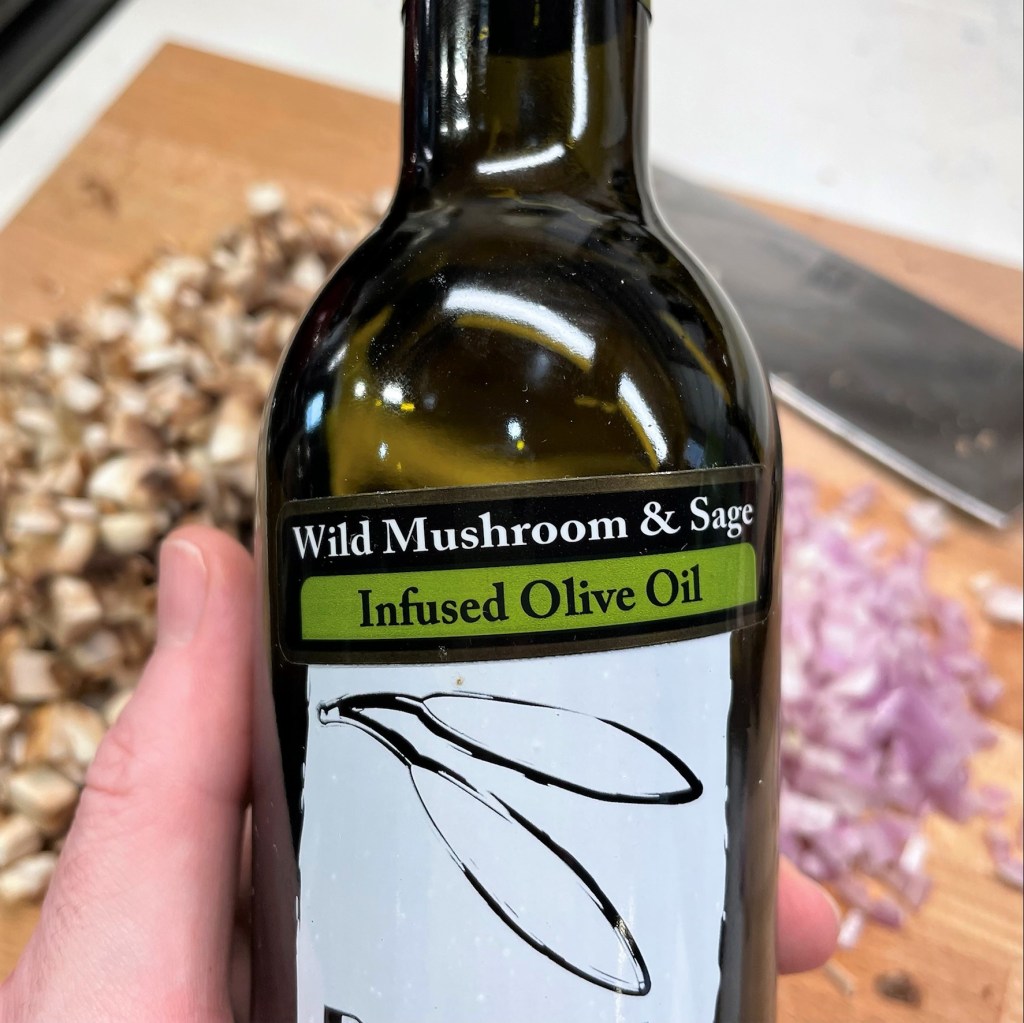
I could not live without this stuff in the fall! If you don’t have a specialty olive oil store in your town, look for it online or swap in regular olive oil. 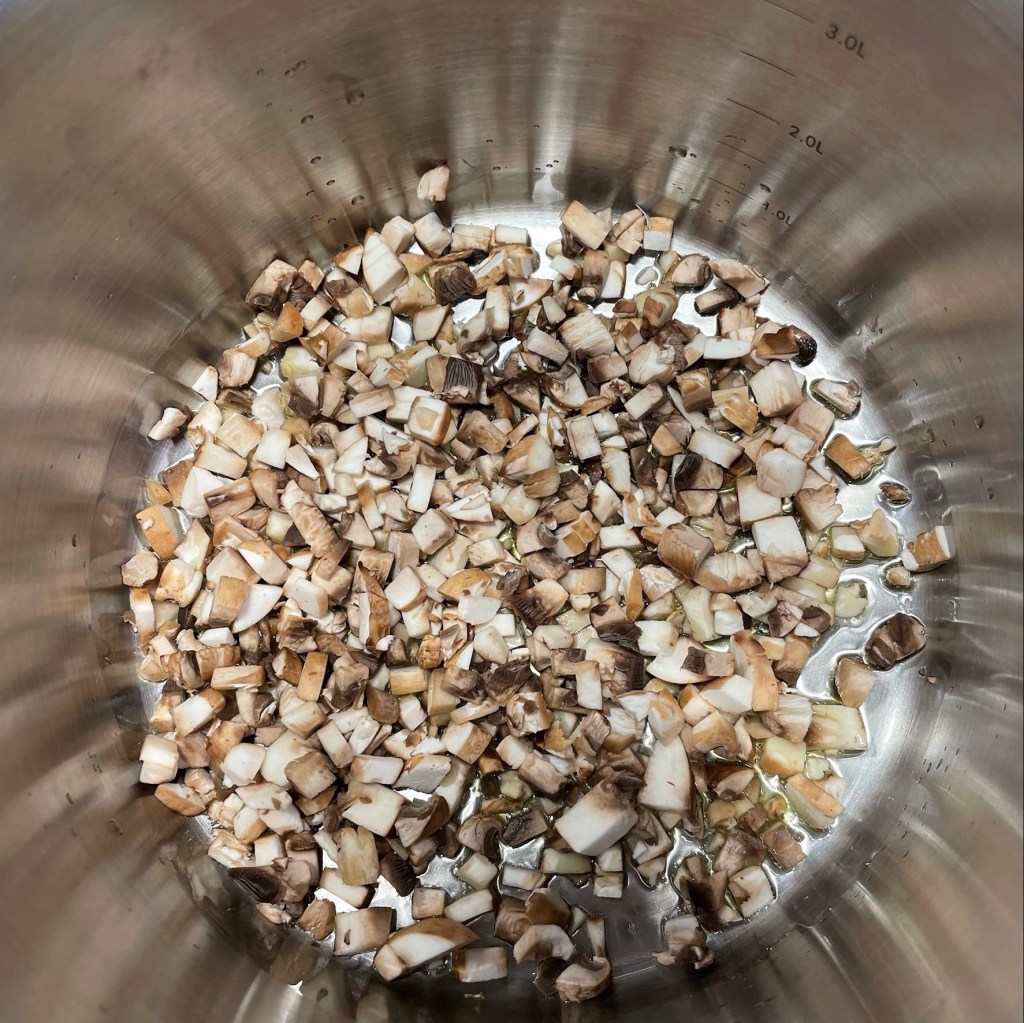
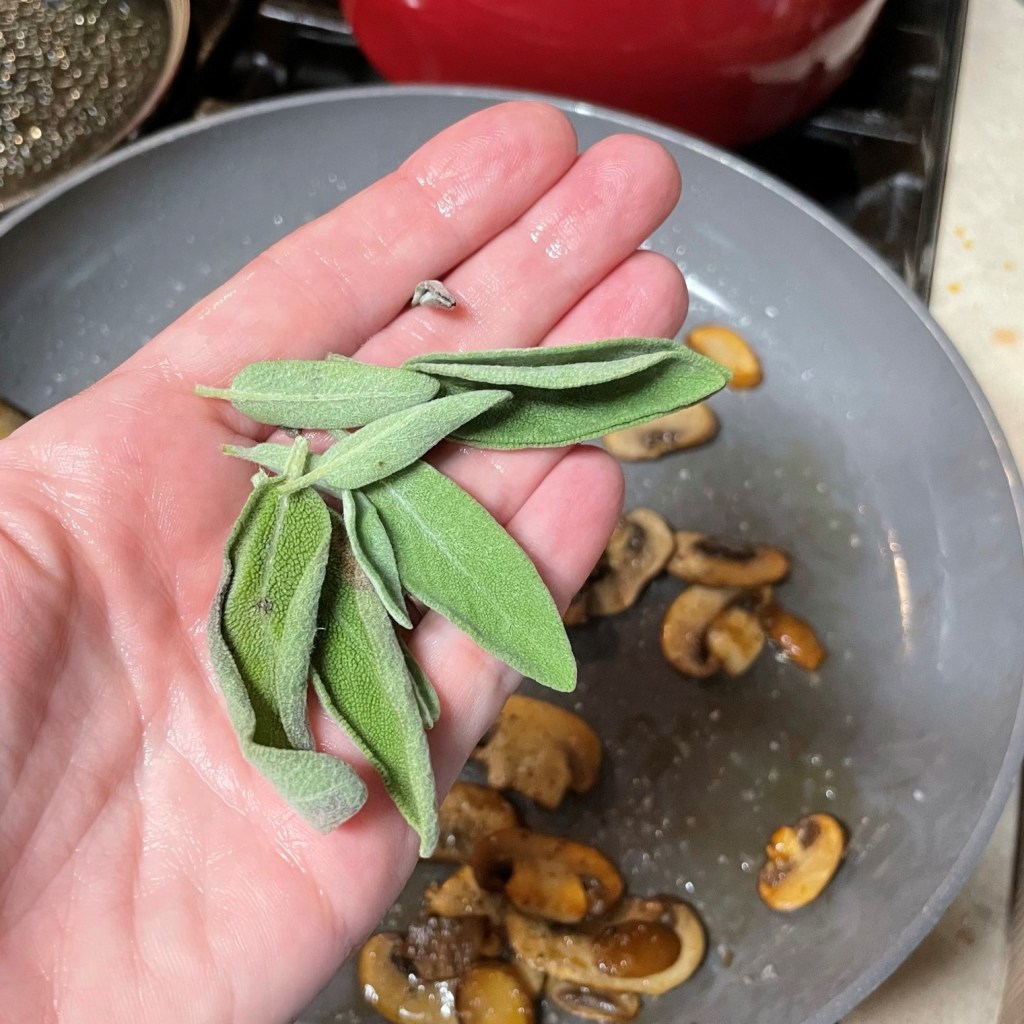
Cook half the mushrooms initially, so that they don’t overcrowd in the pan. 
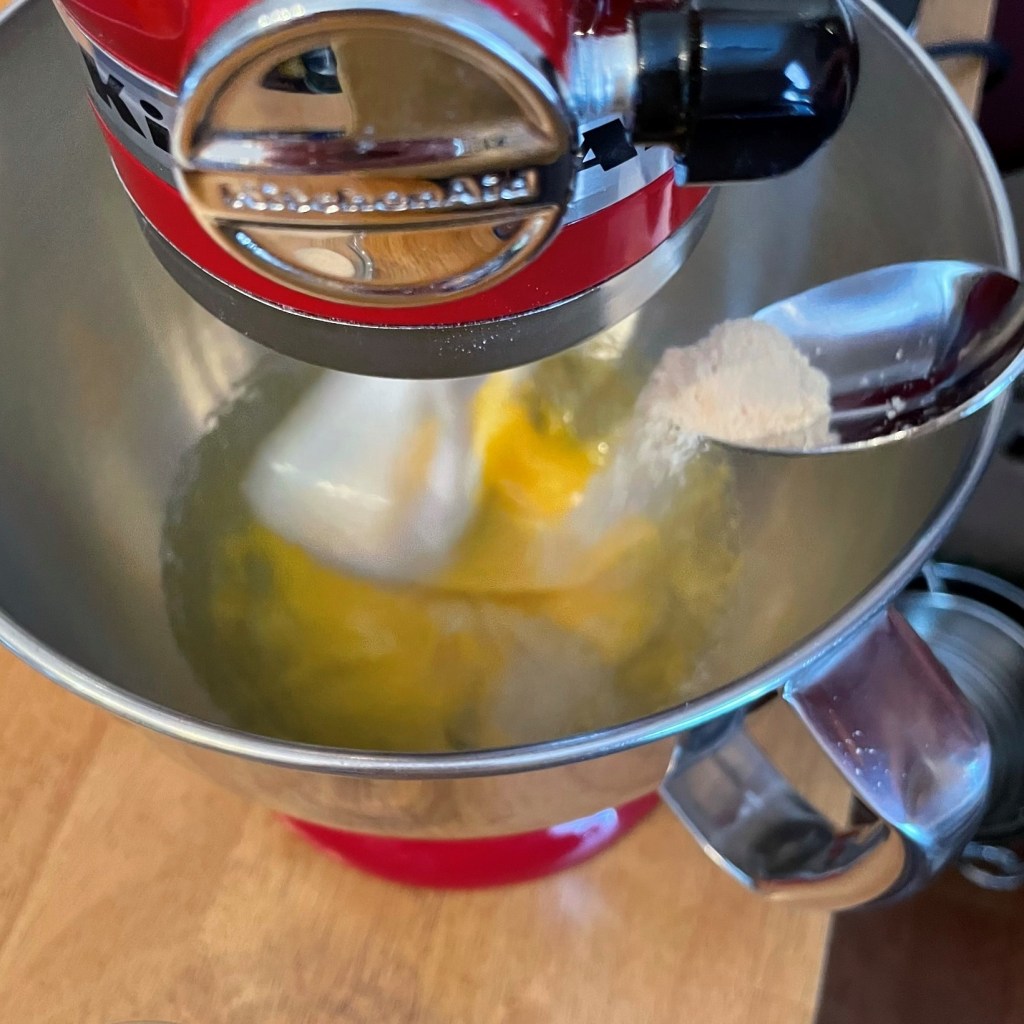
These two seasonings keep this gravy true to Thanksgiving, and still plant-based. 
When the first mushrooms are softened, add the remaining mushrooms and continue to saute until golden. 
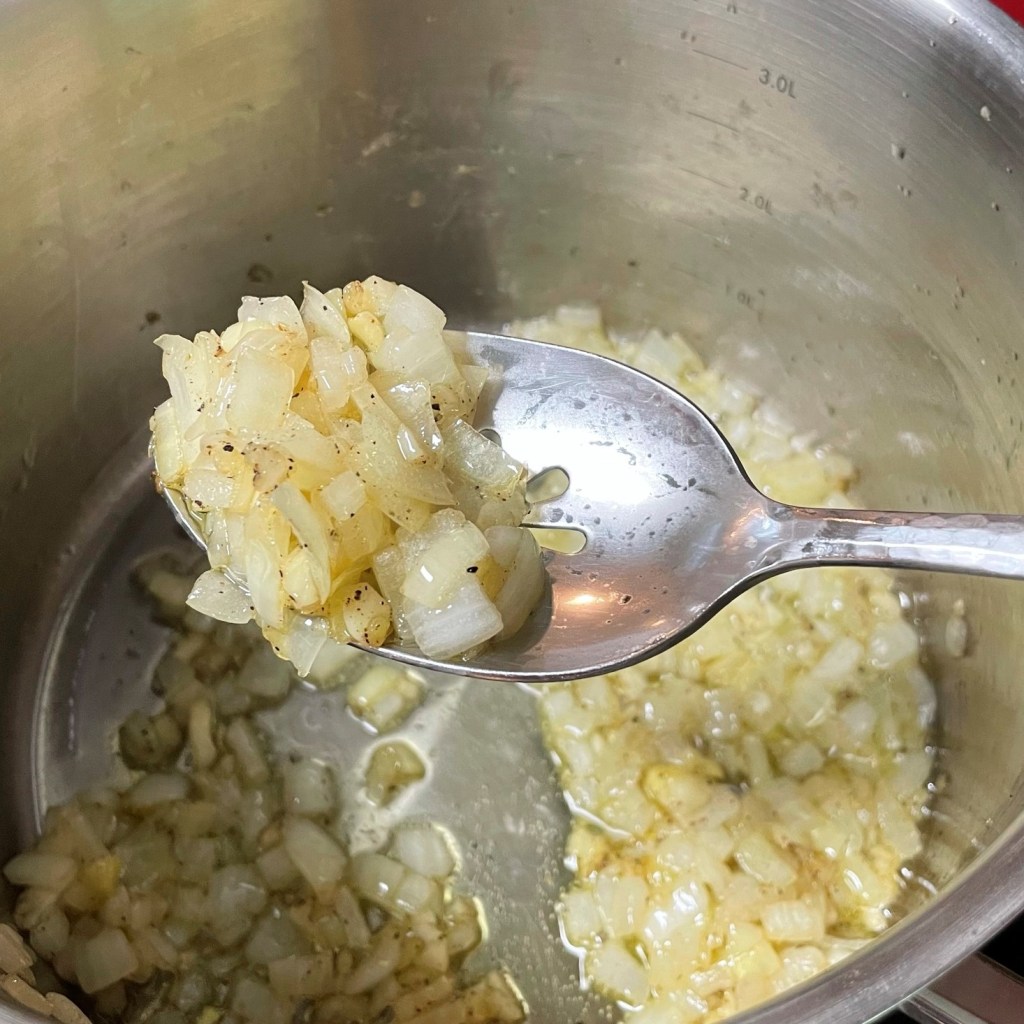
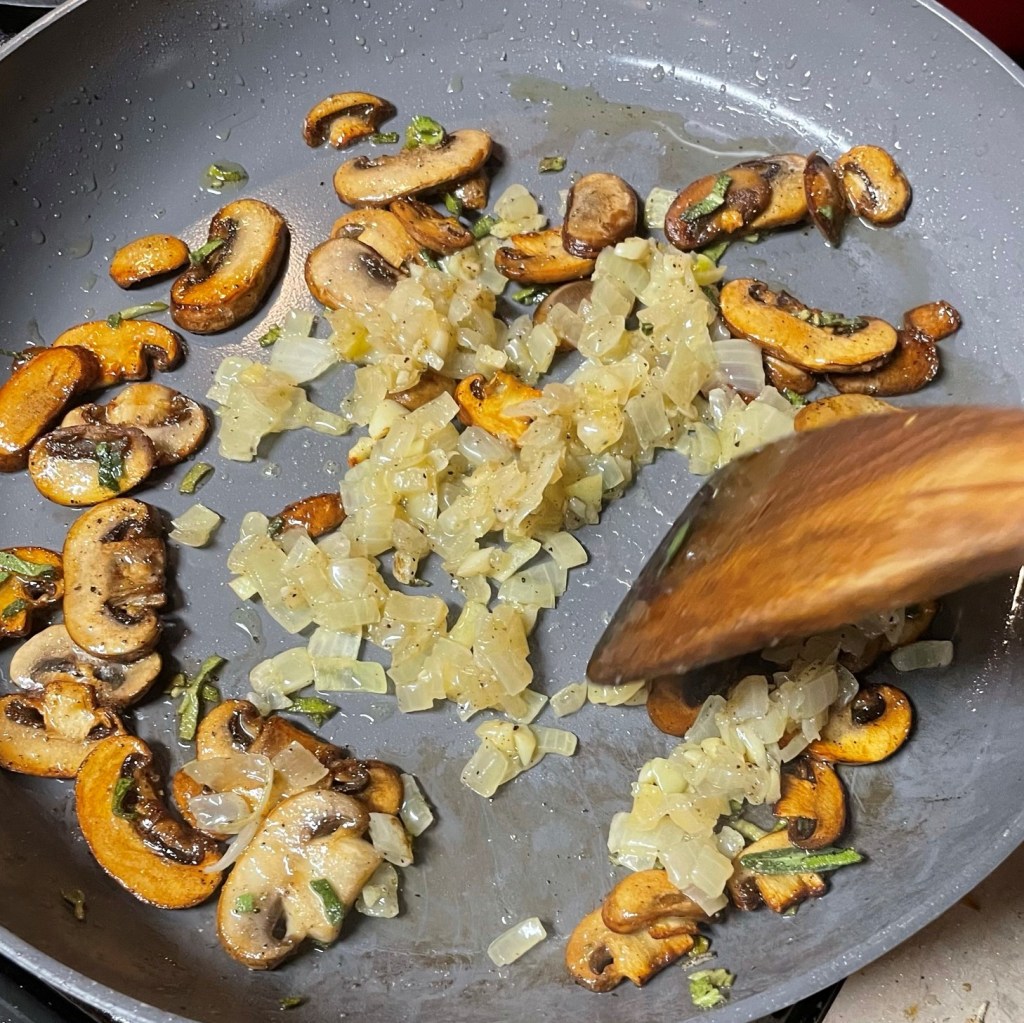
Add an extra splash of oil to the center of the pot and then add the shallots. 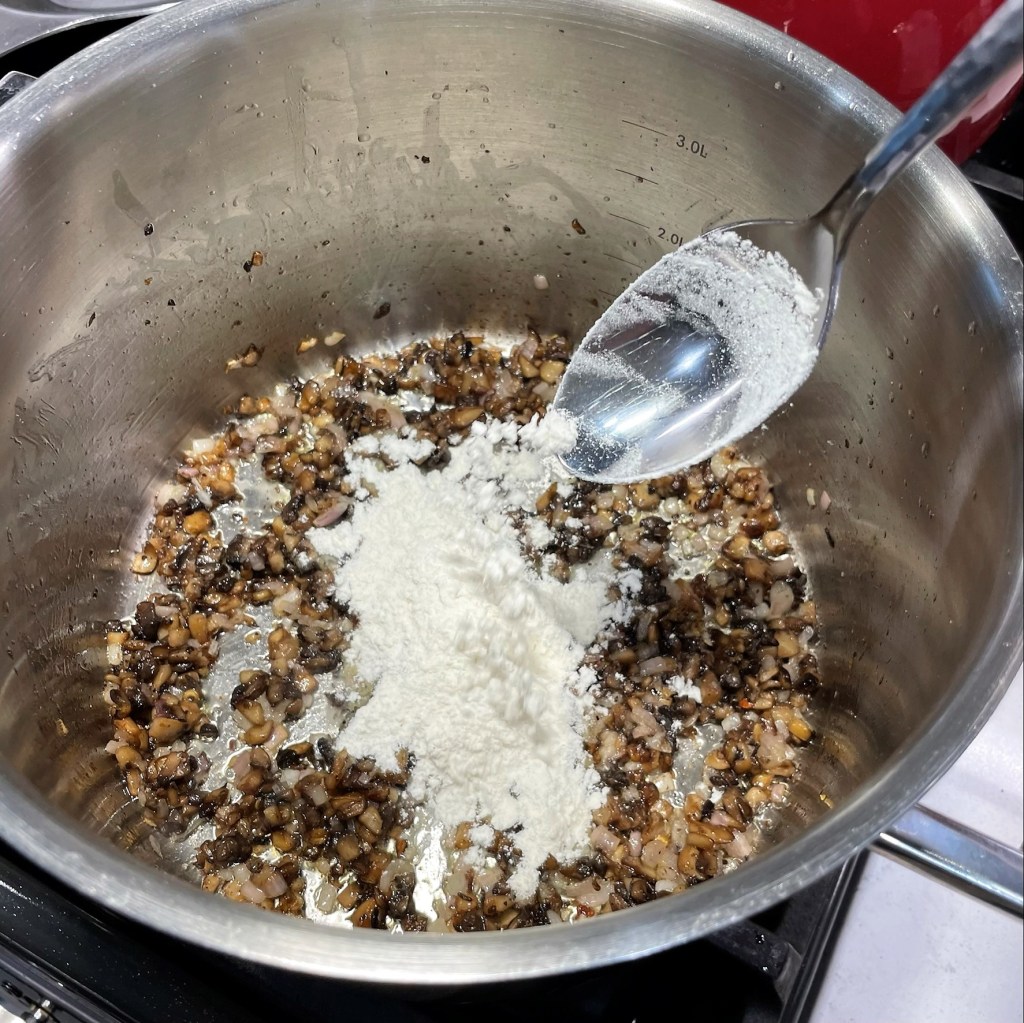
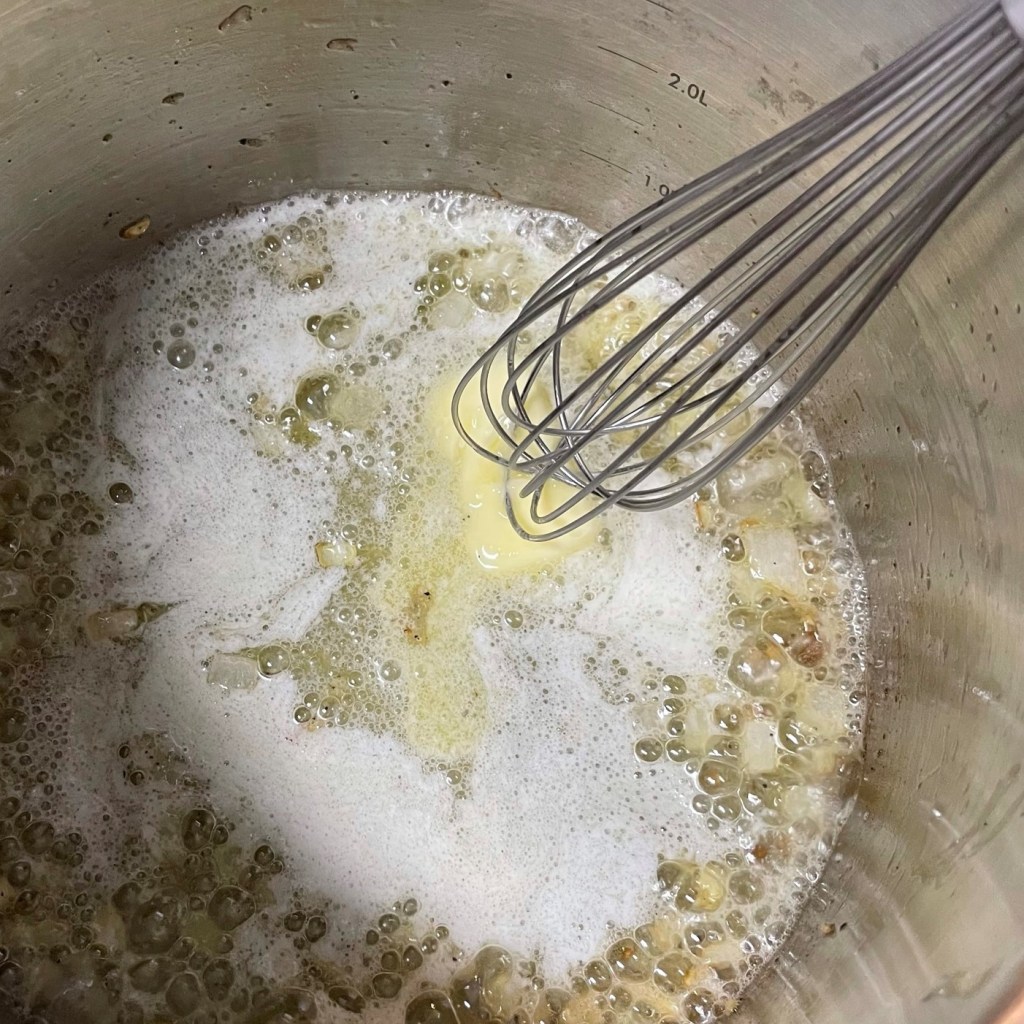
Measure about 3 tablespoons of flour into the mixture, and stir to coat evenly. 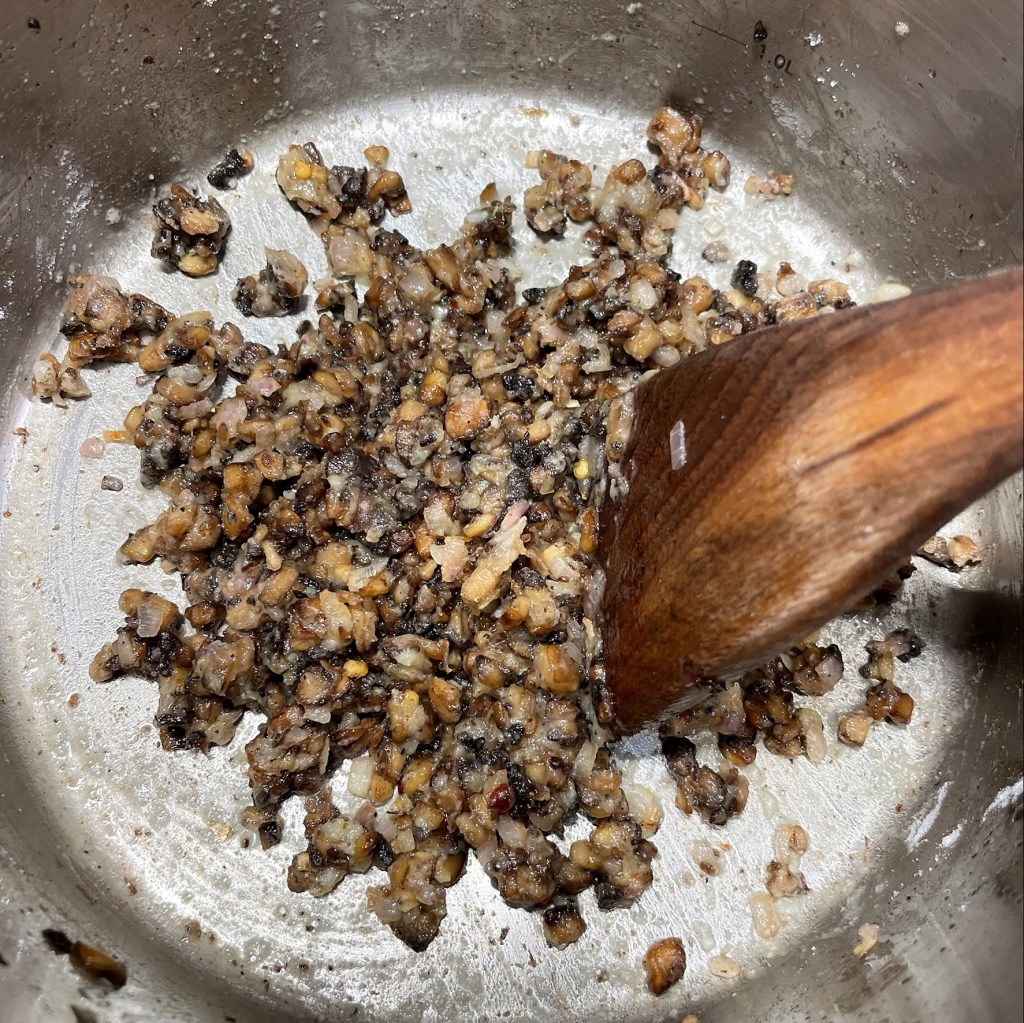
Cook this mix a few minutes so that the flour hydrates with the oil. If it seems dry or powdery, add a touch more oil. 
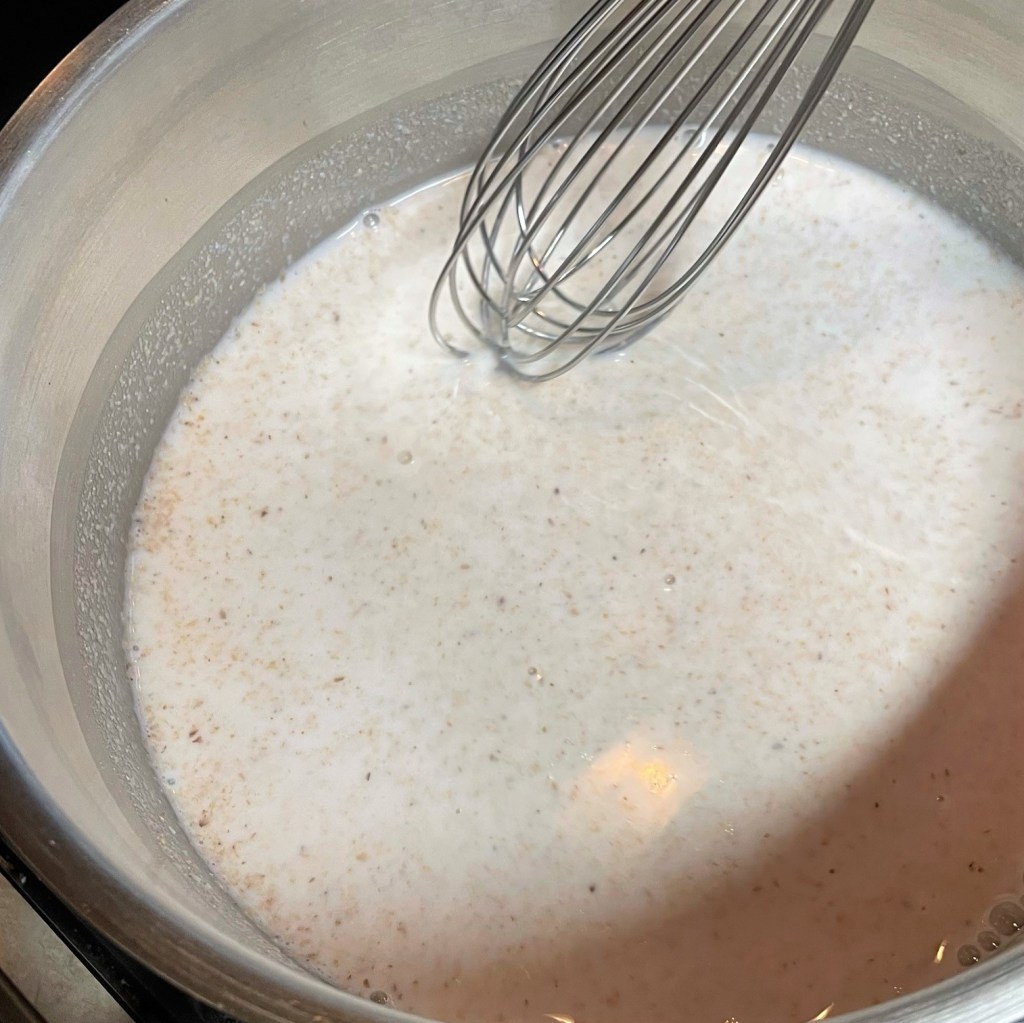
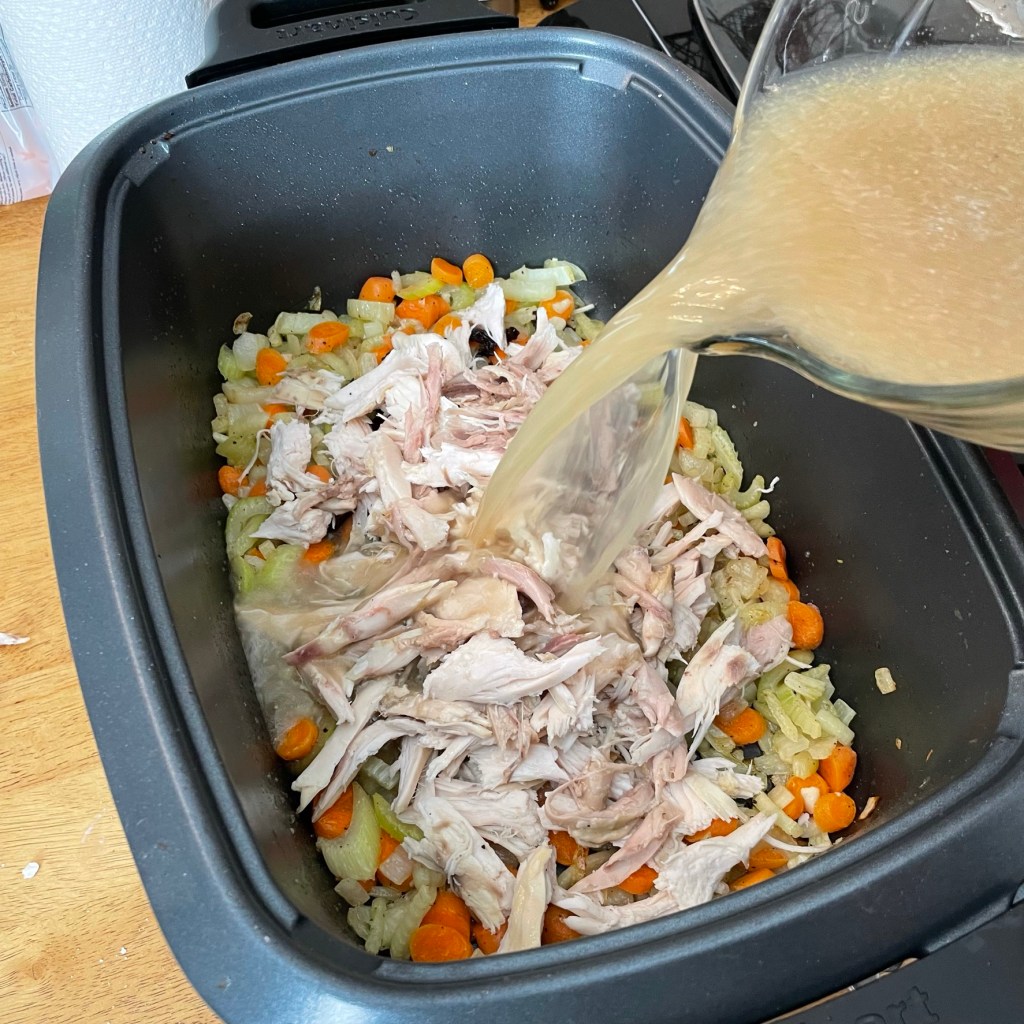
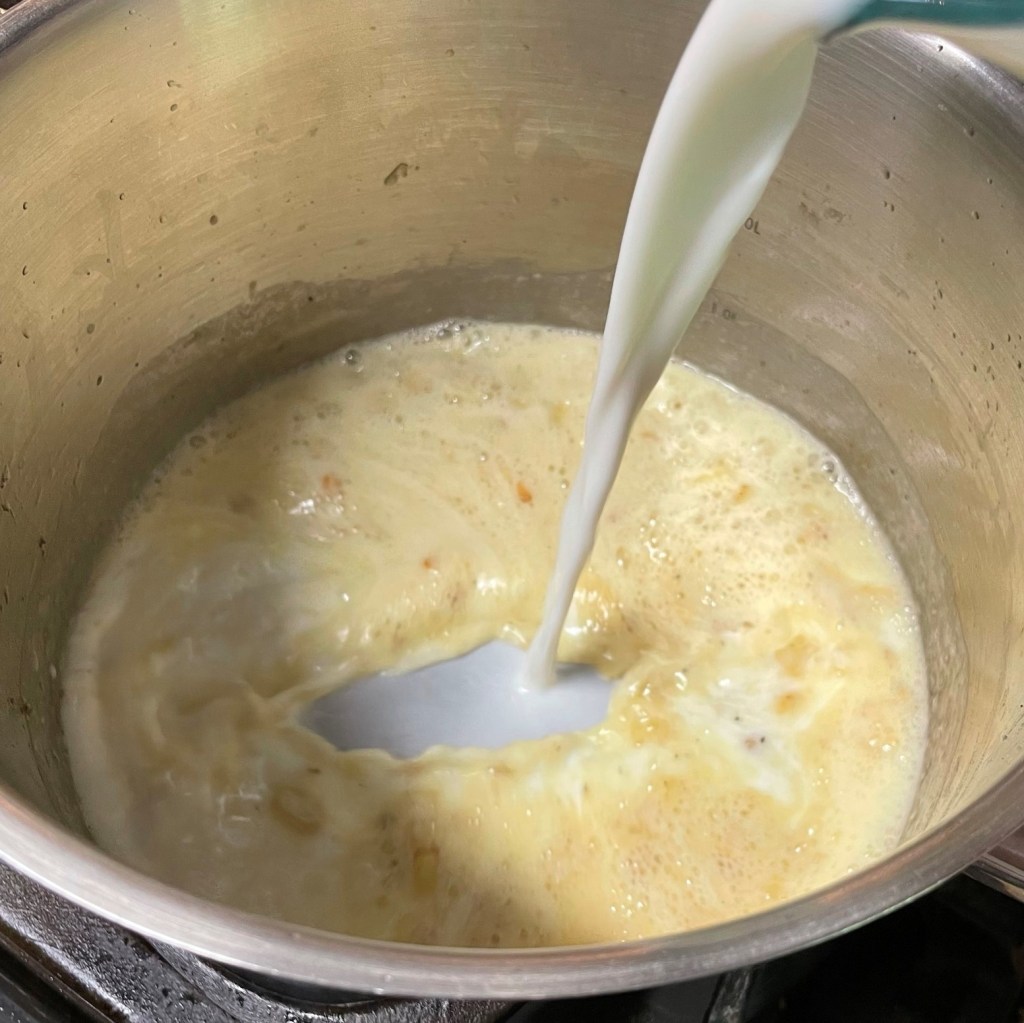
Low sodium vegetable broth adds extra layers of flavor. Mix it well until the gravy reaches a low boil, then simmer. 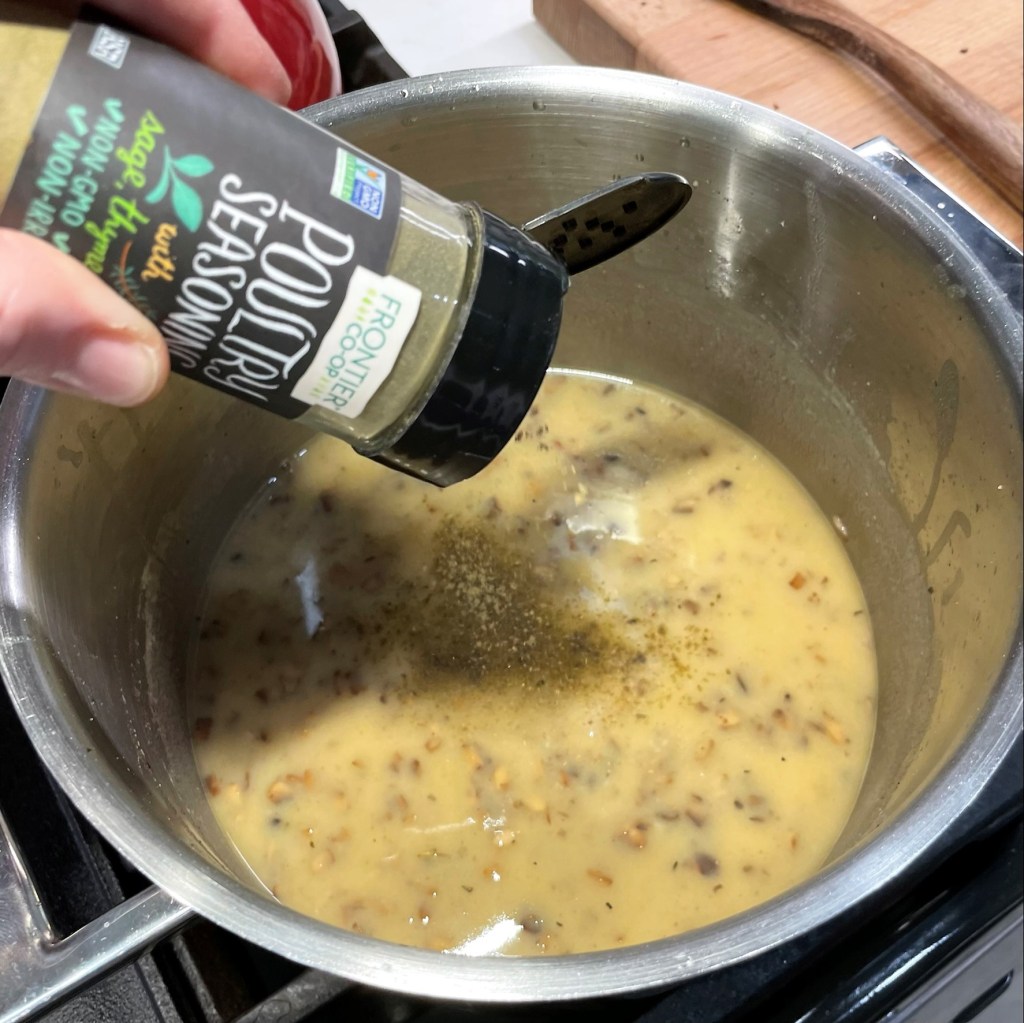
Despite its name, poultry seasoning has no poultry. It is usually a blend of sage, thyme and rosemary. Bell’s seasoning would be a terrific substitute. 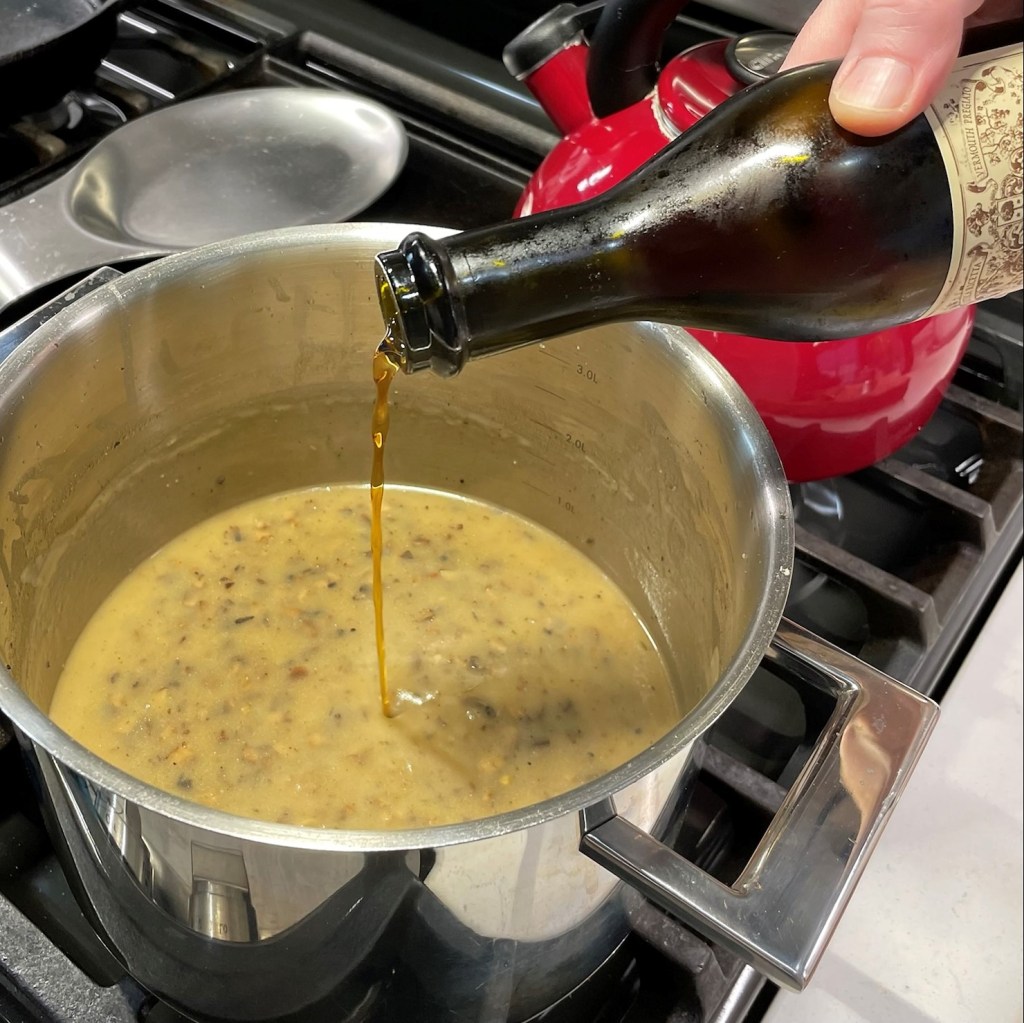
Add a splash of dry white wine. I went out on a limb this time and used a splash of red vermouth, but I like the white wine better. 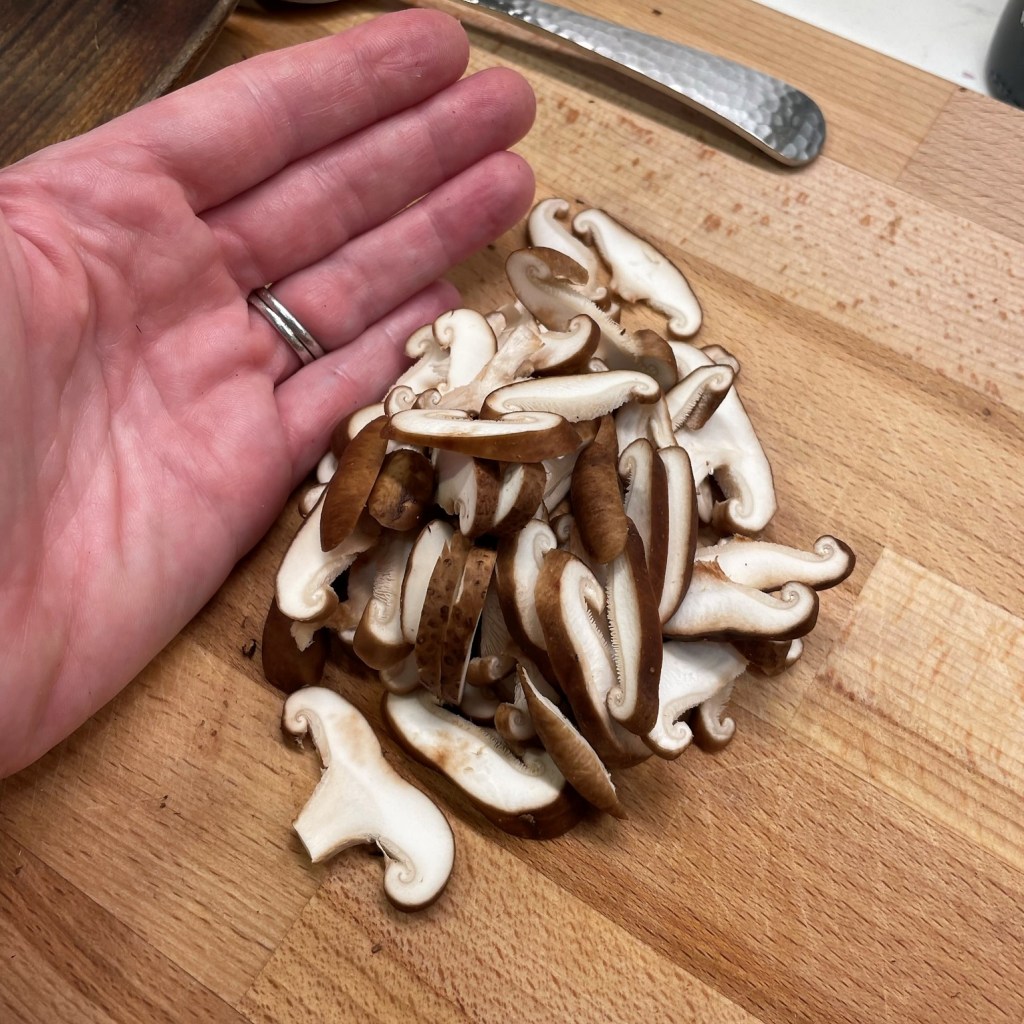
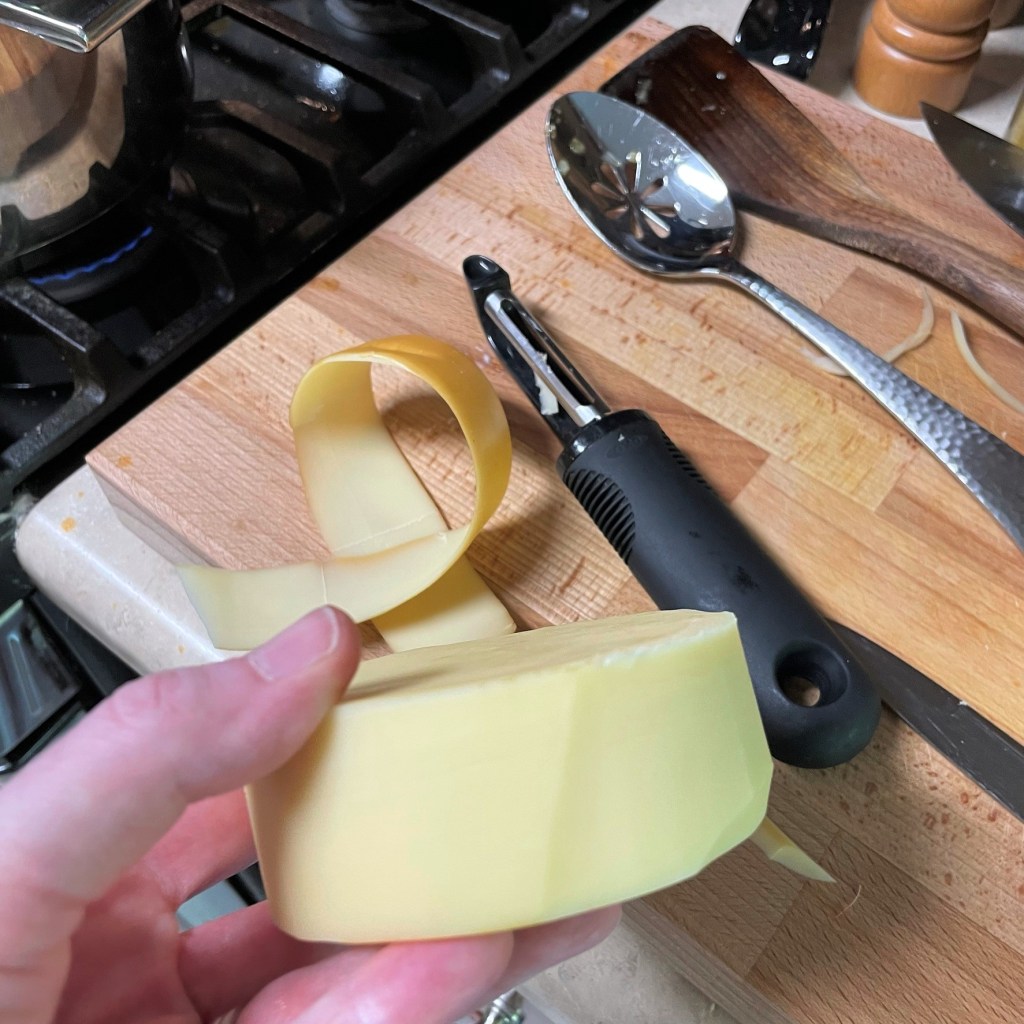
Slice the shiitakes thin to add to the finished gravy. I love the texture and mellow flavor of shiitakes. 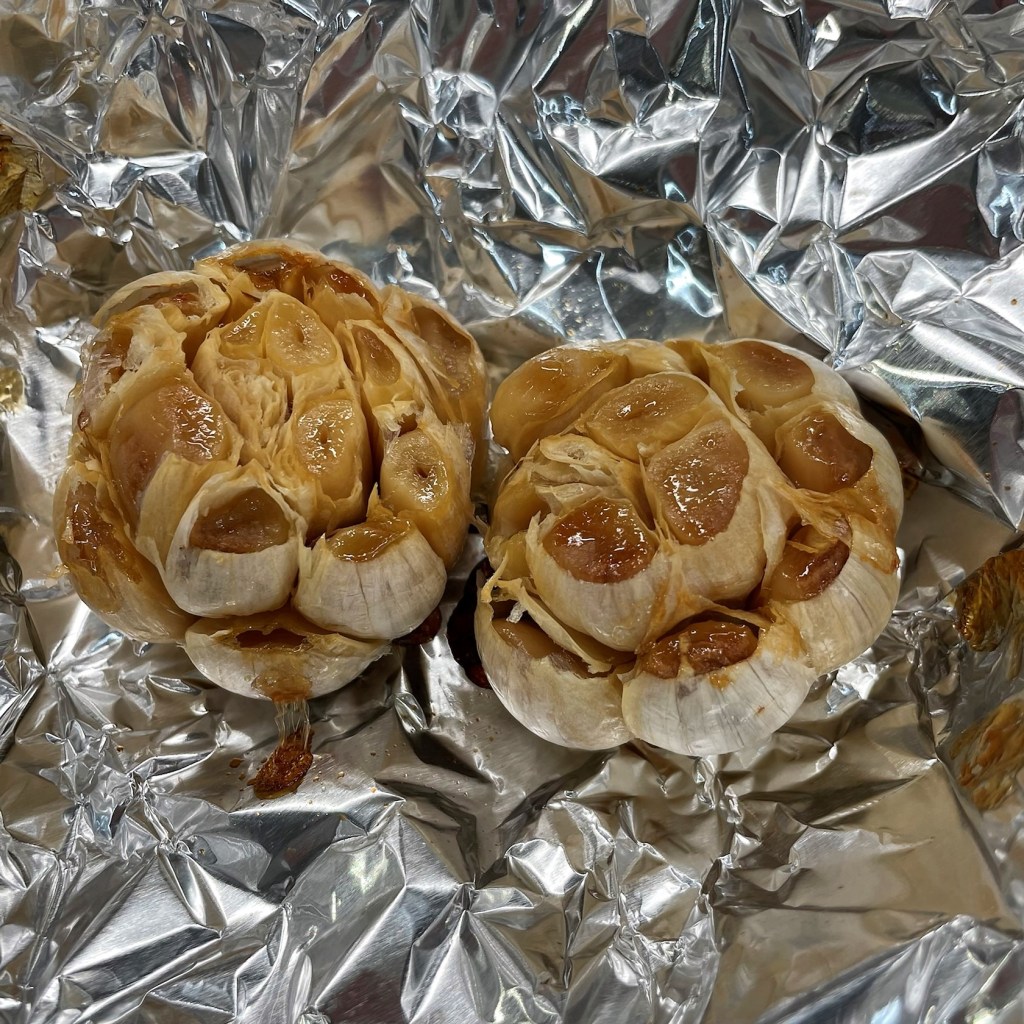
My garlic is ready! You want to roast it until it reaches this golden color. Only use one bulb in the gravy, and save the other for your mashed potatoes! 🙂 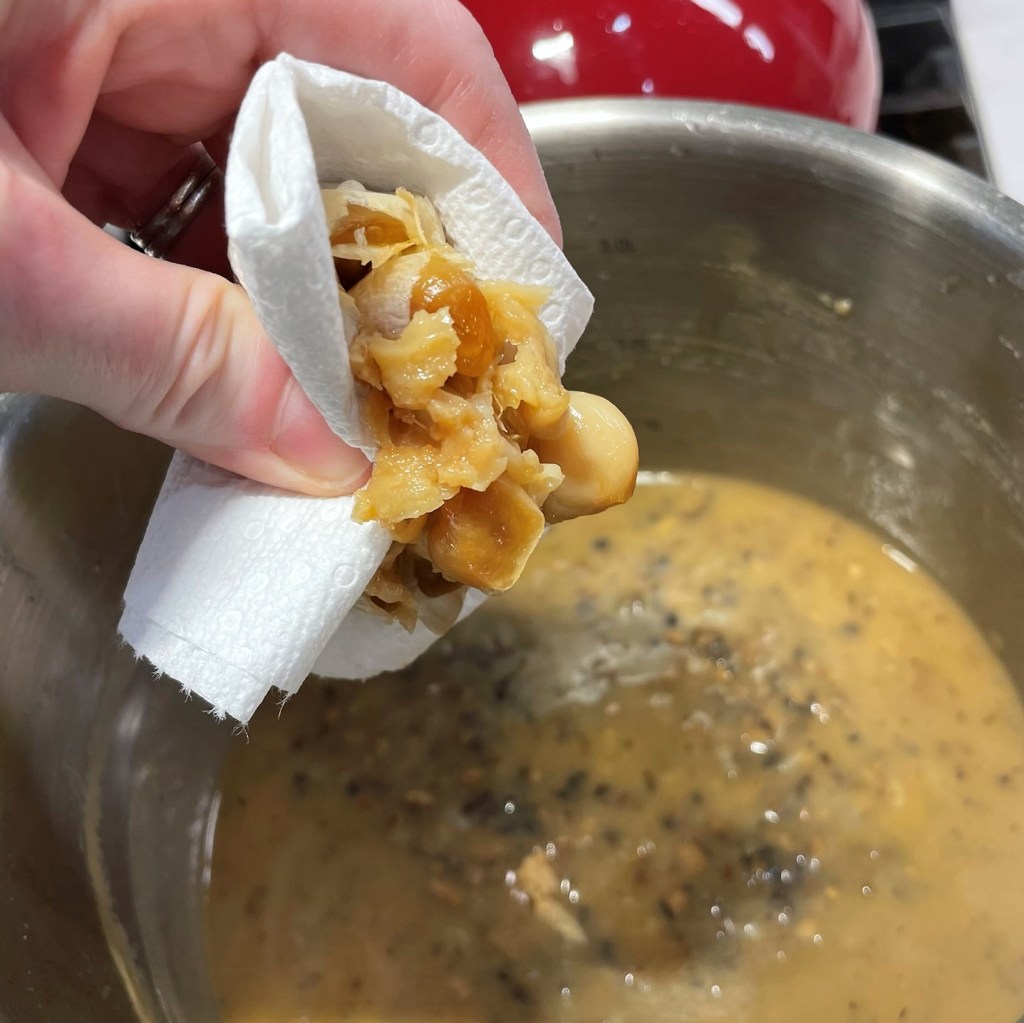
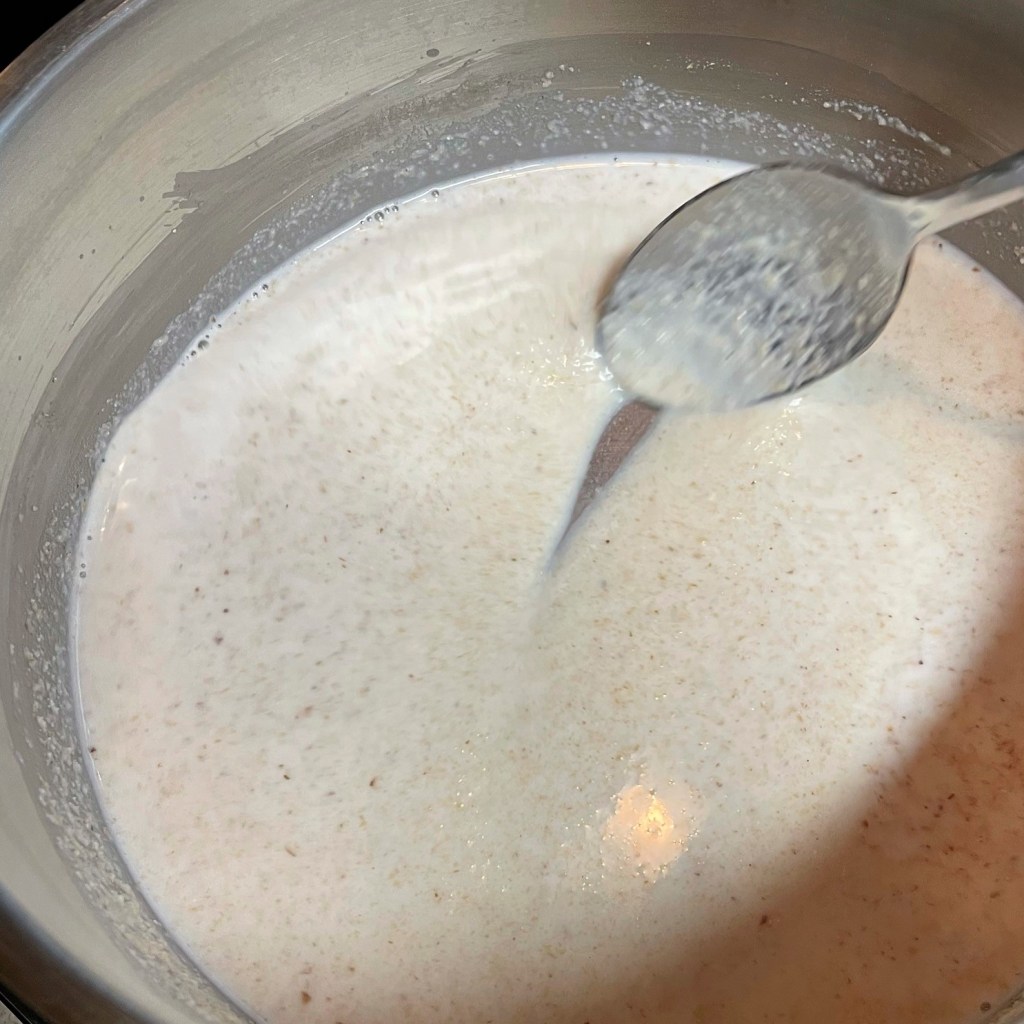
Grip the garlic bulb with a paper towel and gently squeeze the roasted cloves out, directly into the gravy pot. 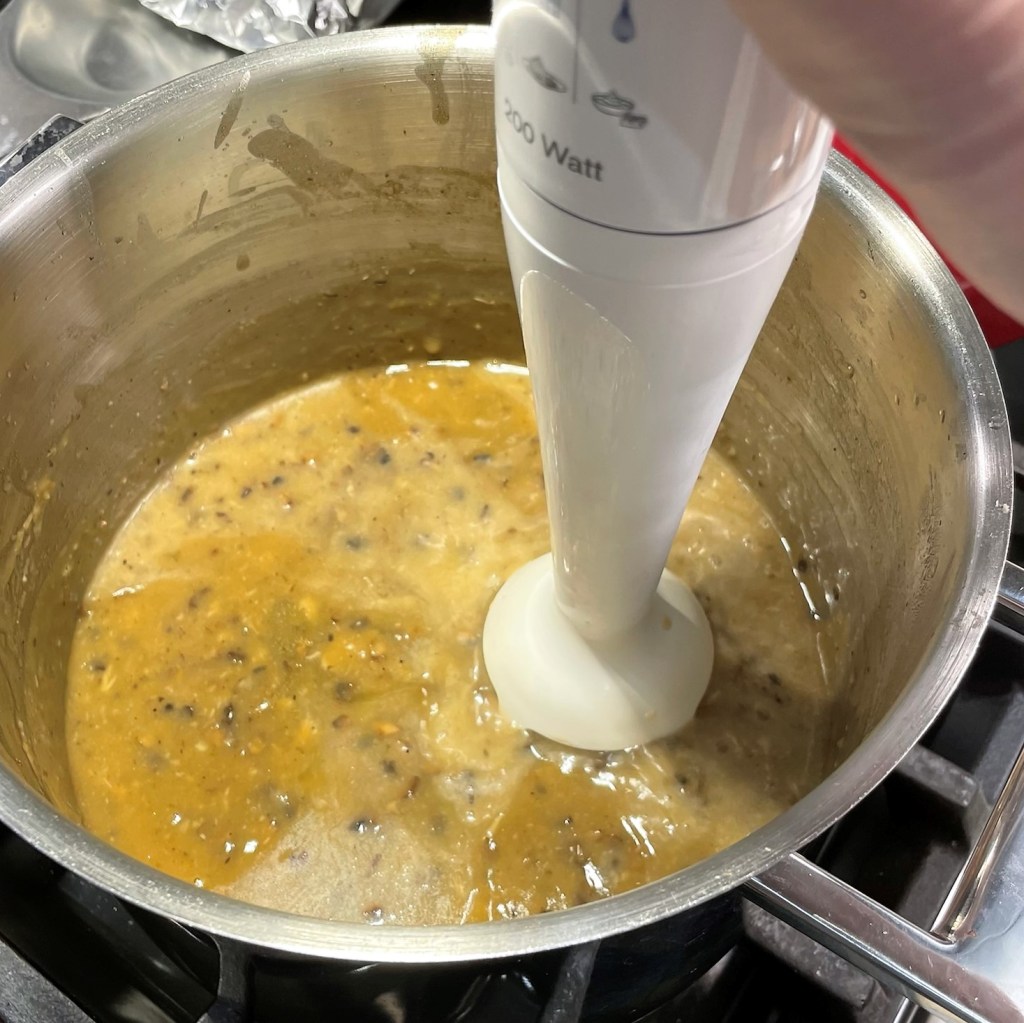
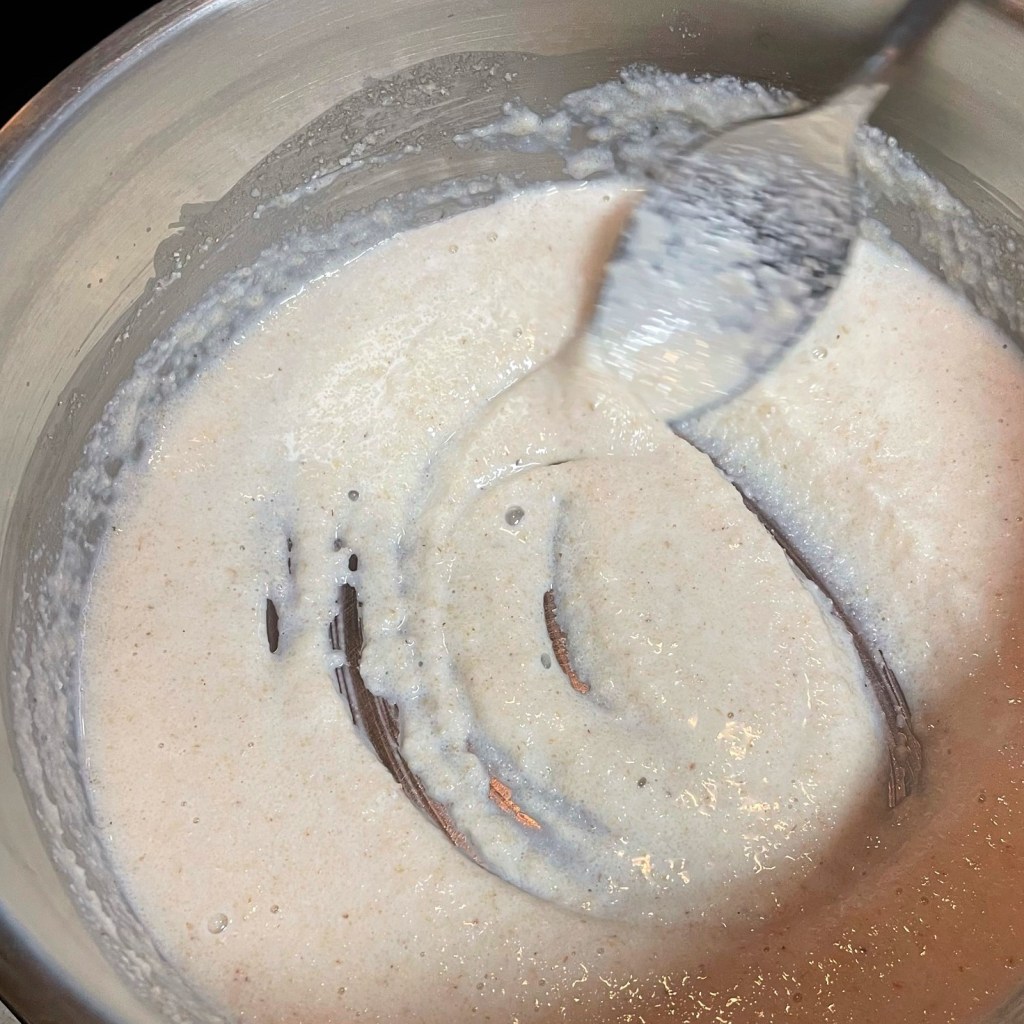
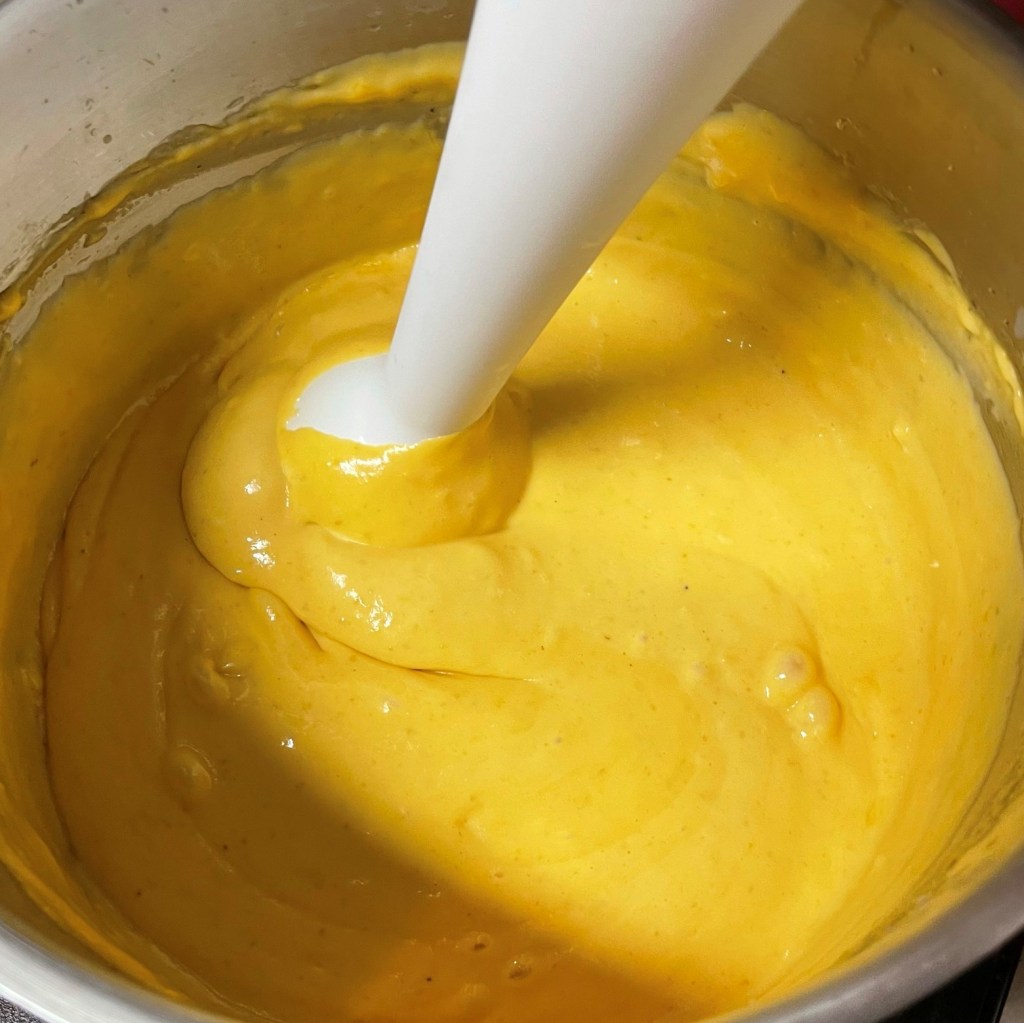
On a whim, I decided to use the immersion blender to puree the gravy. It is fine to keep the bits of mushroom as they are. 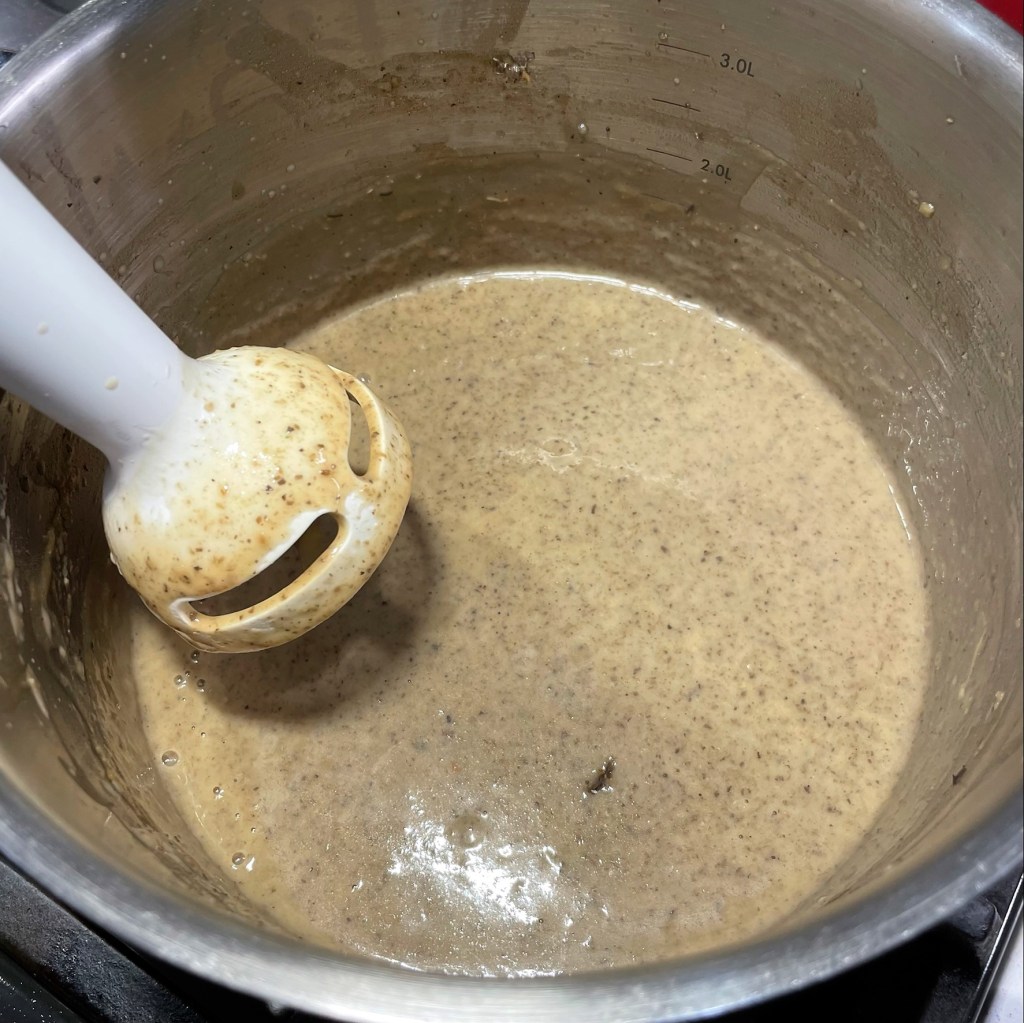
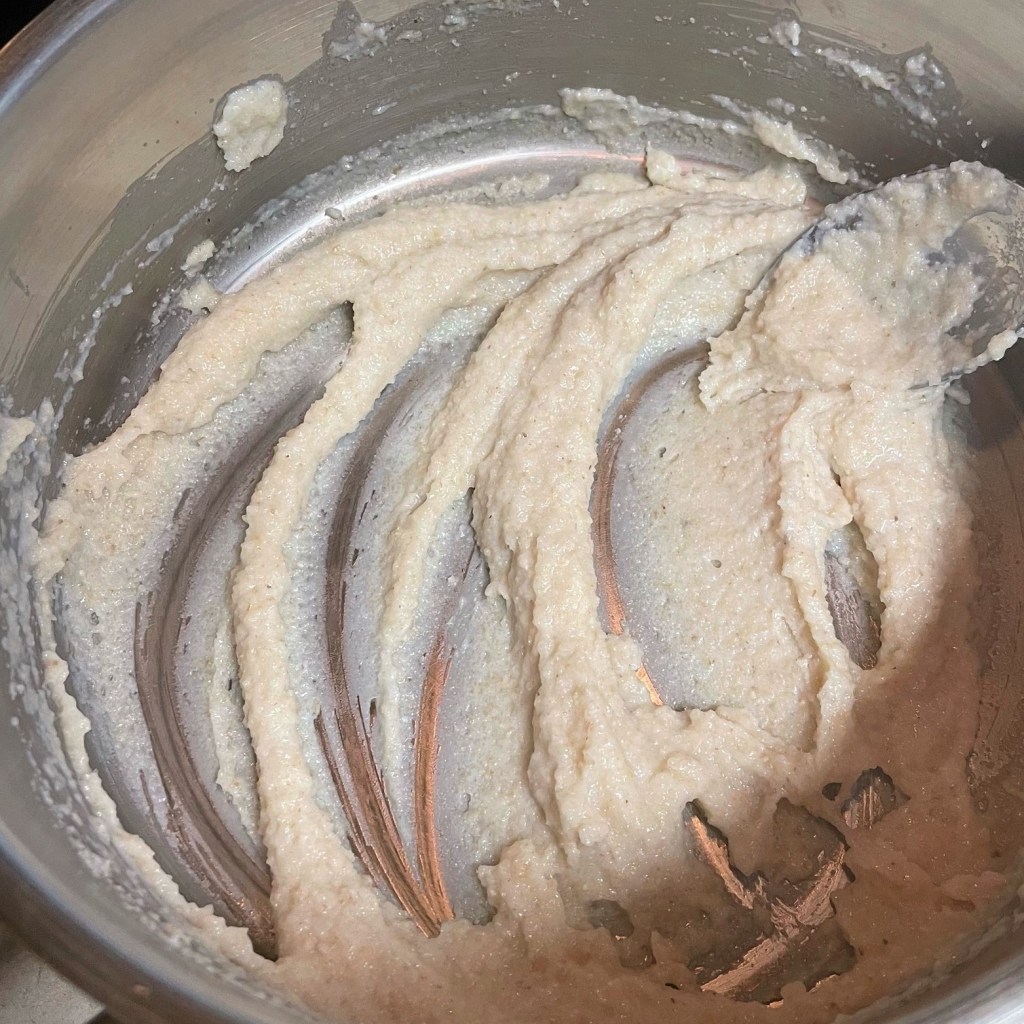
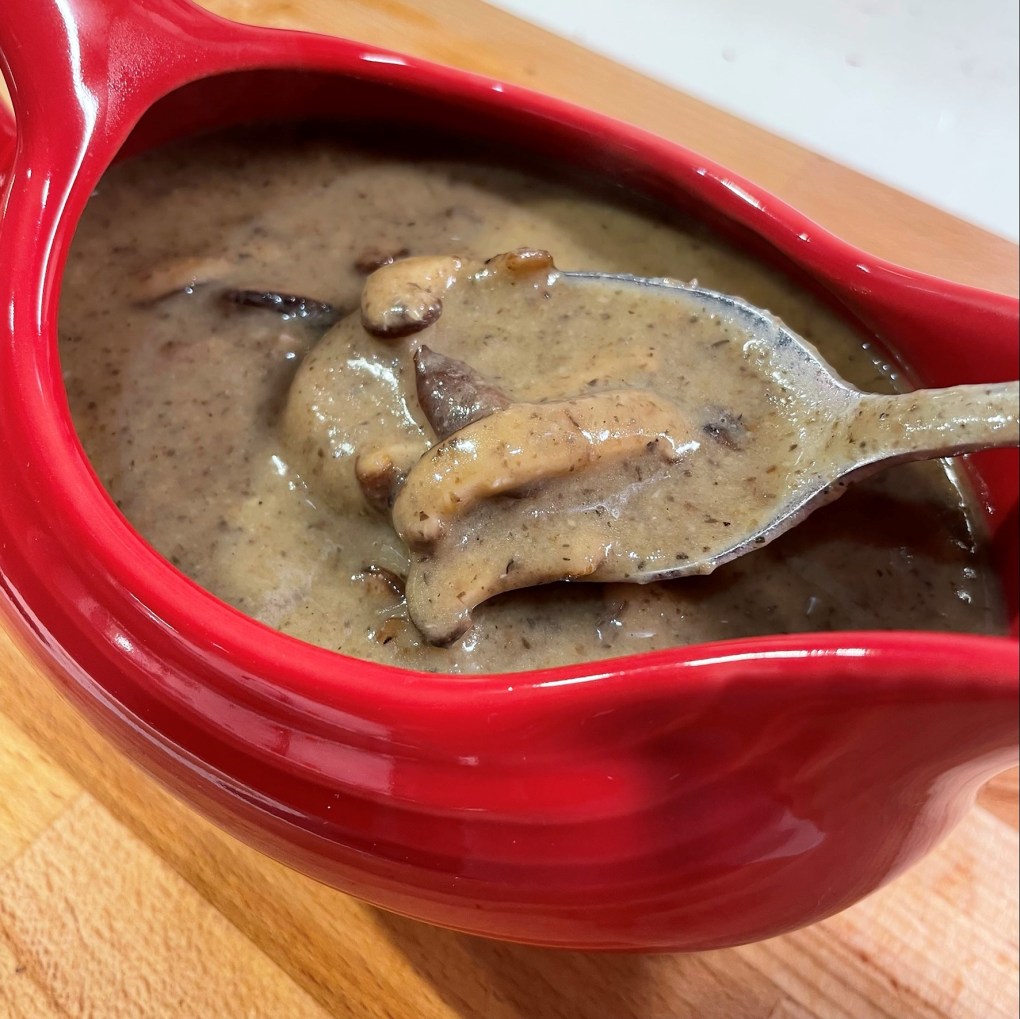
After blending, the gravy resembles a creamy mushroom soup. 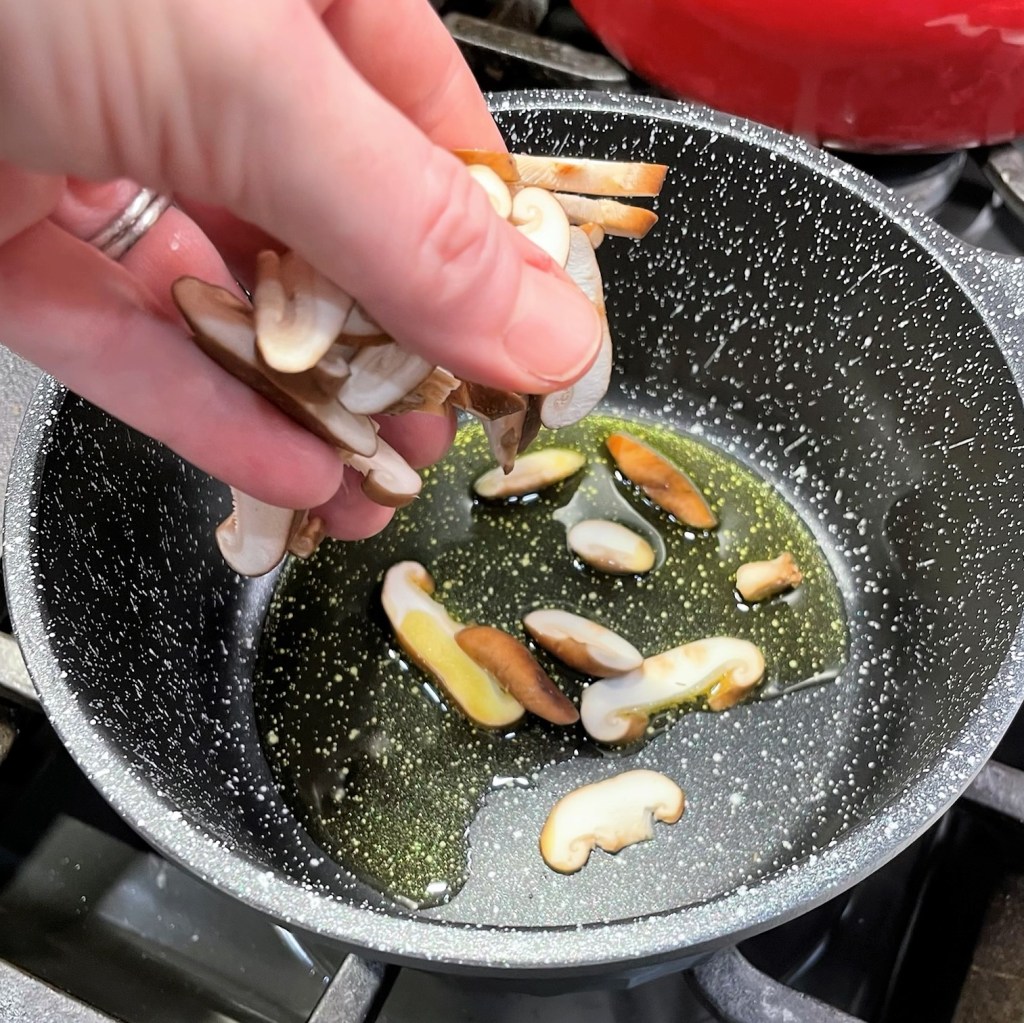
Brown the shiitake slices in a touch of olive oil, then add them to the gravy. 
Call me to the table, already!
- If you don’t already have your roasted garlic, go make that. Please don’t try to substitute with fresh sauteed garlic. The flavor will be too strong.
- Heat 4 Tbsp. olive oil over medium heat. Sauté half of the mushrooms, tossing to coat them in the oil, until they give off their moisture and shrink in size. Repeat with remaining mushrooms. Season with salt, pepper and umami seasoning. Move the mushrooms to the sides of the pot.
- Swirl another tablespoon of oil into the center of the pot and add the shallots. Saute until slightly softened. Add flour and toss until absorbed into the oil. The mixture should look somewhat pasty, but not dry. Add a final tablespoon of oil if needed to reach this consistency. Cook the mixture for a minute or two.
- Add vegetable broth all at once and stir continuously for a minute or two to hydrate the roux. Bring to a slight boil, then reduce heat and simmer for 10 minutes until mixture is thickened. Stir in wine and simmer over very low heat for about an hour.
- Squeeze in the entire bulb of roasted garlic, taking care to not drop the garlic paper into the pot. Use a whisk to ensure the garlic is fully blended, or use an immersion blender to whip the gravy into a smoother consistency.
- In a small skillet, heat 1 Tbsp. olive oil and sauté the sliced shiitake mushrooms until softened and slightly browned, then stir them into the gravy. Serve immediately or refrigerate up to three days ahead.

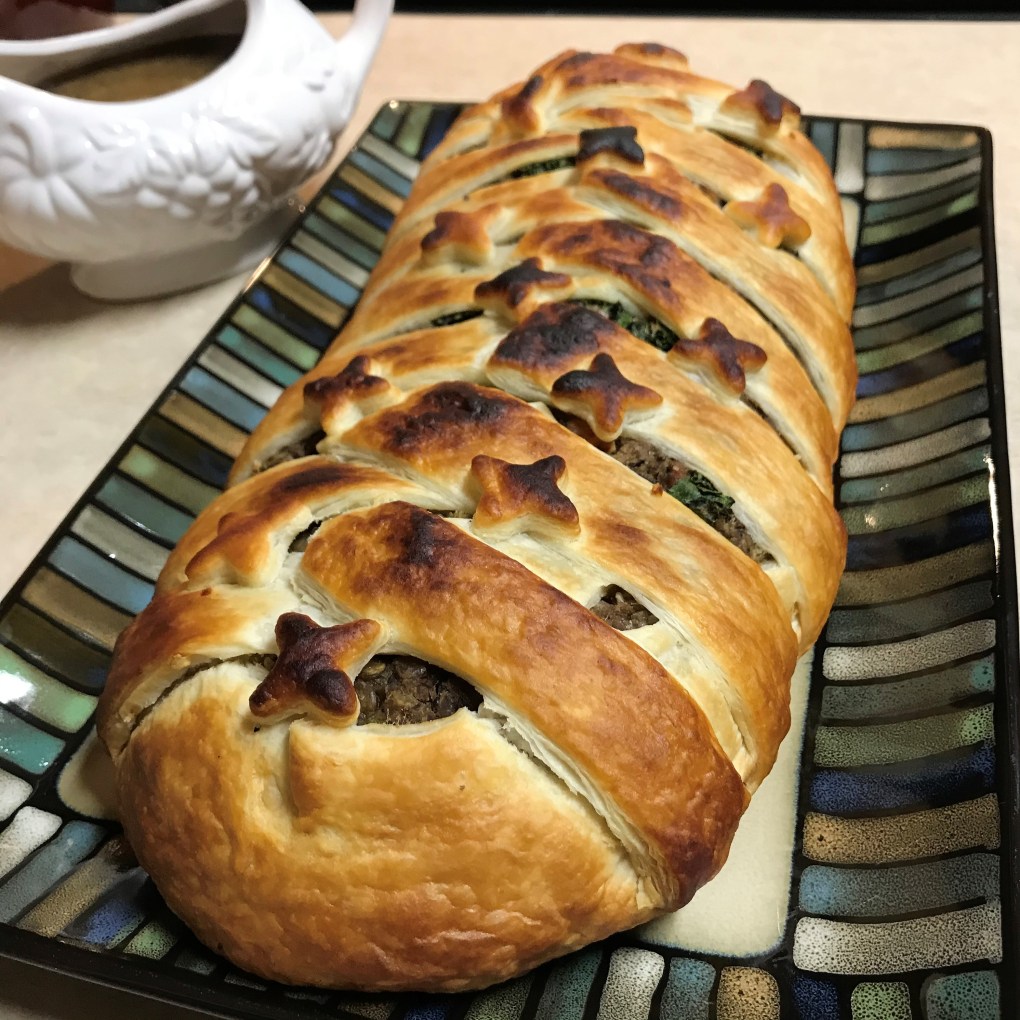
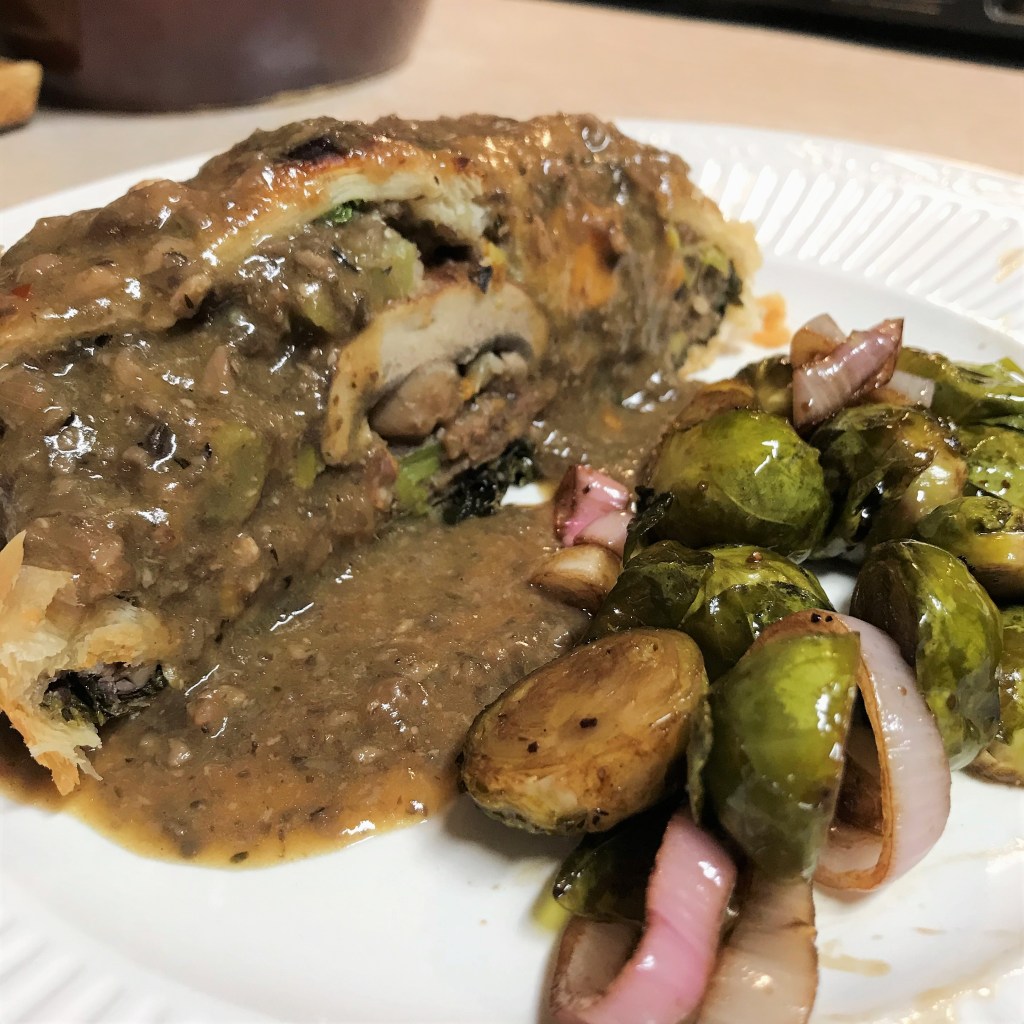
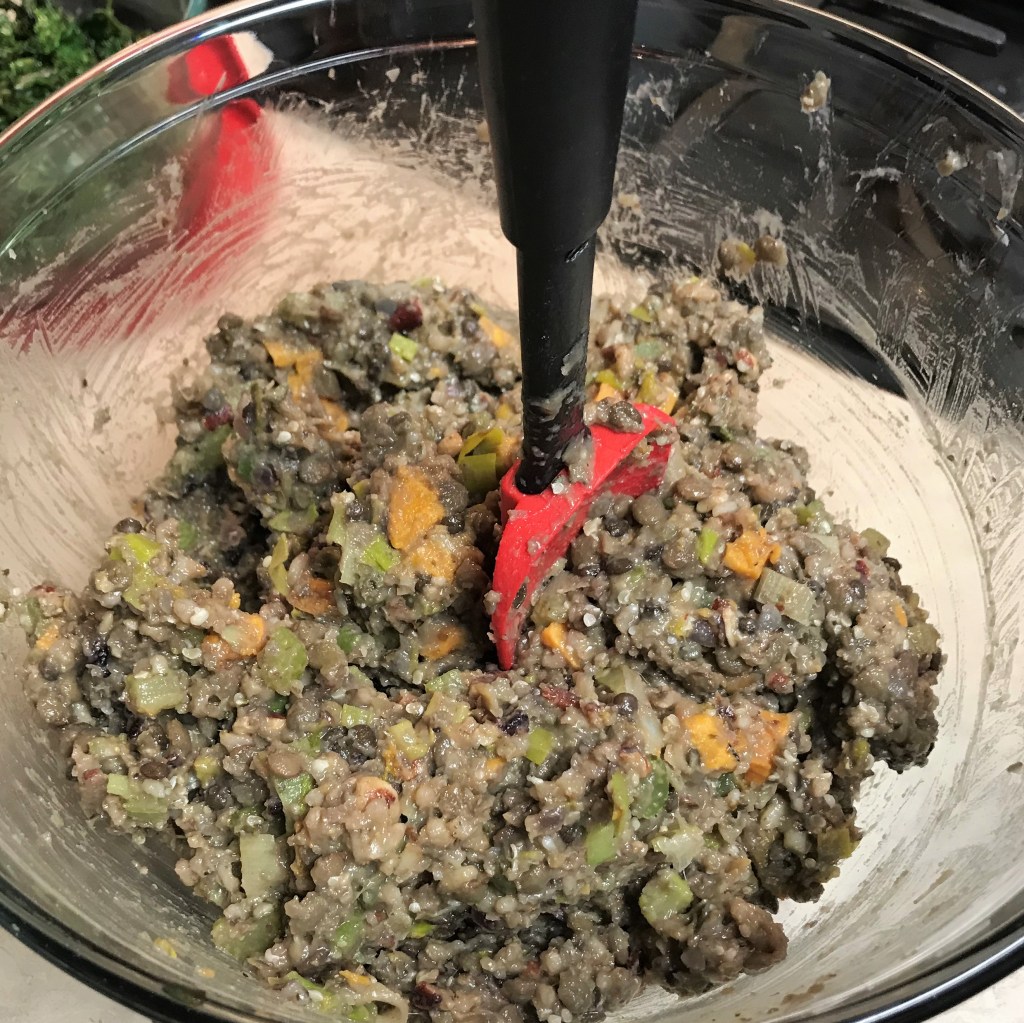
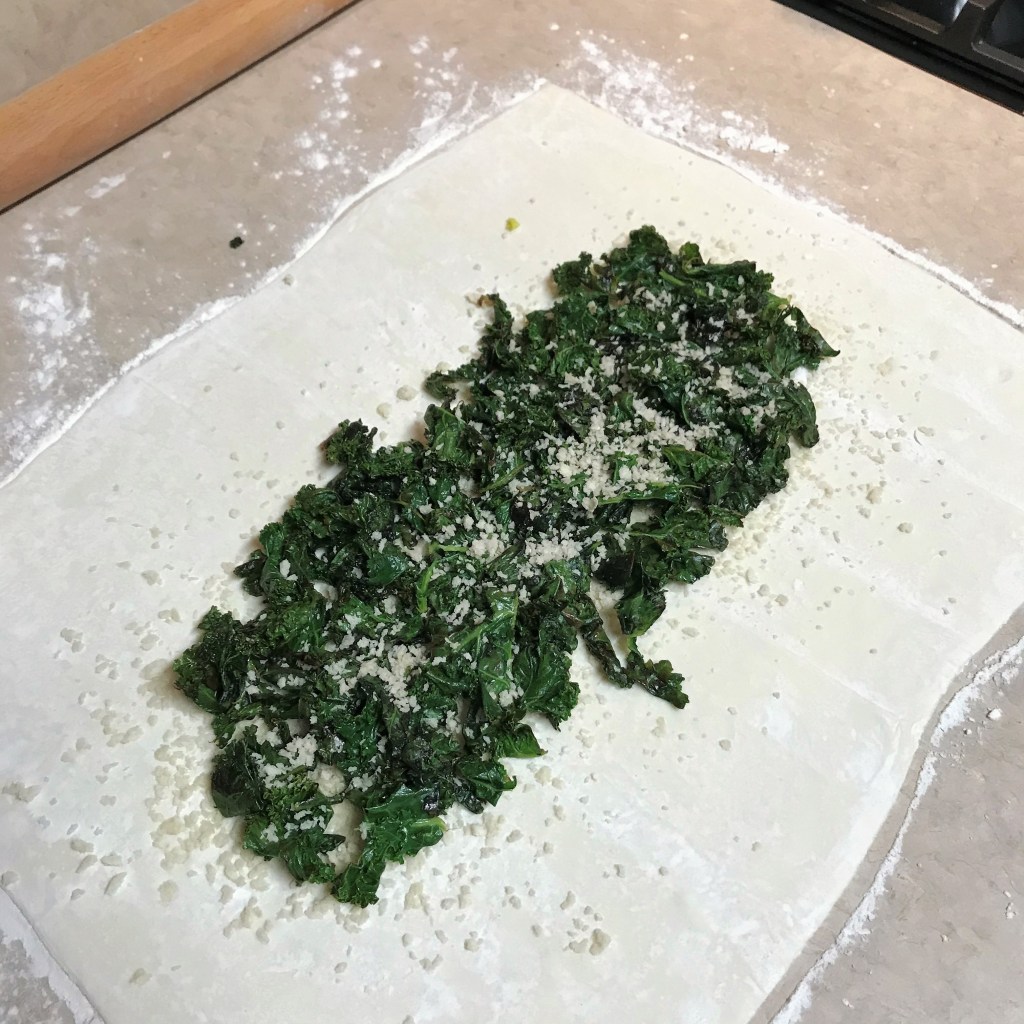
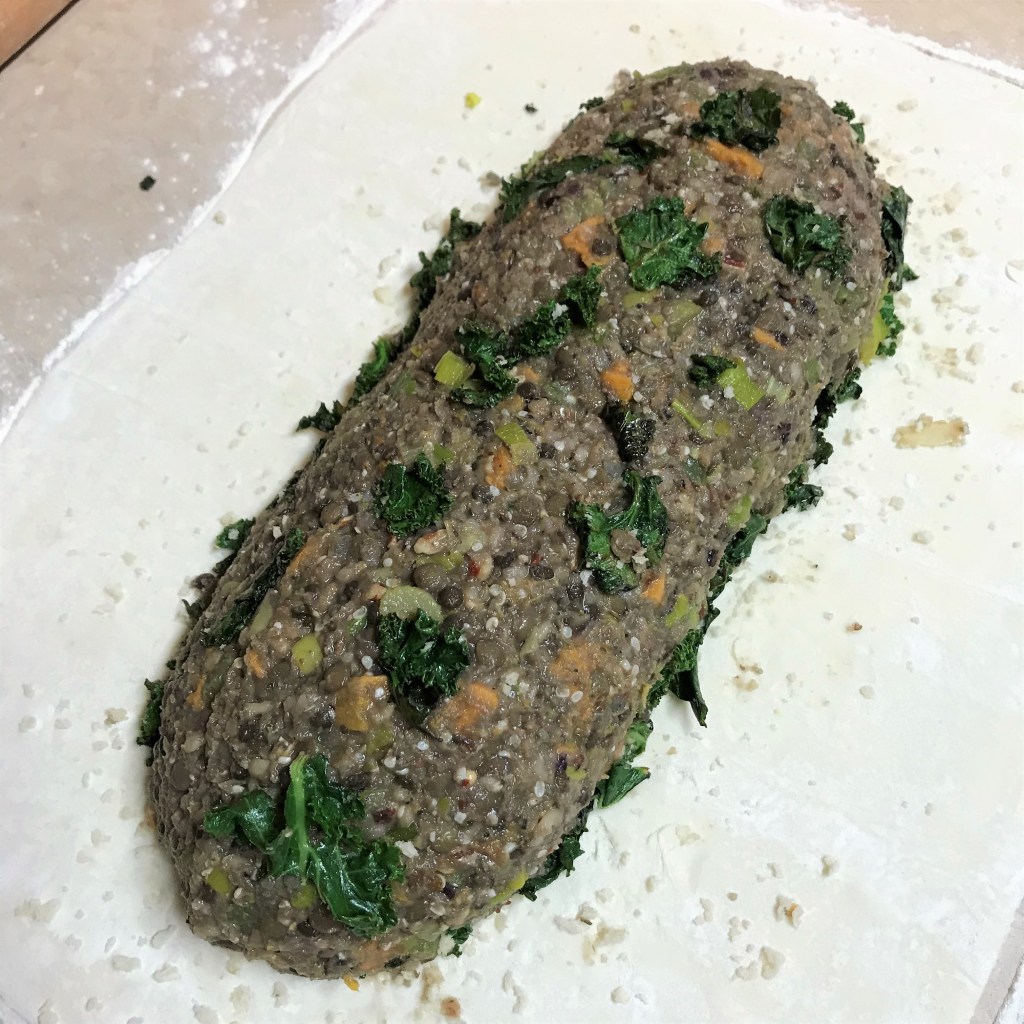
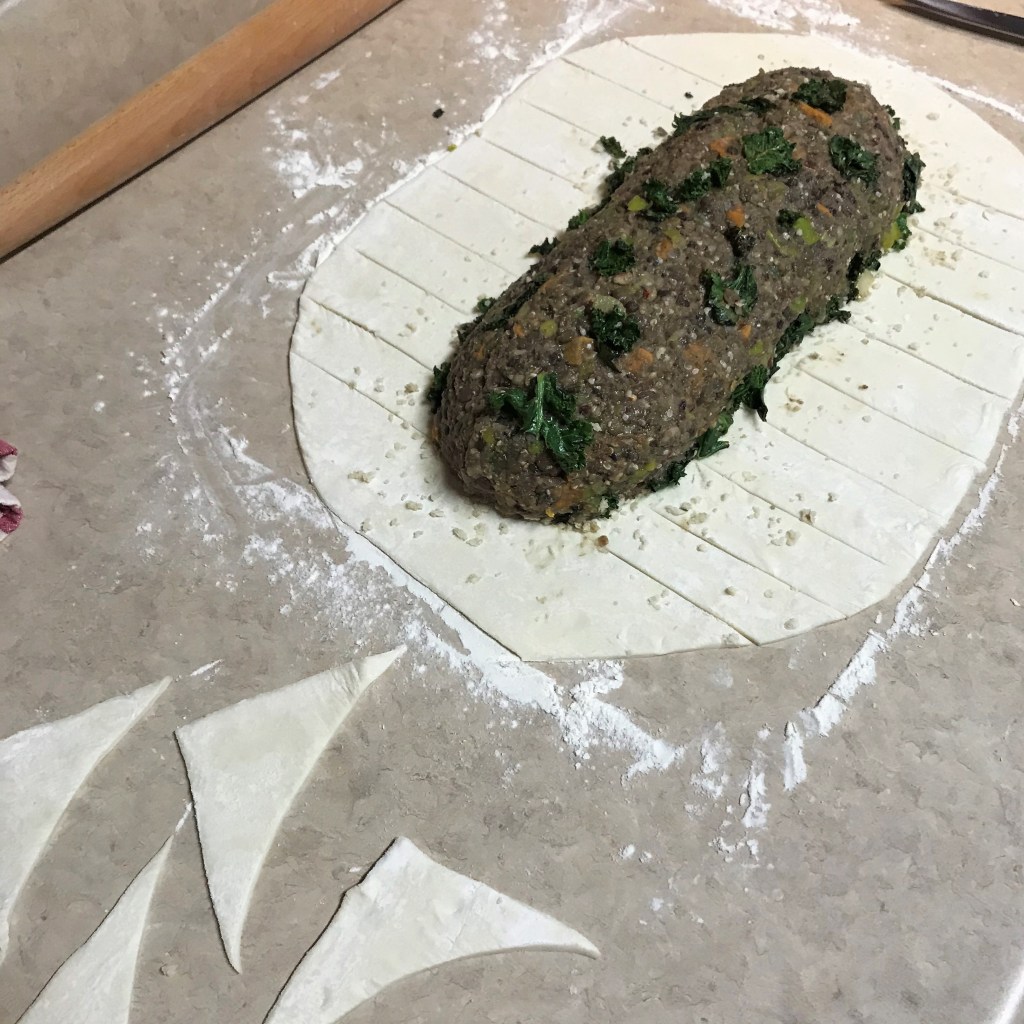
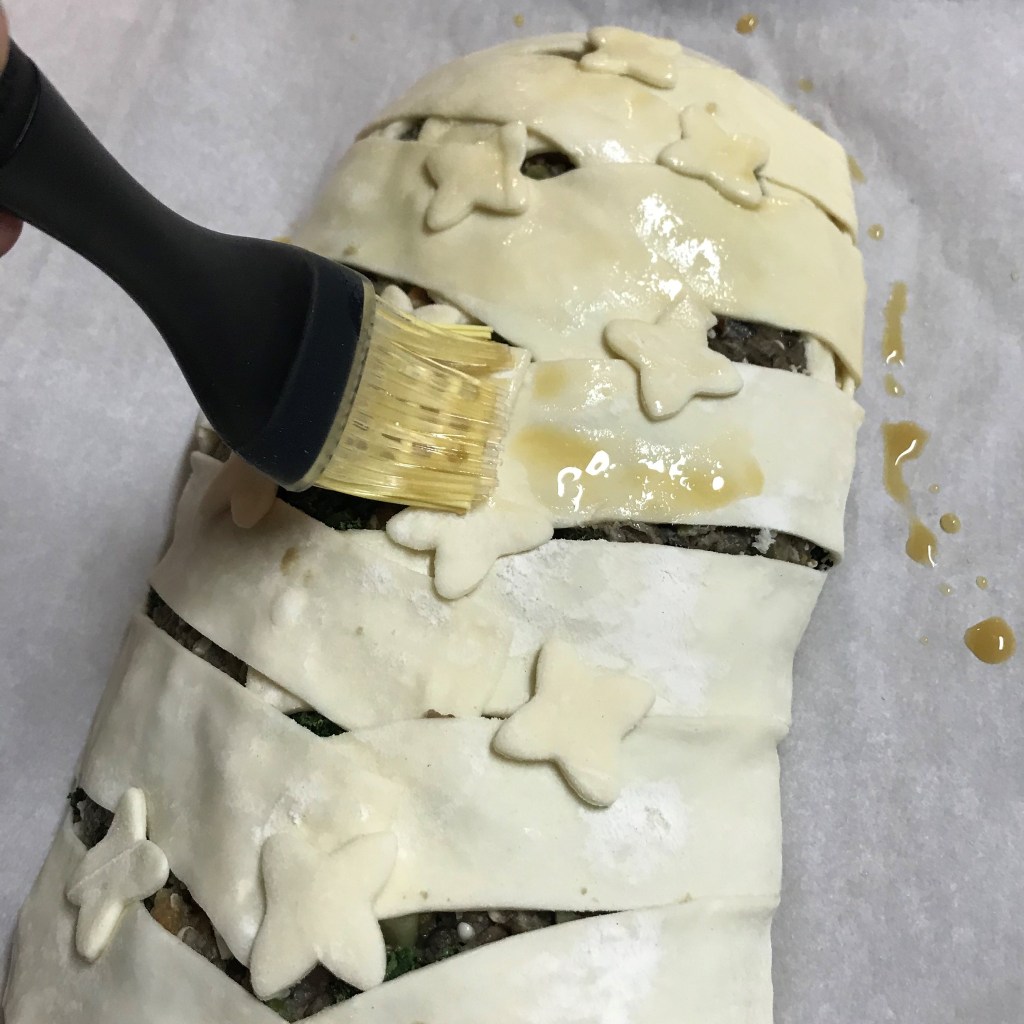
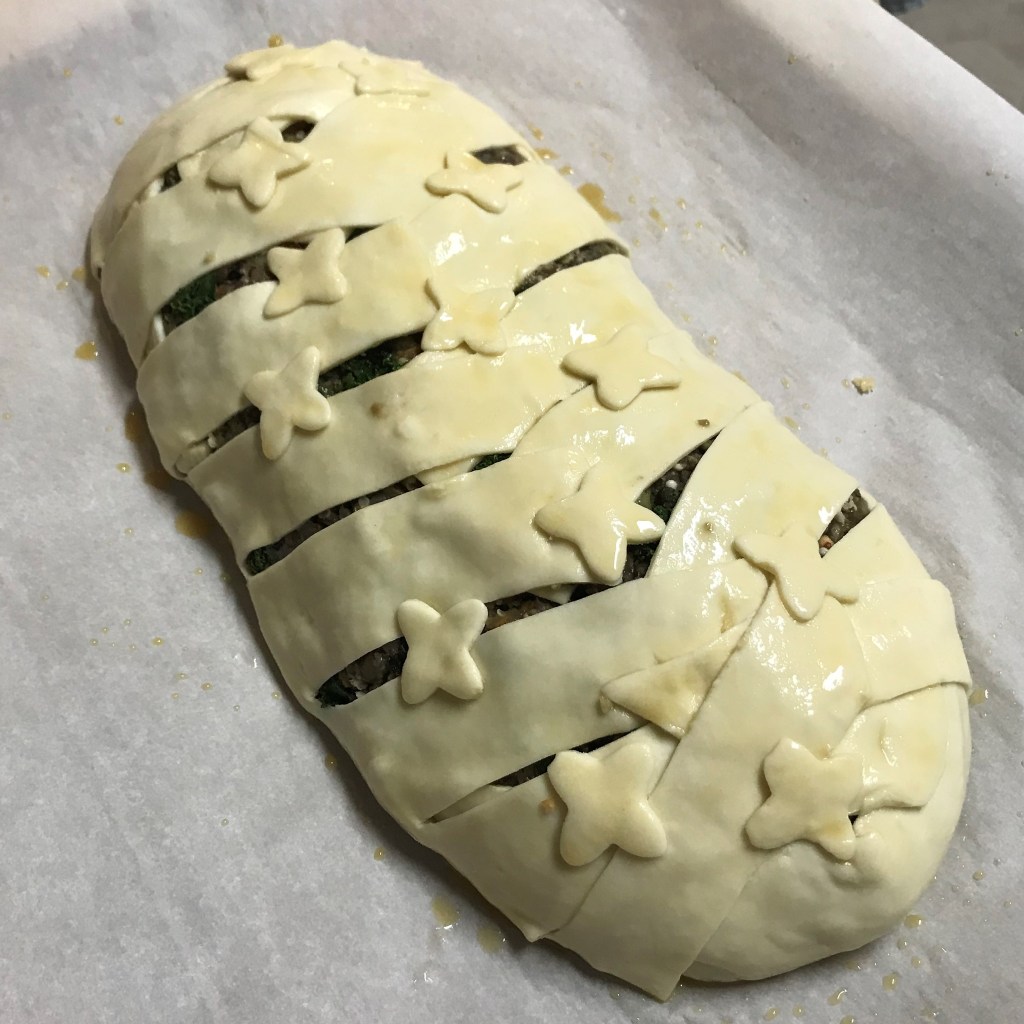
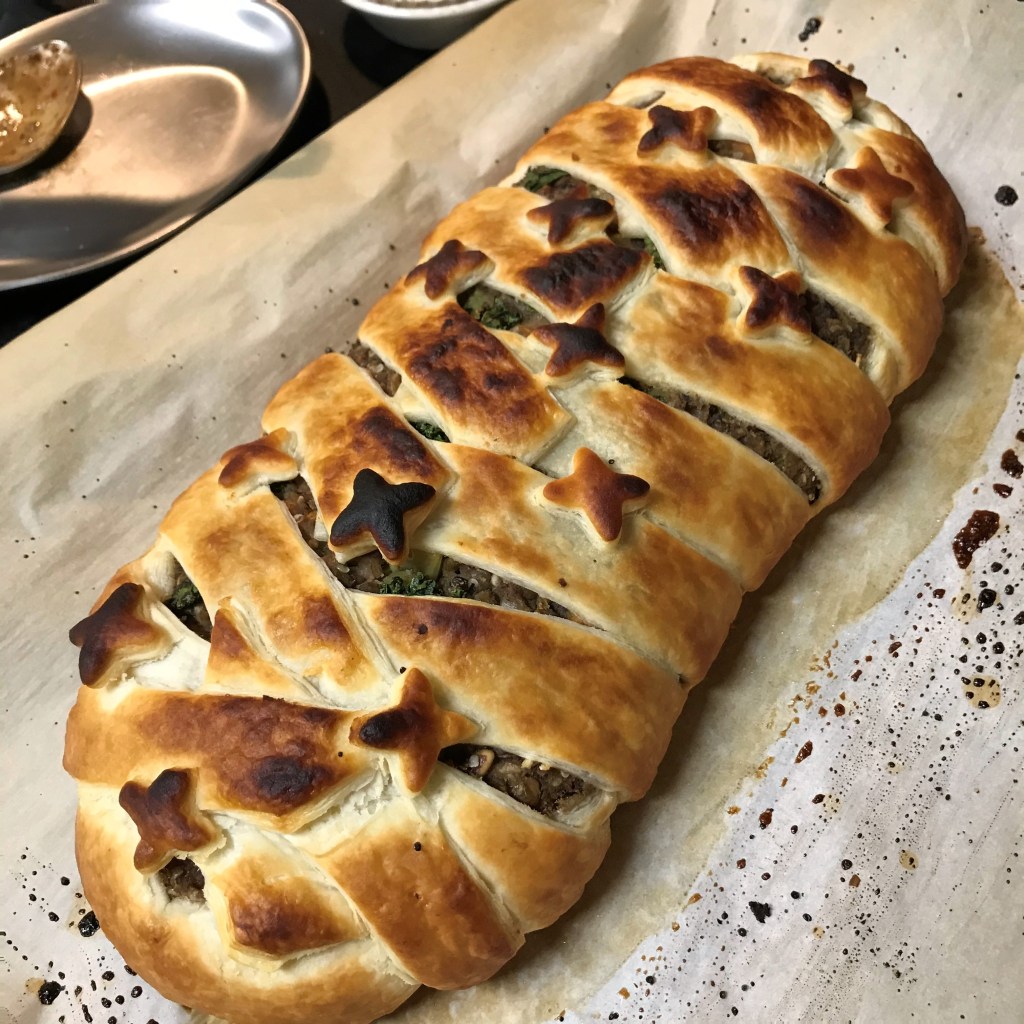
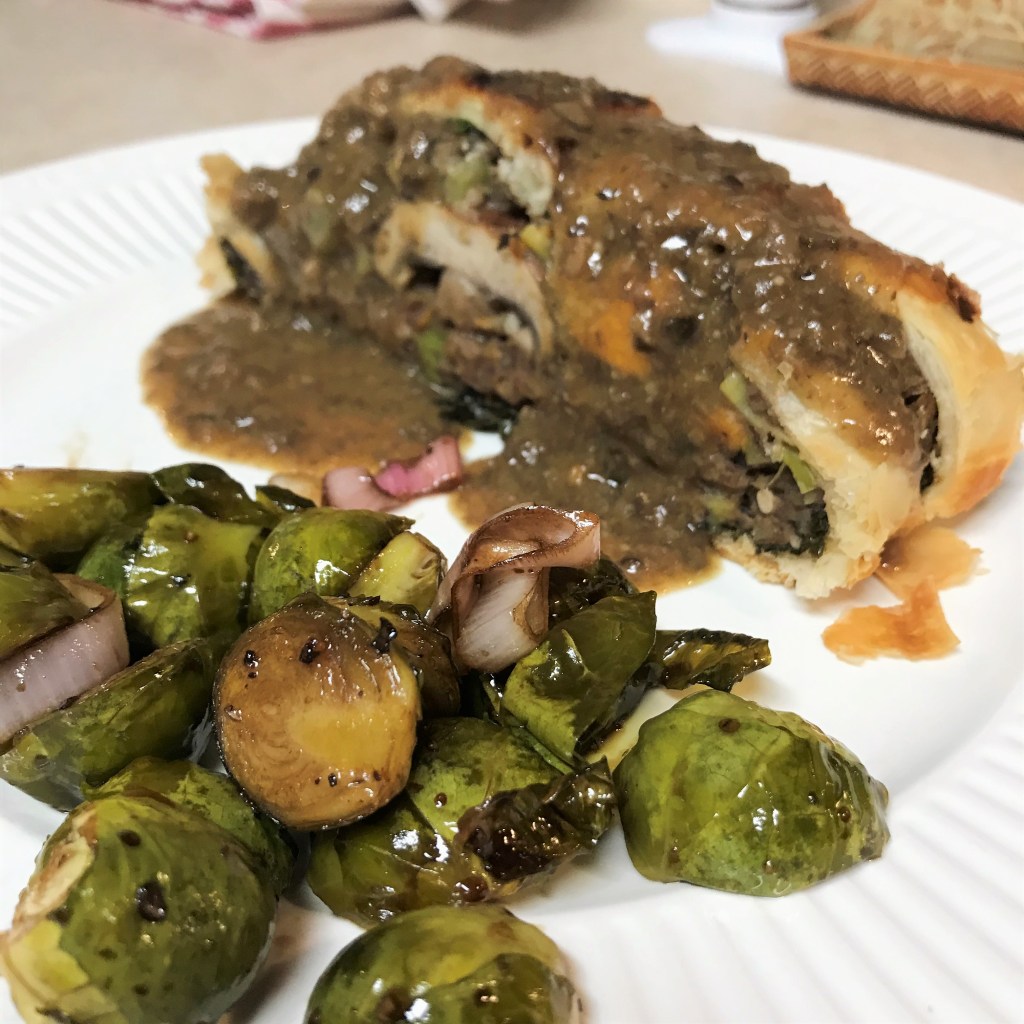
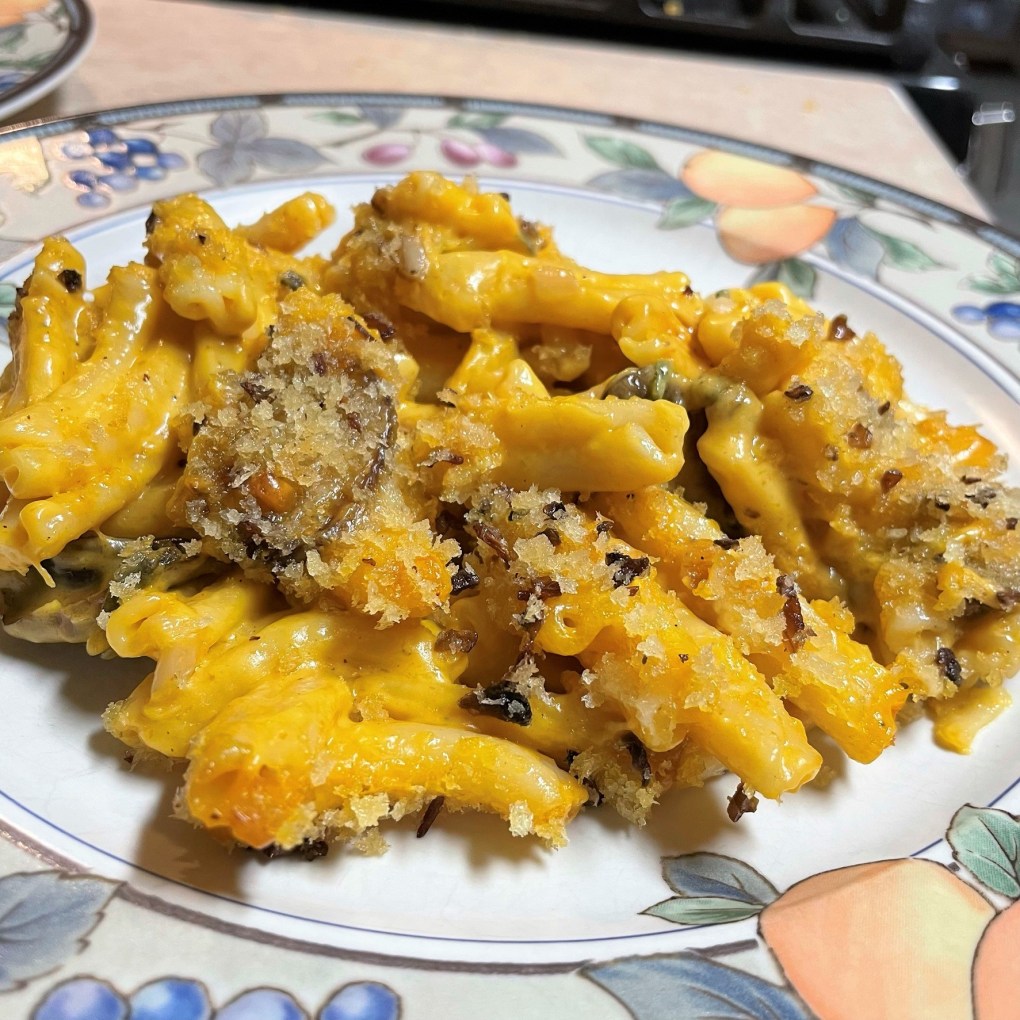
This gravy is delicious on a lentil mushroom wellington or use it as a substitute for cream of mushroom soup in any casserole you’d like to convert to vegan.