The exuberance and joy of Mardi Gras season calls to me, especially since I learned in recent years that it is more than drunken revelry and people throwing beads at women flashing their boobs. Yes, that does happen when tourists descend on Bourbon Street, and of course that’s what we see in the media— which loves a circus, as evidenced by the news of late— but the true season of Mardi Gras is much more interesting (thank goodness). It’s filled with family-friendly cultural celebrations highlighted with parades, colorful costumes and decorations, and, naturally, amazing foods!
Rather than pretend I know all about Mardi Gras, I’ll point you to my blog buddy, Maylee, who shares the inside scoop on her blog, Beyond Gumbo. Over the weekend, Maylee posted a gorgeous “Best-Ever King Cake,” one of the most signature treats of the Mardi Gras season, with its festive green, yellow and purple sugar accents. Have fun exploring Maylee’s blog, with first-person detail on the parades and so many foods that are truly authentic to Cajun country— far “beyond gumbo,” as her blog suggests.
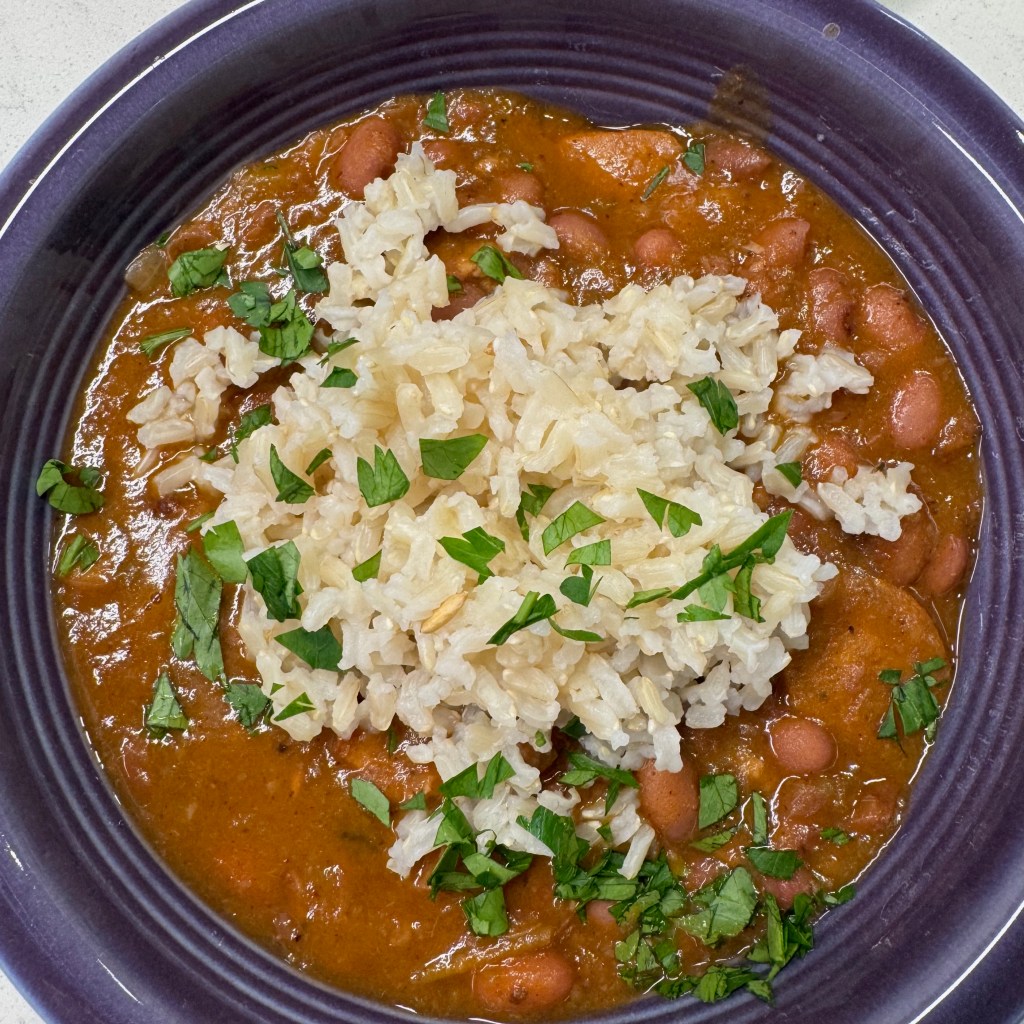
My own love affair with Louisiana foods also extends beyond gumbo (though I do love it!), and today I’m sharing my first-ever attempt at making red beans and rice, a layered-with-flavor Cajun staple that is as tasty and satisfying as it is humble and simple to make. The first time I tried this classic dish, it was from a package mix (I know, and I’m sorry) and it didn’t impress me much. I was only about 24 at the time, and my curiosity about it emerged after my conversation with the one-and-only Bette Midler. This deserves an explanation, but first, the dish!
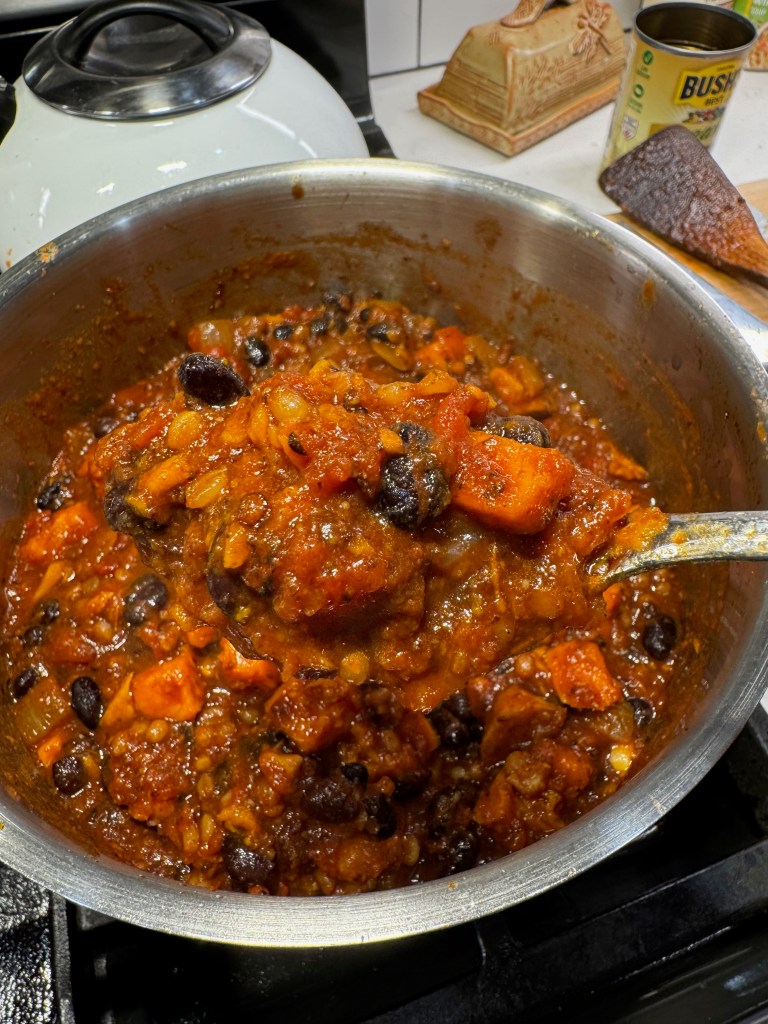
This meal comes together with pretty simple ingredients— red beans, of course, and I used small red beans, though dark red kidney beans seem popular; andouille sausage (I used a chicken variety to reduce the fat); the holy trinity of onions, celery and bell pepper; plenty of spice in the form of garlic, cayenne, smoked paprika, bay leaves and fresh thyme leaves; chicken stock and a touch of tomato paste (which might make it more Creole than Cajun, but it worked).

The whole thing is stewed and simmered until the flavors meld, and then it’s served with cooked rice (mine was brown for nutrition and health reasons). Red beans and rice is hearty, incredibly aromatic, comforting and just spicy enough that I’ve been wondering why I waited so long to make it from scratch. This much I know— it won’t be the last time.

An unusual inspiration
Now, if you’re wondering what in the world Bette Midler had to do with anything, let’s rewind to my first full-time radio job, where I frequently had the pleasure of meeting and interviewing artists that I’d otherwise never cross paths with. The Divine Miss M was among them, and I could not have been more awestruck!
Most of my celeb interviews were not in-person, but by telephone, and right around the time that Midler’s hit, “From a Distance,” was charting on Top 40 and Adult Contemporary radio, riding the wave of popularity that followed “Wind Beneath My Wings,” her record label arranged interviews with influential radio personalities across the country. Don’t ask me how I got looped into that, because I was definitely a novice at that stage of my career, barely holding influence over myself on the best of days. I considered myself incredibly fortunate.
What I remember most about the 10-minute interview, which was unusually chaotic because there were multiple radio folks on the call, is not Midler’s answer to my own question when it was my turn to speak. I was nervous, and probably asked her something stupid, like “what was your inspiration for the song?” Had I done even the slightest bit of homework, I’d have known that it was a cover, not her own song, and that Nanci Griffith had recorded it first three years prior though that one didn’t make a dent on the American Billboard chart.
Nope, I was far too green to realize that celebrities— the best of whom usually prefer to be treated as regular people, rather than idols— are most excited to answer questions that relate to ordinary things. Thankfully, a more seasoned radio pro asked her the most meaningful question of the call— “Miss M, what is your favorite food?”
And, of course, it was red beans and rice. I’ll never forget it.
How to make red beans and rice
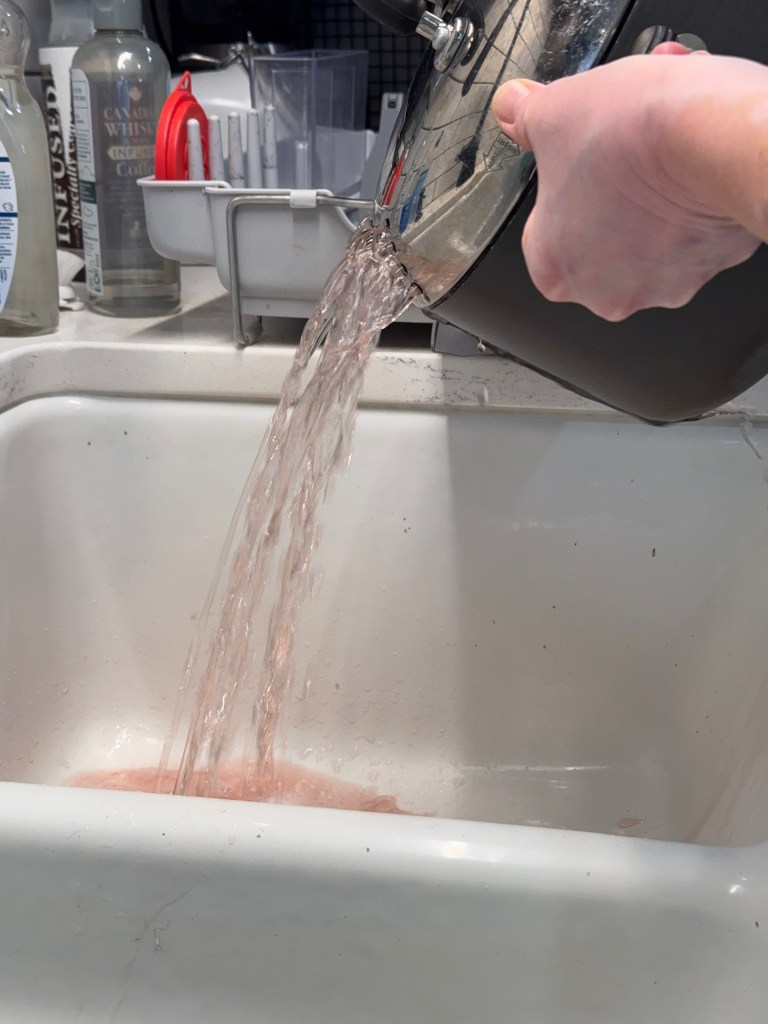
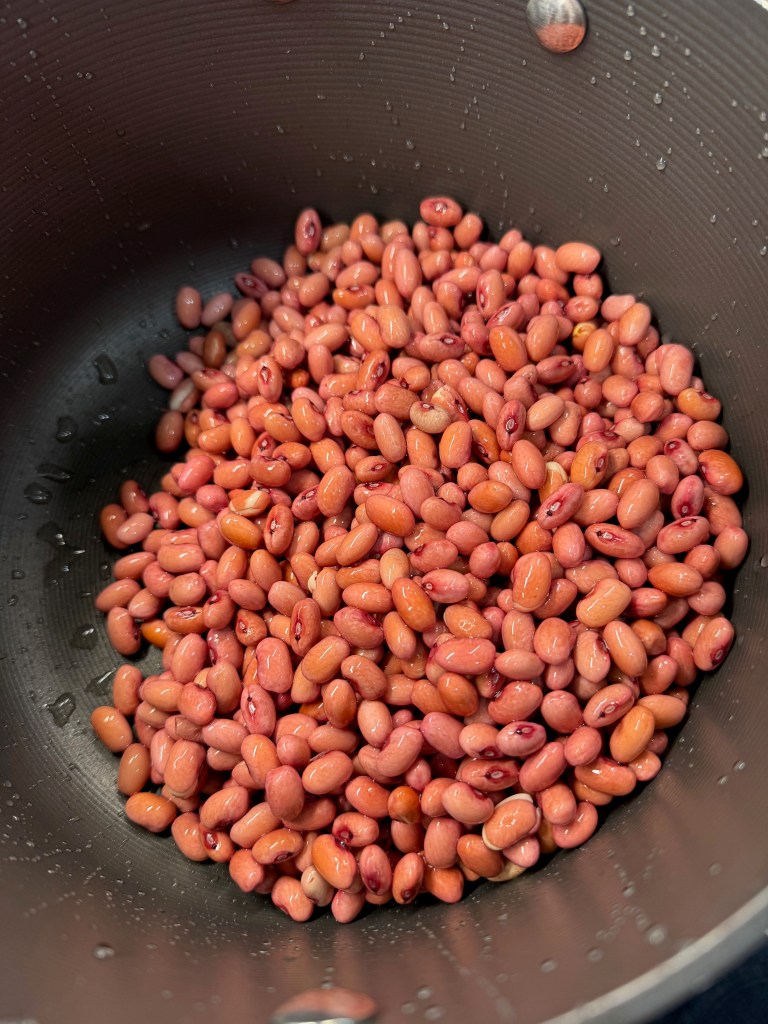
Never one to actually follow a recipe, I set out to learn the techniques that are important for red beans and rice, and there is no shortage of recipes online. My version is a mash-up of various suggestions I considered. As expected, it began with an overnight soak of the red beans. I had seen online that canned beans could be used, but when I have time to take the long route, I’m doing it. Good things happen in a long simmer, and it was no more effort to use dried beans. Be sure to drain and rinse them a couple of times before proceeding.

Getting the flavor party started
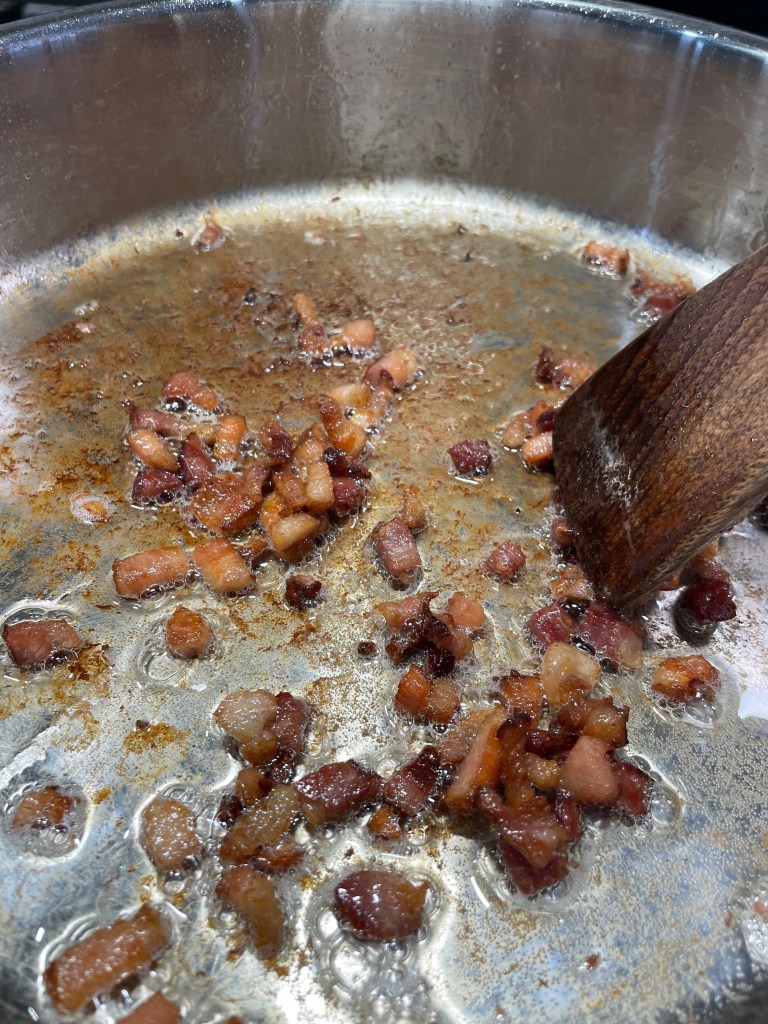
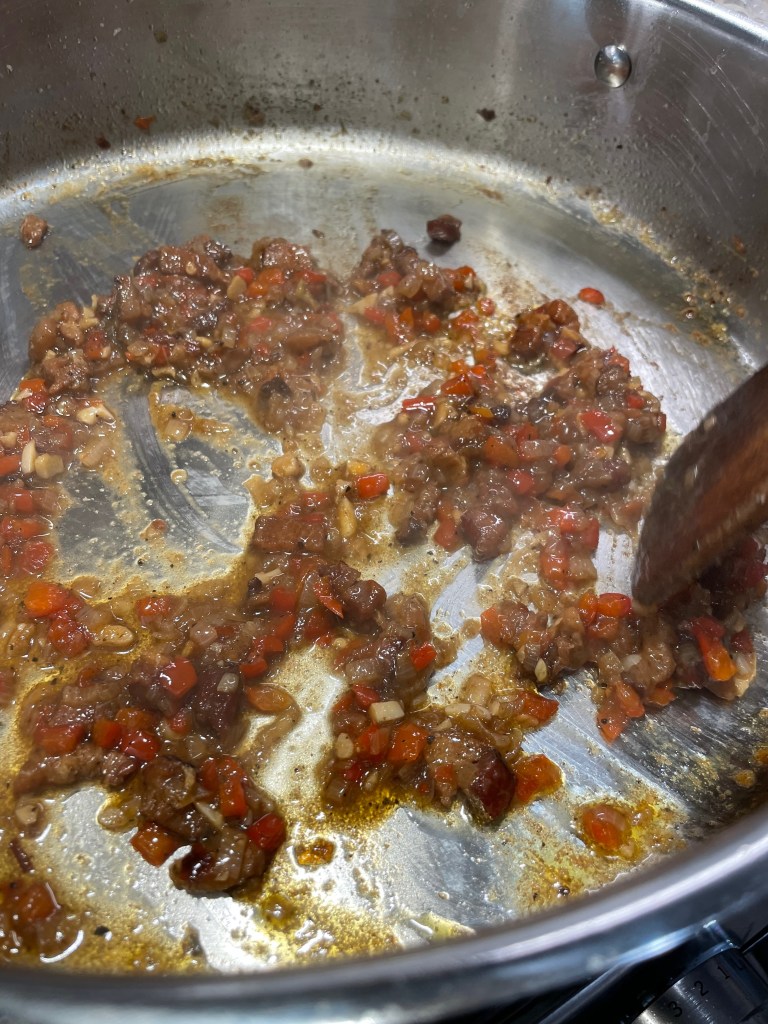
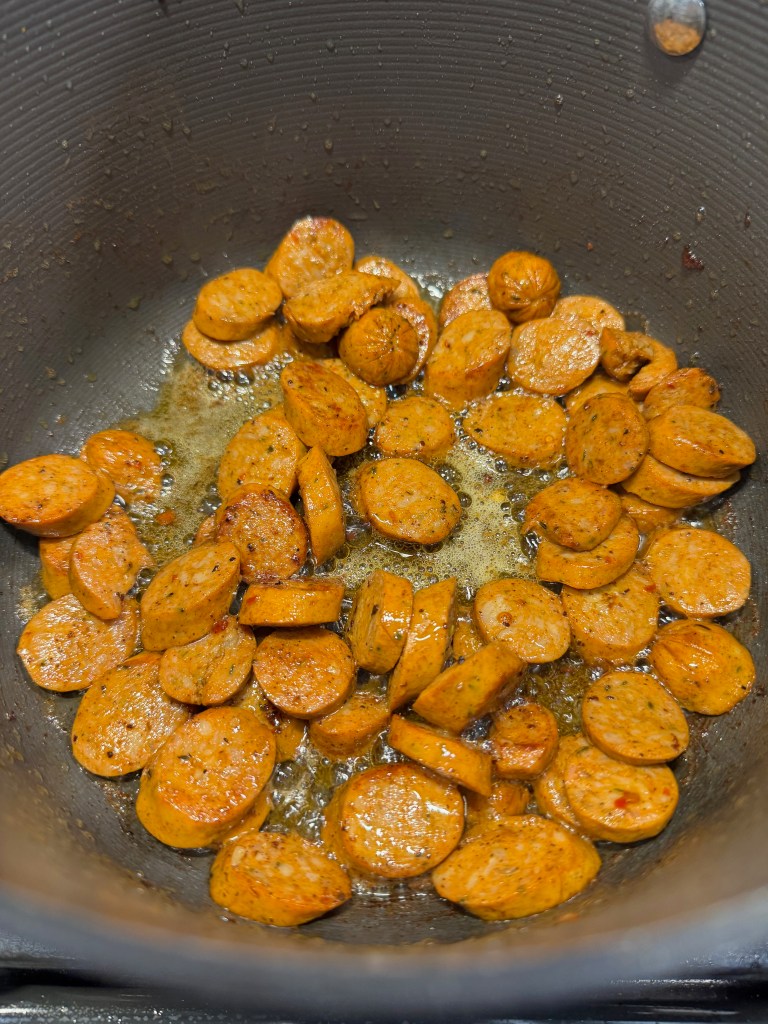
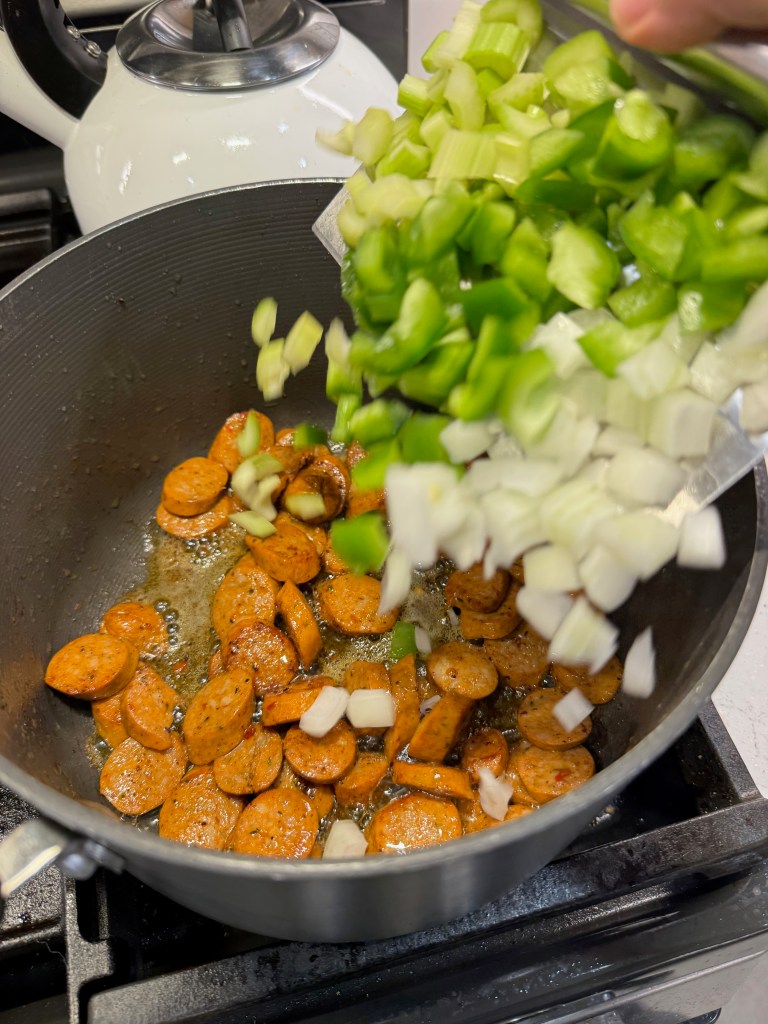
The flavor layering begins when you brown the andouille sausage in hot oil. I browned mine in bacon grease, rendered from a garlic- and onion-seasoned bacon I scored at Publix. This bacon was nothing short of fantastic, and though I don’t think it’s quite the thing for breakfast, it would be terrific on sandwiches and it was great in my red beans and rice.


It’s getting aromatic in here!
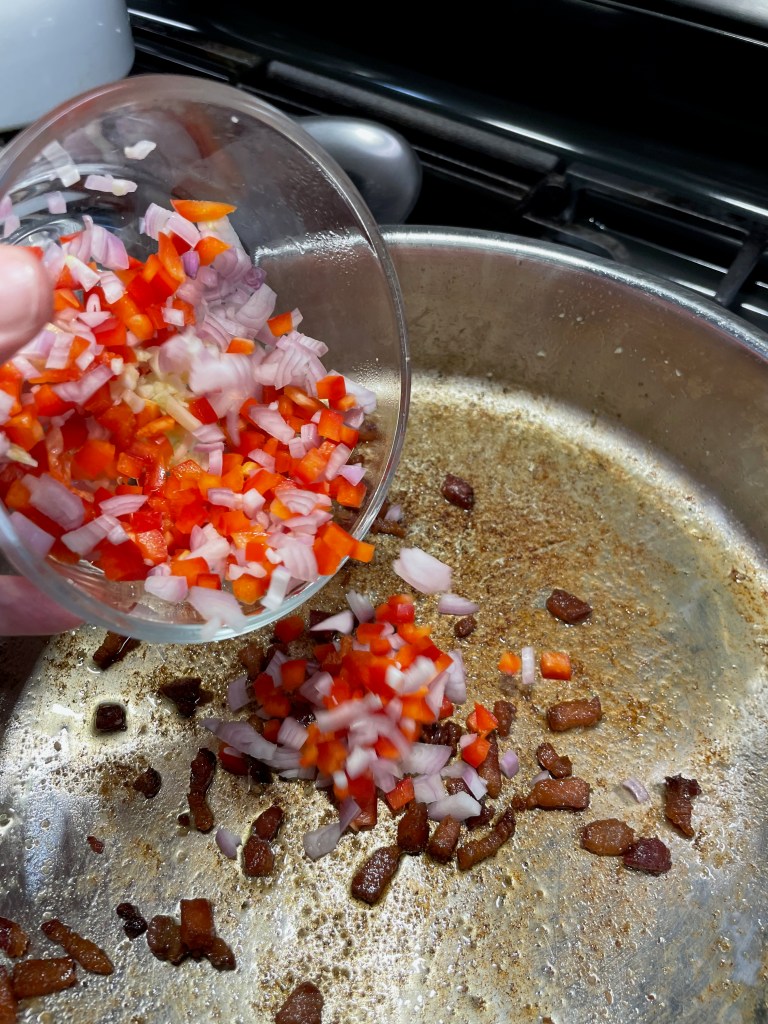
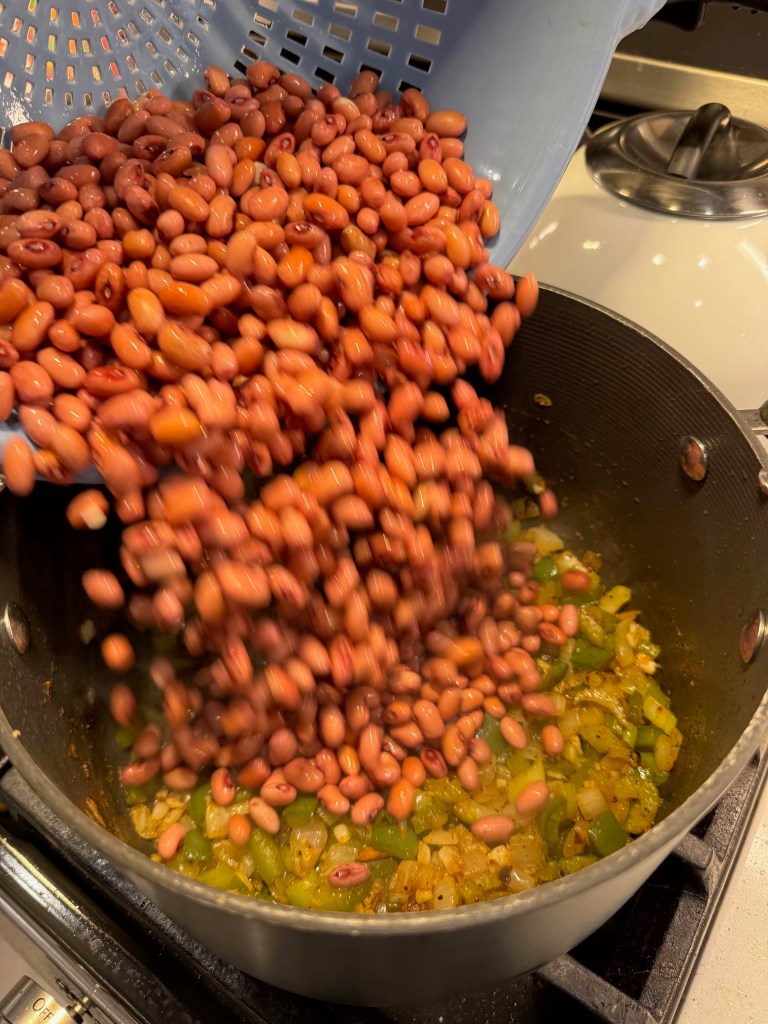
Next came the trinity, which I had diced up small enough that each bite of my finished dish could have a little of each aromatic ingredient. Unfortunately, about that time, I realized that my chicken variety of andouille didn’t have any kind of casing, and I knew that it wouldn’t hold up under simmer for two hours while the beans cooked. So I hit the pause button long enough to fish out every last piece of andouille with a slotted spoon. I do not recommend this approach, but this was my own fault.

Simmer down, now.
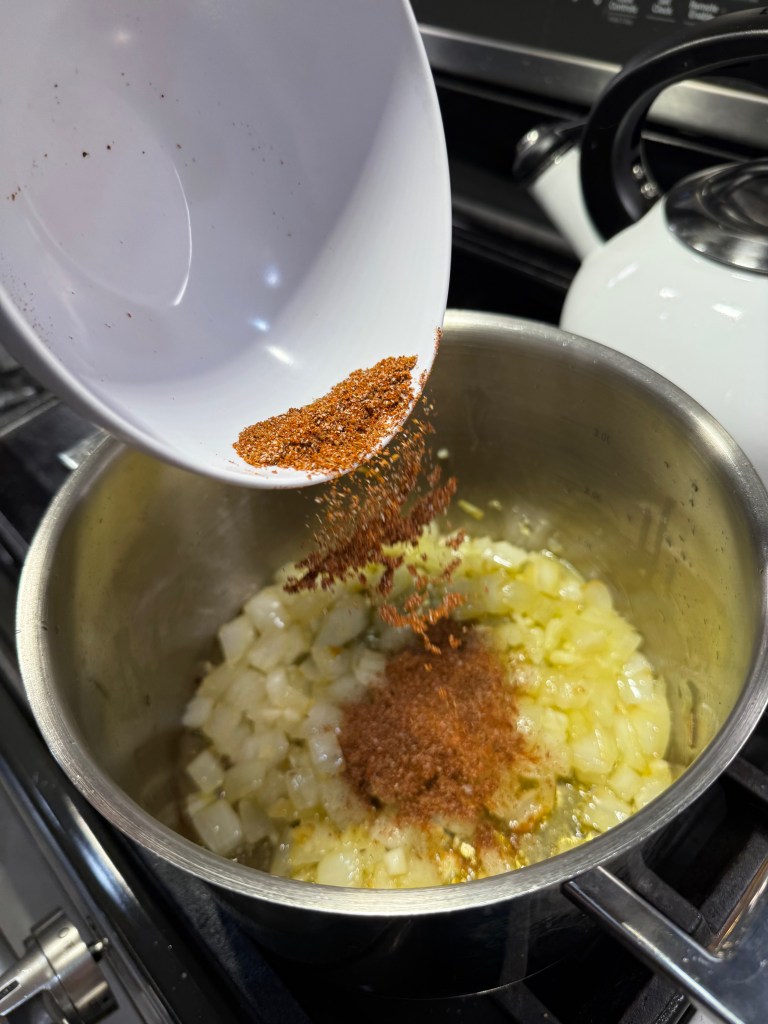
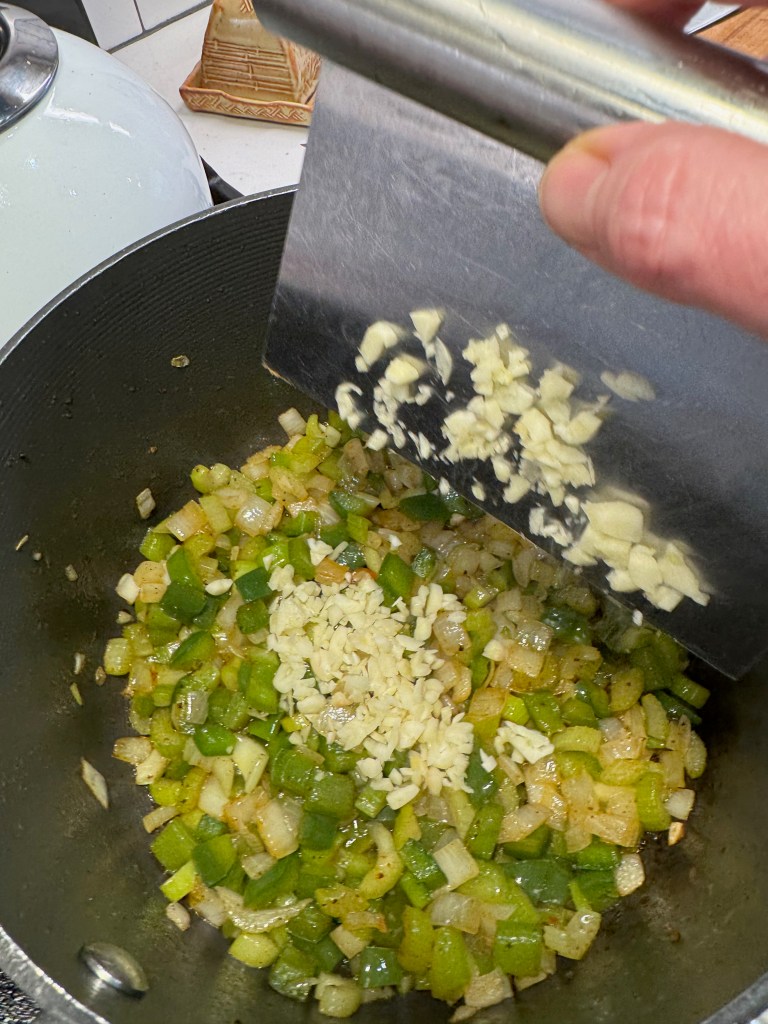
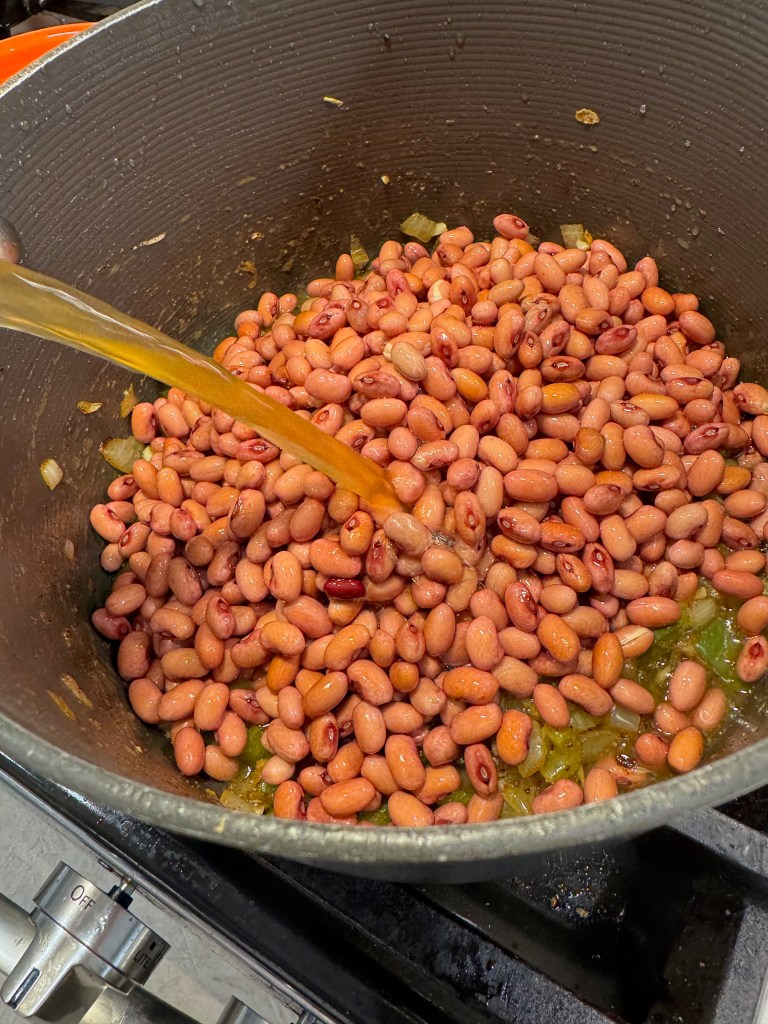
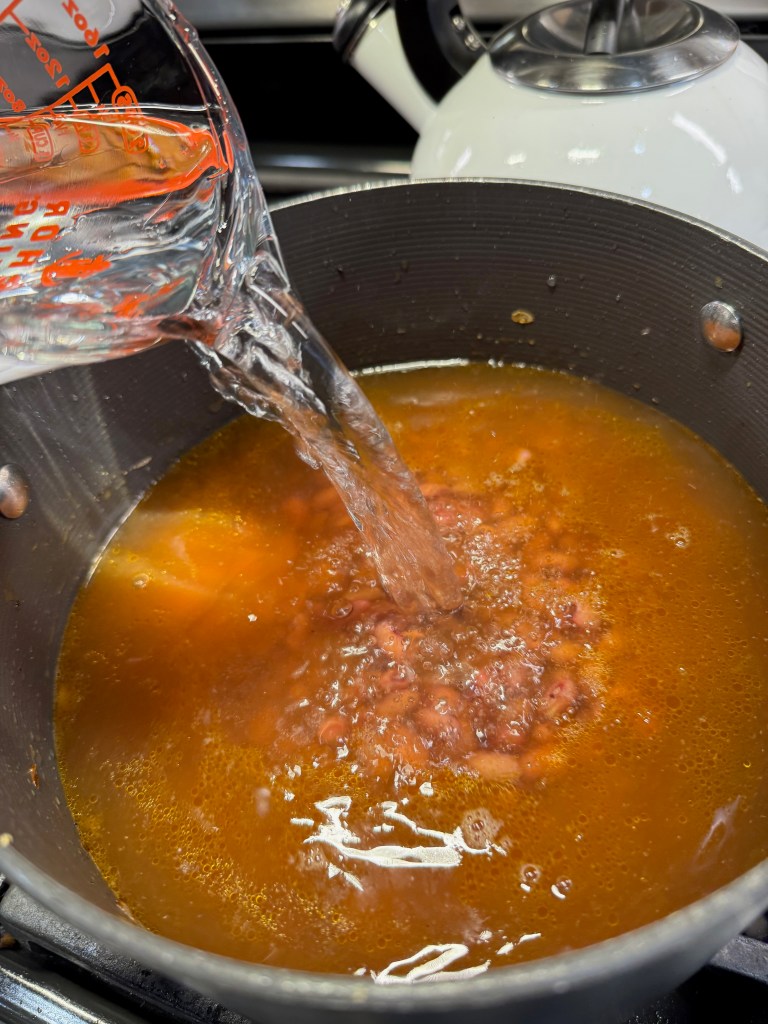
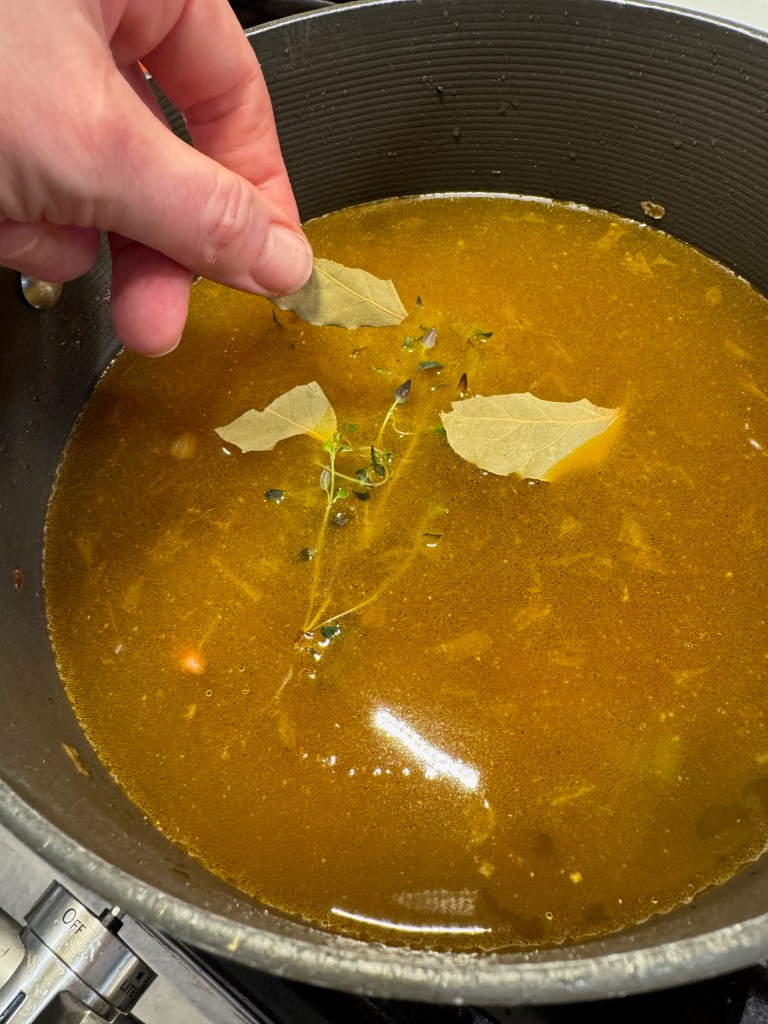
Time for the fresh garlic and dried seasonings. I wasn’t sure how much salt I’d need, given that the bacon and sausage had their own, and my chicken stock was not low sodium. So I played it conservative with salt, but still used black pepper and cayenne powder. I added the drained beans and six cups of liquid— four of chicken stock and two of water, plus a sprig of fresh thyme and couple of broken dried bay leaves— I rarely simmer anything without them. I panicked a bit at this point because the pot seemed so liquid-y, but there was no turning back at this point. I kept the lid off while the pot simmered, and I figured that would help reduce the liquid quite a bit.
The final stretch…
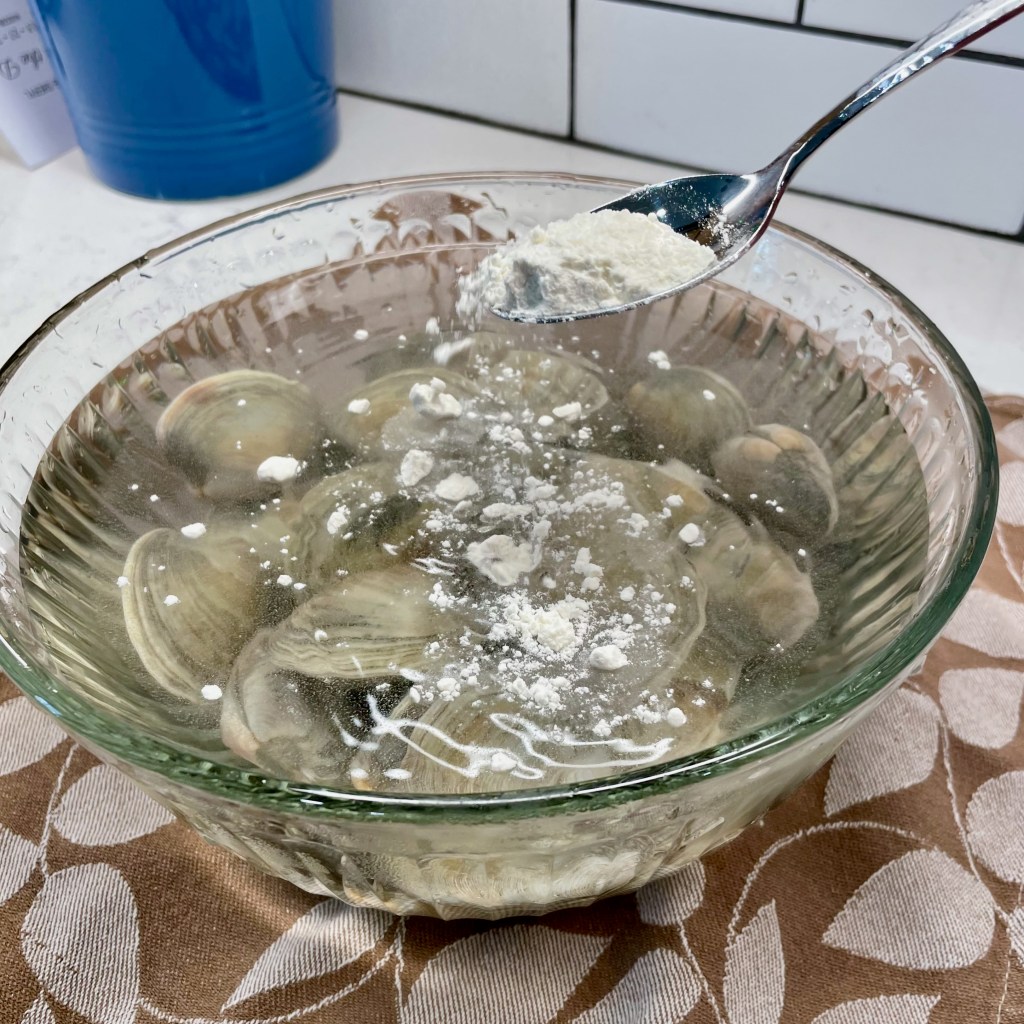
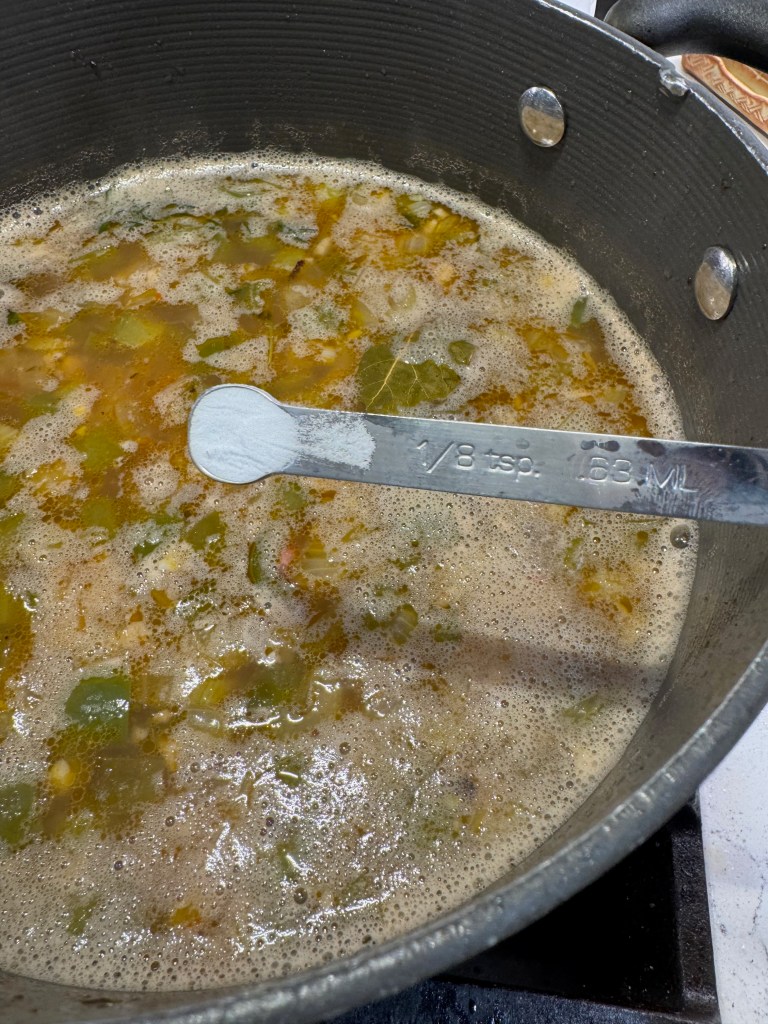
At this point, I also followed my new rule of thumb for cooking dried beans, which is to go ahead and add a skimpy spoon of baking soda to the pot. This alkalinizes the cooking liquid, in turn helping the beans to soften as they simmer. It does not change the flavor of the mixture with such a small amount. I wish I’d had my camera ready after the soda was stirred in, because there was a momentary fizzing that was quite dramatic, and then it settled down.
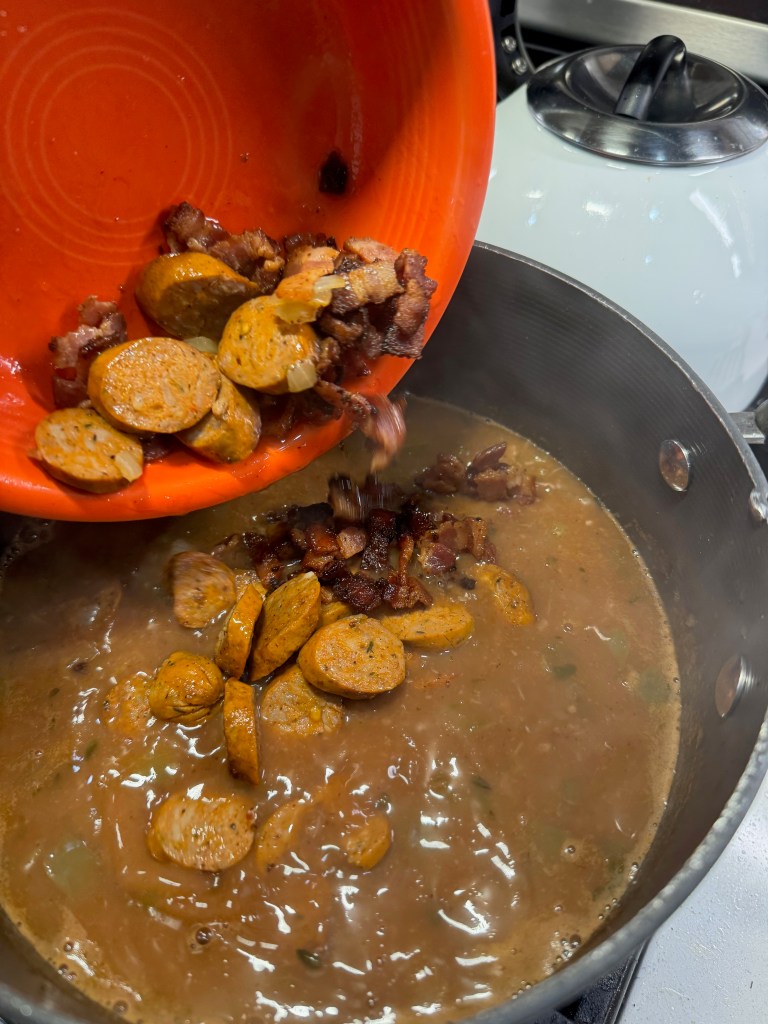
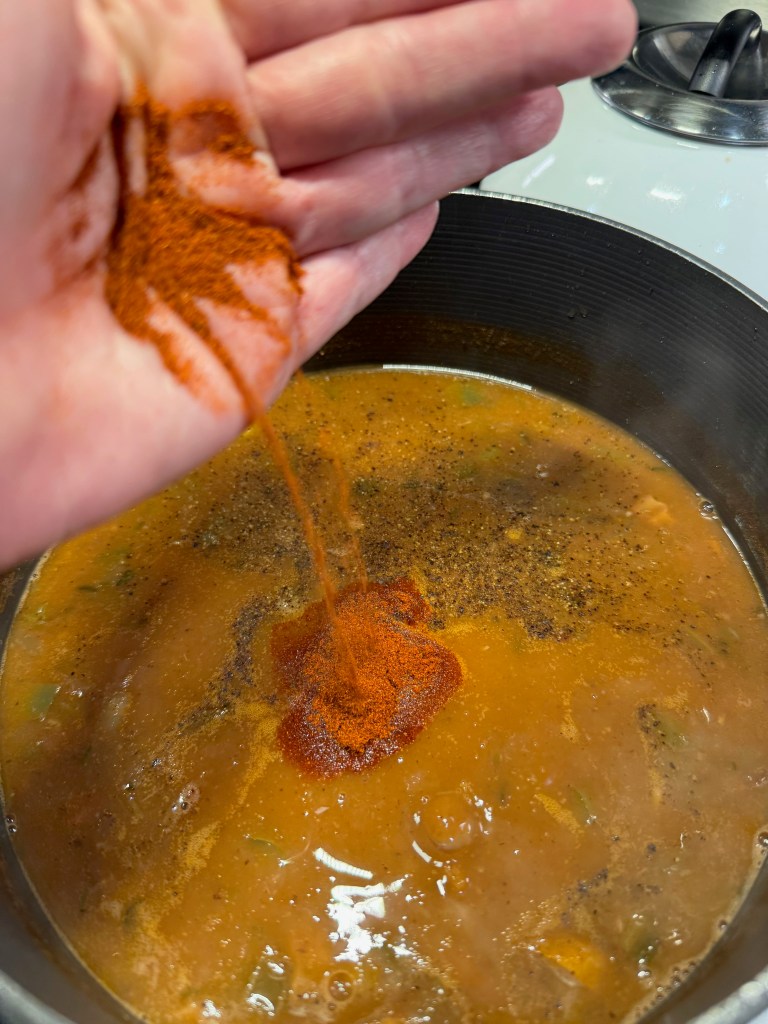
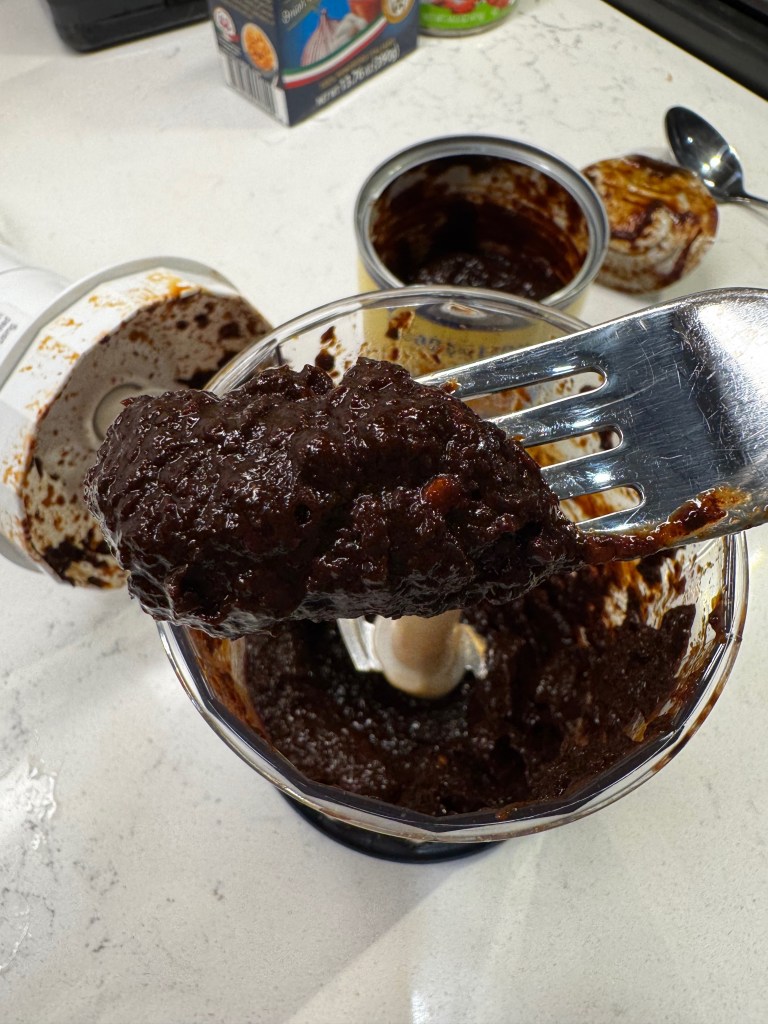
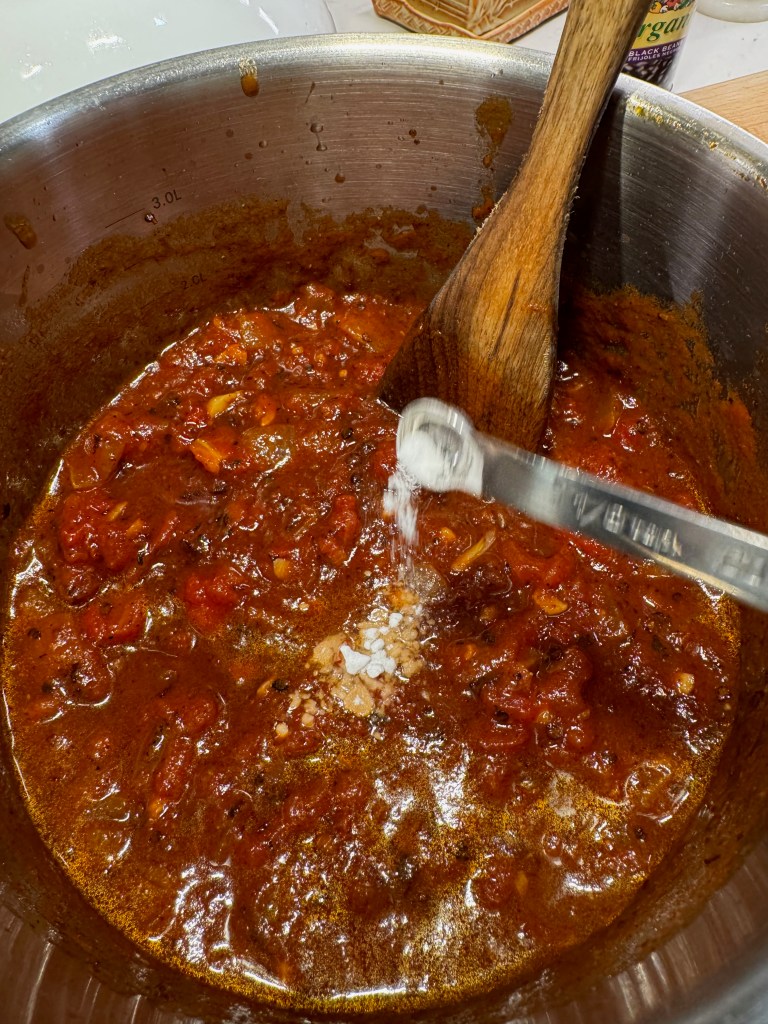
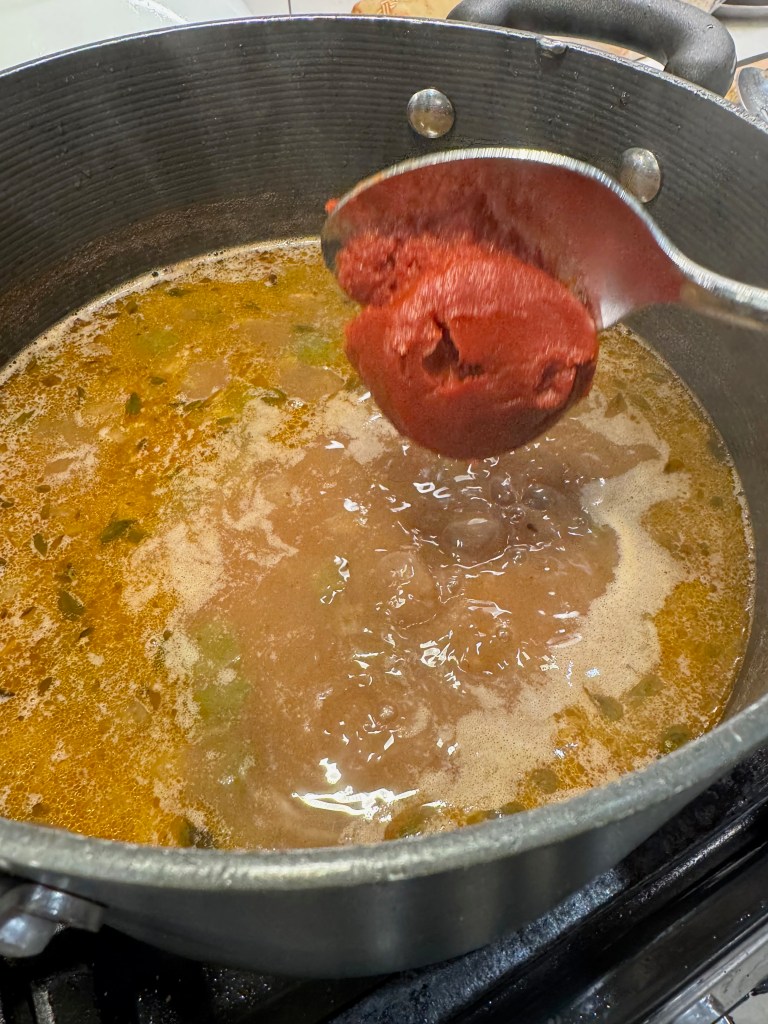
I gave the pot a stir only about twice over the next two hours, and after confirming that the beans were tender, I stirred in two tablespoons of tomato paste. You cannot jump the gun with tomato or anything else acidic when cooking dried beans, or they may never soften. I emptied the cooked andouille and bacon back into the pot, along with a bit fat pinch of smoked paprika, which I probably should have added at the beginning (still learning here). Another 45 minutes of simmering, and my red beans and rice was ready to serve!
Red Beans & Rice
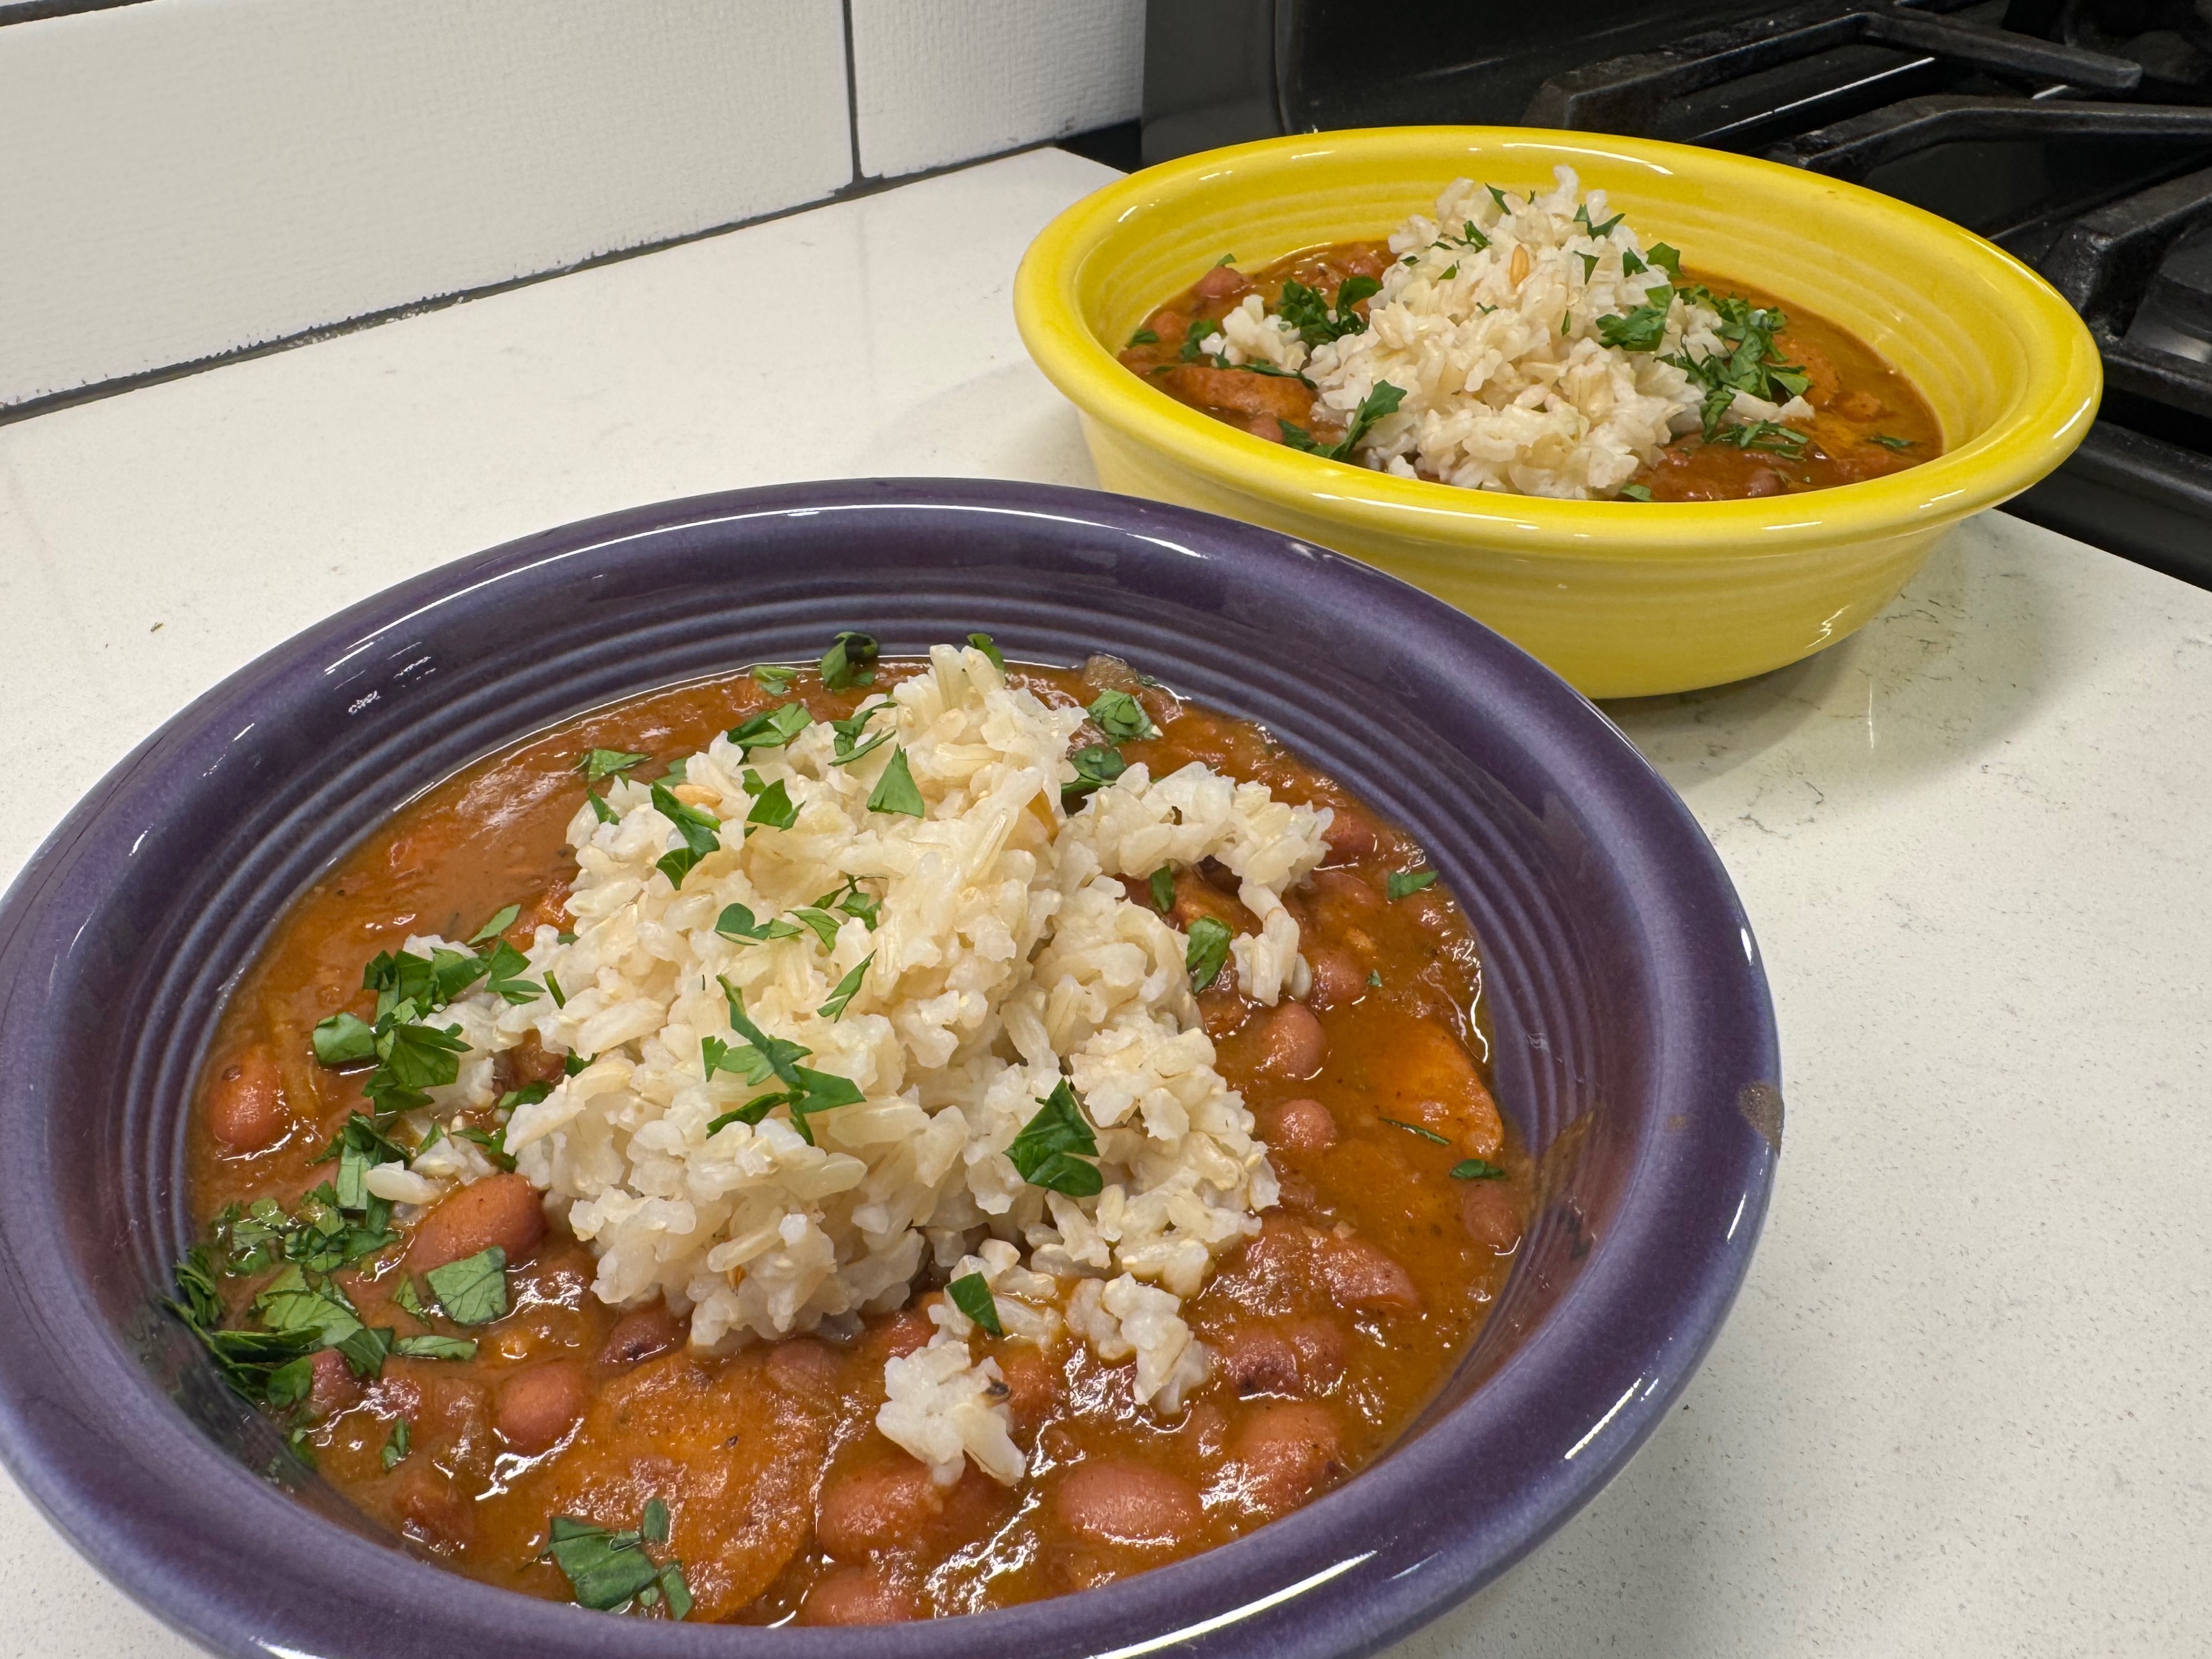
This dish definitely should not be reserved for Mardi Gras! It's immensely flavorful, comforting and richly satisfying.
Ingredients
- 1 lb. dried red beans (I used small red beans, but kidney beans are ok, too)
- 6 slices good uncured bacon, cut into 1-inch pieces
- 12 oz. package andouille sausage, sliced into 1/2-inch thick slices (I used a low-fat chicken version, which had no casings; pork variety is more traditional)
- 1 cup each yellow onion, celery and green bell pepper, chopped into 1/2-inch dice
- 6 cloves garlic, smashed and minced
- 1/2 tsp. salt
- 1 tsp. freshly ground black pepper
- 1/2 tsp. ground cayenne
- 1 tsp. smoked Spanish paprika
- 4 cups chicken broth or stock
- 2 cups water
- 1 sprig fresh thyme
- 2 dried bay leaves
- 1/8 tsp. baking soda
- 2 Tbsp. tomato paste (do not add until beans are cooked soft!)
- A few shakes Louisiana hot sauce, if desired for heat
- cooked rice for serving
- chopped fresh parsley for serving
Directions
- Sort and rinse beans to rule out any duds. Add beans to a large pot and cover with several inches of water. Soak at least 12 hours, and then drain and rinse twice before proceeding with the recipe.
- Heat a heavy-bottomed pot over medium heat. Cook bacon pieces until crisp, then transfer bits by slotted spoon to a separate bowl. Add the andouille sausage pieces to the pot, browning in the bacon fat until crisp on edges. Transfer sausage to the same bowl with bacon and set aside.
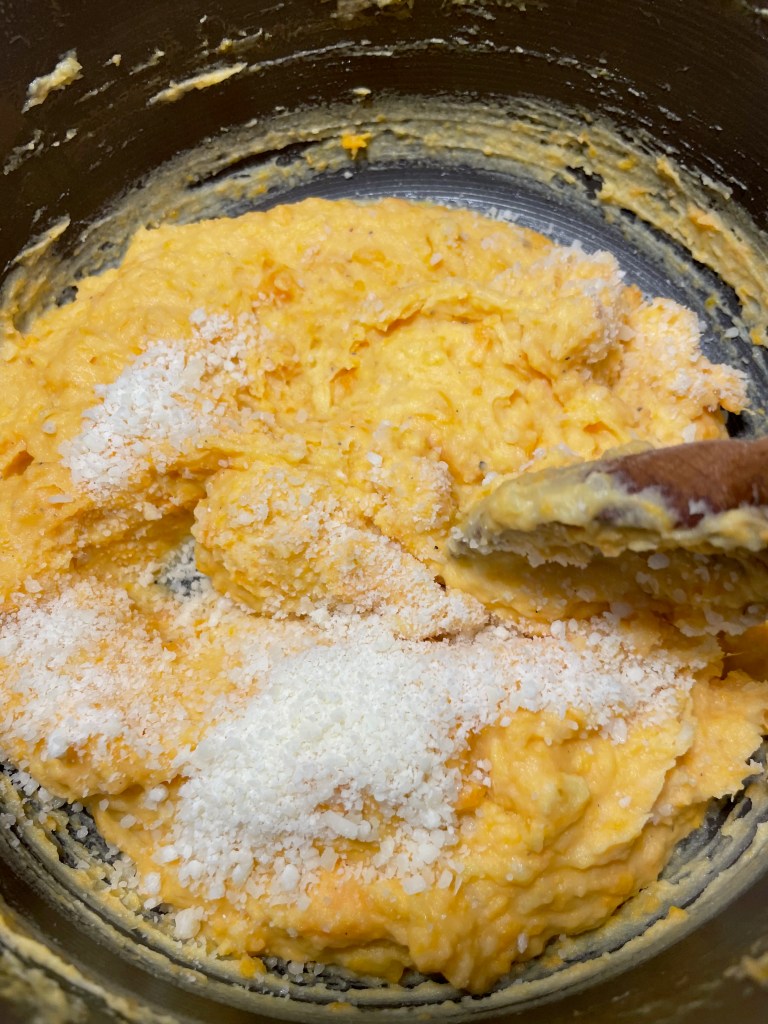
- Add onions, celery and bell pepper to the pot. Stir and sauté until softened and slightly translucent. Add garlic and stir for one minute. Season with salt, pepper, cayenne and paprika.
- Add drained beans to the pot; cover with chicken broth and water. Bring pot to a boil, then reduce heat to a simmer. Add thyme and bay leaves. Stir in baking soda to neutralize any acid in the pot (this is not necessary if using canned beans)
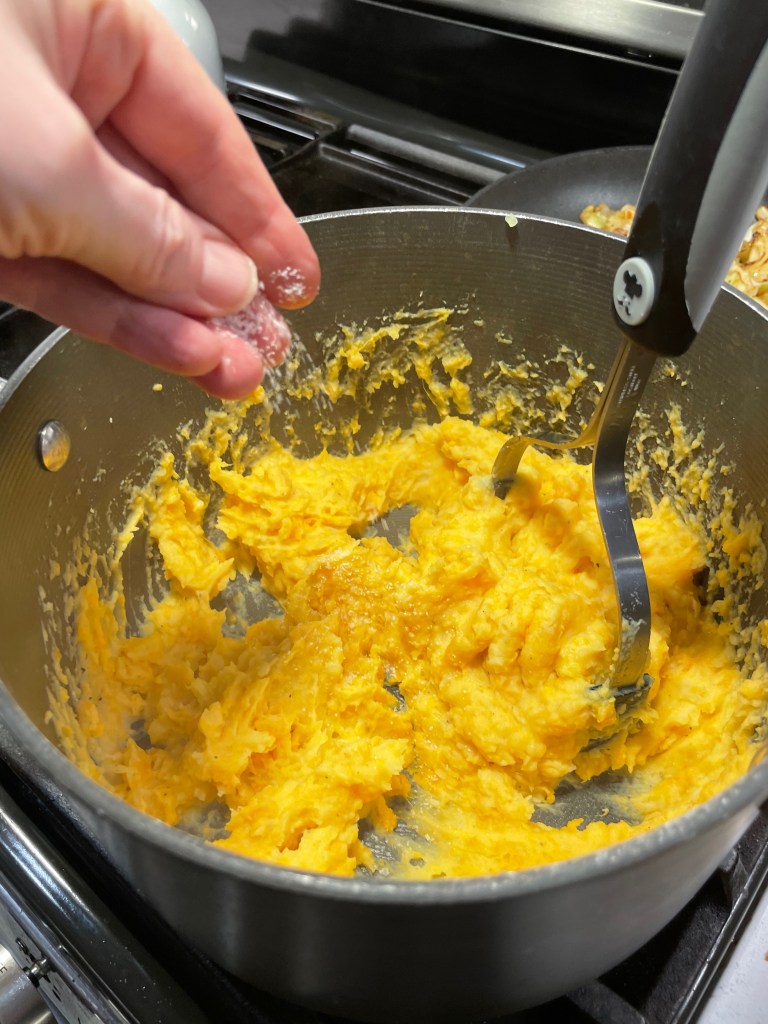
- Simmer, uncovered, for 1 1/2 to 2 hours or until beans are tender. Use a potato masher to smash some of the beans for richer, thicker texture. Alternatively, you can smash the beans against the sides of the pot with the back of a large spoon. Stir in tomato paste and a few shakes of hot sauce if you want more heat. Adjust salt and pepper to taste.
- Return cooked bacon and sausage to the pot and stir to combine. Continue to simmer for about 45 minutes to thicken beans.
- Remove bay leaves and thyme stems. Serve red beans with cooked rice.