There’s an old piece of culinary wisdom out there, and it goes like this— “Don’t mess with Thanksgiving!” If you’re a traditionalist when it comes to what goes on the table at everyone’s favorite food holiday, then you probably want to look away, keep scrolling, move along. Because what I’m about to share may seem blasphemous.
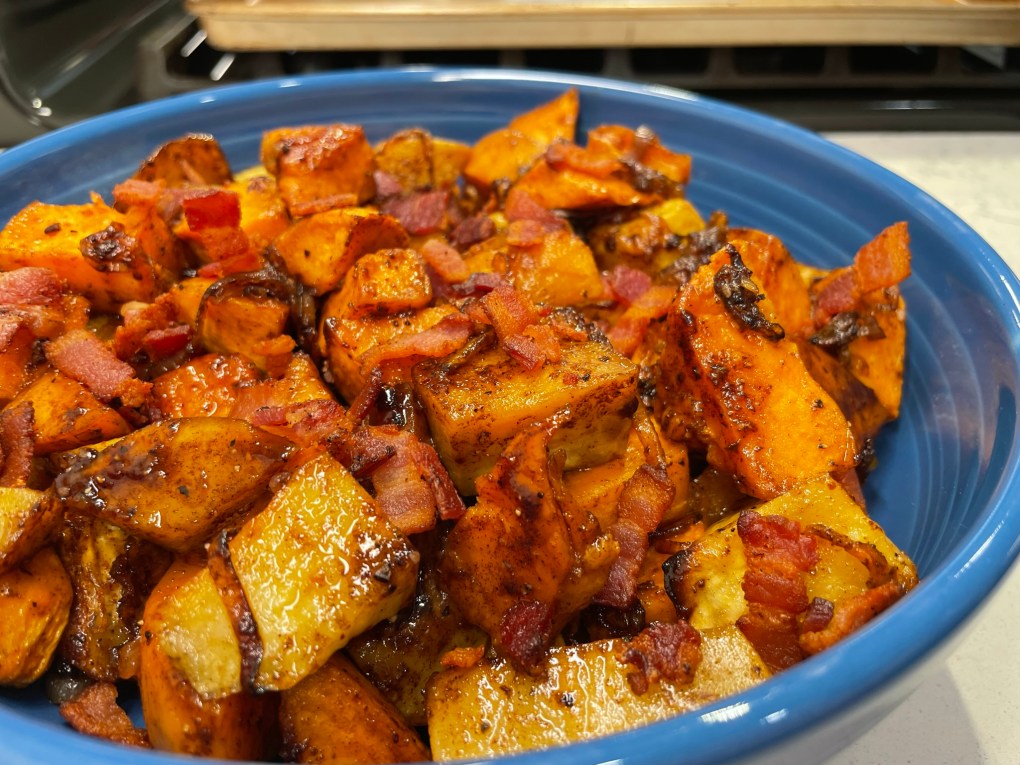
But if you like to shake things up from time to time, and if you can handle a little heat, then you may have just stumbled upon a new favorite sweet potato recipe. These roasted chunks are caramelized and crispy on the outside, tender and creamy on the inside and spicy-sweet all the way through. It’s a far cry from the usual sweet potato sides, but you know that other old piece of wisdom— “Variety of the spice of life!”

How spicy are we talking here?
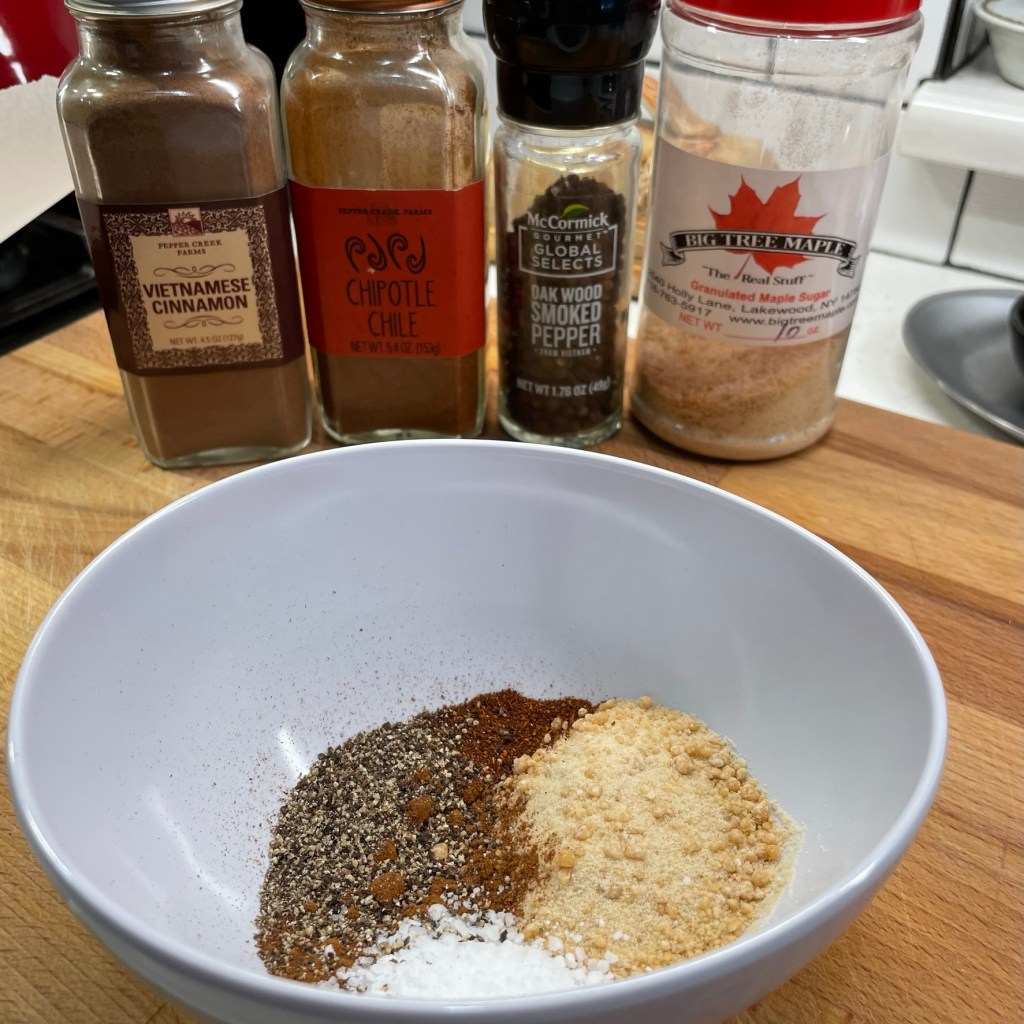
This spice list is short— ground chipotle, smoked black pepper and a hint of cinnamon. And for the sweet counterpart to those spices, maple sugar. I love pairing maple with heat, and when fall rolls around, I pretty much try to put a little bit of maple into everything. If you don’t like the heat of chipotle, you could substitute smoked paprika. If you like the heat but don’t care for the smoky notes, try subbing a lesser amount of cayenne pepper. As with any recipe I share, you are always welcome to make it your own.
Prepping sweet potatoes for roasting
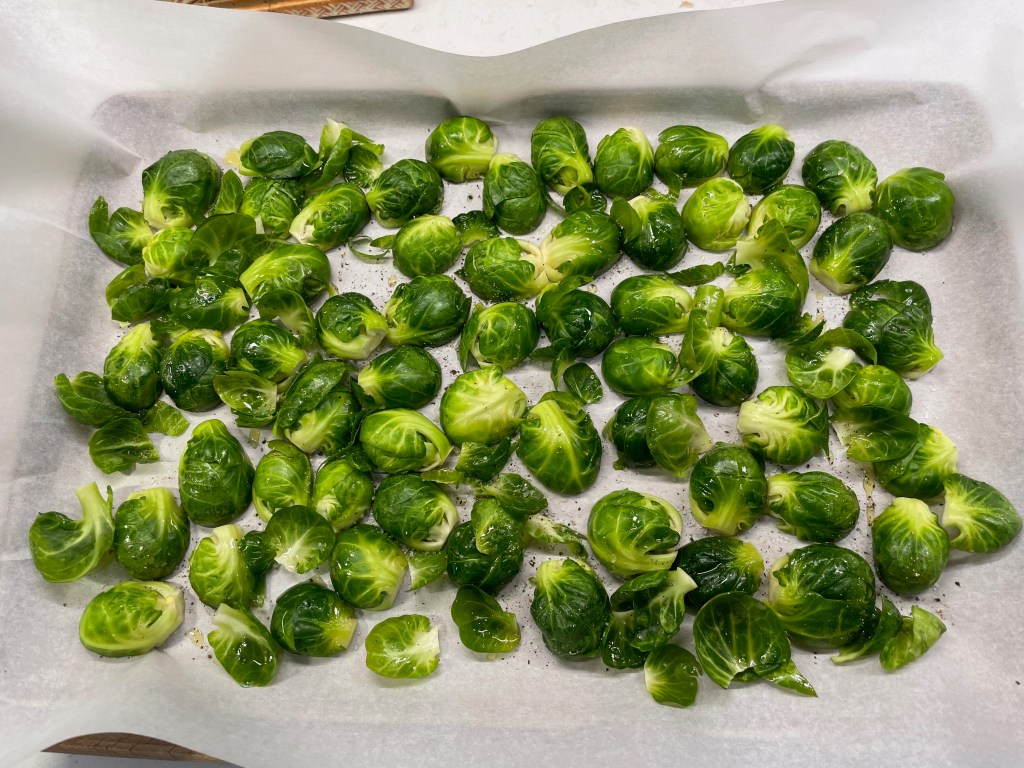
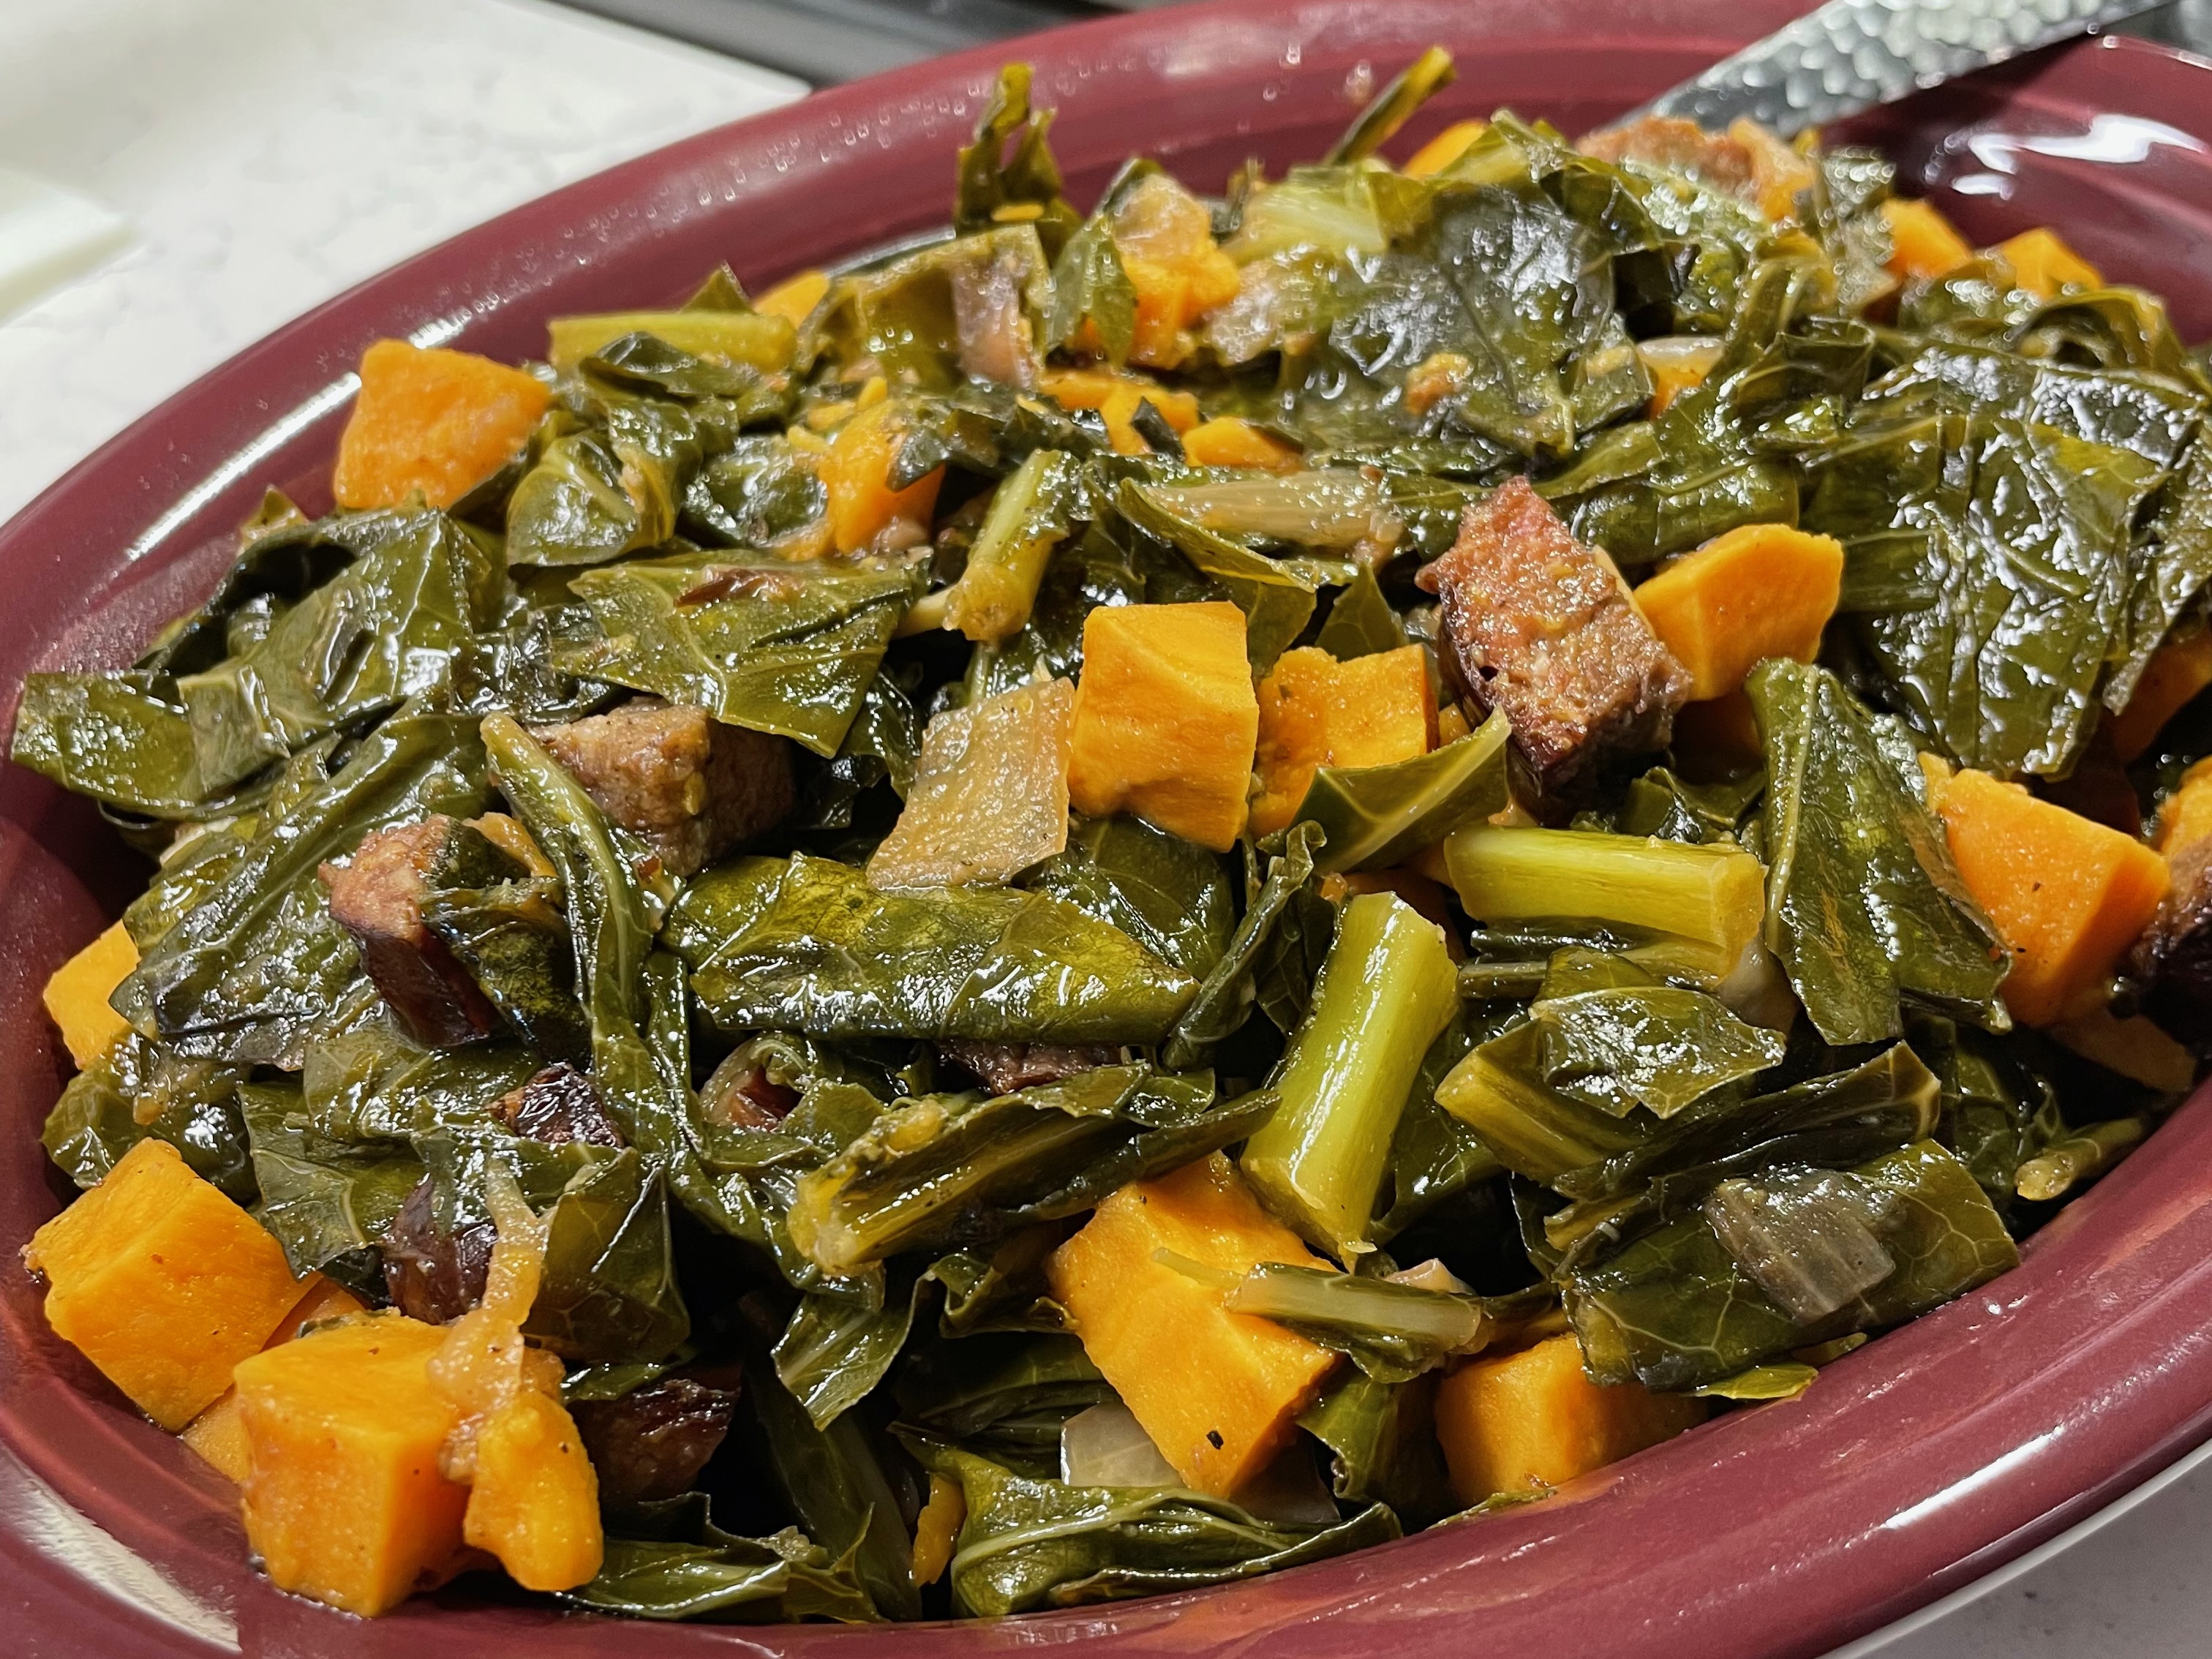
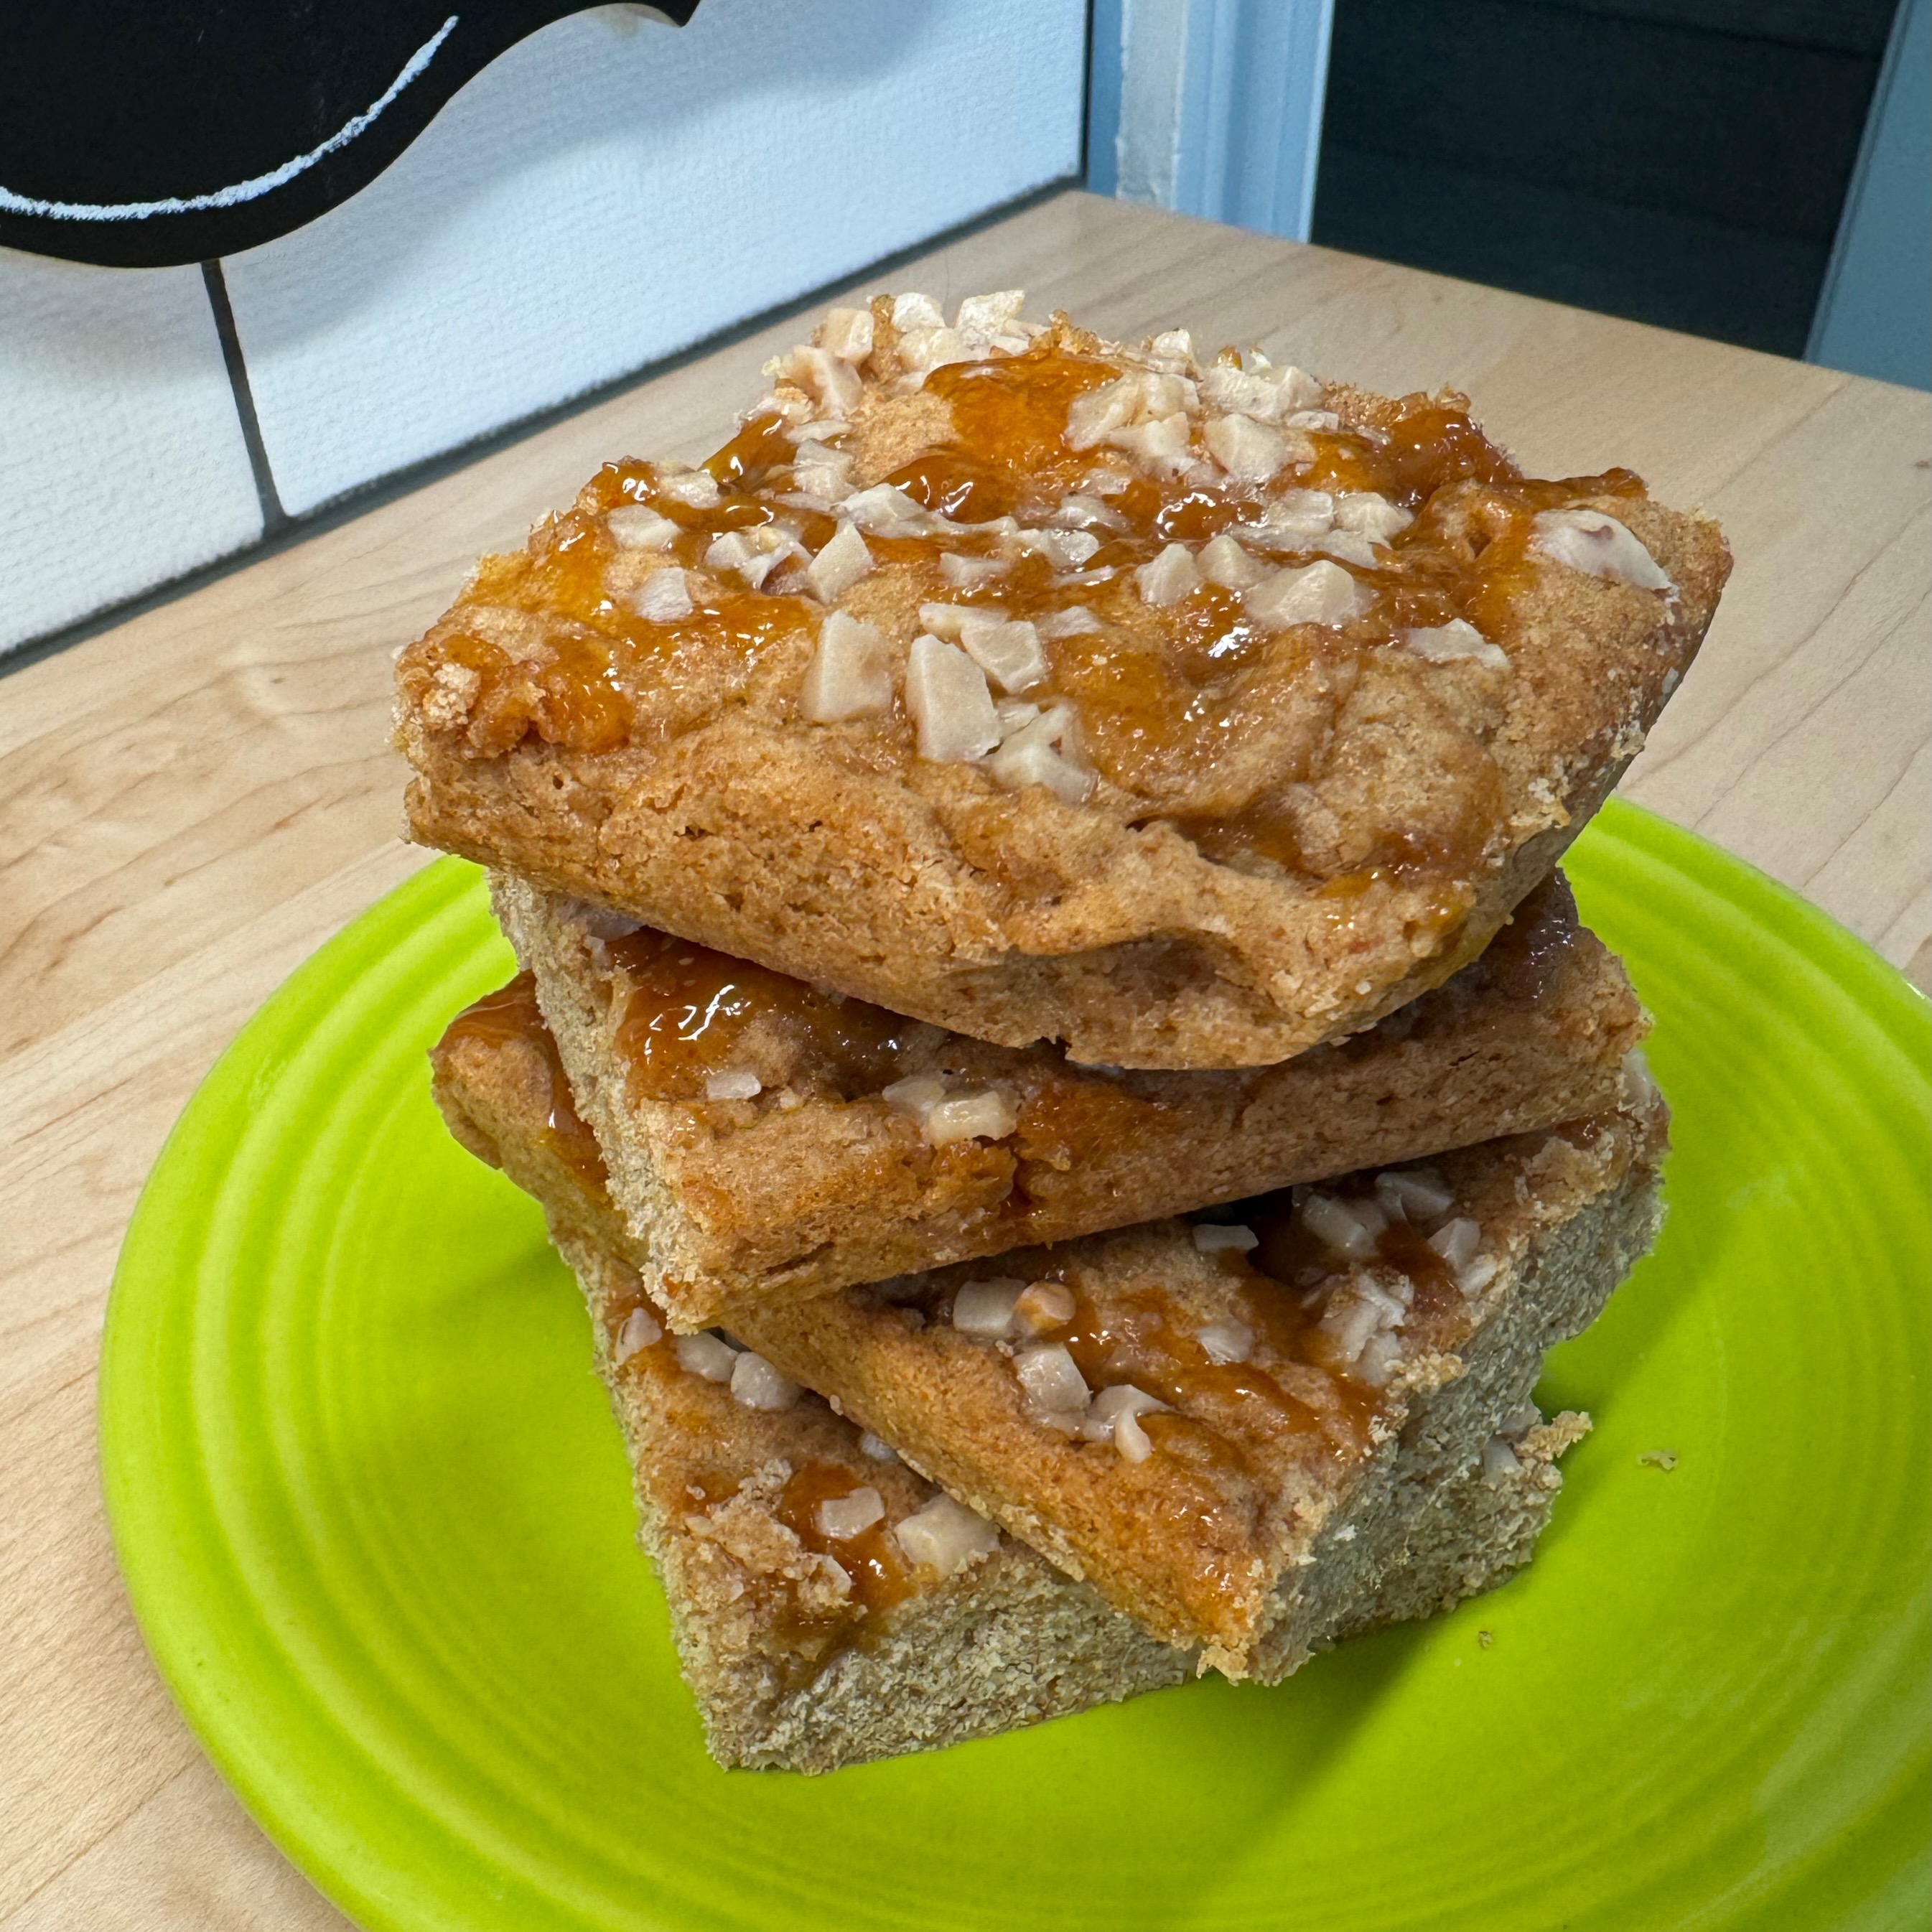
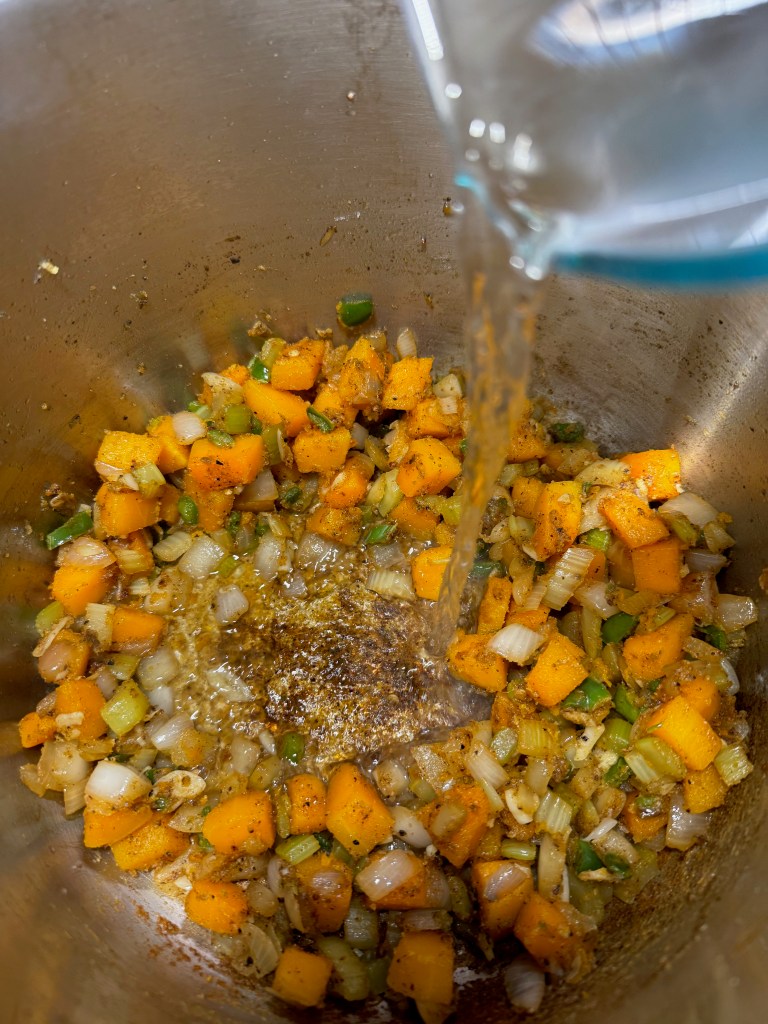
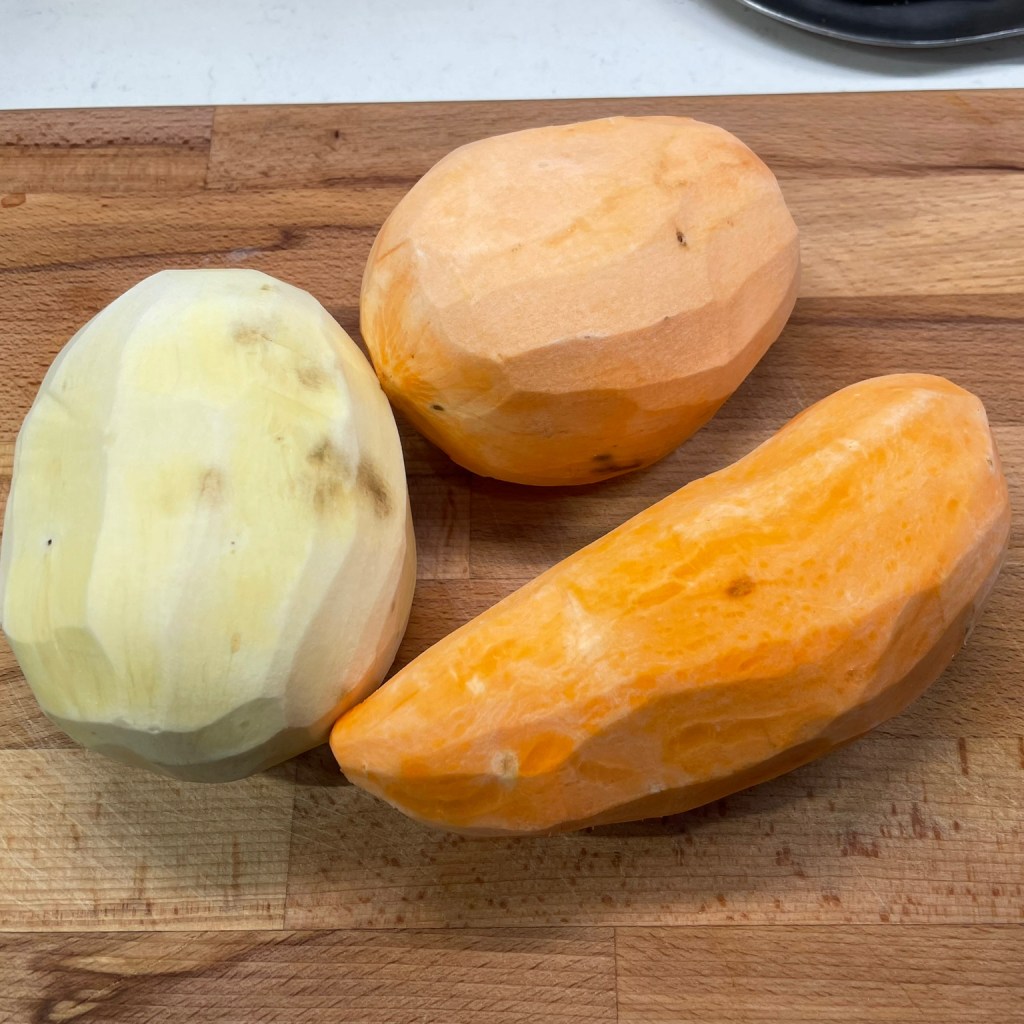
To keep things visually interesting, I picked up three different varieties of sweet potato, and you can see that they each had a unique color after peeling. The texture was the same on all three, so I expected they would roast evenly. I cut them into big chunks and laid them out onto a parchment-lined baking sheet, where they were drizzled with oil and tossed with the maple sugar and spice blend. My quick method for tossing them involves grabbing up two corners of the parchment into each hand like a hammock and quickly “swaying” it left and right. Do this first with just the oil, and again after you add the spices.
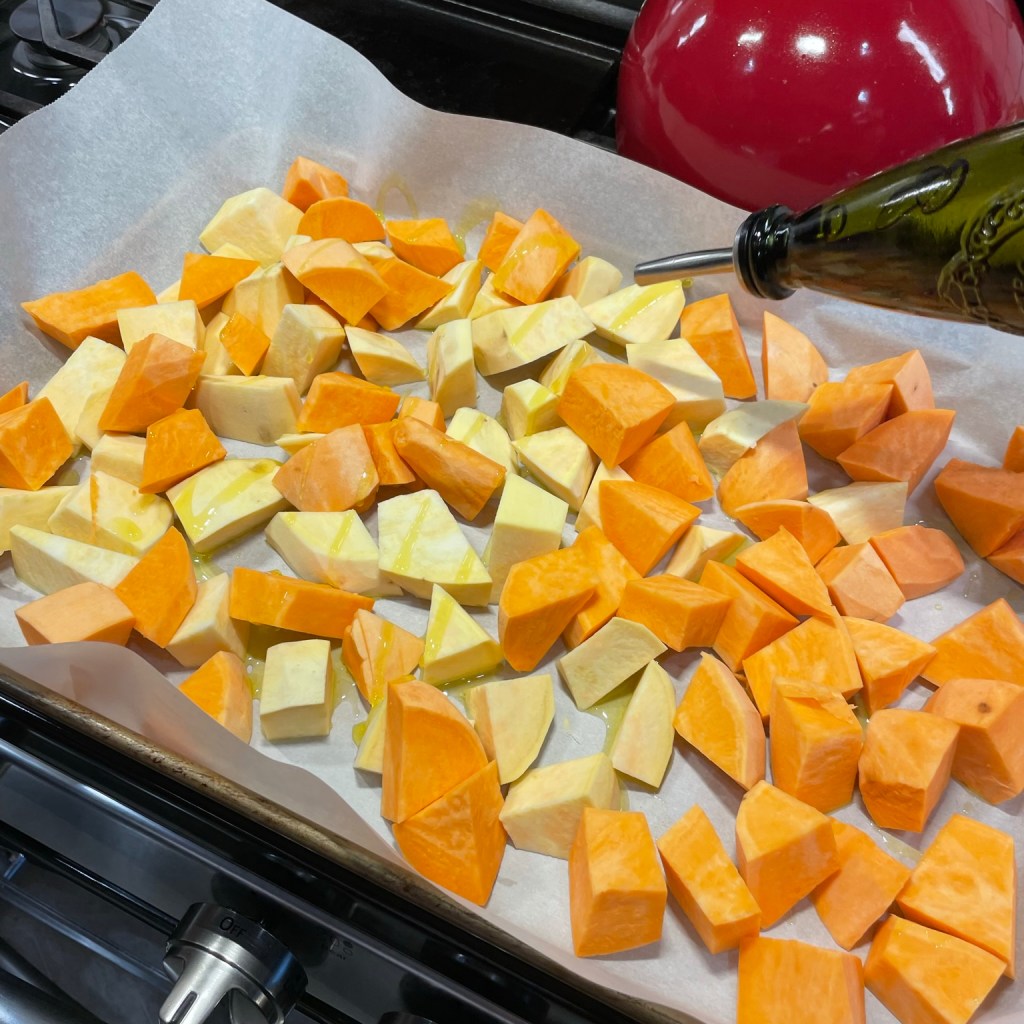

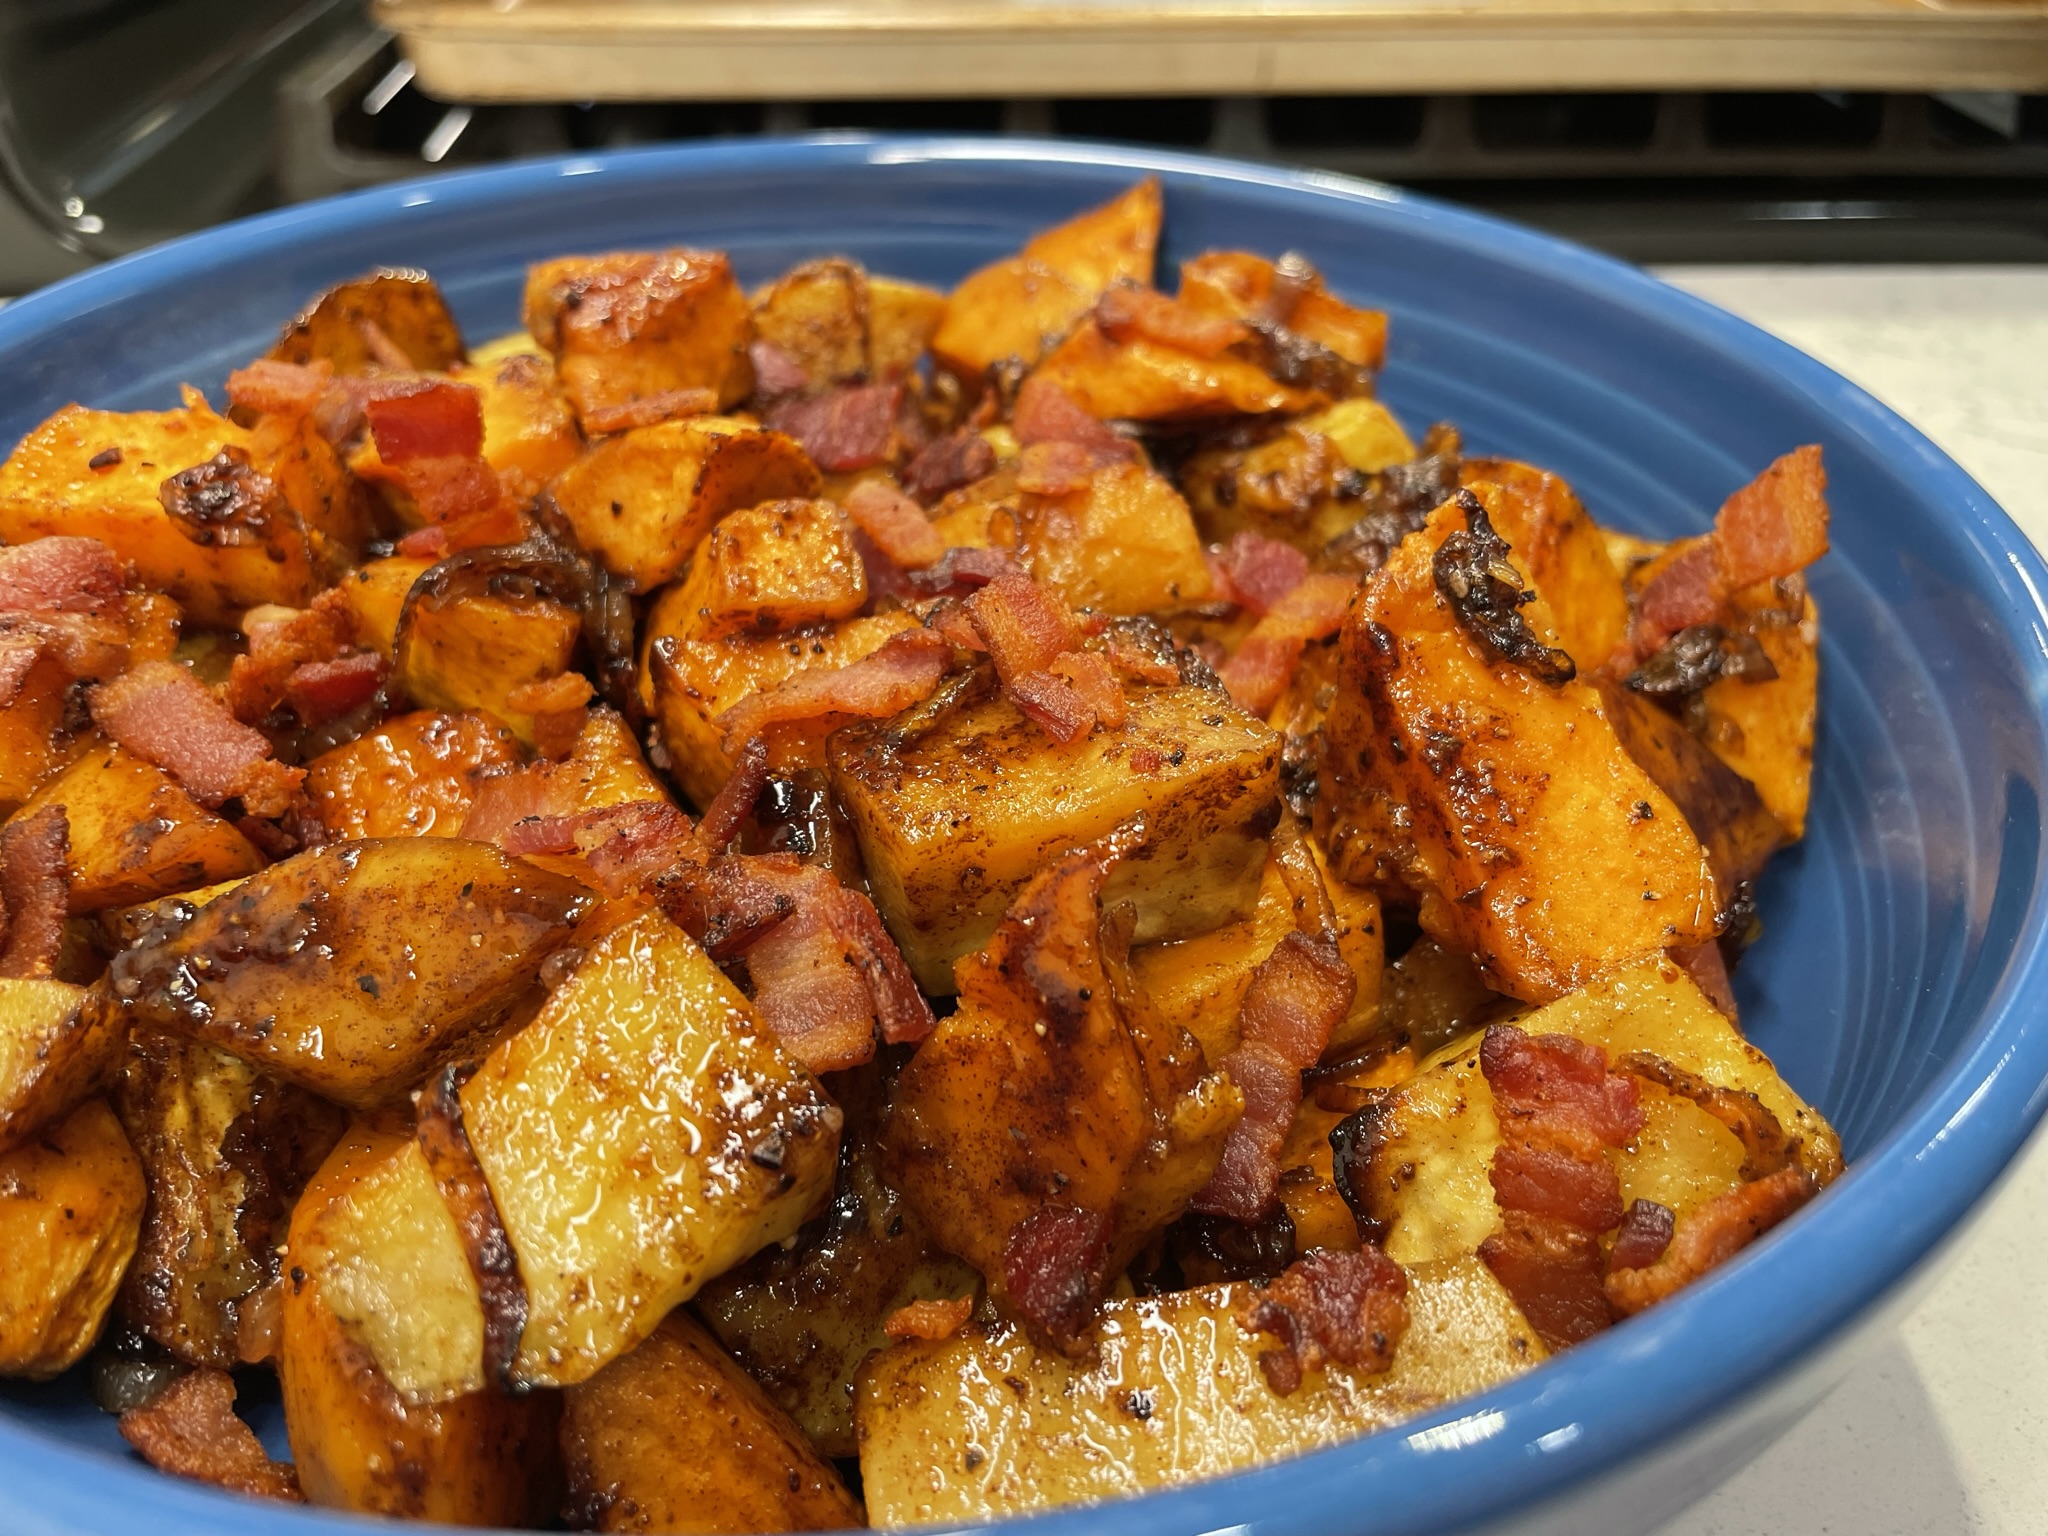
The pan slides into a hot oven for about half an hour, with a quick toss-around of the potatoes about halfway through. They will emerge fork-tender, with browned corners and a deeply smoky flavor and just enough sweet to balance the heat.
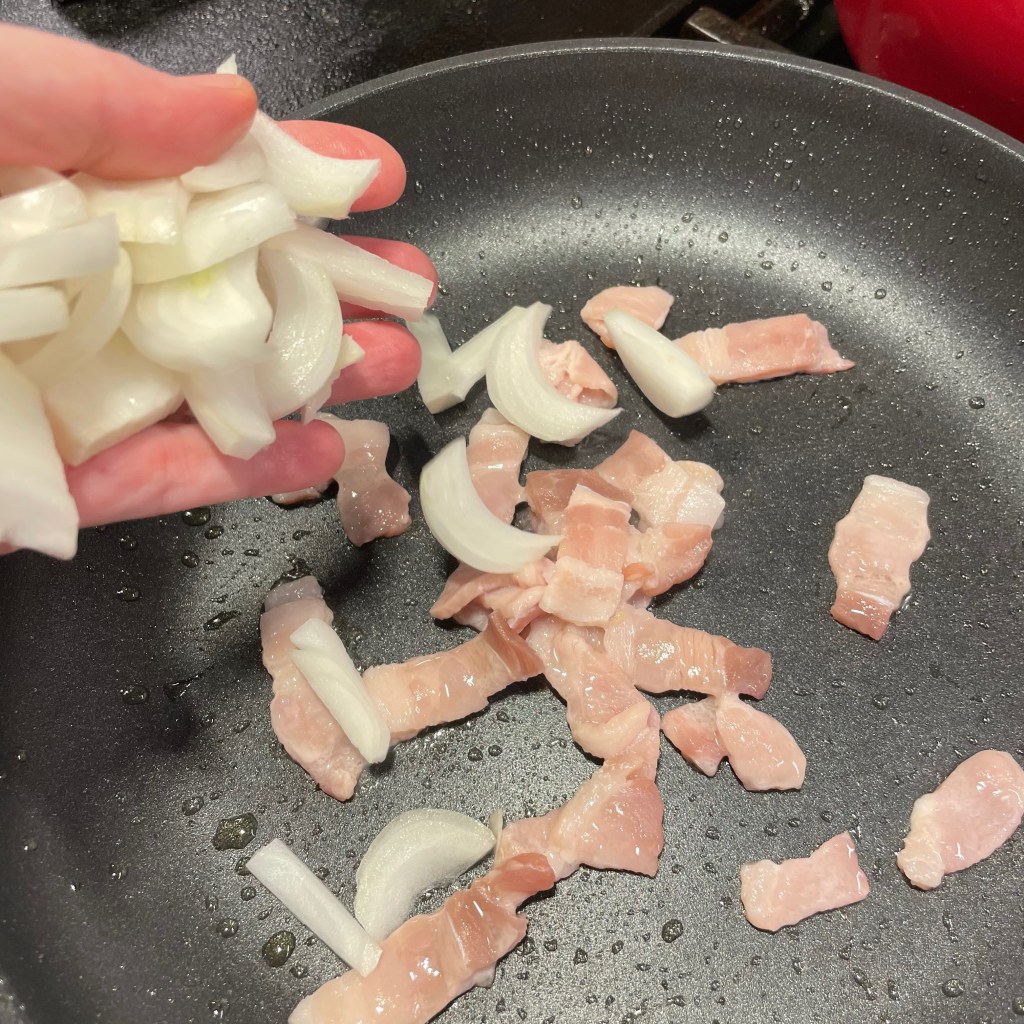
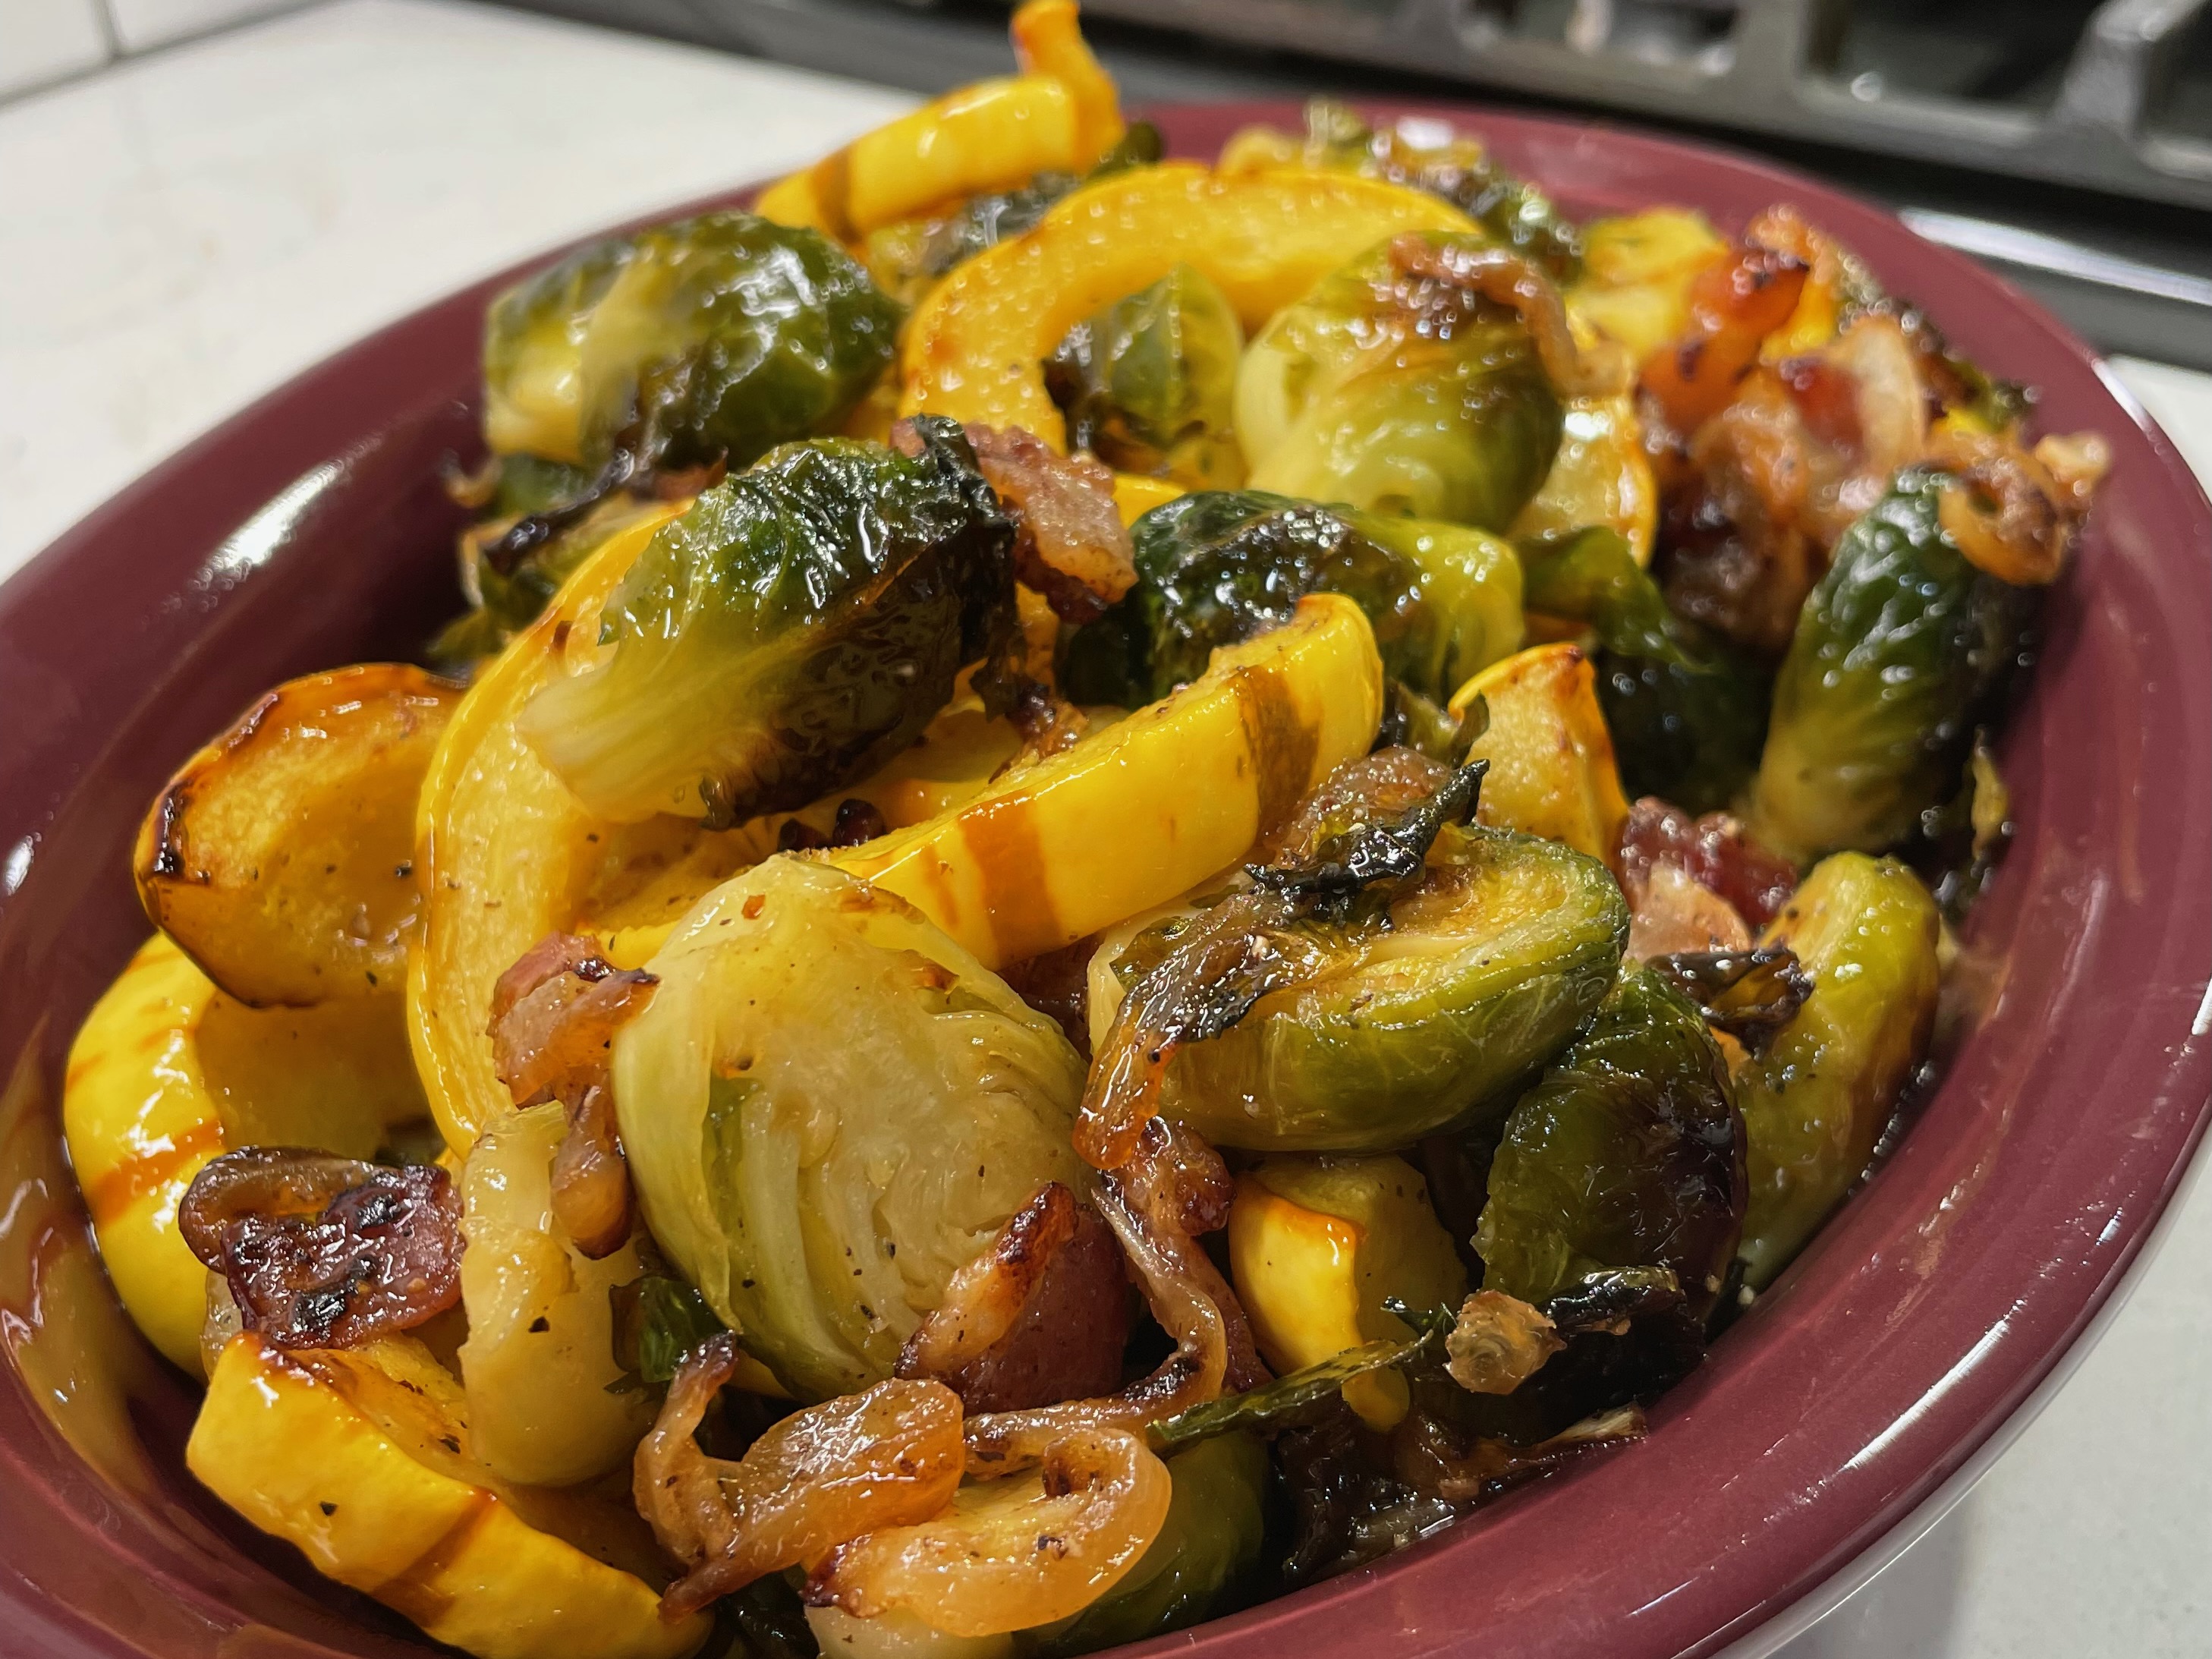
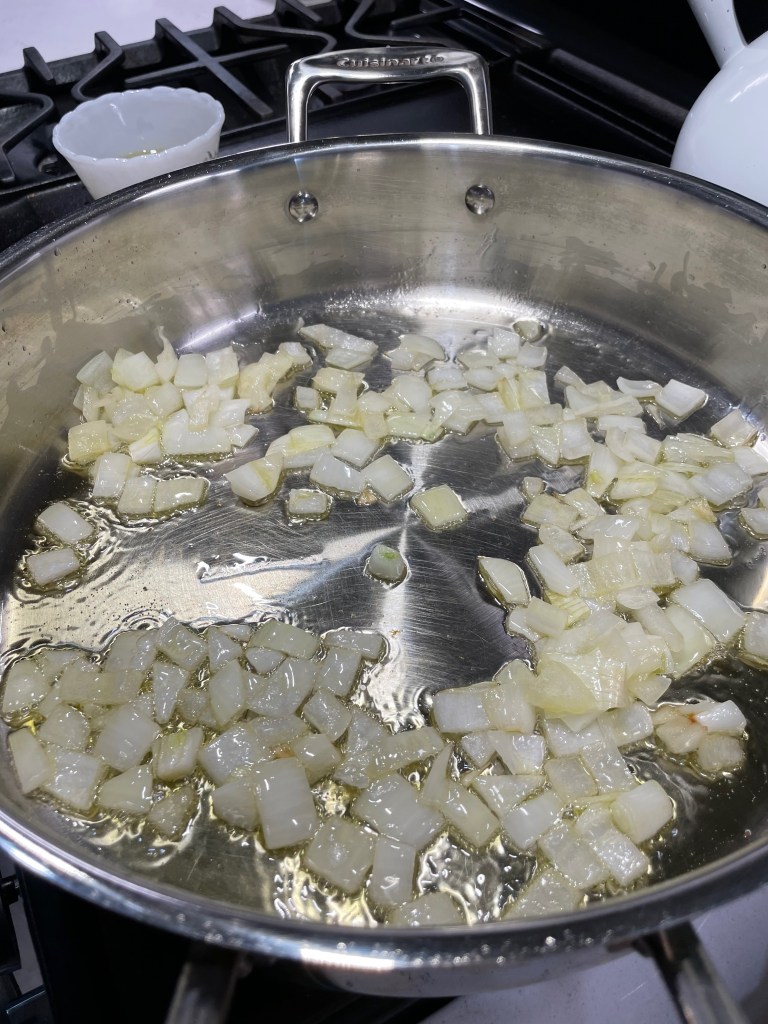
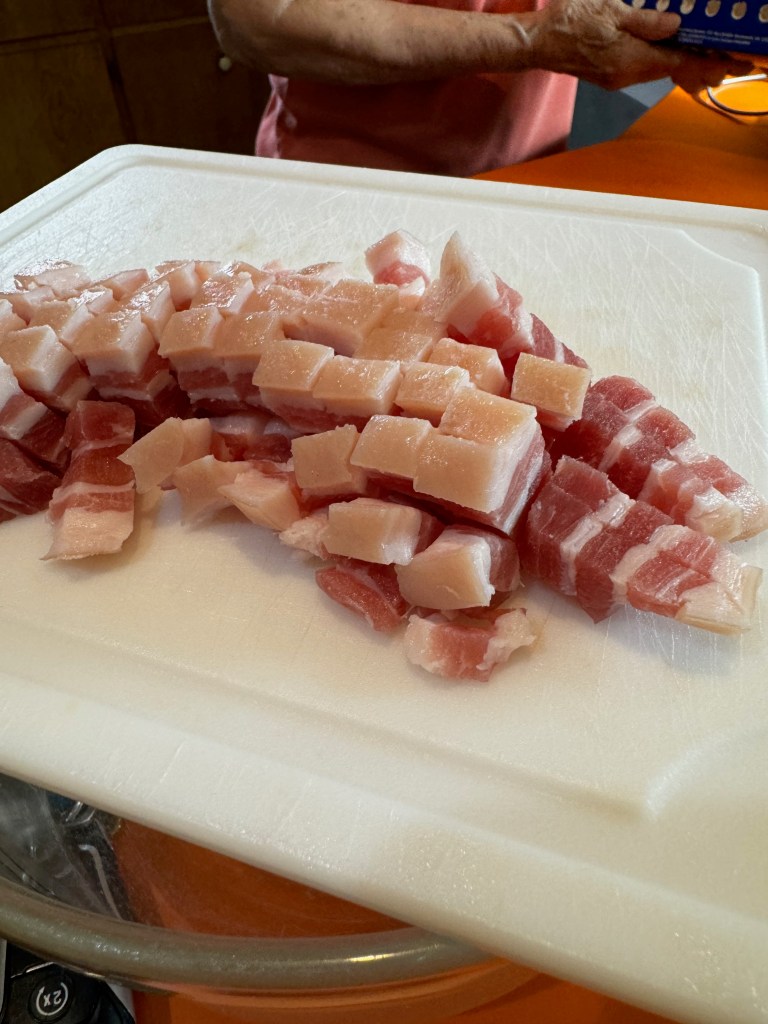
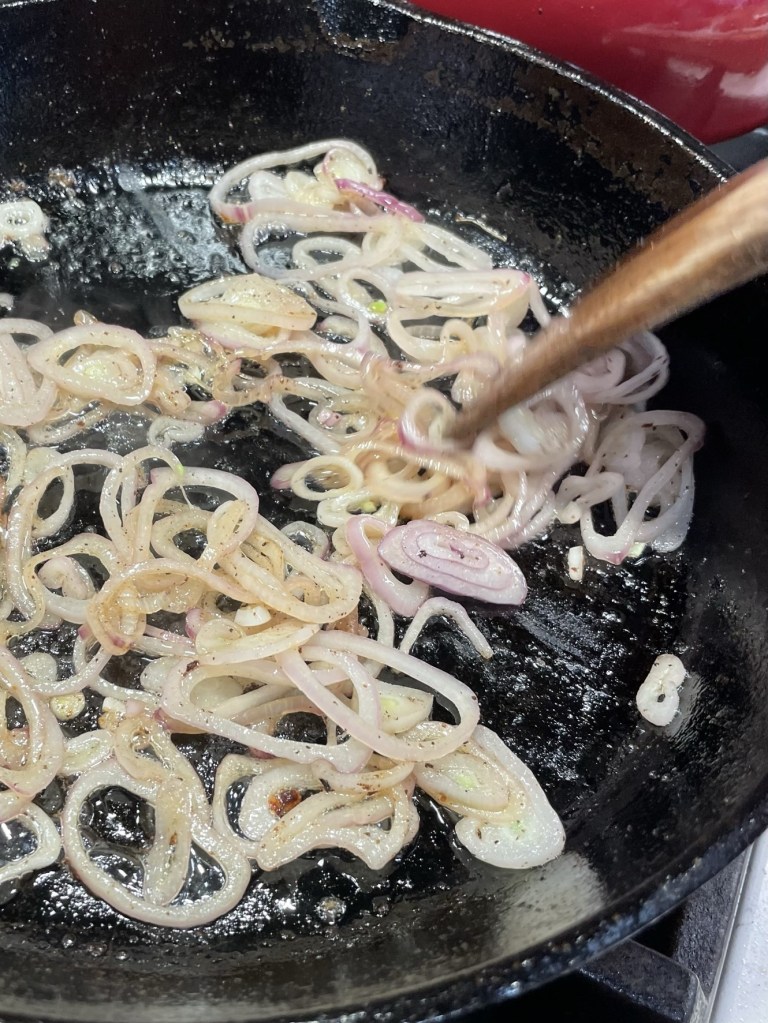
While they roast, cook up a couple slices of cut-up bacon to play up the smoke flavor even more. I go through phases where I put bacon in everything, but these sweet potatoes would be just fine without it. Do not, however, miss out on the caramelized onions. A sweet onion would be ideal here, but on the day that I made this recipe, I didn’t have one, so I sliced a shallot into rings and cooked them up in the bacon drippings until they were golden brown.


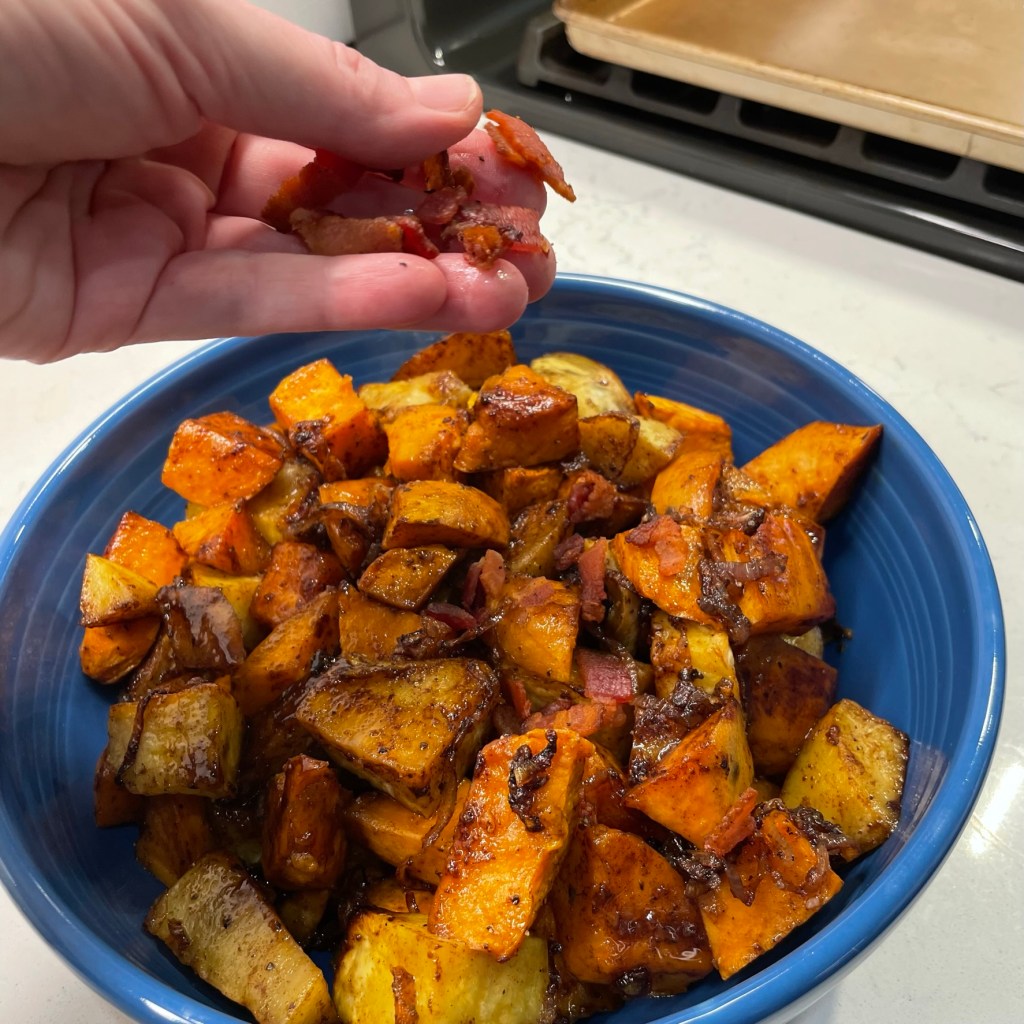
That unnecessary bacon goes on top at serving time, if you so choose. As with all roasted vegetables, these will have their best texture when they are fresh out of the oven, but they can also be done in advance and warmed at dinner time. Just hold the bacon til the end for best contrast of texture.
Smoky Chipotle-Maple Roasted Sweet Potatoes
This combination of smoky chipotle and not-too-sweet maple shakes things up for this side, which is a bold one for Thanksgiving or any cold-weather weeknight dinner.
Ingredients
- 3 extra large sweet potatoes (any color), cut into large chunks
- 2 Tbsp. extra virgin olive oil
- 2 Tbsp. brown sugar
- 2 Tbsp. maple sugar (or additional brown sugar if not available)
- 1 tsp. kosher salt (less if regular table salt)
- 1/2 tsp. ground chipotle powder (see notes for substitution ideas)
- 1/4 tsp. ground cinnamon
- 1/2 tsp. freshly ground black pepper (smoked, if you can find it)
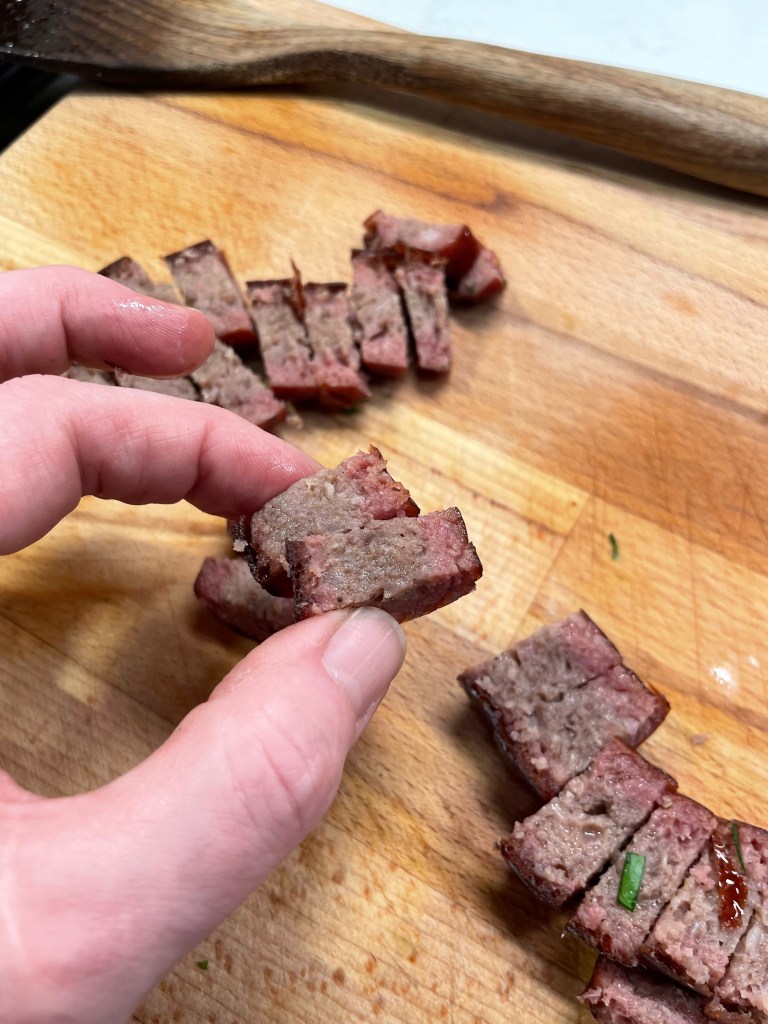
- 4 slices uncured bacon, cut into one-inch pieces
- 1 large shallot, sliced into rings (or 1/2 cup chopped sweet onion)
Directions
- Preheat oven to 375° F, with rack in center position. Line a baking sheet with parchment paper.
- Combine brown and maple sugars in a small bowl with the other dry seasonings and mix to blend evenly.
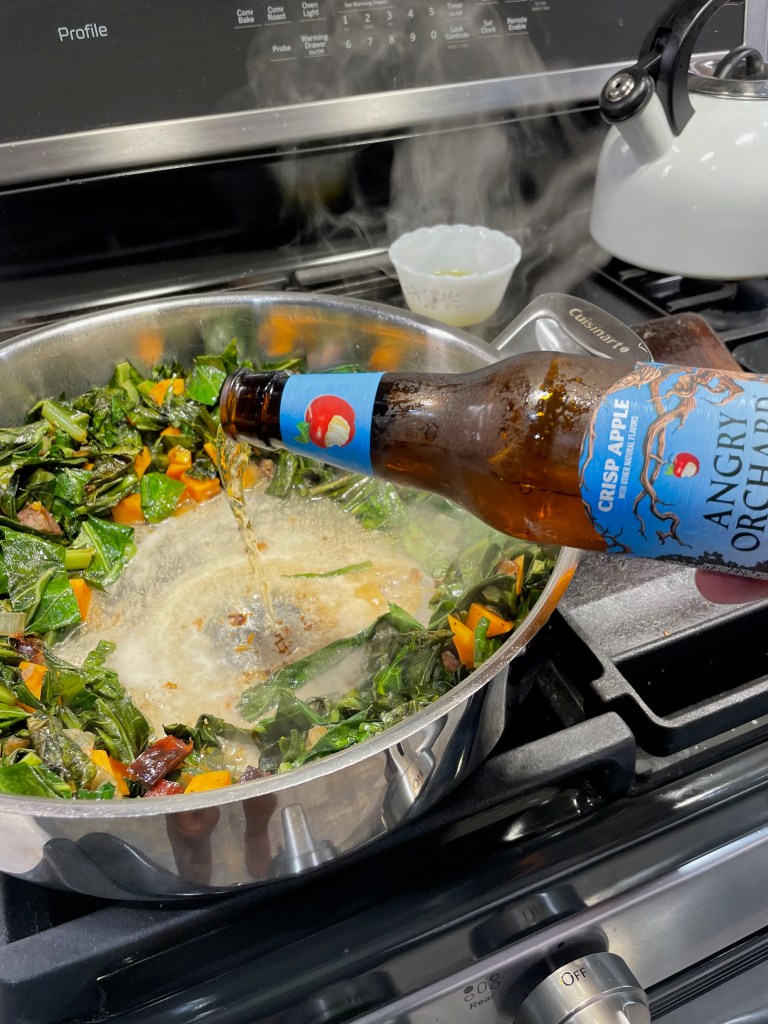
- Drizzle olive oil over sweet potato chunks on parchment, and then sprinkle the seasonings all over them. Gather up both short ends of the parchment to make a “pouch” and gently shake it side-to-side to coat the chunks with the seasonings.
- Roast potatoes 30 to 35 minutes, until they are fork-tender.
- While potatoes roast, cut bacon into bite sized pieces and cook in a cast iron skillet until crispy. Transfer the bacon to a paper towel to drain, but keep the drippings in the skillet. Add the shallots to the skillet and season them with salt and pepper. Cook over medium heat, tossing frequently, until the onions are as caramelized or crispy as you like them.
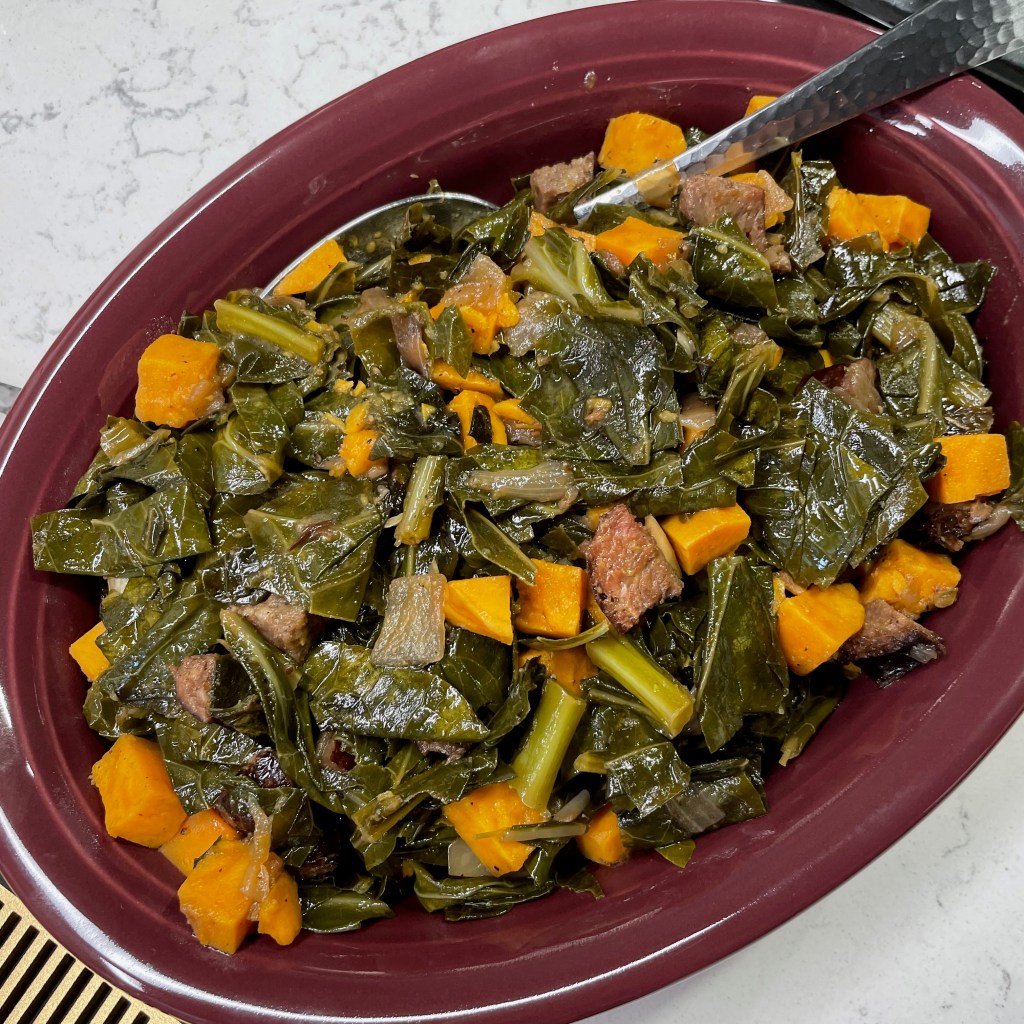
- Scatter onions all over the roasted potatoes (while they are still on the parchment sheet pan), and then transfer the mix to a serving bowl. Sprinkle bacon bits over the potatoes and serve.