It’s that time of year again. Time to celebrate and honor fathers by putting them to work in the backyard. The big box stores are making a killing this weekend, with all their promotions on grills, tools and lawn equipment that ensure Dad’s hands will be sufficiently busy for the foreseeable future. How about that? Mom gets taken to brunch and pampered at the spa for her special day, and Dad gets to slave over a hot grill, preparing a meal for his family. Works for me (and we all know, the men love it this way)!
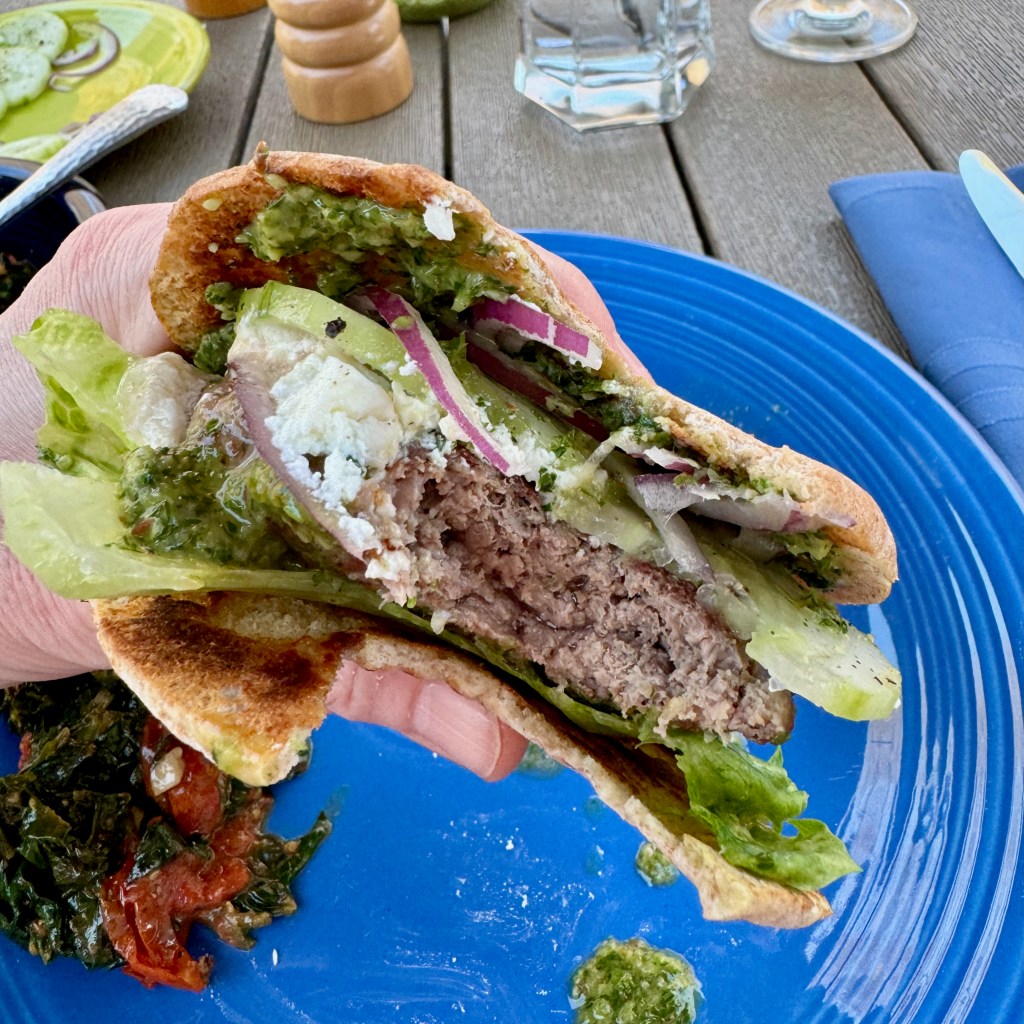
My husband, Les, does love his time at the grill, and Father’s Day weekend is just the beginning of many great meals to come this summer. Les had a major hand in making these delectable lamb burgers. He prepped the patties and he scouted out ideas for topping the burgers with salty feta and a few simple, refreshing cucumber and red onion slices— a perfect contrast to the richness of the lamb meat. And, of course, he cooked them. Over a flame! My role in this tasty meal kicked in closer to serving time (you’ll see), and we served the burgers with a side of collard greens with tomatoes.

Les and I approach burgers a bit differently; whereas I like to season only the outside of the burger with salt and pepper just before cooking (and with minimal working of the meat), Les prefers to add seasoning right into the meat before shaping the patties. Either method yields delicious results, and for these tasty handhelds, Les relied on the same ingredients that flavor our homemade gyro meat.

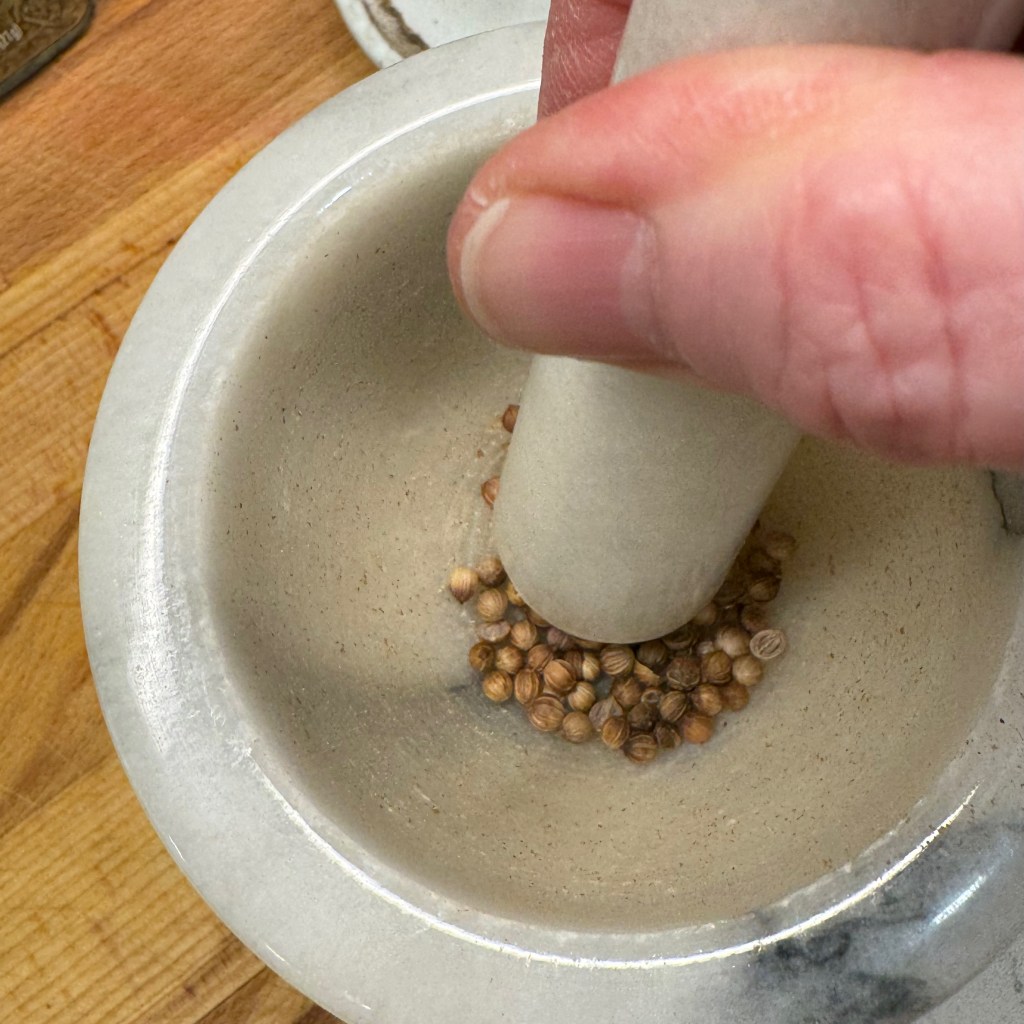
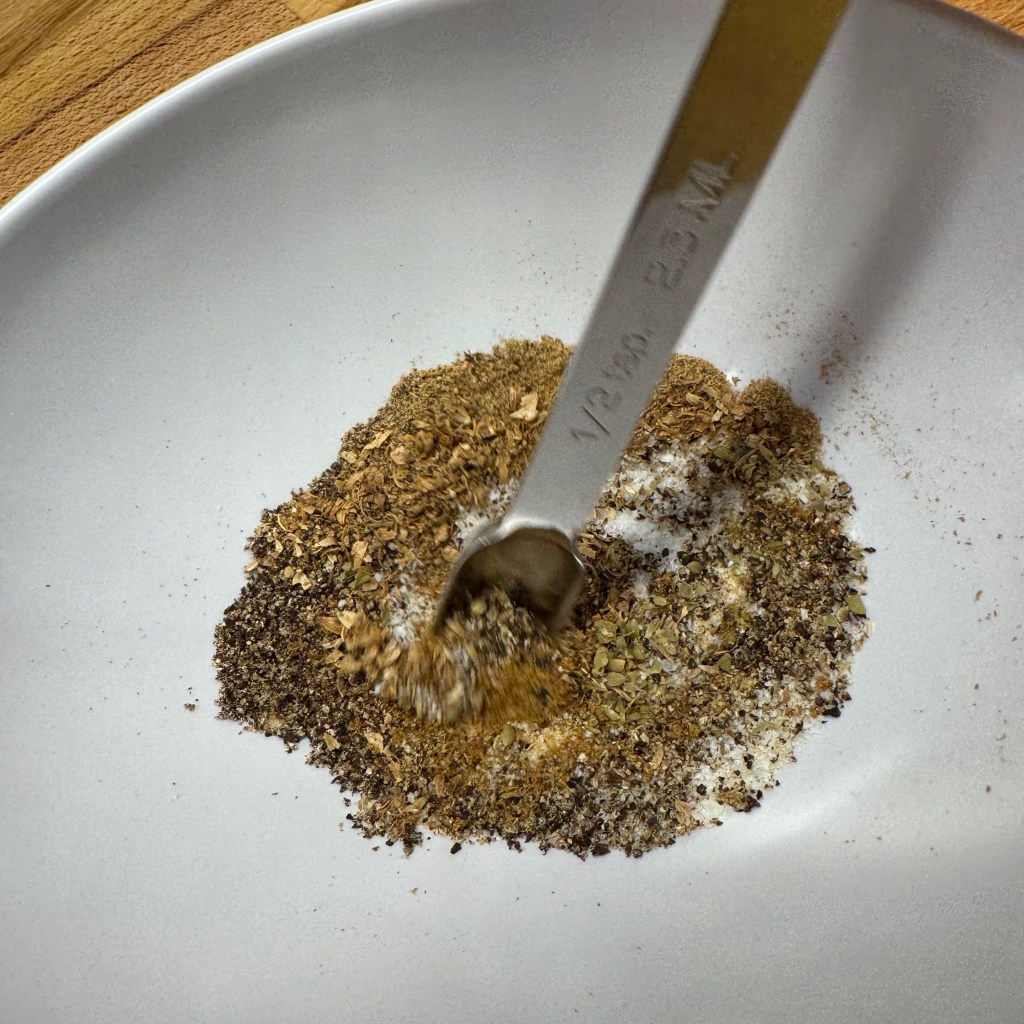
This blend of warm spices and earthy oregano is excellent in gyros, as well as on roasted leg of lamb or grilled lamb chops, so we knew it would be delicious for lamb burgers. The first order of business was crushing the whole coriander seeds in a mortar and pestle, and then we mixed the rest of the spices. The blend included kosher salt, so Les waited until closer to grilling time to add it to the meat. The alternative— seasoning and then resting the meat for a period of time, either in or out of the fridge— would result in a bouncy texture similar to sausage.
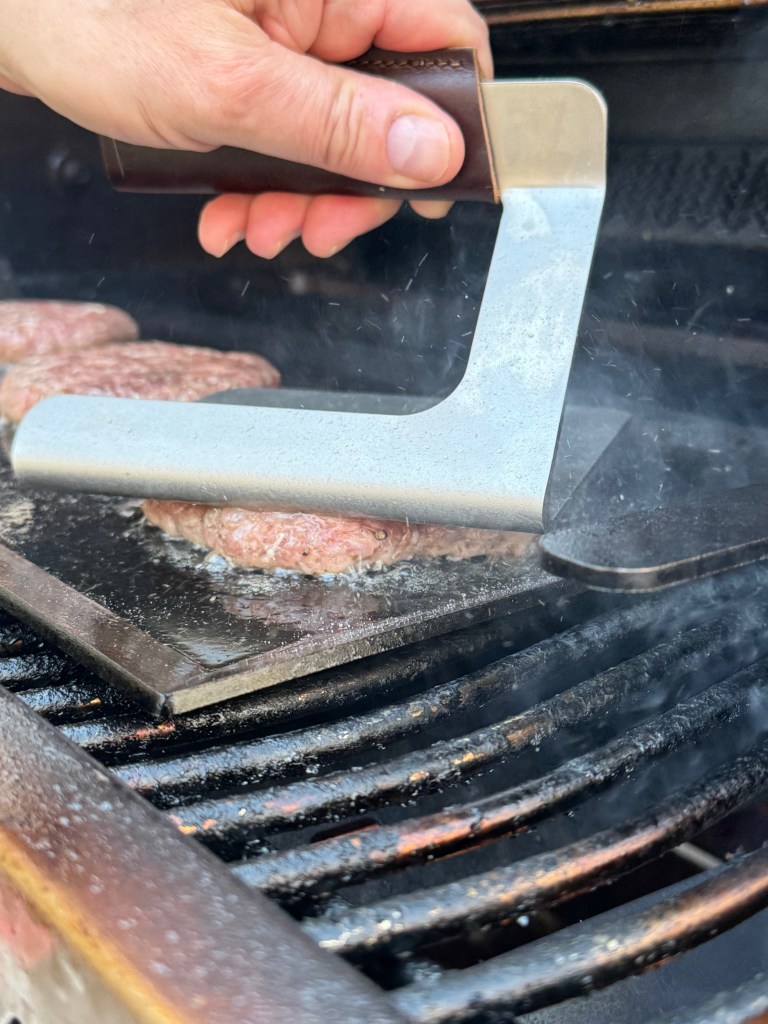
Now, we don’t have any photos of Les prepping the burger patties themselves because, well, he isn’t a food blogger and he tends to get so focused in his work that he forgets to document it for posterity. That, and he also had both hands stuck in raw meat while I was on a last-minute grocery run, so there was no one around to snap a shot. This food blogger will trust that you can easily imagine what it looks like to mix a dry seasoning blend into a pound of ground lamb. Take care that you don’t do it too early ahead of cooking. As for the grilling—yes! We have photos, and I’m happy to share that Les has been enjoying the Made In griddle and burger press that I got him last year for his birthday. They’re not paying me to tell you about it, but I included a link in case you want to learn more. So far, Les loves it and says this will be the summer to make breakfast outdoors!

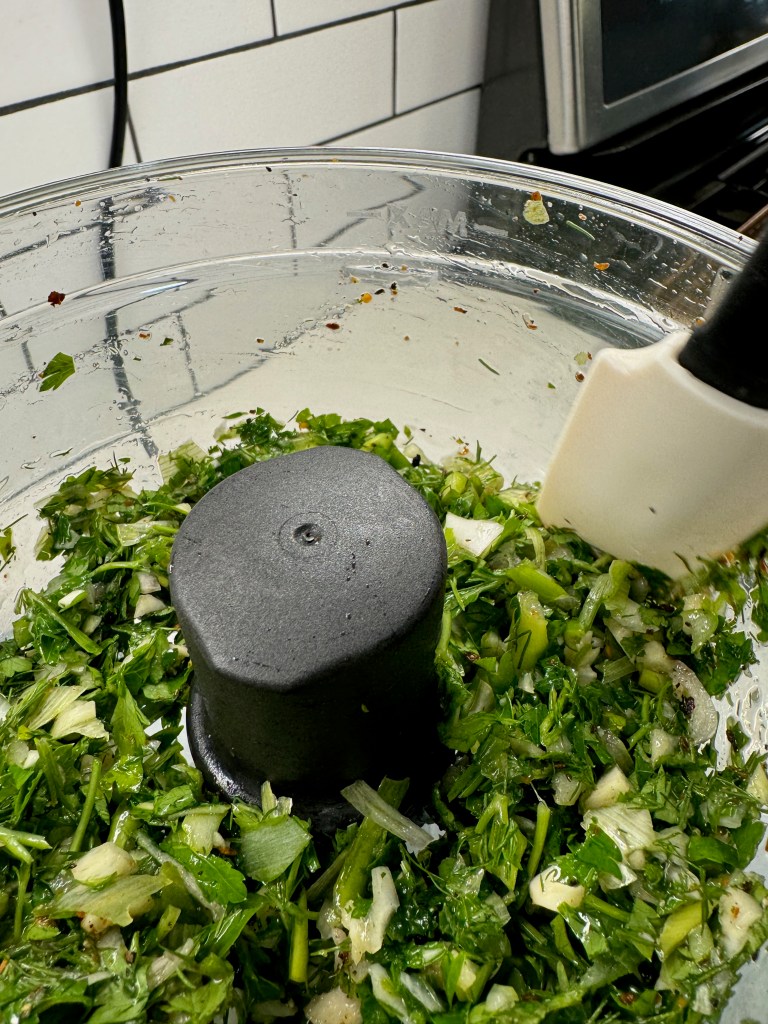
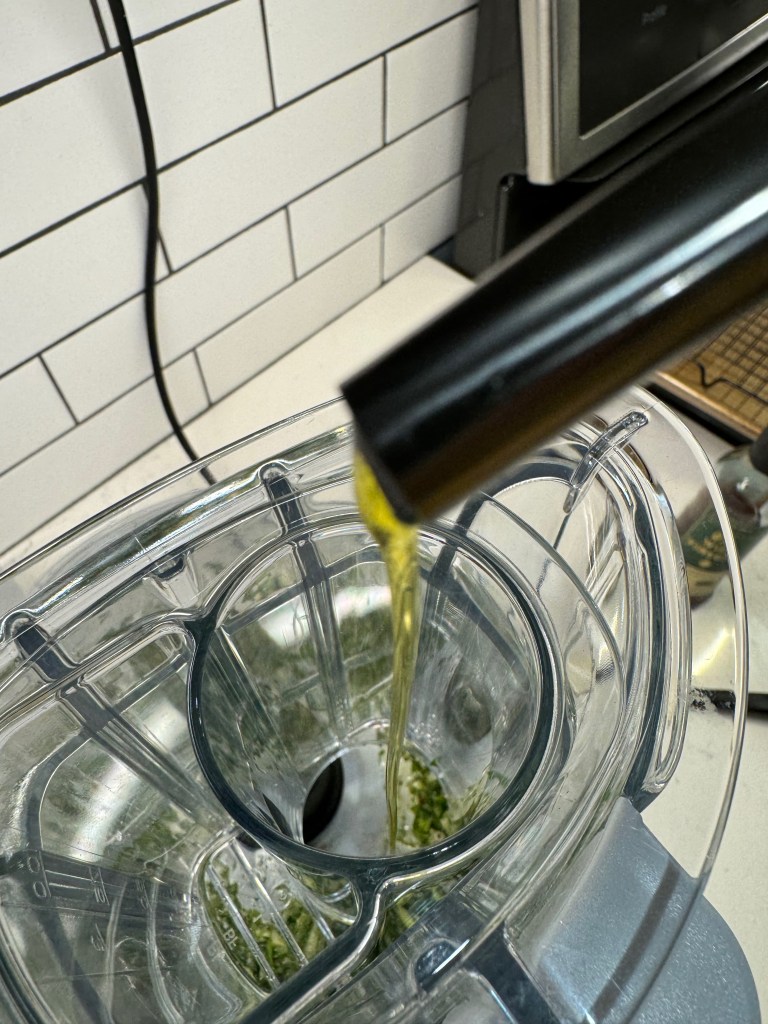
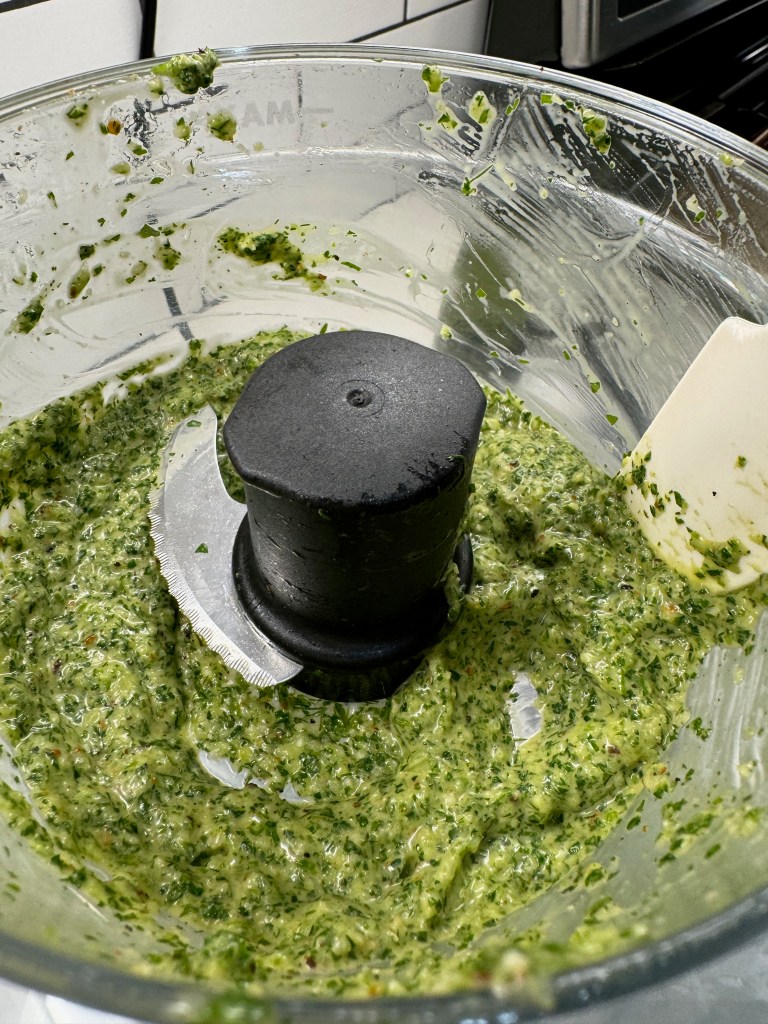
As for my role in this batch of burgers, I made myself responsible for the toppings, including a zesty chimichurri-style sauce that included fresh parsley, dill, mint and garlic. Mmmm.

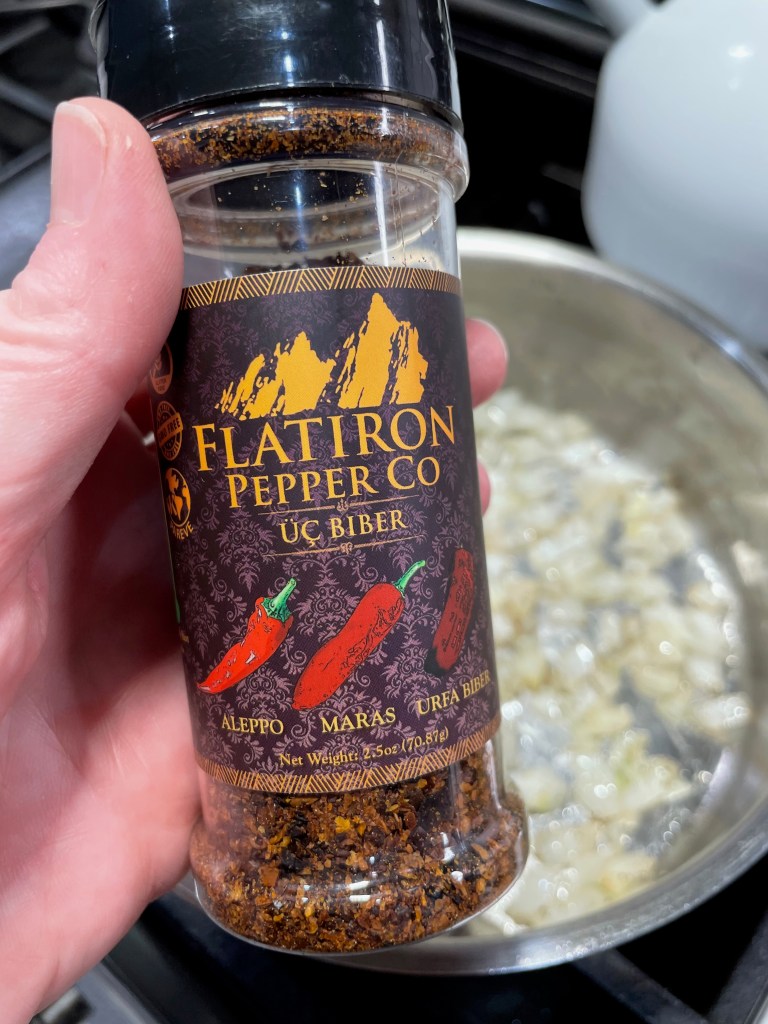
We’ve been trying hard to lean healthier with our meals, and the usual slathering of ingredients like bacon, bbq sauce and mayonnaise have taken a backseat to fresher, lighter treatments. This herby topping comes together in record time in the small bowl of my food processor. Red wine vinegar and a few shakes of a Turkish red pepper blend give it a zippy flavor, and olive oil helps keep it together while adding healthy Omega-3 fats to the mix.
We’ve discovered a few other tricks to help us stay on track with our healthier eating goals. One of them is to reduce (but not eliminate) the empty carbs that come with bread. There’s nothing wrong with bread, in moderation, and I’ll never ever give it up. But in general, we’ve been eating less of it, and for these burgers, I picked up some miniature whole wheat pitas to stand in for the usual burger buns. They are thin, yet substantial enough, to hold these hearty burgers with all their delicious toppings. The pita also lent another layer to the Mediterranean vibe we already had with the spices and herb sauce. Can’t ya just taste it?
Now, please excuse me while I ponder what I’d like Les to get busy grilling on Father’s Day. Hey, maybe breakfast! 😉
Grilled Lamb Burgers with Chimichurri

Bold flavors and fresh toppings made these grilled lamb burgers unforgettably delicious!
Ingredients
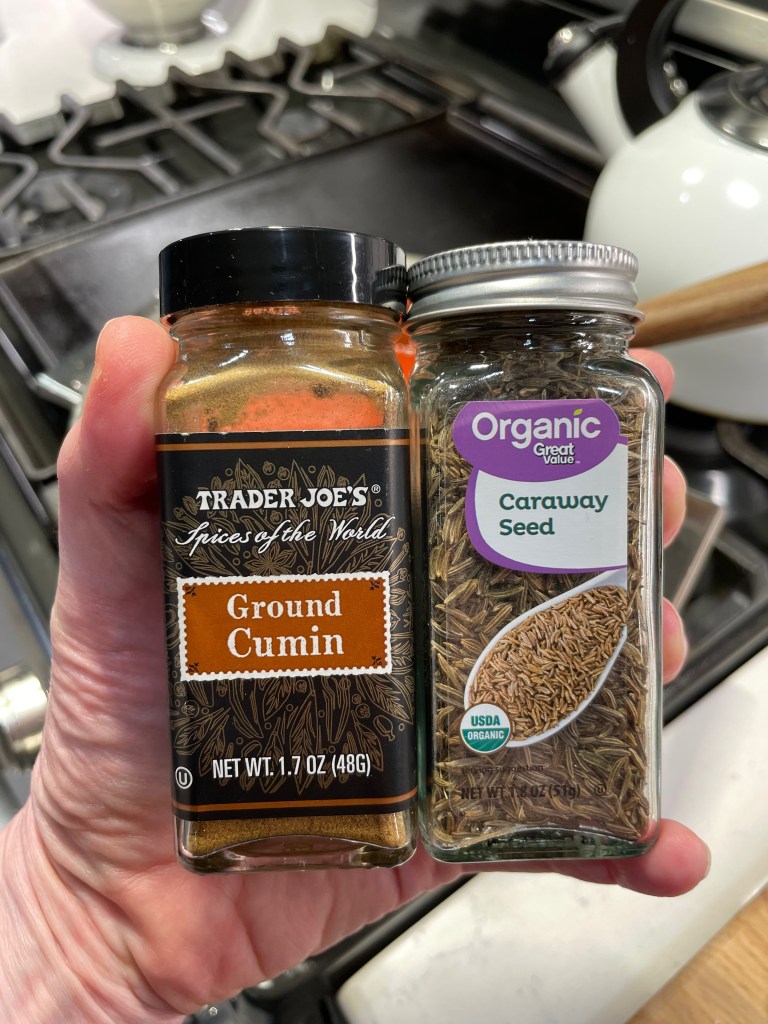
- 1/2 tsp. cumin
- 1/2 tsp. ground coriander (best to crush whole seeds, if possible)
- 1/4 tsp. dried Mediterranean oregano leaves
- 1/4 tsp. ground cardamom
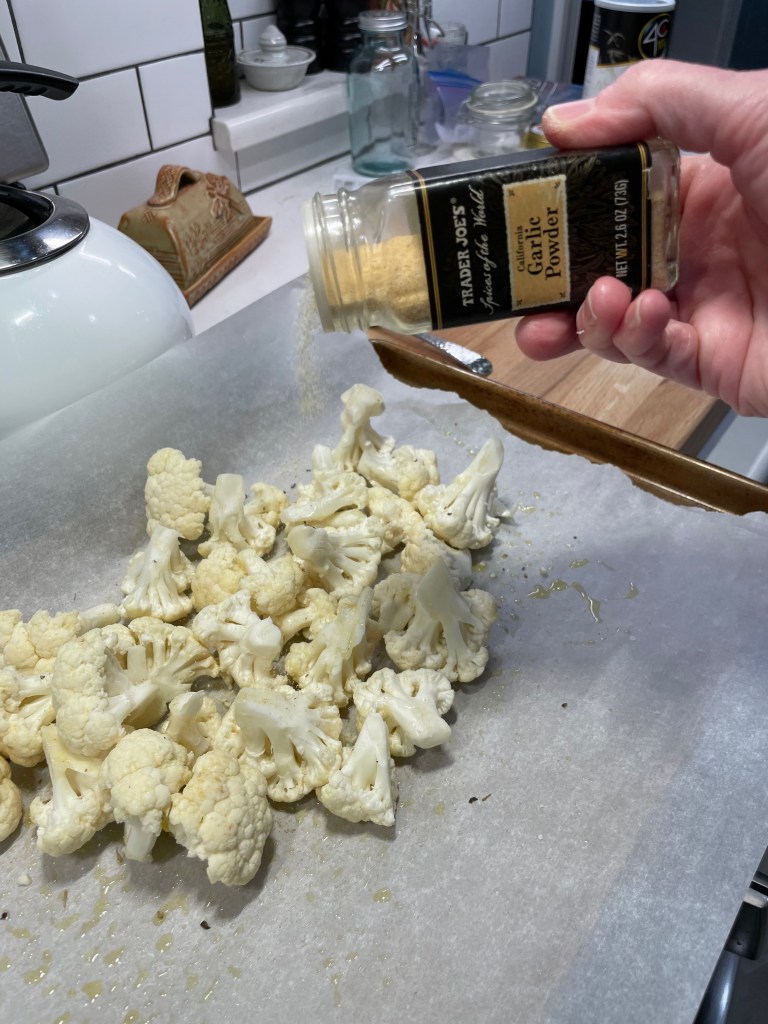
- 1/4 tsp. garlic powder
- 3/4 tsp. kosher salt
- 1/2 tsp. freshly ground black pepper
- 1 pound ground lamb, local if possible
- Chimichurri for serving (recipe below)
- Whole wheat mini pita breads, split, buttered and toasted inside for serving
- Thinly sliced red onion and cucumber, for serving
- Romaine or leaf lettuce, for serving
- 3 Tbsp. crumbled feta, for serving
Directions
- In a small bowl, combine all dry spices and set aside.
- Shortly before grilling, mix spice blend evenly into ground lamb. Shape into 3 or 4 patties, as desired.
- Heat grill, griddle or cast iron skillet to just above medium heat. Cook burgers about two and a half minutes per side, to desired doneness. Remove from grill or griddle and rest one minute before serving.
Ingredients
- 2 or 3 scallions (green and white parts), rough-chopped
- 2 or 3 fresh garlic cloves, rough-chopped
- Large handful of fresh herbs (to complement the lamb, I chose flat parsley, mint and dill)
- A few shakes crushed red pepper (I used Flatiron Uç Biber, a Turkish blend of Aleppo, Maras and Urfa peppers)
- About 1/2 tsp. kosher salt
- Several twists freshly ground black pepper
- About a Tablespoon red wine vinegar
- 2 to 3 Tablespoons extra virgin olive oil (choose a peppery one with lots of polyphenols)
Directions
- Combine all ingredients except olive oil in the small bowl of a food process. Pulse a few times to break down the large pieces of onion and garlic. Scrape down the bowl.
- Add a quick drizzle of the olive oil to the mixture and pulse a few more times, until mixture seems evenly blended. Turn processor on continuous blend and drizzle remaining oil through the chute as it blends. This should happen fairly quickly. Adjust seasonings to taste.
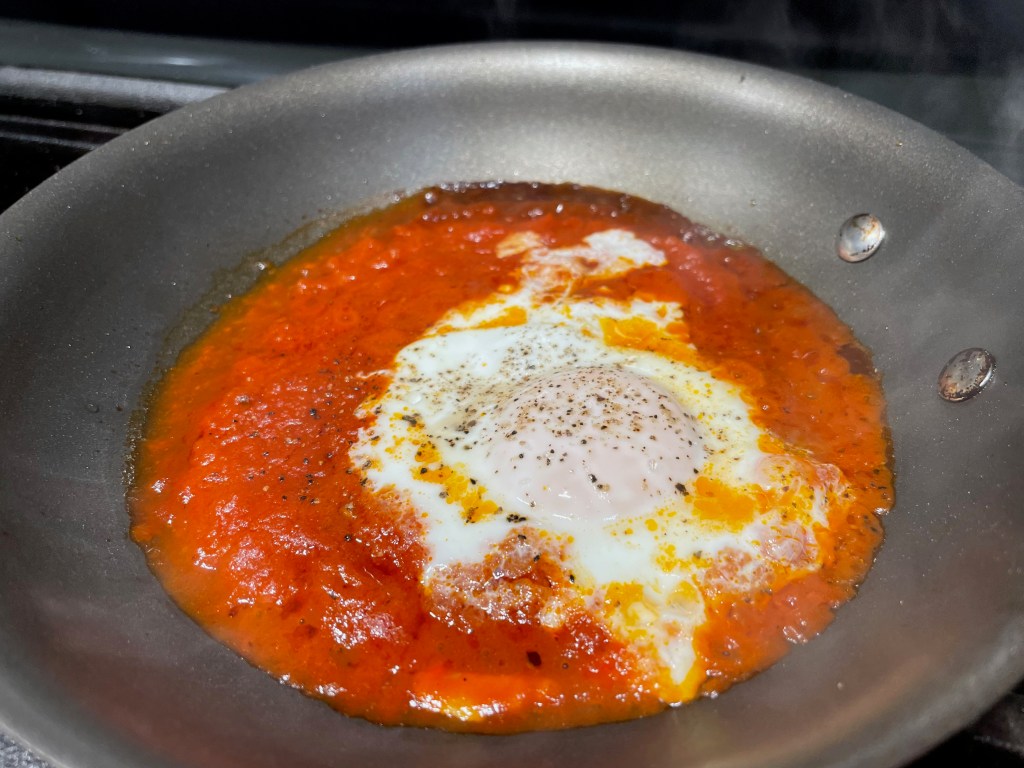
- Store any leftover chimichurri in a covered dish in the fridge. It adds a lovely zhuzh to fried eggs or vegetables, or mix it with mayonnaise for a fantastic sandwich spread.