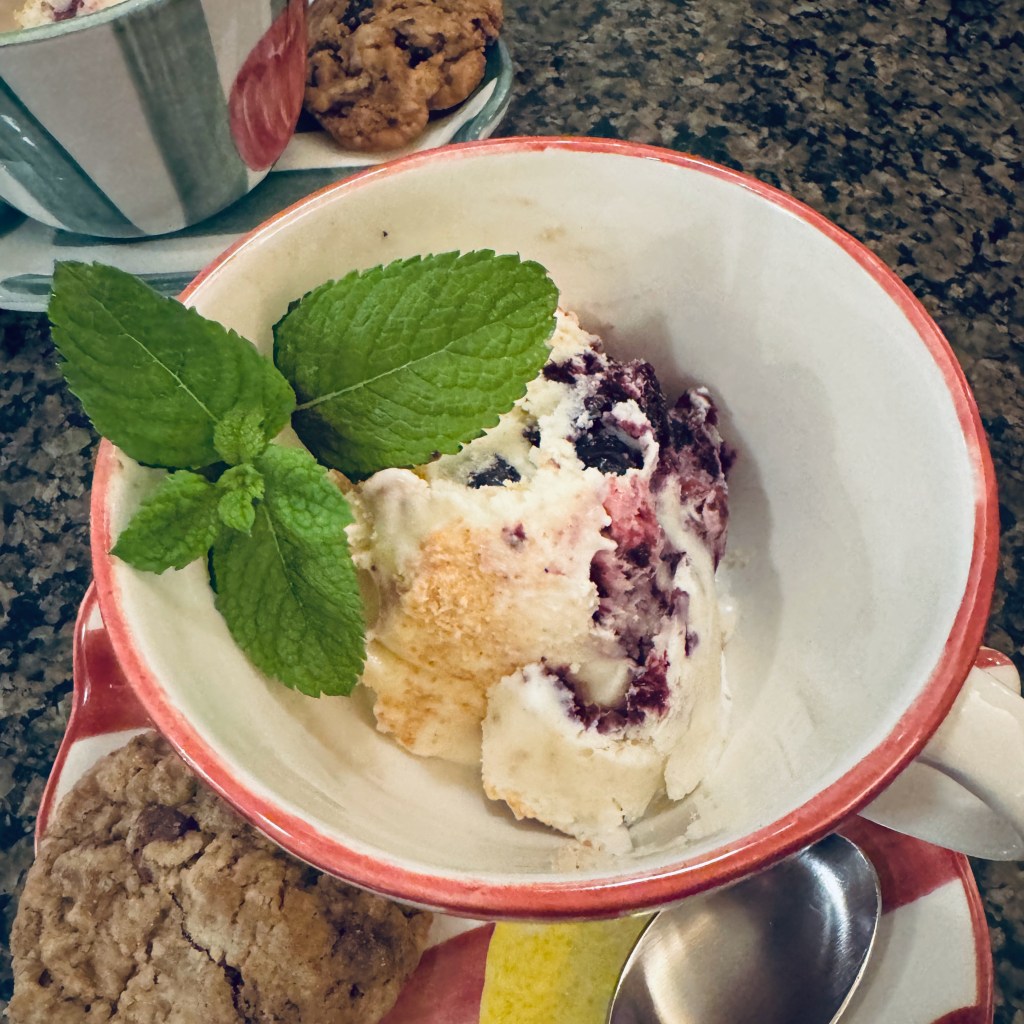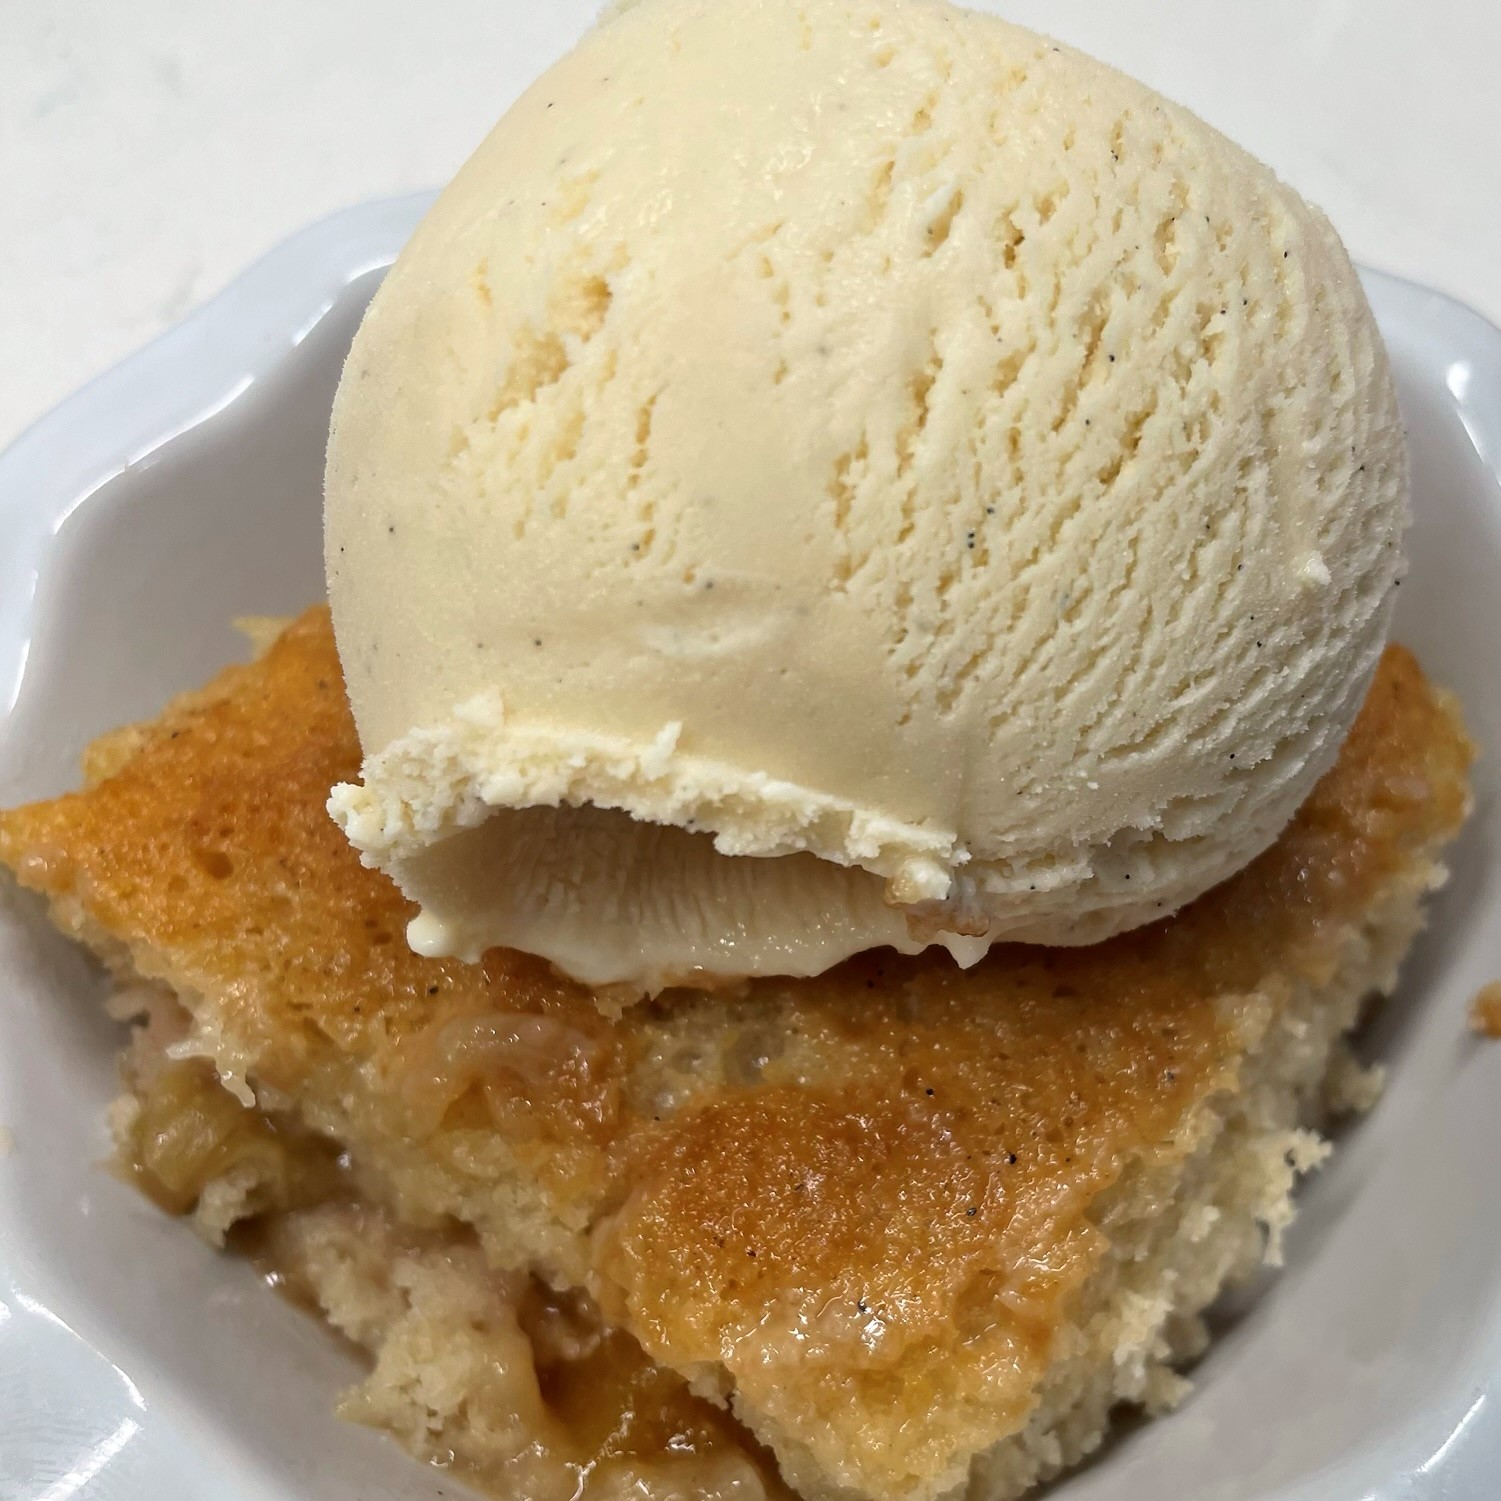
My muse has been after me for at least four years to turn banana pudding, a classic North Carolina dessert, into an ice cream. Imagine the creamy, comforting texture of pudding, wrapped around bits of fresh banana and complemented with delicate, vanilla-scented cookies. But frozen! And just in time for the ridiculous heat wave that has gripped our state. This turned out to be a very good thing.
So what took me so long? My husband, Les, doesn’t care for banana pudding, and I didn’t want to make a big dessert that I’d have to eat by myself. I will admit that I’ve also considered banana pudding to be generally overrated since I moved to the American South some 38 years ago. The pudding part isn’t even banana flavored, but vanilla (did you know this?), and everyone knows how visually unappealing bananas get when they’ve been exposed to air. Don’t even get me started on vanilla wafers because they are just so boring. 🥱
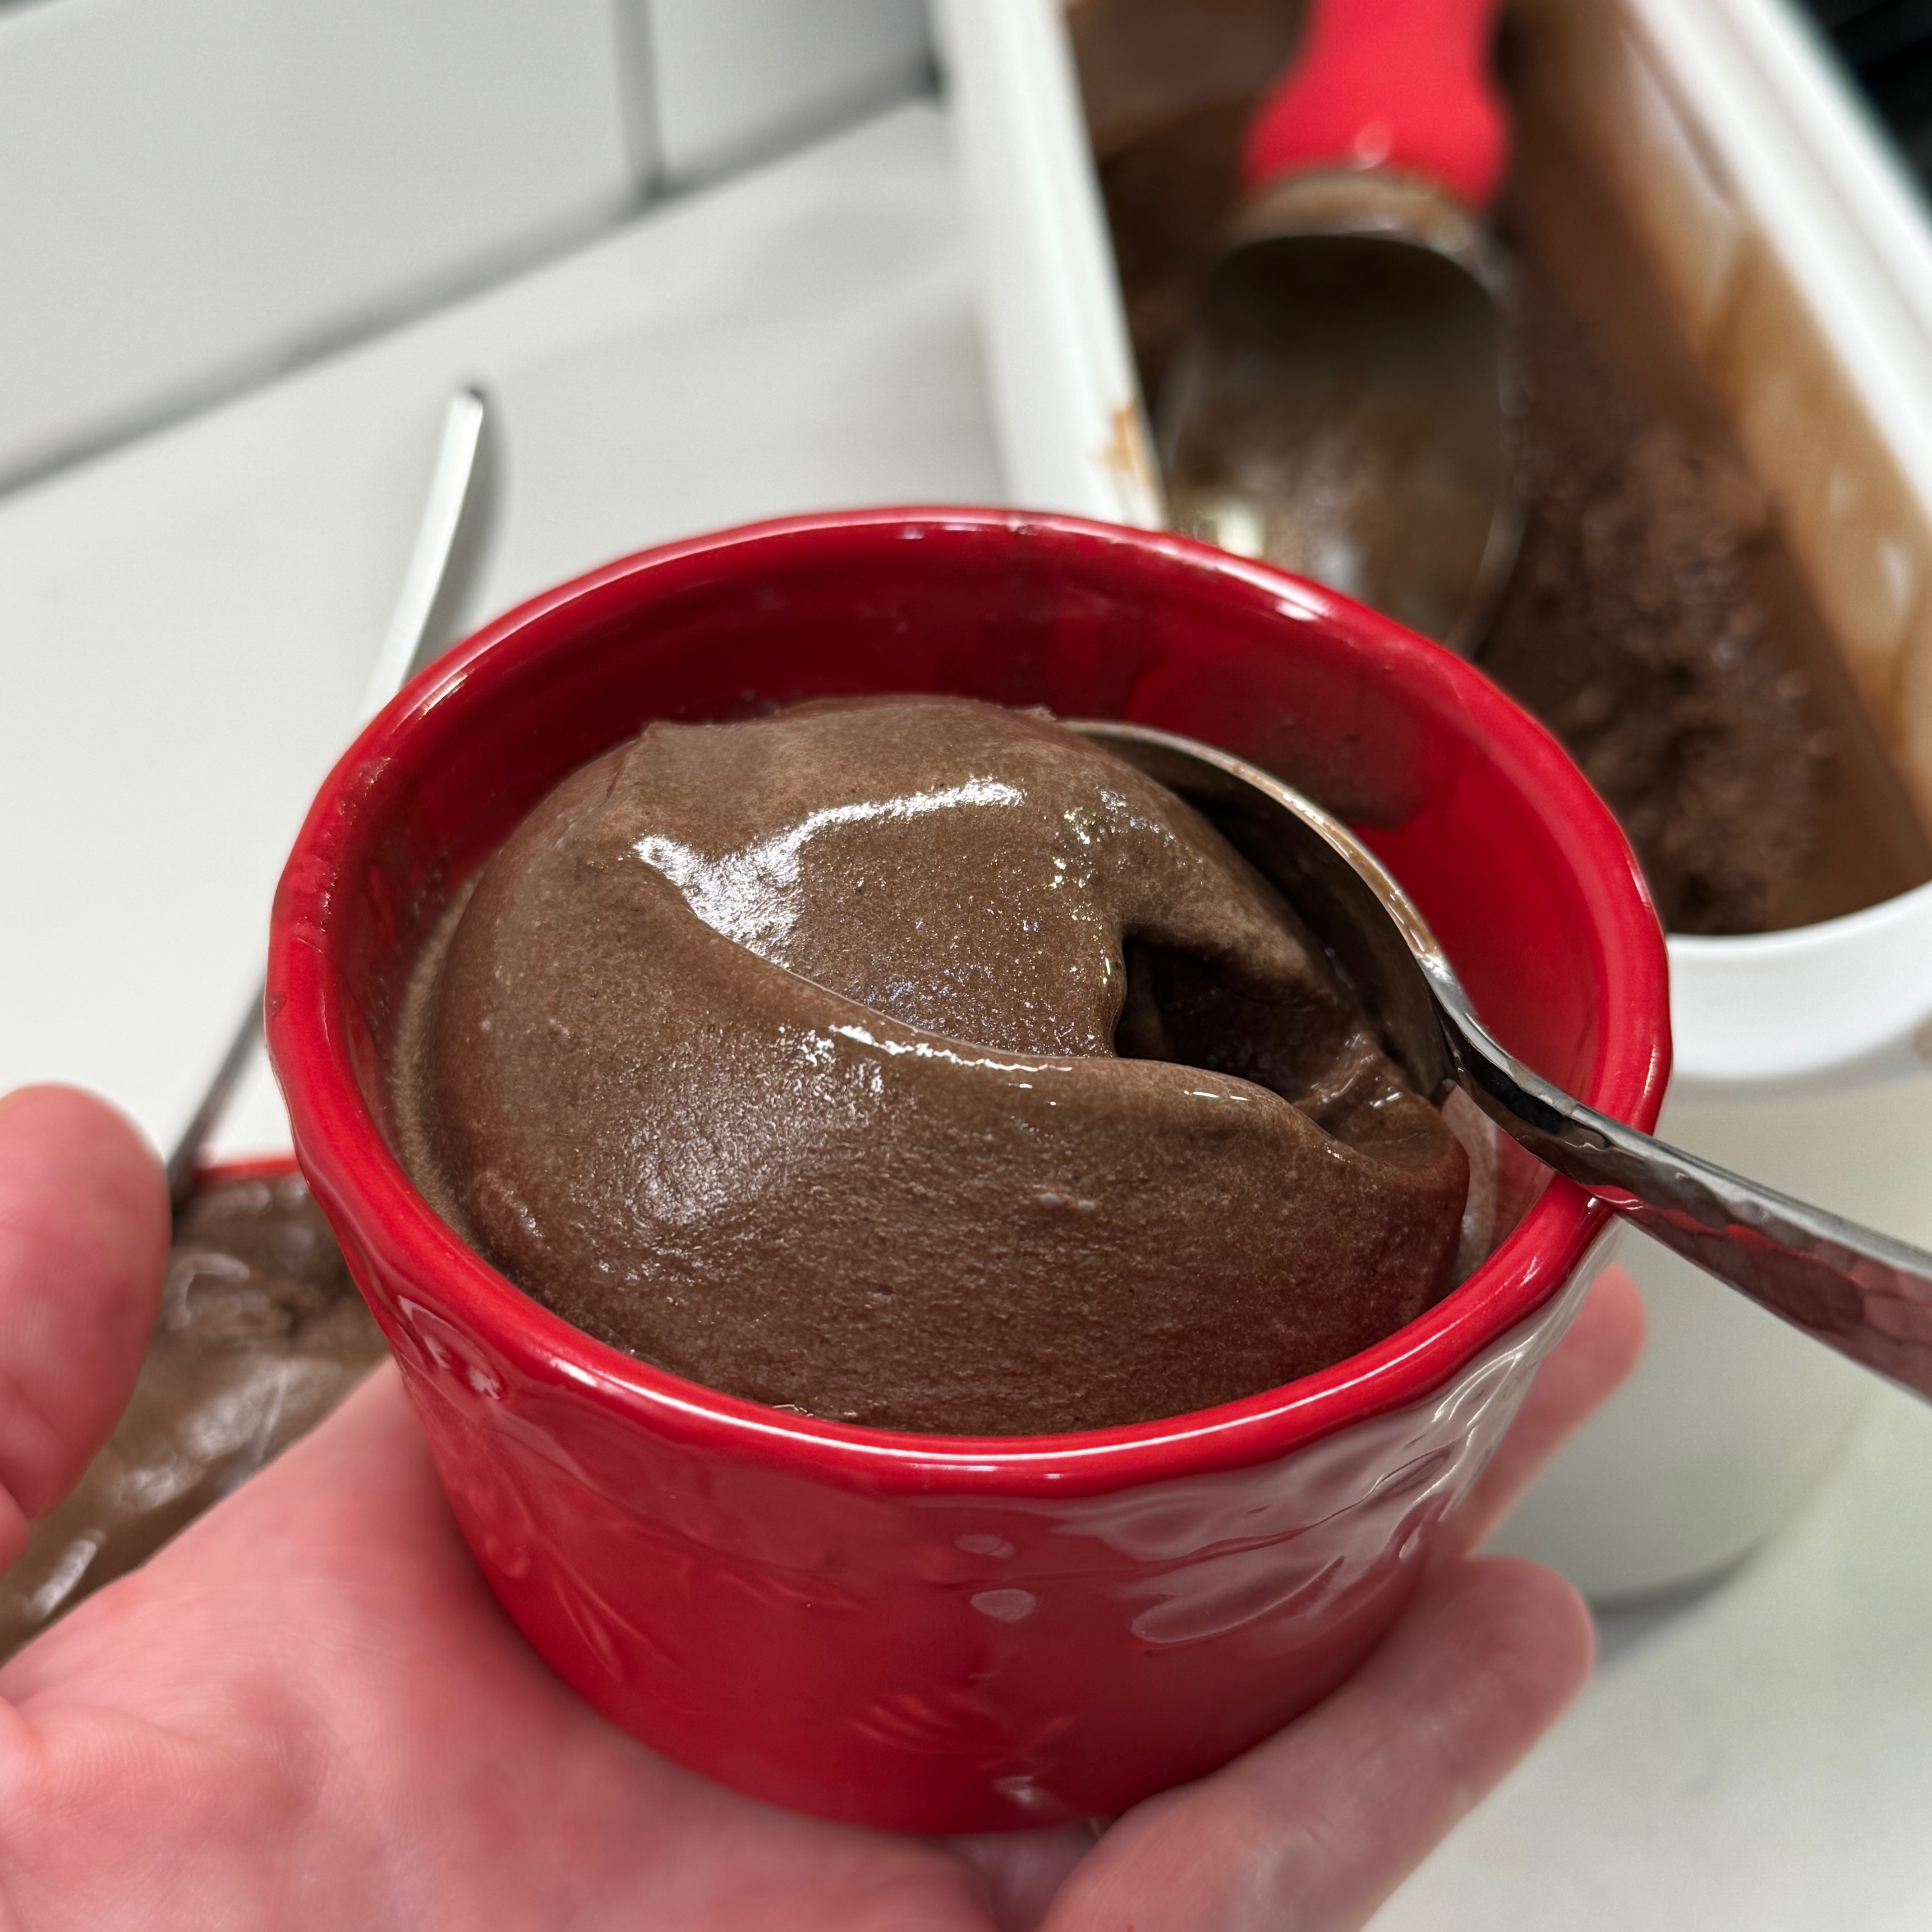
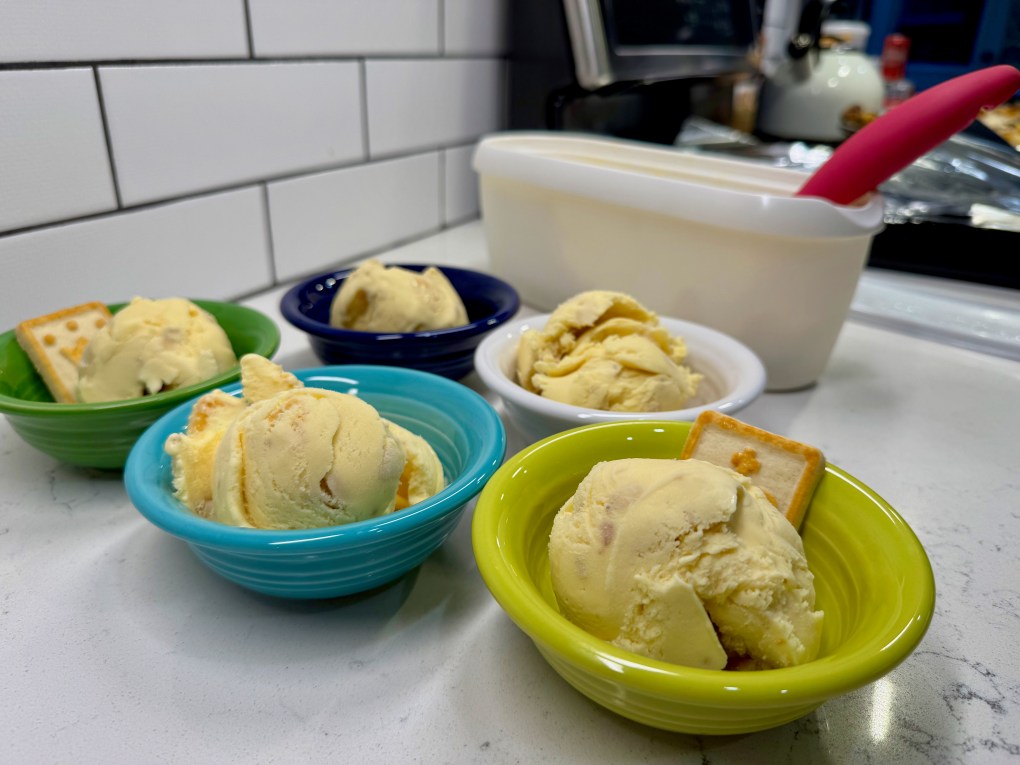
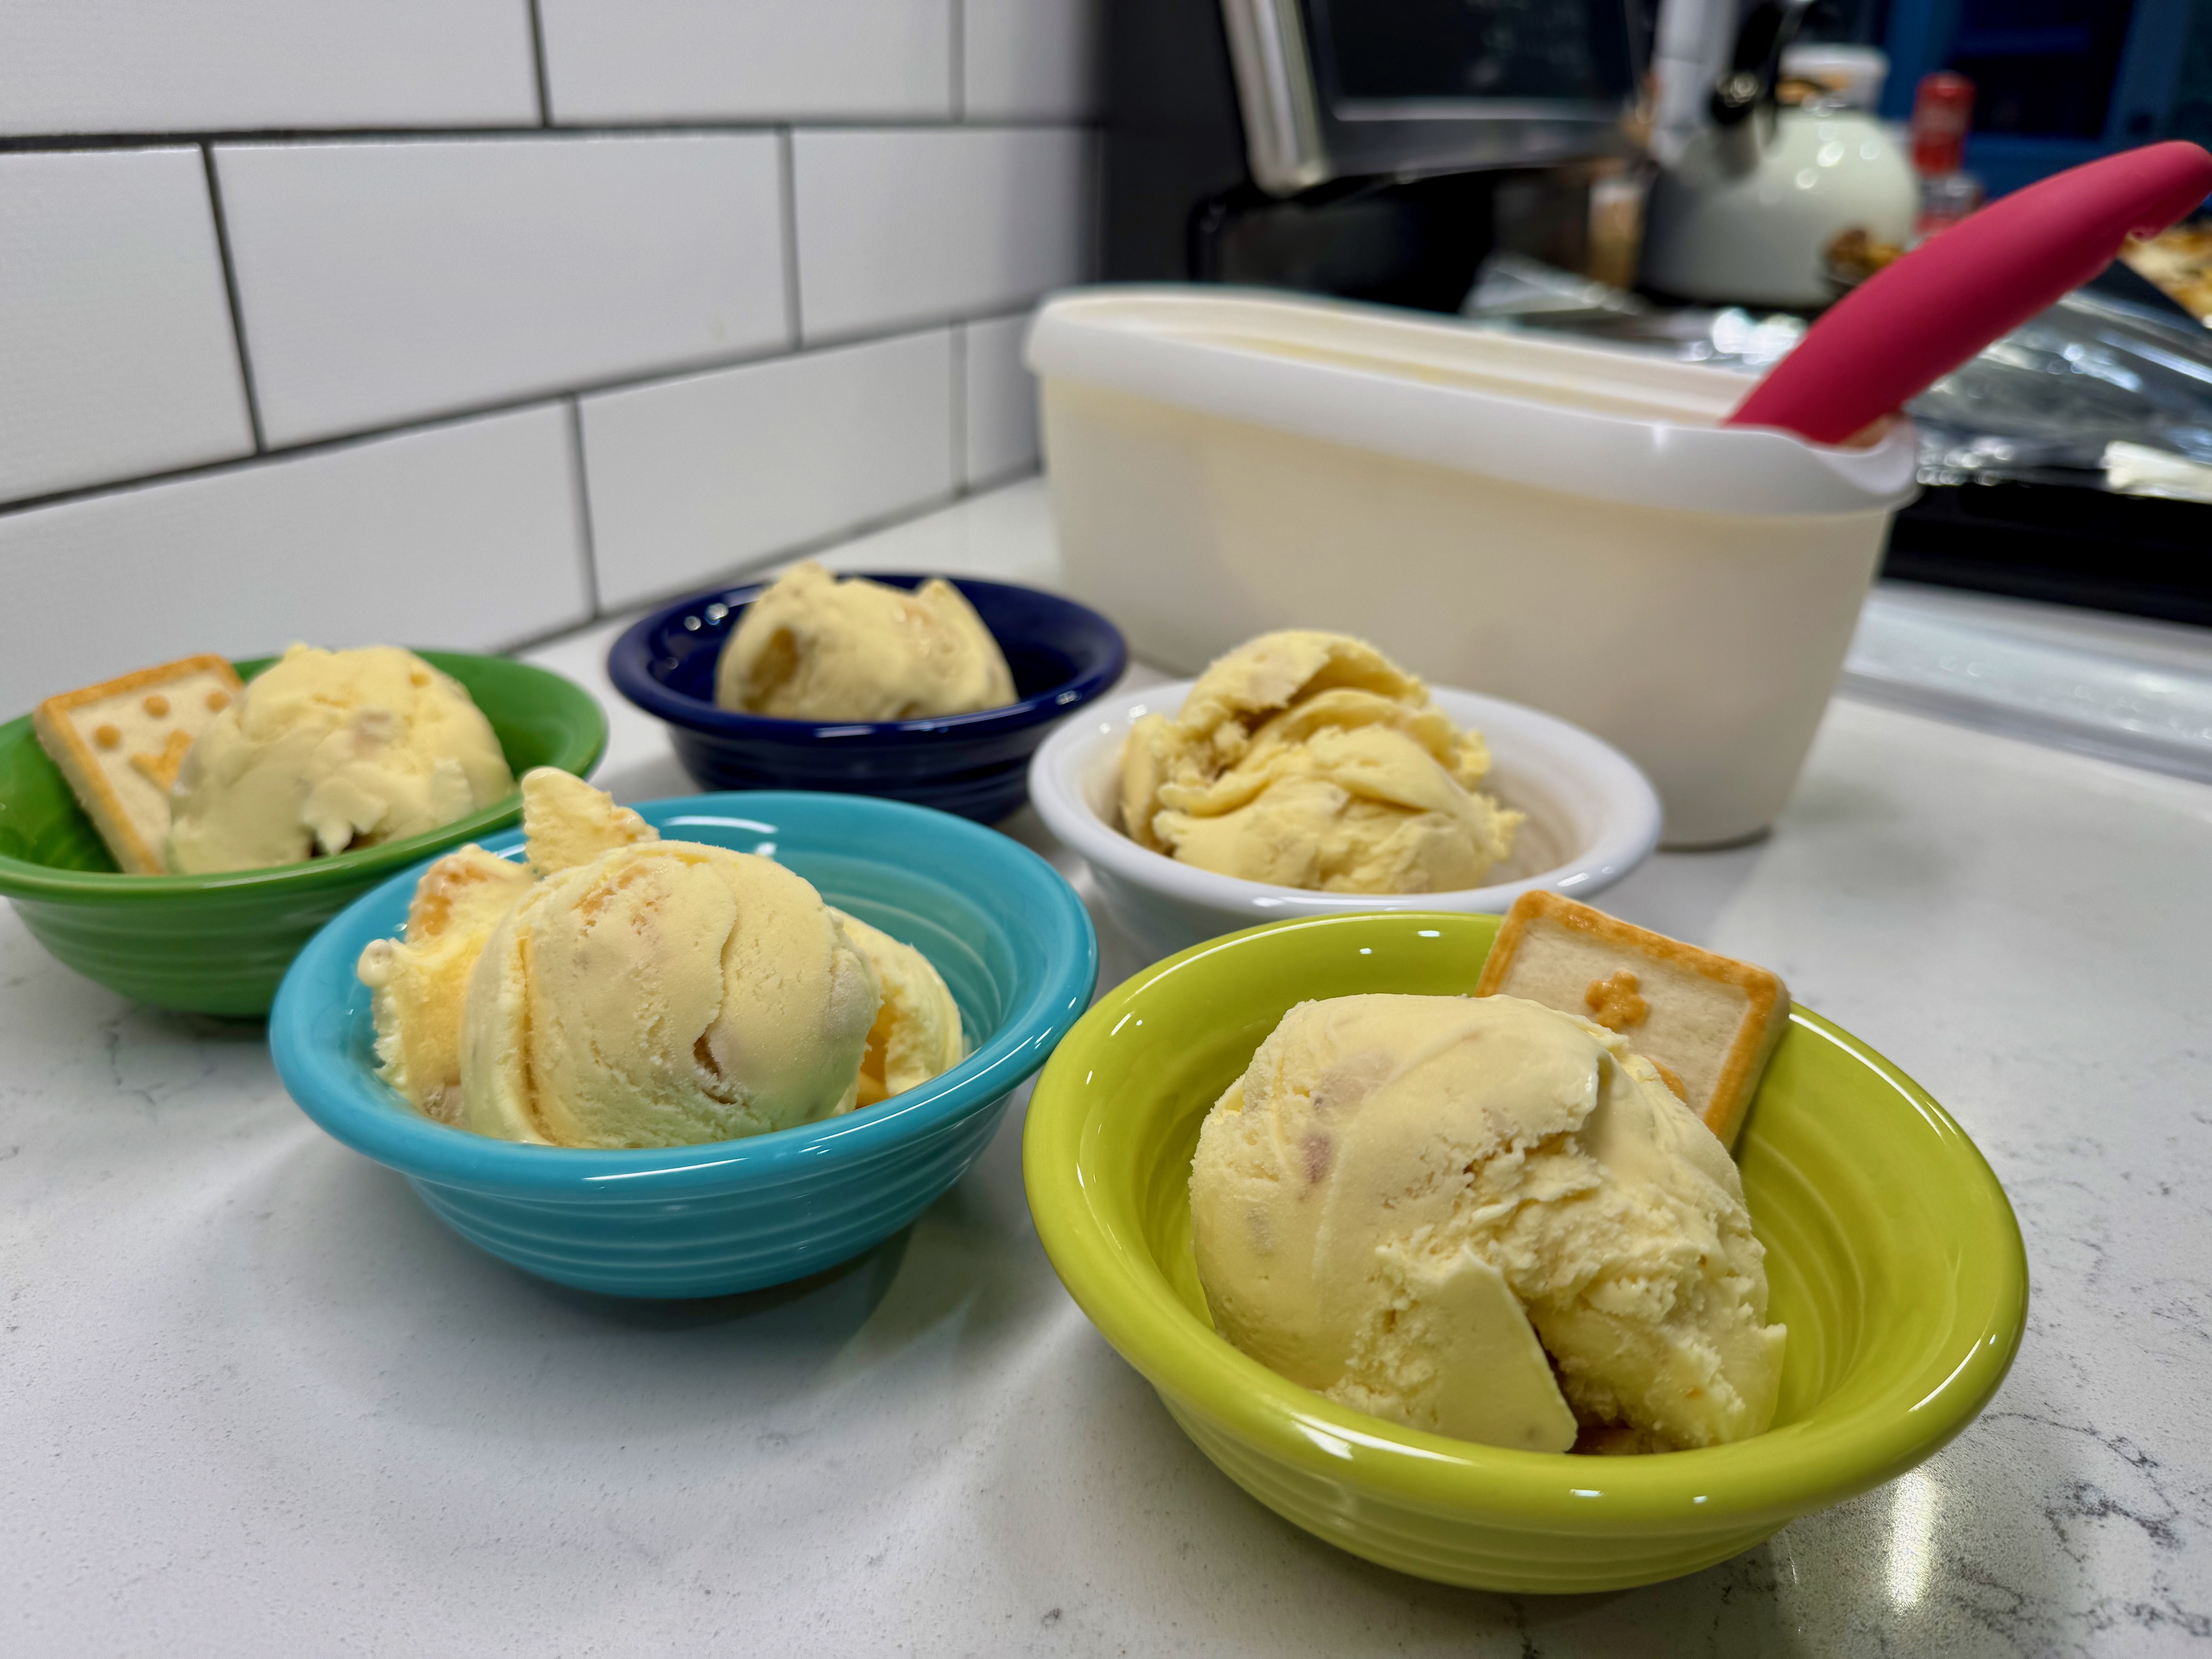
But if I elevated the ingredients, and if it was frozen— well, let’s just say that I haven’t met many ice creams that I didn’t love. Fortunately, we had company for dinner on a recent weekend, giving me the perfect excuse to finally put this one in the “done” column of my culinary bucket list. And guess what? Even Les liked it!
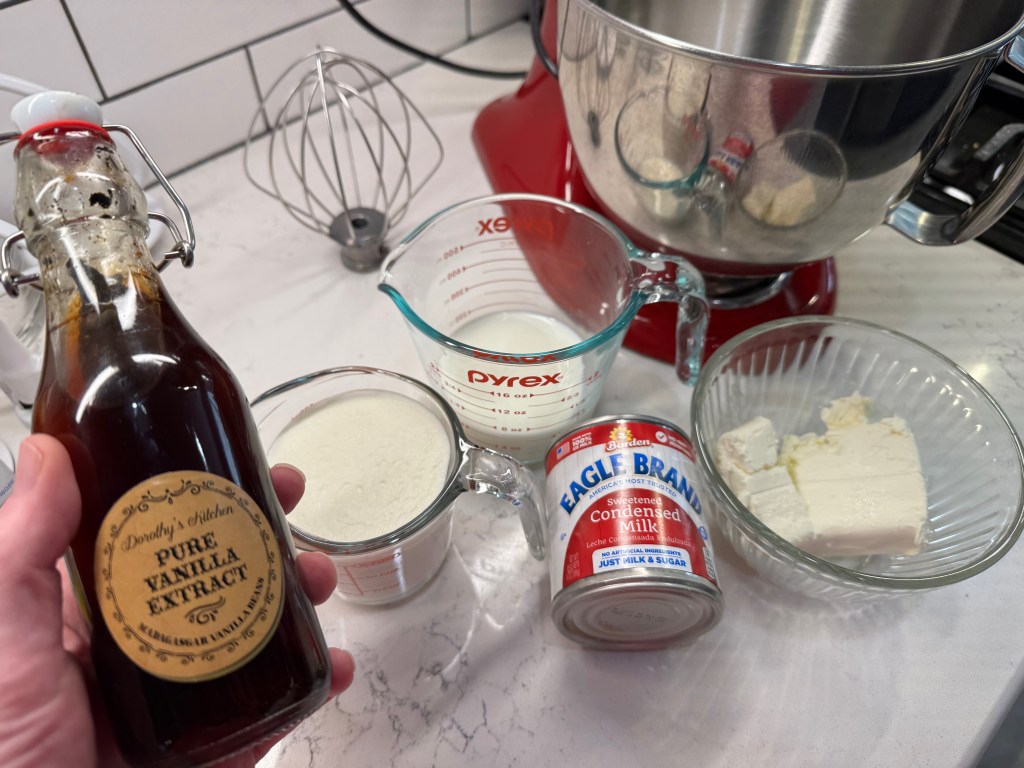
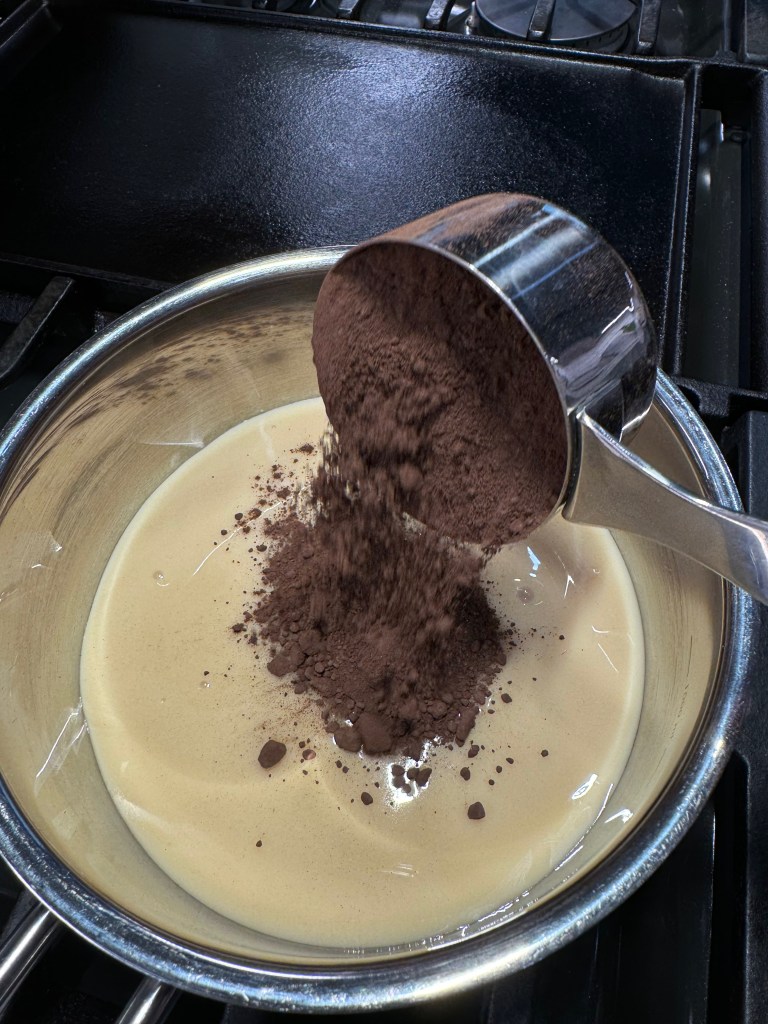
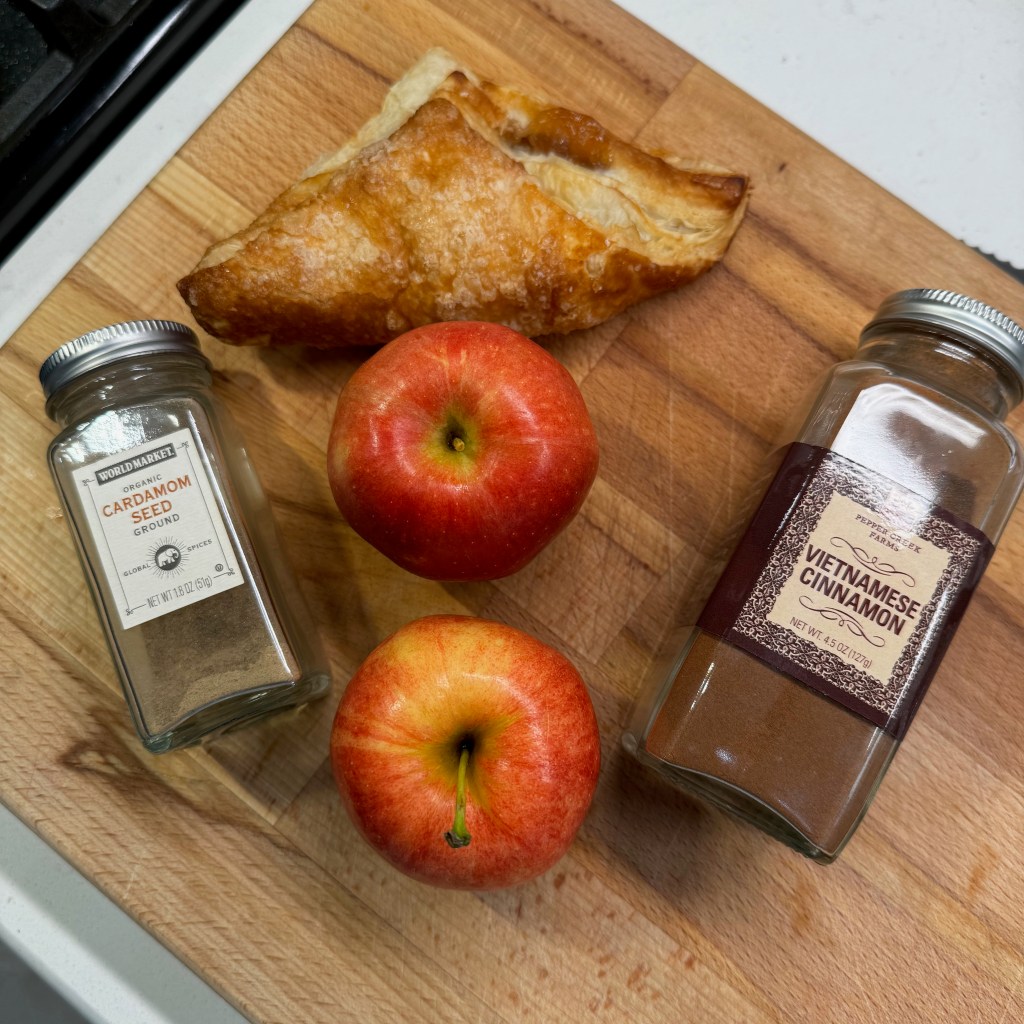
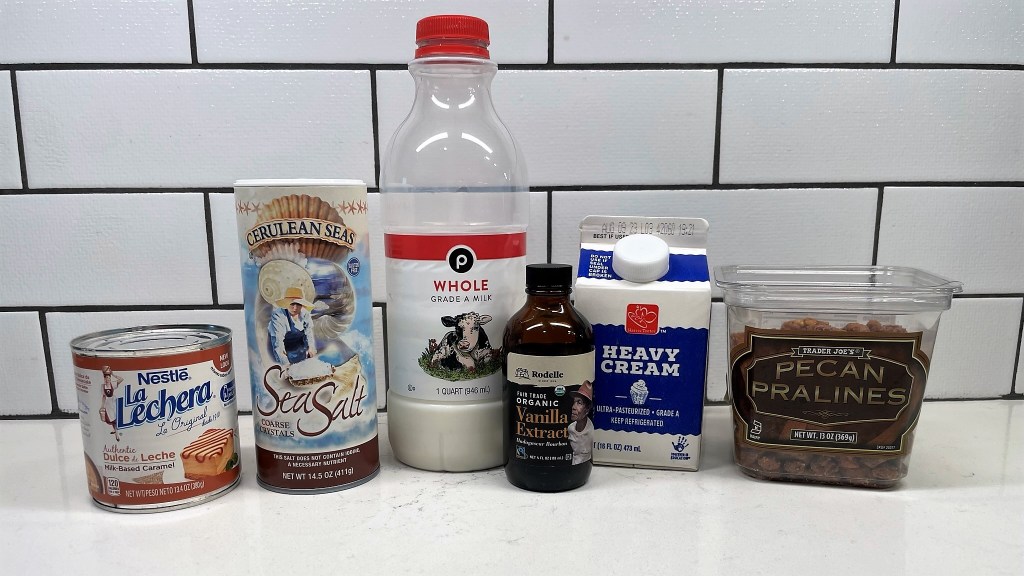
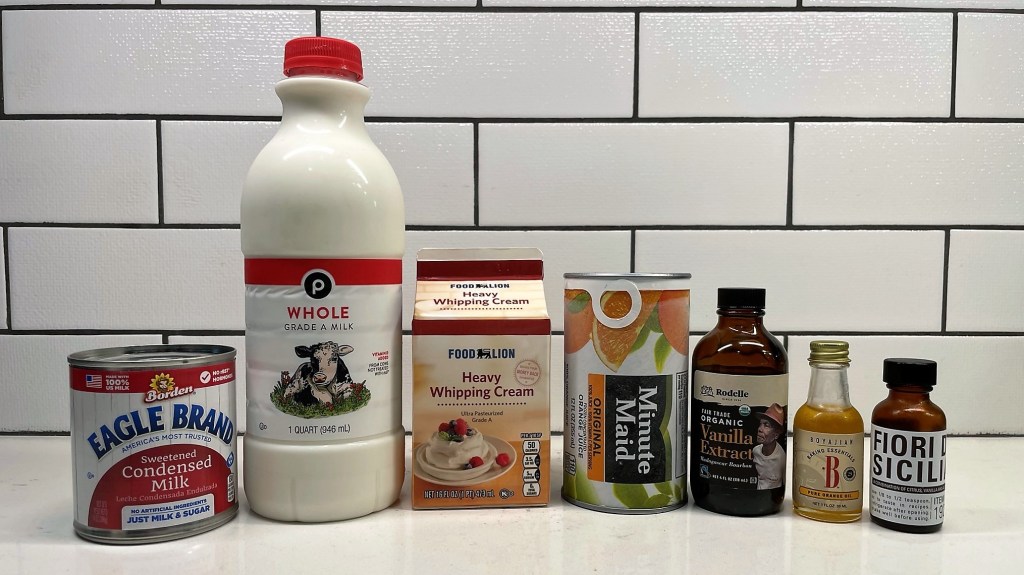
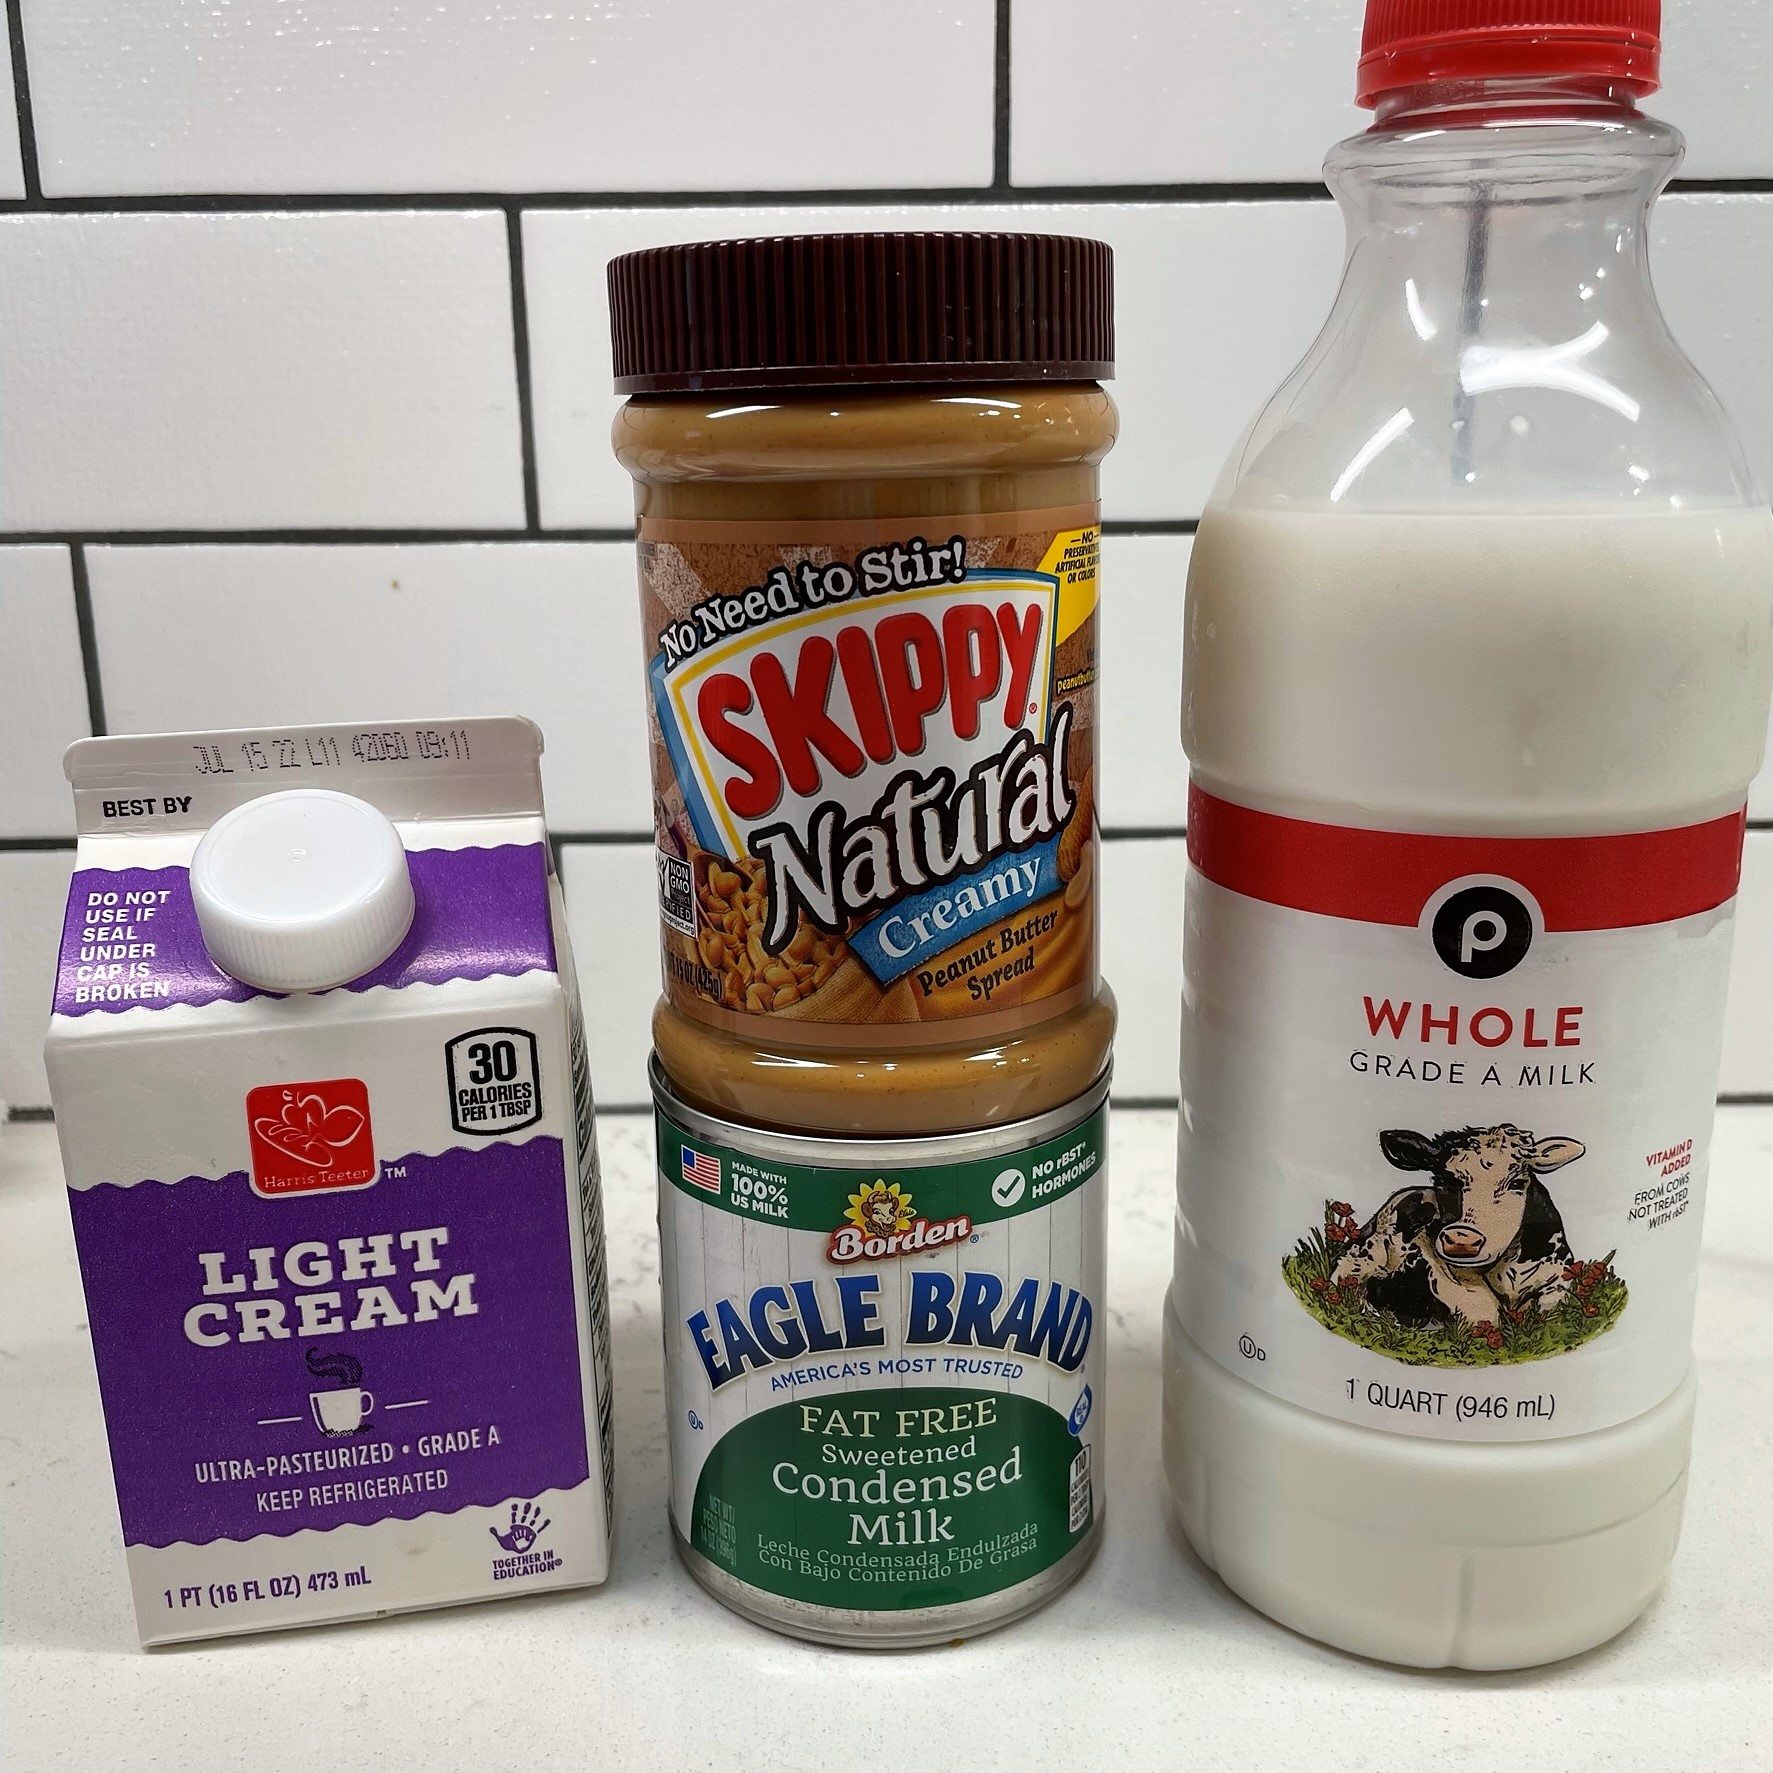
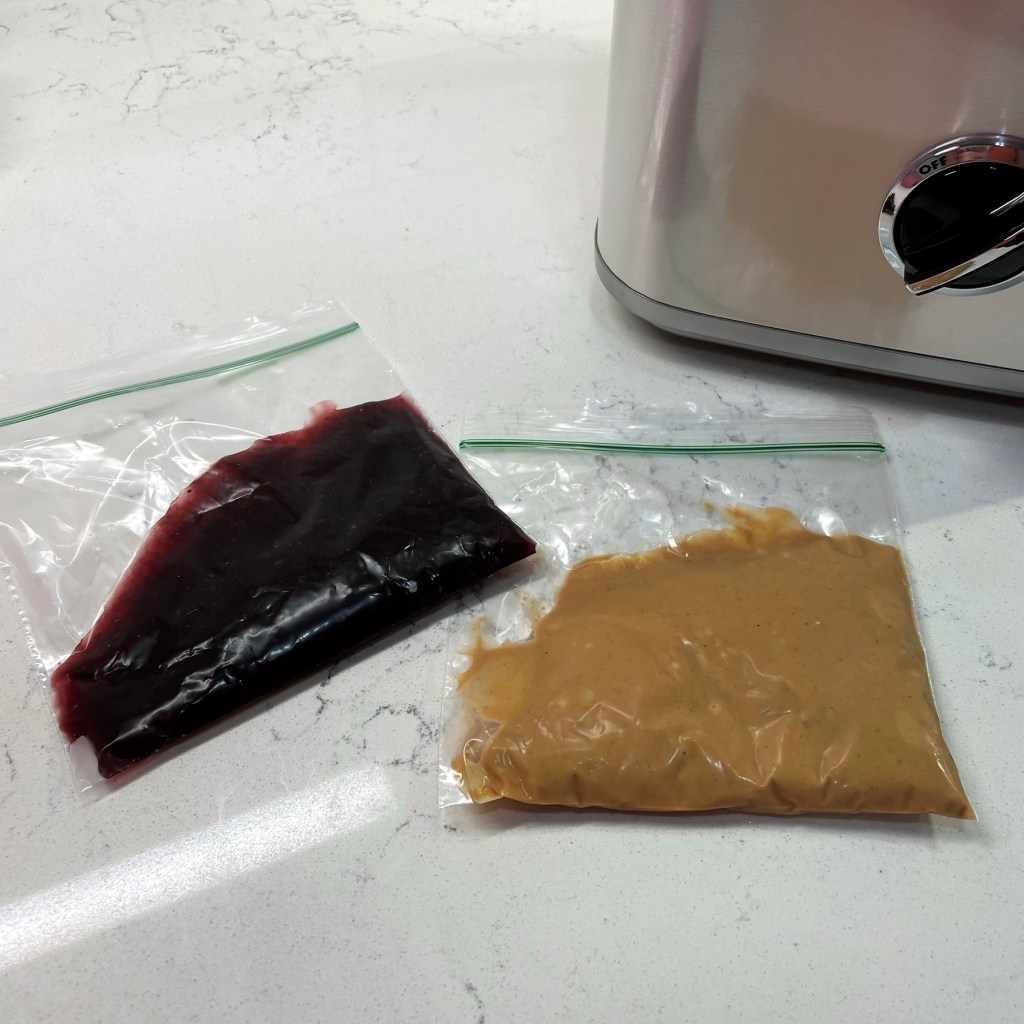
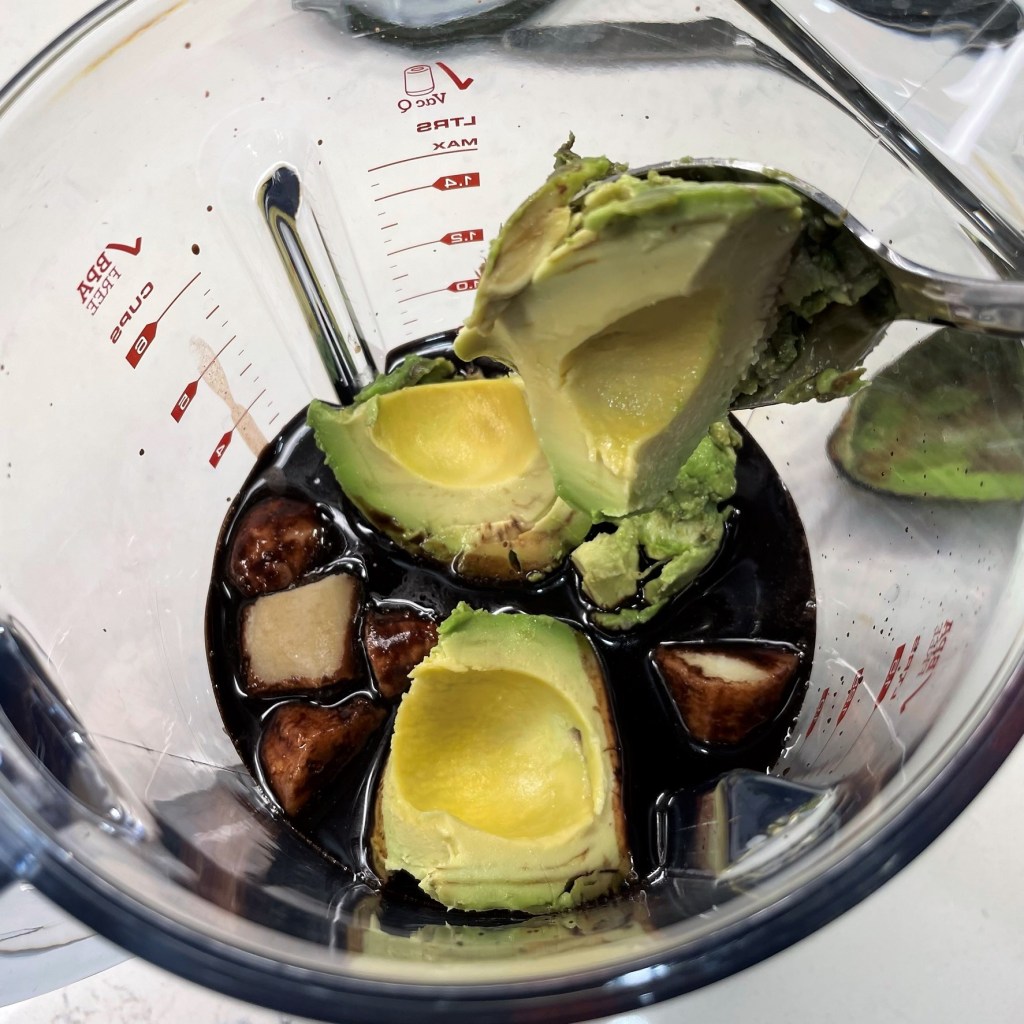
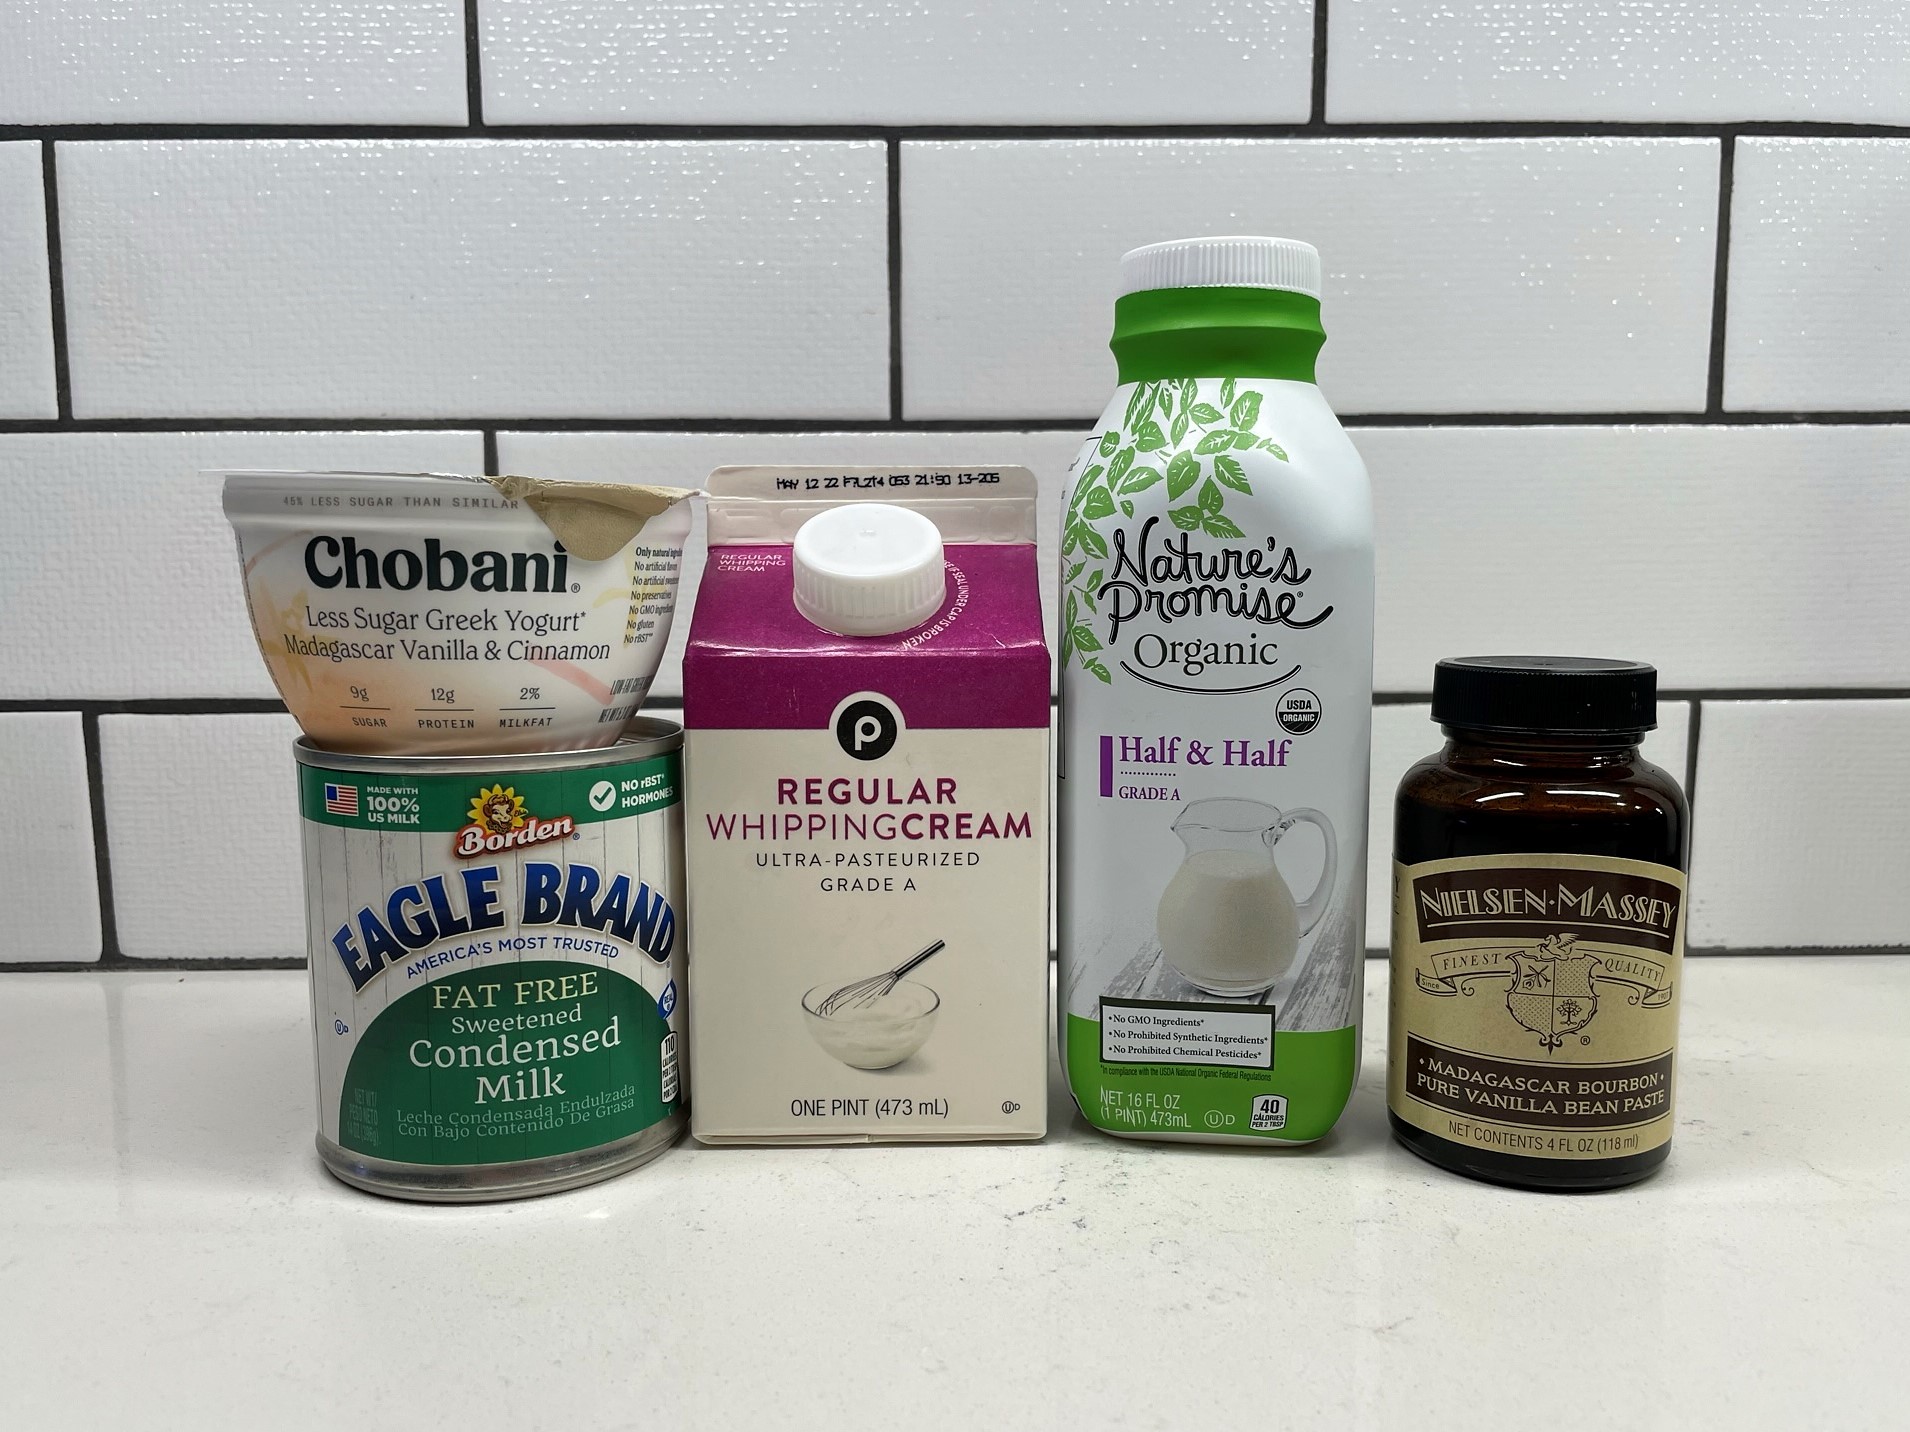
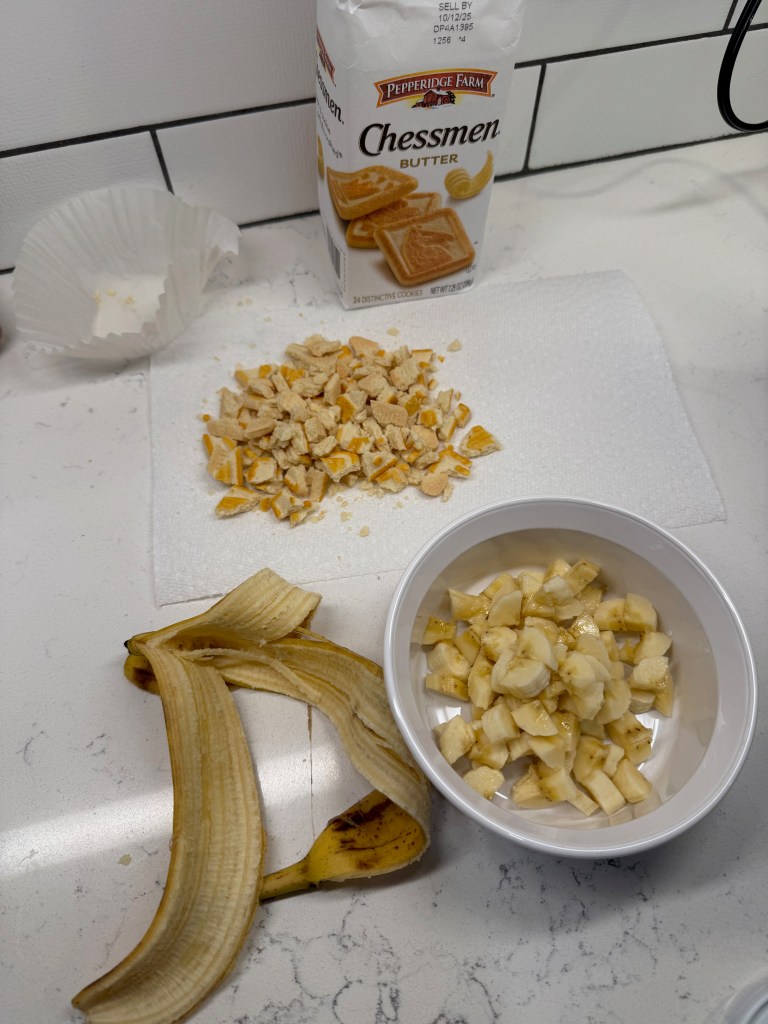
Ingredients for banana pudding ice cream
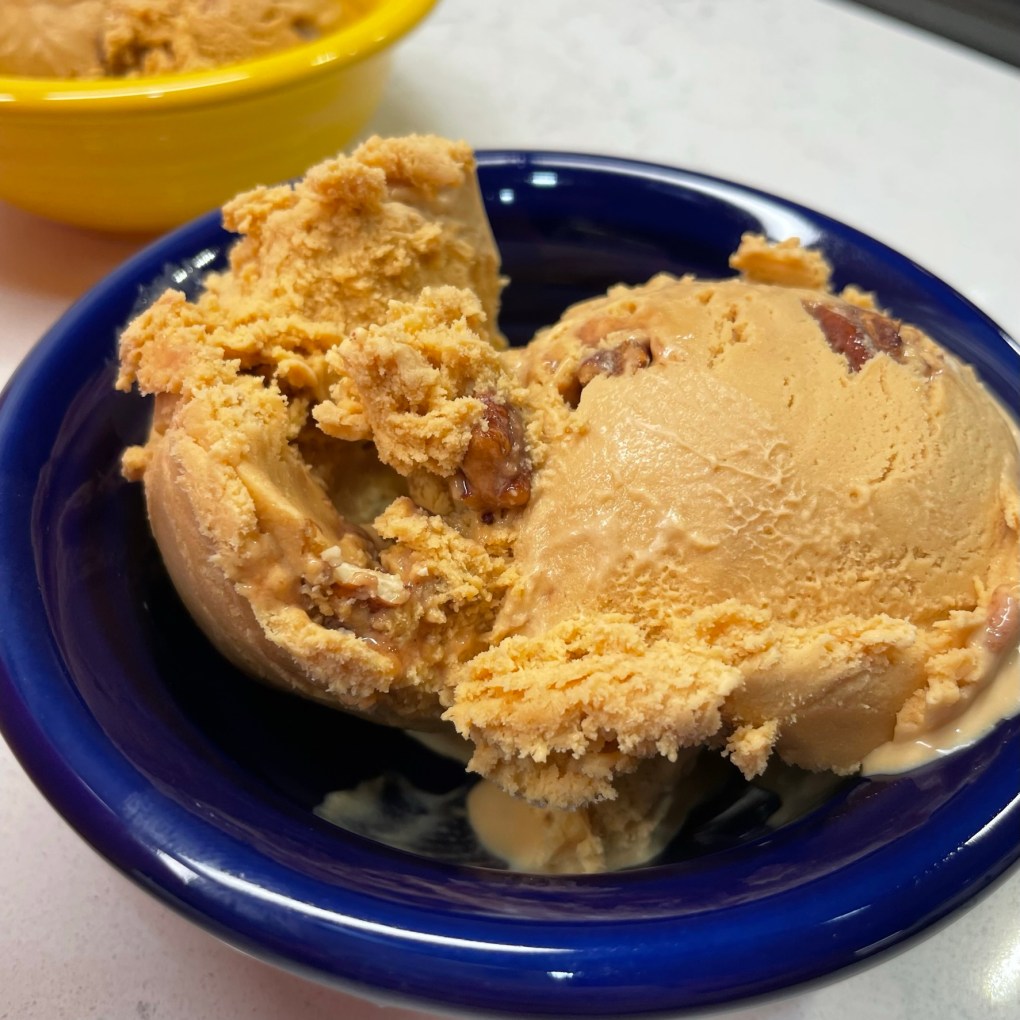
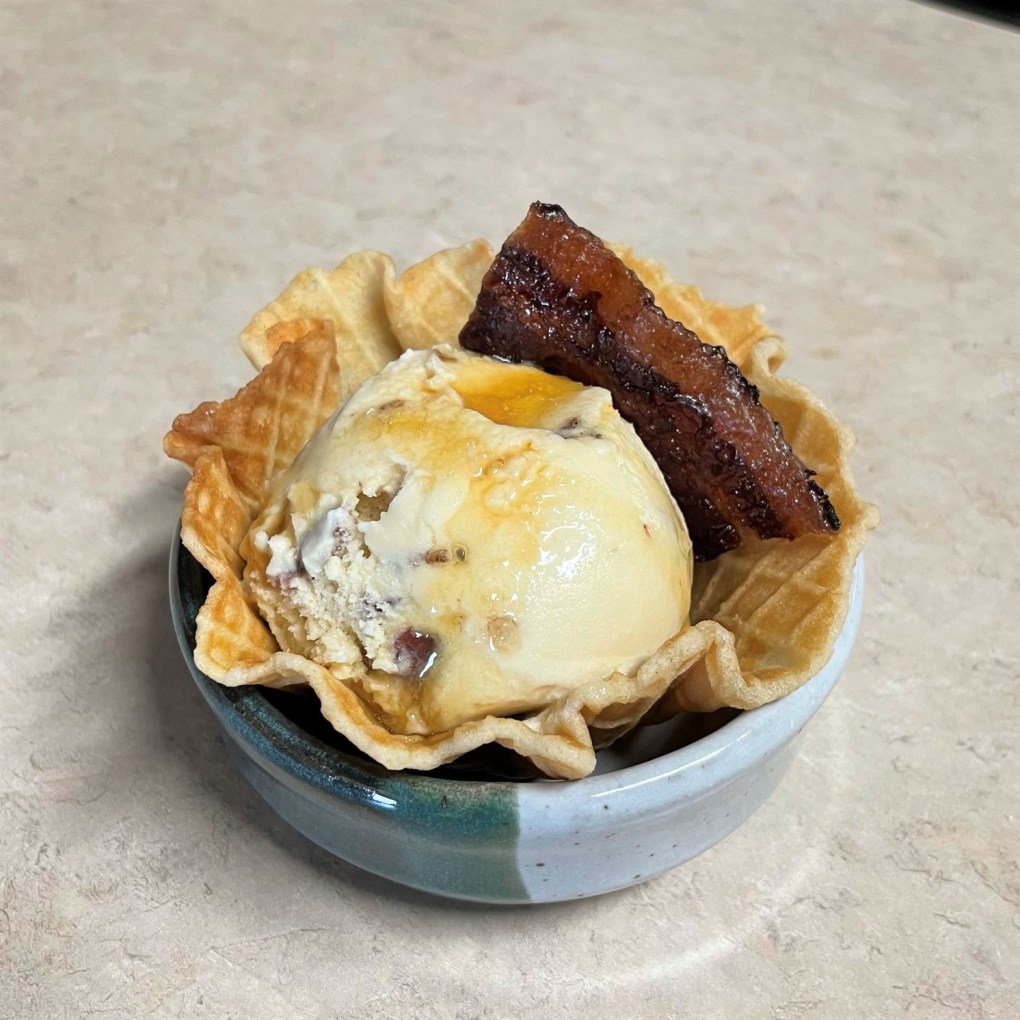
All of our guests enjoyed this creamy treat, and one asked, “what makes this banana pudding ice cream rather than just banana ice cream?” The answer is exactly what you might expect—there is actual pudding mix in the ice cream, and I’m shocked by how good it is.
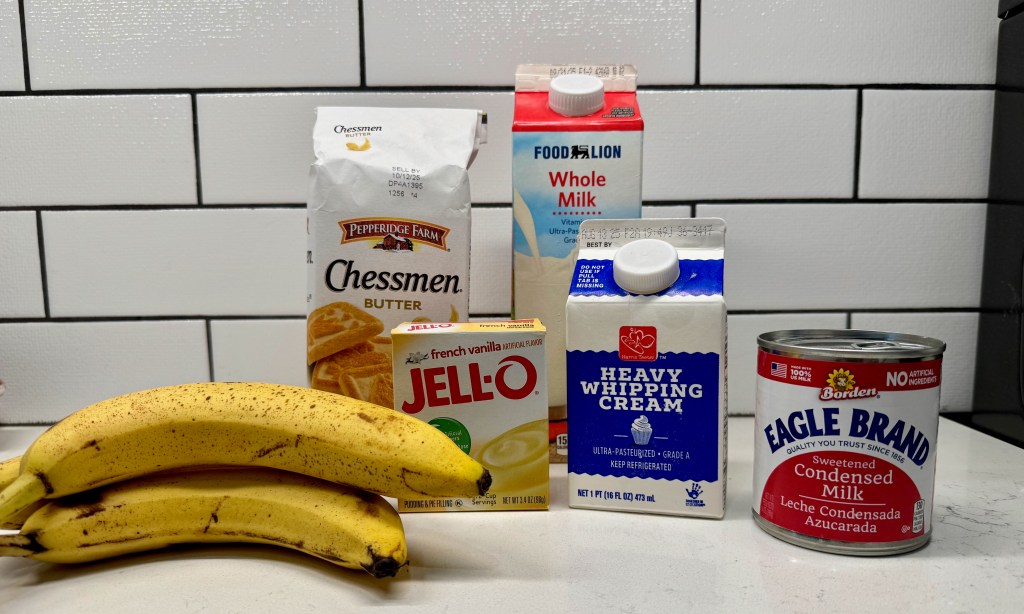
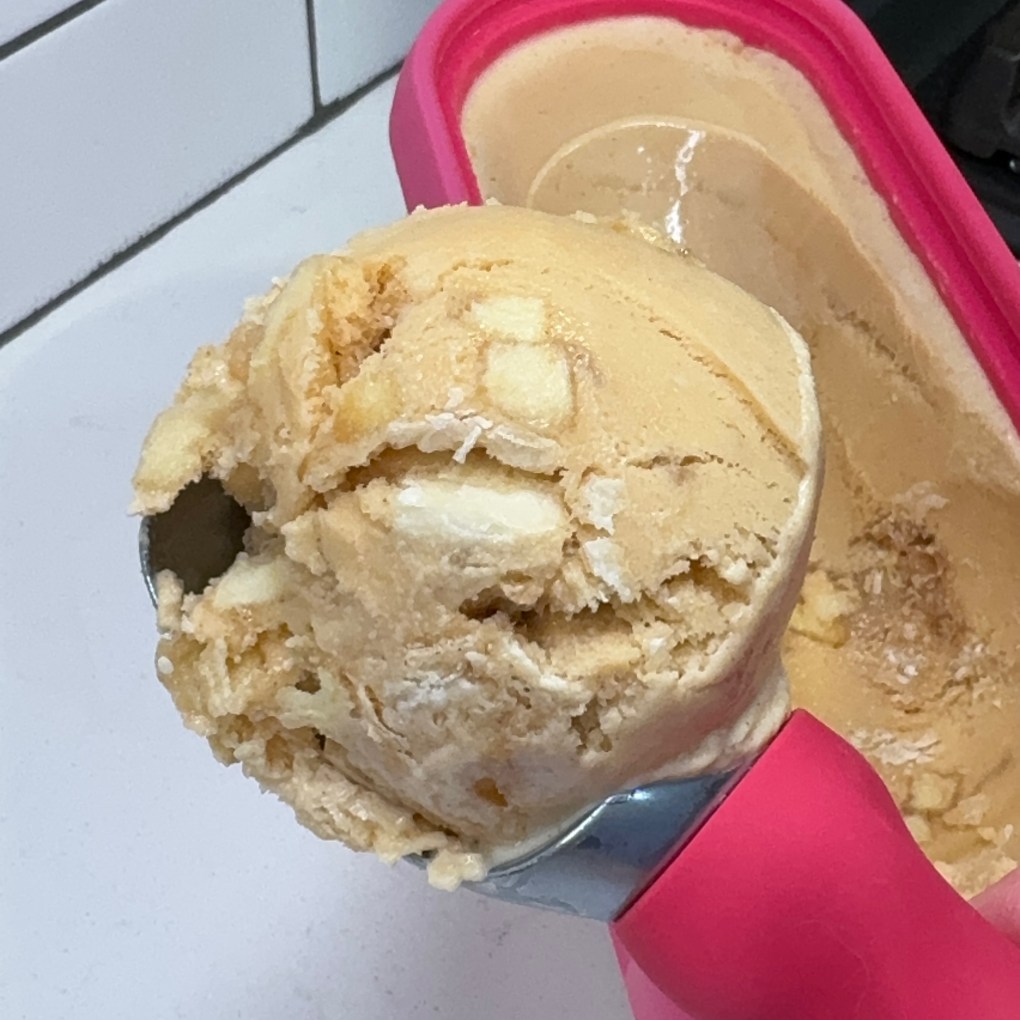
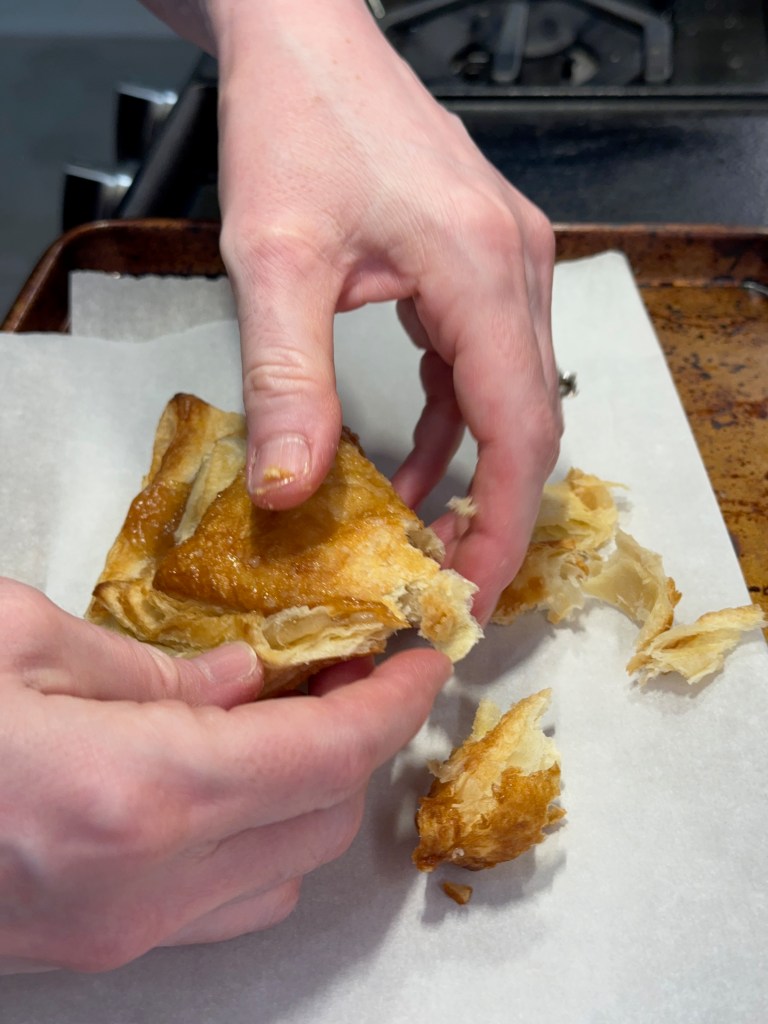
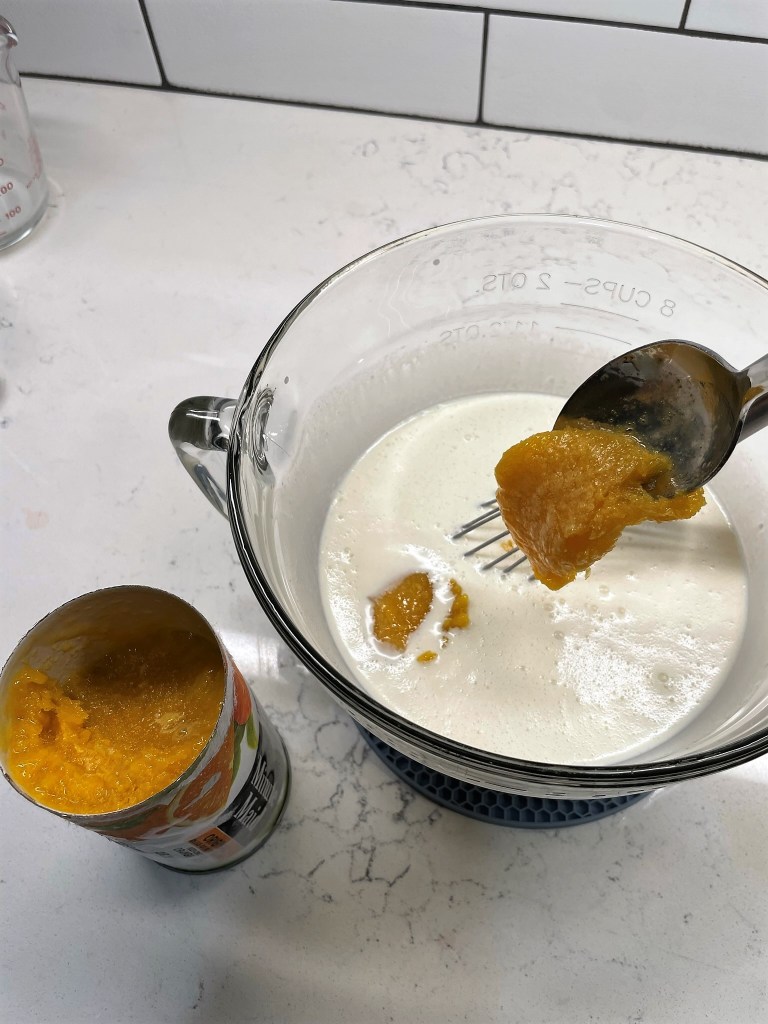
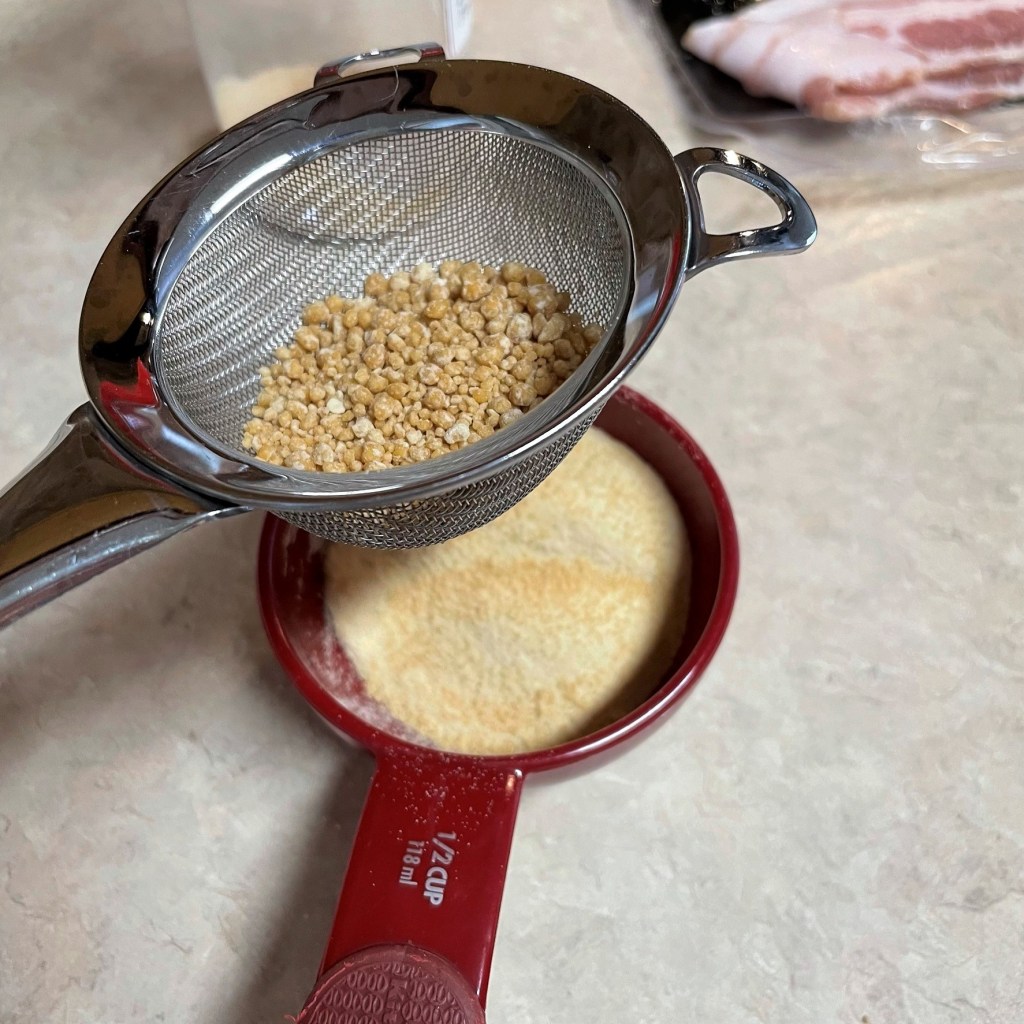
Perhaps one day, I will have all the time in the world to make my own pudding from scratch, but I’ve been giving myself permission lately to take shortcuts, and here I used a boxed instant pudding mix. French vanilla has a richer color than regular vanilla, so that’s what I chose. A fresh, perfectly ripe banana was chilled, cubed and folded into the mix, and I passed over bland vanilla wafers in favor of buttery Chessman cookies.
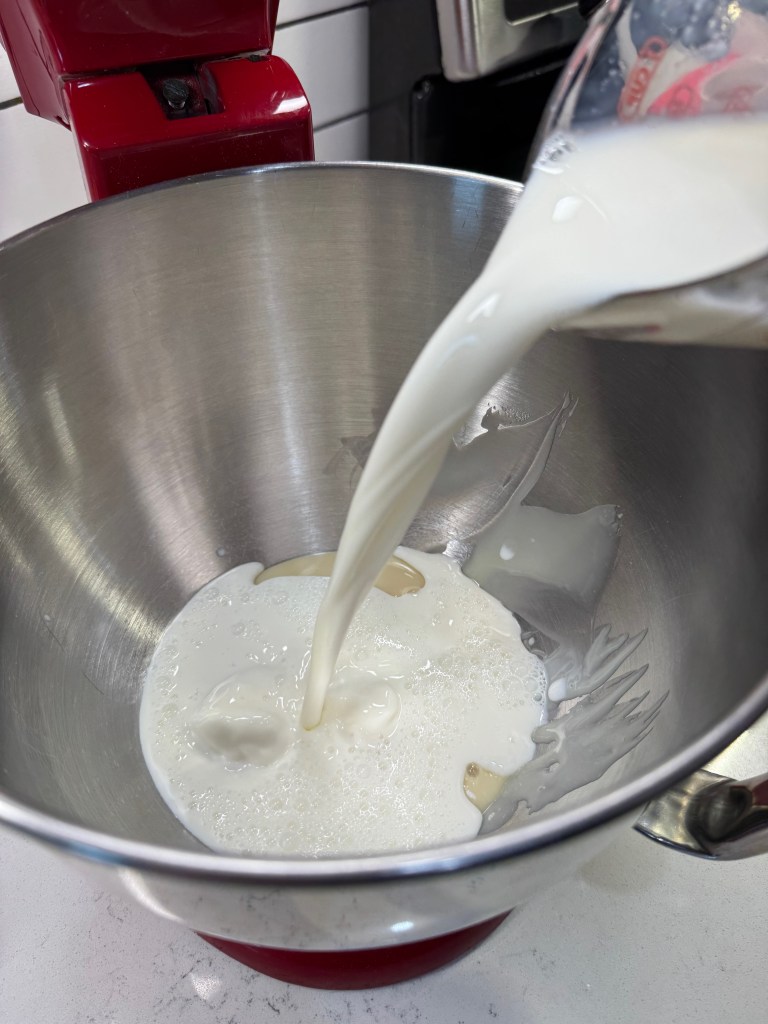
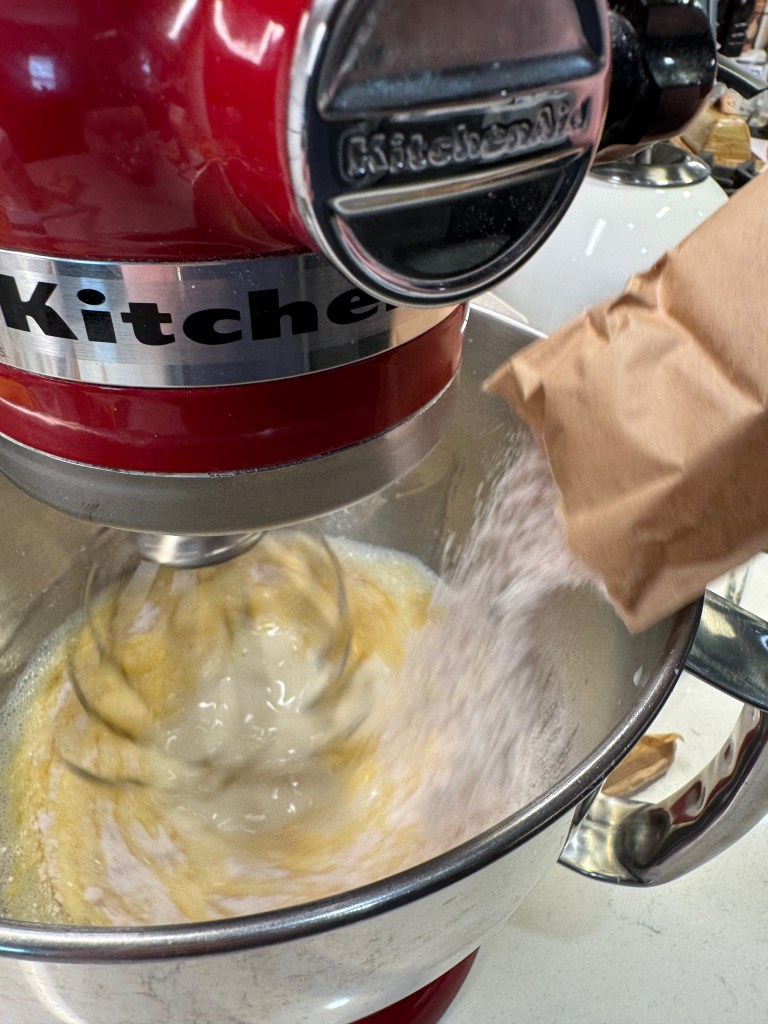
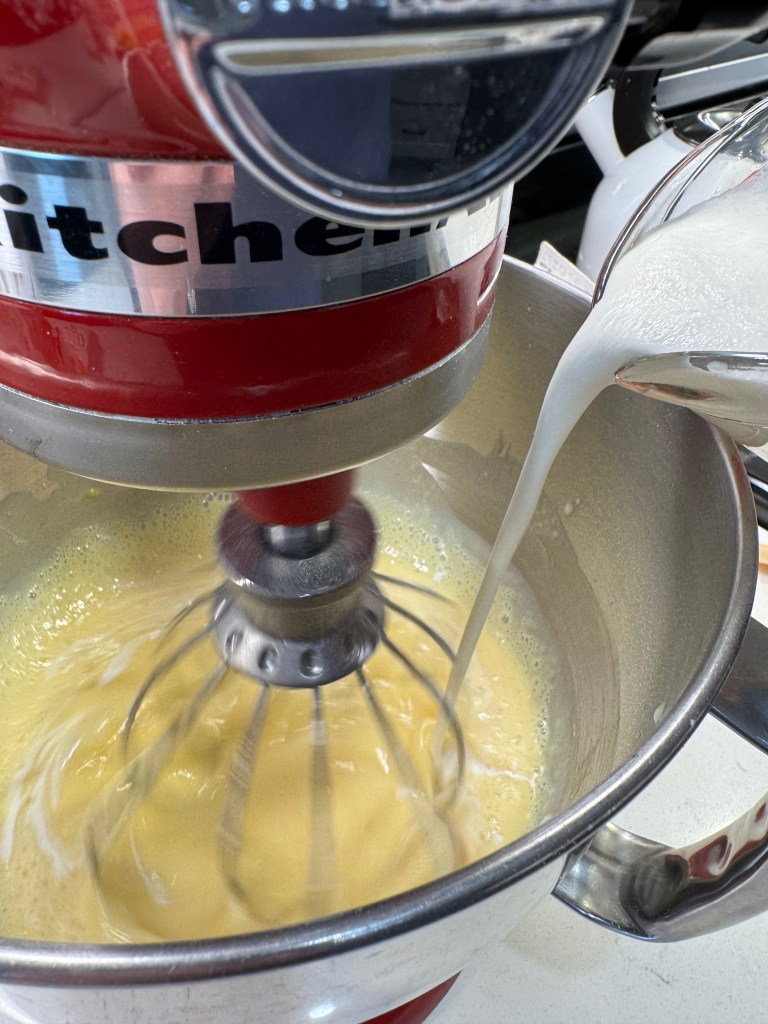
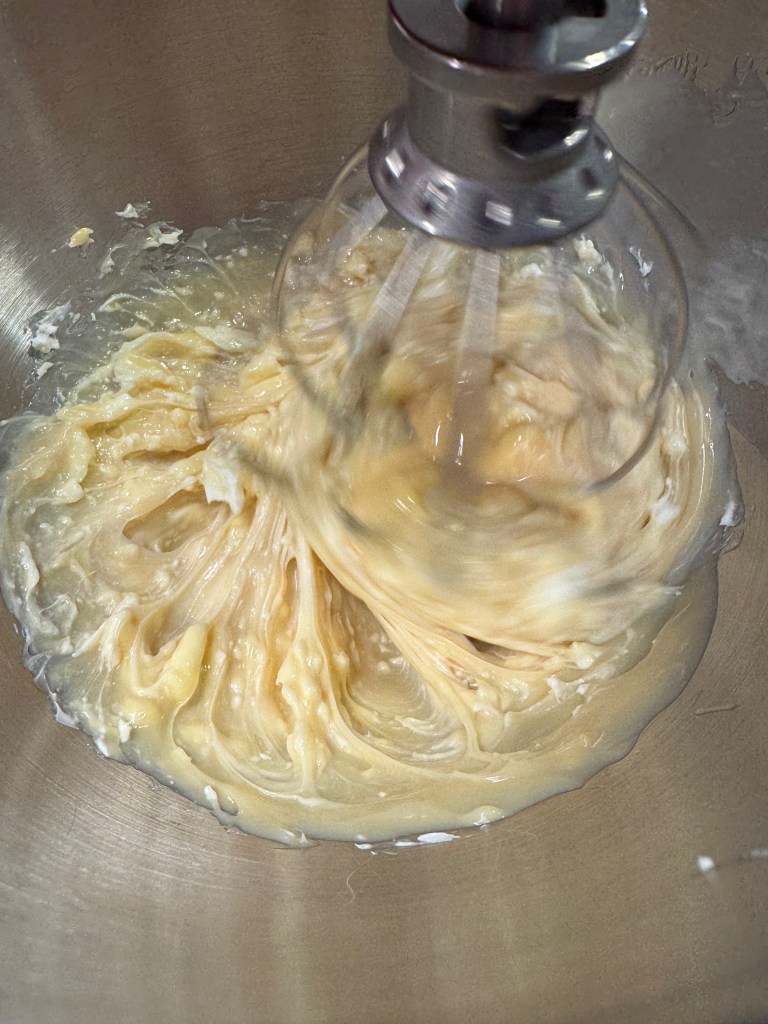
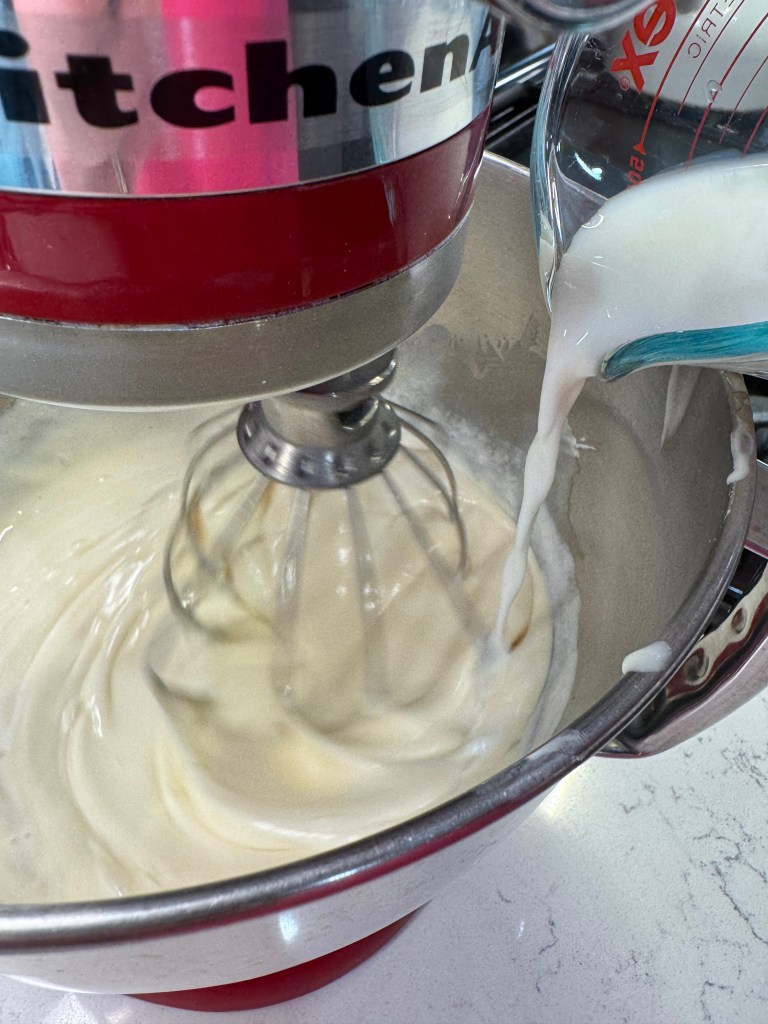
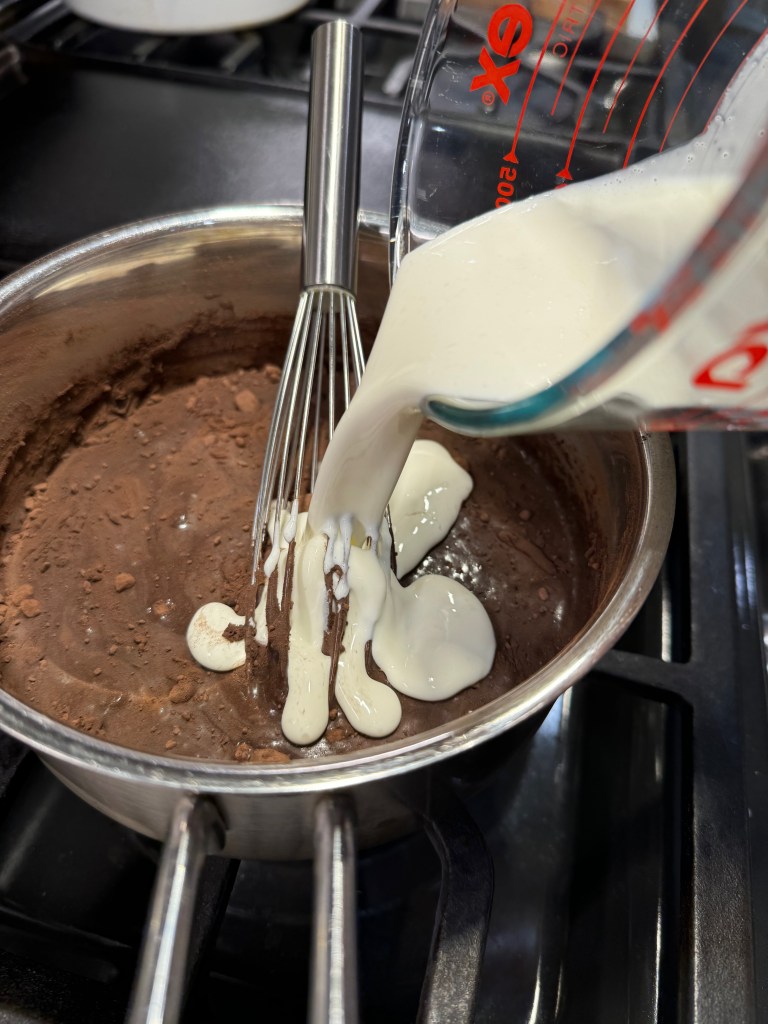
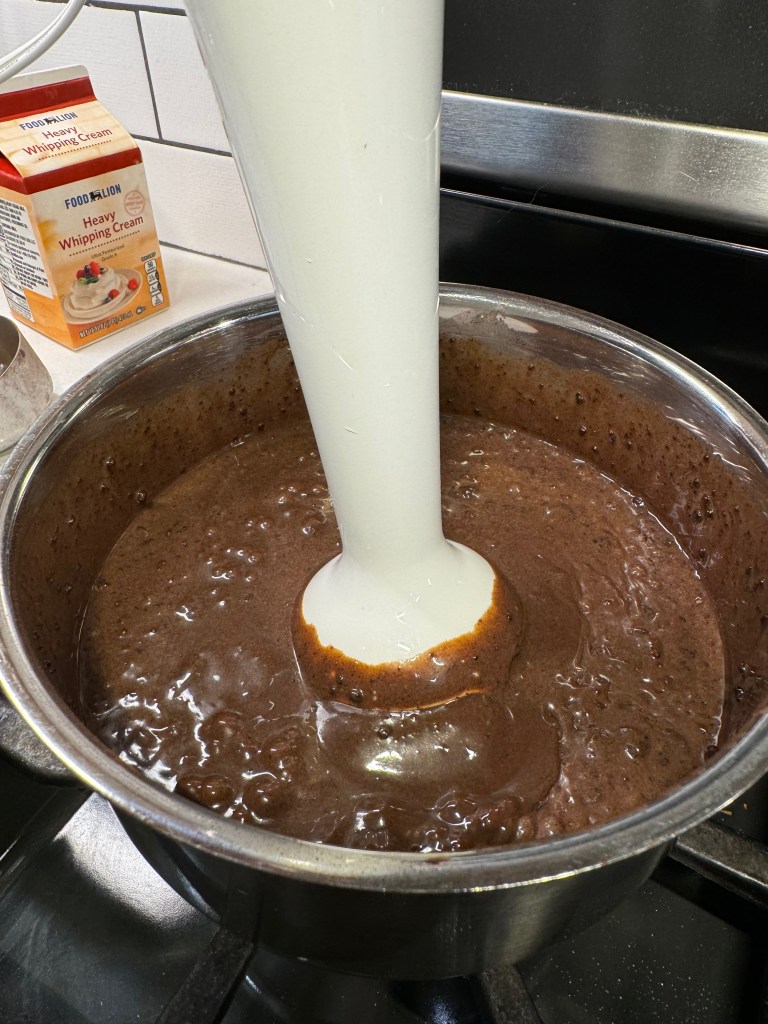
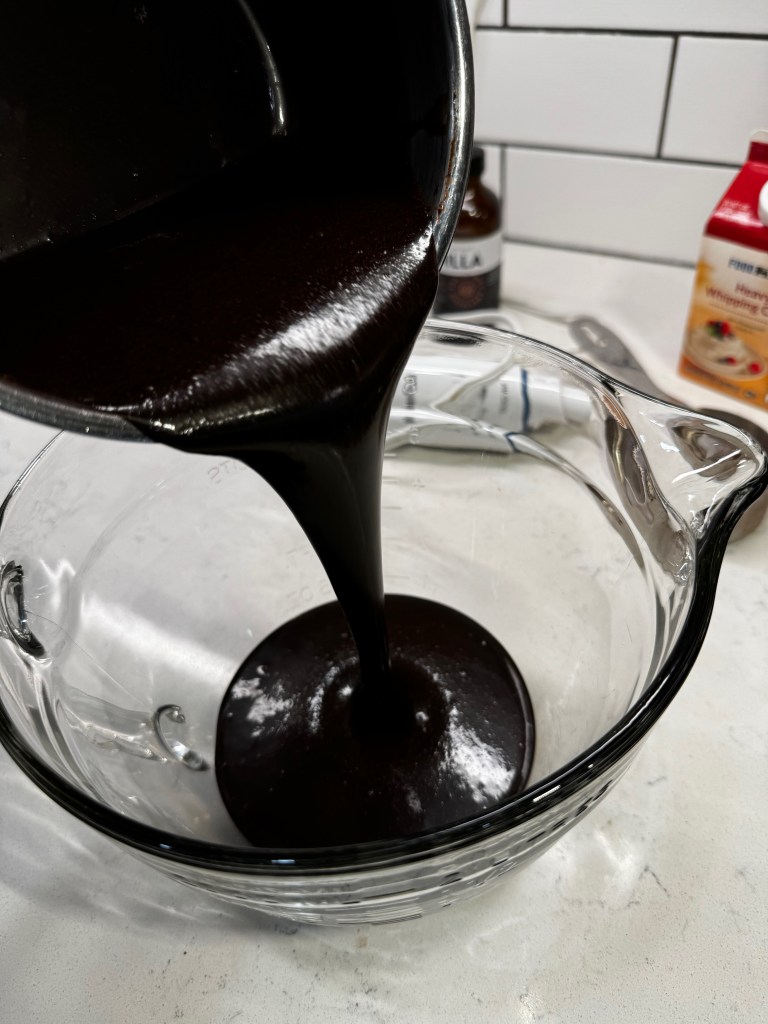
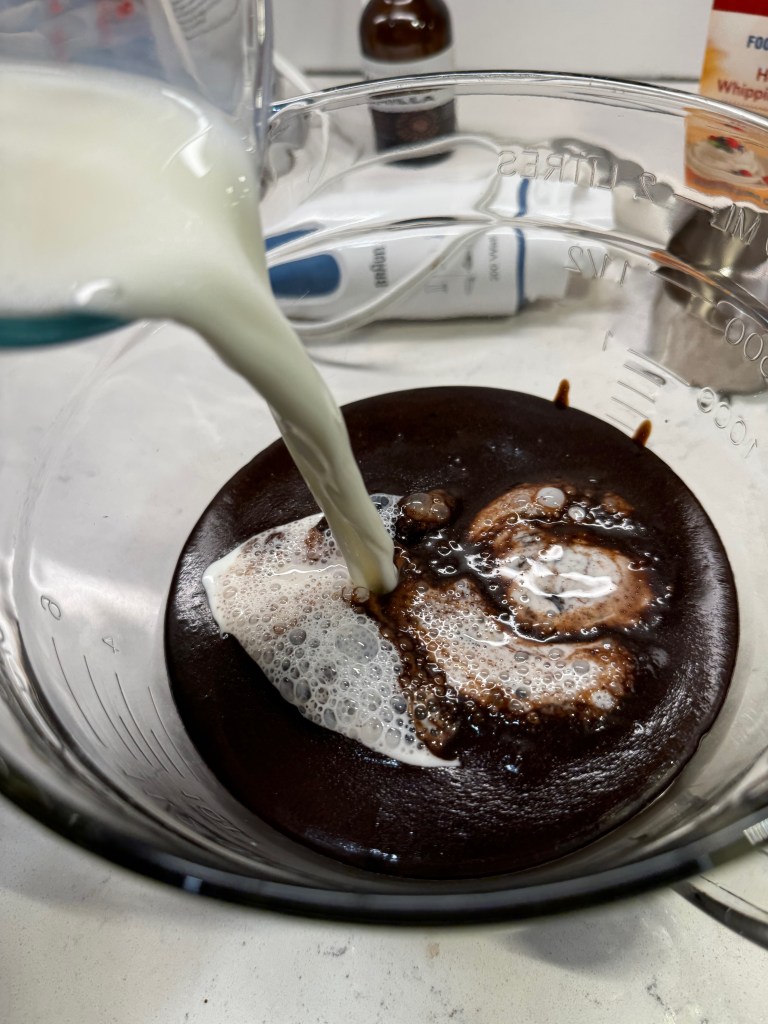
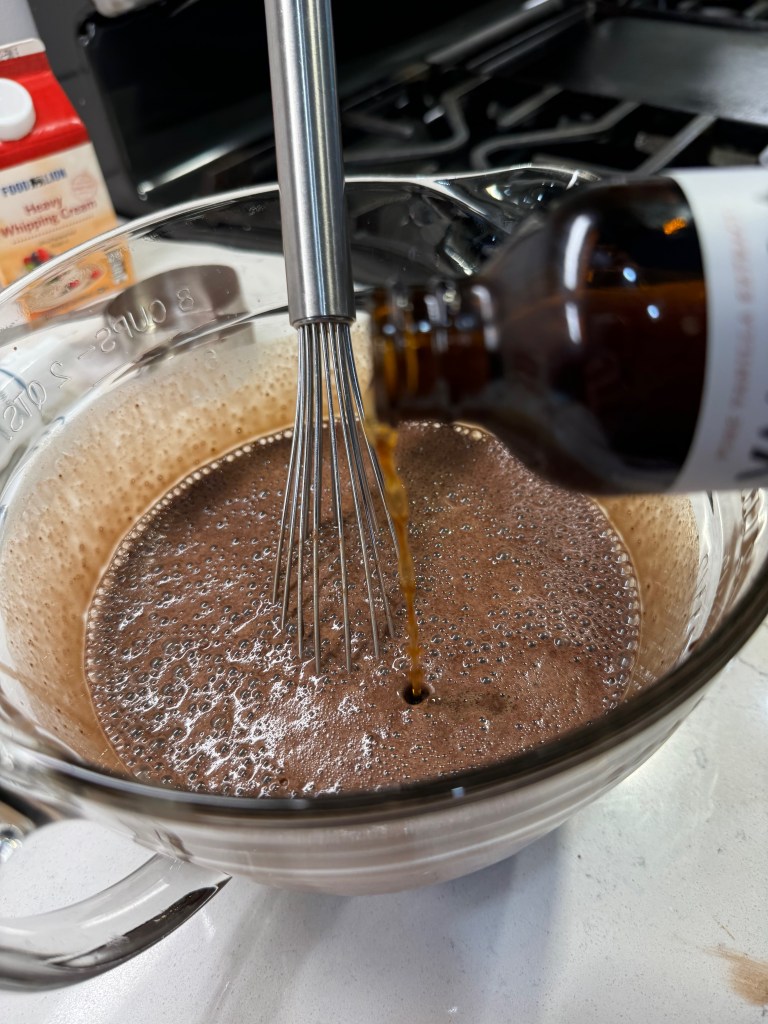
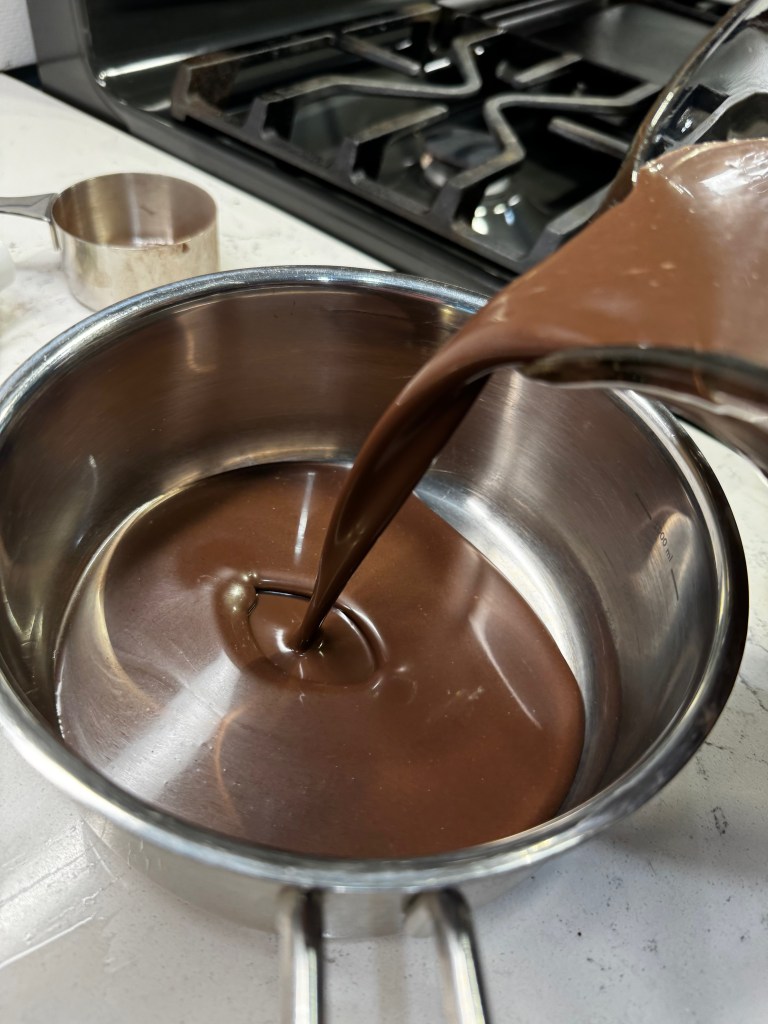
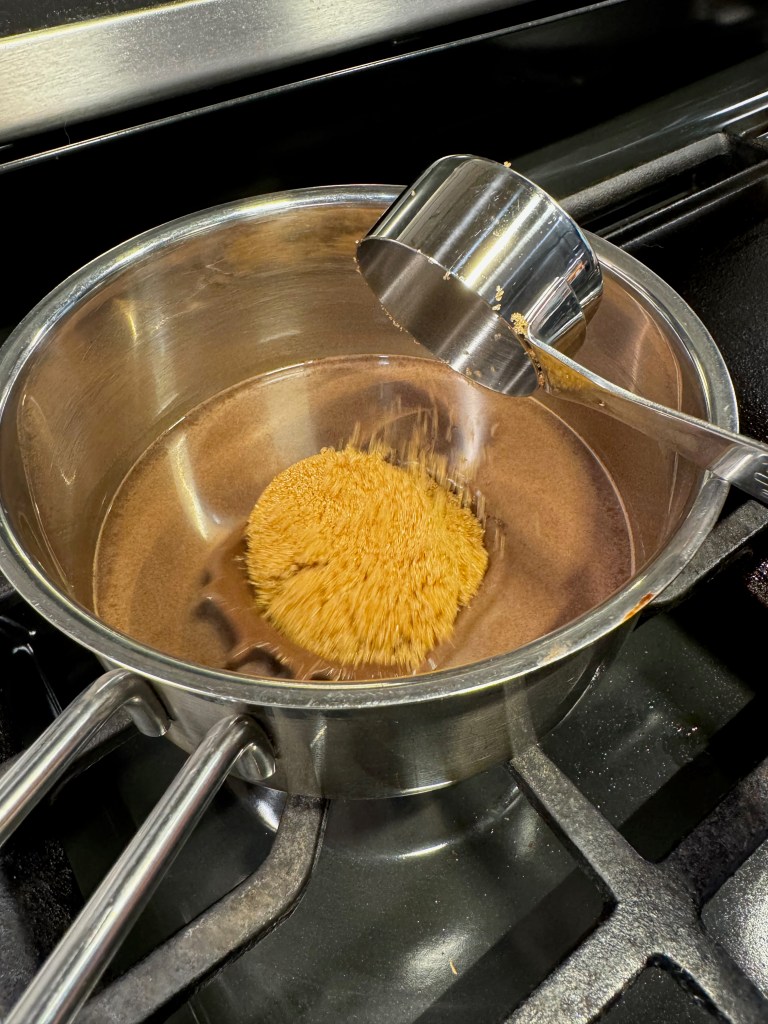
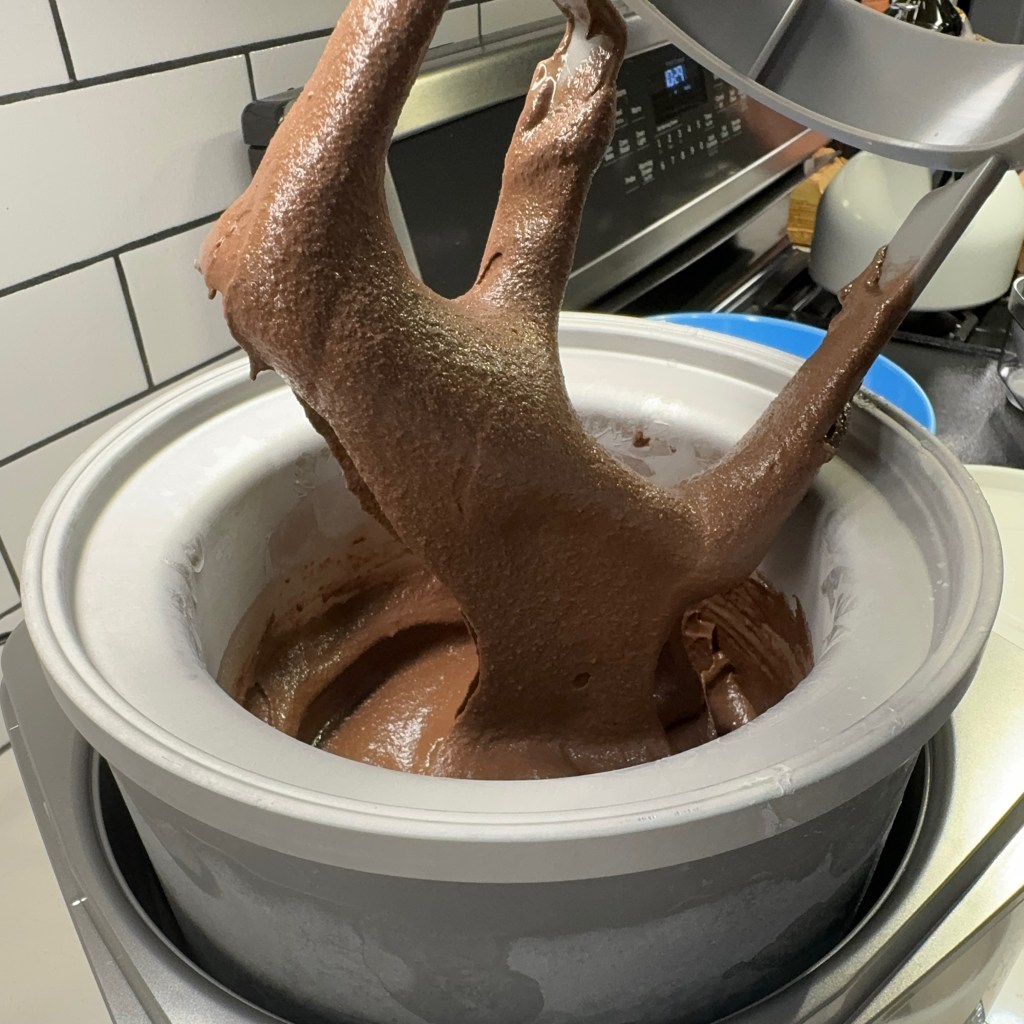
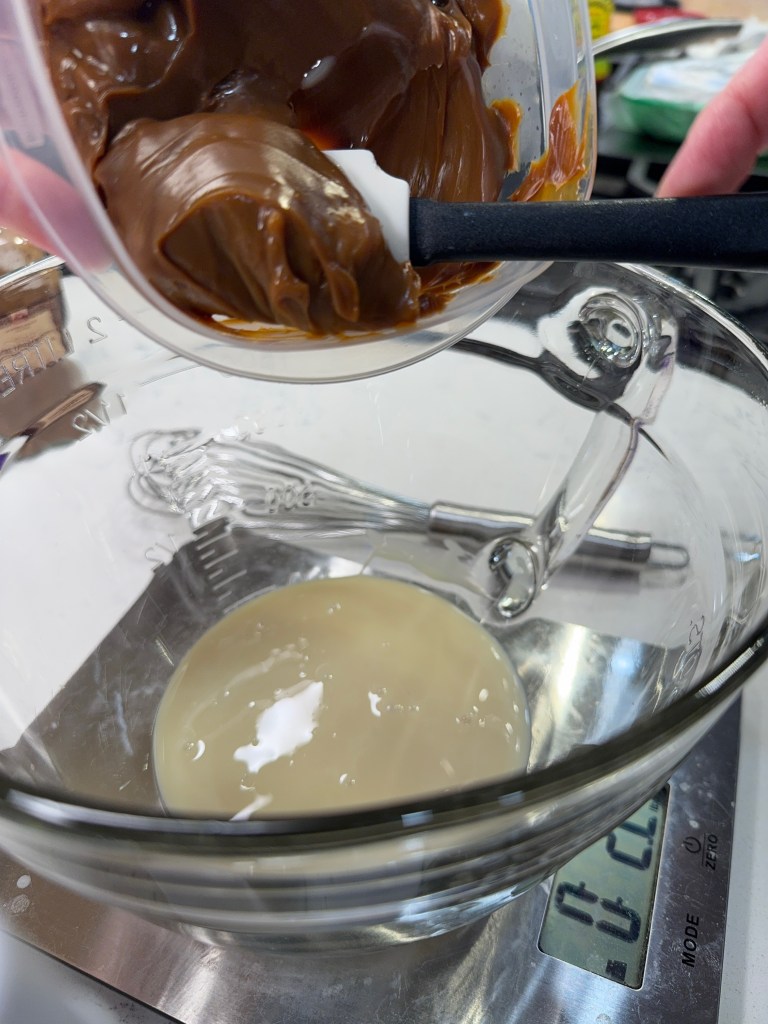
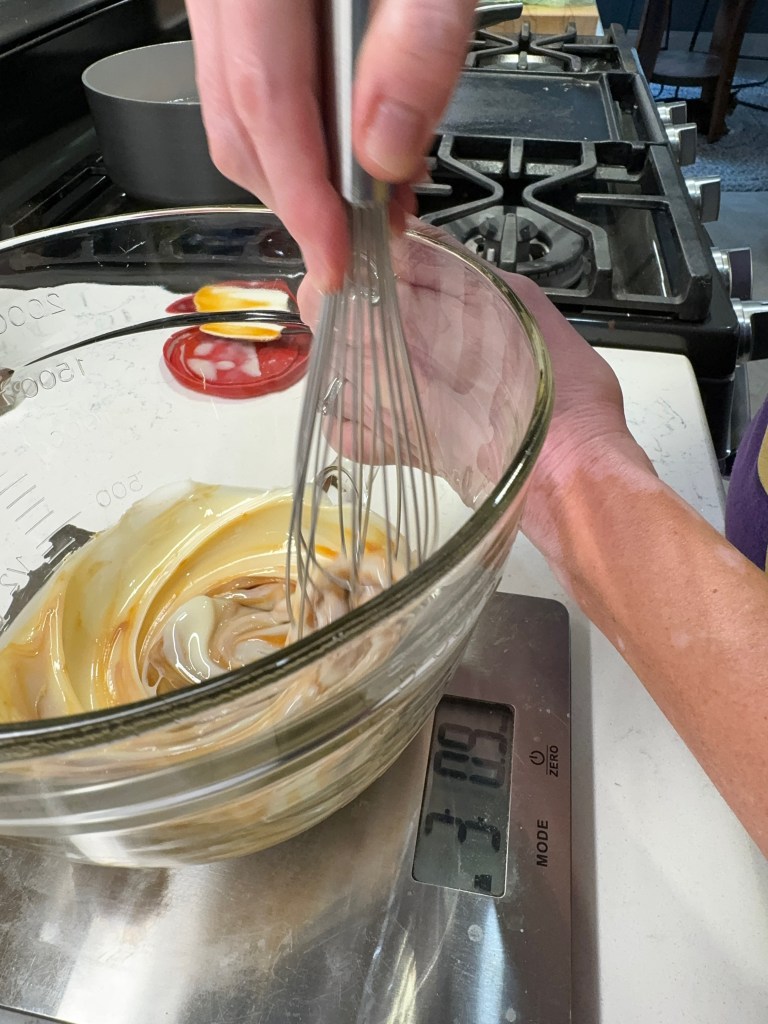
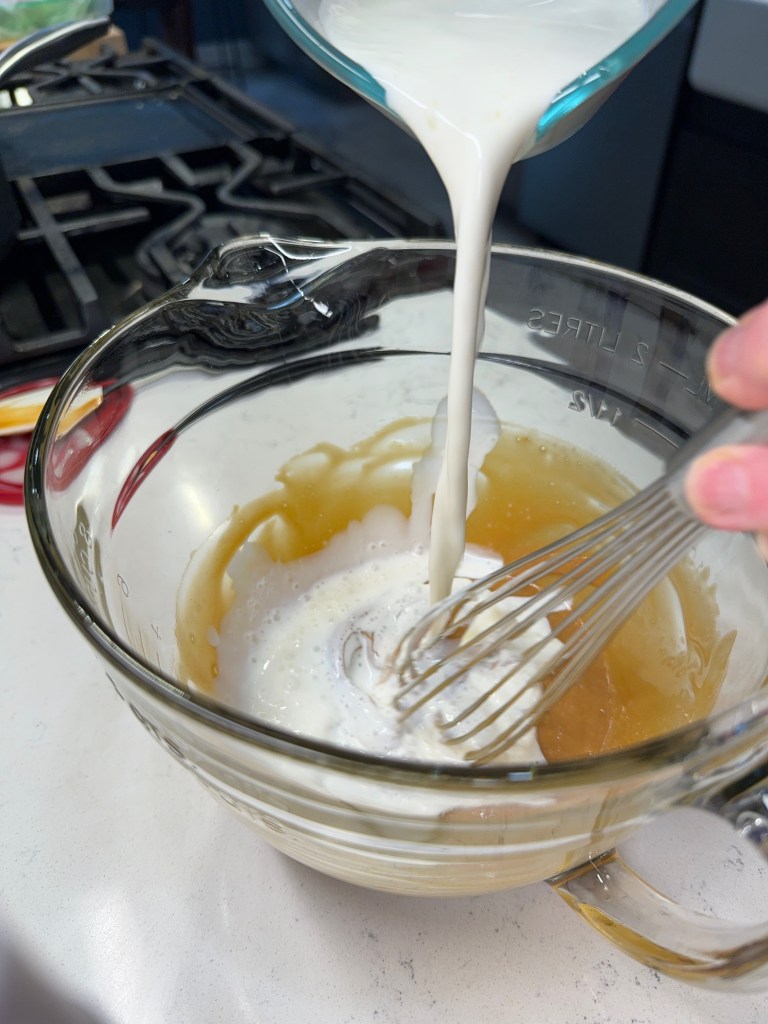
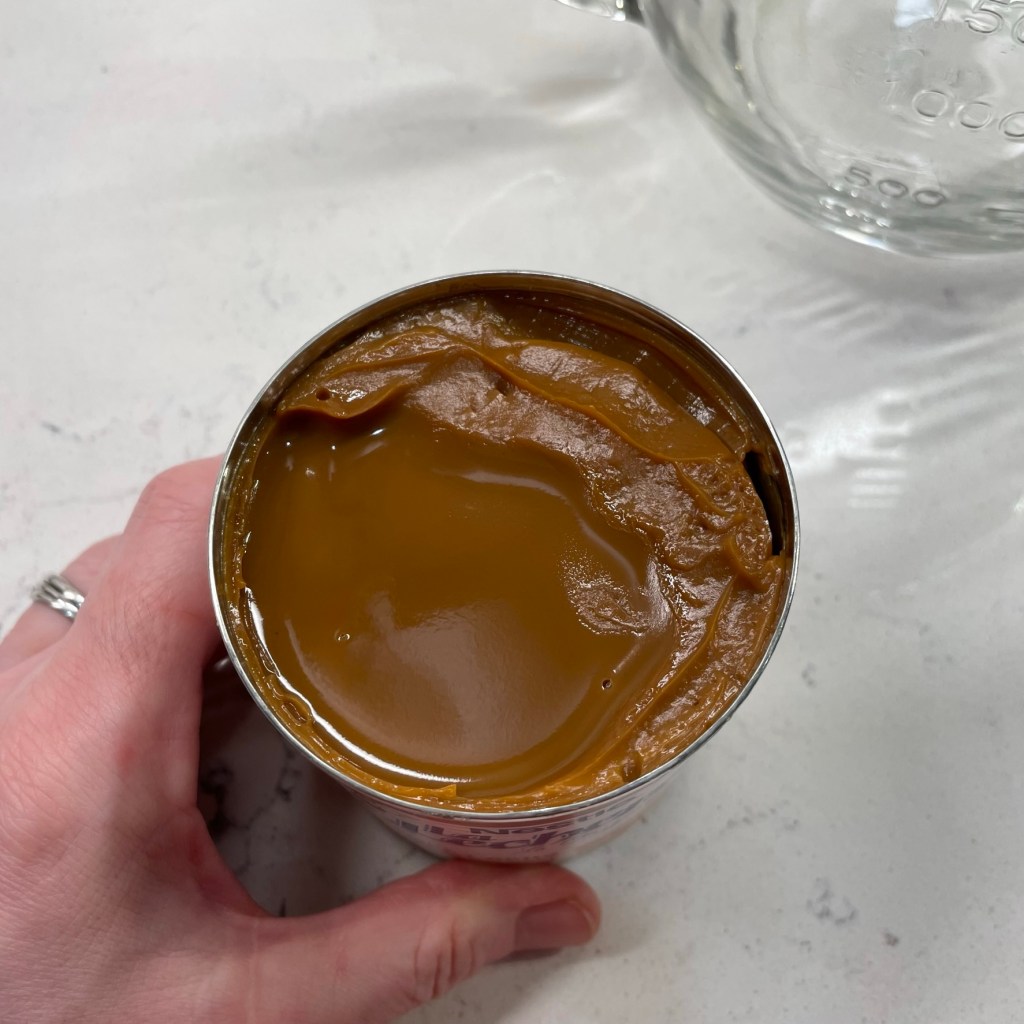
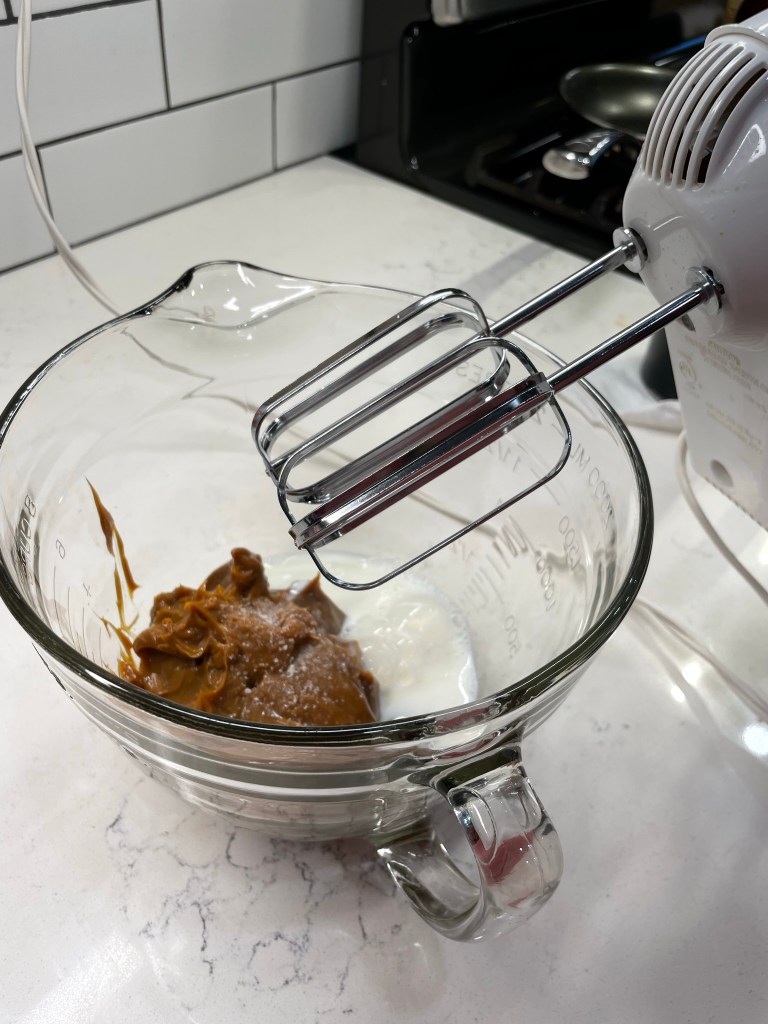
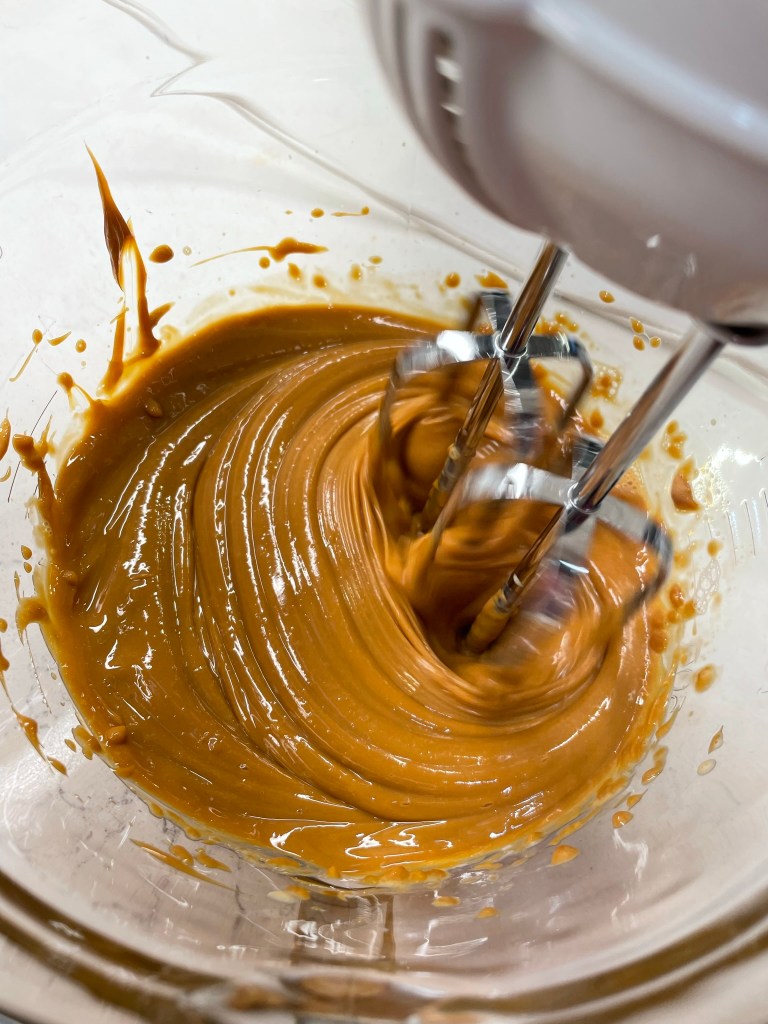
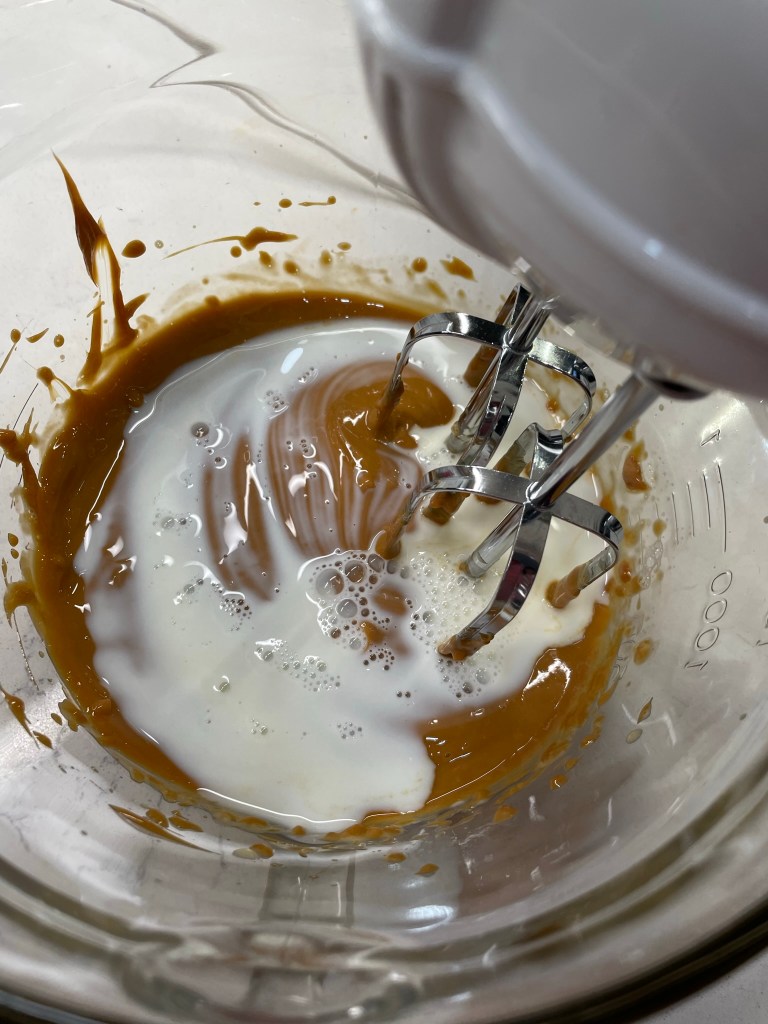
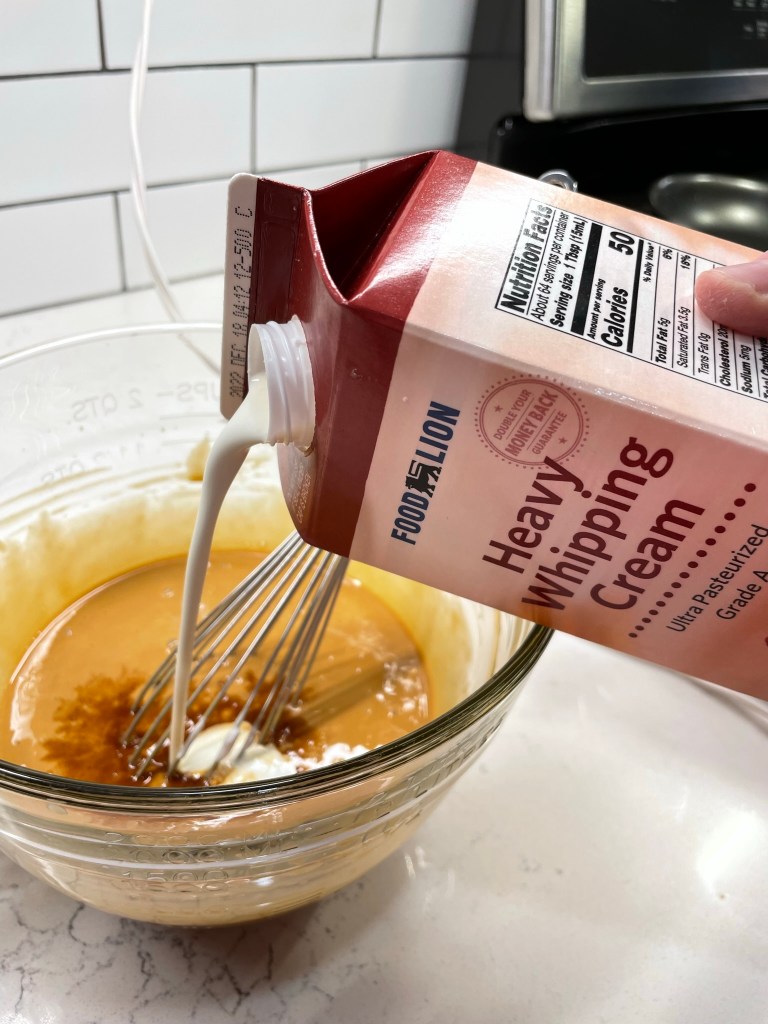
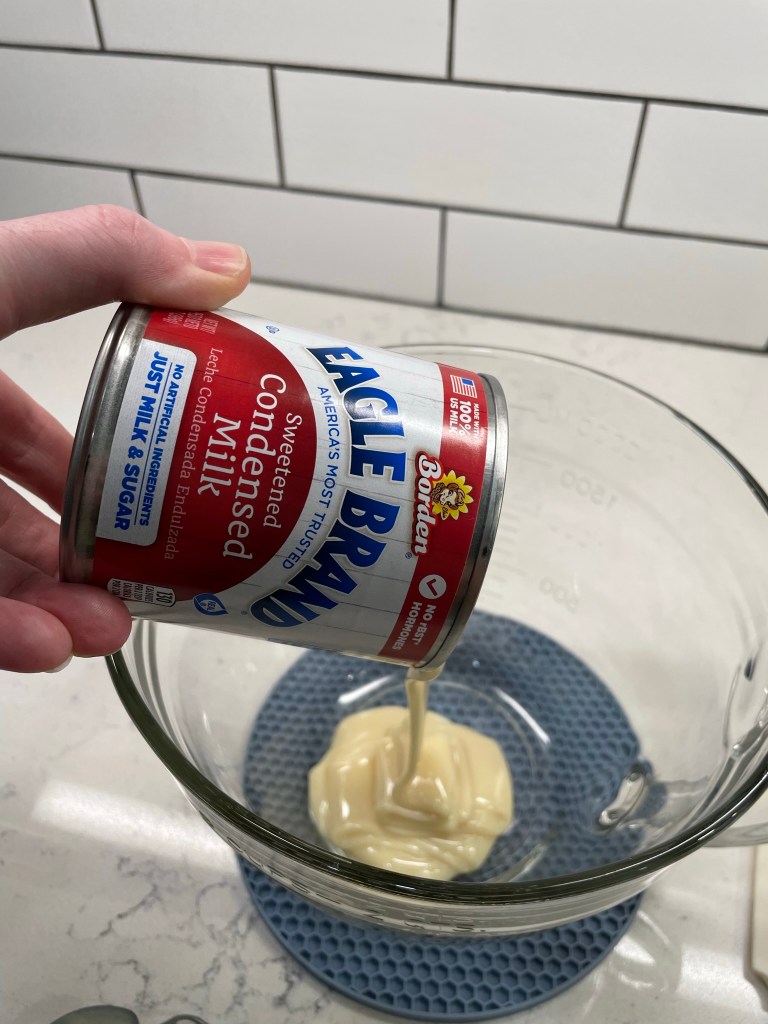
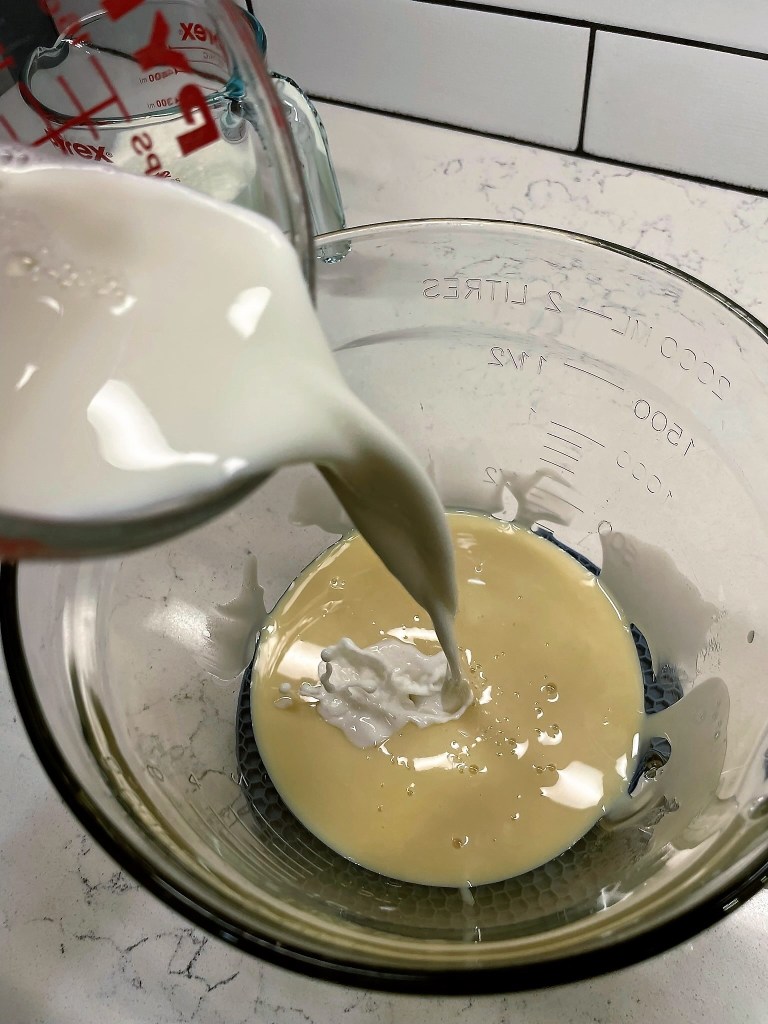
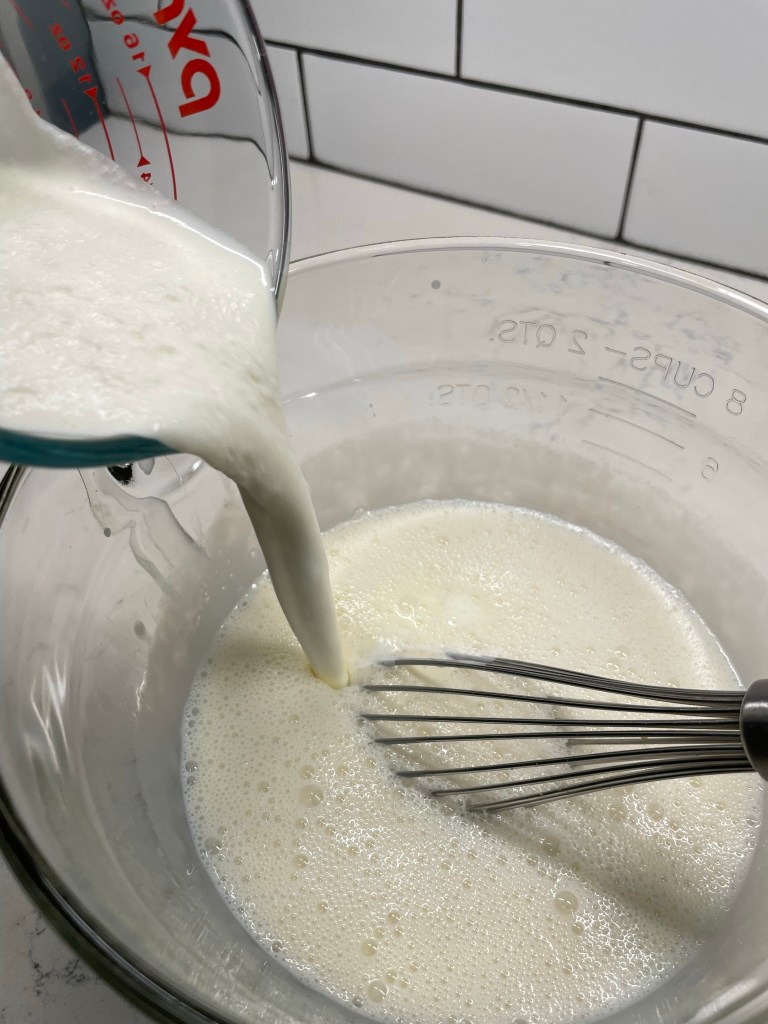
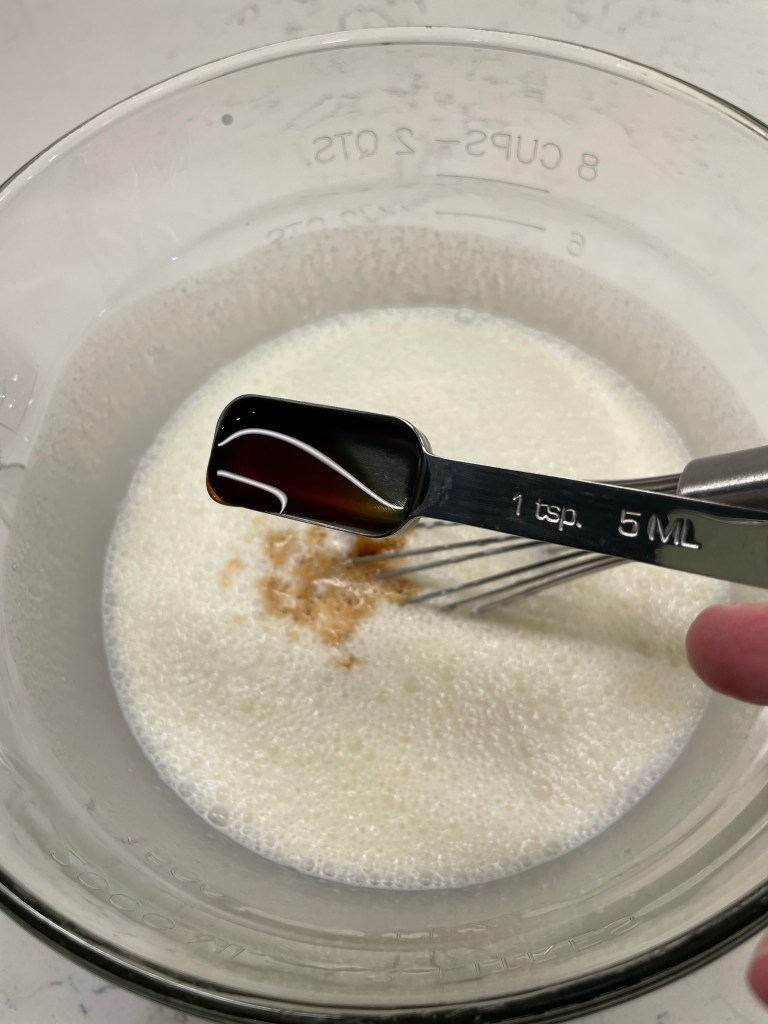
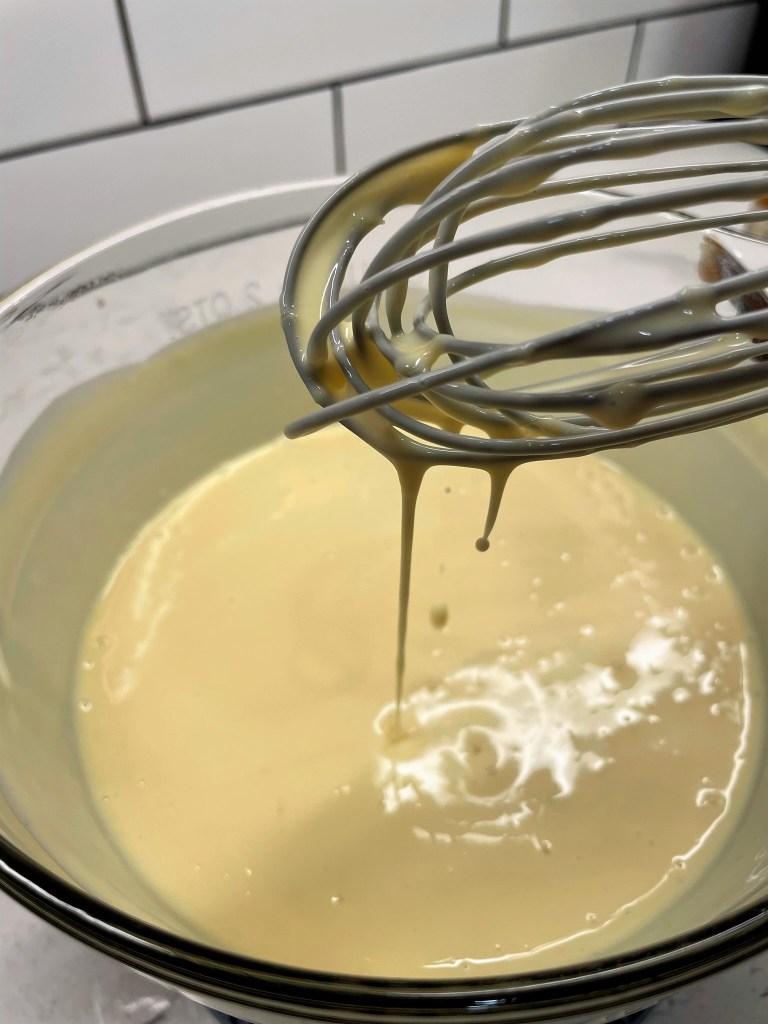
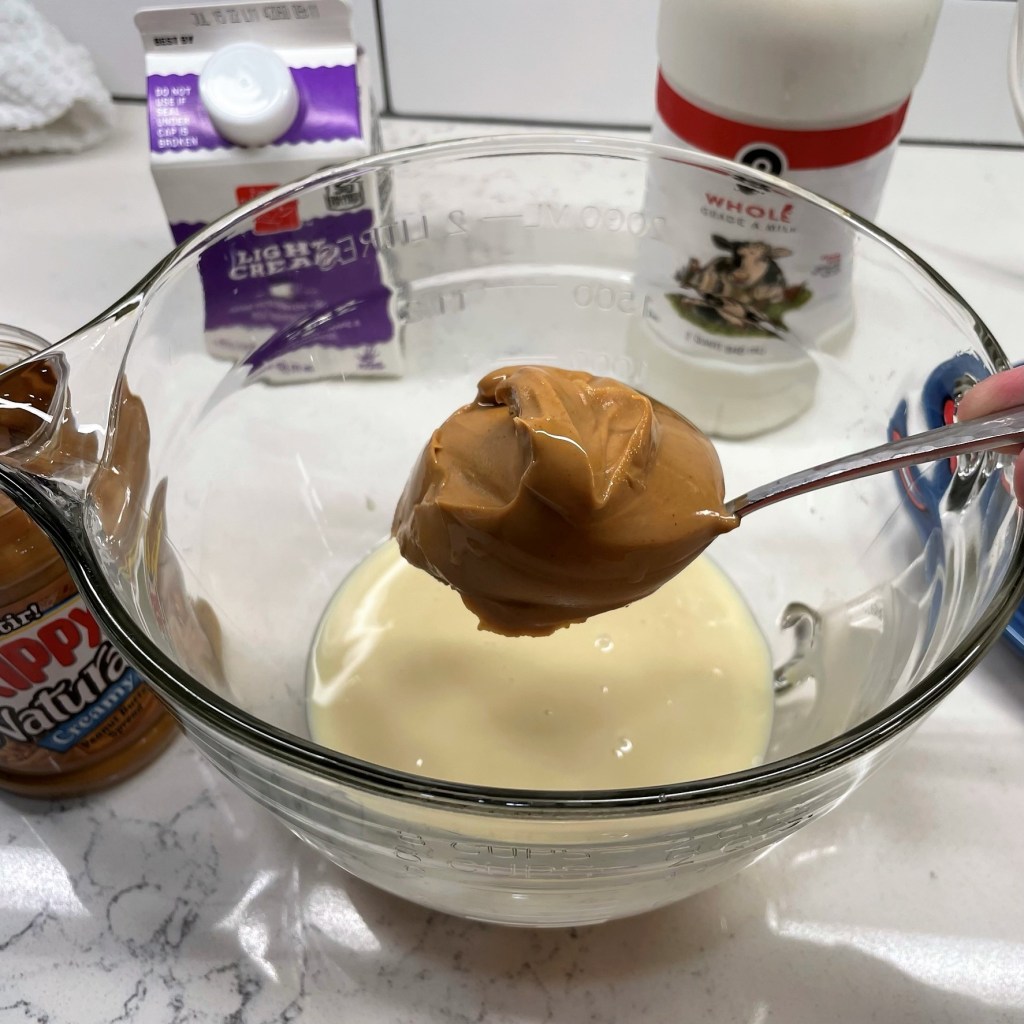
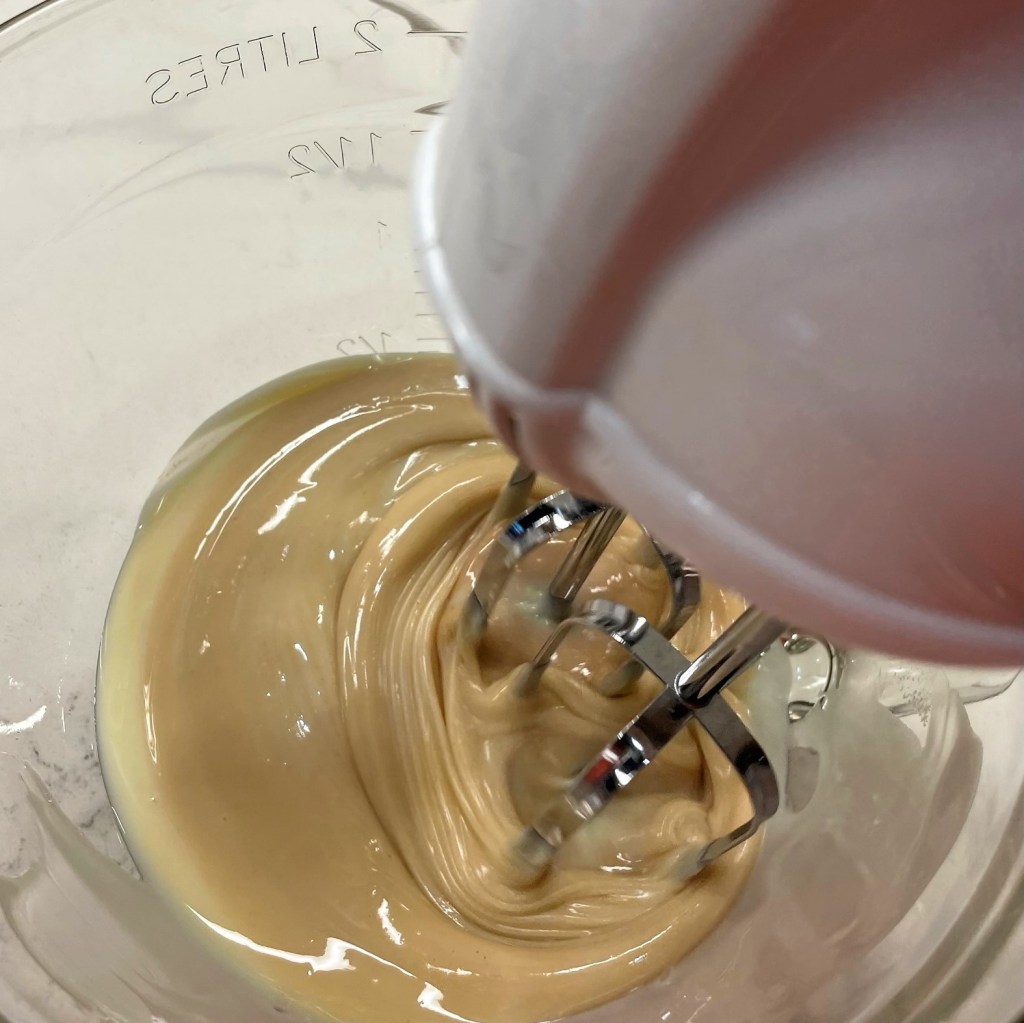
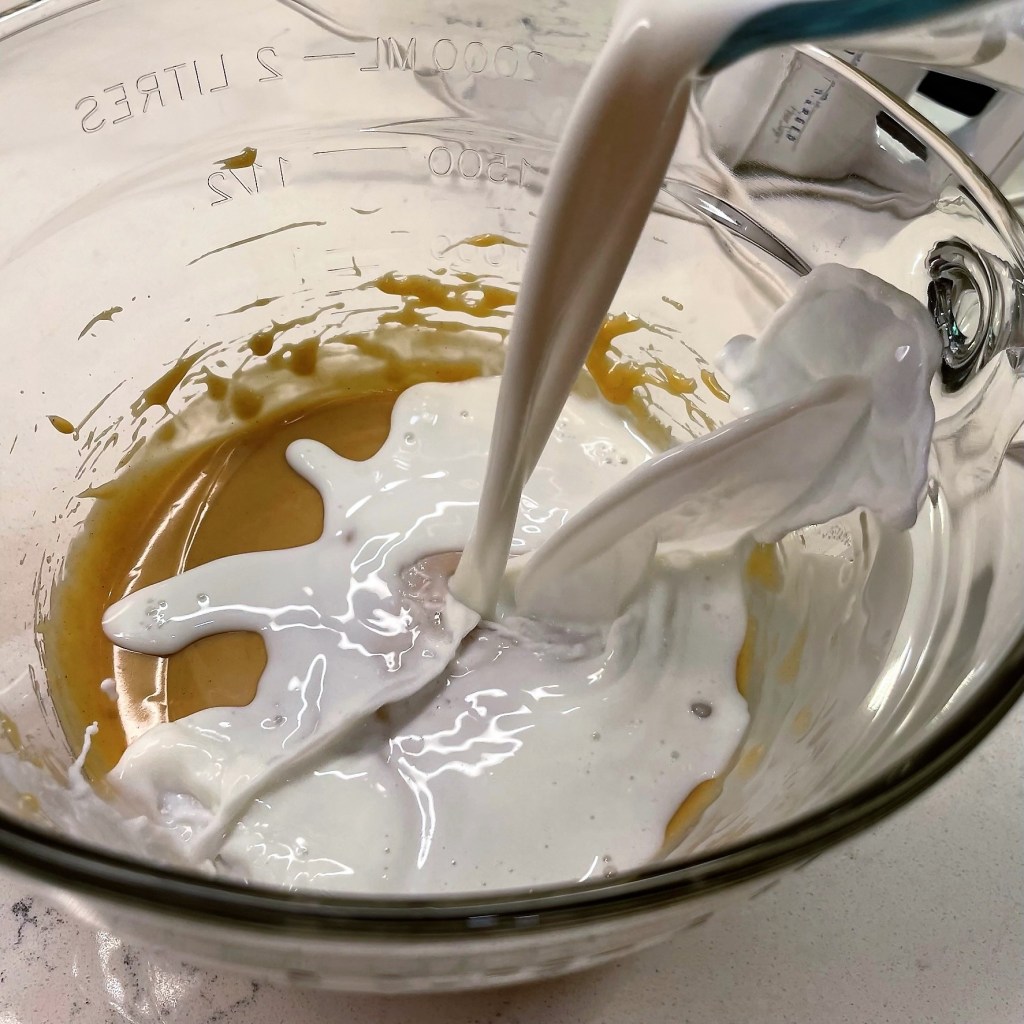
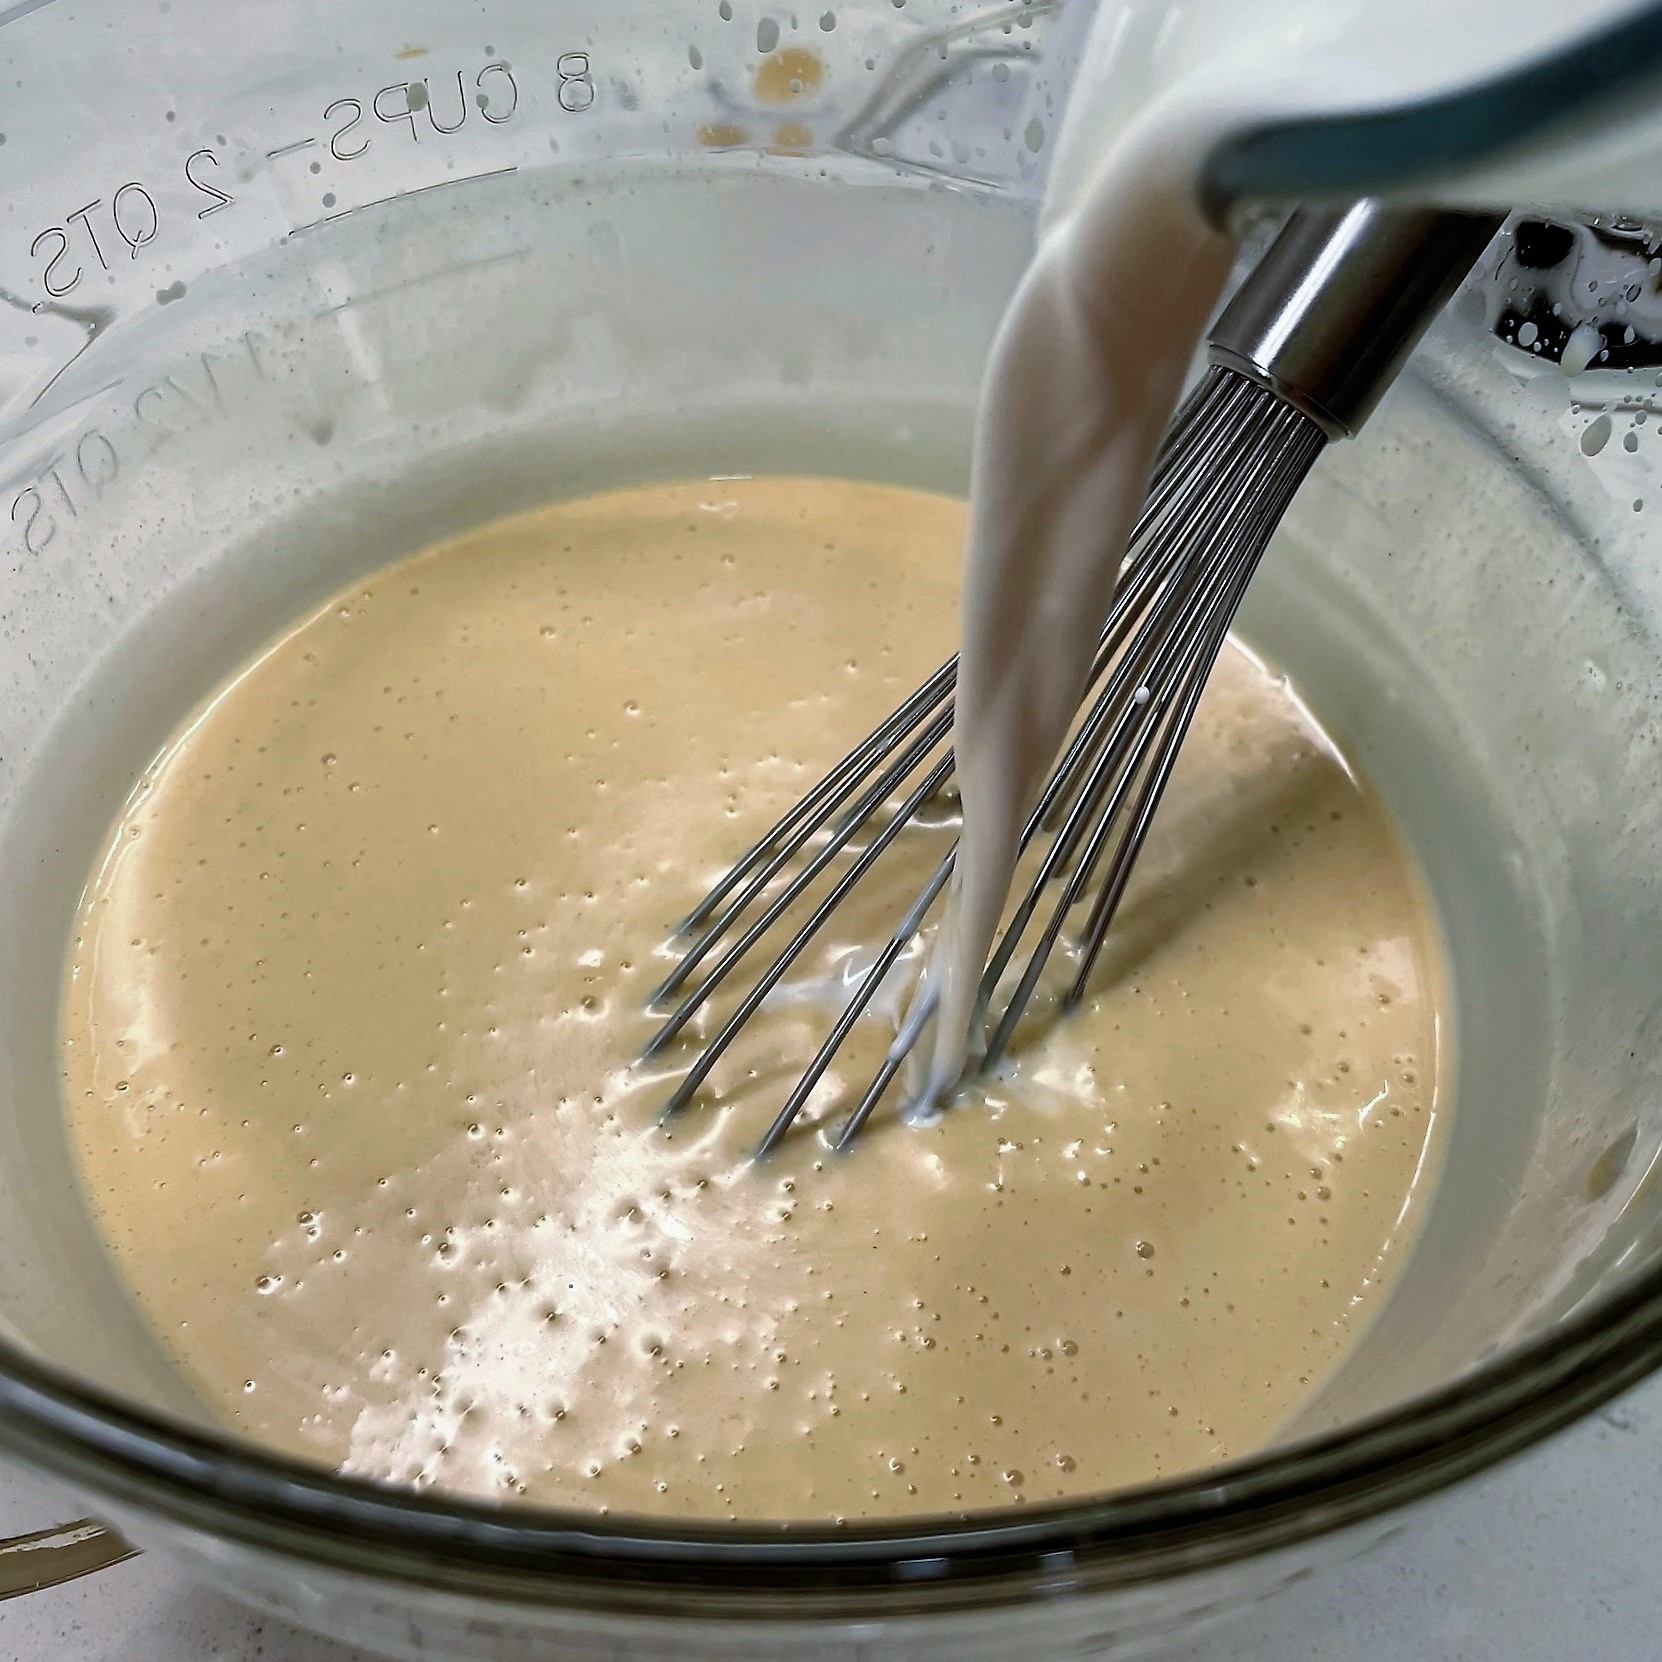
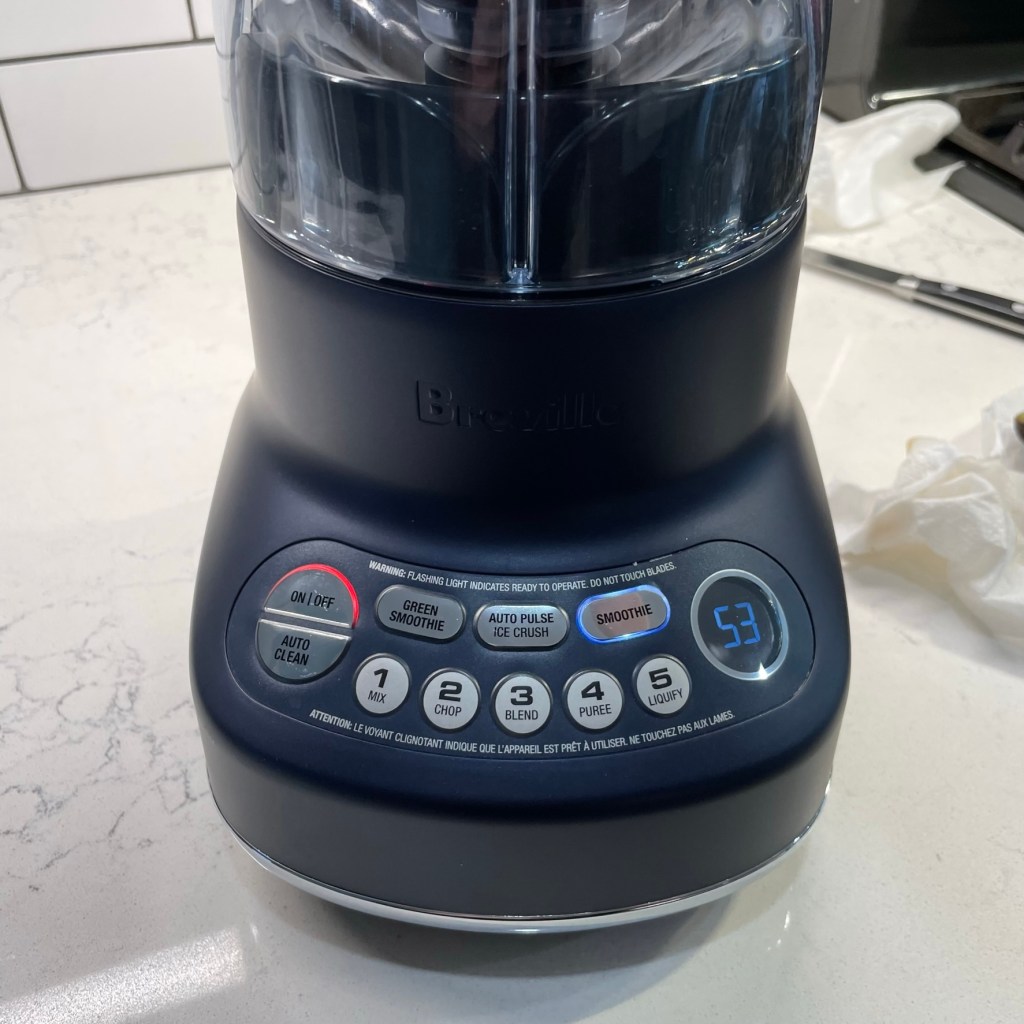
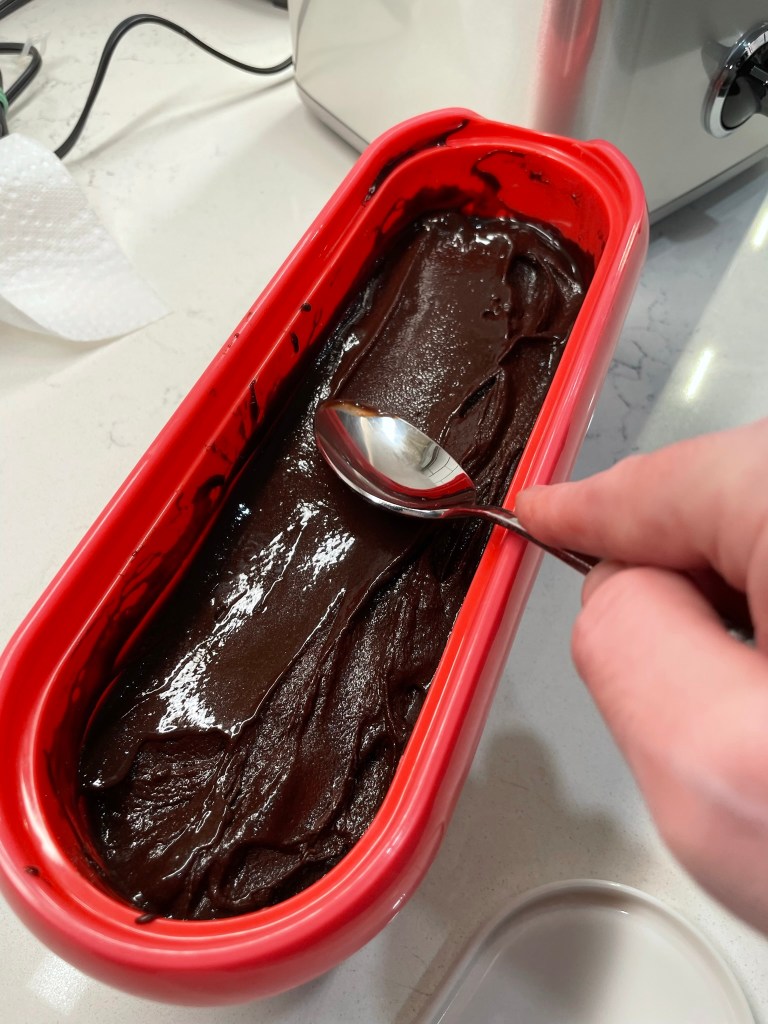
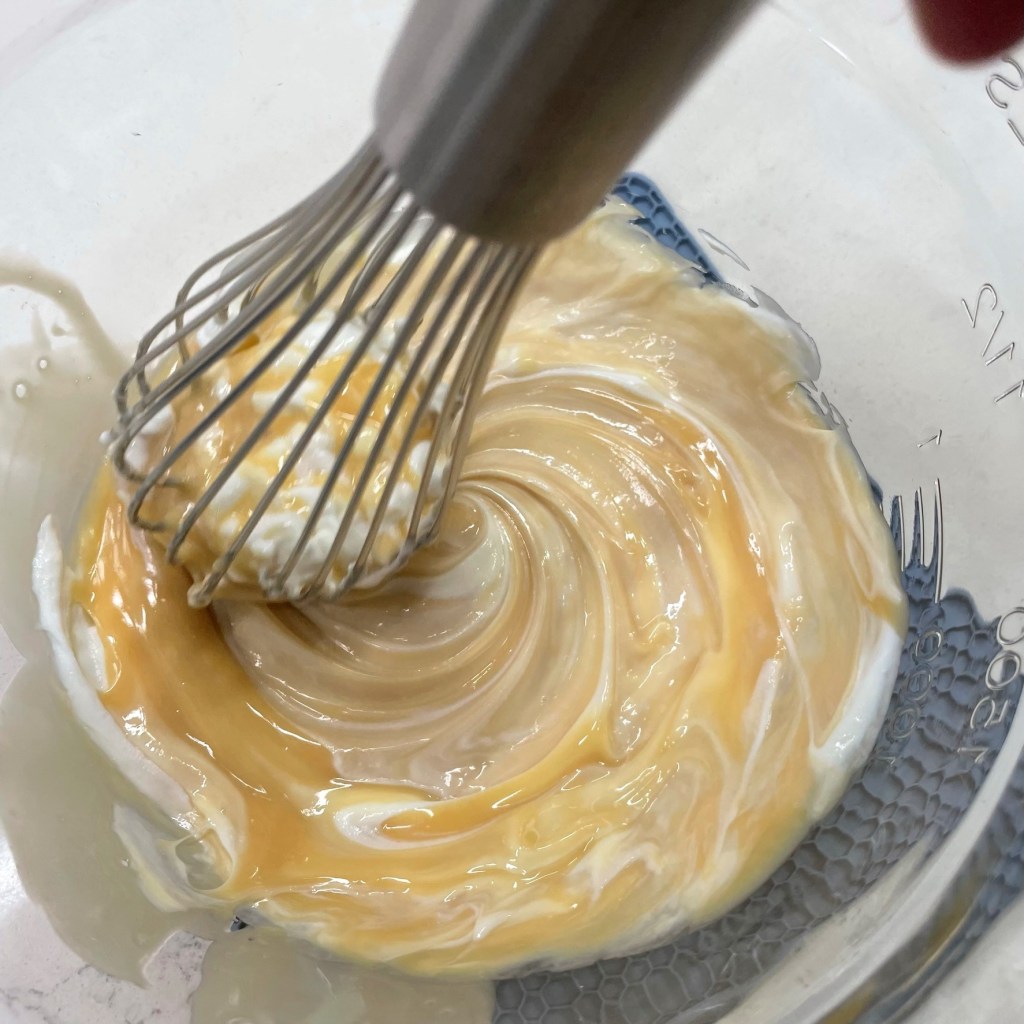
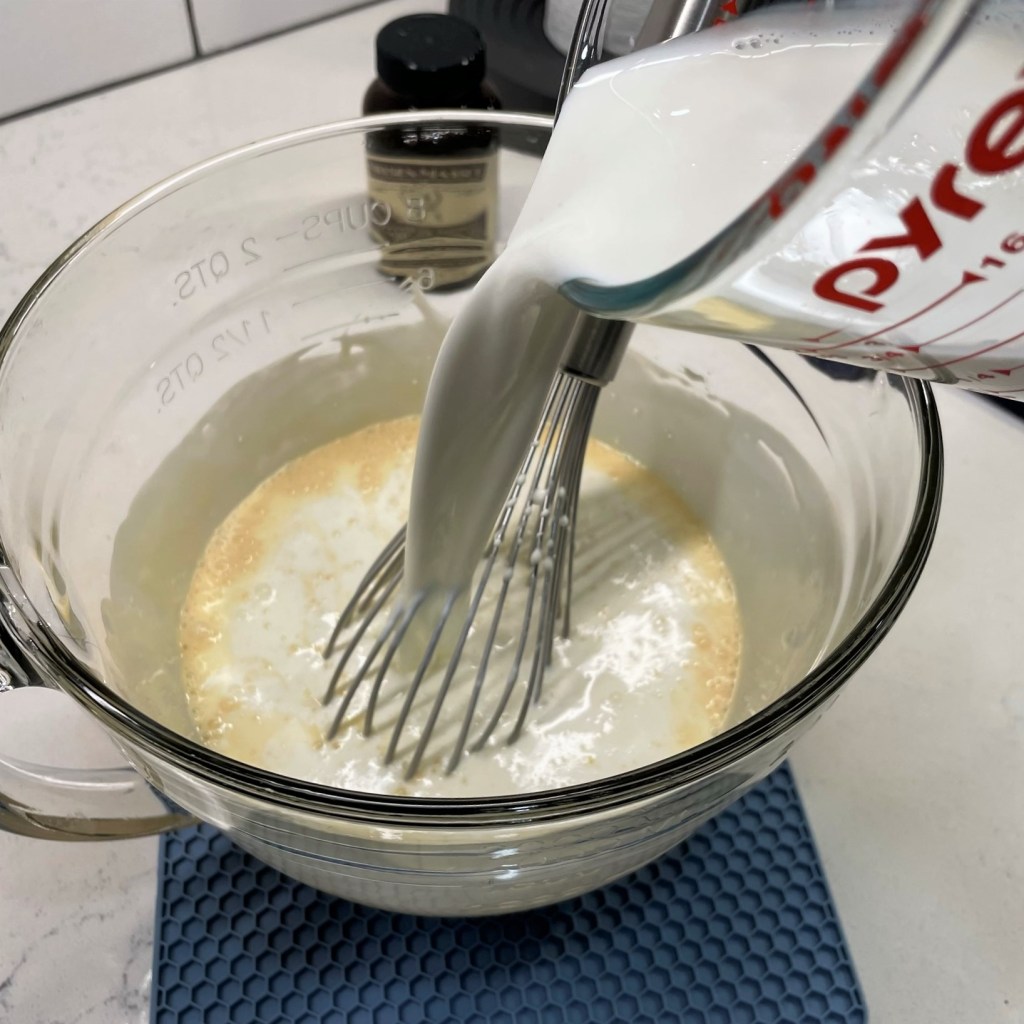
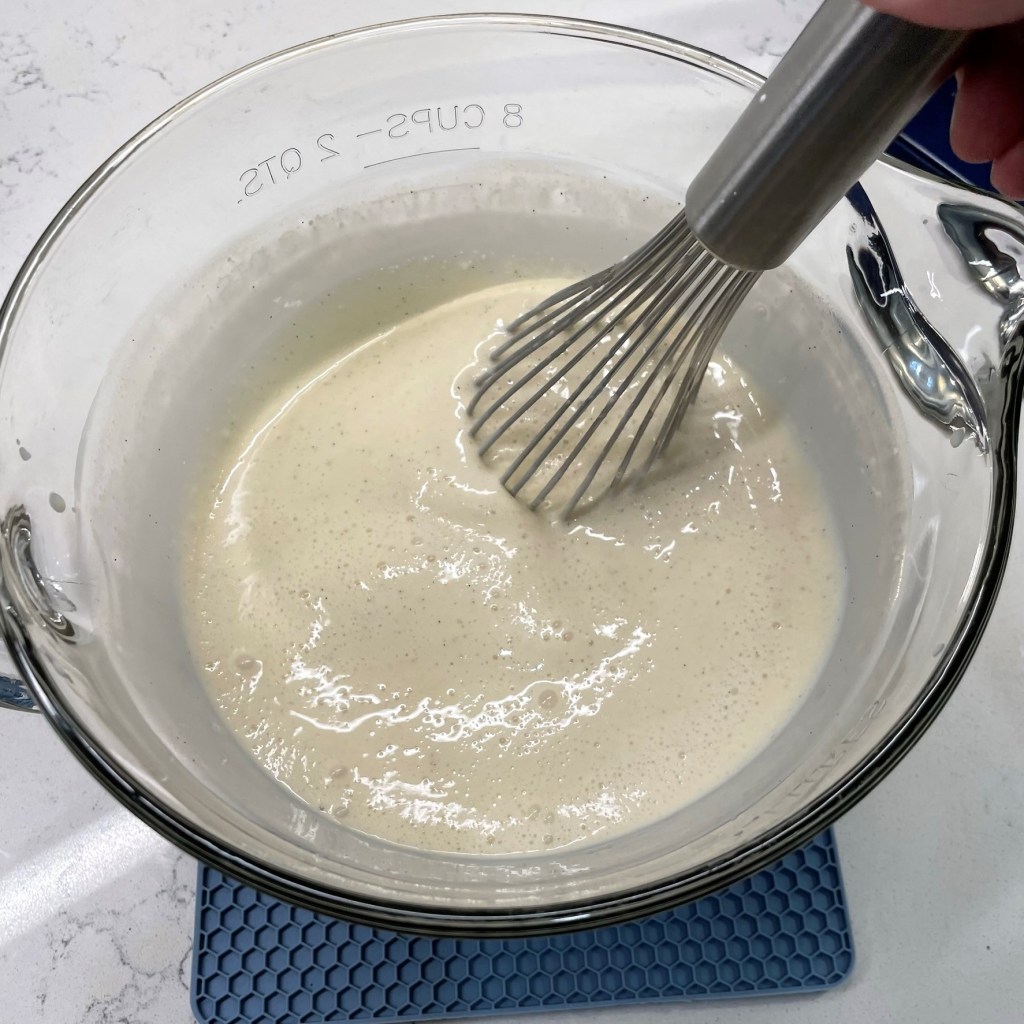
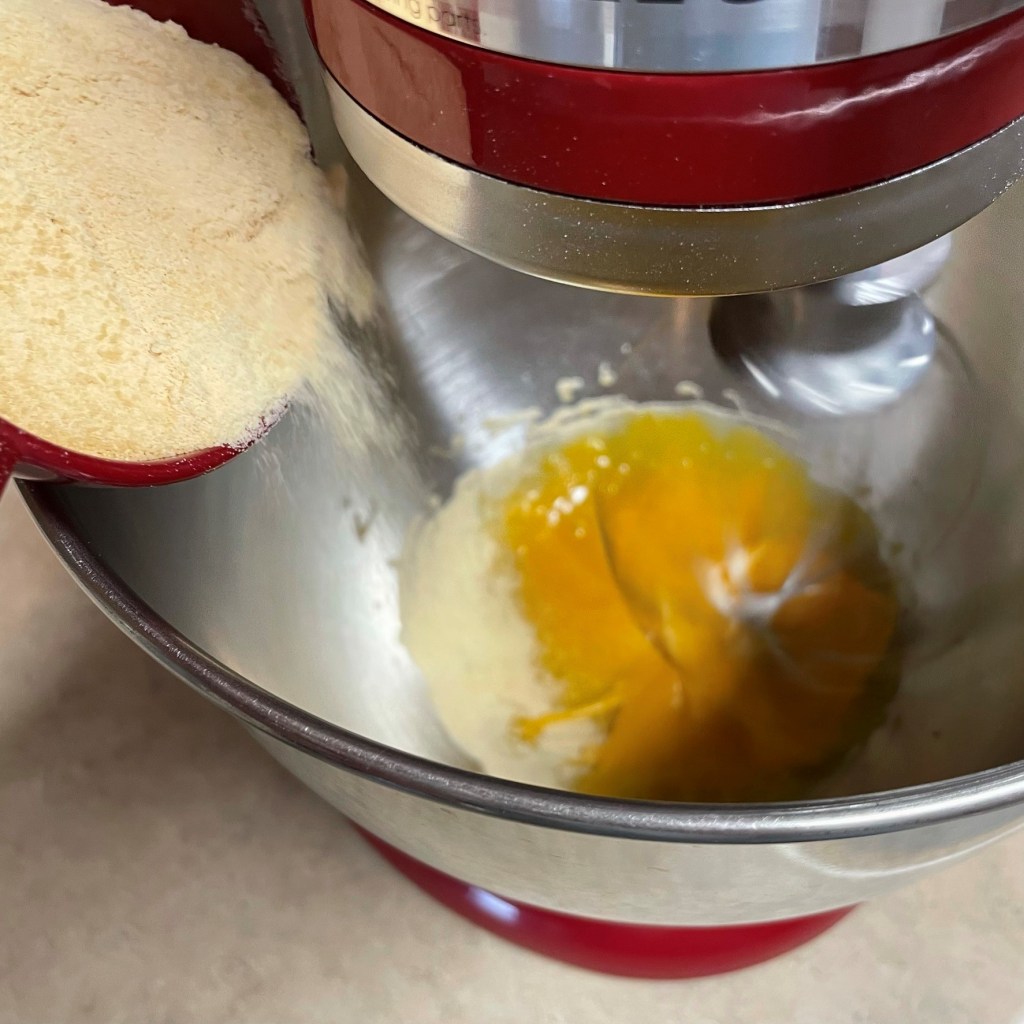
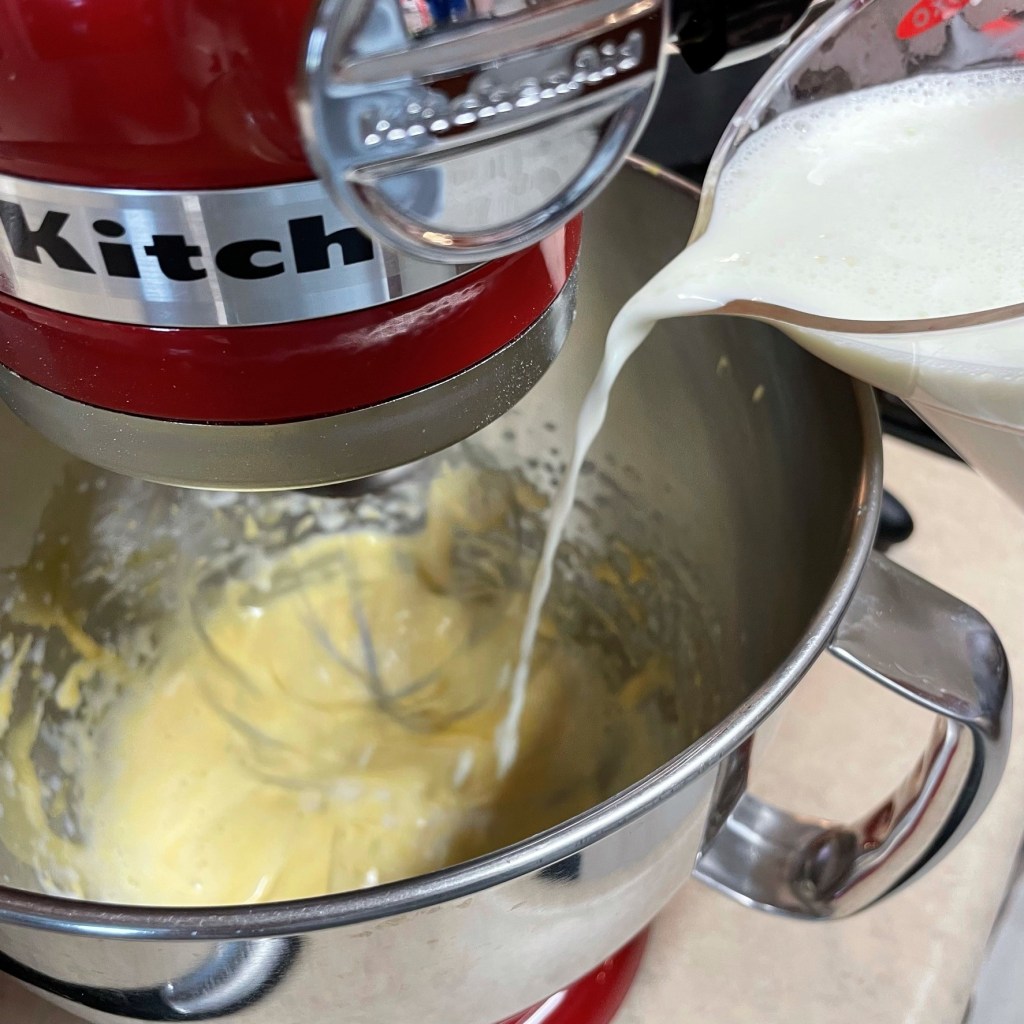
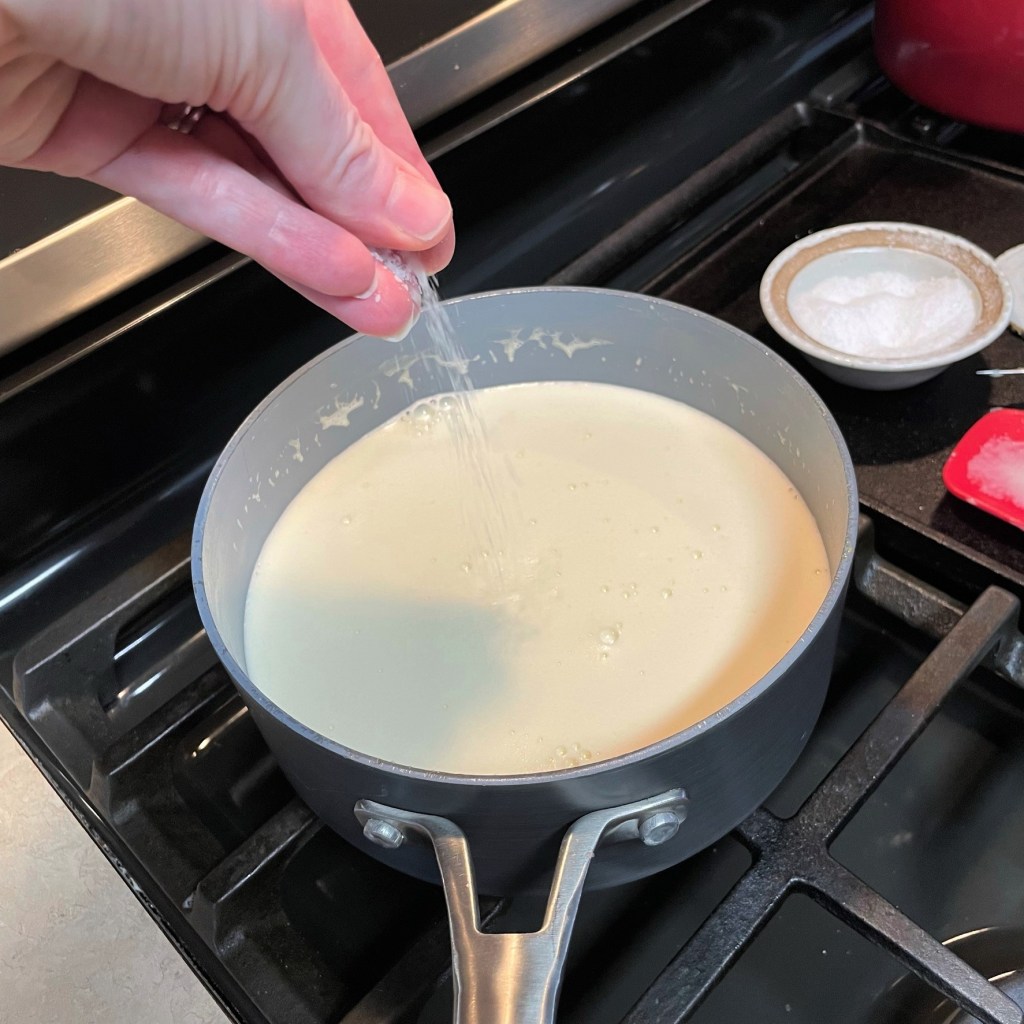
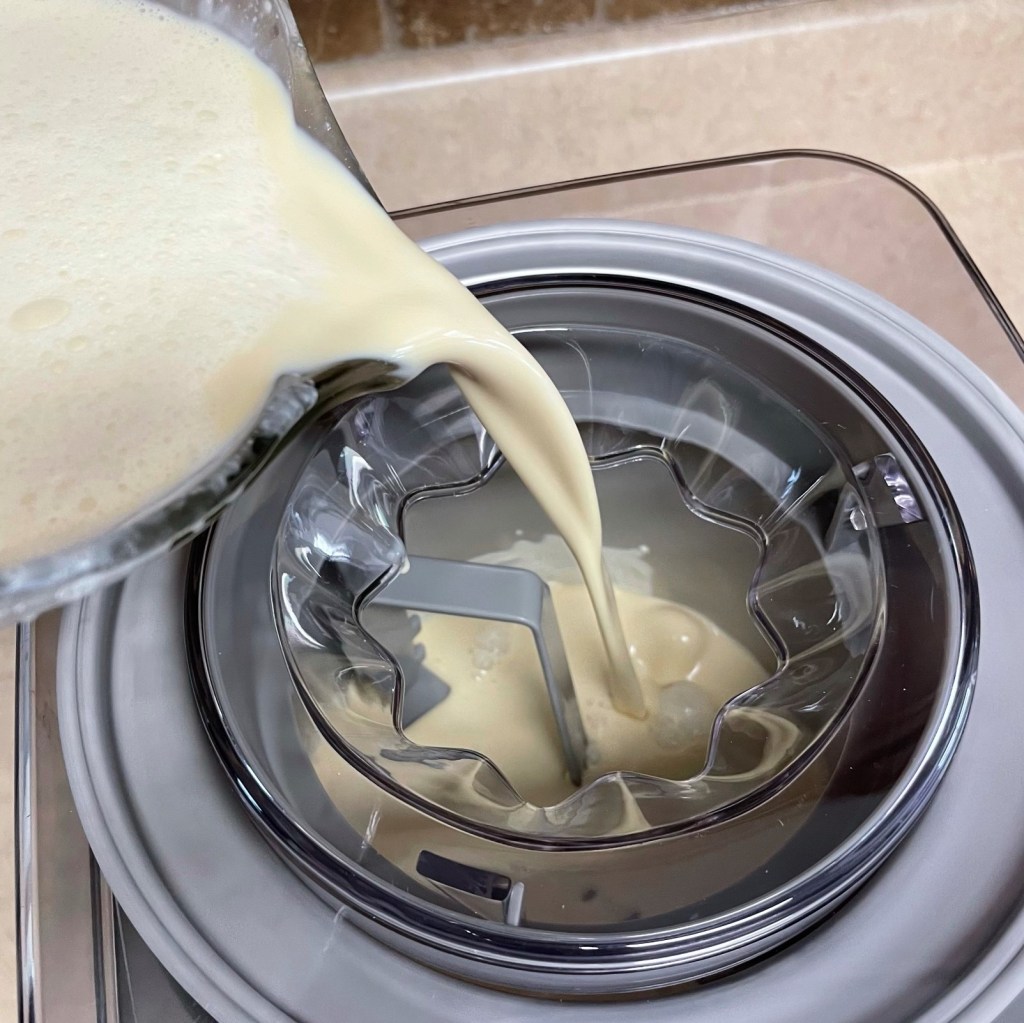
First into the mixer was the sweetened condensed milk and the regular whole milk. These two ingredients are very different in consistency, so getting them blended first felt important. Next came the pudding mix, which I whisked and whipped until it was a soft, airy consistency. I stirred in the heavy cream, and I was trying to act quickly before the pudding thickeners took over, and then this base mixture went into the fridge for a few hours to chill through before churning in my electric ice cream maker.
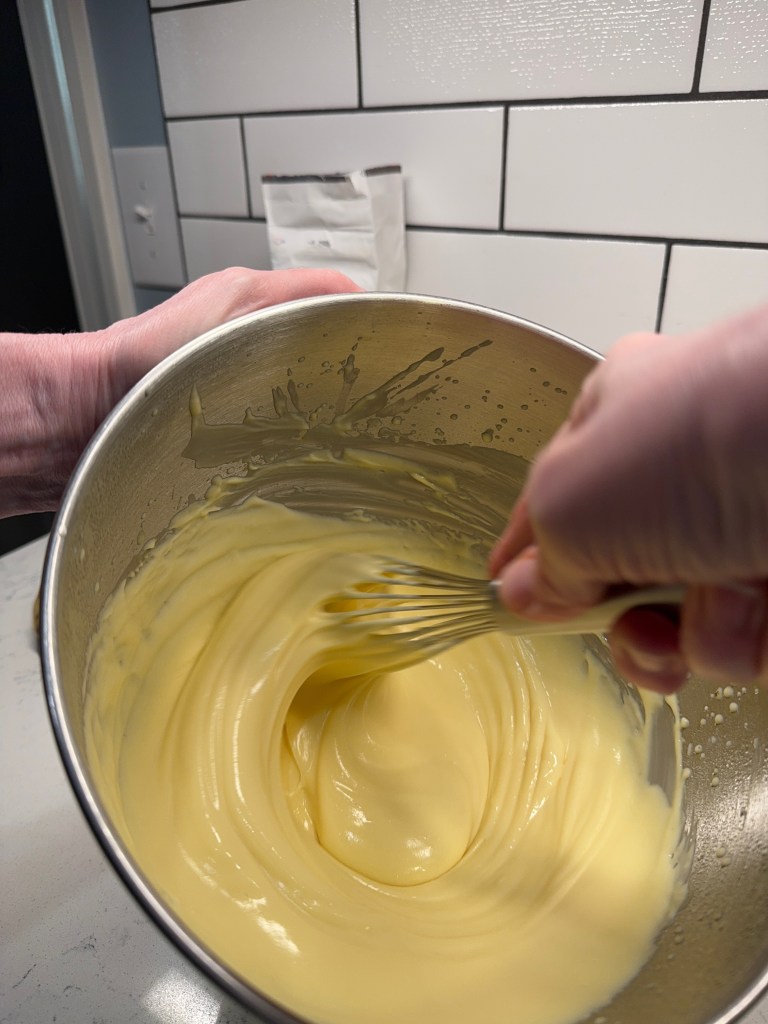
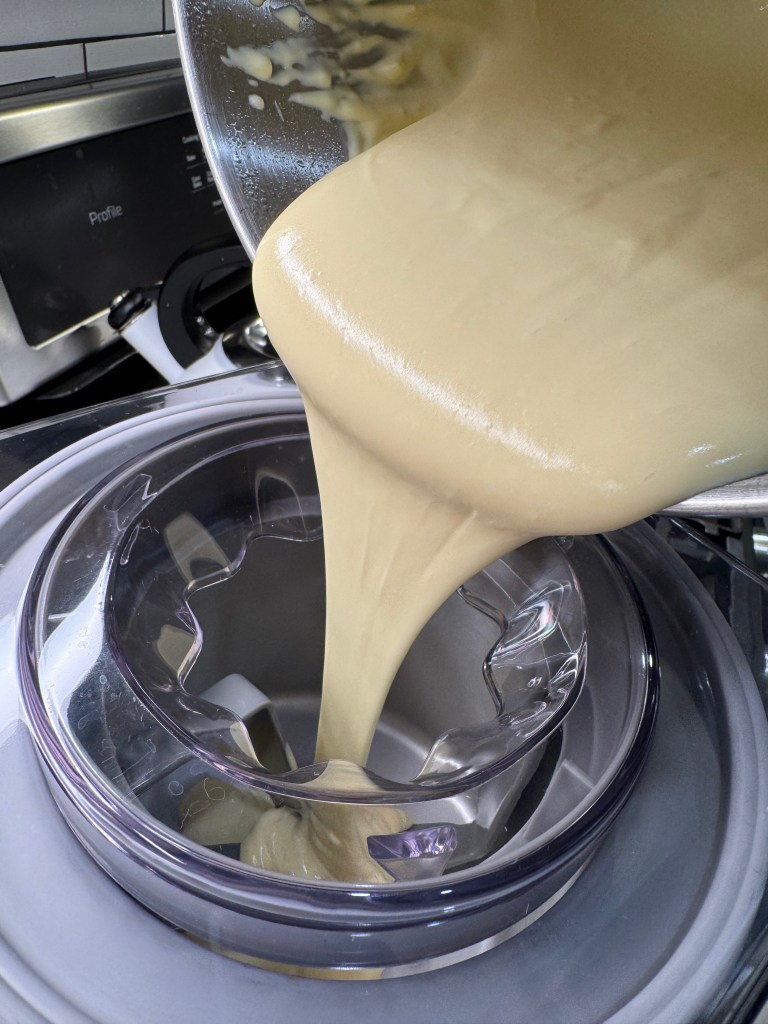
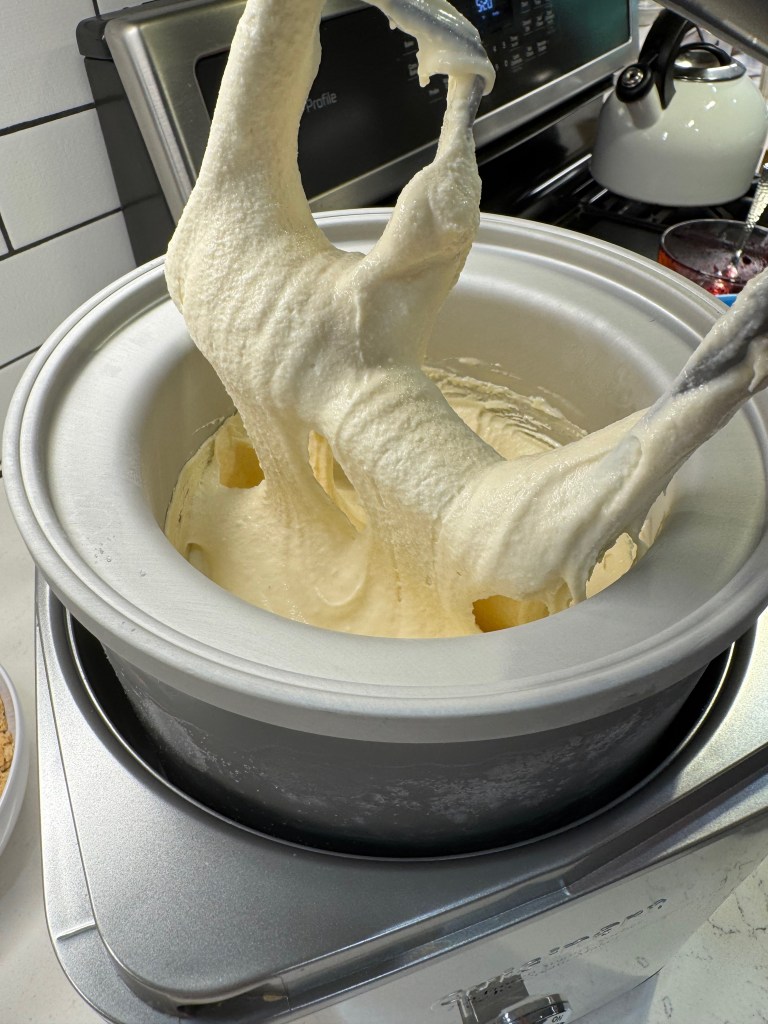
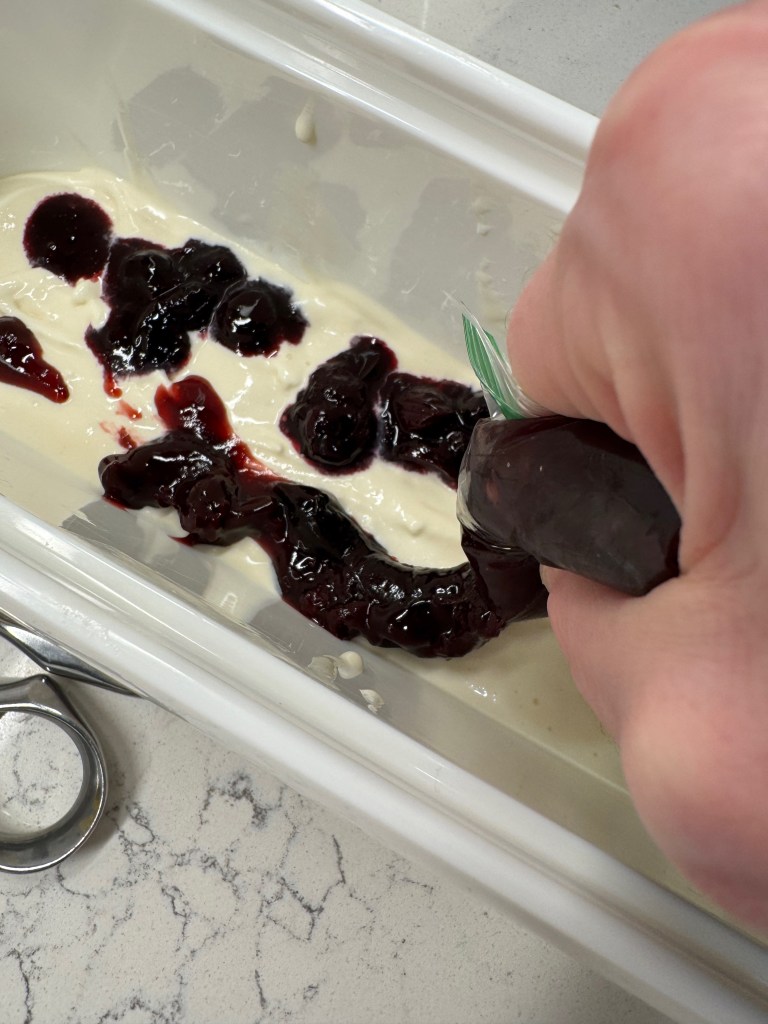
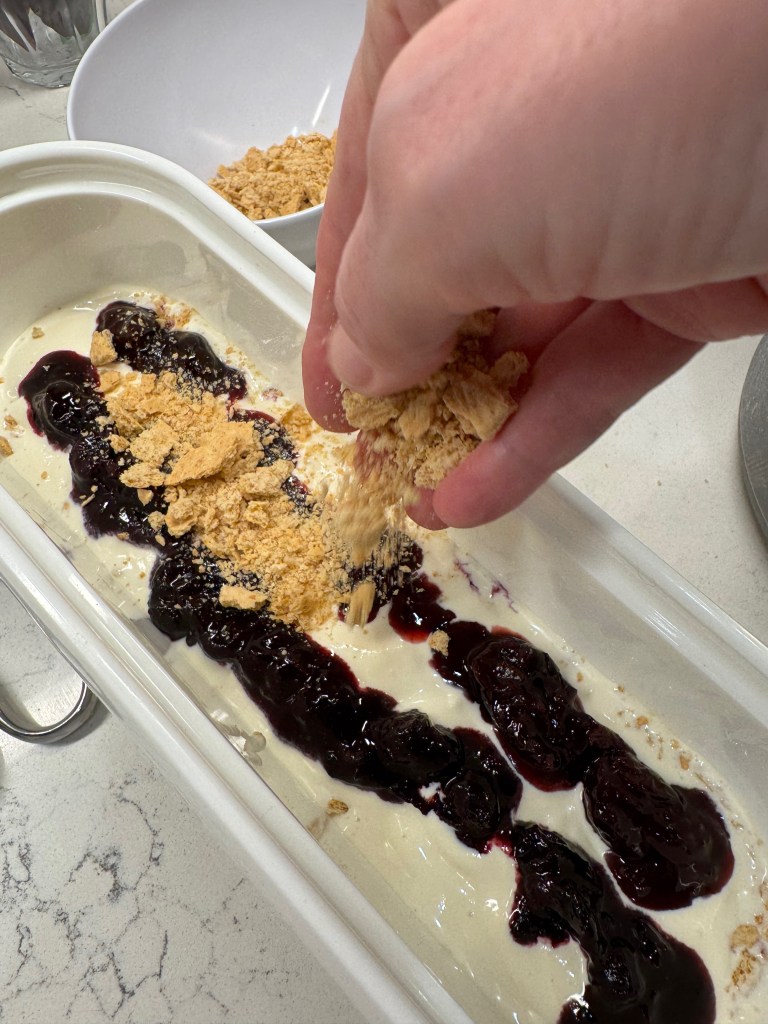
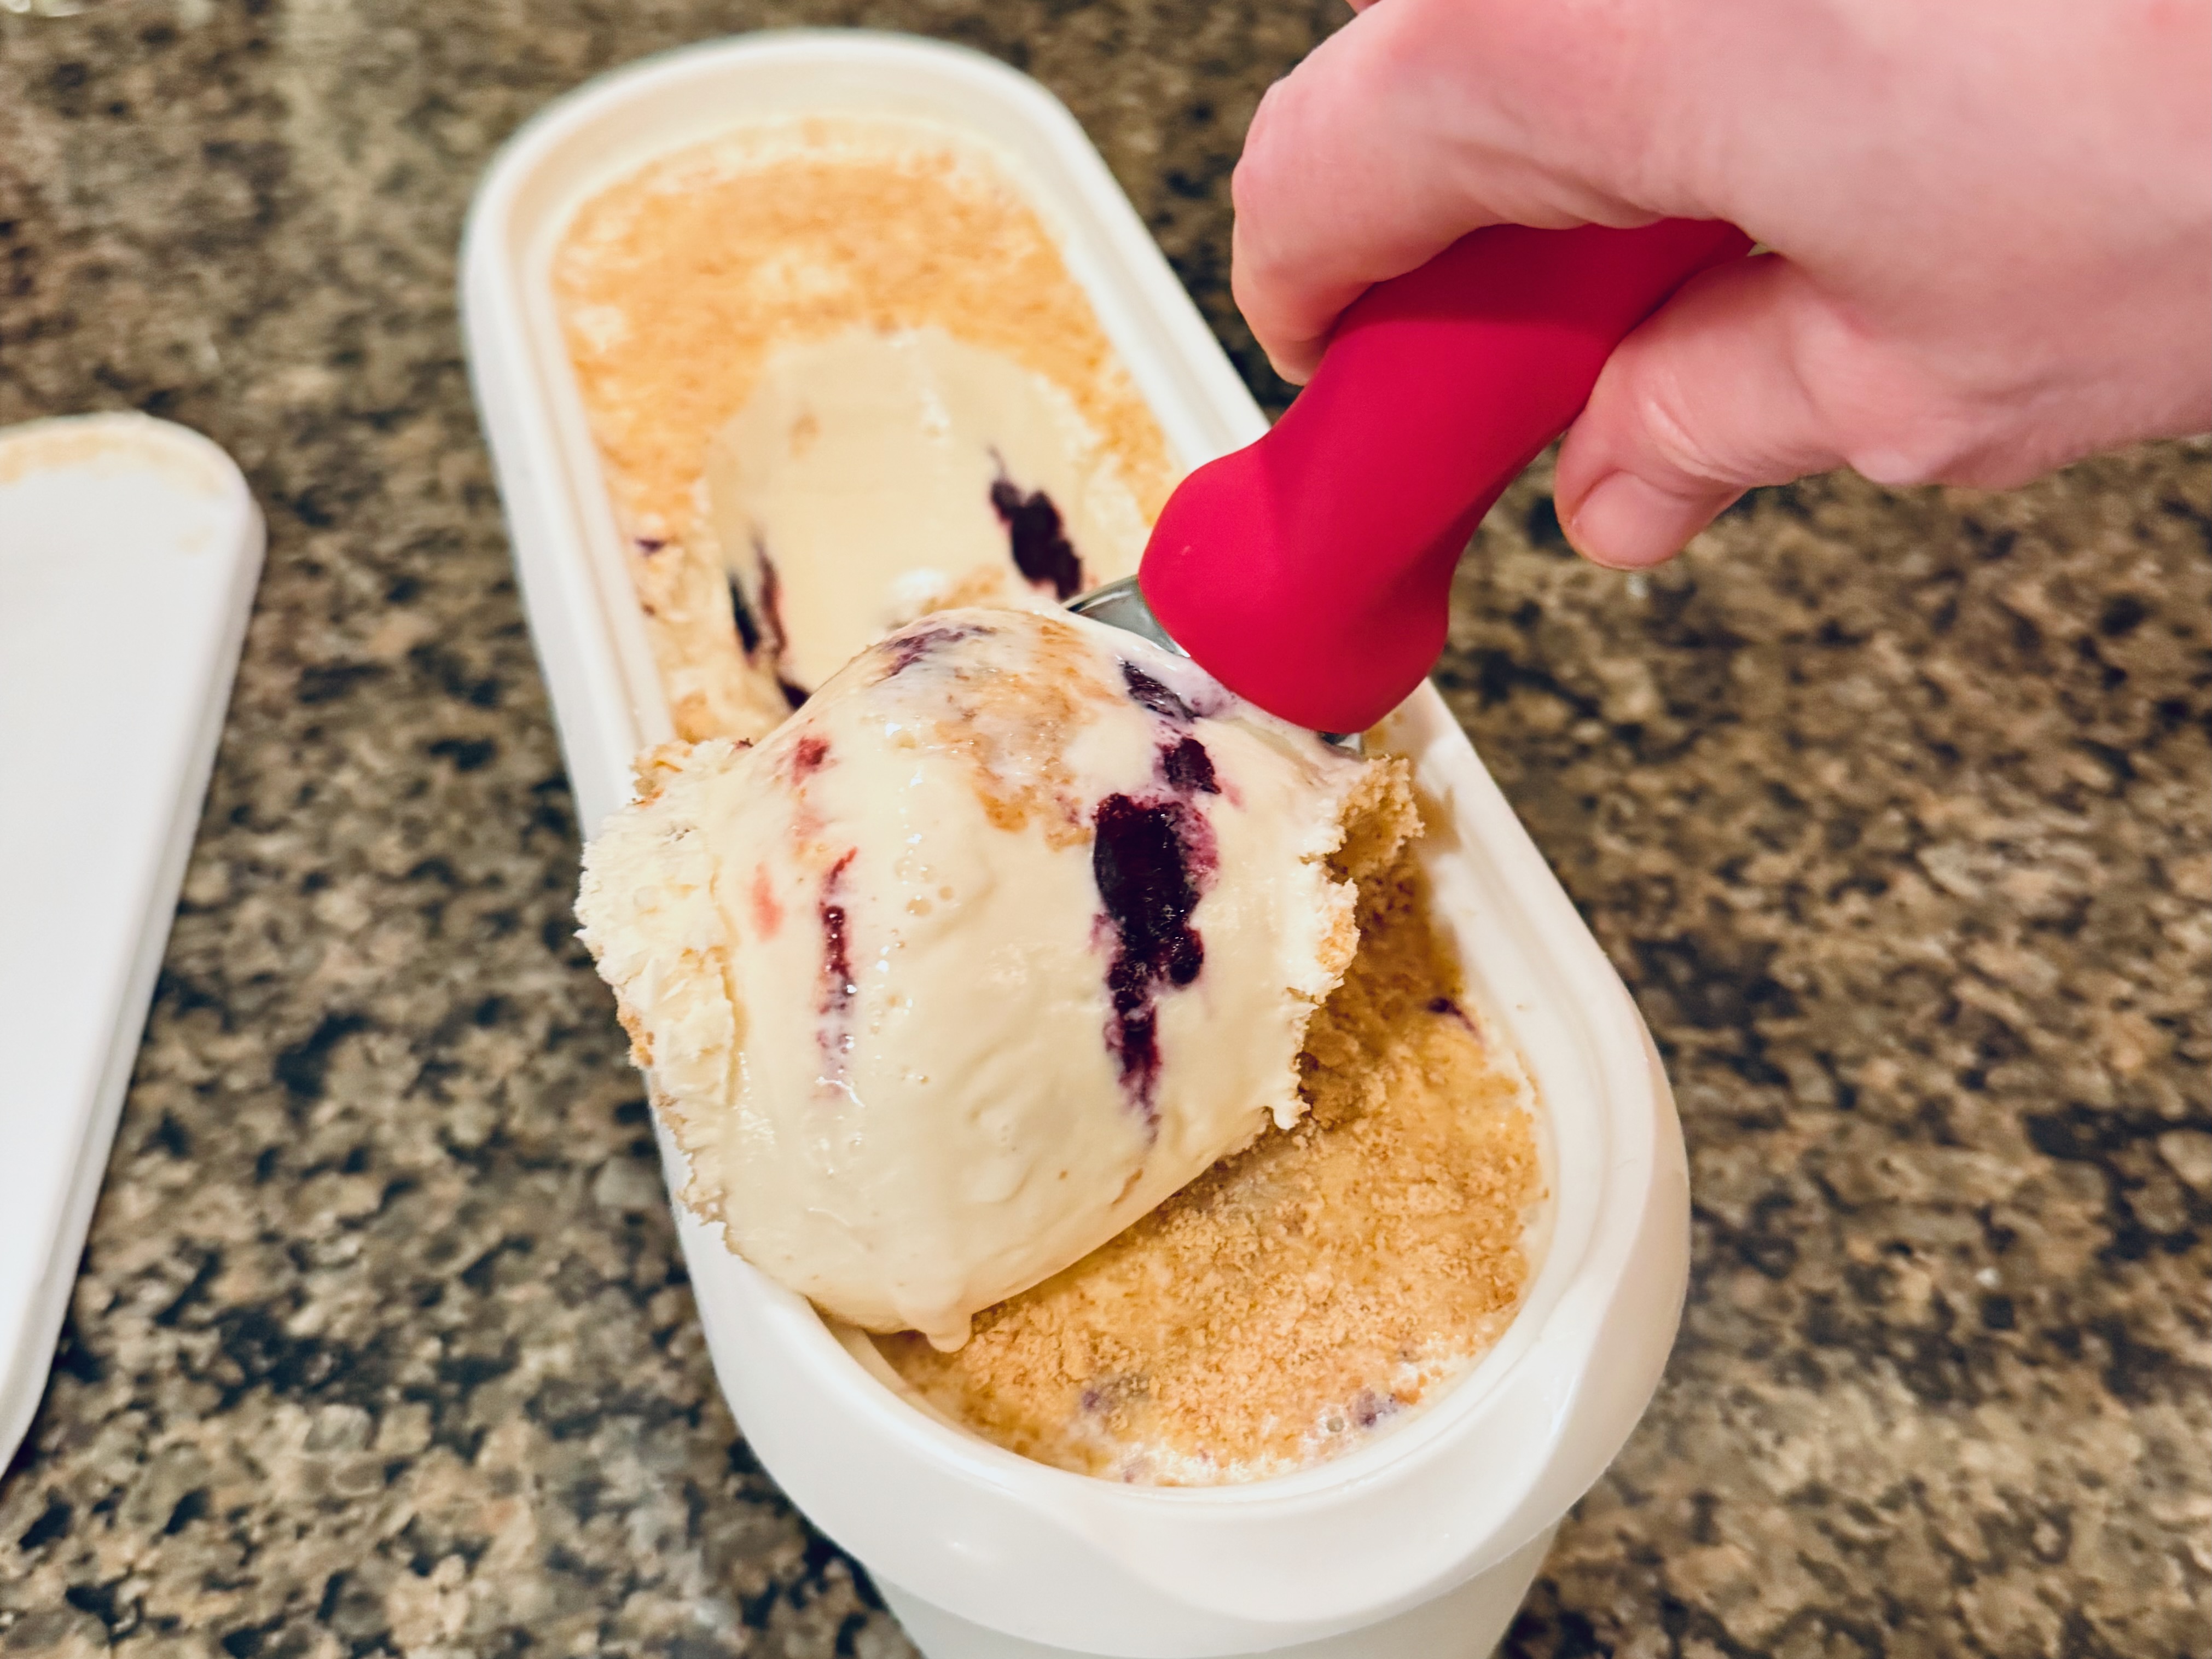
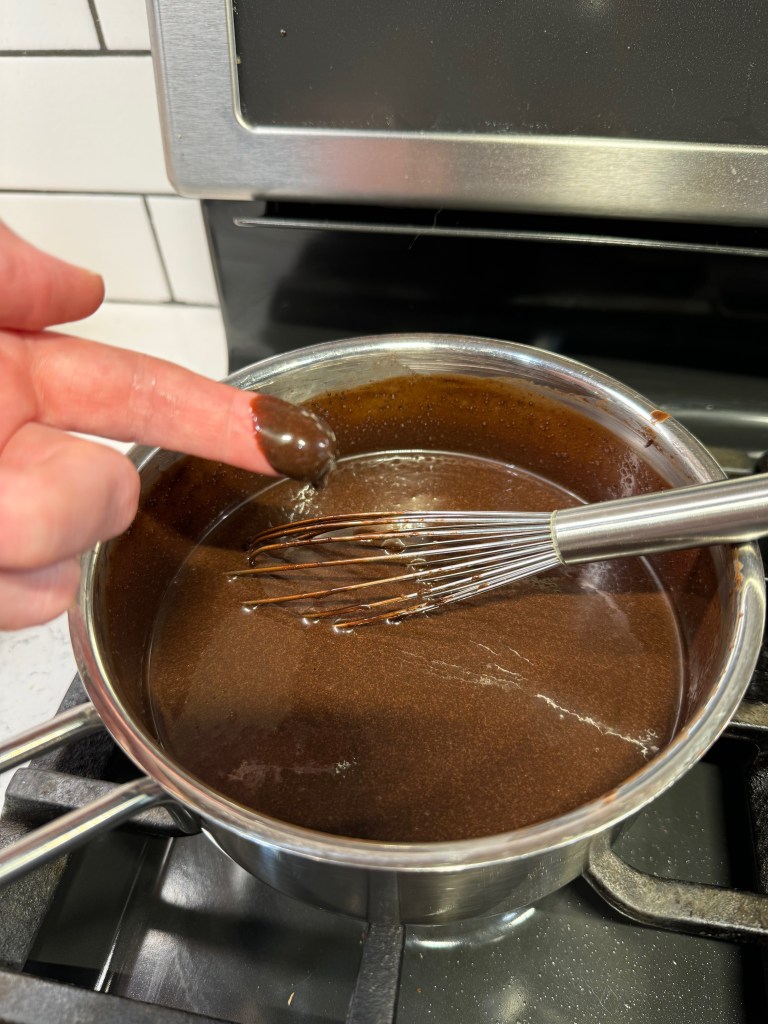
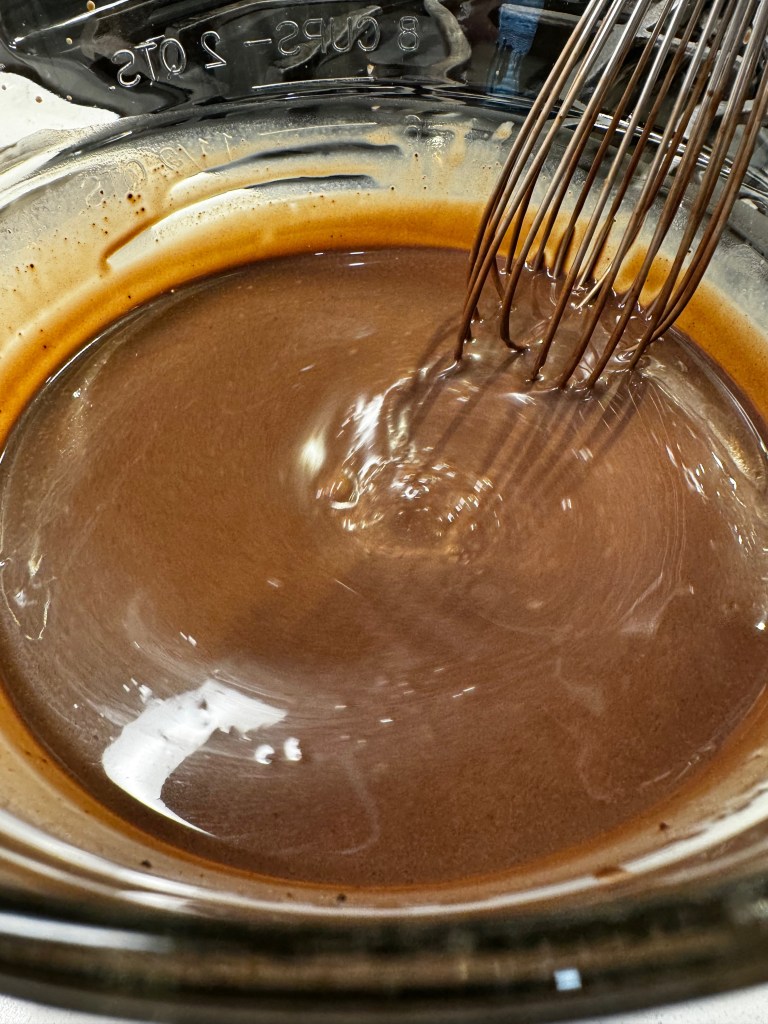
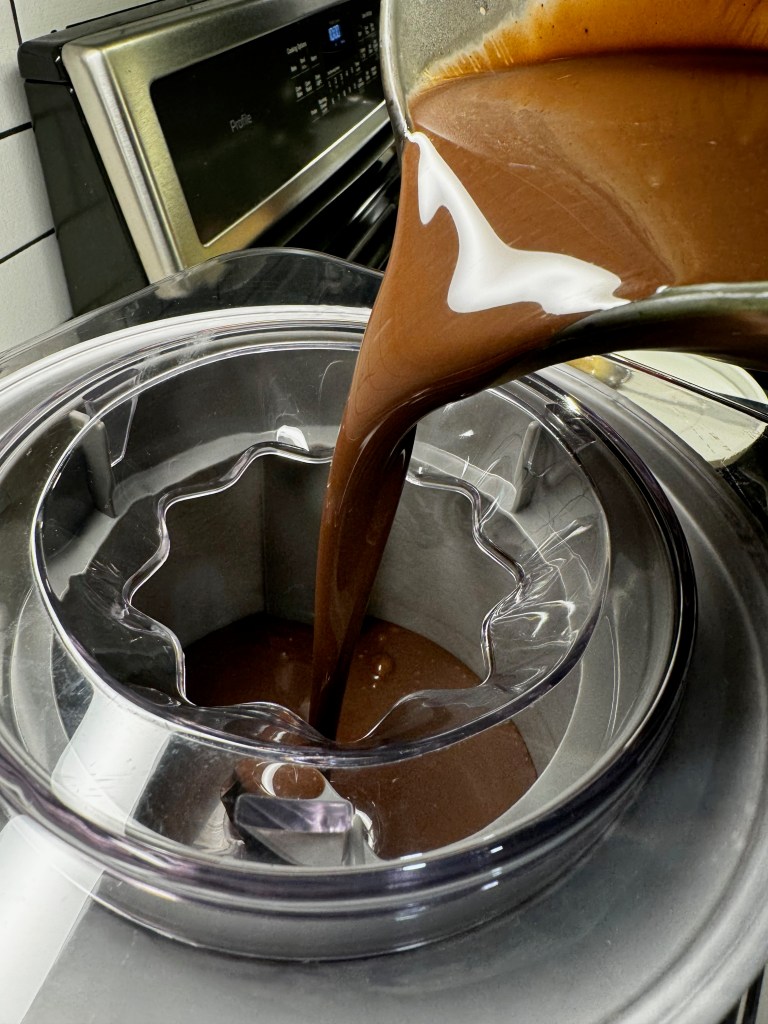
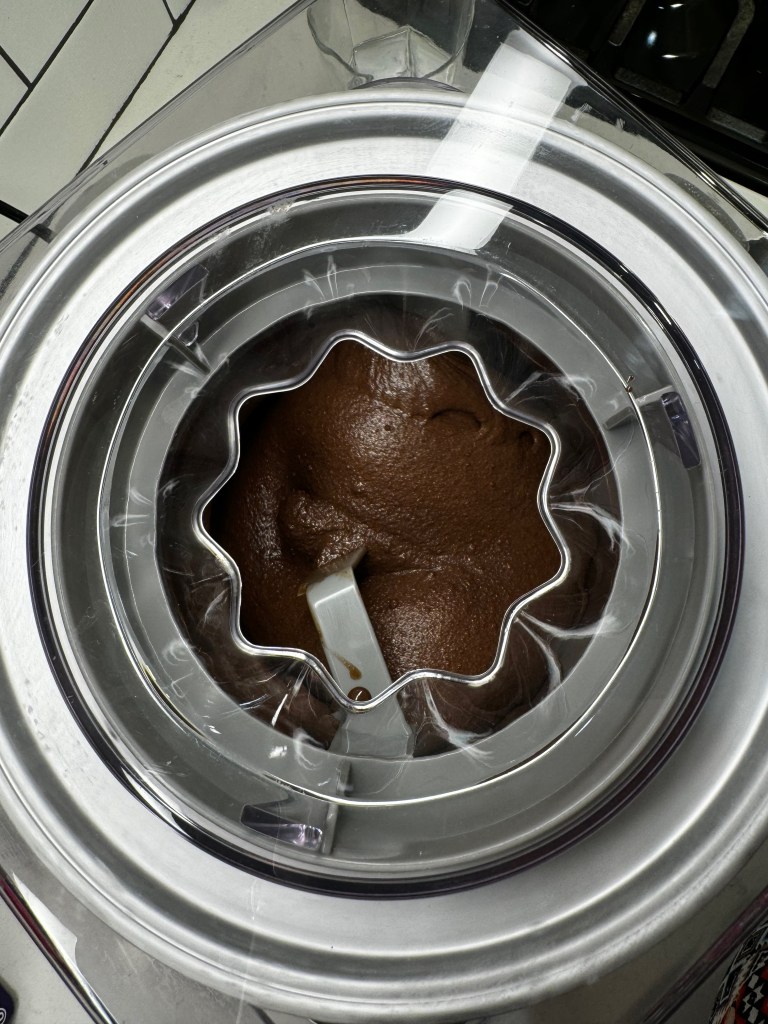
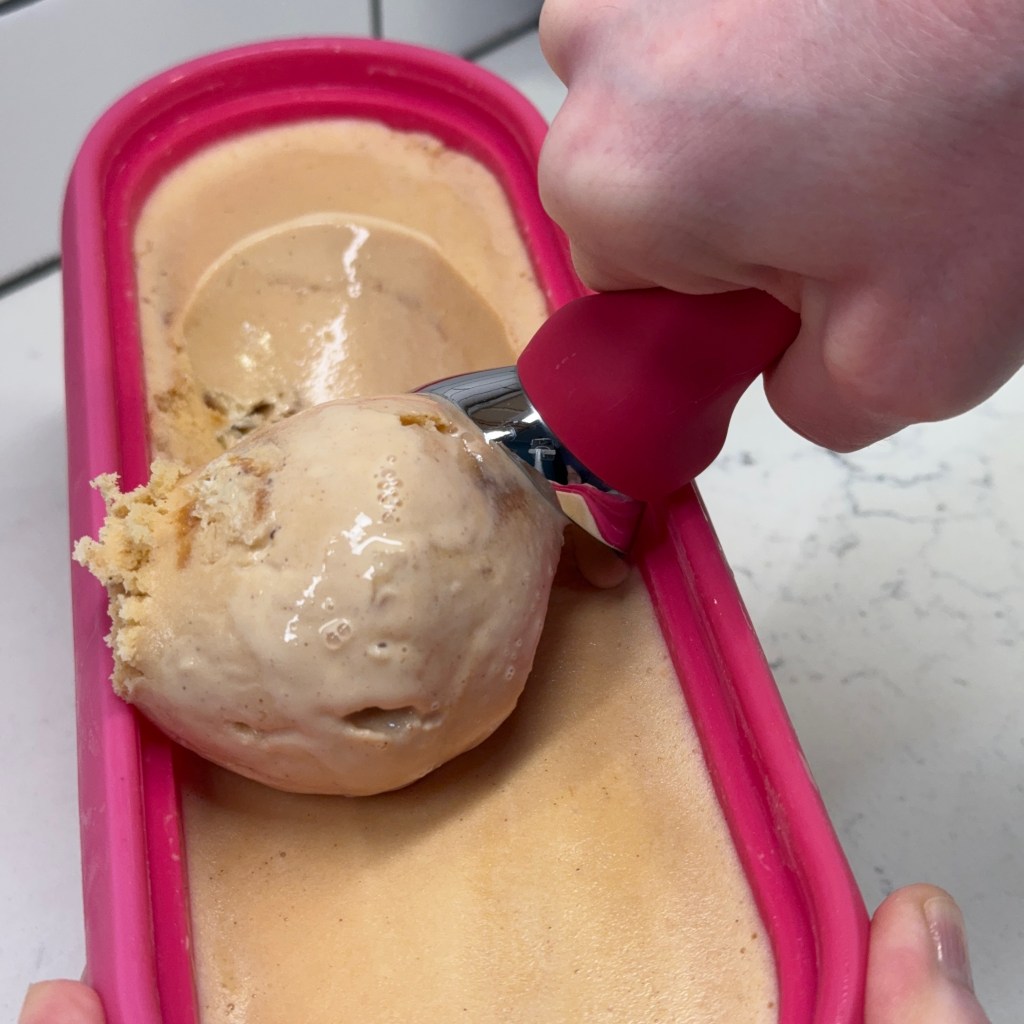
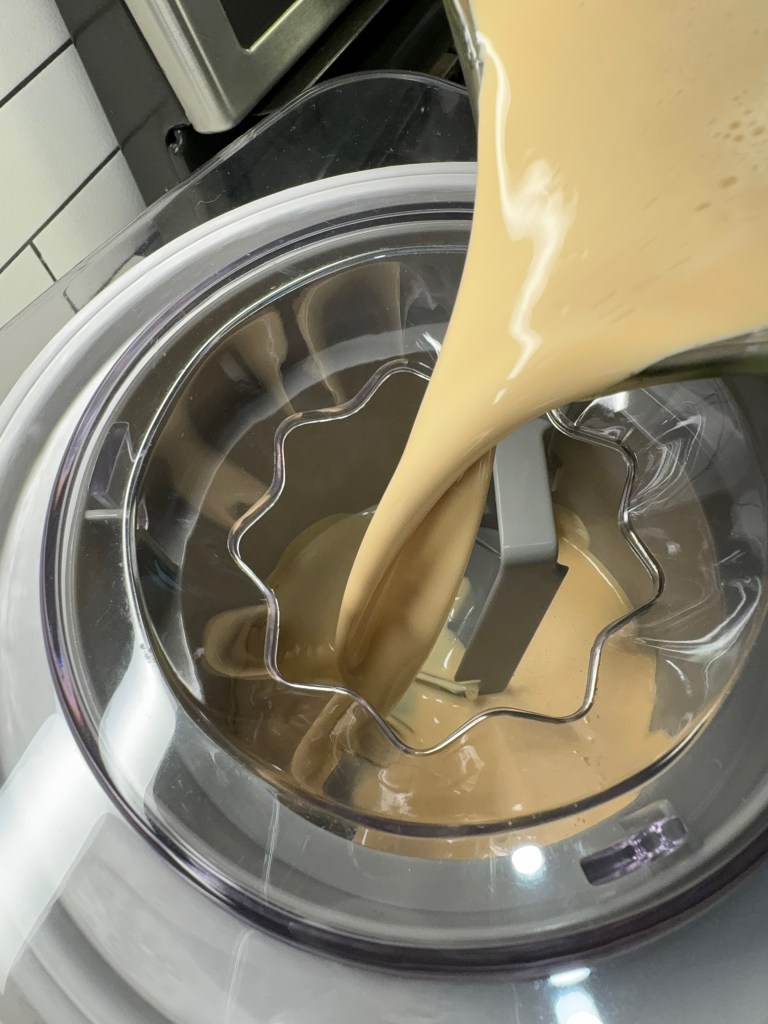
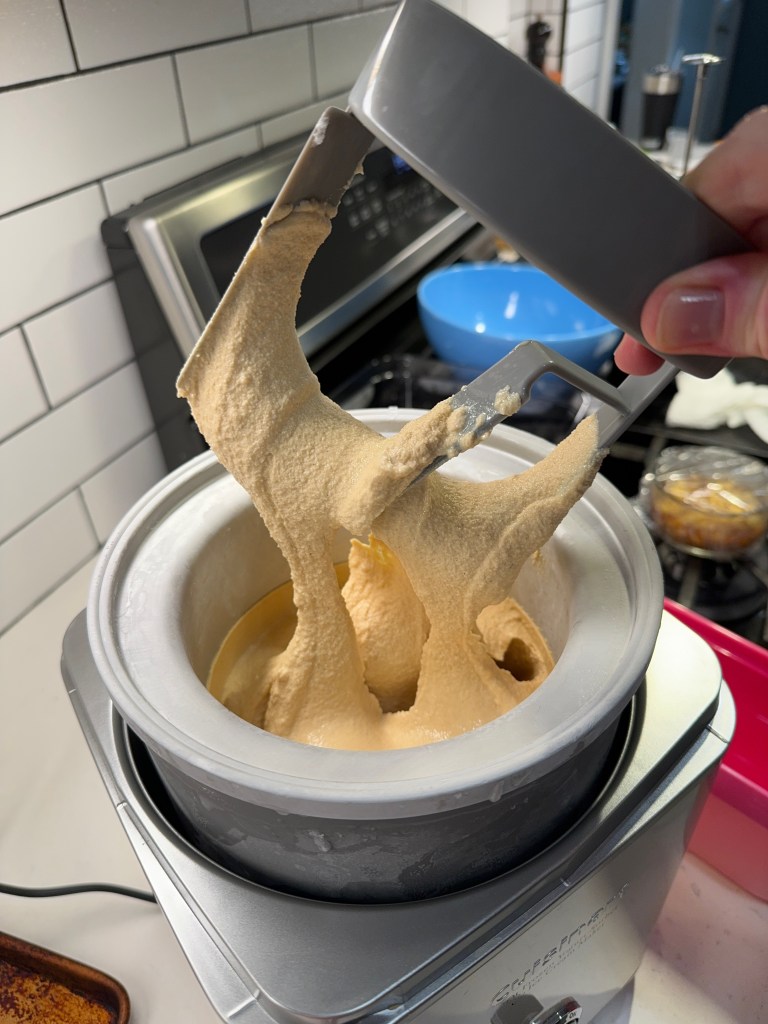
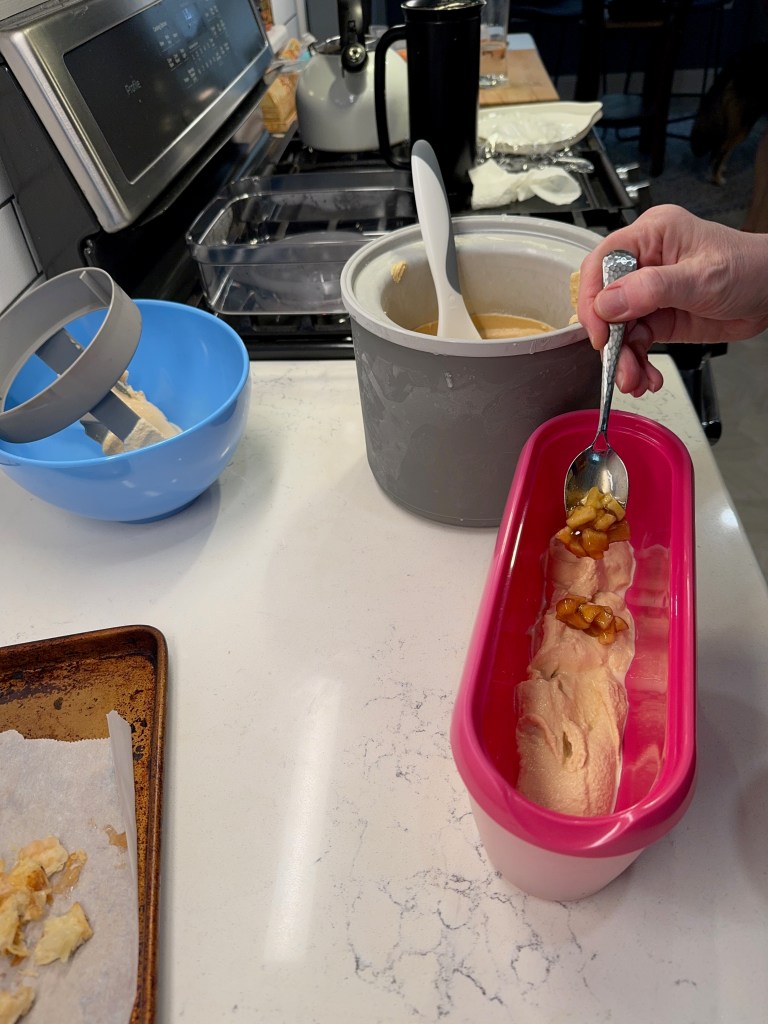
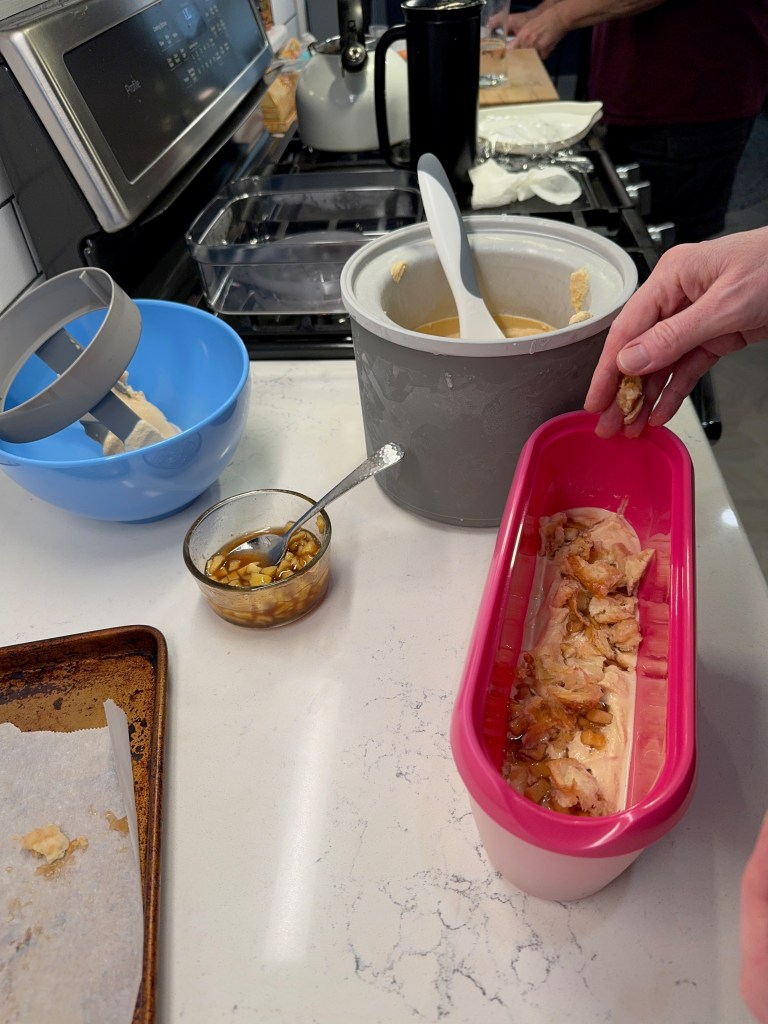
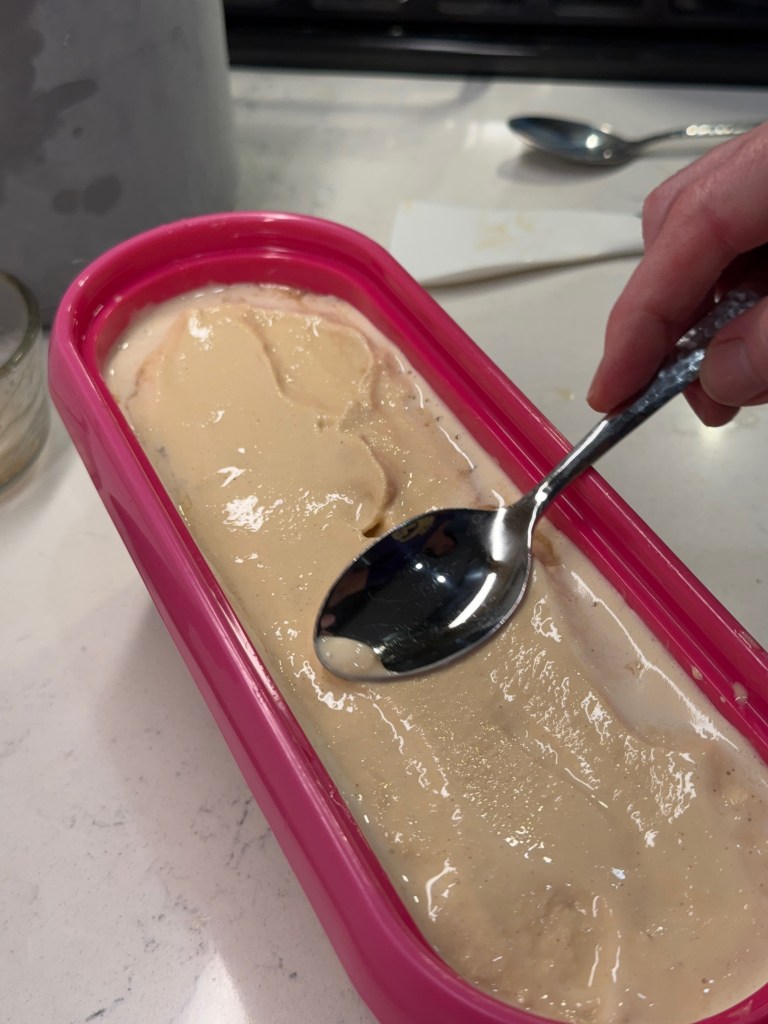
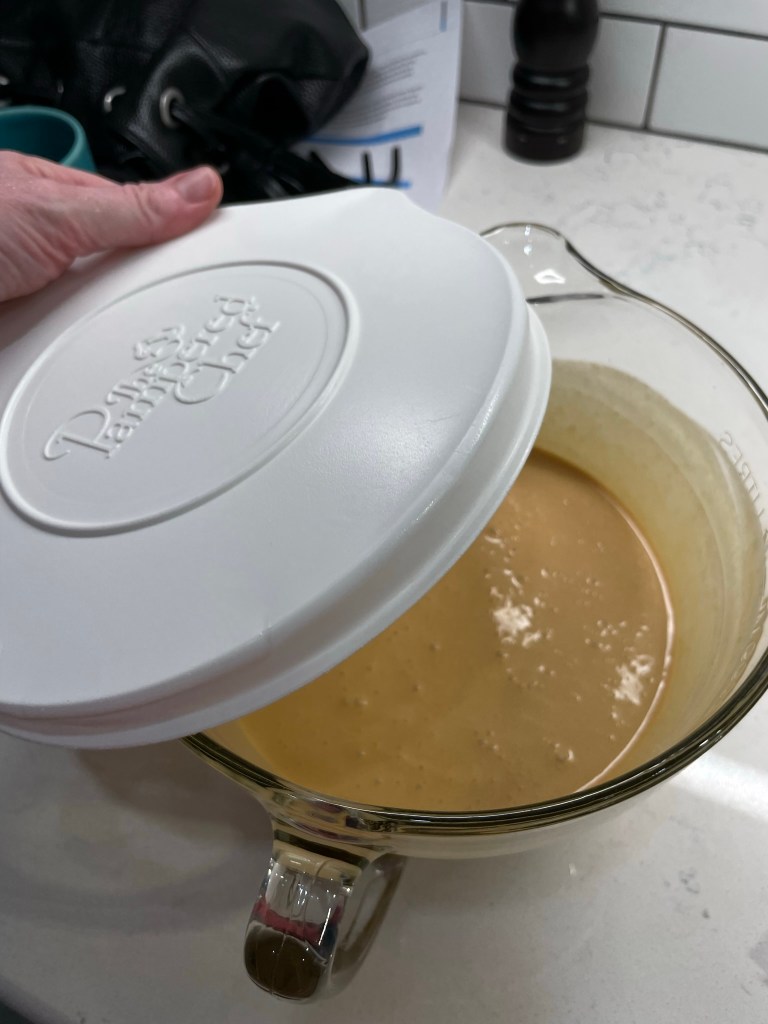
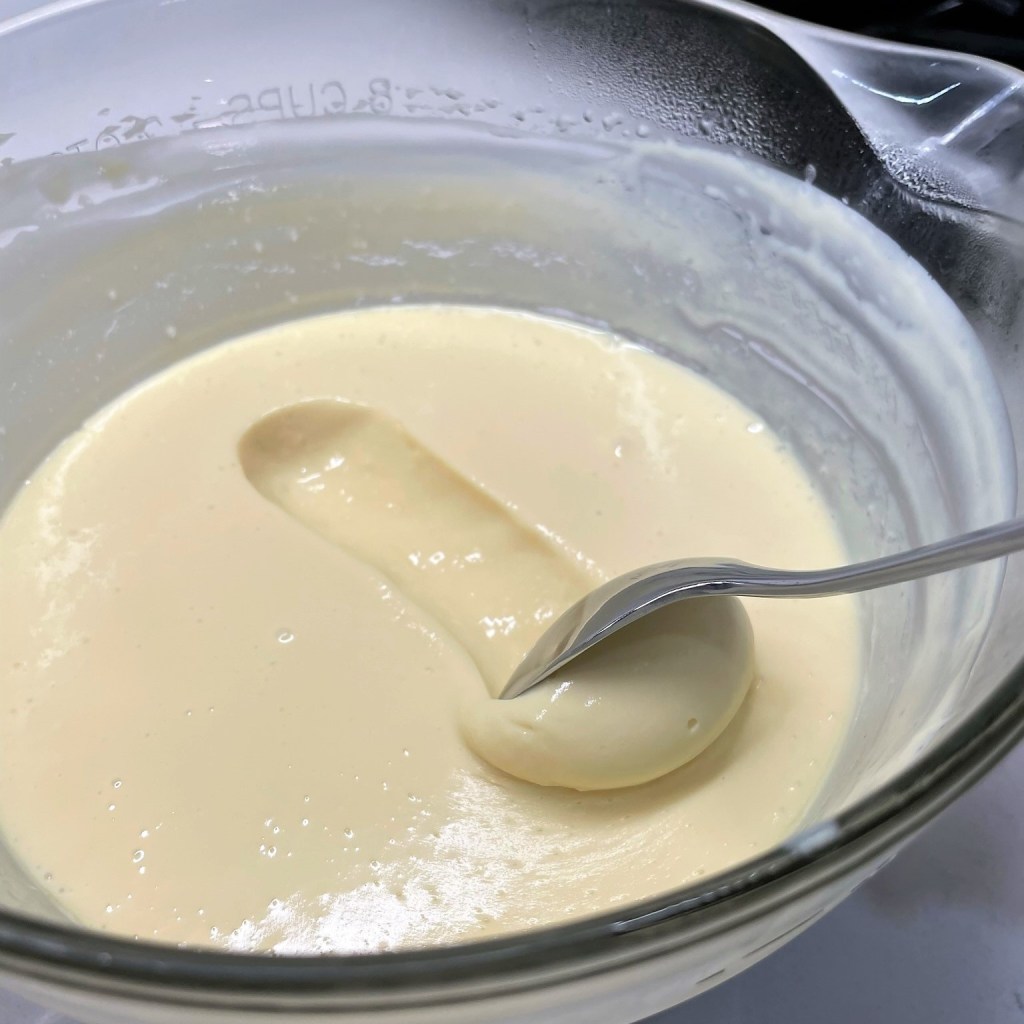
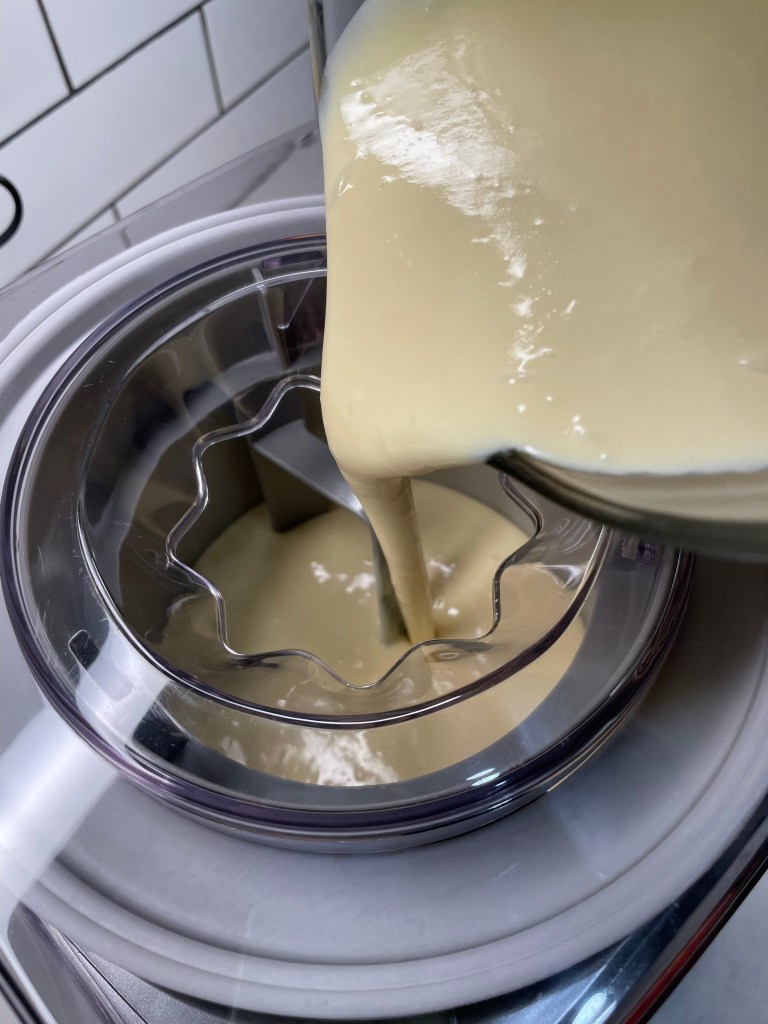
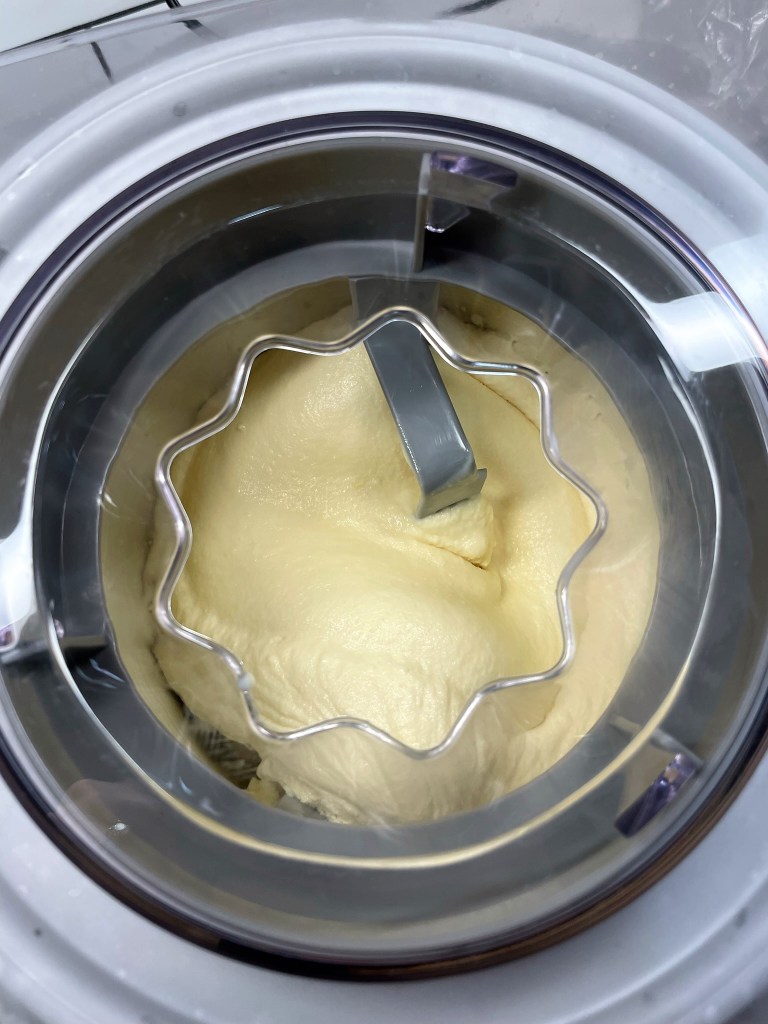
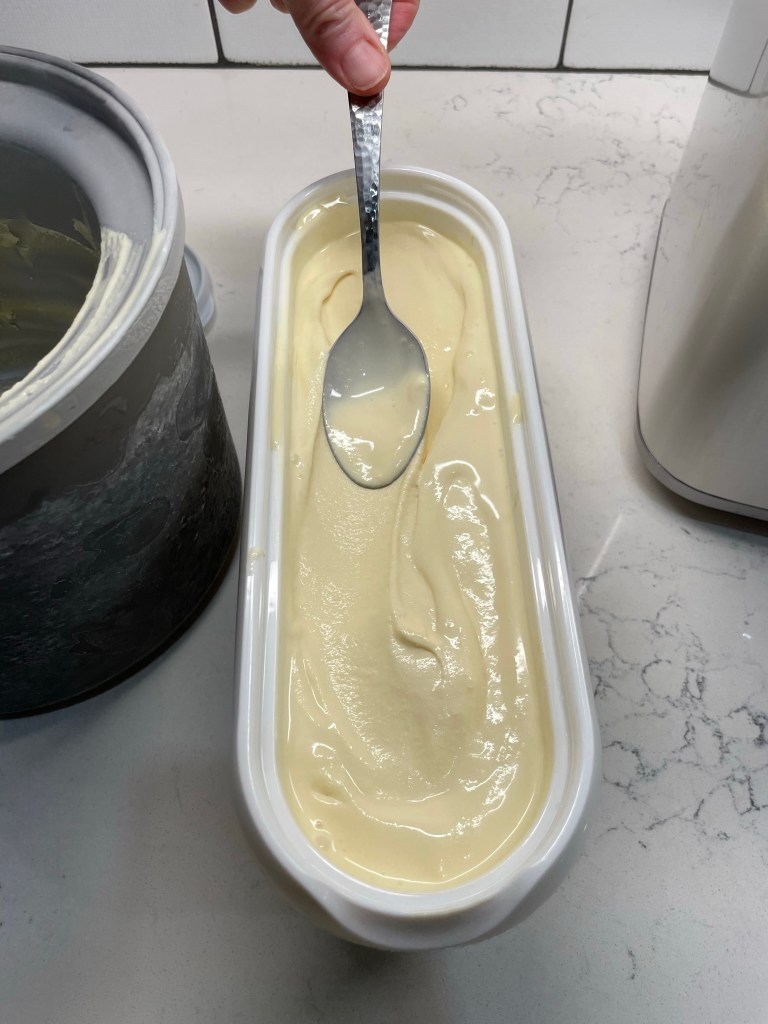
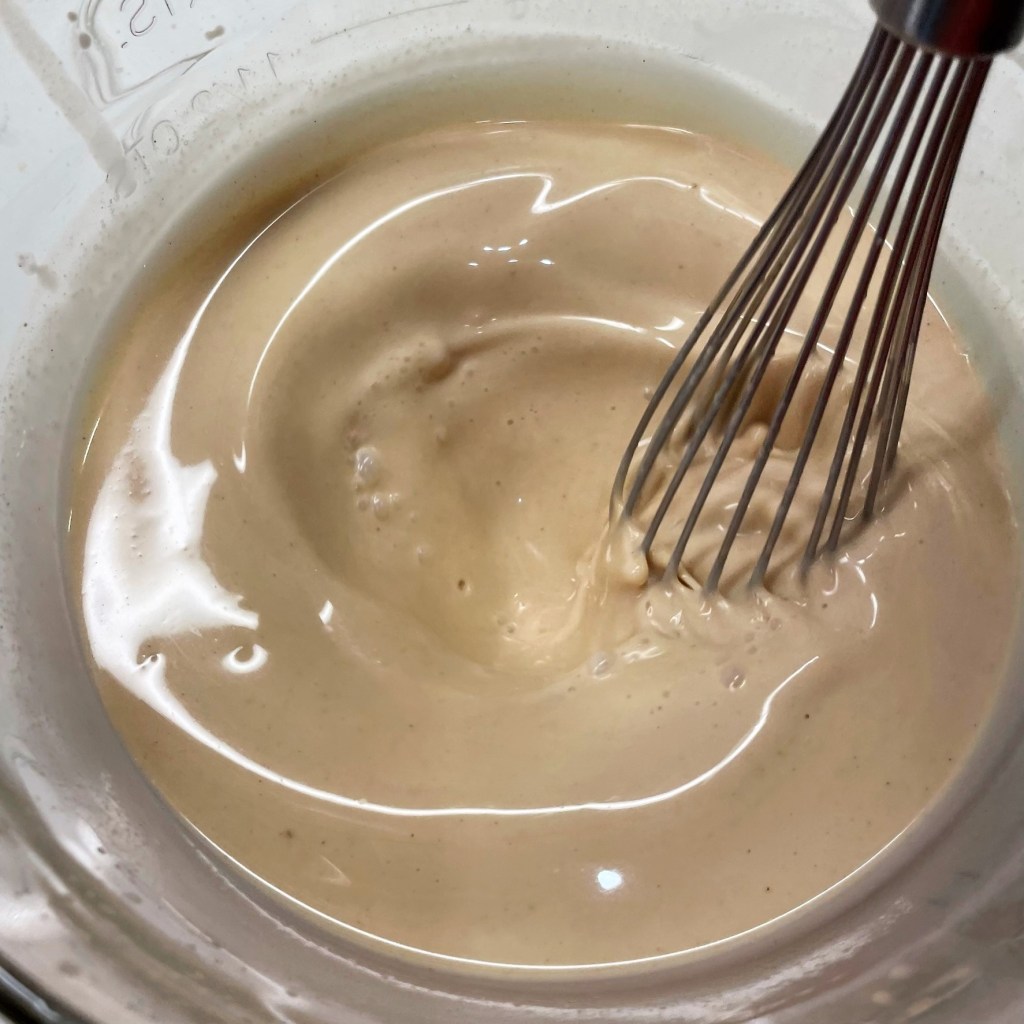
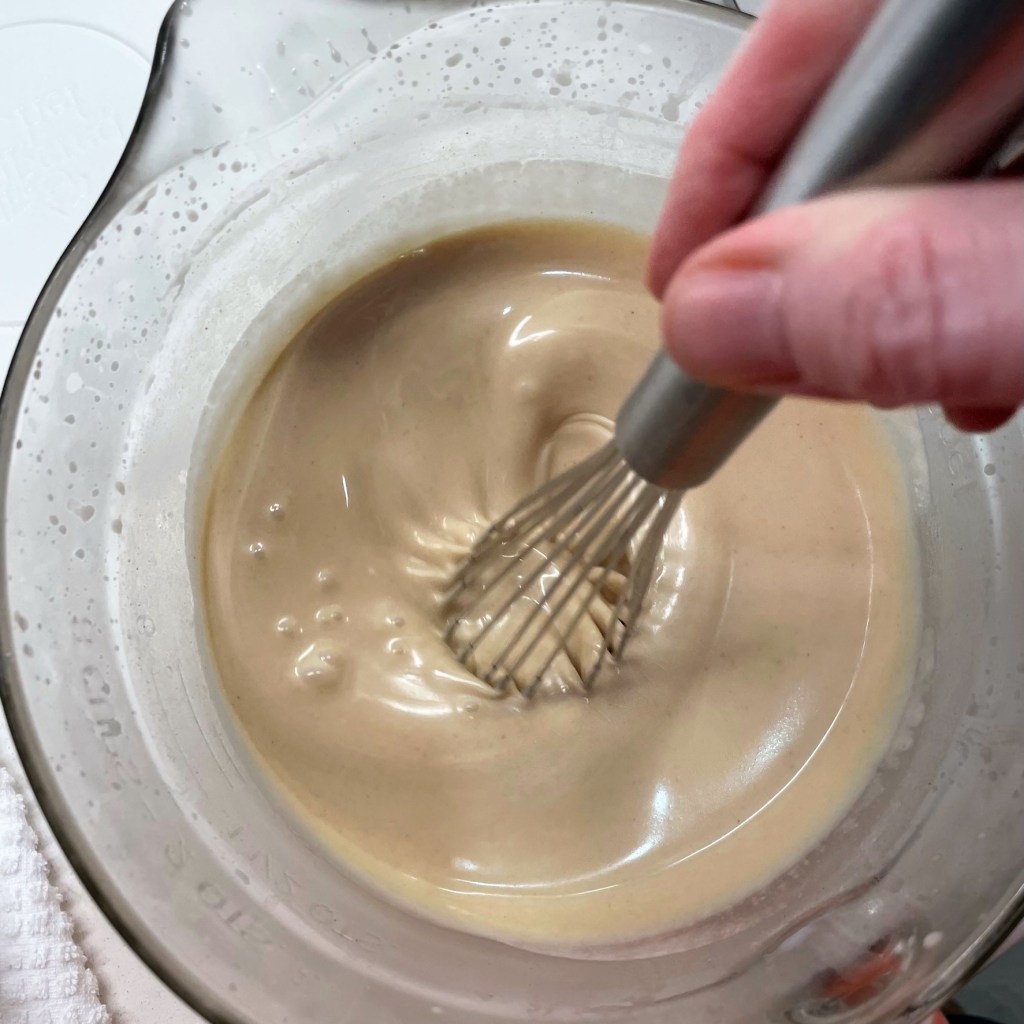
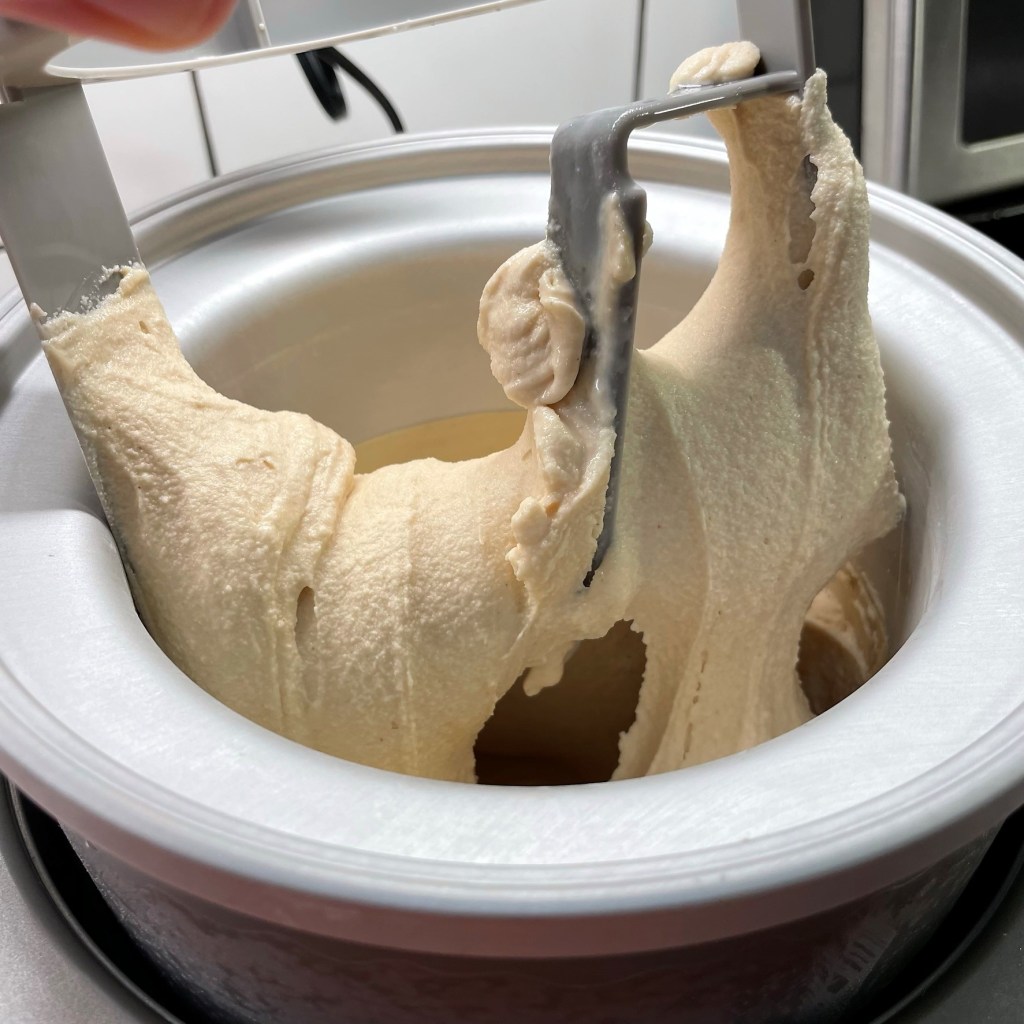
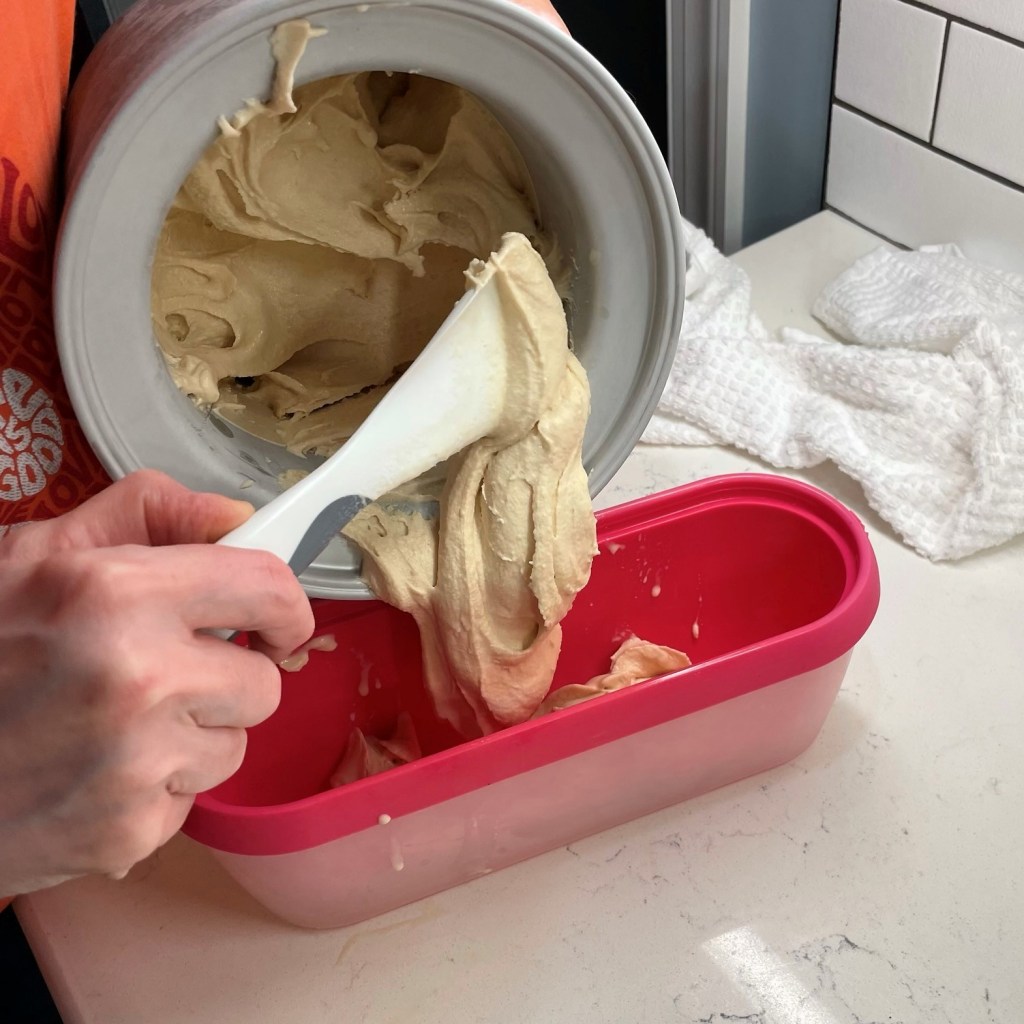
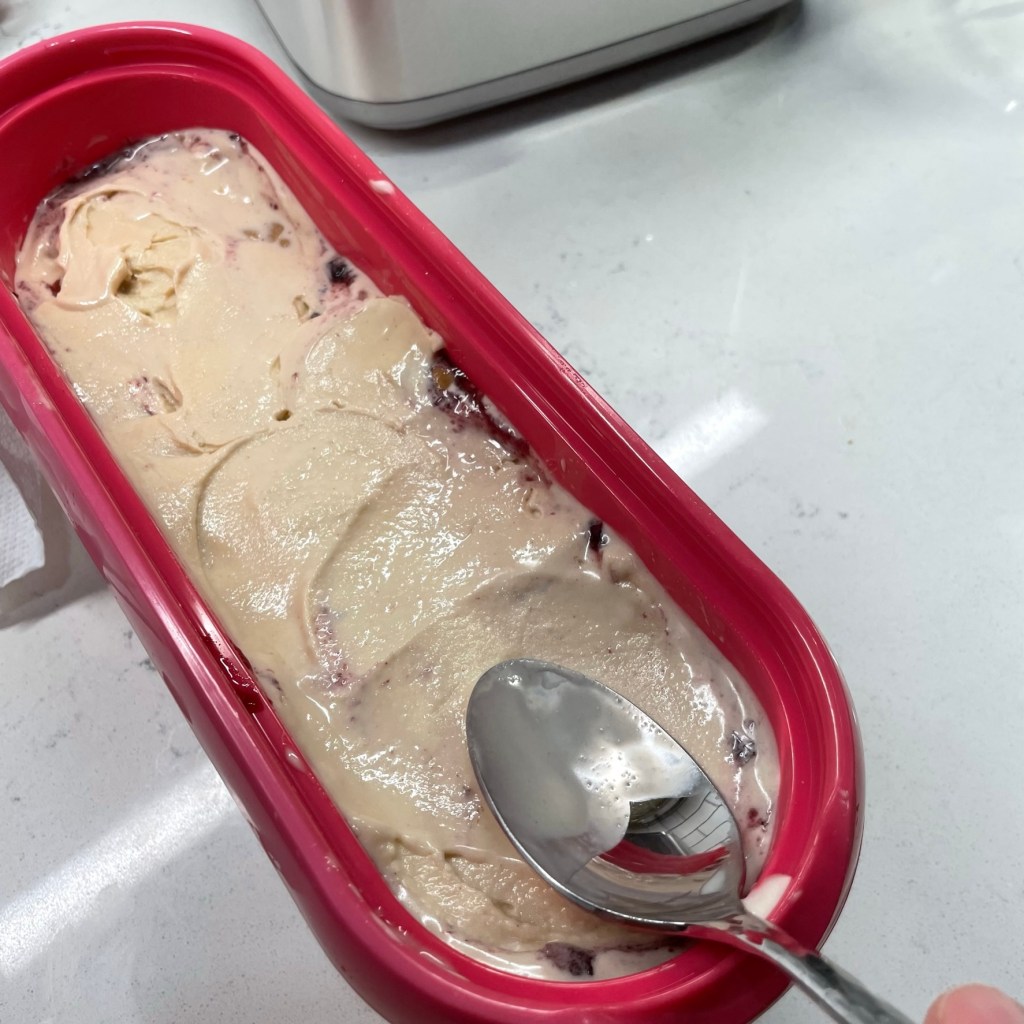
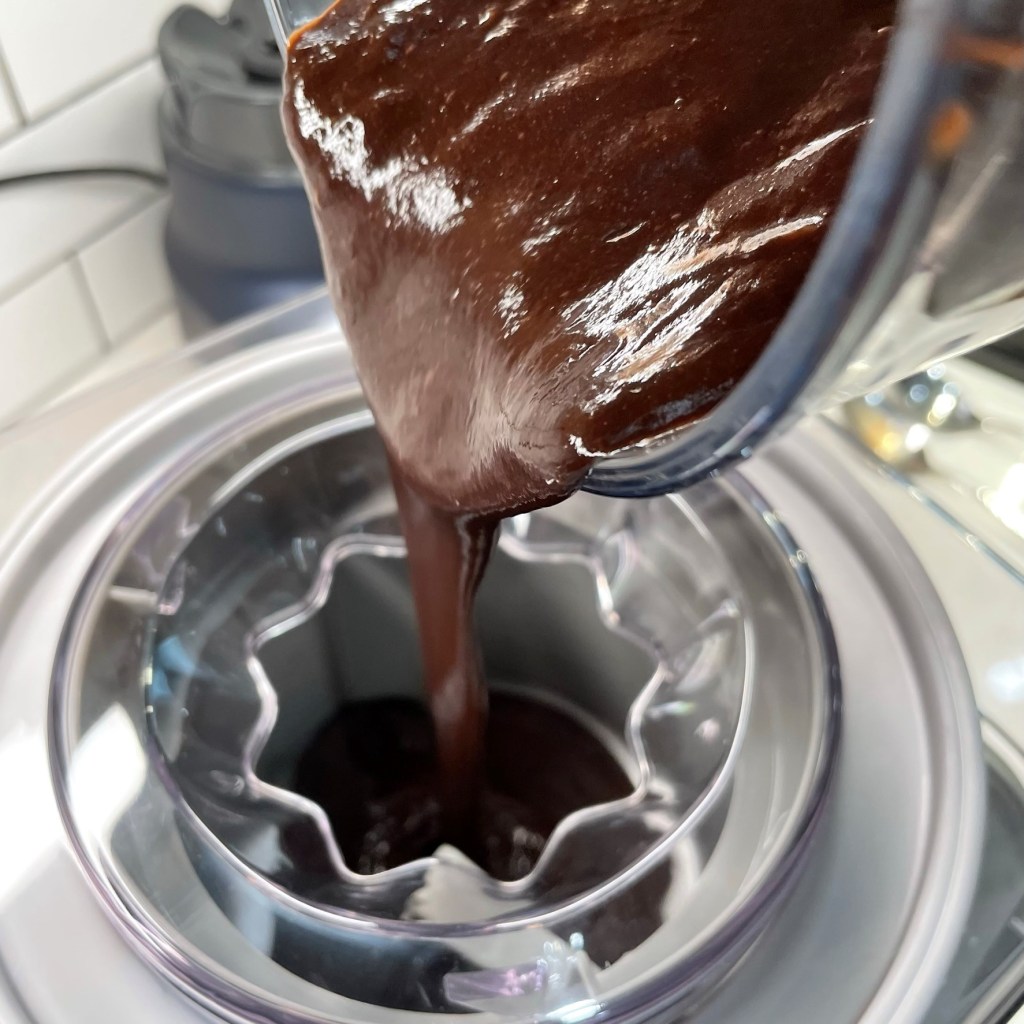
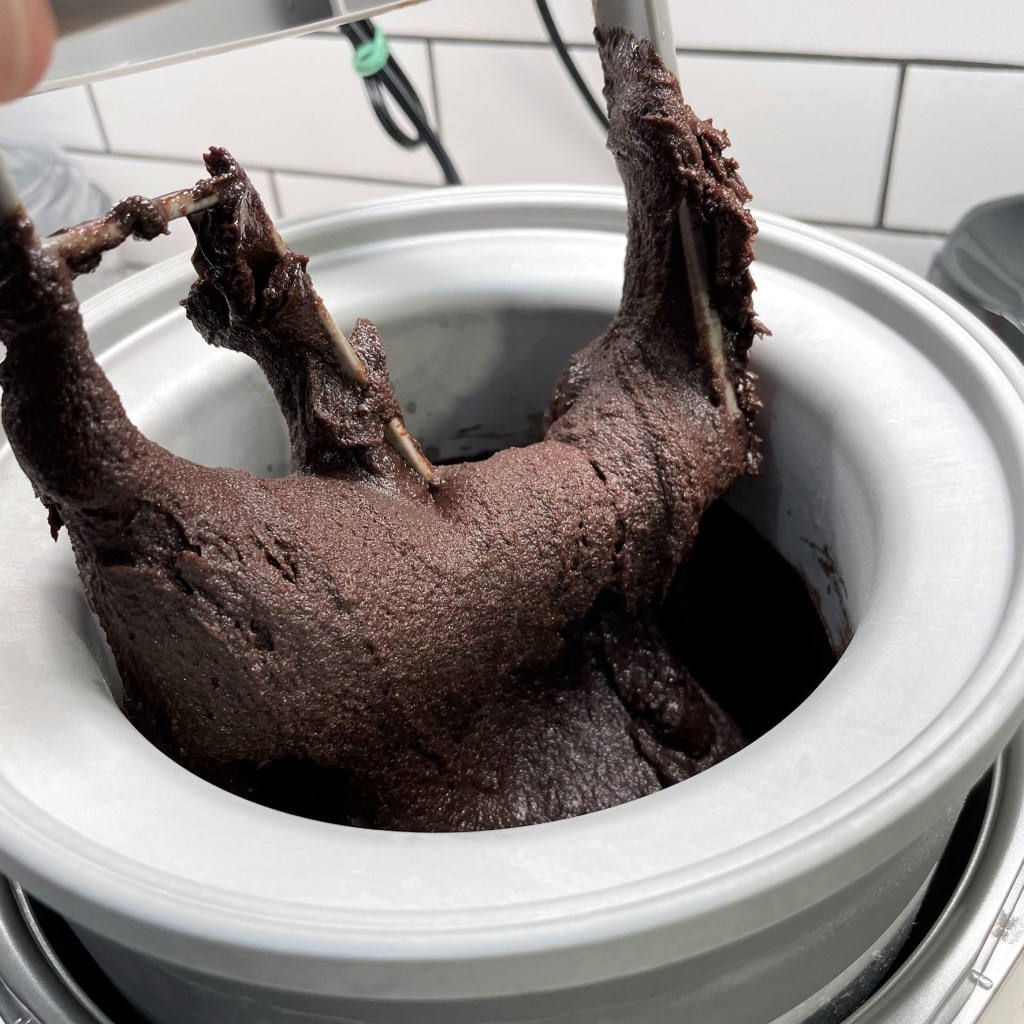
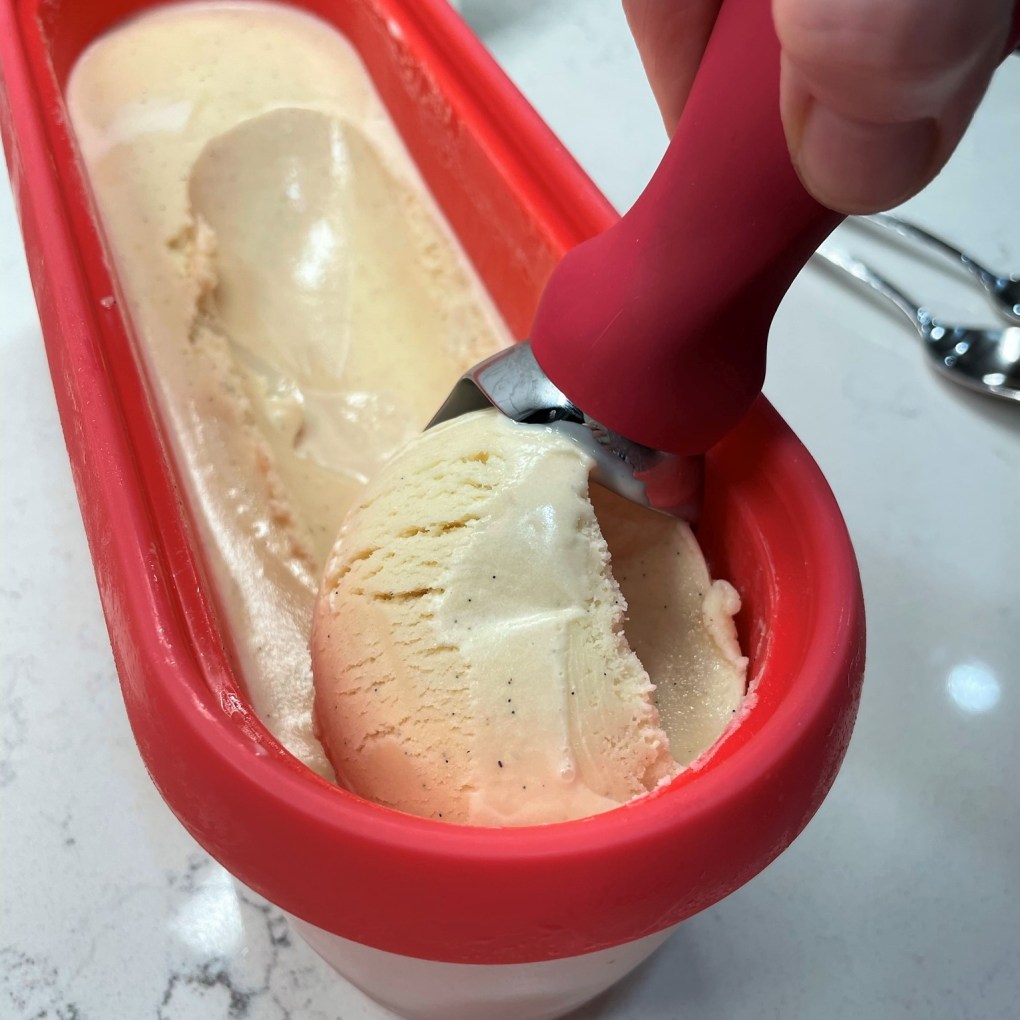
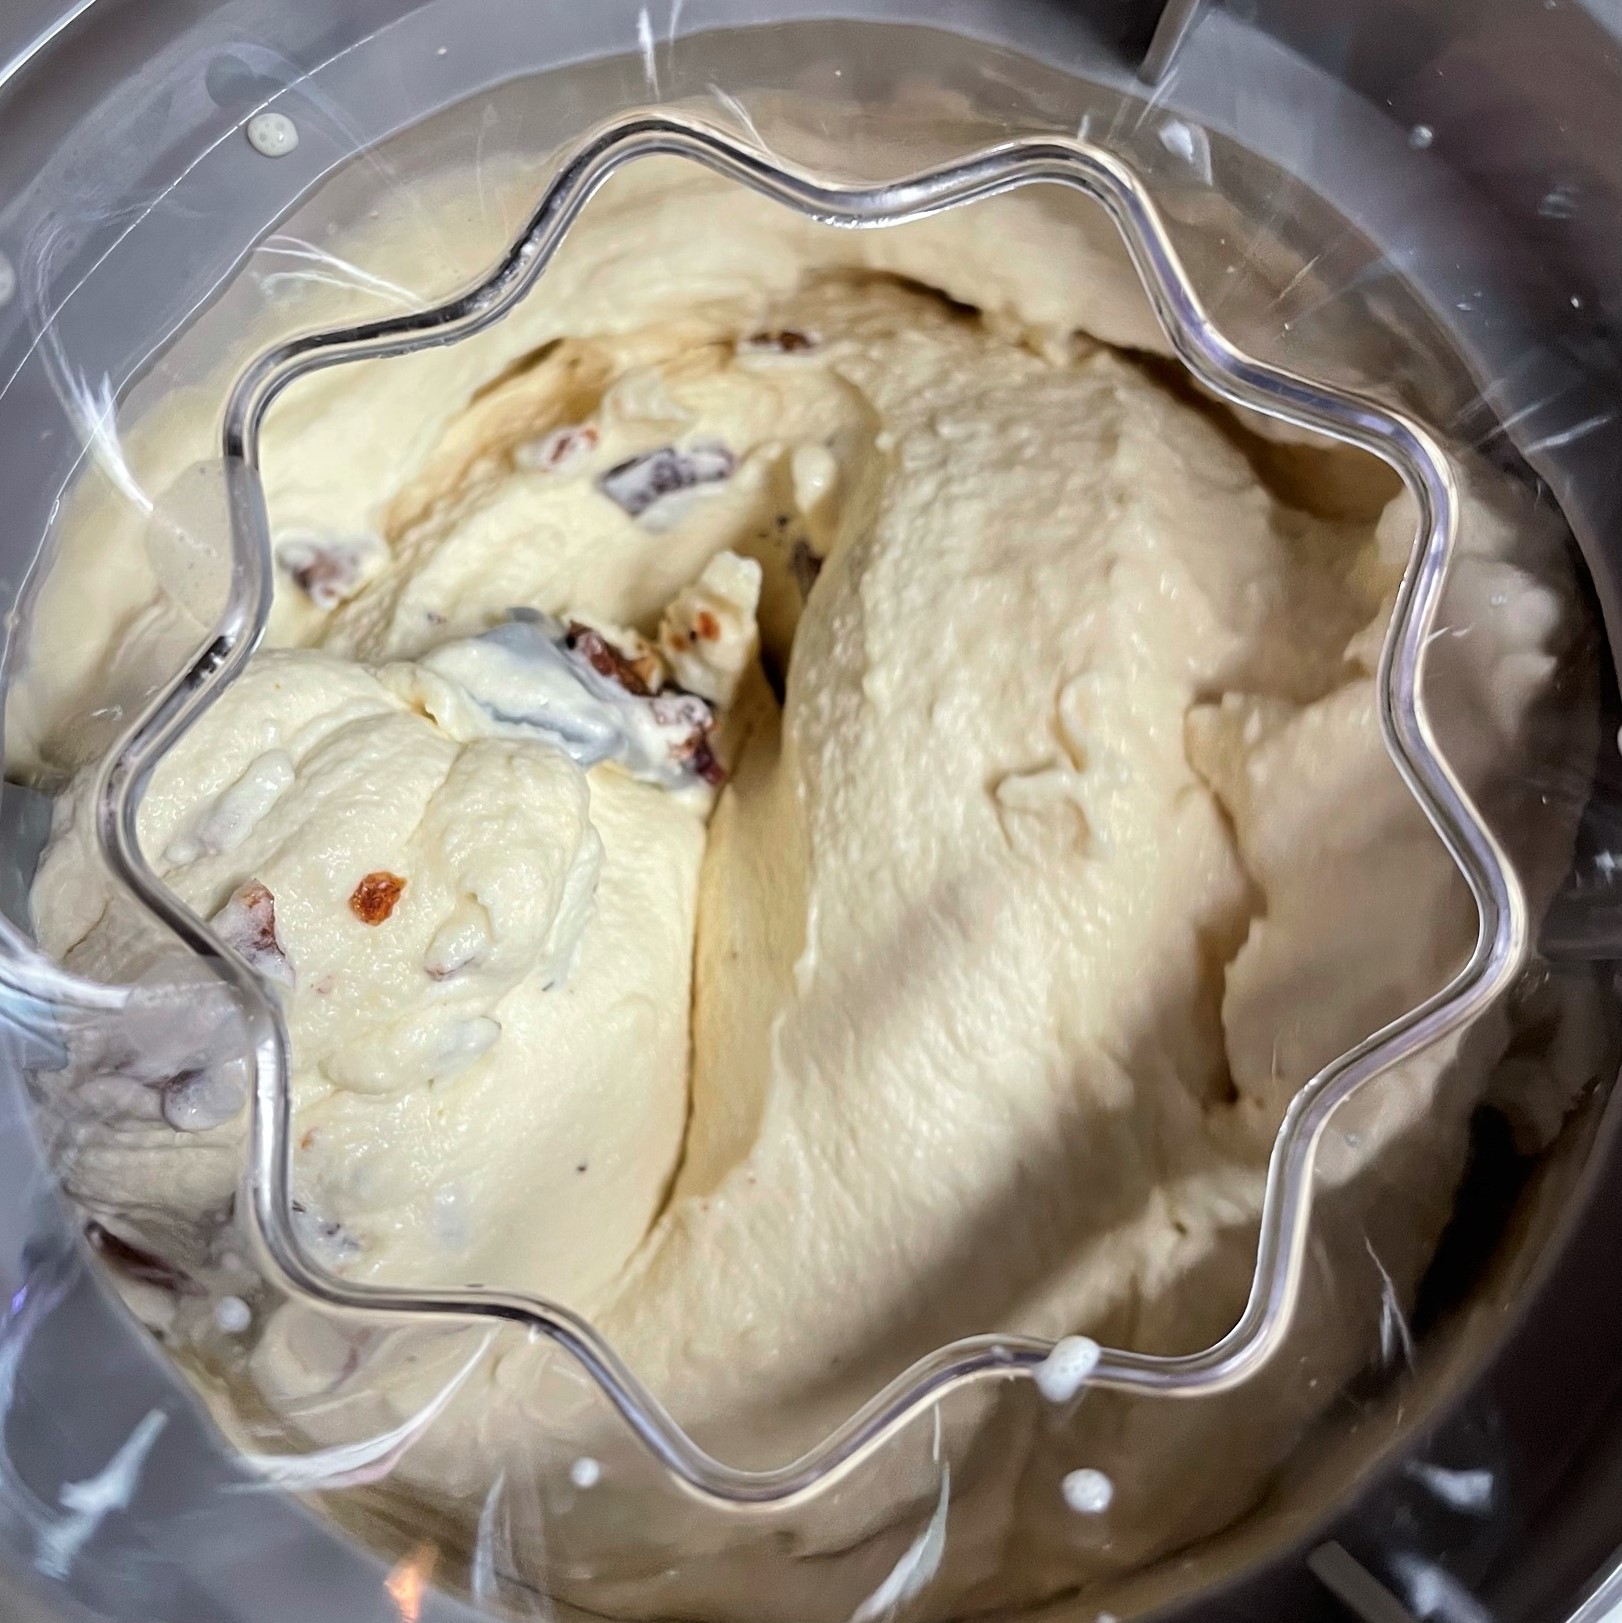
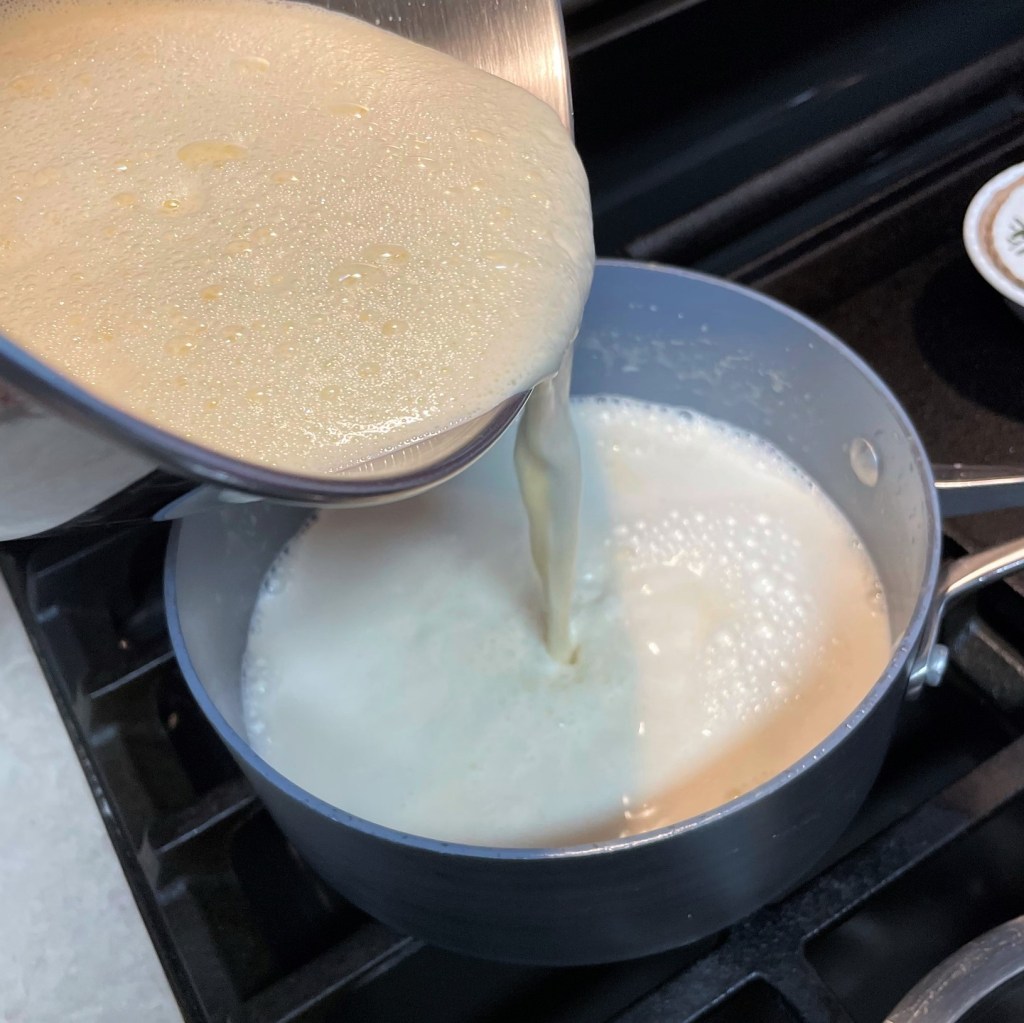
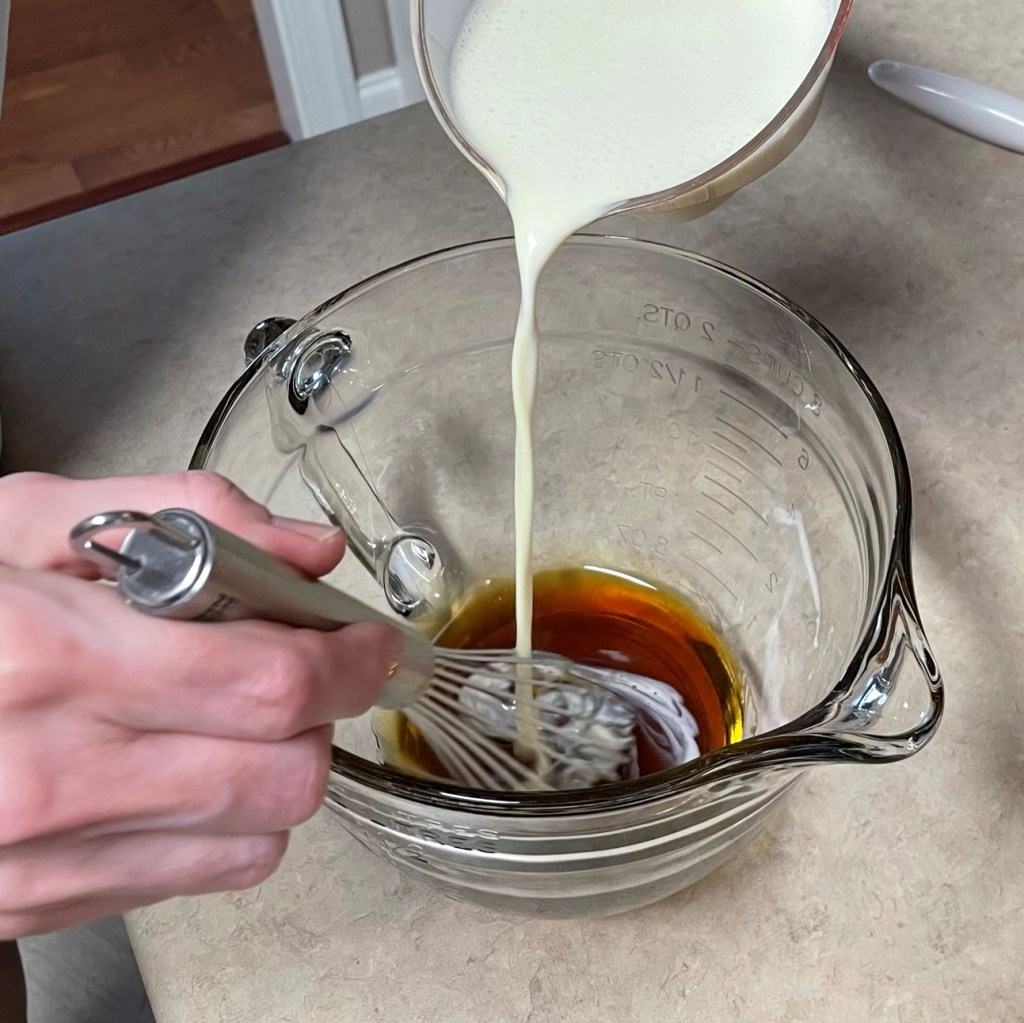
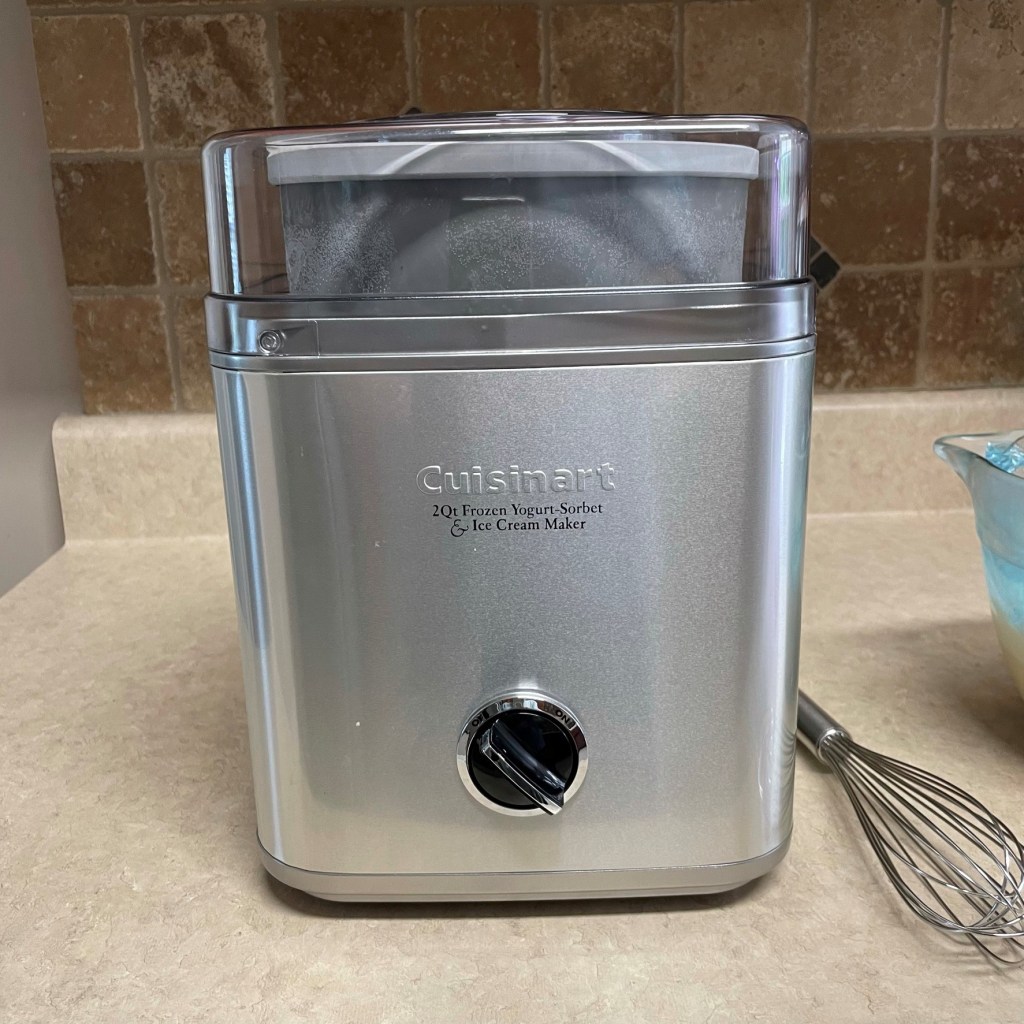
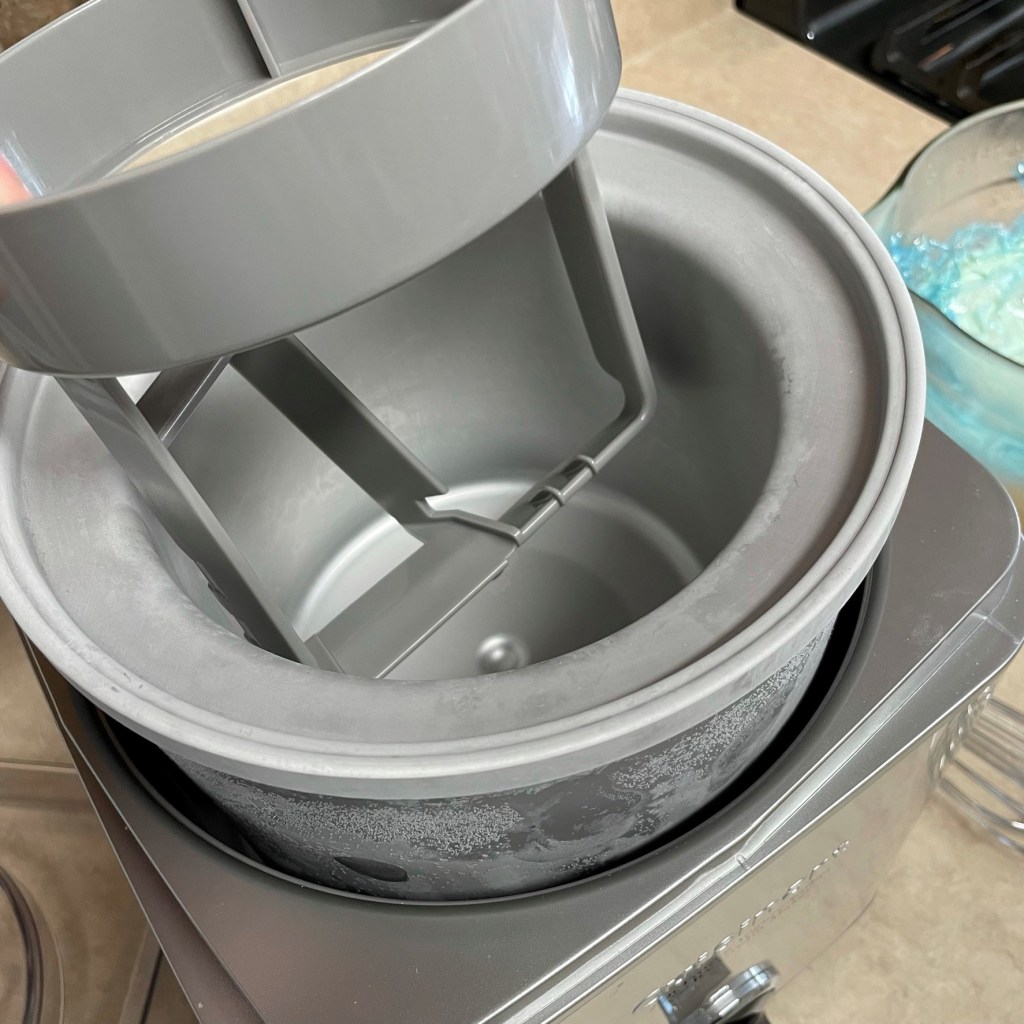
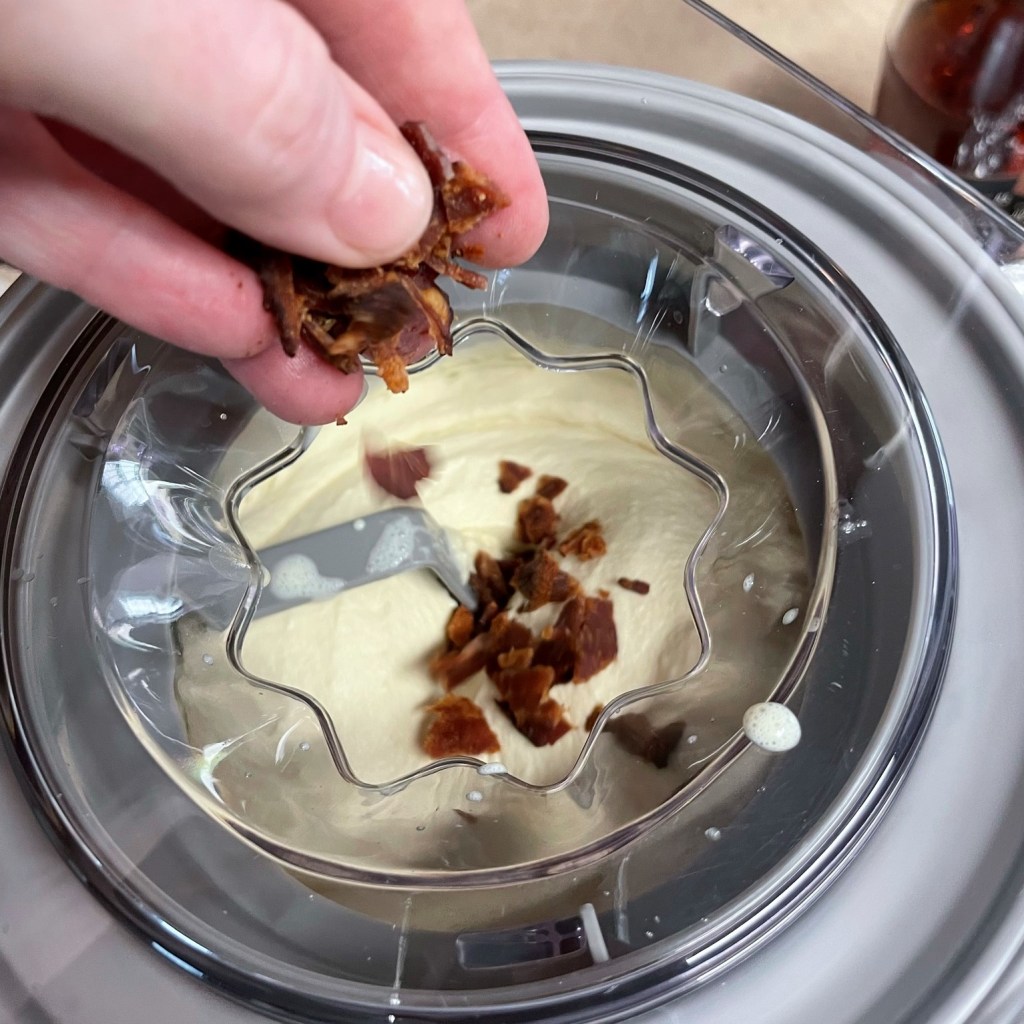
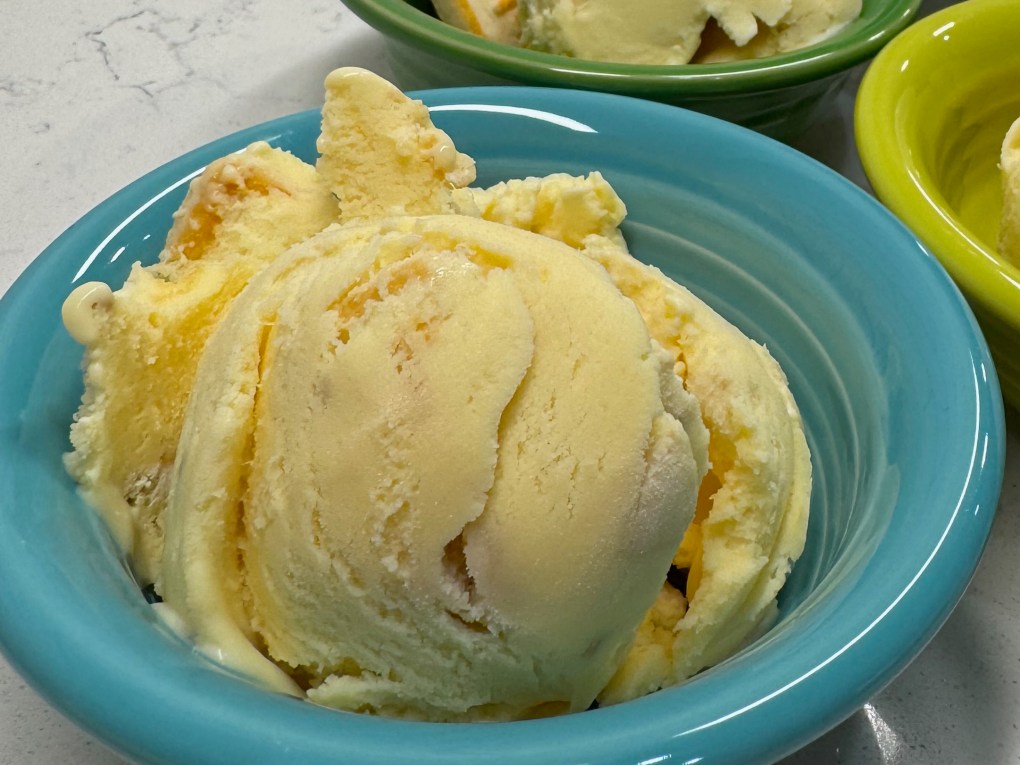
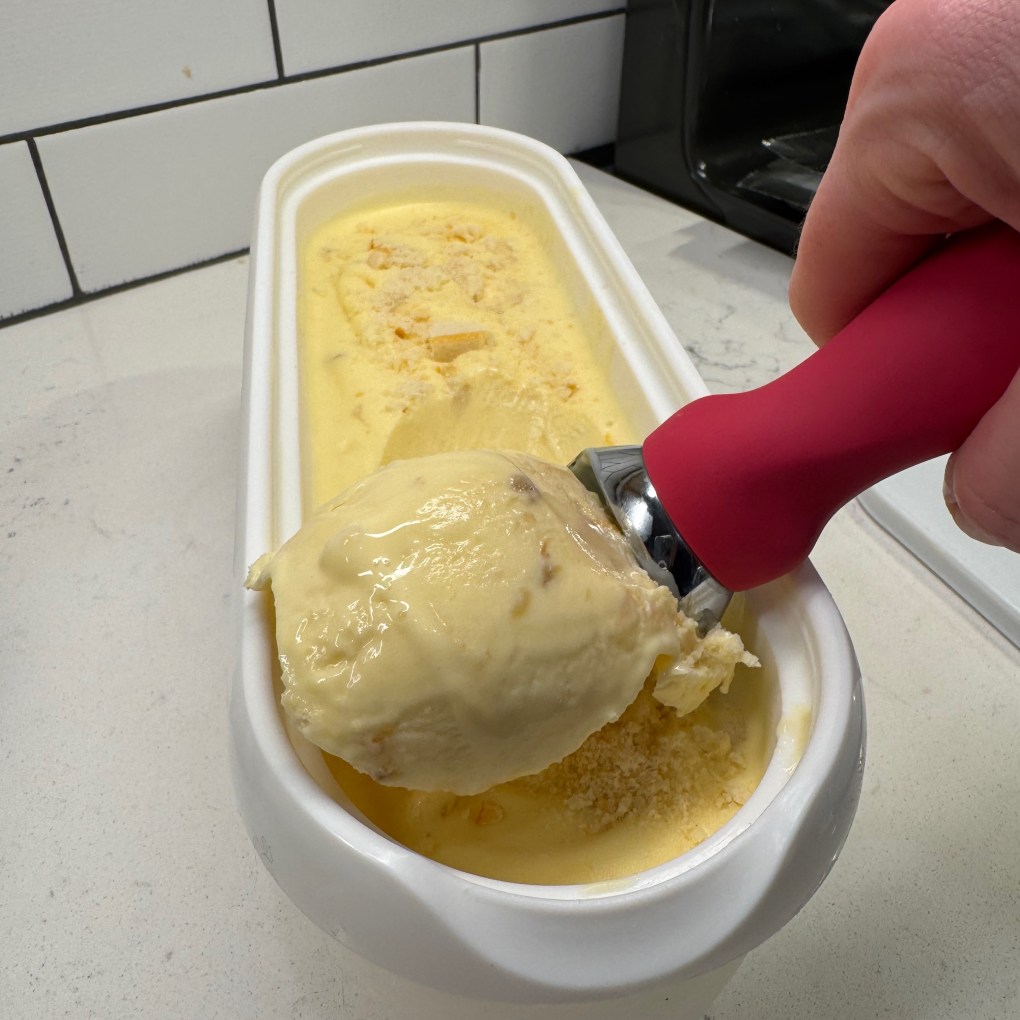
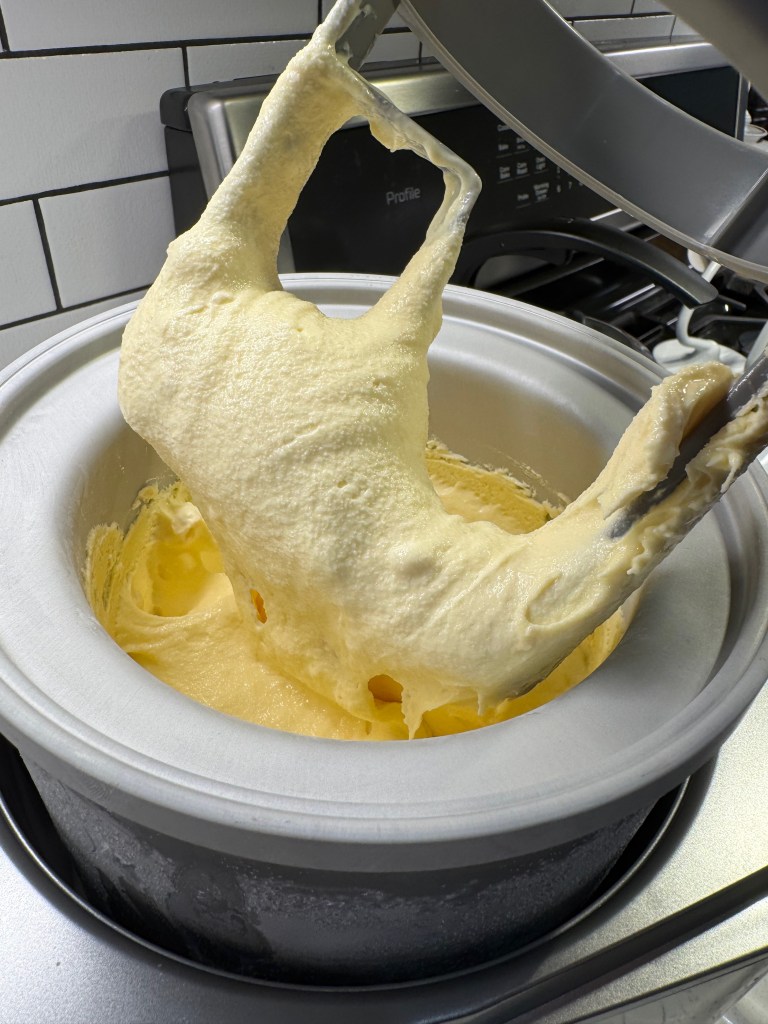
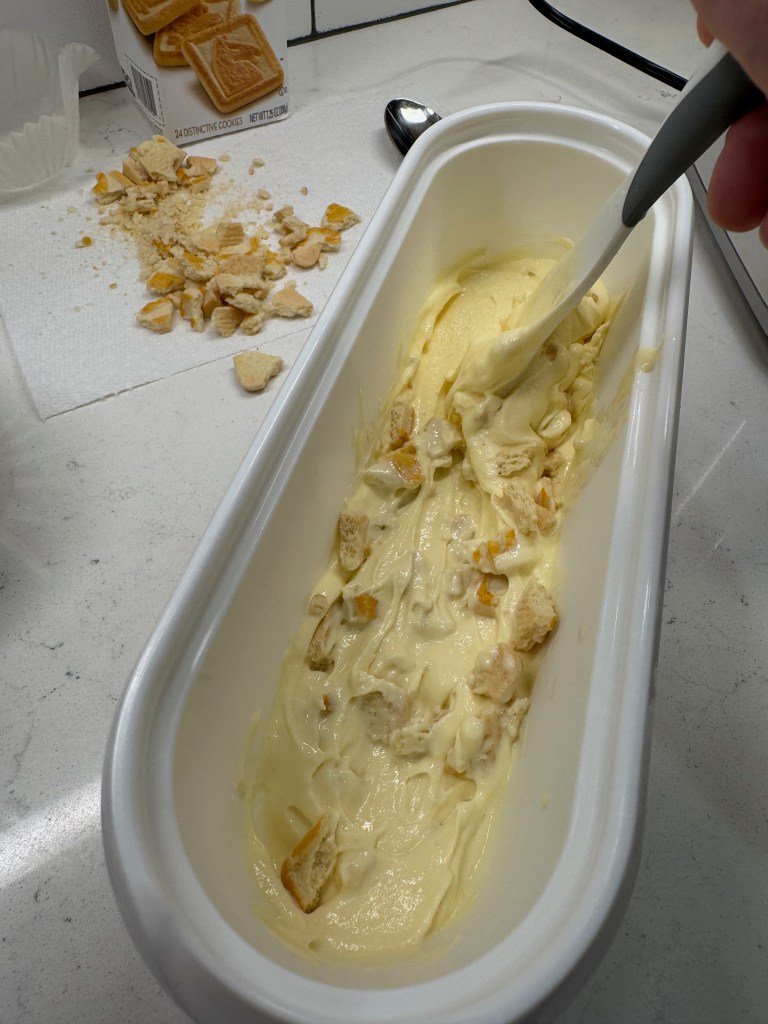
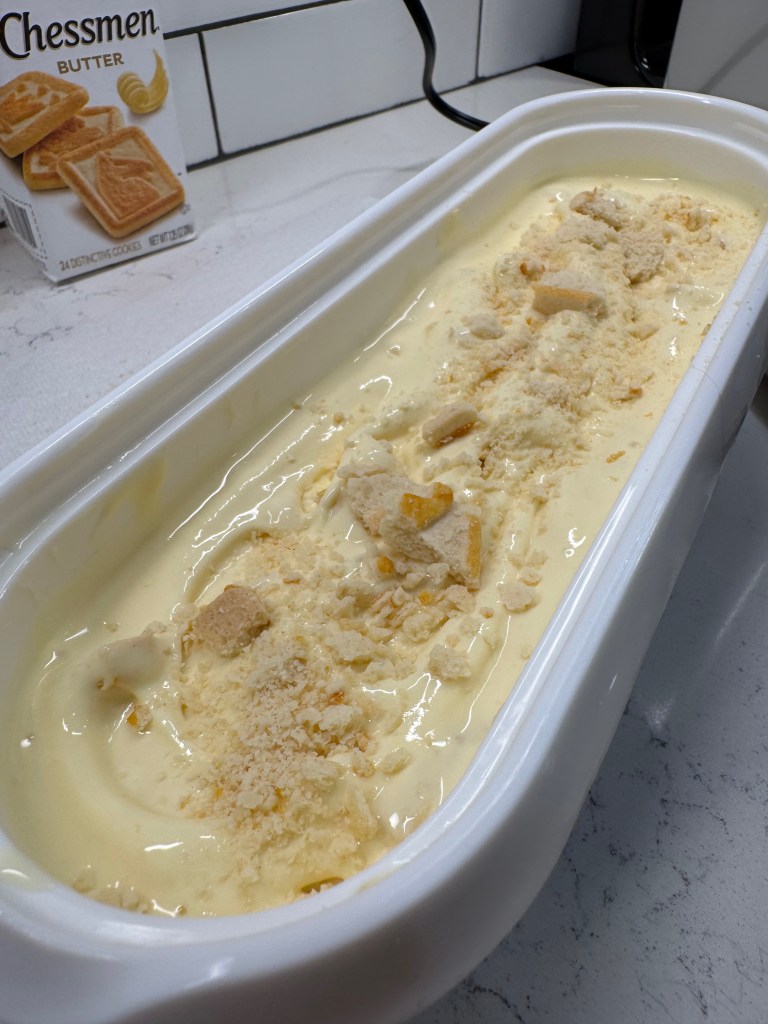
You can see how thick and rich the mixture is after that chill-down time, but a good whisking made it pourable, and then it just needed time to freeze into soft-serve texture. This usually takes about 25 minutes In my Cuisinart, long enough to cut up my banana and break a few of the Chessman cookies to be mixed in with the finished ice cream. Assembling the final product was so easy because the bananas were already mixed in. It was just a matter of layering and swirling in the cookie bits, and then it was off to the freezer for the “ripening” stage.

National Ice Cream month is winding down, but there’s still plenty of hot summer weather, especially in North Carolina, which has experienced some brutal upper 90s temperatures this past week. Don’t be surprised if I toss one more ice cream your way before we get to Labor Day!
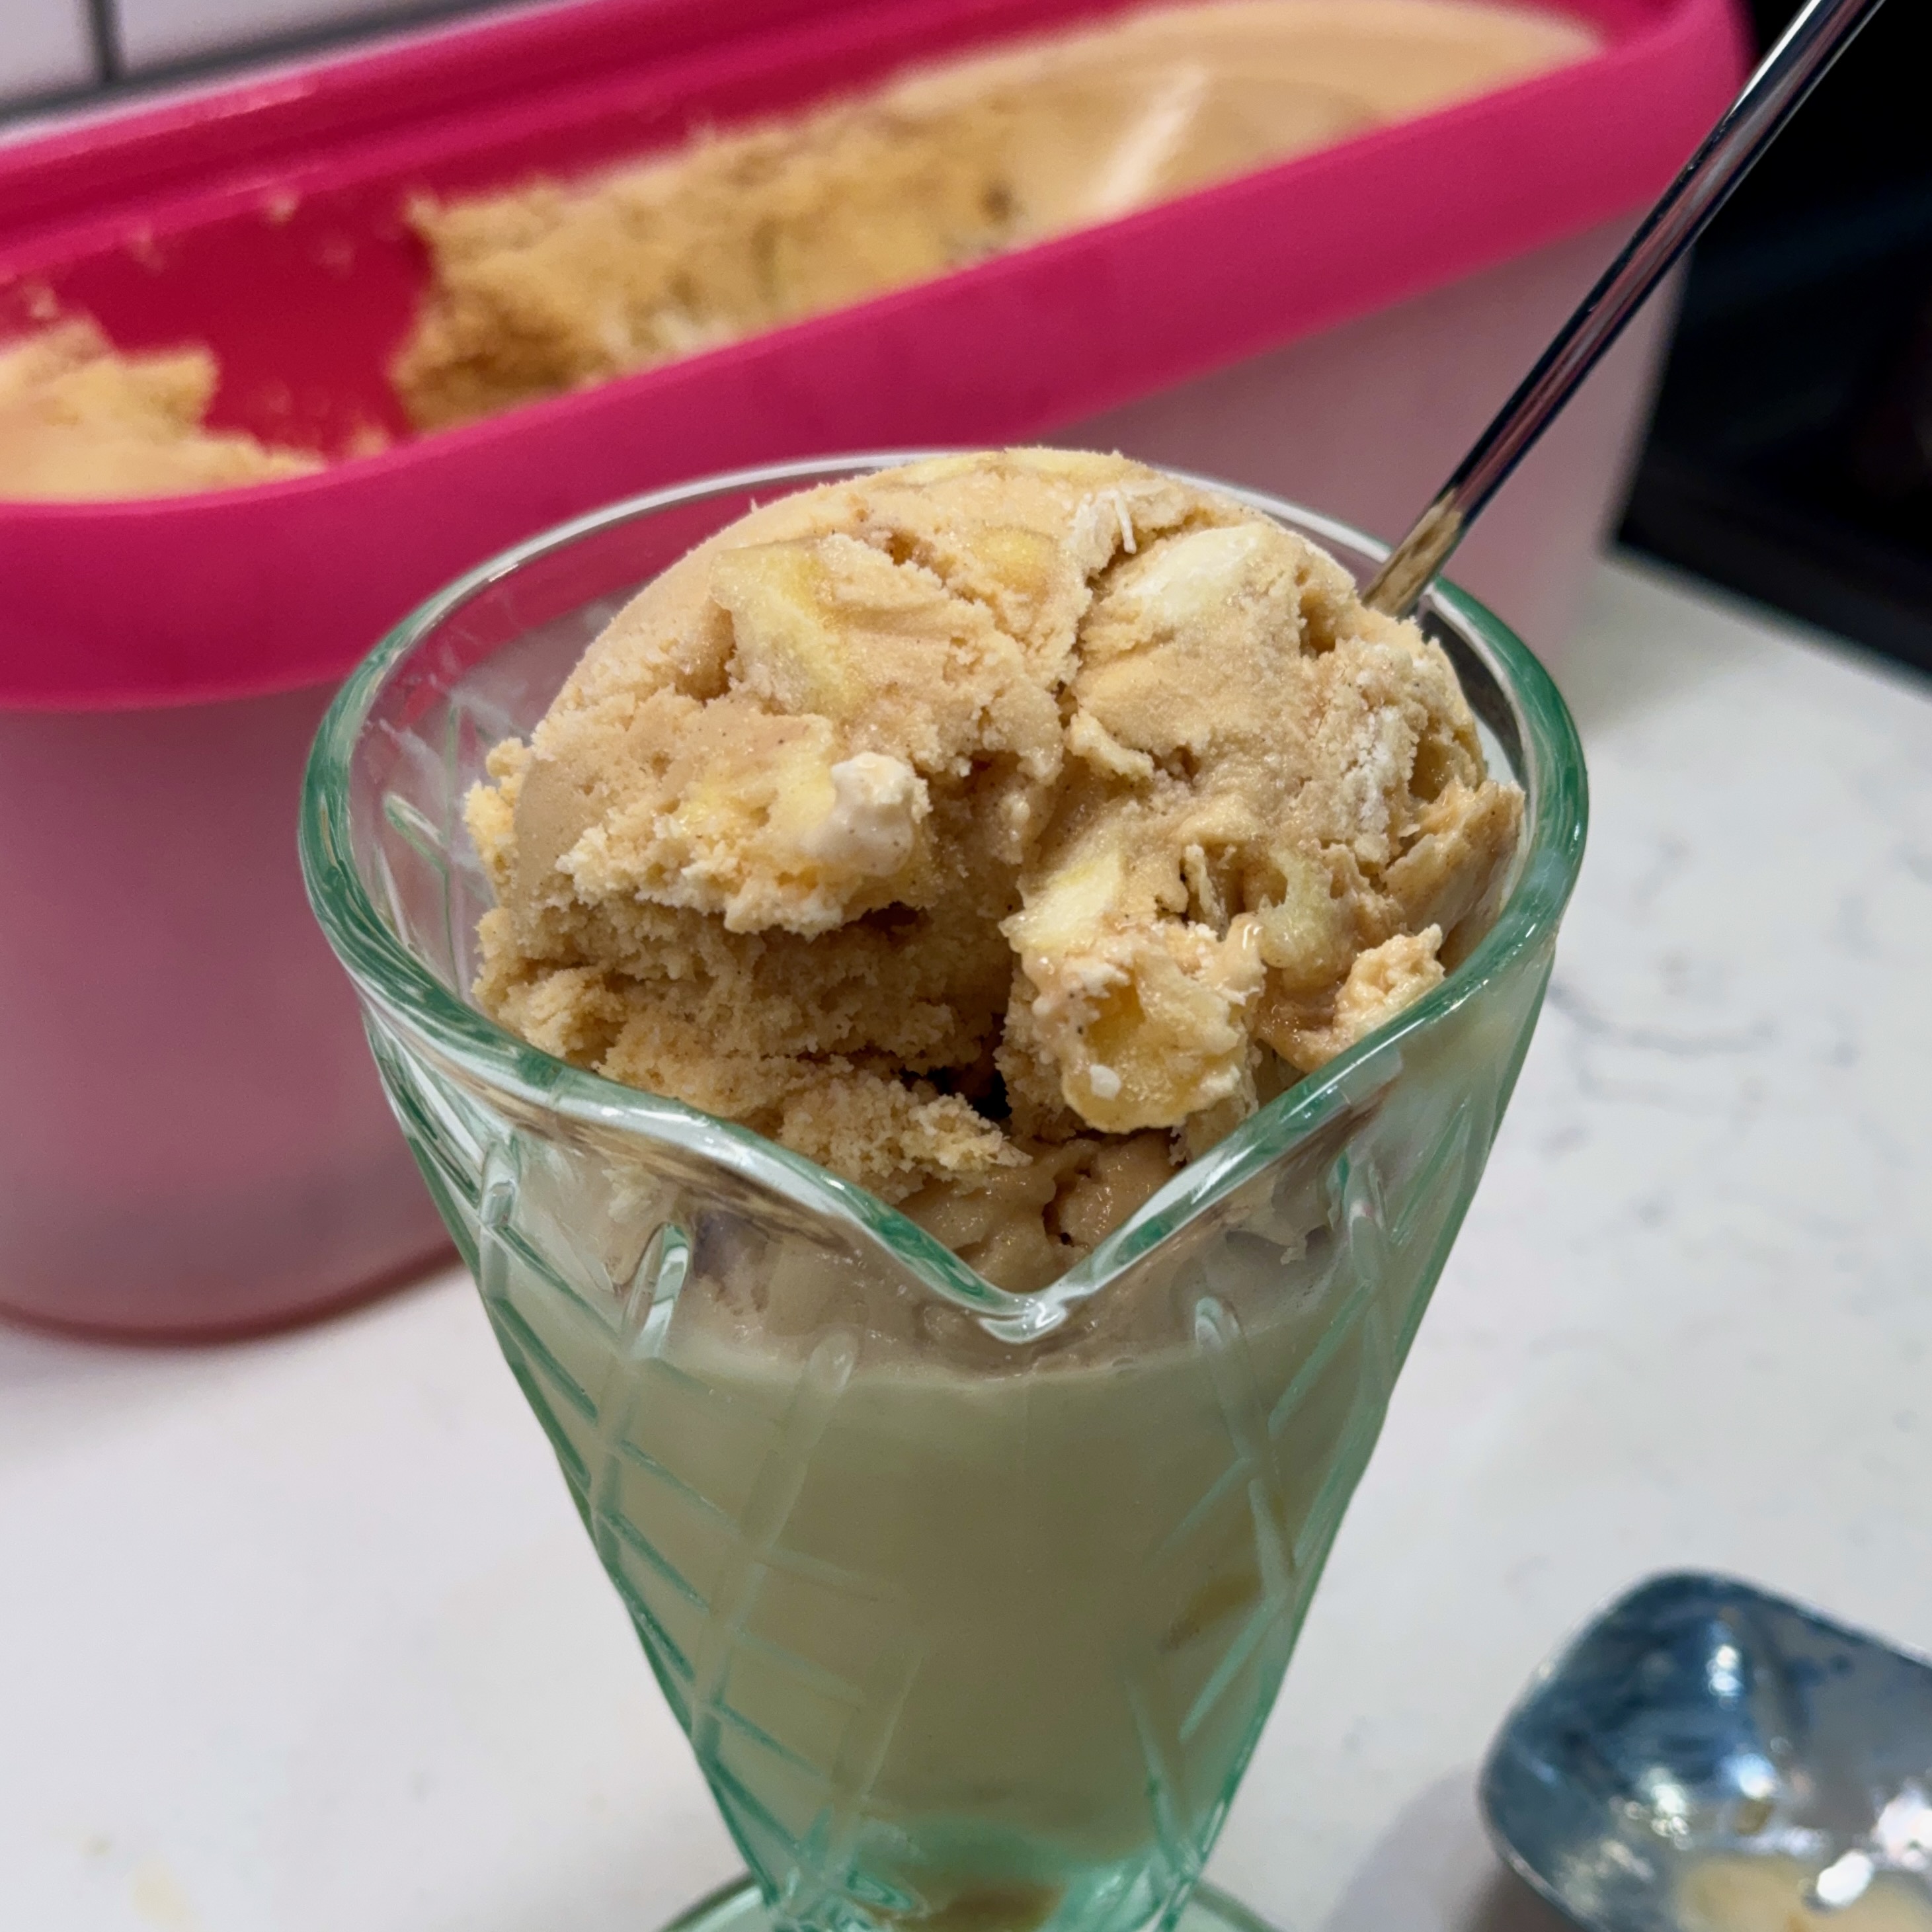
Banana Pudding Ice Cream
What if we took all the ingredients for banana pudding and turned them into an ice cream? This is a really fun surprise for National Ice Cream Month!
Ingredients
- 1/2 can sweetened condensed milk
- 1 1/2 cups cold whole milk
- 1 package French vanilla instant pudding mix
- 1 cup cold heavy cream
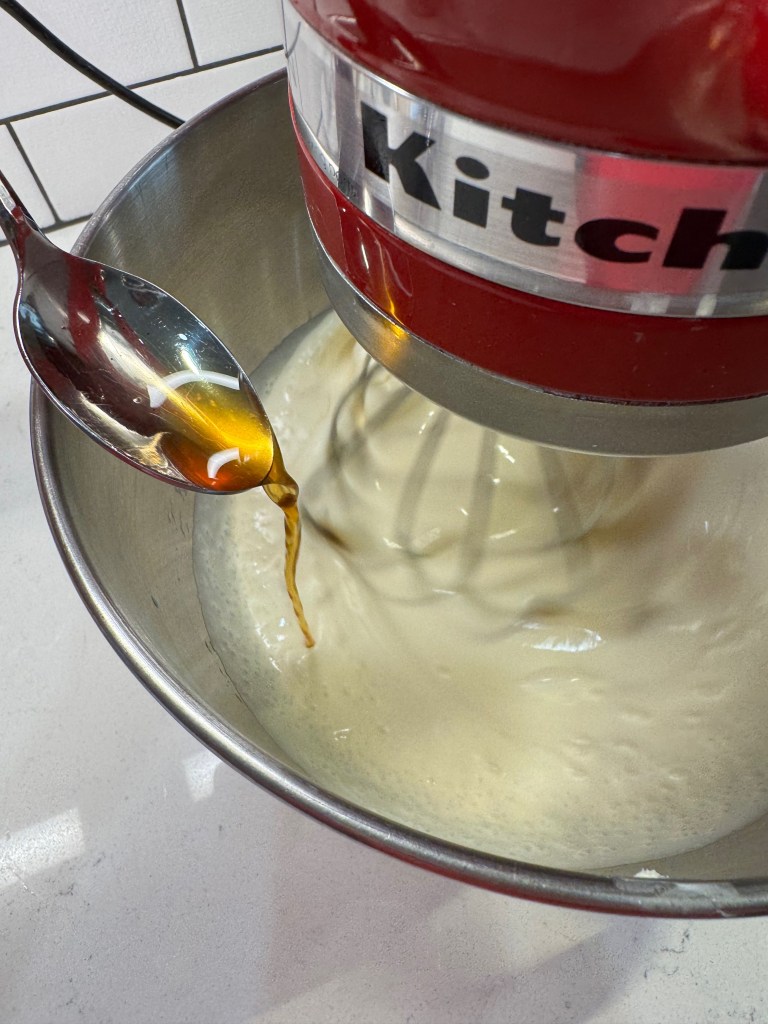
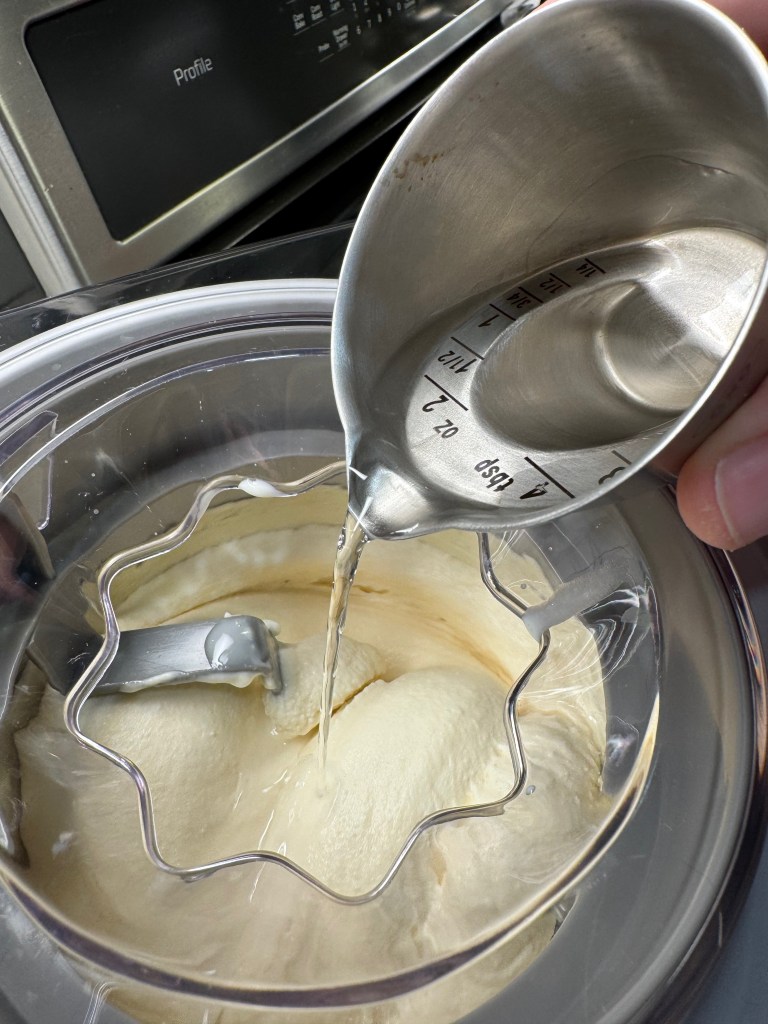
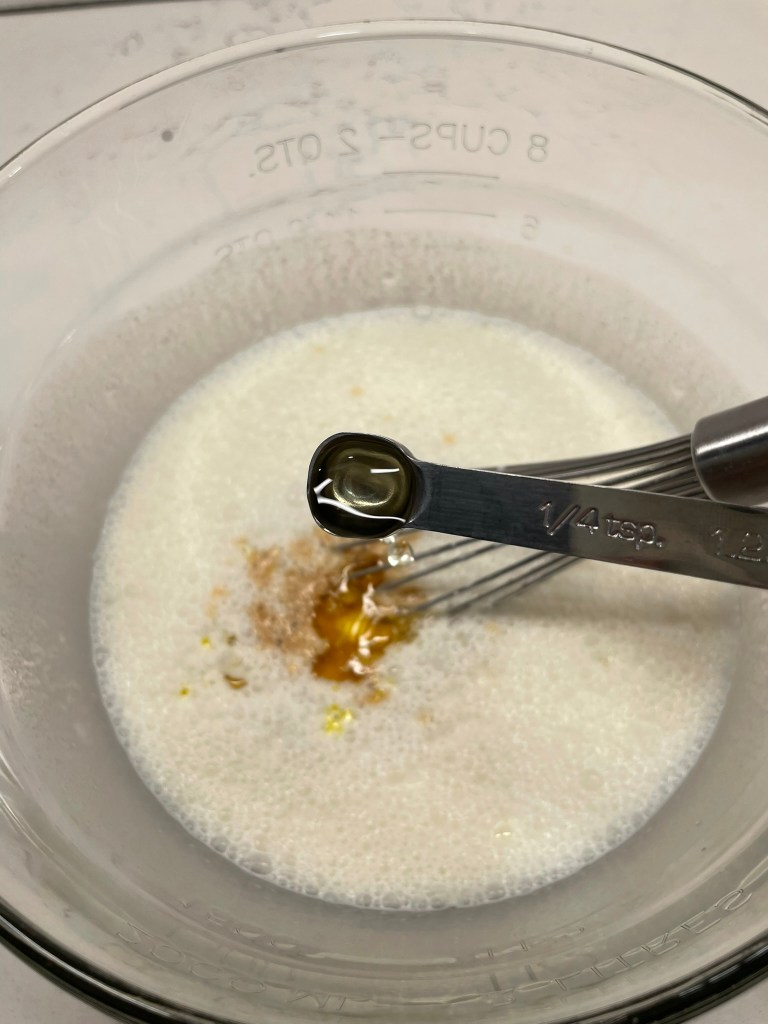
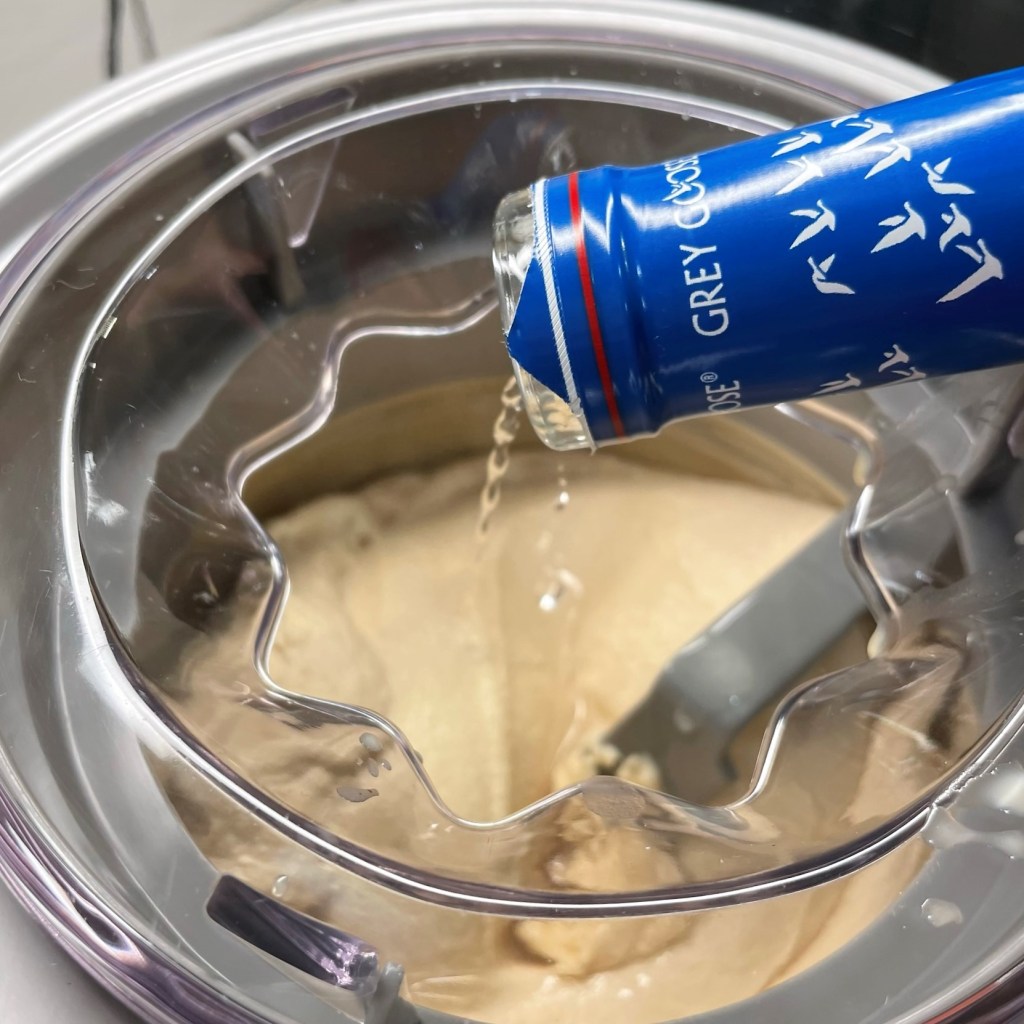
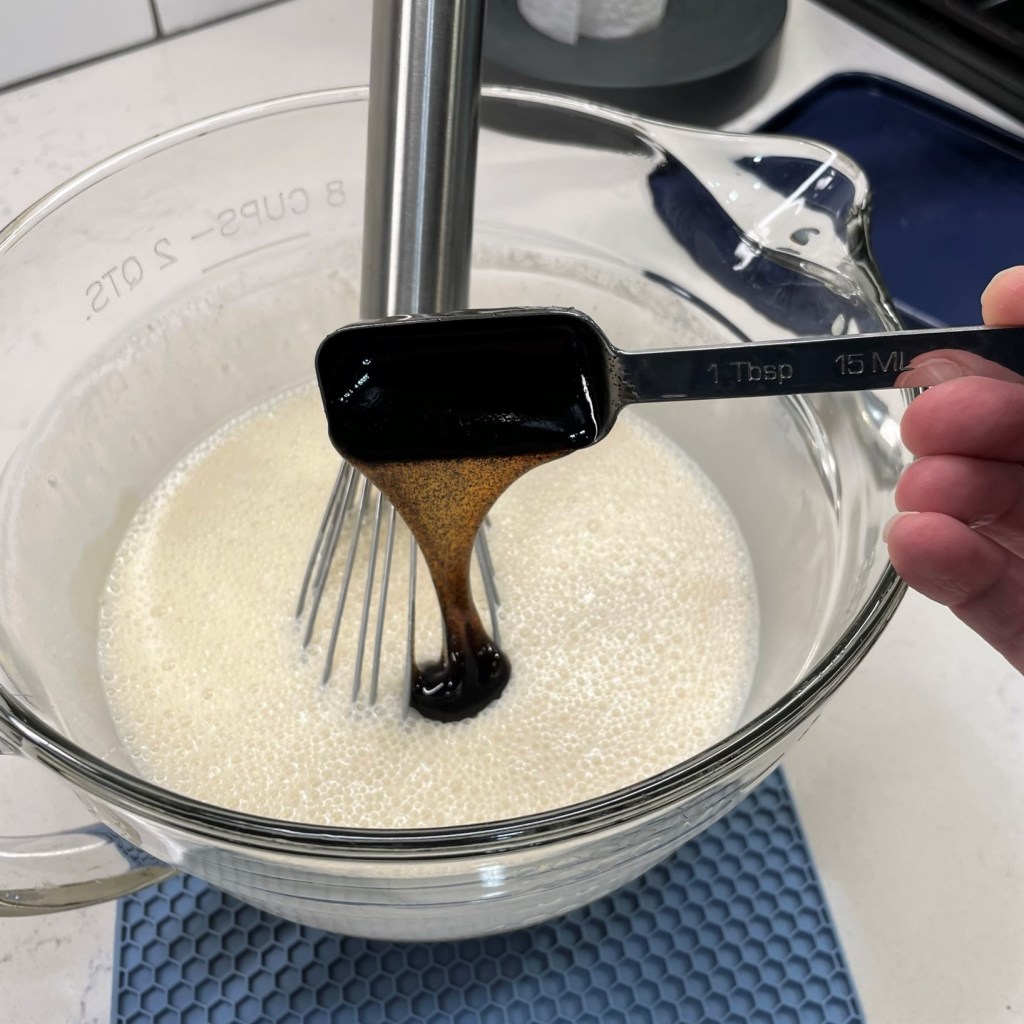
- 1 Tbsp. vodka (optional, added in final minute of freezing for improved texture)
- 1 large ripe banana, chilled and cut up into cubes (this measured approximately one cup)
- 6 Pepperidge Farm Chessman butter cookies, broken into bits (this measured approximately 2/3 cup)
Directions
- In the bowl of a stand mixer, fitted with the whisk, blend condensed milk and whole milk until evenly combined. Add instant pudding mix and blend with the whisk on medium speed, stopping twice to scrape down the sides.
- Using low speed, gently blend in the heavy cream. Cover and refrigerate the ice cream base for several hours until fully chilled.
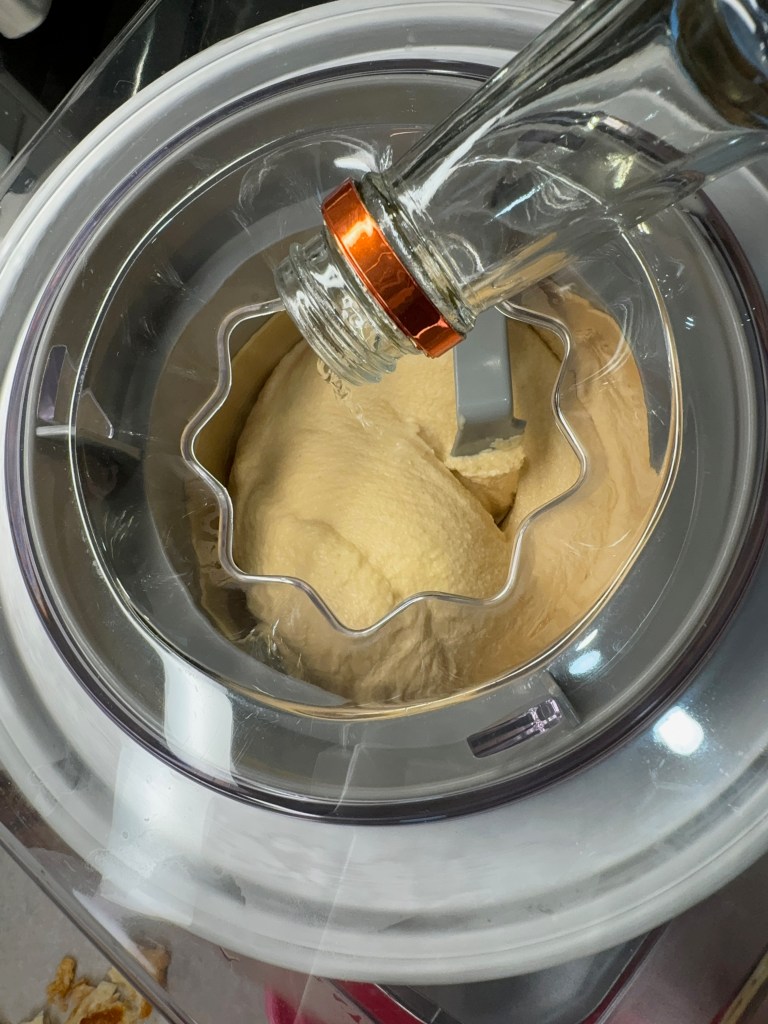
- Whisk chilled ice cream base vigorously until it’s smooth again, and then pour it into the ice cream machine. Churn until mixture is nearly finished, and then add the cut-up banana bits, churning again for a few minutes to incorporate. During the final minute of freezing, pour in vodka (if using) and allow it to disperse throughout the ice cream.
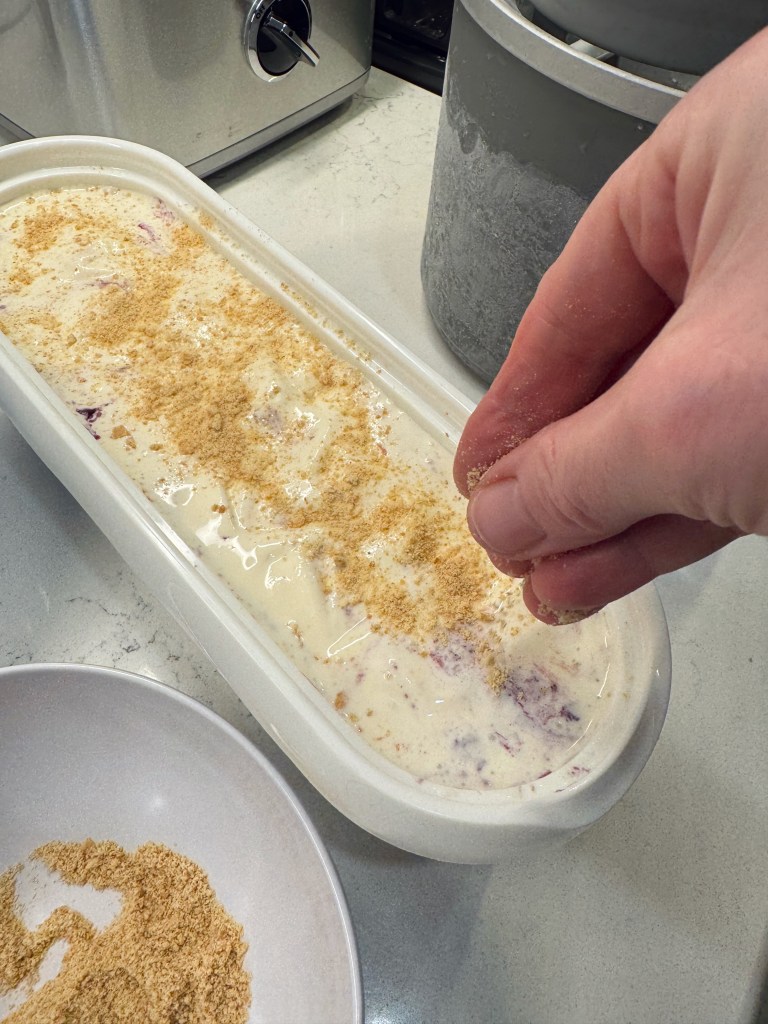
- Transfer finished ice cream to an insulated freezer container, a third at a time, layering and mixing in Chessman cookie bits as you go. Sprinkle fine cookie crumbs over the top of the ice cream and freeze overnight for best results.