This probably should have been one of the first recipes I shared on Comfort du Jour. It’s been in my rotation of favorite simple sides for years, ever since I first discovered wheat berries in the bulk section at Whole Foods. If you’ve never had wheat berries (or maybe never even heard of them), let me introduce you to these versatile little gems.
What are wheat berries?
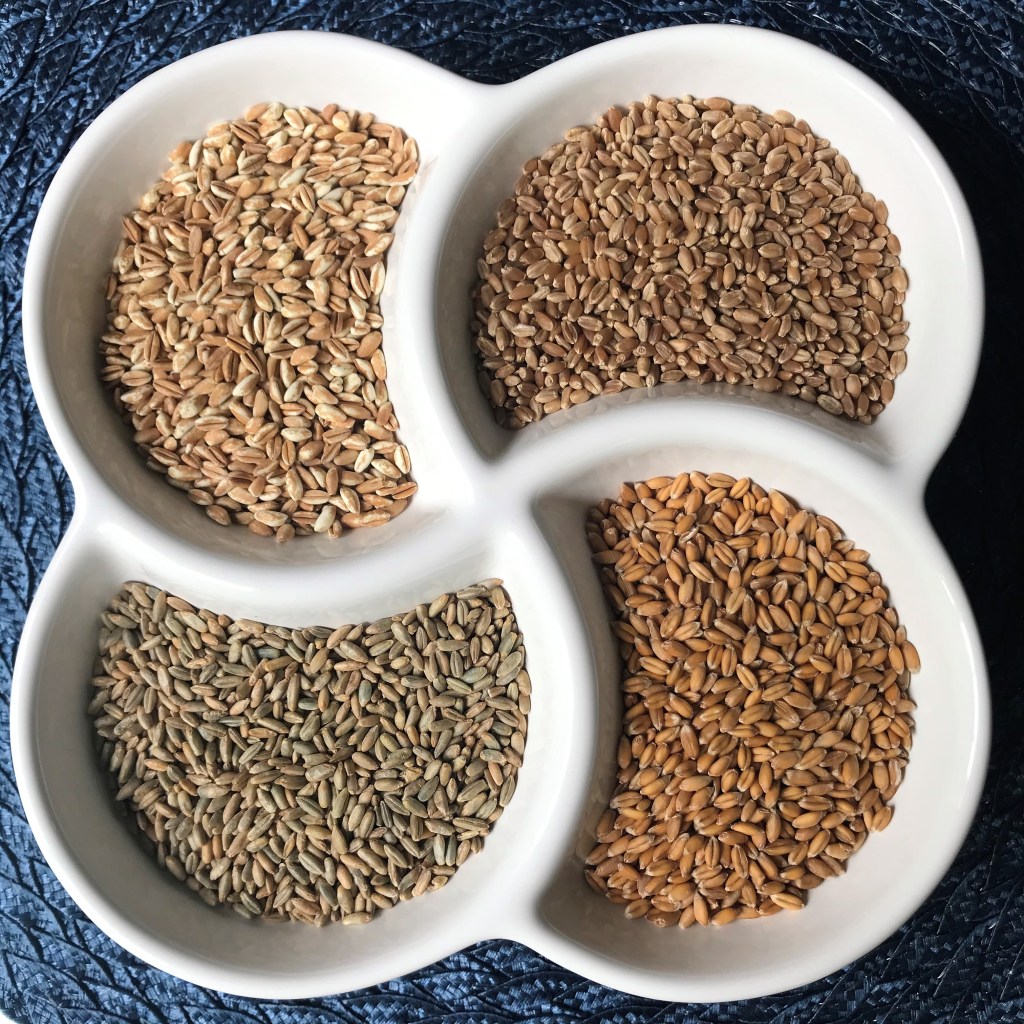
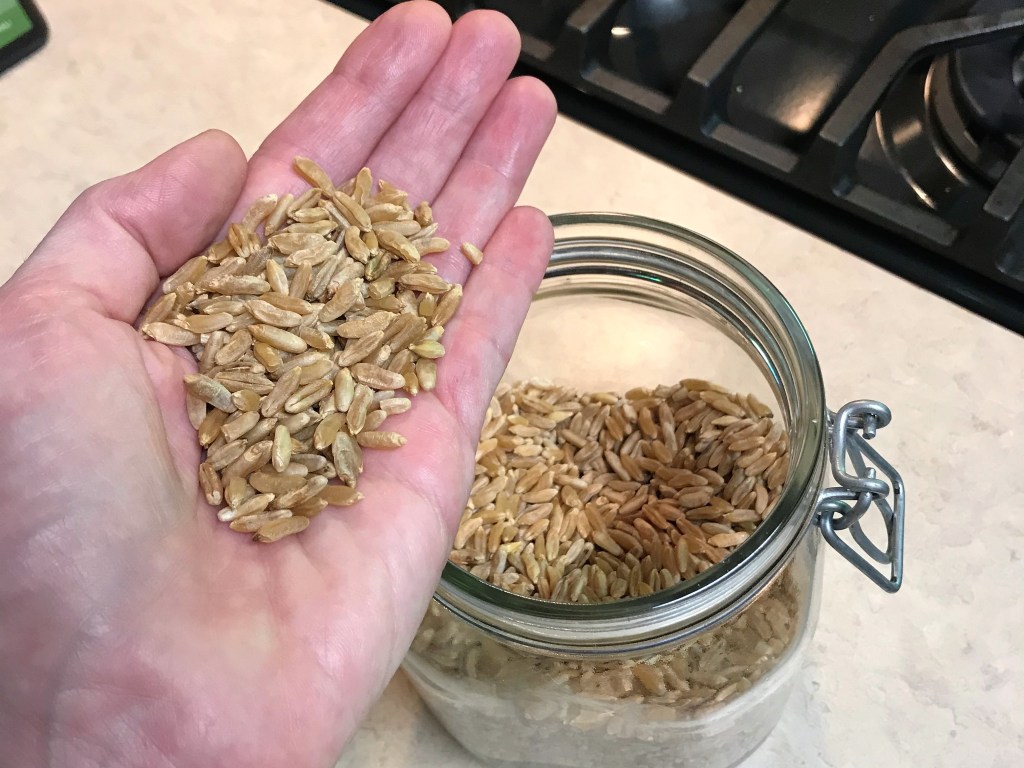
First of all, they aren’t really berries—at least not the way you’d think of fruit. Wheat berries are the individual dried grains of whole wheat. In their dried state, each grain is about the size of a fat grain of rice. When cooked, they plump up to triple in size.
Where can you buy wheat berries?
Most natural foods stores and larger supermarkets with a bulk section are likely to stock varieties of whole grains, including wheat berries, oat groats, barley, and sometimes even rye, spelt or farro. You can also generally find them online from Bob’s Red Mill, though they’ve been in short supply during the pandemic. For this recipe, I’ve used Kamut, which is considered an ancient variety of wheat grain. I prefer it because it’s organically grown and hasn’t been hybridized and modified as conventional wheat has; it’s pretty much the same as it was thousands of years ago. Kamut is technically a brand name for the wheat variety Khorasan, native to Egypt and grown in abundance today in Montana and western parts of Canada. My aunt lives in Montana, and she sent the Kamut berries to me from her favorite natural foods market.
How do you cook wheat berries?
It’s a similar process to cooking beans from dried. Wheat berries are a natural product, so they need to be sorted and rinsed before cooking, in case of random small stones or other debris. After rinsing, combine them with water (at least 2:1 ratio) in a sauce pan. Bring to a boil, then reduce heat to a simmer and cook until the wheat berries are tender (about an hour), then drain and proceed with your favorite recipe. To use them in a cold dish, cool and refrigerate first.
What can you do with wheat berries?
Pretty much anything you can do with rice, you can do with wheat berries. They have a pleasant chewy texture, like al dente pasta, so they work really well in a main dish such as chili, soup or salad. If you’re into making homemade bread, knead about 1/2 cup of cooked wheat berries into the final dough to add more whole grain goodness. Of course, because they are wheat in whole grain state, you can also mill dried wheat berries into flour, if you happen to have the right equipment to do so. I’ve read recently that Kamut flour makes exceptional pasta, so I’m putting that on my culinary bucket list.
What do wheat berries taste like?
Wheat berries have a mild, almost nutty flavor that is similar to brown rice. Because they are neither sweet nor savory, you can take them in either direction, depending on what you add to them. Besides the chilies, soups and salads I’ve already mentioned, you could also easily toss them on top of Greek yogurt with fresh berries and cinnamon and just call it breakfast.
Now that you’re well acquainted with wheat berries, let’s talk about this salad!

We’ve been eating entirely too many rich, heavy foods at our house lately. It’s interesting to me that most of the foods we think of as “comfort foods” are completely on the wrong side of healthy. Foods with simple starches, sugars and fats in abundance are usually what we reach for when we are under stress or facing uncertainty, so it’s not surprising, and maybe you’ve experienced the same.
Allow this salad to bring you back to a healthy place of comfort, with crunch, chew and fresh flavors, dressed in a light, Greek-inspired vinaigrette that’s easy to make from stuff you probably already have in the spice rack and the door of the fridge. Seriously, learn to make your own dressings and you’ll never buy it in the stores again.
We served this on a bed of baby spinach as a fresh, cool side to the meatless moussaka we had for a recent family dinner. If you can’t get your hands on wheat berries right away, any small size whole grain pasta would make an excellent stand in.
Ingredients
2 to 3 cups cooked wheat berries (or other whole grain)
1 can garbanzo beans (drained)
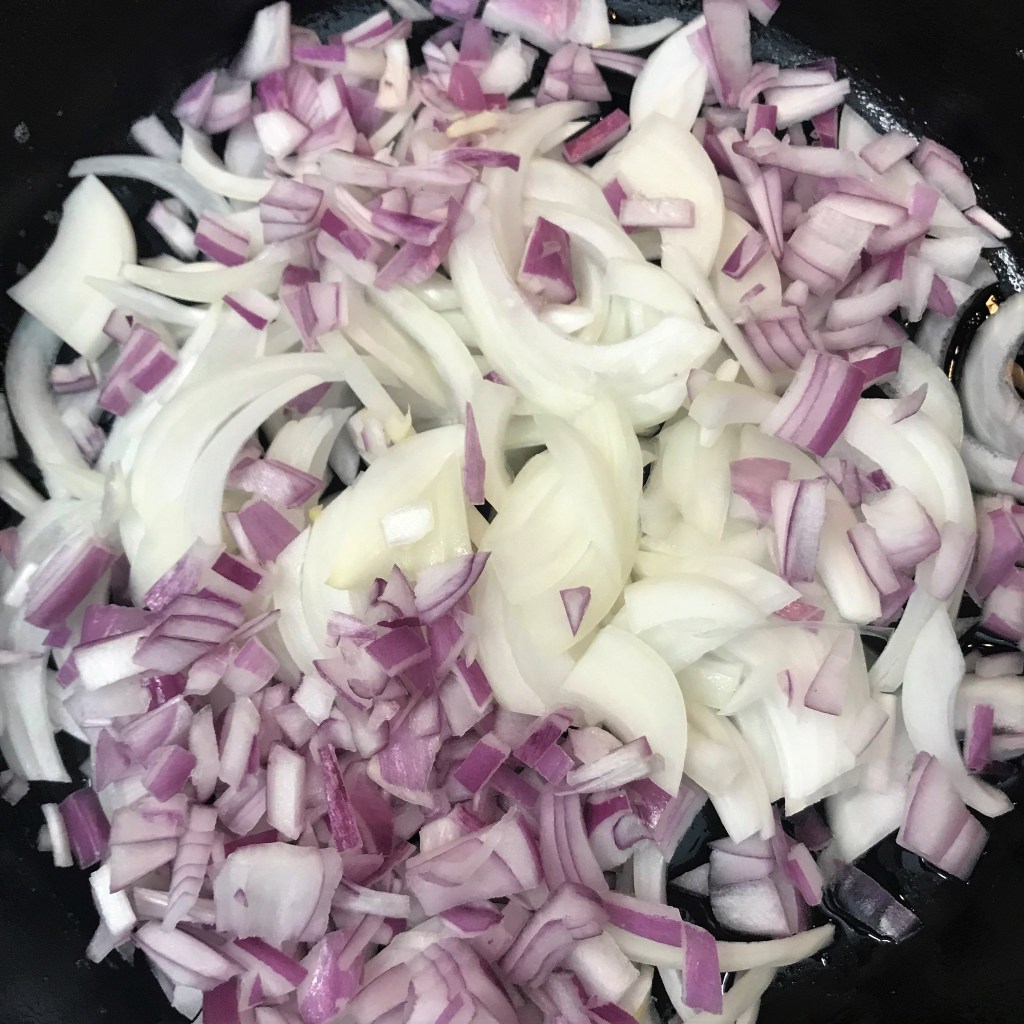
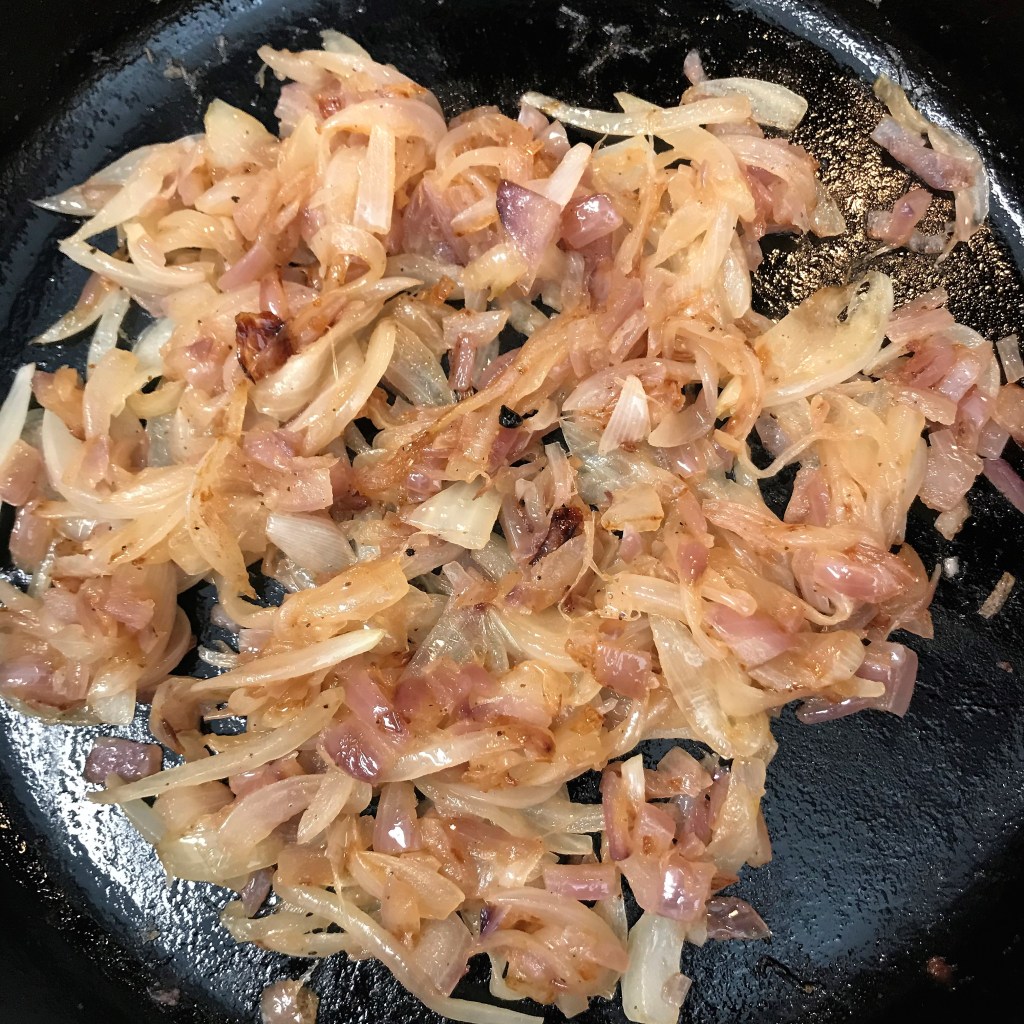
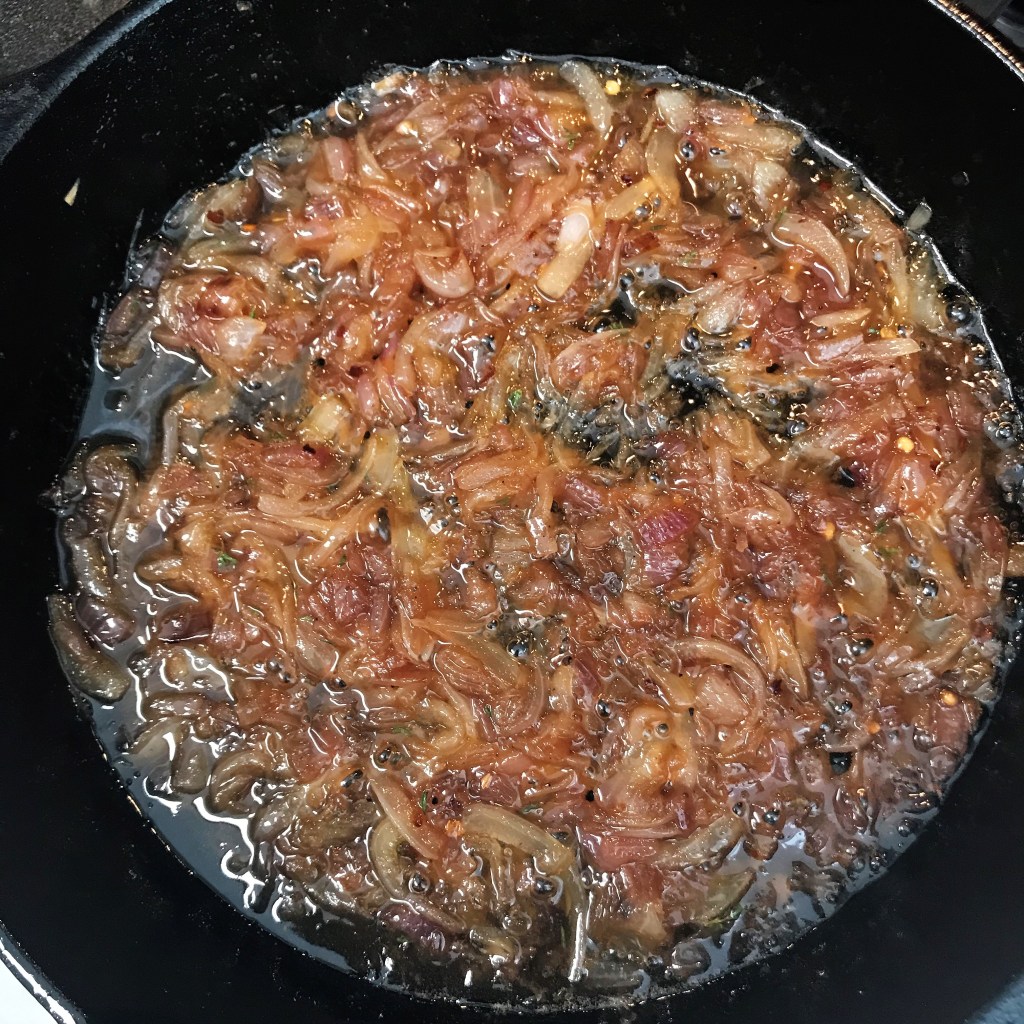
1/2 medium red onion, chopped
1 Persian cucumber*, trimmed and sliced
About 1 cup cherry or grape tomatoes, halved
1/3 cup pitted Kalamata olives, rough chopped
1/4 cup pepperoncini, chopped (optional)
chopped fresh parsley or dill for serving (optional)
Dressing
2 Tbsp. red wine vinegar
1 Tbsp. Sicilian lemon white balsamic vinegar*
1 tsp. garlic pepper seasoning* (see notes)
1/2 tsp. dried oregano leaves
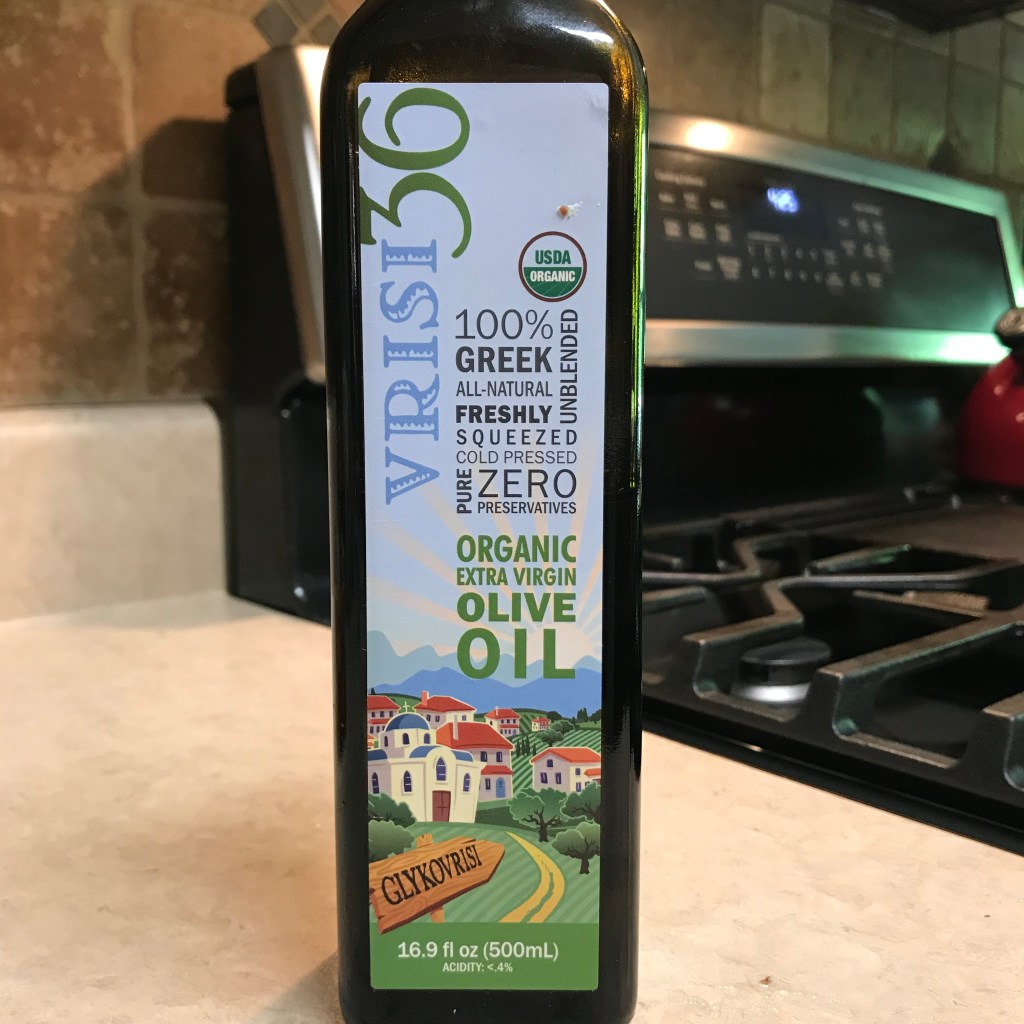
3 Tbsp. extra virgin olive oil*
1 Tbsp. cold water
*Notes
Any kind of cucumber works here; I like the Persians for their compact size and minimal seeds. You want about 1 cup of cucumber slices or chunks. I’ve used my handy garnishing tool to strip part of the peel away, leaving a little bit for texture and the little bit of bitterness it adds to the salad. You could do the same with a small, sharp paring knife—or just peel the whole thing.
The lemon balsamic vinegar is a specialty item, purchased from one of the gourmet oil and vinegar shops that seem to have popped up everywhere. If you can’t find it, no problem—substitute a good squeeze of fresh lemon juice and a pinch of sugar.
Check your garlic pepper ingredients (or taste it) to see how much salt is in it. If you have a salt-free version such as Mrs. Dash, you’ll also want to add a couple pinches of salt to the dressing. We have McCormick brand, and the salt level is just about right. Lemon pepper seasoning would also be terrific.
There are so many choices for olive oil at most markets. This is a good recipe to bring out the “good stuff.” I generally use a more neutral flavor of olive oil (but still extra virgin) for everyday cooking and sautéing, but for a fresh dressing, I reach for the more pungent “grassy” varieties. If it has a little bit of bite or bitterness on the back end, it means it’s high in polyphenols—the stuff that makes it so good for you!
The salad will come together on its own—you don’t need my help combining these simple, fresh ingredients. But if you’ve never made your own vinaigrette, it’s time you learn this simple and valuable trick. It takes less than a minute, and you don’t need any special tools or bottles. I usually make a vinaigrette in my glass measuring cup, just before I assemble my salad. For this one, work ahead a little bit so the dried oregano has time to soften and rehydrate.
Combine the vinegar and lemon white balsamic (or lemon juice and sugar), garlic pepper and dried oregano. Then drizzle the olive oil into the mixture in a slow, steady stream, while whisking constantly. This will help the oil and vinegar come together without separation. If you prefer, combine all the ingredients together in a covered jar and shake the dickens out of it. Allow the dressing to rest in the refrigerator for about an hour, then whisk or shake again and pour over the salad mixture and toss gently to combine.

The texture alone makes me love these things! Properly cooked, they should have a good bit of chew. 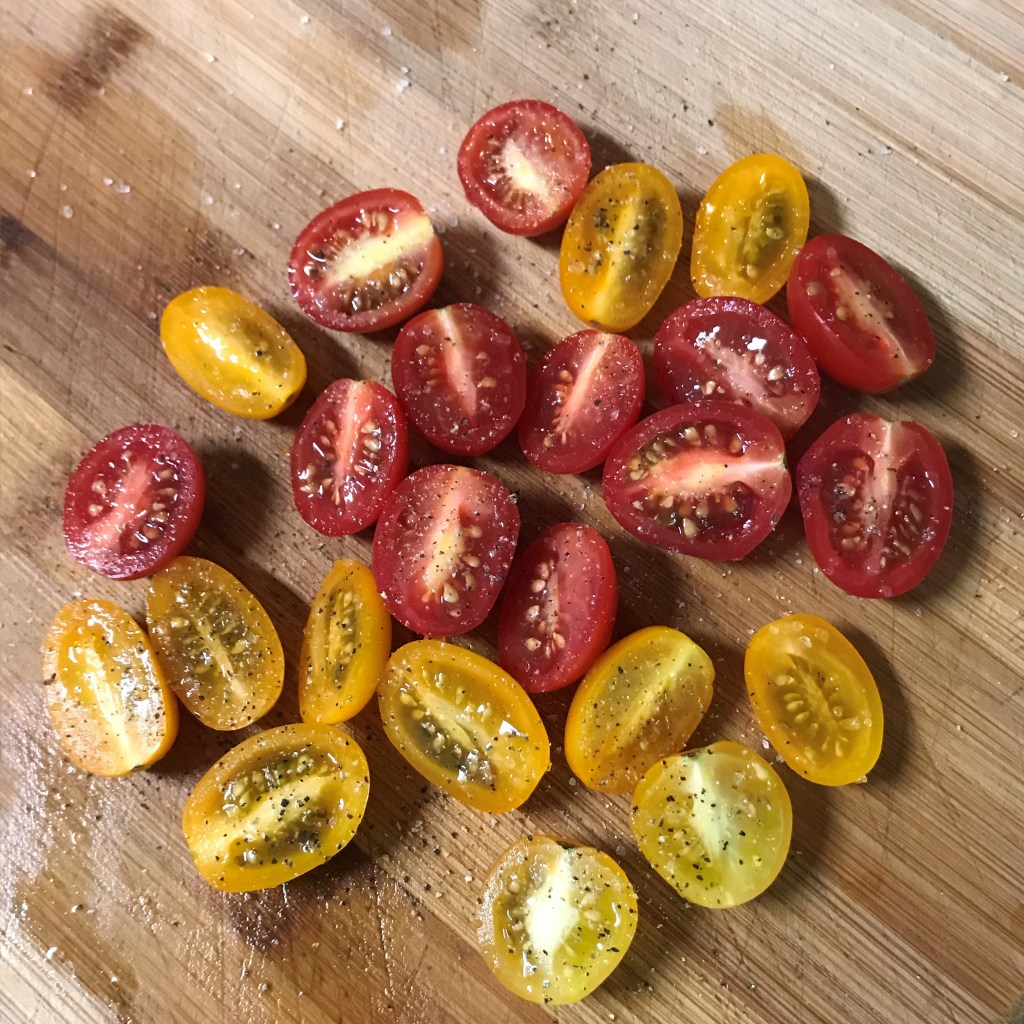
Here’s a little trick I always do with tomatoes. Prep them ahead of the other ingredients and give them a salt and pepper treatment. It really makes the flavors pop in any salad! 
Look at all those pretty colors! Doesn’t food taste better when it looks good? 
I feel healthier already. 🙂
The salad can be made ahead and it keeps in the fridge for several days. Fold it gently to redistribute the dressing just before serving, and sprinkle with fresh parsley or dill for an extra pop of color and flavor.