Not that there’s anything wrong with just plain s’mores. I love them, personally. The crispy graham cracker, melty gooey chocolate and perfectly toasted (or “accidentally” burnt) marshmallow, all pressed into one delicious little sugar sandwich bite—takes me straight back to 1977 and Allegheny State Park in the middle of summer family camp.
But that was a long time ago, and although I still love the idea of s’mores in my grown-up years, I’m less inclined to imagine making a campfire or even firing up the chimenea on our patio. I mean, it’s the middle of summer, you know? I’d rather crank the oven up to 450° F because inside, I have air conditioning. And why would I do something as simple as s’mores, when I can over-complicate them into something more visually decadent?
Consider instead these two tasty treats, bearing every last detail of s’mores, but without the campfire smell permeating your clothes, without the bugs and without smoke getting in your eyes. First of all…
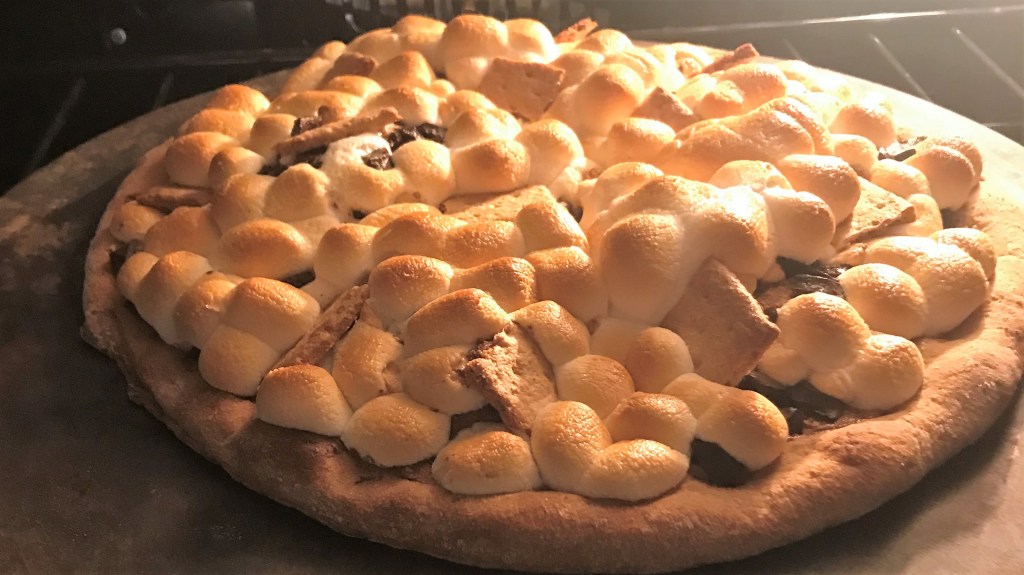
S’mores Pizza!
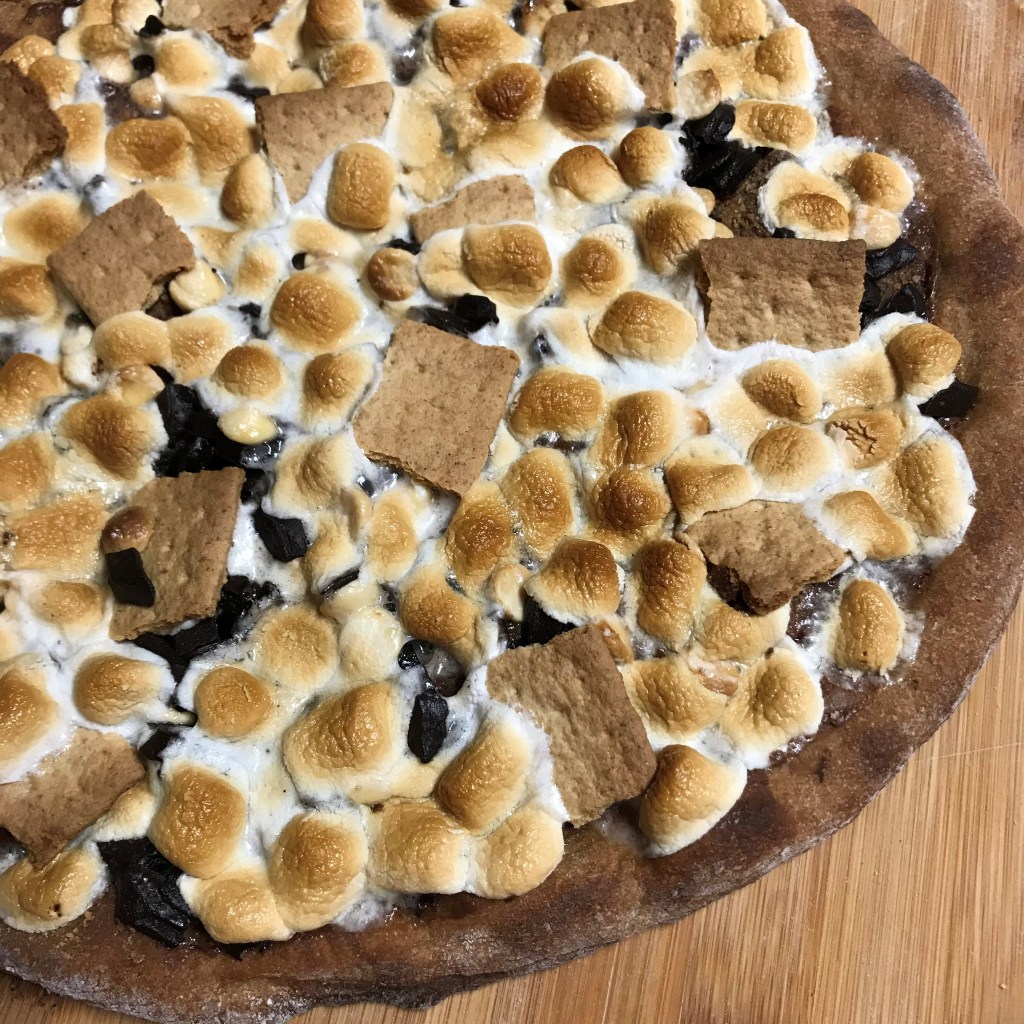
Warm and gooey, stupidly sweet and completely kid-friendly. If I had kids, I would expect them to want this for sleepover parties, or maybe even in lieu of a birthday cake.
For the crust, I leaned on my pals at King Arthur Baking (did you notice, they changed their name!), and did a quick modification to their recipe for whole wheat pizza crust. Who knew that every kid’s favorite cracker is whole grain? Yes, whole wheat flour is also sometimes called “graham flour,” and it’s the basis for graham crackers, so it also will be the base for my s’mores dessert pizza. I took the King Arthur recipe, cut it in half, converted for sourdough, increased the sugar by four times and swapped in coconut oil.
This crust took a good while, because it’s a slow-ferment yeast bread, and the sourdough conversion and extra sugar slowed it down even more. I was OK with this delay because I’m a bread nerd. If you want something quicker, pick up some whole wheat dough at Trader Joe’s, or go with a basic chocolate chip cookie dough, but use whole wheat flour and save the chocolate chips for a topper. In fact, I want to make my next s’mores pizza that way to appease my husband, who has s’mores apathy. This is not his fault. First of all, he was not a Girl Scout. Secondly, he was raised in NYC, and they didn’t exactly have campfires on the fire escape of his apartment building. But if the s’mores are piled onto a giant cookie? That, I suspect, would be right up his alley. I might even go nuts next time and pile the s’mores toppings onto a brownie base. For crying out loud!
For the toppings here, I got things started with a thin slathering of Nutella. I know, hazelnut is not “traditional” for s’mores, but I haven’t found a spread that is only chocolate, so it’ll have to do. Besides, you barely taste the hazelnut underneath all the other stuff that is traditional for s’mores—the graham crumbs, chocolate bits and (of course) the pillow-y miniature marshmallows.
Want to try it? Check your pantry for these items, or mask up and head to the grocery store to get them.
Ingredients
Whole wheat pizza dough or cookie dough substitute
Nutella or similar chocolate spread
Graham crackers, some crushed, some pieces
Chocolate chips or chocolate chunks (I used semi-sweet for my experiment, but I think milk chocolate would melt better)
Miniature marshmallows
A big glass of cold milk (trust me, you’ll want this after a big sticky slice of s’mores pizza)
Instructions
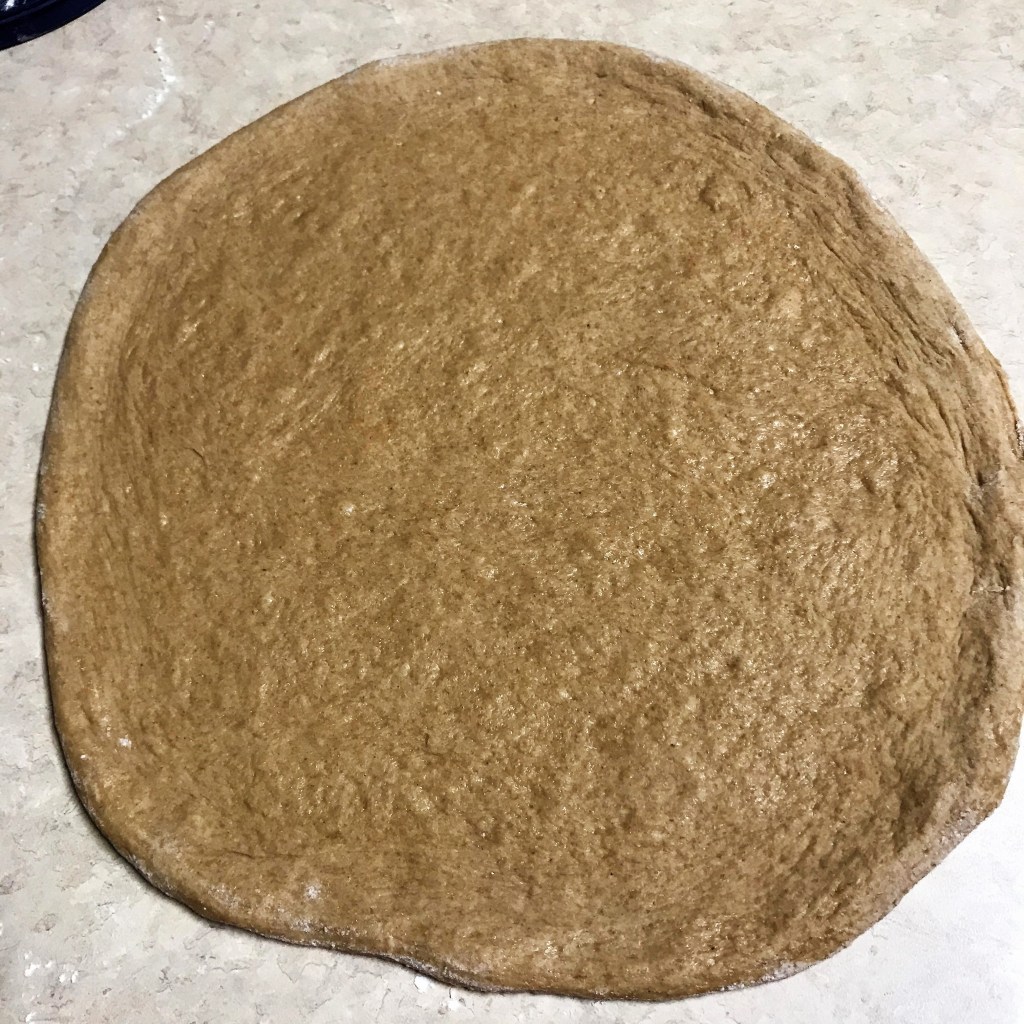
I was pleasantly surprised at how easy it was to shape the whole wheat pizza dough. The long slow rise helped relax the gluten. I will likely do more whole wheat crusts for some future pizzas. 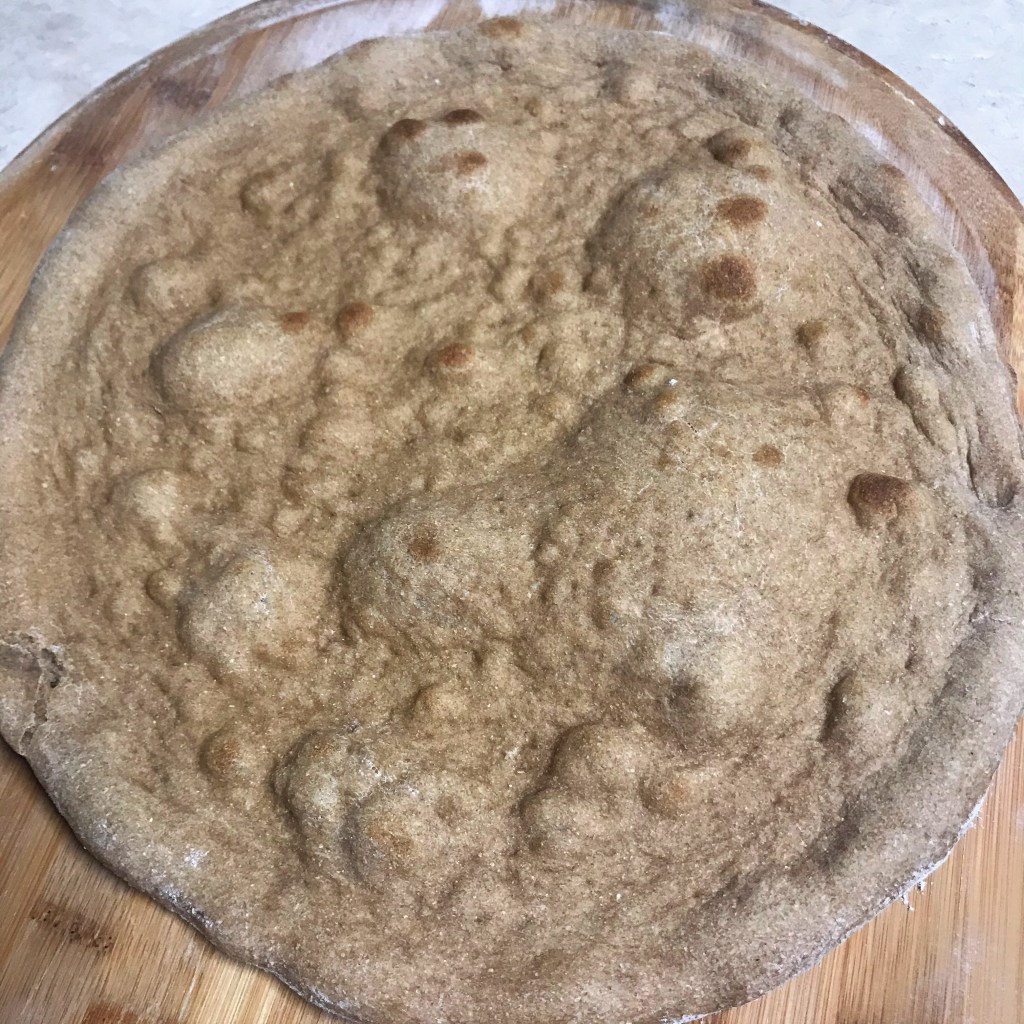
To prevent the marshmallows from overbrowning, I decided to pre-bake the sweet whole wheat crust pretty much to the limit, about 5 minutes. 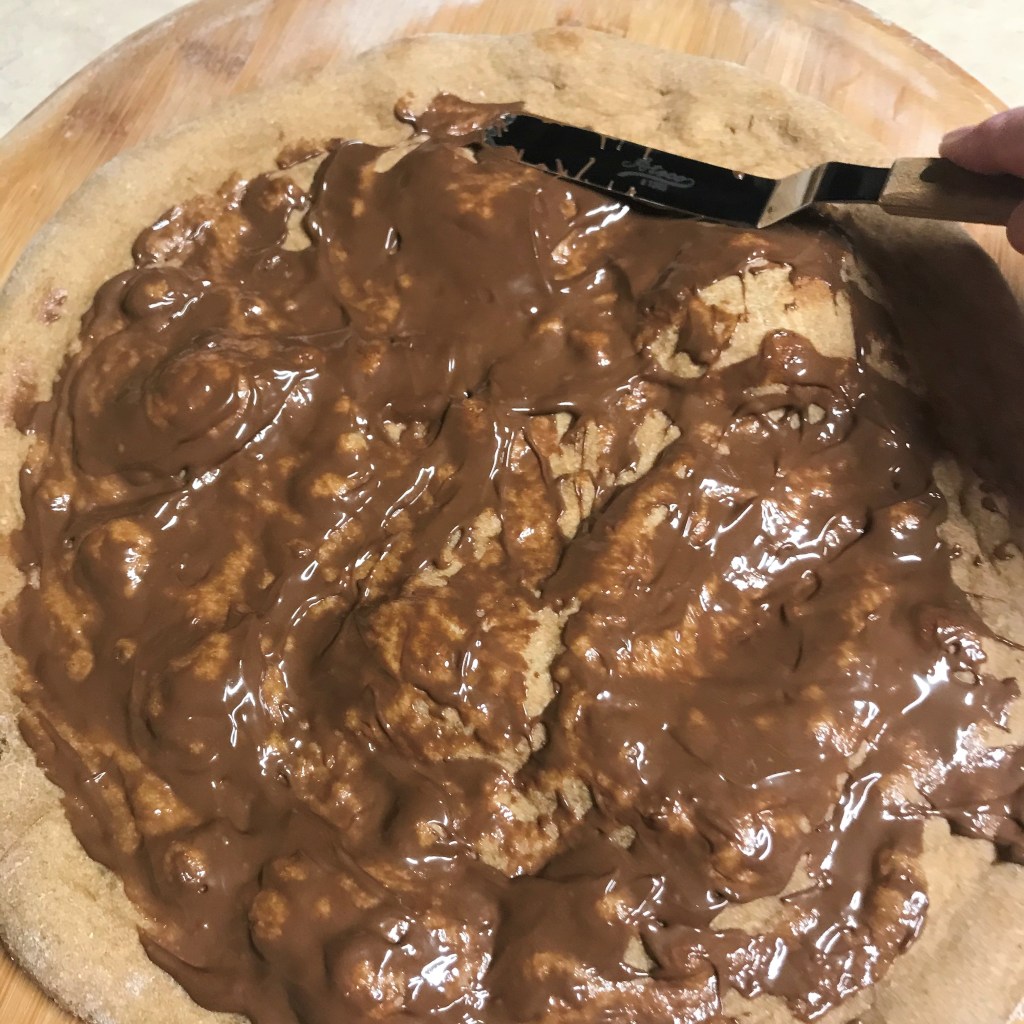
For this 12″ dessert pizza, I used about 3 tablespoons of nutella spread. 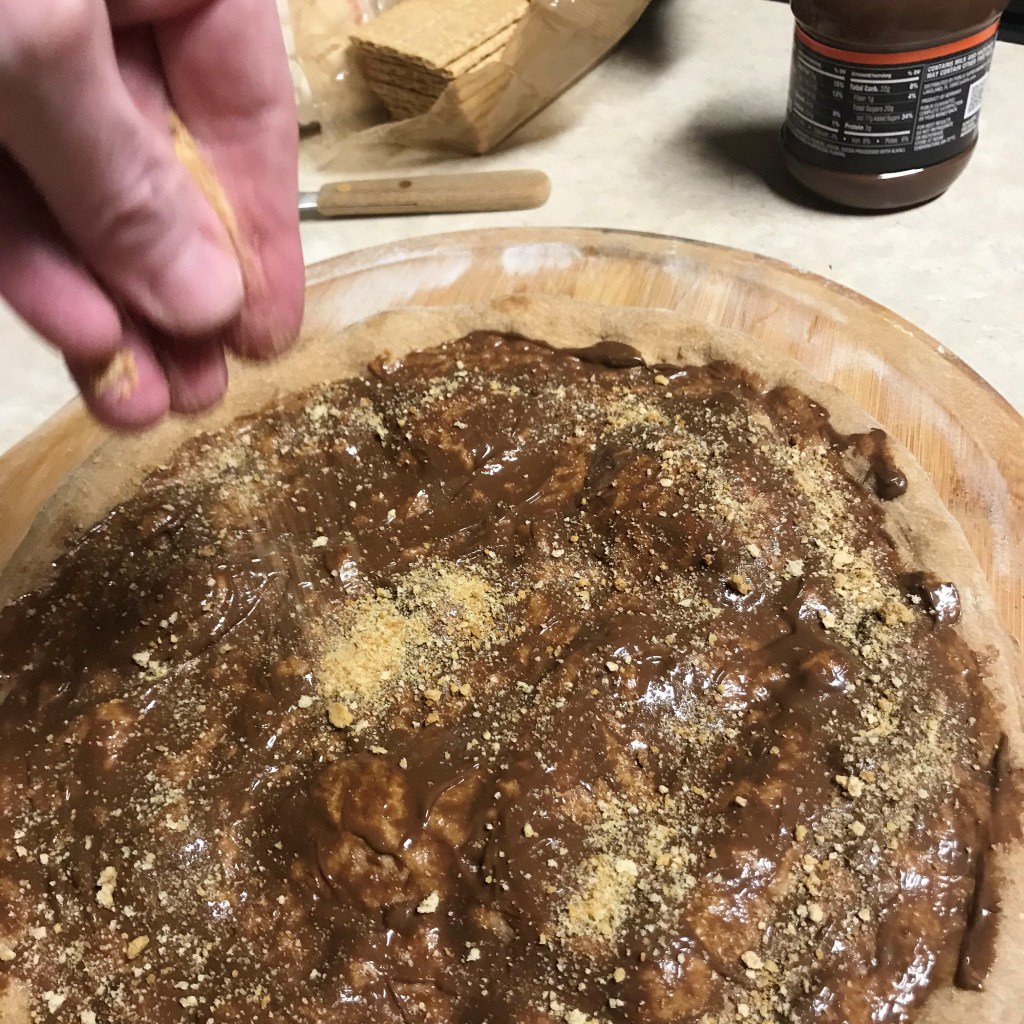
The graham crumbs, I hoped, would help give the marshmallows and chocolate pieces something to grab onto. I didn’t want a big slippery mess sliding off the nutella. 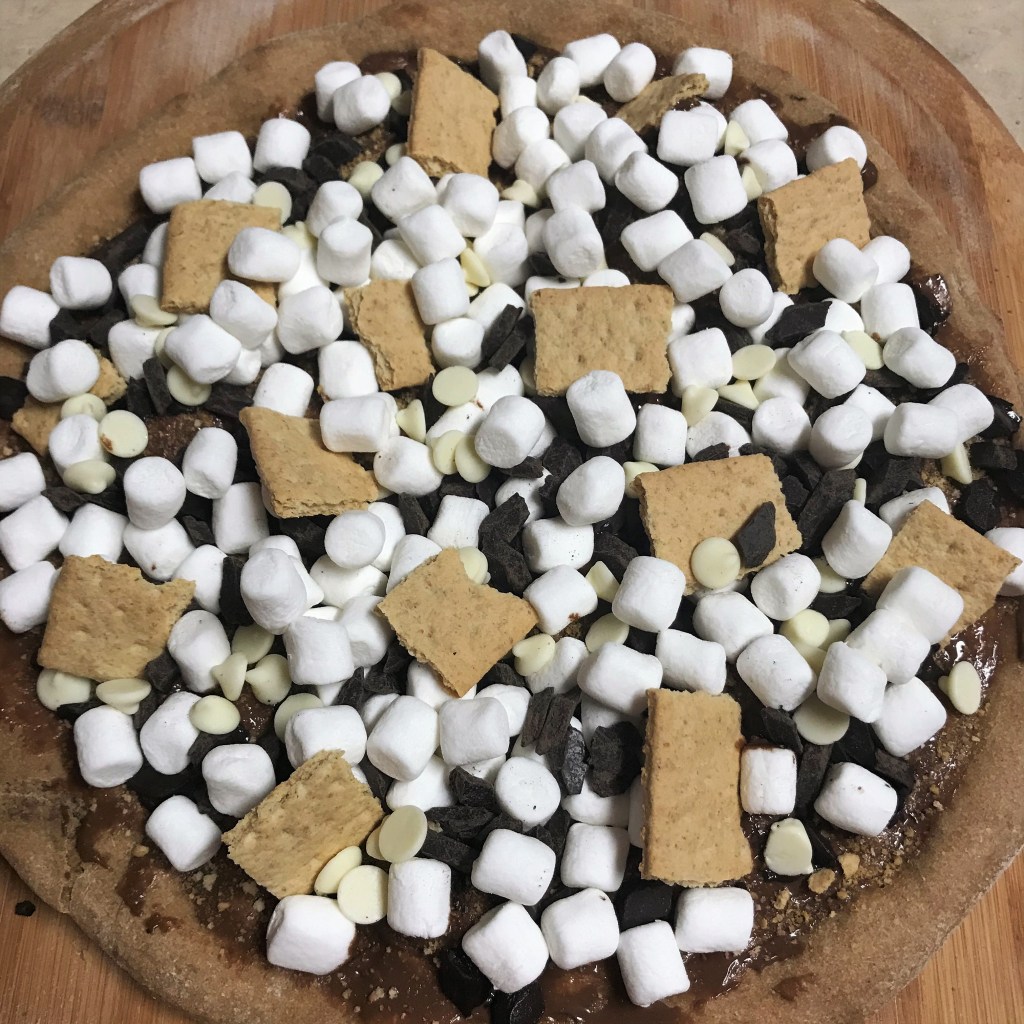
All the right stuff, scattered over the nutella base. I had a small container of white chocolate chips leftover from who-knows-what, so I tossed them on, too!
And then, into a 450° F oven, just long enough for the chocolate to melt and the marshmallows to get toasted. This didn’t take long, maybe 5 more minutes.
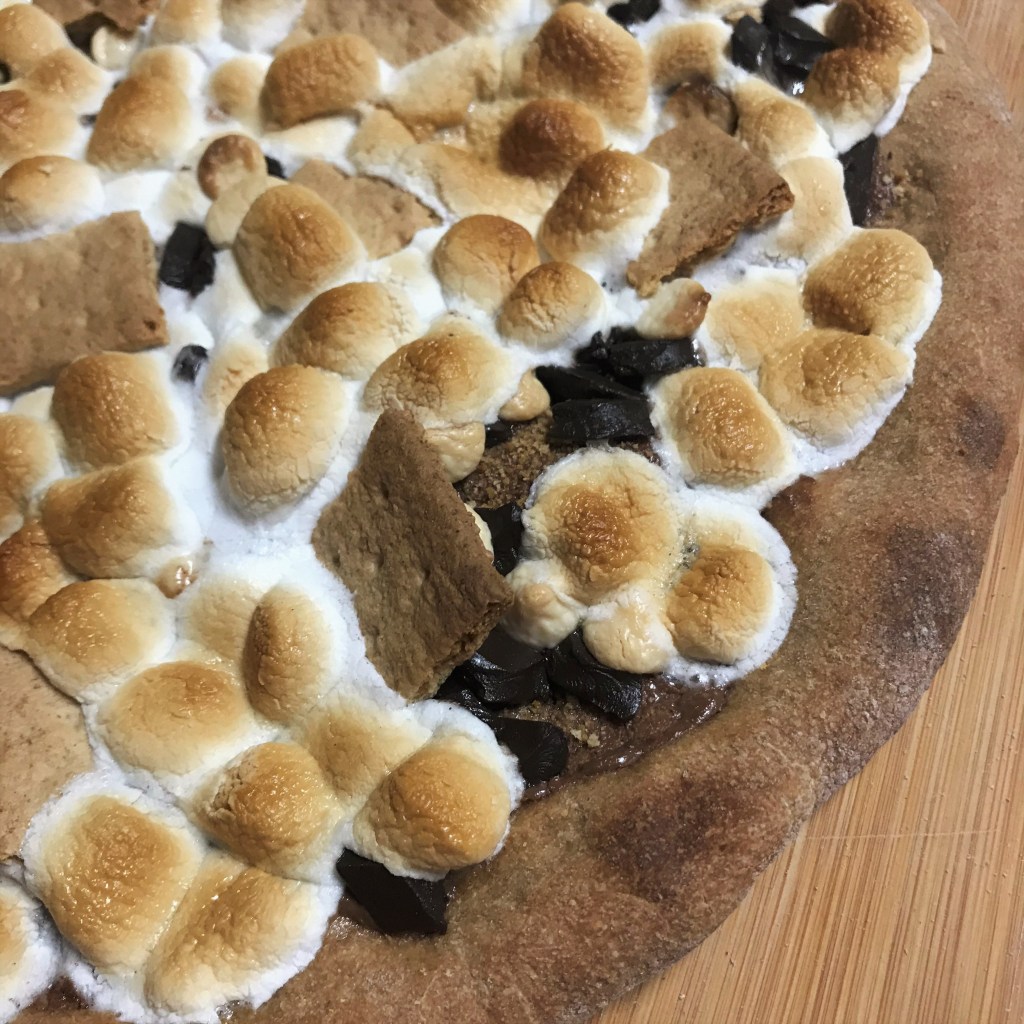
This pizza satisfied my once-in-an-adult-blue-moon craving for s’mores, but I will tell you honestly that the end result (by the time I finished taking pictures and slicing it) was a bit on the chewy side, which was oddly addictive for me, but my hubby did not love it and it was a total “no-go” as leftovers. The best thing about real s’mores is that they provide immediate gratification, a fleeting taste of pure and simple decadence. Once a marshmallow has been toasted then allowed to cool, it becomes overly sticky and loses the gooey deliciousness that makes a simple s’more so ridiculously good. So, if you intend to give this a go, may I suggest you have a few hungry friends nearby (safely distanced, of course) and ready to indulge? Everyone grab a slice and eat it, straight from the oven.
Or, if your properly distanced friends are all members of the over-21 crowd, lean into this adaptation instead:
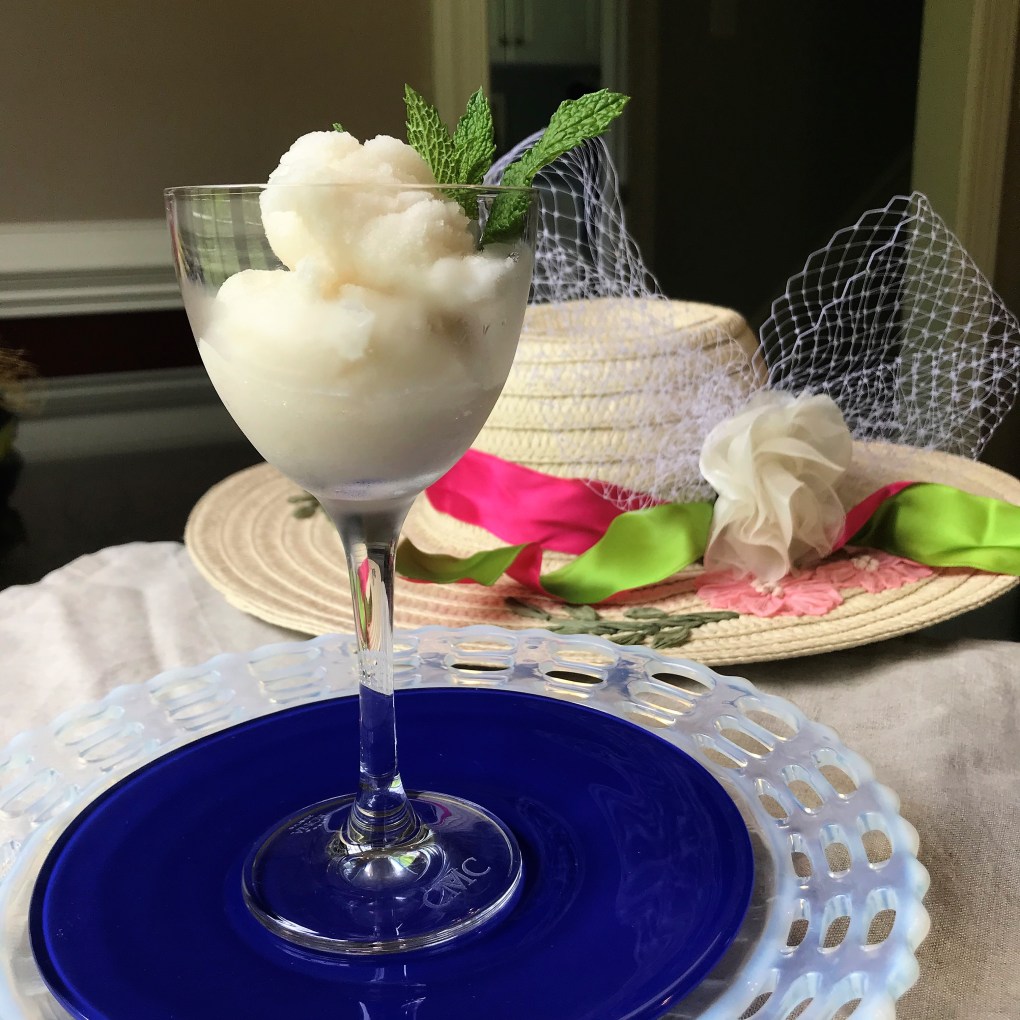
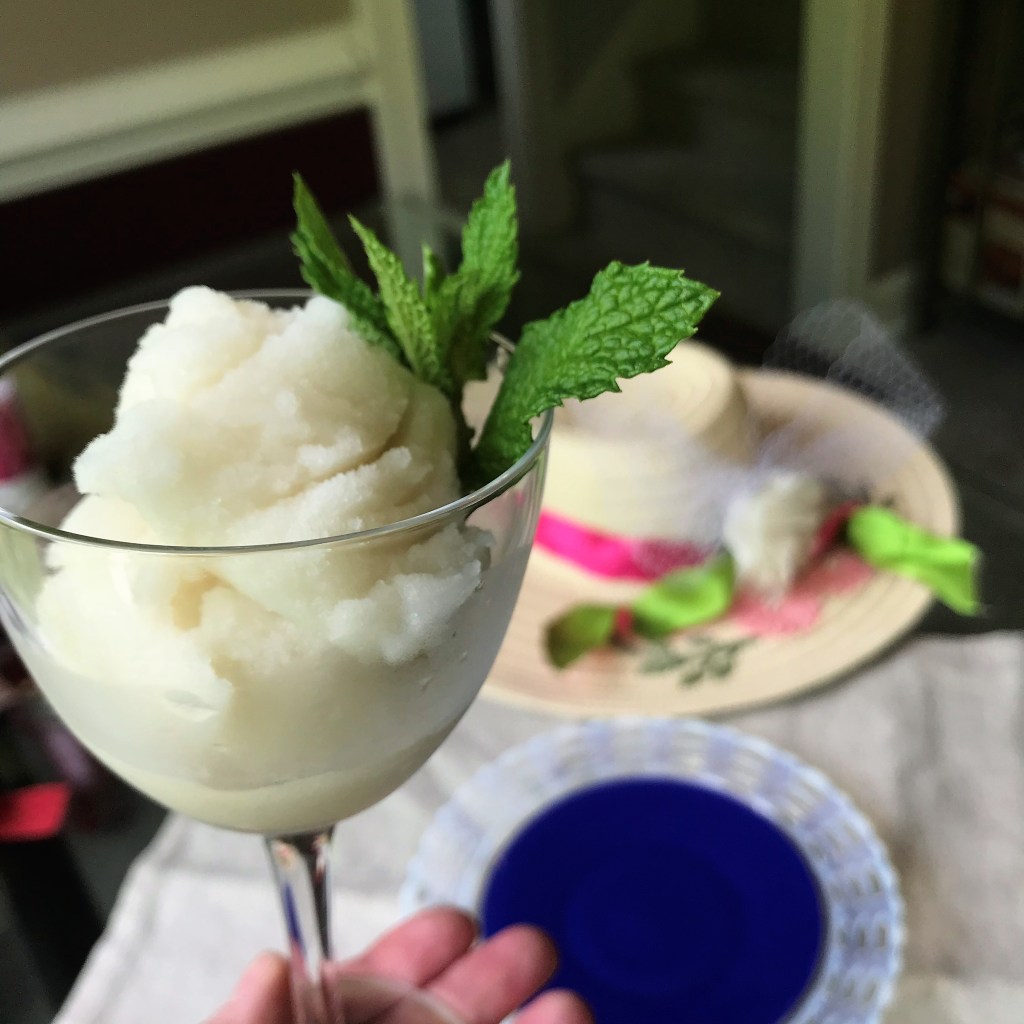
S’mores Martini!
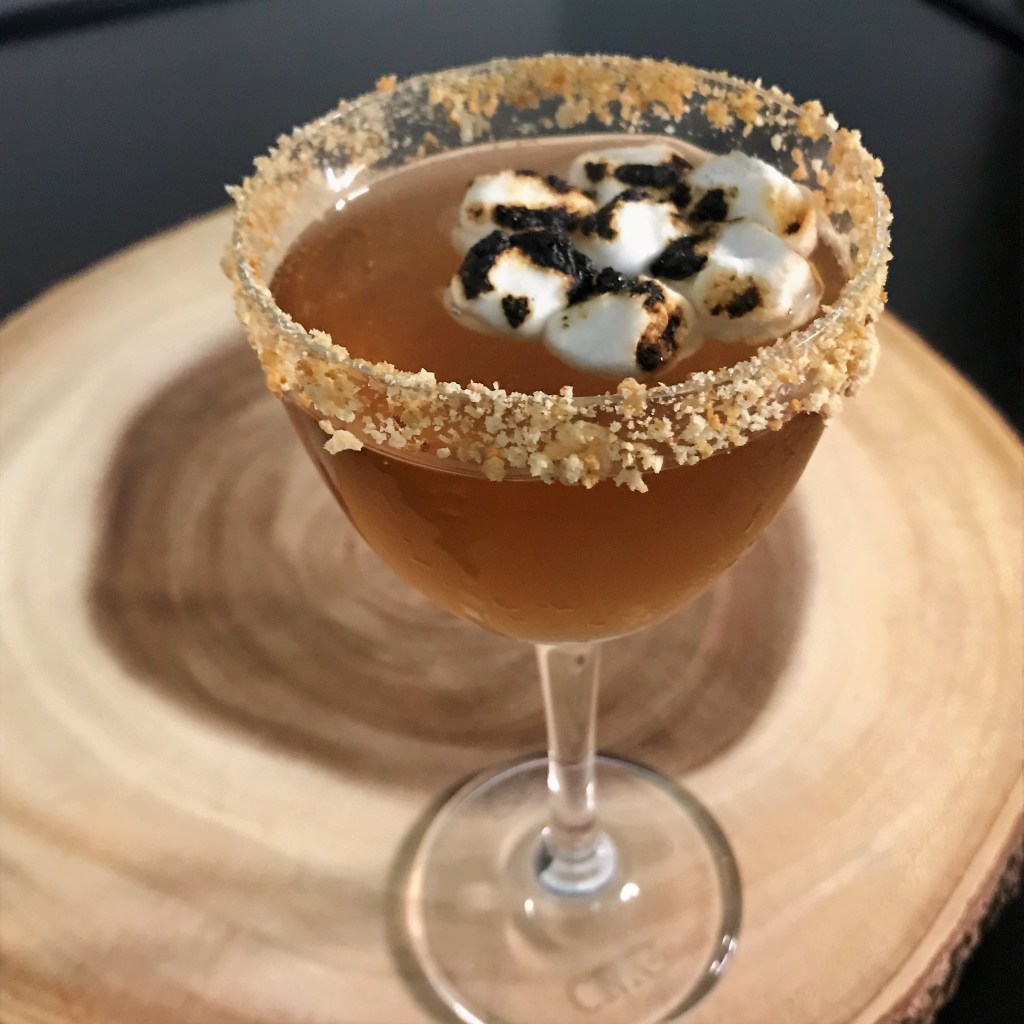
The distinct flavors of your favorite summer camp treat, with vanilla and chocolate spirits, and neatly dispensed in a chilled 4 oz. glass, complete with graham crumb rim and floating a toasted mini marshmallow garnish.
Kumbaya, y’all.
Ingredients
1.5 oz. vanilla vodka (I used Absolut)
1.5 oz. crème de cacao (light or dark, but not creamy)
Graham crumbs
Mini marshmallows
You will also need a petite cocktail glass and a kitchen torch or stick lighter. A cocktail mixing glass or shaker will be helpful, or improvise with a glass measuring cup.
Instructions
- Combine the vanilla vodka and crème de cacao in a cocktail mixing glass (or a bowl that is wide enough to dip your glass rim into). Carefully lower the rim of your chilled cocktail glass into the alcohol mixture, then roll the edges into the graham crumbs until coated all around. Put the glass in the fridge or freezer while you prep the marshmallows.
- Arrange the mini marshmallows in a heated cast iron skillet, and use a kitchen torch or stick lighter to gently “toast” the edges of the marshmallow. Watch it closely to keep them from burning (unless you like the burned edges, as I do). The goal is to get a nice toasty color on them and help them stick together in a cluster. Use a small spatula to transfer the garnish to a plate or cutting board to cool.
- Add ice to the cocktail mixing glass (or pour the alcohol from the bowl into a shaker with ice) and stir (or shake) about 20 seconds, until the outside of the mixing container is frosty. Strain into the cocktail glass. Top with marshmallow garnish.