Roasted Cauliflower with Olives, Capers & Herbs

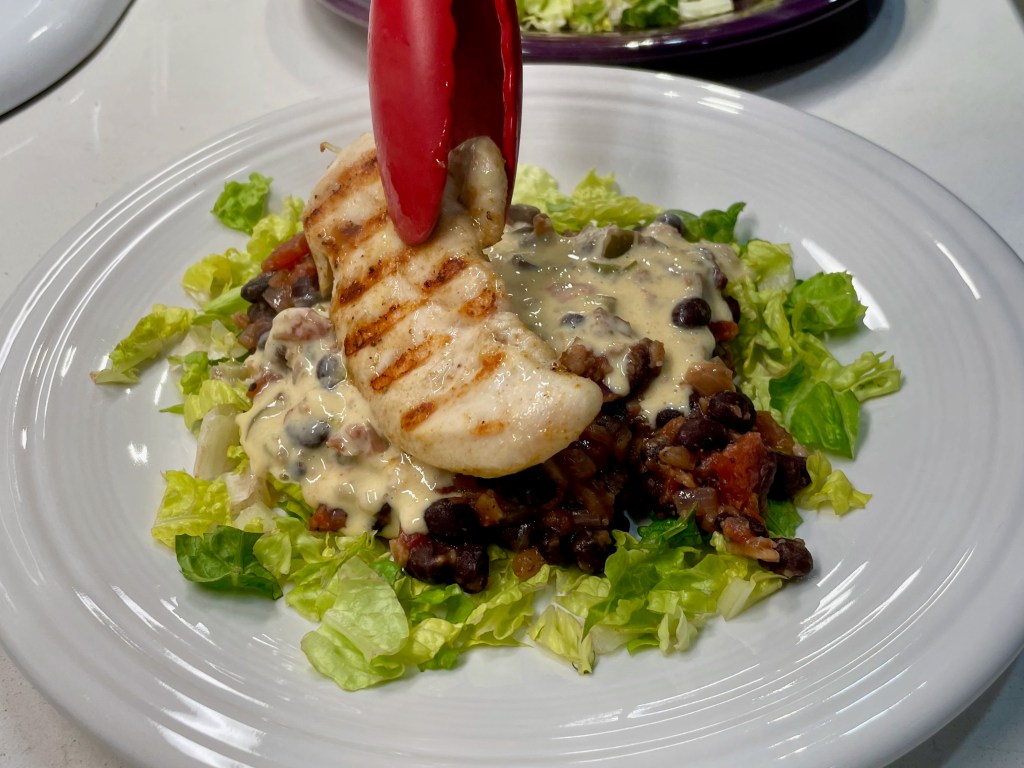
The newness of this season makes eating lighter feel more natural and easy, and I think I’m finally onto something in our recent quest to lighten up our meals. Up til now, my first thought for a new meal has been focused on the protein— deciding how to keep it “a smidge healthier,” as my blog pal, Bernadette from New Classic Recipe would say. 😉

It gets exhausting from a decision-making standpoint, though, and then by the end of my workday when I have figured out how to adapt the protein part of a meal, I’m fresh out of ideas for planning the sides. Here’s what happened when I stepped back and redirected my focus onto the vegetables.

This tackled all my flavor cravings. And won!

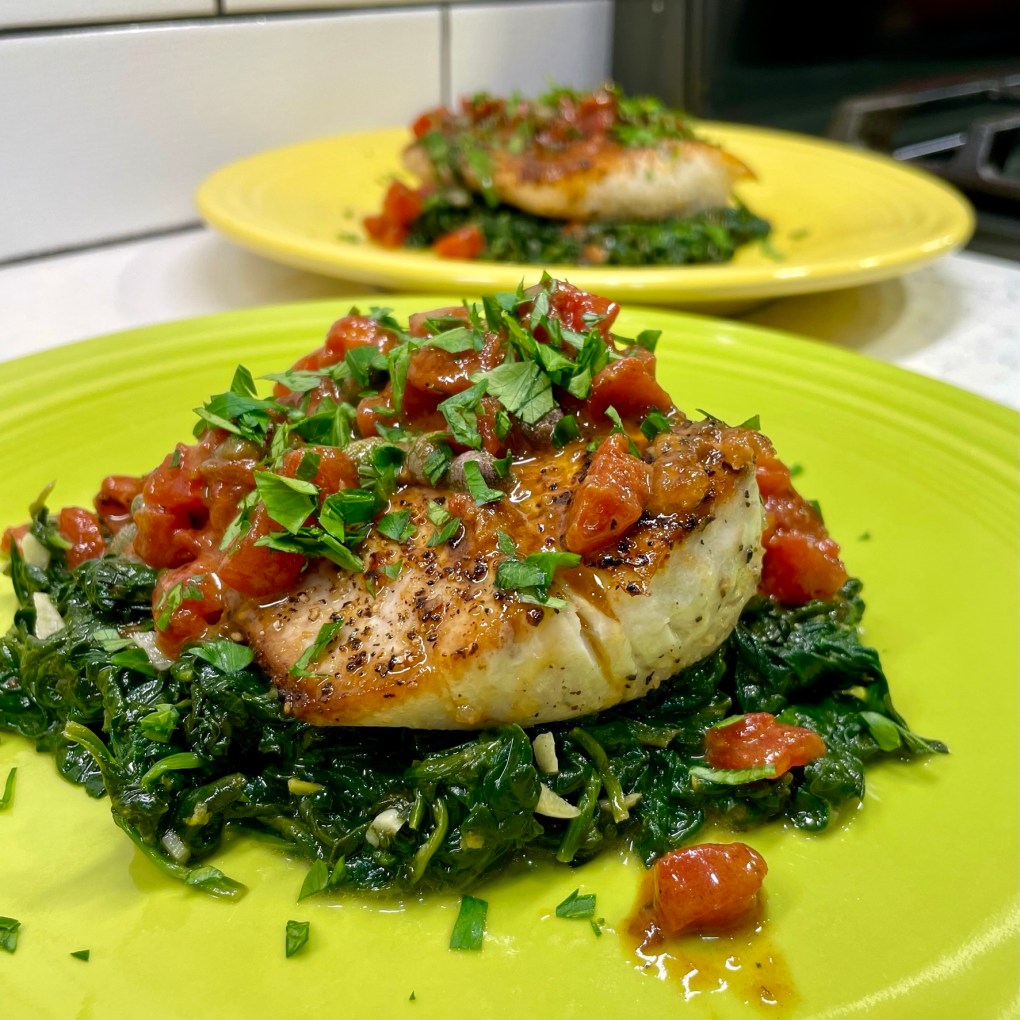
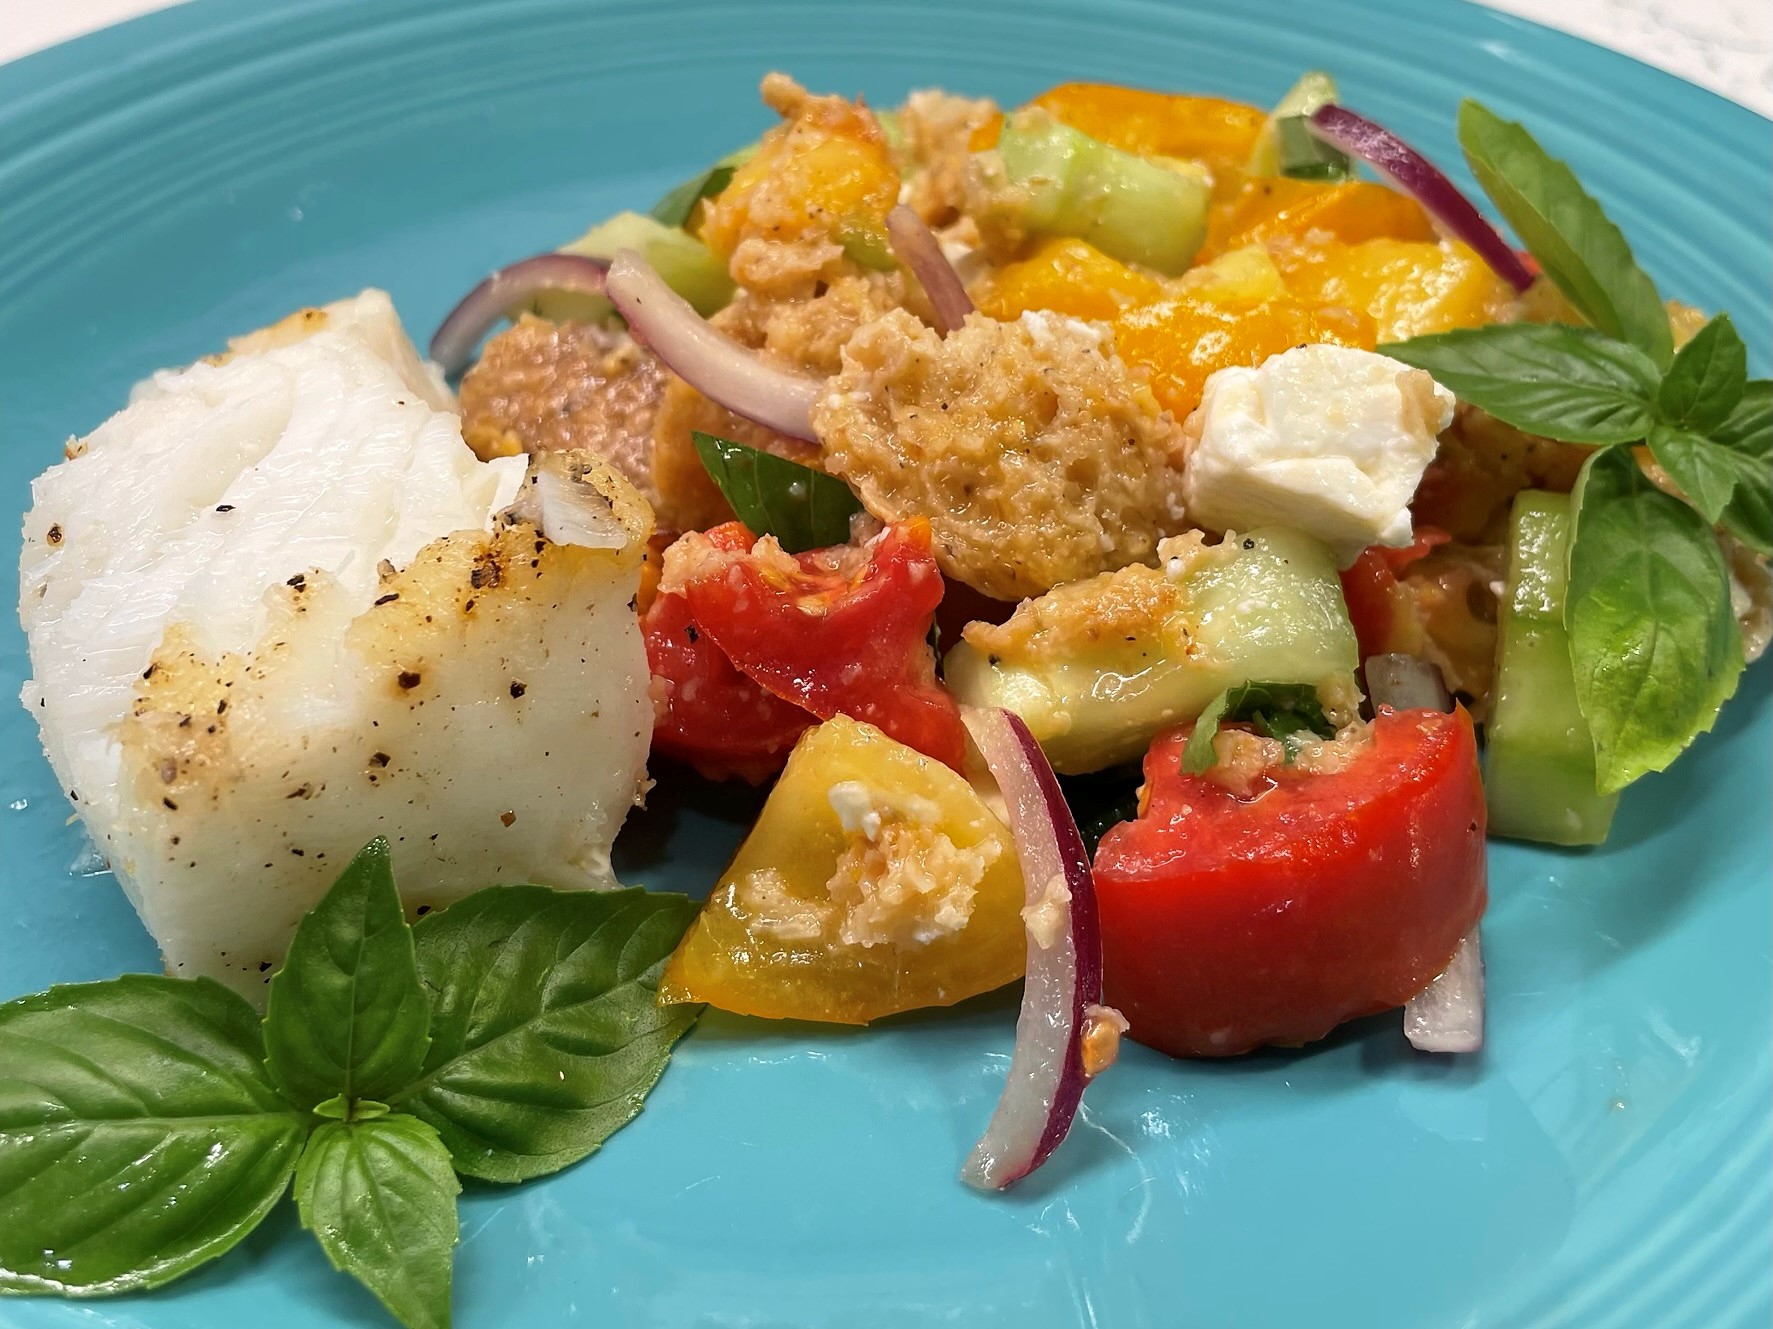
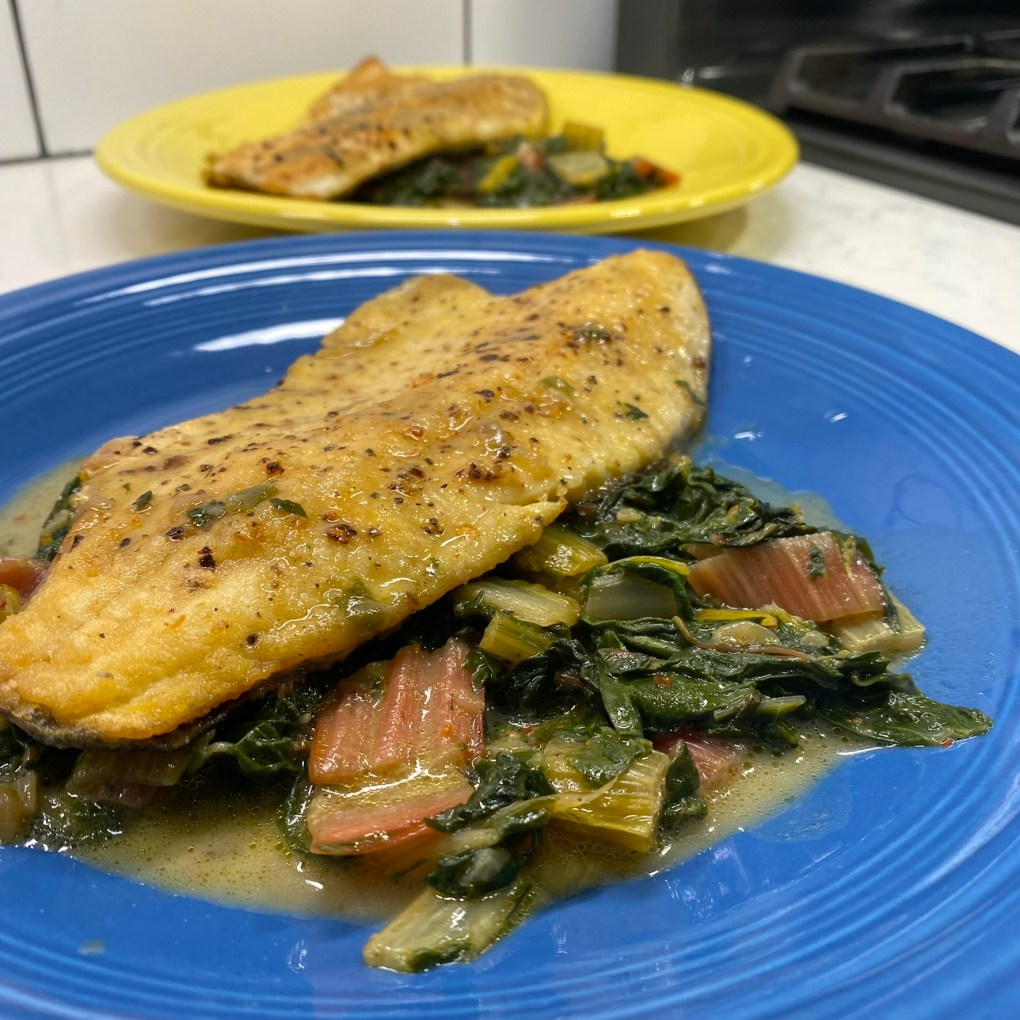
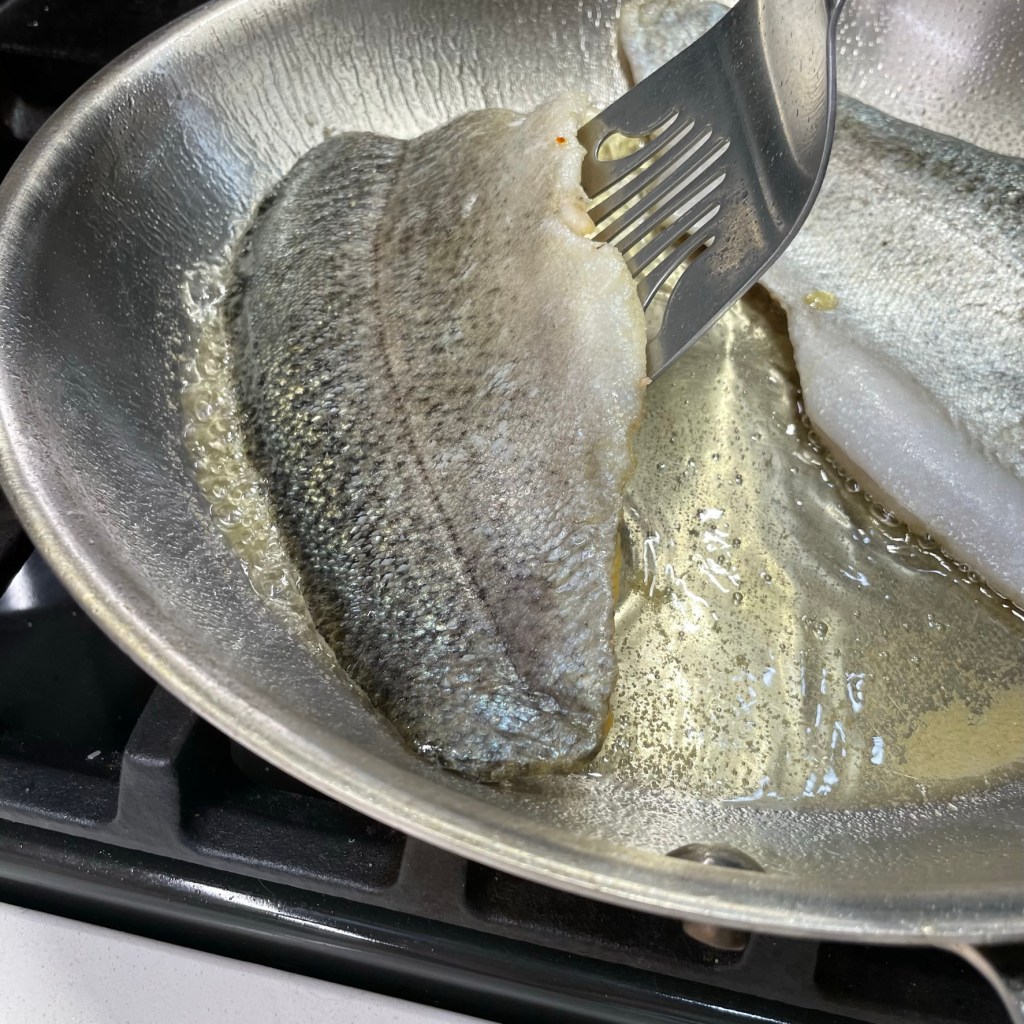
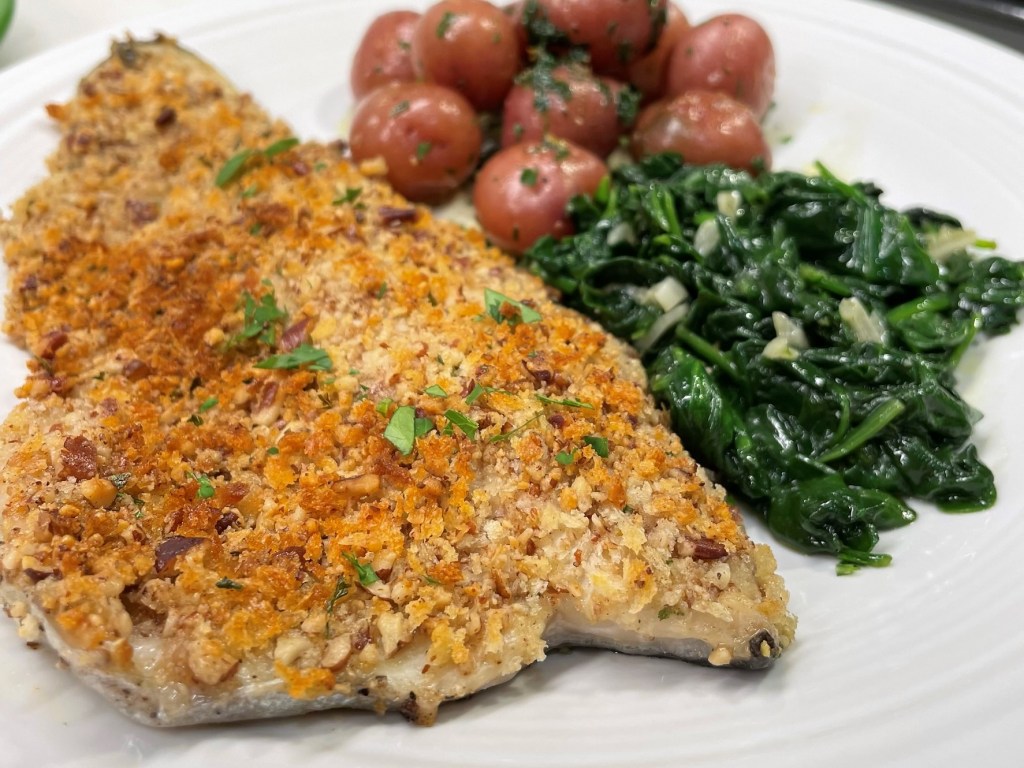
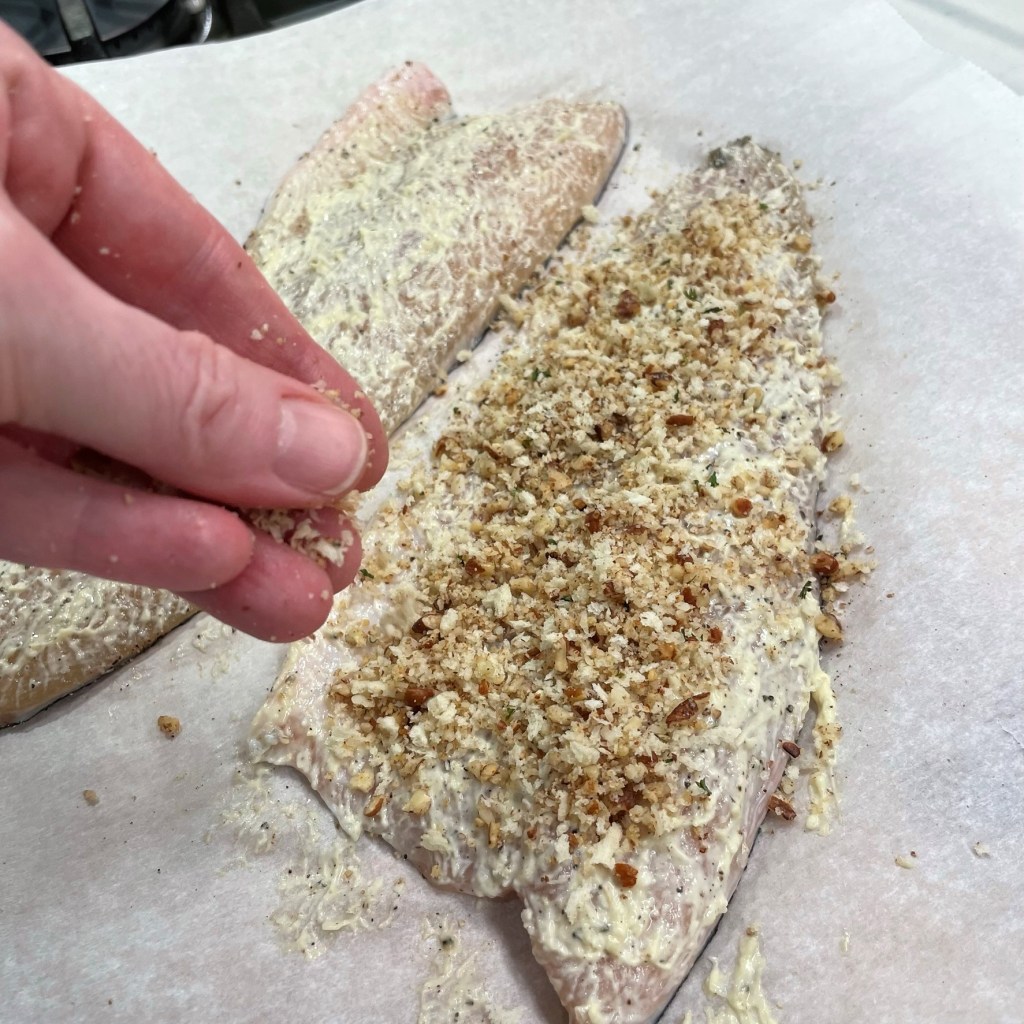
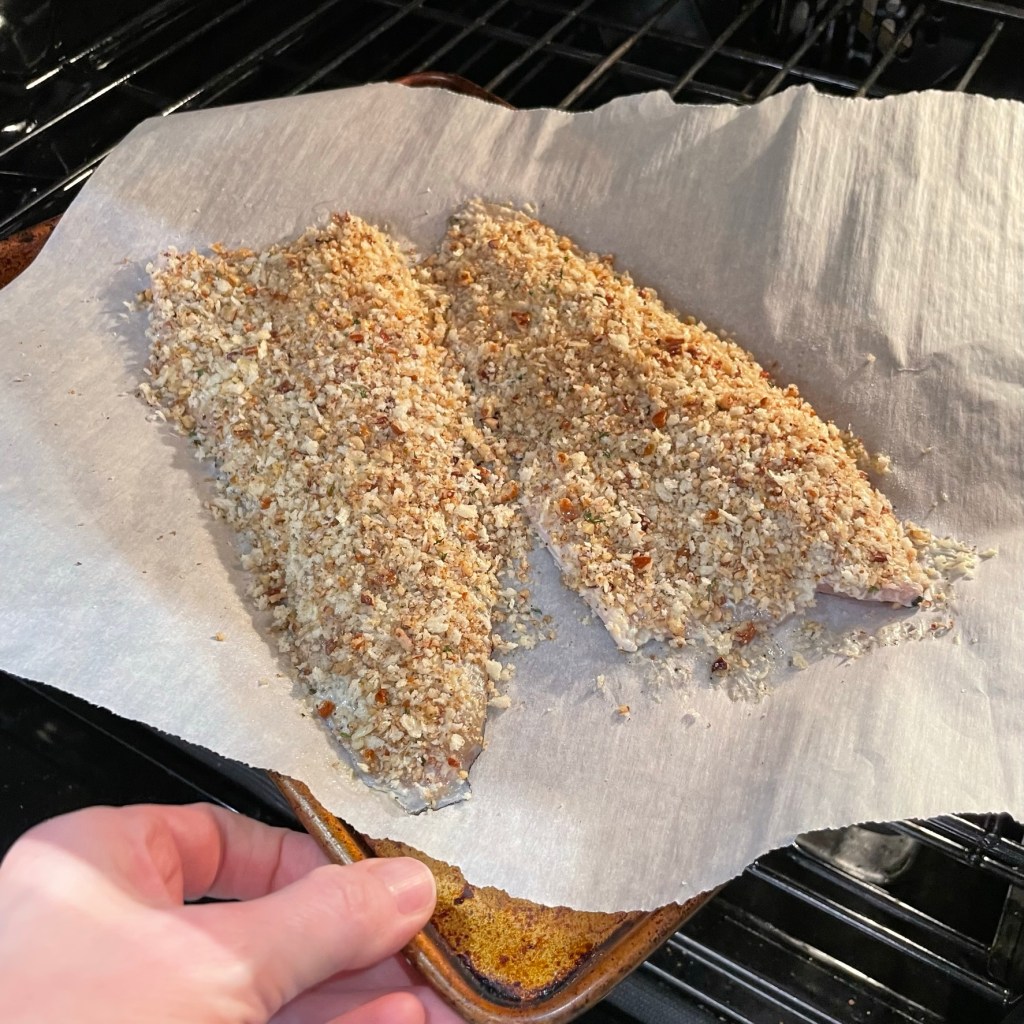
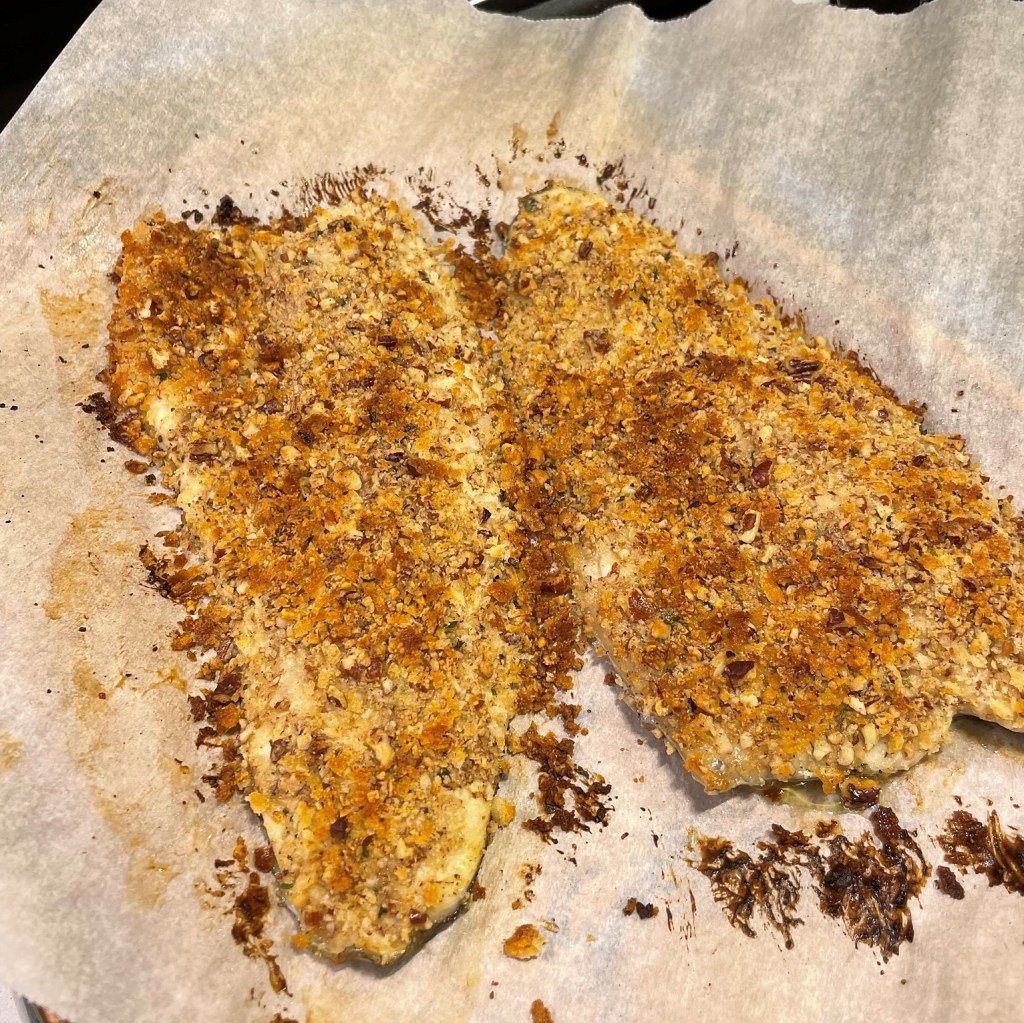
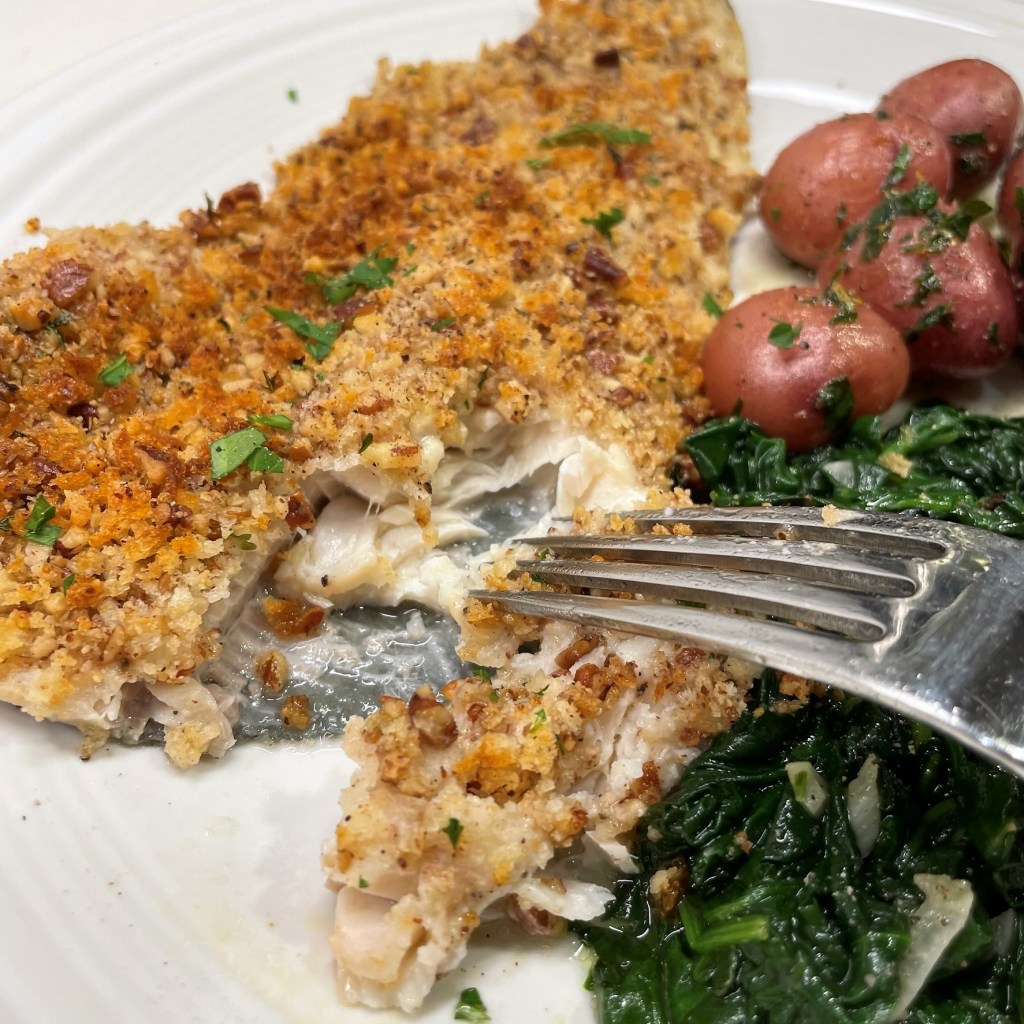
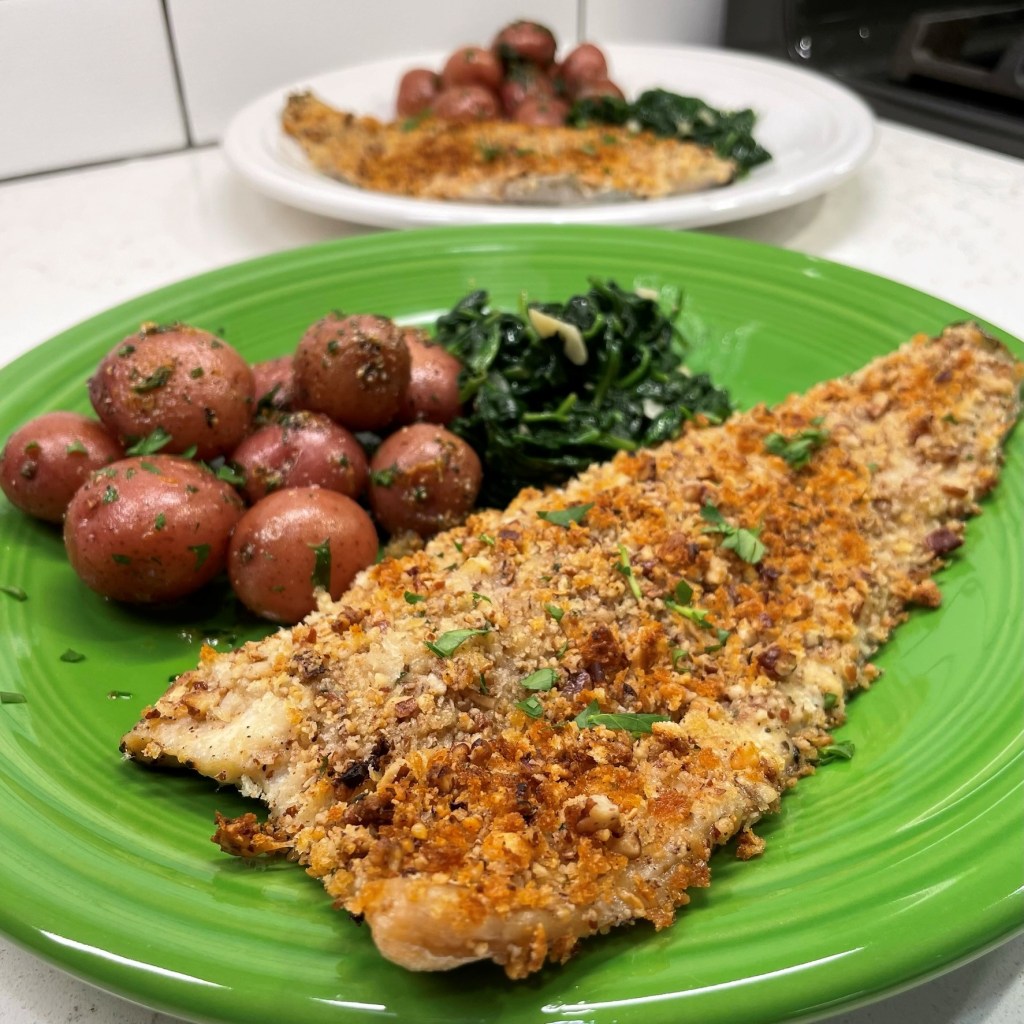
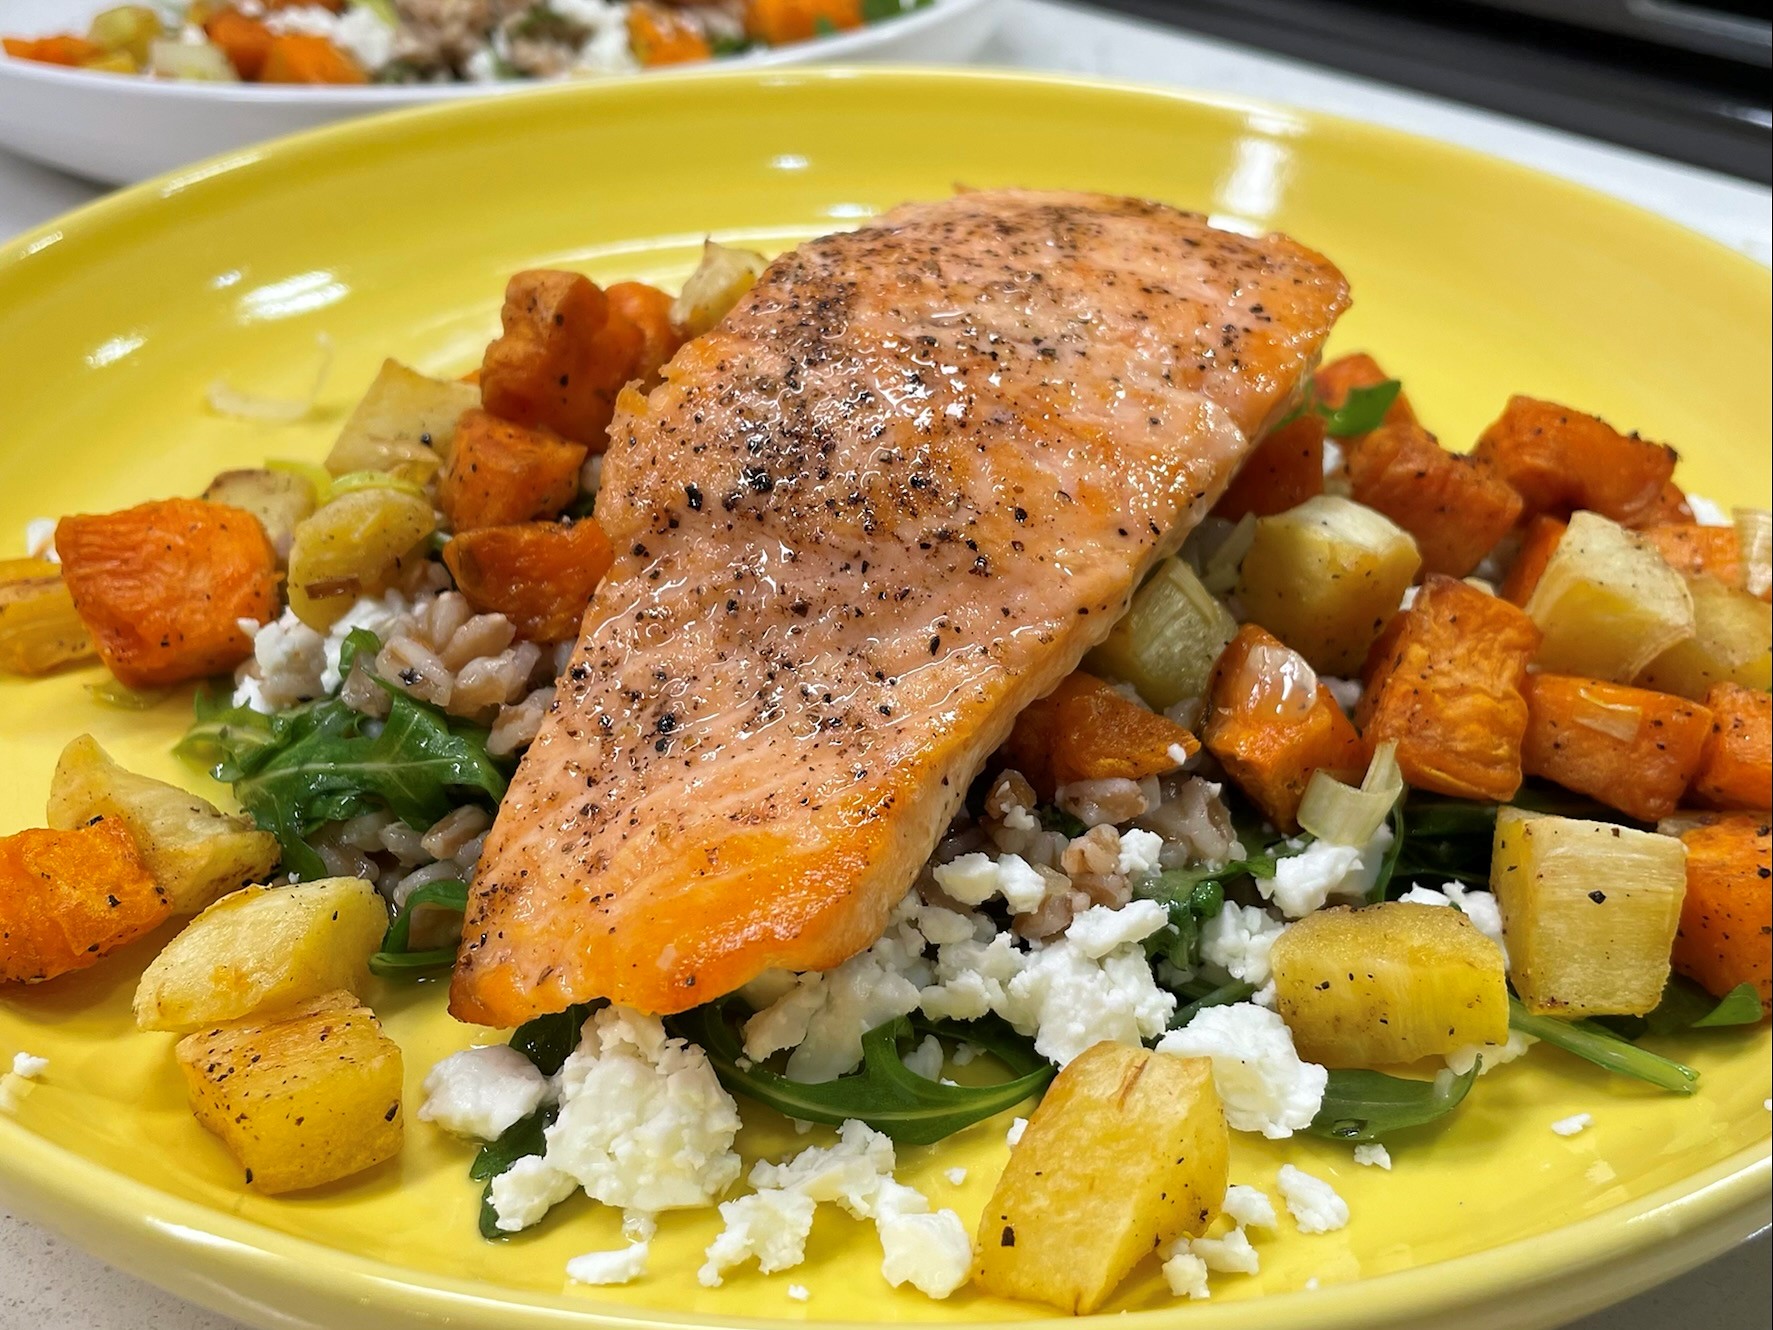
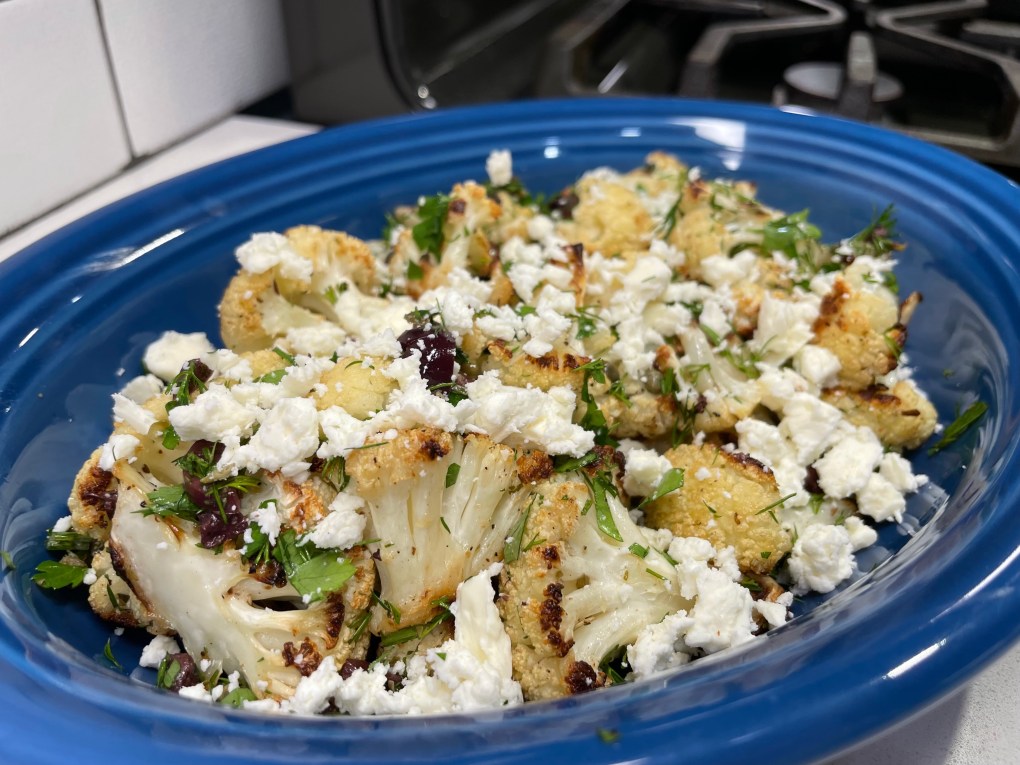
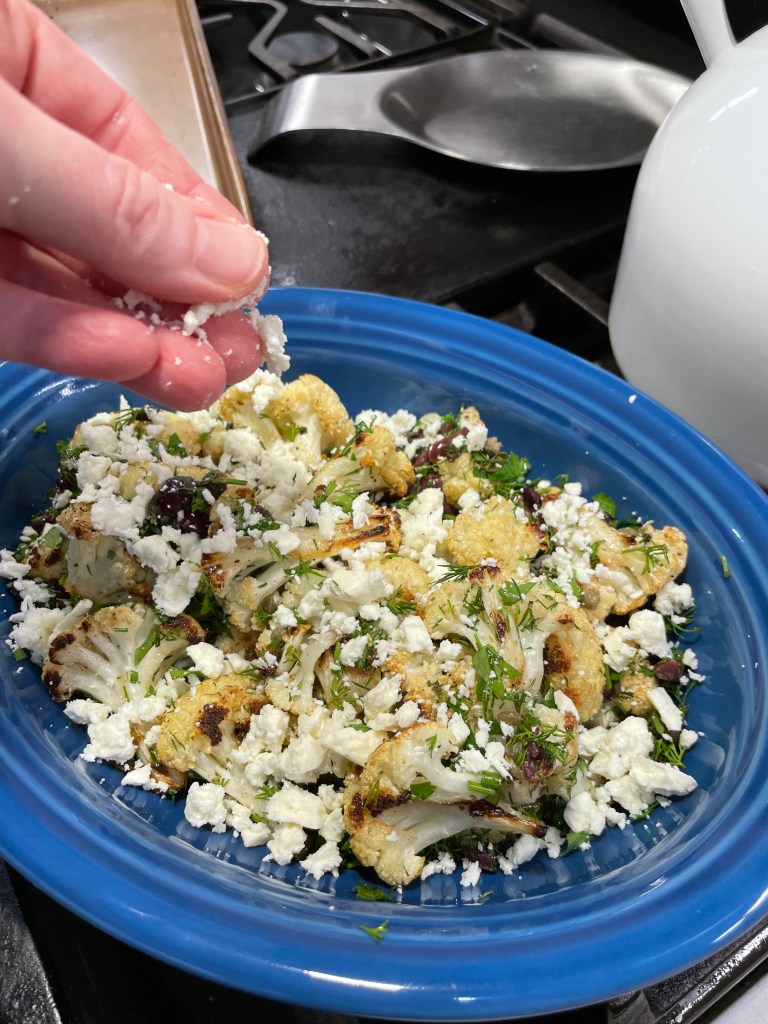
What grabs the eye in this photo isn’t the panko-crusted baked halibut, though it was truly delicious and satisfyingly easy to make. It’s the Greek-inspired roasted cauliflower stealing the show here, and no wonder. It’s embellished with tangy feta, kalamata olives, capers and herbs. Packed with flavor, and still very easy to make. 

Only an ounce of feta per serving, and it brought more than enough flavor.

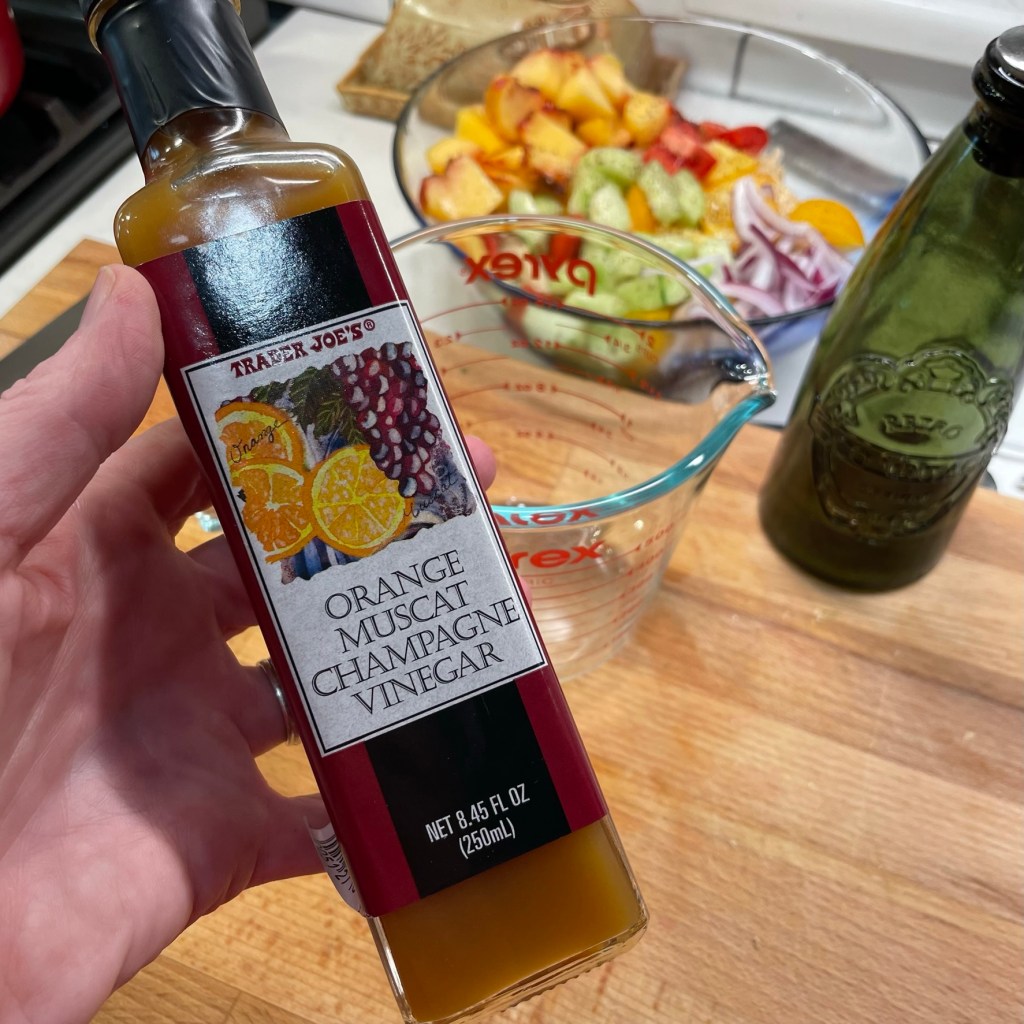
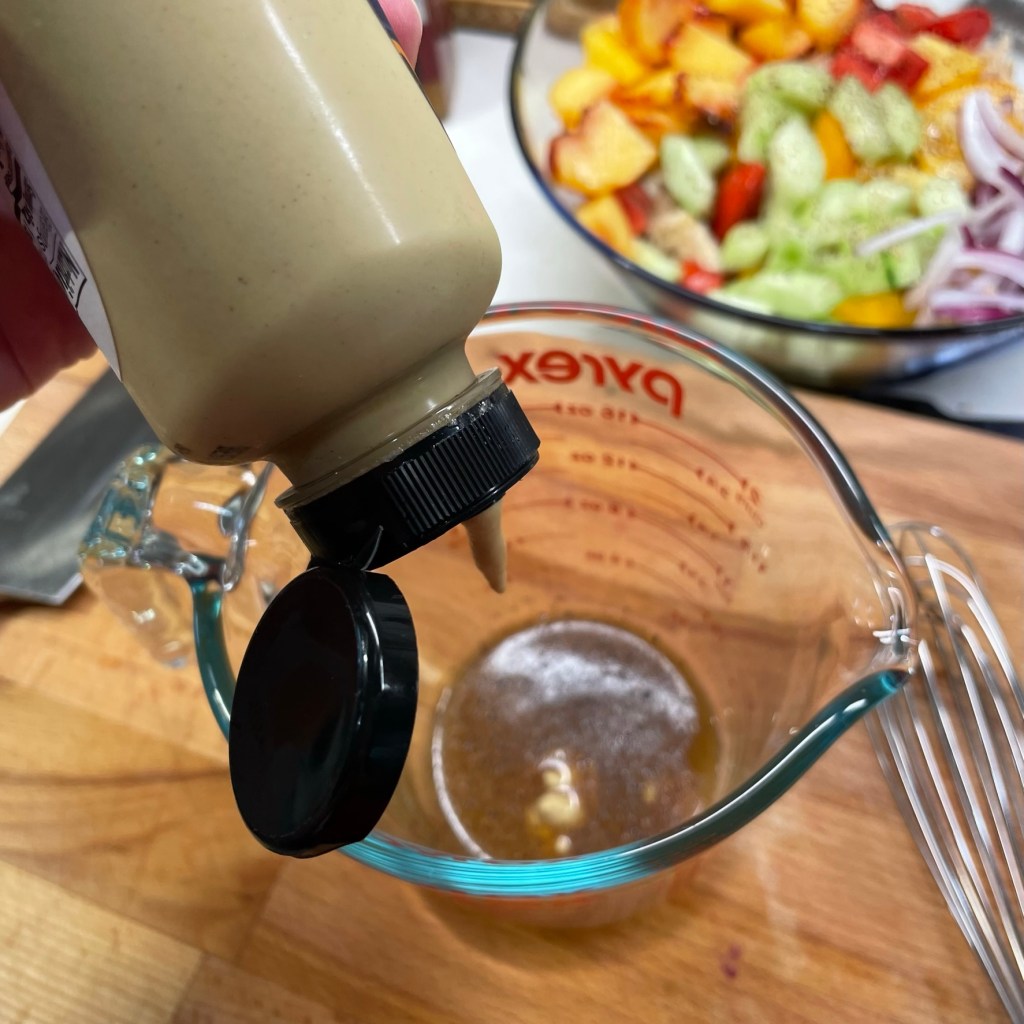
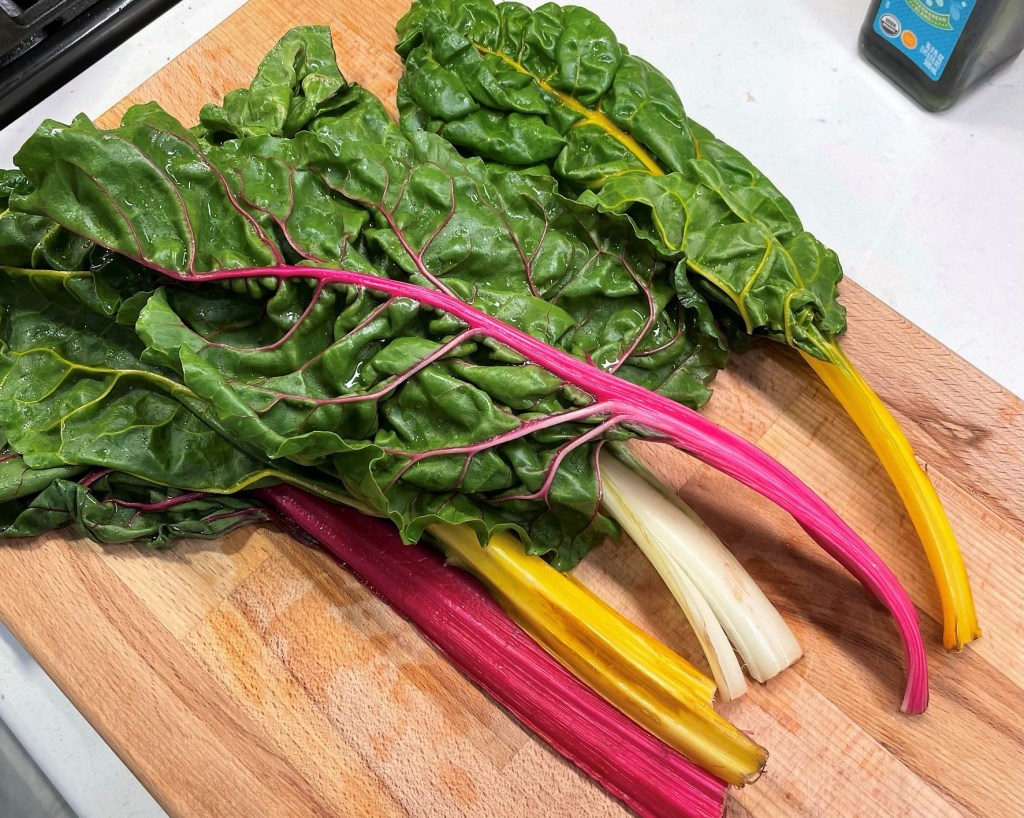
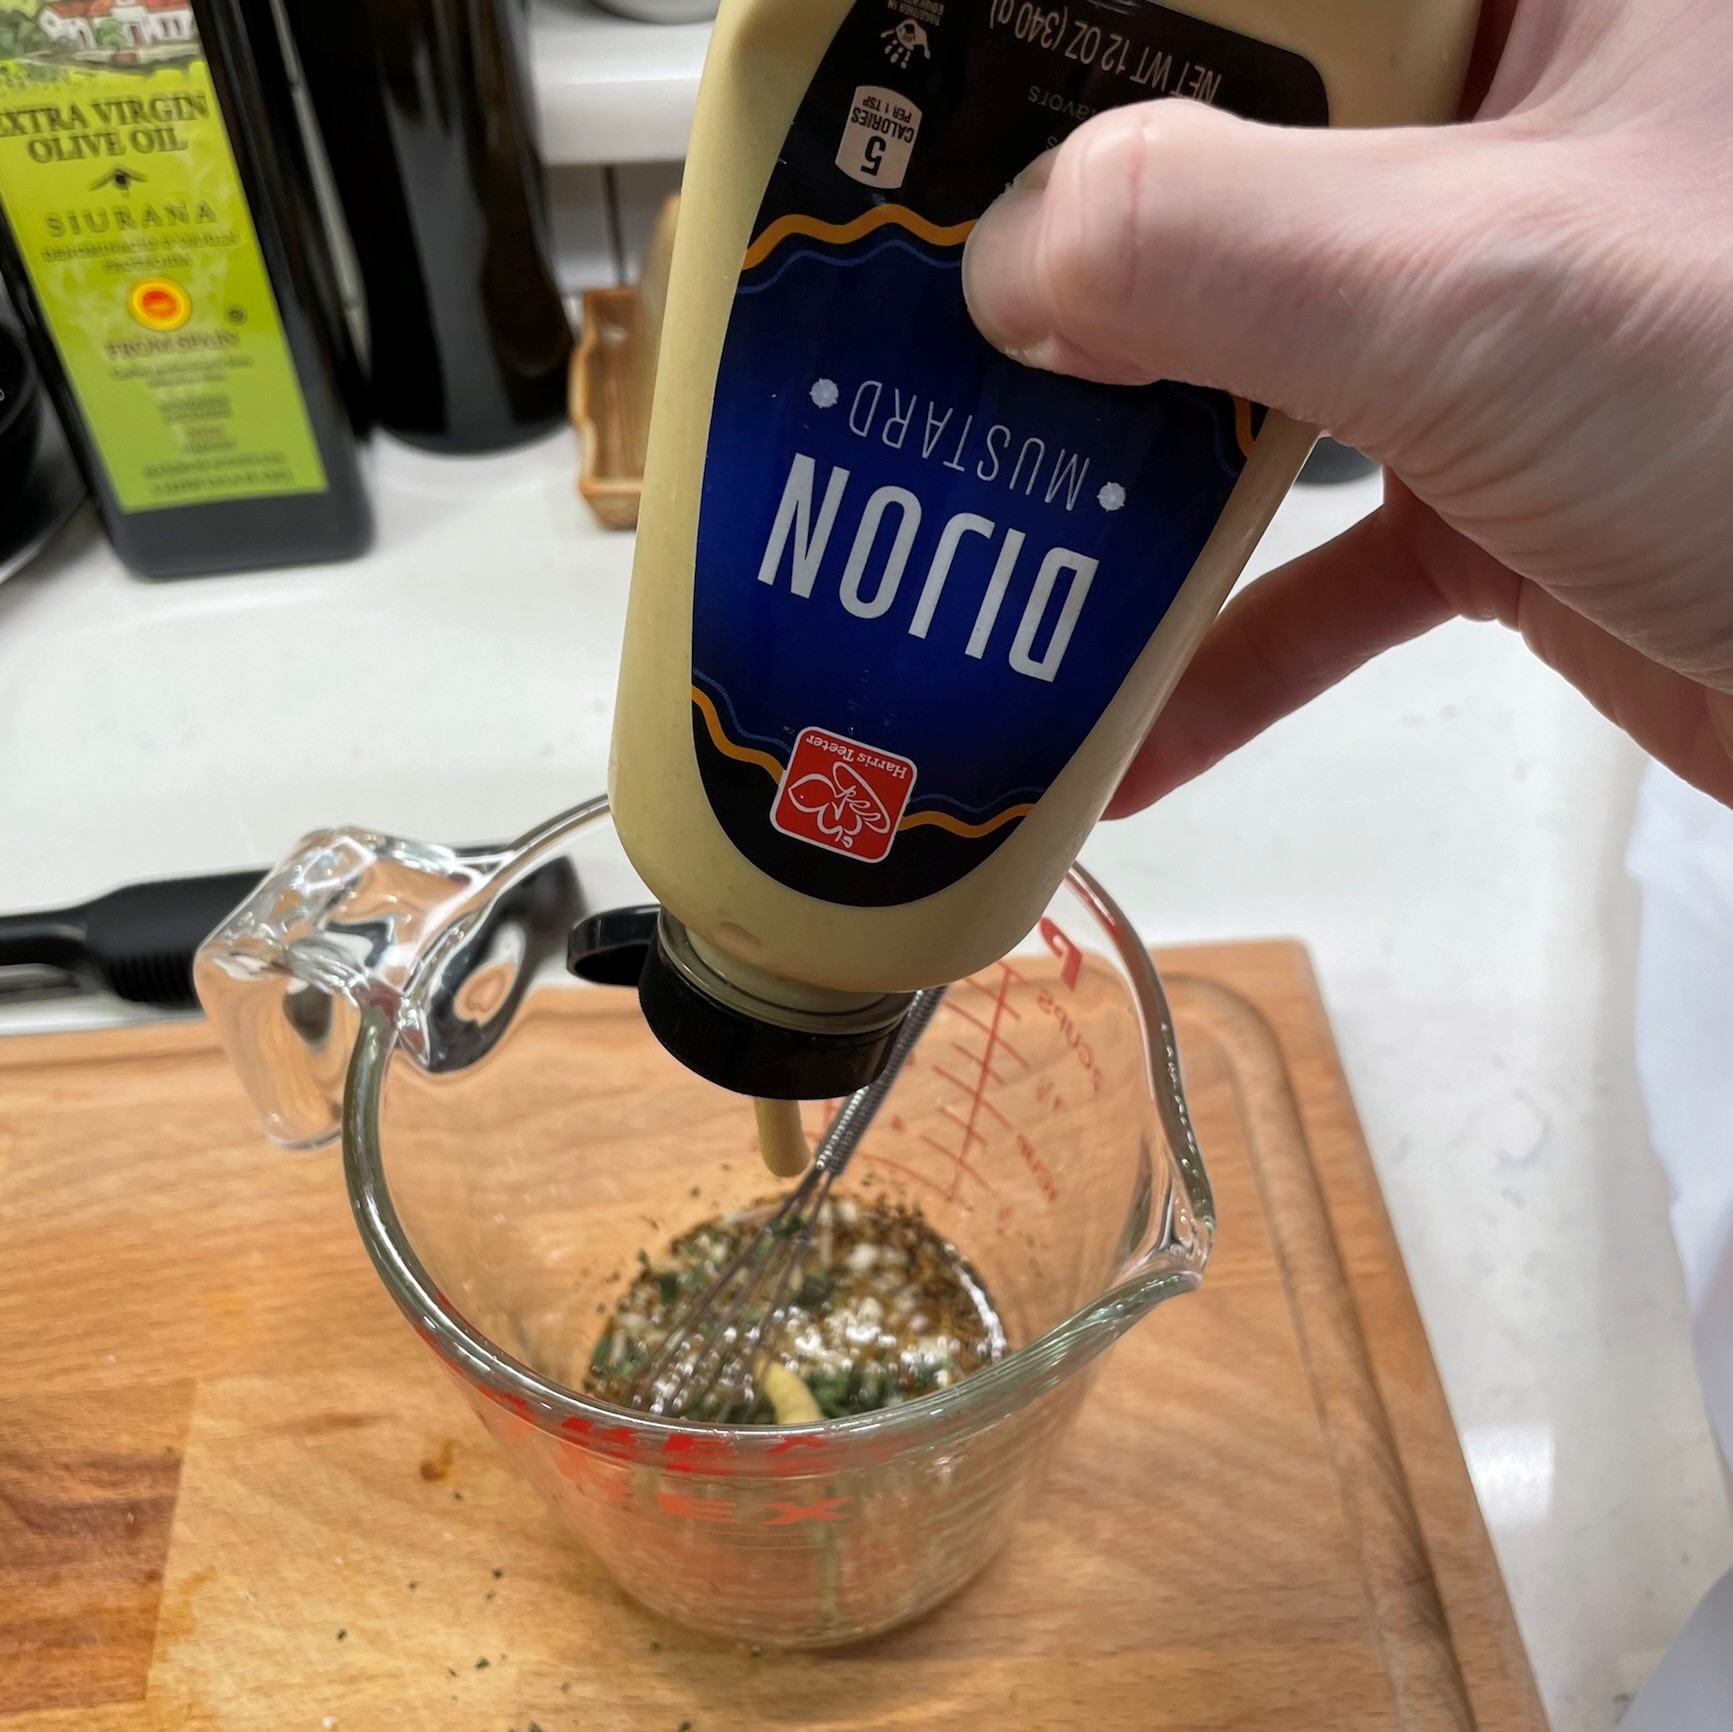
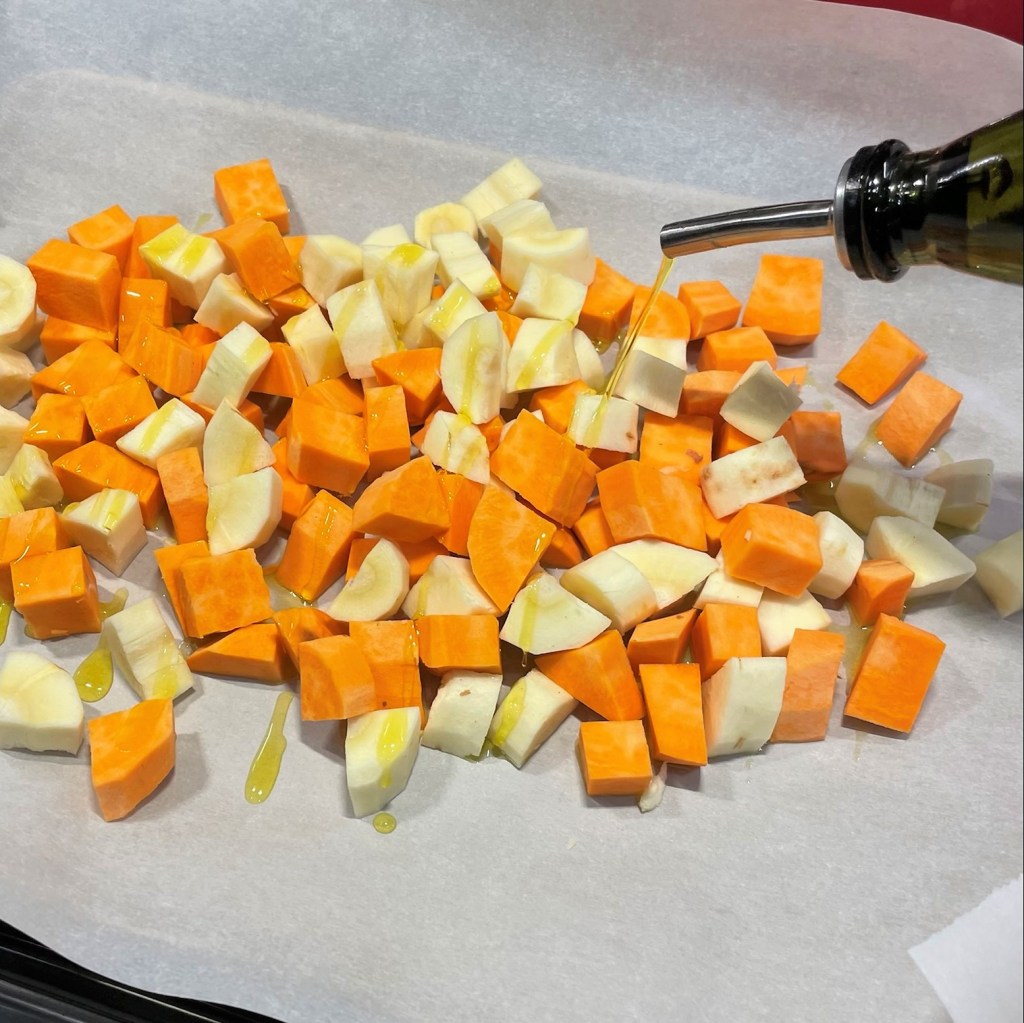
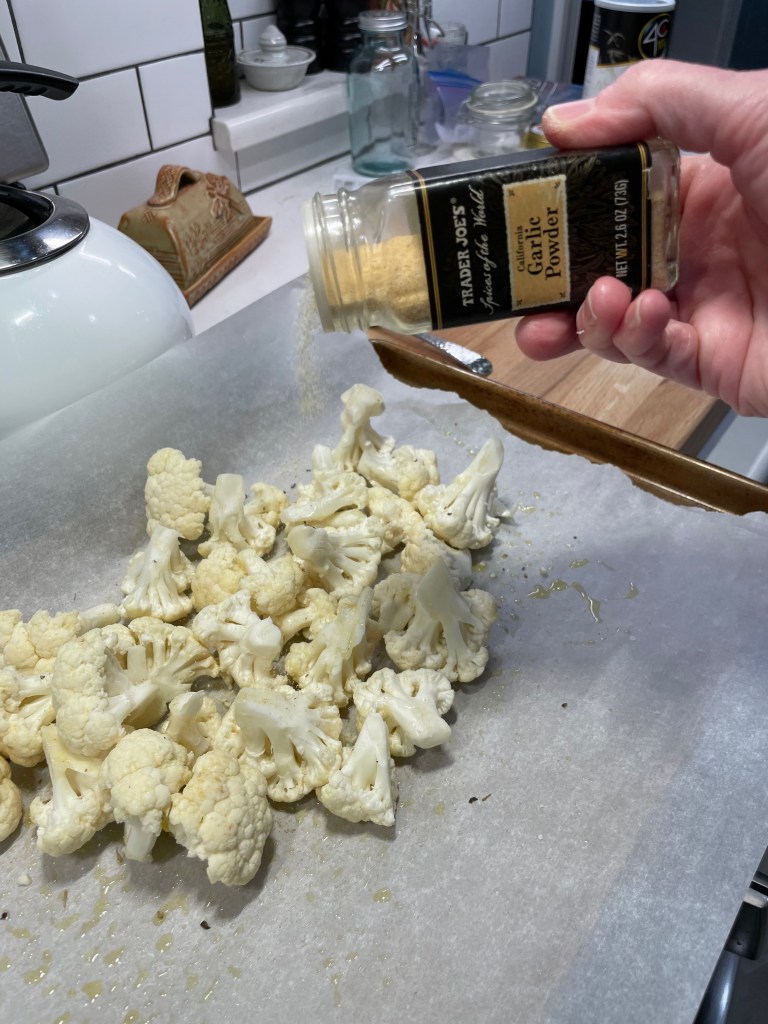
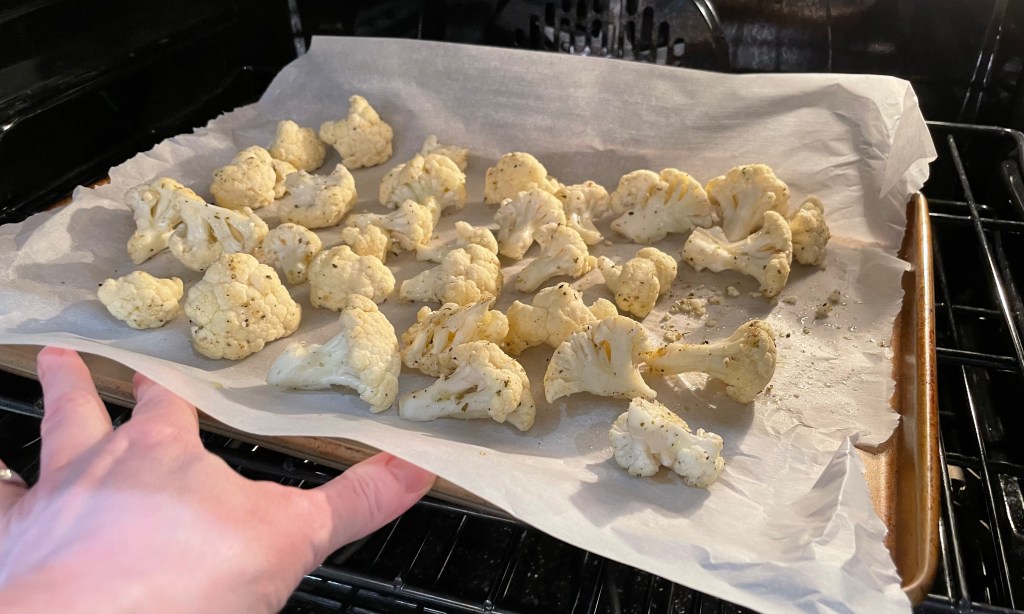
I chose cauliflower to carry these flavors because it is neutral on its own, suitable for just about any seasonings, and I kept the Greek flavors fresh by adding most of them after the cauliflower was roasted. My florets were drizzled with extra virgin olive oil and sprinkled with garlic powder, dried oregano, salt and pepper.


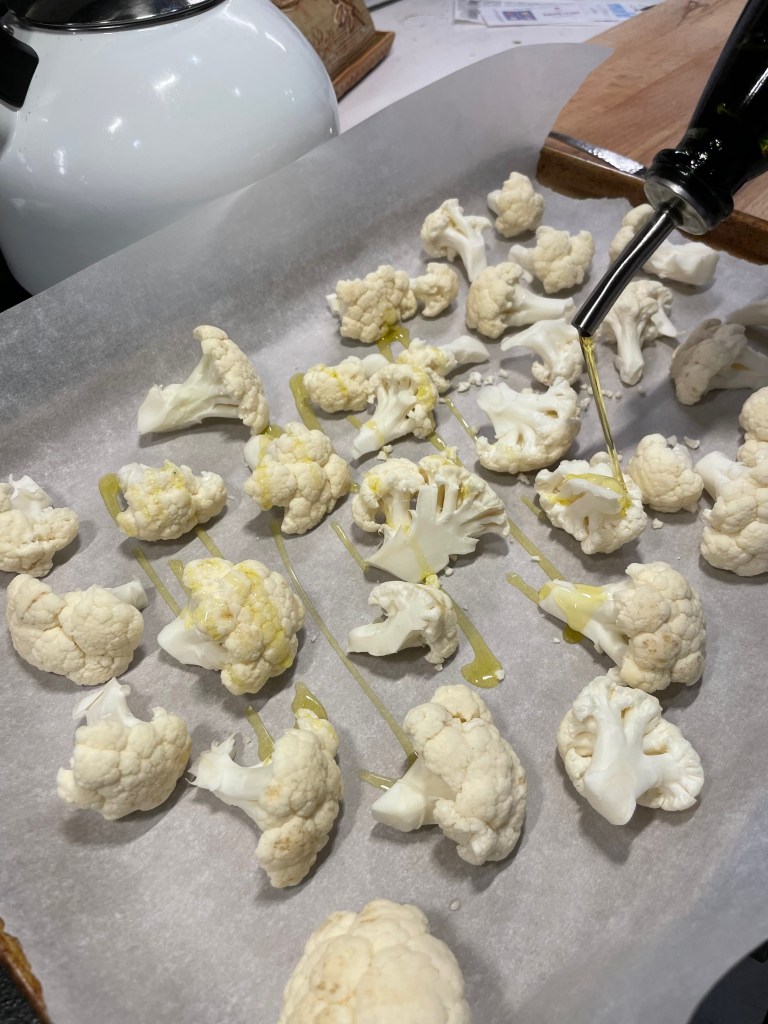
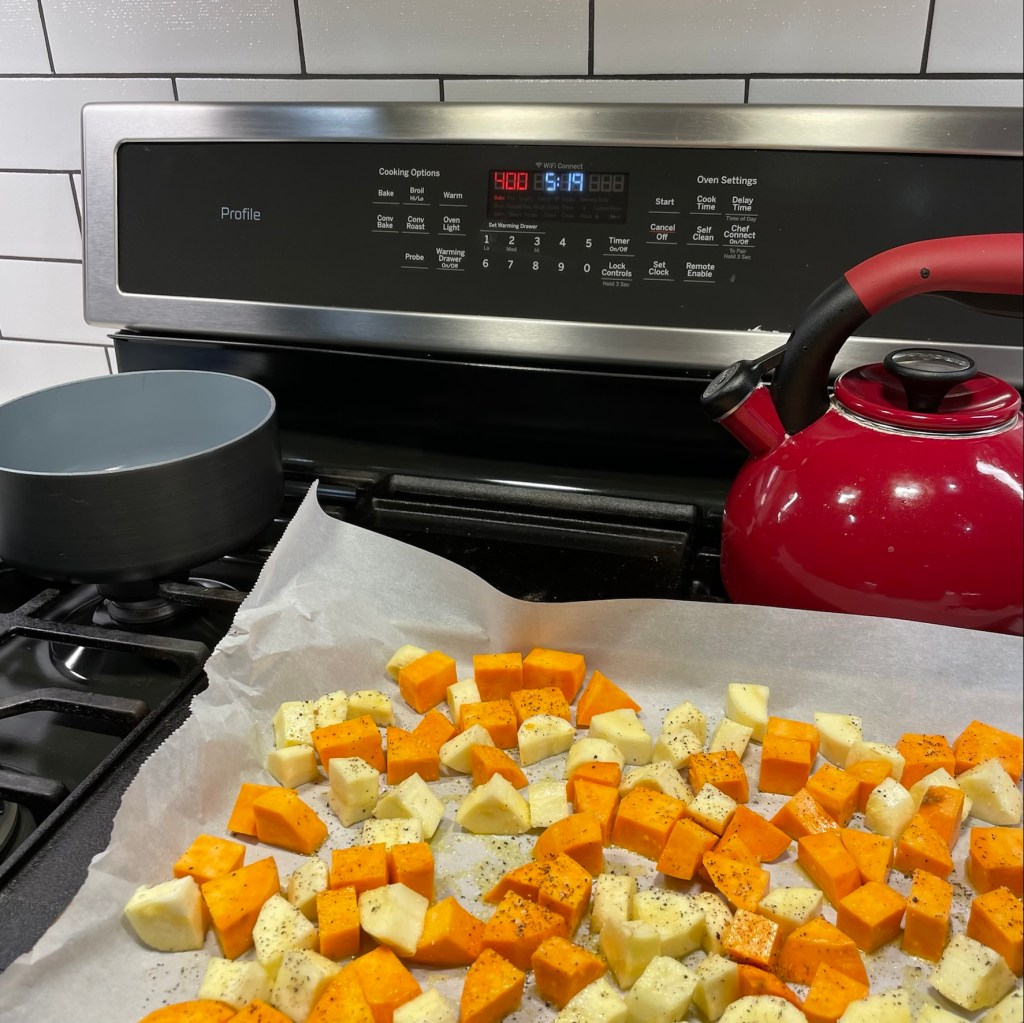
It’s best to roast vegetables at a higher heat, so that you get caramelization on the exterior before they have a chance to turn to mush on the inside. Mine went 25 minutes at 425° F, and the result was perfect for this recipe. The cauliflower held their texture and absorbed the flavors I tossed in at the end.


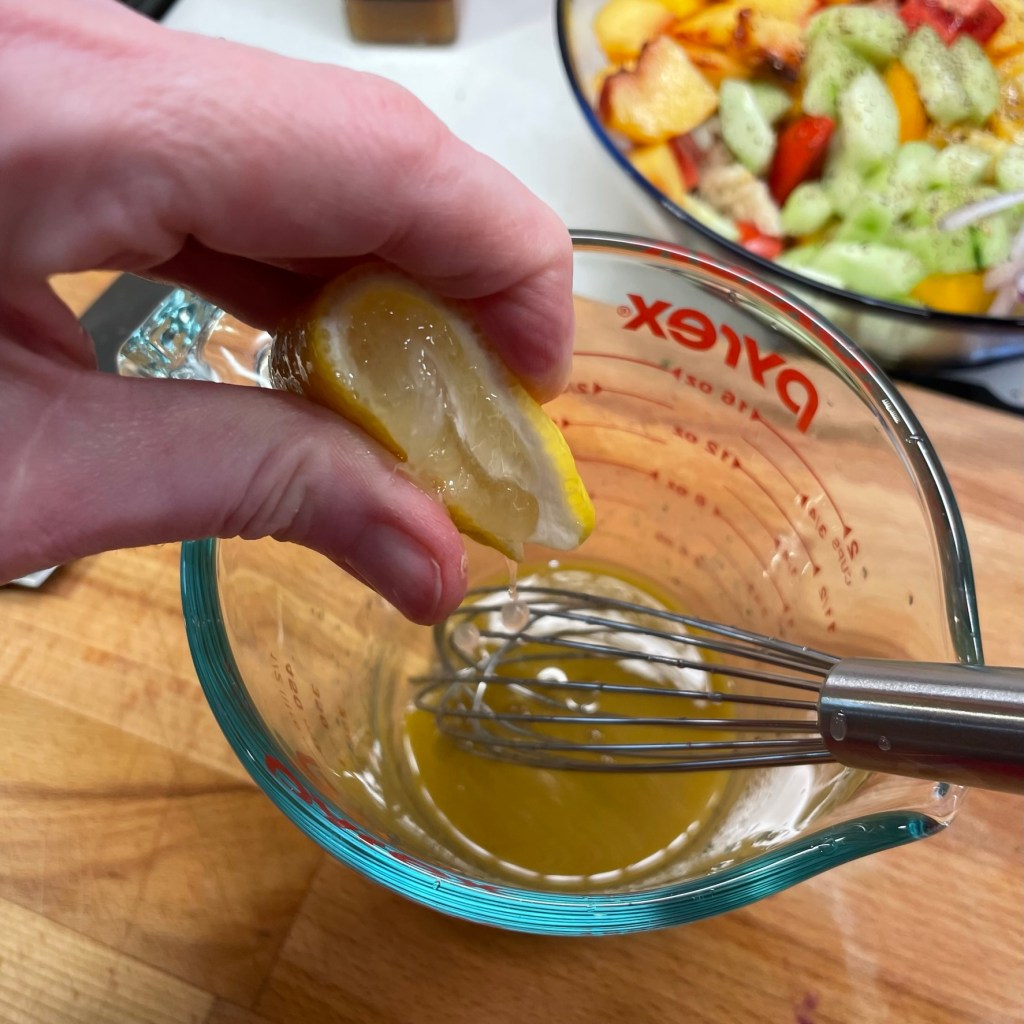
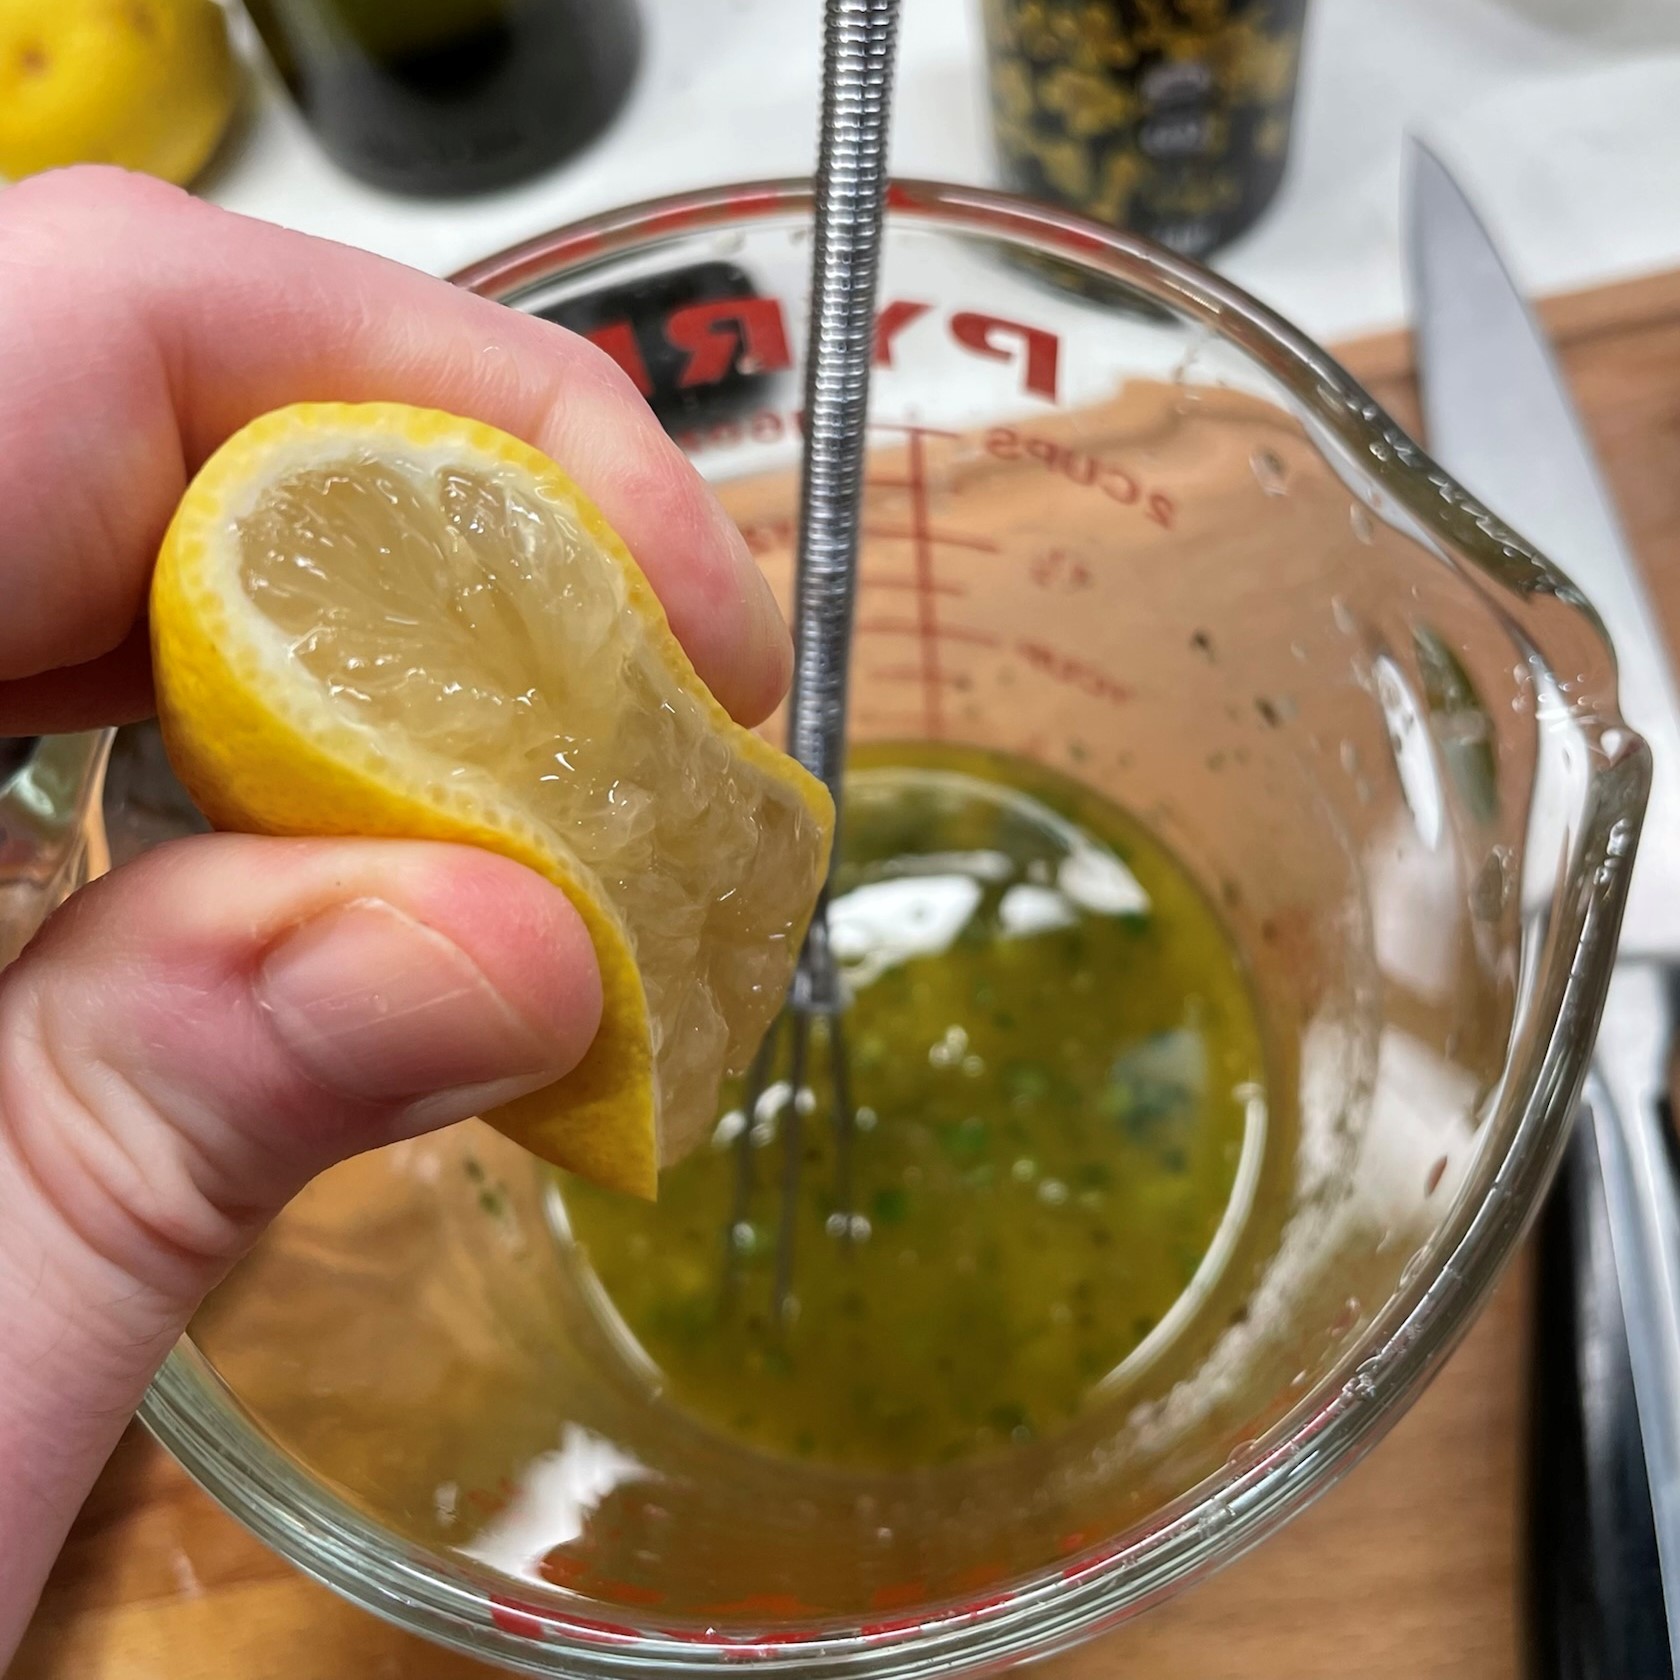
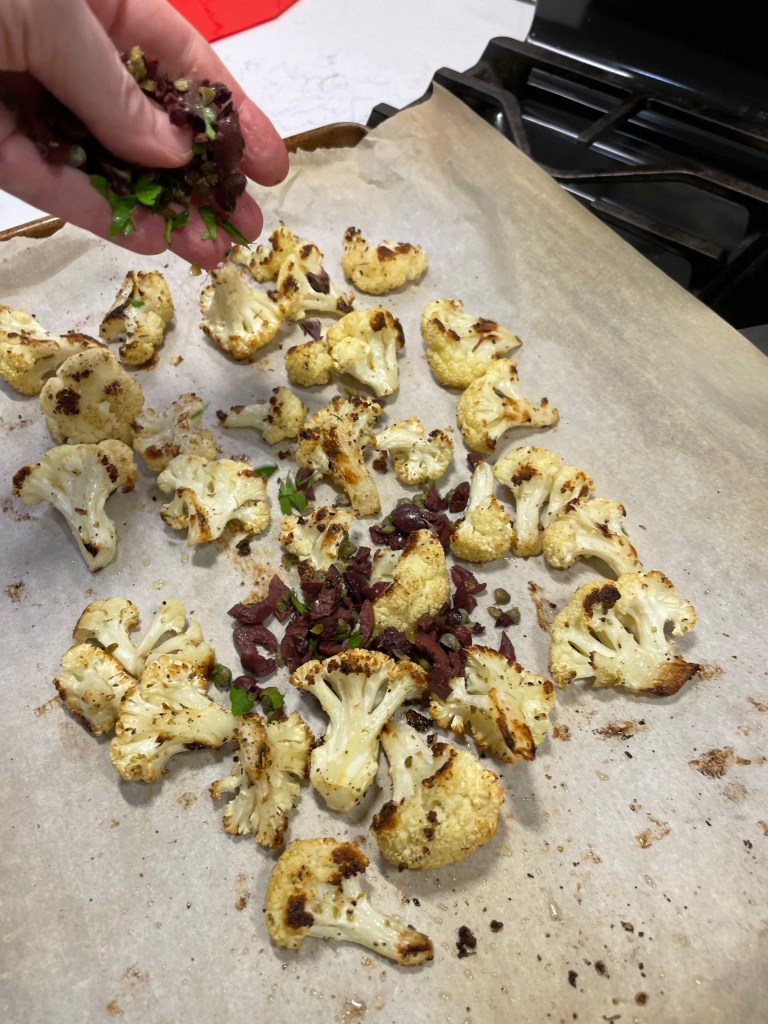
When the cauliflower emerged from the oven, browned on the edges and perfectly al denté, I simply tossed it with the chopped olives, capers and herbs and then gave it a good squeeze of fresh lemon, plus a final drizzle of the extra virgin olive oil. A scattering of crumbled feta finished the dish, and provided a sharp, tangy flavor that was great with my panko crusted halibut. Don’t worry, I’ll have that recipe for you in a few days!


I like this idea of putting the vegetables first, and I made a decision last week that sort of paints me into a corner so that I keep doing it. More on that soon. 😁


Roasted Cauliflower with Olives, Capers & Herbs

  • Servings: 4
  • Difficulty: Average
  • Print

This dish features all the lovely flavors of the Mediterranean, and is an easy, impressive side to fish or chicken.


Ingredients

  • Small head cauliflower, cleaned and broken down into florets
  • 3 Tbsp. extra virgin olive oil (use two for roasting, one for finishing)
  • Salt and pepper
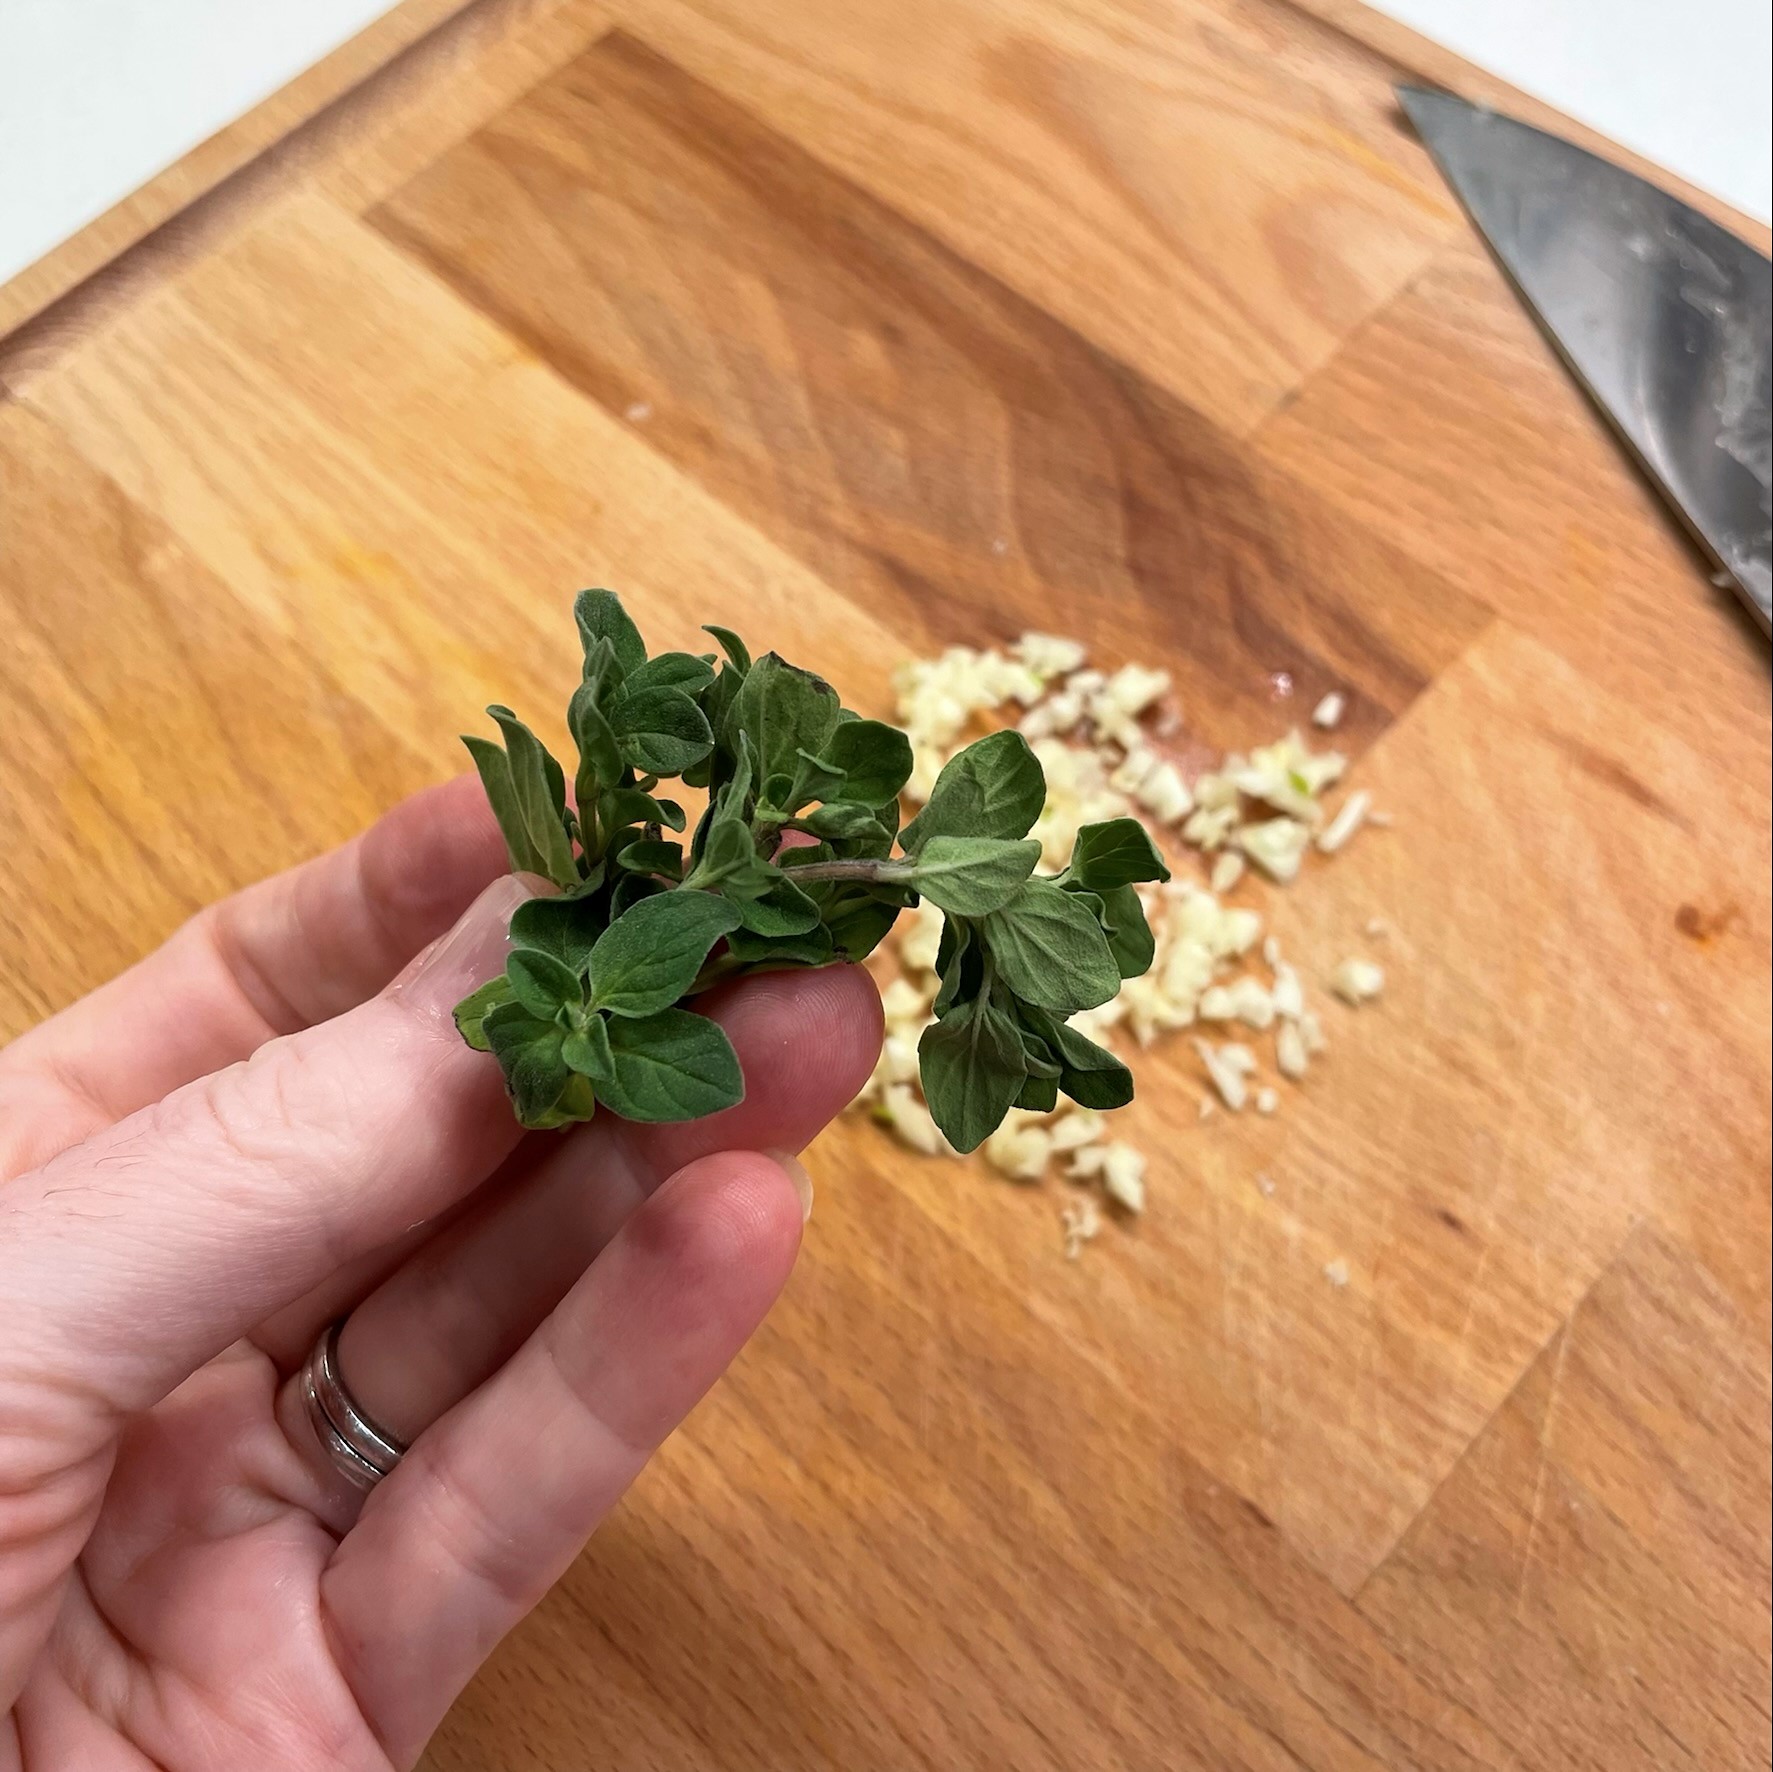
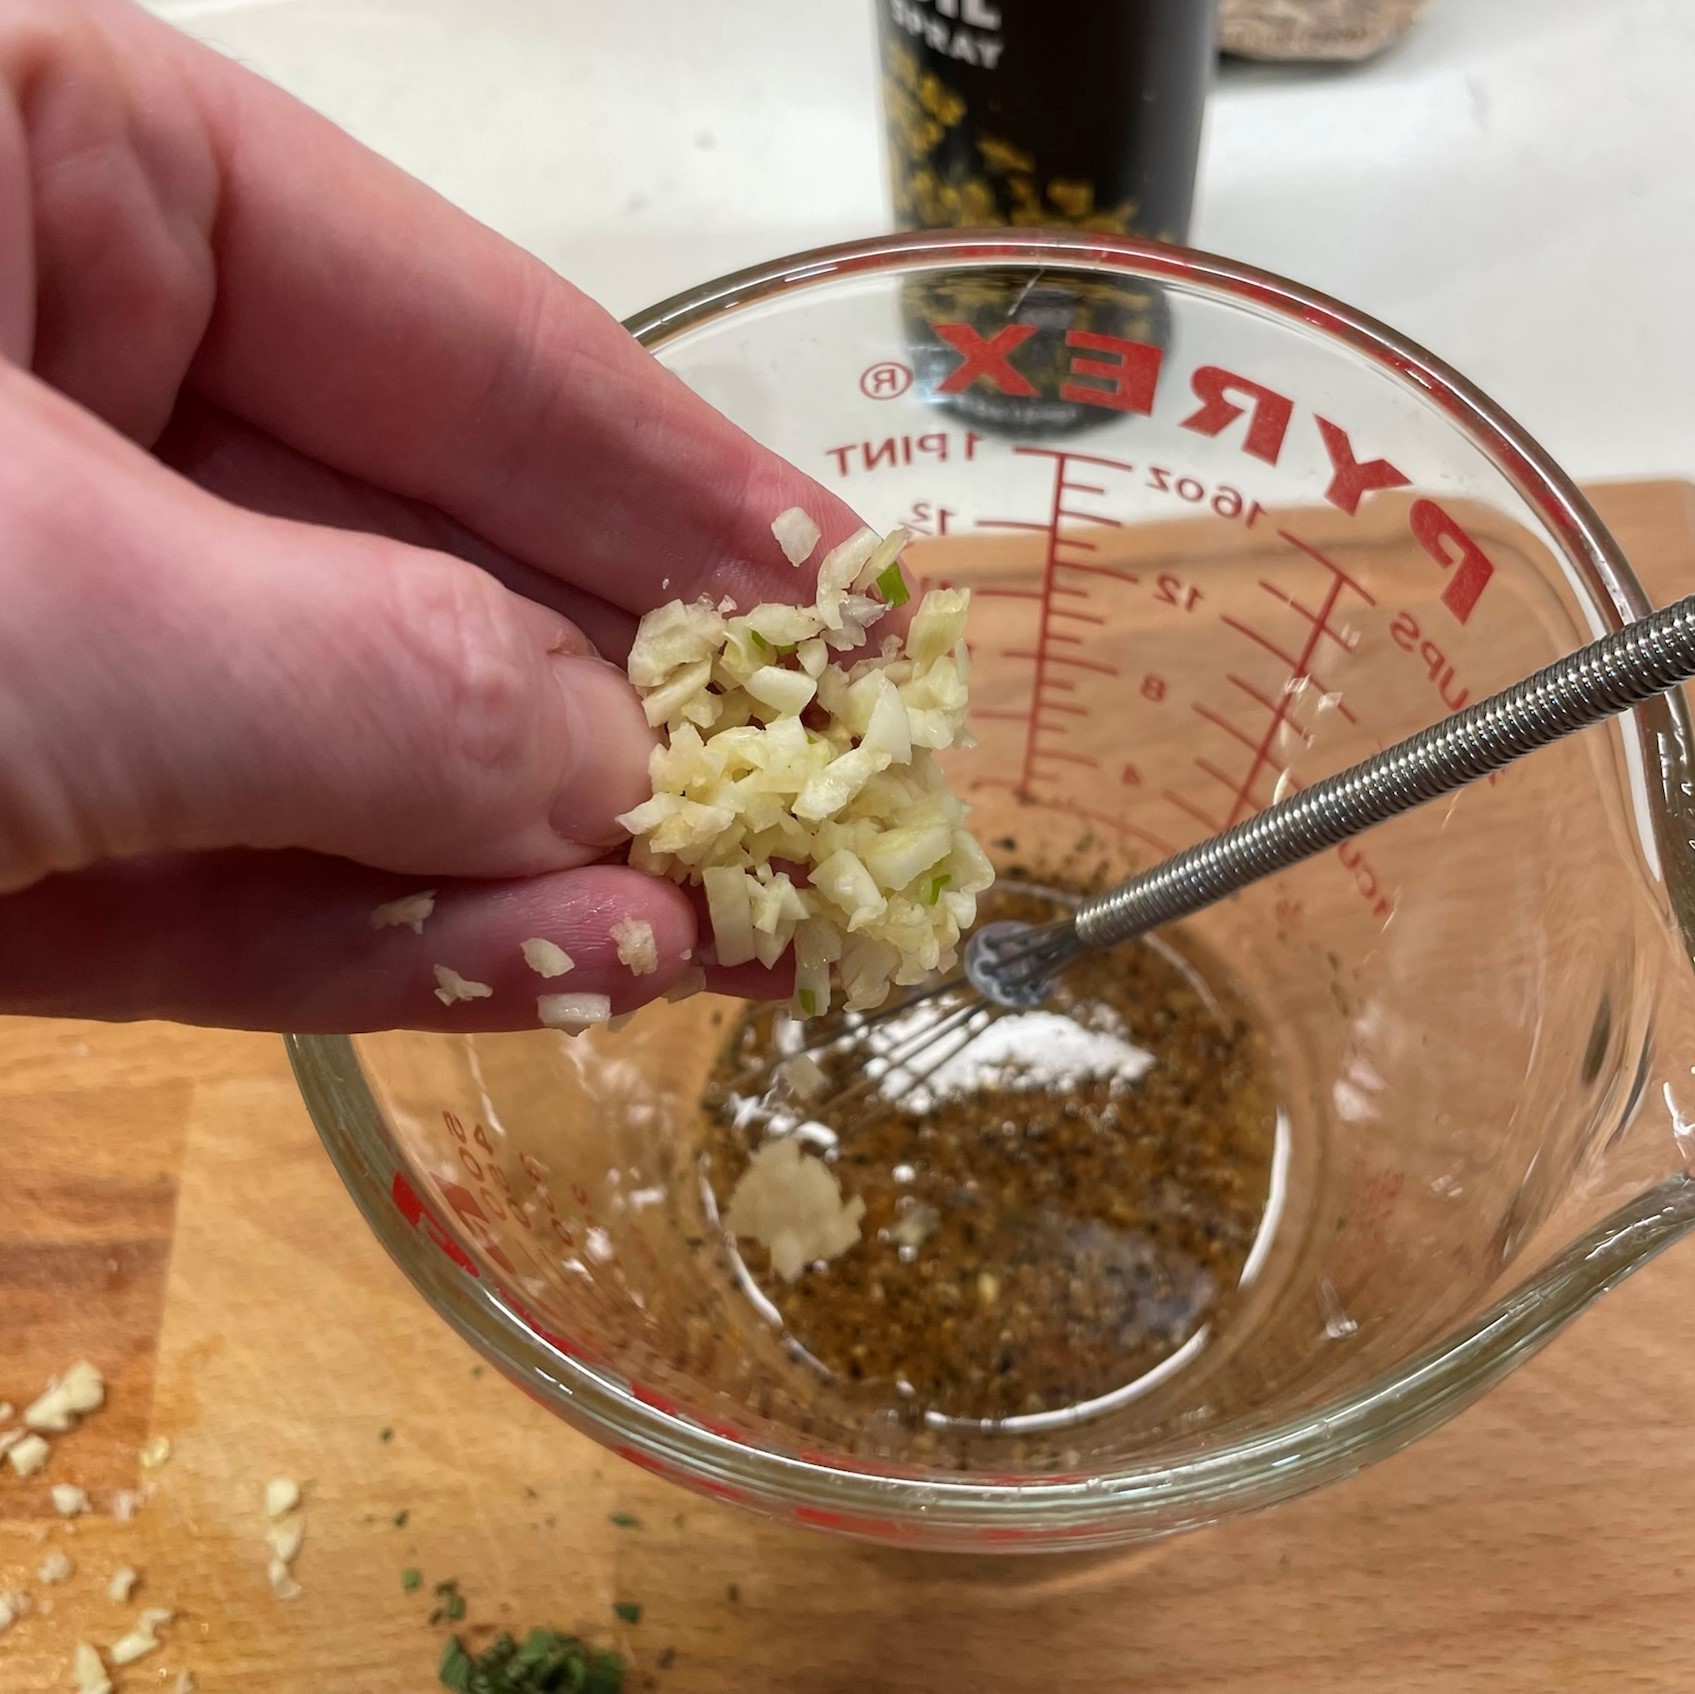
  • A few shakes granulated garlic
  • A few shakes dried mediterranean oregano
  • 3 Tbsp. chopped kalamata olives
  • 1 Tbsp. capers, chopped but not rinsed
  • 2 oz. feta cheese, crumbled
  • Handful each of fresh parsley and fresh dill, chopped
  • A squeeze of fresh lemon

Directions

  1. Preheat oven to 425° F, with oven rack in center position. Line a baking sheet with parchment.
  2. Drizzle cauliflower with olive oil and toss with garlic powder, oregano, salt and pepper. Toss to coat evenly, then spread out over parchment-lined sheet, keeping a bit of space between pieces for more even browning. Roast for 25 minutes, or until browned edges are visible on most of the pieces. Taste a piece to be sure it is done to your liking.
  3. Add the olives, capers and fresh herbs to the roasted cauliflower and toss gently to distribute. Give the mix a light drizzle of olive oil and a squeeze of lemon to finish, and then transfer to a bowl and scatter feta over the entire bowl.


Mahi Florentine

The past few weeks have been a struggle for me as my husband and I have committed to making mindful changes to our eating plan. I don’t mind the challenge of eating better, so it isn’t that. My problem has been that I’ve tried too hard to develop original recipes worth sharing here on Comfort du Jour, but so much of what I have done has been with random leftovers that nobody else in their right mind is likely to have on hand. At the end of this post, I’ll show you a glimpse of some of those dishes, and perhaps you’ll draw inspiration for how to repurpose some of your own leftovers with a shift toward healthy.

Moving forward, one of the easiest ways I know to eat better is to choose lean meats and seafood and add a lot of vegetables. So in the weeks to come, you’ll likely see a lot more green on my plate, and I mean that quite literally with this dish, featuring a gorgeous, bright green bed of sautéed spinach, my husband’s all-time favorite vegetable.

What’s so great about spinach?

We all remember from the Popeye cartoons of childhood that spinach made Popeye strong— OK, that connection was overstated. But there is a hint of truth in it, as nutrition science shows the natural nitrates found in leafy greens support healthy muscle function. Spinach is also rich in Vitamins A, C and K, as well as iron, potassium and folate, a B vitamin that helps the body generate healthy cells.

Is it better to eat spinach raw or cooked?

There is no health consequence of eating raw spinach; one of my favorite salads is made from it, along with hard-boiled eggs, red onion slices and goat cheese. But we might miss more than we gain by eating it raw. In addition to all its benefits, raw spinach also contains oxalic acid, which is the stuff that makes your teeth feel squeaky. Oddly, the oxalic acid blocks absorption of some of the very nutrients spinach provides. The cooking process breaks that down, though, so a quick sauté or steaming helps you reap the most benefit of this versatile vegetable. I’ll be using spinach again and again in the coming weeks, so all of my leafy green lovers will want to stay tuned. 😀

So what about this dish?

Today’s recipe is a twist on Mahi Hemingway, a dish I posted a few years ago, and my copycat version of a pricey meal I had enjoyed many times at a local restaurant. This time, I’ve plated the fish and sauce atop fresh spinach rather than a pile of carb-y pasta. It’s colorful, easy to prepare and absolutely delicious!

Delicious, and pretty!

To make it, you’ll need a couple fillets of fresh mahi—season them with salt and lemon pepper— plus a fat handful of fresh baby spinach, a little garlic, diced tomato, capers, dry white wine, a squeeze of fresh lemon and a little swirl of butter at the end for a delicate but flavorful sauce. If mahi is unavailable (or not your favorite), try this dish with halibut, grouper or even a mild cut of salmon.

Parsley garnish is optional, but recommended, and you can make two servings of this meal for less than half the cost of a restaurant meal for one. It’s light, delicious, gluten-free and diet-friendly. It’s also easy to make (there’s a click-to-print recipe below), and my Instagram reel will show you in 60 seconds how to put it on your table tonight. Mise en place (having everything in place) is important here, because the dish moves quickly once the pan is hot. Enjoy!


Mahi Florentine

  • Servings: 2
  • Difficulty: Average
  • Print

There's plenty of flavor and nutrition in this light and easy seafood dish, and it comes together in under half an hour. Perfect for a busy weeknight!


Ingredients

  • 2 skinless mahi fillets, about 6 ounces each
  • Several shakes salt-free “lemon pepper” seasoning, such as Mrs. Dash
  • Kosher salt and freshly ground black pepper
  • 3 Tbsp. extra virgin olive oil, divided (1 for the spinach, 2 for the fish)
  • 2 fat handfuls fresh baby spinach, roughly chopped (this is approximately six ounces)
  • 2 cloves fresh garlic, minced
  • 1/3 cup dry white wine, divided (you’ll use some for the spinach, some for the fish; substitutions in the recipe notes)
  • Juice and zest of 1/2 large lemon
  • 1/3 cup petite diced tomatoes, drained
  • 1 Tbsp. nonpareil capers, drained but not rinsed
  • 1 Tbsp. cold butter, cut into teaspoon-size pieces, for swirling into sauce at the end
  • A sprinkle of fresh, chopped parsley to garnish

Notes: This recipe moves quickly, especially once you remove the fish from the skillet. Be sure to have all your ingredients lined up and ready before you begin cooking.

Any firm fish fillet may be substituted for the mahi; I think salmon, grouper, tilapia or halibut would all be terrific in this dish.

Dry vermouth may be used in place of the white wine. If you prefer to avoid alcohol, substitute a quarter cup of low-sodium vegetable broth for the wine and add an extra squeeze of lemon.

Use fresh tomatoes when they’re in season; otherwise, salt-free canned tomatoes work great. If you have trouble with the acidity in tomatoes, try neutralizing it with a pinch of baking soda. Stir the soda into the tomatoes before you begin, and give it a few minutes for any foaminess to subside before proceeding. This will help take the edge off the acid of the tomatoes.

Directions

  1. Pat the mahi fillets dry with a paper towel. Season with salt and pepper, plus a generous few shakes of the lemon pepper seasoning. Set aside to warm to room temp while you prepare the spinach.
  2. Place a non-stick skillet or pot over medium heat. Swirl in about a tablespoon of the olive oil, and then add the spinach a handful at a time. Give it a toss through the oil, then season lightly with salt and pepper. Use an easy touch here, so the spinach isn’t too salty after it wilts down.
  3. Add garlic to the pan and toss until spinach is fully wilted but still bright green. Add a splash of the white wine, plus the zest of the half-lemon. Continue to cook until the wine evaporates. Remove from heat and cover to keep warm.
  4. While the spinach is cooking, heat a second skillet (preferably not non-stick) over medium heat. Add remaining oil when the pan is hot. Place the fish fillets, “pretty” side-down, into the skillet. You should hear them sizzle instantly. Leave the fillets alone until you can see the fish is cooked through about 1/3 of its thickness, about three minutes. Use a metal spatula to carefully turn the fillets to cook the other side, about two additional minutes. They will be a little translucent in the center, but the residual heat will cook them through. Transfer the fillets to a warm plate and set aside while you prepare the sauce.
  5. Add the diced tomatoes and capers into the fish skillet. Add a generous splash of the white wine, and use a whisk or utensil to scrape up all the cooked-on bits in the pan. Turn down the heat to medium-low and cook until wine is reduced by half. Squeeze in the lemon juice and stir until the moisture is reduced by about half; this should happen within about a minute.
  6. Turn off the heat. Carefully swirl the cold butter, a teaspoon at a time, into the pan sauce. This will emulsify and thicken the sauce.
  7. Divide the spinach between serving plates. Place a mahi fillet on top of each and spoon the pan sauce over the fish. Garnish with fresh parsley and serve at once.


Here’s a snapshot of some of the other delicious foods I’ve made since we committed to healthier eating. Some were made from leftovers that you probably don’t have, but others are repeats of favorites, with previous recipes linked for your convenience.


Smashed Cucumber Salad

Over the past few months, I’ve seen numerous recipes for something called smashed cucumber salad and wondered, what’s so special about that? Sure, I love cucumbers and the way they freshen up a salad with an extra level of cool and crunch. But why not just, you know, slice them? Of course, that was before I tried one, and I may never be the same.

I enjoyed my first-ever smashed cucumber salad last month, when I joined my blog buddy, Dorothy, and her husband at one of their favorite restaurants, Starry Night Cafe in Ferrisburgh, Vermont. That salad had a rustic Italian flair with Calabrian chili flakes, anchovy, parmesan and ripe heirloom tomatoes. It was a masterful arrangement of fresh, seasonal food just doing its thing.


Every flavor complemented the next, but what struck me most about “smashed” cucumber salad was the texture— the open, craggy edges held onto the dressing, and the big chunks made it sooo crunchy and satisfying. And that was only the opener of our incredible meal.

Starry Night Cafe demonstrated its commitment to partnering with local farmers and producers in every single thing brought to our table. From the specialty cocktail (don’t you worry, I’ll share it soon) to the coal-roasted oysters and grilled shrimp spiedini all the way to the stunning main course of wild halibut, I found myself wishing we lived closer!


Food really does taste better when it’s fresh and seasonal, grown without pesticides or chemical fertilizers and picked at peak ripeness. My entire visit through Vermont reignited my excitement for local food, and our Starry Night experience was the icing on the cake— er, salad. I started imagining what other flavors would play nice with the versatile cucumber, and I think I came up with a winner in this pretty plate.


My smashed cucumber salad is not a remake of the Italian-ish salad we shared at Starry Night Cafe, but an Asian-inspired interpretation, built on some fun ingredients I found when Les and I visited our own farmers’ market here in Winston-Salem. I wanted a dressing that was savory, sweet and tangy. Creamy but without cream. And with a touch of heat to accent all of the above. So I poked around on the internet for a bit and found a lemon-miso dressing on a blog called A Nourishing Plate


The author’s recipe satisfied most of my wish list, and I followed it mostly as written, subbing tahini in place of cashew butter because I always have a jar of tahini in the fridge. I used slightly less sugar and oil, and for a pop of heat, I added a few shakes of Asian Reds hot chile flakes from Flatiron Pepper Company. This is different from generic “red pepper flake,” as the chiles are specific to various parts of Asia. The dressing is so good, and easily adjusted for sweet and heat. I love the contrast it provided this cooling cucumber salad, and I can imagine it would also be good as a roast vegetable topper. The dressing thickens up a bit in the fridge, so I’d recommend making it ahead.

English cucumber is ideal for this type of salad, for its smaller seeds and thinner skin. My grocery stores all sell this type of cucumber, but usually they have a waxy coating to keep them fresh during transport from God-knows-where (yet another reason to choose local). You can use anything you have on hand for smashing it— the flat side of a chef’s knife, bottom of a skillet, whatever— but don’t use a heavy hand unless you want cucumber juice all over yourself and the kitchen. Just enough to crack it open is good, and then use a knife to cut the smashed cucumber into generous chunks. Season it, and toss with the other ingredients. Could it be more simple?


The most brilliant element of this dish— and I mean brilliant in the sense of “wow, look at that shocking pink color!”— is the watermelon radish. That neon pink color seems to be everywhere right now, thanks to the Barbie movie, and though I’ve seen these radishes in food magazines and cooking shows, I have never run across one in the supermarket.


Turns out the farmers’ market is also the place to score Barbie-colored vegetables, and I couldn’t resist slicing one up to complement my smashed cucumber salad. It made a lovely border, don’t you think? And it carries the same pungent, spicy flavor as a typical radish— just larger and way prettier. I’m still deciding what to do with the other watermelon radish (stay tuned).

I love trying new foods! What ingredients are you curious to try, and will you scout them out this weekend at the farmers’ market in your neck of the woods? I hope so!


Smashed Cucumber Salad

  • Servings: 4
  • Difficulty: Average
  • Print

An Asian-inspired dressing puts a flavorful jacket on this super-refreshing and oh-so-fresh cucumber salad. Don't skip the smashing part, as it contributes to the amazing texture of this new summer favorite.


Ingredients

  • 1 large organic English cucumber, cleaned and dried
  • 1 large carrot, peeled and sliced thin
  • 3 scallions, washed and sliced thin (green parts reserved for garnish)
  • 1 medium watermelon radish, peeled and sliced thin
  • Spicy lemon-miso dressing (see below)
  • Lettuce leaves for plating, optional
  • A few shakes toasted sesame seeds (for garnish)

Directions

  1. Prepare the spicy lemon-miso dressing and refrigerate until you’re ready to make and serve the salad. If using the red pepper flake, remember that the flavor will become more intense after the flakes rehydrate.
  2. Lightly smash the cucumber, just enough to split it open. Cut into chunks and add them to a large bowl with the carrots and the white parts of the scallions. Sprinkle with kosher salt and gently toss to distribute the seasoning.
  3. Spoon about half of the dressing over the salad and toss to coat.
  4. Arrange lettuce leaves and watermelon radish on a serving platter. Spoon the smashed cucumber salad onto the plate and garnish with reserved scallion tops and sesame seeds.

Notes: Make the lemon-miso dressing ahead; the flavors mingle nicely in the refrigerator, and the red pepper flakes will rehydrate for maximum punch. You will only need about half of the dressing recipe for this smashed cucumber salad. Save the rest for another salad or to drizzle on grilled vegetables.

Ingredients

  • 2 Tablespoons white miso paste
  • 1 Tablespoon rice vinegar
  • 1 Tablespoon tahini paste
  • 2 teaspoons organic cane sugar
  • Juice and zest of one large lemon
  • Kosher salt and black pepper
  • A few shakes of red pepper flake, optional but wow!
  • 3 Tablespoons extra virgin olive oil

Directions

  1. In a small bowl, combine miso, vinegar, tahini, sugar and lemon juice plus zest. Season to taste with salt and pepper. Add a few shakes of red pepper flake if you want a bit of heat. I like Flatiron Pepper Company’s Asian Reds here.
  2. Slowly drizzle oil into the dressing, whisking constantly to create an emulsion. Adjust seasoning to taste and refrigerate. Dressing will thicken slightly in the fridge.


Peach Panzanella

The heat is getting to me, I think. Since I returned from my solo trip through New England, I have barely wanted to cook. It’s just too hot to think about standing at the stove in the late part of the day. Usually in summer, we at least enjoy firing up the grill for a backyard barbecue, but with it being 97° F in the shade at dinner time, the idea of the grill feels even more oppressive than turning on the stove. I only want cool foods, and it better not take long to prepare. Thank goodness for ripe summer tomatoes and sweet southern peaches! 

There’s a saying out there in foodie land that “if it grows together, it goes together,” and I’m not claiming that peaches and tomatoes are good companions in the garden— how could they be, with peaches growing on trees and all— but I do know that they’re both coming ripe right about now, and I may be onto something with this fresh, light (and did I mention easy?) summer salad.

This is one more thing to love about summer!

Panzanella, in case you have never had the pleasure, is a rustic dish of Tuscan origin, usually made with ripe, juicy tomatoes, cucumber and other fresh ingredients, along with chunks of day-old bread that soak up the juices. The bread gives the salad body and bulk, and the rest of the ingredients are cool and refreshing when the summer weather is everything but. 

I was about to make a classic panzanella, but then I spotted that peach!

It seems I always have a stale end of bread hanging around the kitchen, and for panzanella, you want the bread to be a “lean” one— that is, not enriched with fats, dairy or sugars. If the bread is soft and pliable, it will quickly turn to mush and you’ll be disappointed in your panzanella. Something like a French baguette or crusty homemade sourdough loaf is perfect because it will generally holds its shape. Whole grain works well, and even seeds on top will work! Tear or cut the bread into small, bite-size chunks, and remove the crust if it seems extra thick or chewy.


Next, prep all the fresh ingredients, cutting each into smallish bites. My personal rule of thumb for salads to break down the ingredients into small enough pieces that I will be able to get a little bit of everything in a single bite, but not so small that it’s hard to spear them with a fork. I only had a slicing cucumber, so I did remove the tough peel and most of the seeds, but with a Persian or English cuke, there’d be no harm in just washing and cutting it up. A quick seasoning with salt and pepper on all of that, and then I’m on to the dressing. 


A classic panzanella would be strictly savory, so a vinaigrette with Italian herbs and garlic would be appropriate. But I wanted a lighter, fruitier touch for this one because of the sweet summer peach, so I started with a citrus-y vinegar from Trader Joe’s and jazzed it up with Dijon, a squeeze of fresh lemon and a generous drizzle of fruity, extra virgin olive oil. Any light, fruity vinegar would work well here, or even a white wine or champagne vinegar. If yours is tart and sharp, give the dressing a little balance with a bit of honey or a few pinches of cane sugar. And don’t forget salt and pepper.

Here comes the best part! Drizzle that dressing all over the salad, and don’t worry if it seems like a lot— the stale bread will slurp it up so it won’t go to waste. Toss gently a few times to fully incorporate the dressing, and allow the panzanella to rest while you set the table. Just for fun, I sprinkled on some feta chunks and fresh, summery basil. Italian parsley would have been just as delicious, or even fresh mint to add another cooling layer.


I served my peach panzanella with petite fillets of halibut. They were super easy to make, seasoned with only salt and pepper and baked in the oven for a mere 15 minutes. Easy, quick and done!


Peach Panzanella

  • Servings: About 3
  • Difficulty: Easy
  • Print

A ripe and juicy summer peach puts a delicious and unexpected twist on a classic panzanella. It's a cool and tasty way to beat the summer heat!


Ingredients

  • 3 cups torn sourdough bread (dry or stale)
  • 1/2 slicing cucumber, peeled and seeded
  • 2 small yellow tomatoes, halved and cut into wedges
  • 1 Roma tomato, quartered lengthwise and cut into wedges
  • 1 large ripe peach, peeled and pitted then cut into chunks
  • 1/4 cup thinly sliced red onion
  • 2 oz. real feta, crumbled or cut into cubes
  • Small handful of fresh basil, torn or rough-chopped for garnish
  • Vinaigrette dressing (see below)

The dressing for the panzanella can be made ahead if desired. Choose a vinegar that is light and summery, such as white wine vinegar or something infused with citrus.

Ingredients

  • 3 Tbsp. Muscat orange-champagne vinegar (or something fruity and tart)
  • 1 tsp. Dijon
  • Salt and pepper
  • 1/4 cup extra virgin olive oil
  • 1 tsp. honey or sugar if vinegar is very tart

Directions

  1. Add all salad ingredients except feta and basil to a large bowl, in order, so that bread pieces are on the bottom. Season with salt and pepper and set aside while you make the vinaigrette.
  2. Whisk together dressing ingredients. Adjust salt and pepper to taste.
  3. Pour dressing all over salad. Toss gently to incorporate, and allow the bread a few minutes to soak up the dressing and juices.
  4. Sprinkle with feta and fresh basil. Serve at once.


Simple Citrus-Soy Baked Salmon

My husband and I have a regular game we like to play, and it usually starts about 2 pm when I text to ask whether he has any particular cravings for that evening’s dinner. And then I cross my fingers in hope that he doesn’t give me the dreaded response.

“Something simple,” he’ll frequently say. 

And then I really don’t know what to feed him, because what does that even mean? My experimentation in the kitchen more often leads me into complex outcomes rather than simple ones. I would rather he ask for soup and salad or grilled cheese or takeout than the nebulous “something simple.” I don’t know why this throws me for a loop, but I usually stand befuddled, the same as when I ask him what Friday night cocktail he wants, and he says, “surprise me.”

I’m trying to get better about this, and occasionally I find inspiration amid the ingredients I already have in the fridge. And that’s what happened with this vibrant dish that turned out to be simple not only in ingredients but also preparation.


What makes this recipe simple is that the marinade— which ultimately becomes a glaze in the oven— is made from common ingredients that I found in the refrigerator: freshly squeezed orange juice (thanks to a navel I forgot was in there), a bit of marmalade, horseradish, soy sauce and honey. To add a little extra something without extra effort, I decided to add a spoonful of dried onion to the marinade. The bits plumped up quite a bit during the 45 minutes the salmon soaked in its flavor bath, and it added onion flavor without the bite of fresh onions.


I’m struggling to find something else to explain about this dish, but that’s honestly it. Mix the marinade, soak it and then bake it. The oven takes care of the rest, turning the marinade into a somewhat sticky glaze that pairs well with just about anything. The flavors of the marinade do a balancing act between sweet, savory and salty. I served our salmon on a bed of basmati rice (leftovers from Indian takeout), with a sprinkling of sliced scallions and sesame seeds, plus a fresh and pretty side salad.


Hubby was right, as usual— simple is good!

Easy Citrus-Soy Baked Salmon

  • Servings: 2 or 4, depending on weight of salmon
  • Difficulty: So easy!
  • Print

From the prep to the ingredients to the cooking, everything about this dish is simple but the flavors are fantastic! The marinade is enough for a pound of fresh salmon, but please use the same amount even for a lesser weight of fish.


Ingredients

  • Up to 1 pound fresh salmon fillets, skin removed
  • Juice and zest of navel orange
  • 1 Tbsp. low-sodium soy sauce (or tamari for gluten free)
  • 2 Tbsp. orange marmalade
  • 2 tsp. horseradish
  • 1 Tbsp. honey
  • 1/2 tsp. minced, dried onion
  • Kosher salt and black pepper
  • Cooked rice, for serving
  • 2 scallions (white and green parts), thinly sliced
  • Sesame seeds for serving

I removed the skin from our salmon before cooking, but this really was not necessary; it was just me trying to make it “not simple.” After baking, the fillets will easily pull away from the skin, so it’s cook’s choice.

Directions

  1. Whisk together all marinade ingredients. Pat salmon fillets dry with paper towels. Sprinkle them with salt and pepper.
  2. Pour marinade into a shallow dish that is large enough to hold the salmon fillets. Add salmon, turning a few times to ensure even coverage. If preferred, marinate in a plastic zip-top bag for easy turning. Allow salmon to marinate at least 30 minutes, or up to 45 minutes.
  3. Preheat oven to 350F, with oven rack in center position. Line a baking sheet with parchment.
  4. Transfer salmon fillets to parchment, spooning the marinade (especially marmalade peels and onions) over the top of the fish. Bake for 20 to 25 minutes, depending on thickness of salmon and preference for doneness.
  5. Arrange fillets on plates with desired sides and sprinkle with scallions and sesame seeds. Serve at once.


“Double Rainbow” Trout & Chard

Regardless of one’s religious bent, the season of Lent presents plenty of opportunity to try new seafood dishes. For those abstaining from meat, a fresh idea on the dinner table can help prevent boredom with the same fish dishes over and over for 40 days. For everyone else, it’s simply a healthier meal option—never a bad idea, and especially when we are headed into Spring.

This nutritious, colorful dish has lots of flavor (and heat, if you want it), but is easy on effort, calories and budget. You can have it on the table in under half an hour, too!


Rainbow chard is one of nature’s superfoods, a leafy green packed with vitamin K (good for our bones), iron (for healthy blood cell production), antioxidants (to reduce inflammation) and manganese (for brain and nerve support). On top of the health benefits, chard is very versatile in the kitchen. It can be eaten raw, steamed, boiled, sautéed or braised. You can add it to everything from soup to an omelet, or even use its leaves to wrap up other ingredients, the way you might use cabbage leaves. I braised it this time, and made it a bed for a crispy, pan-fried trout fillet.

I used the whole chard in this dish, but I separated and chopped the hard stems to give them a 5-minute head start in the pan. To save time chopping the leaves, I stacked and rolled them, and then sliced the roll like a giant chiffonade.


The stems were sautéed in a bit of extra virgin olive oil along with a couple scallions (the only onions I had in the house that day), and then I lined up three of my favorite complementary flavors—coconut milk, spicy Asian Reds pepper flakes and ginger. One of my favorite freezer-section discoveries has been these little cubes of crushed ginger. I can never use up a whole root (even a small one), and these come in very handy.


When the chard stems were tender, I added the leaves a handful at a time and cooked them until they wilted. My coconut milk had a ton of oil solids floating on top, so I scooped those out for another use* (see my note about this after the pictures)—and only the liquid went into the pot to braise the chard. After only a few minutes, the coconut milk softened up and absorbed some of the color from the chard stems. I love the way these ingredients merge together!


*You may as well know, when I say that I set aside some portion of an ingredient “for another use,” it often means I put it into the refrigerator and flat out forget about it. I cannot count the times I have dug around in there, looking for something else, and realized that I missed the freshness deadline on some ingredient I was sure I’d use. If I’d had a can of “light” coconut milk, this would not have been an issue. The full-fat version of coconut milk tends to add a stronger coconut flavor (not what I was going for). Anyway—

I sprinkled the trout fillets with salt and pepper, and then gave them a flip in flour sprinkled with more of the Asian Reds pepper flakes. I fried them in a little oil until crispy and browned, and then plated the fish on top of the chard and spooned the lingering coconut milk over the top. If you don’t mind a few carbs alongside, this would be great with steamed rice.


So, I’ve called my dish “double rainbow” because the fish counter at my supermarket had labeled this trout as “rainbow trout,” though I didn’t notice any signature rainbow stripes on these fillets. Sometimes, I get the feeling my supermarket is fibbing a little bit, or maybe they don’t know the difference, or they think we don’t. The bottom line is that any trout will be fine for this dish, and of course, another delicate flaky fish could also be substituted.

But I went with it because who doesn’t love a double rainbow?


Double Rainbow Trout & Chard

  • Servings: 2
  • Difficulty: Easy
  • Print

Rainbow trout + rainbow chard = A doubly delicious weeknight meal that is inexpensive, easy to prepare and packed with nutrition.


Ingredients

  • 1 small bunch rainbow chard
  • 2 Tbsp. extra virgin olive oil (one for cooking greens and the other for frying trout)
  • 1/4 cup chopped onion (sweet, yellow, leek, shallot or scallion would all work)
  • Salt and pepper
  • A shake or two of crushed red pepper, to taste (I love the Asian Red blend from Flatiron Pepper Co.)
  • 1 tsp. finely minced ginger (or a shortcut, like the frozen cubes of ginger)
  • 1 cup coconut milk (the canned culinary variety, preferably “light”)
  • 2 fresh trout fillets
  • 1/4 cup all-purpose flour (for dusting the trout fillets)

Directions

  1. Cut out stems of the chard and chop into small pieces. Stack the leaves and roll up tightly like a cigar, and then slice into strips.
  2. Add a tablespoon of olive oil to a small skillet over medium heat. Add the chard stems and onions, season with salt and pepper, and sauté for about five minutes, until slightly tender. Add chard leaves to the pan, along with red pepper and ginger. Cook a few minutes, until leaves are wilted.
  3. Add coconut milk, reduce heat and cover. Allow chard to braise about 15 minutes while you prepare the trout fillets.
  4. Pat fillets dry with paper towels and season with salt and pepper. Sprinkle flour onto a plate or paper towel, and add a few more shakes of red pepper flakes if you like spicy flavors. Press the flesh side of the fish down onto the flour to coat, and then shake off excess.
  5. Heat a large skillet over medium heat. When pan is hot, add the remaining oil and twirl the pan to coat. Place trout fillets, flesh side down, into the hot skillet and cook until fish is crispy and golden, about 4 minutes. Carefully turn fillets and cook the skin side for 2 to 3 minutes.
  6. Plate the braised greens and top with trout. Spoon extra coconut milk sauce over the top of fish and serve at once.


Blender Buttermilk-Feta Dressing

Let’s get this out of the way; today’s post is less about the salad dressing (which was just OK, and I’ll offer my ideas for making it better) and far more about my excitement in finding the new appliance I used to make it. What can I say? —I don’t take my decisions lightly.

We are approaching the six-month mark since the completion of our beautifully remodeled kitchen, and I am still on the hunt for the right tools to help equip me for success. You know how it is—you improve one thing, and suddenly everything in and around it seems outdated. My husband, Les, and I gave every countertop gadget we own a once-over when we did our update, and though a few appliances were deemed worthy, I have decided to replace my tired, old food processor (more to come on that one) and to purchase a real, honest-to-goodness blender. It’s about time!

I’ve had a Nutri-Bullet personal blender for a few years, and it’s great for breakfast smoothies and small amounts of things that I want to puree into oblivion, but not so good for anything that requires finesse, because the Nutri-Bullet has only one setting. It is also inconvenient for making anything that requires adding or adjusting ingredients halfway through, because once you open the wide, jar-like lid, the blended mixture gets all over everything and makes a mess. I needed a blender that opened at the top and had multiple settings and functions to help me with more than just smoothies.

When I had lamented to Les a few years ago that it was difficult to find a quality blender “like they used to make,” you know, with a sturdy glass carafe, he disappeared to our garage and returned with a dusty relic that had been gifted to him many years ago (for his first wedding, as he recalls). It was tall and heavy, with real glass! Unfortunately, when we finally found replacement gaskets for the ones that had dry rotted, we discovered that the blender didn’t have much oomph. It was mostly good for, well, stirring things.

After months of intense research, and reading reviews on every website imaginable, I have finally found the best blender for us. It’s tall, attractive, powerful and versatile enough to handle whatever role I give it. In other words, it’s the George Clooney of countertop appliances. The first challenge I had with it was deciding what to make first, and so far, I’ve only used it to make coconut martini cocktails and this buttermilk feta salad dressing, which was included in the little recipe cards that came with the machine. Regardless of your blender brand, I’m confident that you can make this dressing, and it only requires five ingredients, plus salt and pepper.

This dressing can’t help being tangy, with feta, buttermilk and lemon! Garlic and olive oil round out the ingredients list.

Part of the appeal of this recipe was that I already had all the ingredients, and the dressing wasn’t bad but I would recommend a few tweaks to improve the texture and balance the tang. Just about any kind of fresh, tender herb would be good here; basil, cilantro or dill would add a zesty punch. In the texture department, I would recommend addition of a couple tablespoons of mayonnaise to produce a creamier dressing that will cling better to your salad greens. If you do stick to the recipe offered by Breville, I recommend using a buttermilk with a thicker consistency so it doesn’t turn out watery.

Here’s how things went for me.


But enough about the dressing. 😉

I am very pleased with our new Breville blender, which has a pre-programmed setting for smoothies, and eventually I will get around to making one. I especially appreciate the self-clean function, which makes cleanup a snap, even after making a creamy salad dressing like this one. It’s so easy, I literally put two drops of dish liquid into it with about one cup of water and touch the “auto-clean” button. The blender does the rest, switching between speeds and settings until the pitcher is clean. Quick rinse, and done. I should have bought it years ago. Did I mention that I paid full price for this appliance, and nobody is paying me for my opinion? Just thought I’d mention that, in case this sounds like an advertisement.

Besides the debut of our fab new blender, I am also excited to apply a new way of sharing the details of my recipes with you. When I first started my blog, my sister-in-law, Andrea, suggested adding a “print” feature to make it easier for a reader to save a recipe for later. It was a great idea, and up to this point, I have accomplished it by formatting the recipe into a PDF that I upload at the end of a post. Today, I’m doing something different.

After an hour-long chat session with WordPress support (which left me as confused as ever), and then a few friendly emails and helpful coaching by one of my blog buddies about something called “shortcode,” I have finally figured out how to apply my recipe ingredients and instructions to my posts, including a quick “print” option, without so much background work.

I first spotted this feature on a post by Maylee at BeyondGumbo.com, and when I reached out to ask about it, Maylee graciously walked me through how she uses the feature. As you’ve probably guessed, her blog is all about the regional cuisine of Louisiana (which is so much more than gumbo!), including a beautiful bibb salad with luscious Louisiana strawberries, which she just posted on Sunday. And if you think that sounds delicious, wait until she surprises us with something that she casually whips up from the satsuma trees growing in her backyard. 😊


Let’s see how this goes!

Easy Buttermilk Feta Dressing

  • Servings: 8
  • Difficulty: very easy
  • Print

This recipe is simple and versatile, and it can be made in any blender. Consider tweaking it by adding other ingredients, such as your favorite fresh herbs, for a twist of flavor.

Ingredients

  • 1/2 cup cultured buttermilk
  • Approximately 1/2 cup feta, crumbled
  • 2 Tbsp. extra virgin olive oil
  • The juice of one organic lemon
  • 1 small clove garlic, rough-chopped
  • 1/2 tsp. organic lemon zest
  • Kosher salt and freshly ground black pepper, to taste

Directions

  1. Place buttermilk, feta, olive oil, lemon juice and garlic into the jug of a blender. Puree 15 seconds, or longer if needed to achieve smooth texture.
  2. Add lemon zest. Season with salt and pepper. Mix on a low speed for 5 seconds, to incorporate seasonings. Transfer dressing to a jar and refrigerate until ready to serve.


Tahini-Lemon Sauce

One of my favorite condiments is tzatziki, the Greek yogurt-based topping that is perfect for anything you put on a pita, including gyro and souvlaki. The zesty zing of garlic and cooling notes of grated cucumber are an easy, refreshing way to pile on the flavor. But for a vegan dish, such as the falafel I made recently, tzatziki is off the table. We wanted a flavorful topping that still had a Middle Eastern vibe, and one that could play many roles, as a dipping sauce, topping or dressing.

That’s how this tahini-lemon sauce came to be, and as I whizzed up the ingredients in my food processor, it occurred to me that this sauce is basically hummus, minus the chickpeas. All the other components of hummus are in there—the tahini, which is a sticky paste made from ground toasted sesame seeds, fresh garlic, fresh lemon juice, salt, spices and good olive oil. Processing these ingredients results in a smooth, completely emulsified mixture that can be thick or thin, depending on how much water your blend into it. For my purposes this time, I kept it on the thicker side as a perfect dipping agent for my falafel, but I can easily see the benefit of thinning it to pour onto a salad or Buddha bowl.

This tahini-lemon sauce is smooth, silky and creamy, but with no mayonnaise or dairy.

My husband’s adult daughter has adopted the vegan lifestyle, and I am always on the lookout for easy foods to make when she visits. This tahini-lemon sauce fits the bill, and it’s so tasty that we non-vegans won’t feel like we are missing out on anything.

Enjoy!


Ingredients

1/2 cup tahini paste

2 cloves garlic, chopped

Juice of 1 large lemon

A few shakes of crushed red pepper* (see notes)

2 Tbsp. fresh dill leaves

1/4 cup water (or more, for thinner sauce)

3 Tbsp. extra virgin olive oil


*Notes

The crushed red pepper flakes that you see in pizza restaurants would be fine here, but if you can get your hands on Aleppo pepper, that is even more in keeping with the Mediterranean flavor profile. We used a three-pepper blend (Aleppo, Maras and Urfa) from Flatiron Pepper Company, and their rep informed me that it will be back in stock in a few months. I’ll update this post at that time to include a link, in case you’d like to check it out.

(UPDATE: It’s back! You can use this link to check out the Uc Biber blend.)


Instructions


Pecan and Parmesan-Crusted Trout

Friday fish fry. That was the thing in my upstate New York hometown, and it didn’t have to be Lent. There were a few places that everyone flocked to on Friday nights for a heaping plate of beer-battered haddock fillets, deep fried and served up with cole slaw and French fries—or cottage cheese, if it was lunch. You couldn’t order it any other day of the week. Just Friday. The “fish fry” is one of the foods I really do miss from my younger years, and I have never seen it served that way anywhere else. There are plenty of places I could find battered-and-fried cod, but it just isn’t the same.

I need to get better at deep frying before I try to make a Friday fish fry myself. Until then, I’ll satisfy my fish craving with a few other favorites, baked rather than fried, that I’ve developed on my own over the years. During the Lenten season, there’s an uptick in searches for interesting seafood recipes because observant Christians abstain from eating meat on Fridays—at least for the 40 days leading up to Easter. Here’s one that is delicious and easy to prepare. I hope you enjoy it, regardless of your religious observance.

Pecan and parmesan-crusted trout. I served it with a quick sauteed spinach side and boiled baby red potatoes.

My recipe for pecan-crusted trout has evolved over the years, and the flavors and textures are all front and center in this one. The trout fillets are brushed with an easy blend of mayonnaise, Parmesan and Dijon mustard, and then I press them into a mixture of panko crumbs, more grated Parmesan and finely crushed, toasted pecans. 20 minutes later, dinner is served! This is easy enough for even a busy weeknight, and you can prepare your sides while it bakes.

The mayo mixture serves double duty in this recipe. It’s a “glue” to hold the seasoned pecan blend in place, and it also protects the fish from becoming dry during its brief time in the oven. The trout fillets remain soft and moist inside, despite the delicate crunch that meets your taste buds with every bite.


This recipe serves 2; easy to adjust for more servings

Ingredients

2 fresh trout fillets

1 Tbsp. mayonnaise

1 Tbsp. grated Parmesan

1 tsp. Dijon mustard

Kosher salt and freshly ground black pepper

1/3 cup pecan pieces, toasted* (see recipe notes)

1/4 cup panko crumbs

1/4 cup grated Parmesan

A few shakes ground cayenne pepper


*Notes

To toast the pecan pieces, preheat oven to 350° F. Spread the pecan pieces onto a parchment-lined baking sheet. Bake for 6 to 8 minutes, until nuts are fragrant, roasty and slightly shiny. Remove from oven and cool completely. Do this step ahead to save even more time in preparation of the fish.


Instructions

Preheat oven to 350° F. Stir together the mayonnaise, Parmesan and Dijon mustard. Sprinkle the trout fillets with kosher salt and freshly ground black pepper.

Using a food processor or mortar and pestle, pulse or crush the pecan pieces into fine crumbs. Transfer the pecans to a bowl with the panko crumbs and Parmesan. Season with a shake or two of ground cayenne.

Line a baking sheet with parchment paper and spritz it lightly with cooking oil spray. Arrange the trout fillets on the sheet, skin side-down. Use a pastry brush to thoroughly coat the fleshy side of the trout fillets with the mayo-Parm mixture, then press the pecan crumb mixture onto the fish, generously covering every visible area.

Bake the fish for about 18 minutes, or until it flakes easily with a light twist of a fork. If the crumbs are pale, turn on the broiler for only one minute, to finish the fish with a deep golden color.


Salmon with Warm Farro Salad

Comfort foods come in many shapes and sizes, though I usually think of them as rich, creamy sauces or over-the-top pizzas or decadent ice creams. But this entrée, despite being inherently light and healthful, is also very comforting, thanks to the variety of textures and flavors in the mix.

I designed this pretty plate from memory after a brunch with co-workers during the holiday season. It was the farro salad and roasted root vegetables that caught my eye on the menu that day. I loved the tender chew of the farro and the warmth and earthiness given by the sweet potatoes and parsnips. If you are not familiar with farro, please allow me to introduce you.

handful of quick cooking farro
Italian farro, par-cooked to be ready in just 10 minutes! Use farro any way that you would use wheat berries, barley or brown rice.

What is farro?

Farro is an ancient grain that is native to Italy. It is perhaps better described as a category of grain, given that three distinct varieties—spelt, einkorn and emmer—are frequently described as “farro.” In its most basic state, farro is a hard kernel that can either be cooked whole in water or ground into meal or flour. But it may also be partially or fully pearled, meaning that some or all of the bran has been removed. The pearling process results in altered cooking time, but the grain would still be suitable for the same kinds of dishes.

What does farro taste like?

When cooked as a whole grain, farro has a warm, nutty flavor that is similar to that of brown rice. Unlike most conventional wheat grains, farro has not been greatly hybridized from its ancient state, and some people find it more easily digestible for that reason. But as a botanical relative of wheat, farro does contain gluten and should be avoided by people with gluten sensitivity or celiac disease.

How do you cook farro?

To cook partially pearled farro (the most common form you’ll find in stores), give it a rinse under running water and inspect the grains to weed out any small debris that may have missed screening during packaging. Add the farro to double the amount of water and heat until boiling, then reduce heat and simmer about 20 to 25 minutes for al dente, or longer if you want it more tender. Farro that has not been pearled may take twice as long, and some packaged farro is par-cooked for quicker preparation, so always check the label instructions for recommended cooking time.

What can you use farro for?

Farro is a versatile grain that can be used in pilafs, salads or soups. If ground into flour, it can be used in baking recipes, though the resulting texture would be more dense than baked goods made with typical wheat. If you want to try farro flour in a favorite bread recipe, consider substituting only about one-fourth of the total amount of flour, and increase the amount the next time when you better understand its properties.


salmon with warm farro salad - comfortdujour.com
There is a lot of lovely contrast amid all these ingredients. I especially like the feta crumbles!

The rest of this recipe is straightforward and simple—the sweet potatoes and parsnips are tossed lightly in olive oil and roasted until tender and browned, and the salmon is lightly seared in a skillet with nothing more than salt and pepper. A quick vinaigrette of lemon, garlic and oregano ties the whole dish together with a fat handful of peppery arugula greens.


Ingredients

1 large sweet potato, peeled and cut into large chunks

2 parsnips, peeled and cut into large chunks

2 Tbsp. extra virgin olive oil

Kosher salt and freshly ground black pepper

1/2 cup sliced fresh leeks (or chopped sweet onion)

1 cup cooked farro* (see recipe notes)

A fat handful fresh baby arugula leaves, washed

Garlic-oregano vinaigrette*

2 fillets fresh salmon, skin removed

1/4 cup crumbled feta (or goat cheese)


*Recipe Notes

As noted above, some farro products have been par-cooked for convenience. Follow the instructions on your package to cook the farro to “al dente” stage, so that it is soft but still has a bit of chew to it.

Vinaigrette is one of the simplest salad dressings to make at home. I usually make it in a glass measuring cup for easy pouring, but if you want to make it even easier, put all the ingredients into a small jar with a lid and shake the dickens out of it. My recipe for this vinaigrette is included in the downloadable PDF at the end of this post. You’ll need a light vinegar, Dijon, fresh garlic, oregano and lemon, and extra virgin olive oil.


Instructions

Follow along as I show you how I made this tasty, healthful comfort food. Scroll to the bottom for a downloadable version you can print for your recipe files.