There are only a few days left of Hispanic Heritage Month, which runs from Sept. 15 to Oct. 15. Recognizing and celebrating cultures other than my own is important to me, especially with the recent happenings in this U.S., and the government trying to wipe out diversity of any kind. I feel helpless in the face of it, but know I can still shine a light on the other cultures. And the best way I know how to do that is to explore and share their cuisine.
At our house, we observe the heritage of Hispanic cultures regularly— not only on months that “officially” mark the occasion— and that usually happens through food, and typically Mexican food. A few of my formative years were spent with my mother in Southern Colorado and New Mexico, so those flavors taste like home to me. But Mexico isn’t the only country with Hispanic culture; there are 21 countries and territories to celebrate, with most of them being in the Americas, some in the Caribbean (such as Cuba and the D.R.) and even an itty bitty country in Africa. What puts them in the “Hispanic” category is that Spanish is the predominant language and their cultures have been significantly influenced by Spain (which is, itself, an Hispanic nation).
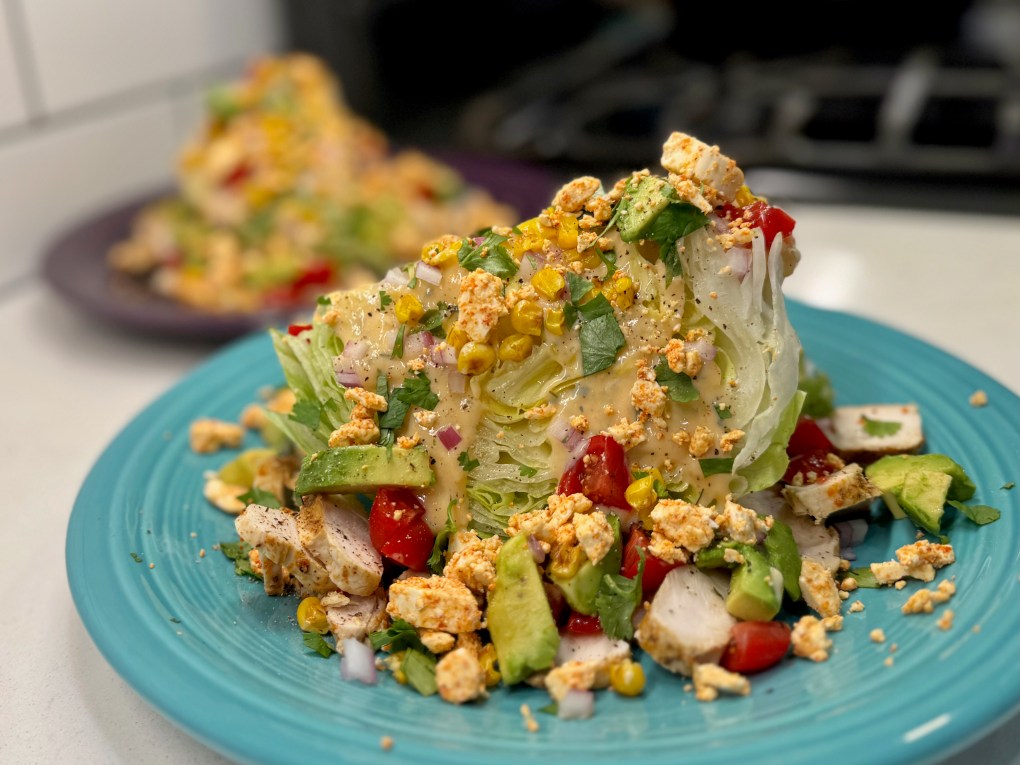
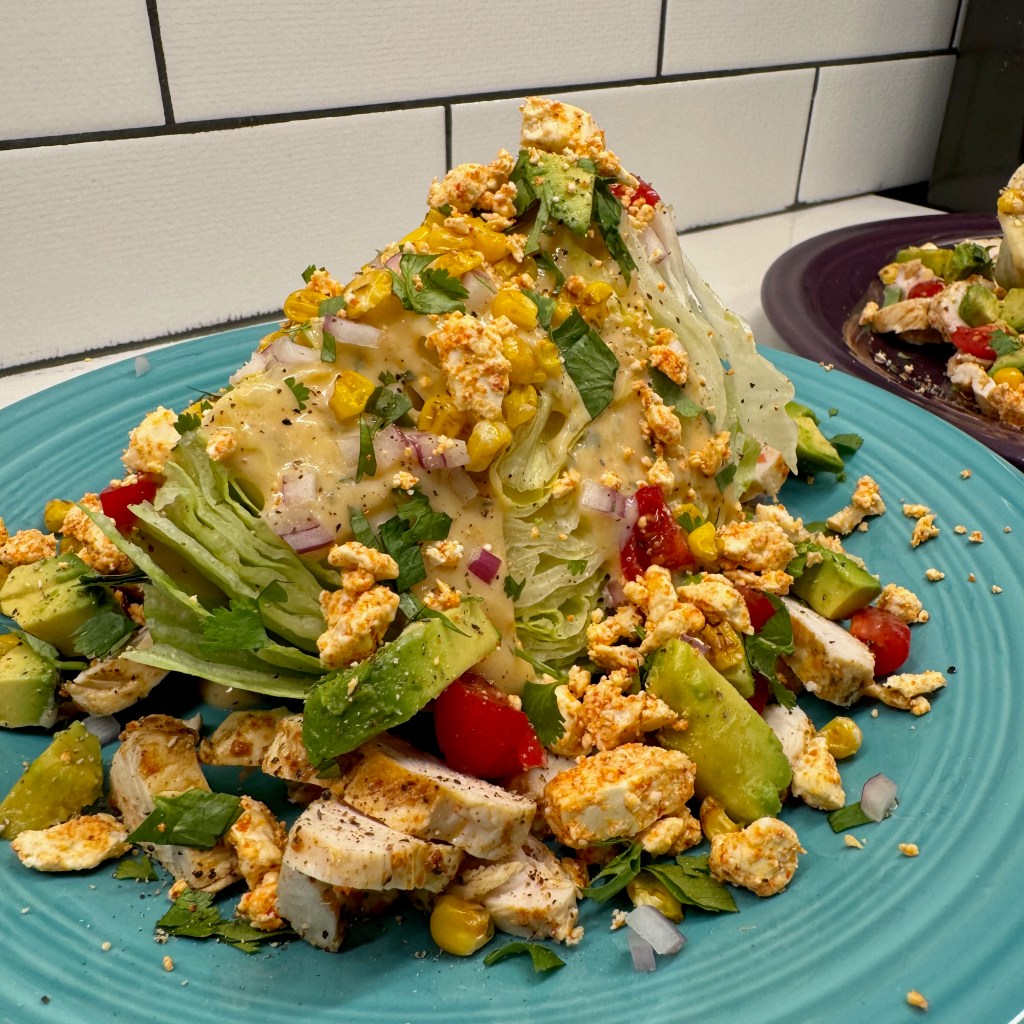
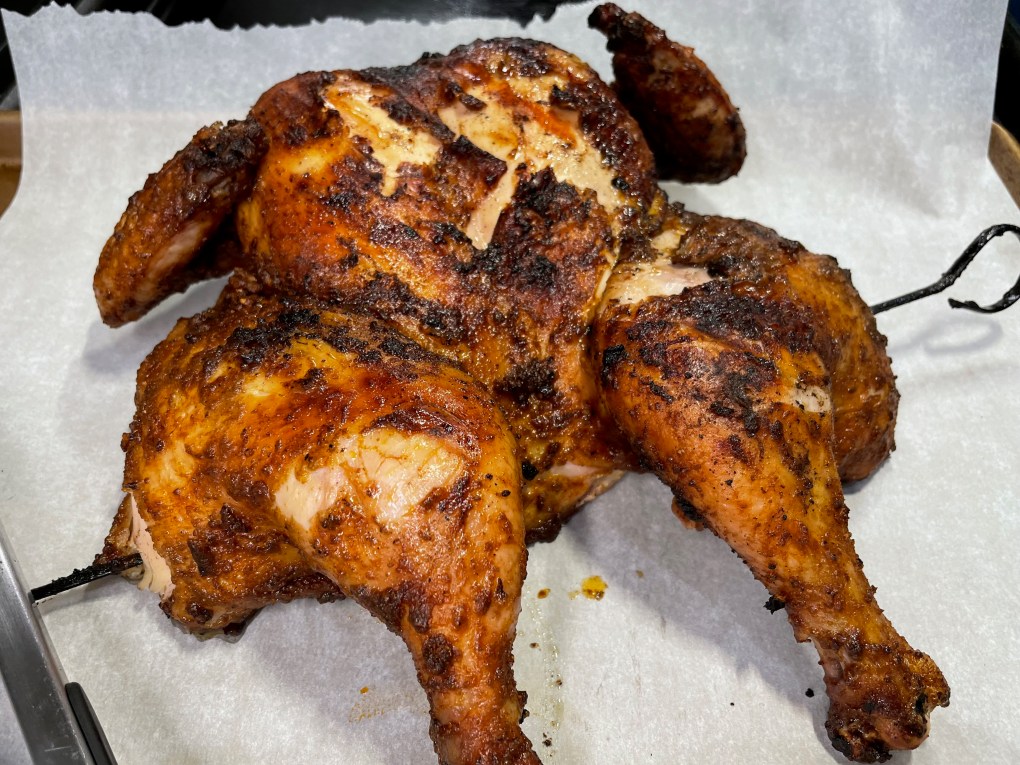
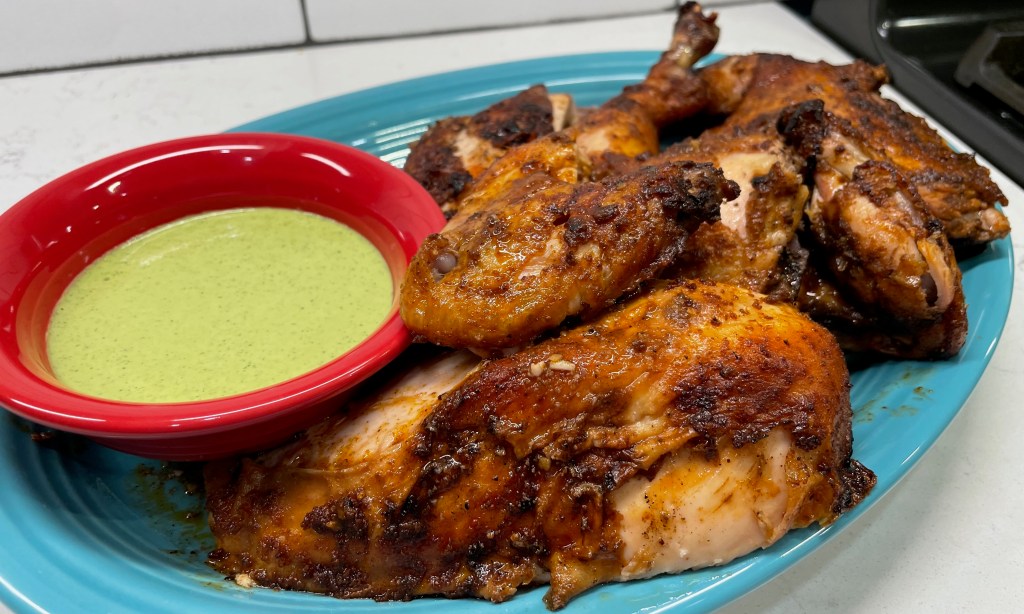
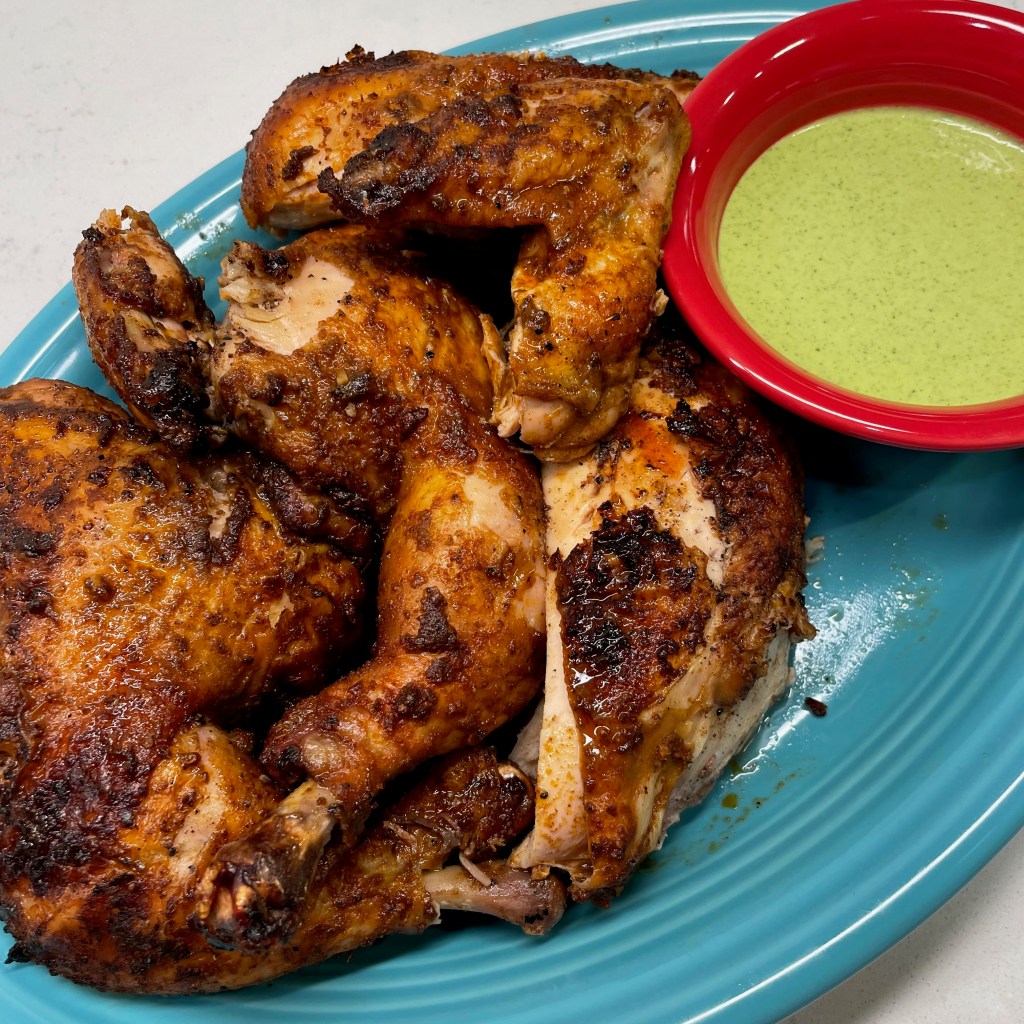
Today, my attention is on Peru, for no other reason than I freaking love this chicken! My first-ever experience of Peruvian roast chicken was underwhelming— it was a rotisserie bird from Whole Foods that barely tasted different from a plain one. But when I first had pollo a la brasa for real—fire-roasted chicken with paprika, cumin, vinegar and garlic—I was blown away by the intensely warm and smoky spices and the flavor explosion at the first bite. And it’s not just the spices on the chicken— it’s this insanely good jalapeño-based sauce that I would happily devour with a spoon.
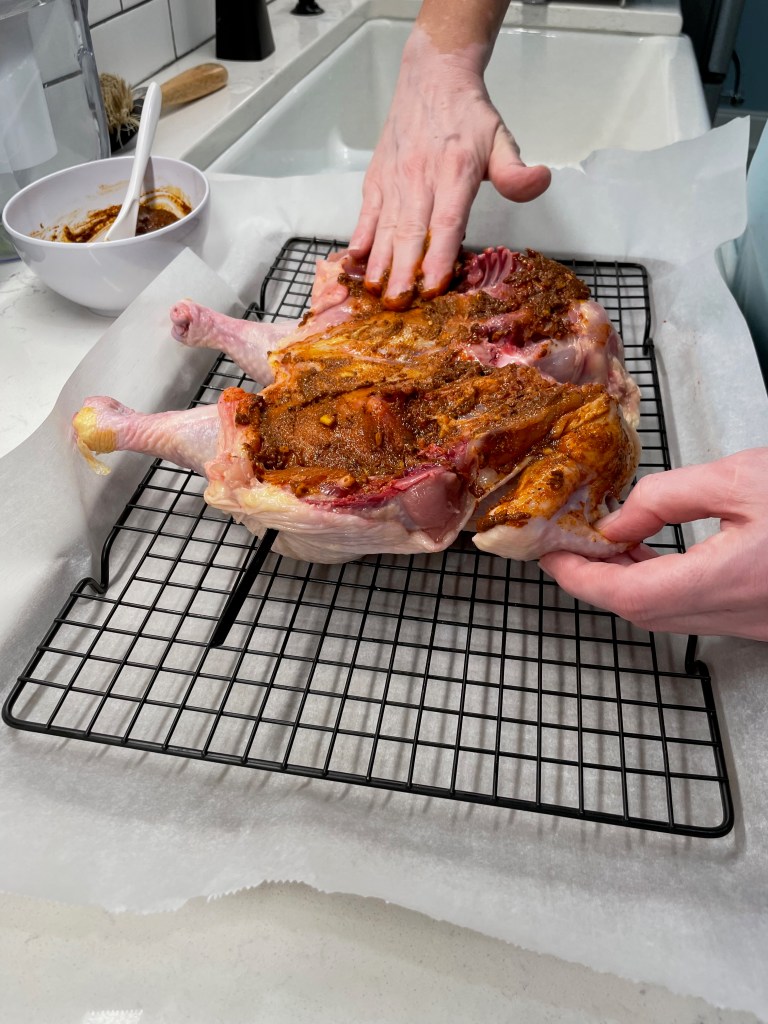
We’ve made this a few times at home now— first, with the rotisserie spit accessory on our Napoleon gas grill and later by spatchcocking the bird and grilling it flat— and I have a few thoughts to share for the best success.
Thought #1: Trust Kenji’s recipe!
It didn’t take long to find the recipe I would trust when I decided to make this at home. If you know me at all, you know that Kenji López-Alt has my utmost respect for his culinary approach and techniques. He’s the reason I dry-brine my turkey at Thanksgiving and salt steaks overnight before grilling. If anyone knows the right way to cook Peruvian-style chicken, it’s Kenji. The only deviation I made from Kenji’s recipe on the Serious Eats website is that we used our gas grill (we don’t have a charcoal one, darn it). Literally everything else about my method is the same. For this reason, I’m tagging his recipe below so that I don’t have to type it out myself. Be sure to read through Kenji’s narrative, too, for more tips and expert insight.
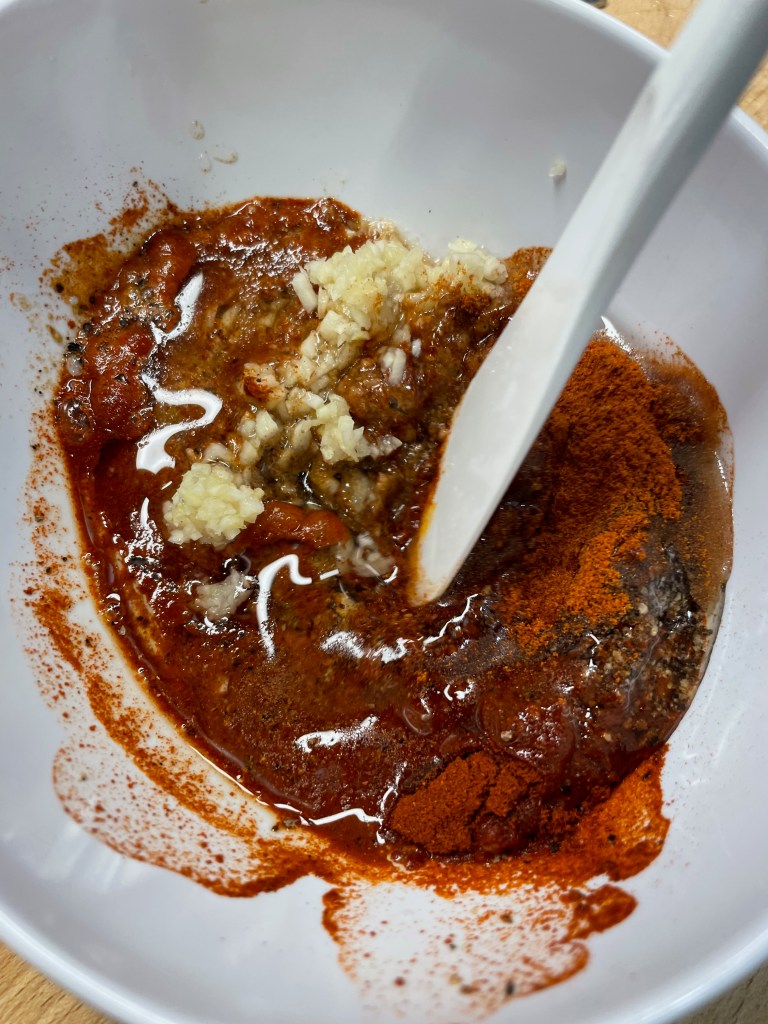
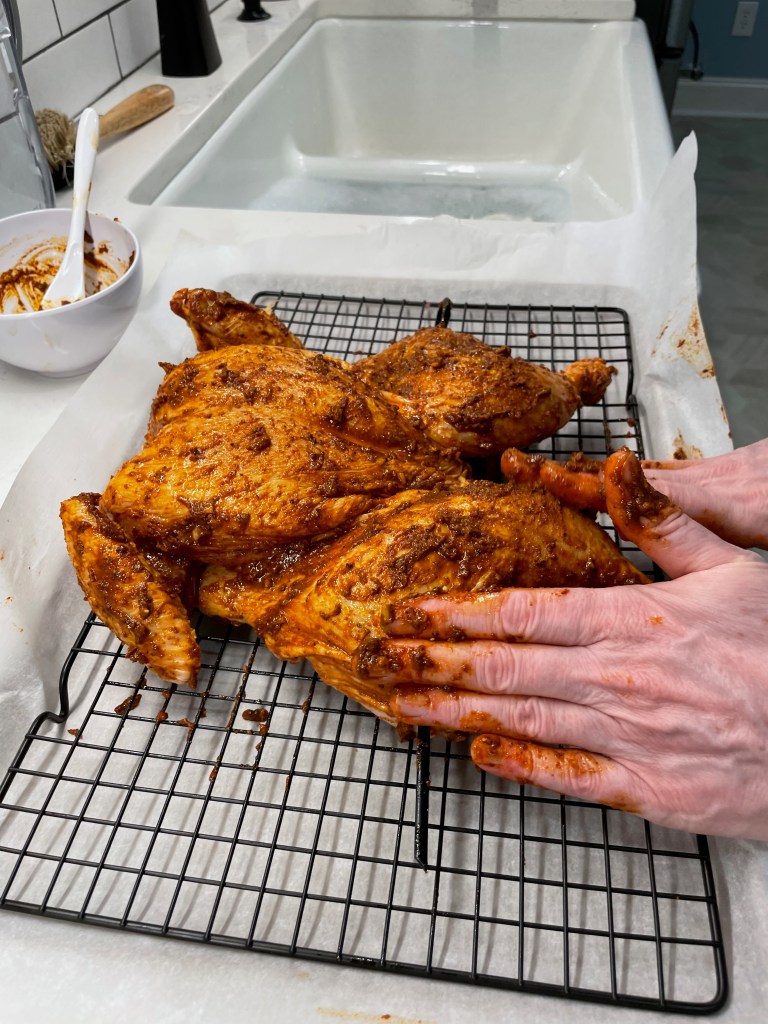
I did this part in the late morning and let the chicken hang out in the fridge all day.
Thought #2: Consider roasting parts rather than a whole chicken
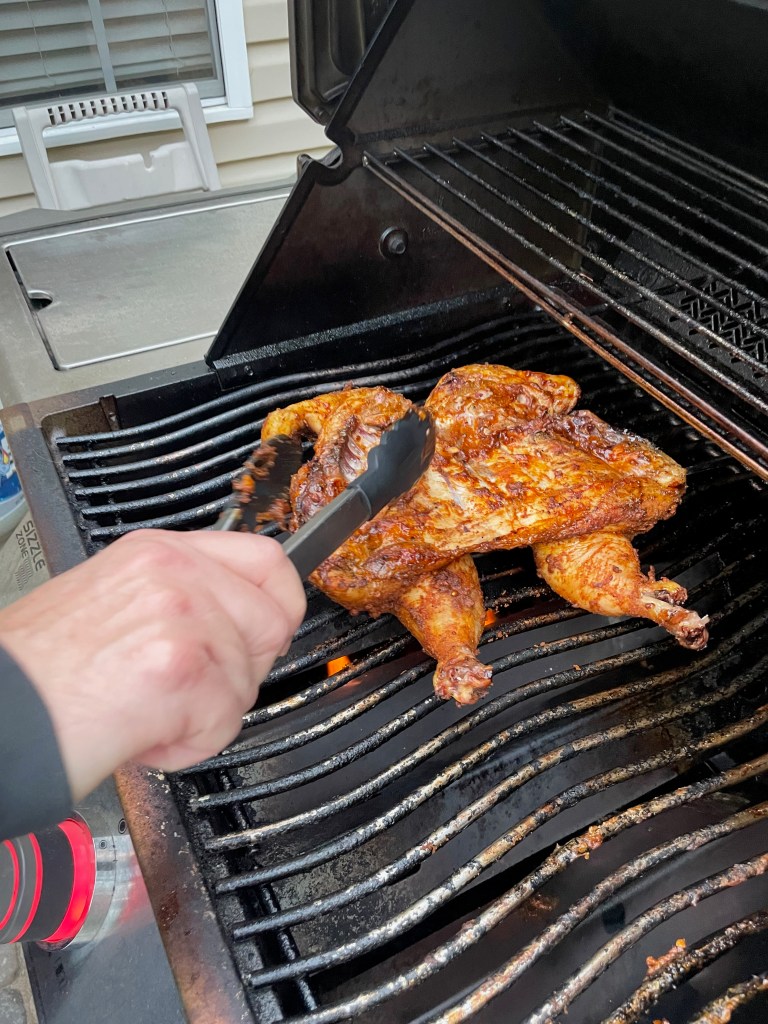
Our rotisserie effort felt authentic and fancy, but the whole, flat-roasted chicken was just as good. Next time we make this recipe, I’ll probably buy packages of the chicken parts we like best— the thighs! It can be tricky to get the thighs and breast of a whole chicken done at the same time, especially on the grill, so why not buy the parts separately and give each the attention they need? Bone-in, skin-on is the way to go for maximum flavor.
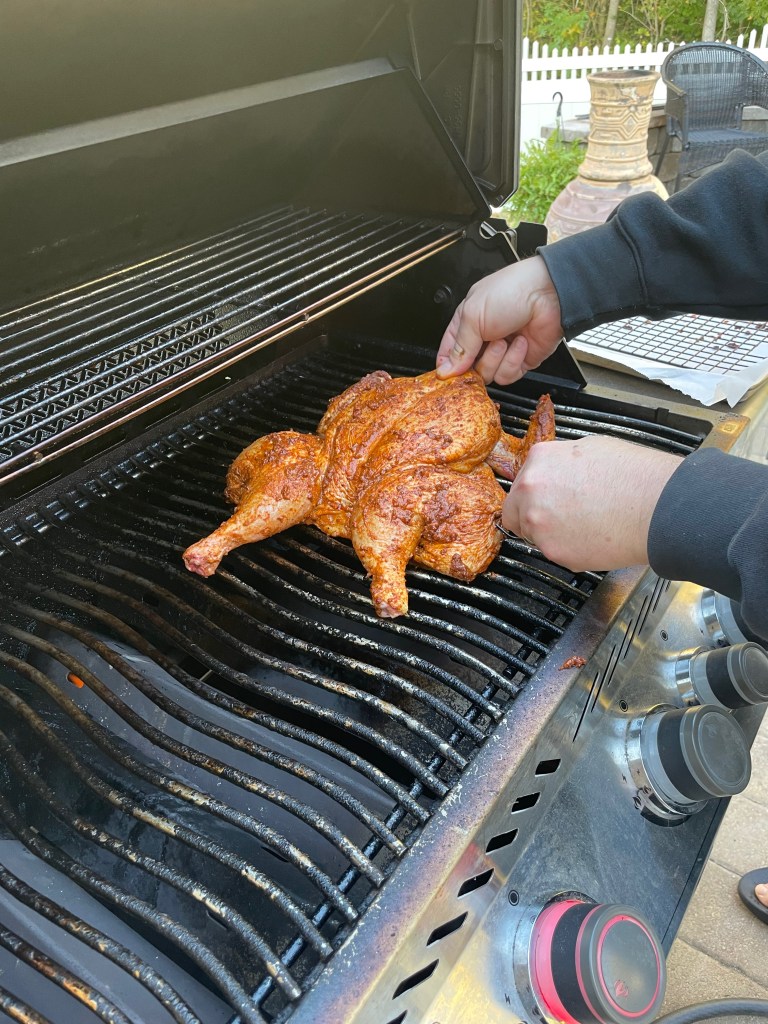
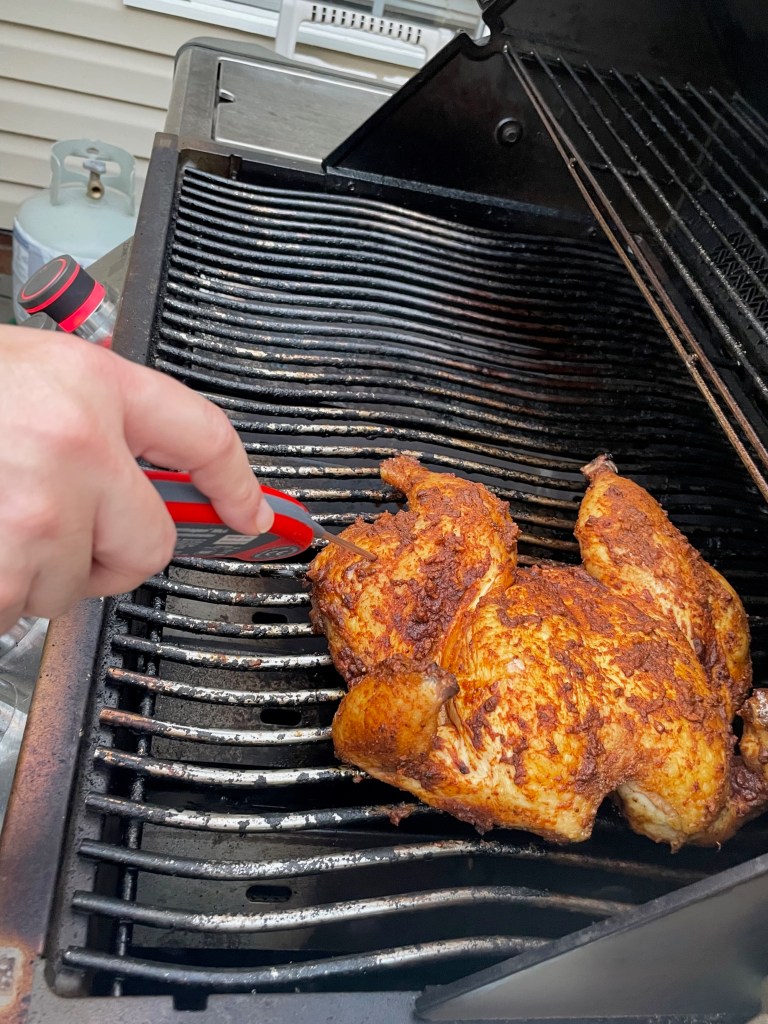
It was on the grill for about an hour.
Thought #3: Make extra green sauce (trust me!)
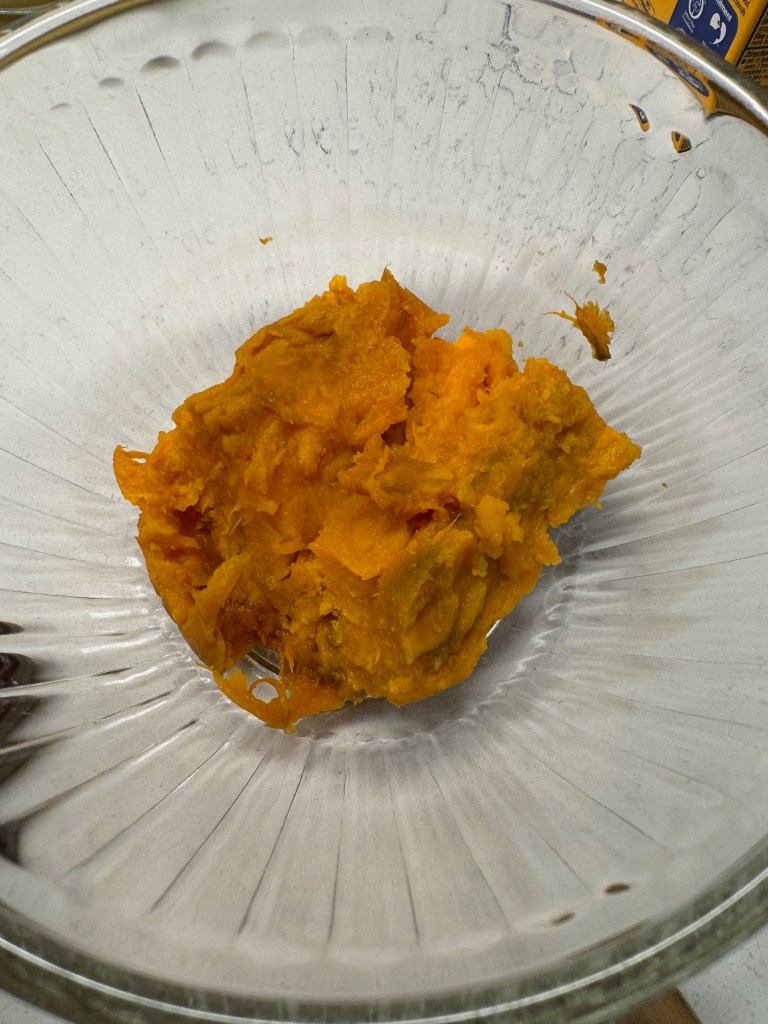
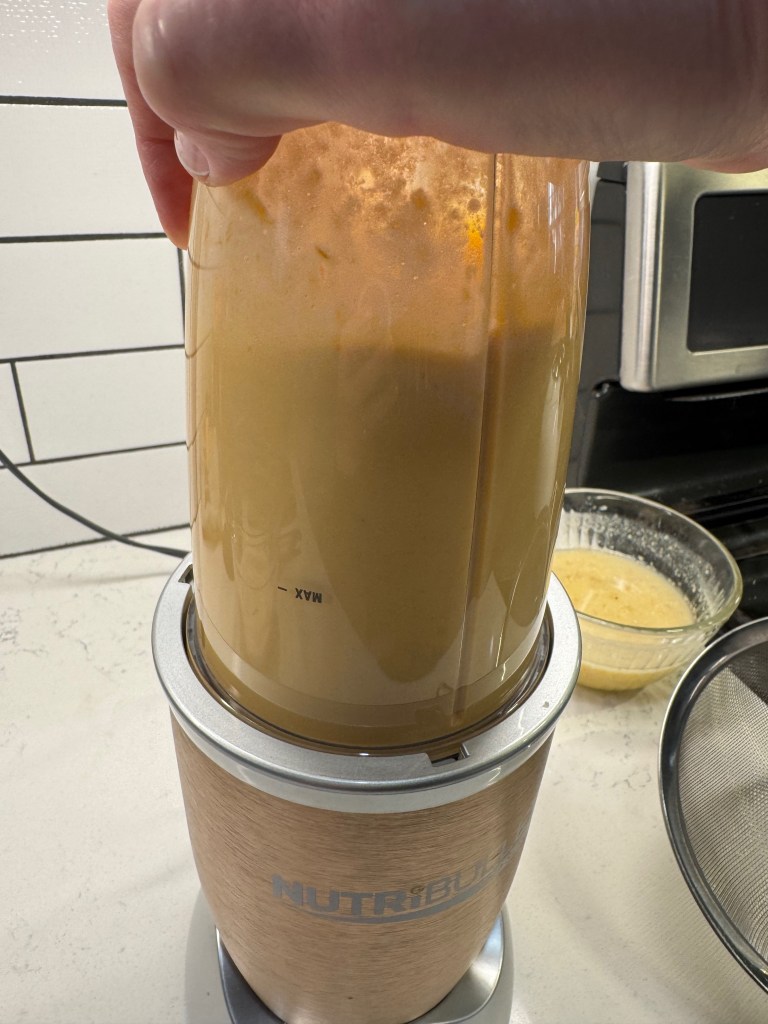
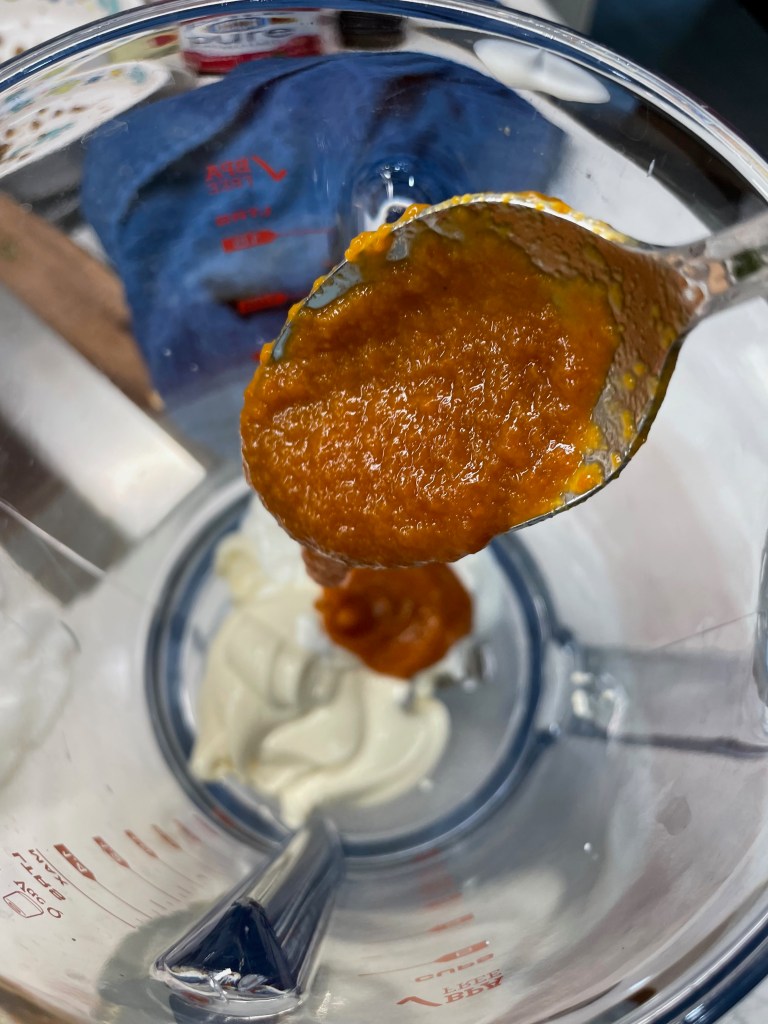
I don’t know how such simple ingredients can become so delicious. It’s kind of ridiculous how good this sauce is, and the secret ingredient is a product called aji amarillo chile paste. Look for it in a Hispanic specialty market or online if your supermarket doesn’t carry it.
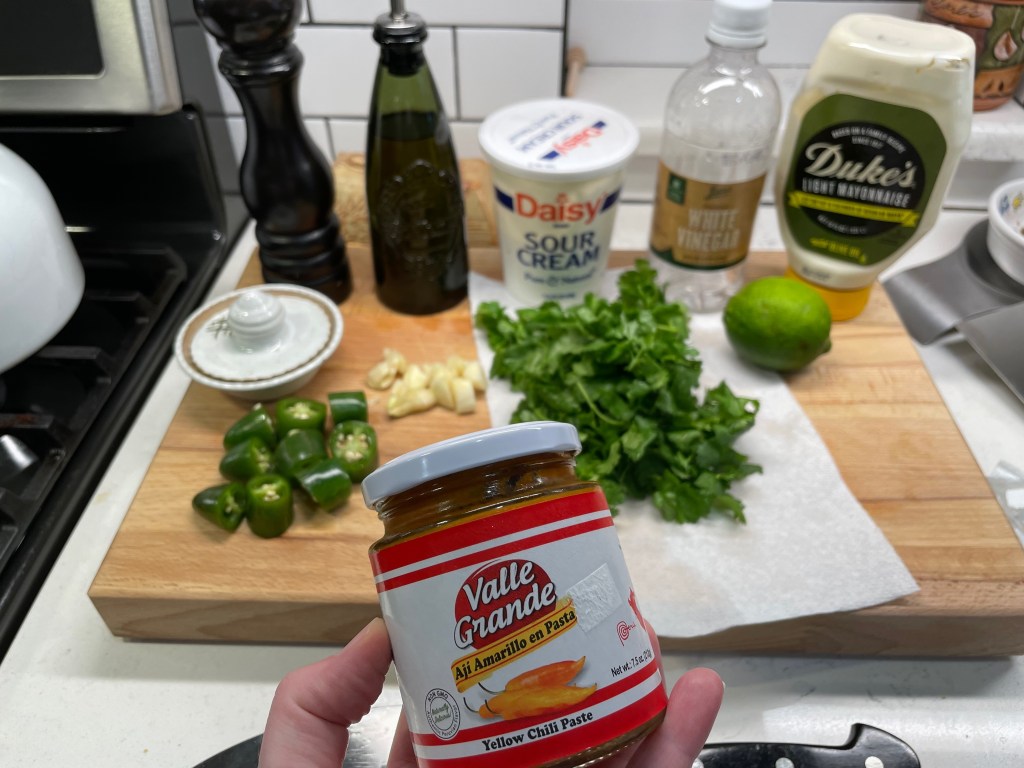
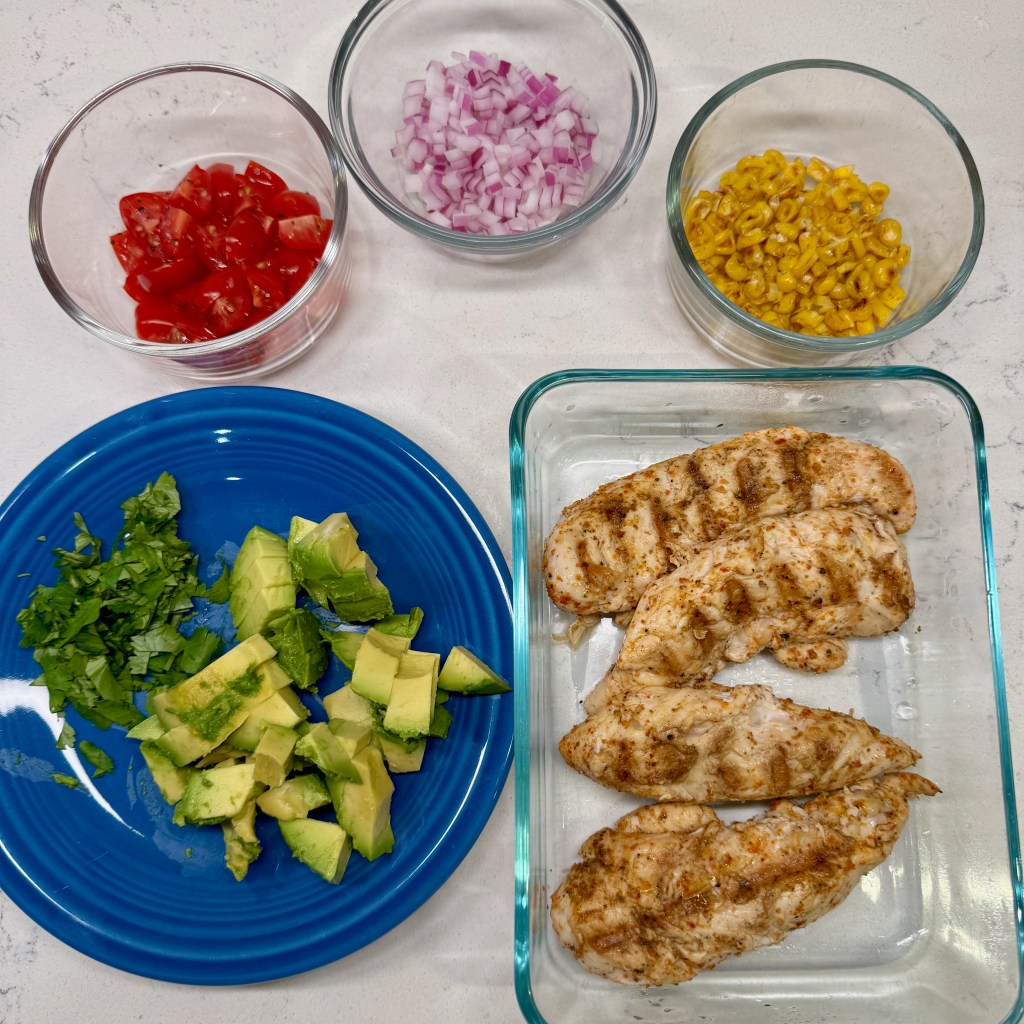
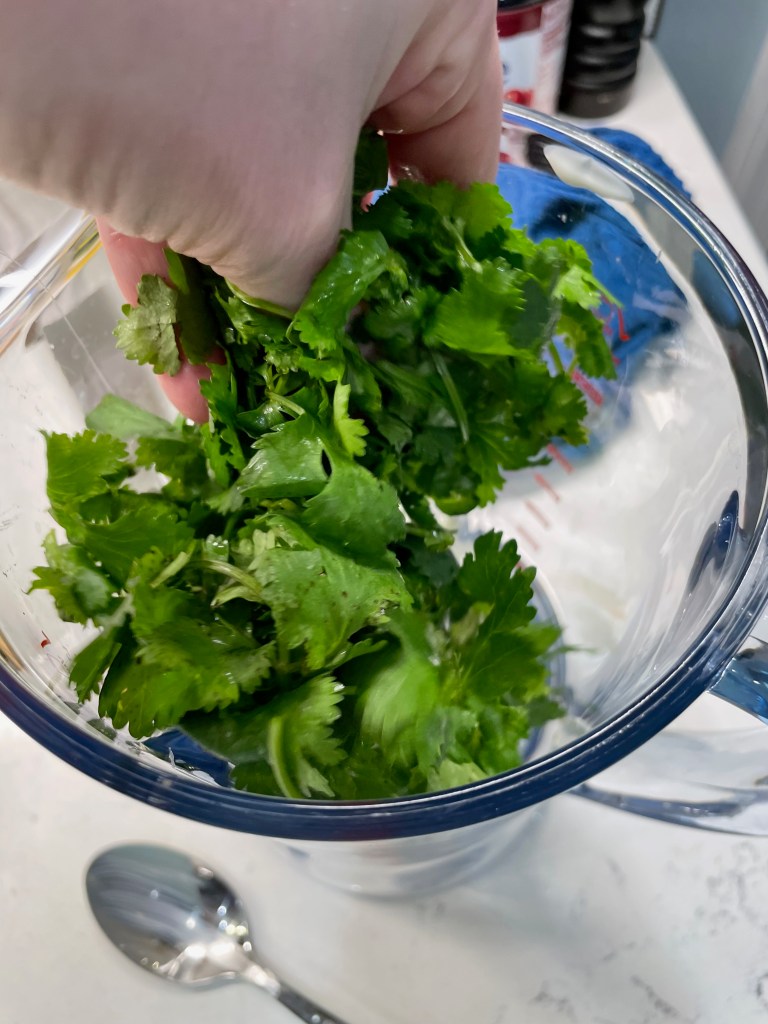
Aji amarillo has a uniquely earthy yet tropical, almost sweet flavor, and when combined with jalapeños, cilantro, garlic, lime and mayonnaise— well, it’s almost magical, with an addictive quality that will make you wish you had grilled a second chicken. But don’t worry, you’ll find plenty of other things to dunk into this sauce. It’s that good!

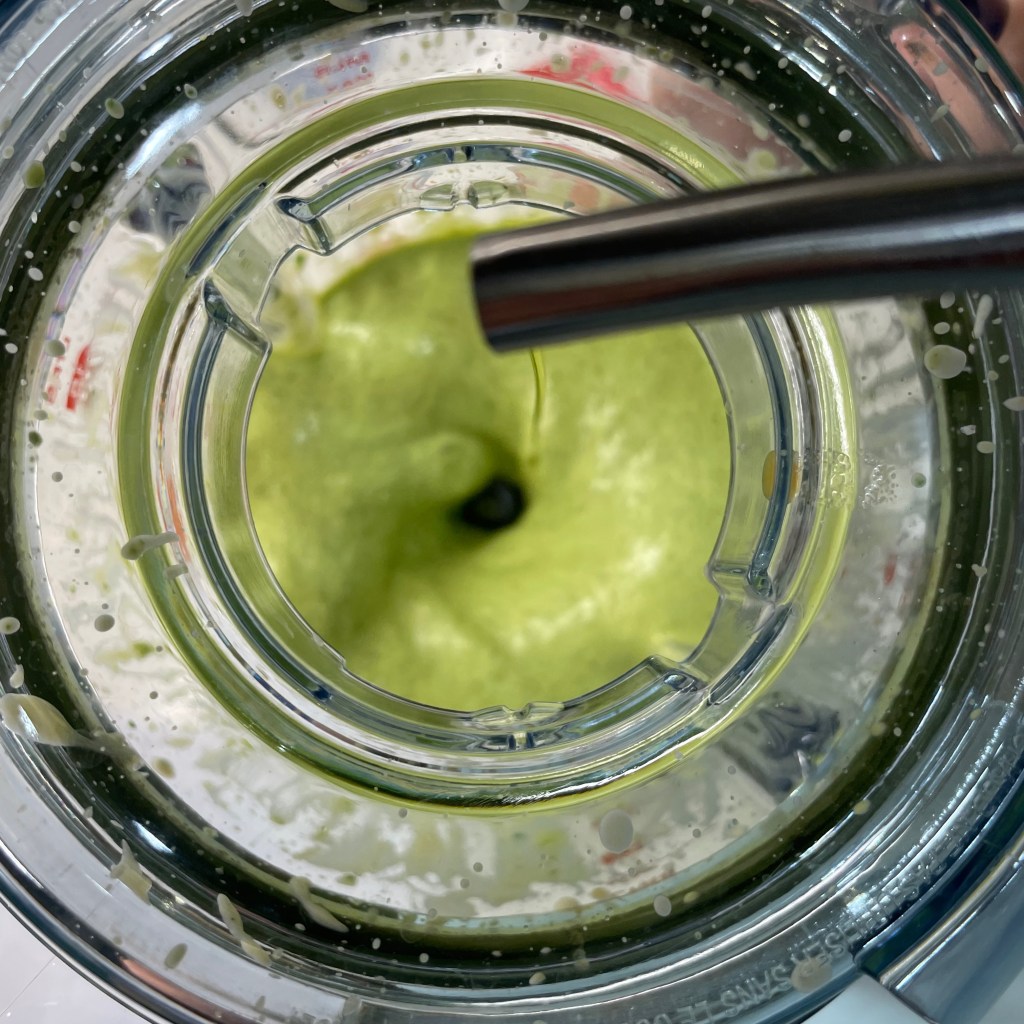
Make the sauce ahead of time, if you wish, so the flavors have plenty of time to meld in the fridge. If you have a charcoal grill, use it! But we had zero complaints with the outcome of our grilled Peruvian chicken. My mouth is watering again just looking at it!
Want to make this incredible dish?
This might be a first, that I followed a recipe to the letter! Get the recipe and complete technique and instructions: https://www.seriouseats.com/peruvian-style-grilled-chicken-with-green-sauce-recipe