It’s always a comical scene at Trader Joe’s this time of year, as every aisle, endcap and special display is loaded up with pumpkin spice goodies. Eager customers load up their carts with all the pumpkin spice cookies, donuts, oat milk, cold brew concentrate (guilty) and even candles and dog biscuits flavored with pumpkin spice. It’s a fall frenzy! Love it or hate it, this trend isn’t going away anytime soon.
And though I personally love the pumpkin and sweet spice combination, I also love the savory side of pumpkin, which doesn’t get nearly enough attention when fall rolls around. Pumpkin on its own is not sweet at all— it’s a variety of winter squash, you know— but we have become so conditioned to think of it as a pie filling or latté enhancer that we sometimes miss the opportunity to let those savory aspects shine.
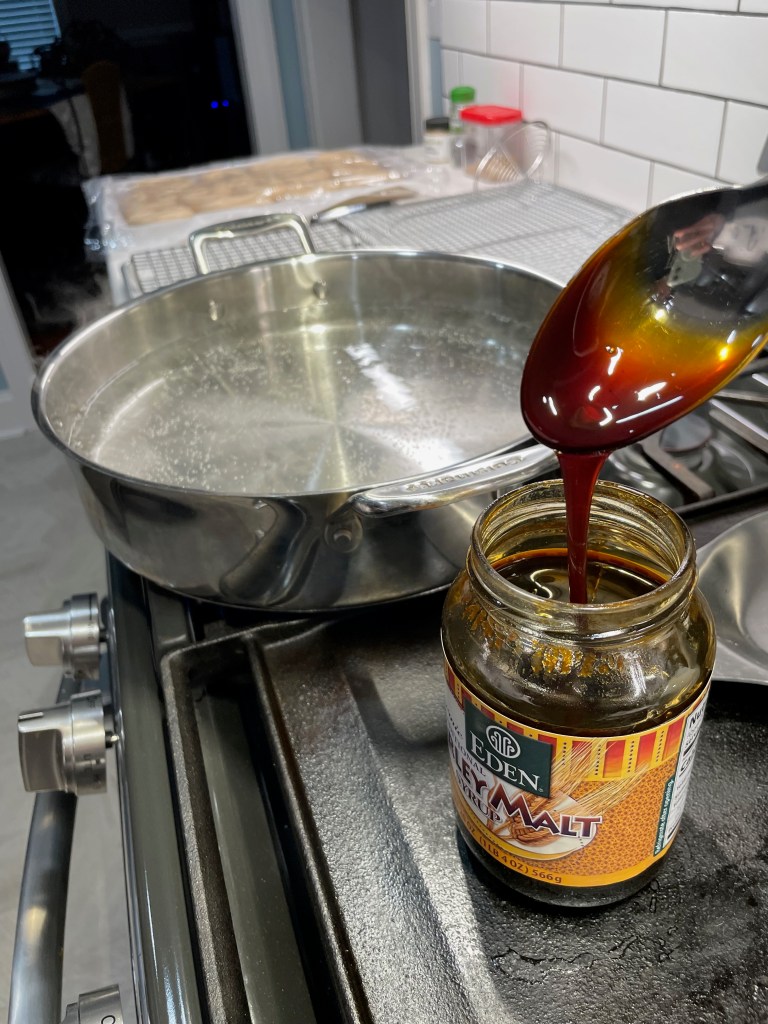
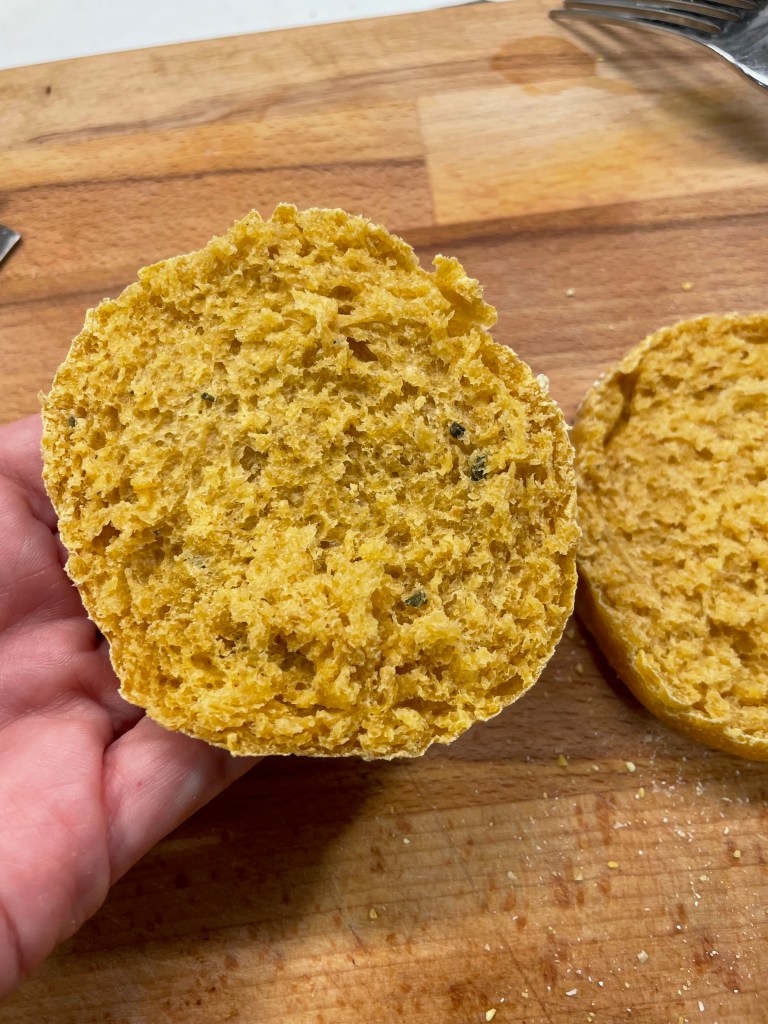
But today, these barely sweet, griddle-baked goodies are getting all the praise. I’ve made a few easy swaps from my go-to sourdough English muffin recipe, working in pure pumpkin and a swap of molasses, plus a hint of onion and some fresh chopped sage leaves.


The dough is easy to work, and there’s no need to even turn on the oven because these babies bake on a griddle or in a hot cast iron pan. Let them bring some seasonal pizzazz to your breakfast sandwiches and autumn brunches. Also perfect just toasted with butter.
Welcome, fall. We are so glad you’re here!


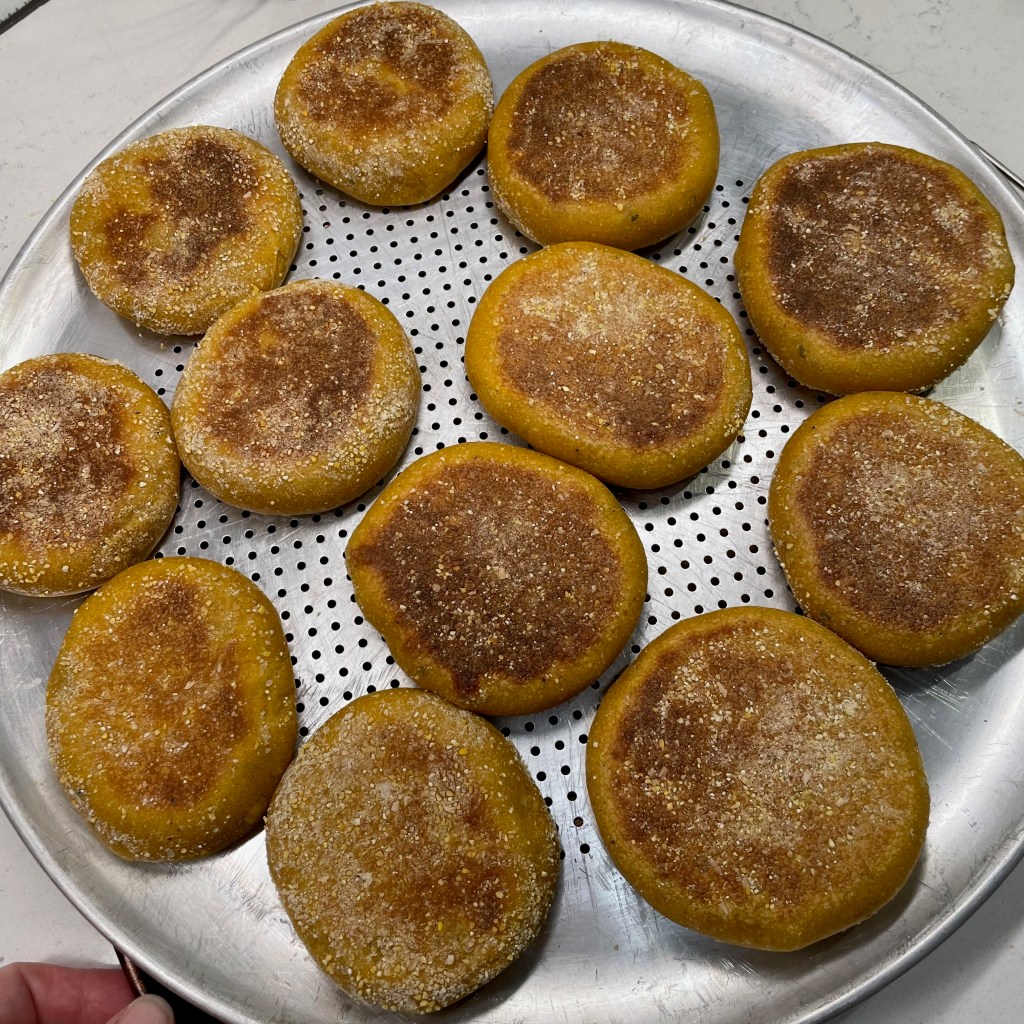
Sourdough Pumpkin & Sage English Muffins

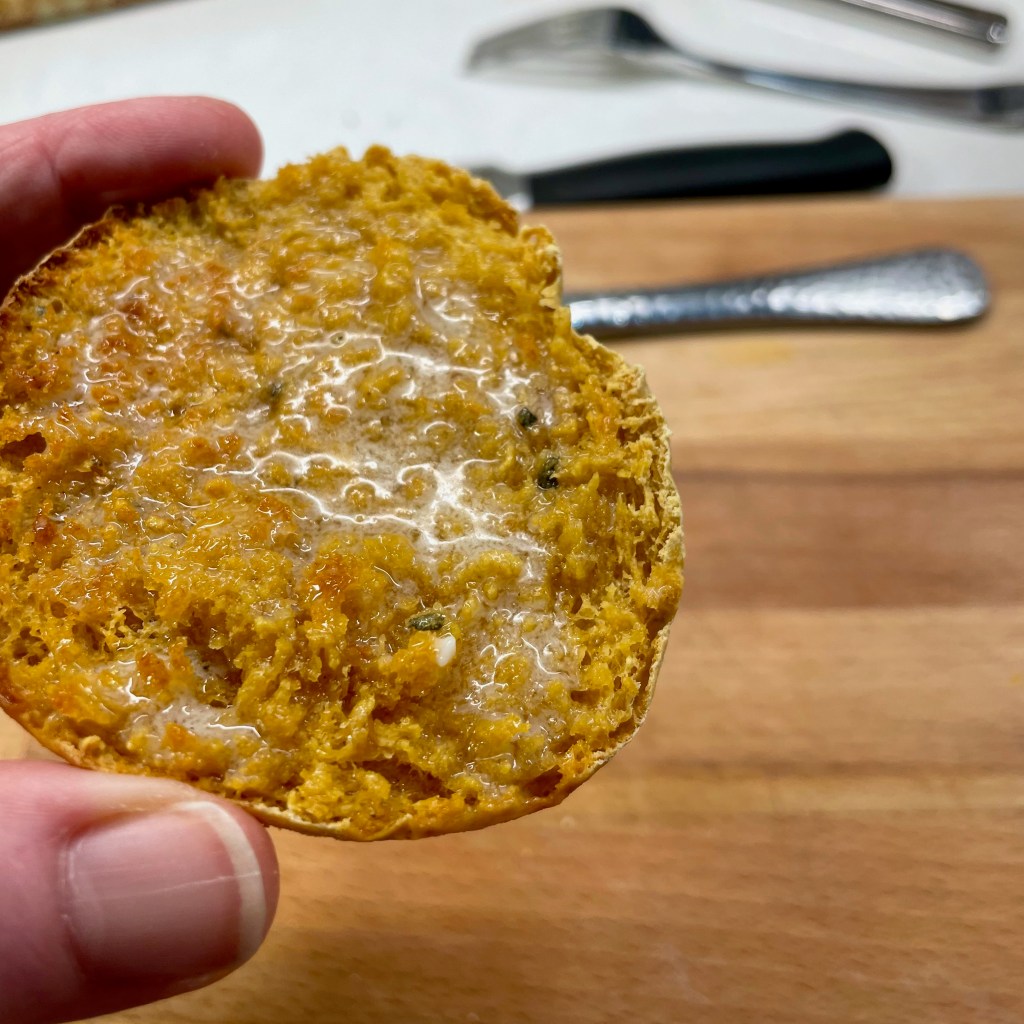
This easy recipe gives pumpkin a chance to show off its savory side. With onion, sage and a touch of molasses, these griddle-baked muffins are ready to elevate your autumn breakfasts. They also work great for turkey sandwiches!
Ingredients
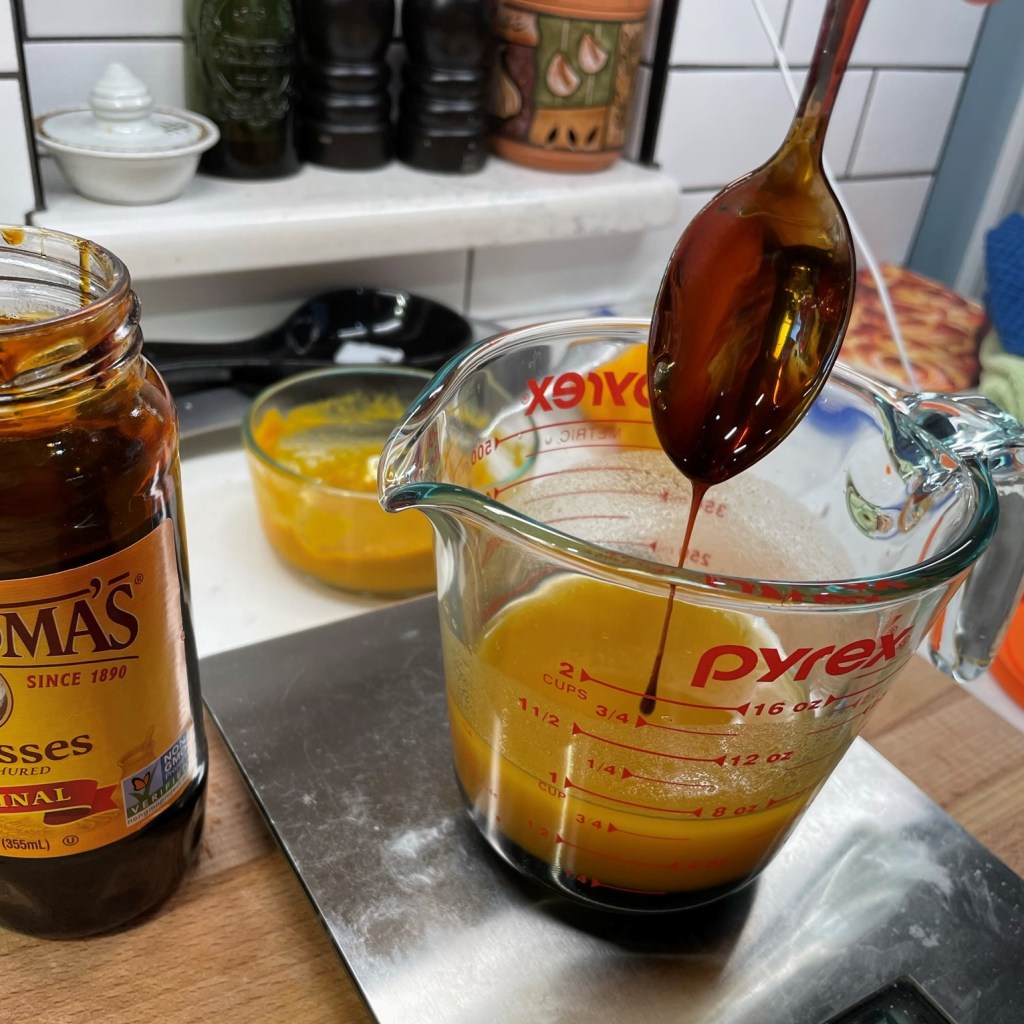
- 106 g pumpkin puree
- 170 g warm water
- 28 g olive oil
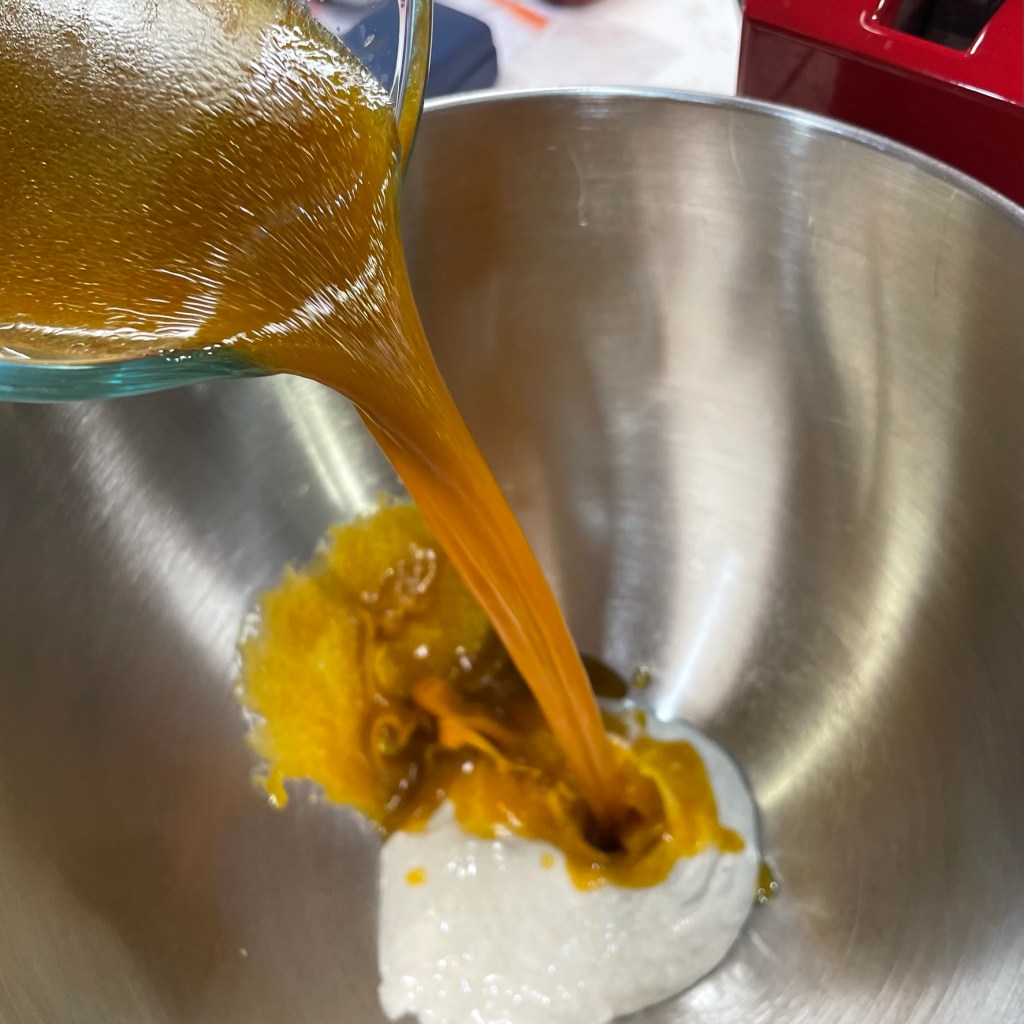
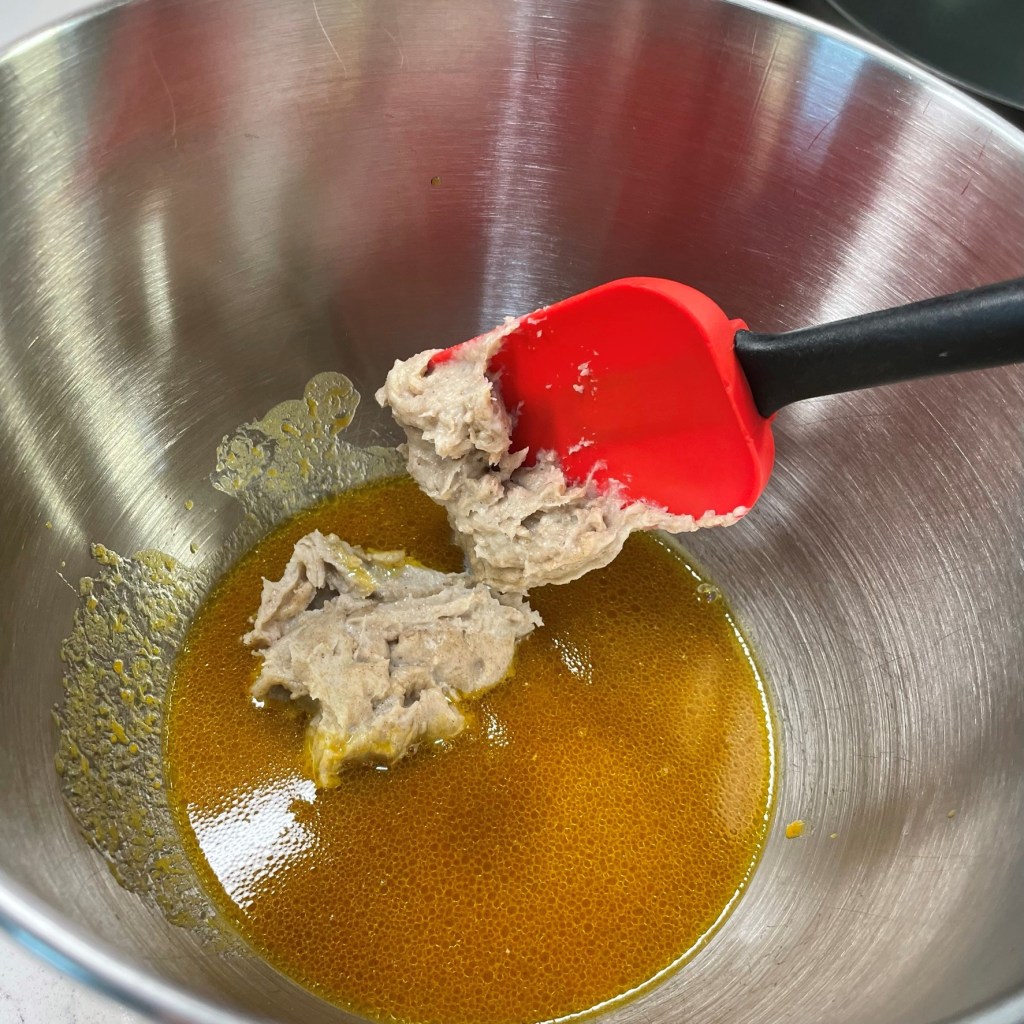
- 113 g ripe sourdough starter
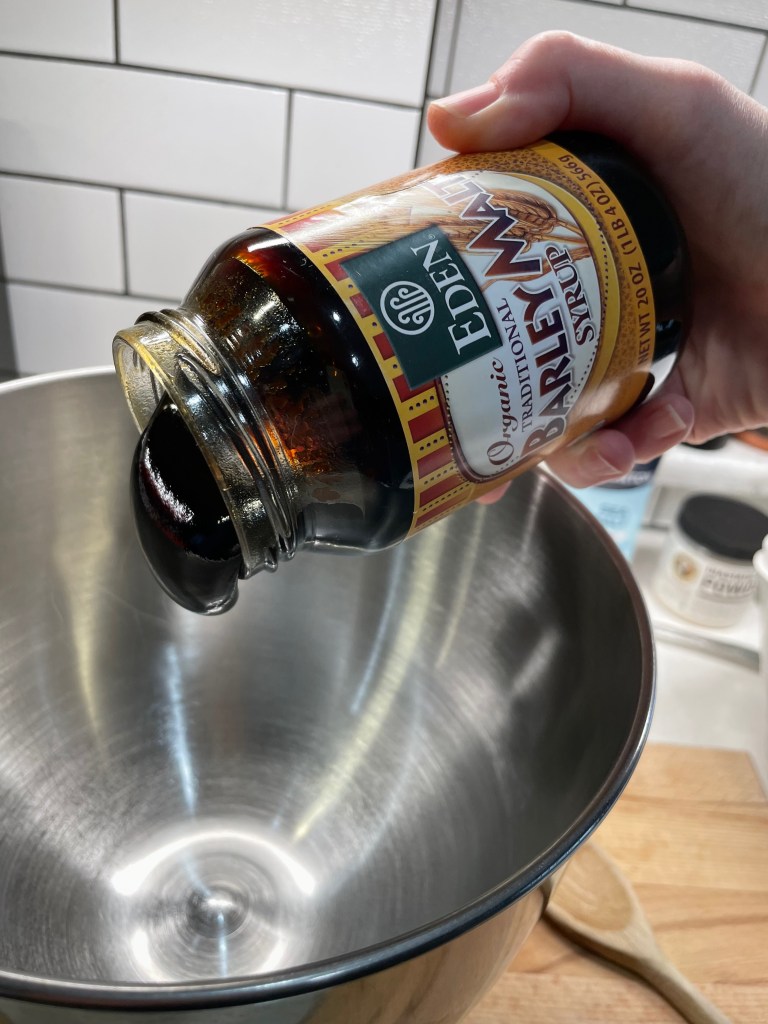
- 15 g molasses
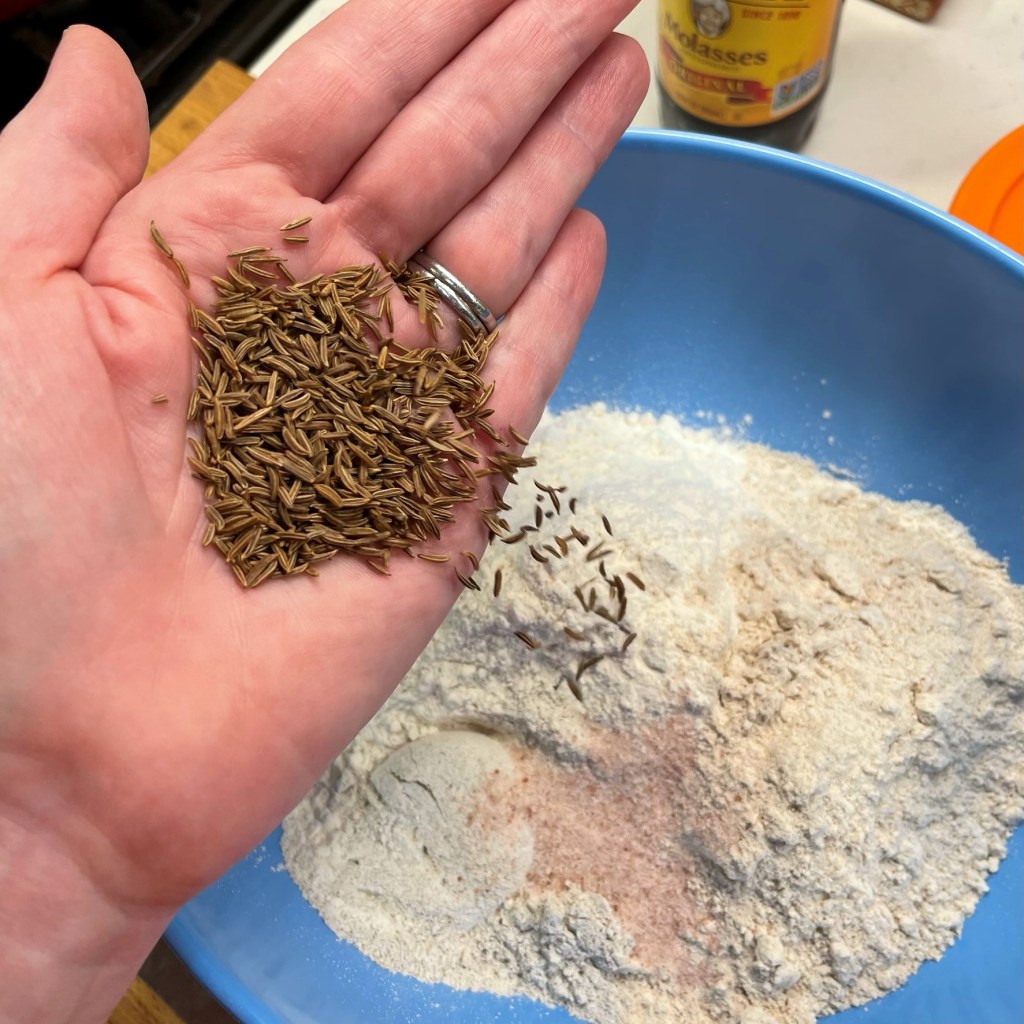
- 1 Tbsp fresh sage leaves, chopped
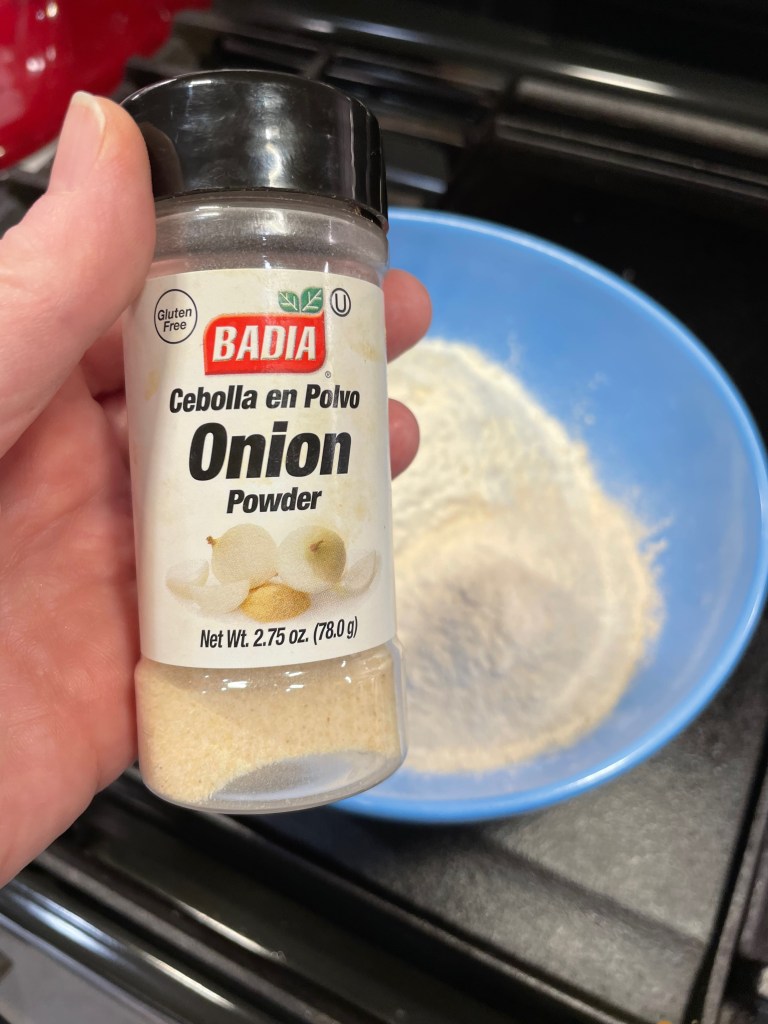
- 1 tsp onion powder
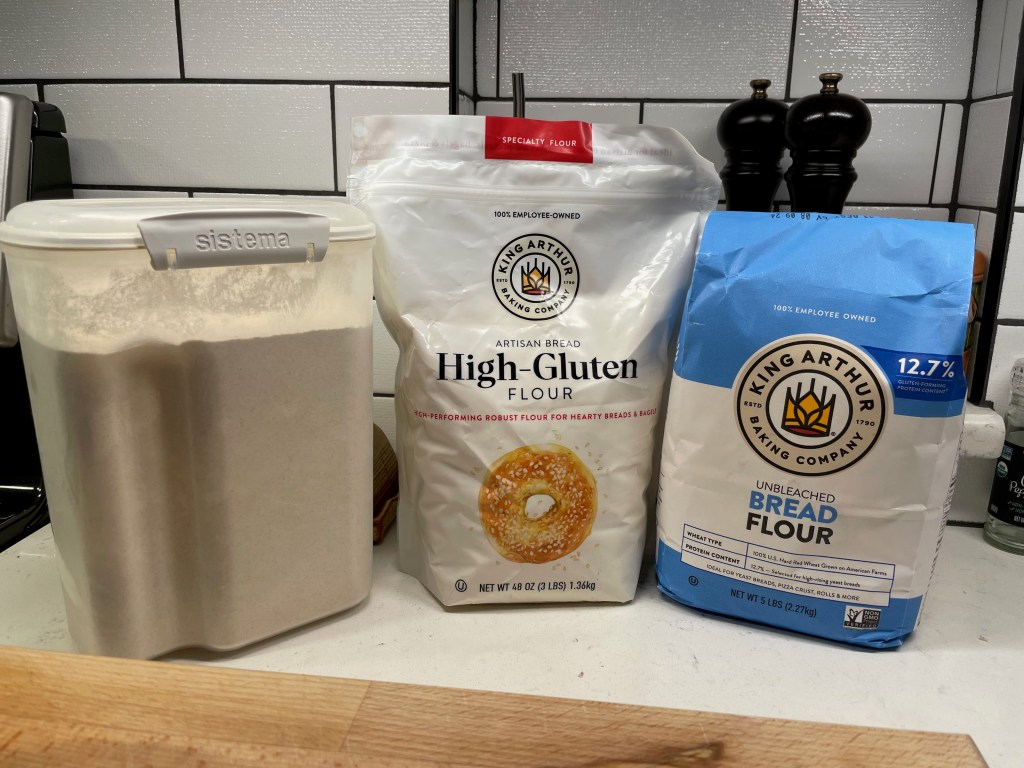
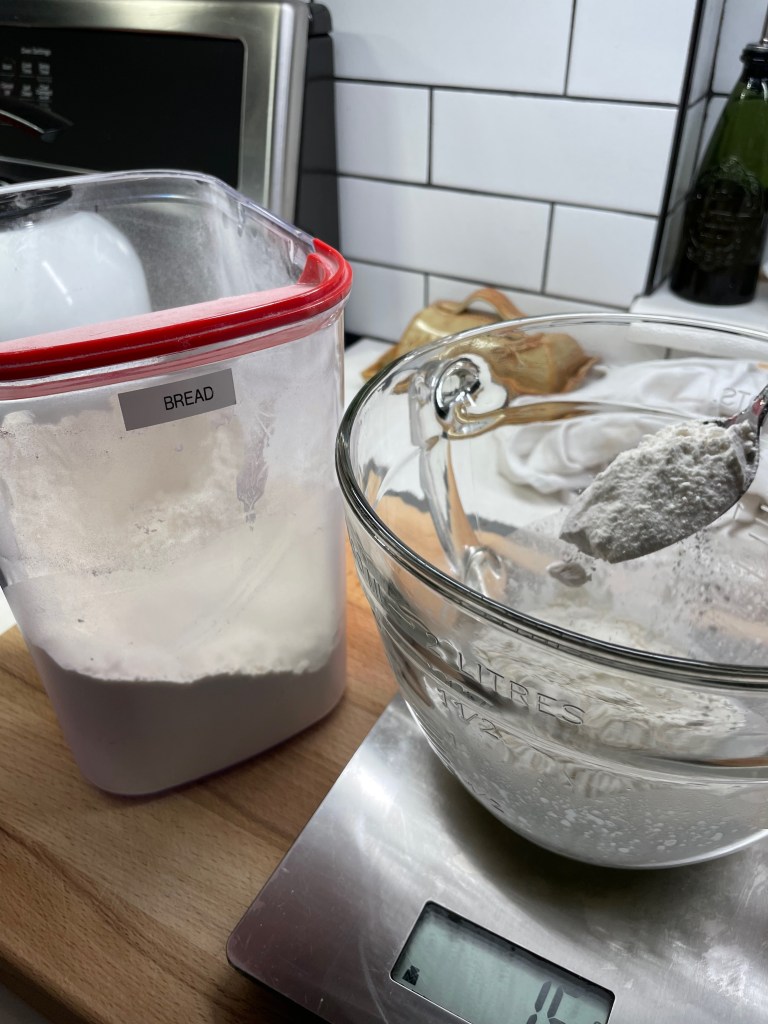
- 100 g white whole wheat
- 320 g all-purpose
- 22 g dry milk powder
- 1 1/2 tsp salt
- 1 tsp instant dry yeast, optional for quicker rise
- cornmeal for dusting muffins before baking
Directions
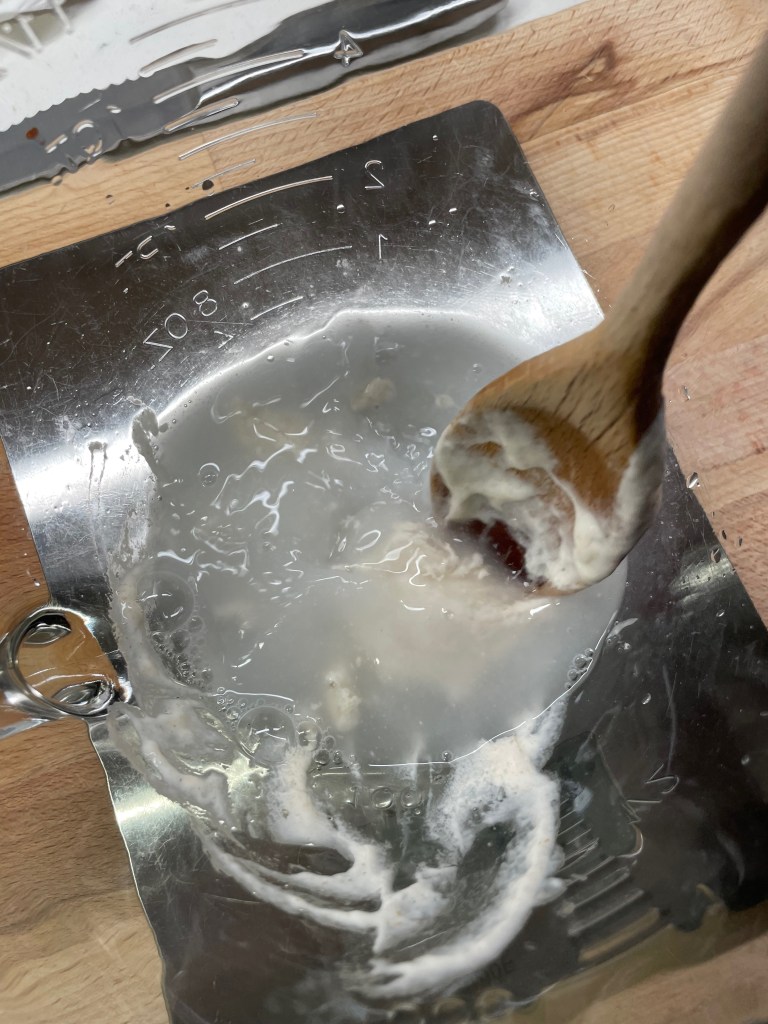
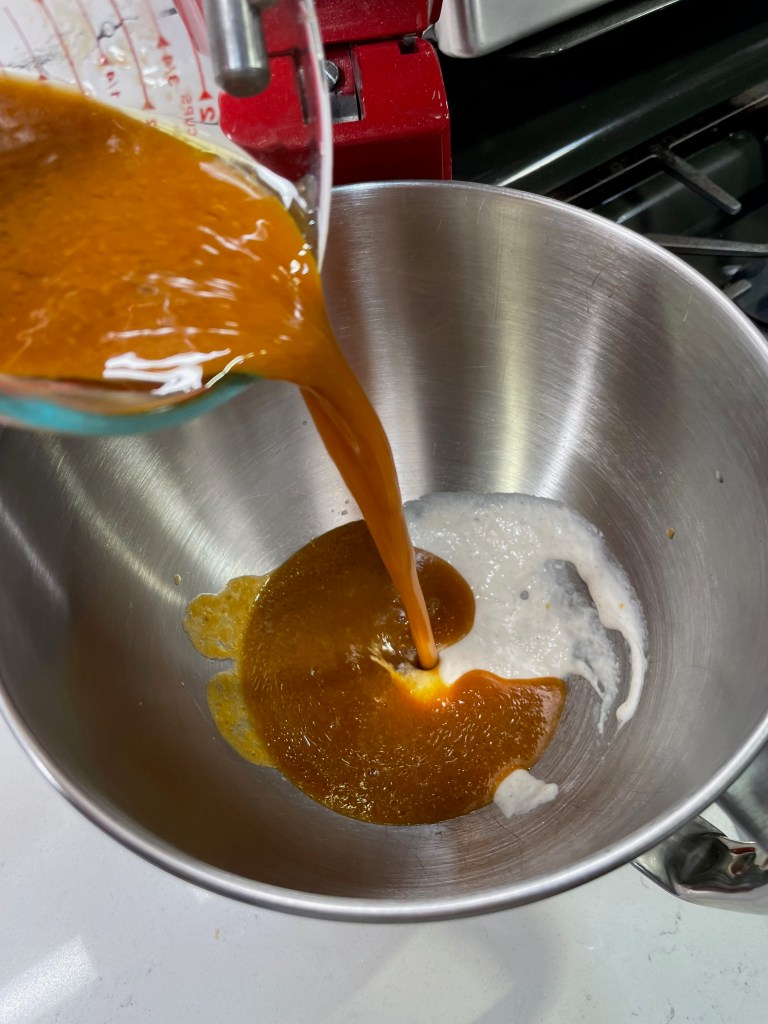
- Combine pumpkin, water, olive oil and molasses in a measuring cup with a spout. Warm in the microwave for 30 seconds if the pumpkin is cold.
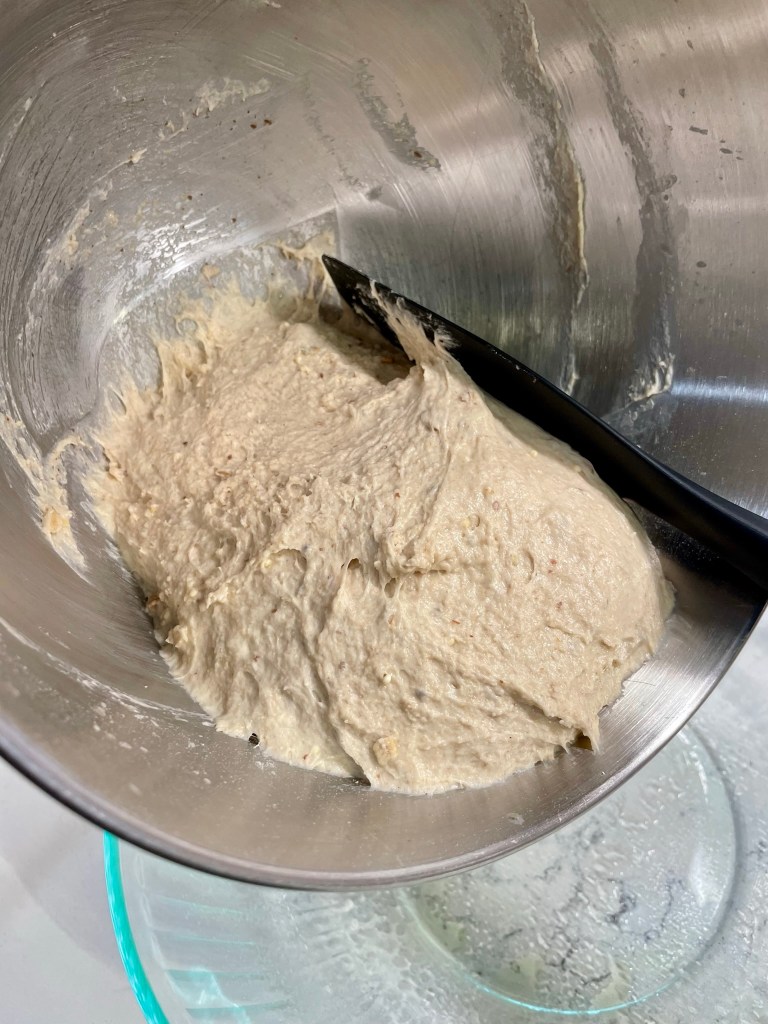
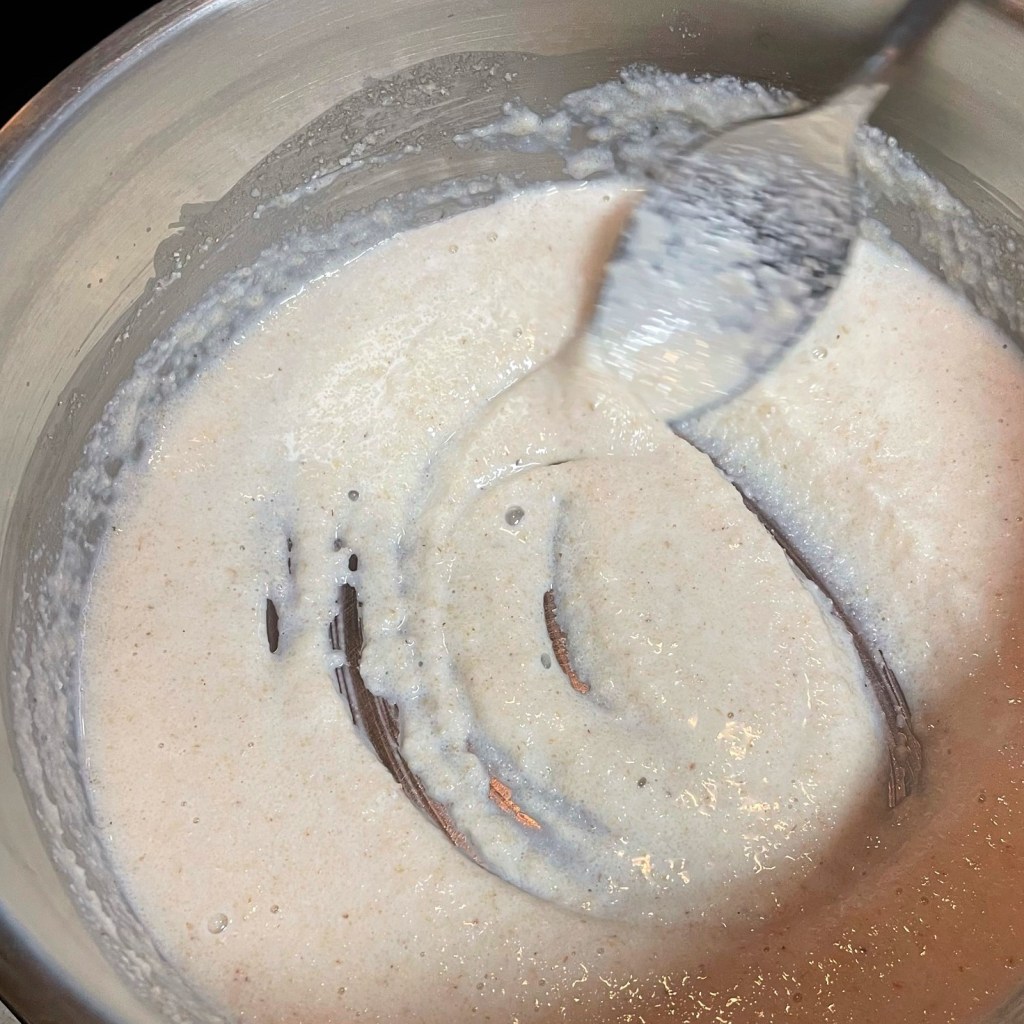
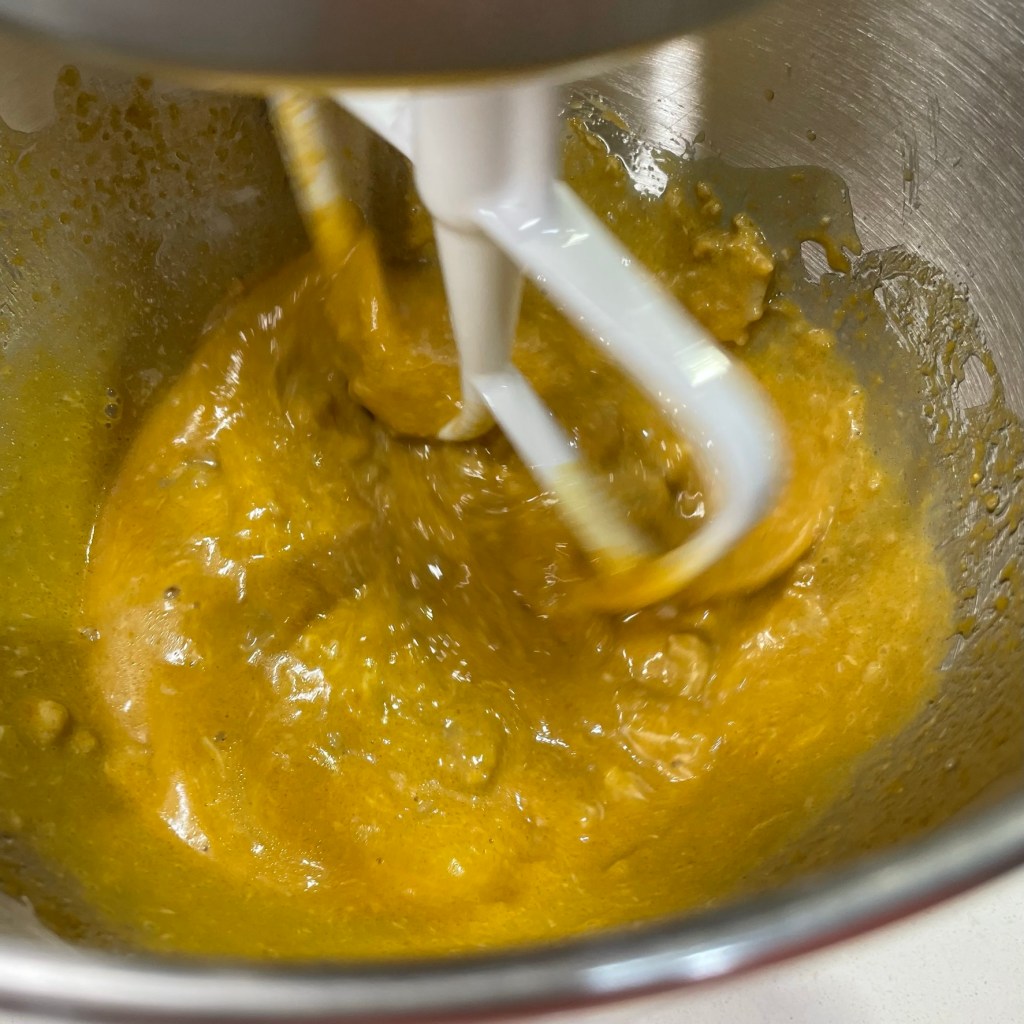
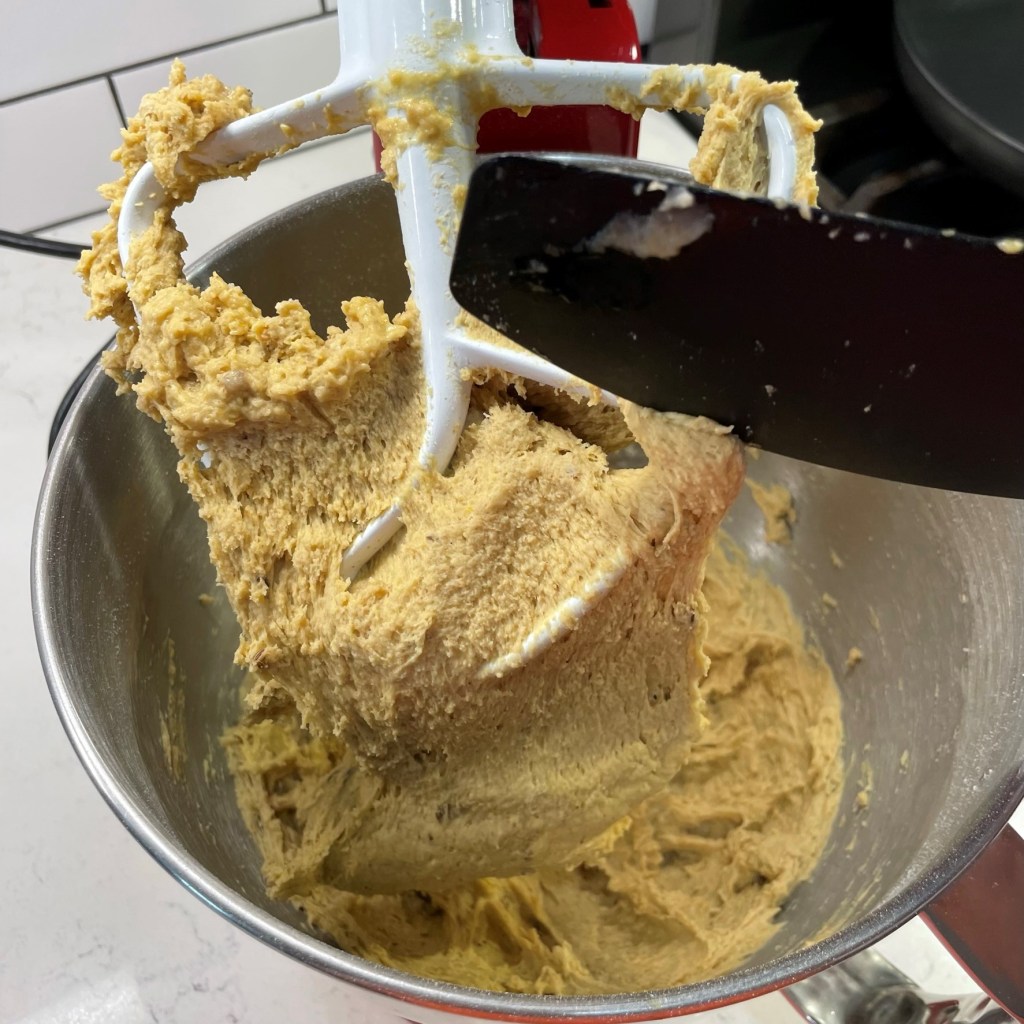
- Mix together the starter and pumpkin mixture in the bowl of a stand mixer, fitted with the paddle blade. Blend until smooth.
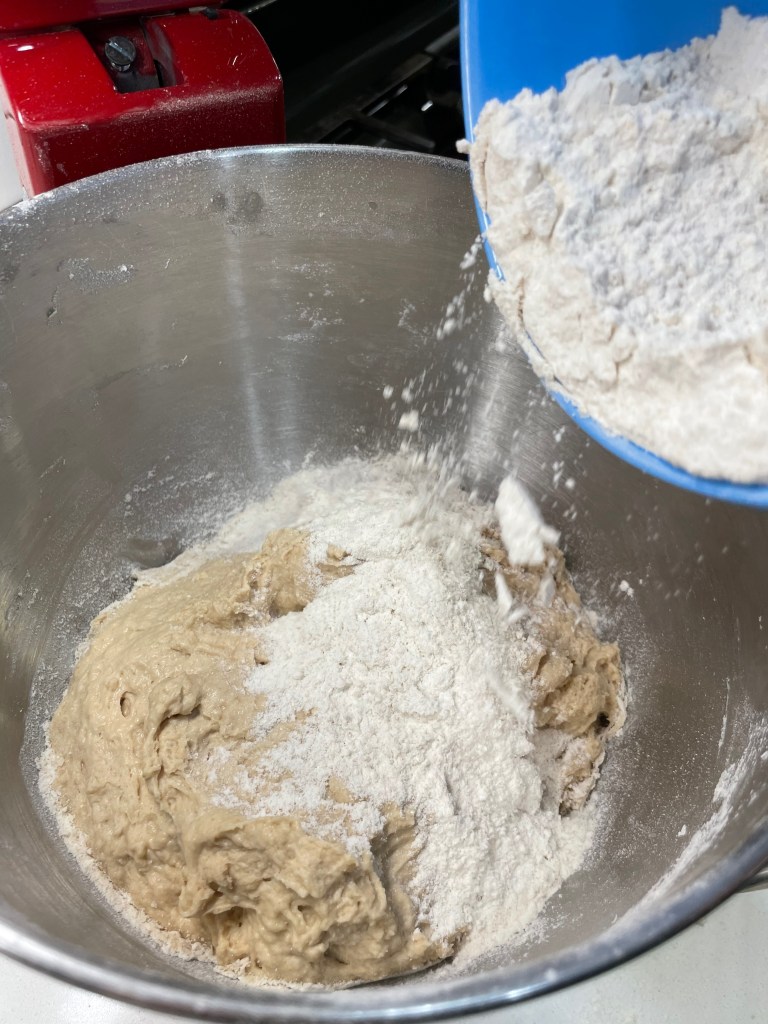
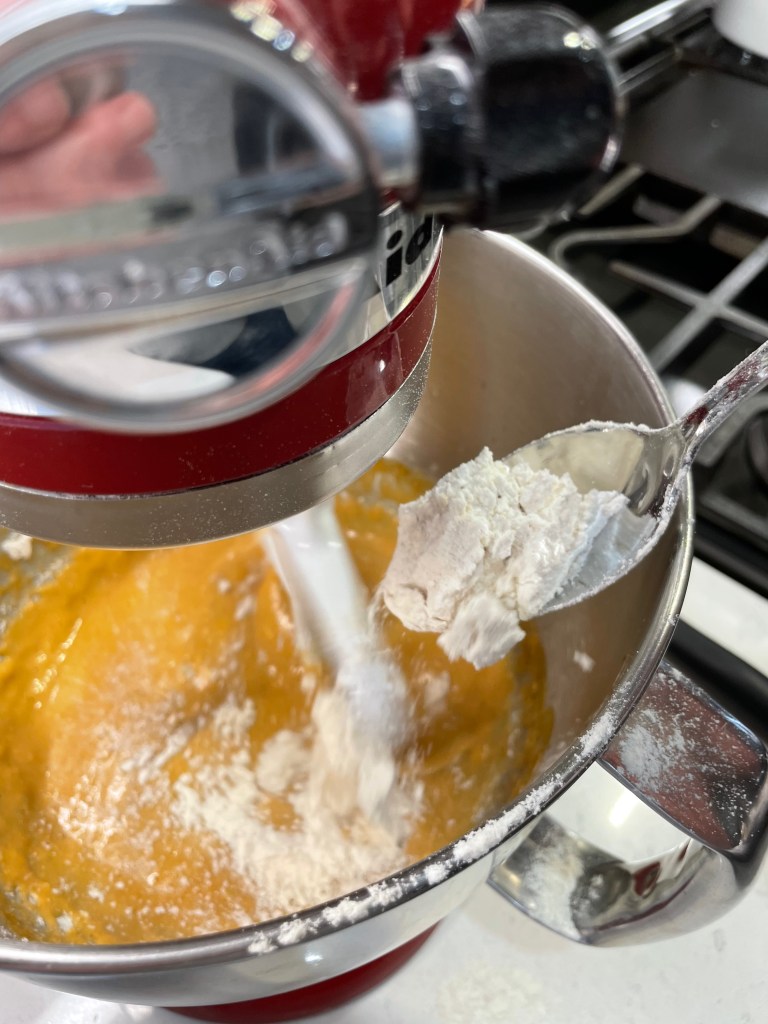
- Whisk together dry ingredients, plus sage, in a separate bowl.
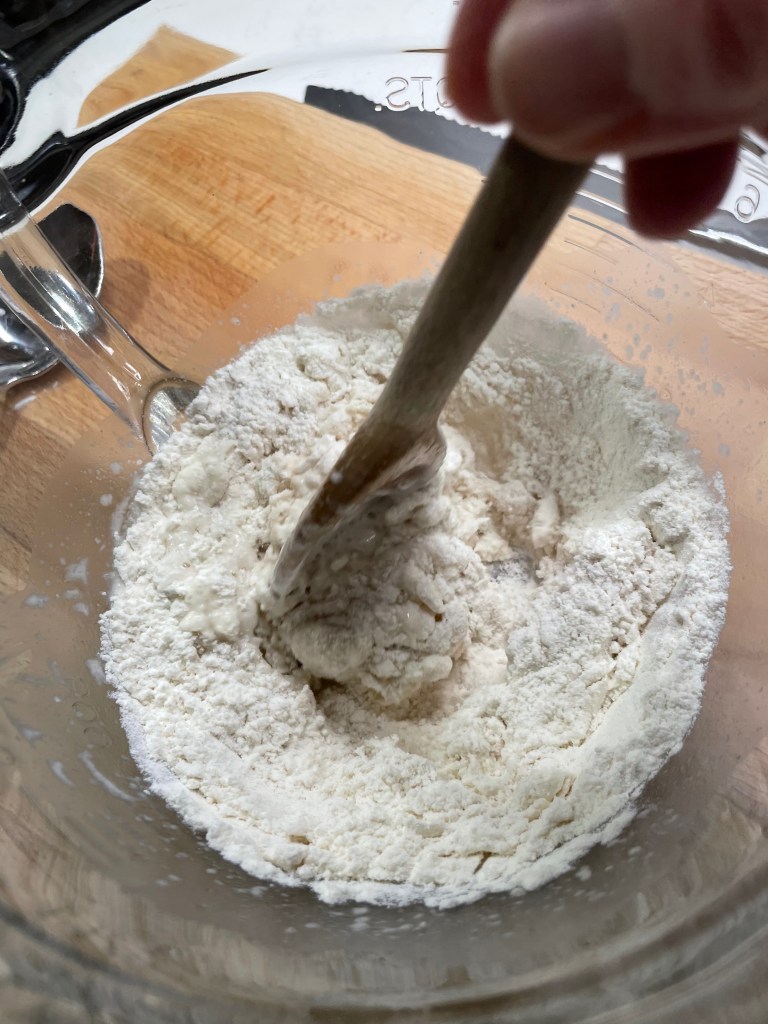
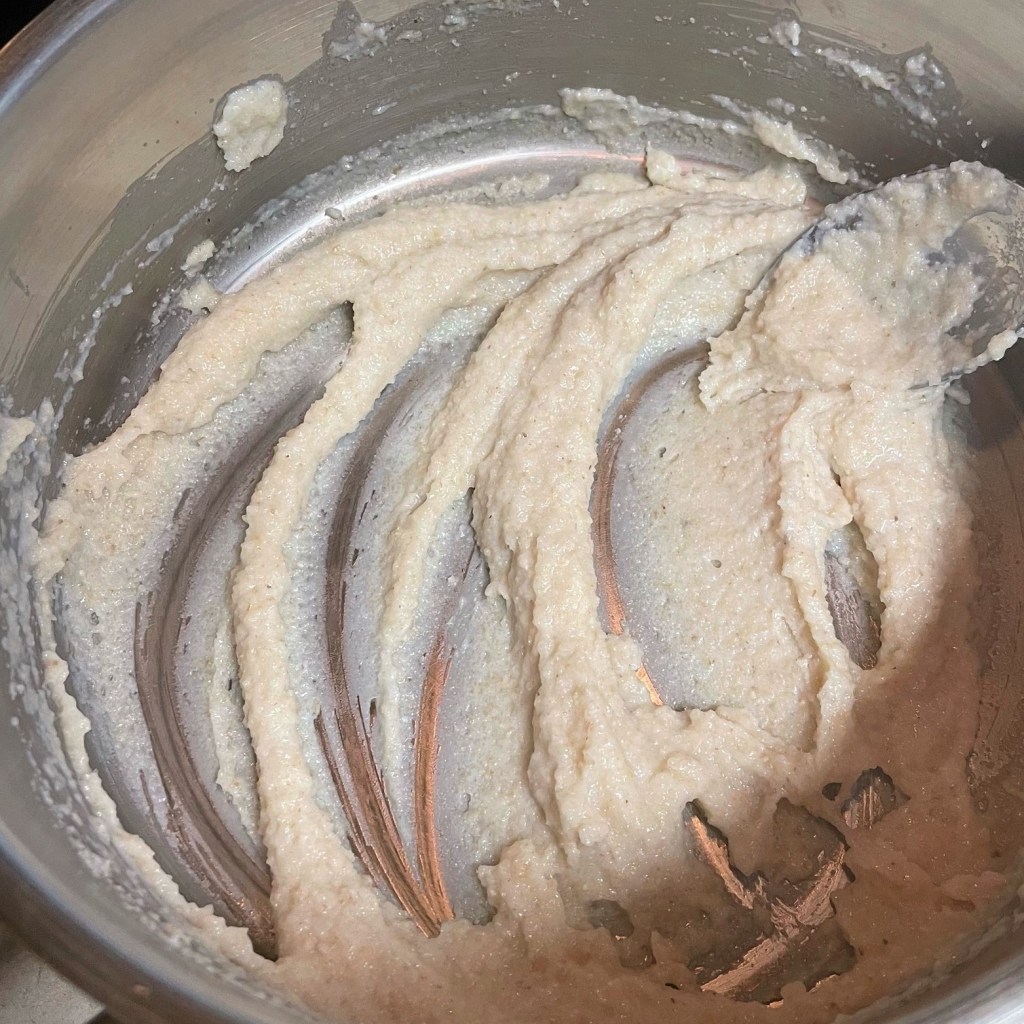
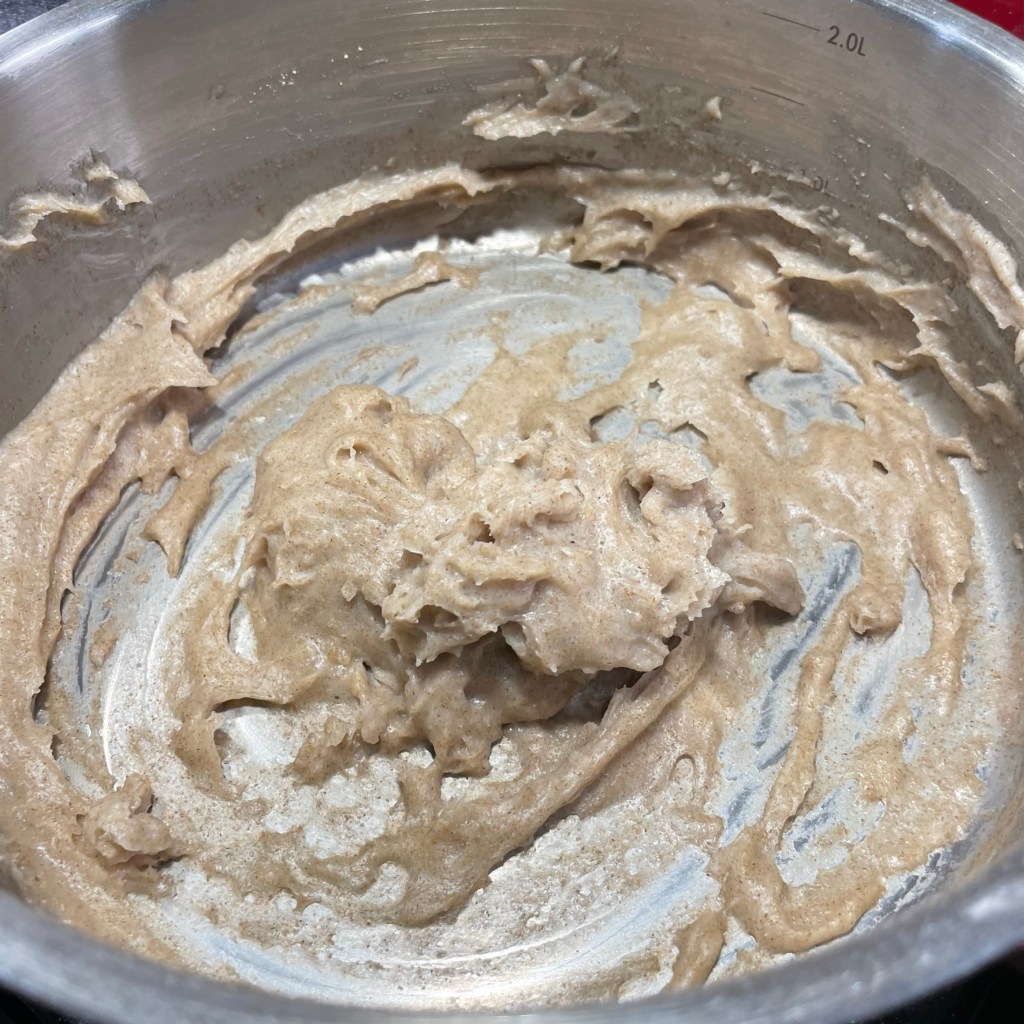
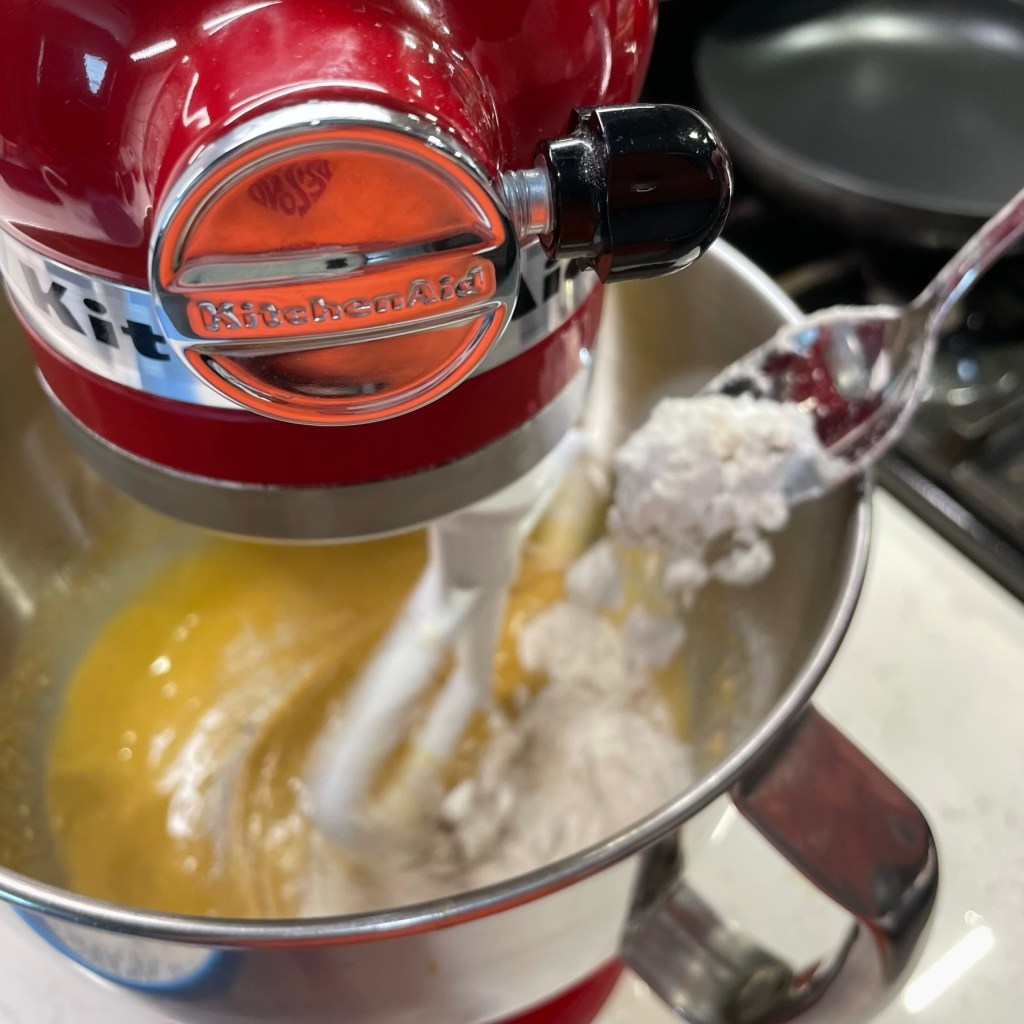
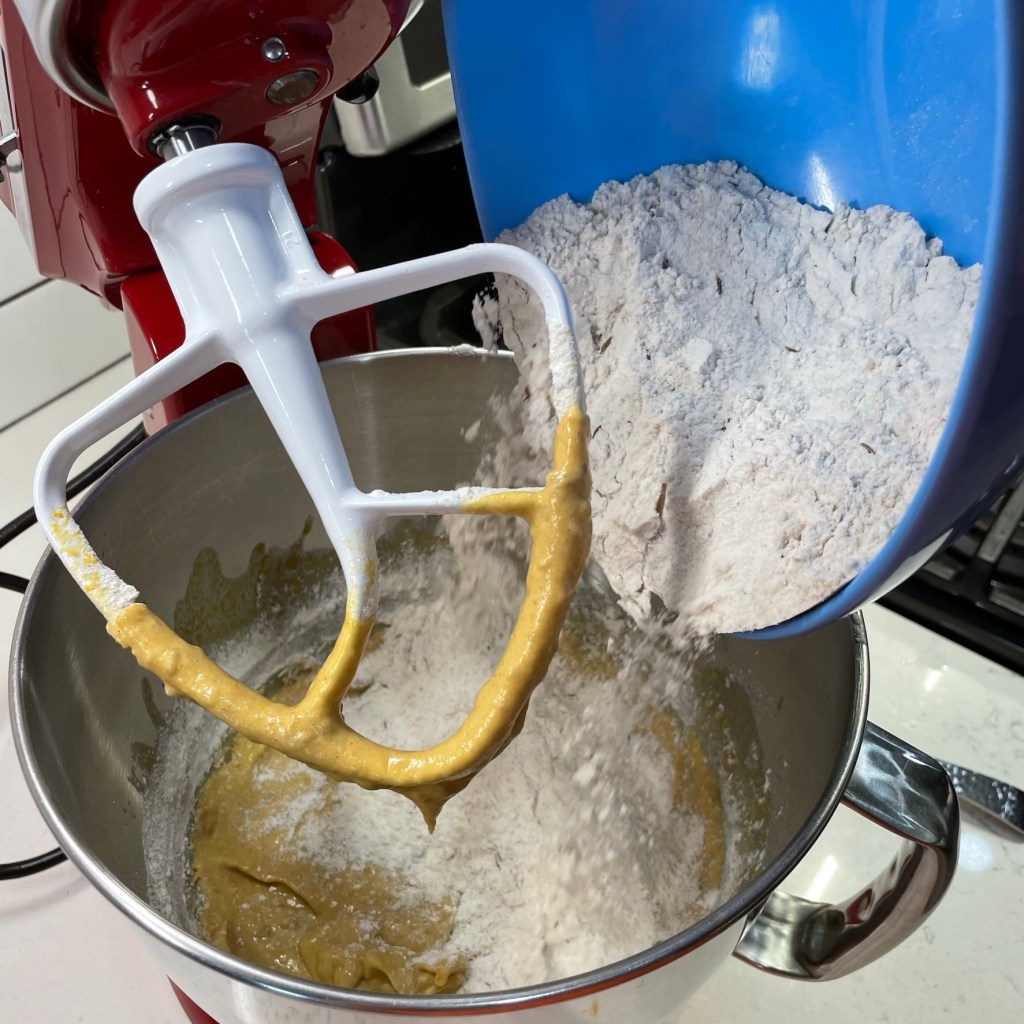
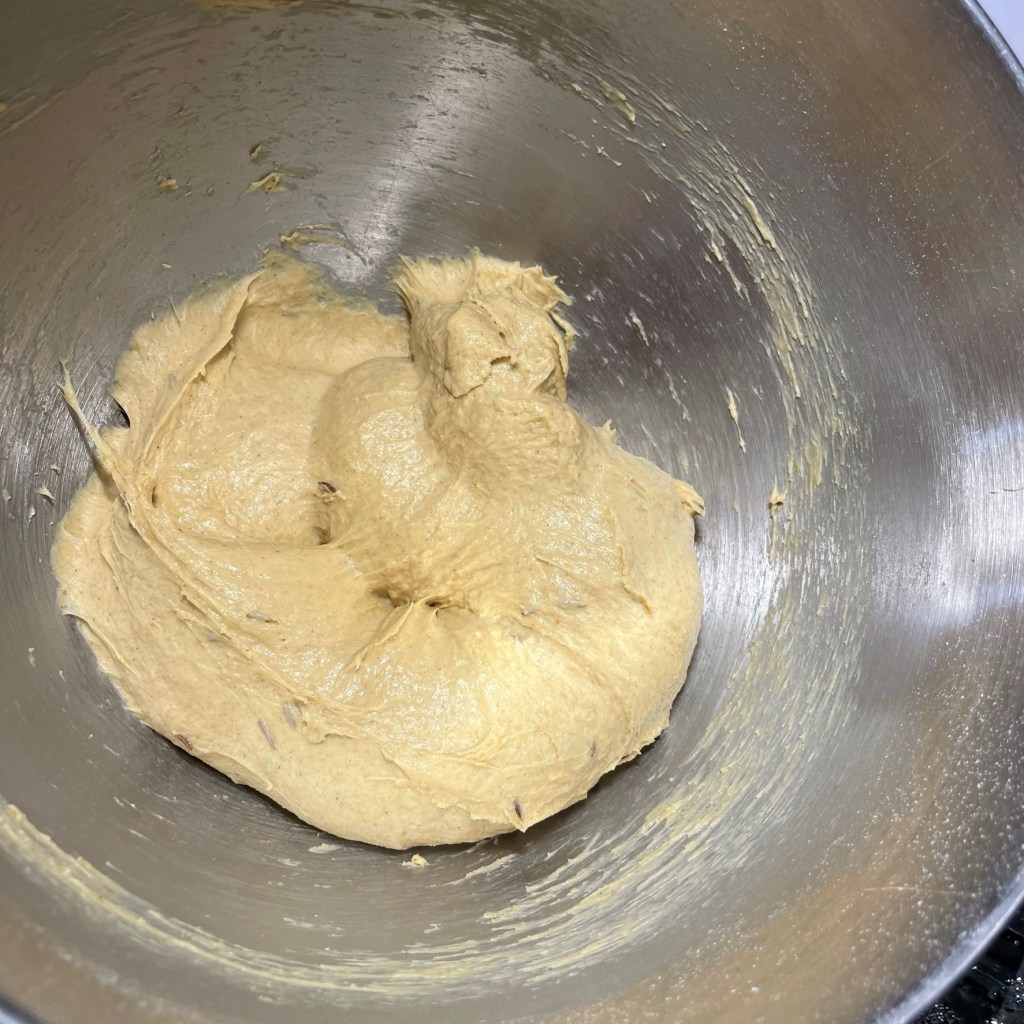
- With mixer running on lowest speed, add dry ingredients by the spoonful, just enough to reduce the “splash” of the wet mixture. Stop the mixer and add remaining dry ingredients, then mix on low speed until all the flour is incorporated. Scrape down off the paddle and cover the bowl to rest the dough for about 20 minutes.
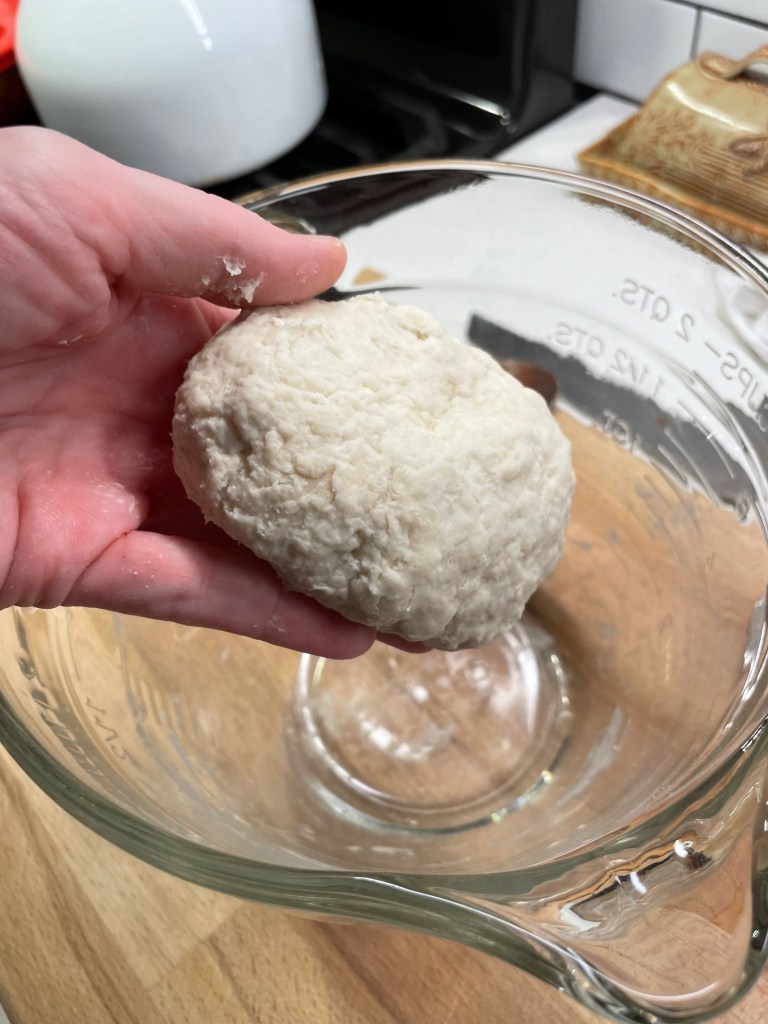
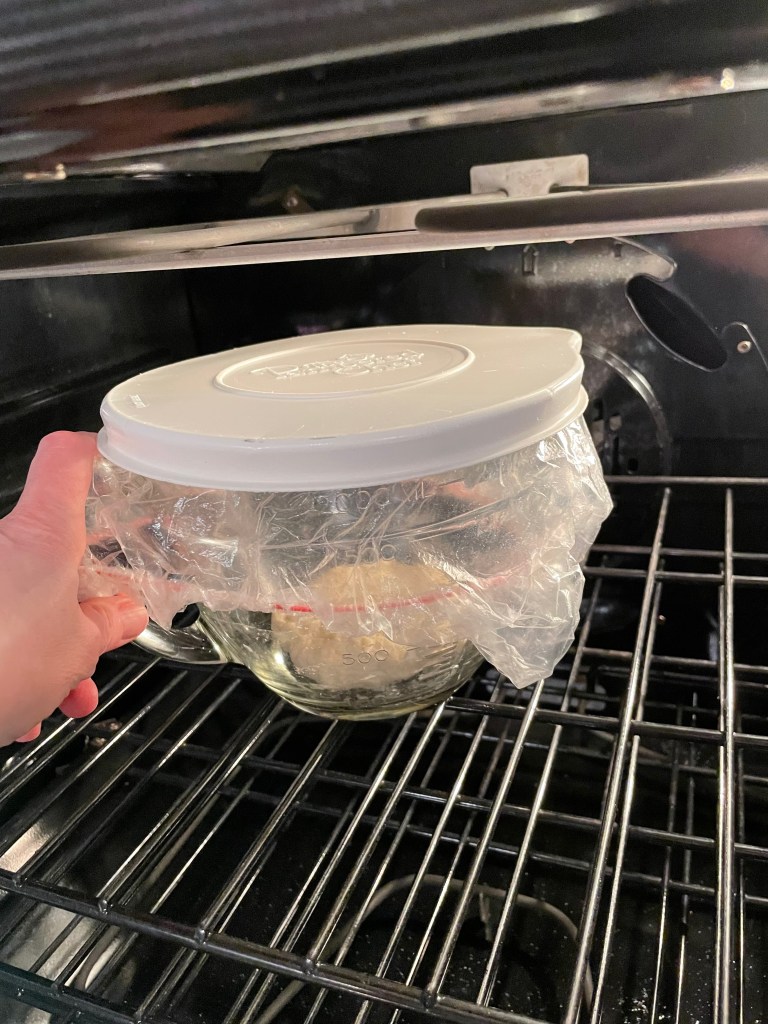
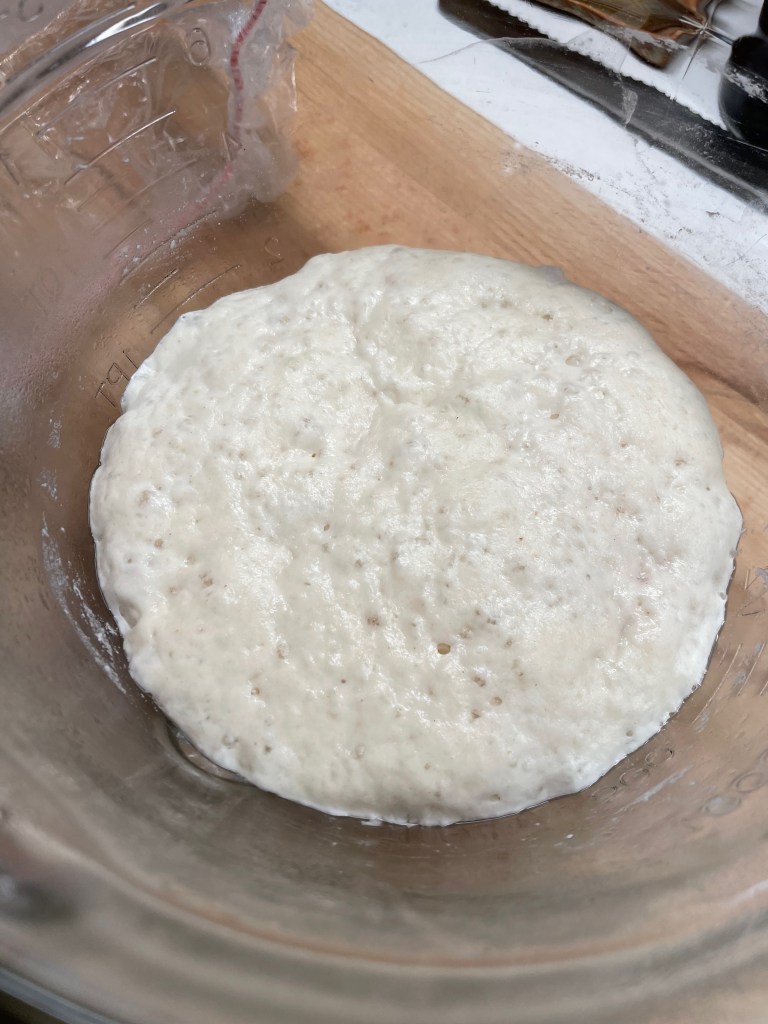
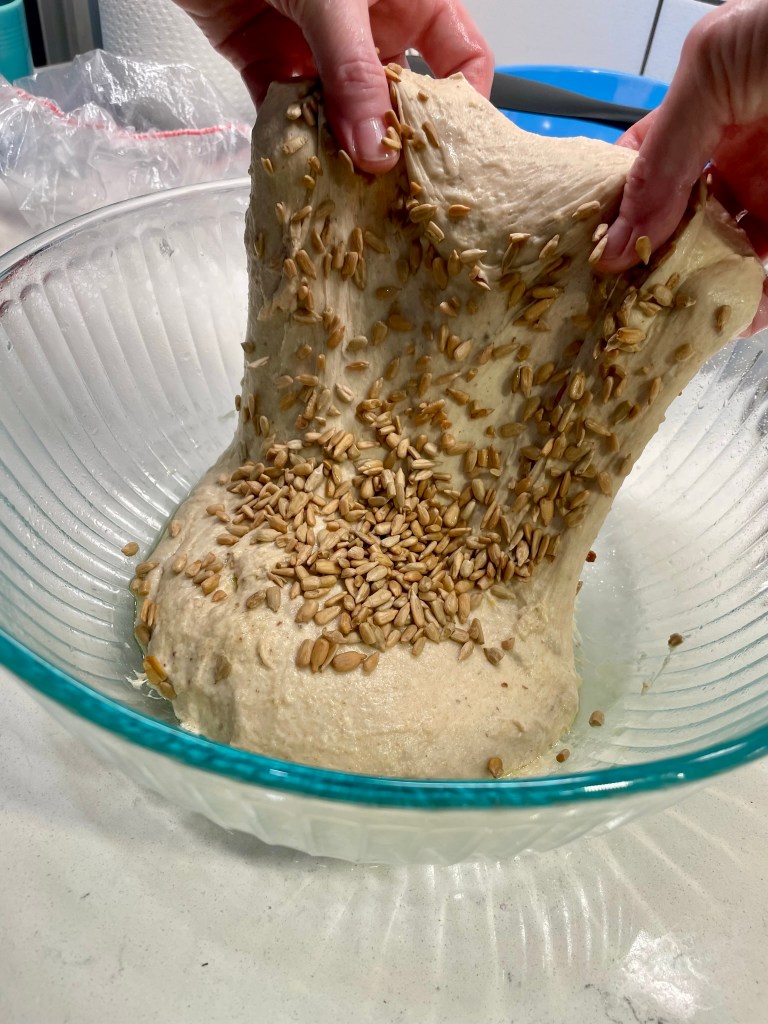
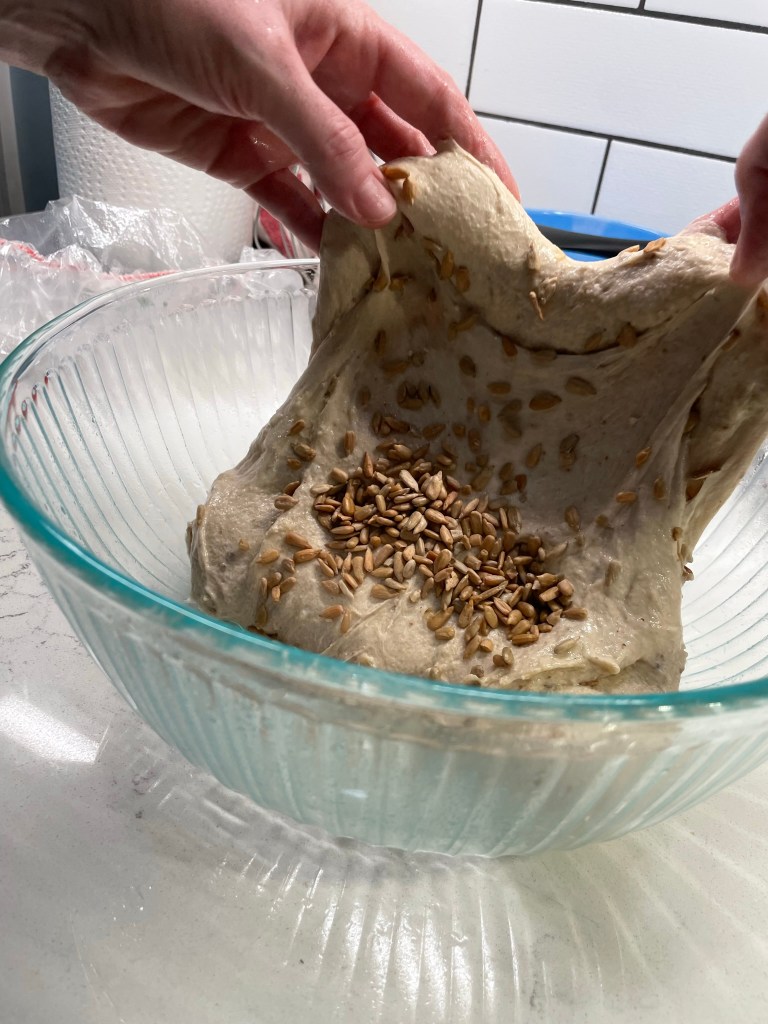
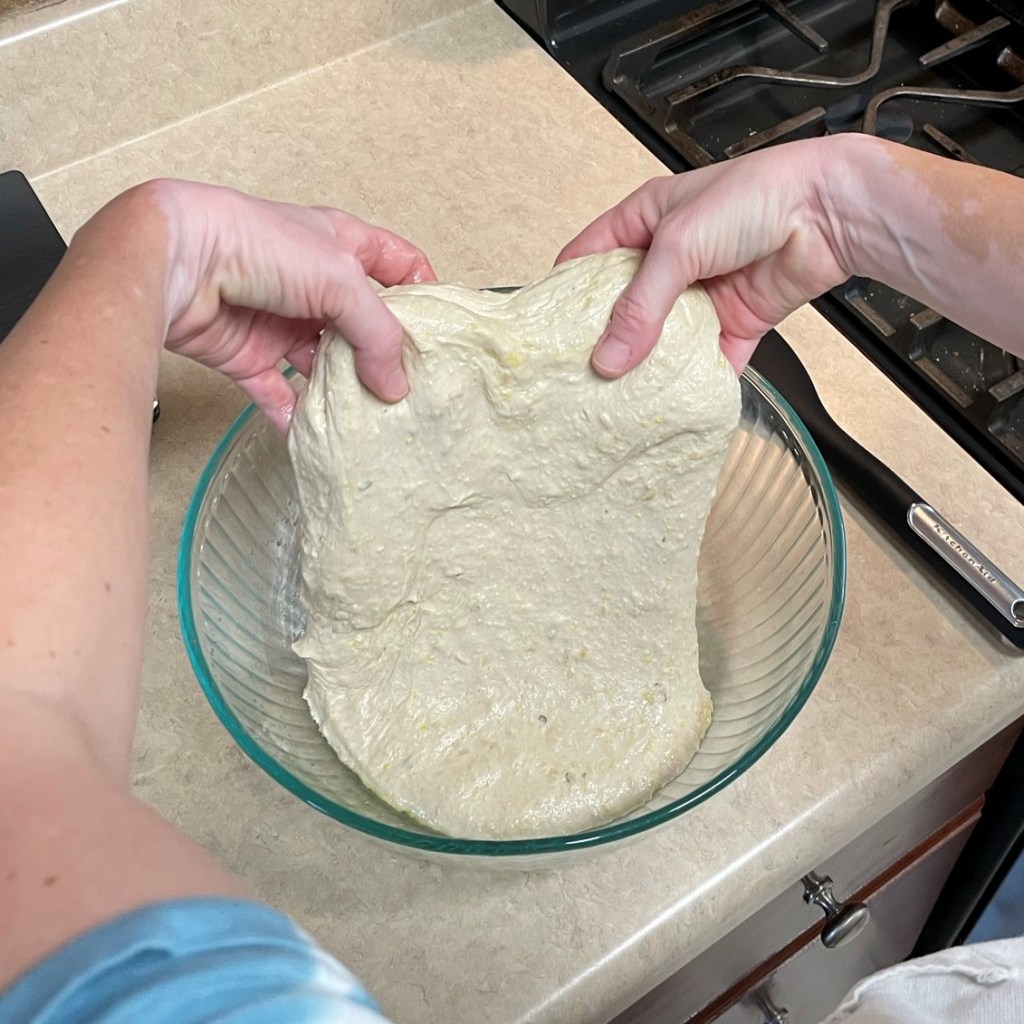
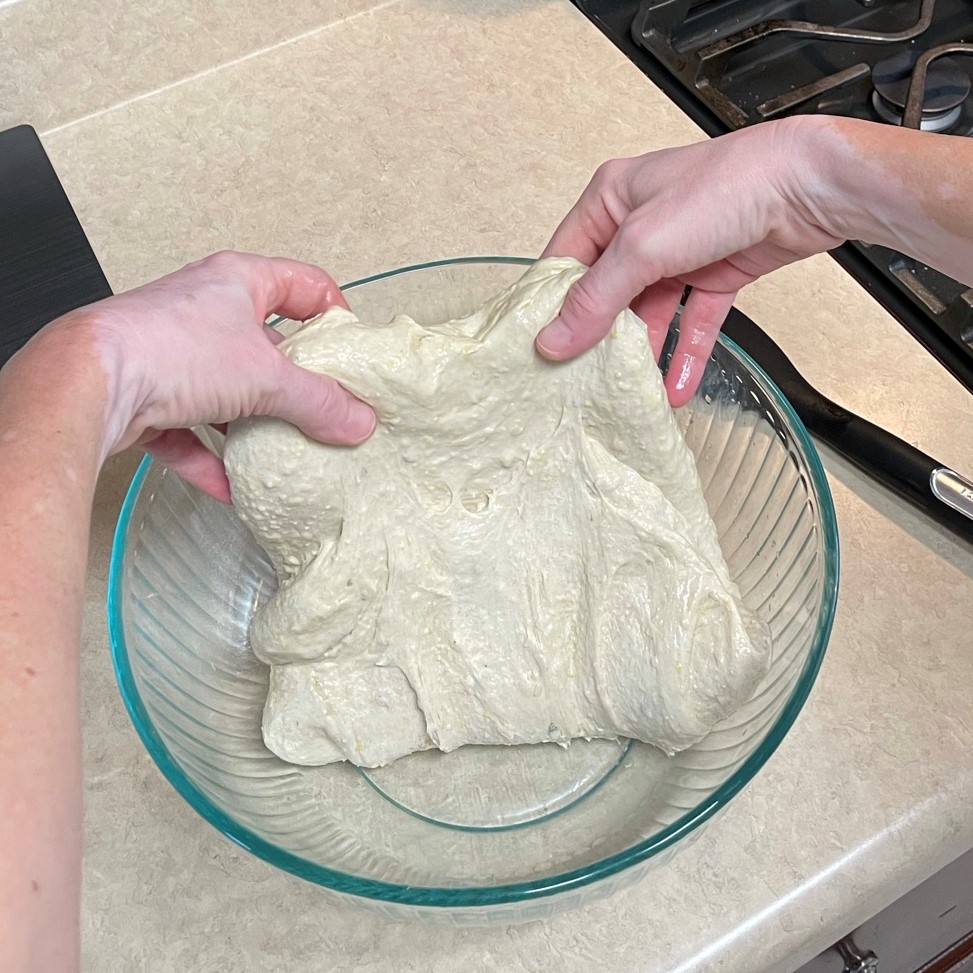
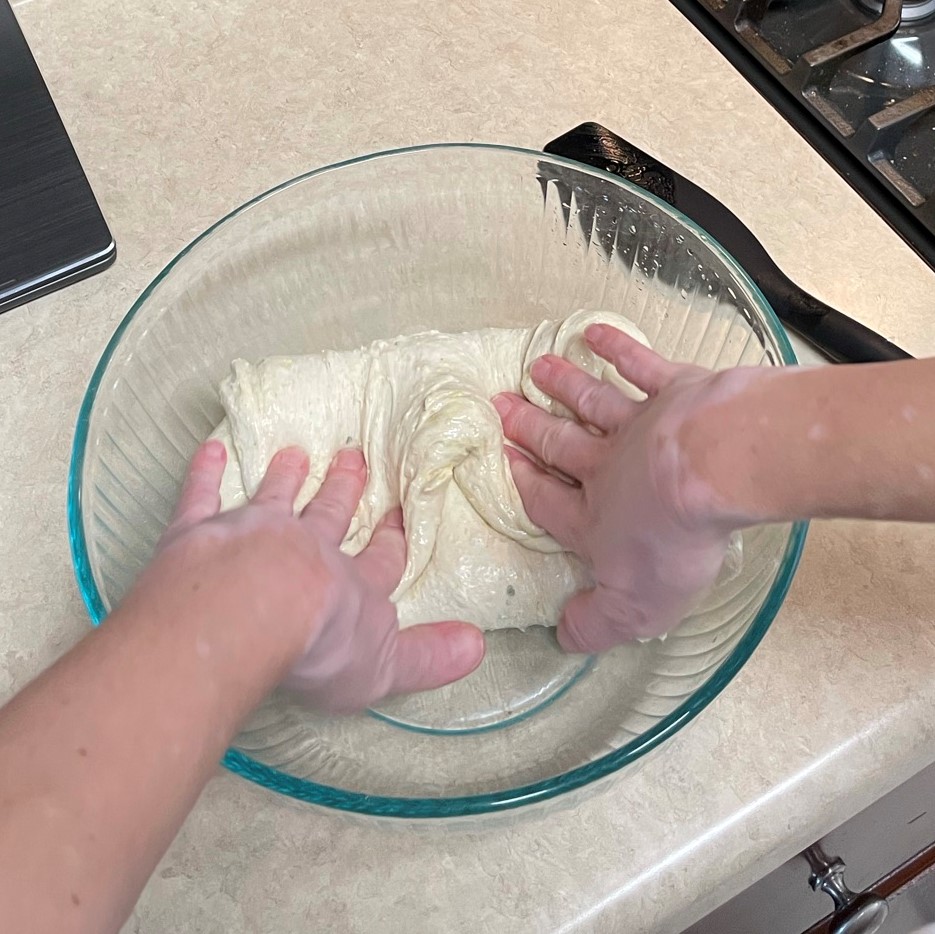
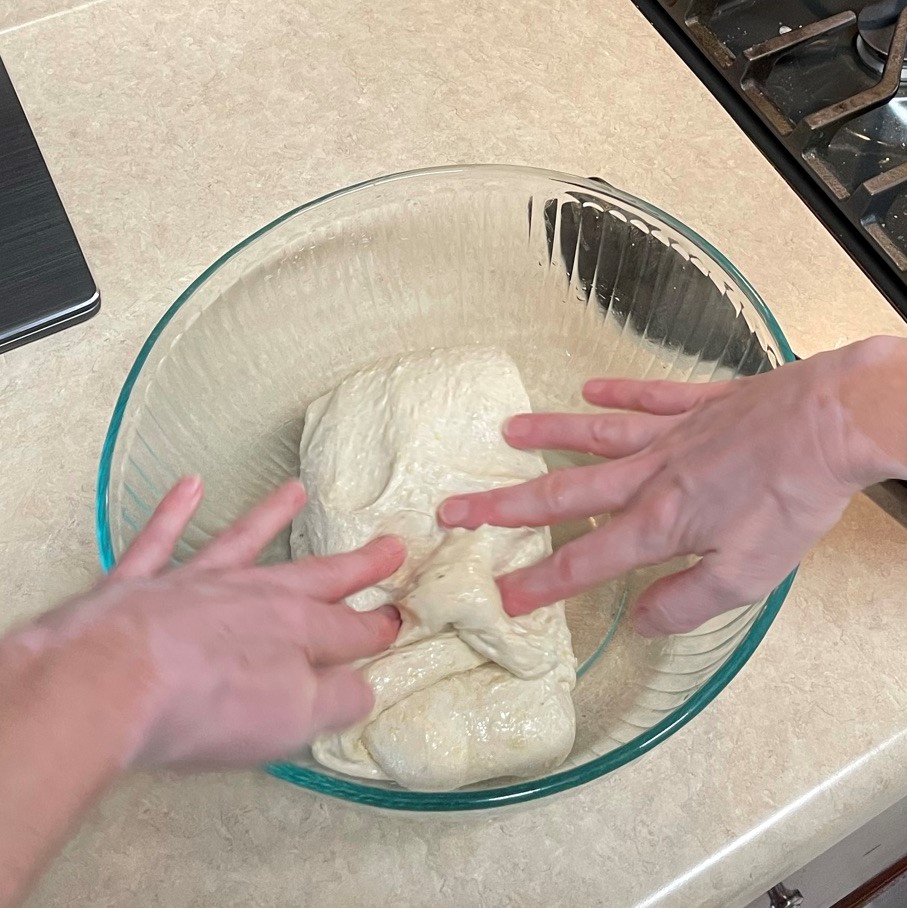
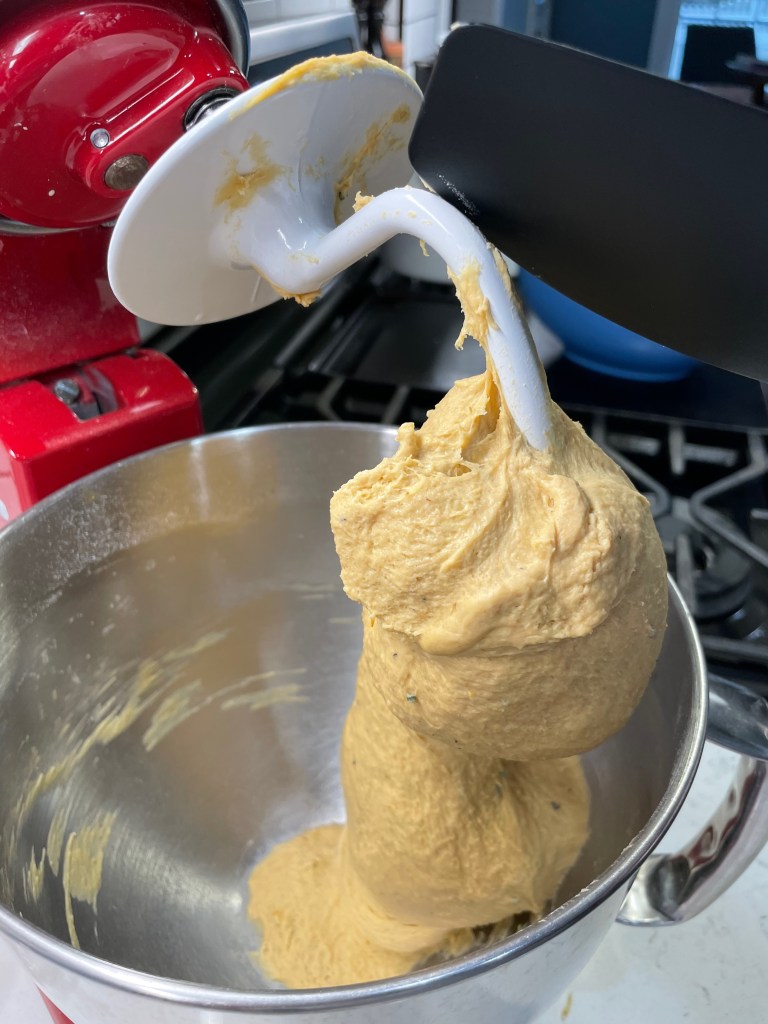
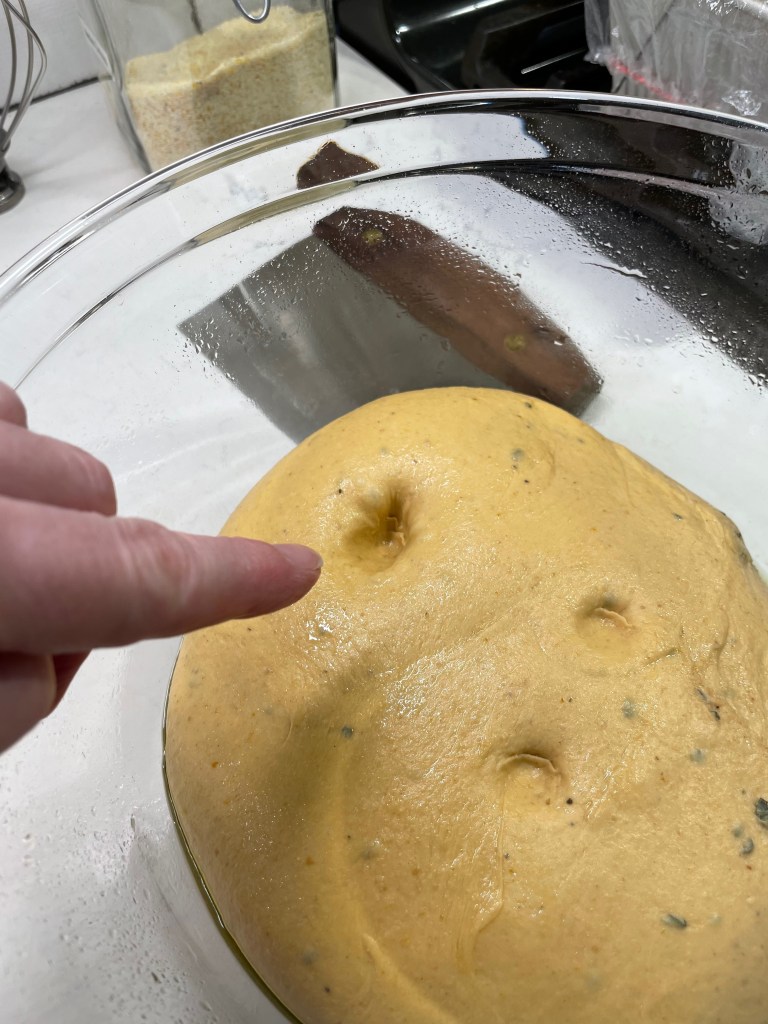
- Switch to the dough hook and knead for about 6 minutes until dough is smooth and shiny. Transfer dough to a large bowl, sprayed lightly with oil. Cover and ferment in a warm spot of the kitchen until dough is quite puffy, which could be 2 to 3 hours (or less, if using the yeast).
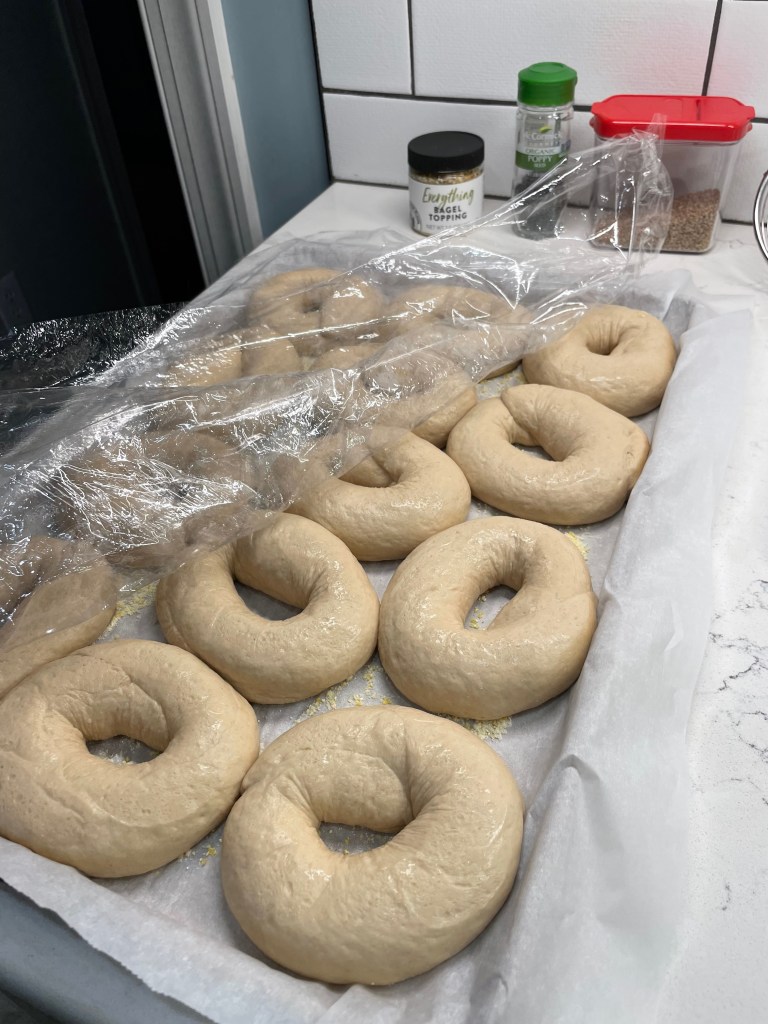
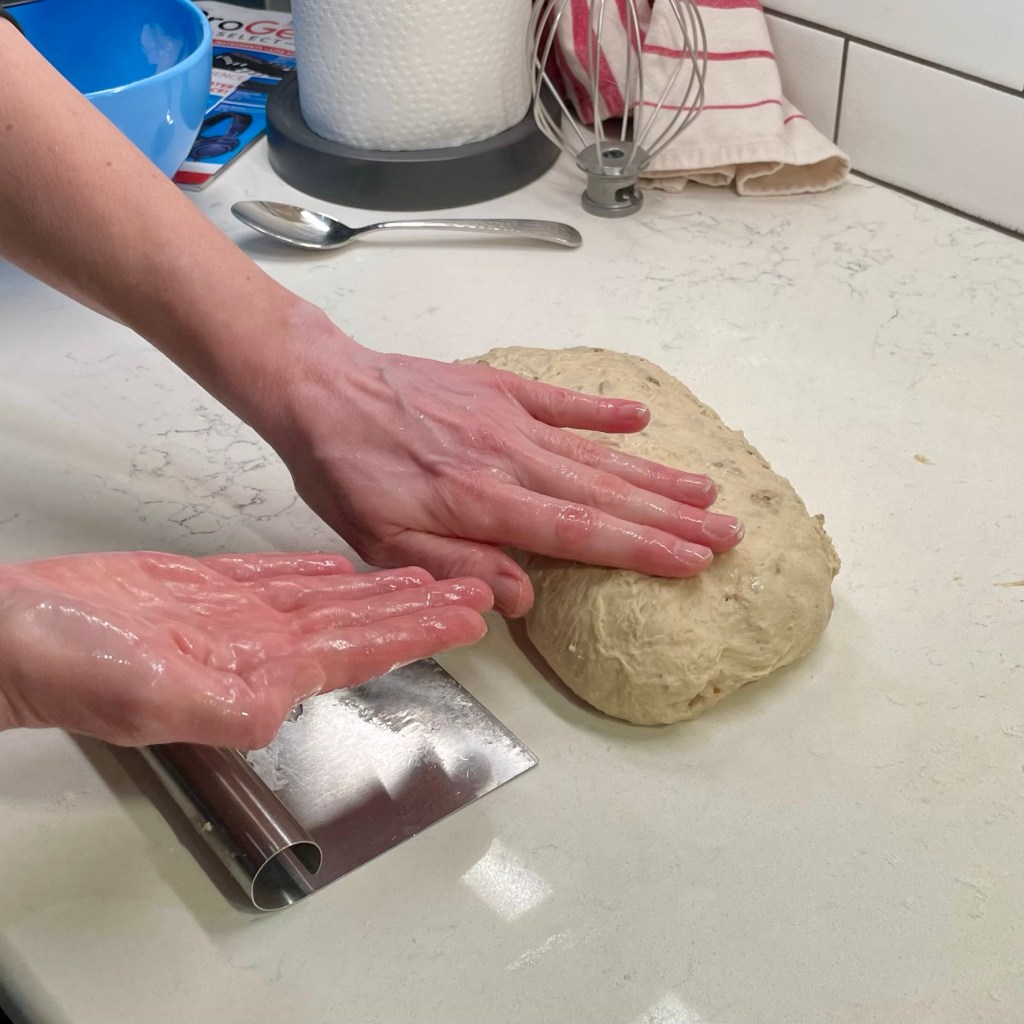
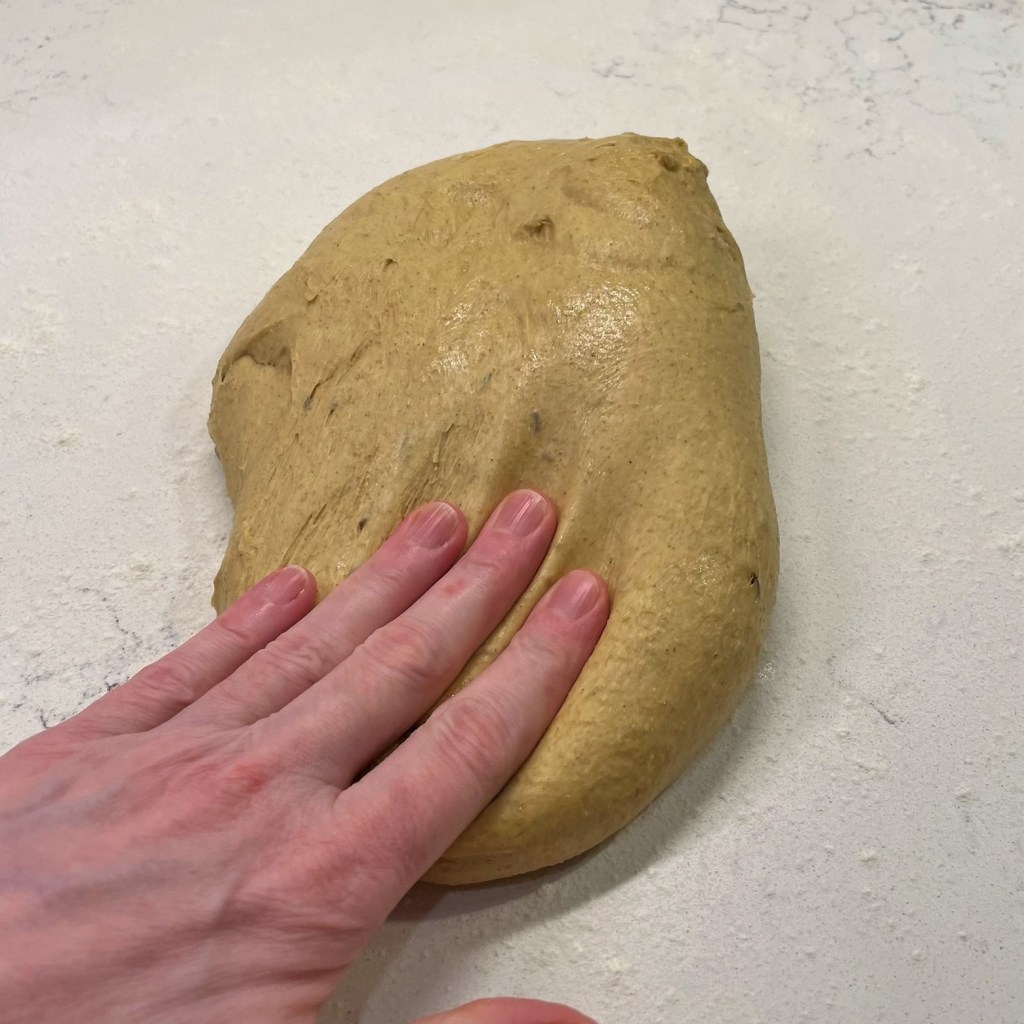
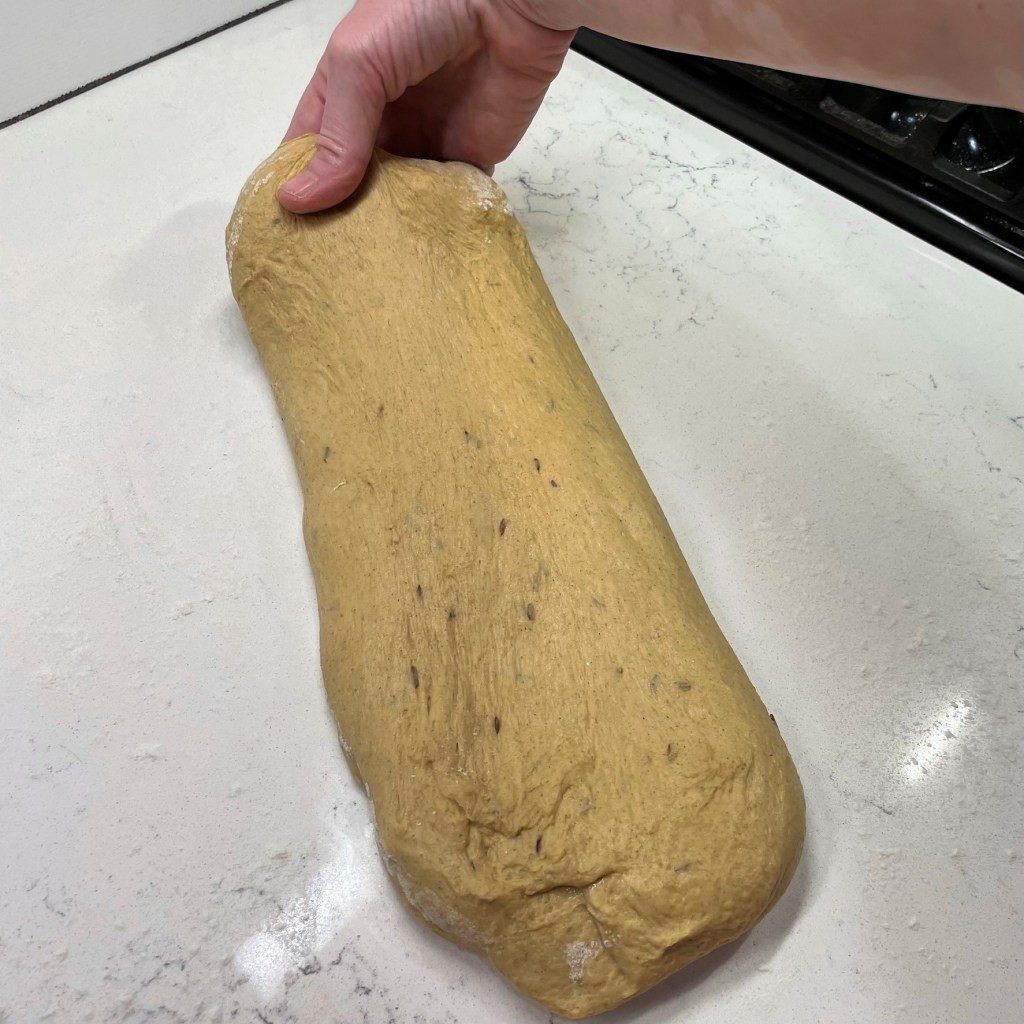
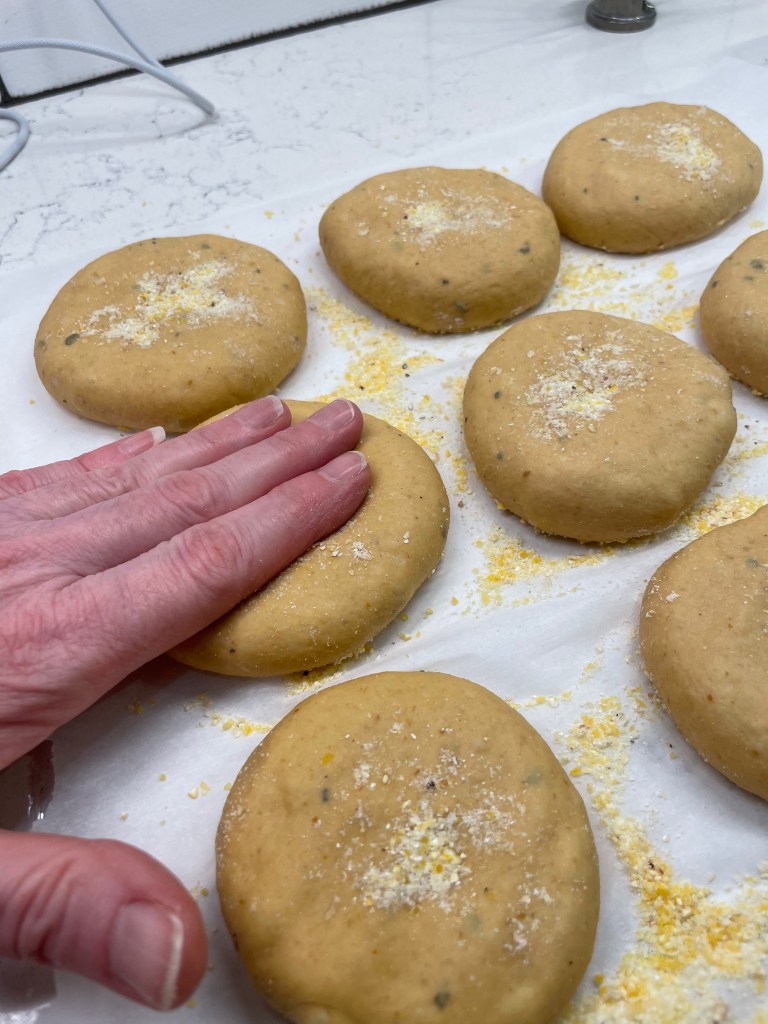
- Transfer dough to a lightly floured countertop and cut into 12 equal pieces. Shape the pieces into balls and flatten each ball with your fingertips onto a piece of parchment paper, sprinkled lightly with corn meal. They should measure about 3 1/4” across. Sprinkle the tops with additional corn meal. Cover loosely with oil-sprayed plastic wrap and a kitchen towel. Rest until the dough balls pass the “poke” test.
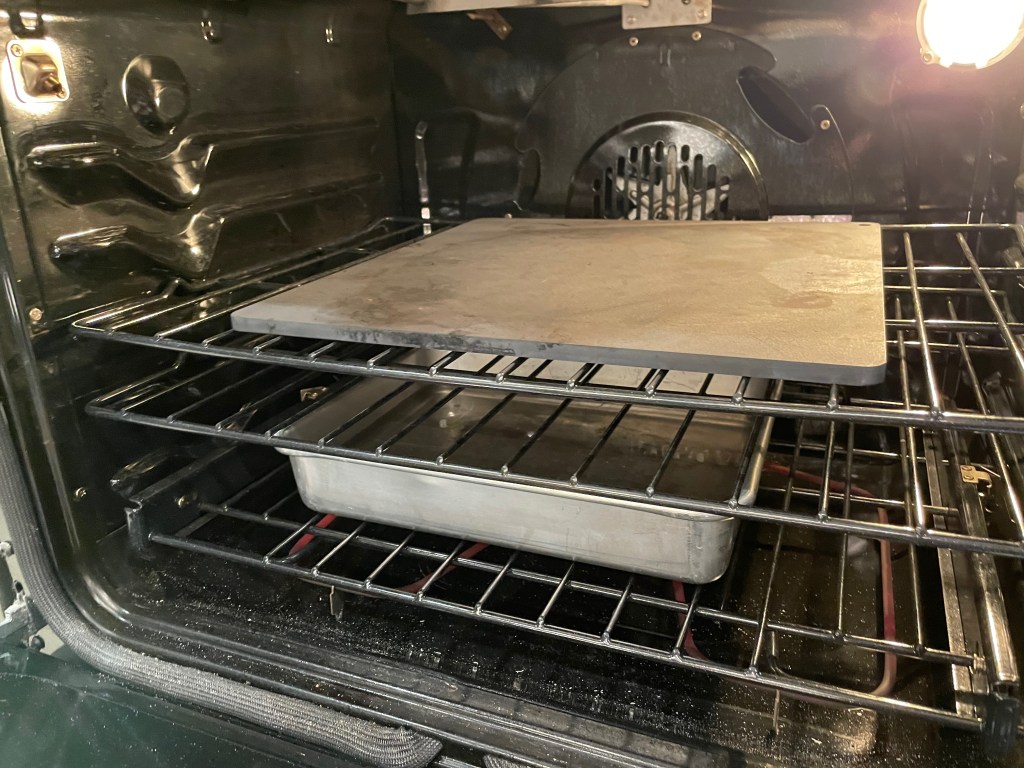
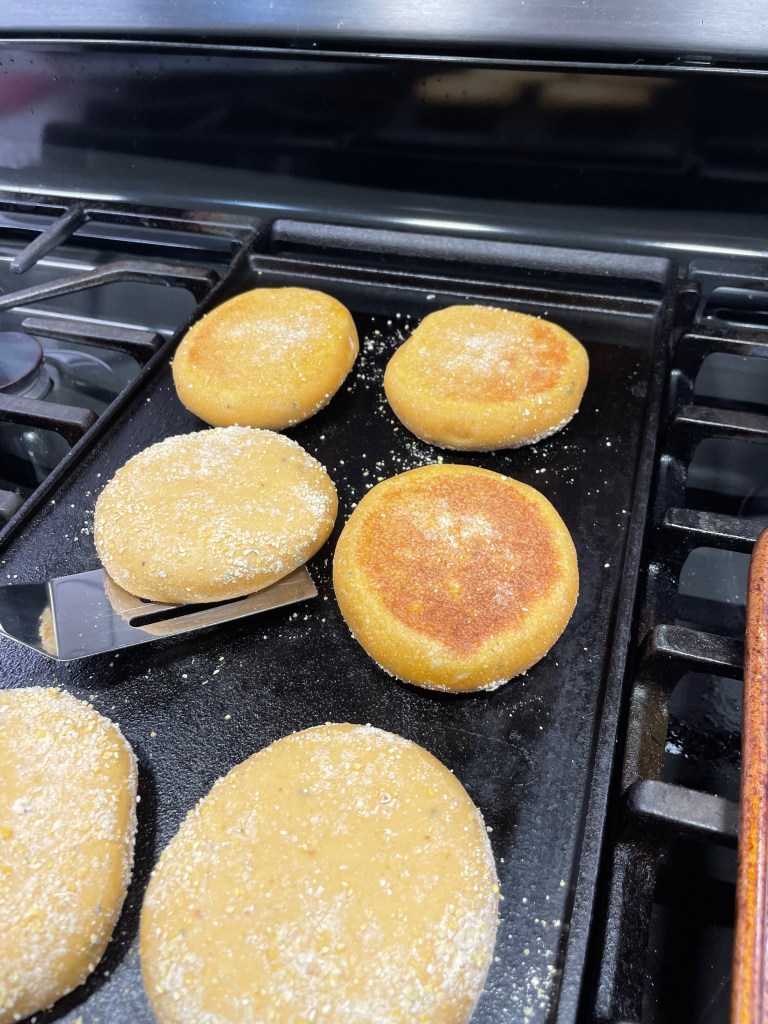
- Heat a griddle to medium-low heat (about 325° F). Gently flatten each dough ball, and place them on the griddle, a few inches apart for easy turning. Place a dry cookie sheet on top of the muffins once the griddle is loaded; this helps give the muffins a nice flat second side.
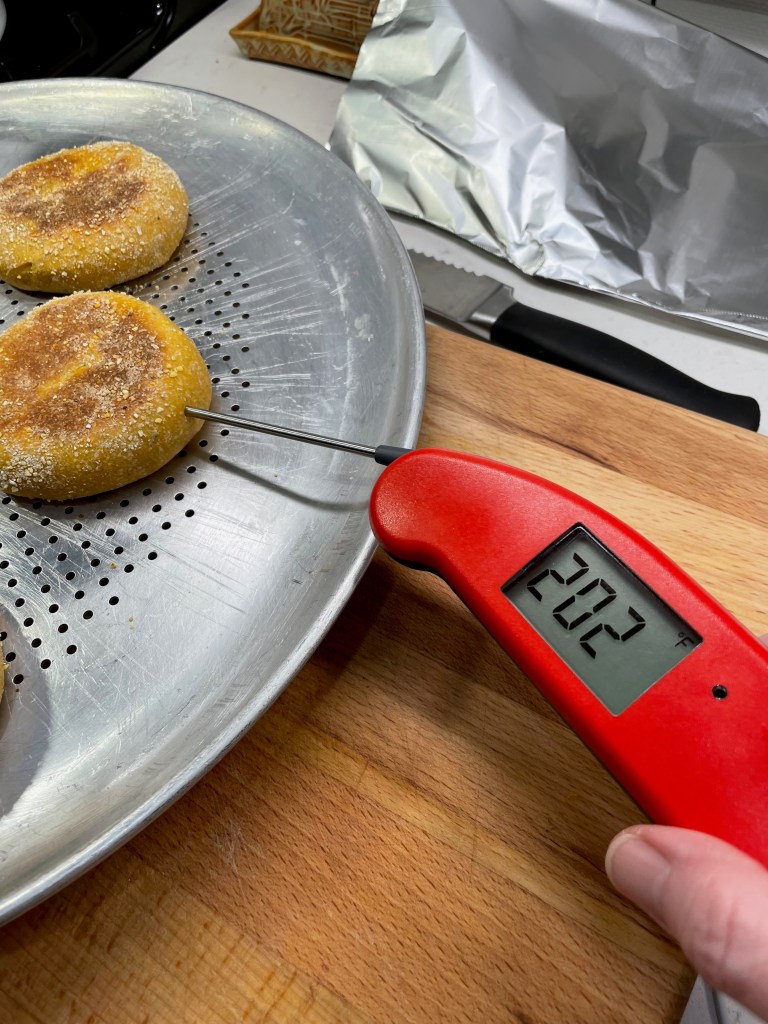
- After 6 or 7 minutes, the bottoms of the muffins should be a golden brown color. Give them a little longer if needed. Gently turn the muffins to “bake” the other side. Don’t be concerned if the sides of the muffins still seem soft. The dough will cook from the radiant heat. If the muffins feel spongy or wet, but the sides are done, transfer them to a baking sheet and put them in a 350° oven for a few minutes to finish them off.
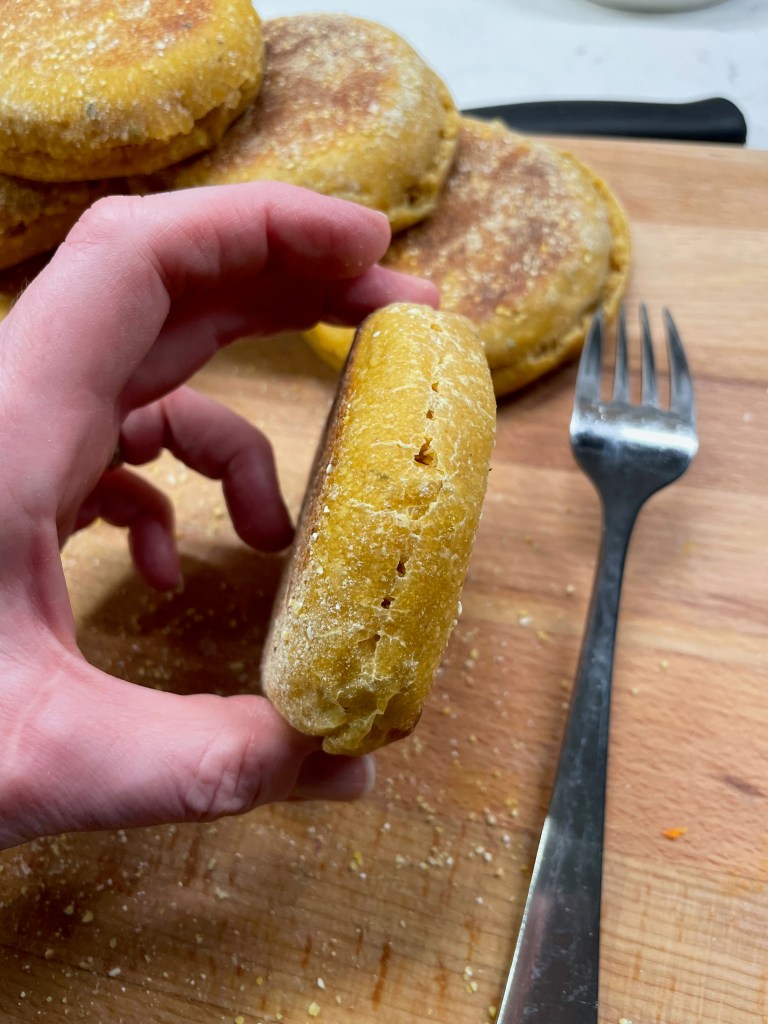
- Cool the muffins on a wire rack, and when completely cool, use a fork to gently “split” the sides of each muffin for easy slicing when you are ready to serve them.
In case you’re wondering…
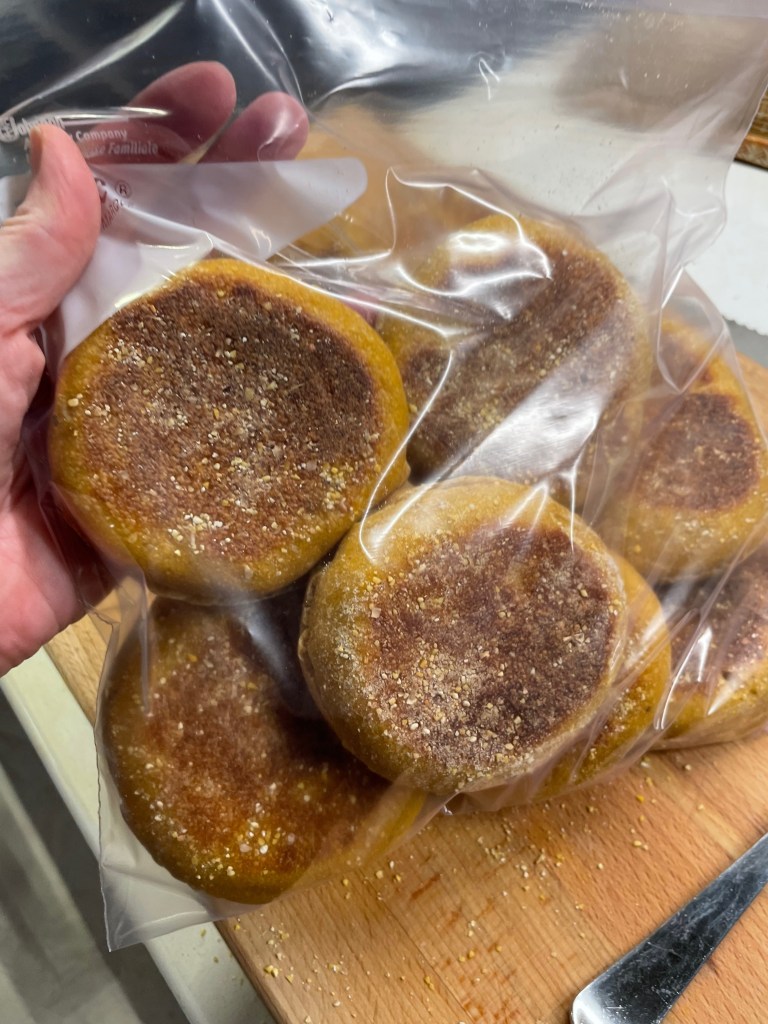
Yes! You can freeze them for later. These English muffins freeze beautifully, and they can go straight to the toaster without thawing, too. Simply fork-split them, separating the halves, and load them into a zip-top freezer bag. Be sure to squeeze out excess air. Enjoy!