Looking in the rearview mirror can be a good thing. It was only a few years ago that I had serious doubts about my abilities as a dessert baker; my strength has mainly been with savory recipes and sourdough breads. But I’ve been working hard to trust myself, and I’m enjoying the trend I see in my sweet treat baking— especially cupcakes!
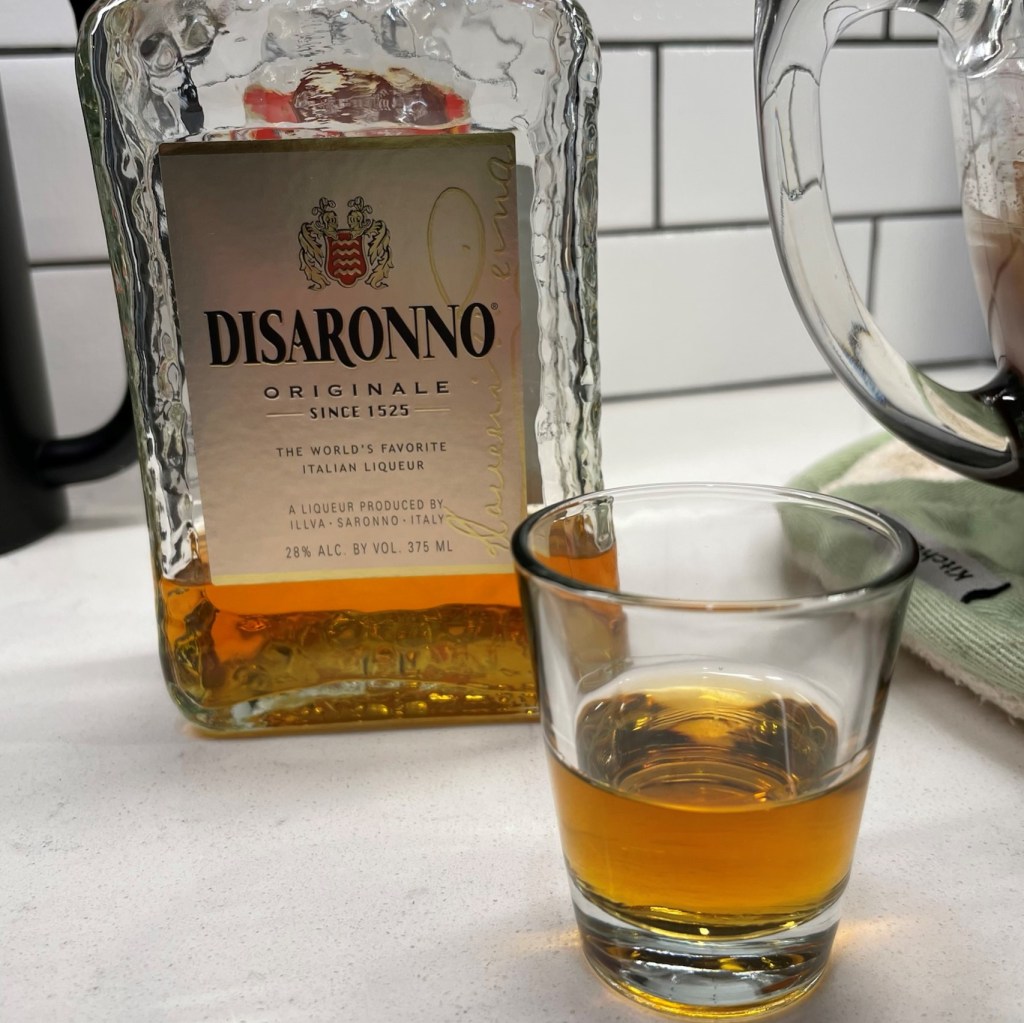
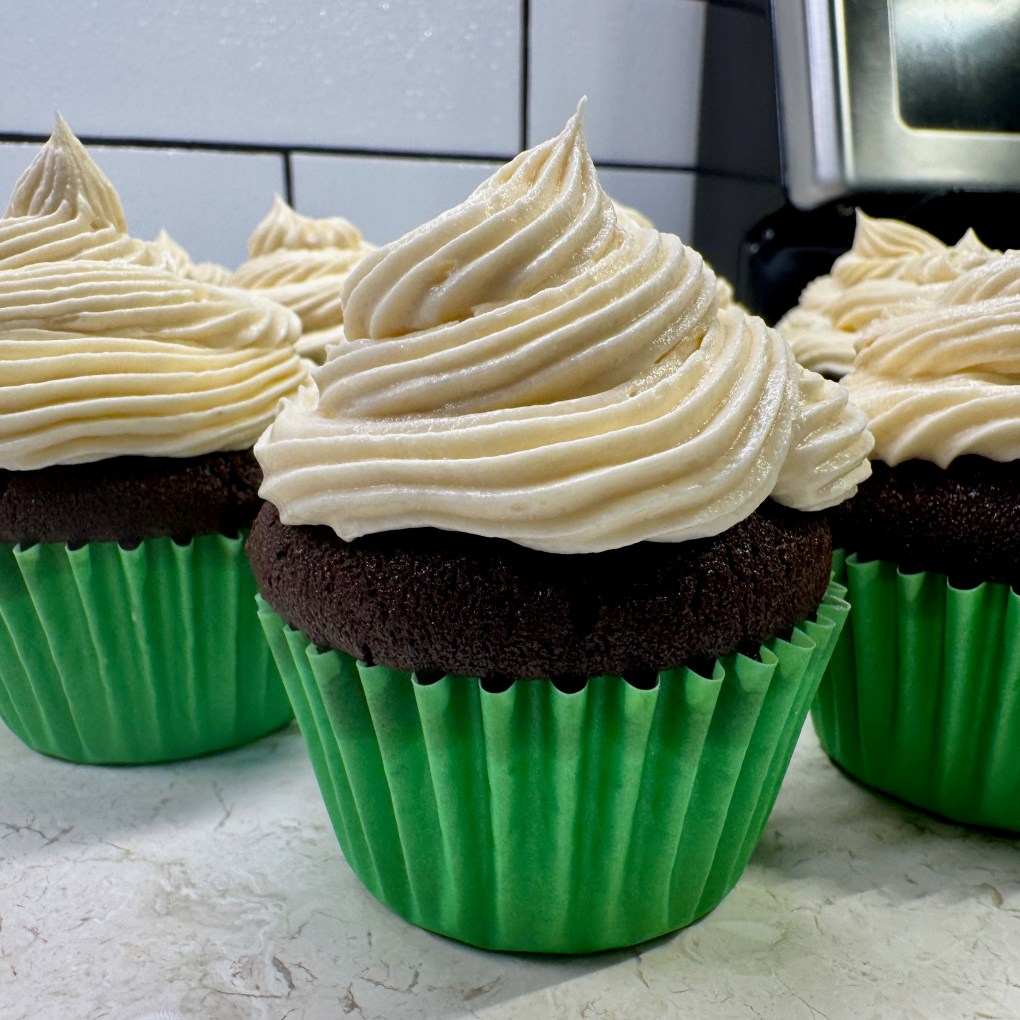
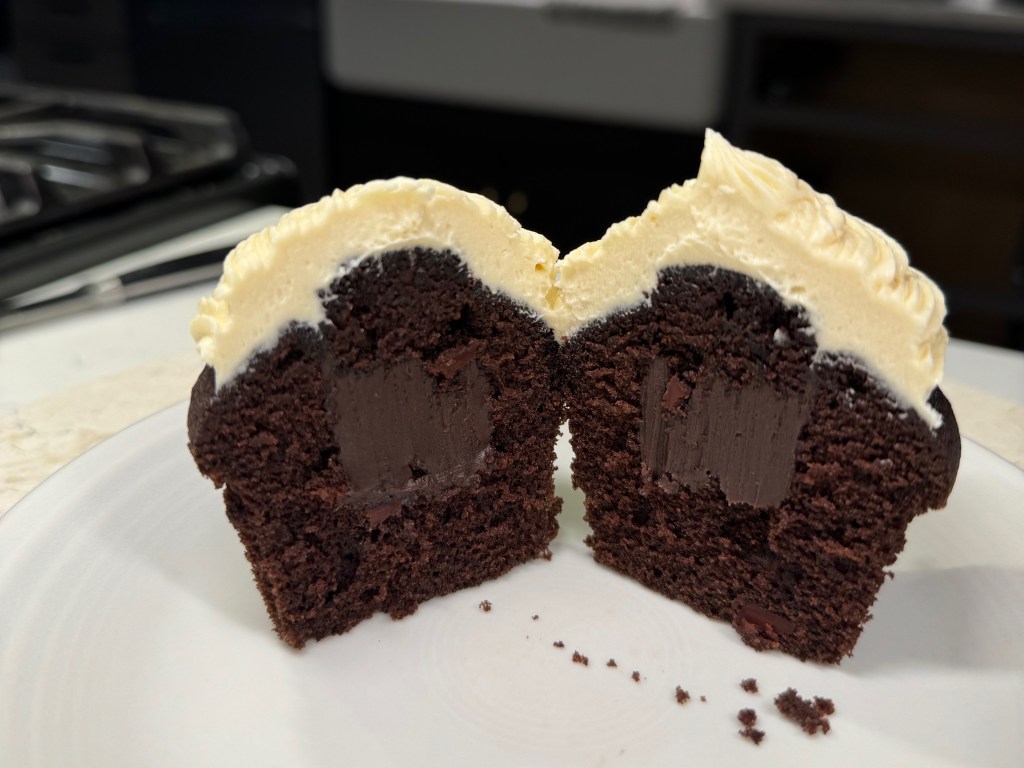
For St. Patrick’s Day, I had fun making a boozy cupcake with the flavors of Irish coffee. The treat is just for grown-ups, made with double dark cocoa, spiked with Jameson whiskey, and topped off with a swirly Bailey’s Irish Cream buttercream frosting. And did I mention that there’s also a Bailey’s-infused dark chocolate ganache tucked inside?
I relied on a few successful previous cupcake experiences, such as the mint julep cupcakes that I’ve made twice now, for the template of adding alcohol to a batter, and also my s’mores cupcakes, for the ganache filling. And though things mostly went according to plan, there were a few bumpy spots in the road. Never a dull moment in the kitchen, and that’s one of the things I love!
Here’s what worked:
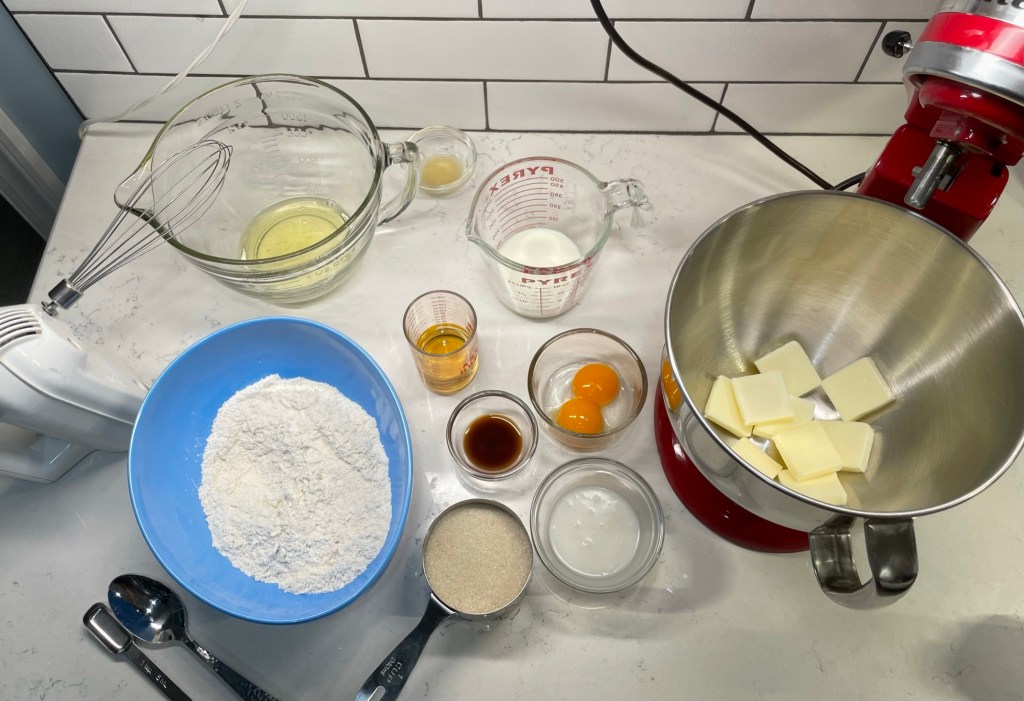
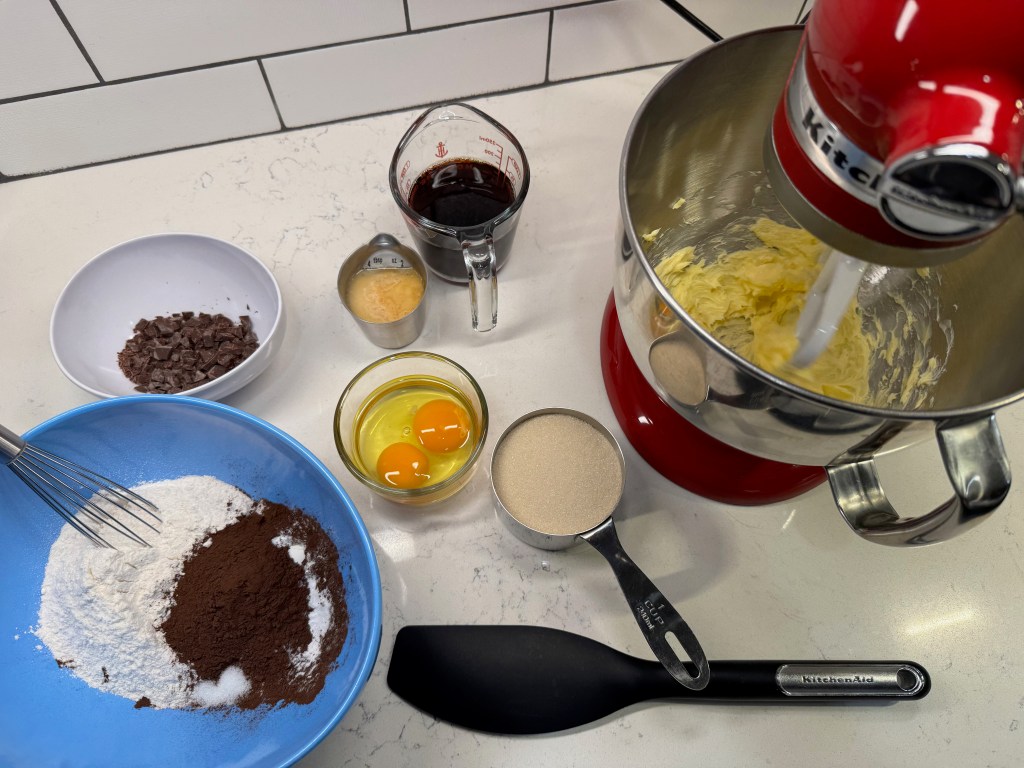
Mise en place!
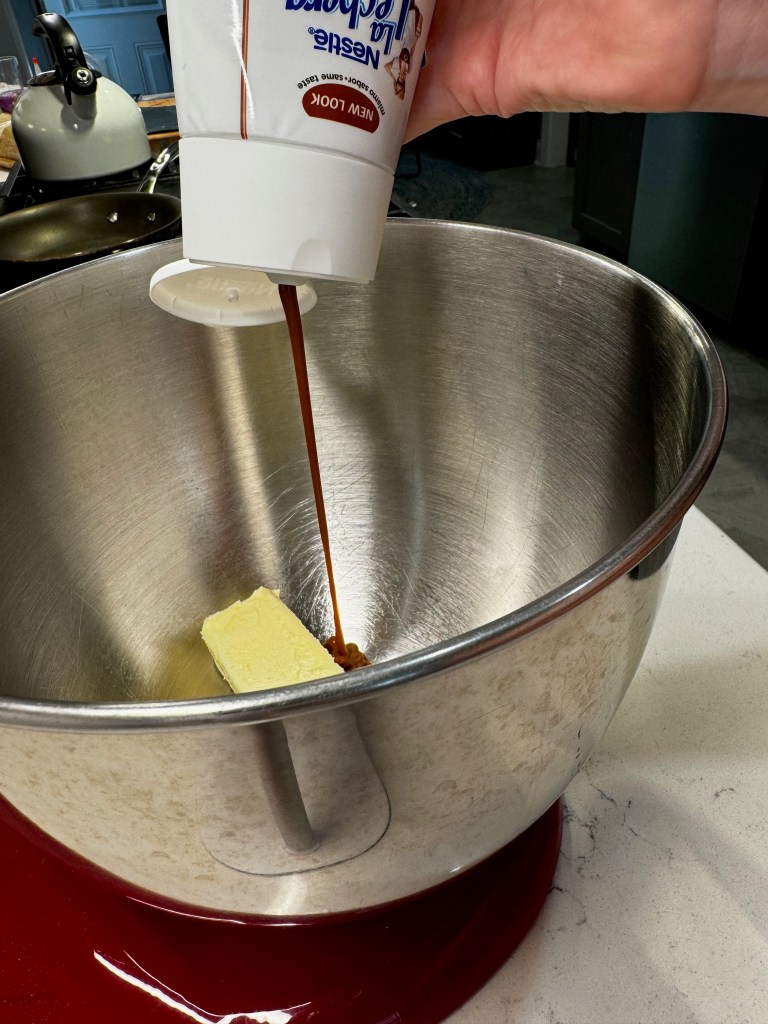
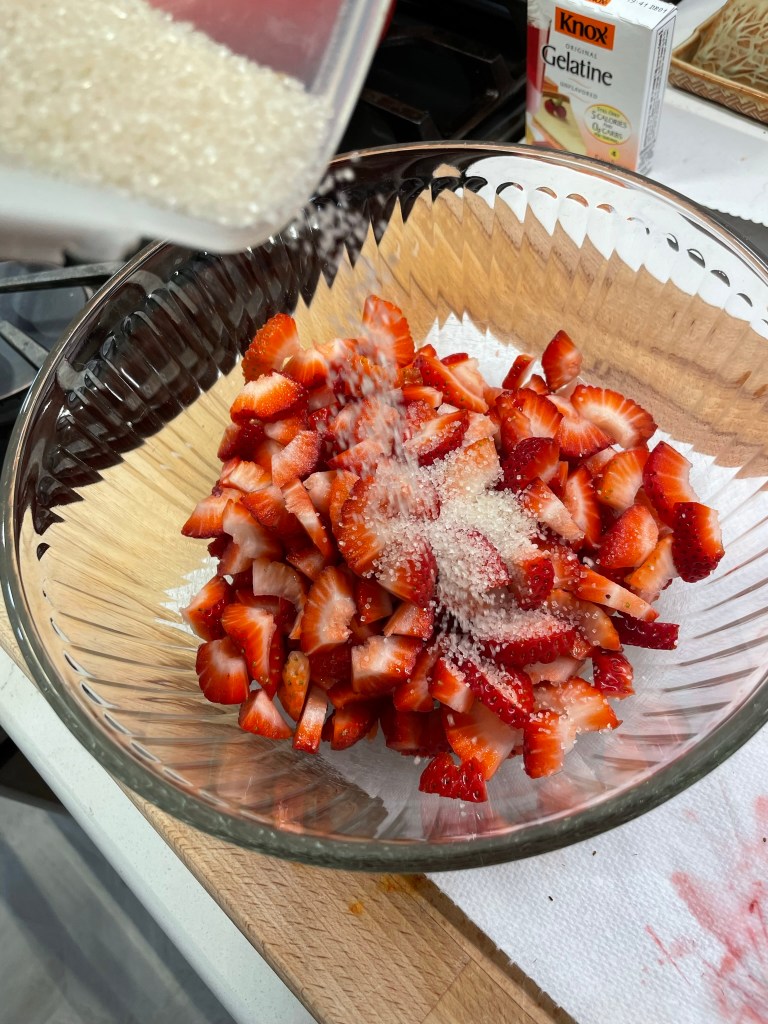
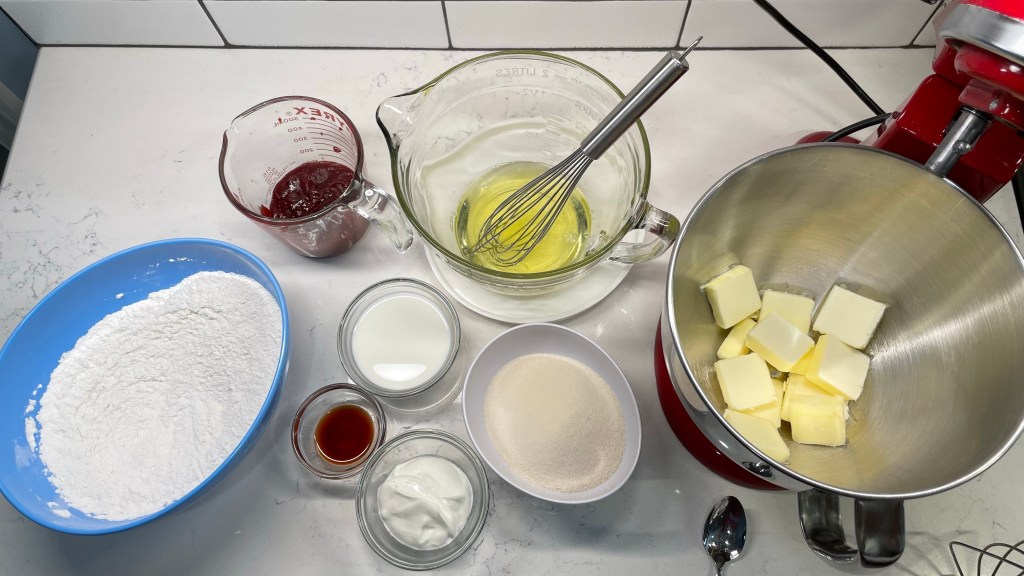
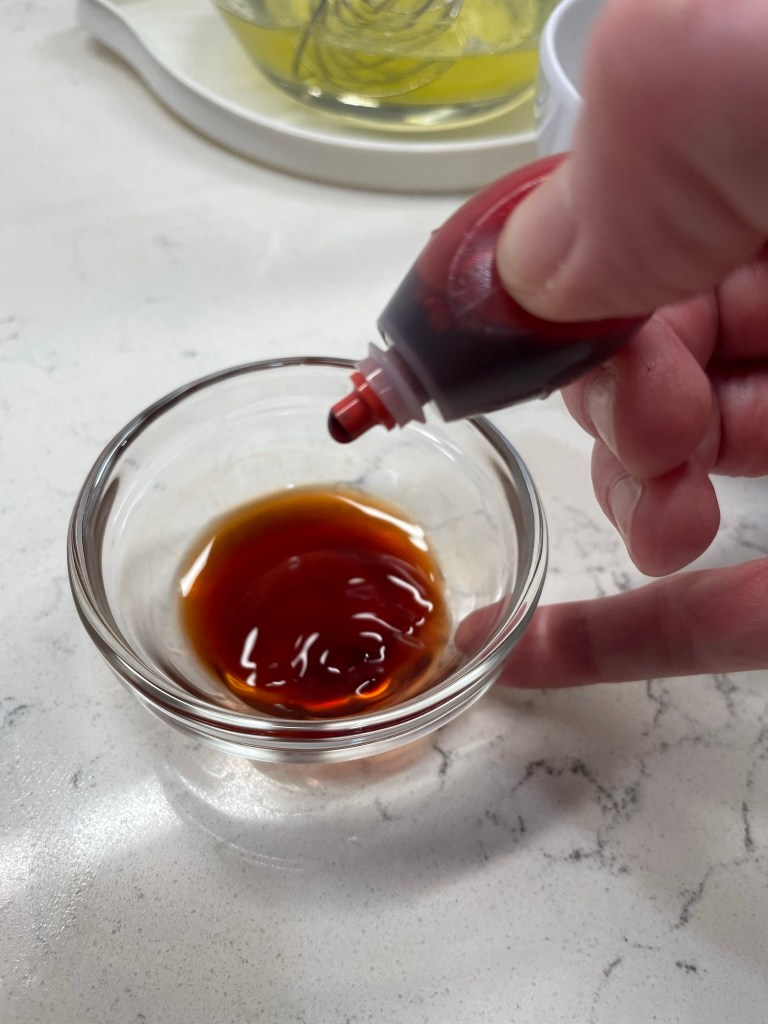
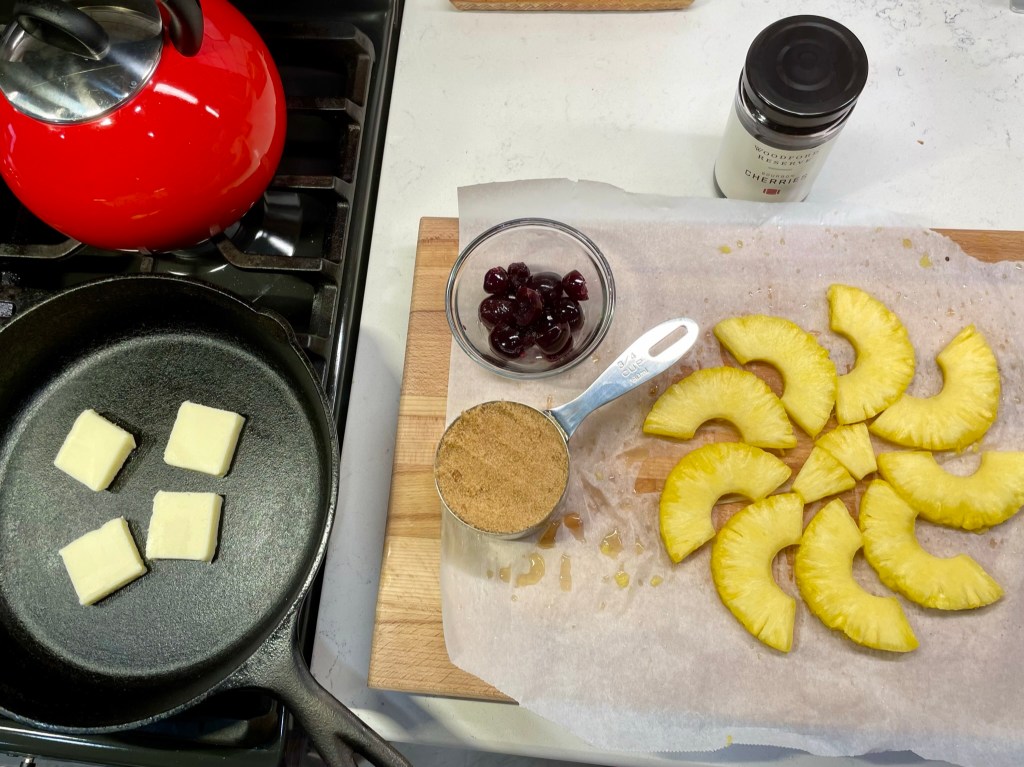
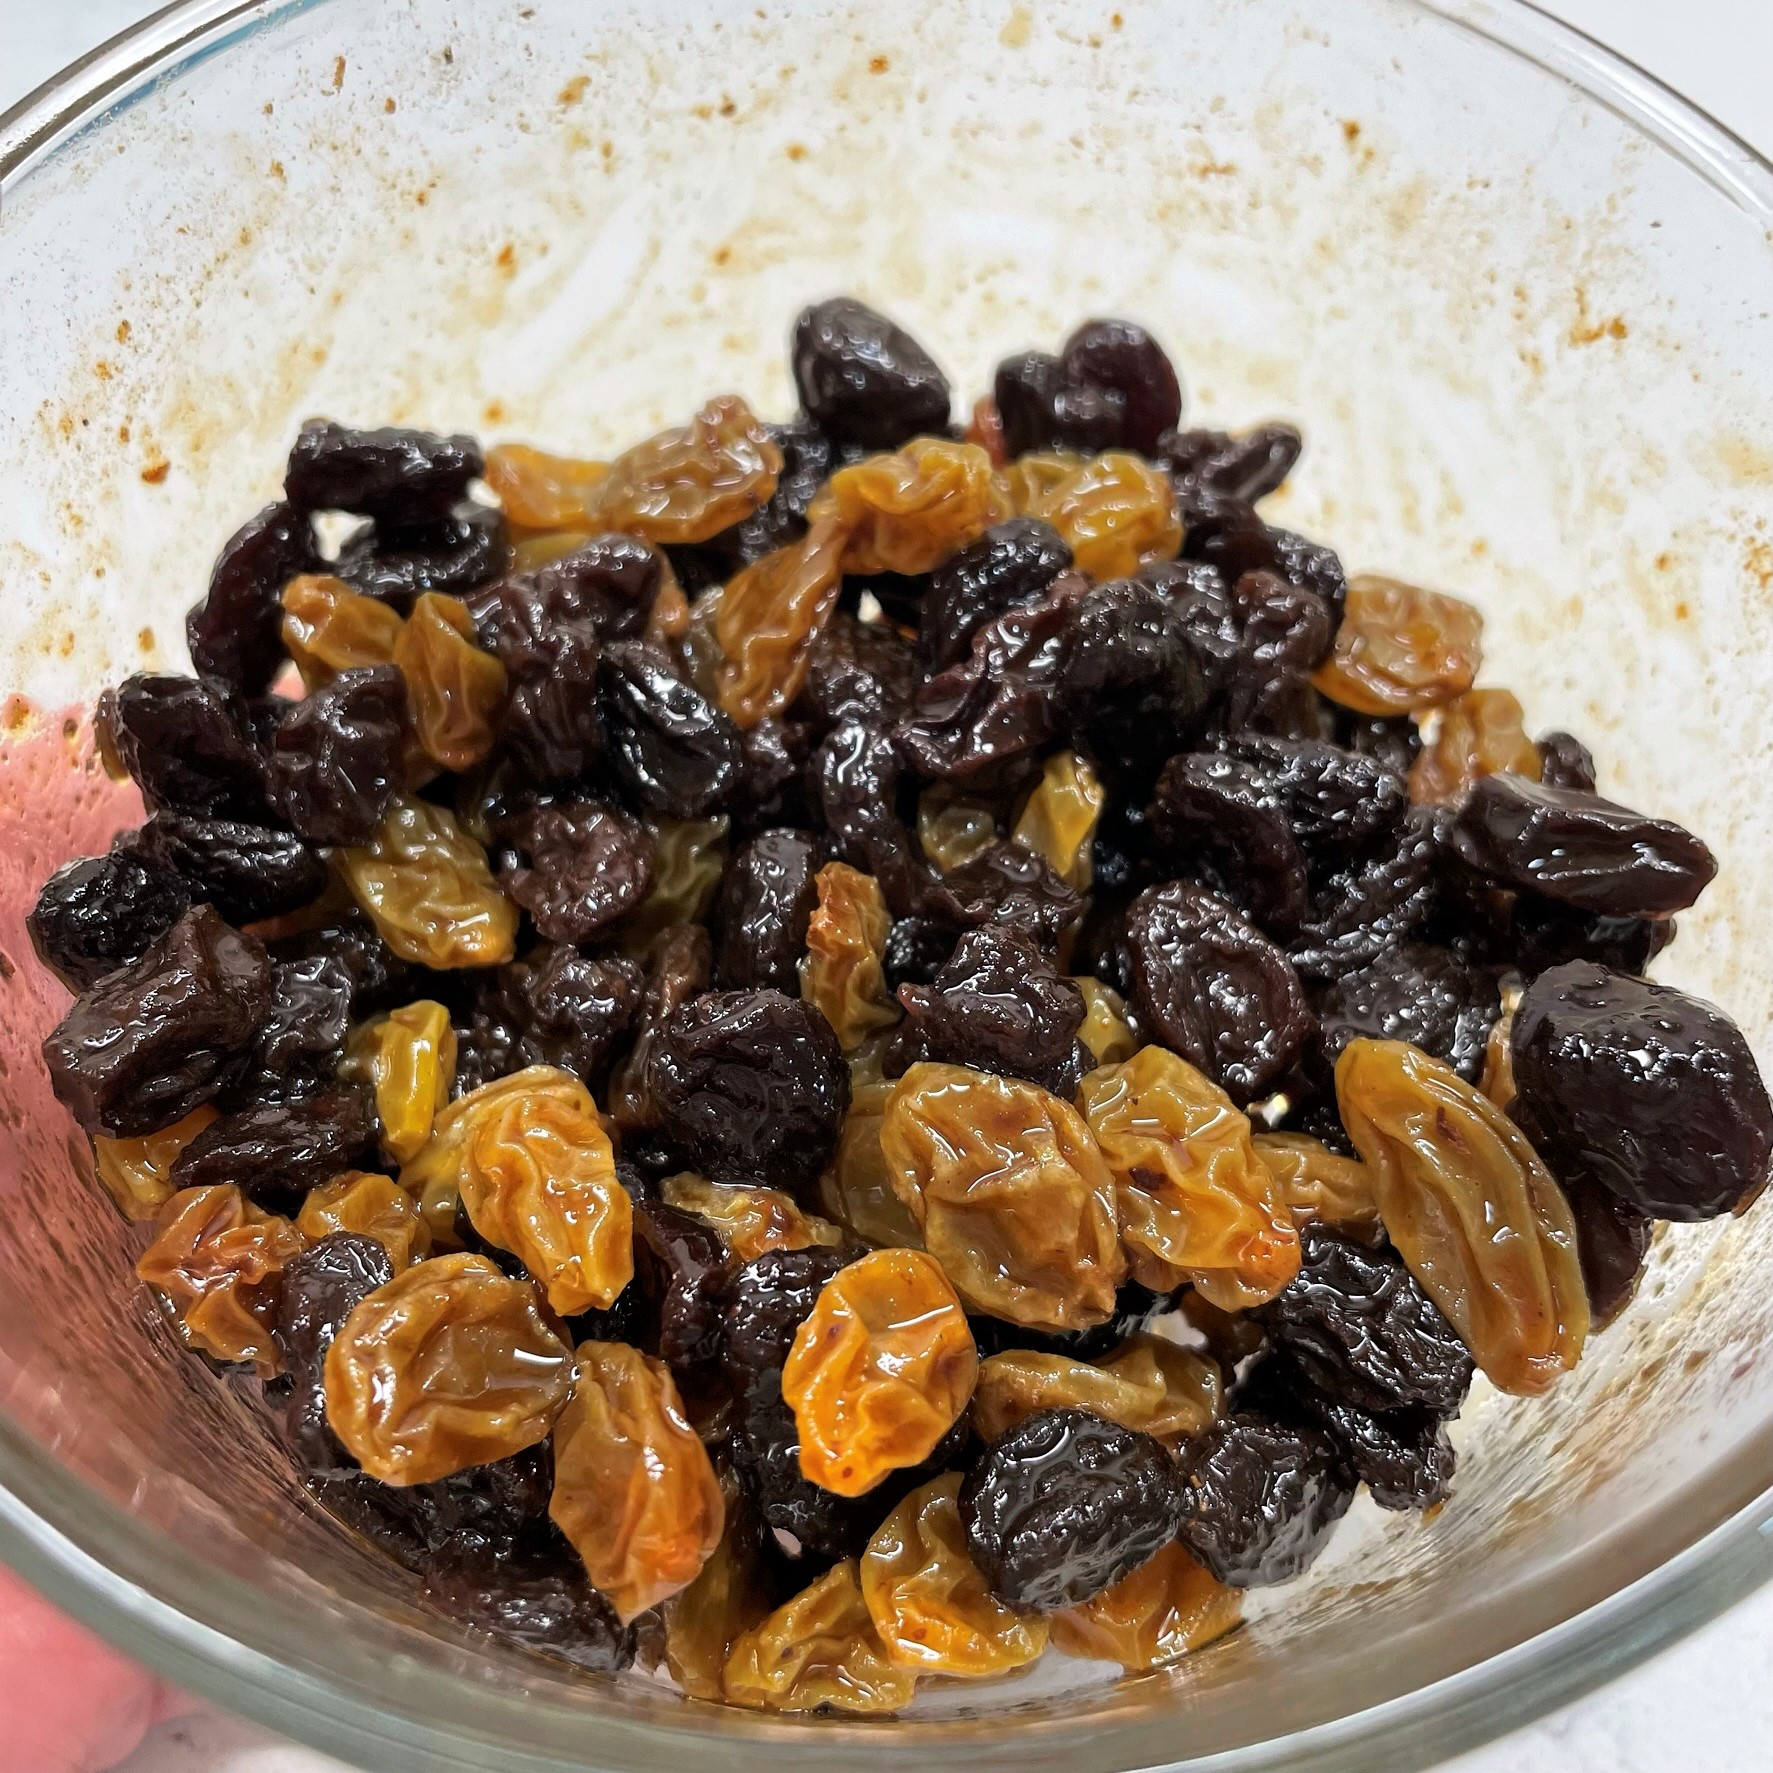
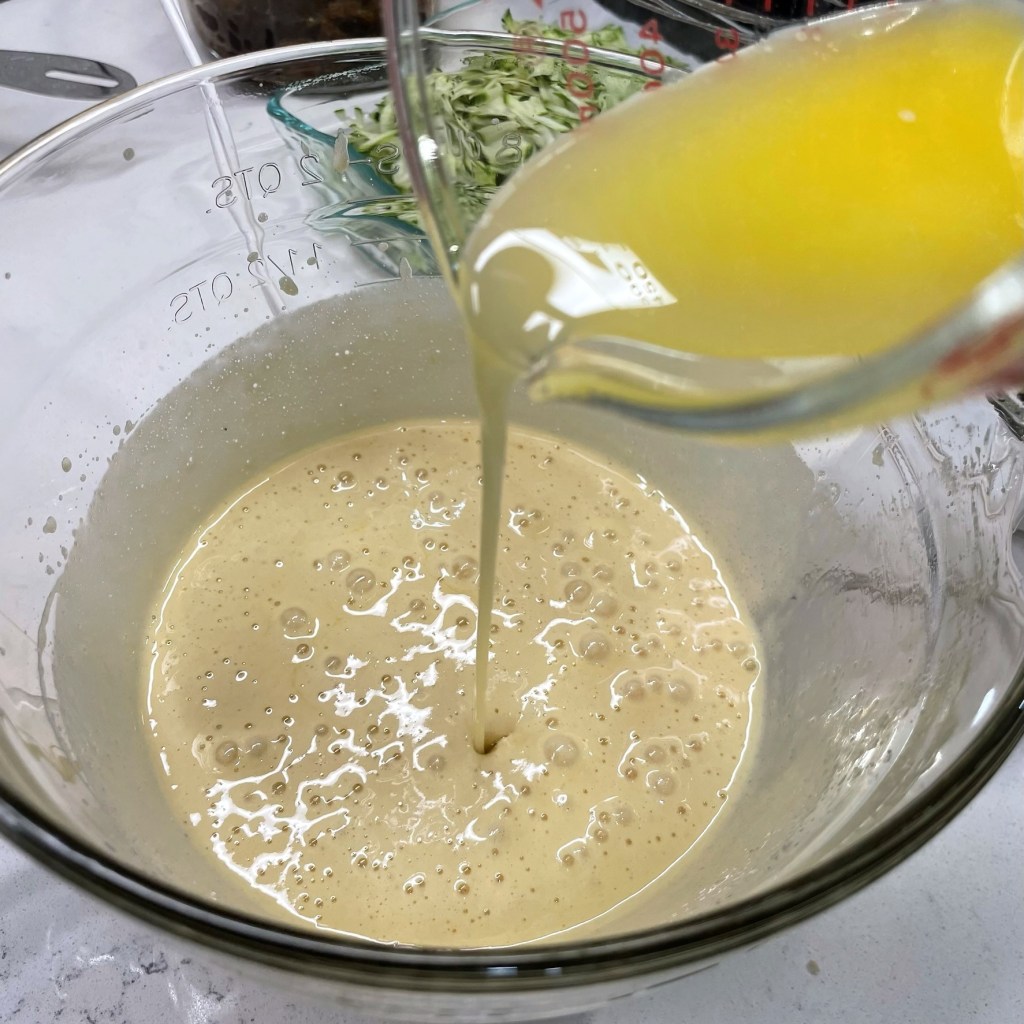
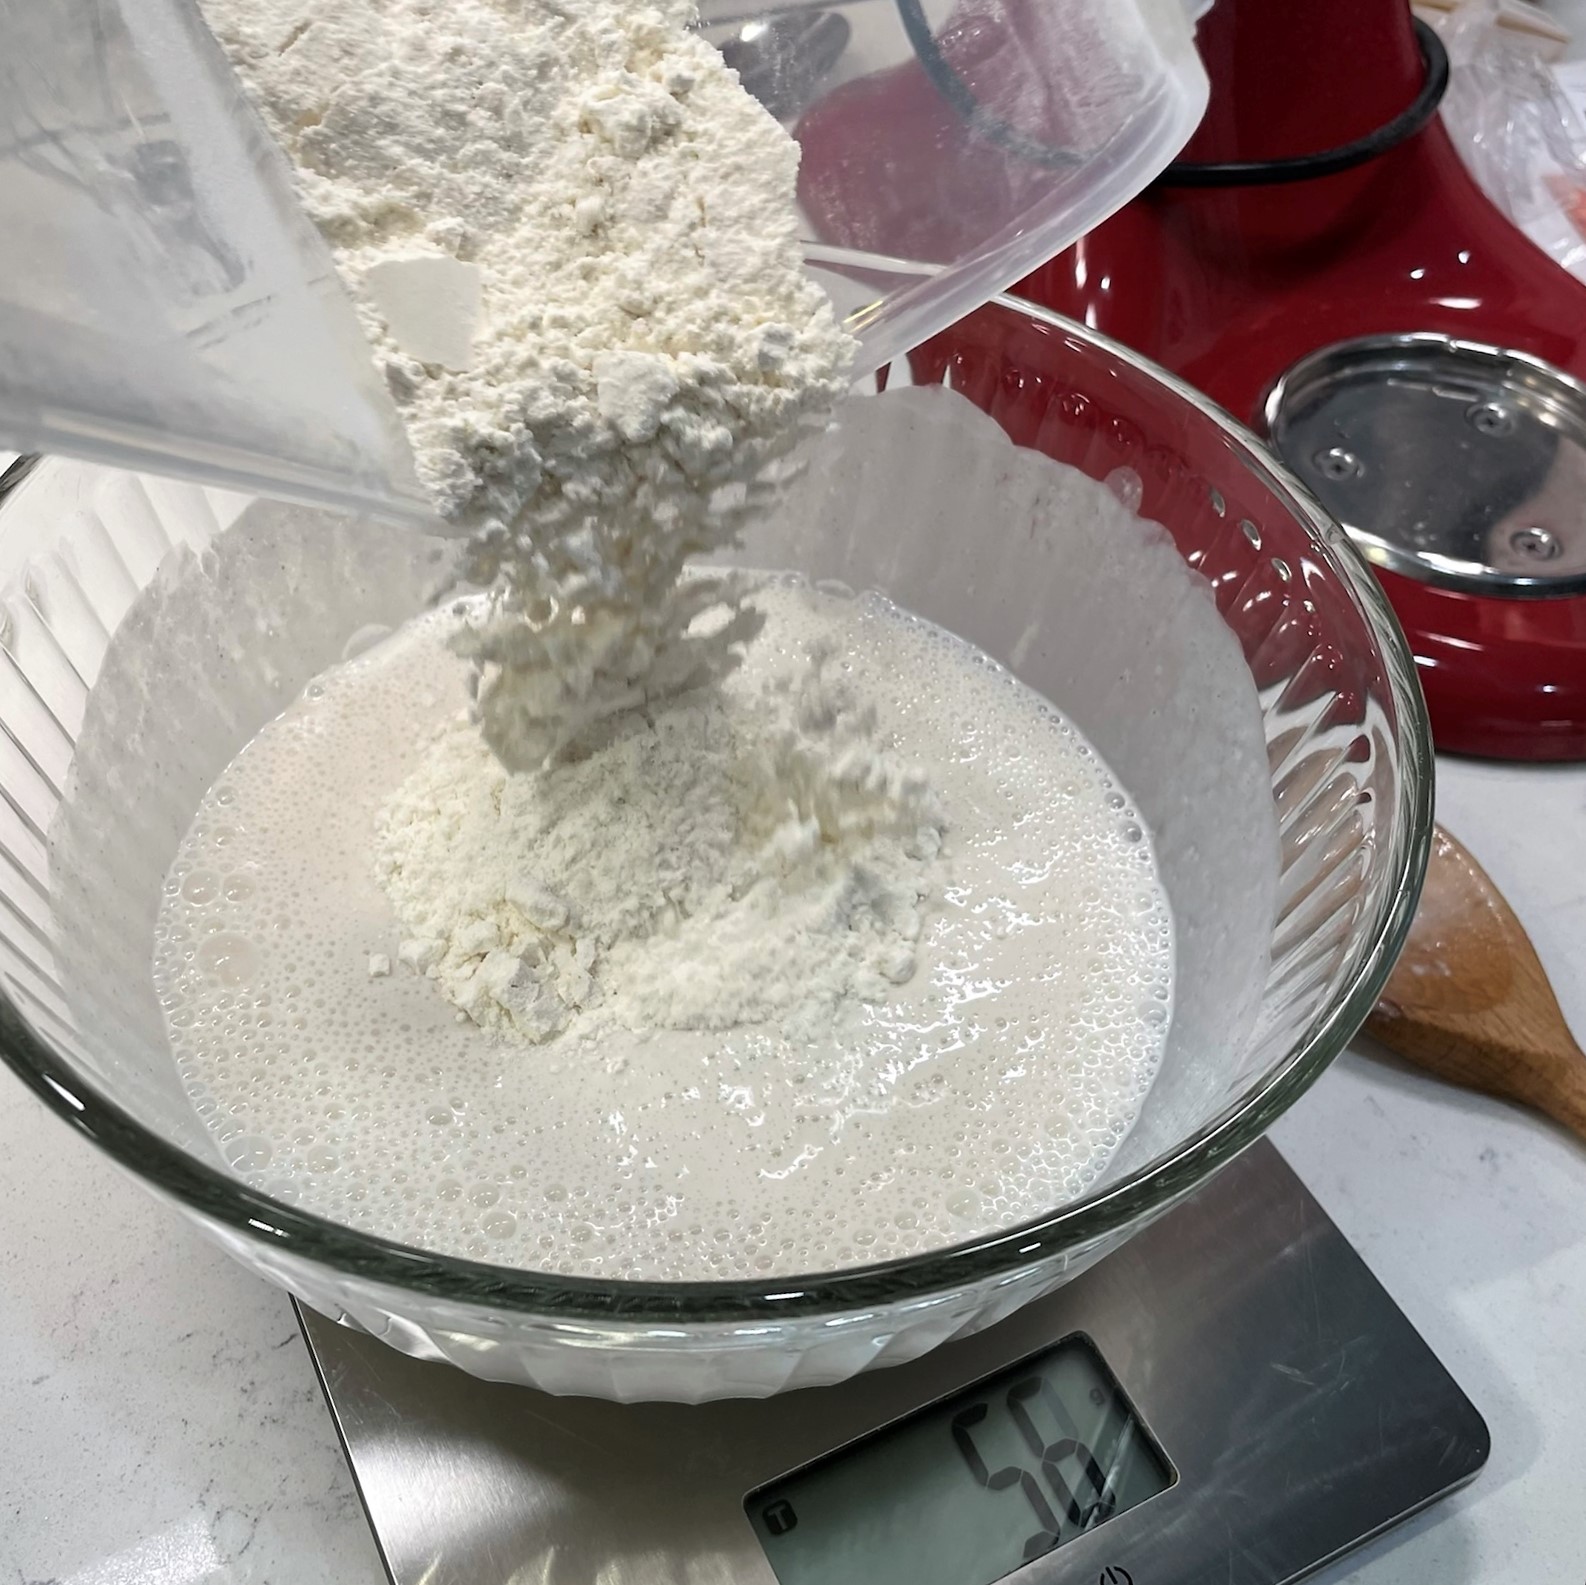
First and foremost, I’ve learned the importance of getting my ducks in a row. Things go much more smoothly when I take the time to measure out and line up my ingredients. Here, you see that I’ve organized everything into the order I’ll need them. I took time to make fresh coffee for the batter, and I even measured out the Jameson and Bailey’s so that they were ready at the right time. I cannot describe how much this single practice has changed my baking game. If you struggle with getting things right in baking, maybe this will help you, too.
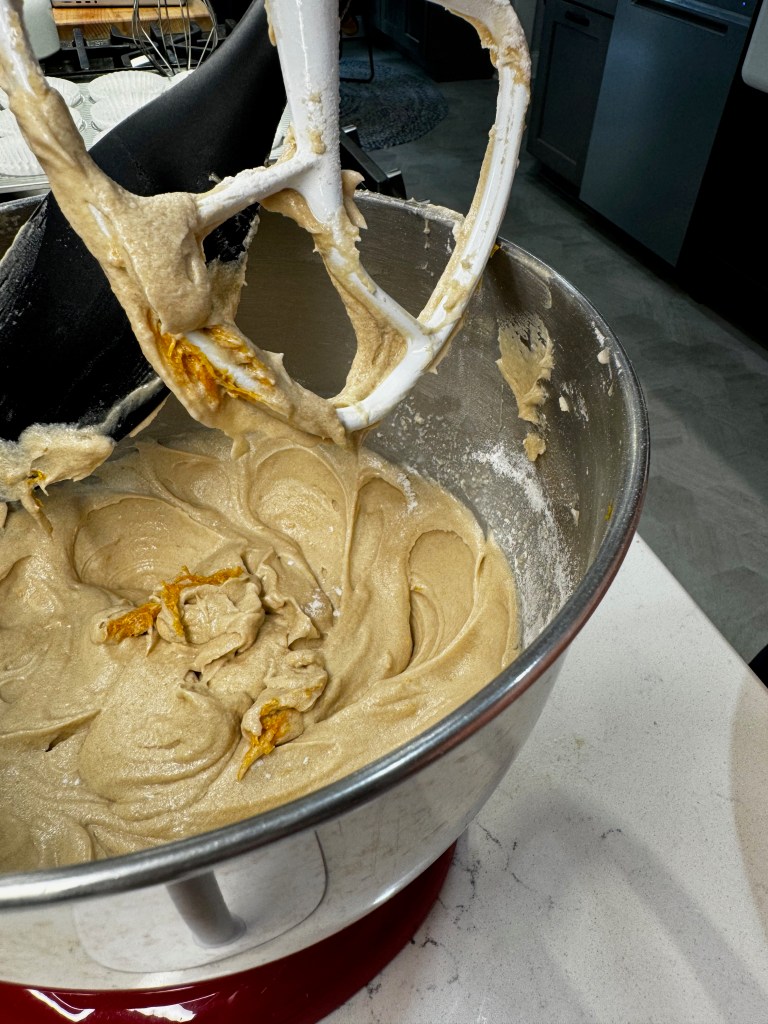
The cupcake batter
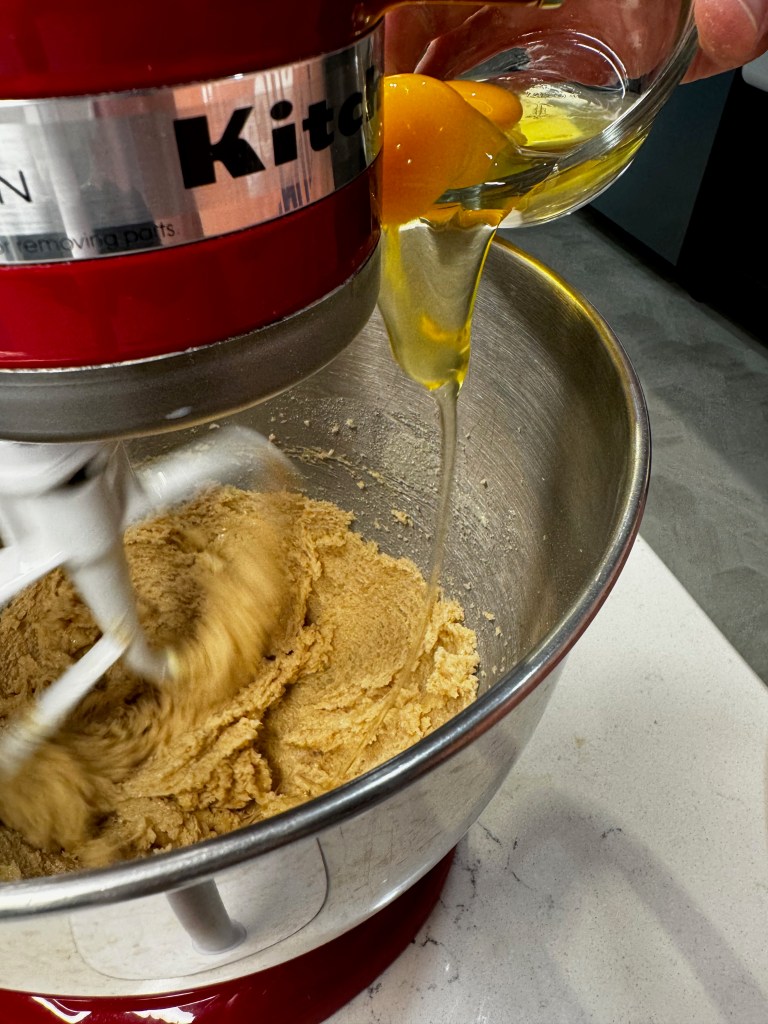
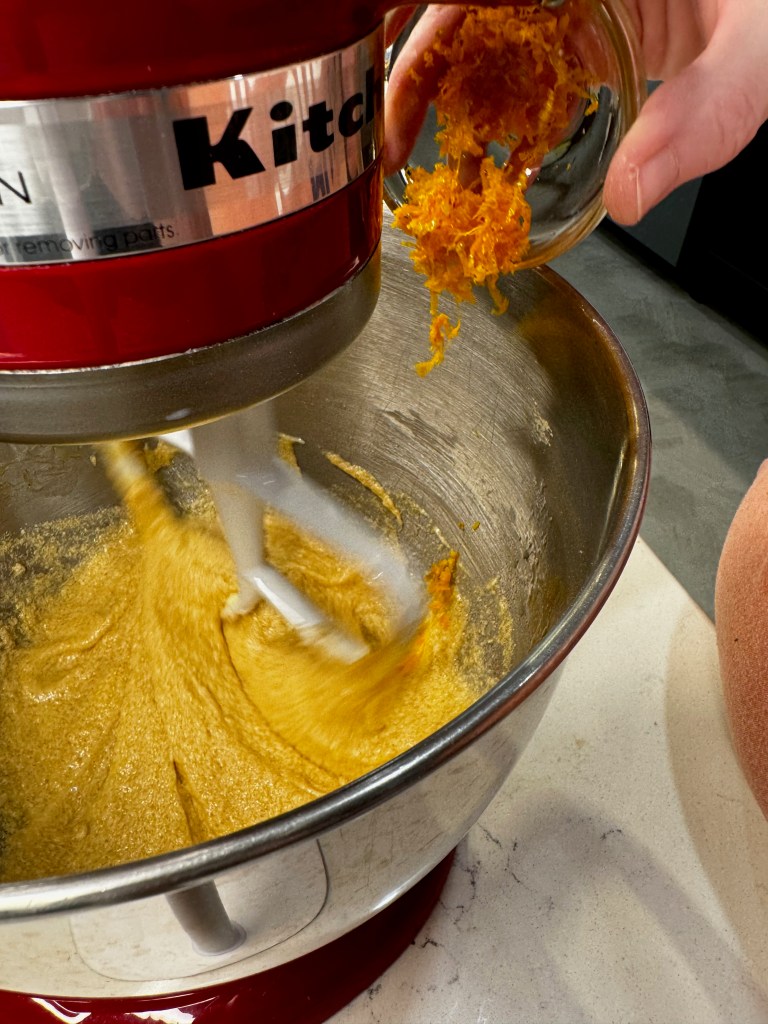
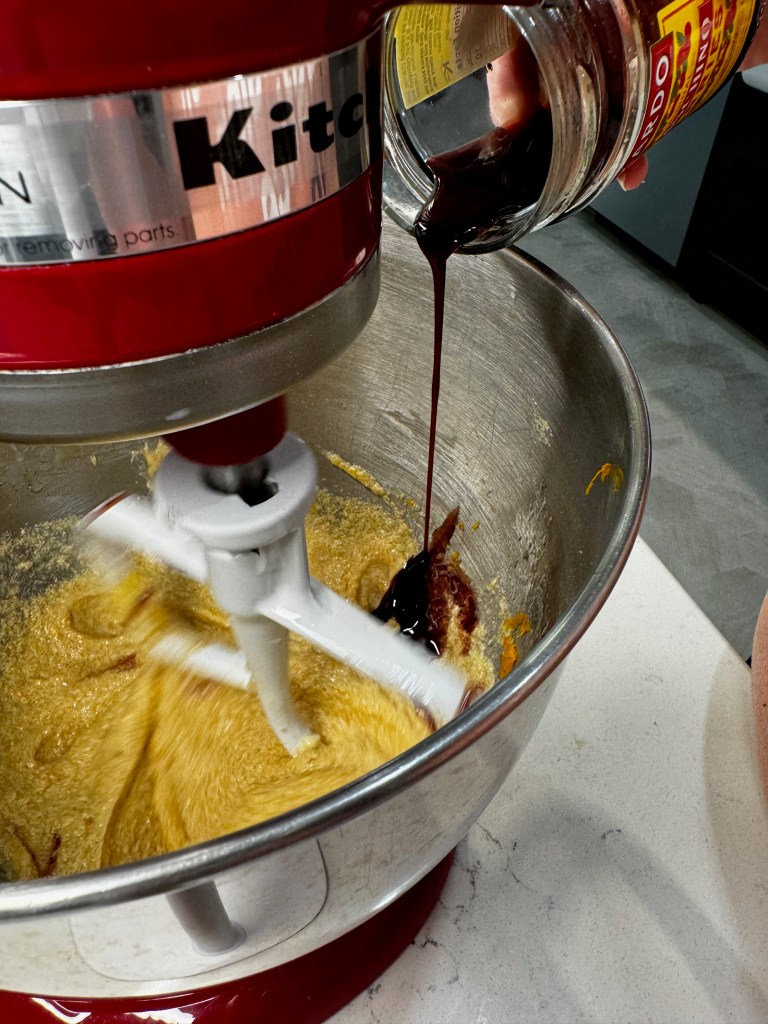
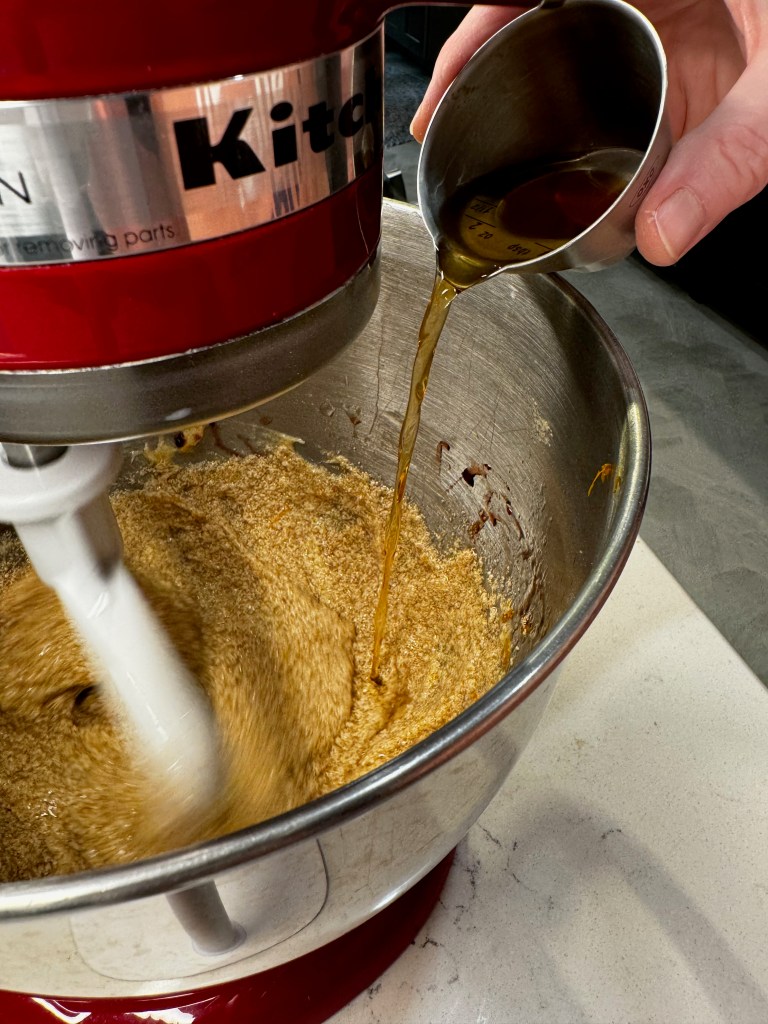
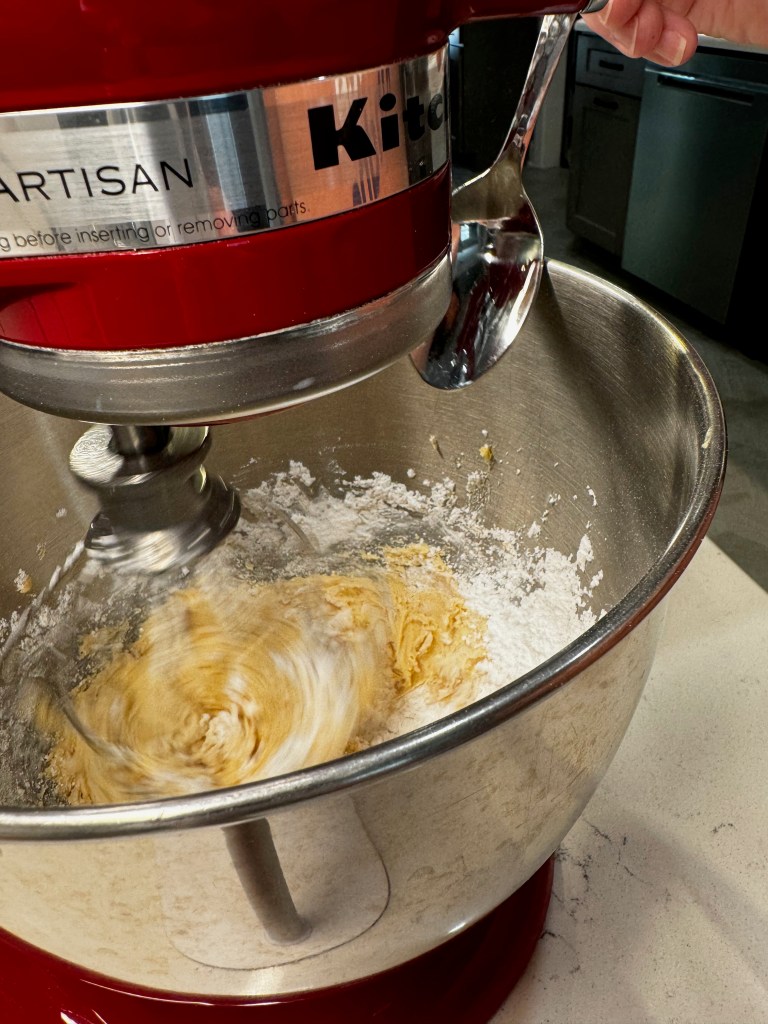
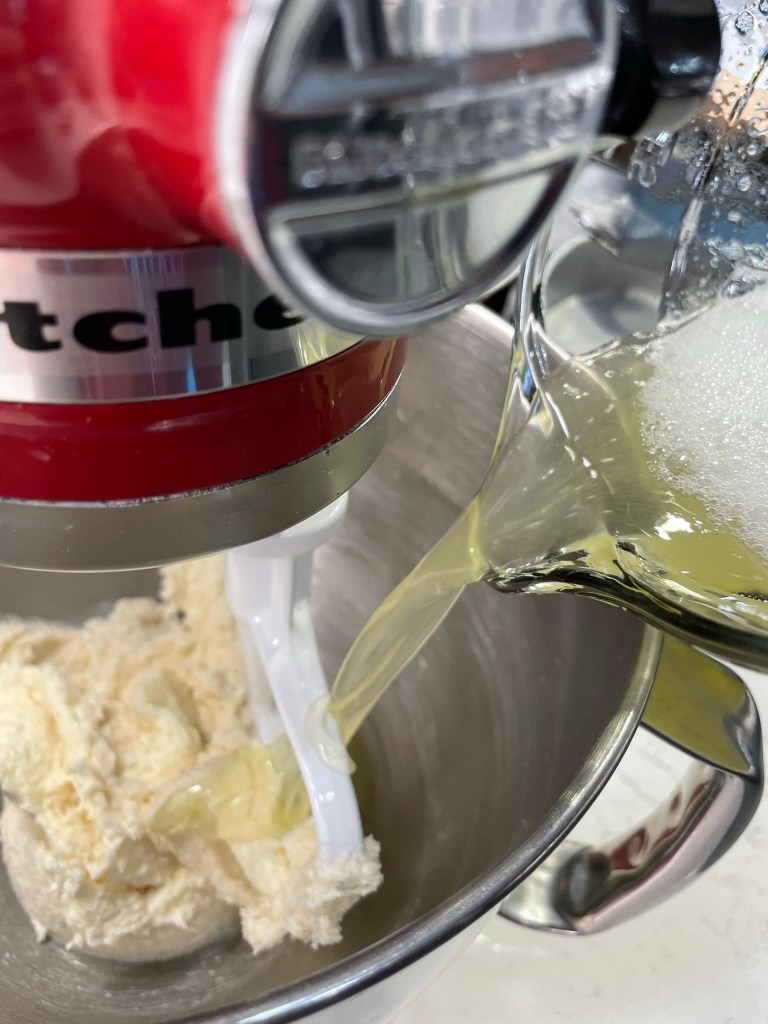
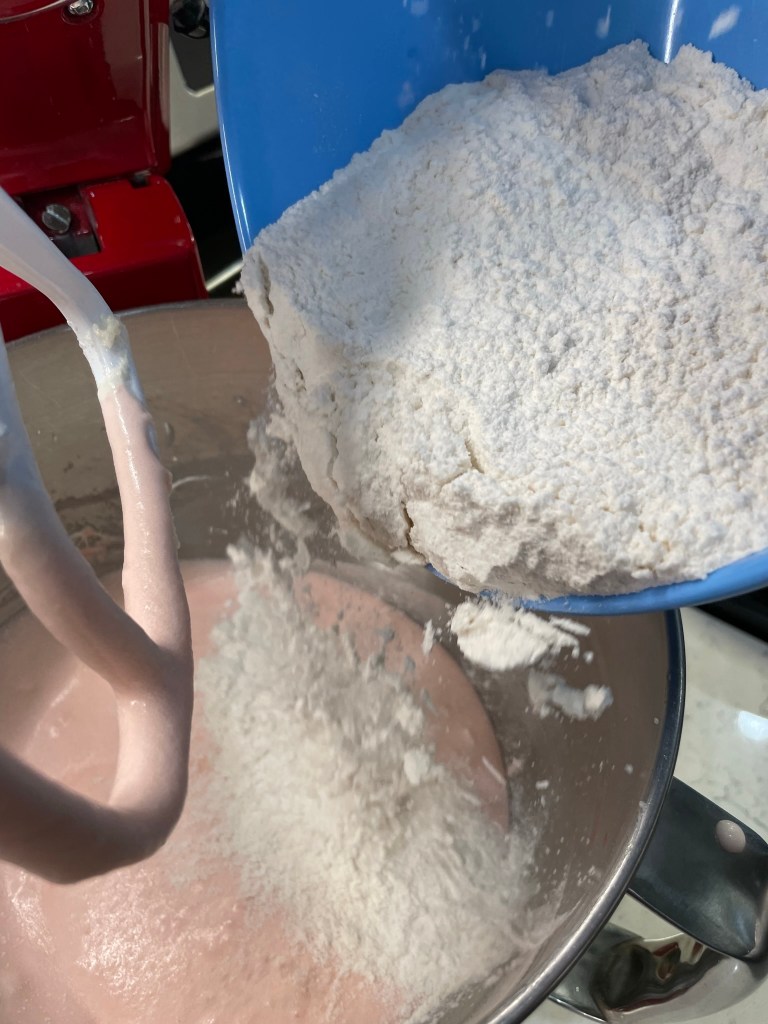
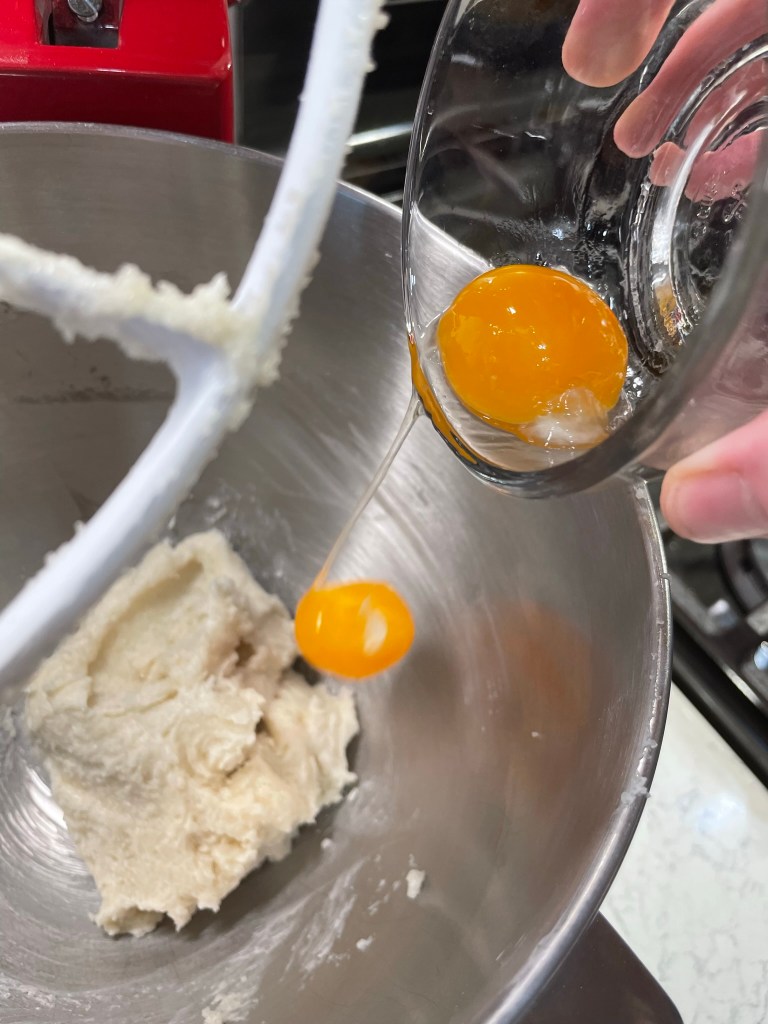
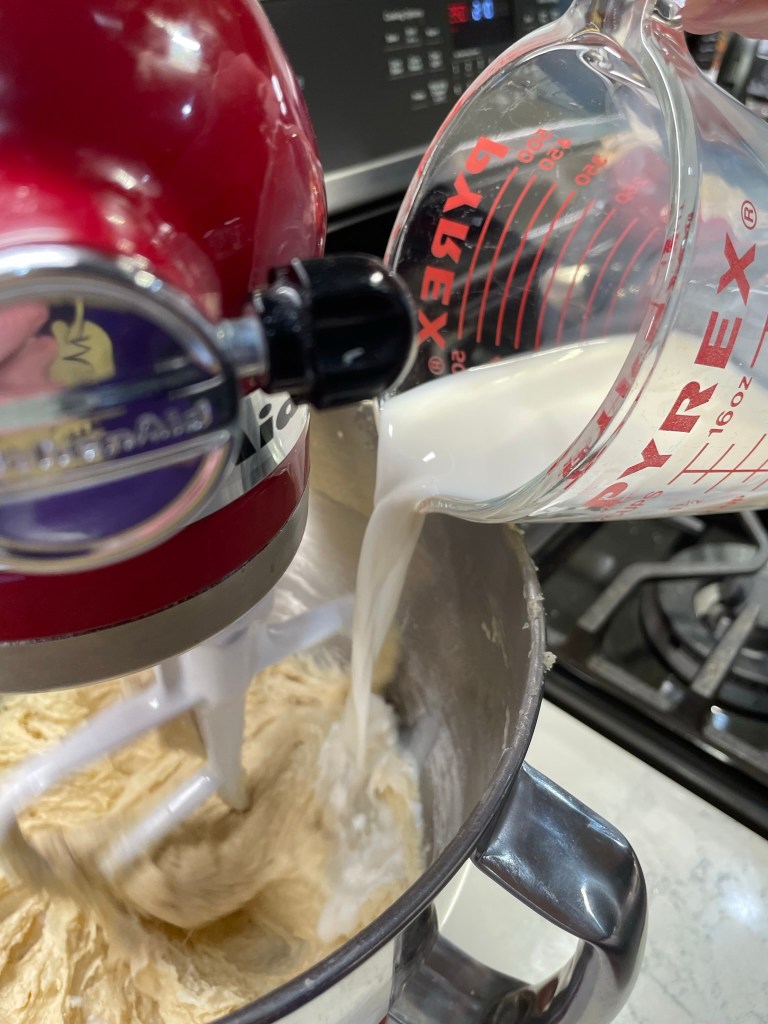
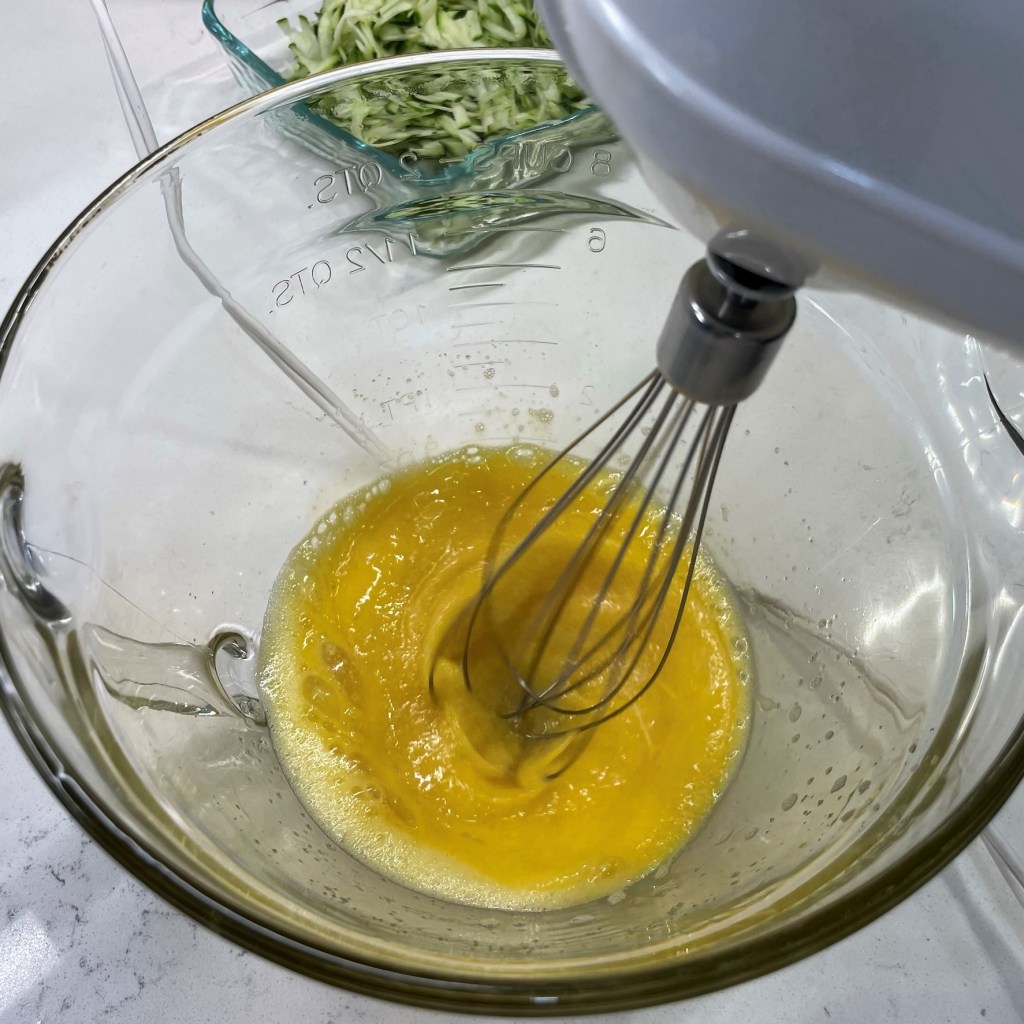
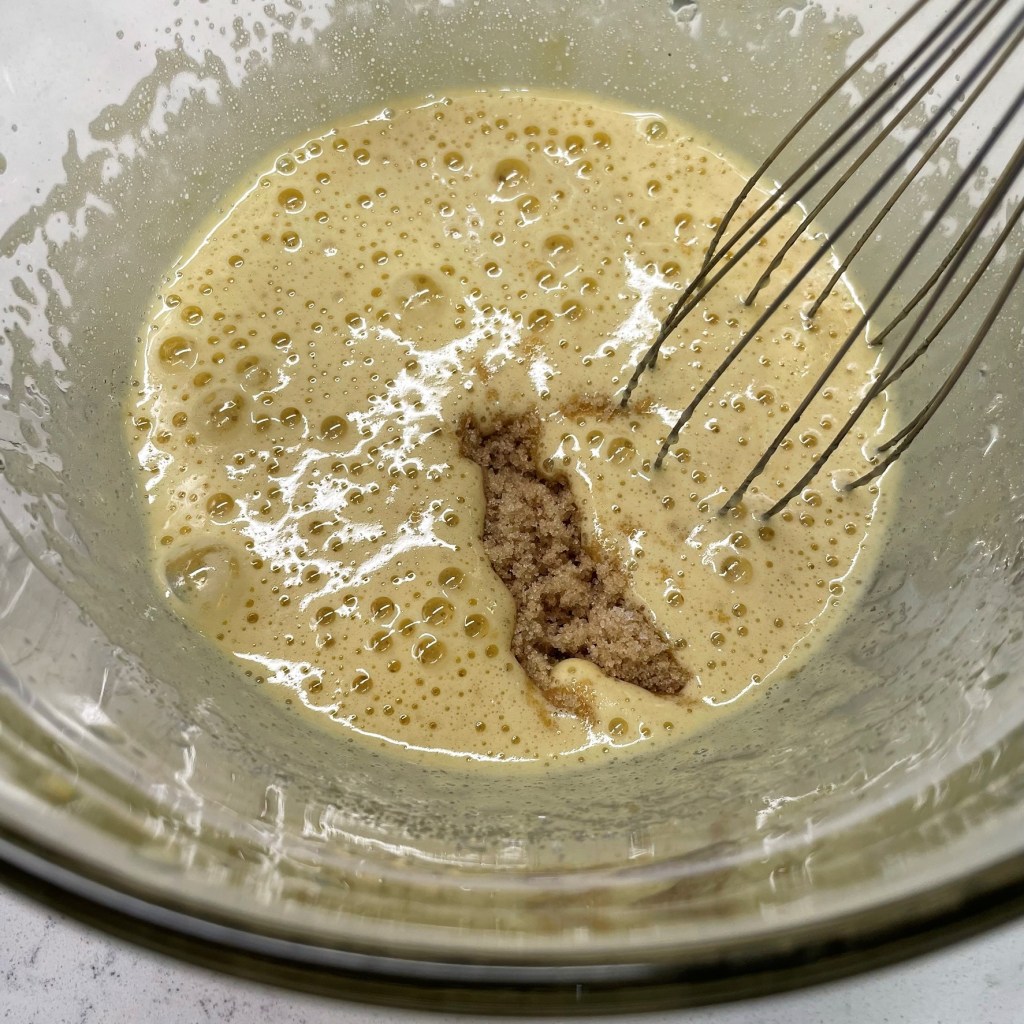
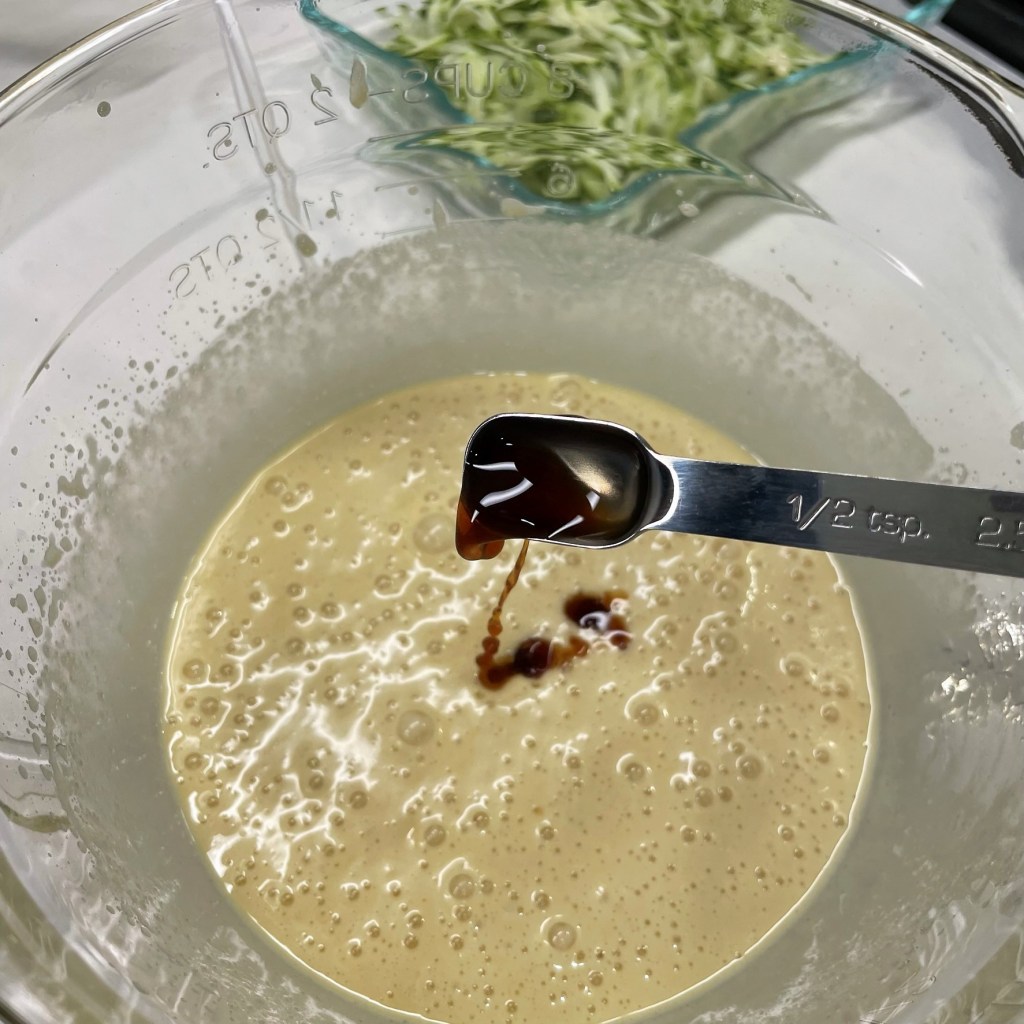
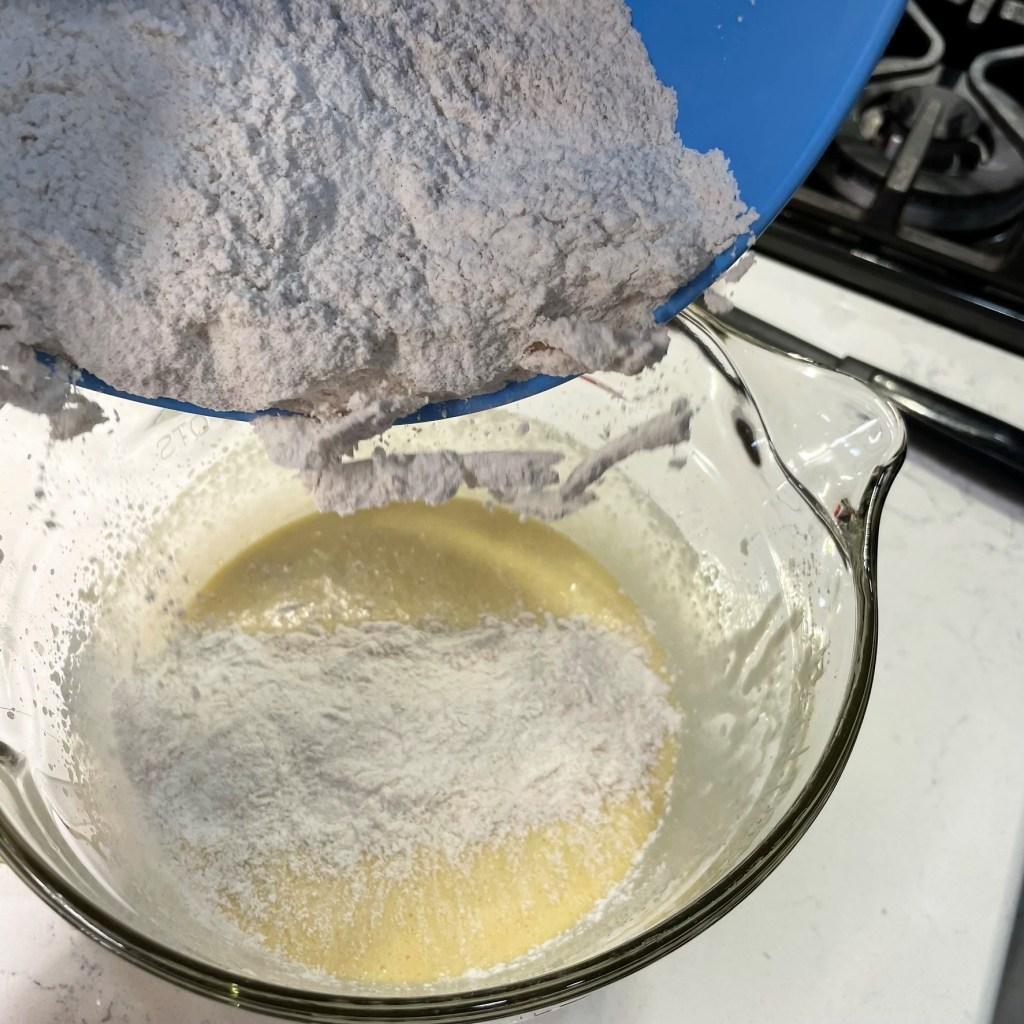
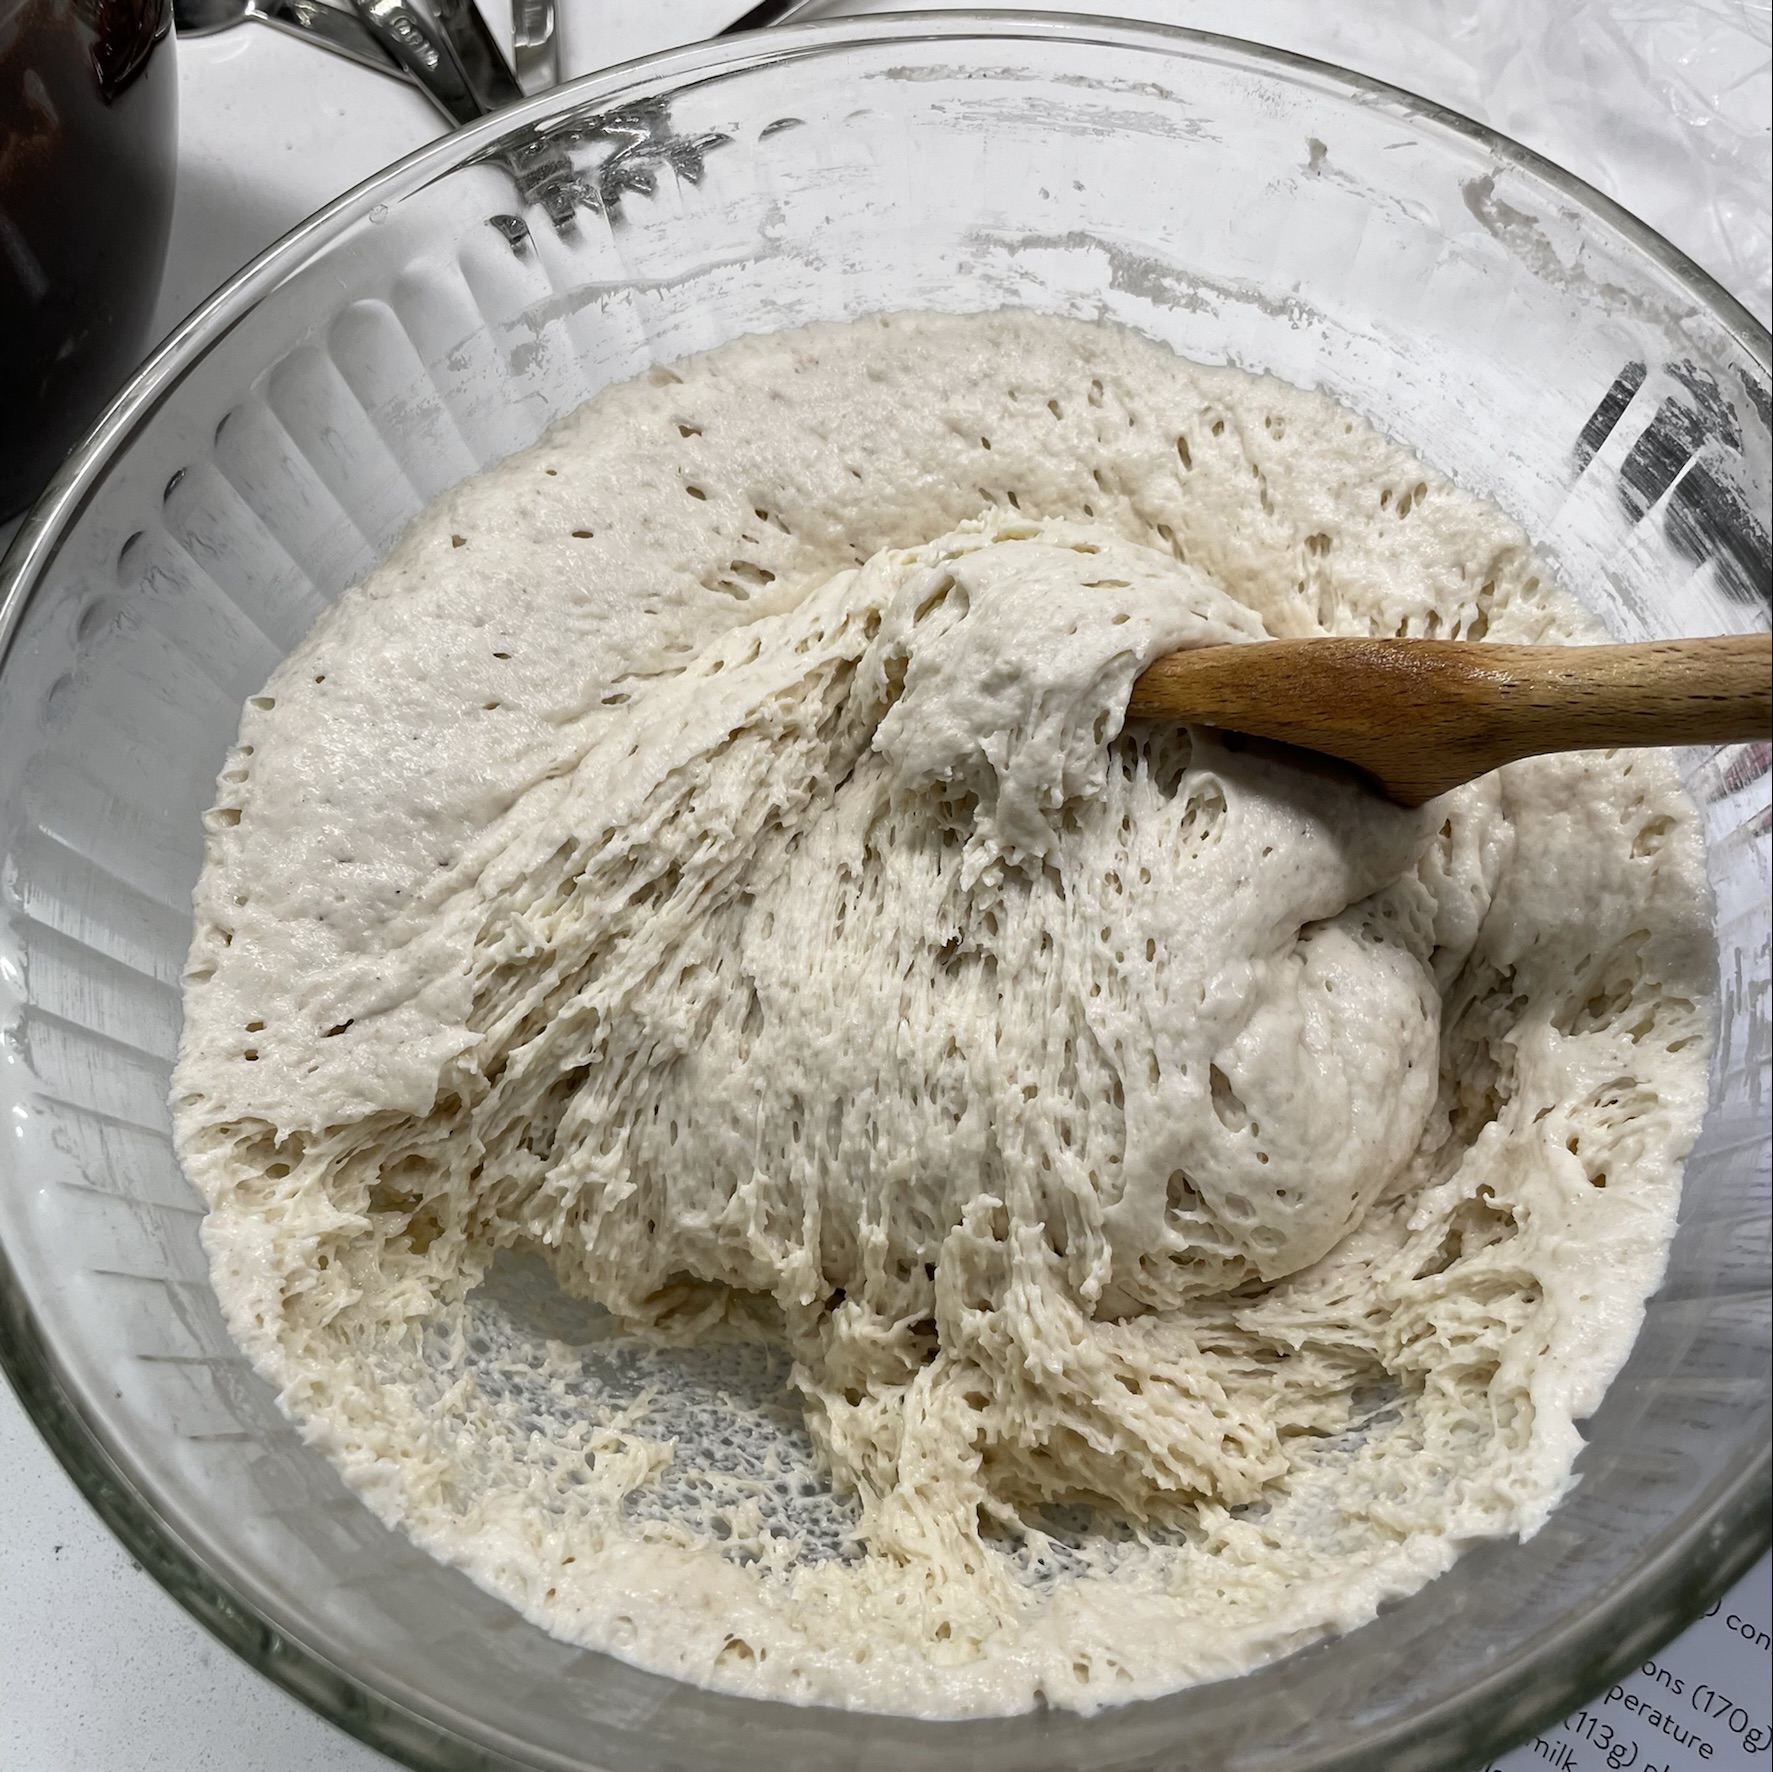
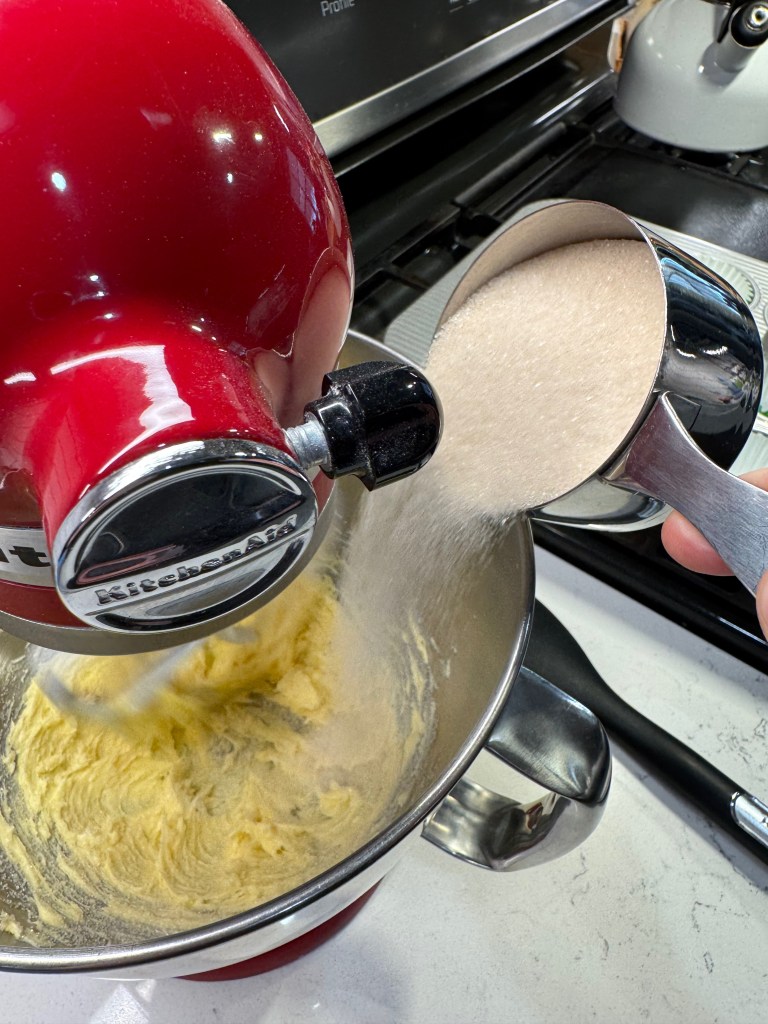
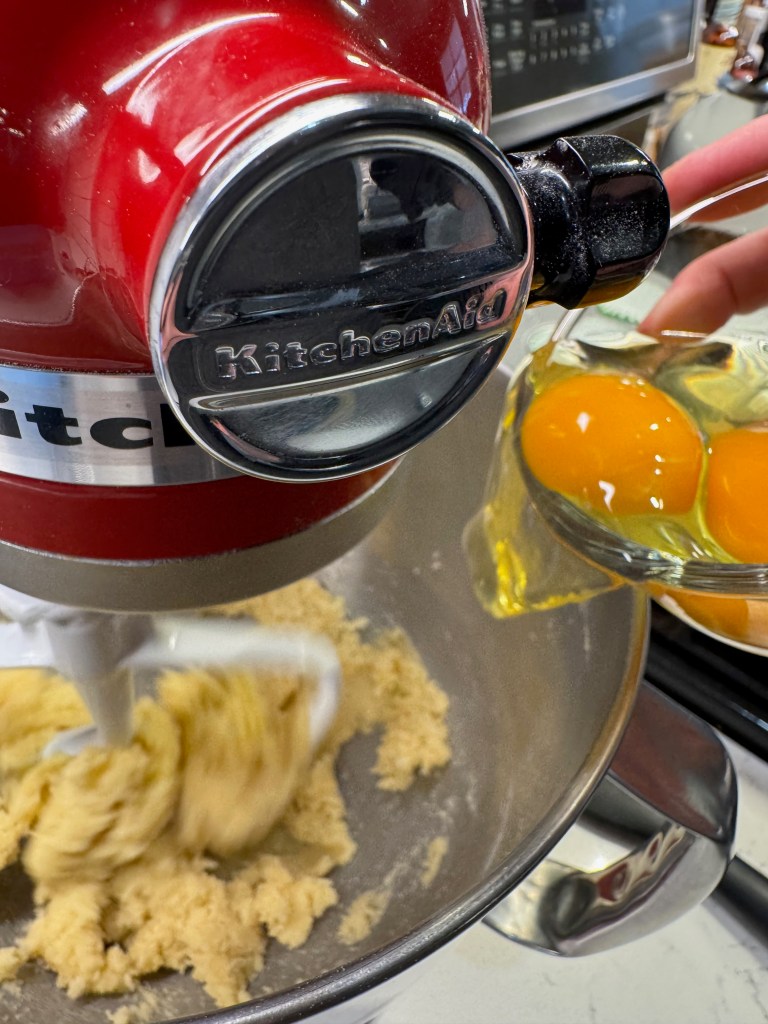
As luck would have it, when I searched for a good chocolate cupcake recipe on my go-to, King Arthur Baking, one of the recipes that came up was Irish Cream Cupcakes. This became my roadmap, at least for ingredient ratios, but I took issue with the instructions because Step 2 suggested combining all the ingredients into the mixing bowl at once! I’m no expert, but I am a creature of habit, so I followed the method that has served me well in the past. It started with my Irish butter and sugar, then the eggs, and finally the dry and liquid ingredients, alternated for even blending.
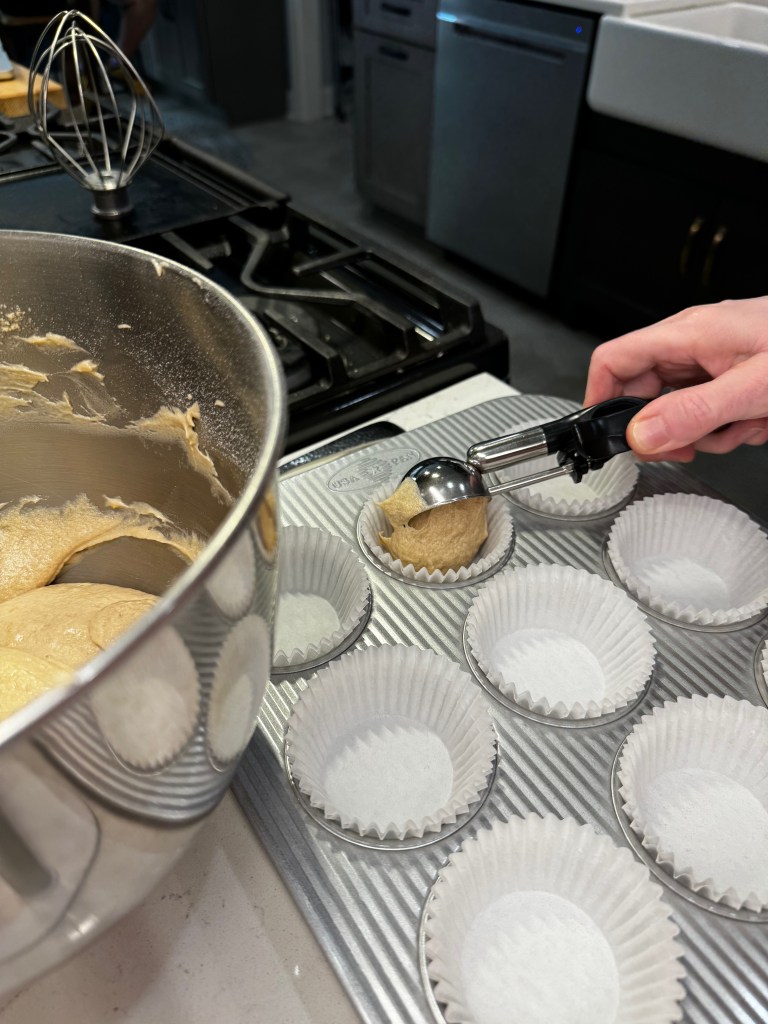
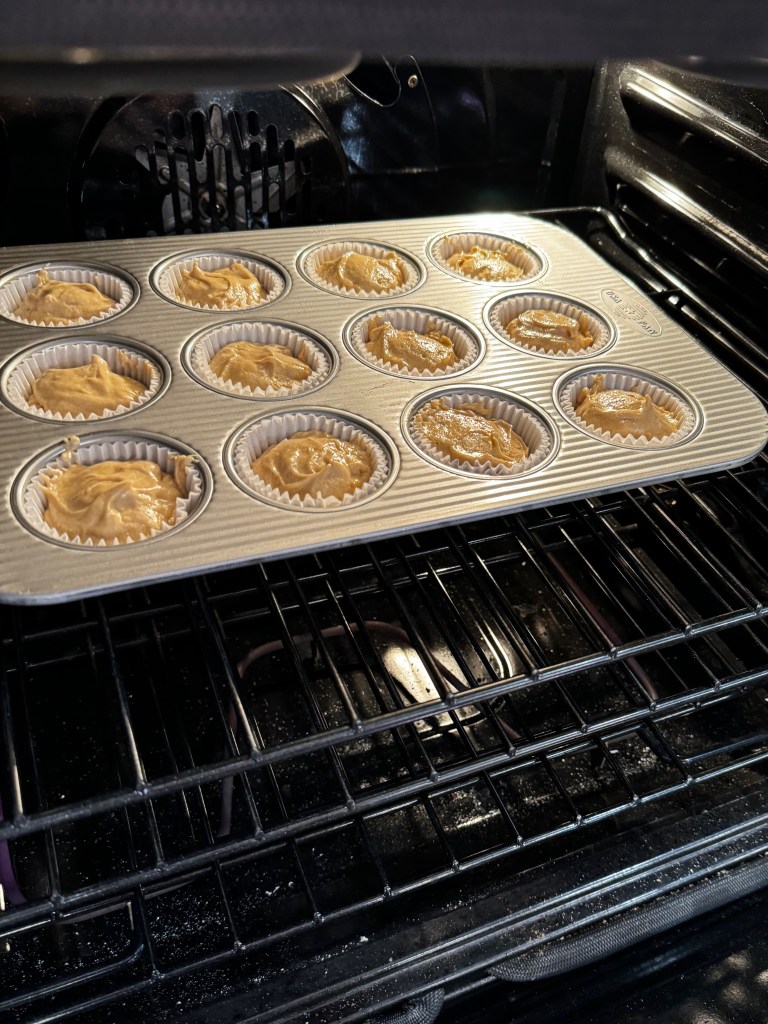
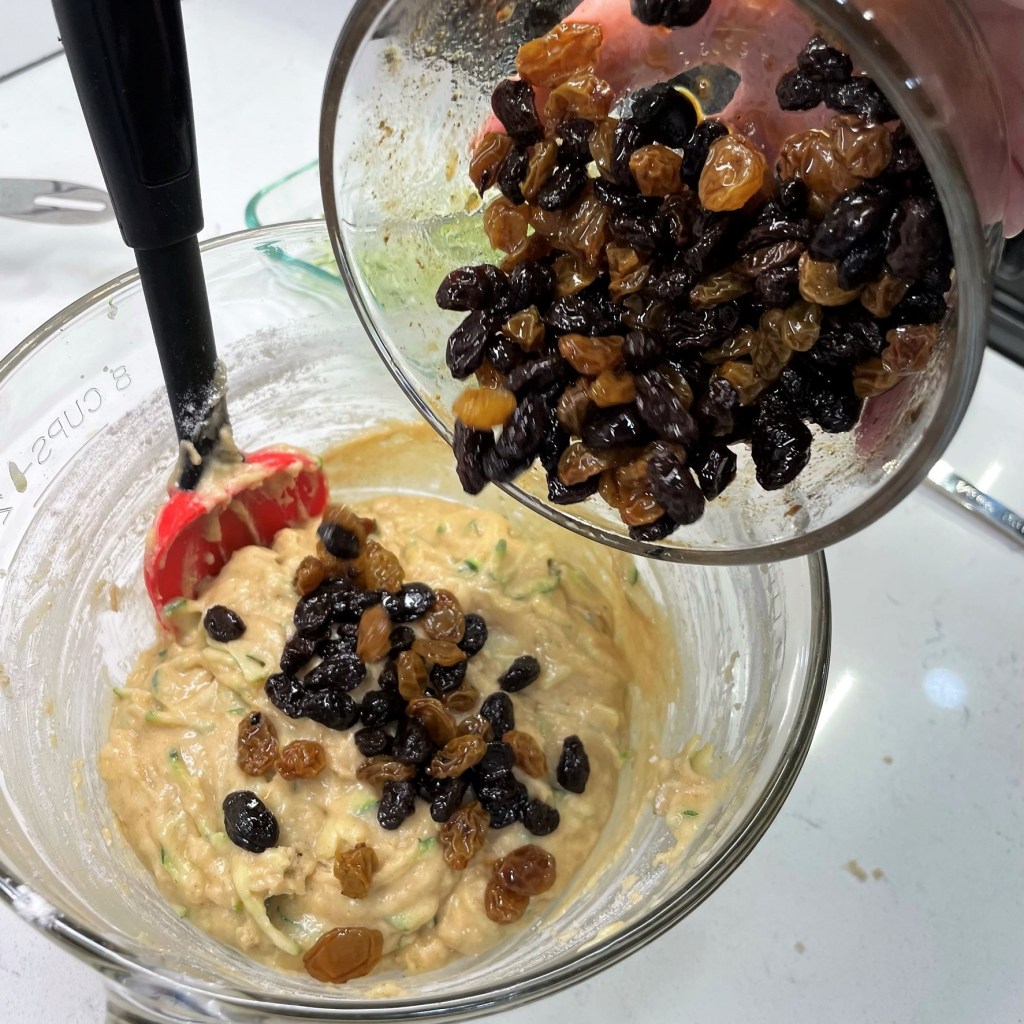
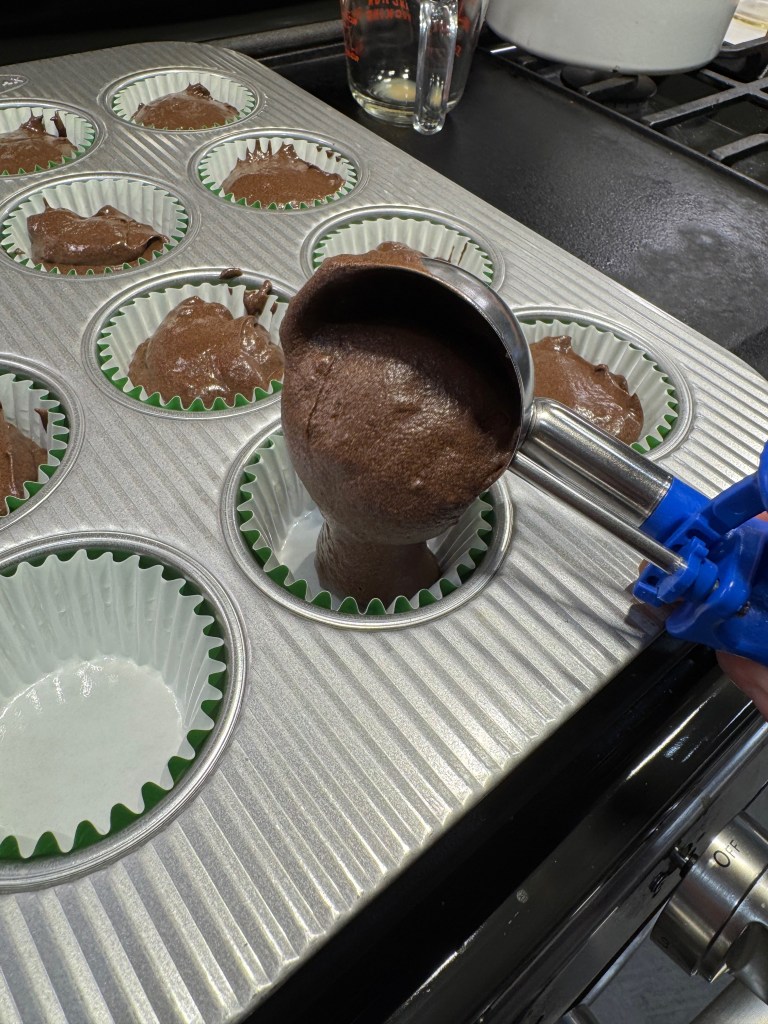
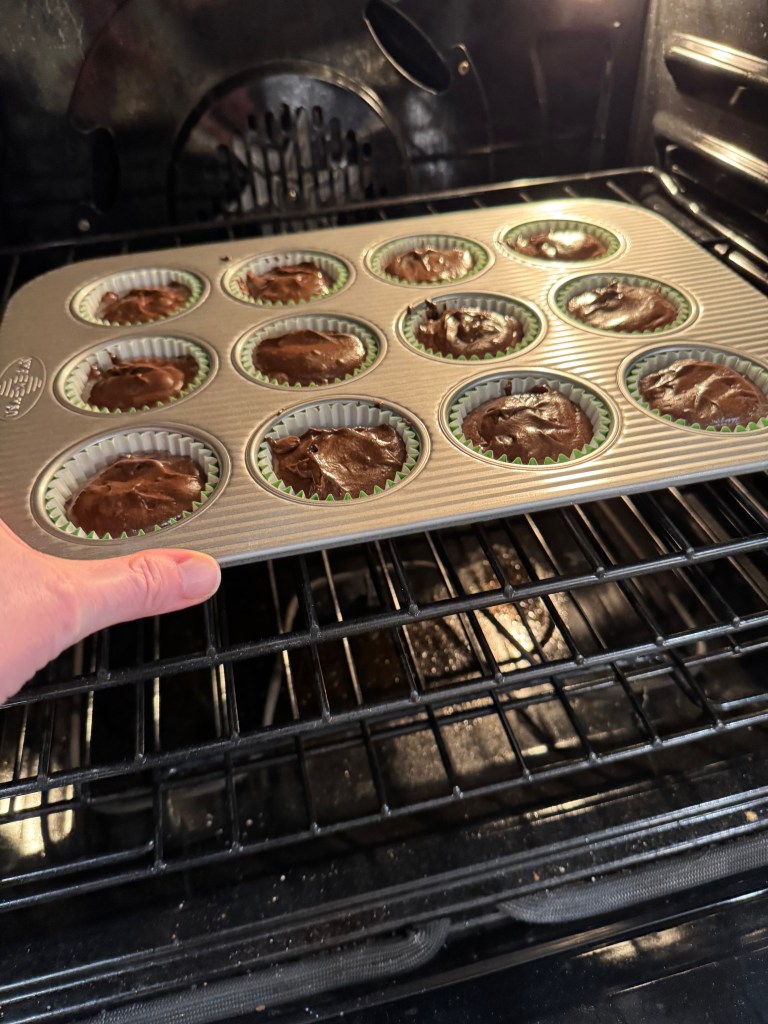
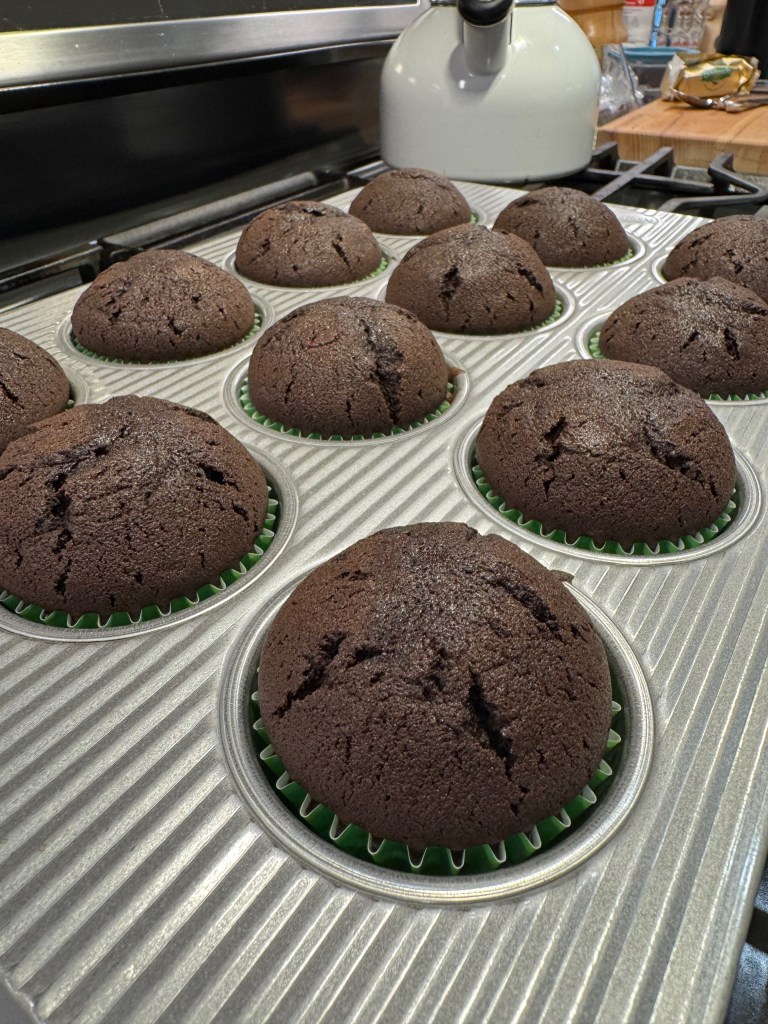
My jumbo cookie scoop is perfect for divvying out the batter into the cupcake liners. For some reason, my cupcakes always fill almost to the top, and this works fine, despite most recipes suggesting to fill them 2/3 full. The house smelled amazing as these baked for 22 minutes.
The icing on the cupcake
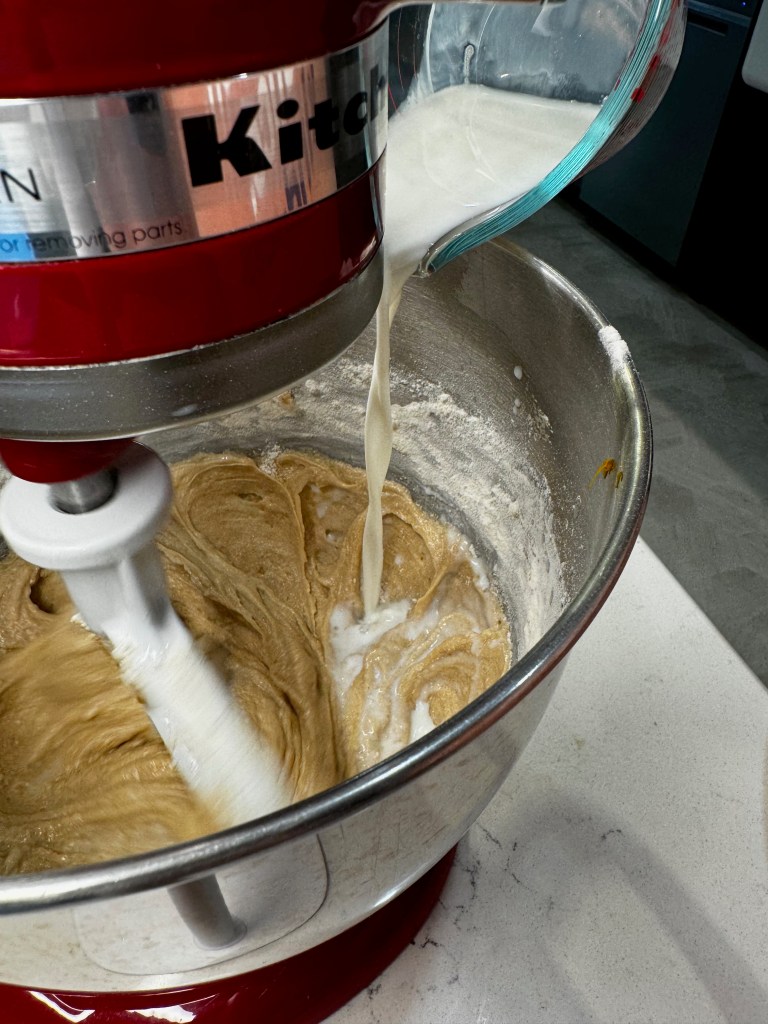
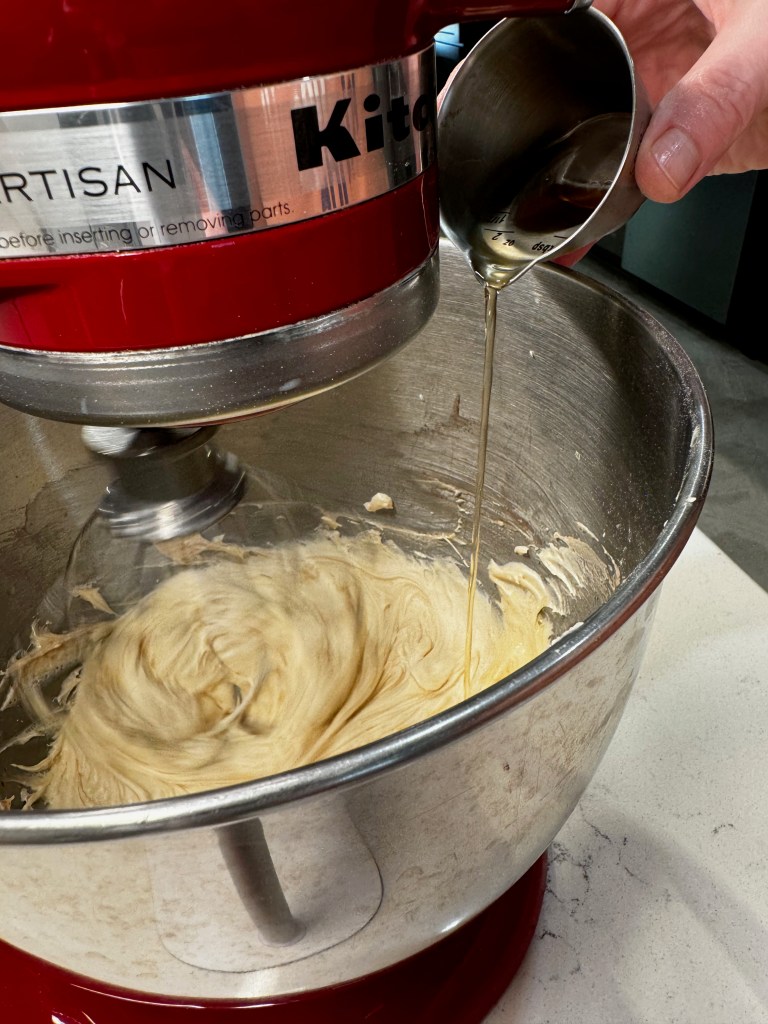
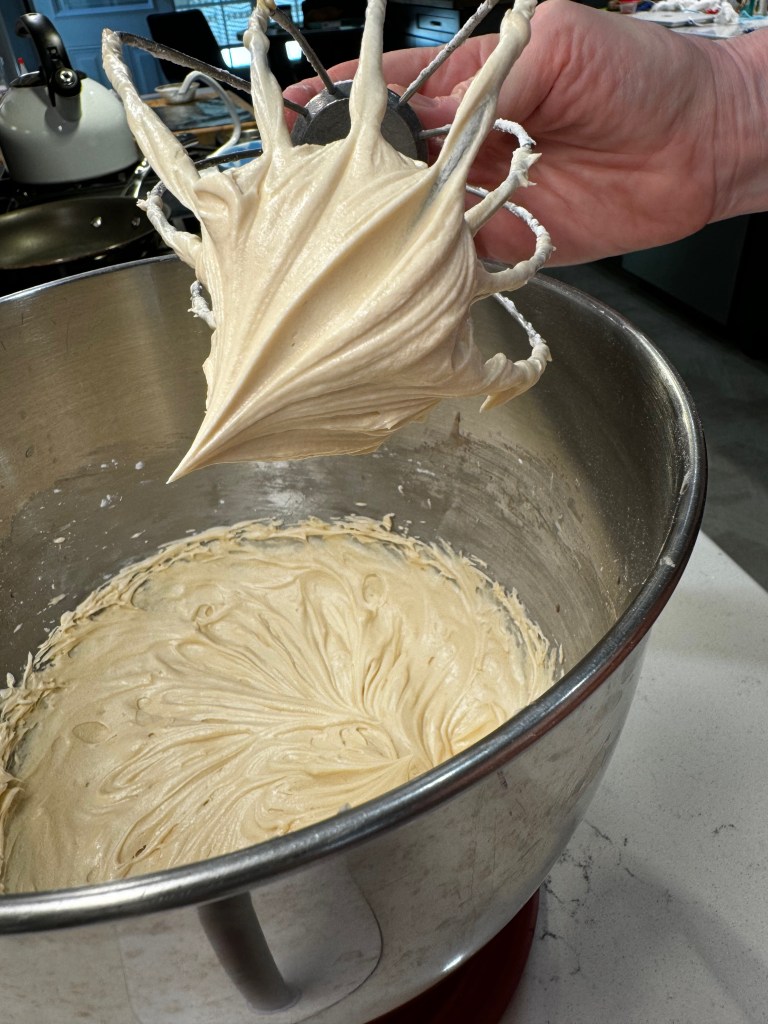
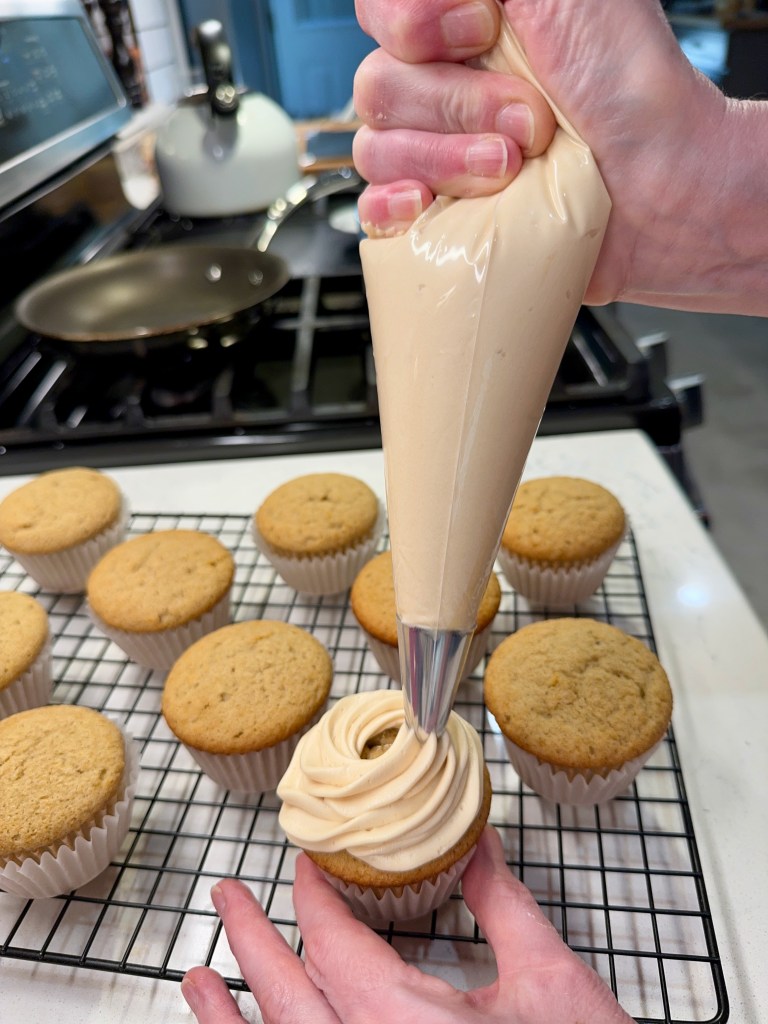
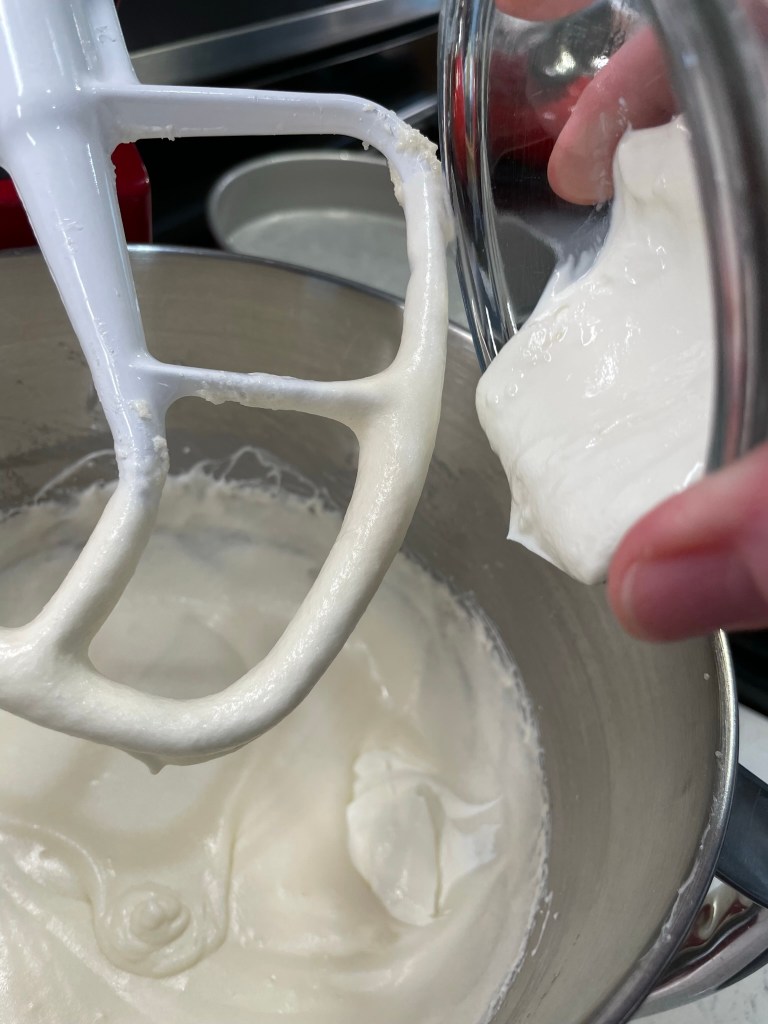
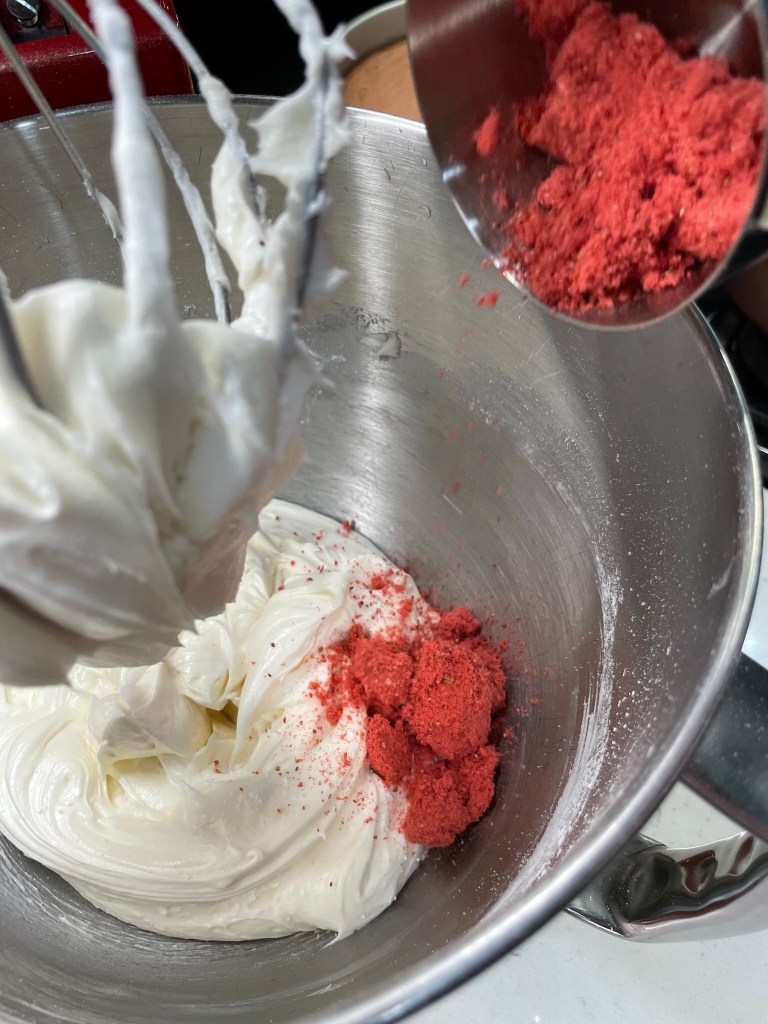
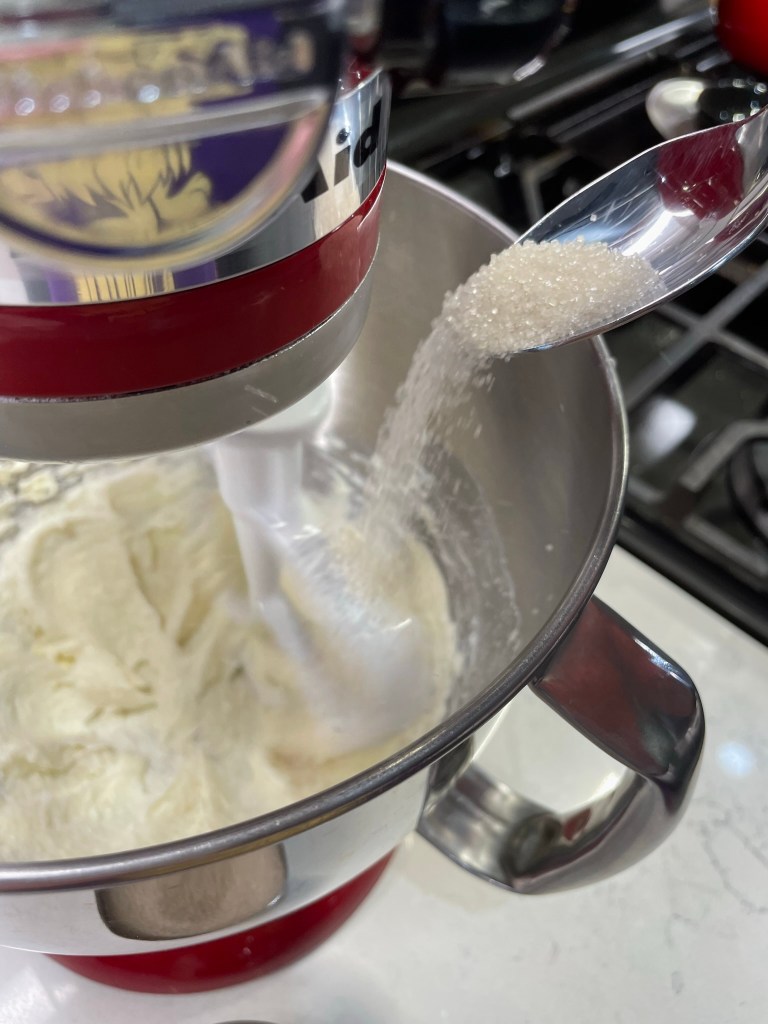
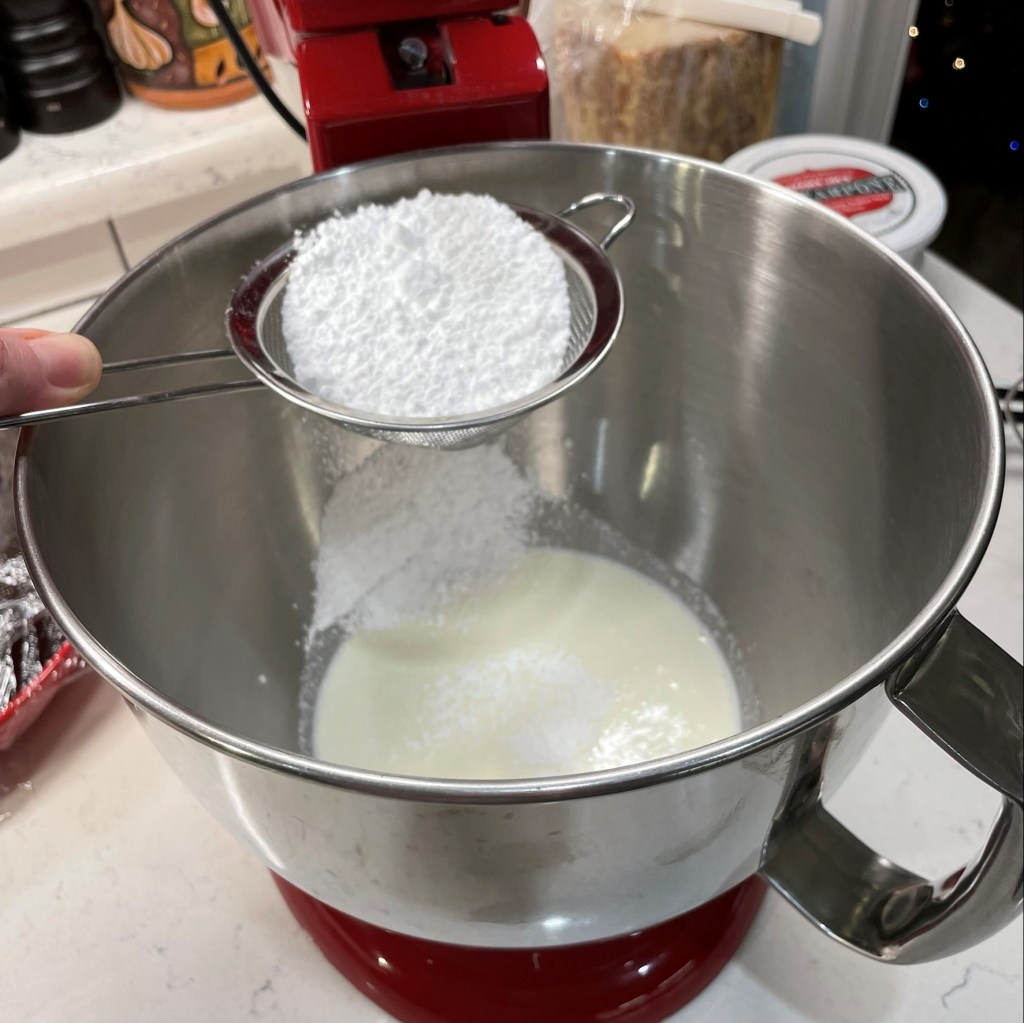
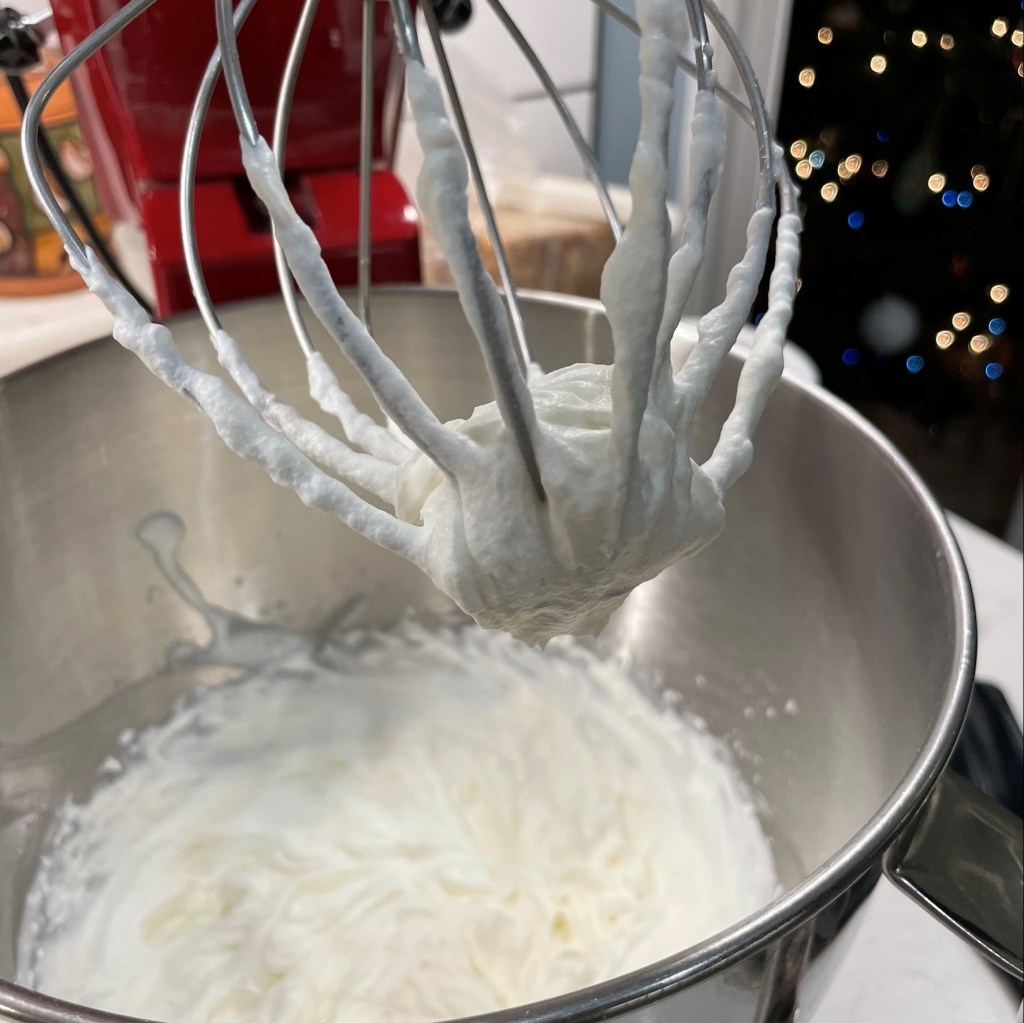
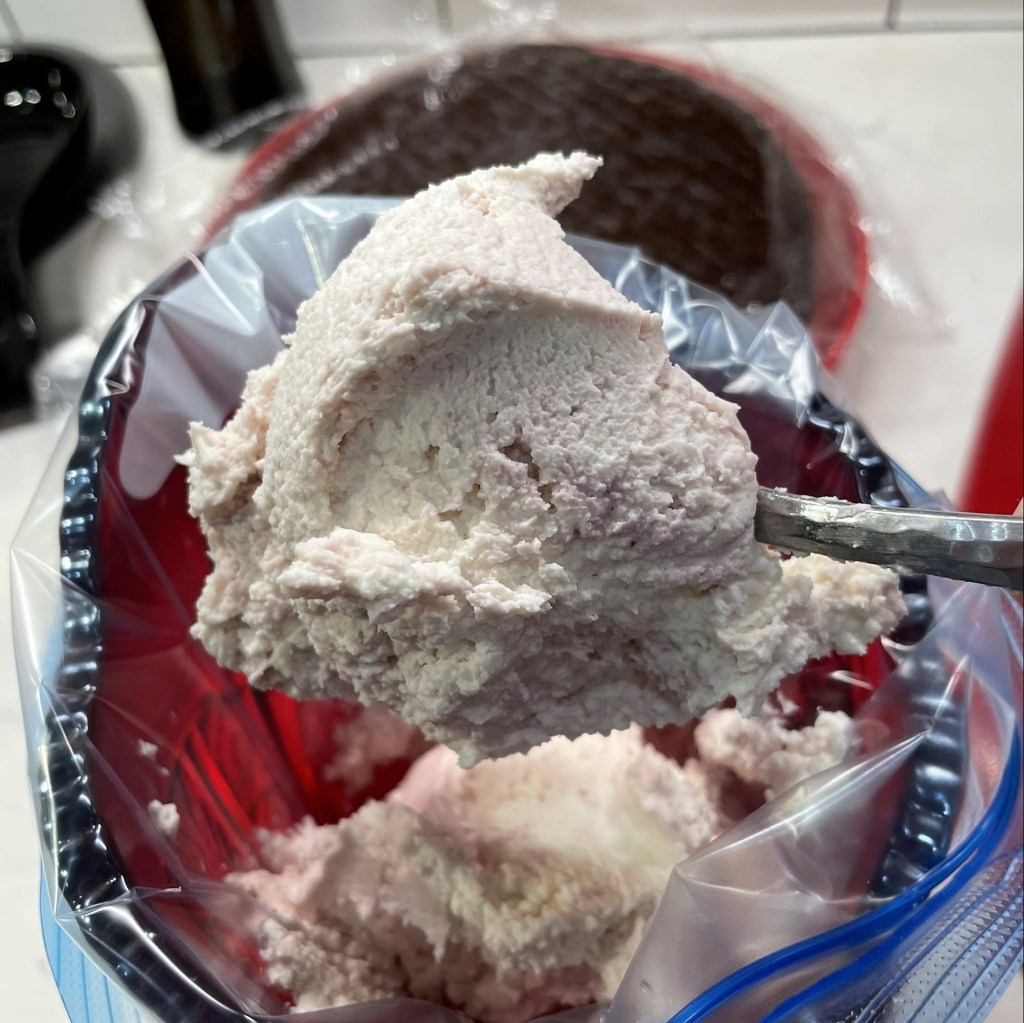
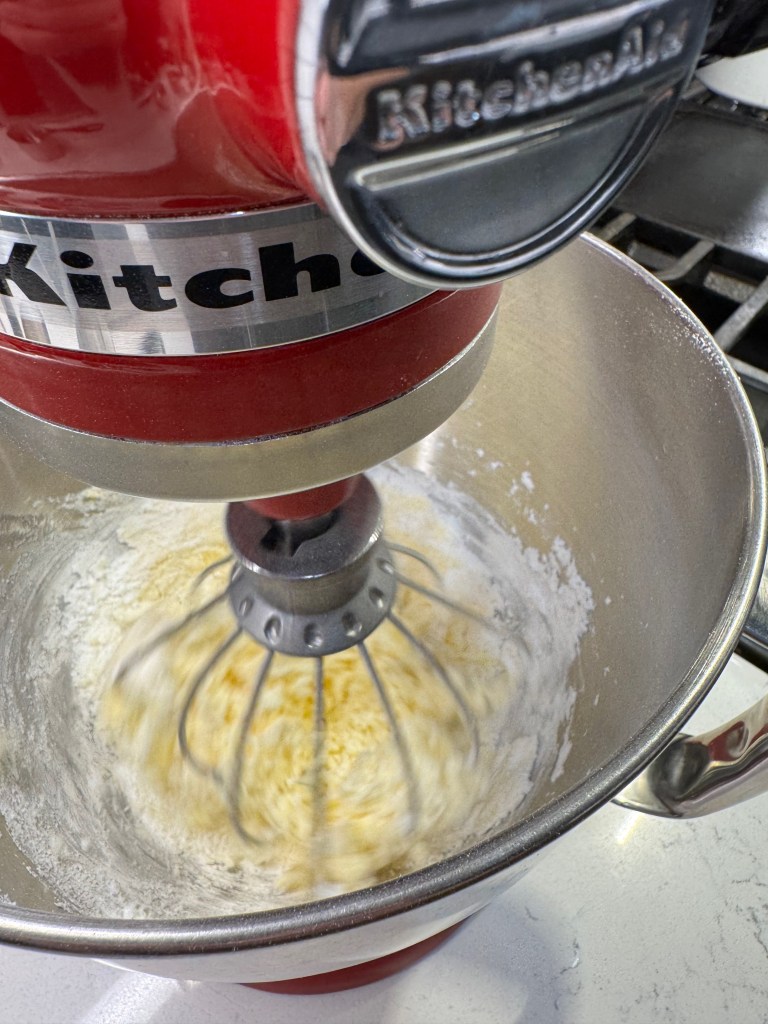
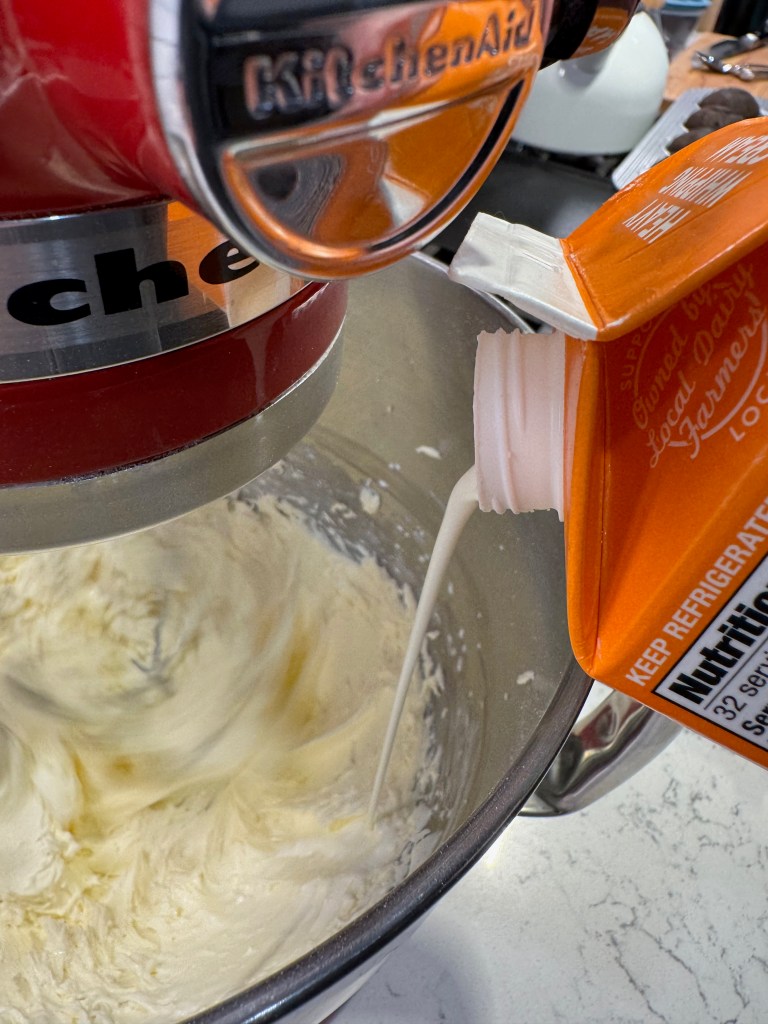
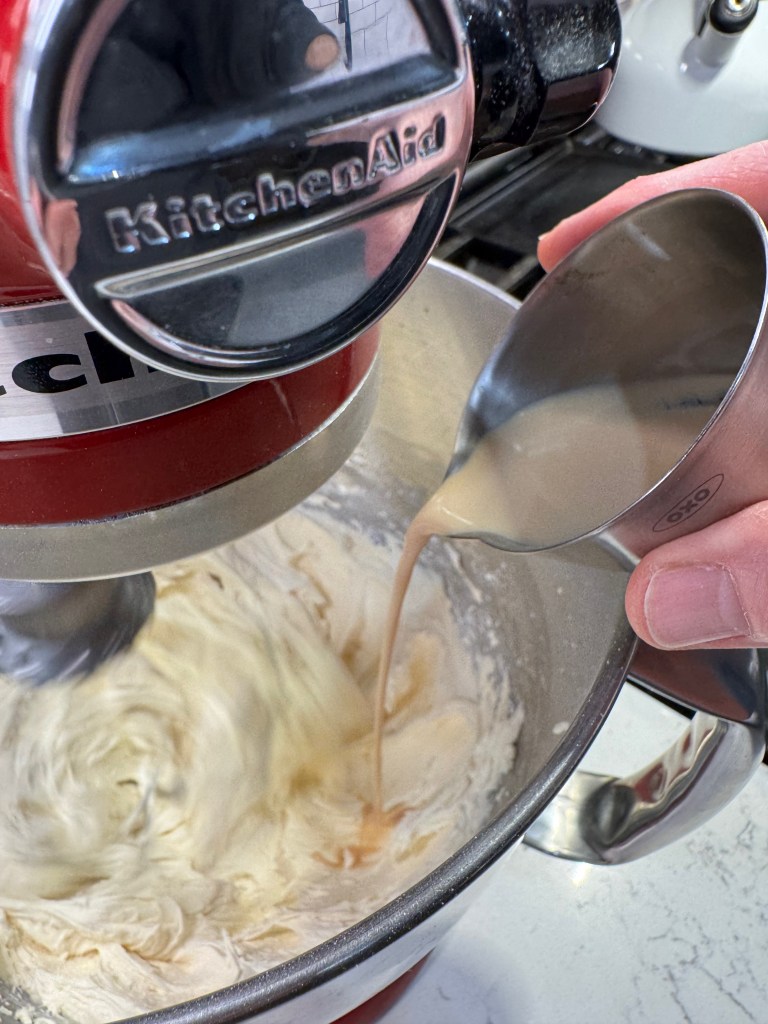
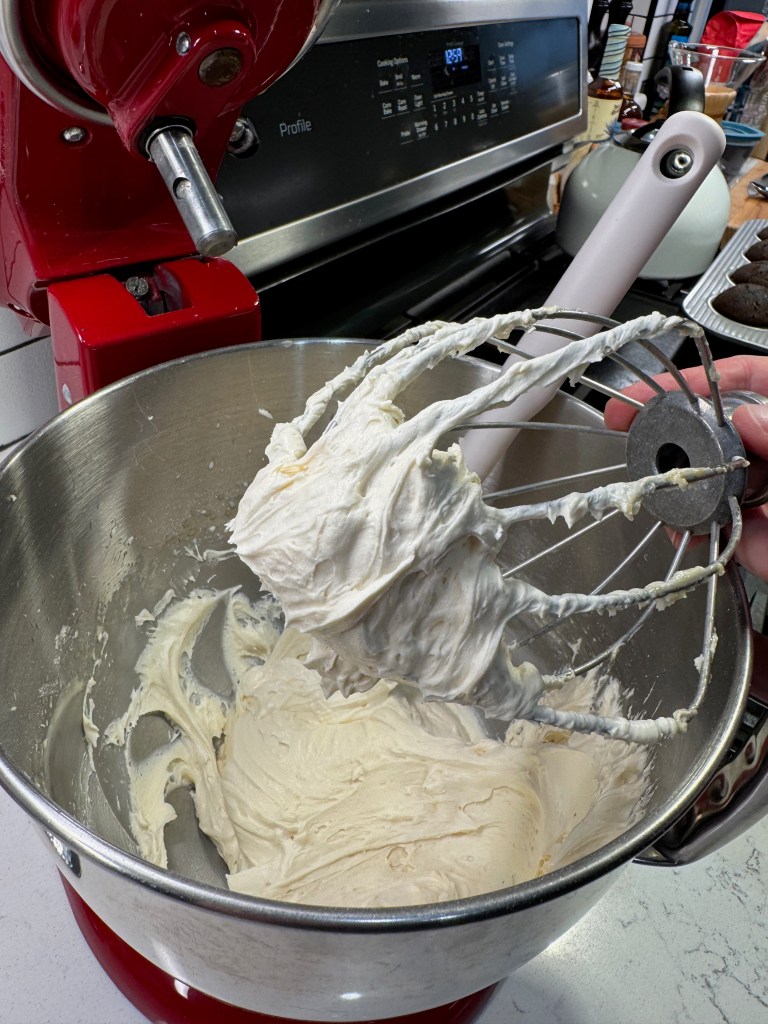
Never would I have imagined that buttercream frosting would be so easy to make, but this one really is. I began with Irish butter, whipped until soft and somewhat fluffy, and blended with powdered sugar. The Irish butter was more dense than typical butter, so I poured in a couple splashes of heavy cream and I was back in business. Another measure of Bailey’s put a perfectly boozy finish to my frosting, which I spooned into a piping bag, ready to go for icing my cupcakes.
And here’s where things got a little dicey:
Boozy ganache filling
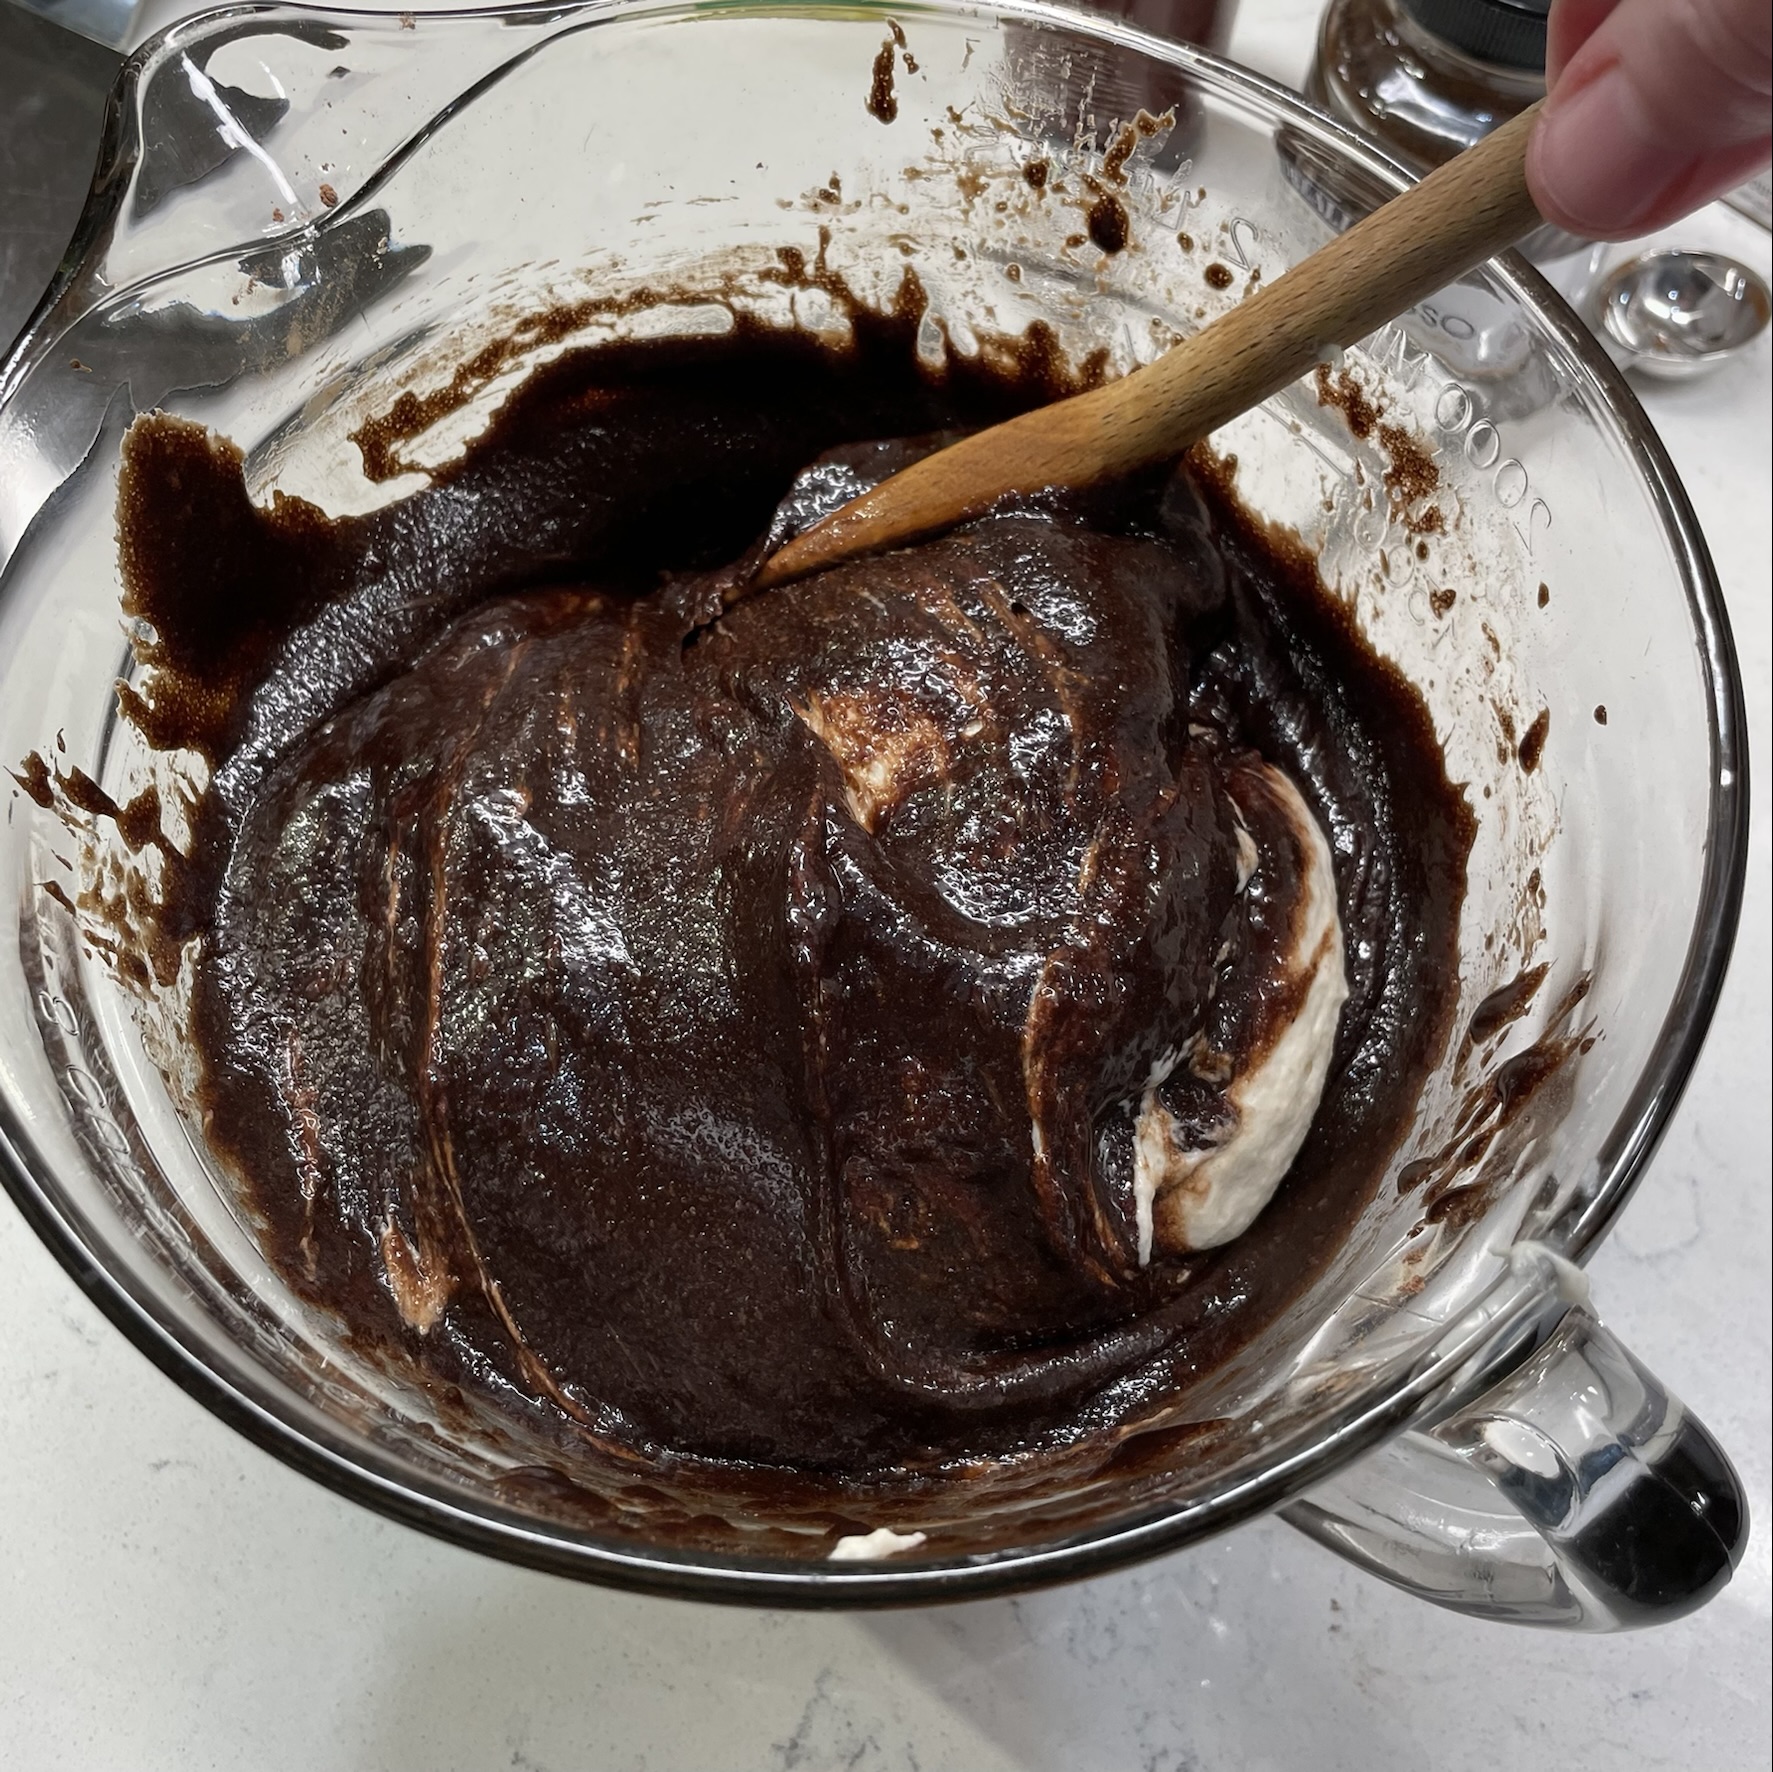
While the cupcakes were in the oven, I made a ganache to pipe into the middle of my cakes later, but ran into all kinds of trouble. I’ve made ganache a few times and found it surprisingly simple, but I’d never tried spiking it with Irish whiskey. I’ll spare you the disappointing details of all that went wrong; I trust you’ll understand when you see this quick list of my Google searches. 😅
1. “What’s the ratio for thicker ganache?”
2. “How much whiskey can you add to ganache?”
3. “Can you whip thick ganache to make it lighter?”
4. “Alton Brown method for fixing broken ganache”
5. “What can you do with grainy ganache?”
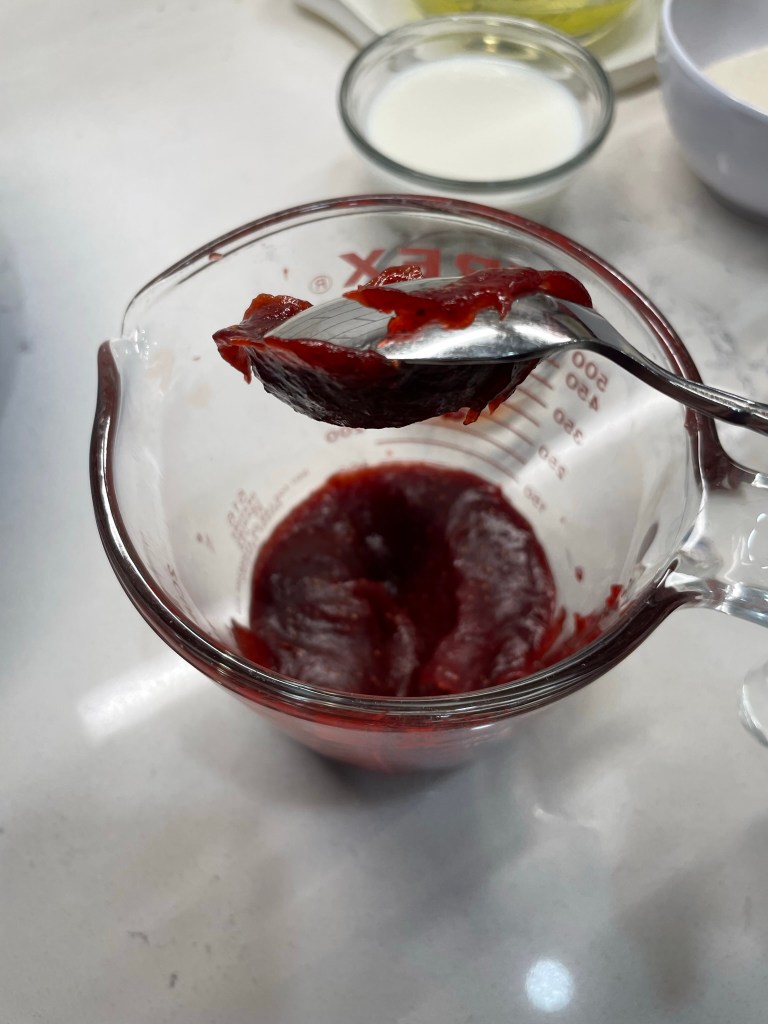
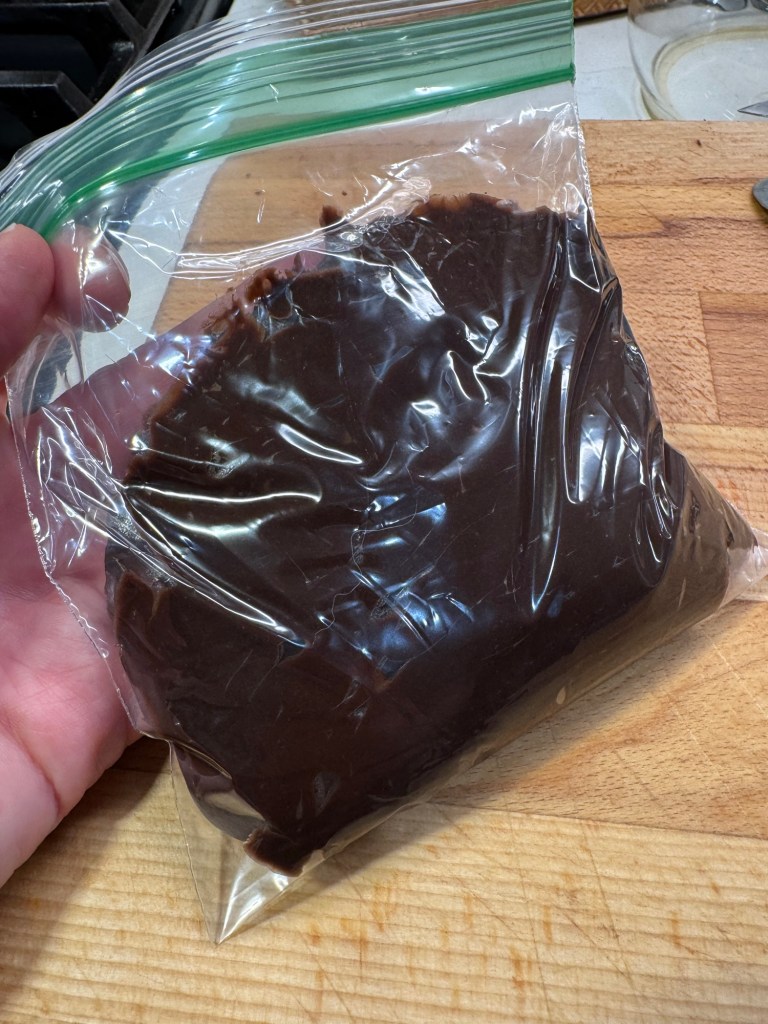
In other words, it was a failure that kept on failing until I gave up. In the end, though, I found success by starting over (thank goodness I had more chocolate) and keeping it simple, and I spiked my make-good batch with Bailey’s rather than whiskey. Still a great flavor, and the consistency was perfect. After it cooled to room temp, I transferred it to a small zip-top bag for easy piping later.
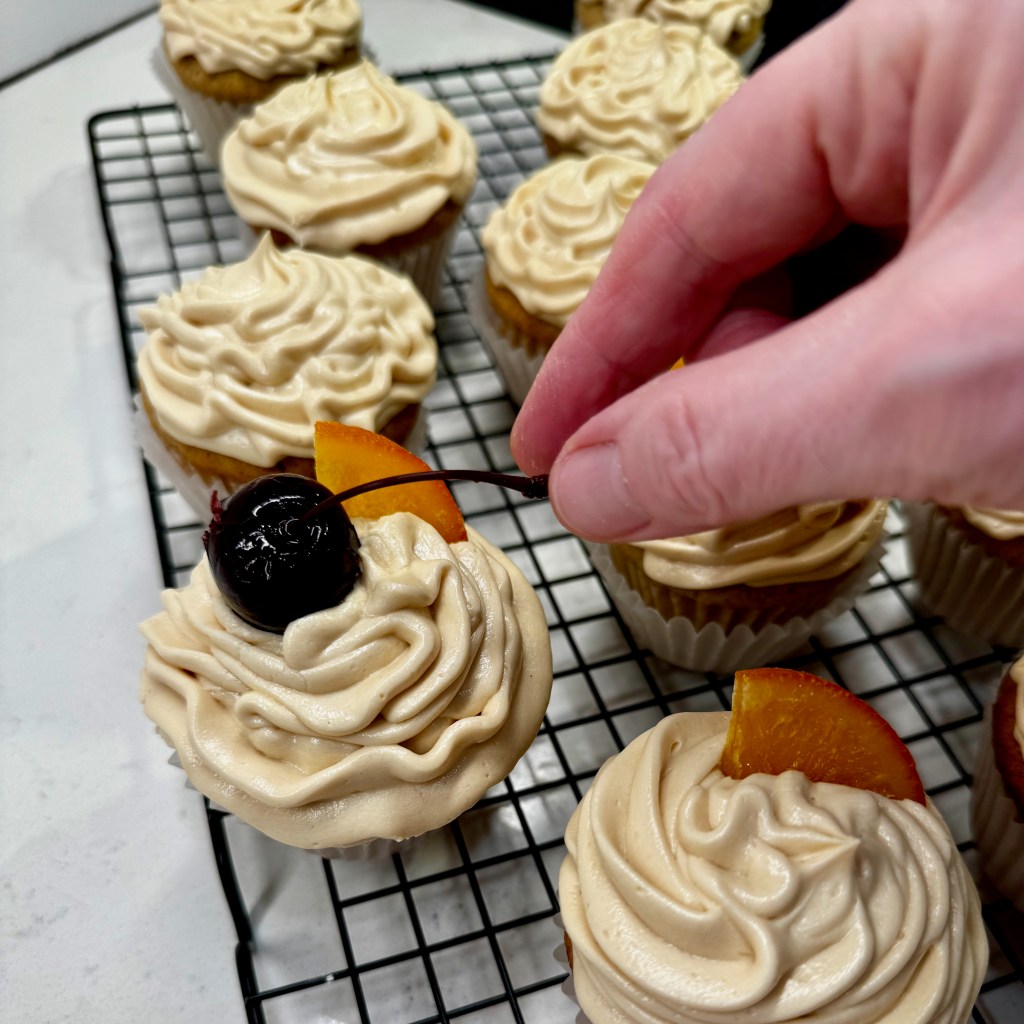
Putting it all together
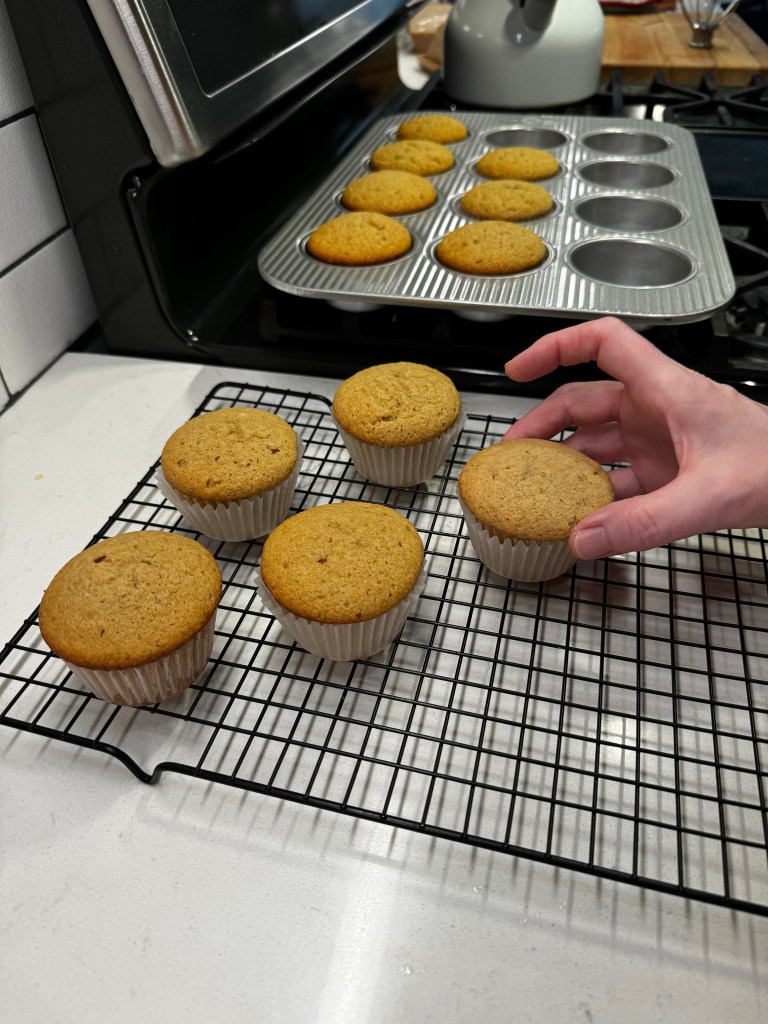
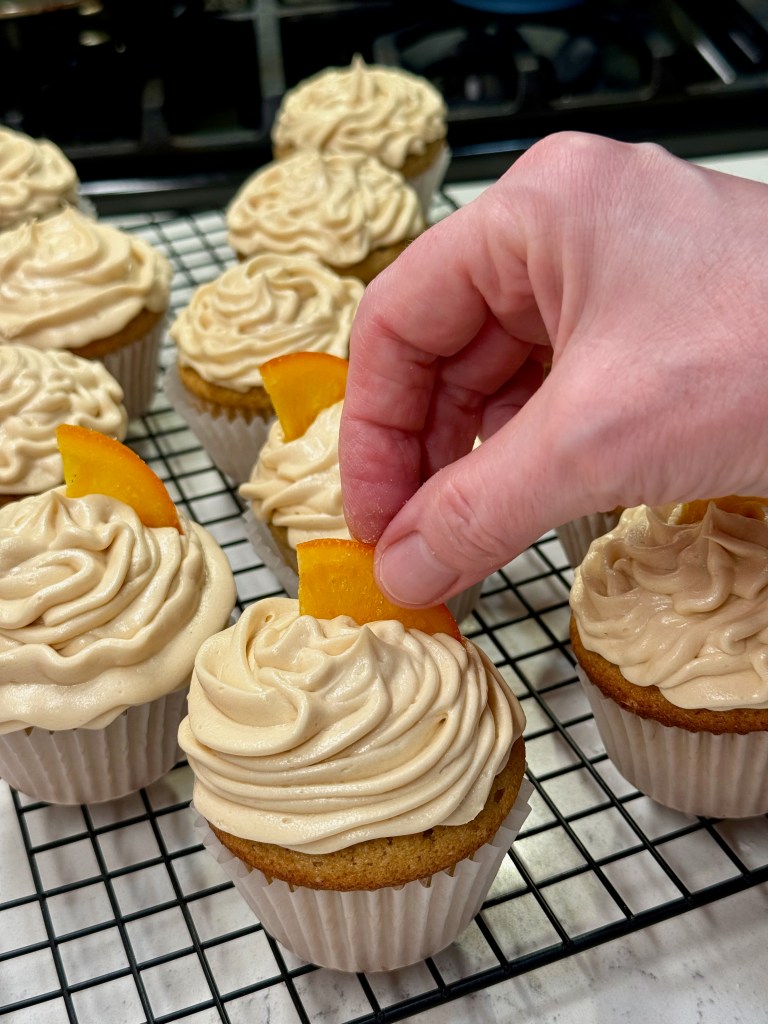
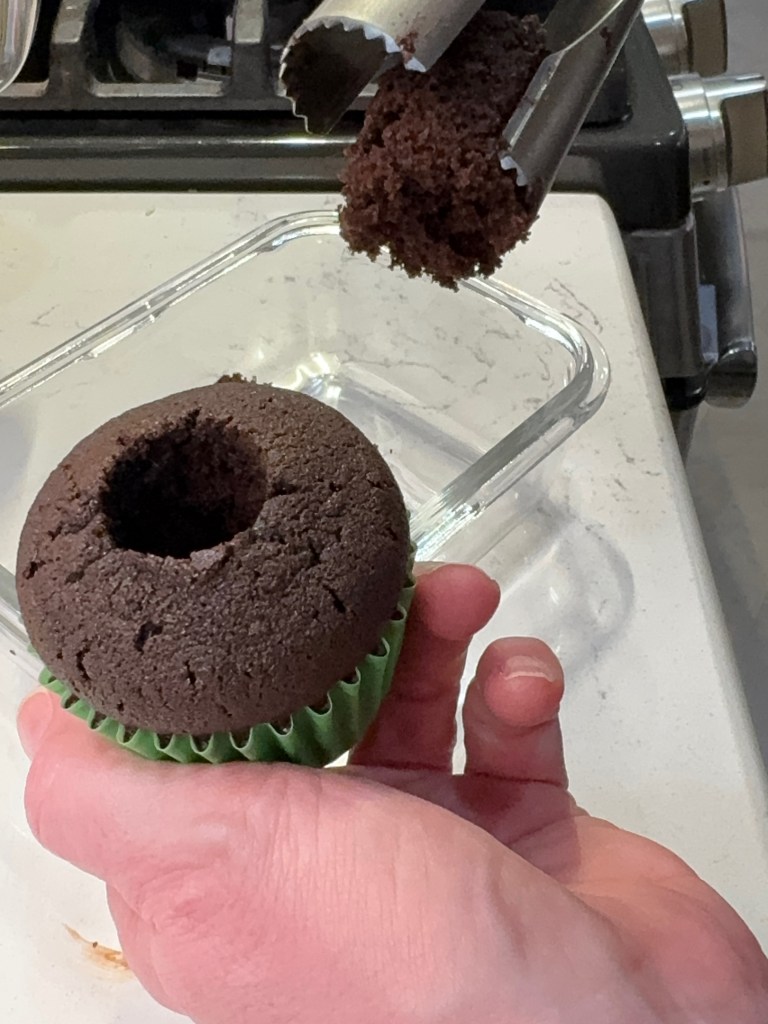
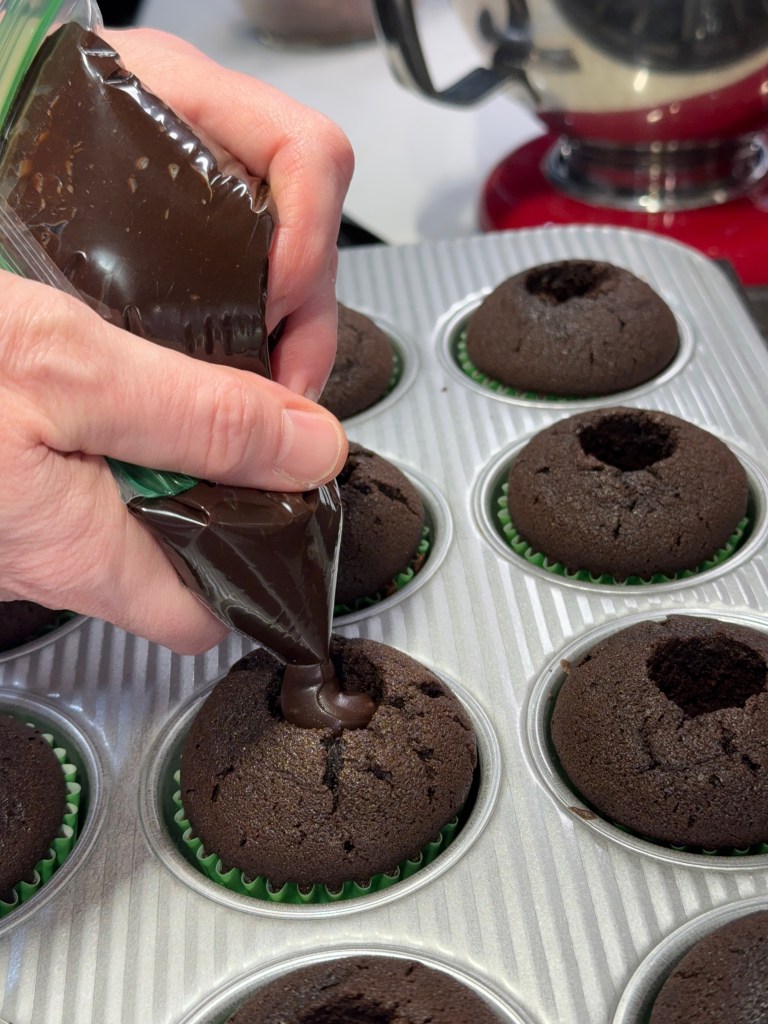
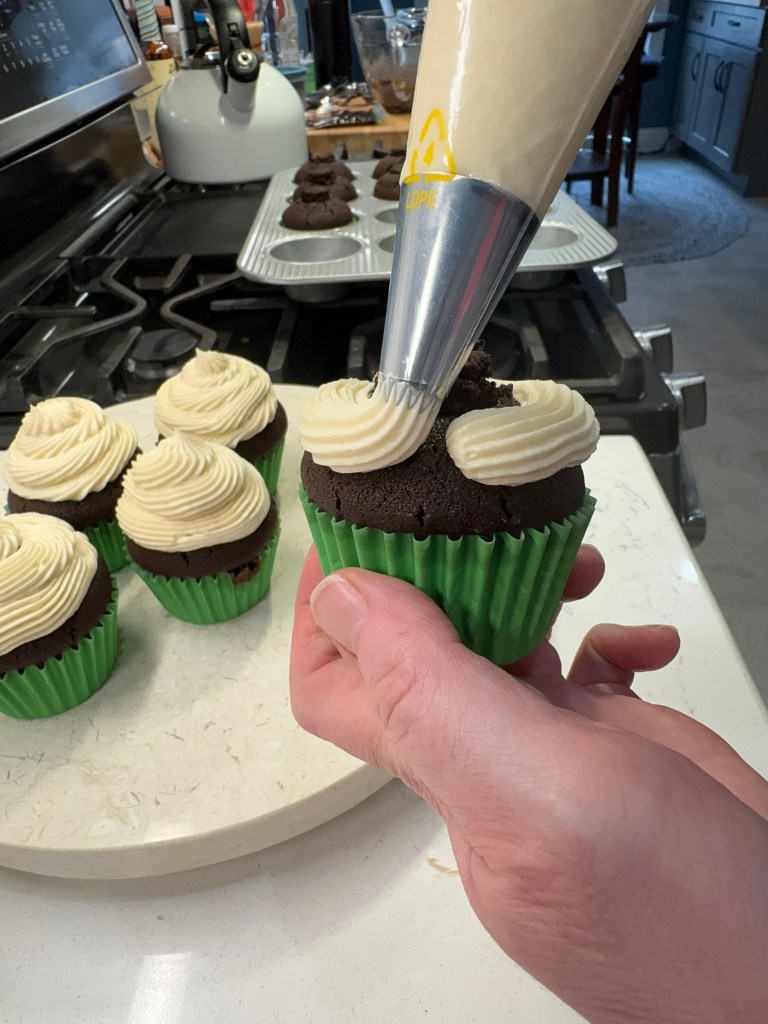
To hollow out the cooled cupcakes, I used my apple corer tool, but I suspect it would also be easy to cut a small circle or cone shape from the centers with a paring knife, to make room for piping in the ganache. It was tough to resist eating all those little cupcake plugs, but I knew I’d need them later to cover the ganache before icing the cupcakes. A piping bag with a star tip makes quick work of this, but there’s no reason at all that you couldn’t just use an offset spatula or even the back of a spoon to swirl some of this delicious buttercream onto the cupcakes.
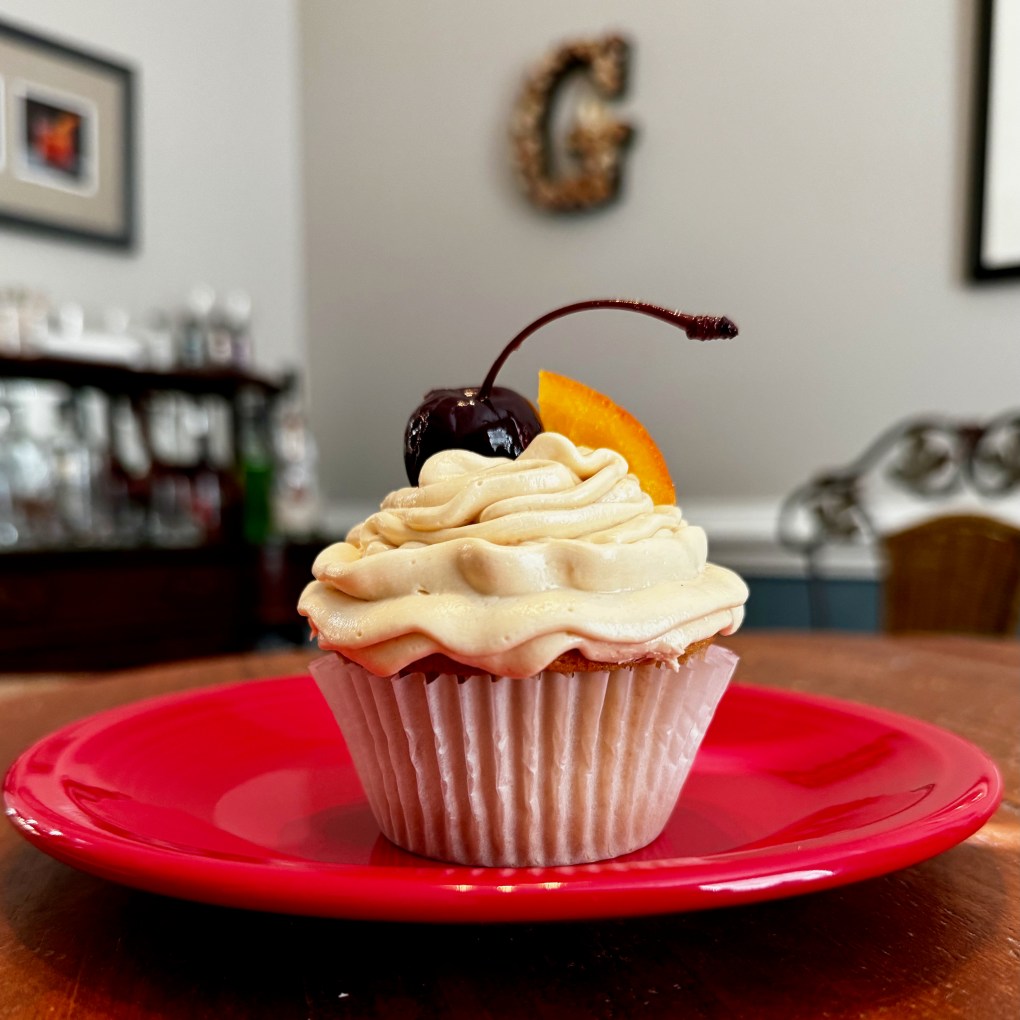
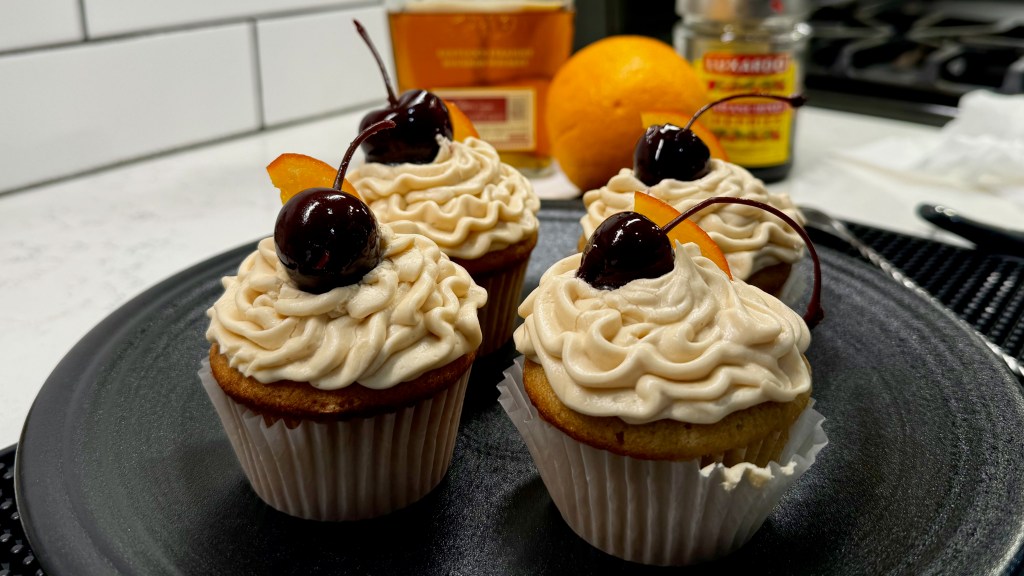
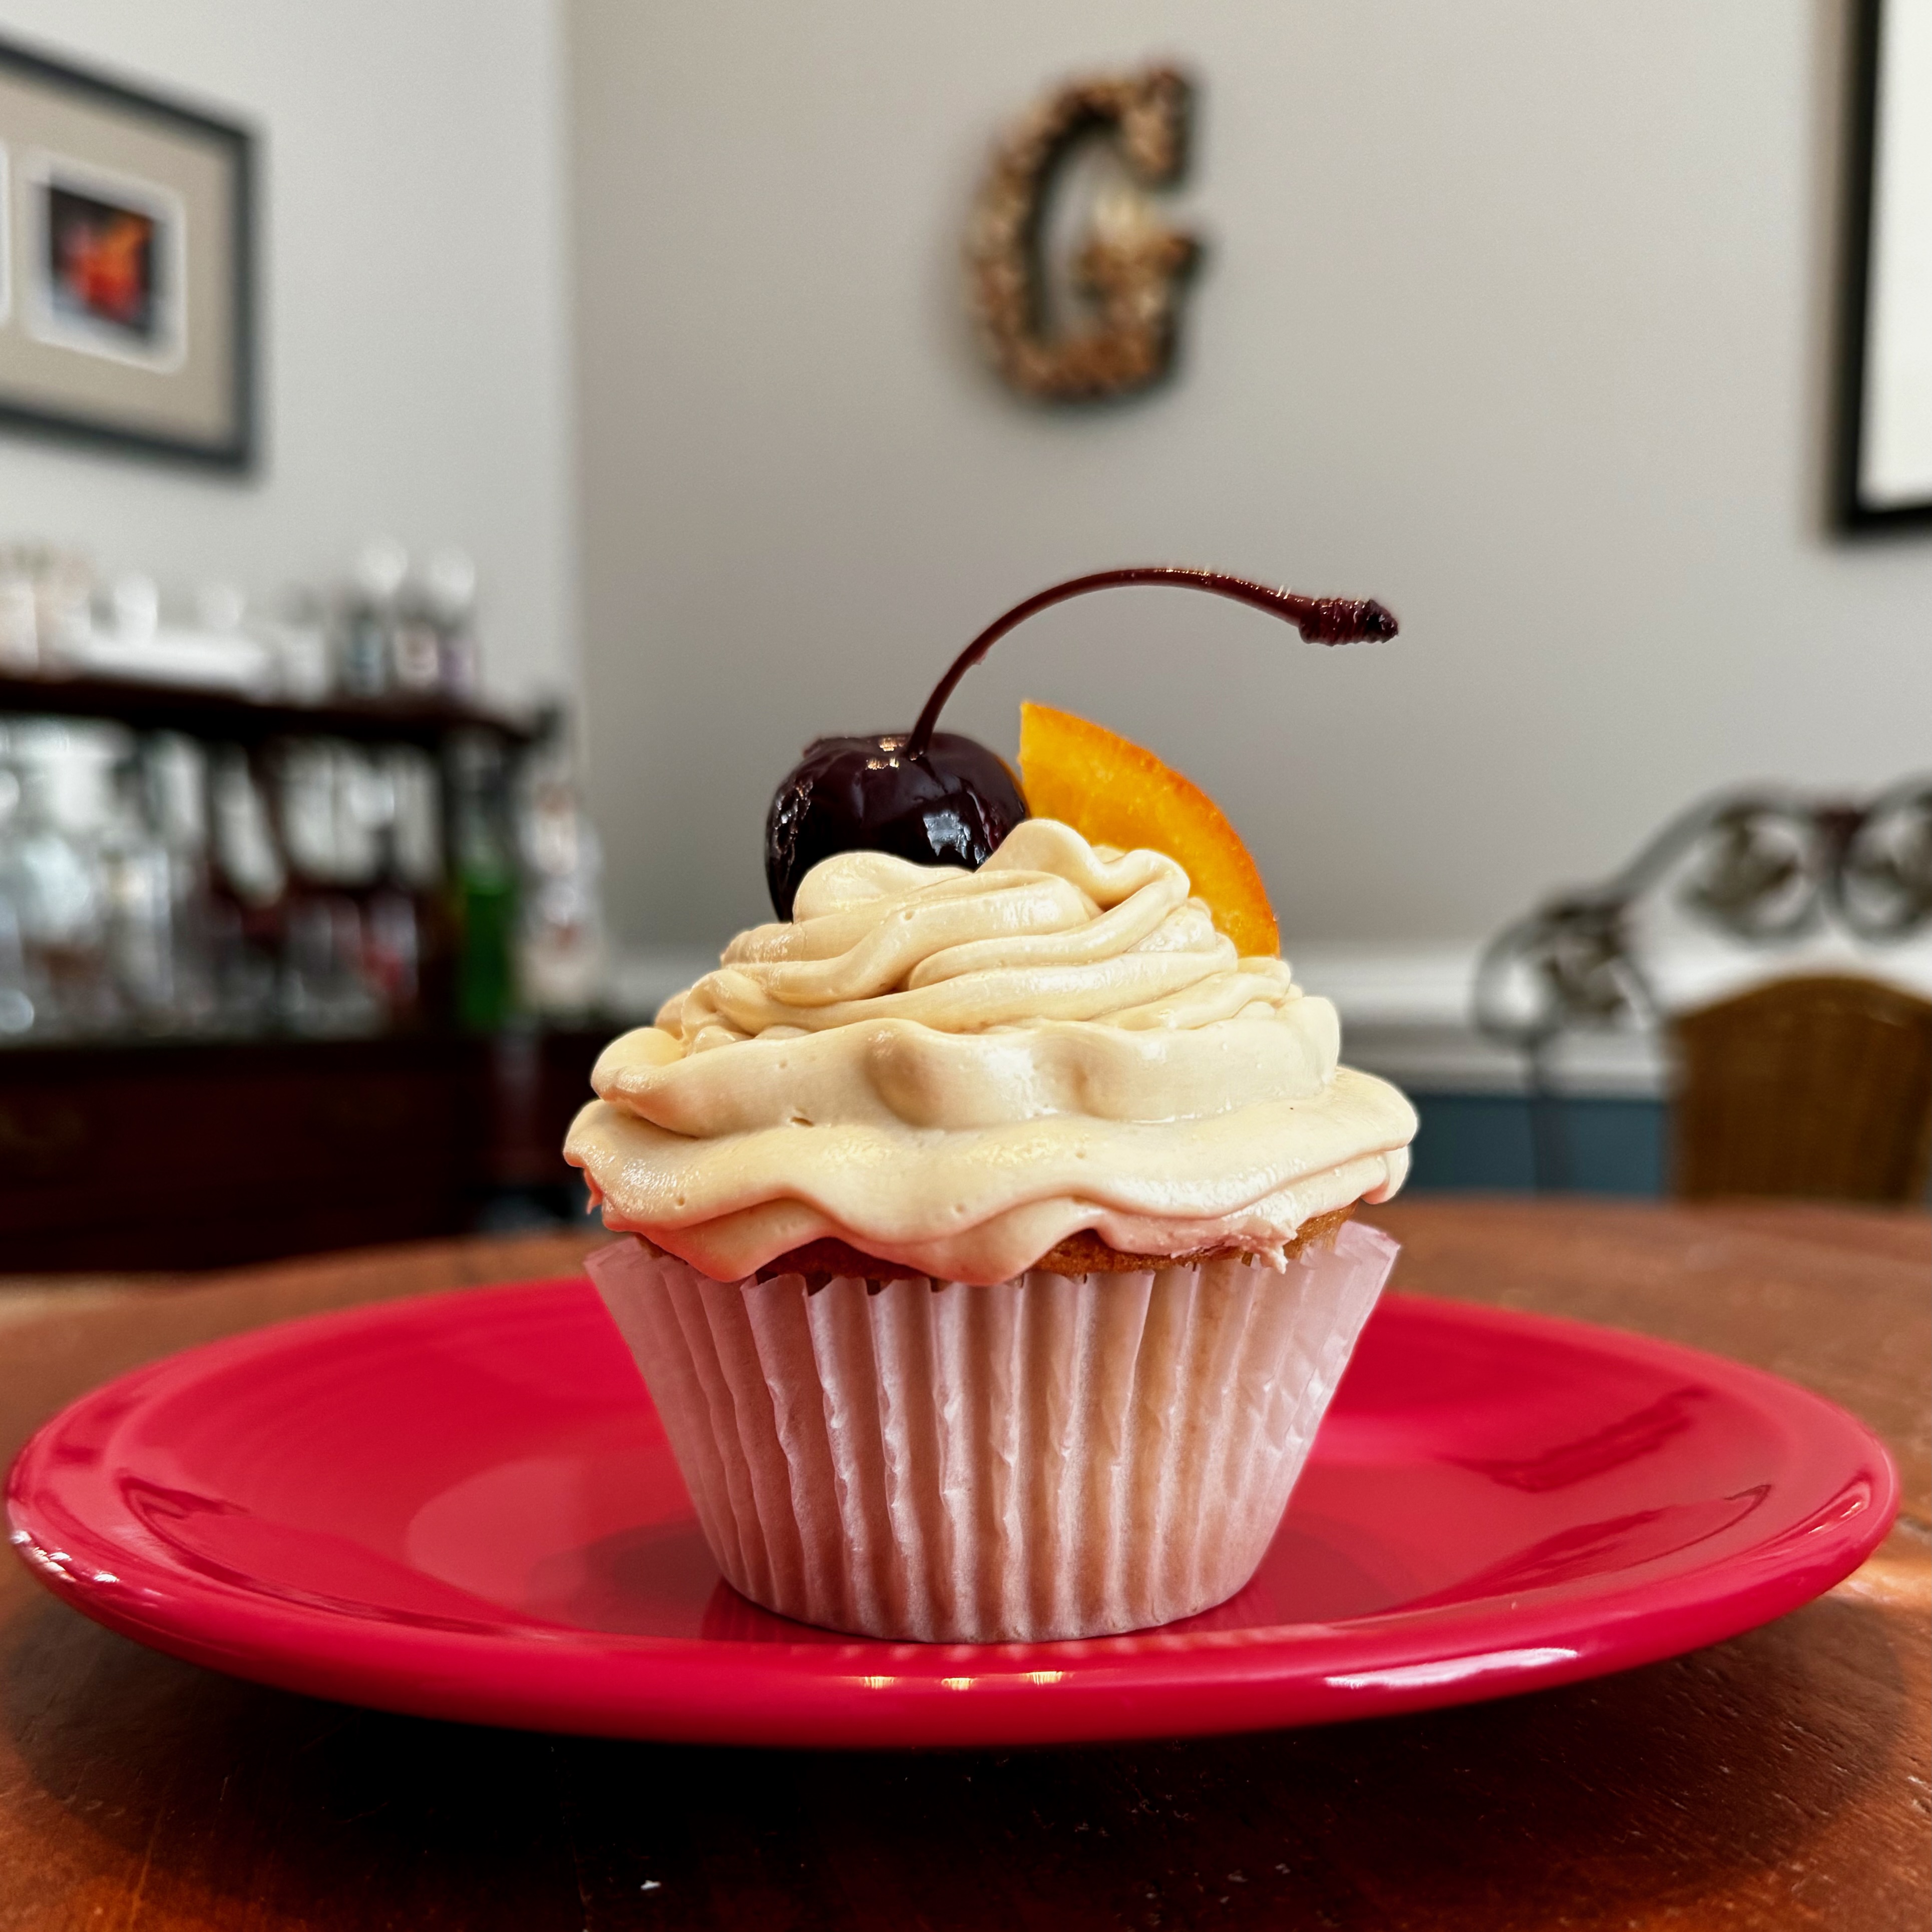
Irish Coffee Cupcakes
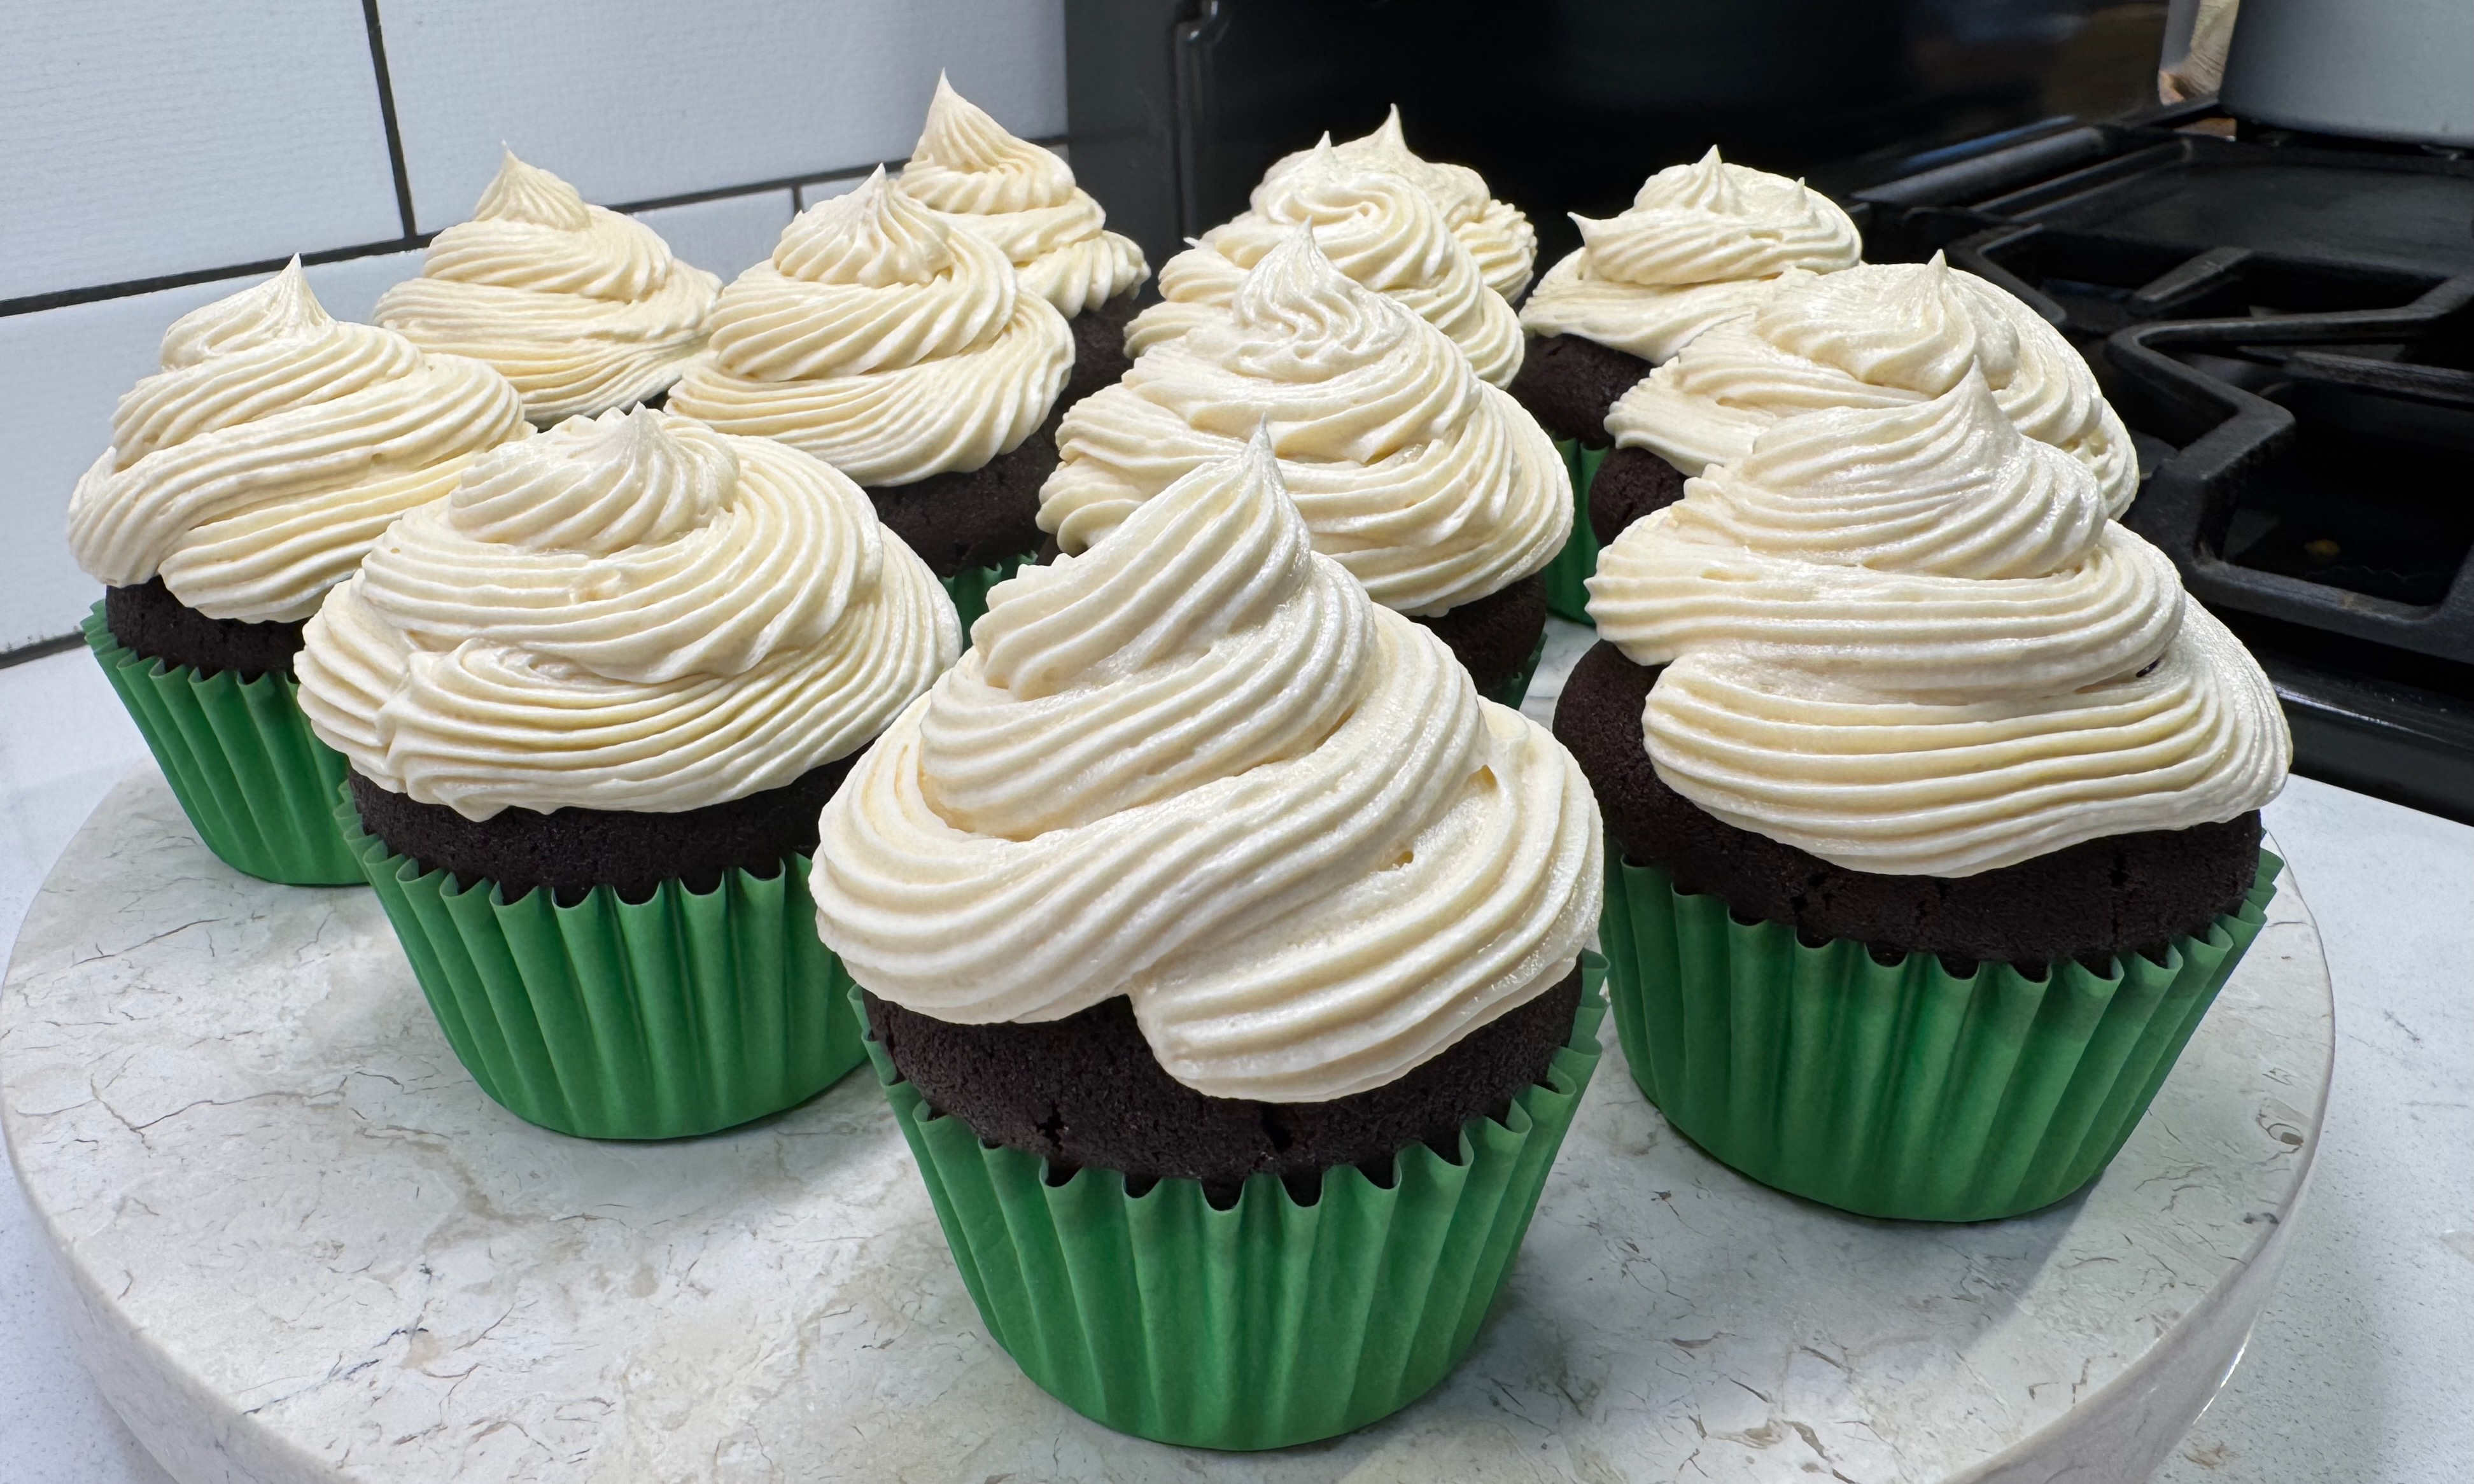
You'll want to dance a jig when you taste these cupcakes, rich with decadent dark chocolate and a boozy kick from Irish whiskey and Bailey's Irish Cream.
Ingredients
- 8 Tbsp. salted Irish butter, softened (see notes)
- 3/4 to 1 cup organic cane sugar (depending on your sweet tooth)
- 2 large eggs, room temperature
- 3/4 cup strongly brewed coffee, cooled
- 2 Tbsp. Jameson Irish whiskey
- 2 Tbsp. Bailey’s Irish Cream
- 1 1/2 cups unbleached cake flour (see notes)
- 1/2 cup Double Dark Dutch cocoa
- 1/4 tsp. salt (increase to 1/2 if using unsalted butter)
- 1/2 tsp. baking soda
- 1/4 tsp. baking powder
- 2 heaping tablespoons dark chocolate, finely chopped (optional, but why not?)
Directions
- Preheat oven to 350° F, and place oven rack in the center position. Line 12 muffin cups with paper cupcake liners.
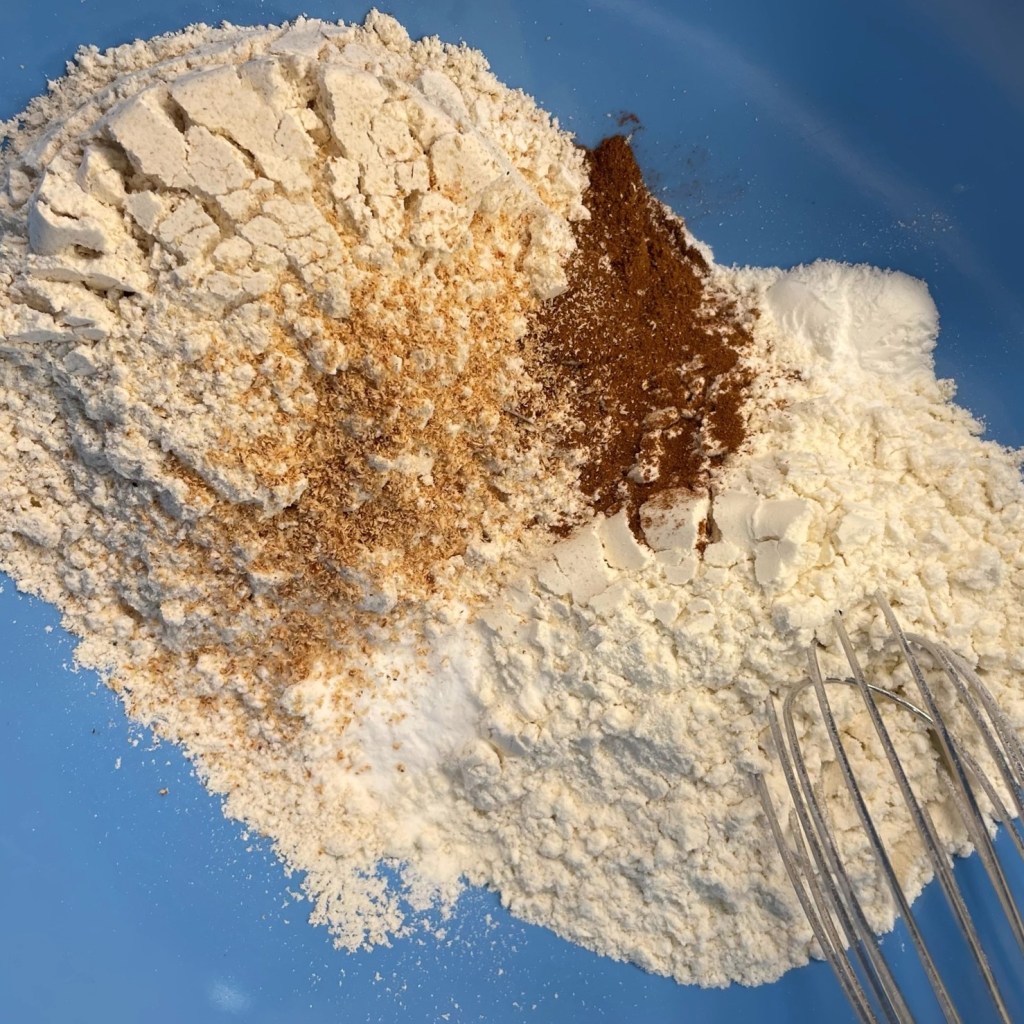
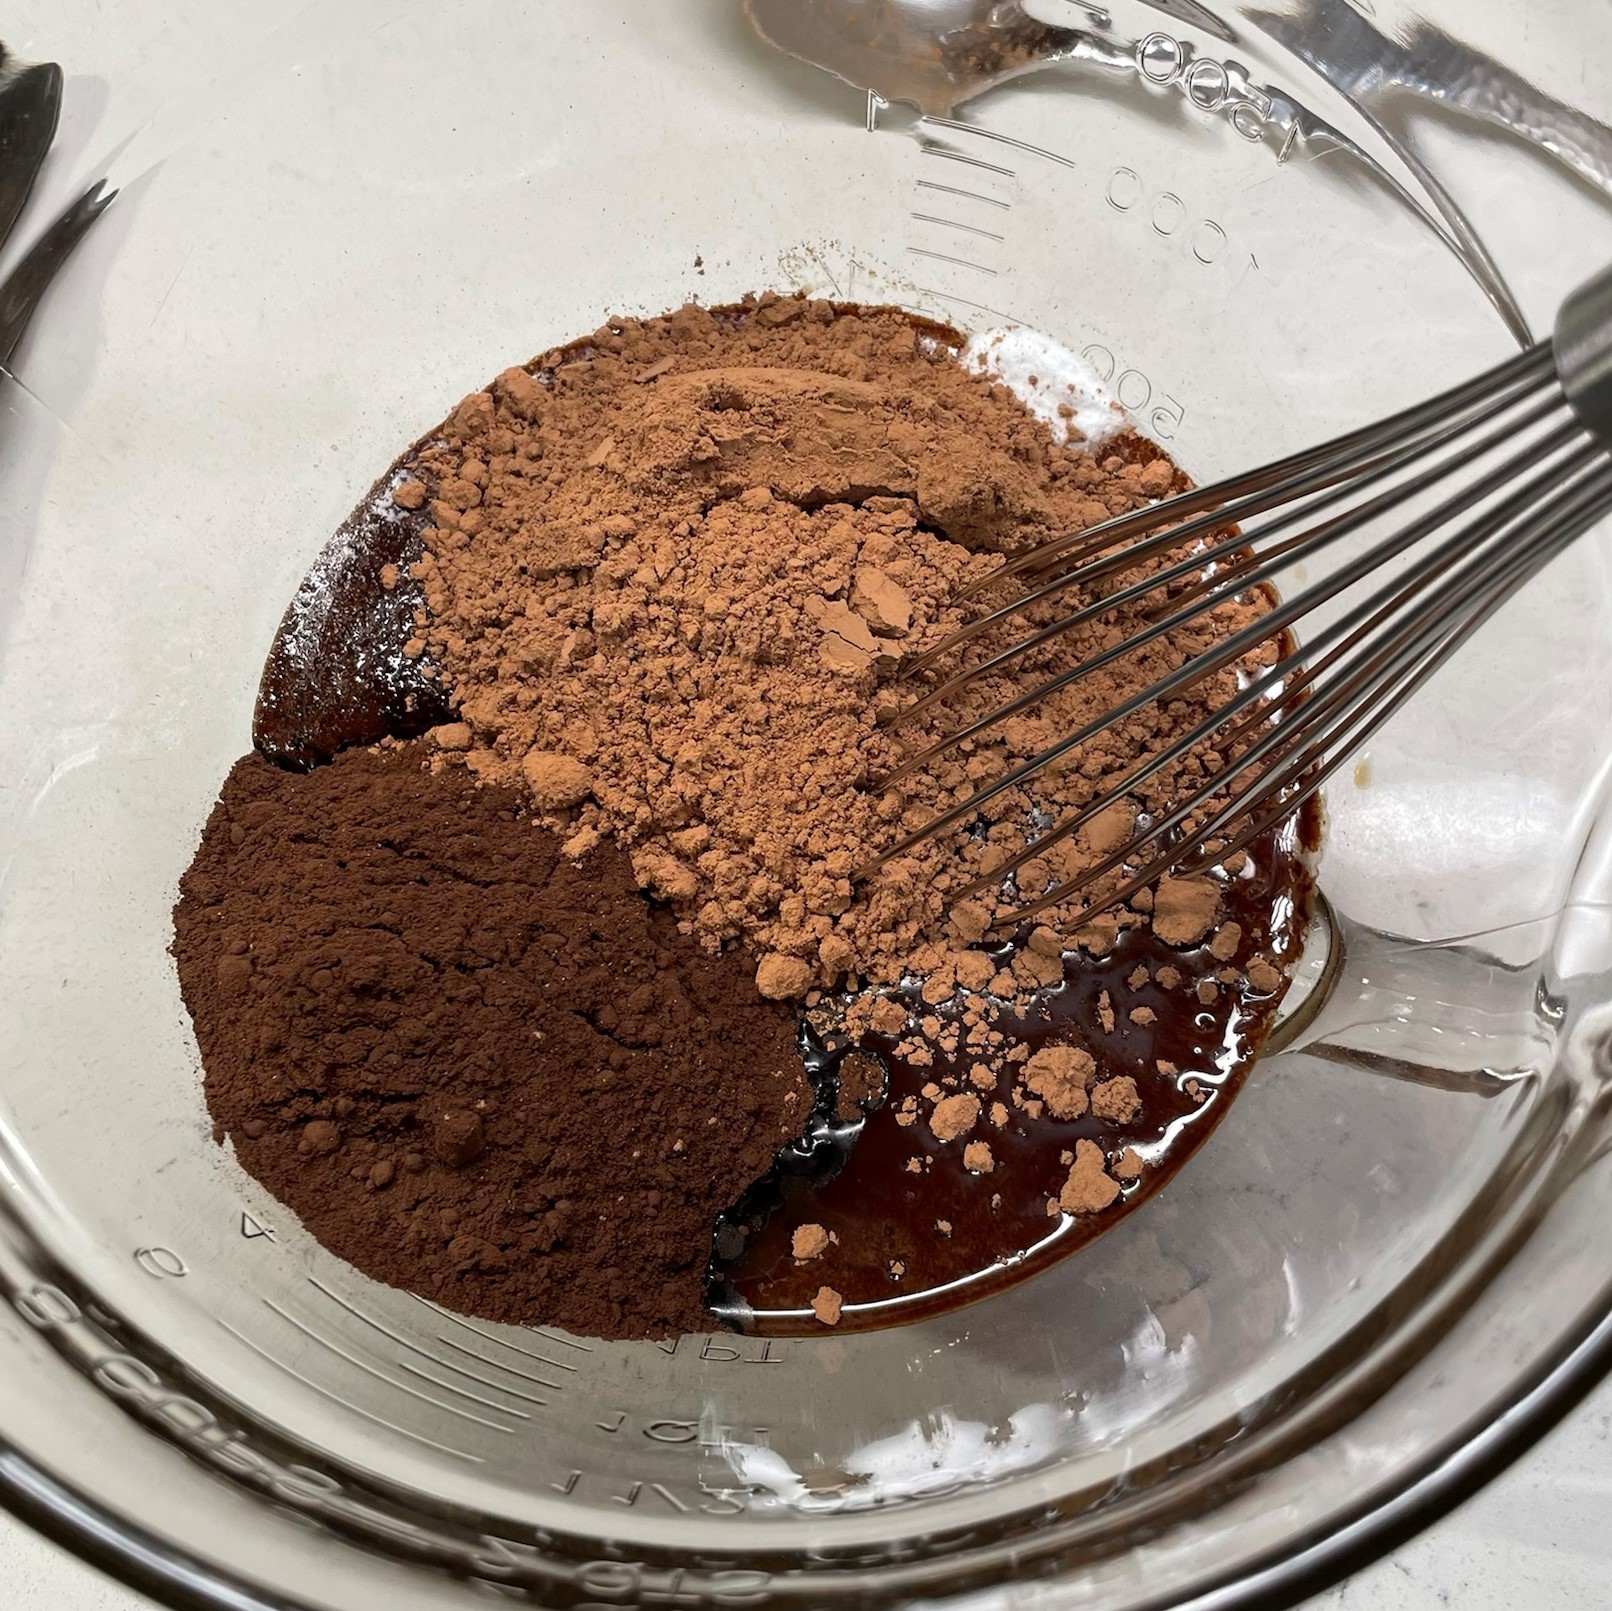
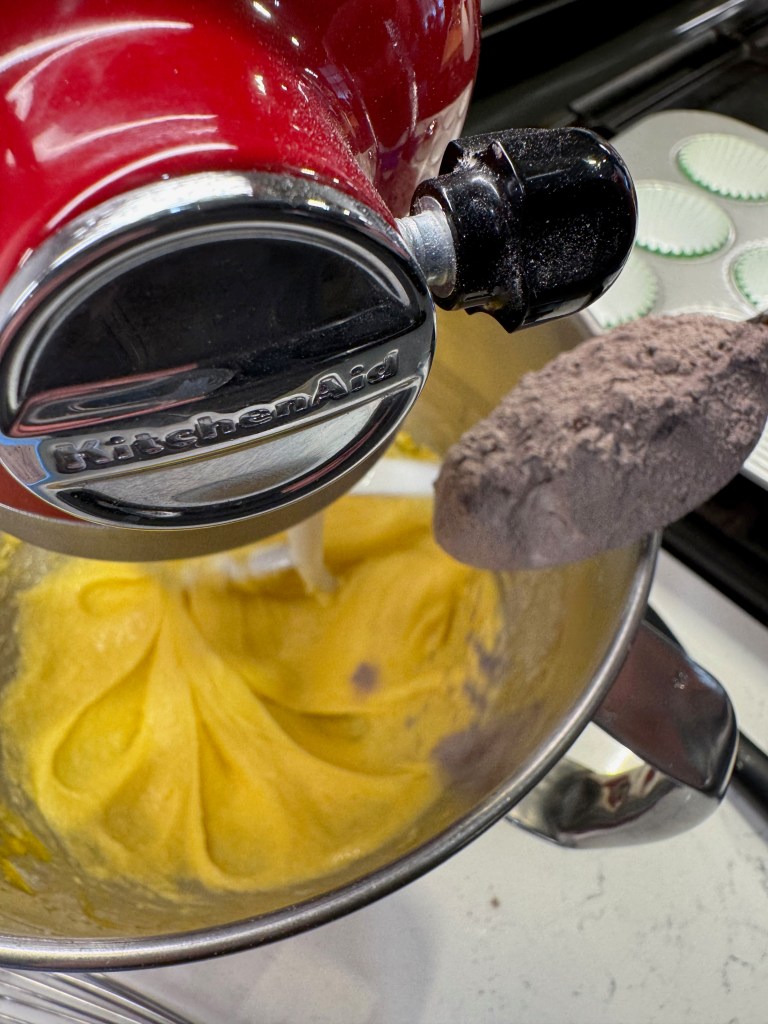
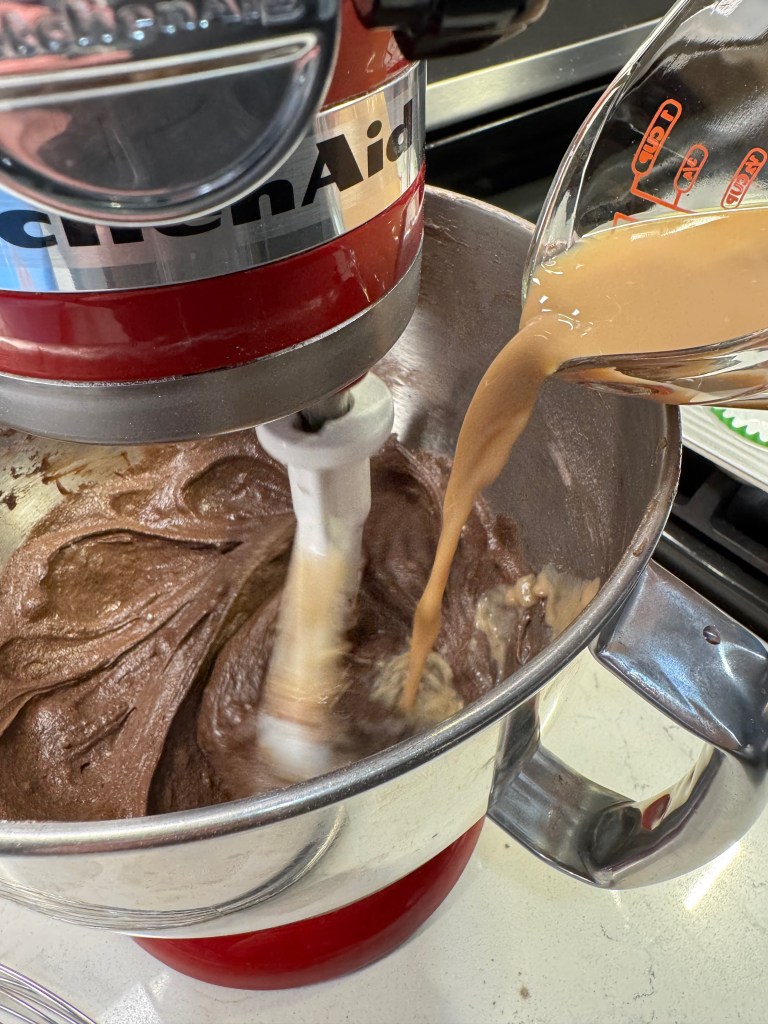
- Combine flour, cocoa, chopped chocolate, baking powder, soda and salt in a medium bowl and set aside. In a separate measuring cup, combine cooled coffee, Irish whiskey and Bailey’s and set aside.
- Using a stand or handheld mixer, beat butter until it is light and fluffy (this is tougher with Irish butter, I discovered). Gradually add sugar while mixer is running and continue beating until all sugar is incorporated. Add eggs, one at a time, beating to thoroughly blend.
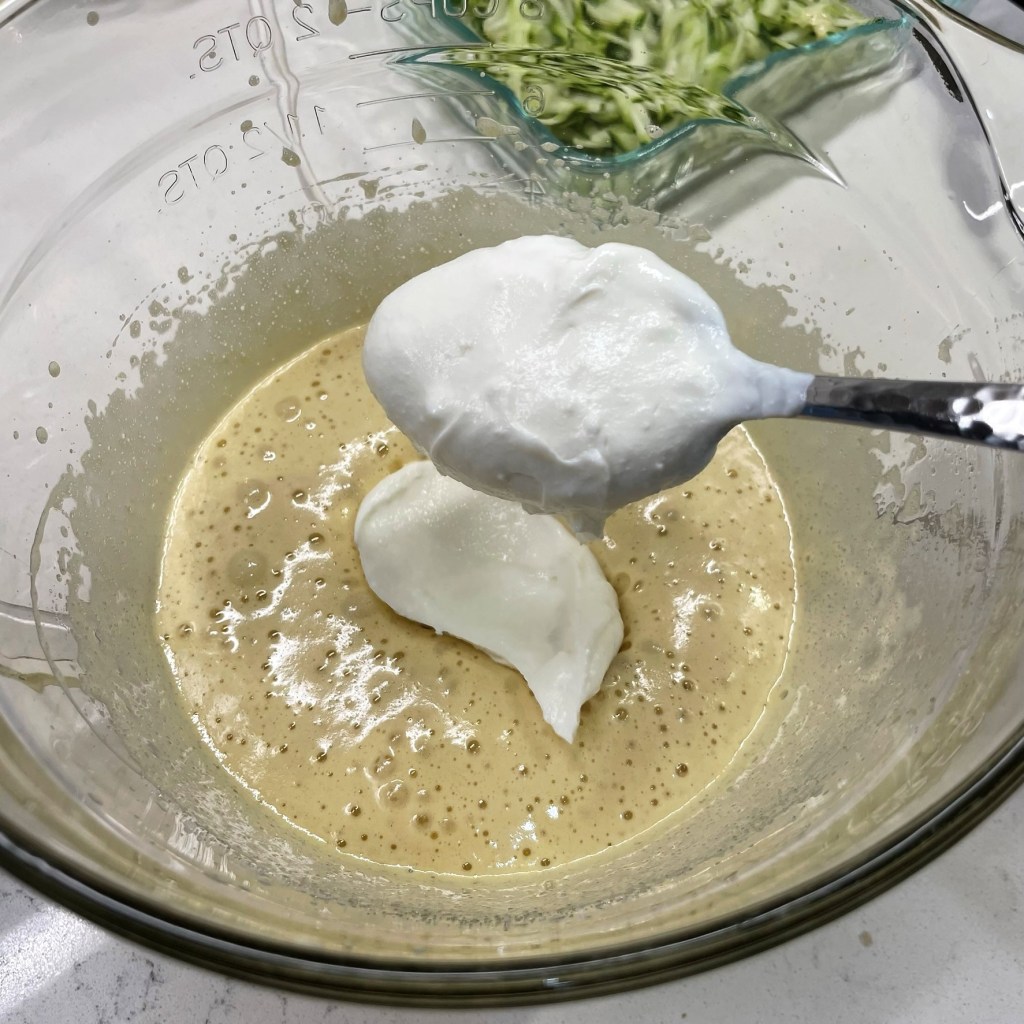
- Alternate mixing in the flour and coffee ingredients, blending well after each and finishing with the flour. This usually works by dividing the dry ingredients into thirds and the wet ingredients by half. After the last addition of dry ingredients, beat on medium speed for about one minute to help bloom the cocoa.
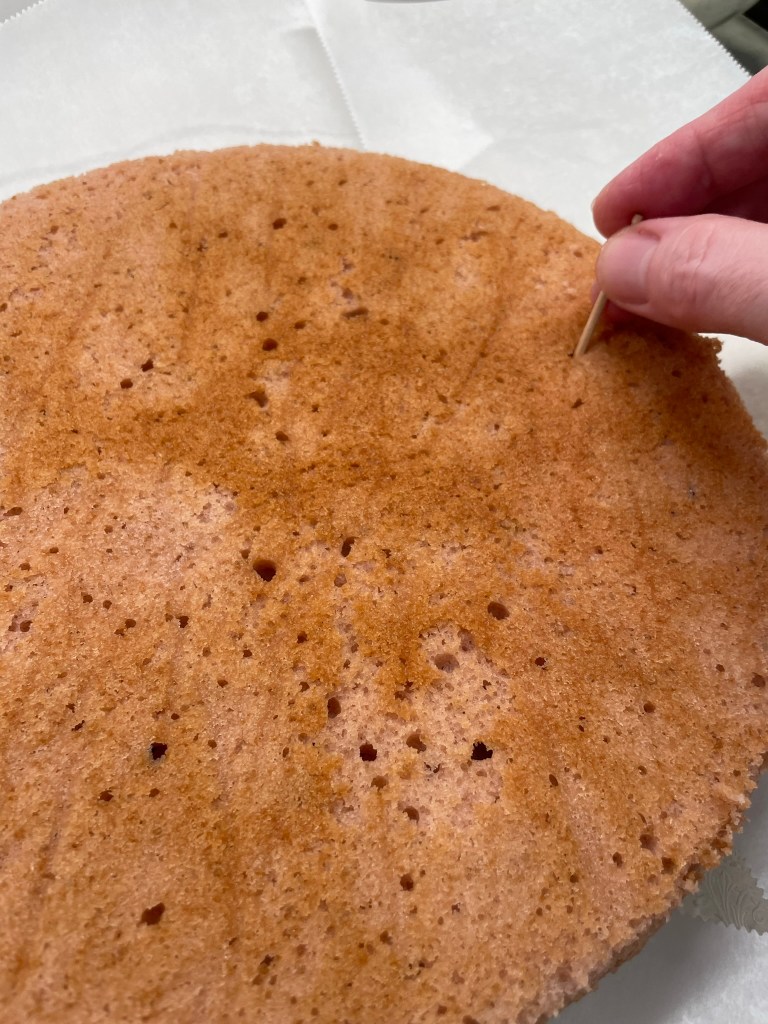
- Divide the batter among the cupcake liners. Mine were more than 3/4 full and they turned out great. Check for doneness (by toothpick test) at 20 minutes, and bake a minute or two longer if needed. Cool cupcakes completely in the pan.
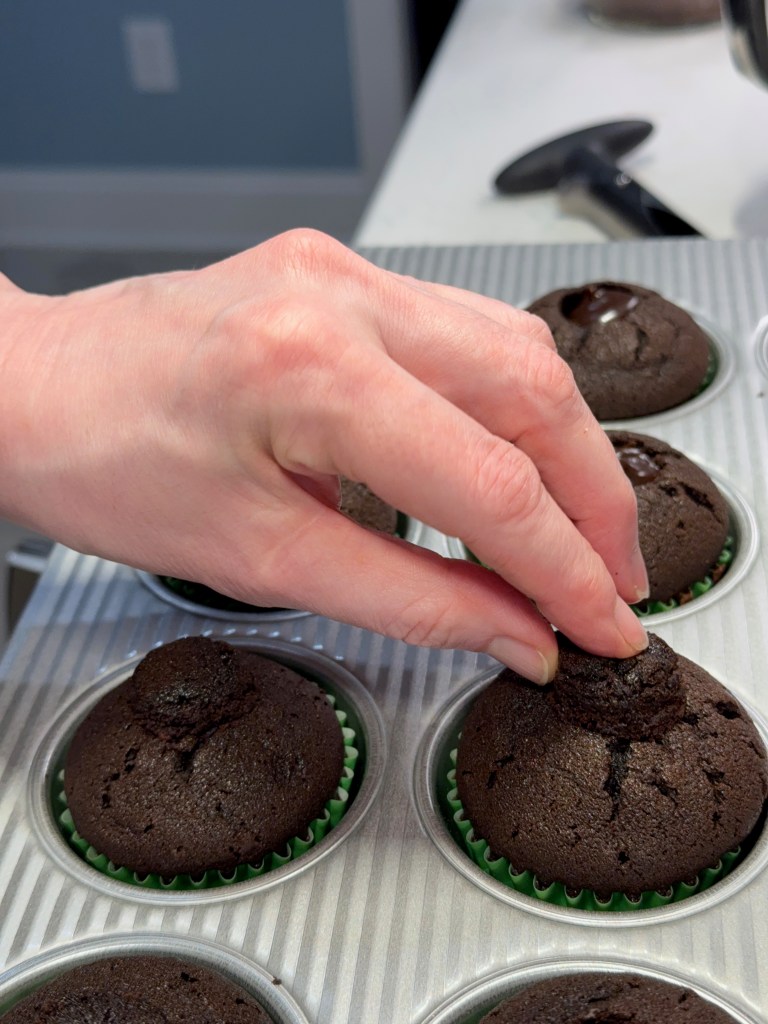
- If using ganache, hollow out a small plug of each cupcake’s center, reserving the plugs. Snip a small corner from the ganache zip-top bag and pipe in enough ganache to reach the top of the hole. Gently press part of a plug over the ganache. I cut each cupcake plug to half thickness so that they didn’t protrude too much, and this was a great opportunity to sample the cupcakes!
- Pipe on buttercream, taking care not to overdo it. For this recipe, I had just barely enough buttercream to finish my dozen cupcakes.
Ingredients
- 8 Tbsp. butter, softened
- 2 1/2 to 3 cups powdered sugar (use your judgment for desired consistency)
- A splash or two of heavy cream, if needed, for fluffy consistency
- 3 Tbsp. Bailey’s Irish Cream liqueur
Directions
- Use whip attachment on stand mixer to whip butter until soft and fluffy.
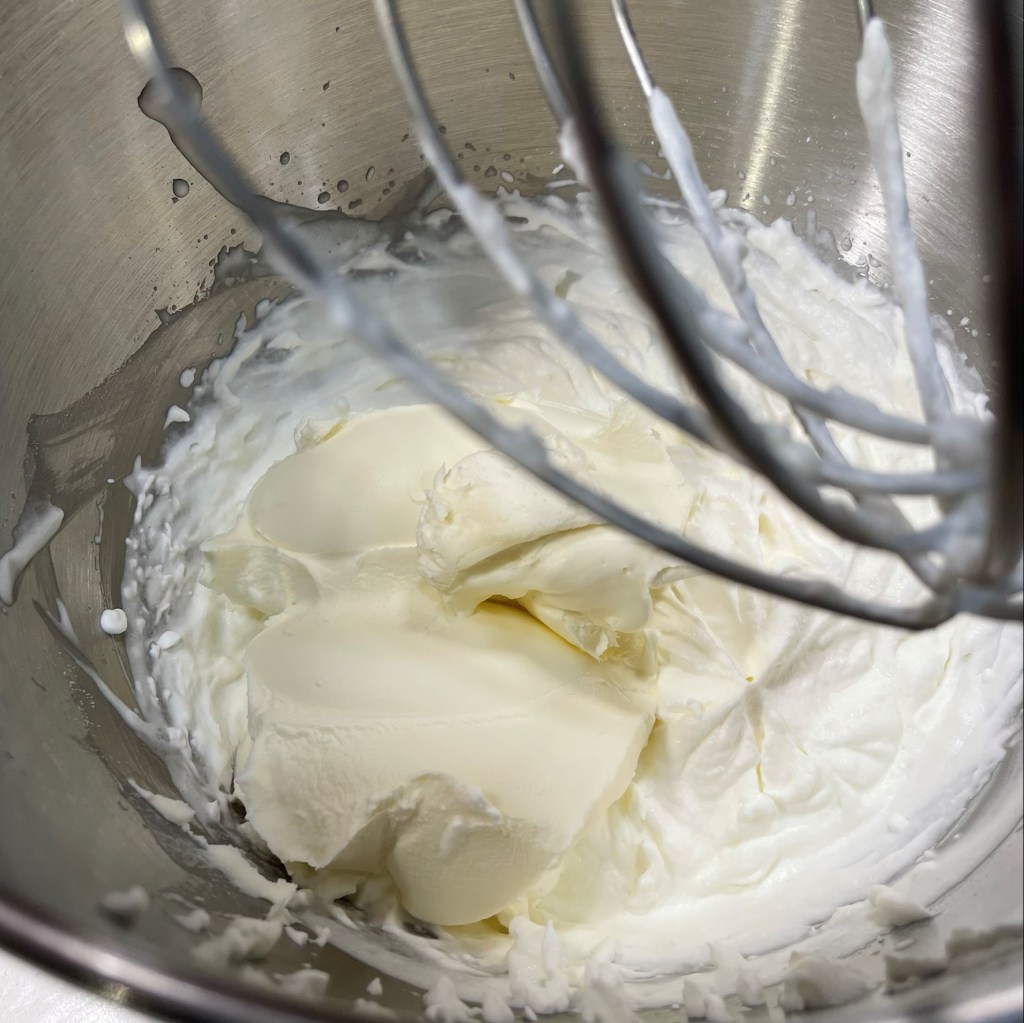
- Add powdered sugar, one cup at a time, and continue to whip until it is fully incorporated. If frosting mixture is too dense, whip in a bit of cold heavy cream to adjust.
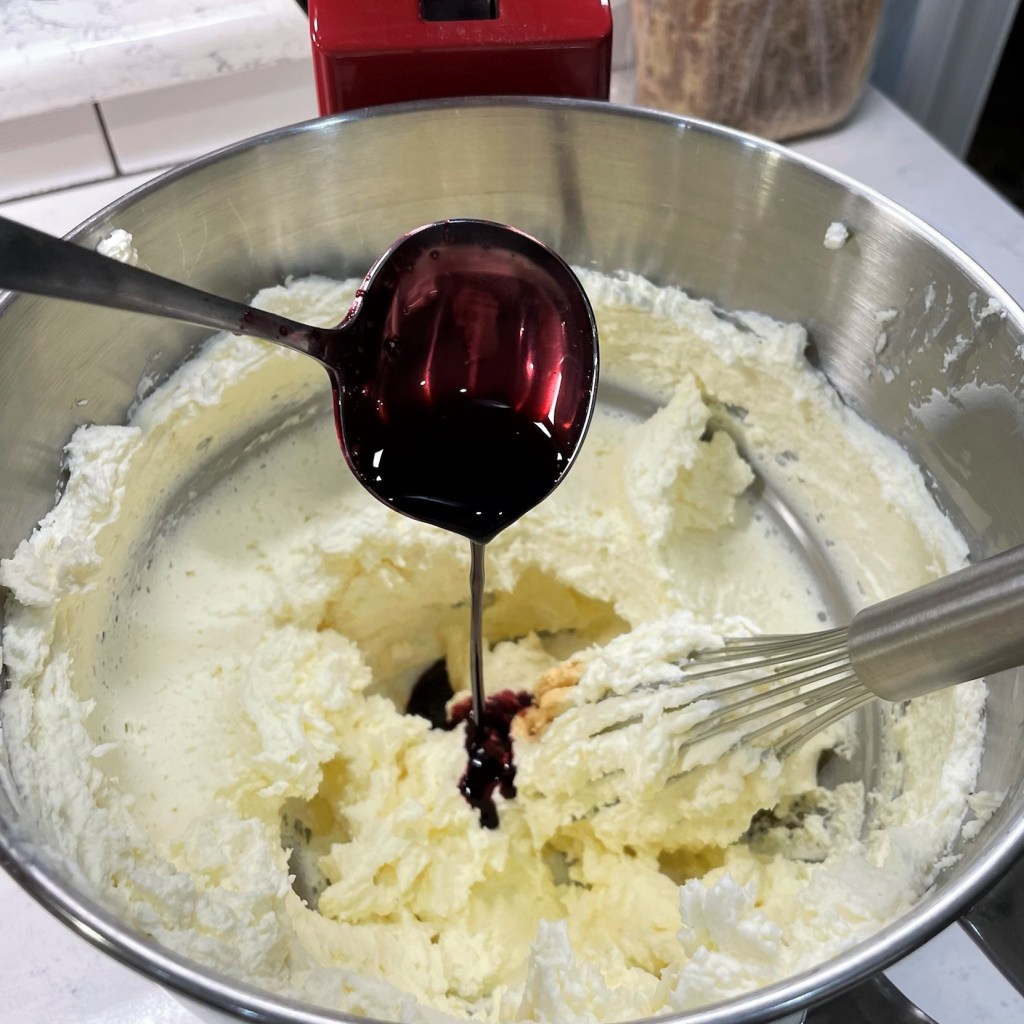
- With mixer running, stream in Bailey’s Irish Cream until blended. Add more powdered sugar as needed to adjust consistency again. Use frosting right away or if refrigerating, bring to room temperature before piping onto cupcakes.
Ingredients
- 3/4 cup Ghirardelli dark chocolate melting wafers
- 1/2 cup heavy cream, heated to the point of steaming but not boiling
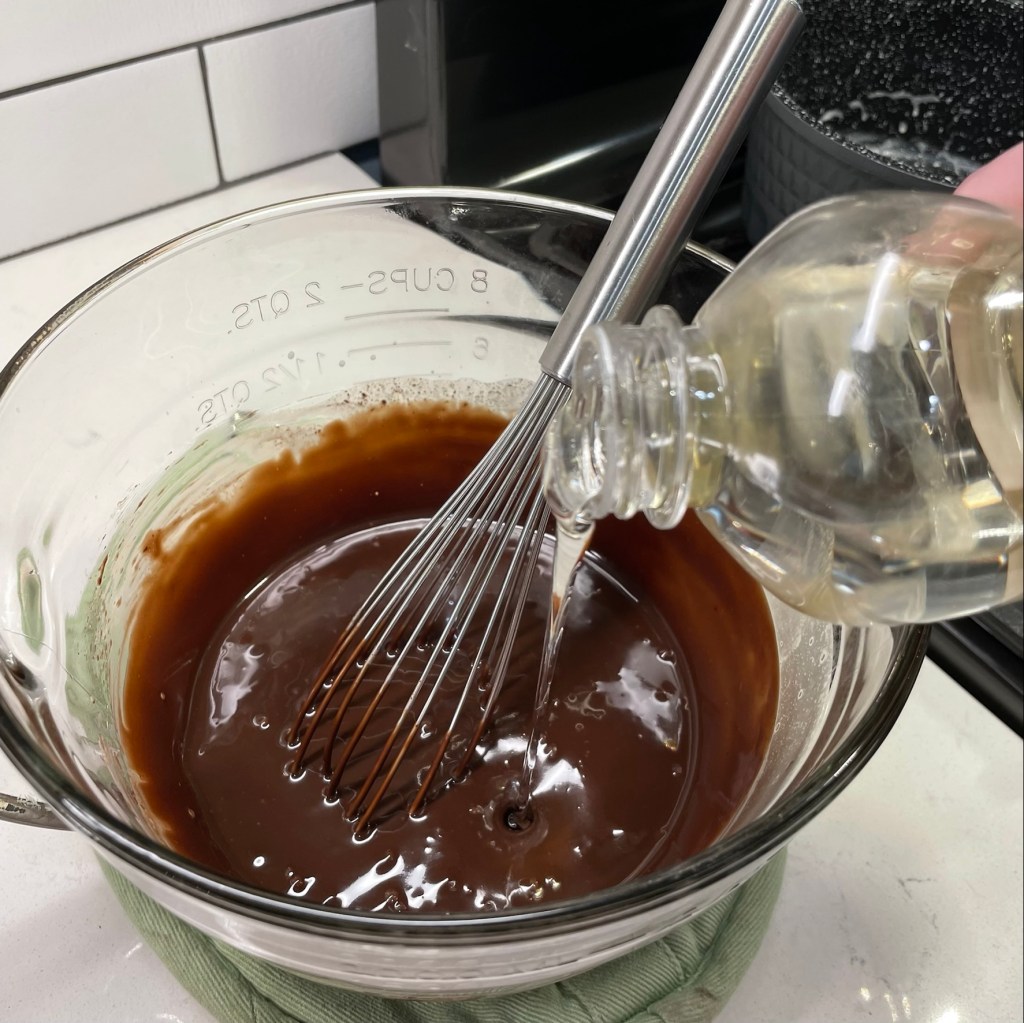
- 3 Tbsp. Bailey’s Irish Cream liqueur
Directions
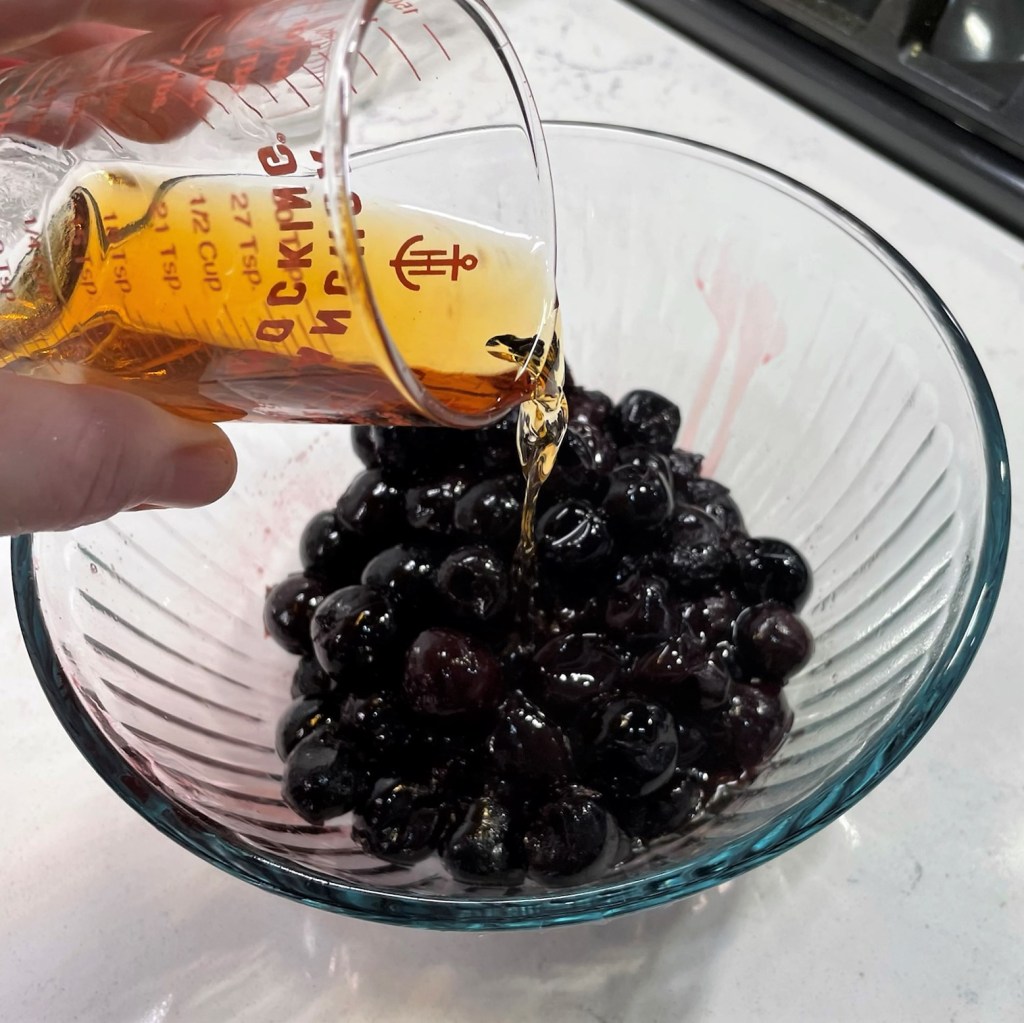
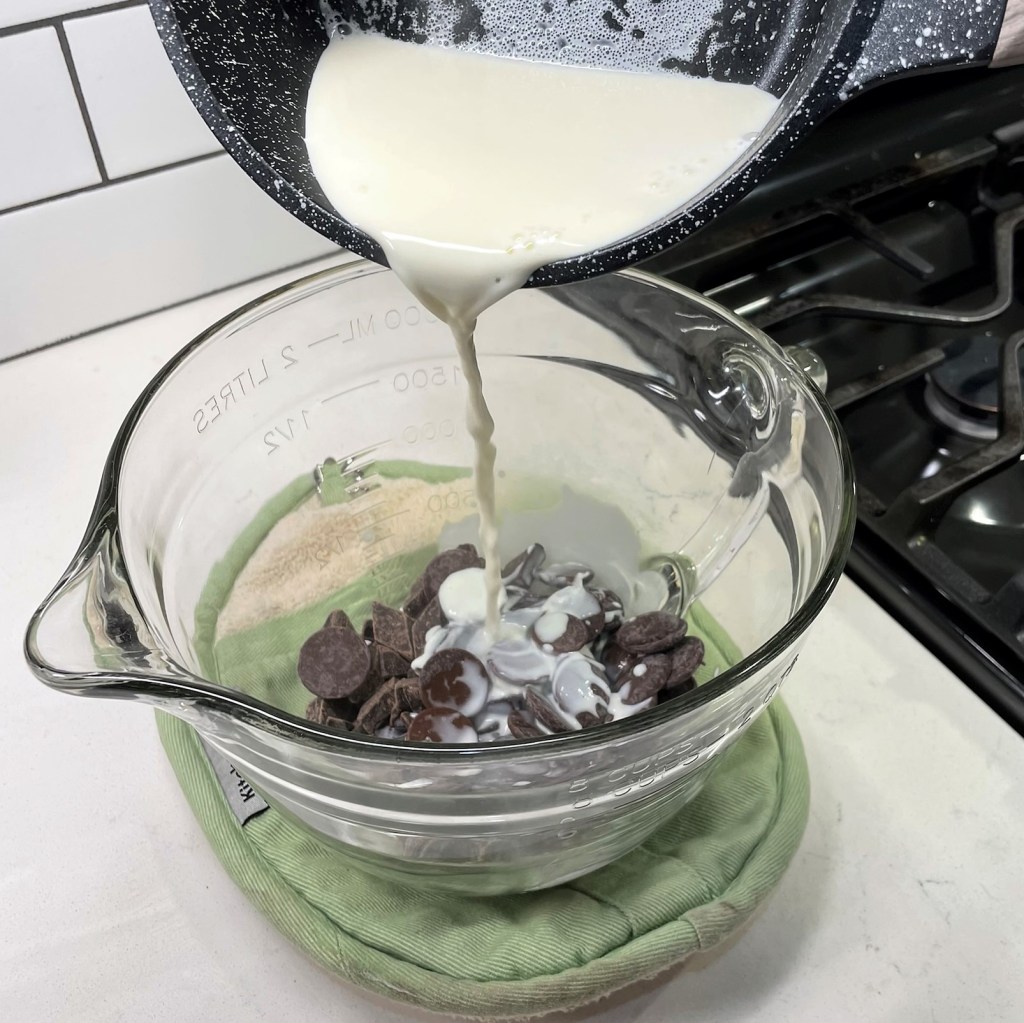
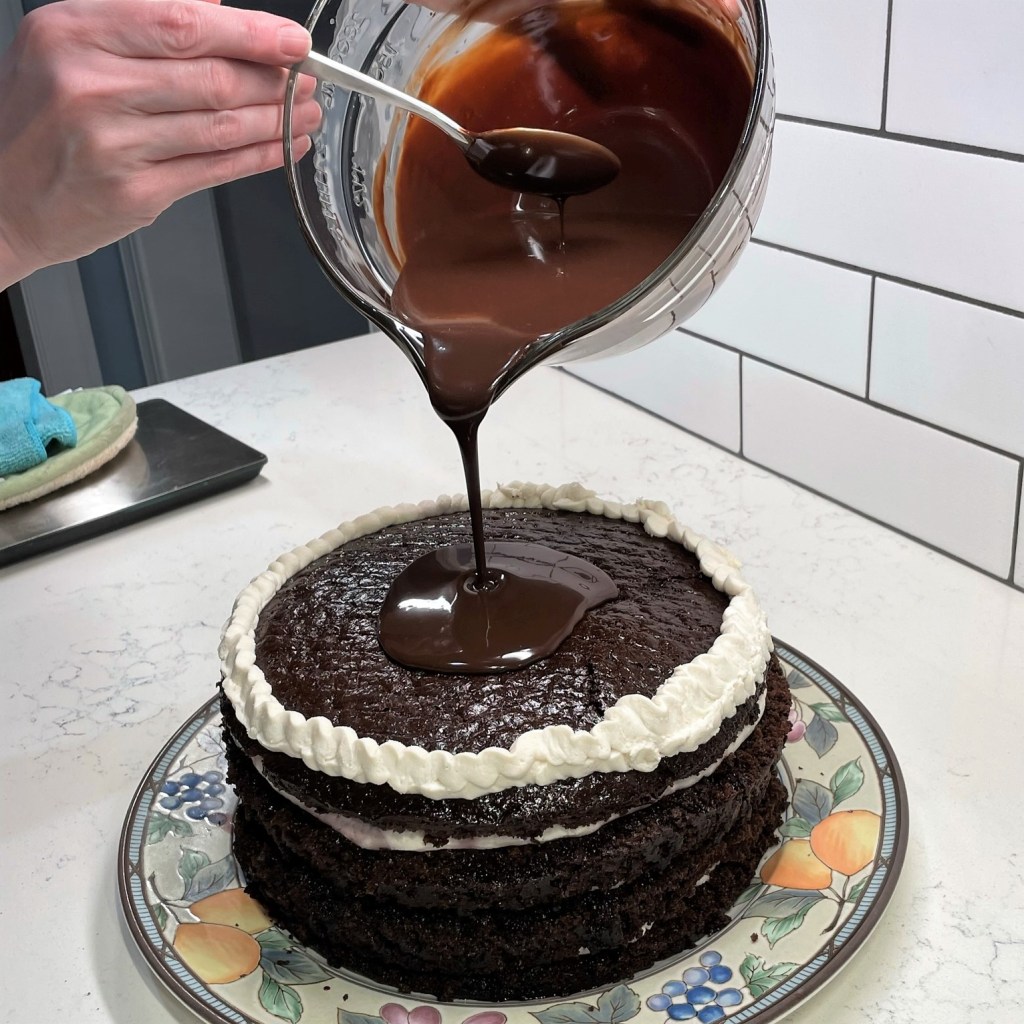
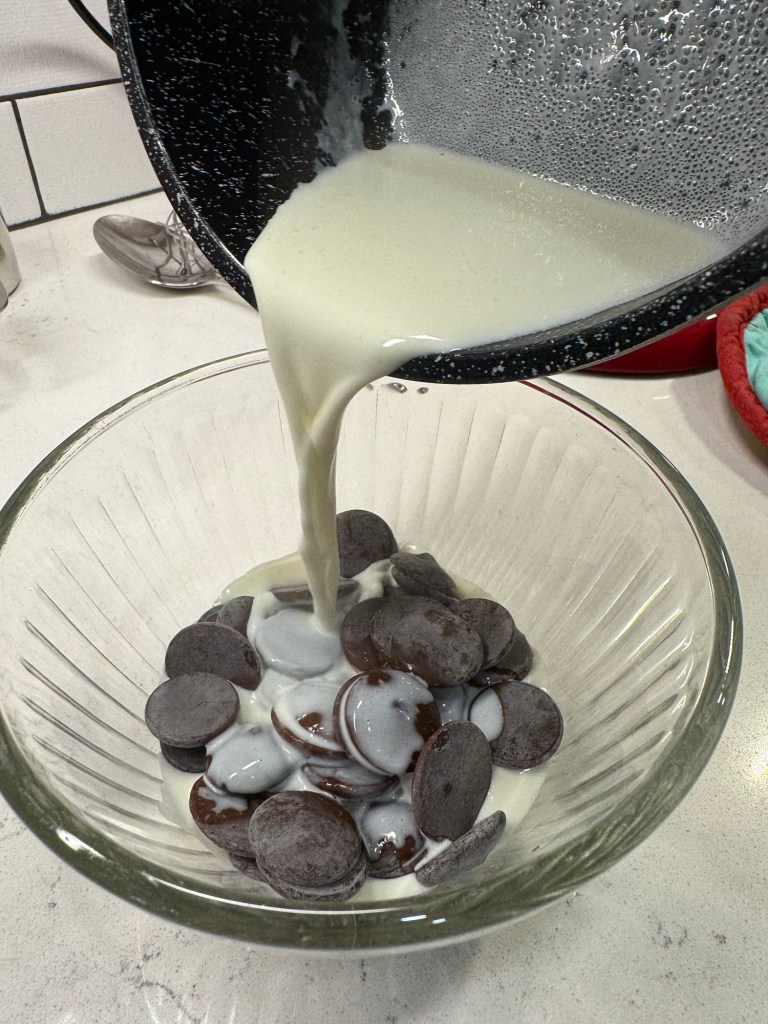
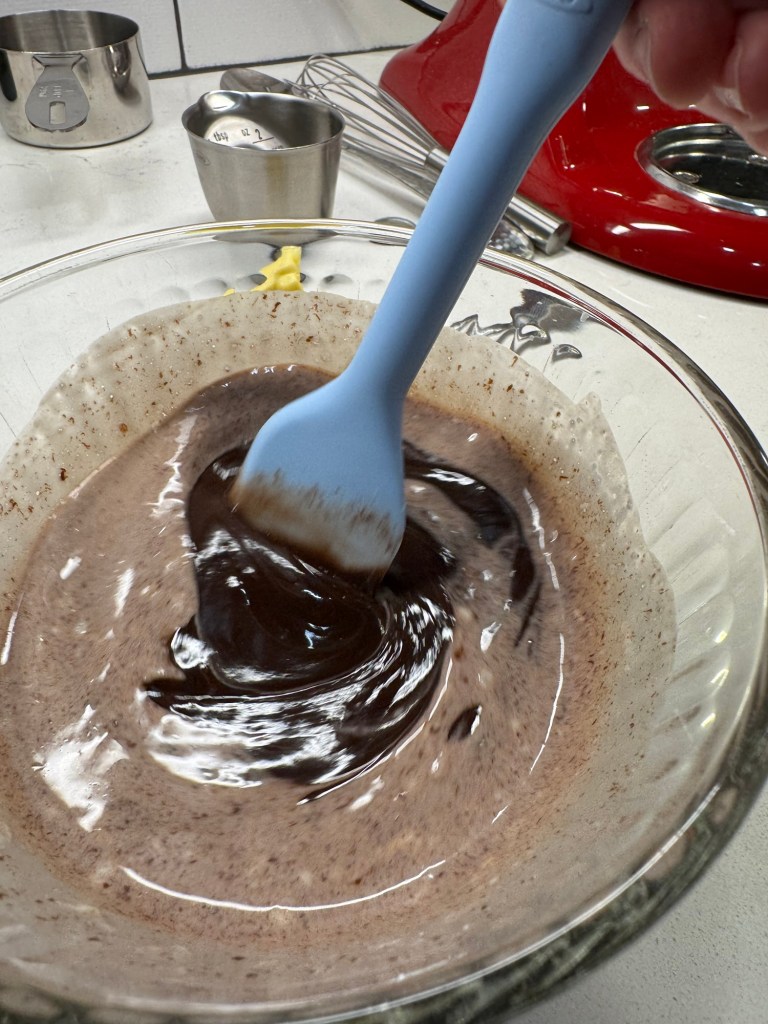
- Place chocolate wafers into a small bowl with tapered sides, or a glass measuring cup. Gently pour hot cream over the chocolate, pressing wafers down to be fully submerged. Leave it alone for about 8 minutes.
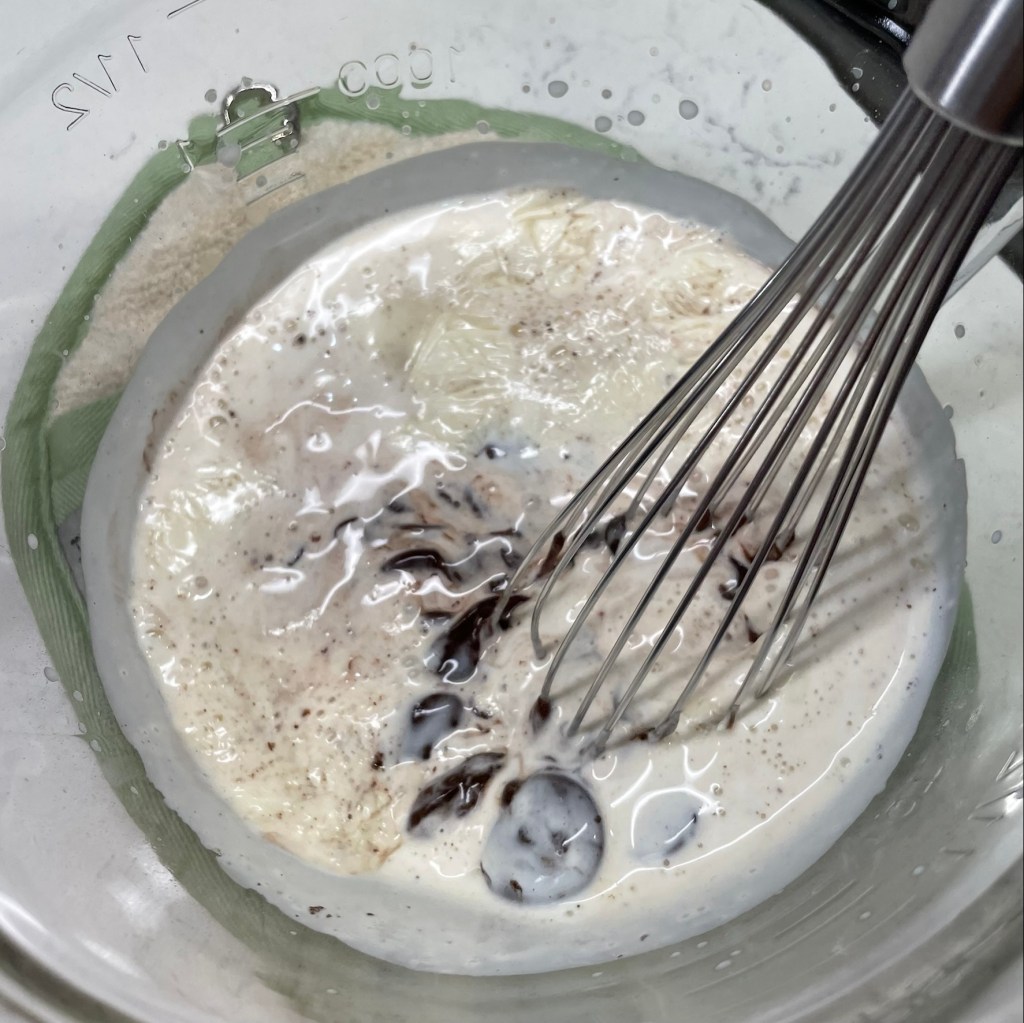
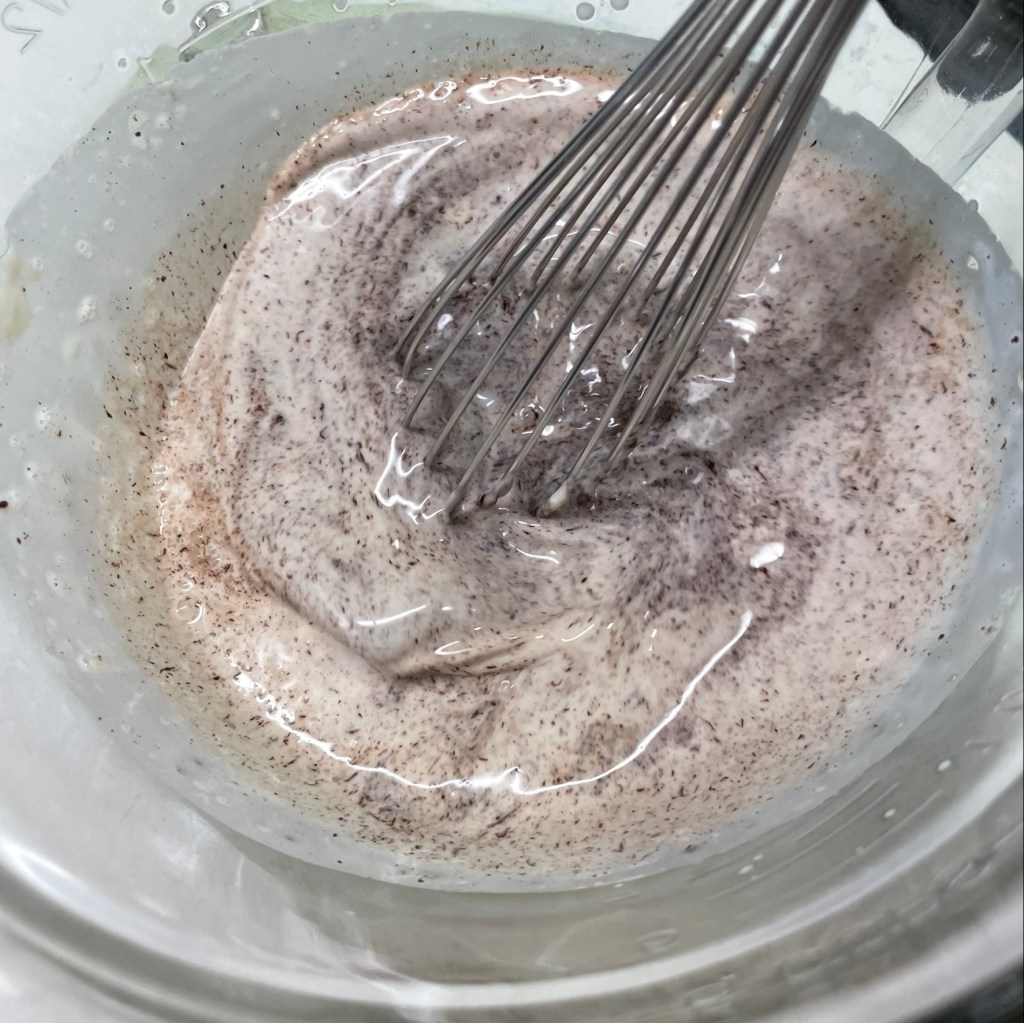
- Use a spoon, silicone spatula or small whisk to stir the melted chocolate. Work slowly at first to limit splashing. Within about a minute, the ganache should be smooth and glossy. If any small bits of chocolate remain unmelted, place the bowl into a larger bowl of shallow hot water and then stir again.
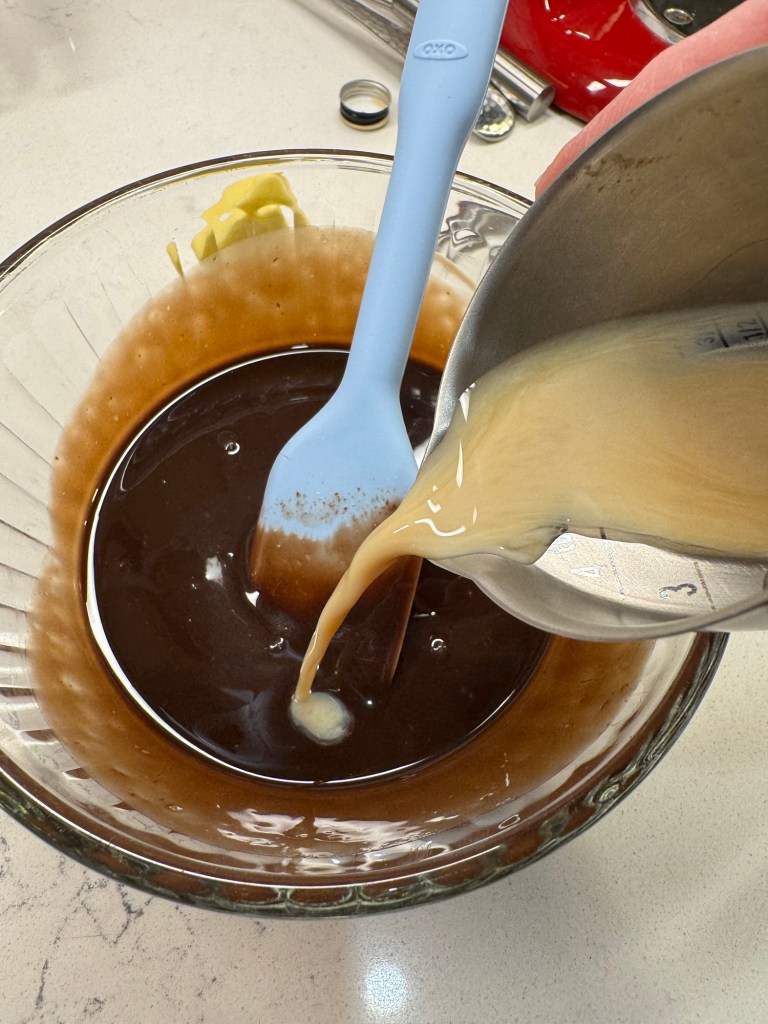
- Stir in Bailey’s Irish Cream liqueur and allow the mixture to cool. While it is still pourable, transfer it to a small zip-top bag for easy piping into the cupcake holes.