Super Bowl’s coming, and my arteries are feeling clogged just thinking about it. Why do so many game day snacks have to be loaded with saturated fat, sodium and calories? I know— because it’s all about comfort food and they’re delicious, right?! I spent half an hour of quality time last week with my primary care physician, who informed me after my labs that my blood work isn’t exactly a pretty picture. Again. This is the second time in three years that I’ve gotten a bad report on my cholesterol (the year in between, I didn’t ask), and the weight gain that followed menopause hasn’t shown any effort to find its way out, either. As I told my doctor, I have a huge disadvantage in that I never had to fight for the healthy weight I enjoyed in my younger years. I always pretty much ate and drank what I wanted and I stayed in my optimal size. But not anymore. And I loathe the gym, so changing up my diet is pretty much my only option to get back to good. It pisses me off, if you want the truth.
But I wanted to prove to myself that eating better doesn’t have to mean sacrificing every single thing I love. Why couldn’t I tap into my creativity a little bit and see what kind of magic might happen in the kitchen? I’ll go after mac and cheese another day, but with the big game coming up, I figured a practice run at the most Super Bowl-y of all Super Bowl foods might be a good way to ease into things. Chili at its core could be pretty health-conscious— at least until you pile on the cheese, sour cream and chips for dipping in it— so this makeover was mostly about maximizing flavor and minimizing the heaviness.
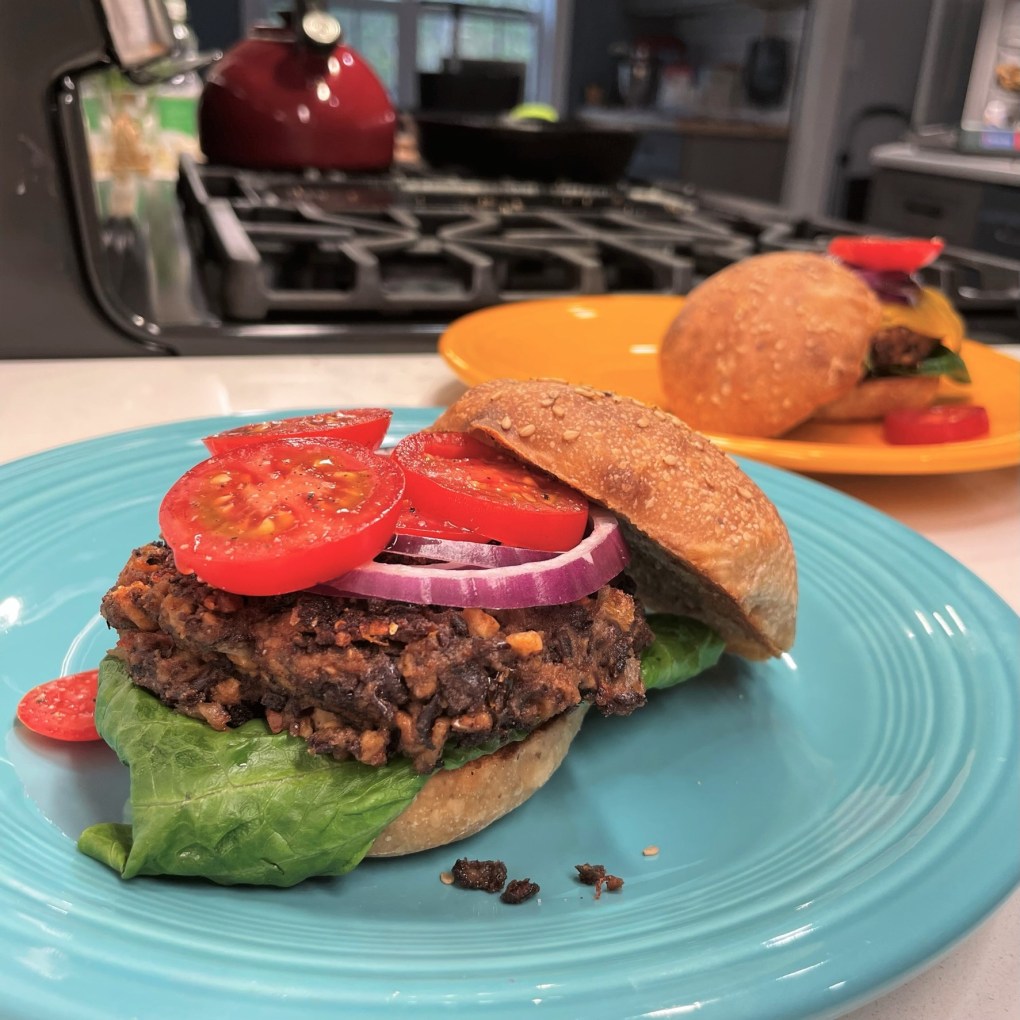
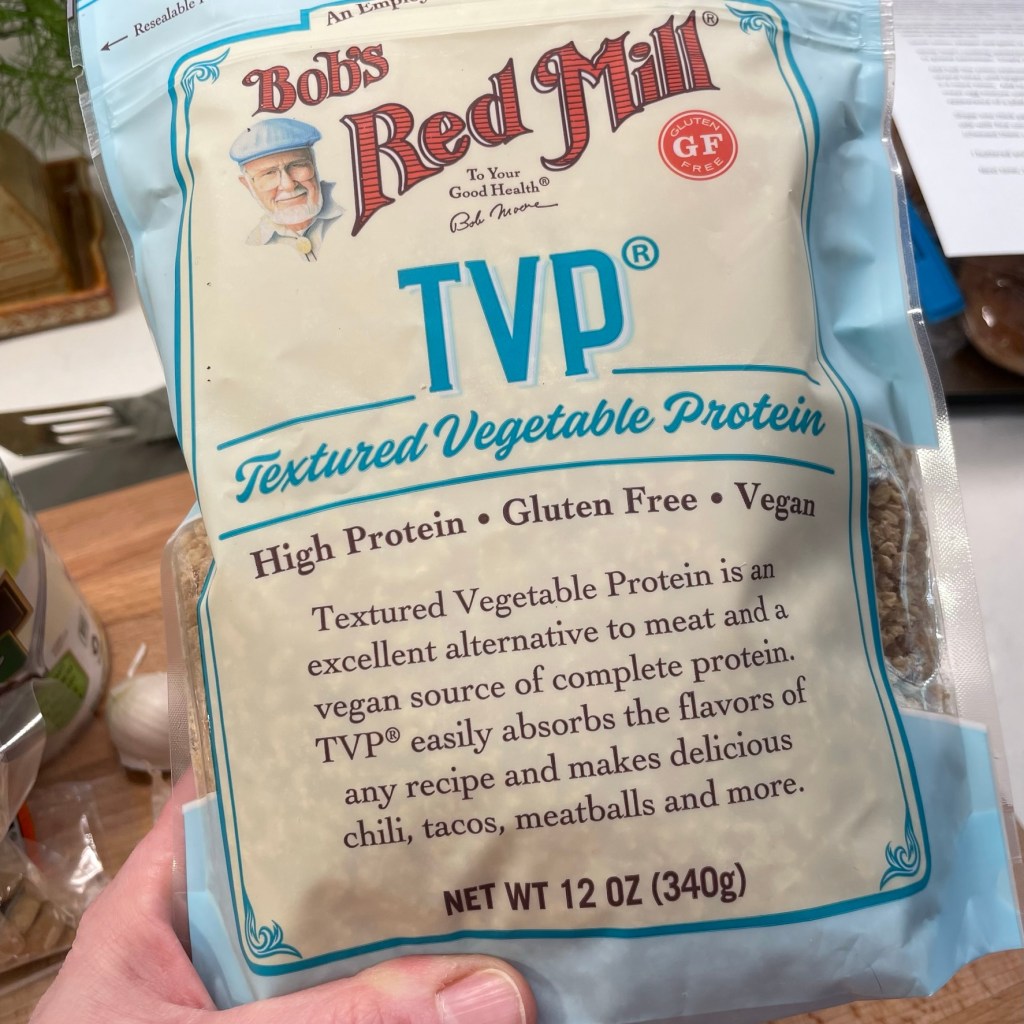
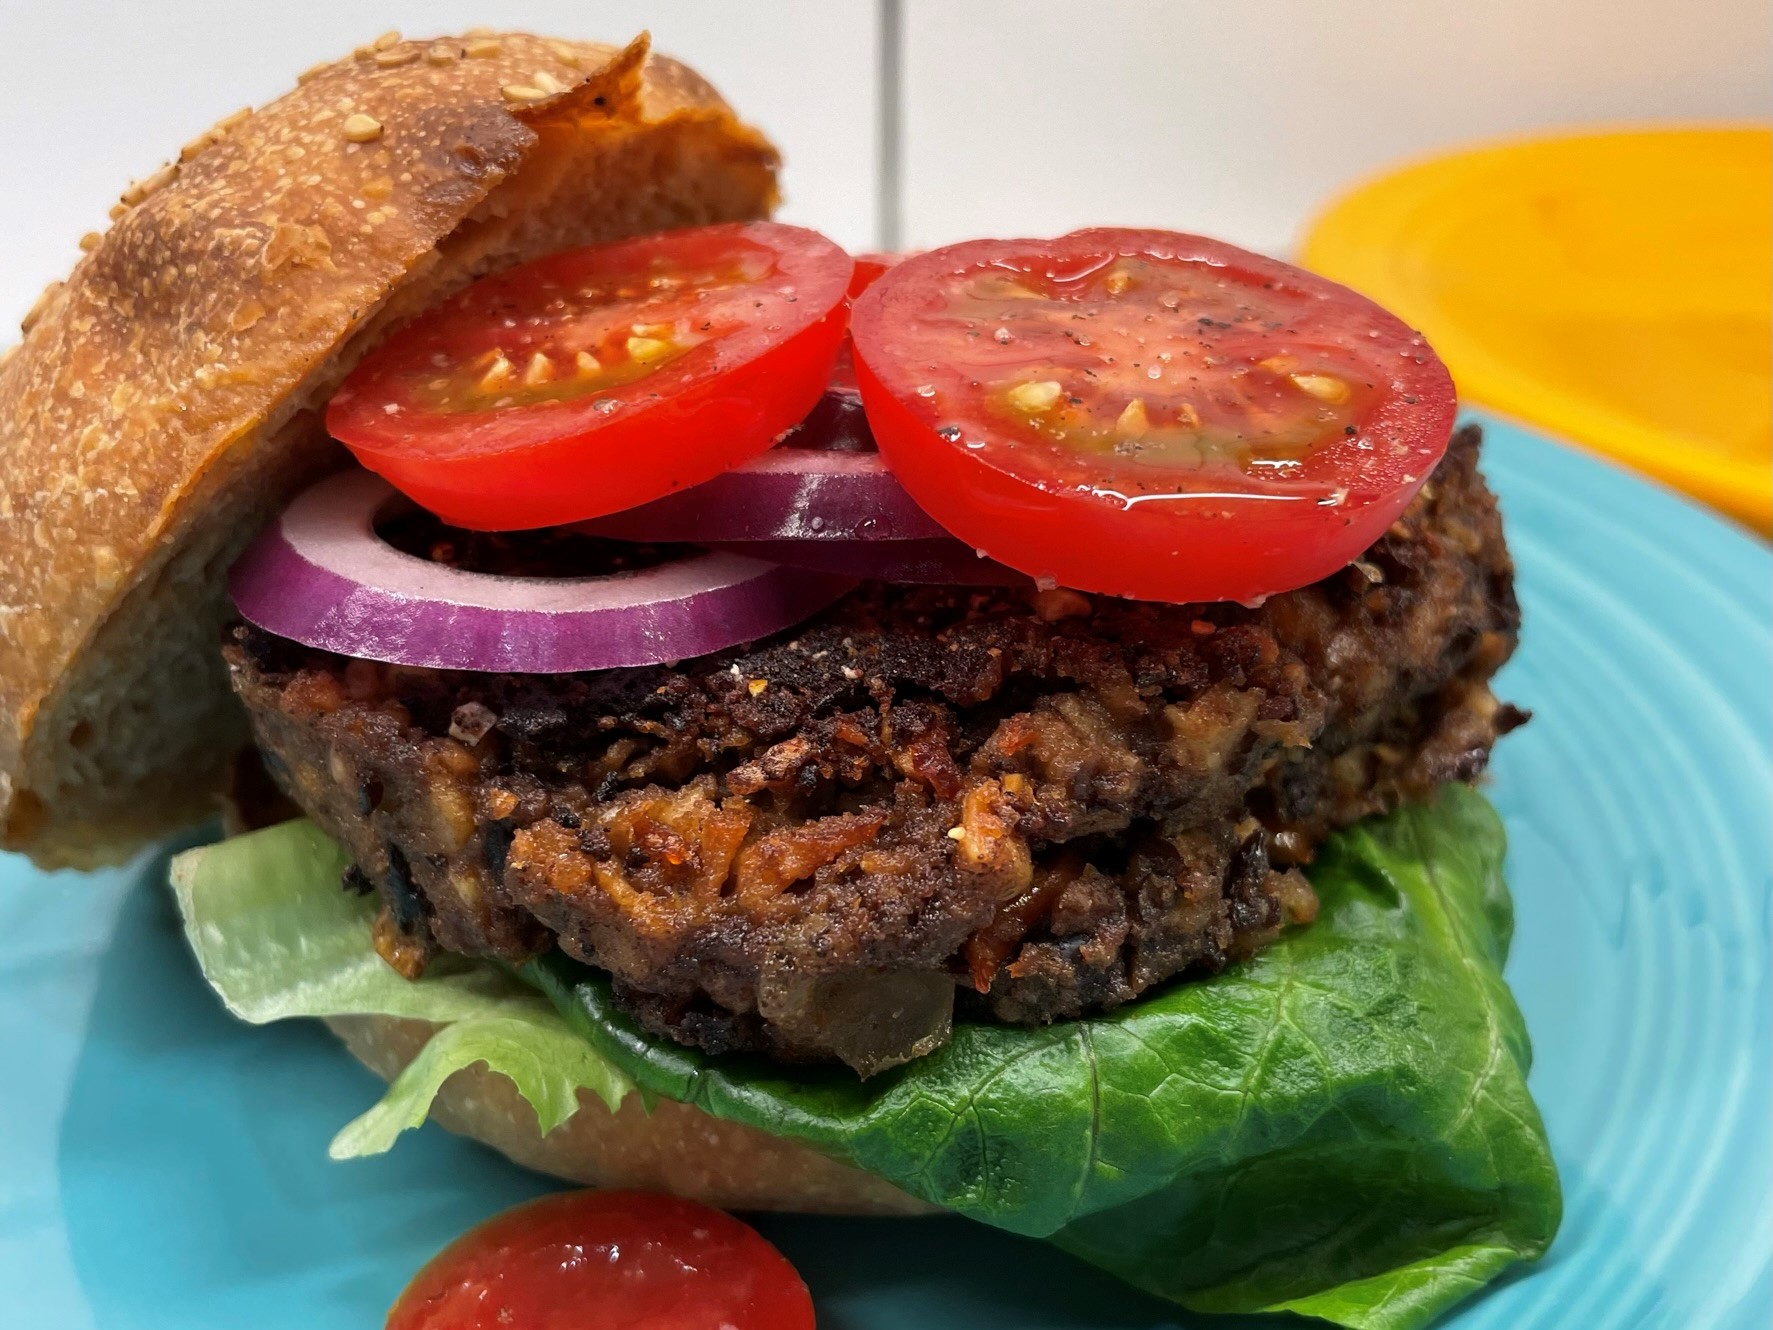
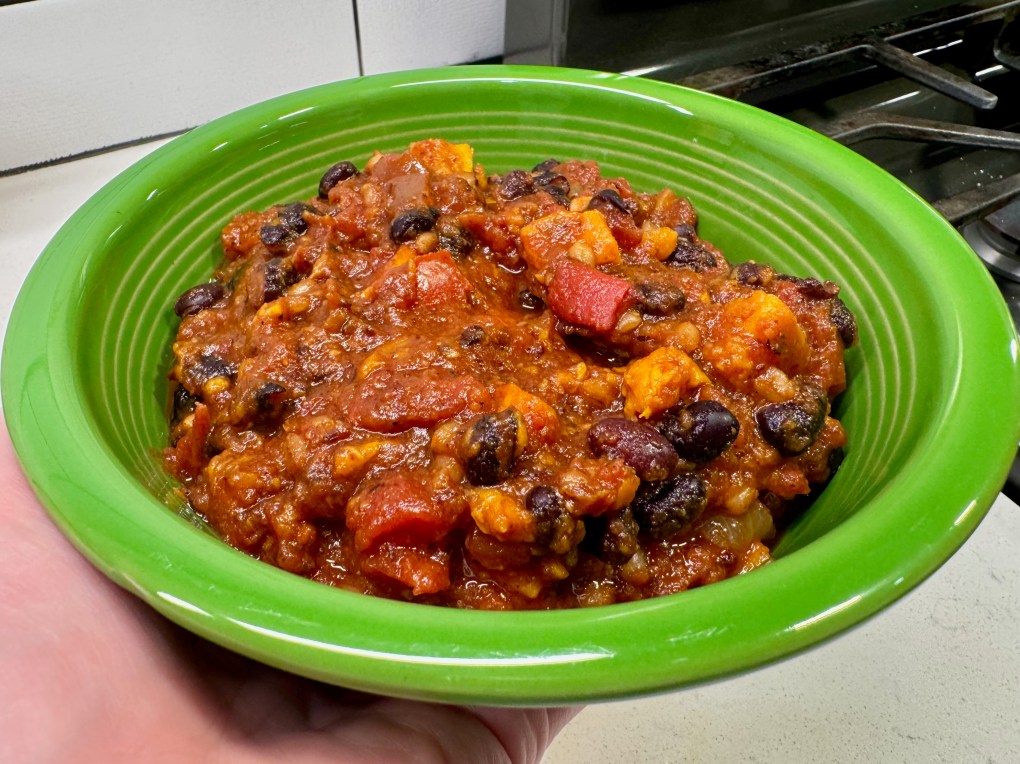
I don’t necessarily need meat in chili, so I set my sights on making a plant-forward version that had plenty of what I do want— big flavor, hearty texture, smokiness and heat. This bowl has all of the above. What it doesn’t have is saturated fat. My ingredients are clean, and I used only extra virgin olive oil for roasting and sautéing the various components.
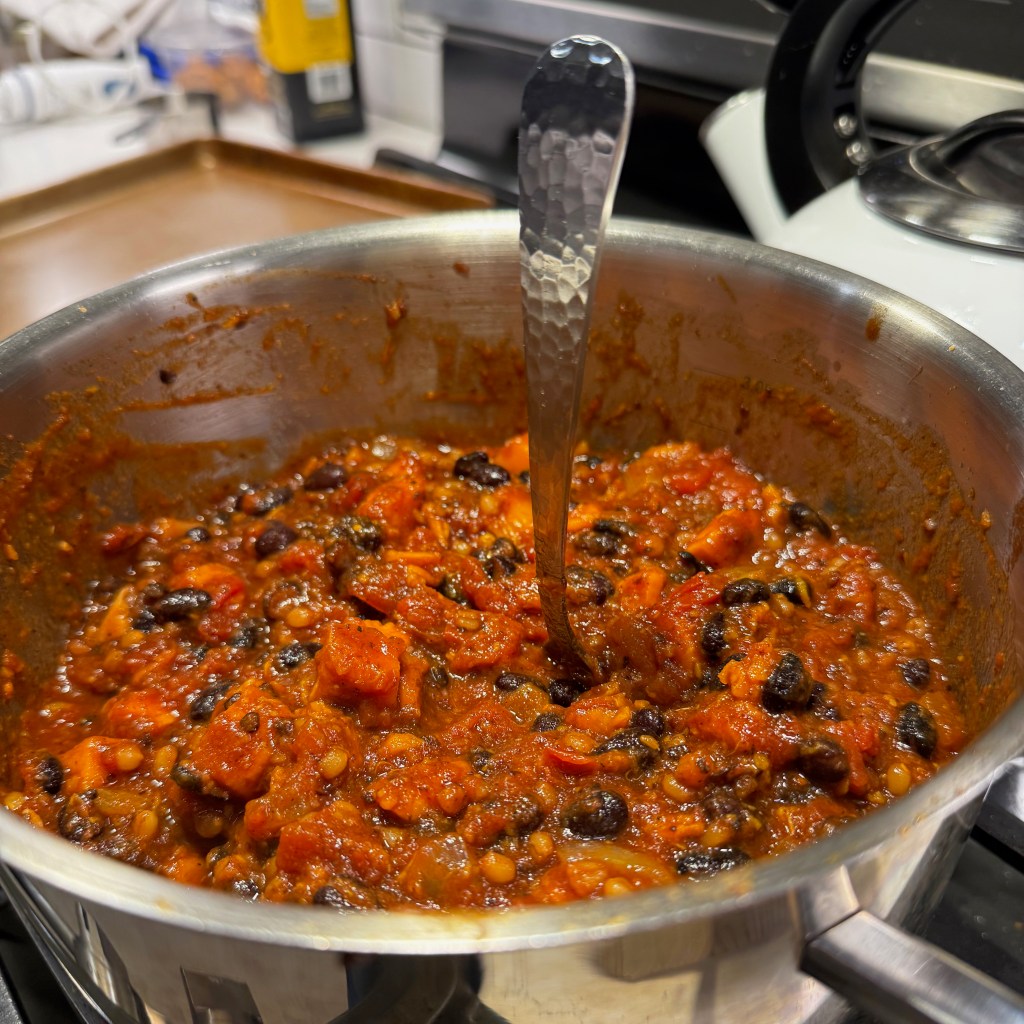
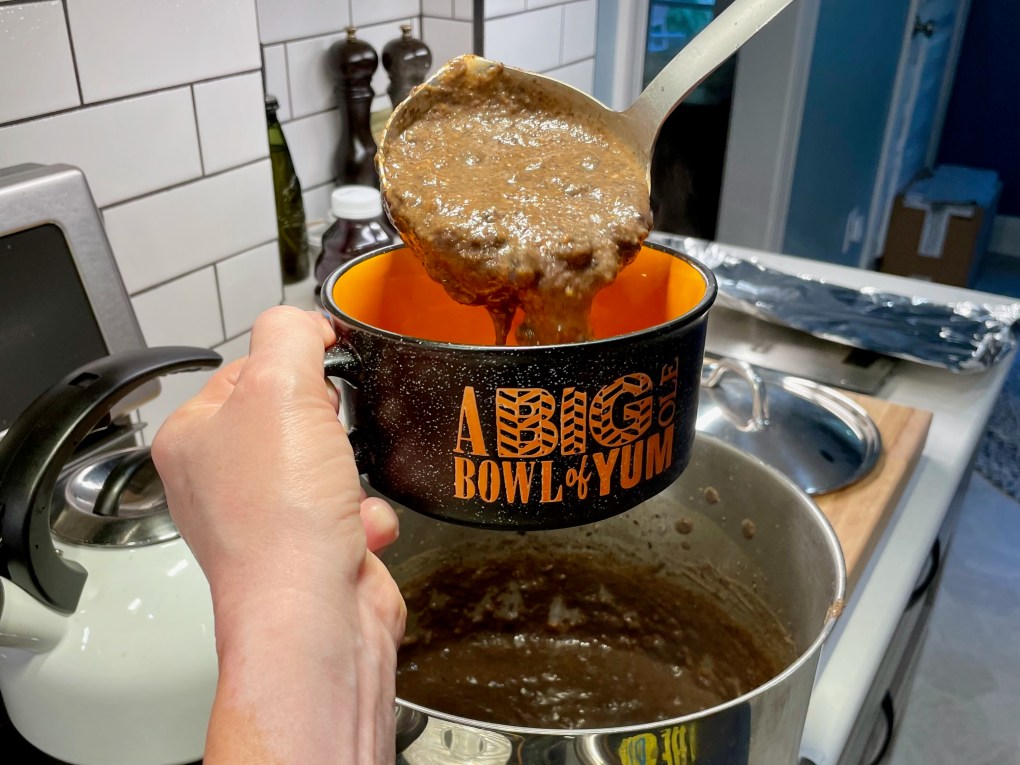
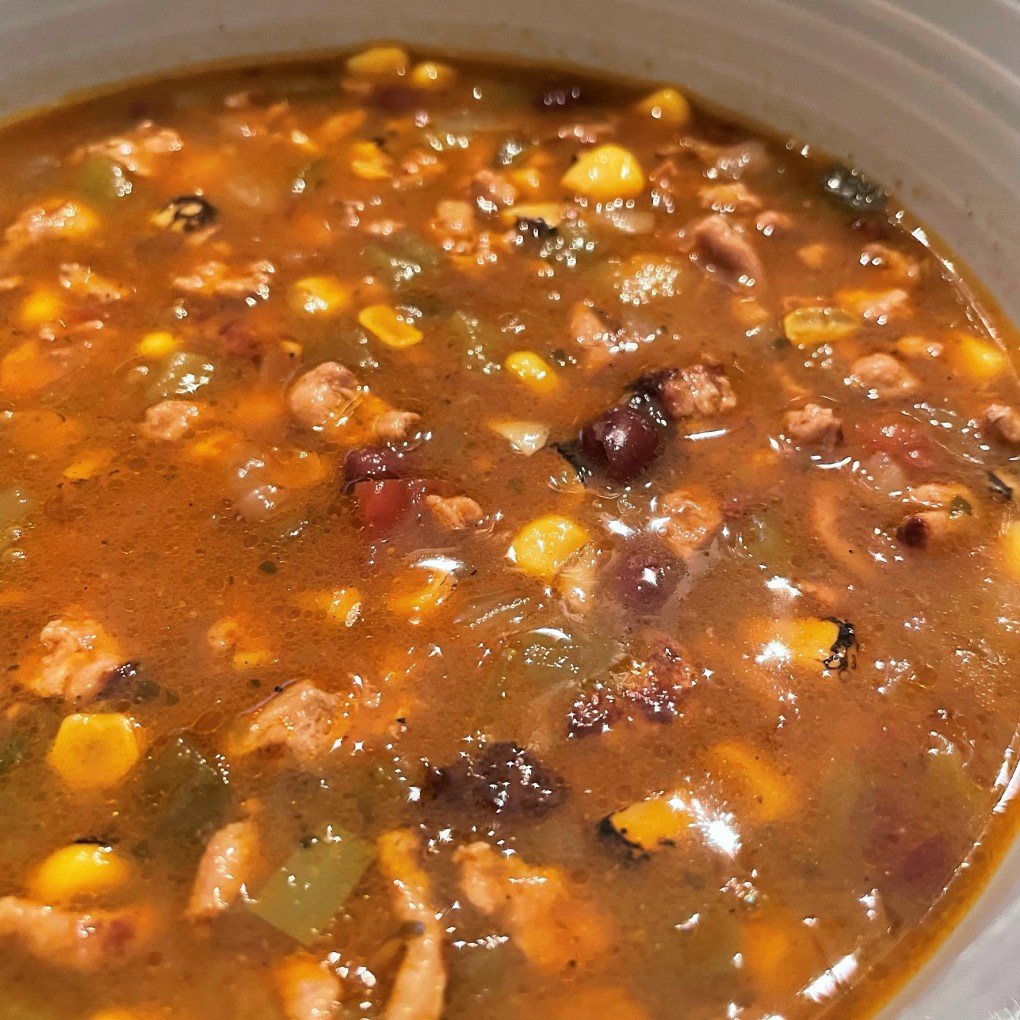
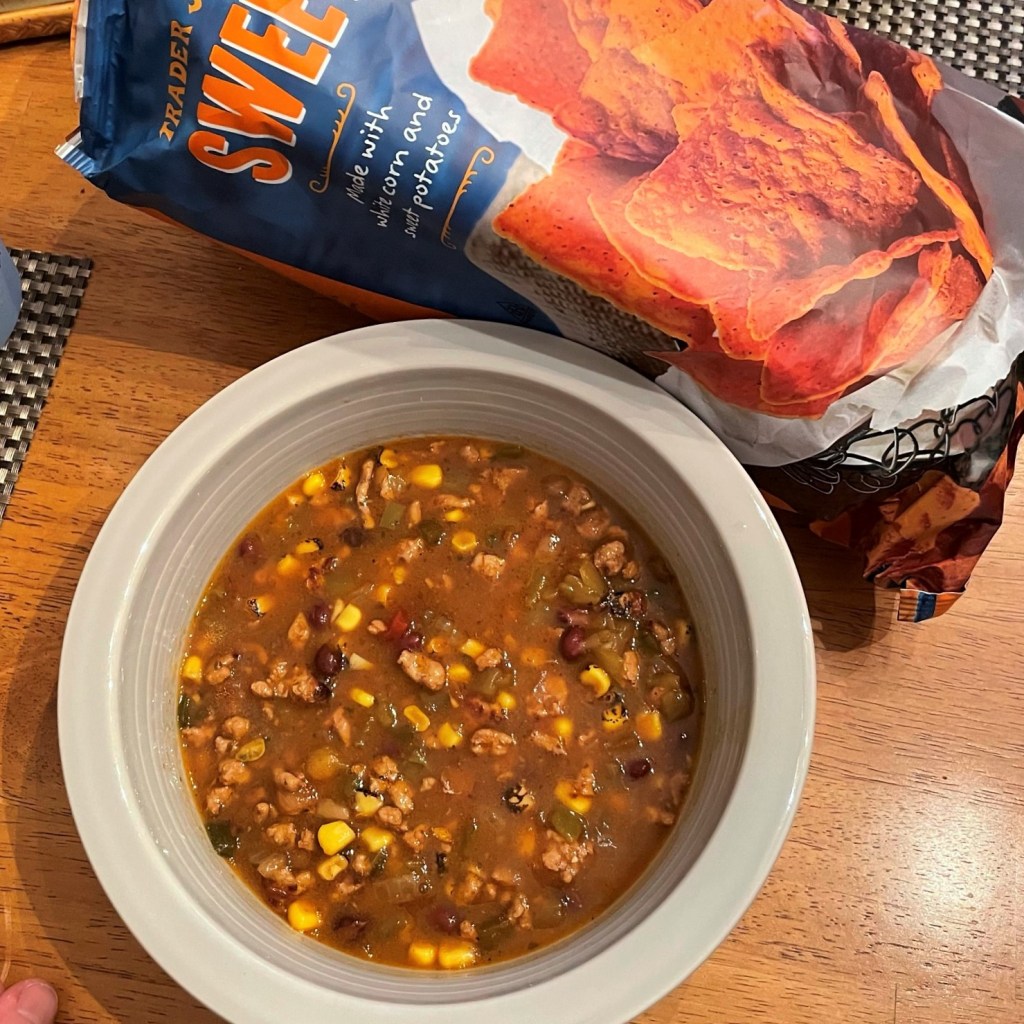
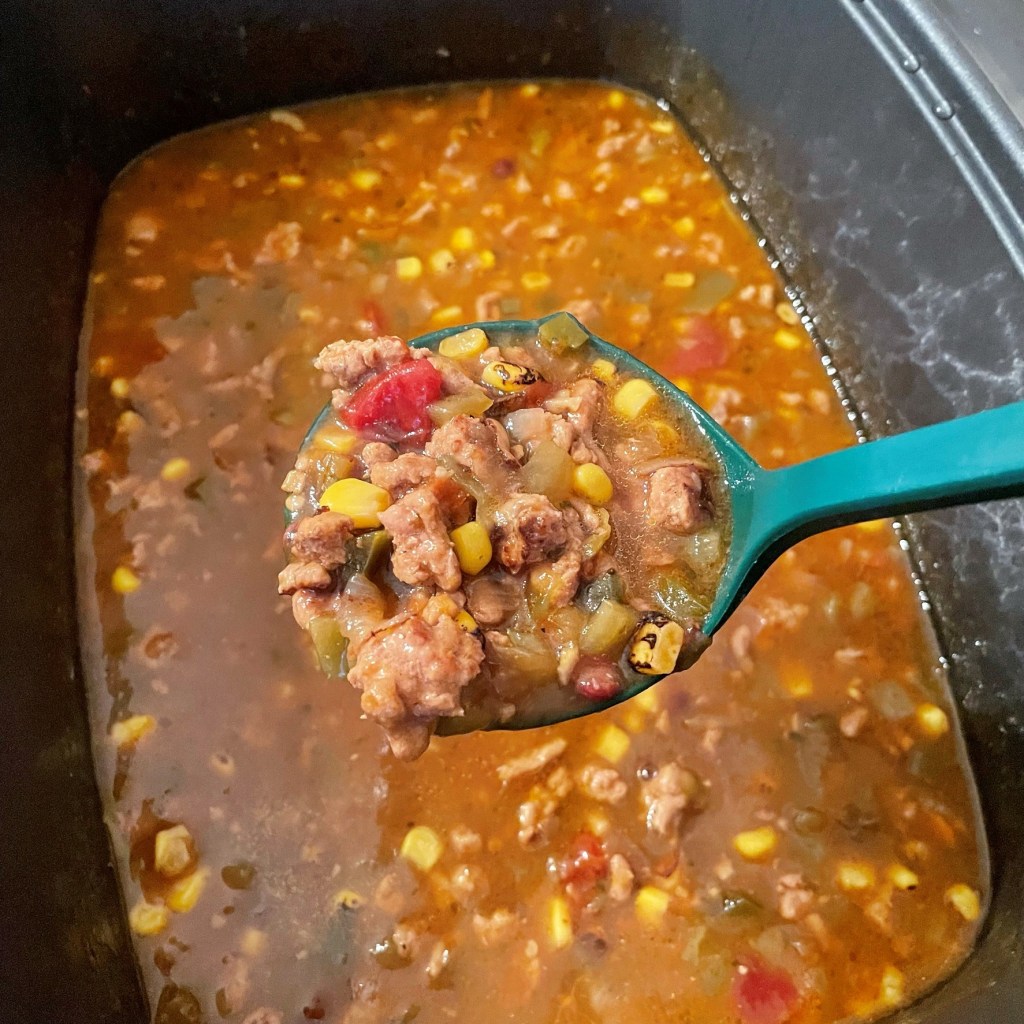
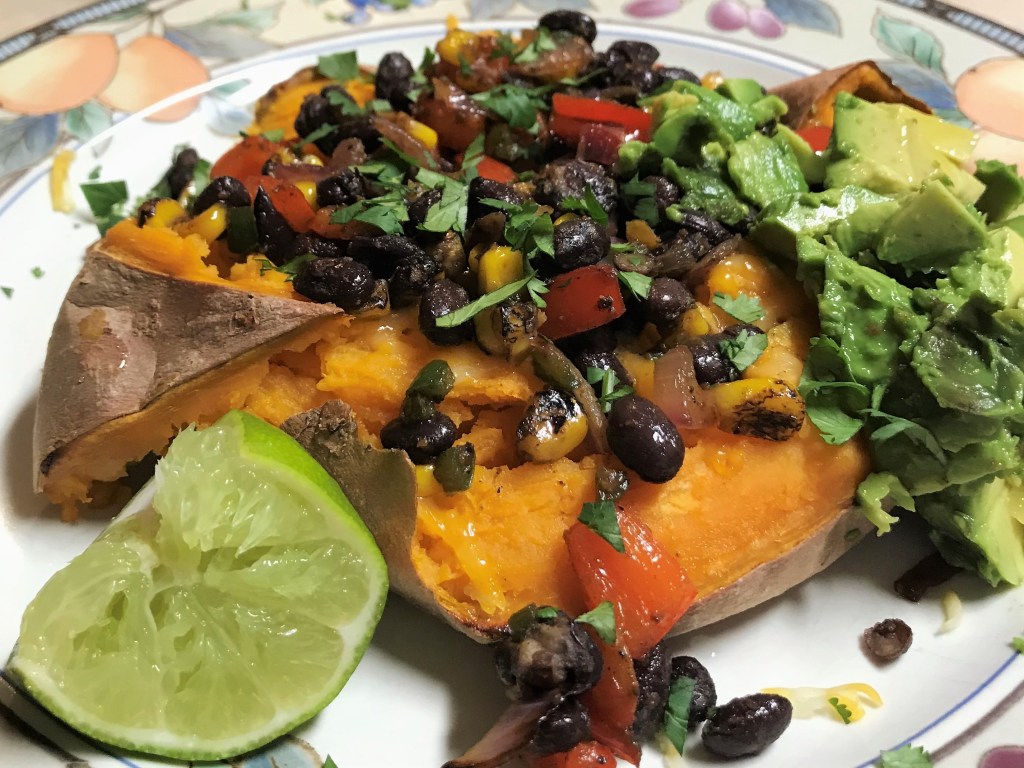
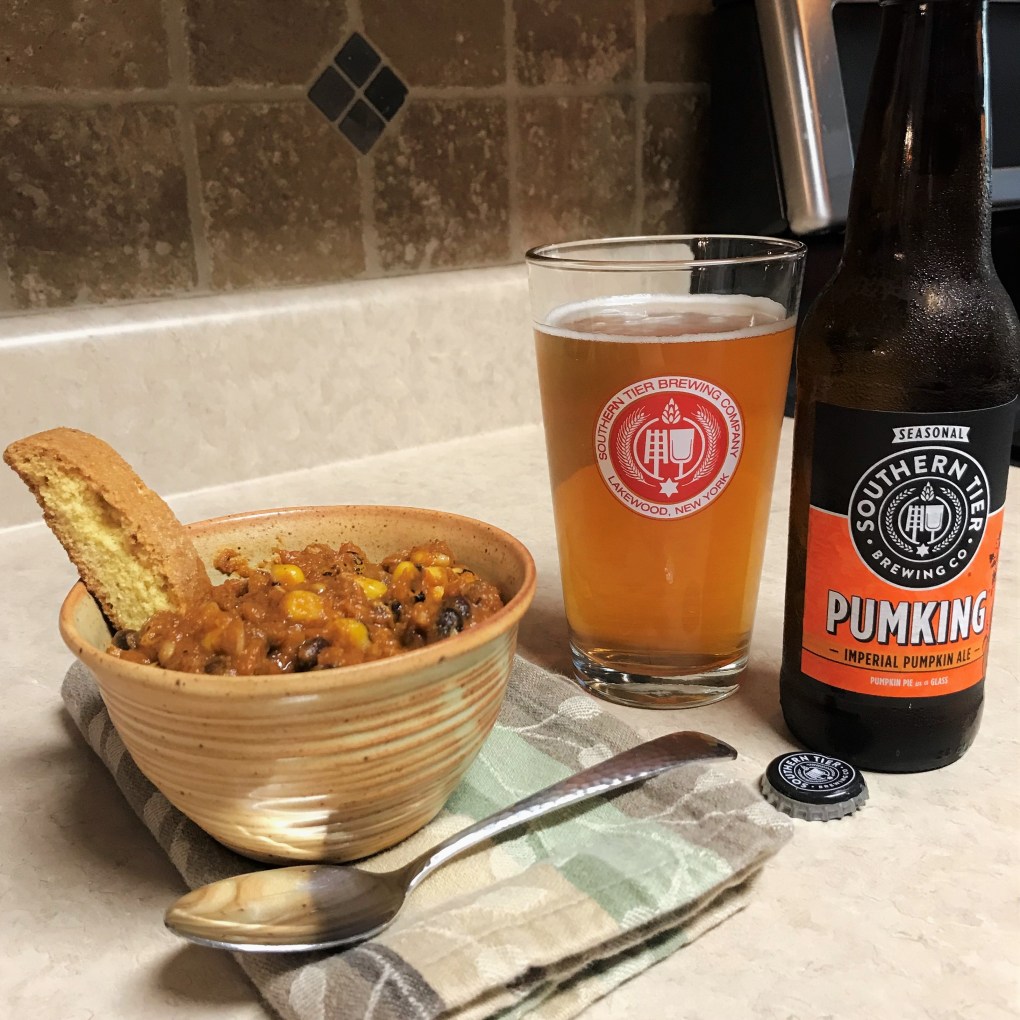
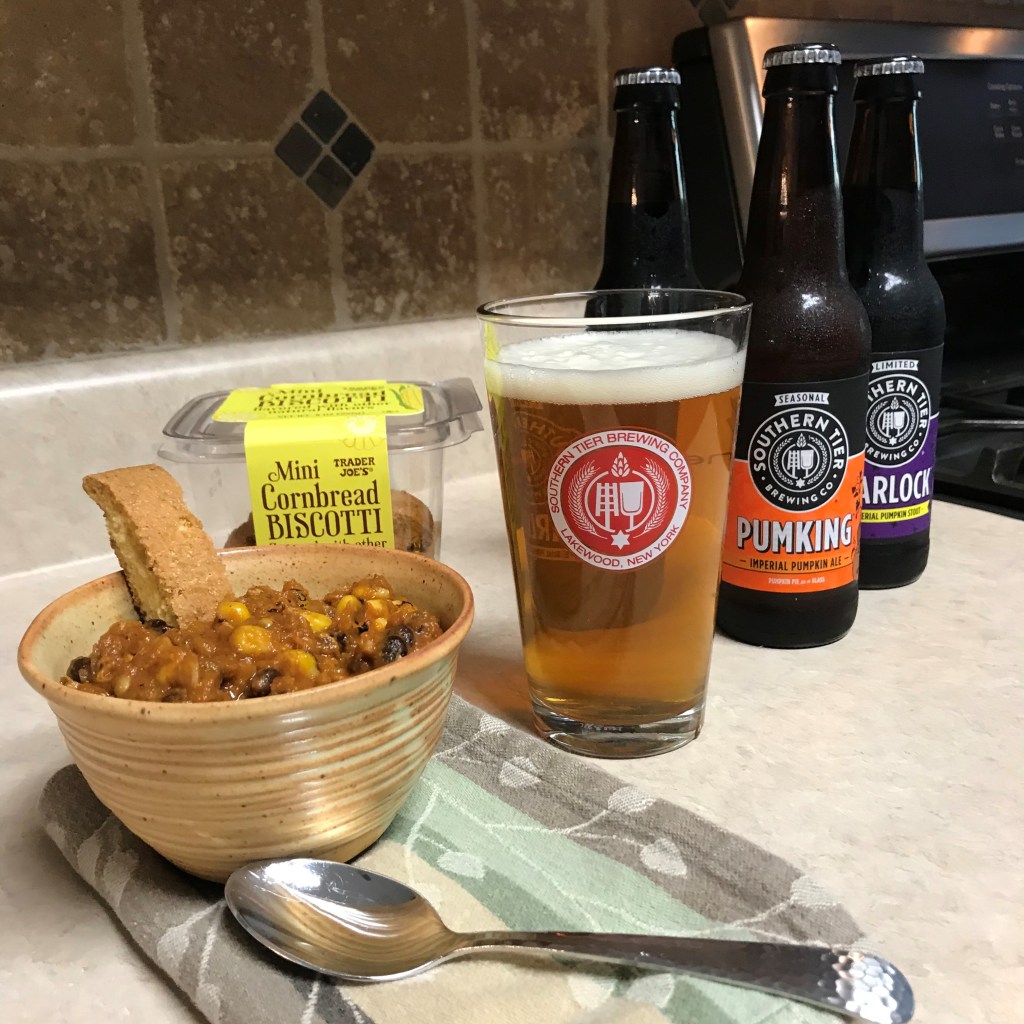
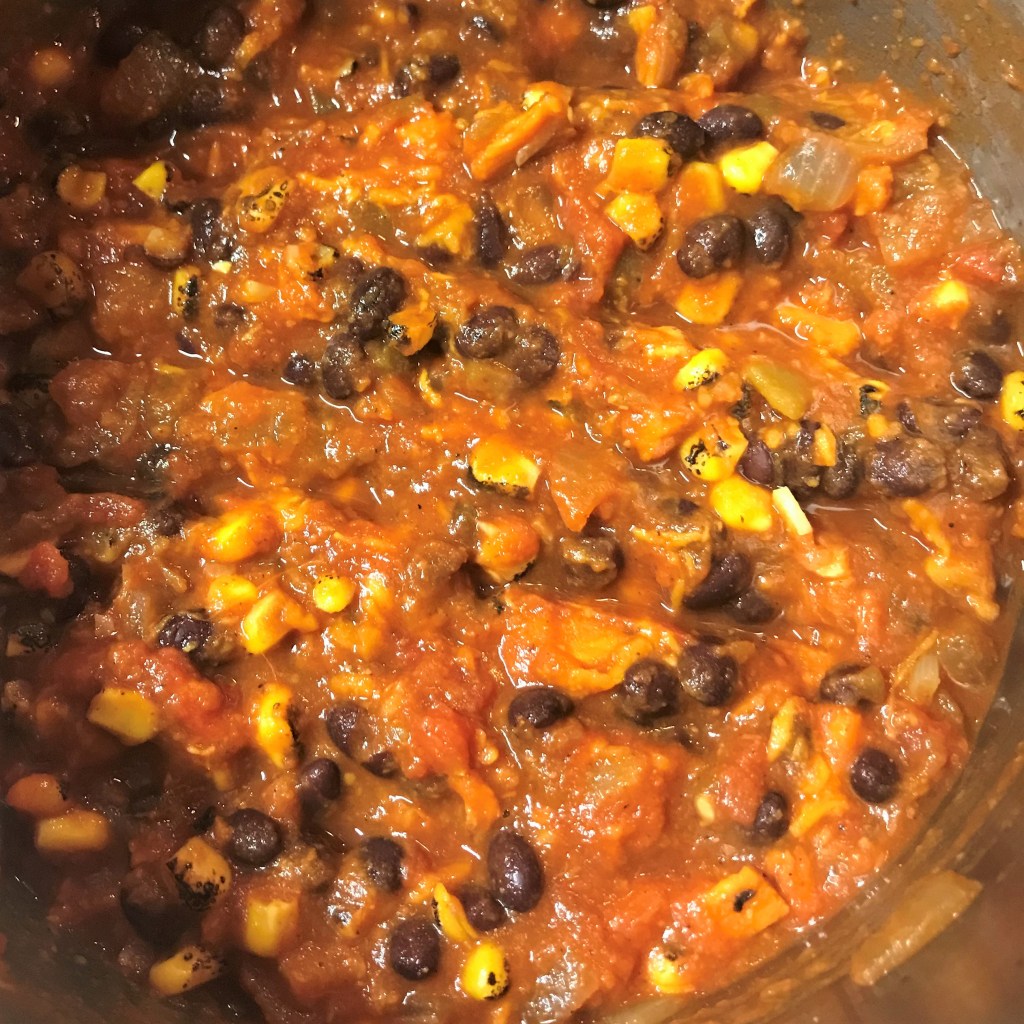
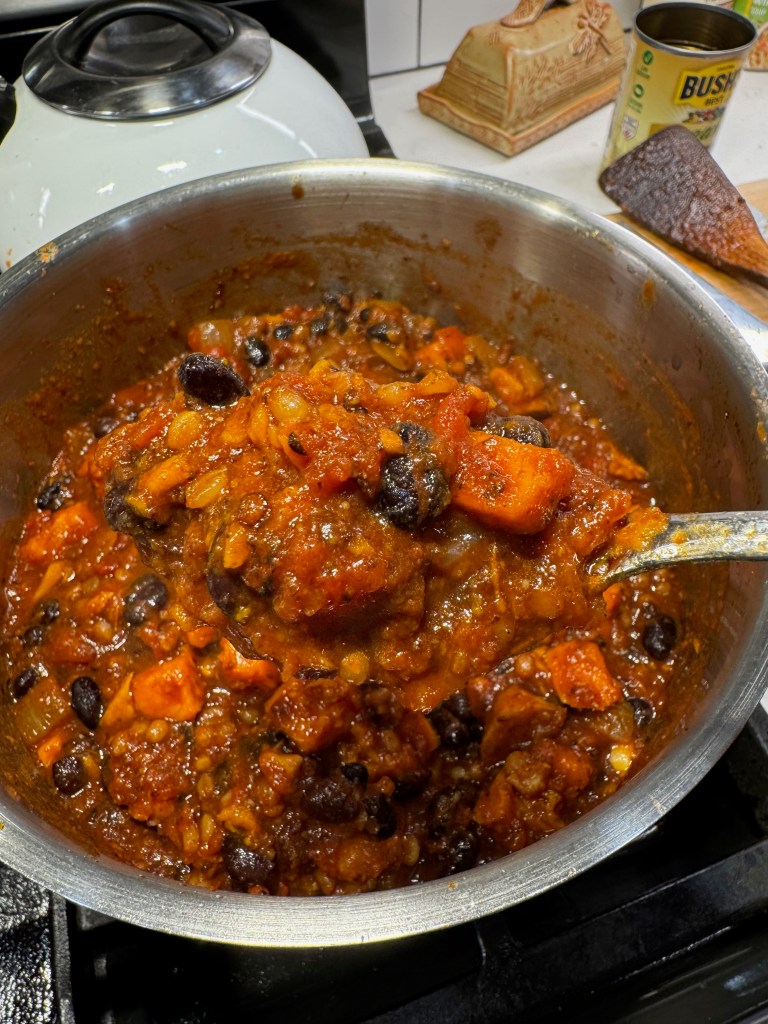
The flavor is smoky and spicy, with a subtle sweetness from the sweet potatoes. Nutrition-wise, this chili is off the charts. Protein, fiber, folate, magnesium, antioxidants, lycopene, potassium— it’s all there. And there’s no broth or juice added to the chili, which makes it thick enough for a spoon to stand straight up in it. Is it the same as the rich and meaty chili that my husband loves to make for Super Bowl? Of course not— there’s no meat inside. But if it satisfies my craving while I’m trying to do better, well, that’s good enough for me.
Let’s get into it!
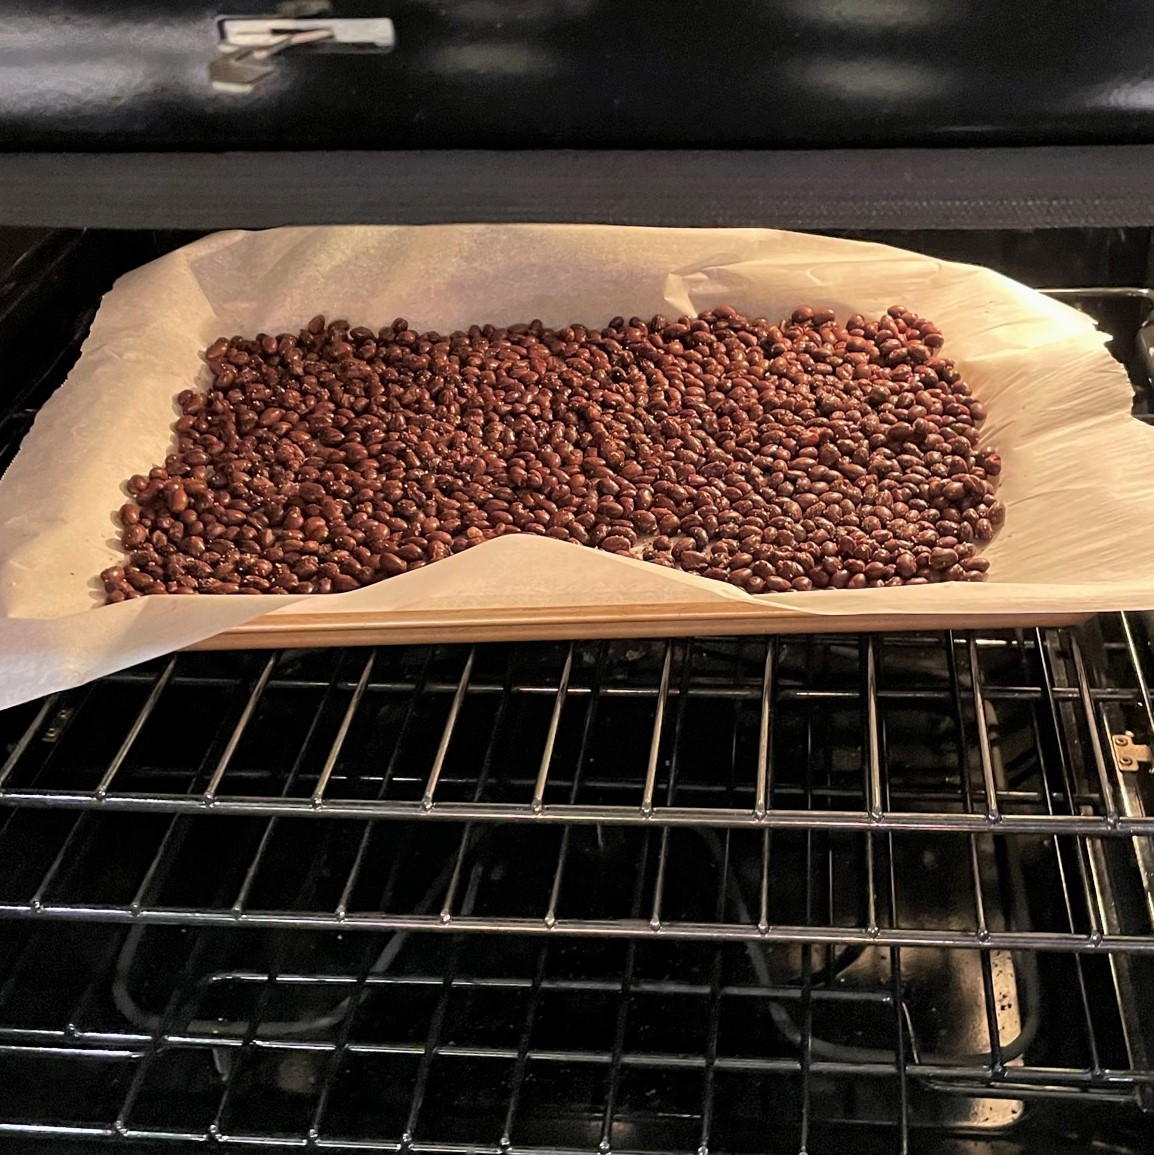
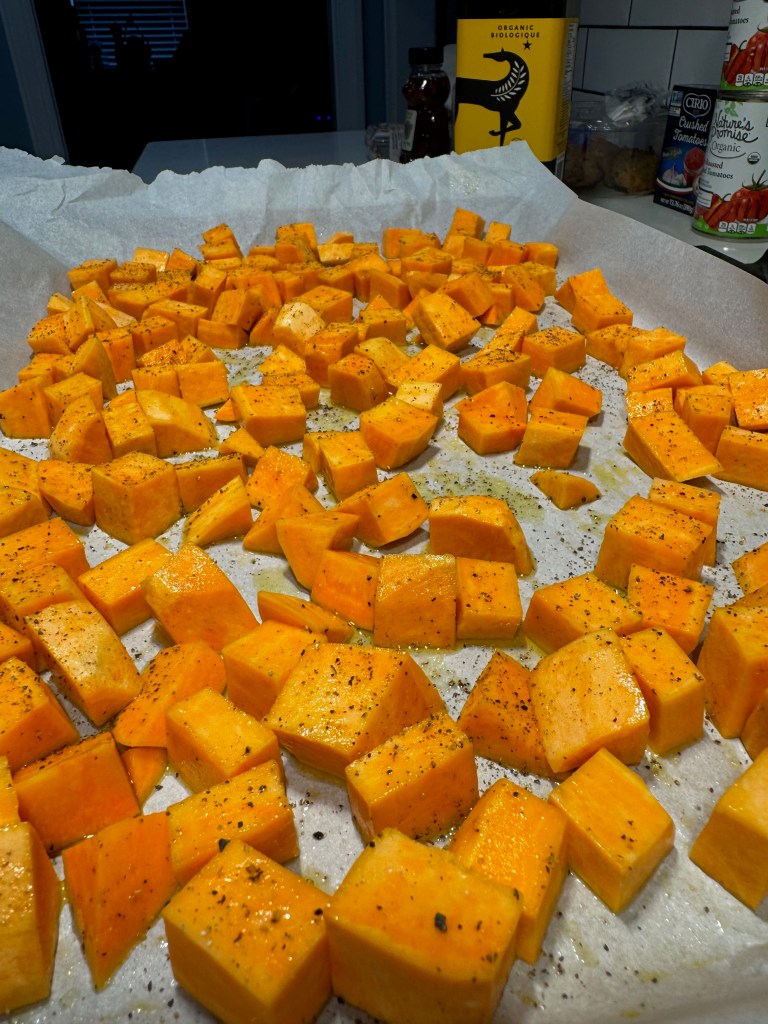
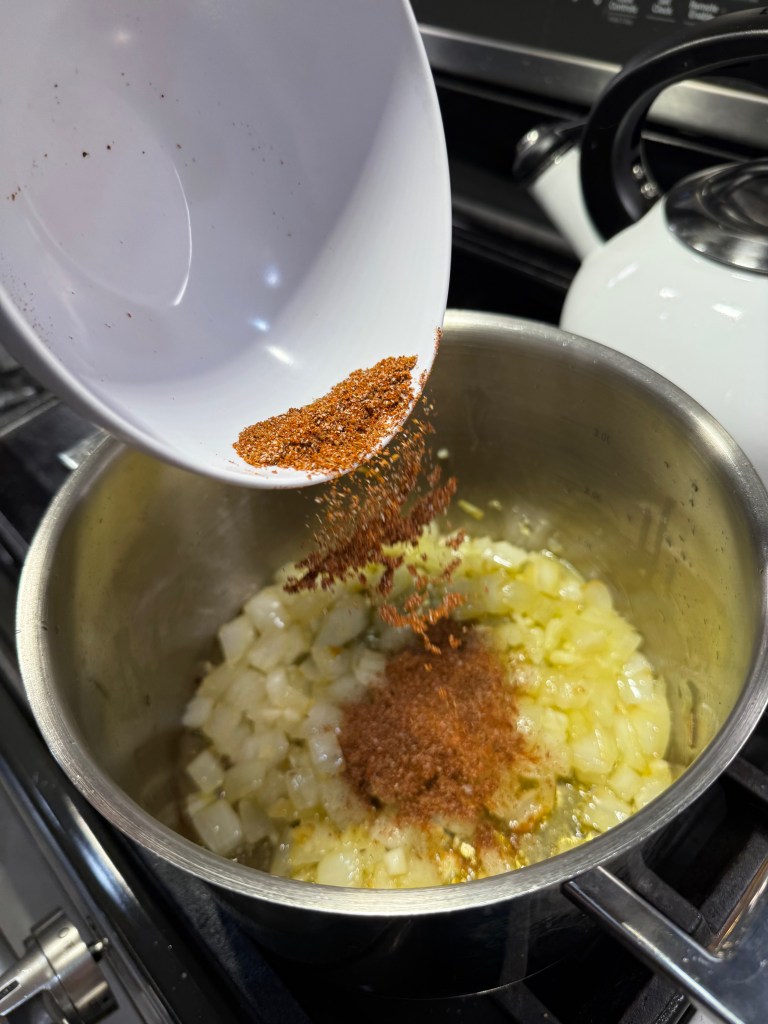
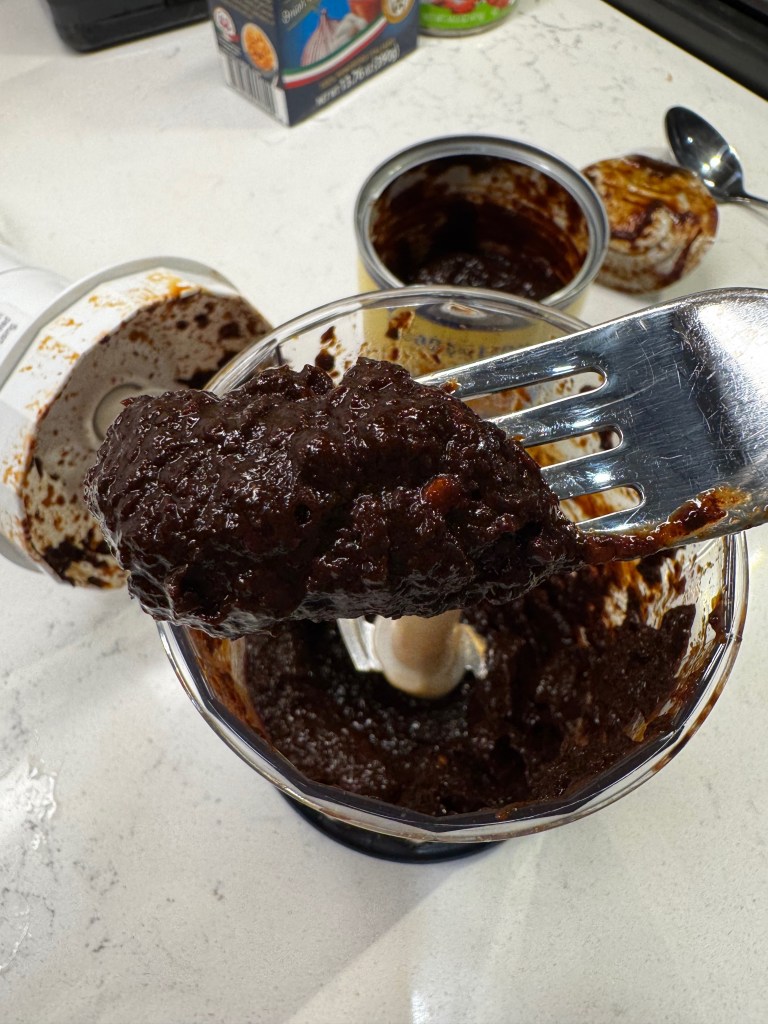
I roasted the sweet potatoes rather than simmering, which deepened the flavor as well as reduced moisture. The seasonings are smoky and aromatic, adding layers of flavor that only get deeper when you stir in the pureed chipotle with adobo sauce. I used about three tablespoons of this dark red paste, but the amount is flexible to match your taste for heat.


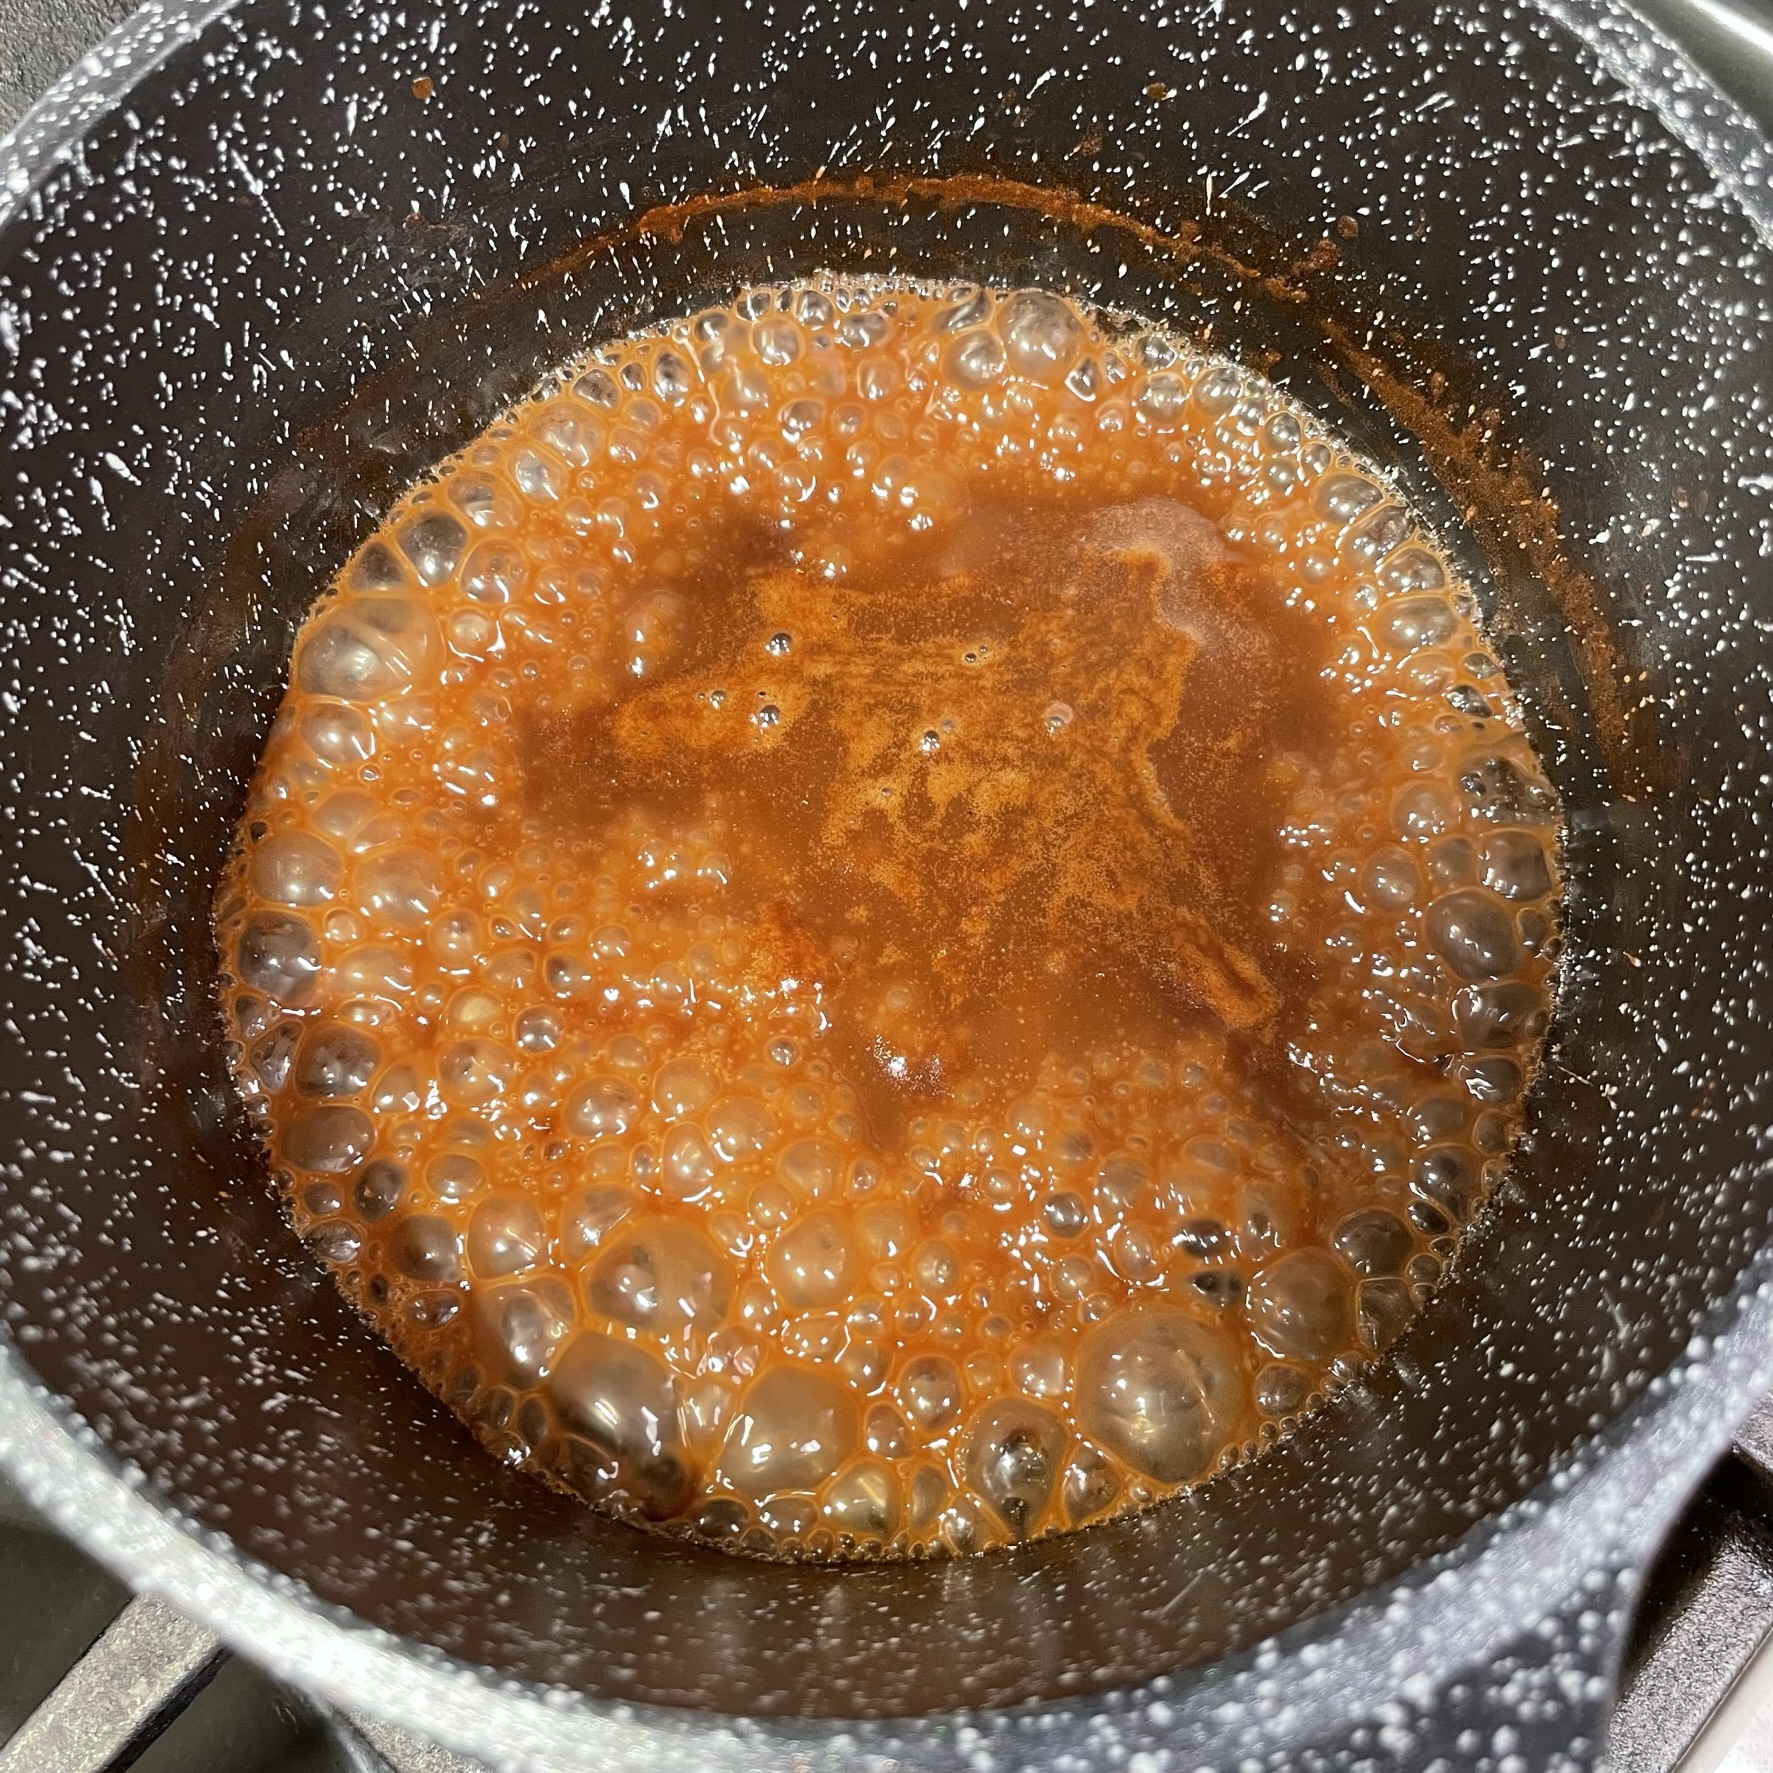
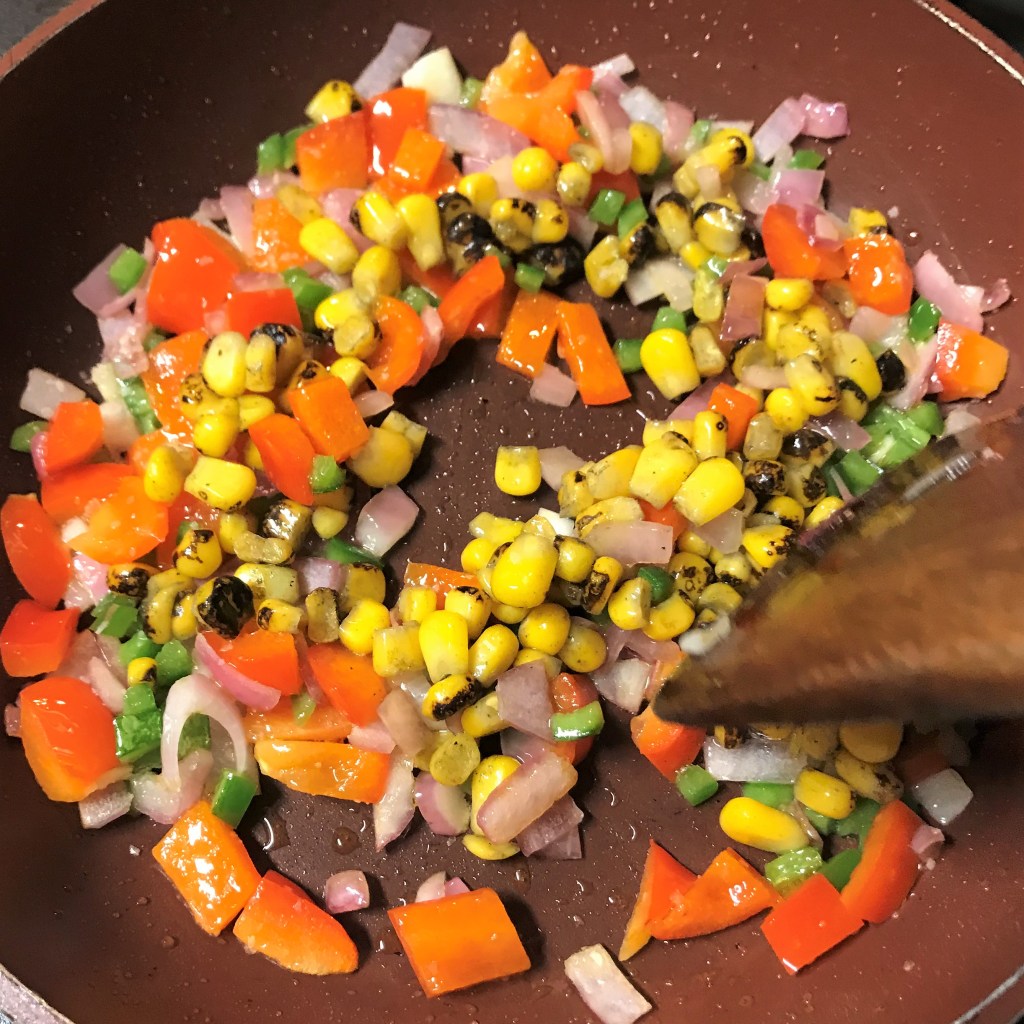
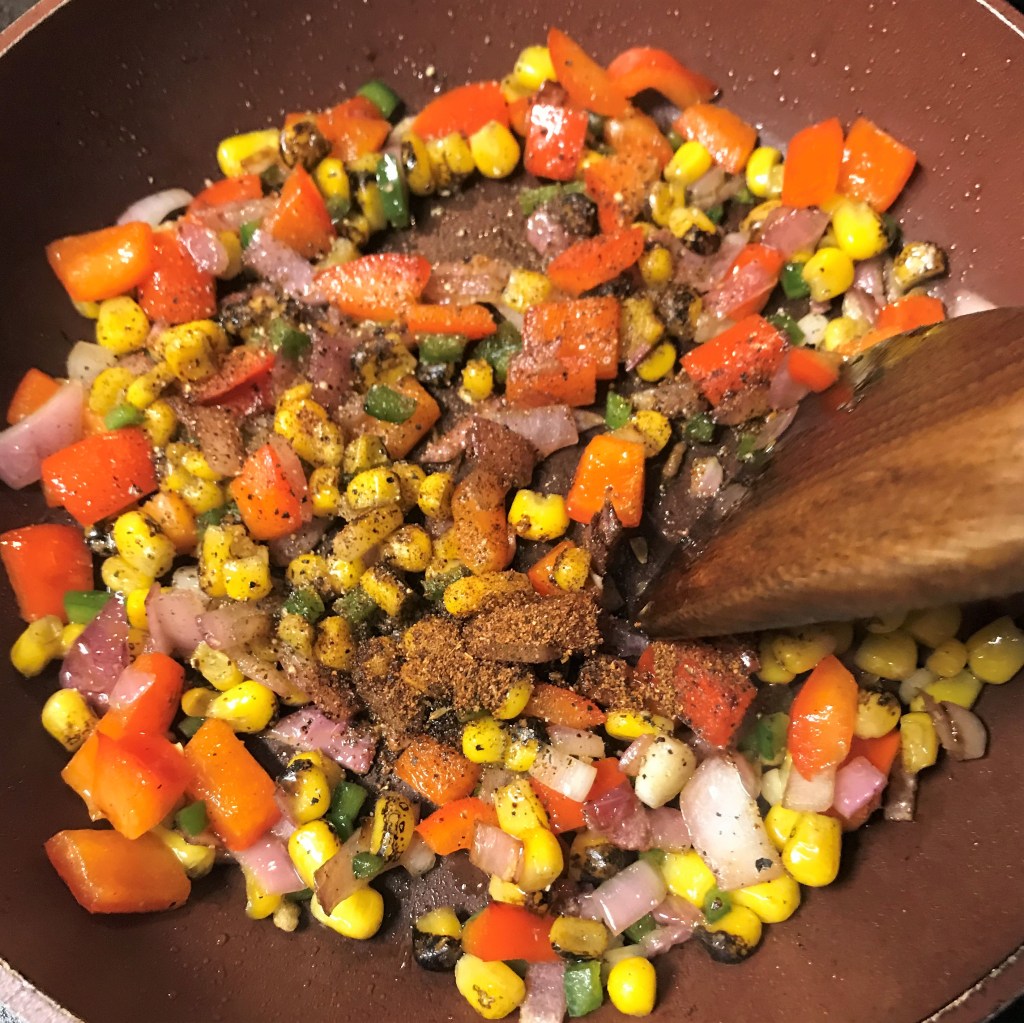
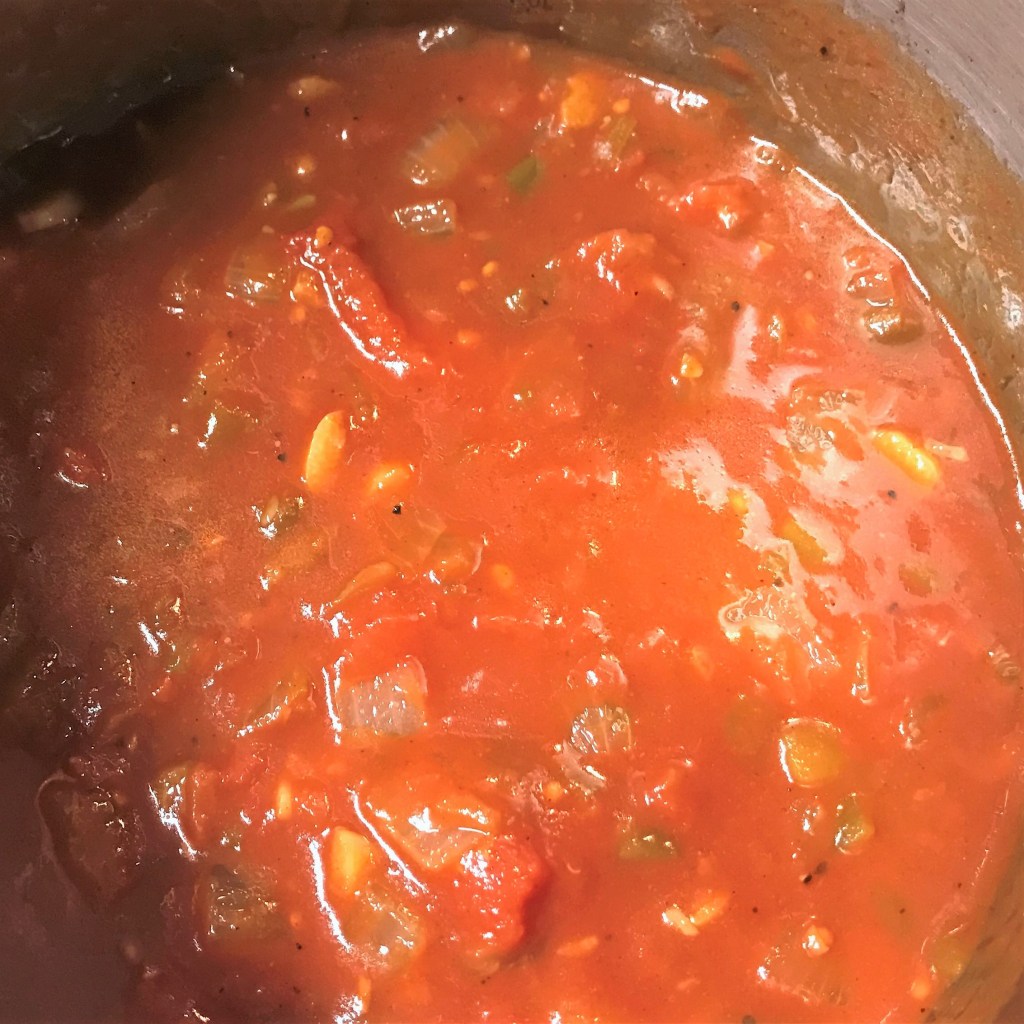
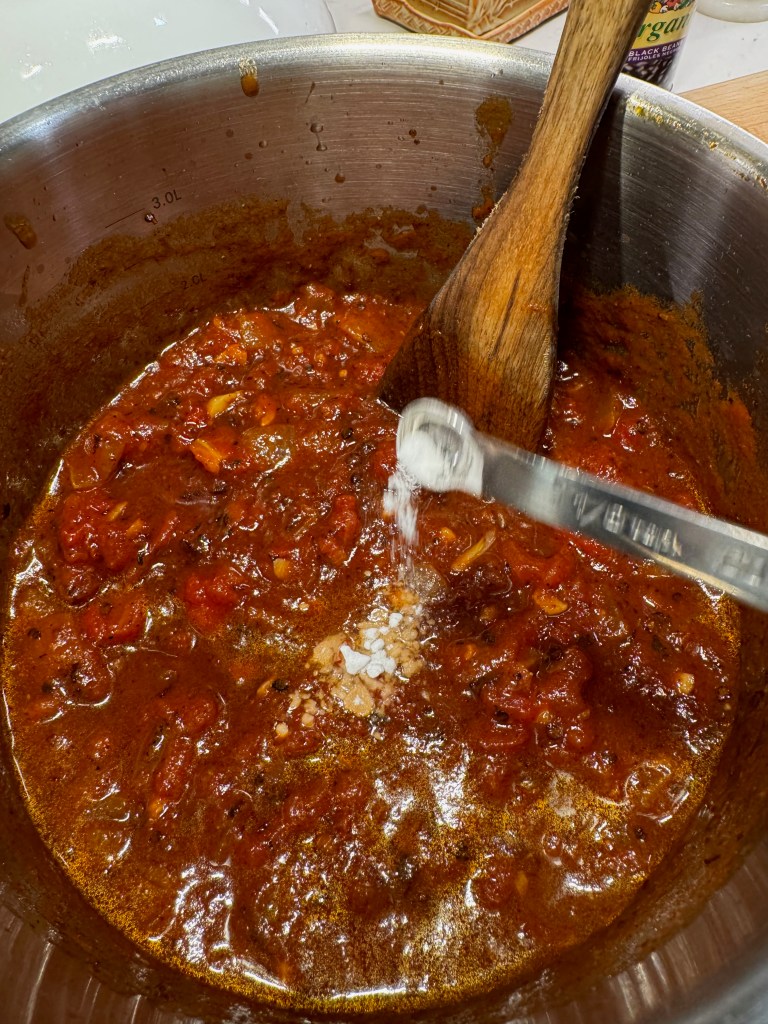
Fire roasted tomatoes added another layer of smokiness, but also a major hit of acid alongside the crushed tomatoes that went in with it. Next, a smidge of baking soda. This may seem like a strange addition to a pot of chili, but its alkaline nature helps soften the too-bright acidity of so many tomatoes. Let it bubble and foam for a minute or so, then carry on with the rest of the recipe.


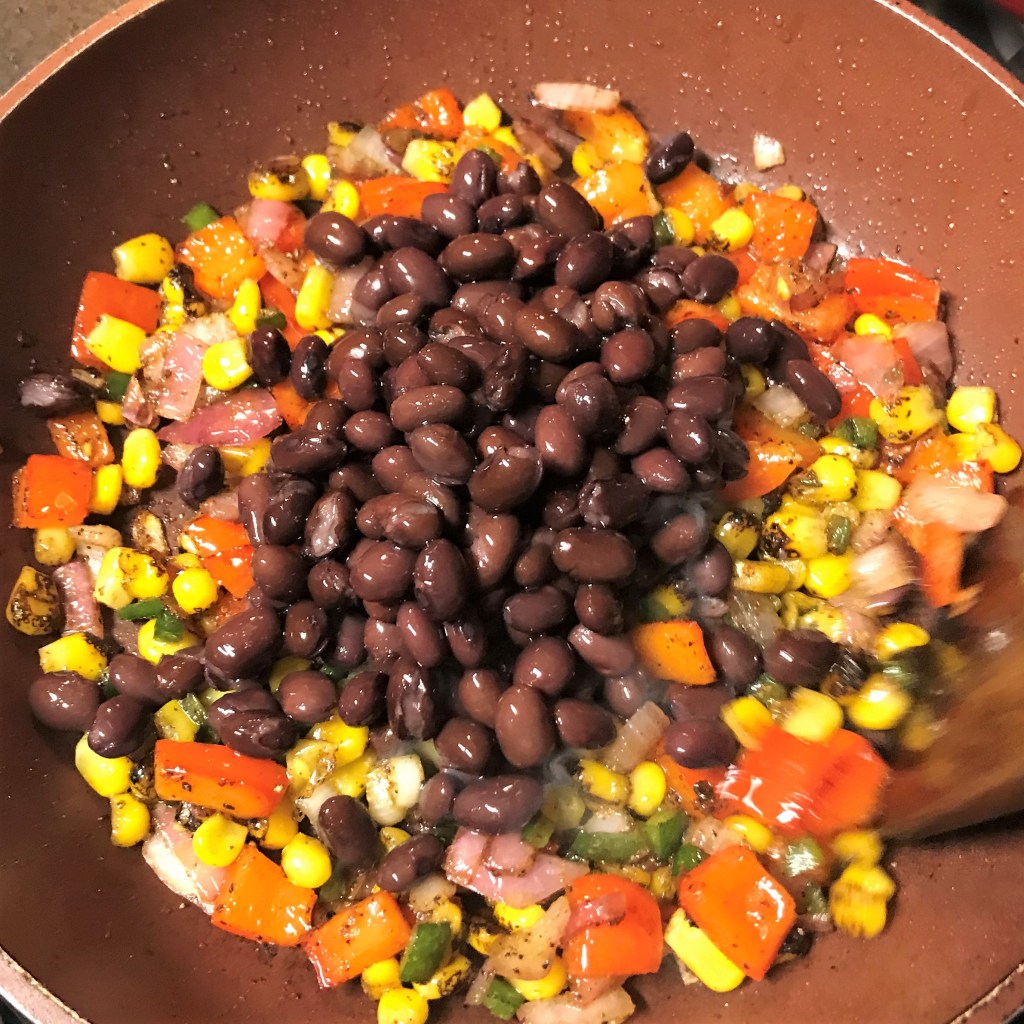
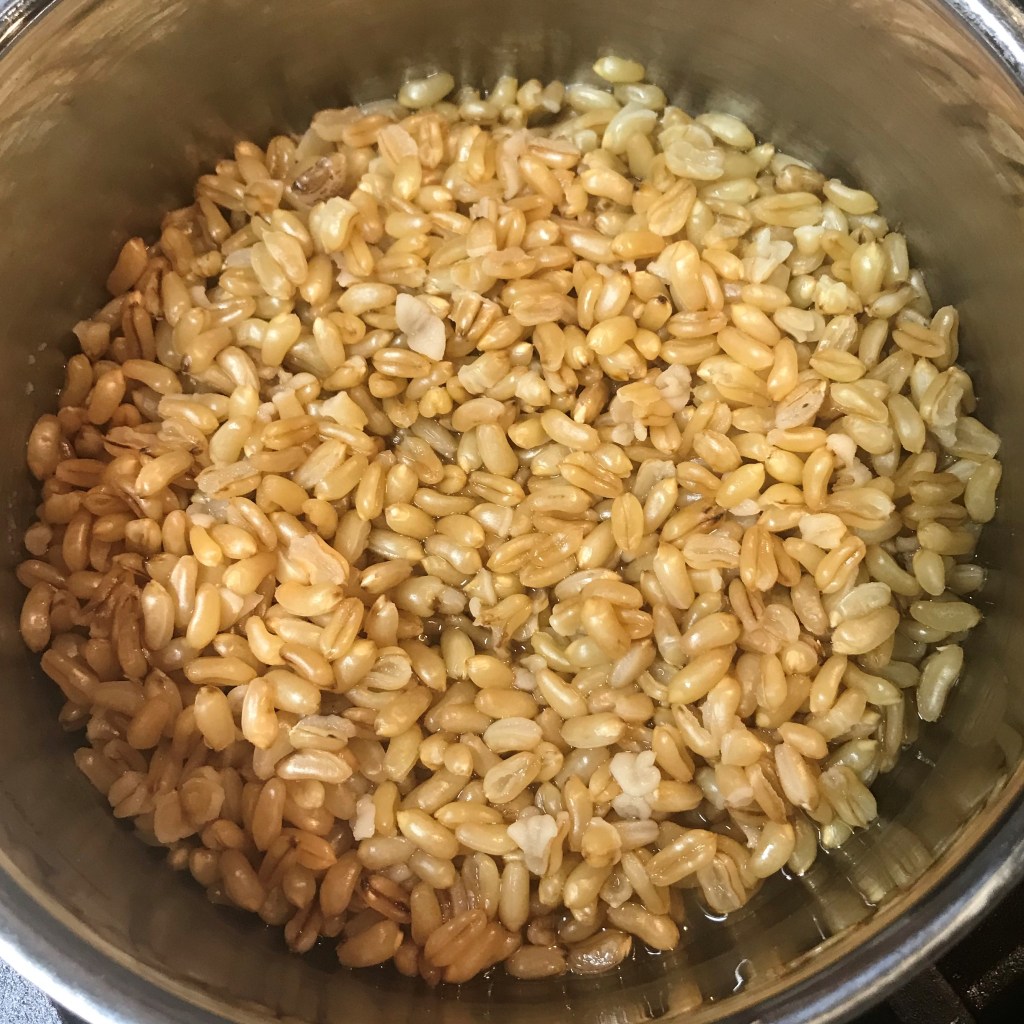
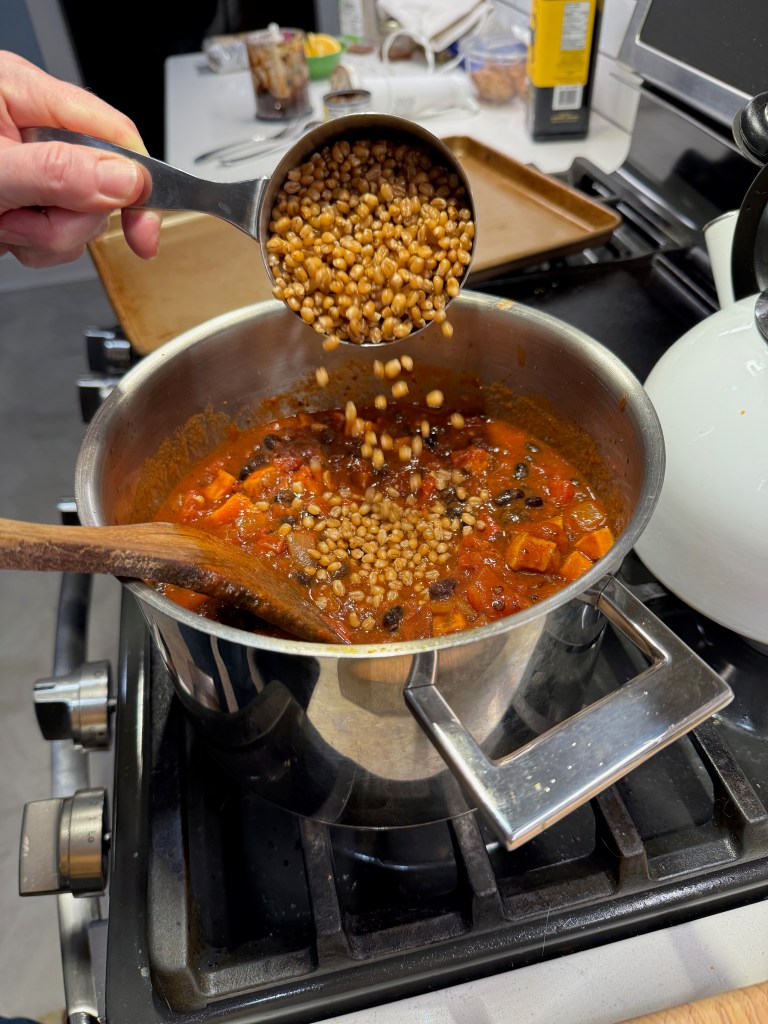
Black beans, the roasted sweet potatoes and cooked wheat berries finished this off, and it was thick, hearty and satisfying— all the things I wanted, none that I don’t. I suppose you could sub in pinto or kidney beans, but I love the earthiness of black beans. If you’re gluten free, you’d have to sub something for the chewy whole grain wheat berries— maybe cooked quinoa or buckwheat groats.

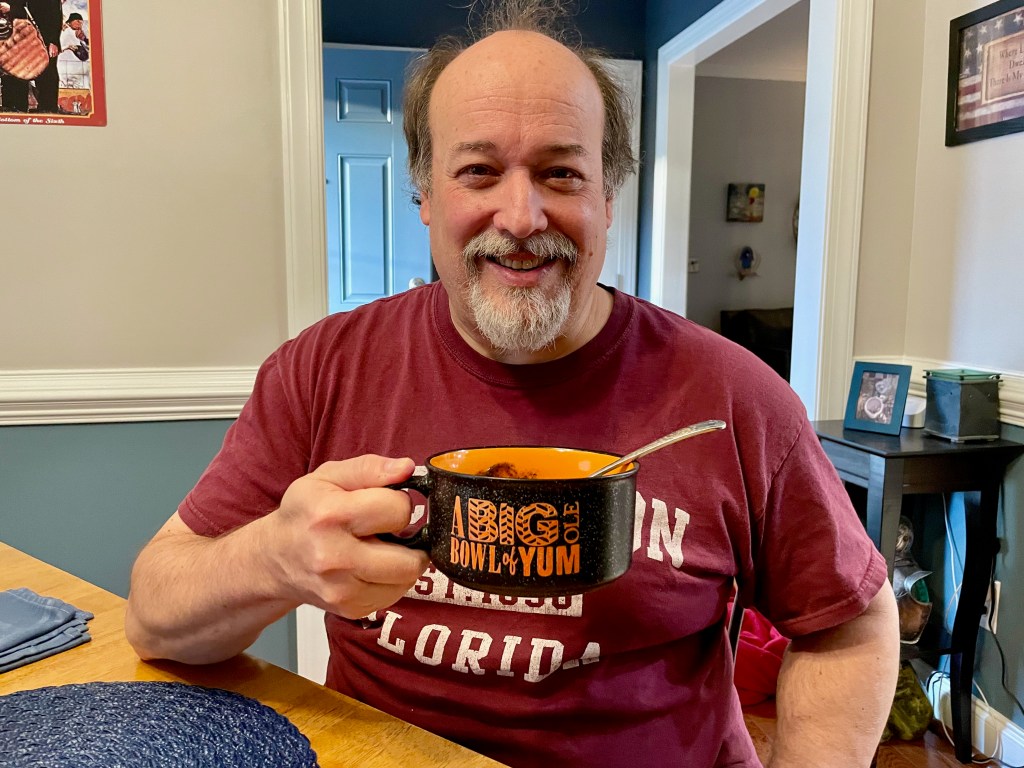
Thick & Hearty Sweet Potato Chili

Game day food is notoriously heavy and calorie-laden, but this chili is scoring big on flavor and fiber, without saturated fat or excess calories. Did I mention that it's also vegan? Plant-based for the win!
Ingredients
- 2 large sweet potatoes, peeled and cut into cubes
- 4 Tbsp. extra virgin olive oil, divided
- 1 medium-large sweet or yellow onion, chopped
- 4 cloves garlic, smashed and sliced thin
- 1 tsp. kosher salt
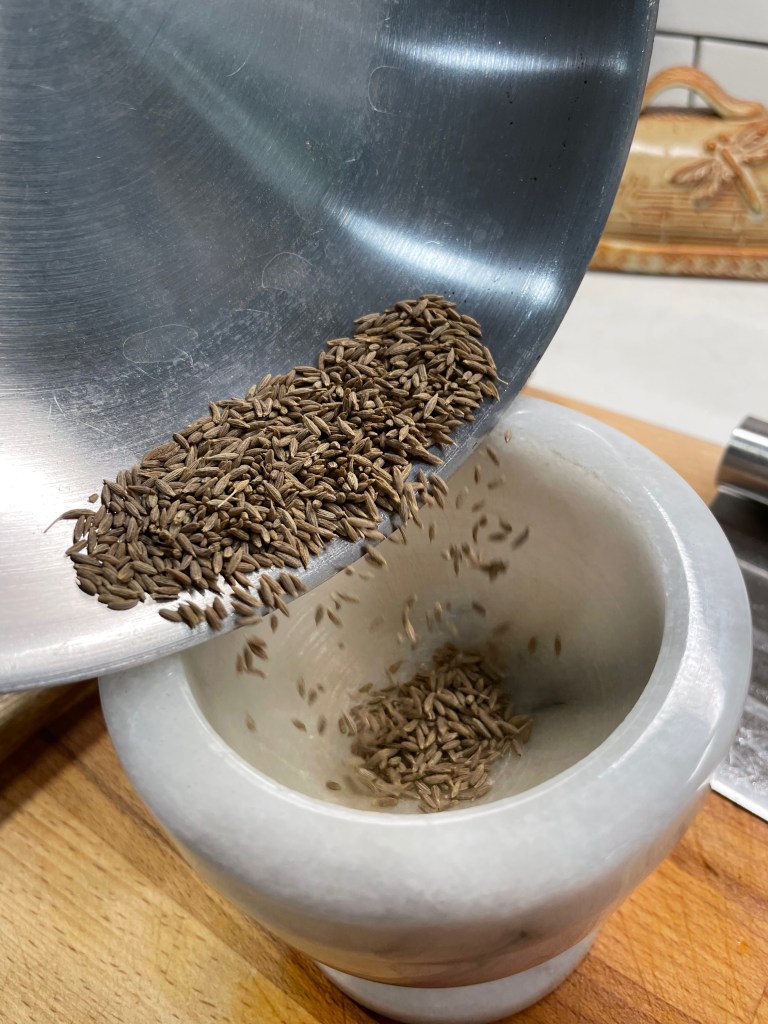
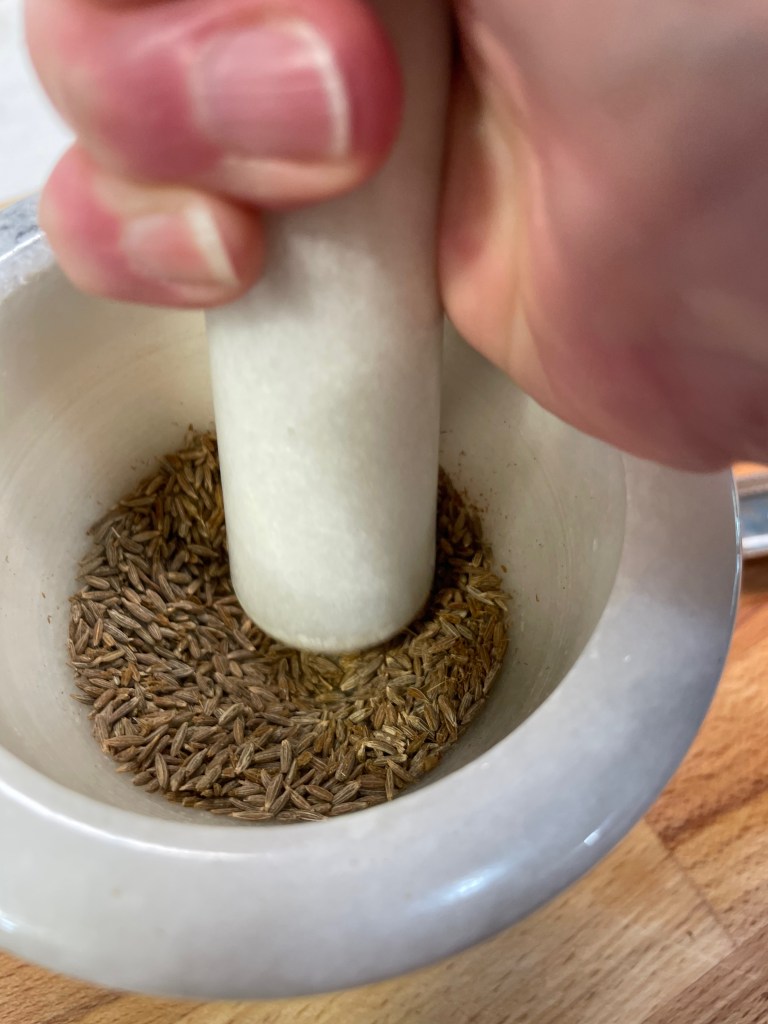
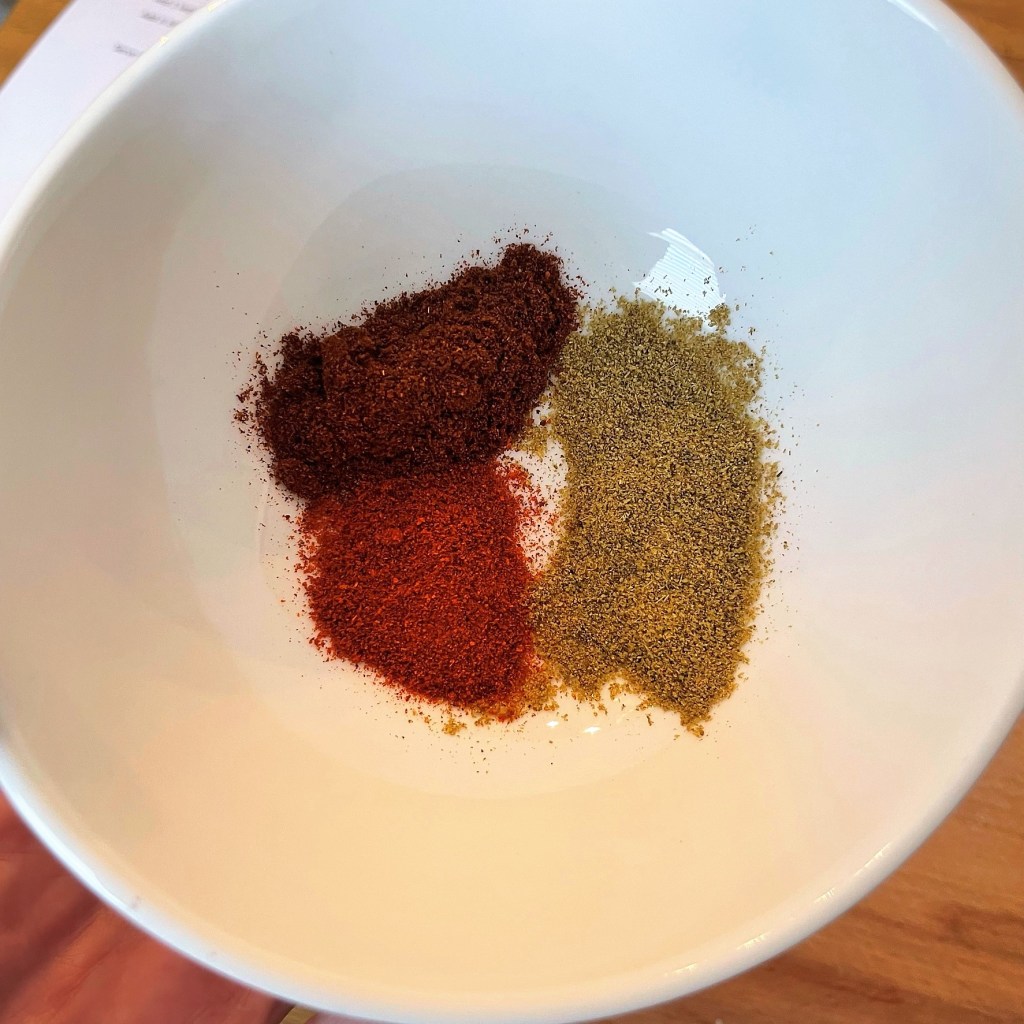
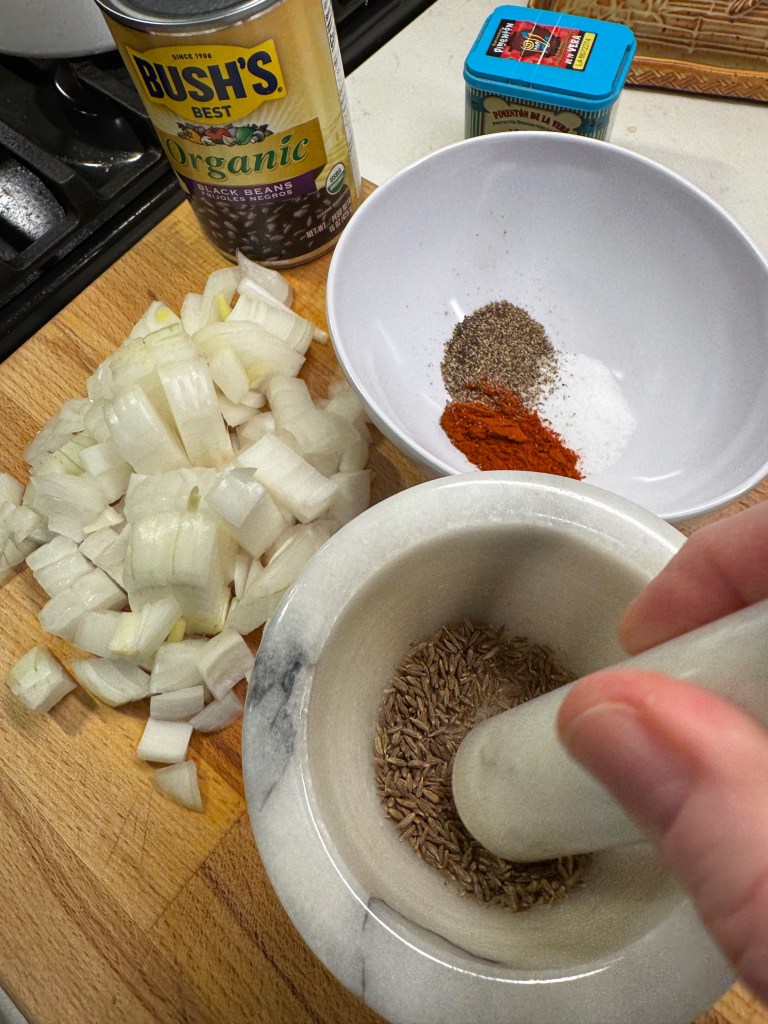
- 3/4 tsp. cumin seed, crushed into powder
- 1 tsp. smoked paprika
- 3/4 tsp. ancho chile powder
- About 14 twists freshly ground black pepper
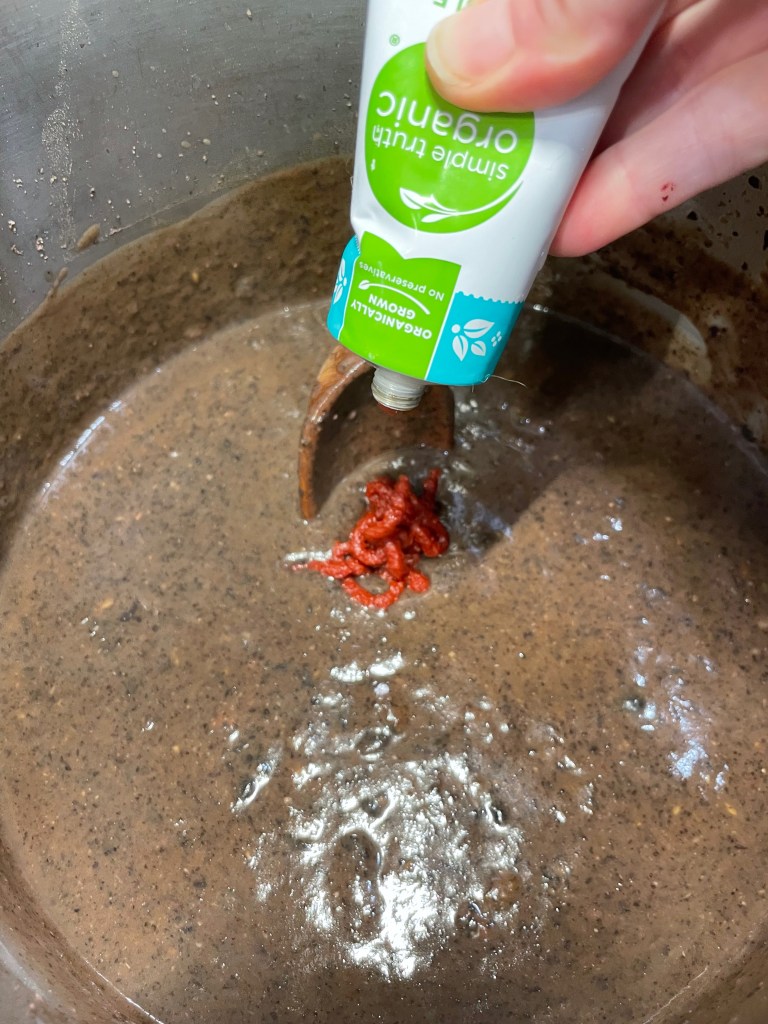
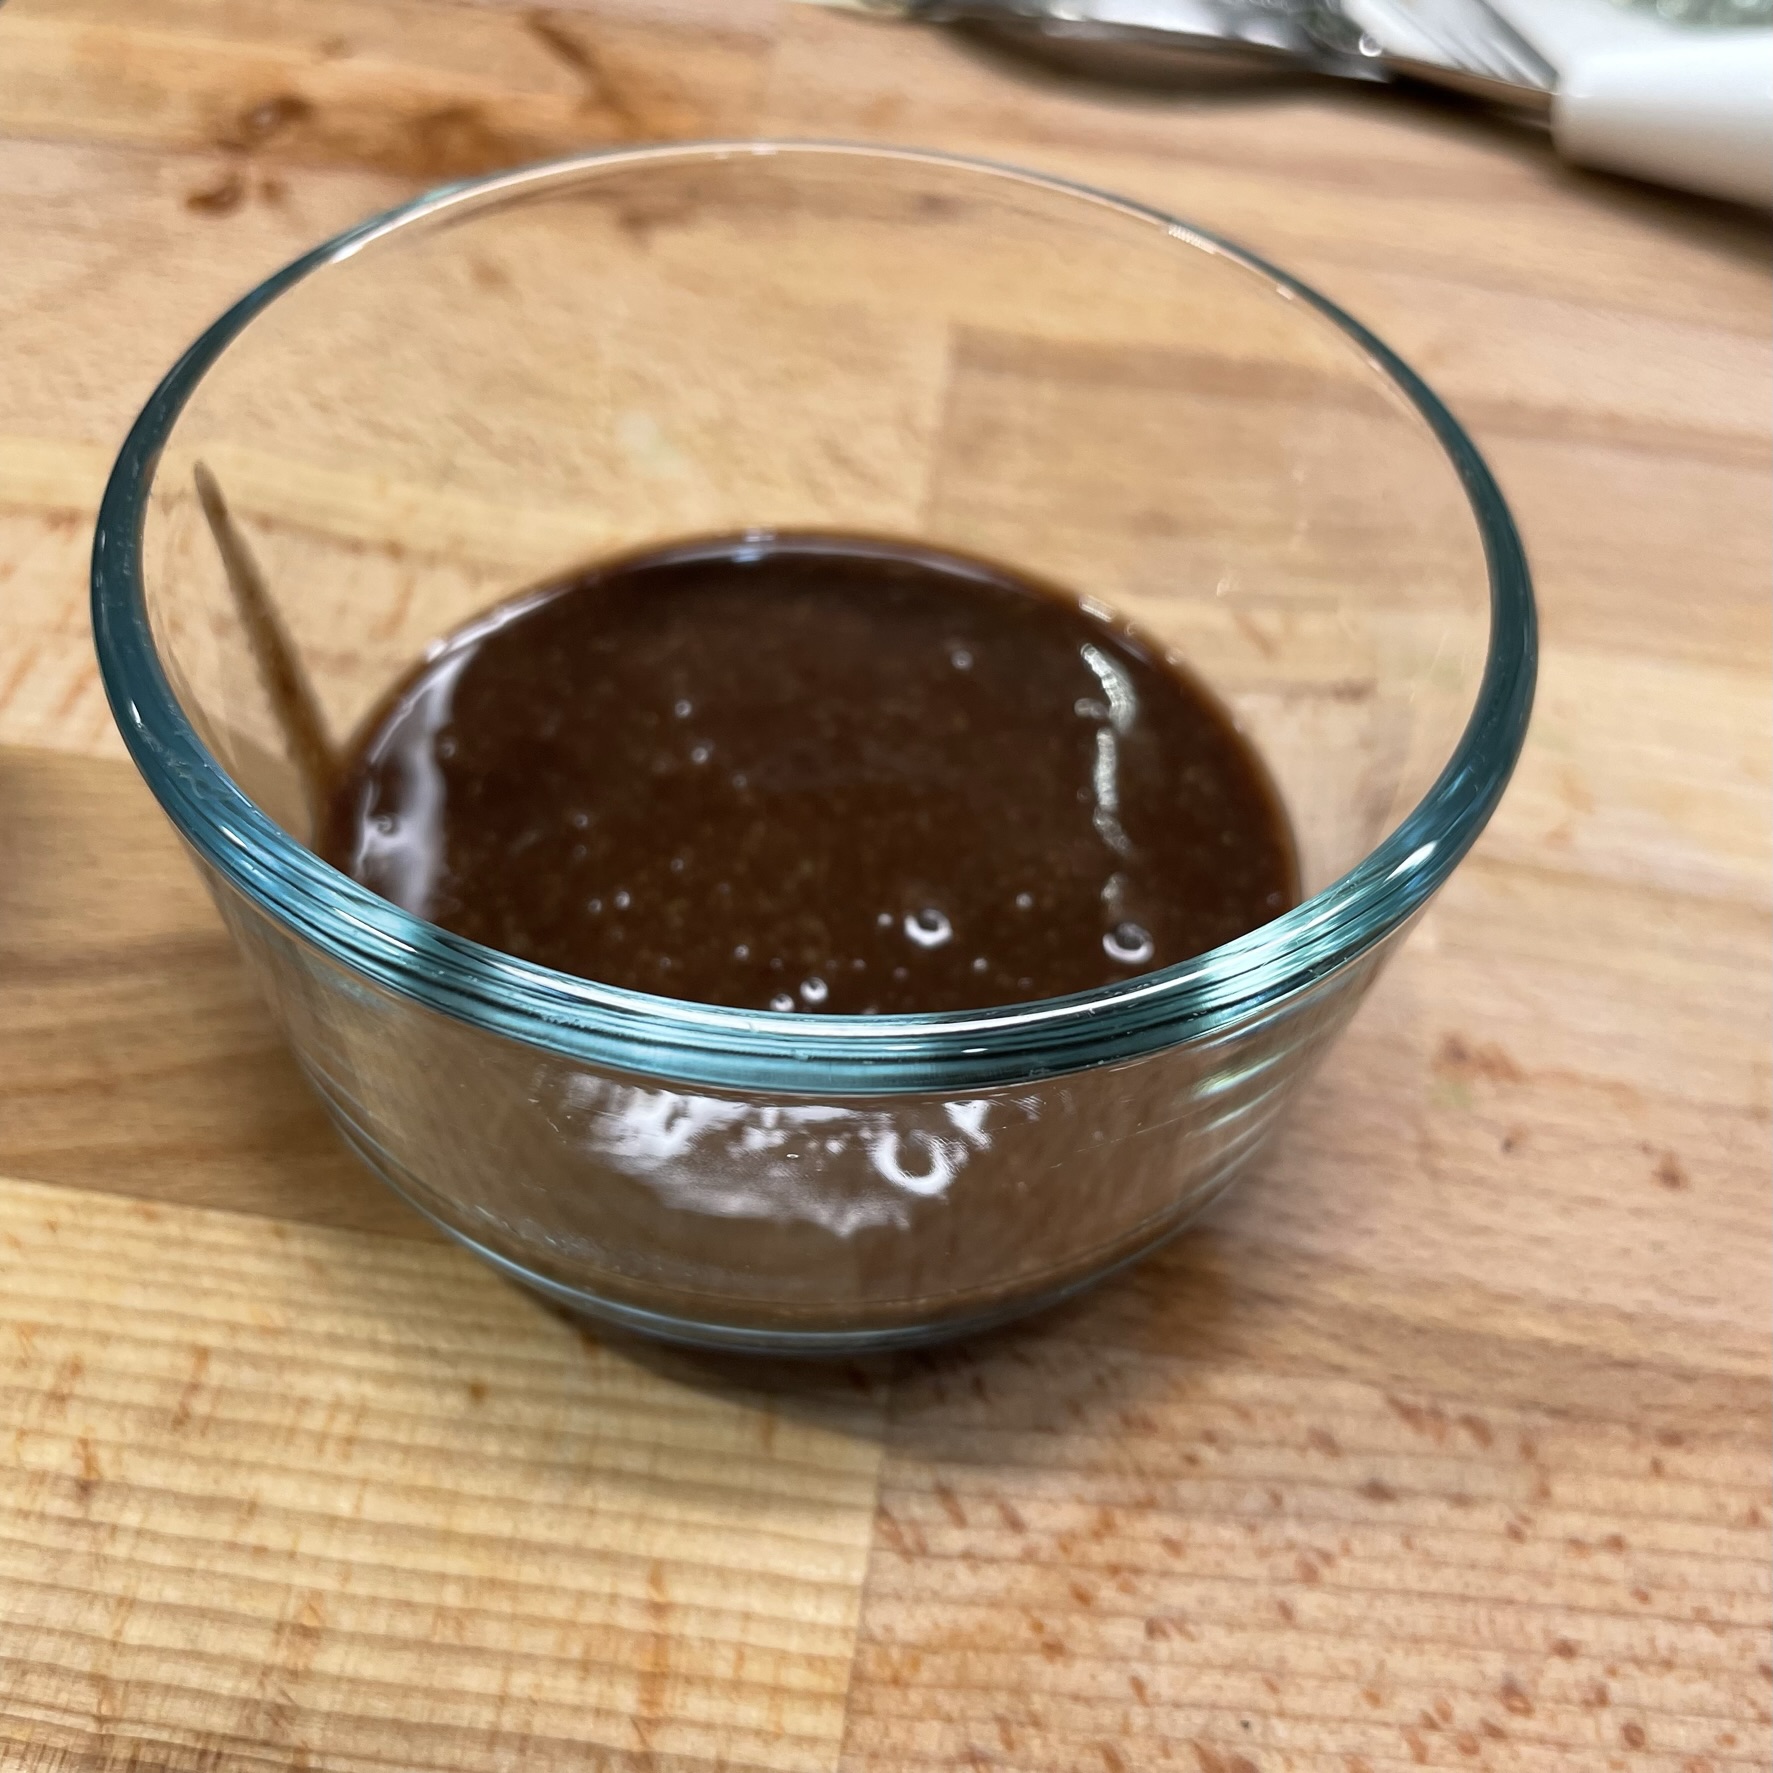
- 2 to 4 Tbsp. pureed chipotle with adobo (see notes)
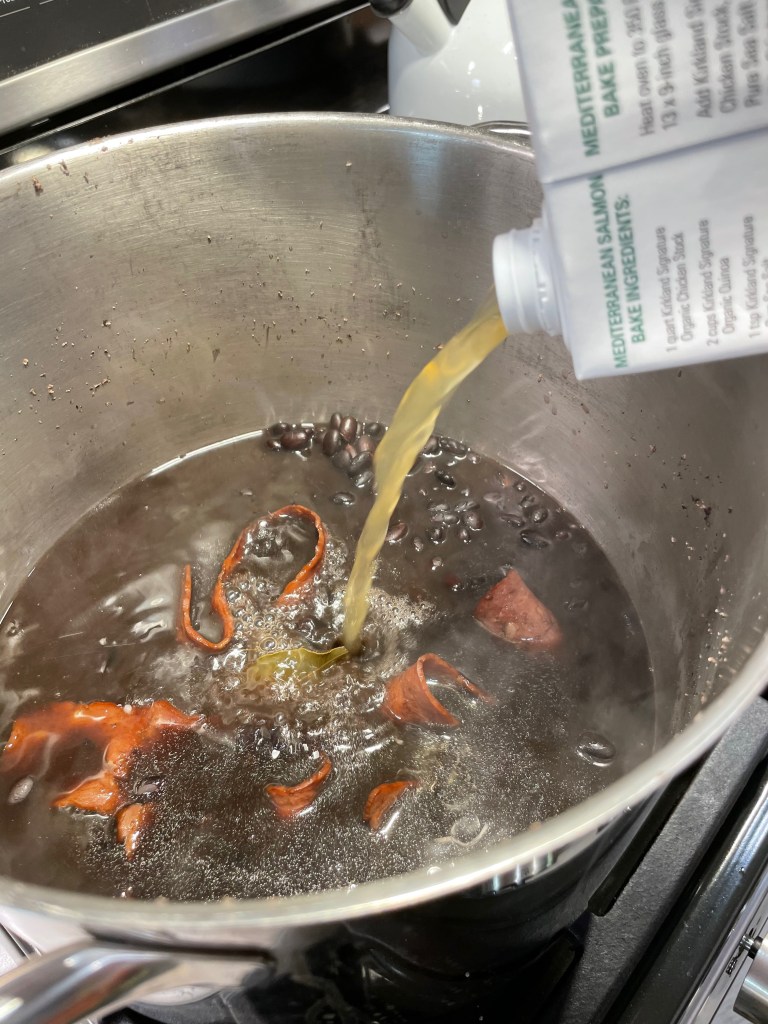
- 28 oz. canned fire roasted diced tomatoes
- 14 oz. can or carton crushed tomatoes
- 1/8 tsp. baking soda (optional, see notes)
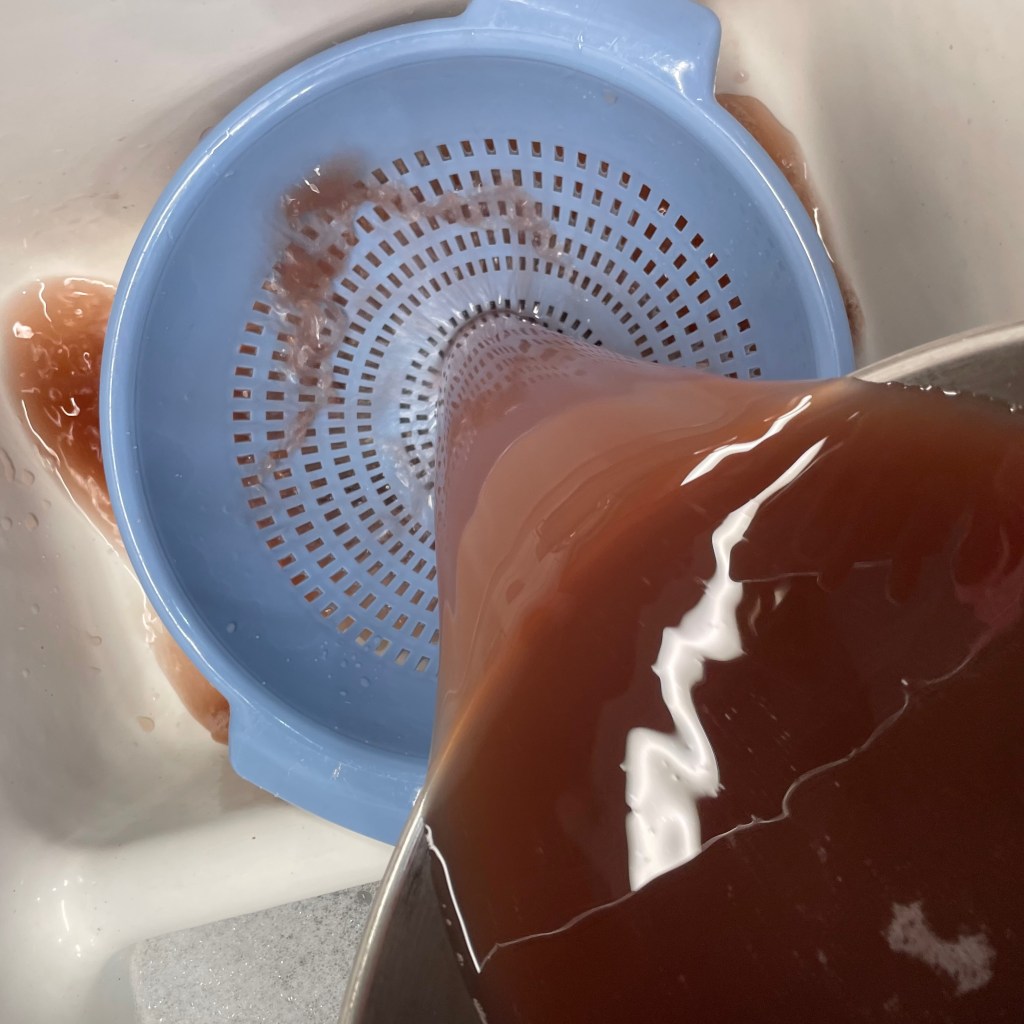
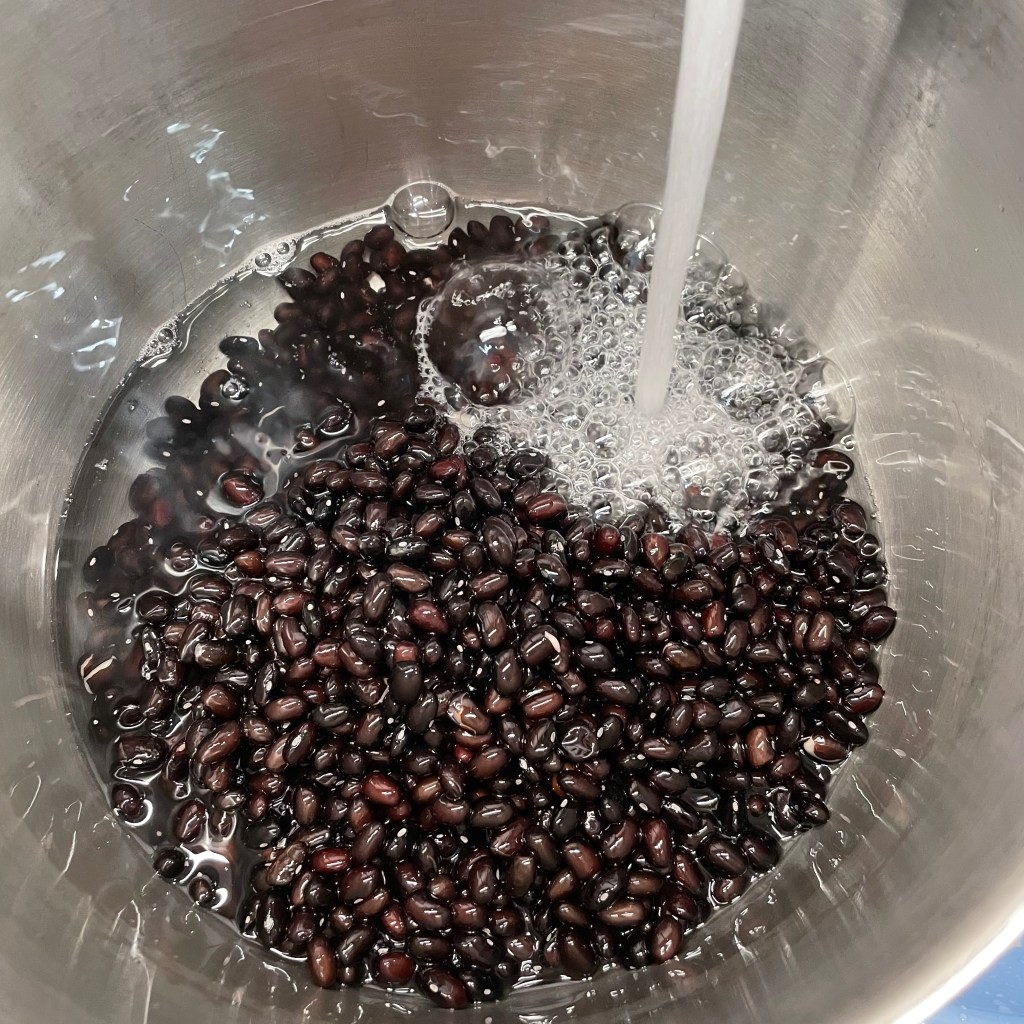
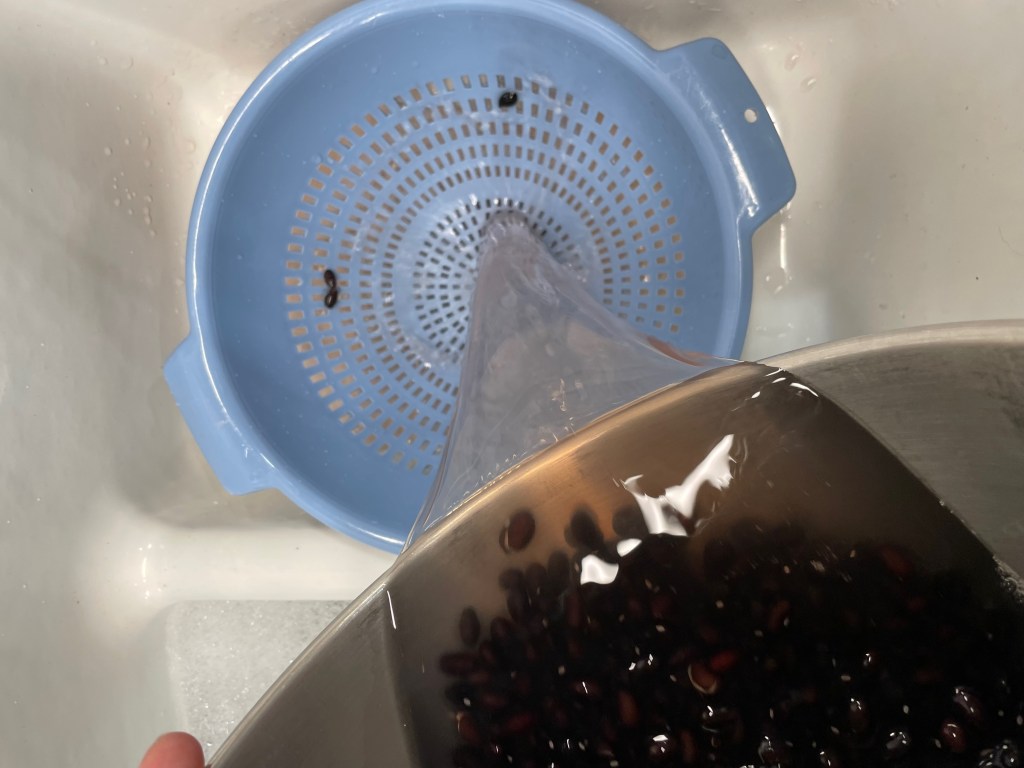
- 2 cans low-sodium black beans, drained
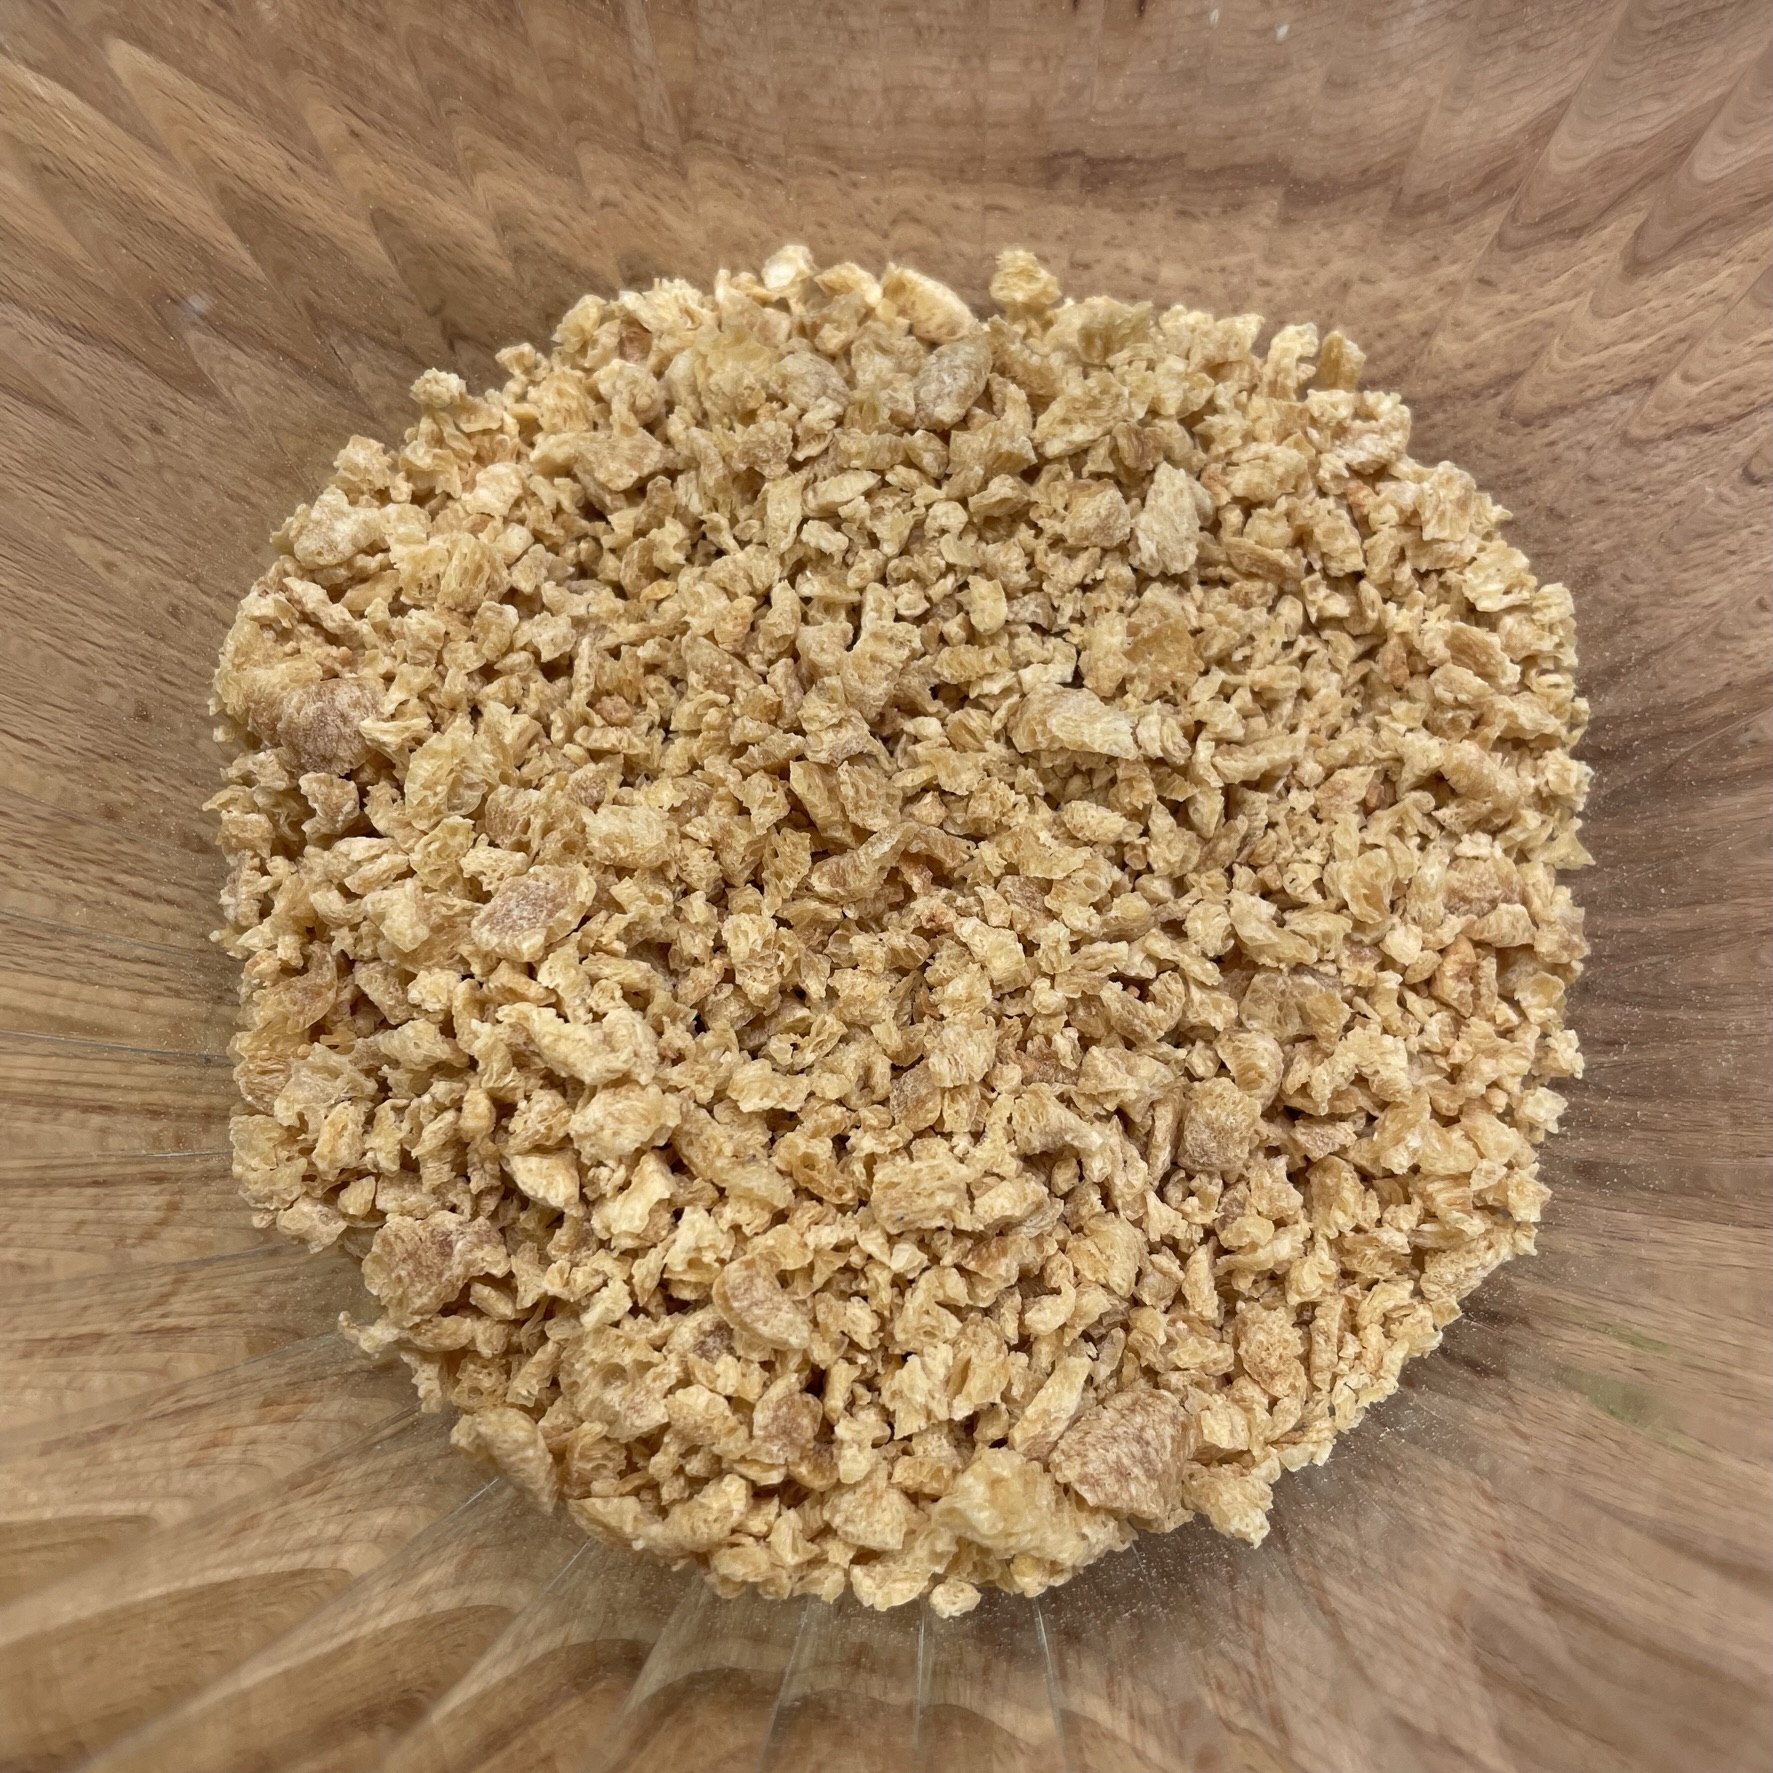
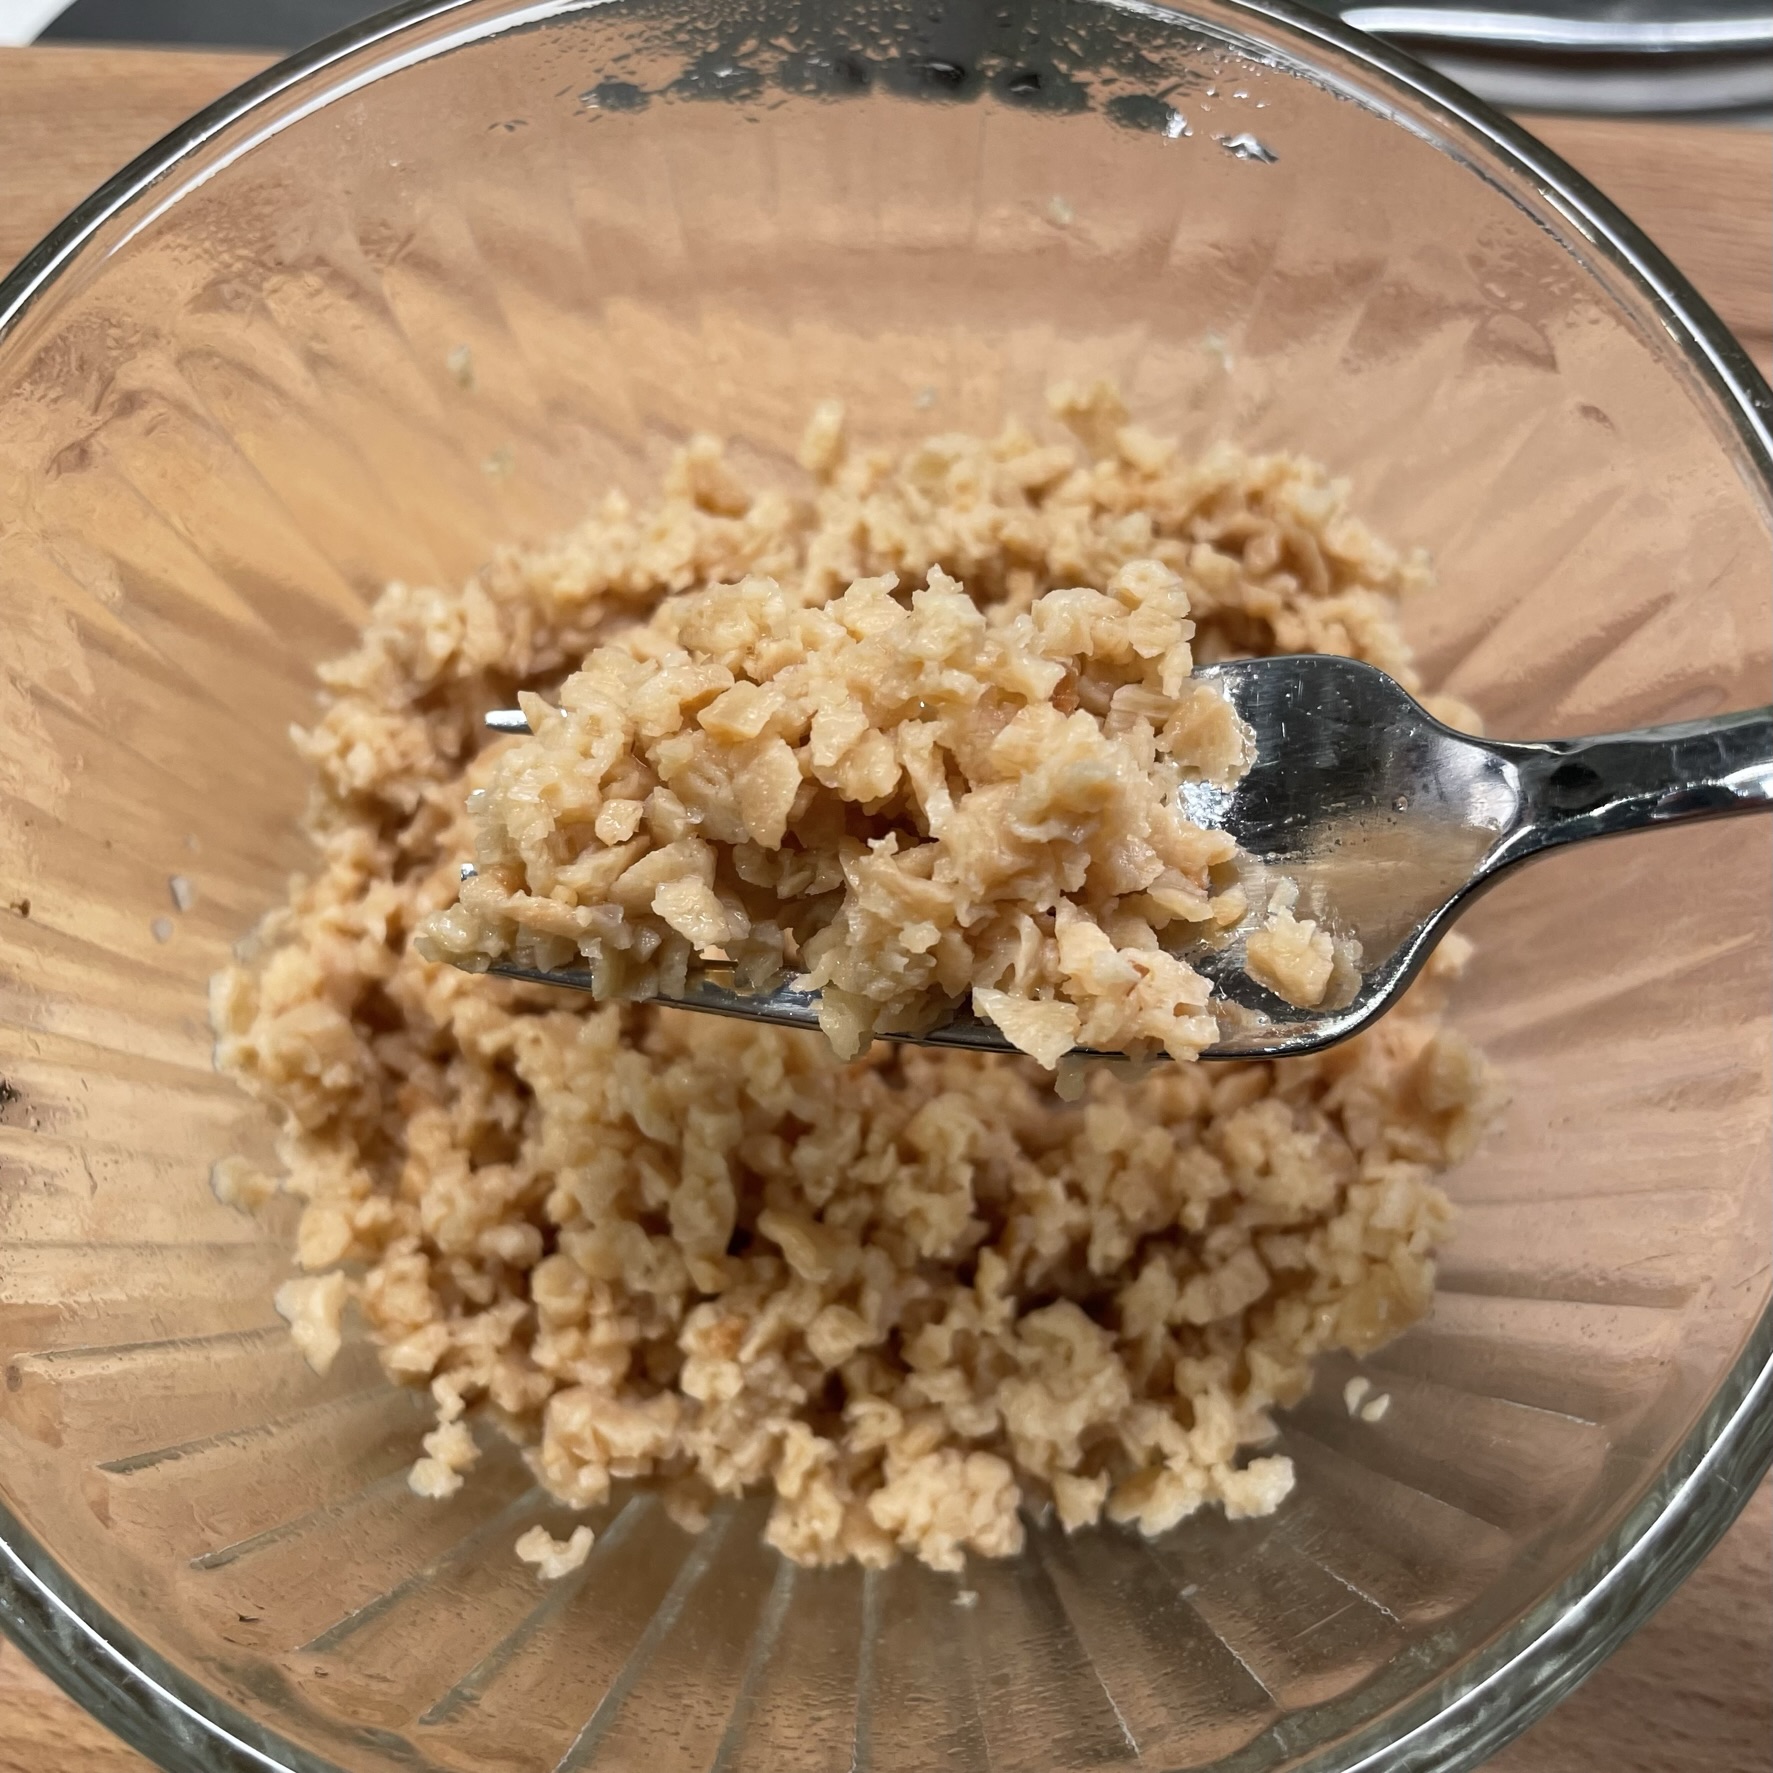
- 1 cup cooked wheat berries (see notes)
Directions
- Preheat oven to 400° F, with oven rack in center position. Line a heavy sheet pan with parchment paper.
- Toss sweet potatoes in two tablespoons of olive oil and spread evenly onto parchment-lined sheet pan. Season with kosher salt and pepper. Roast for about 40 minutes, until potatoes can be easily pierced with a knife tip and edges are caramelized.
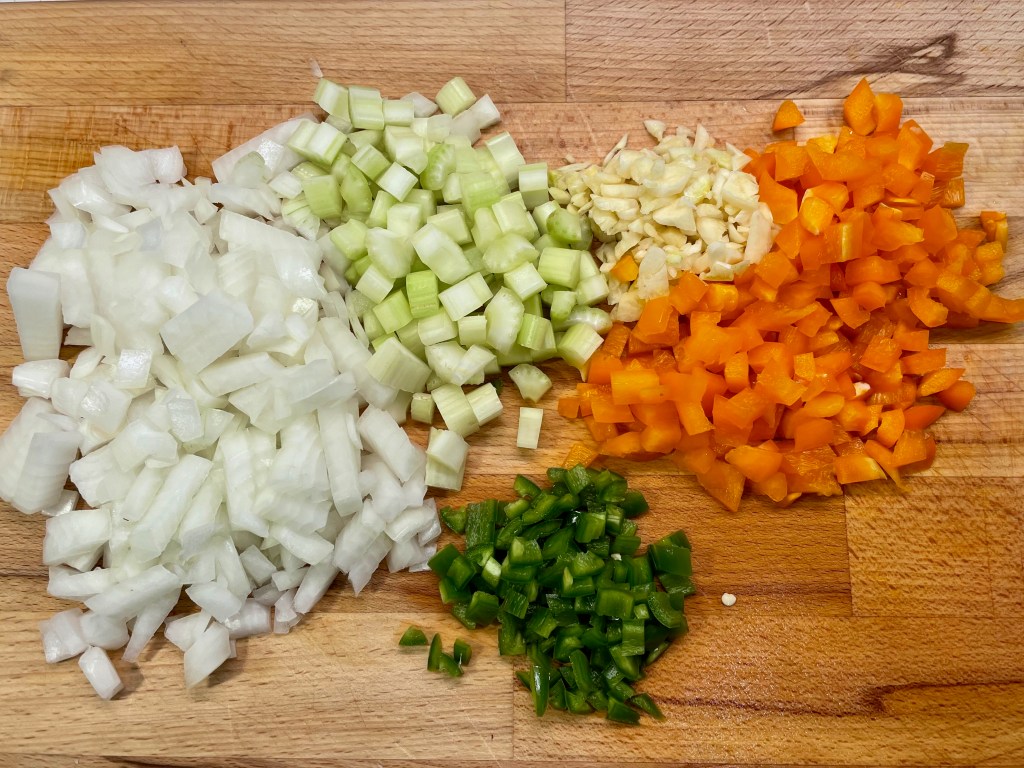
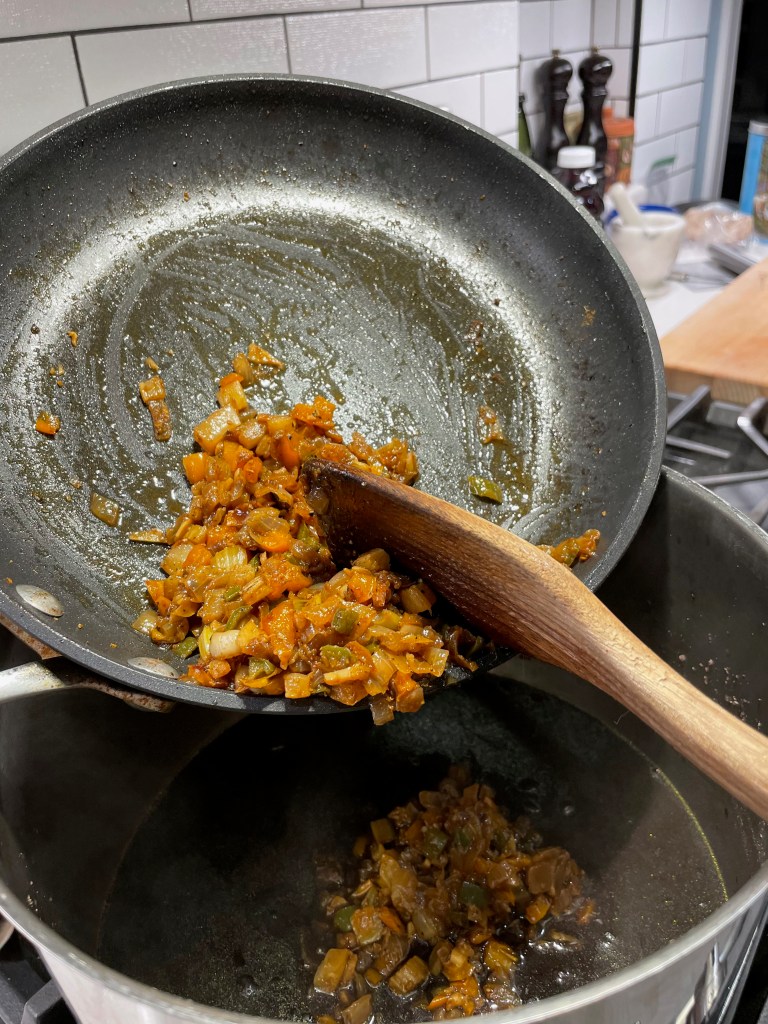
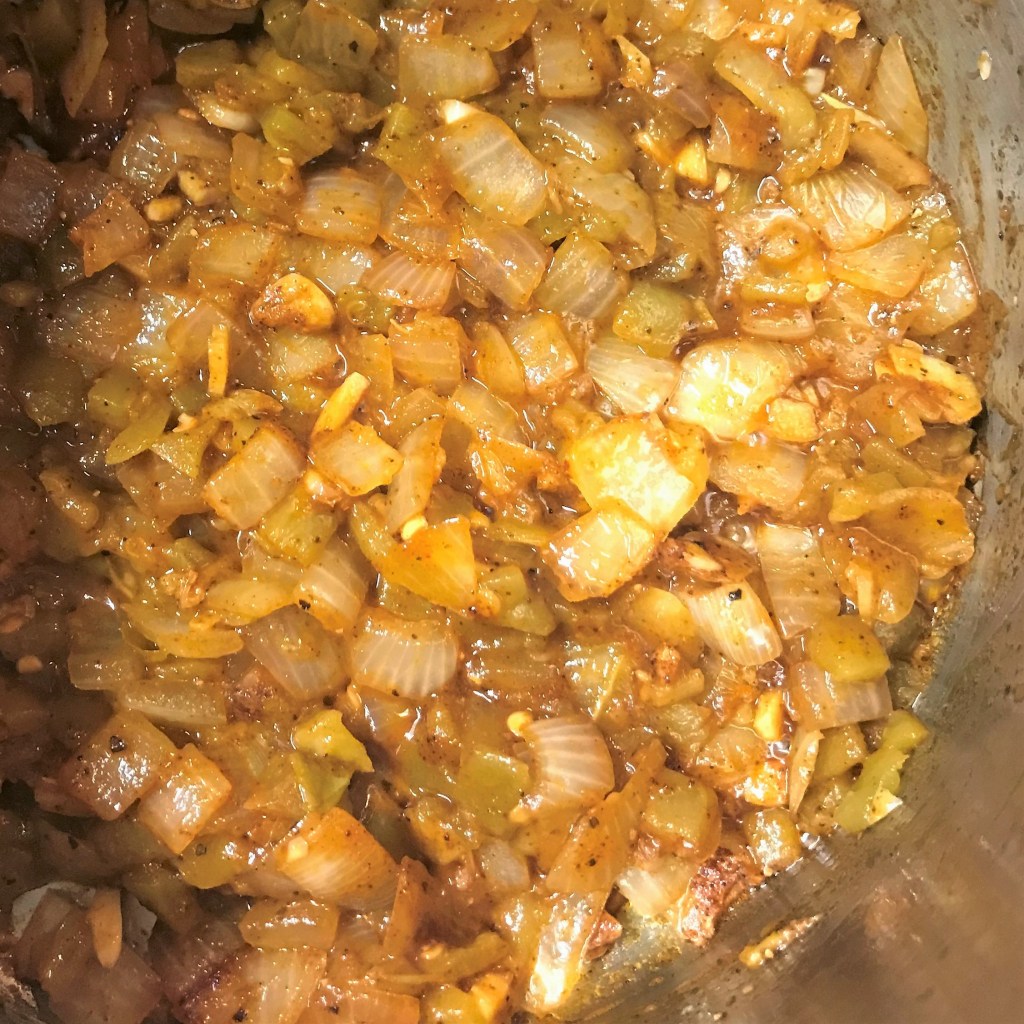
- Meanwhile, place a medium, heavy-bottomed pot over medium heat. Swirl in remaining two tablespoons olive oil when pan is hot. Add onions and sauté several minutes, until onions are softened with edges just beginning to brown. Reduce heat, add garlic and stir to heat through.
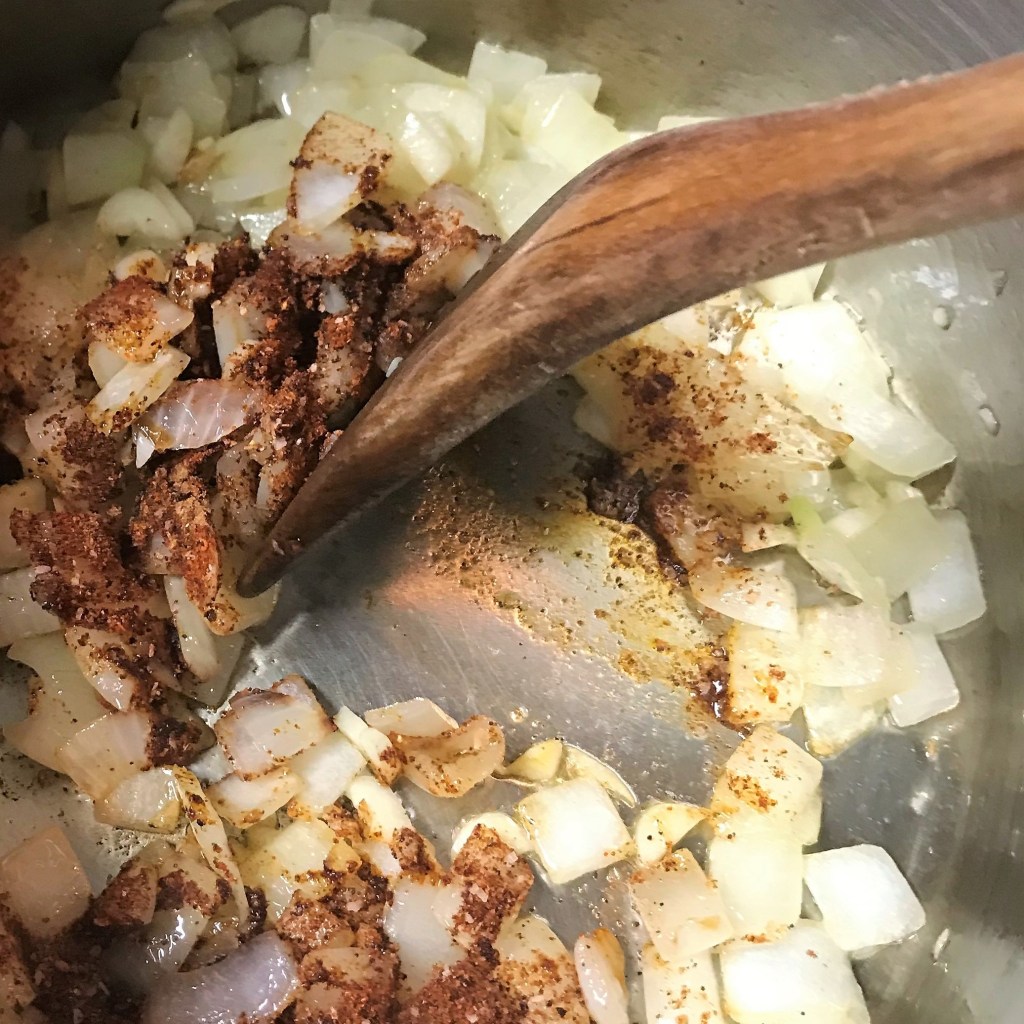
- Combine salt and spices in a small bowl. Sprinkle over sautéed onion mixture and toss to coat. Allow spices to bloom for about two minutes, then stir in chipotle with adobo puree.
- Add diced and crushed tomatoes, stirring to combine evenly with seasoned onion mixture. Return heat to medium and bring to a simmer. Stir in baking soda and cook for about one minute.
- Add black beans, roasted sweet potatoes and cooked wheat berries. Heat through and serve.