O Canada!

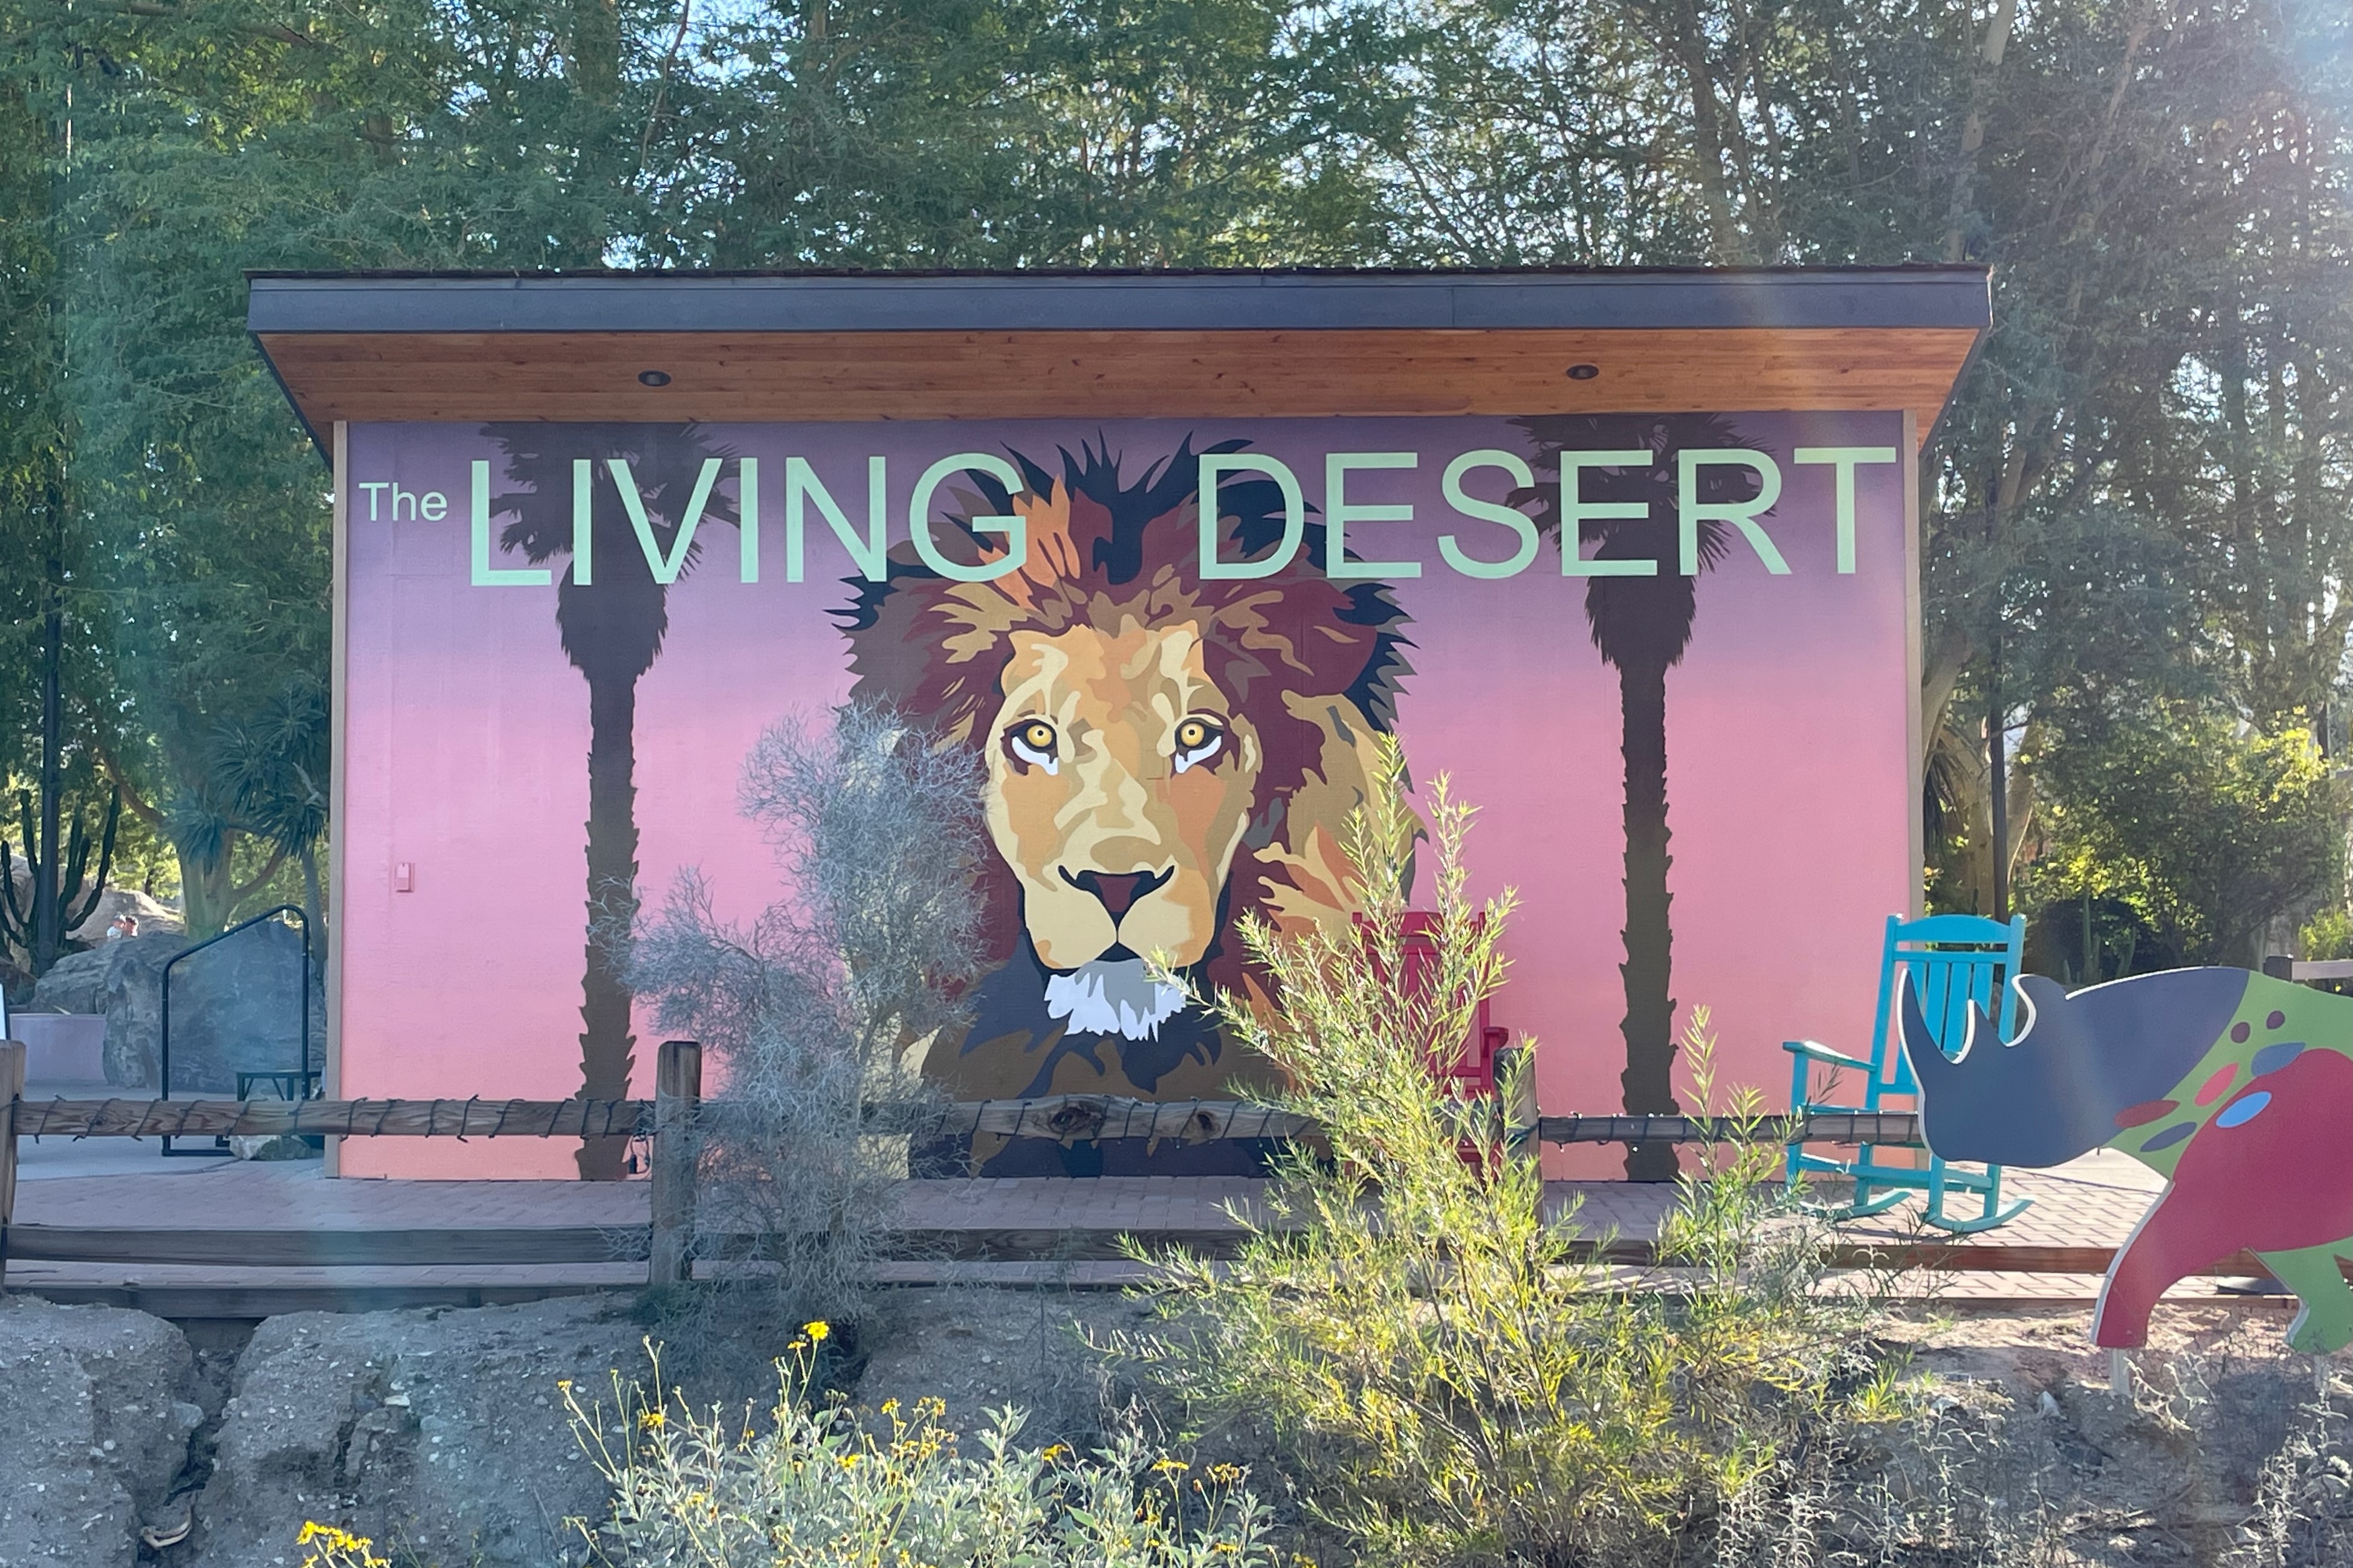
I might have otherwise titled this post, “How I Spent My Eclipse Vacation,” but the dense clouds that encased Niagara Falls, Ontario, on Monday, April 8 rearranged the highlights of the trip we had planned for witnessing the totality of solar eclipse. There were many silver linings to the vacation and I’ll share them all, though I won’t deny the disappointment I felt in staring at fully overcast skies, trying in vain to figure out which direction we were even supposed to be looking with our UV-filtering protective eyewear. Yep, it really was that cloudy. We didn’t expect that our best picture of the eclipse would be the social media wall in our hotel lobby.

The view from our room, about two hours before the eclipse. Sigh.

Where are you, sun?

We ventured from our 15th floor hotel room, which offered a view of the American Falls, down a steep hill to Queen Victoria Park, a sprawling open space that abutted the main tourist attractions. The city of Niagara Falls had preemptively declared a state of emergency for that otherwise-ordinary Monday, anticipating a record crowd for this once-in-a-lifetime celestial event. The city was more than prepared, and as we scouted out a viewing spot on the lawn, we encountered people from every culture and every walk of life. Nothing like a natural spectacle (or two) to bring people together.

Hints of blue sky on the horizon, but not where we needed it.

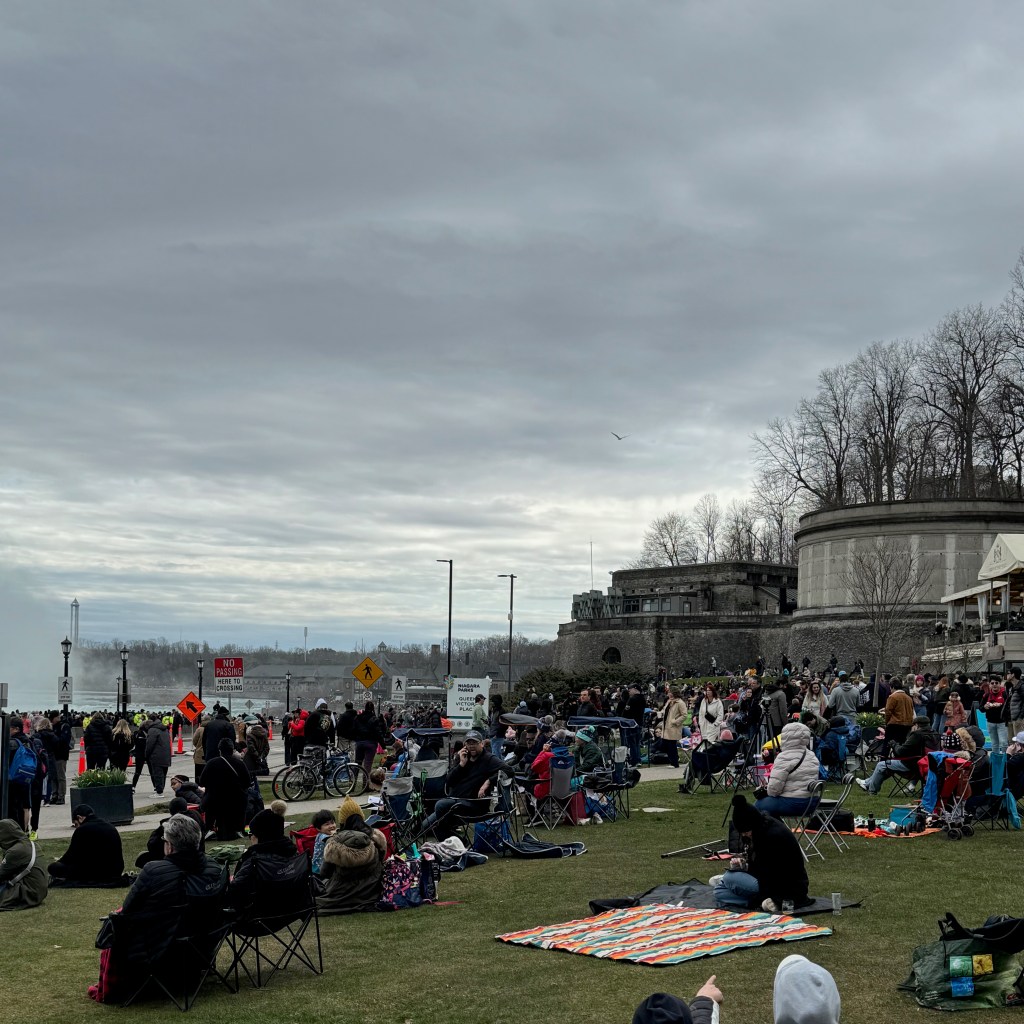
Occasionally, we heard an eruption of cheers from the thousands of other hopeful eclipse watchers, as the tiniest break in the clouds gave us new (albeit brief) optimism for great views and photos. Alas, the main things we witnessed were the sudden total darkness at 3:18 and a big temperature drop, as the moon covered the peekaboo sun. Even that was exhilarating though, and it was one time that I wished my iPhone camera did not automatically adjust for ambient light. It was much darker in reality than our selfie suggested. And then, about three minutes later, it was over. Les caught a few decent shots just post-totality— what looks like a sliver of crescent moon was actually crescent sun— and then we trudged back up the hill with the rest of the throng and hit the hotel bar for a consolation cocktail.

We gave up on the UV filter. This was our best image, just after totality.

The other 5,756 minutes of our vacay

What we missed in eclipse excitement on Monday, we more than made up for with all of the other amazing things we had planned for our trip. Having grown up a few stones’ throws from Niagara Falls, I knew that we would have an awesome time, and seeing the falls up close never gets old for me.

It’s incredible to be so close to this wonder!

Les had seen the American side once many years ago, but his visit amounted to a drive-by while in Buffalo for an event for his daughter, so he was excited to do and see as much as we could on this trip. The falls did not disappoint, and we were blessed with fantastic weather for our Voyage to the Falls, Canada’s equivalent to Maid of the Mist.


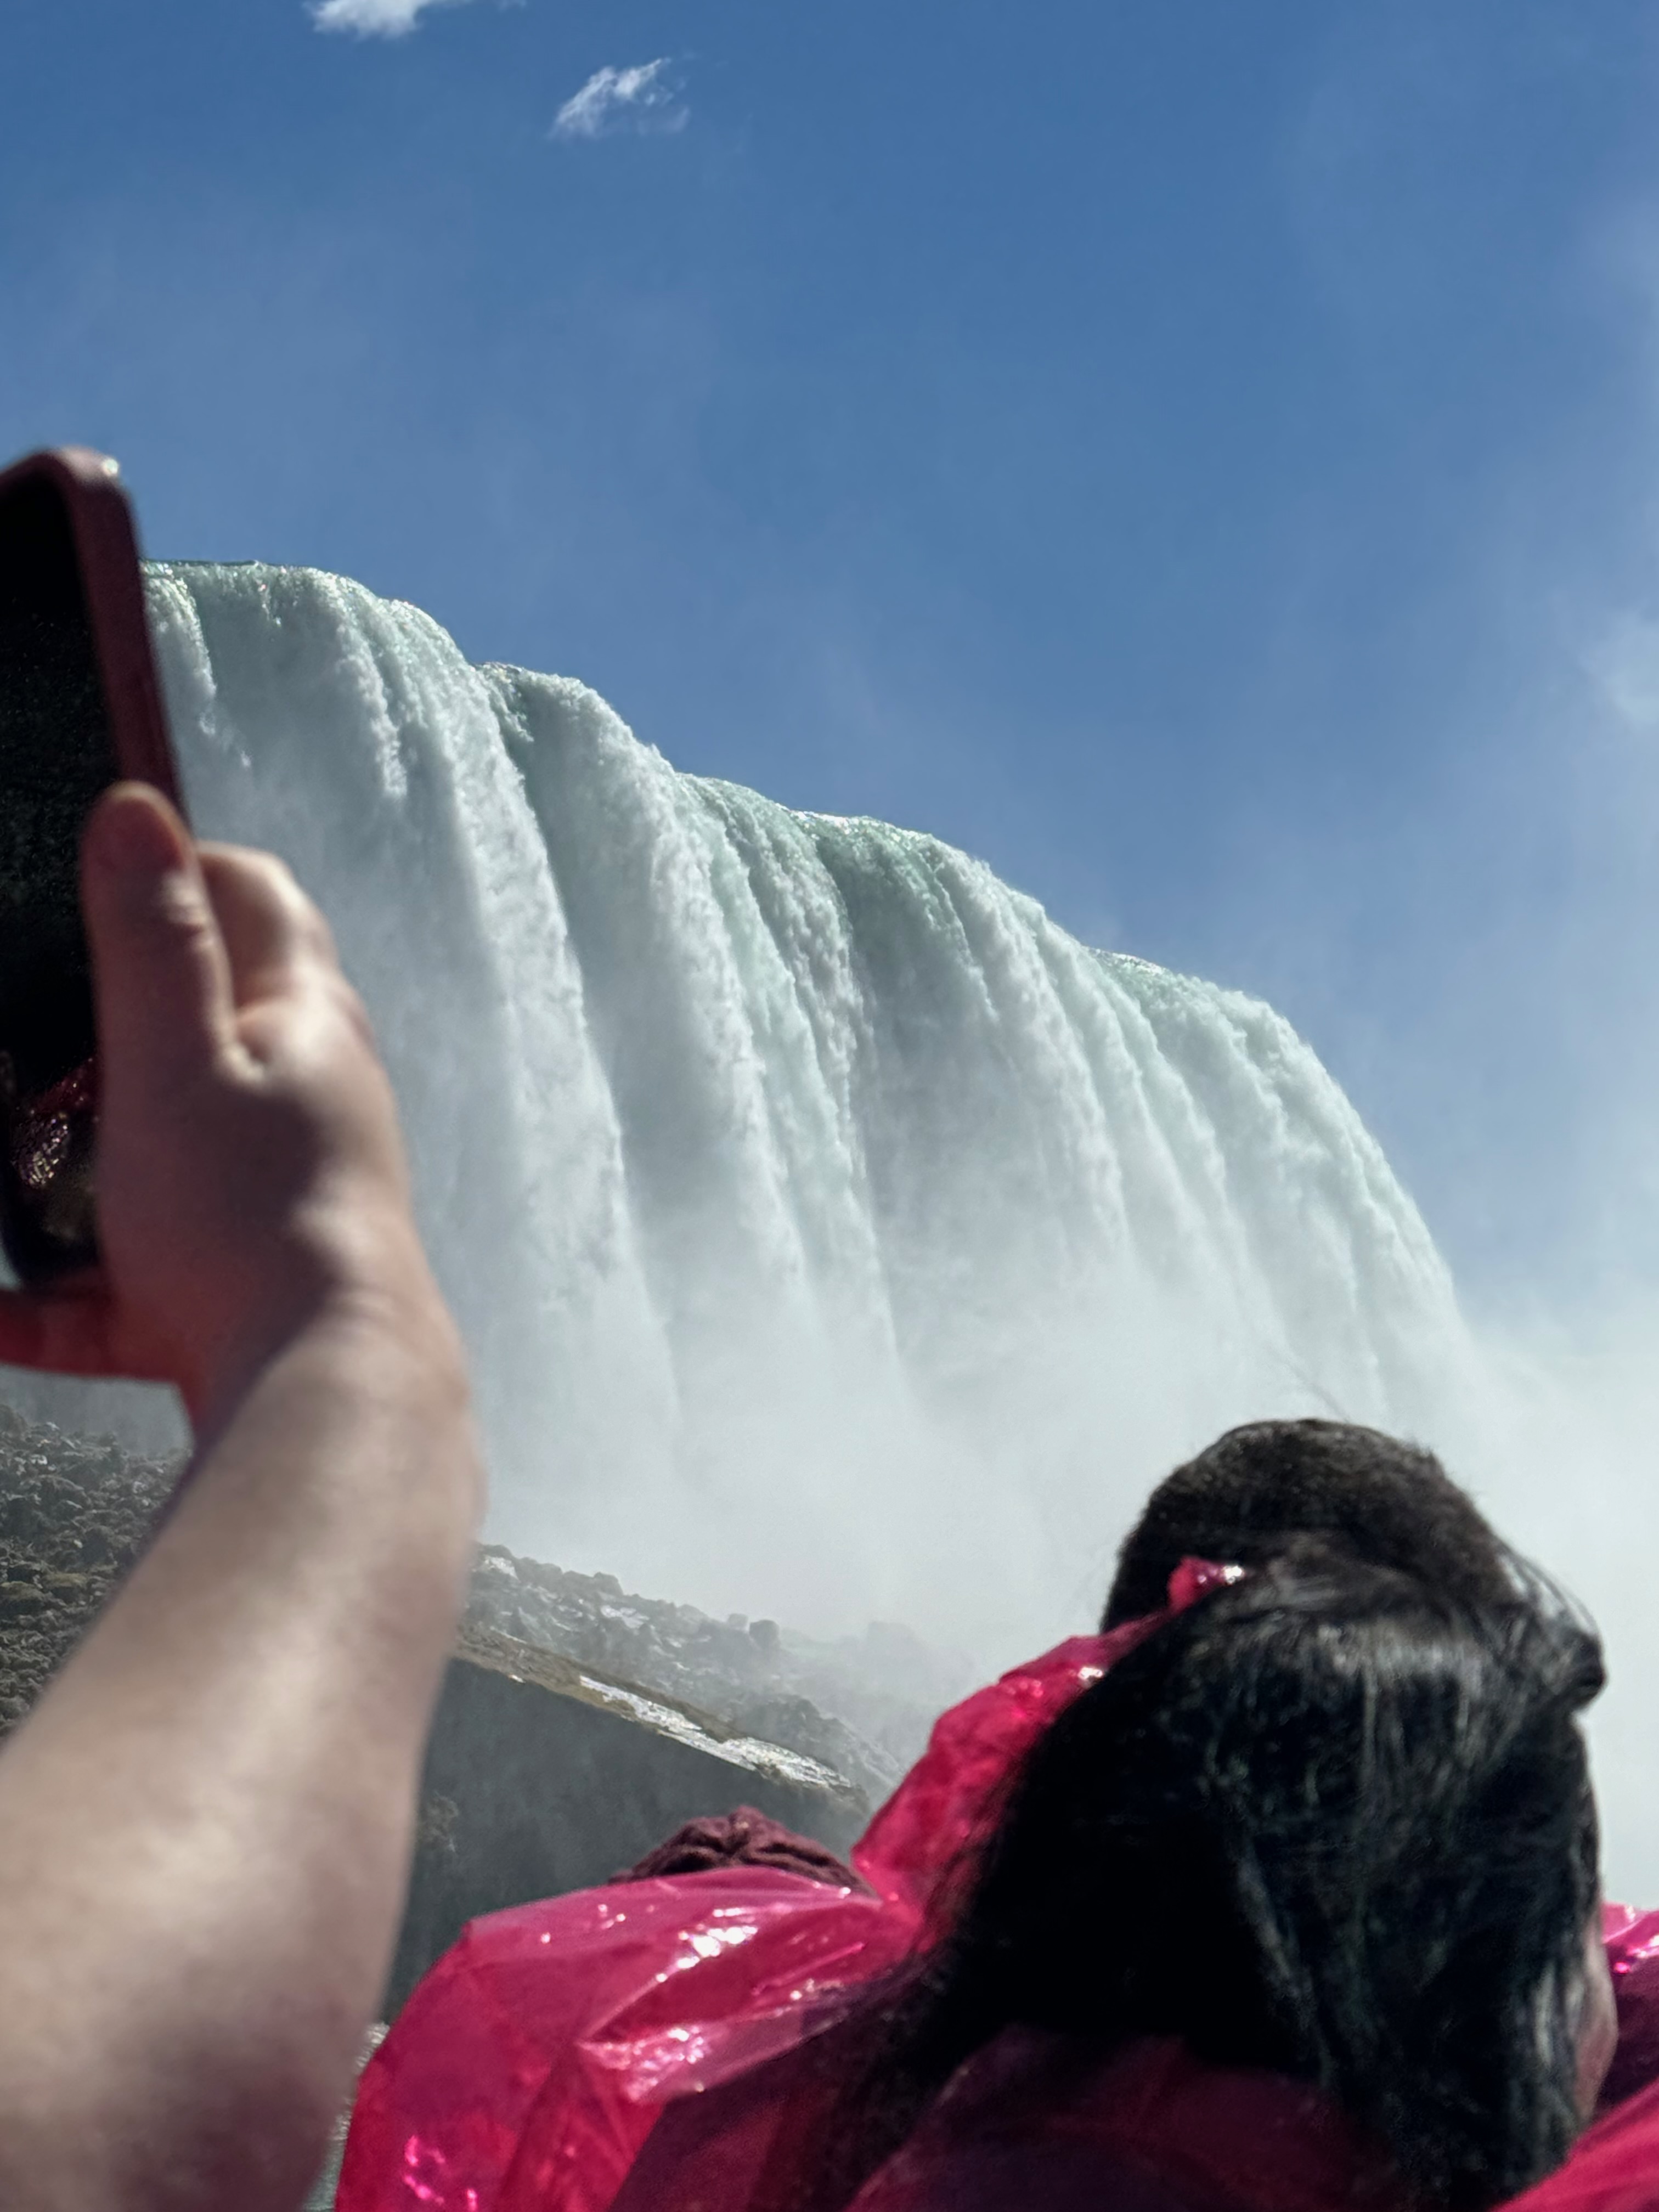
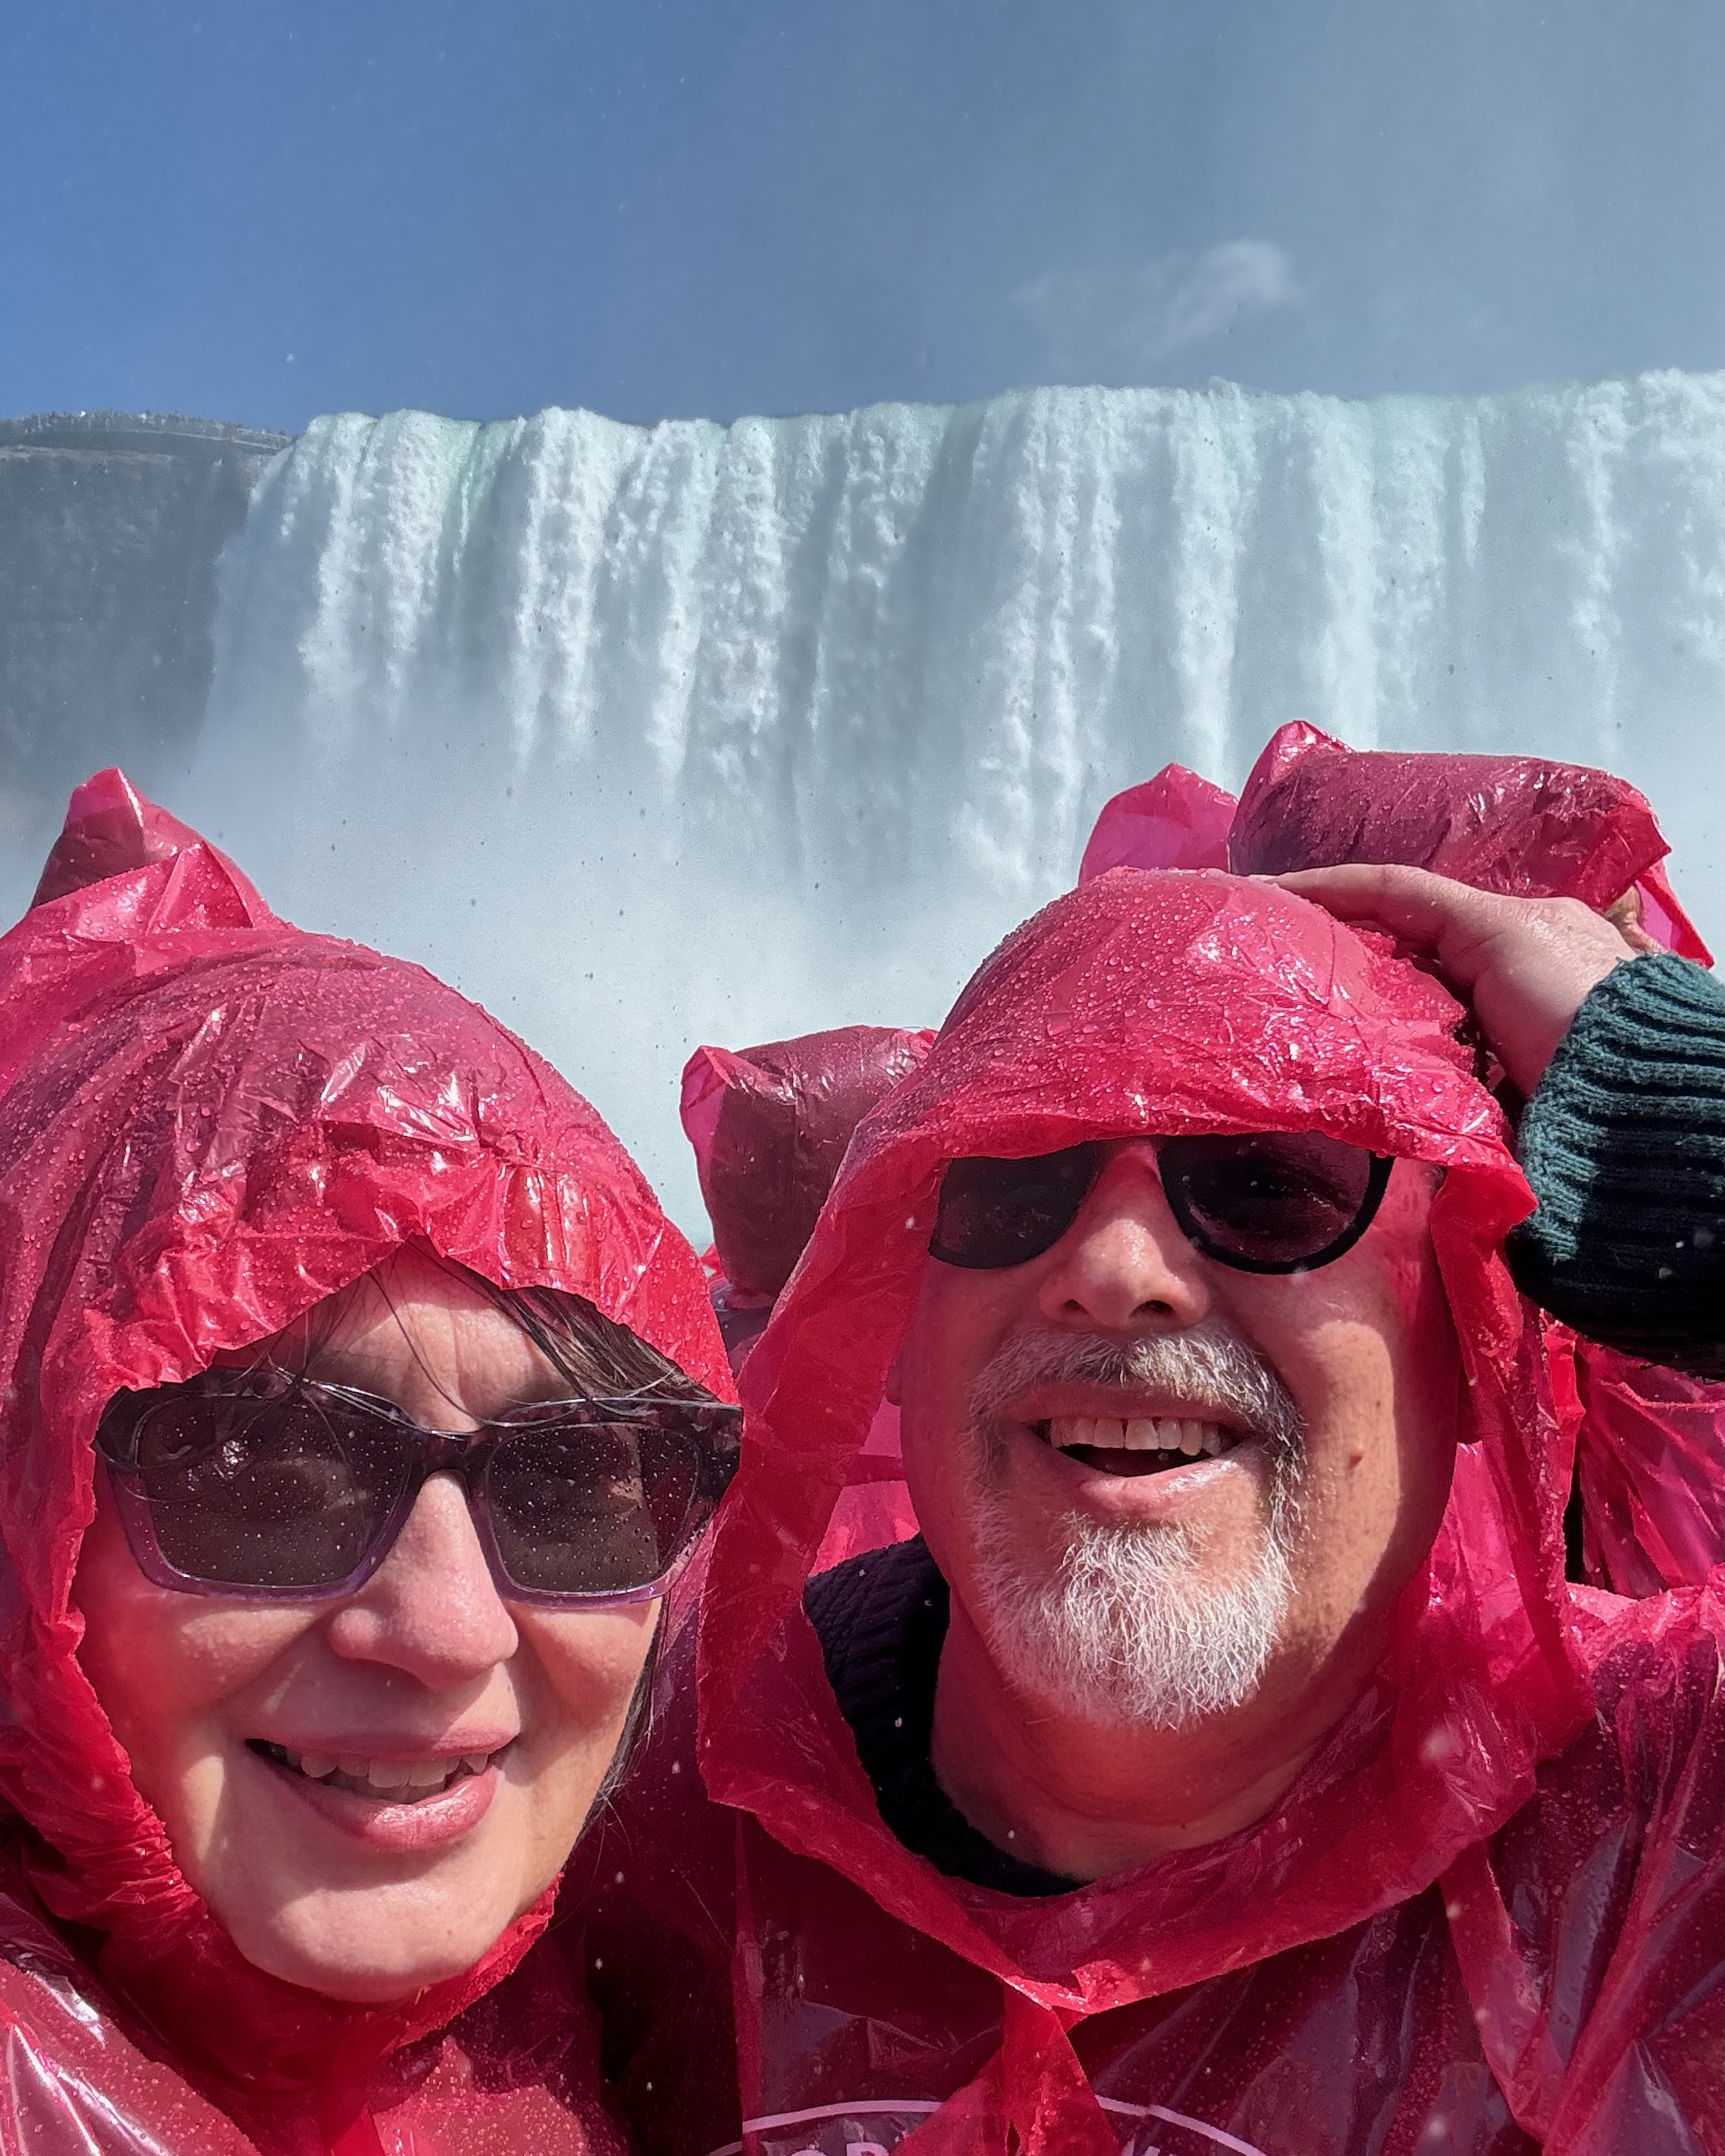
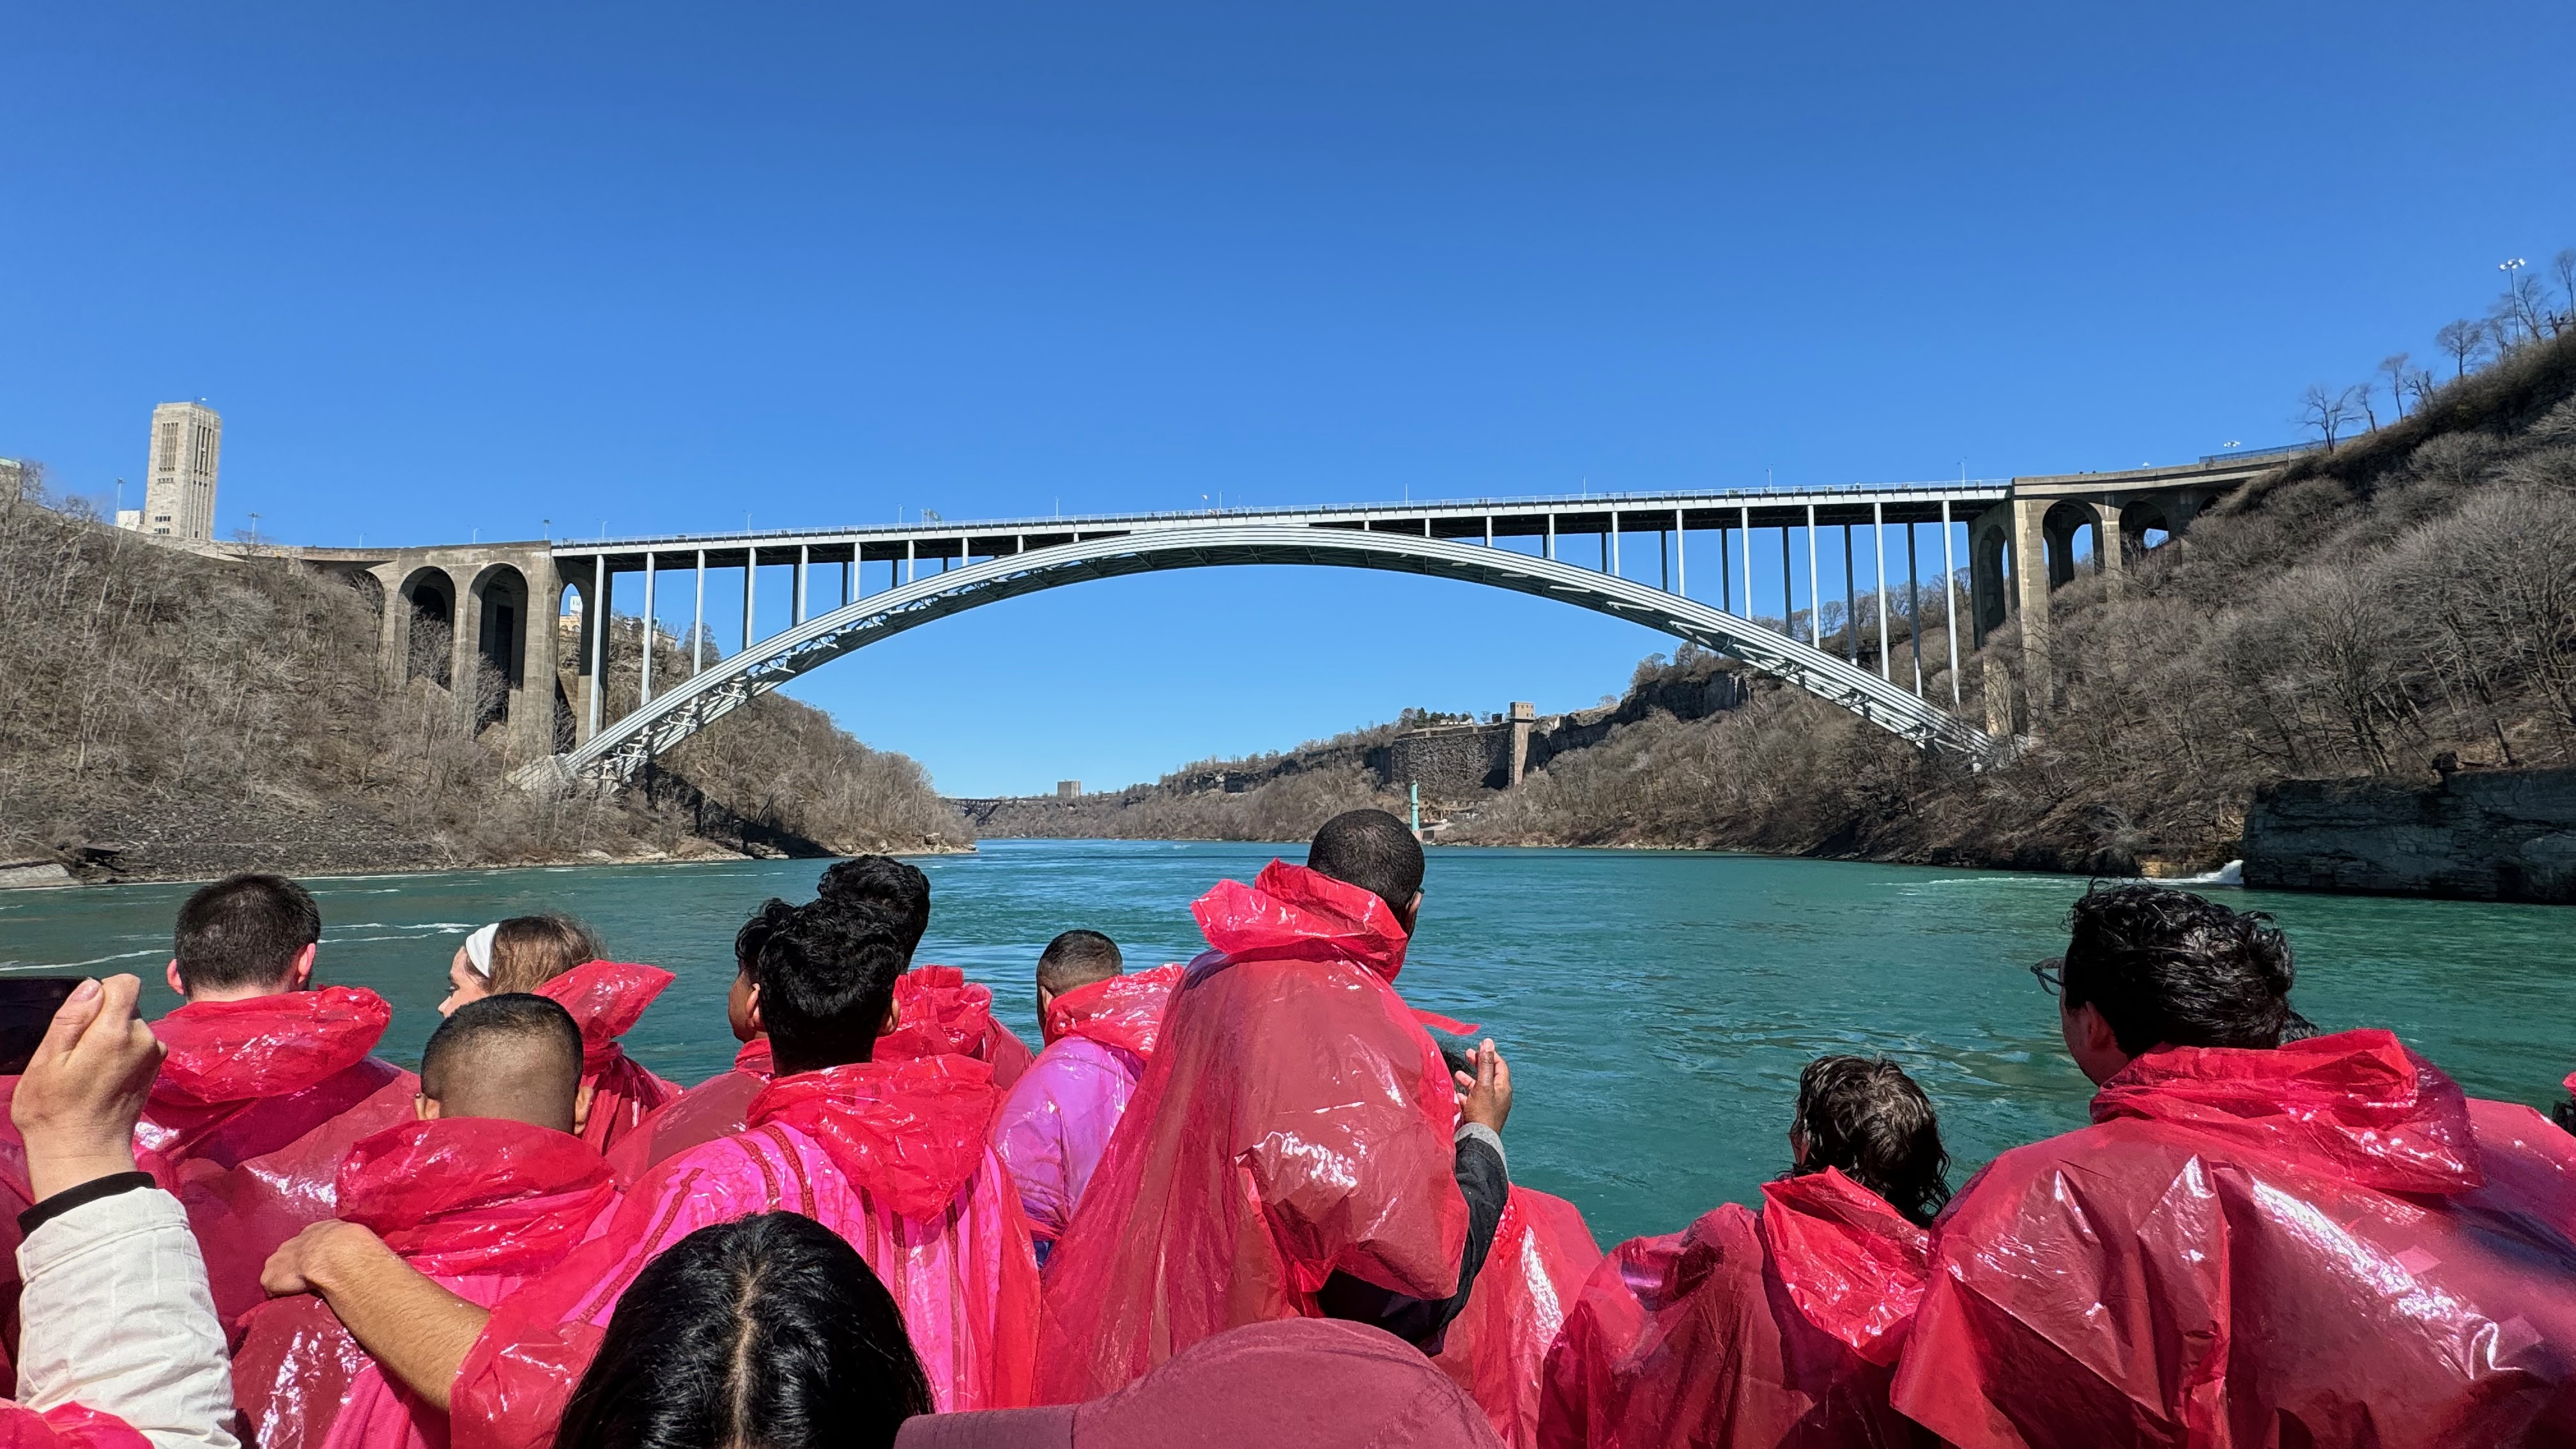
The power and magnificence of the Horseshoe Falls is something that everyone should experience at least once in their lifetime. This was my second time seeing it this way, and as our boat churned forward with every bit of power its engines could muster, the ride became unsteady enough that I put away my iPhone camera and just took it in. As far as I could turn my head in each direction, we were surrounded by the falls, which are as high as a 12-story building. The loud, rushing water flooded my soul this time around, and as I stared up at this mighty force of nature, I felt myself fighting back tears. Truly, an incredible experience. A few days later, we went underground into the tunnels behind the falls for even more exciting, up-close views.


Toronto!

Toronto should be nicknamed “City of Glass!”

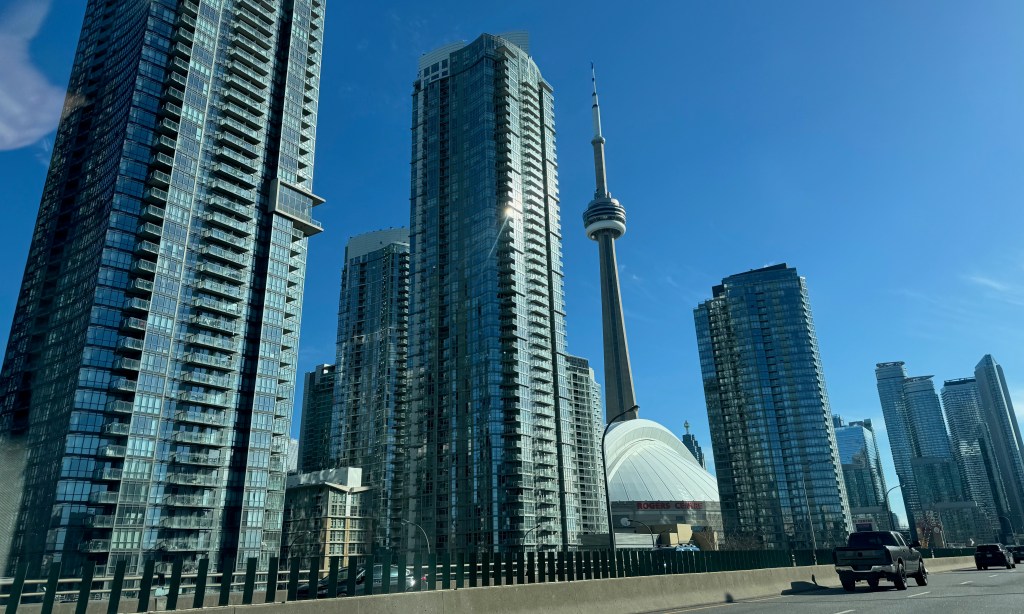
On the Saturday before eclipse day, we ventured around the tip of Lake Ontario to Toronto, Canada’s largest city. Toronto is, among other things, the home of the Hockey Hall of Fame, and we spent a couple of hours exploring the history of Les’s favorite pro sport, even getting up close and personal with the Stanley Cup.

We are pointing at the St. Louis Blues championship, favorite team of Les’s son, Alex.

A few blocks down, we explored St. Lawrence Market, which is essentially a humongous carnival for food lovers. Vendors in the market peddled everything from fresh and cured meats, cheeses and baked goods to spices, specialty pantry items, flowers and even prepared foods. I could have easily spent the entire day browsing this indoor market, but we had an important lunch date across the street.


Another Blog Buddy!

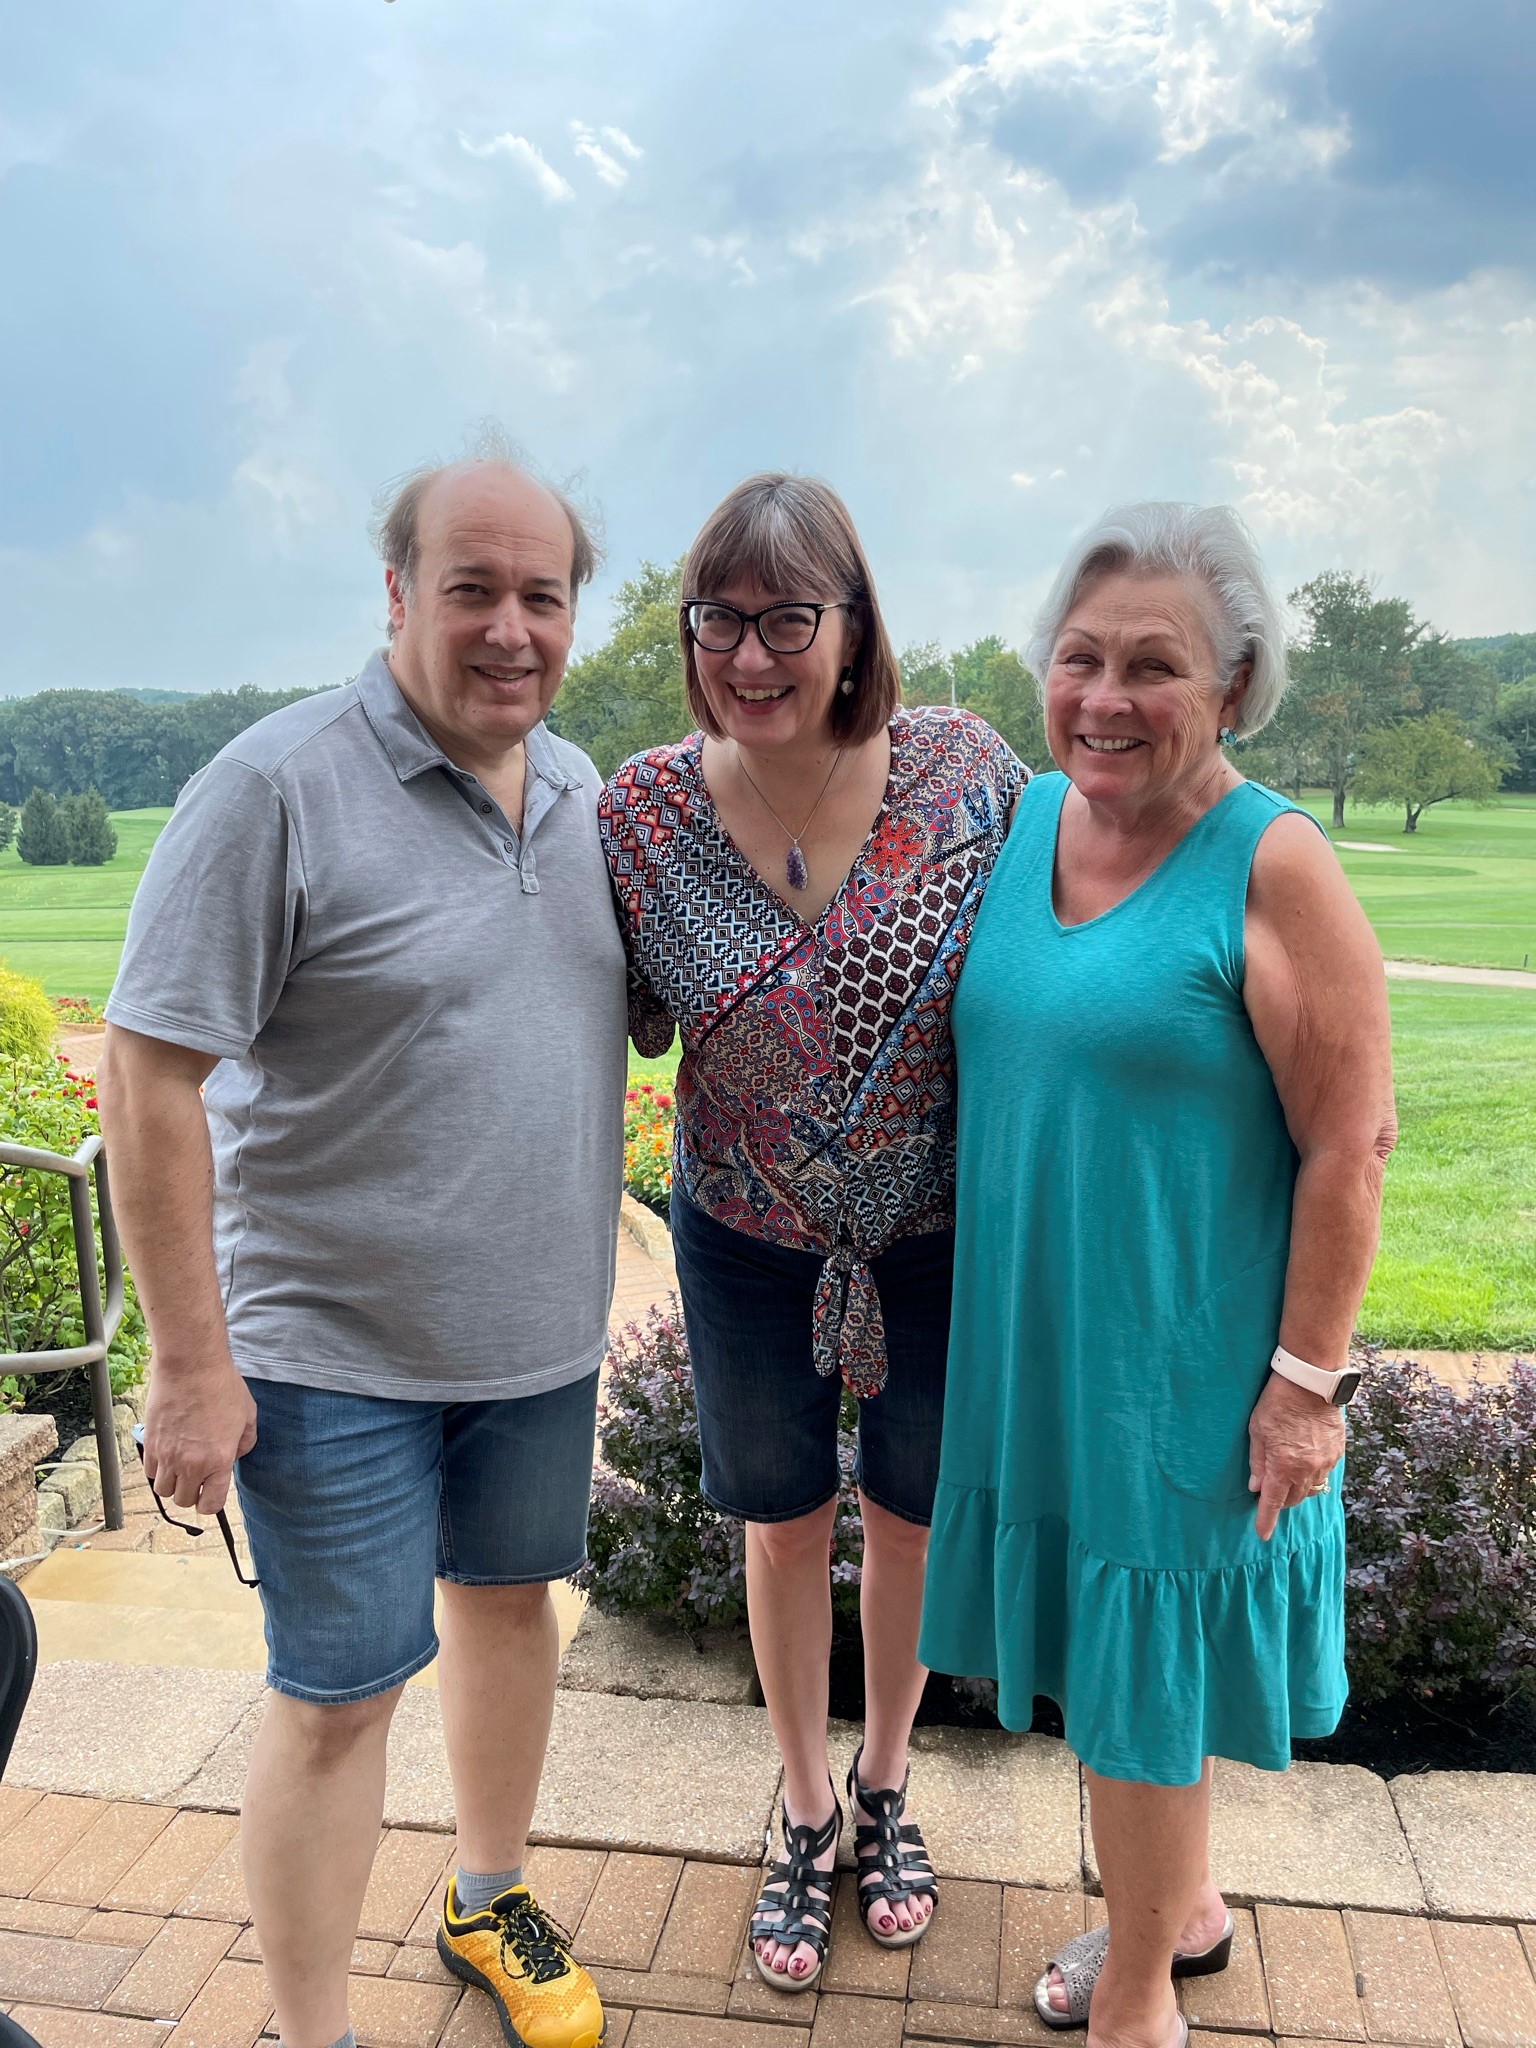
When I started Comfort du Jour, I was hoping to find community with like-minded foodies. And I did find that, but I wasn’t expecting the comments sections of our respective blogs to become an incubator for such wonderful friendships. When Les and I finalized our decision to make Niagara Falls our eclipse destination, I reached out to Sandy, my blog buddy from The Sandy Chronicles. Sandy lives in Toronto for part of the year, and I’ve been intrigued by her experiments with International cuisines, as well as her posts about photography, art and travel.

It was great meeting you, Sandy!

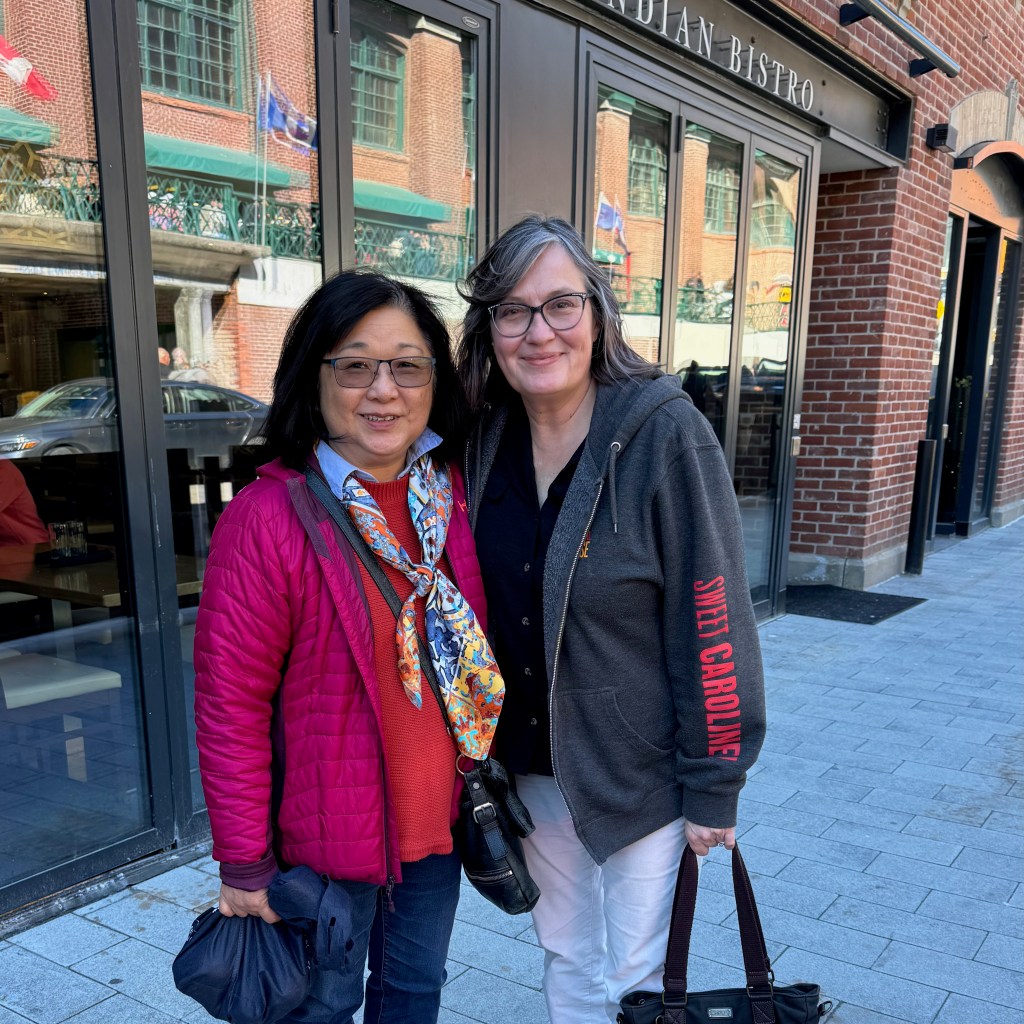
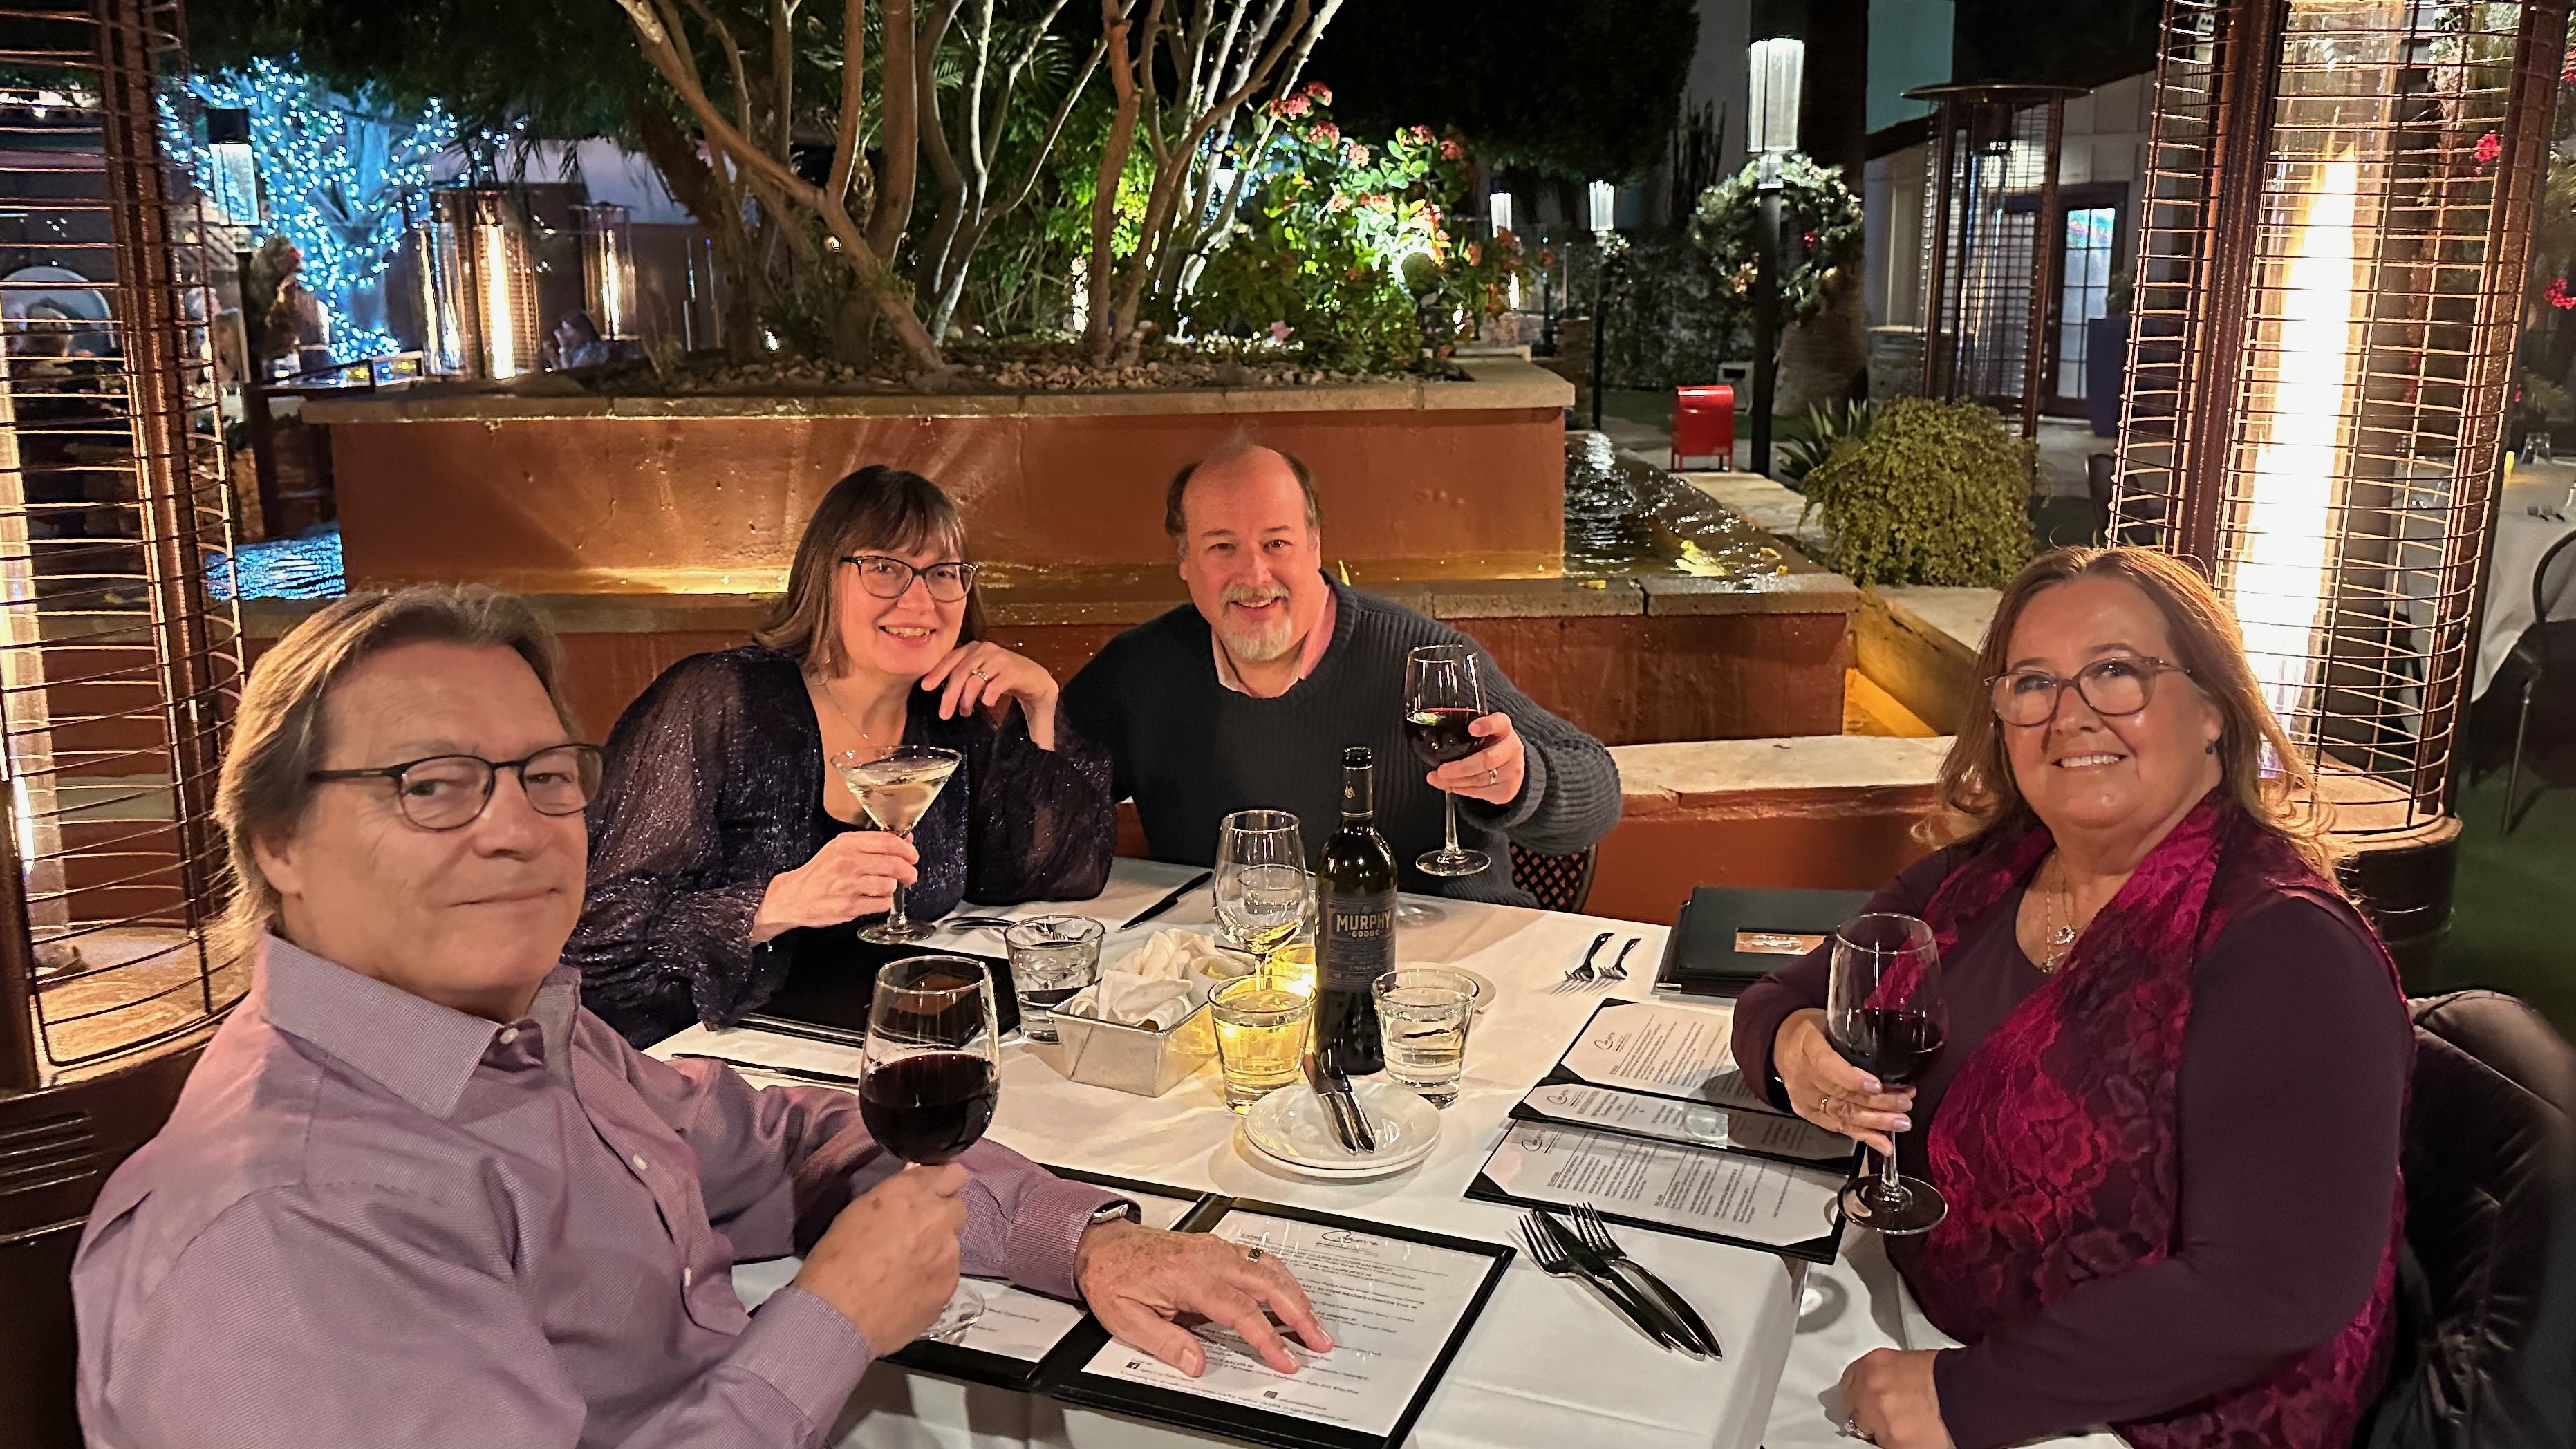
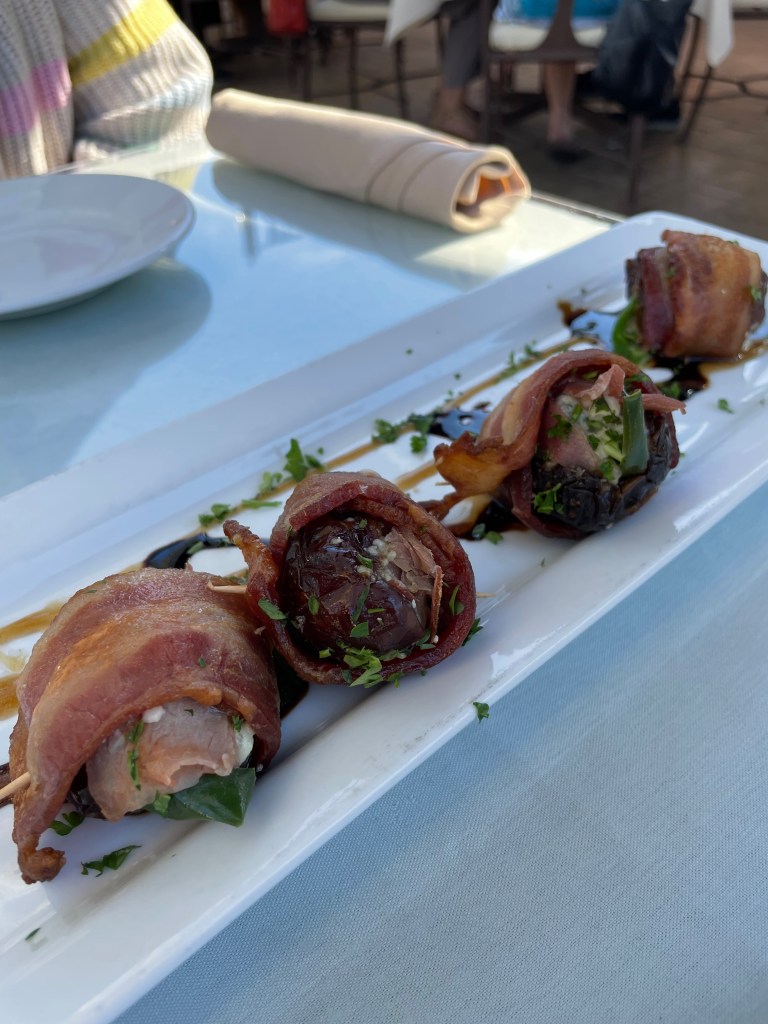
We were so pleased that she was able to meet up with us for lunch at a fantastic Indian bistro she recommended, and we conversed about everything from food and travel to the sad state of American politics as we nibbled fish pakora, vegetable samosas and a delightful appetizer called sev puri. Those little gems were like flavor explosions!


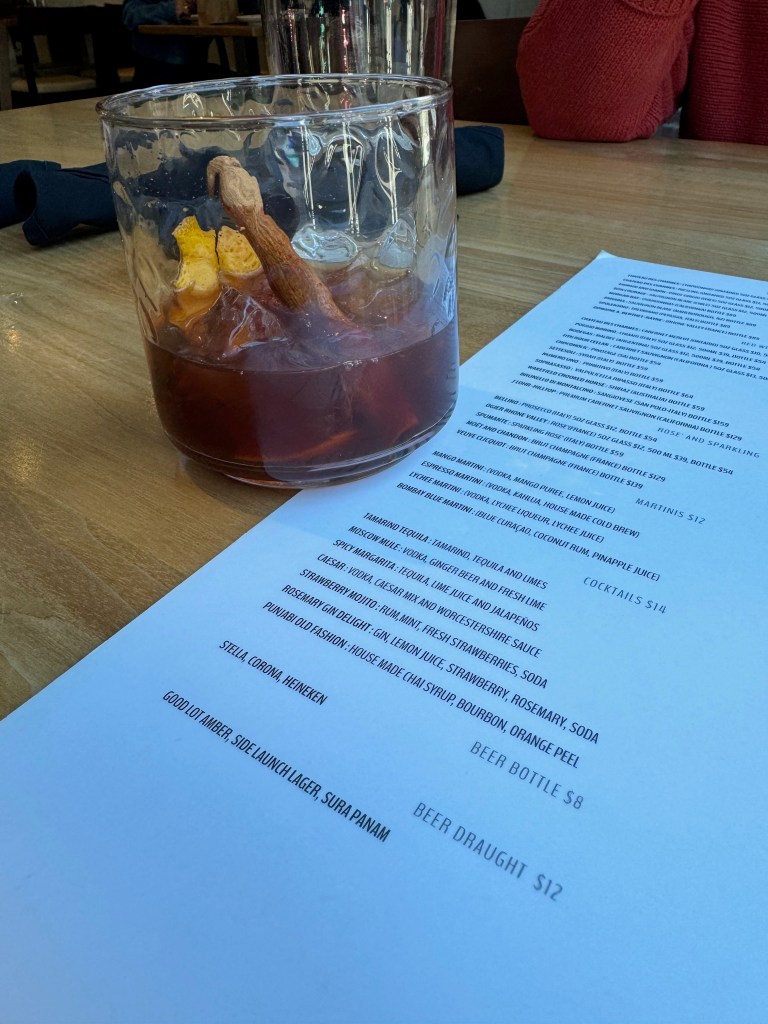
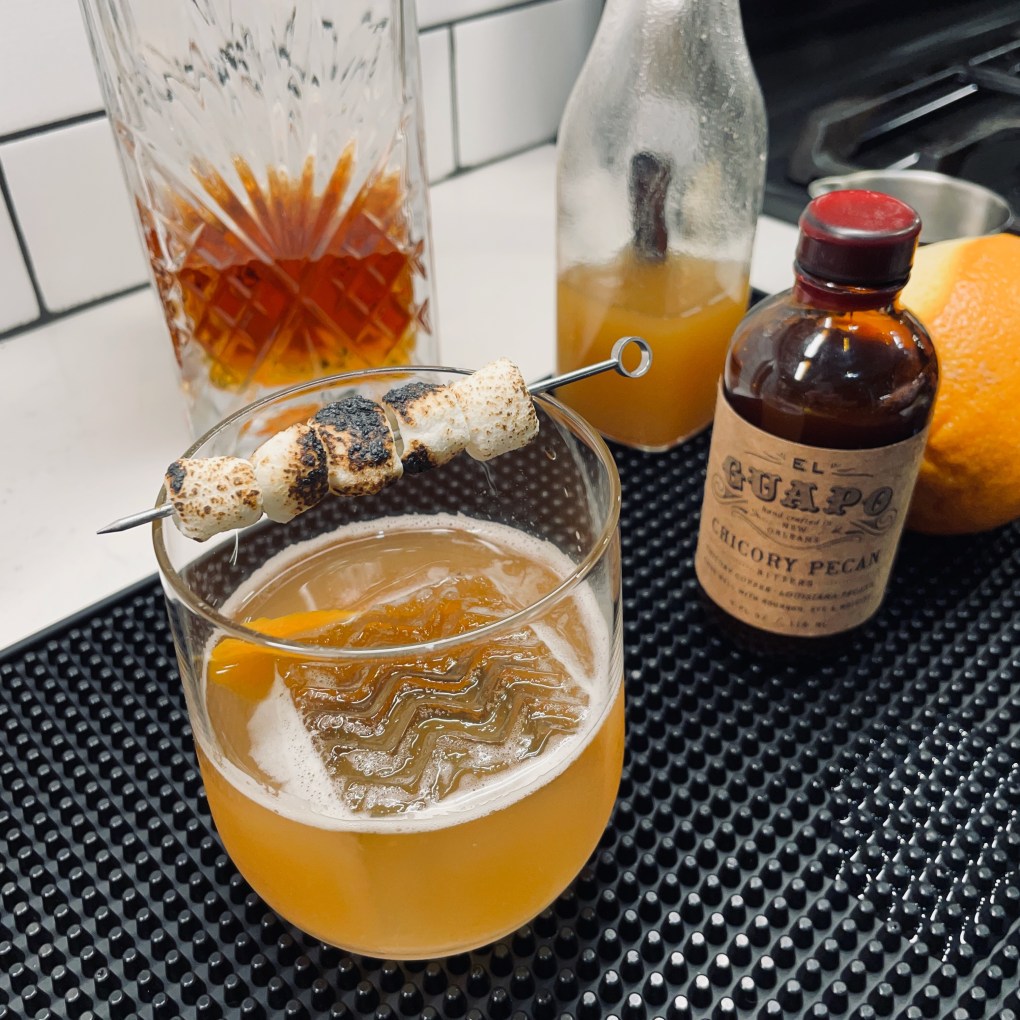
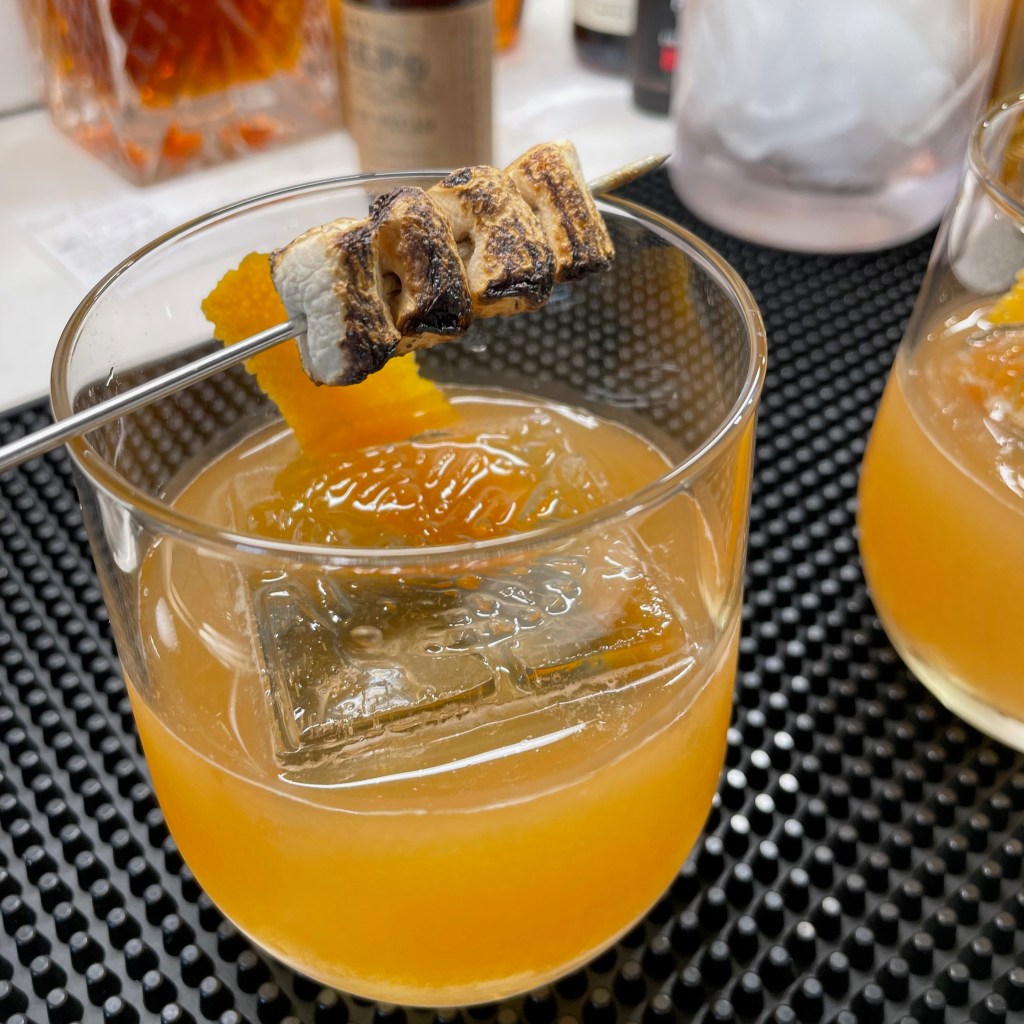
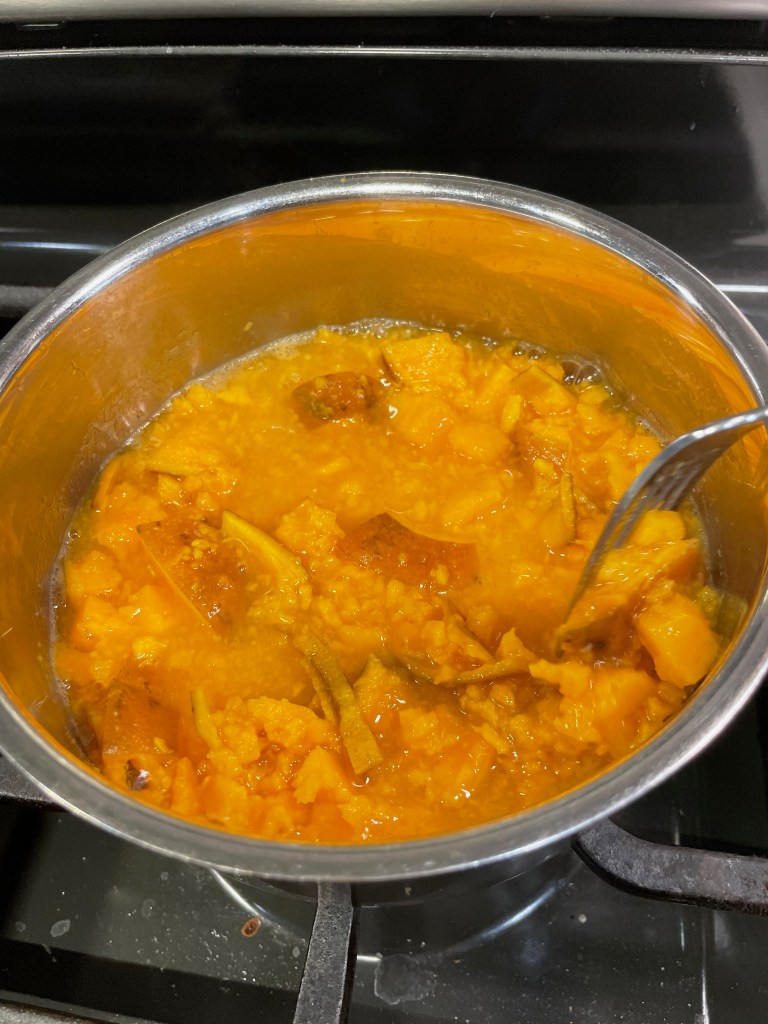
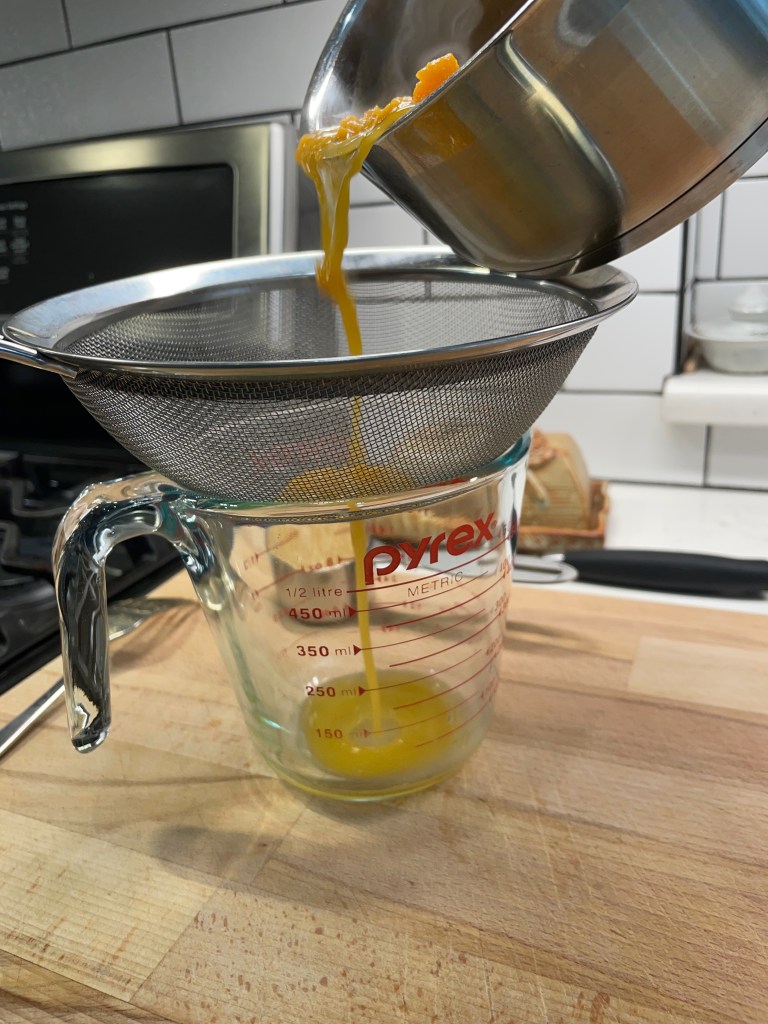
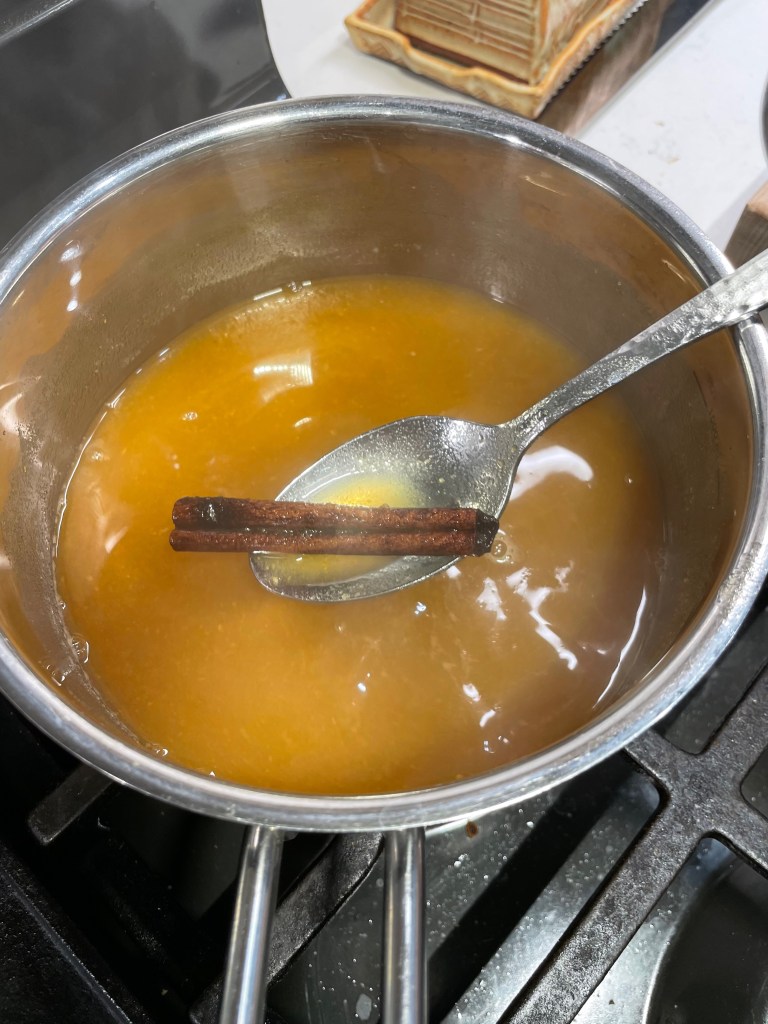
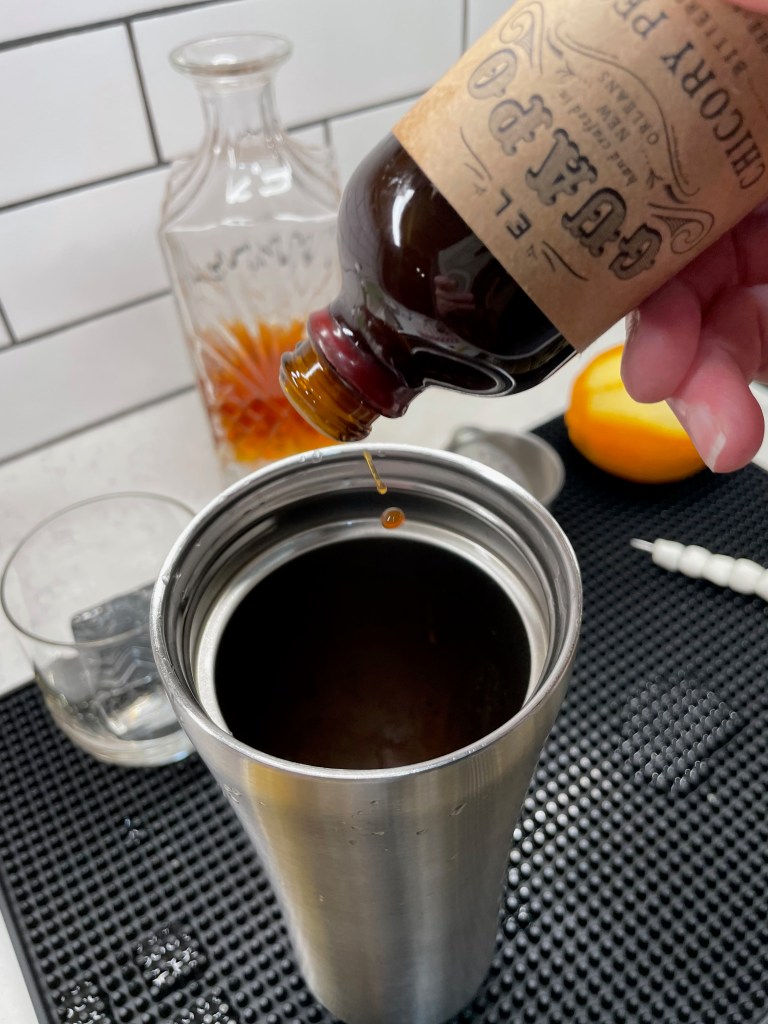
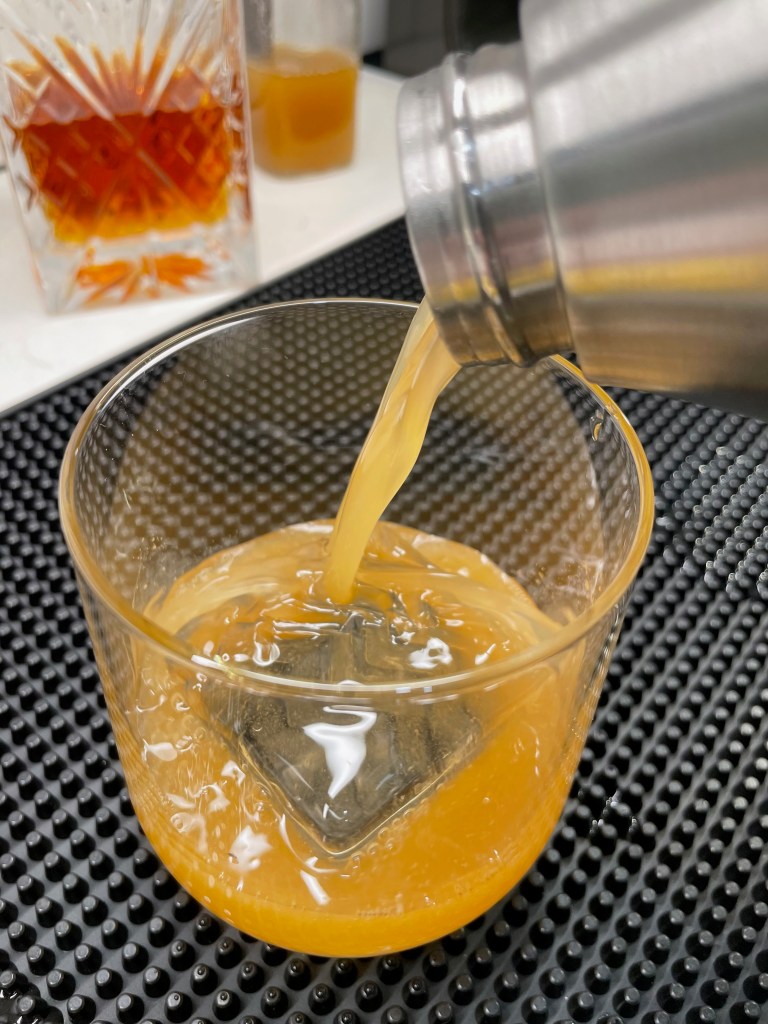
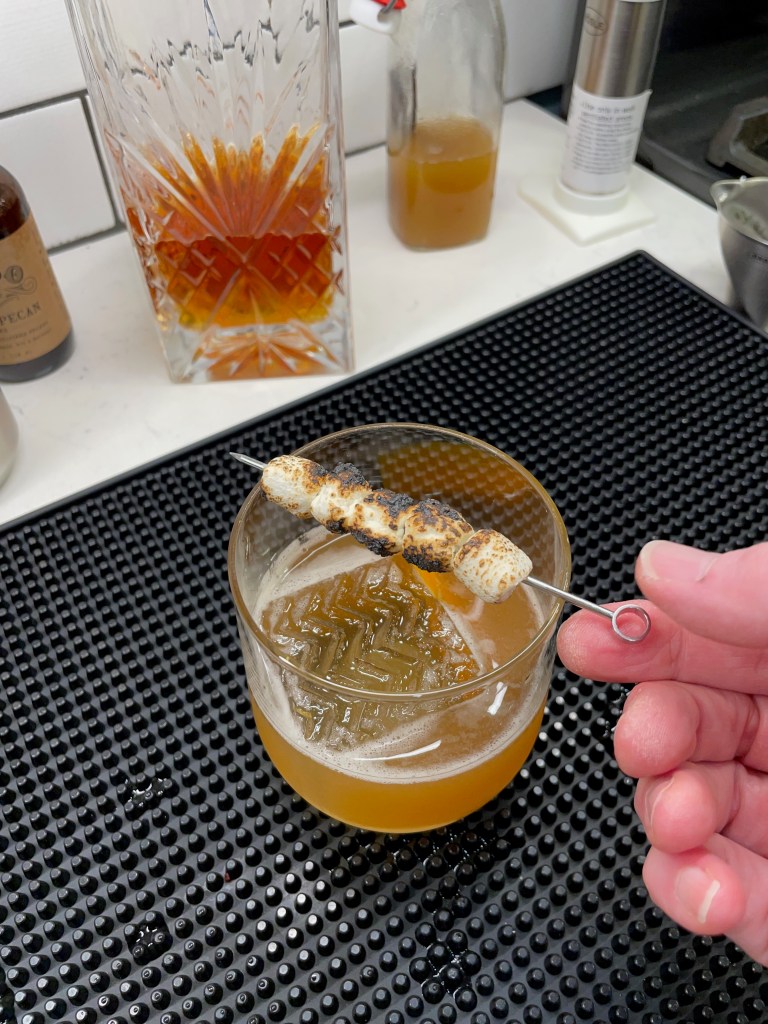
The Indian flavors were so comforting and satisfying, and I am feeling inspired to try making some of these special foods in the near future. Sandy even turned me on to a book to get me started, and you can bet I will re-create that Punjabi old fashioned cocktail soon, too. I wouldn’t have guessed that chai spices would be such a natural pairing with bourbon.

From Toronto to Tuscany

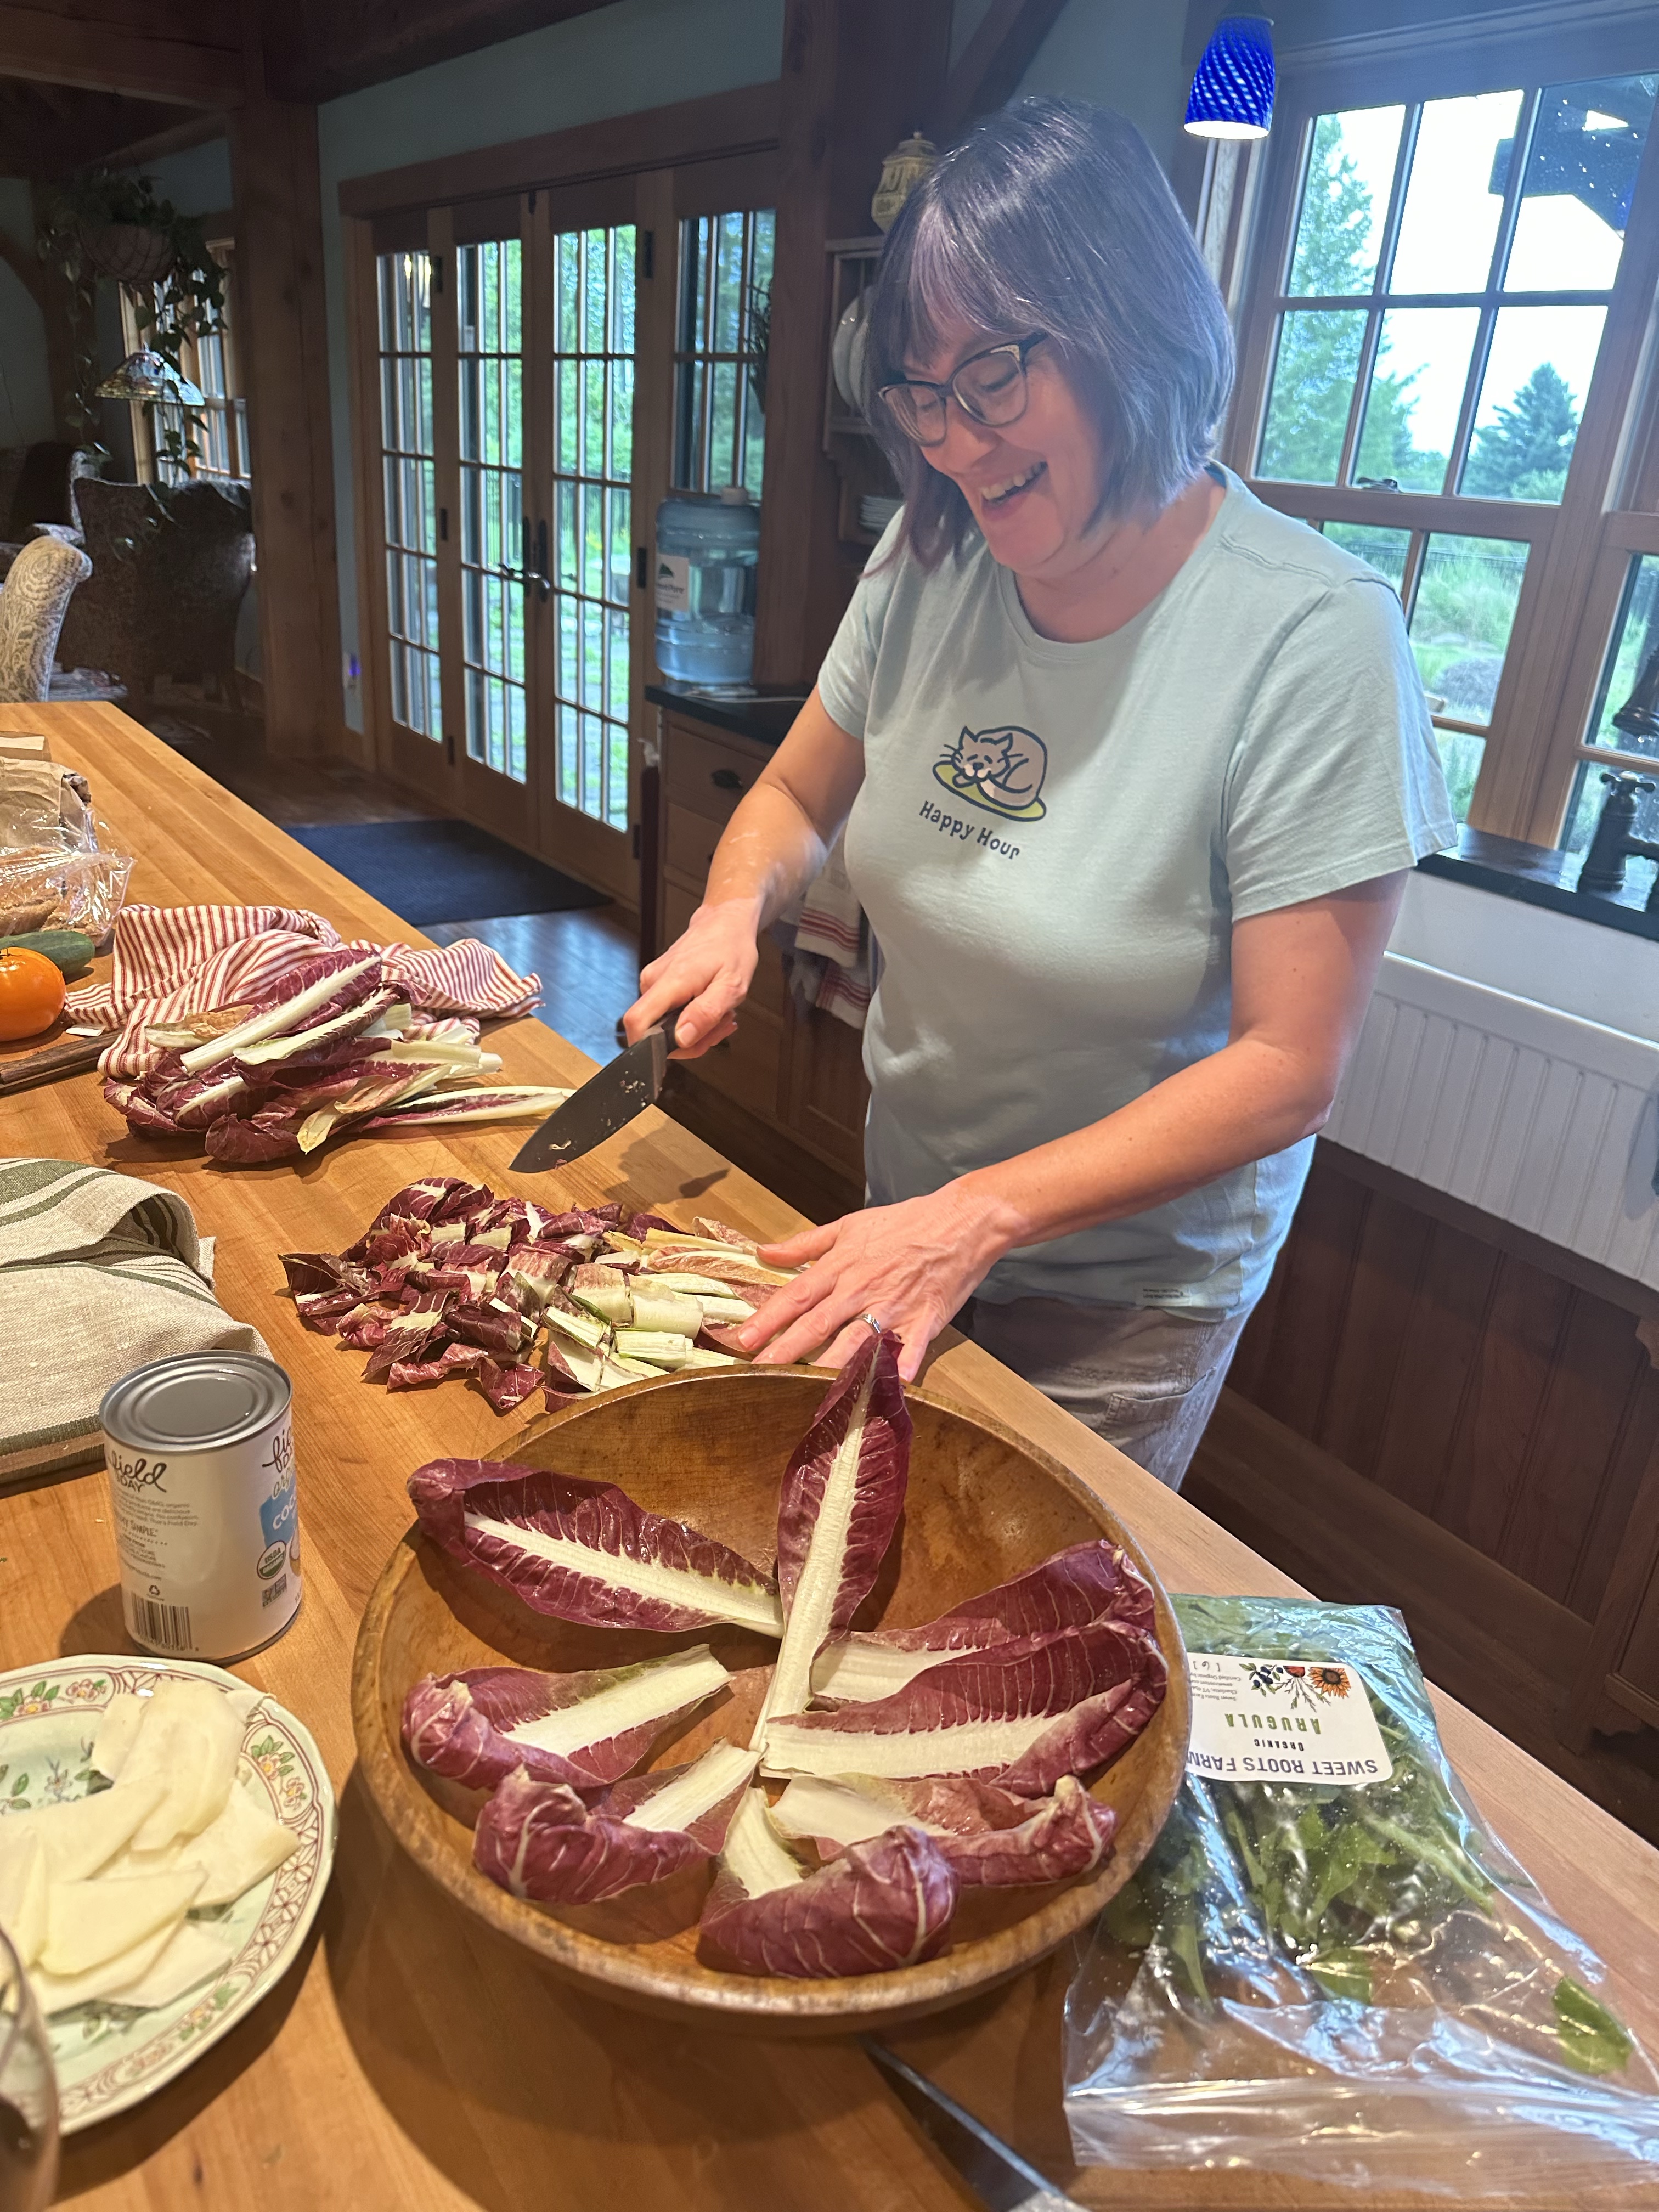
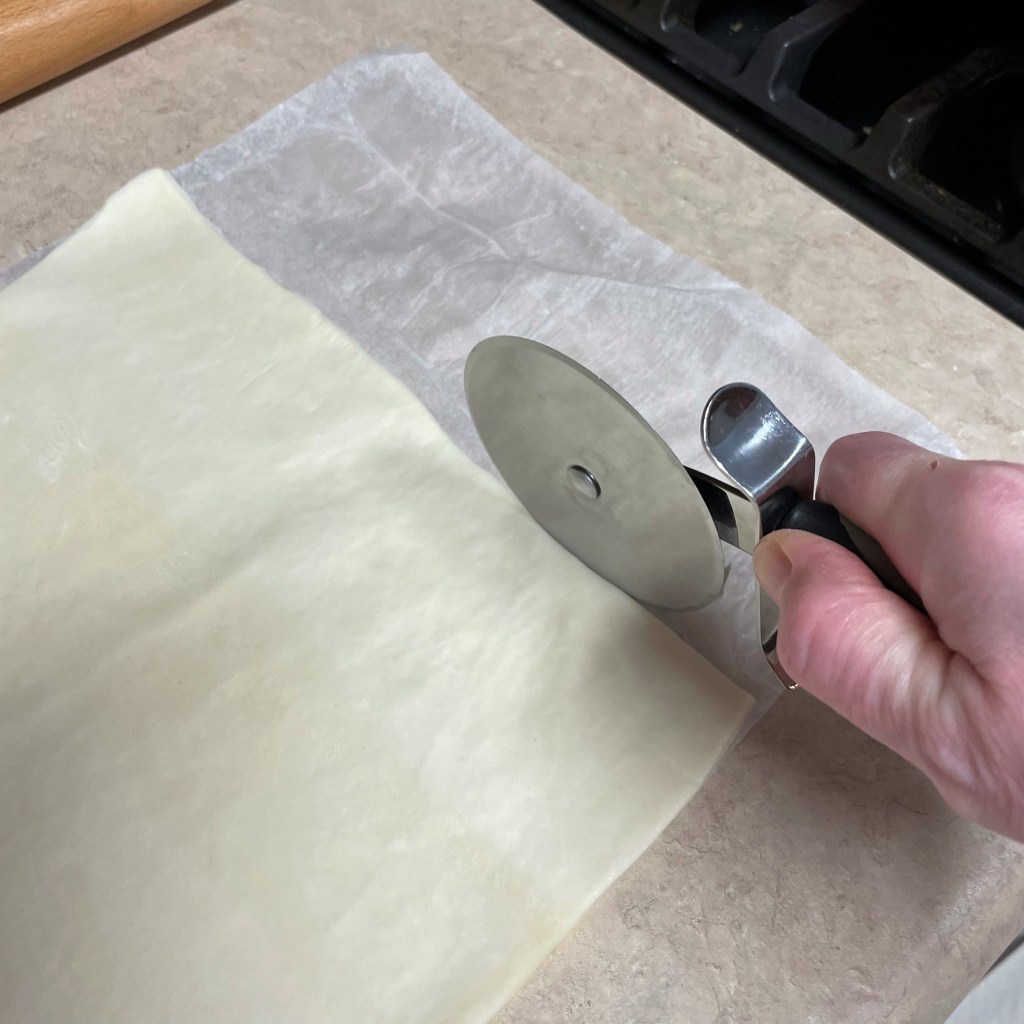
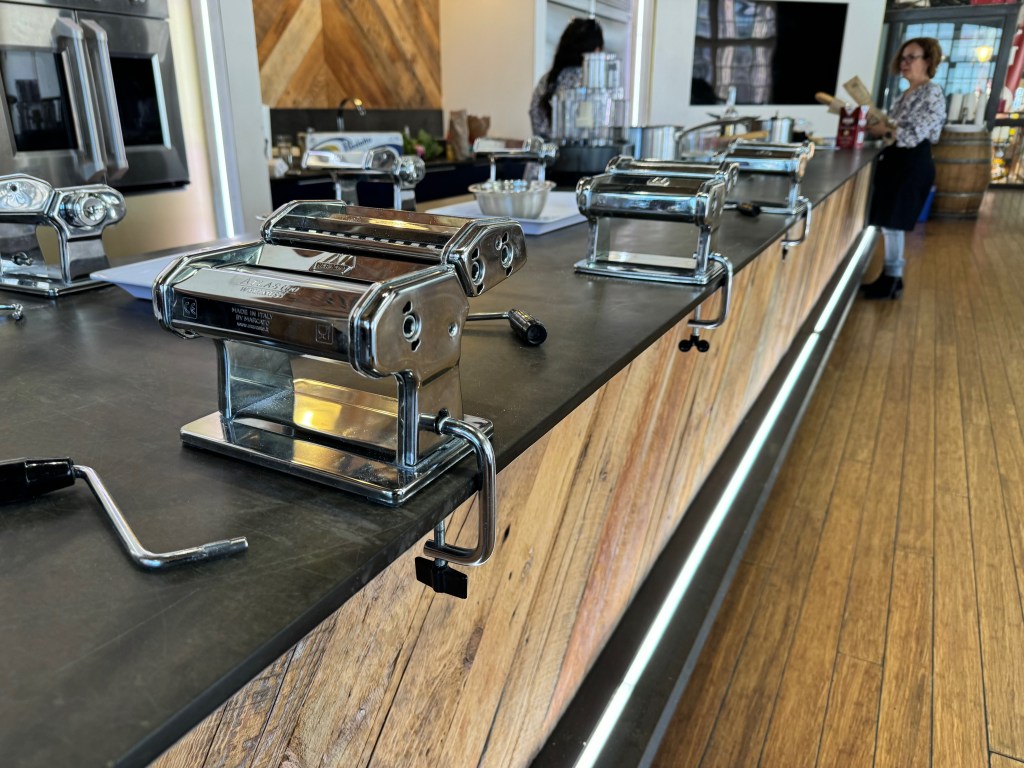
How do you suppose we sidetracked to Tuscany from Toronto? By way of a cooking class, of course! We were fortunate to have insider information from Sandy, who had sent me a link to the “My Place for Dinner” cooking school, led by Deb Diament. The Tuscan cuisine class took place in a loft studio that overlooked the St. Lawrence Market we’d visited earlier in the day, and it was a great and relaxing way to wrap up the Toronto leg of our vacation. We were treated to white bean crostini and Italian wine as we explored how to make arugula salad with lemon vinaigrette, handmade pasta with chicken piccata, and an orange-polenta cake with fresh berries. Most of the foods and techniques were already familiar to me, but what I enjoyed most was watching my husband become immersed in the lessons. The whole experience was a treat, and I can’t wait to put Les to work at home next time I want to make fresh pasta!


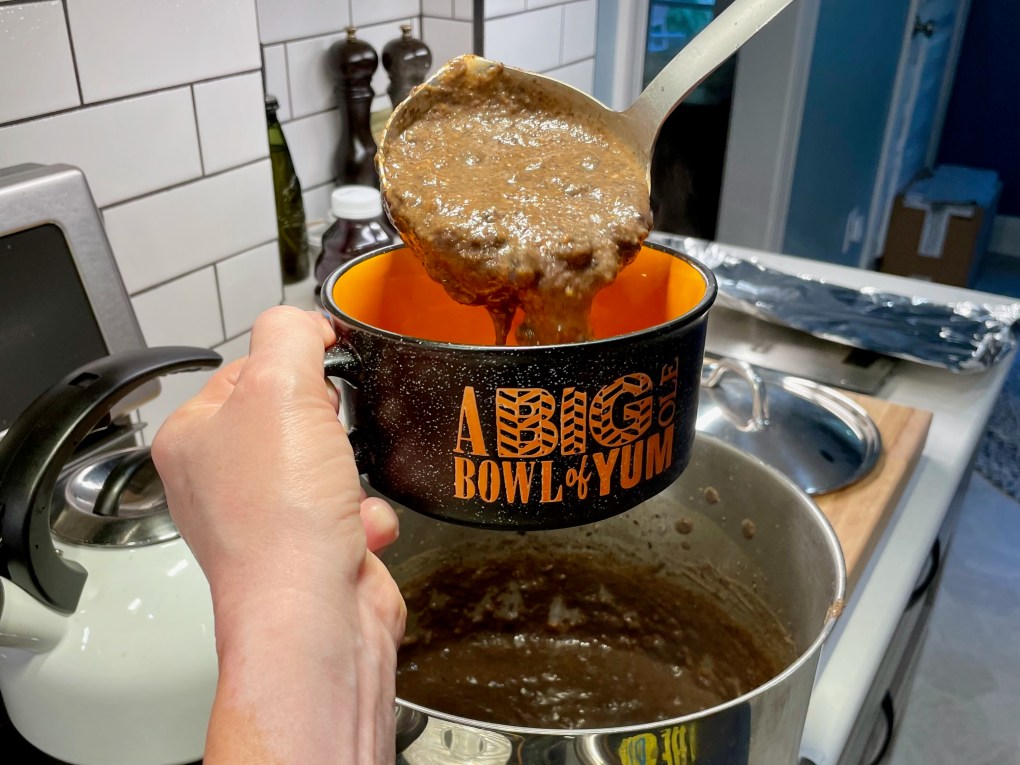
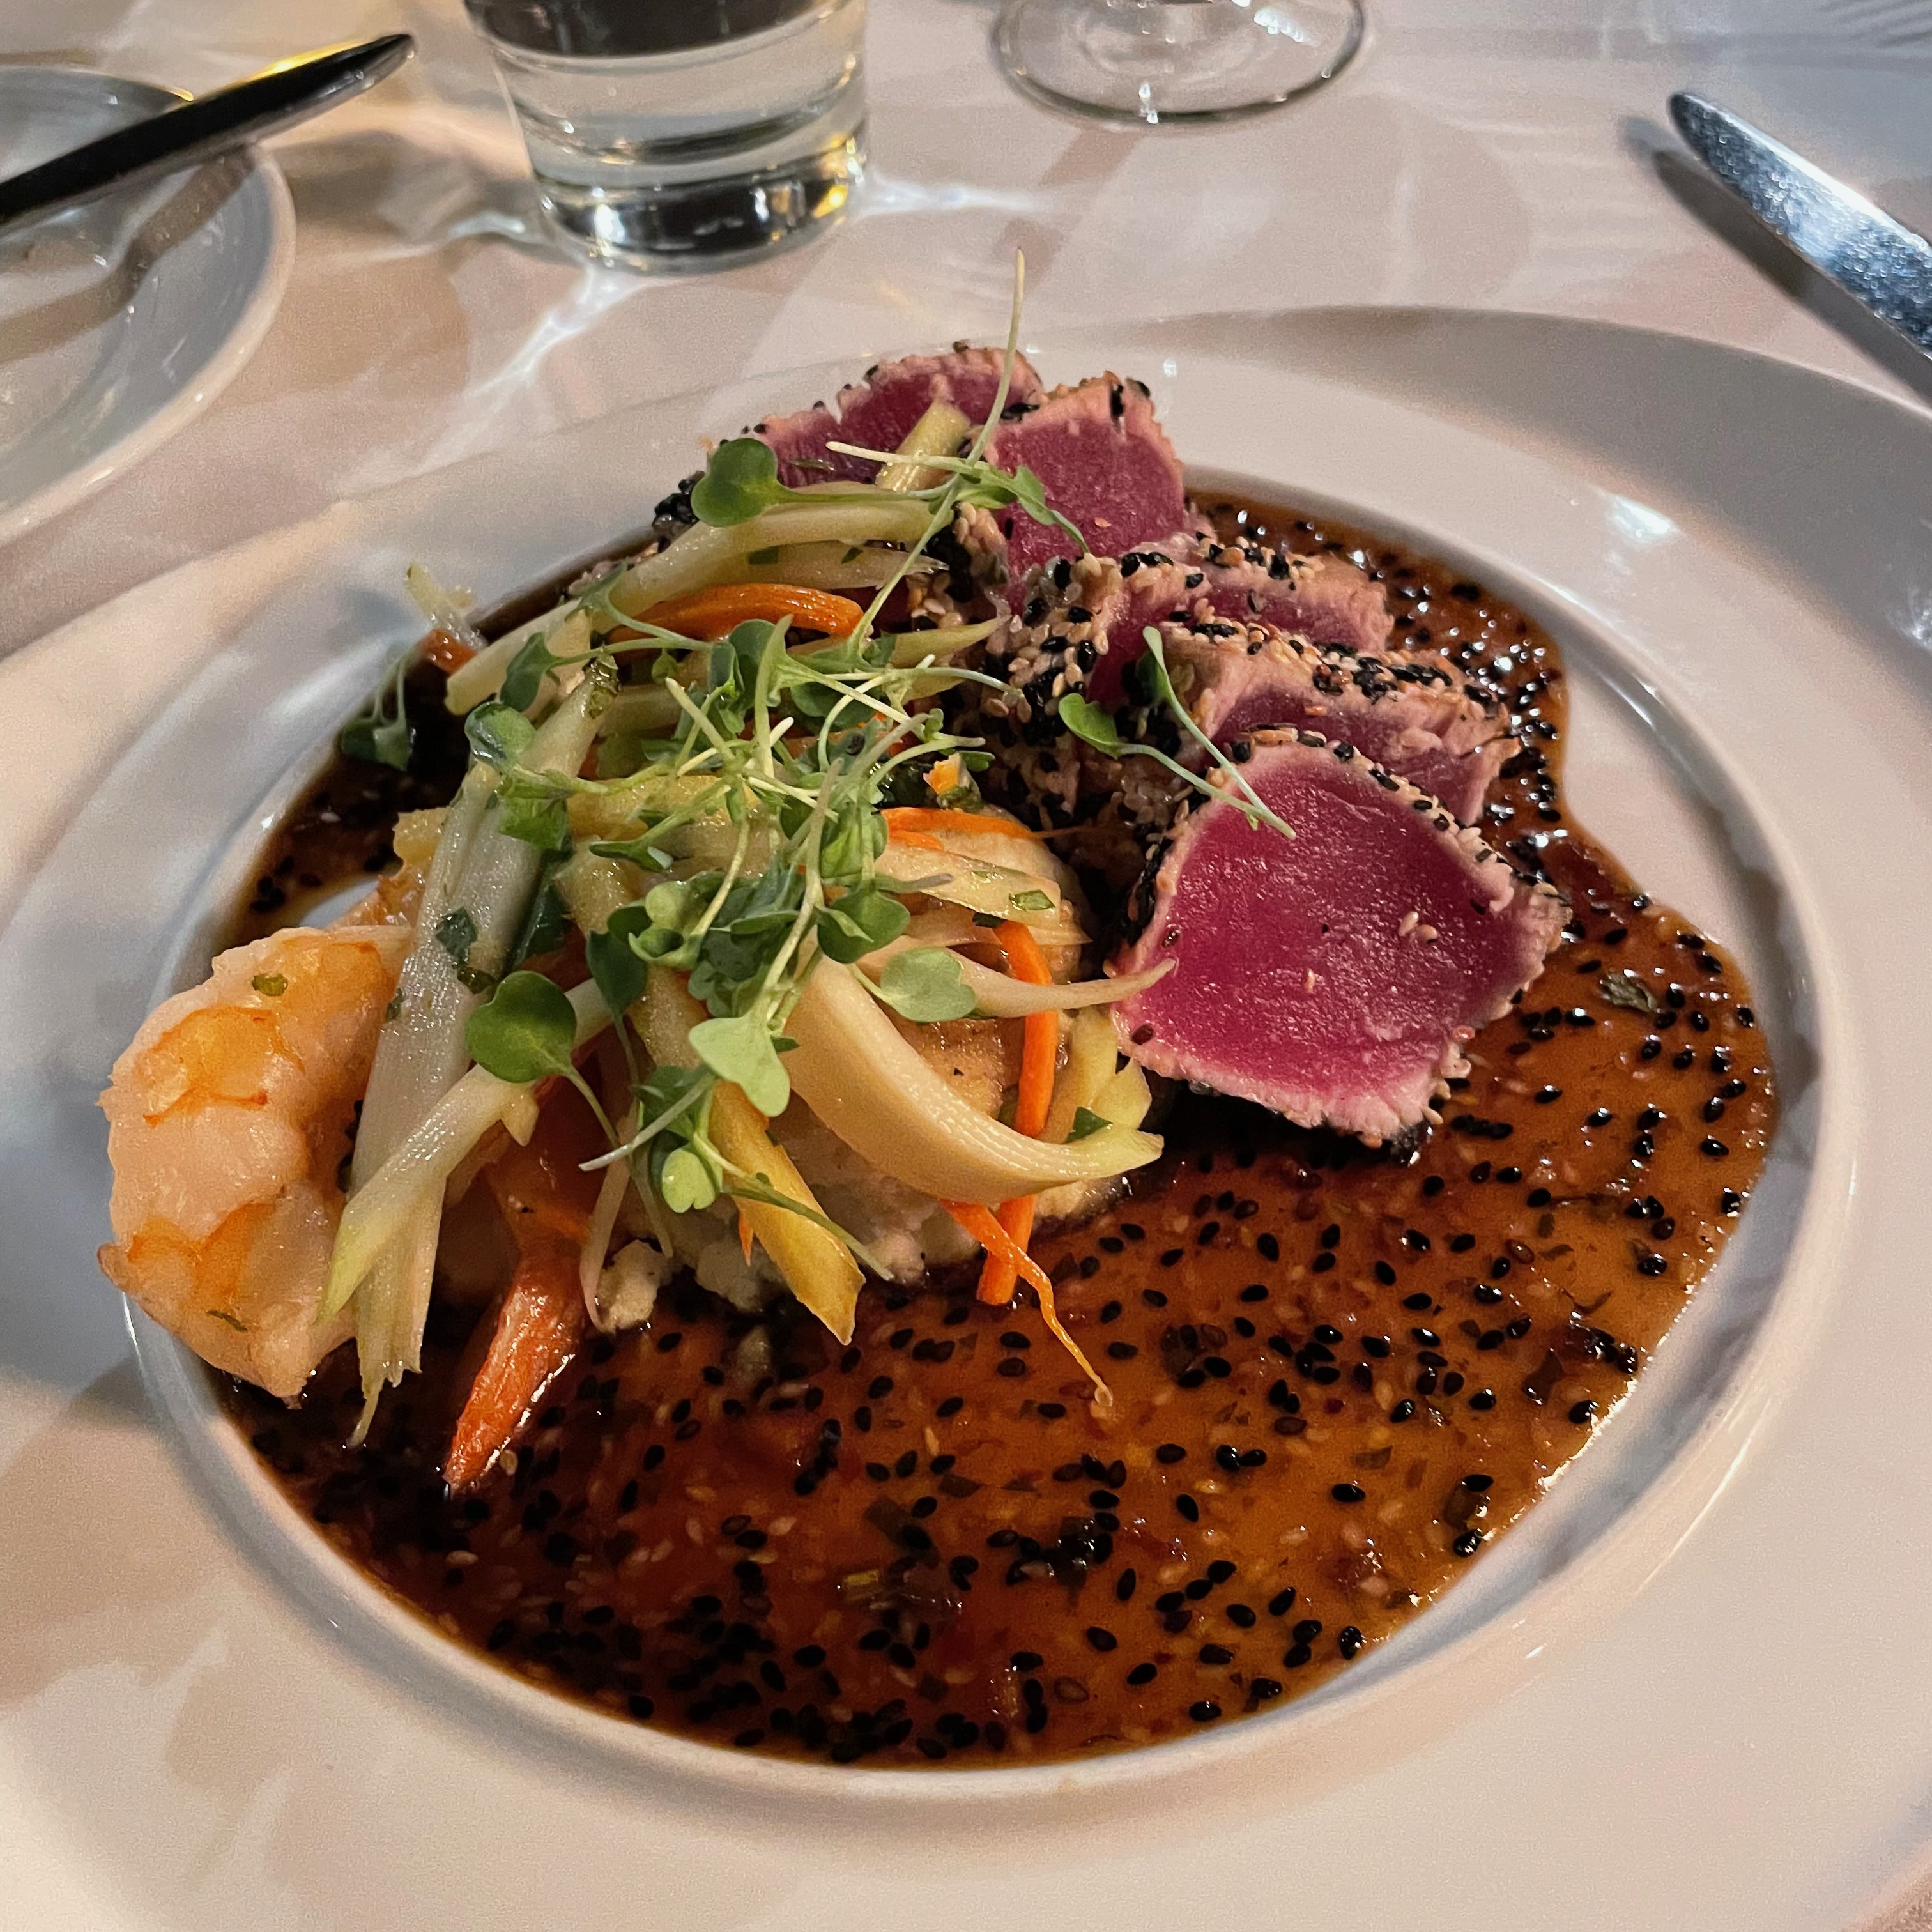
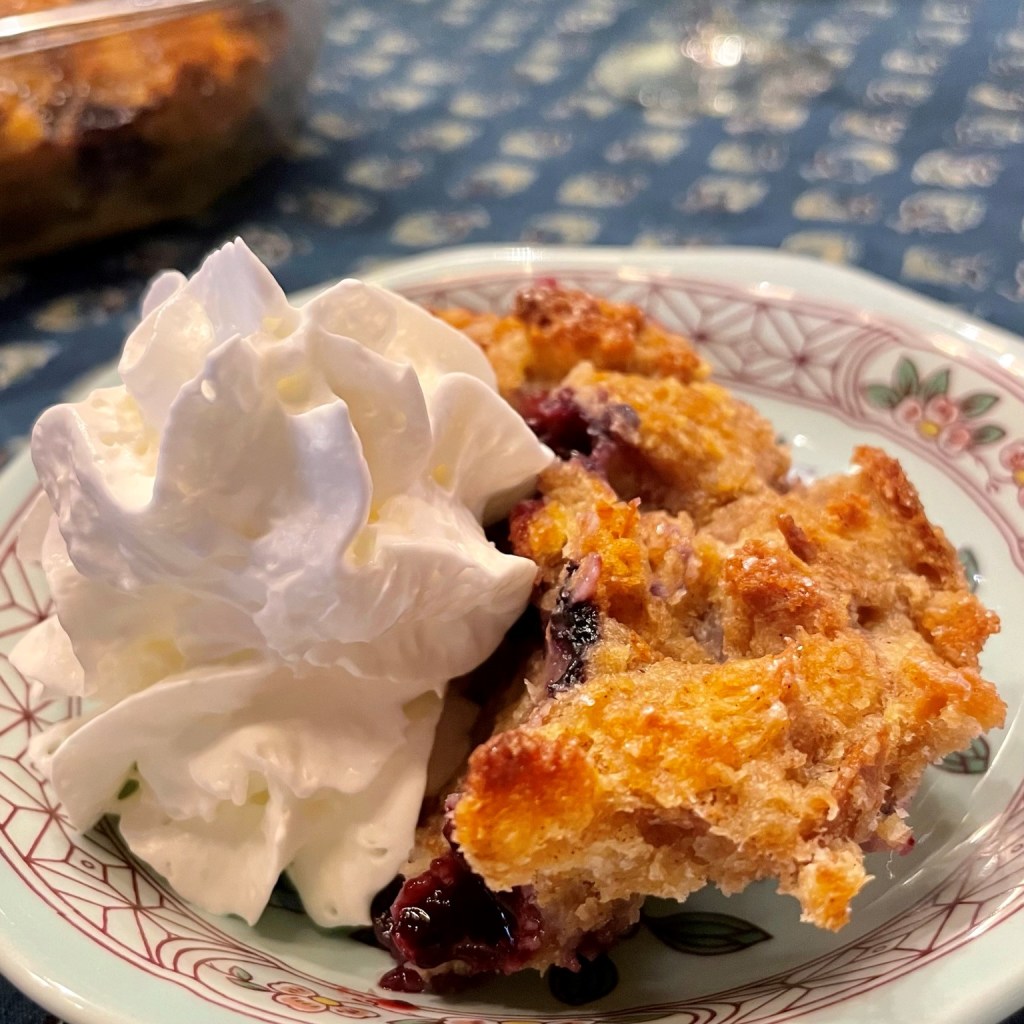
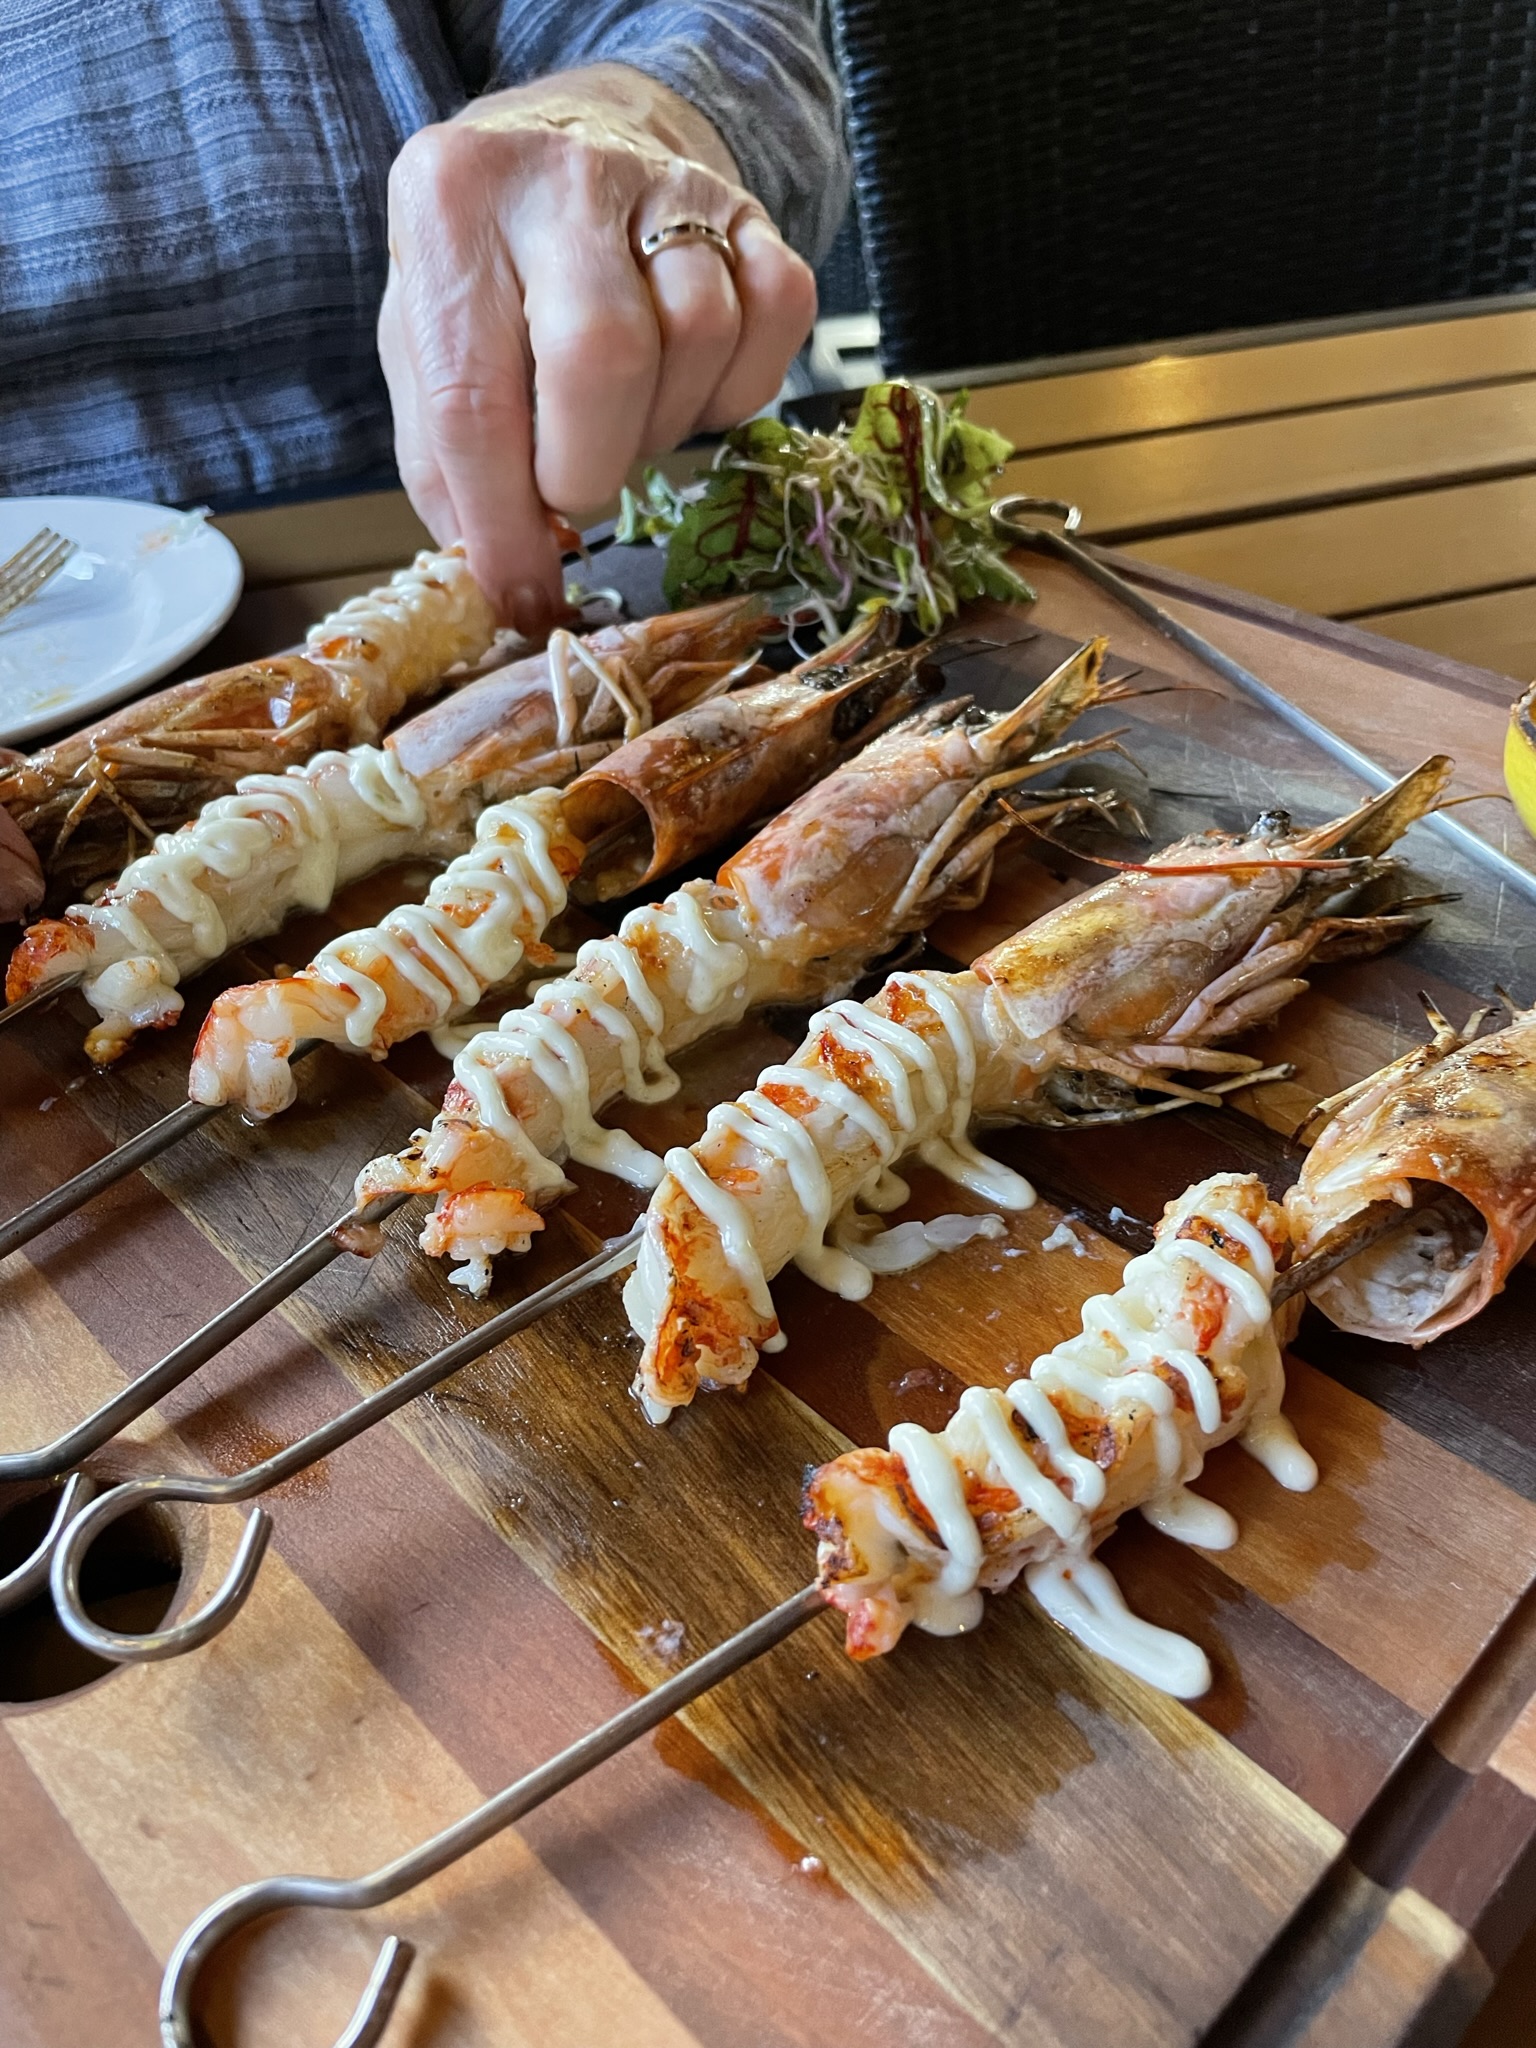
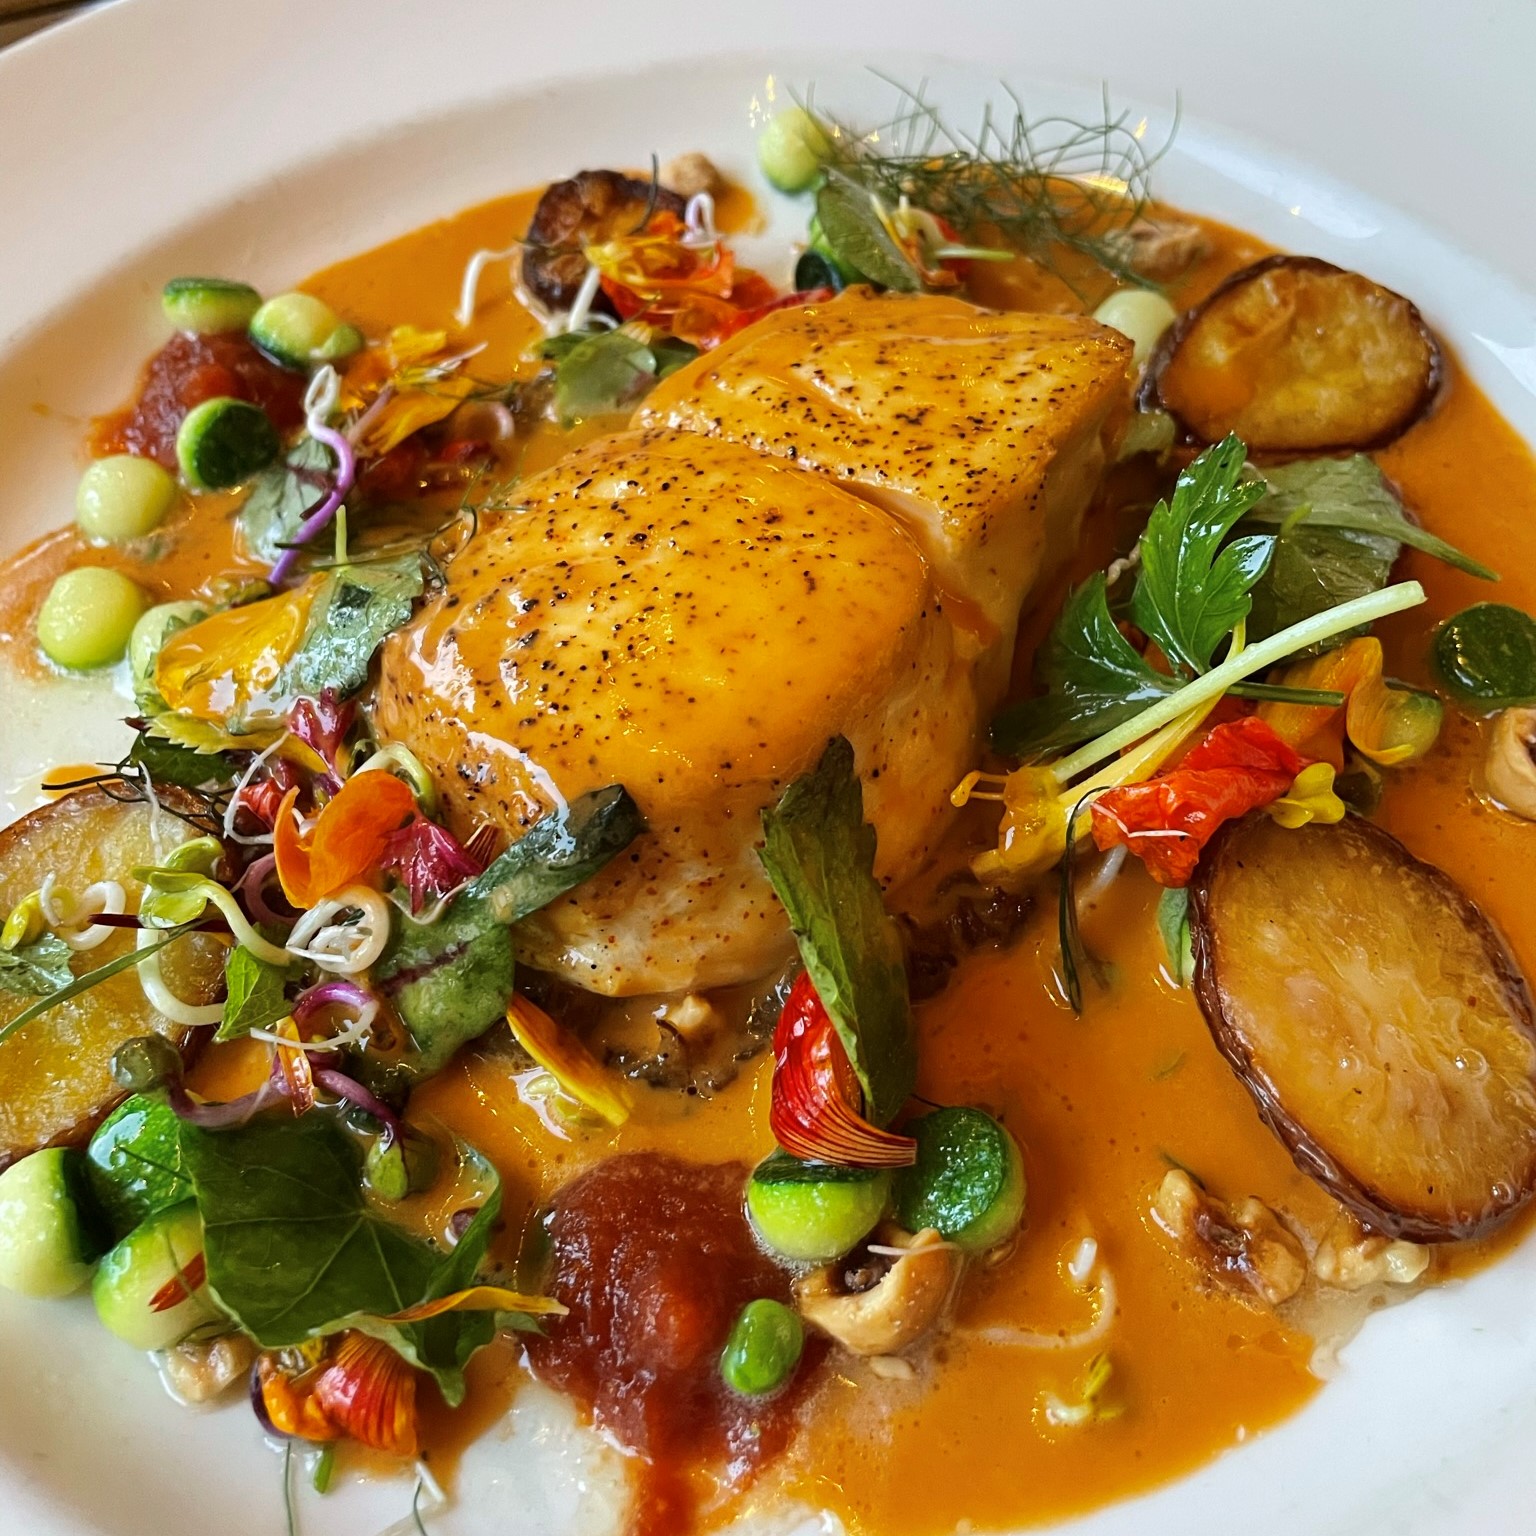
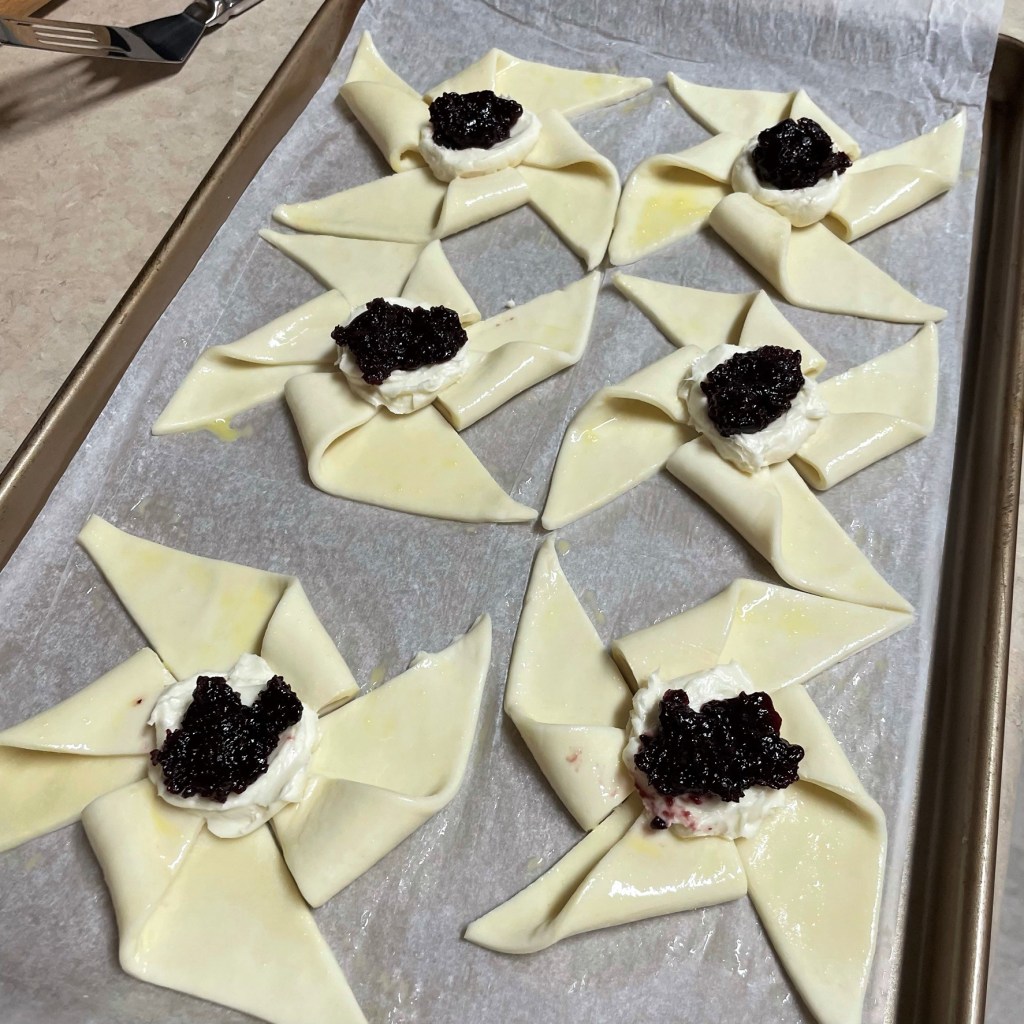
This whole trip was a lot to digest— no pun intended, well, maybe intended— and I’m still breaking down some of our experiences, so there will be more to share later, including one very special meal we enjoyed. But for now, I’ll keep you in the dark about that. 😉


Much Ado About Black Bean Soup

Soup. It’s one of the simplest and most comforting pleasures of the cold weather season, and when I spied a bag of dried black beans in the back of my tall pantry a couple months ago, I thought, “Great, this will be easy!” Soak them overnight, drain and rinse, then cook them up with a few aromatic veggies, spice and broth, right? Well, as you may have already guessed, this one didn’t go quite that smoothly. And it’s my own fault for not paying attention to the “best by” date on the side of the cellophane bag. Oops. 

Though dried beans are easy, there are a few guidelines, and using them up before they get too old is one that should not be overlooked. I was already more than a day into it, though, when I realized that my beans had “expired” more than two years earlier. I’m thankful that I was able to call for backup, and I received expert advice that rescued my black bean soup, which turned out as delicious and comforting as I had hoped. 

Don’t worry, this story has a happy ending. 🙂

But before I get to the rescue of my soup, let’s talk about how things should go when making soup from dried beans, and hopefully I’ll remember my own advice next time!

Prep the beans

The first rule of thumb is to rinse and sort through the beans, just in case there is a random stone or other debris in the bag. I have never found one, but I’m certain that I would split a molar if I skipped this step even one time. So, sort them I do, under cold running water, and then I dump them into a deep pot with plenty of water for an overnight soak.

There are many viewpoints about whether the soak is necessary (spoiler alert— it technically isn’t), but the “shortcut” instructions for skipping the soak always leaves me with beans that are too “al dente” for my taste, and they take forever to cook (turns out mine would, anyway, but I’ll get to that).


Draining soaked black beans is especially dramatic because of the purplish color of the soaking water, but it is usually cloudy and foamy, too, and this is because you’re eliminating some of the complex sugars that make beans difficult to digest. The soak gives the beans a chance to let loose some of that gas (so you don’t have to). 😏

Season every layer, except this one?

If there is one myth we should all unsubscribe from, it is the notion that salt is an enemy to dried beans, and that using it too soon will keep the beans from softening. Honestly, who are the bean police making up these rules? I’ve heard this one my entire adult life, but it has been proven to be untrue. Some cooks even add salt to the soaking water, and there is nothing wrong with doing so. If you wait until the very end to add salt— as so many recipes insist you must— then you’re prone to end up with beans that taste unseasoned and overly salty at exactly the same time. You might guess from this statement that I’ve learned this the hard way, and you’d be correct!

I placed my beans, covered with water, over medium heat with a couple of bay leaves, and got to work prepping the aromatics that would flavor my soup: onions, garlic, celery, red bell pepper and jalapeño.


The seasonings came next. I pulled out a small skillet to toast up some whole cumin seed. Toasting seed spices is an easy way to elevate their flavor, and a quick crushing in my mortar and pestle revealed a most potent aroma. Add to that a generous sprinkling of chipotle chile powder, plus salt and pepper (of course), and my kitchen already smelled inviting!


Under normal circumstances, those veggies would go into the pot after about an hour, when my beans became tender. But my ignorance about the best-by date on my beans is where the trouble came in. After 20 hours of soaking and two solid hours of simmering, my beans were still very firm. Not crack-a-tooth firm, but firm enough that they didn’t budge when I pressed on them with the back of a fork. Dang it! I almost scrapped the whole thing, and I had to come up with another plan for dinner. I needed help.

Thank goodness for foodie friends!

I am ever appreciative for the friendships I’ve made since I began food blogging, and on that day, my gratitude for Dorothy at The New Vintage Kitchen was multiplied. Dorothy is a revered graduate of the “waste nothing” school of culinary excellence, and I reached out with a text message, figuring if there was a way to salvage my beans from this debacle, she would point me toward it. 

“I’d probably add a bit of baking soda and keep cooking them,” Dorothy texted me. She also encouraged me to “go ahead and salt them.” I was grateful for that advice, too, because old habits die hard.

Amazing that such a small amount of baking soda has such an impact!

And just like that, I was back in business! Thanks to the alkaline nature of baking soda, my beans were softened about an hour later, and I added a couple of strips of turkey bacon for smoky flavor, all my sautéed veggies, plus some low-sodium veggie broth. Soon enough, my soup was ready for final touches! I took my immersion blender for a 20-second spin and stirred in some tomato paste to perk up the flavors.


By the time the bean crisis was averted, I had already pivoted to Plan B for dinner that night, so I stashed the soup in the fridge and rewarmed it the following evening. Soup is always better on the second day anyway, and this big ol’ bowl of yum made my hubby and me very happy.

One happy husband. 😘

The tip that keeps on giving…

The story doesn’t end with my own soup, and this is the beauty of sharing foodie tips with fellow cooks. A few weeks after my own panic attack, I got a text from my cousin, who had run into trouble making ham and bean soup. Brad had combined his beans with ham and vegetable broth and dumped in a can of—yikes— diced tomatoes before he noticed the recipe said to hold that last ingredient til the end. Unlike salt, acidity is an enemy to dried beans, and Brad described his panicked effort to strain the beans out of the mixture a “fool’s errand.” This is such a frustrating moment for any cook, and I shared how my black bean soup was saved by a quarter teaspoon of baking soda.

“Give it a try,” I suggested.

Brad texted me the next day. The baking soda had neutralized enough of the acidity of the tomatoes; the beans softened and his soup was saved! He also shared his success story with a buddy who complained that his chili made with dried beans never came out quite right, and he’s going to try the baking soda trick next time, too! 

One of these days, I’m going to make a list of all the brilliant uses for baking soda in the kitchen. I’m betting that my fellow cooks have other examples to share. Until then, stay warm and enjoy this comforting black bean soup. A big ole bowl of yum!


Black Bean Soup

  • Servings: About 8
  • Difficulty: Easy
  • Print

This easy soup is smoky and flavorful, made with simple ingredients and so comforting on a cold winter's night!


Ingredients

  • 1 lb. dried black beans, sorted, rinsed and soaked overnight
  • Plenty of water, for soaking and cooking
  • 2 dried bay leaves
  • 1/4 tsp. baking soda (see recipe note below)
  • 2 Tbsp. extra virgin olive oil
  • 1 medium sweet or yellow onion, chopped
  • 2 stalks celery, strings removed and chopped
  • 1 medium red bell pepper, seeded and chopped
  • 3 cloves garlic, finely chopped
  • 1 jalapeño, seeded and finely chopped
  • Kosher salt and freshly ground black pepper
  • 1 tsp. cumin seeds, toasted and ground
  • 1 Tbsp. chili powder (I used ground chipotle chiles)
  • 3 strips smoked turkey bacon
  • 2 cups low sodium vegetable or chicken broth
  • 2 Tbsp. tomato paste
  • Sour cream and scallions, for serving

Recipe Note: Be sure to check the “best by” date on your dried beans. If they are more than a year old, they will likely take longer to cook. A bit of baking soda will help the beans soften if they are older or seem to be taking a long time.

Directions

  1. Drain and rinse the soaked beans, transferring them into a large, heavy-bottomed pot. Cover with at least two inches of cold water. Add a teaspoon of salt and a couple of bay leaves to the pot. Bring to a slight boil, then cover and simmer for about one hour until beans begin to feel tender.
  2. Place a sauté pan over medium heat and add olive oil. Add onion, celery and pepper to the pan with a generous pinch of salt and black pepper. Sauté for about 3 minutes, until they are softened and slightly translucent. Add garlic and jalapeño and cook 2 more minutes. Season with cumin and chili powder. Set aside to cool.
  3. When beans are tender, add turkey bacon to the pot, along with broth and sautéed vegetables. Simmer until the mixture is hot throughout and bacon is shriveled. Remove bacon strips and bay leaves.
  4. Use an immersion blender to purée the soup. It can be smooth or chunky, to your liking. Alternatively, transfer a cooled portion of the soup to a conventional blender and stir the pureed portion back into the pot. Use caution, and do not purée a hot liquid in a closed blender container.
  5. Stir in tomato paste and adjust seasonings to taste.
  6. Serve with a swirl of sour cream and chopped scallions.


California Dreamin’

My husband and I just returned home after a 10-day visit to Southern California, in case you’ve been wondering why I’ve been so quiet online. I packed my laptop for the journey— foolishly imagining that I’d carve out time to blog— but our planned (and unplanned) adventures took over every waking moment. This long trip was arranged months ago, timed around Les’s great-niece’s Bat Mitzvah in Los Angeles. But it also included a lunch meeting with one of my new managers at my day job, an impromptu drive-by to the beach in Malibu, a side trip to visit a cousin in San Diego and a three-day stay at my in-laws’ second home in the Coachella Valley. Whew!

We had some crazy fun times, ate incredible food, enjoyed sampling the goods at a winery and stood witness to some truly breathtaking scenery. We also got to celebrate with Les’s sister and her husband at her birthday dinner. For the occasion, Andrea chose a lovely, upscale restaurant that used to be Cary Grant’s home! It was great fun, but after all the excitement, the various family gatherings, five plane rides and spanning three time zones, I need a vacation from our vacation! I’m sure you can relate.


Though most of our trip was mapped out in advance, we did have a pleasant surprise on our drive to Palm Desert last Tuesday; we got a phone call from Jess, the girlfriend of Les’s nephew, Ethan. It turns out that Jess’s uncle schedules the acts at a new venue in the Coachella Valley, and when he caught wind that we’d be in town, he generously offered up tickets to a concert with fantastic seats that we couldn’t refuse! Press play on the video below— I’m pretty sure you’ll know very quickly who we were lucky to see.

She’s still got it!

As exciting as the Stevie Nicks show was (she flawlessly performed every song you’d expect, plus a few surprises), I was even more thrilled about an event the next day, when I finally got to meet in person one of my favorite online buddies, Michelle from Art of the Beat. Michelle and I started following each other on WordPress a few years ago— my recipes caught her eye, and I found myself drawn to her music-oriented photography and artwork— and our banter in the comments led to email chats and texts, which led to calls and FaceTime. Now I consider her my West Coast bestie!


I ditched the family for a few hours to spend a fun afternoon with Michelle at Shields Date Garden in Indio, which included lunch (check out the jalapeño-stuffed, bacon-wrapped dates, yum) and a leisurely stroll through the gardens where we received an education on various citrus trees and (gasp!) the sex life of date palm trees. Scandalous! 


The other interesting thing about the garden walk was that it featured various statues and stories about the life of Jesus— something I would not have expected at a date farm, but OK. If you’re familiar with the concept of “stations of the cross,” this is essentially what we encountered, and it gave us more fodder for conversation. Sadly, negative past experiences with religion are yet another thing Michelle and I have in common. Most of our discussion took place on a bench in the shade, directly in front of a statue of Jesus. It was very affirming, and we left the place as soulmate-level friends.

I’m pretty sure we were separated at birth.

I also bought some mouthwatering soft Medjool dates to smuggle into my carry-on for the trip home. If I can resist eating every last one of them like candy, I will try to recreate those tasty jalapeño-stuffed bites!

It’s great to be home after our travel adventures, and the excitement continues at our house this week with the arrival of Nadia’s first Christmas tree. Our 7-month-old kitten has been batting at the lower branches, and I think we will wait a few days before stringing lights and ornaments— just in case! 

A new recipe is coming your way this weekend, so stay tuned and come back hungry. 😉


Just for fun…

As my hubby noted in the comments, there were some cute moments with wild critters, as we visited The Living Desert Zoo and Gardens on our final day in Palm Desert. The park provides great information about the animals, their habits and endangered status, and I highly recommend a visit if you’re in the area. There was a whole section of the park dedicated to animals from Down Under. We never saw a kangaroo, but in “Africa,” it was feeding time for the giraffes! The park was selling romaine lettuce leaves at a concession stand, and some children near us got to feed the gentle giants. This one wanted to be my buddy. 🙂


Sweet Potato Casserole Old Fashioned

I’ll bet I know what you’re thinking. She did what?! 😂

The matter of a signature cocktail for Thanksgiving is always a priority for me. I want guests at our table to immediately feel welcome and for the signature drink to set the mood for the occasion. And though I don’t especially like the old-school sweet potato casserole— you know the one, topped with sticky browned marshmallows— when the idea rose of putting those nostalgic flavors into a cocktail? Well, that’s quite a different story!

This discussion of a sweet potato casserole cocktail came about several months ago, as my blog buddy, Maylee over at Beyond Gumbo, and I were e-chatting about a New Orleans-based company that makes cocktail ingredients. El Guapo is the brand, and I had recently purchased a bottle of its chicory pecan bitters. I’m always on lookout for unusual cocktail ingredients, and this one struck my fancy for making holiday themed drinks.

Chicory has a slight bitter flavor that is reminiscent of roast coffee.

As so often happens, though, the bitters sat on my bar for a while as I pondered how to build a drink that would benefit from the interesting combination of flavors. I’ve used it to make a pecan pie old-fashioned, and then it got left behind until recently, when Maylee posted a wonderful recipe for a homemade pumpkin spice latte that sounds way better than anything I could buy at Starbucks. For her latte, she made a pumpkin spice syrup and she reminded me in the comments section about the sweet potato cocktail we’d discussed months earlier. Thank goodness she remembered!

And here we are! My friend’s pumpkin spice syrup inspired me to try my own version of sweet potato syrup, which was not only simple to make, but literally makes this bourbon drink taste like a tipsy liquid version of a retro sweet potato casserole. This is one of the things I love most about food blogging, the way my online friends and I are always inspiring one another to try and succeed at new things, and we keep going until we all run out of ideas. 

I hope that’s a very long time. Cheers! 😁


What you’ll need

If you want to try this yourself, take a moment right now to purchase the chicory pecan bitters, as they are essential to the drink. You can buy them directly from El Guapo’s site or take advantage of speedy shipping from Amazon. Don’t worry about how to use the rest of the bottle, as I’ll be experimenting and sharing other recipes as I develop or discover them.

The other ingredients you’ll need are bourbon (a sweet one, such as Maker’s Mark or Elijah Craig), a good-sized sweet potato, a bit of turbinado or brown sugar and a cinnamon stick, plus the mini marshmallows to garnish the drink, vintage style.

Once the syrup is ready, the rest of the drink is easy peasy!

Make-ahead sweet potato syrup

The sweet potato syrup is easy to make ahead, and I’d recommend doing it this weekend so you’ll be ready when guests arrive next Thursday. Simmer the sweet potato chunks until tender, then gently mash and strain the liquid into a measuring glass. Add enough water to total 1 1/4 cups. Pour the strained liquid back into the pan with the sugar and cinnamon stick. Bring to a slight boil, then simmer for about 15 minutes. Cool to room temperature, and then strain again— this time through a very fine mesh strainer to filter the solids as much as possible. Transfer it to a bottle and chill until you’re ready for cocktails.


When my syrup was finished, it measured 3/4 cup, exactly enough for 8 cocktails. If you’ll be making more drinks, my click-to-print recipe below is easy enough to double.

Time for a cocktail!

When the bell rings for happy hour, get your cocktail tools and ingredients ready to go. You’ll need a shaker (this is best when mixing ingredients of different viscosity), a measuring tool for the ingredients, ice for shaking, heatproof cocktail picks and a culinary torch or lighter to toast the marshmallows. 

The toasted marshmallows are a whimsical nod to the sweet potato casserole of my childhood!

I recommend threading the marshmallows onto the cocktail pick first so you can get straight to enjoying this delicious drink as soon as it’s poured. To reduce the stickiness, I smeared the cocktail picks with a bit of butter before adding the marshmallows. I like a little orange peel expressed over my drink, so this is good time to strip that off a washed orange, too.

Here comes the mixing! Combine the bourbon, syrup and chicory pecan bitters in a shaker with about a cup of ice. Shake for 20 seconds, or until the outside of the shaker is cold and frosty. Strain over new ice. Express the orange peel (if using) over the drink and toast the marshmallows to garnish the glass.


Sweet Potato Casserole Old Fashioned

  • Servings: 1 cocktail
  • Difficulty: Average
  • Print

Yes, this fun recipe is exactly what you imagine; the flavors of a classic Thanksgiving side, transformed into a delicious holiday cocktail.


Ingredients

  • 1 1/2 ounces bourbon (a sweet one, such as Maker’s Mark or Elijah Craig)
  • 3/4 ounce sweet potato syrup (recipe and directions below)
  • 3 shakes El Guapo chicory pecan bitters
  • miniature marshmallows, threaded onto a heatproof cocktail pick
  • 3-inch strip of orange peel, optional for expressing over cocktail

Directions

  1. Combine bourbon, sweet potato syrup and chicory pecan bitters in a cocktail shaker with a cup of ice. Shake for 20 seconds, or until shaker is frosty.
  2. Strain over a large ice cube in a double rocks glass. Espresso orange peel over drink, if desired. Toast marshmallows and garnish the cocktail.
  3. Cheers!

The only fussy element of this drink is the sweet potato syrup. Plan to make this ahead, and keep it in the fridge for up to two weeks. The recipe below makes enough syrup for 8 cocktails.

Ingredients

  • 1 large sweet potato, peeled and cut into chunks
  • 1/3 cup turbinado or brown sugar
  • 4-inch piece of cinnamon stick

Directions

  1. Cover sweet potato chunks with cold water in a medium saucepan. Cook over medium heat until potatoes are fork-tender, about 35 minutes. Gently mash the potatoes, still in the water, with the back of the fork. Strain through a wire mesh strainer into a glass measuring cup. Add enough water if needed to total 1 1/4 cups. Rinse any solids out of the pan.
  2. Pour sweet potato liquid back into the saucepan. Add sugar and cinnamon stick and simmer over medium-low heat for about 10 minutes until sugar is fully dissolved and mixture takes on a syrupy consistency. Remove from heat and cool to room temperature.
  3. Strain again, this time through a fine mesh strainer or coffee filter. Finished syrup should measure approximately 3/4 cup. Transfer syrup to a jar or sealable bottle and refrigerate for up to two weeks.


Elevate it even further!

Want to take this drink a flavor step further in the direction of a sweet potato casserole? Try this trick of “fat-washing” your bourbon with browned, unsalted butter. It’s easy to do, and as a bonus, you’ll have a small bowlful of bourbon-infused butter left over to flavor something else on the table. The actual sweet potato casserole, perhaps? 😉


Vermont Maple & Blueberry Bread Pudding

When the 5 o’clock bell rang at the end of my fourth and final King Arthur Baking class— and I’m speaking figuratively, because there actually was no bell— I felt an overwhelming sense of accomplishment at having baked the equivalent of 12 loaves of bread. “Equivalent,” because my classmates and I were taught shaping technique not only for loaves, but also for different kinds of rolls, and by the end of my deep-dive into the “principles and practice” of bread, my arms were filled with a brioche braid, a loaf of basic white, a whole wheat braid, a multi-grain boule, Nutella twist, cinnamon rolls, a whole wheat loaf with cinnamon-raisin swirl, two kinds of dinner rolls and three (count ’em, three) loaves of crusty French bread. Oh, and a ball of wet pizza dough in a plastic bag. Holy freakin’ moly.

I had produced enough baked goods to fill a Toyota Corolla, and I wasn’t sure what I’d do with all that bread.

Most of my classmates were headed home, so theirs was an easy decision. But I had packed up my rental car that morning for the third and final leg of my solo summer adventure, and that would lead me north, through the driving rain, farther from home rather than nearer. I would be a weekend visitor in the home of someone I’d never met in person before— what in the world was she going to think when I rolled up, looking like a drowned rat, in my rented Corolla with bread piled up to the windows?! Well, she wasn’t mad! 🙂

Meet Dorothy, from The New Vintage Kitchen! 🙂

Speaking from experience, if you ever need help breaking down too many loaves of bread, you want to be spending the weekend with Dorothy from The New Vintage Kitchen! Dorothy’s blog followers know that one of her mottos in the kitchen is “waste nothing,” and she showed me how she lives by it. That first evening, we enjoyed some steamer clams and a lovely nicoise salad with freshly grilled tuna. I suppose you can guess who brought the bread?


Our Friday was spent“foraging” for ingredients at some of Dorothy’s favorite farm stands, and the experience was all that I had imagined and more! We found terrific local produce, farm-fresh eggs, beautiful handcrafted items (like the wooden spoon that practically leapt into my hand) and adventure at every turn. And yes, we broke down that bread, one item at a time. Some of the loaves and rolls were stale before I even got to her house, and those ended up as bread crumbs, which are always in demand in a kitchen as busy as Dorothy’s.


She taught me her method of making anchovy croutons, using up the rest of the French bread loaves I brought. And of course, there was the title bread pudding, which was my own contribution to Friday night dinner, where I was pleased to meet Dorothy’s daughter, son-in-law and adorable granddaughter. They received the whole wheat raisin swirl loaf as a door prize. Thank goodness!


This bread pudding was exactly the right thing, because it brought me full circle from my grandmother’s kitchen, where nothing was wasted, including all the little this-and-thats of bread that she would have tucked into the freezer until she had enough to make a batch of her perfect bread pudding. As luck would have it, I had plenty of bread options and it was a very efficient (and delicious) way to finish up the braided brioche, some of the braided whole wheat and about four of the un-iced cinnamon rolls. It was roughly six cups of crumbs.


The base recipe was Gram’s, but there were a few fun twists— first of all, we used fresh, plump blueberries rather than the usual dried fruit. Real Vermont maple syrup supplemented the sugar for a warm touch of sweetness. The vanilla was homemade (of course, because this is Dorothy’s kitchen!) and we baked it up in her incredible, radiant-heat AGA range. My Gram would have loved everything about this, and she would have genuinely appreciated Dorothy’s no-nonsense, no-waste approach to cooking and entertaining. Truly, I could not have felt more welcome! Dorothy’s husband had something to do with that as well—he was always right there, topping off my French press coffee—and their two sweet dogs treated me like a member of the family, too! I got a little misty-eyed when it was time to leave, but I know I’ll be back!

After the click-to-print recipe, check out my whirlwind recap of the fun weekend we enjoyed, despite All. That. Rain!


Vermont Maple & Blueberry Bread Pudding

  • Servings: About 10
  • Difficulty: Average
  • Print

When you're in Vermont, you have to sneak a little bit of maple into everything! This version of my Gram's bread pudding also uses fresh blueberries, and it worked beautifully!


Ingredients

  • About 6 cups dry, stale bread pieces
  • 2 1/2 cups milk
  • 3 beaten eggs
  • 1/4 cup melted butter
  • 1/2 cup sugar (reserve a tablespoon to sprinkle over top)
  • 2 teaspoons vanilla extract
  • 1 teaspoon ground cinnamon
  • 1/4 teaspoon ground cardamom
  • 1 cup fresh blueberries
  • 1/4 cup Vermont maple syrup
  • Whipped cream for serving

This recipe works best with bread that is stale but not bone dry. Tear up the pieces rather than cubing them, and allow them to dry out on the counter overnight (or all day, while you’re foraging for dinner’s ingredients). The bread pudding requires a water bath during baking, so put on a tea kettle to boil when you’re ready to move the pudding to the oven.

Directions

  1. Preheat oven to 350 F, with oven rack in center position. Butter a 1 1/2 quart baking dish.
  2. Add stale bread pieces to a mixing bowl that will be large enough to toss with liquid ingredients. Whisk together milk, eggs, sugar, melted butter, vanilla, cinnamon and cardamom. Pour milk mixture over bread and gently fold with a spatula or wooden spoon to evenly coat bread. The mixture will initially seem too wet, but the bread will continue to soak in the liquids. Allow the pudding to rest about 20 minutes to absorb the custardy liquid.
  3. When most of the liquid has been absorbed, fold in fresh blueberries and maple syrup. Transfer mixture to buttered baking dish, and place the dish inside a larger dish with room for boiling water on all sides. Heat water to boiling in a tea kettle. Sprinkle reserved tablespoon of sugar all over the top of the pudding.
  4. Carefully pour boiling water into larger dish, about halfway up the sides of the bread pudding dish. Bake approximately one hour, until pudding is set and top is golden browned and crispy.


Easy Puff Pastry Pinwheels

Of all the things I love about writing a blog—and there are many, from seeing a record of my kitchen accomplishments to moving another bucket list item to the “done” column to hearing the stories from others who have tried my dishes—the best benefit of all is meeting new friends. I had the most wonderful opportunity to do just that when my husband, Les, and I traveled by car for our recent vacation. Our trip was slated to take us up I-95 through Virginia, D.C., Maryland, Delaware and into New Jersey, and I was thrilled that my blogging pal, Bernadette, was open to a meet-up. She had mentioned many times on her own blog, New Classic Recipe, that she was a resident of the Garden State, and fate was on our side because we were able to meet just one quick exit off the highway, on our way up to the northern part of the state.

I first came to know about Bernadette because she began commenting on some of my posts near the end of 2020, most notably the Oysters Rockefeller Pizza, and when I checked out her blog (WordPress is good that way, encouraging you to check out the bloggers who like your pages), I found myself also mesmerized by stories of her travels and food adventures, and especially the Italian recipes, including this one for fried, stuffed olives. We began following each other’s blogs, but I didn’t expect I would meet her one day.

At least, not until a couple of weeks ago. 😊

Les, me and Bernadette. 🙂

Once our travel plans became clear, I reached out to Bernadette privately, and she was terrific to recommend places near her that we could connect in person, and I’m so glad that we did! We gabbed over lunch—about food and blogging, about family and friendship, and the time just went so fast, as Les and I were suddenly back in the car and on our way to the rest of our action-packed vacation.

Before we parted, my new friend surprised me with a gift bag that contained two jars of handmade preserves, which I treasure. One of them is fig, which we will most certainly dig into when the holidays arrive, and the other is blackberry-prosecco. As much as I have enjoyed slathering the latter on my breakfast toast, I wanted to make something delicious and special with it, both to honor my new friend and to show appreciation for this (literally) sweet handmade food gift. This recipe is simple to make because it relies on store-bought puff pastry, but it has a little bit of “wow” factor, thanks to a pretty shaping method that is very easy to do. And the blackberry-prosecco preserves offer just the right kiss of sweetness on top of a cream cheese cushion.

The laminated dough puffs up during baking and makes the prettiest pastries!

My intention for these pastries is to serve them for breakfast or brunch, and because September is Better Breakfast Month, it seems apropos to do so. But honestly, there’s no reason these could not also be served as a light dessert, perhaps even with a glass of prosecco, in a friendly nod to the prosecco in Bernadette’s preserves.

Wait, why not both? 😉


Ingredients

1 sheet refrigerated (or frozen, thawed) puff pastry

3 oz. cream cheese, slightly softened

1 heaping Tbsp. powdered sugar

1/4 tsp. vanilla

6 tsp. favorite fruit preserves

1 egg (+ 1 tsp. cold water, for egg wash)


Instructions


  1. Preheat the oven to 400° F, with oven rack in the center position.
  2. Remove puff pastry from package and roll out on a lightly floured counter or board. Use a rolling pin to gently press out any folds in the pastry and aim to keep the pastry sheet in a mostly square/rectangle shape.
  3. Using a pizza wheel, trim the edges all around and cut the pastry into six roughly equal size squares. Arrange the squares on a parchment-lined cookie sheet. It is not necessary to have much space between them.
  4. Use a paring knife to cut diagonally from the corners of each pastry square toward the center, but keep about 1½ inches of the center fully intact. Fold every other point toward the center, slightly overlapping them in the middle. Press down firmly on the centers with your thumb to ensure the pastry stays put.
  5. Divide the sweetened cream cheese mixture among the pastry pinwheels. Each should have about 1 tablespoon. Gently press the center of the cream cheese with the back of a spoon to create an impression. Fill each impression with a small spoonful of your favorite preserves.
  6. Brush all exposed pastry dough with egg wash. Bake for about 18 minutes, or until pastries are puffy and golden. Rotate baking sheet about halfway through the time, for even browning.
  7. Cool pastries on the baking sheet for about 2 minutes before transferring to a rack to cool.

Making breakfast better!