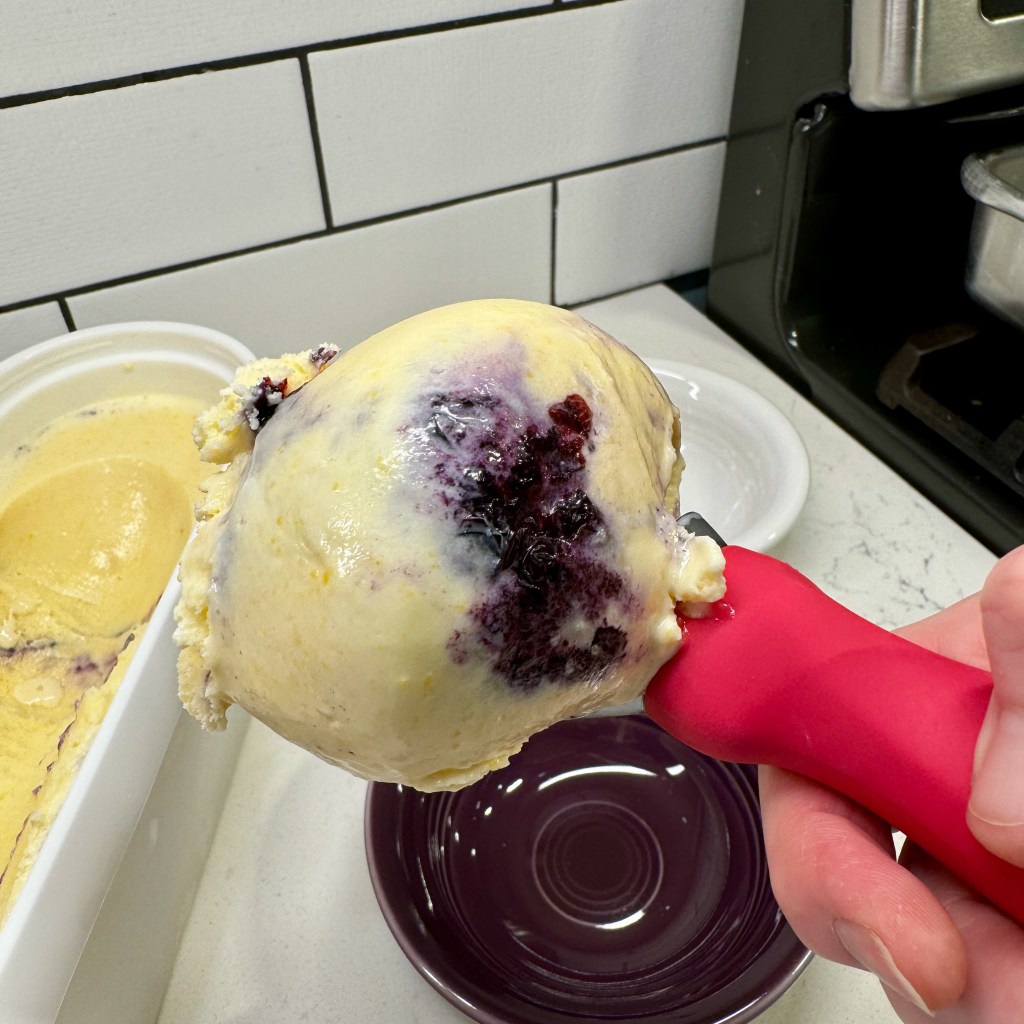
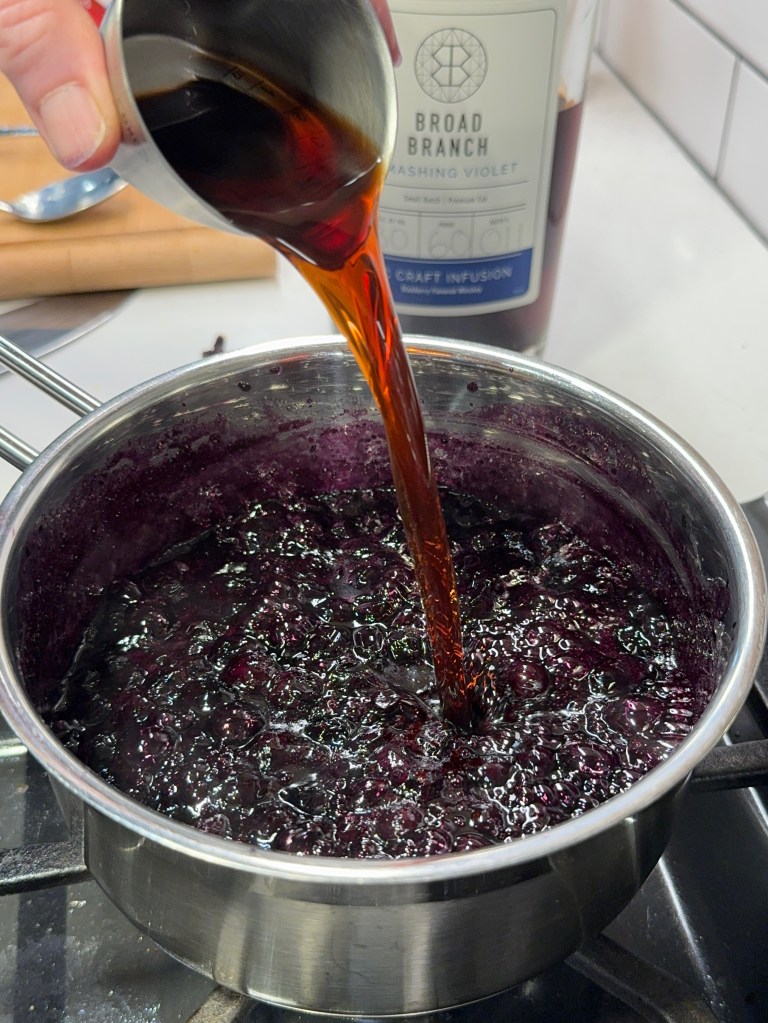
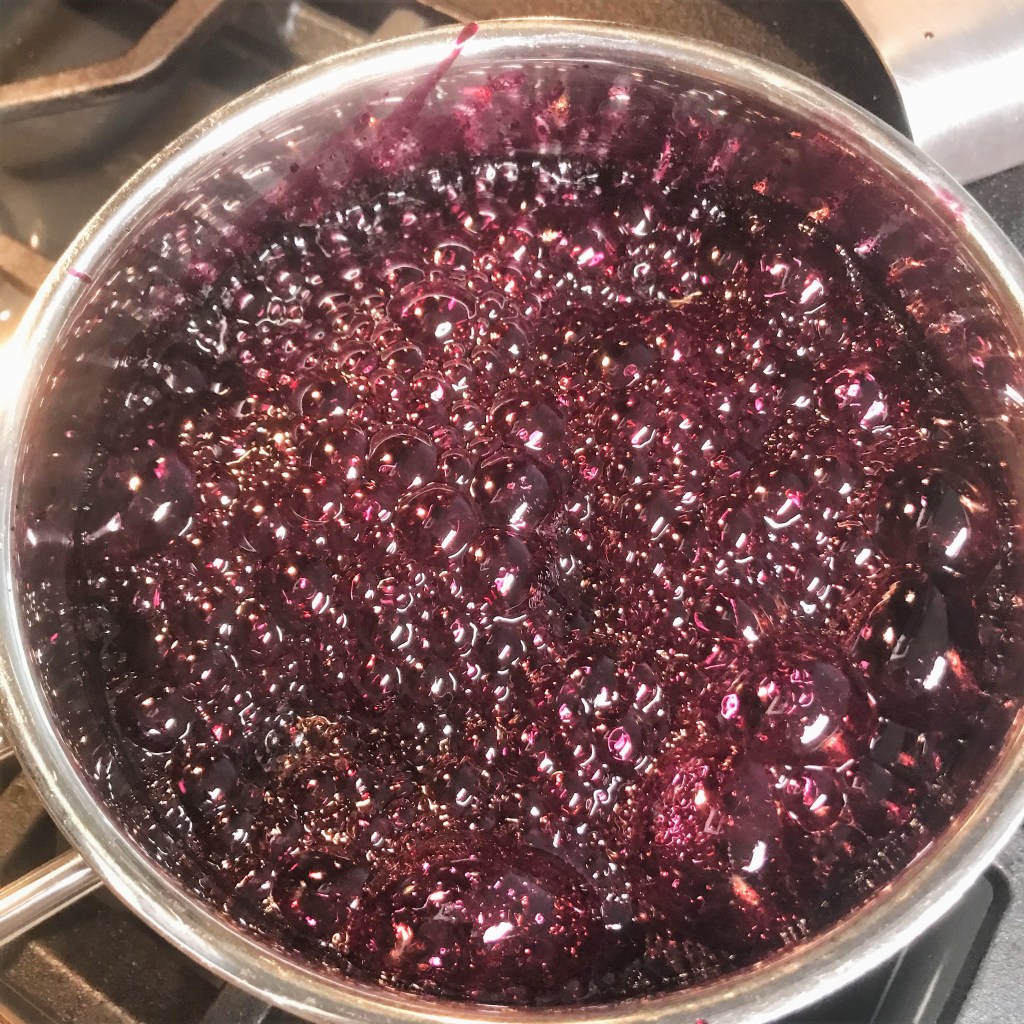
Three cheers for the purple, white and purple?! Yes, I know that isn’t exactly how the patriotic verse goes, and I had every intention and imagination for this ice cream to represent the colors of the American flag, just in time for the 4th of July. But something interesting happened when I cooked the cherry and blueberry compotes that were destined to be the “red and blue swirls” in my easy, no-egg cheesecake ice cream. They both turned to lovely shades of purple!
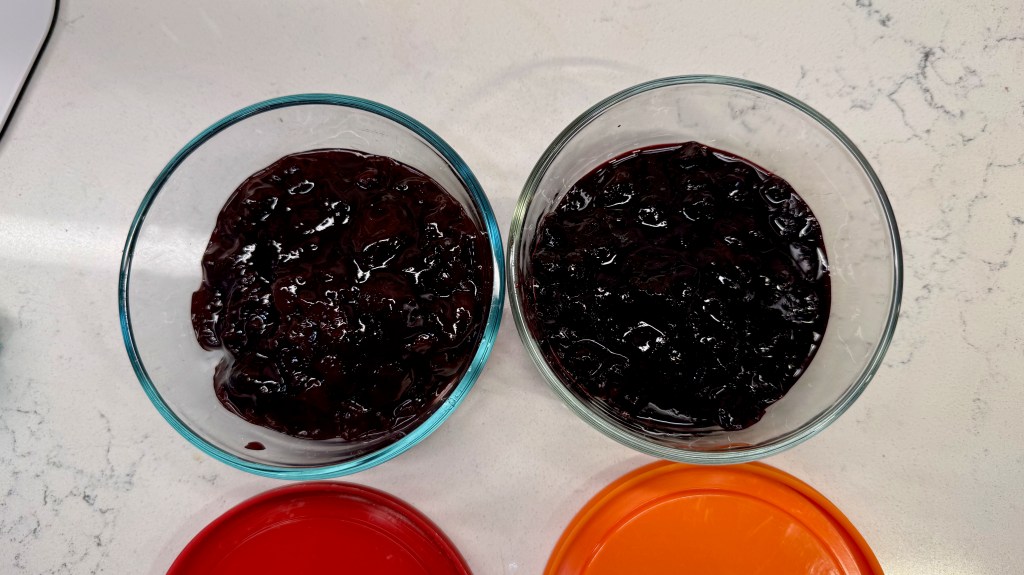
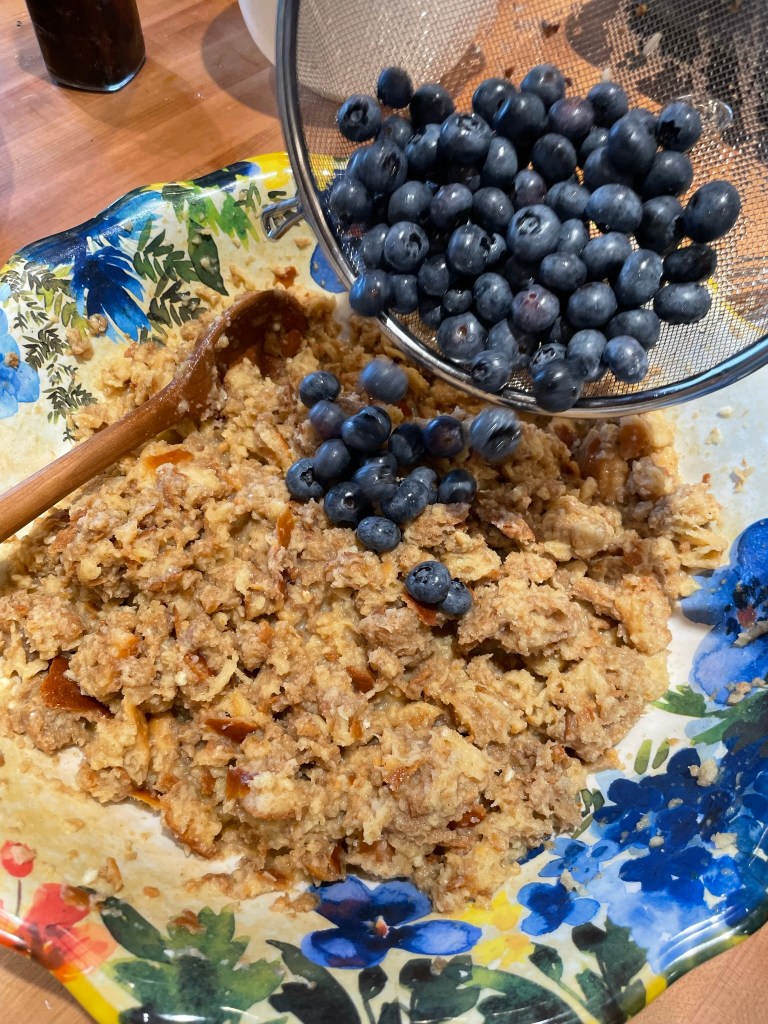
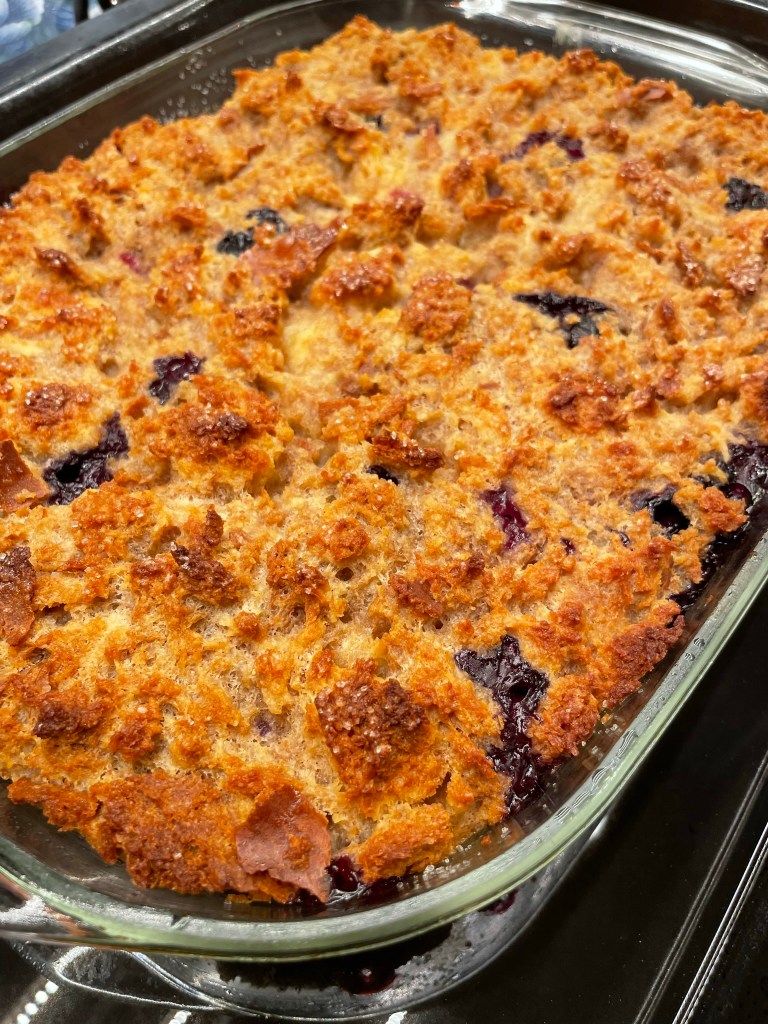
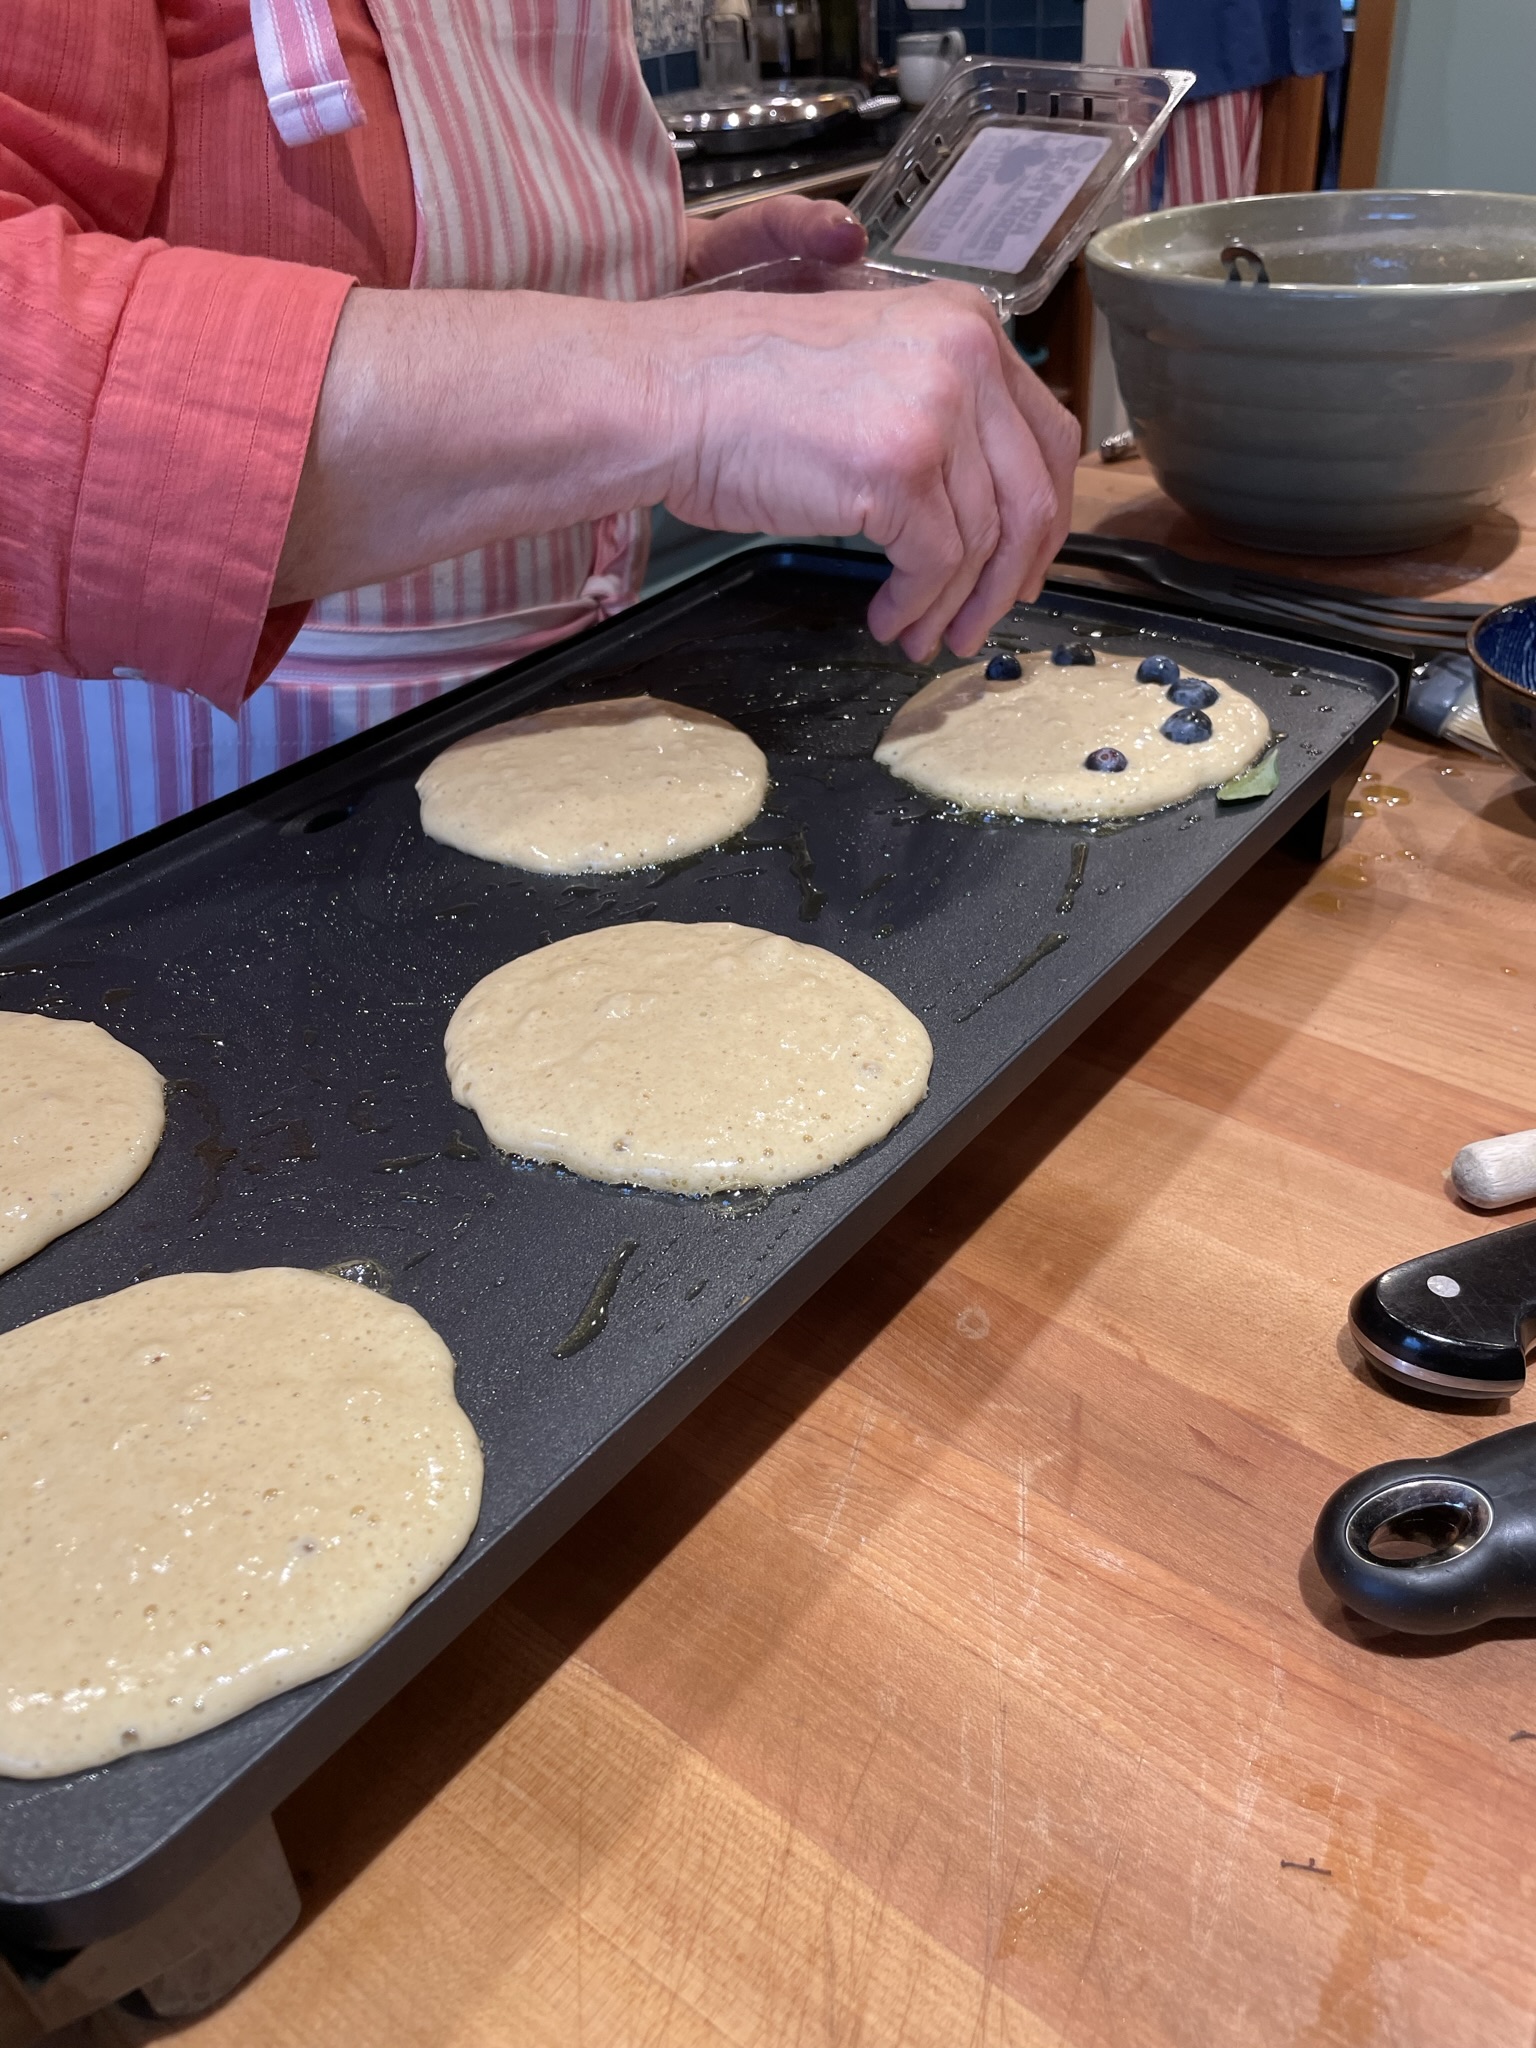
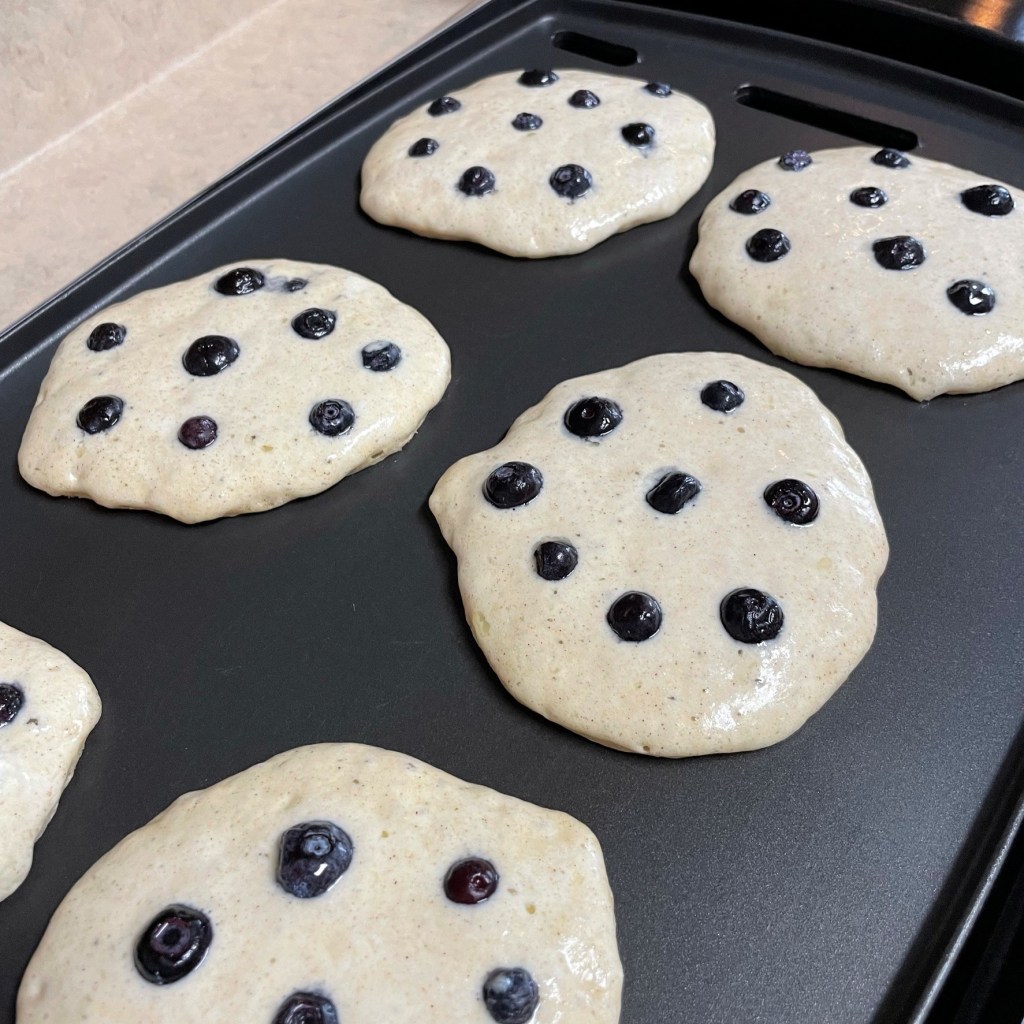
Well, dang! My vision was burst for this year’s first National Ice Cream Month offering, and I was bummed. I expected the blueberries would shift to a purplish color, just as they do in pancakes, muffins and even in the mouthwatering Vermont maple blueberry bread pudding that I made a couple of summers ago. But the cherries turning purple surprised me. I had fair warning when I opened the jar of tart cherries, which at first glance were as dull as Kalamata olives! The color perked up slightly when I added frozen dark sweet cherries, but not enough to bring them fully back to red.

In the end, both purple. 🤷🏻♀️
Power to the purple!
I won’t pretend that I wasn’t disappointed and a little frustrated at the outcome of my “red and blue” ribbons, but there was a valuable meaning in this for me, and it has nothing to do with ice cream. As a nation, we have been self-segregating into red and blue buckets for generations, and how is that working out for us? Anyone who doubts the extent of social division in our land should check the comments section of literally any social media post, political or not. We are losing common ground, losing heart, and losing hope, and that is by design. For as long as rulers have coveted power, they have found ways to pit the people against each other to distract from the real damage they are inflicting on the masses. If they can get us to blame and hate each other, they win and we all lose. We need less revisionist history and fake patriotism that celebrates only “our own kind,” whatever that means, and more of the sentiment that focuses on the bigger picture of a nation that started out as, and still has the potential to be, a melting pot with room and respect for everyone. Power to the purple!
It is as relevant today as when he performed this in 1984.
Give that some thought, and then let’s talk about the delicious cheesecake ice cream base that held my purple and purpler fruit ribbons together.
Cheesecake ice cream
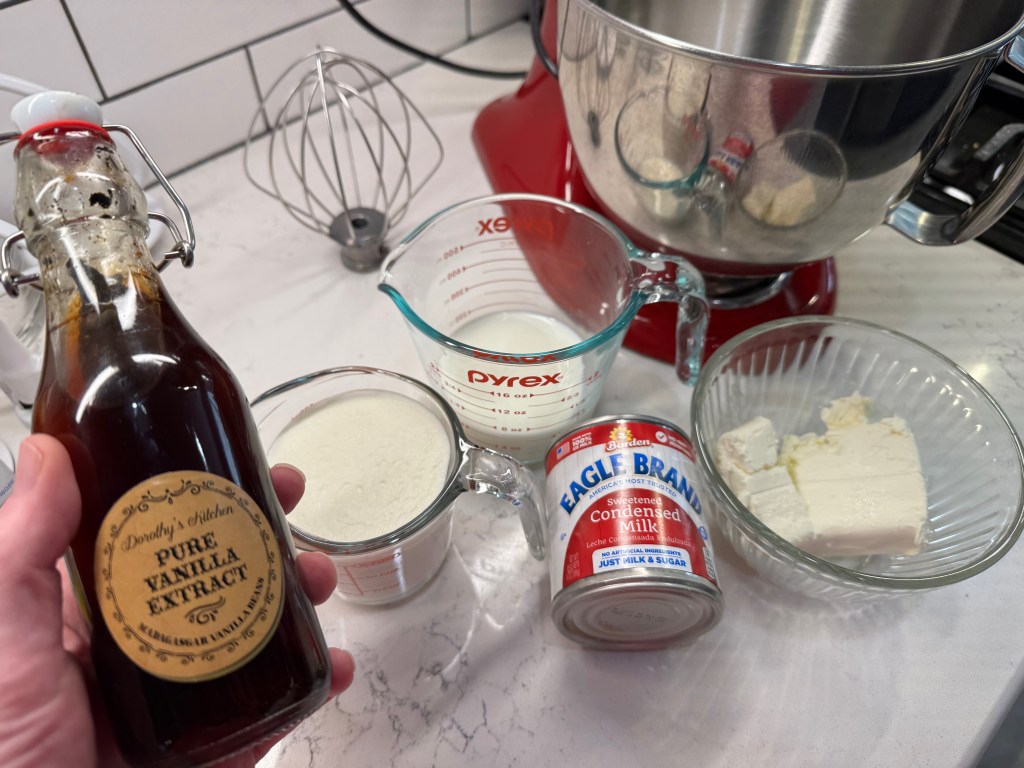
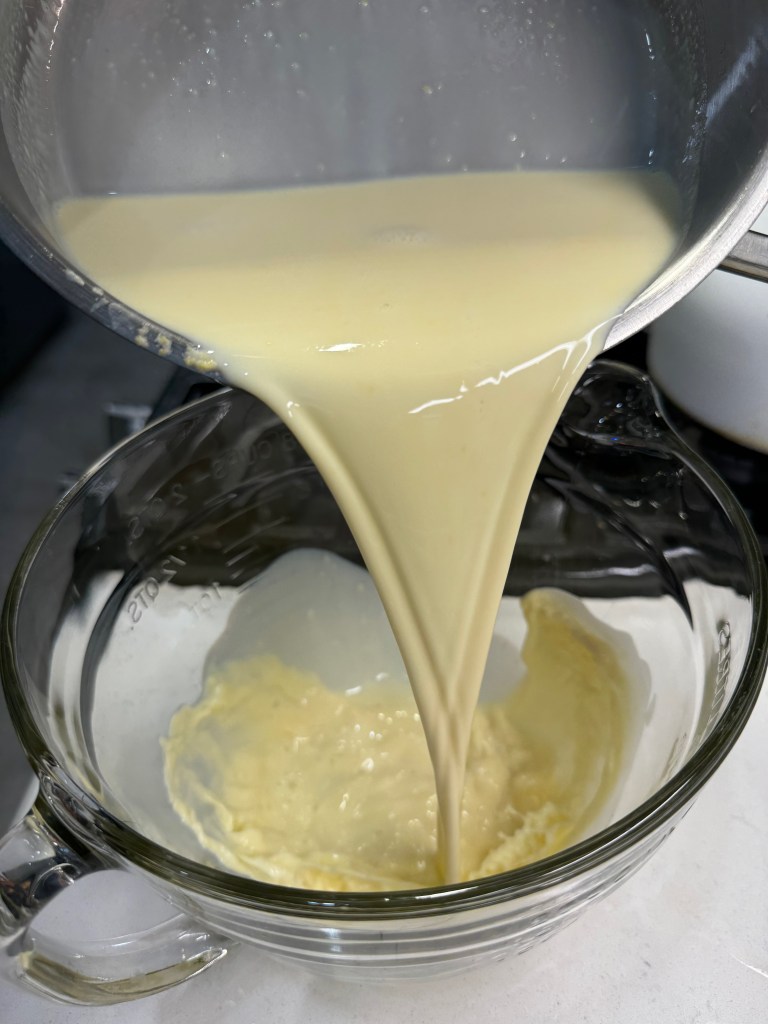
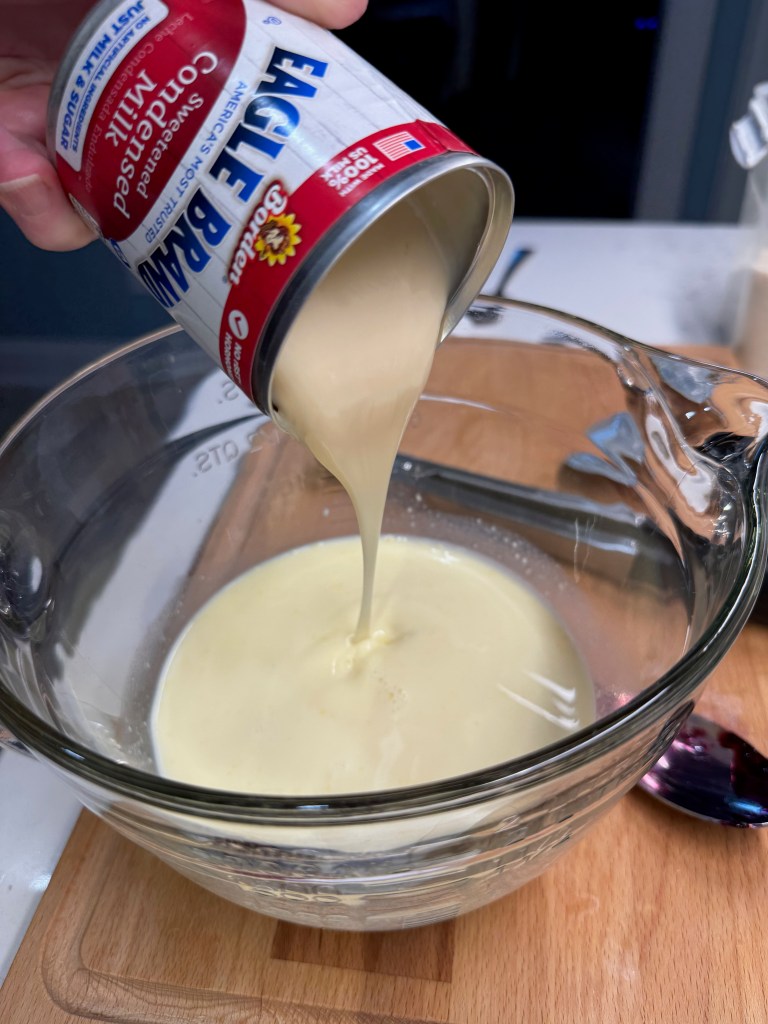
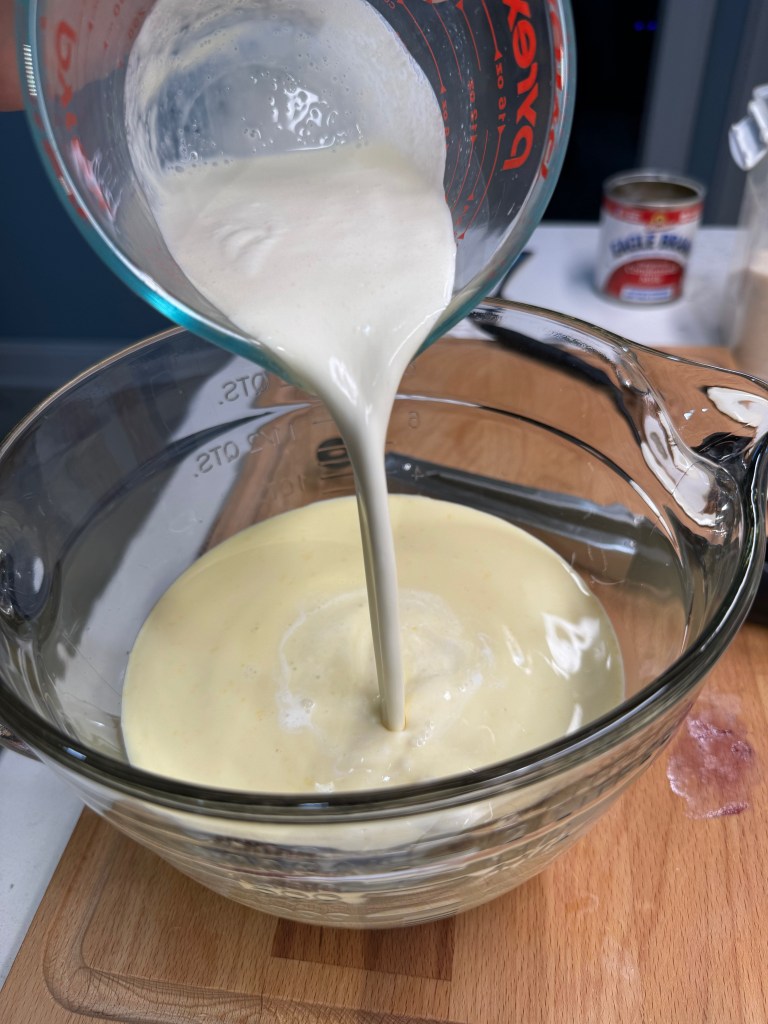
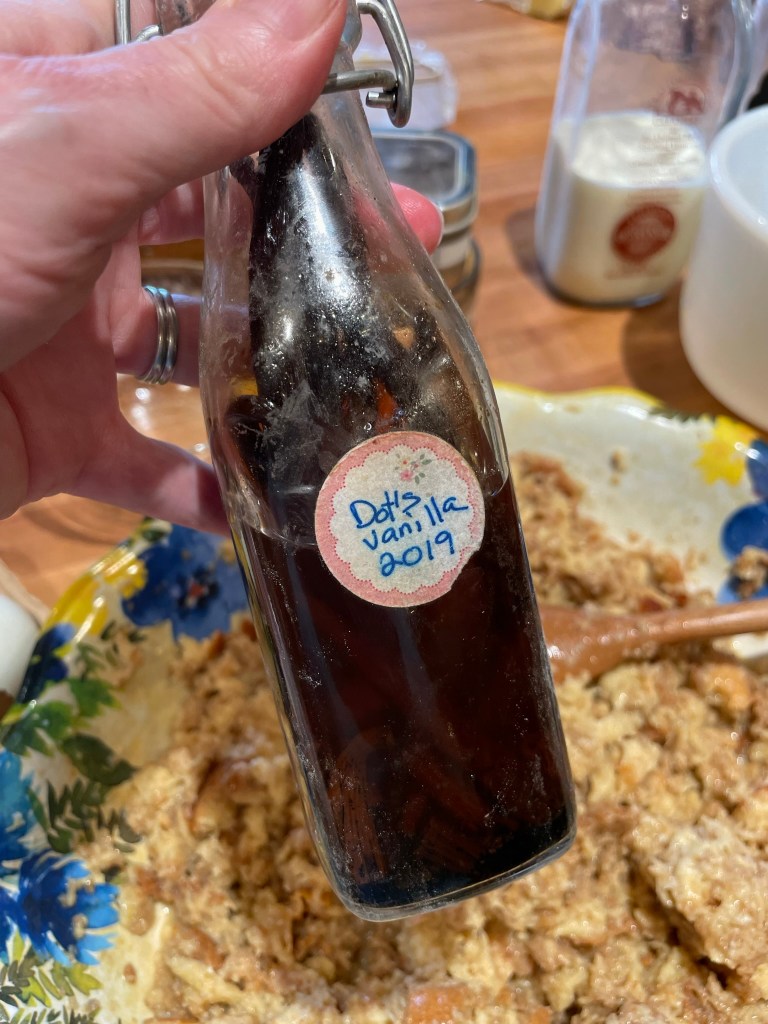
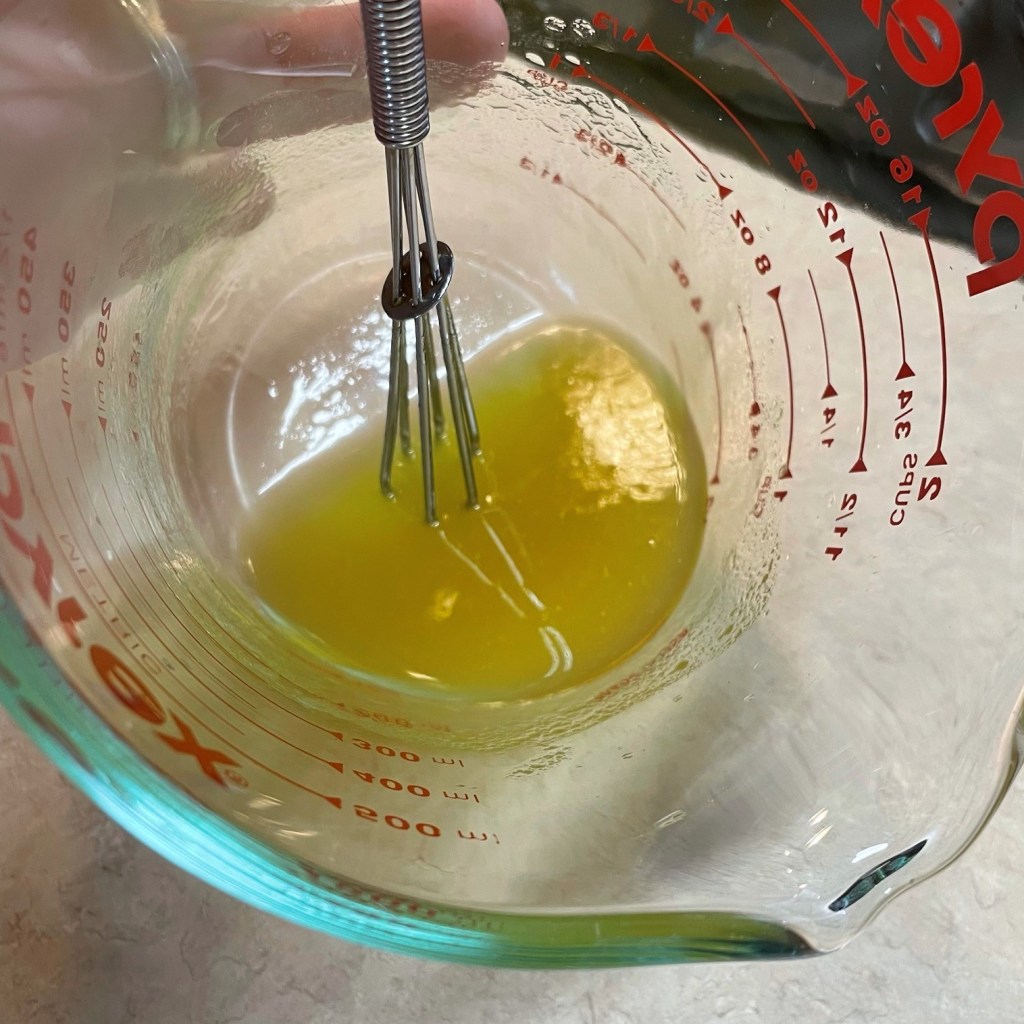
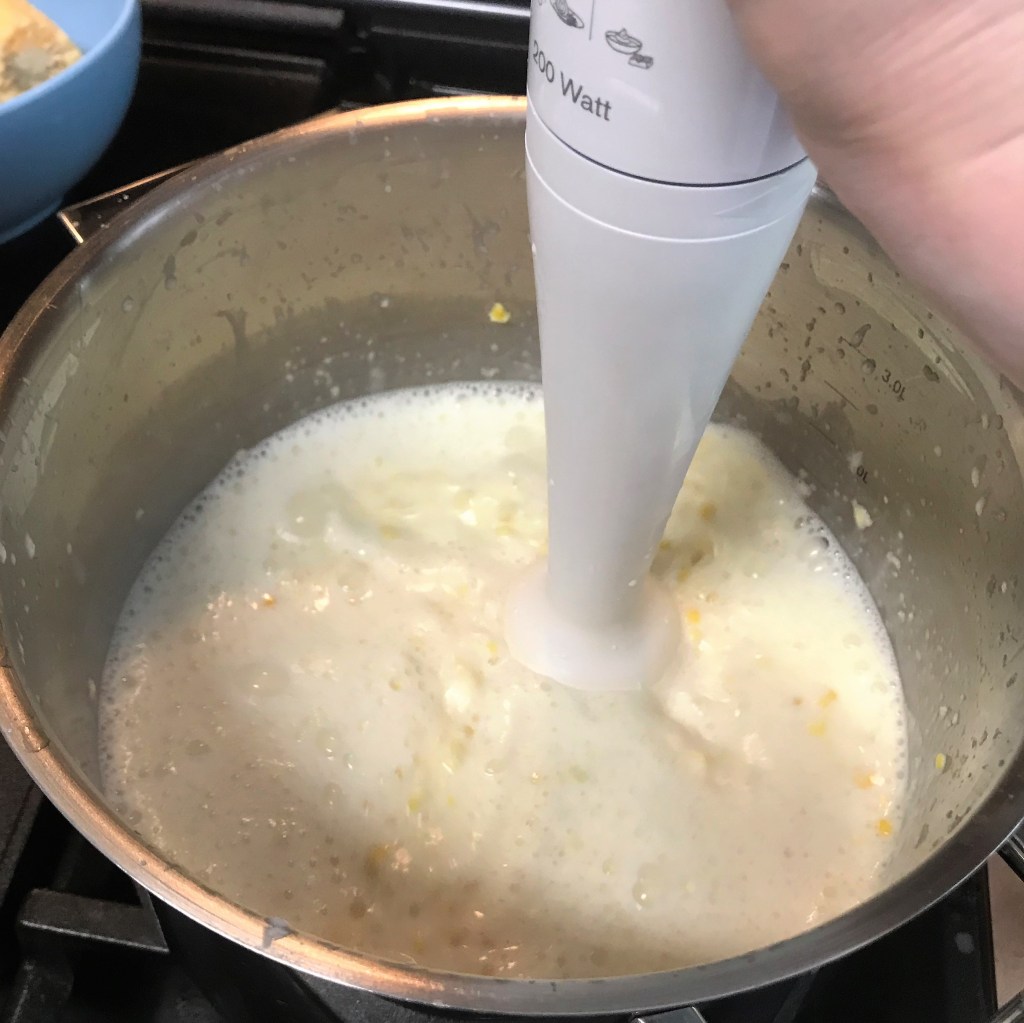
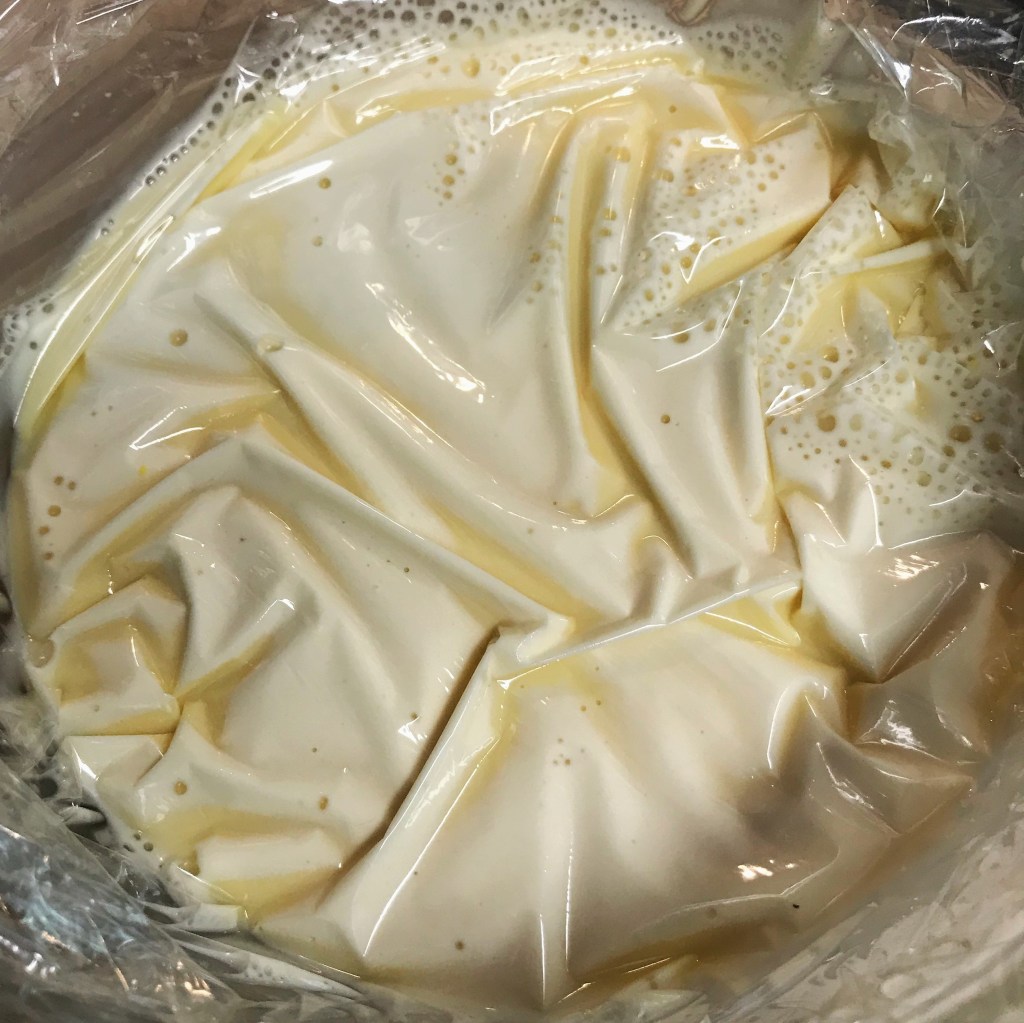
It’s been years since I made a cheesecake version of ice cream, and this time, I focused on bringing a tart, slightly lemon flavor to the base to counter all the sweetness of the fruit ribbons. My ice cream began with most of a block of cream cheese, sweetened condensed milk, whole milk and heavy cream, plus a shot of vanilla and a few drops of lemon oil. The latter is a specialty product I ordered from King Arthur Baking Company, but you could easily substitute the zest of a fresh lemon in its place. I don’t recommend lemon juice, which could potentially curdle the dairy ingredients.
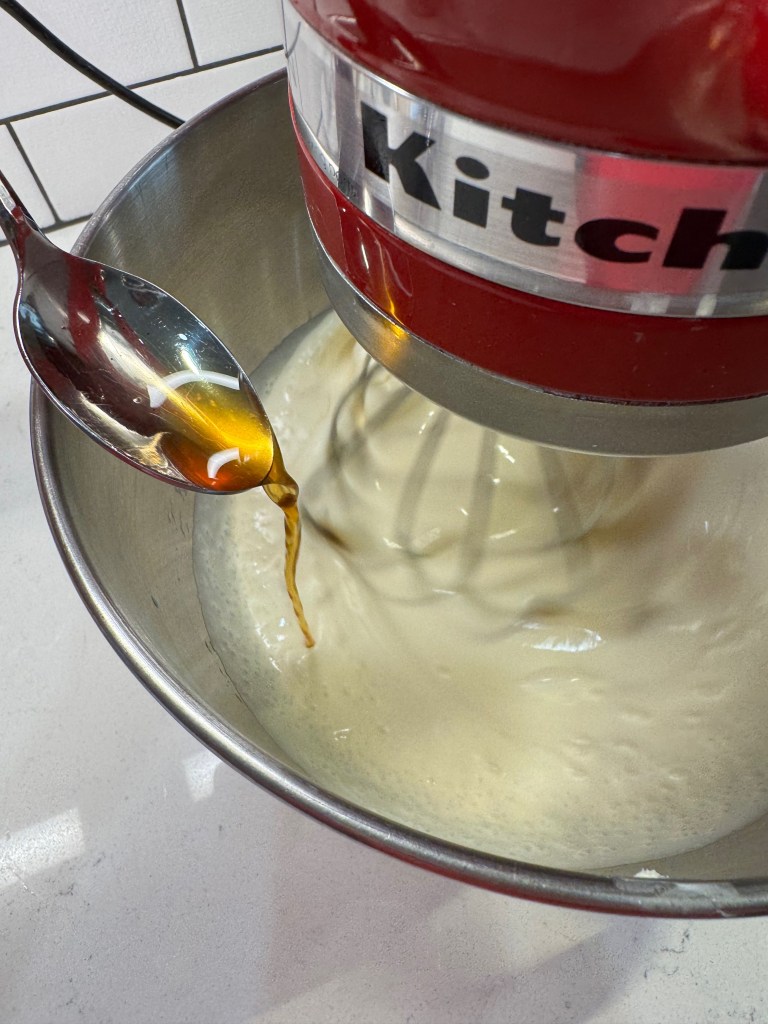

The lemon oil emphasized the tang of the cream cheese.
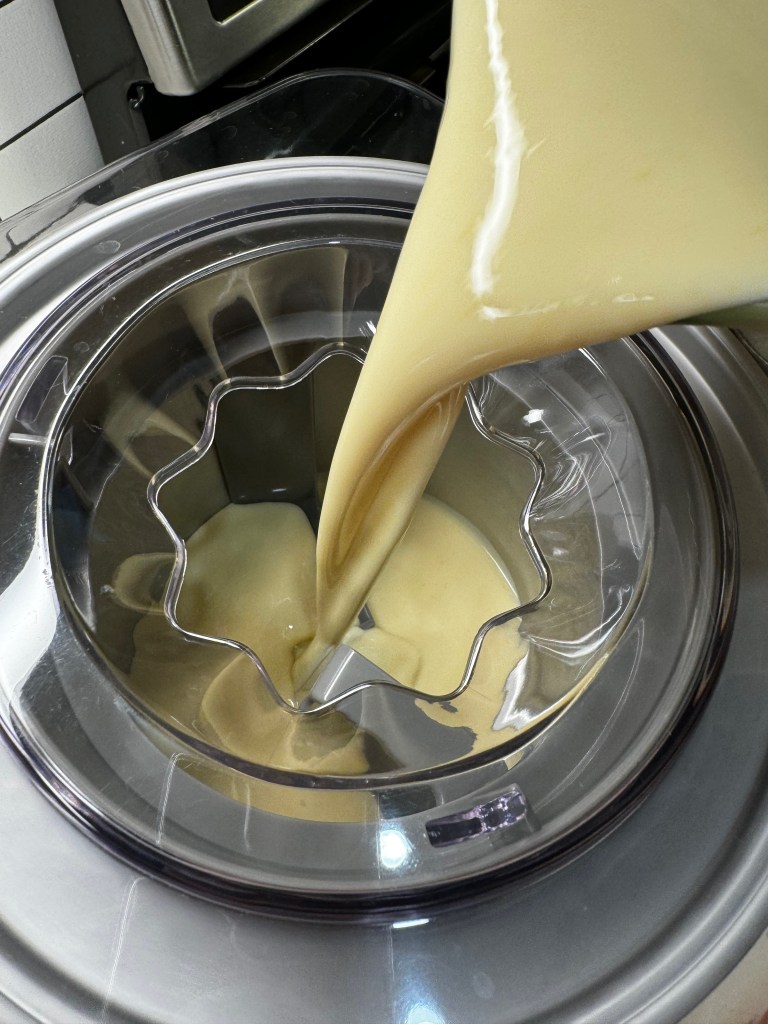
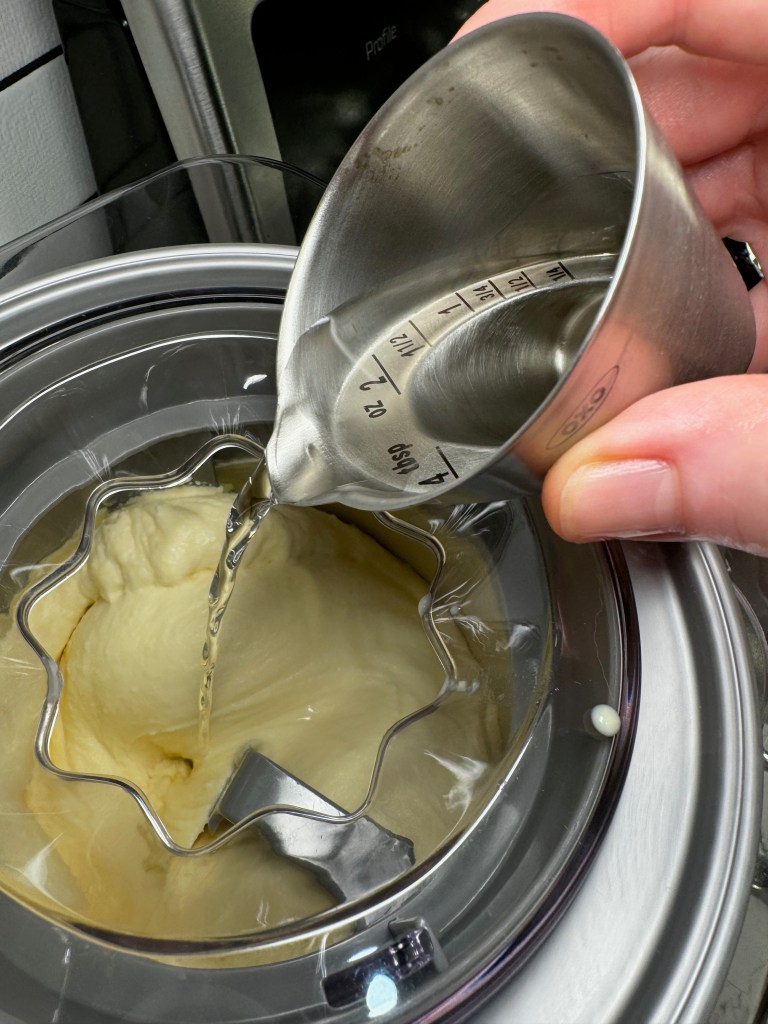
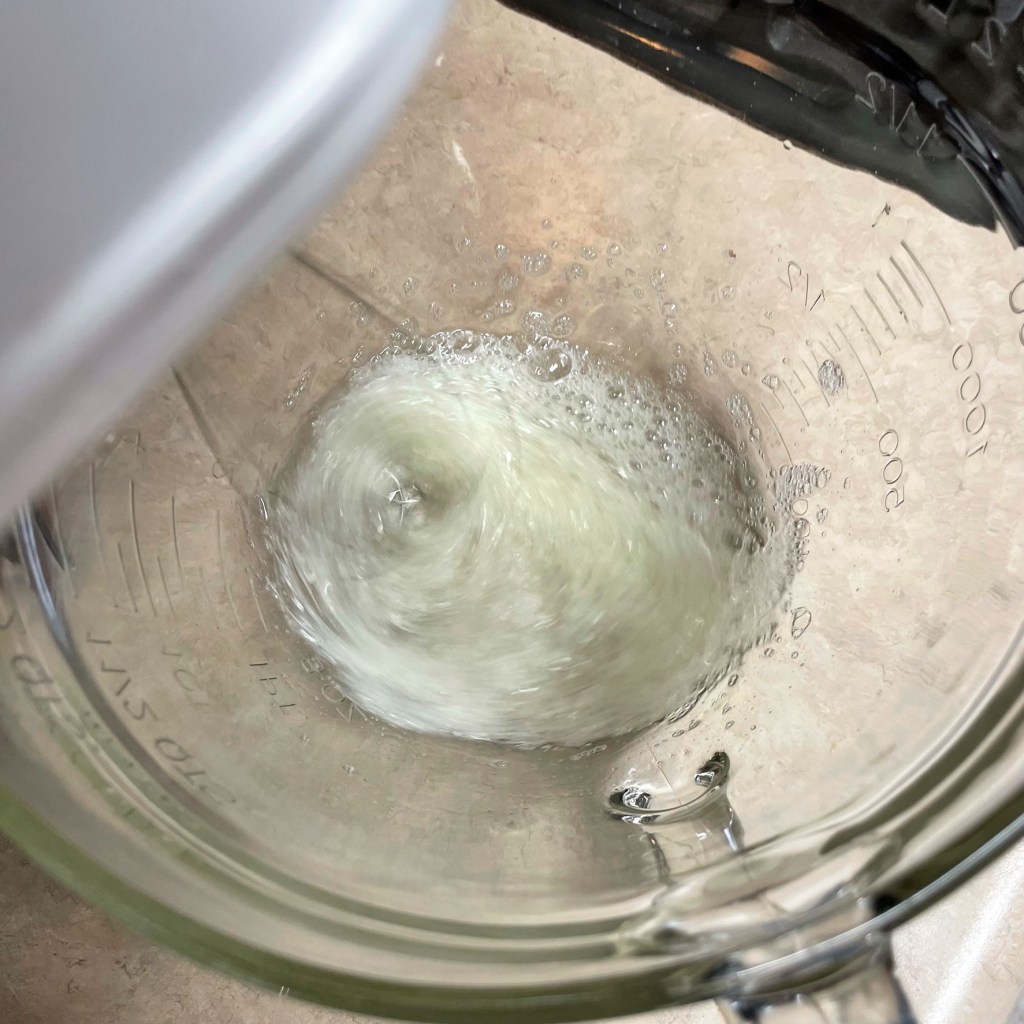
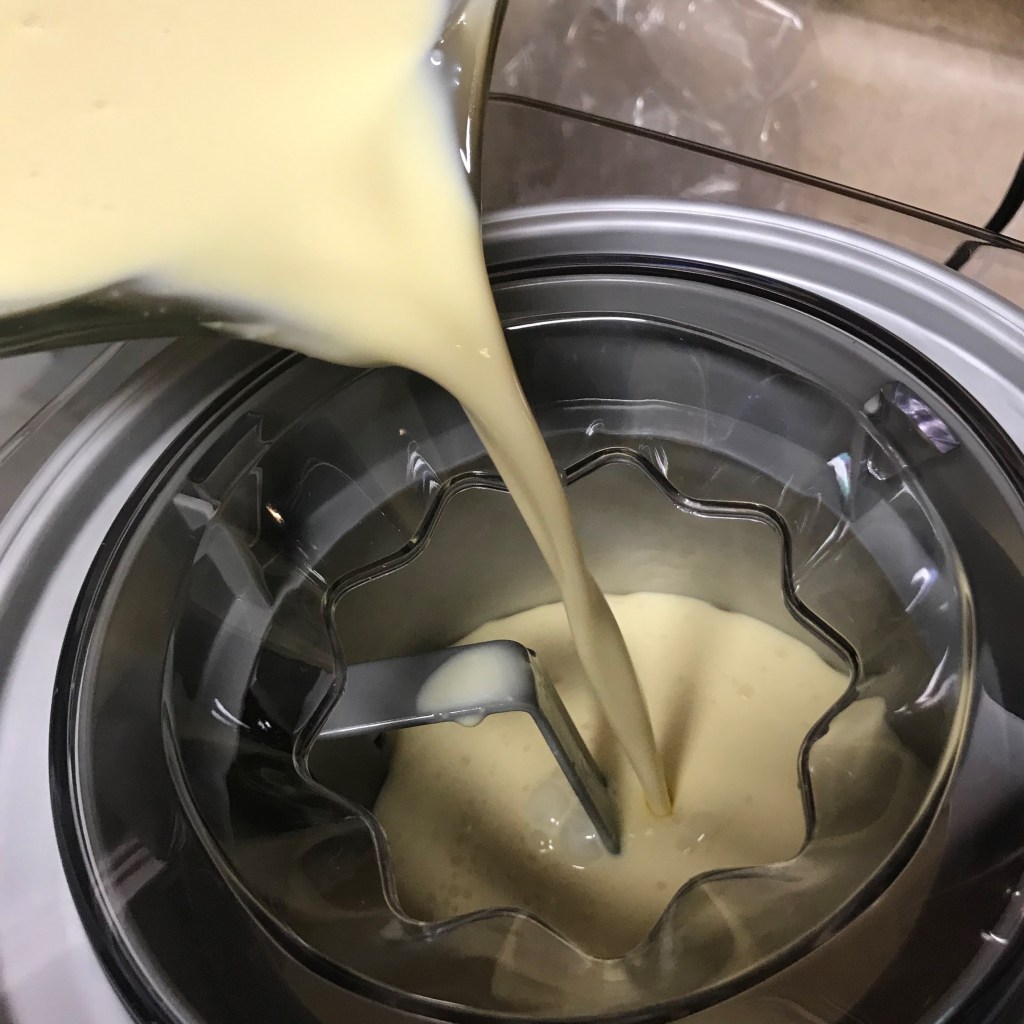
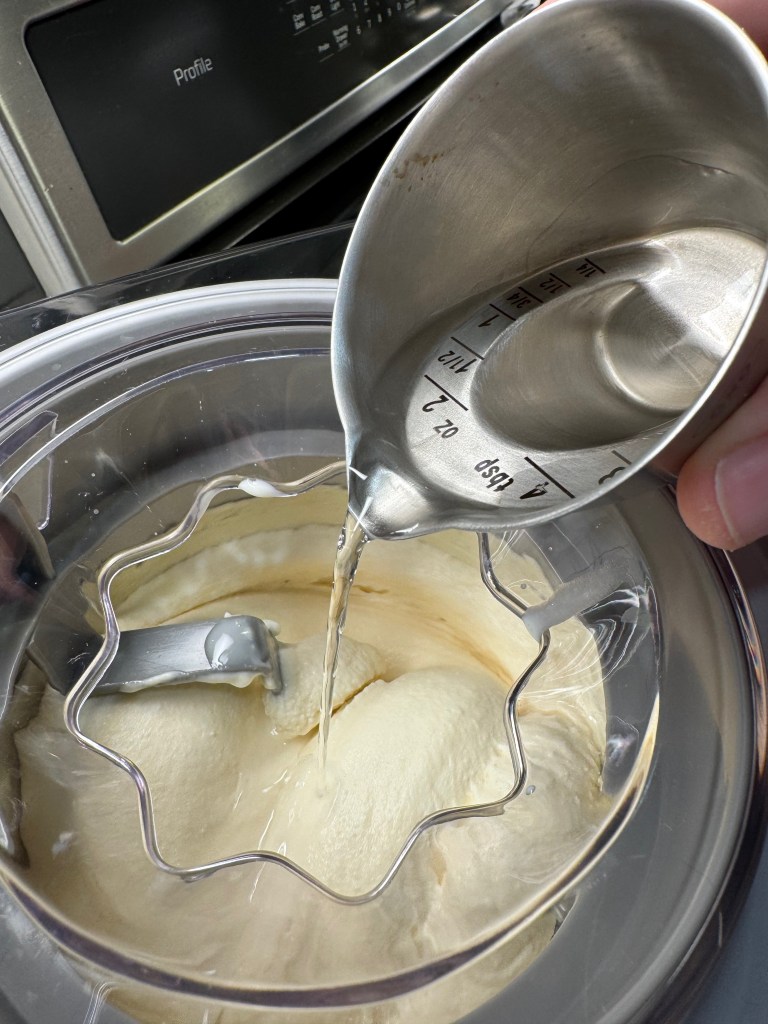
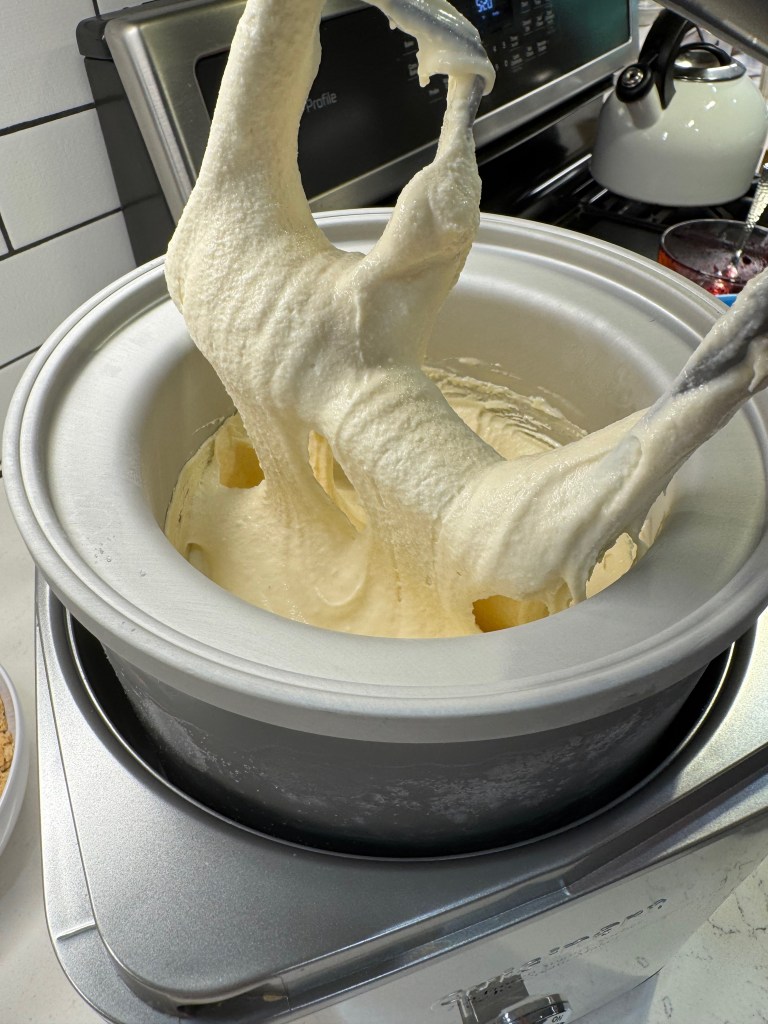
I chilled the base for six hours, then churned it in my Cuisinart ice cream machine until it was silky smooth. This took about 25 minutes, and during the last minute of churning, I did my usual trick of blending in a tablespoon of vodka, which improves the texture of my ice cream so that I can scoop it straight from the freezer later. It’s a minimal amount of alcohol and you never taste it in the ice cream, but feel free to skip this step if you’re avoiding alcohol or serving to children.

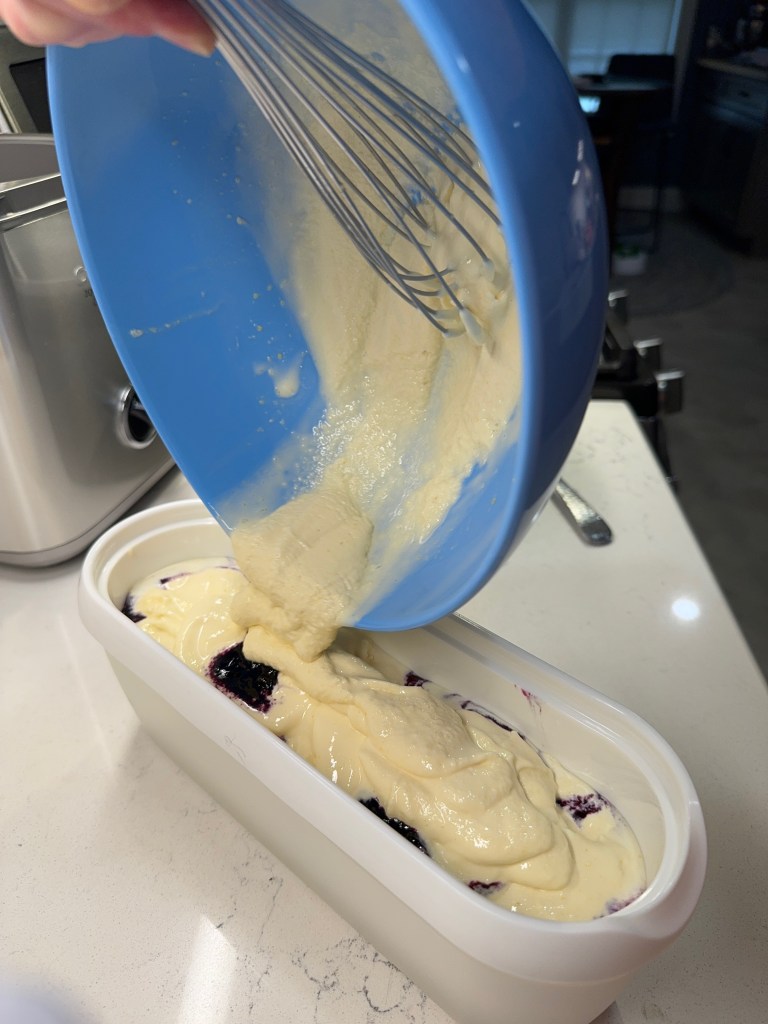
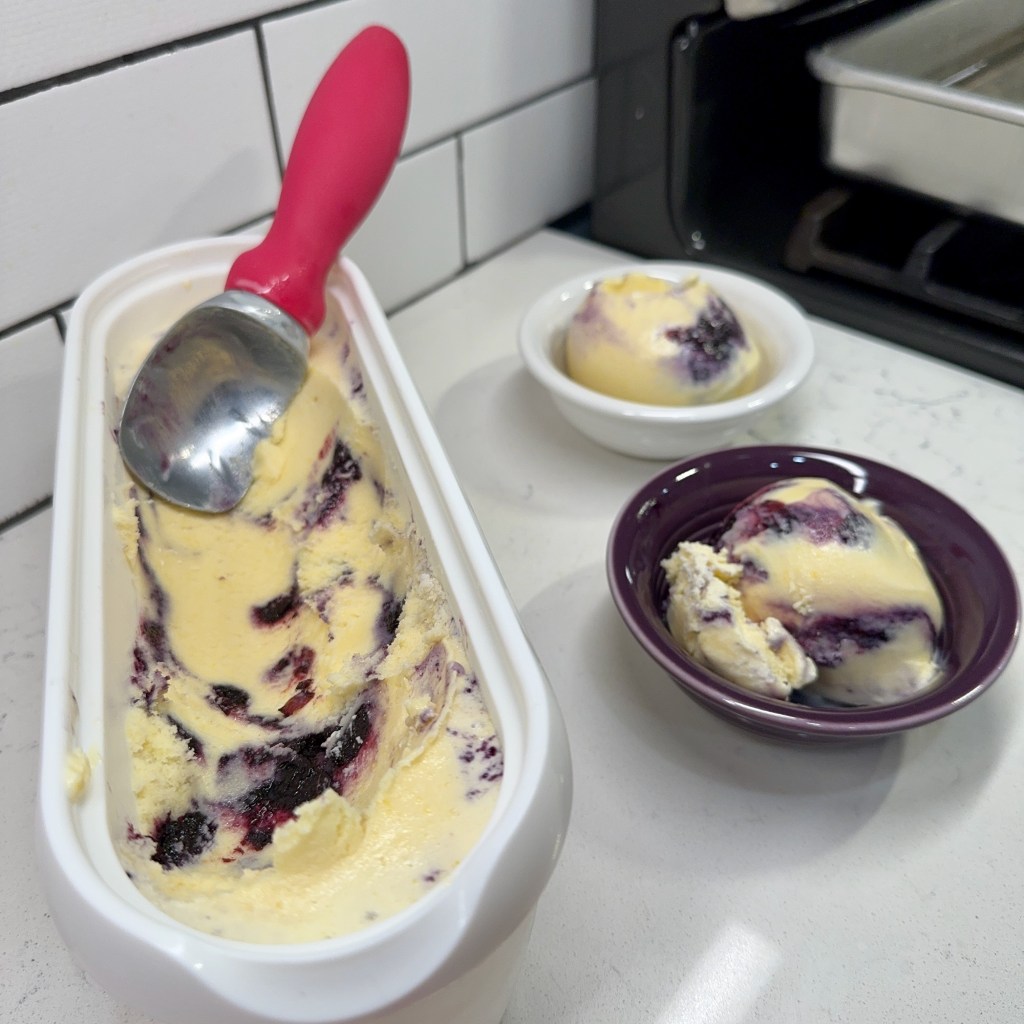
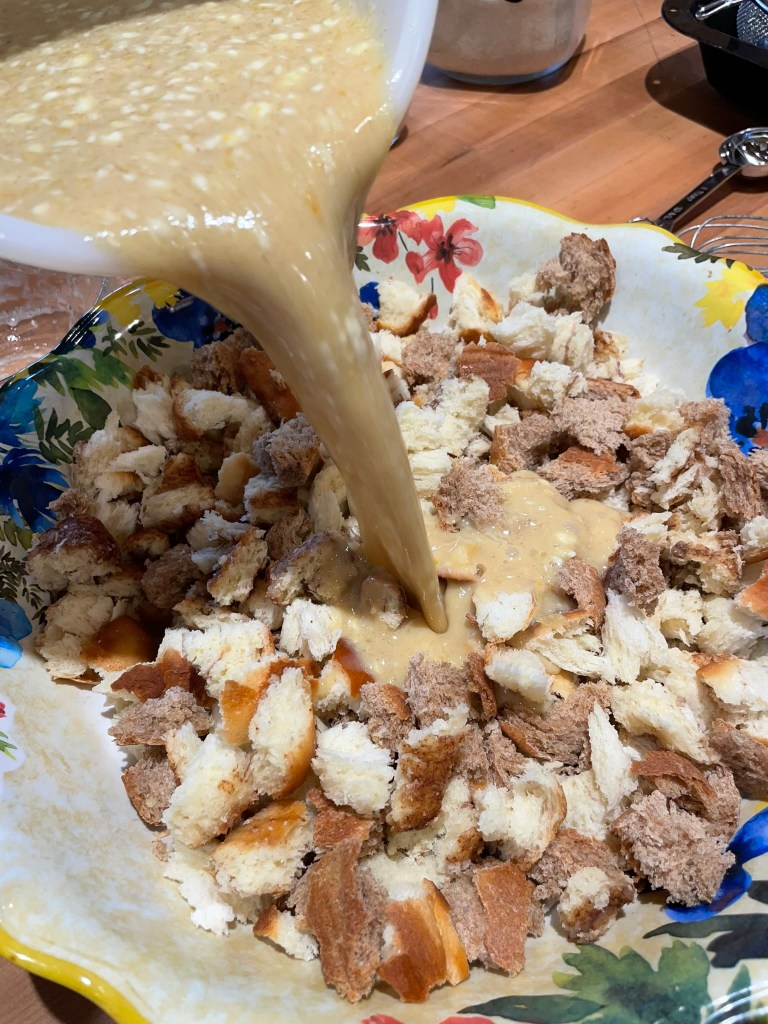
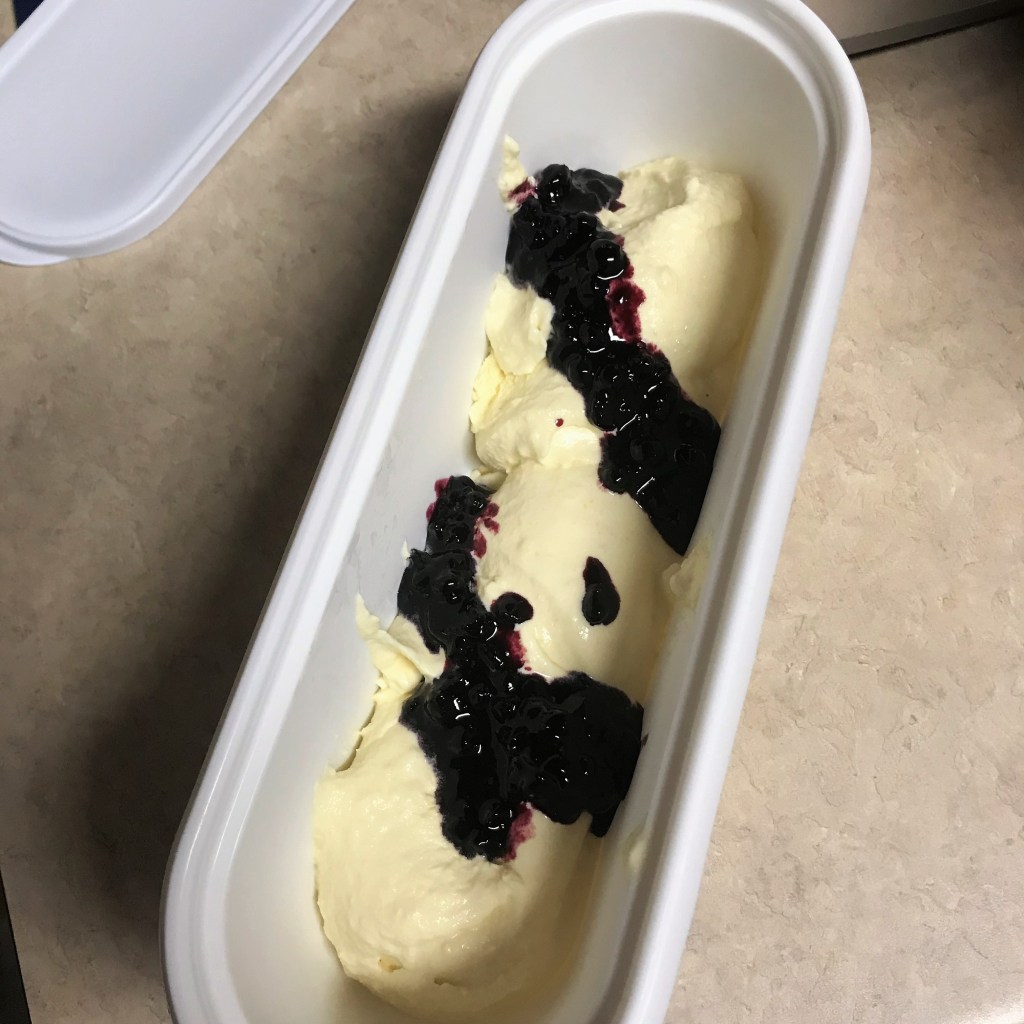
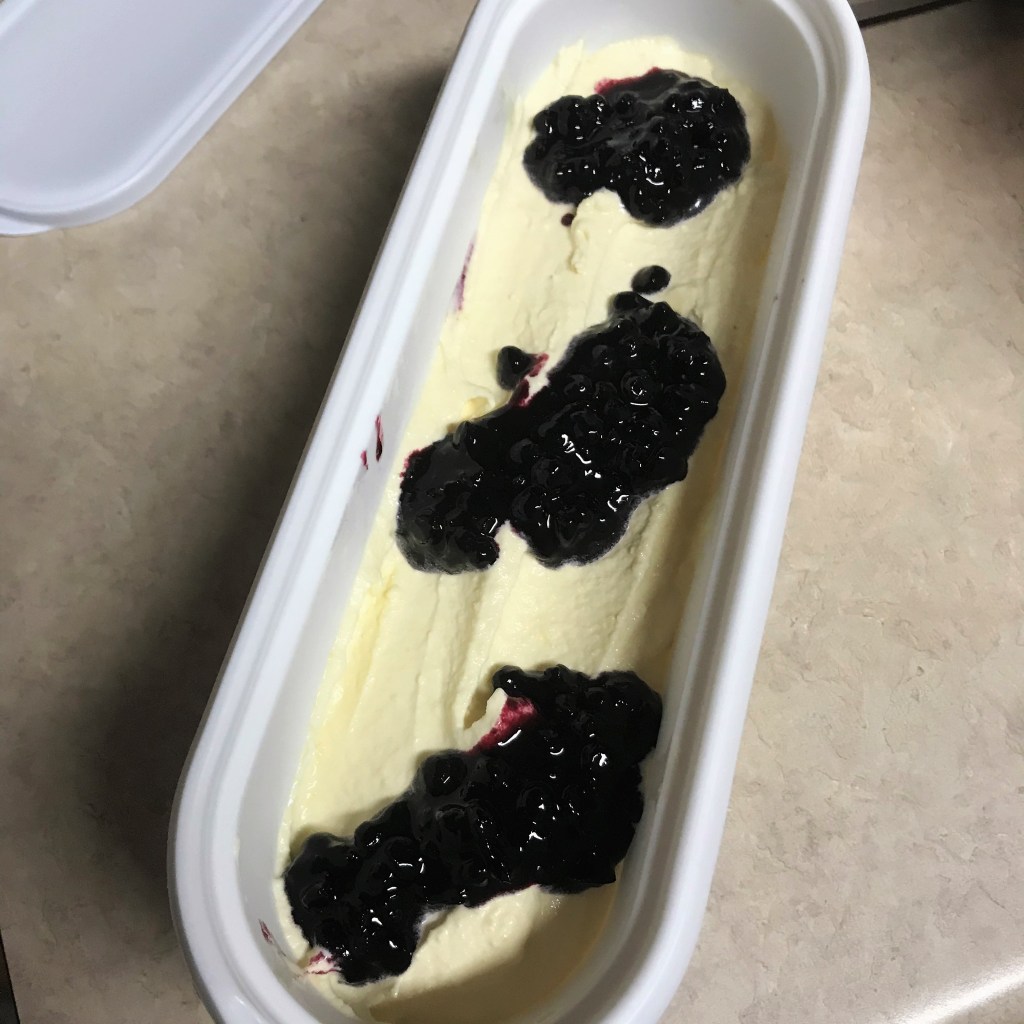
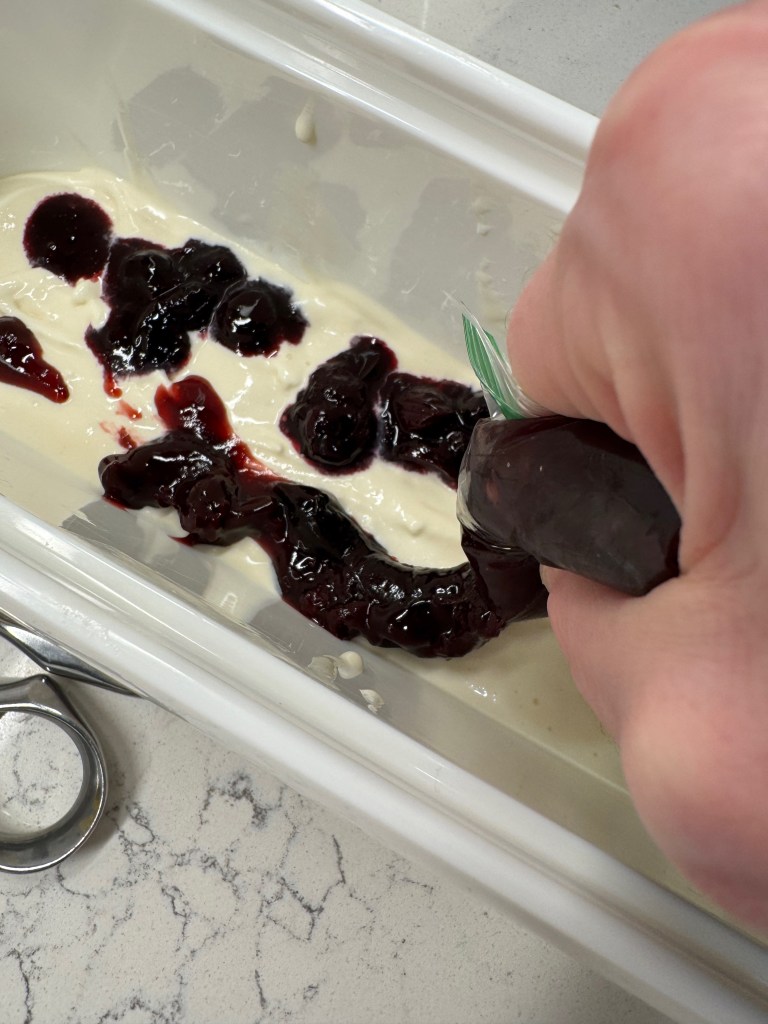
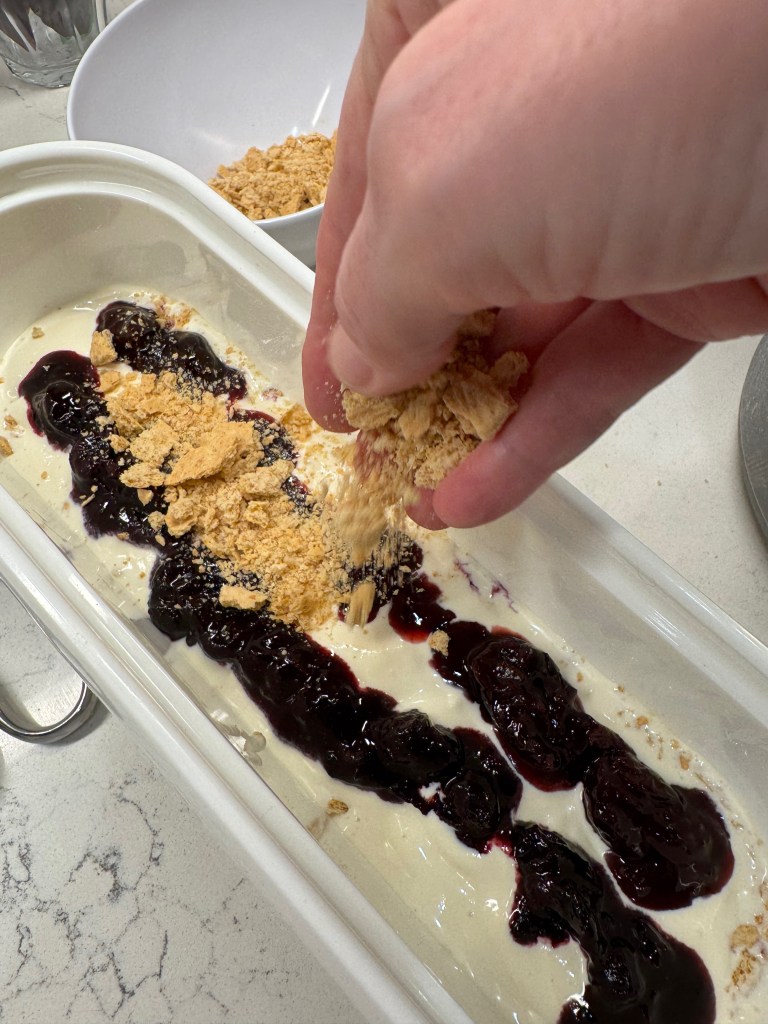
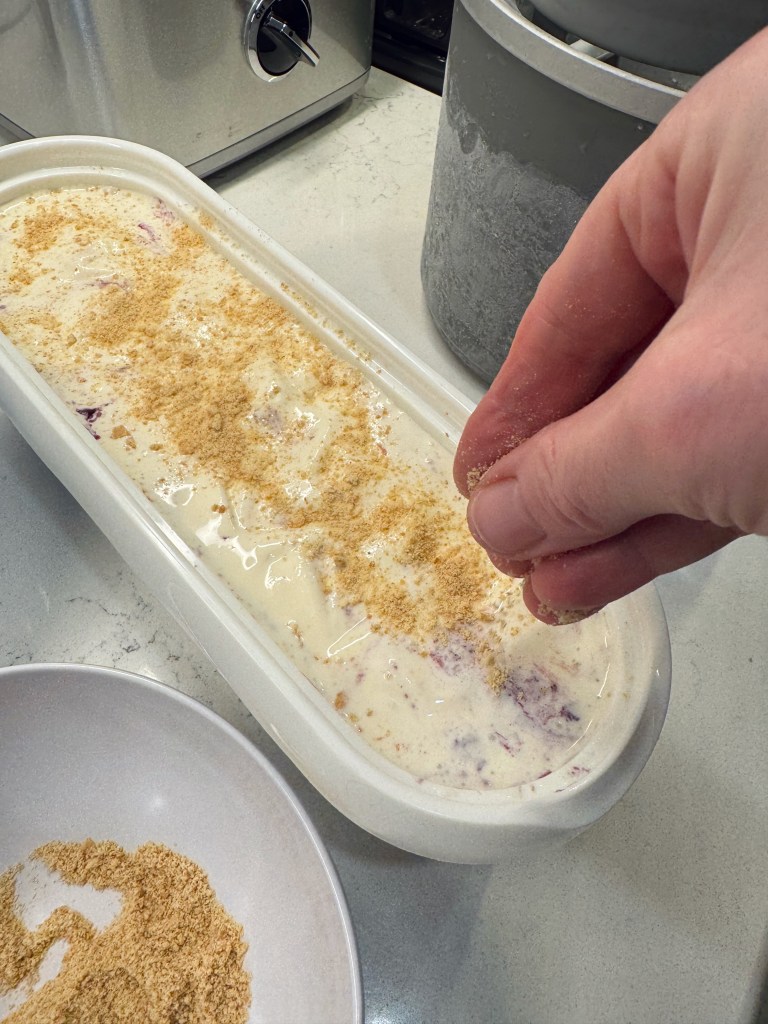
The best and most fun part of making an ice cream with any kind of swirl add-in is layering it in the freezer container. Don’t worry about creating the swirls at this stage; doing so tends to create a “muddy” appearance. Just layer away, and trust that the swirls will happen on their own when you scoop the finished product.
There’s magic in the layers!
I had transferred part of my cherry and berry compotes to small zip-top bags, and had crushed several graham crackers into pieces to scatter between layers. Having these components lined up when the ice cream is finished churning makes things come together smoothly.
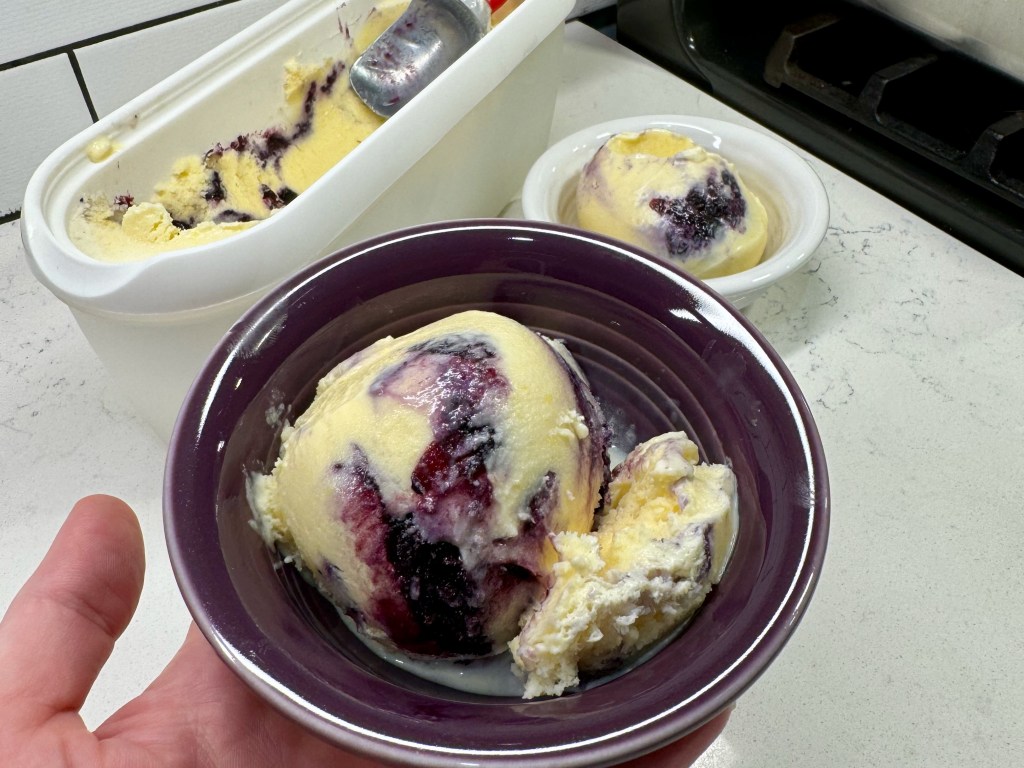
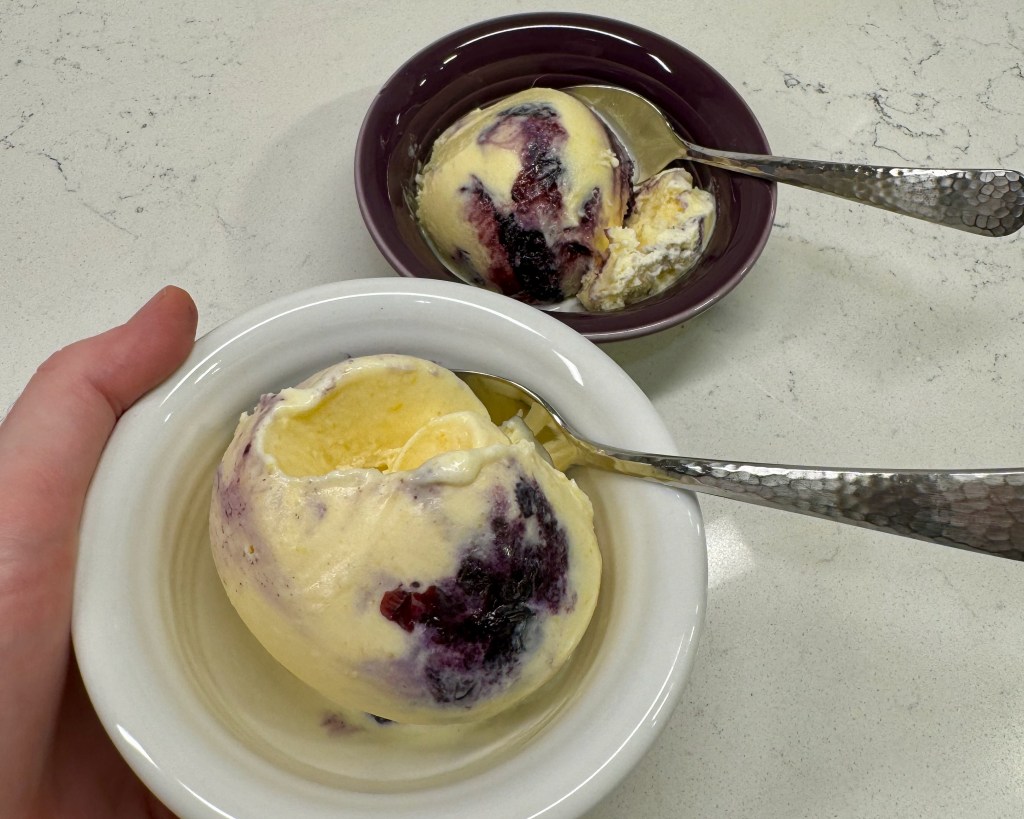
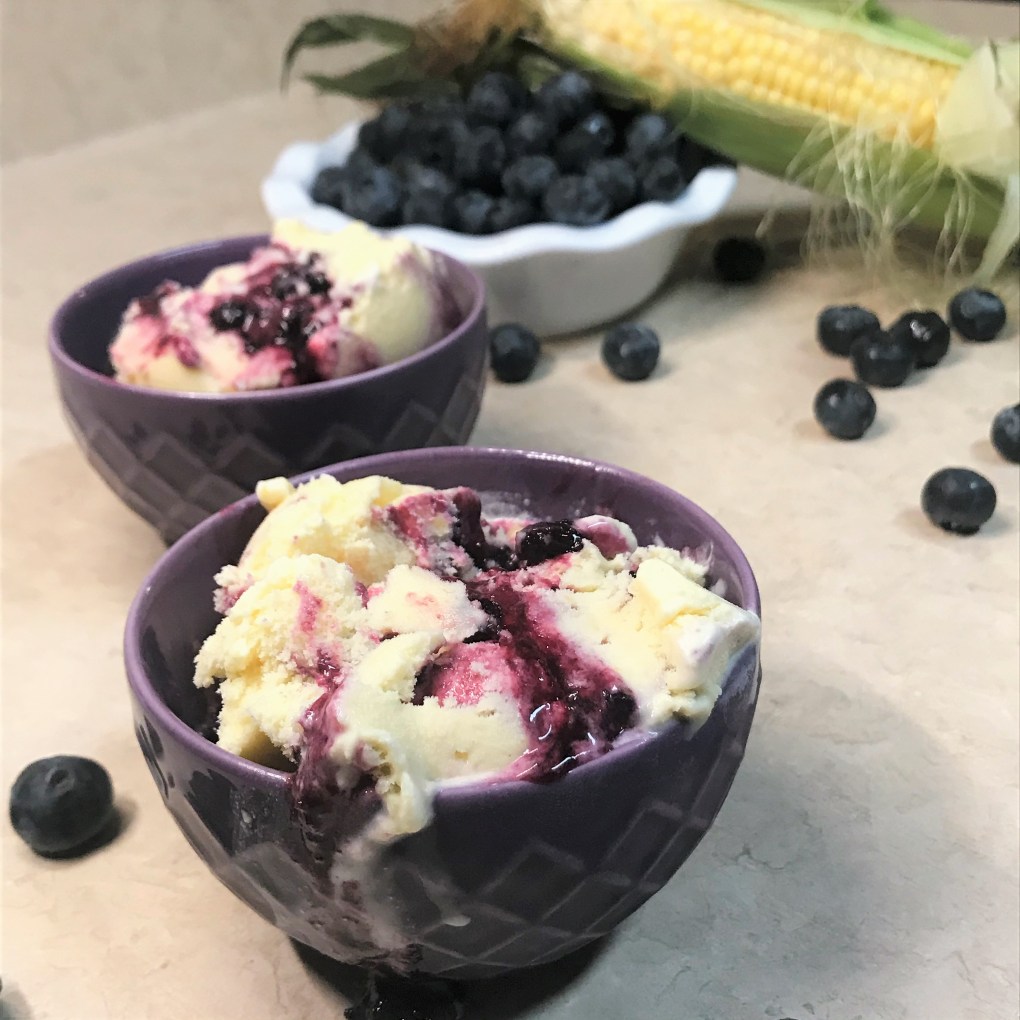
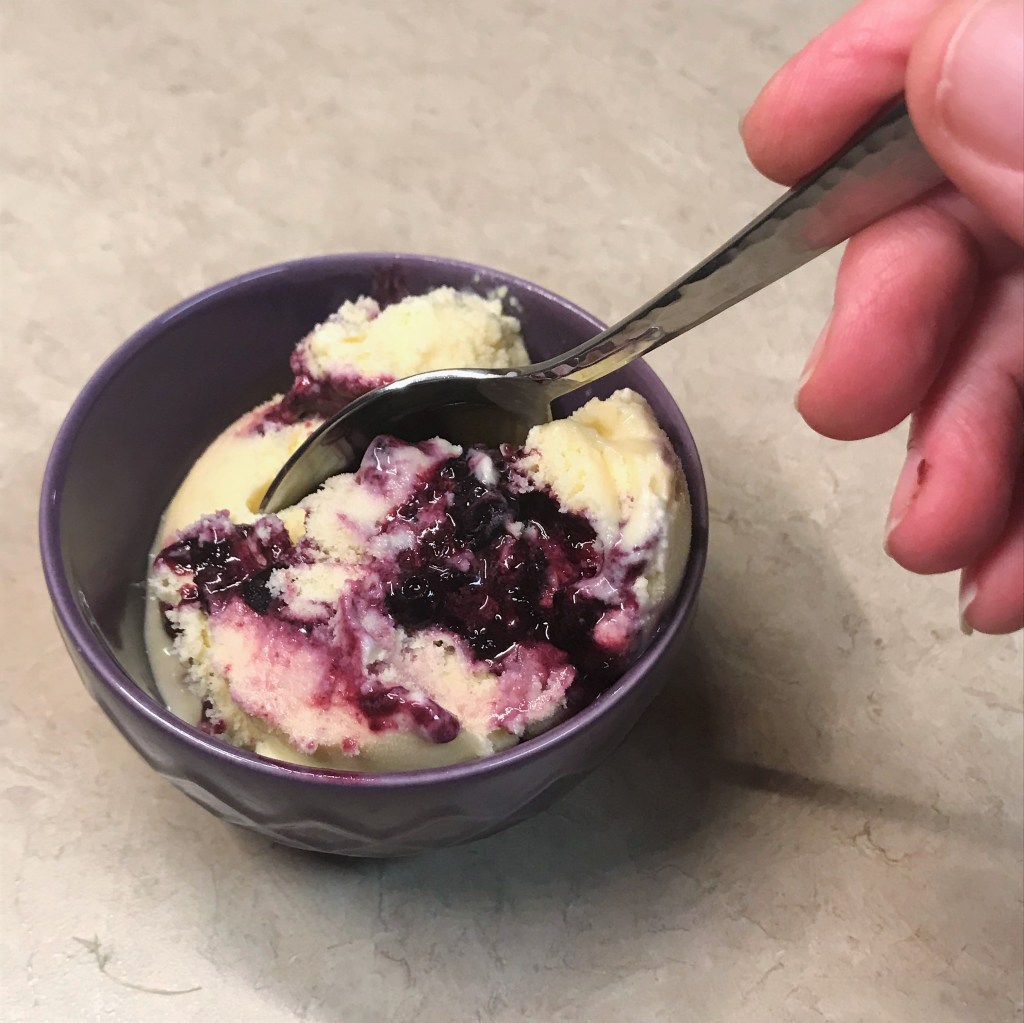
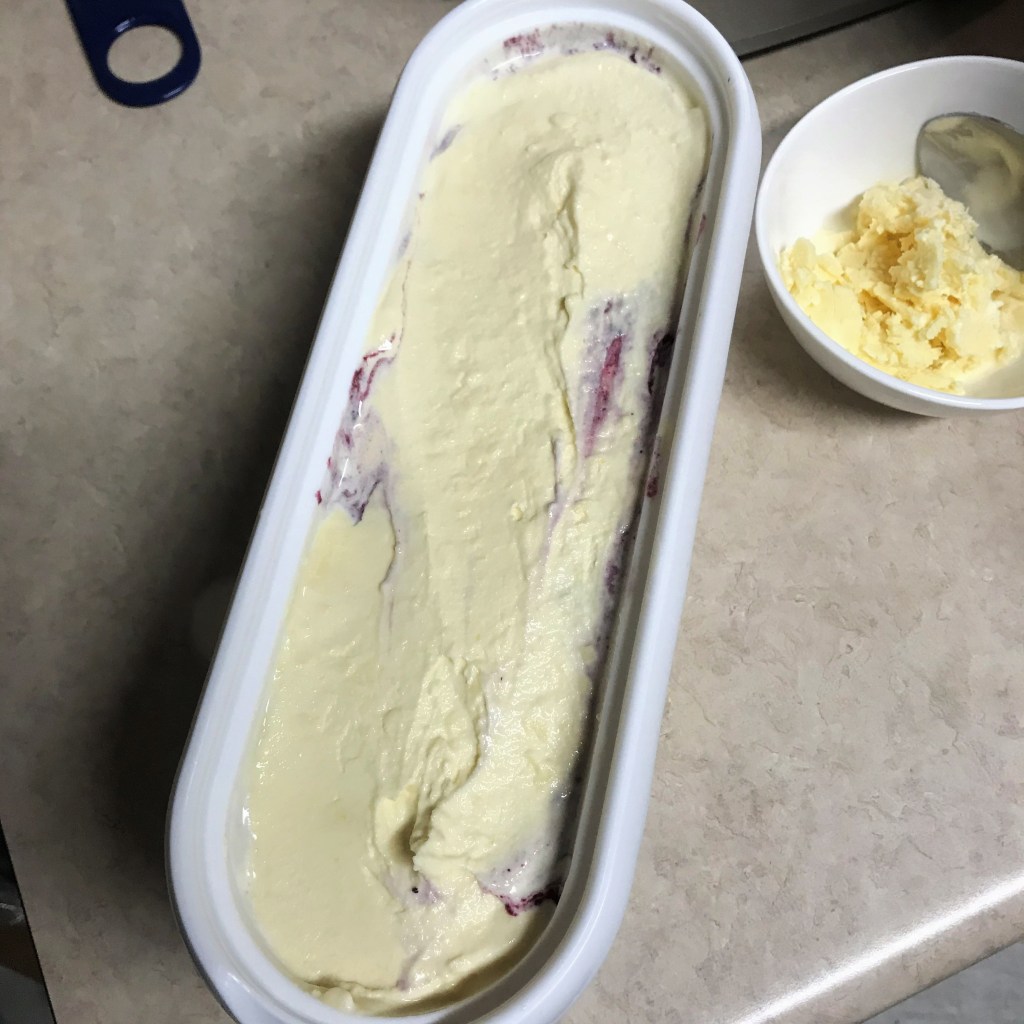
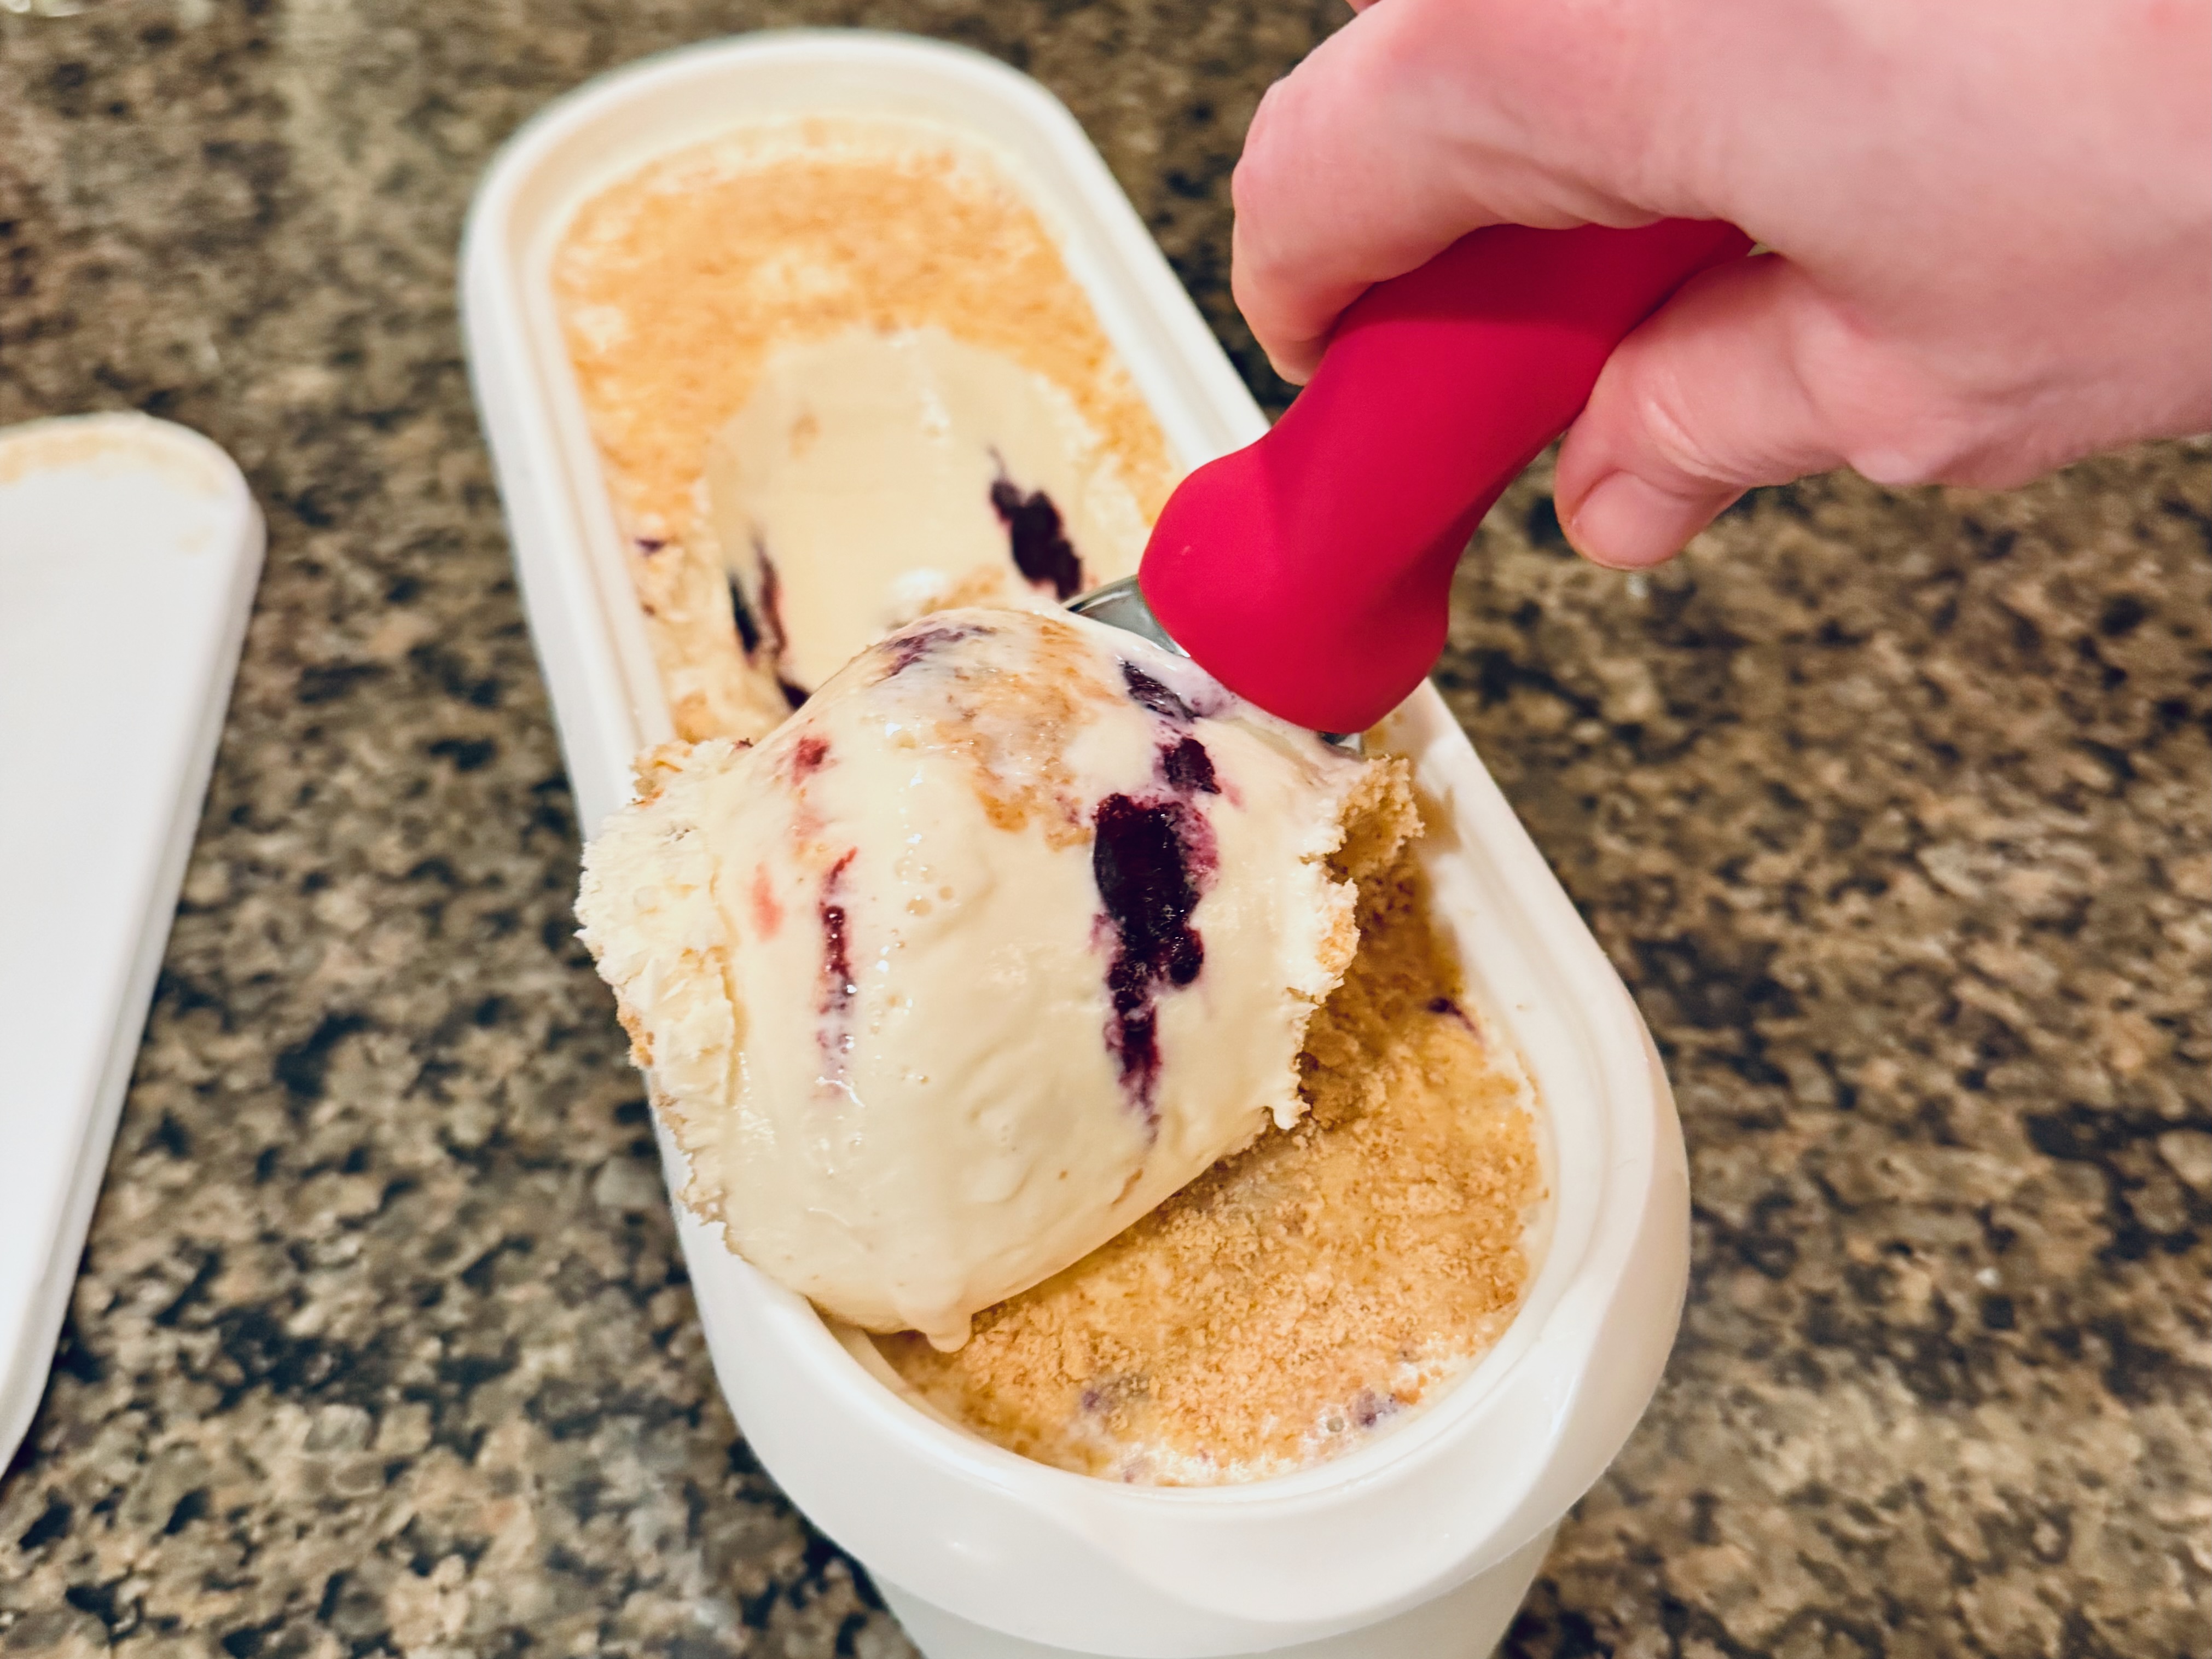
As always, homemade ice cream is best served fully “ripened,” which just means you put it in the freezer overnight. We shared this purple, white and purple ice cream with friends over Memorial Day weekend and it was fabulous! The cheesecake flavor was prominent, and the cherry and blueberry ribbons tasted exactly like summer.
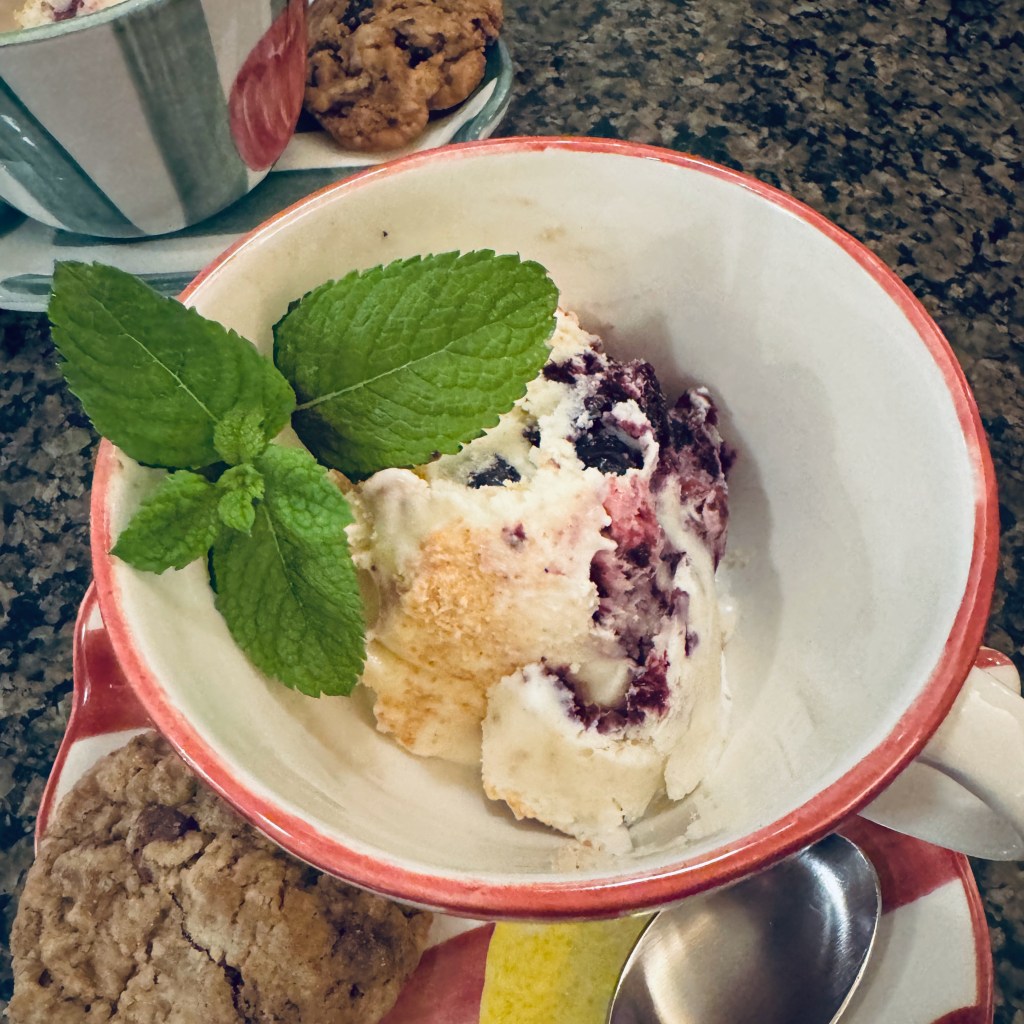
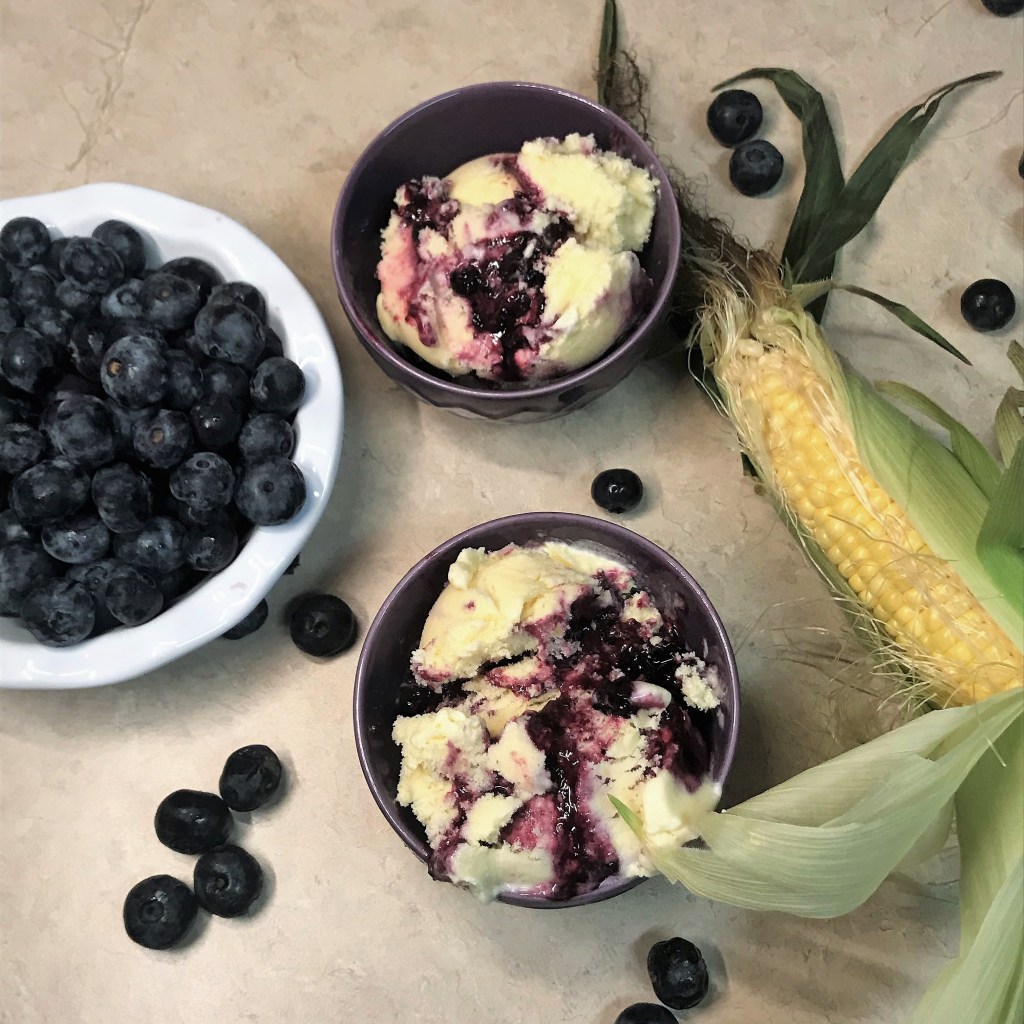
To my delight, by the way, the purple ribbons did reveal a bit more of their intended blue and red tones when scooped out with the white ice cream. I hope we can look forward together and commit to a positive outcome for our great nation as well. Oh, how I hope.
Cherry & Blueberry Cheesecake Ice Cream
Use your imagination a bit to see this as 'red, white and blue' ice cream, as the blueberries and cherries both turn purplish when you cook them into compotes. The slight lemon flavor in the cheesecake ice cream base is a nice tart balance to all the fruit sweetness, making this ice cream ideal for a July 4th party or any other special occasion this summer!
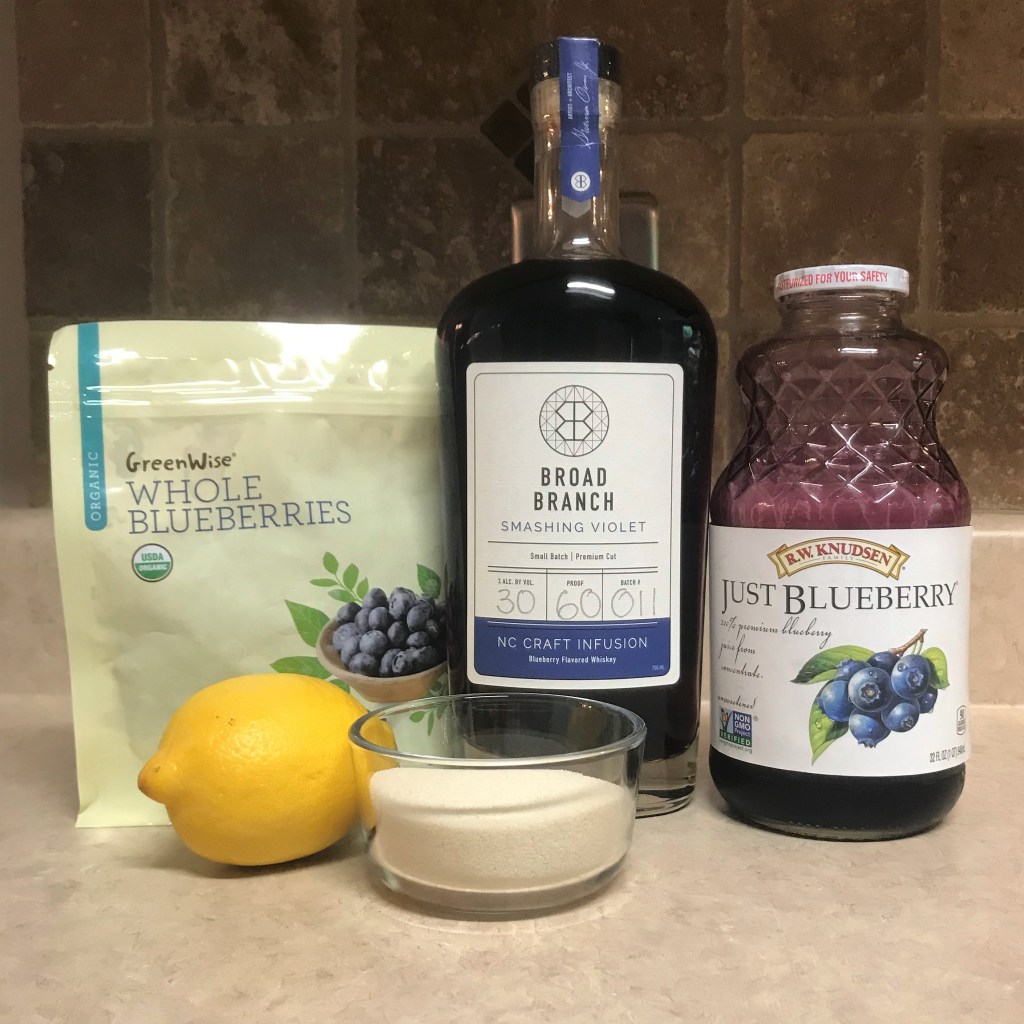
Ingredients
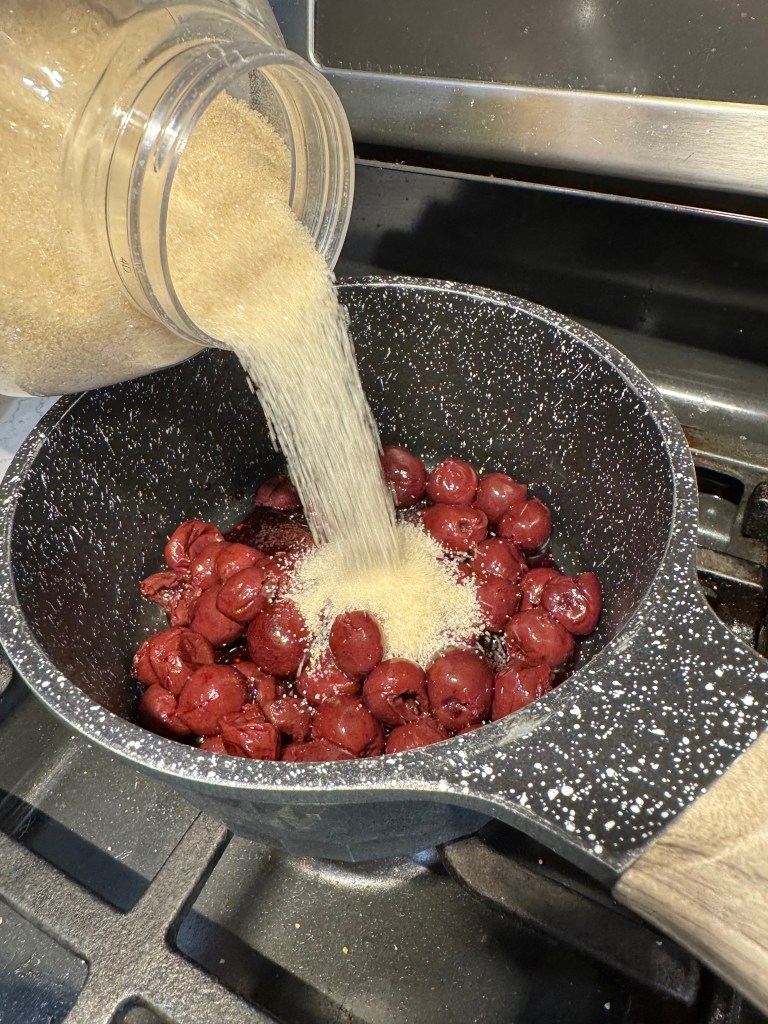
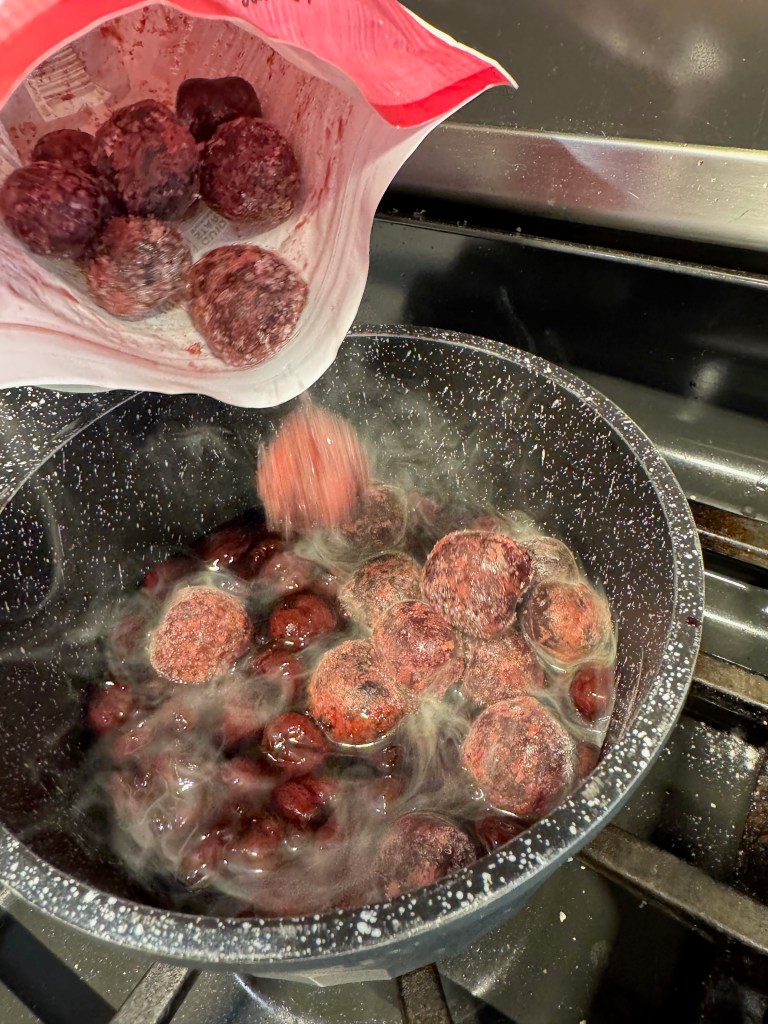
- 1 jar tart cherries, drained
- 1/2 cup frozen dark sweet cherries
- 1/4 cup granulated sugar
- 1/2 tsp. cornstarch
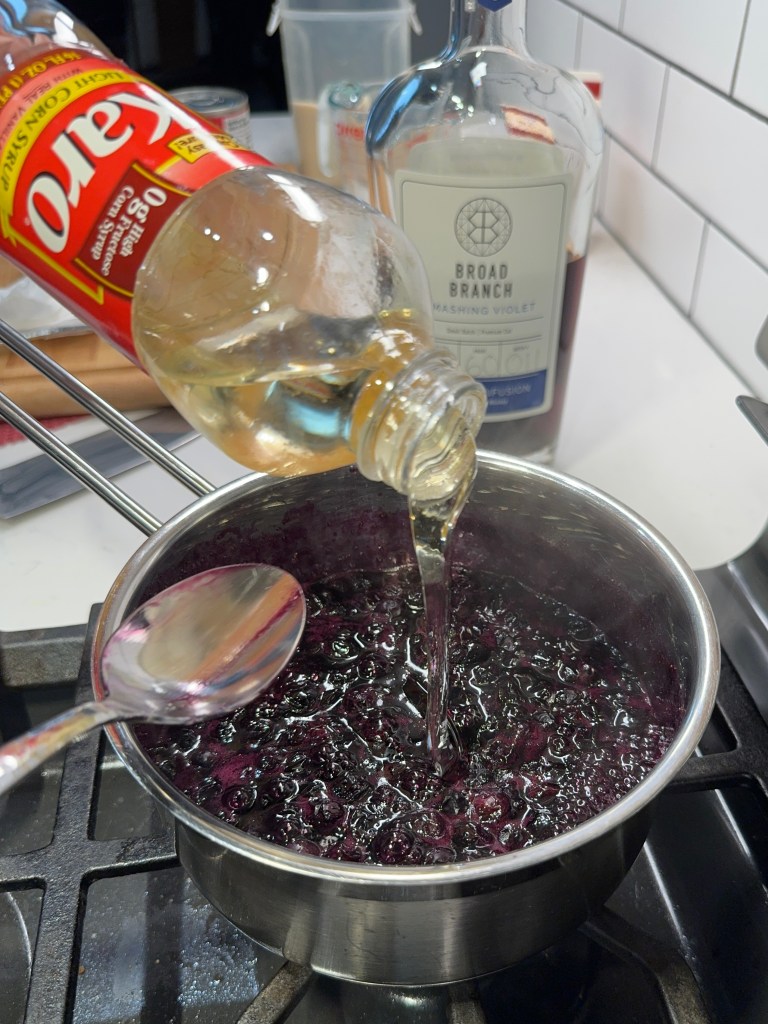
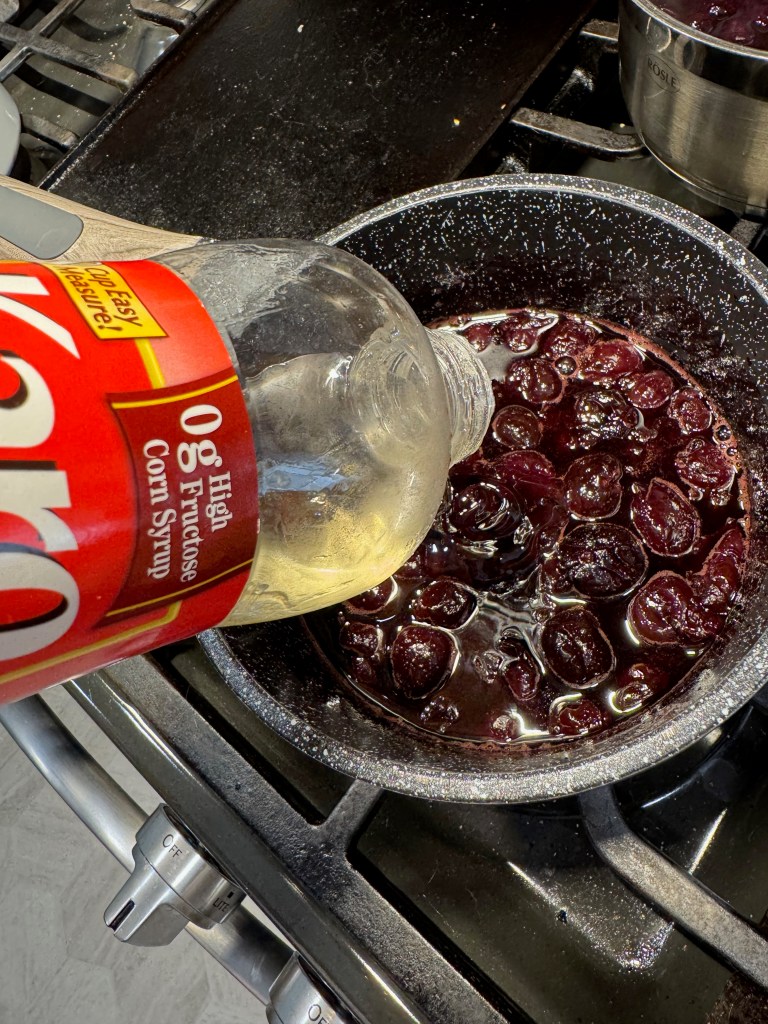
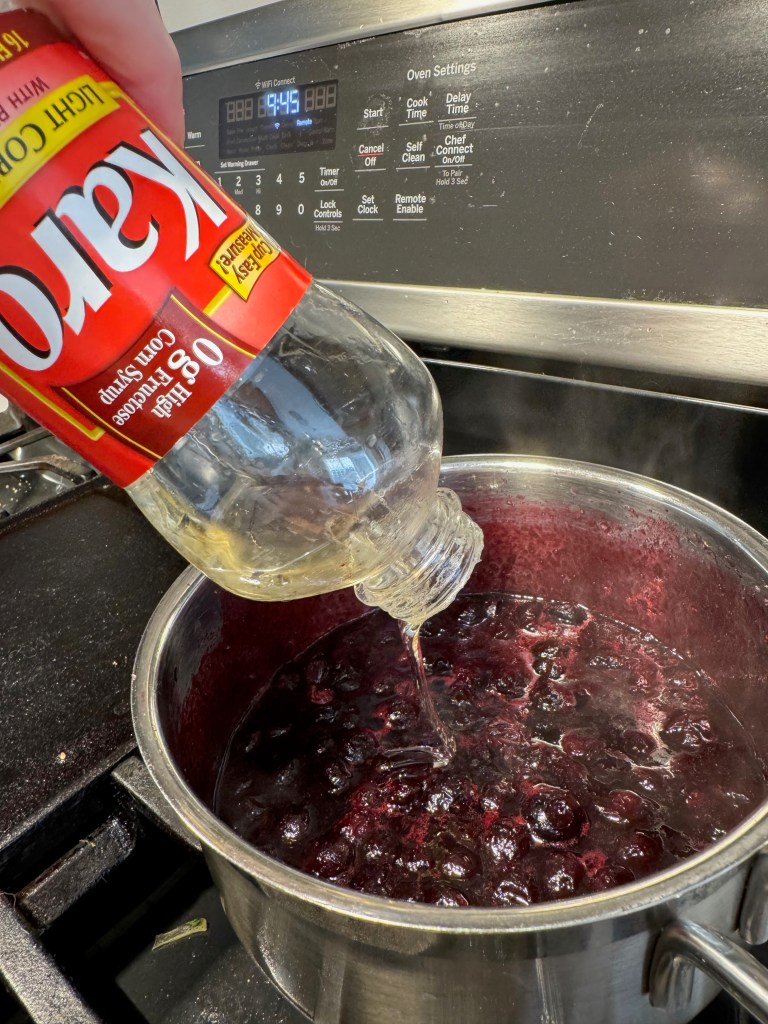
- 1 Tbsp. light corn syrup (to prevent crystallization)
Ingredients
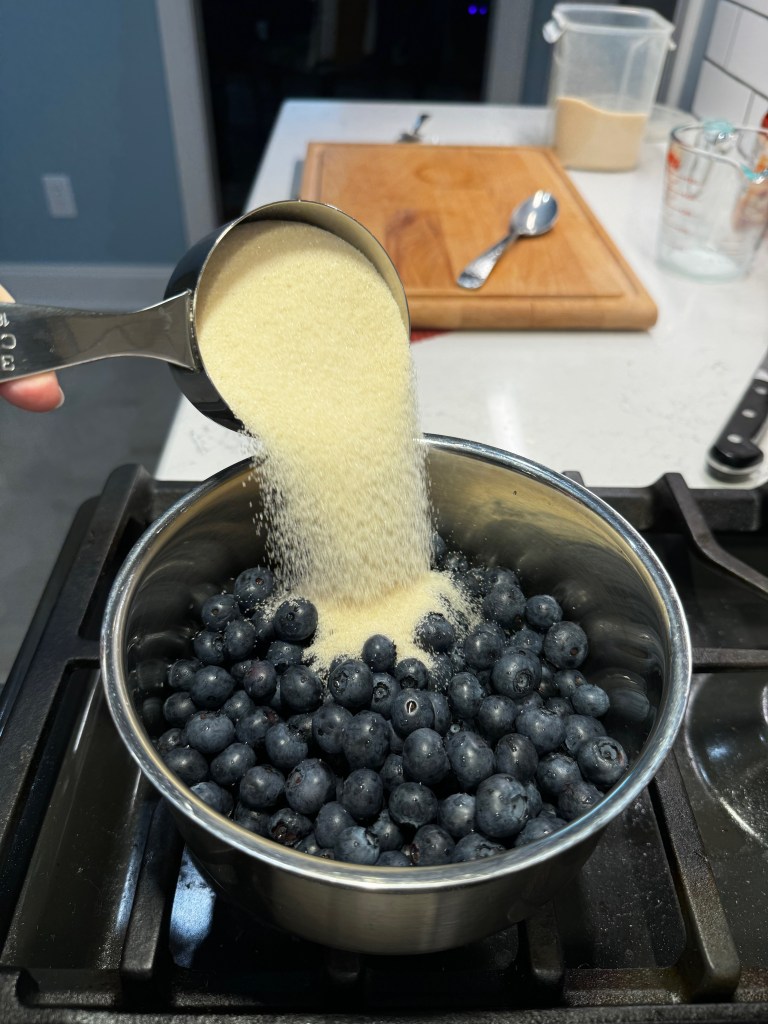
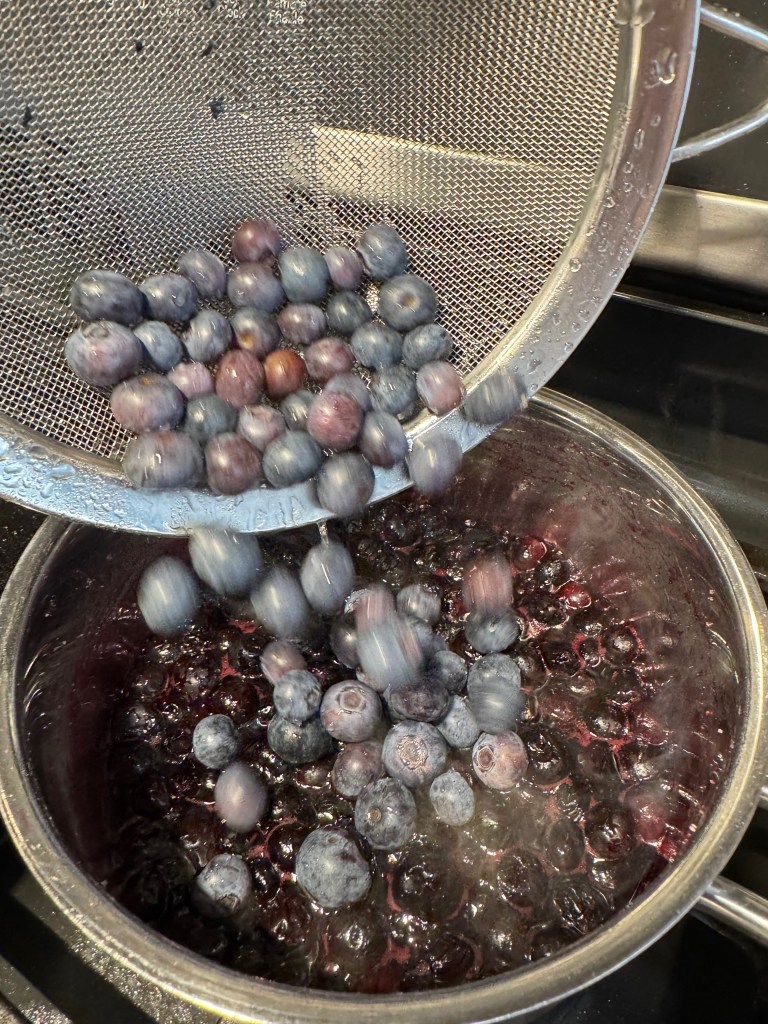
- 3/4 cup frozen blueberries
- 1/2 dry pint fresh blueberries
- 1/4 cup granulated sugar
- 1/2 tsp. cornstarch
- 1 tsp. lemon juice (or powder)
- 1 Tbsp. light corn syrup
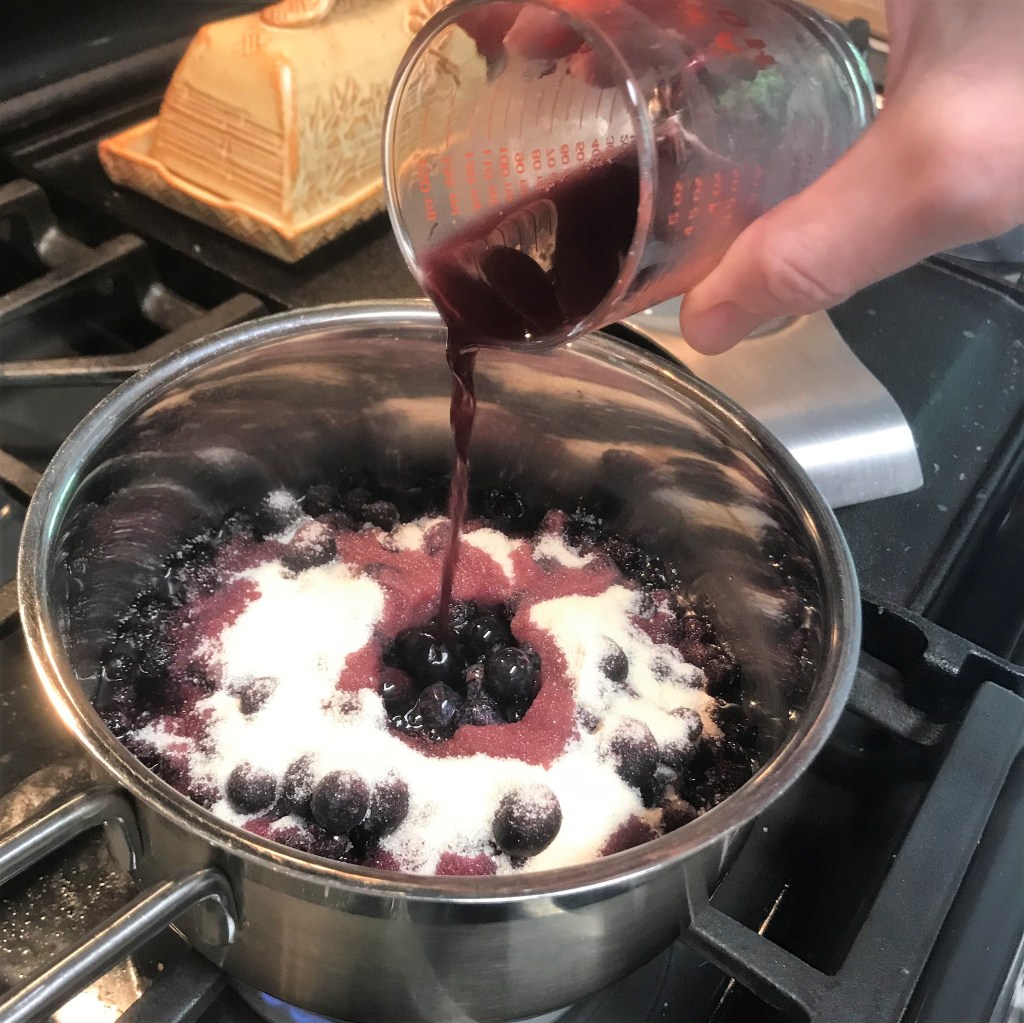
Directions
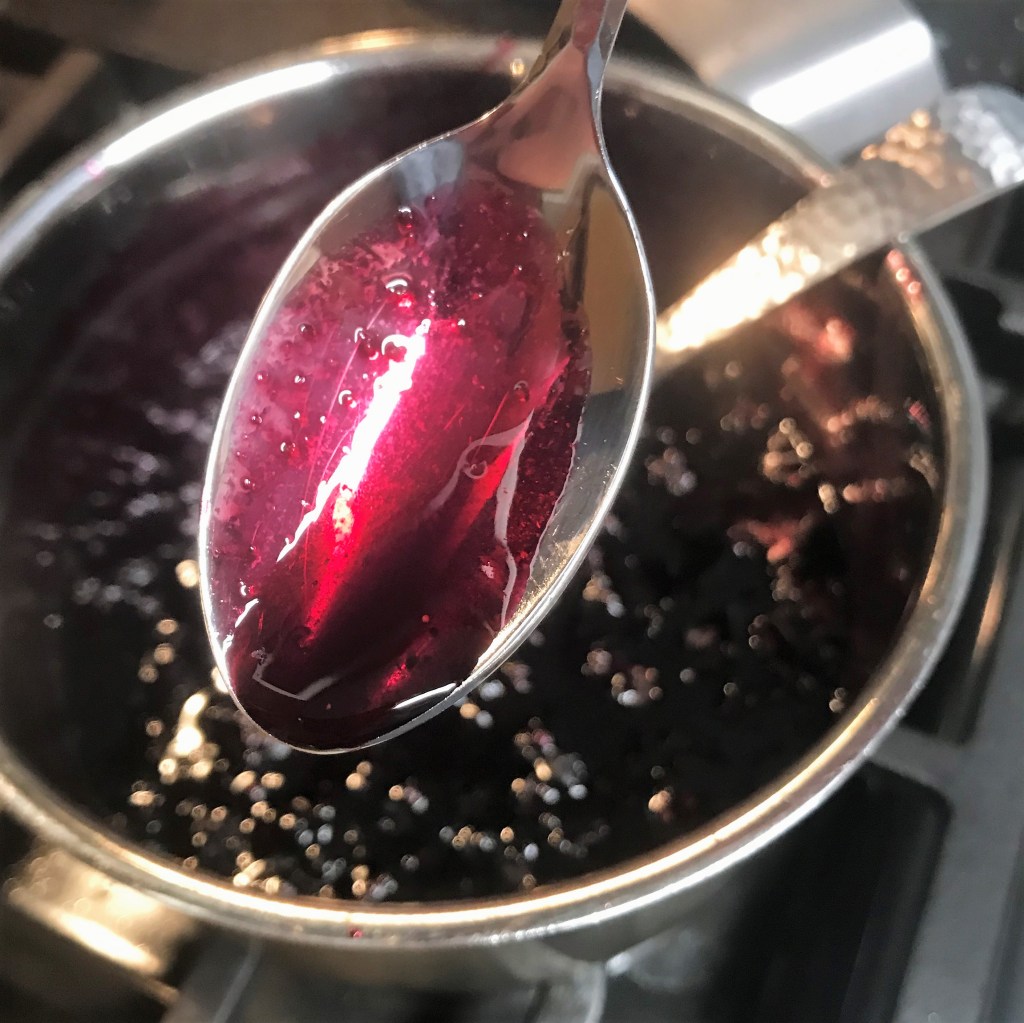
- Combine fruit, sugar, lemon juice and cornstarch in a small saucepan over medium heat.
- Cook and stir until sugar is dissolved, and then reduced heat to low and cook until liquid is reduced and mixture is syrupy.
- Stir in light corn syrup, remove from heat and cool to room temperature. Transfer to a bowl and refrigerate. Before layering in ice cream, transfer part of the compote to a small zip-top bag. You will have extra of both compotes left over; enjoy them on top of the ice cream!
Ingredients
- 6 oz. full-fat cream cheese, at room temperature (this is 3/4 of a standard package)
- 14 oz. can sweetened condensed milk
- 3/4 cup whole milk
- 1 cup heavy cream
- 1 tsp. vanilla
- 1/4 tsp. lemon oil (optional)
- 1 Tbsp. vodka (optional for texture, added during final minute of churning)
- Cherry and blueberry compotes (recipes above)
- 1/2 cup crushed graham crackers, for layering (this was one “stacker” package)
Directions
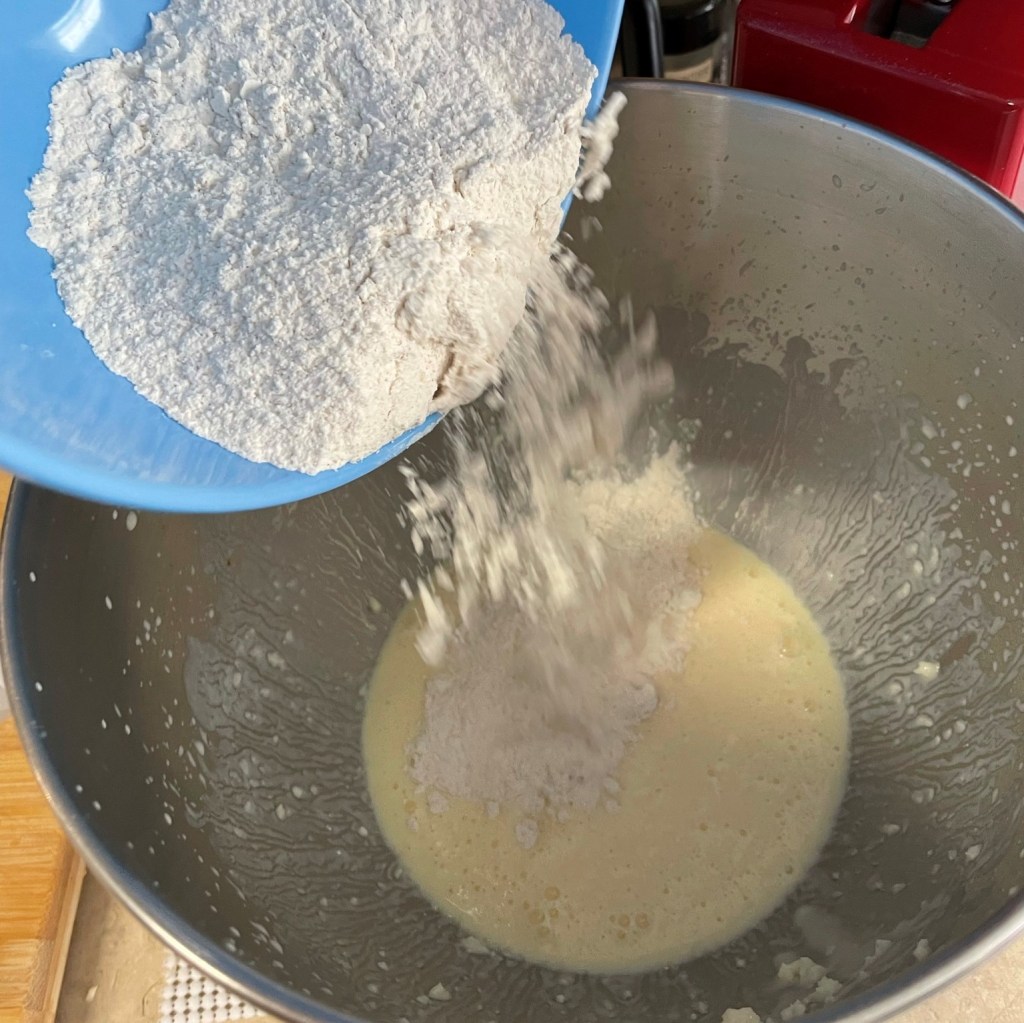
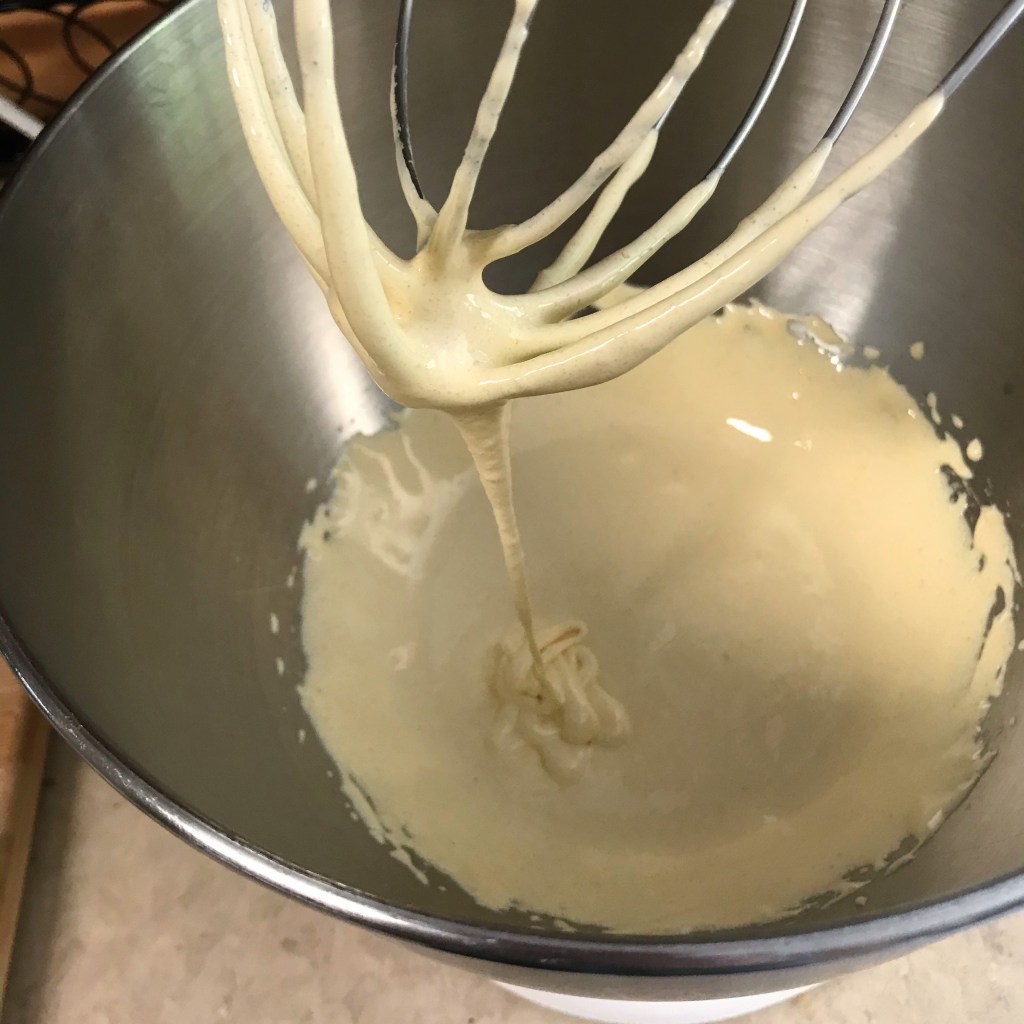
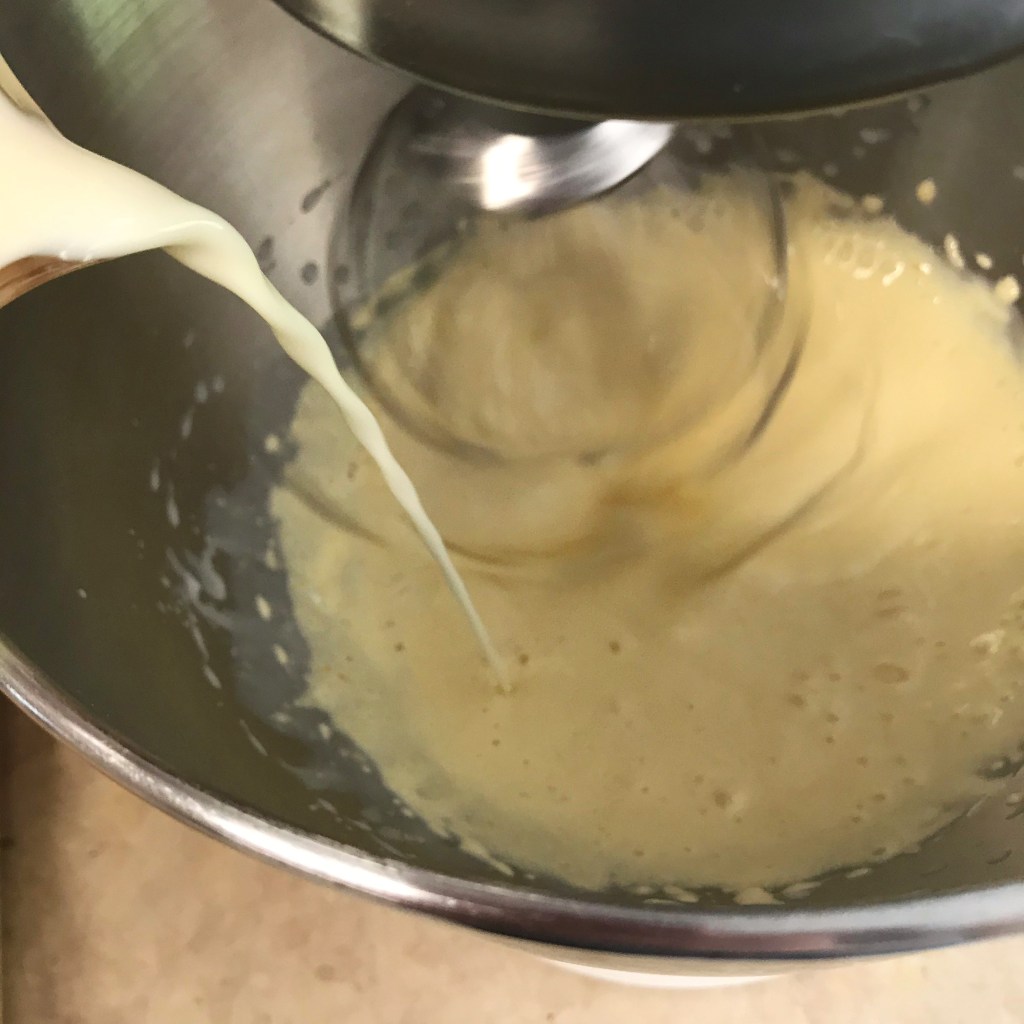
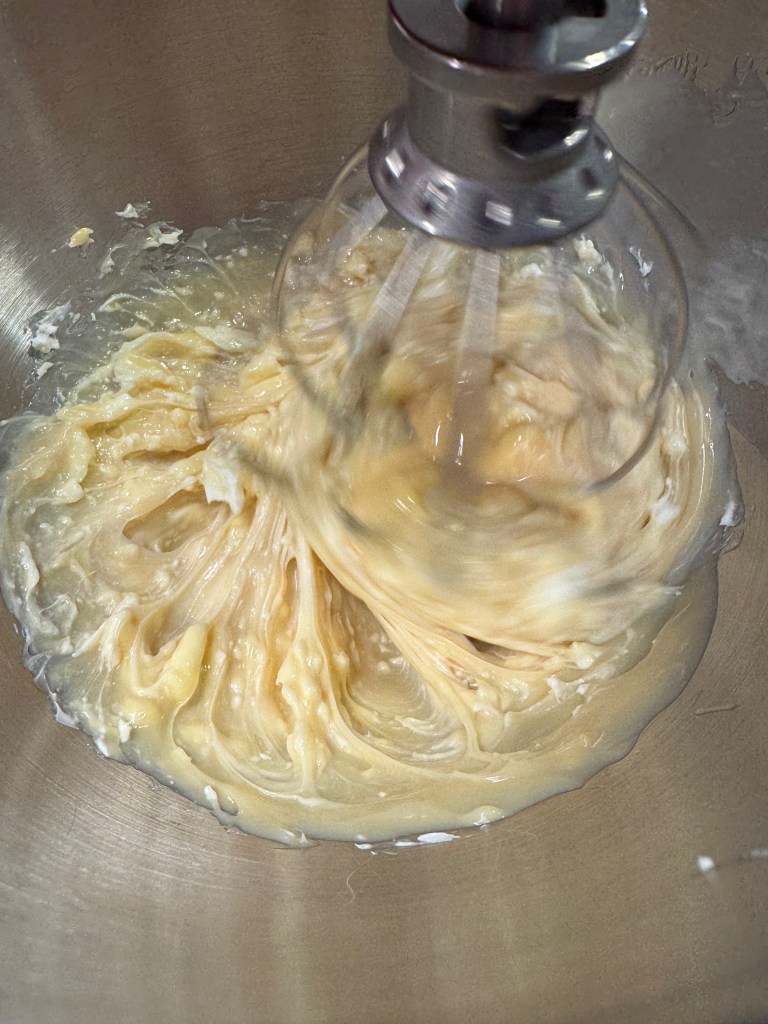
- Add cream cheese and sweetened condensed milk to the bowl of a stand mixer, fitted with the whisk blade. Mix on one of the low speeds until evenly combined.
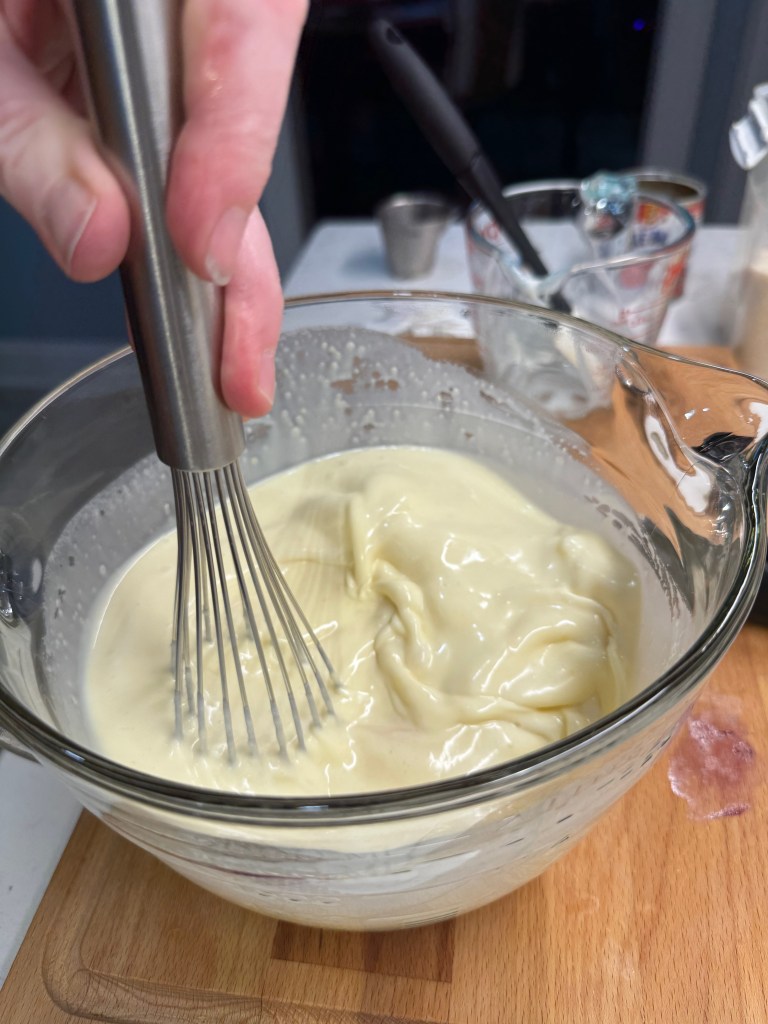
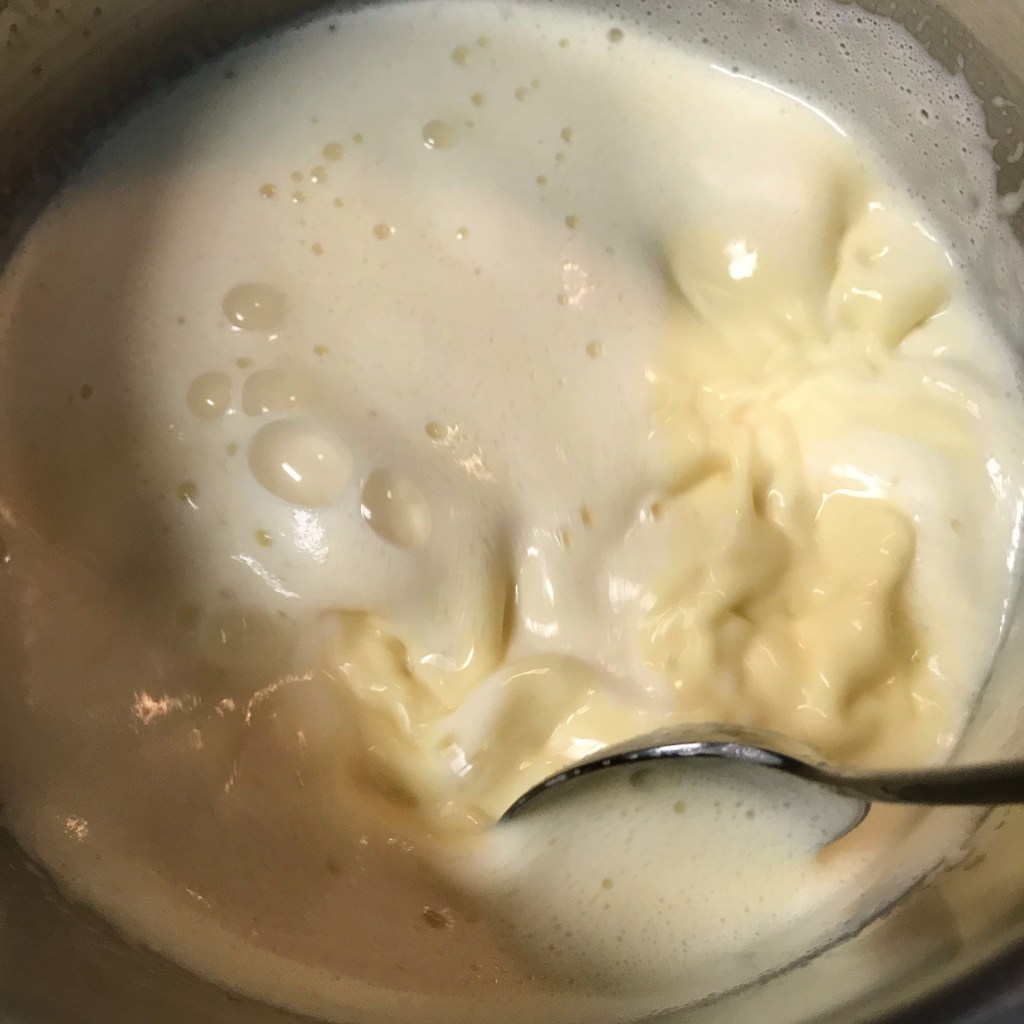
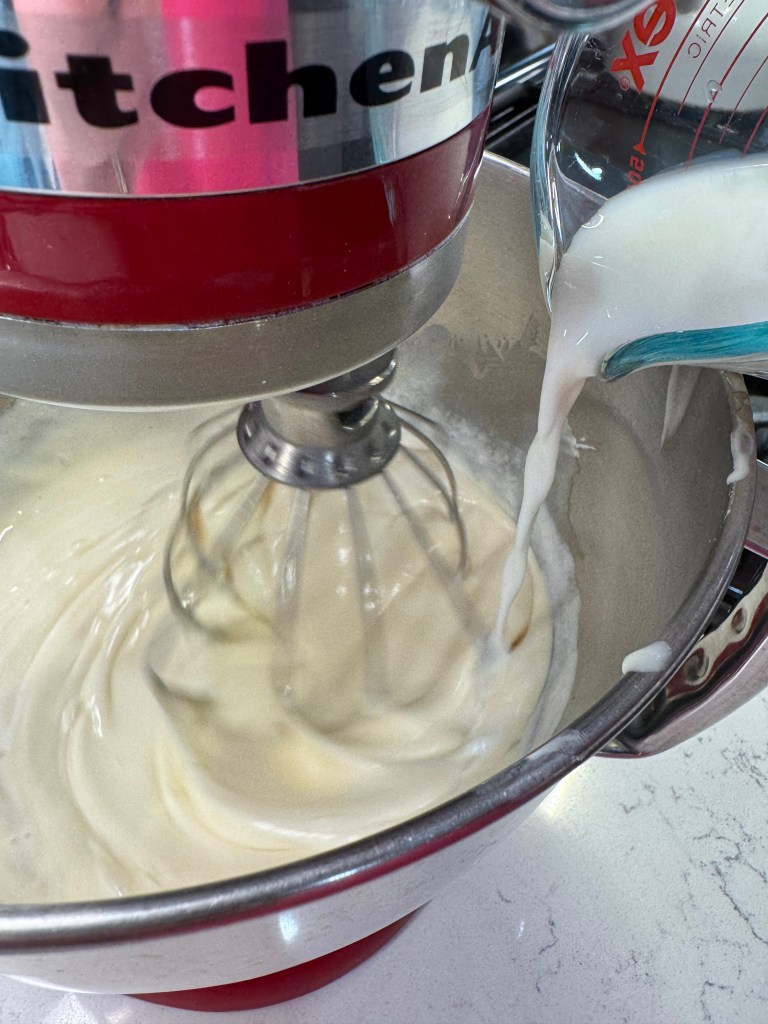
- Add cream and milk to the mixture and whisk on low speed until the mixture is smooth and even. Gently whisk in vanilla and lemon oil.
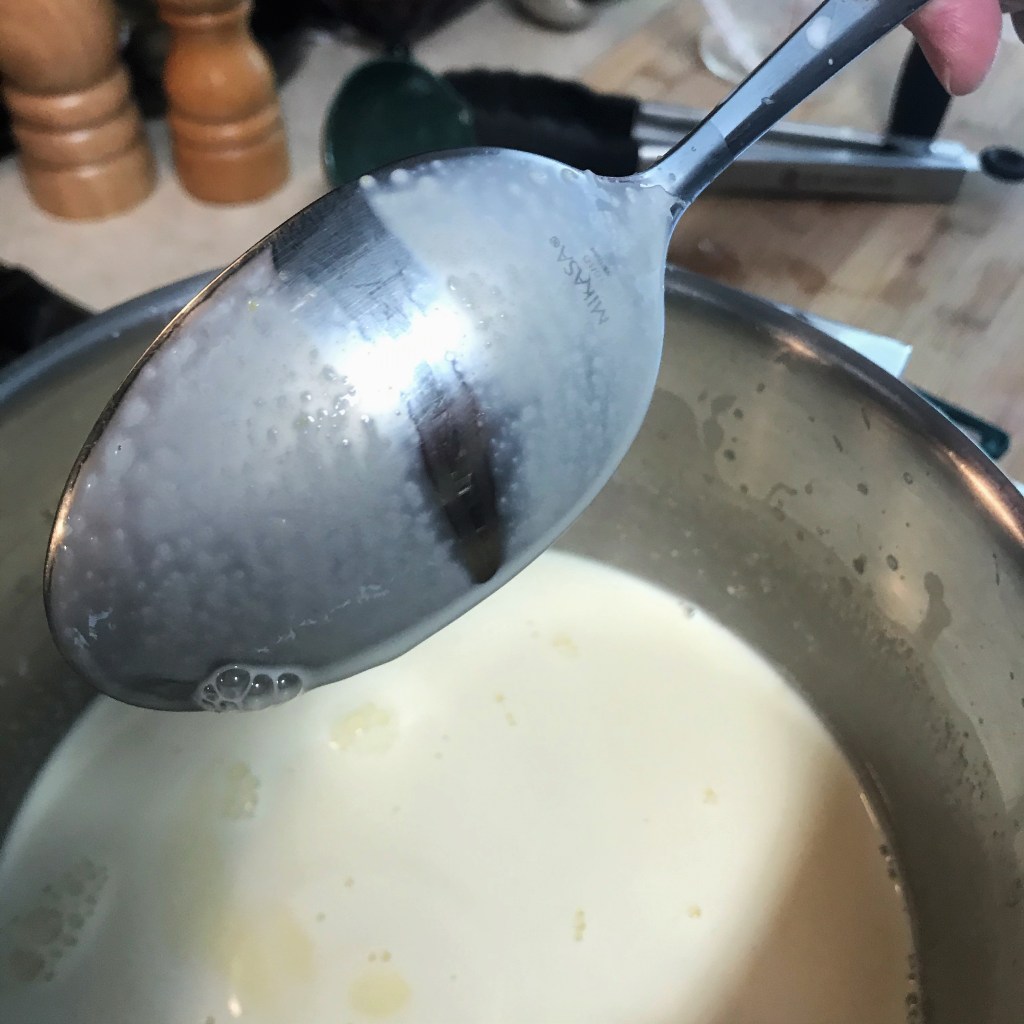
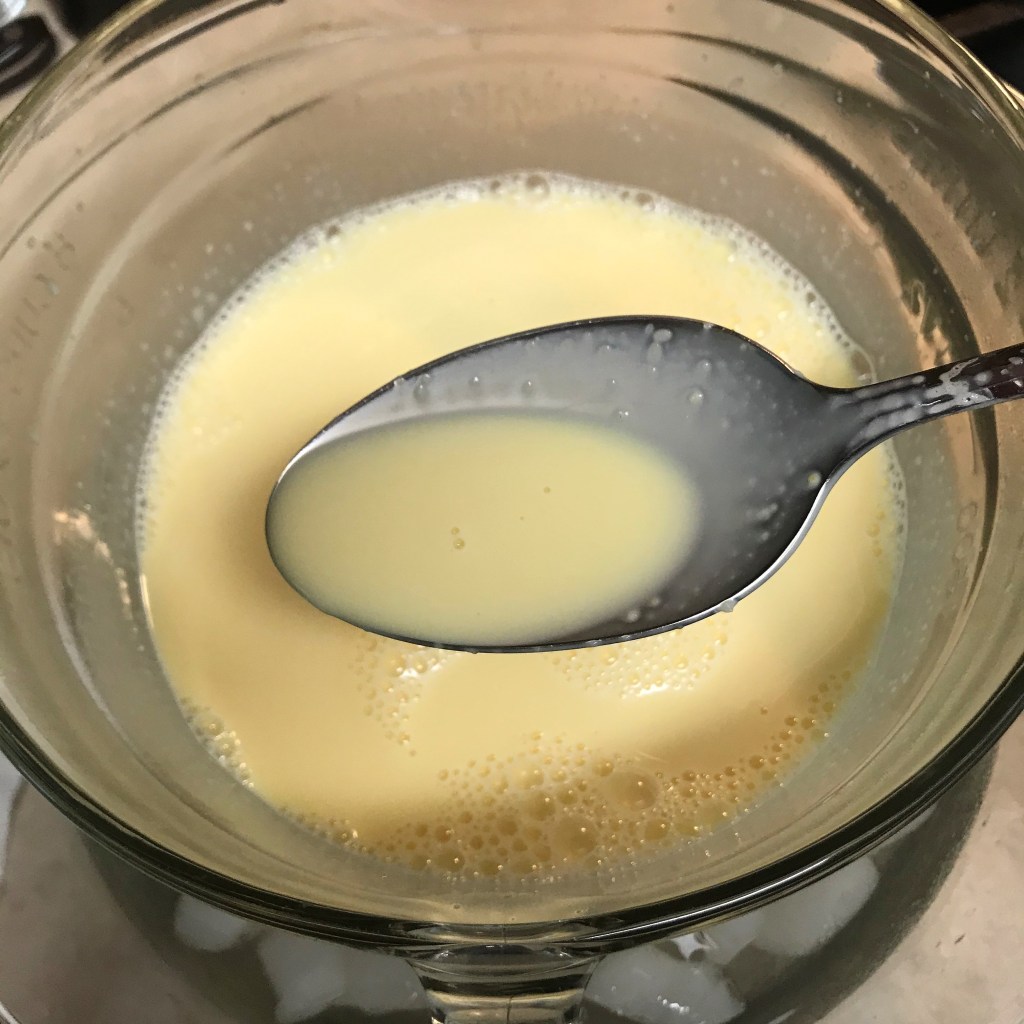
- Transfer ice cream base to a covered bowl or pitcher and refrigerate at least six hours, or up to 24 hours.
- Freeze in ice cream machine, following manufacturer’s instructions. Drizzle in vodka (if using) during the final minute of mixing.
- Layer churned ice cream into an insulated freezer container, about one third at a time. Follow the layer with one stripe each of the fruit compotes, then scatter crushed graham cracker crumbs over the fruit stripes. Repeat twice with more ice cream, more fruit compote and more graham cracker crumbs. Save the finest crumbs for the final layer. Cover and freeze at least overnight.