Butternut Squash Mac & Cheese

Sometimes a recipe idea has an unexpected side benefit, and that was the case with this macaroni and cheese recipe I made for our Thanksgiving meal last year. Though I intended it a way to “sneak” a few more vegetables onto our plates— namely butternut squash and cauliflower— my husband surprised me with his assessment that this was “the best mac and cheese” I’d ever made! My memory tells me he may have said this about a few others as well, but still, it’s high praise!

Mac and cheese is a standout comfort food, and I love bending it into various flavor directions, which you already know if you’ve been following me for any length of time. It is the “comfort” in Comfort du Jour and was the first recipe I posted when I began this blog more than five years ago. Mac and cheese is in a category that I call “blank canvas foods,” open for suggestion and adaptation with endless possibilities or, should I say, “pastabilities?” 😉

I don’t usually include mac and cheese on the Thanksgiving table because it’s a dish that I make year-round and we have so many other seasonal dishes that demand space. Our guests would revolt if we didn’t have Les’s incredible garlic mashed potatoes or his cranberry sauce with Mandarin oranges. And Brussels sprouts of some variety are a must. But this mac and cheese feels unique with the butternut squash that brought a distinctively “autumn” flair. I can easily make a case for adding this to the list of Thanksgiving standards. Come along, and I’ll show you how easy it was to make!

Stand-ins for the squash

There are two substitutes that come to mind if butternut squash isn’t your thing or if it’s out of reach for any reason. Pumpkin and sweet potato each have similar texture and color, and either would work great here— just be sure they are cooked soft enough to puree smoothly. Canned pumpkin is a good option, and I made a savory pumpkin mac and cheese a few years ago that proves this point. 

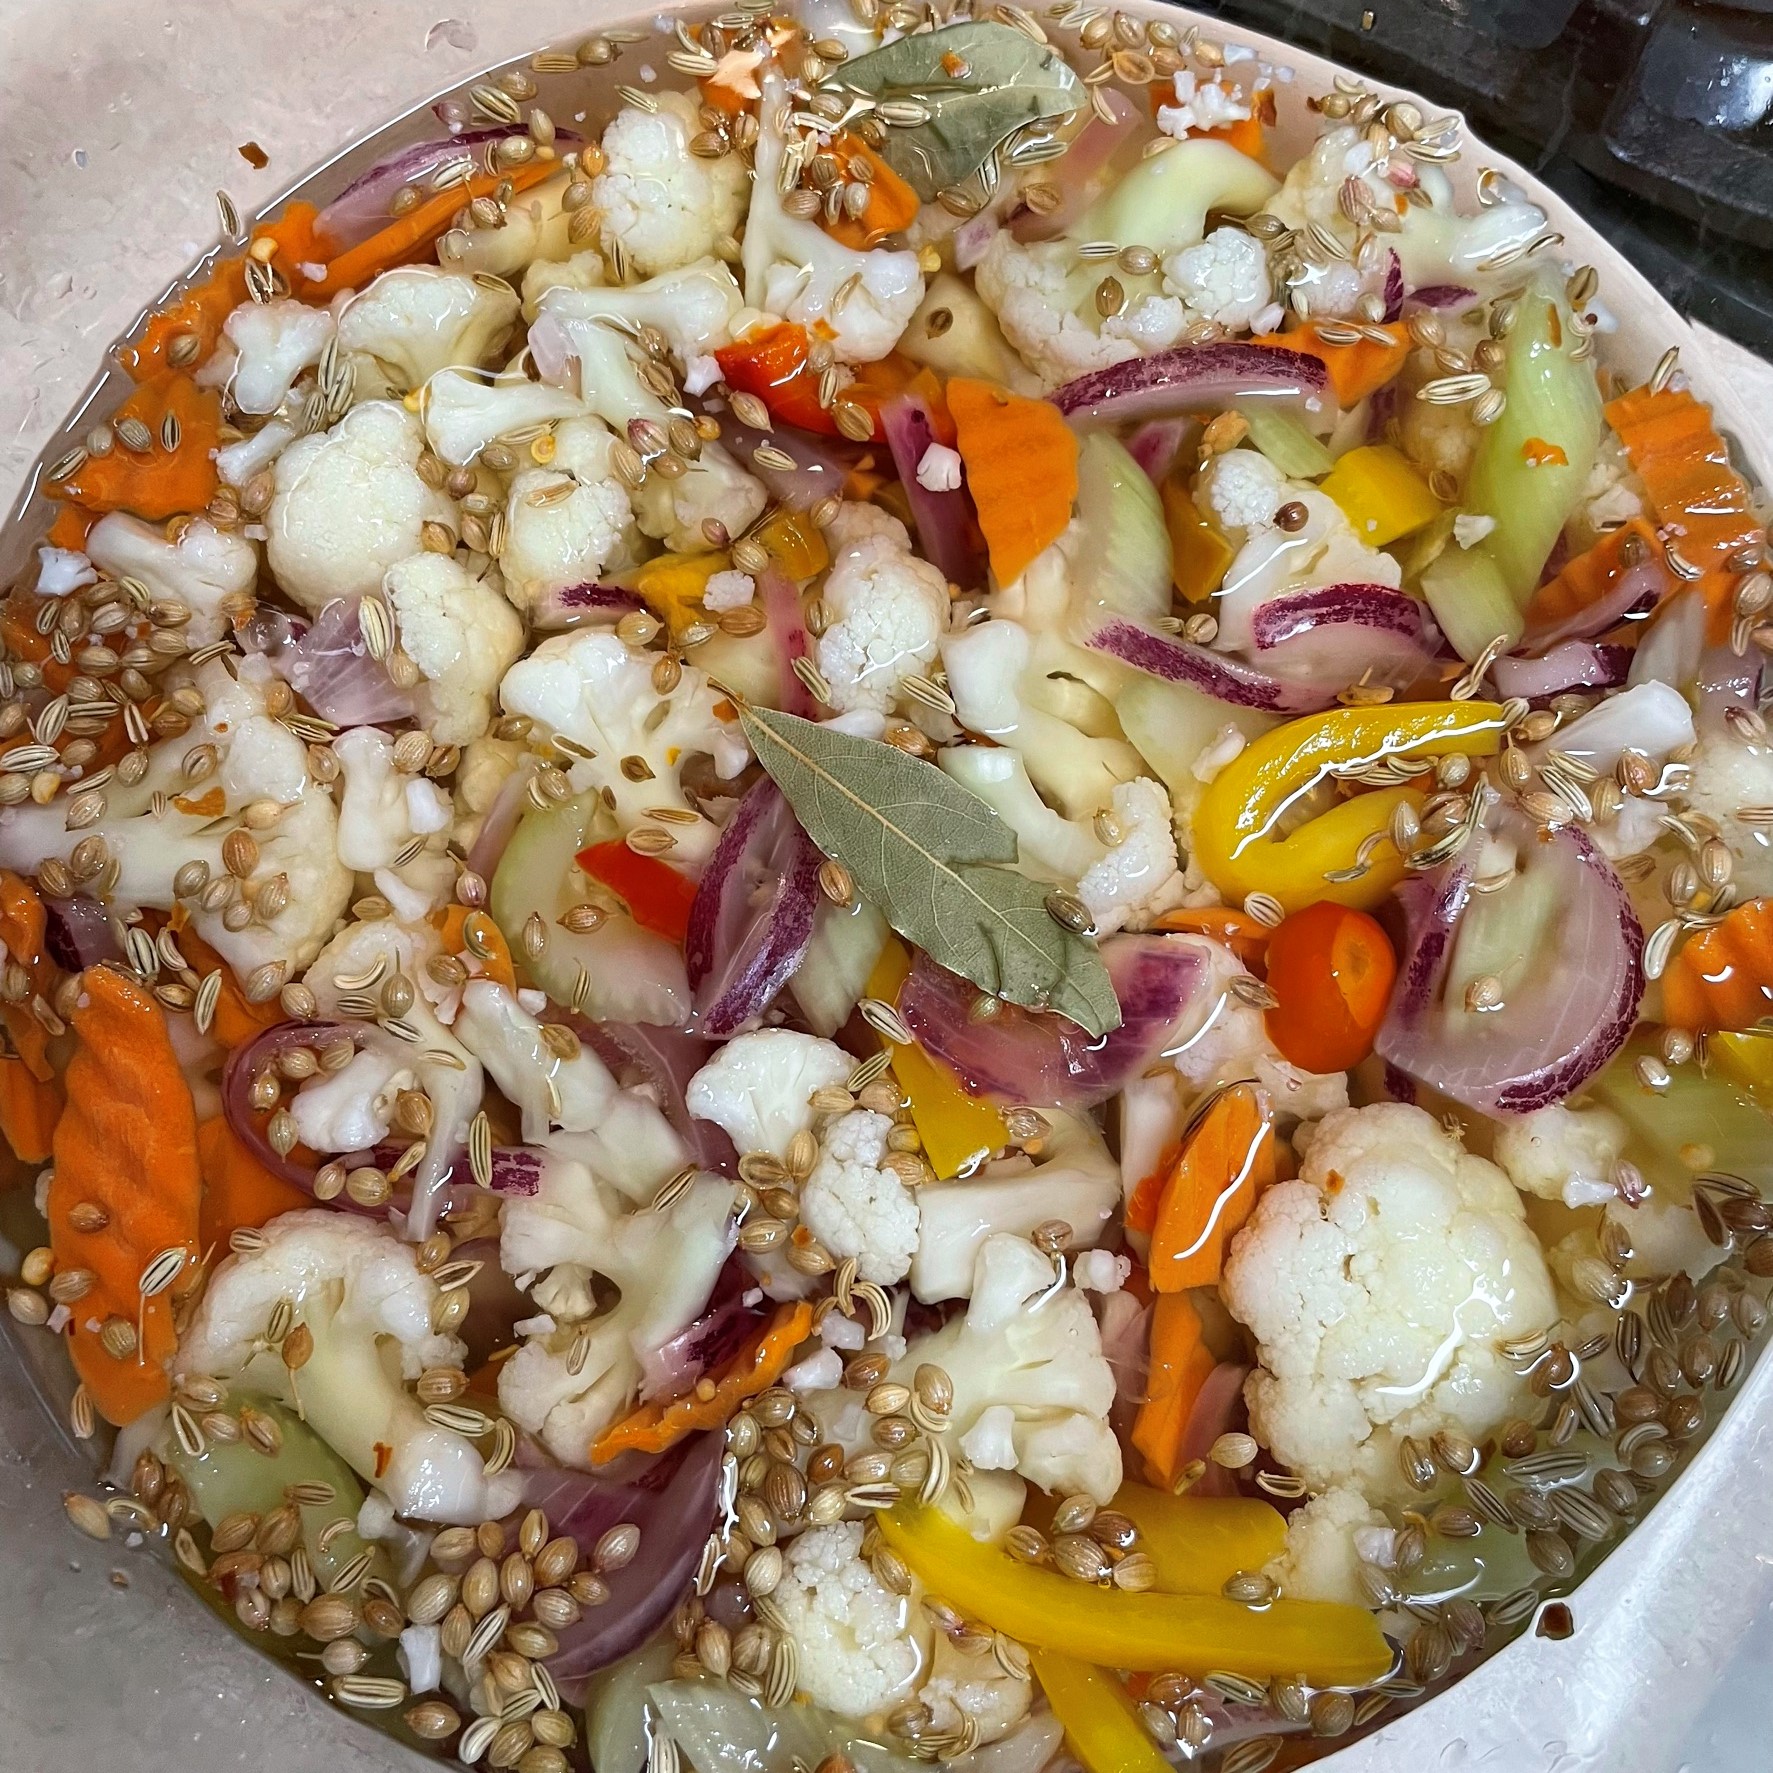
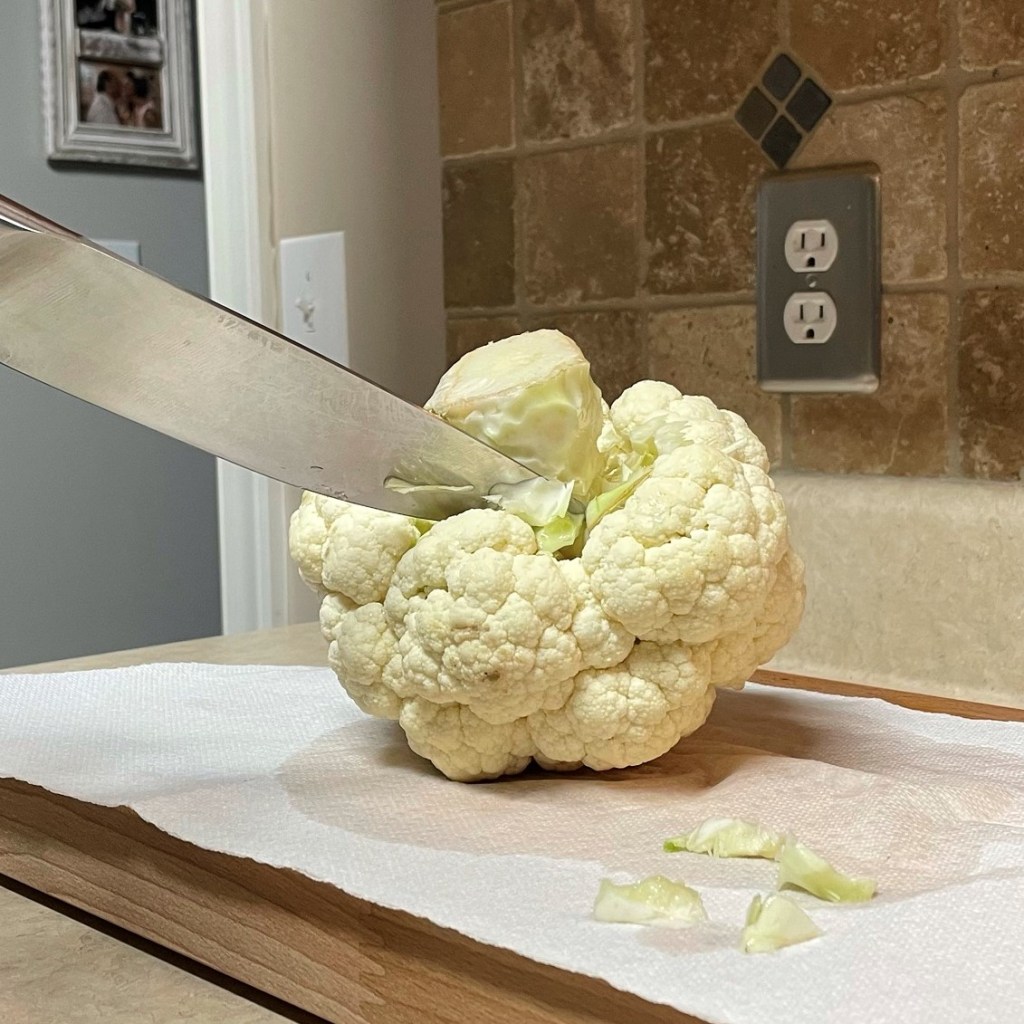
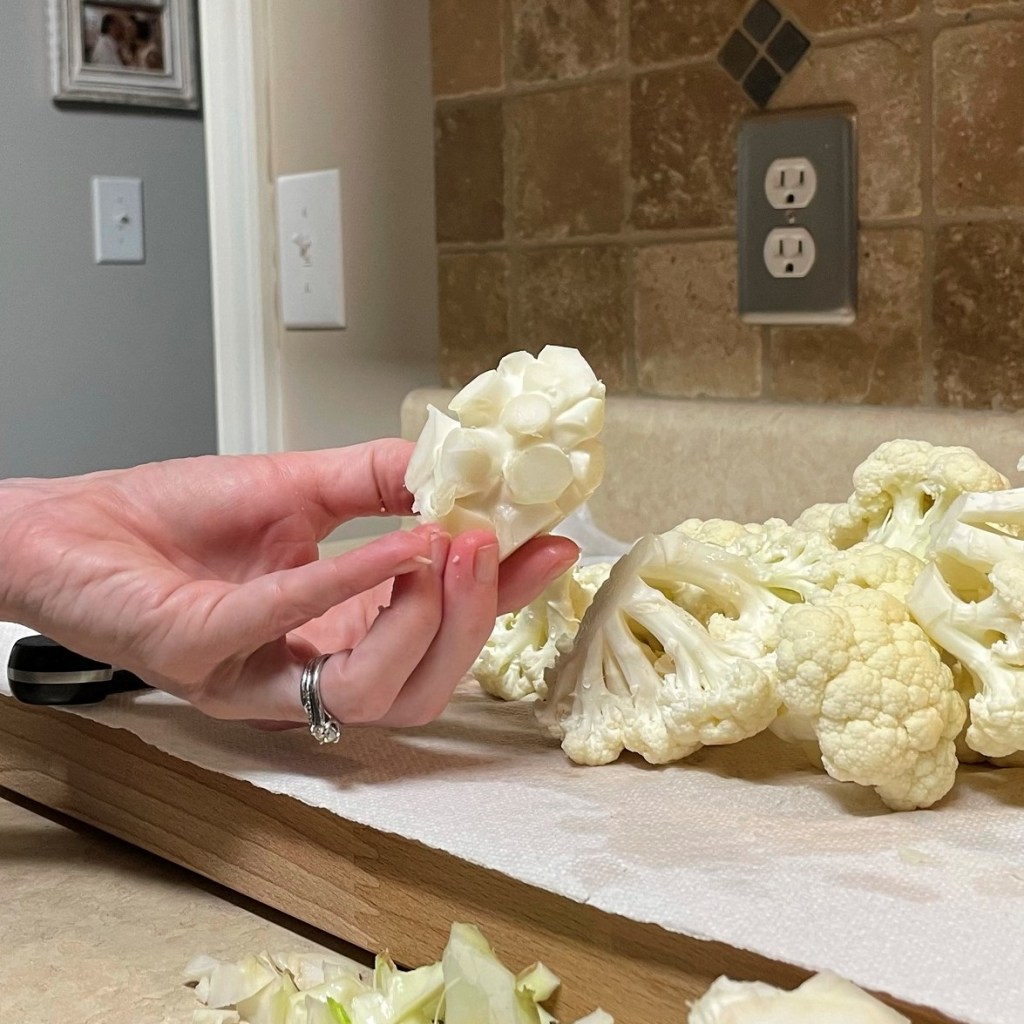
Prepping the vegetables

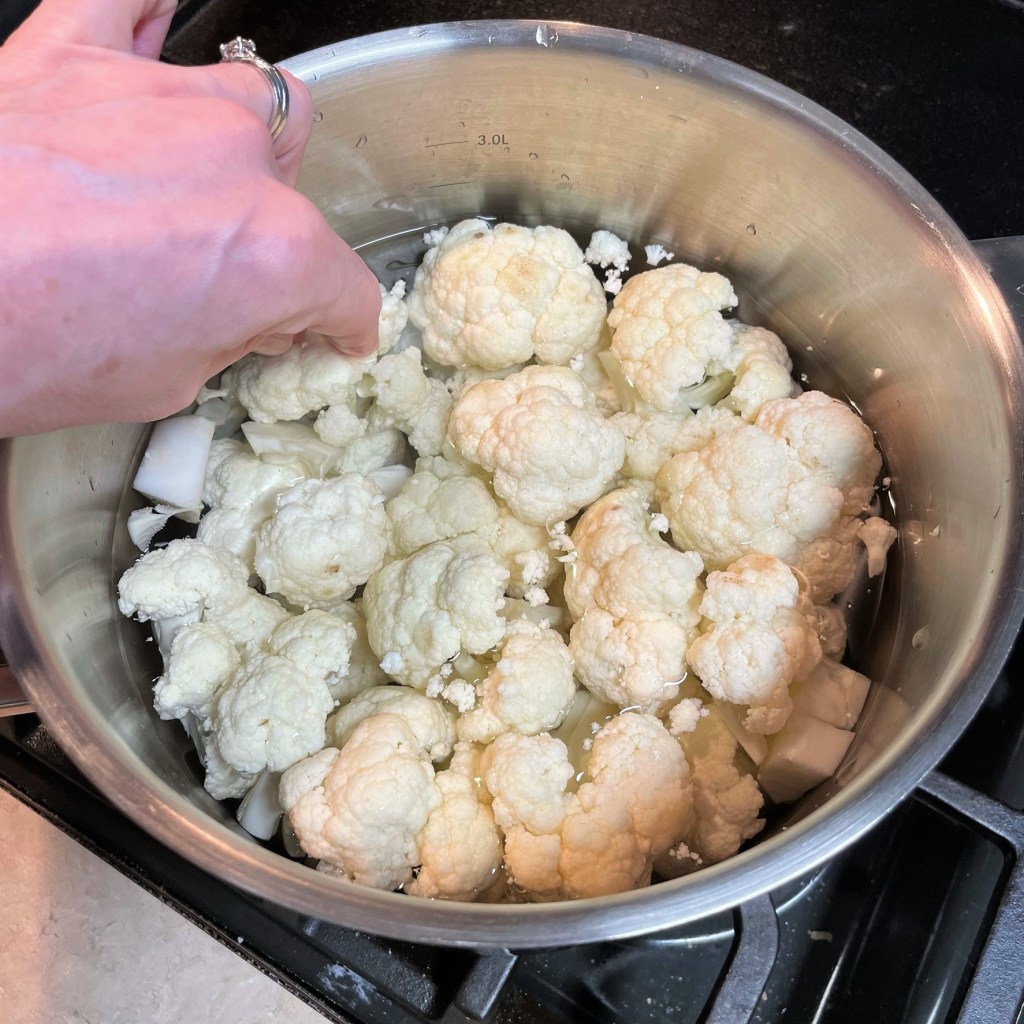
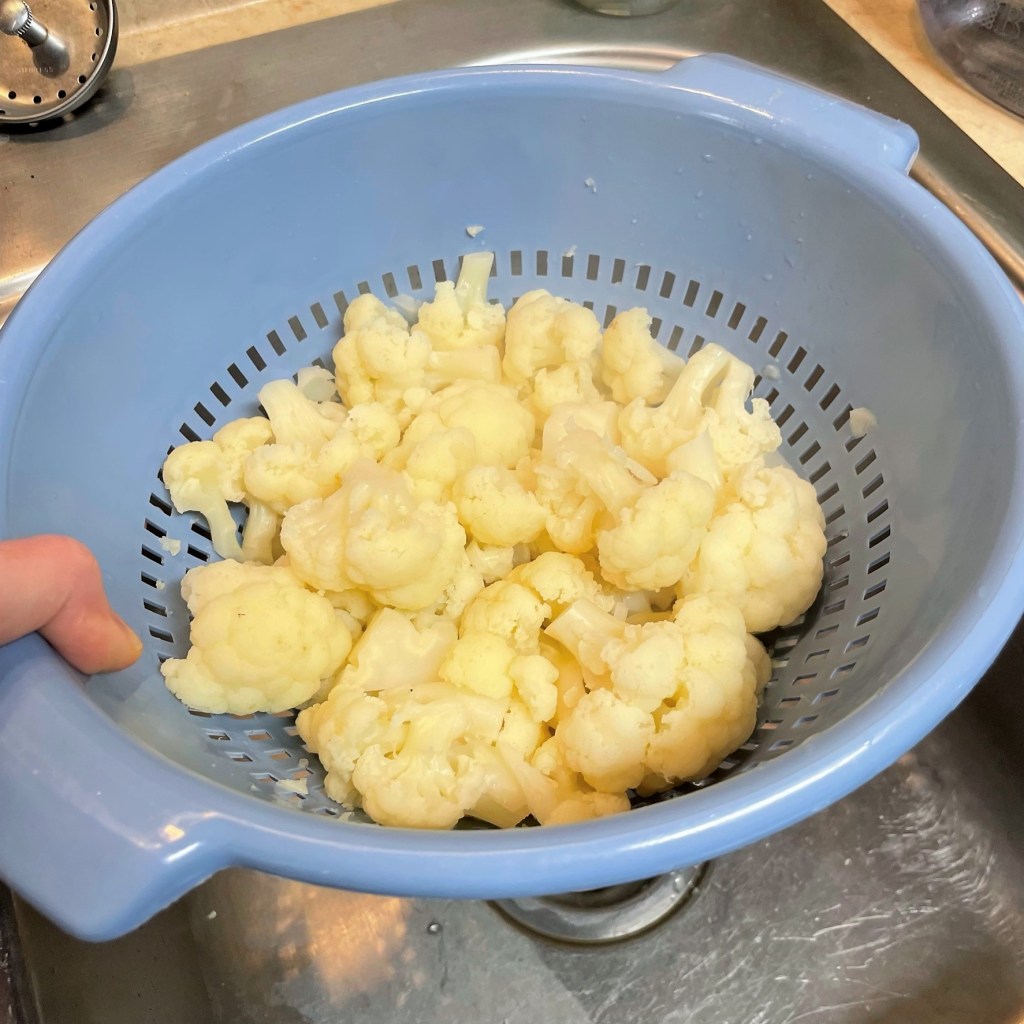
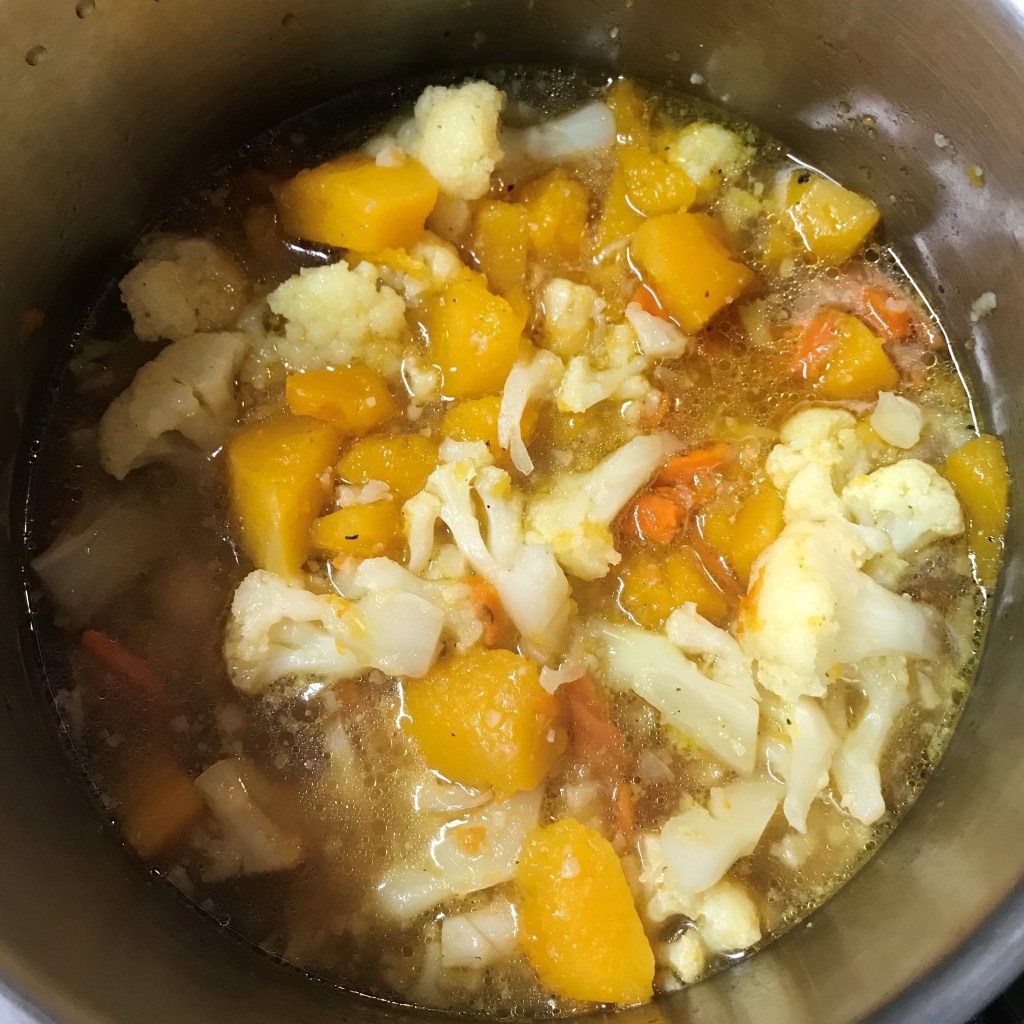
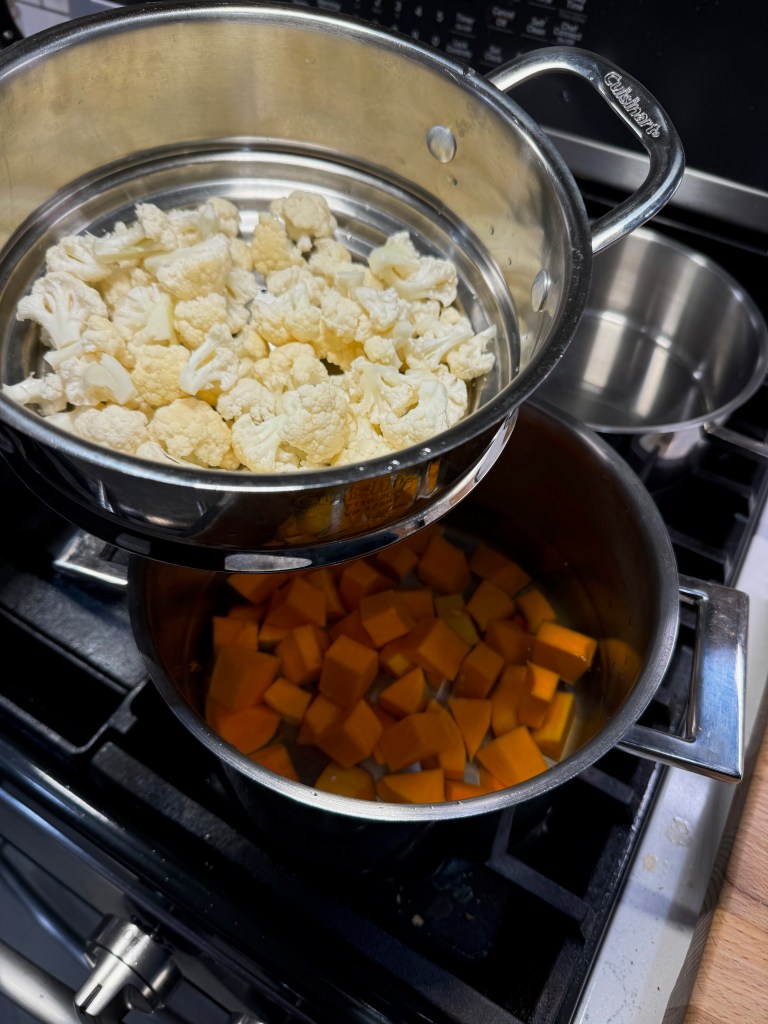
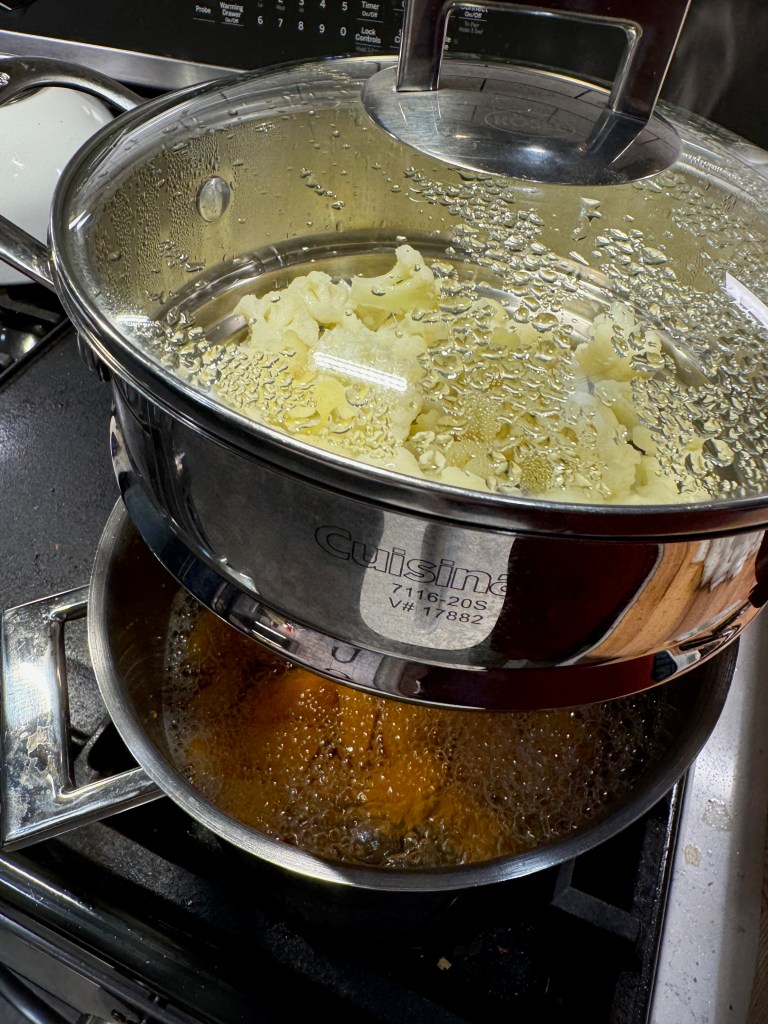
Both the squash and cauliflower will be pureed, so I needed to cook them to full tenderness ahead of making the dish. My steamer insert doesn’t get much action, but it earned its keep this time, as I boiled the squash cubes and simultaneously steamed the cauli in the insert. Three cheers for only needing one burner! This took about 25 minutes. I pressed the squash through a mesh strainer and then blotted away excess moisture with paper towels. The cauli only needed to cool.


The cheese sauce

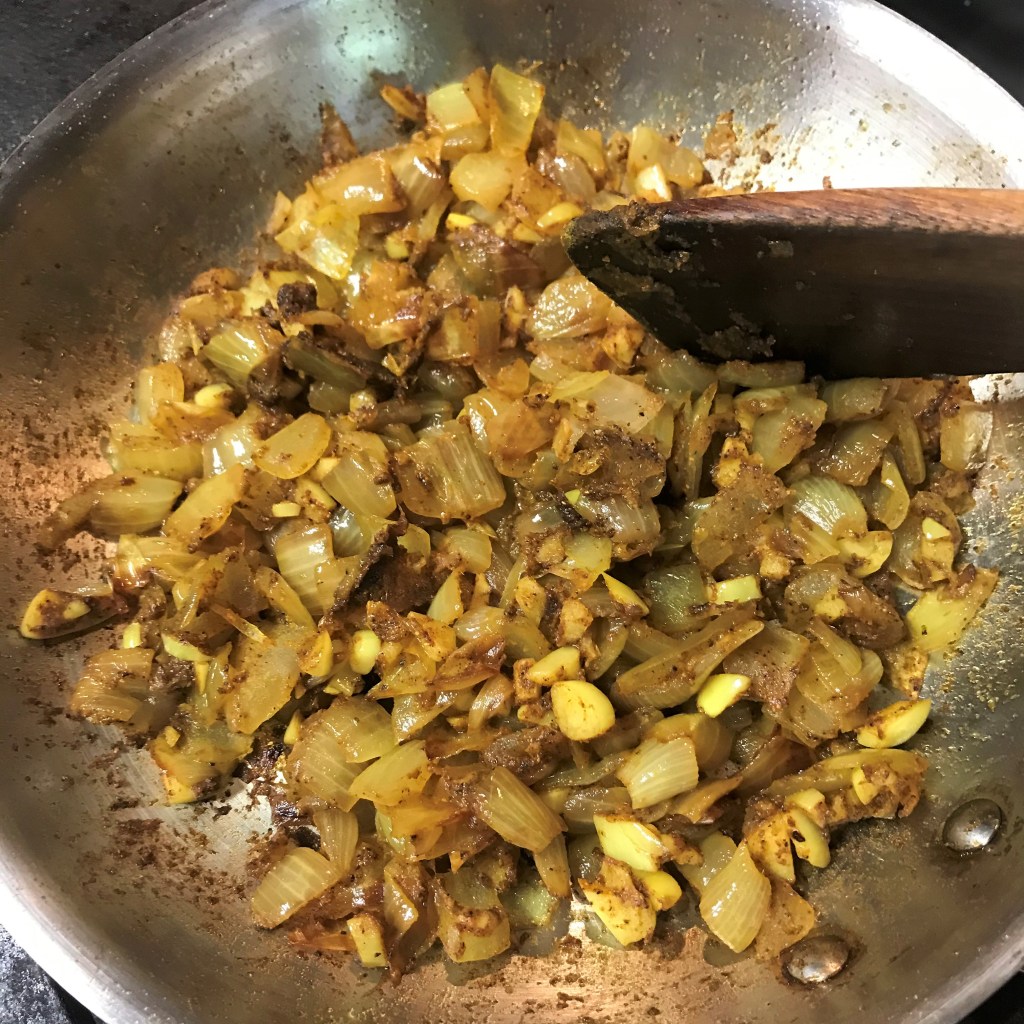
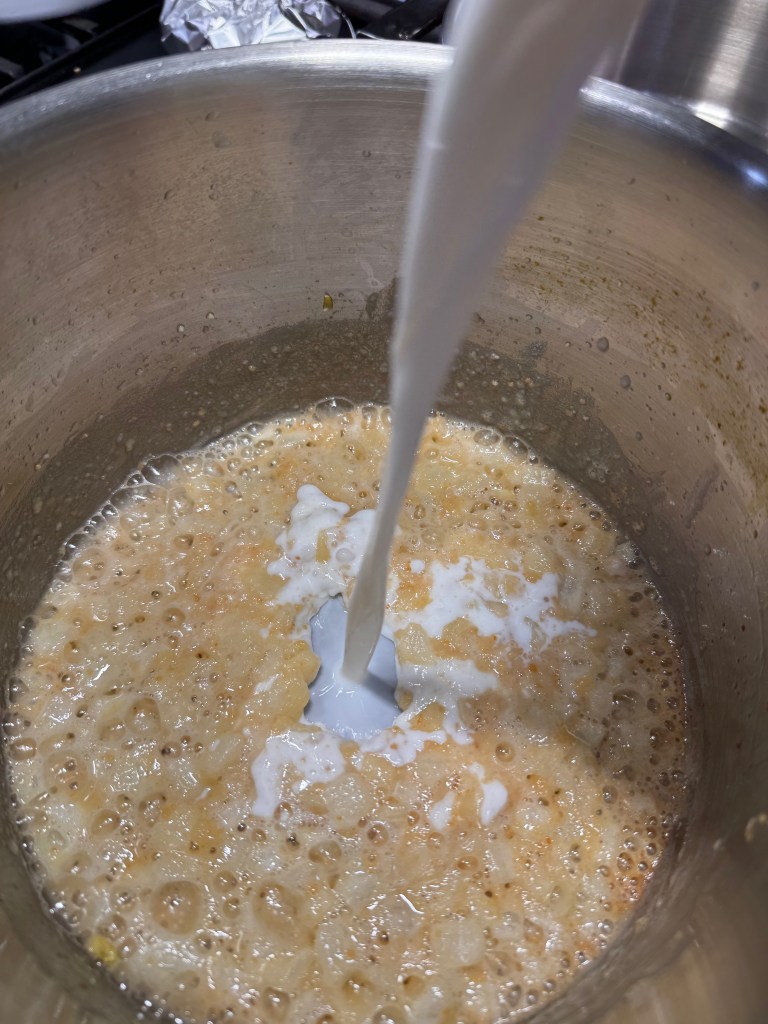
All my mac and cheese recipes begin the same way— with a roux. This simple mixture of butter (or oil) and flour creates a thickening base for whatever liquid you plan to use (in this case, milk). It’s one of the first important lessons I learned in my grandmother’s kitchen when I was barely even tall enough to reach the stove. While my butter melted and browned slightly, I tossed in some finely diced onion for flavor before adding the flour and, eventually, the milk. 
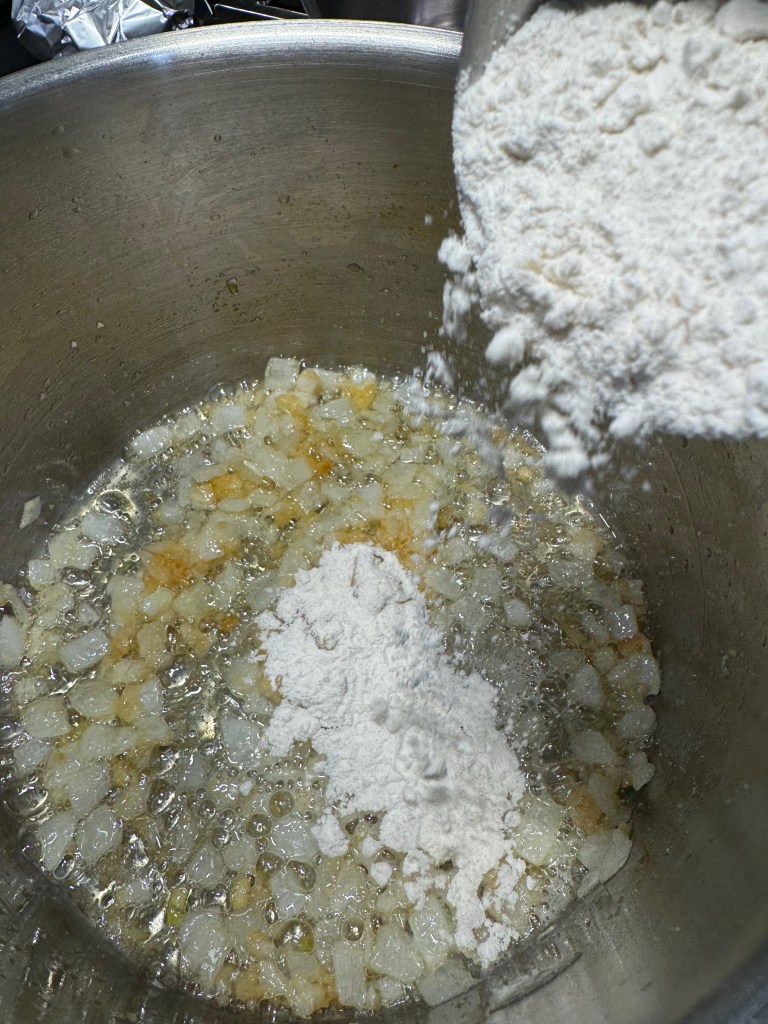

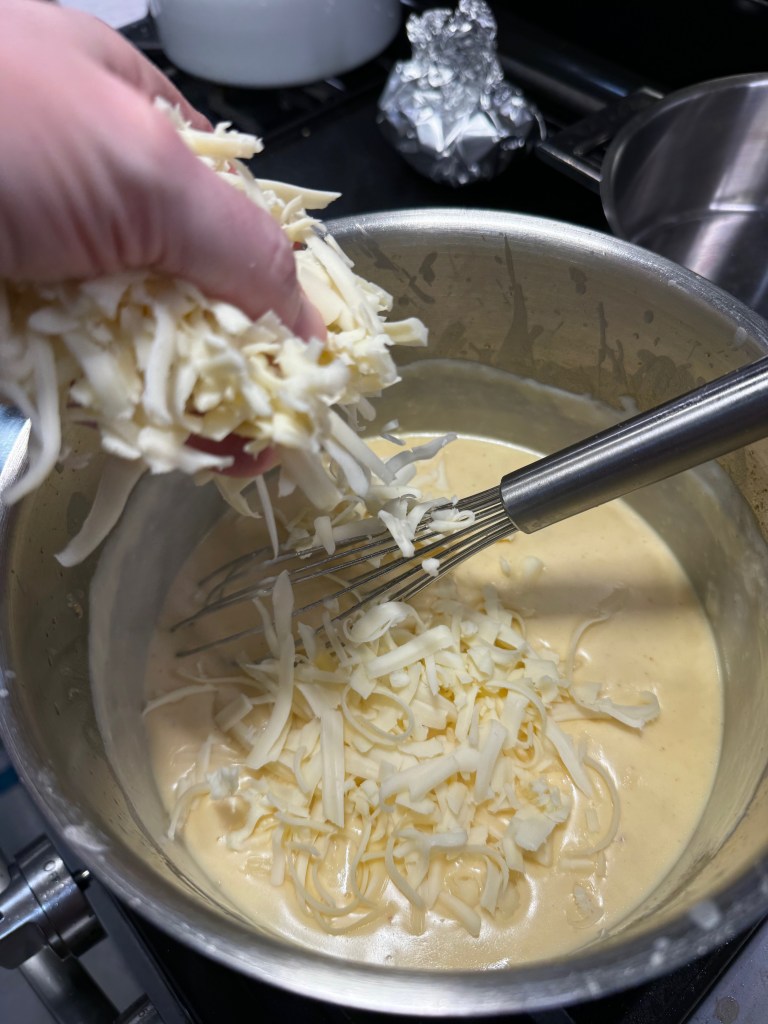
The cheese came next, beginning with a few ounces of American processed cheese. I know, I know, some say that this isn’t “real” cheese. But as Kenji López-Alt, one of my culinary idols, has said, it’s like saying that meatloaf isn’t meat. American cheese is just cheese that has been chemically adjusted with certain salts and stabilizers that prevent fat separation when you melt it. Using a little bit in my cheese sauce sets the stage for the other cheeses to remain more stable. In other words, it keeps my cheese sauce more creamy than gloppy! The other cheeses I used were gruyere, which I love for its nutty flavor, and sharp white cheddar. 


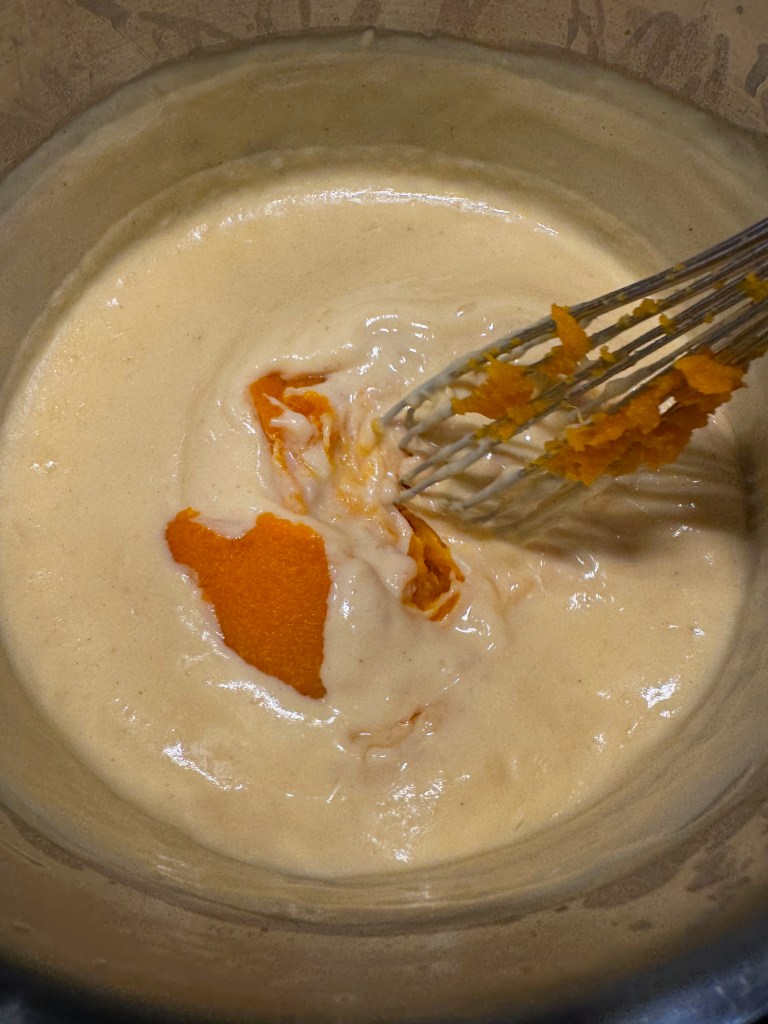
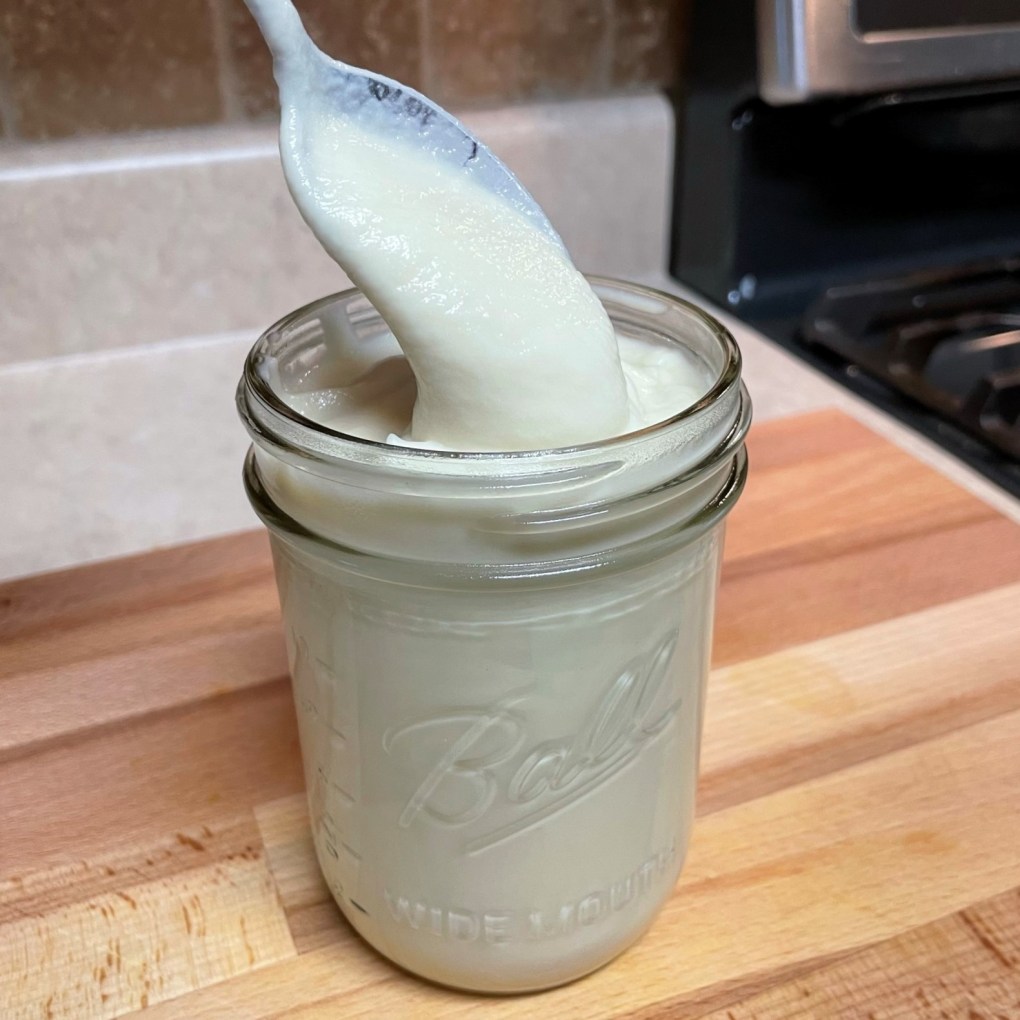
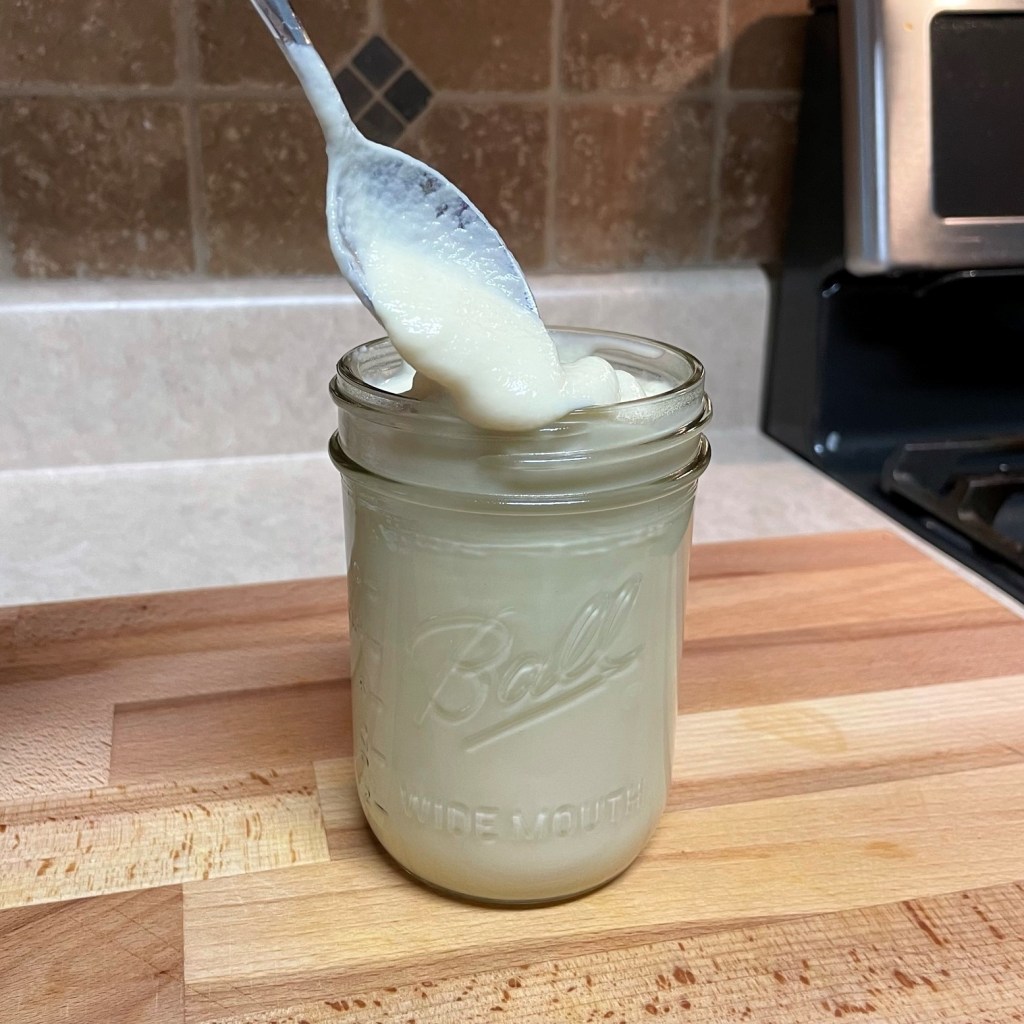
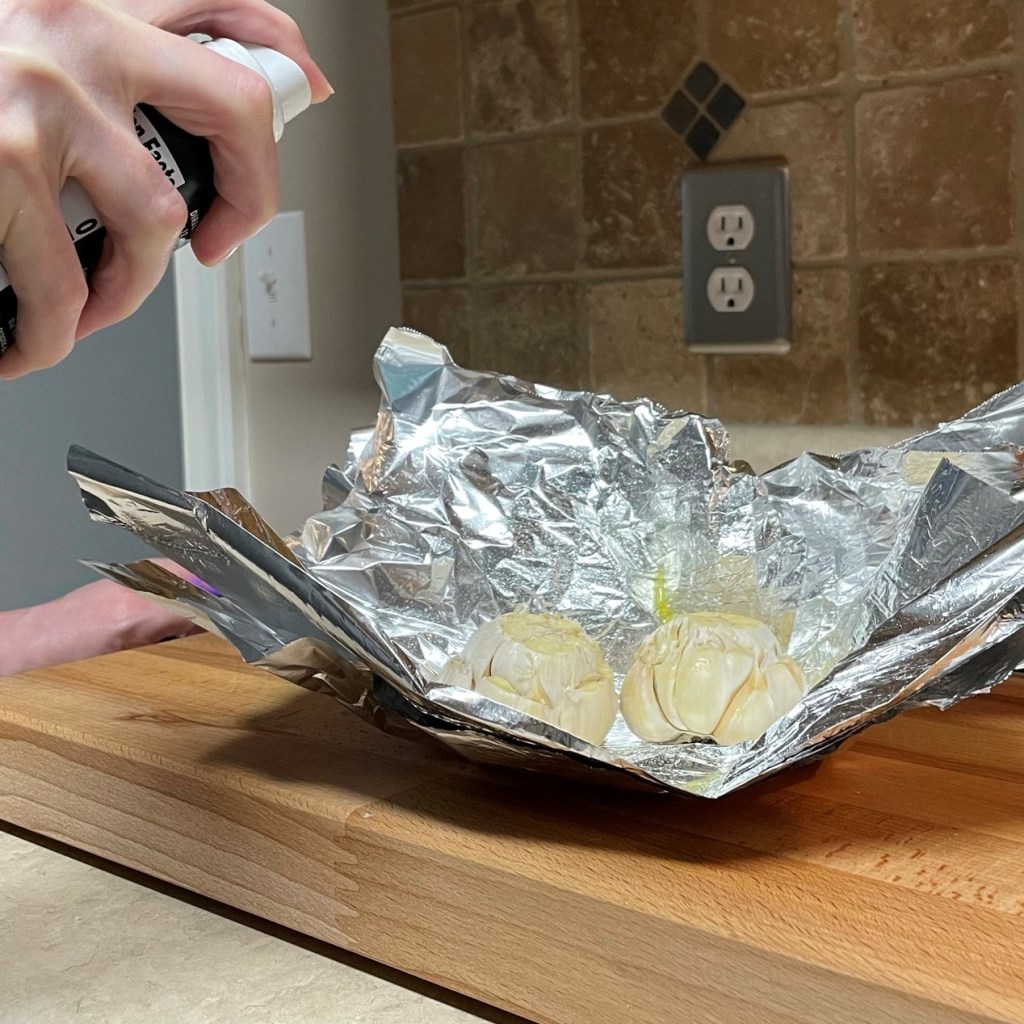
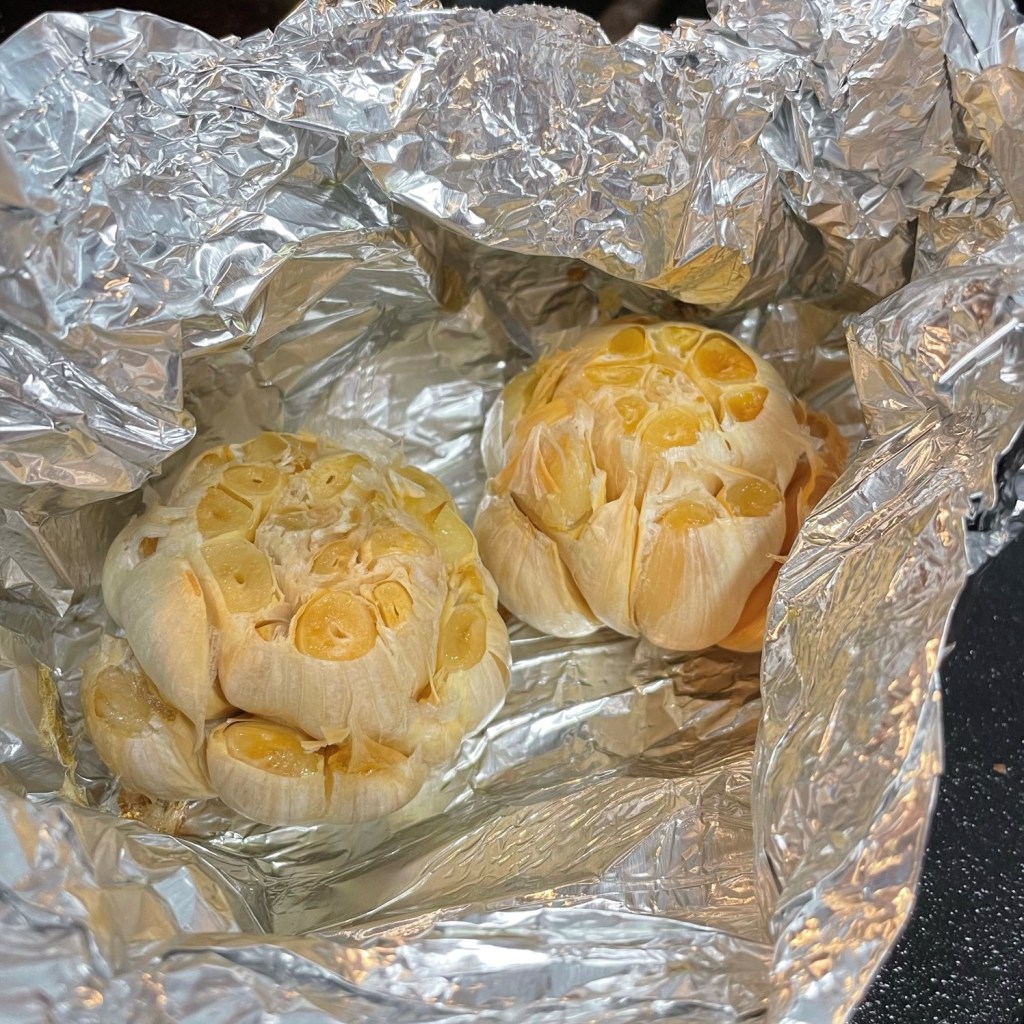
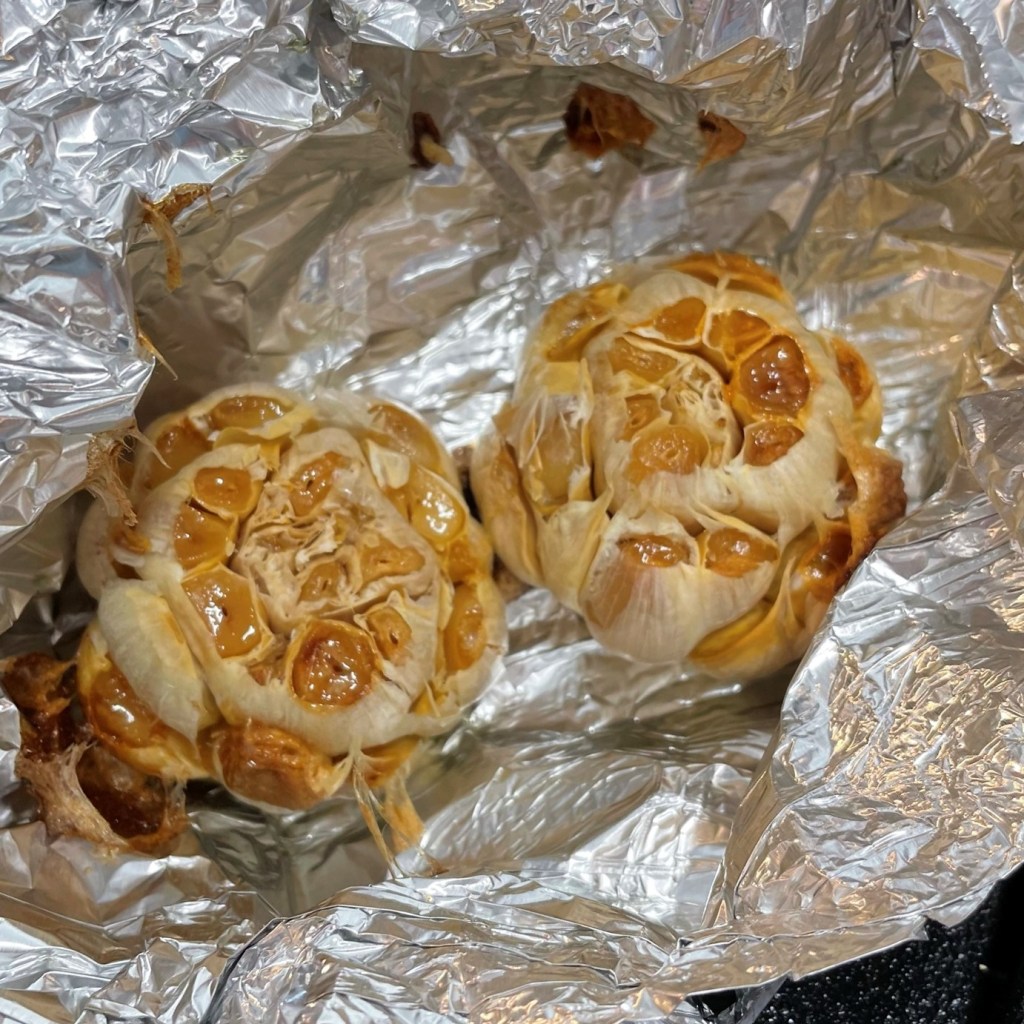
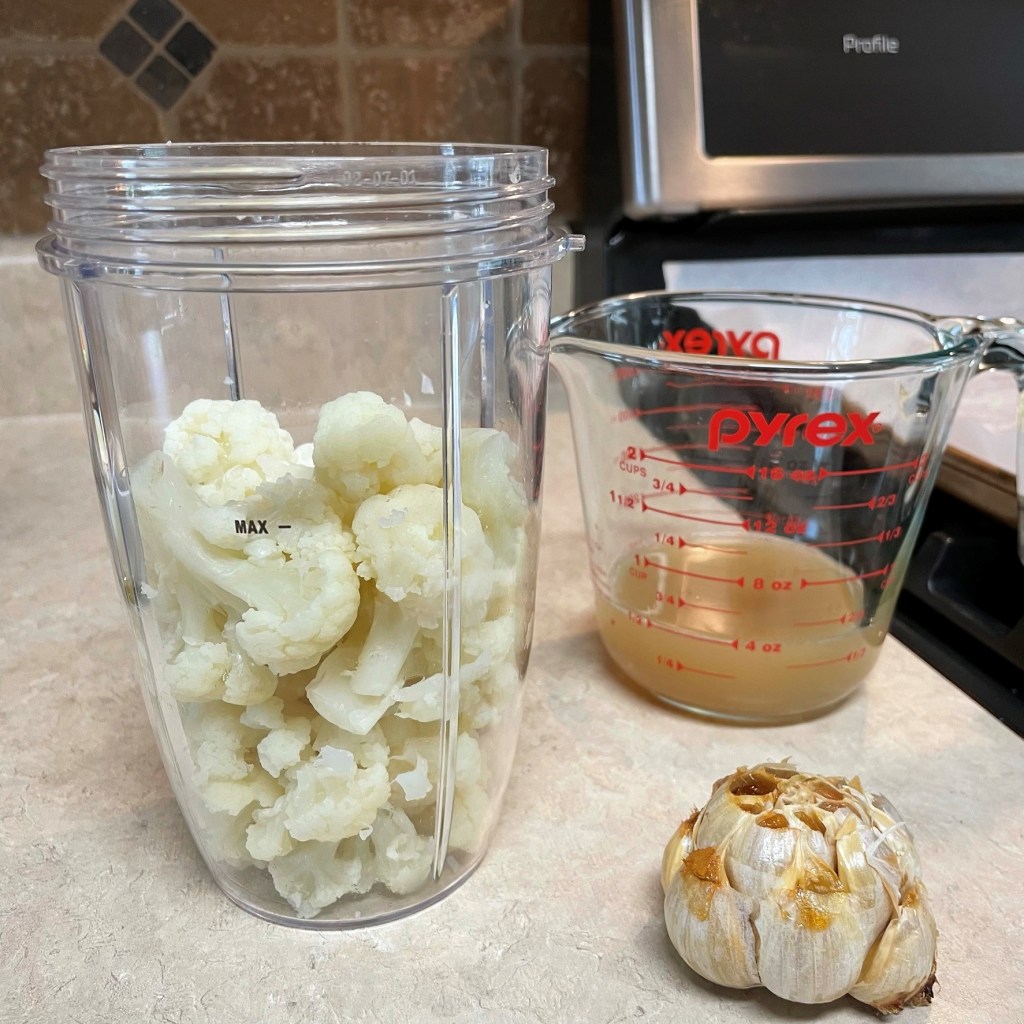
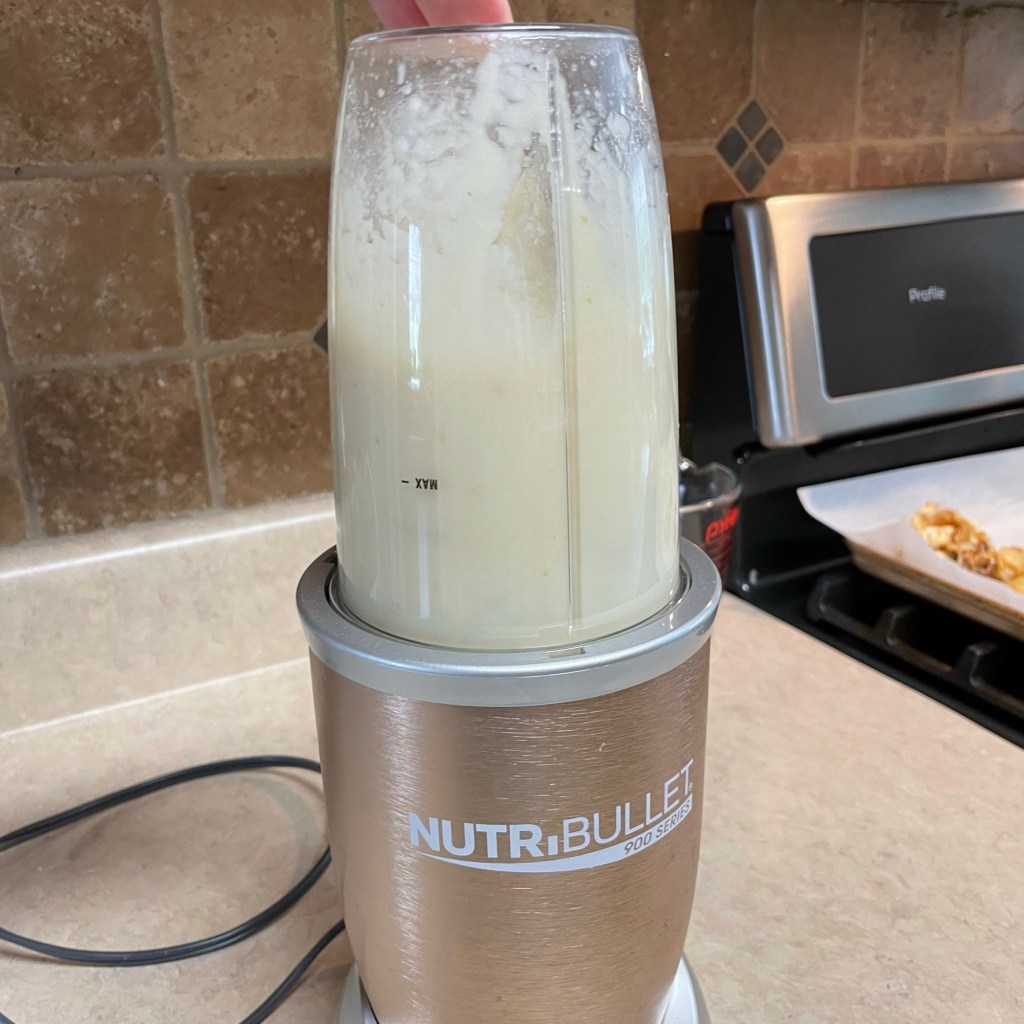
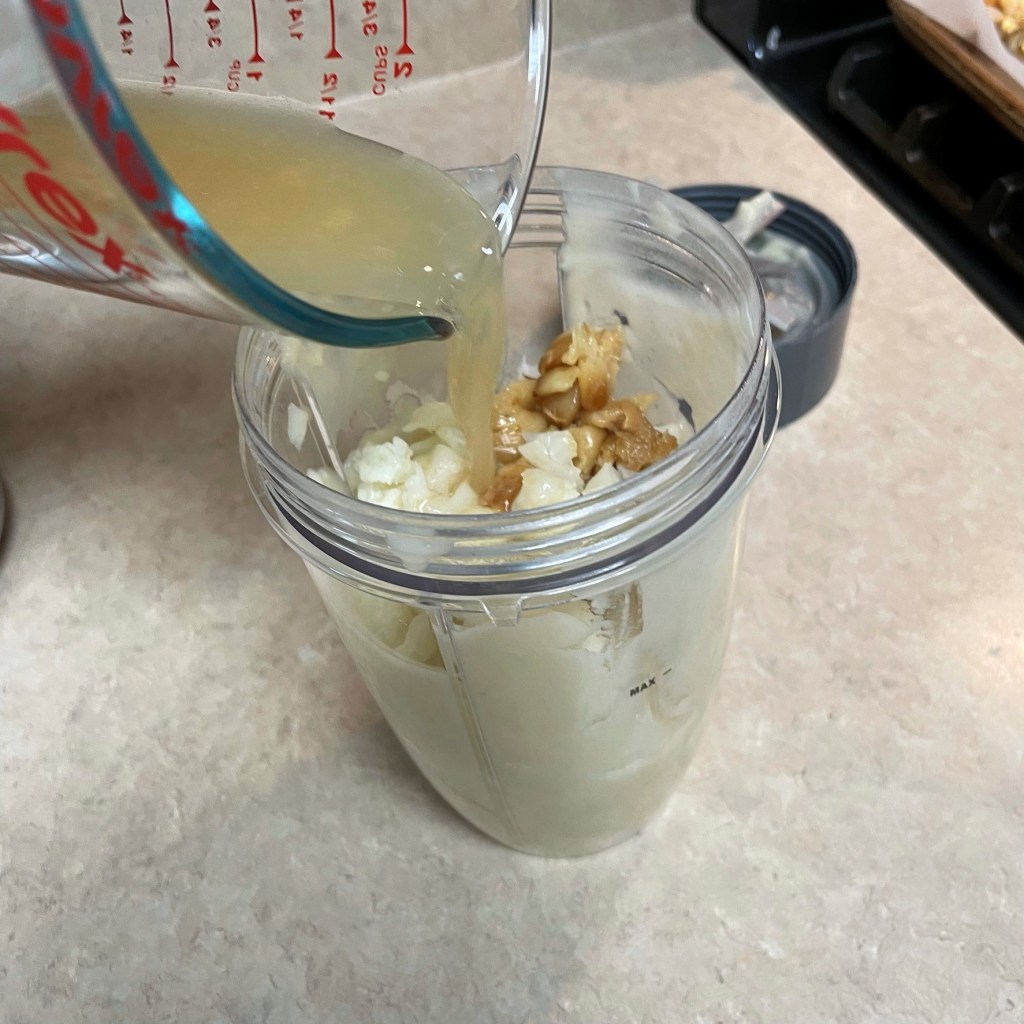
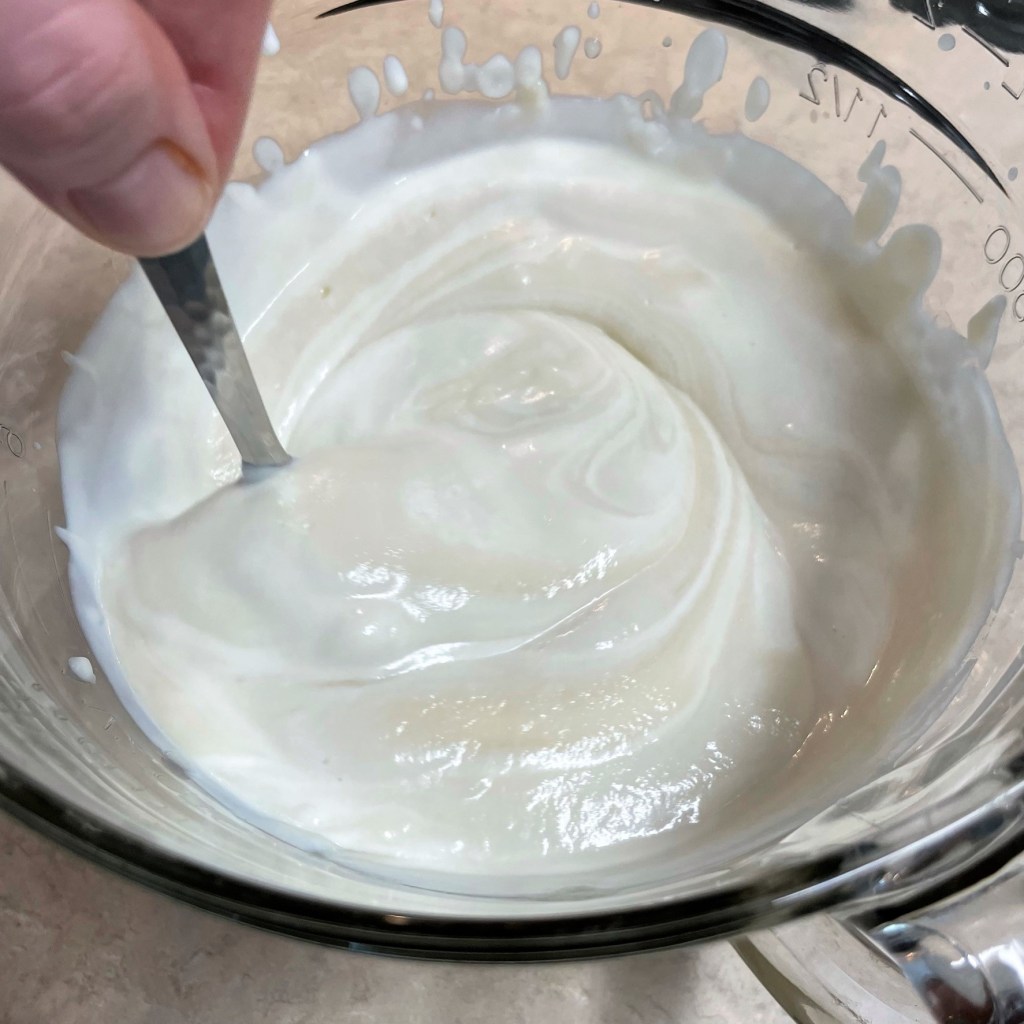
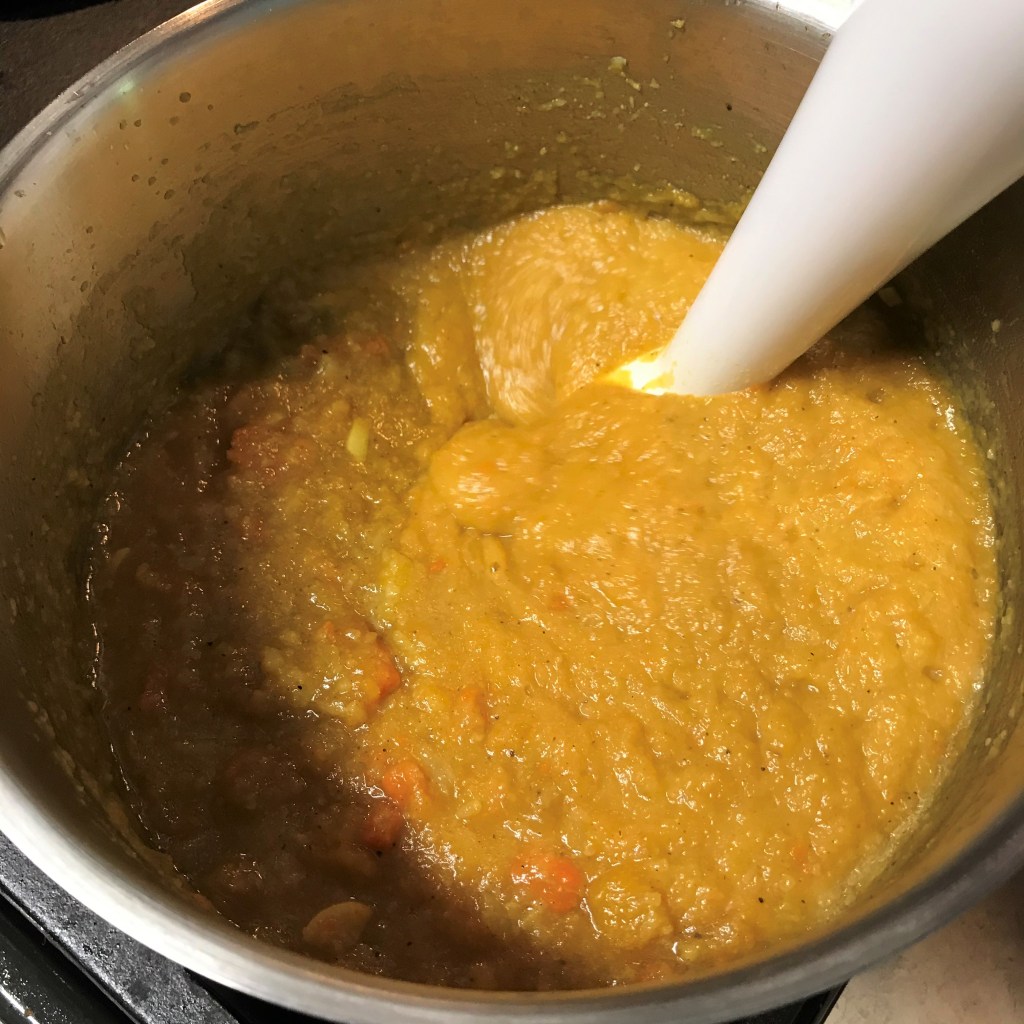
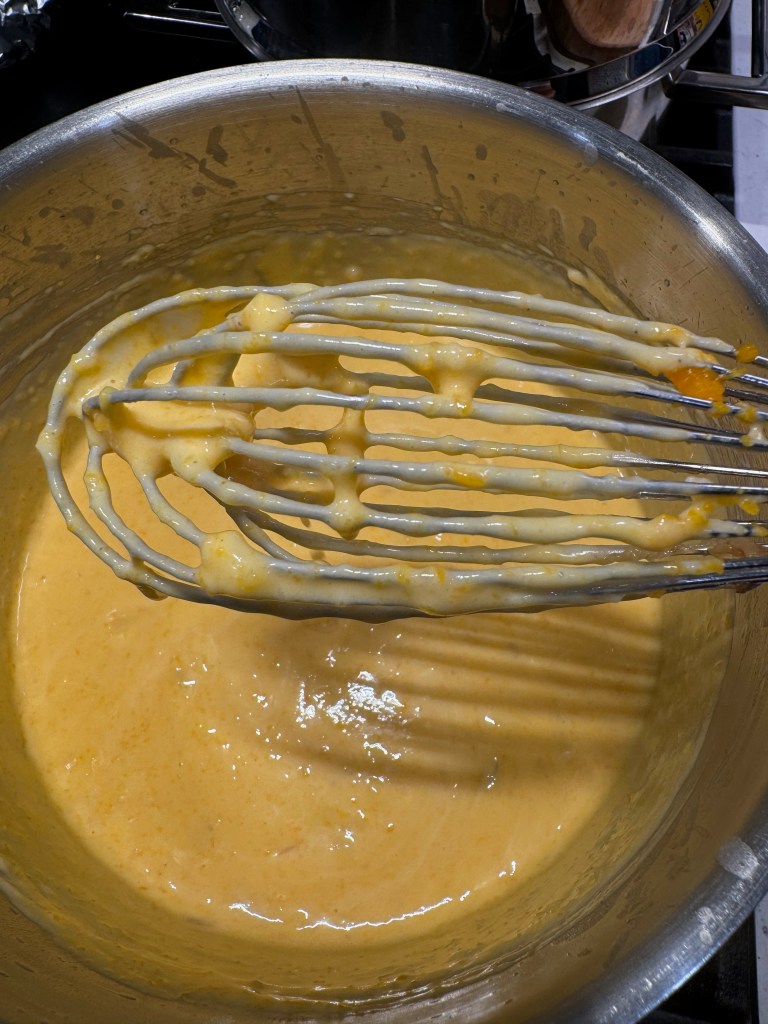
Do you see my secret weapon there? Roasted garlic adds incredible depth of flavor to a cheese sauce, and I squeezed out the entire thing into this one, plus the squash puree and (though I missed getting a picture of it) the tender steamed cauliflower. After whisking it all together, you can see that my sauce looks a little broken, but my immersion blender takes care of that! 


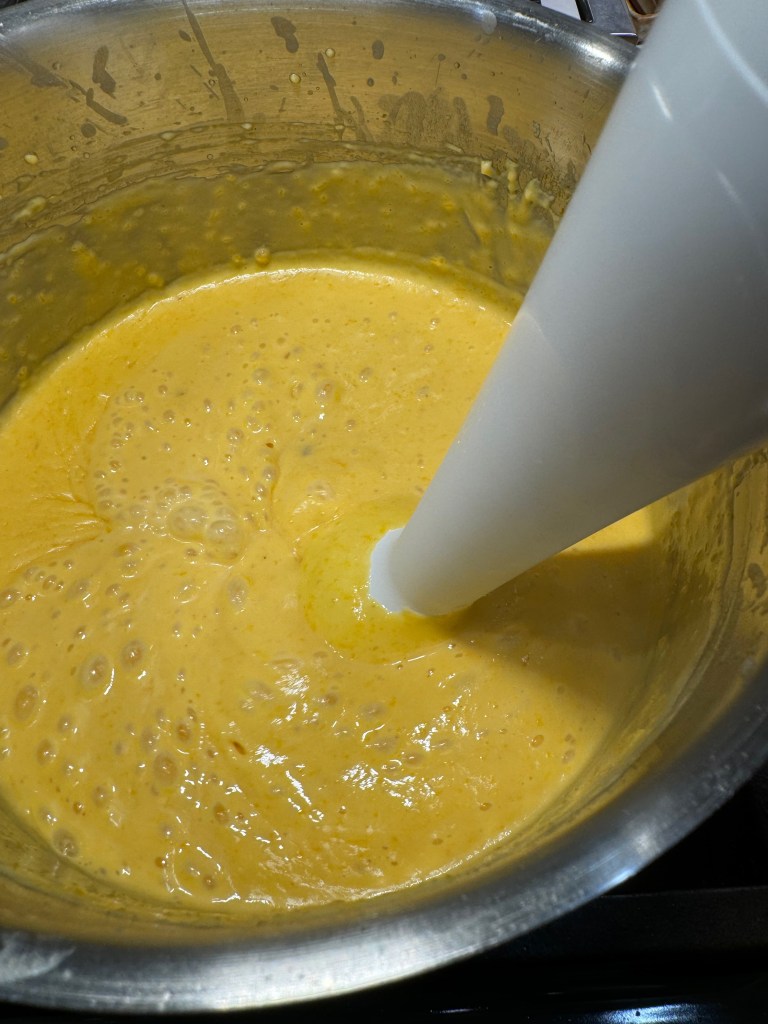
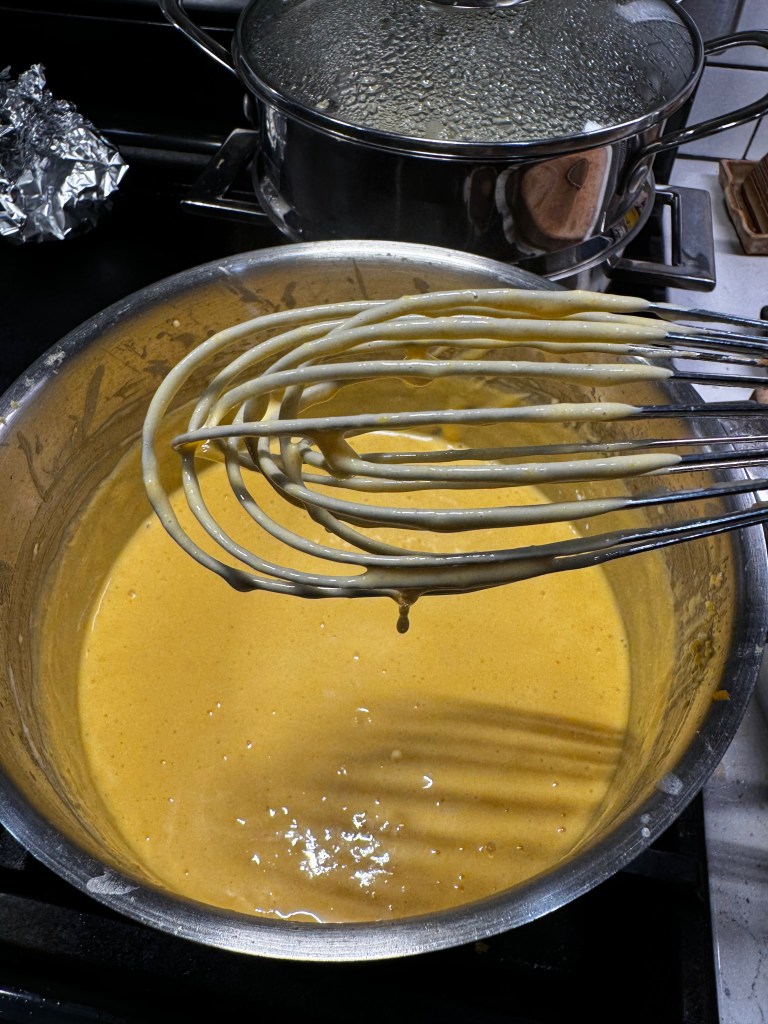
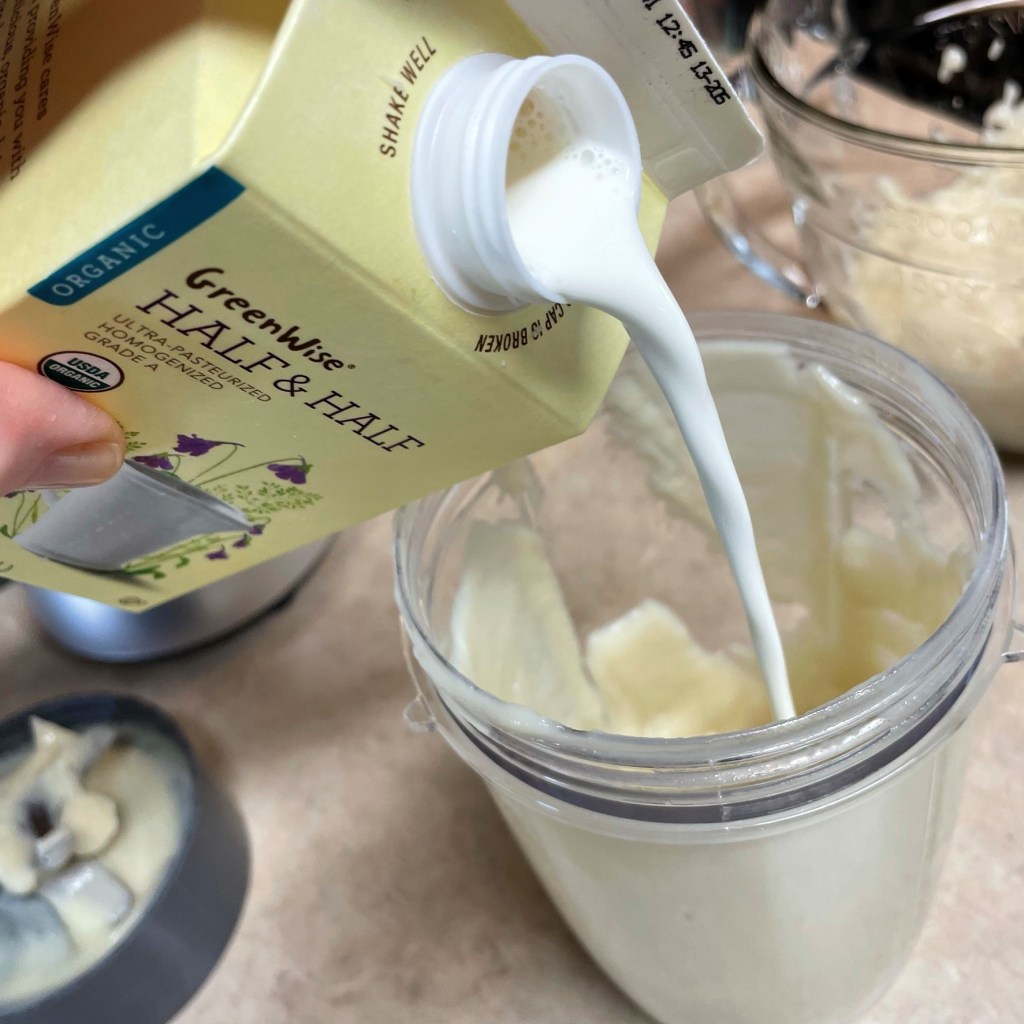
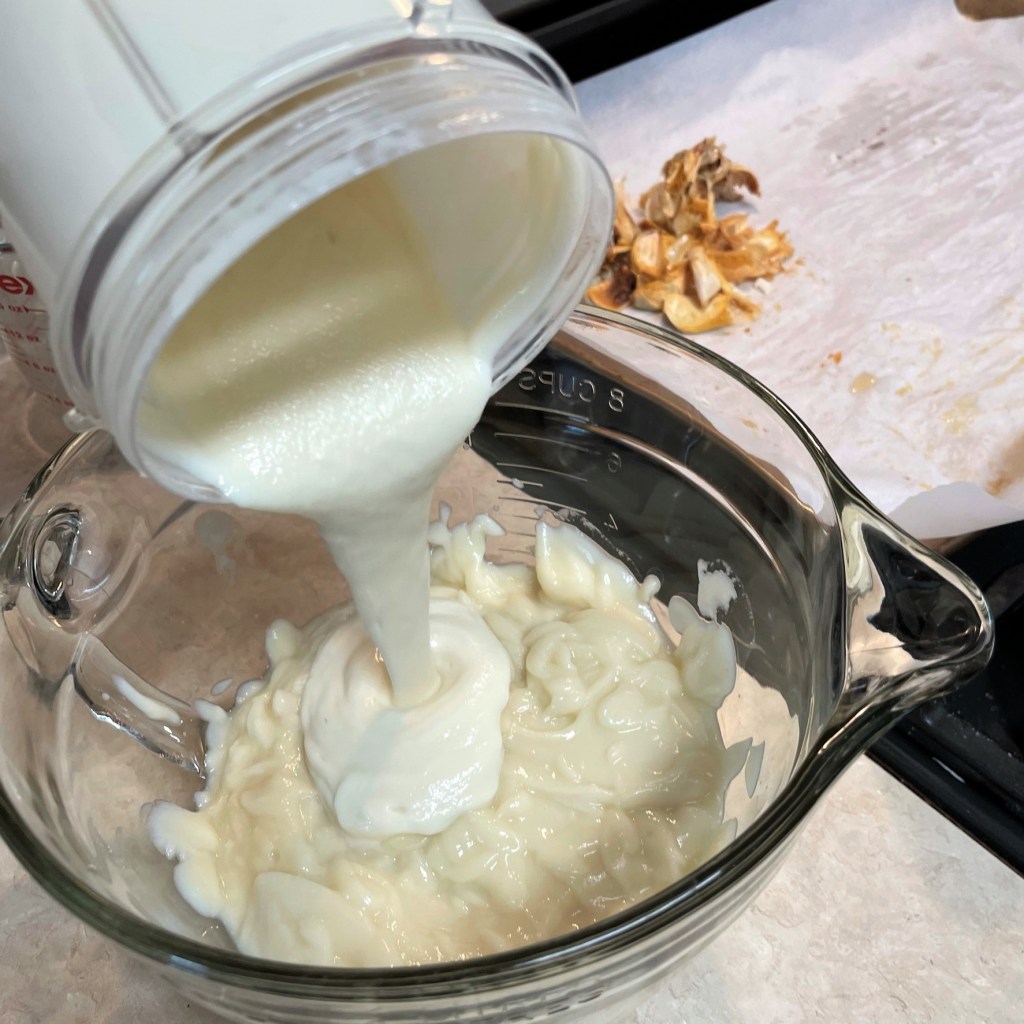
I started using this trick a few years ago and I’ve been very pleased with the smooth consistency of my cheese sauces. I highly recommend, though it isn’t a dealbreaker if you don’t have one. Try pureeing the squash, garlic and cauliflower in a bullet or regular blender with a bit of warm milk or cream before whisking it into the sauce. Be sure the components are cool first!

Putting it all together

Despite my efforts, sometimes I mess up and forget to take pictures at certain stages of making a dish, and that’s exactly what happened here. For a full rundown on how I finished this mac and cheese, check out the click-to-print recipe card at the end of the post. Here’s the Cliffs Notes version:

  1. Cook the large elbow until al denté and stir in the cheese sauce while the pasta is hot.
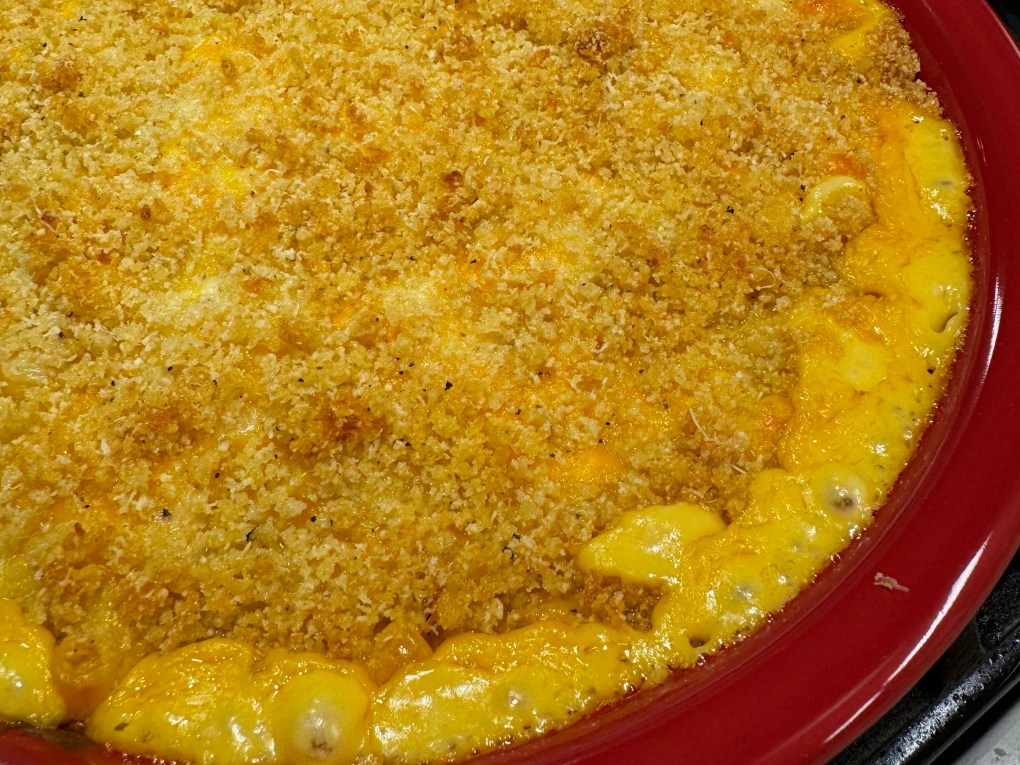
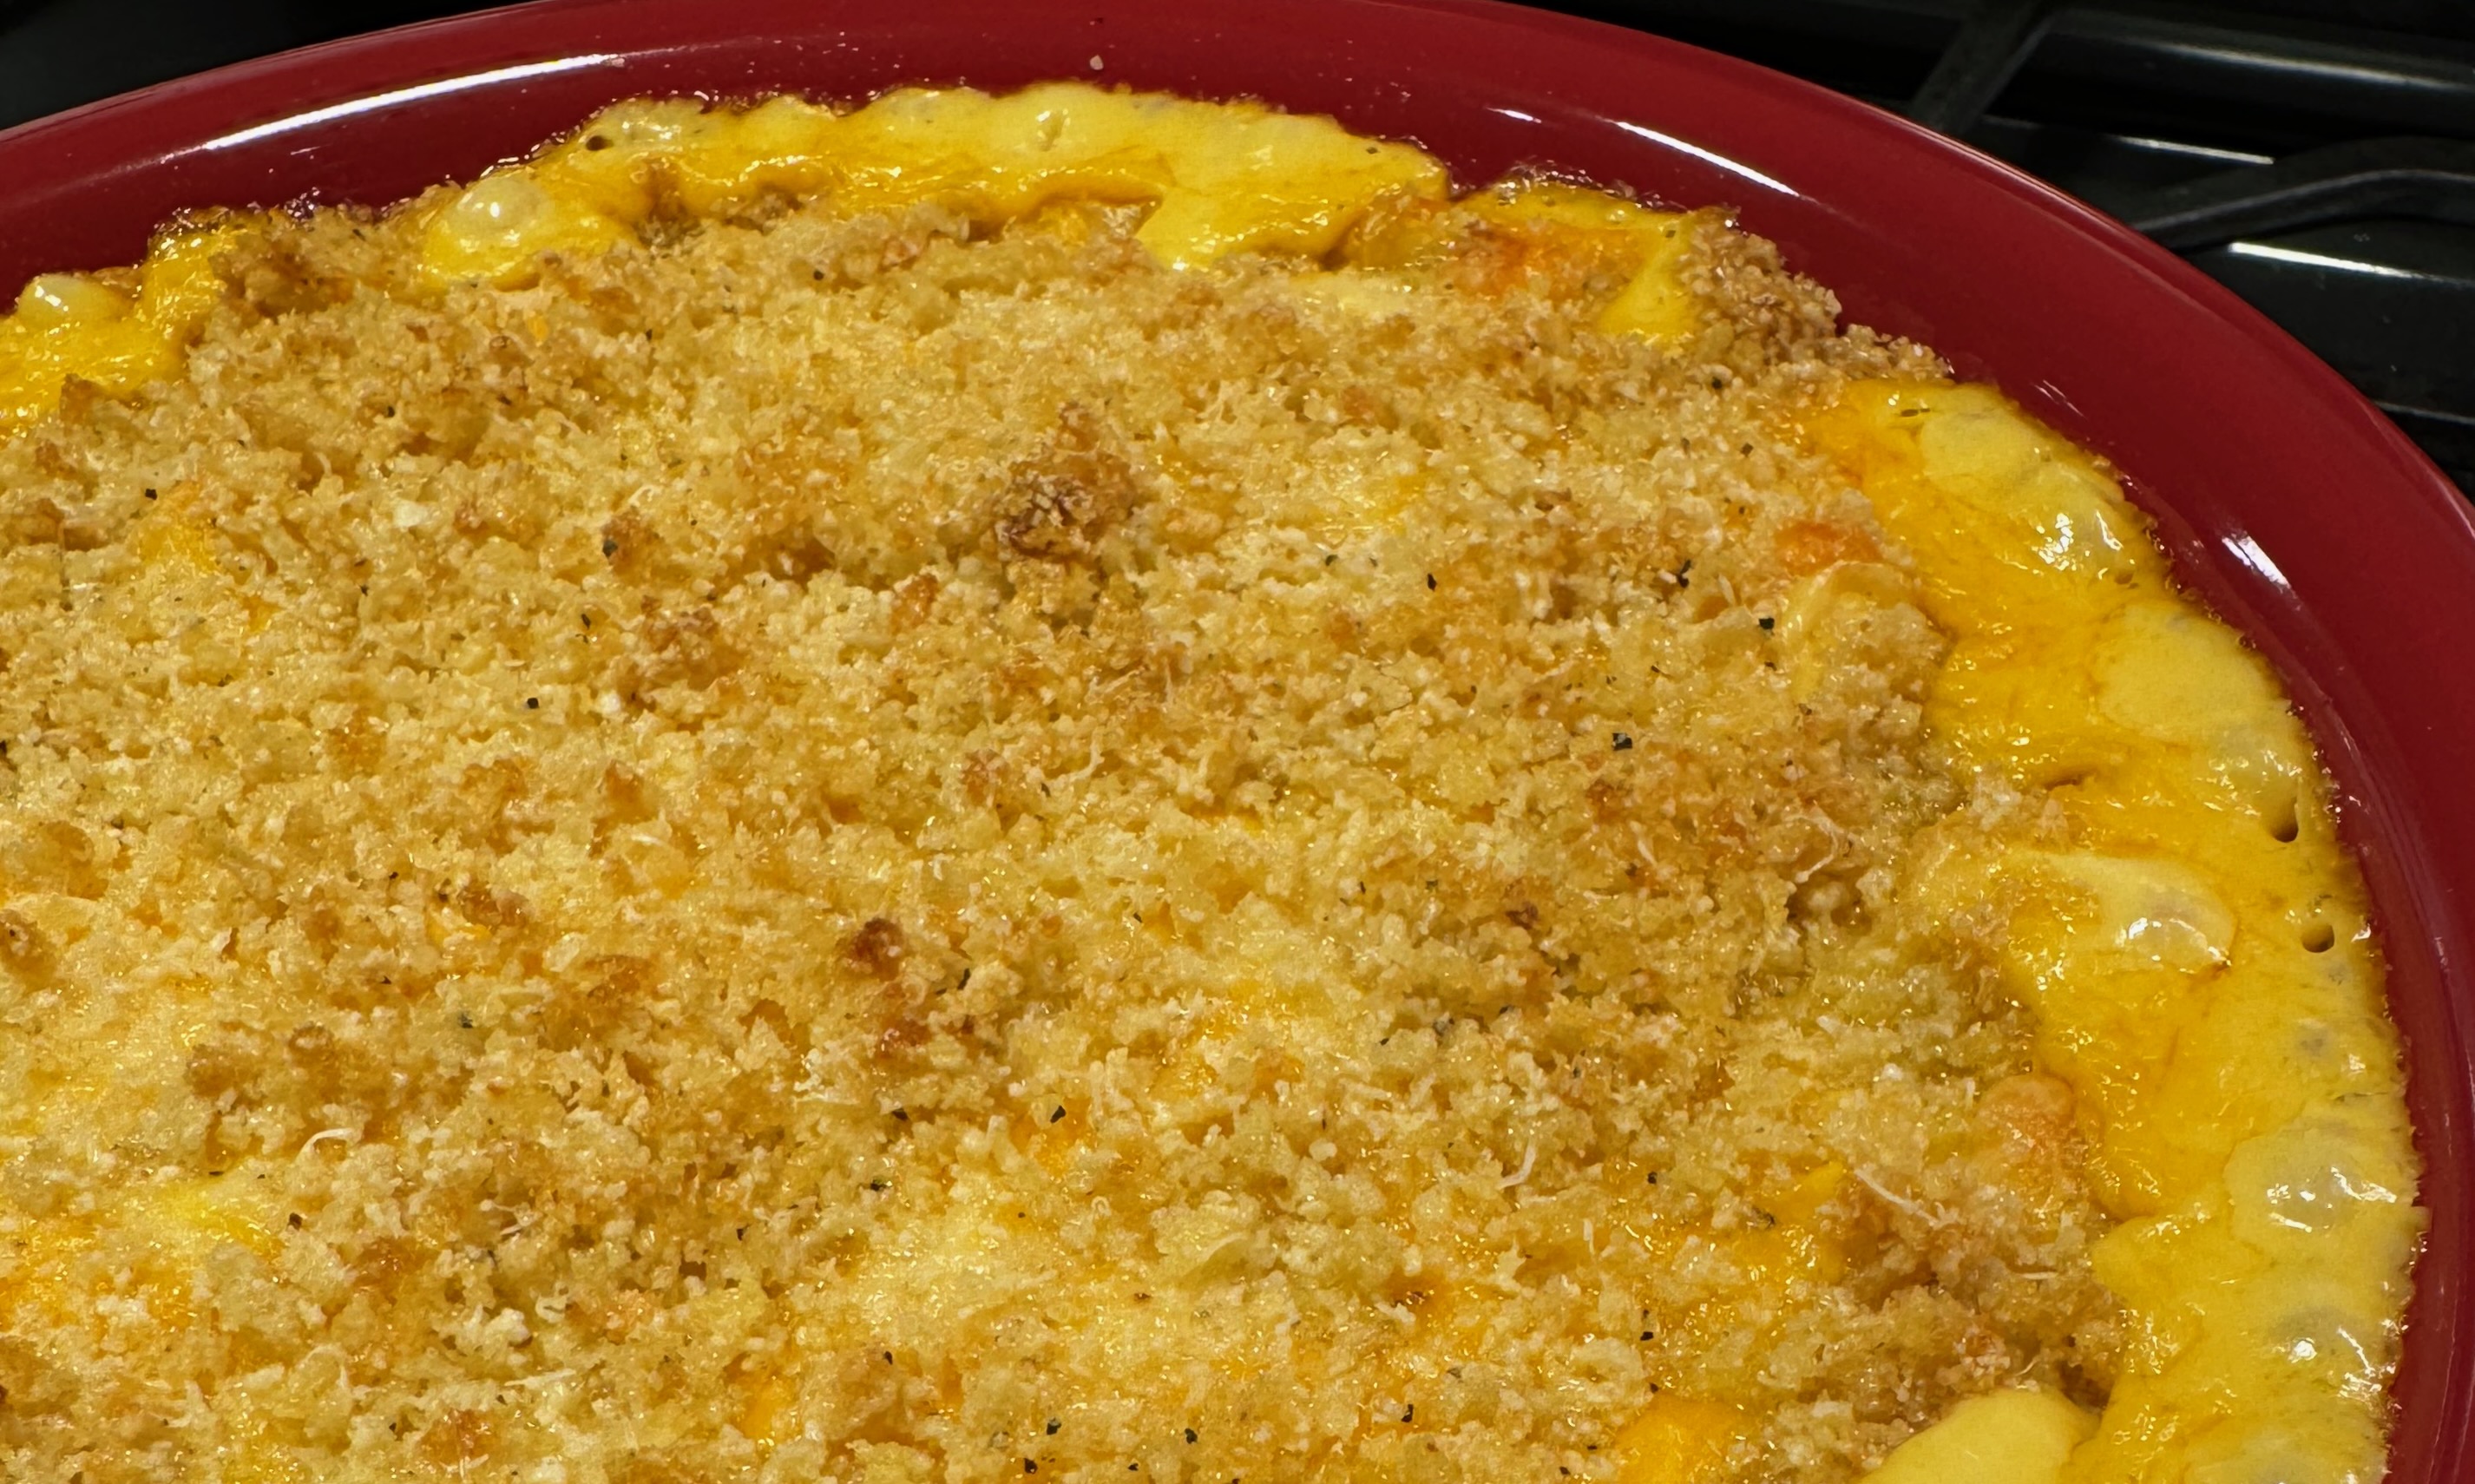
  2. Make some buttery toasted panko crumbs.
  3. Sprinkle the crumbs on top and bake until the cheese is ooey-gooey and bubbly and the crumbs are crispy crunchy toasty. Because in my kitchen, it’s all about texture!

What’s happening in your kitchen this Thanksgiving? Let’s find out in the comments whether you’re sticking with the standards or adding something new to the repertoire! And what would cause a revolt in your family if you omitted it from the table?

Butternut Squash Mac & Cheese

  • Servings: About 8
  • Difficulty: Average
  • Print

This was meant to be a way to sneak extra vegetables into my dish, but the squash and cauliflower actually gave this a terrific flavor. Use an immersion blender if you have one, to make the sauce extra smooth and creamy.


Ingredients

  • 4 Tbsp. salted butter
  • 1 cup diced sweet onion
  • 1/2 tsp. kosher salt
  • 3 Tbsp. all-purpose flour
  • 2 1/2 cups whole milk
  • Several grates fresh nutmeg
  • About 1/4 tsp. white pepper
  • About 4 oz. American cheese, shredded or cubed
  • 8 oz. gruyere cheese, shredded (reserve some for the top)
  • 6 oz. sharp cheddar cheese, shredded
  • 1 cup butternut squash puree, pressed dry with paper towels
  • 1 whole bulb roasted garlic
  • Most of a box large elbow macaroni, cooked to slightly firmer than al dente
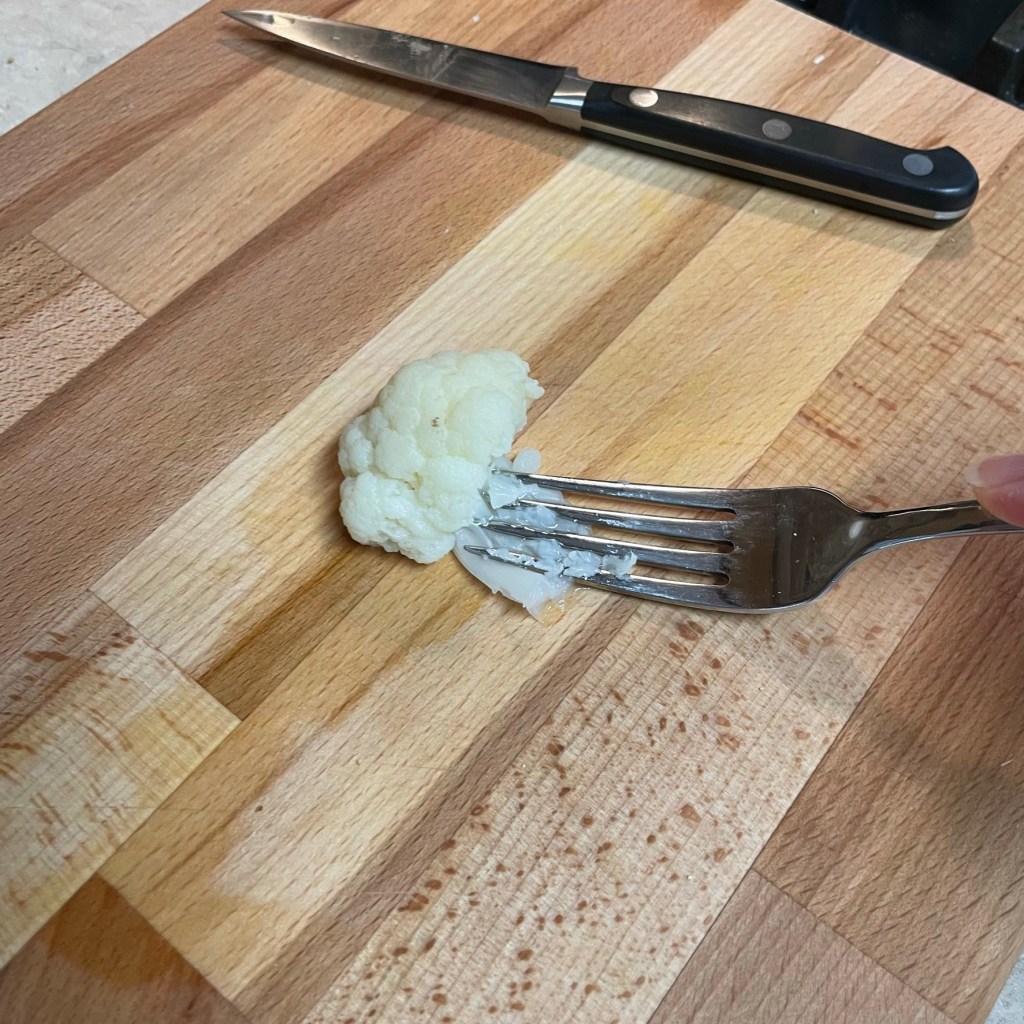
  • 1 1/2 cups cauliflower mini florets, steamed until tender and smashed with a fork
  • 1/2 cup unseasoned panko crumbs
  • 1/4 cup grated Parm-Romano blend cheese (freshly grated)
  • 2 Tbsp. butter

Note: If you don’t have an immersion blender, you can take a different route to achieve a smoother sauce. After the butternut squash and cauliflower have cooled to near-room temperature, add them to a blender with the roasted garlic and about 1/4 cup cream or milk. Blend until puréed and smooth, and then whisk this into the cheese sauce. Do not use a blender while these ingredients are hot, unless you remove the top vent cover. If you have a bullet-style blender, the mixture must be no more than lukewarm.

Want to work ahead? The vegetables can be prepped and cooked the day before, and you can make the mac and cheese ahead of time and refrigerate. Bake it cold, but give it a few extra minutes to heat through and become bubbly.

Directions

  1. Melt butter over medium heat in a small stockpot. Add diced onion and salt and cook until the onions are tender and translucent, but not brown. Sprinkle in flour and cook, stirring constantly, until the roux is bubbly and golden in color. Pour in half of the milk and whisk until smooth and thickened; repeat with the rest of the milk.
  2. Add the American processed cheese to the sauce, whisking until fully melted. This cheese will aid in achieving a sauce that is smooth and creamy rather than grainy. Add the gruyere and cheddar in handfuls, mixing and melting after each.
  3. Whisk in the butternut squash puree, roasted garlic and tender cauliflower. The mixture will be slightly textured.
  4. Use an immersion blender to puree the sauce directly in the pot. When it’s smooth and creamy to your liking, pour it over the cooked elbow macaroni and fold several times to coat the pasta. Be intentional about this step, so that the sauce has a chance to seep inside the hollow macaroni shapes.
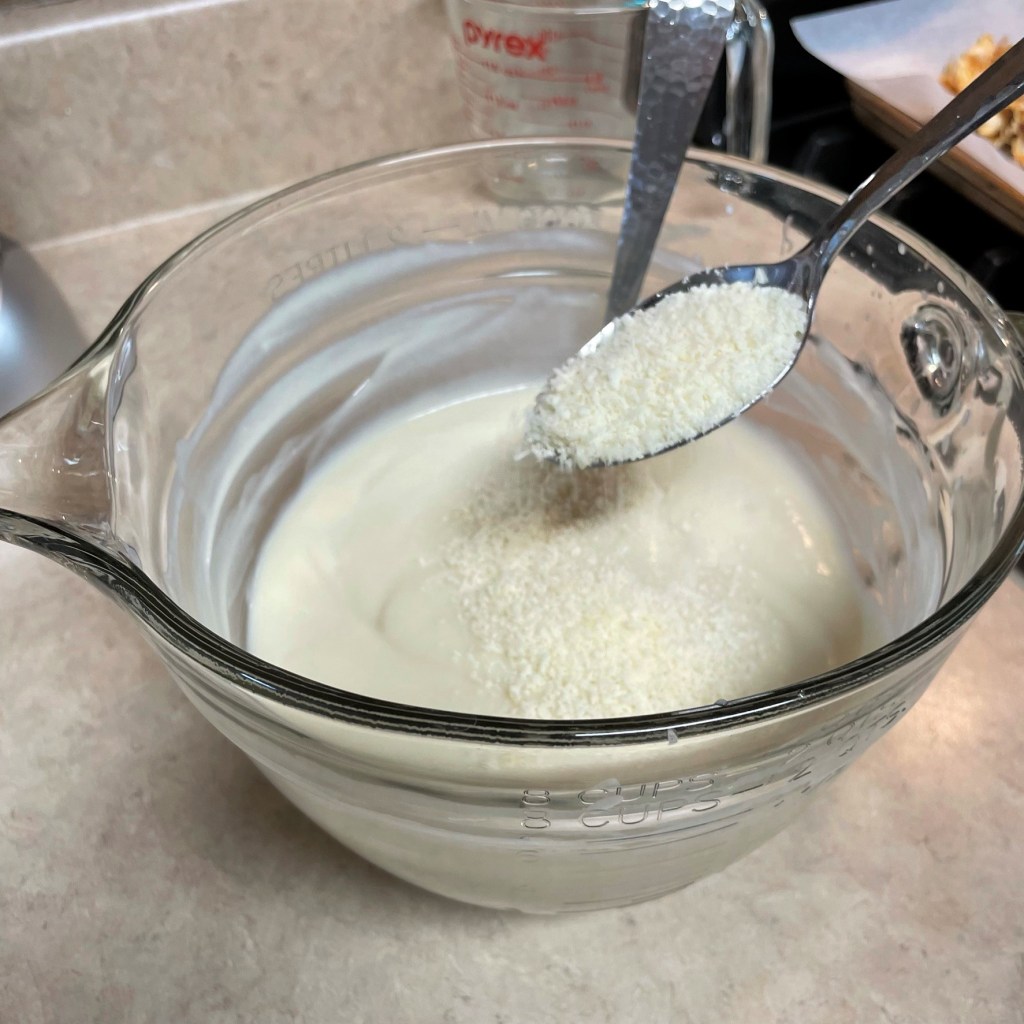
  5. In a separate small skillet, melt the two tablespoons of butter and toss the panko crumbs until they are toasted and golden. Season with salt and pepper, plus garlic or onion powder if you wish. Remove from heat and stir in the Parmesan.
  6. Transfer the mac and cheese to a large baking dish. Top with the buttered crumbs and preheat the oven to 350° F, with the oven rack in center position. Bake the mac and cheese for about 30 minutes, or until bubbles appear all the way around th edge of the dish. Let rest for 10 minutes before serving.


Roasted Cauliflower with Olives, Capers & Herbs

The newness of this season makes eating lighter feel more natural and easy, and I think I’m finally onto something in our recent quest to lighten up our meals. Up til now, my first thought for a new meal has been focused on the protein— deciding how to keep it “a smidge healthier,” as my blog pal, Bernadette from New Classic Recipe would say. 😉

It gets exhausting from a decision-making standpoint, though, and then by the end of my workday when I have figured out how to adapt the protein part of a meal, I’m fresh out of ideas for planning the sides. Here’s what happened when I stepped back and redirected my focus onto the vegetables.

This tackled all my flavor cravings. And won!

What grabs the eye in this photo isn’t the panko-crusted baked halibut, though it was truly delicious and satisfyingly easy to make. It’s the Greek-inspired roasted cauliflower stealing the show here, and no wonder. It’s embellished with tangy feta, kalamata olives, capers and herbs. Packed with flavor, and still very easy to make. 

Only an ounce of feta per serving, and it brought more than enough flavor.

I chose cauliflower to carry these flavors because it is neutral on its own, suitable for just about any seasonings, and I kept the Greek flavors fresh by adding most of them after the cauliflower was roasted. My florets were drizzled with extra virgin olive oil and sprinkled with garlic powder, dried oregano, salt and pepper.


It’s best to roast vegetables at a higher heat, so that you get caramelization on the exterior before they have a chance to turn to mush on the inside. Mine went 25 minutes at 425° F, and the result was perfect for this recipe. The cauliflower held their texture and absorbed the flavors I tossed in at the end.


When the cauliflower emerged from the oven, browned on the edges and perfectly al denté, I simply tossed it with the chopped olives, capers and herbs and then gave it a good squeeze of fresh lemon, plus a final drizzle of the extra virgin olive oil. A scattering of crumbled feta finished the dish, and provided a sharp, tangy flavor that was great with my panko crusted halibut. Don’t worry, I’ll have that recipe for you in a few days!


I like this idea of putting the vegetables first, and I made a decision last week that sort of paints me into a corner so that I keep doing it. More on that soon. 😁


Roasted Cauliflower with Olives, Capers & Herbs

  • Servings: 4
  • Difficulty: Average
  • Print

This dish features all the lovely flavors of the Mediterranean, and is an easy, impressive side to fish or chicken.


Ingredients

  • Small head cauliflower, cleaned and broken down into florets
  • 3 Tbsp. extra virgin olive oil (use two for roasting, one for finishing)
  • Salt and pepper
  • A few shakes granulated garlic
  • A few shakes dried mediterranean oregano
  • 3 Tbsp. chopped kalamata olives
  • 1 Tbsp. capers, chopped but not rinsed
  • 2 oz. feta cheese, crumbled
  • Handful each of fresh parsley and fresh dill, chopped
  • A squeeze of fresh lemon

Directions

  1. Preheat oven to 425° F, with oven rack in center position. Line a baking sheet with parchment.
  2. Drizzle cauliflower with olive oil and toss with garlic powder, oregano, salt and pepper. Toss to coat evenly, then spread out over parchment-lined sheet, keeping a bit of space between pieces for more even browning. Roast for 25 minutes, or until browned edges are visible on most of the pieces. Taste a piece to be sure it is done to your liking.
  3. Add the olives, capers and fresh herbs to the roasted cauliflower and toss gently to distribute. Give the mix a light drizzle of olive oil and a squeeze of lemon to finish, and then transfer to a bowl and scatter feta over the entire bowl.


Homemade Giardiniera

One of the challenges (or joys, depending on your outlook) of flying by the seat of your pants is you can’t confidently predict an outcome. This is true for me in the kitchen, even when I am doing that flying through a familiar recipe. When I cook, I generally do not follow a recipe to the letter; rather, I follow my instinct to complete a meal using the ingredients I can find. This is why my mac and cheese is never exactly the same, and why I have so many meatloaf recipes in my repertoire, including a stuffed one that I made last winter that I never got a chance to share with you—but I will (it involves bleu cheese).

Last month, when I whipped up the Italian Deli Tortellini Salad, I made a promise that I would share my homemade version of giardiniera, which I had declared is far and away better than any stuff you’ll buy in a jar. I’m making good on my promise, but before I continue, I must explain that my on-hand ingredients this time produced a giardiniera that would be perfect for serving at, well, Easter.

It’s pink!!!

In my previous times making this quick-pickled vegetable medley, I have used sweet or yellow onions and I didn’t have this pastel outcome. But in the ruckus of preparing to remodel, I had to forego an extra trip to the market, and I just used the red onions that I had. It was disappointing at first, because I am a perfectionist who wants everything to be just so, especially if I am sharing it on my blog. But there is also great joy in some of these culinary surprises, and it got me wondering what would happen if I used purple cauliflower along with the red onions, and maybe even purple carrots?

No matter the hue, I find the homemade version to be not only more flavorful, but also far crunchier than the jarred versions. I grew to love this stuff when I worked in a supermarket, as a house-made version of it was always in the prepared foods section of our deli department, and it was a perfect side to a beef on weck sandwich (now there’s a recipe for my culinary bucket list)!

Giardiniera is simple to make, but I suggest you plan ahead because it requires a few days and a decent amount of space in the fridge, at least during preparation. When it is finished, you’ll need a tall jar or good-sized container for keeping it, and it will last in the fridge for a few weeks.

One more thing to mention about my variation of giardiniera—it is intended as a riff on the Italian version, not the “Chicago-style,” which is marinated in olive oil rather than pickled.


Ingredients

About 4 cups fresh cauliflower florets                                            

1/2 cup carrot slices

1/2 red or yellow bell pepper, or pepperoncini or cherry peppers

1/2 onion (remember that red onion will make the dish pink!), cut into slices

3 celery heart stalks (strings removed), sliced thickly on the bias

Other vegetables would be good in this as well, provided they are crunchy. If I had made that trip to the store for yellow onions, I would have also picked up a bulb of fennel—that would be fantastic.

1/4 cup kosher salt* (see notes)


*Notes

I use kosher salt for most of my cooking and especially when brining or pickling. It has a pure salt flavor and the large grains take up more space than regular table salt. The additives in table salt (iodine and anti-caking agents) can add an unpleasant flavor and will likely result in a cloudy liquid. If you only have table salt, it is OK to use it here, but I’d recommend using less of it—maybe 3 tablespoons plus a teaspoon.


Instructions – Day One

Combine all the cut-up vegetables in a large bowl. Pour salt over them and use your hands to toss until evenly salted. Cover the bowl with plastic wrap or a lid and refrigerate several hours, up to overnight.


I’ll stop right here and admit that in my distraction over all the remodel prepping activity, I let my vegetables brine in the salt way too long, but it was not a disaster; a couple of extra rinses on the second day washed away the excessive saltiness.


Instructions – Day Two

Drain the released liquid from the vegetables and rinse well under cold running water for about two minutes. Taste one or two pieces for saltiness. If they are too salty, cover them in the bowl with cold water and let them rest half an hour, then drain and rinse again. When they taste seasoned, but not unpleasantly salty, they are ready for the next step of pickling.

This part of the recipe project felt like a scavenger hunt, mainly because I have packed away my spices based on which ones I figured we would likely need for easy cooking during our remodel.

Believe it or not, I used to know where everything was.

In case I have not mentioned previously, I have a lot of spices—enough to fill up both sides of this cabinet (and surplus spices, which live in a cabinet above the washer and dryer), and there are too many jars to fit in a single box for short-term storage. We expected to be put out of the kitchen two weeks earlier, and when the delays gave me time to make giardiniera, I had to go in search of my ingredients.


No worries. It will all be worth it when the kitchen is done. 😊


Pickling Ingredients

1 1/4 cups apple cider vinegar* (see notes)

1 1/4 cups water

3 or 4 cloves garlic, peeled and lightly crushed*

2 tsp. each mustard seeds, coriander seeds, fennel seeds

1 tsp. crushed red pepper flakes

2 bay leaves

3 Tbsp. cane sugar

2 tsp. kosher salt (slightly less if using table salt)


*Notes

I usually have two kinds of apple cider vinegar on hand. One is raw, which means unfiltered and unpasteurized, which I will use for salad dressings or health purposes, but it is expensive. The other is a grocery store brand that is clear, which means it is filtered and pasteurized. I use the latter for this purpose because the vinegar is heated and that destroys the probiotic benefit of the raw vinegar anyway.

Unfortunately, I was so consumed in my search for fennel seeds that I did not remember the garlic when I made this batch, but I recommend it for an extra zing of flavor.

Combine the pickling ingredients in a medium saucepan and bring to a boil. Stir to dissolve the sugar and salt, then remove from heat. Pour the pickling liquid over the vegetables in a clean bowl and press the veggies under the surface of the liquid as much as possible. If it seems there is not enough liquid to go around, add equal splashes of vinegar and water to ensure good coverage.

Cover the bowl with plastic or a lid. Allow the giardiniera to cool, then refrigerate it at least overnight before enjoying it. For longer storage in the fridge, I transfer the giardiniera to a tall jar, and pour the pickling liquid through a mesh strainer to catch the seed spices and bay leaf.


No-Guilt “Alfredo”

There is a common occurrence around 3 am at our house, and it usually results in a new recipe idea. You see, when I find myself unable to stay asleep, my middle-of-the-night solution is to pick up my smart phone and start looking at Pinterest. It doesn’t take long before my insomnia-driven wanderings, combined with the rabbit-hole algorithms of their platform, usually leads me to imagine putting a ridiculous, over-the-top twist on favorite classic foods. On a recent sleepless night, however, I was inspired in a different way.


Thank you for the reminder!

If there is truth in this quote (and, of course, there is), then I owe myself, and especially my physical body, an apology. At times, my enthusiasm for trying new things has caused me to put undue emphasis on foods that don’t serve me well, at least in terms of good health. I cannot eat s’mores ice cream and root beer-glazed baby back ribs all the time. I have to strike a balance with some good-for-me foods, too, and I’m overdue for some healthier stuff.

Rather than switch to an unsustainable “all salads” kind of menu plan, I decided to pull out some old tricks and use vegetables in creative ways to lighten up some foods that would otherwise be rich and decadent. The first recipe I drew from my archive is this silky “Alfredo.” It satisfies all my cravings for rich, creamy sauciness, but without the guilt or side effects associated with eating a ton of cream, butter and cheese. What kind of culinary wizardry is this, you may ask? And what ingredients could possibly achieve this?

Yes, really!

Yes, the same fiber-rich vegetable that stands in for carbs as rice and pizza crust can also be transformed into a ribbony, sumptuous sauce that’s ready to be draped over your favorite whole grain pasta or veg’d out even further onto spiralized zucchini noodles. All you need is some broth, a bit of olive oil to roast the garlic and a good, powerful blender. After you puree it to smooth, silky perfection, you can swirl in a little cream for richness and a spoonful or two of Parmesan for zest and a lovely umami flavor. Of course, if you prefer to keep it entirely dairy free, you can do that, too. Perhaps swirl in a bit of creamy oat milk or almond milk and a tablespoon of nutritional yeast. Finally, a touch of olive oil emphasizes the silky mouthfeel that is just as important as ingredients for creating a satisfying food experience.

Forgive me, I was eating it straight from the spoon.

But does it really taste exactly like real Alfredo? Obviously, no, because it’s cauliflower. But it has a creamier texture than you would ever expect from such a fiber-rich vegetable, and it’s an easy, inexpensive way to satisfy your craving for creamy without the dietary downside. The roasted garlic provides a savory depth of flavor, and you can add just enough cream or half and half to trick your taste buds into thinking it is a traditional Alfredo. You will never miss the high-calorie ingredients, I promise, and this also happens to be a great way to “sneak” some veggies into a meal for an unsuspecting loved one.

In addition to the obvious use as a sauce for pasta, you could use this concoction in place of a béchamel in a casserole or veggie lasagna, or increase the broth or milk of choice and turn it into a creamy base for a comforting vegetable soup. As a bonus, you can warm up the leftovers without breaking the sauce into a greasy mess.


Ingredients

1 large head fresh cauliflower, separated into roughly uniform florets

1 or 2 whole bulbs garlic, roasted* (see notes)

1/2 cup chicken bone broth* (or mushroom or vegetable broth)

Salt and pepper

1 Tbsp. mild, neutral olive or avocado oil

3 Tbsp. half and half*

2 Tbsp. parm-romano blend*


*Notes

If you are a garlic lover, I recommend using both bulbs of roasted garlic, which has a rich, mellow flavor because of the slow roasting. If you have never roasted garlic before, please give it a try because it is one of the best ways to add a rich flavor to a veggie-centered dish. Use the instructions I offered in my previous post for roasted garlic (a.k.a. best flavor ever), or if the oven heat is too much for your late summer comfort, a quick internet search will lead you to instructions for making it in an instant pot or slow cooker. Whatever method you choose, roast the bulbs until they are very soft, and a deep golden color.


I used chicken bone broth in my no-guilt Alfredo sauce, because I wanted the rich, savory flavor and I was not concerned about keeping it vegetarian. If you prefer, use a mushroom or veggie broth, preferably one that does not contain tomato, which changes the flavor significantly. You know what else would probably be really good? Miso broth!

I used bone broth because I had it open, but any vegetable broth or mushroom broth will work fine too.

The dairy items are totally optional, and depending on your preferences or diet restrictions, you have plenty of choices. OK with dairy but need it low fat? Try evaporated milk. Want it vegan? Go for a creamy (unflavored and unsweetened) oat or almond milk and consider adding a tablespoon of nutritional yeast for a cheesy, nutty flavor that is reminiscent of parmesan. Want your veggies and still craving cream? Add more half and half or heavy cream. You’re the boss. 😉


Instructions

  1. Rinse and dissect the cauliflower into florets of approximately the same size to ensure even cooking. Use the thick stem parts, too, but trim off all visible layers of leaves.
  2. Add enough cold water to just cover the cauliflower in a large, heavy-bottomed sauce pot. Bring to a gentle boil and add a teaspoon of kosher salt to the water. Cover the pot and simmer over medium-low heat until the thickest stems and pieces of cauliflower are tender enough to be easily smashed with a fork.
  3. Drain the cauliflower in a large colander. Spread it out onto a parchment-lined baking sheet to cool a bit, and also to evaporate all of the excess moisture from the cauliflower.
  4. Combine the cooled cauliflower, broth and roasted garlic in a good blender, working in batches if necessary. Pulse a few times at first, then puree steadily until the mixture resembles sauce. Transfer mixture to a large bowl.
  5. Use a splash of additional broth or half and half (or substitute) to blend out the remaining sauce that clings to the sides of the blender. Stir that into the sauce, along with parm-romano blend, parmesan or nutritional yeast.
  6. For additional silkiness, stir in a tablespoon of mild, neutral-flavored olive oil or avocado oil. This will help your no-guilt Alfredo maintain a glossy saucy look and also adds a dose of heart-healthy Omega-3 fats.

Served with handmade (sun-dried tomato) pasta, roasted broccoli and easy sauteed shrimp.


Creamy Curried Butternut-Cauliflower Soup

This soup will help you slide nicely into autumn, with its bright and light vegetable flavors, seasoned with warm, aromatic Indian spices, and made richer with a last-minute swirl of cream. This is a recipe that moves along a sliding scale in many ways—you can make it with anything from chicken bone broth to vegetable broth, or spicy to mild, or light to creamy (either with real cream or coconut milk).

When my husband, Les, noticed my description of this soup as “curried,” he seemed surprised, and noted that he didn’t remember enjoying curry before. Sound familiar? If you’ve tasted something called “curry” in the past and found it weird or unpleasant, let me fill you in on the probable cause—poor labeling. You see, curry isn’t a flavor or a spice on its own. Curry is a method of cooking, not just in India but throughout much of Asia, and it happens to involve use of many spices, some of which you’d find in a grocery store “curry powder.” But just as “chili powder” is ambiguous (or even sketchy), so is curry powder. Depending on what brand you buy, you may end up with varying ratios (and quality) of spices. Check out this spice tin Les and I found in his mom’s cabinet a few years ago:

The idea of adding this stuff to a can of chicken gumbo soup has literally squashed my appetite for the rest of the day. Breaking news: adding a non-descript (and probably stale) spice blend will not improve an already overly-processed canned food. It’s no mystery why nobody ever uses this stuff, including Les’s mom—this can was never opened.

But curry cooking shouldn’t take the punishment for poor packaging. These flavors can be fantastic, and in my estimation, it may be better to make your own blend to match the spices to your taste, and also to enhance what you’re cooking, which is hopefully more fresh and interesting than condensed canned soup. If I had an Indian grandmother, I’m quite certain I would have learned to cook with one of these close at hand. A “masala dabba” holds a collection of individual spices, and the cook knows which combination is best for the meal.

This looks like beautiful art to me! How many of these spices can you identify?

Mixing and matching spice ingredients makes a lot more sense than a one-spice-fits-all approach, and I’d love to have my own masala dabba one day. For now, I’ll make do with what I have in the pantry, and for this veg-heavy soup, I’ve chosen warm, pungent spices, most of which are in another common Indian blend—garam masala. I’m trying to use up all my “pre-made” blends to make more space in the cabinet, so I’m beginning with the garam masala, and embellishing with extra ginger, pepper and cardamom, and also a bit of turmeric, to punch up the bright color of the butternut squash.

Garam masala literally translates as “warm spice mixture,” implying that the spices make you feel warm inside, and that certainly is true with this creamy, autumn-embracing soup. It brings a whole lot of healthy to a weekend meal (or meatless Monday), and you may as well make a large batch of it, because the leftovers will warm up in a jiffy for weekday lunches or dinner. Serve it with a salad or sandwich for a satisfying, comforting meal.

This recipe makes approximately 8 servings. I cooked it on the stove top, but it’s easily adapted to a slow cooker.


Ingredients

3 cups butternut squash, peeled and cubed

3 cups fresh cauliflower, cleaned, trimmed and chopped into florets

1 cup carrots, chopped

3 cups low sodium broth (I used vegetable, but chicken would work also)

1 tsp. kosher salt

Freshly ground black pepper

3 Tbsp. extra virgin olive oil, drizzled over vegetables

1 Tbsp. extra virgin olive oil

1 medium sweet or yellow onion, chopped (about 1 cup)

5 cloves garlic, chopped (about 3 Tbsp.)

1 tsp. garam masala

1 tsp. ginger

1/4 tsp. turmeric

1/4 tsp. ground cardamom

1/4 tsp. ground cayenne (optional)

1/2 can coconut milk (regular or light)

Spiced crispy chickpeas (recipe follows) and chopped pistachios (optional), for serving


Instructions

It takes time for these flavors to develop, but the steps are very simple. Here’s the visual, then spelled out instructions, and a downloadable PDF version at the end.

  1. Place a large stock pot over medium heat. Add squash, cauliflower and carrots, plus 3 cups broth. Drizzle with 3 Tbsp. olive oil. Simmer 1 hour (or in slow cooker on high for 2 hours).
  2. Sauté onions until softened, caramelized and browned on edges, add garlic and seasonings and sauté 5 more minutes. When soup pot vegetables are soft enough to mash with a fork, add the onion-spice mixture and simmer another hour (or in slow cooker on low for an additional 2 hours).
  3. Use immersion blender to puree soup to desired smoothness. Add more vegetable broth if  needed for easy blending. Alternatively, allow mixture to cool somewhat, and transfer mix to a regular blender (in batches if necessary), then return soup to mixing pot. Taste and adjust seasonings as desired, simmer on low until ready to serve or refrigerate if cooking ahead.
  4. Just before serving, stir in coconut milk, stir until blended. This adds a wonderful, creamy richness to the soup and accents the warm spices.

A little extra somethin’

We gave this fragrant, flavorful soup a little decoration, with a sprinkling of roasted chopped pistachios and these seasoned crispy chickpeas:

1 Tbsp. extra virgin olive oil

1 can chickpeas (garbanzo beans), drained and patted dry with paper towels

1/4 tsp. garam masala, plus salt and pepper

Heat oil in small skillet over low heat, swirl chickpeas until coated, then add salt and spices. Stir and swirl frequently until the beans look smaller and feel firmer. Remove them from heat and allow them to cool completely before serving.


Want to print this recipe?

Now, ‘fess up in the comments below. How many unopened, outdated spices are in your cabinet right now? 😉