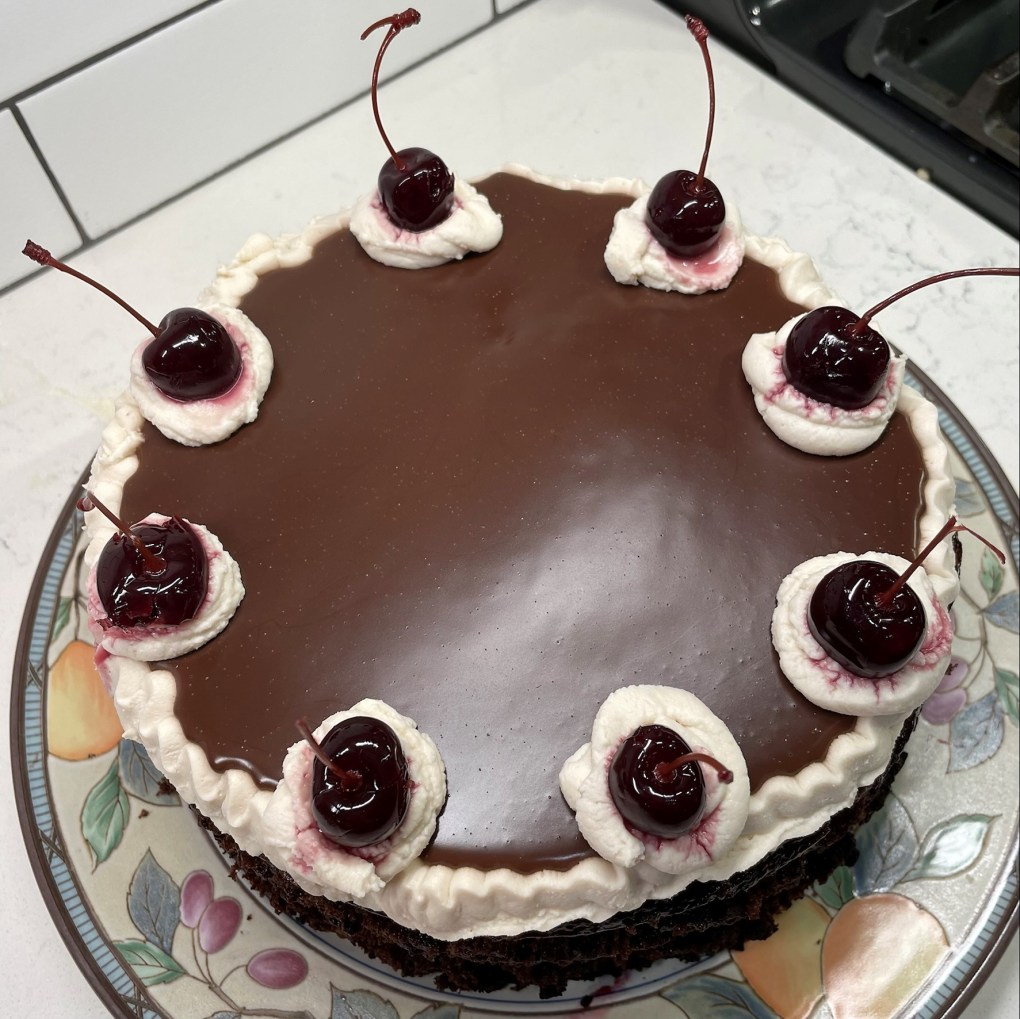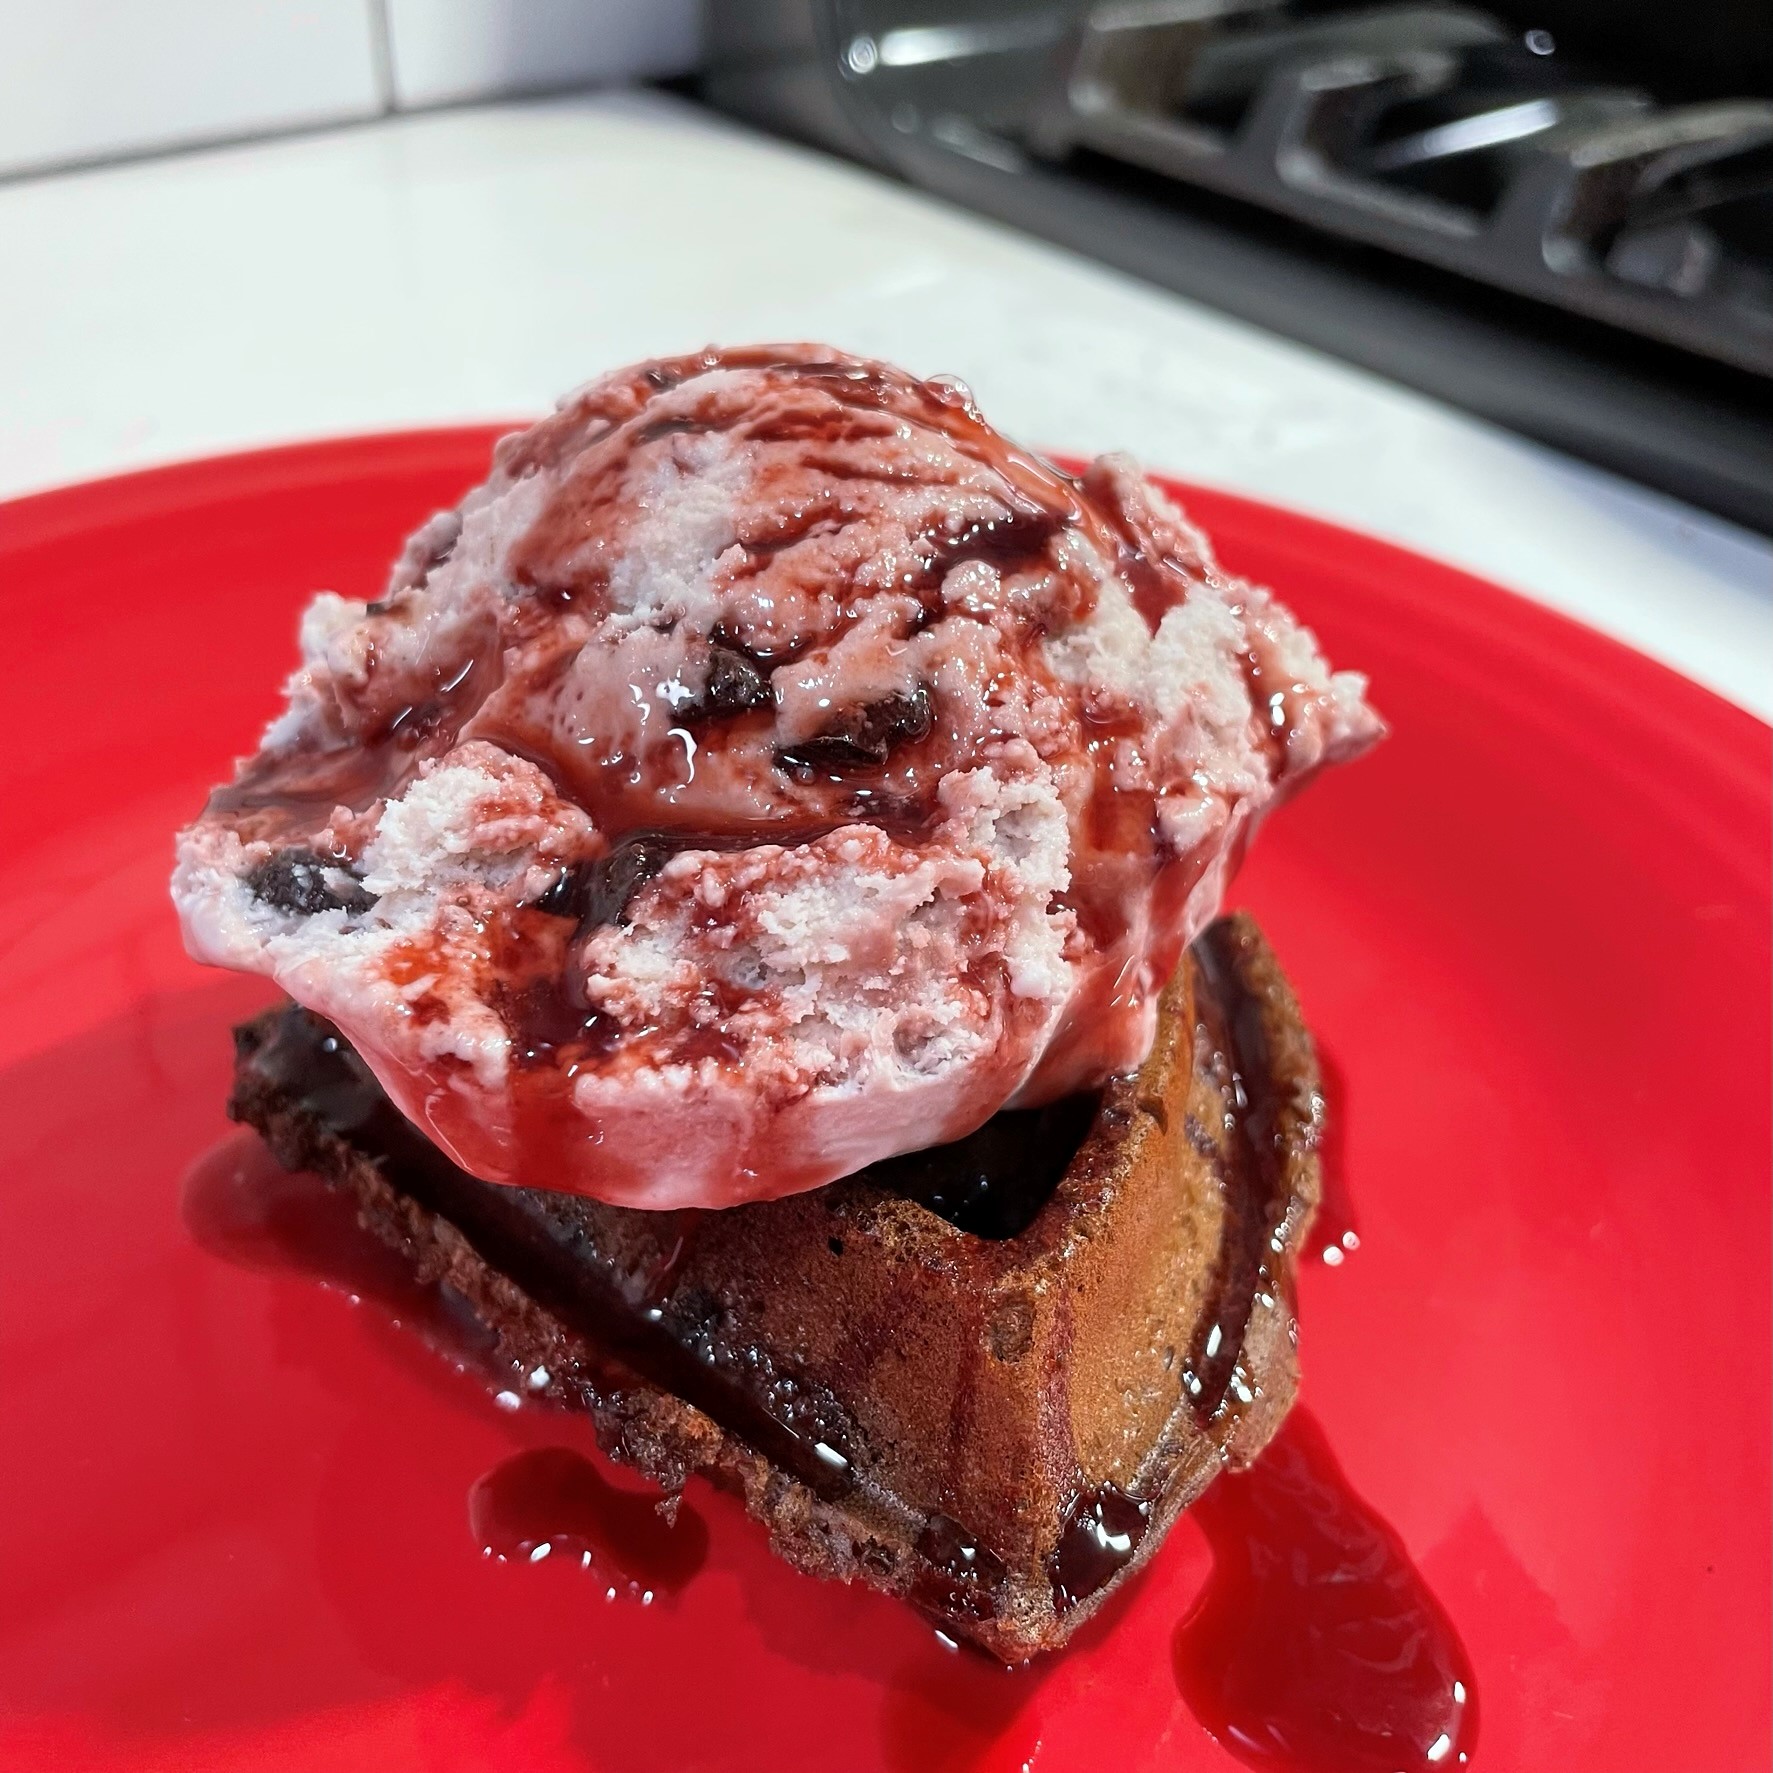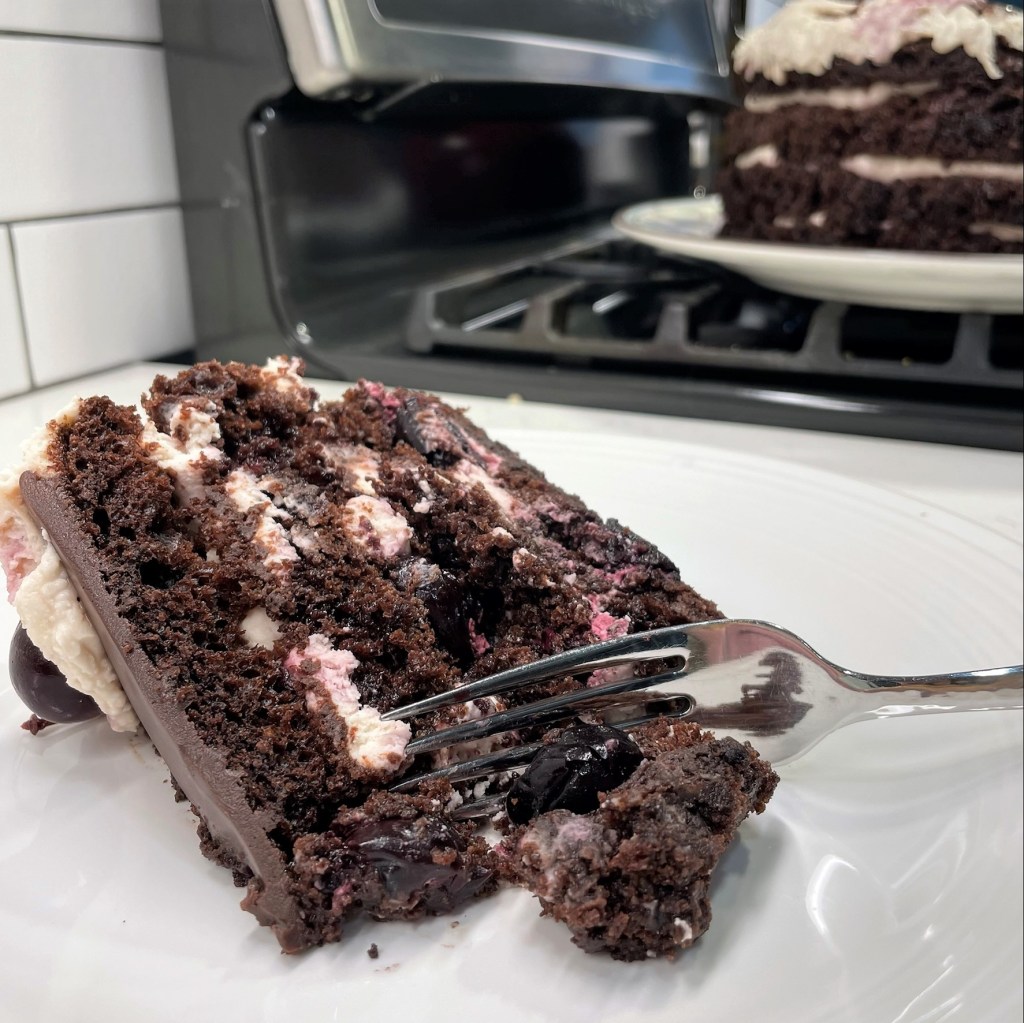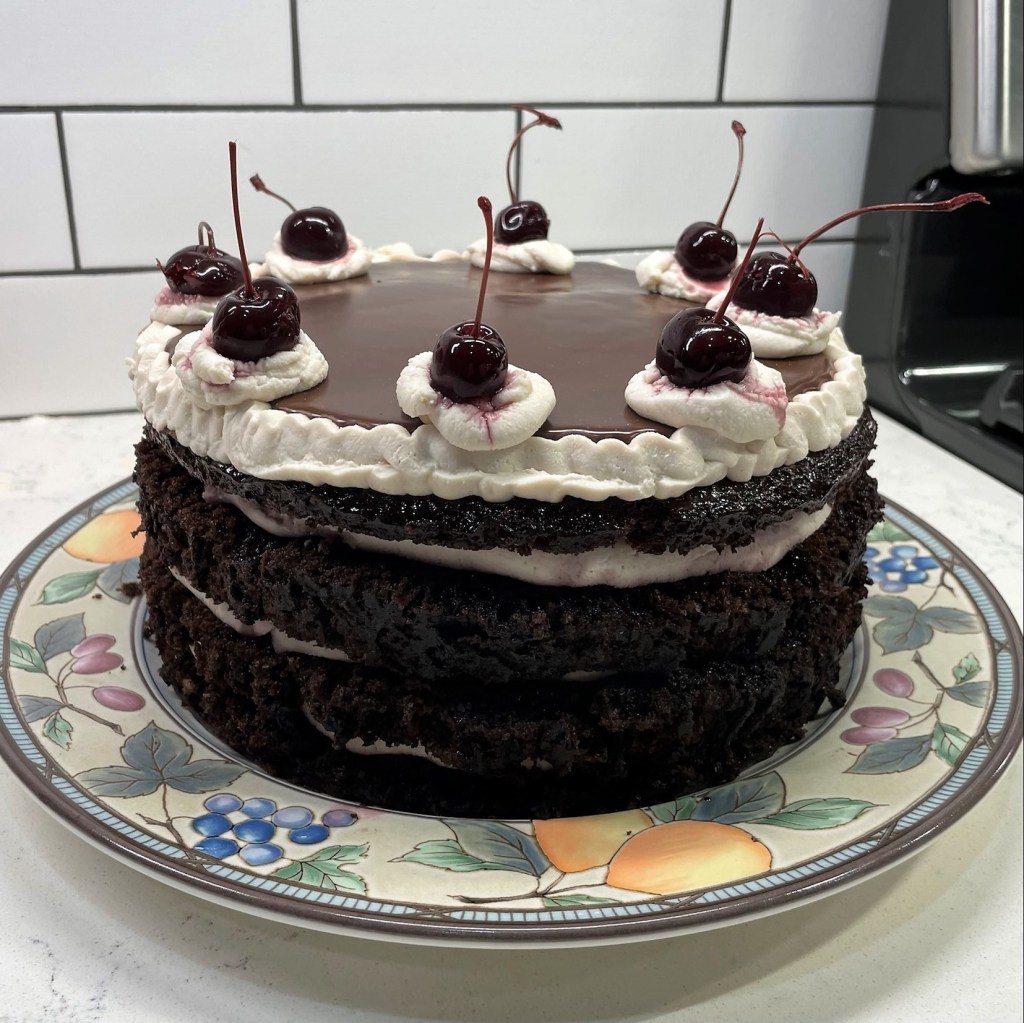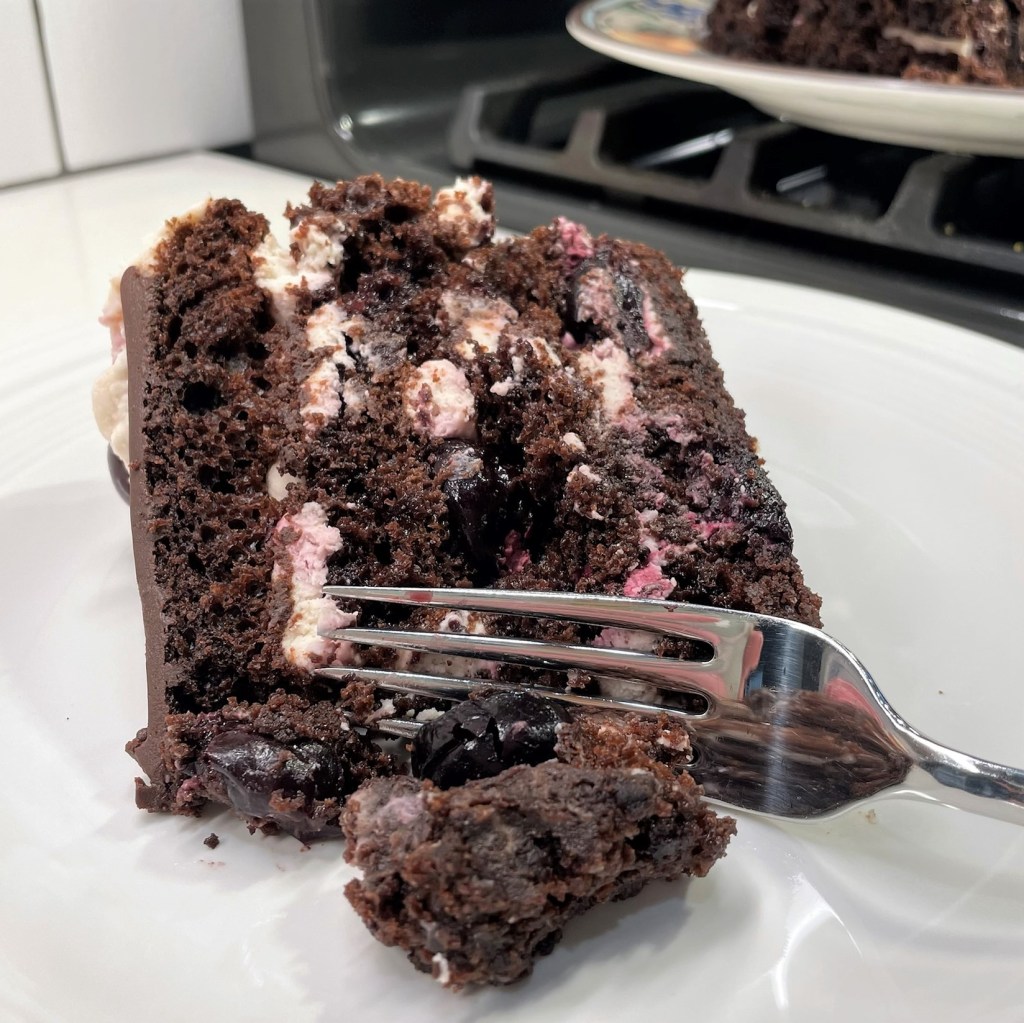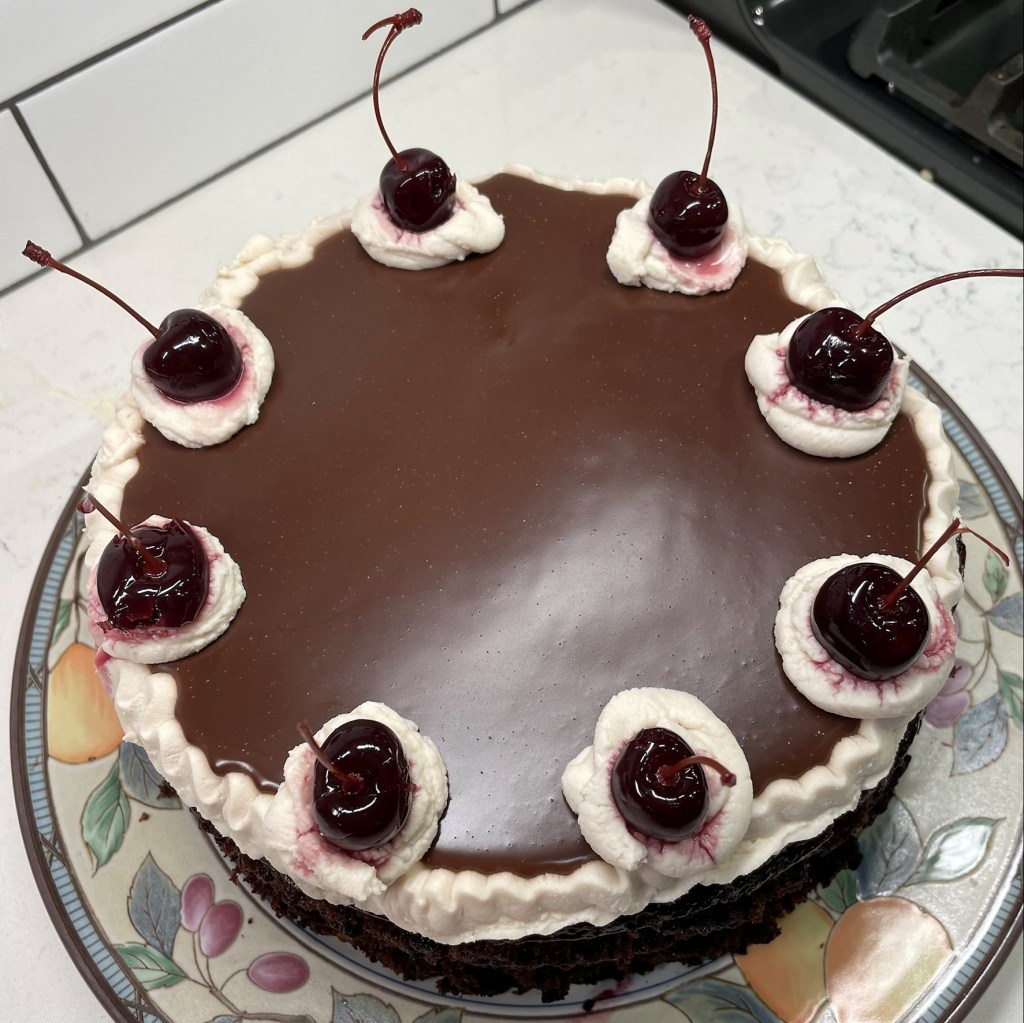
There’s a reason my dessert page is overrun with the chocolate-cherry flavor combo. The “reason” is my husband, Les, who loves this combination and regularly yearns for it on special occasions. This past weekend was his birthday, and I couldn’t resist adapting my decadent “Black Forest Cake” into individual cupcake treats. Needless to say, Les approved this decision.
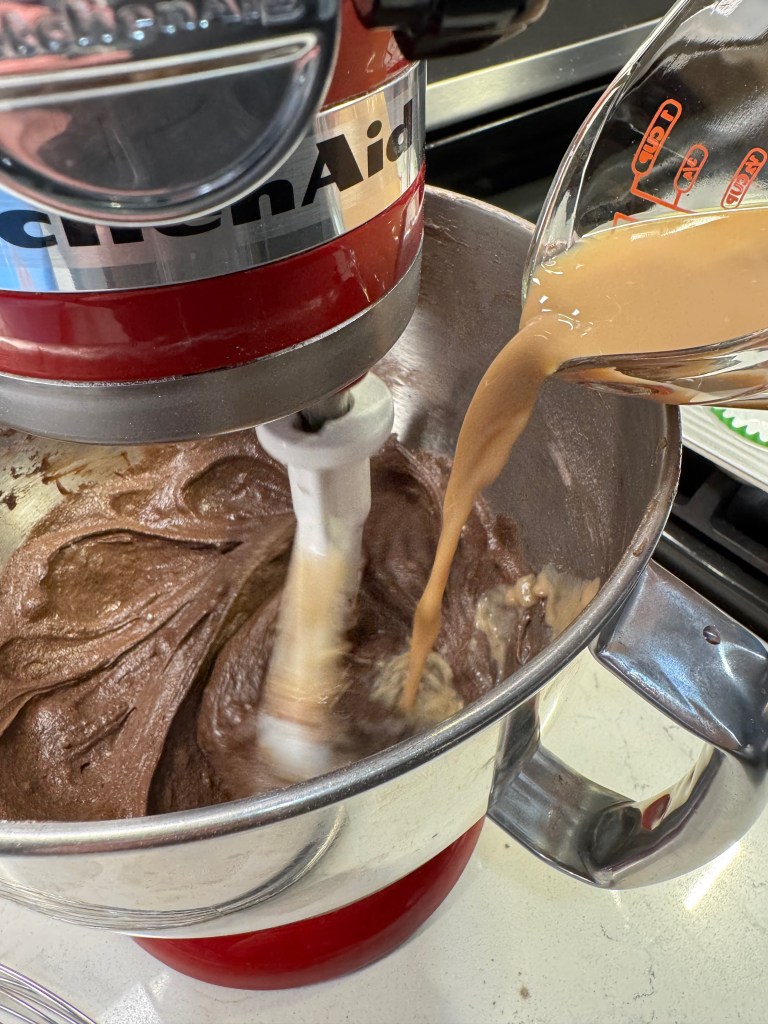
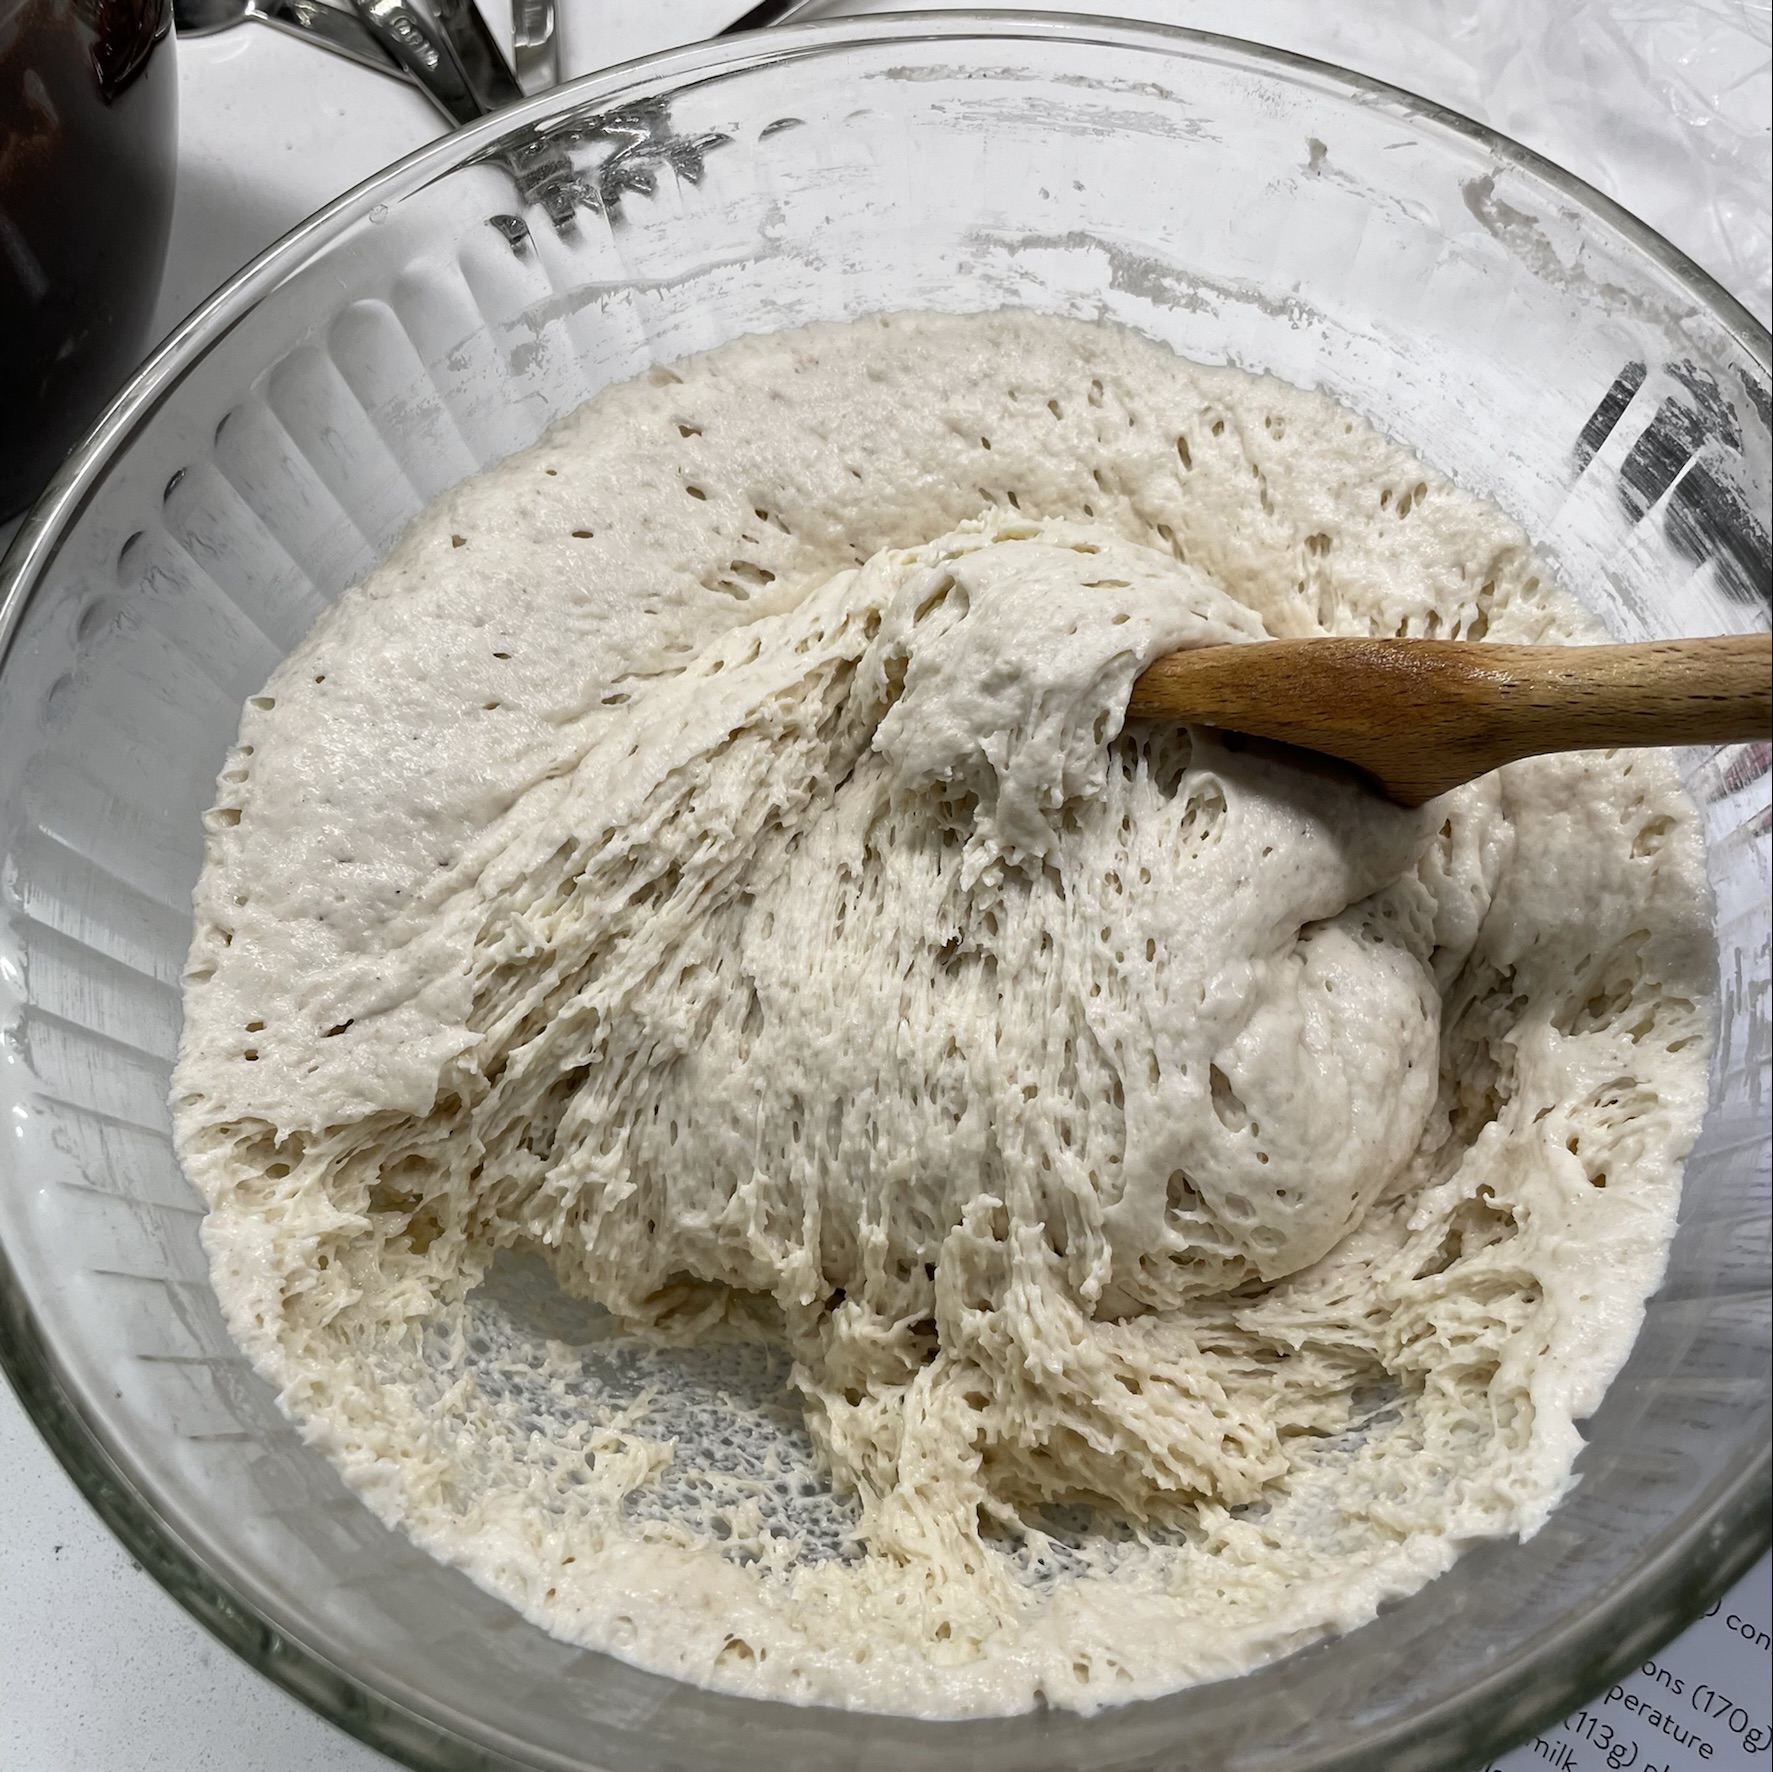
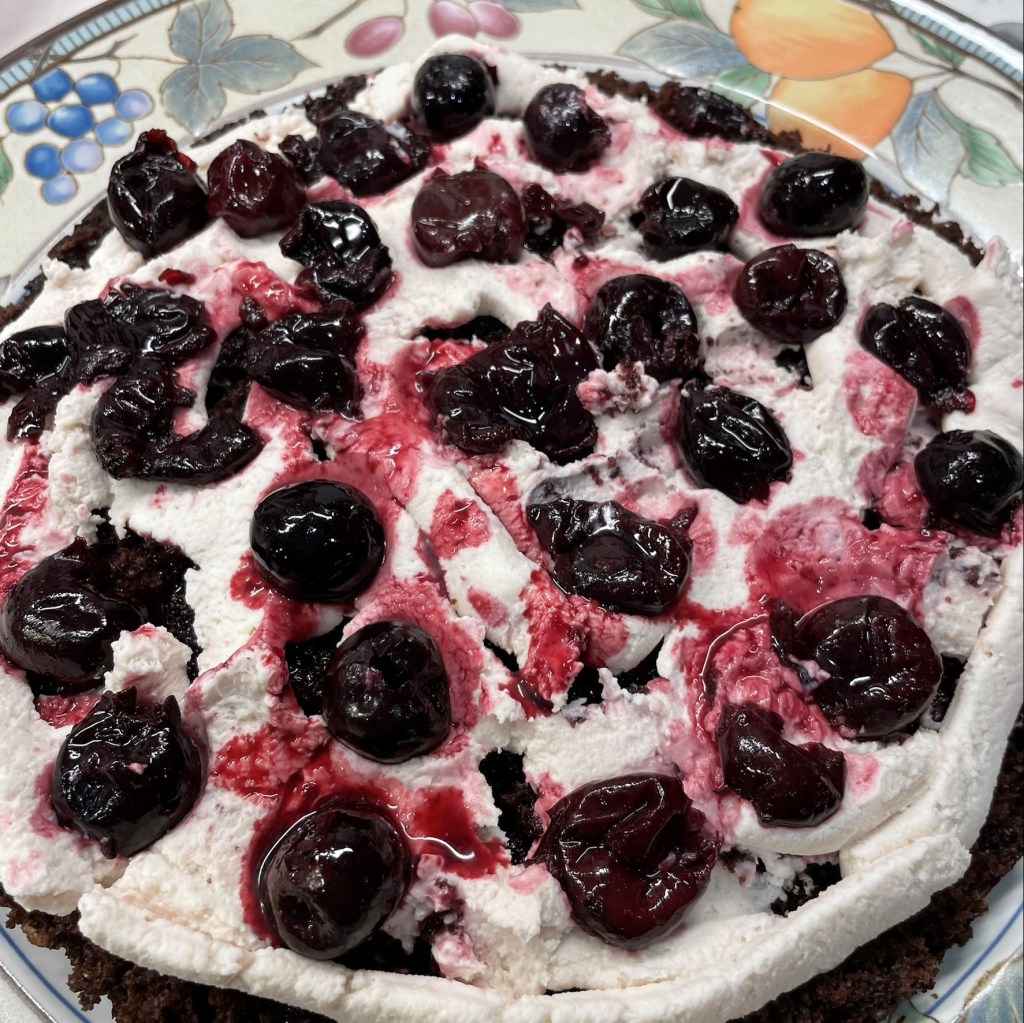
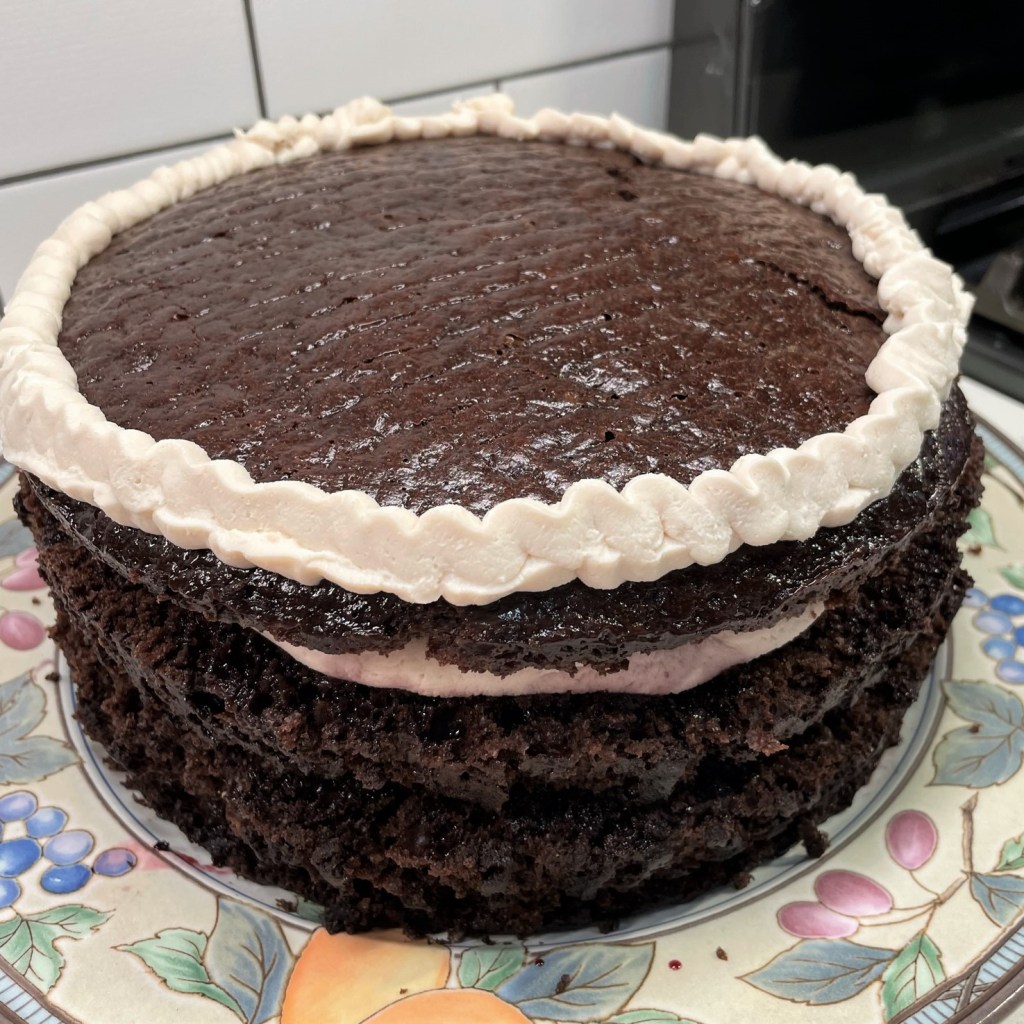
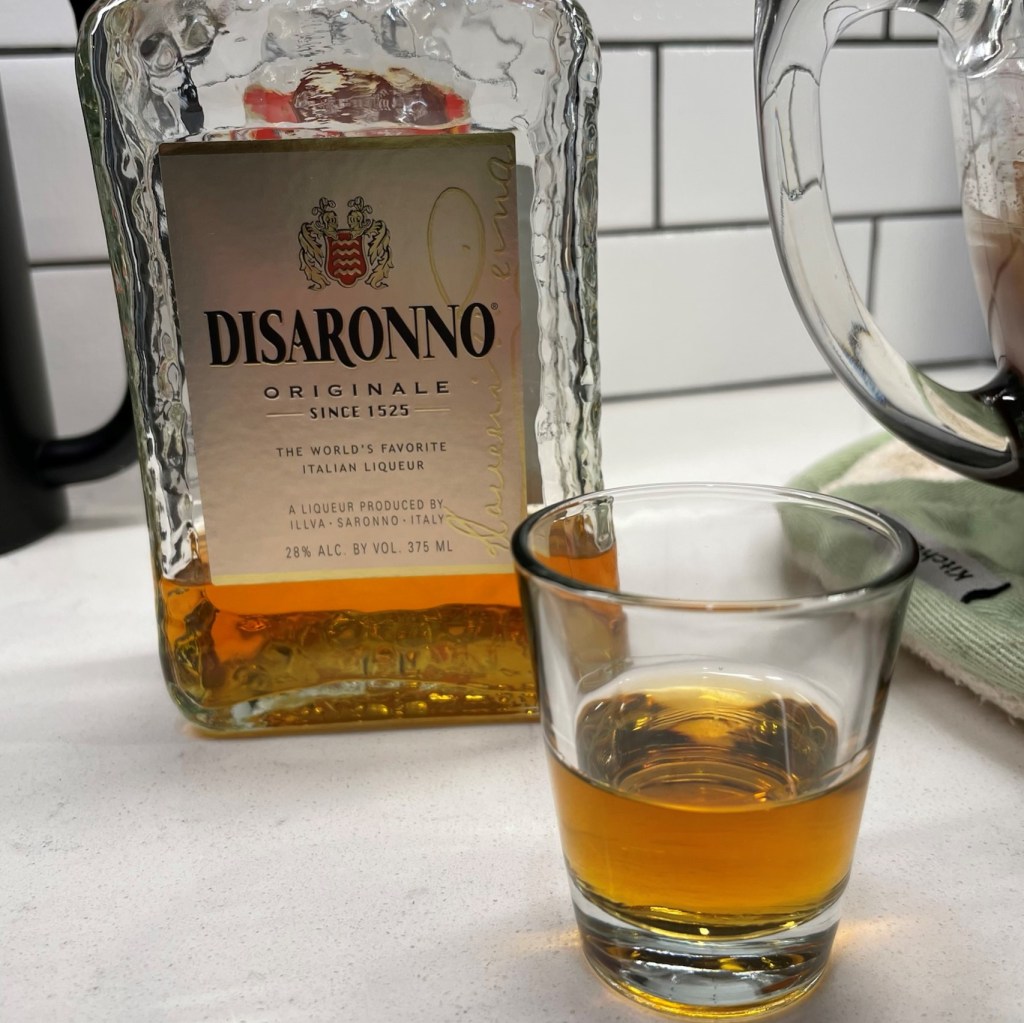
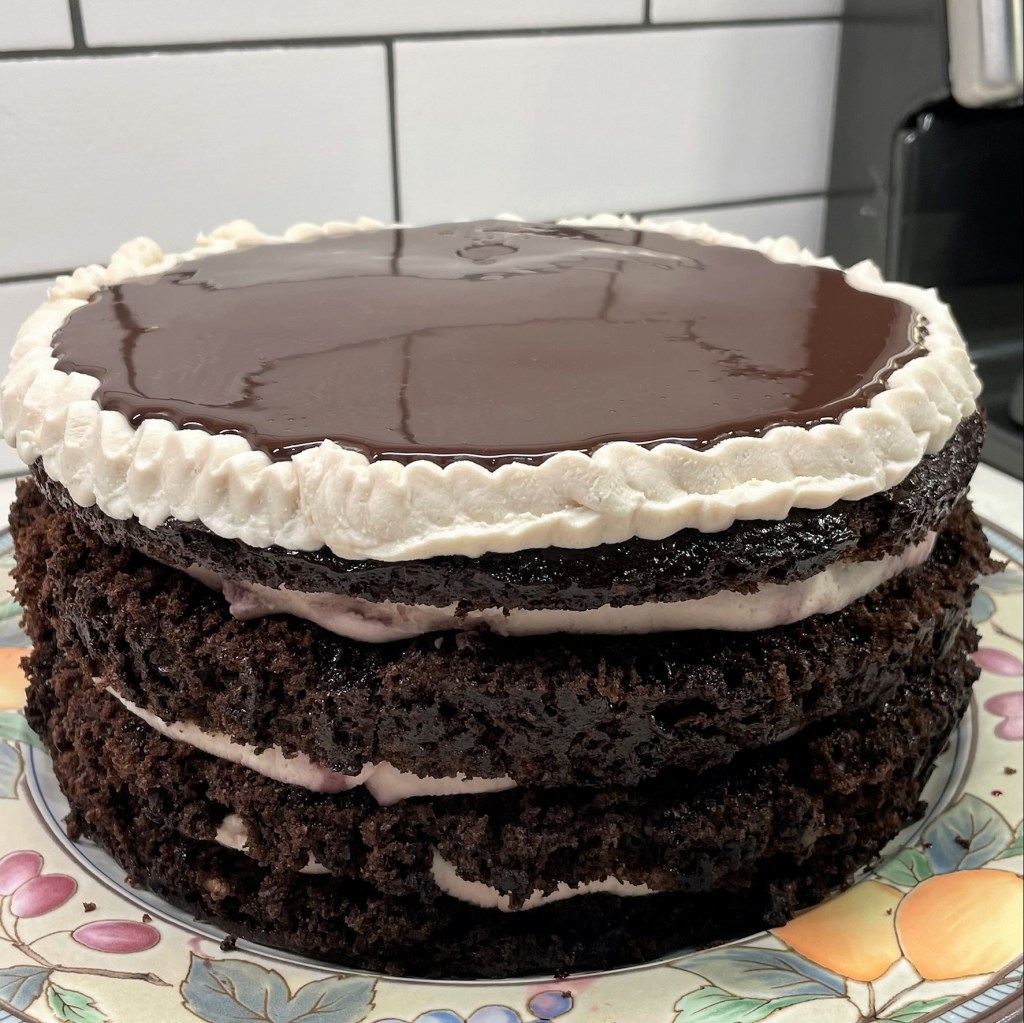
The adaptation was not quite as simple as switching pans and adjusting the bake time. My Black Forest cake is powered by sourdough and doesn’t have quite the structure needed for handheld cupcakes. The cake, after all, is syrup-soaked layers held together by mascarpone filling, and that wasn’t going to work for cupcakes. For this switch-up, I looked instead to the recipe I used for the Irish Coffee cupcakes I made for St. Patrick’s Day, with a few flavor swaps, of course. Irish cream had no place in these, so I exchanged it for bourbon (which Les never refuses) and I also replaced the cold coffee with milk.
Let’s get baking!
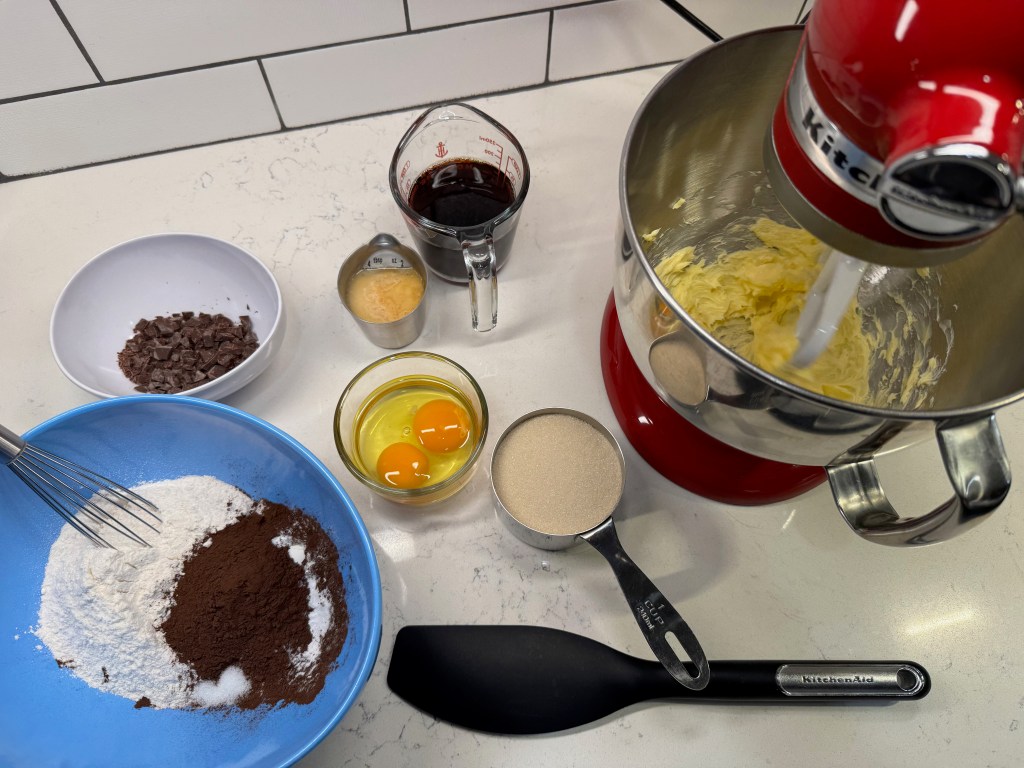
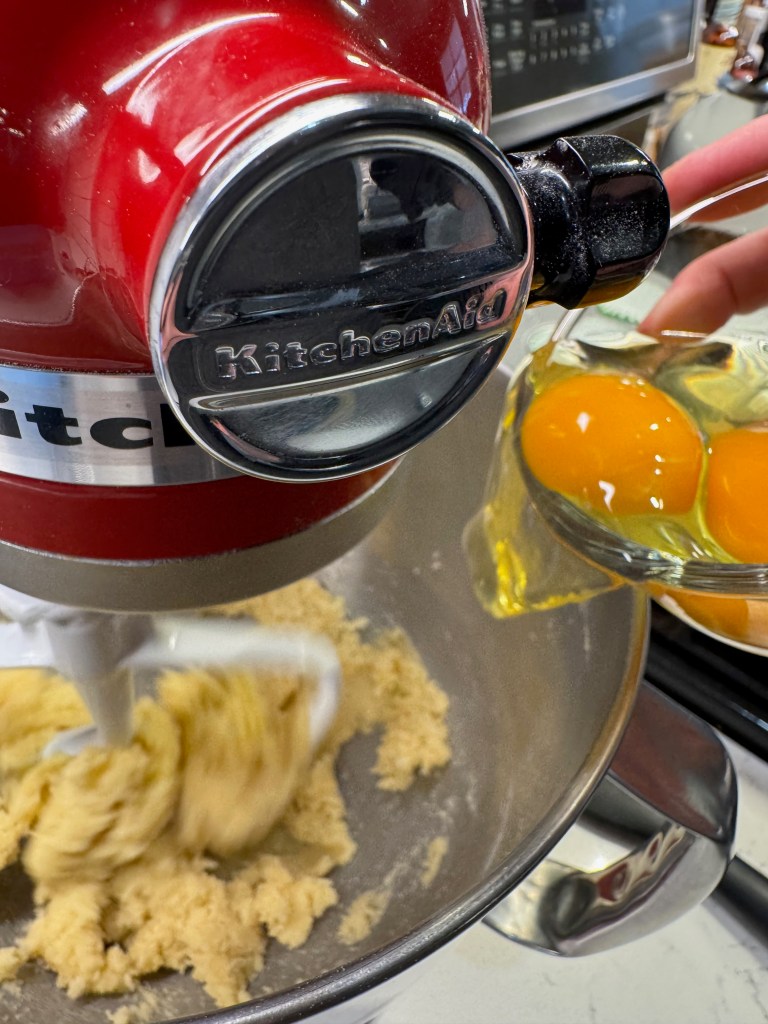
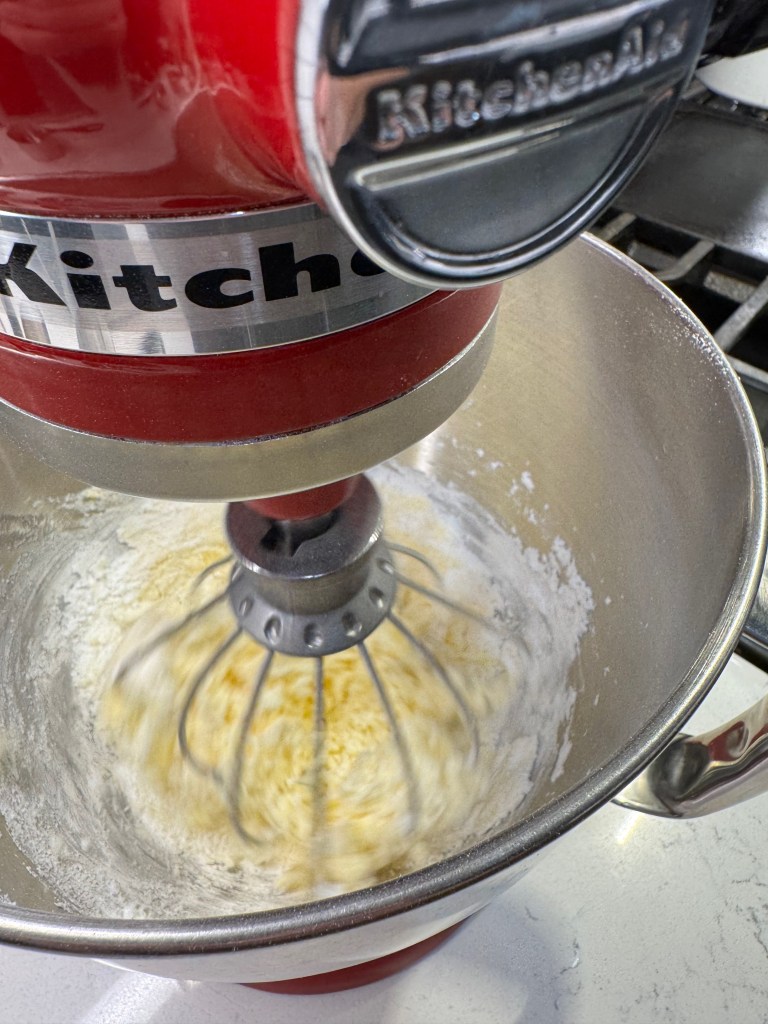
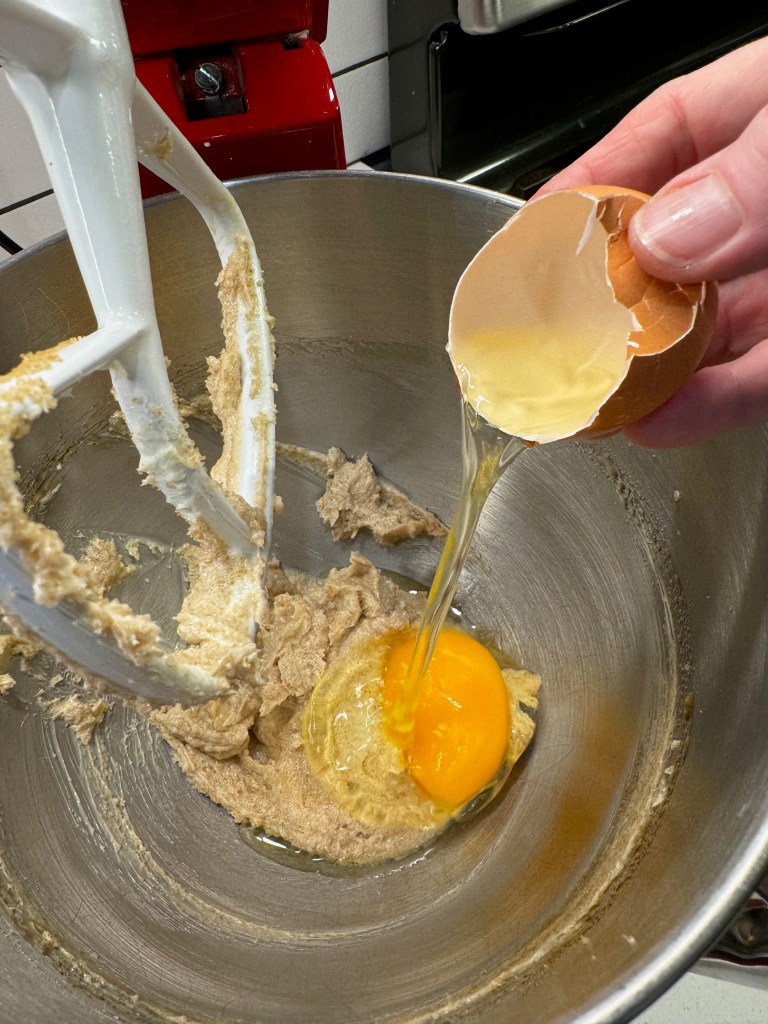
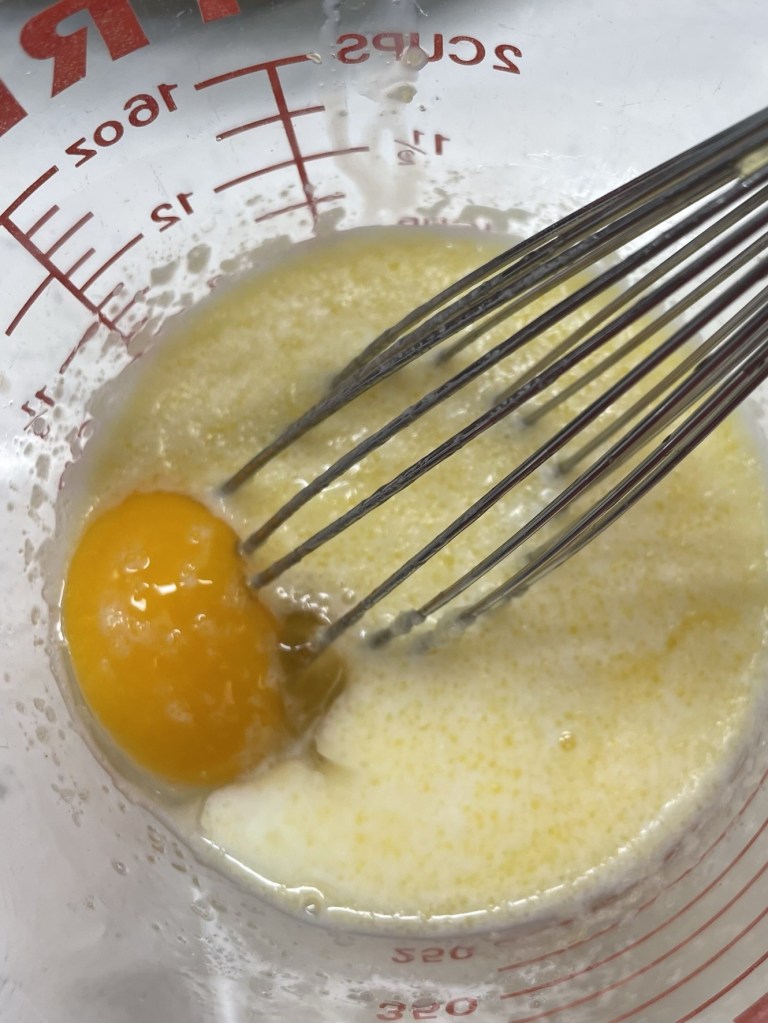
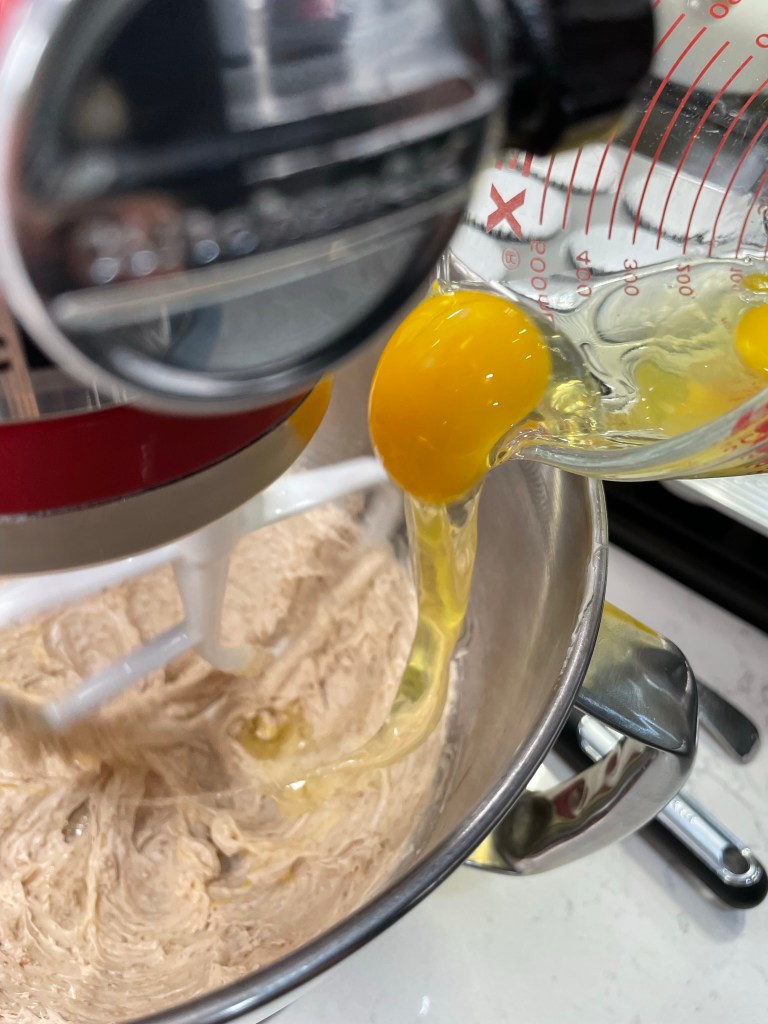
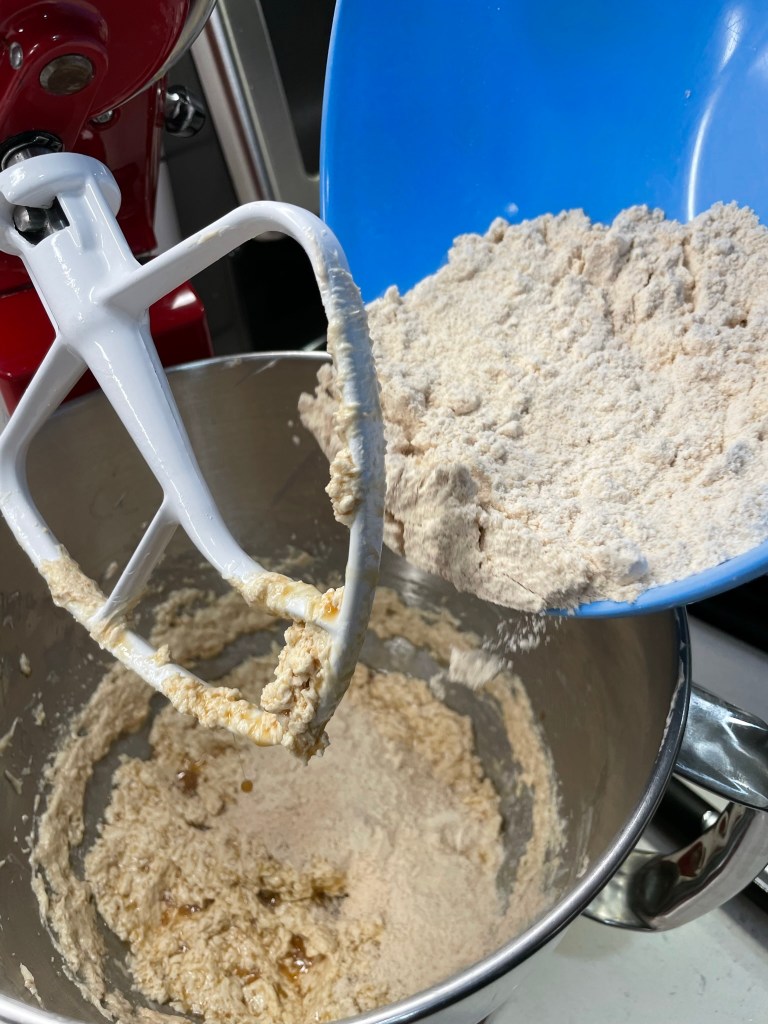
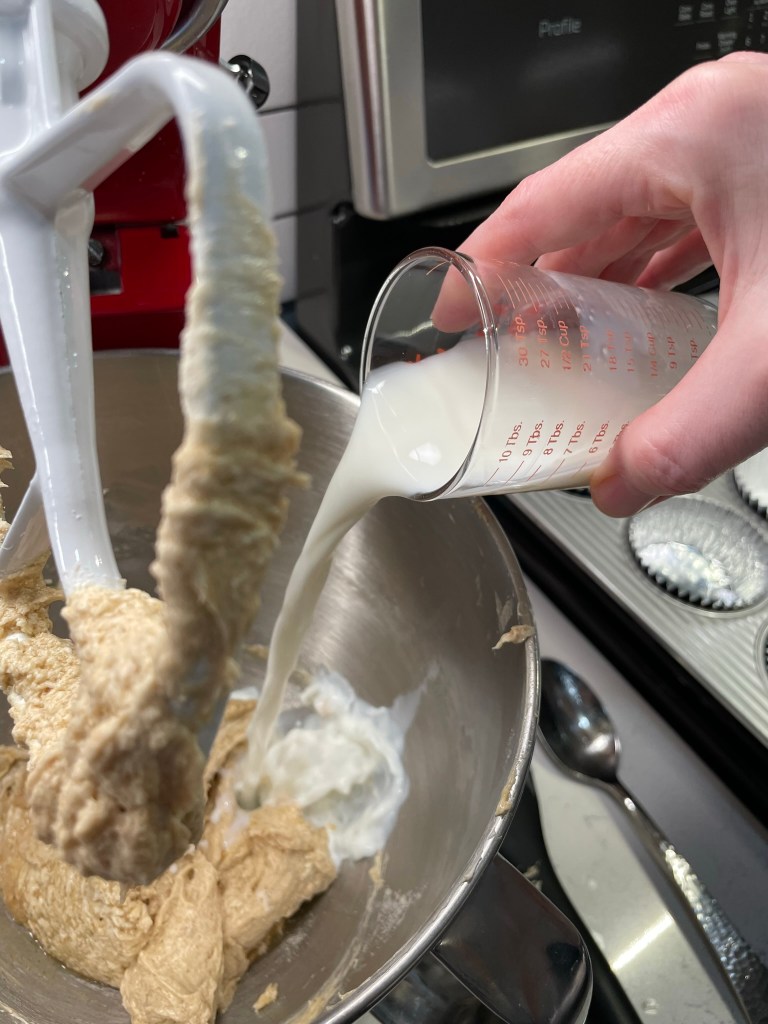
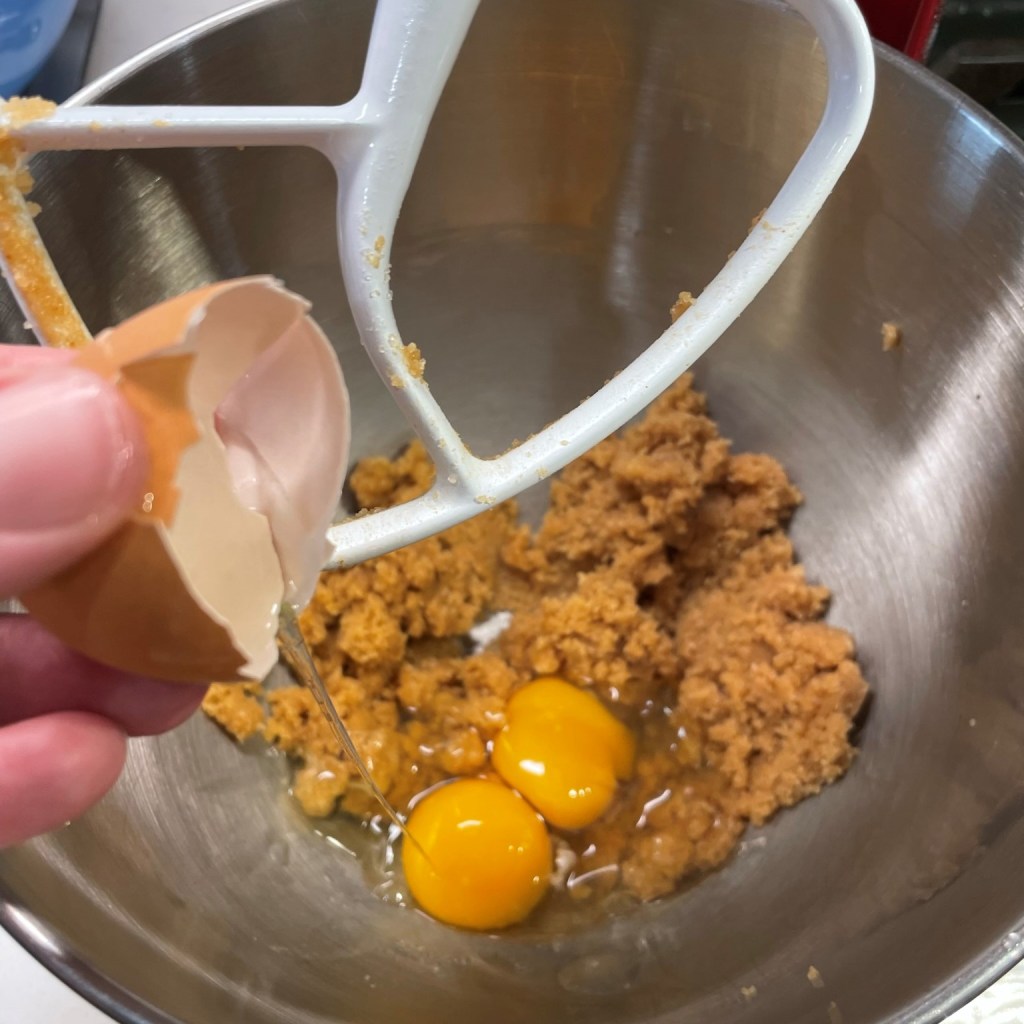
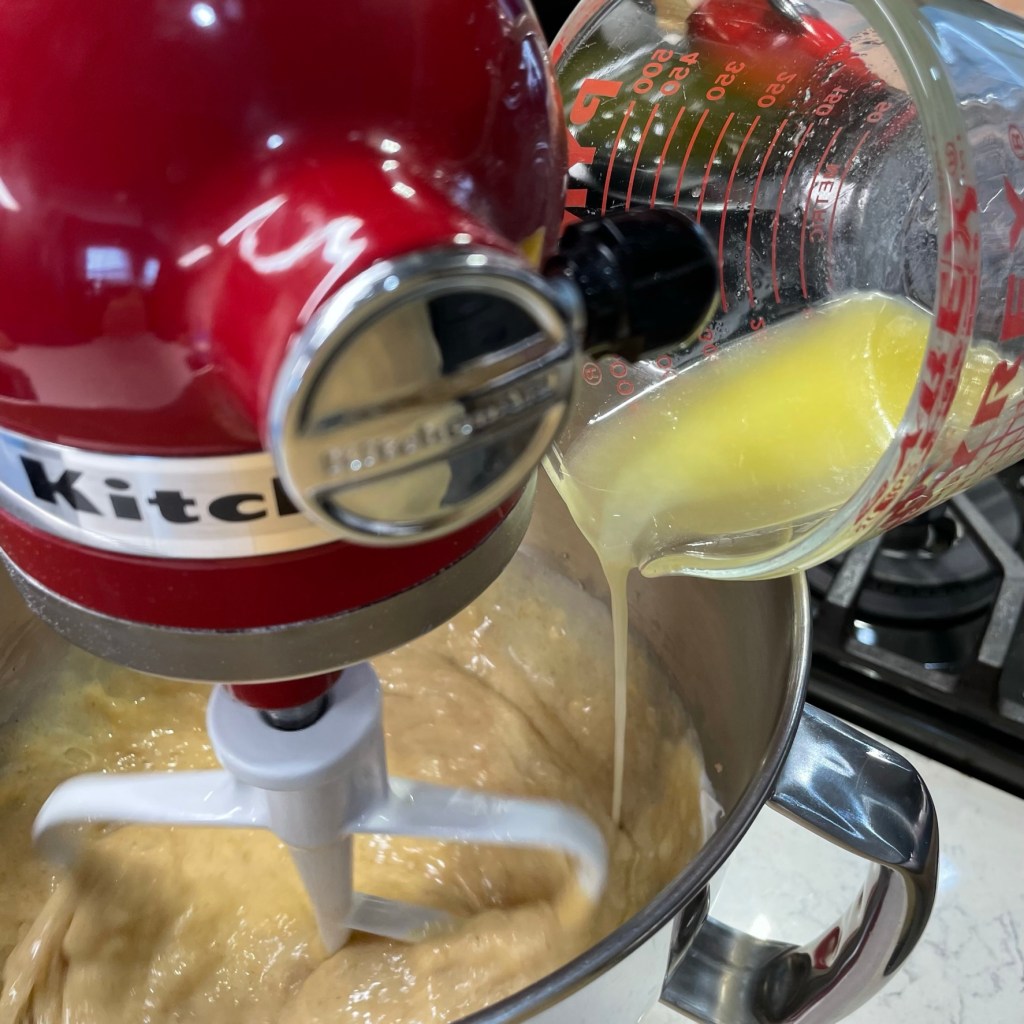
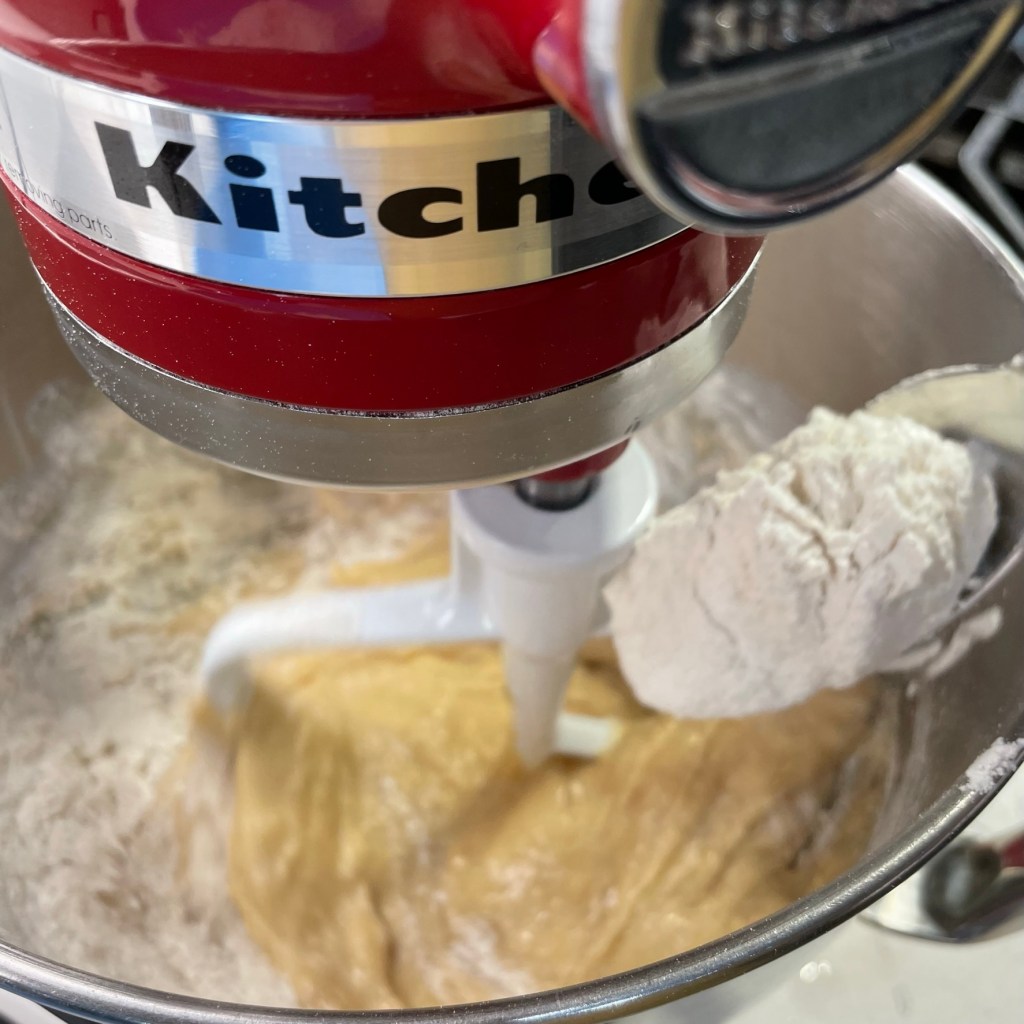
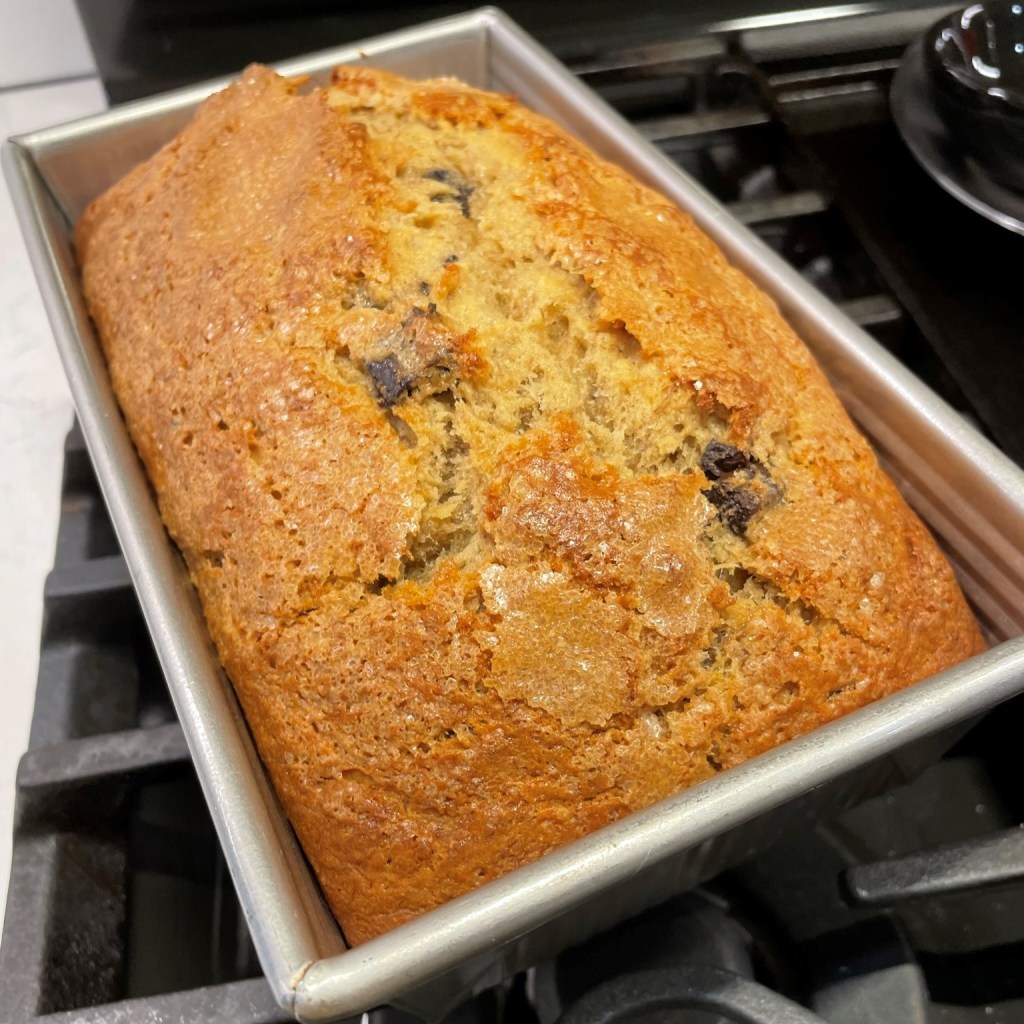
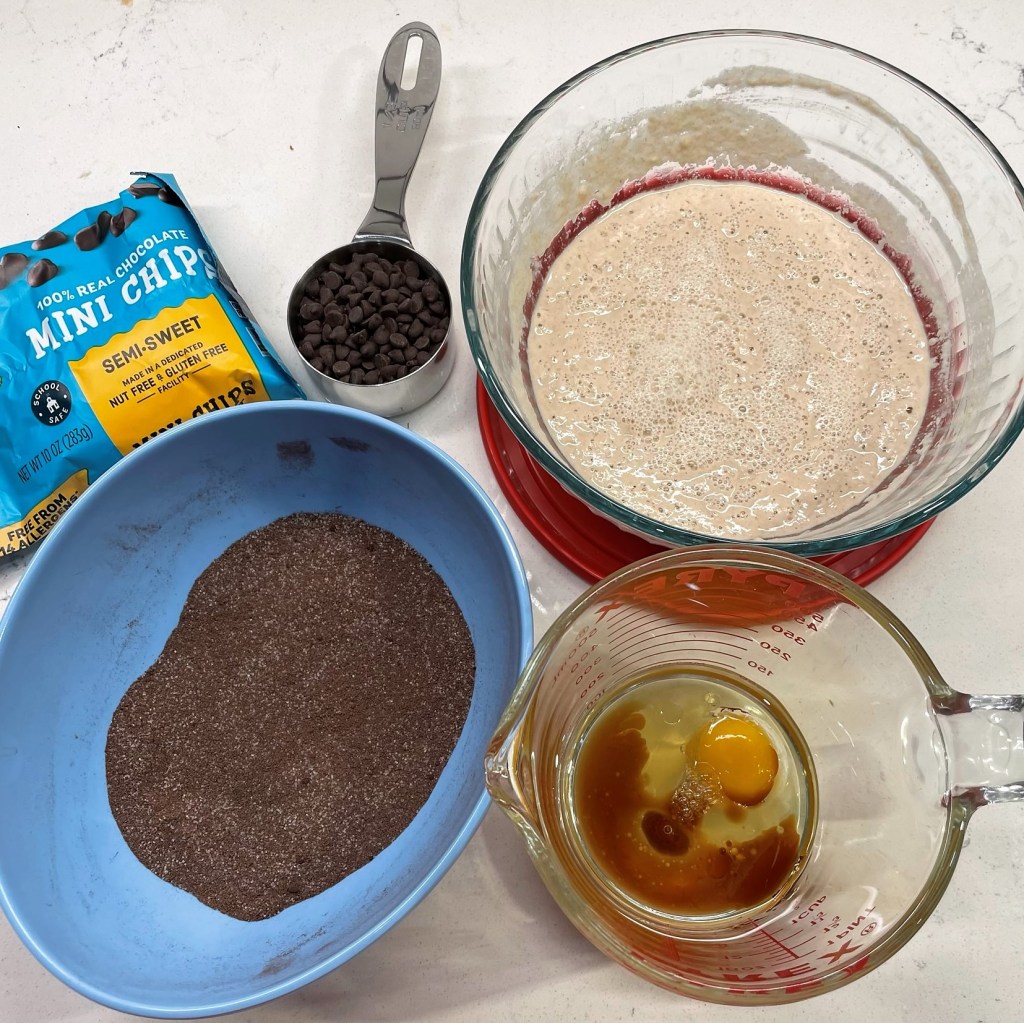
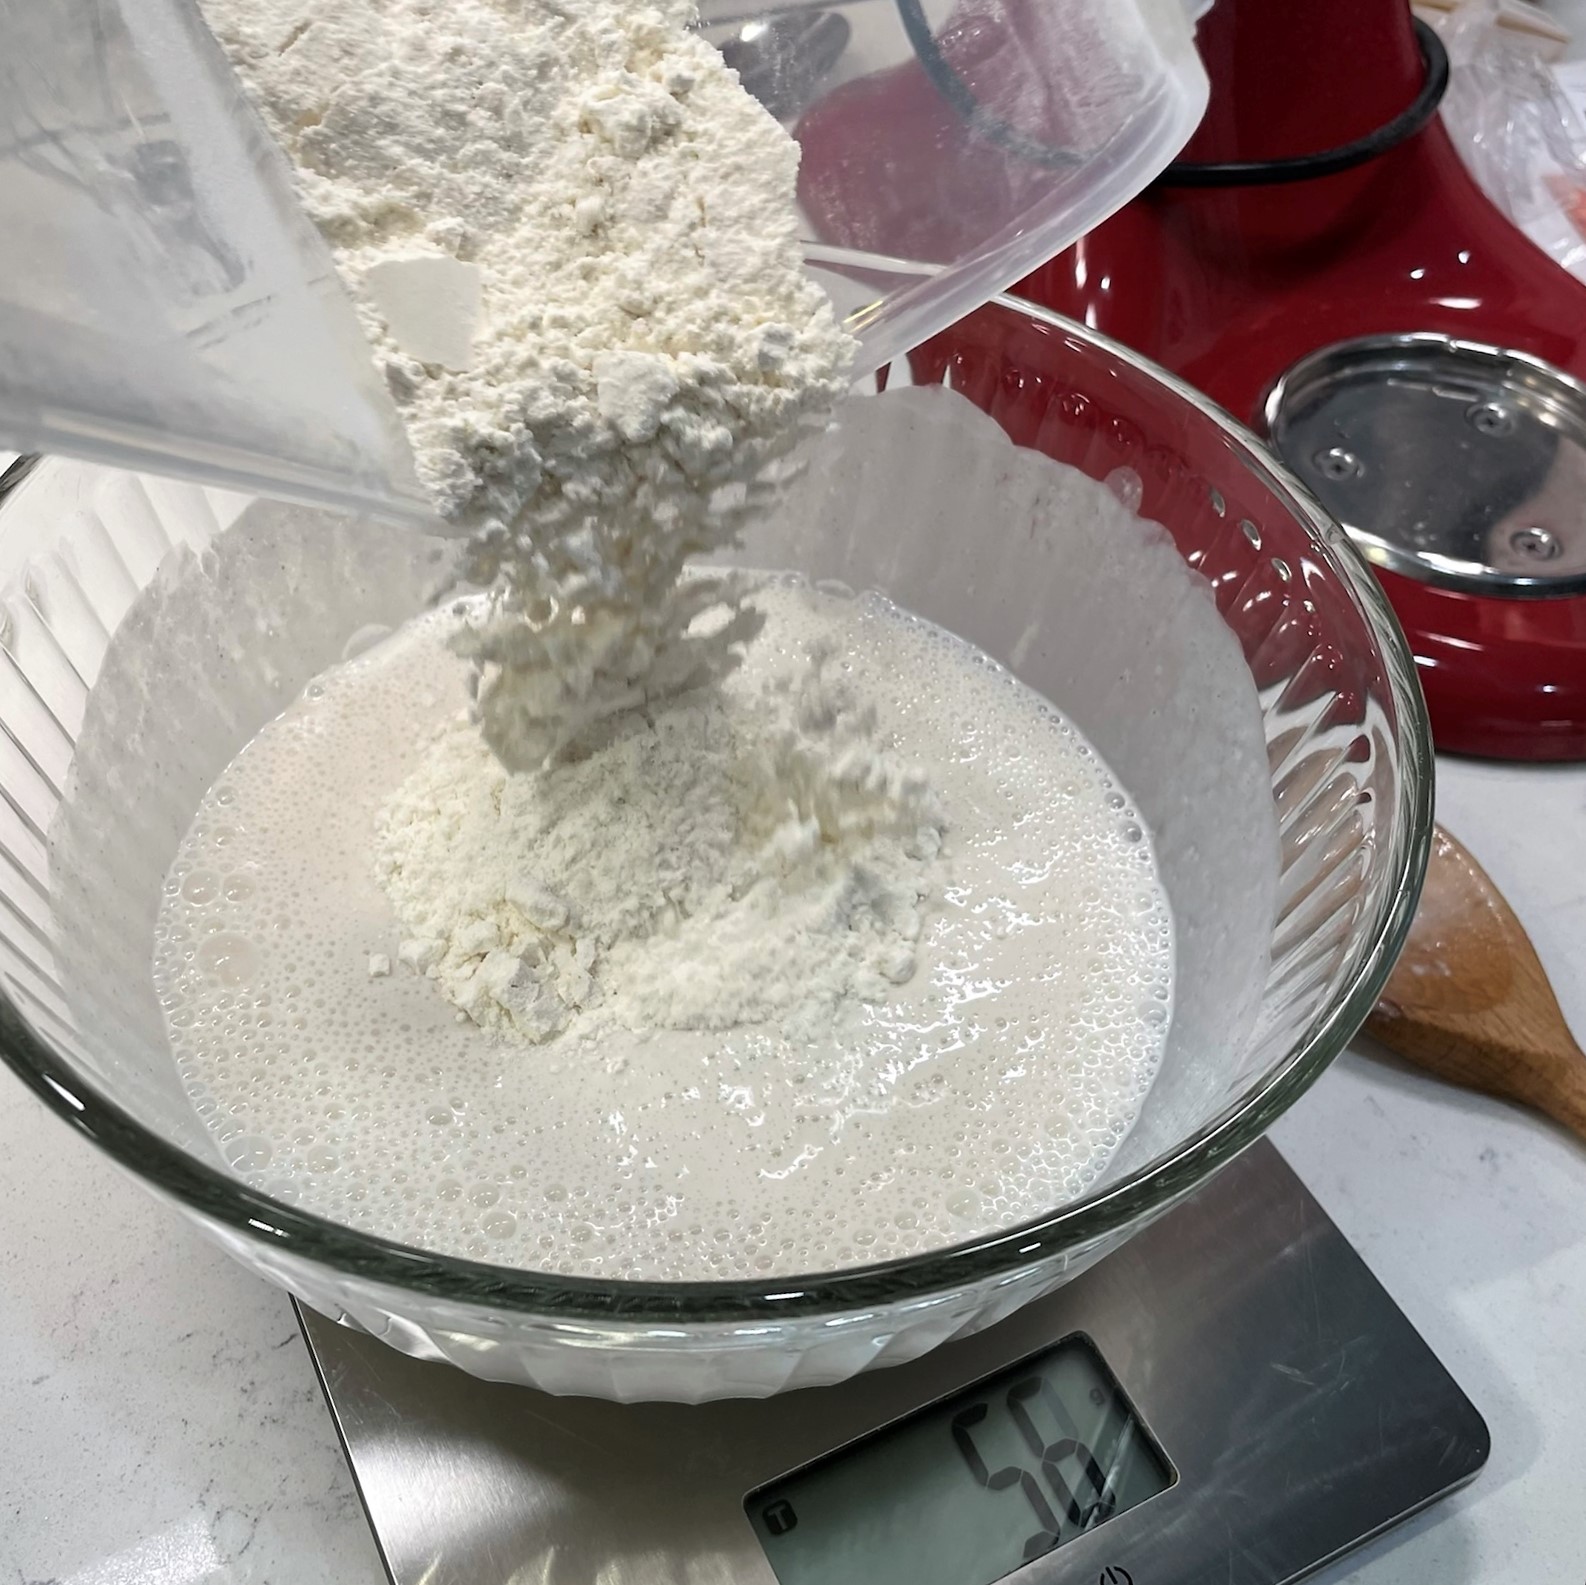
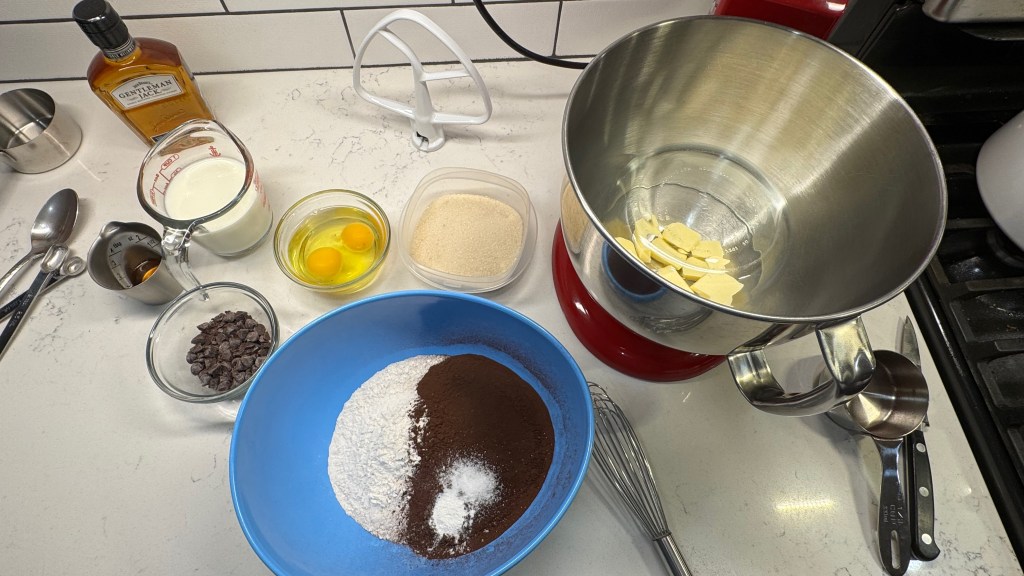
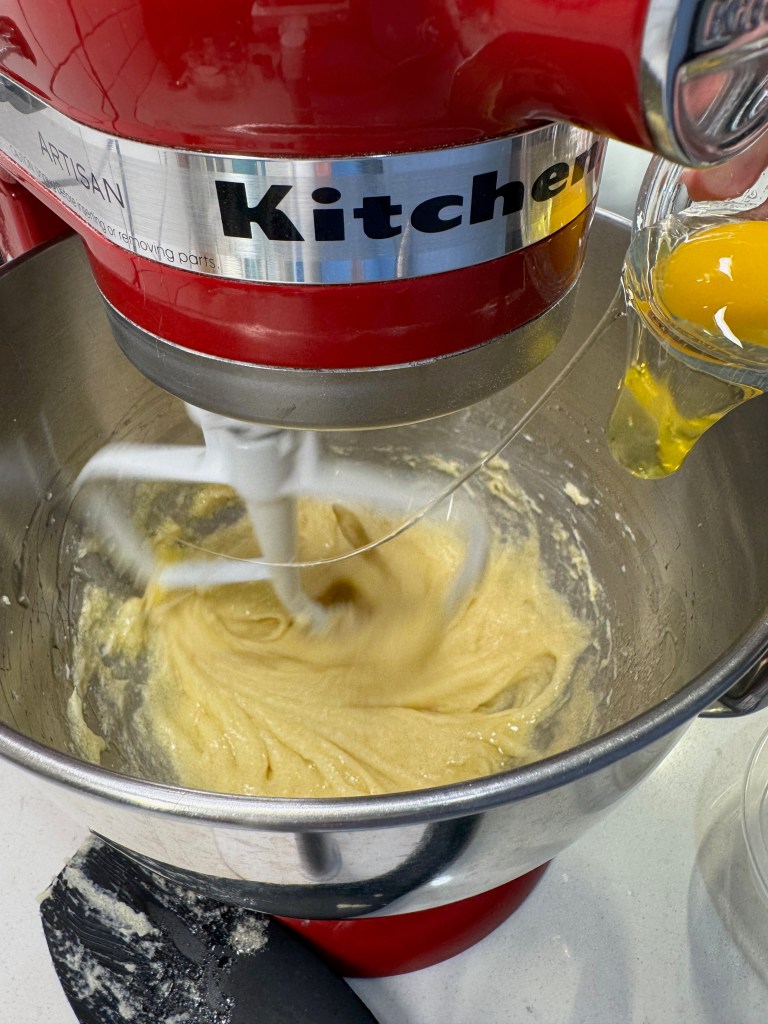
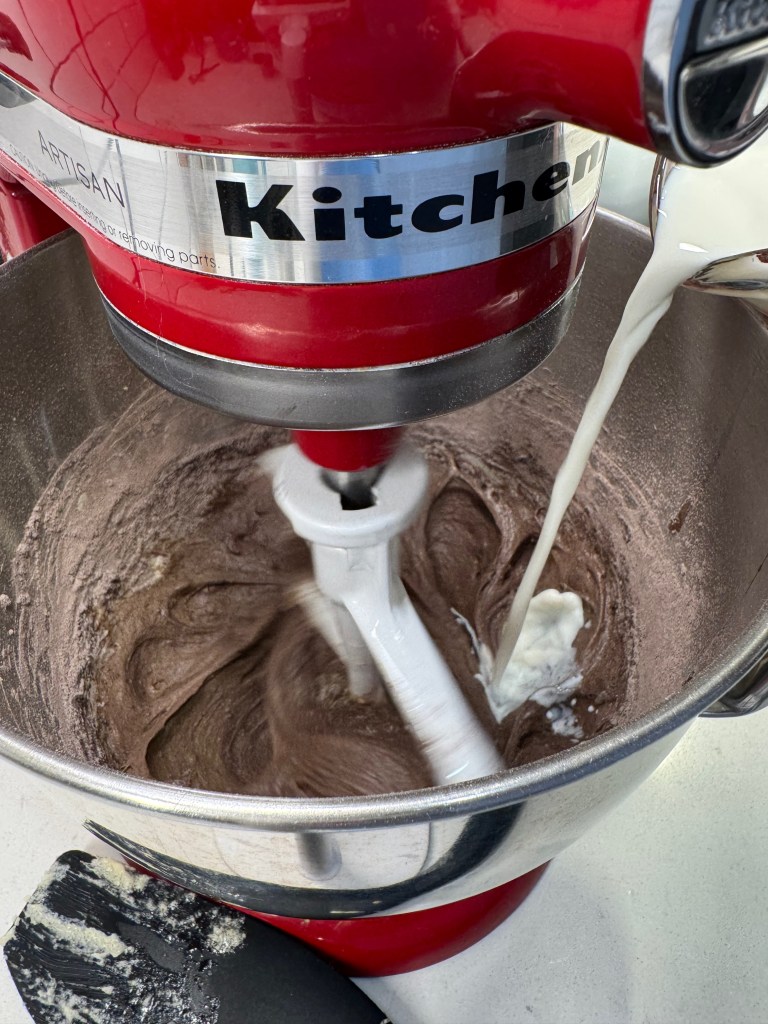
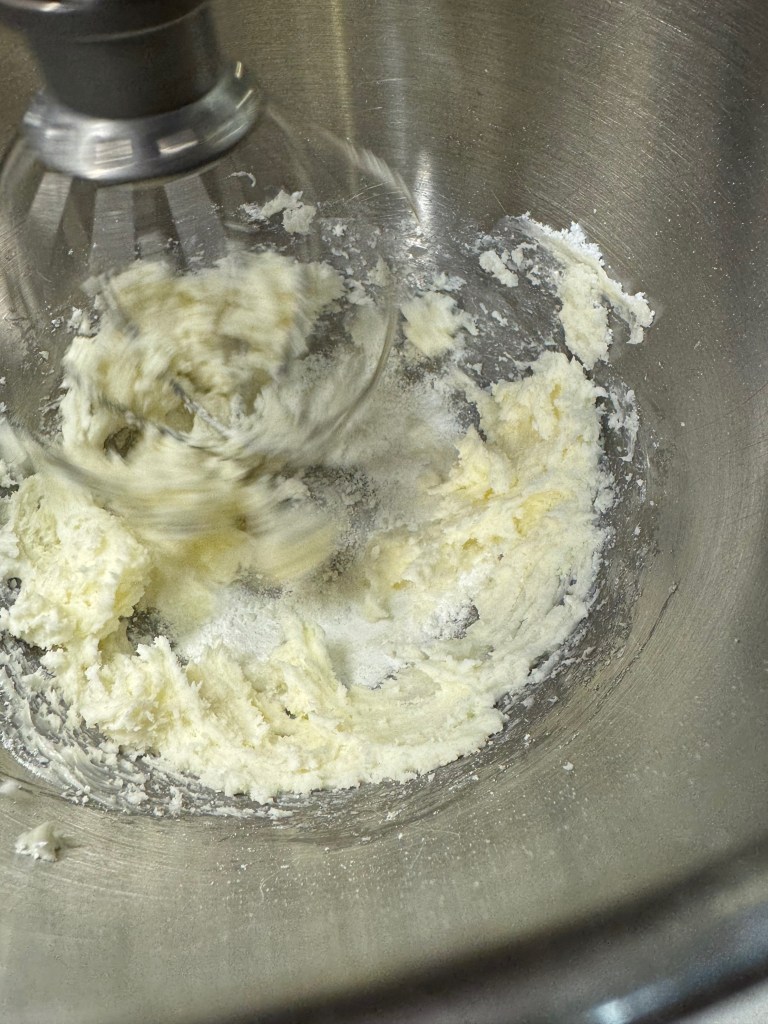
My trusted technique for cupcake batter involves first creaming the butter and sugar, mixing in one egg at a time, and then alternating the dry ingredients with the liquids to achieve an even, smooth batter. Easy enough, and these were ready for the oven.
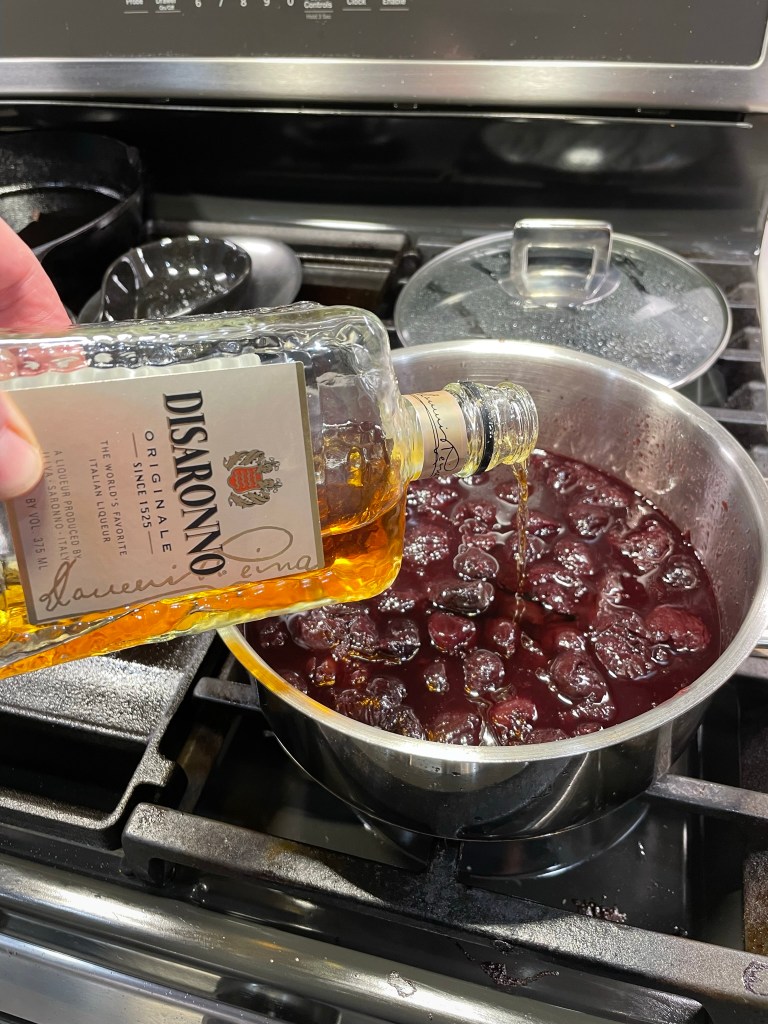
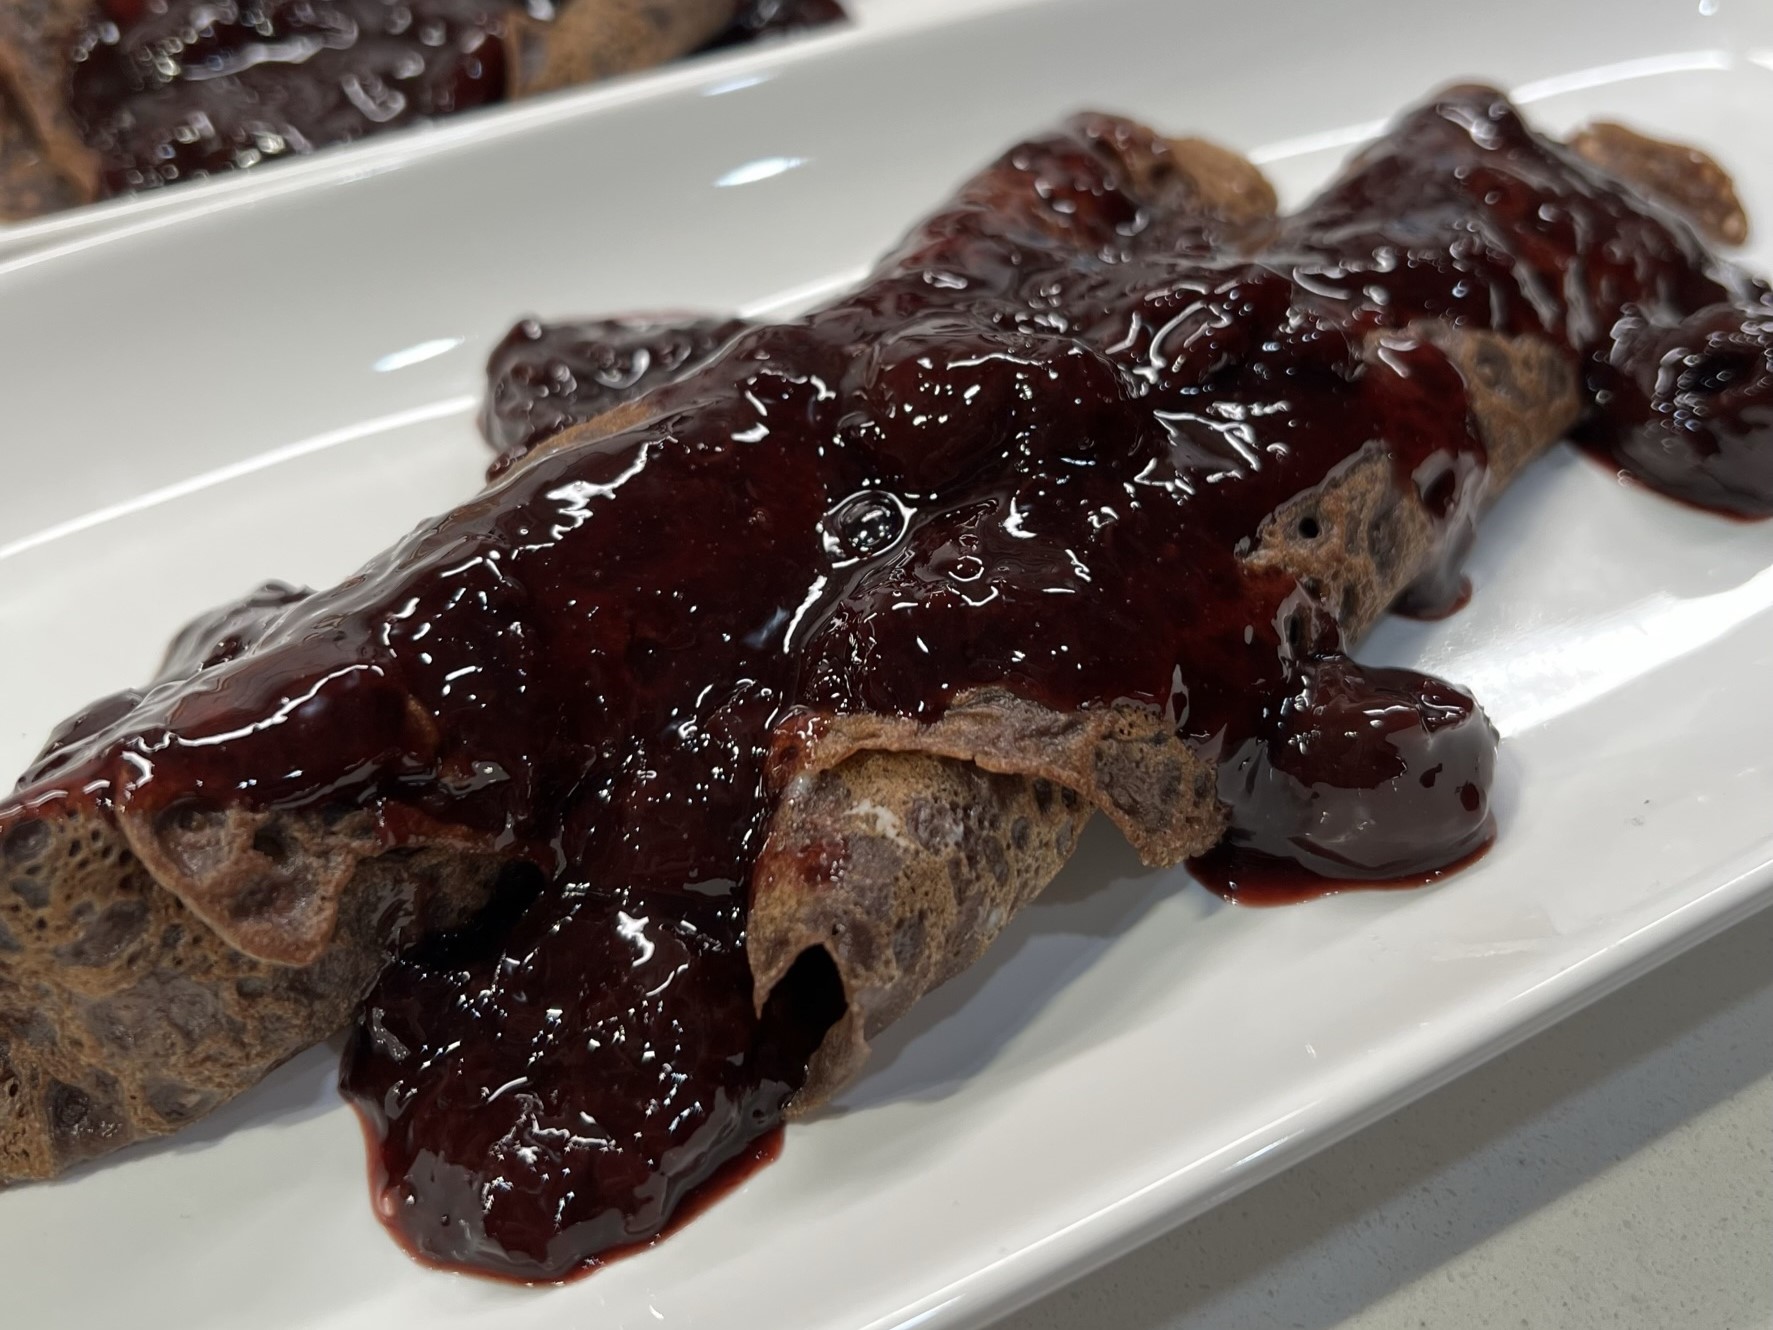
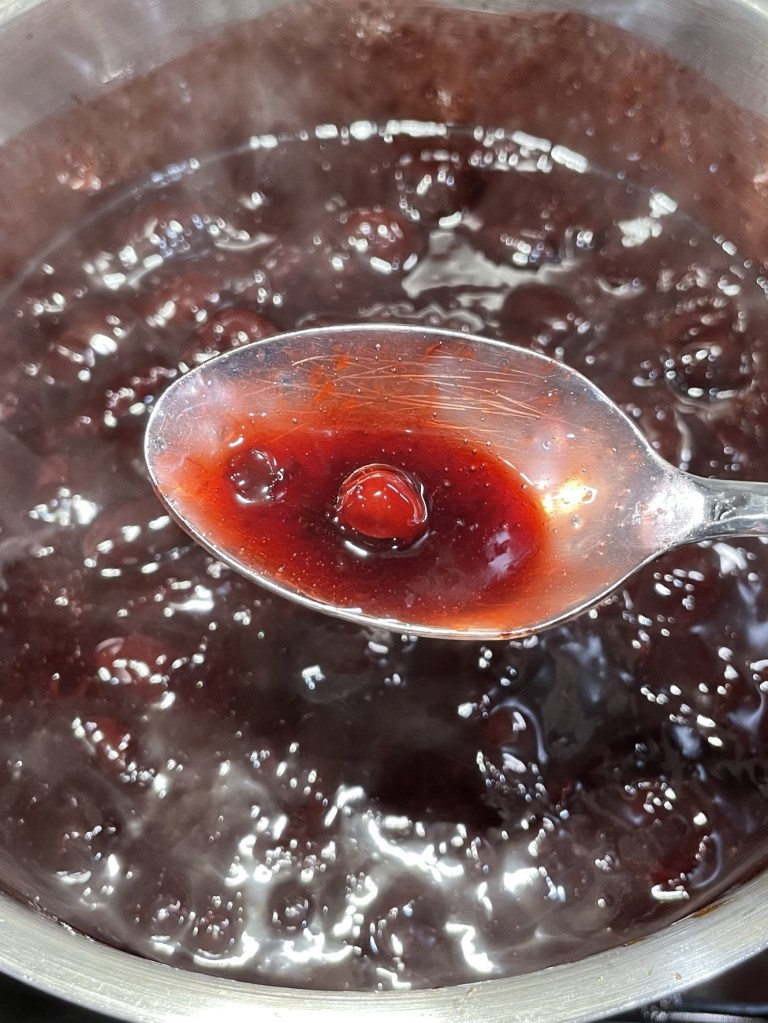
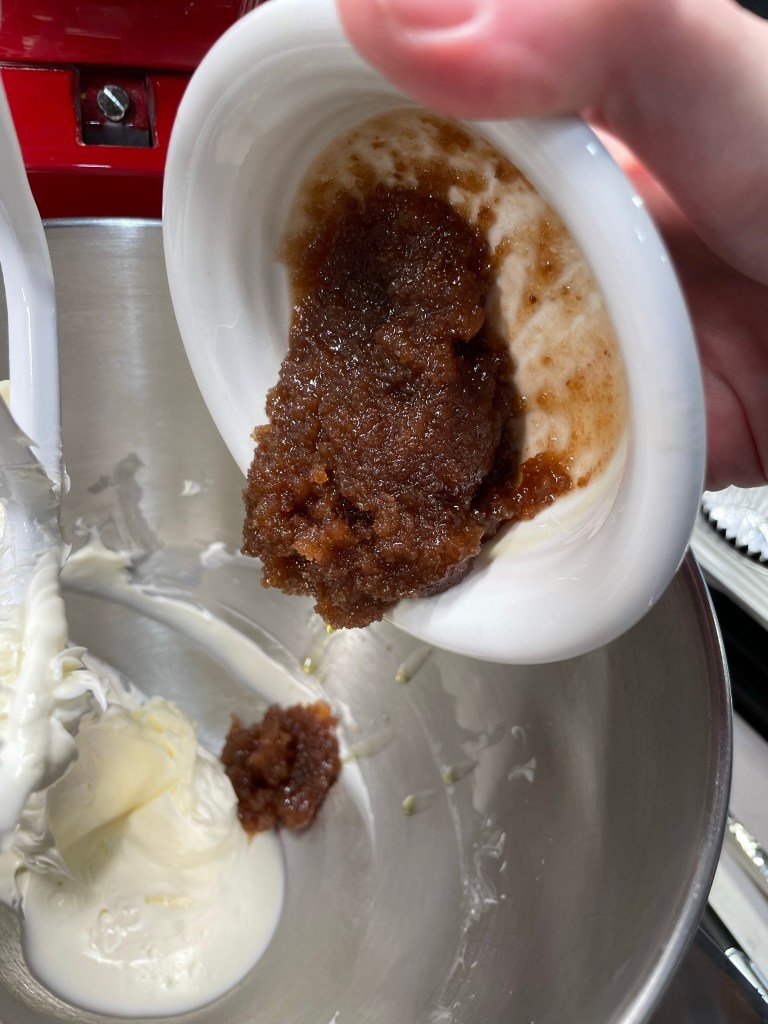
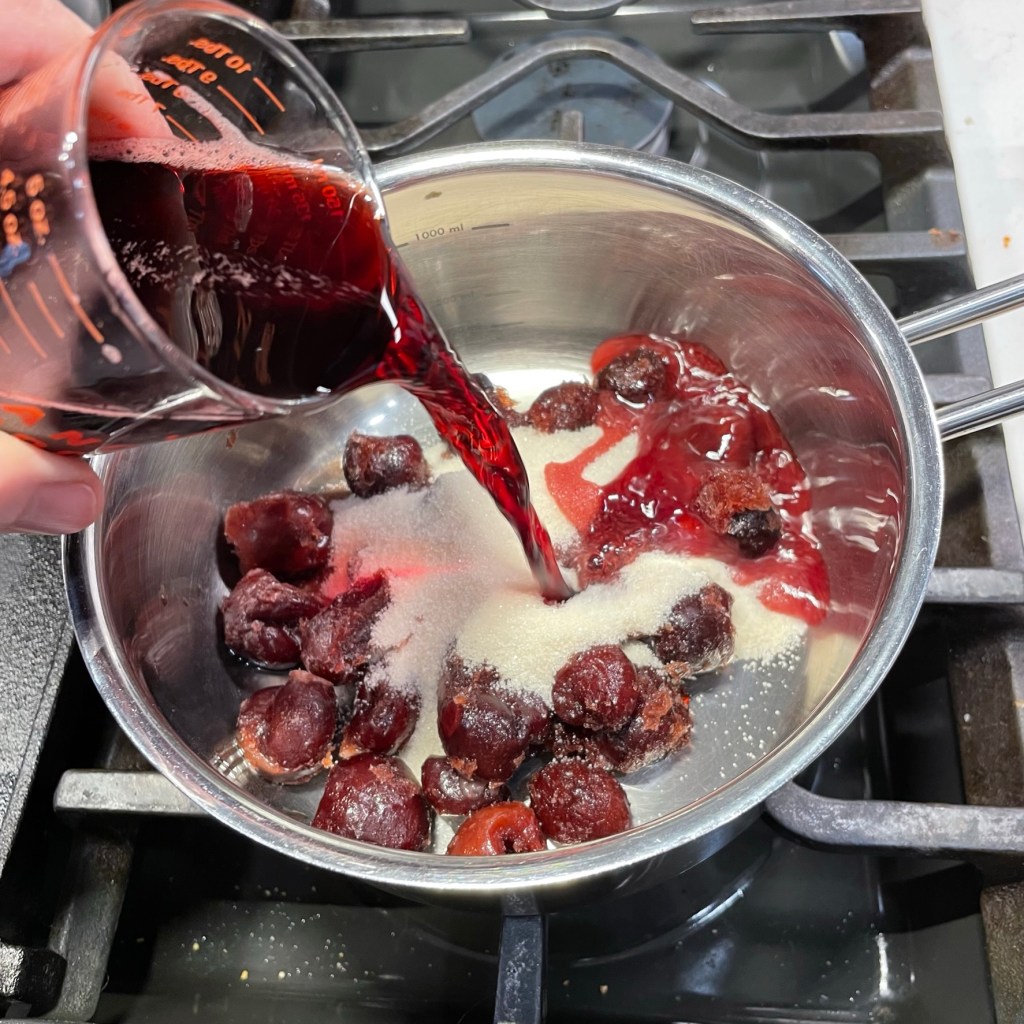
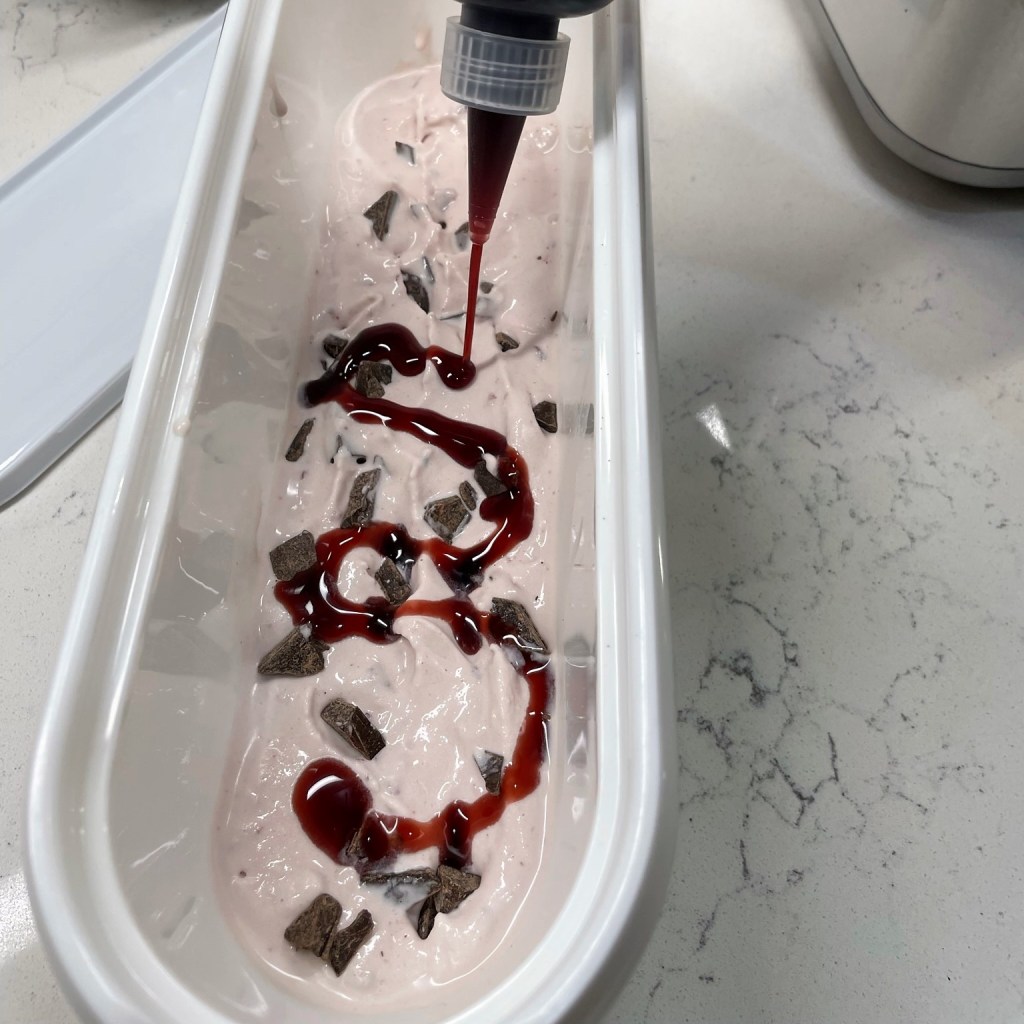
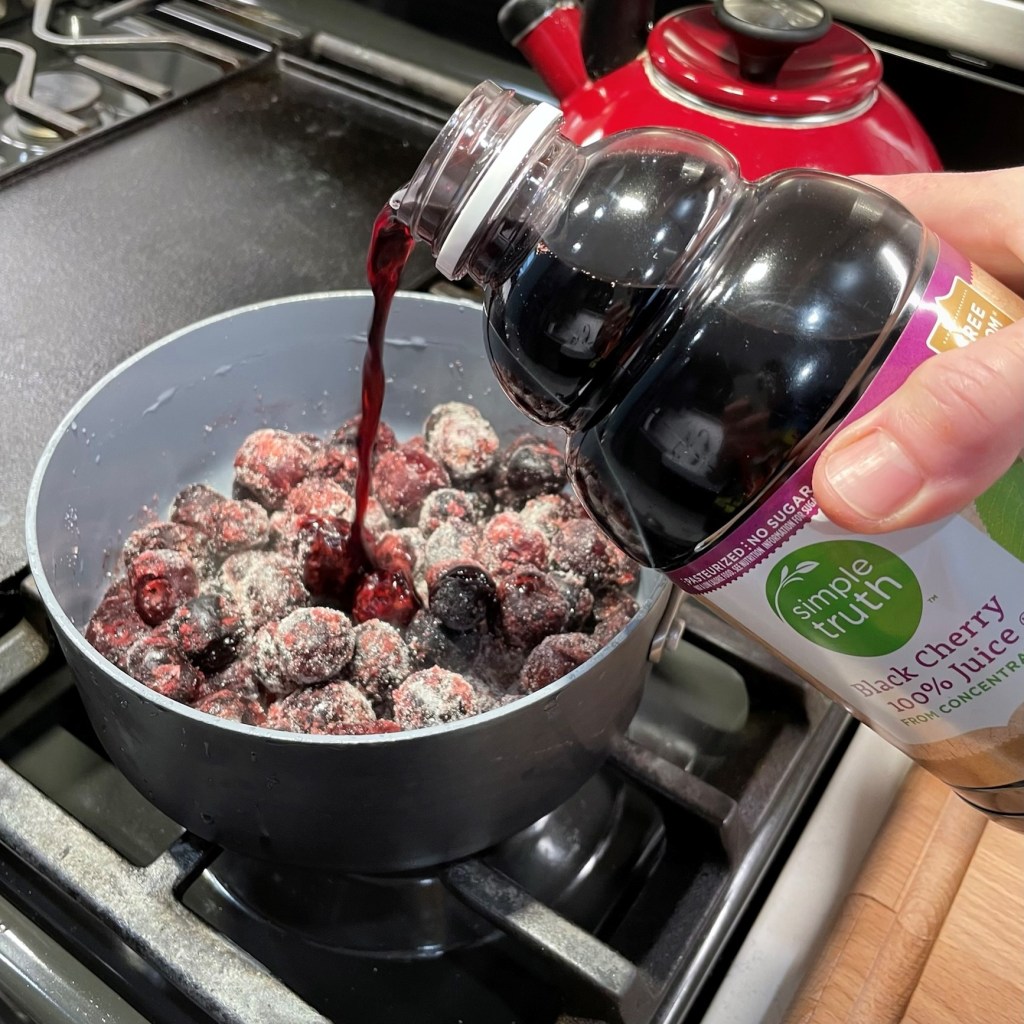
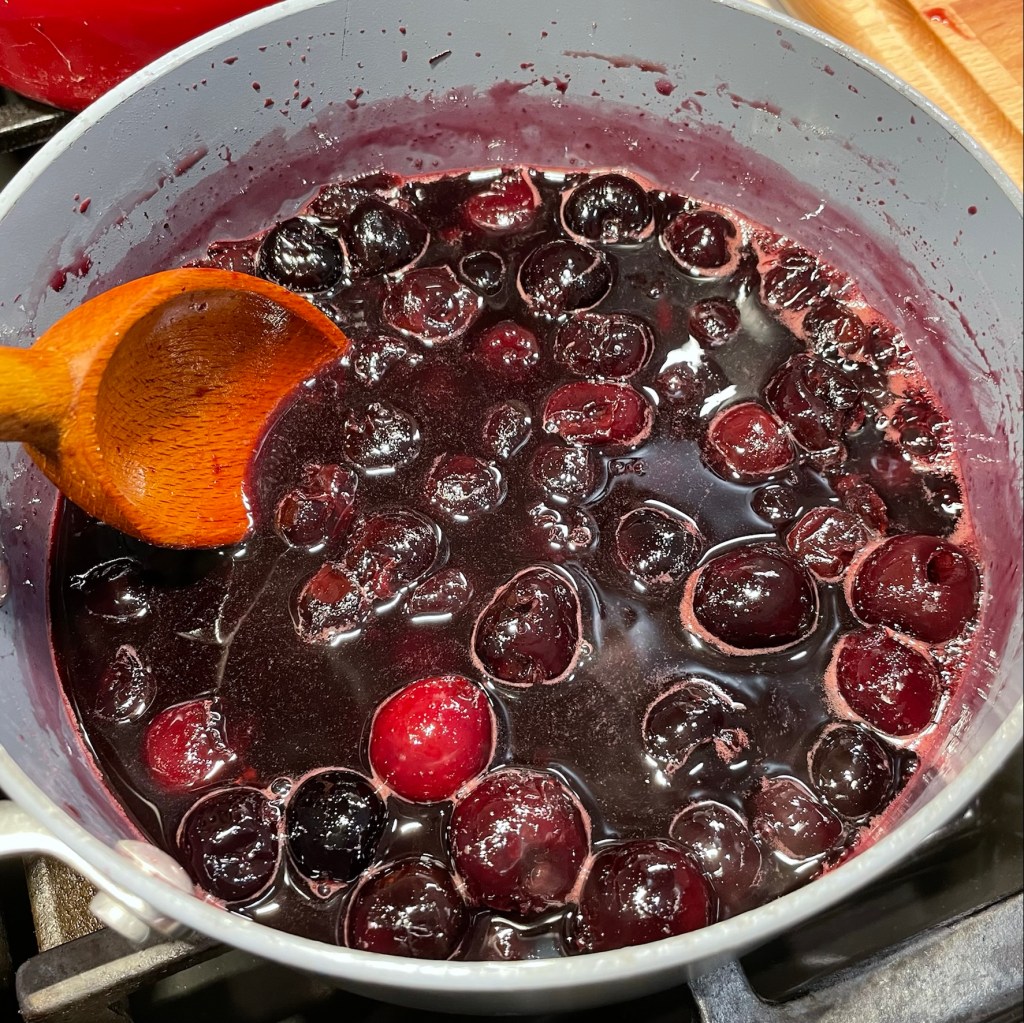
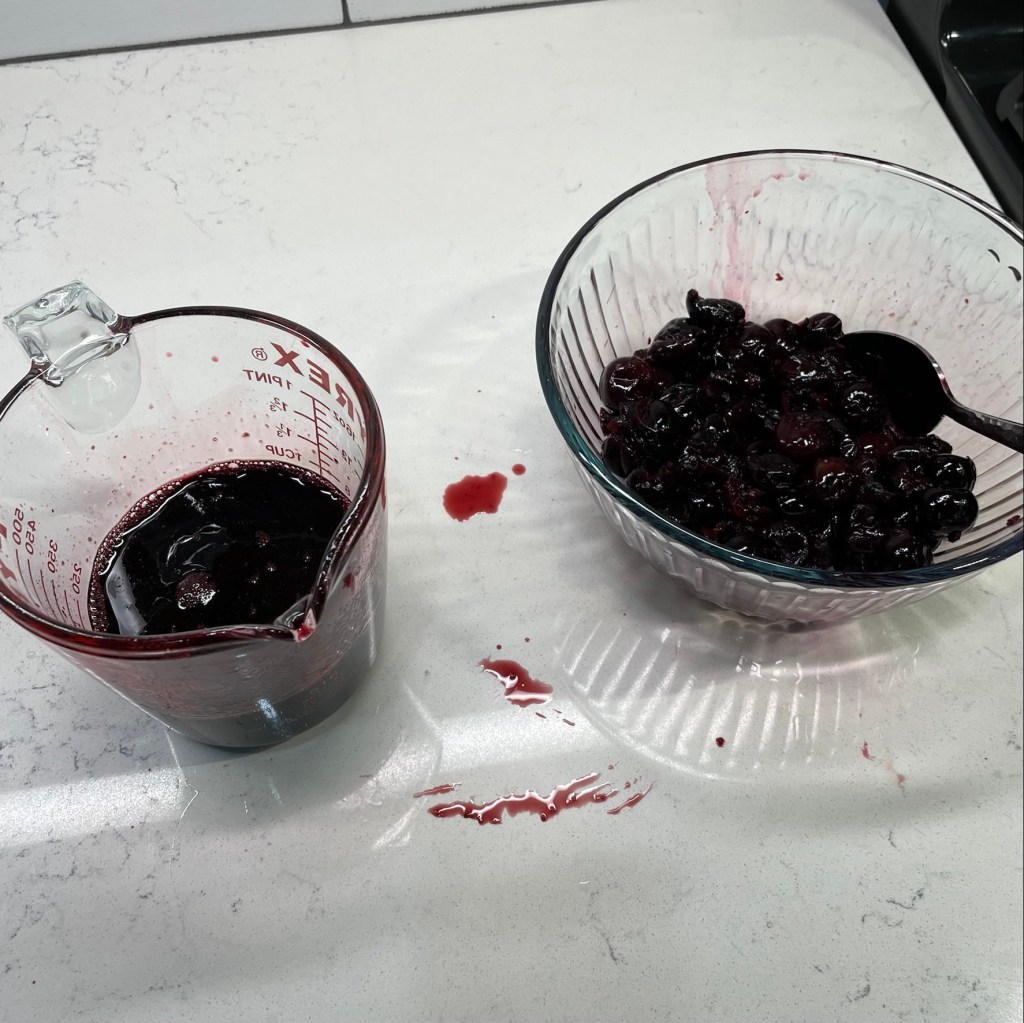
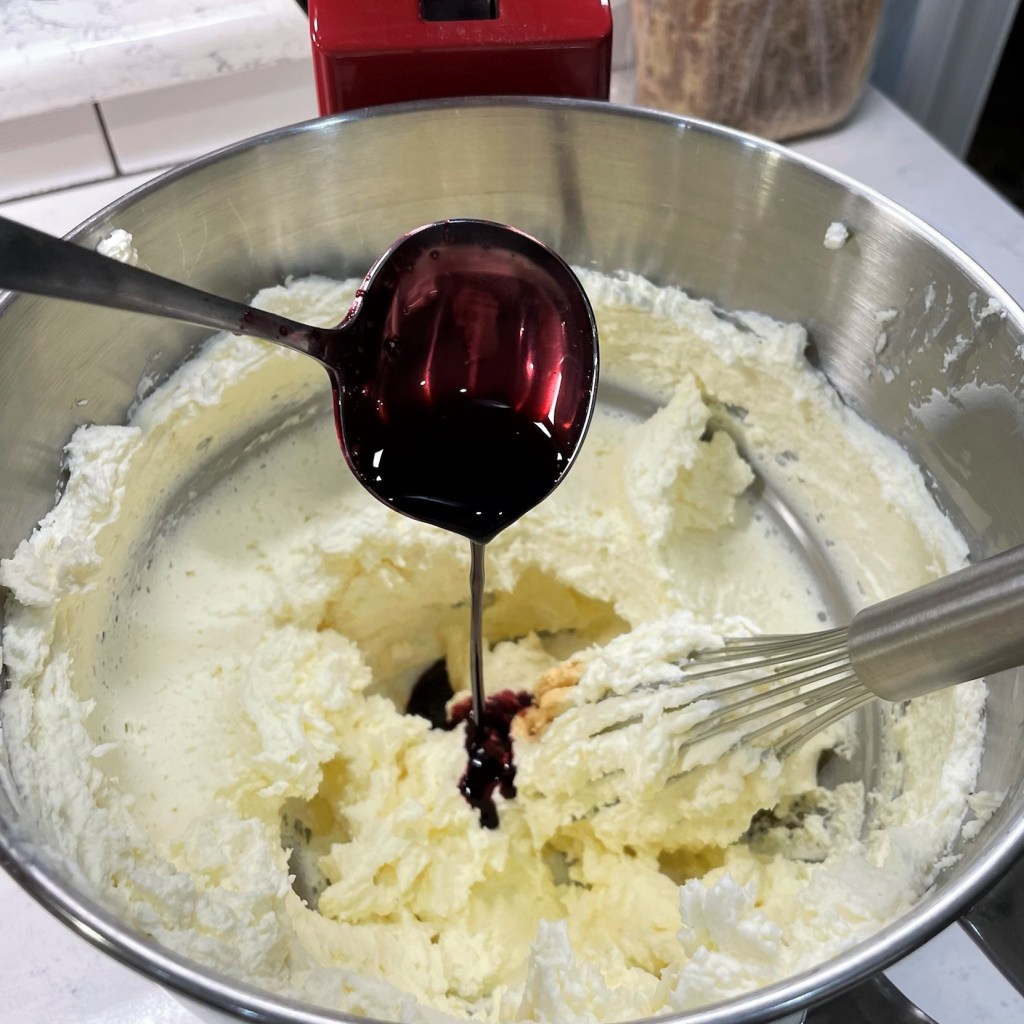
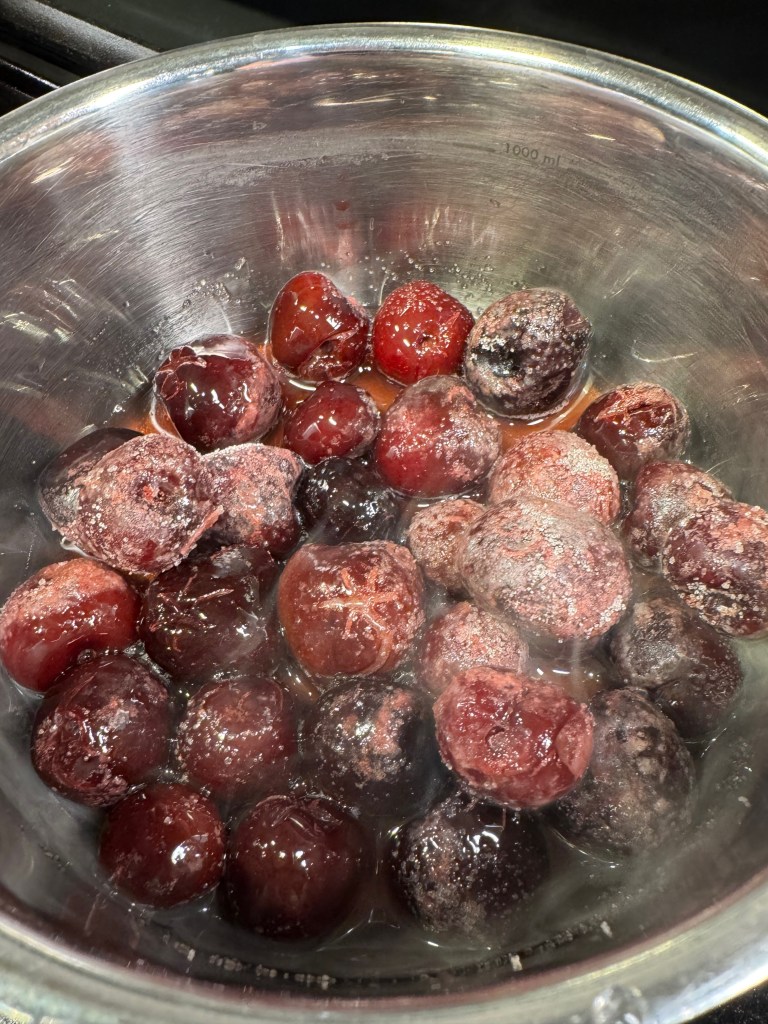
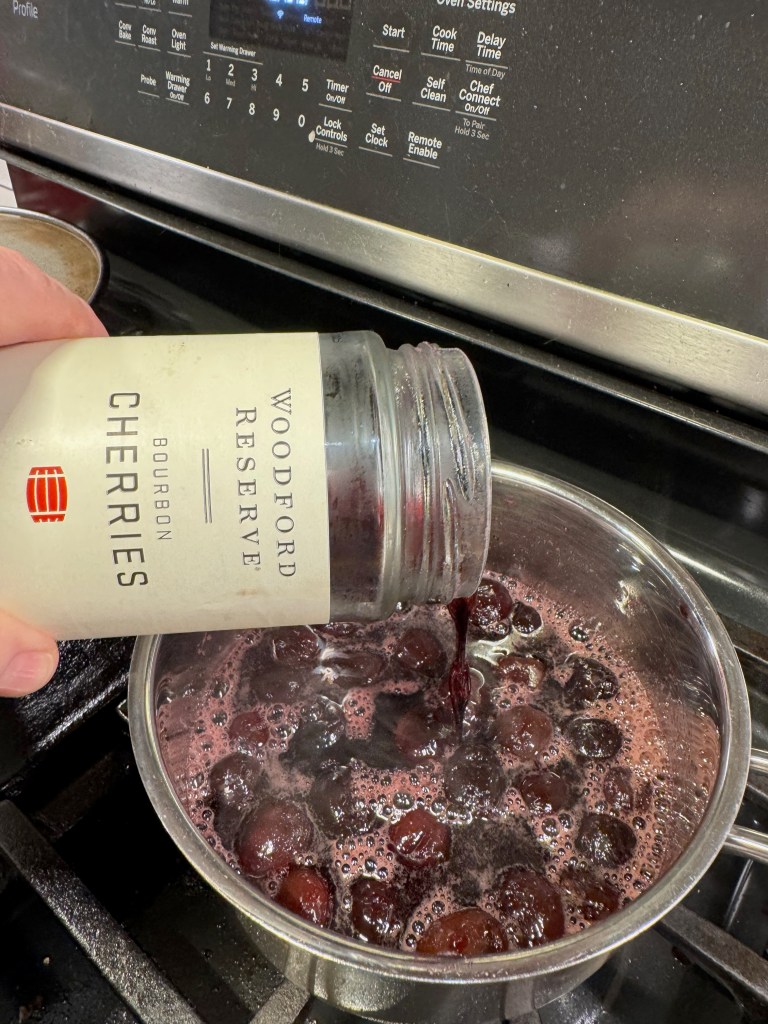
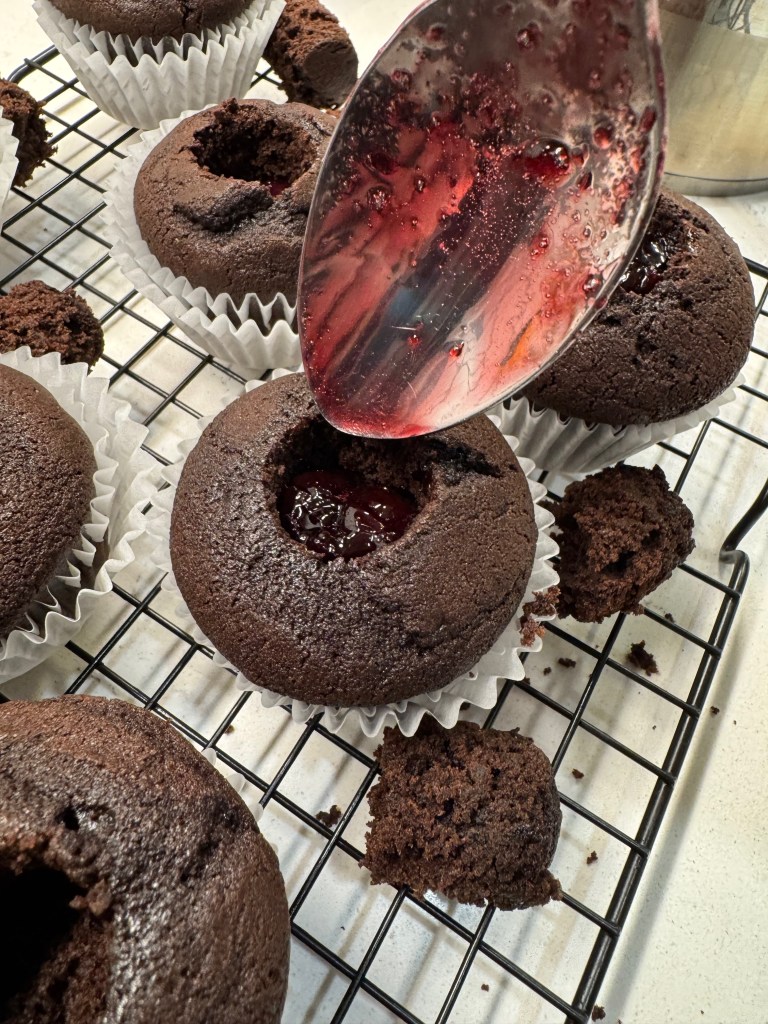
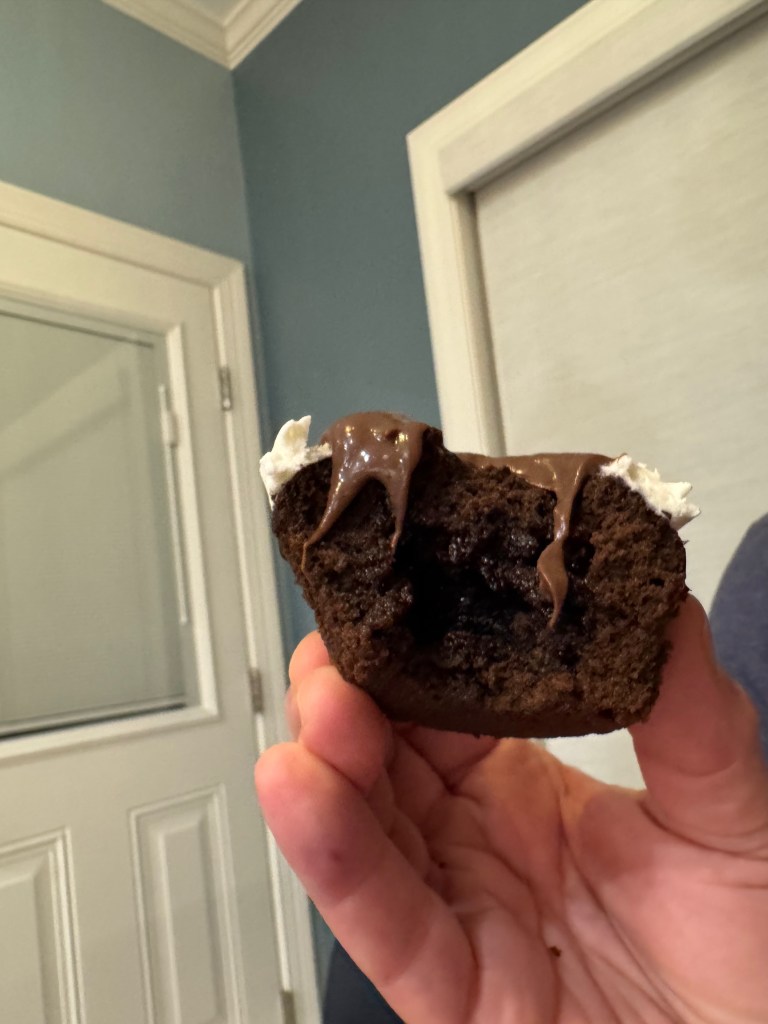
The cherry filling was also easy, with frozen dark sweet cherries cooked with sugar, corn syrup and a splash of juice from our cocktail cherries. I reduced the filling longer than usual because I didn’t want it to make the cupcakes soggy from the inside. The jury was still out on this, but I had purchased a can of cherry pie filling as a backup, hoping that I wouldn’t have to use it.
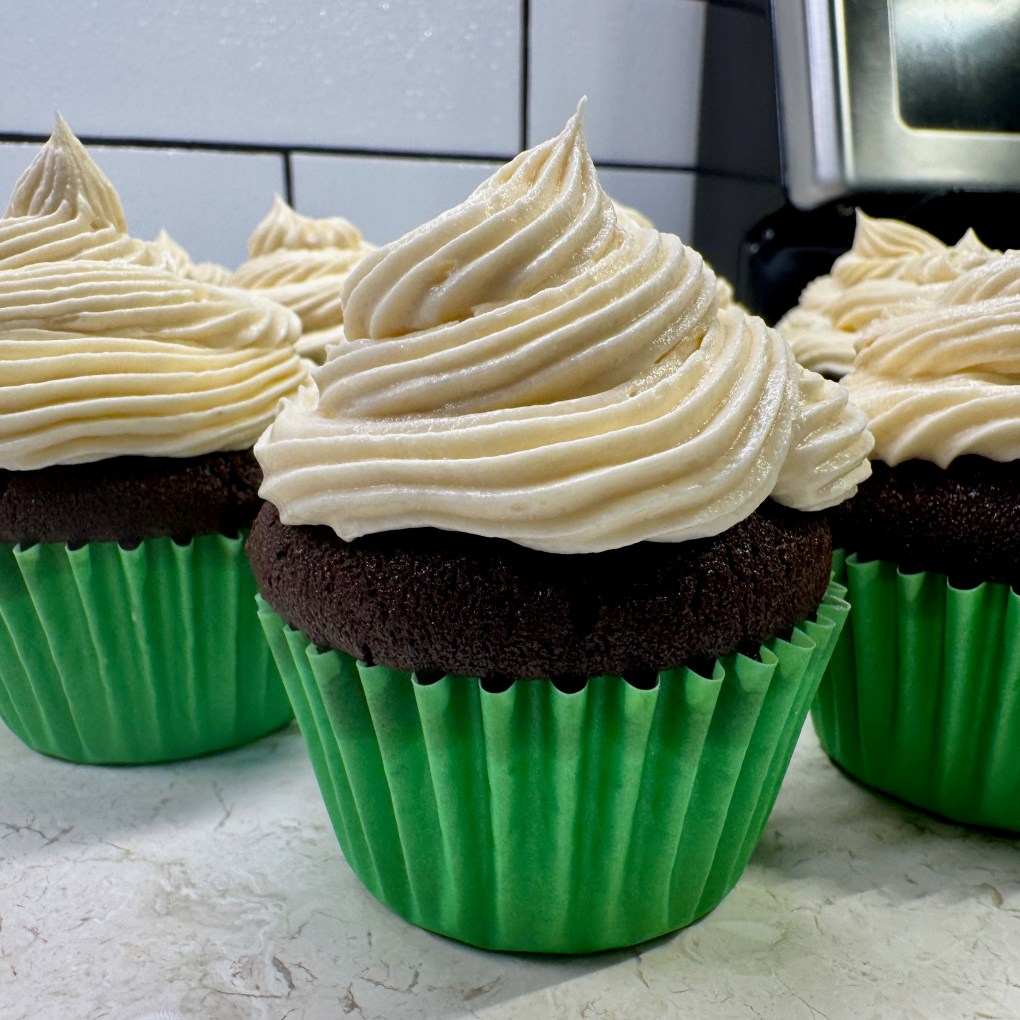
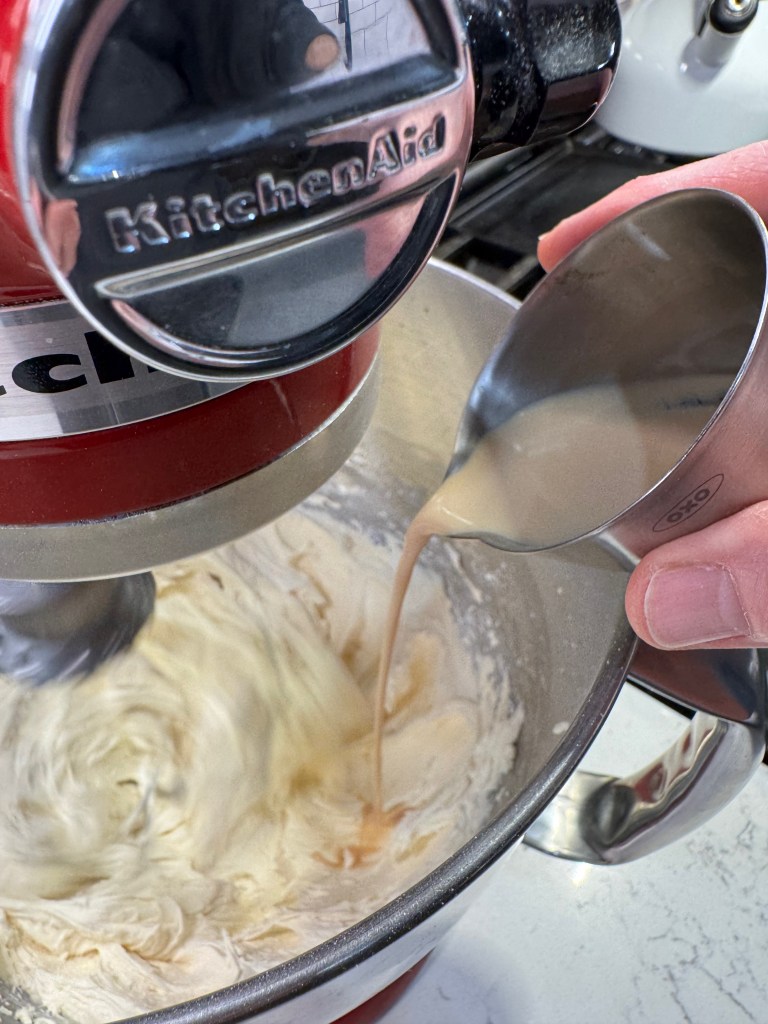
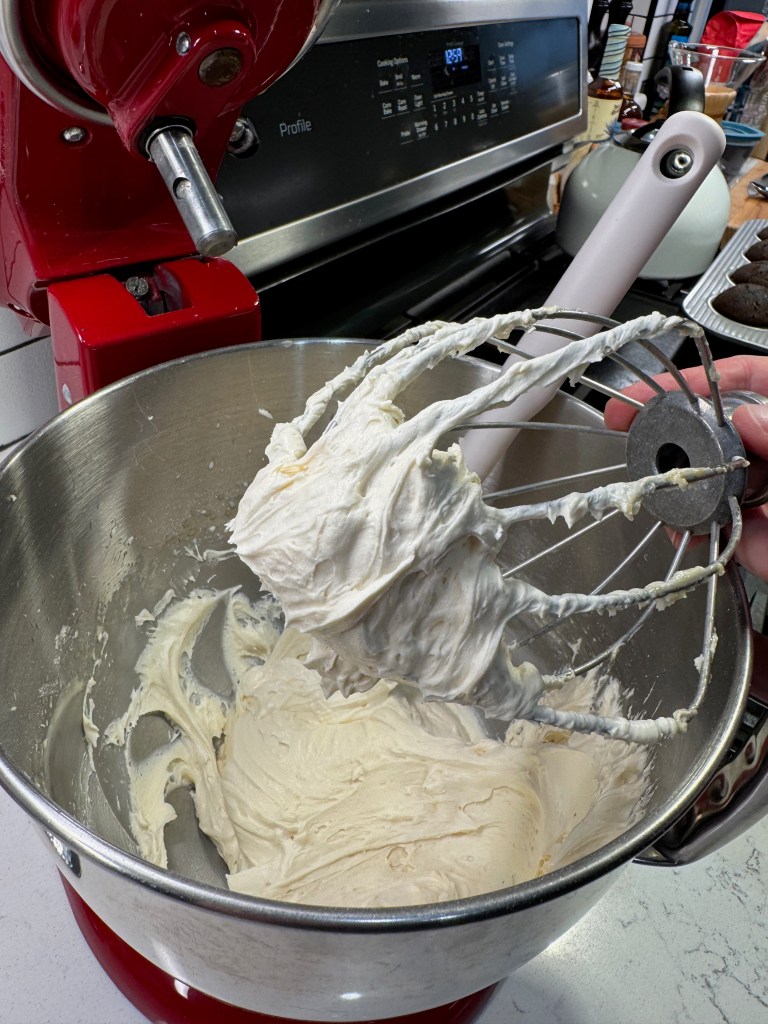
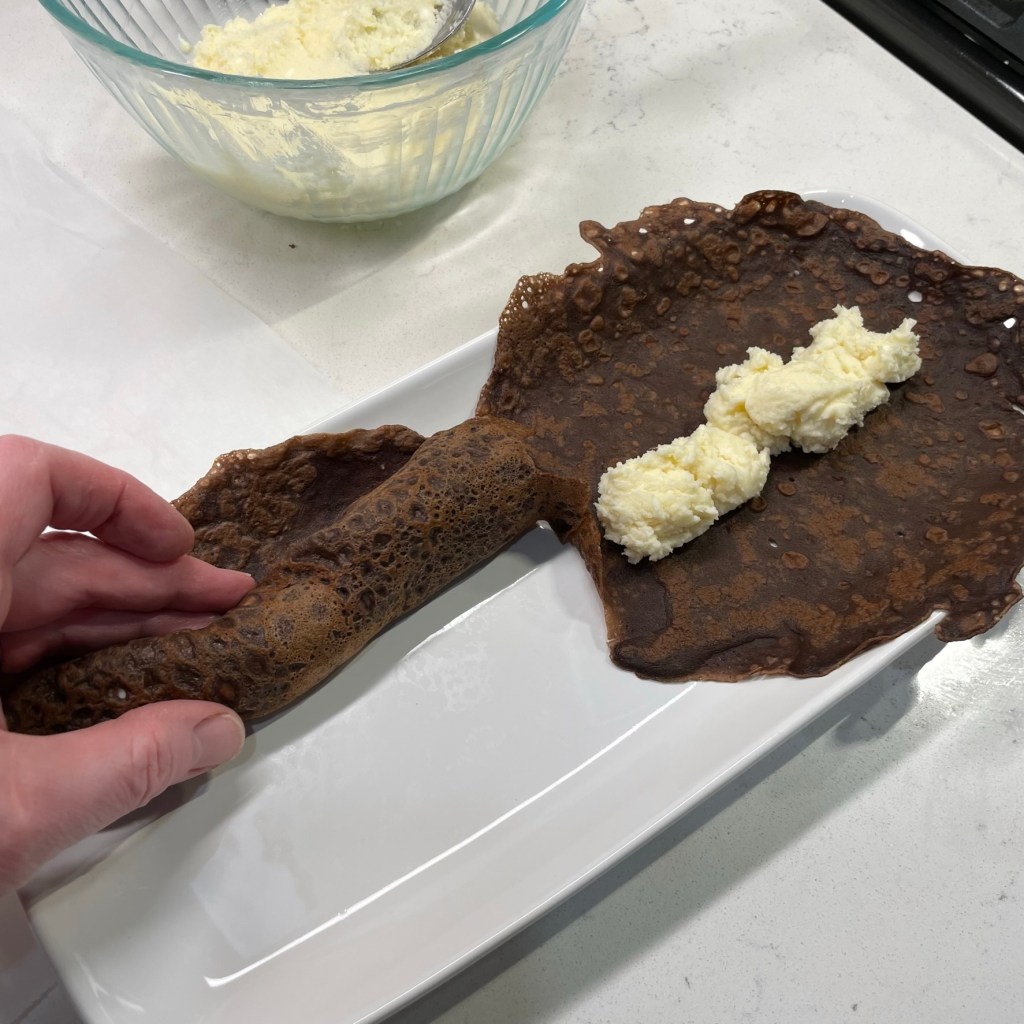
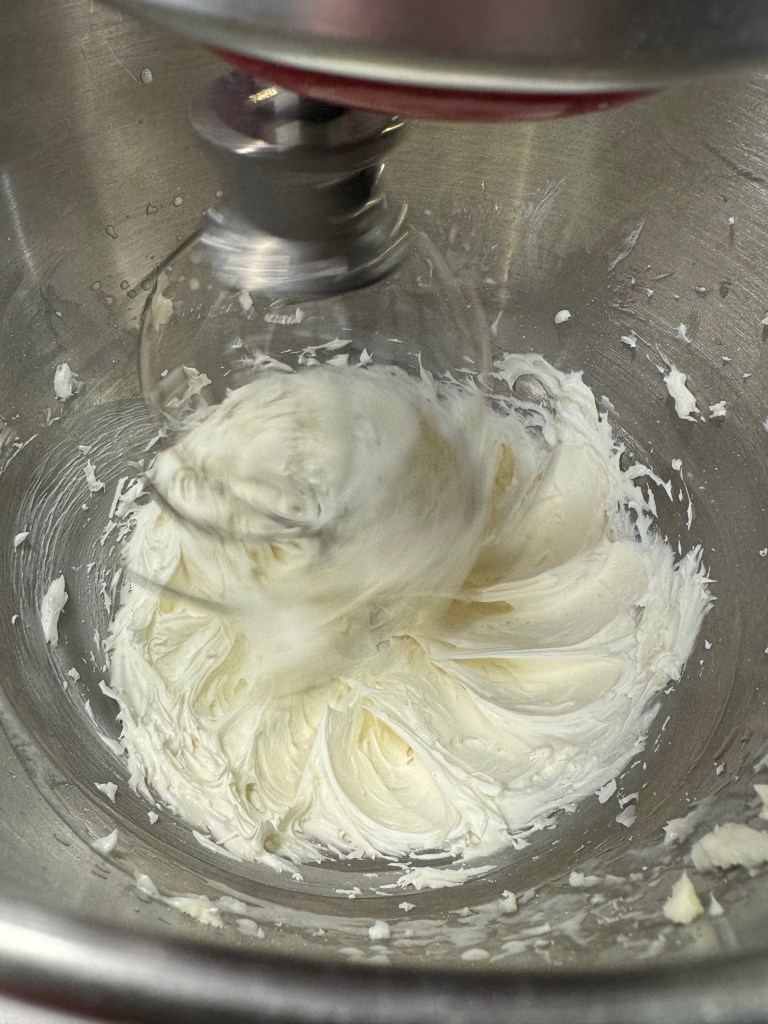
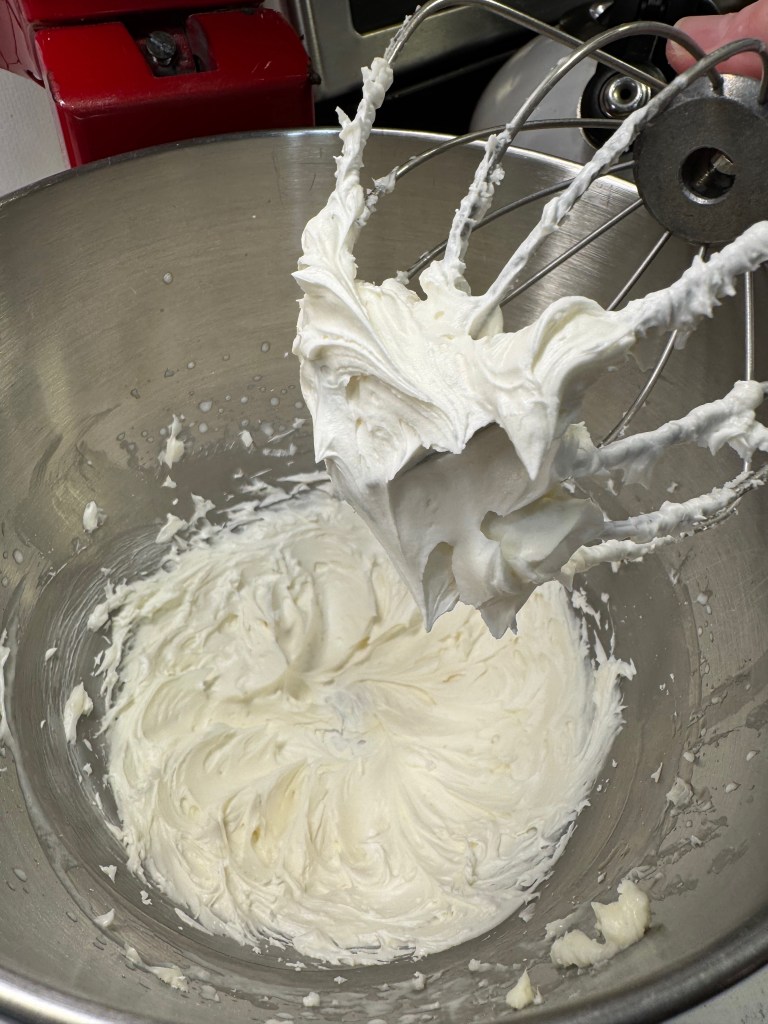
Even the icing was easy; just a half-recipe of my usual salted butter-powdered sugar-splash of booze buttercream. And given that I planned to only pipe it around the outer edges of my cupcakes, it turned out to be exactly the right amount.
Trouble with ganache
Why is it always the easiest part of a recipe that trips me up? Never mind, I know the answer to my own question. I’m far more likely to get lazy or take a shortcut on the part that seems like a no-brainer. And I pay for it every single time. By the way, did I mention that I was trying to make these glorious birthday cupcakes on the sly while Les worked a half-day? He wasn’t supposed to see these or even know that I was making them, and I was feeling the pressure with only 45 minutes remaining before he was due home.
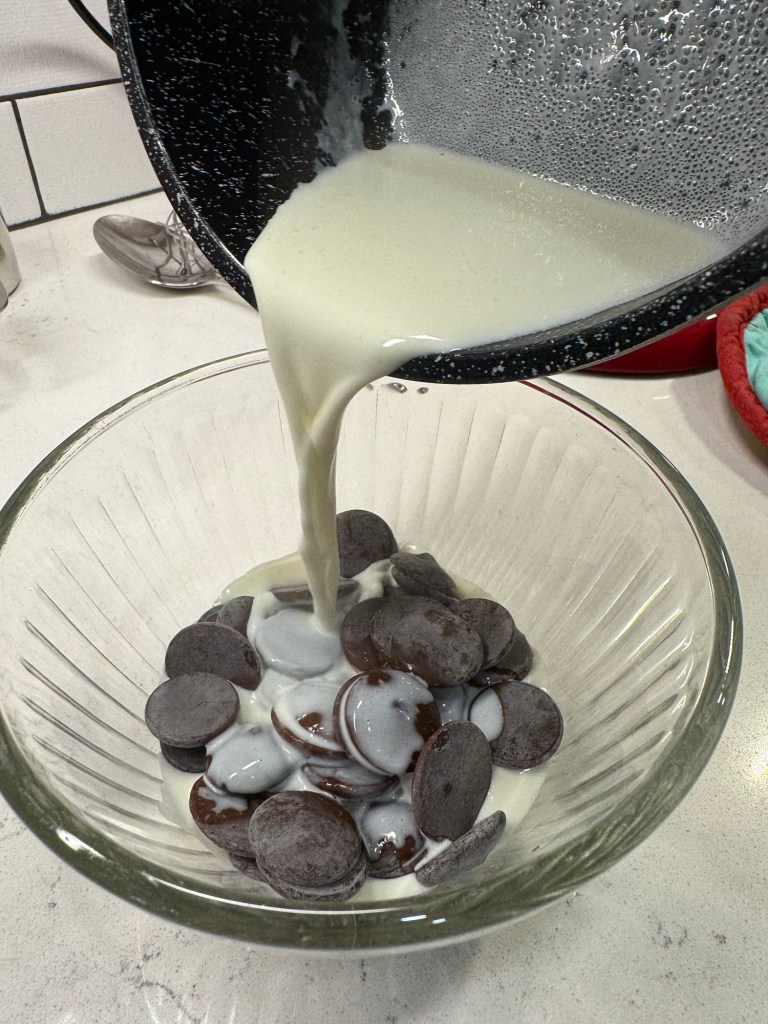
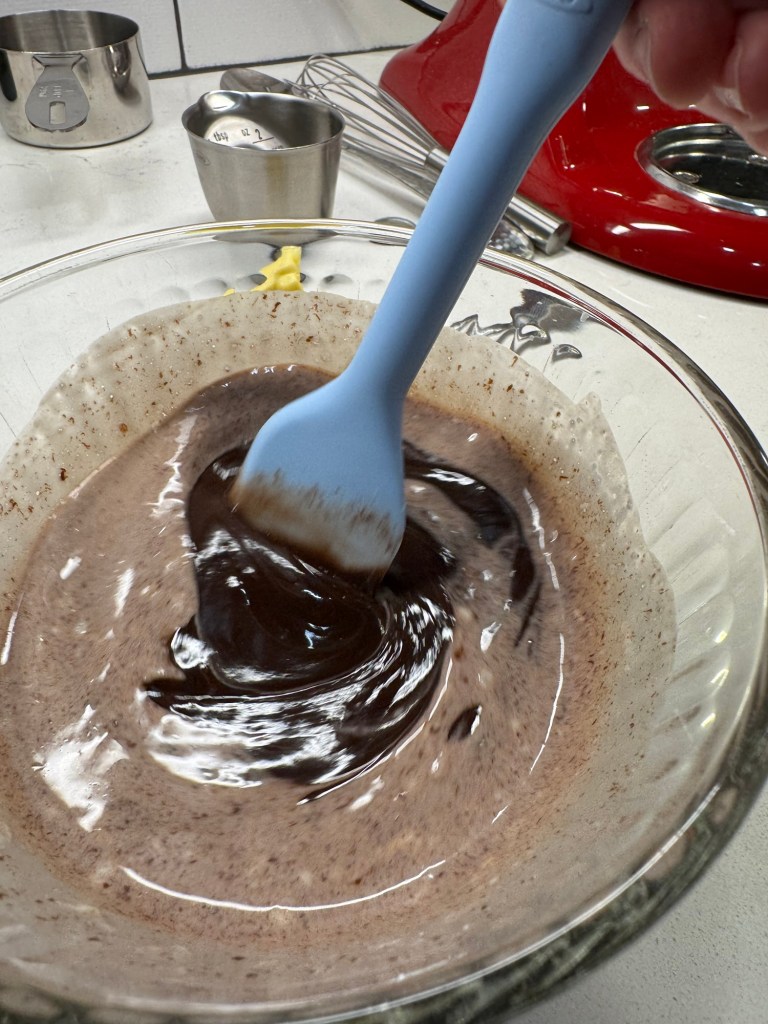
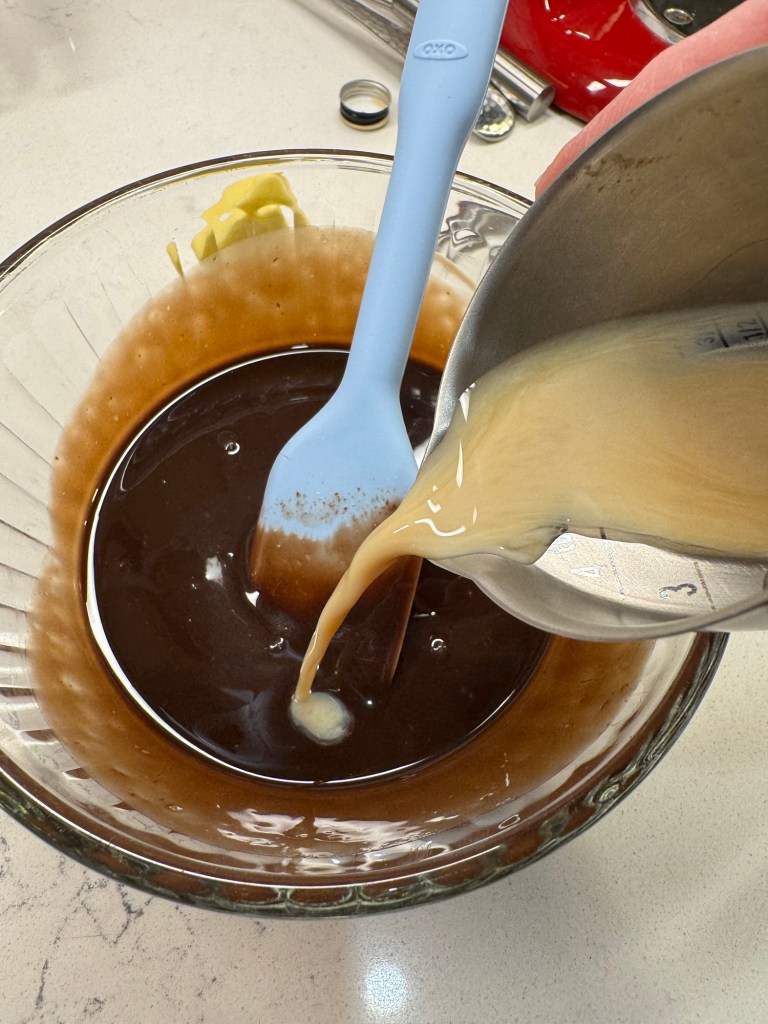
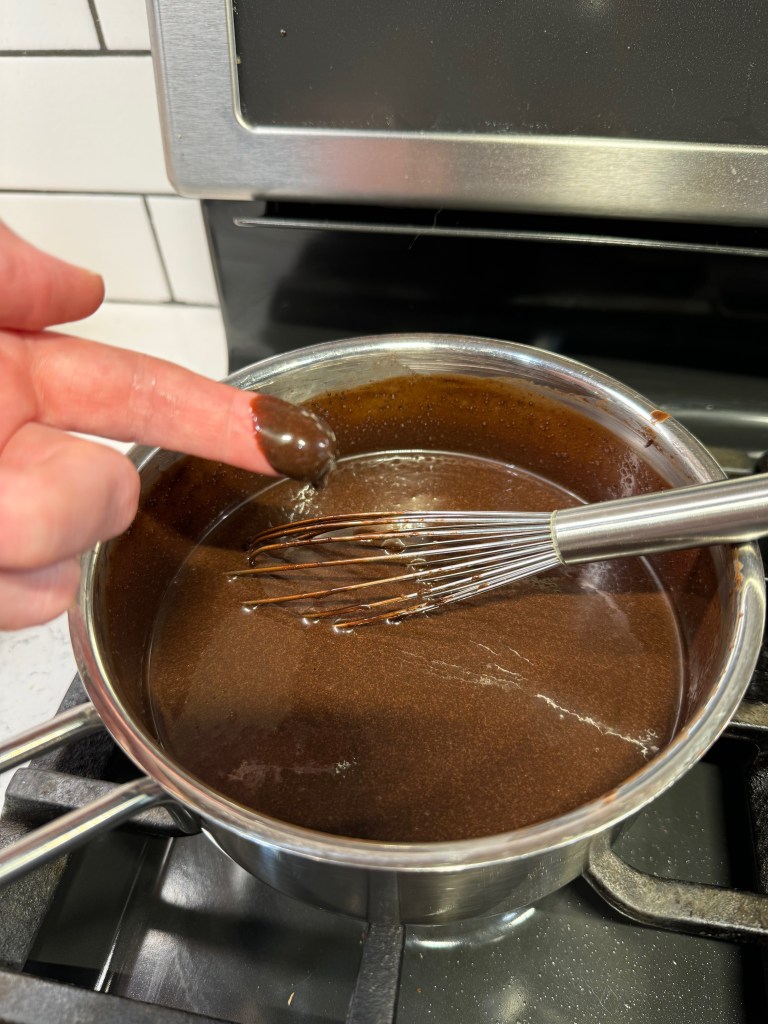
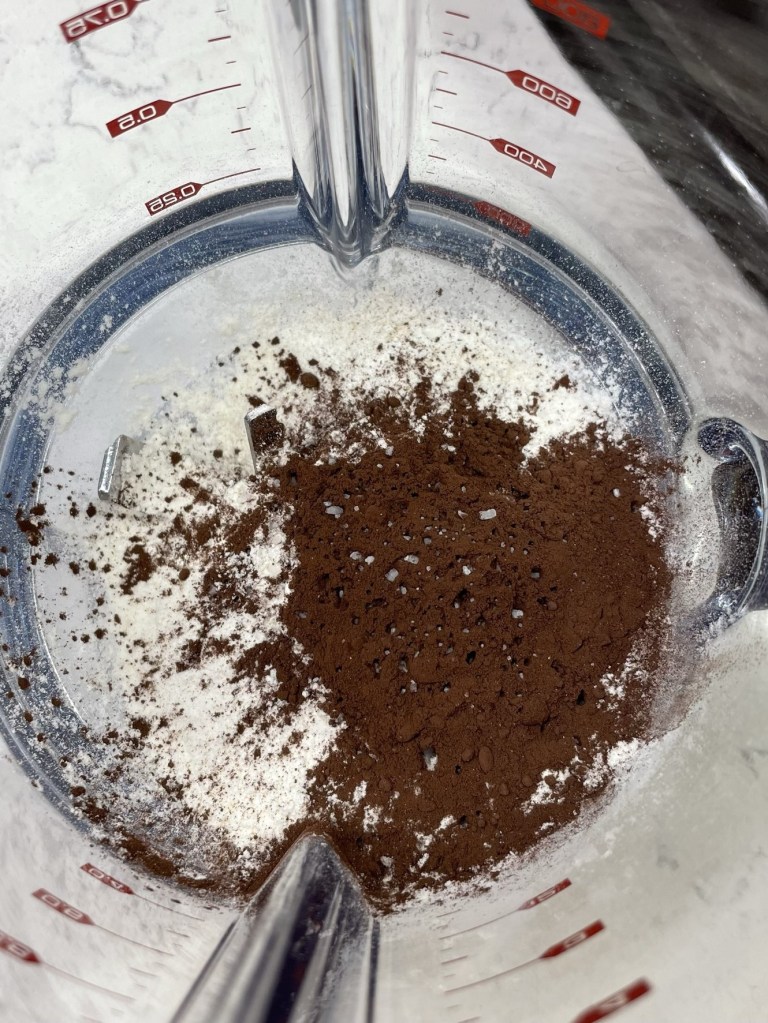
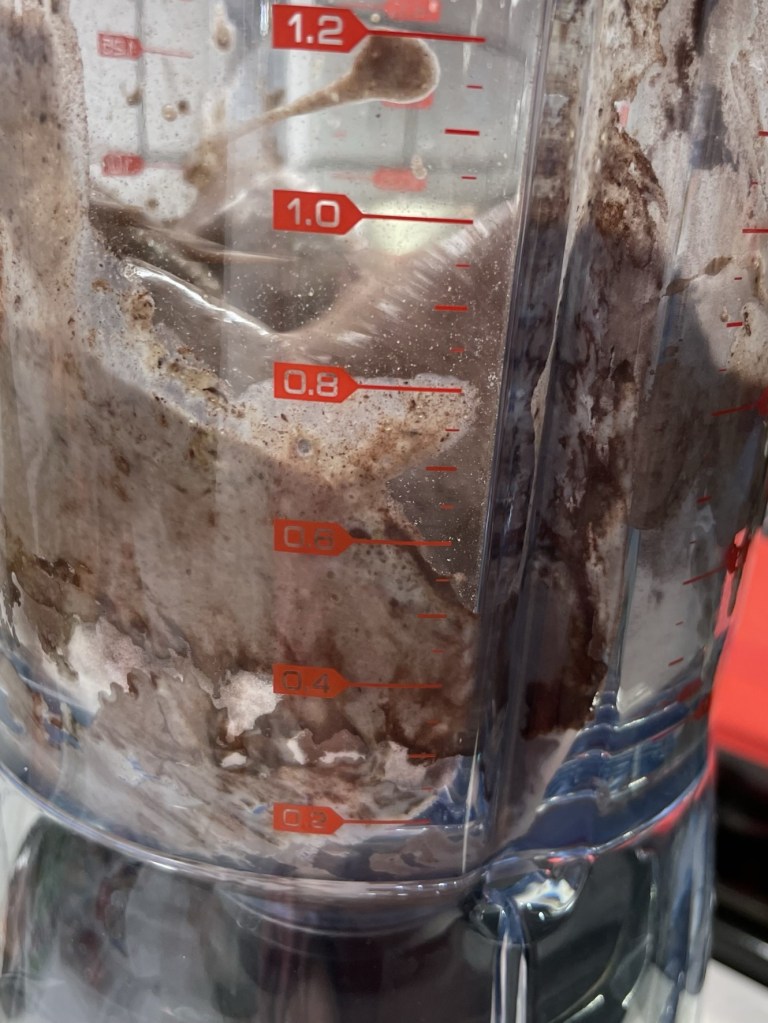
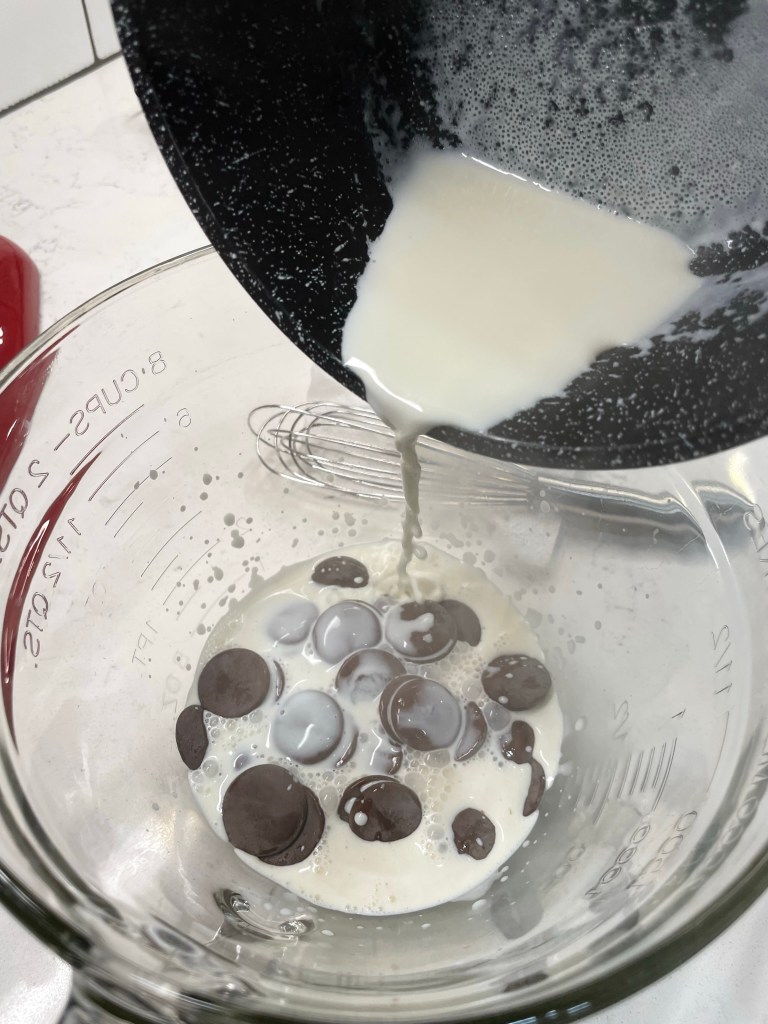
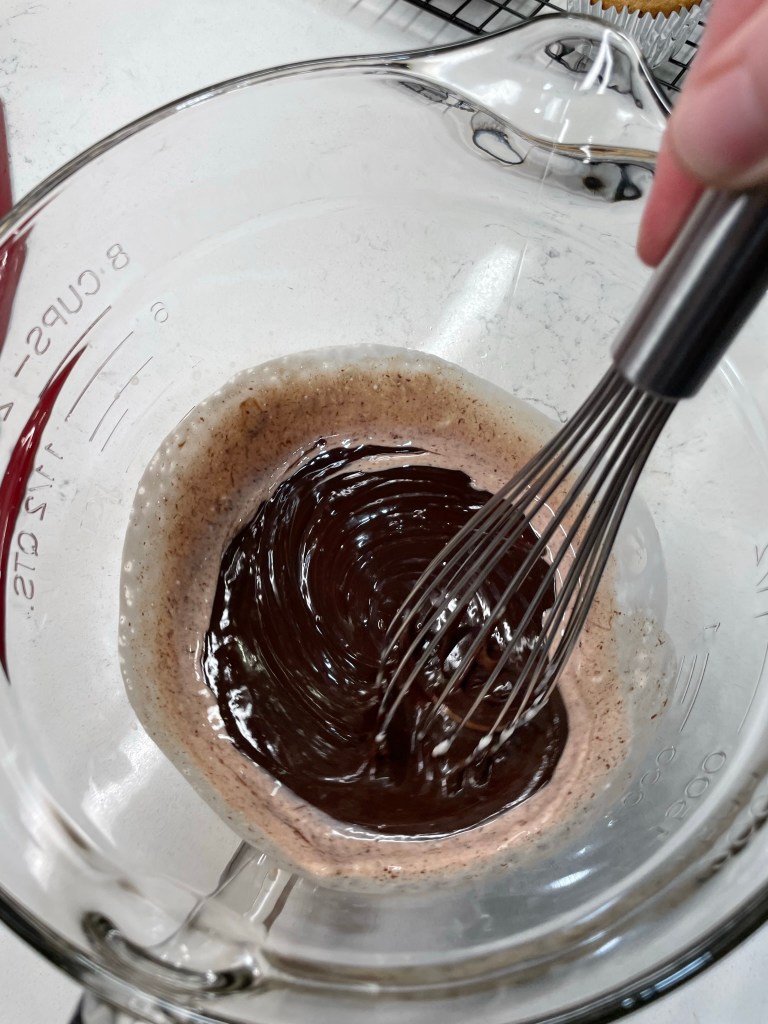
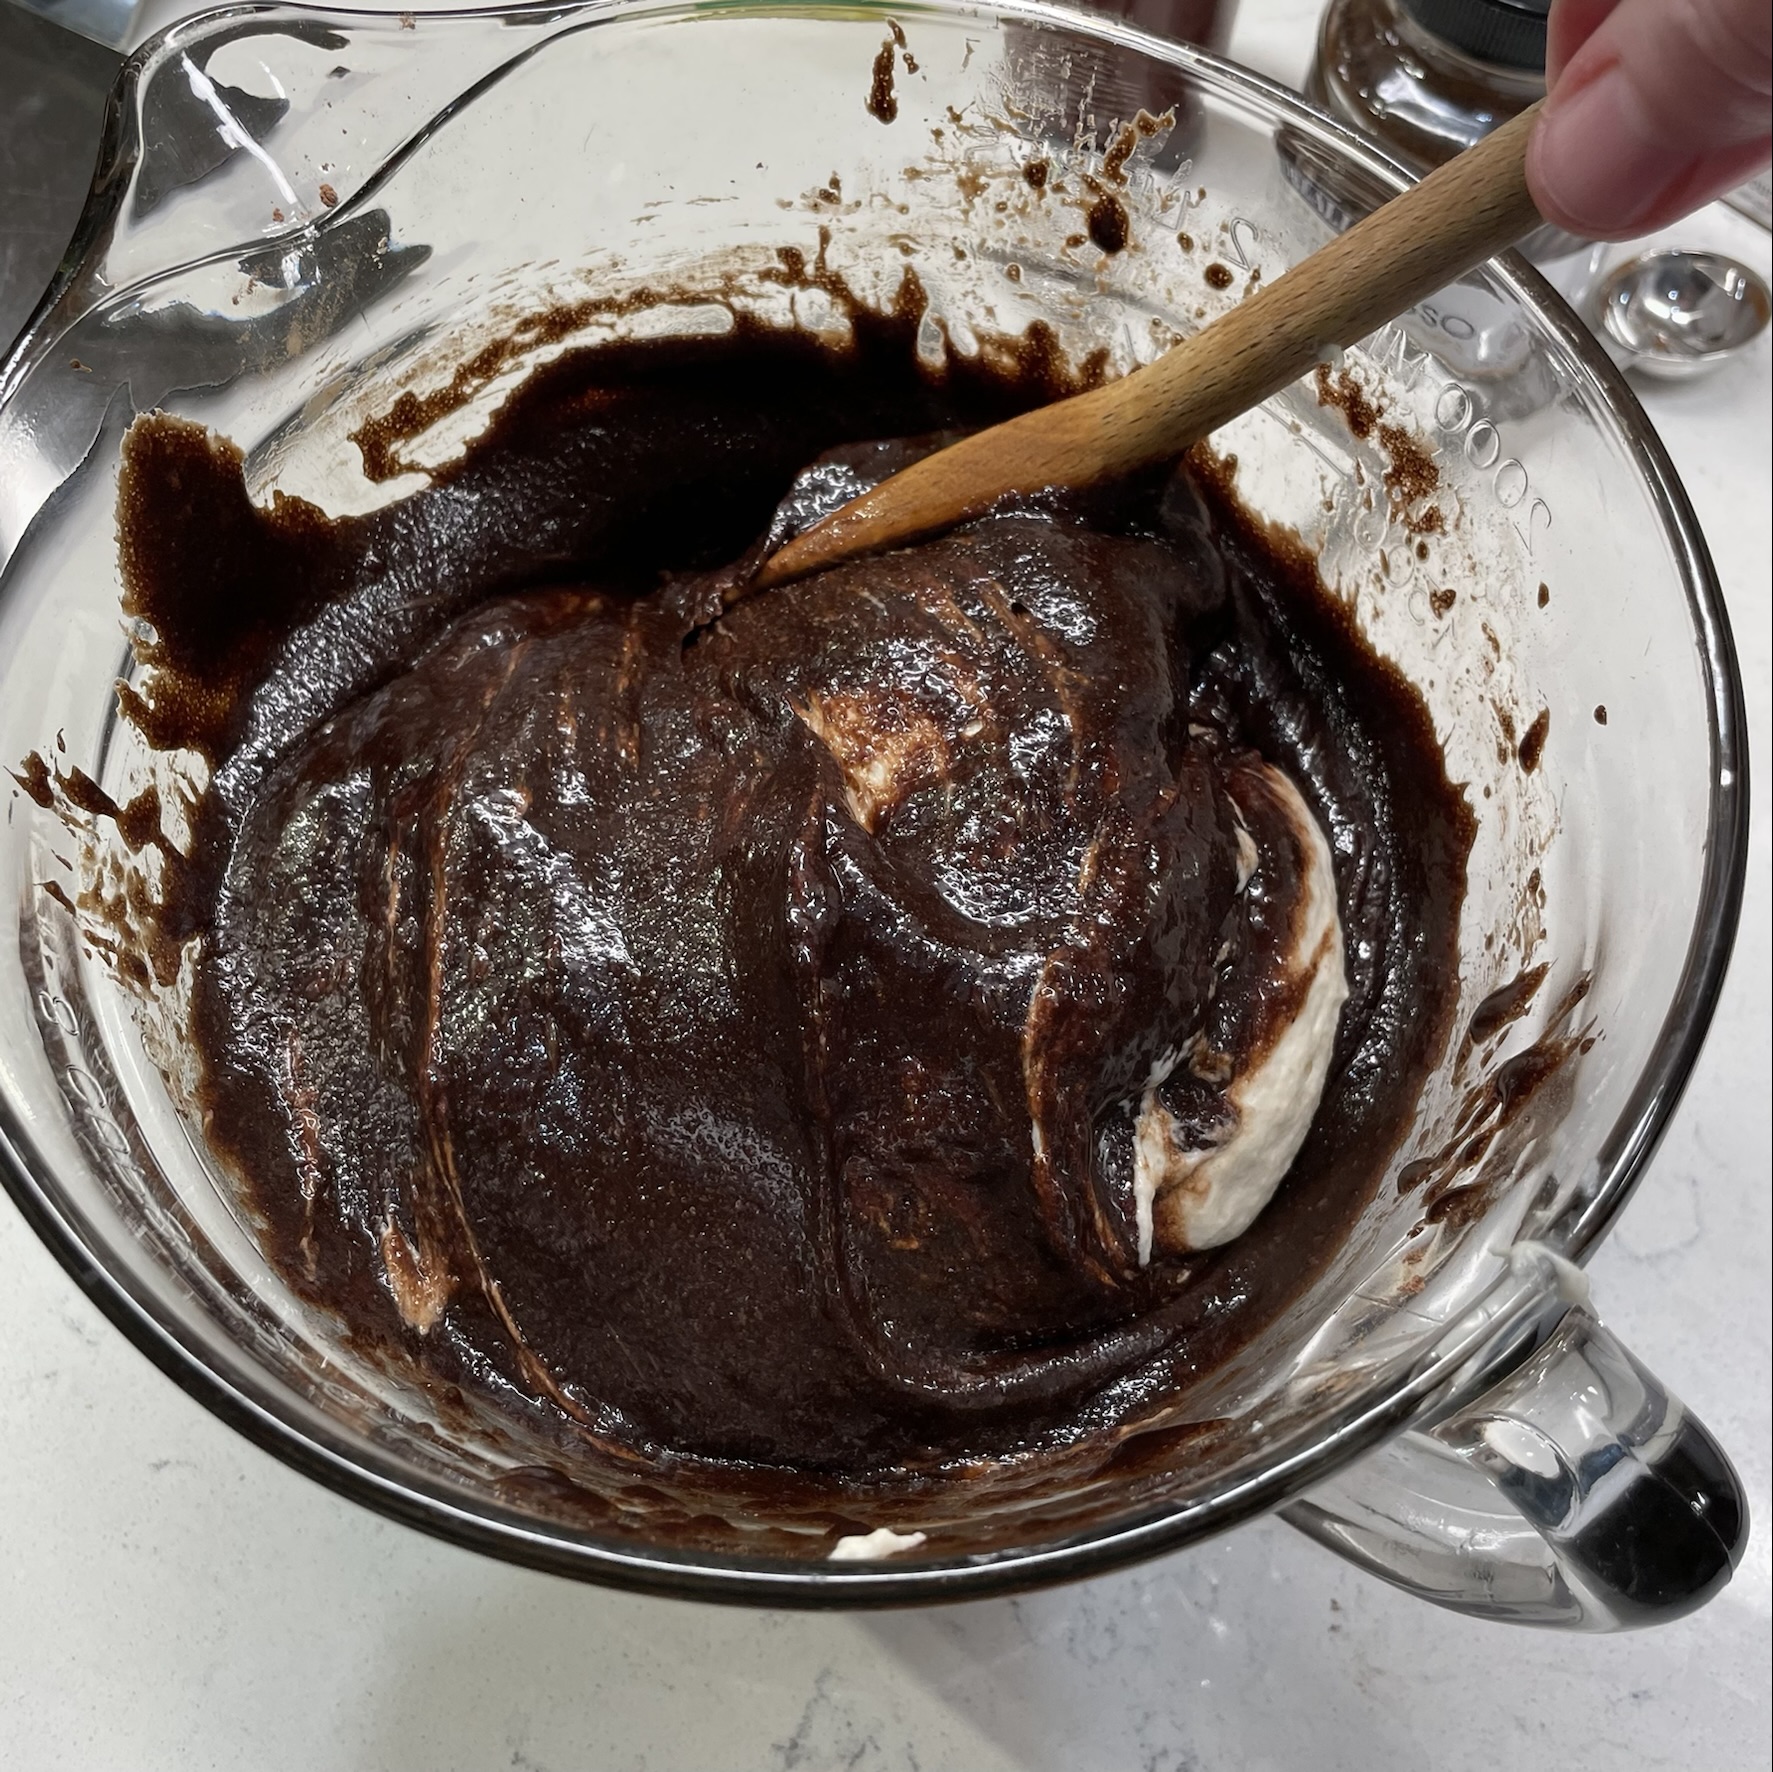
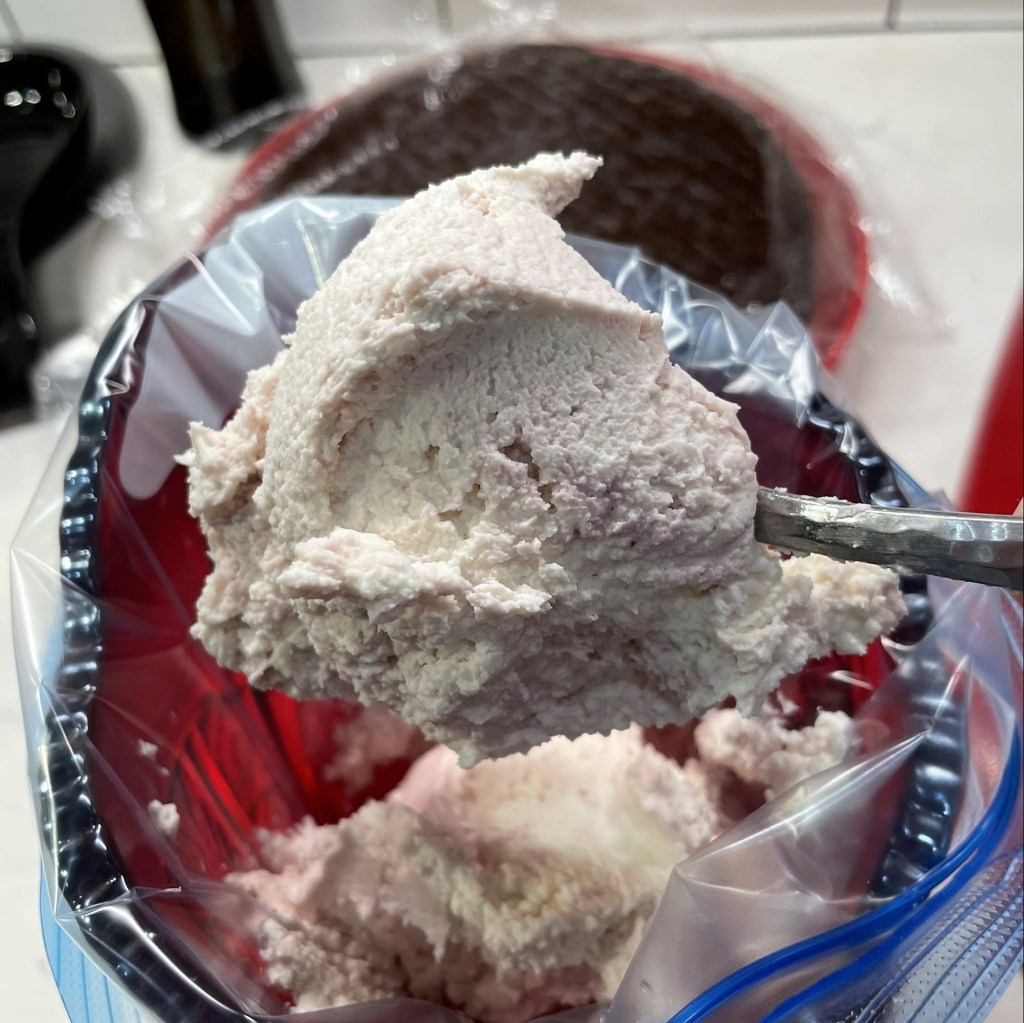
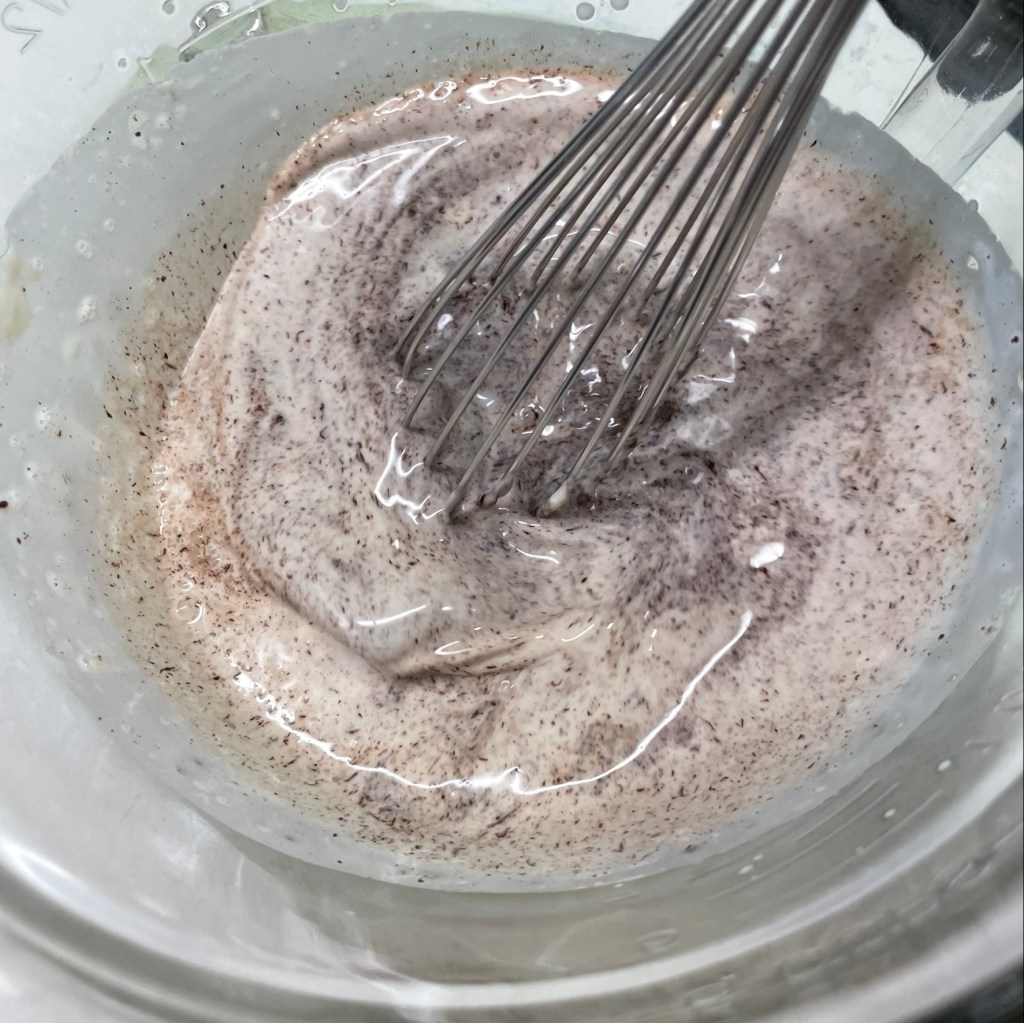
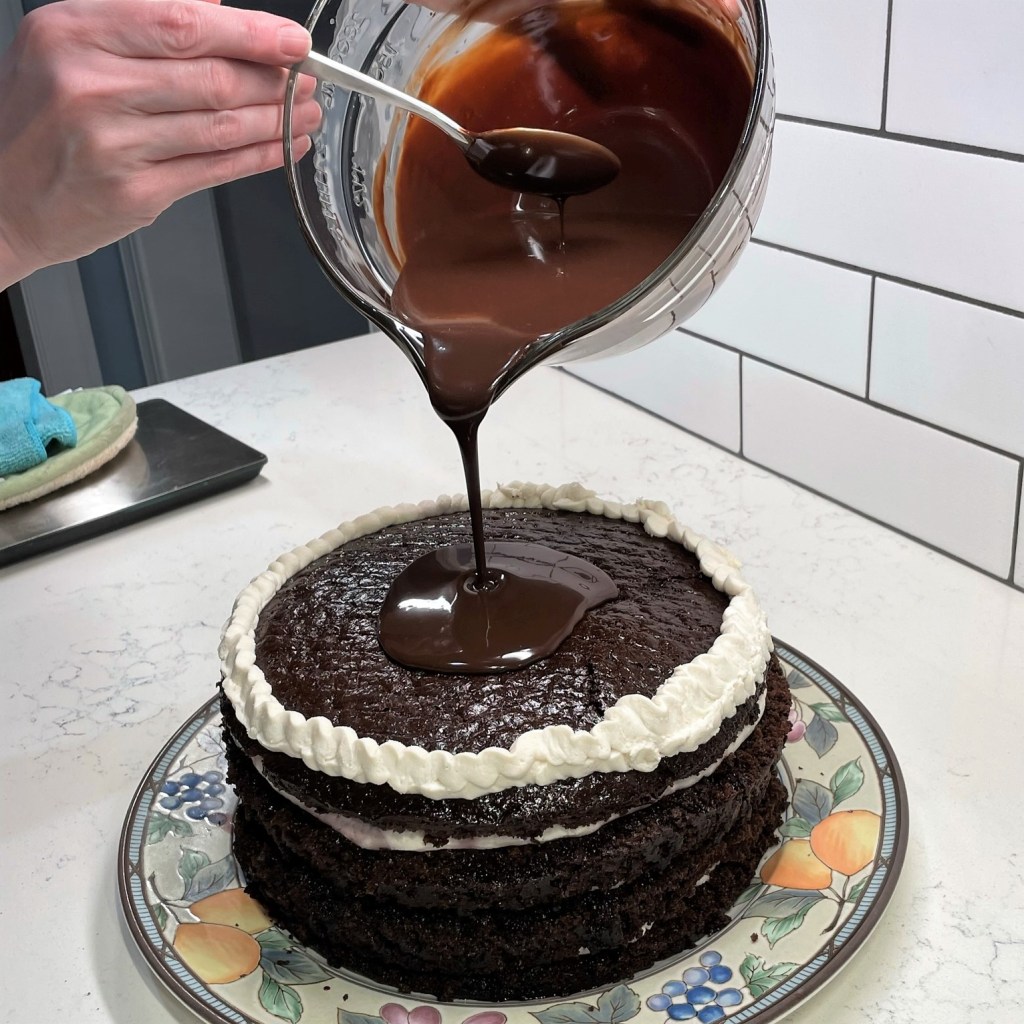
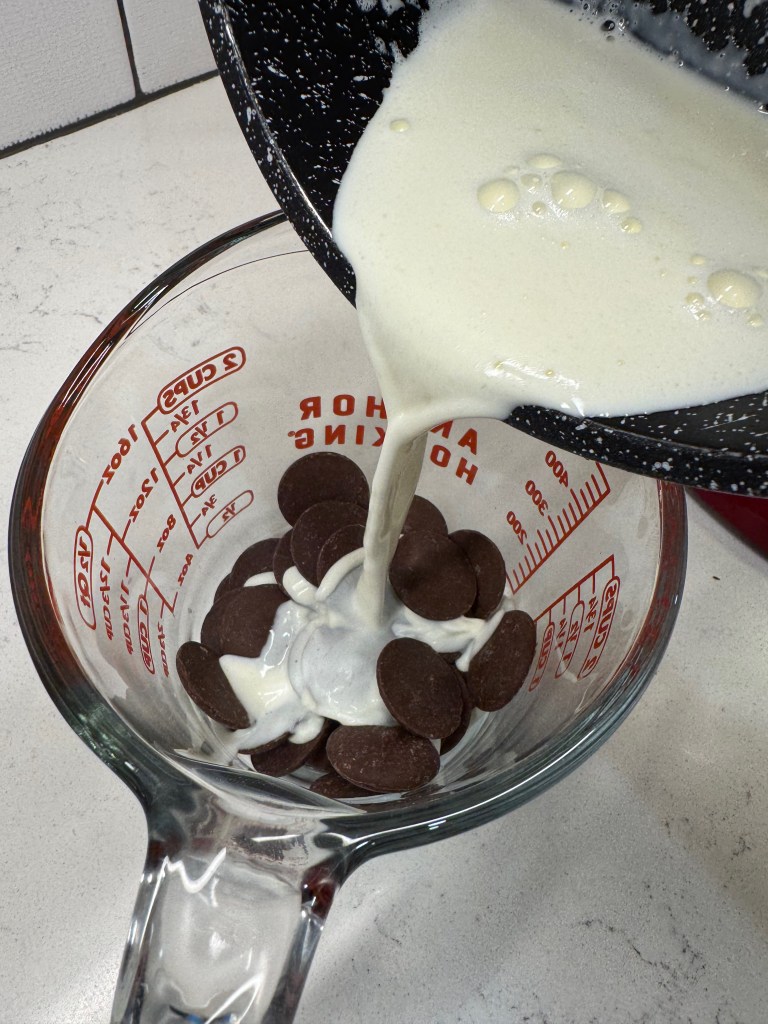
The ganache, which contains only two ingredients— in equal parts, I might add— became the problem. I think it was the White Rabbit in Alice in Wonderland who lamented,“the hurrier I go, the behinder I get,” and that certainly was the case for me, as I decided in a rush that I would not take five stupid seconds to cross the room and grab my digital scale for proper measurements. Nope, I eyeballed the ratio of dark chocolate wafers and hot heavy cream, and I missed the mark. And then, in my rush to finish, I didn’t give the cream enough time to melt the wafers before I started stirring it. So now I was in a fix of my own making, which happens more than I care to admit.
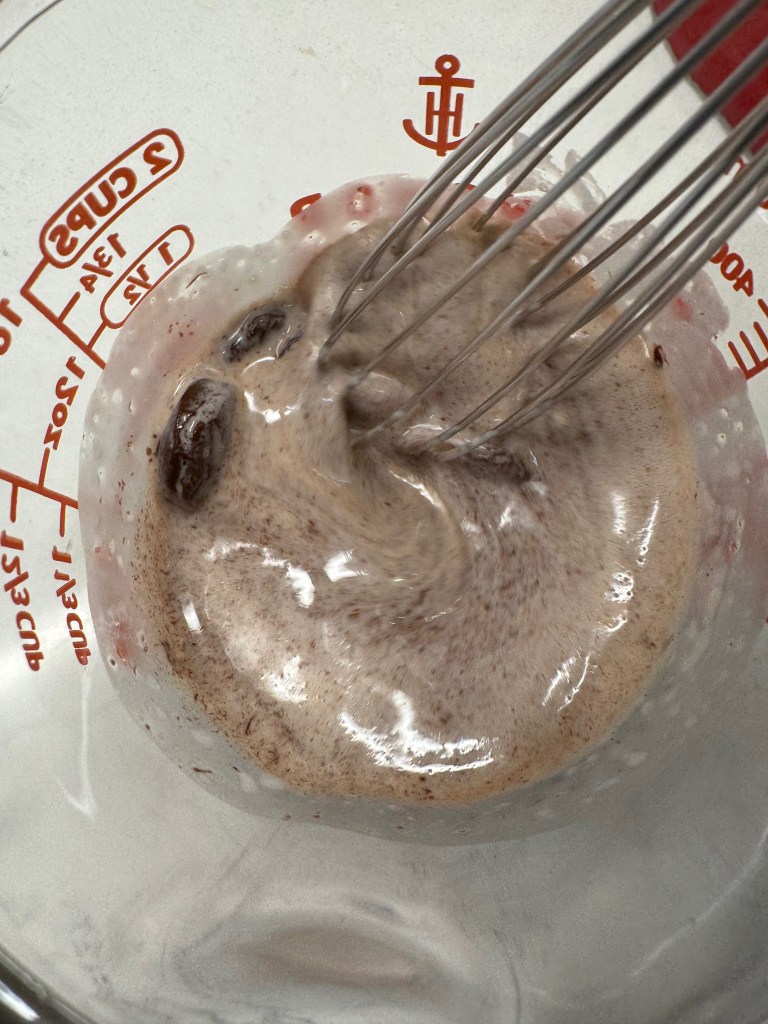
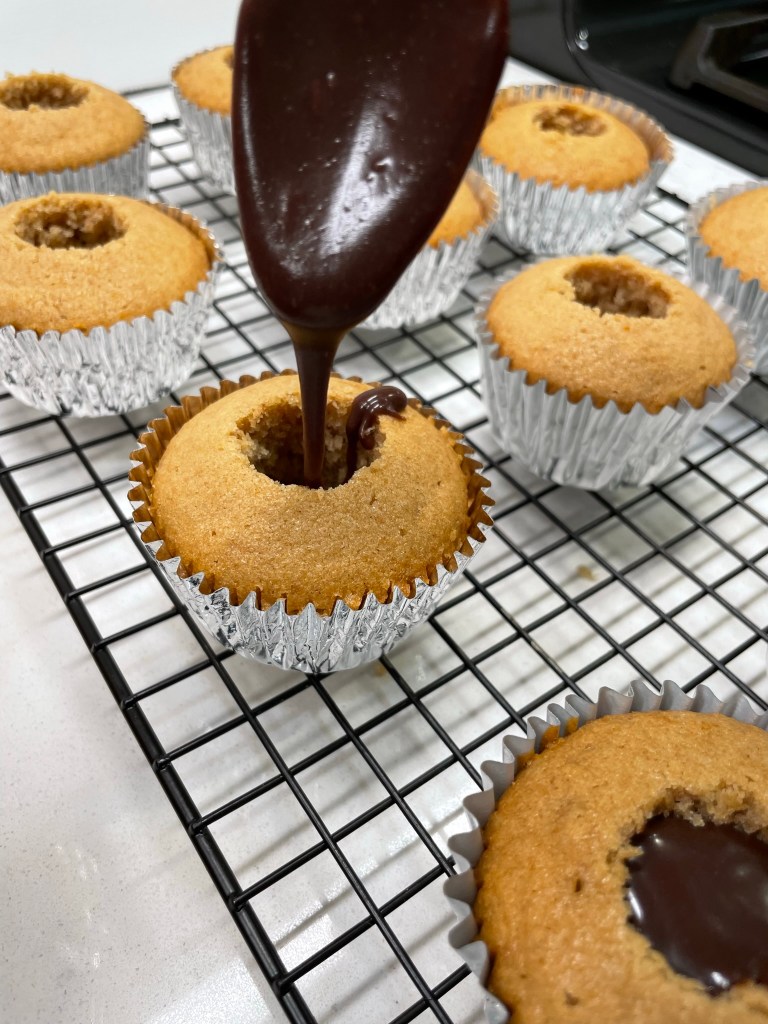
About this time, I panic-texted my high school bestie for a quick sanity check on how to best save the ganache. As expected, both options Christine suggested would take more time than I had, so I finished what I could— filling each cupcake with two or three boozy cherries and piping the buttercream onto the edges. The rest would have to wait, as I crammed the cupcakes and the half-assed ganache into the garage refrigerator, speed-washed the dishes and tried my best to “act normal” when Les walked in the door.
A decision bigger than ganache
Though I had made some special plans for us that afternoon, which included a couples’ manicure and a cool visit to the Van Gogh Immersive Experience, half of my mind stayed behind in the kitchen, deciding how to pull this off without spoiling the surprise. This was not a milestone birthday for Les, but I really wanted to make the day extra special because A: I love him to pieces, and B: he had pulled off a stunning party for me one month earlier when I hit a zero-ender birthday. When you love someone, you want to do your best for them, right?
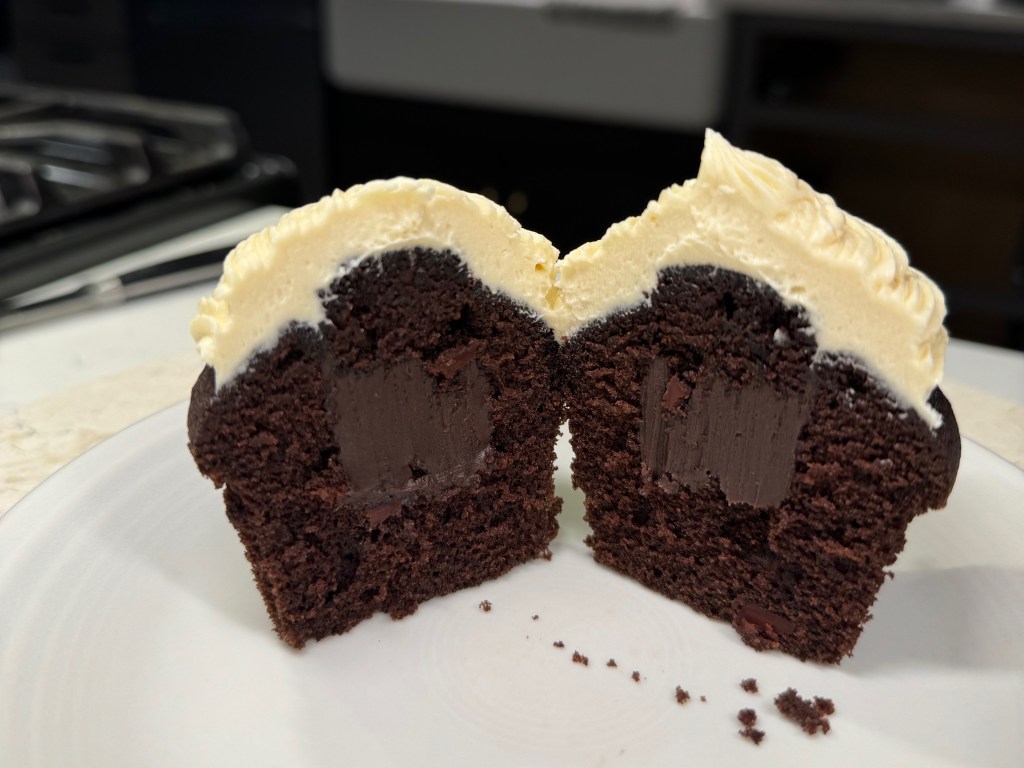
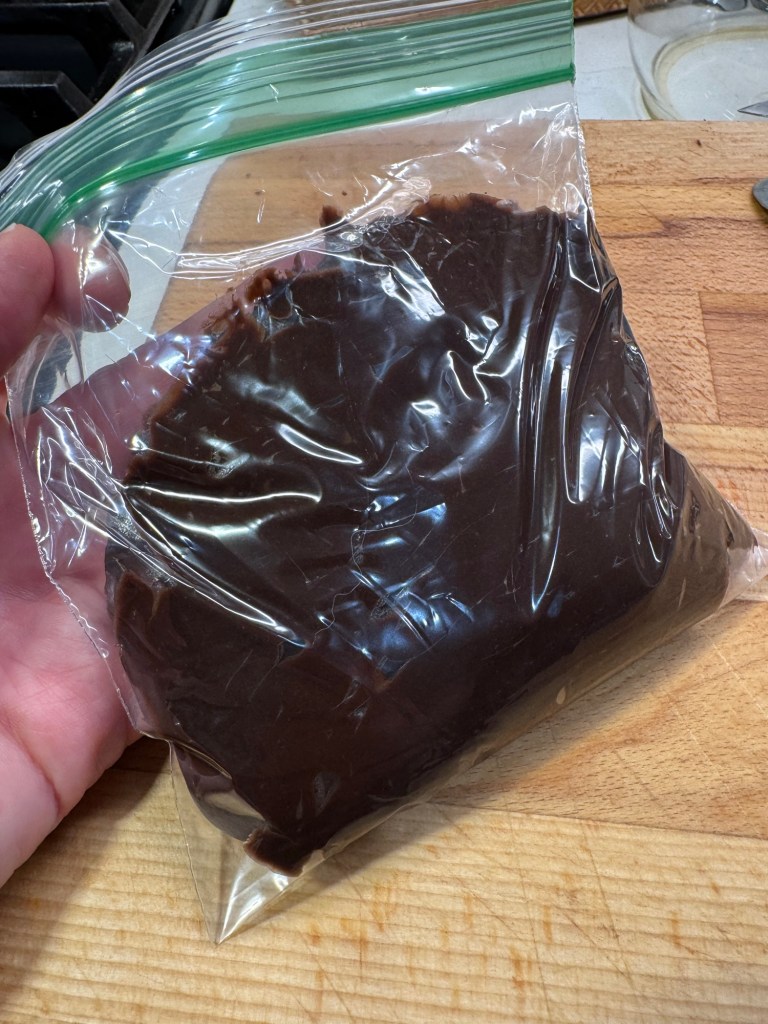
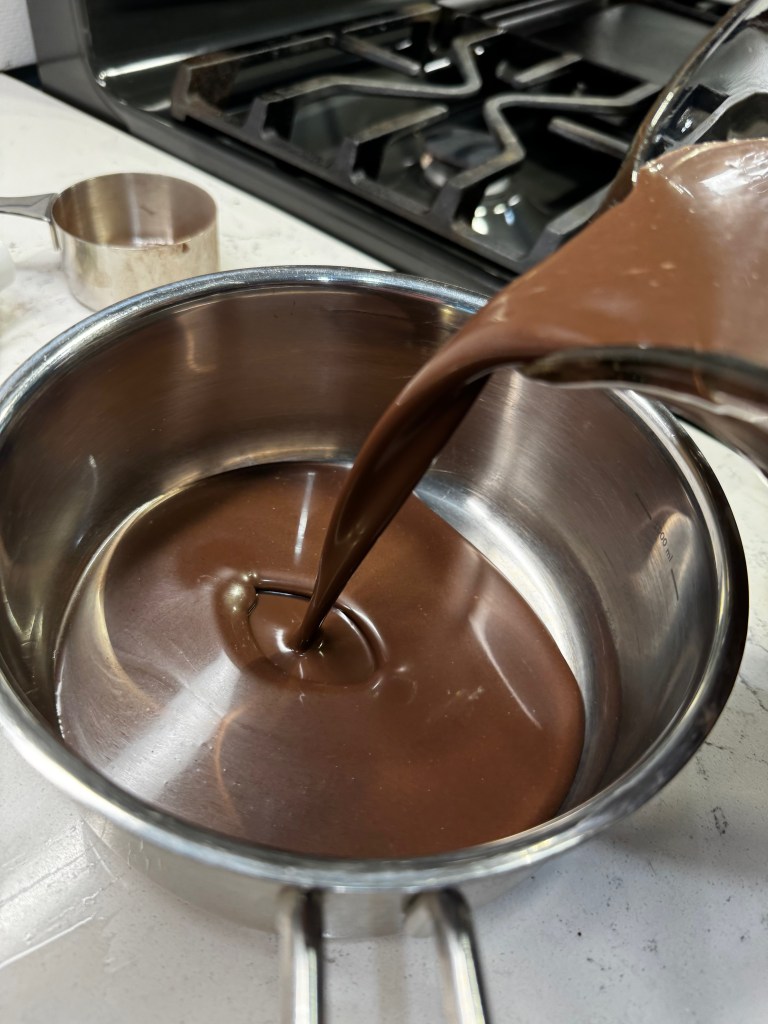
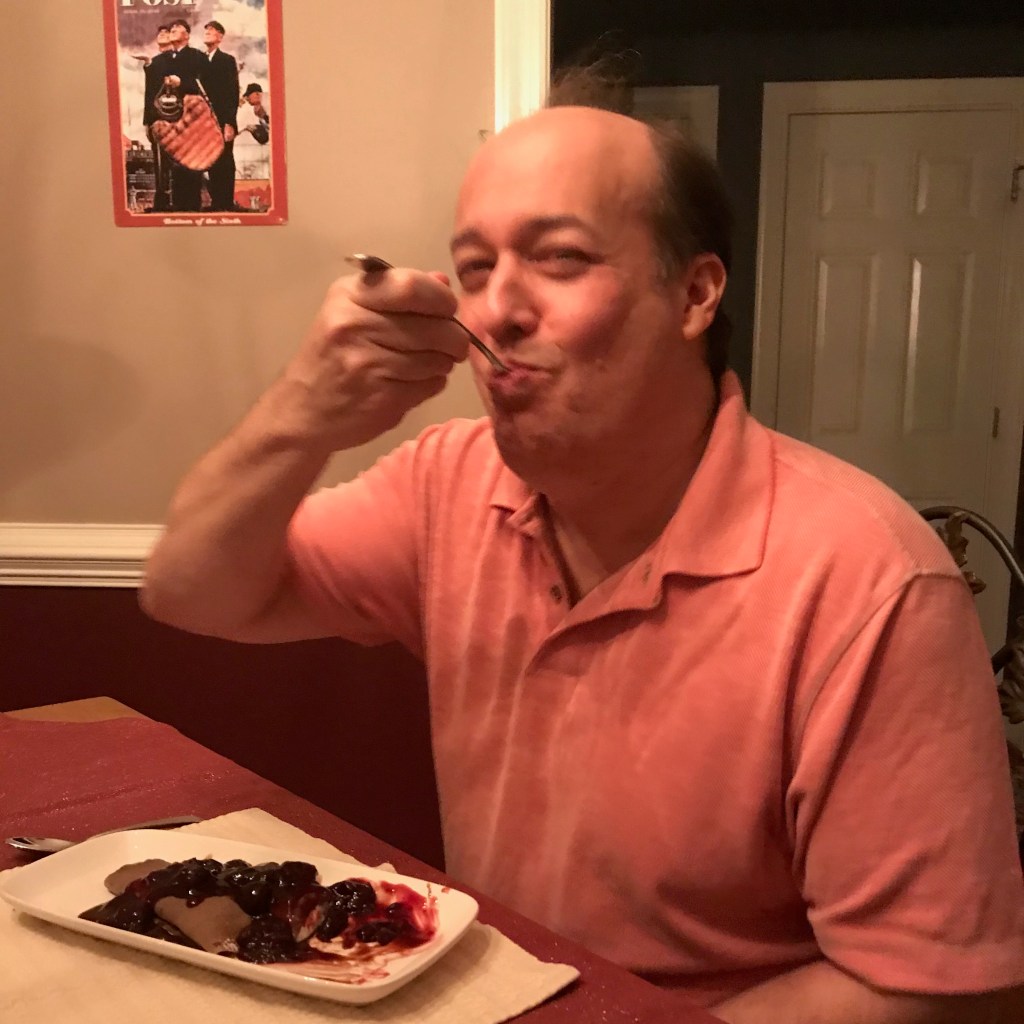
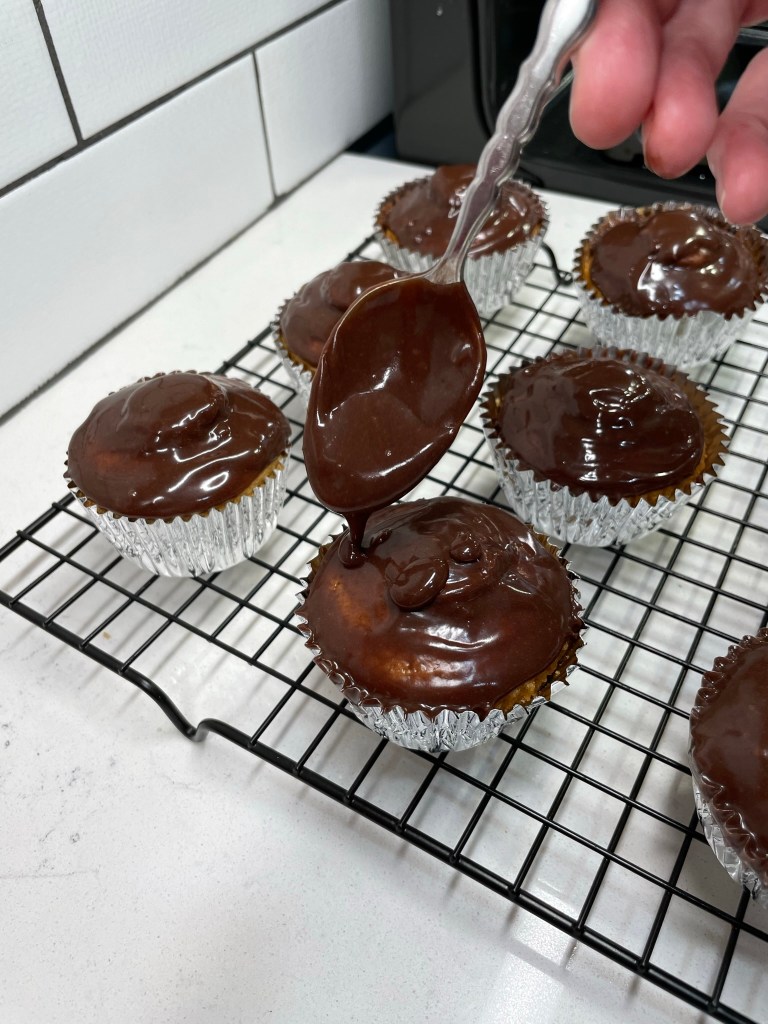
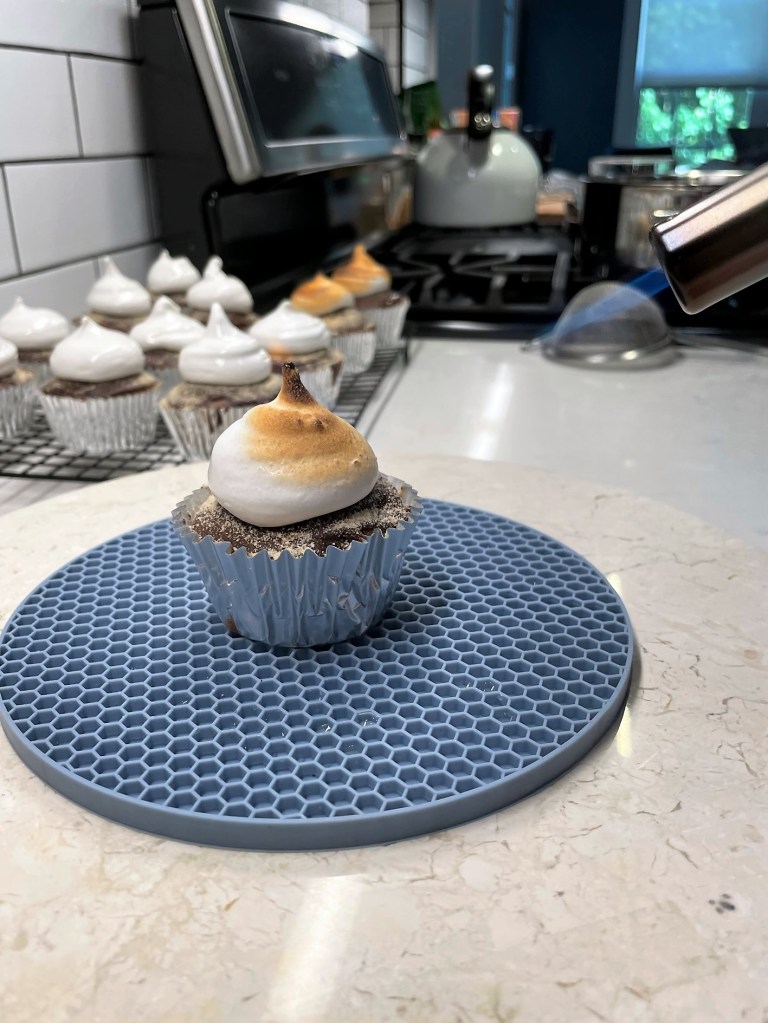
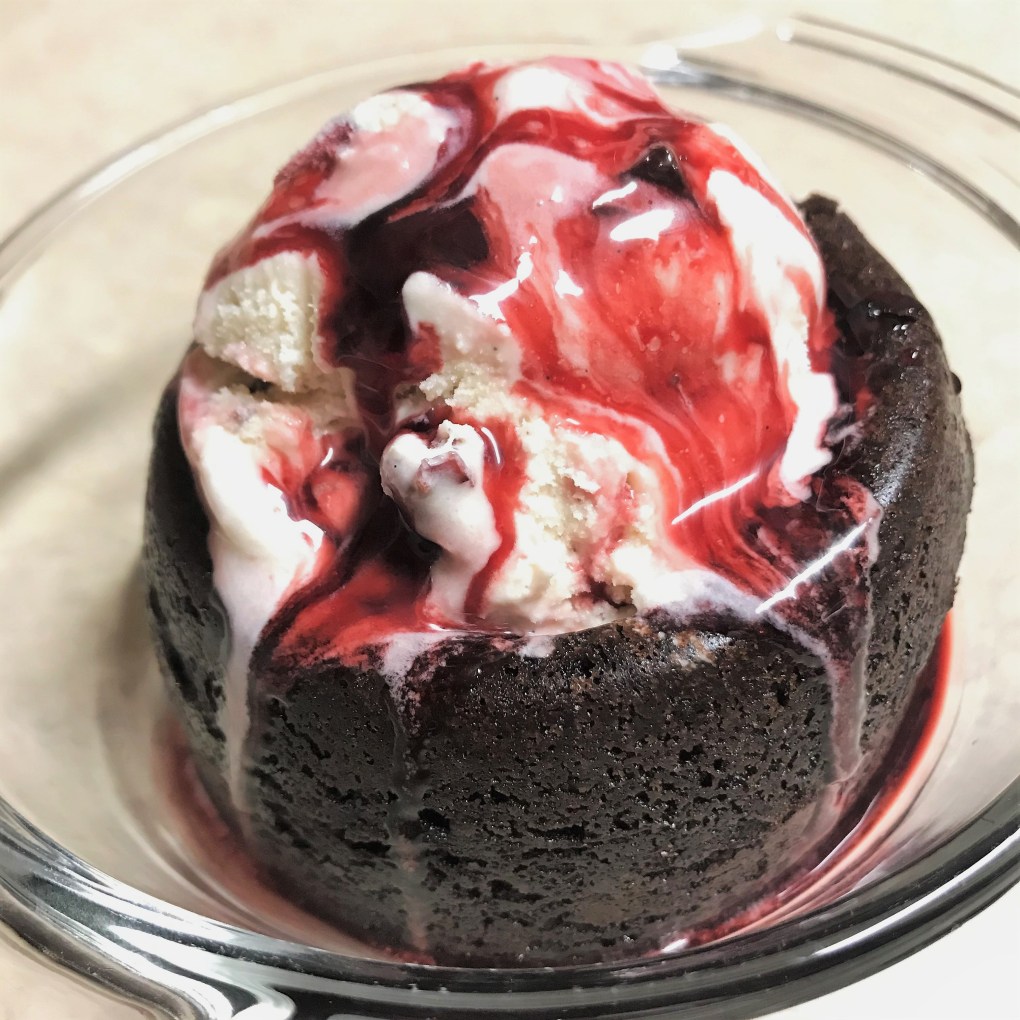
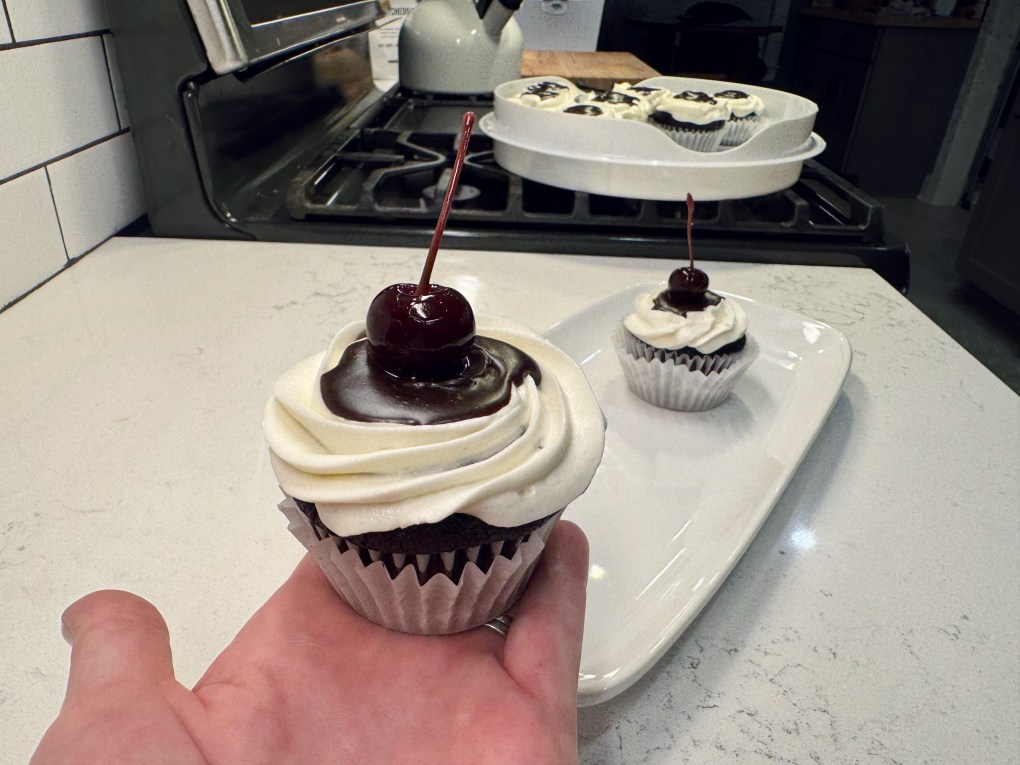
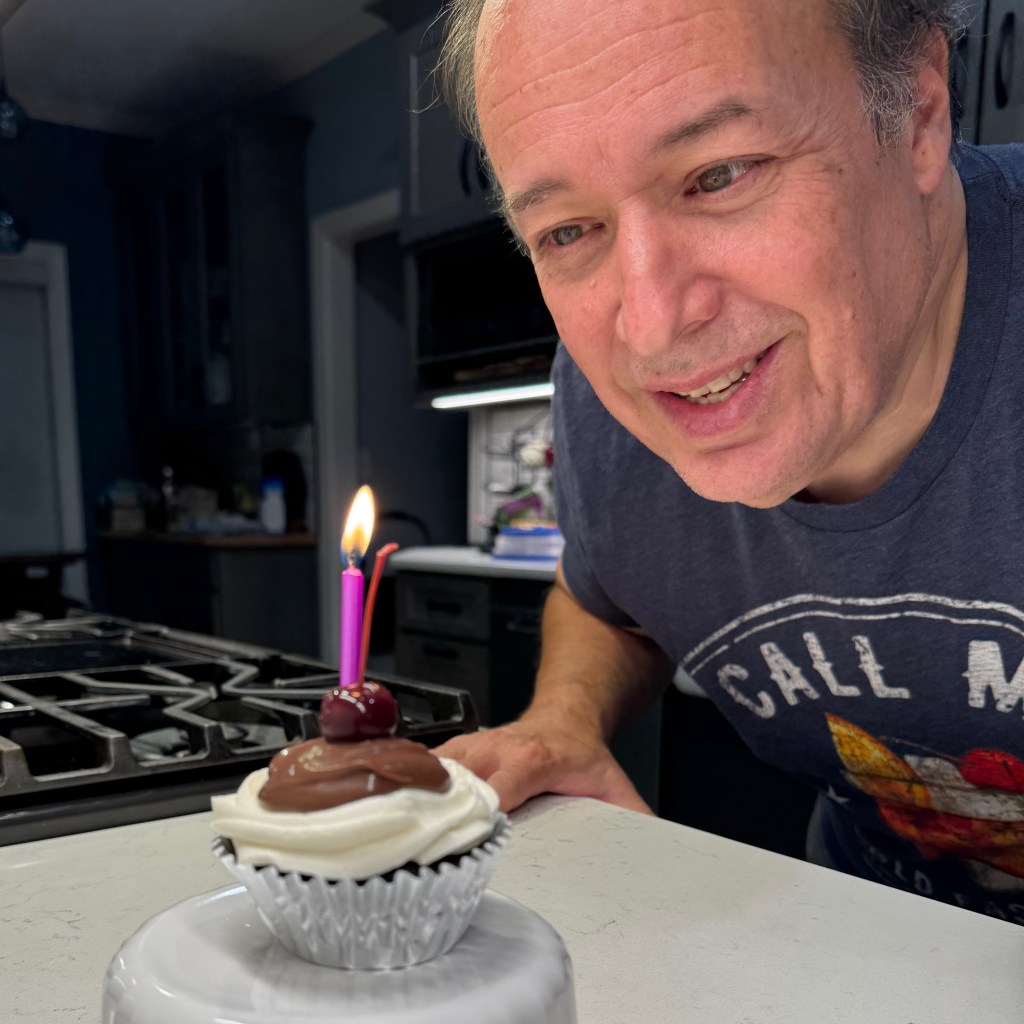
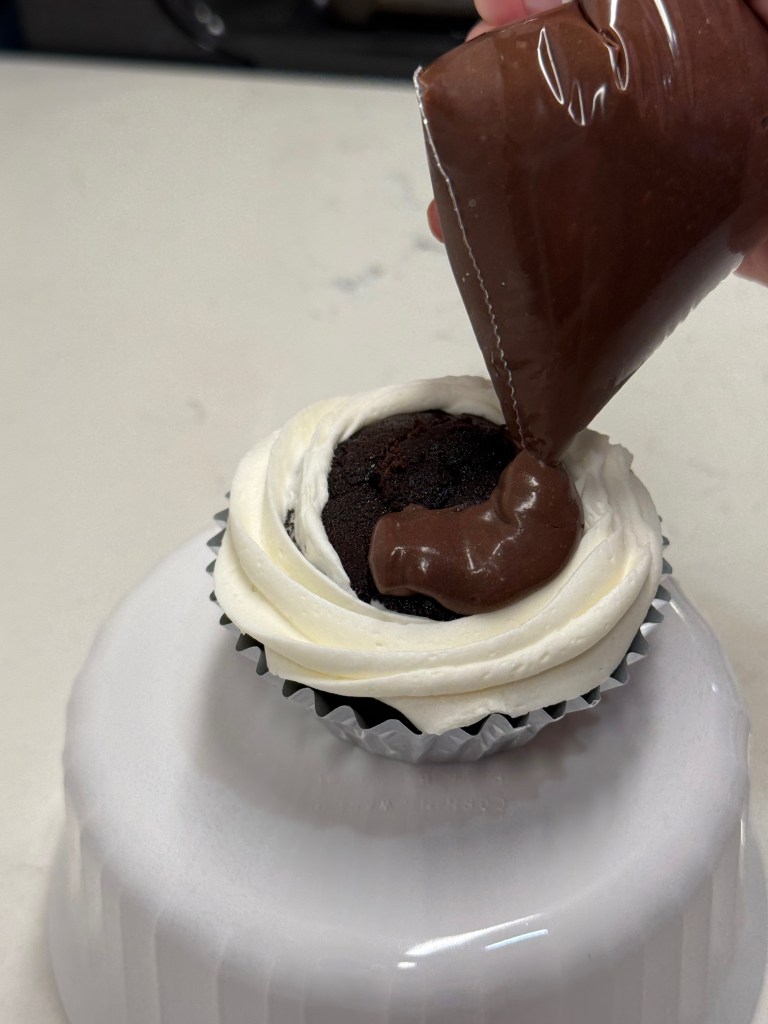
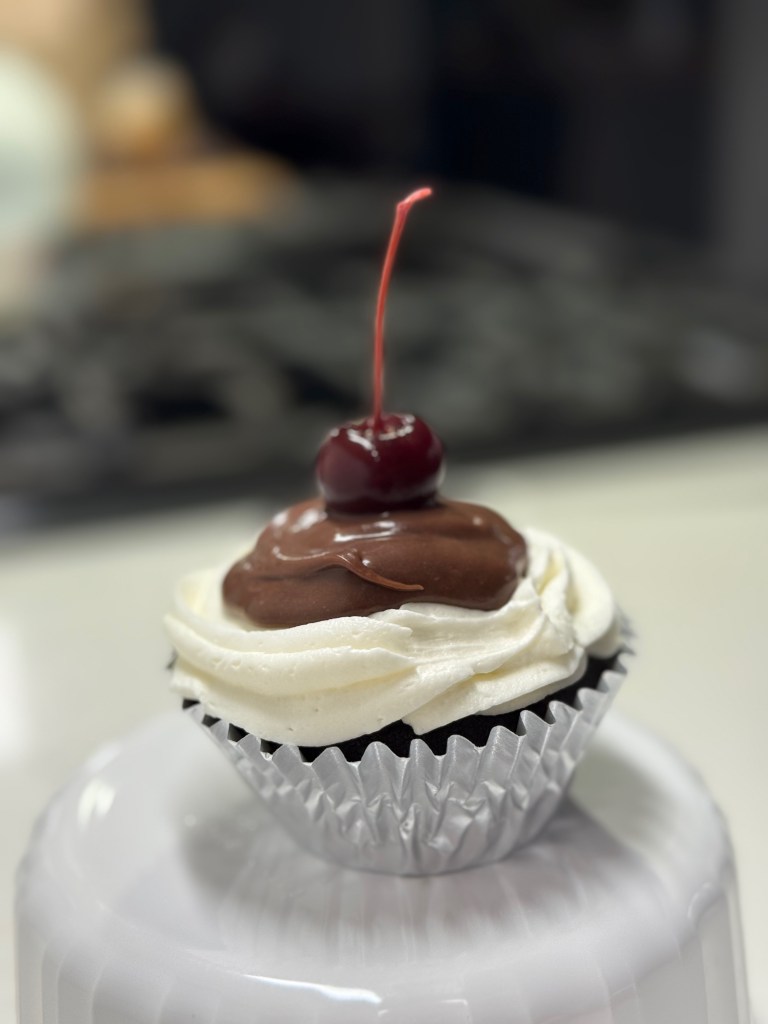
But here’s the thing about my husband— he’s about as easygoing as they come, the kind of guy who appreciates the heartfelt gesture far more than the outcome. In the end, I simply piped the ganache (which resembled milk chocolate pudding) into the well created by the buttercream, topped it with a cocktail cherry and a birthday candle while he changed into comfortable clothes. Does he look bothered?
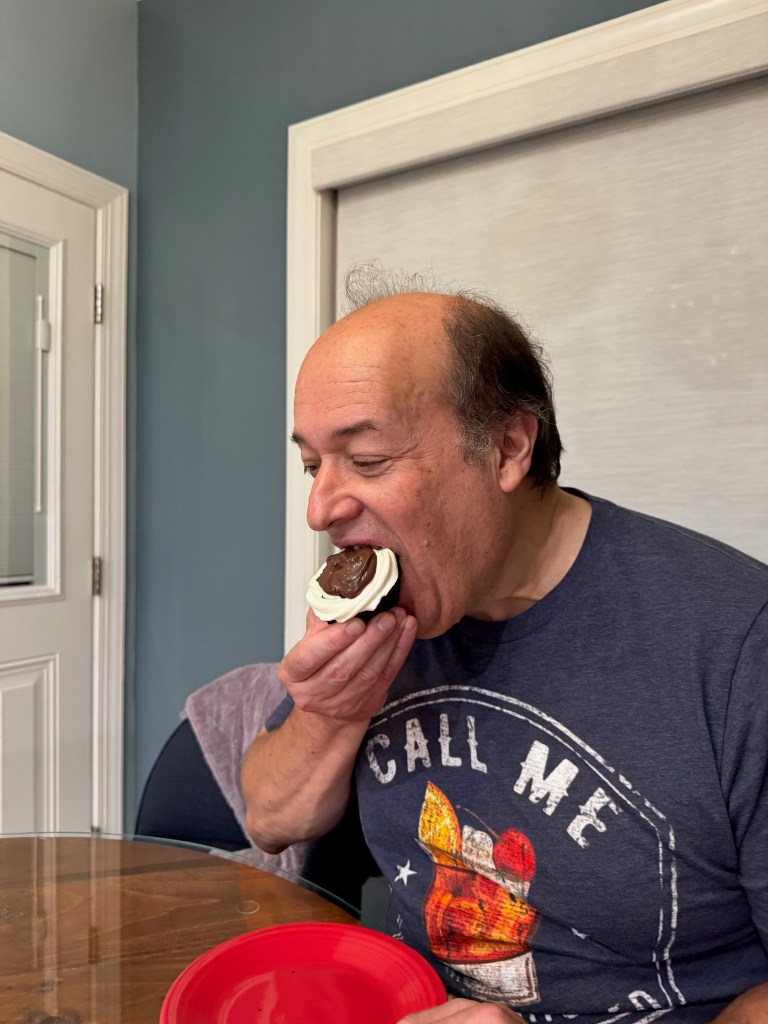
Naturally, I told him about my ganache faux pas, and assured that the rest of the cupcakes would get the right ganache. Letting this go allowed me to dismiss my disappointment in myself and get back into the special moment of sharing these yummy cupcakes, which Les absolutely loved. Especially the second time!
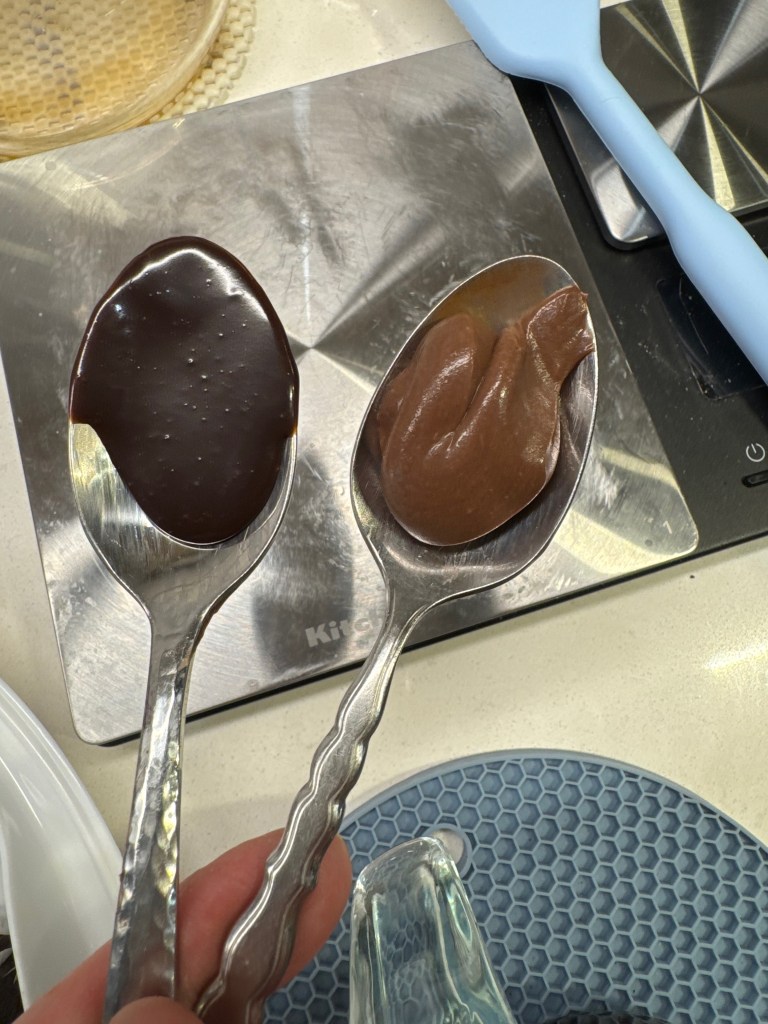
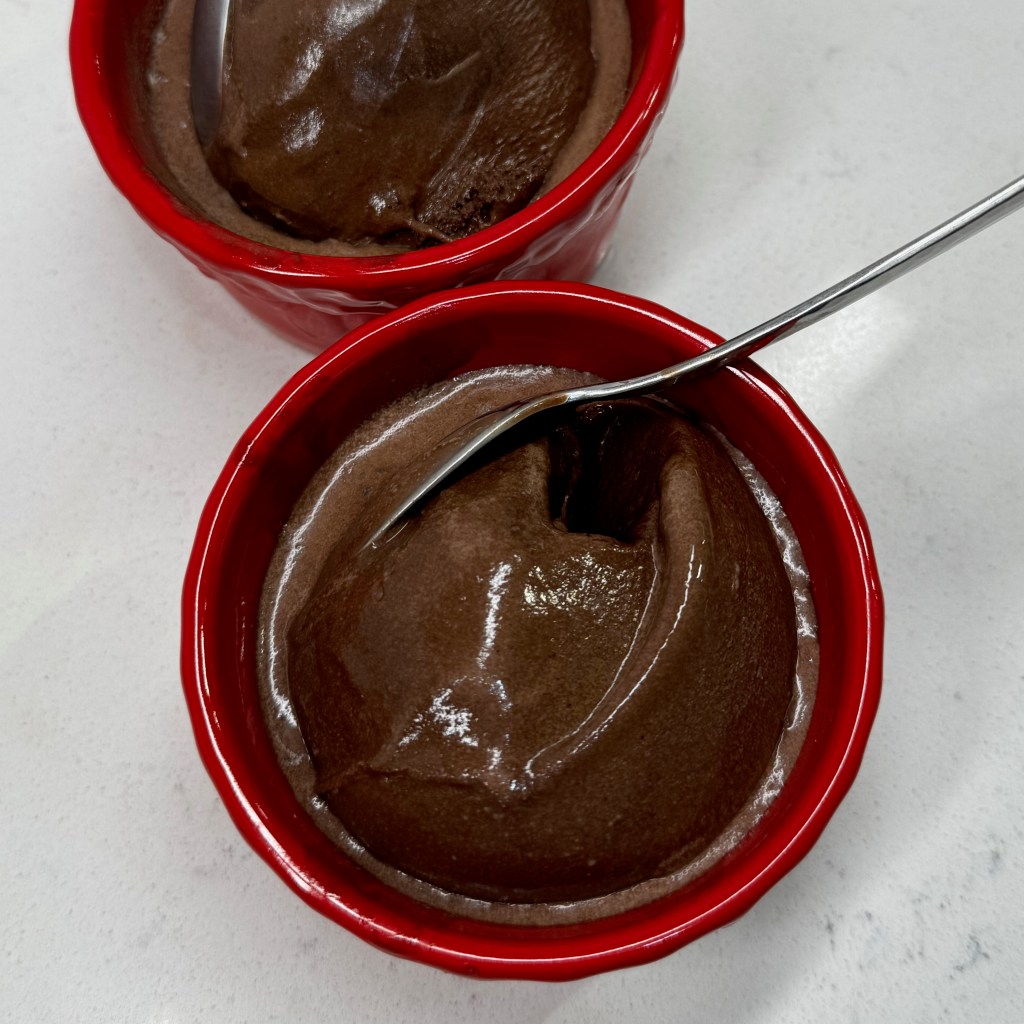
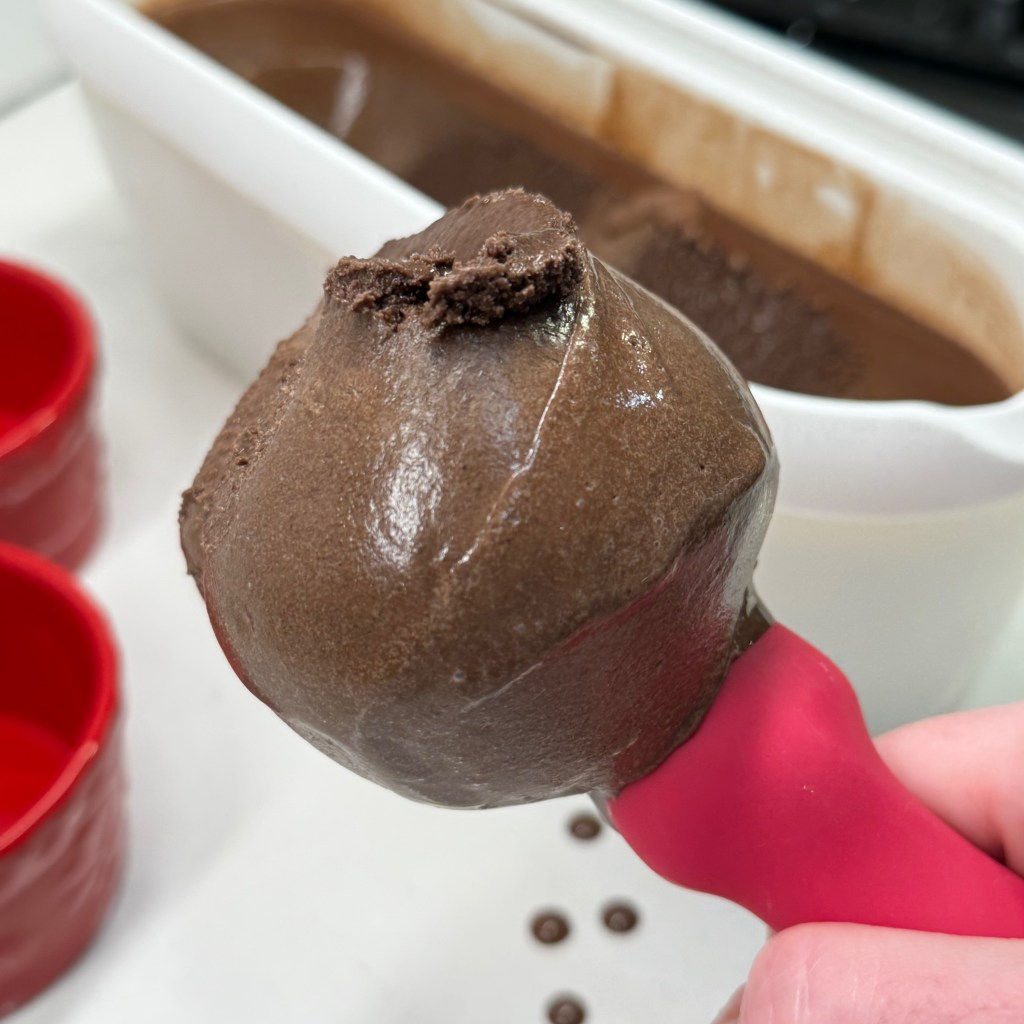
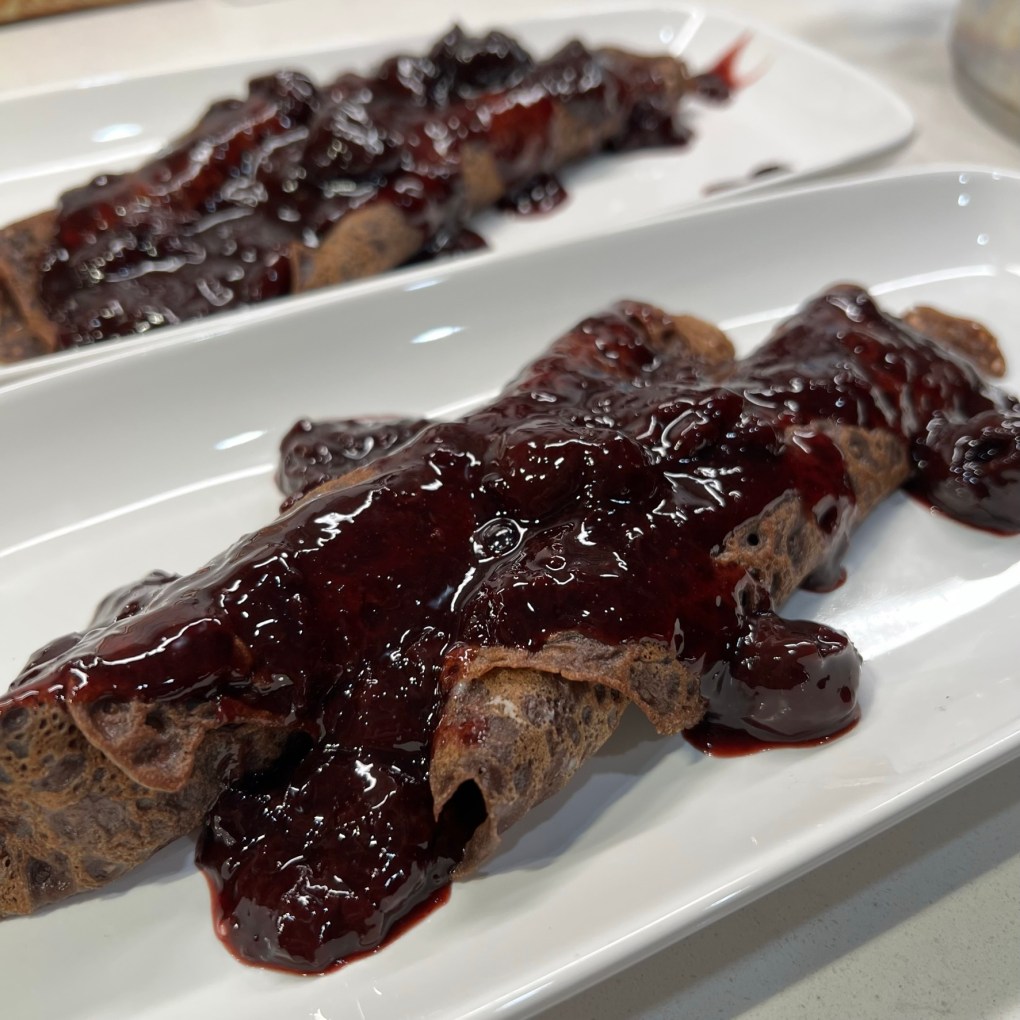
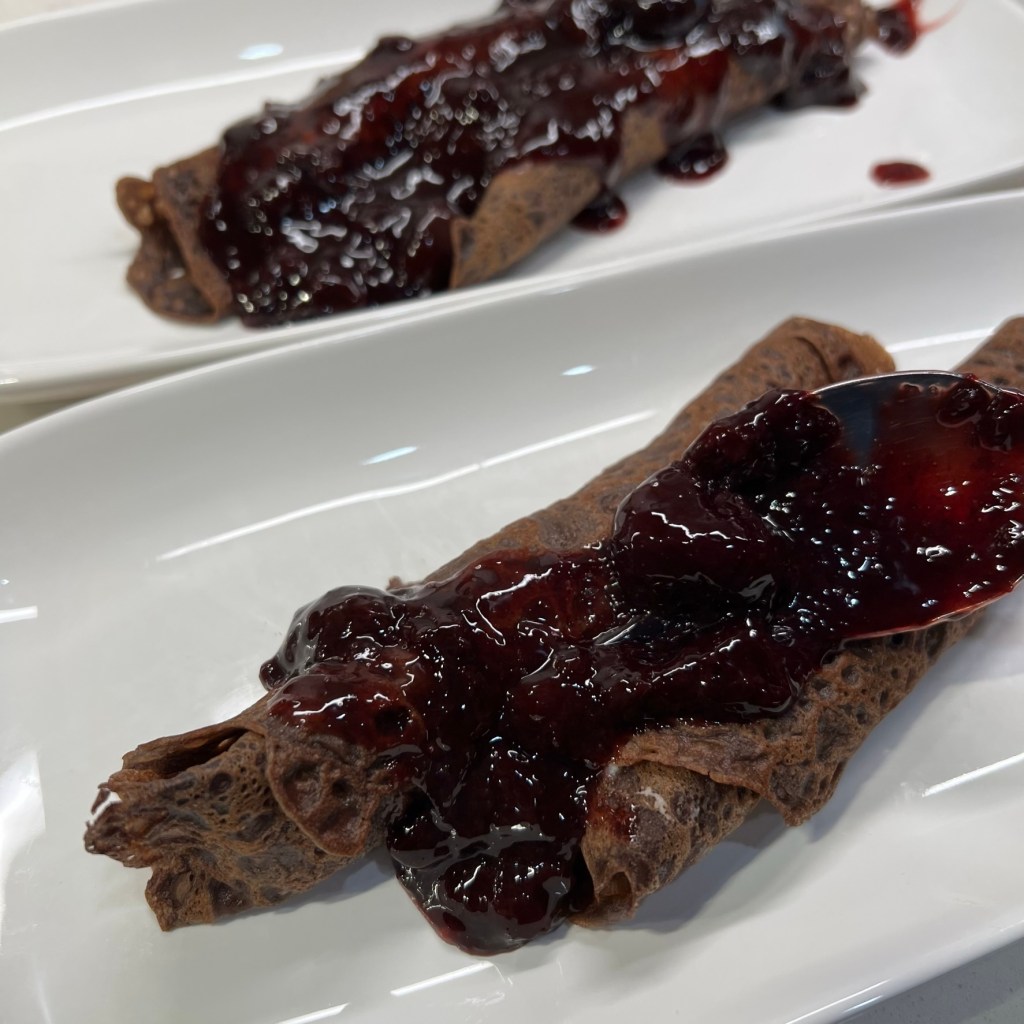
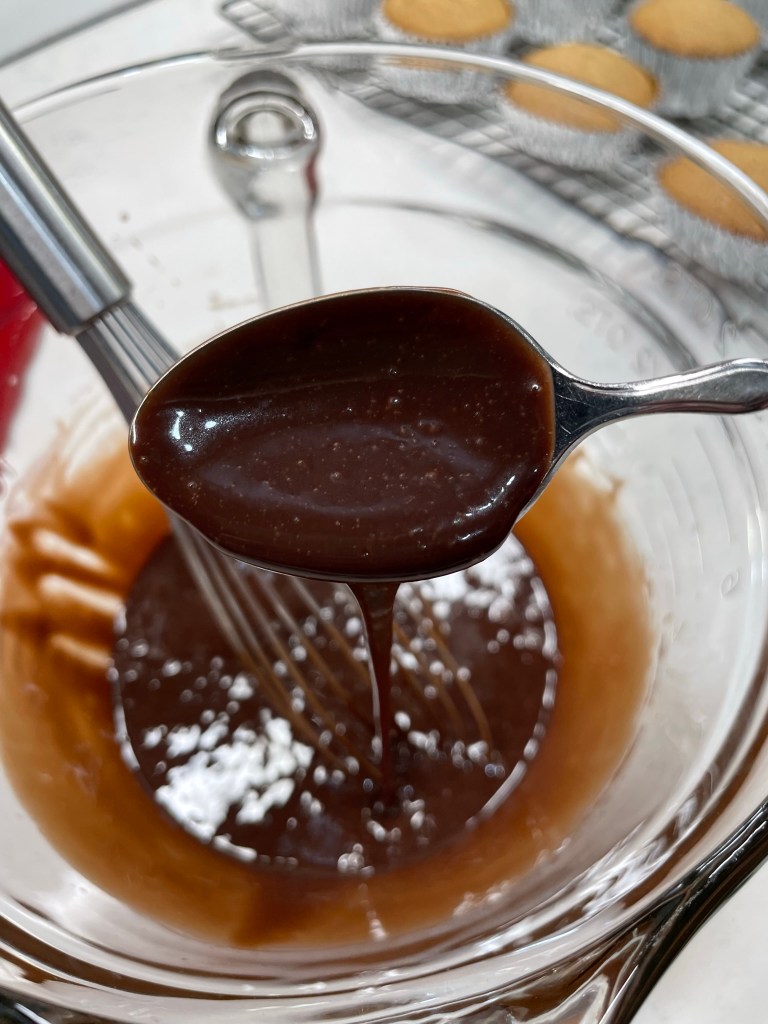
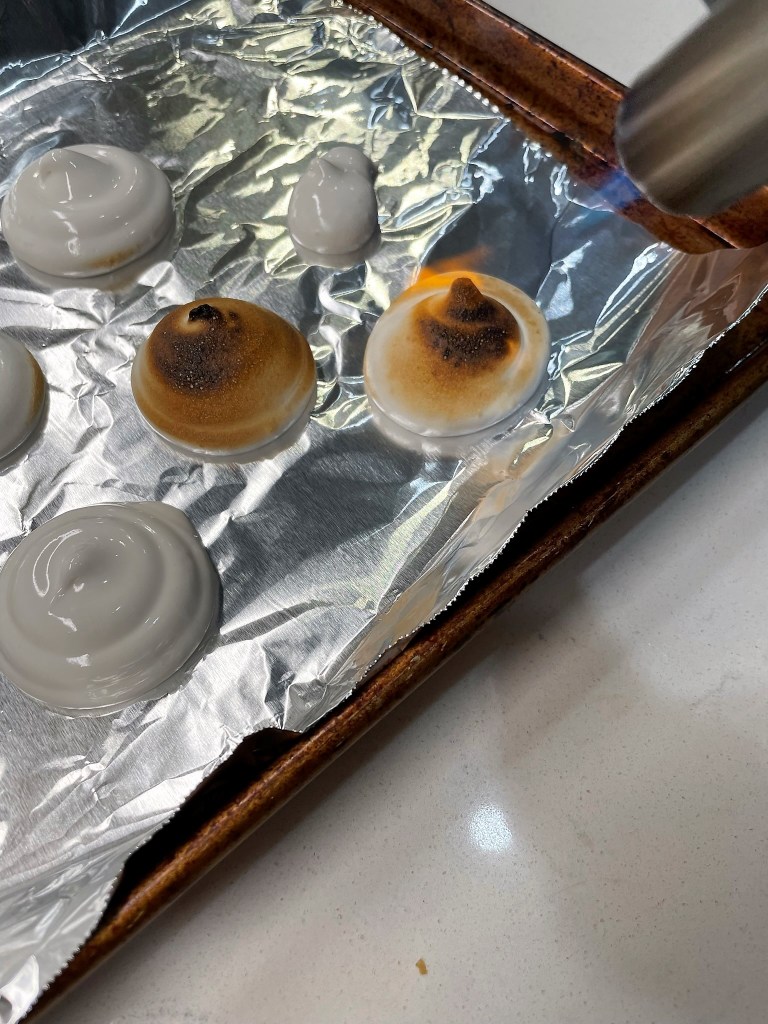
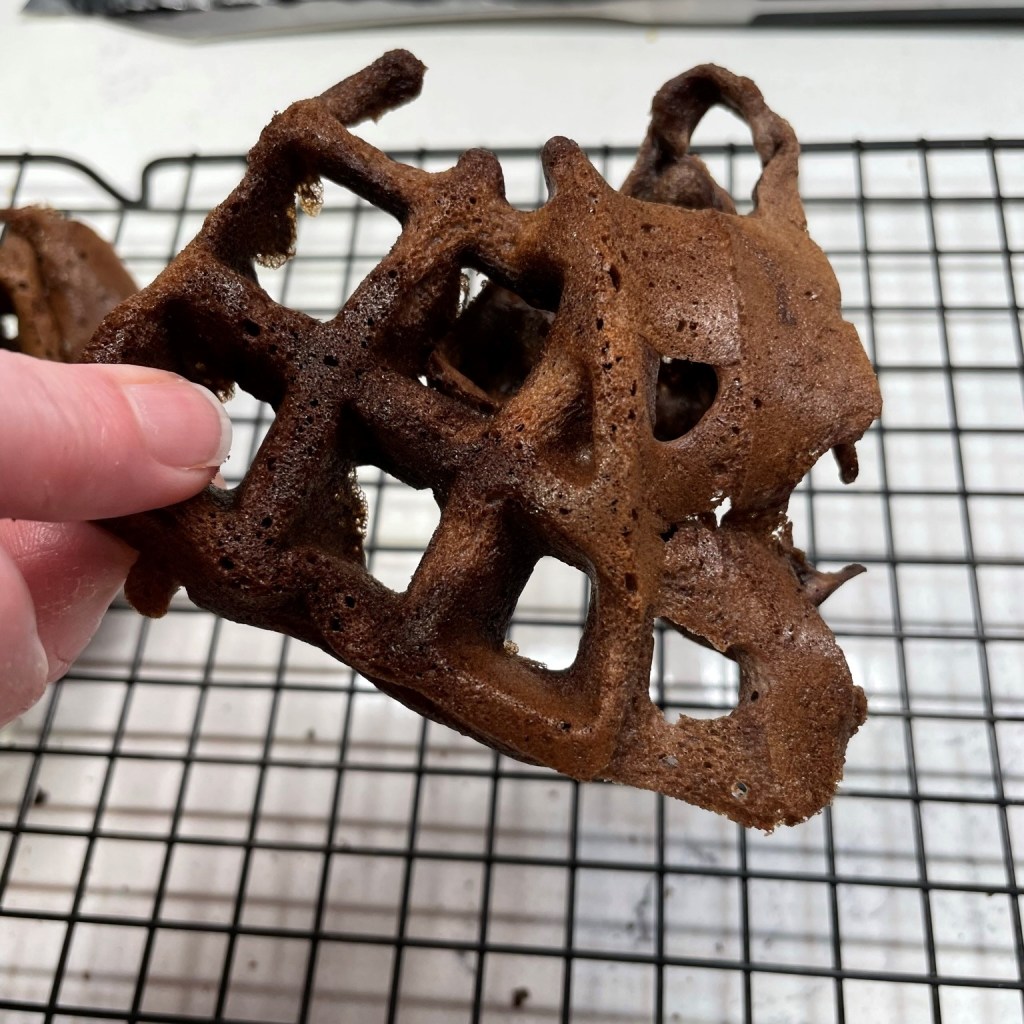
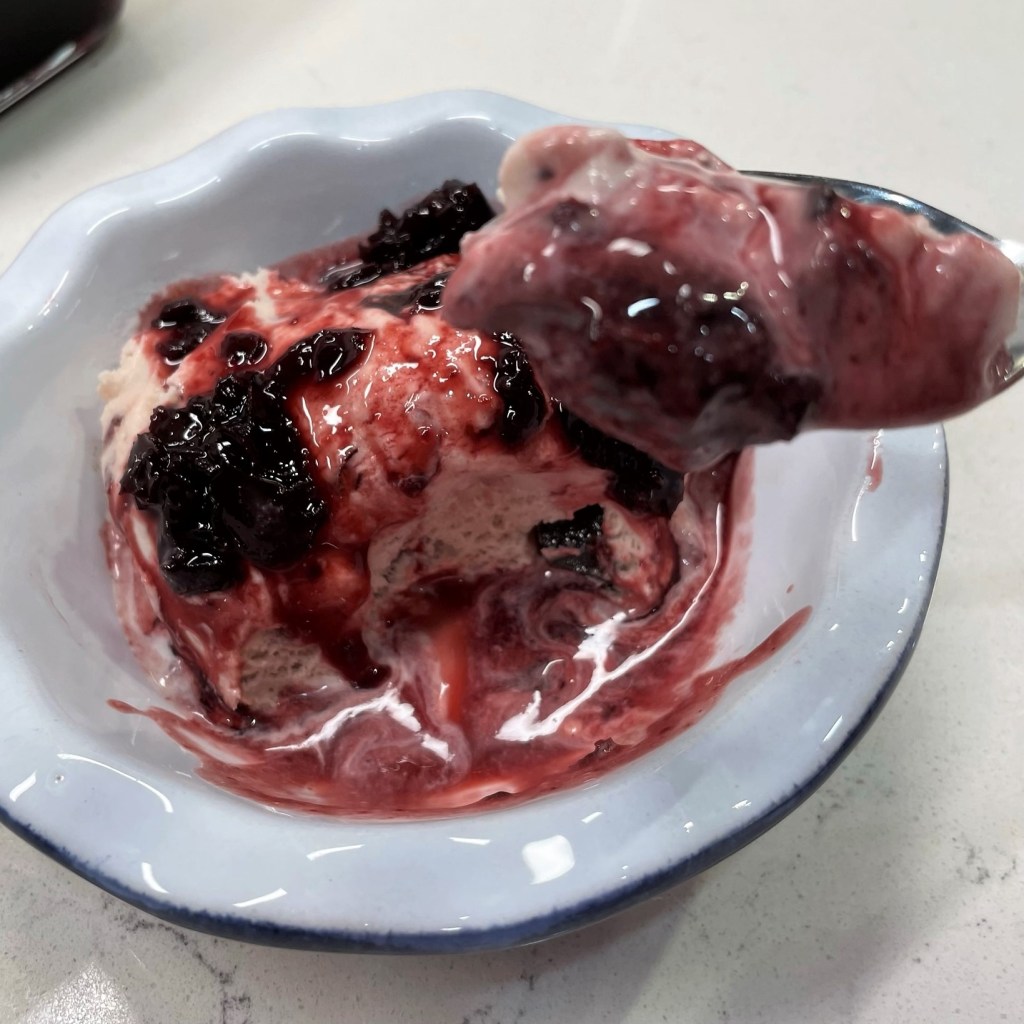
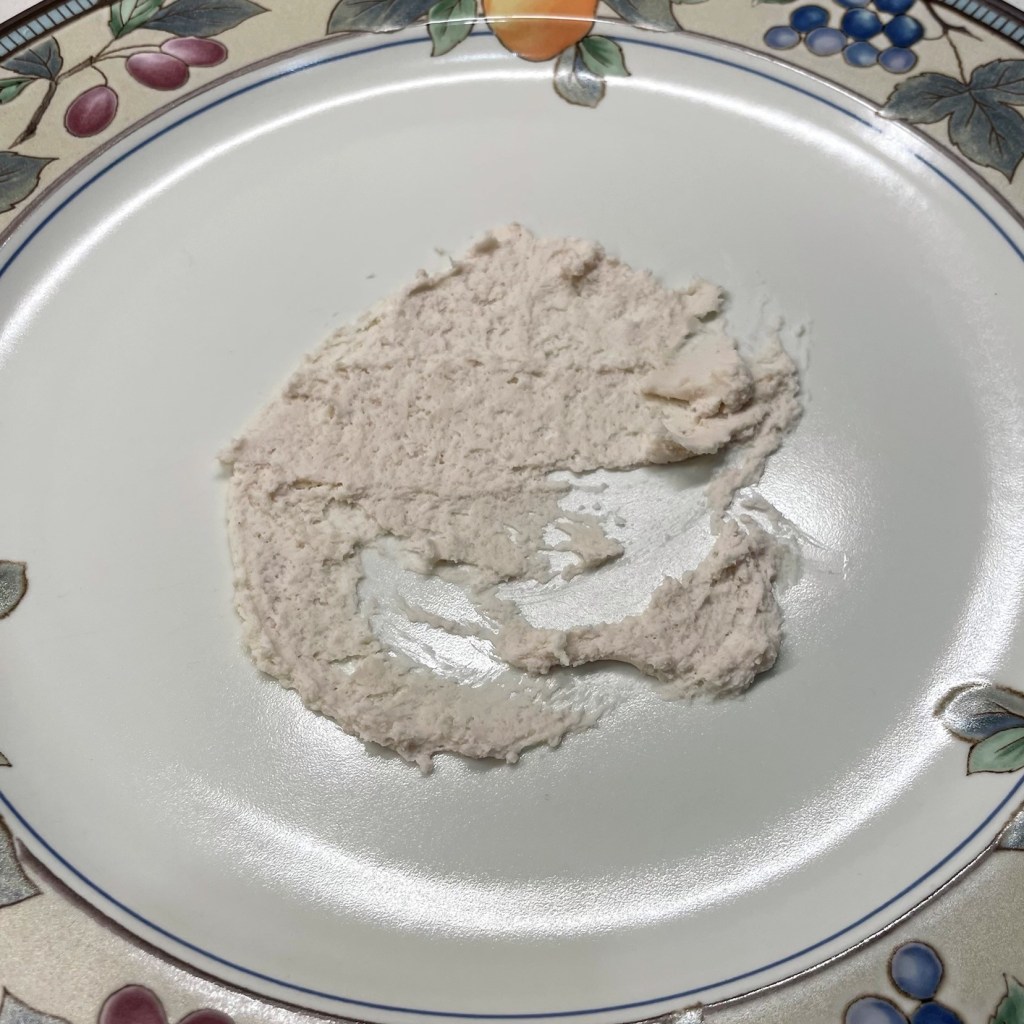
Just for grins, here’s a side-by-side of the correct ganache with the first batch, and let my lesson be one for you, too. Grab the scale, wait the 10 minutes, take whatever time is needed to avoid unnecessary stress. And if the worst thing that happens is that you end up with an extra bowl of too-creamy, not-so-dark chocolate ganache, well, how is that ever a bad thing?
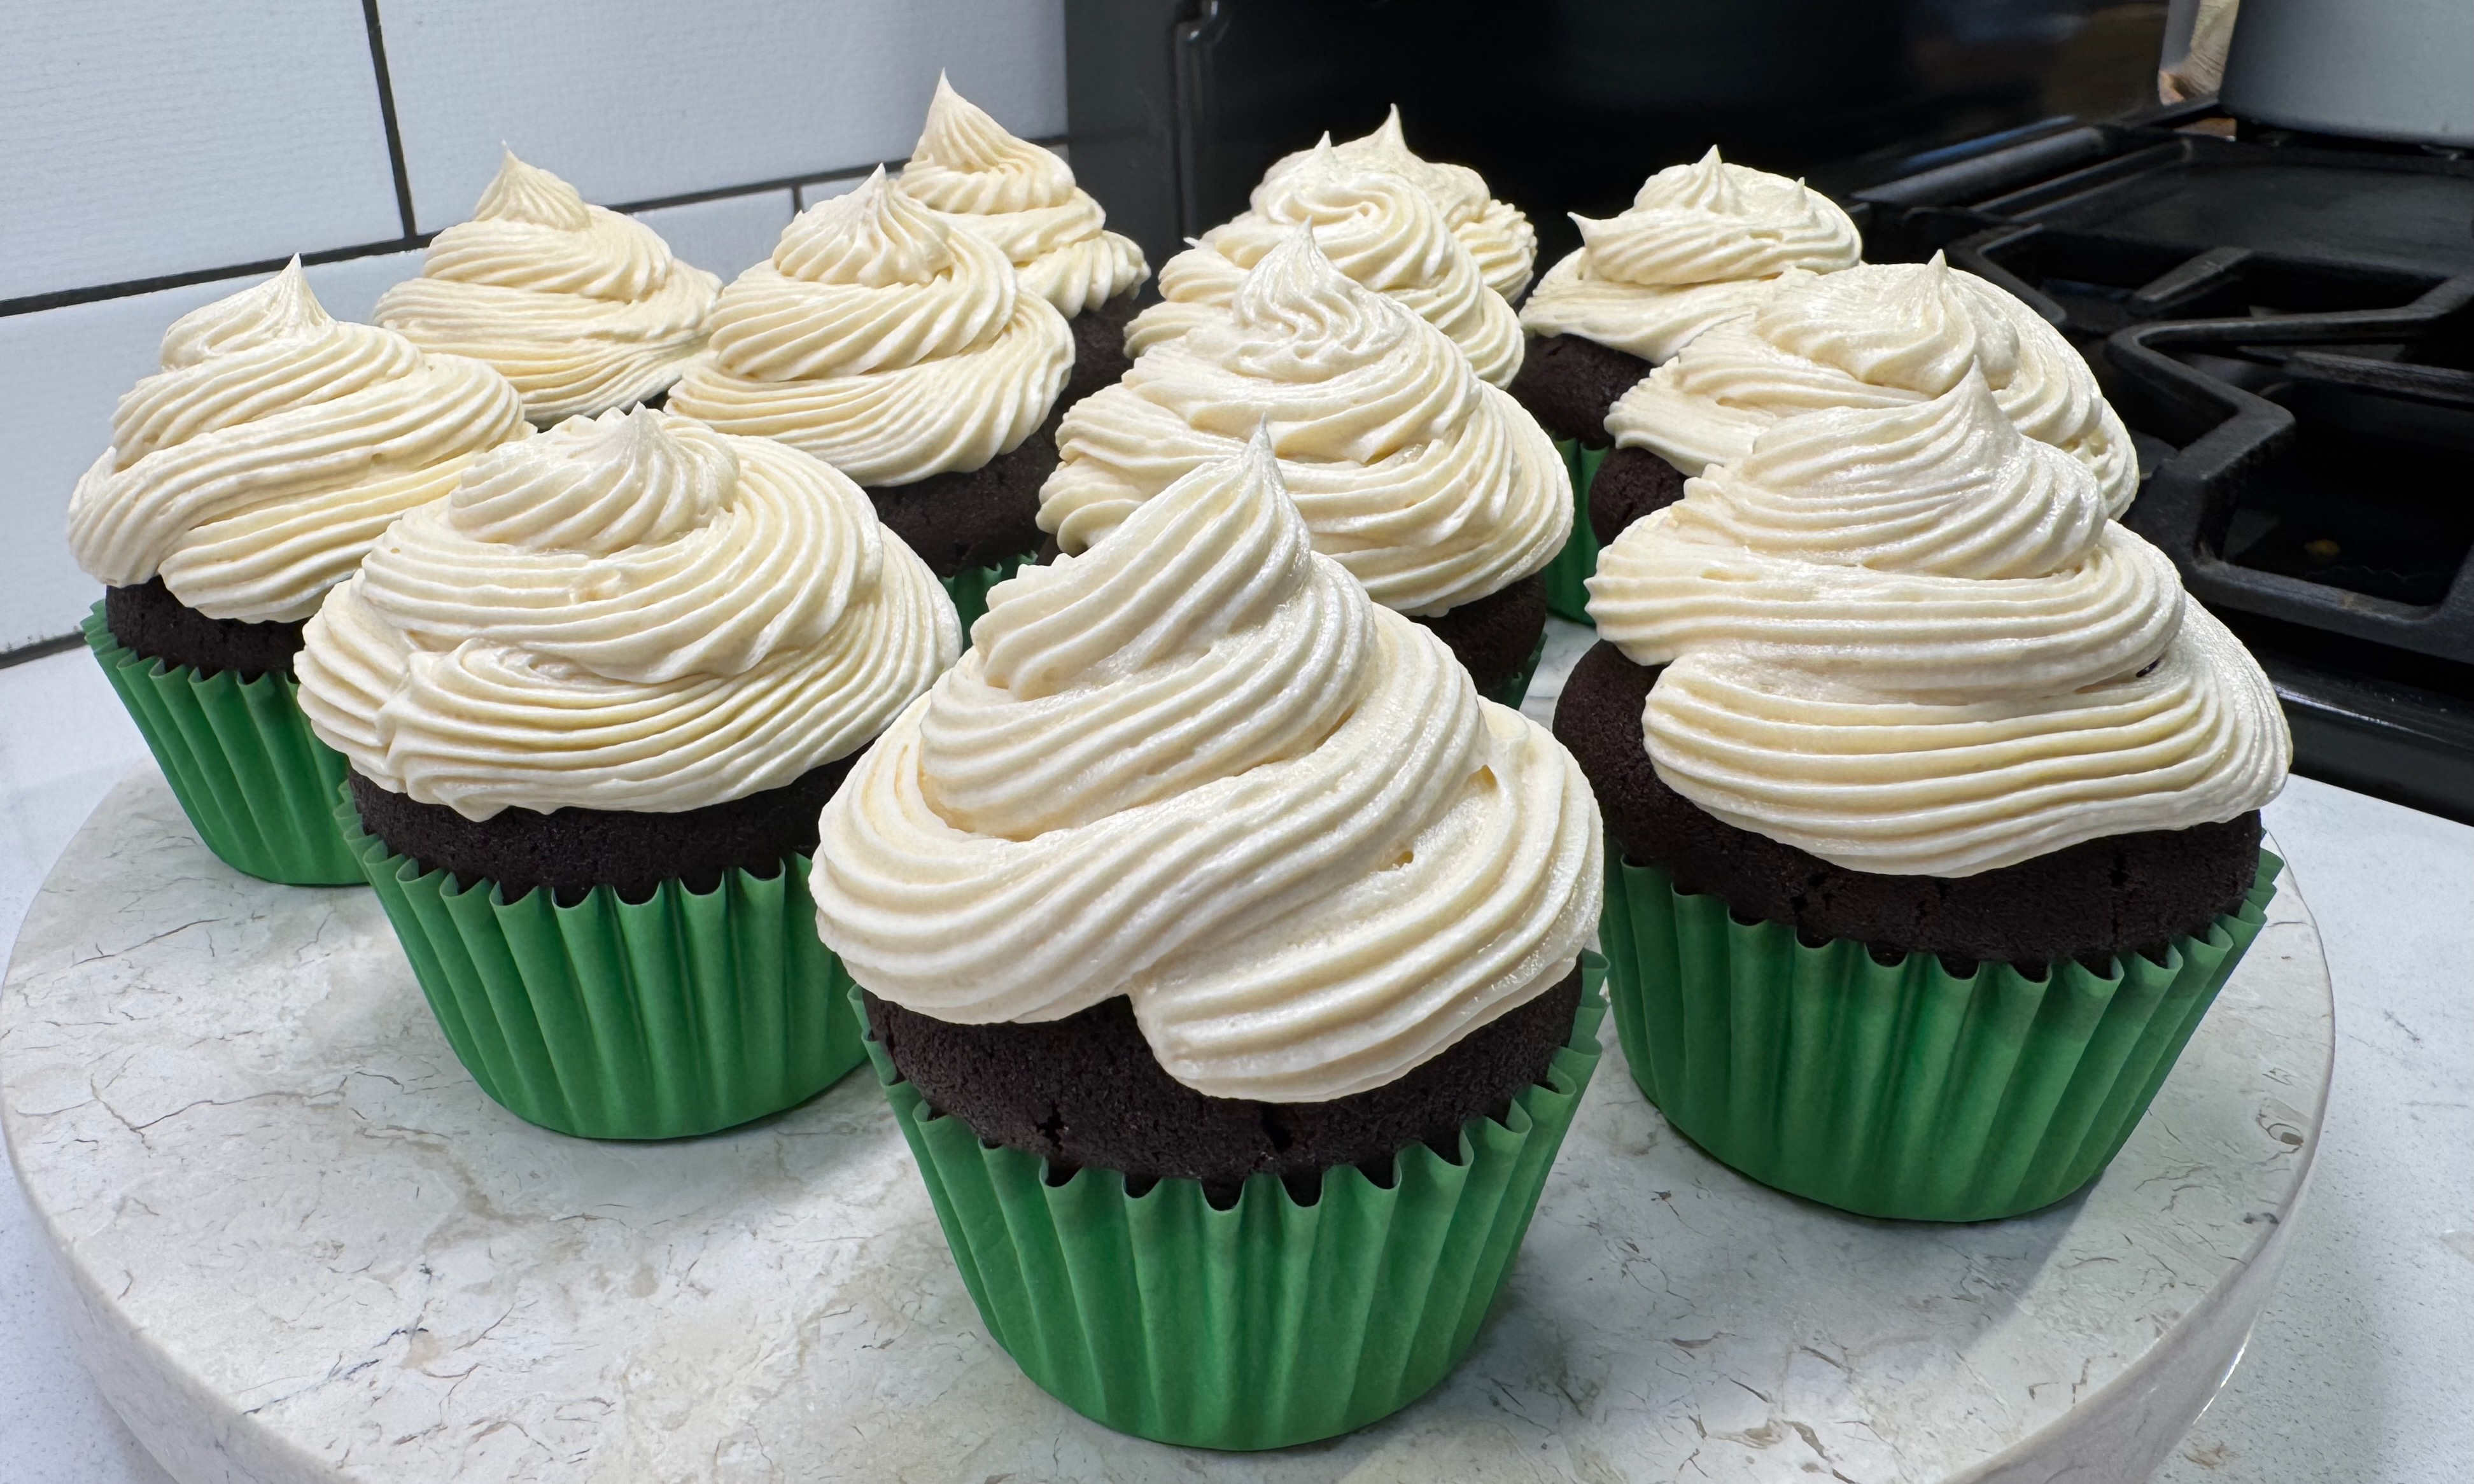
Black Forest Cupcakes
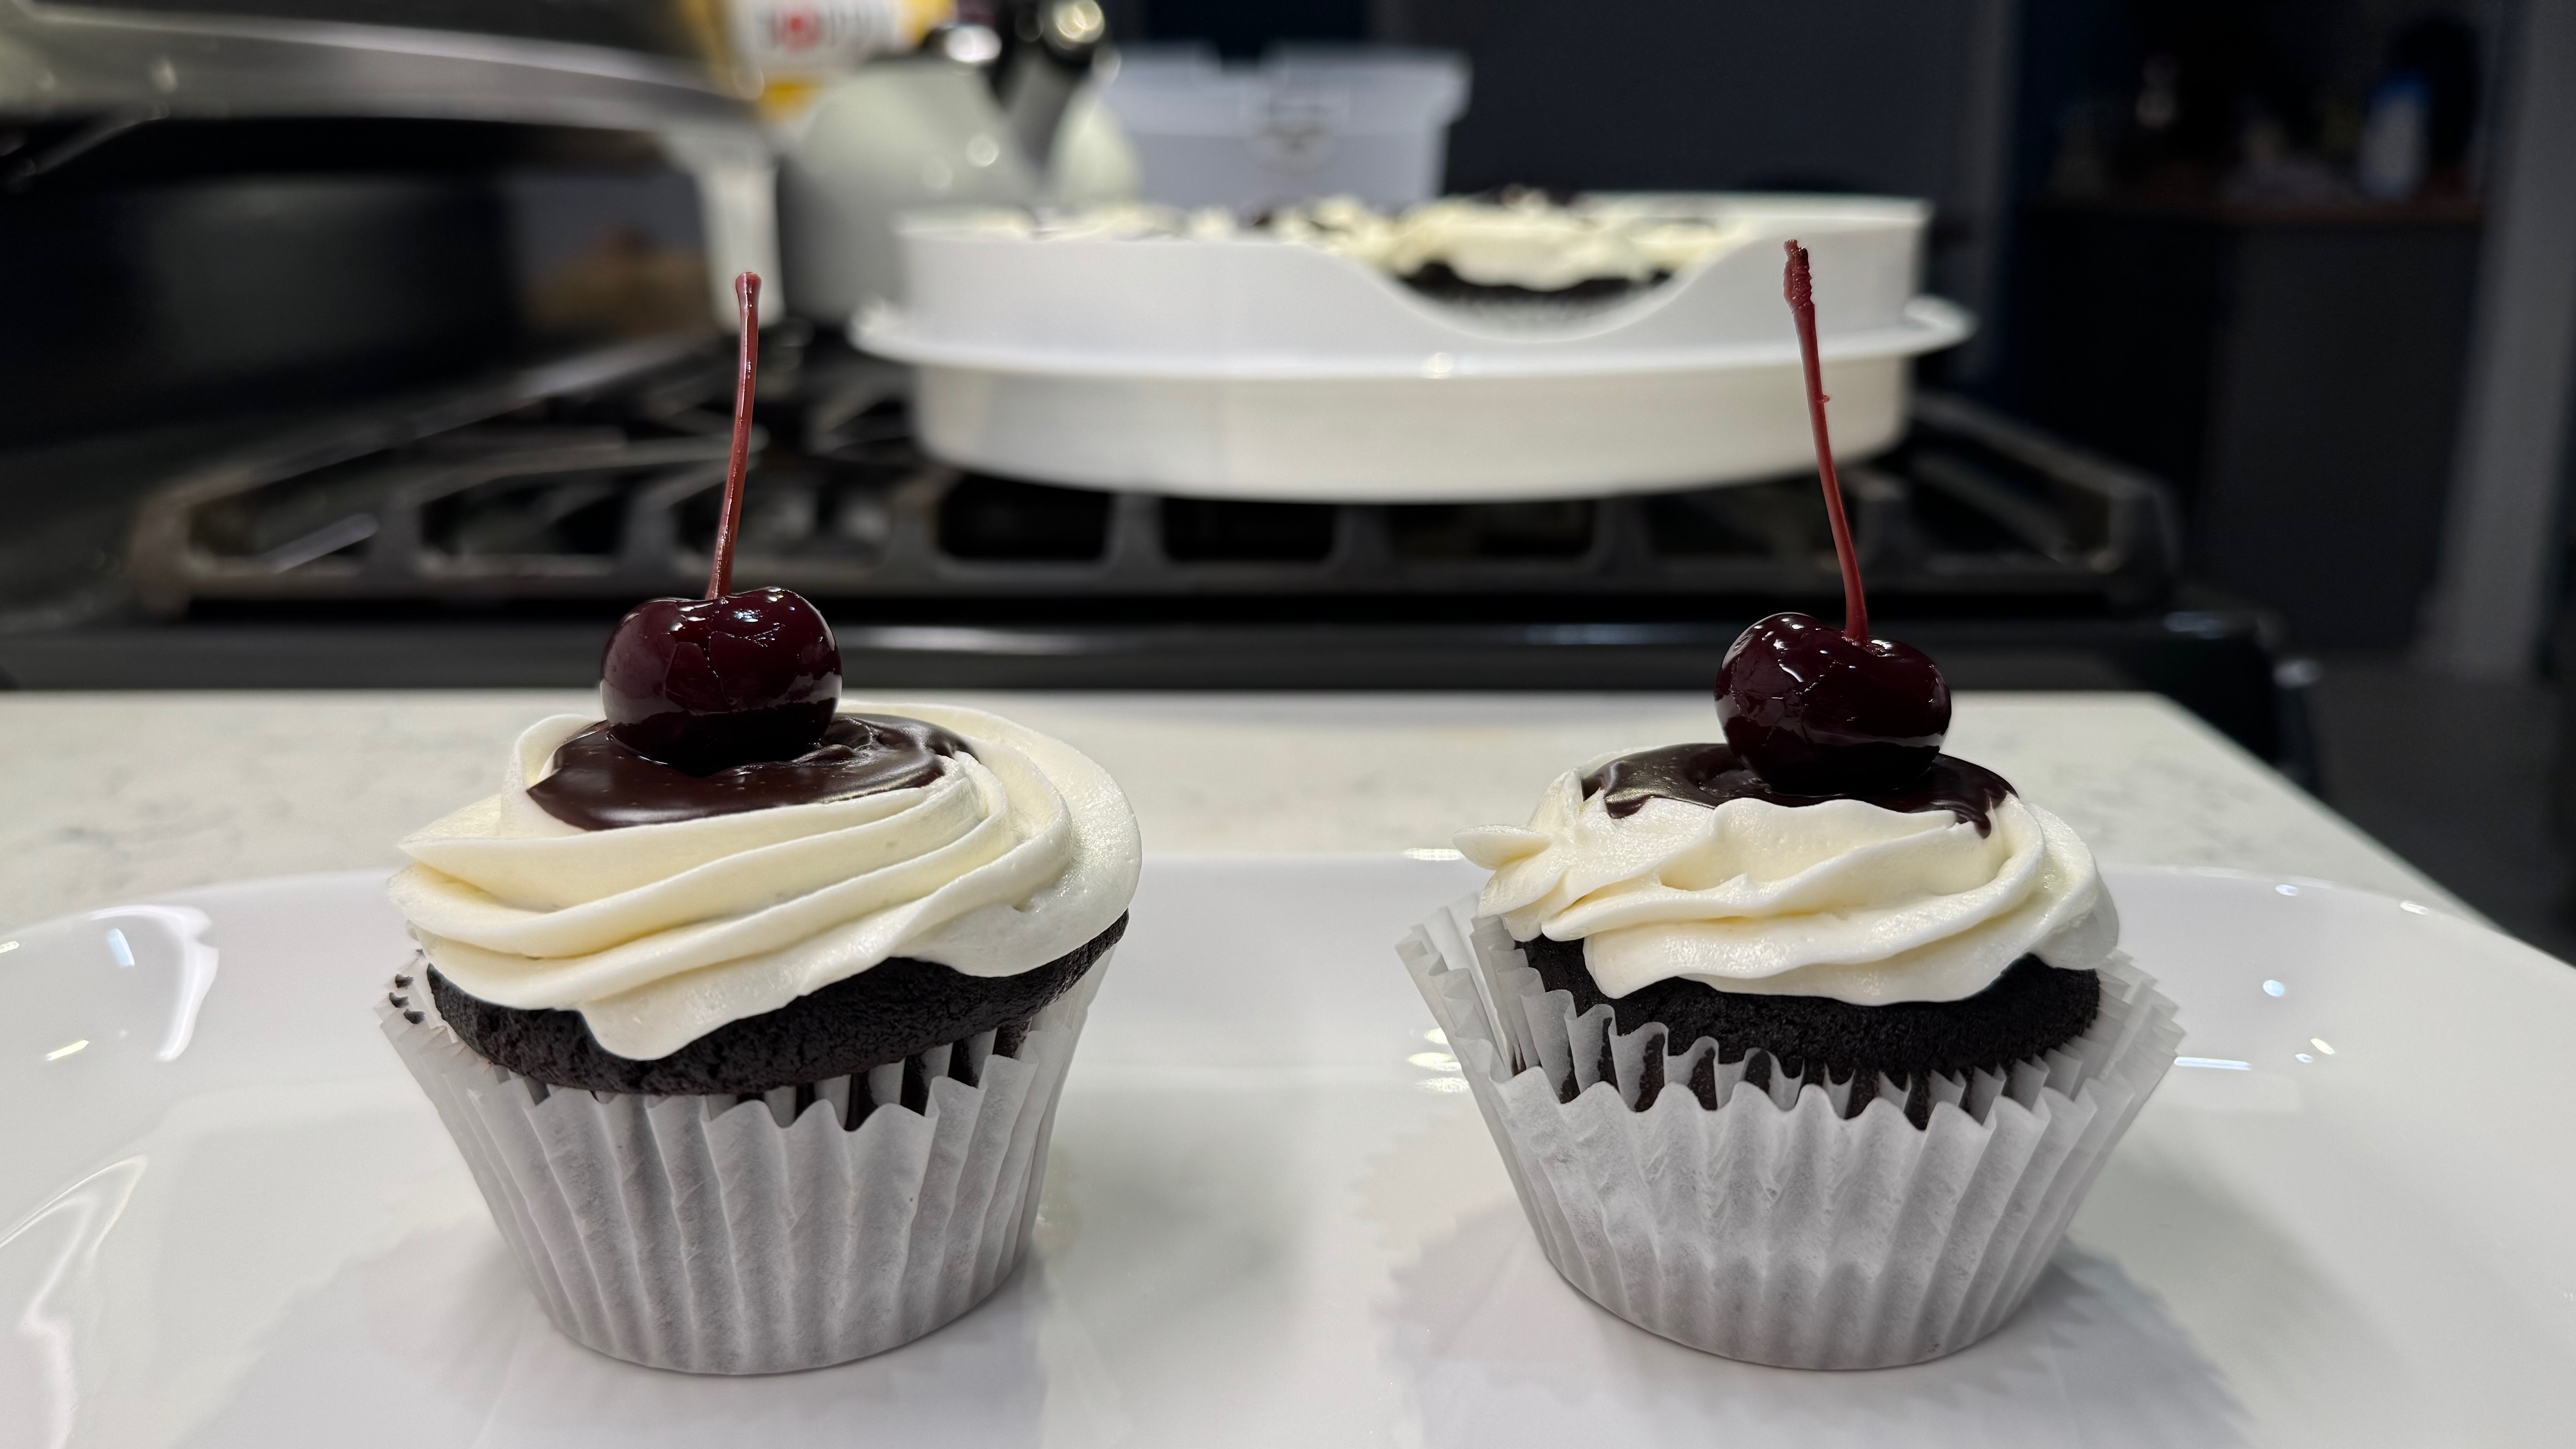
This was a fun challenge, creating a cherry-filled chocolate cupcake with all the wow factor of my Black Forest cake, but in a single serving birthday treat for my husband.
Ingredients
- 1 stick (8 Tbsp.) salted or unsalted butter, softened to near-room temperature
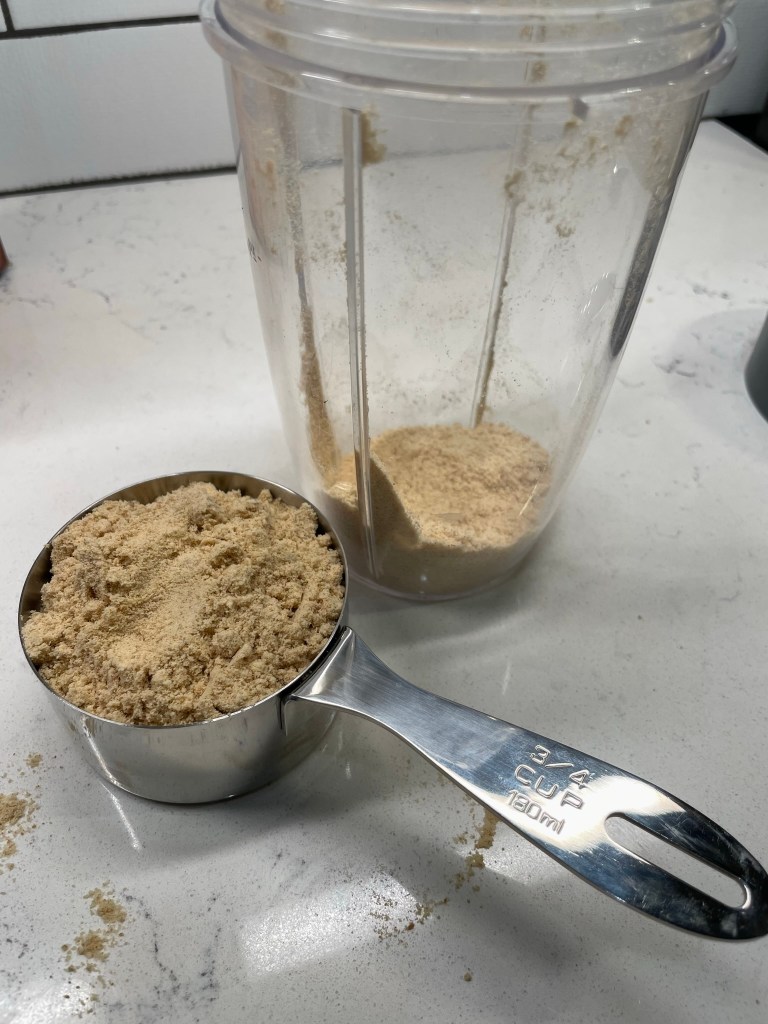
- 3/4 cup organic cane sugar
- 2 large eggs, room temperature
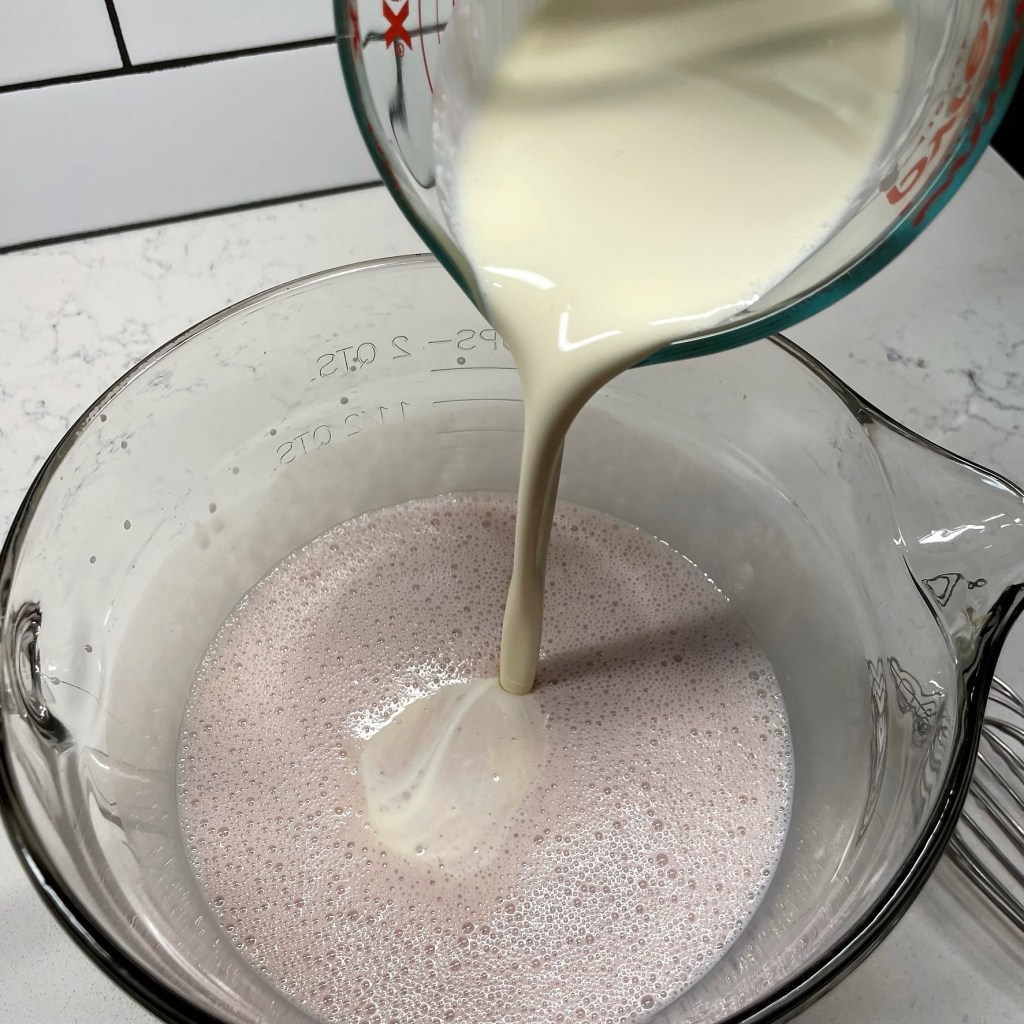
- 3/4 cup whole milk, at room temperature
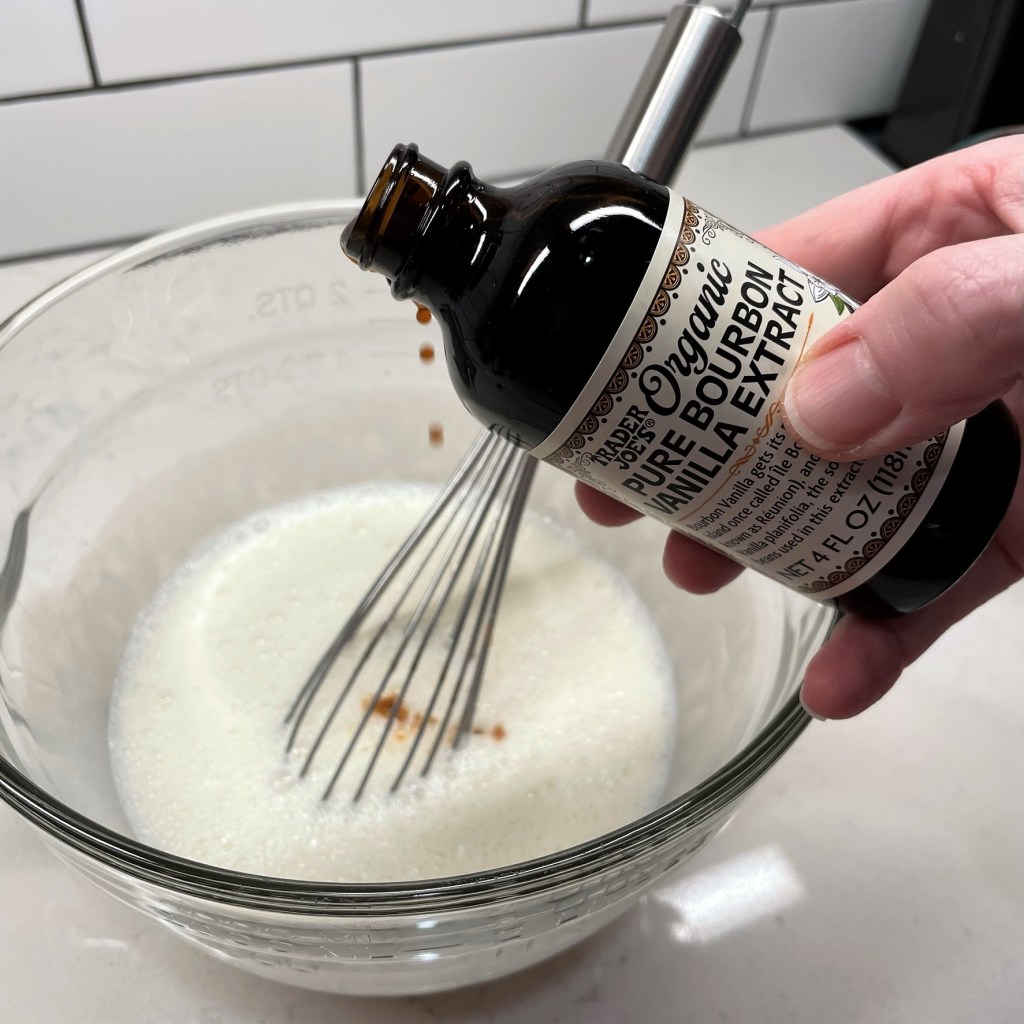
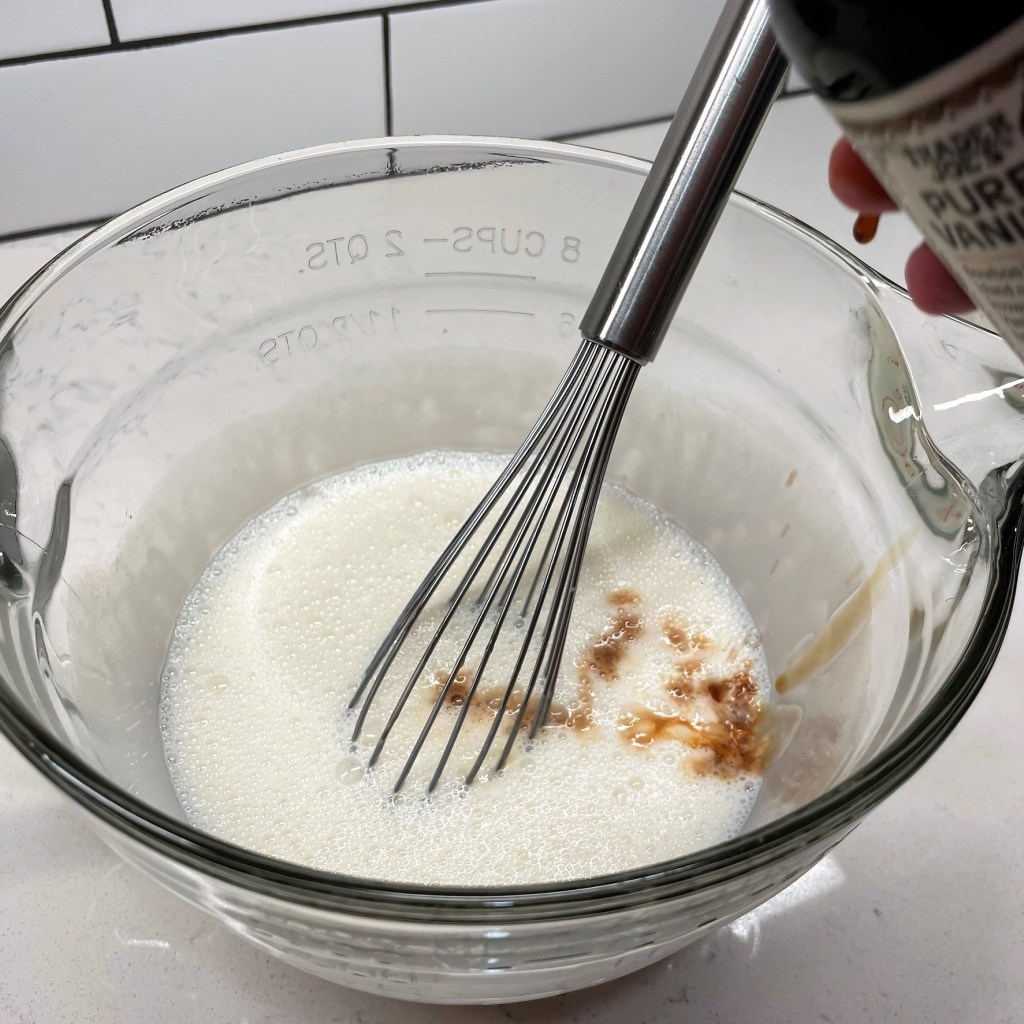
- 2 Tbsp. bourbon
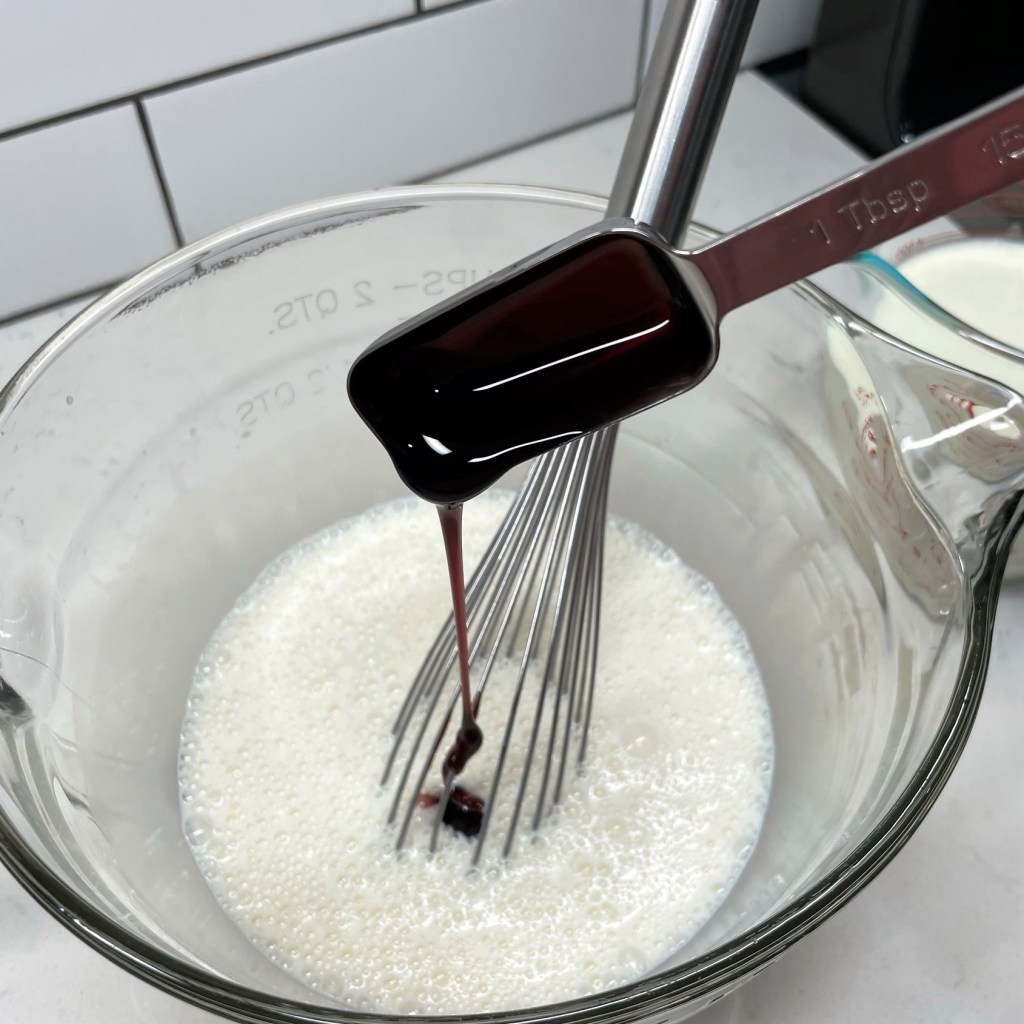
- 1 Tbsp. Cherry Heering liqueur (optional, or another of bourbon)
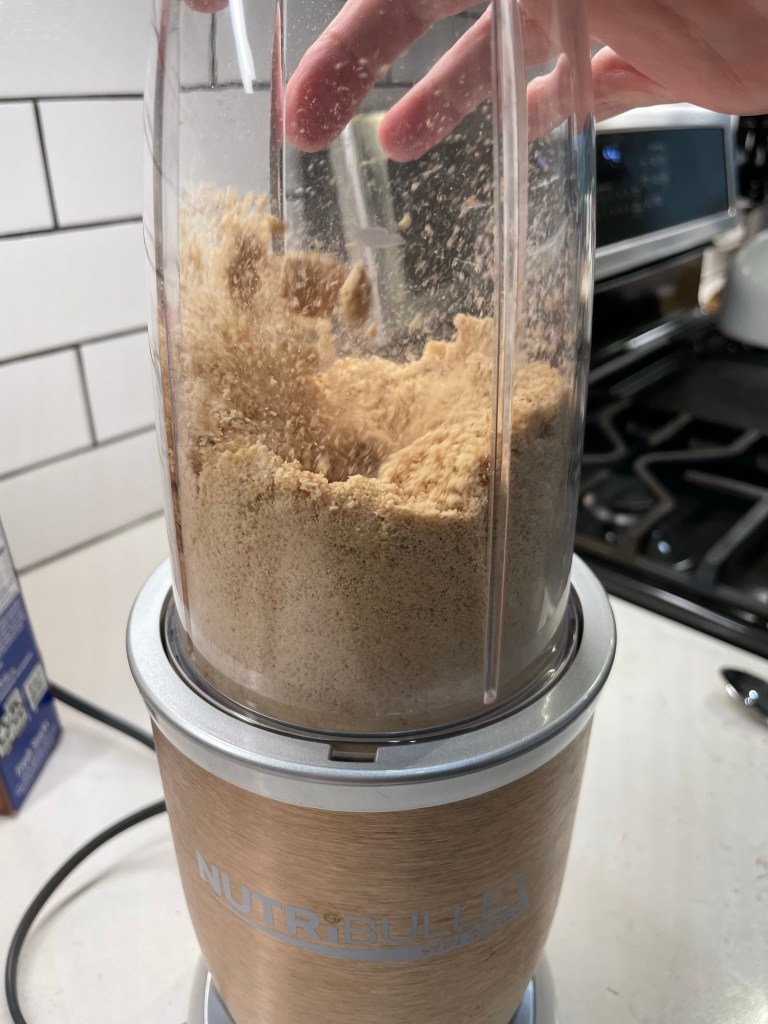
- 1 1/2 cups unbleached cake flour (see tips)
- 1/2 cup Double Dark Dutch cocoa (see tips)
- 1/4 tsp. salt (increase to 1/2 if using unsalted butter)
- 1/2 tsp. baking soda
- 1/4 tsp. baking powder
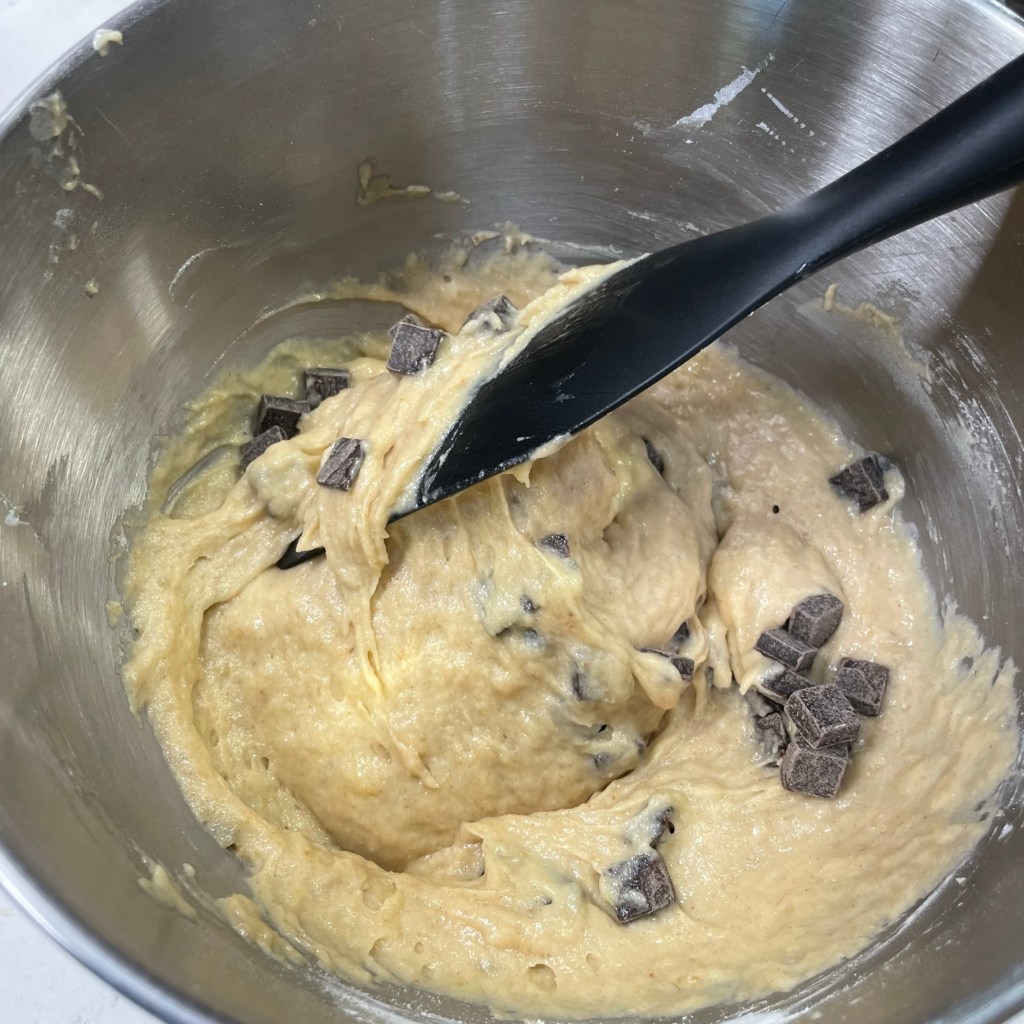
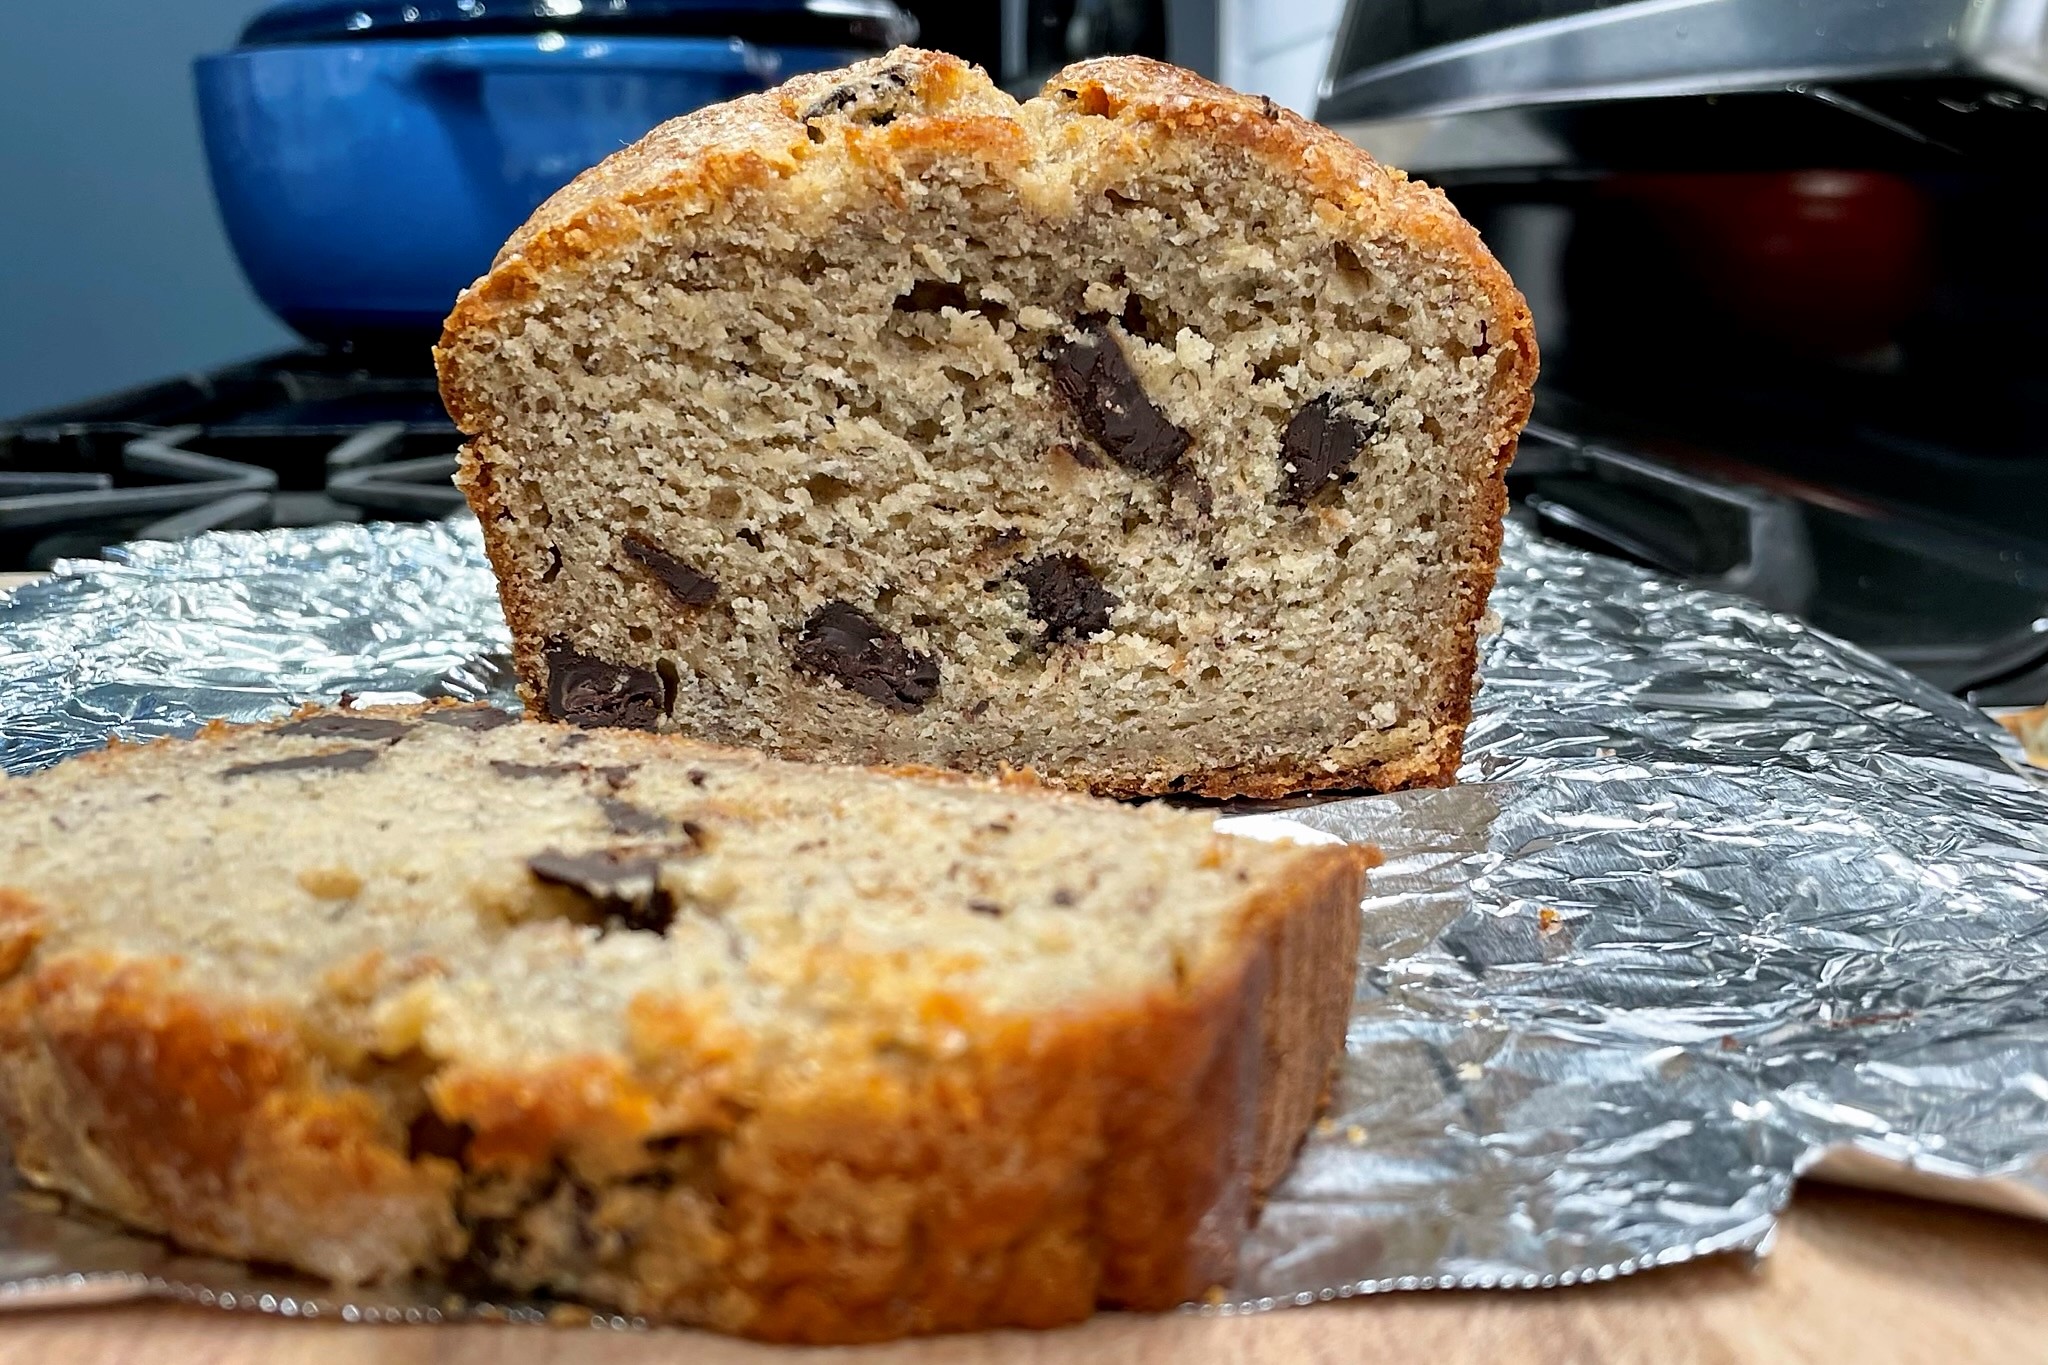
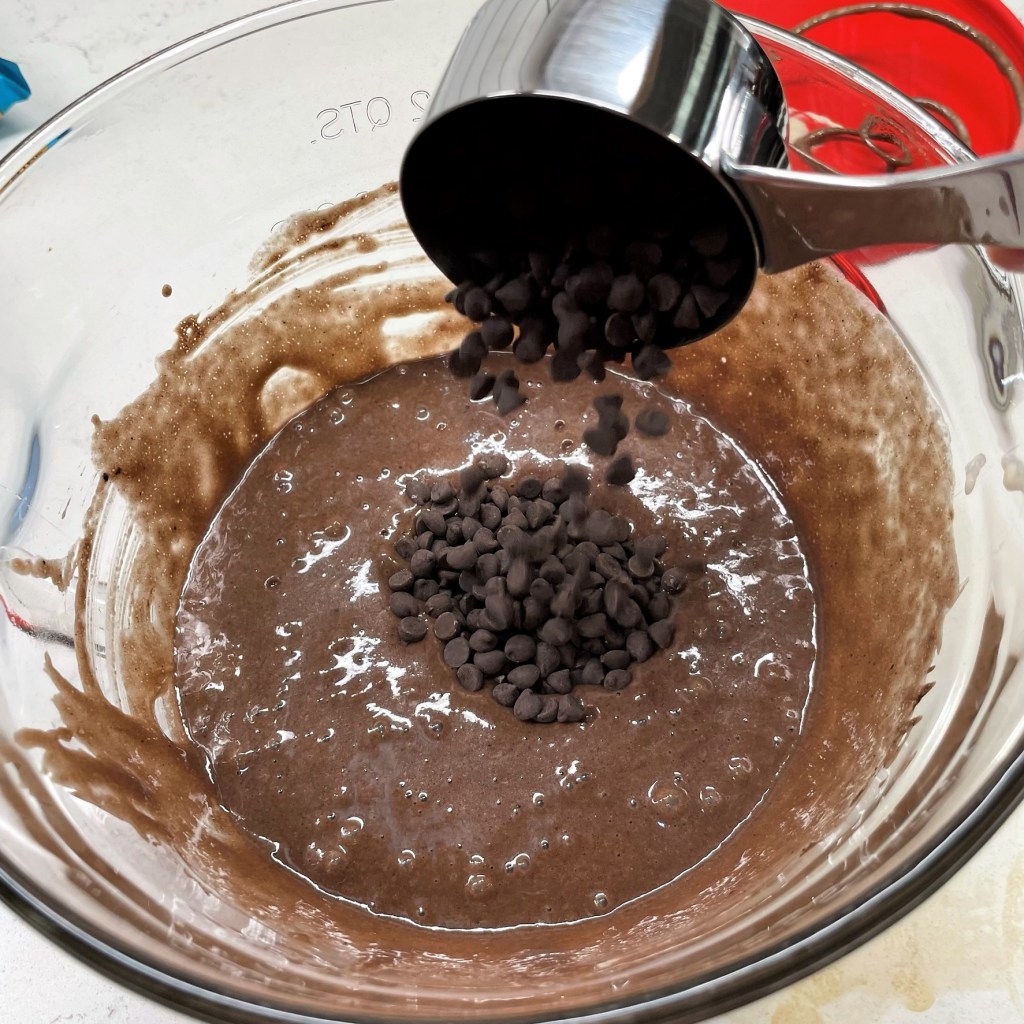
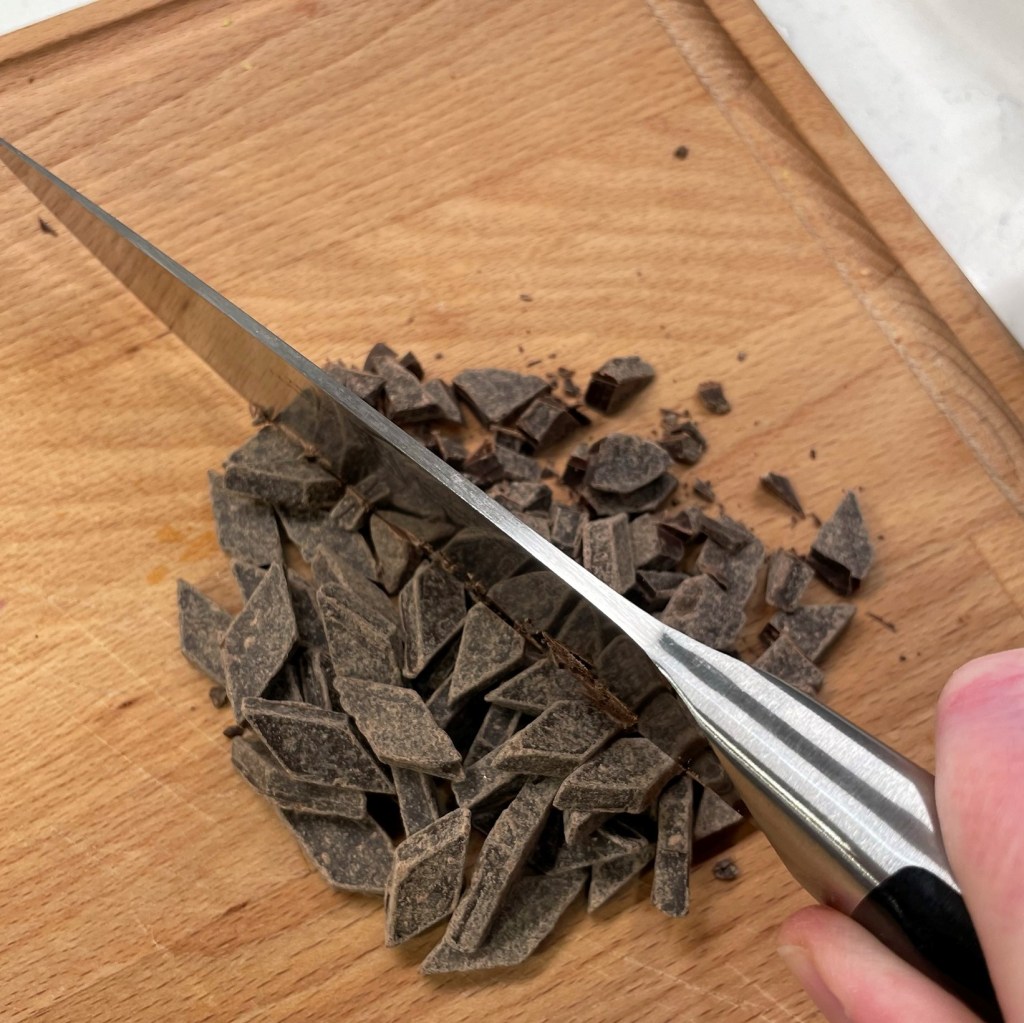
- 2 heaping tablespoons dark chocolate, finely chopped (I used dark chips)
- Cherry filling, buttercream and ganache, as noted below
- 12 stemmed cocktail cherries (optional, for pretty presentation at serving)
Directions
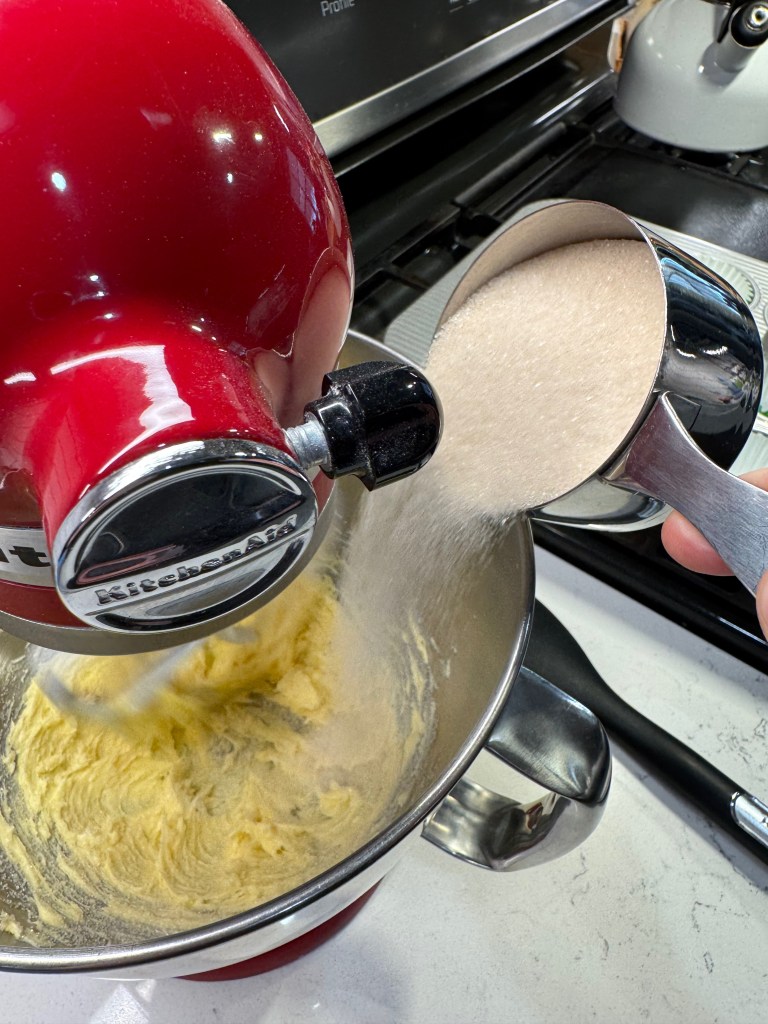
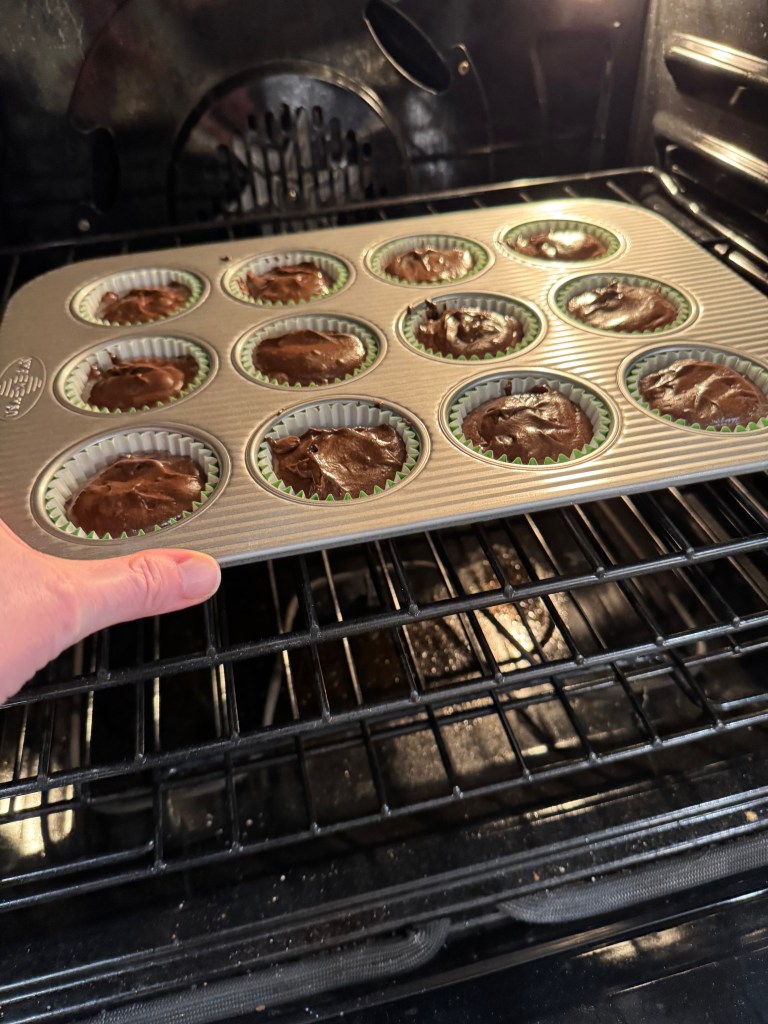
- Heat oven to 350° F, with rack in center position of oven. Line a 12-cup cupcake tin with doubled liner papers. 2.In the bowl of a stand mixer, fitted with the paddle attachment, beat softened butter until it’s light and creamy. Pour sugar in very gradually, continuing to beat until the sugar is fully incorporated. Stop the mixer a couple times to scrape down sides of the bowl.
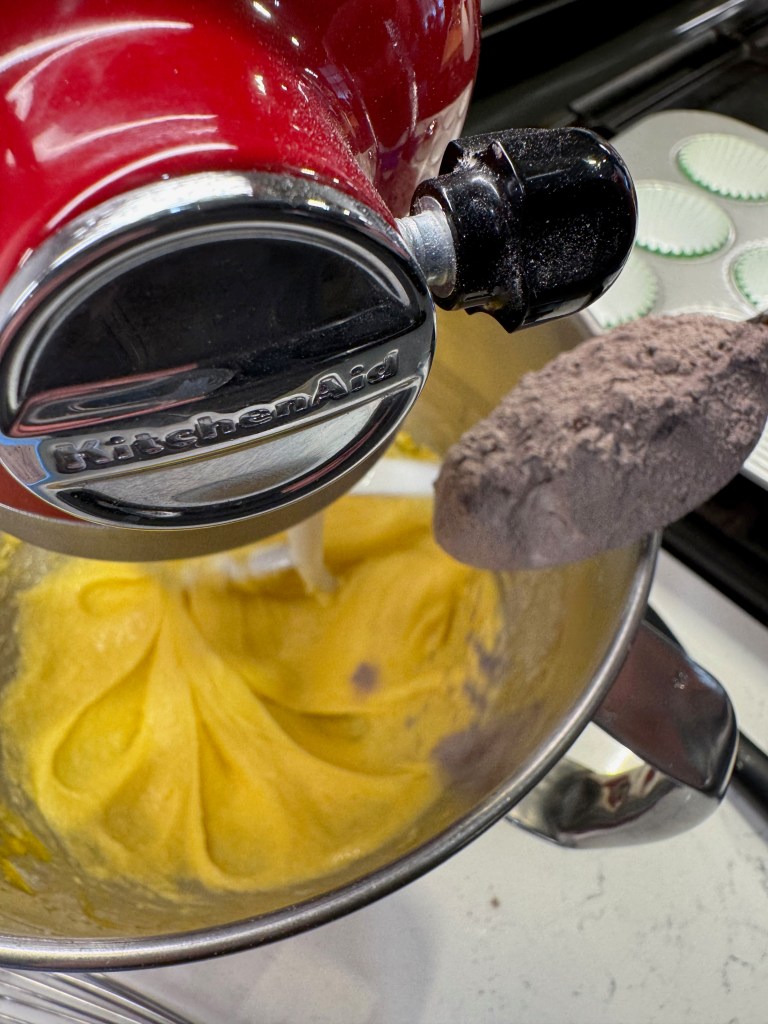
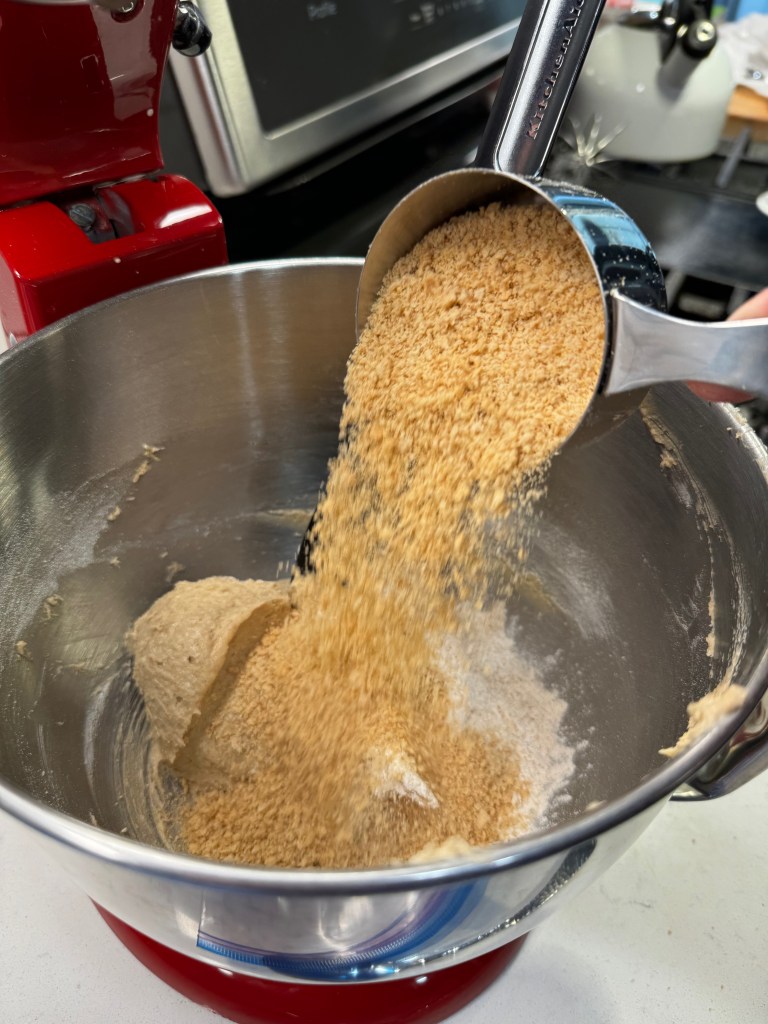
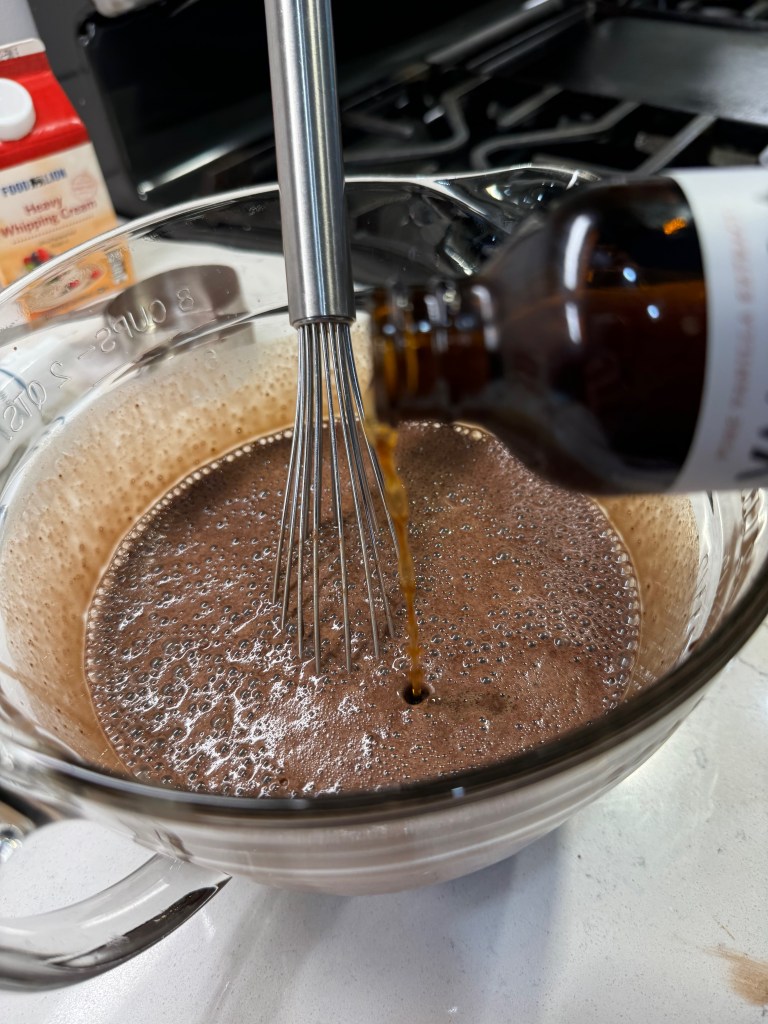
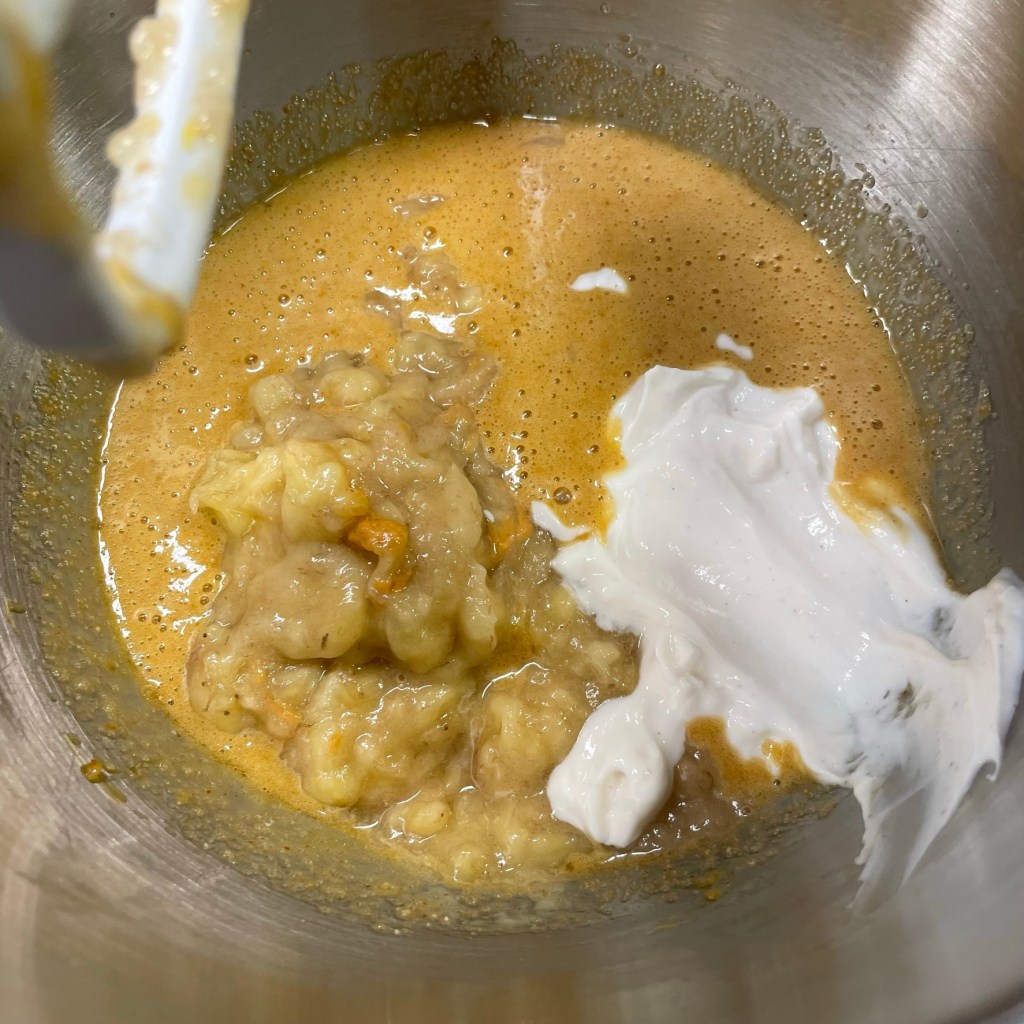
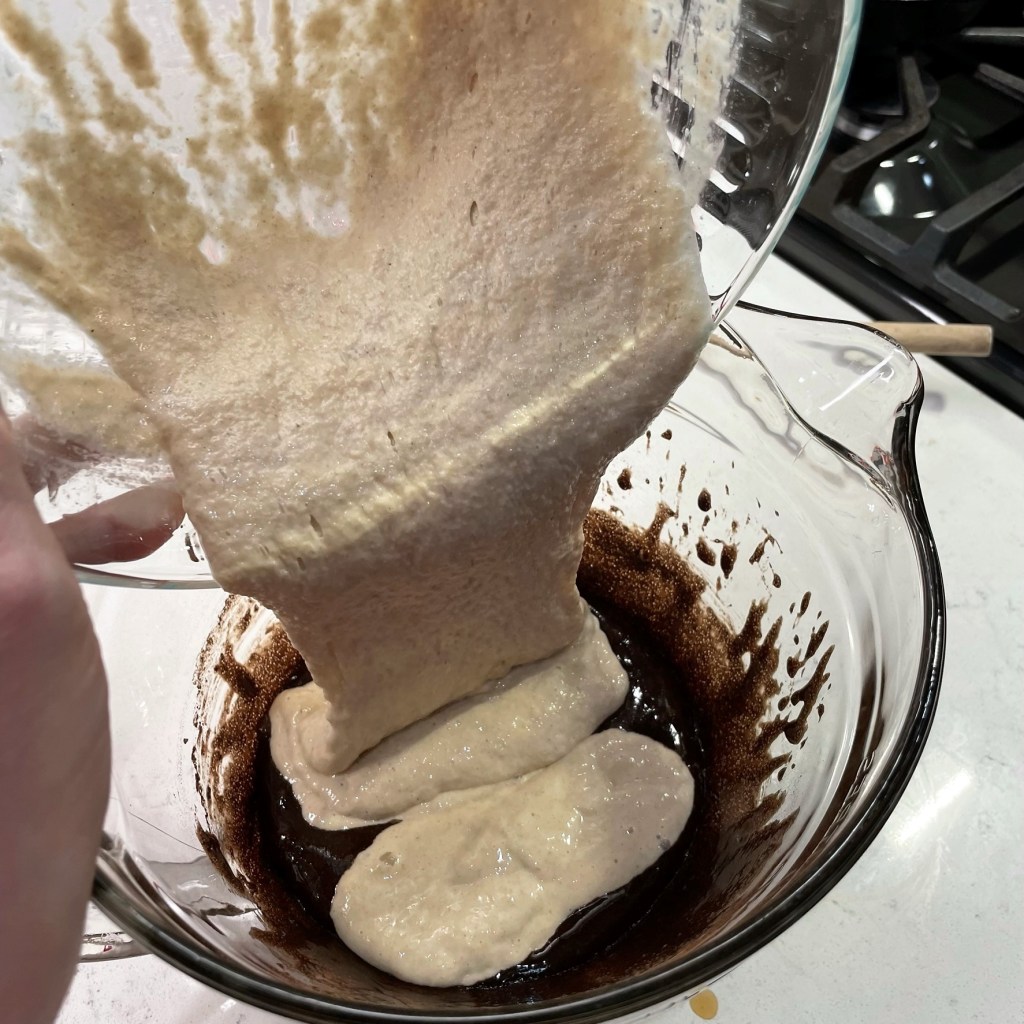
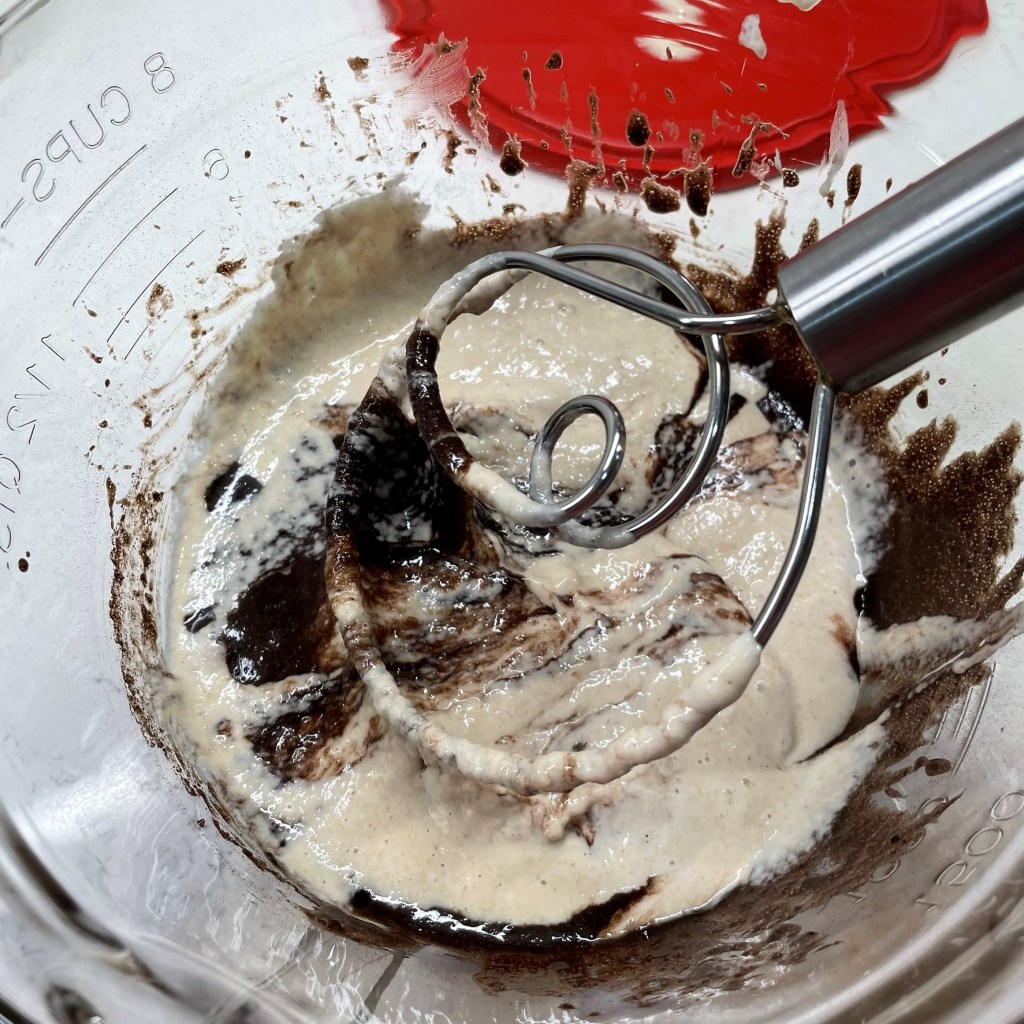
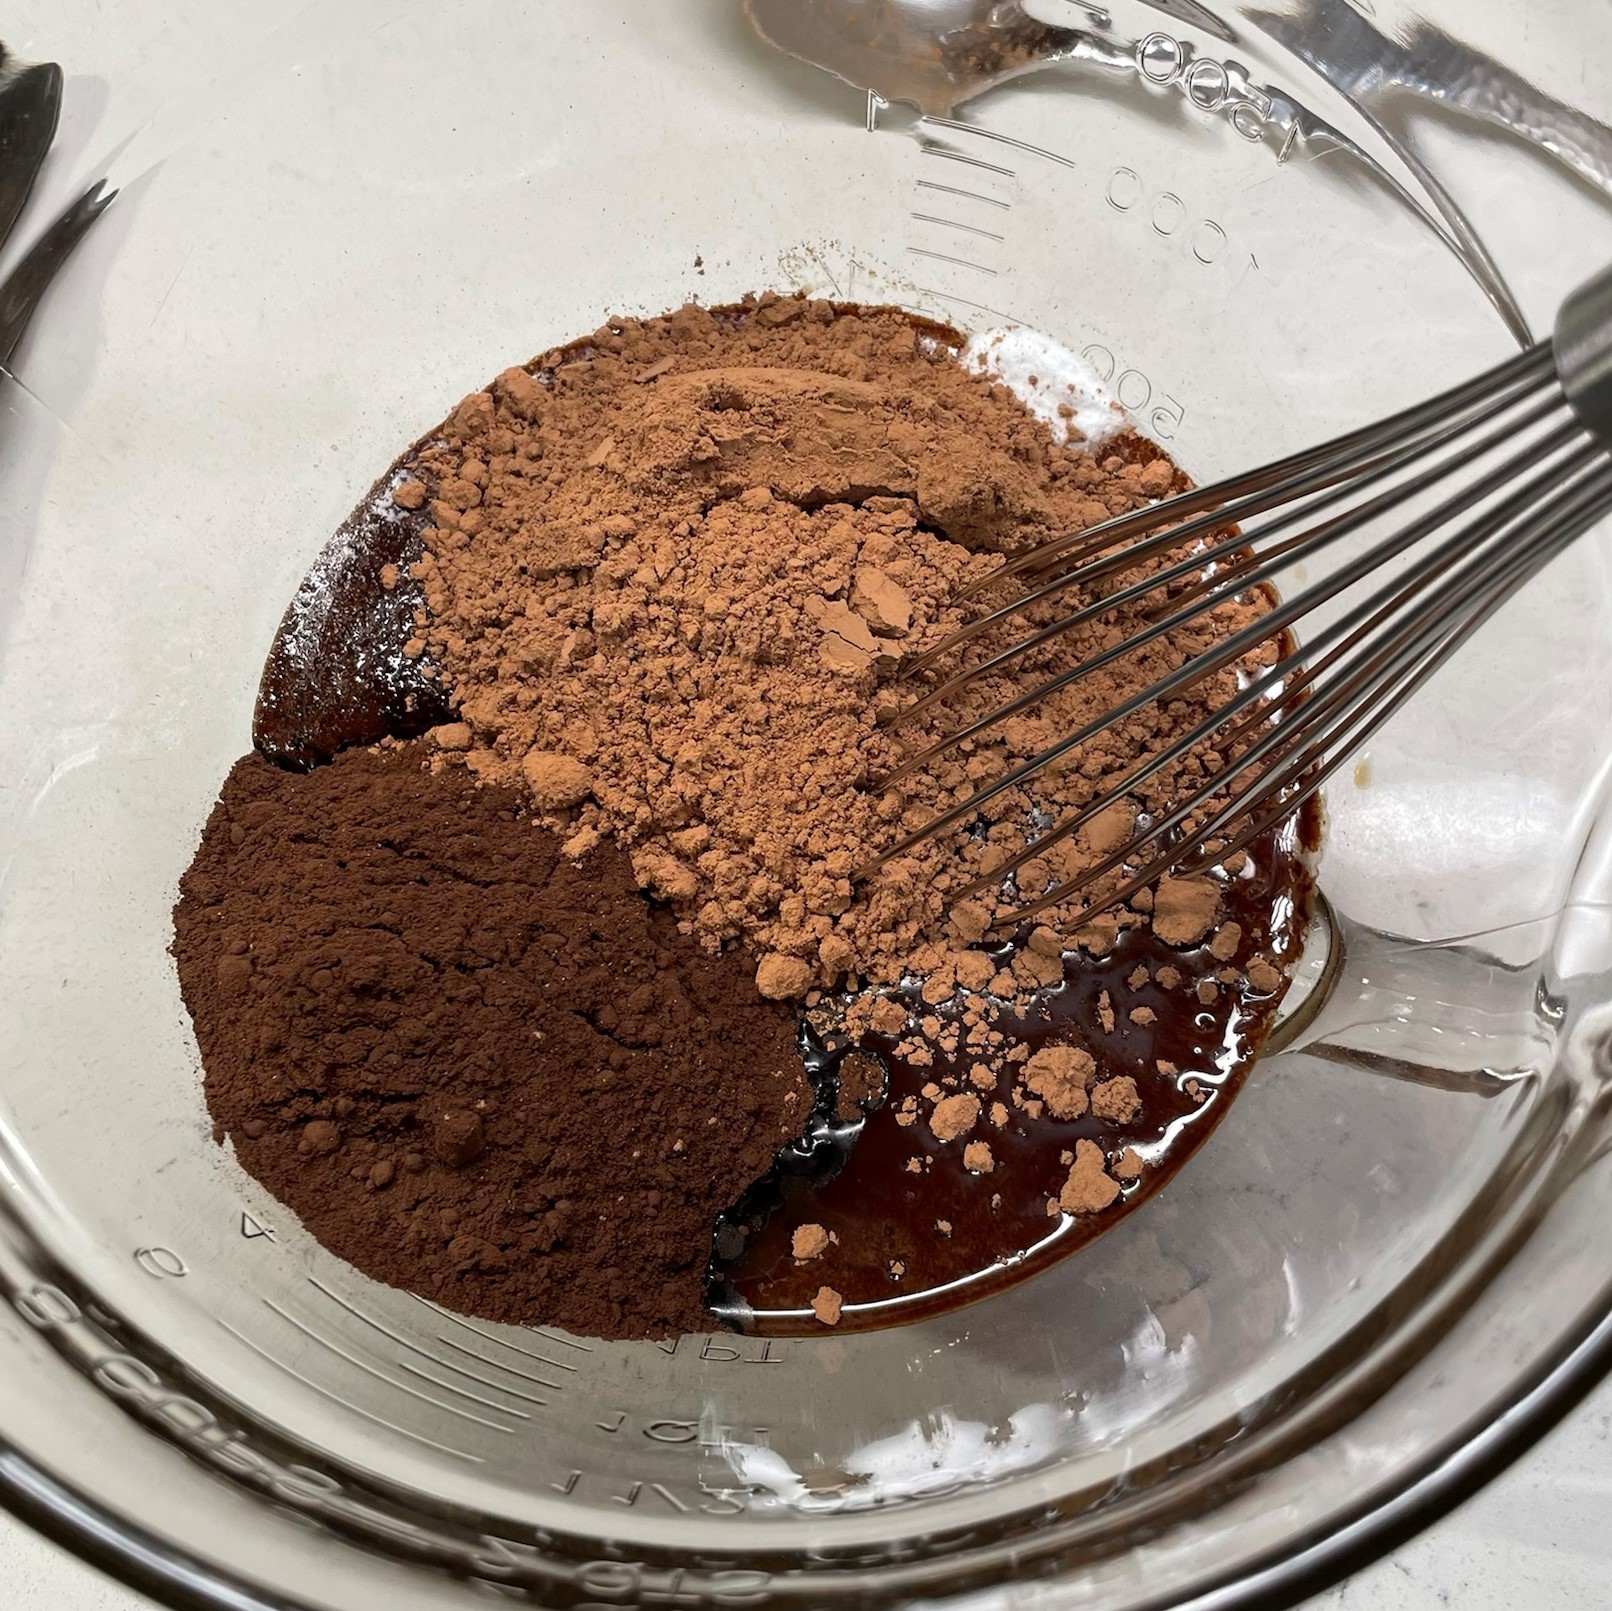
- Beat in eggs, one at a time. Whisk together flour, cocoa, baking powder, baking soda and salt in a medium bowl. Add flour mixture to the batter, one-third at a time, alternating with the milk and ending with the dry mixture. Slowly stir in bourbon (and cherry liqueur, if using).
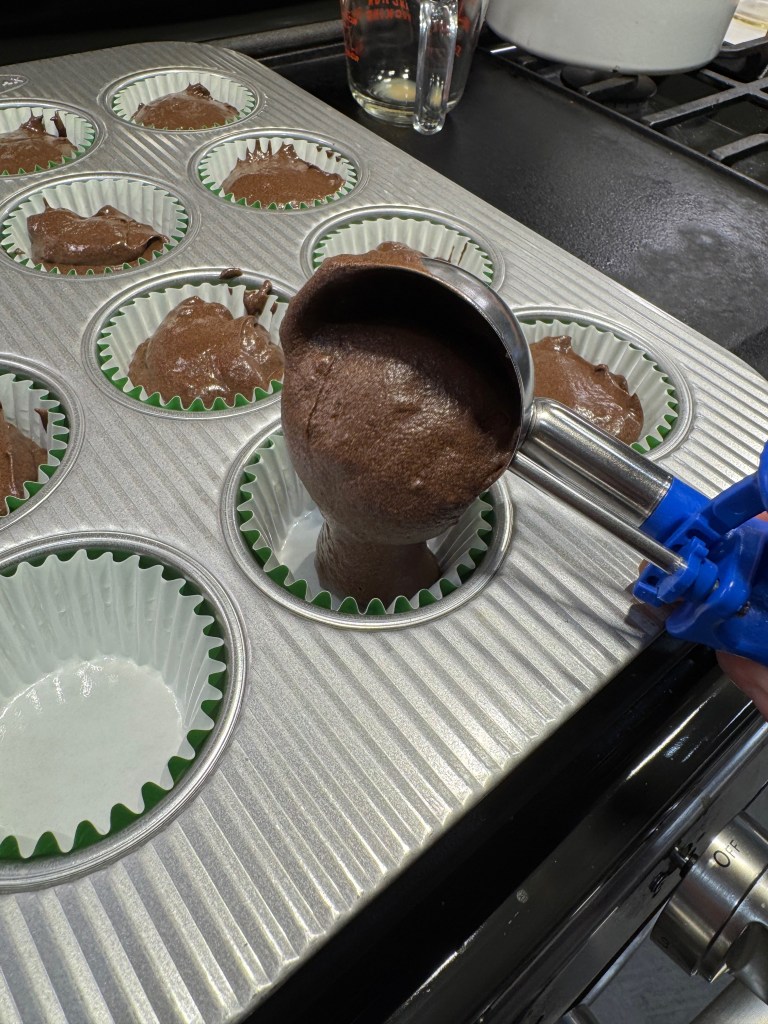
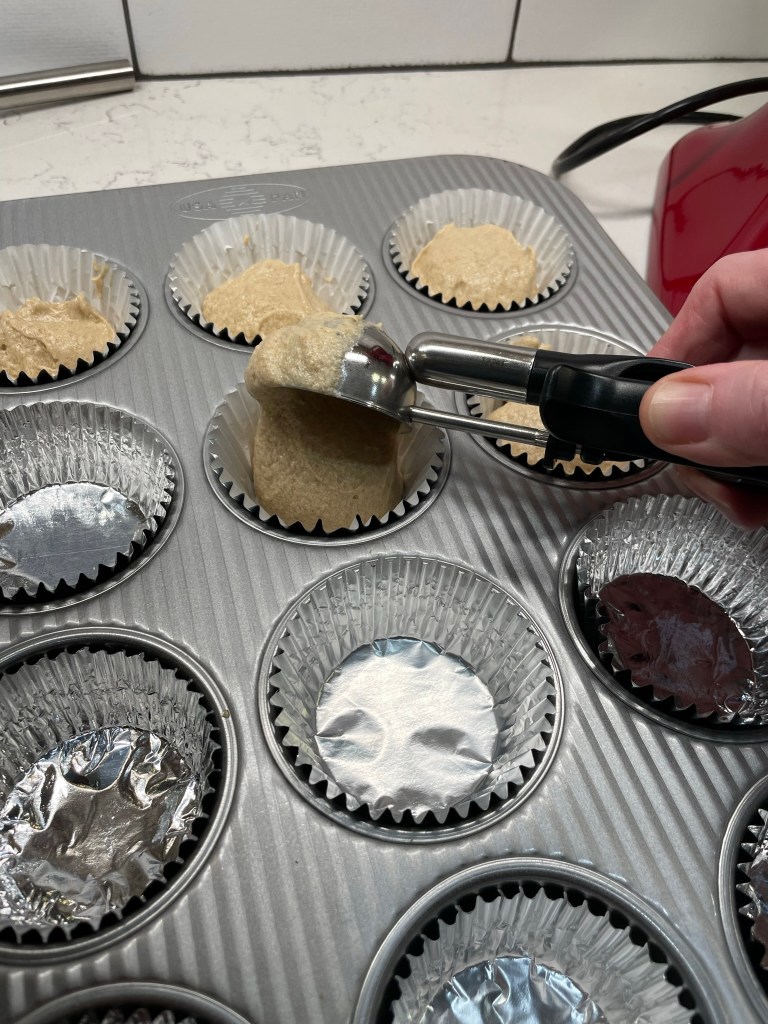
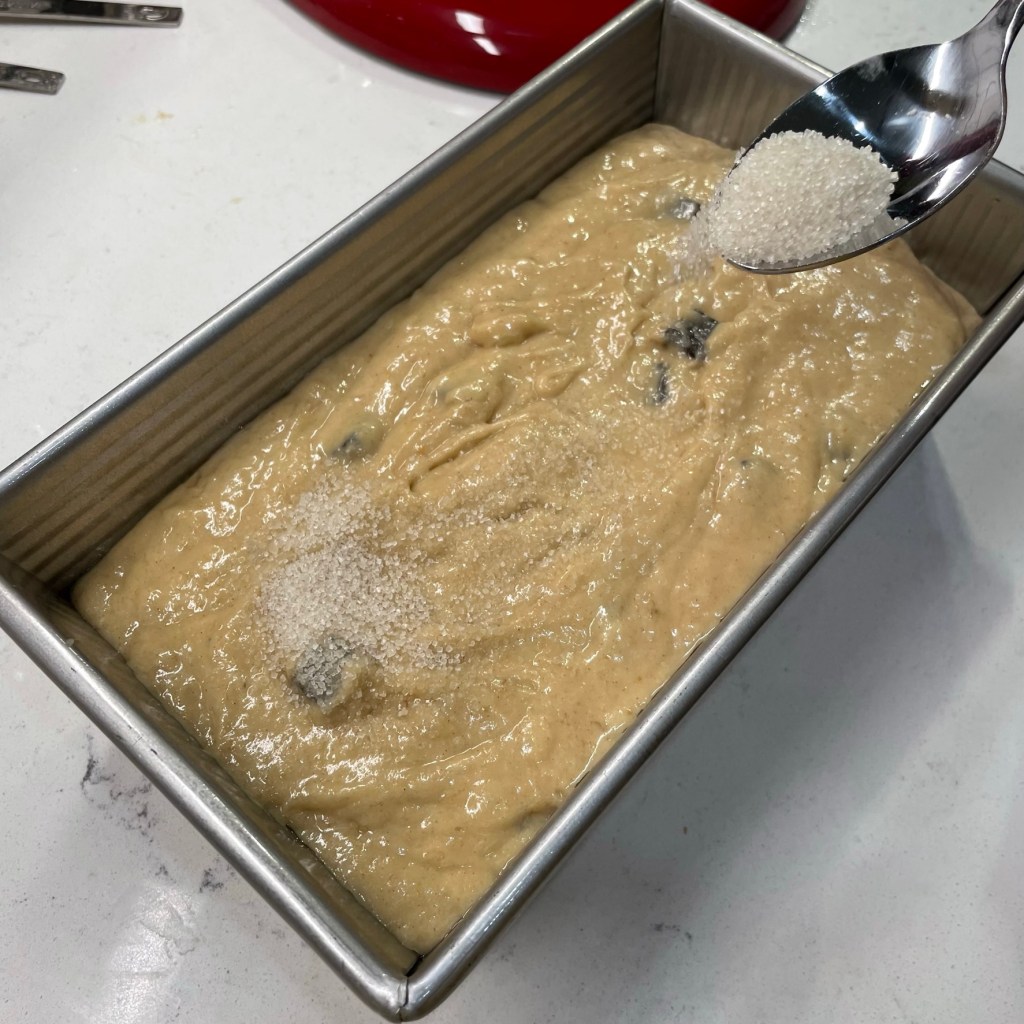
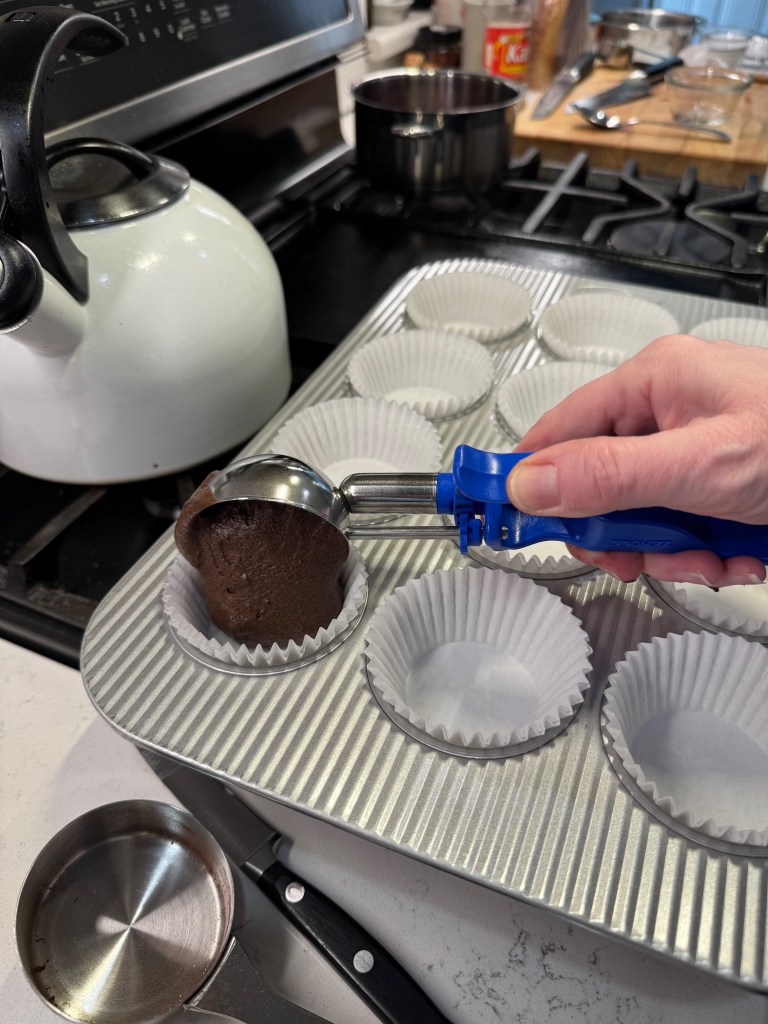
- Use a large cookie scoop to fill cupcake papers. They will be about 3/4 full. If necessary, line custard cups with papers for any excess batter.
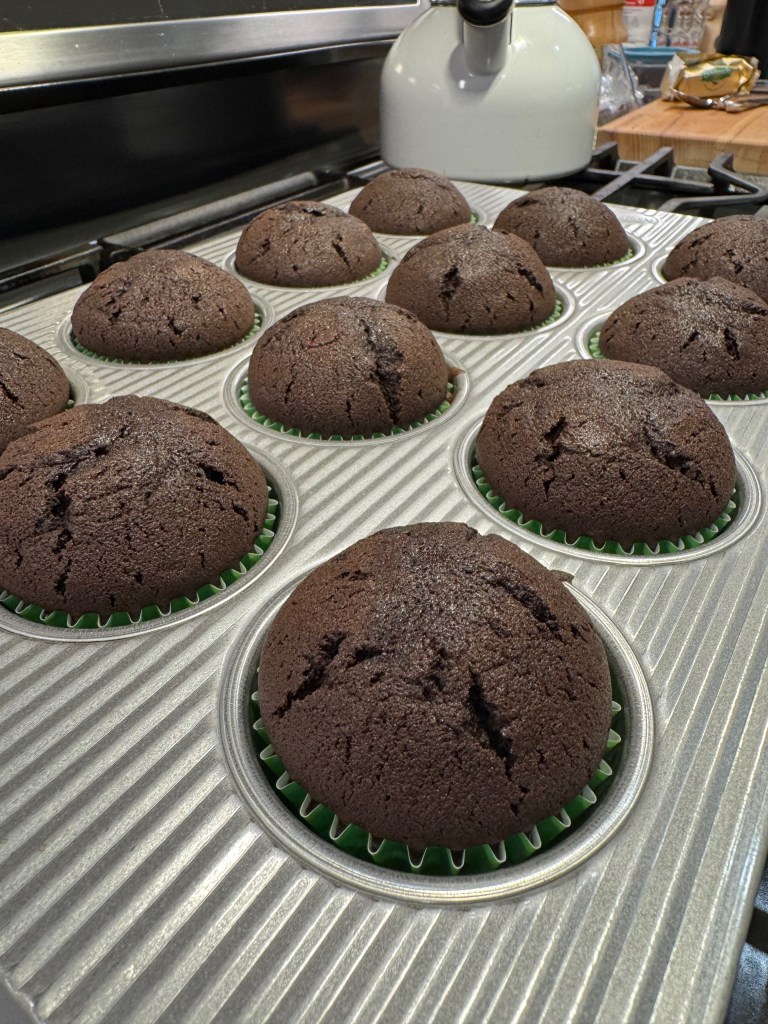
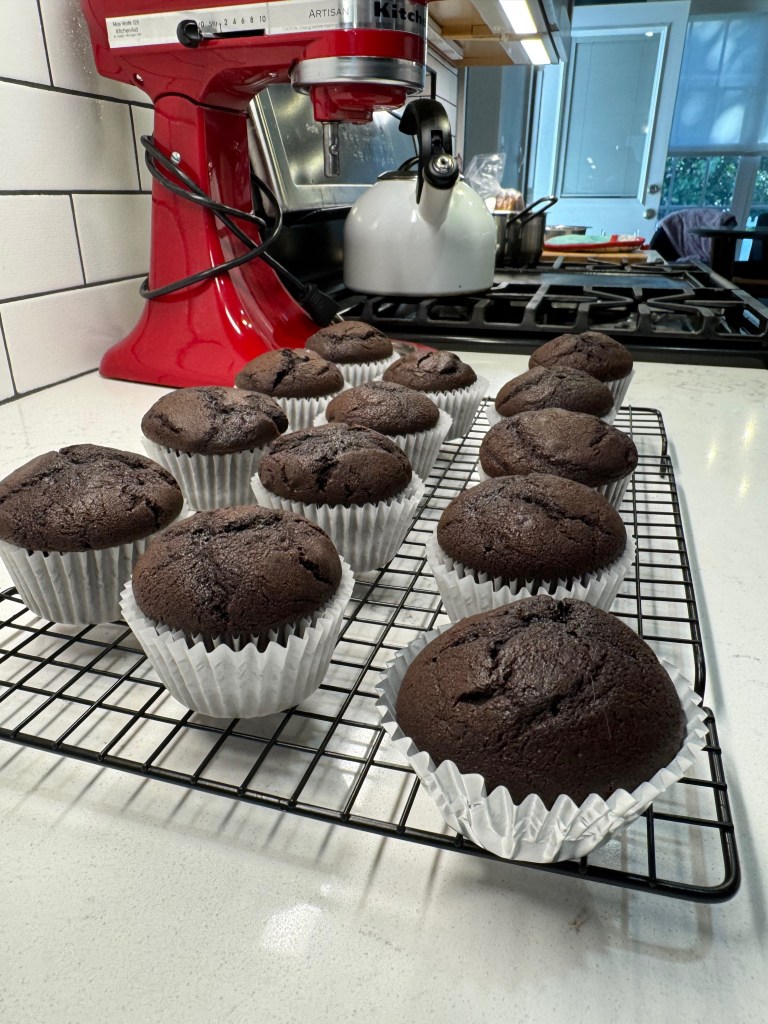
- Bake in the center of the oven for 20 to 22 minutes, turning pan halfway through for even baking. Remove from oven to cool several minutes, and then transfer cupcakes to a wire rack to finish cooling.
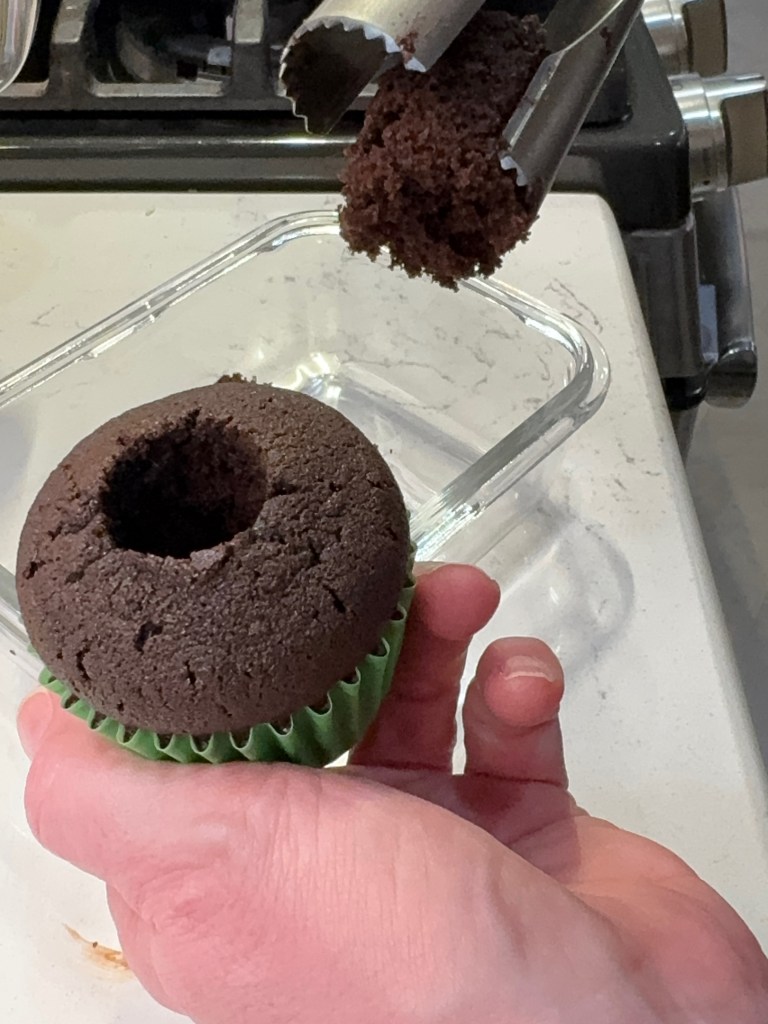
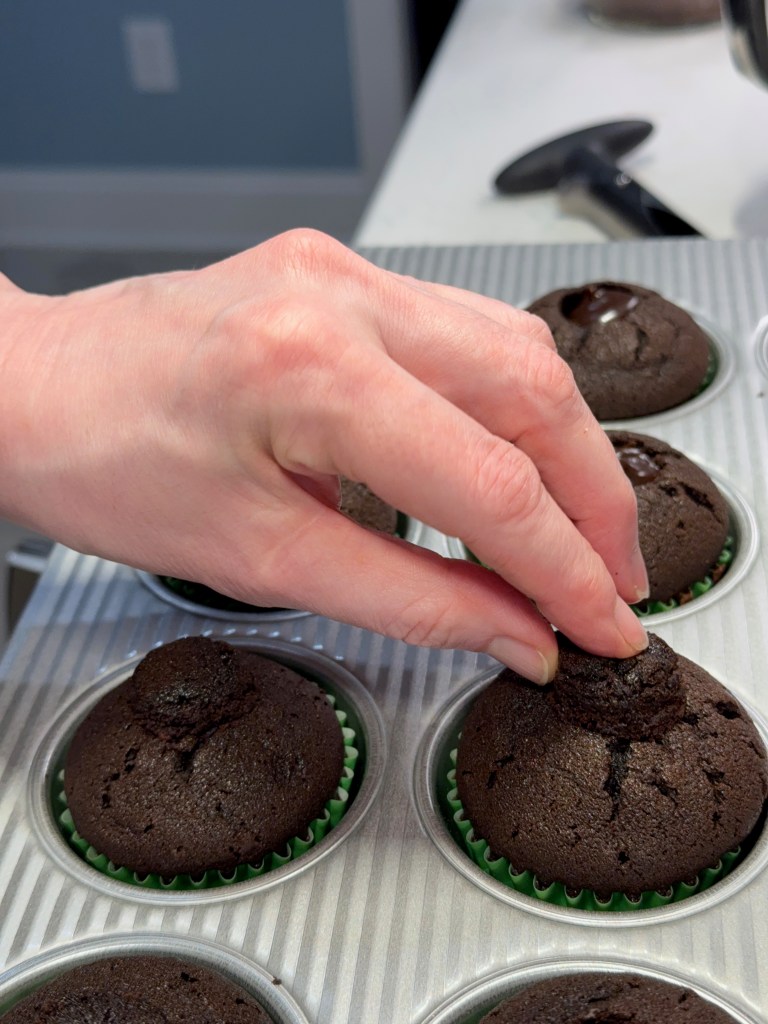
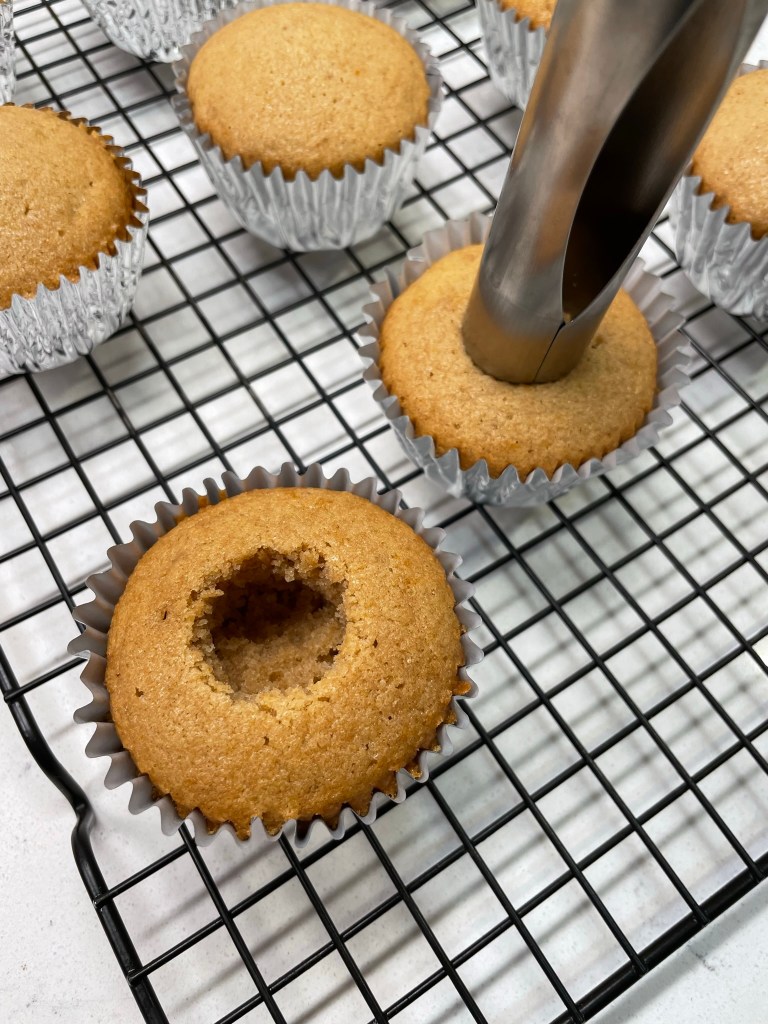
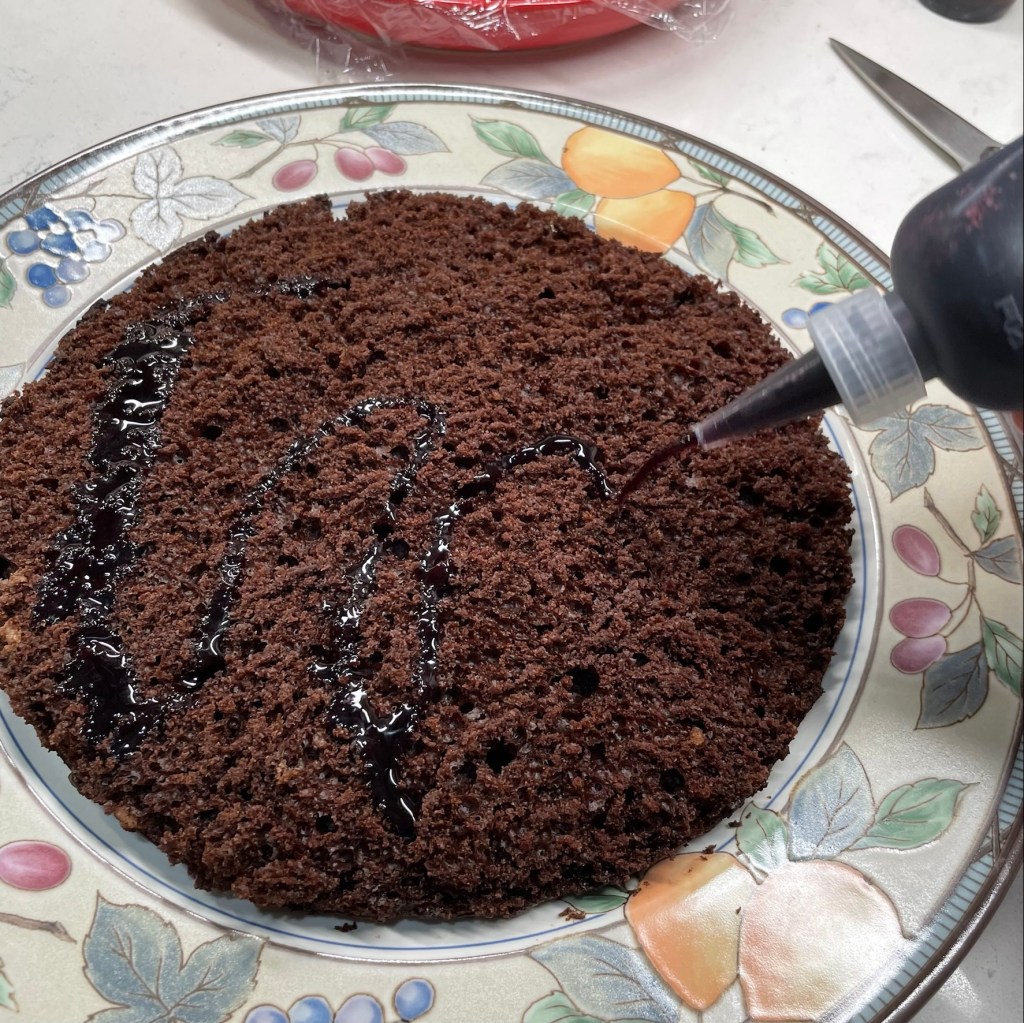
- Use an apple corer or paring knife to carve out a small plug of cake from each cupcake (reserve them). Carefully spoon two or three cherries into each cupcake cavity, and then replace the reserved cake plugs.
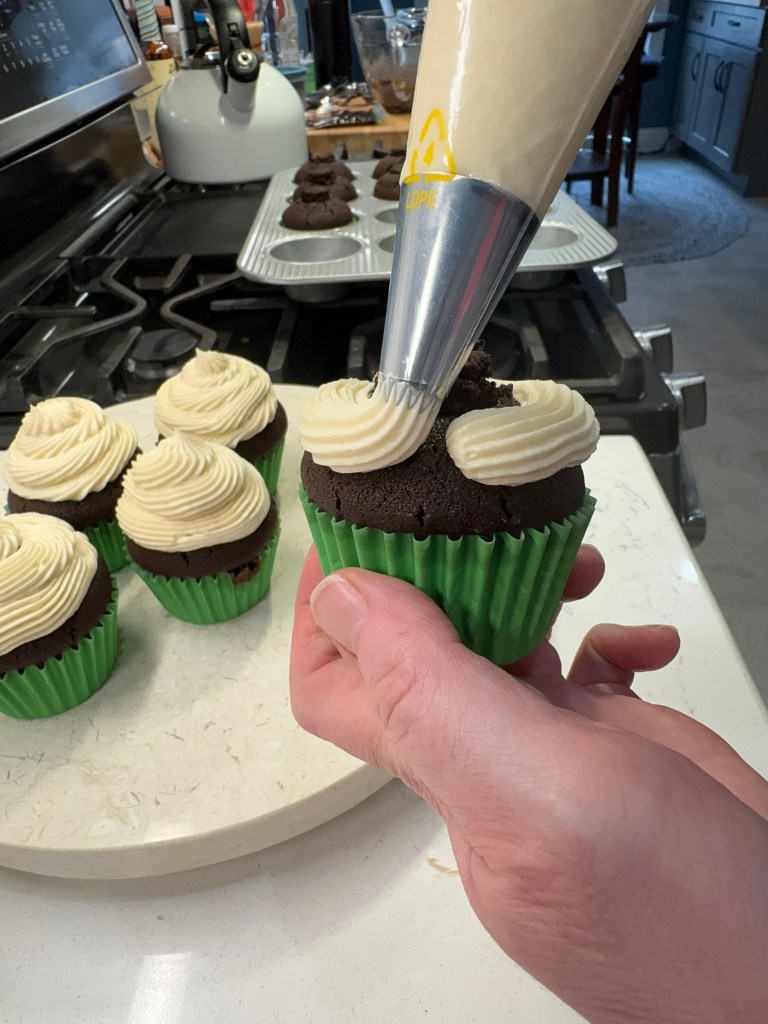
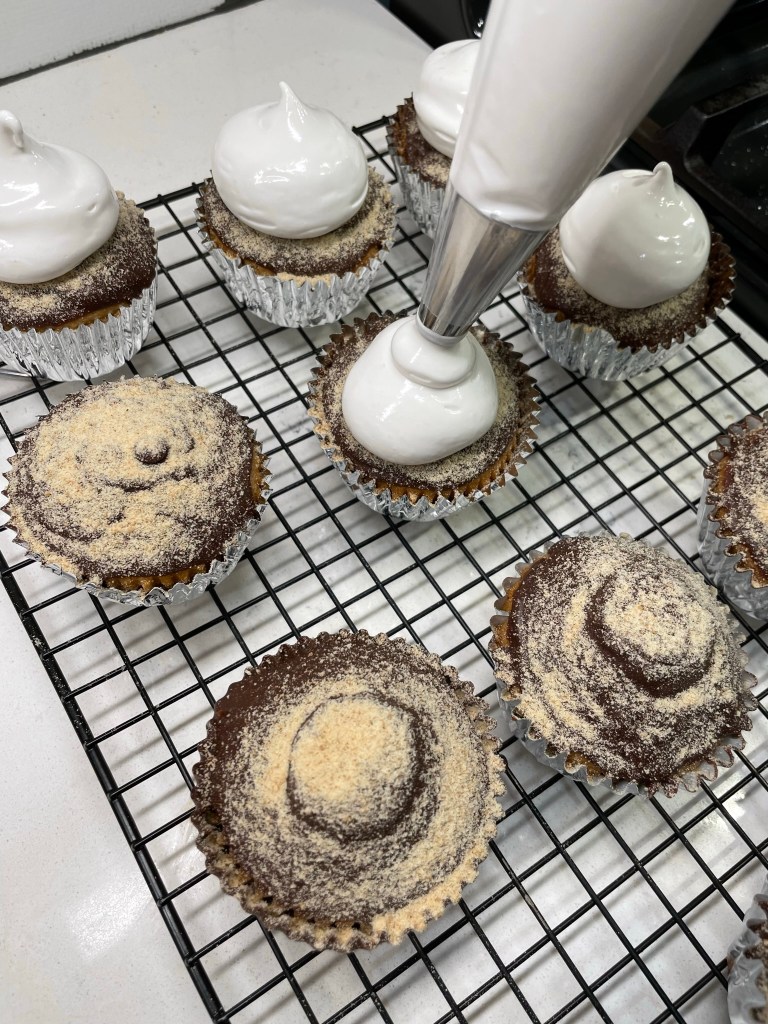
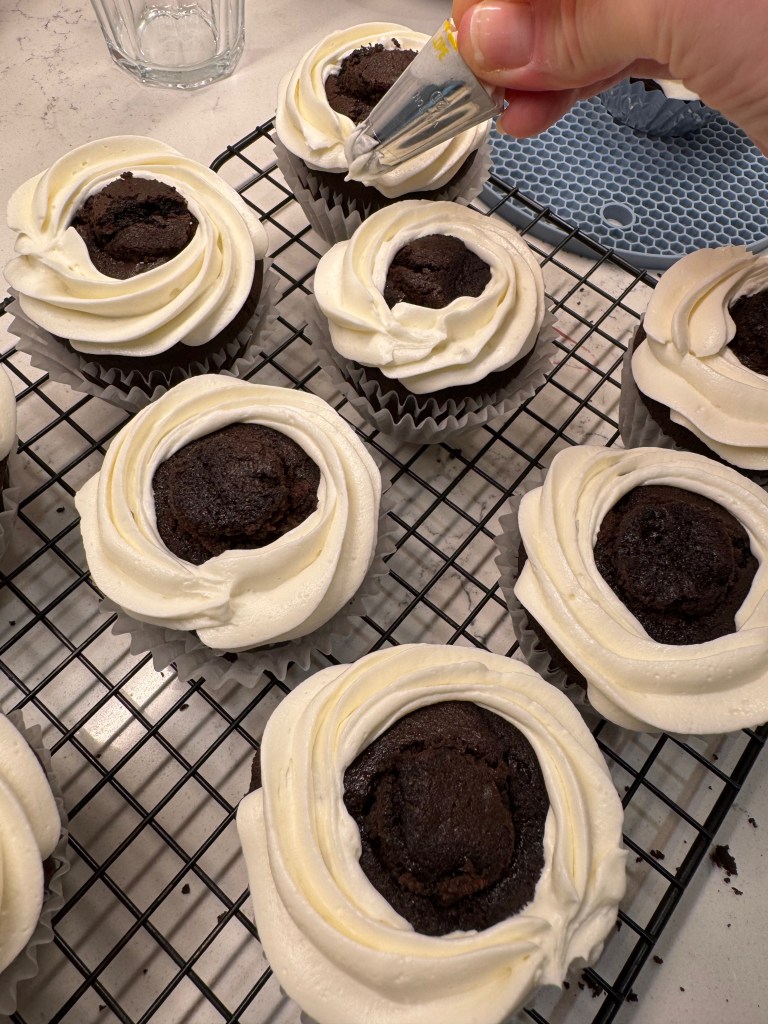
- Load buttercream into a piping bag fitted with a star tip. Pipe buttercream only around the outer edge of each cupcake, leaving the center of each cupcake top naked (this is where the ganache will go). Refrigerate cupcakes for an hour or two to firm up buttercream.
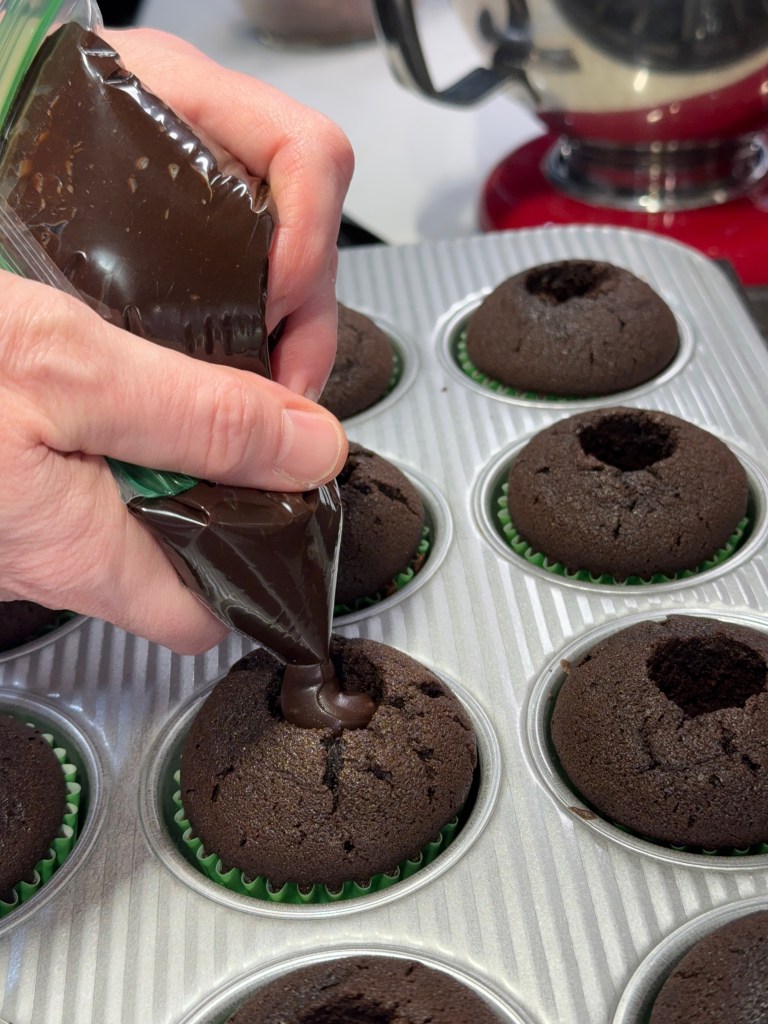
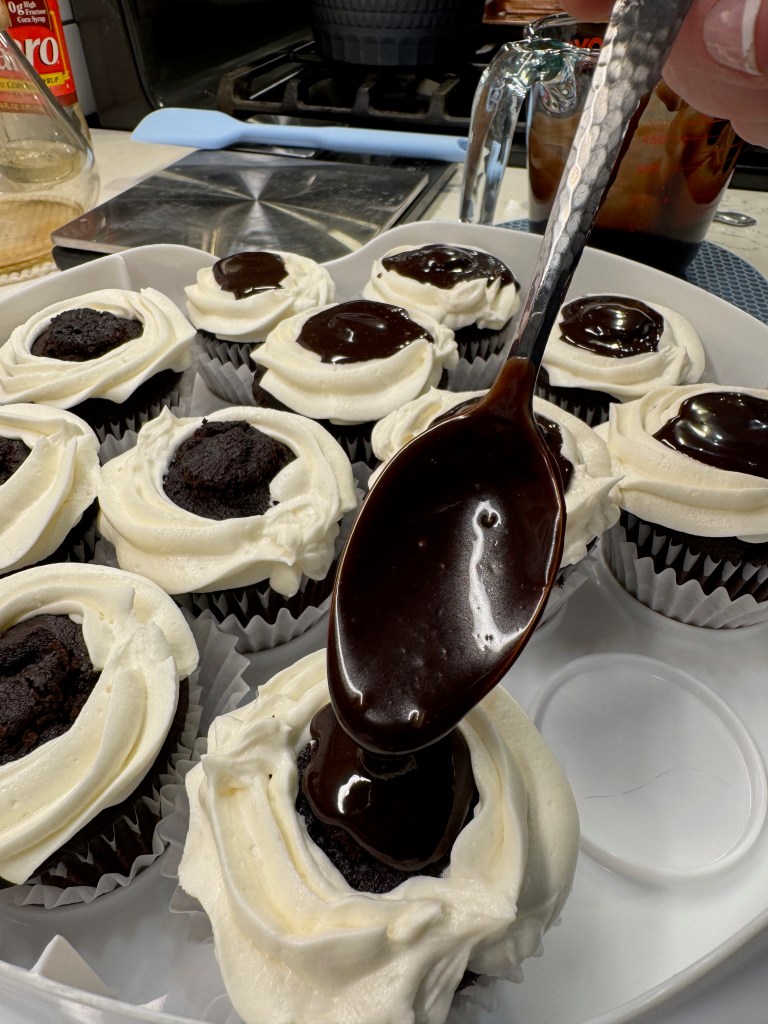
- Spoon ganache into open top of cupcakes. Place a cocktail cherry on the cupcakes when you are ready to serve them.
Ingredients
- 12 oz. frozen dark sweet cherries
- 1/4 cup organic cane sugar
- 2 Tbsp. water
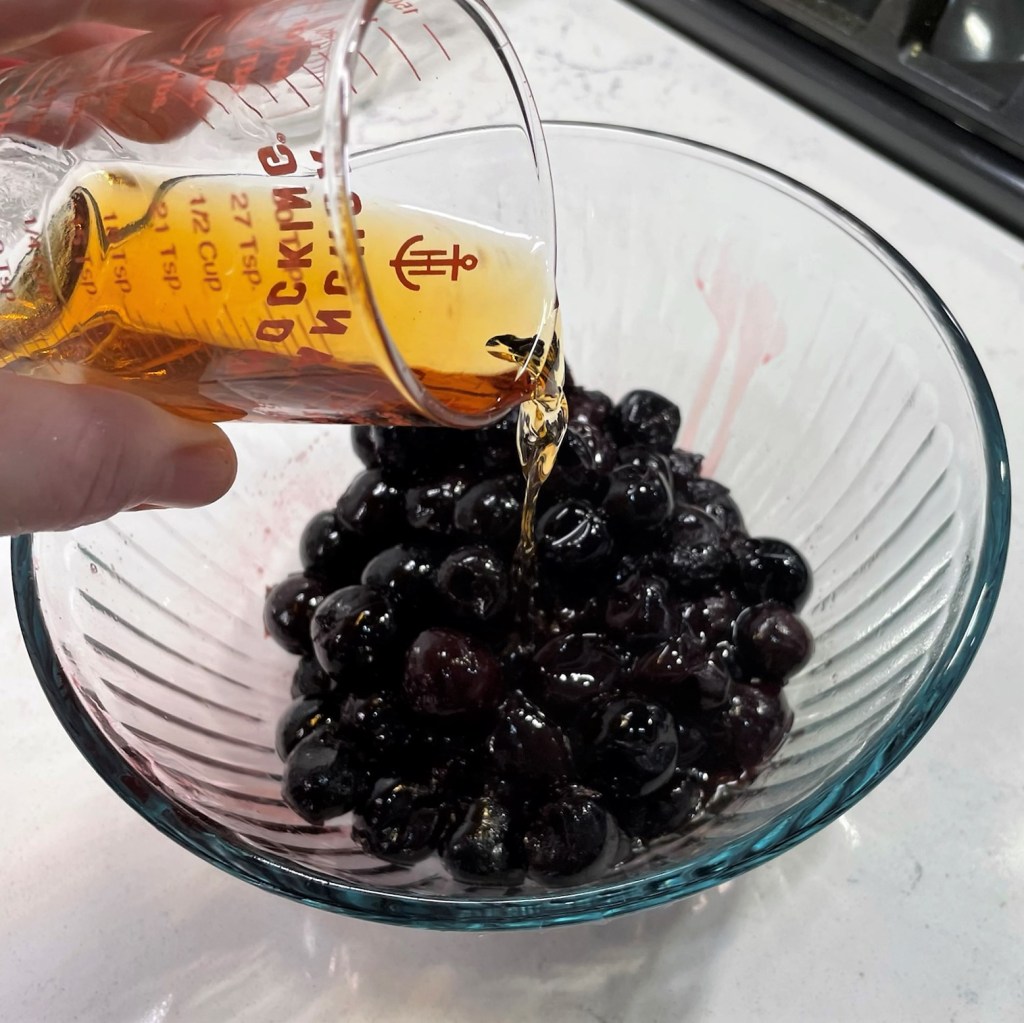
- 2 Tbsp. bourbon (or liquid from cocktail cherries)
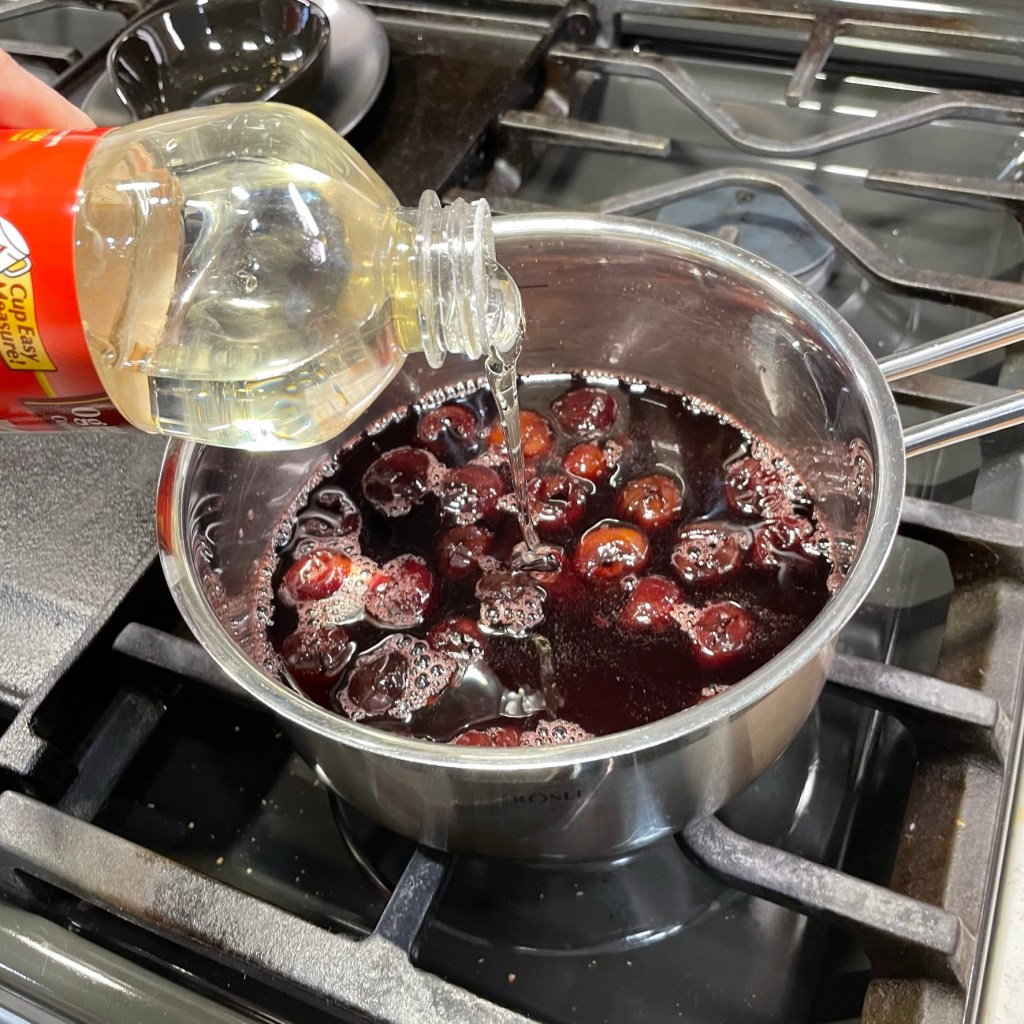
- 2 Tbsp. light corn syrup (prevents crystallization of sugar; sub maple syrup if you wish)
Directions
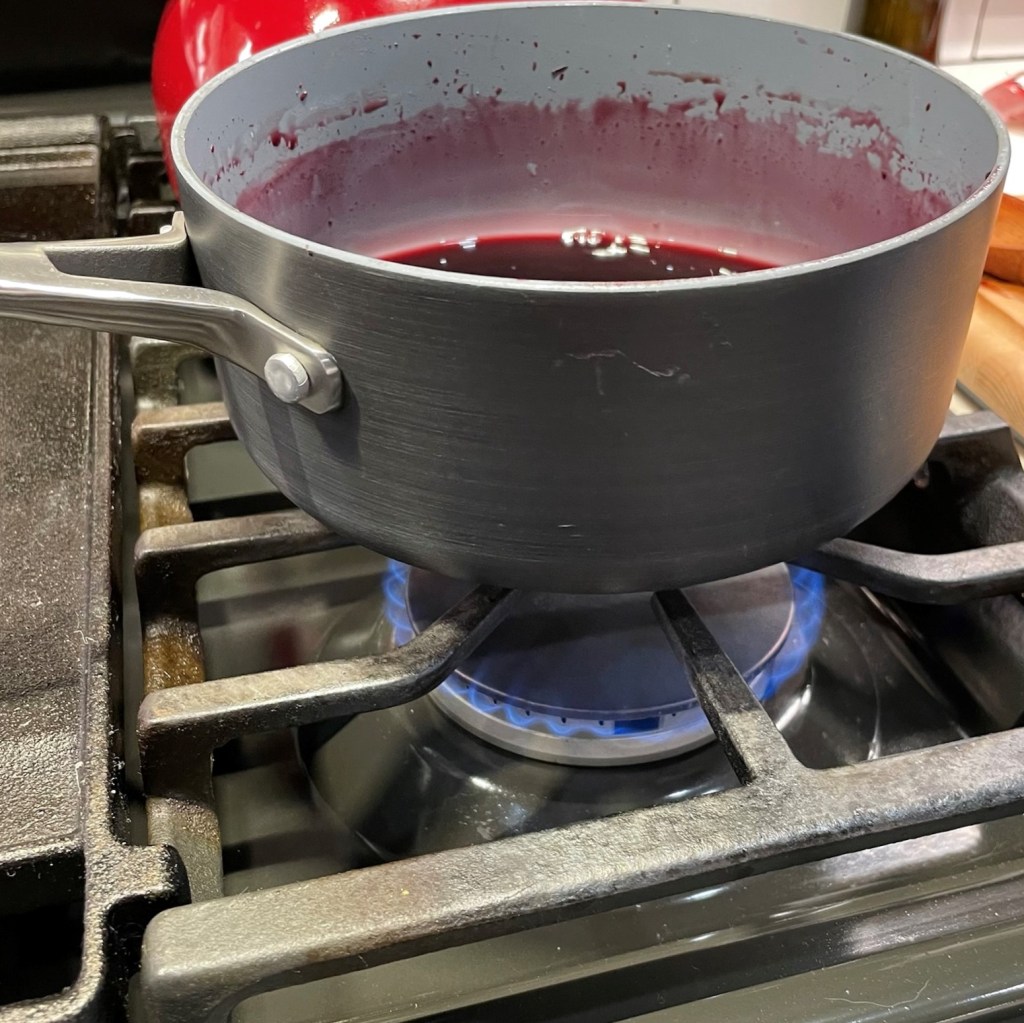
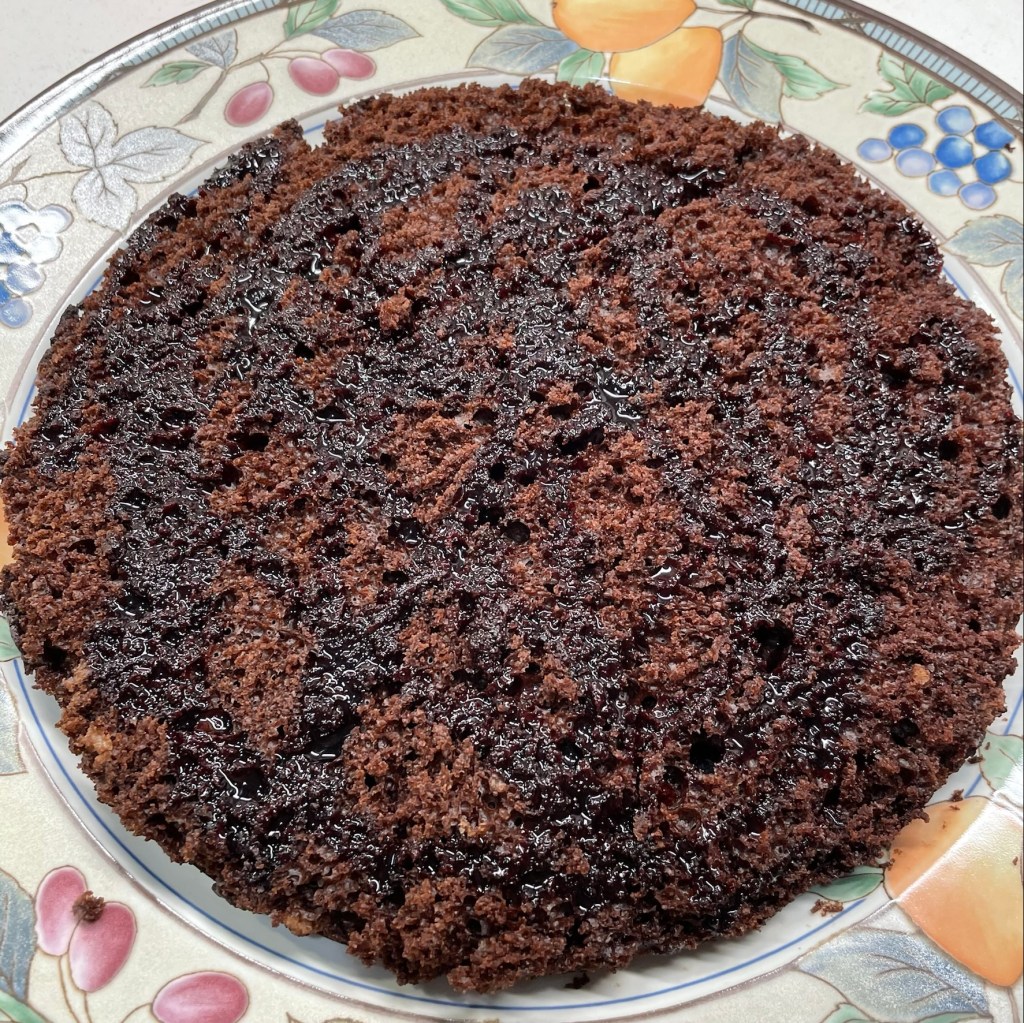
- Place cherries, sugar and water in a small saucepan over medium heat. Cook, stirring occasionally, until sugar has dissolved and cherries are completely softened. Simmer for several minutes to reduce the overall liquid in the pan. Remove from heat and stir in bourbon or cocktail cherry liquid.
- Cool completely and refrigerate until you’re ready to assemble the completed cupcakes.
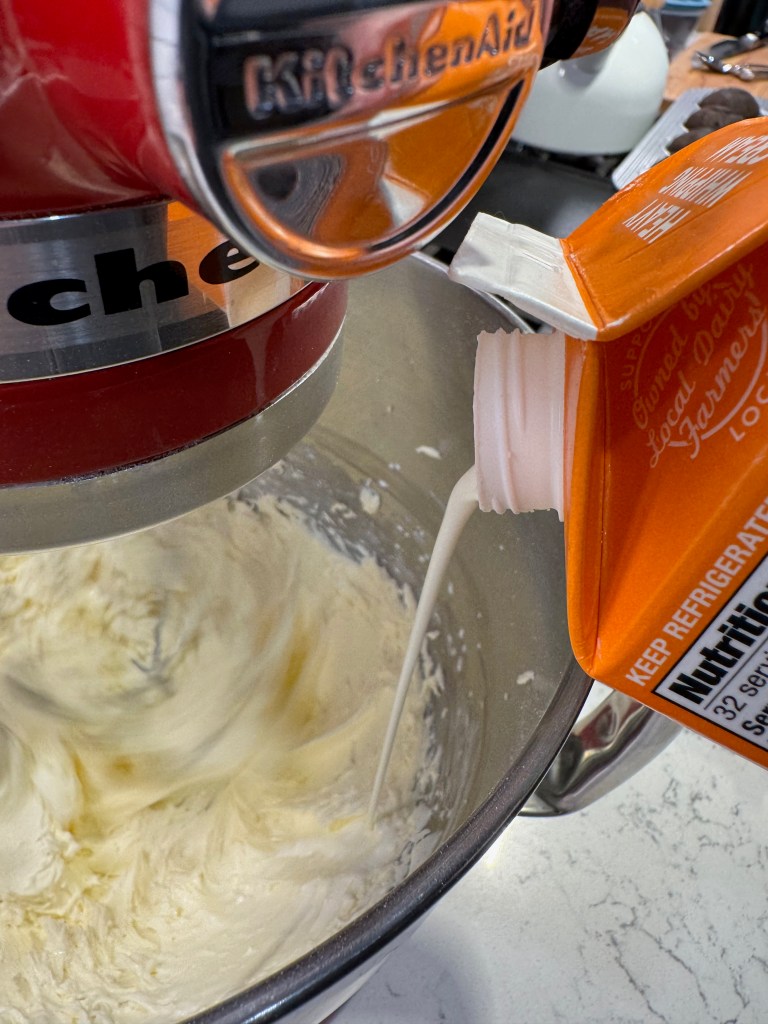
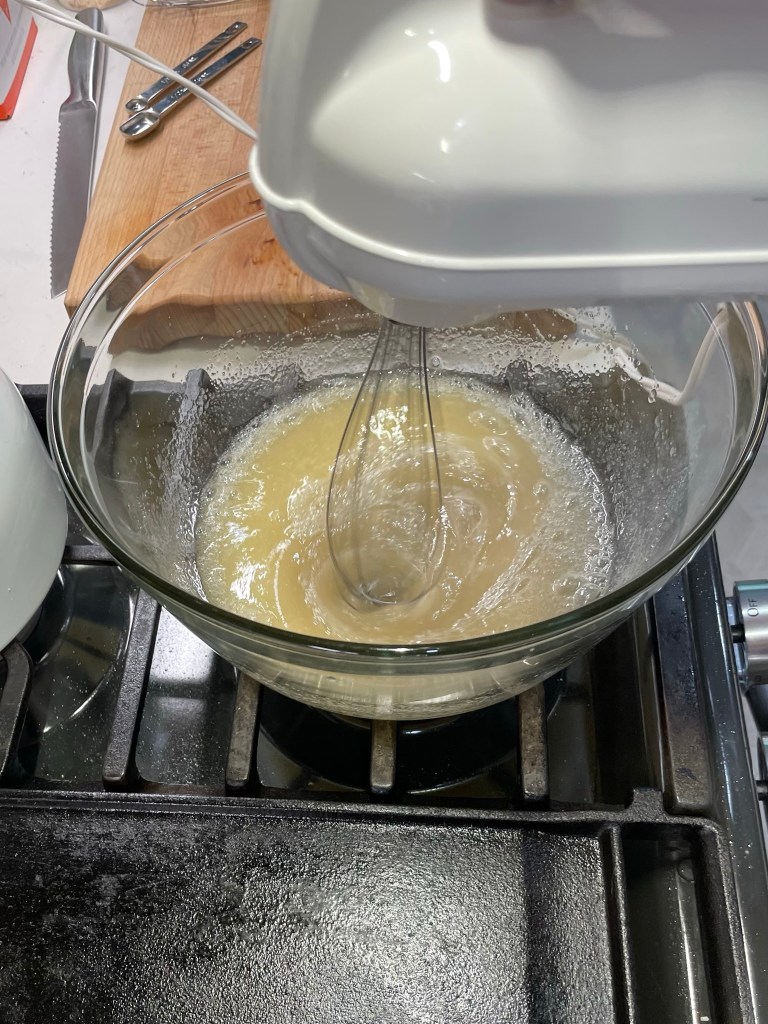
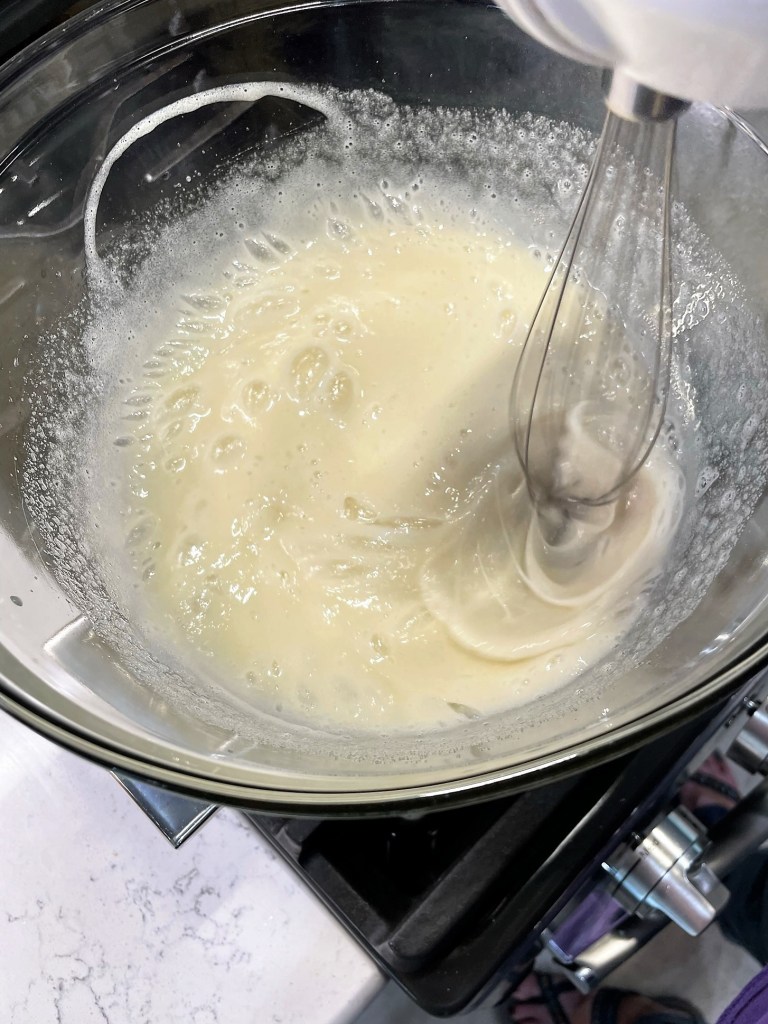
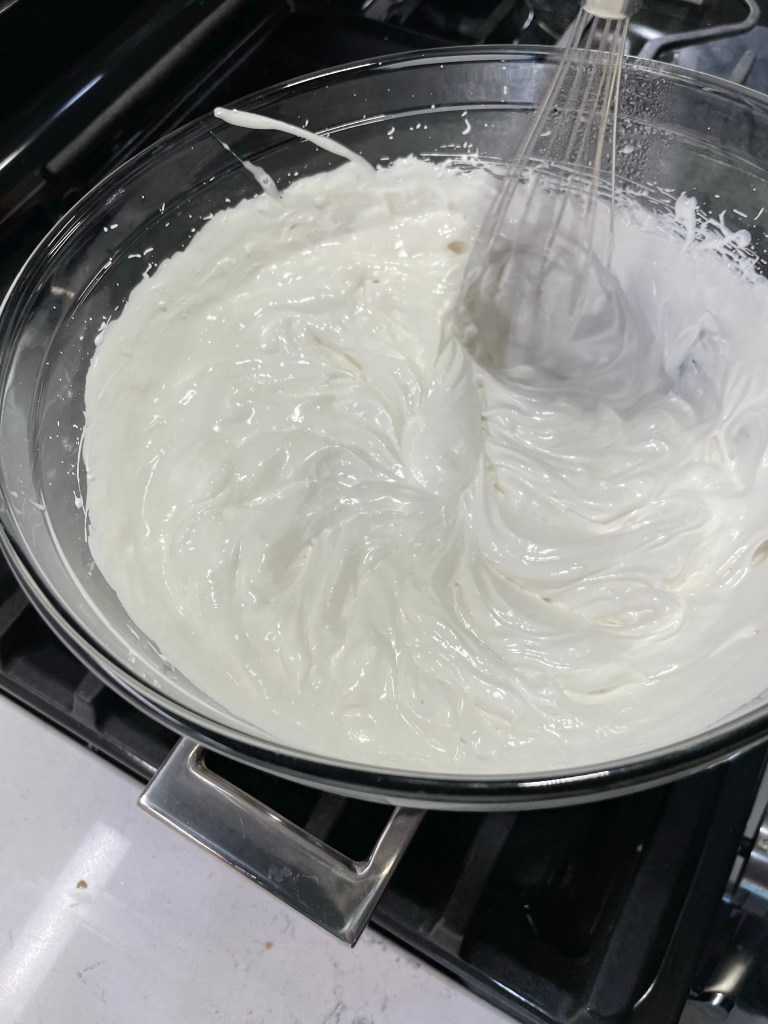
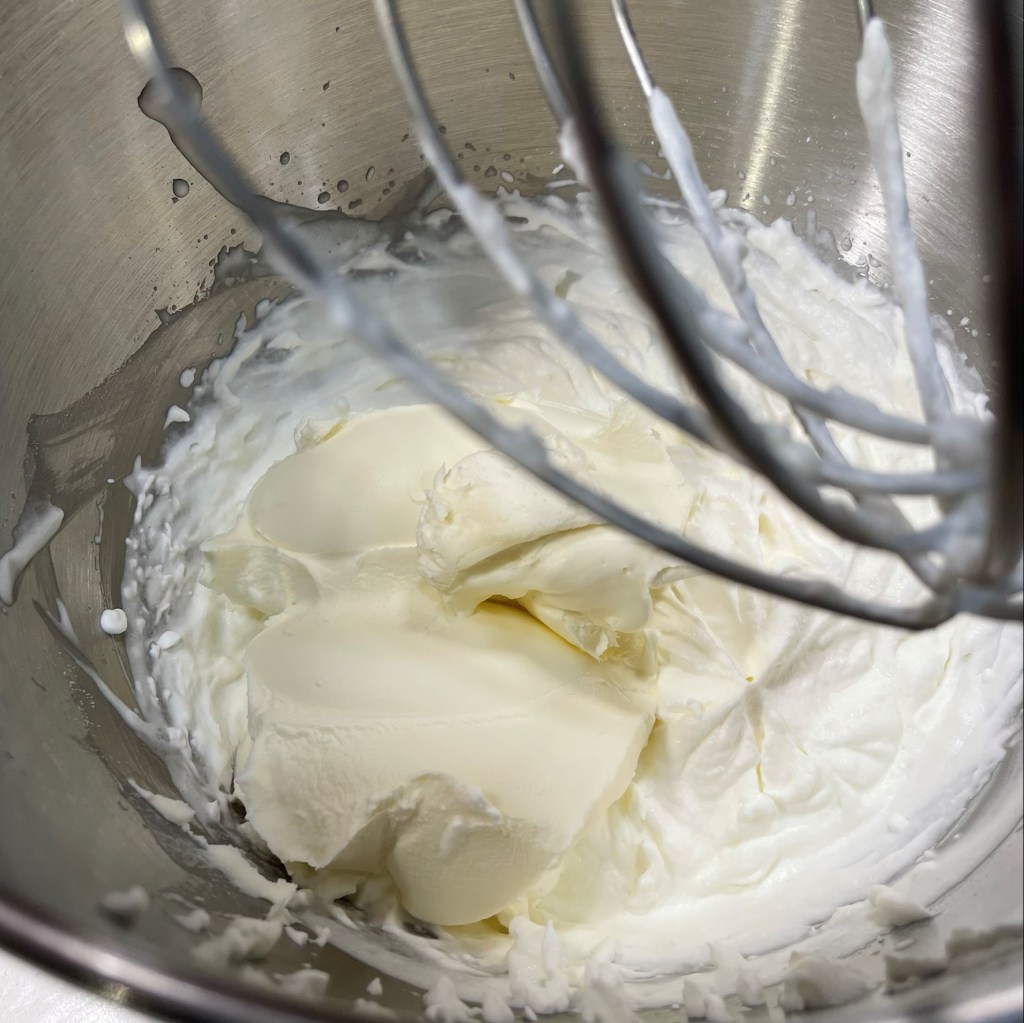
Buttercream icing: This half batch was a little tricky in the stand mixer; alternatively, make the icing in a separate bowl with an electric hand mixer.
Ingredients
- 1/2 stick (4 Tbsp.) salted butter, softened
- 1 1/2 cups confectioner’s sugar
- 1 Tbsp. heavy cream (if needed, to thin and smooth out icing)
Directions
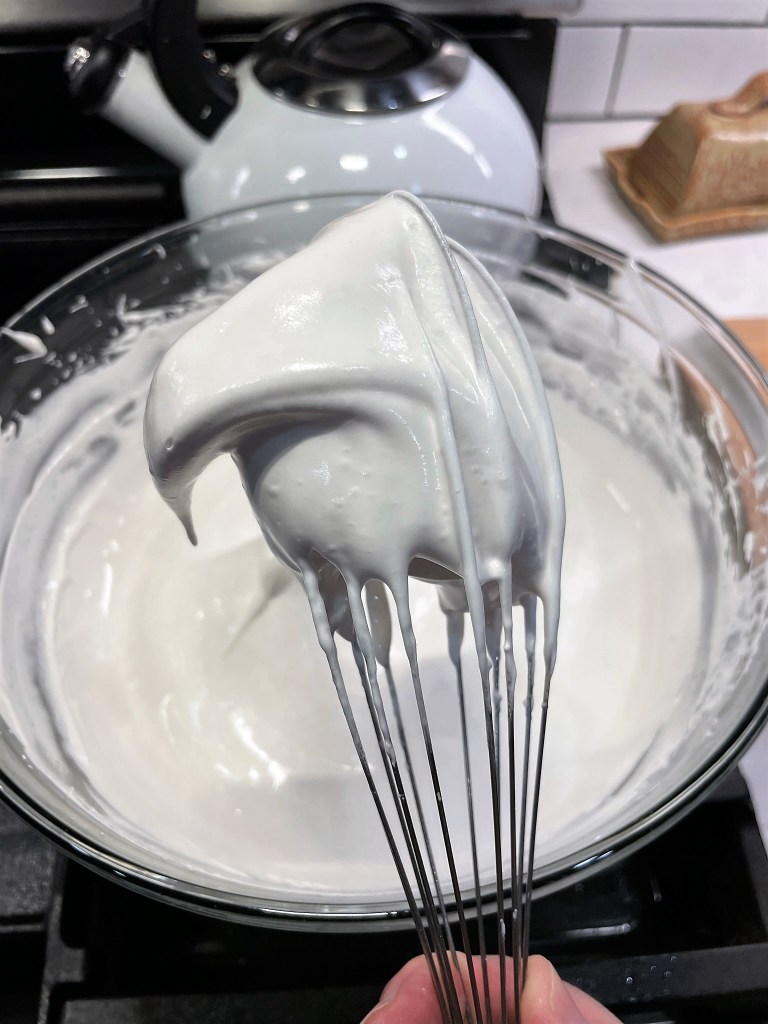
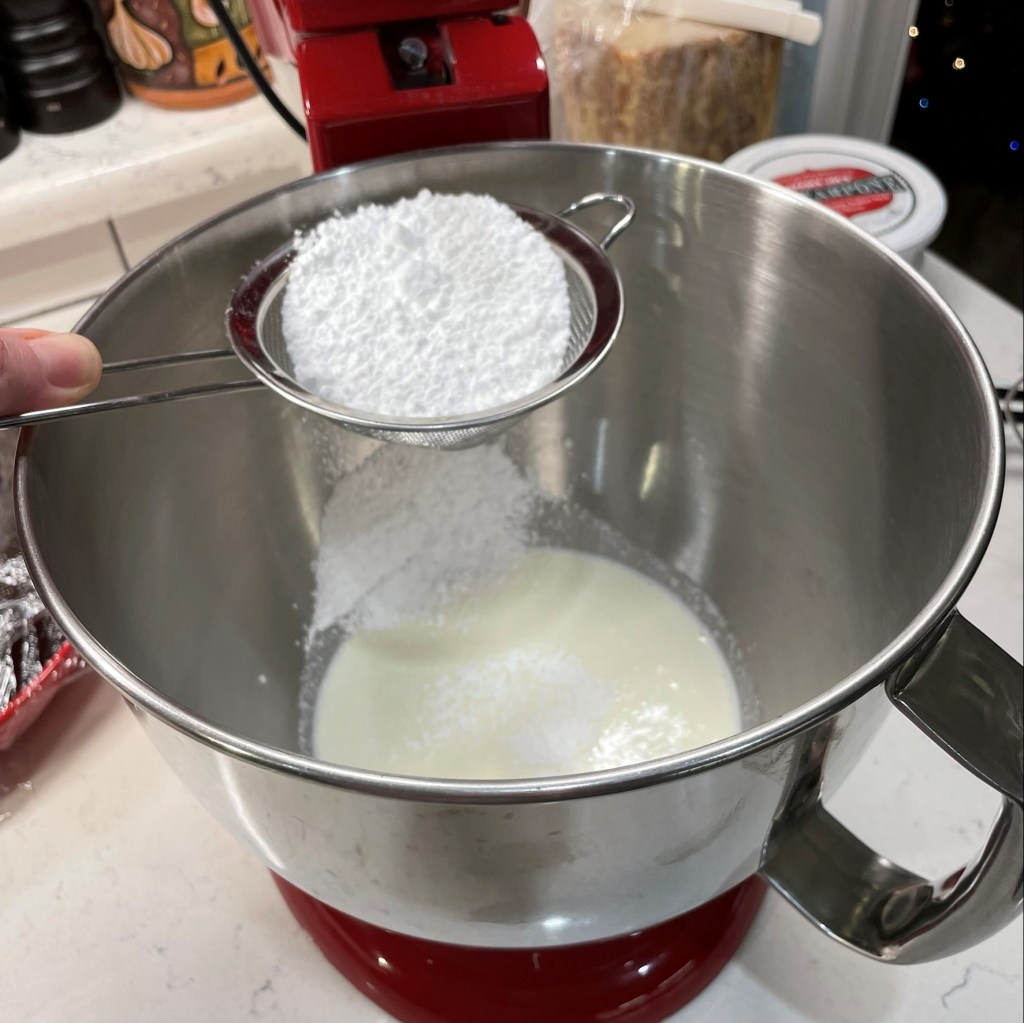
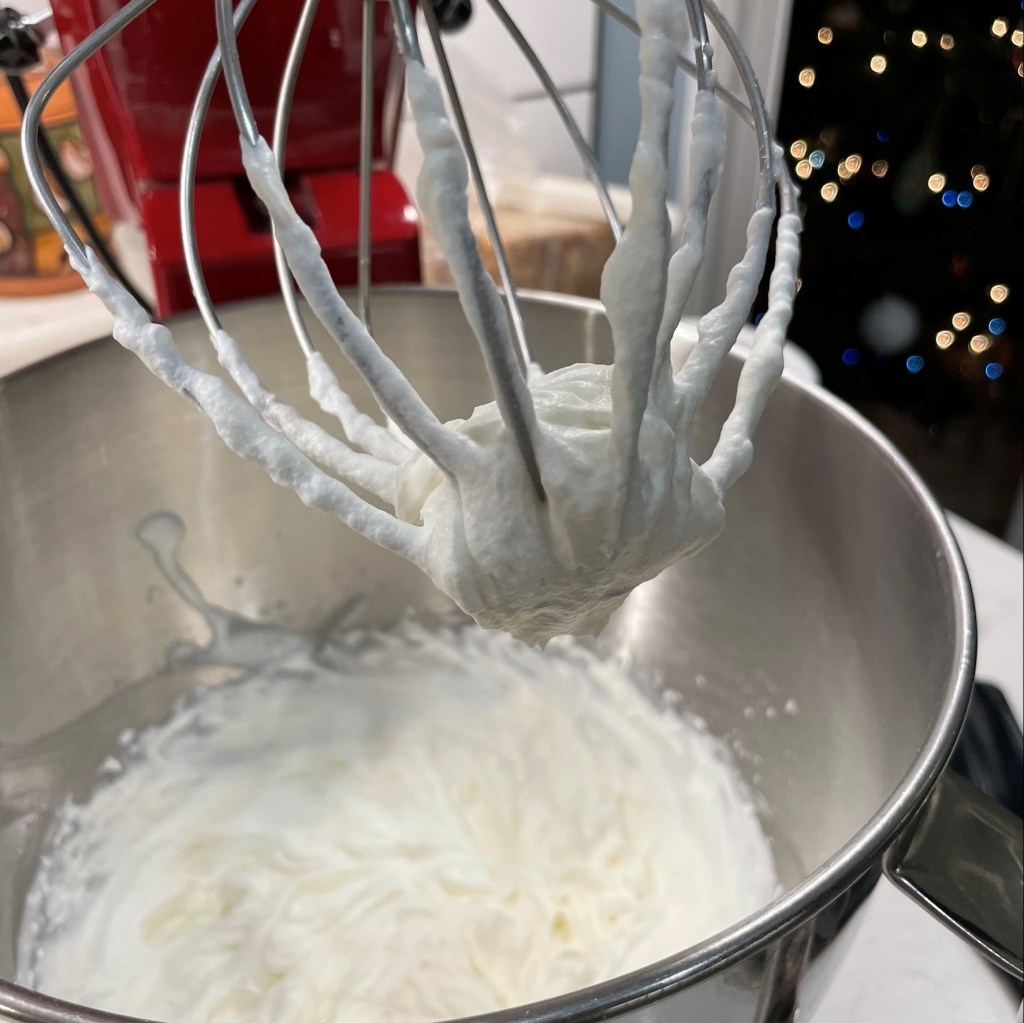
- Add softened butter to the bowl of a stand mixer, fitted with the whisk attachment. Whip butter on speed 3 or 4, until light and fluffy.
- Add confectioner’s sugar, one-half cup at a time, until fully blended. Stop mixer and scrape down bowl as needed.
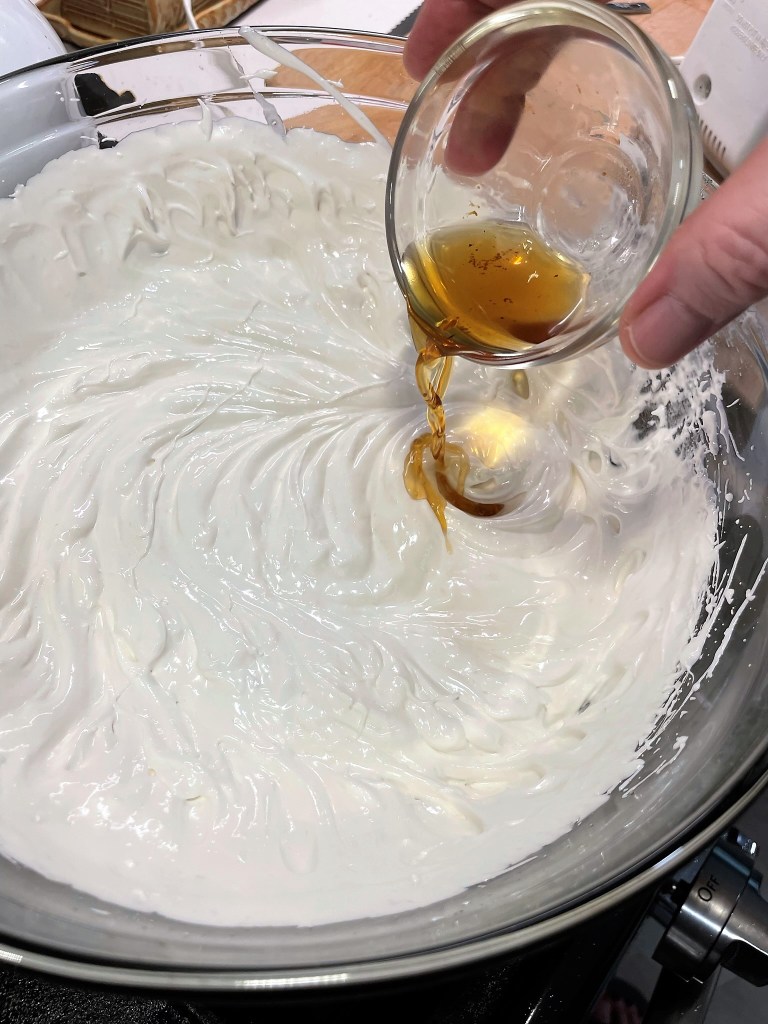
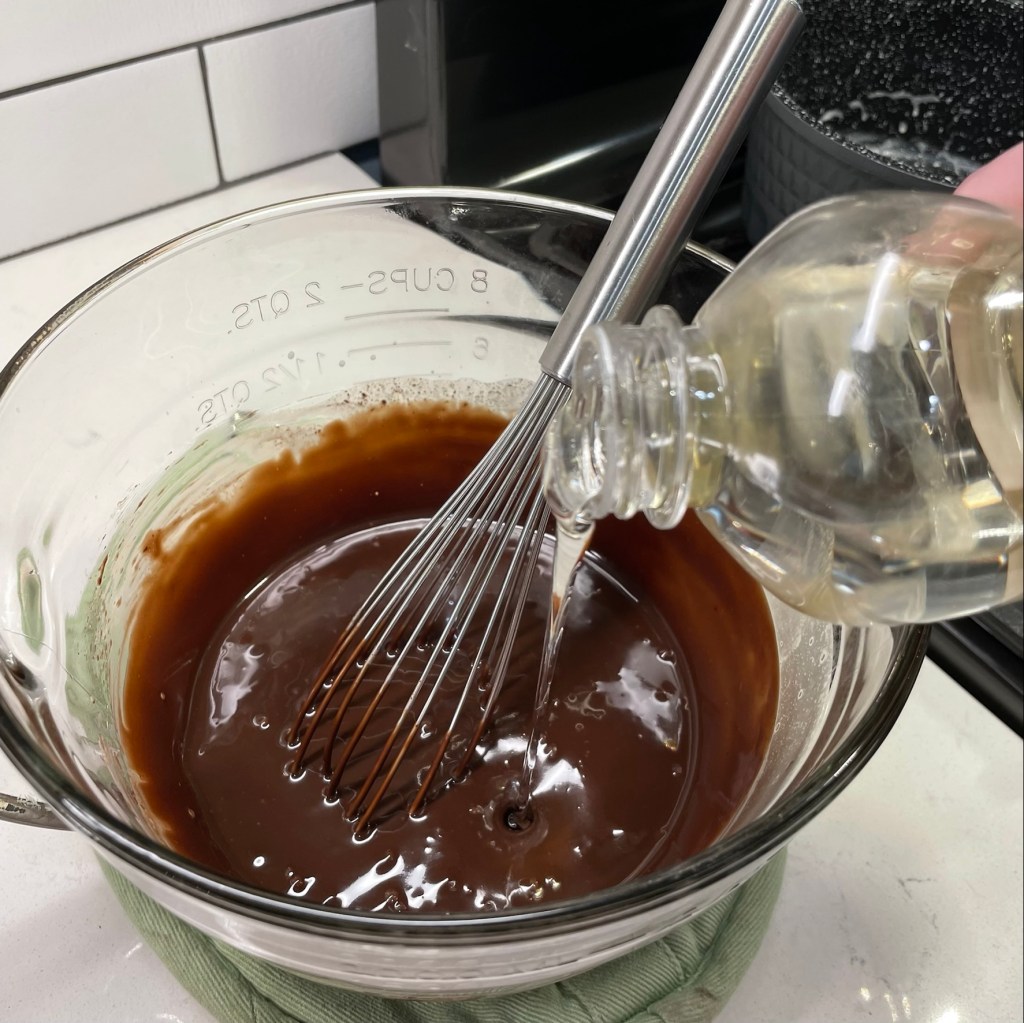
- Whip in heavy cream if buttercream seems grainy or heavy. If desired, blend in a splash of bourbon.
Ingredients
- 4 oz. dark chocolate melting wafers
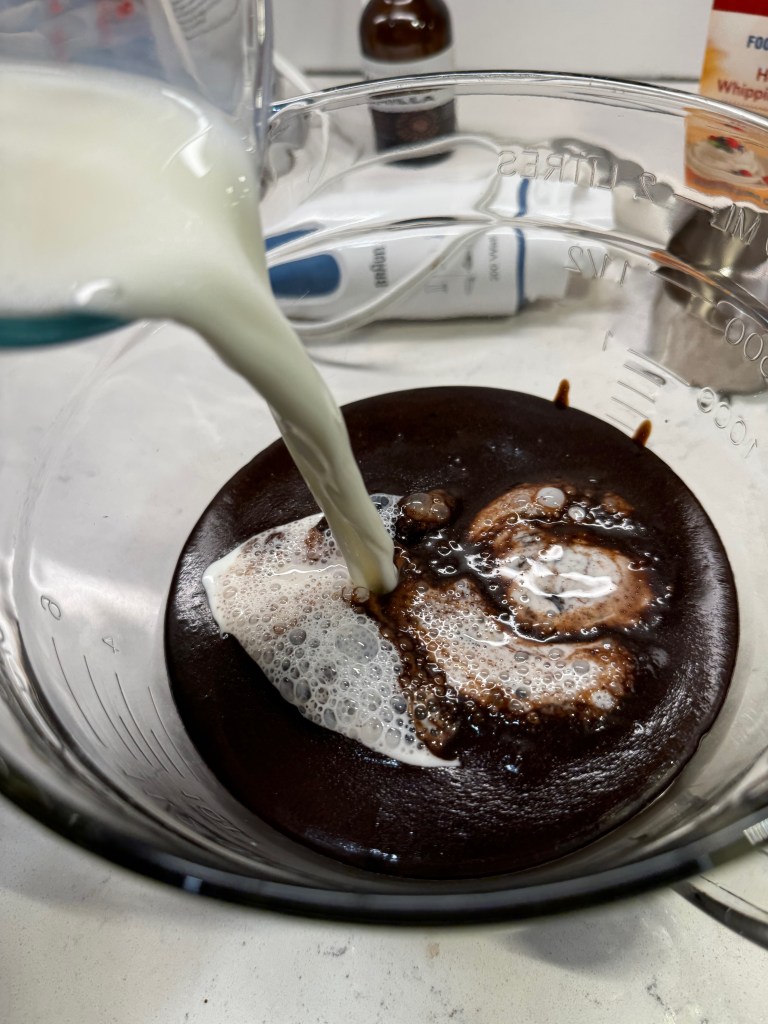
- 1/2 cup (4 oz.) heavy cream, heated to steaming point but not boiling
Directions
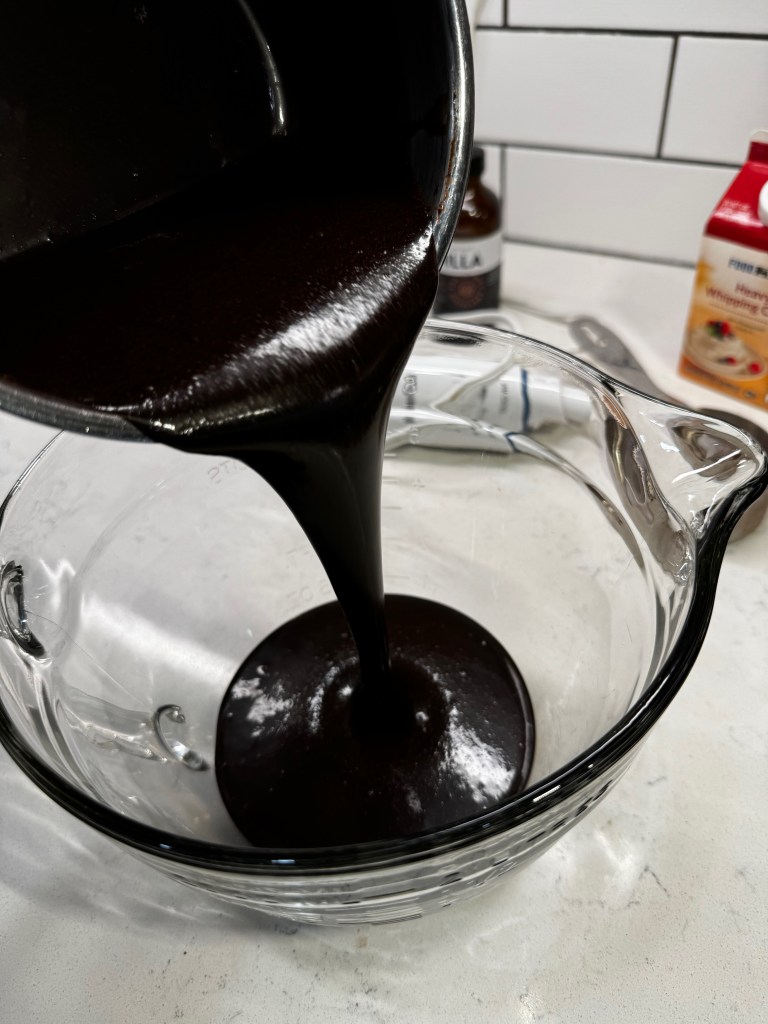
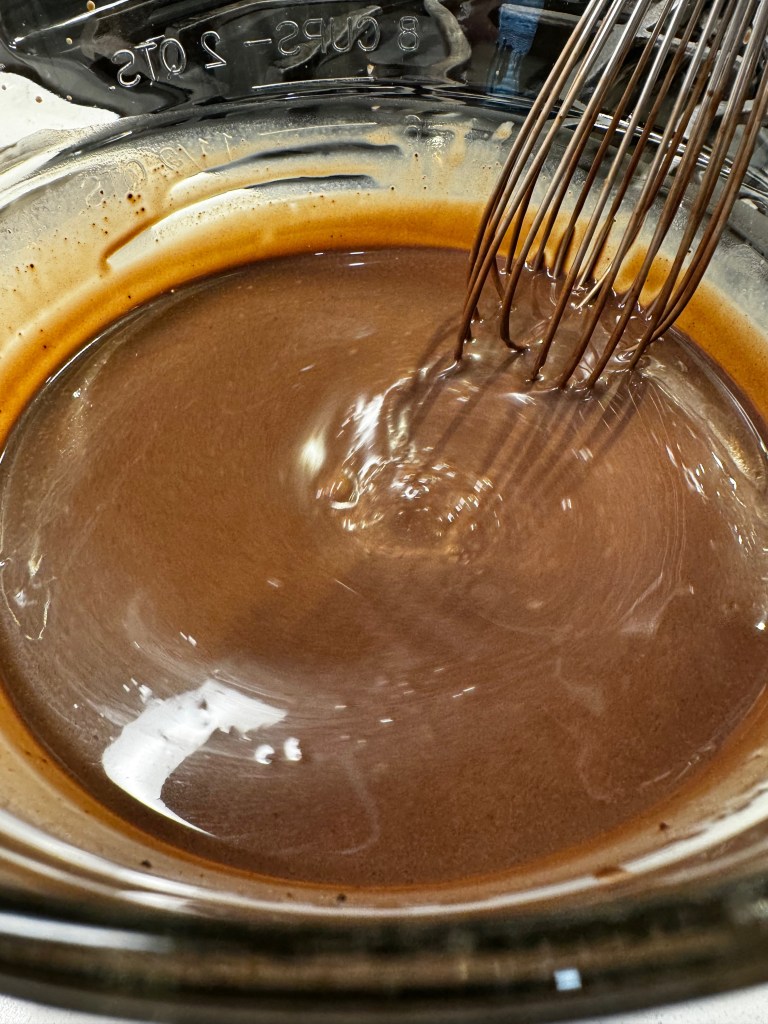
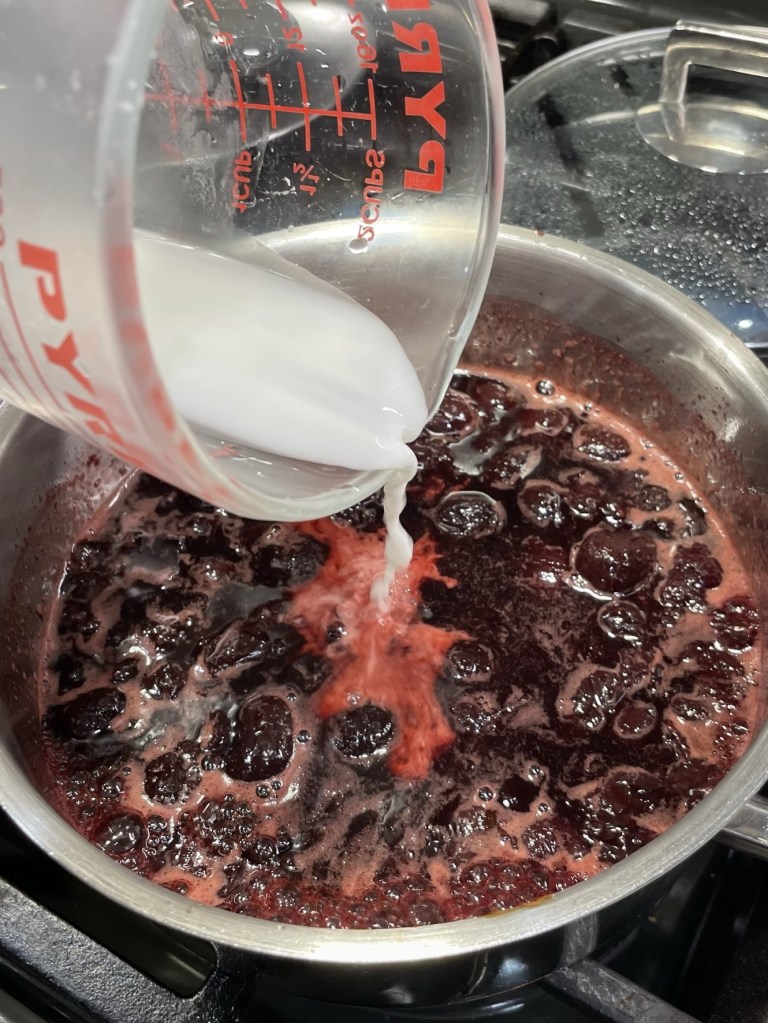
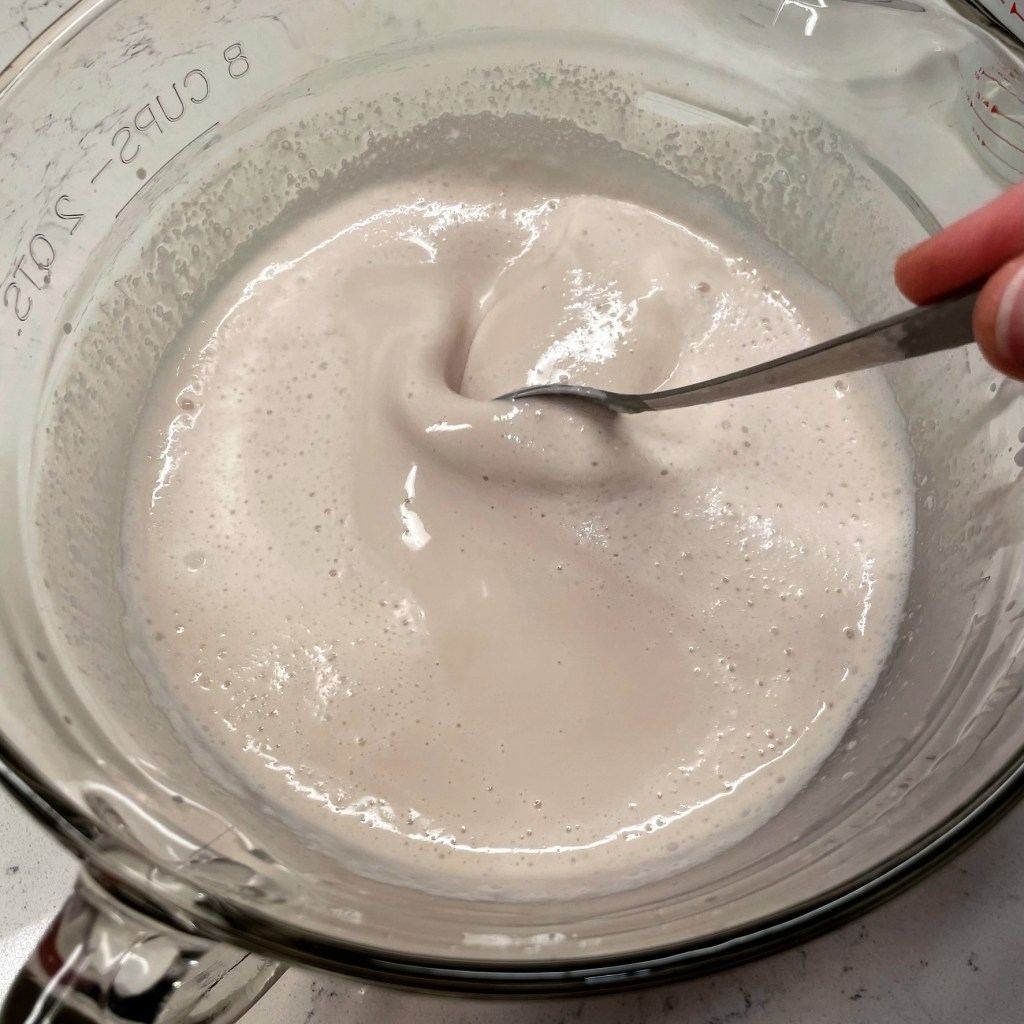
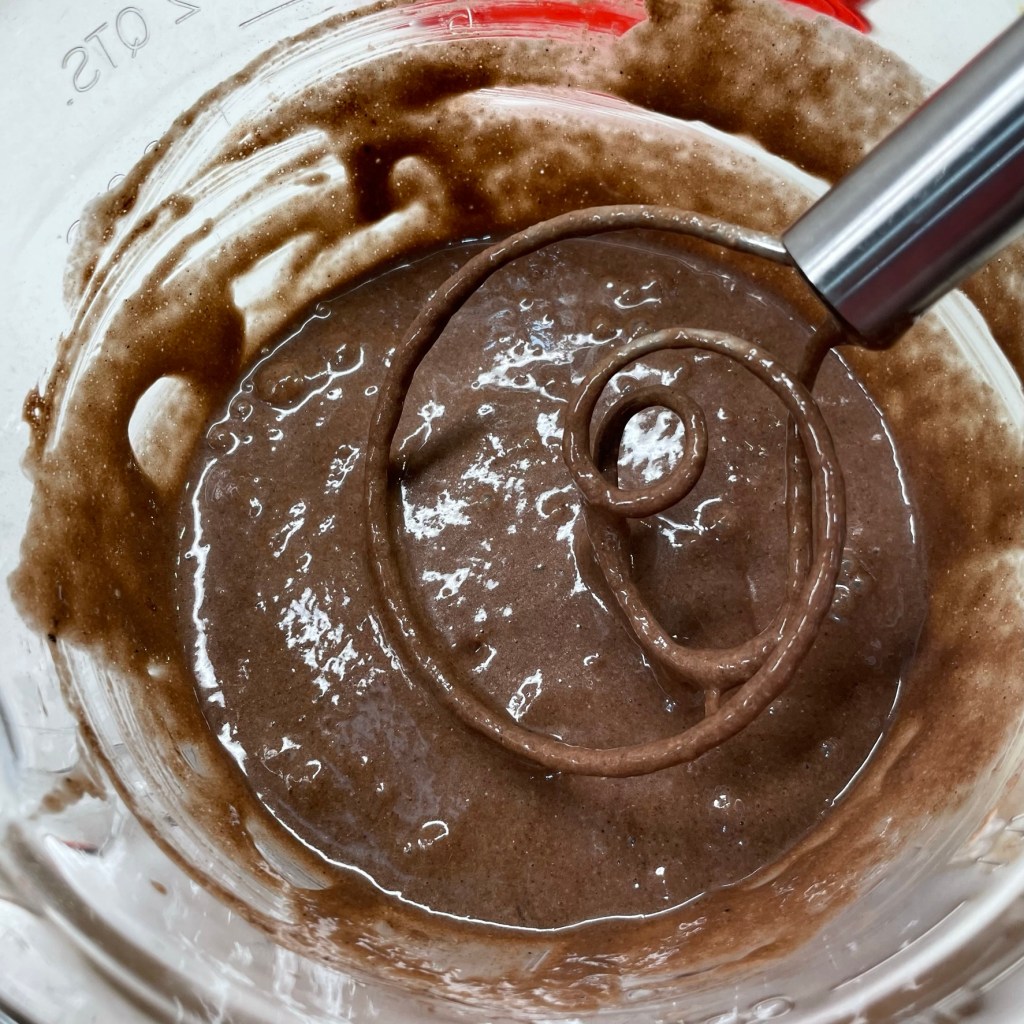
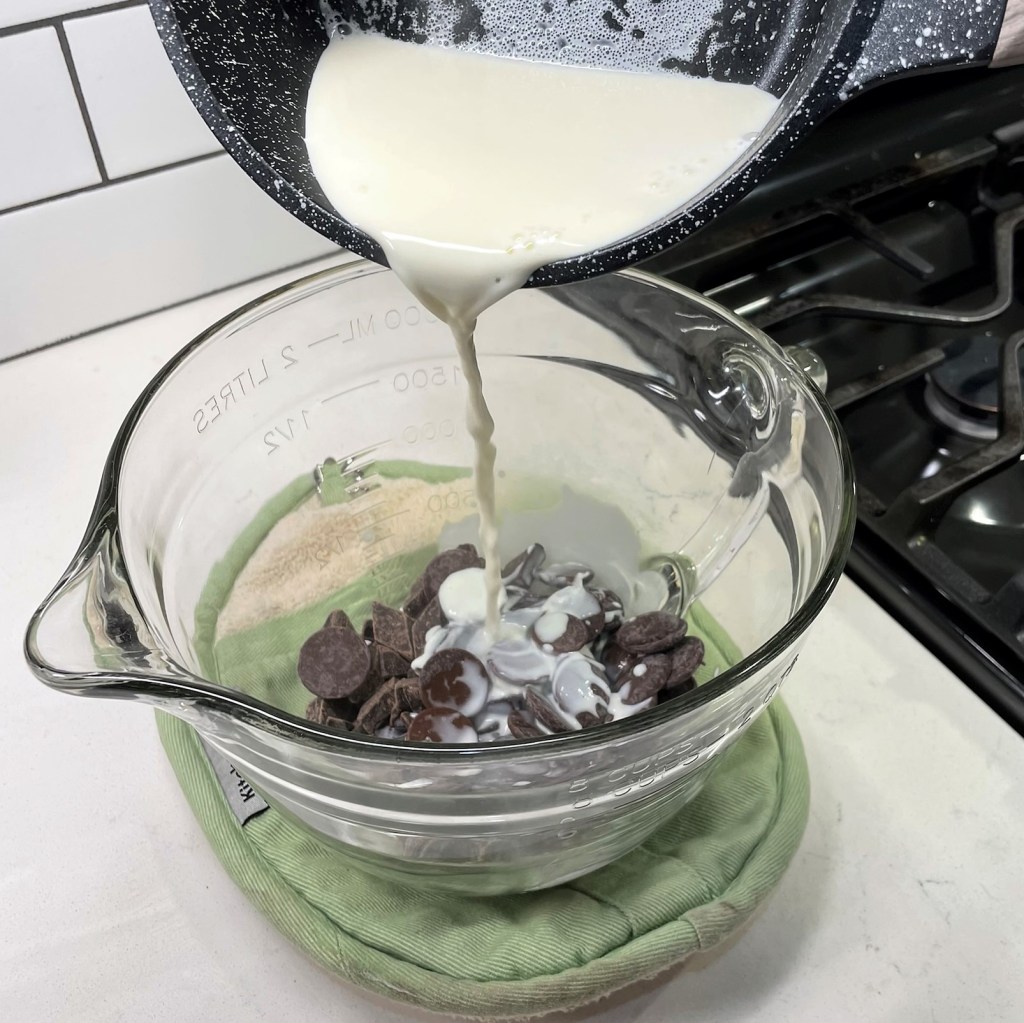
- Place chocolate wafers in a deep measuring glass. Pour hot cream slowly over the wafers and set a timer for 10 minutes.
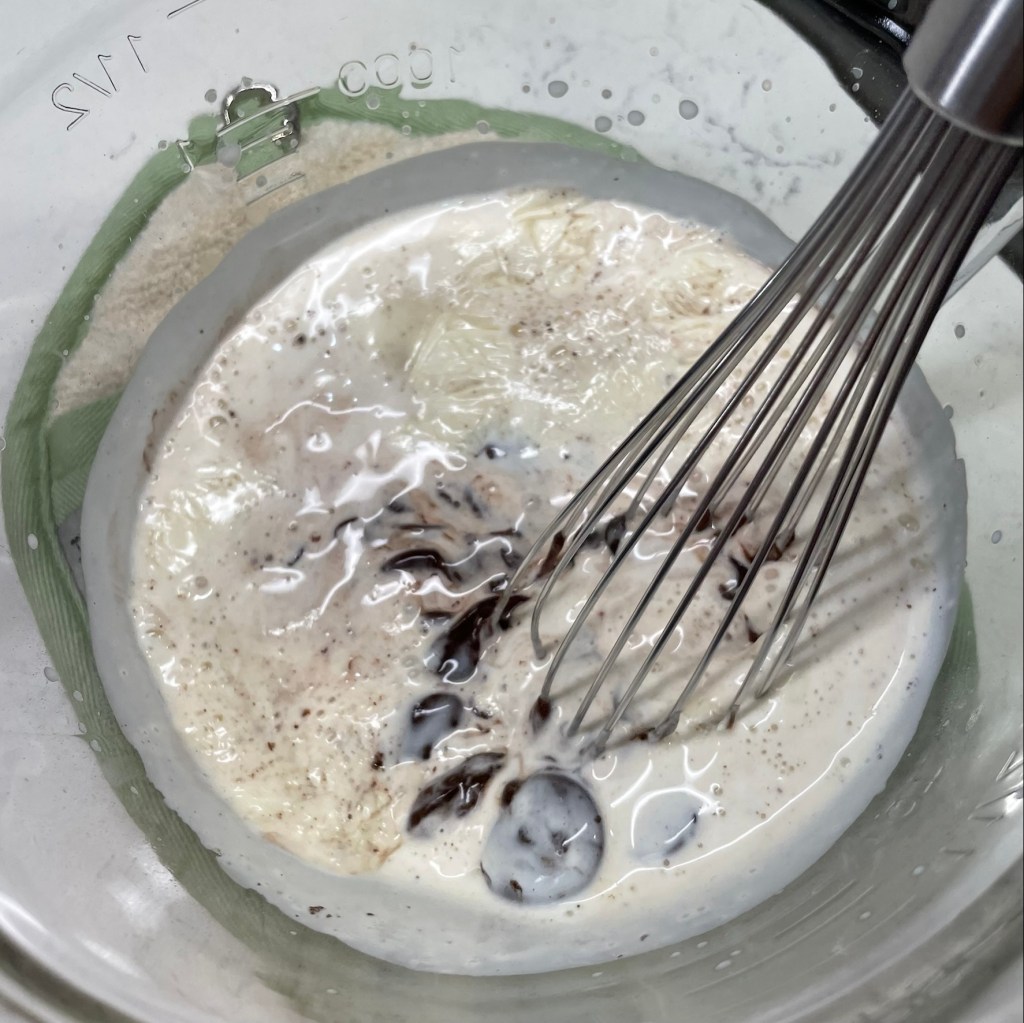
- Using a small whisk or spoon, gently stir ganache mixture from the center of the cup, gradually swirling more of the mixture as it melts together. It should stir up nice and smooth. If it doesn’t, place the measuring cup into a bowl of shallow hot water for a few minutes and whisk again.