From my first year of blogging on Comfort du Jour, I’ve celebrated National S’mores Day by putting a s’mores twist onto everything from cocktails to pizza to ice cream and then some. As the calendar inched toward Aug. 10th this year, it occurred to me that I’d never experimented the other way— putting a fun twist onto the s’mores themselves. Now I have!
By replacing the graham crackers with a classic homemade cookie, and subbing out chocolate for another sweet and gooey filling, I’ve reimagined this childhood favorite with fun, familiar flavors. Now, this idea didn’t just fall together, as there were several things to consider for a successful outcome and I had to do a bit of testing to bring my vision to life. First, the cookie!
What kind of cookie works for s’mores?
Obviously, I needed a cookie that would be sturdy enough to squish the toasted marshmallow, and that meant that soft, crumbly cookies were out. It needed to be thin enough that you could stack two together with a marshmallow in between, for easy eating. Graham crackers are perfectly suited to the task but not especially flavorful.
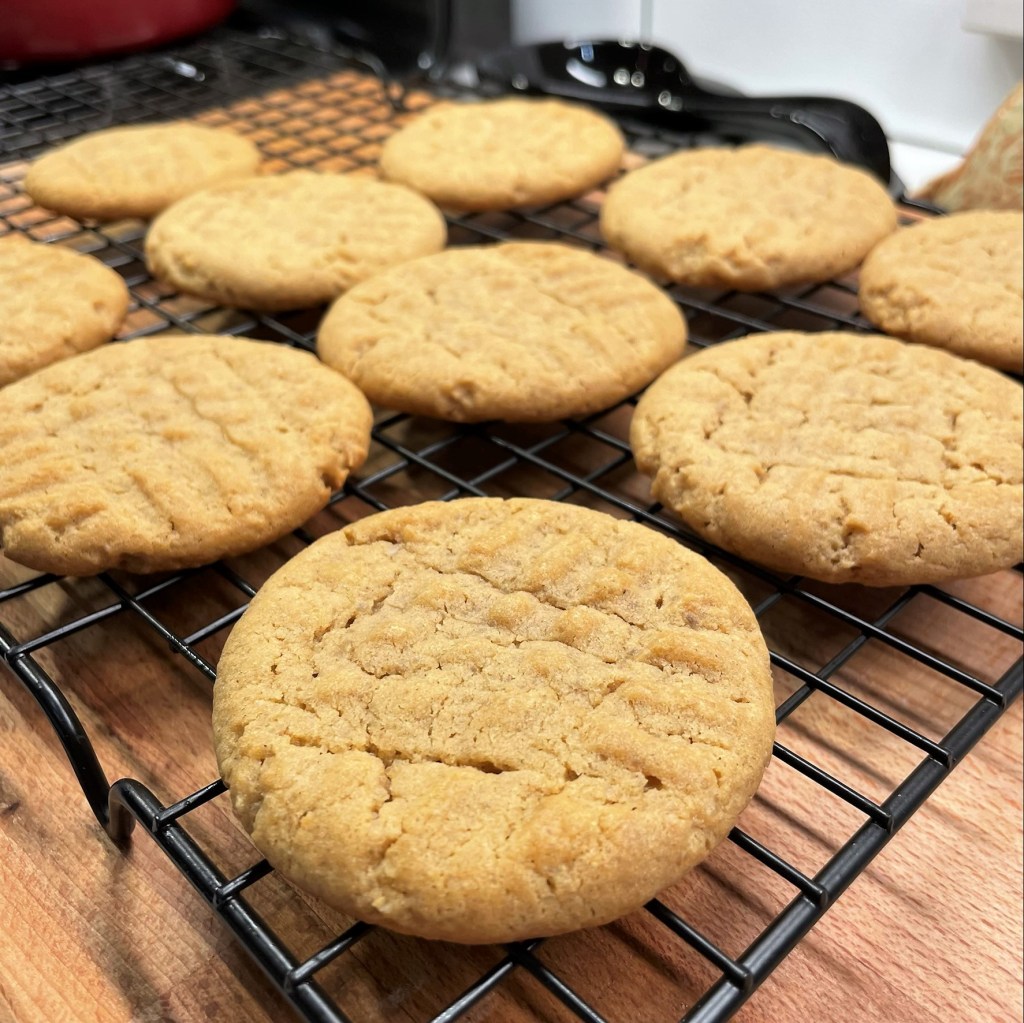
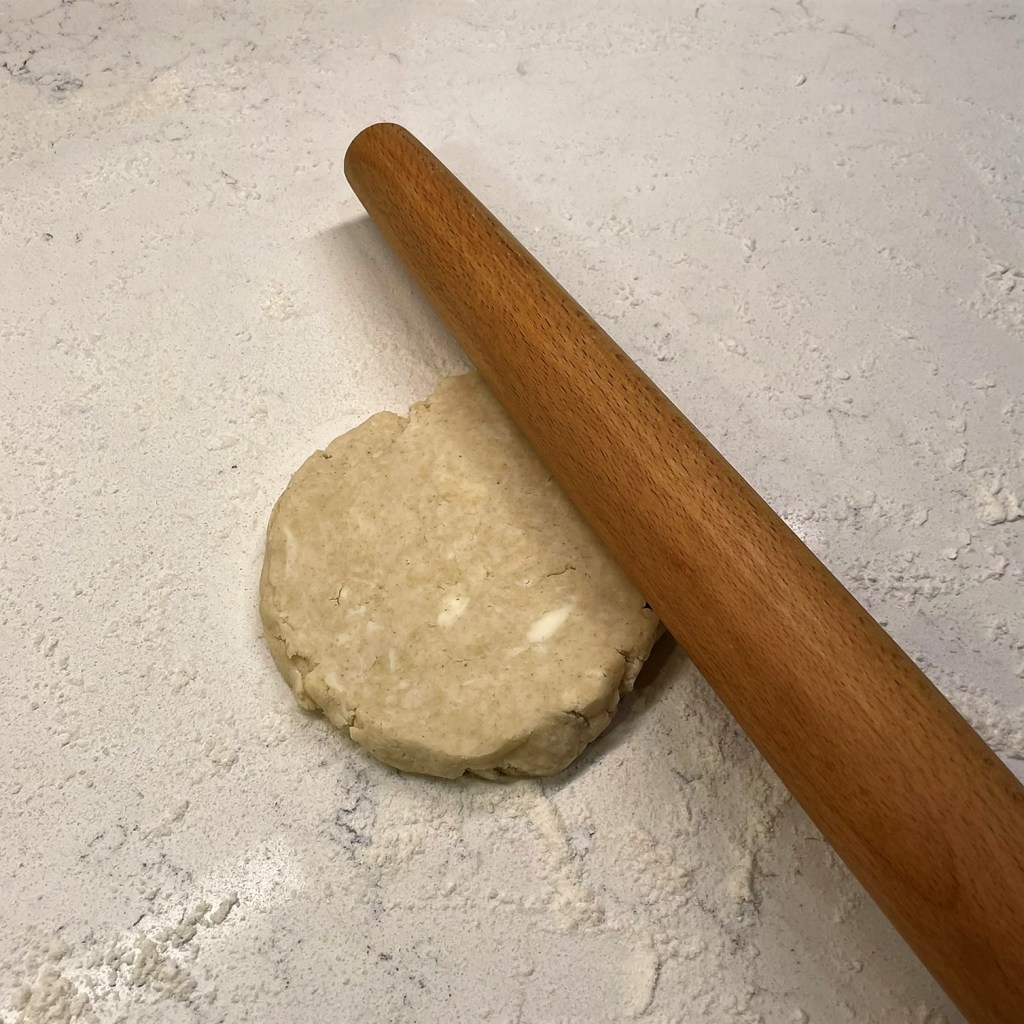
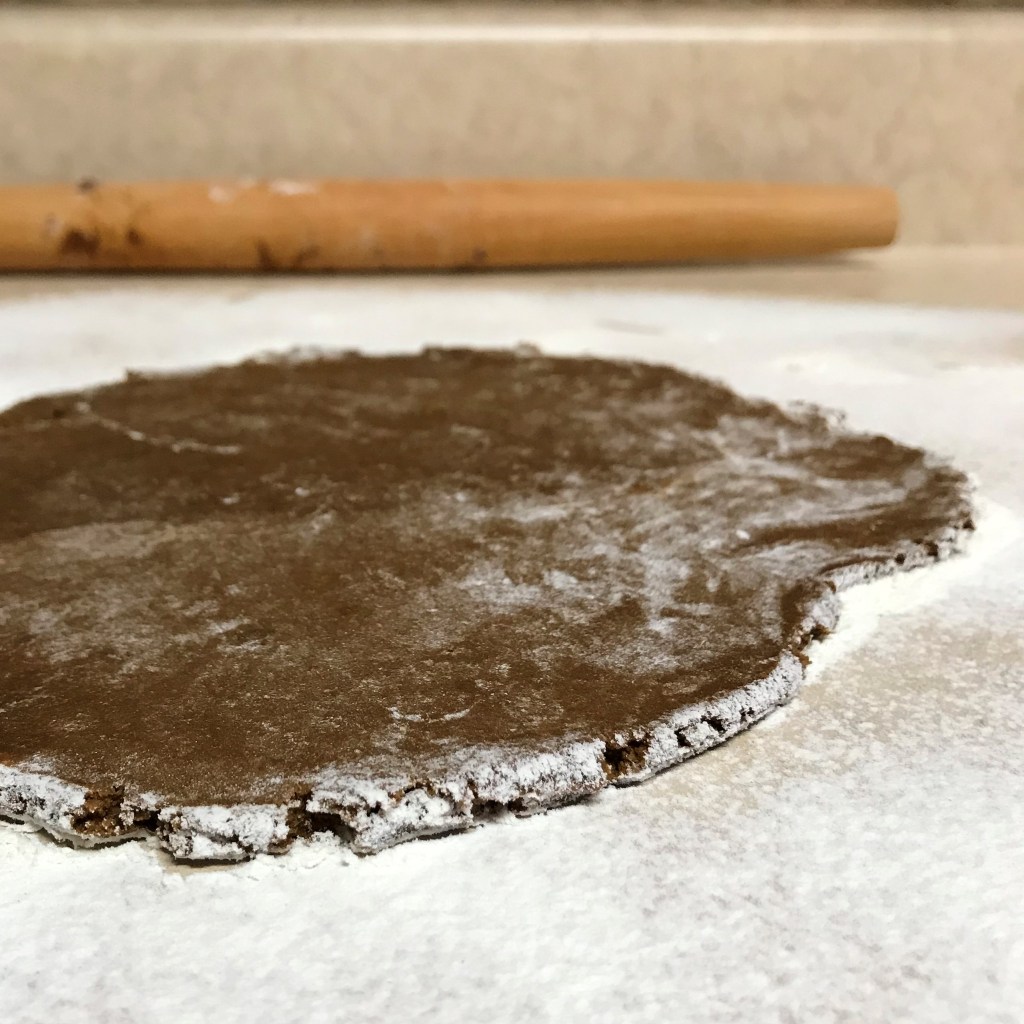
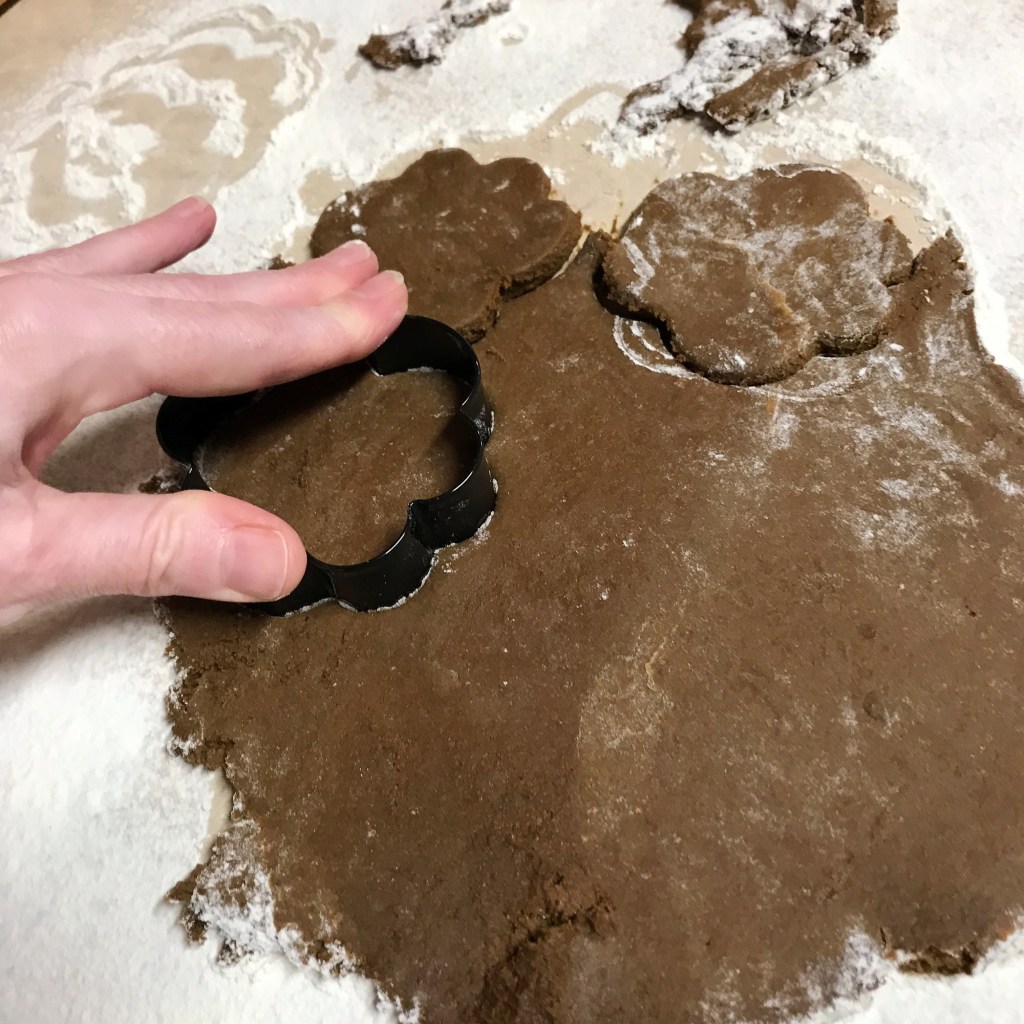
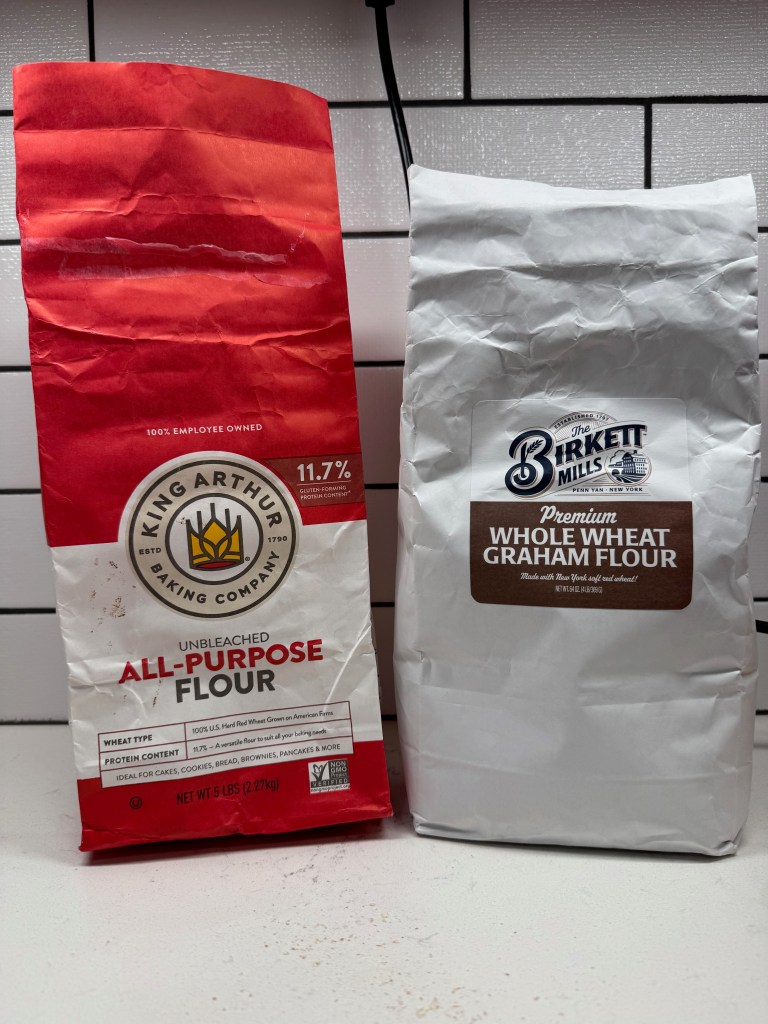
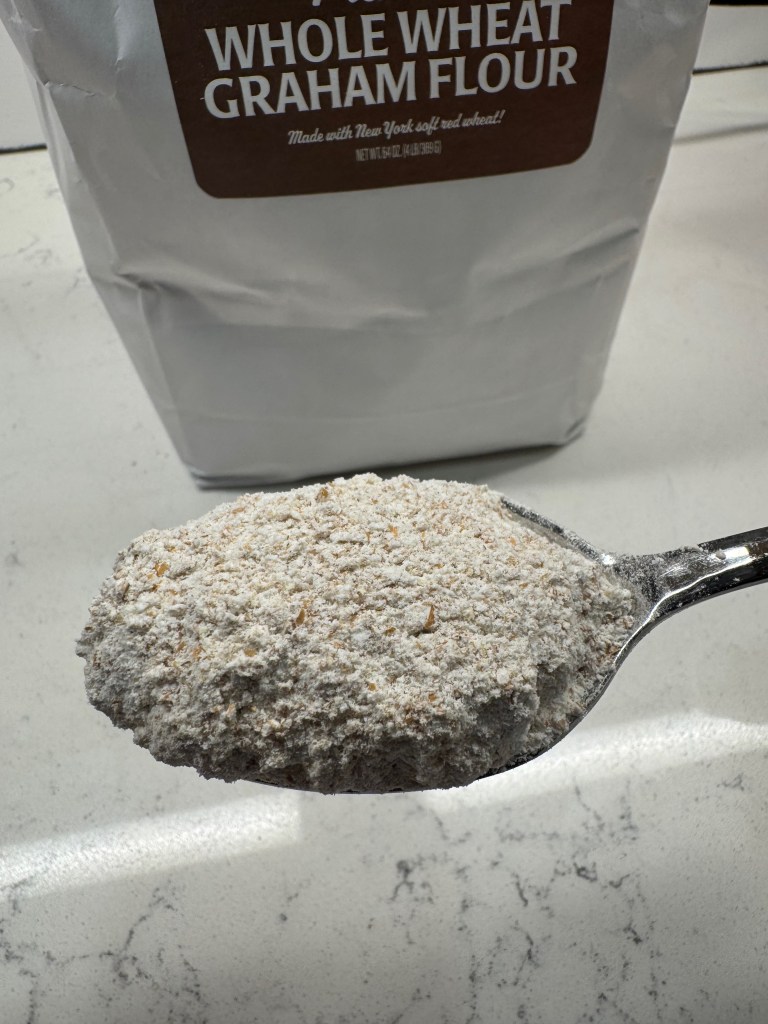
Peanut butter cookies really appealed to me, but most recipes produce a soft, pillowy cookie and I’d need to adjust a few things for a thinner, more crisp cookie. After consulting with experts— OK, it was an internet search 🤭— one tip stood out as important, and that is to use a lesser amount of peanut butter in the dough. I could add peanut butter chips to make up the lost flavor. White sugar makes a crispier cookie, so I’d go halvsies with the brown sugar, and I could sub in a portion of whole wheat graham flour for more texture and structure that would be similar to a graham cracker. The cookie part was easy.


What could stand in for the gooey melted chocolate?
My initial intention was to melt a chocolate square onto my s’mores, but the kid in me couldn’t shake the idea of pb & j, the flavor combination that was the backbone of my childhood. I still get nostalgic for a simple, satisfying pb&j sandwich— my favorite being griddled into a melty, wonderful mess. I thought about the Ghirardelli chocolate squares with raspberry filling, but that didn’t bring enough“jelly” and the more I thought about it, the less I wanted chocolate at all. Why couldn’t I make a “thumbprint-style” peanut butter cookie with a jelly filling, one that would get a little bit melty again when the warm marshmallow hit it? And just like that, I was on my way to these s’mores!
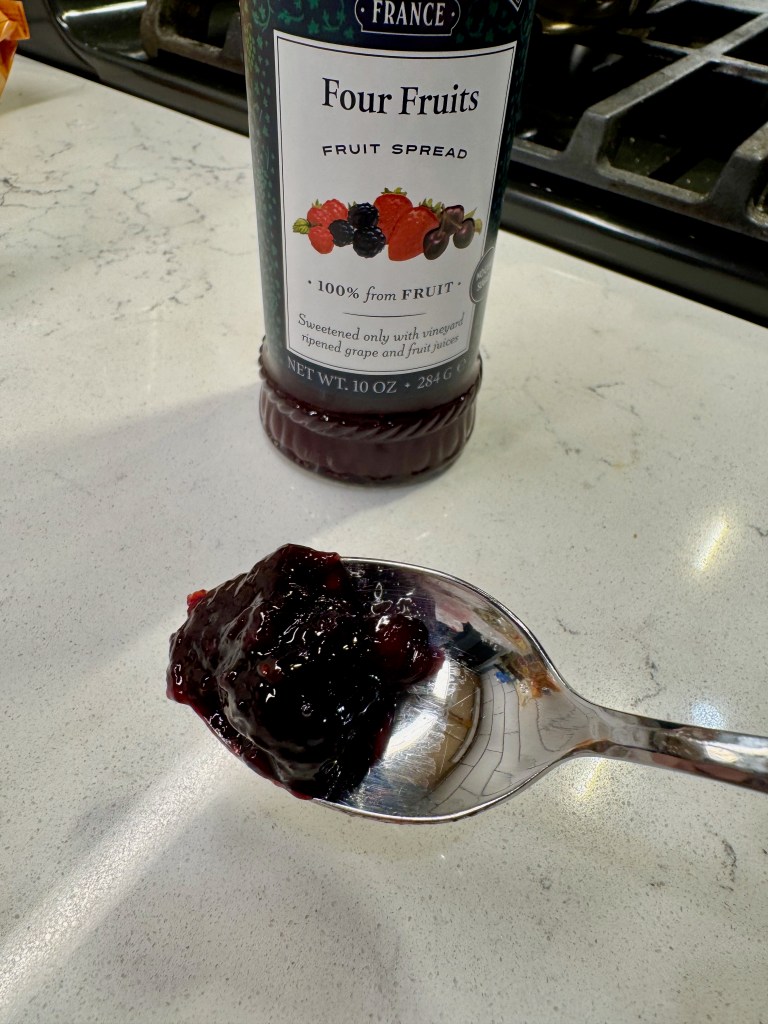
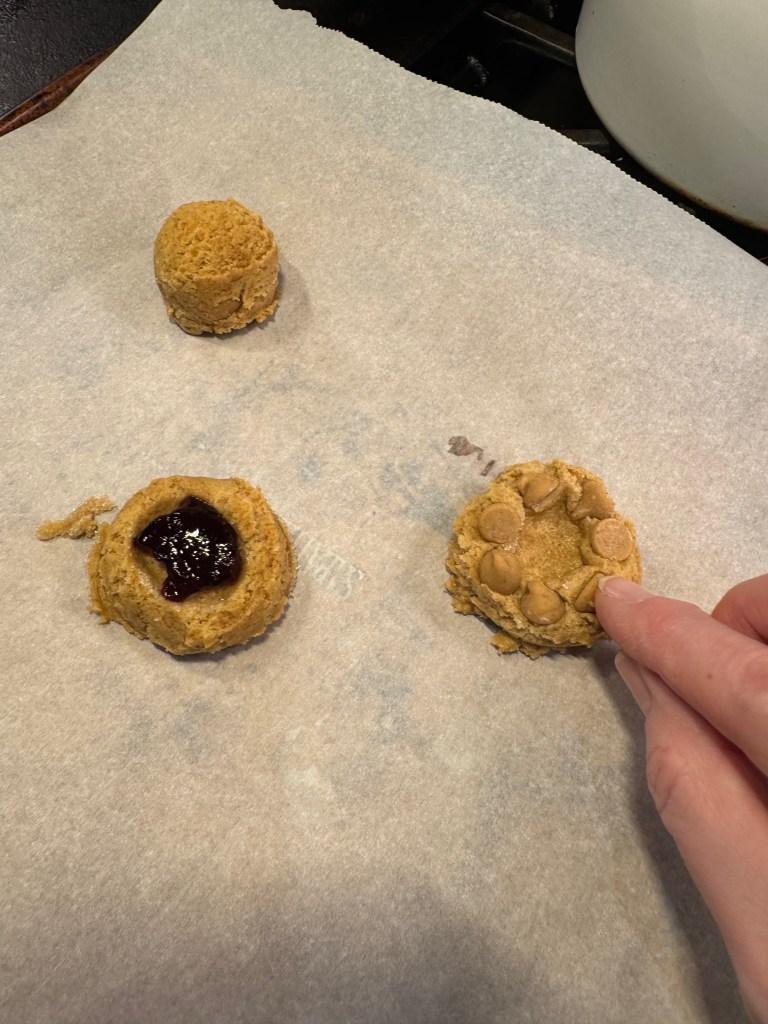
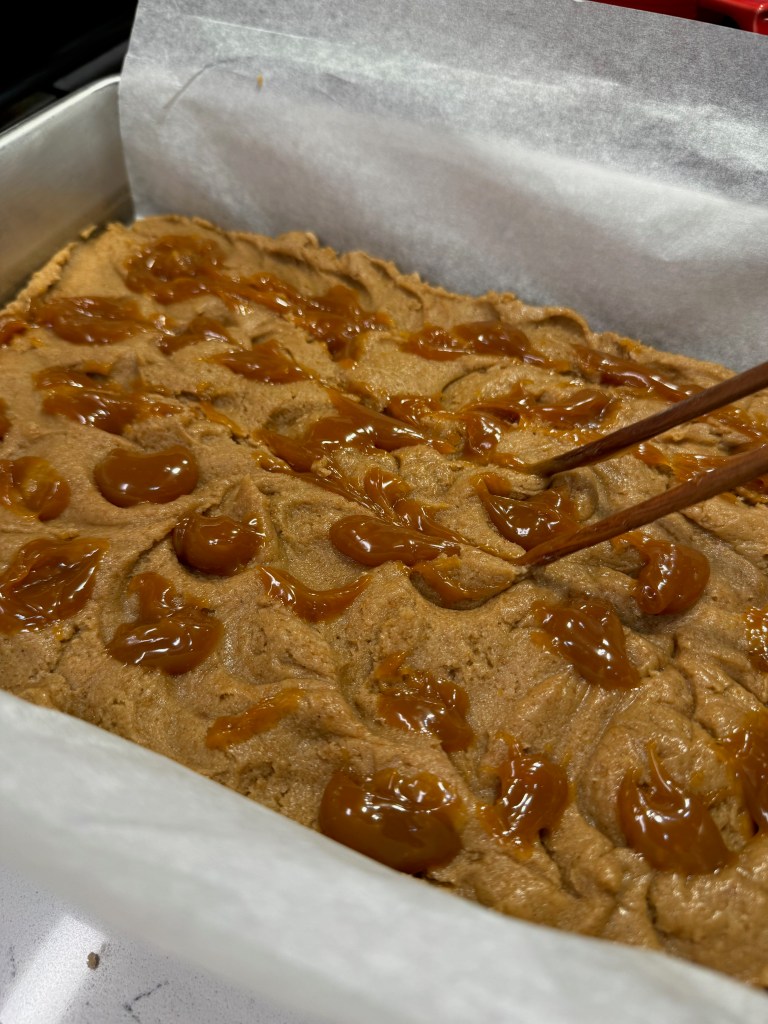
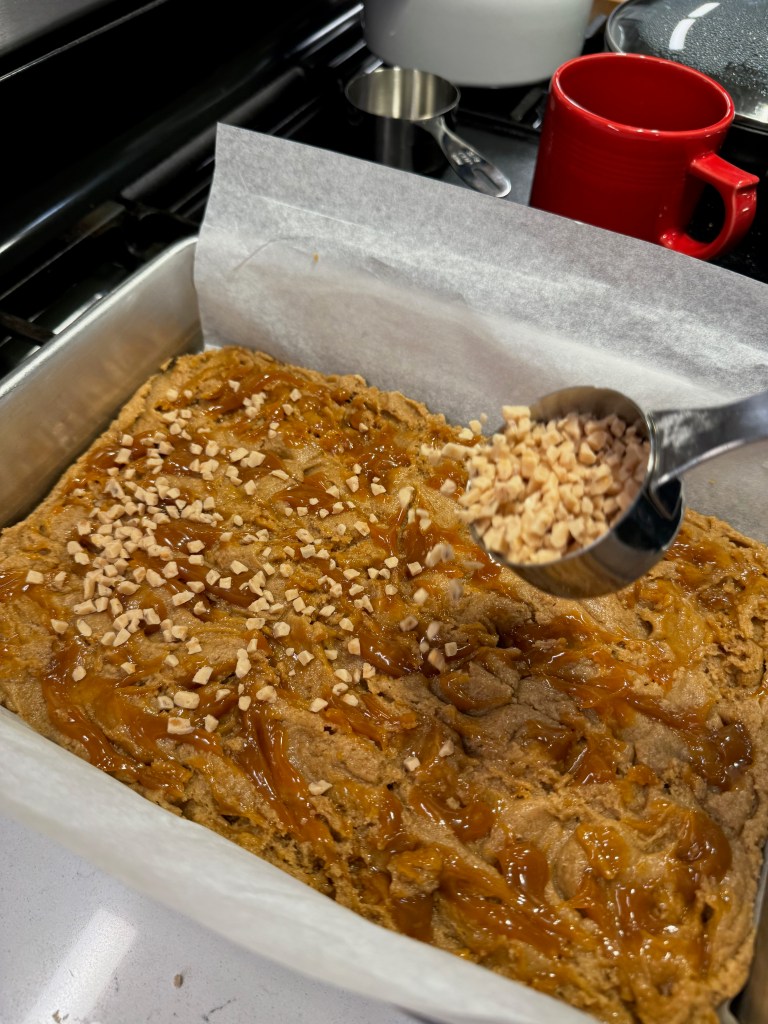
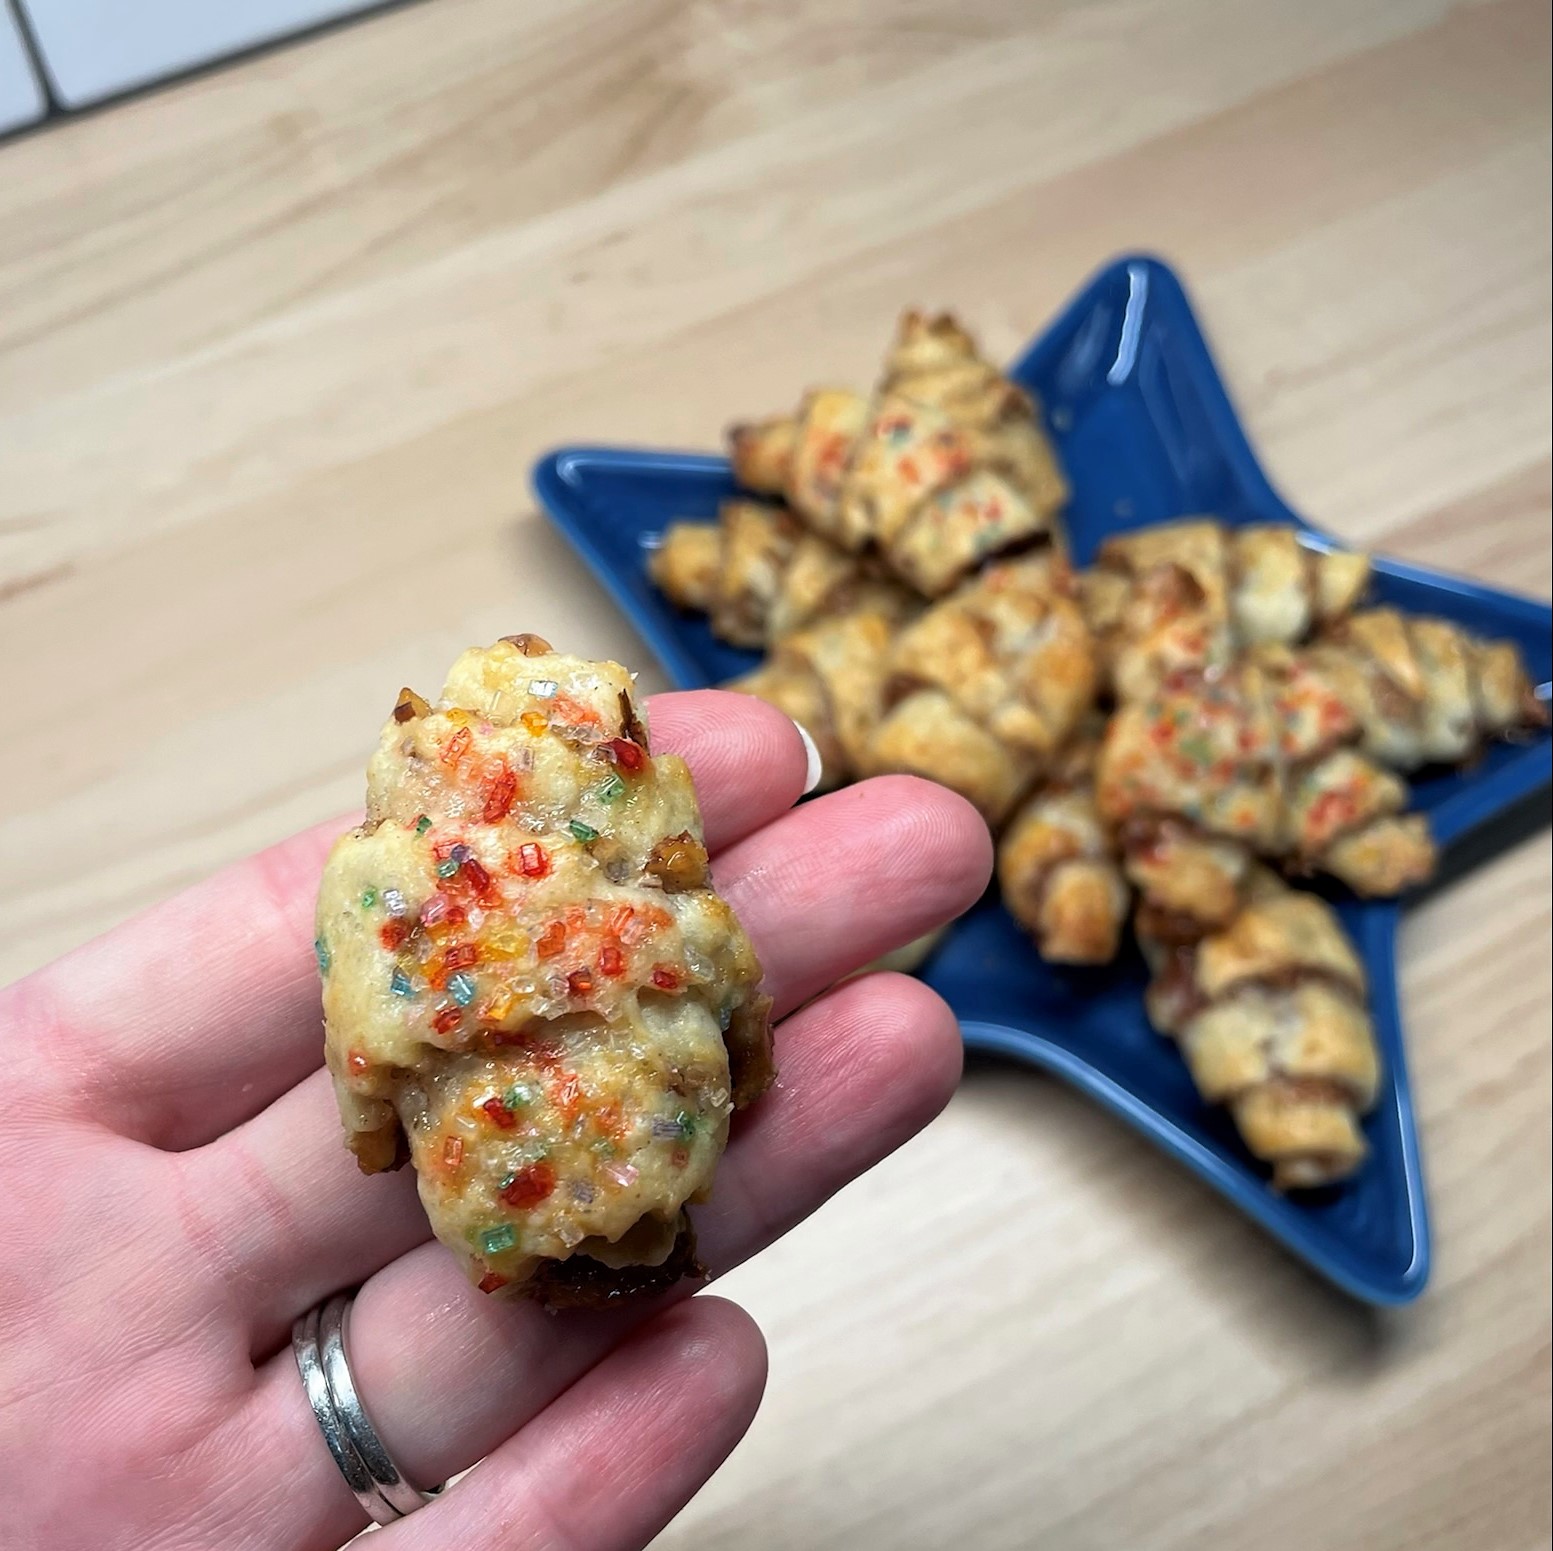
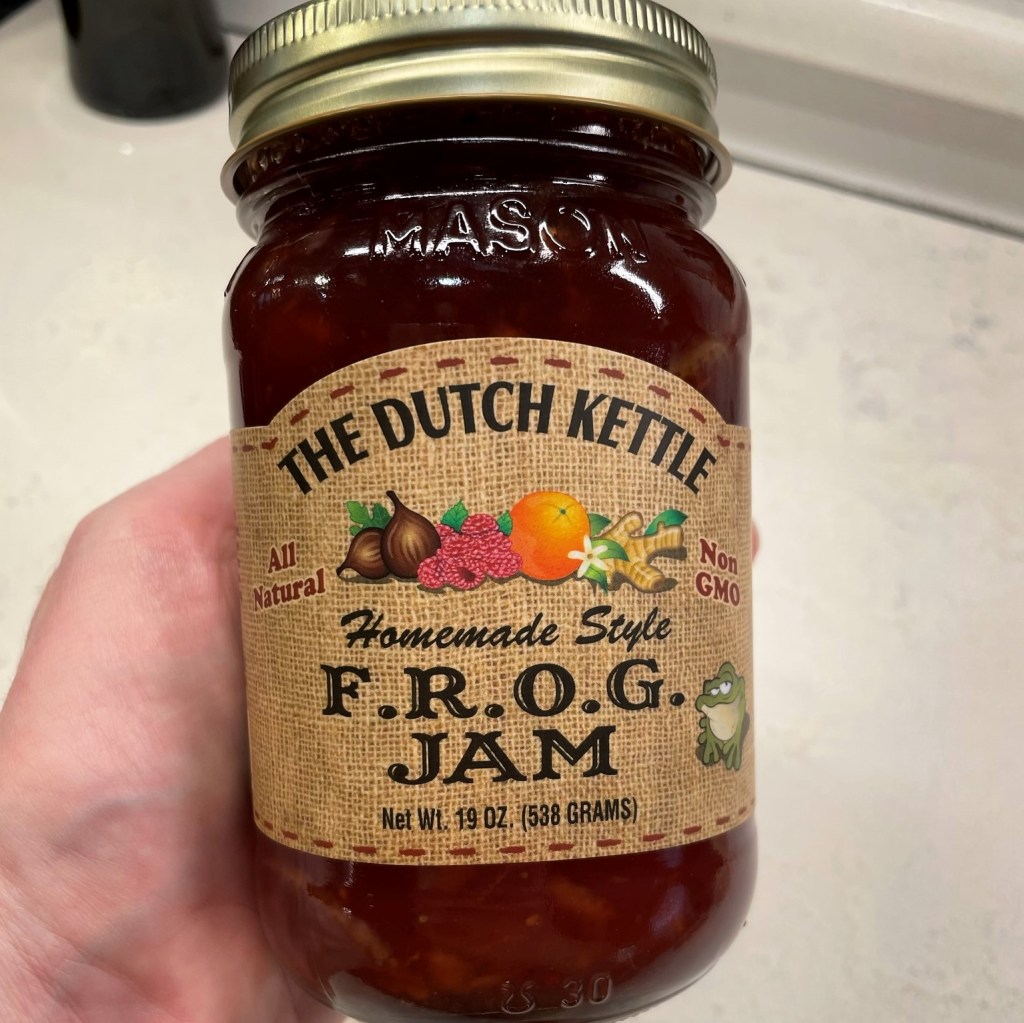
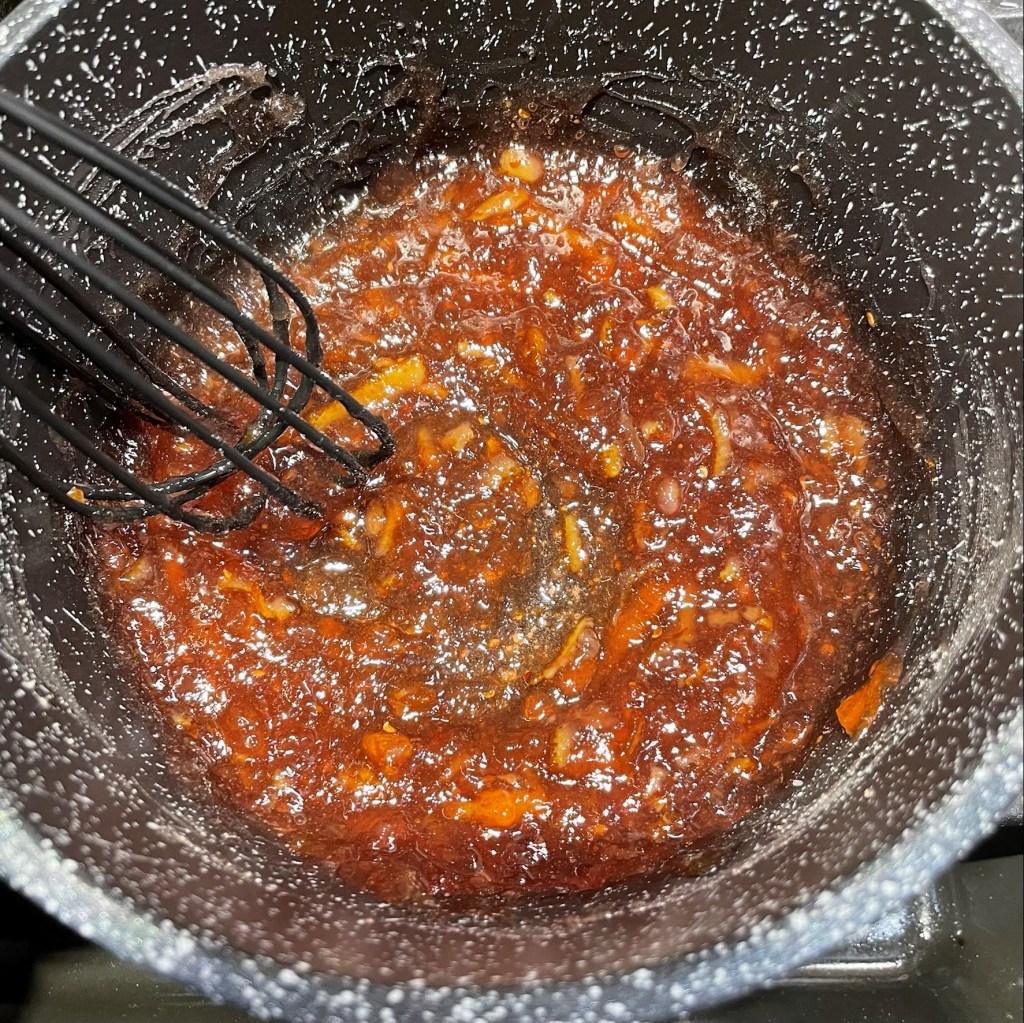
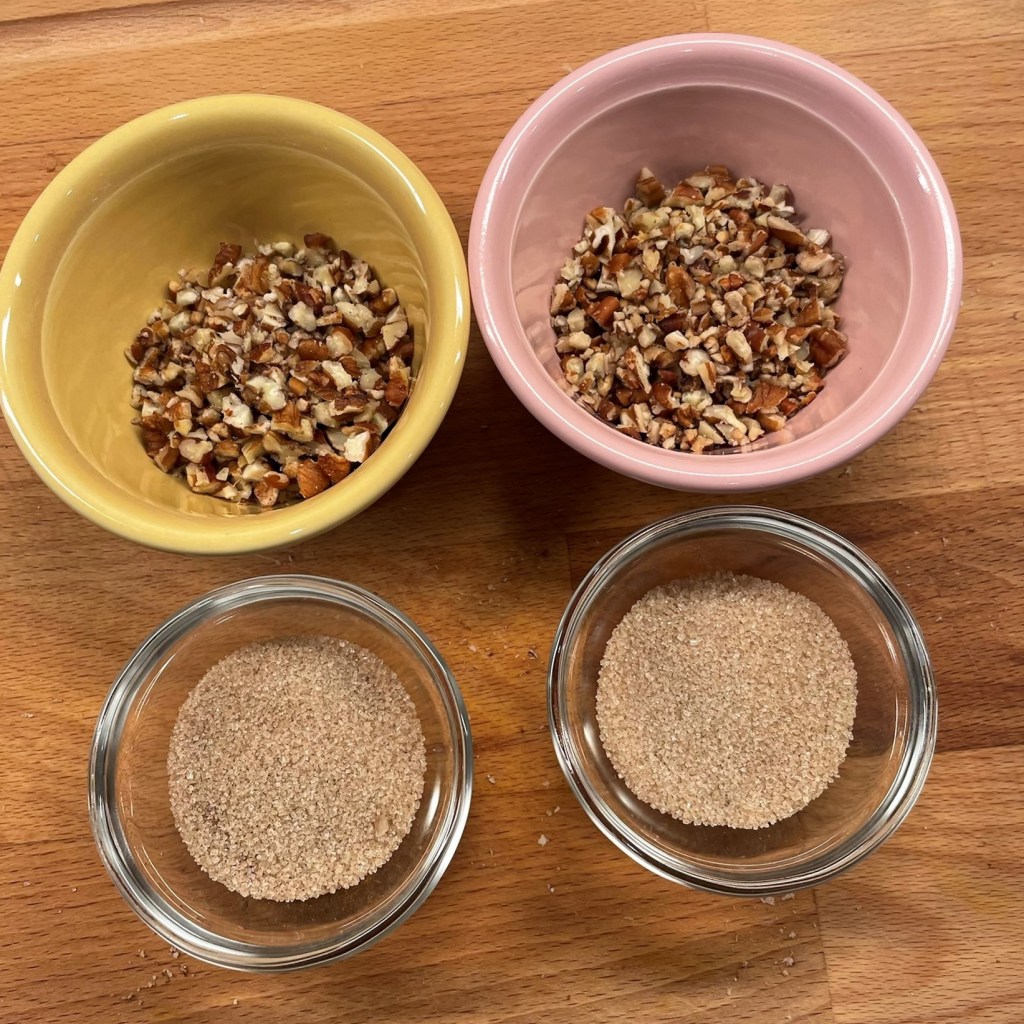
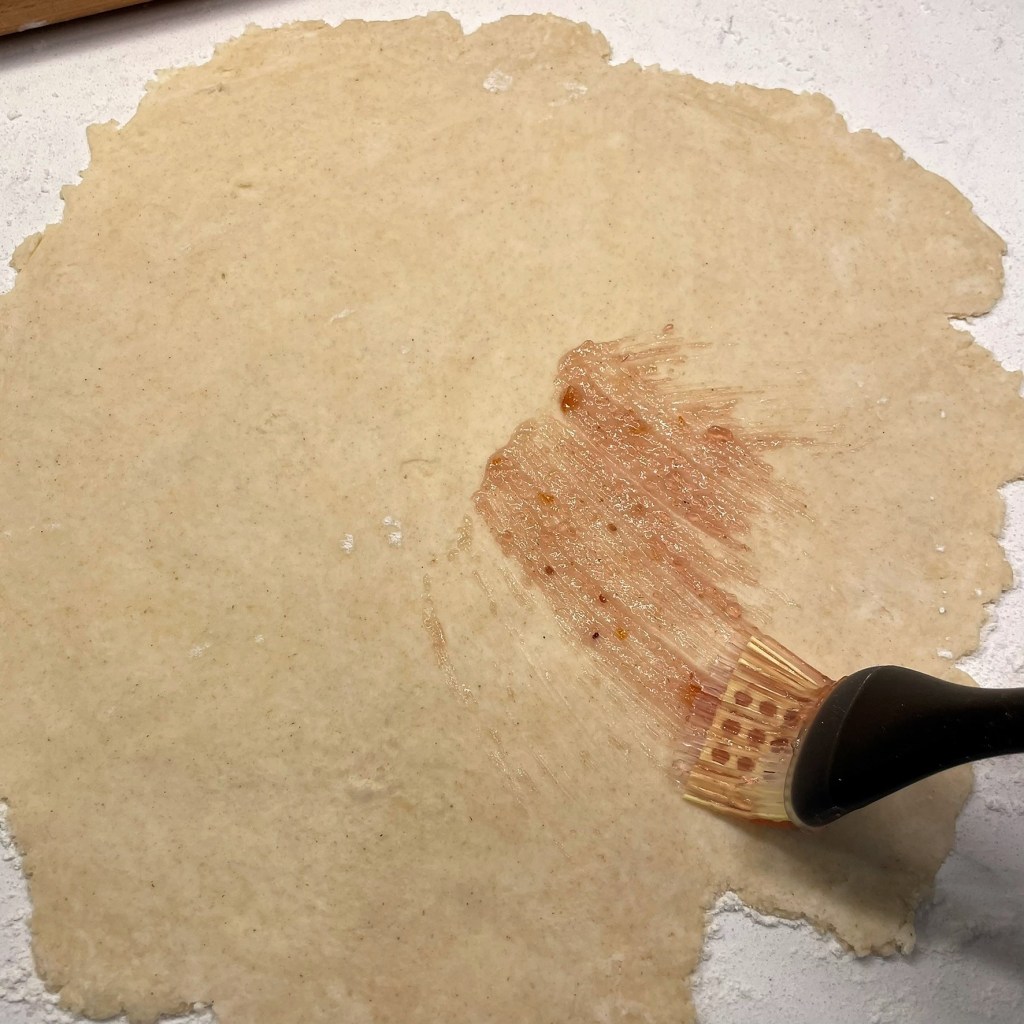
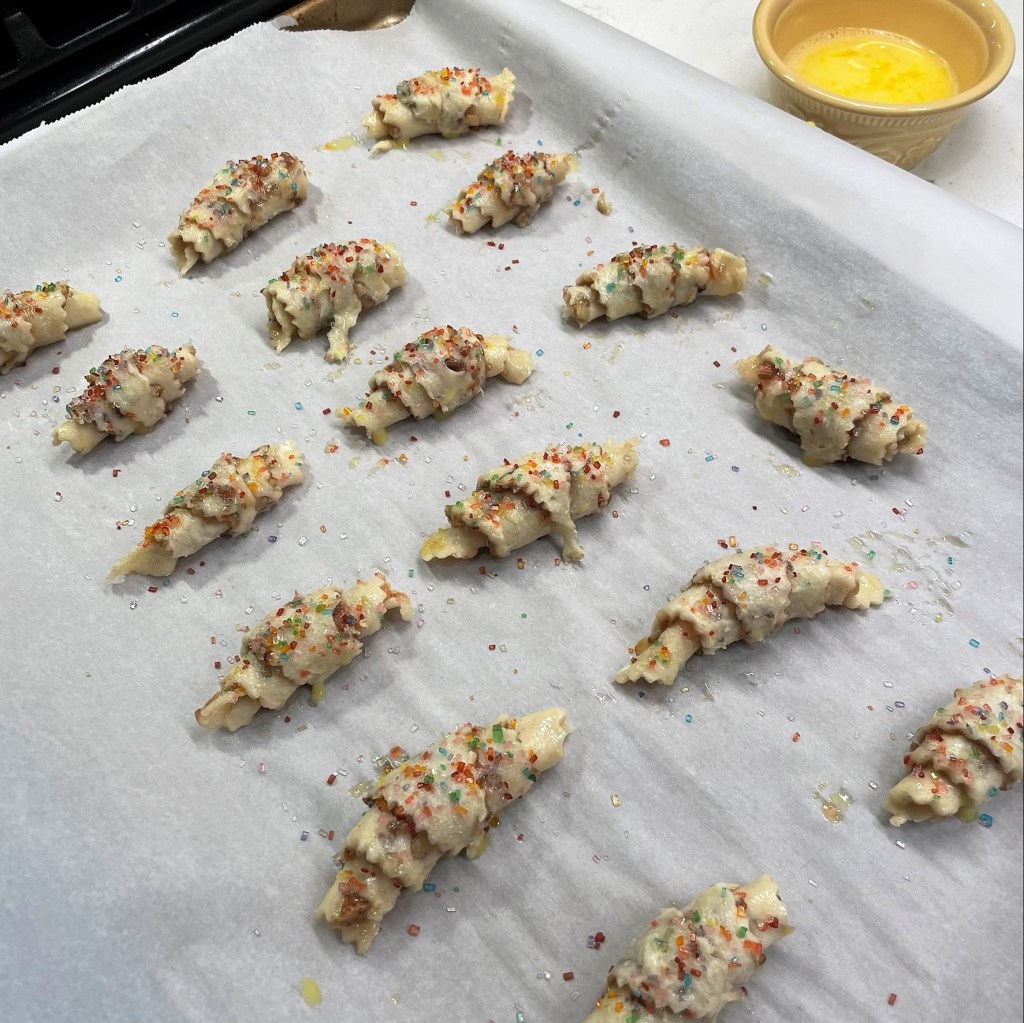
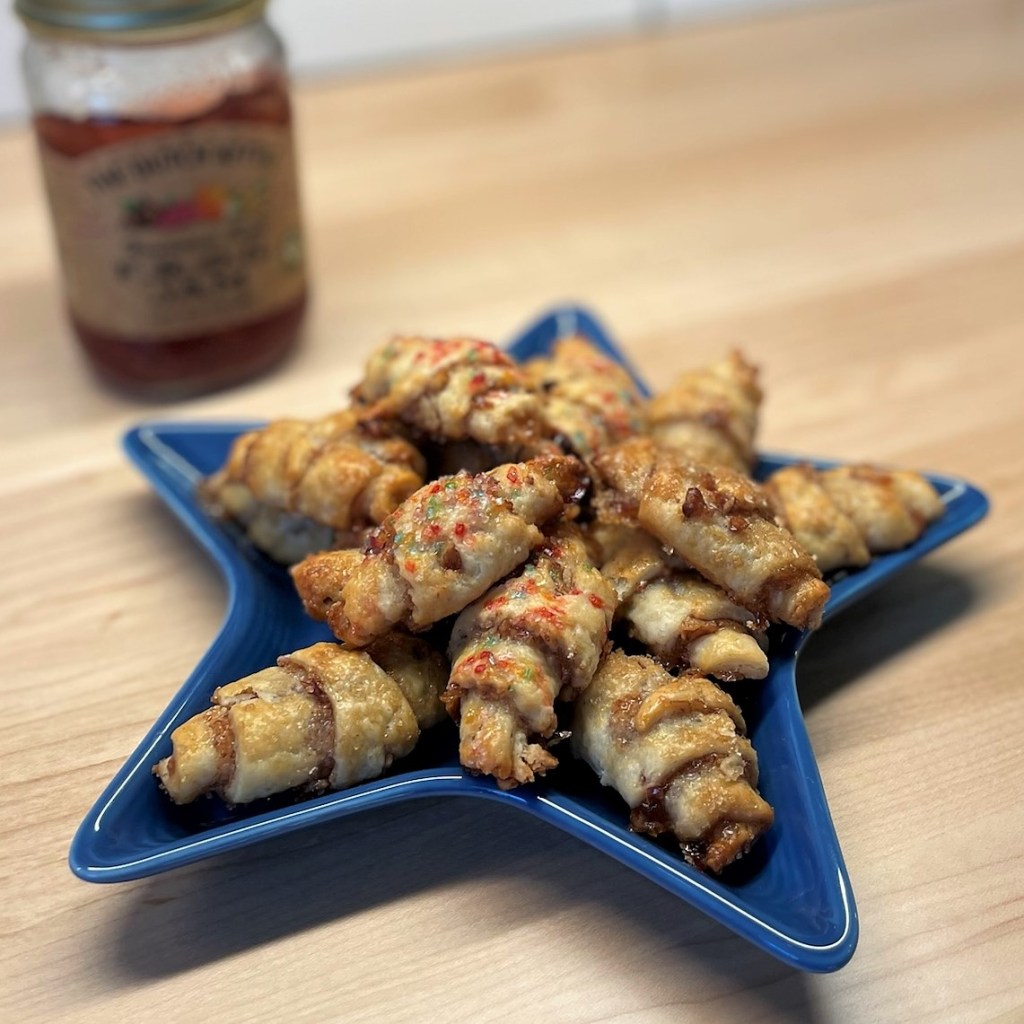
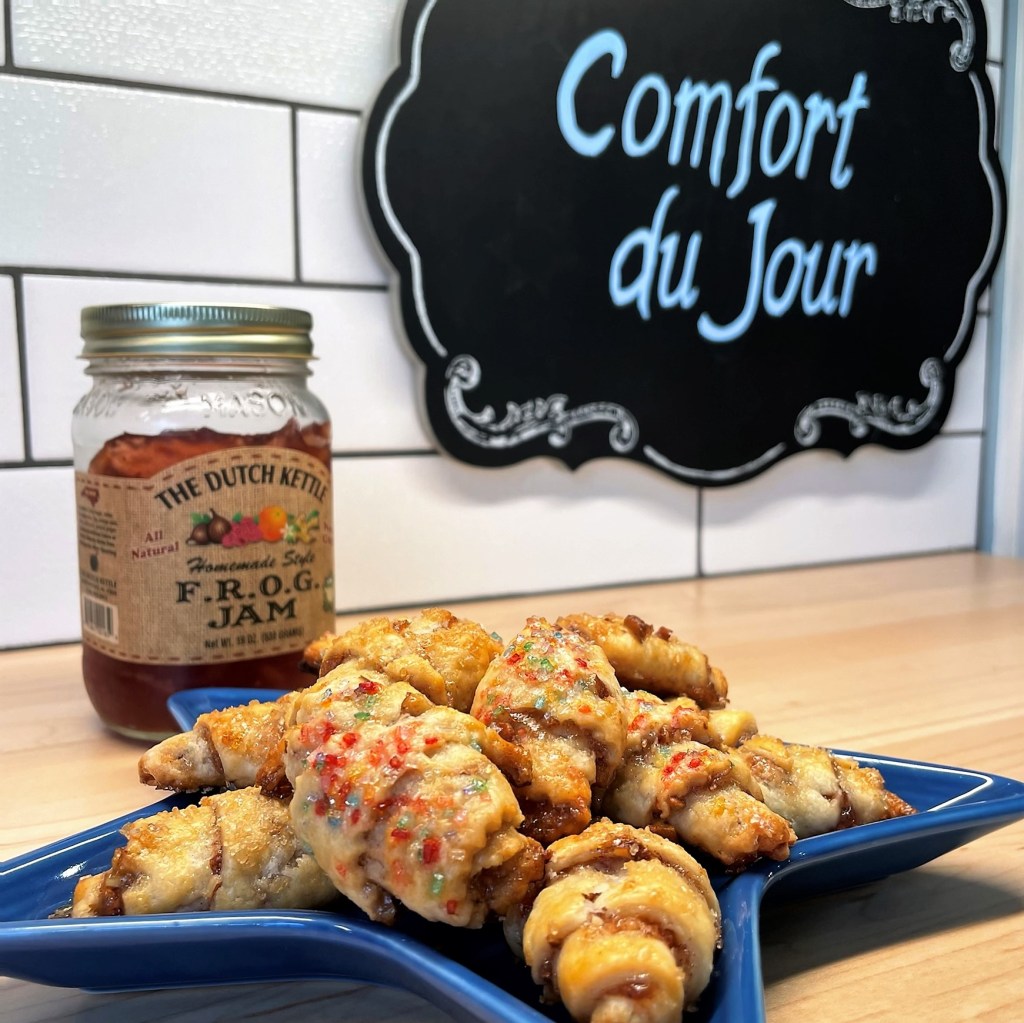
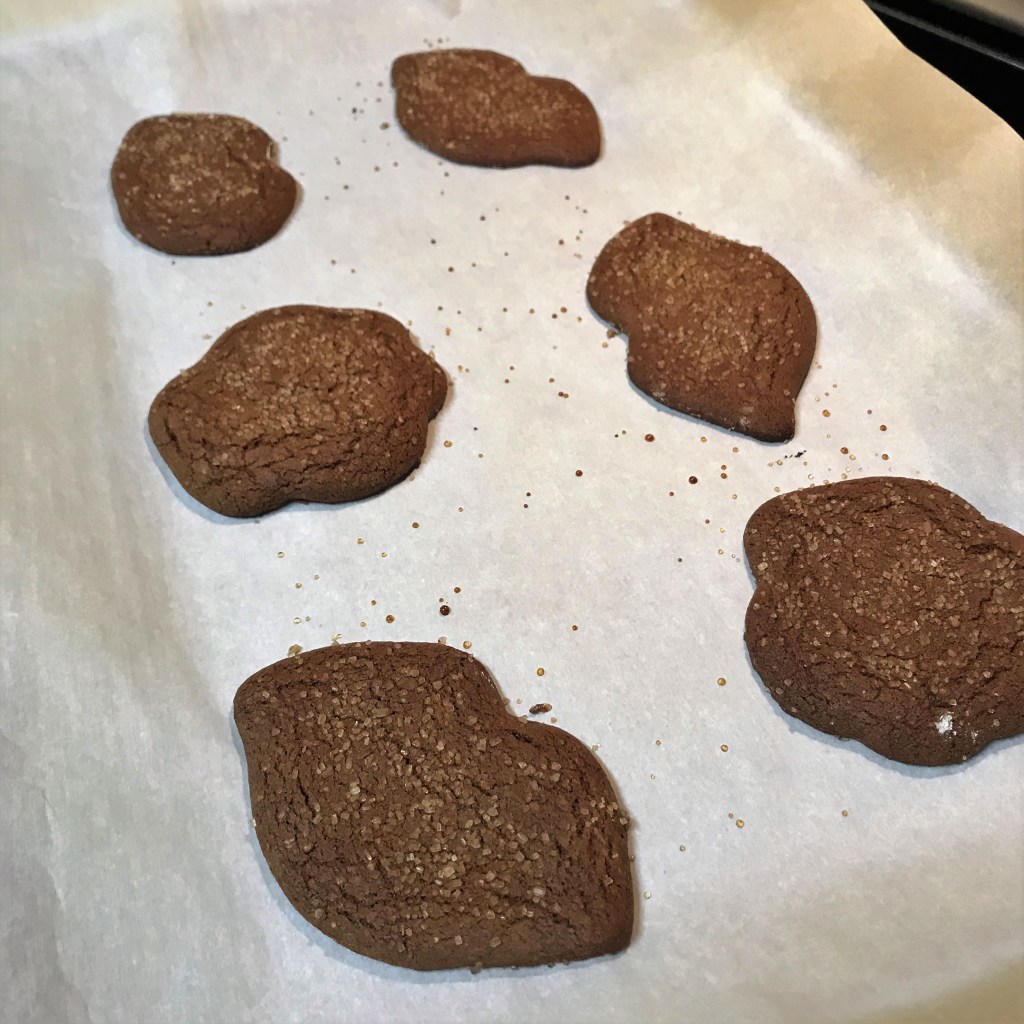
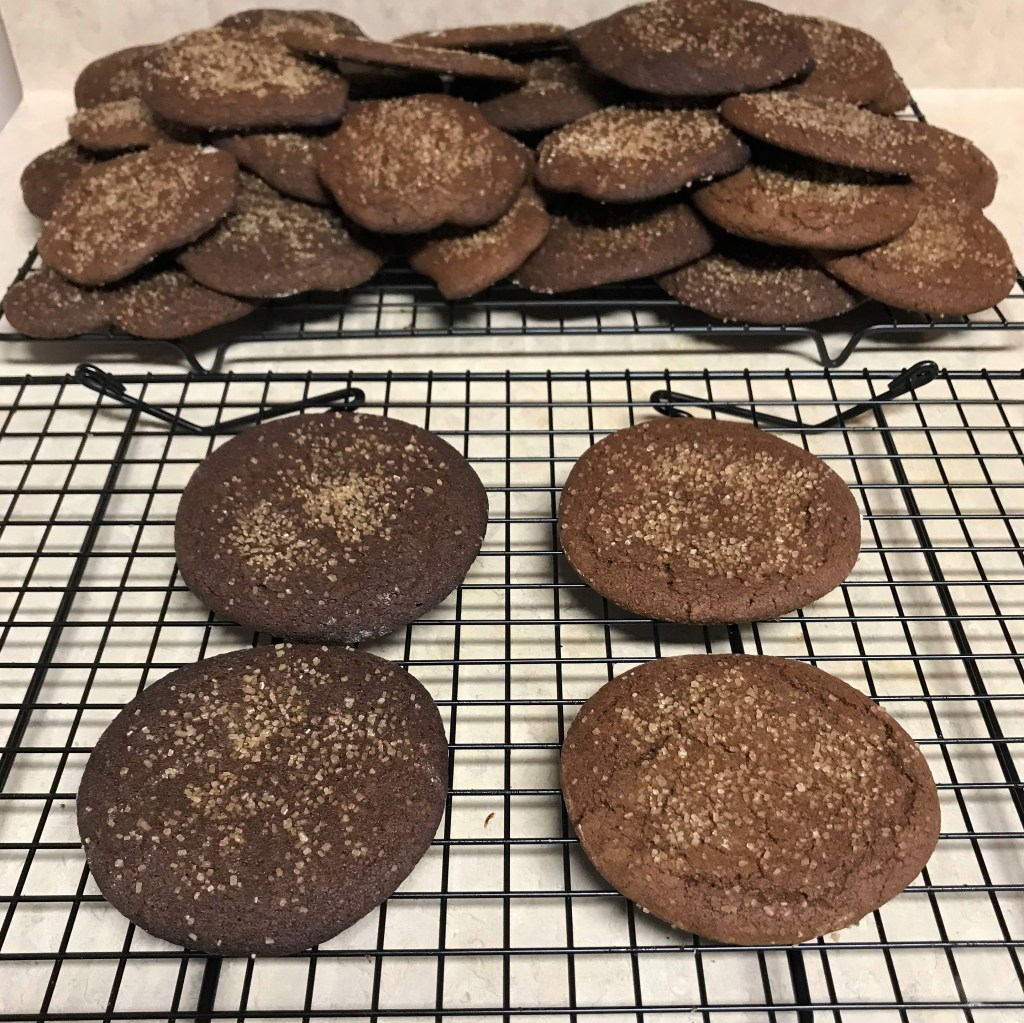
I had a time deciding what flavor jelly would be right, and it hinged on the texture of the spread. See? Y’all had no idea how much pressure I put on myself to create these fun things! A true jelly would be too wet and ooze all over the oven, so I started looking at preserves with bits of actual fruit. This blend of four fruits was perfect, bringing berries and cherries into the mix. I set up an experiment with three cookies to see whether it was best to bake them with the preserves already in, or to create thumbprints halfway through baking, and whether it made sense to add a ring of extra peanut butter chips on top for a little more melting impact with the marshmallow.
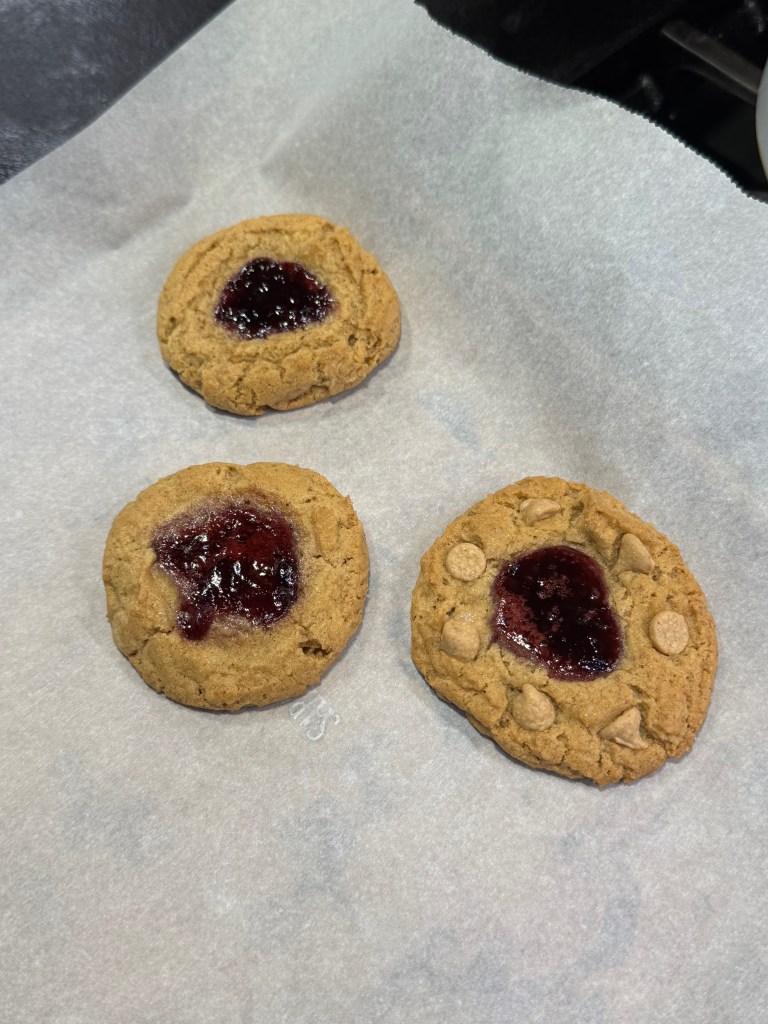
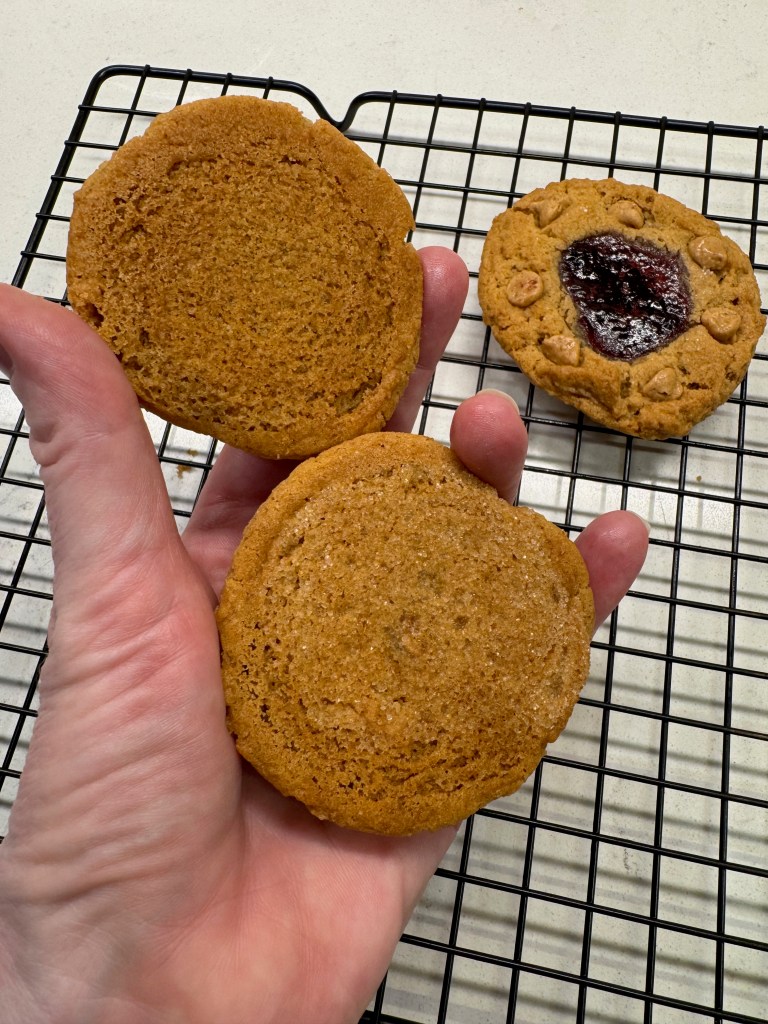

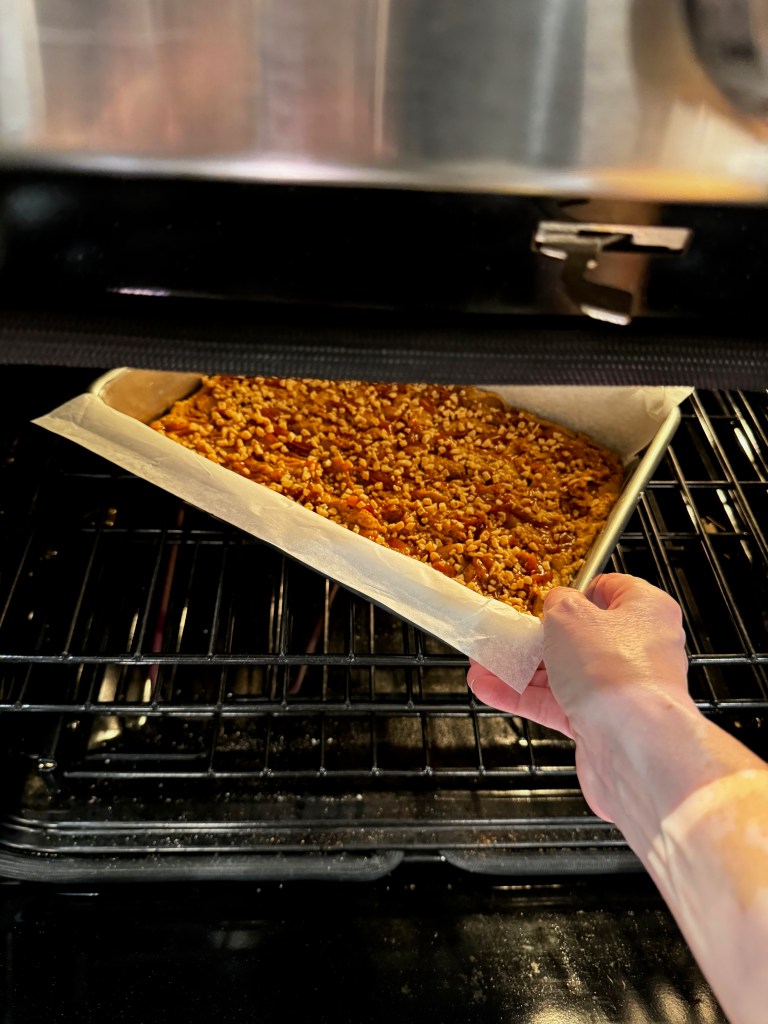
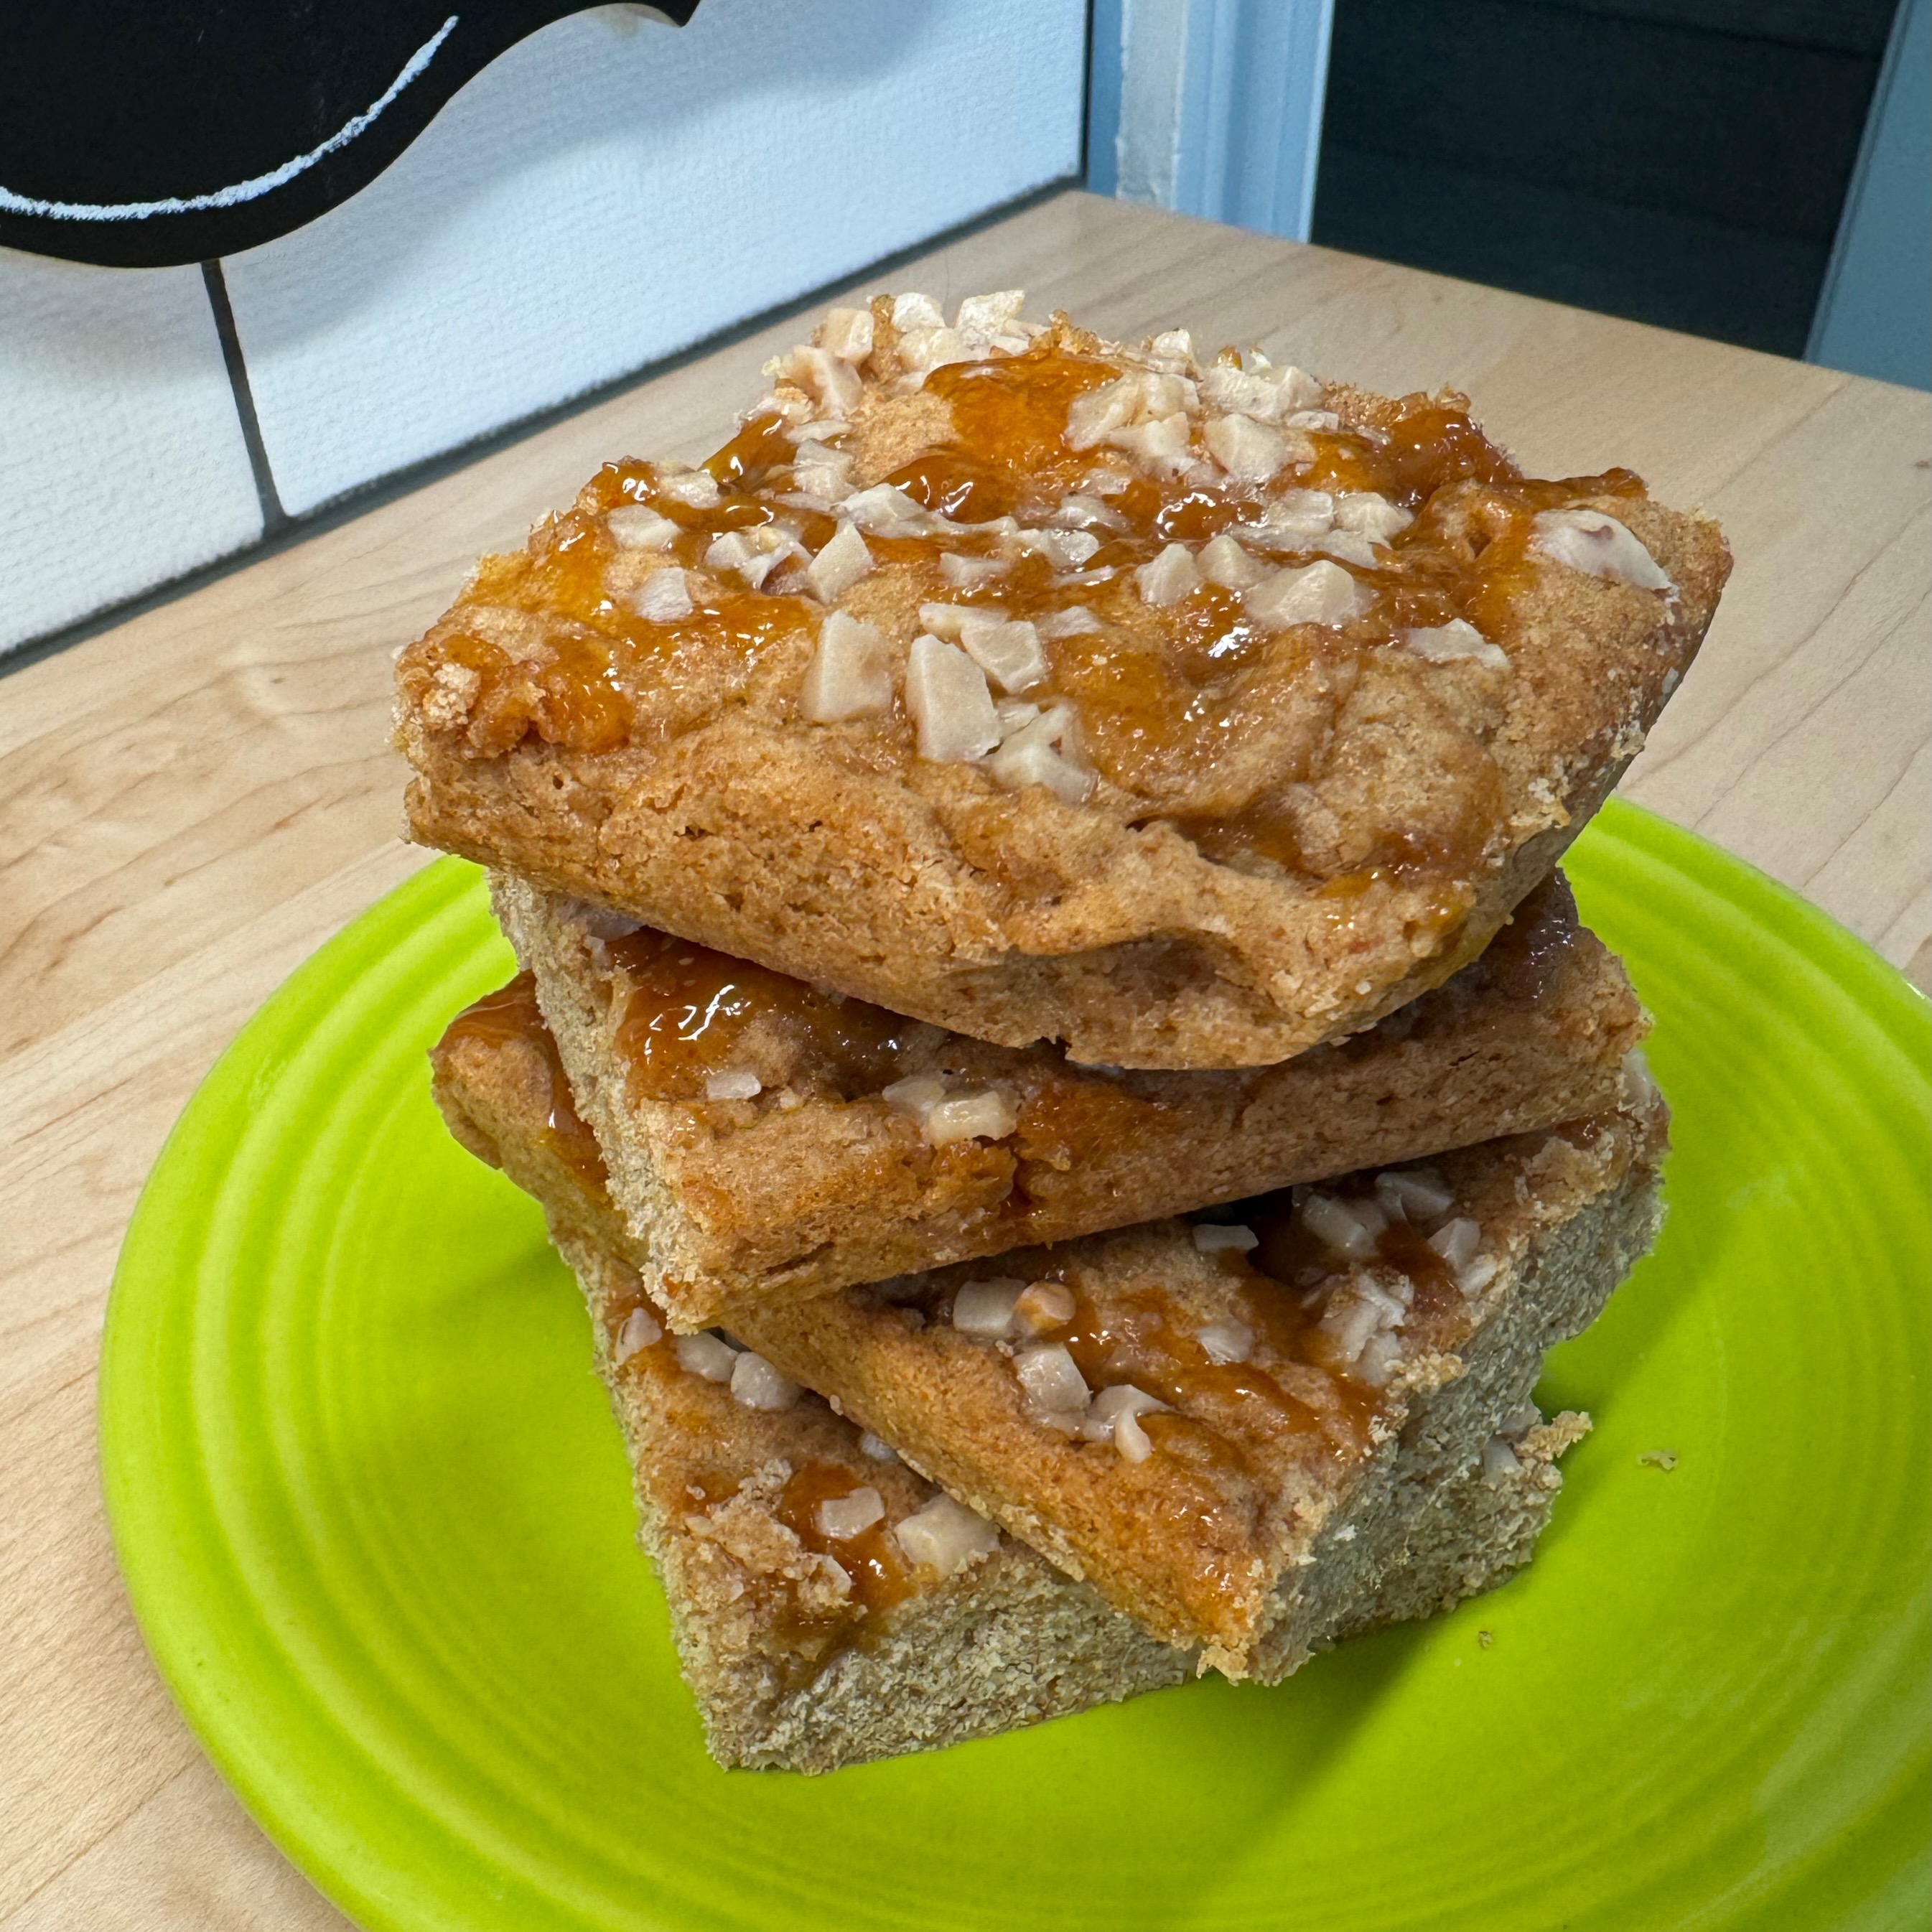
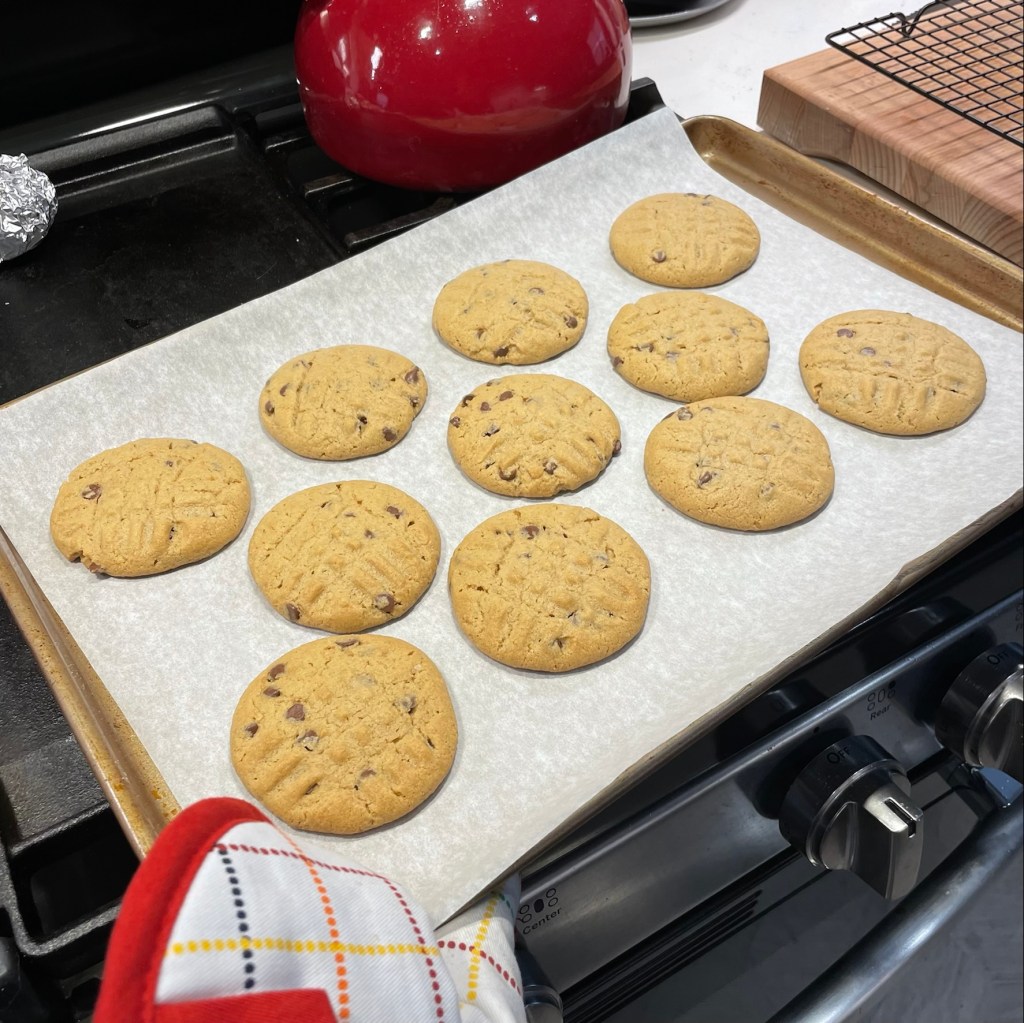
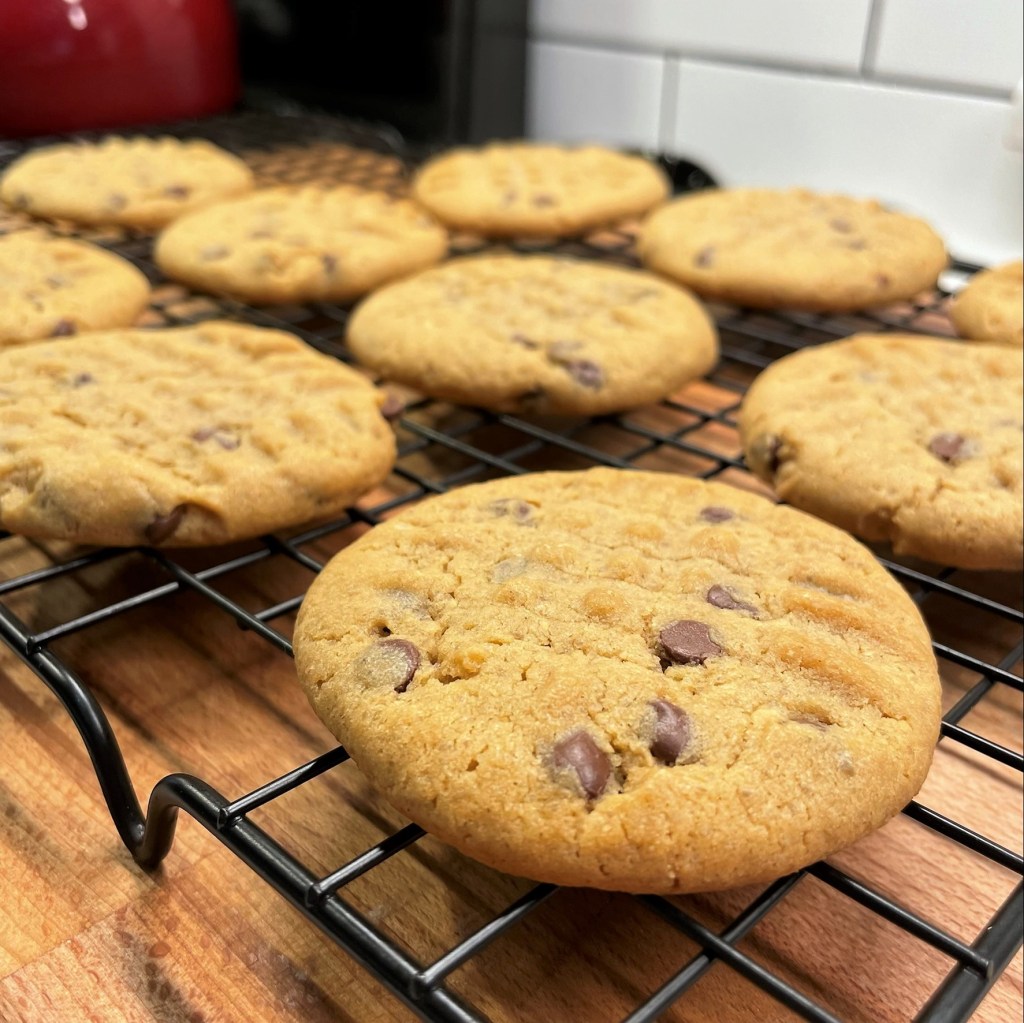
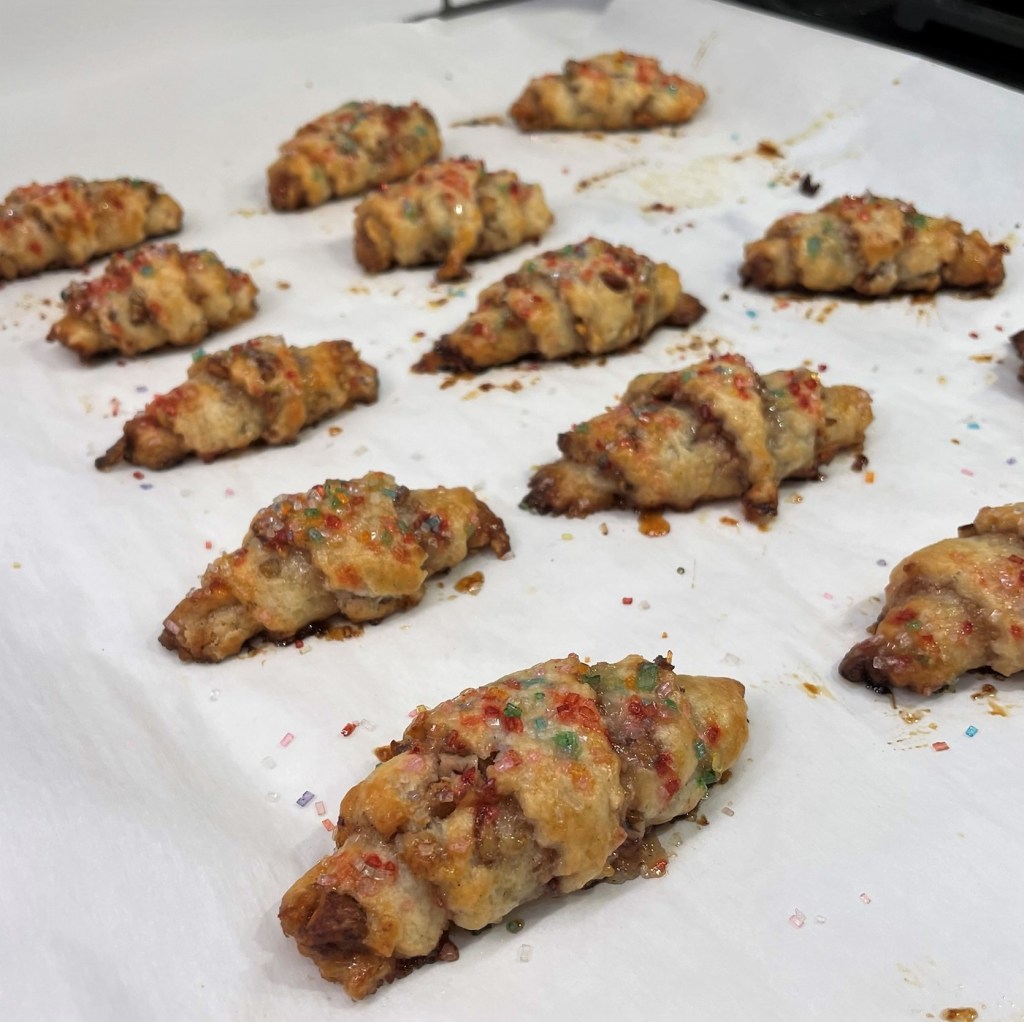
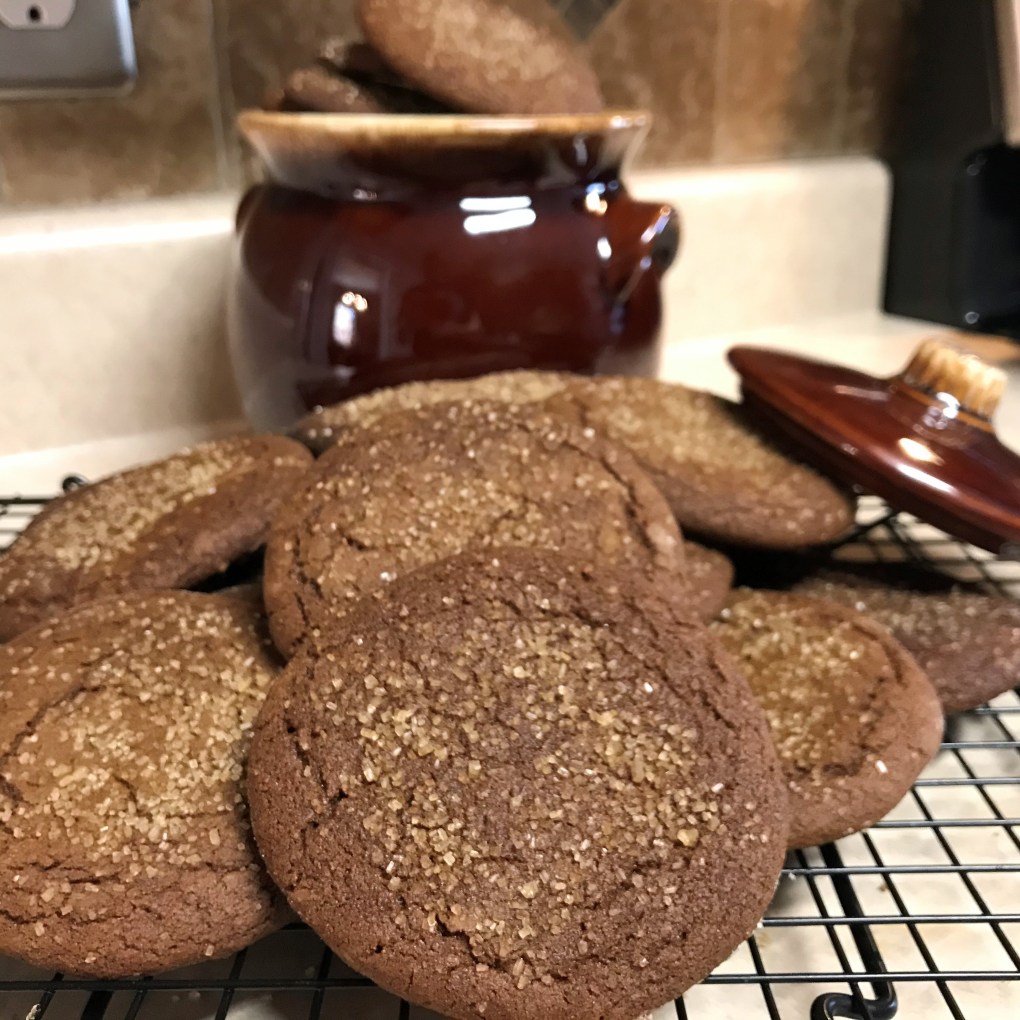
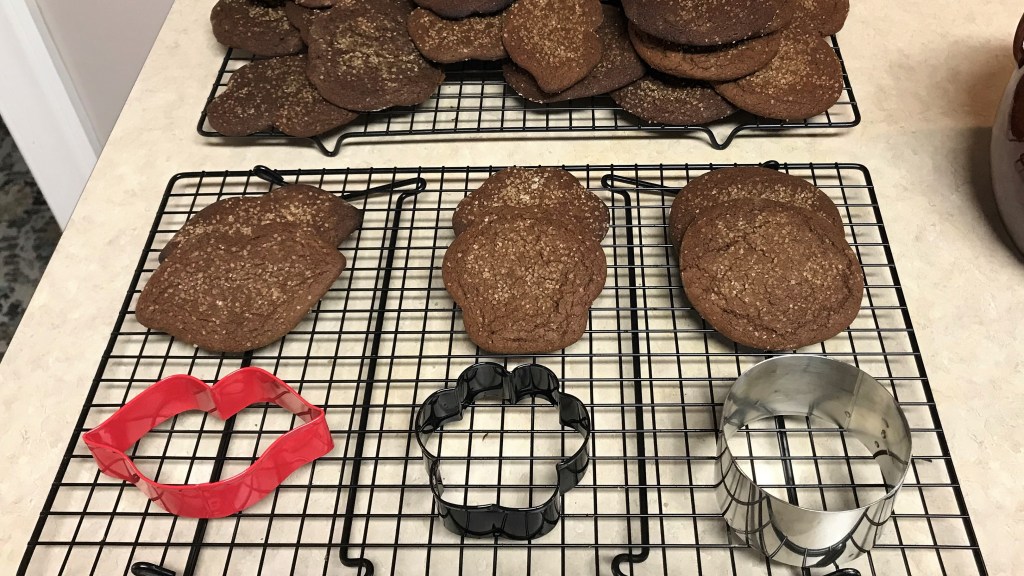
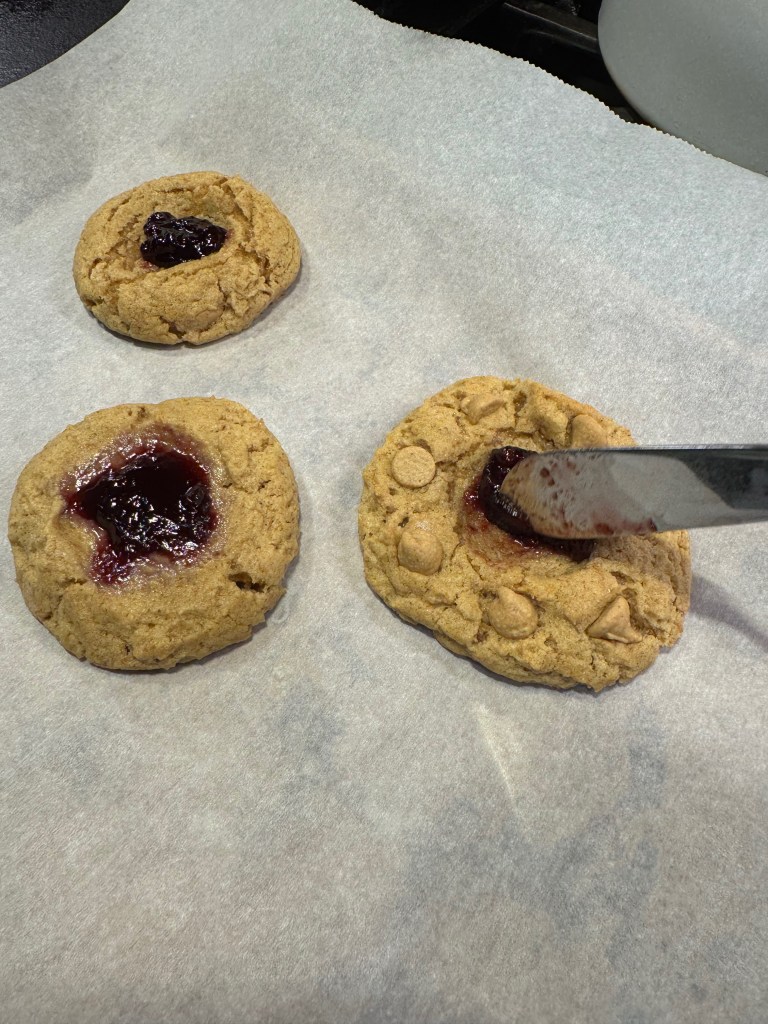
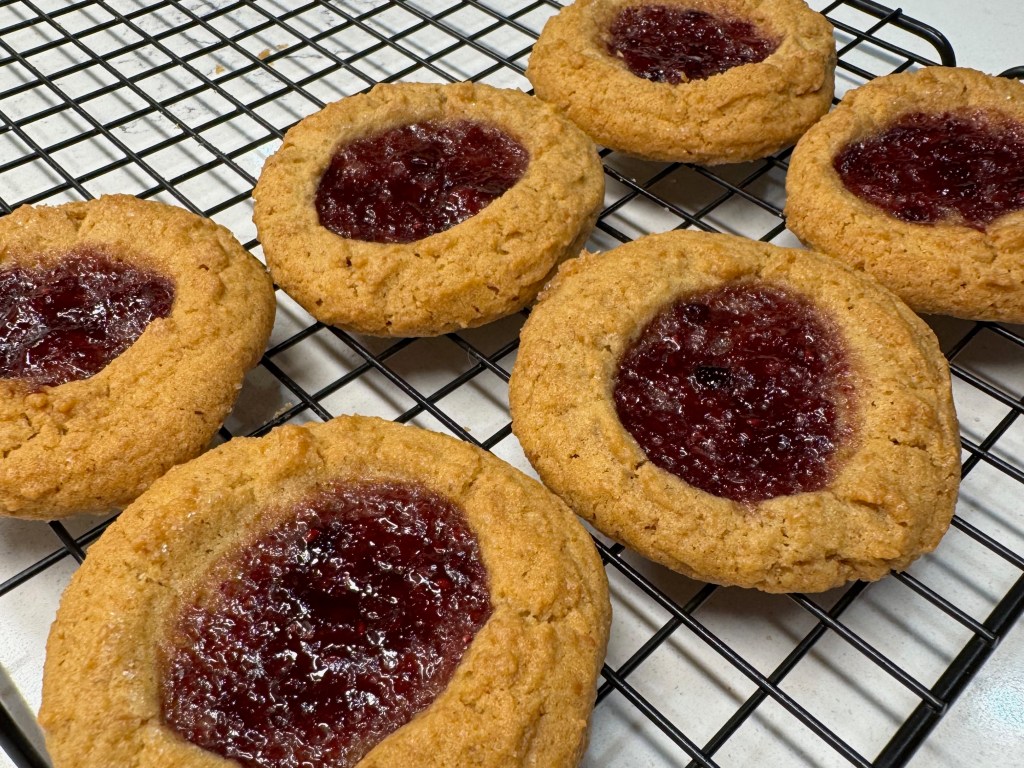
In the end, the best cookies had sugar on the bottom for more crispness and the preserves baked into the cookie for the full baking time, which was 14 minutes. On their own, these cookies are delightful, and I couldn’t wait to turn them into s’mores!
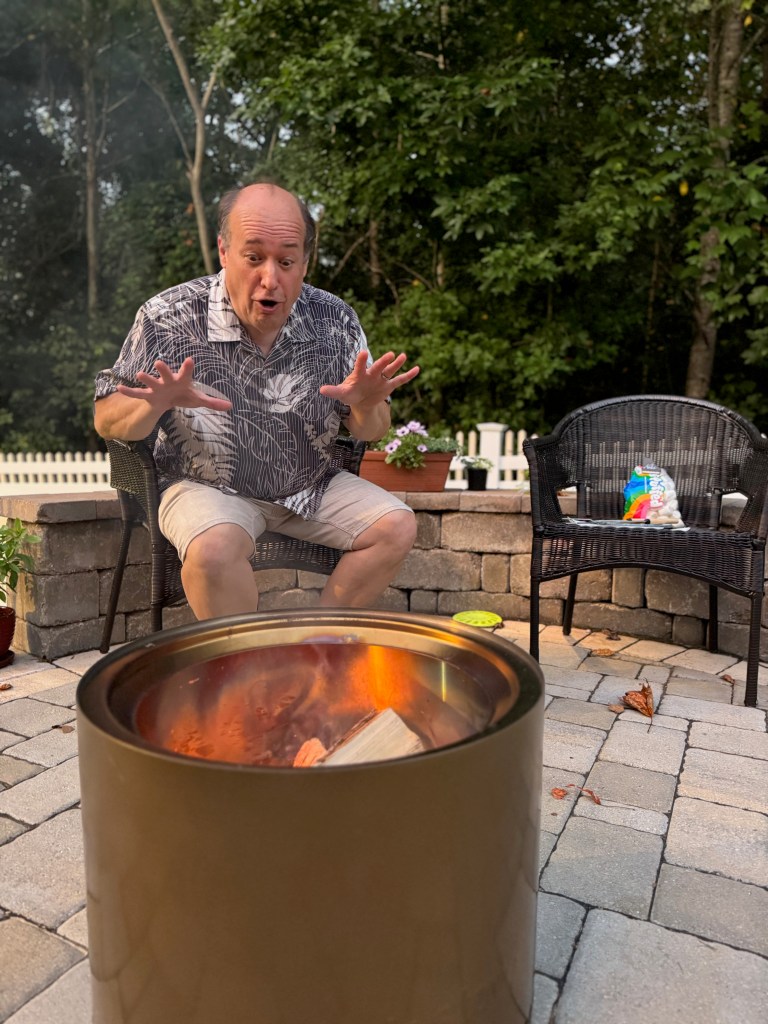
In case you’re wondering, yes, we are the crazy ones in the neighborhood, building a backyard fire in the Solo stove when evening temperatures are in the 80s. We are always up for adventure, especially when food is involved!
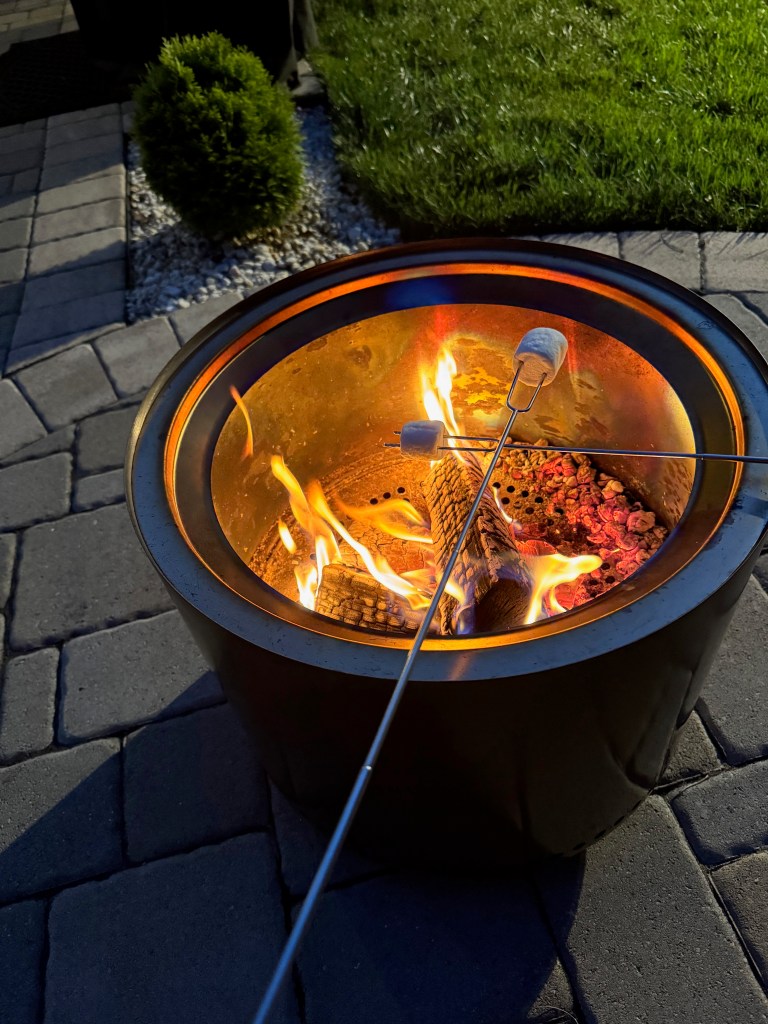
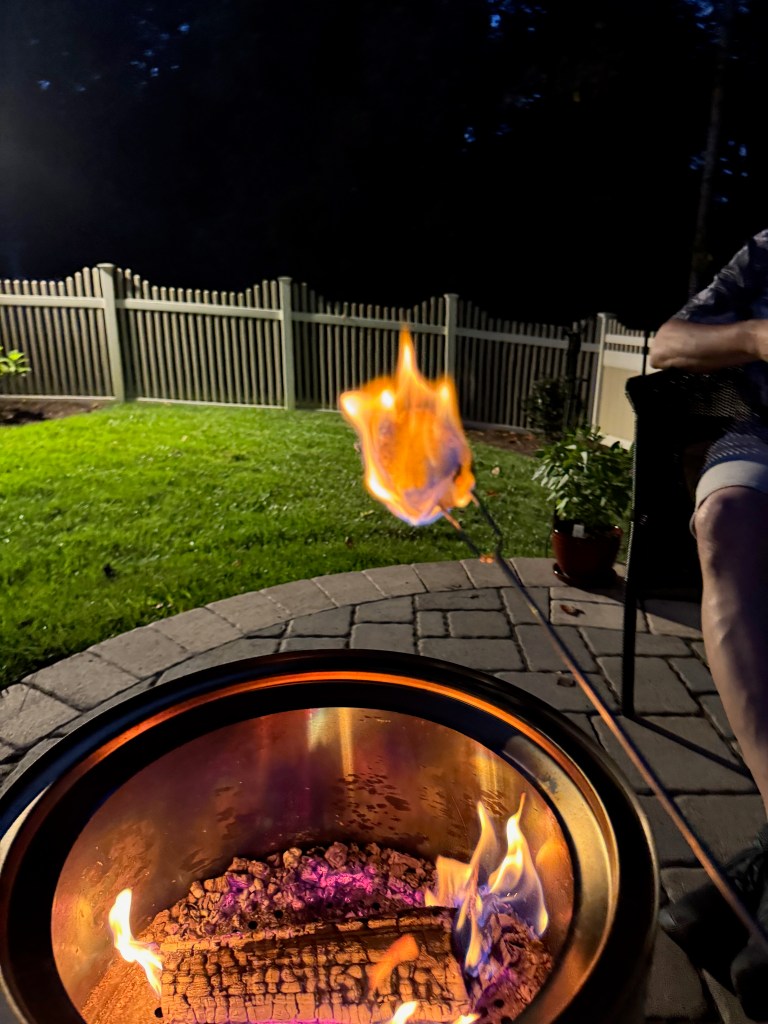

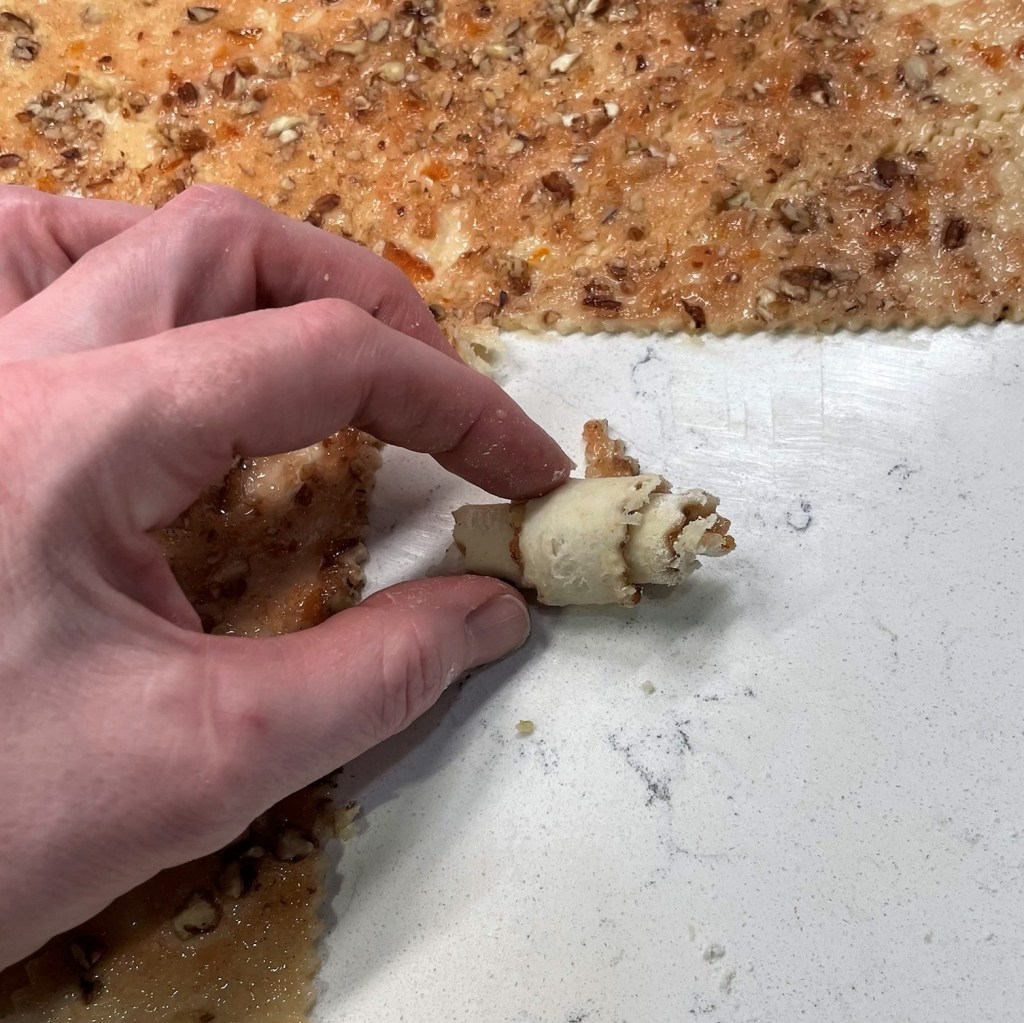
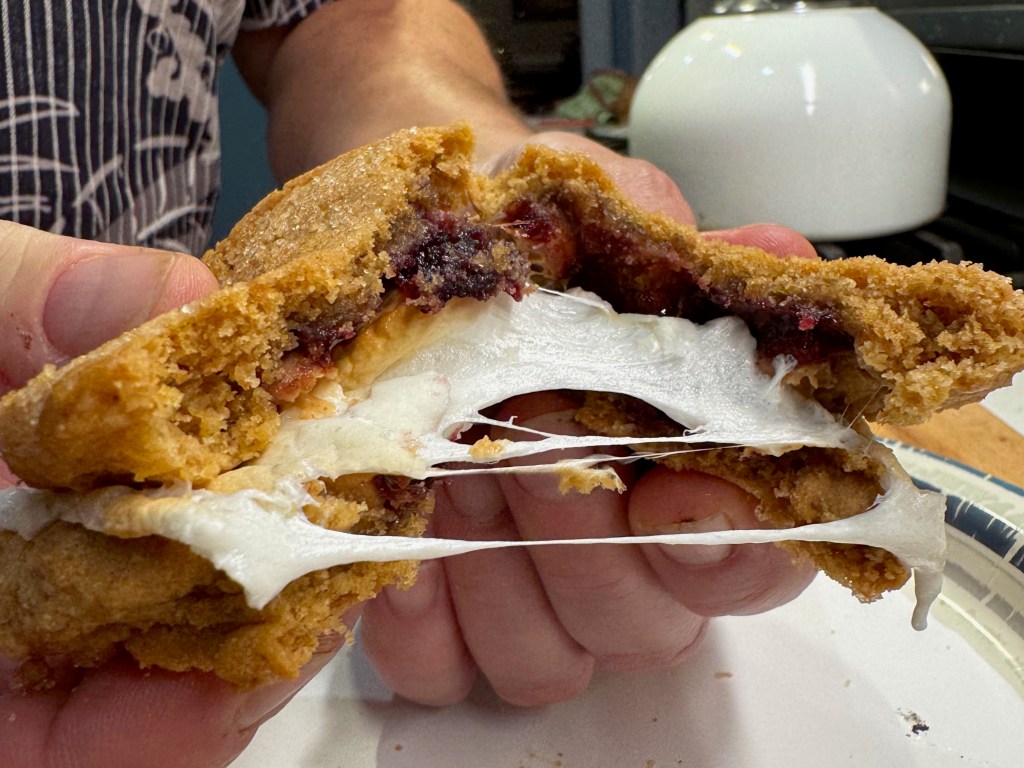
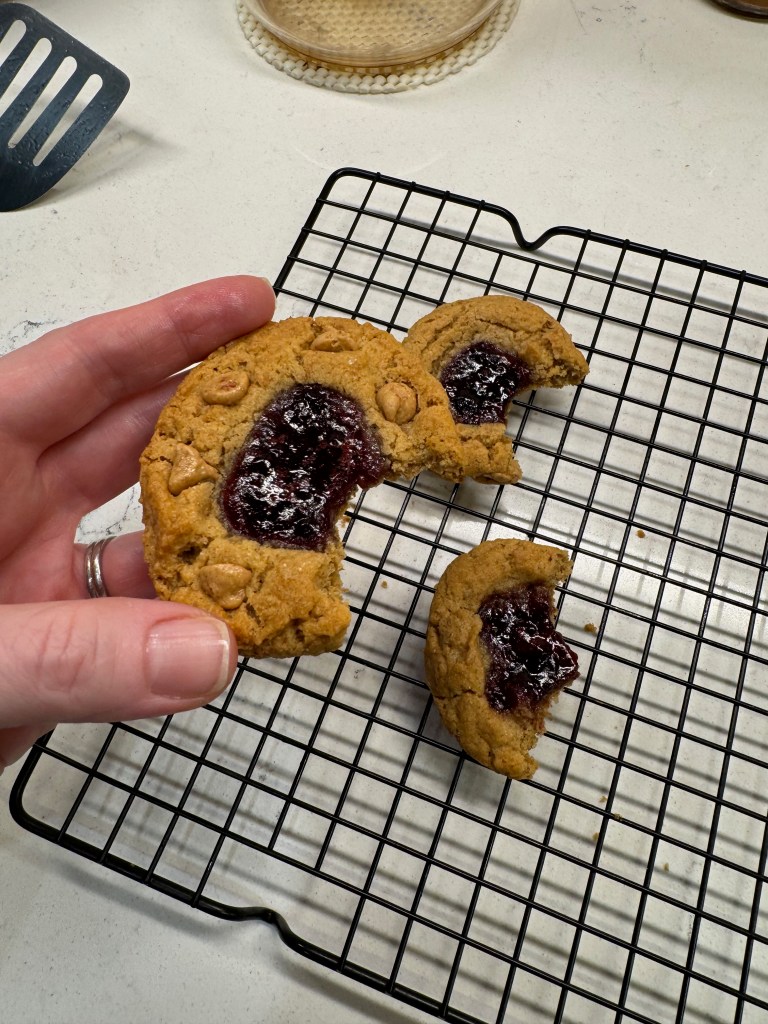
We toasted large marshmallows to personal taste— I like mine set ablaze and charred on the outside and Les likes them lightly golden— and then we squished them between two of these peanut butter-and-jelly cookies, with the jelly side in, of course. And the verdict?

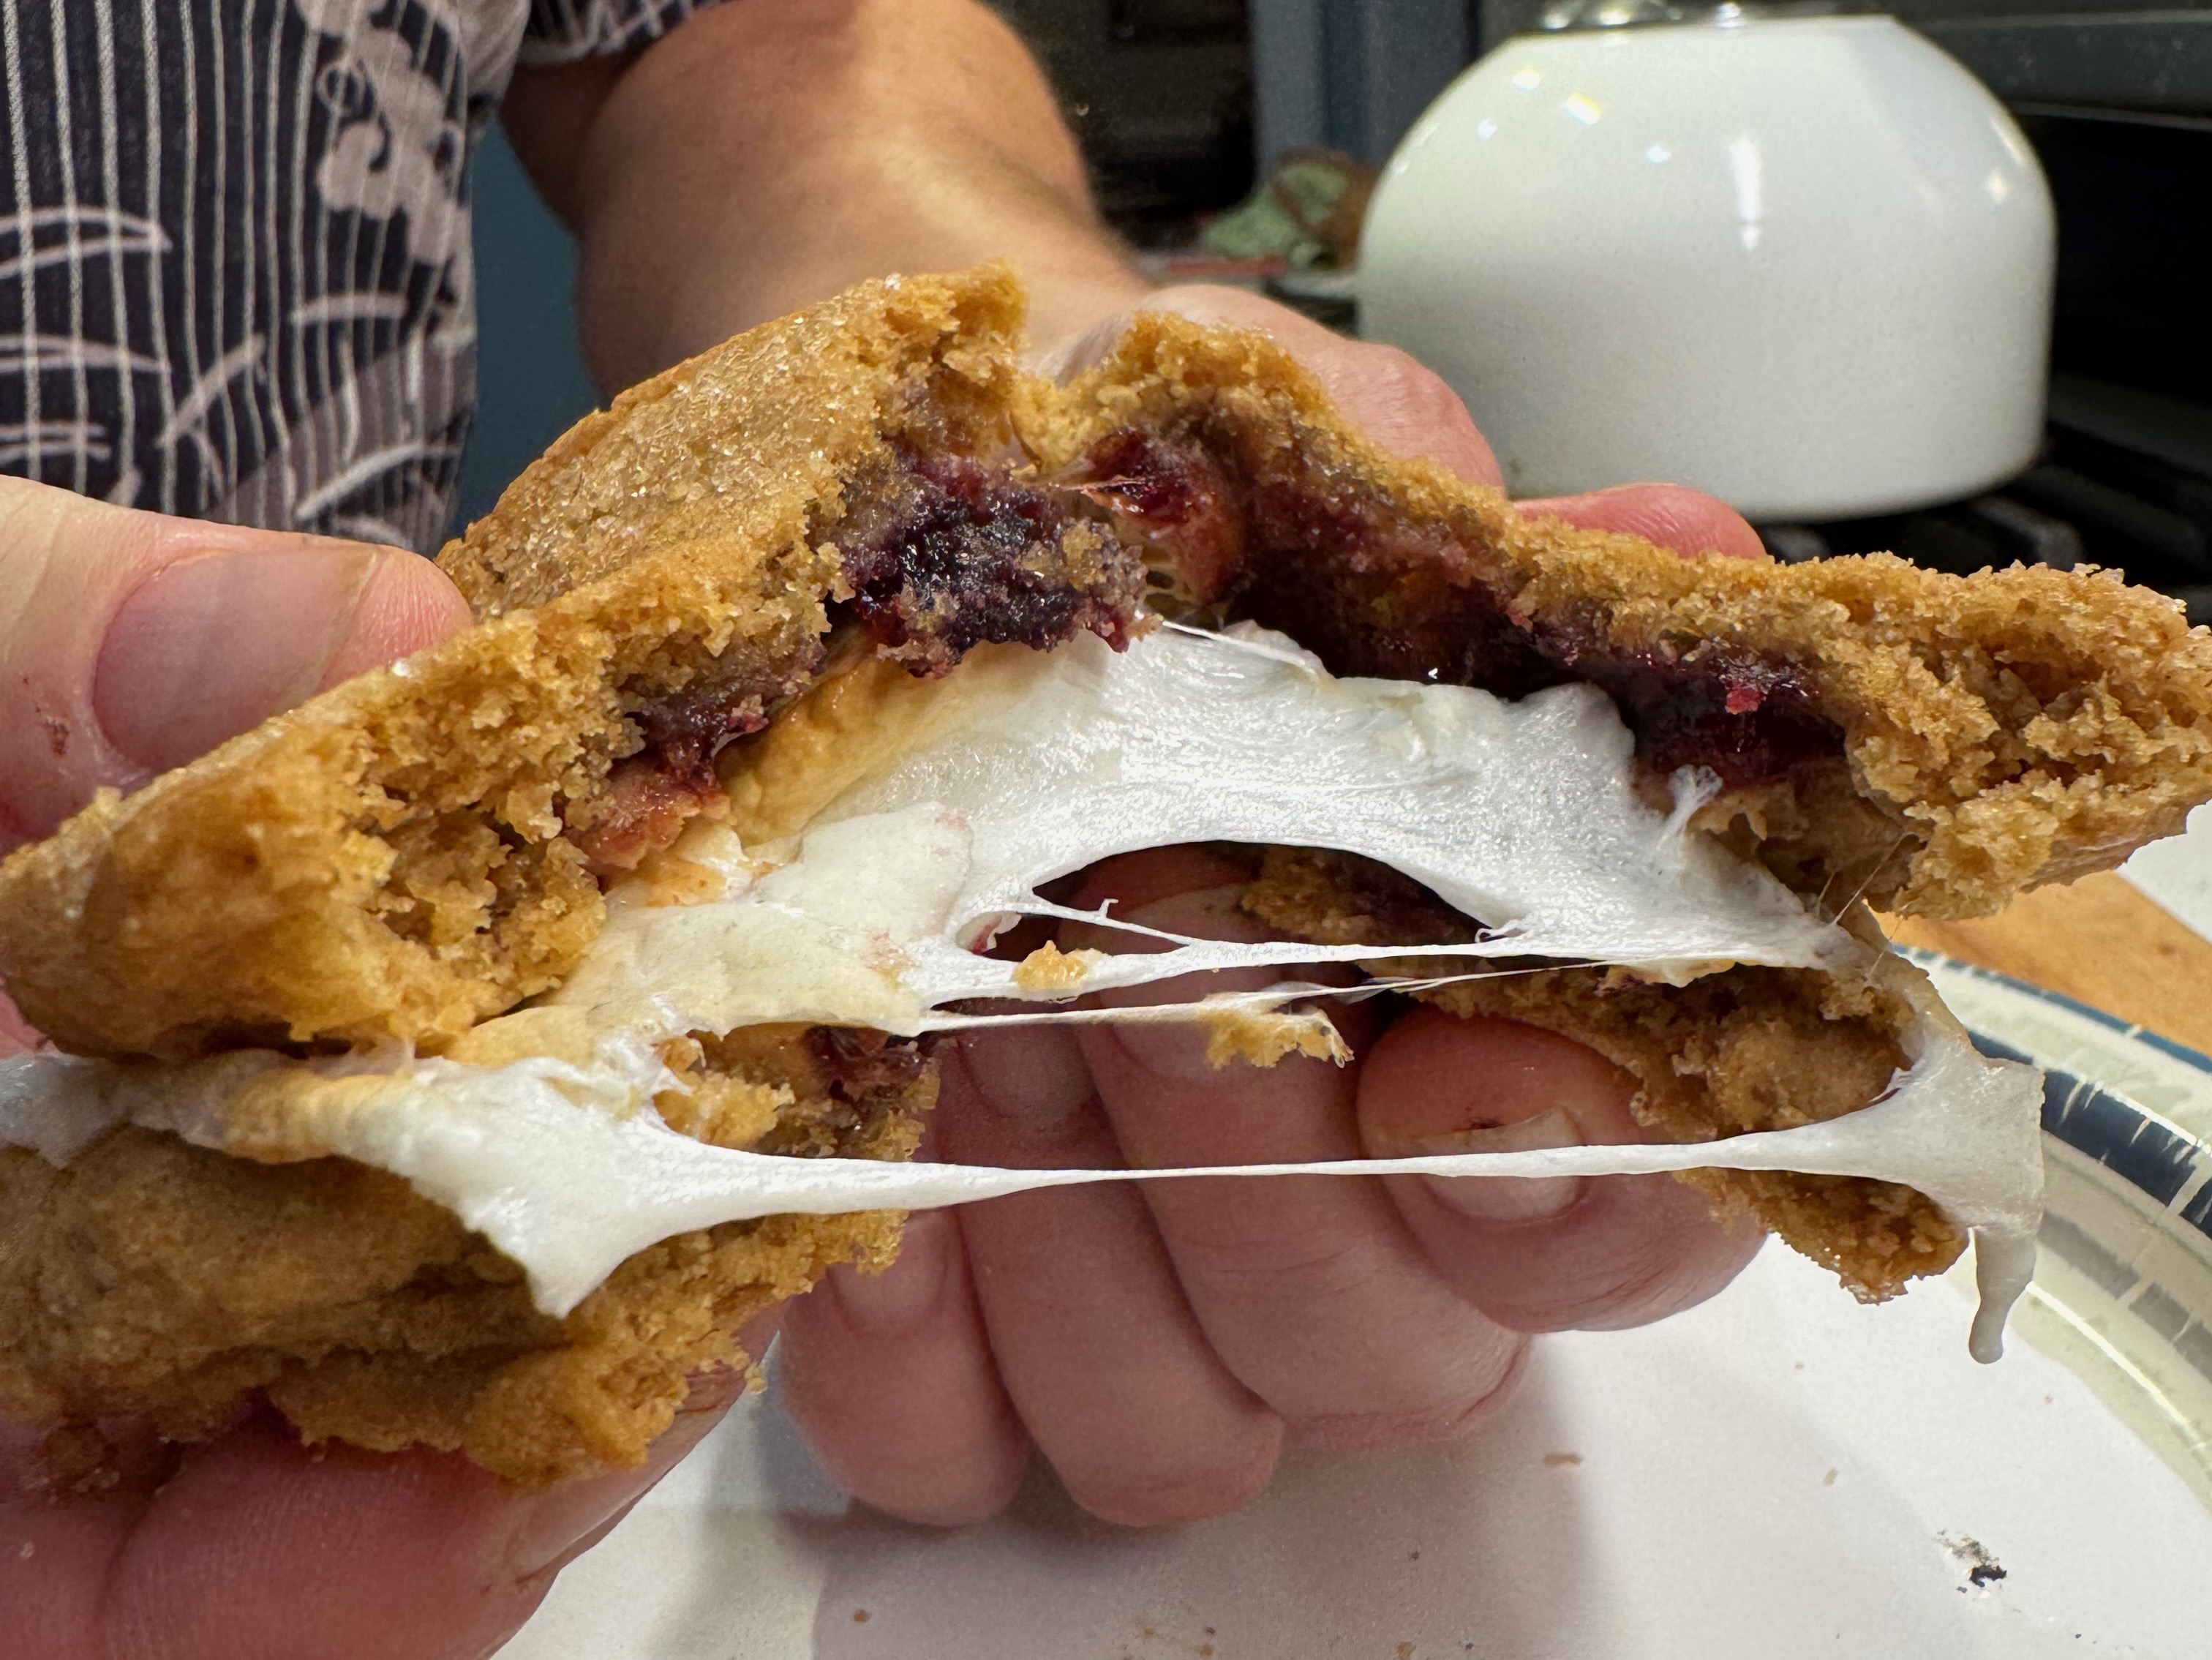
Well, for starters, the peanut butter cookies did not remain crispy. By the time we did our s’mores, they were soft and bendy, which worked out great for the photos of us tearing them apart. The “jelly” aspect was all but lost, as I didn’t really detect it in my sample bites. It was, for me, way too much sugar, and— darn it!— after all that overthinking, I missed the oozy element of melted chocolate. Not a total miss, but not what my imagination wanted it to be. The cookies themselves are great.
If you have kids or grandkids and love a fun, sugary experiment, I’d say give it a go, perhaps with a twist of your own. Would I make them again? Probably not, but mainly because I only think about s’mores a couple times a year and by the time National S’mores Day rolls around again, I will have concocted another wild idea. I’ll probably pick up some grahams and chocolate before the weekend is over to make real s’mores. Some things are classic for a reason. ✌🏻
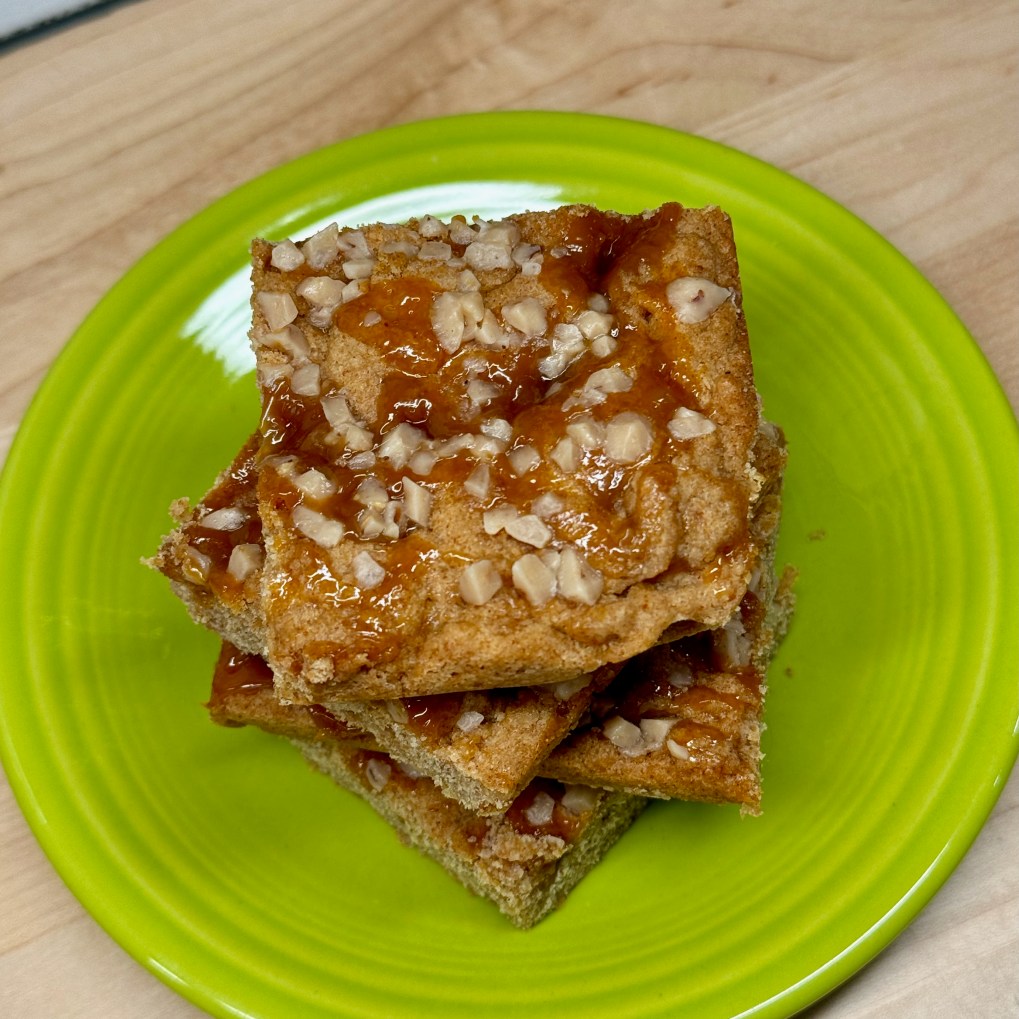
PB&J S'mores
A fun experiment for any s'mores enthusiast! I replaced two of the classic components of this campfire treat with a pb&j. It was sweet enough to melt your teeth, and isn't that kind of the point?
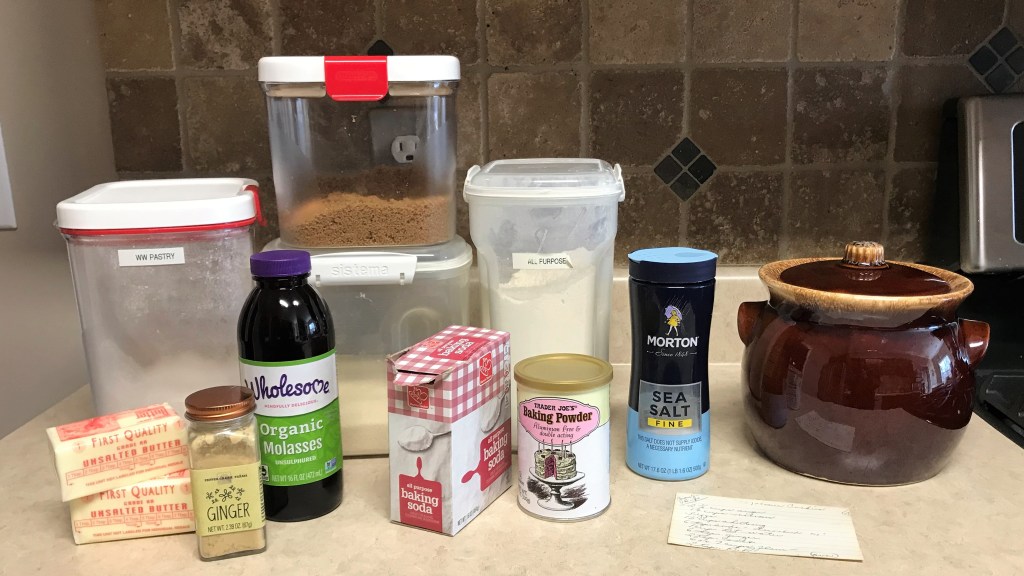
Ingredients
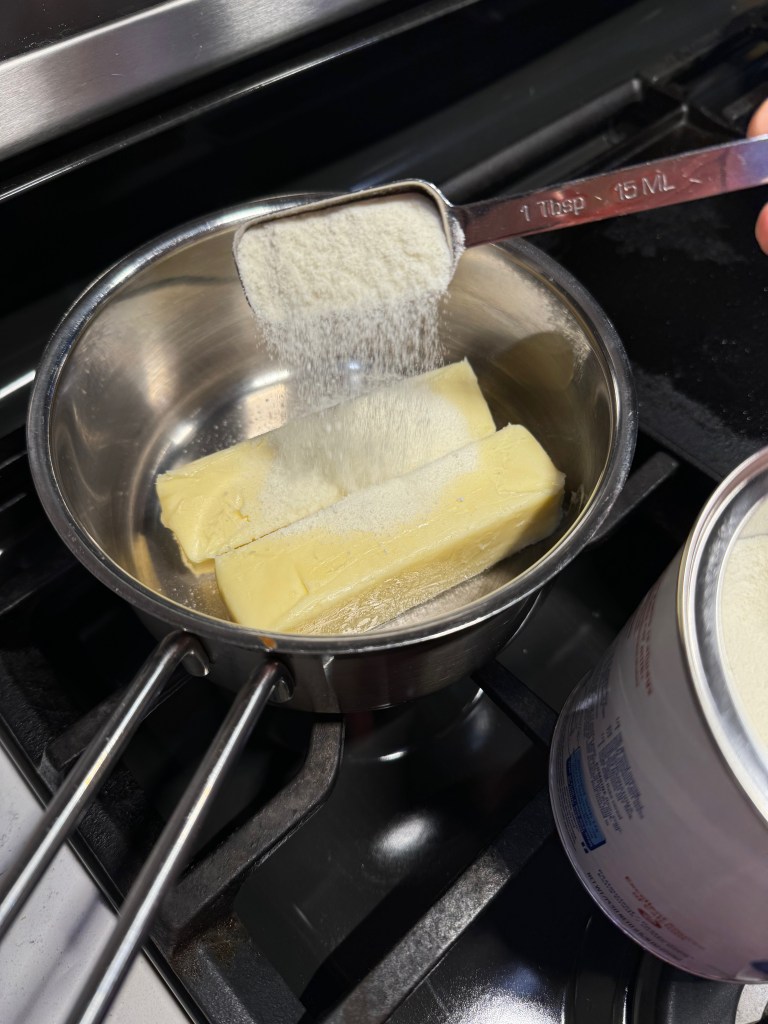
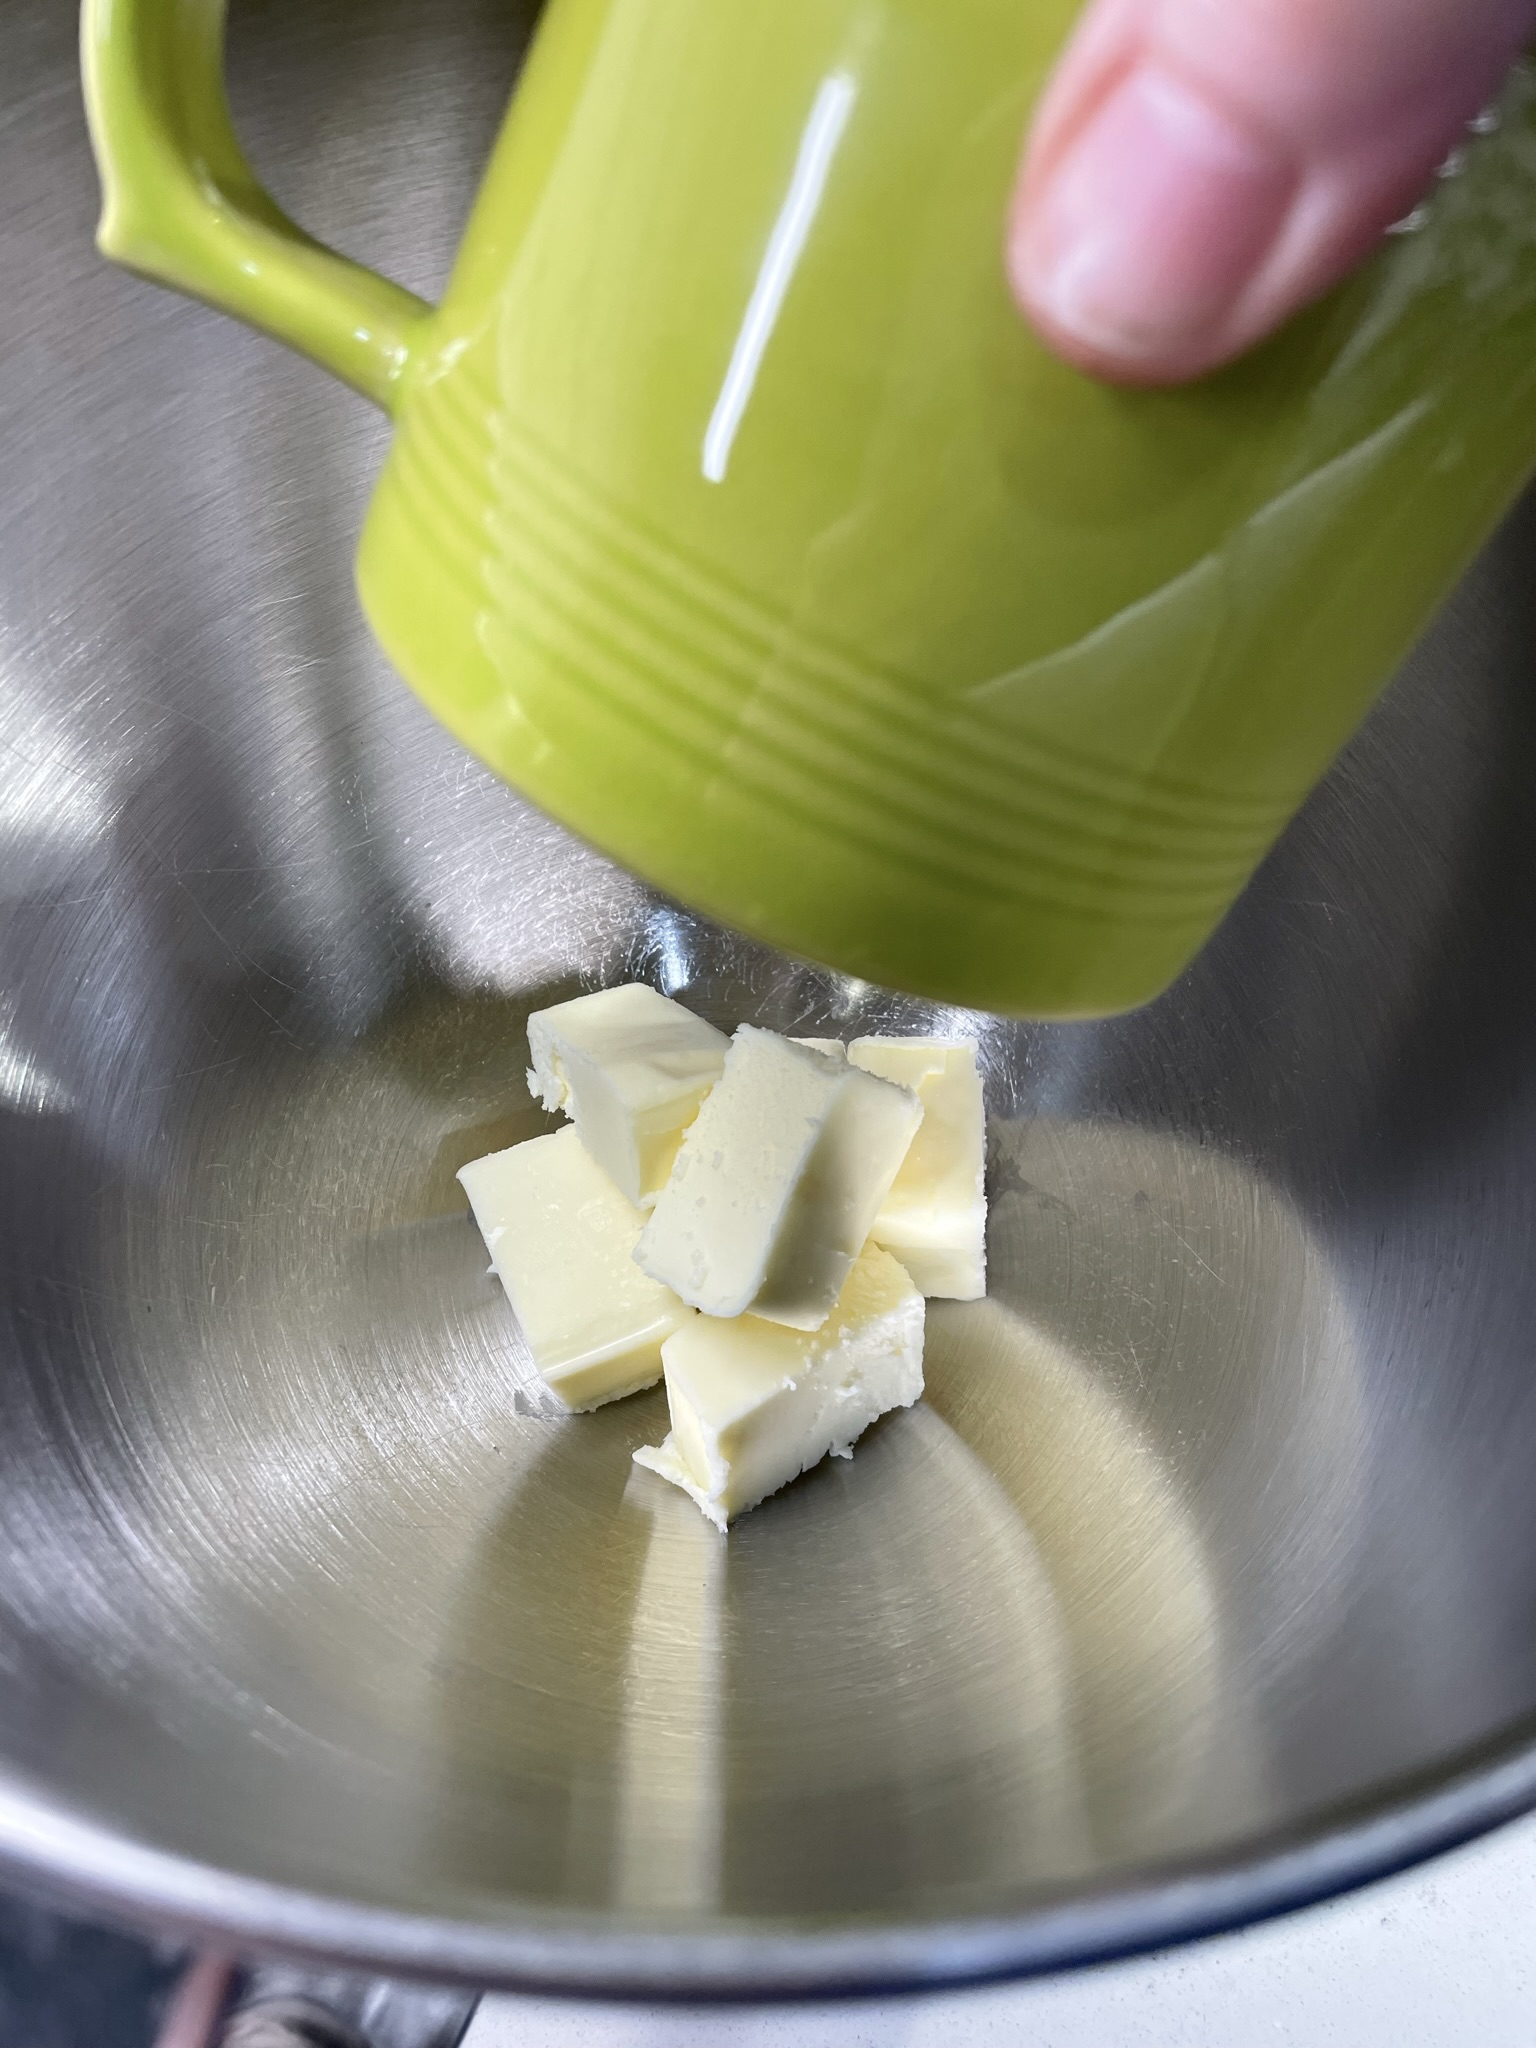
- 1 stick butter (8 Tbsp.), softened slightly
- 1/2 cup smooth peanut butter
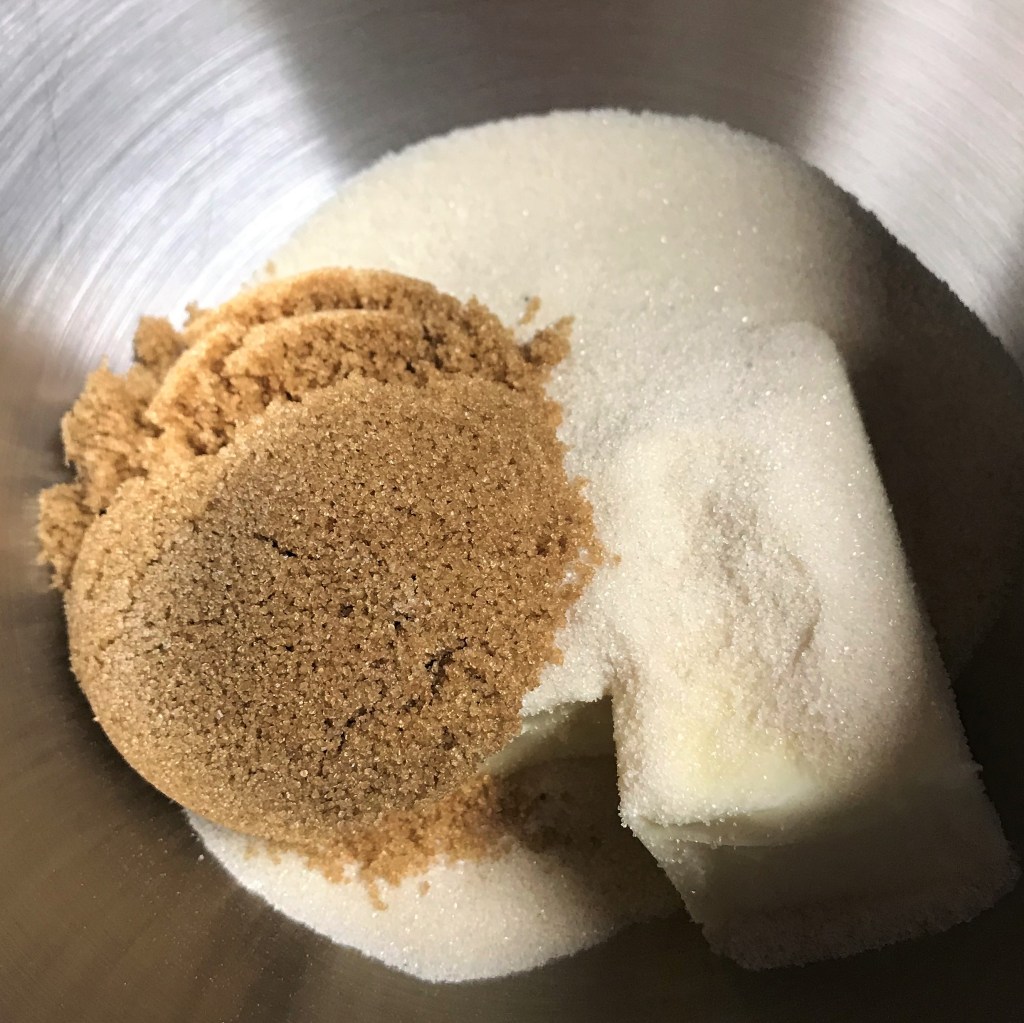
- 1/2 cup light brown sugar
- 1/2 cup organic cane sugar
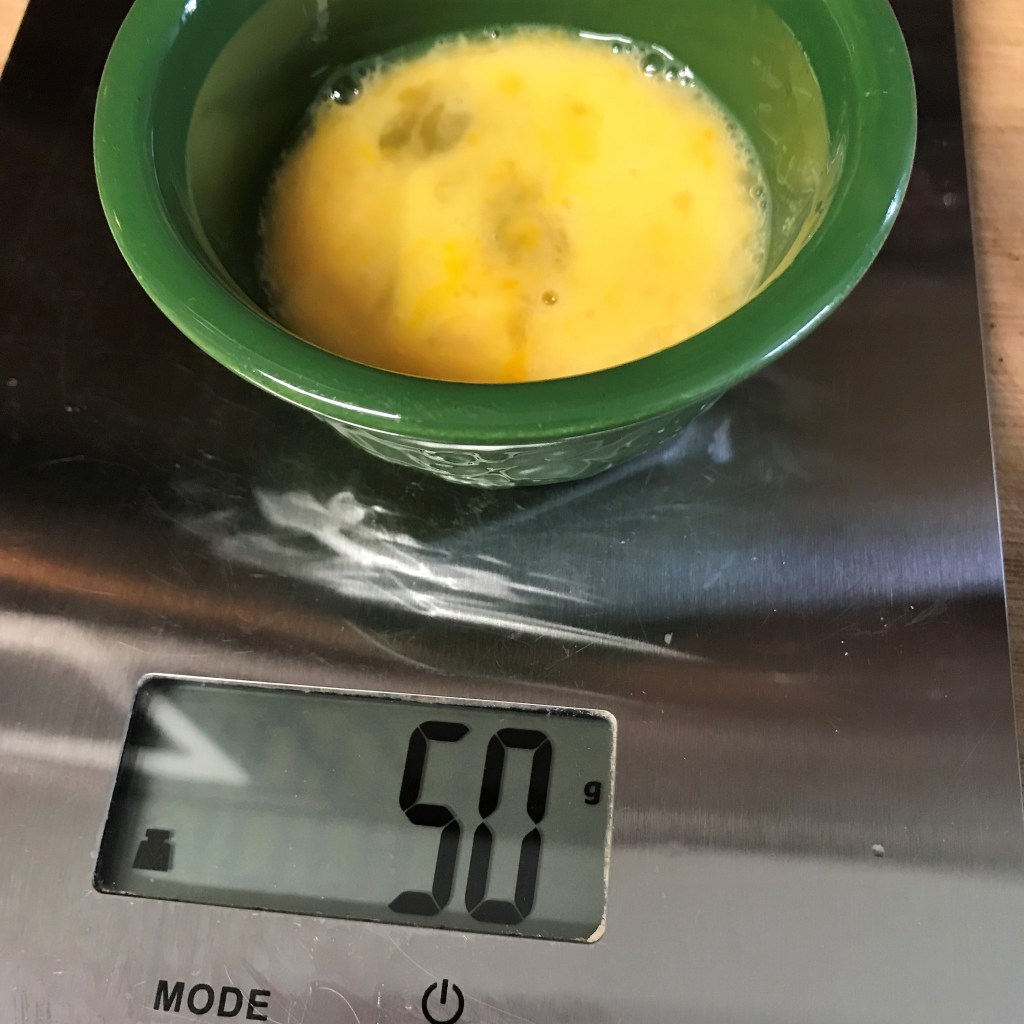
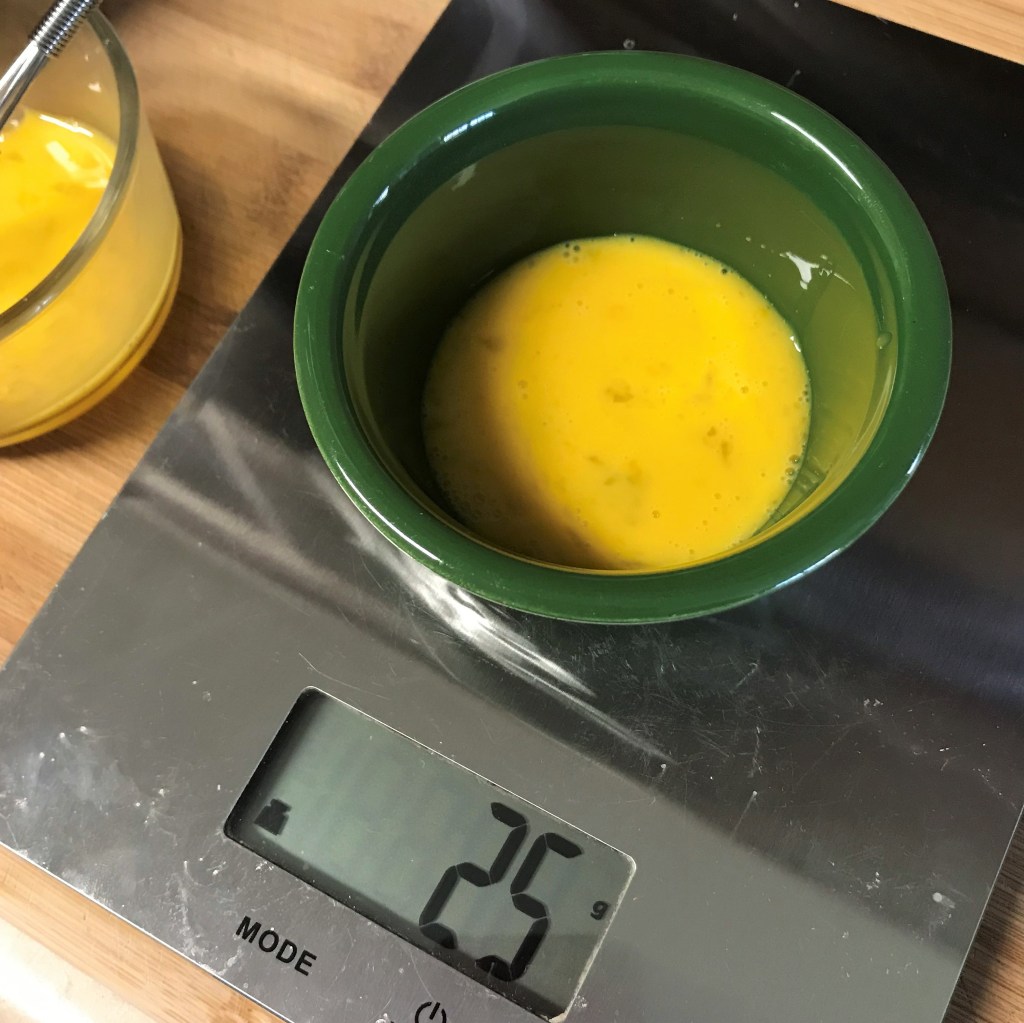
- 1 large egg, at room temperature
- 1/2 tsp. vanilla extract
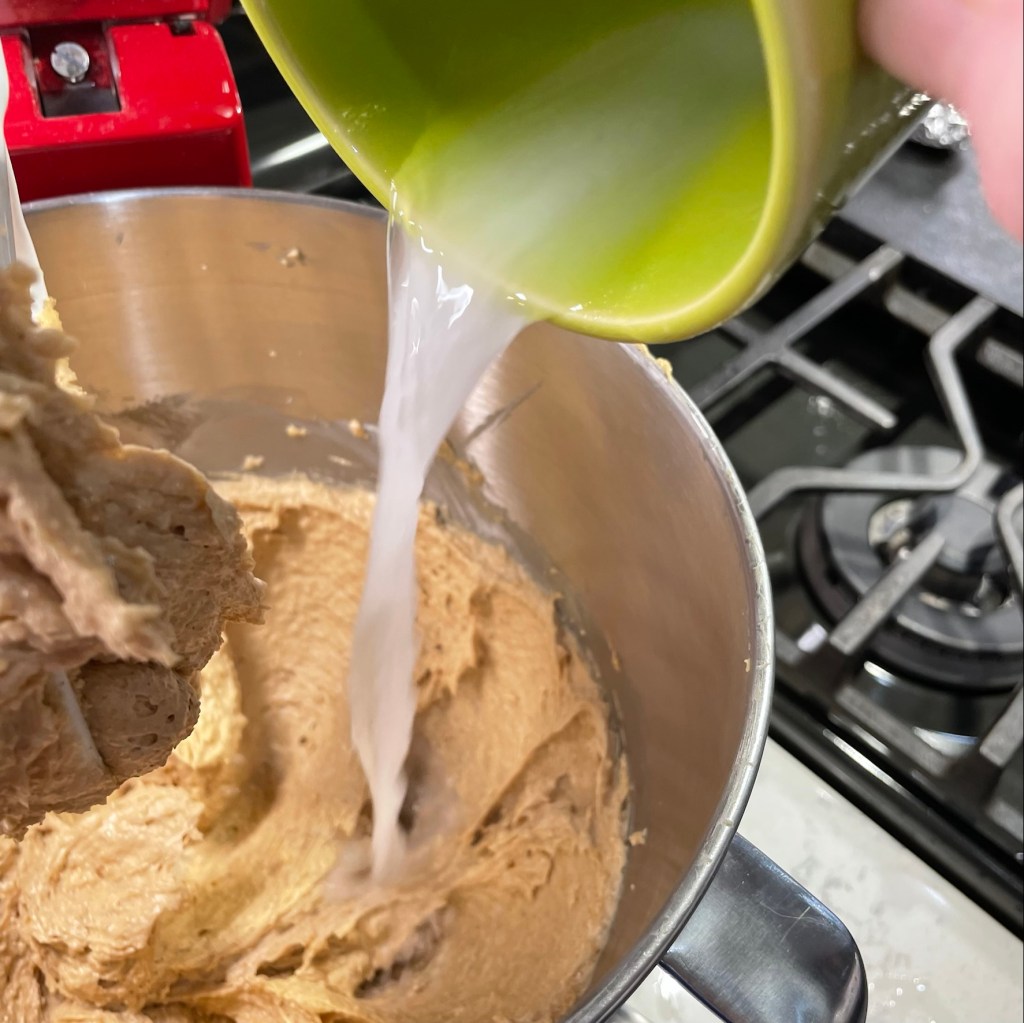
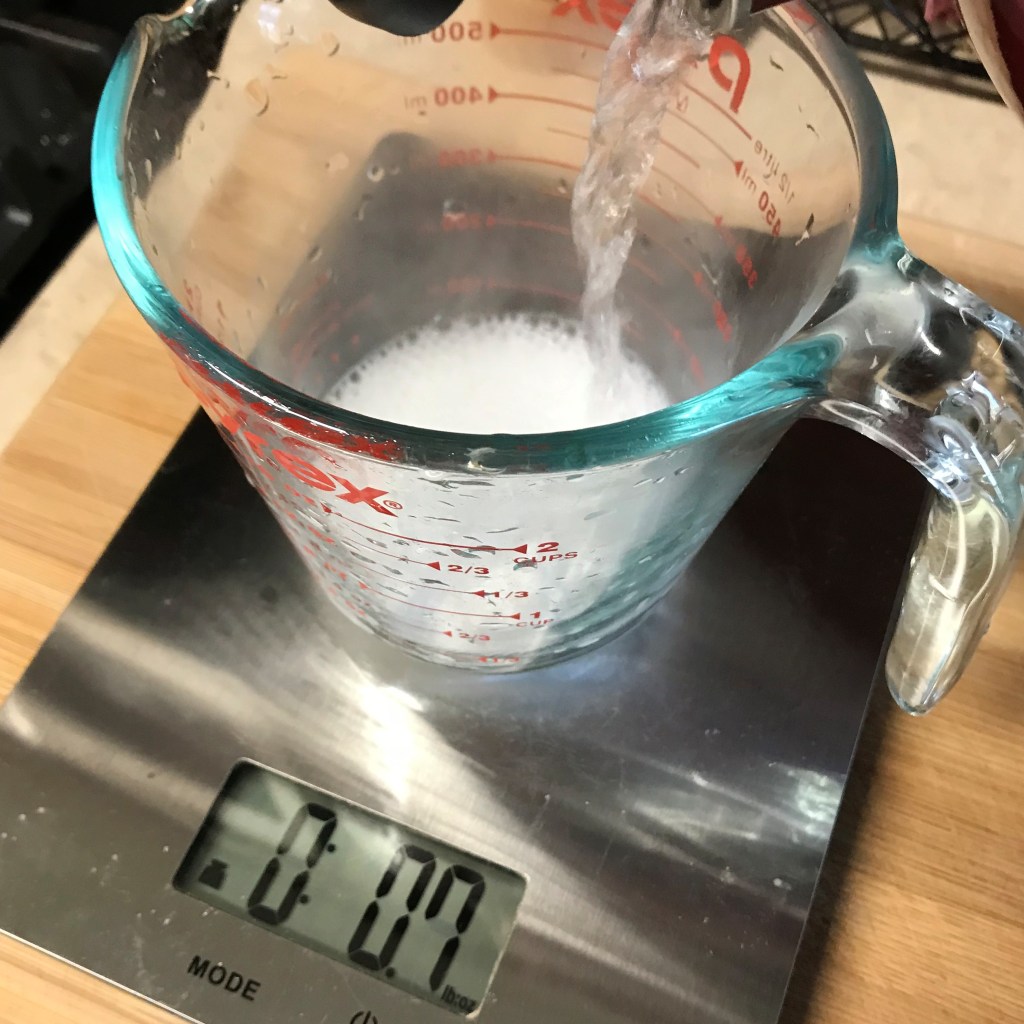
- 1 tsp baking soda, dissolved in a small amount of hot water
- 3/4 cup all-purpose flour
- 3/4 cup whole wheat graham flour
- 1/2 tsp. kosher salt crystals
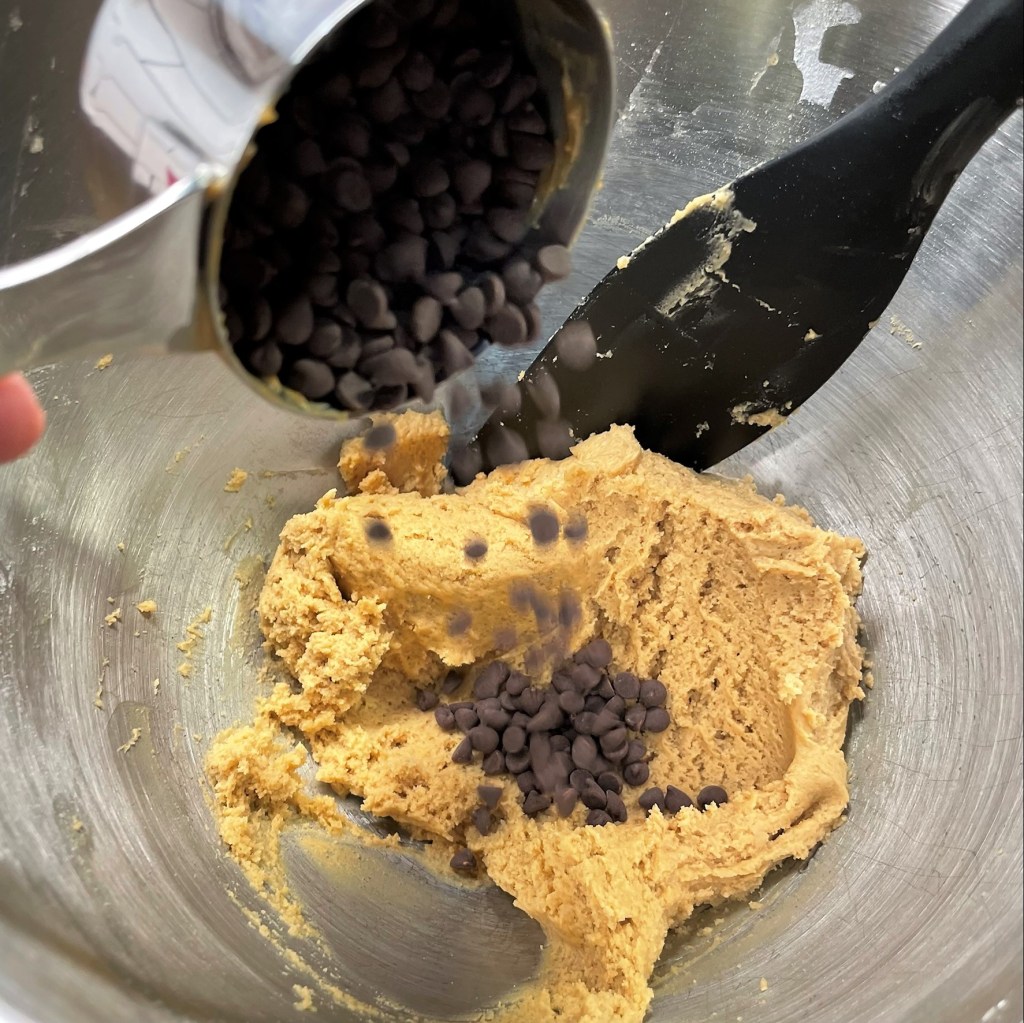
- 1/3 cup peanut butter chips (optional)
- About 2 Tablespoons cane sugar (for sugaring the bottom of cookies)
- About 1/4 cup thick fruit preserves
- Large marshmallows, roasted for s’mores
- Plenty of napkins
Directions
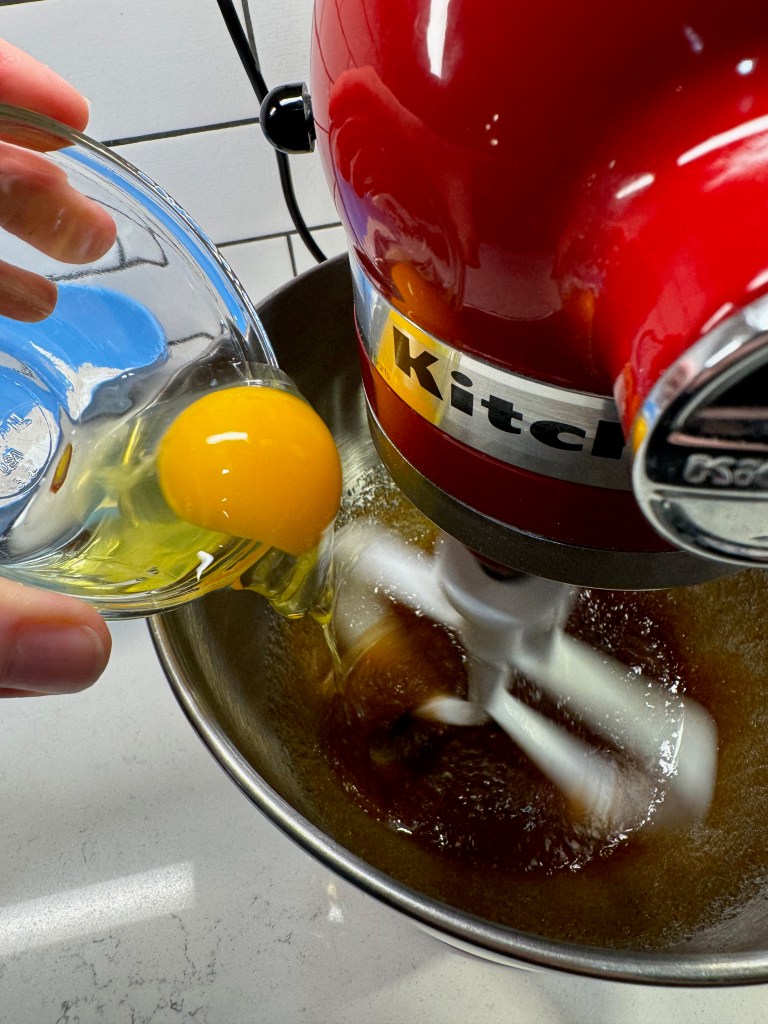
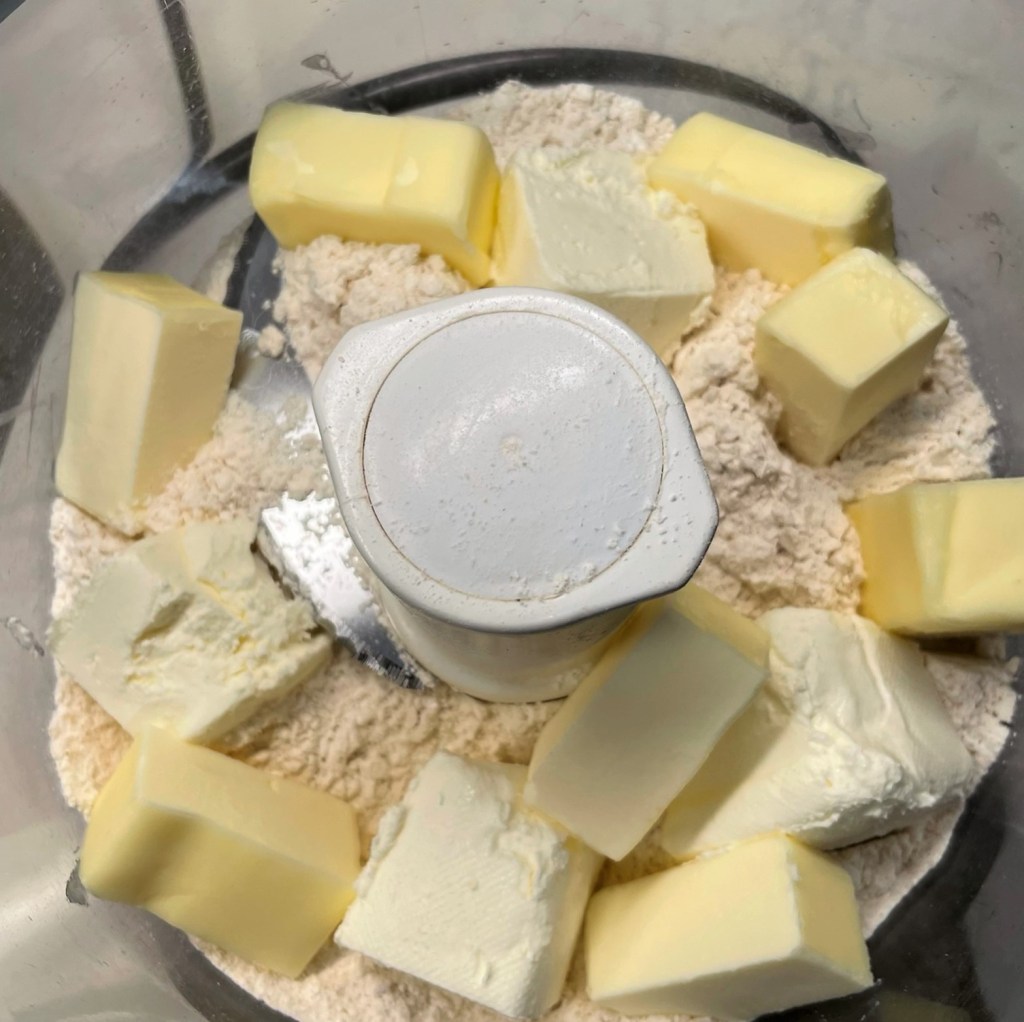
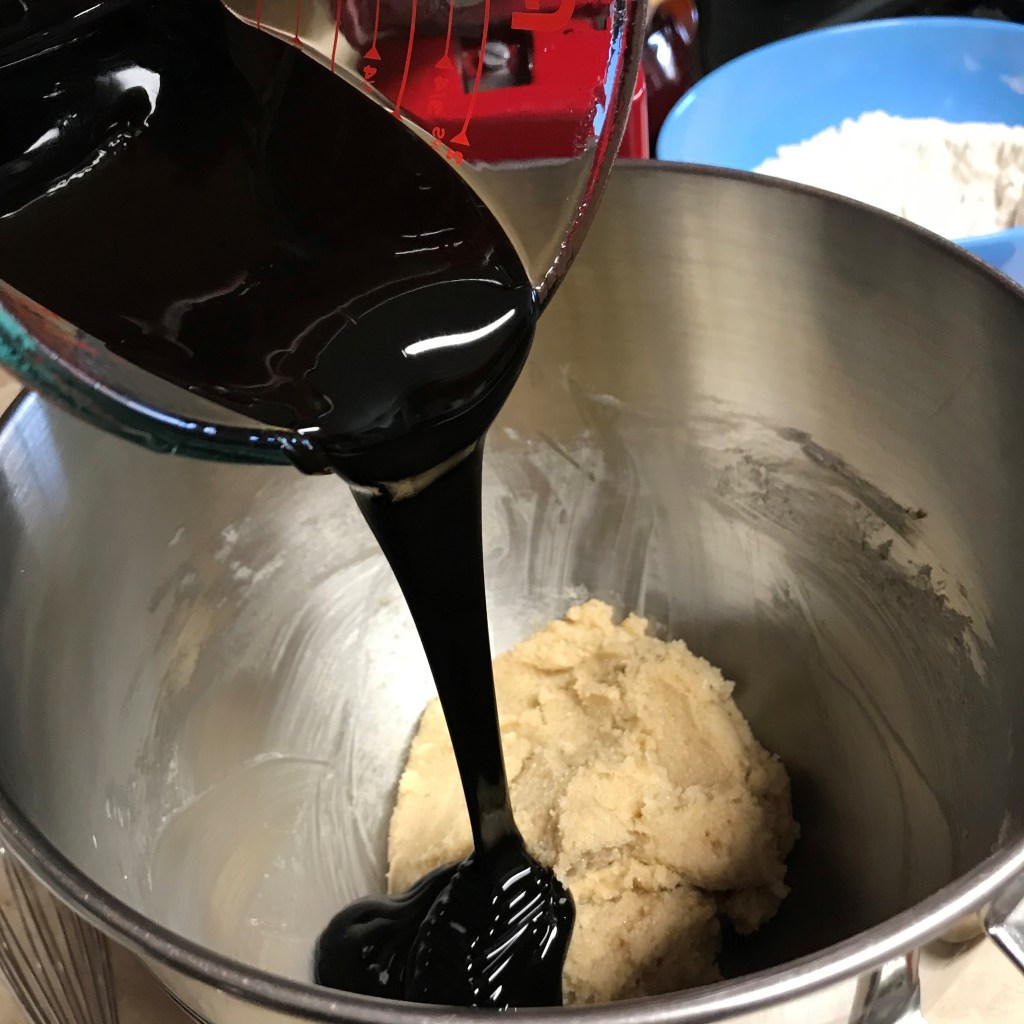
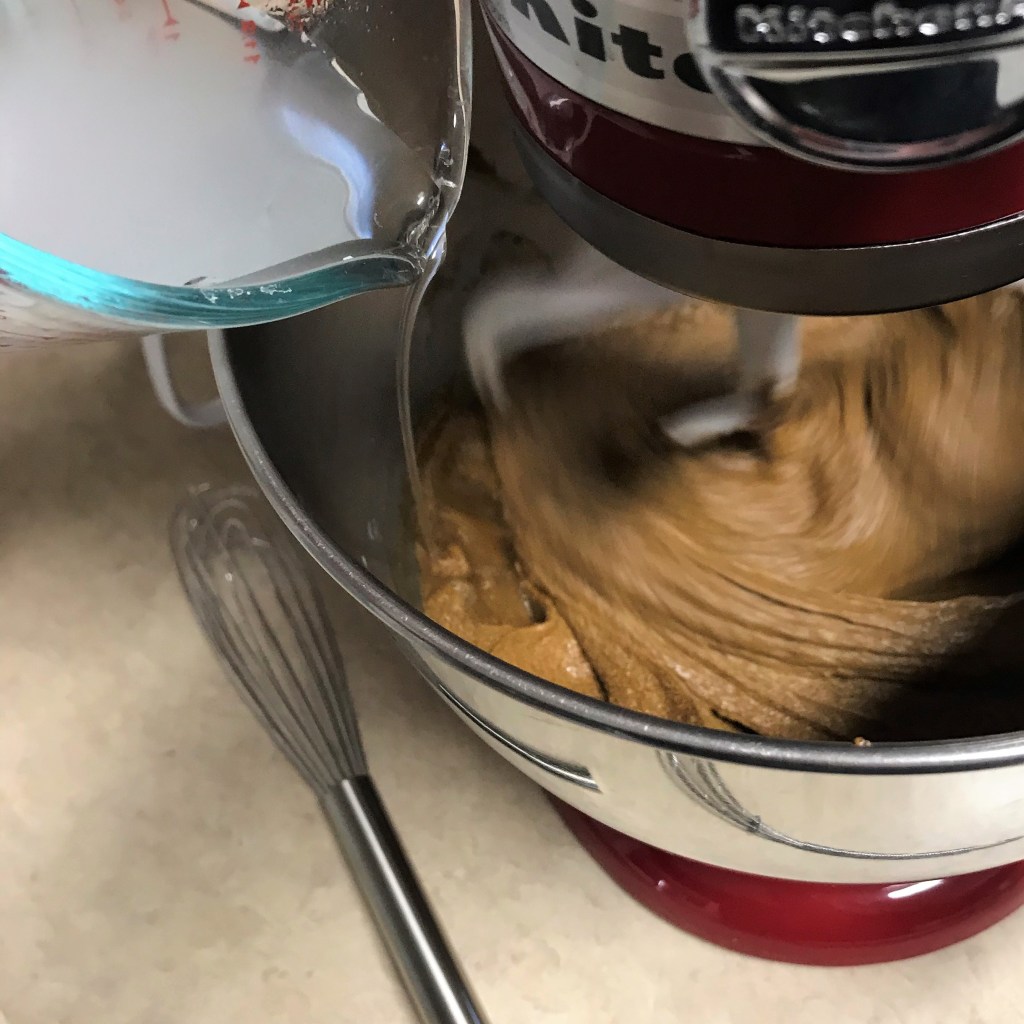
- Combine butter and peanut butter in the bowl of a stand mixer or large mixing bowl. Beat on medium speed until evenly combined and smooth. Slowly add sugars while mixer runs, and beat until mixture is somewhat fluffy. Stop the mixer and scrape down the sides of the bowl.
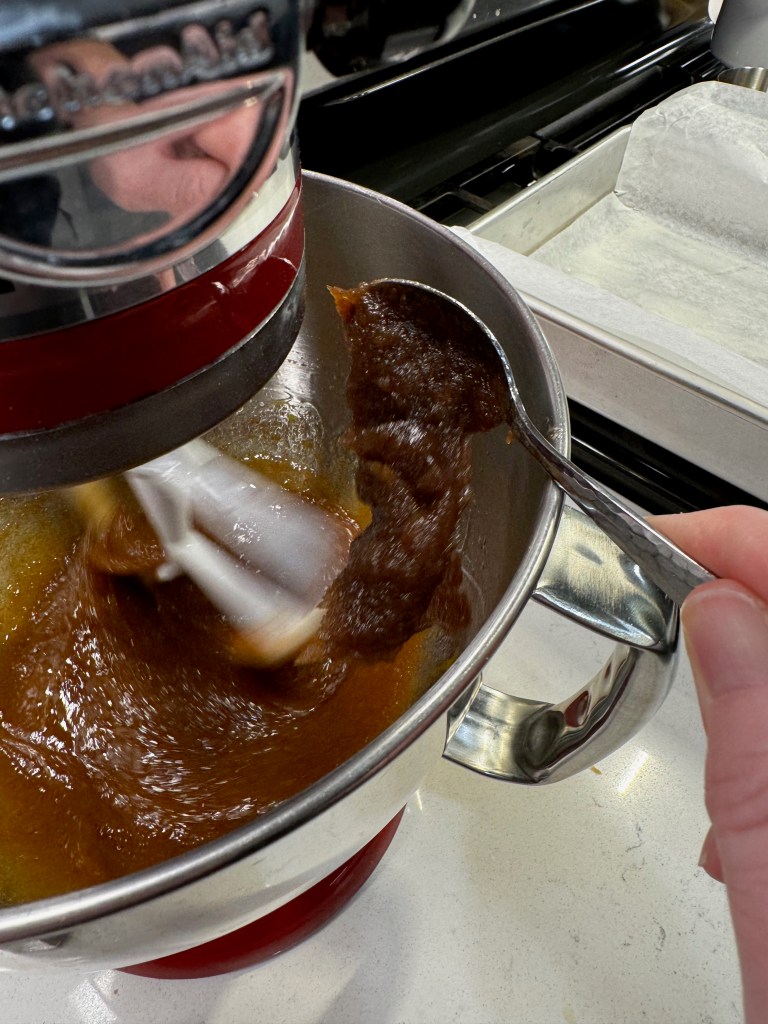
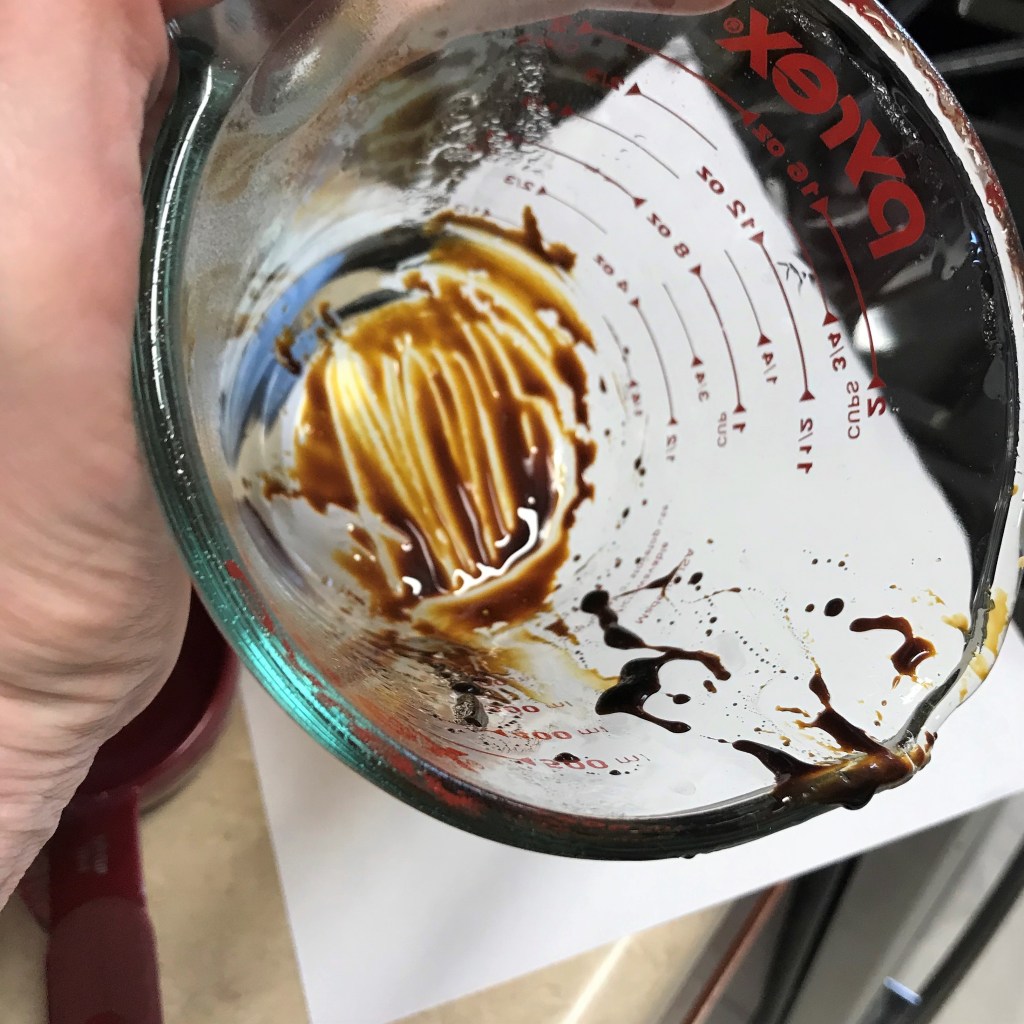
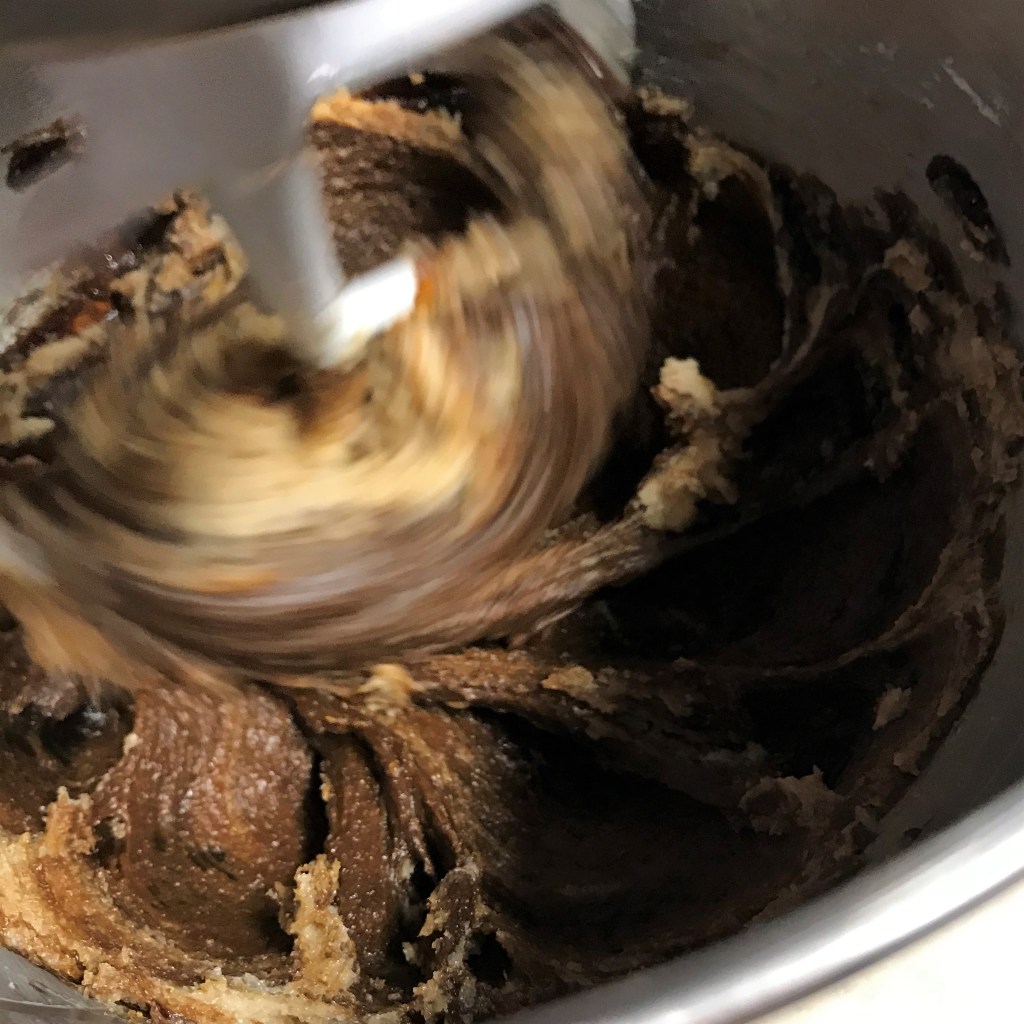
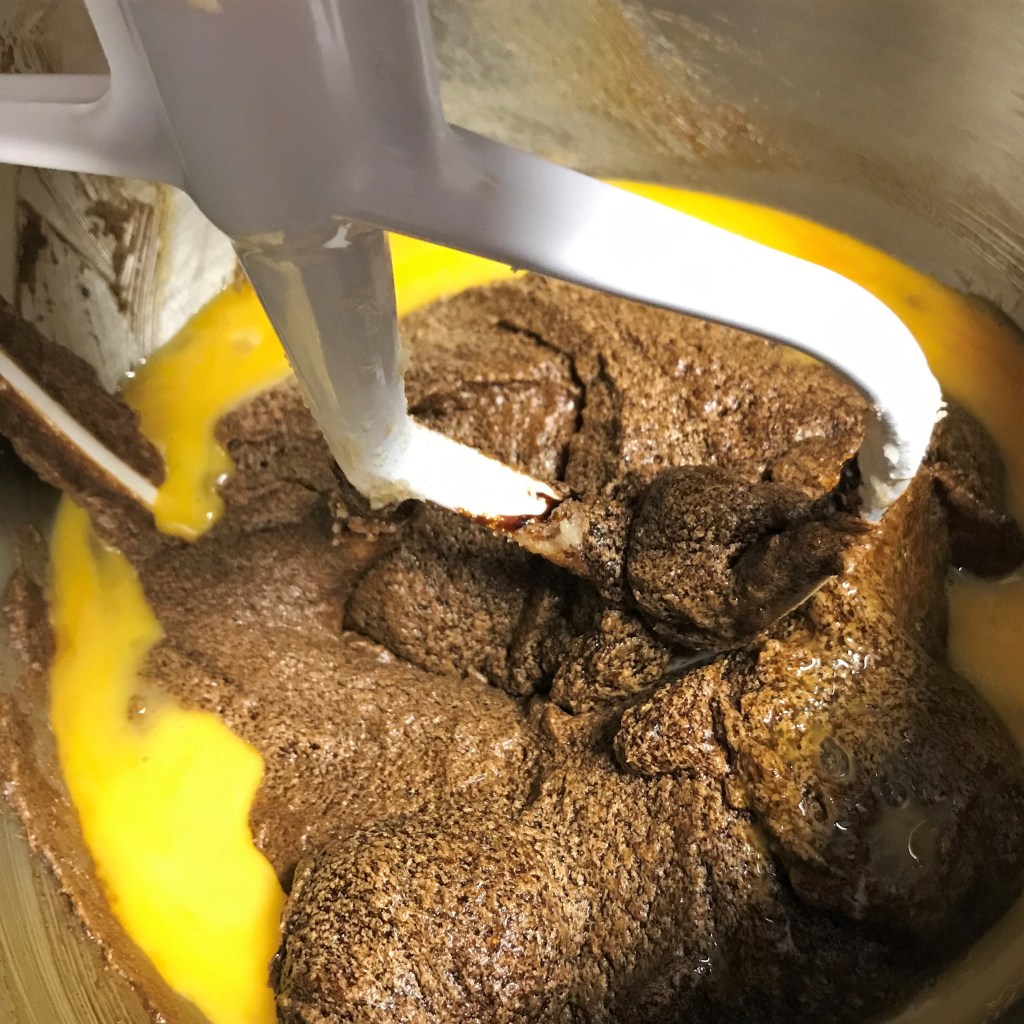
- Add egg and vanilla and beat again until fluffy. Drizzle in the dissolved soda and beat just until combined.
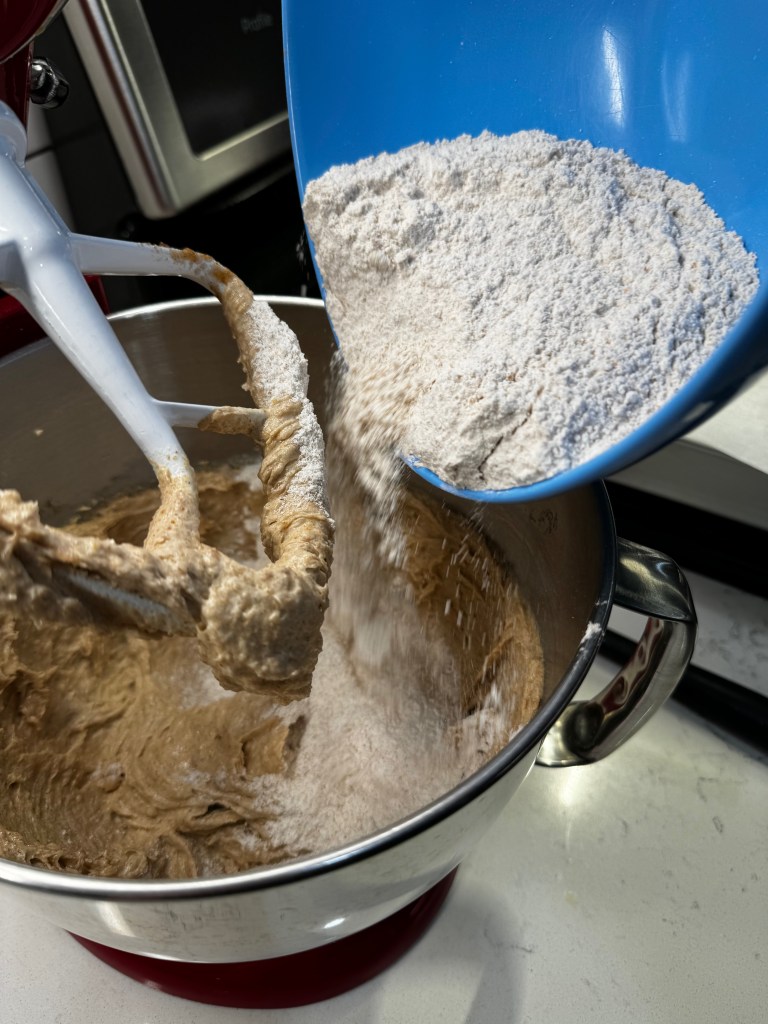
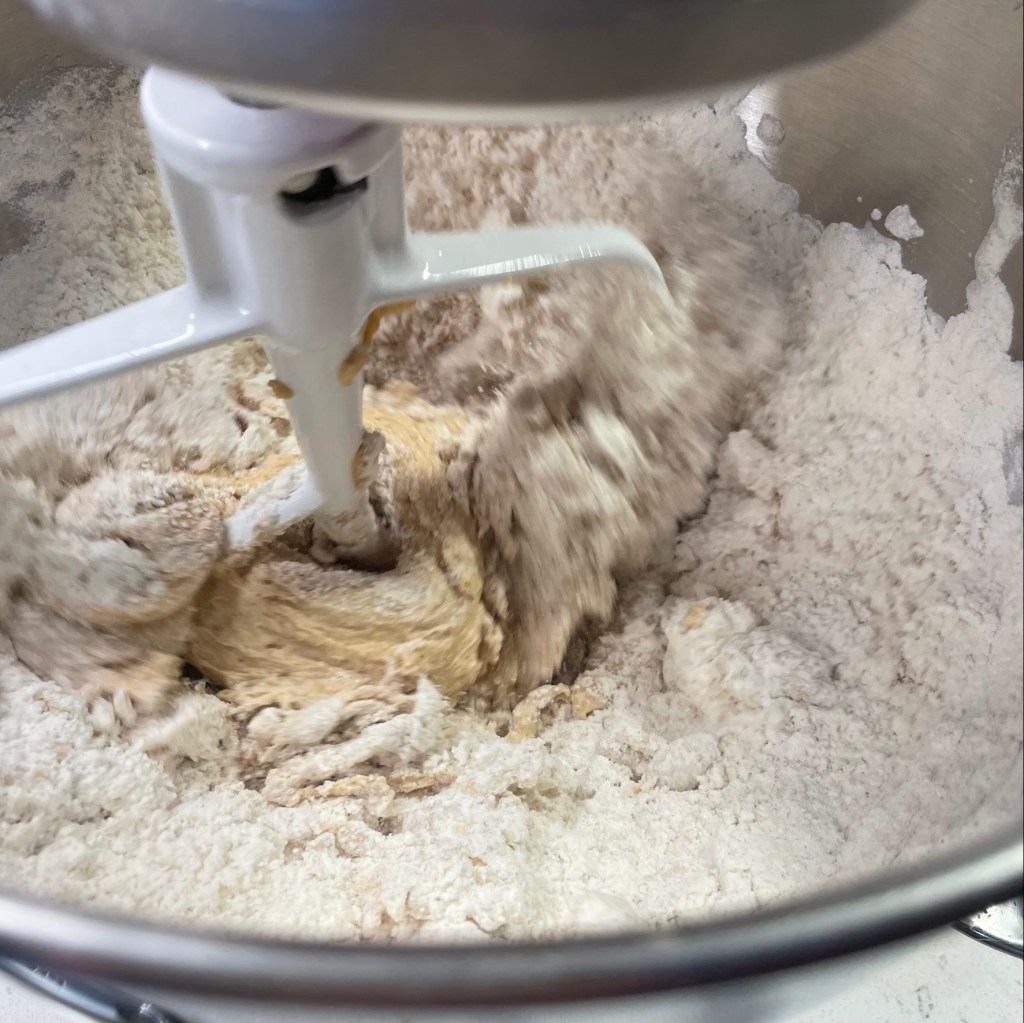
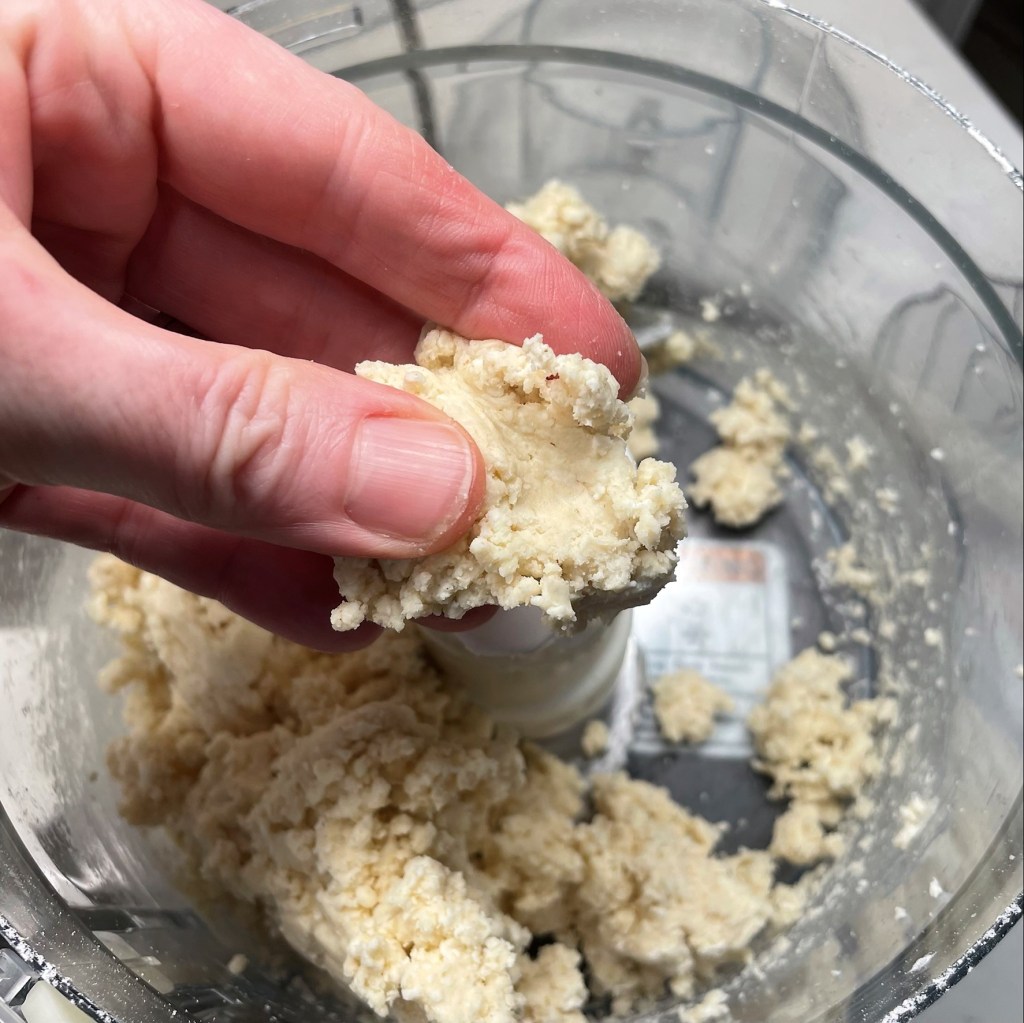
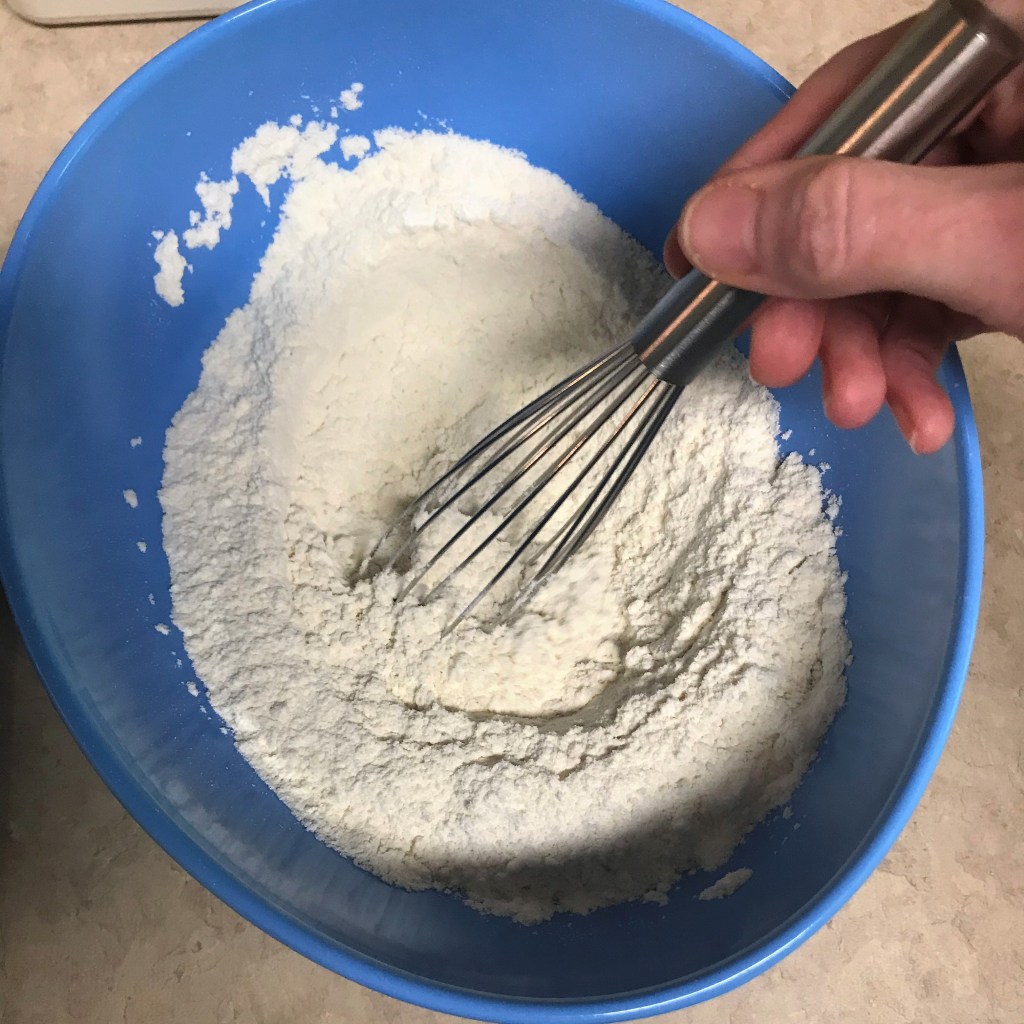
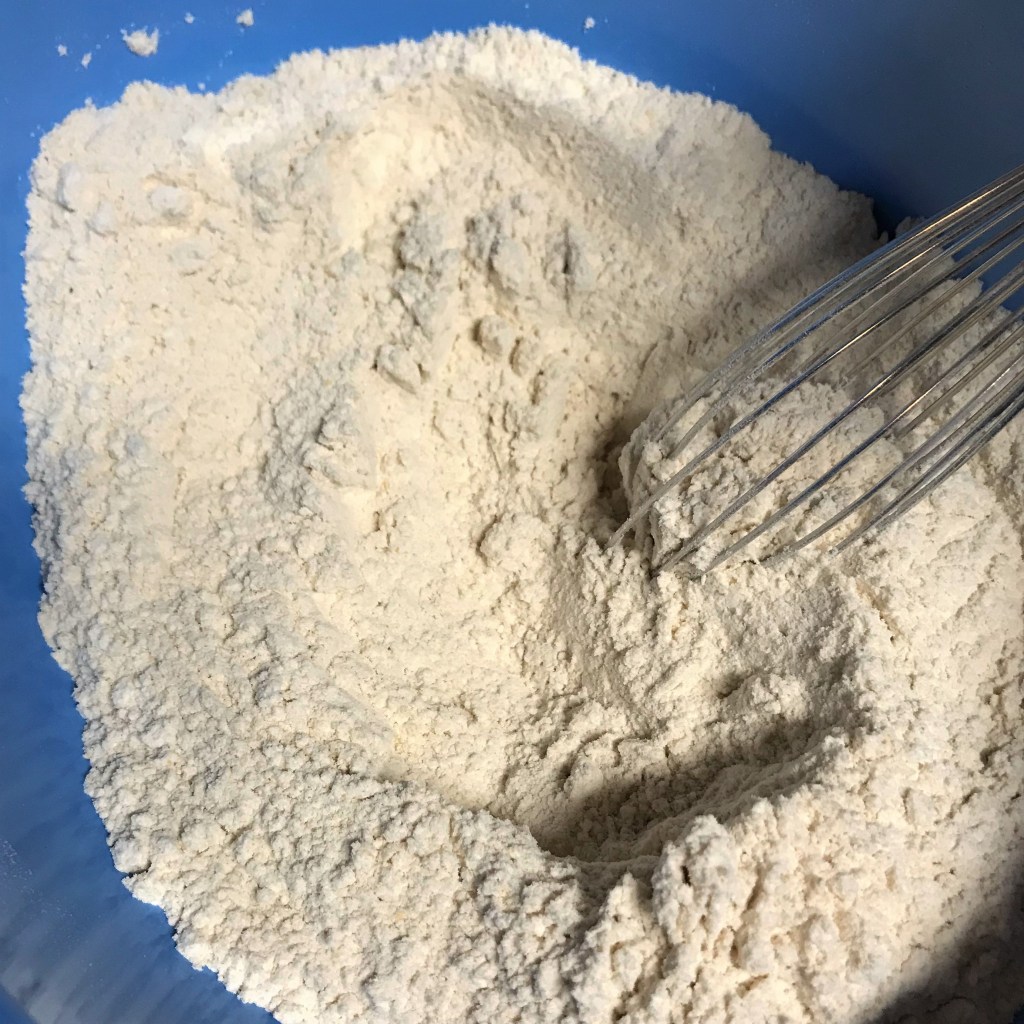
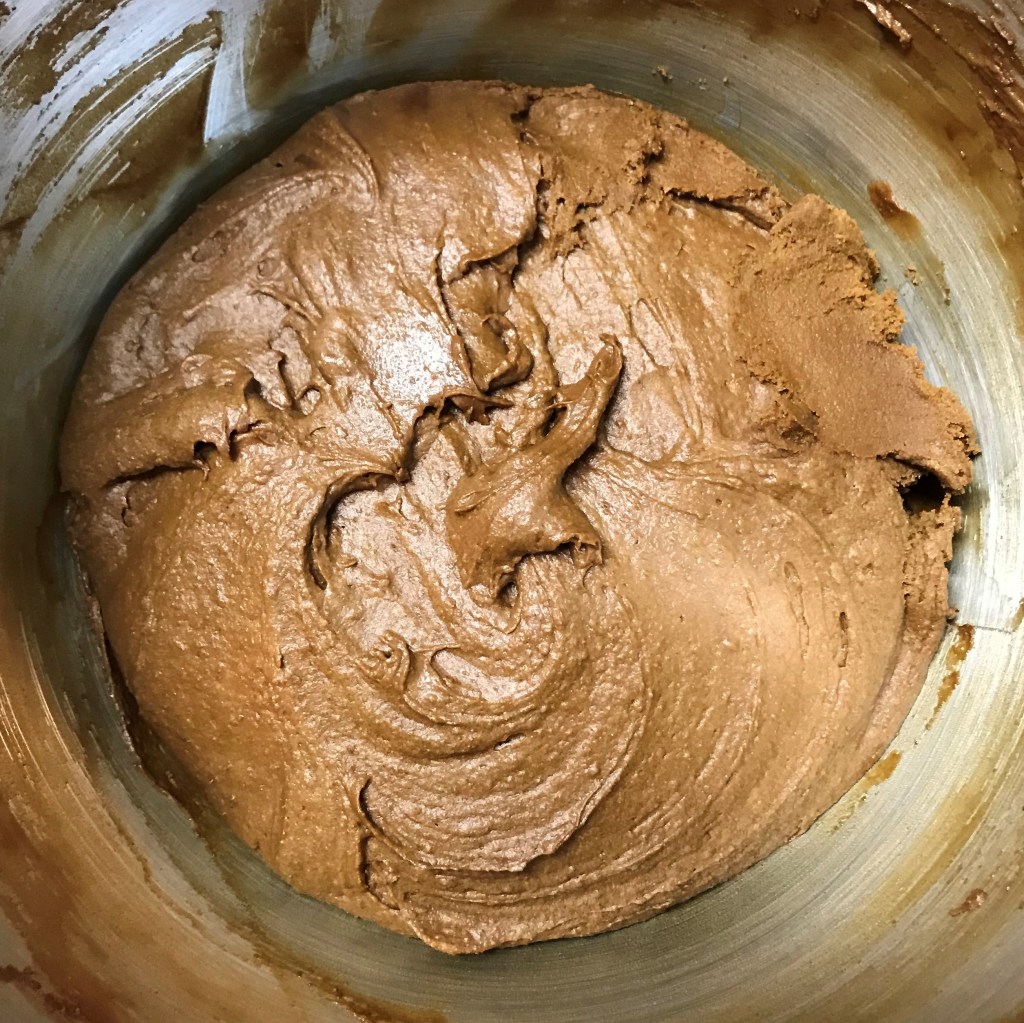
- Whisk flours and salt together in a small bowl and add to the cookie batter, about half at a time, beating after each addition and scraping down the sides of the bowl.
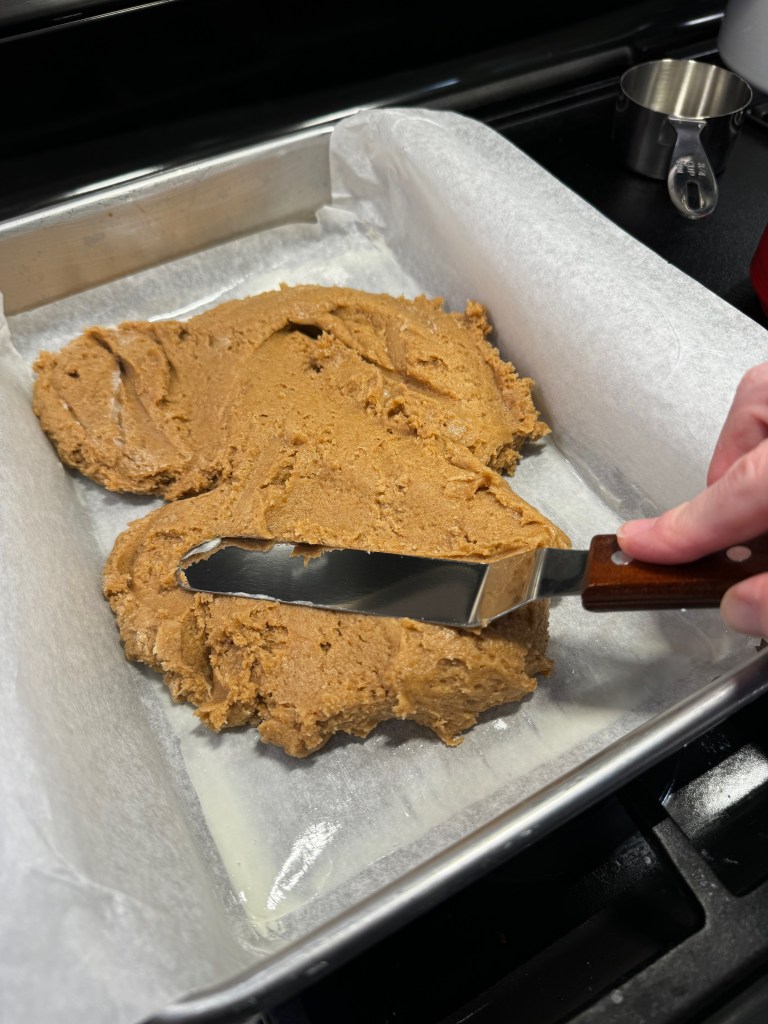
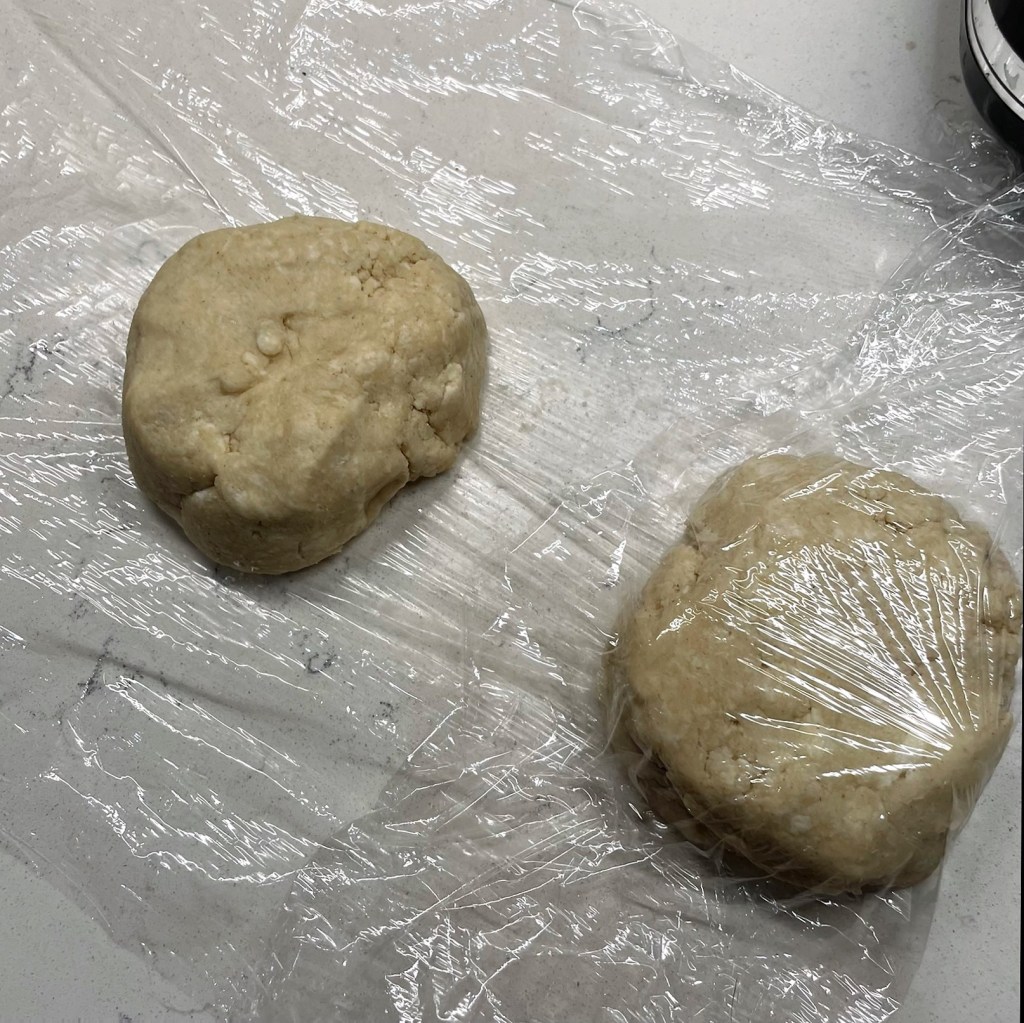
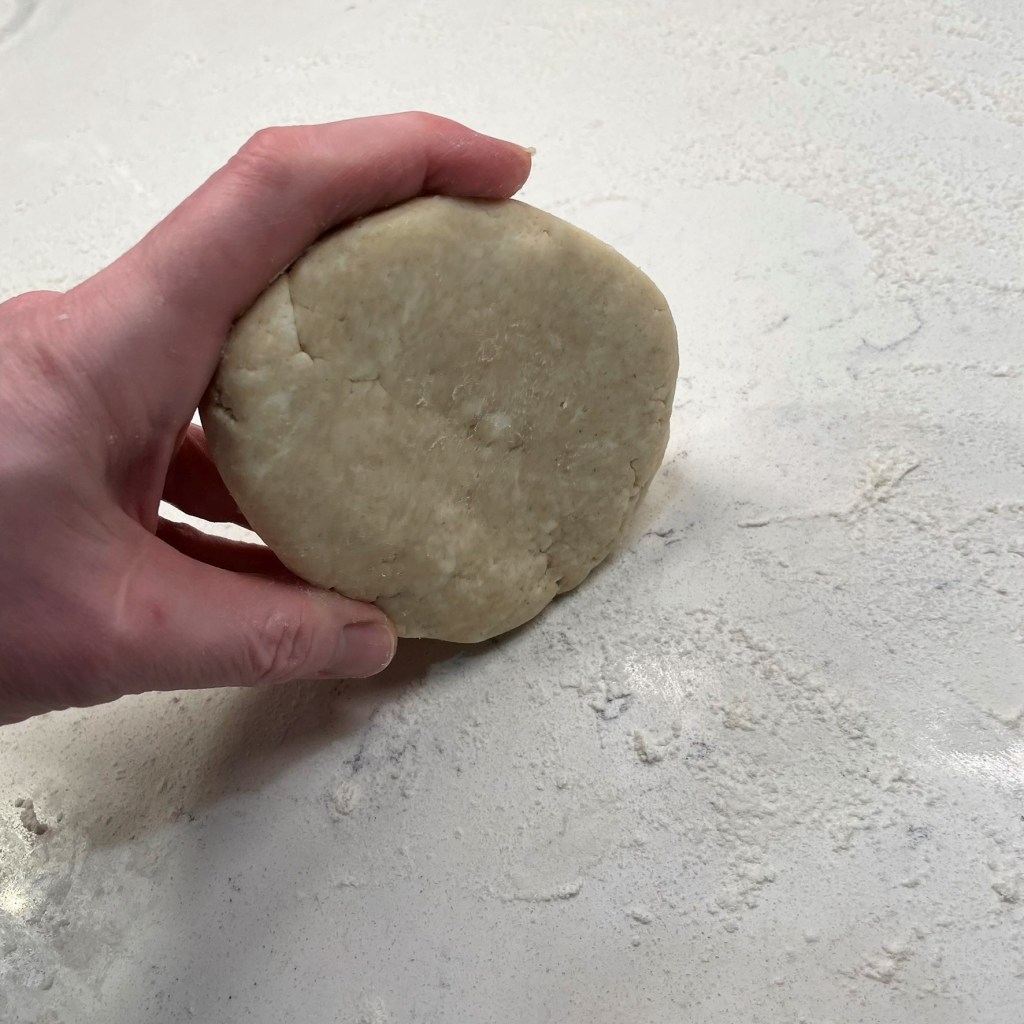
- Scatter peanut chips (if using) over the dough and use a spatula or wooden spoon to press them into the dough. Cover the dough with plastic wrap and cover the bowl. Refrigerate for at least one hour before proceeding to shape and bake the cookies.
- Preheat oven to 350° F, with oven racks in upper and lower positions. Line two cookie sheets with parchment paper and spoon preserves into a zip-top bag for easy piping into the cookies. Measure a few tablespoons of cane sugar into a small bowl for the bottoms of the cookies.
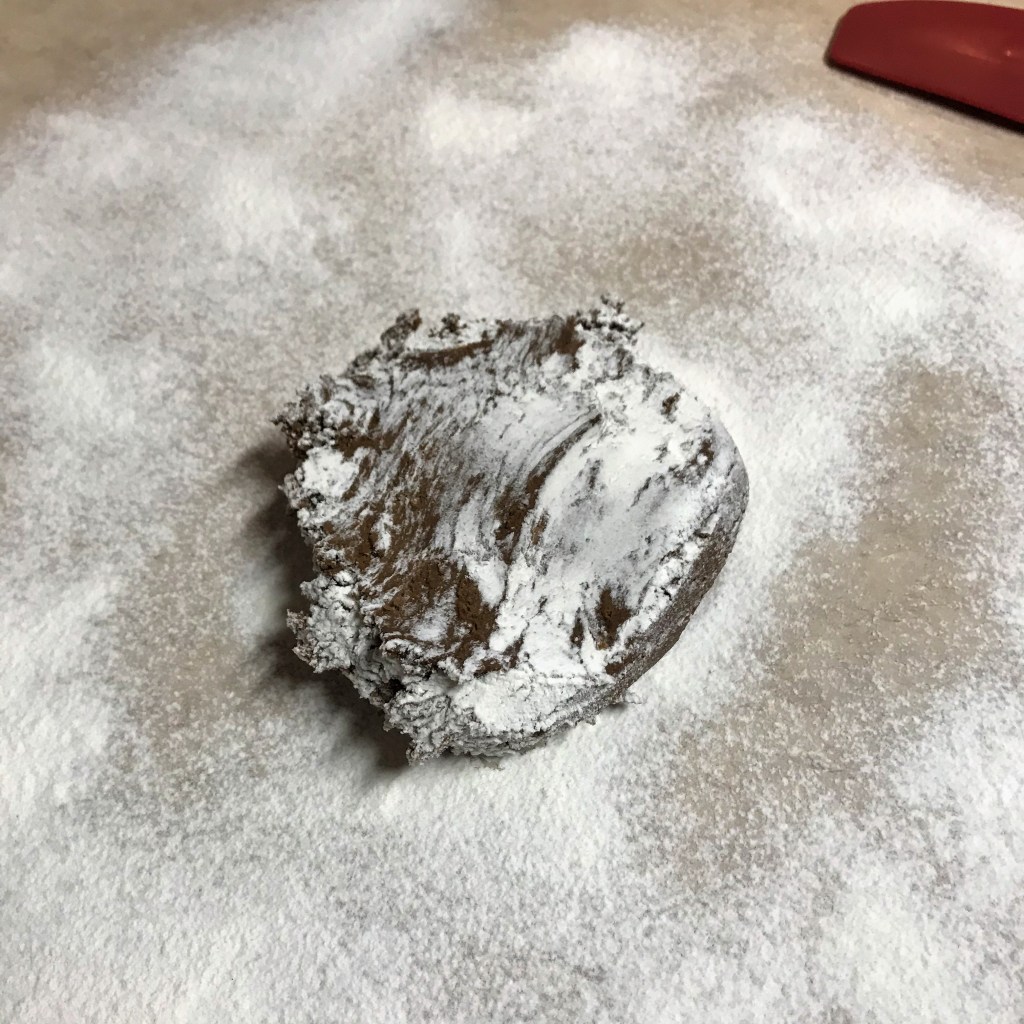
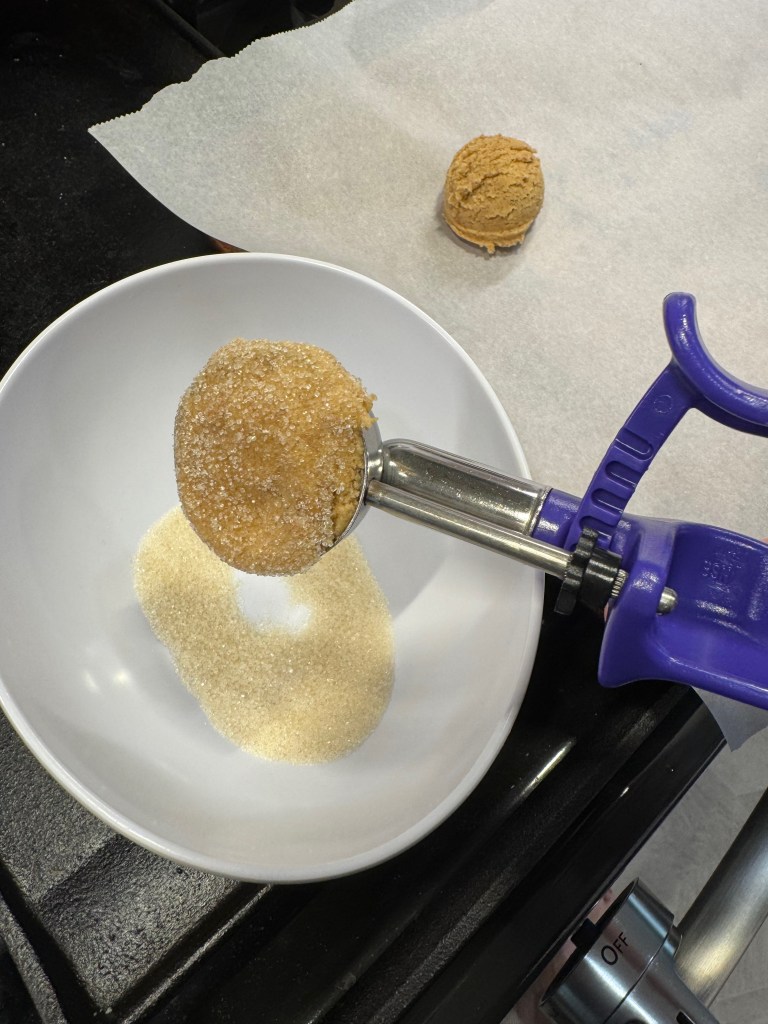
- Use a tablespoon-sized cookie scoop to measure out the dough. Flatten the dough in the scoop and dip the flat side into the cane sugar before turning the dough out onto the parchment. Do not flatten the cookies. Use a cork or your thumb to create dimples approximately half the depth of the cookie balls and two-thirds across the cookie. Pipe 1/2 tsp. fruit preserves into each cookie. Place a ring of additional peanut butter chips around the preserve filling if you want to be fancy about it.
- Bake cookies for 14 minutes, rotating pans top to bottom if using both at once. Allow the cookies to cool on the pan for a few minutes, and then transfer them to a rack to cool completely.
- For s’mores, toast marshmallows and squeeze two cookies together around the marshmallow, with the preserves on the inside. The melted marshmallow will soften and melt the preserves for an oozy-gooey treat.