Mahi Florentine

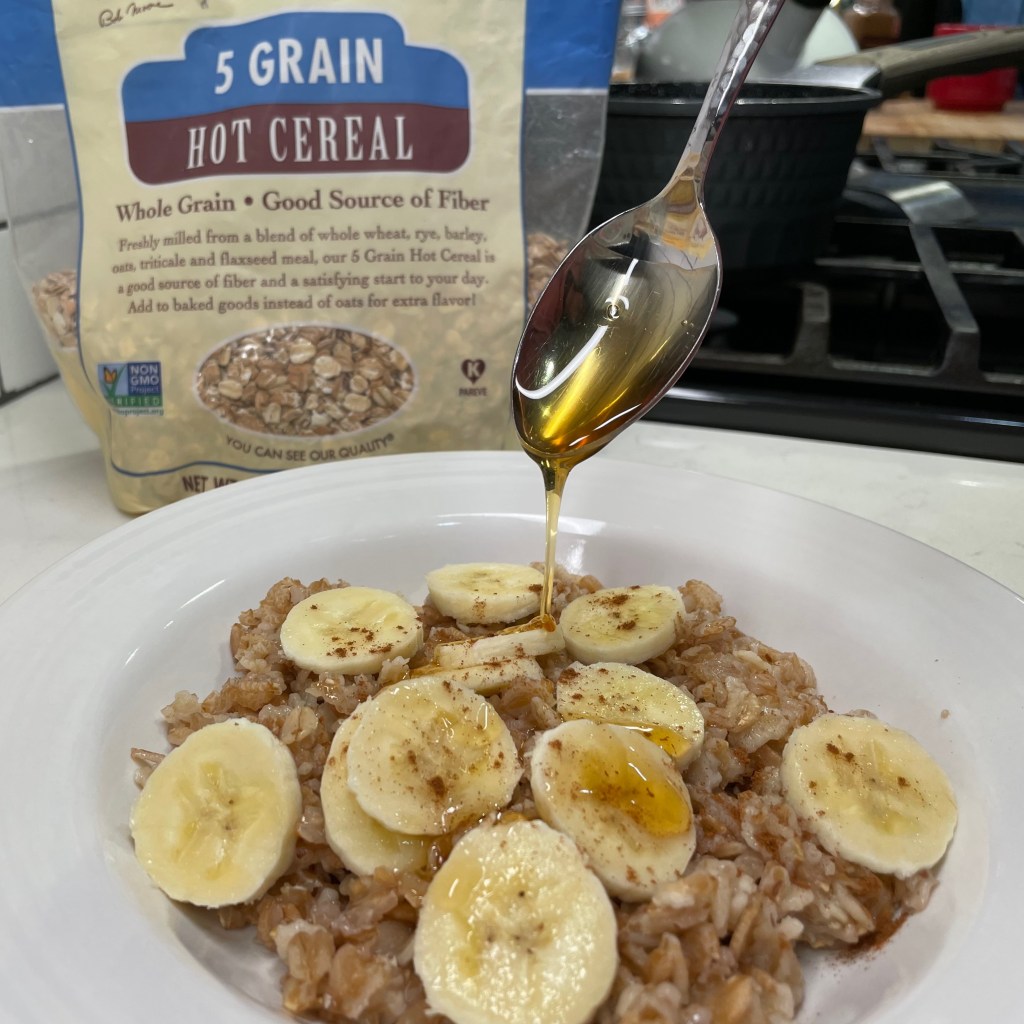
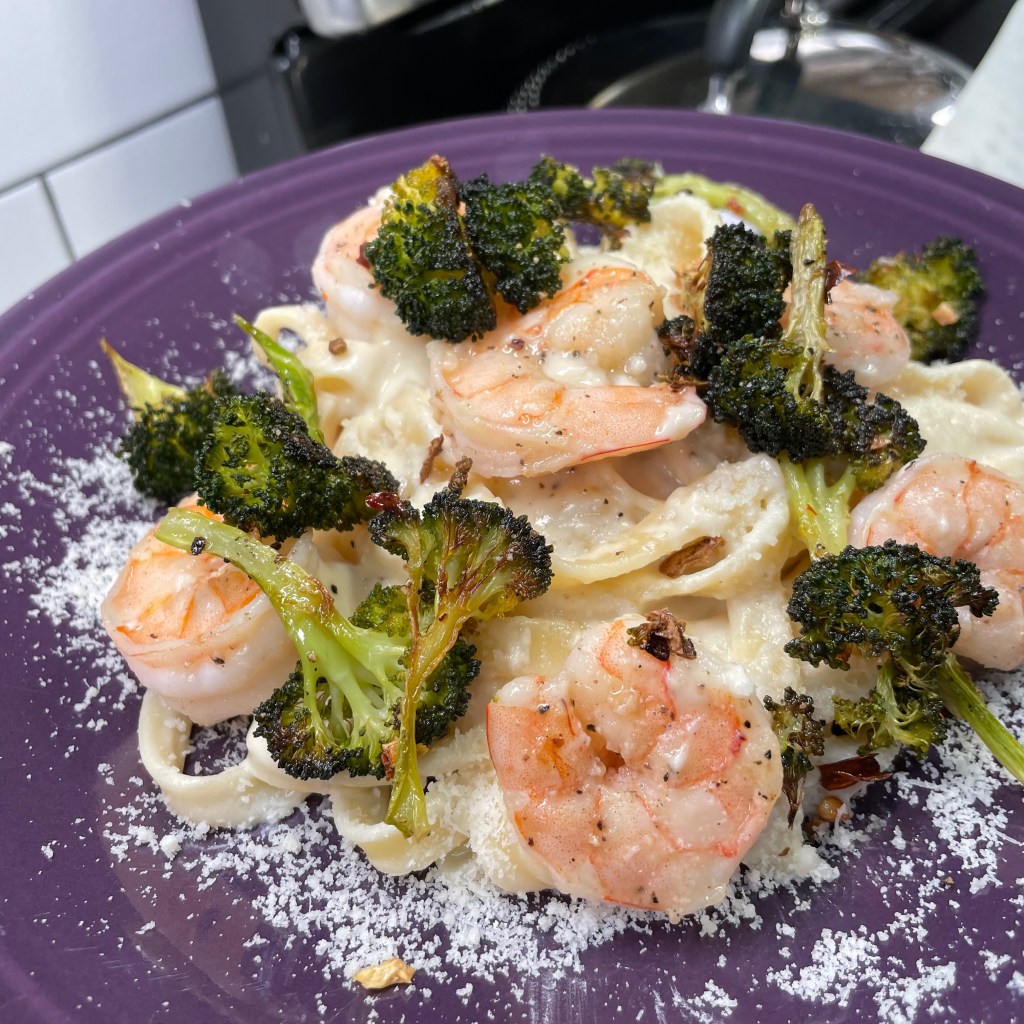
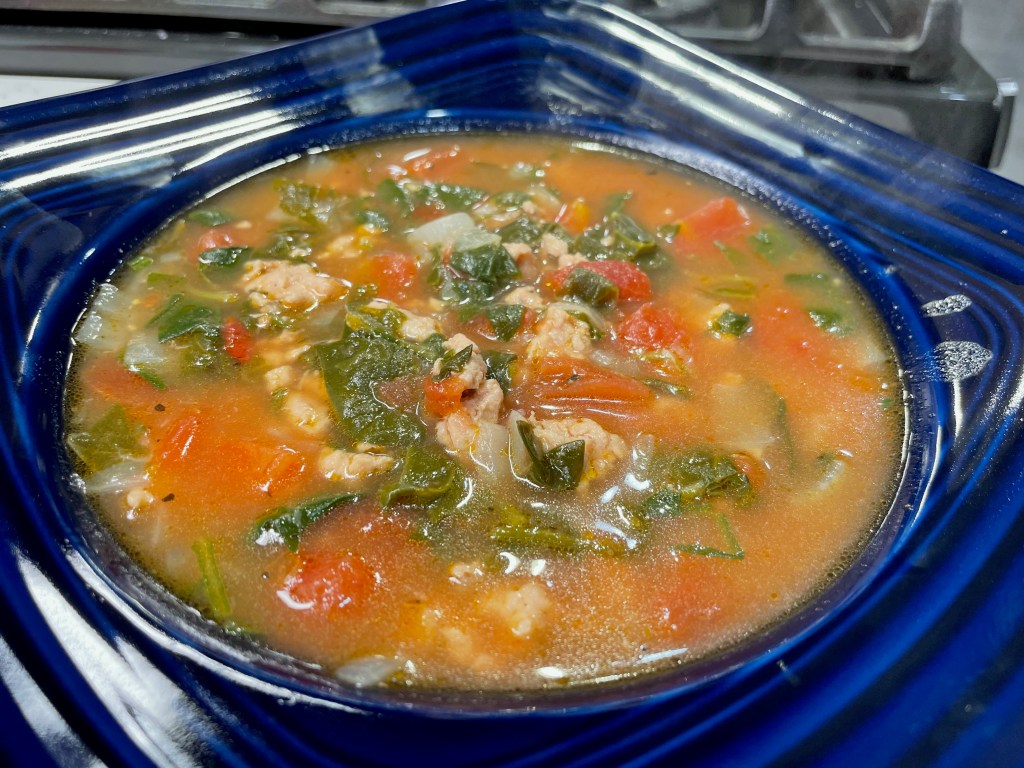
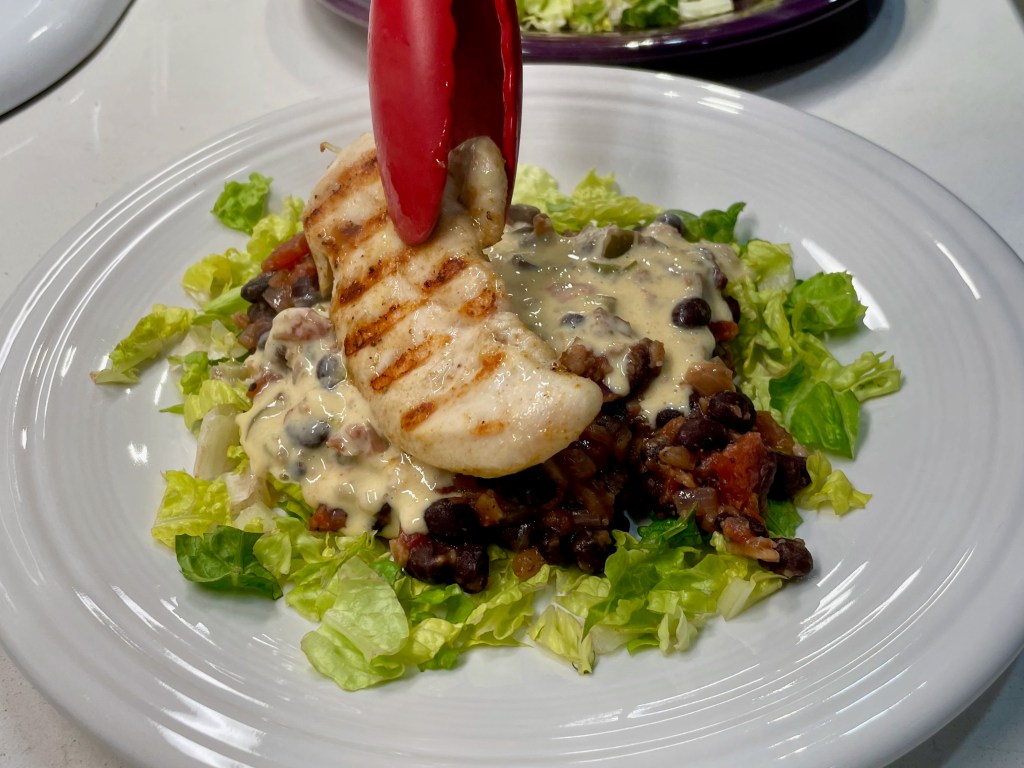
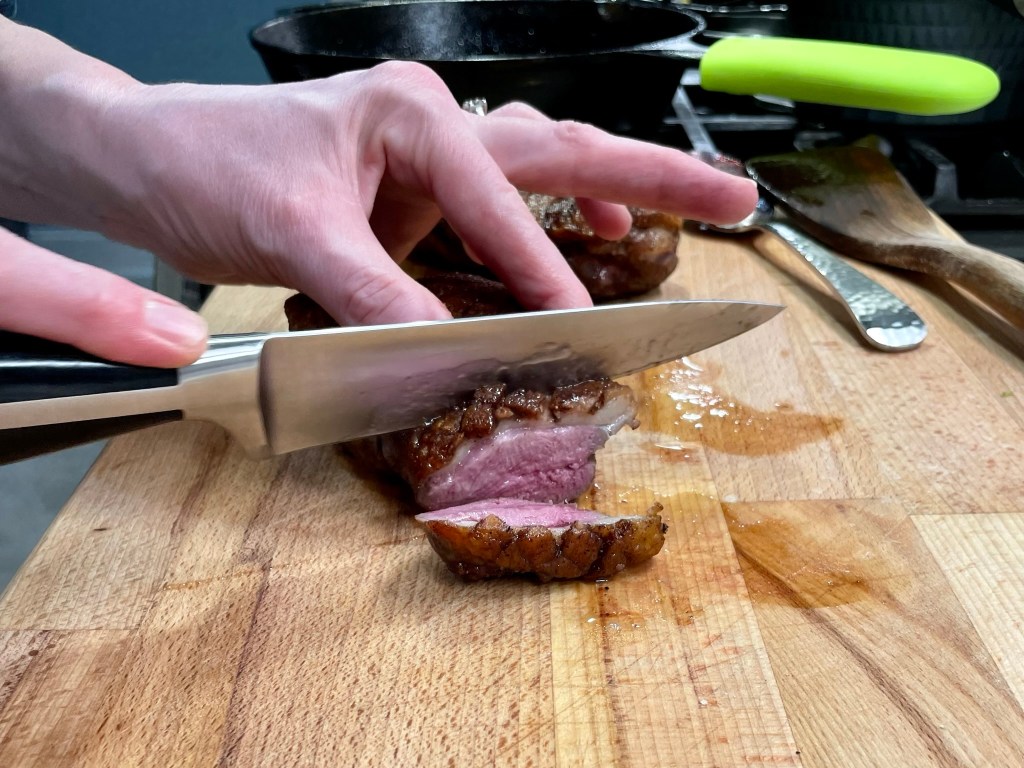
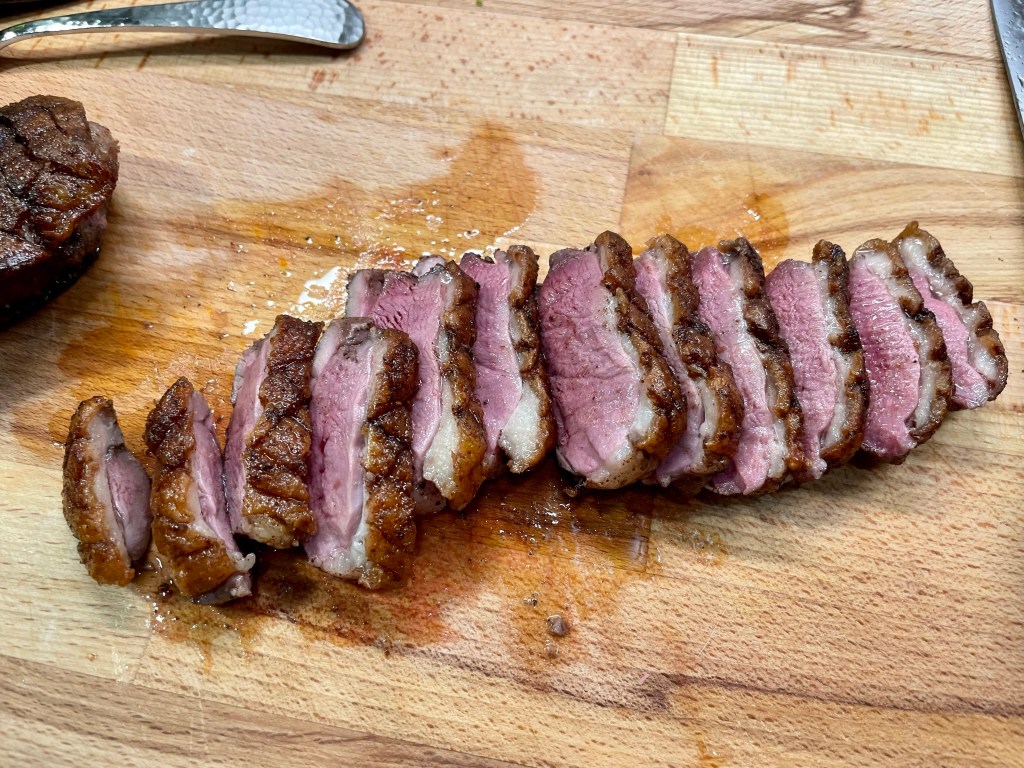
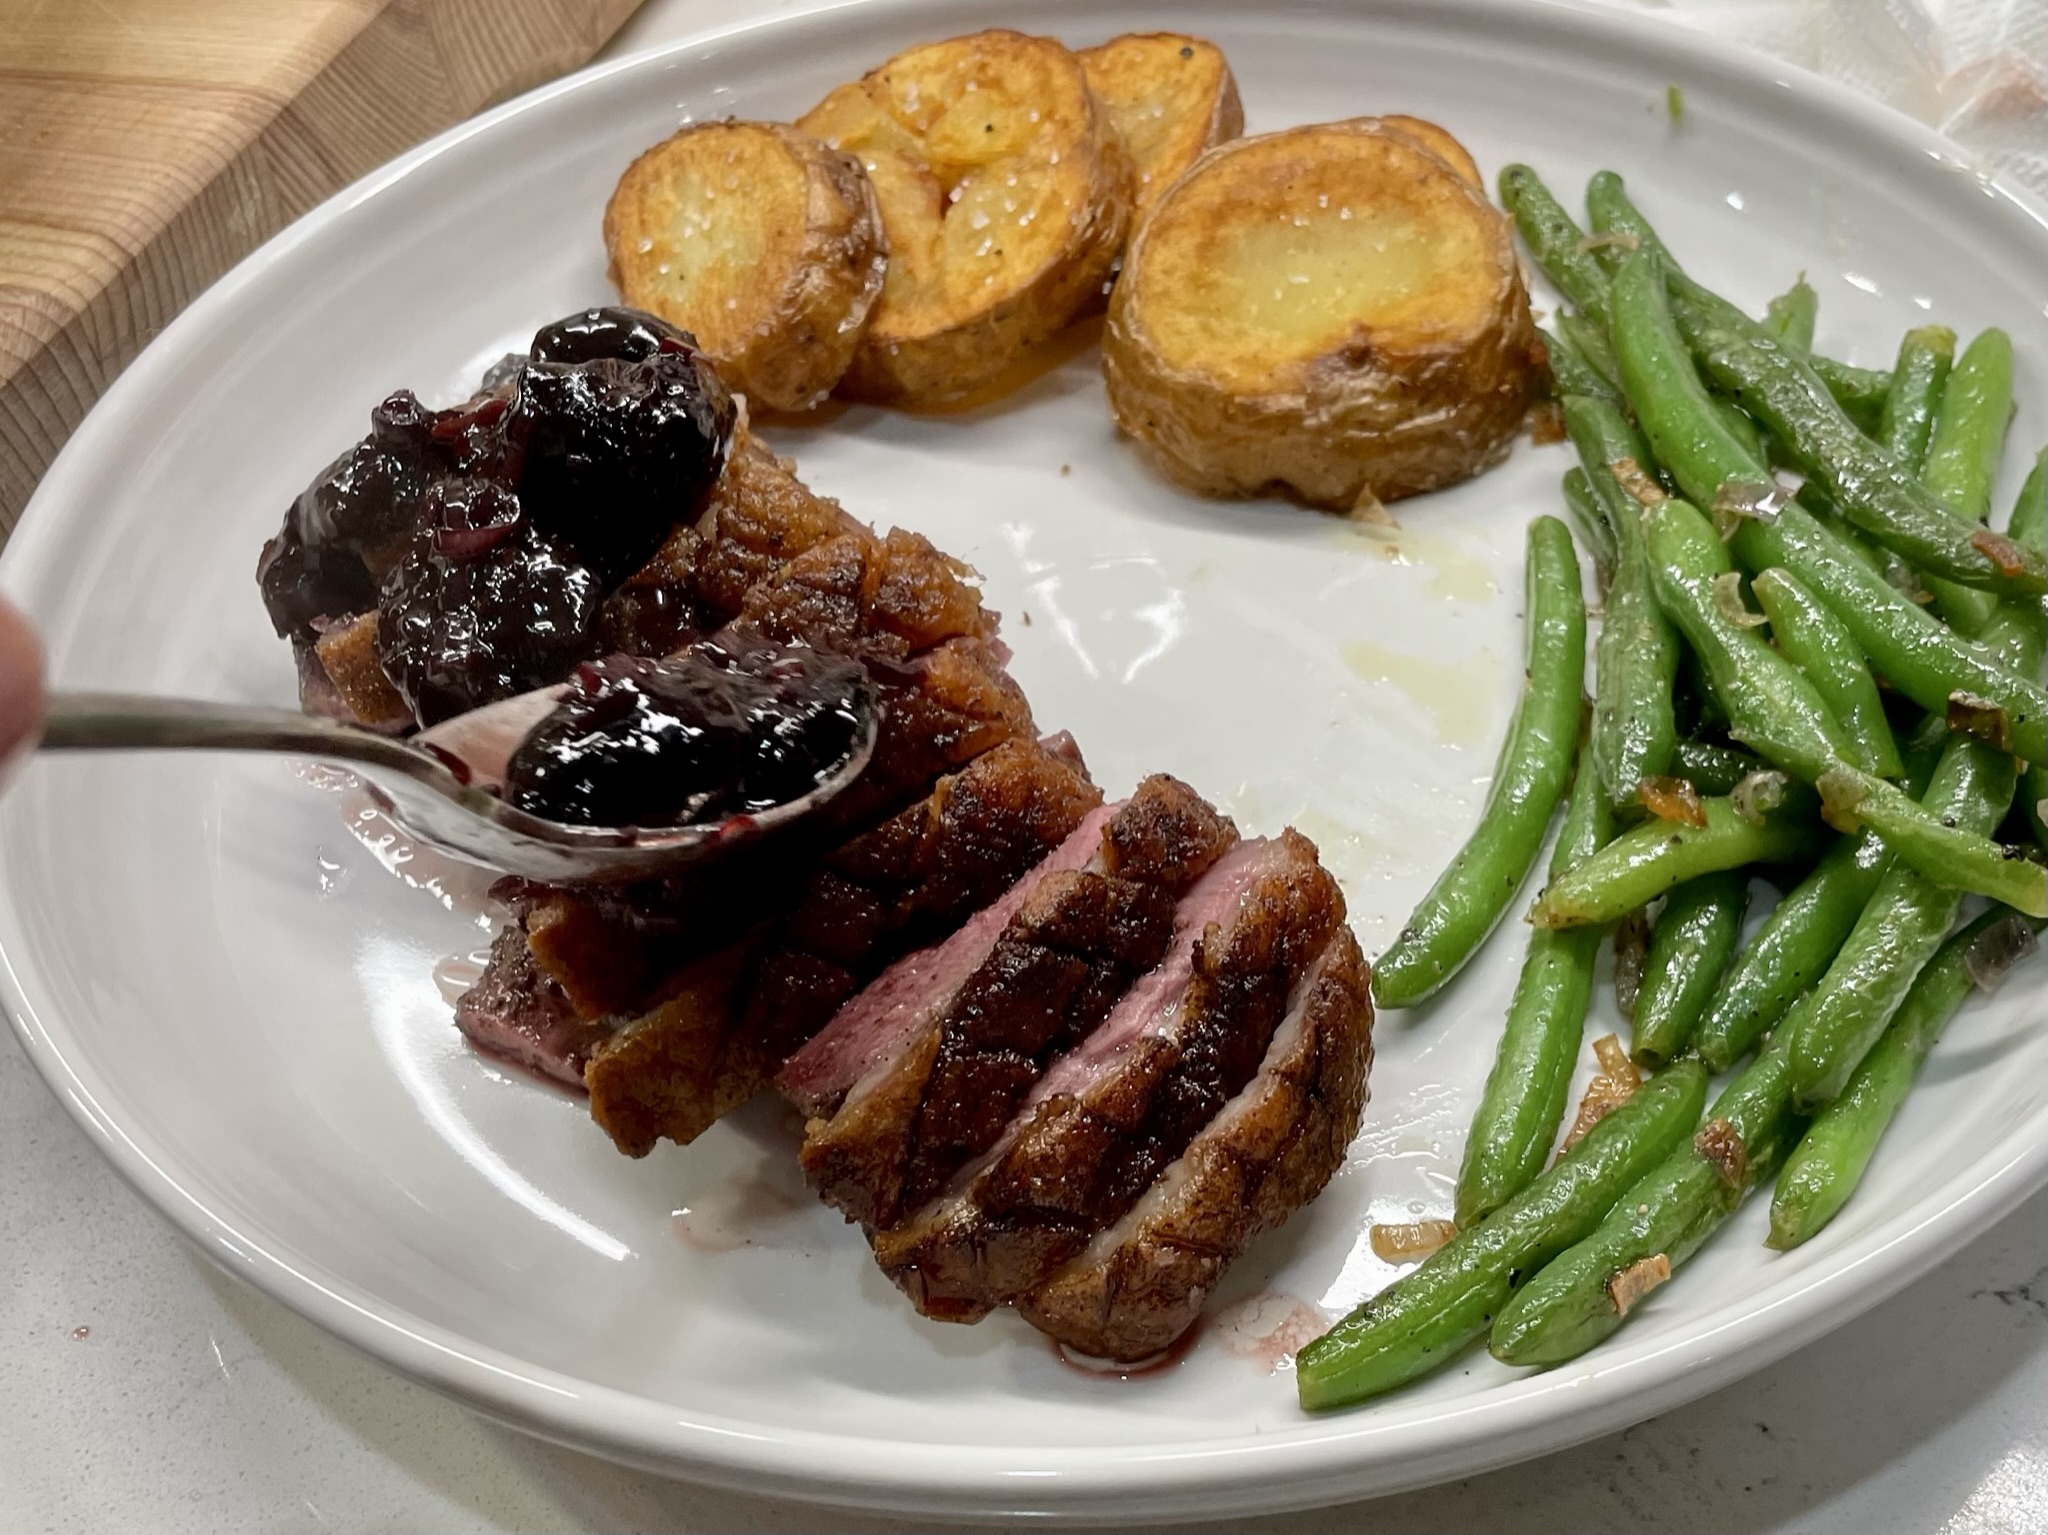
The past few weeks have been a struggle for me as my husband and I have committed to making mindful changes to our eating plan. I don’t mind the challenge of eating better, so it isn’t that. My problem has been that I’ve tried too hard to develop original recipes worth sharing here on Comfort du Jour, but so much of what I have done has been with random leftovers that nobody else in their right mind is likely to have on hand. At the end of this post, I’ll show you a glimpse of some of those dishes, and perhaps you’ll draw inspiration for how to repurpose some of your own leftovers with a shift toward healthy.

Moving forward, one of the easiest ways I know to eat better is to choose lean meats and seafood and add a lot of vegetables. So in the weeks to come, you’ll likely see a lot more green on my plate, and I mean that quite literally with this dish, featuring a gorgeous, bright green bed of sautéed spinach, my husband’s all-time favorite vegetable.

What’s so great about spinach?

We all remember from the Popeye cartoons of childhood that spinach made Popeye strong— OK, that connection was overstated. But there is a hint of truth in it, as nutrition science shows the natural nitrates found in leafy greens support healthy muscle function. Spinach is also rich in Vitamins A, C and K, as well as iron, potassium and folate, a B vitamin that helps the body generate healthy cells.

Is it better to eat spinach raw or cooked?

There is no health consequence of eating raw spinach; one of my favorite salads is made from it, along with hard-boiled eggs, red onion slices and goat cheese. But we might miss more than we gain by eating it raw. In addition to all its benefits, raw spinach also contains oxalic acid, which is the stuff that makes your teeth feel squeaky. Oddly, the oxalic acid blocks absorption of some of the very nutrients spinach provides. The cooking process breaks that down, though, so a quick sauté or steaming helps you reap the most benefit of this versatile vegetable. I’ll be using spinach again and again in the coming weeks, so all of my leafy green lovers will want to stay tuned. 😀

So what about this dish?

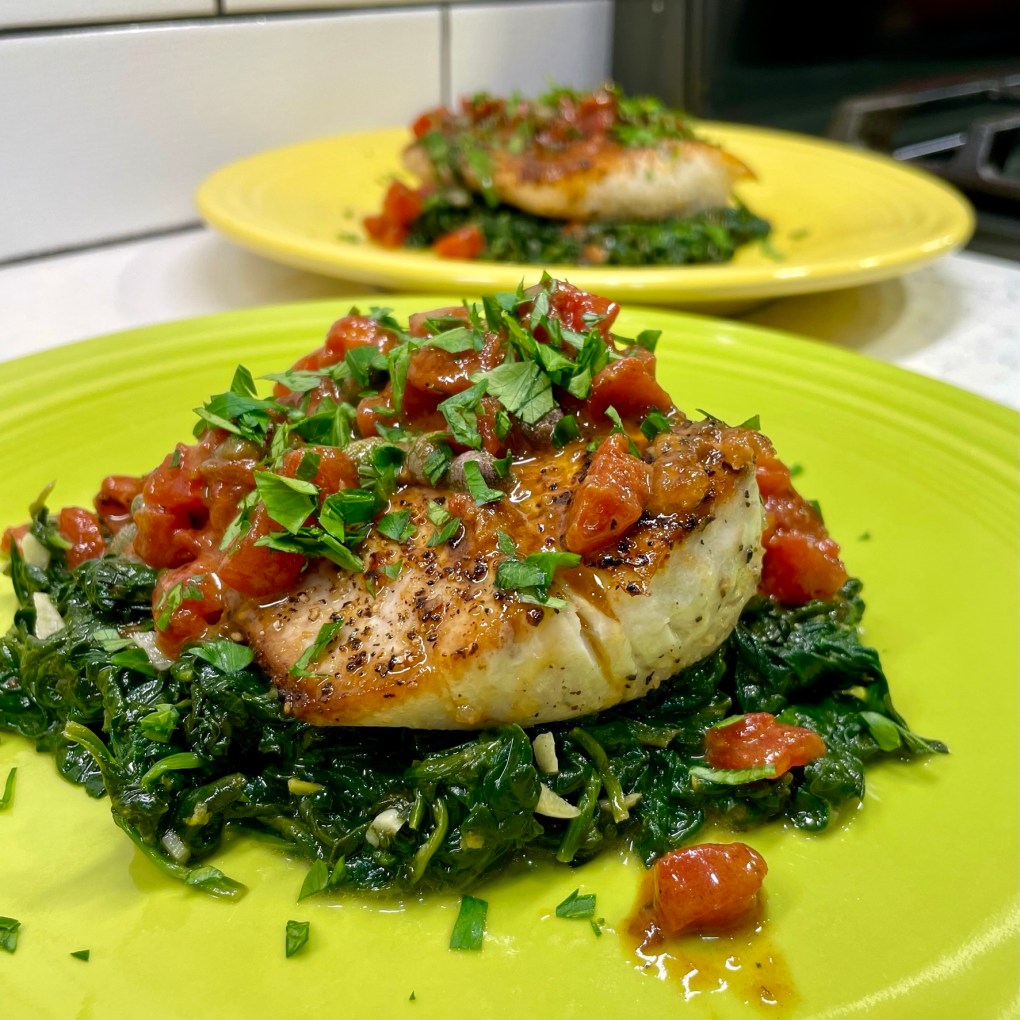
Today’s recipe is a twist on Mahi Hemingway, a dish I posted a few years ago, and my copycat version of a pricey meal I had enjoyed many times at a local restaurant. This time, I’ve plated the fish and sauce atop fresh spinach rather than a pile of carb-y pasta. It’s colorful, easy to prepare and absolutely delicious!

Delicious, and pretty!

To make it, you’ll need a couple fillets of fresh mahi—season them with salt and lemon pepper— plus a fat handful of fresh baby spinach, a little garlic, diced tomato, capers, dry white wine, a squeeze of fresh lemon and a little swirl of butter at the end for a delicate but flavorful sauce. If mahi is unavailable (or not your favorite), try this dish with halibut, grouper or even a mild cut of salmon.

Parsley garnish is optional, but recommended, and you can make two servings of this meal for less than half the cost of a restaurant meal for one. It’s light, delicious, gluten-free and diet-friendly. It’s also easy to make (there’s a click-to-print recipe below), and my Instagram reel will show you in 60 seconds how to put it on your table tonight. Mise en place (having everything in place) is important here, because the dish moves quickly once the pan is hot. Enjoy!


Mahi Florentine

  • Servings: 2
  • Difficulty: Average
  • Print

There's plenty of flavor and nutrition in this light and easy seafood dish, and it comes together in under half an hour. Perfect for a busy weeknight!


Ingredients

  • 2 skinless mahi fillets, about 6 ounces each
  • Several shakes salt-free “lemon pepper” seasoning, such as Mrs. Dash
  • Kosher salt and freshly ground black pepper
  • 3 Tbsp. extra virgin olive oil, divided (1 for the spinach, 2 for the fish)
  • 2 fat handfuls fresh baby spinach, roughly chopped (this is approximately six ounces)
  • 2 cloves fresh garlic, minced
  • 1/3 cup dry white wine, divided (you’ll use some for the spinach, some for the fish; substitutions in the recipe notes)
  • Juice and zest of 1/2 large lemon
  • 1/3 cup petite diced tomatoes, drained
  • 1 Tbsp. nonpareil capers, drained but not rinsed
  • 1 Tbsp. cold butter, cut into teaspoon-size pieces, for swirling into sauce at the end
  • A sprinkle of fresh, chopped parsley to garnish

Notes: This recipe moves quickly, especially once you remove the fish from the skillet. Be sure to have all your ingredients lined up and ready before you begin cooking.

Any firm fish fillet may be substituted for the mahi; I think salmon, grouper, tilapia or halibut would all be terrific in this dish.

Dry vermouth may be used in place of the white wine. If you prefer to avoid alcohol, substitute a quarter cup of low-sodium vegetable broth for the wine and add an extra squeeze of lemon.

Use fresh tomatoes when they’re in season; otherwise, salt-free canned tomatoes work great. If you have trouble with the acidity in tomatoes, try neutralizing it with a pinch of baking soda. Stir the soda into the tomatoes before you begin, and give it a few minutes for any foaminess to subside before proceeding. This will help take the edge off the acid of the tomatoes.

Directions

  1. Pat the mahi fillets dry with a paper towel. Season with salt and pepper, plus a generous few shakes of the lemon pepper seasoning. Set aside to warm to room temp while you prepare the spinach.
  2. Place a non-stick skillet or pot over medium heat. Swirl in about a tablespoon of the olive oil, and then add the spinach a handful at a time. Give it a toss through the oil, then season lightly with salt and pepper. Use an easy touch here, so the spinach isn’t too salty after it wilts down.
  3. Add garlic to the pan and toss until spinach is fully wilted but still bright green. Add a splash of the white wine, plus the zest of the half-lemon. Continue to cook until the wine evaporates. Remove from heat and cover to keep warm.
  4. While the spinach is cooking, heat a second skillet (preferably not non-stick) over medium heat. Add remaining oil when the pan is hot. Place the fish fillets, “pretty” side-down, into the skillet. You should hear them sizzle instantly. Leave the fillets alone until you can see the fish is cooked through about 1/3 of its thickness, about three minutes. Use a metal spatula to carefully turn the fillets to cook the other side, about two additional minutes. They will be a little translucent in the center, but the residual heat will cook them through. Transfer the fillets to a warm plate and set aside while you prepare the sauce.
  5. Add the diced tomatoes and capers into the fish skillet. Add a generous splash of the white wine, and use a whisk or utensil to scrape up all the cooked-on bits in the pan. Turn down the heat to medium-low and cook until wine is reduced by half. Squeeze in the lemon juice and stir until the moisture is reduced by about half; this should happen within about a minute.
  6. Turn off the heat. Carefully swirl the cold butter, a teaspoon at a time, into the pan sauce. This will emulsify and thicken the sauce.
  7. Divide the spinach between serving plates. Place a mahi fillet on top of each and spoon the pan sauce over the fish. Garnish with fresh parsley and serve at once.


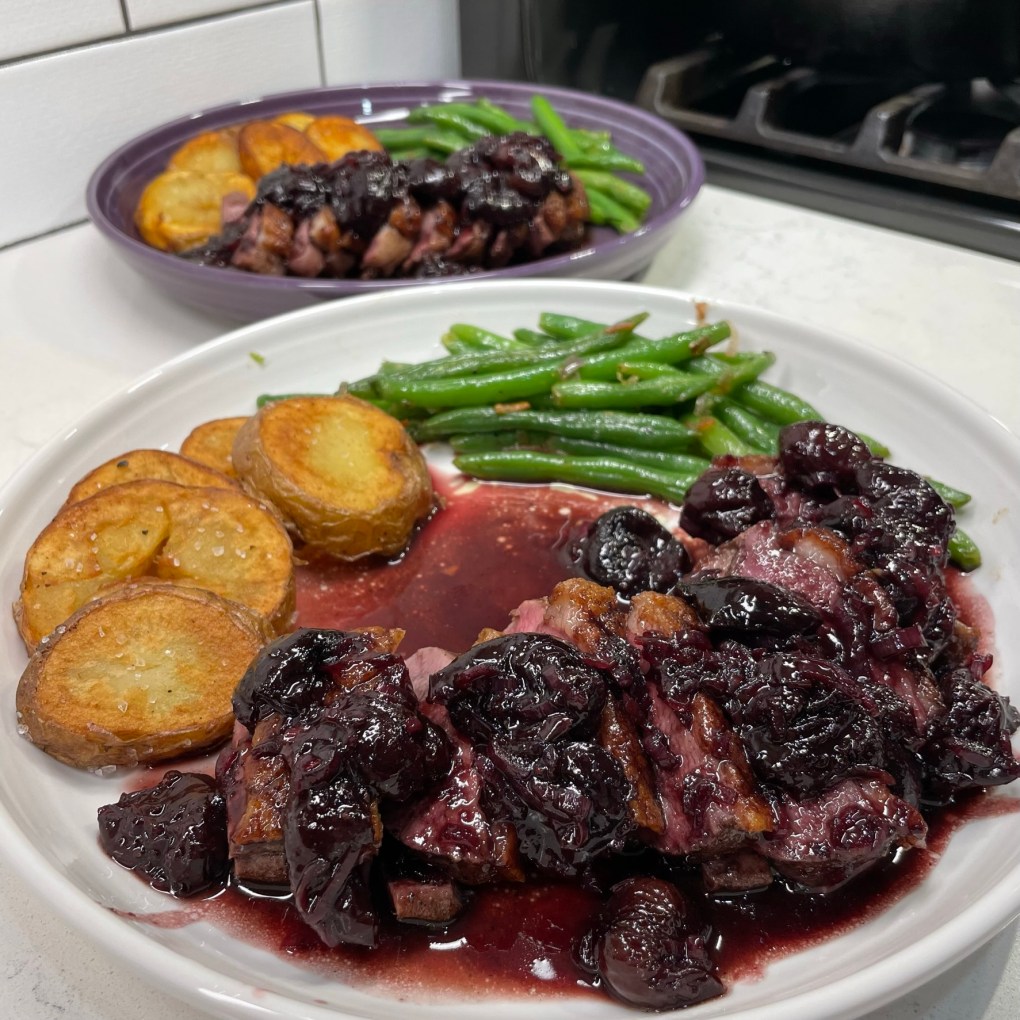
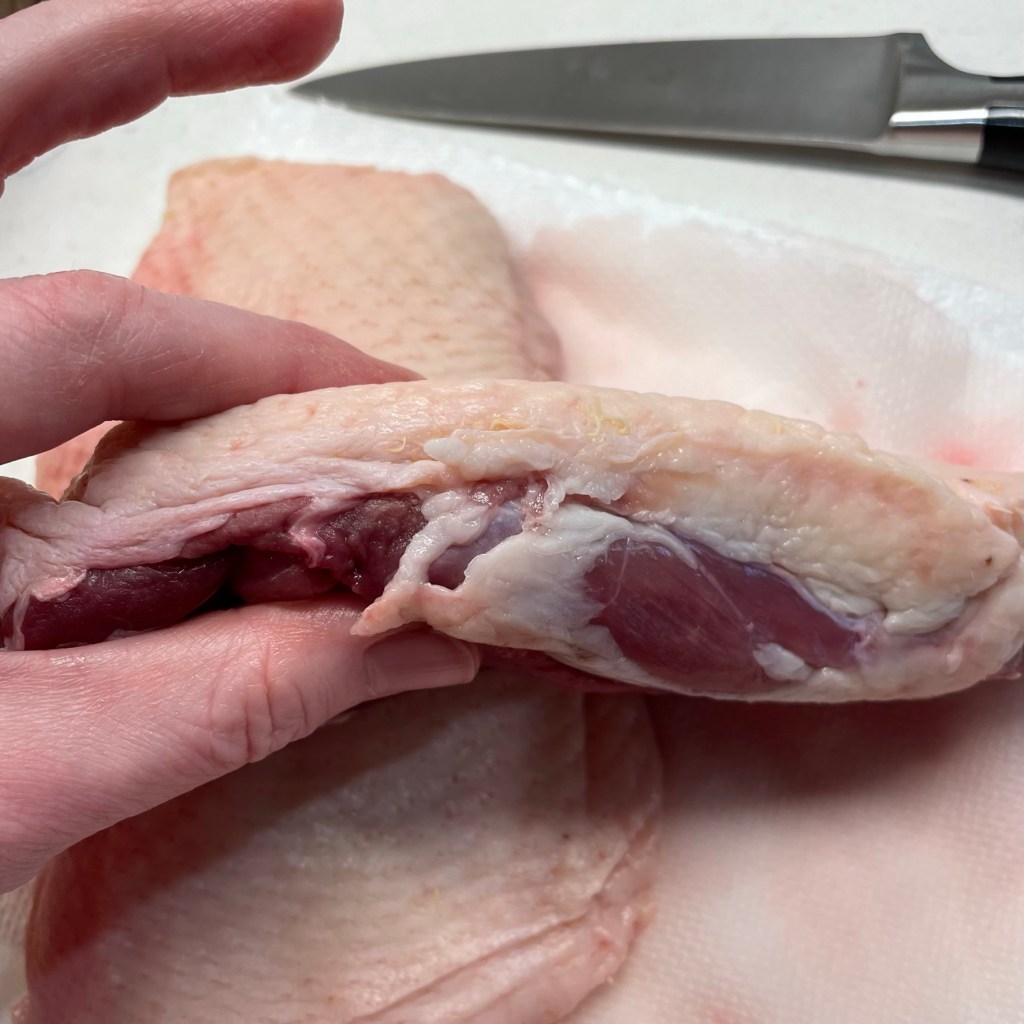
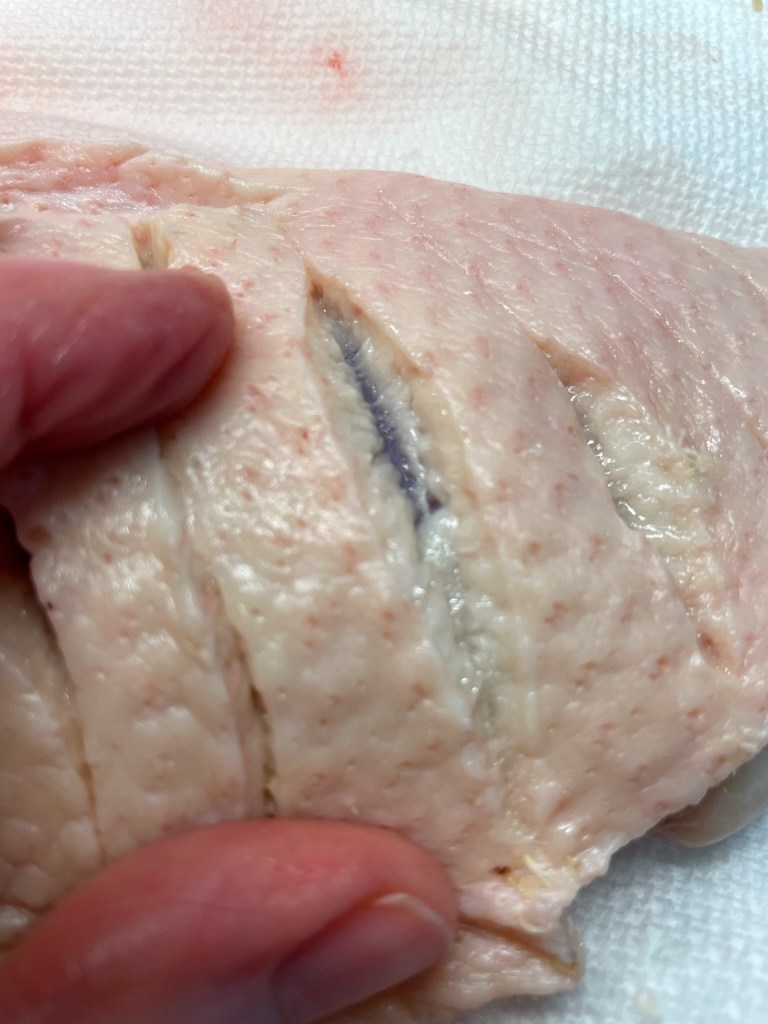
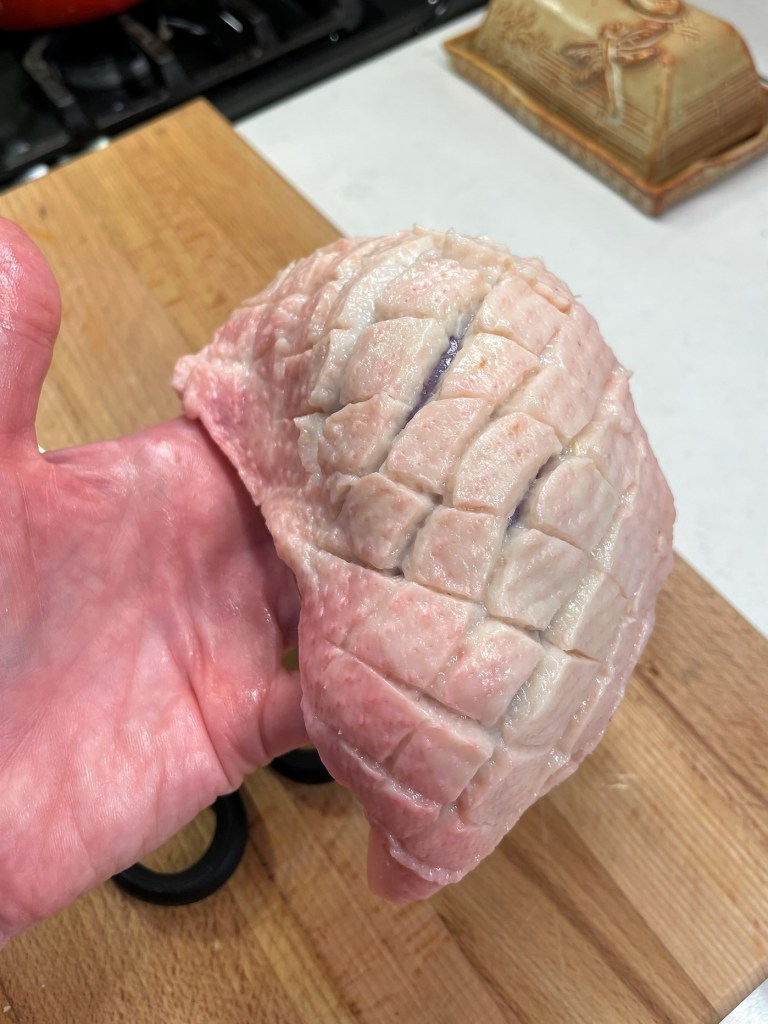
Here’s a snapshot of some of the other delicious foods I’ve made since we committed to healthier eating. Some were made from leftovers that you probably don’t have, but others are repeats of favorites, with previous recipes linked for your convenience.


Crispy Five Spice Duck with Cherry-Pinot Noir Sauce

While out shopping yesterday, I bumped into some friends who asked whether my husband and I would be staying close to home for Christmas. I jokingly told them that yes, our holiday would be easy and simple again this year for one good reason: Les is Jewish. 😂

Our friends know this of course, and they also know that we do celebrate Christmas, just as we celebrate and observe Hanukkah, Rosh Hashanah, Easter and Passover. Even when it is just the two of us, we enjoy making a special dinner for Christmas night— one that usually begins with a fancy appetizer and ends with a nice dessert.

The holidays are a great time to pull out all the stops and splurge a little— calorie- and money-wise—and we relish this little bit of indulgence regardless of whether we are serving guests or just ourselves. Les informed me recently that his favorite “special” dish that I make is duck (funny that I didn’t know that!), and so I’ve decided to share my tips for making a perfectly crispy seared duck breast and a cherry-pinot noir sauce that sounds complicated but is actually so easy.

Let’s start at the beginning. At first impression, you might think that duck is similar to chicken, but in flavor and preparation, it is actually closer to red meat. There is a generous layer of fatty skin on duck, and it takes extra care to crisp it without overcooking or drying out the meat. This is the technique that works best for me, and I’m sharing it with a recipe I made for my sweetheart on Valentine’s Day this year. If you already have your Christmas meal planned, save this for February (and make something with chocolate and cherries for dessert).

Tip #1: Score the meat for better rendering


To efficiently render the thick, fatty skin on duck breast, use a very sharp knife to score it with a crosshatch design, with cuts that spread about 1/2-inch apart and only through the skin, not into the meat. This scoring allows more of the fat to render when you fry it in a skillet.

Tip #2: Dry brine the duck breast


I’ve become a big fan of the dry brine, though I had to wrestle with my own sensibilities the first few times I tried it because at first glance, a dry-brined meat looks like it has dried out. Not so! There’s a whole science behind how this works— reverse osmosis of some sort, I guess— but the upshot is that salting and resting meat uncovered in the fridge allows better infusion of the seasoning into the meat and juicier results in the end. Here, I added five spice powder to the kosher salt. It was excellent with the flavors in my sauce. Another advantage of doing this step is that it does dry out the fatty skin a bit, and that greatly reduces spattering in the next step.

Tip #3: Begin with a stone-cold skillet


And preferably cast iron! If you were to place a duck breast in a hot skillet, the skin would sear, but the fat would not render very neatly. You’d likely be left with an oily mess, as I did the first couple of times I made duck. A non-stick skillet is not ideal either because the coating is a barrier to getting crispy skin. Invest in a quality cast-iron skillet and it will reward you with exceptional results for any meat you sear. Mine is a 10-inch Lodge skillet, made in the USA and built to last a lifetime. As the fat renders, carefully drain it off.

Tip #4: Do most of the cooking on the skin side


Duck is best served medium rare (like red meat), and the best way to achieve this together with crispy skin is to leave the breast skin-side down for most of the cooking time. Residual heat from the pan will bring it to temperature, and you only need to turn it to the flesh side for a minute or two to seal in the juices.

Tip #5: Don’t waste the extra duck fat!

A great deal of fat will be released as you render the duck breasts, but this is decidedly not a bad thing! If you plan to make potatoes to accompany your duck, do yourself a favor and fry them in the duck fat! The flavor is incomparable and I am always thrilled to find the crispiest, non-greasy texture on the potatoes. If you don’t need the fat for this meal, drain it off into a jar, let it cool and store it in the fridge until you do make potatoes. 


Yes, it’s saturated fat, and of course, you shouldn’t eat like this very often. But these are the holidays, and this meal is a worthwhile occasional indulgence. Especially with cherry-pinot noir sauce!

Let’s talk about that sauce!


Now that you’re feeling confident about achieving the perfectly crispy duck breast skin, take a look at this flavorful, sweet and savory sauce, made from dark cherries, shallots, chicken stock and Pinot noir. Though we are definitely not in cherry season, this recipe is great because it uses frozen dark cherries. Pinot noir is the perfect complement to this, and the shallot, chicken stock and red wine vinegar provide a savory backdrop to keep this from feeling too sweet. 


As you will see, this recipe makes quite a bit of sauce and each duck breast is about half a pound, so the whole thing is really suited to serving four people. Les and I got a little carried away because the flavors were so mouthwatering and we knew it would lose that perfect, crispy texture as leftovers. Get the base of the sauce started while the duck is cooking and just keep it warm on the back burner until serving time.

Time to plate this gorgeous meal!


The sauce finishes quickly in the same skillet used to cook the duck, and you’ll get to enjoy all the little fond bits of flavor that were left behind in the pan.


Place each breast on a cutting board and use a sharp knife to cut 1/2-inch slices. The meat should be bright pink and juicy with a thin layer of succulent fat under the crispy skin.


If I could go back in time to one step of this recipe, I’d plate the sauce before the duck breast, just to show off that incredible crispy skin. I do recommend sauce underneath the duck breast if you’re serving company, as we all know people eat with their eyes first. But we can confirm that it was just as delicious with the sauce on top, and if nothing else, it helped keep the duck warm as we savored every last delicious, cherry-kissed bite.

Crispy Five Spice Duck with Cherry-Pinot Noir Sauce

  • Servings: 4
  • Difficulty: Intermediate
  • Print

There's a lot to love about this dish, from the crispy skin to the flavorful sauce. It is definitely special occasion-worthy!


Ingredients

  • 2 individual duck breasts, about 8 oz. each
  • 1 tsp. kosher salt
  • 1 tsp. five spice powder
  • 2 Tbsp. turbinado sugar
  • 1/4 cup good quality Pinot Noir (save the rest for dinner)
  • 2 Tbsp. red wine vinegar
  • 1/2 cup good chicken stock
  • Kosher salt and freshly ground black pepper to taste
  • 1 heaping cup frozen dark sweet cherries
  • 1 medium shallot, minced

The trick to getting the crispiest skin begins with a dry brine on the duck breasts and a stone-cold skillet at the start of cooking. Render the fat slowly and drain off the excess as it accumulates, saving the fat to fry up the most delicious potatoes your taste buds will ever enjoy.

If you wish to make this dish without alcohol, substitute tart cherry juice for the Pinot Noir and reduce or omit the red wine vinegar.

Directions

  1. Pat the duck breasts dry with paper towels. Use a sharp knife to score the fatty skin only of the duck breast pieces. Make your cuts about 1/2-inch apart, in a crosshatch pattern. Take care not to cut the meat.
  2. Combine the salt and five spice powder and sprinkle all over both sides of the duck breasts, rubbing it into the scored fat side. Place the breasts on a plate and rest, uncovered, in the fridge for about six hours.
  3. Begin the flavor base for the sauce by combining sugar, wine, vinegar and chicken stock in a small saucepan. Bring to a slight boil then add the frozen cherries and simmer until cherries are softened. Keep warm.
  4. Place a COLD cast iron skillet onto a burner over medium heat. Immediately place the duck breasts, skin side-down, into the skillet. Don’t disturb the breasts until the fat begins to render. Carefully drain off excess fat by holding the breasts in place with a spatula or tongs and pouring off the fat into a bowl, jar or a second skillet. This helps reduce the amount of spattering. You’ll likely need to do this twice during the rendering process.
  5. Cook the skin side of the duck breasts for about 11 minutes, or until the bottom is deep golden in color and very crispy. Gently turn the breasts to cook the second side for only about two minutes. Transfer the breasts to a warm plate while you finish the sauce.
  6. Drain off all but a tablespoon of the duck fat and add the minced shallots to the skillet, tossing until slightly tender. Pour in the reserved Pinot Noir-cherry mixture and bring to a boil, scraping up any bits that are stuck to the pan. Allow this to simmer for a few minutes until some of the liquid evaporates and the sauce is slightly thickened.
  7. Slice the crispy duck breasts into 1/2-inch thick slices and serve immediately with the sauce.

If you’ll be frying up the potatoes, boil Yukon golds in advance (skin-on) until they are about half-cooked. Cool them to room temperature and slice into 1/2-inch rounds. Fry in hot duck fat until both sides are crispy, and season with salt immediately.


Just for fun…

Les and I had some flashbacks during the making of this recipe, because I had first prepared it on Valentine’s Day three years earlier, just one month before Covid disrupted everything known to mankind. He had snapped a picture of me at the stove, wine glass in-hand, stirring the sauce. I was oblivious to what he was doing at the time, but he recognized my passion for cooking and has been my biggest supporter since I started my food blog two months later. When I made the dish again this year, we tried to replicate that photo, but with our beautiful new kitchen and a perfected crispy duck technique. Cheers!