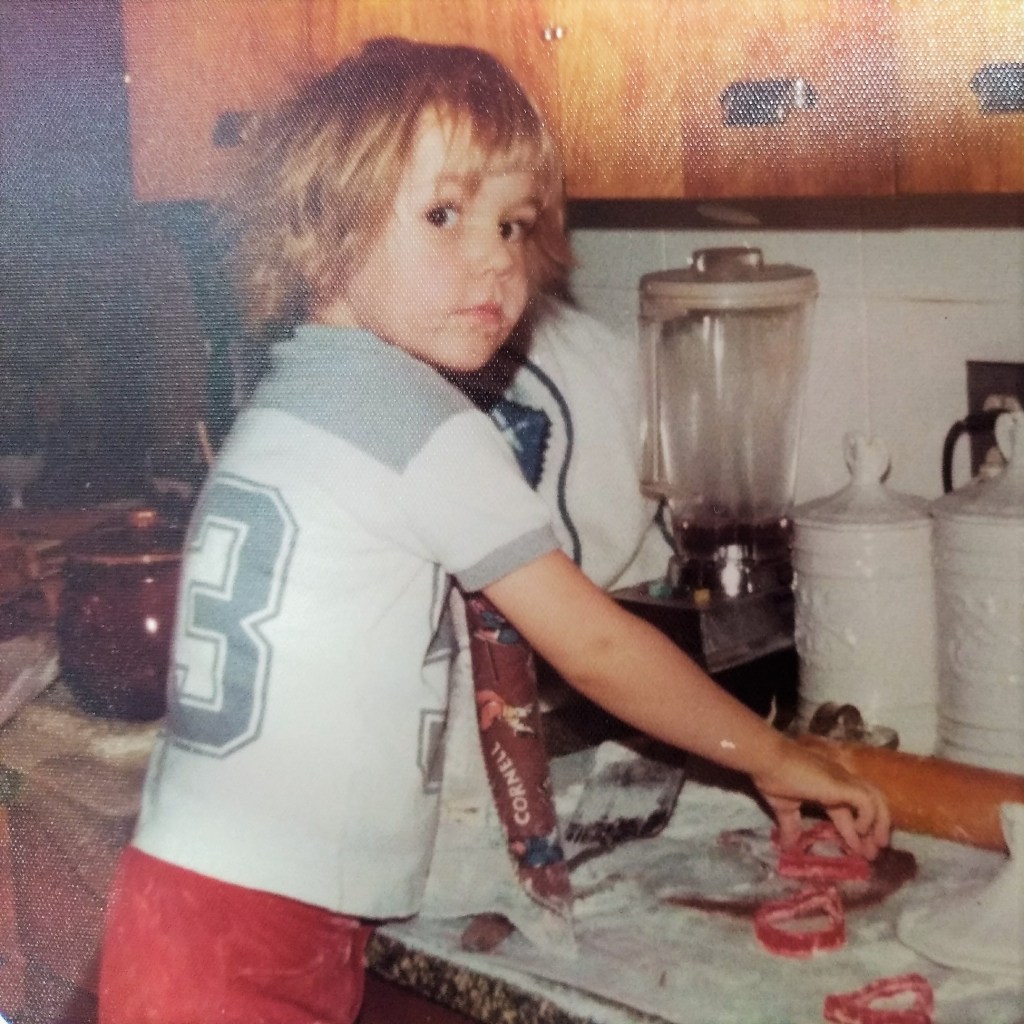
Childhood is one of the greatest examples of selective memory banking ever. I remember the smells and sounds of baking these molasses cookies at my grandma’s house, all the way back to when I needed to stand on a chair to reach the counter and make the cookie shapes. What I don’t remember is working so hard to get the dough right. Perhaps I’m overthinking it and not taking a simple, intuitive approach. Or could it be that these were a cinch for Gram because she made them all the time and I haven’t dared an attempt for 25 years?
As I was rolling out the dough for these—my favorite cookies ever—I found myself missing the metronome-like cadence of the cuckoo clock that hung on the back wall of my grandparents’ family room, and the rising aroma of potatoes simmering on the stove, much less the patient encouragement of Gram saying something like, “That’s it, now change direction and roll it the other way—good job.” What I had last weekend at my house was the sound of Led Zeppelin blasting from the Bose speaker in the next room, me cursing up a storm and vowing to NEVER make these freaking cookies again, and my husband and the dog just staying the heck out of the way. Yes, I’m certain that Gram had this process down to a science, and she probably handled all the hard parts of this exceptional recipe and let us grandkids show up just in time to have all the fun.
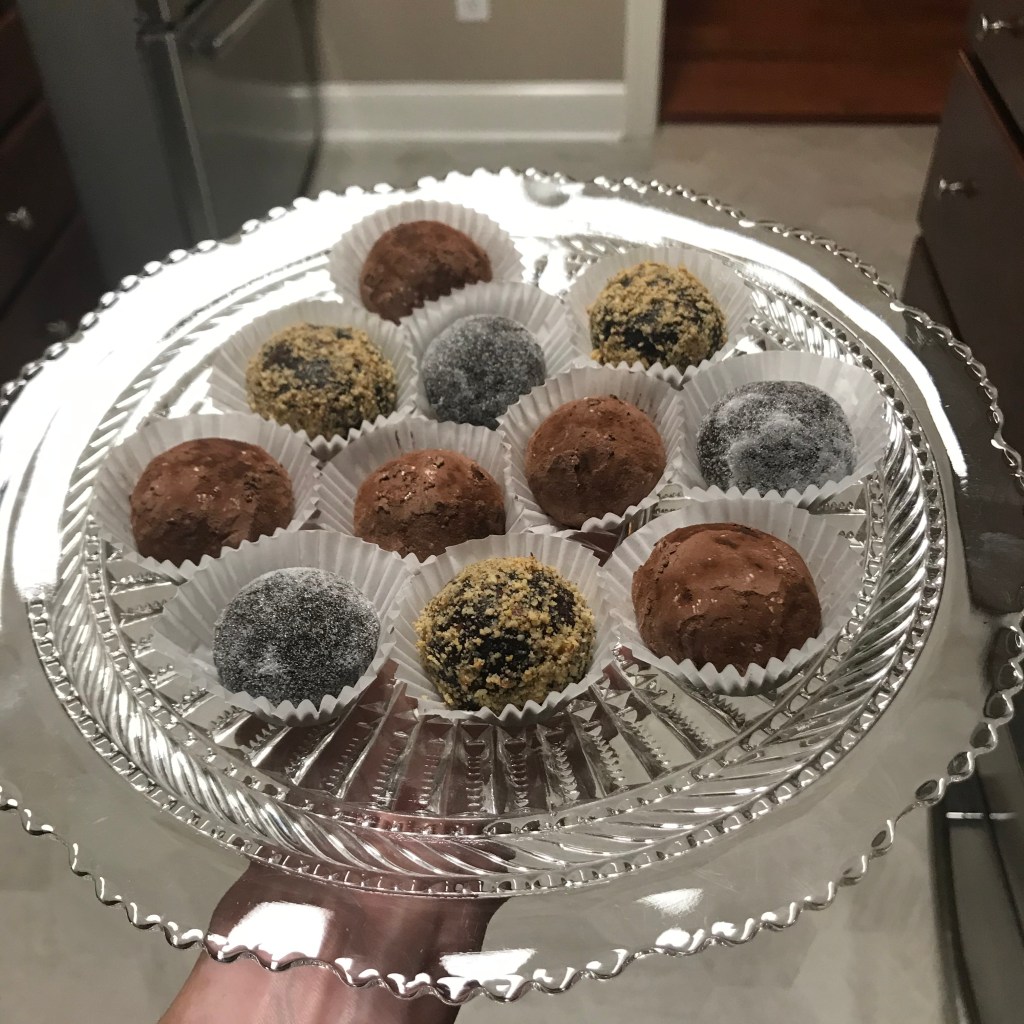
This was the first time I’d flown solo on this family heirloom recipe for Molasses Cookies—and yes, I do believe it should be capitalized, same as a classic novel or an epic film, because they’re just that good. For as long as I can remember, visiting my Gram’s house (anytime, but especially at Christmas) meant that I could reach my short, grubby fingers into the brown and tan beanpot she used as a cookie jar, and pull out one of these super-sized, super soft, sugar-crowned molasses cookies. Several years ago, I spotted a similar bean pot in an antique store and bought it without even checking the price tag. Last year, I found another bean pot and sent it to my younger cousin, Brad, who was my sidekick for so many baking adventures at Gram’s house. Just after we lost Gram in the summer of 2019, I found on Etsy a sweet creative soul who helped me turn our family recipe into a tea towel keepsake. Yes, these cookies deserve serious respect.

Brad and I have been reminiscing a great deal as the holidays approach, and though he was eager to share other memories of Christmas with Gram, he deferred to me the task of recreating her wonderful cookies. I’ll admit that I was terrified.
Mixing the dough was not complicated. It was just a little confusing, without solid direction on which order to add certain ingredients. The recipe card says, in Gram’s distinctive scrawl, “Mix. Chill at least overnight.” A more thorough explanation might have suggested first creaming together the butter and sugar, then adding eggs one at a time, blending completely after each one, and scraping down the sides, etc., but I suppose that knowledge is meant to be in my genes (and apparently it is). I did OK to that point, but lost my confidence when I got to the baking soda. Oh, how I wished I could just call her up and ask, “should the soda be dissolved in boiling water, or just hot tap water? Also, is it alright if I use butter instead of shortening? And the card says 6 or 7 cups of flour, but how do I know when the dough is right? I’m so confused, Gram, and I need you here.”
For these challenges and more, I had a helpful assist from my aunt, who offered her own experiential wisdom, plus a bonus family history lesson that I never knew. It seems that my great-grandmother, original author of this recipe, ran some kind of underground cookie business. These molasses cookies and her famous-to-our-family sugar cookies were her top sellers. Great Gram also saved up her own money to buy laying hens, and had an eggs-for-sale business. She was an entrepreneur long before women were supposed to be! I do remember the old hen house in back of her house, come to think of it. And suddenly, I realized again that these are big family shoes to fill.
I took deep breaths and followed the advice Gram gave me so many times on so many things—she’d say, “try it and see.”
For starters, I halved the recipe, which is a little tricky given that the original calls for 3 eggs, but I’ll explain what I did when we get to the instructions. Gram’s recipe card lists shortening, which was a common ingredient when money was tight (and before research showed how awful the stuff is), so I subbed in real unsalted butter. I never bake anything with only white flour, so I swapped about a third of it with whole wheat pastry flour, which is nice and soft and perfect for cookies, quick breads and pastry dough. Finally, to aid in keeping the dough soft, I used a combination of white and brown sugar, hoping that the latter would help compensate for the softness that would be lessened with the butter swap. Yes, I think Gram was also my first science teacher.
This is at least a two-day recipe (the dough must be thoroughly chilled), and several kitchen tools will be needed on baking day. I recommend review of the entire recipe before committing to the baking step. Once you begin rolling the dough, things move quickly and you’ll want to have your ducks in a row.
The ingredients list reflects my own changes I made to the recipe, and I’m certain my grandma would have approved these choices. 🙂
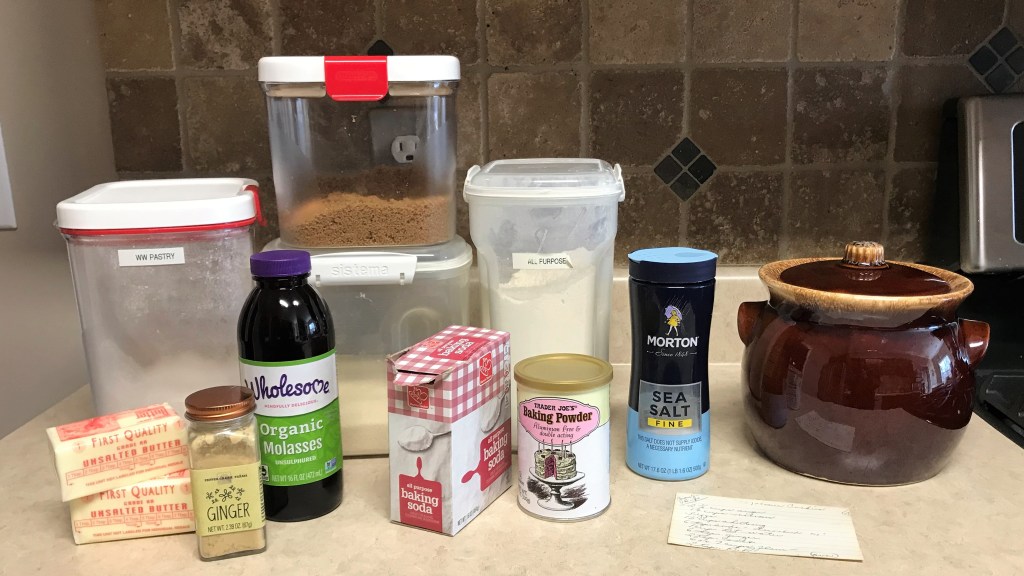
Ingredients
1 1/2 sticks (3/4 cup) unsalted butter, softened, but not room temperature
3/4 cup cane sugar* (see notes)
1/2 cup brown sugar
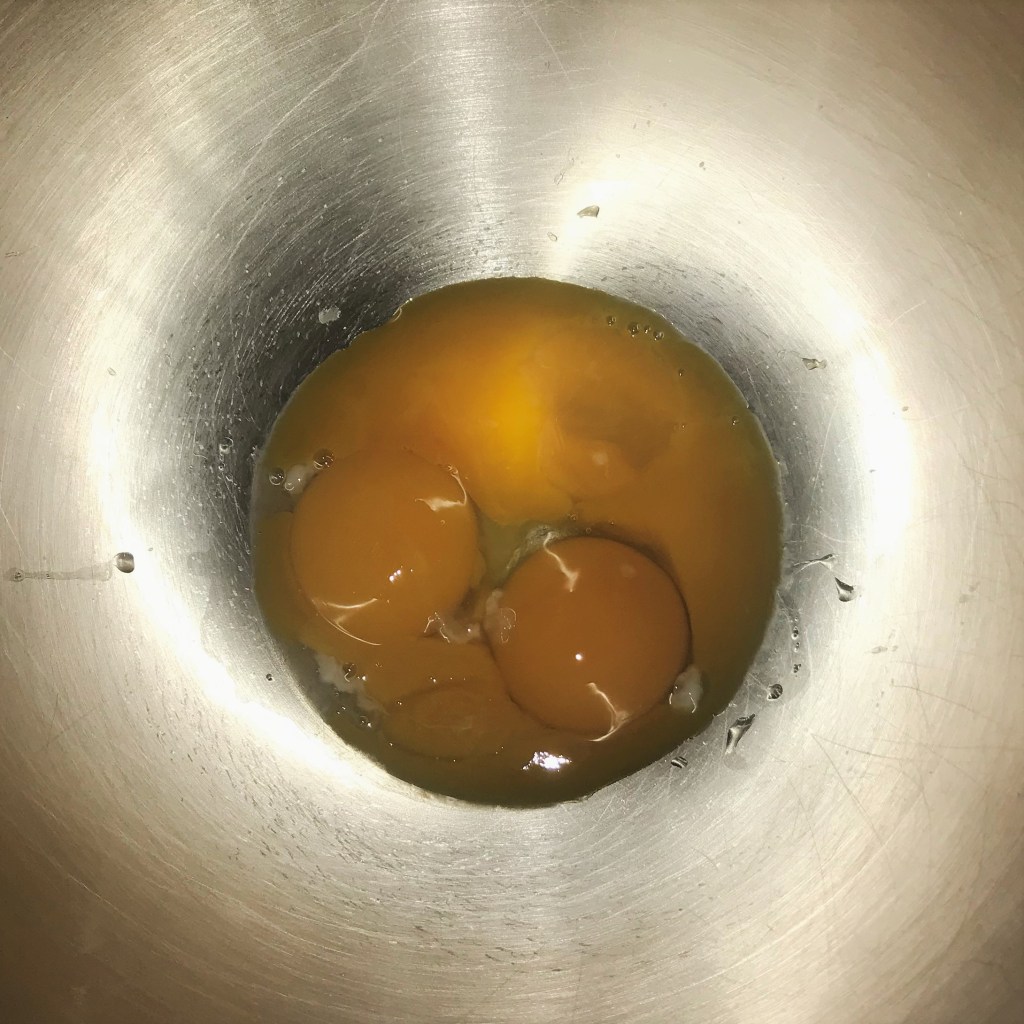
1 1/2 large eggs*
1/2 cup plus 2 Tbsp. molasses (unsulphured)
3 tsp. baking soda, dissolved in 1/2 cup hot tap water
2 1/2 cups all-purpose flour* (measure for success; see notes!)
1 cup whole wheat pastry flour*
3 tsp. ground ginger*
1 tsp. baking powder*
1 tsp. salt
Coarse sugar for decorating
*Notes
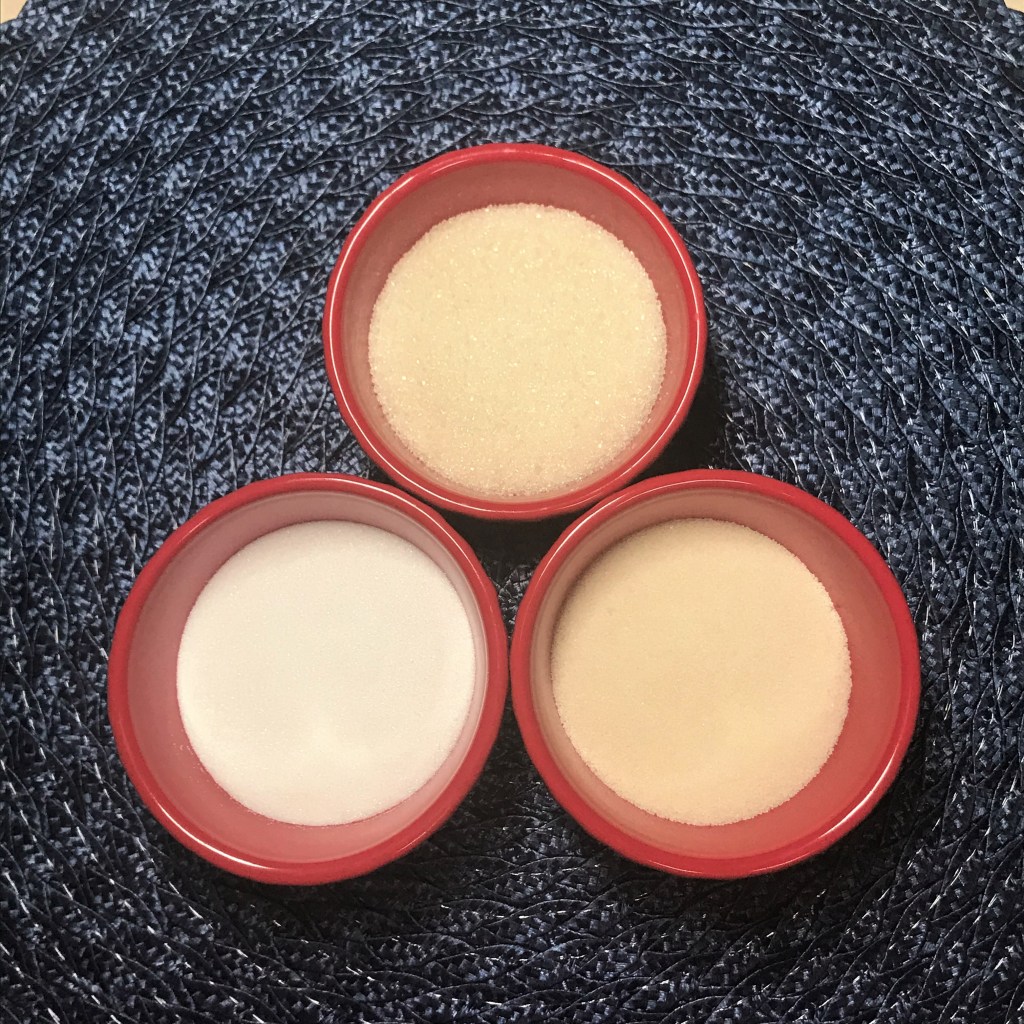
For all baking and cooking, I prefer organic cane sugar, which is not as processed as common white sugar. The fineness of cane sugar varies by brand, and I’ve found the Florida Crystals brand to be my favorite, as it is closest in texture to typical fine baking sugar. It’s slightly tan in color, compared with pure white sugar that has been heavily refined.
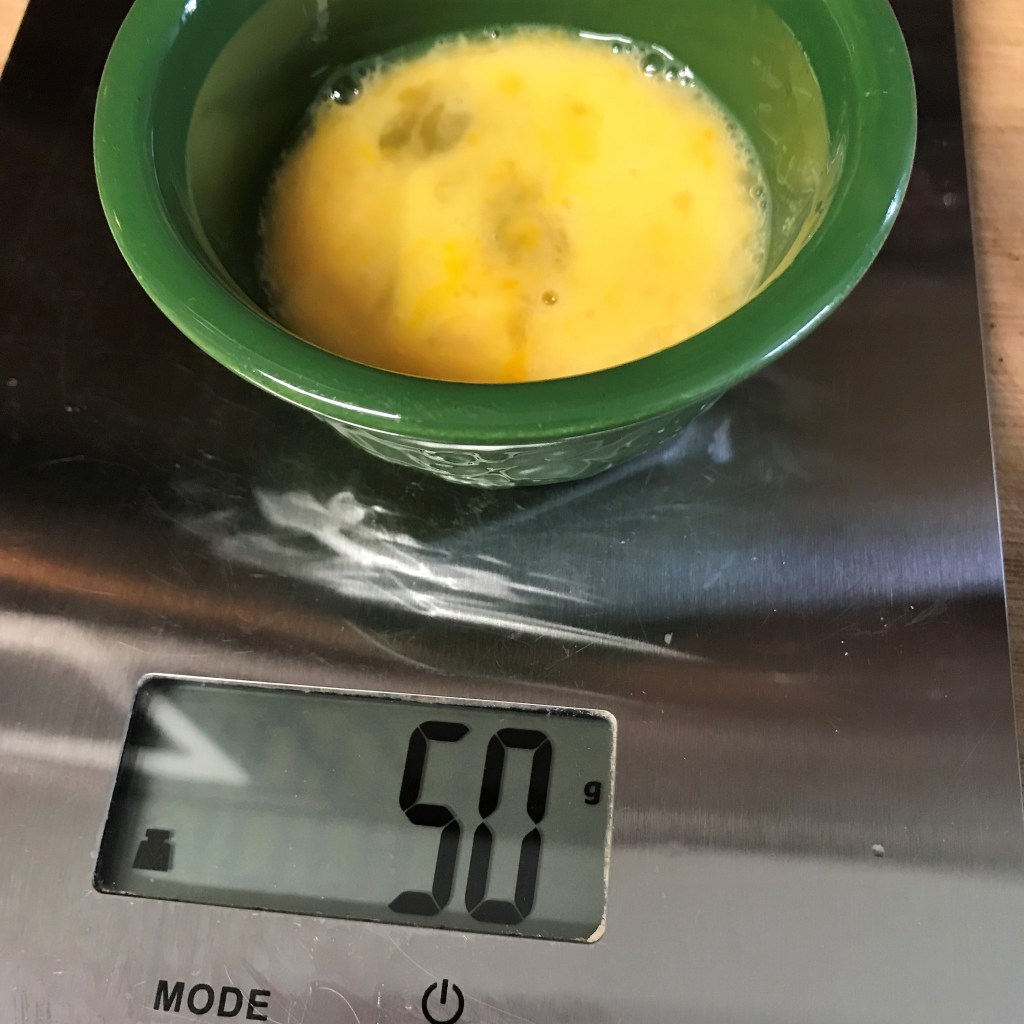
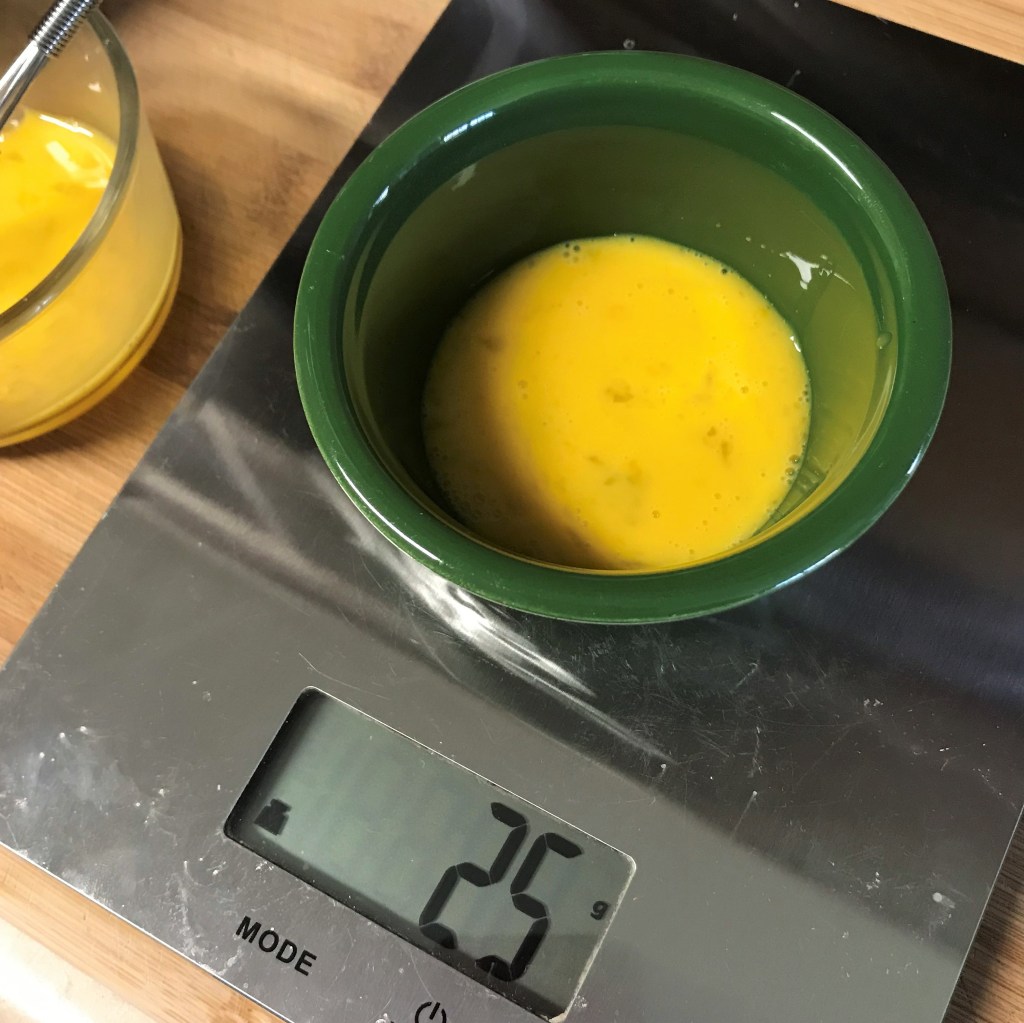
My recipe adaptation is half the original recipe, which called for 3 eggs, meaning I had to get to 1½ eggs. Here’s how to divide one of them to get the proper amount: crack 1 egg into a glass measuring cup, and beat it well to fully blend the white and yolk. Note the total volume of the egg, and pour half of the volume into a separate bowl for another use. Voila!—half an egg. Add a whole egg to it, beat lightly and you’ll be ready to go.
One of my grandma’s golden rules of baking was correct measuring of flour, so listen up. Always begin by sifting or fluffing up the flour before you measure. Spoon the fluffed flour over your measuring cup and fill to overflowing. Then use the back of a knife to scrape off the excess flour. Do not plunge your measuring cup directly into the flour bag or canister, or you will not have successful cookies.

Whole wheat pastry flour is a low-protein variety of flour, and can be substituted 1:1 for all-purpose flour in many recipes. It doesn’t have the strength needed for yeast-risen breads, but it is perfect for cookies, quick breads, pancakes and pastry dough. It also meets one of my primary goals of introducing whole grain into our foods. For this recipe, the whole wheat pastry flour is approximately 1/3 of the total flour in the cookies. If you prefer, combine for a total amount of white, all-purpose flour.
Ginger and baking powder both lose their power after a period of time. Ground ginger should provide a pleasant “zing” to the cookies, and active baking powder is needed for leavening. If you can’t remember buying the containers you have, they are probably too old. This is less a concern for the ginger, as that will only affect flavor. Baking powder that is old will give you poor results, because your cookies won’t rise during baking. I use aluminum-free baking powder with excellent results.
Dough Instructions
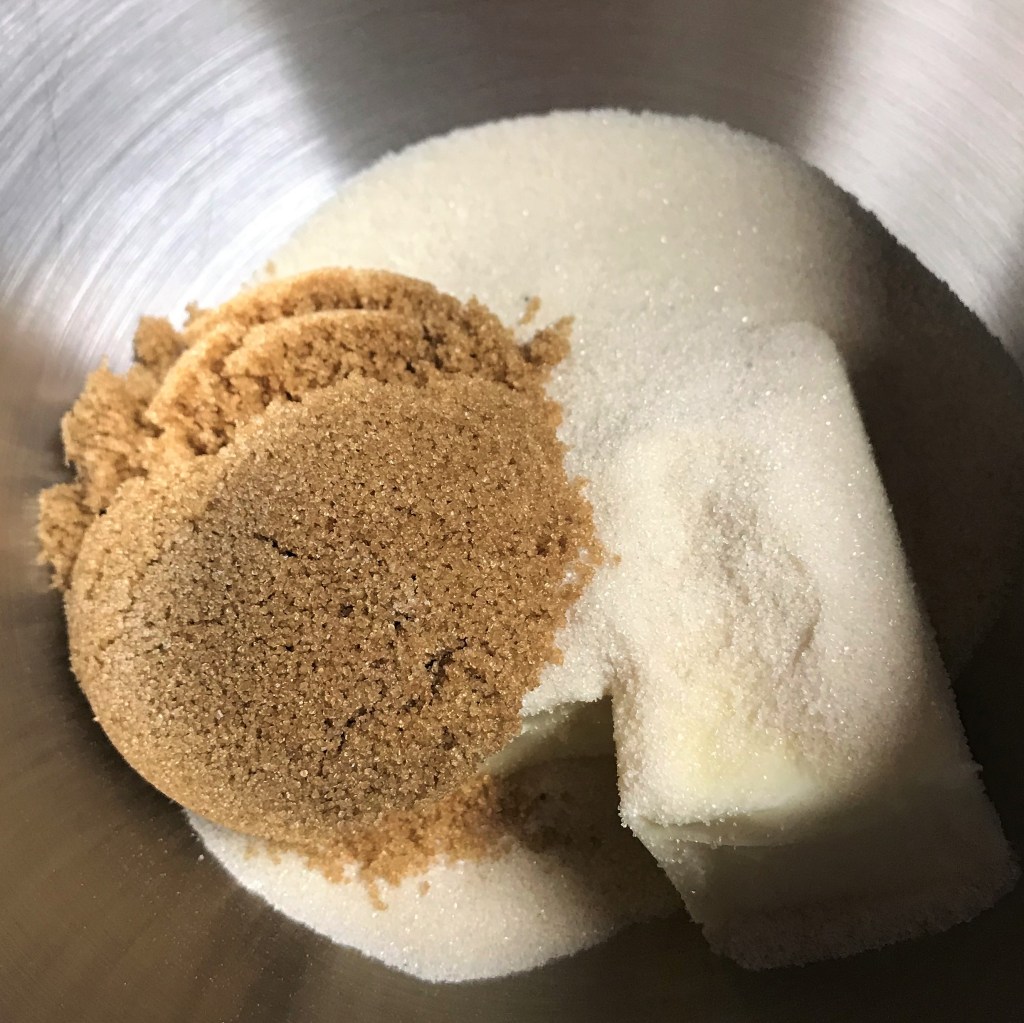
Brown sugar is regular sugar plus molasses. I subbed in about 1/4 of the total sugar called for in the recipe. 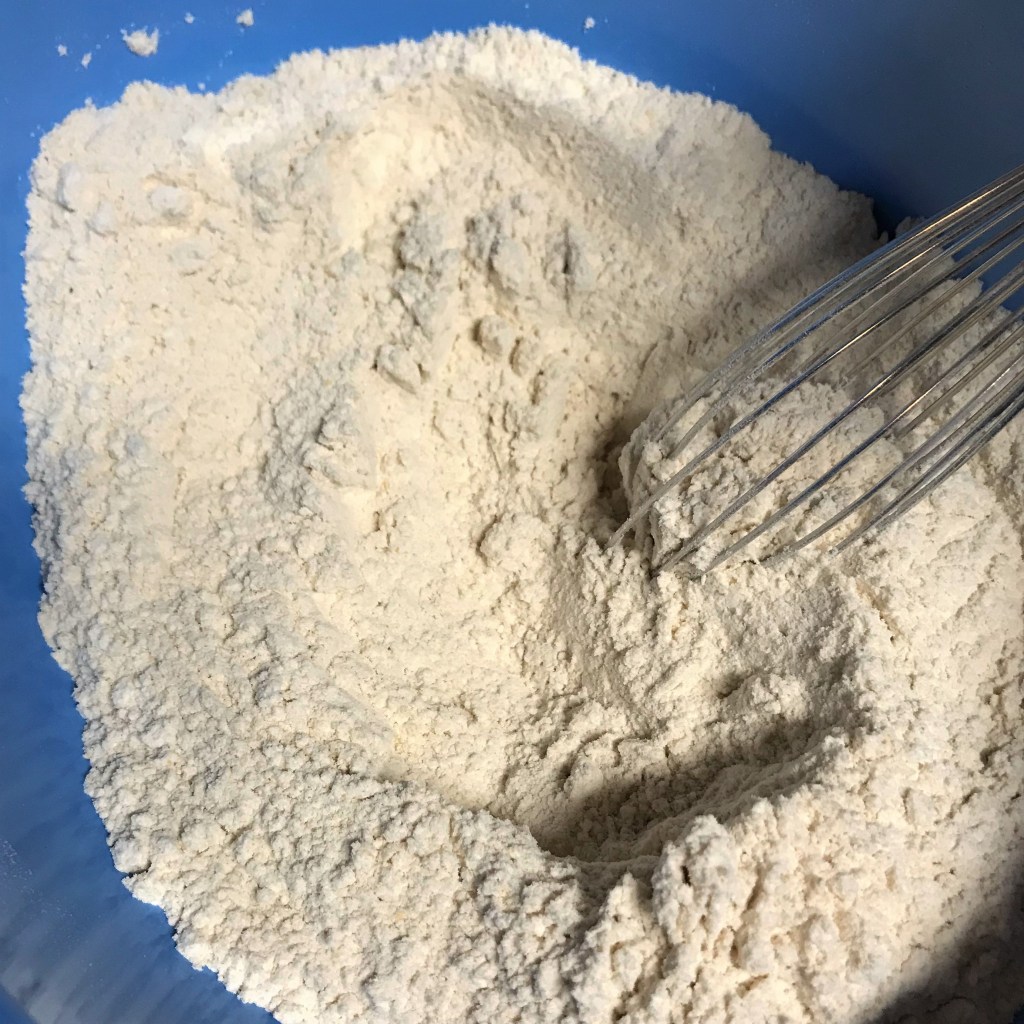
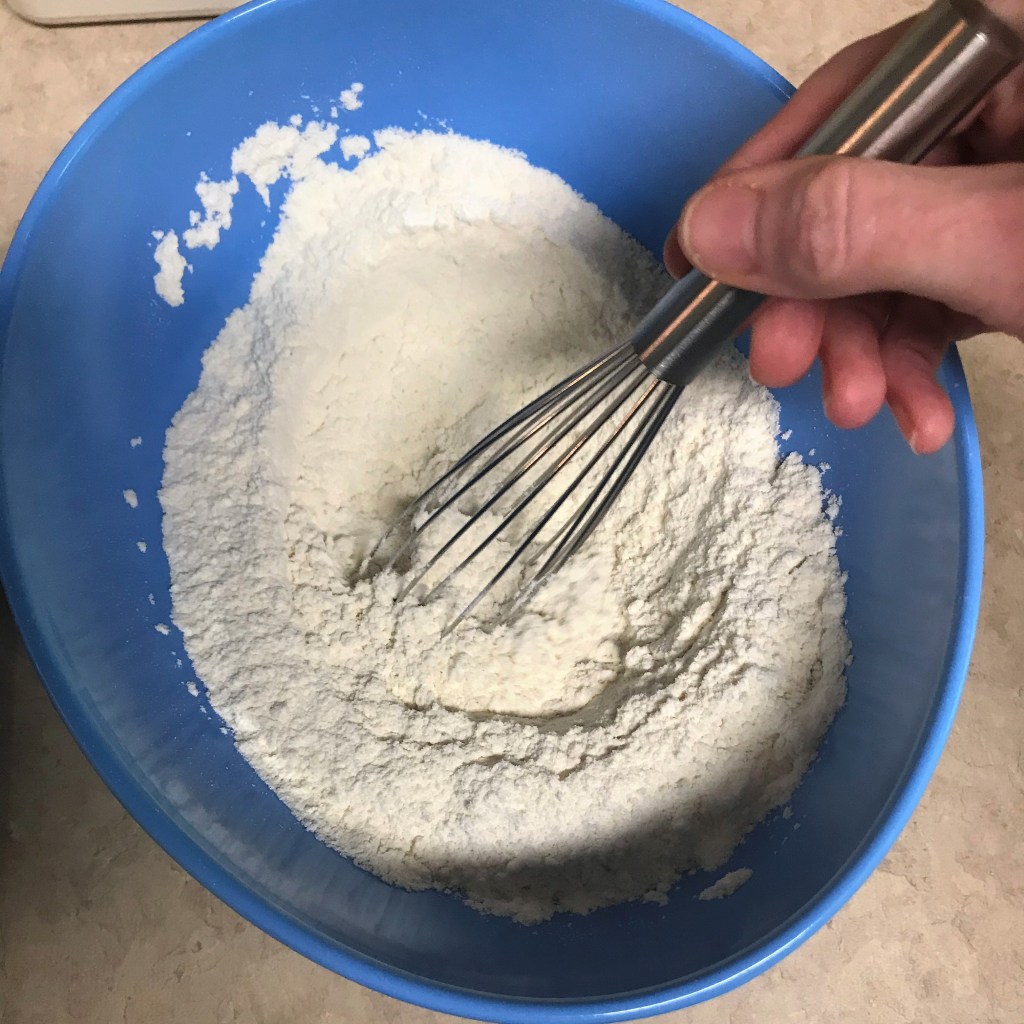
Whisk together all dry ingredients so the ginger and baking powder are evenly blended with the flour before you make the dough. 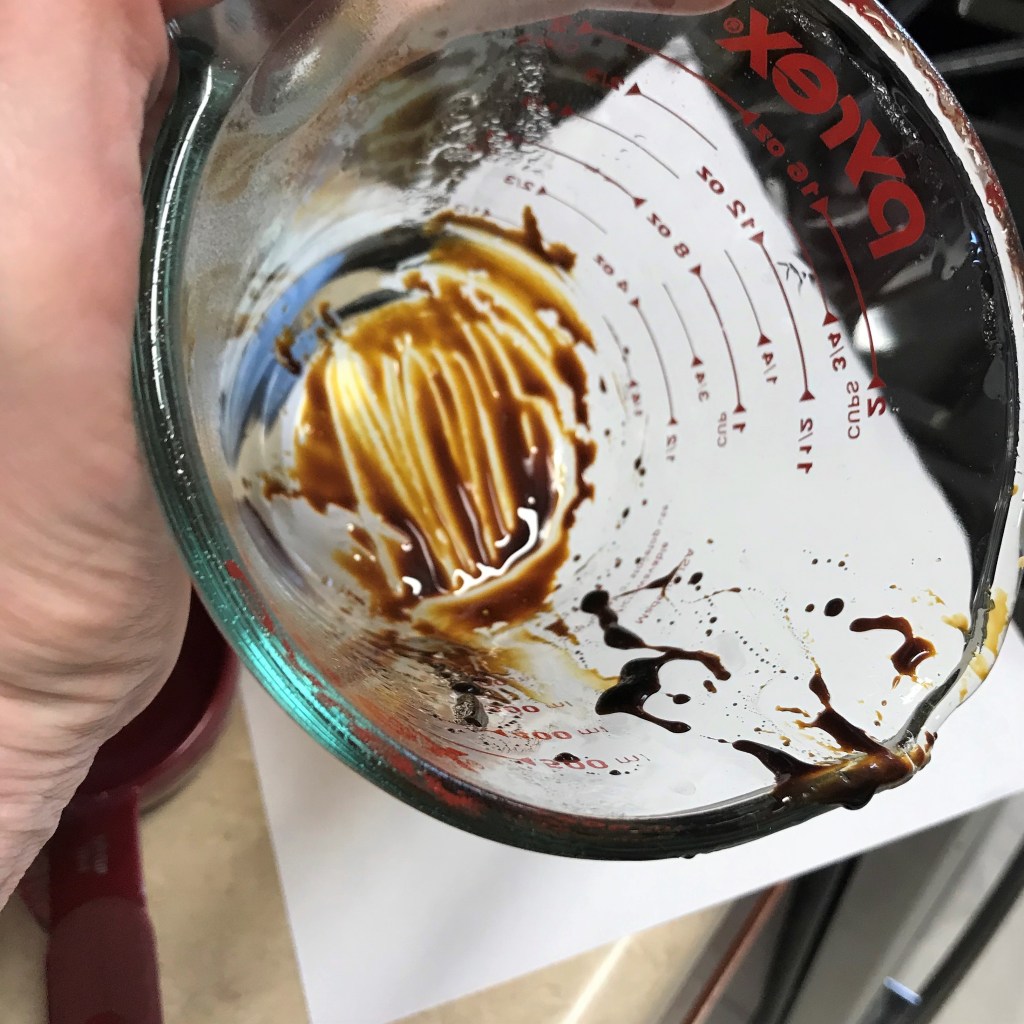
Use non-stick spray to prep your measuring cup, and sticky ingredients such as molasses or honey will slide out with minimal mess. 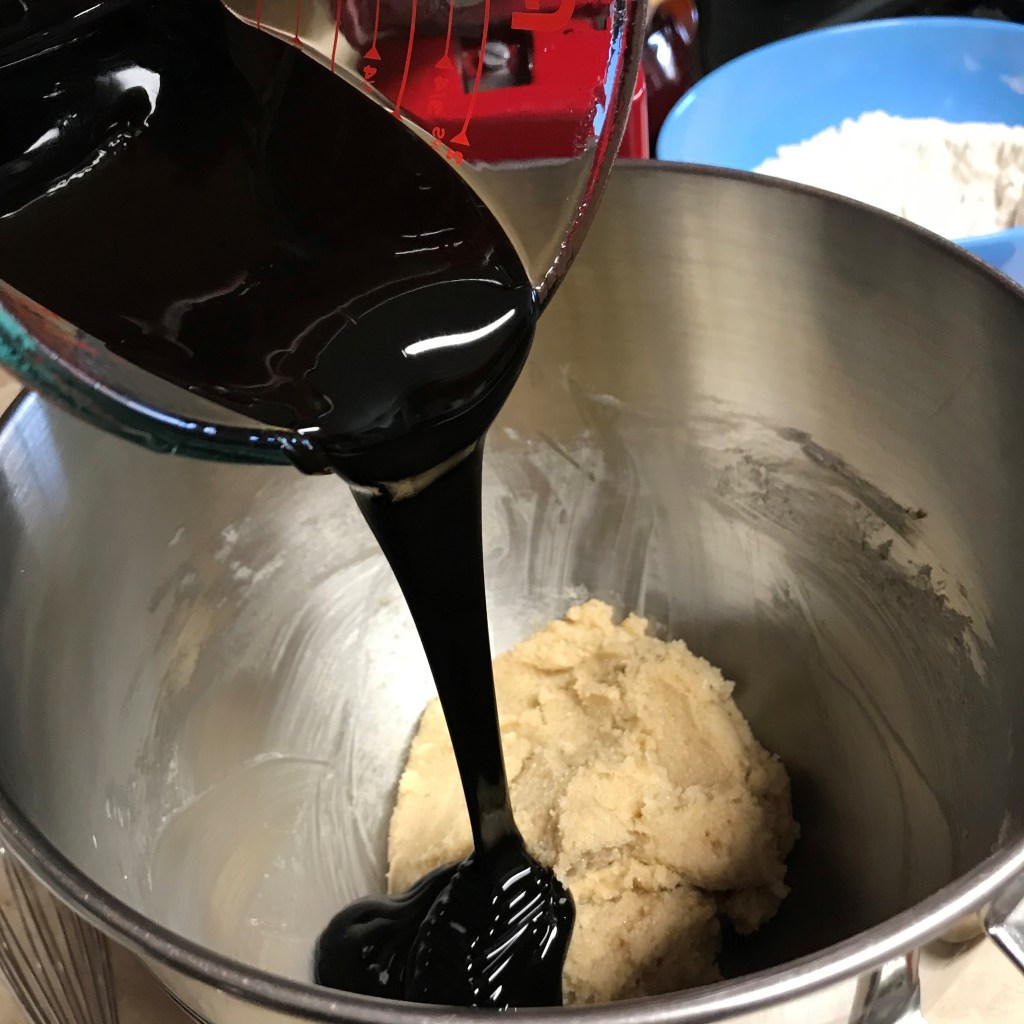
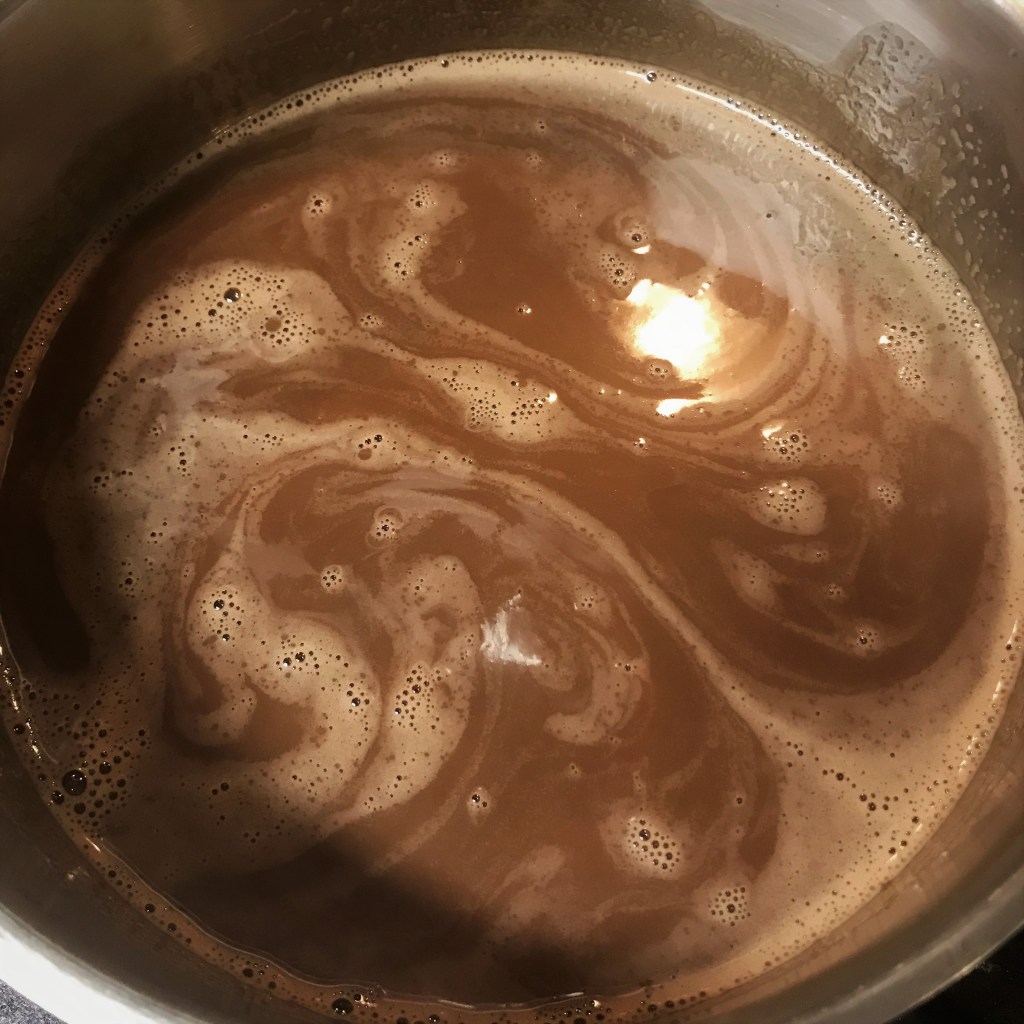
Molasses has such a lovely dark color, and is crazy rich in minerals. 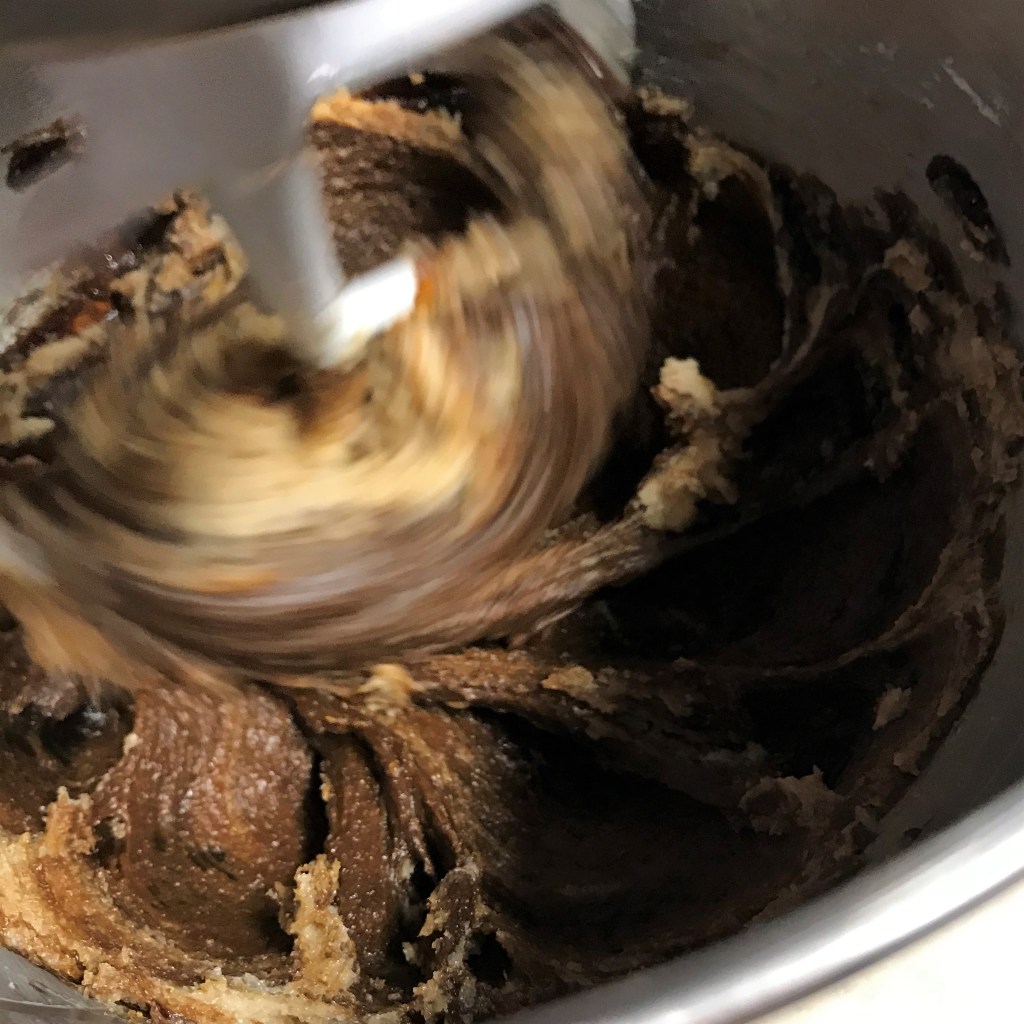
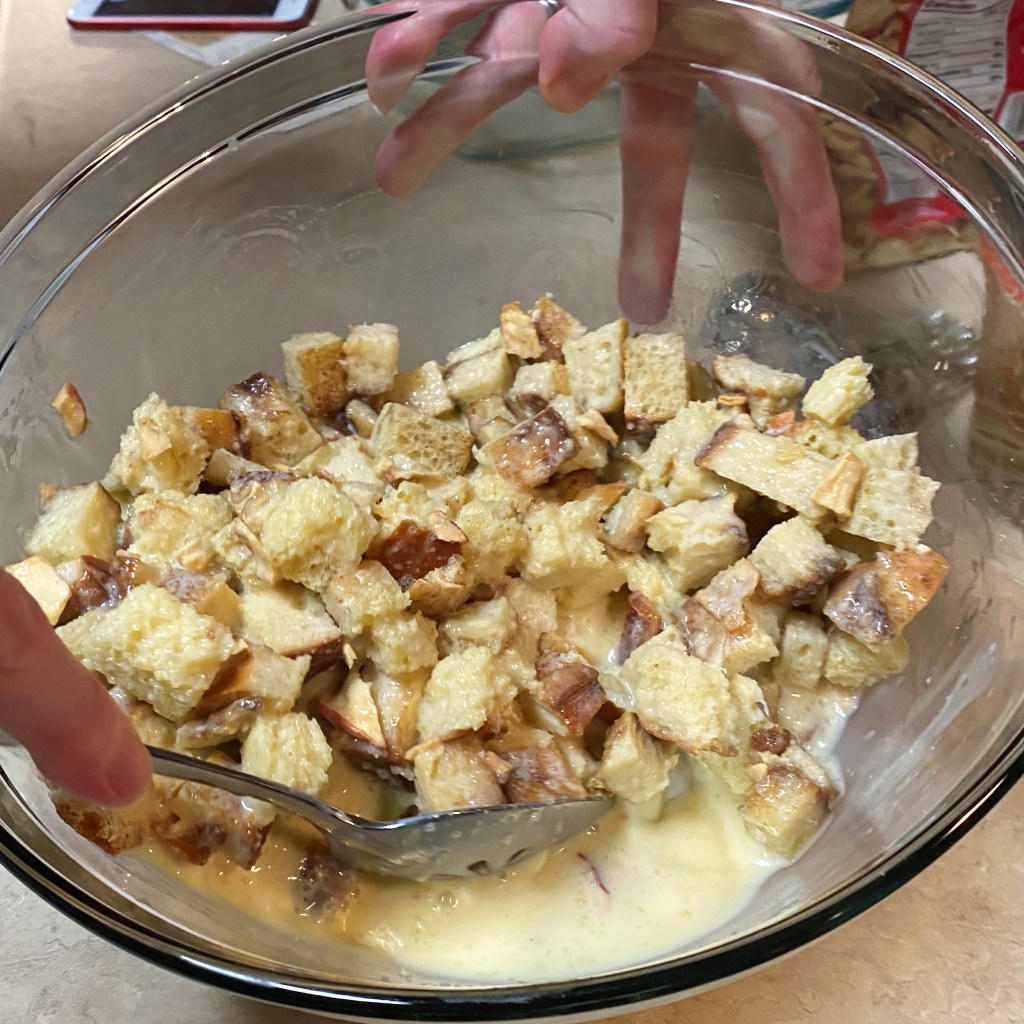
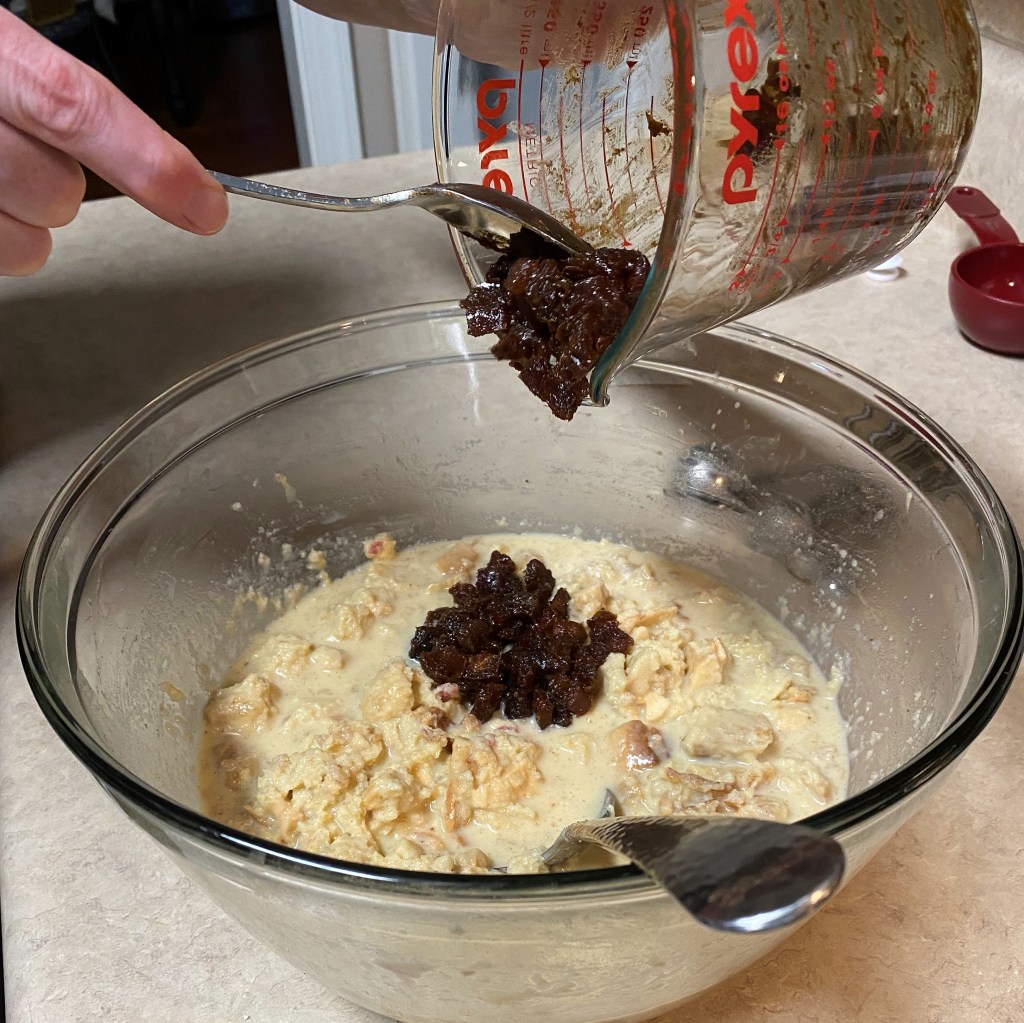
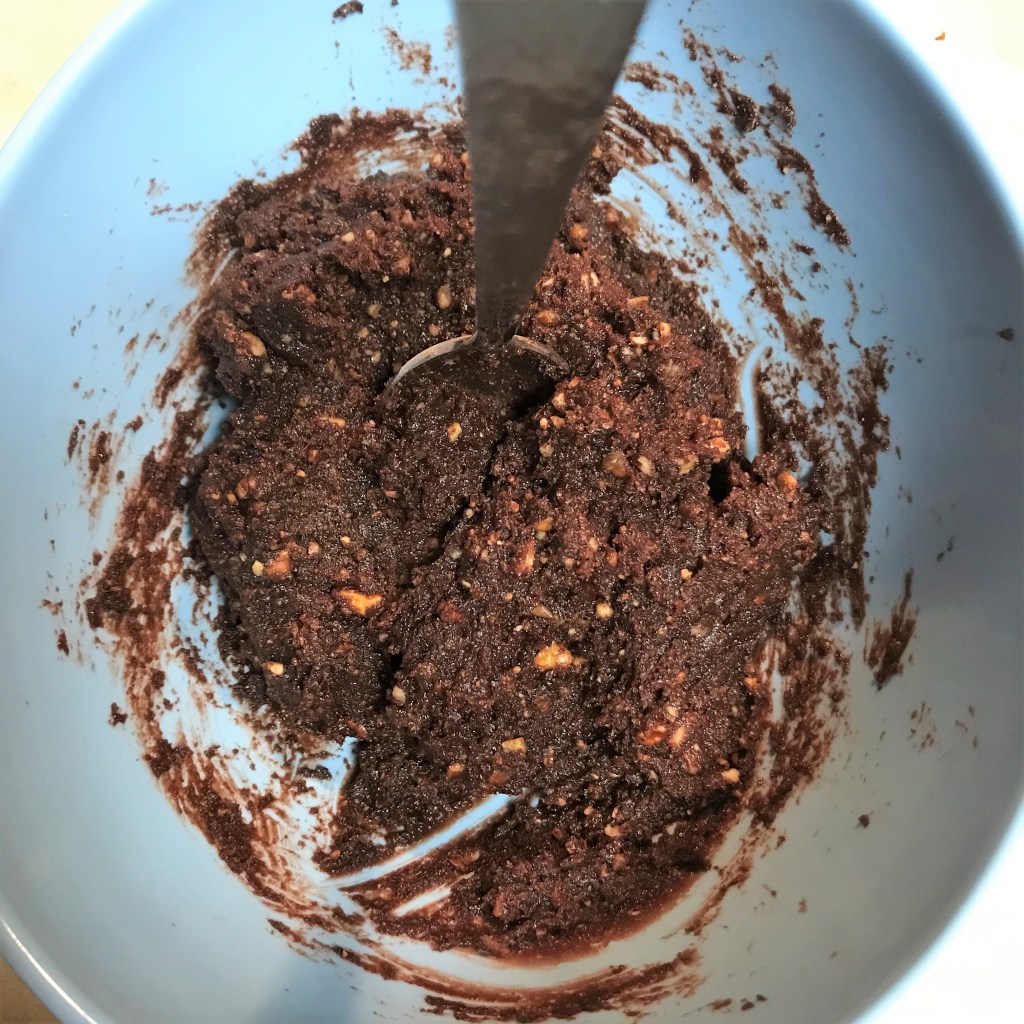
With this addition, it finally started to resemble the molasses cookies Gram used to make. 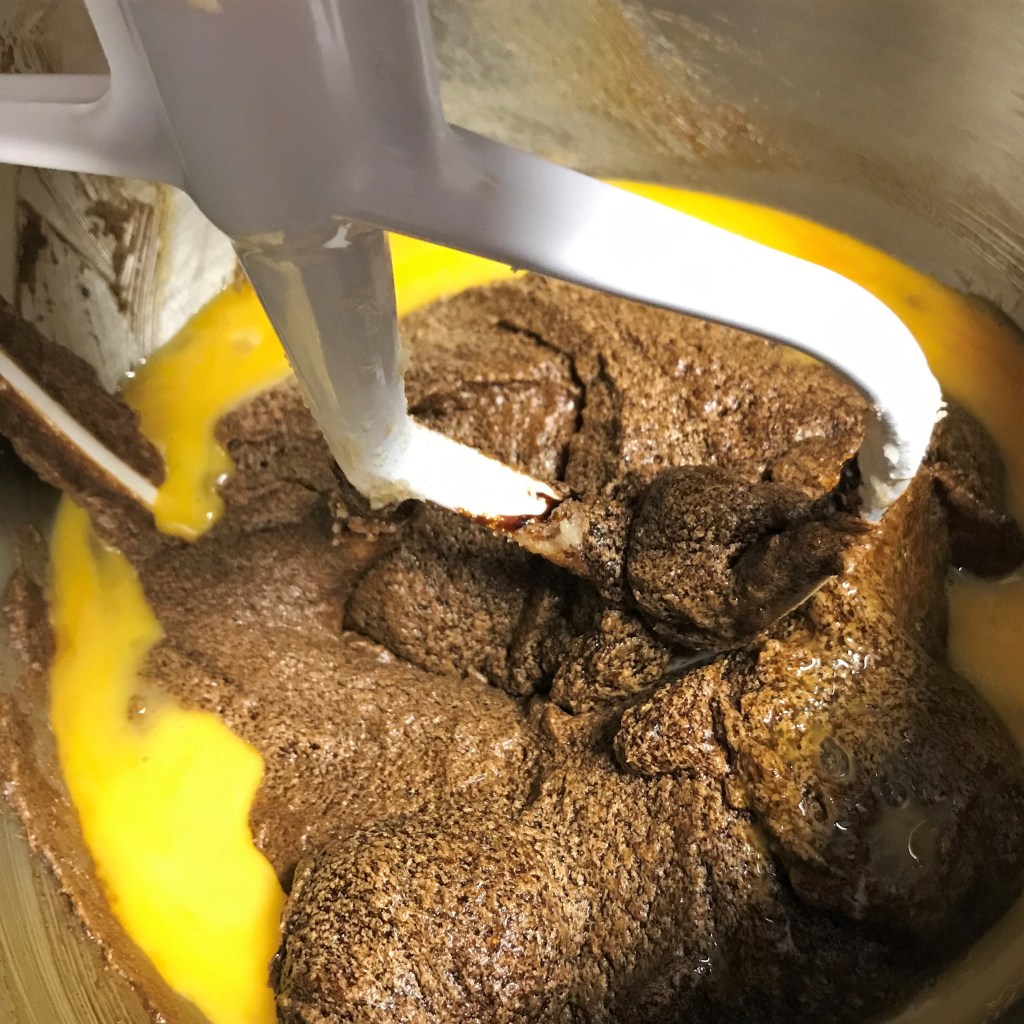
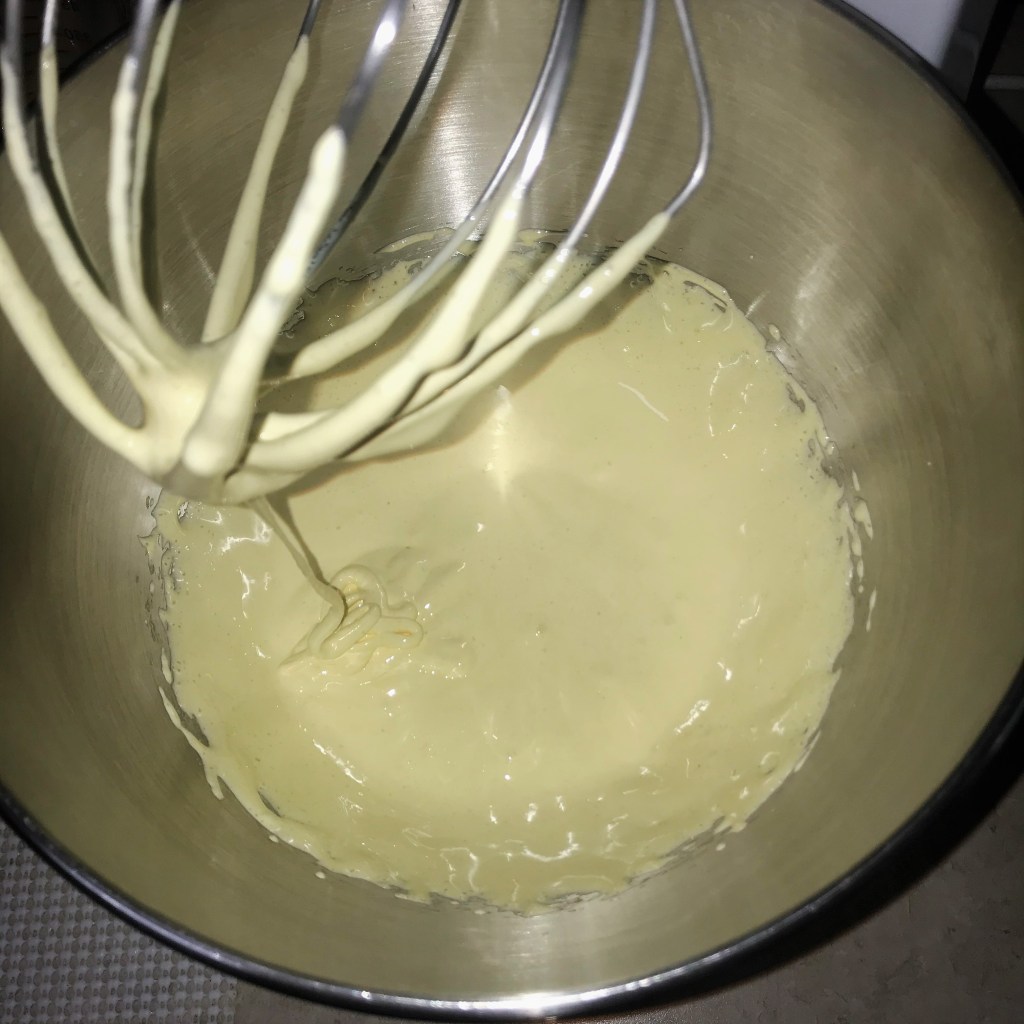
Add the beaten egg, half at a time, and blend well after each addition. I stopped to scrape down the sides. 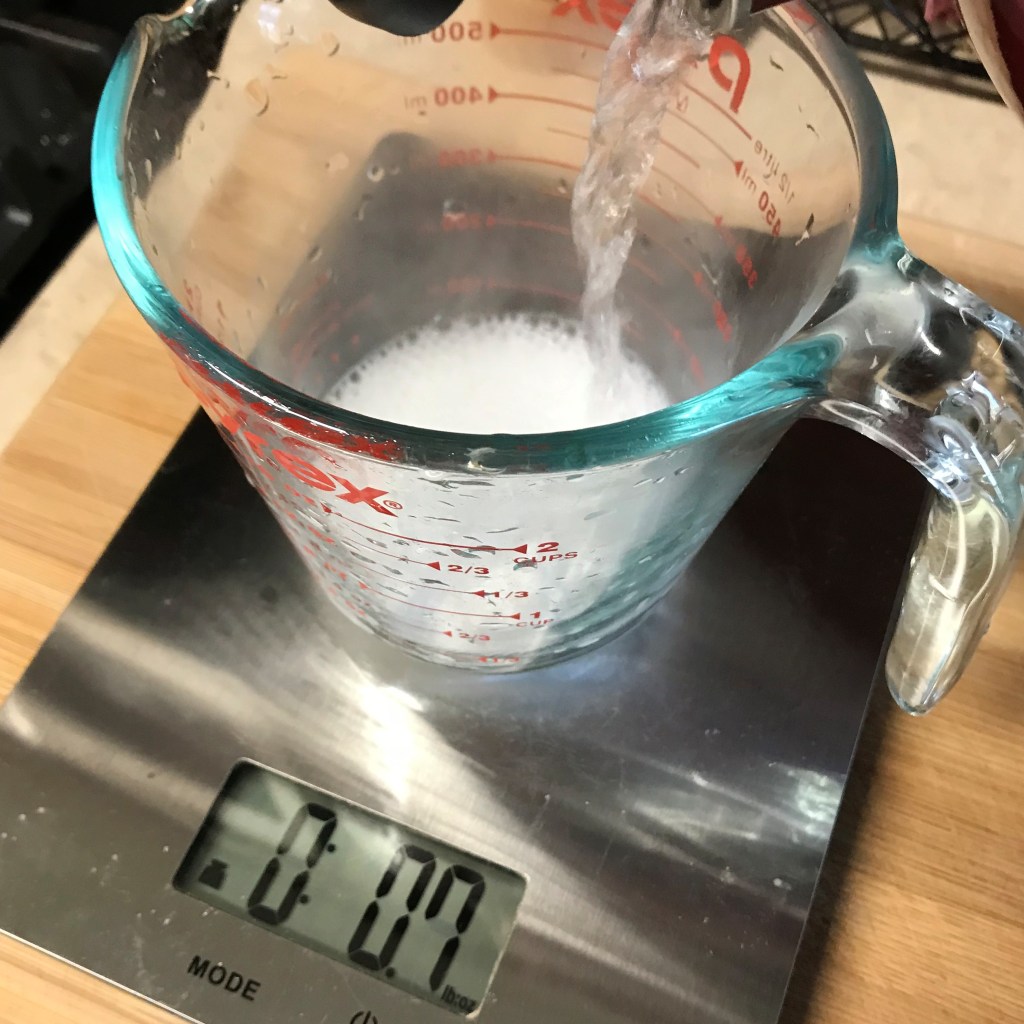
My digital scale takes all the guesswork out of baking. I didn’t want to have my face down in front of the measuring cup to get this right. 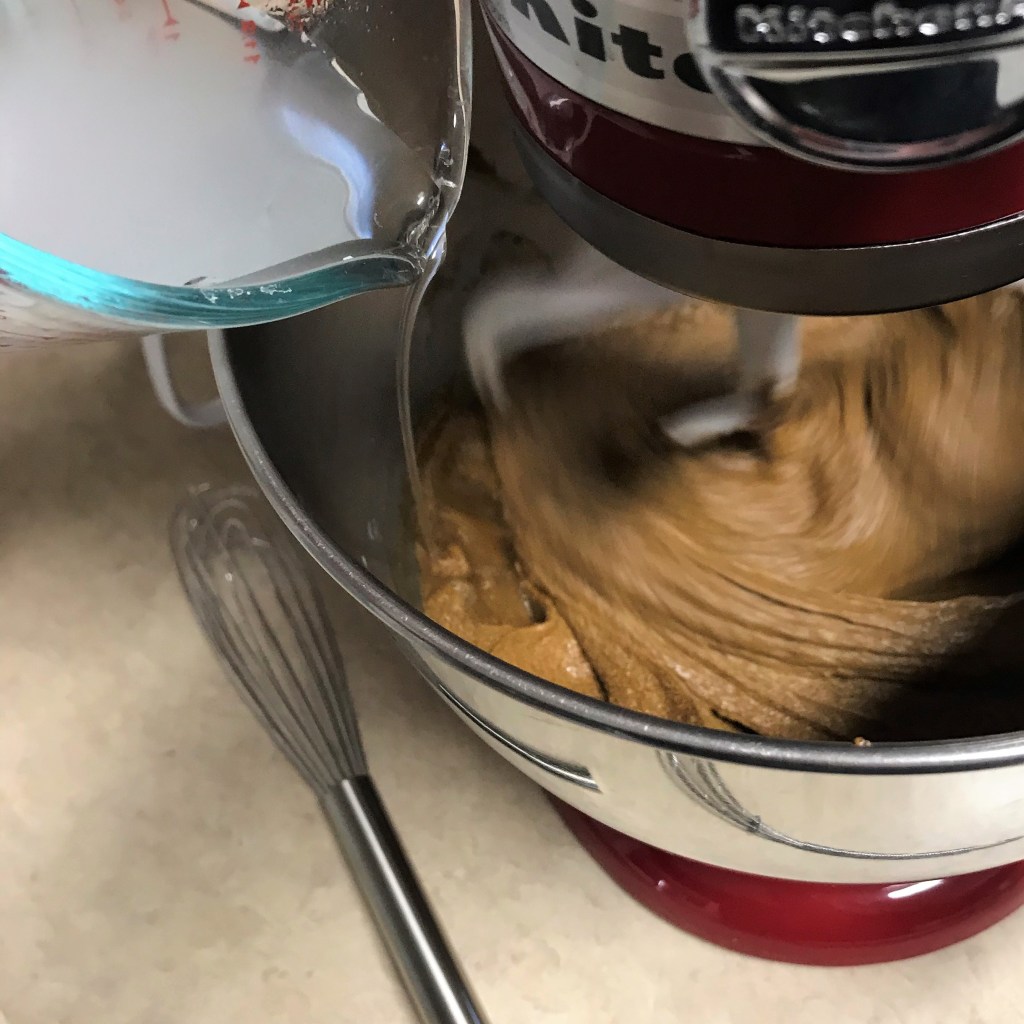
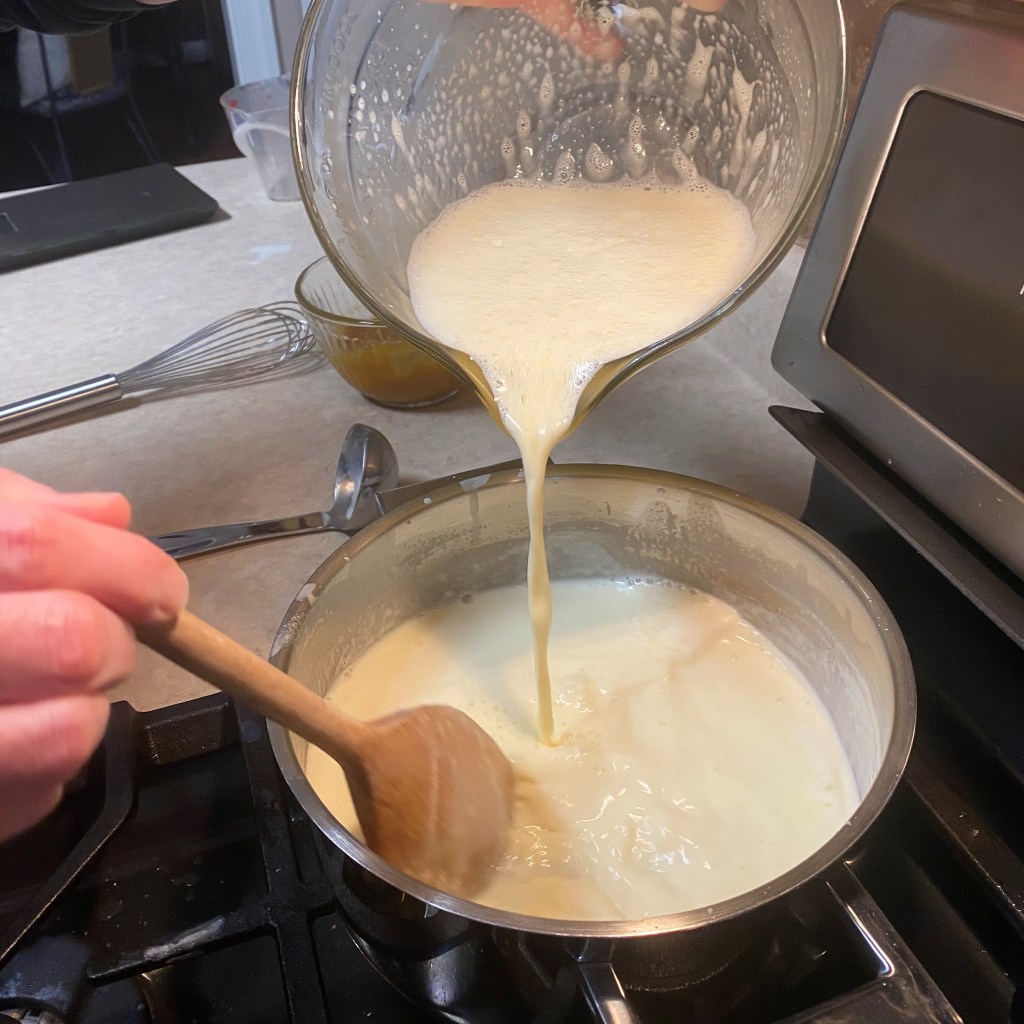
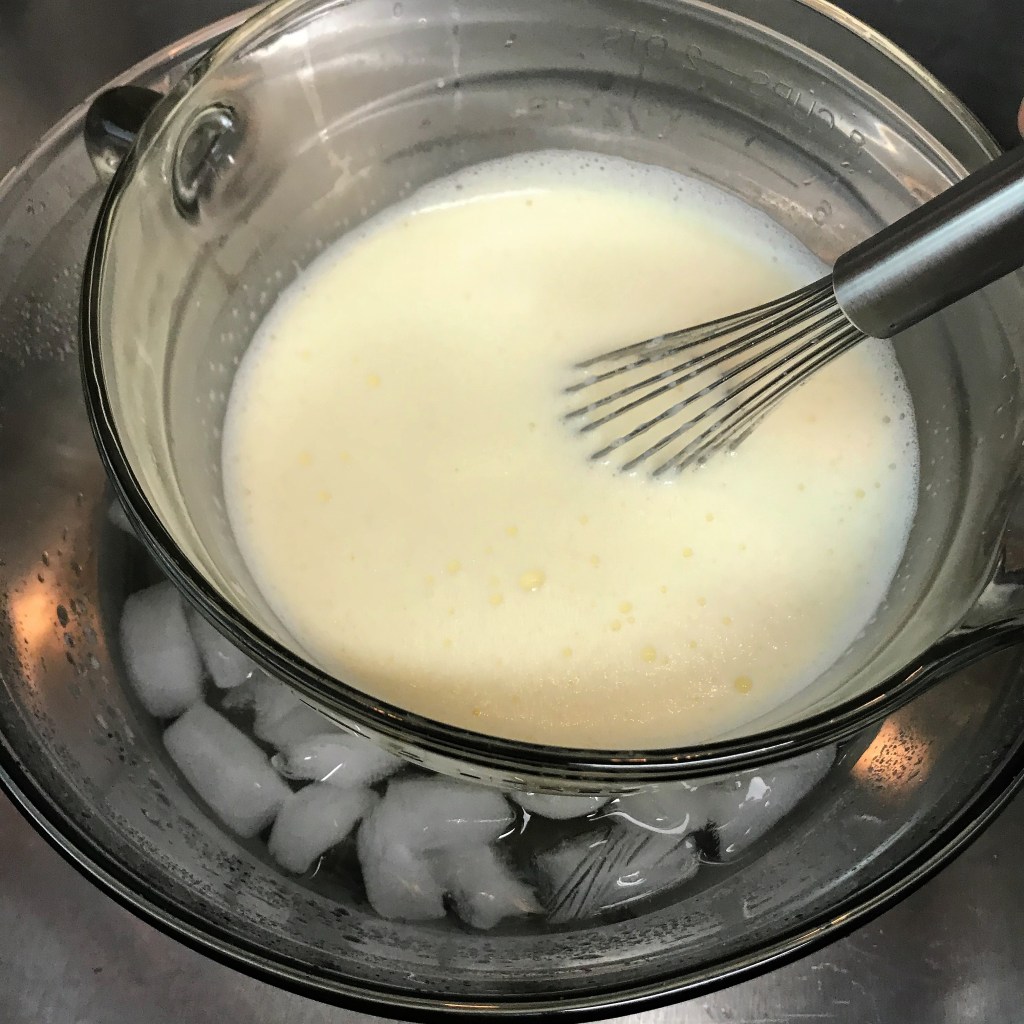
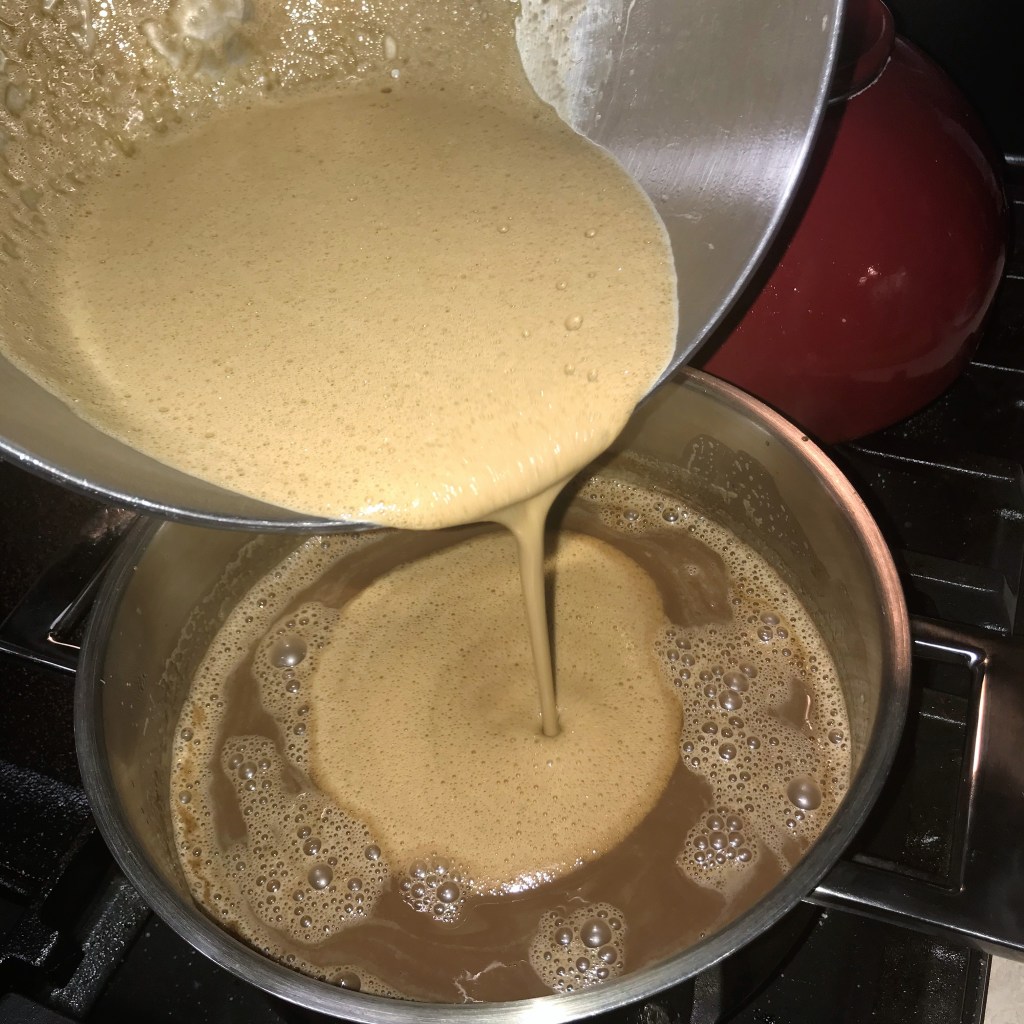
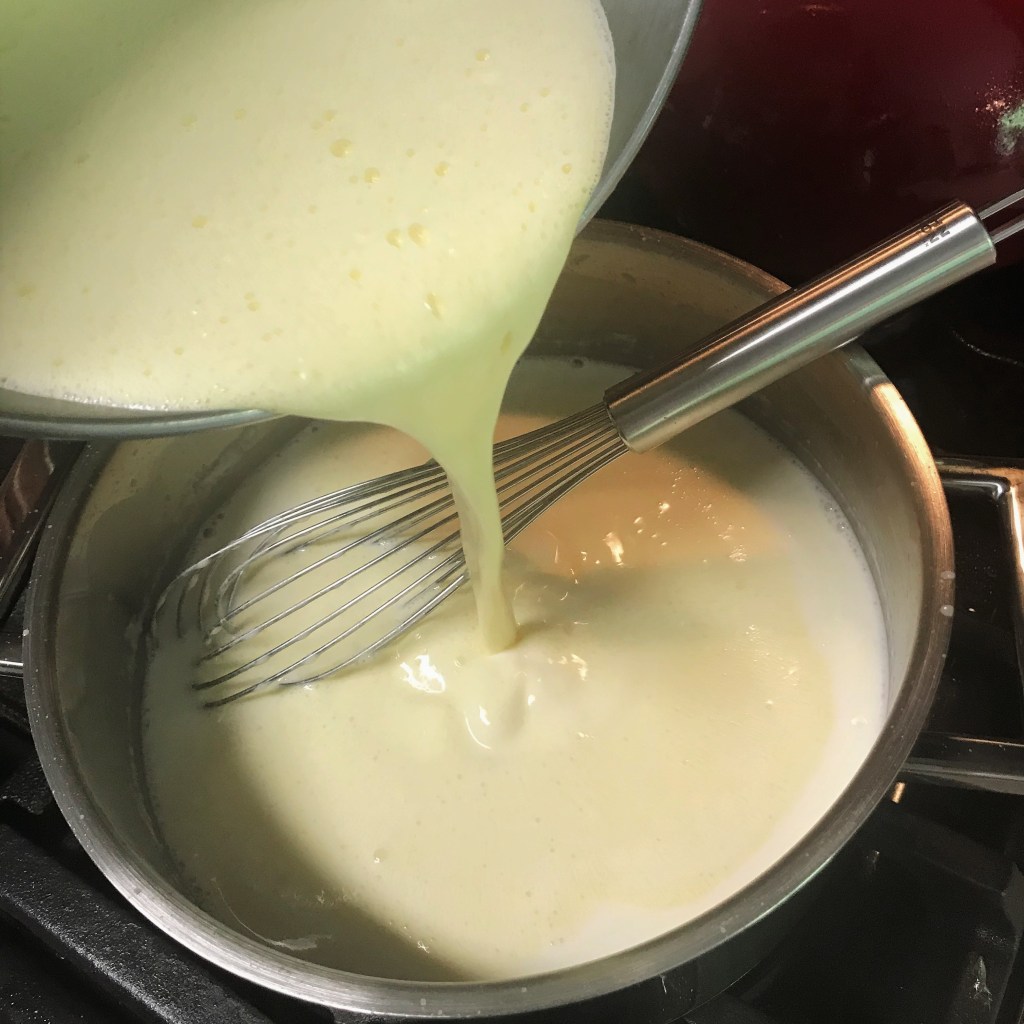
To avoid curdling the eggs, I decided to stream in the hot soda water, the same as I do with hot milk when making custard-based ice cream. 
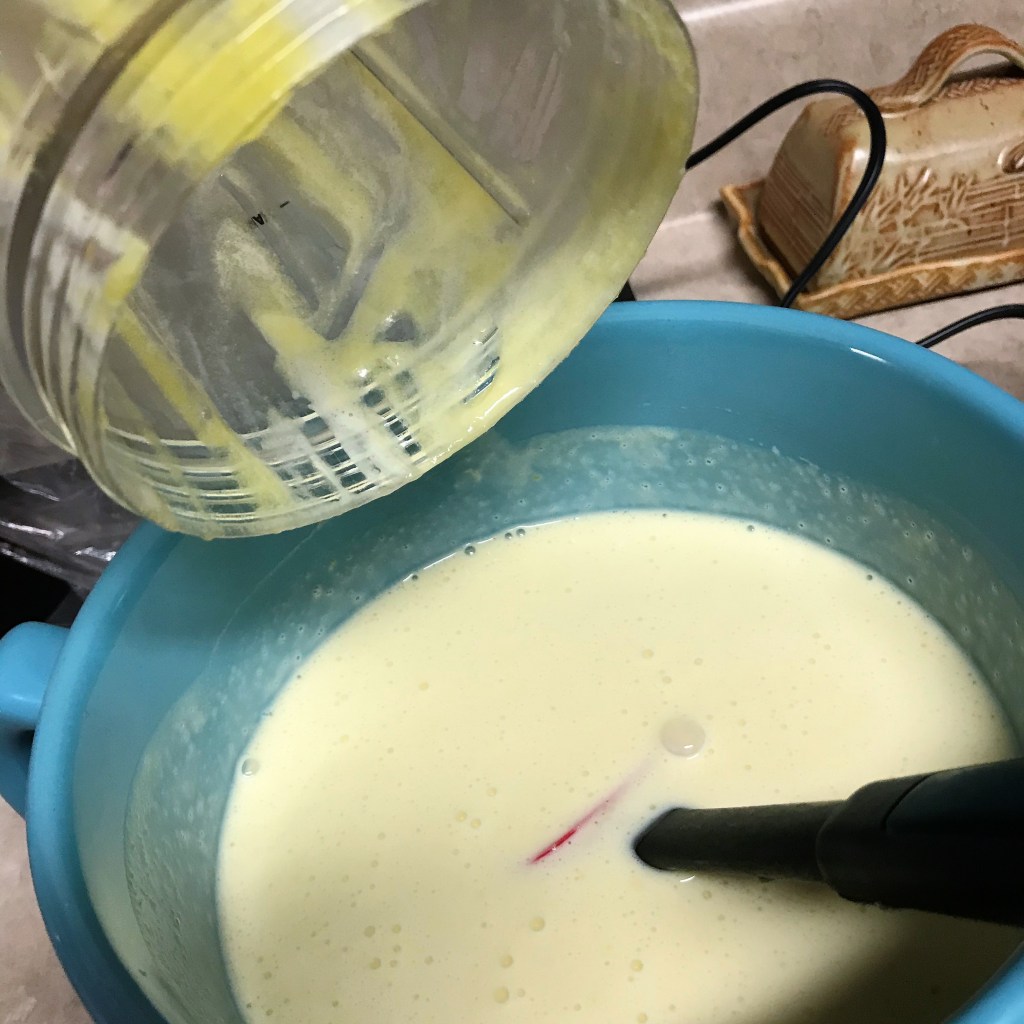
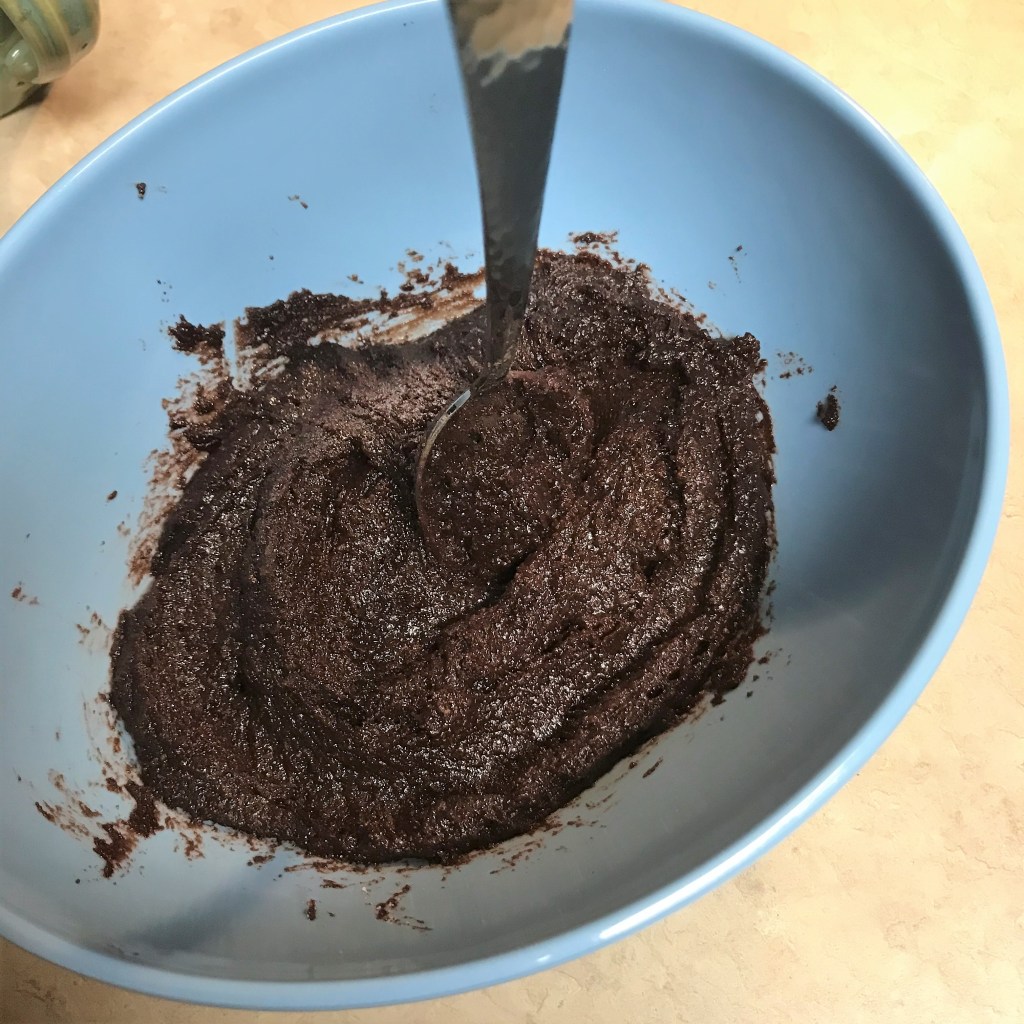
Before the flour, this mixture was a mess, like molasses quicksand! 
As I stirred in the final flour, a thought occurred to me: what if I put this batter in the waffle iron?! Maybe next time. 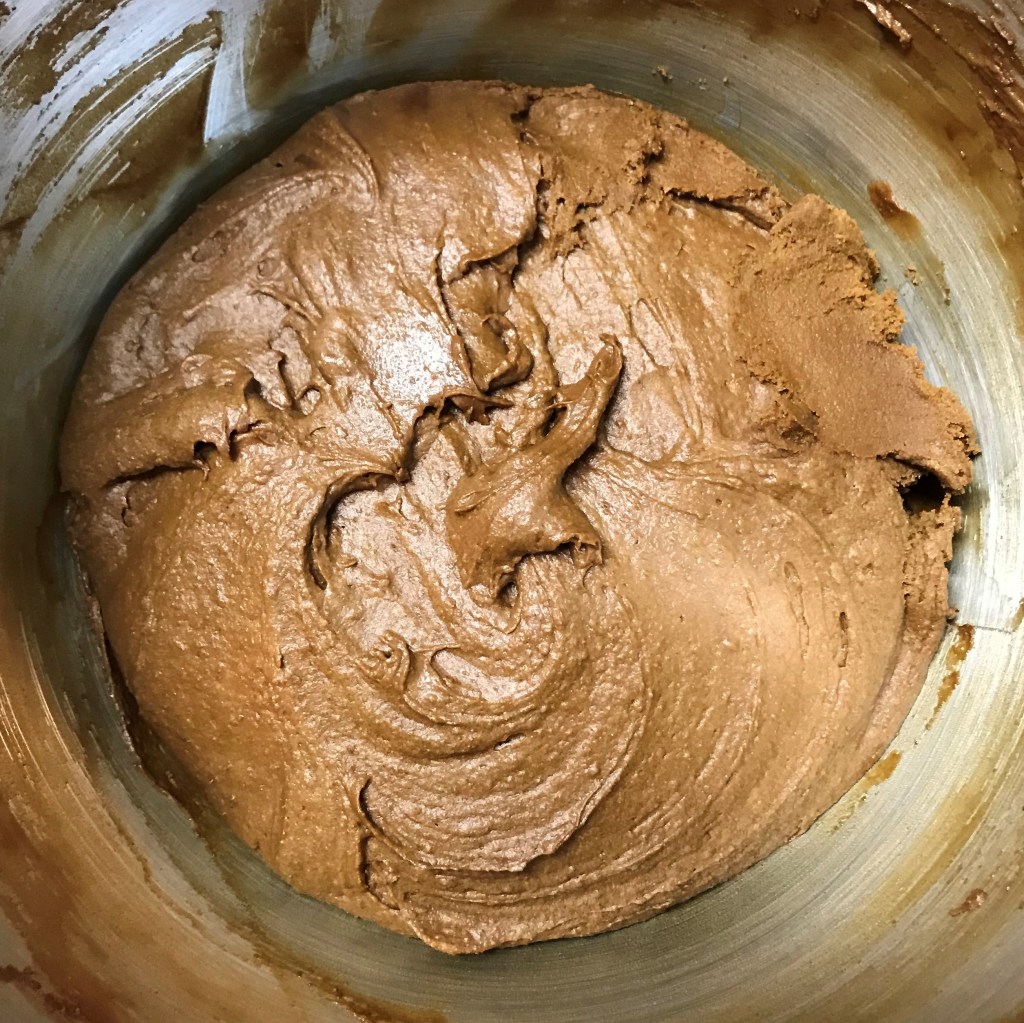
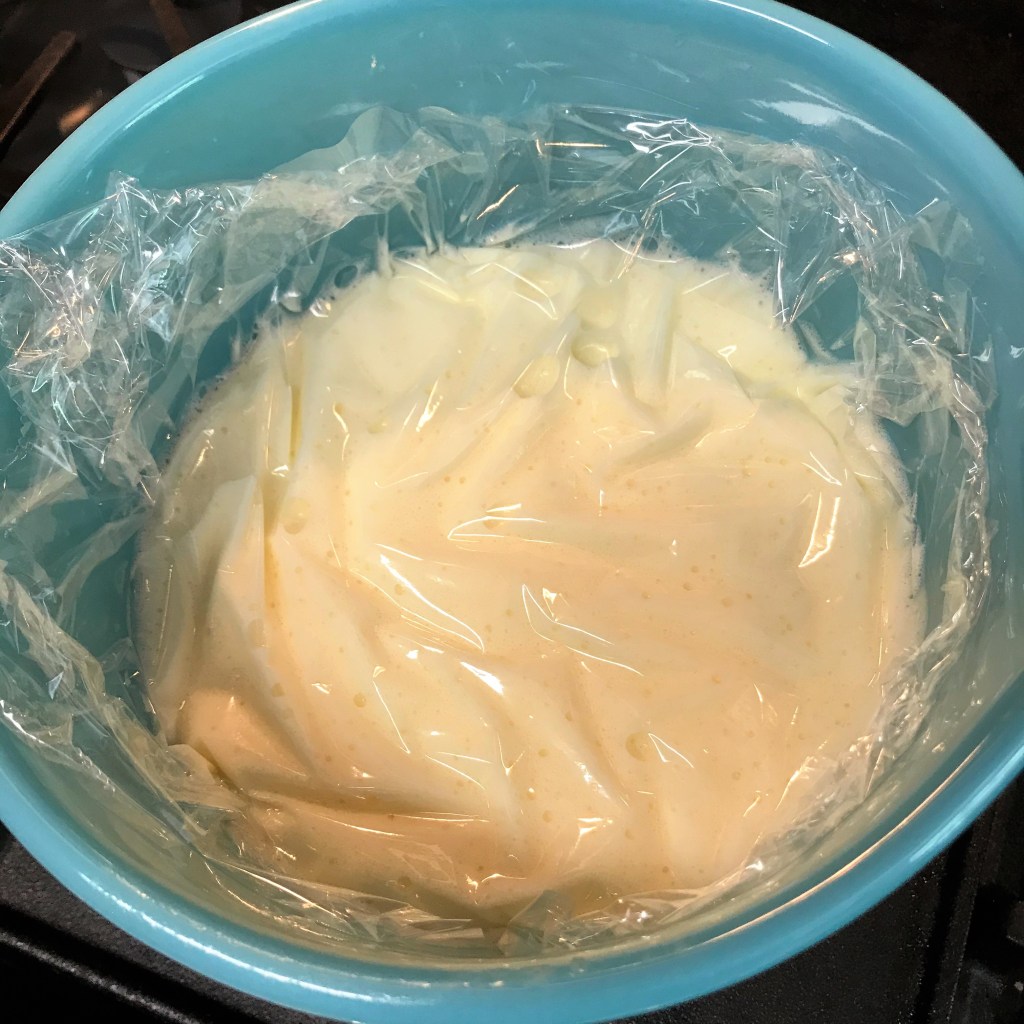
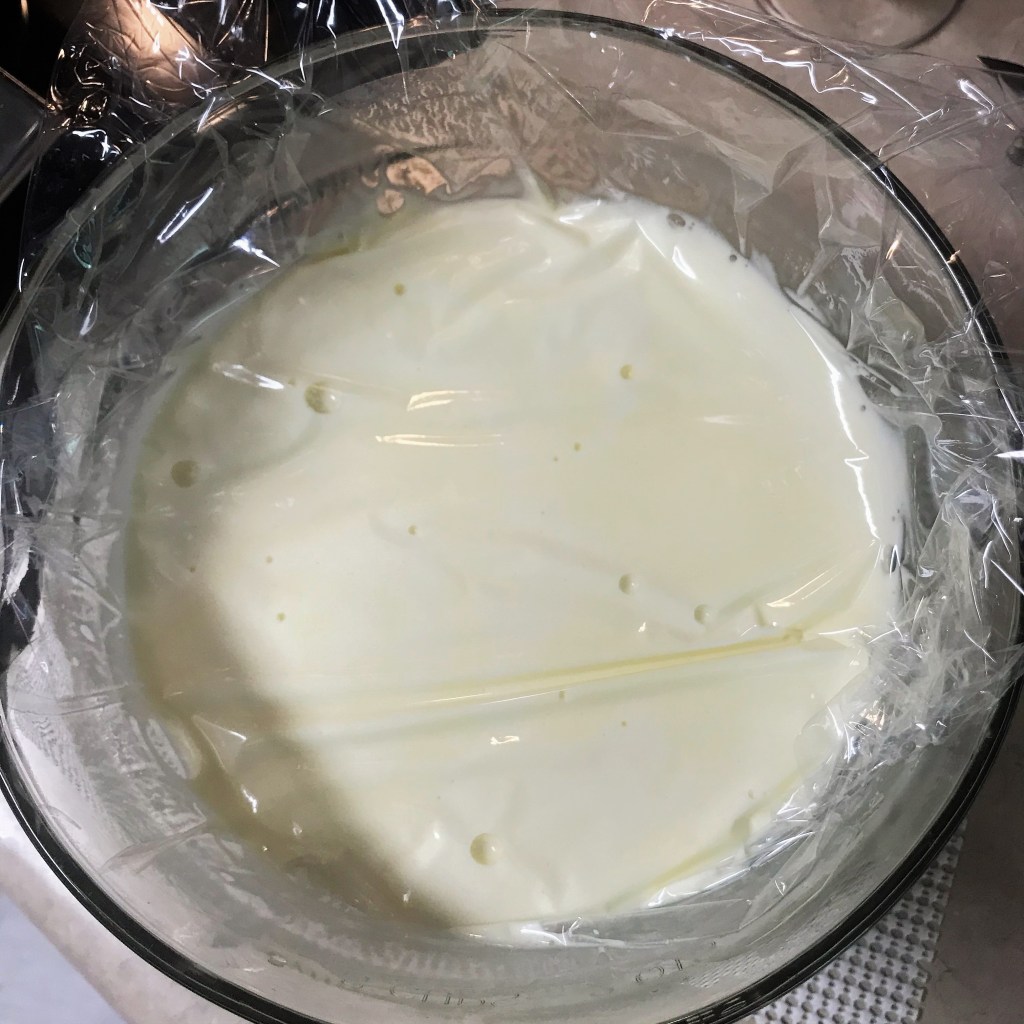
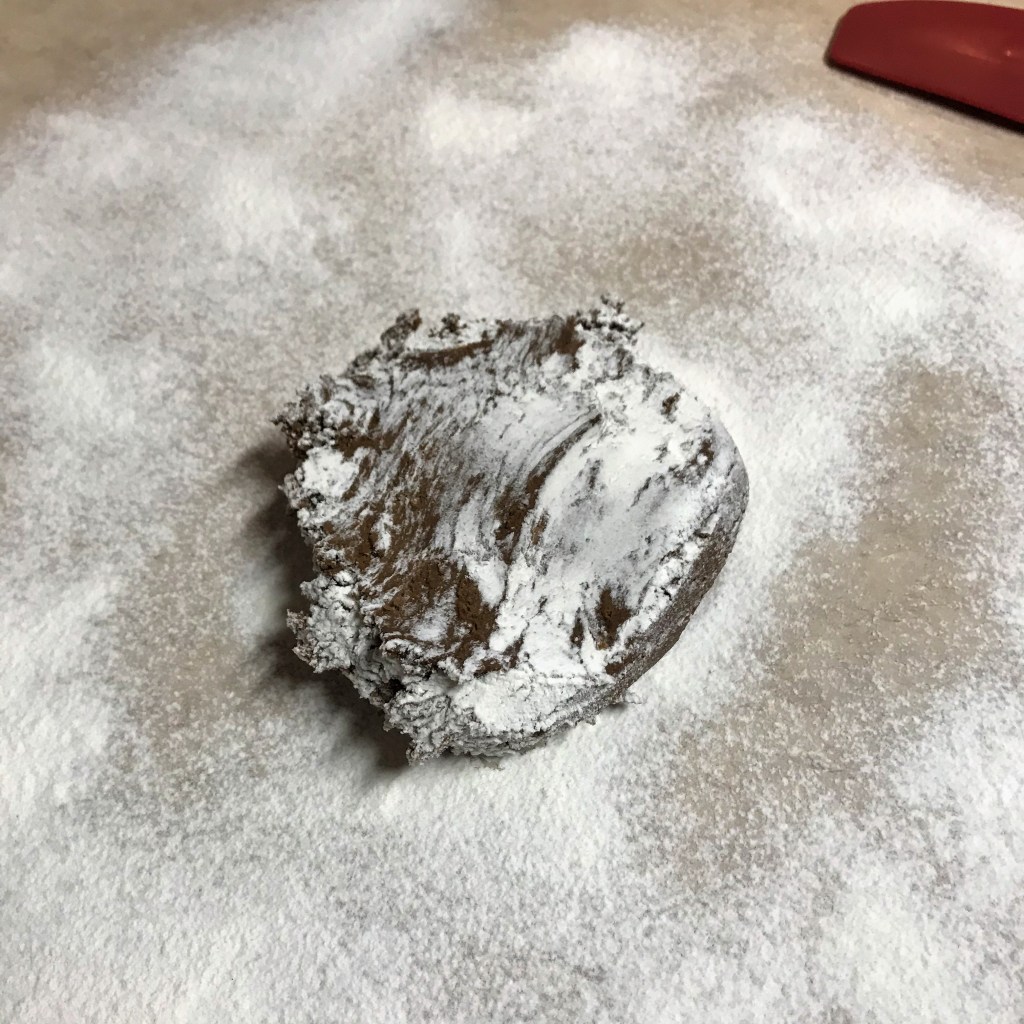
The dough is firmer after chilling, but still pretty soft. Like chocolate frosting.
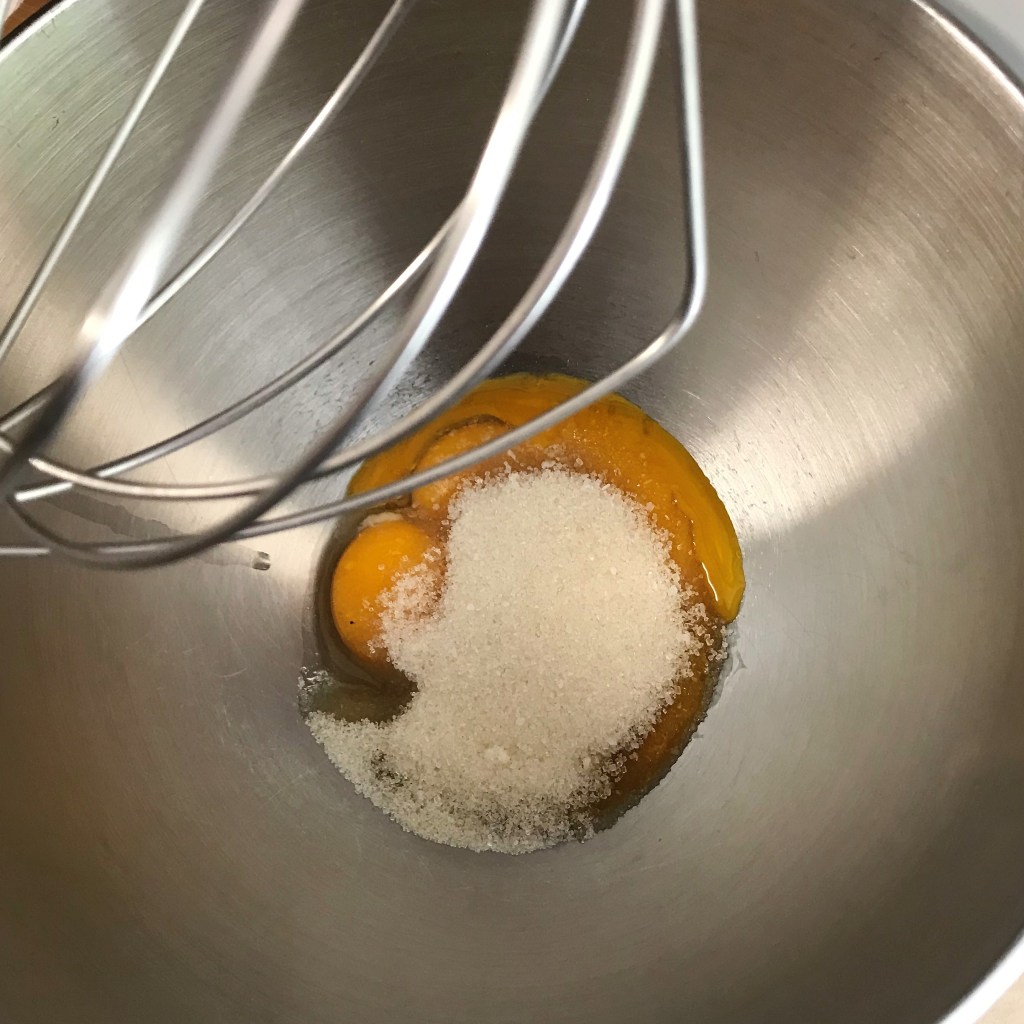
- Using a stand mixer or handheld electric mixer, cream together the softened butter and both sugars. If you want to go old-school, as my great grandmother would have done, you can do this in a large bowl with a good strong wooden spoon, and it would help you to have biceps like Rosie the Riveter. The mixture should be beaten until it looks uniform and slightly fluffy.
- Combine all-purpose and whole wheat pastry flour in a medium bowl. Scoop out a heaping cup of the flour blend to a second bowl, and add the ginger, baking powder and salt, stirring to combine. This ensures the ginger and leavening agent will be evenly mixed into the dough. Set both flour bowls aside.
- Add beaten egg mixture, half at a time, to the creamed butter-sugar mixture. Beat until well blended, and stop to scrape down the sides of the bowl after each addition.
- Dissolve baking soda in hot water and set aside briefly.
- Add molasses to the creamed mixture and beat until fully blended.
- With mixer running, slowly pour in the soda water. This mixture looked very unorganized and messy; it reminded me of quicksand.
- Add the second bowl of flour (with ginger and baking powder) to the molasses mixture and stir until blended. Stop mixer and scrape down the sides. Stir in remaining flour, a few tablespoons at a time, until all flour is blended. Scrape down the sides. Cover the bowl tightly and refrigerate at least overnight, or preferably a day or two.
On baking day, gather your supplies:
- 2 or 3 large cookie sheets, lined with parchment paper
- Rolling pin (a round wine bottle works nicely in a pinch)
- Dough mat (or board, or a really clean countertop)
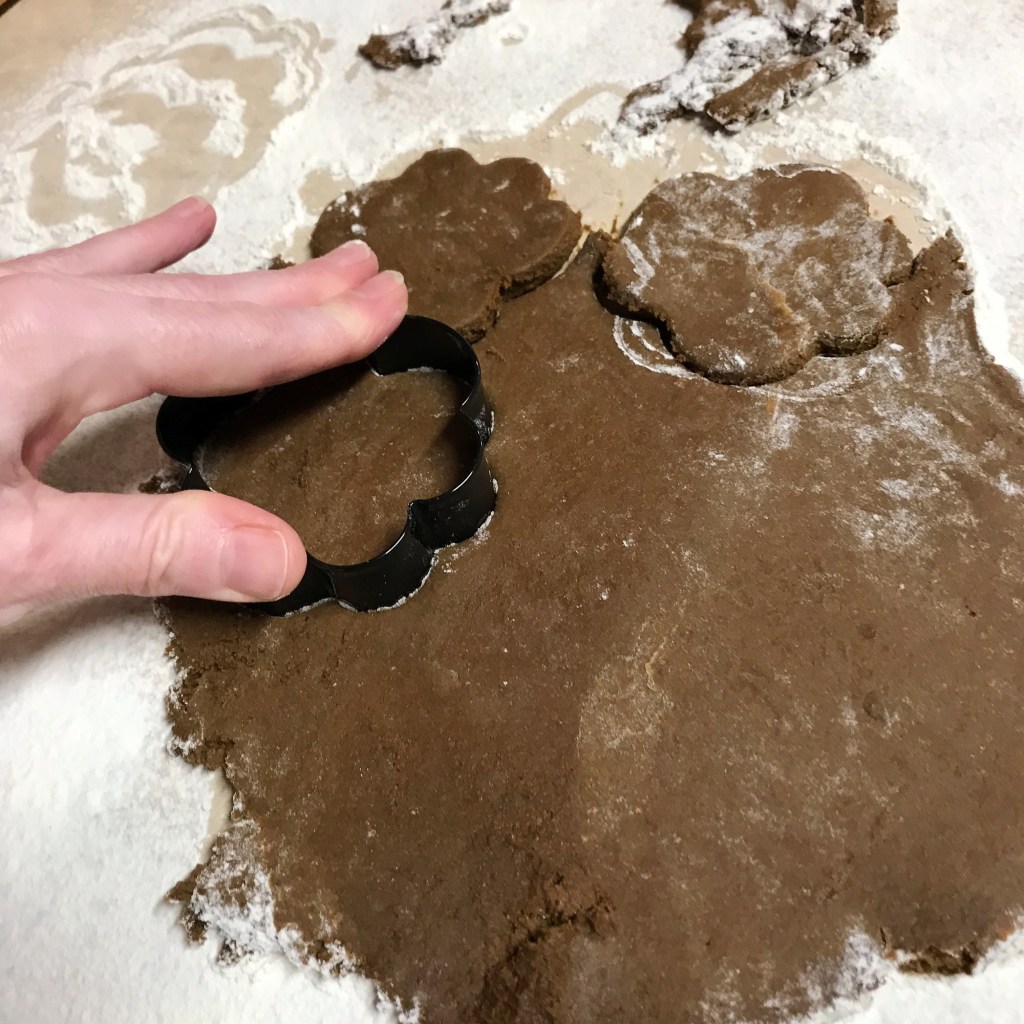
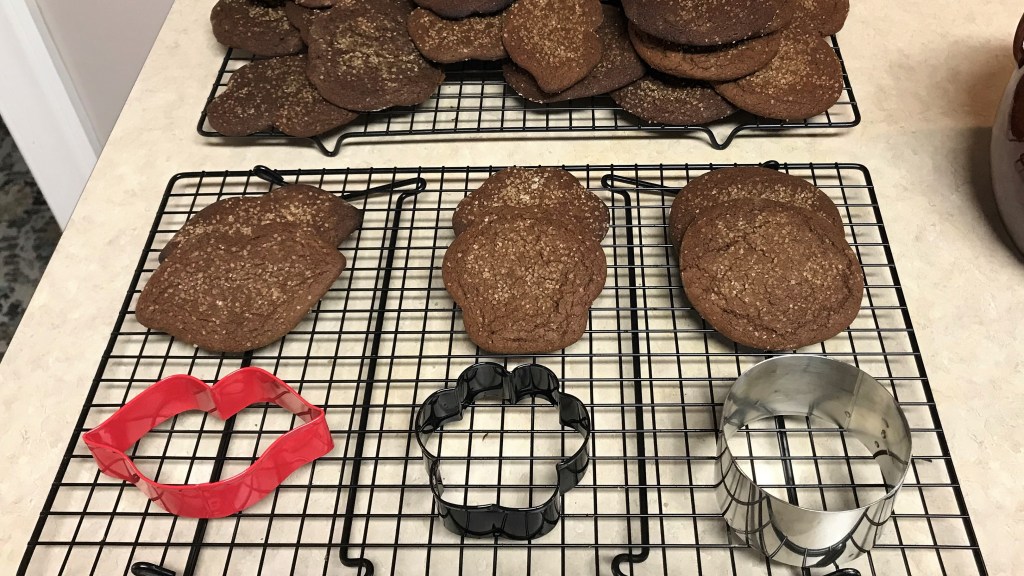
- Cookie cutters (preferably round, or anything not too intricate as the cookies will spread)
- Extra flour for dusting (keep it handy, you’ll use this a lot)
- Paper towels for wiping your hands
- Small, thin spatula to assist with moving cookies to baking sheet
- Large spatula for moving baked cookies
- Cooling racks (at least two will be helpful)
- Coarse-grained sugar for decorating (I used turbinado sugar)
- A baking timer
- Christmas music for inspiration (I recommend Vince Guaraldi’s “A Charlie Brown Christmas” soundtrack)
- A glass of wine (seriously, I found this very helpful when things got ugly)
- My aunt on speed-dial (oh wait, that was just for me!)
Baking Instructions
Preheat oven to 450° F (much hotter than most cookie recipes, and they bake fast)
Generously flour your rolling mat or board, and begin with about 1/4 of the chilled dough. Put the rest back in the fridge until you’re ready for the next batch.
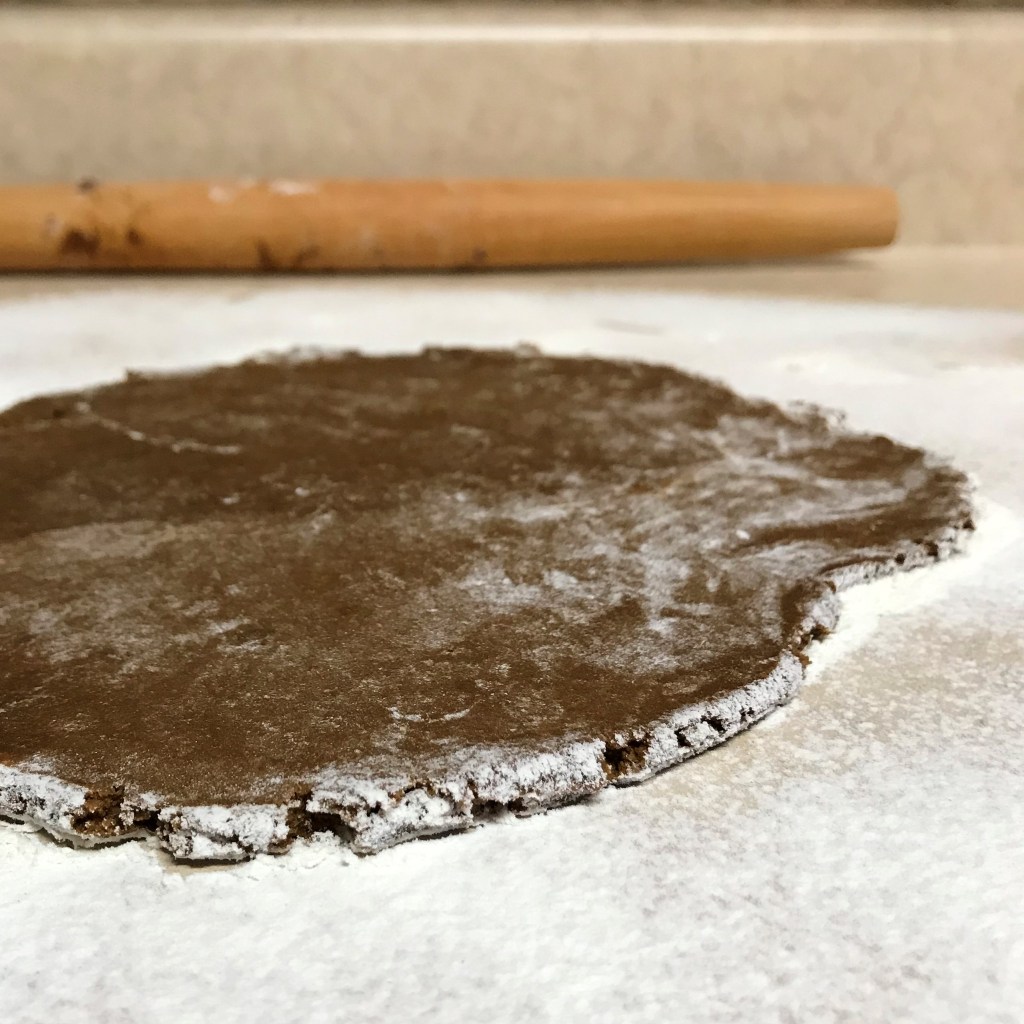
Sprinkle the top of the dough with flour. My aunt suggested that I use “a lot of extra flour,” and I think she meant to say, “Make it look like you had a blizzard in the kitchen.” You need a lot of flour to keep this ultra-soft dough from sticking. Roll it gently to about 1/2” thick.
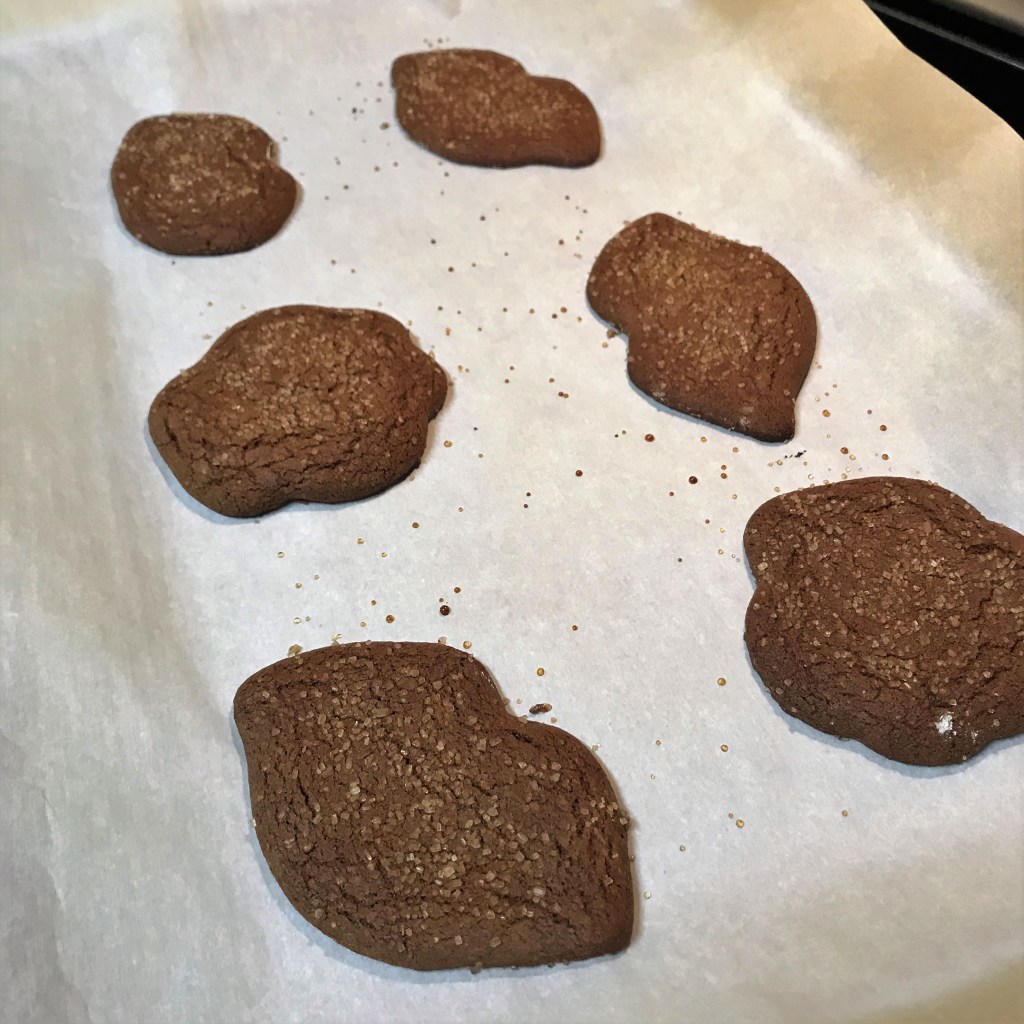
Dip your cutter gently into the cookie dough bowl, then liberally into the extra flour to prevent sticking. Cut as many shapes as you can from the first rolling, and transfer the cookies to the prepared cookie sheet. Aim for only 6 cookies at a time, as they will puff and spread quite a bit during baking. Knead up remaining dough scraps and add them to the next batch.
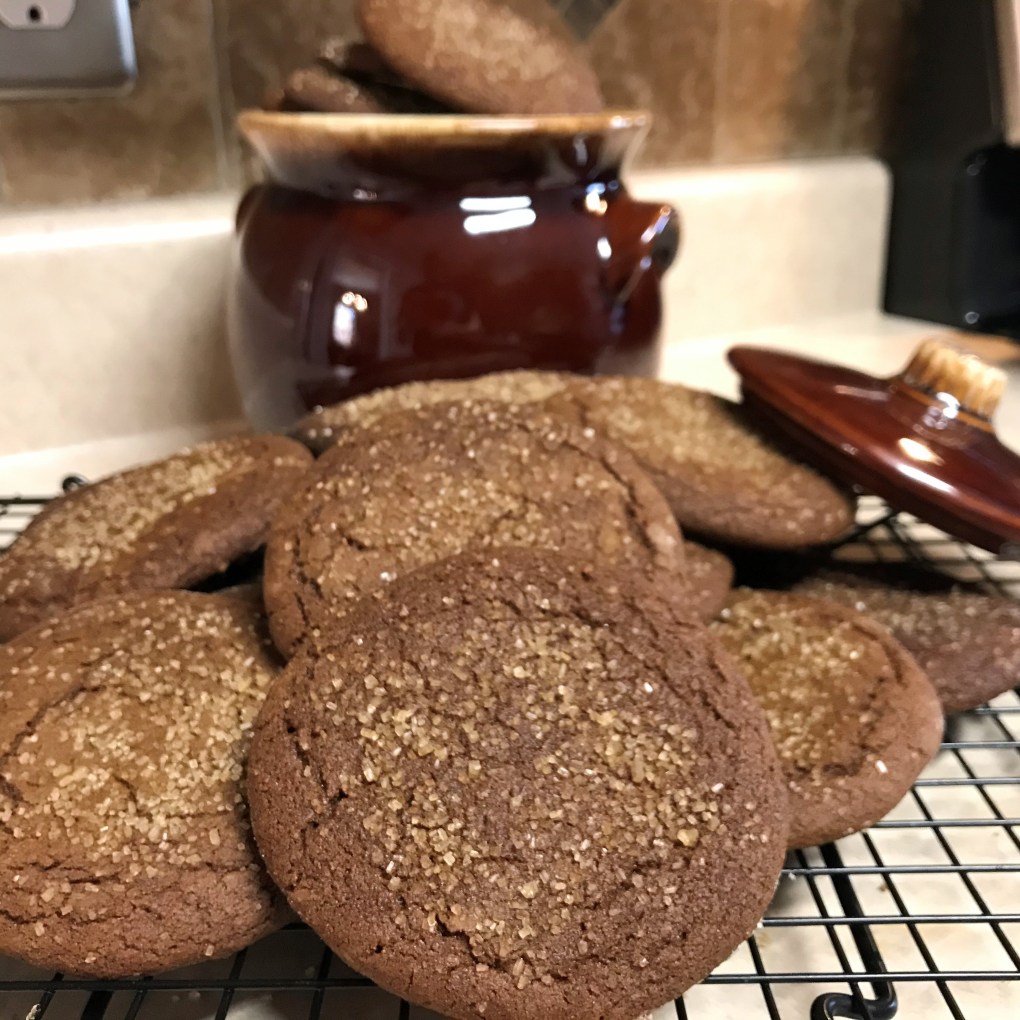
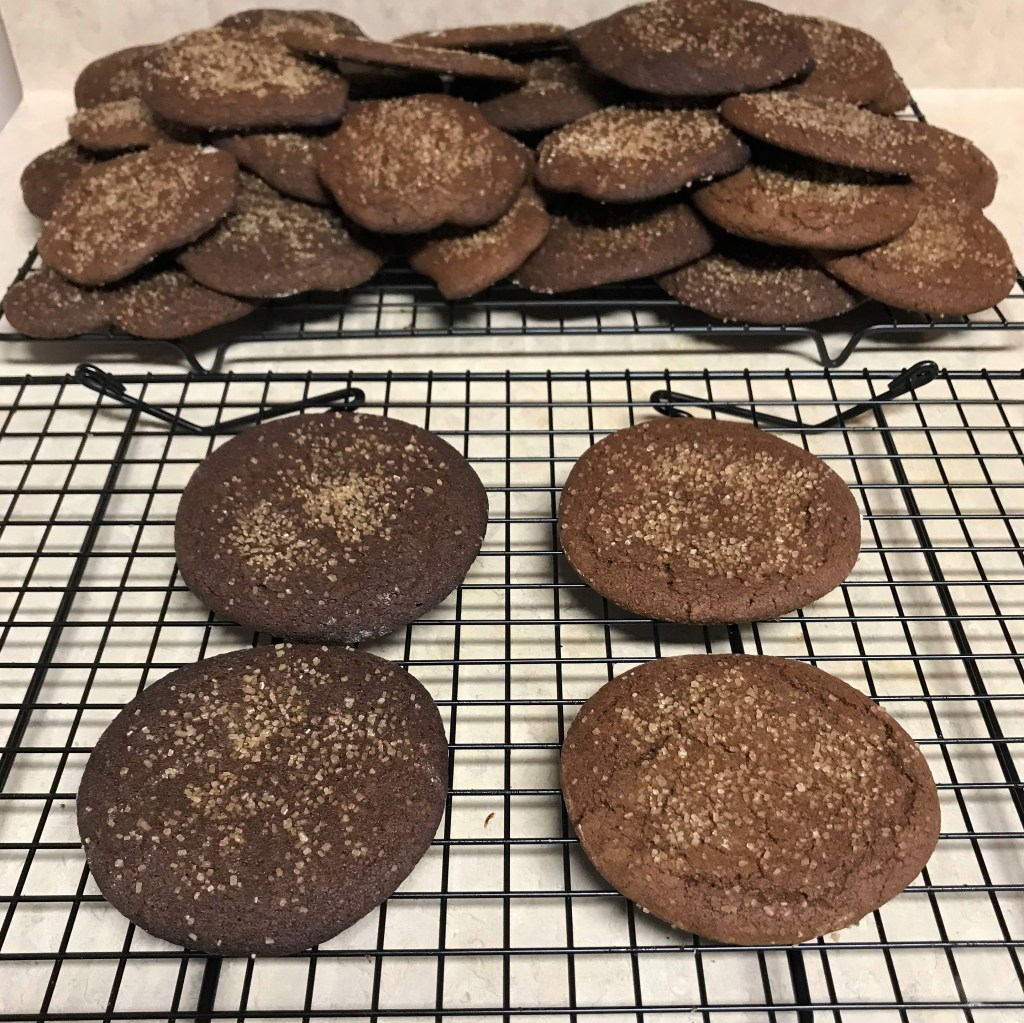
Generously sprinkle each cookie with turbinado sugar.

Bake for 5 to 8 minutes (depending on your oven) until cookies are soft and puffy but not brown on the edges. Transfer cookies as quickly as possible to a cooling rack. Place the hot cookie sheet somewhere to cool.
Prepare a second batch of cookies on the extra pan. This whole scene was very stressful for me, and I found myself wondering how my grandma did this with such grace and ease, and with excitable grandchildren “helping.”
Repeat this process until all cookies are baked. You should have flour everywhere (including your hair), about 5 molasses-coated spoons stuck to the counter, a sink full of bowls and random sticky objects, a dining table covered in molasses cookies and an empty wine glass bottle. If you’re crying, well, join the club. If you’re crying and laughing simultaneously at the end of it all, you get bonus points and a commemorative recipe tea towel.

Is it OK for me to share your recipe, Gram?
She would say—no, wait, she would sing, “Oh, ya, sure!”