For the past several weeks, I’ve been suffering through my least favorite winter tradition: regulating my digestive system. On New Year’s Eve, squeezed in between our latest fancy pizzas and the decadent chocolate dessert that ended our evening with friends, I had a Caesar salad. And I realized, as I savored the fresh crunch of the chilled romaine, that it was the first truly fresh thing I’d eaten in a while. Sure, I’ve had plenty of vegetables since Thanksgiving, but most of them were cooked, baked or stewed, doused in cream, butter or gravy. There’s been so much meat and cheese and booze and sweets, and my gut is announcing loud and clear that it does not approve.
I call this unpleasant digestive situation a “tradition” because it has been happening to me every year between Thanksgiving and New Year’s for about a decade. All the rich foods of this season provoke questionable choices that don’t land well for my body. Do I know better? Of course, but the lure of butter and cream and simple carbs and cocktails is powerful, and that sluggish feeling that follows overindulging is compounded by a total lack of energy to do anything, especially in the cold weather and with a stack of my favorite Christmas DVDs nearby. I am doubly wrecked.
Surely, I’m not alone in this annual trip down indigestion lane, and so I’ve decided to share with you one of my favorite gut reset recipes, which I’ve made many times over the past decade or so. In addition to their ability to get things, ahem, moving again, these morsels are sweet enough (without added sugar, mind you) to pacify my sugar dependence after too many holiday treats. All of that from only two ingredients? Behold, stewed prunes!
Oh, stop your snickering. Prunes— or you can call them dried plums, if it makes you feel less old— are not only fiber-rich and delicious; according to my Reader’s Digest A to Z guide, Foods that Harm, Foods that Heal, these chewy little nuggets happen to be high in vitamin A, potassium and iron. And though they tip the high side of the scales in sugar content (they are concentrated fruit, after all), they are low on the glycemic index, which means they don’t spike your blood sugar, they’re digested slowly and they leave you feeling full. Honestly, I don’t know why they’ve been reduced to a punchline.
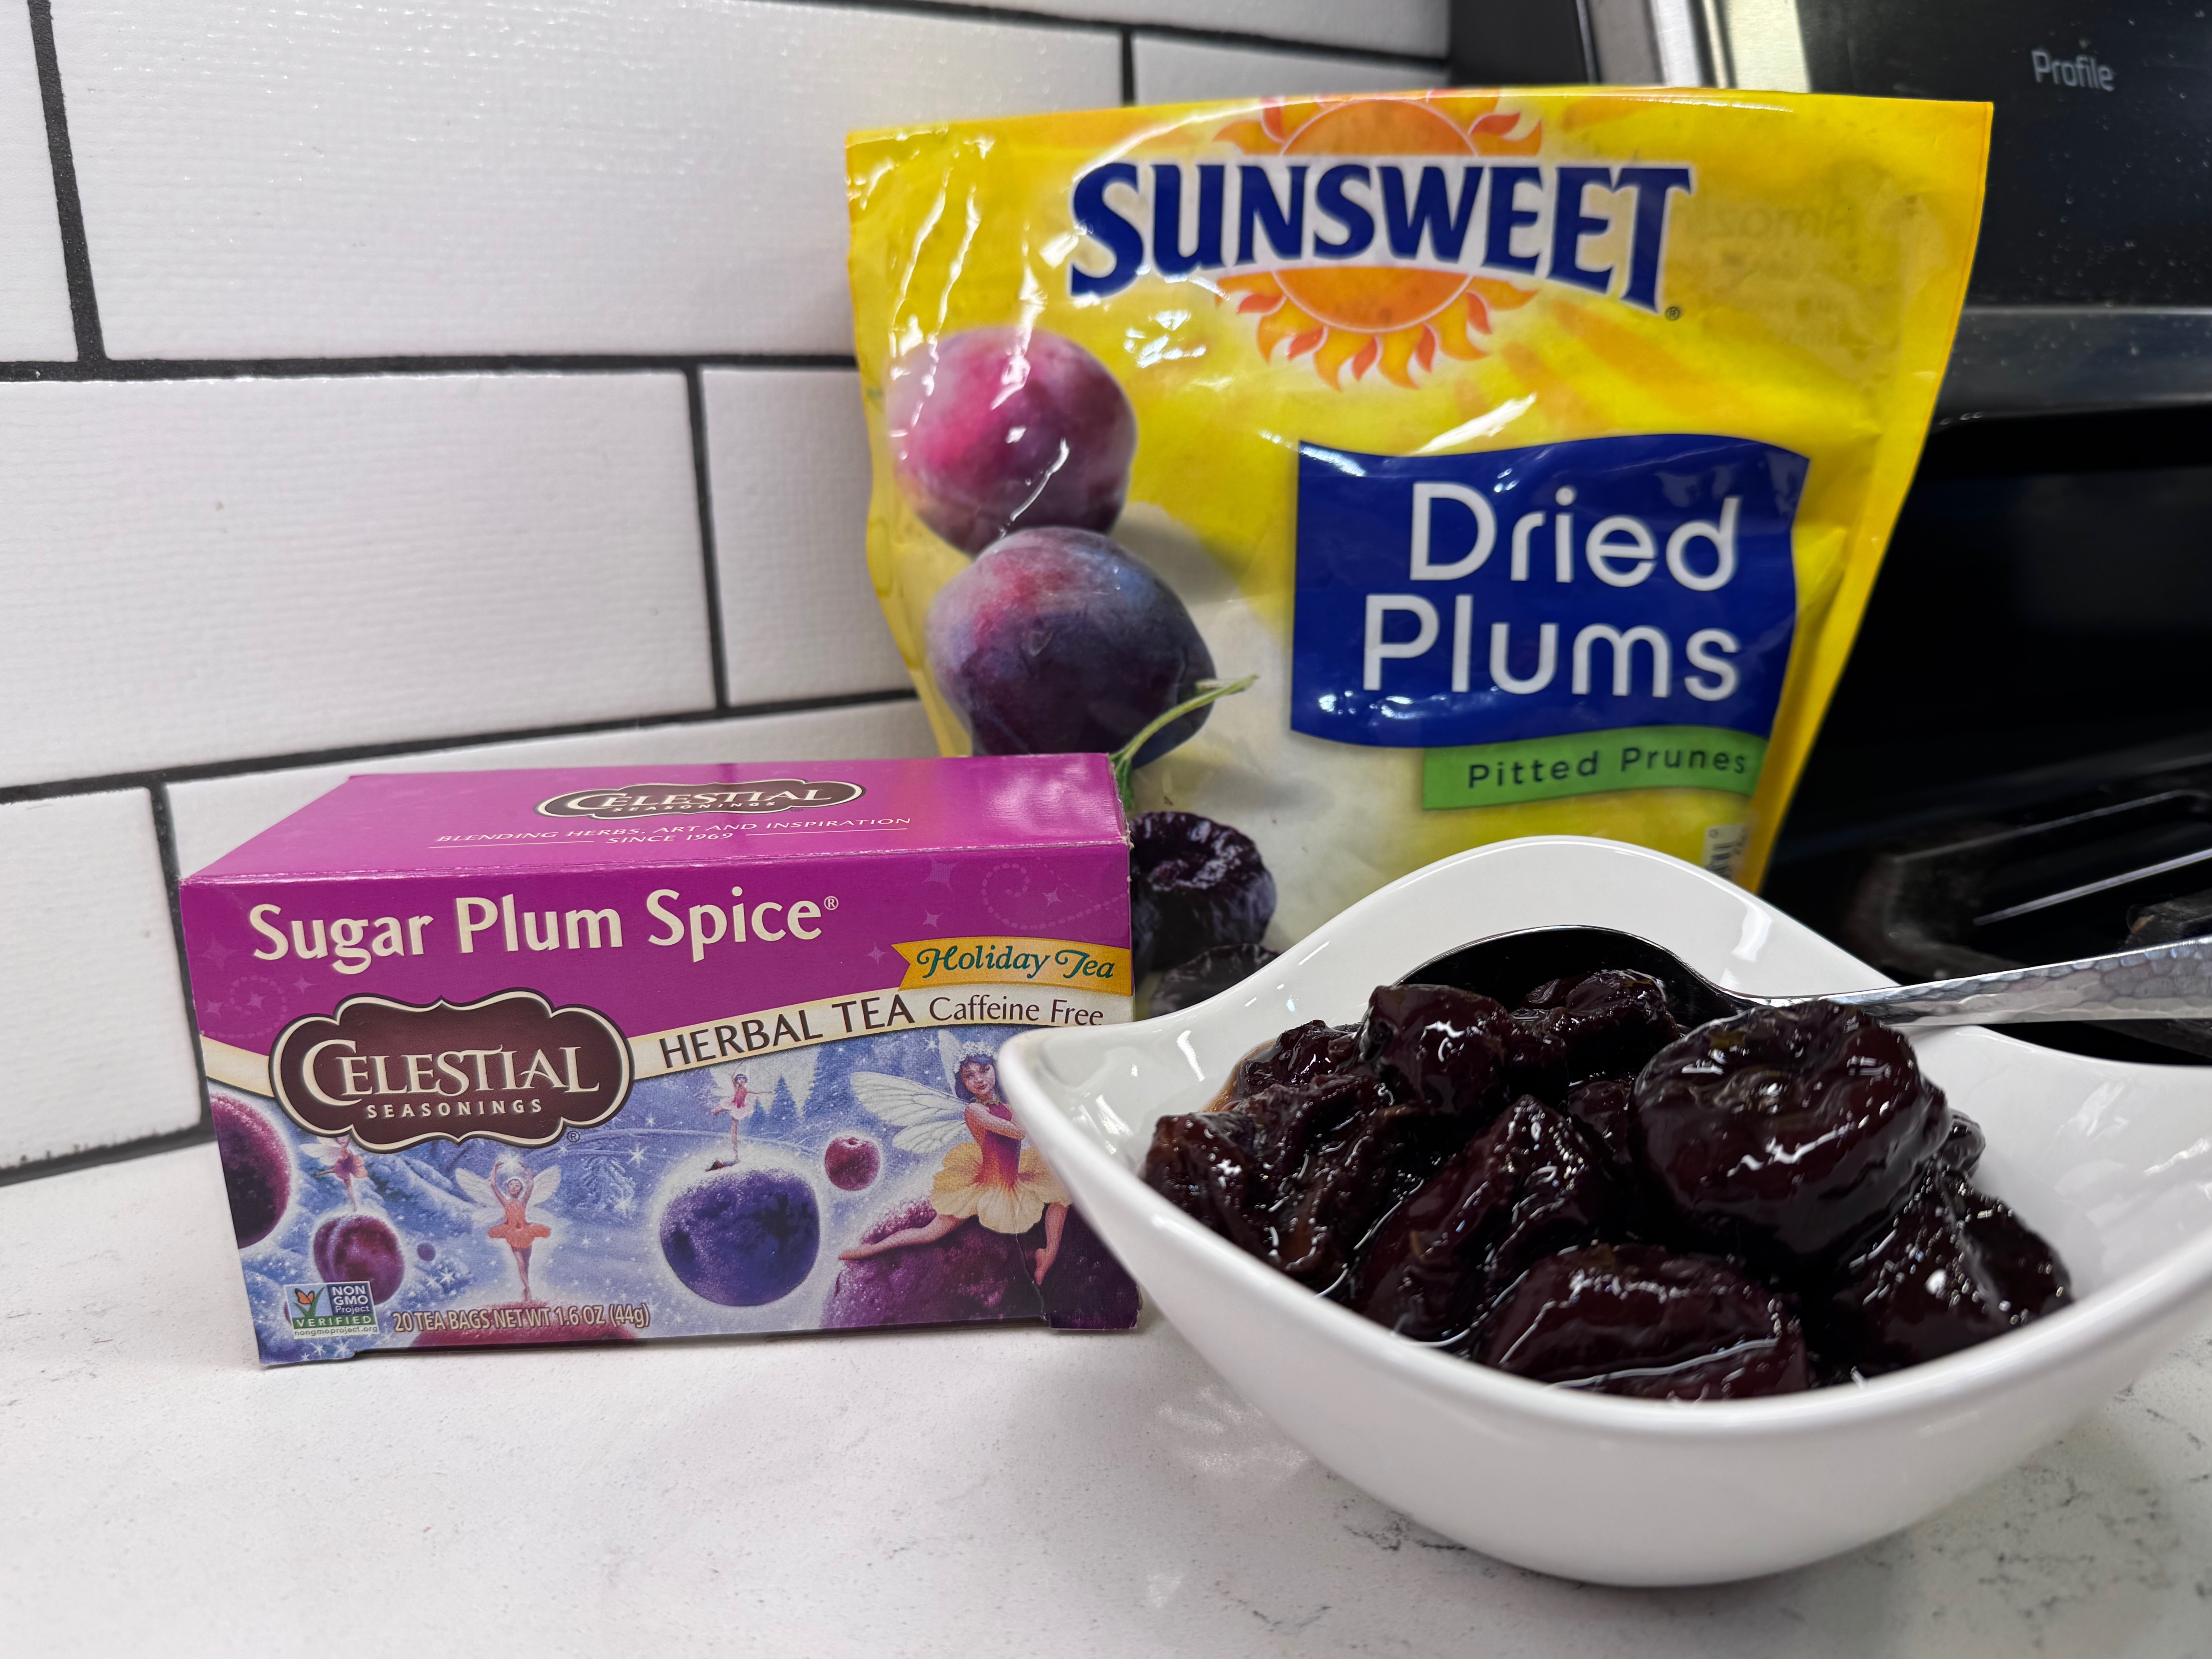
I buy these enormous bags of prunes at Costco that last approximately forever, and while I am often content to stand in front of the fridge and eat them straight out of the bag (sweet like candy, they are), I also like to put them in my Moroccan Chicken recipe. But my favorite way to enjoy them is stewed at breakfast. Stewing puts an elegant spin on prunes, takes some of the sticky out of them, and also creates a world of possibility for flavor infusion. You can do this on the stove by cooking the prunes in a flavorful liquid, but I like the slow and easy steeped method that I’m about to show you. All you need is a bowl full of prunes, some boiling water and a couple of tea bags. What kind of tea? Well, take your pick!

I have no loyalty to a brand, and usually just look for a flavor that matches my mood or the season.
Start stewing!
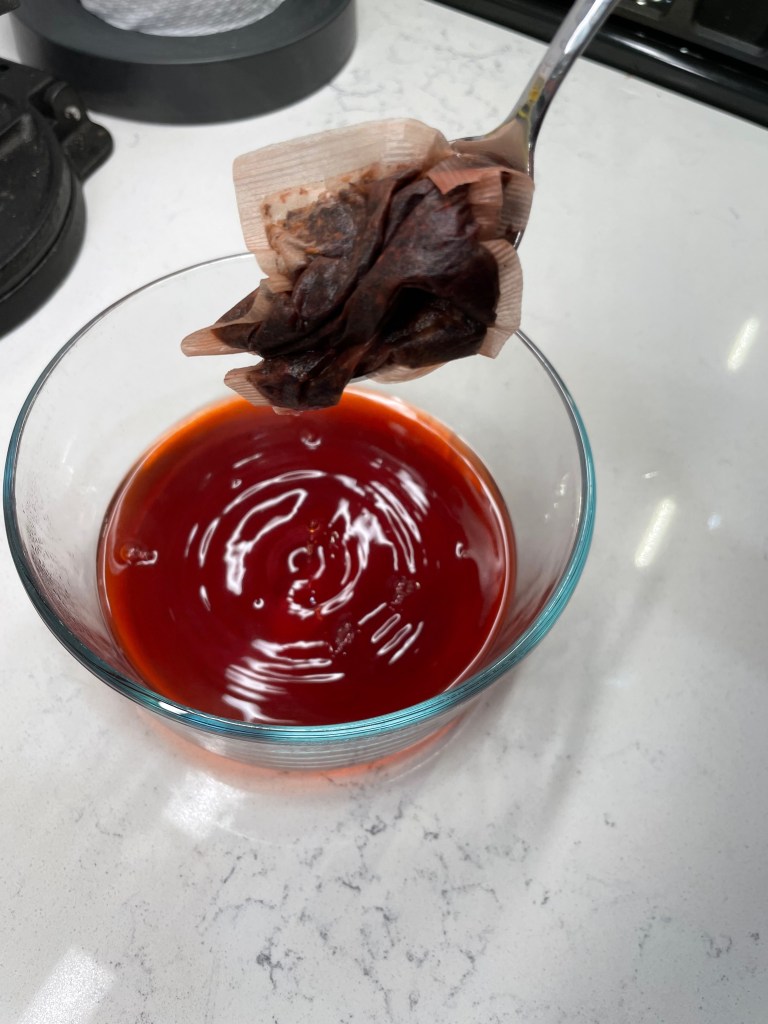
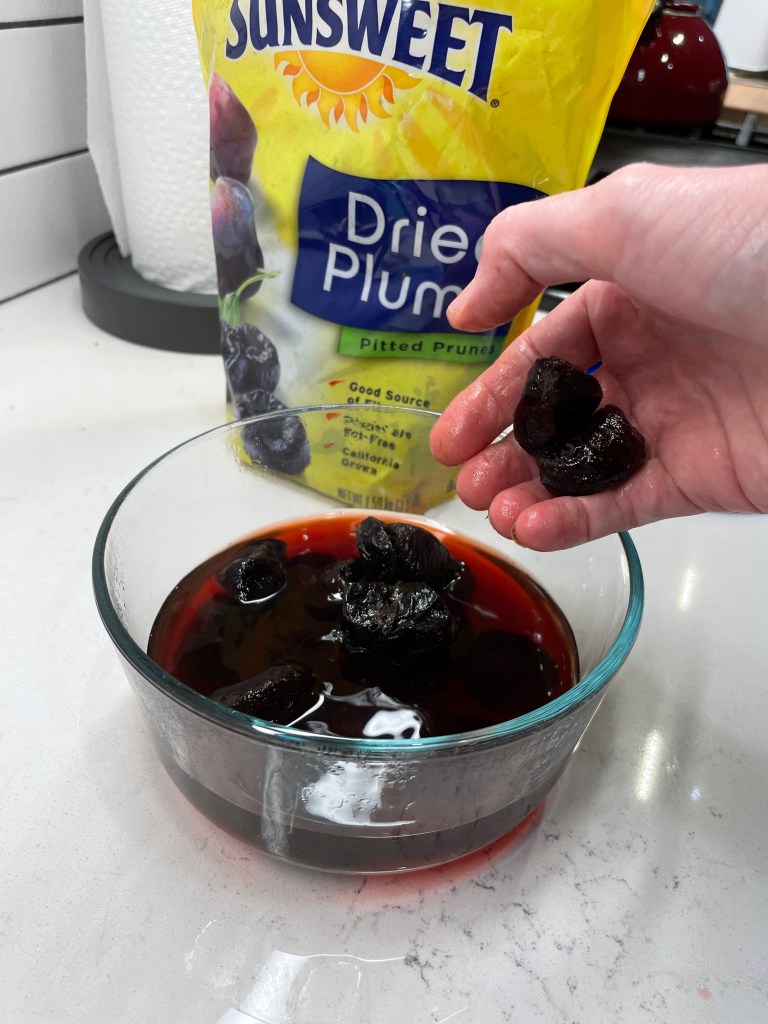
Bring a tea kettle to boil and measure out about 1 cup water into a heatproof glass bowl. Drop in the tea bags and let them steep about 5 minutes. Remove the tea bags, gently squeezing to extract the most flavor (it should be pretty strong). Add the prunes and fold or turn them several times to submerge them. Make sure every prune gets to mingle in the tea while it’s still hot. Cover the bowl and leave it on the counter to cool, checking and stirring a couple of times along the way. When they are completely cooled, turn them once more, press to completely submerge them in the tea, and tuck the bowl into the fridge. If you think of it, give them a turn once a day until you’re ready to enjoy them.

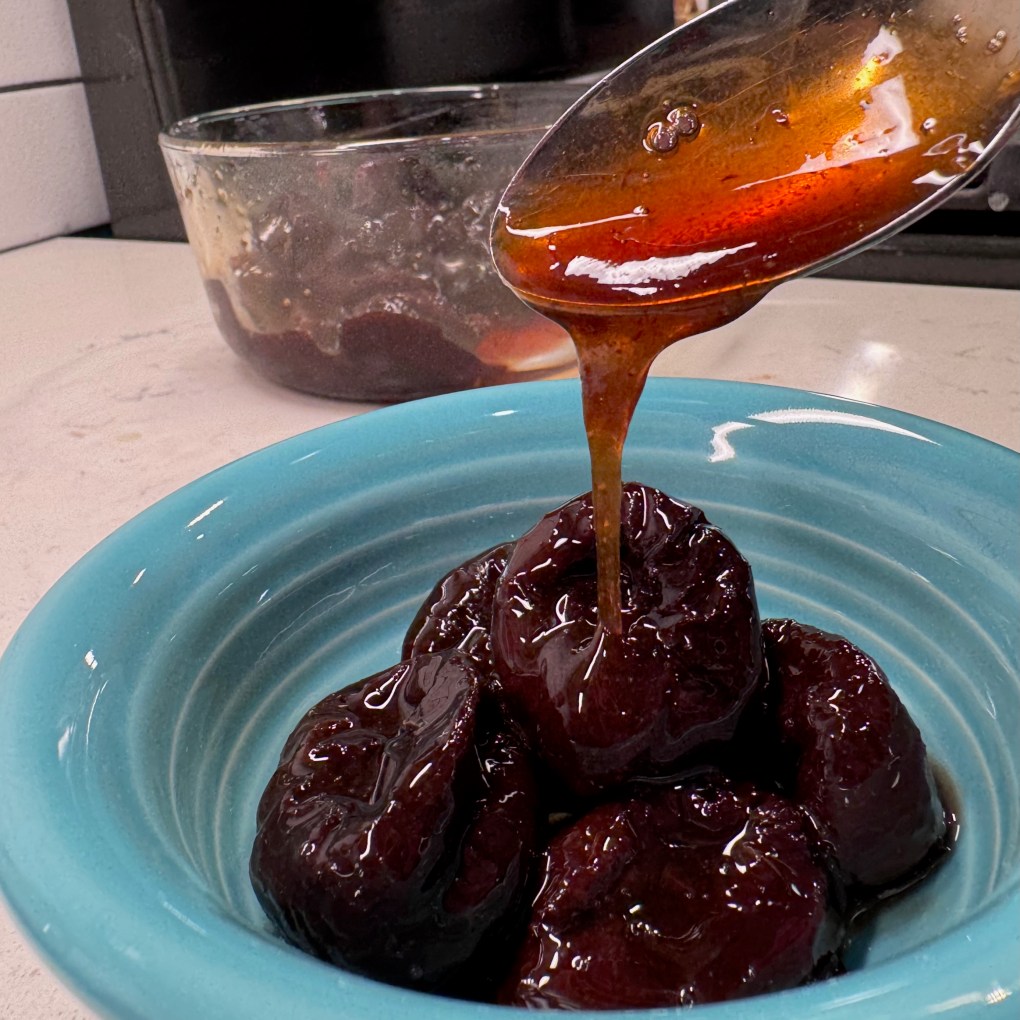
You’ll notice after only a couple of days that the liquid tea has turned to syrup, and this will only get thicker and more delicious with time.
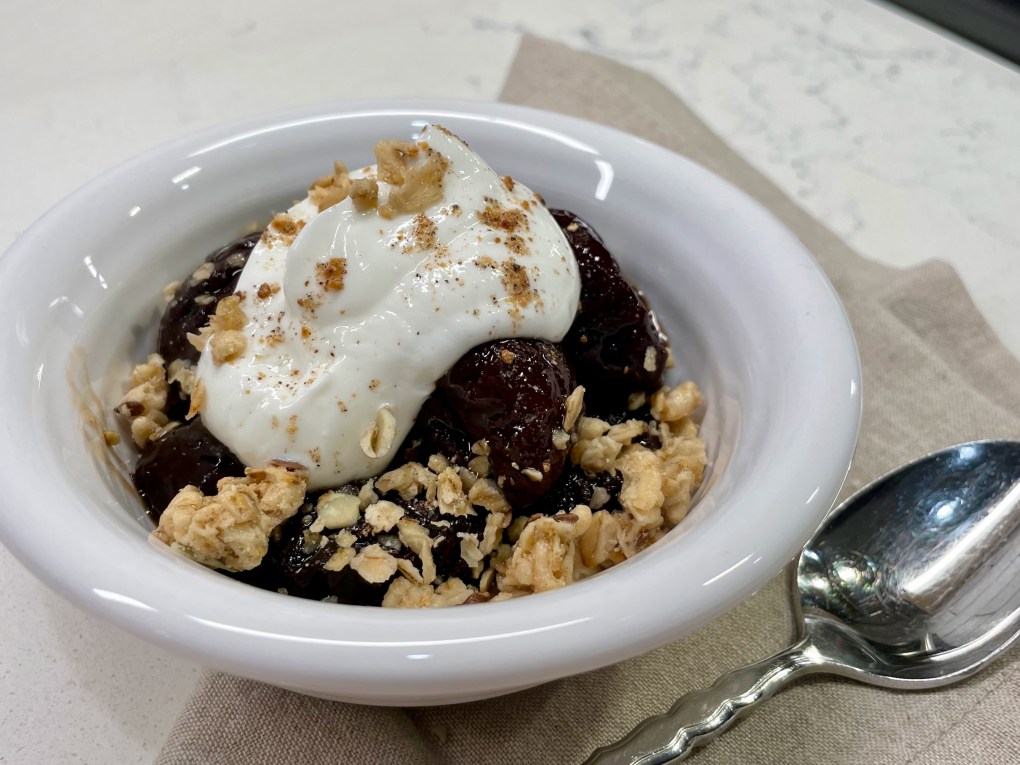
They will be sweet from their own sugar, and the flavor of your tea will shine through as well. Serve them alongside your avocado toast or with a hard-boiled egg, or decorate your morning oatmeal with them. If you want to fancy them up, dollop on some Greek yogurt with orange or lemon zest, or even a sprinkling of granola. You may be tempted to eat a bowlful of these, but bear in mind that a 100-calorie serving is roughly three prunes.
Delicious, simple and good for you. Enjoy!
Easy Stewed Prunes
There's plenty to appreciate about this easy, two-ingredient recipe. They basically make themselves, they are full of fiber, antioxidants and minerals, and you can enjoy them for breakfast, dessert or just a midday snack. It's my favorite way to reset my digestion after the rich foods of the holiday season.
Ingredients
- 2 cups dried plums (also known as prunes)
- 2 tea bags of choice
- 1 cup boiling water
Directions
- Place about 2 cups of whole prunes in a smallish bowl, one that is large enough to hold the prunes when they are covered with liquid.
- Add tea bags to hot water in a glass measuring cup or mug. Allow tea to steep for about five minutes, then remove tea bags and discard them.
- Pour strong tea over prunes and gently stir to saturate and submerge them in the tea. Cover the bowl and allow it to cool to room temperature. Refrigerate for several days or up to a few weeks. As the prunes absorb the flavorful tea, they will release natural sugars that will thicken into a delightful syrup.