It seems like a never-ending battle, trying to evict leftovers from our fridge and stay on top of the new groceries coming in. Four months into pandemic lockdown, I still haven’t mastered the challenges of “shopping for the week.” But my culinary muse has been on some kind of caffeine kick lately, and I’m at it again today with a Meatless Monday-worthy pasta dish, made almost entirely with leftovers. Not to worry, though—I’m sure it would be fantastic with fresh-bought ingredients, too.
This one uses up leftover fresh tortellini from a soup recipe last week, and a few fresh produce items starting clamoring when I opened the fridge, so in they went! Cremini mushrooms, with all their warm, earthy flavor, plus baby spinach, sweet onions and fresh garlic. I happened to have a half bag of sweetly sun-kissed dried tomatoes in the pantry cabinet, and we’re off and cooking. I’m gonna get to the bottom of this cluttered fridge yet!
We are empty nesters, and many of my recipes are designed to serve two people. But doubling a recipe such as this one is easy, as long as you’re mindful about the size of your pan.
Ingredients
Extra virgin olive oil
1 medium sweet onion (tennis ball size), cut in half and sliced into crescent shapes
8 oz. cremini mushrooms, cleaned and sliced
3 handfuls fresh baby spinach, rough chopped
1/4 cup soft sun-dried tomatoes*
2 cloves garlic, chopped
Kosher salt and black pepper
1/2 cup heavy cream* (see notes for a lighter option)
1/4 cup dry white wine* (something like Pinot Grigio is perfect)
2 cups fresh cheese tortellini (this was half a large package)
Trader Joe’s umami seasoning, optional
3 Tbsp. parm-romano blend* (plus extra for serving)
*Notes
My sun-dried tomatoes are the soft variety, packed in a zip-top bag. If yours are dry and hard, it’s probably a good idea to rehydrate them for a few minutes in hot water before proceeding. If they’re packed in olive oil, you’re good to go.
Want to lighten this up? Here’s a trick that works great in recipes where the fat of heavy cream isn’t as important as the texture. Swap it out in favor of canned evaporated milk. It is more concentrated than fresh milk, but with a fraction of the fat. Give it a try!
If you prefer, you could substitute a vegetable broth for the wine, plus a squeeze of lemon juice or splash of red wine vinegar. This will make up for the acidity the wine adds to the dish.
We go through a LOT of parm-romano blend at our house, and I mention this ingredient in many of my recipes. Rather than purchasing the pre-grated stuff at the market, we buy parmesan and romano in blocks and grate it in our food processor. It’s terrific to be able to reach into the fridge and have a container of it ready to go, plus it’s fresher and more flavorful with no added stabilizers or anti-caking agents. Did I mention we save money with this method?
I’m a visual learner, and if you are as well, have a look at the slideshow before you advance to the recipe. Fair warning: it might make you hungry!
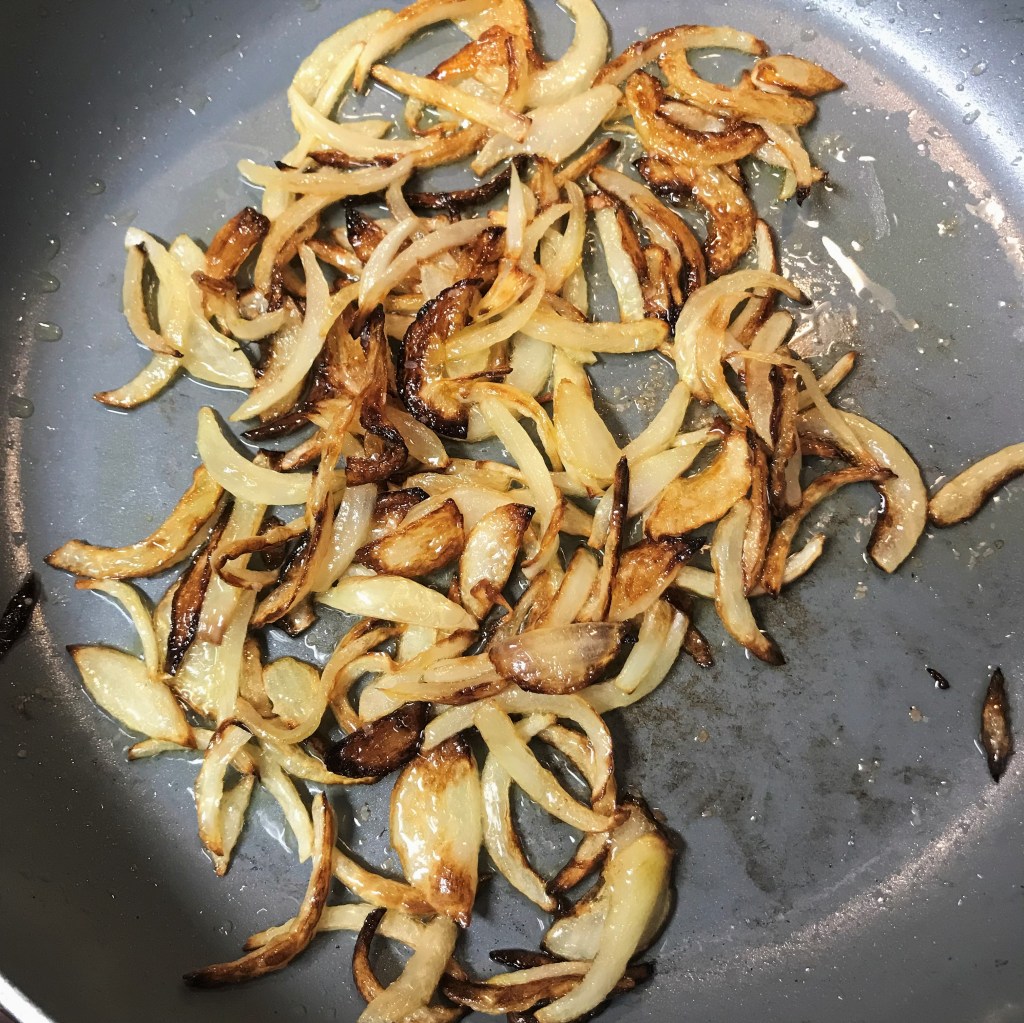
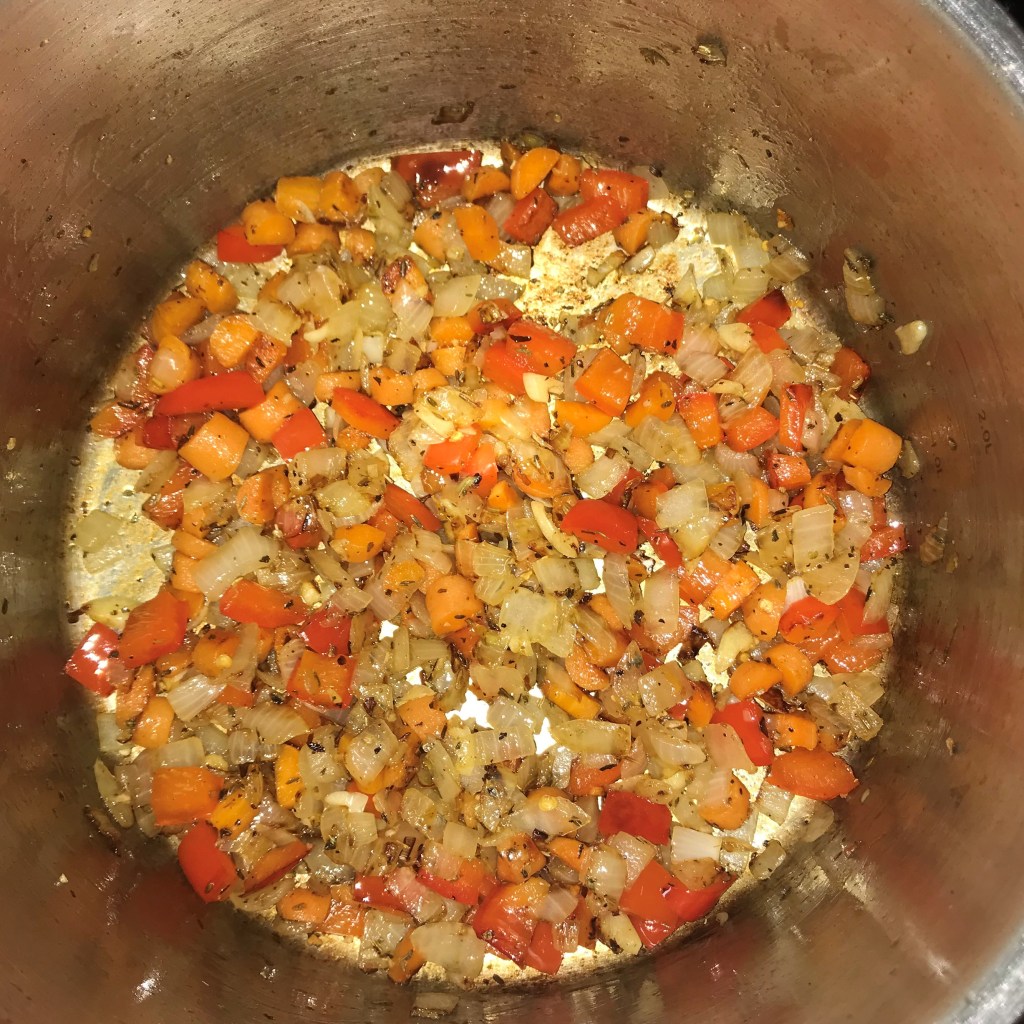
I always aim for this “slightly charred” look on some of the onion edges. Remove the onions at this stage and add them back in when the other vegetables are cooked. 
My pan is large enough that I can move the mushrooms to the outside and add the spinach into the middle just long enough to wilt it. 
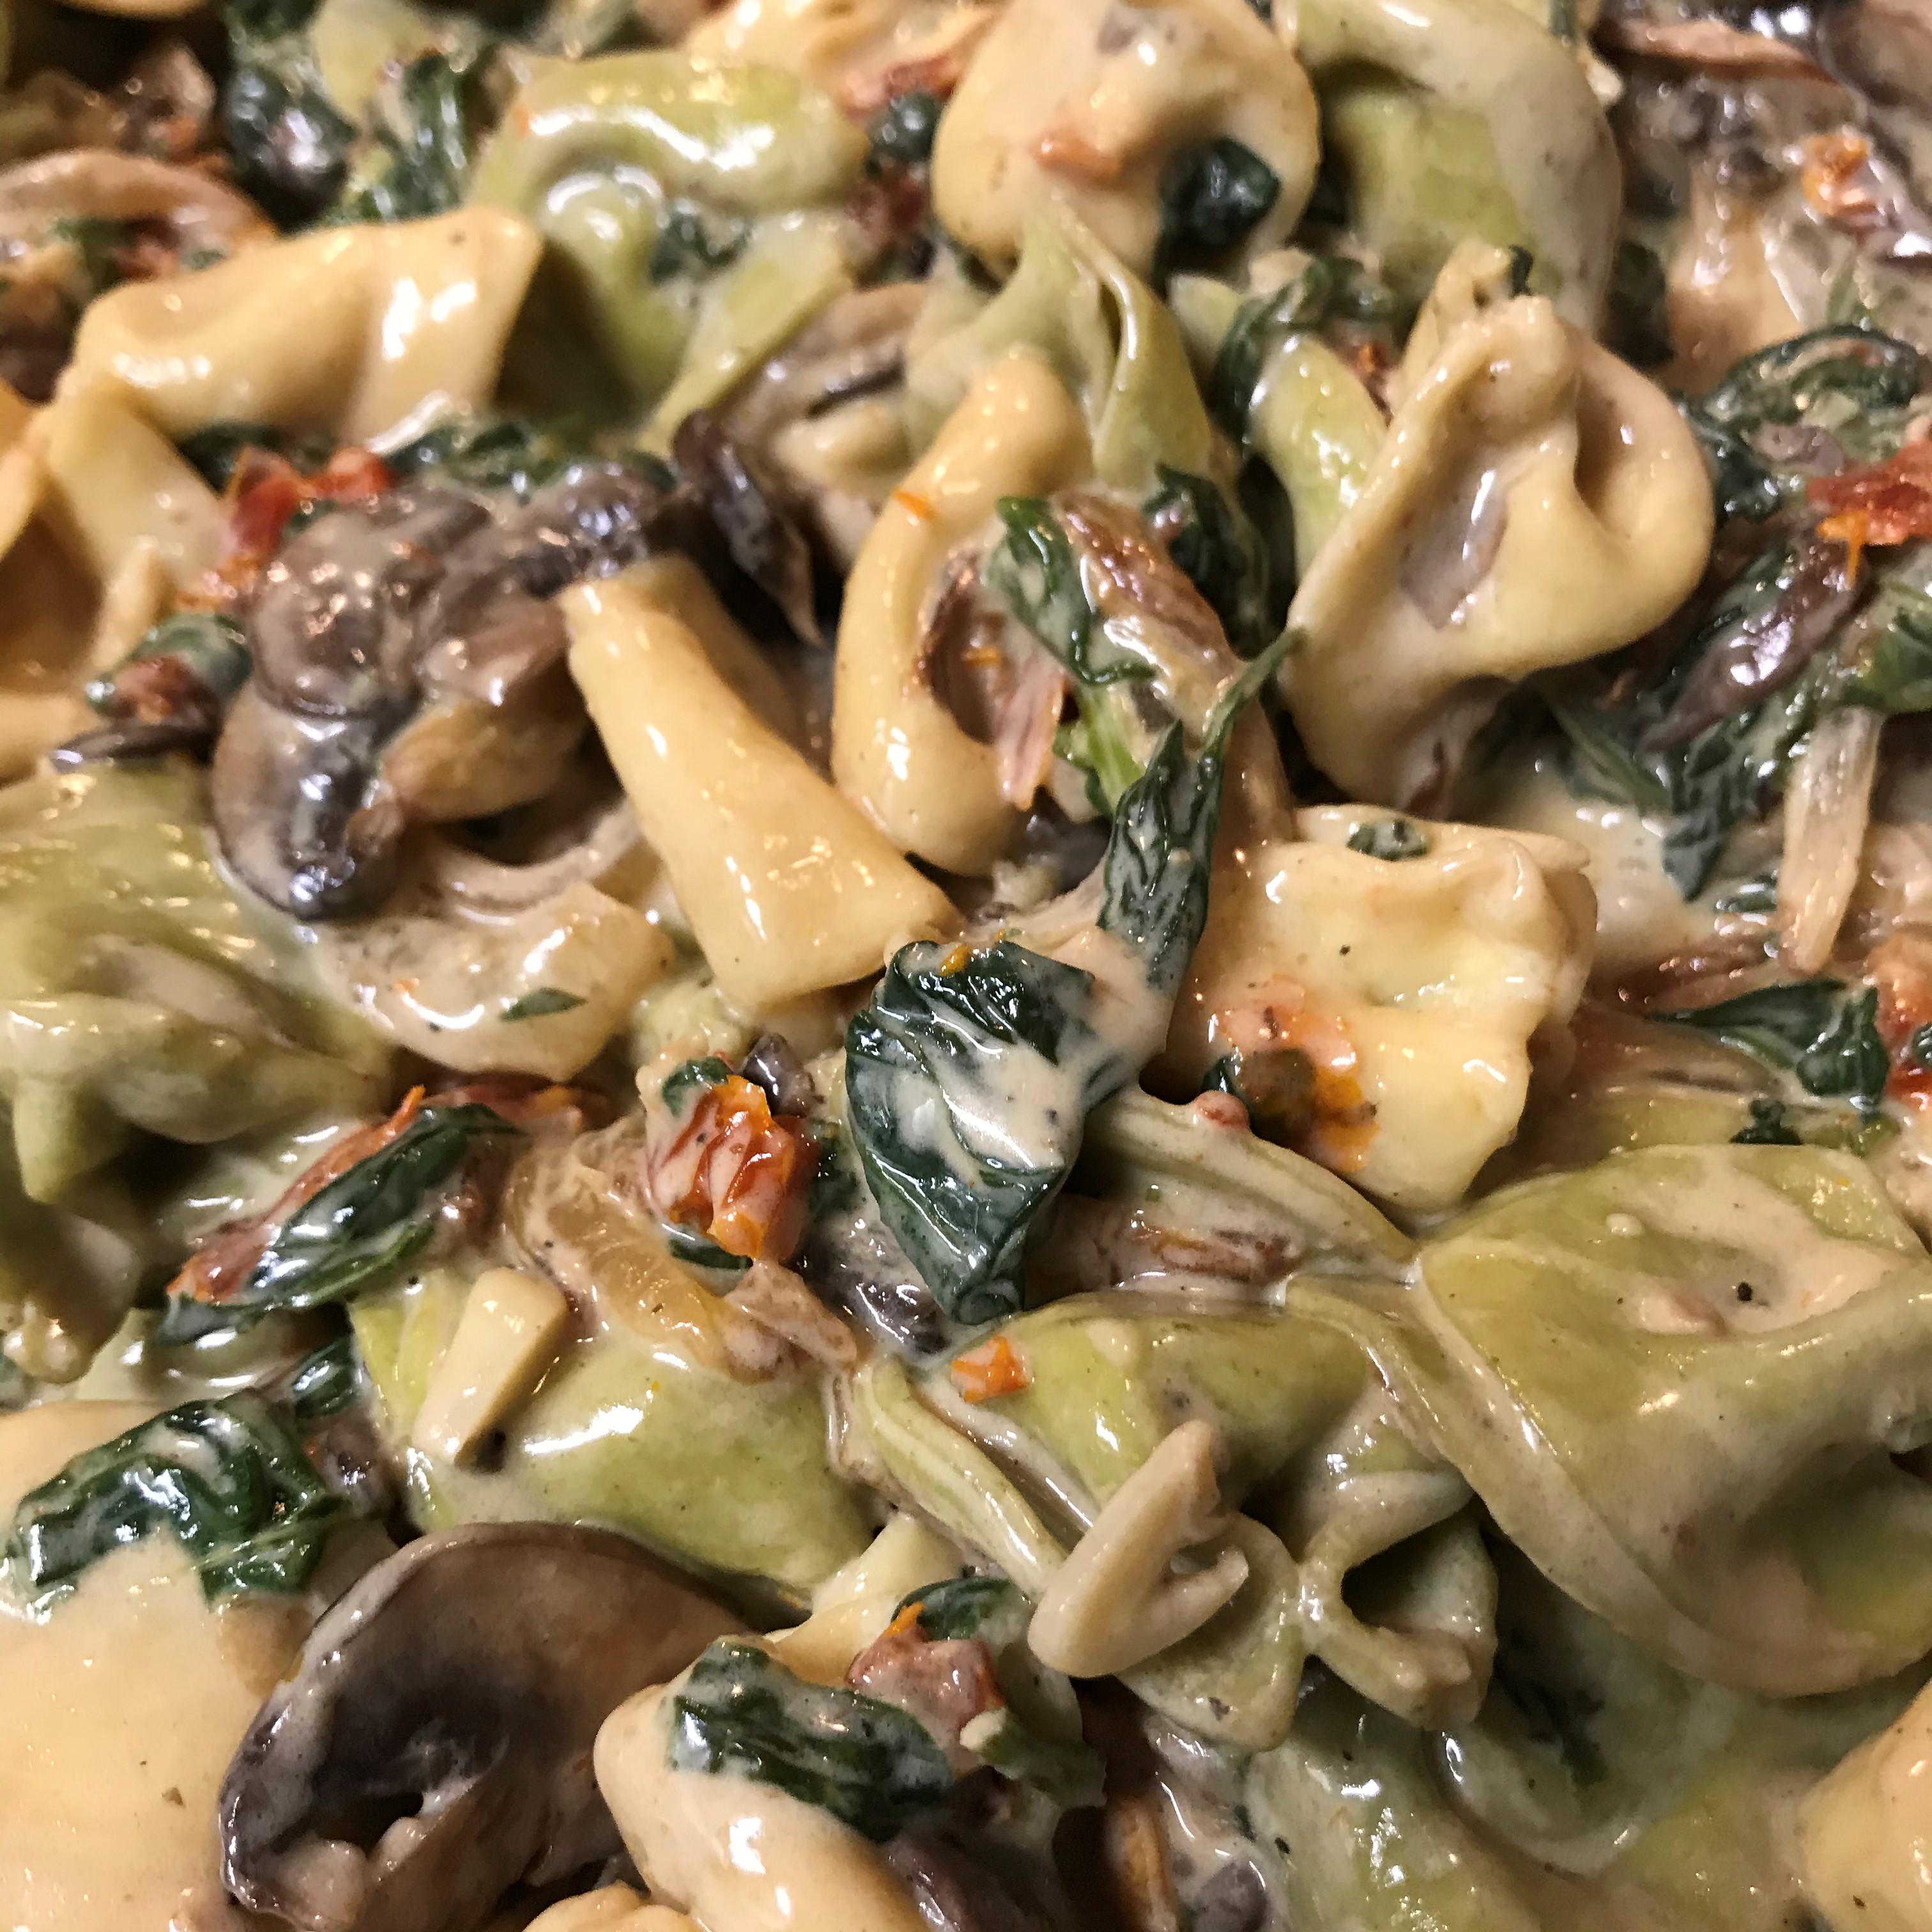
Mushrooms, spinach and sun-dried tomatoes are so complementary, and I use this combination a lot in my recipes. 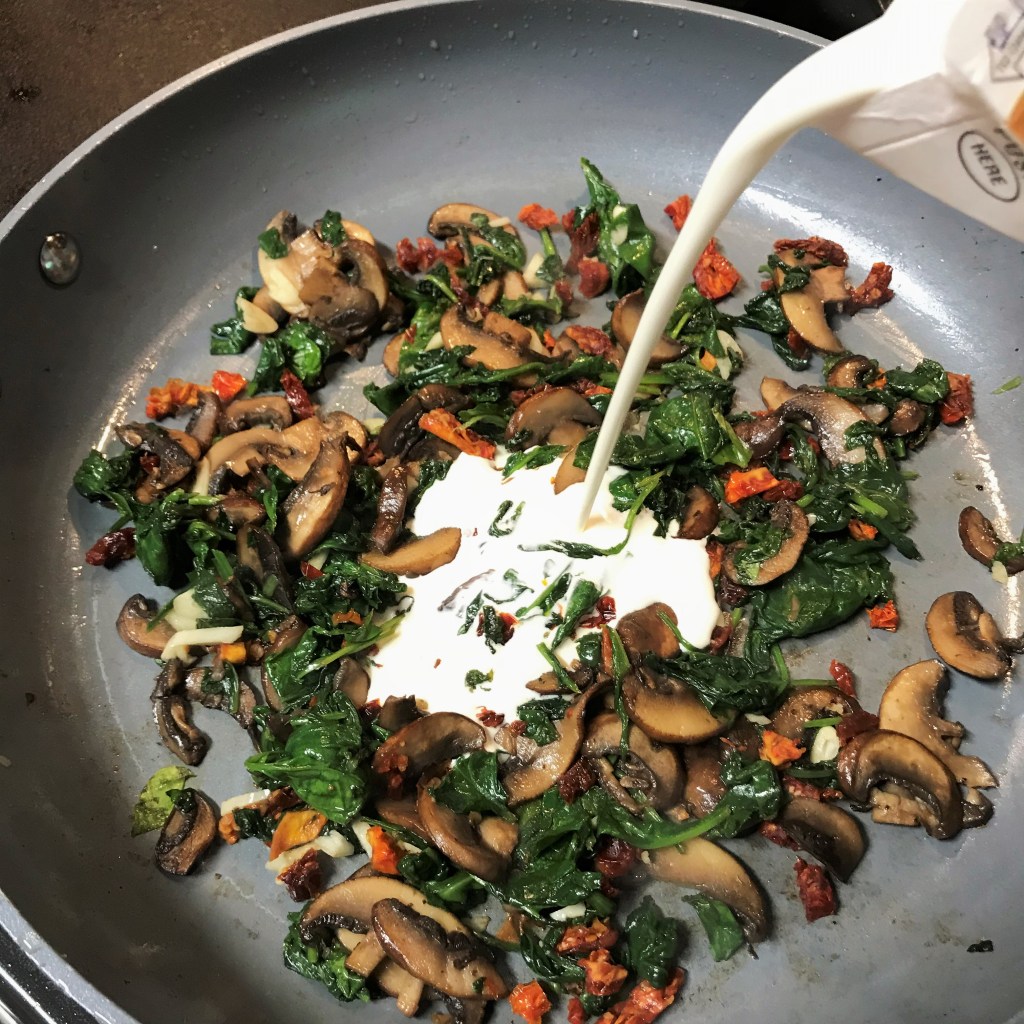
If the cream feels too heavy for you, swap it out for half n half, or even canned evaporated milk to reduce the fat. 
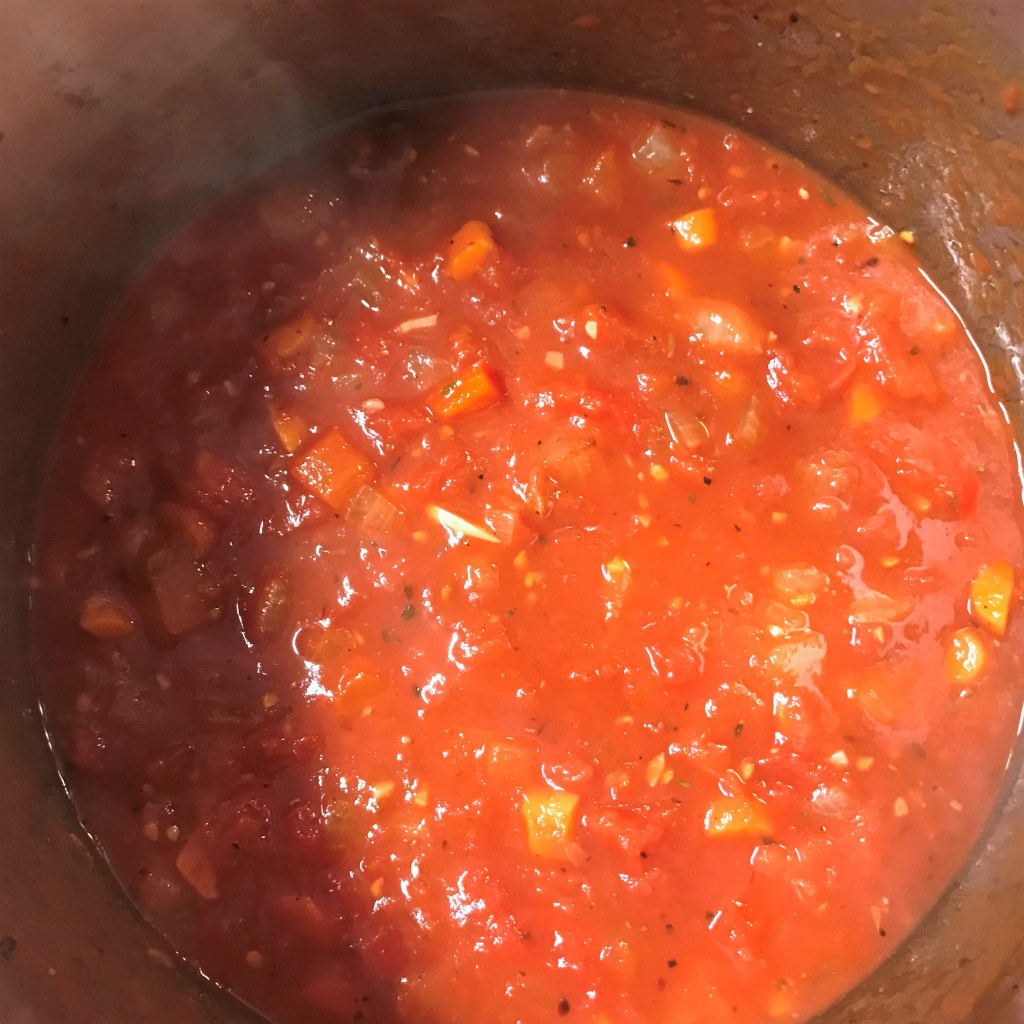
As the cream gently boils, the sauce will thicken and become more cohesive. 
Pull the tortellini from the water pot before it’s fully finished. It will continue to cook as it absorbs the flavorful sauce. 
Pushing the boundaries is my M-O, and a few sprinkles of this umami seasoning takes the flavor of this dish across the finish line. 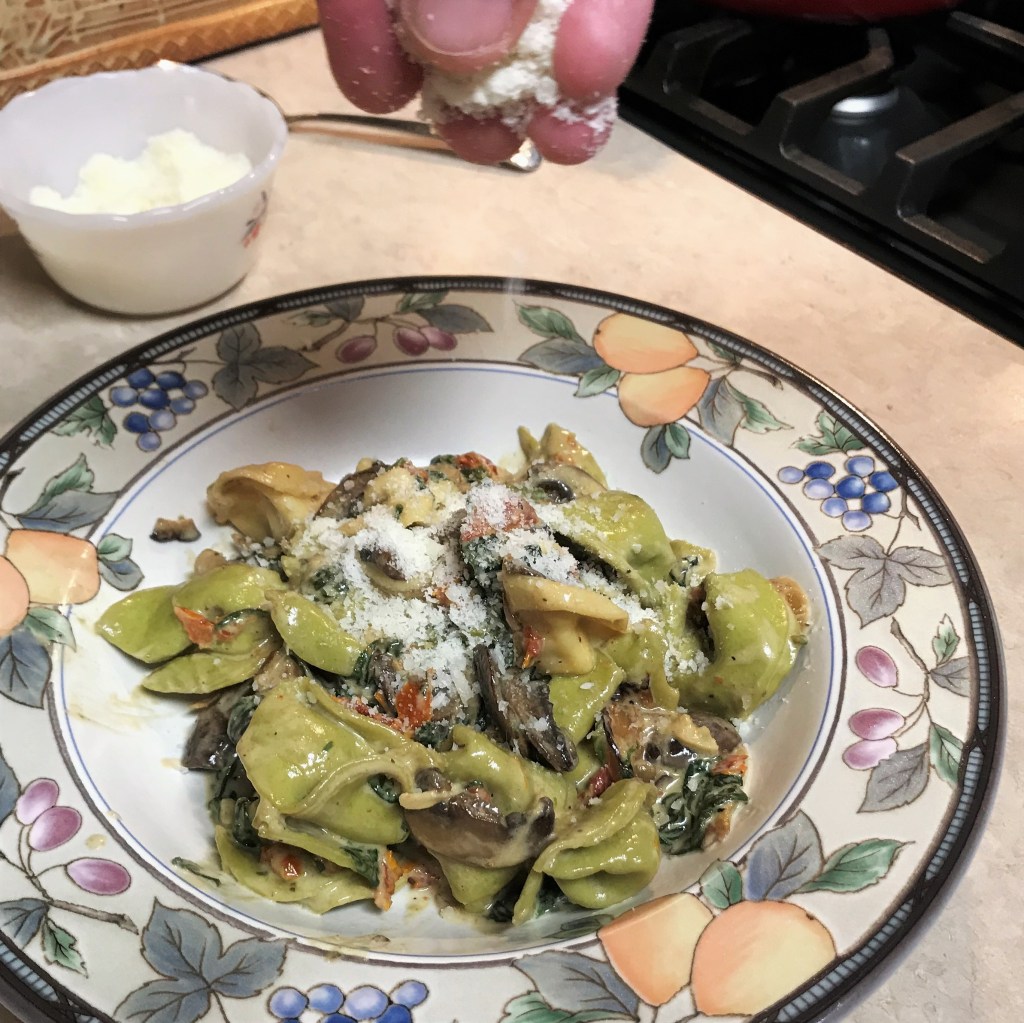
A little extra grated parmesan-romano blend adds flavor and presentation value!
Instructions
- Place a large pot of water on to boil over medium-high heat, for cooking the tortellini.
- Heat 2 Tbsp. olive oil in a large non-stick skillet over medium heat.
- Add onion slices to the skillet and cook, tossing occasionally, until softened and browned on the edges.
- Remove onions to a bowl, add another splash of olive oil to the pan and toss in the mushrooms, cooking and tossing until they are soft and moisture has evaporated. Season with salt and pepper.
- Move the mushrooms to the outside edges of the pan and add the spinach leaves to the middle. Toss them around until wilted then add the sun-dried tomato pieces.
- Stir in the heavy cream, then add the white wine and parmesan-romano blend and reduce heat. Return the caramelized onions to the pan. Cover and allow mixture to simmer on low heat a few minutes while the pasta cooks.
- When water comes to a boil, season with 2 teaspoons kosher salt (don’t worry—most of the salt ends up down the drain). Add tortellini and stir immediately to prevent sticking. Reduce heat to medium and allow pasta to cook at a low boil for about 5 minutes. It’s OK to undercook them slightly because they’ll cook further in the sauce.
- Drain tortellini (or use a large straining spoon, as I did) and add to the sauce mixture. At this point, I tasted and decided it need just a little something. Remember the Trader Joe’s “umami” seasoning we introduced in the Lentil Moussaka? It’s perfectly at home in this dish, underscoring the flavor of the mushrooms already in the dish, and throwing on just a touch of extra savory depth.
- Give it a good toss to thoroughly coat the tortellini, then go set the table. It’s a good time to pour another glass of wine, while you’re at it.
- Divide the creamy pasta between two pasta bowls, sprinkle with additional parm-romano blend and serve.

It doesn’t look like leftovers and it sure doesn’t taste like it, but I’ve regained some ground on the shelves of my refrigerator. Plus, we ended up with one lingering portion of this dish, perfect for my husband to reheat for a work lunch. And that’s a win-win!