It’s a question that has always piled on stress, and one that is virtually inescapable this time of year, asked by friends and strangers alike.
“Are you ready for Christmas?”
And this year, I actually am! Not for having crossed off a multitude of items on a gift list or for having my proverbial ducks in a row for holiday entertaining or gathering or what-have-you. Nope, this year I’m “ready” because my husband and I made a conscious decision to forgo most of the hubbub that is typically associated with the holiday season. You could say that we are quiet-quitting Christmas. Except for the tree!
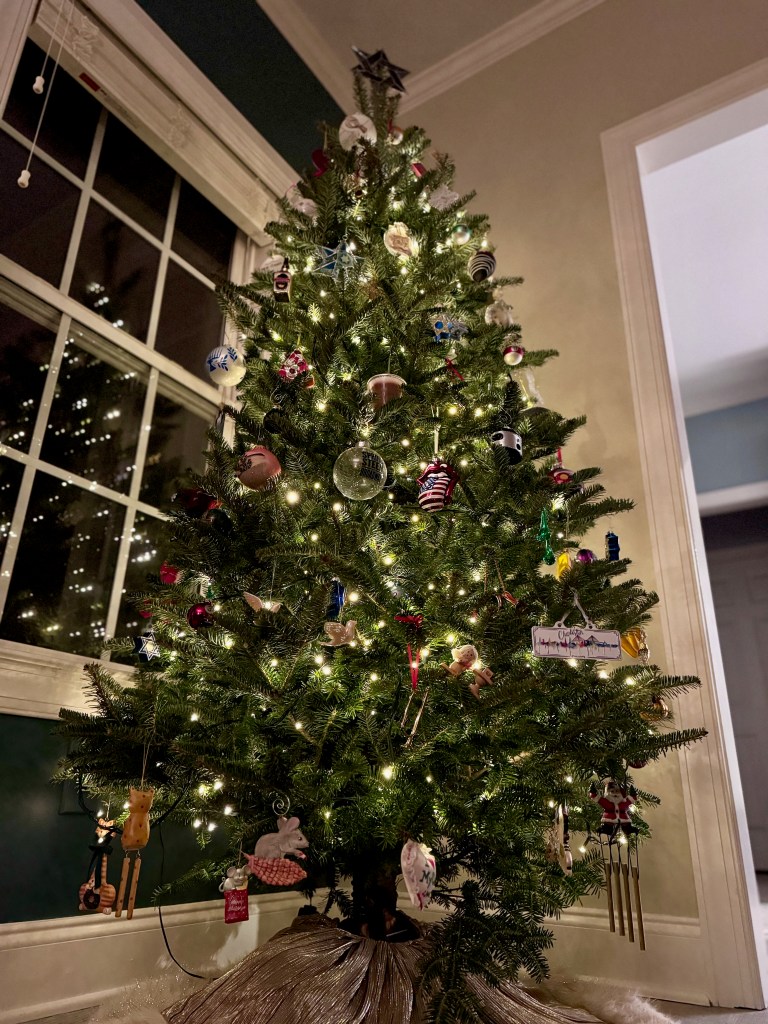

Our tree is all we’ve done so far this year, and it’s simple. We are not the family who has a perfectly color-matched tree, nor do we want to be. Our tree has a hodgepodge of trimmings, many of which symbolize memories we’ve made since we’ve been together, and others that were gifted to me by my maternal grandmother as long ago as 1972!


We will exchange small gifts, and I’ll go overboard for the pets, but there isn’t a darn thing we need. Instead of the hustle and bustle involved in “finding the perfect gifts,” we are taking time to enjoy being together, and doing fun things that improve our moods, such as watching holiday-themed films, sipping hot cocoa by our patio fire and— you knew this was coming— cooking and baking!
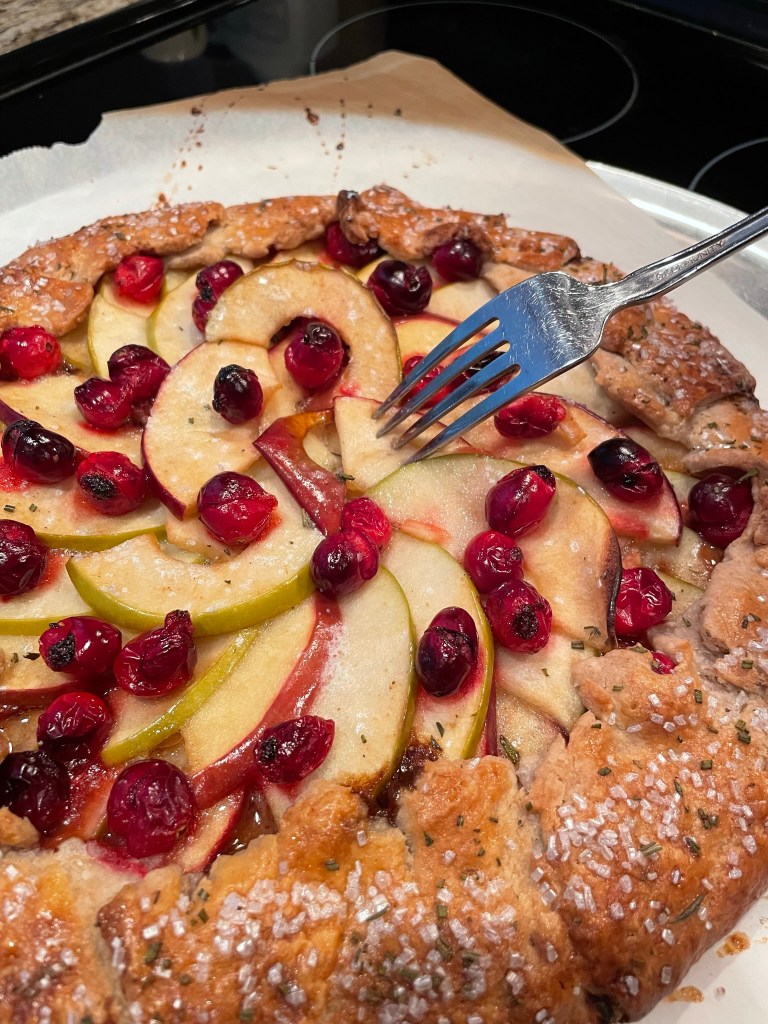
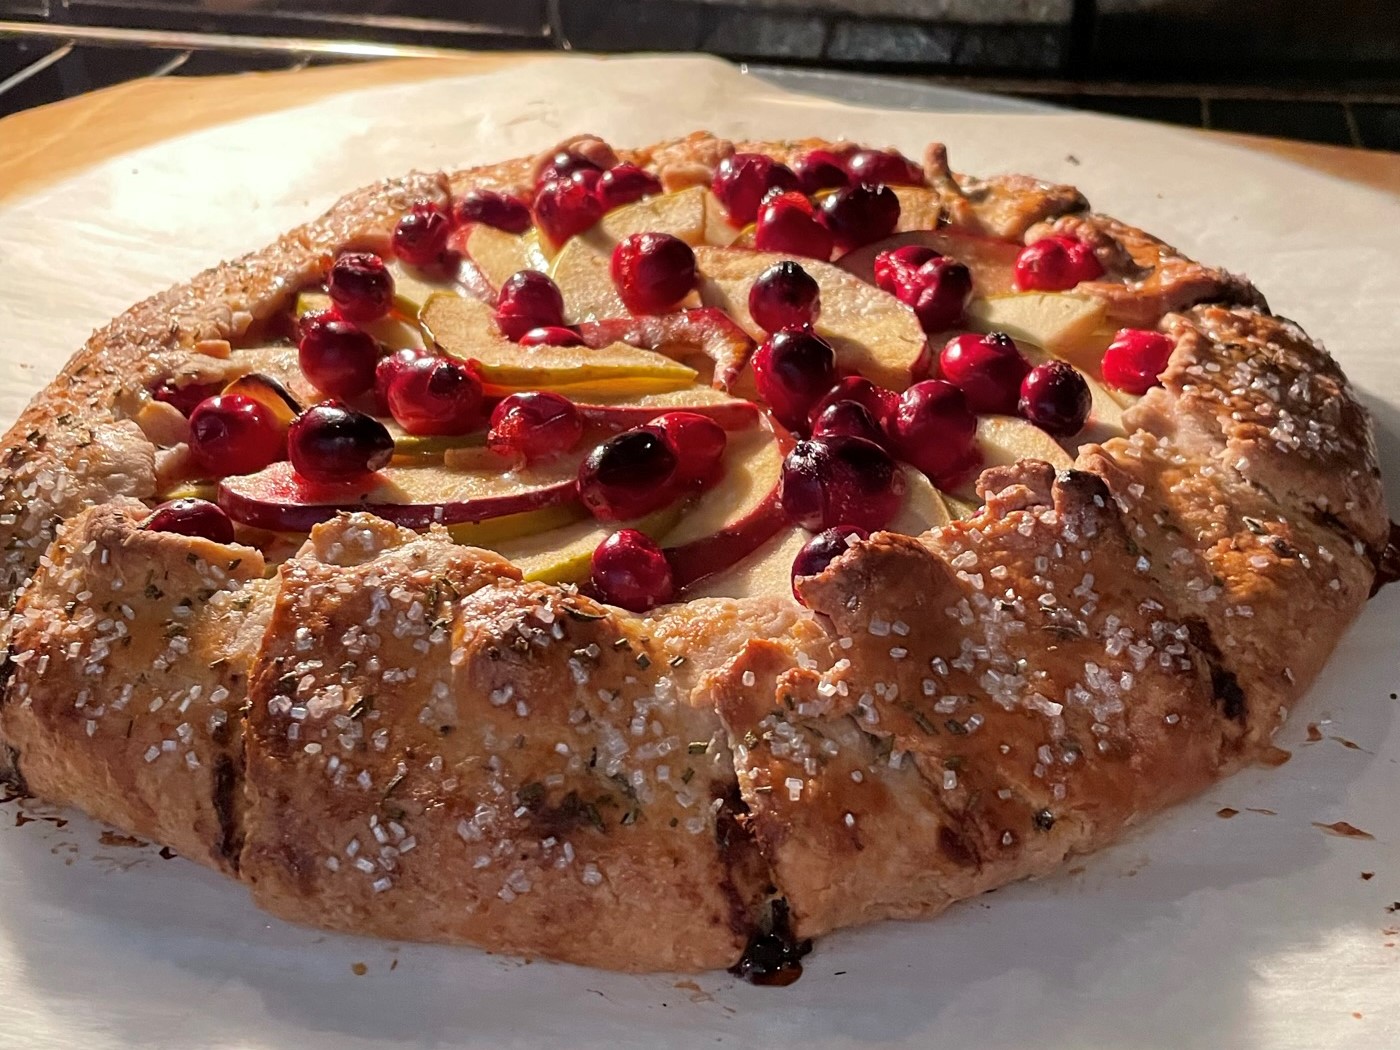
I’ll never ever say that the food of the holidays is too much trouble, and this seasonal combination of cranberry and orange is one of my all-time favorites. My first instinct was to make a challah, featuring dried cranberries and candied orange (as I shared back in 2022), but to keep things sweet and simple, I decided on a quick bread instead. It’s been forever since I made one, and the King Arthur Baking site, my go-to resource for all things baking, had a recipe that satisfied most of my intentions. I embellished their recipe, adding a touch of orange oil (because I didn’t have a fresh orange for zest) and subbing in a portion of white whole wheat (because it’s what I always do).
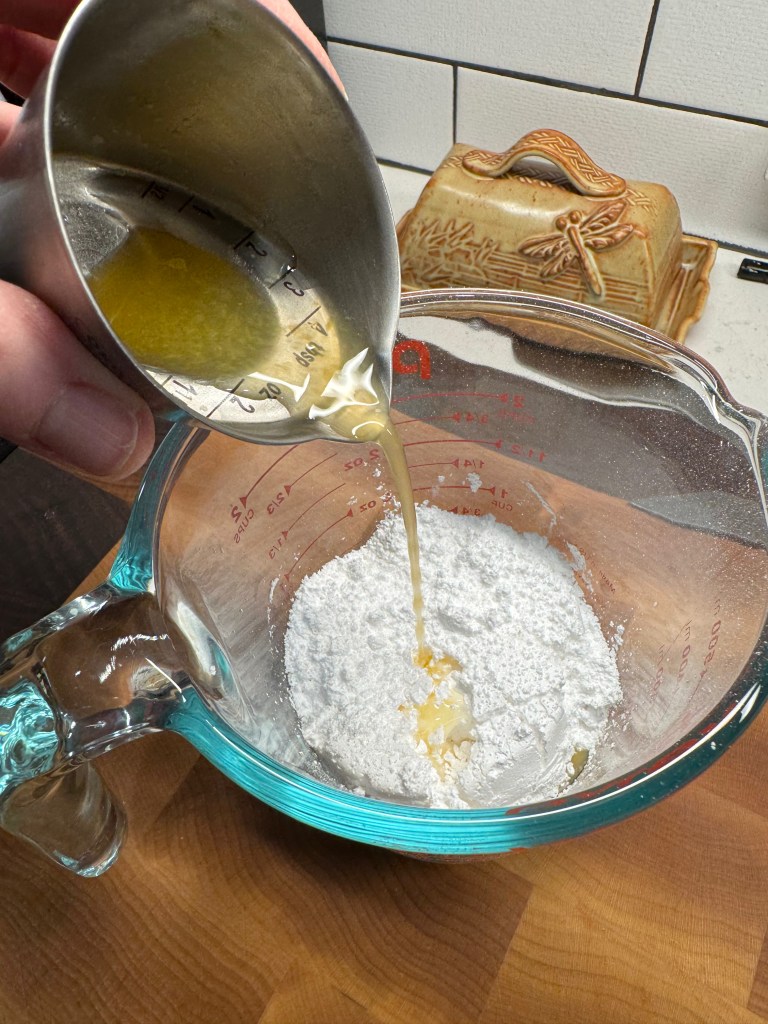
The glaze was simple, too— just powdered sugar, fresh orange juice (by that time, I had made a grocery run) and just enough Grand Marnier to make it feel extra special.

Now, if I can get through the rest of the holidays with this much ease, I’ll be golden! How about you?
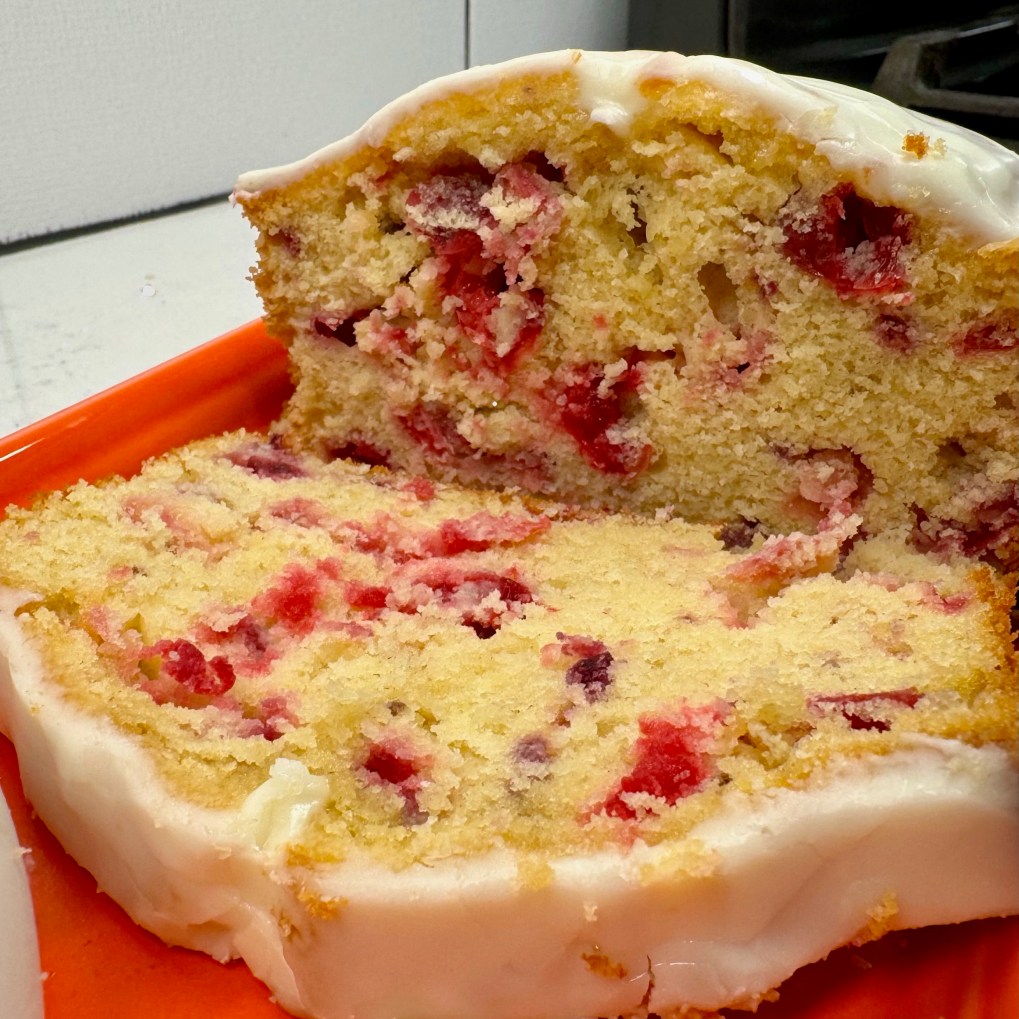
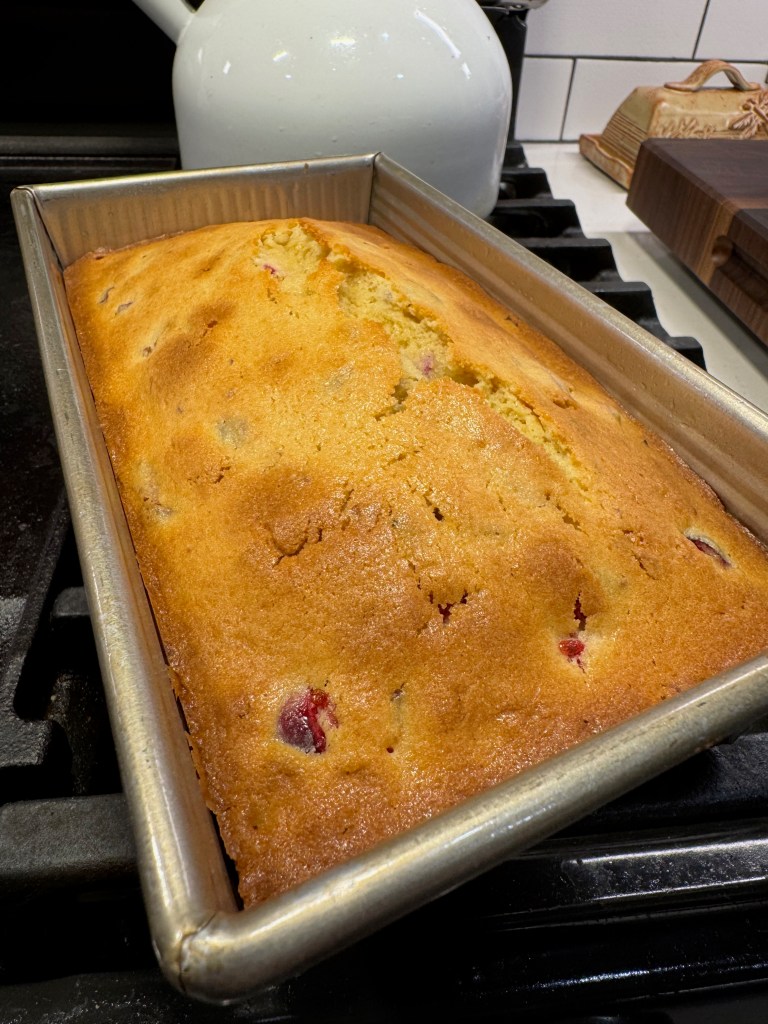
Cranberry Quick Bread
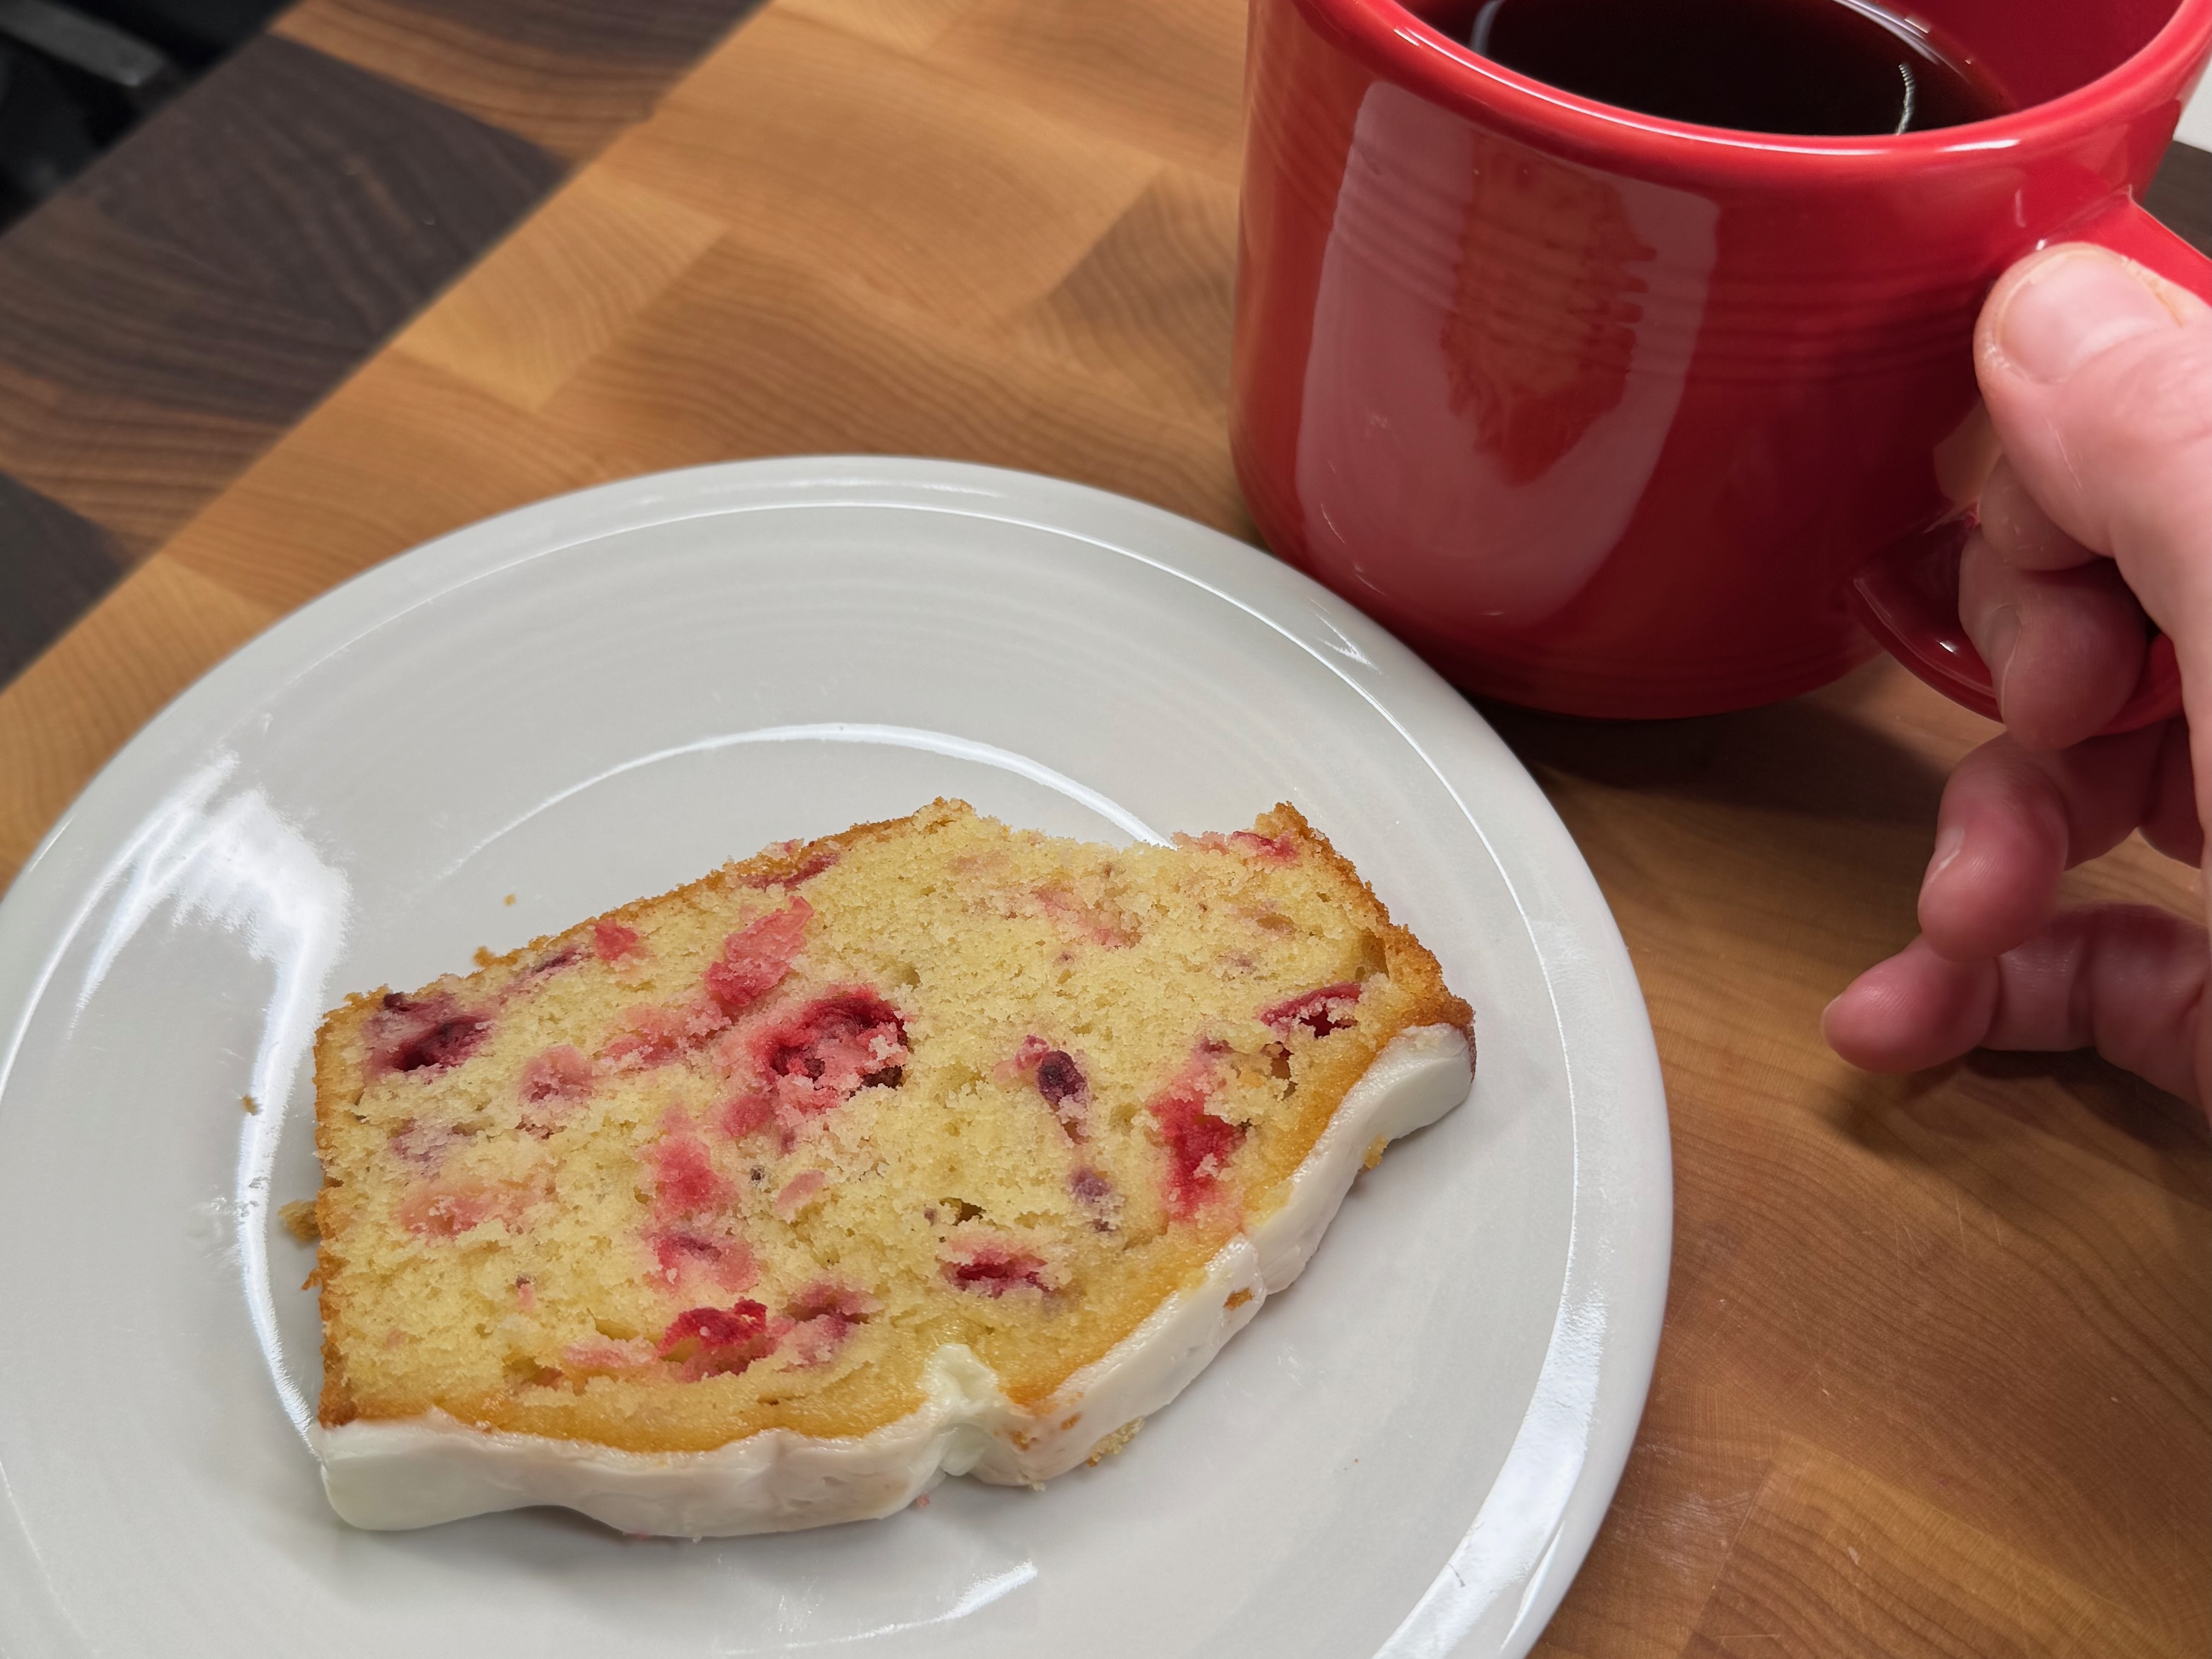
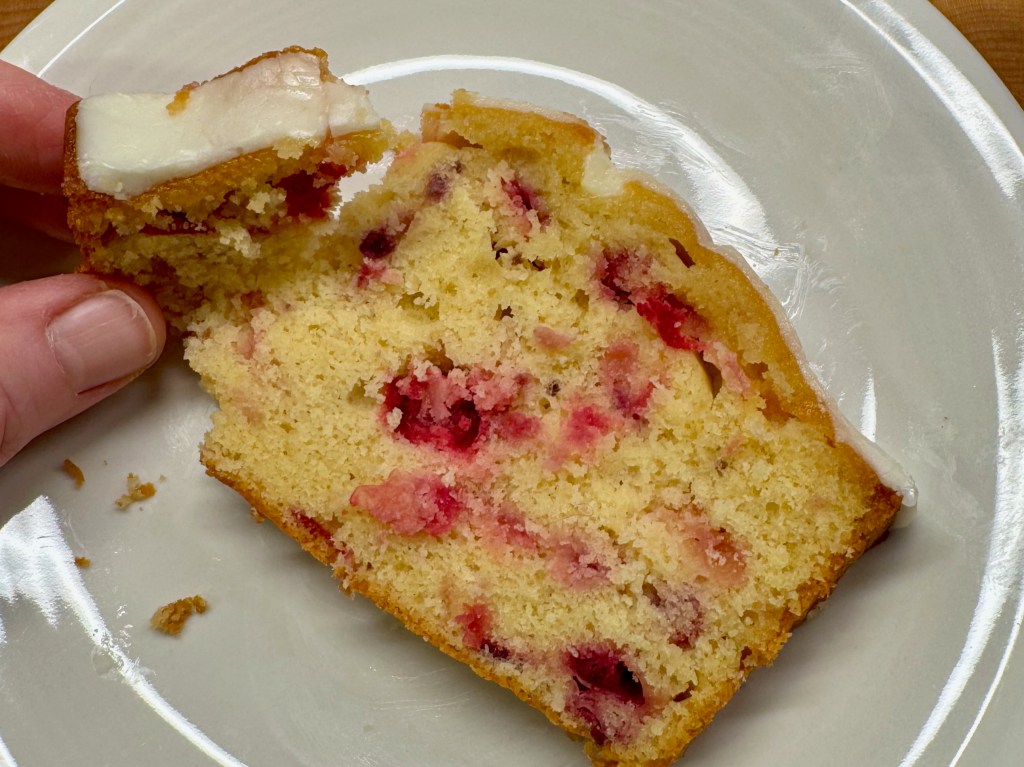
This is my adaptation of a King Arthur Baking recipe. The fresh cranberries and bright citrus flavor are perfect for the holiday season, and the bread is elegant enough for company but easy enough for a weeknight.
Ingredients
- 8 tablespoons (one stick) salted butter, at room temperature
- 3/4 cup (149g) granulated sugar
- 1/2 teaspoon table salt
- 1 cup (120g) King Arthur Unbleached All-Purpose Flour
- 3/4 cup (90g) King Arthur Golden Wheat Flour (formerly called White Whole Wheat)
- 1 teaspoon baking powder (see notes to test its activity)
- 3 large eggs, at room temperature
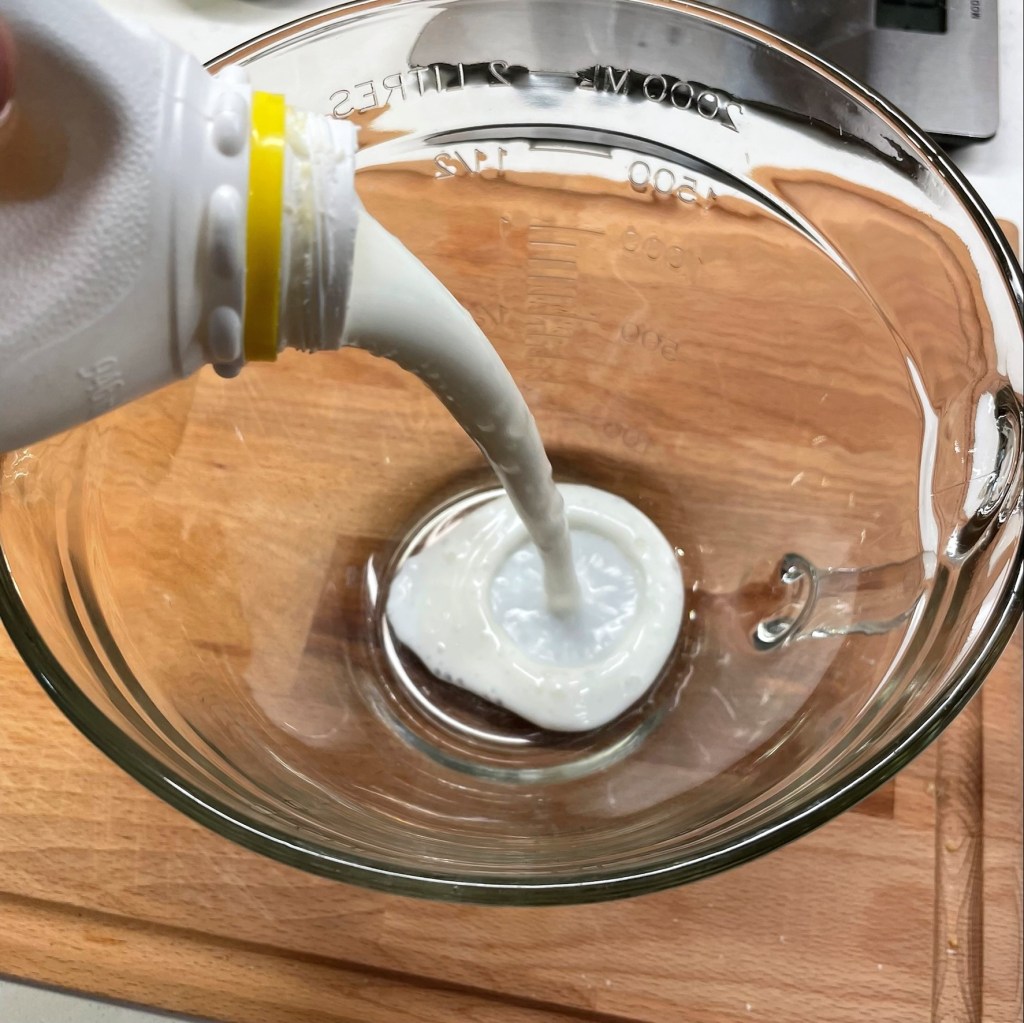
- 1/2 cup (113g) milk
- 1 teaspoon King Arthur Pure Vanilla Extract
- 1/2 teaspoon orange oil or extract (see notes)
- 1 cup (most of a bag) fresh cranberries, roughly chopped
- 3/4 cup (85g) confectioners’ sugar
- 1 tablespoon (14g) fresh orange juice
- 2 teaspoons Grand Marnier orange liqueur (optional, or use extra juice)
Directions
- Preheat oven to 350° F, with oven rack in center position. Lightly grease a standard loaf pan and set aside.
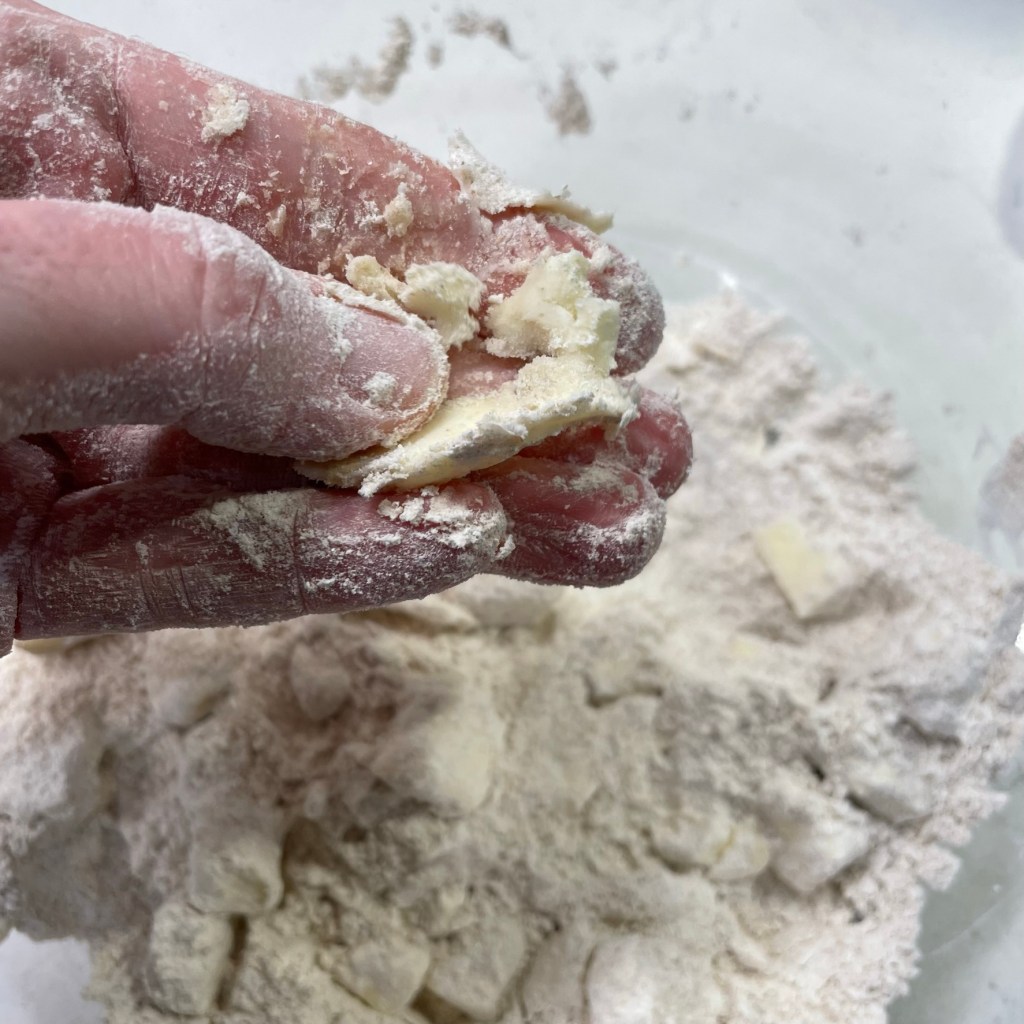
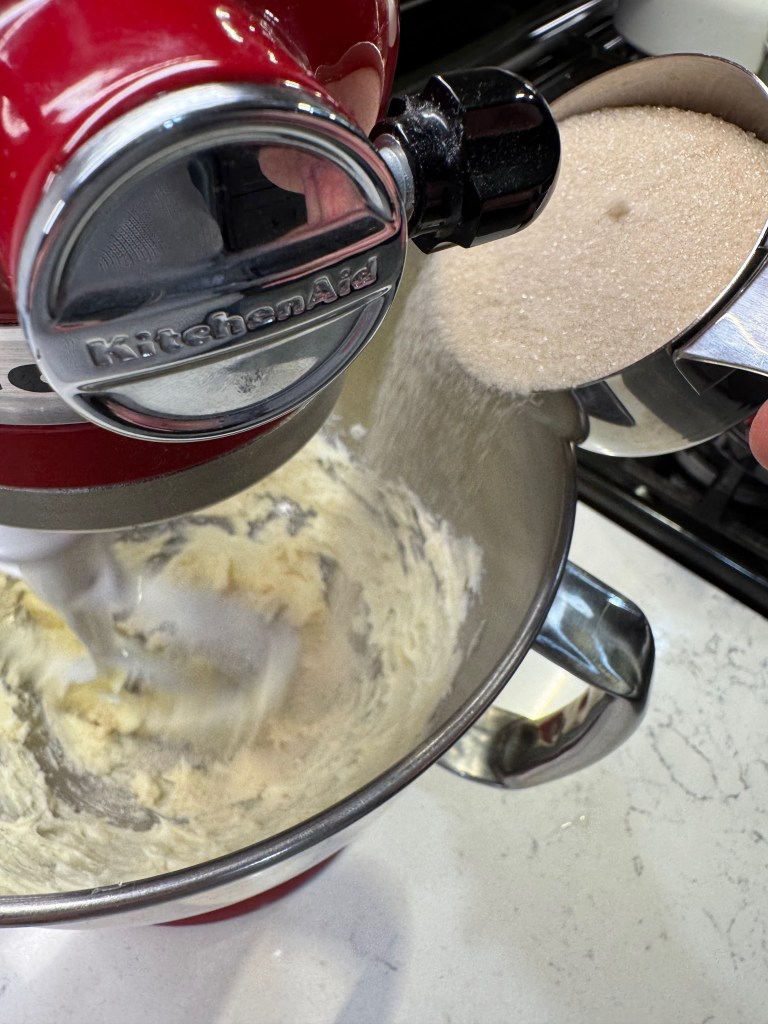
- Use an electric hand mixer or stand mixer fitted with the beater blade to cream the butter and sugar together. This mixture should be soft and somewhat fluffy.
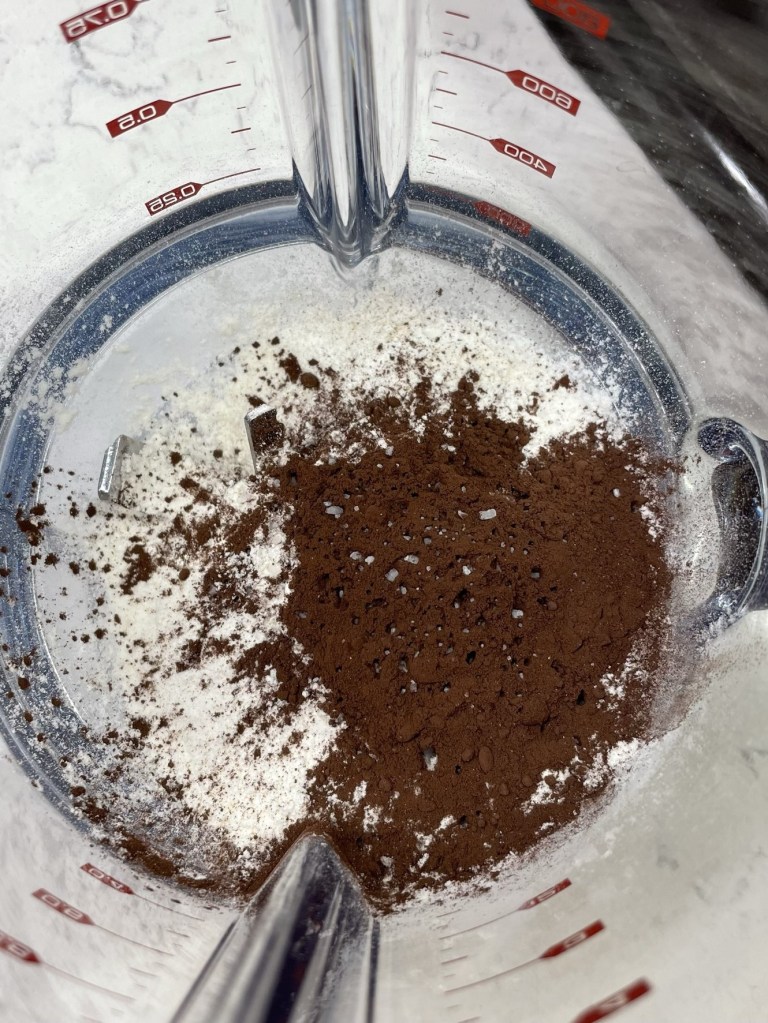
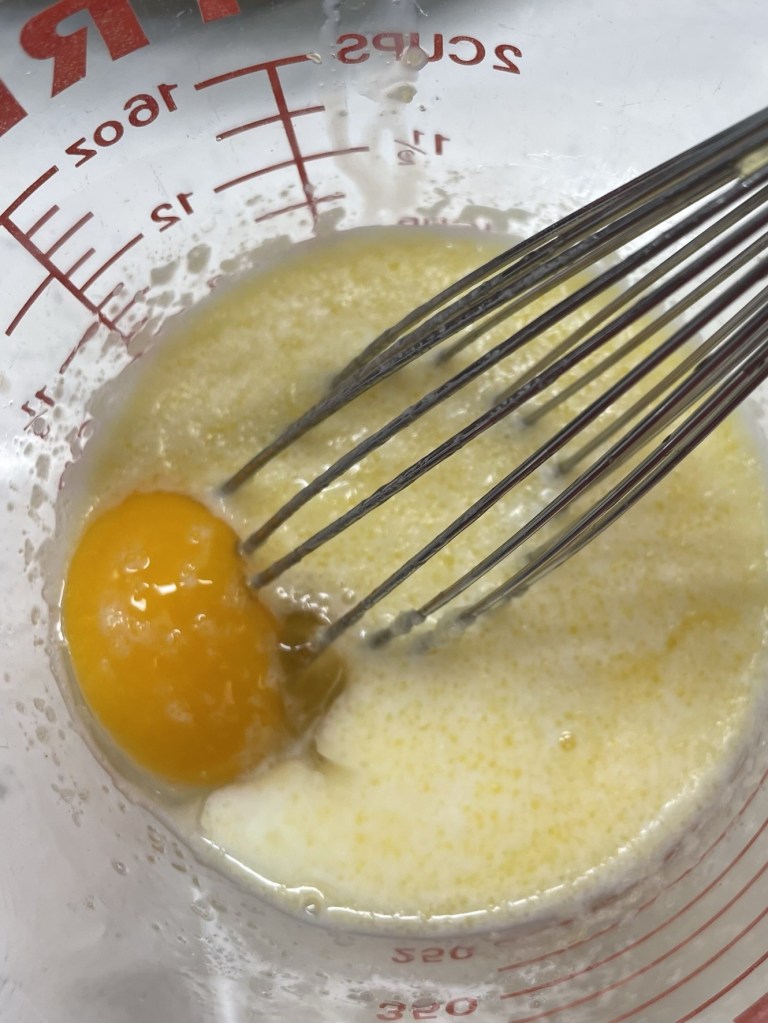
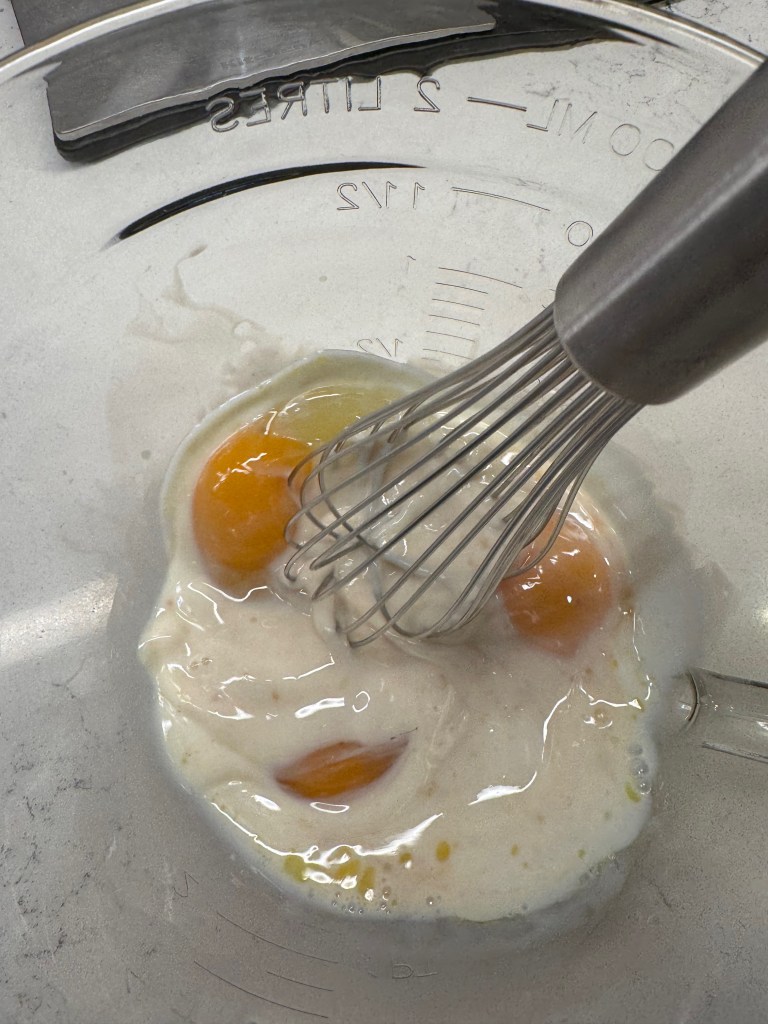
- Whisk together flours, baking powder and salt in a medium bowl and set aside. Whisk together milk, eggs, vanilla and orange oil (or zest).
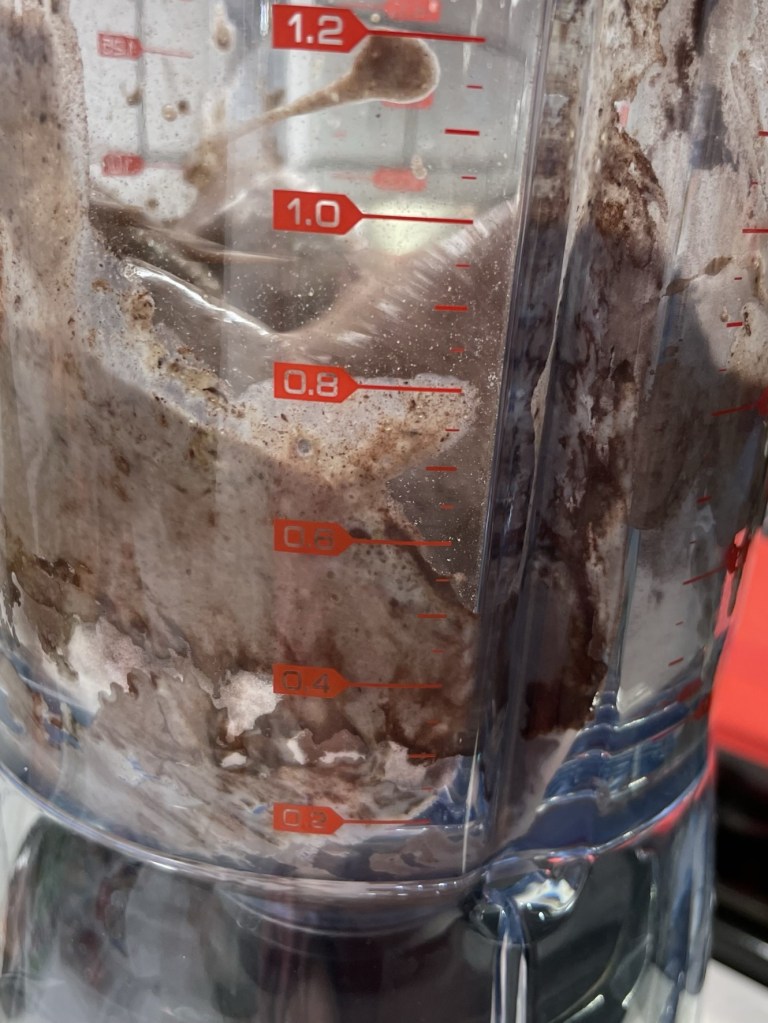
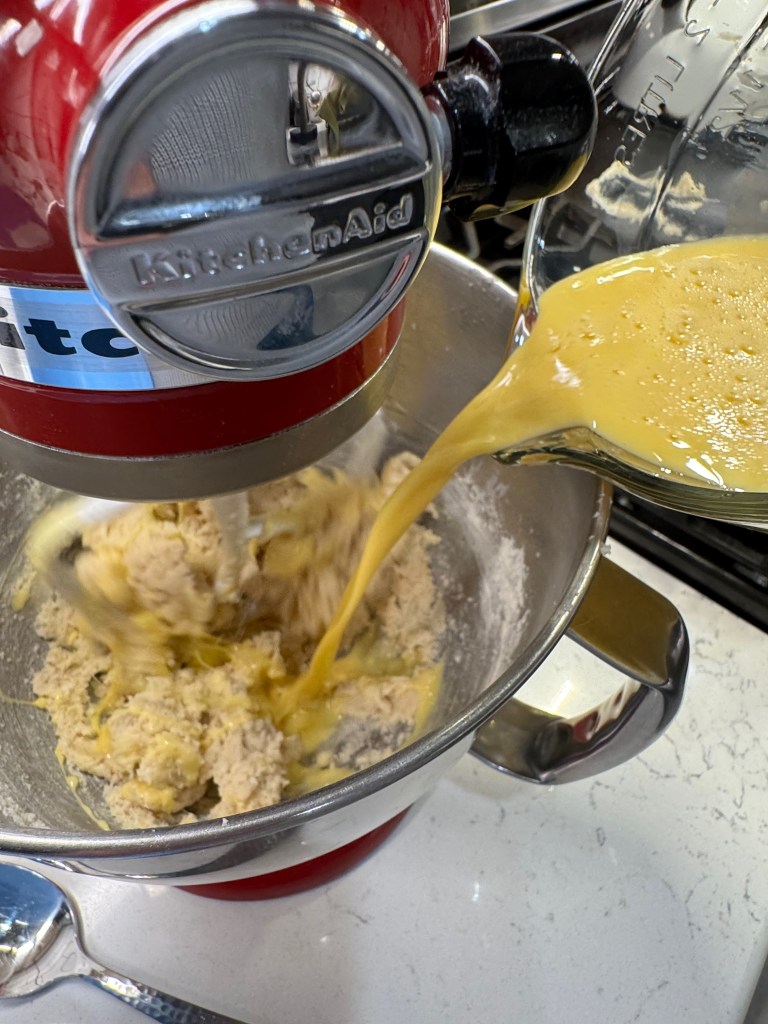
- With mixer running on low speed, blend in the flour and liquid ingredients, alternating and scraping down the bowl as you go.
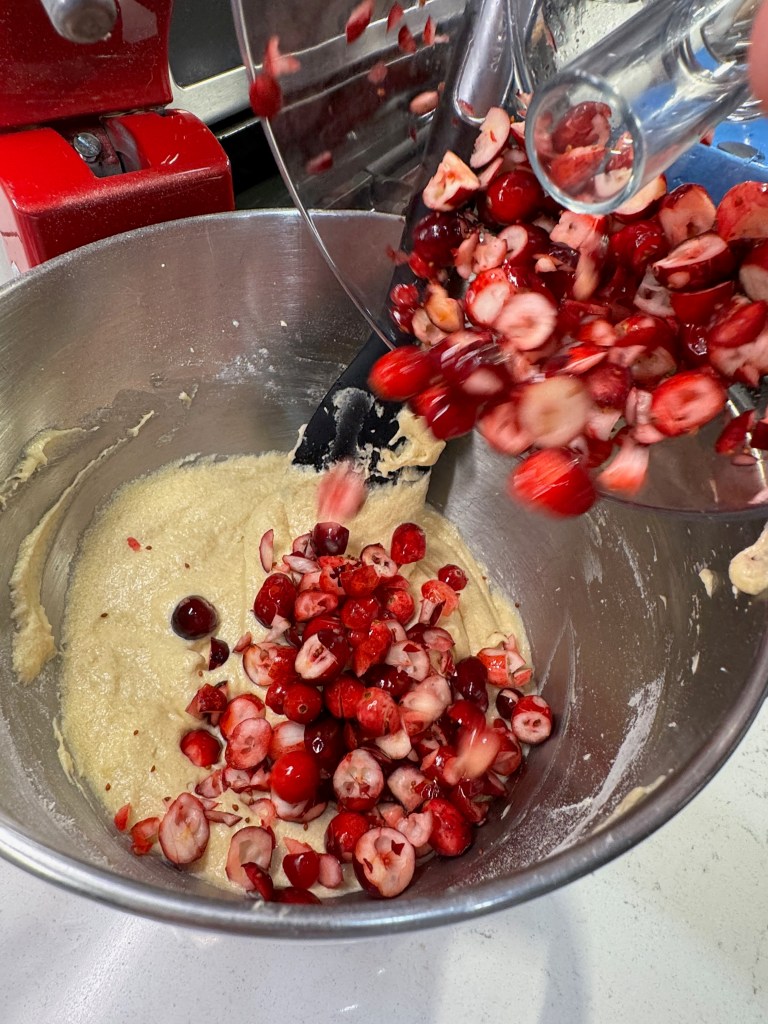
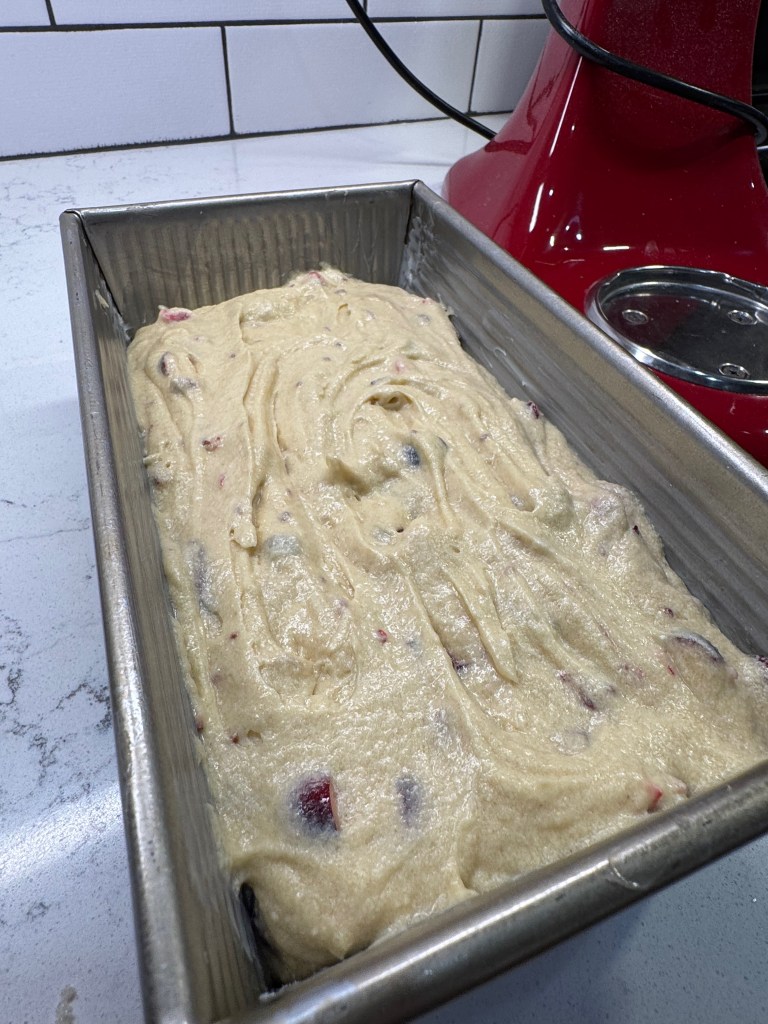
- When the batter is evenly blended, gently fold in the chopped cranberries. Pour the batter into the prepared loaf pan, using a spatula to smooth the top.
- Bake 50 to 60 minutes, or until cake passes the toothpick test. Cool in the pan for a few minutes, then carefully transfer the cake to a rack to cool completely.
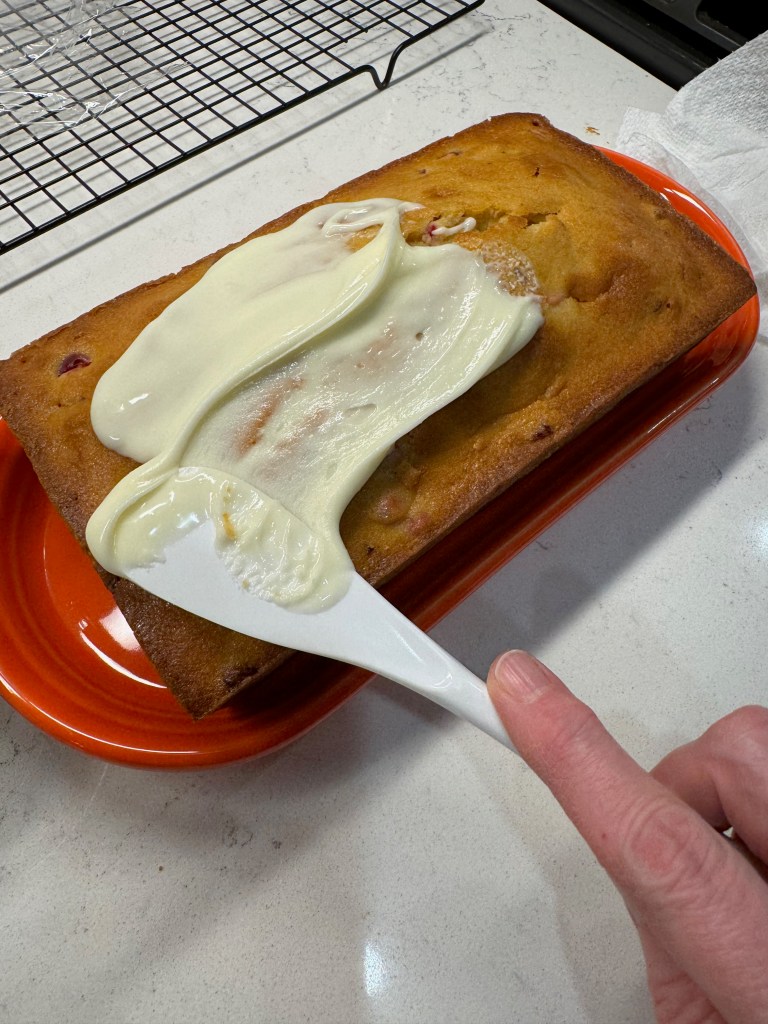
- Mix glaze ingredients together until smooth; drizzle and spread over top of quick bread.