There is a common thread that runs through the culinary fabric of the U.S. South. And that thread, in a word, is sweet. Whether it’s beverages, desserts, BBQ sauces or even potato salad, the foods you find on a southern menu will surely satisfy your sweet tooth. That’s a bit of a challenge for people like me, who prefer more savory flavors. In a salad, I want freshness, with tangy, herbal and briny flavors.
When I spotted an online recipe for potato salad with dill and horseradish recently, I got excited about the brightness of flavors and especially the absence of sugar. I found inspiration in that recipe, so I made it (with my own tweaks, of course), and my husband and I enjoyed it so much I’ve made another batch and it will make its way into our recipe rotation. Me being me, though, and always pushing the envelope on flavors, I’ve adjusted it yet again. This time, I doubled down on the dill, adding chopped dill pickles to the original idea of fresh chopped dill. I heaped jalapeno heat on top of the horseradish and crowned the finished salad with chopped hard-boiled egg. Oh, happy Spring! 🙂
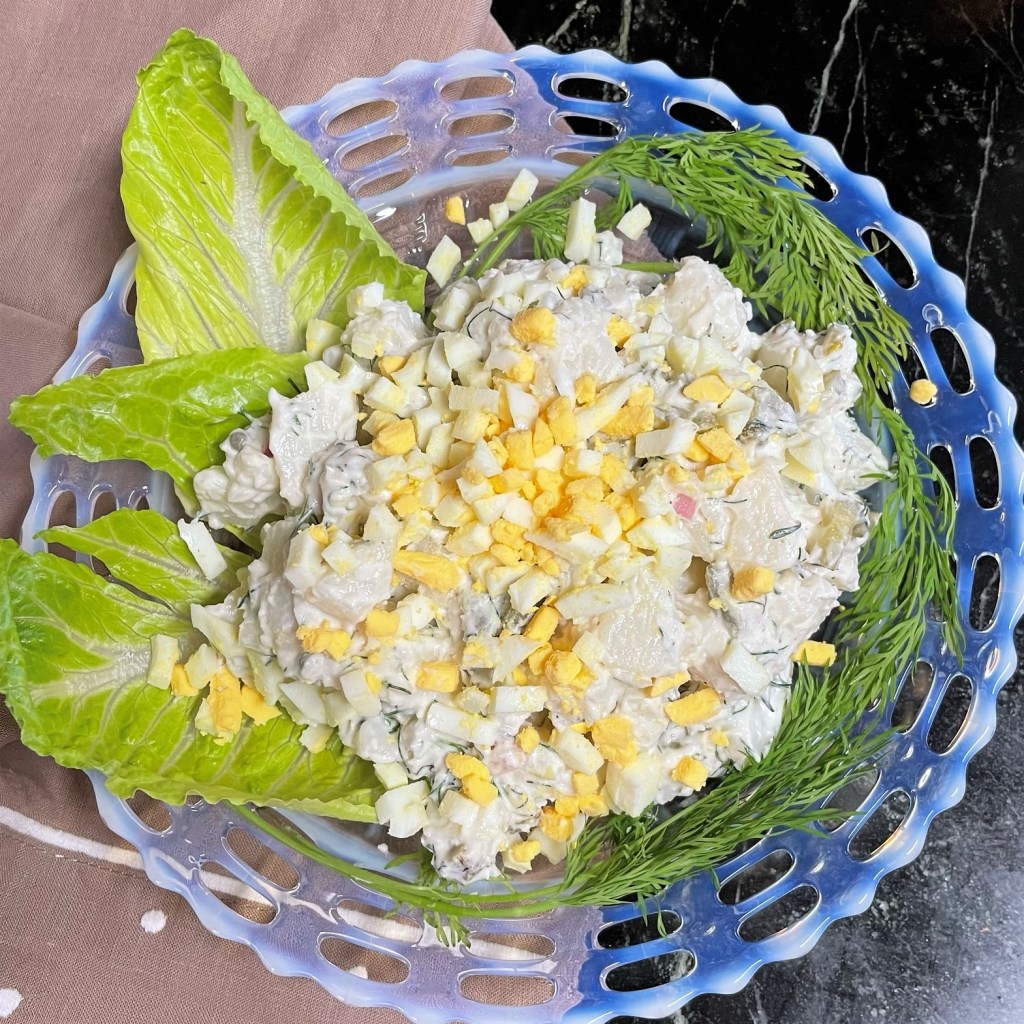
Best of all, for me, is that there is no sugar in sight. The salad is very dill-forward, and that freshness makes me eager for all the other light foods on the way for Spring. The heat, though doubled, is subtle in the background. The yogurt (or sour cream, if you prefer) contributes a creaminess that isn’t all mayonnaise. And the capers and chopped egg provide a little something extra, as a salad you might expect to find in a good delicatessen.
The result is this dilly-dilly, double heat potato salad, delicious as a cool, savory side to sandwiches, hot foods off the grill or anything you might be serving as a casual meal for Passover or Easter.
Adapted from The Spruce Eats: Dill and Horseradish Potato Salad
Ingredients
About 3 pounds waxy potatoes, peeled* (see notes)
1/2 cup mayonnaise
1/2 cup Greek yogurt or sour cream
1/3 cup chopped dill pickles*
1/4 cup minced red onion or shallots
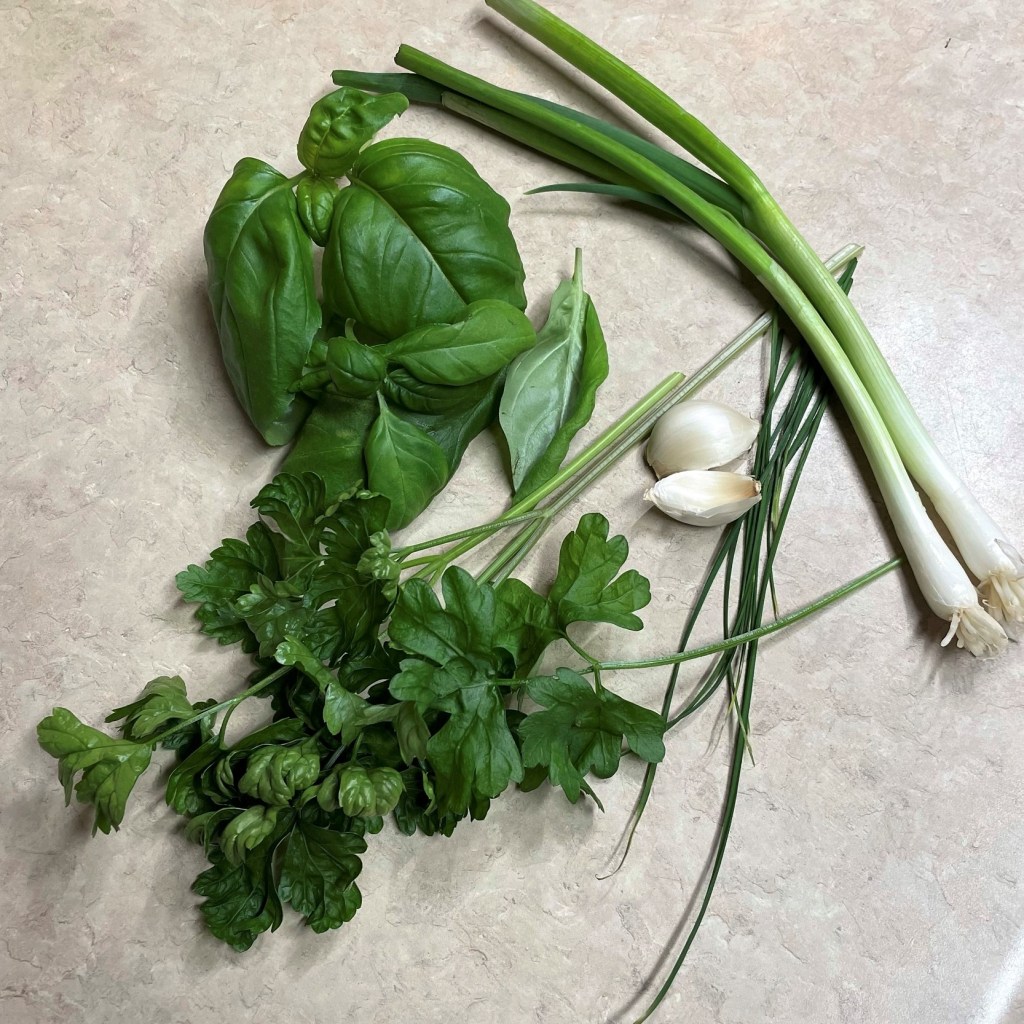
2 Tbsp. fresh dill, chopped*
2 Tbsp. pickled jalapenos, chopped*
2 Tbsp. prepared horseradish
1 Tbsp. capers
Salt and pepper to taste
2 hard-boiled eggs, chopped (for garnish)
*Notes
The best potatoes for this recipe are those that do not fall apart too easily. Red, yellow or white potatoes are all good options. Russets, not so much. Their starchy fluffiness makes them more prone to mashing.
If you do prefer a slightly sweet flavor, substitute bread and butter pickles for the dills. The dill flavor will still be present, but the sweetness will help to soften the savory edges of this salad.
This is the right time of year to find fresh dill in the supermarket, but if you do not have access to it, substitute dried dill leaves, but only about a teaspoon. Remember that dried herbs are much more potent than fresh.
Can’t stand the jalapeno heat? I promise it is subtle, but if you don’t want or like jalapenos, leave them out. This is my recipe, but you are always in charge of the decisions in your own kitchen, so make it the way you like. Want it hotter? Well, now you sound like my husband. Go ahead, add more. 😊
Instructions
This is one of the simplest recipes, but I’ll share the steps in pictures anyway. Keep scrolling for written instructions and a downloadable PDF for your recipe files.
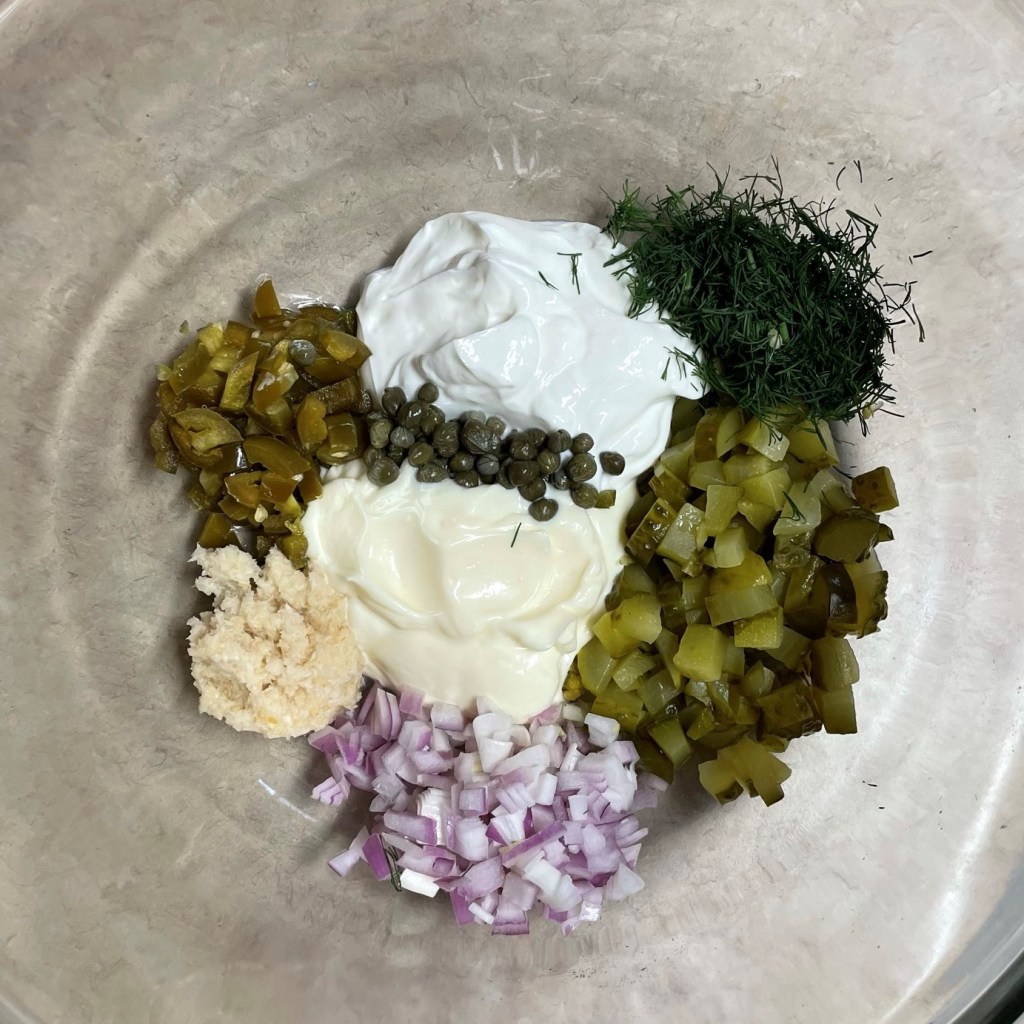
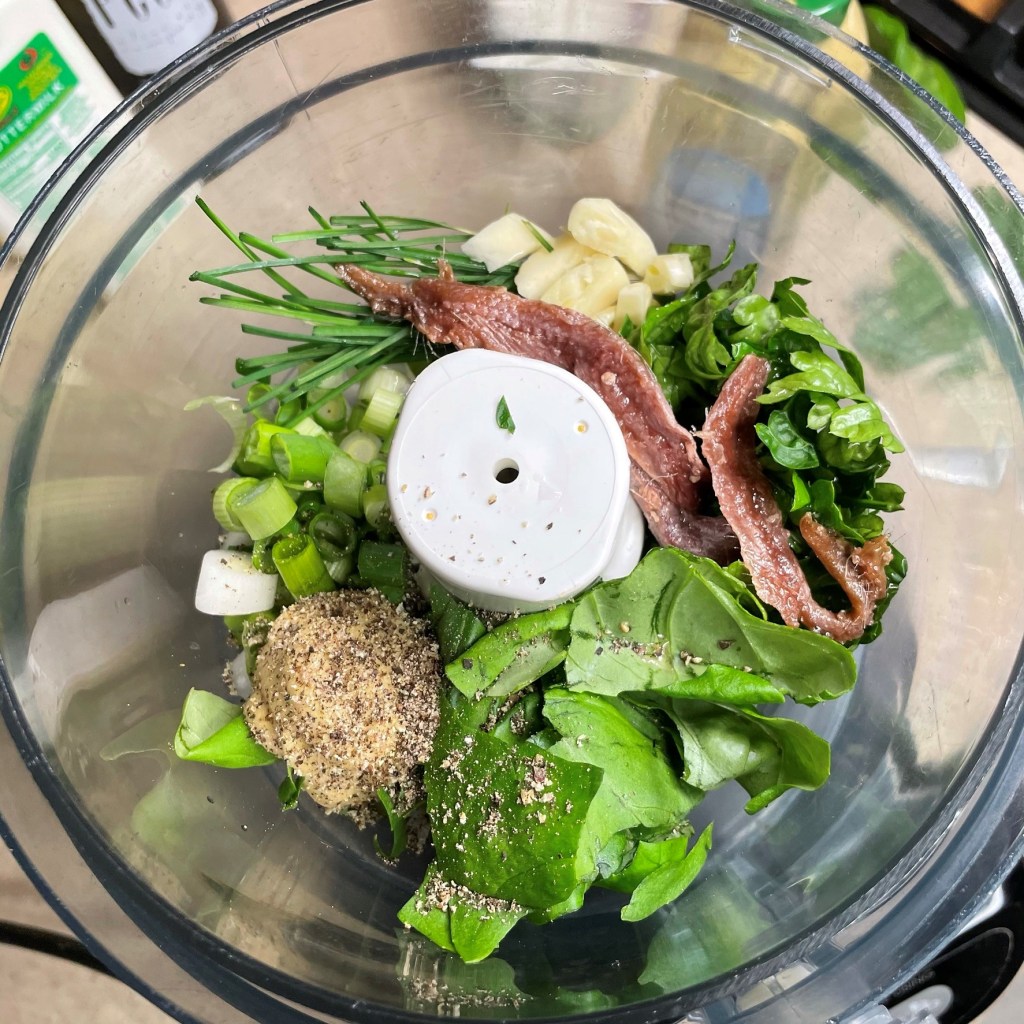
Surrounding the mayo and yogurt, from top right: fresh dill, chopped dill pickles, diced red onion, horseradish, pickled jalapenos and capers in the center. 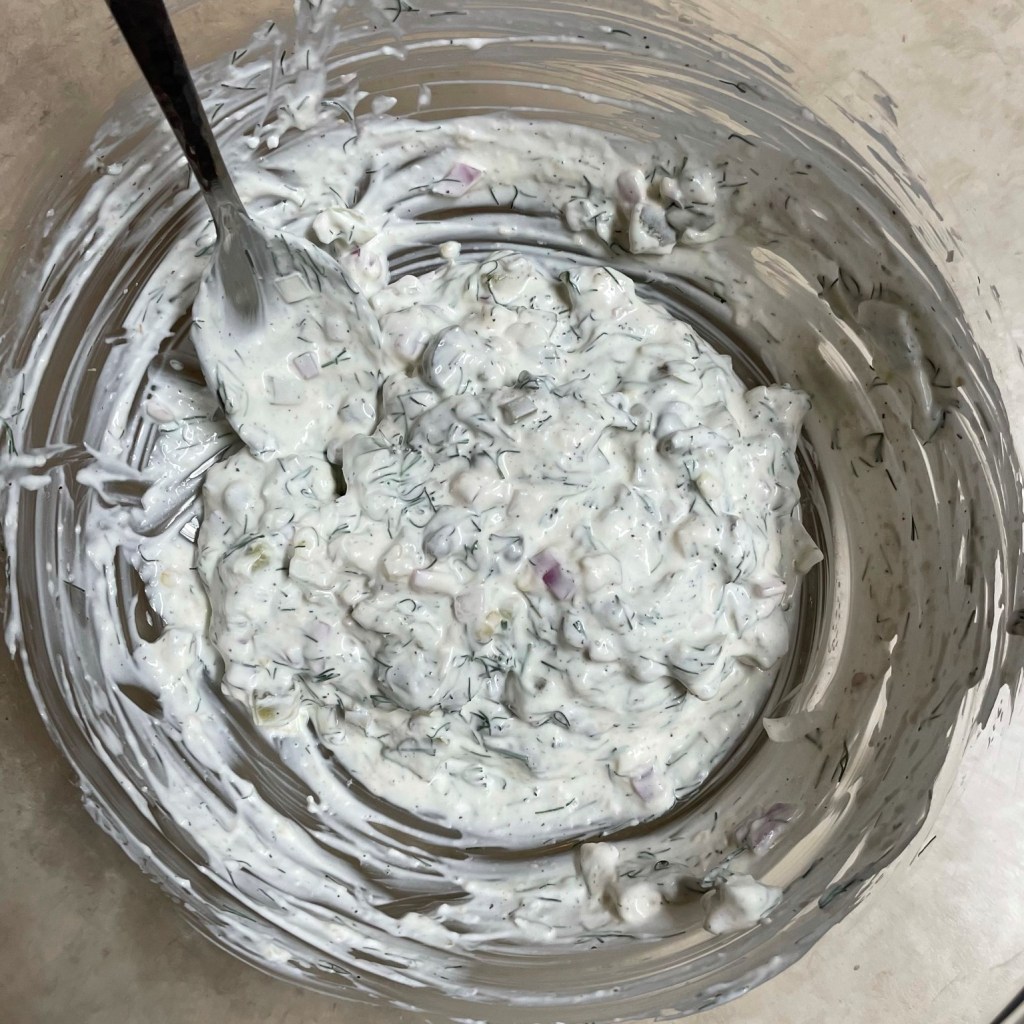
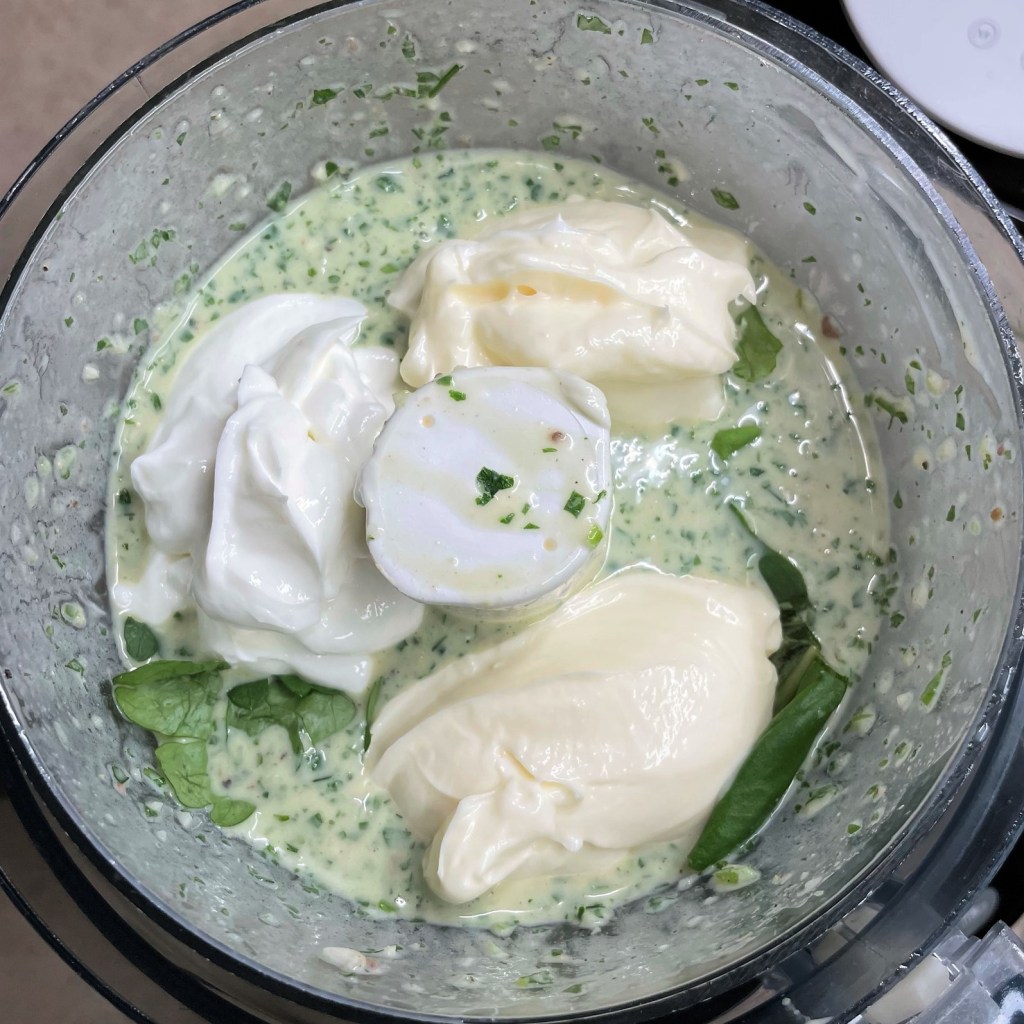
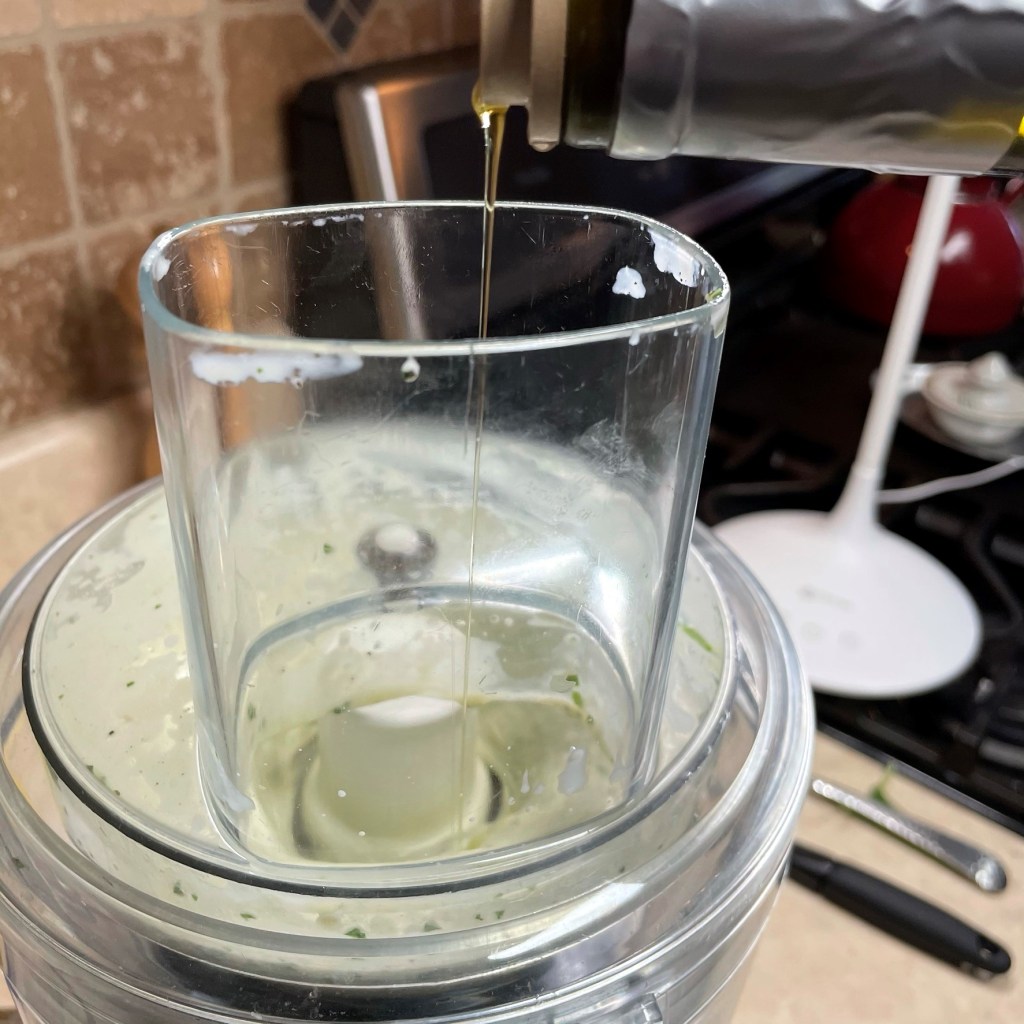
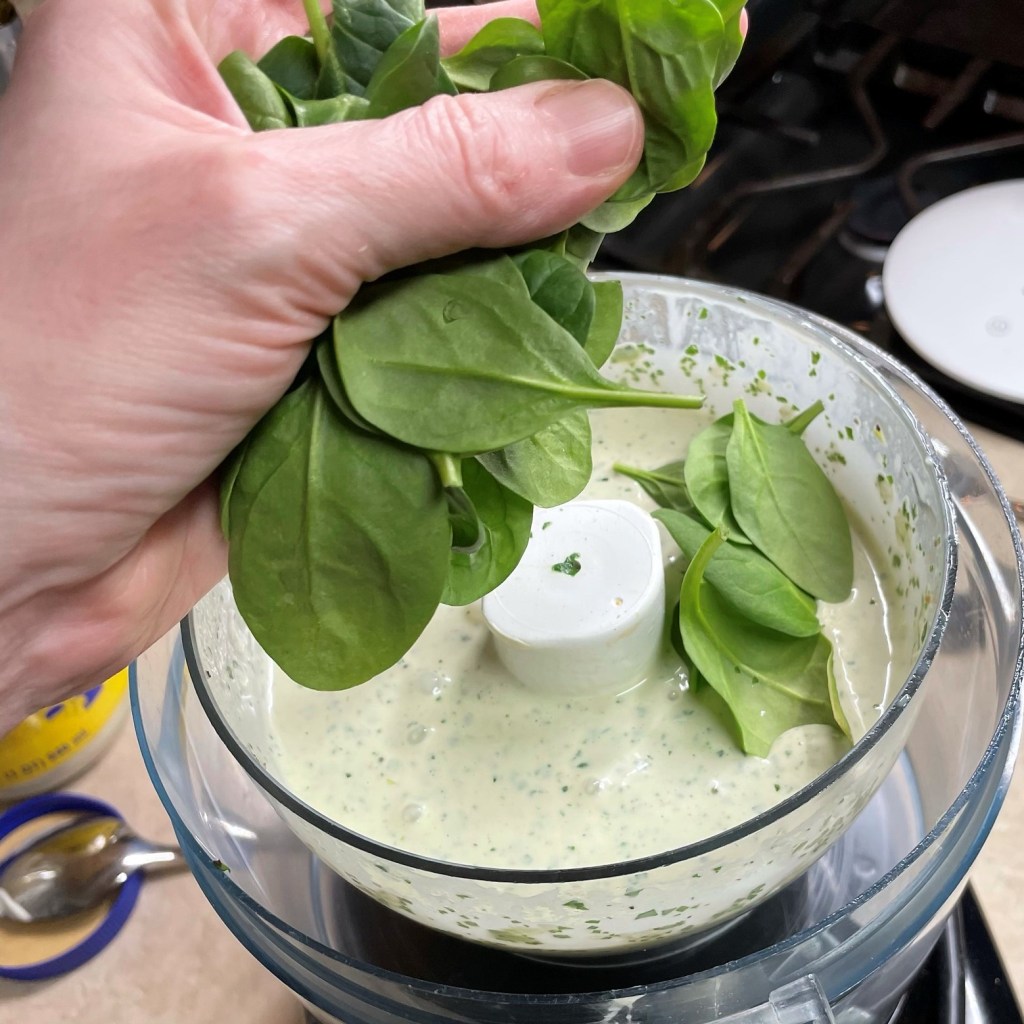
When I make any kind of salad, I like to blend together the dressing ingredients first, to help evenly distribute the flavors through the rest of the salad. 
The cut-up potatoes are cold, so it’s easier to fold them into the dressing without breaking them, and without warming up the mayonnaise. 
Always taste, of course, so you can adjust salt and pepper to your liking.
- Cut up the potatoes into large, “three-bite” size. Boil gently until potatoes are easily pierced with a fork. Drain them and cool completely before cutting them into smaller pieces. If you wish, cook them a day ahead and refrigerate overnight. Cut the cooked potatoes into cubes about the size of croutons.
- Combine all remaining ingredients, except eggs, in a large bowl, seasoning the dressing with salt and pepper to taste.
- Fold the cut-up potatoes into the dressing. Chill in the refrigerator for several hours.
- Serve with chopped hard-boiled eggs scattered on top of the salad.

Our first batch was made with russet and Yukon gold potatoes, and we liked it so much, I made a few adjustments and whipped up another batch. 
For my second batch, I doubled the heat, used white potatoes and added chopped egg. All winners!