I have mixed feelings about special occasions that fall in the middle of the workweek, and with Valentine’s Day on a Wednesday this year— not to mention in the same week as Super Bowl and Mardi Gras— I’m both frustrated and relieved that it won’t be as big a deal.
I’m not one to go nuts over this “holiday,” which smacks of overdone commercialism and sky-high expectations for everything to be perfect. My husband and I usually stay home and either cook for each other or, as will likely be the case this year, keep it low key and simple. I don’t need roses, wine and chocolate to know that I’m loved.
But this year, the easiest time to make a lovely homemade meal for Valentine’s Day would be this Saturday; unfortunately, it’s getting crowded out at our house by the Super Bowl. I’m reminding myself that I don’t need grand gestures, but the truth is I’m disappointed. My husband will feel loved if the table is loaded with spicy queso dip, Buffalo wings and cold beer, but I will genuinely miss preparing an elegant, more “fancy” meal.
If nothing else, I will find a way to throw a little romance onto the scene this weekend, probably in the form of dessert. And I know exactly what he craves— chocolate and cherries!
For Valentine’s Day last year (which was a Tuesday, also not ideal), I re-created our 2020 sweetheart meal of crispy duck breast with cherry-pinot noir sauce, and Les was thrilled. For dessert, it was an encore performance of chocolate and cherry crepes. My iPhone camera did not capture good photos of the dish itself that first time— it was before I began blogging— but I believe you can see the bliss in my lover’s eye as he enjoyed his special dessert.

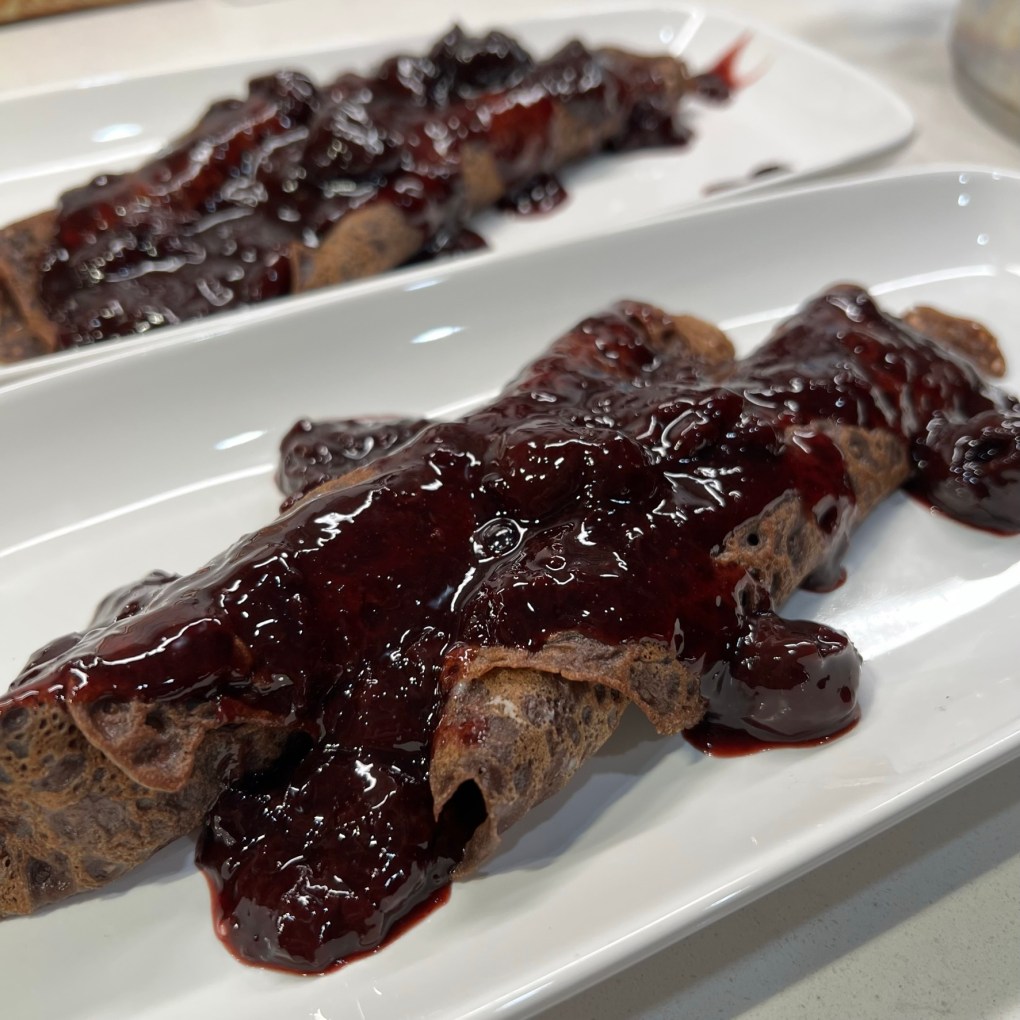
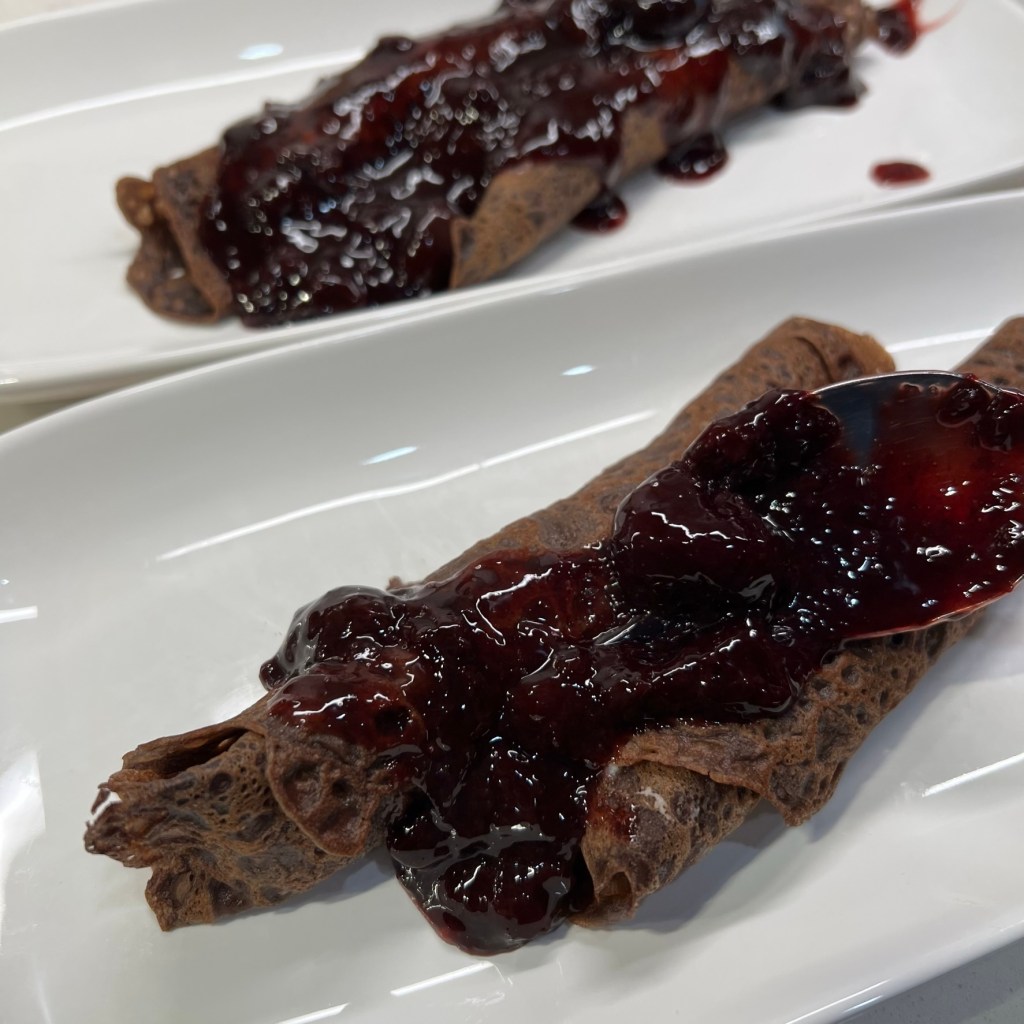
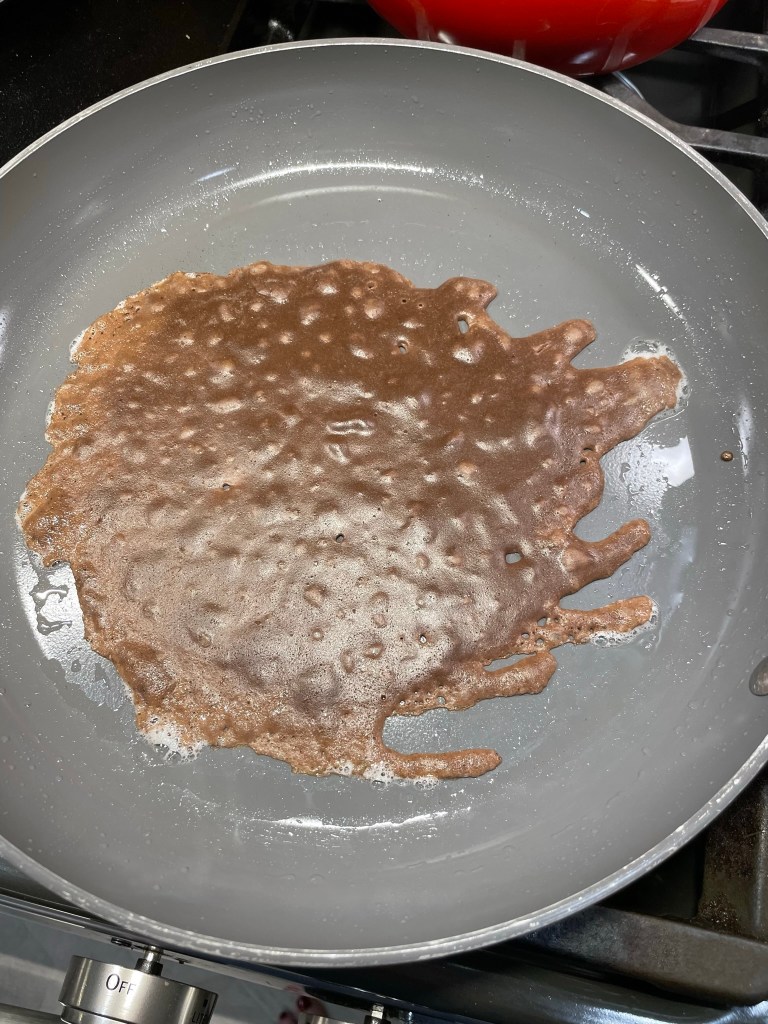
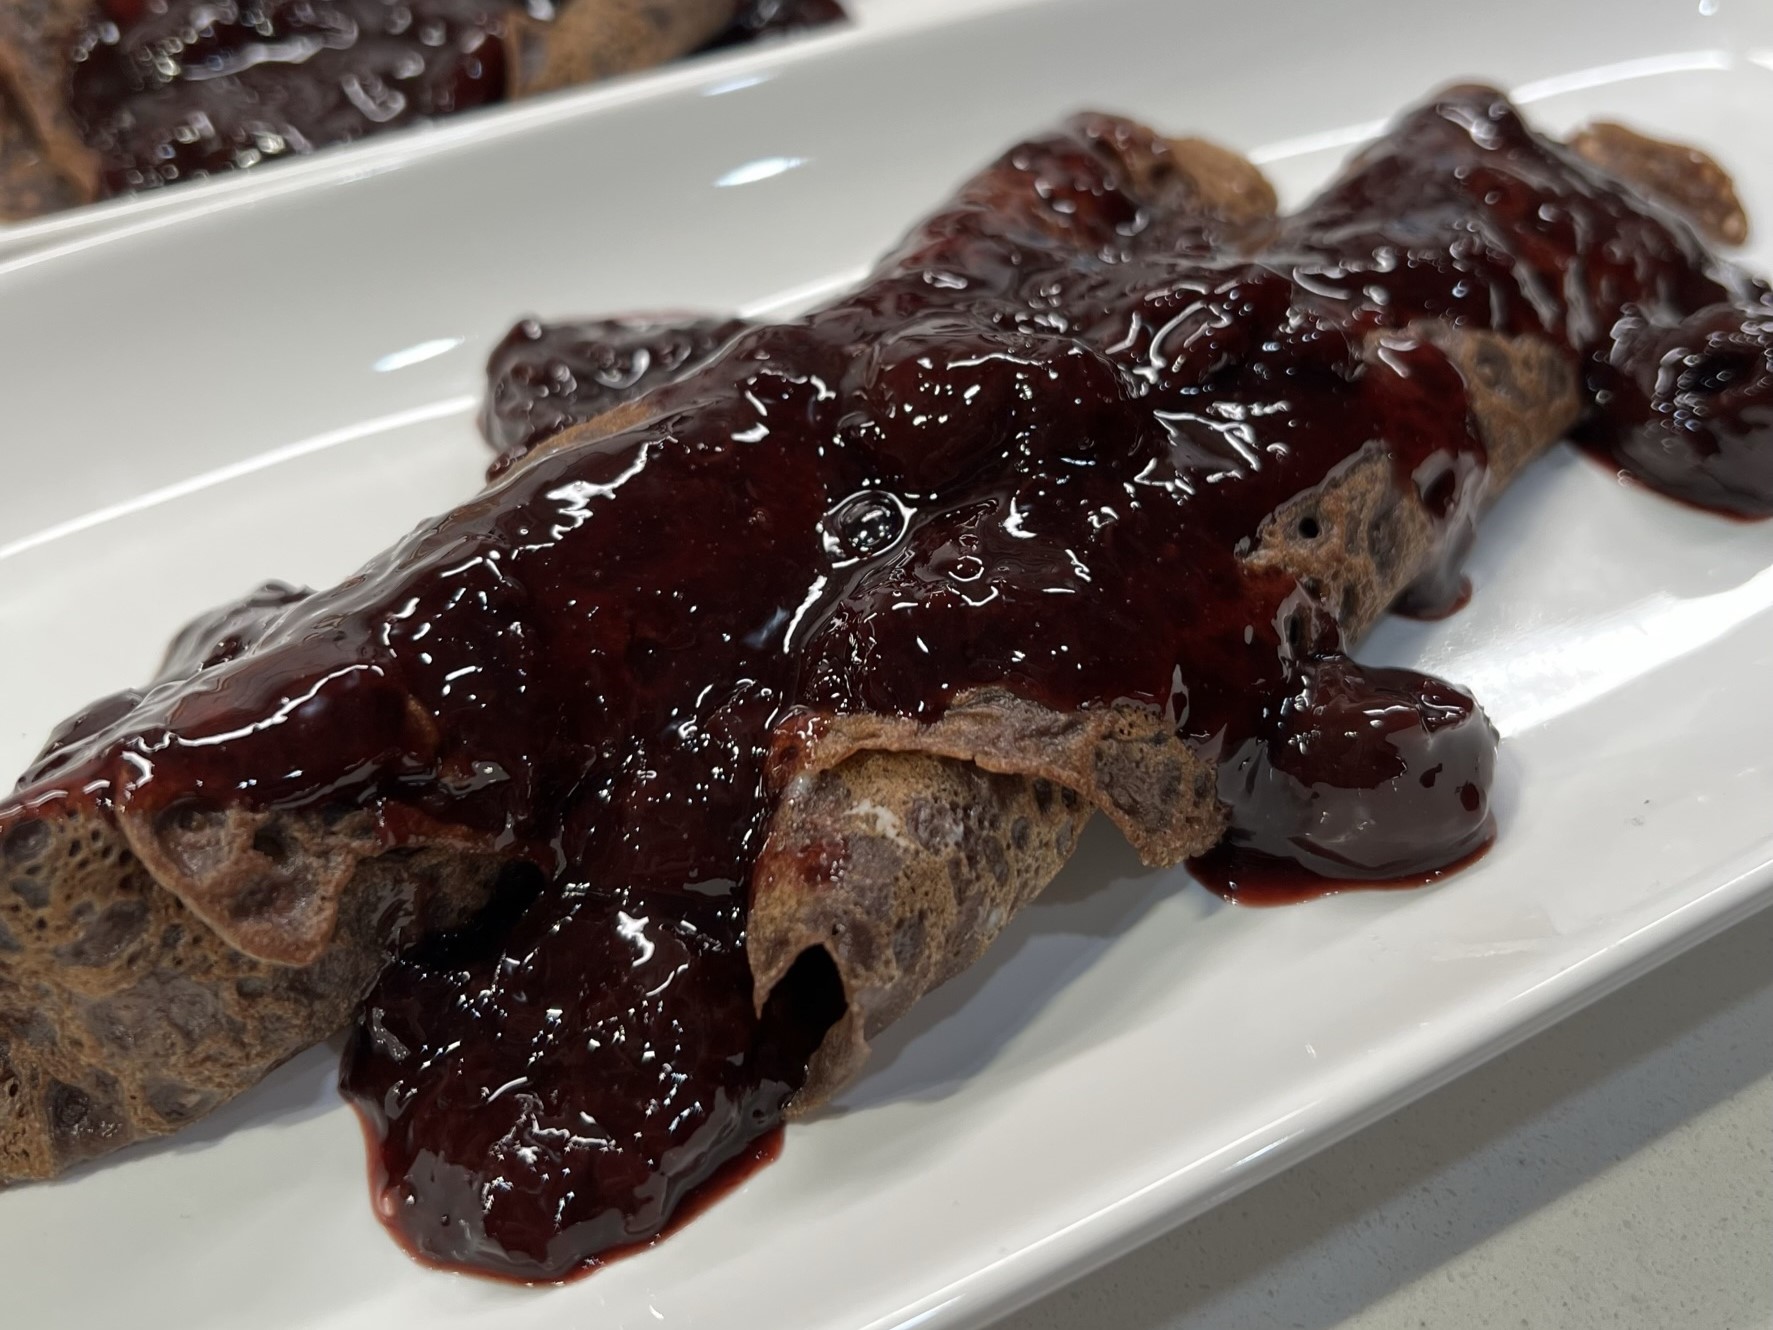
These are homemade chocolate crêpes, created with double dark cocoa powder and rolled up with an almond-kissed, sweetened mascarpone filling, and then topped with a simple-to-make sweet cherry sauce. And though I’m still a novice when it comes to making crêpes (try not to laugh when you see my photos), I can confirm that after you roll them up and bury them in cherry sauce, nobody will notice if they aren’t perfect.

The best thing about these crêpes— besides the fact that the flavors are divine— is that you can make every part of them in advance and assemble them when you’re ready to sweep your lover off his or her feet. The crêpe batter actually benefits from some fridge time, so you can even make it the day before. One of these days, I’ll get the hang of cooking them pretty, but for now, the advice I’ll offer is to make extra batter (in case your first ones are duds) and cook them ahead of your occasion. The crepes can be layered with parchment or waxed paper and stored in a zip top bag in the fridge until you’re ready to assemble them with the filling and sauce.


The mascarpone is super simple and the cherry sauce, which is conveniently made with frozen dark cherries, can be made ahead and warmed in time for dessert.


The cherry sauce is so delicious, even if you don’t want to mess with the crêpes, you might find this a perfect topper for ice cream or a brownie or pound cake or anything else you and your Valentine enjoy. I flavored mine up with a splash of amaretto because I love the combination of cherry and almond, but you could skip this or swap in a splash of rum or brandy if you’d like. Assembly of the crêpes is a snap.
Chocolate & Cherry Crêpes
The best thing about this dessert, besides the marvelous flavor combo, is that you can make every part of it ahead and simply assemble the crêpes at serving time.
Ingredients
- 1/2 cup milk
- 1/4 cup water
- 1 cup all-purpose flour
- 1 Tbsp. double dark cocoa
- Pinch salt
- 1 Tbsp. cane sugar
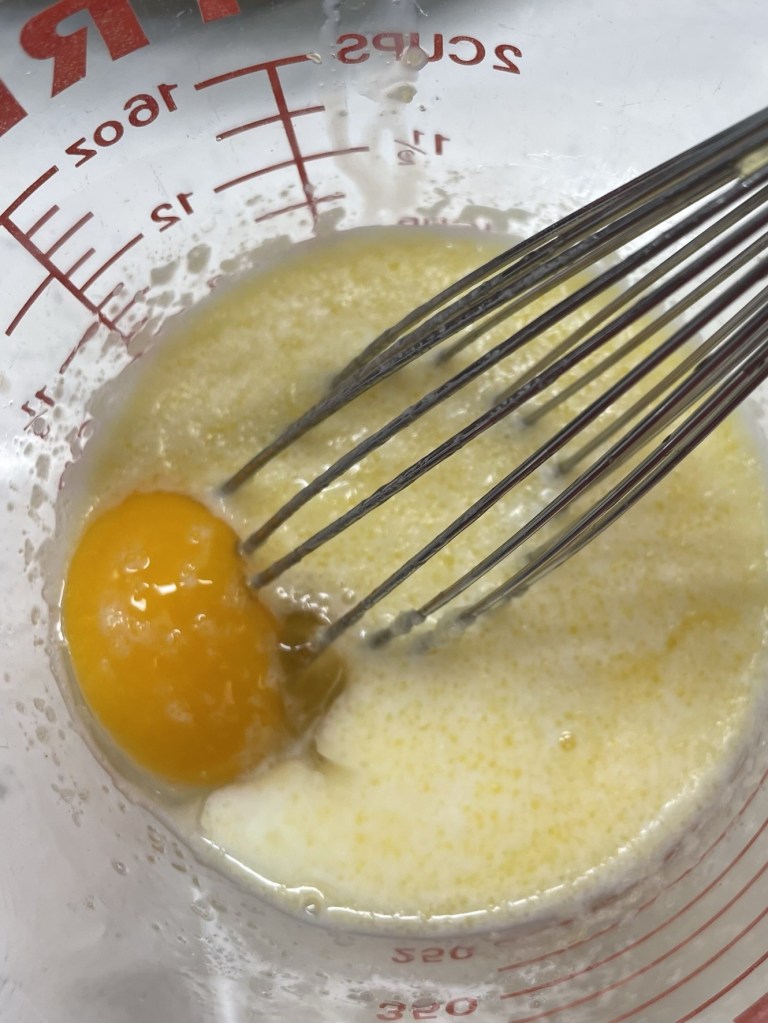
- 1 egg
- 2 Tbsp. melted butter
- ½ tsp. vanilla
- Additional butter, used for cooking the crêpes (about 1 tablespoon)
Directions
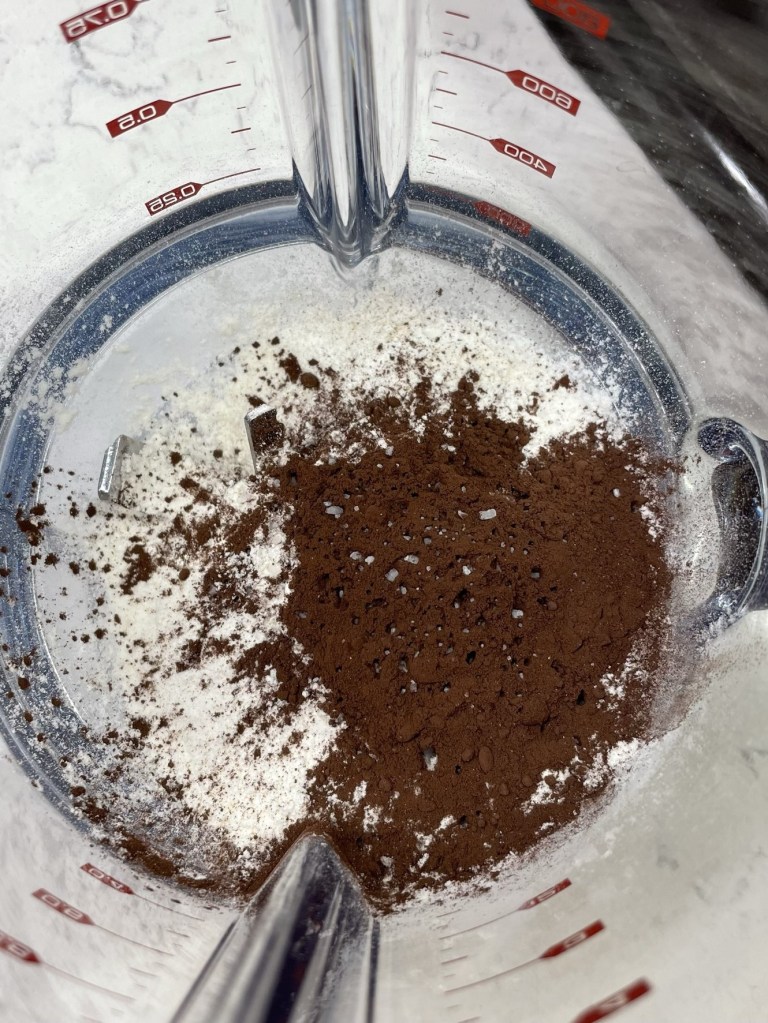
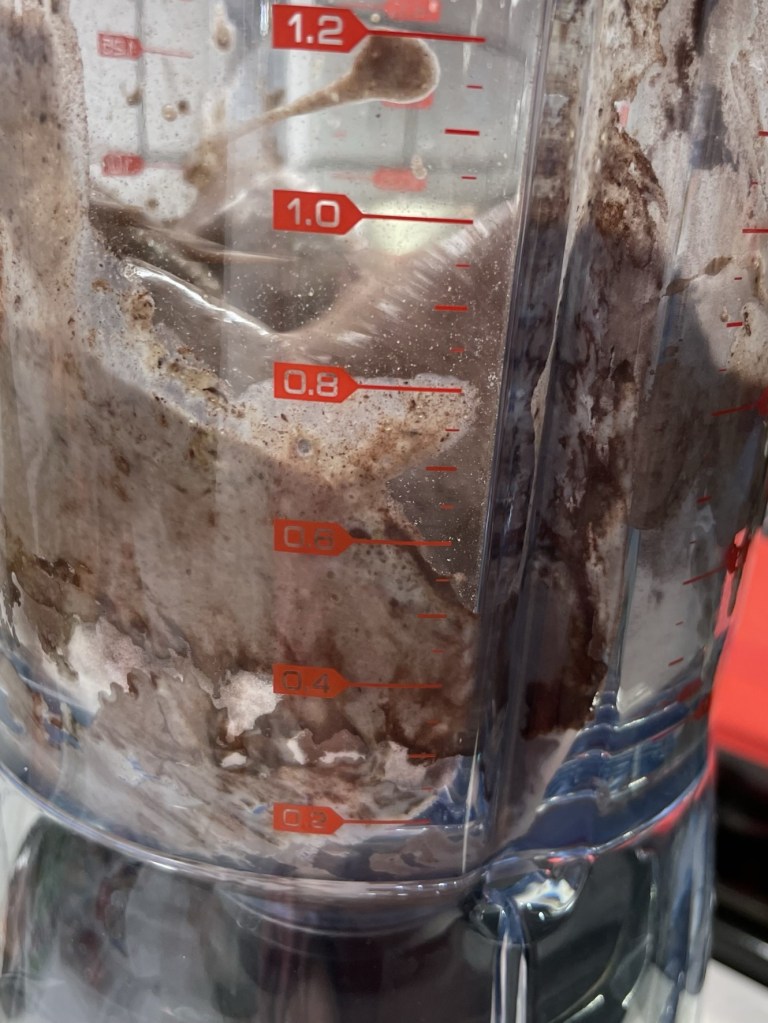
- Combine all ingredients in a blender container and blend until completely smooth.
- Transfer to a bowl, cover and refrigerate at least an hour or up to one day.
- When ready to cook, heat a small pat of butter in a large, non-stick skillet over medium-low heat. When butter begins to brown slightly, ladle 1/4 cup of the crêpe batter into the center of the pan. Swirl the pan gently to spread the batter around into a shape as close to a circle as you can. Cook one minute, then gently turn the crêpe (a silicone spatula is useful here) to cook the other side.
- Stack the cooked crêpes between layers of parchment paper and store them in the fridge until you’re ready to assemble.
Ingredients
- 8 oz. mascarpone, at room temperature
- 2 oz. cream cheese (full-fat recommended; this is approximately 1/4 of a standard block)
- 3 Tbsp. powdered sugar
- 1/2 tsp. vanilla extract
- 1/2 tsp. almond extract
Directions
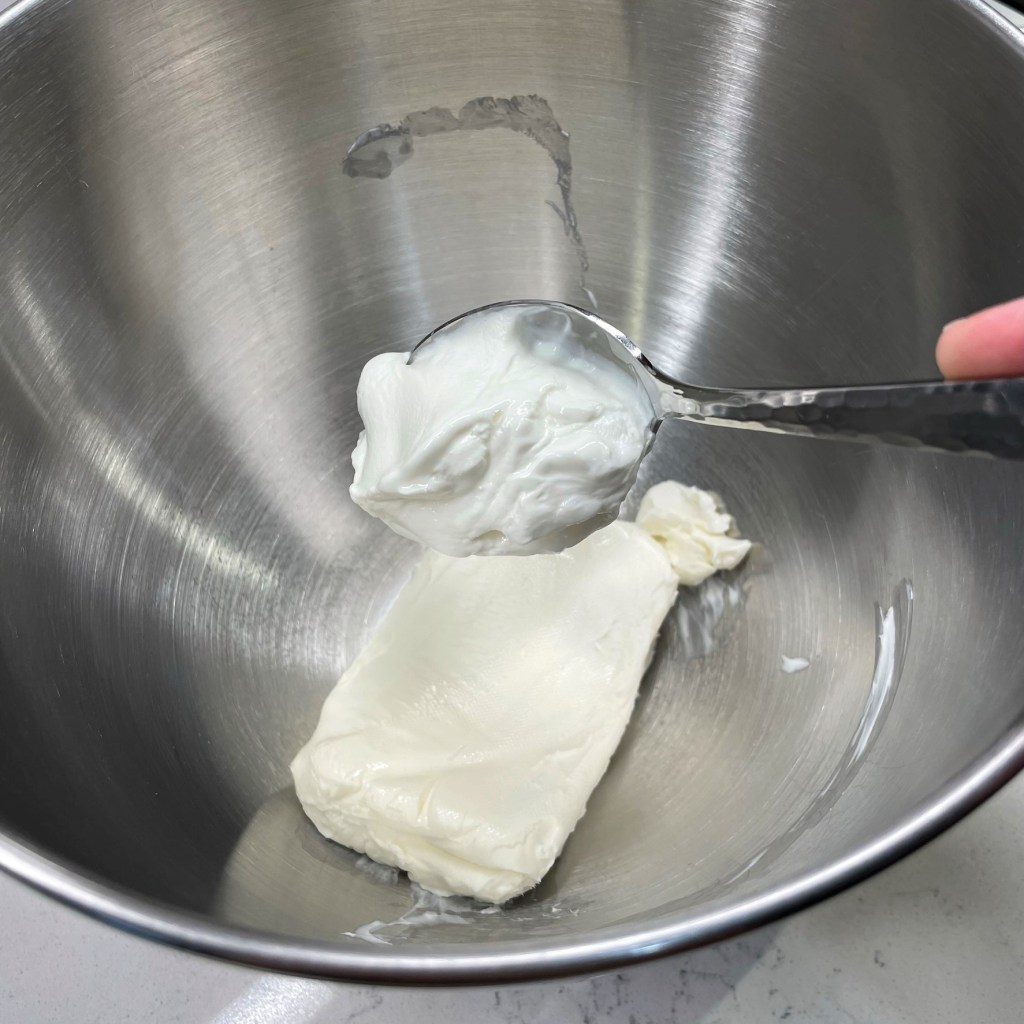
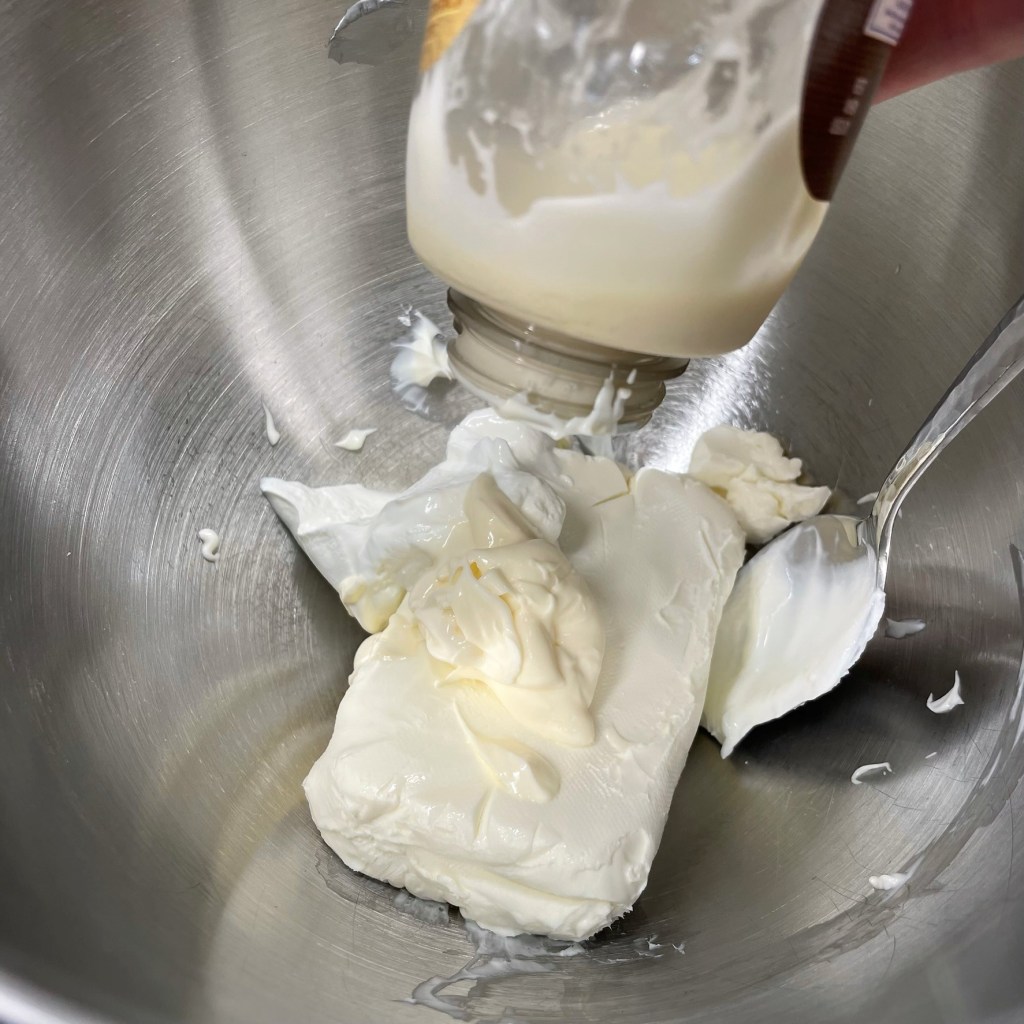
- Use a sturdy spoon to blend the mascarpone and cream cheese together in a medium bowl.
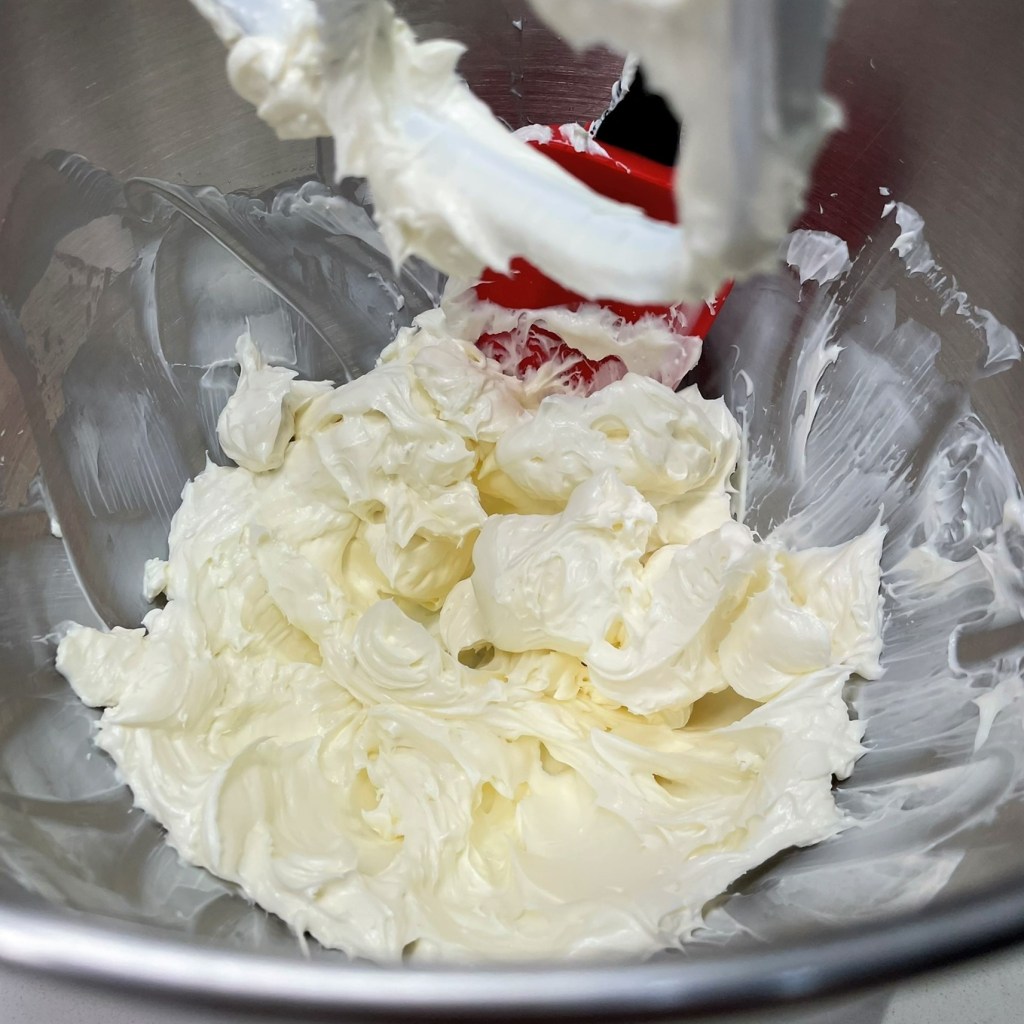
- Add powdered sugar and extracts. Blend until fully combined and smooth. Refrigerate until ready to assemble the crêpes.
Ingredients
- 3 heaping cups frozen dark sweet cherries
- 1/4 cup cane sugar
- 3-inch stick whole cinnamon
- Pinch of salt
- Juice of 1/2 lemon
- 1/4 cup cherry juice
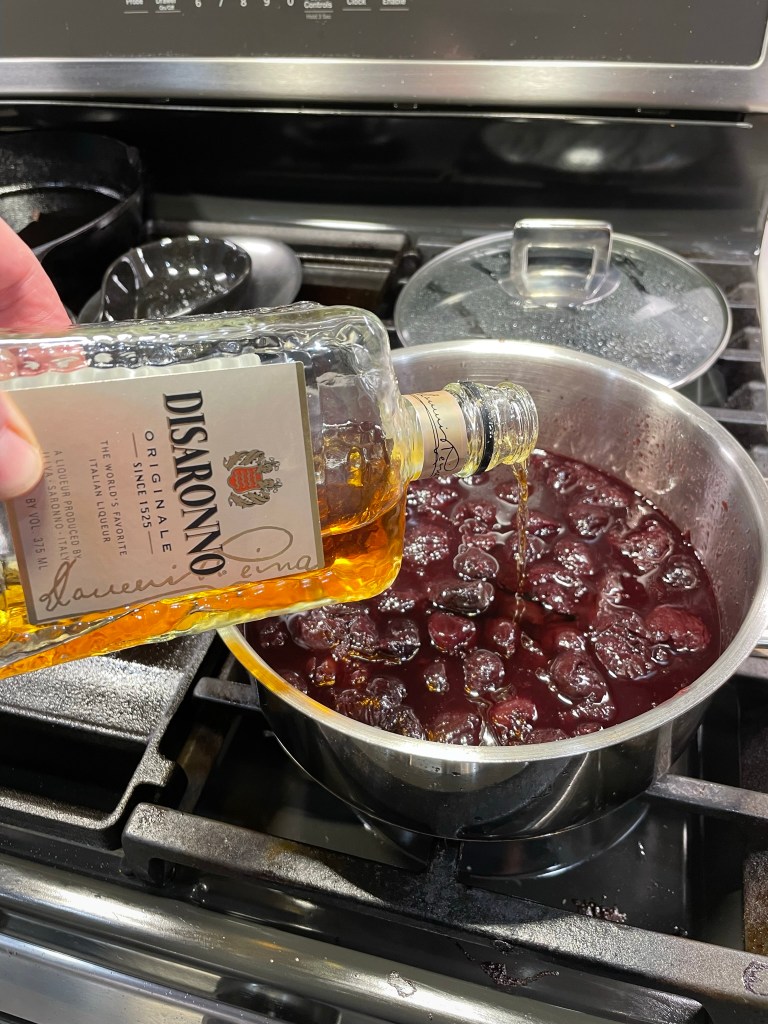
- 2 Tbsp. amaretto
- 2 Tbsp. corn starch, mixed with 2 Tbsp. cold water (used to thicken sauce)
Directions
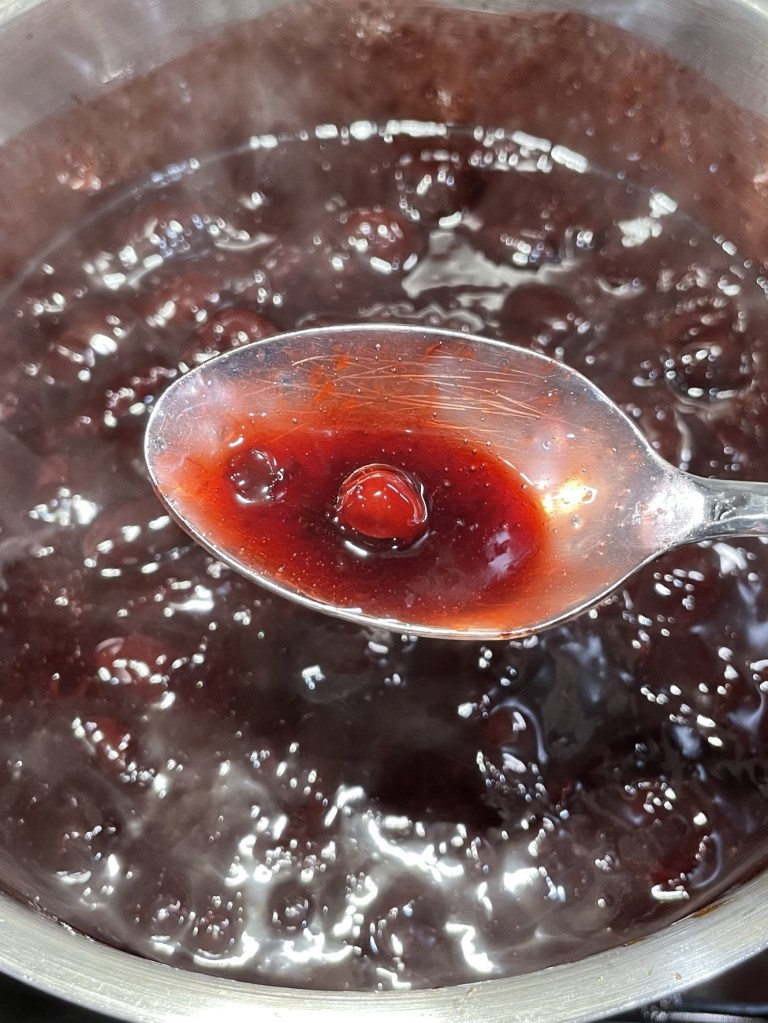
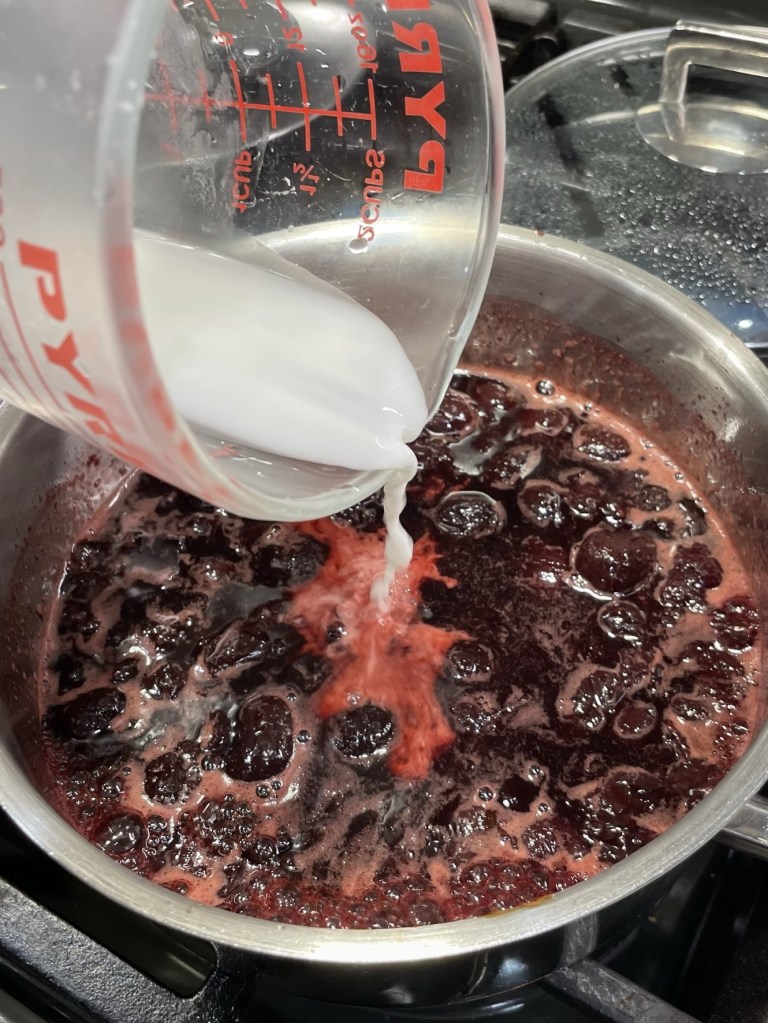
- Combine cherries, sugar, cinnamon stick, salt, lemon juice and cherry juice in a large sauce pan over medium heat. Bring to a boil, and then reduce heat to a simmer until cherries are completely softened. Remove from heat and cool to room temperature.
- Bring cherry mixture back to a simmer and stir in amaretto. Remove cinnamon stick and blend corn starch slurry in to thicken. Let the mixture cool slightly before topping crêpes.
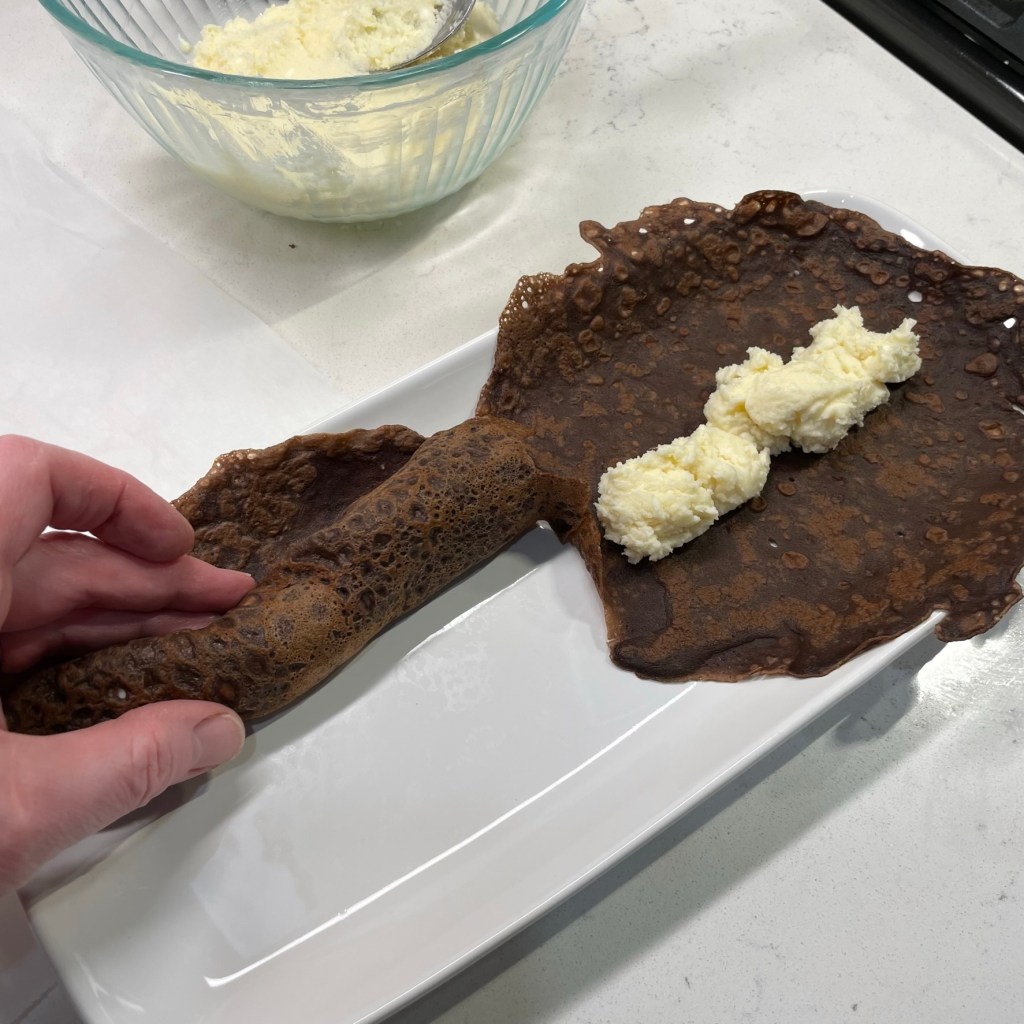
- Assemble crêpes: Lay a single crepe on a plate or piece of parchment. Add spoonfuls of the mascarpone mixture across the center. Roll up the crêpe and arrange on a dessert plate. Repeat with a second crêpe for each serving. Spoon the cherry sauce over and prepare to swoon.
One last note: Remember that store-bought frozen cherries are pitted mechanically, and every once in a while, the machines miss one. Inspect the cooked sauce thoroughly, just in case!