That was the matter-of-fact statement printed on some of the commemorative T-shirts for our local Greek festival a few years back. It was supposed to end the controversy of the traditional handheld pita sandwich, which some people (including my NYC-born husband) call “JYE-row.”
Let the dispute rage—however you say it, these things are absolutely delicious and I’ve only recently learned to make them at home. This time of year, my community would normally be gearing up for the annual Greek festival, a three-day event filled with traditional food and music and dance and laughter and oh-so-heavenly Greek pastries—but alas, we are not doing anything “normal” this year, are we? The festival, I’m told by an insider, will be pushed back to at least September, if they are able to do it at all with whatever social distancing guidelines might be in place months from now.
To help temper our collective craving for Greek deliciousness, I’ve decided to share a few of my own recipes, including my take on a “YEAR-Oh” recipe I received quite by accident. My aunt had texted me in search of a good but easy flatbread recipe, and after I figured out she wasn’t referring to the pizza crust-type of flatbread, but the handheld pita-type, I asked what she planned to do with them. “Gyros,” she texted.
Hold the phone—what? She makes her own gyros? This is one of my favorite Mediterranean food items, a primary reason for my love of the Greek festival, and yet it had not occurred to me to try to make them at home. Thankfully, our chance conversation about flatbread has changed all that.
This recipe for gyro meat is remarkably simple to make, and would be delicious with just onions, garlic, rosemary and oregano, as it was given to me, but my husband and I really like a good bit of spice, so I substituted a blend of other Mediterranean spices that had worked very well on some lamb chops a few months ago, and guess what? Winner, winner—gyro dinner. For good measure, I’m also sharing my easy, four-ingredient recipe for tzatziki sauce and the homemade soft pita breads that are in my regular rotation.
You can use ground beef or ground lamb in this recipe, or some combination of both, as I did. One of the keys of the recipe is processing the ground meat into an ultra-smooth texture before cooking it. Skipping this step will leave you with something more like meatloaf or burgers, so don’t be tempted to pass on it. If you have time to chill the cooked gyro meat overnight, you’ll be able to slice it ultra-thin for a really authentic result. Authentic enough, anyway, to hold us over until September.
Opa!
Ingredients
1.5 pounds ground beef or lamb or both (at least 85% lean)
1 cup very finely chopped onion
4 cloves garlic, very finely minced
Spice blend
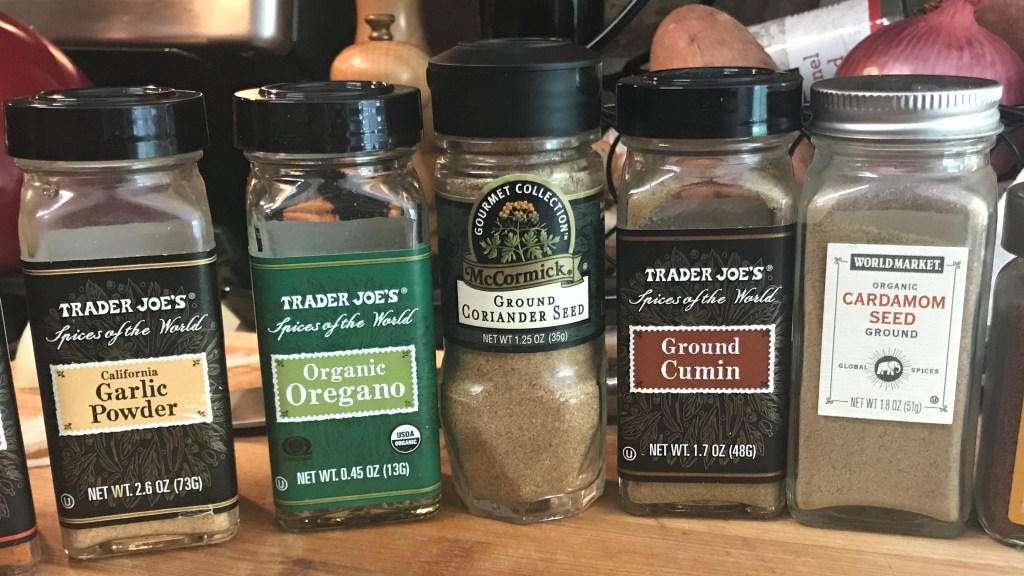
1/2 tsp. cumin
1/2 tsp. ground coriander
1/4 tsp. dried Mediterranean oregano leaves
1/4 tsp. ground cardamom
1/4 tsp. garlic powder
1 tsp. kosher salt
1/2 tsp. freshly ground black pepper
For serving
Soft pita breads*, tzatziki sauce, fresh tomatoes, chopped red onion
*These are delicious on my homemade soft pita breads, or you may use something simple and ready-made, like the garlic naan breads available at Trader Joe’s.

Instructions
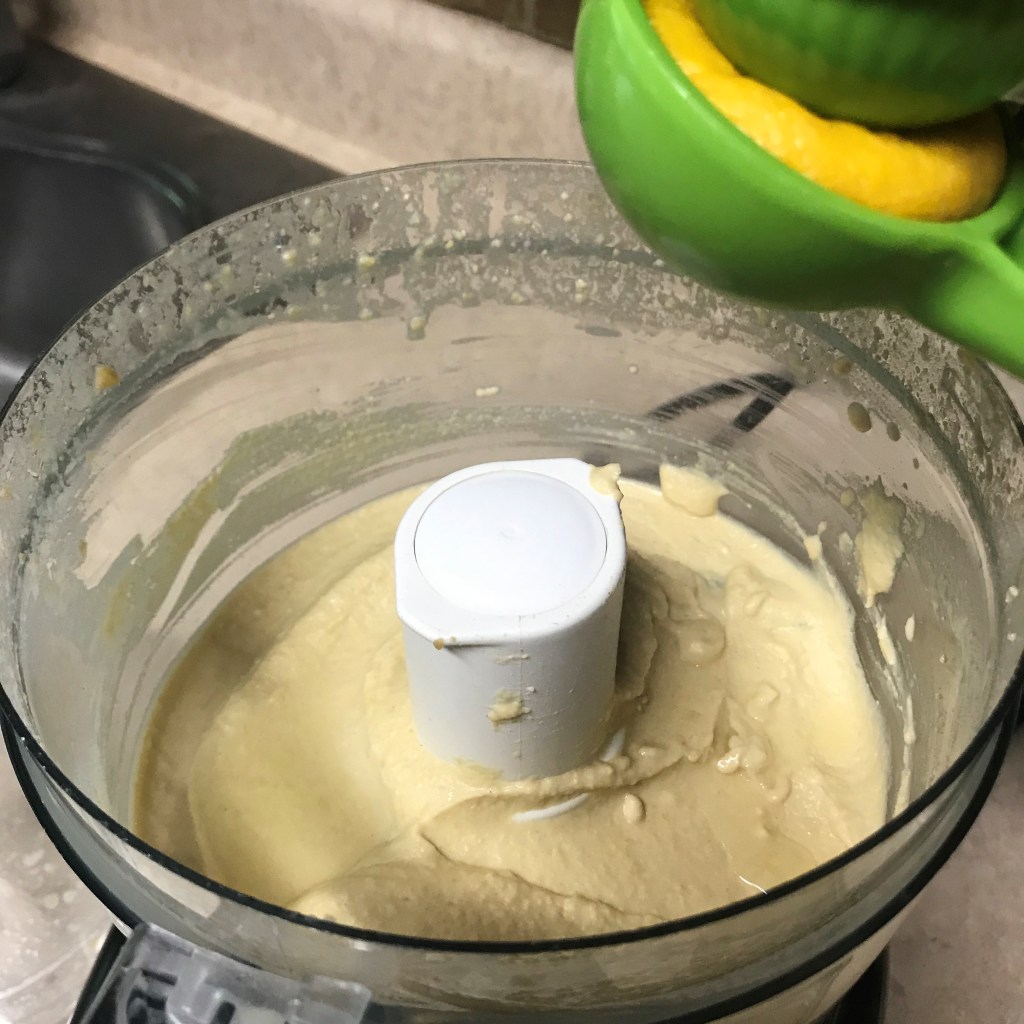
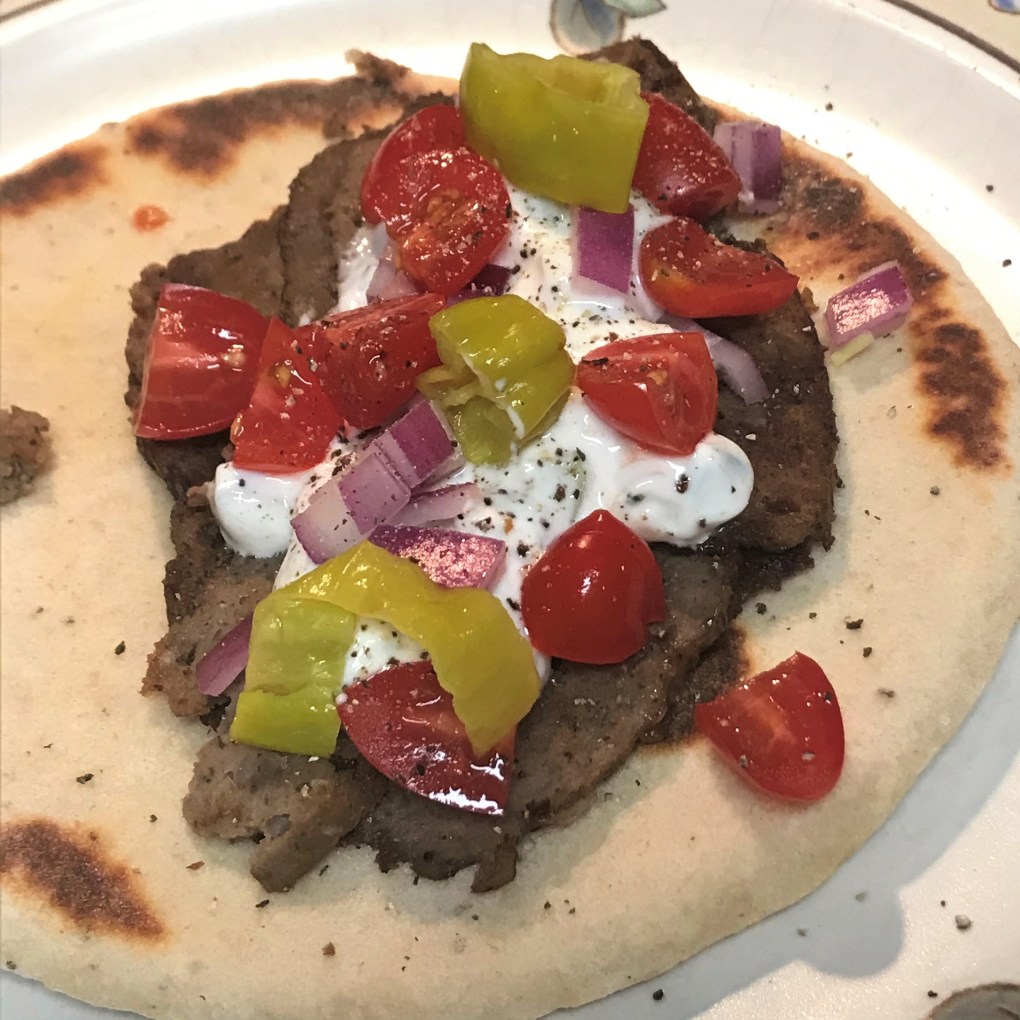
Combine meat, onions, garlic and spices in a large bowl. Refrigerate mixture at least 2 hours. Working in batches, process meat mixture until it’s smooth and homogenized. If you’re cooking and serving right away, shape mixture into a compact oval-shaped mound in a cast iron skillet, and bake at 325° F for about 1 hour, until meat is fully cooked and very firm, even slightly dry. If you’re serving right away, cut the meat into thin slices and enjoy on warm pita breads with your favorite toppings. Keep scrolling for work-ahead tips.

I used 1 pound lamb plus 1/2 pound beef, but you could use all ground beef if you prefer. 
Ready for mixing with onions, garlic and spice blend. 
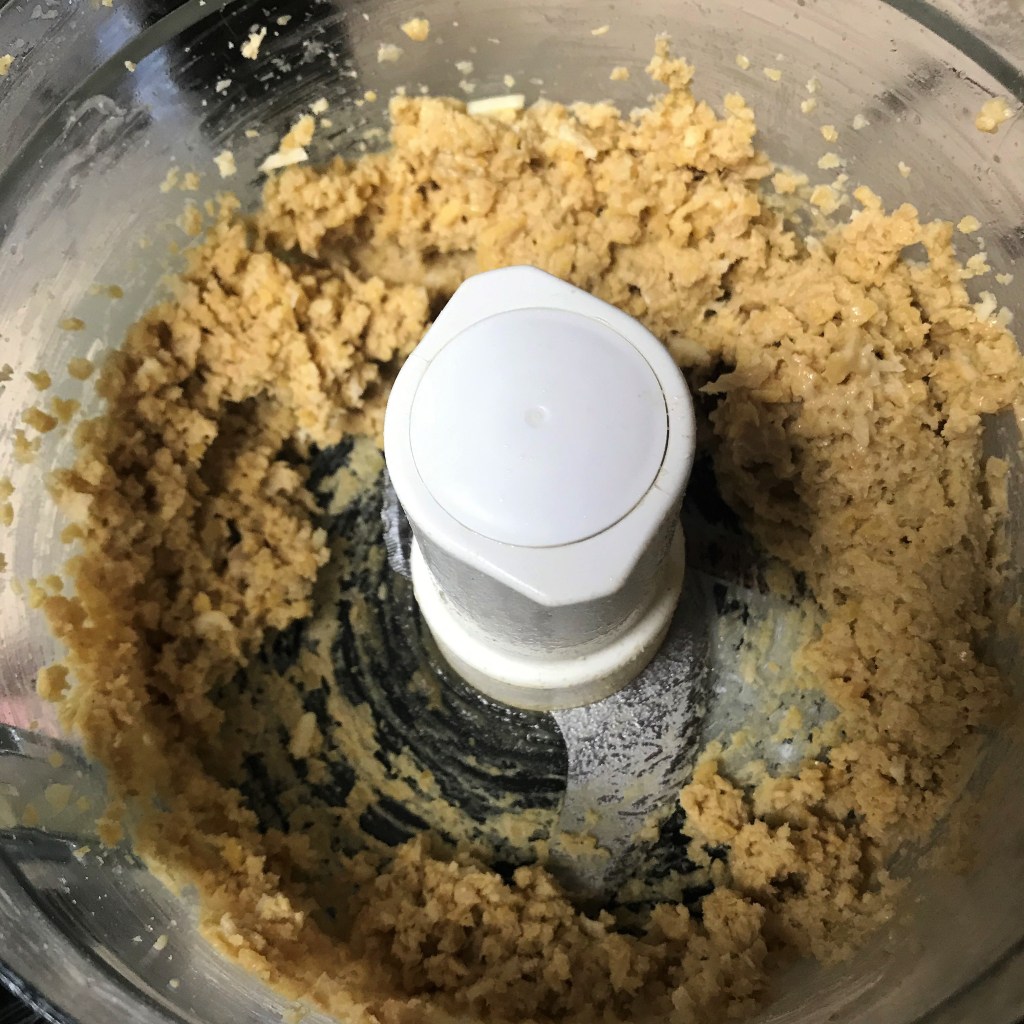
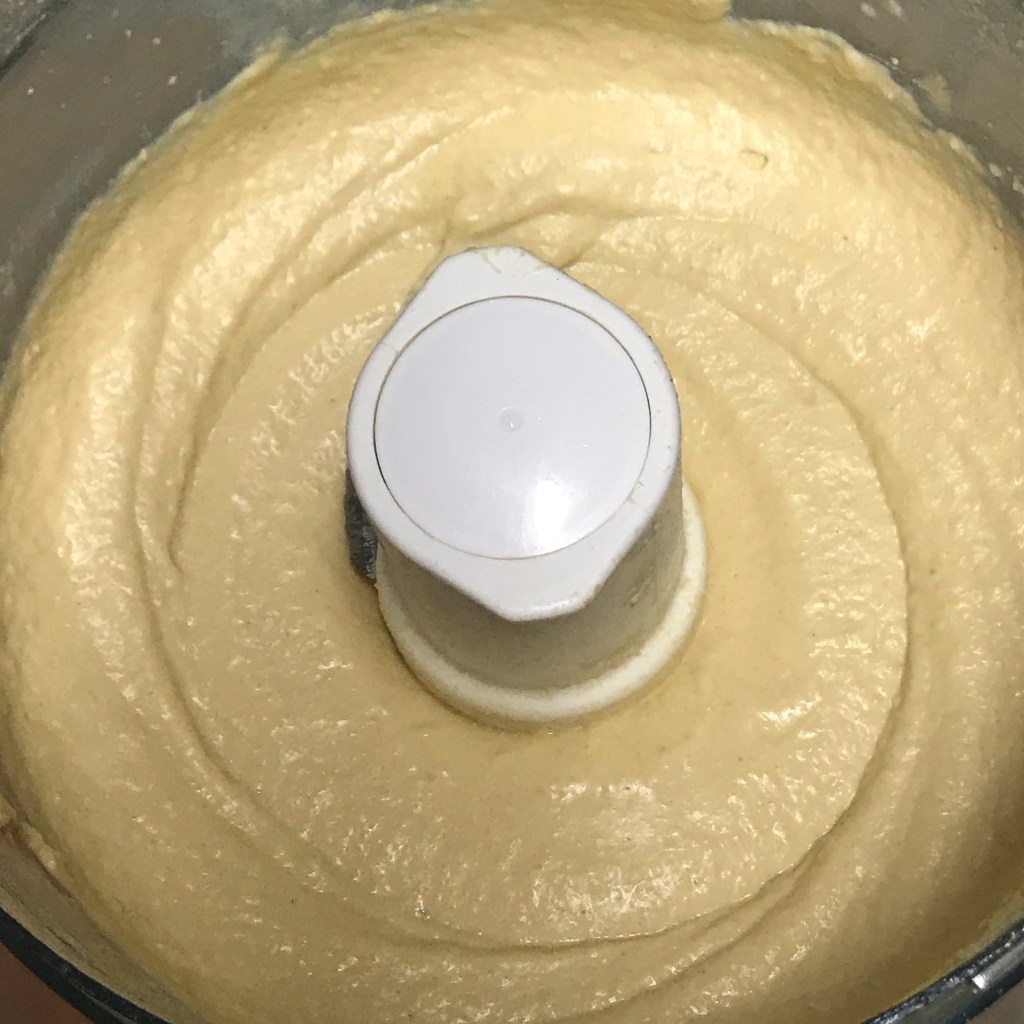
The mixture on the right was processed to a finer texture. This step makes a big difference in the outcome of the cooked gyro meat. 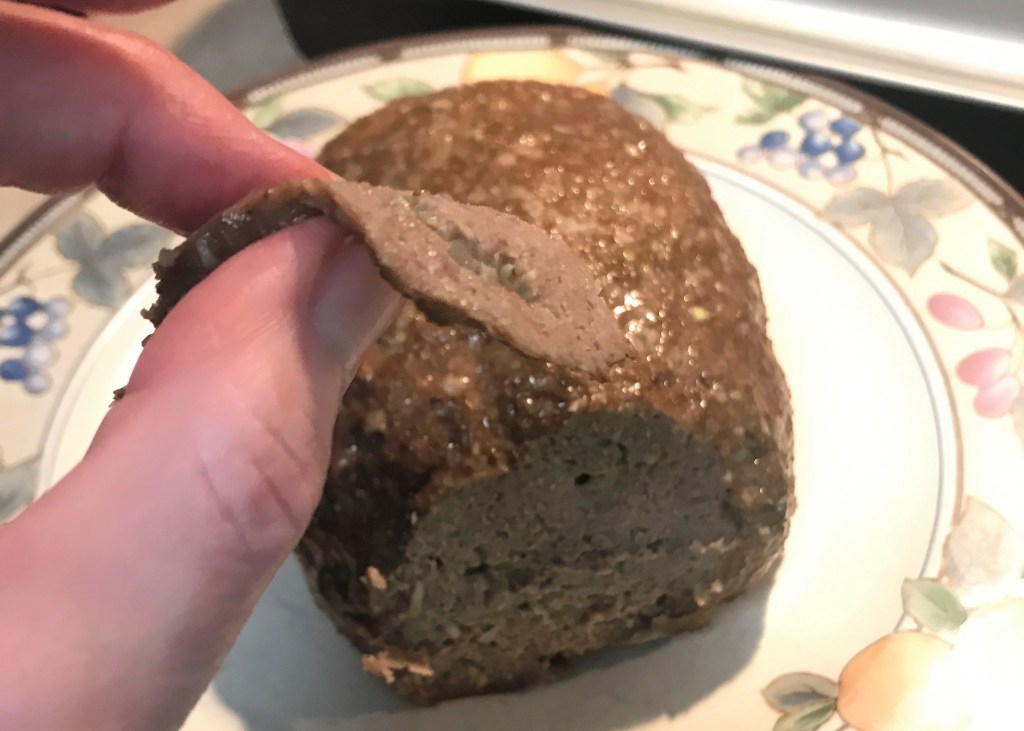
Even warm, the meat sliced up fairly thin. Wow, is it delicious! 
Cold slices were about 1/4 inch thin. I think I’m gonna ask Santa for a deli slicer this year… 🙂
If you have time to work ahead, mound the processed meat onto a large piece of plastic wrap, and roll it up as tightly as you can, twisting the ends (similar to a sausage chub) so that the meat mixture is as compact as possible. Chill for a few hours, up to overnight, then proceed with the recipe.


After baking, cool and chill meat overnight again for ultra-thin slices. To reheat chilled gyro slices, grill on an oiled skillet until edges are lightly crispy.
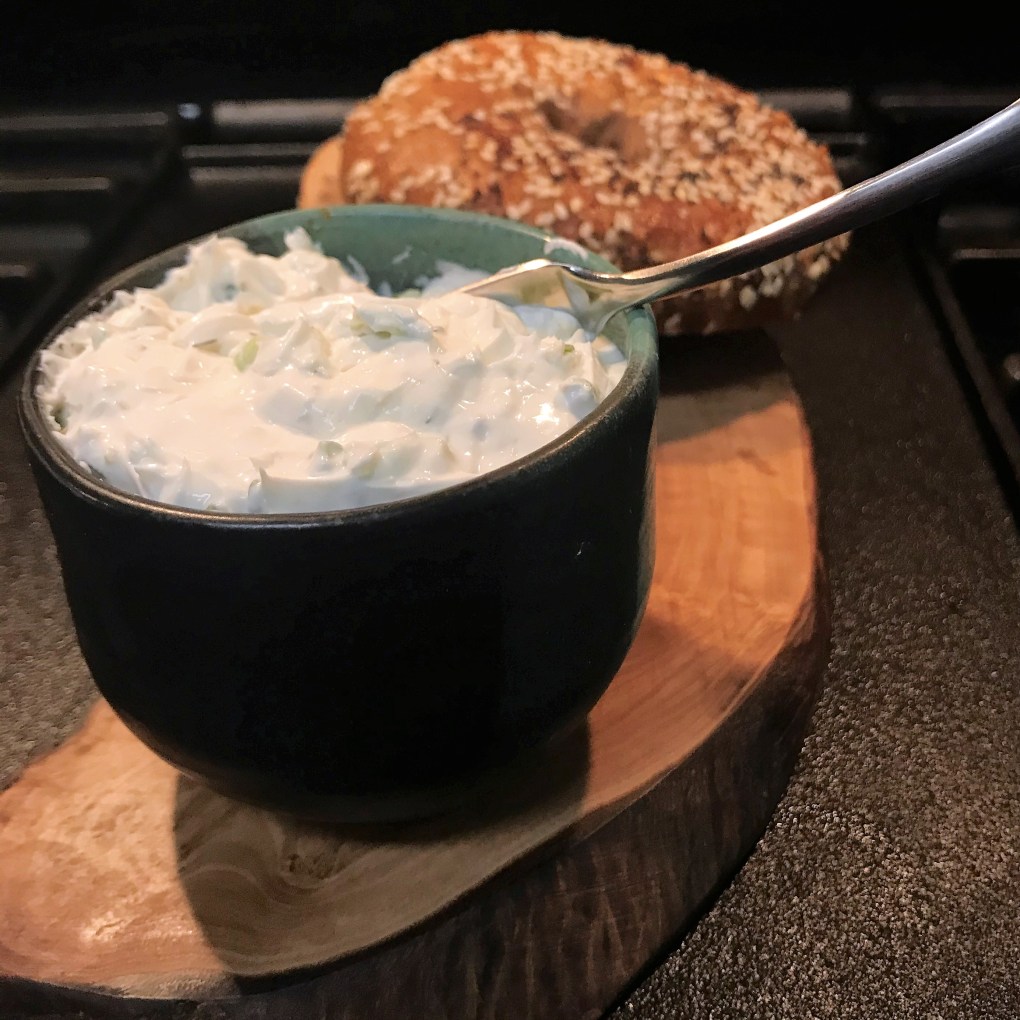
Tzatziki Sauce – a must with your homemade gyros!

1 Persian cucumber*, peeled, seeded and finely chopped or grated
A couple pinches of kosher salt
1 cup plain Greek yogurt (or substitute sour cream in a pinch)
2 cloves garlic, crushed and finely chopped
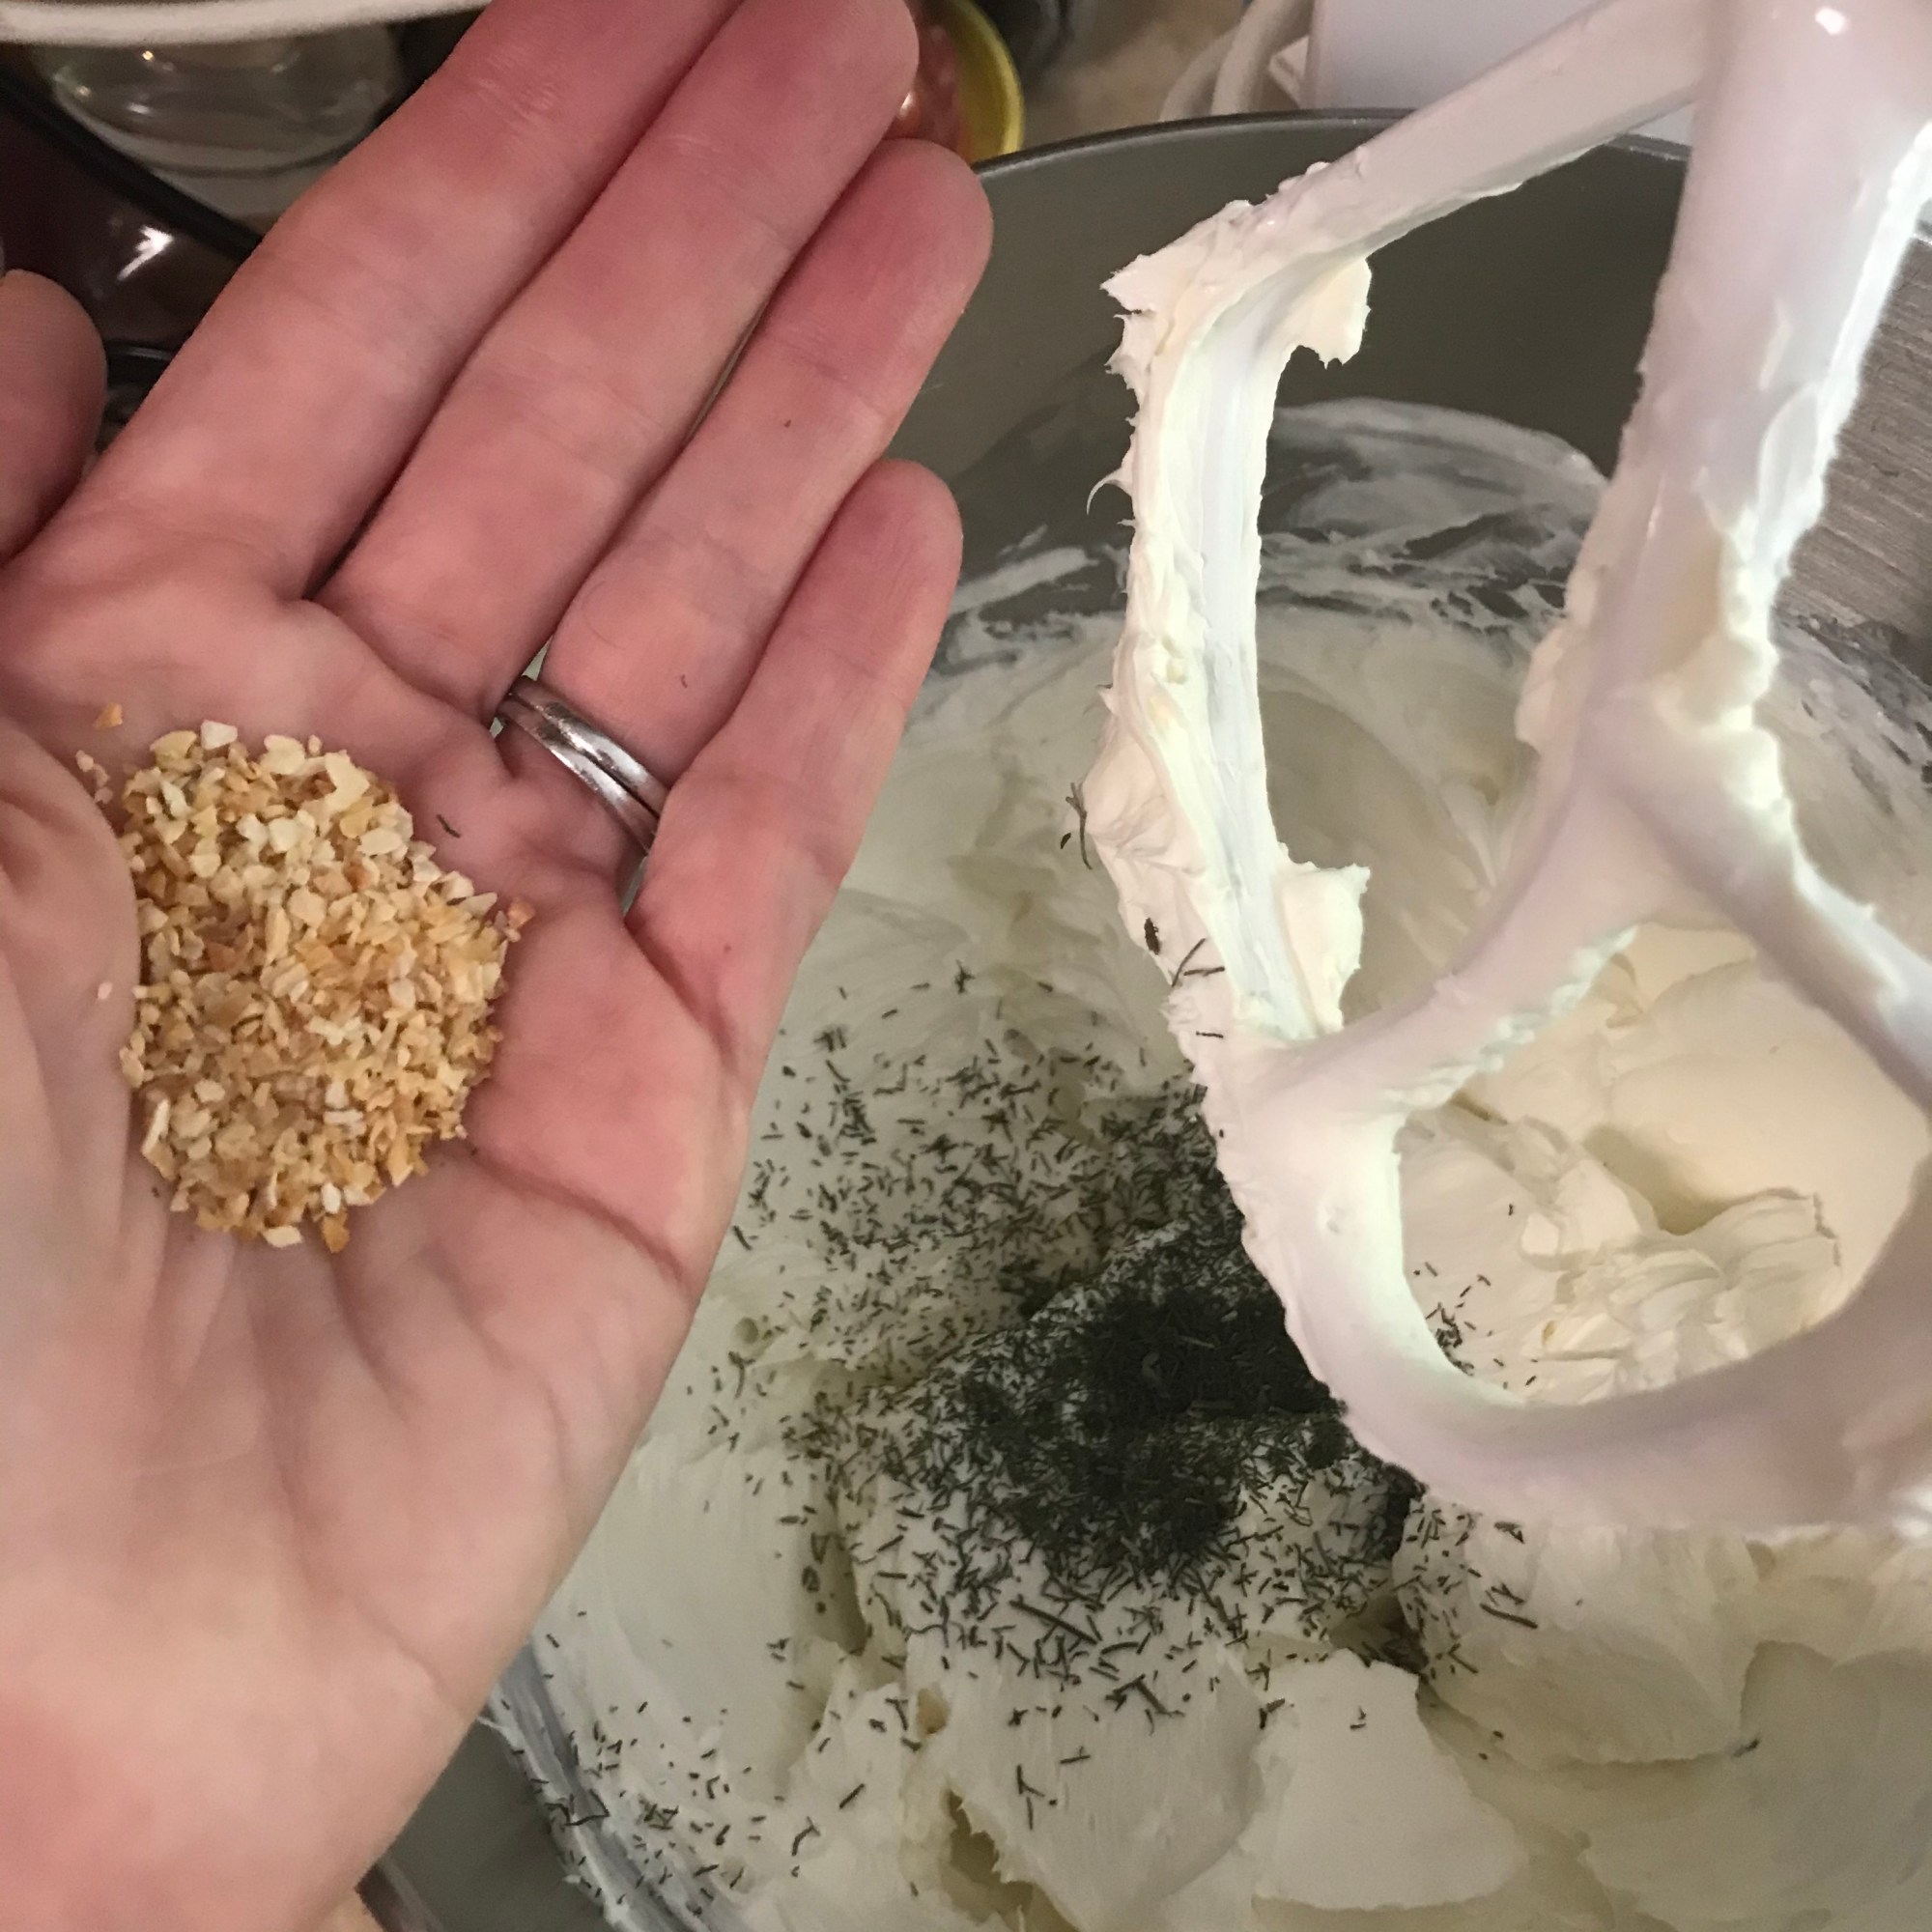
1 tsp. fresh dill leaves, finely chopped
*English or slicing cucumbers work in this recipe, too. I like the smaller size of the Persian cukes because one is just right for many of my recipes, and I don’t have to wrap up leftovers. You want about 1/3 cup of cucumber. Whichever type you use, be sure to remove the seeds and excess moisture.
Line a small custard cup with a paper towel. Add the chopped or grated cucumber and stir with a sprinkling of kosher salt. Wrap the paper towel over the cucumbers and allow this to sit in the fridge for 30 minutes to draw out and absorb excess moisture.
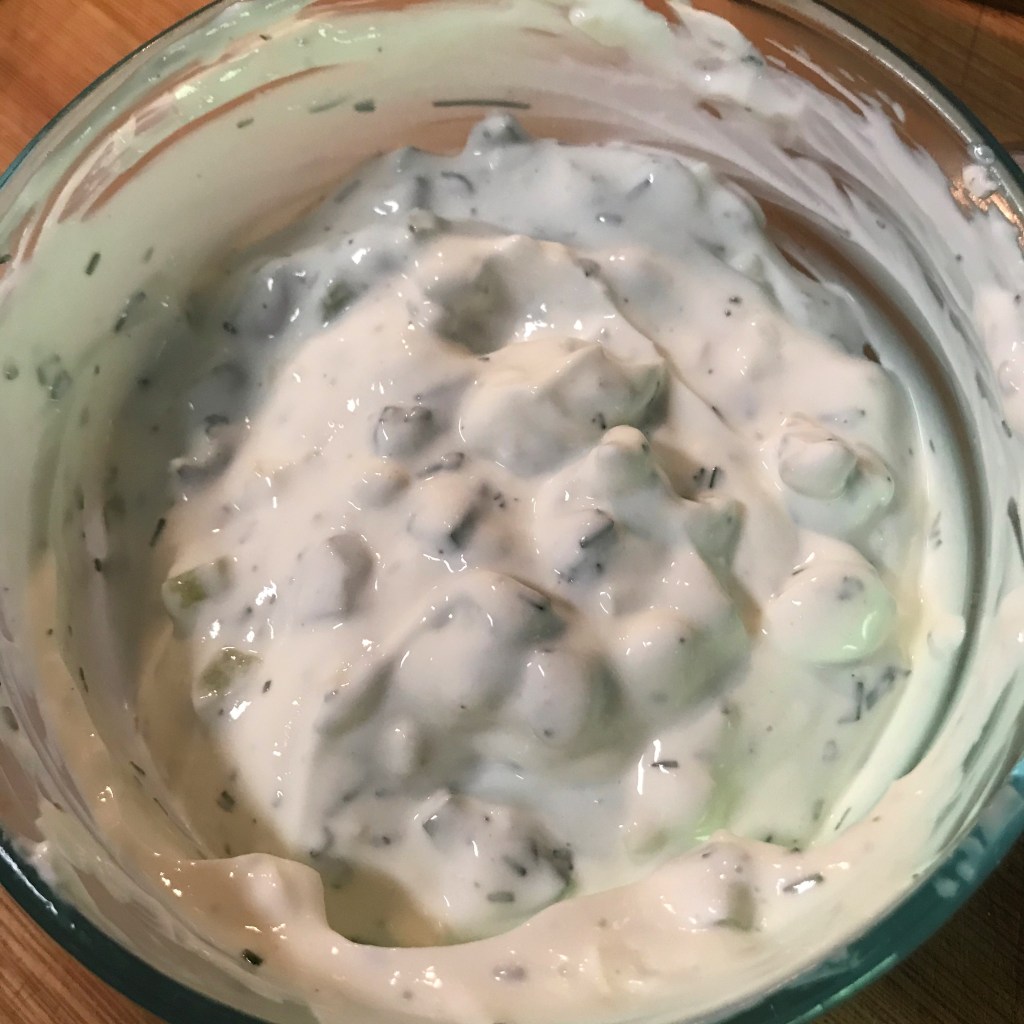
Combine cucumbers with yogurt, garlic and dill. Cover and refrigerate until ready to serve with gyros.
Want to print these recipes?