S’mores Cookie Bars

It’s National S’mores Day, and I’ve been thinking about what makes this treat so special to deserve its own day of honor. The first written recipe for “s’mores” appeared in a Girl Scout handbook in 1927, when Calvin Coolidge was President of the United States— 16 presidents and almost 100 years ago. Amid a sea of other snack trends and fads that have come and gone (I’m lookin’ at you, Hostess pudding pies!), the s’more has stood the test of time. And no wonder! A melty morsel of milk chocolate and campfire-toasted gooey marshmallow, bookended by a sweet and simple whole grain cookie, what’s not to love? 

Like most of you, I’ve enjoyed s’mores since I was a kid in rural upstate New York. But our weather in the South is hot as hell in August, not particularly conducive to a campfire, and I’m sorry to say that the oven and microwave versions of s’mores just don’t cut it. There are appliances out there now for making s’mores indoors, like this one sold through Williams-Sonoma, but who has room for another gadget that only serves one purpose? 

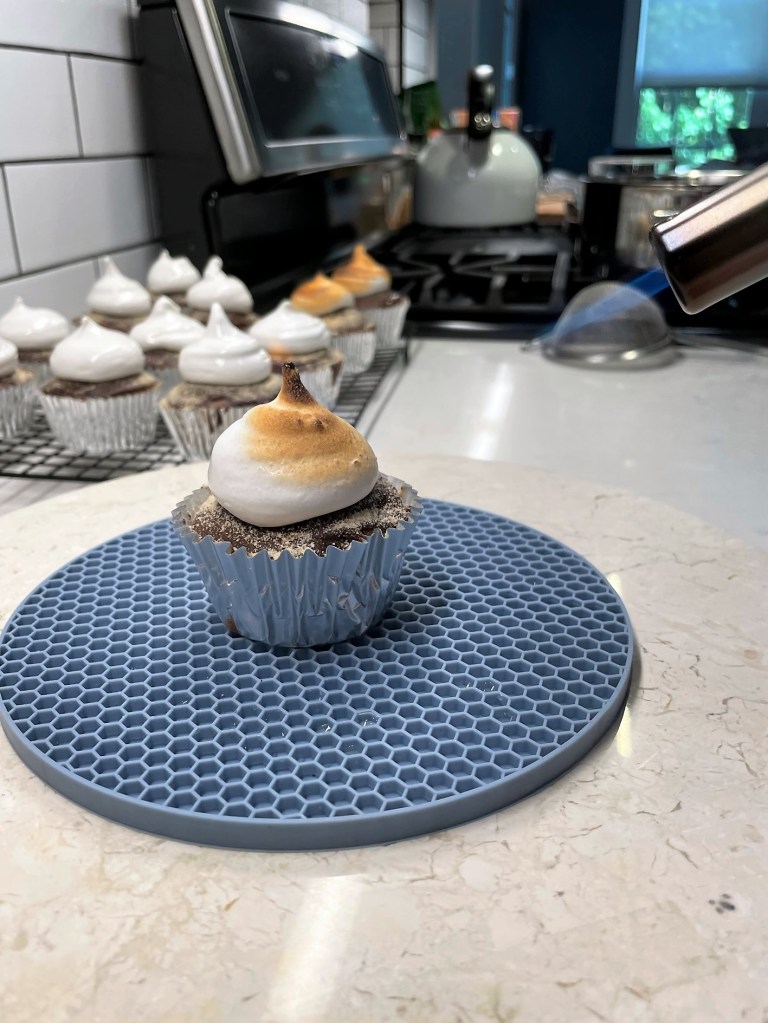
Luckily, I’ve found many other ways to capture the essence of s’mores (along with all the happy feelings they invoke), twisting the ingredients of this summer classic into ice cream, brownies, cocktails and even dessert pizza! When I made s’mores cupcakes last year, I mused that perhaps I could have used up the leftover homemade marshmallow topping by making rice krispie treats, and I considered a s’mores version of those this year, except for one problem— my husband doesn’t like the krispie treats, and I would have been left to eat the entire batch! These s’mores cookie bars are my compromise, and I have no regrets.

I’d like s’more, please.

They are part s’more, part blondie, part cereal treat and 100% yummy!

What goes into s’mores cookie bars?

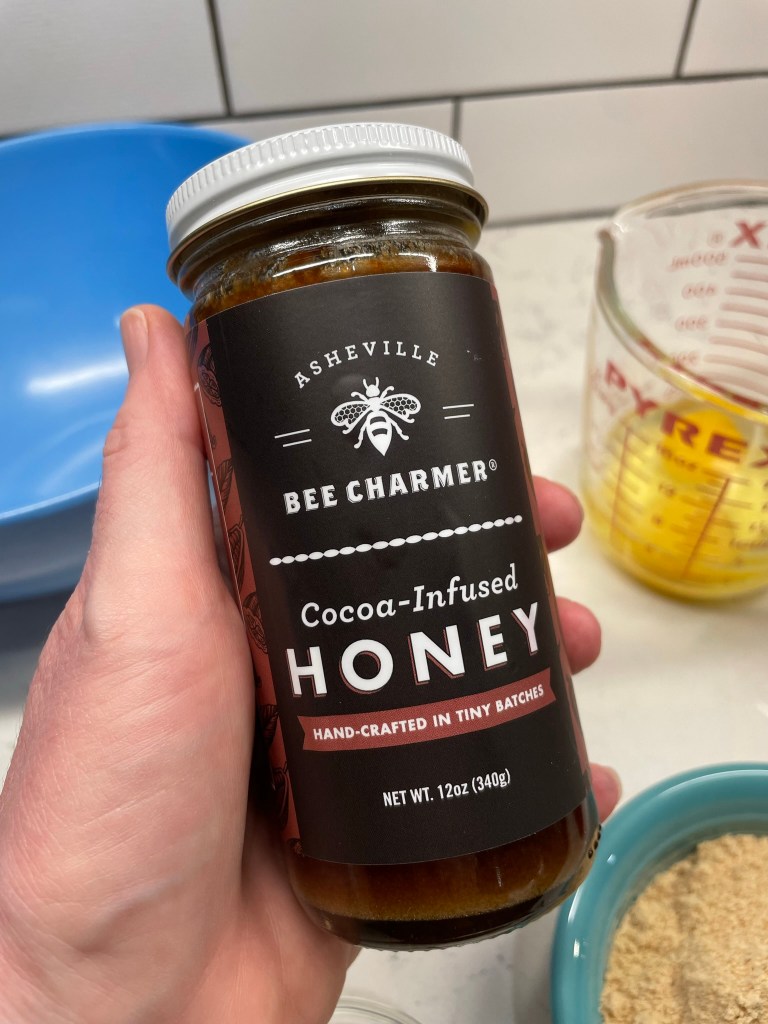
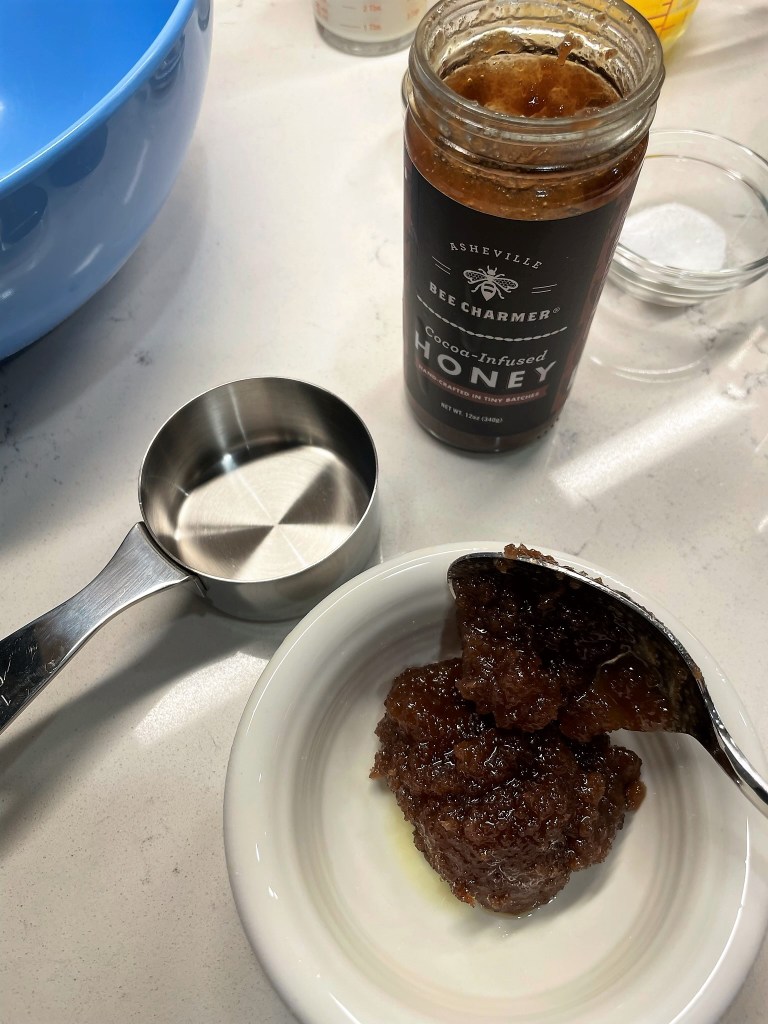
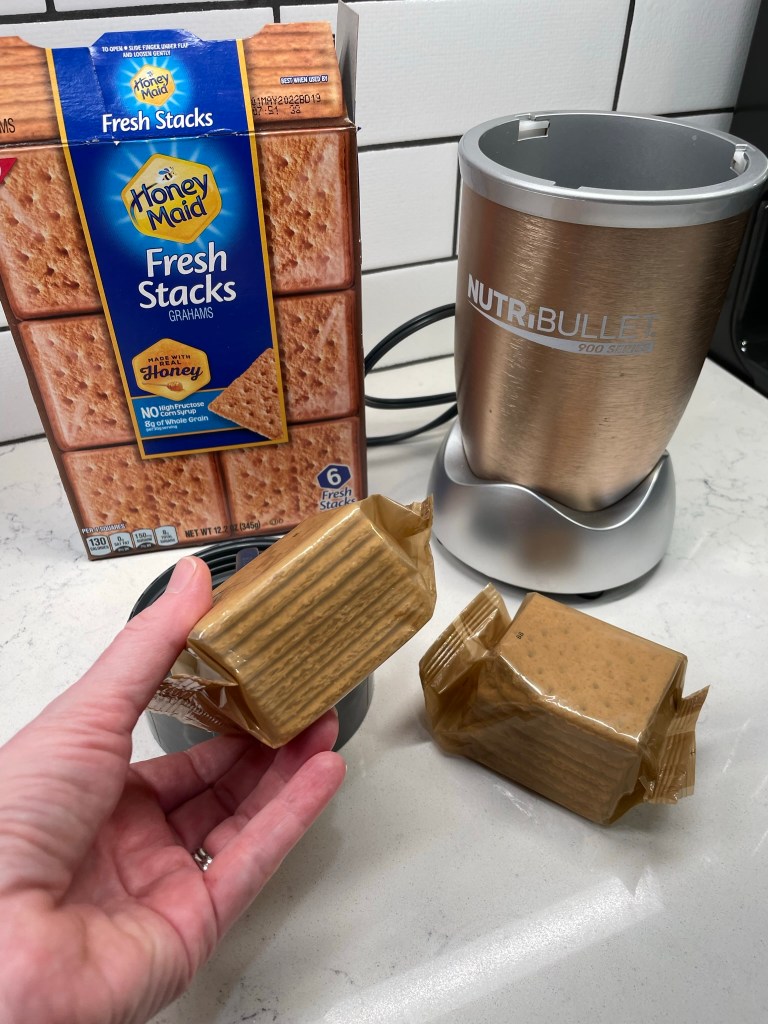
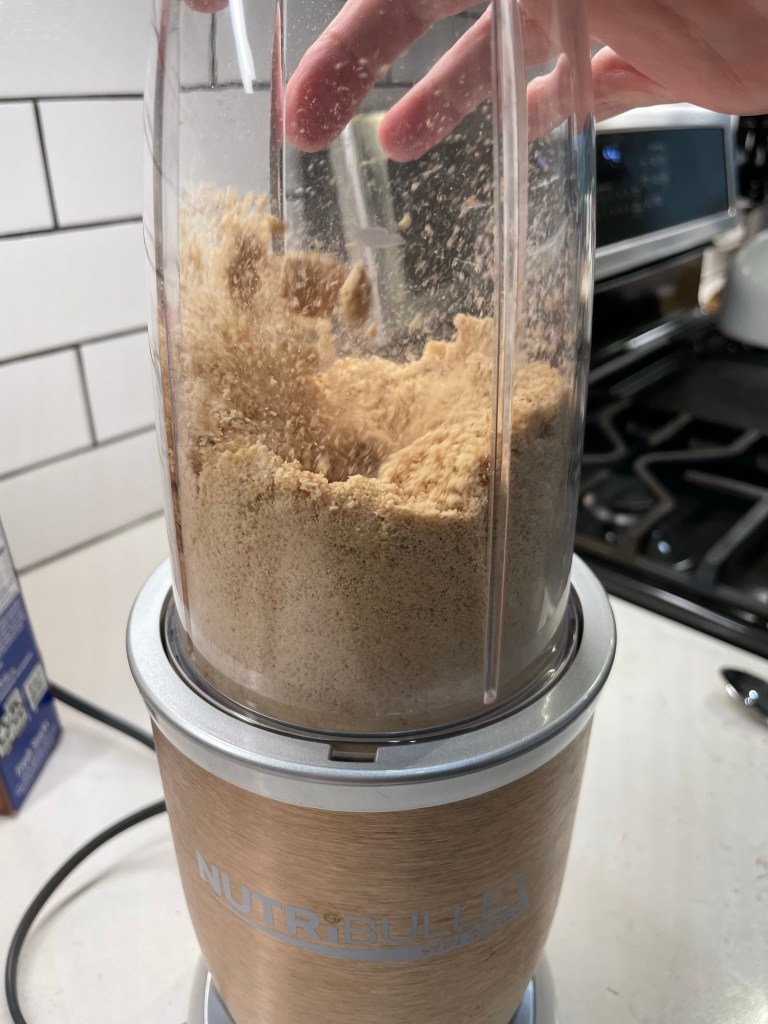
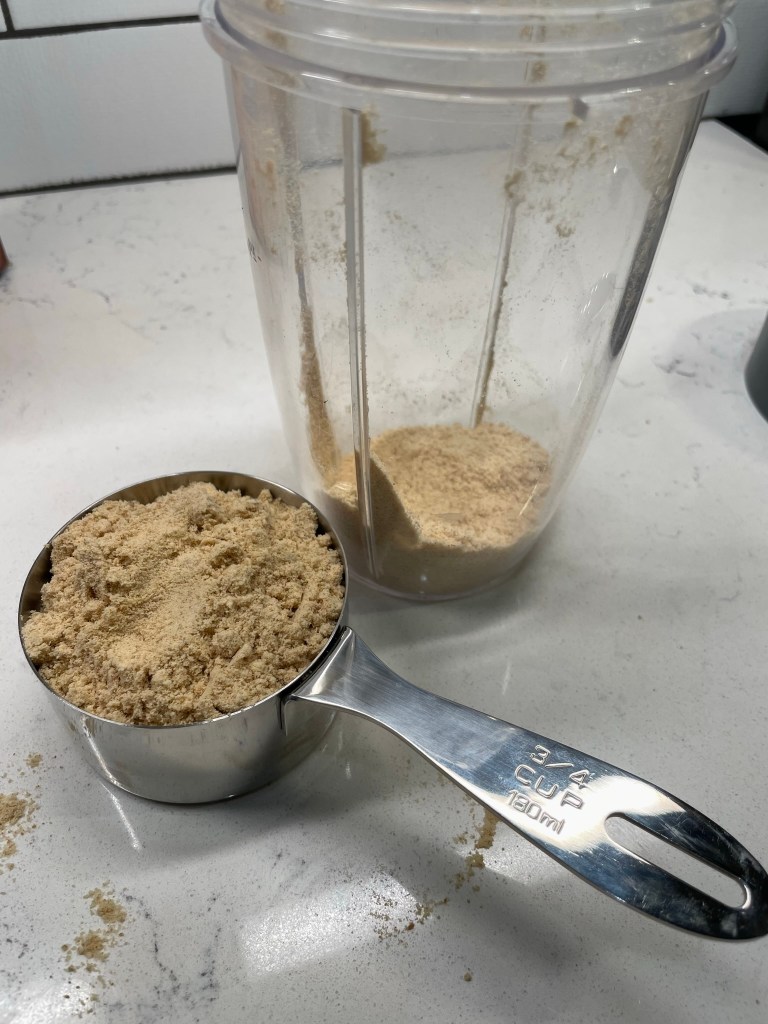
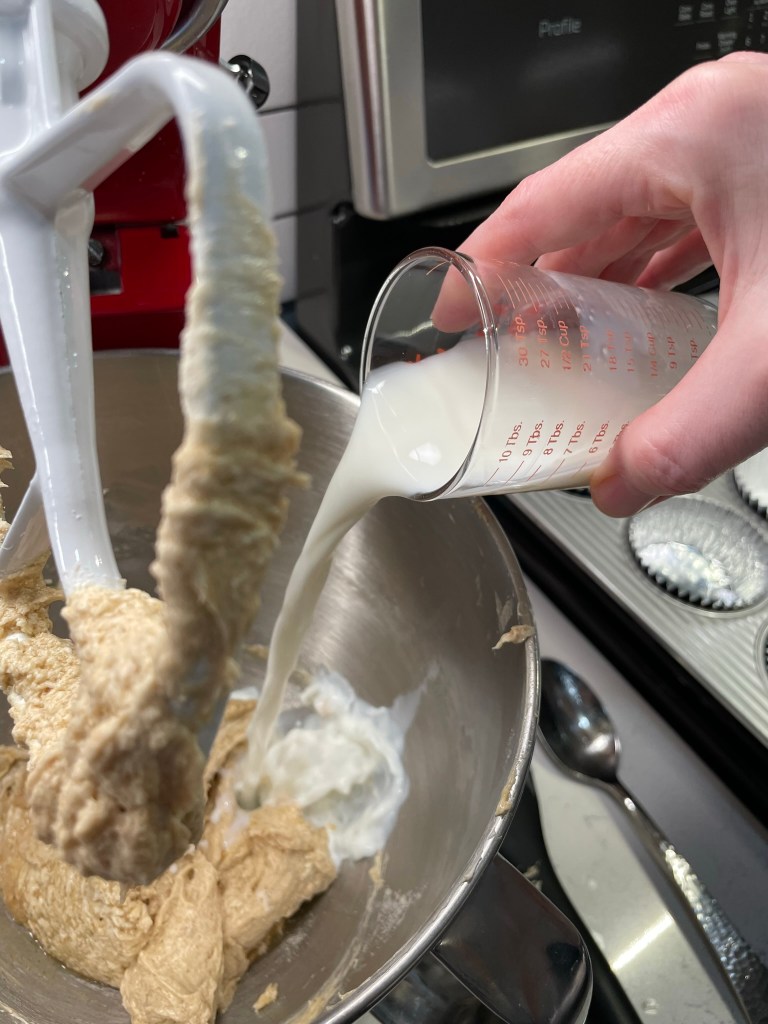
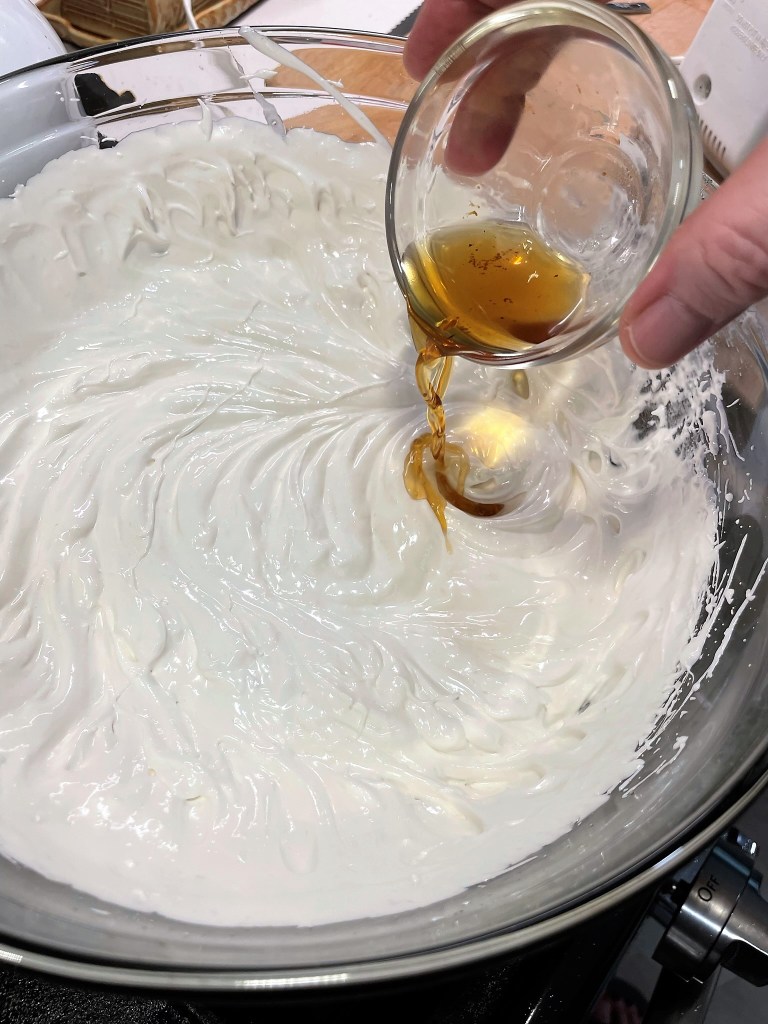
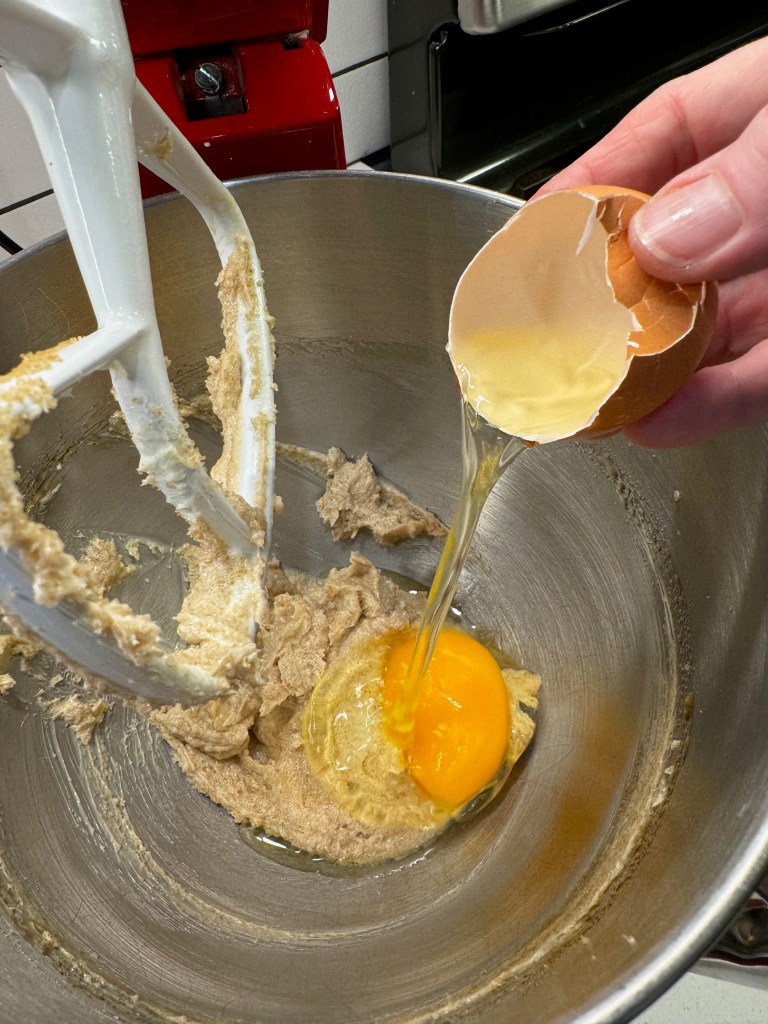
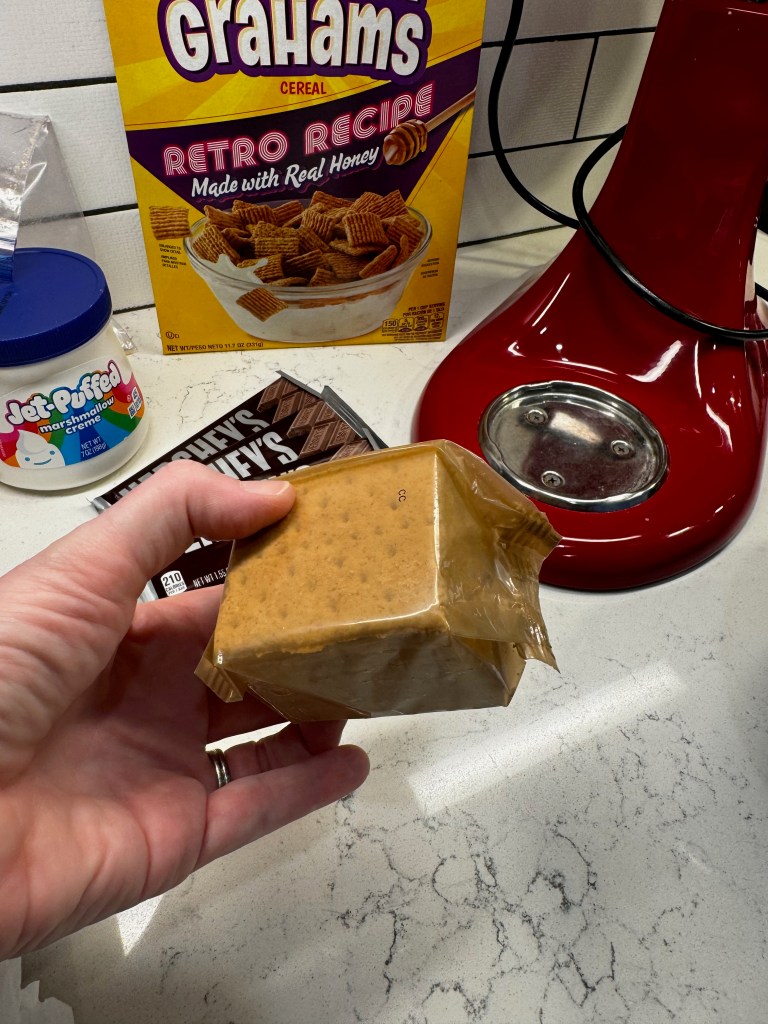
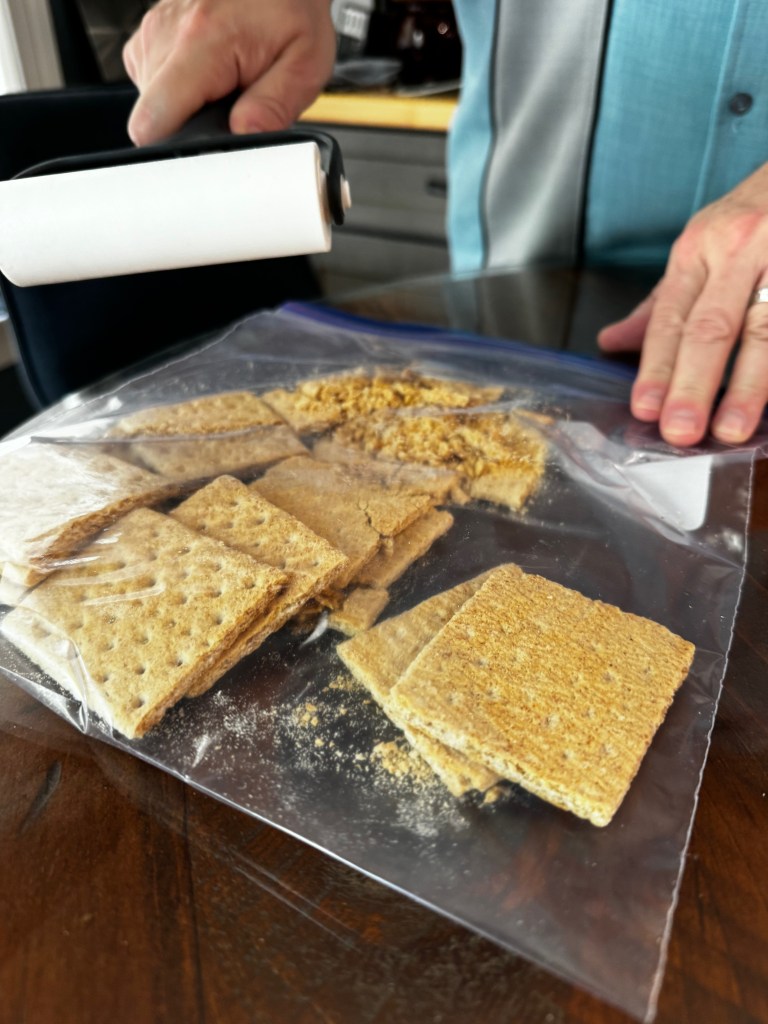
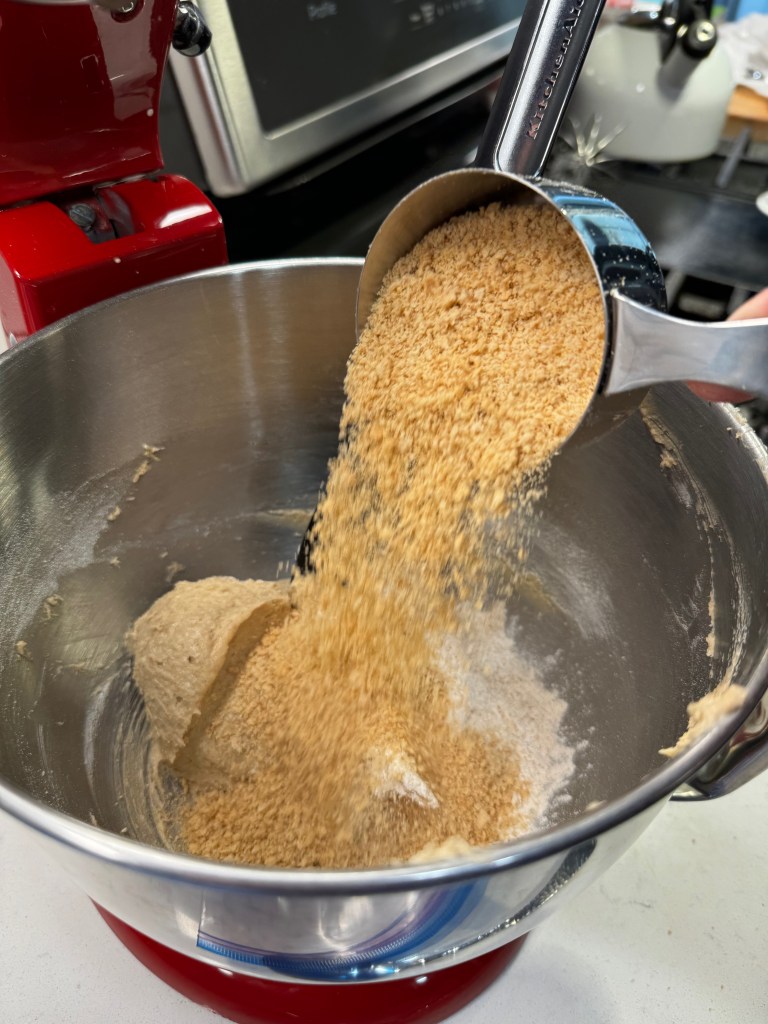
The base of my s’mores bars is essentially a blondie dough, with softened butter, brown sugar, egg, vanilla, baking powder and flour. But to emulate the s’mores more distinctly, I used whole wheat pastry flour and also added in honey for additional sweetness and some finely crushed graham crackers, which my hubby was happy to prepare for me. I used two of the little sleeves of Honey Maid “stackers,” which measured out to a little more than one cup of crumbs.


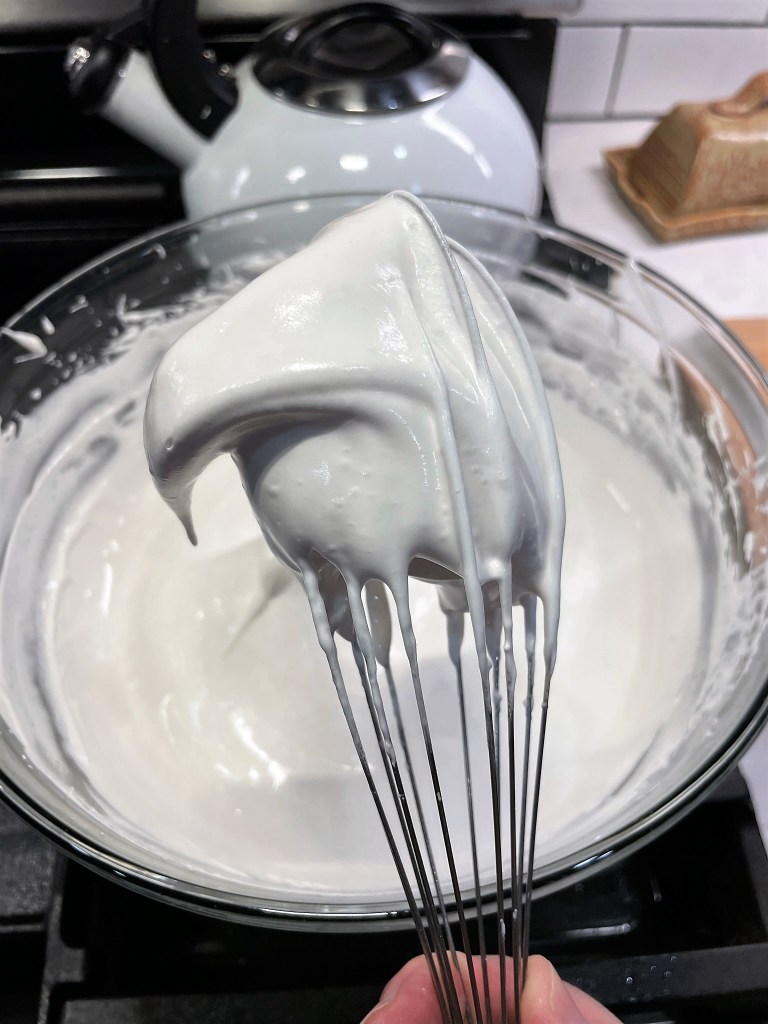
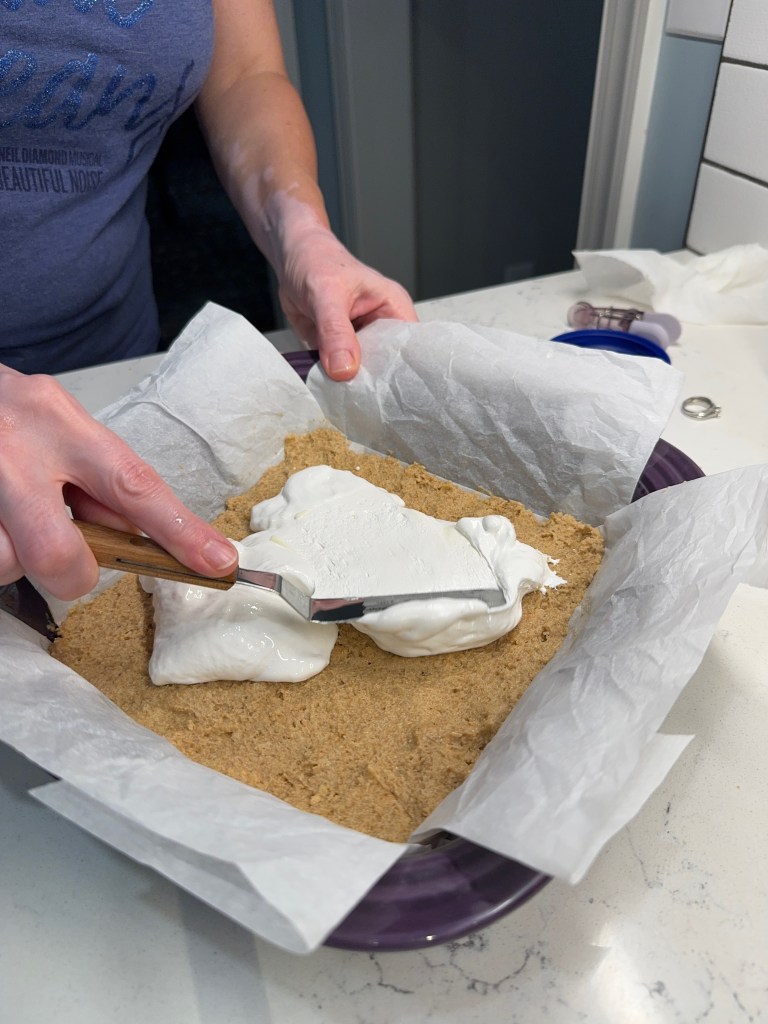
For the ooey-gooey goodness, I went with marshmallow creme, which holds its shape much better than actual marshmallows. When I made my s’mores pizza in 2020, I was disappointed at how much the mini marshmallows deteriorated after they cooled from the oven. Knowing that we would not devour this entire batch of cookie bars right away (though believe me, it was tempting!), I wanted a better, more stable option. Marshmallow creme, made with dried egg whites, is the way to go here, and I used almost an entire jar spread over two-thirds of the blondie dough. It may seem excessive, but isn’t that kind of the point with s’mores? 😏


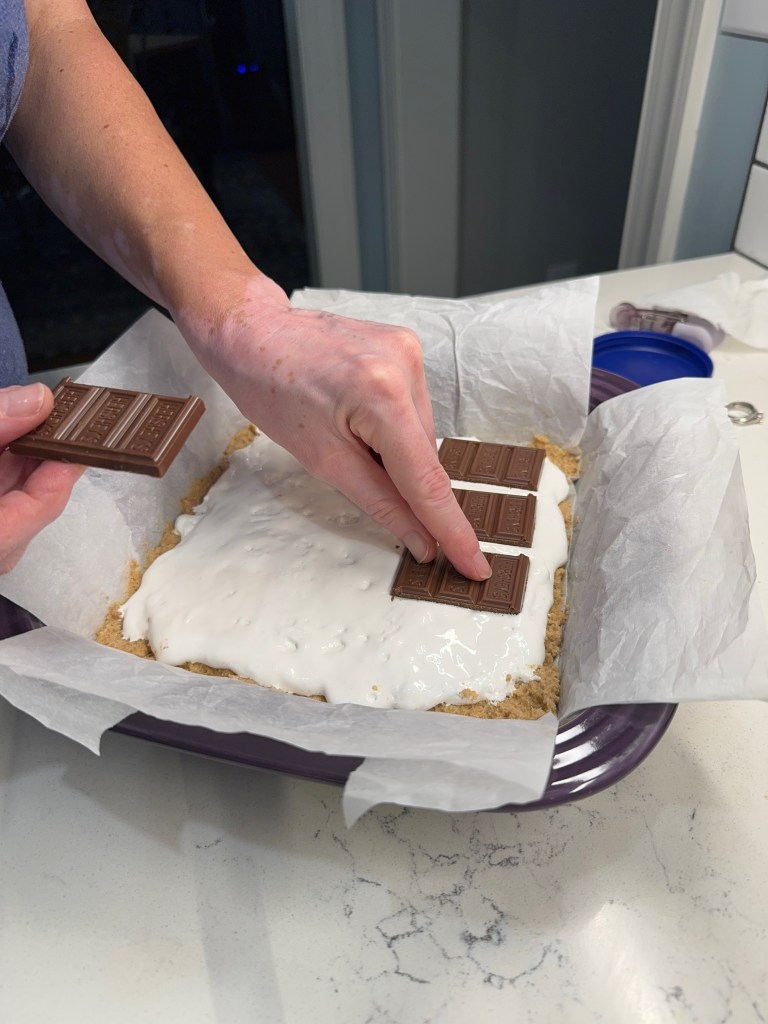
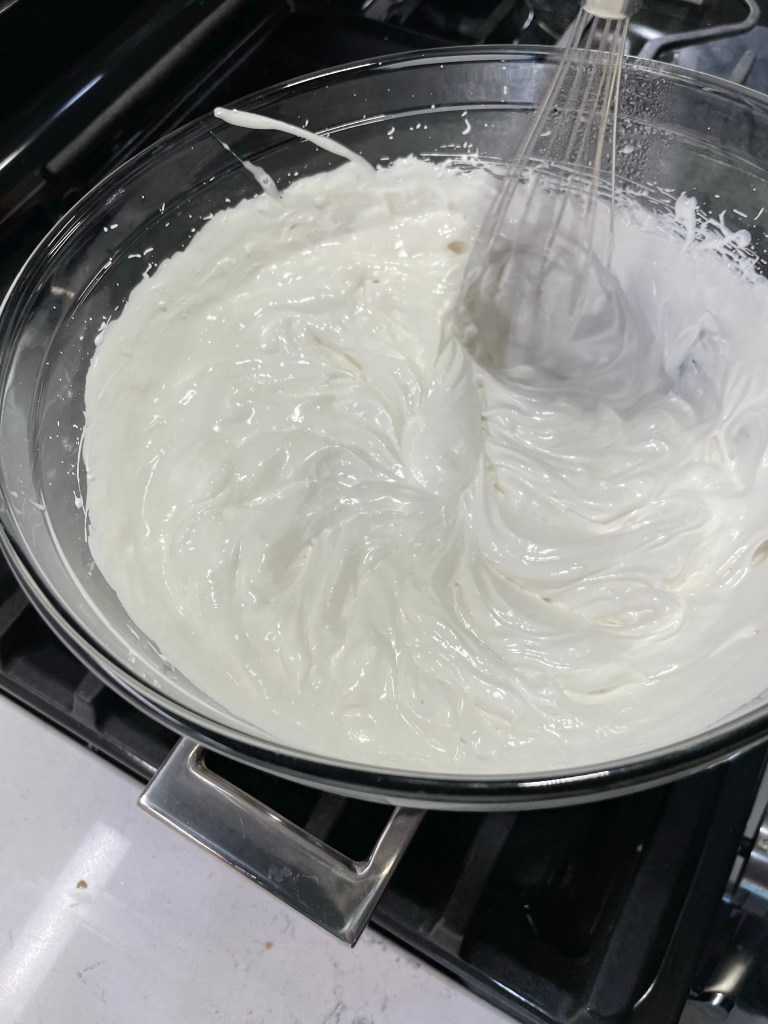
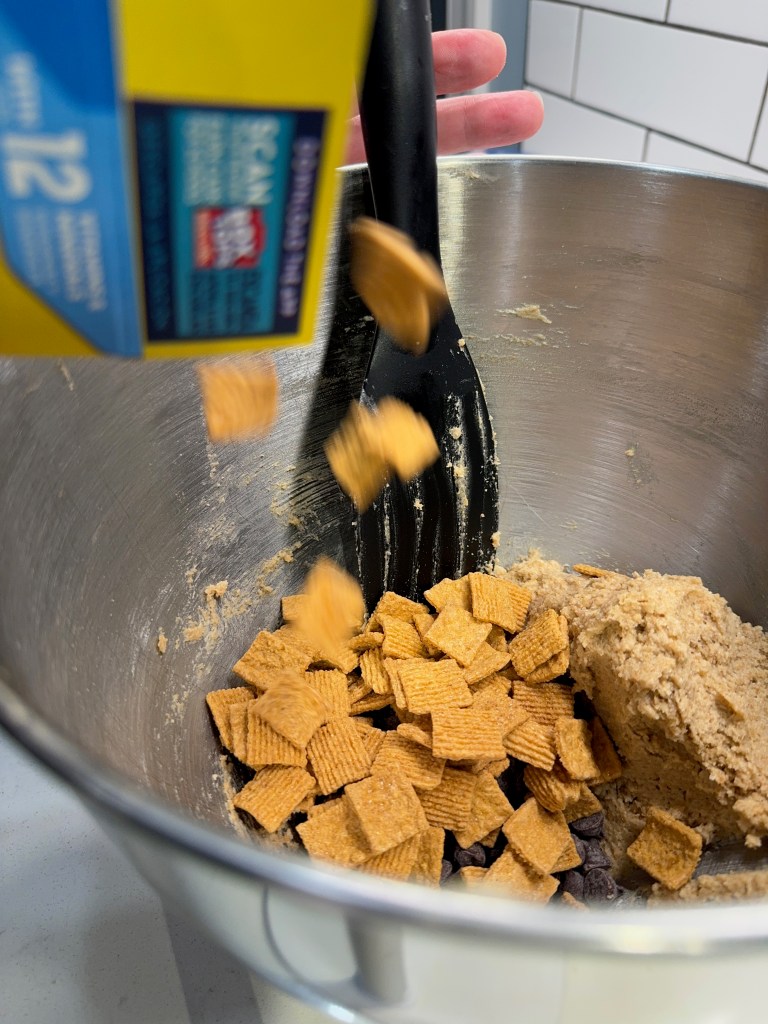
You could, naturally, whip up a batch of seven-minute frosting in its place if you have the time, but I was getting impatient for my cookie bars. Real Hershey bars were layered over the marshmallow creme (because milk chocolate rules when it comes to s’mores), and then I mixed darker, semi-sweet chocolate chips and crispy Golden Grahams cereal into the remaining blondie dough, lending a cookie-meets-cereal bar vibe to my sticky, delicious treats.


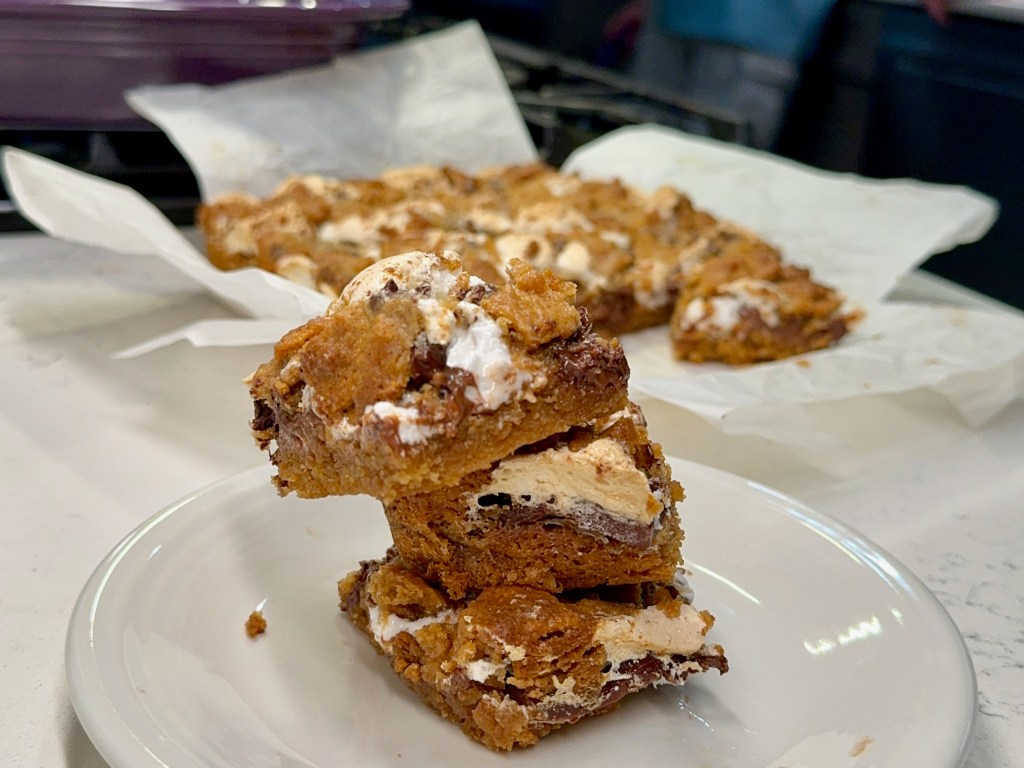
I baked the bars for about 35 minutes, and then let them cool a few hours before removing them from the pan. The result? 

Ooey-gooey perfection!

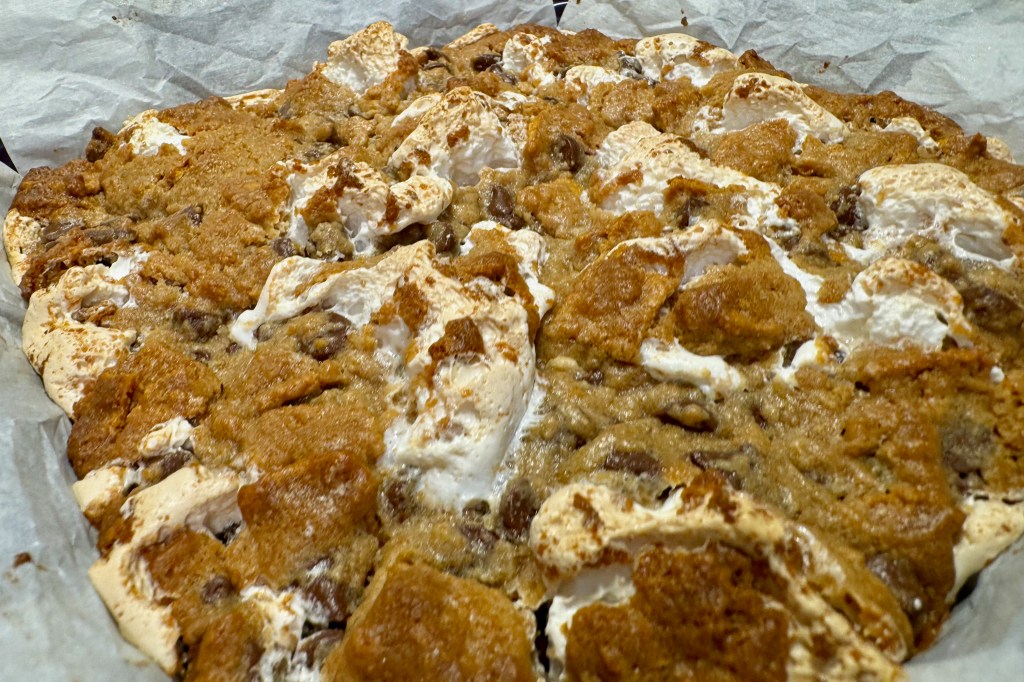
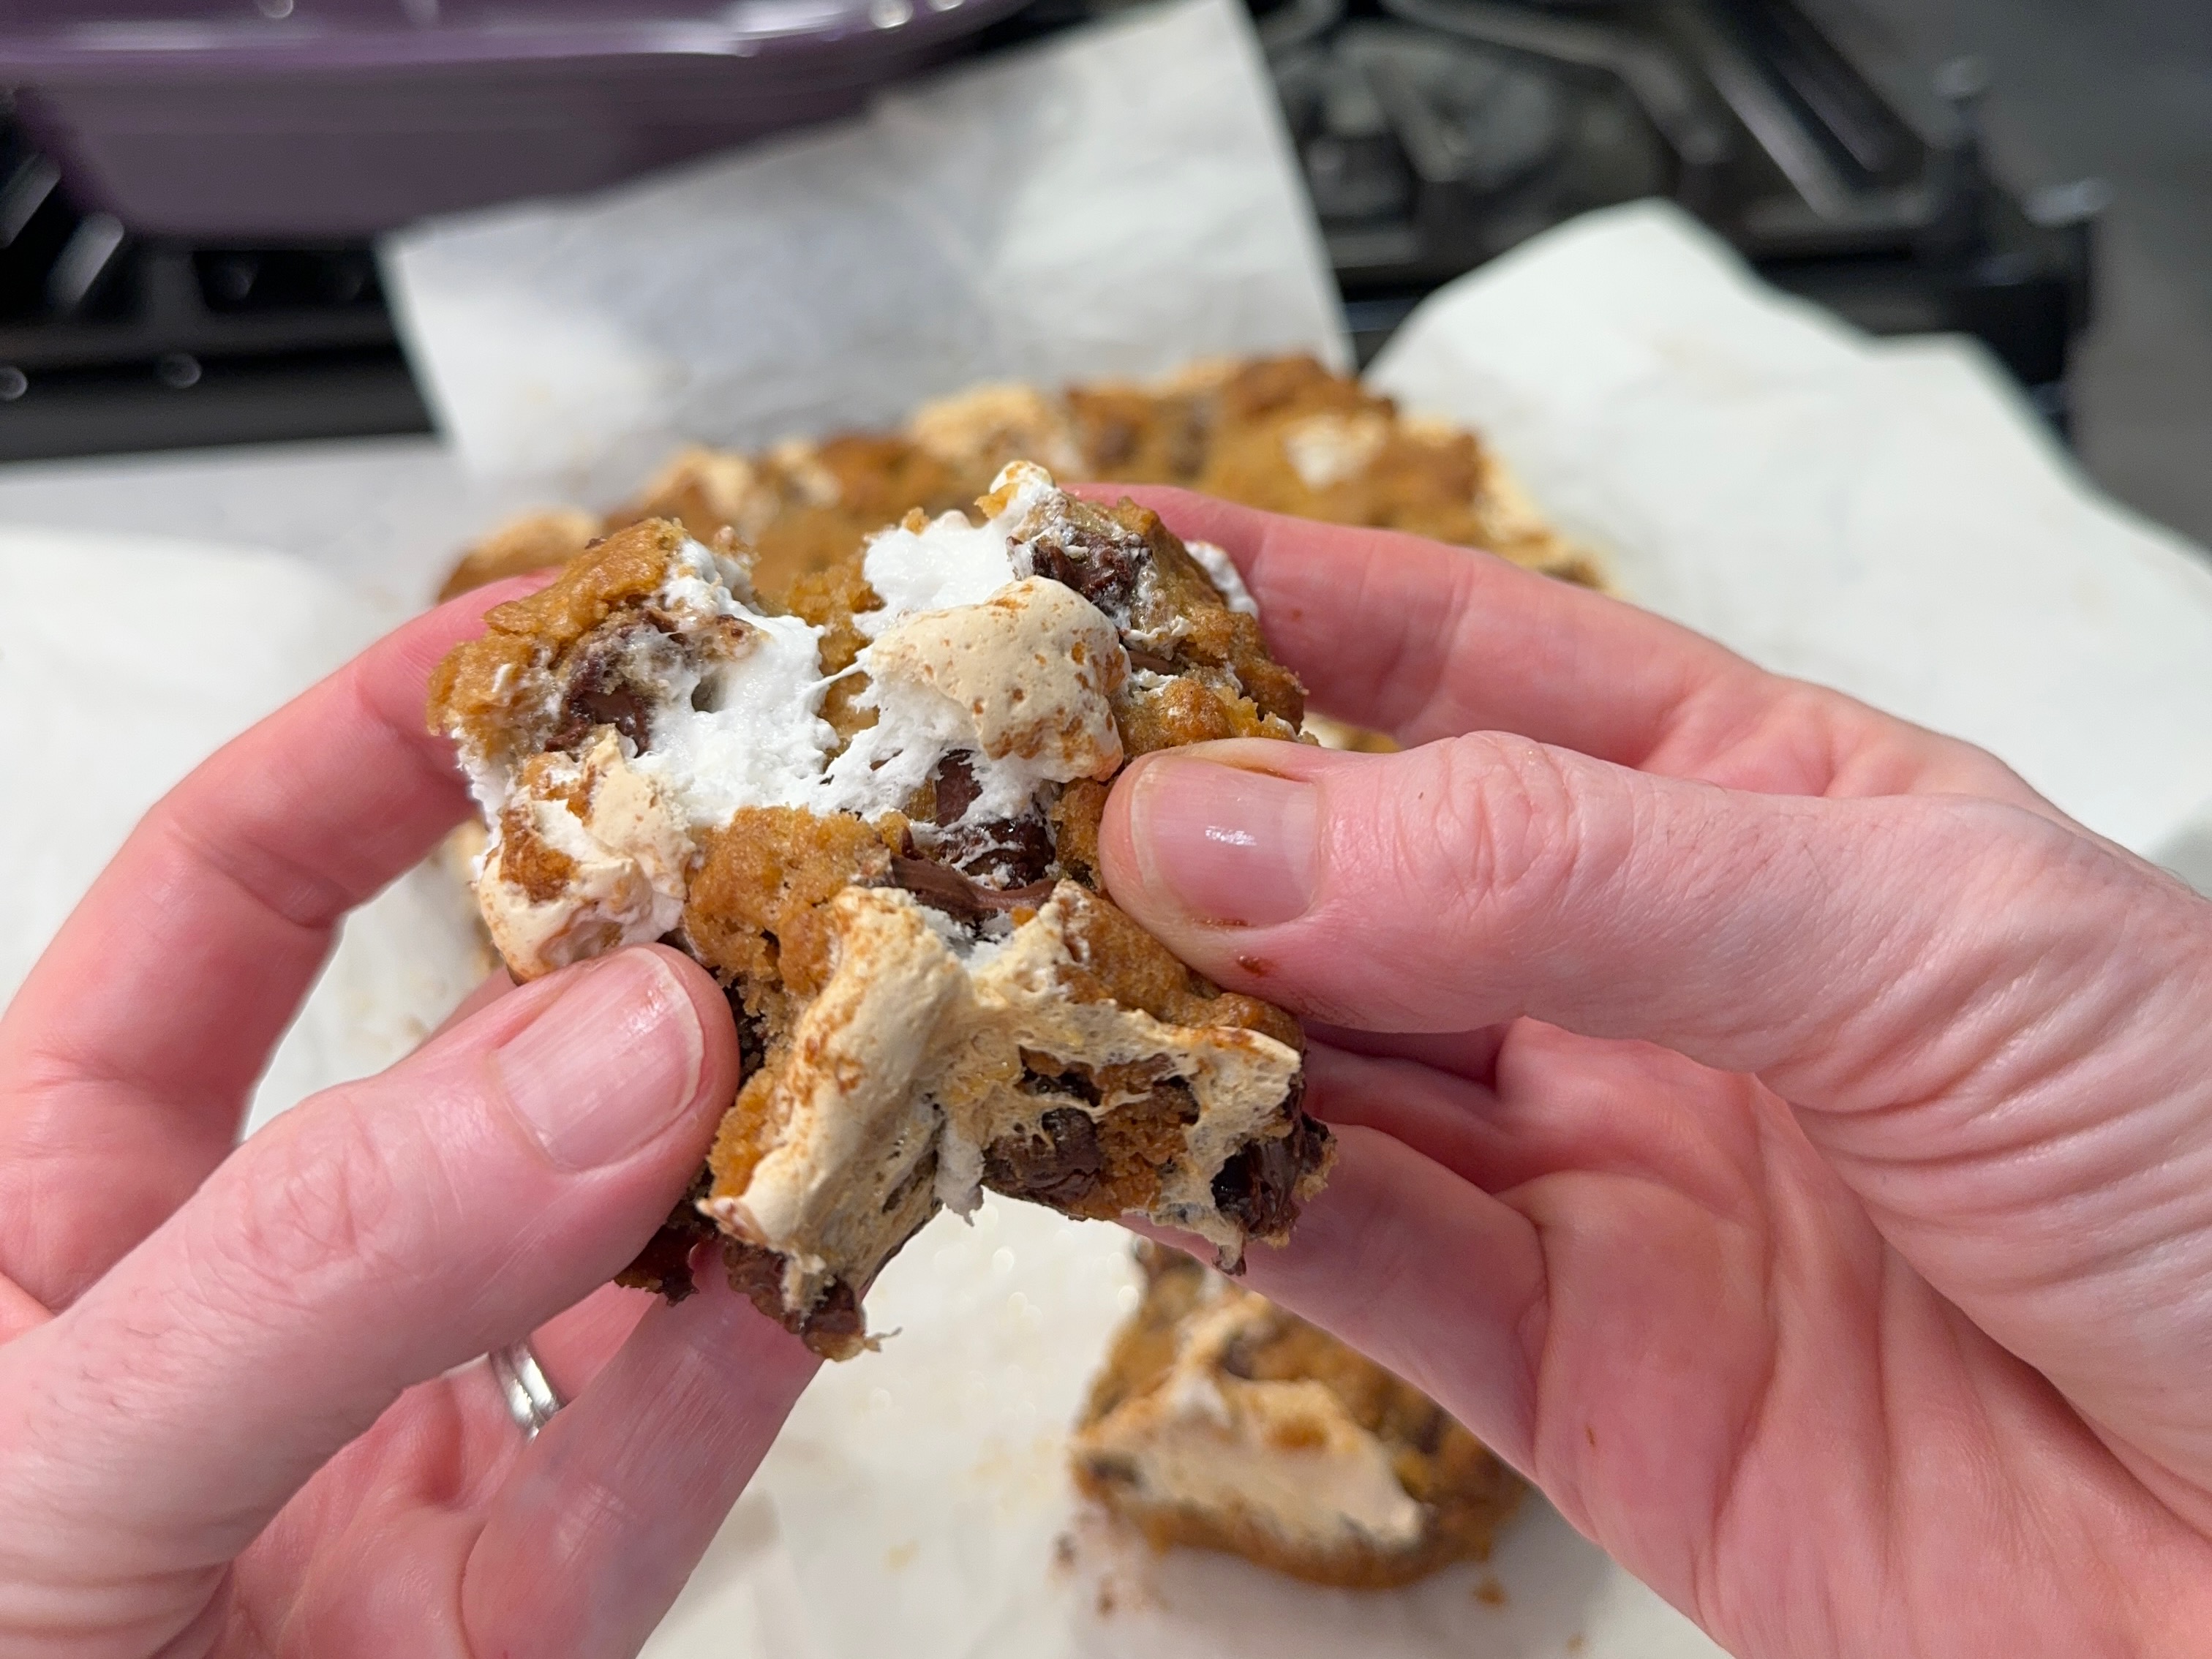
Deliciously sticky, utterly addictive and every bit as ooey-gooey as I wanted them to be, and they have kept on the counter nicely so we can enjoy them for several days. Plus, no campfire required. 😋

Tips for success

As with all baking recipes, it’s best to have all your ingredients lined up, measured and ready to go before you begin. Take your butter out of the fridge an hour ahead so that it isn’t rock solid, and let your egg come to room temperature. Use extra bowls if that’s what it takes to have everything ready for mixing as the recipe indicates. For years, I considered myself to be a mediocre baker, but I’ve come to learn that my failing was mostly in preparation. Get your ducks in a row, and watch your baking game improve!

Following the steps in order does make a difference. If you don’t cream together the butter and sugar before adding in the other ingredients, the texture of your cookie bars may be quite crumbly. When you mix in the flour, do so only long enough to fully incorporate it. Overmixing will lead to gluten development, and you don’t want that. Use the paddle attachment on your mixer, or use a firm spatula to press the ingredients together by hand.

When layering the marshmallow creme, try to keep it about an inch away from the edges of the pan so that it doesn’t stick and burn. Keep in mind that when you press the chocolate bars and cookie dough topping, the creme will smoosh and spread. Give it room to do so.

If possible, use a metal pan to bake these cookie bars. You can see in my photos that I used a ceramic baking dish (it’s all I have in this size), and these simply do not heat as quickly or evenly as a metal pan.

After baking, give these cookie bars plenty of time to cool before you attempt to lift out the parchment sling. The marshmallow and chocolate will be very hot, and thin enough to ooze out everywhere, making a mess and potentially burning your hands. They will still be delicious when cool, and if you wish, you can pop your cookie bar into the microwave for a few seconds to recapture the ooey-gooey stretch of the marshmallow.

S'mores Cookie Bars

  • Servings: 9 or 16, depending on how you cut
  • Difficulty: Average
  • Print

These are part s'mores, part blondie, part cereal bar and 100% ooey-gooey delicious!


Ingredients

  • 1 stick salted butter, softened
  • 1/2 stick unsalted butter, softened
  • 3/4 cup light brown sugar, packed
  • 3 Tbsp. honey
  • 1 egg, room temperature
  • 2 tsp. real vanilla extract
  • 1 cup whole wheat pastry flour (sub regular or white whole wheat, or use all a-p if desired)
  • 1/2 cup all-purpose flour
  • 1 tsp. baking powder
  • 1/2 tsp. salt
  • 2 pouches Honey Maid “stackers” graham crackers, crushed fine
  • 2/3 cup semi-sweet chocolate chips
  • 2/3 cup Golden Grahams cereal
  • Most of a 7 oz. jar marshmallow creme
  • 3 standard size Hershey milk chocolate bars

Note: For easy removal of cookie bars, layer ingredients over criss-crossed parchment laid inside a 9-inch square baking pan. Overlap the paper so that you can use it as “handles” for lifting the cookie bars out after they’ve cooled.
If possible, use a metal baking pan, as glass or ceramic (as I used) tends to heat more slowly, causing the bottom to be slightly underdone.

Directions

  1. Preheat oven to 350° F, with oven rack in the center position. Prepare 9” square baking dish by lining with crossed pieces of parchment paper, overlapping the sides of the dish.
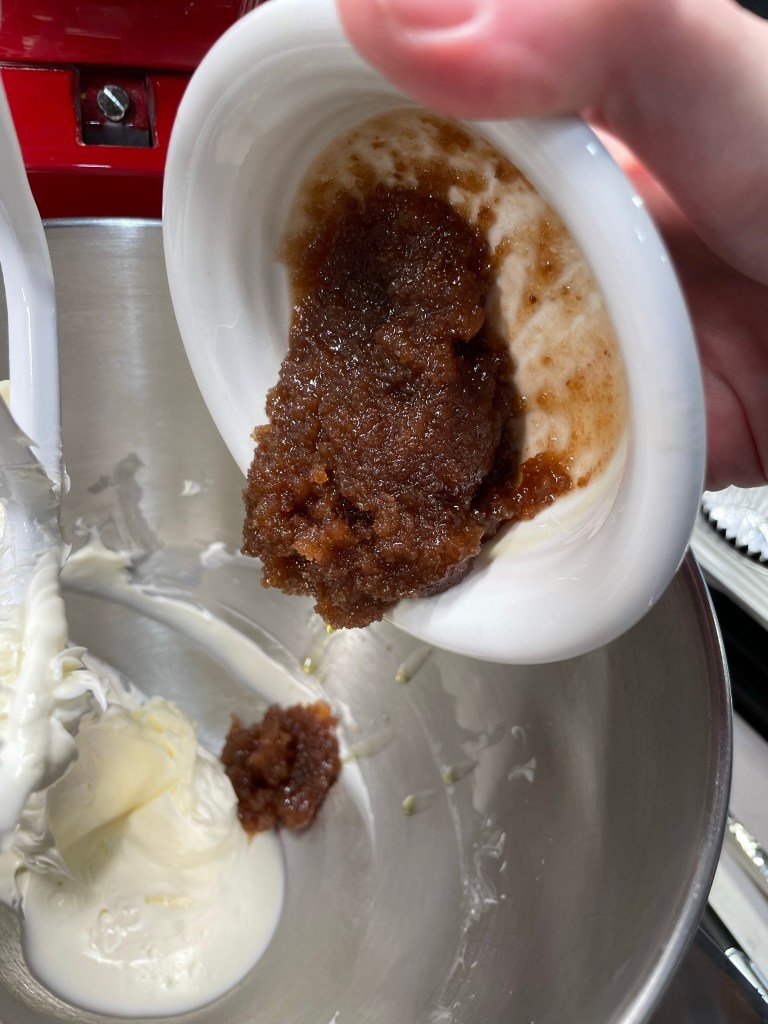
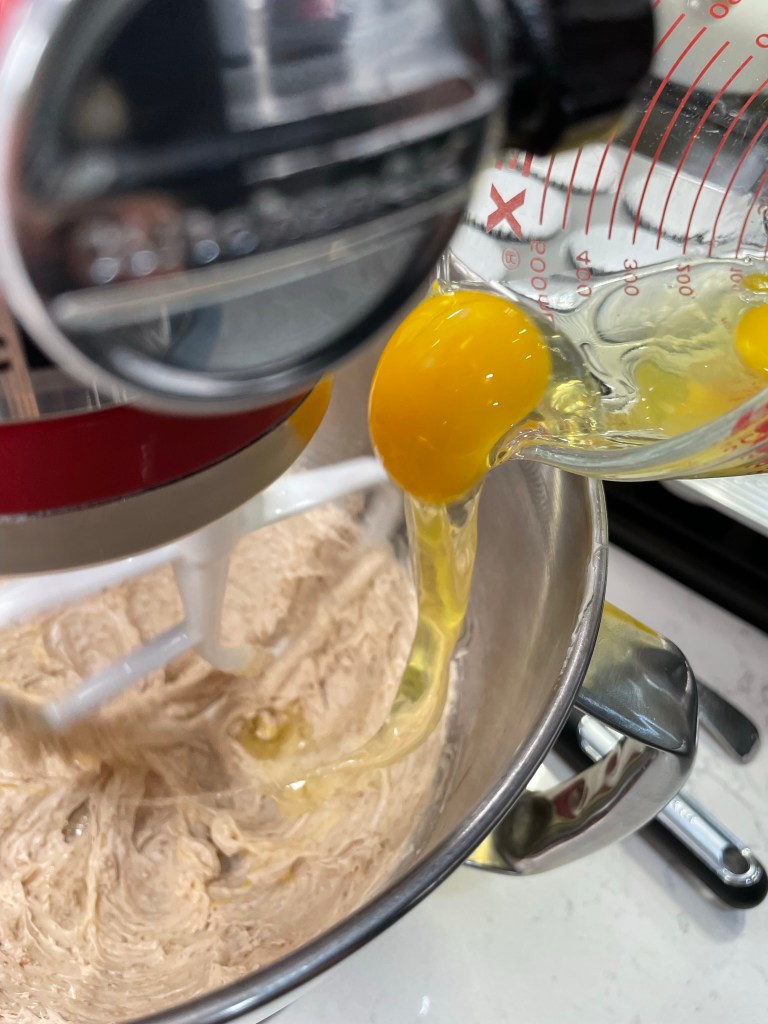
  2. In a stand mixer fitted with paddle blade, beat butter on medium high speed until fluffy. Add honey and then brown sugar a little at a time, beating until fluffy again. Add egg and vanilla, beating until evenly blended.
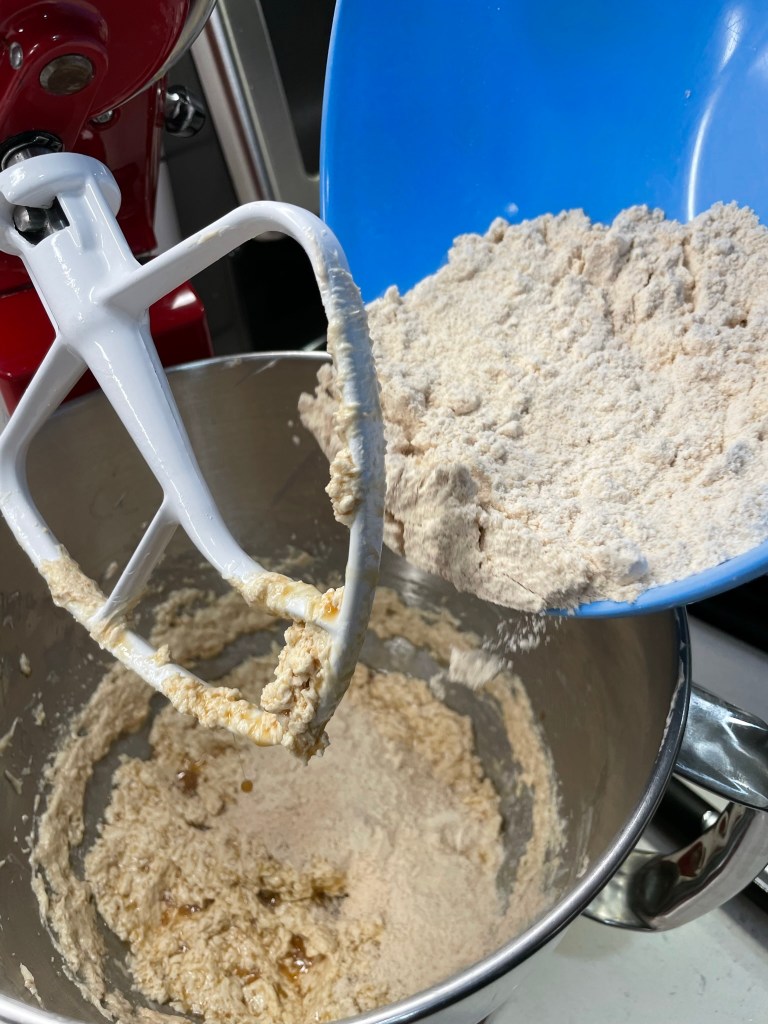
  3. Whisk together flours, baking powder and salt in a medium bowl. With mixer running, add flour by the spoonful until all is incorporated. Turn off mixer and scrape dough off beater. Add crushed graham crumbs and use a silicone spatula to press and blend them into the dough. Do not overmix.
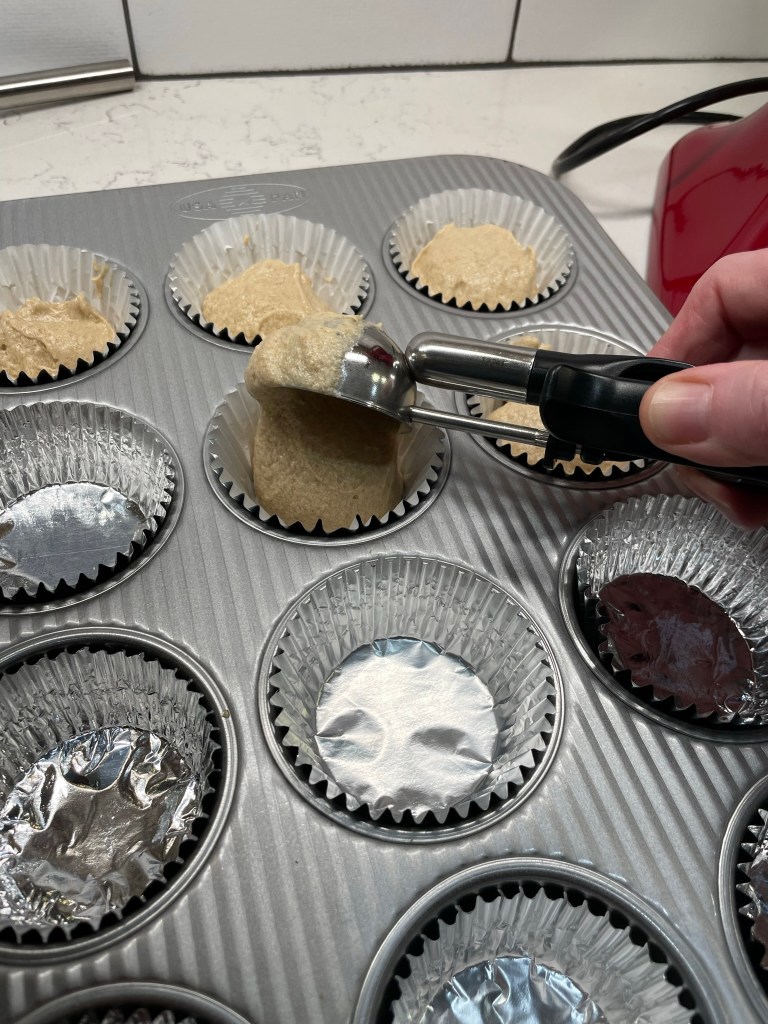
  4. Transfer about 2/3 of the cookie dough to the parchment lined baking dish. Butter hands and press evenly over parchment. The dough will be very soft and sticky. Add the semi-sweet chips and cereal to the remaining dough, pressing firmly with the spatula to mix them in completely. Set aside for topping.
  5. Butter an offset spatula (or dip into hot water) and spread the marshmallow creme evenly over the cookie dough, keeping it about one inch away from the edges.
  6. Break the Hershey bars into four sections each and arrange them evenly over the marshmallow layer, gently pressing so that the marshmallow oozes up between the chocolate pieces.
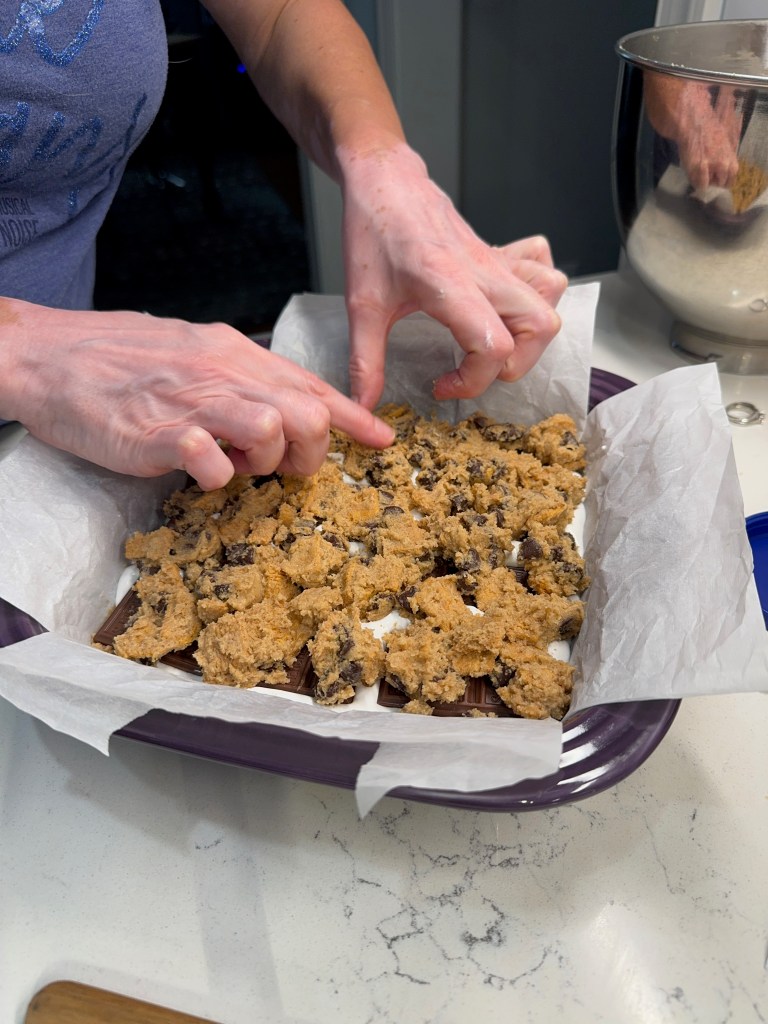
  7. Use a scoop, spoon or your fingers to place dollops of the remaining cookie dough over the chocolate pieces, taking care to leave only small gaps for the marshmallow to bubble through.
  8. Bake 30 to 35 minutes (depending on your oven), until cookie batter is just barely baked through and the peekaboo marshmallow creme is lightly browned. Remove from oven and cool on a rack for a few hours before lifting out the parchment and cutting into squares.


S’mores Cupcakes

My cousin, Annie, has a wicked sense of humor. Wicked, meaning funny, but also just a little bit wicked. During my visit last month at her lake house in Connecticut, Annie caught me off guard with what seemed like would be important, somber information.

“OK, listen” she began, cracking open a tall pantry door next to the kitchen of her sweet, cozy cottage. “If something happens to me, and you guys have to come here to the lake after I’m gone…”

“Yes,” I said, swallowing hard at that awful thought, as she pointed to a lower shelf inside the cabinet.

“Here’s where you’ll find the stuff for s’mores.”

Honest to God, I don’t know how she keeps a straight face when she delivers a punchline like that. But one thing is for sure, if there is an opportunity to bring joy to any situation or gathering, she has it covered— including s’mores, which we enjoyed as we relaxed in front of her patio fireplace, with the backdrop of gentle lapping sounds of the lake and an occasional bullfrog bellowing somewhere off in the distant darkness.


Who doesn’t have fun s’mores memories? The sweet little campfire sandwich of graham crackers, chocolate bar and toasted marshmallow has been a favorite of mine since I was a kid, and I was thrilled a few years ago to learn that the sugary treat has been awarded its very own day of celebration— National S’mores Day! Each August 10th since I started Comfort du Jour, I have presented a fun interpretation of s’mores. In 2020, it was a duo of treats with a s’mores cocktail and dessert pizza. In 2021, I gave you s’mores ice cream. Last year, those ooey-gooey s’mores brownies. And this year, well, it isn’t really a surprise, is it?

Behold, s’mores cupcakes!

These turned out to be everything I wanted!

With a sweet honey-graham cake base, hollowed out for a dark-and-milk chocolate ganache filling, and topped with a homemade marshmallow frosting (toasted, of course), this may be my favorite s’mores treat to date. 


I’d been scouting out component recipes for these for several months, and finally nailed it down after flipping through a special edition Food Network Magazine, called “The Cupcake Cookbook.” The pages held all kinds of cupcake creations, from fruit to spice to chocolate and vanilla, plus numerous flavors and types of frosting, icing and glaze. It was their recipe for “honey-graham cupcakes” that sealed the deal for my s’mores recipe, but I did (of course) put my own spin on them, using honey in place of sugar for an extra-sweet, extra-“graham-y” impression. 

I had this cocoa-infused honey that I had picked up on an earlier trip to Asheville, N.C., where we go occasionally to visit my husband’s adult daughter. I suspected that the cocoa infusion would lend itself nicely to the s’mores vibe, and I was correct. The honey has been in my cabinet for about a year, so it was fairly crystallized, but the texture was no problem for my baked recipe.


One of the things that appealed to me about the Food Network cupcake recipe is that it included actual crushed graham crackers. I was guaranteed to have the flavor I wanted, along with a slightly grainy feel from the already baked crumbs mixed into the cupcake batter. To crush the graham crackers, I piled a couple sleeves of them into my bullet-style blender and pulsed them for about 20 seconds, until they were reduced to a fine powder. I had the 3/4 cup of crumbs that I needed, plus 1/4 cup left over that I figured I’d use in the topping.


With all my ingredients lined up and measured, I was finally ready to bake!

Generally speaking, you can swap honey for sugar in a baking recipe, but you must take a few things into consideration, which I learned thanks to this article from an online honey supplier. Following those tips, I made the following adjustments:

  • used less honey than the sugar amount called for (because honey is sweeter)
  • reduced the milk amount slightly (because honey is also somewhat liquid)
  • added a touch of baking soda to balance the acidic effect of the honey
  • reduced the baking temperature a bit (because honey burns more easily than sugar), and slightly increased the baking time to compensate

I have accounted for all of those adjustments in my instructions, but the click-to-print recipe below also describes how the recipe should look if you’re using sugar to sweeten the cupcakes.


The ganache filling was the simplest component of this recipe; nearly equal parts chocolate— I used a combination of dark and milk chocolate for this— and heavy cream heated to just-shy of boiling. If you’ve never made ganache, you might be surprised how simple it is. Just heat the cream, pour it over the chocolate so it’s complete covered, wait 10 minutes, and stir to blend. Don’t be alarmed if the mixture seems very runny at first— it will thicken and firm up a bit as it cools. I wanted the ganache to be soft but not too messy, so I used slightly more chocolate than cream. In hindsight, equal parts would have been fine.


When the cupcakes were cooled, I used my apple corer tool to carefully cut out a plug shape bit of cake, keeping those pieces intact, to place back on top of the ganache, which I spooned inside the cupcake cavity. I didn’t mind that the tops didn’t sit flush with the cakes, because the whole thing would soon be buried in marshmallow frosting anyway. I had some ganache left over after filling the cupcakes, so I warmed it over hot water back to a spreadable consistency, and glazed the top of each cupcake, and then sifted some of the remaining graham crumbs on top as a bed for the marshmallow frosting.


Almost done! I agonized a bit over which frosting recipe to use, and considered one in the Food Network Cupcake magazine, but it sounded more like meringue than frosting, and I wanted mine to be stable enough to keep its shape without getting watery. I finally found a “marshmallow frosting” recipe online that sounded more hefty, and about the time I got to the step to “whip it with a mixer for seven minutes over simmering water,” it occurred to me that this was exactly the same as a topping that my grandmother frequently made during her having-company-over days.


Turns out, seven-minute frosting is essentially marshmallow creme. I suppose you could probably just top the cupcakes with store-bought marshmallow creme, but by this time, my frosting was already done and I did enjoy piping the stuff onto the cupcakes— it made me feel like a real baker!

The only thing left to do was was toast the marshmallow topping. Having never done this before, and not wanting to ruin my pretty little s’mores cupcakes, I piped out some of the leftover marshmallow frosting onto a sheet of foil, and hit the dollops with my culinary torch to practice. Would you believe, this turned out to be the simplest part of the recipe?! The frosting toasted beautifully, and it stayed pretty for a few days after I made the cupcakes. 


Incidentally, I had enough marshmallow frosting left over to cover at least two more batches of cupcakes, and most of the extra went to waste because I didn’t have a plan ready for using it. Perhaps I could have whipped up a quick batch of Krispie treats— and that of course, gives me an idea for National S’mores Day next year. 😉


S'mores Cupcakes

  • Servings: 12
  • Difficulty: Intermediate
  • Print

With a sweet honey-graham cake base, hollowed out for a dark-and-milk chocolate ganache filling, and topped with a homemade marshmallow frosting (toasted, of course), this may be my favorite s’mores treat to date. There are three components of this treat, and I've described each separately below.


Ingredients

  • 3/4 cup honey graham crackers, crushed fine (see notes)
  • 3/4 cup all-purpose flour
  • 1 tsp. baking powder
  • 1/8 tsp. baking soda (omit if using sugar in place of honey)
  • 1/2 tsp. salt
  • 1 stick unsalted butter
  • 1/2 cup honey (or 1 cup granulated sugar)
  • 2 eggs
  • 2 tsp. real vanilla extract
  • 1/2 cup milk (minus 2 tablespoons if using honey)

Notes: Butter, eggs and milk should be at cool room temperature. Remove them from refrigerator about one hour before you plan to start the recipe.

To get a fine crush on the graham crackers, I broke them up into my bullet-style blender and processed them for about 15 seconds. Sift through them with your fingers to remove any remaining chunks. I used two wrapped packs of “Fresh Stacks” crackers, and had about 1/4 cup of crumbs left over, which I sprinkled on top of the ganache before frosting.


Directions

  1. Preheat oven to 330° F (or 350° F if using sugar), and line cupcake pan with foil liners.
  2. Combine crumbs, flour, baking powder, soda and salt in a medium bowl and set aside.
  3. In a stand mixer, cream butter on medium speed until light and airy, about one minute. Add honey and beat on medium speed until fluffy and evenly blended, about four more minutes. Scrape down sides of the bowl.
  4. Add one egg at a time, beating to blend after each. Scrape down sides of the bowl. On low speed, beat in one-third of the flour mixture just until no visible dry ingredients remain. Beat in half of the milk. Repeat with dry ingredients, then milk, then final dry ingredients. Scrape down sides.
  5. Scoop cupcake batter into lined cupcake pan. Each cup should be about 2/3 filled.
  6. Bake 25 to 30 minutes (less if using sugar), until cupcakes are golden and spring back easily when touched in the center.
  7. Cool cupcakes in pan 5 minutes, then transfer to a wire rack to cool completely.

While the cupcakes are baking, prepare the ganache filling. It’s best to fill the cupcakes while the ganache is still somewhat warm and easily drizzled.

Ingredients

  • 2/3 cup quality chocolate, wafers or bars preferred over chips
  • 1/2 cup heavy cream

Directions

  1. Add chocolate pieces to a medium bowl. Heat cream to just-shy of boiling point. Pour cream over chocolate and let sit 10 minutes.
  2. Gently whisk or stir cream and chocolate together until evenly blended. This will seem impossible at first, but within one minute, it should be glossy and silky.
  3. When cupcakes are completely cool, used an apple corer tool or paring knife to carefully cut a one-inch plug from the center of each cupcake. Set these aside.
  4. Use a spoon to drizzle the warm ganache into each cupcake hole, then press the plugs back onto the cupcake. Carefully glaze the filled cupcakes with any remaining ganache. Scatter some of the remaining graham crumbs over the top and cool completely while you make the marshmallow frosting.

To prepare the frosting, you will need an electric hand mixer and a double boiler or a large, heatproof bowl that will fit over, but not inside, a medium saucepan. Be sure the mixing bowl and beater blades are completely clean, as any amount of oil or fat on them will prevent the egg whites from forming peaks.

Ingredients

  • 2 egg whites, at room temperature
  • 1 1/2 cups granulated sugar (I used a 50/50 mix of cane sugar and superfine caster sugar)
  • 1/3 cup water
  • 1 Tbsp. light corn syrup (prevents crystallization)
  • 1/8 tsp. fine salt
  • 2 tsp. real vanilla extract

Directions

  1. Bring a medium saucepan of water to a slight boil over medium heat. The water should not be high enough to touch the bottom of the bowl used in the next step.
  2. In the heatproof bowl, combine all ingredients except vanilla. Do not place the bowl over the hot water yet.
  3. Use a hand mixer to whip the frosting ingredients together. Start on low speed and increase slightly when the mixture starts to get frothy. After a minute or two, place the bowl over the simmering water.
  4. Continue to whip with the mixer for 7 minutes, until all the sugar has dissolved and soft peaks form in the frosting. Remove from heat.
  5. Add vanilla and beat again just until incorporated. Cool a few minutes before frosting cupcakes.
  6. Load frosting into a piping bag with a wide, round tip. Pipe frosting onto cupcakes.
  7. Use a culinary torch to carefully toast the marshmallow topping. Cool before enjoying.