What’s your favorite veggie pizza?
While you ponder, I’ll explain how I answered the same question, posed by my high school bestie, Christine. She reached out a couple of weeks ago for ideas, as her daughter had a vegetarian friend coming to visit for a few days and she wanted to help her feel welcome. When you aren’t in the habit of making meatless meals (or if, like Christine, you have allergies to all the common plant-based proteins), the concept of meatless menu planning can feel daunting. I know that feeling well— it’s exactly how I feel about making desserts!
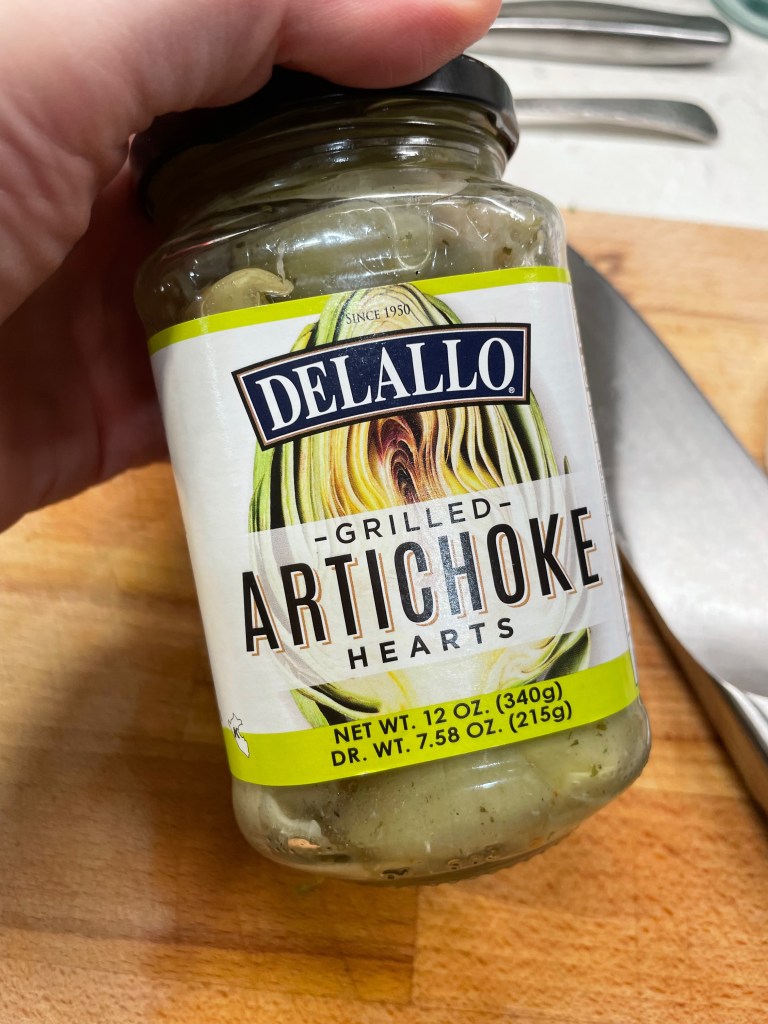
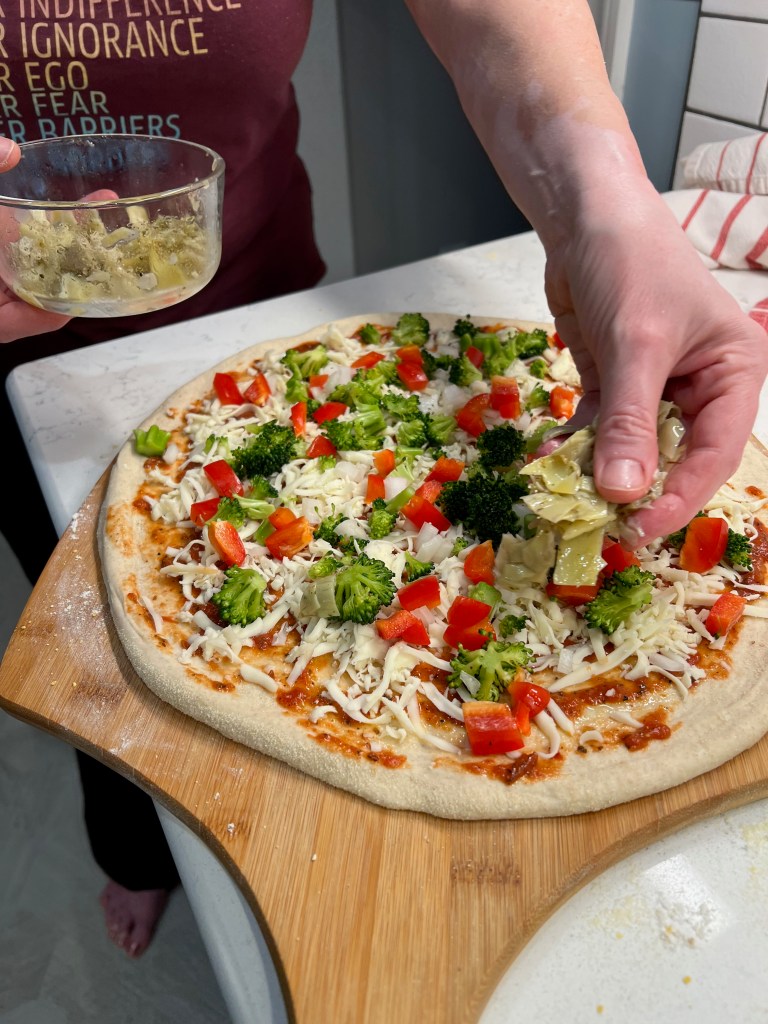
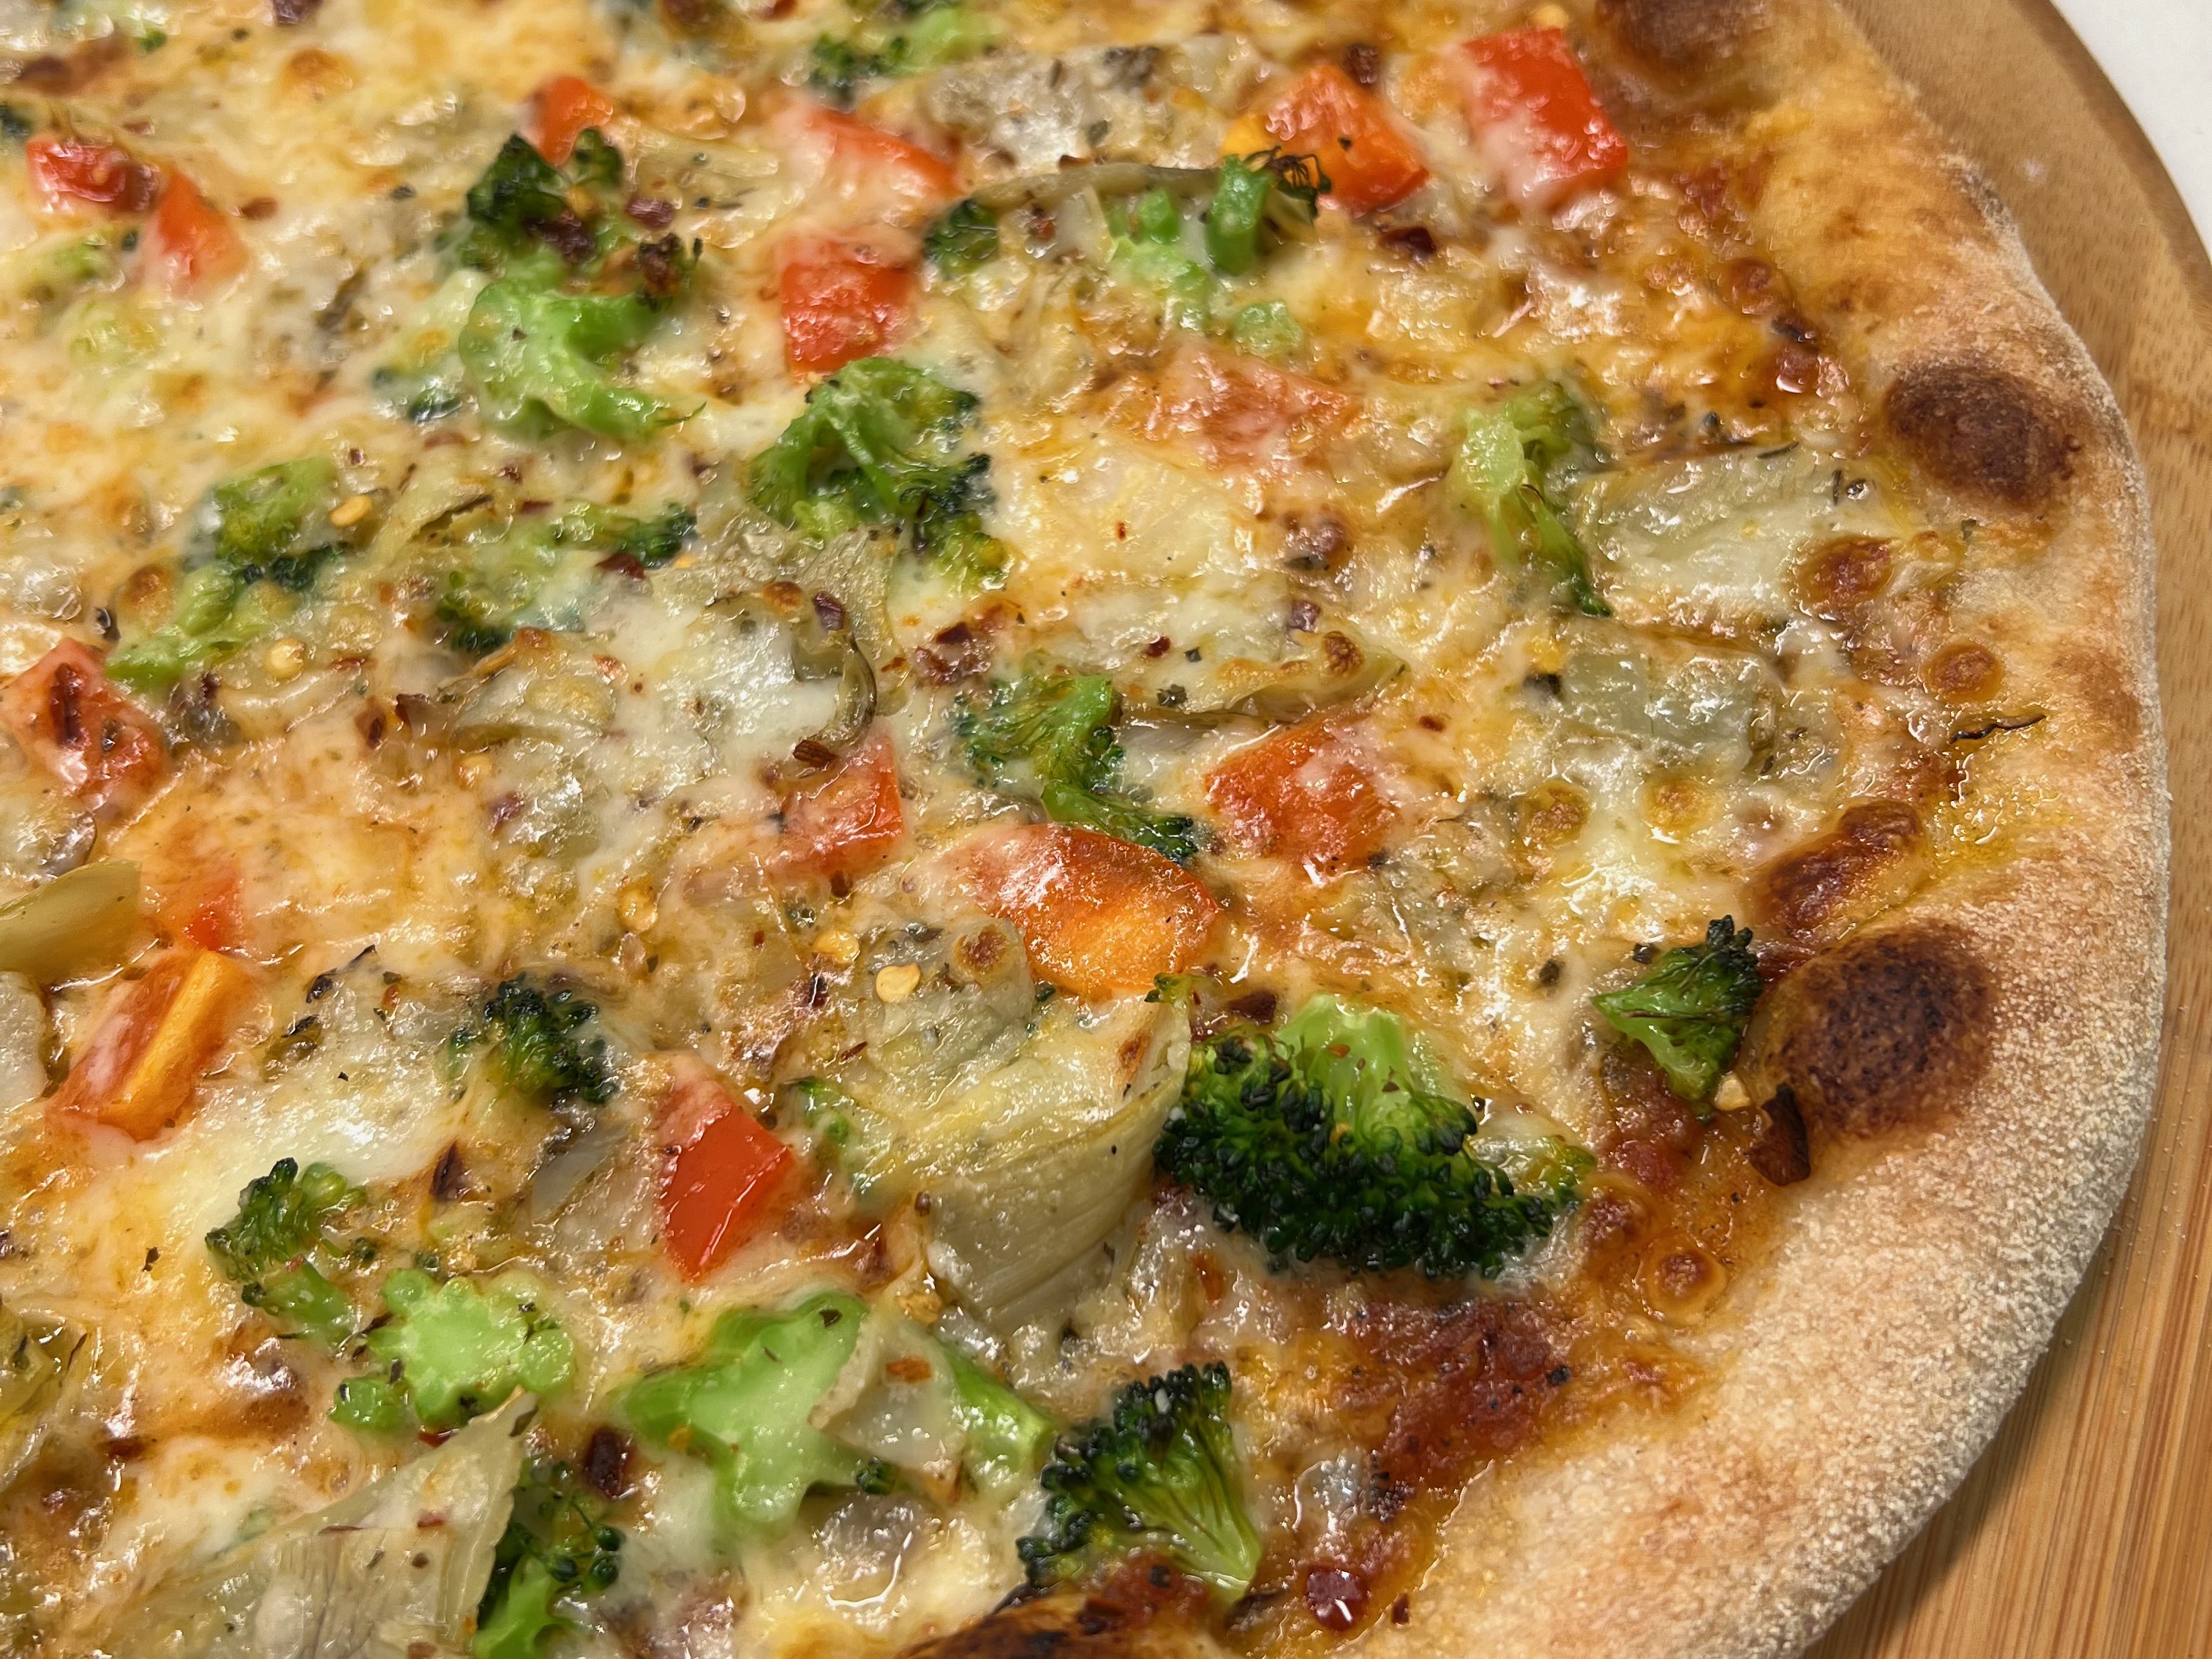
This pizza— with generous scatterings of chopped fresh broccoli, red bell pepper and marinated artichoke hearts— is my current favorite all-veggie pizza. What makes it work for me is the balance of flavors and textures that these ingredients bring to the slice. The red bell pepper bits are vegetal but sweet. The artichoke hearts, especially if you use the ones marinated with olive oil and herbs, are soft and slightly tangy. And the broccoli has a firm enough texture to make the pizza substantial and filling.
With a healthy dose of fiber, protein (both the artichoke and broccoli contribute a good amount) and vitamins (the red bells have more Vitamin C than oranges), plus all that flavor, this pizza is a winner, any way you, ahem, slice it. 😉
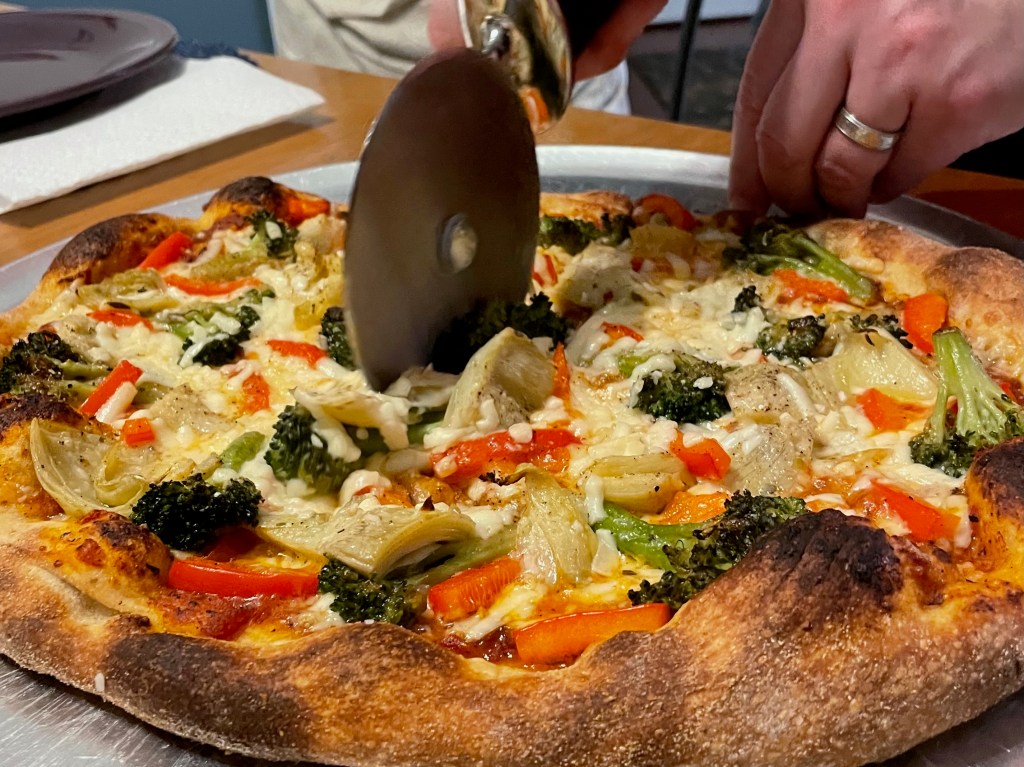
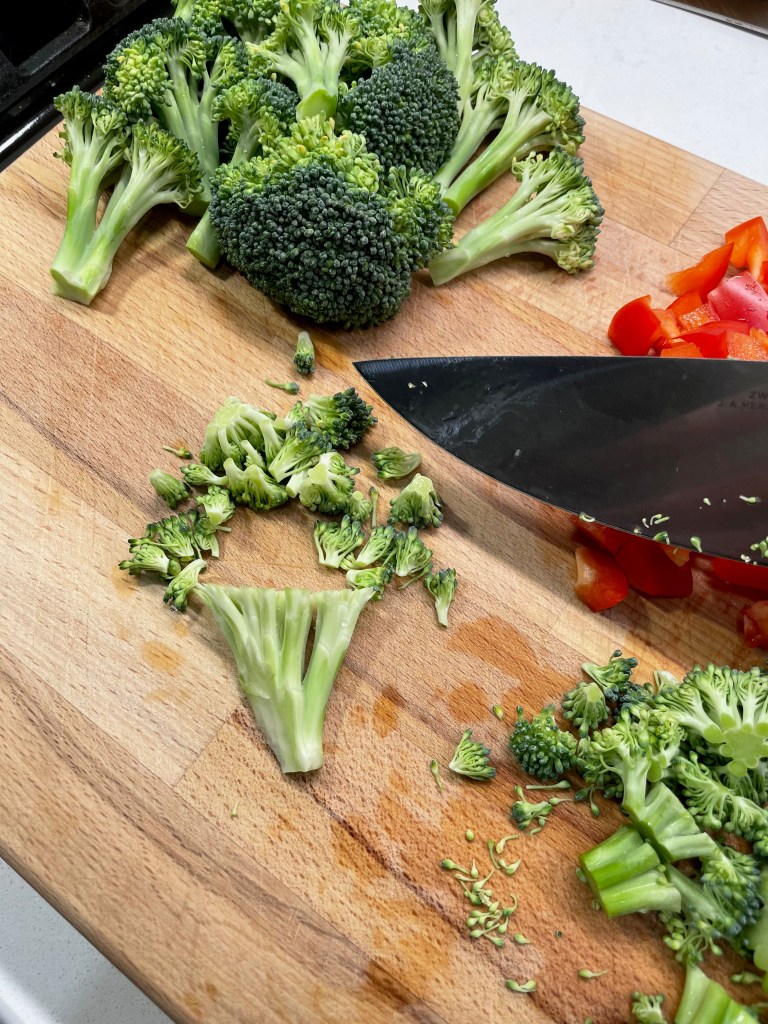
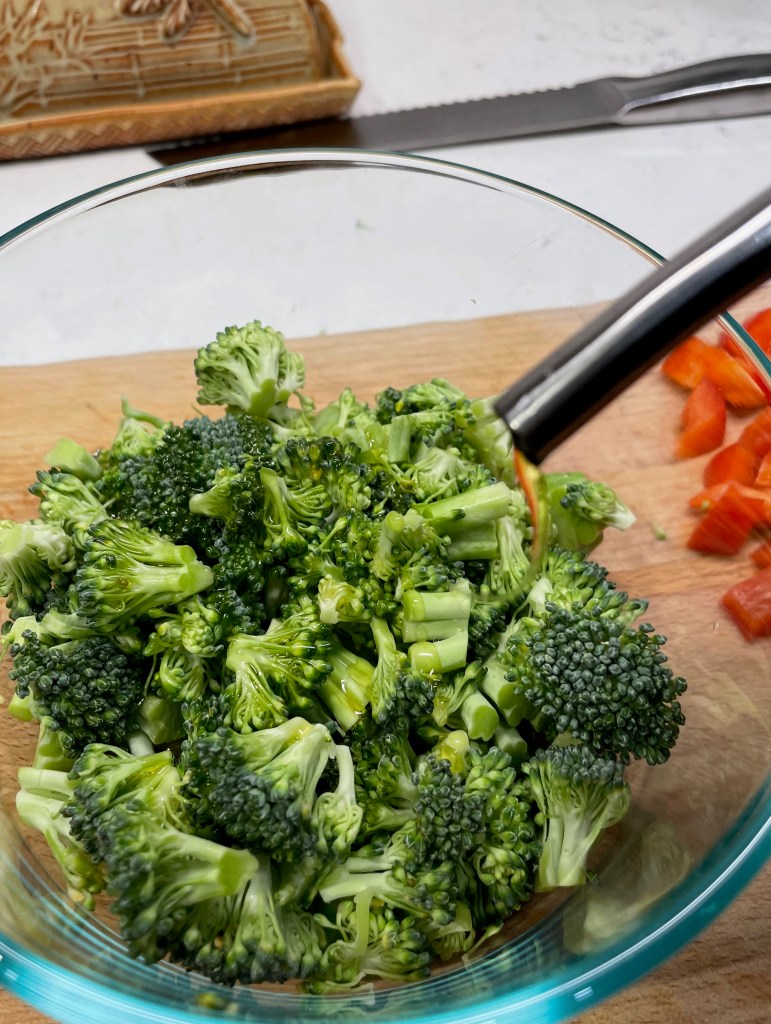
The first time I made this pizza, I used Asiago cheese (delish) and I prepped the ingredients in larger chunks, which made for tantalizing photos (as you can see above), but every bite tasted different because the pieces were farther apart. I also had to add an extra step of par-cooking and chilling the broccoli before topping the cheesy base of the pizza. On this go-around, I kept it simple, with smaller chopped pieces of raw broccoli and smaller chopped artichokes, and the end result was not only easier but a better outcome for the variety of flavor we enjoyed in each bite. A quick drizzle of olive oil and some Italian seasoning revved up the flavor of the broccoli.
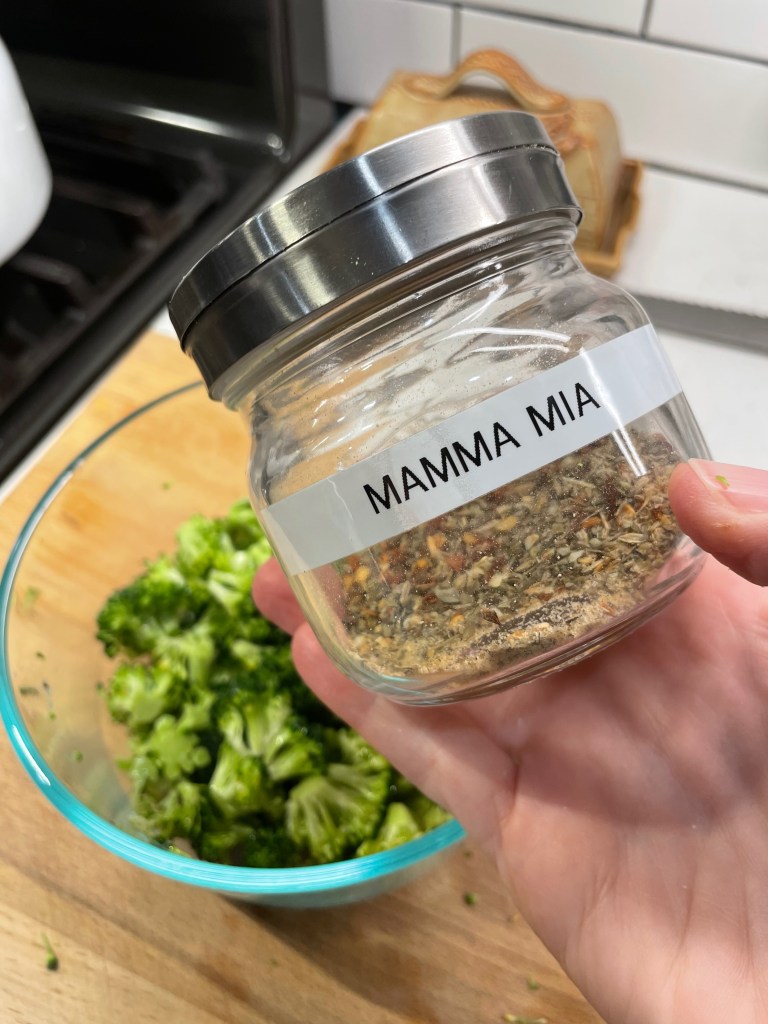
Any favorite Italian blend would be delicious.
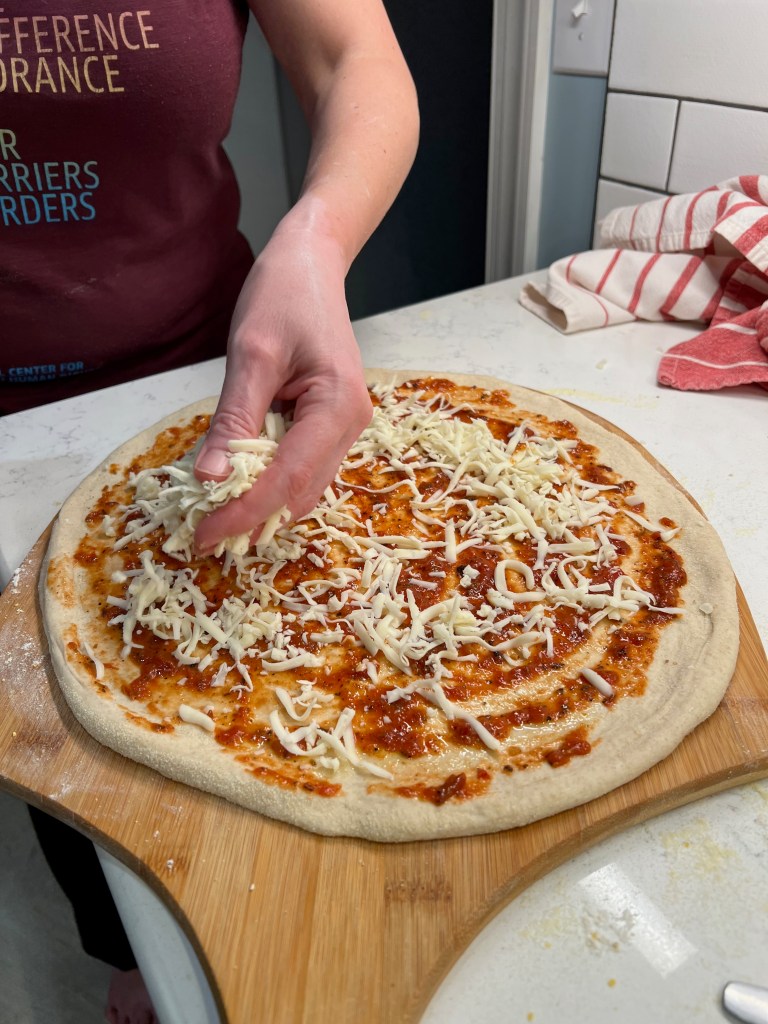
As for the rest of the pizza, you know how that goes at my house. My crust is almost always sourdough, cold-fermented for two days in the fridge drawer, hand shaped and topped with a thin layer of tomato sauce plus hand-grated whole milk mozzarella. A little Parm-Romano blend cheese sprinkled on at the end, plus a quick drizzle of extra virgin olive oil, which is a little trick I picked up during my “backstage” visit to Modern Apizza in New Haven a few summers ago. Here’s a link to my adventure at Modern, in case you missed it!

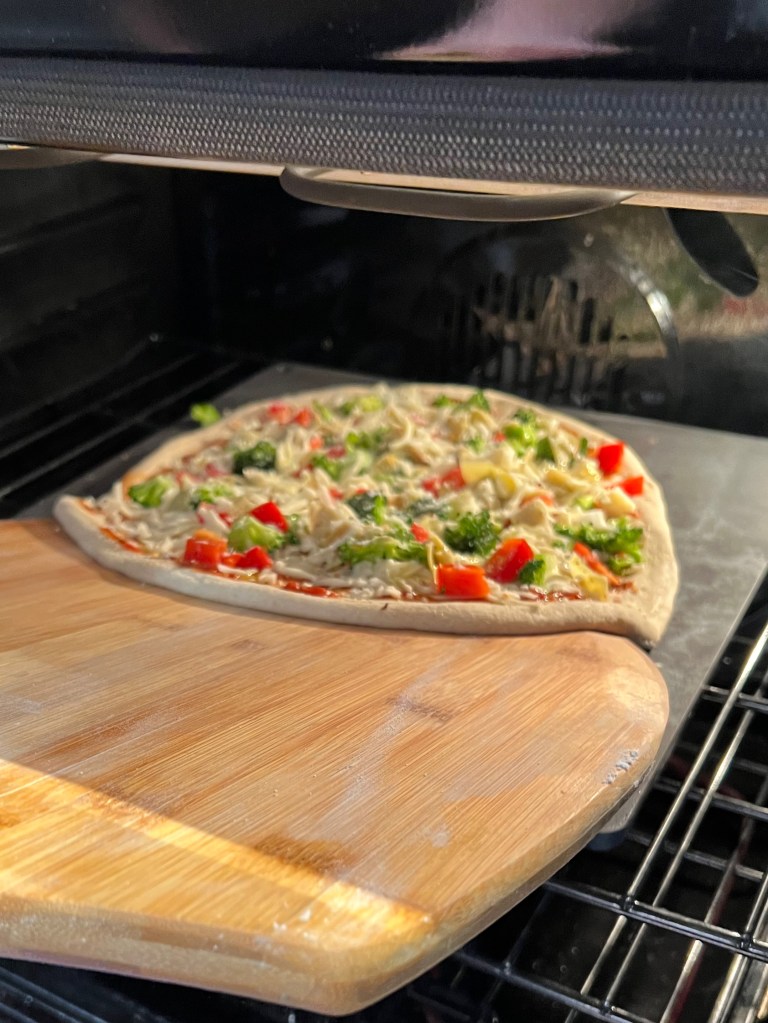
We use a steel for all of our indoor pizzas, preheated for about one hour at 550° F, which is the hottest our home oven goes. The intense heat permeates the steel slab for an exceptional crust, and our pizzas are finished to blistery perfection in about six minutes. It’s the closest we can get to brick oven-style pizza at home.
While that bakes, a quick (but important) mention about using cheese on a pizza for vegetarians, especially those who have chosen a meatless lifestyle out of concern for animals. Your guests may be OK with egg and dairy products, but be aware that many hard cheeses, including traditional Parmesan and Pecorino, are not technically vegetarian because animal rennet (an enzyme from the digestive system of young sheep or cows) is used in their production. This enzyme cannot be harvested from living animals, and that means it’s off the table for those following strict vegetarian practices. Thankfully, there are a few producers who have managed to adapt to using a plant-based enzyme to make such cheeses in a way that is approved for vegetarians. It’s a good rule of thumb to scan the label— if it does not explicitly state that it is suitable for vegetarians, you can bet that it isn’t. I only learned this myself a few years ago, so it bears sharing with my foodie friends.

So there you have it, my current favorite veggie pizza! After the click-to-print recipe below, I’ll share links to a few others we’ve enjoyed at our house, including the one that Christine found irresistible for her pizza party with her daughter and visiting friend.
Now, your turn— what’s your favorite veggie pizza? I’m always on lookout for a new recipe, so please share!
Broccoli Artichoke and Red Pepper Pizza
There's so much flavor and texture going on in this pizza, who needs meat?
Ingredients
- One fresh pizza dough ball, about 11 oz., at room temperature
- 1/4 to 1/3 cup favorite pizza sauce (we like Dei Fratelli’s “fire roasted”)
- 2/3 cup hand-grated whole milk mozzarella
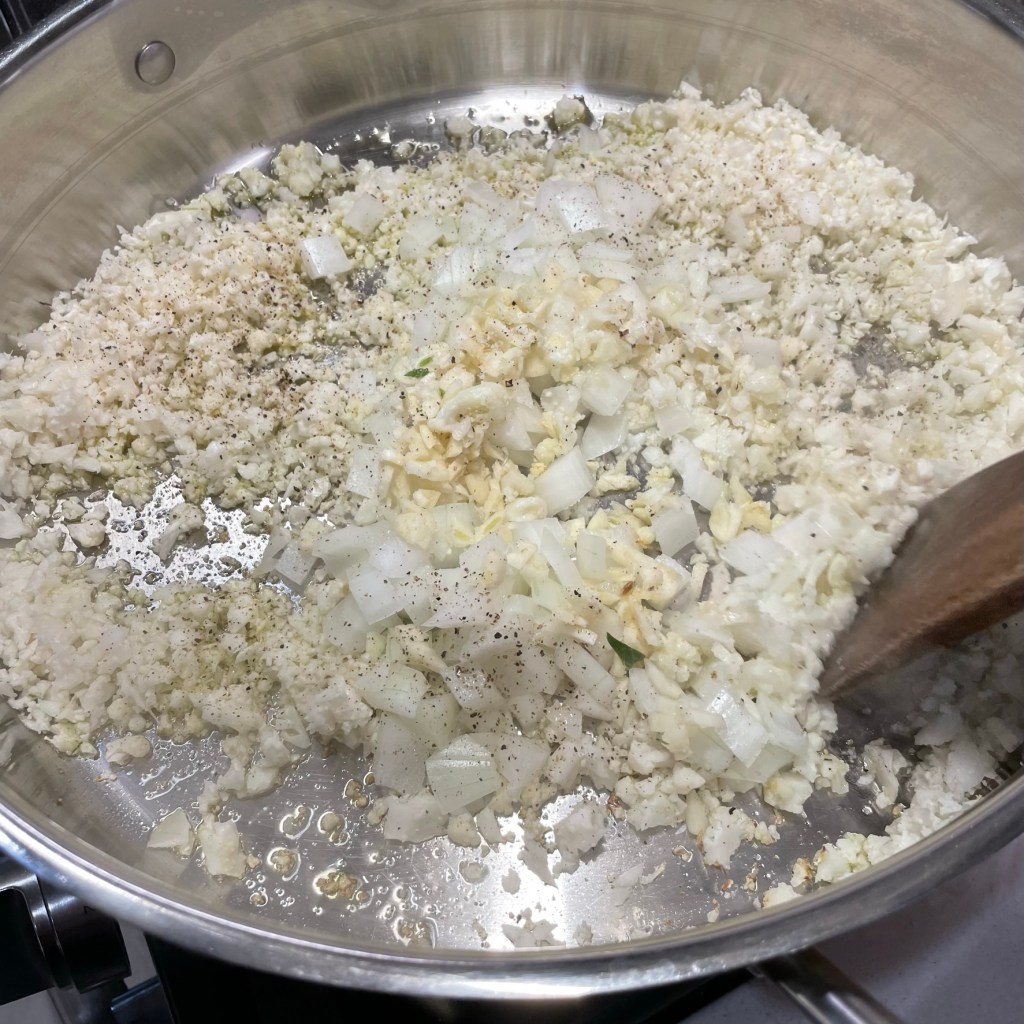
- 2 cloves garlic, minced
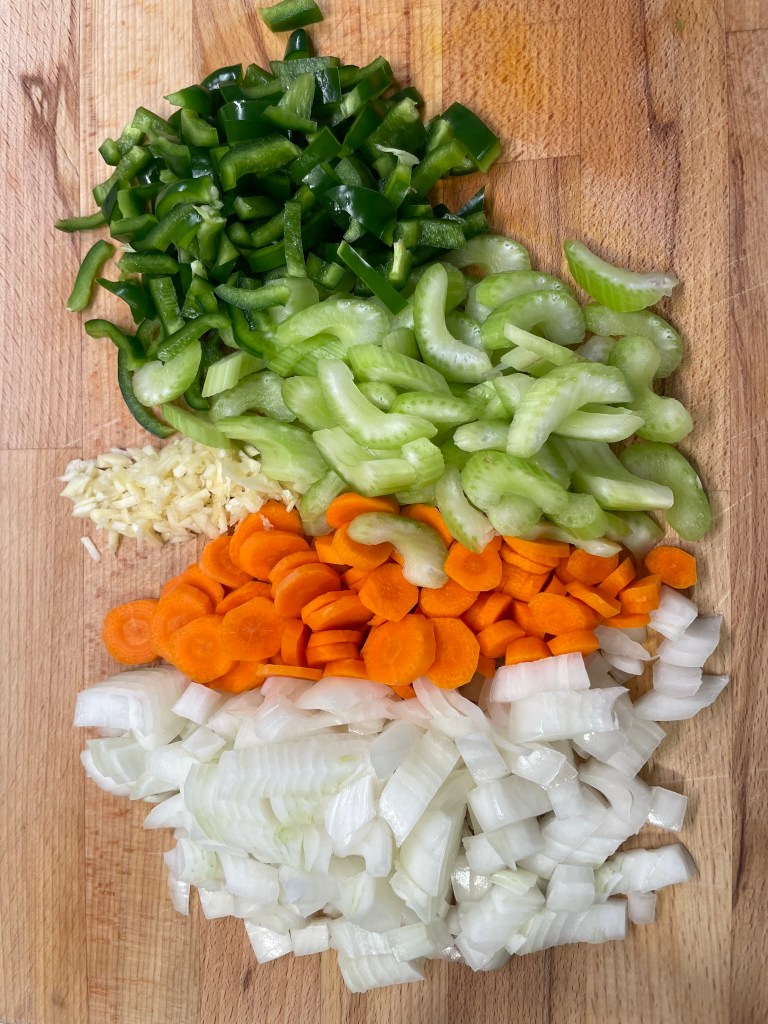
- 1 cup chopped raw broccoli, tossed with a teaspoon of olive oil and Italian seasoning
- 1/2 cup diced red bell pepper
- 1/2 cup chopped marinated artichoke hearts
- 2 Tablespoons chopped fresh onion (sweet or yellow work well here)
- 2 Tablespoons grated Parm-Romano blend cheese (check labels to ensure suitability for vegetarians)
- Extra virgin olive oil to drizzle
Directions
- Preheat oven with steel on center rack for one hour at 550° F. Dust pizza peel with flour and medium grind cornmeal for easy transfer in and out of oven.
- Shape dough by hand into 14-inch round, taking care not to deflate too many air bubbles. Salt and pepper the dough, and then spread sauce evenly over dough. You should be able to easily see the dough through the sauce.
- Scatter mozzarella all over the sauce, then top with fresh garlic, broccoli, peppers, artichoke hearts and onions. Sprinkle Parm-Romano over the toppings and give the whole pie a quick drizzle of olive oil.
- Transfer quickly to preheated steel and bake for six minutes, turning pizza after four minutes if needed for even browning of the crust.
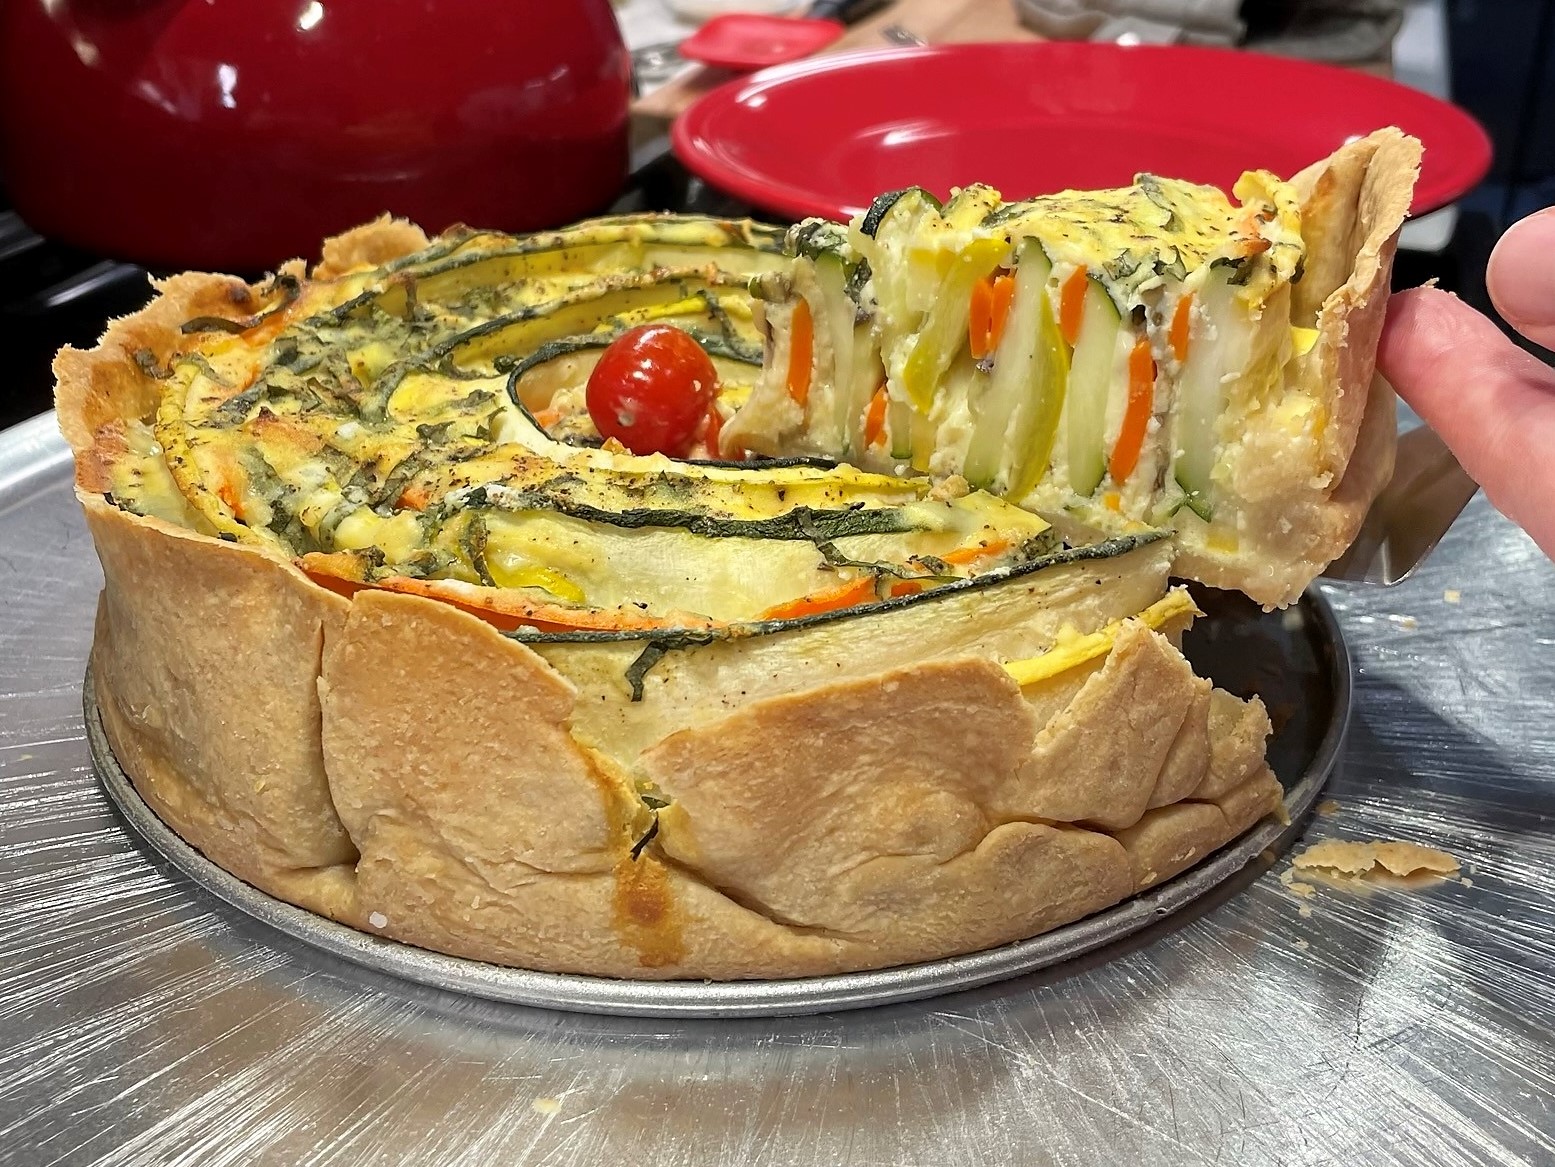
Other veggie pizzas you might enjoy, left to right:
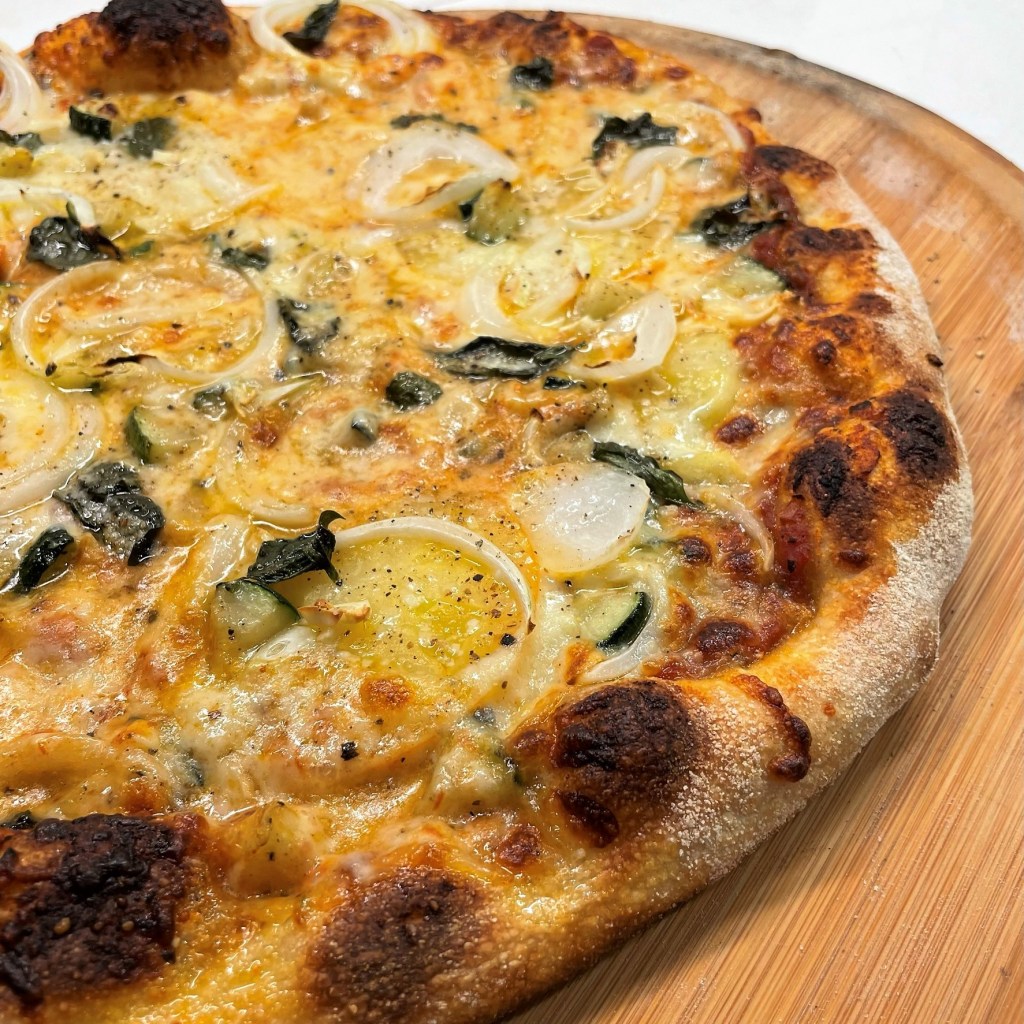


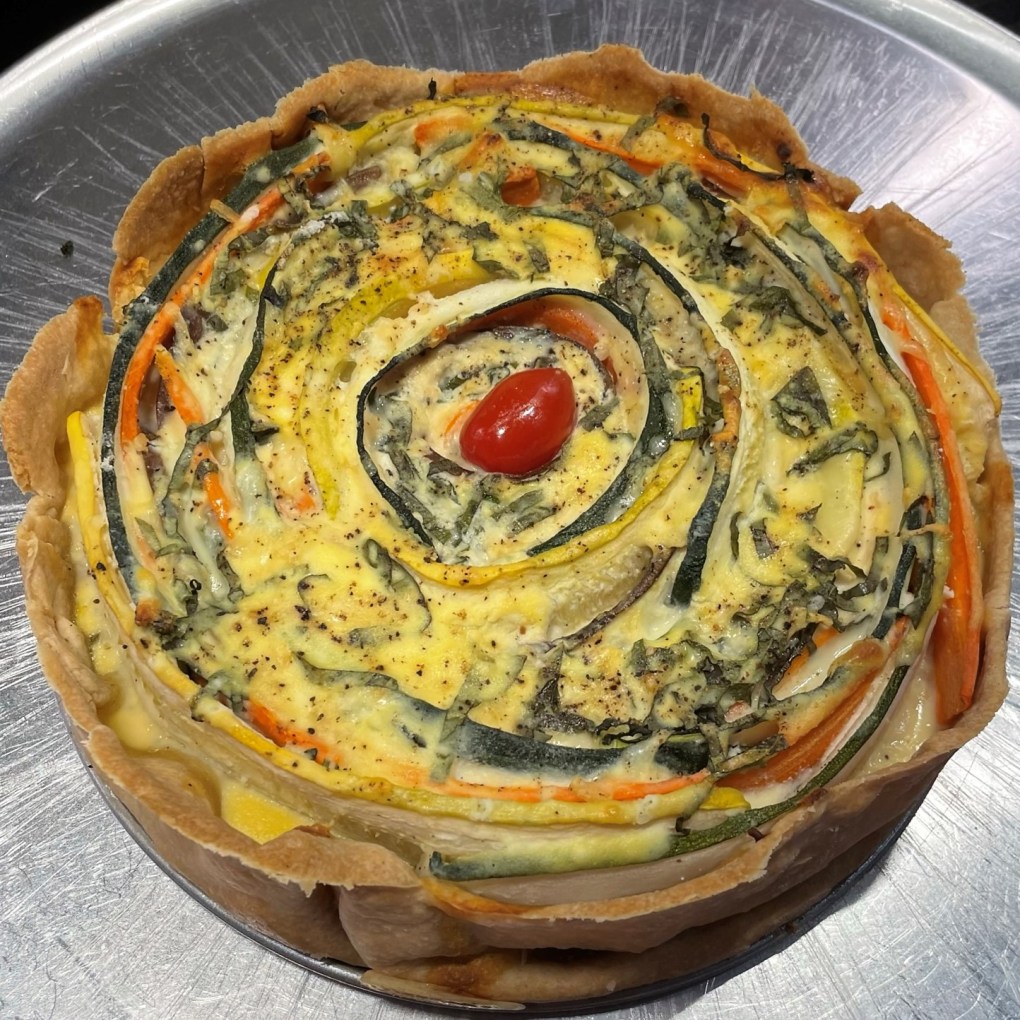
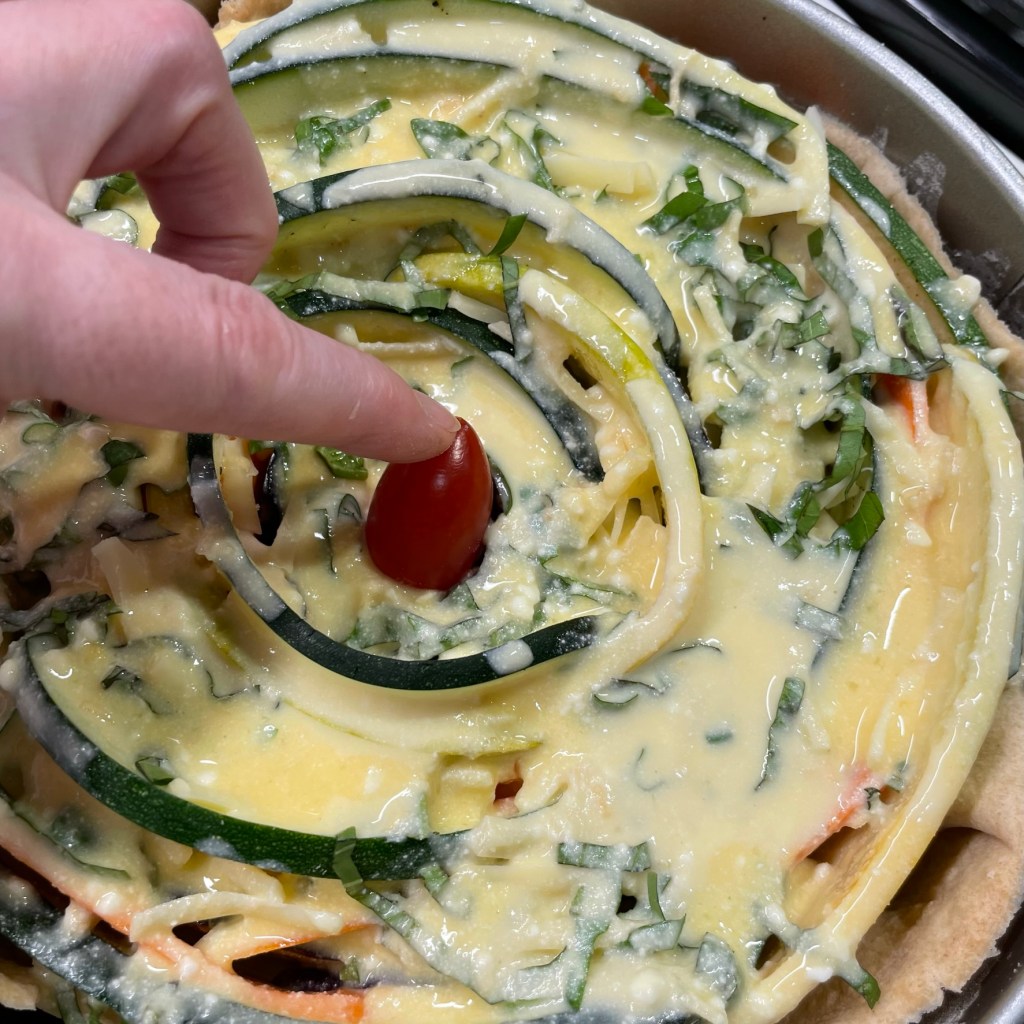
Zucchini and yellow tomato pizza, which I’m really looking forward to making again this summer, when both of these vegetables reach their peak flavor!
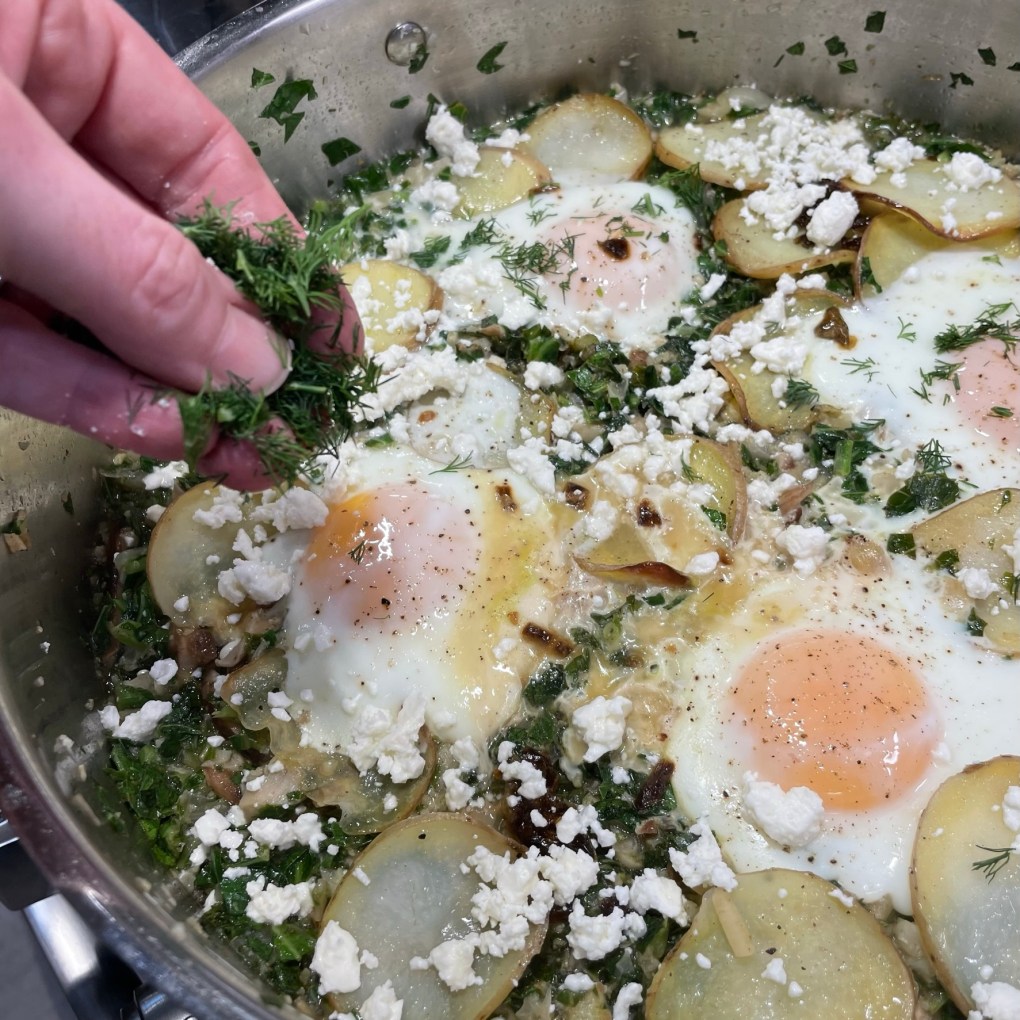
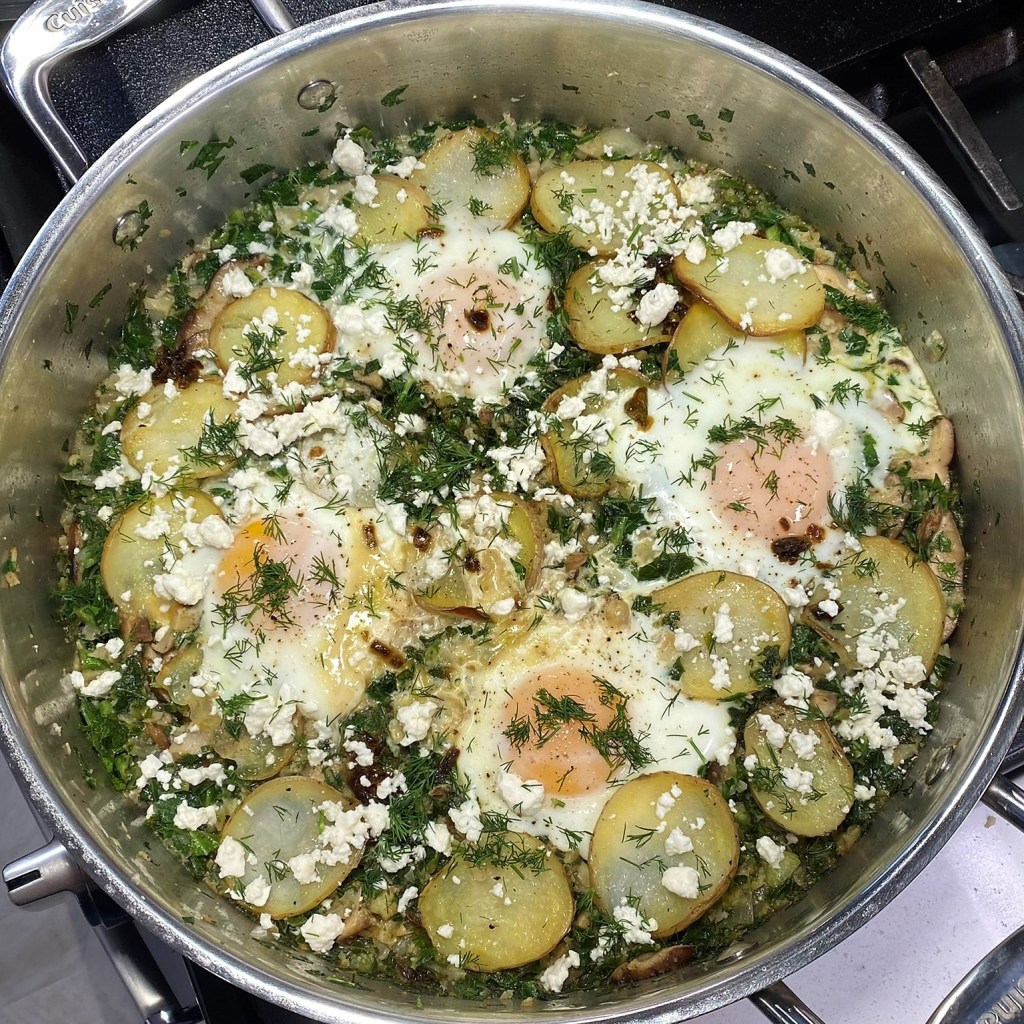
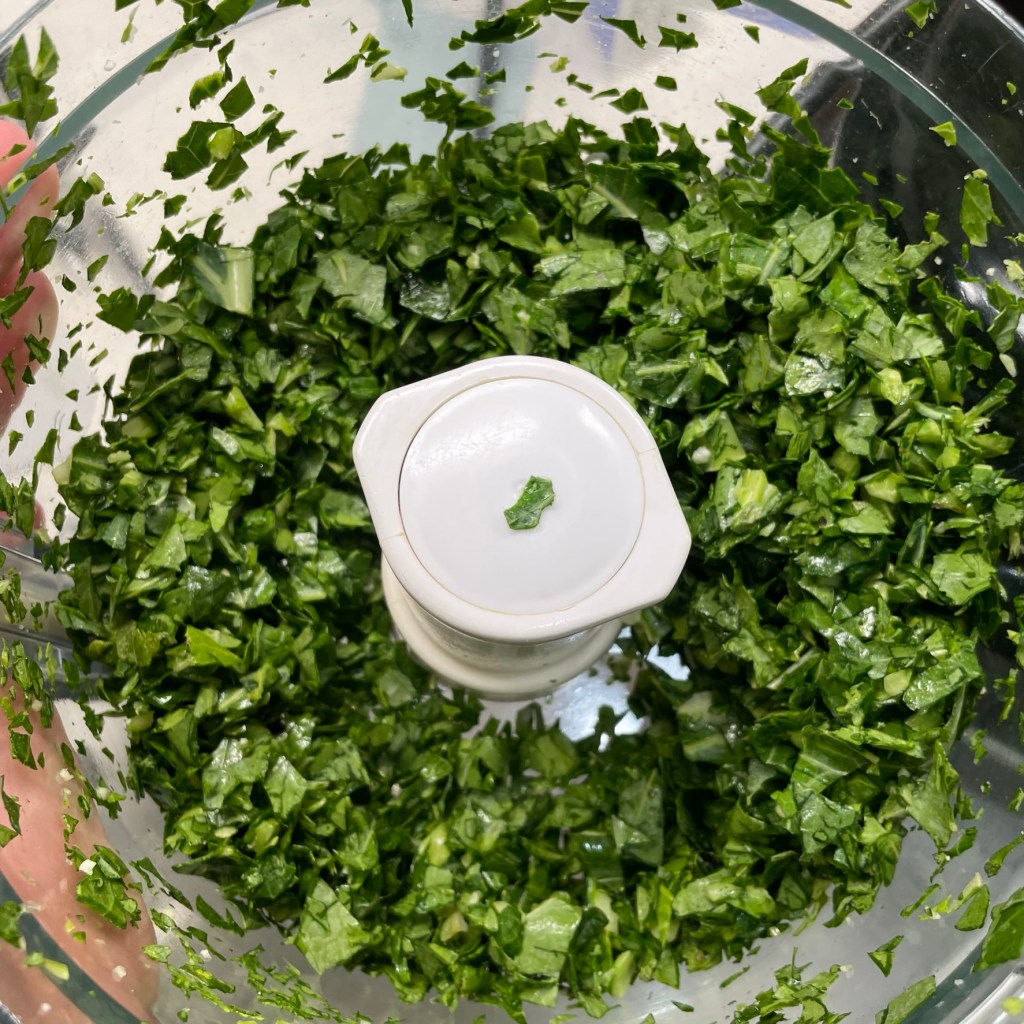
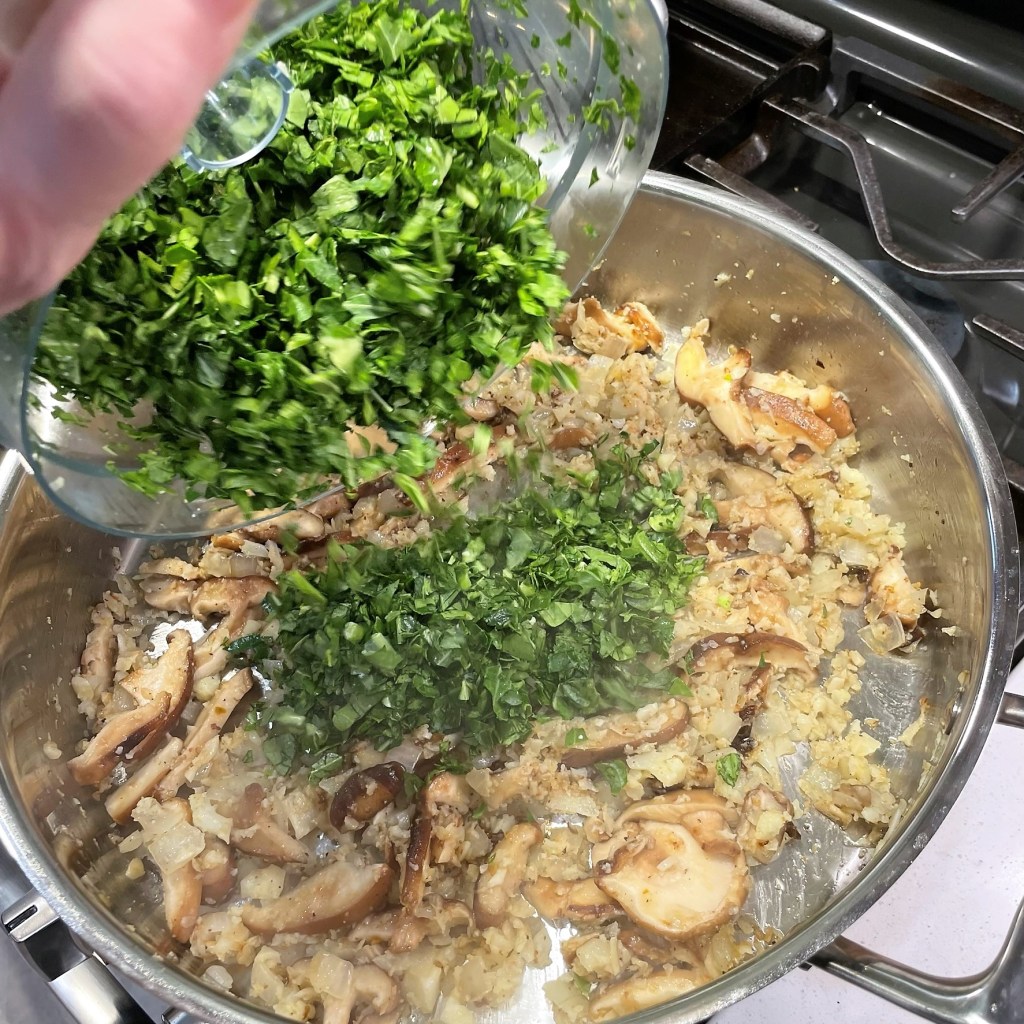
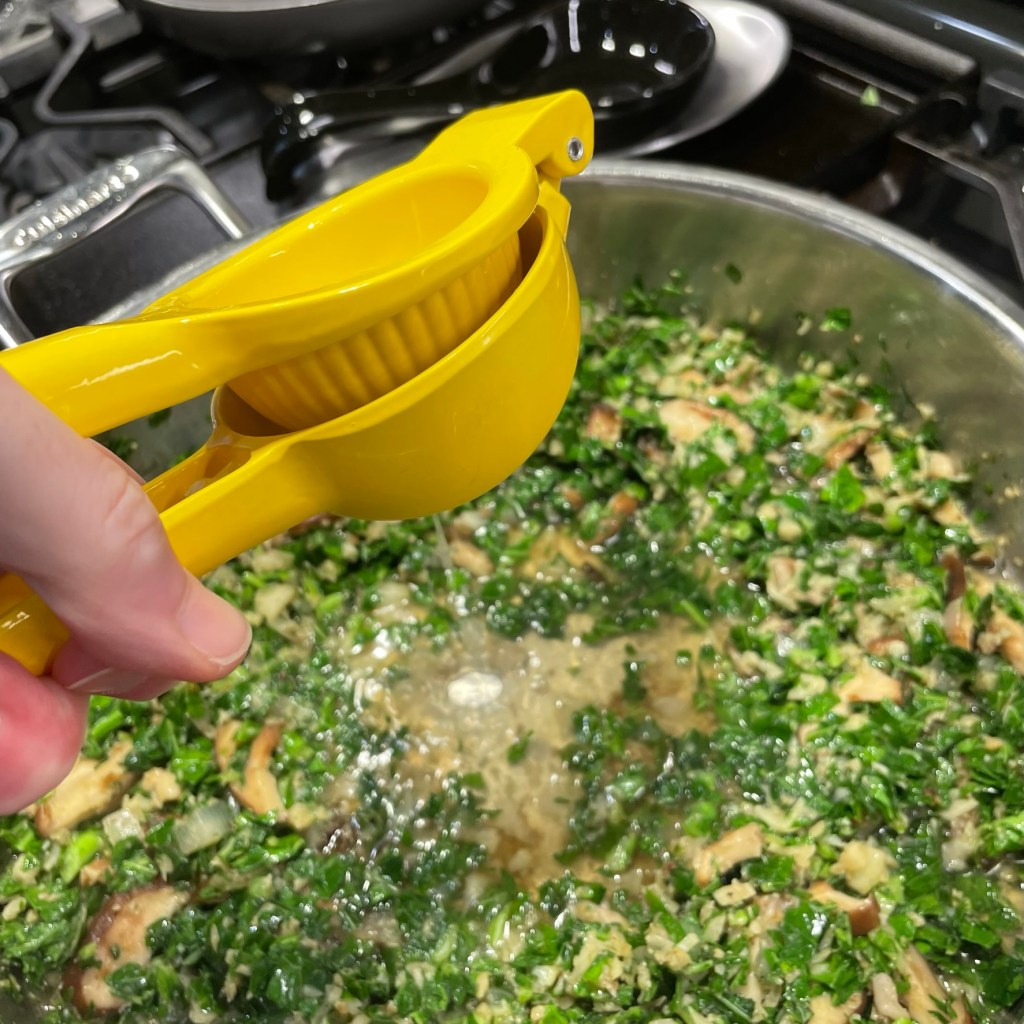
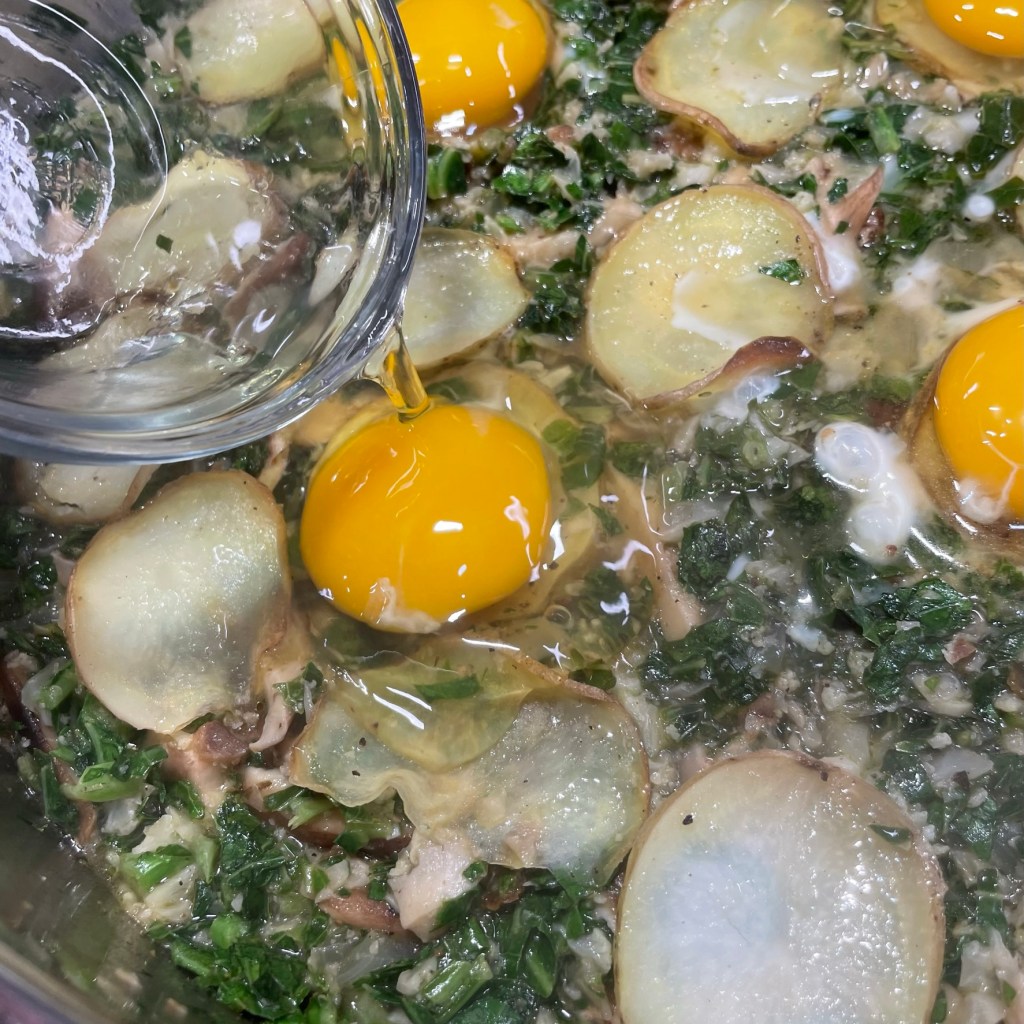
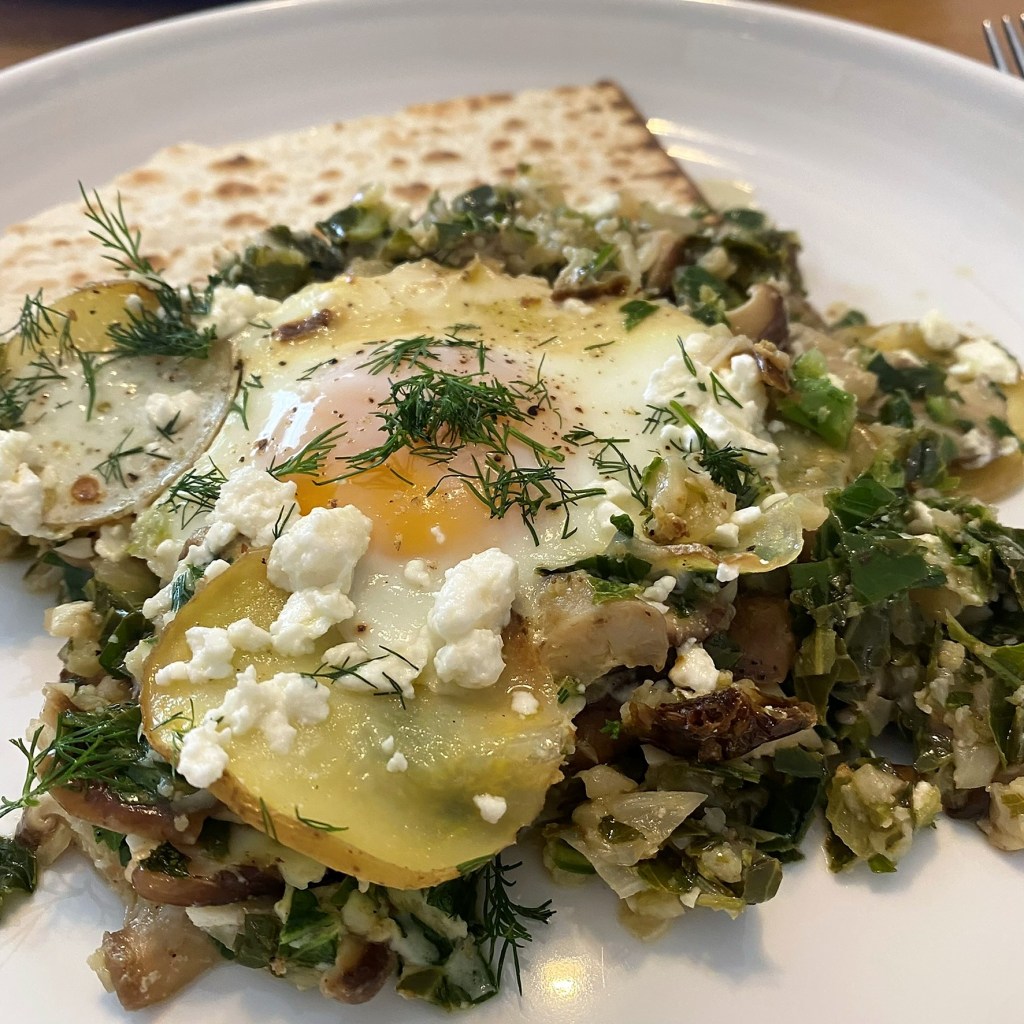
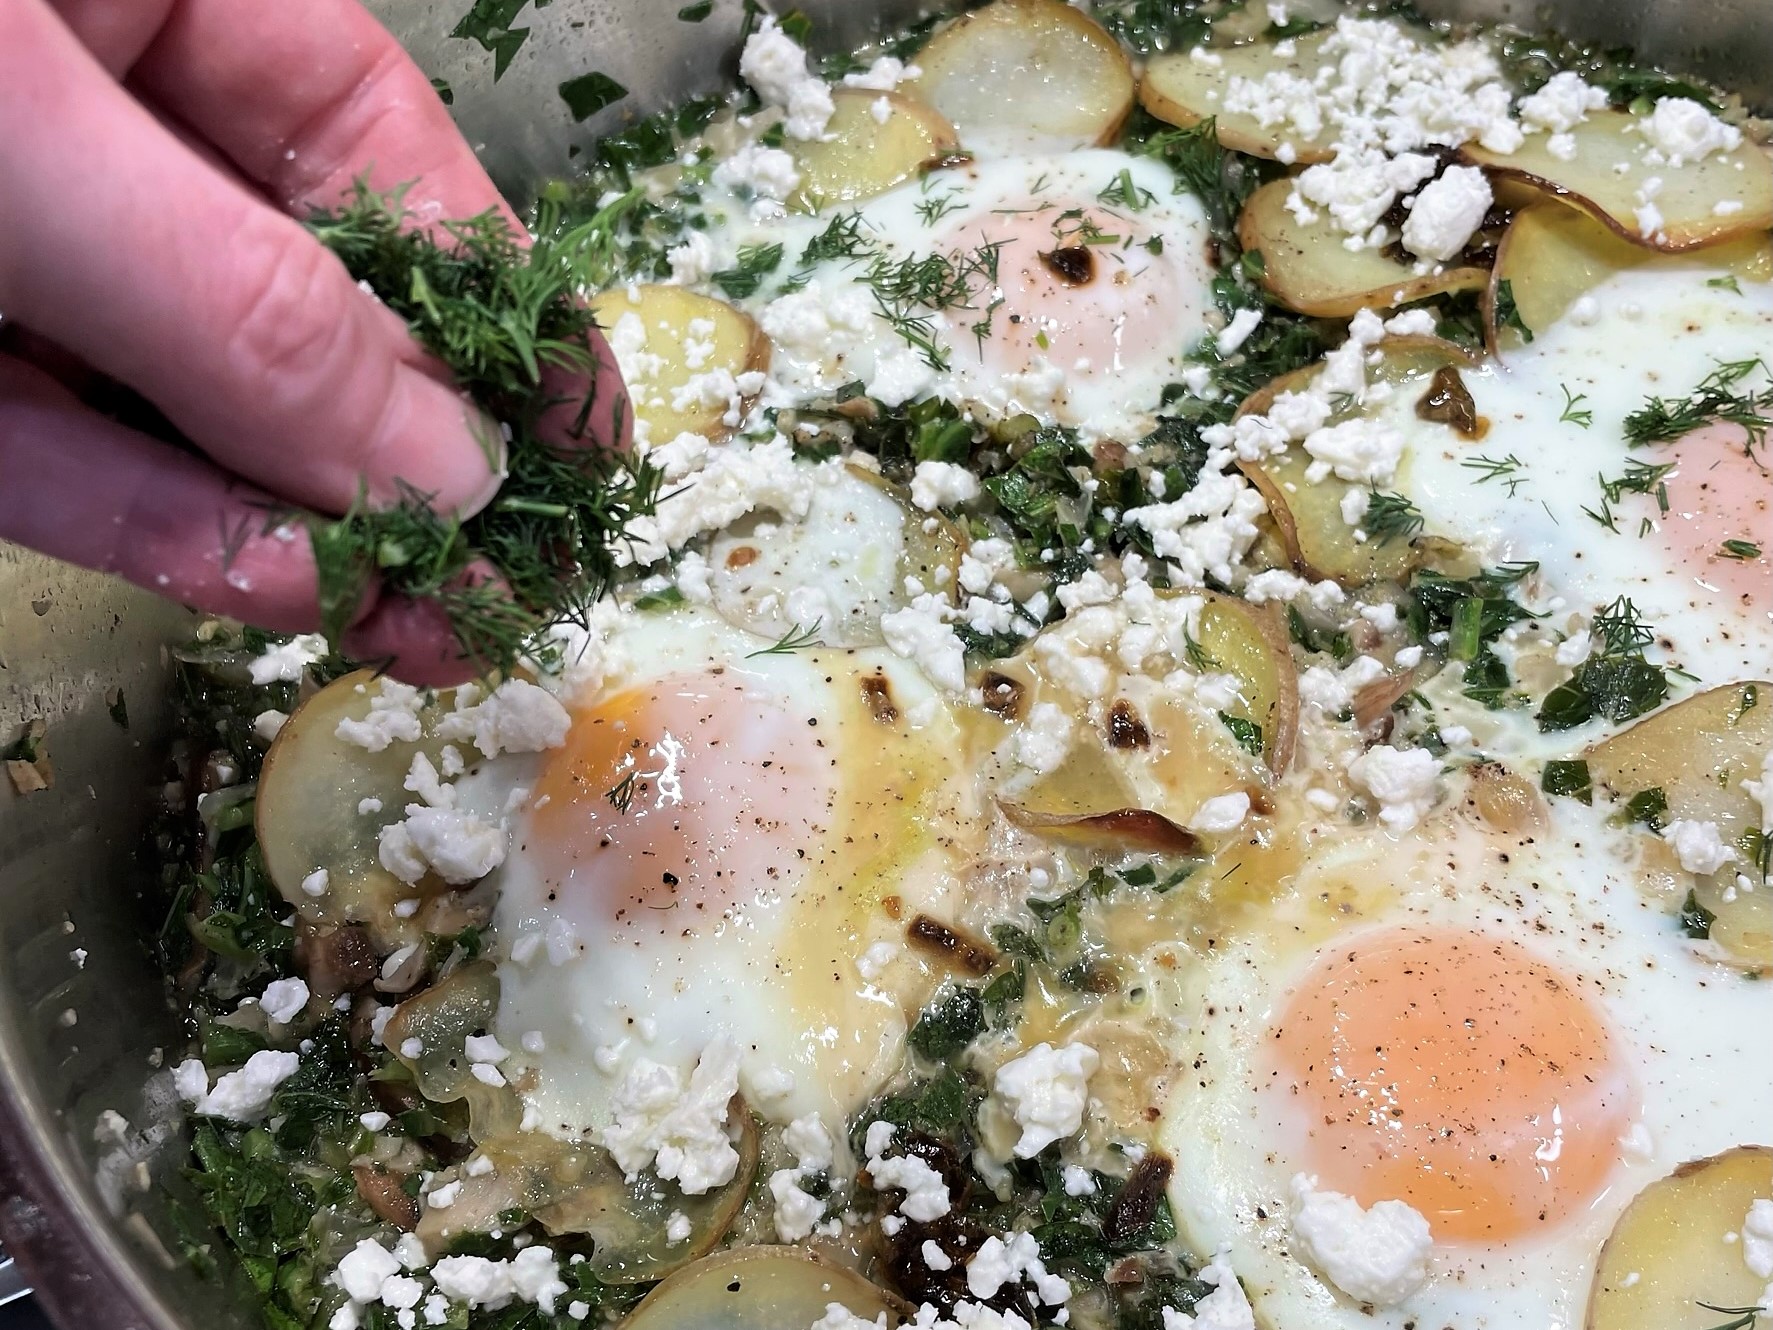
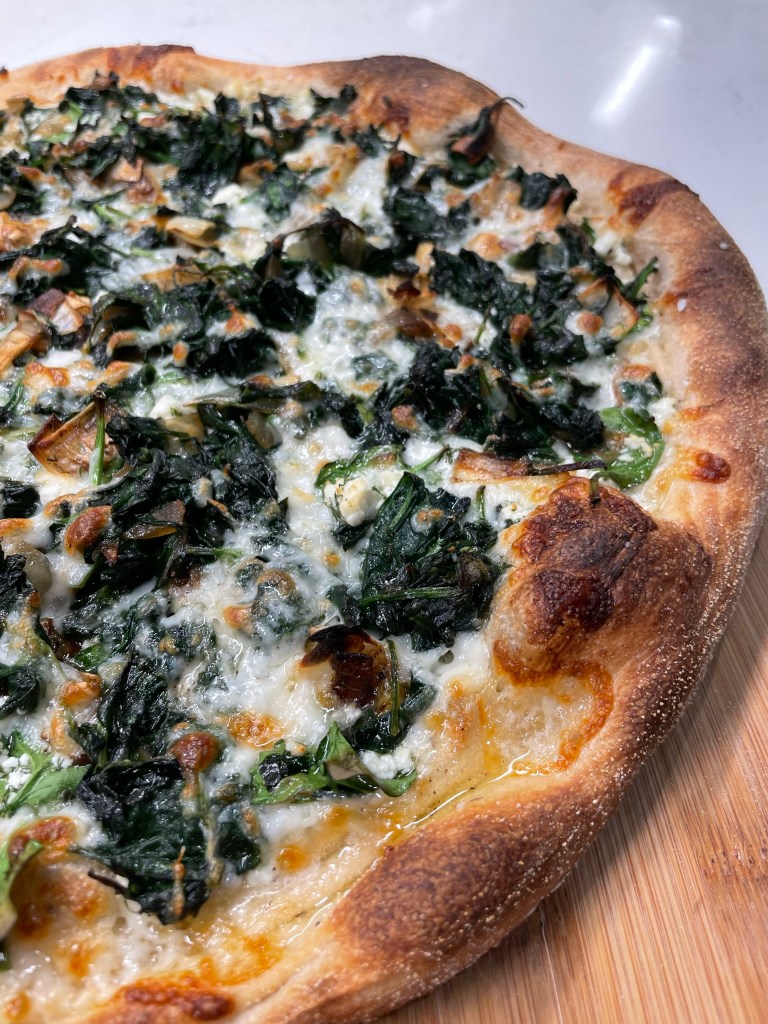
Spanakopizza, loaded with fresh and sautéed spinach, leeks and feta, with a scatter of fresh dill for authentic Greek flavor. This is the one Christine made, and she declared it a big hit!
New Haven-style fresh tomato pizza, another one we enjoyed when we visited Connecticut, and a classic flavor for summer— almost like a margherita pizza but with fresh slices of tomato. So good!
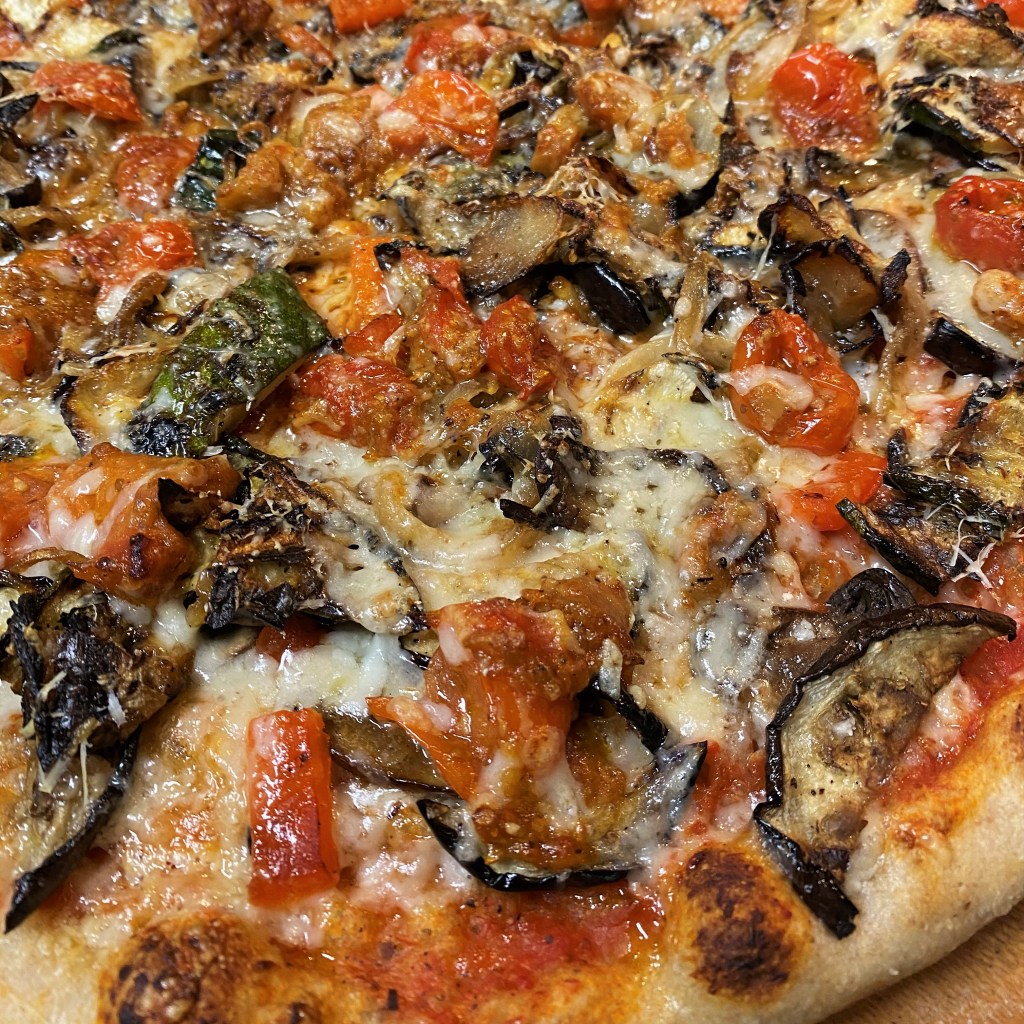
Ratatouille pizza, especially if you take time to grill the eggplant, zucchini, peppers and onions before piling them onto your favorite tomato sauce.
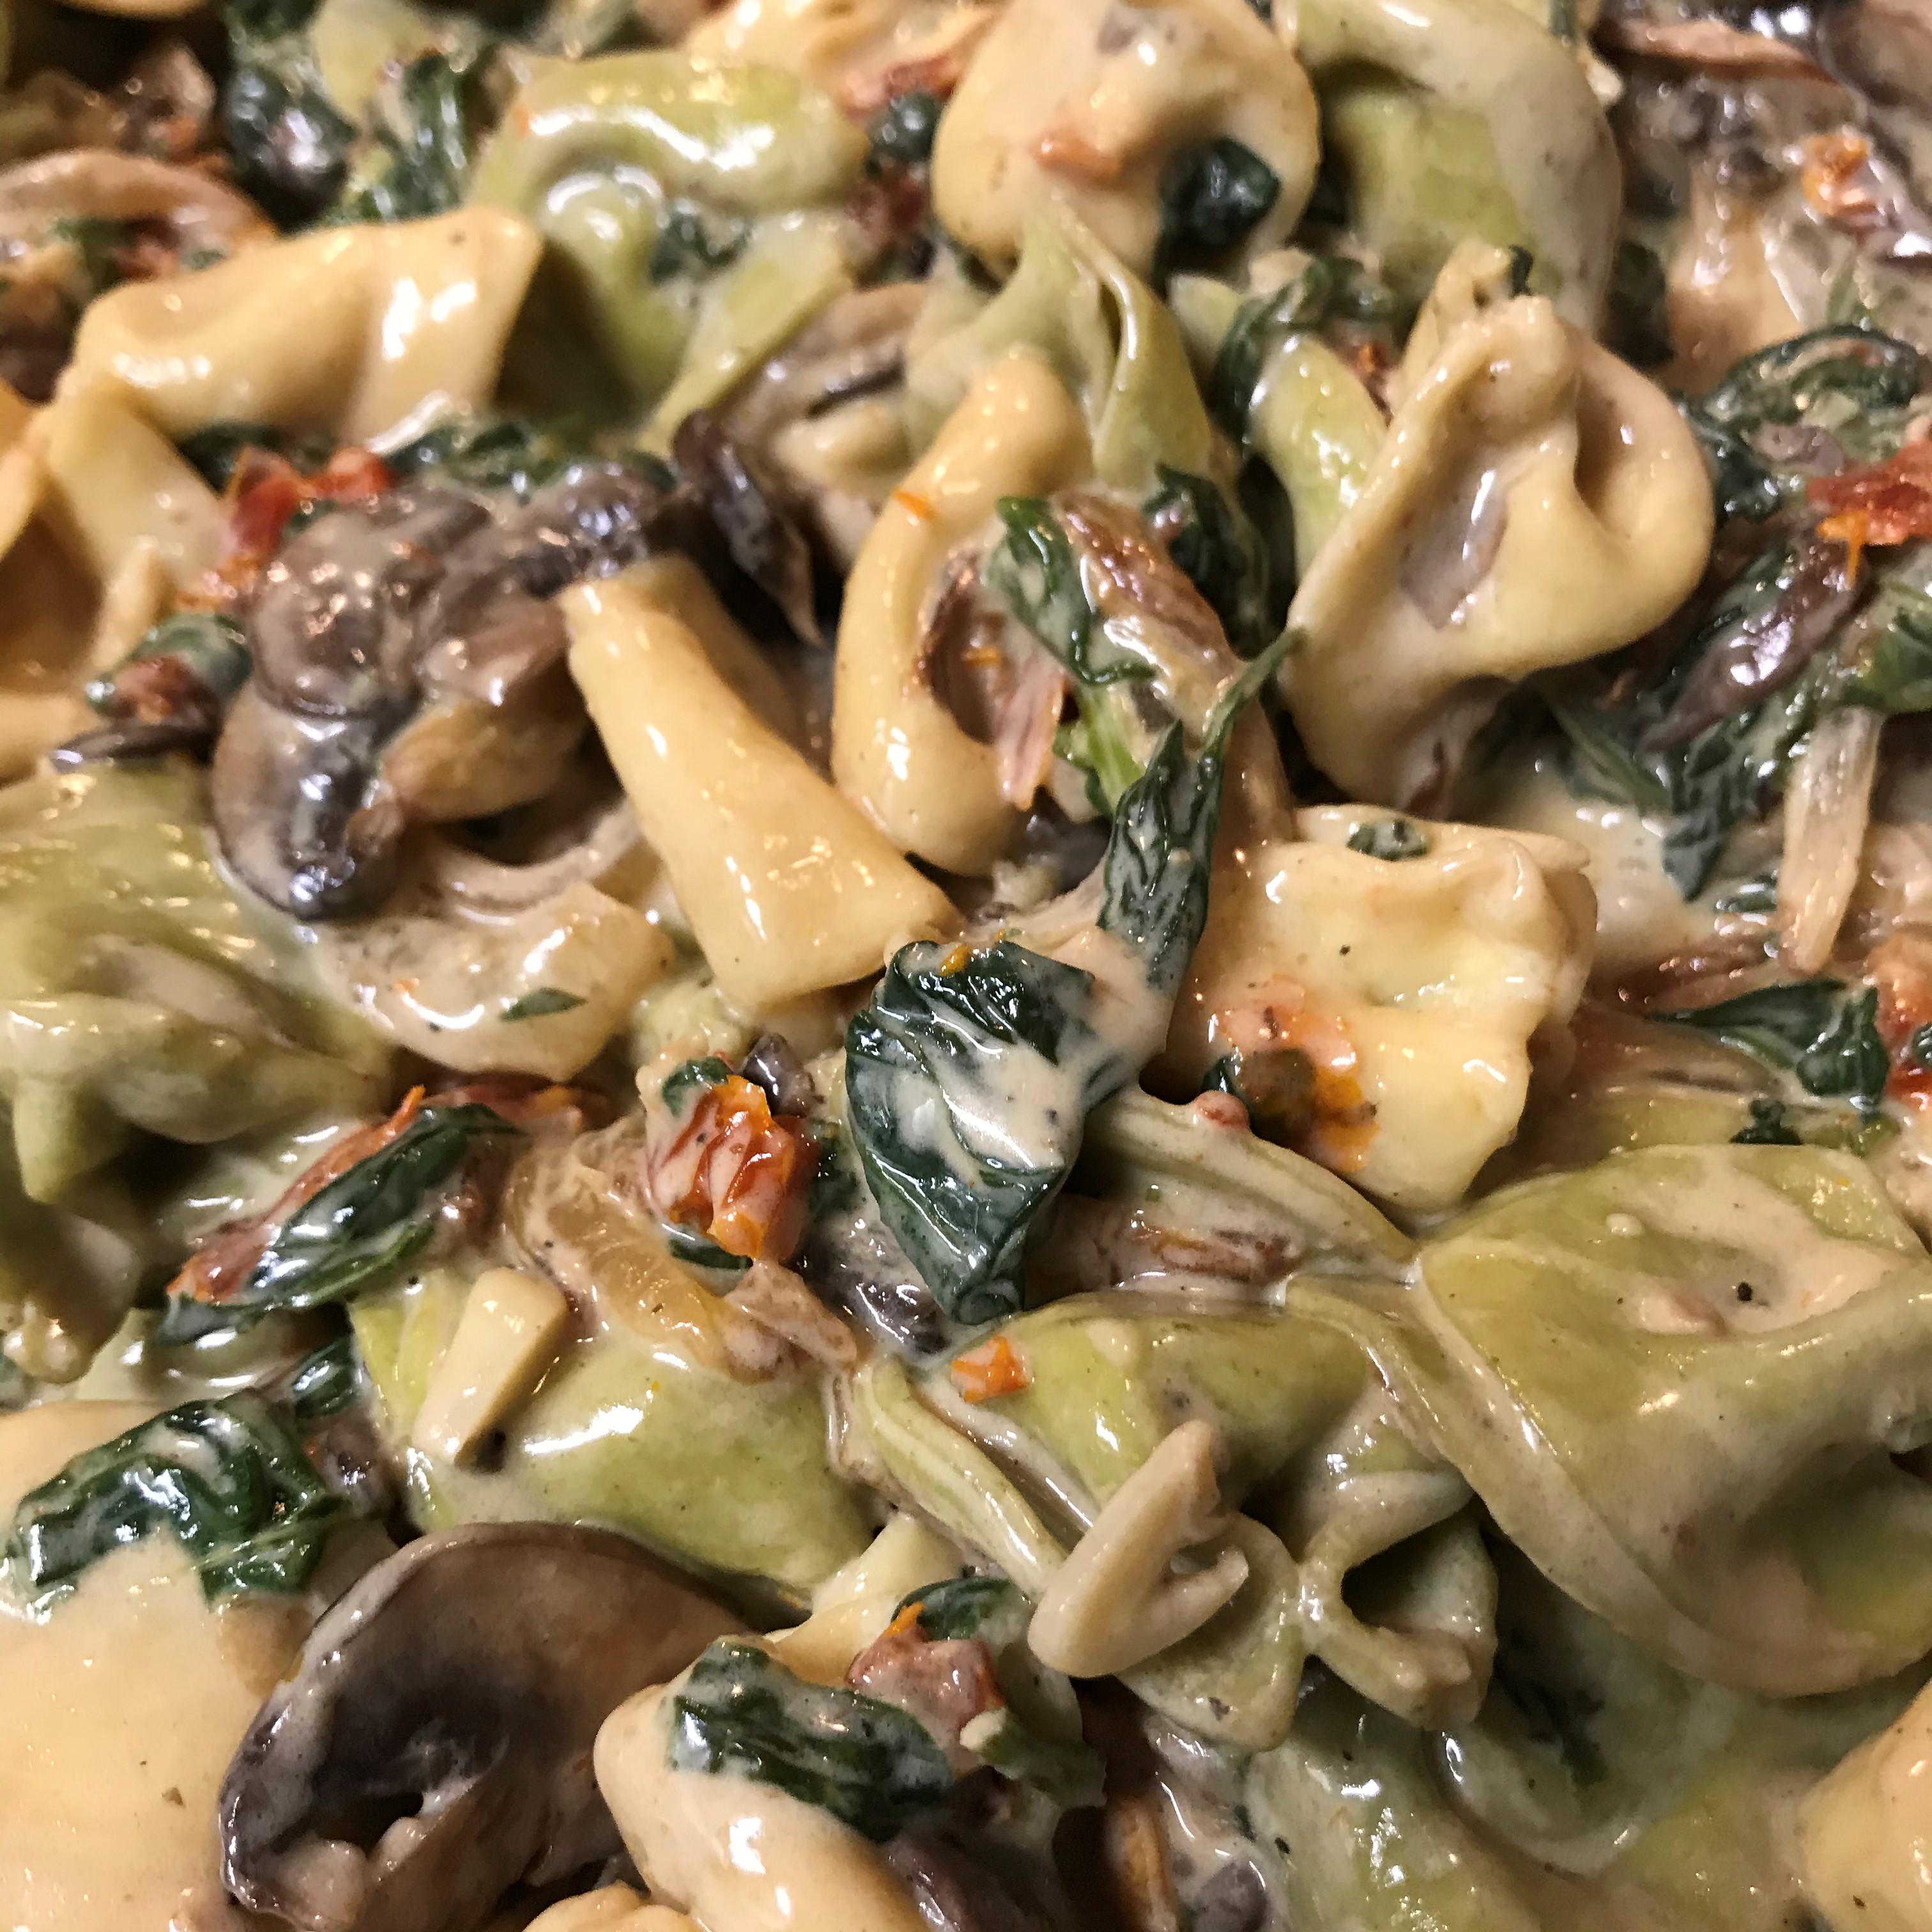
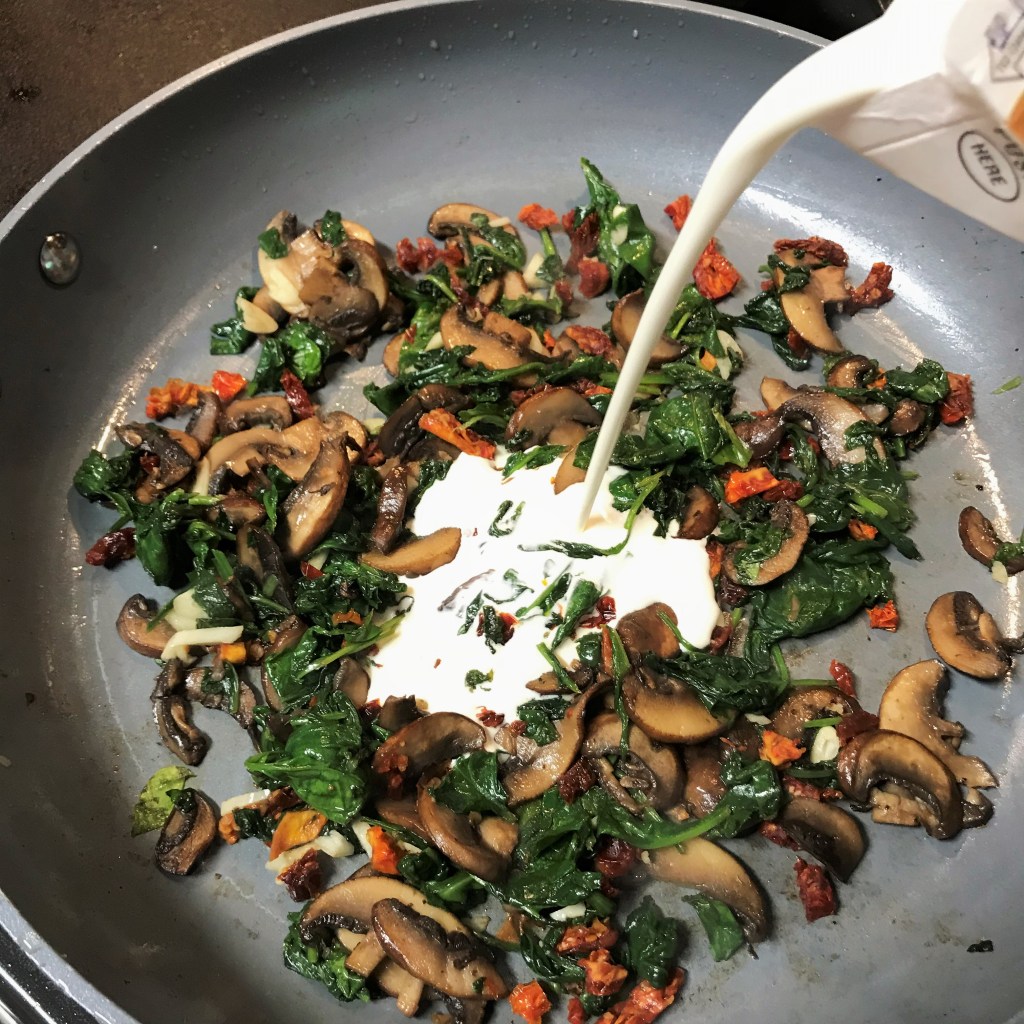
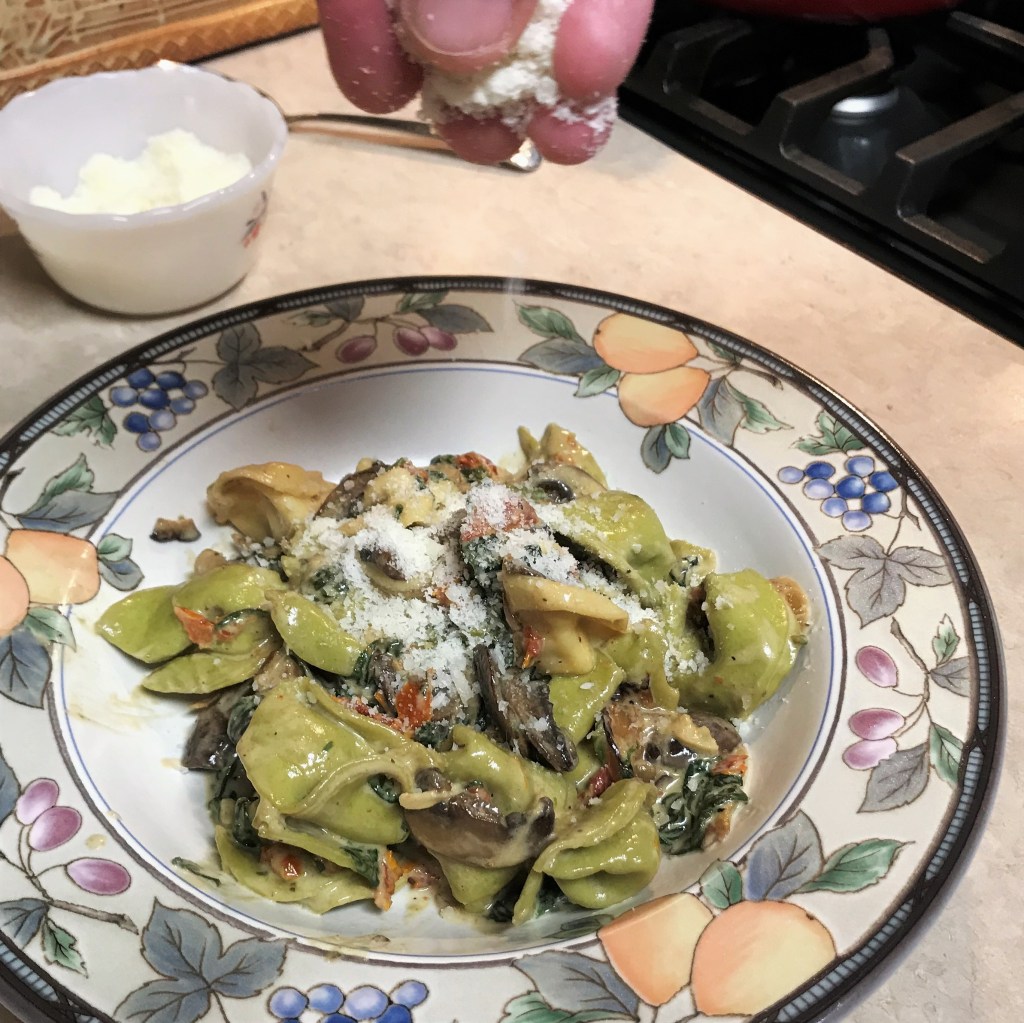
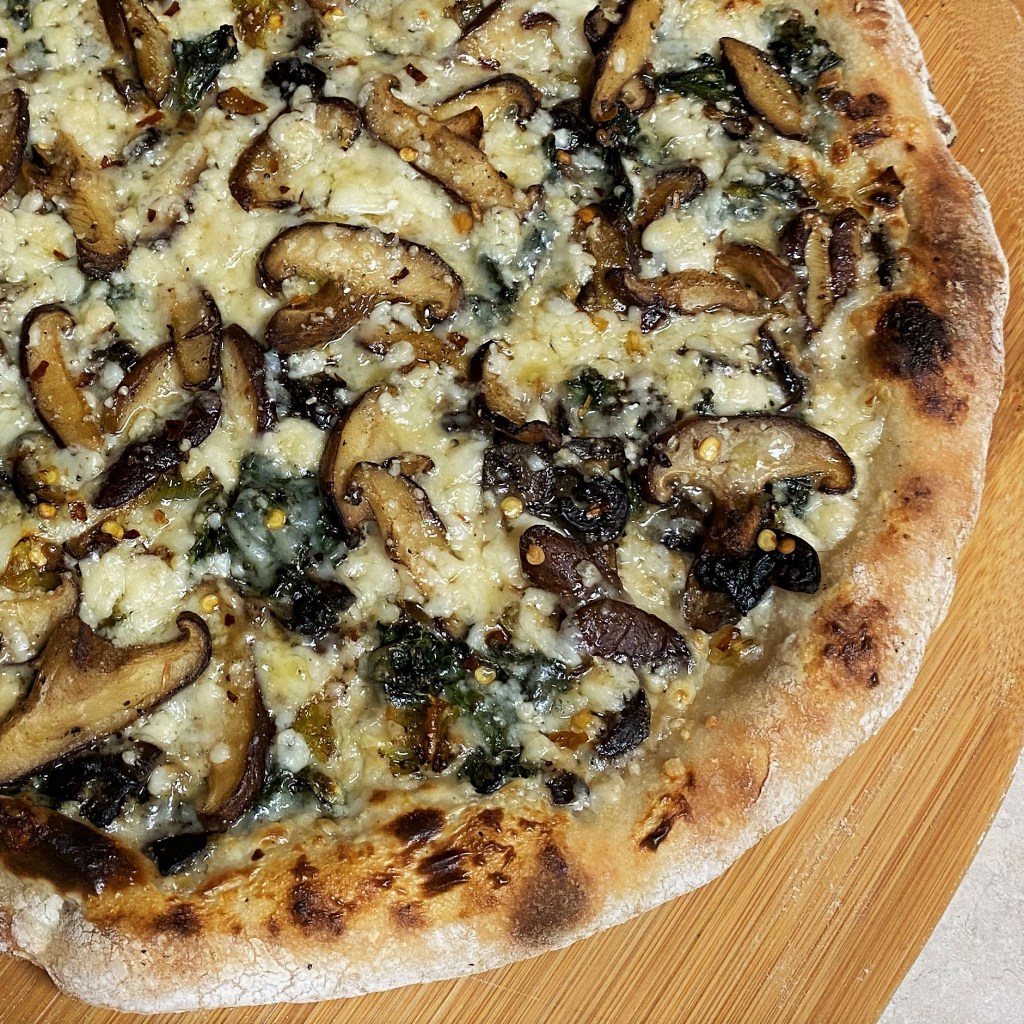
Creamy garlic mushroom pizza, with a roasted garlic béchamel base and two kinds of mushrooms (plus spinach) turns pizza night into a special occasion. My husband has been begging for this one to come back up in rotation, so I’ll be making it again very soon.
Eggplant parm pizza, but omit the crumbled Italian sausage, which I only used for that recipe because we had a very small amount left over from another meal. Trust me, this pizza would totally rock without the sausage. For this to be truly vegetarian, be mindful of the Parmesan label, to be sure that it uses plant enzymes rather than animal rennet.