To say that I love a bargain is an understatement. I’ve never fawned over the vanilla-scented gourmet kitchen stores at the mall— the ones that sell the high-dollar pan sets, expensive crystal, and pre-made mixes for quick breads and specialty gravy bases. Those stores are filled with lovely things, don’t get me wrong. But you’re more likely to find me pacing the aisles at T.J. Maxx, Home Goods and Big Lots, where I’ve found many a bargain. I’m not talking about low prices for cheap items, but the way. It’s quality at a better price that I want, and I’m willing to take my chances with the unpredictability of these bargain stores’ inventories.
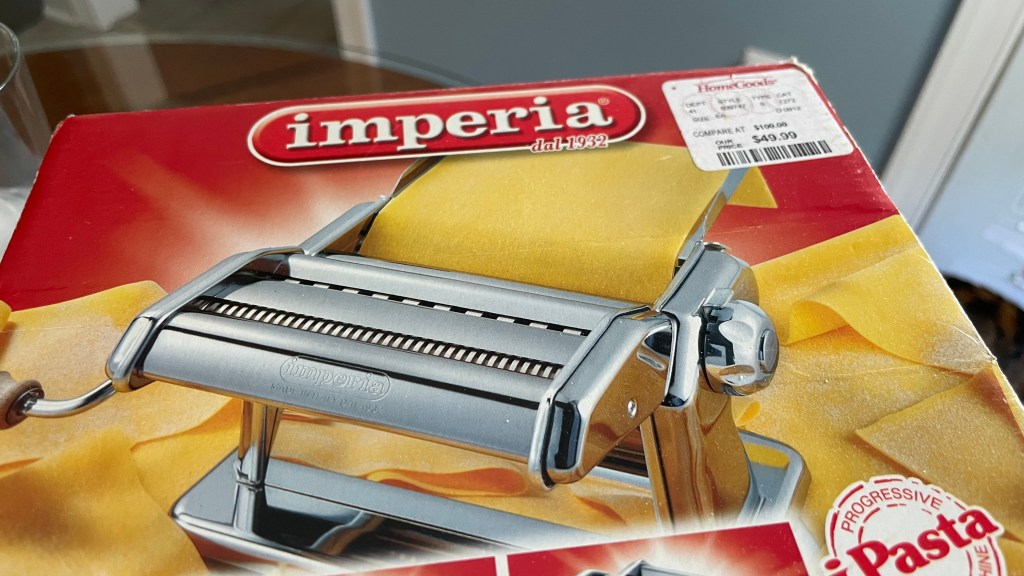
For example, my Italian-made pasta rolling machine that had been on my wish list for at least two Christmases (if not for the $100+ price tag), jumped into my cart unexpectedly about 12 years ago for the low, low price of— well, zoom in on the picture below and see for yourself. The exact item sells today at the vanilla-scented store for $149.95. I’d rather apply that hundred-dollar savings to the food I will make with the thing and just sniff my own bottle of vanilla at home as I delight in my good fortune.
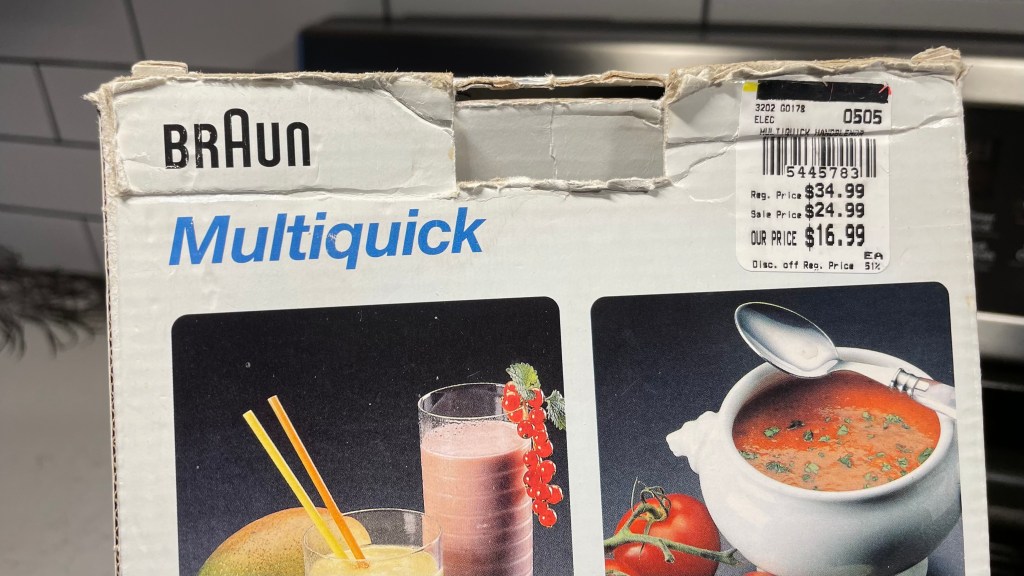
Likewise, my Braun immersion blender, which is still going strong after pureeing hundreds of soups and cheese sauces for the past 15 years, only set me back $17. Could we please have a moment of silence for Tuesday Morning? Thank you. Oh, how I miss that store.
Another super find that has served me well is my Cuisinart Pure Indulgence 2-quart ice cream maker, and this was a major scoop at only $49, but wait, it gets better! I bought this when Big Lots was still doing its old rewards program of 20% off an item after 10 purchases of $20 or more. In other words, I only spent $39 for an ice cream machine that retailed for more than double that price. The purchases I made to get that discount were staple items that I would have bought anyway— mostly Bob’s Red Mill products and cleaning supplies.
It’s the thrill of the hunt that I love, but I also enjoy having these quality items in my cabinets because they make it easier for me to produce delicious foods for myself and my loved ones. Plus, I can count on them to last a long time.
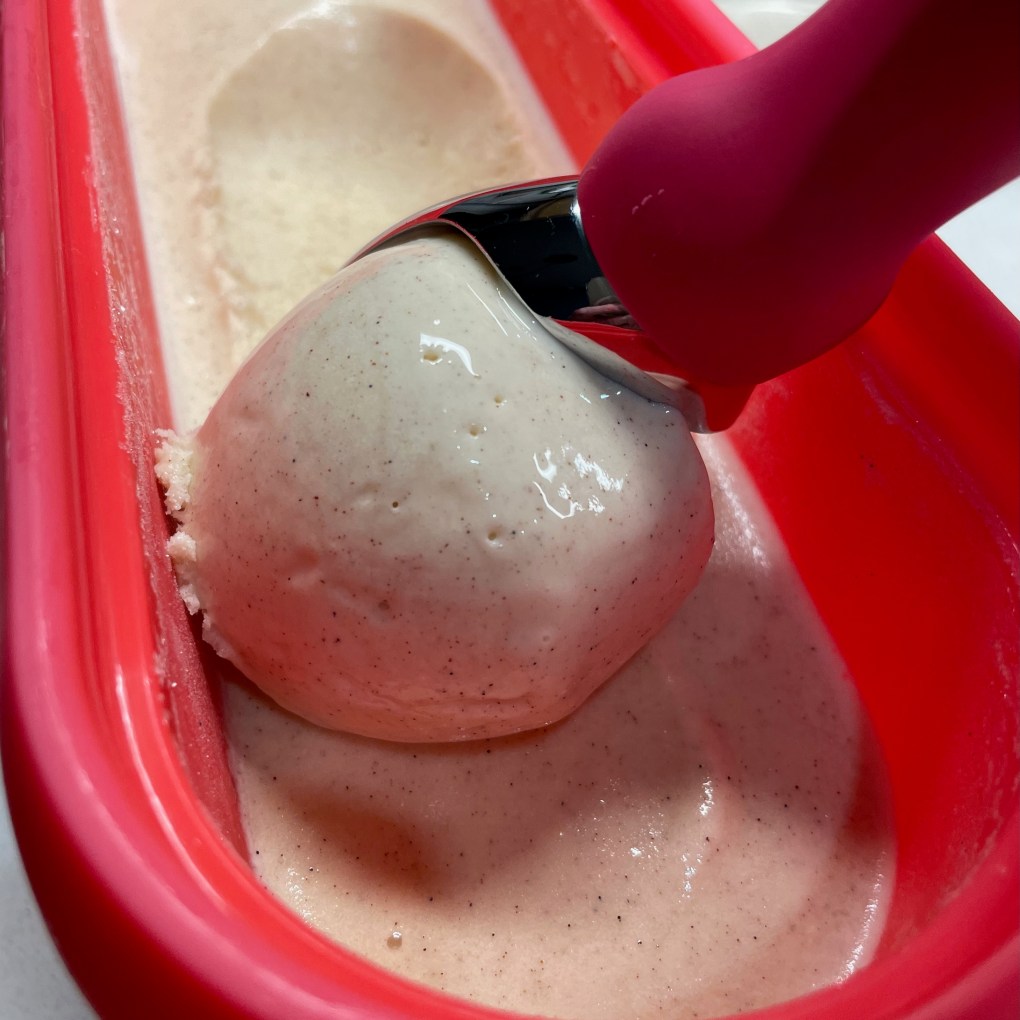
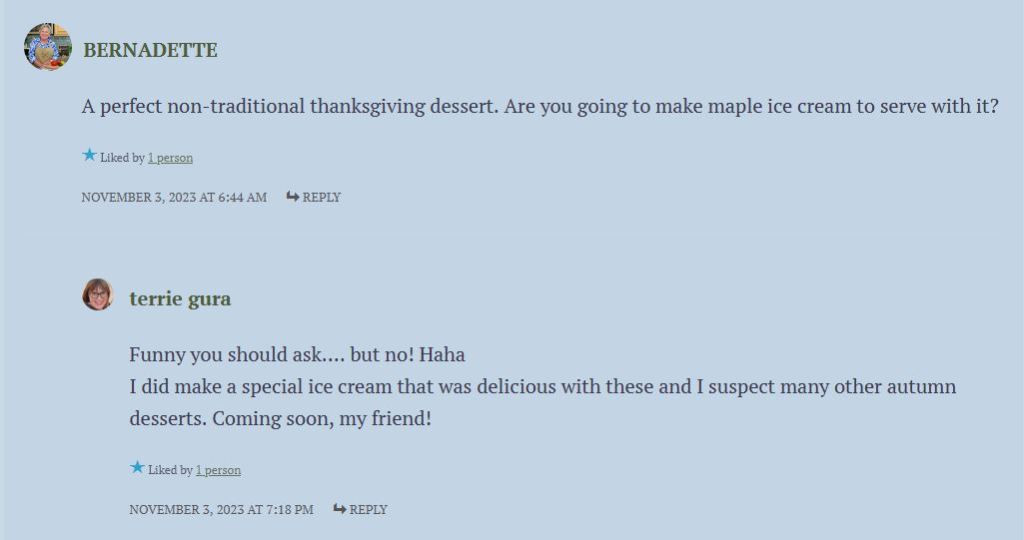
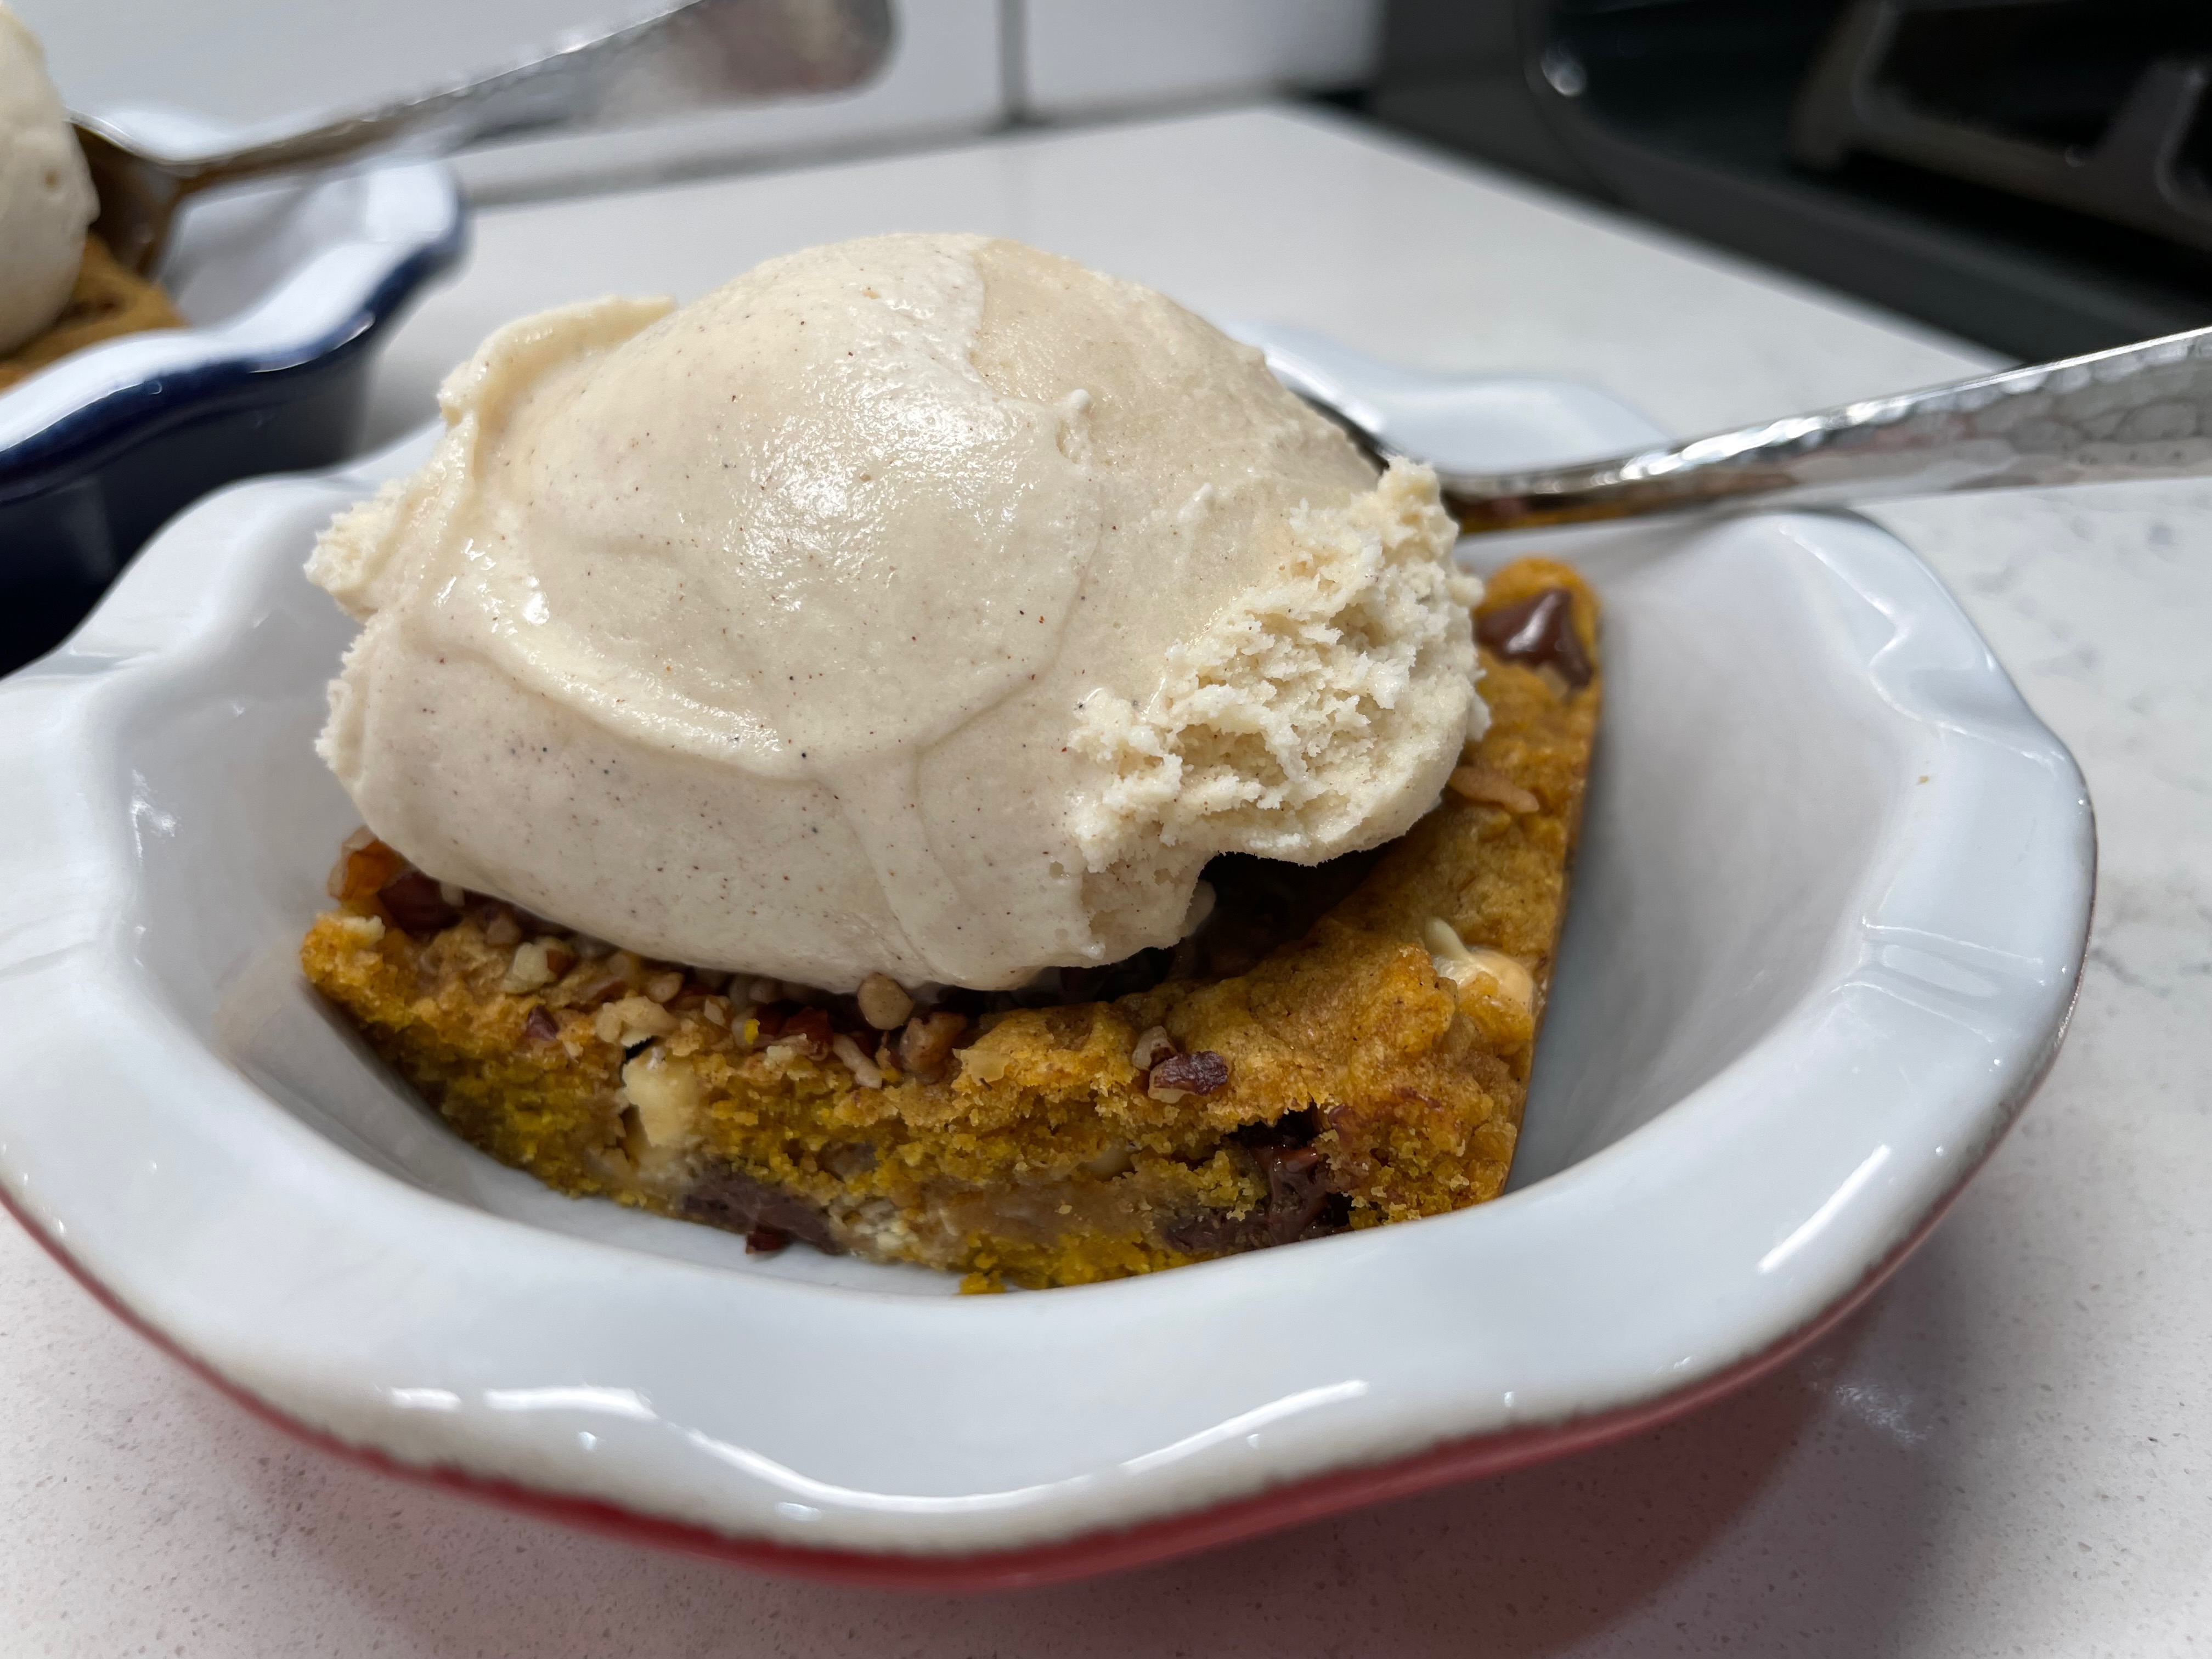
This past week, I made my latest ice cream— using my Cuisinart machine, of course— and though I don’t usually post two desserts in a row, I decided to share this right away for a couple of reasons. First, it’s super easy and might take some pressure off my foodie friends as we all plan the various holiday meals on the horizon. Second, it’s a natural follow-up to a question posed by my New Jersey blog buddy, Bernadette, in the comments section of my pumpkin chai blondies post a few days ago. I’m keeping good on my promise. 😁
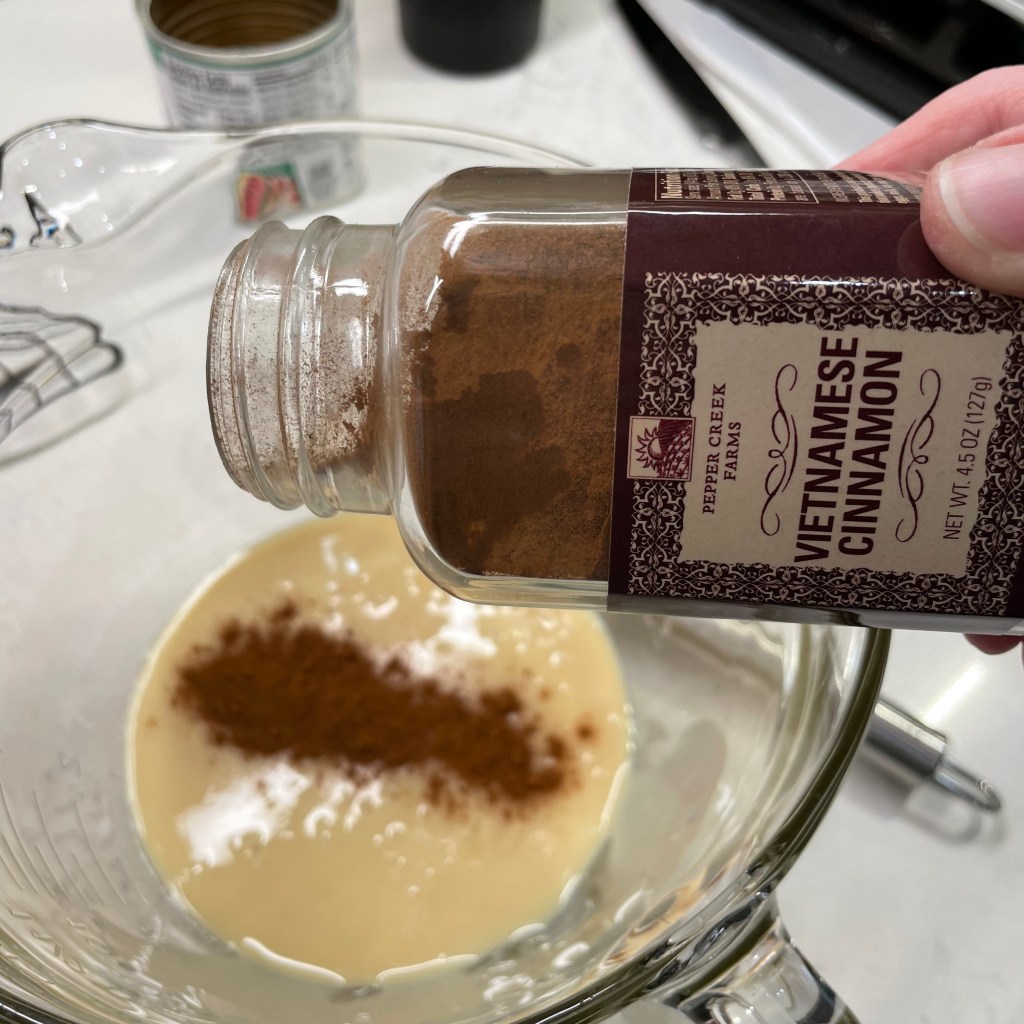
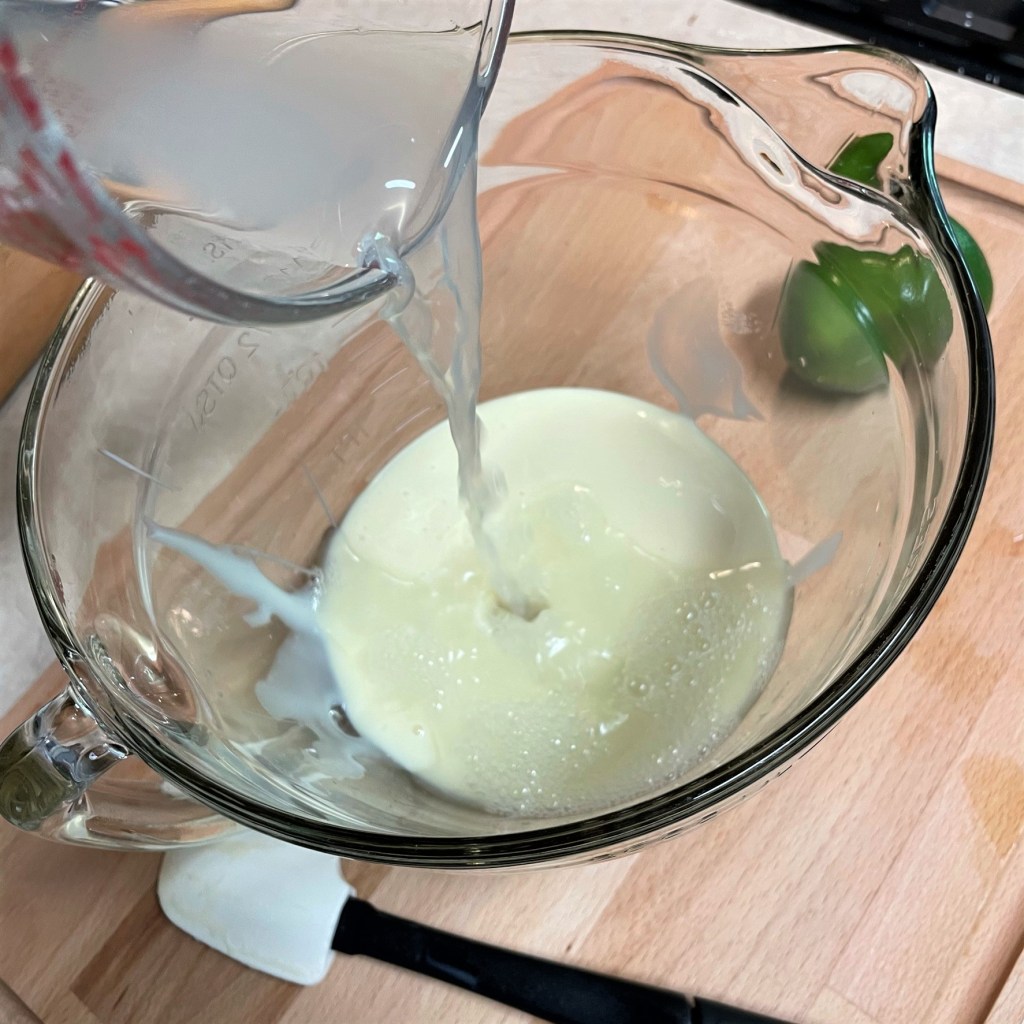
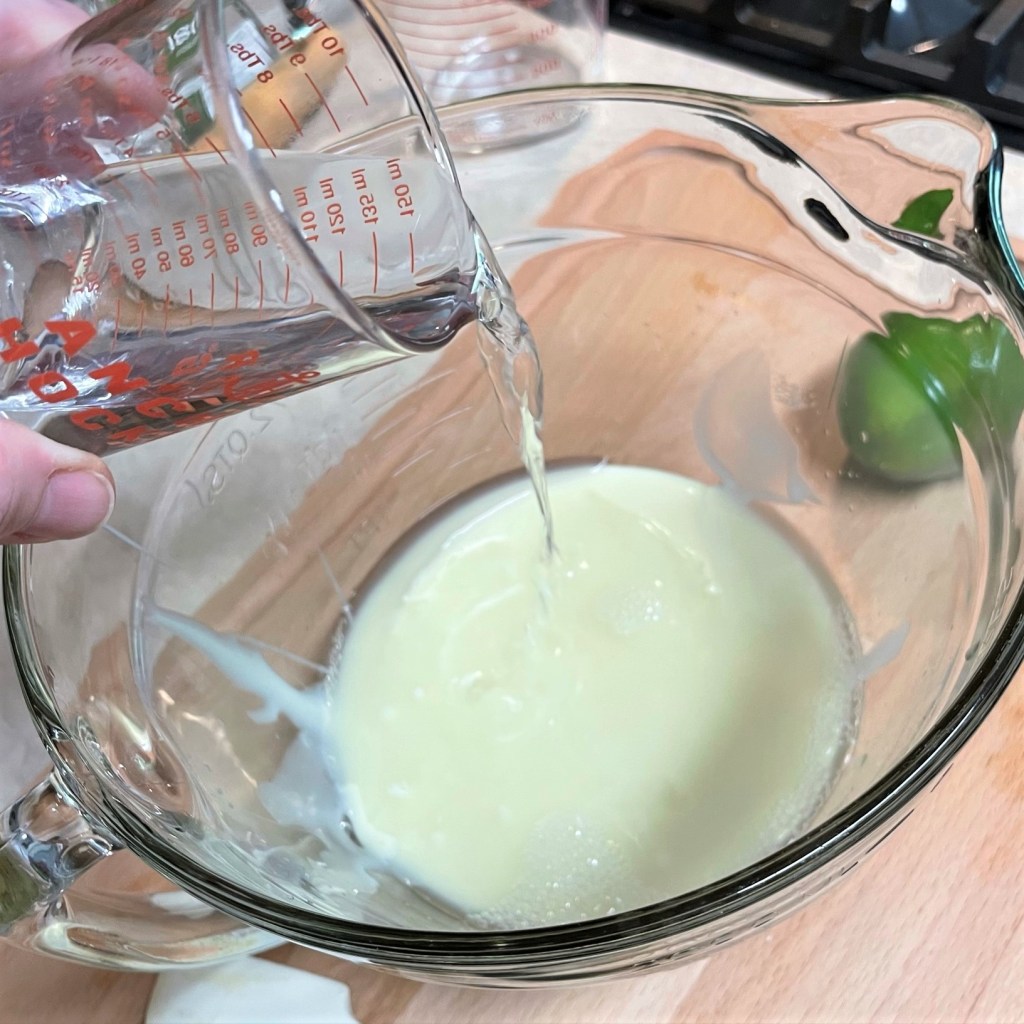
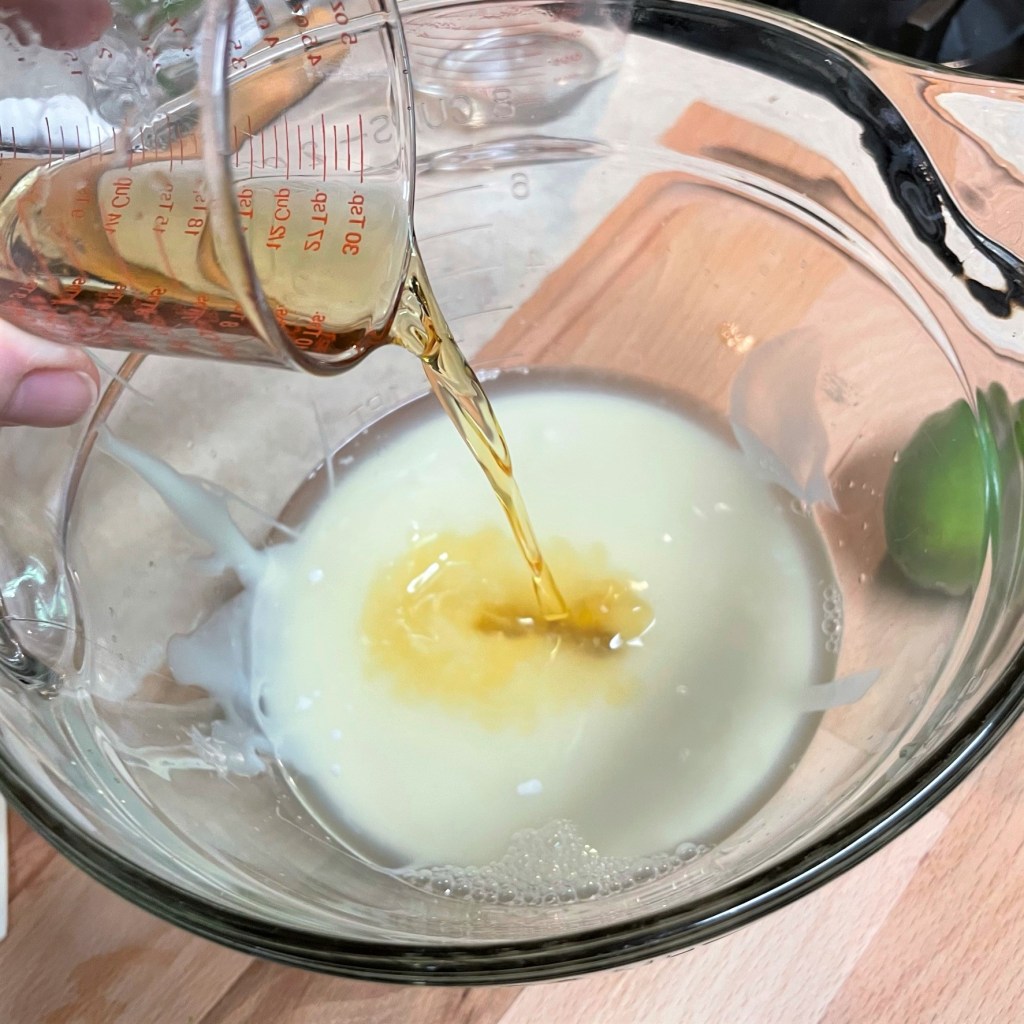
Here it is, Bern— not maple, but cinnamon, and I think you’re gonna love it! The base takes mere minutes to make, and the ingredient list is short: just cinnamon stirred into sweetened condensed milk (fat-free is totally fine here), then milk and heavy cream, plus a little splash of vanilla (or vanilla bean paste, if you’re me).
It’s worth mentioning that the cinnamon and vanilla bean paste were purchased at Home Goods, in the gourmet foods section. 🙂
I chilled the base thoroughly in the fridge for a few hours, and then my Cuisinart churned it into silky ice cream in about 25 minutes. Into the freezer for overnight ripening, and it was done.
This cinnamon ice cream is the little black dress of the holiday dessert table— versatile and perfect for any type of occasion. It was a great complement to the pumpkin chai blondies, but it would also be a stunning sidekick to my pal Christine’s mile high apple pie, or the festive fig butter cranberry apple galette that I made last fall. How about chocolate cake or pecan pie or— well, what desserts are you making this holiday season that would be good with a sweet scoop of cinnamon ice cream?
This easy-to-make ice cream is creamy, delicious on its own, and pairs nicely with nearly any autumn or holiday dessert.
Ingredients
14 oz. can sweetened condensed milk (regular or fat-free, see recipe notes)
1 teaspoon ground cinnamon
1 cup whole milk
1 cup heavy cream
2 teaspoons vanilla extract or 1 Tablespoon vanilla bean paste
1 Tablespoon vodka (optional, added in the final minute for improved texture)
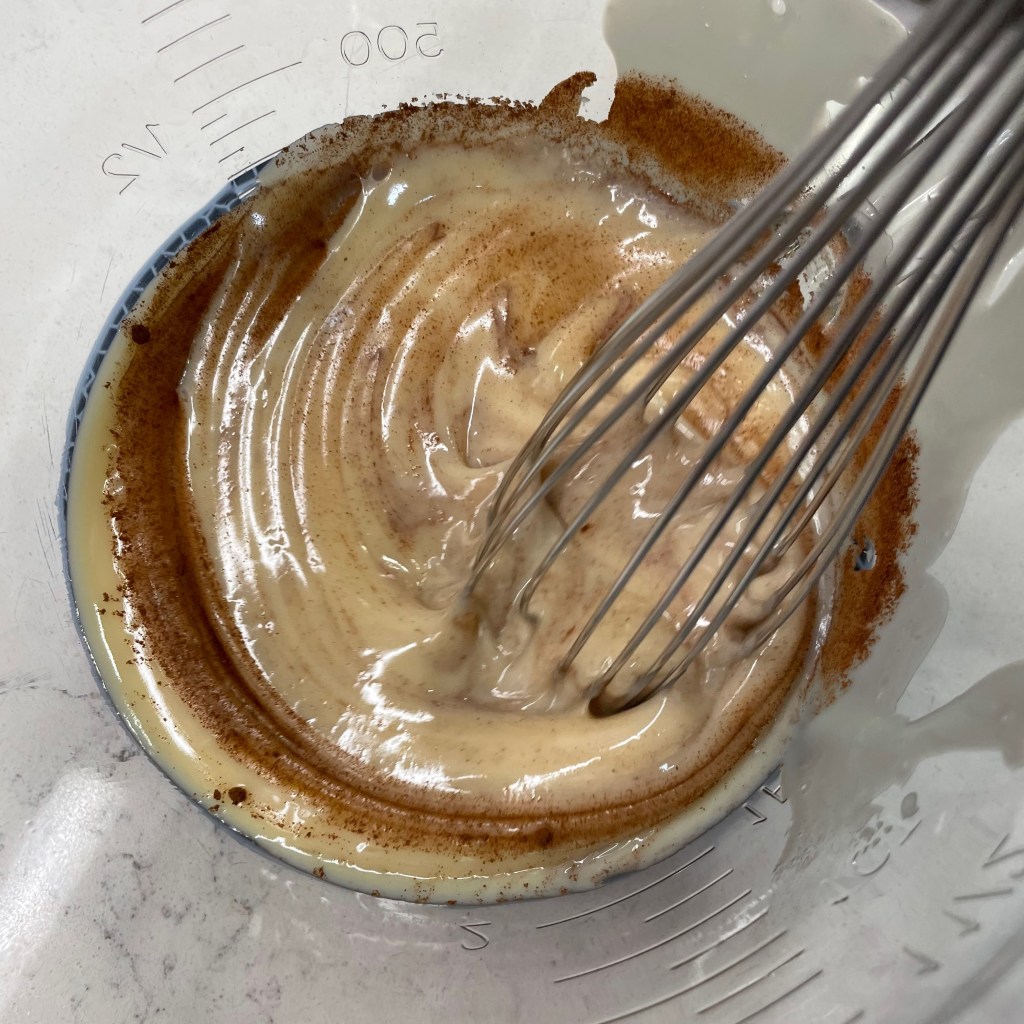
Notes: When you mix the ice cream base, add the cinnamon to the sweetened condensed milk first. Ground spices tend to “float” on liquids, so this helps to incorporate it into the mix before the thinner liquids are added.
I’ve found the fat-free version of condensed milk perfectly acceptable for making ice cream, with only one caveat: plan to use the ice cream within a couple of days of making it, or the texture may become more icy than creamy.
Directions
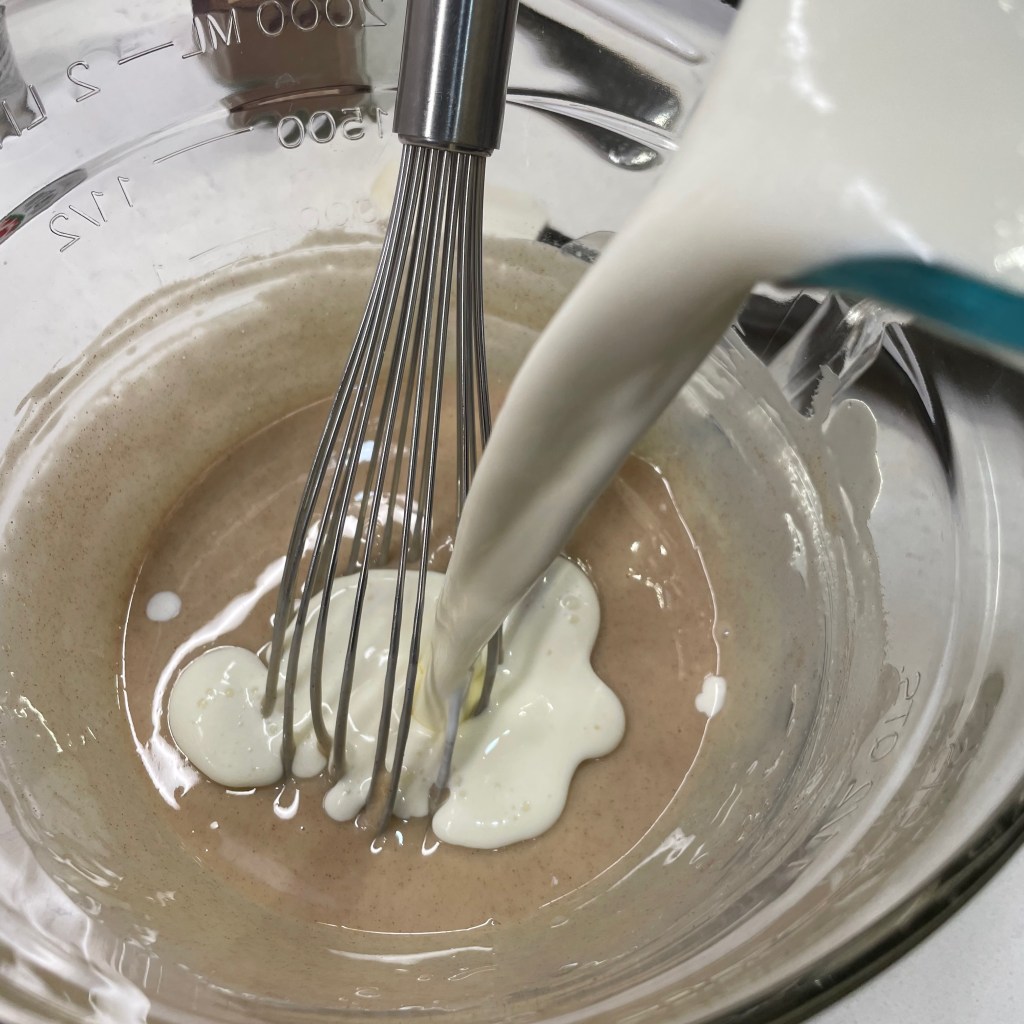
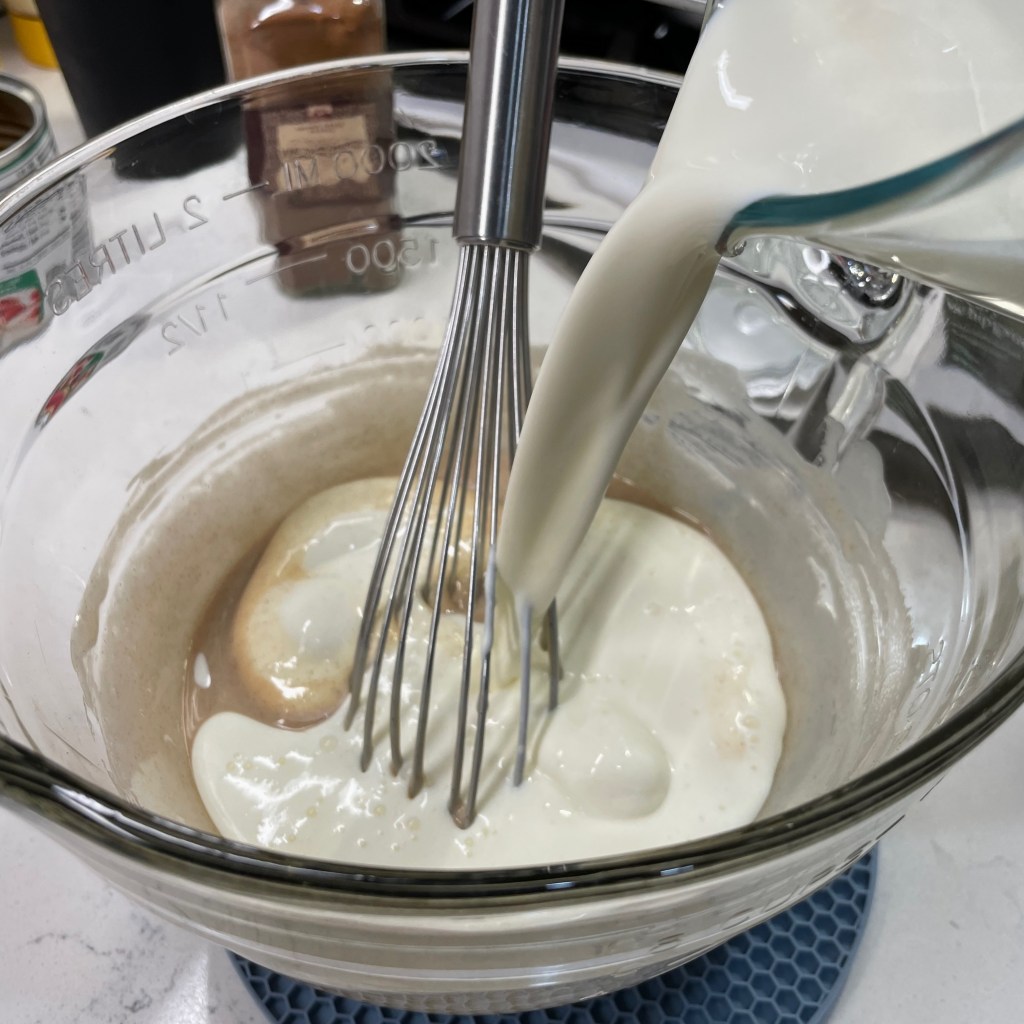
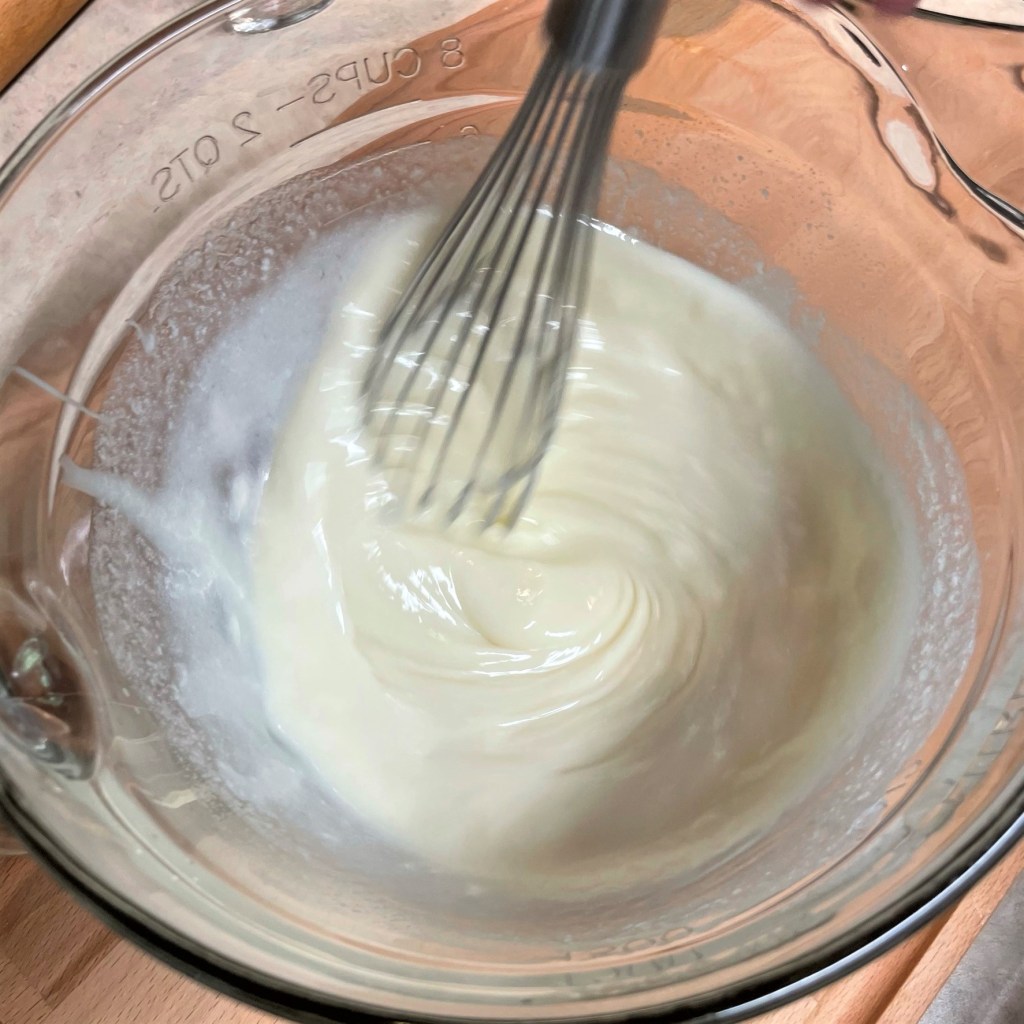
Combine sweetened condensed milk and cinnamon in a large bowl and whisk to thoroughly incorporate the cinnamon. Whisk in milk, cream and vanilla. Cover the bowl and refrigerate until the mixture is thoroughly chilled, at least a couple of hours.
Set up your ice cream machine. Gently whisk the ice cream base to re-blend any ingredients that may have settled during chilling. Pour the ice cream base into the machine and churn according to manufacturer’s instructions. My Cuisinart gets this done in about 25 minutes. Add vodka during the final minute of churning to make the ice cream easier to scoop directly from the freezer (omit this step if the ice cream will be served to children or other non-drinkers).
Transfer the ice cream to an insulated freezer container and freeze at least eight hours, preferably 24 hours, to ripen.
Over the past few months, I’ve seen numerous recipes for something called smashed cucumber salad and wondered, what’s so special about that? Sure, I love cucumbers and the way they freshen up a salad with an extra level of cool and crunch. But why not just, you know, slice them? Of course, that was before I tried one, and I may never be the same.
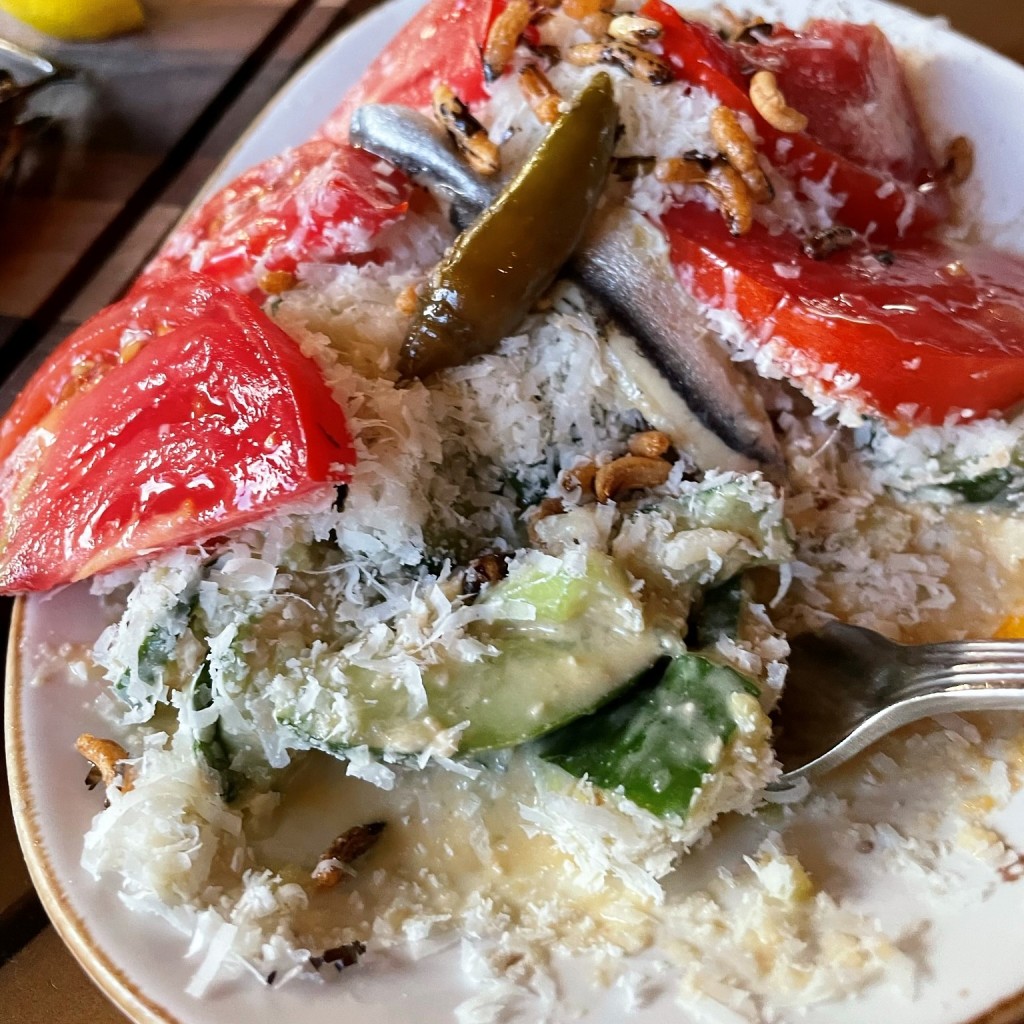
I enjoyed my first-ever smashed cucumber salad last month, when I joined my blog buddy, Dorothy, and her husband at one of their favorite restaurants, Starry Night Cafe in Ferrisburgh, Vermont. That salad had a rustic Italian flair with Calabrian chili flakes, anchovy, parmesan and ripe heirloom tomatoes. It was a masterful arrangement of fresh, seasonal food just doing its thing.
Every flavor complemented the next, but what struck me most about “smashed” cucumber salad was the texture— the open, craggy edges held onto the dressing, and the big chunks made it sooo crunchy and satisfying. And that was only the opener of our incredible meal.
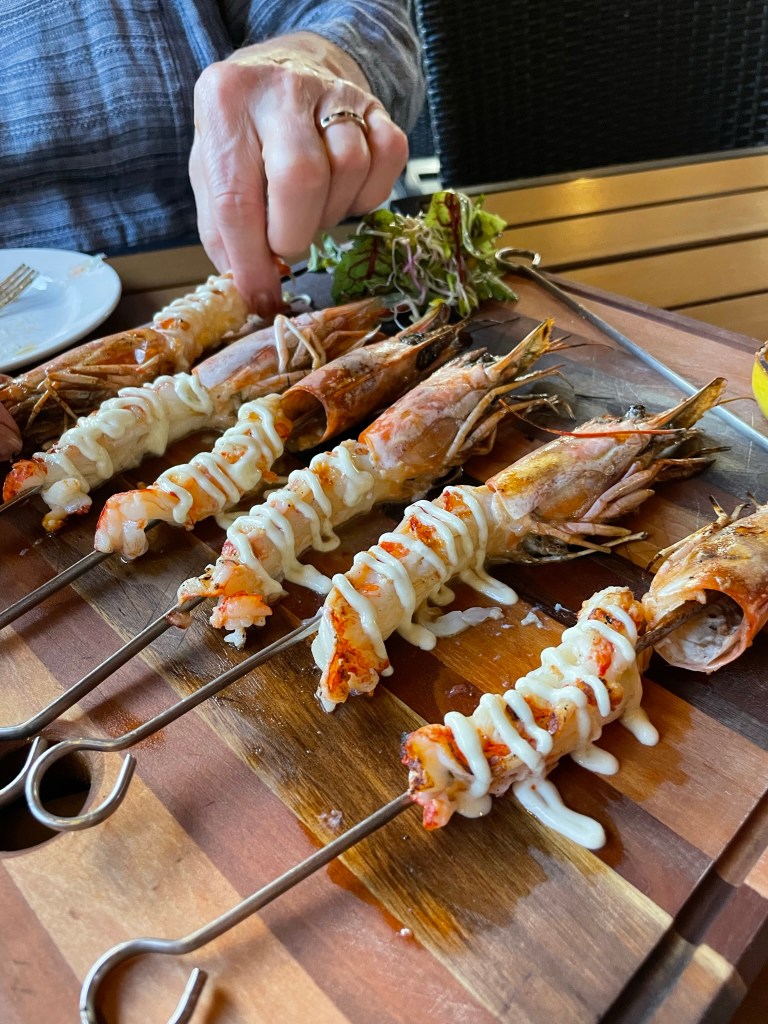
Starry Night Cafe demonstrated its commitment to partnering with local farmers and producers in every single thing brought to our table. From the specialty cocktail (don’t you worry, I’ll share it soon) to the coal-roasted oysters and grilled shrimp spiedini all the way to the stunning main course of wild halibut, I found myself wishing we lived closer!
Food really does taste better when it’s fresh and seasonal, grown without pesticides or chemical fertilizers and picked at peak ripeness. My entire visit through Vermont reignited my excitement for local food, and our Starry Night experience was the icing on the cake— er, salad. I started imagining what other flavors would play nice with the versatile cucumber, and I think I came up with a winner in this pretty plate.
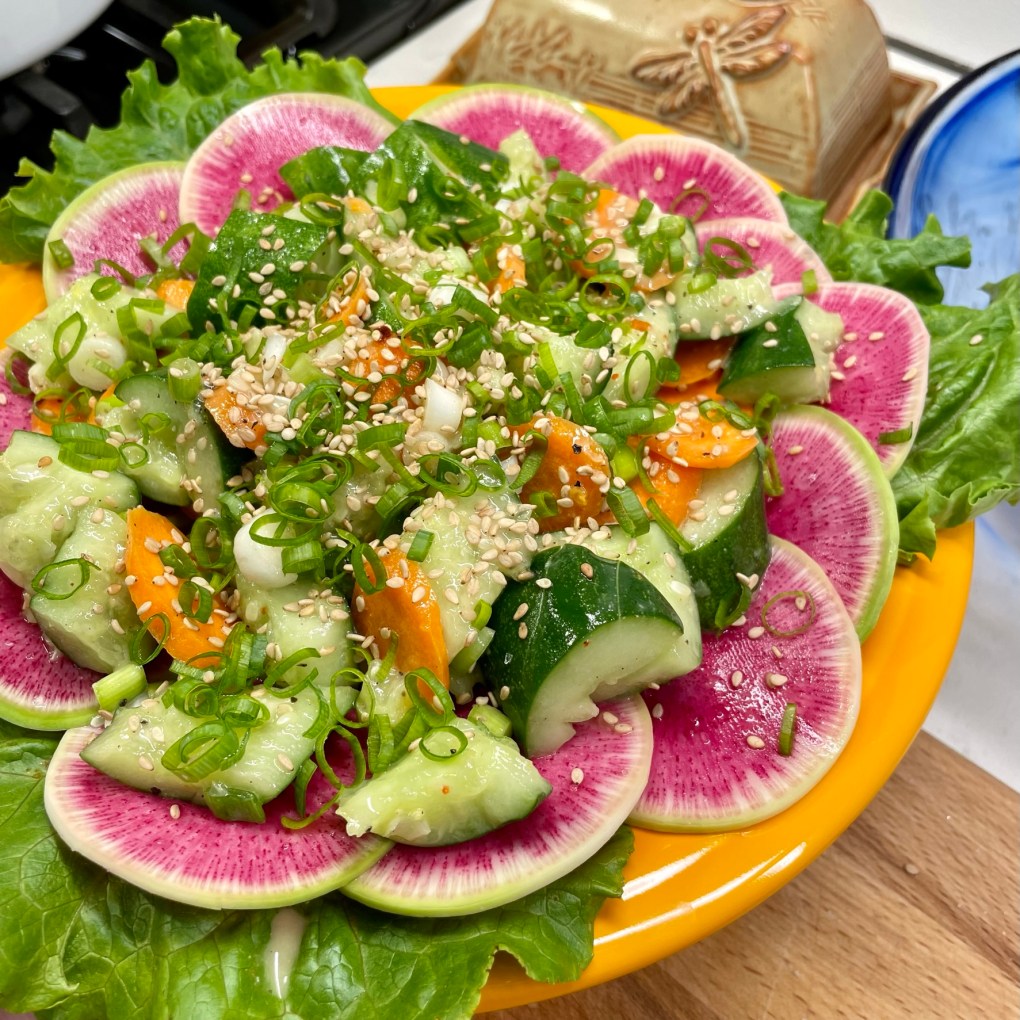
My smashed cucumber salad is not a remake of the Italian-ish salad we shared at Starry Night Cafe, but an Asian-inspired interpretation, built on some fun ingredients I found when Les and I visited our own farmers’ market here in Winston-Salem. I wanted a dressing that was savory, sweet and tangy. Creamy but without cream. And with a touch of heat to accent all of the above. So I poked around on the internet for a bit and found a lemon-miso dressing on a blog calledA Nourishing Plate.
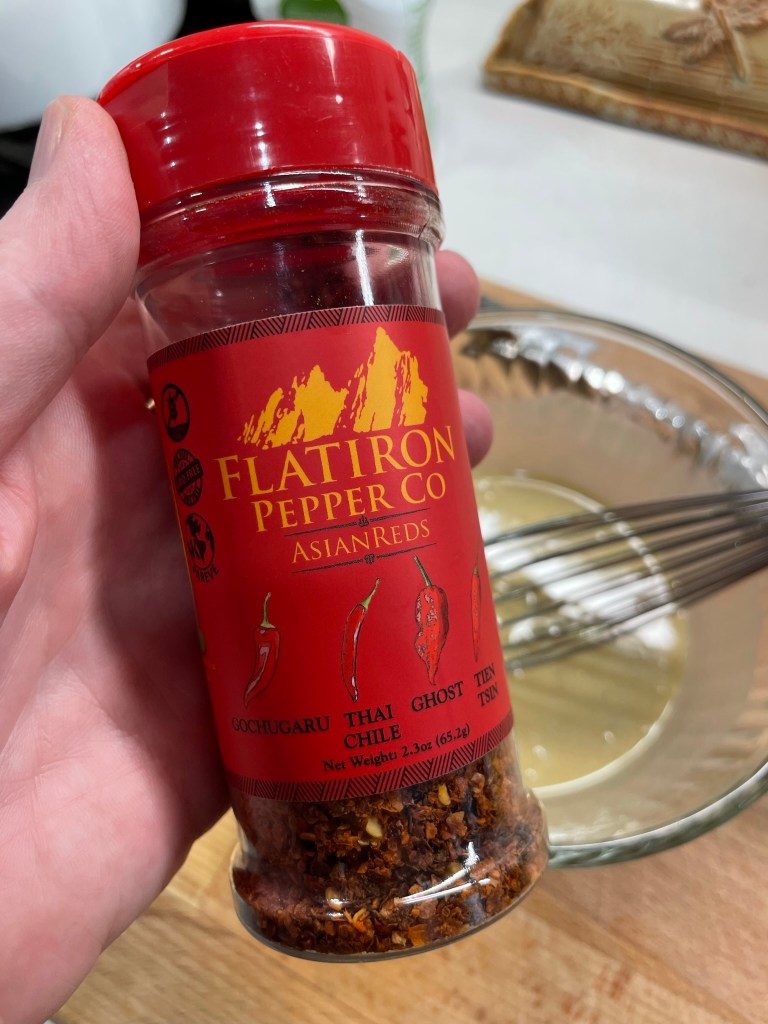
The author’s recipe satisfied most of my wish list, and I followed it mostly as written, subbing tahini in place of cashew butter because I always have a jar of tahini in the fridge. I used slightly less sugar and oil, and for a pop of heat, I added a few shakes of Asian Reds hot chile flakes from Flatiron Pepper Company. This is different from generic “red pepper flake,” as the chiles are specific to various parts of Asia. The dressing is so good, and easily adjusted for sweet and heat. I love the contrast it provided this cooling cucumber salad, and I can imagine it would also be good as a roast vegetable topper. The dressing thickens up a bit in the fridge, so I’d recommend making it ahead.
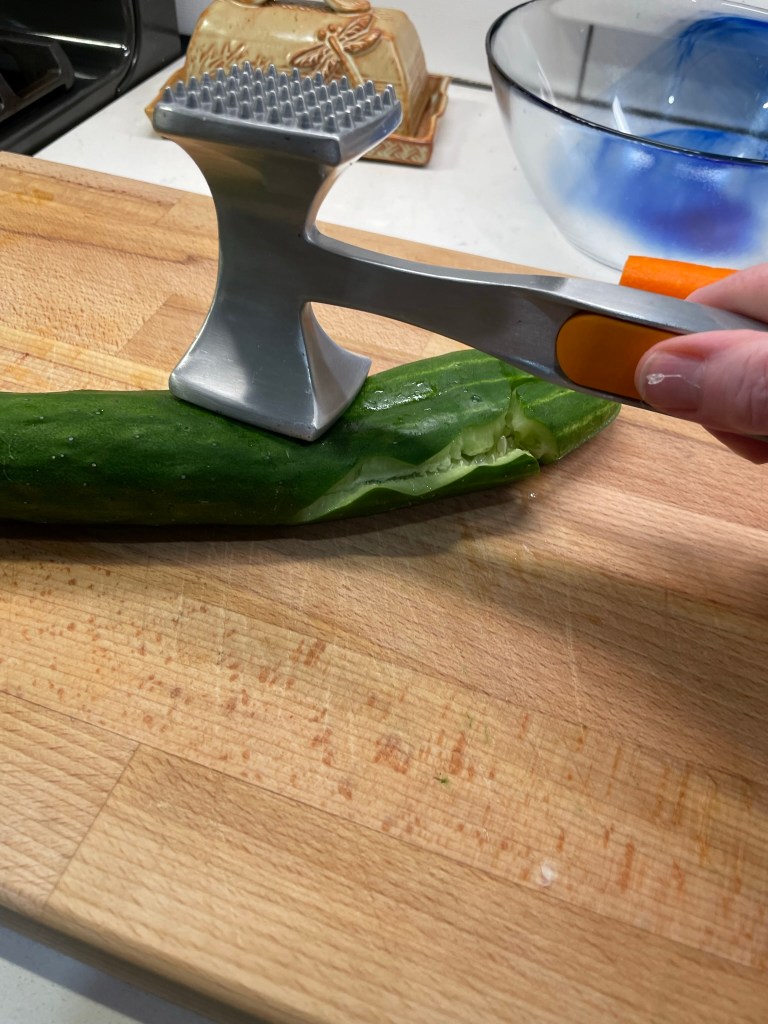
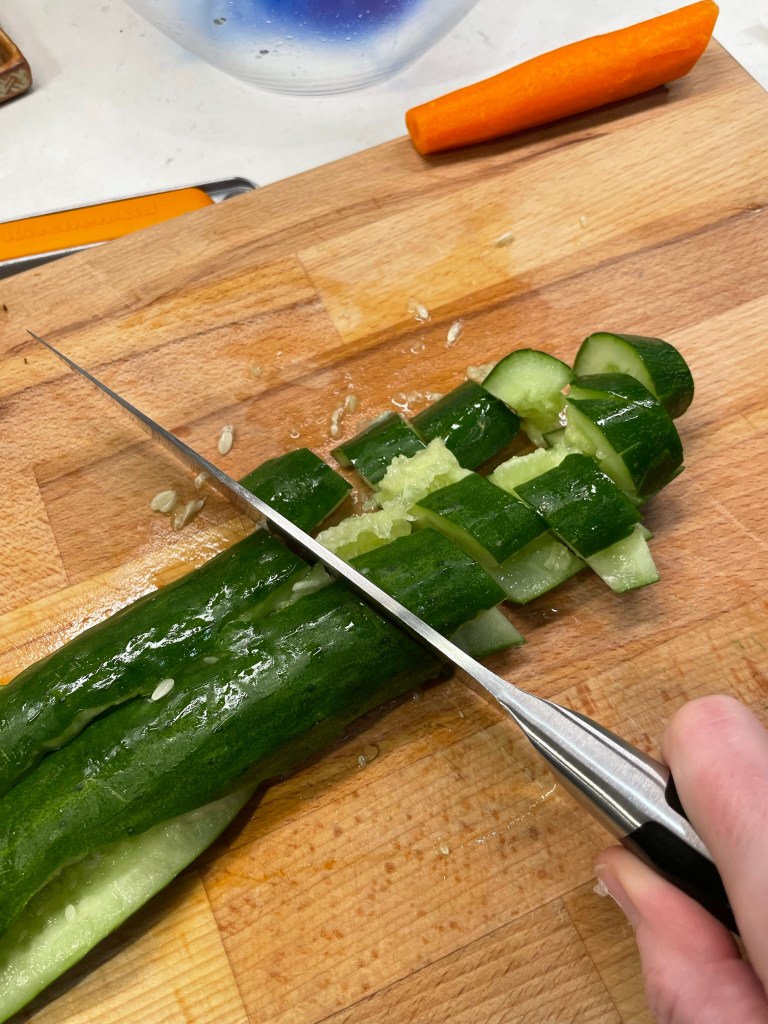
English cucumber is ideal for this type of salad, for its smaller seeds and thinner skin. My grocery stores all sell this type of cucumber, but usually they have a waxy coating to keep them fresh during transport from God-knows-where (yet another reason to choose local). You can use anything you have on hand for smashing it— the flat side of a chef’s knife, bottom of a skillet, whatever— but don’t use a heavy hand unless you want cucumber juice all over yourself and the kitchen. Just enough to crack it open is good, and then use a knife to cut the smashed cucumber into generous chunks. Season it, and toss with the other ingredients. Could it be more simple?
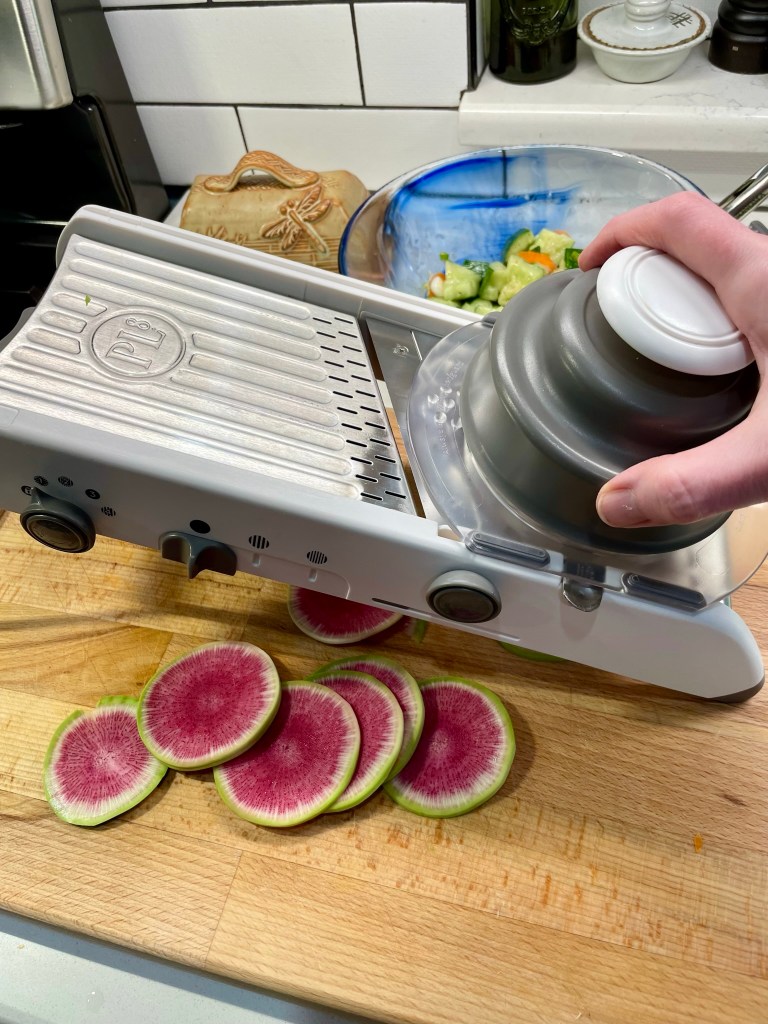
The most brilliant element of this dish— and I mean brilliant in the sense of “wow, look at that shocking pink color!”— is the watermelon radish. That neon pink color seems to be everywhere right now, thanks to the Barbie movie, and though I’ve seen these radishes in food magazines and cooking shows, I have never run across one in the supermarket.
Just gorgeous!
Turns out the farmers’ market is also the place to score Barbie-colored vegetables, and I couldn’t resist slicing one up to complement my smashed cucumber salad. It made a lovely border, don’t you think? And it carries the same pungent, spicy flavor as a typical radish— just larger and way prettier. I’m still deciding what to do with the other watermelon radish (stay tuned).
I love trying new foods! What ingredients are you curious to try, and will you scout them out this weekend at the farmers’ market in your neck of the woods? I hope so!
An Asian-inspired dressing puts a flavorful jacket on this super-refreshing and oh-so-fresh cucumber salad. Don't skip the smashing part, as it contributes to the amazing texture of this new summer favorite.
Ingredients
1 large organic English cucumber, cleaned and dried
1 large carrot, peeled and sliced thin
3 scallions, washed and sliced thin (green parts reserved for garnish)
1 medium watermelon radish, peeled and sliced thin
Spicy lemon-miso dressing (see below)
Lettuce leaves for plating, optional
A few shakes toasted sesame seeds (for garnish)
Directions
Prepare the spicy lemon-miso dressing and refrigerate until you’re ready to make and serve the salad. If using the red pepper flake, remember that the flavor will become more intense after the flakes rehydrate.
Lightly smash the cucumber, just enough to split it open. Cut into chunks and add them to a large bowl with the carrots and the white parts of the scallions. Sprinkle with kosher salt and gently toss to distribute the seasoning.
Spoon about half of the dressing over the salad and toss to coat.
Arrange lettuce leaves and watermelon radish on a serving platter. Spoon the smashed cucumber salad onto the plate and garnish with reserved scallion tops and sesame seeds.
Notes: Make the lemon-miso dressing ahead; the flavors mingle nicely in the refrigerator, and the red pepper flakes will rehydrate for maximum punch. You will only need about half of the dressing recipe for this smashed cucumber salad. Save the rest for another salad or to drizzle on grilled vegetables.
Ingredients
2 Tablespoons white miso paste
1 Tablespoon rice vinegar
1 Tablespoon tahini paste
2 teaspoons organic cane sugar
Juice and zest of one large lemon
Kosher salt and black pepper
A few shakes of red pepper flake, optional but wow!
3 Tablespoons extra virgin olive oil
Directions
In a small bowl, combine miso, vinegar, tahini, sugar and lemon juice plus zest. Season to taste with salt and pepper. Add a few shakes of red pepper flake if you want a bit of heat. I like Flatiron Pepper Company’s Asian Reds here.
Slowly drizzle oil into the dressing, whisking constantly to create an emulsion. Adjust seasoning to taste and refrigerate. Dressing will thicken slightly in the fridge.
The heat is getting to me, I think. Since I returned from my solo trip through New England, I have barely wanted to cook. It’s just too hot to think about standing at the stove in the late part of the day. Usually in summer, we at least enjoy firing up the grill for a backyard barbecue, but with it being 97° F in the shade at dinner time, the idea of the grill feels even more oppressive than turning on the stove. I only want cool foods, and it better not take long to prepare. Thank goodness for ripe summer tomatoes and sweet southern peaches!
There’s a saying out there in foodie land that “if it grows together, it goes together,” and I’m not claiming that peaches and tomatoes are good companions in the garden— how could they be, with peaches growing on trees and all— but I do know that they’re both coming ripe right about now, and I may be onto something with this fresh, light (and did I mention easy?) summer salad.
This is one more thing to love about summer!
Panzanella, in case you have never had the pleasure, is a rustic dish of Tuscan origin, usually made with ripe, juicy tomatoes, cucumber and other fresh ingredients, along with chunks of day-old bread that soak up the juices. The bread gives the salad body and bulk, and the rest of the ingredients are cool and refreshing when the summer weather is everything but.
I was about to make a classic panzanella, but then I spotted that peach!
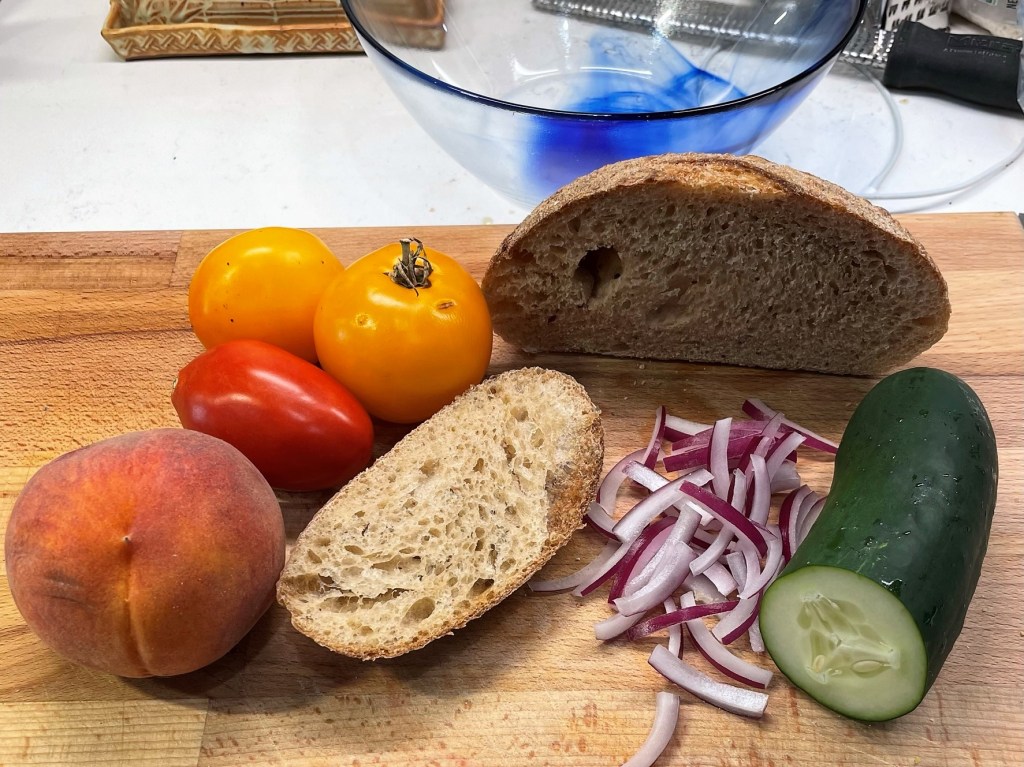
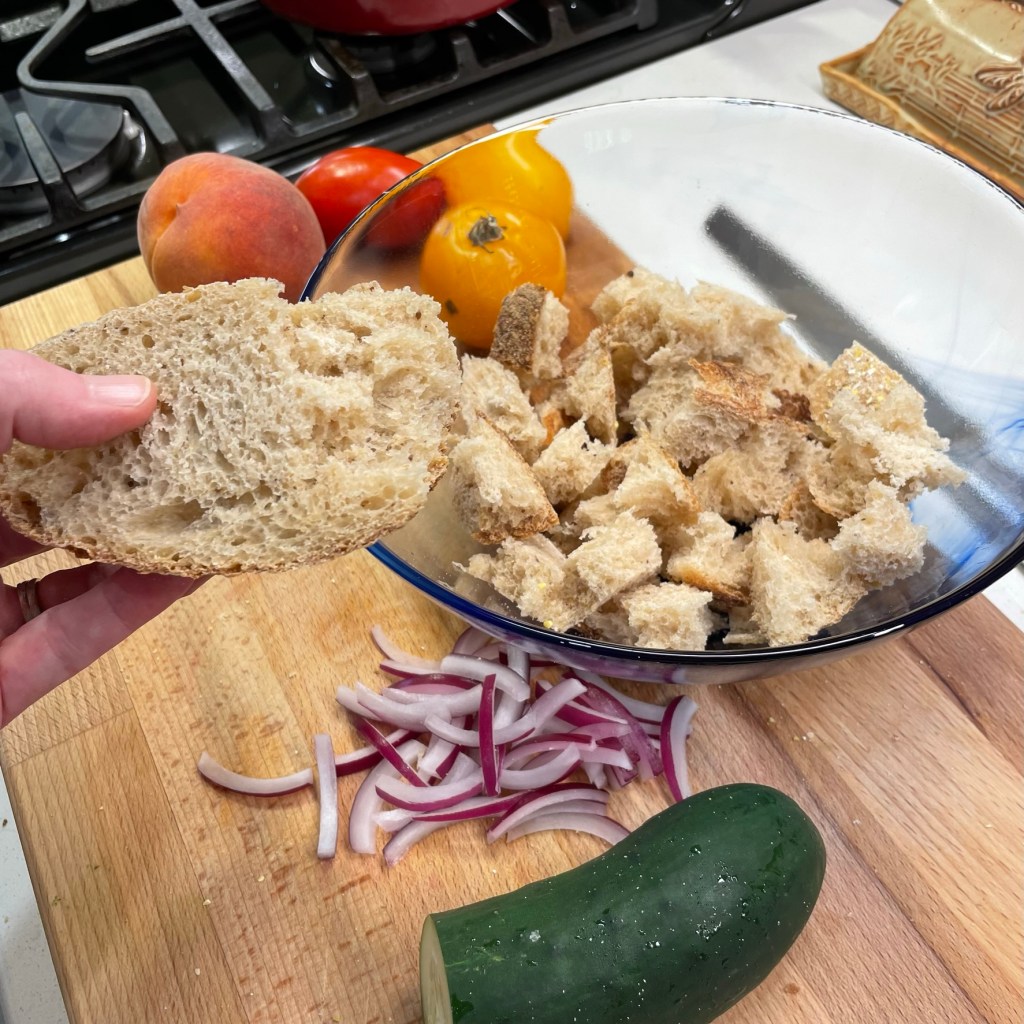
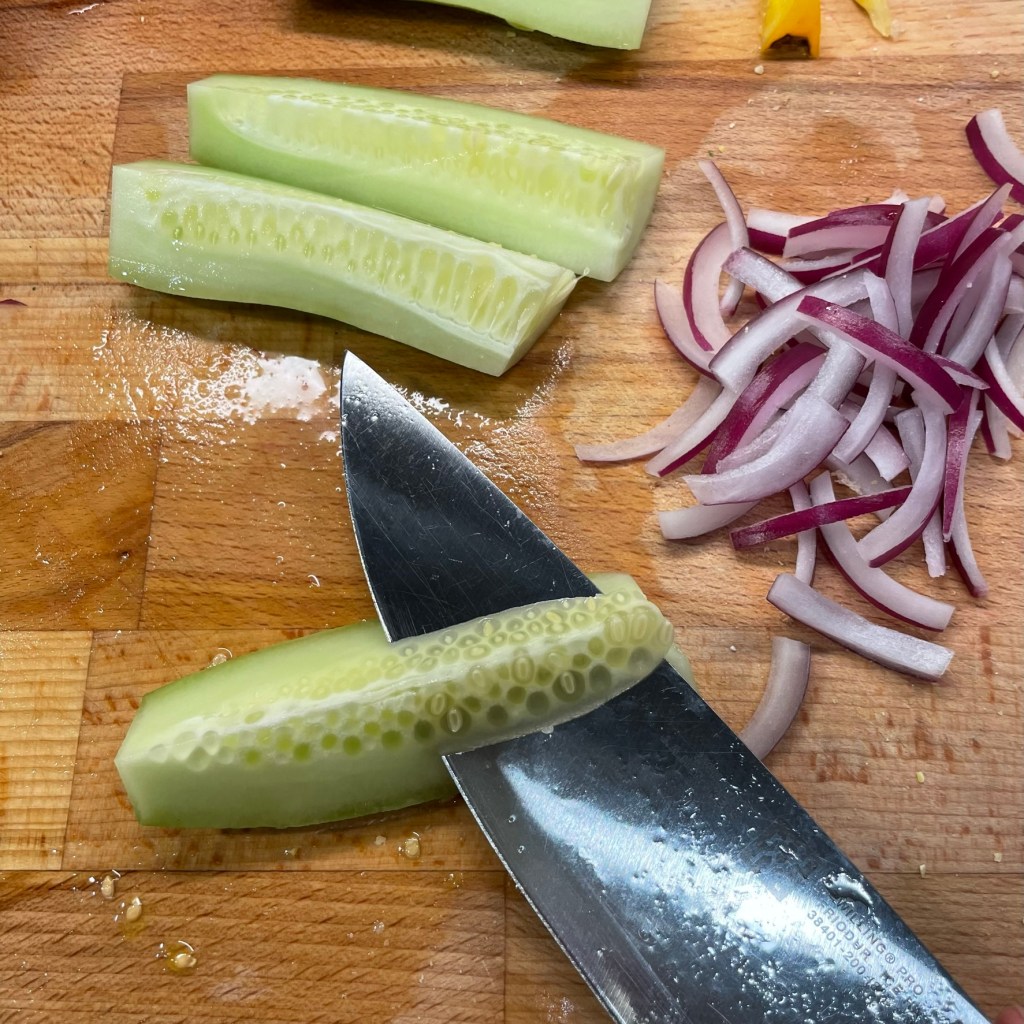
It seems I always have a stale end of bread hanging around the kitchen, and for panzanella, you want the bread to be a “lean” one— that is, not enriched with fats, dairy or sugars. If the bread is soft and pliable, it will quickly turn to mush and you’ll be disappointed in your panzanella. Something like a French baguette or crusty homemade sourdough loaf is perfect because it will generally holds its shape. Whole grain works well, and even seeds on top will work! Tear or cut the bread into small, bite-size chunks, and remove the crust if it seems extra thick or chewy.
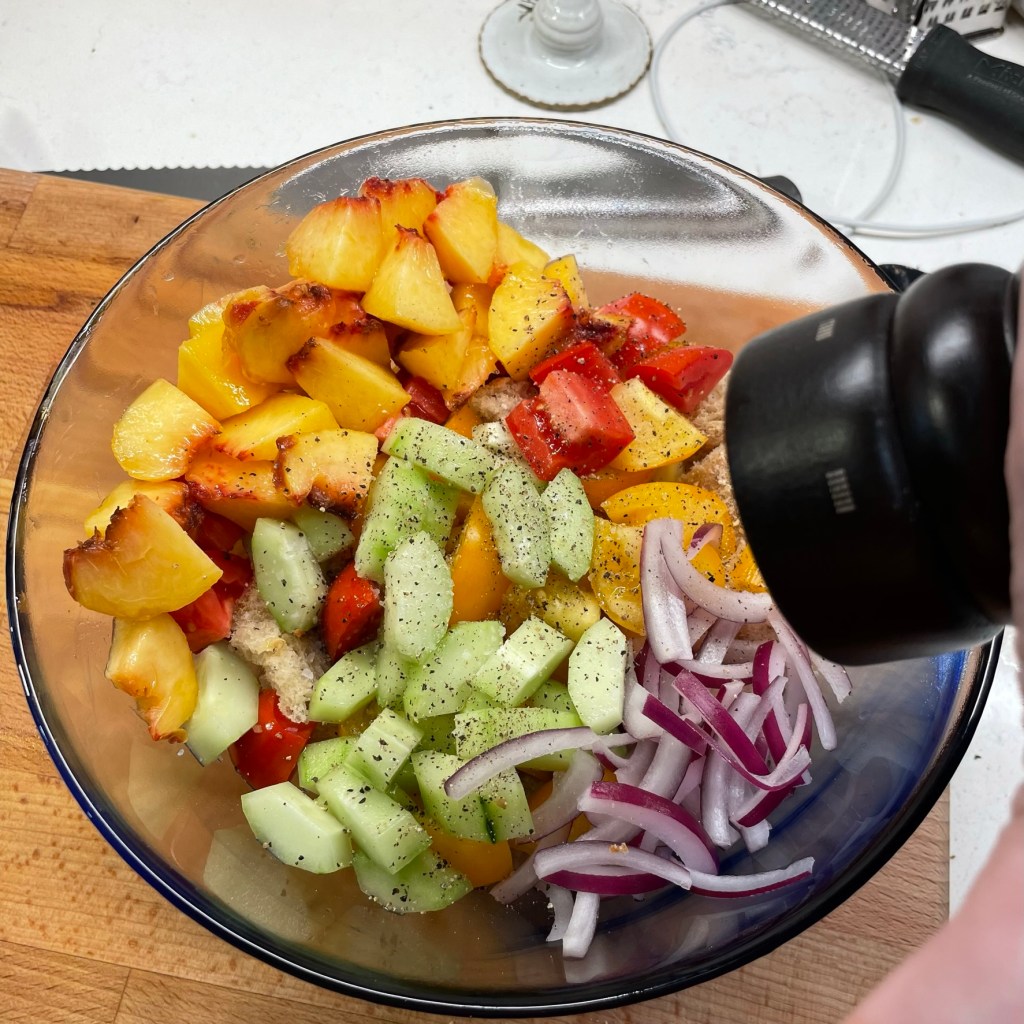
Next, prep all the fresh ingredients, cutting each into smallish bites. My personal rule of thumb for salads to break down the ingredients into small enough pieces that I will be able to get a little bit of everything in a single bite, but not so small that it’s hard to spear them with a fork. I only had a slicing cucumber, so I did remove the tough peel and most of the seeds, but with a Persian or English cuke, there’d be no harm in just washing and cutting it up. A quick seasoning with salt and pepper on all of that, and then I’m on to the dressing.
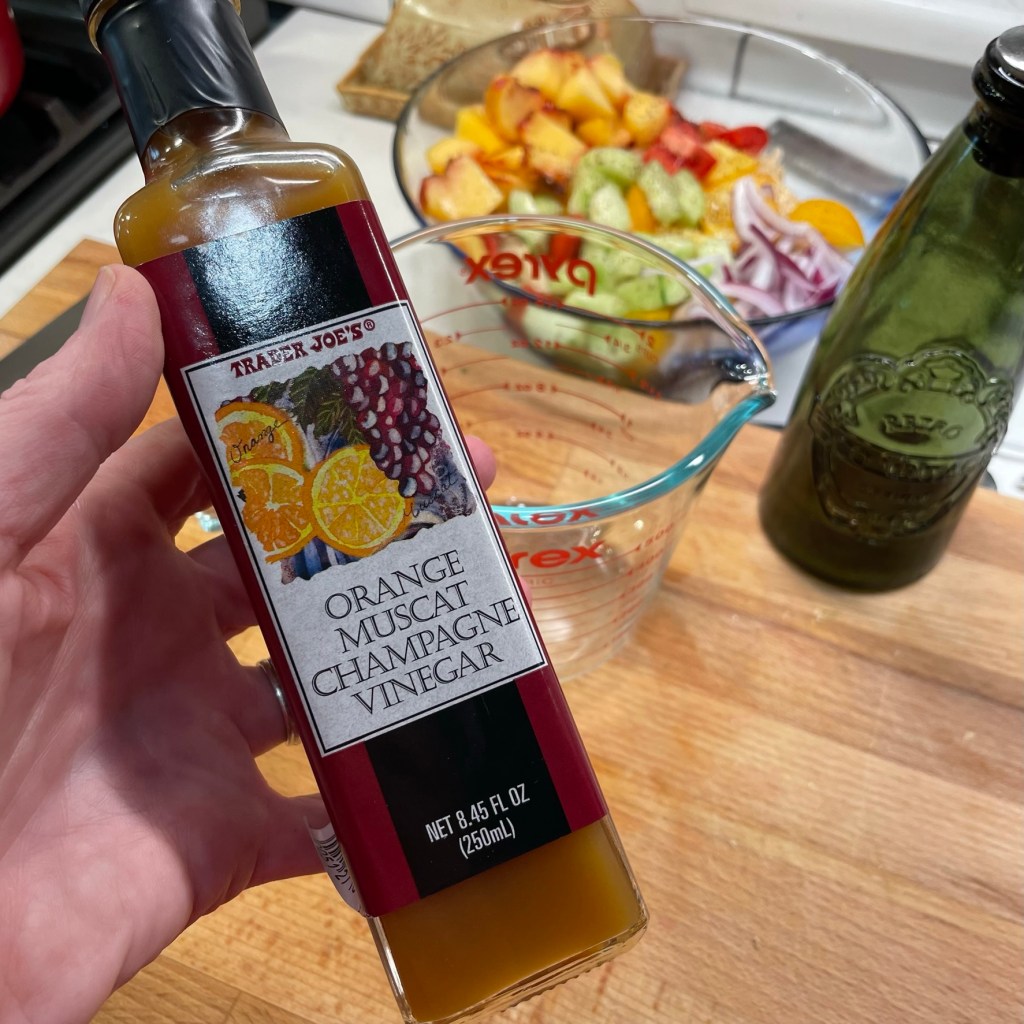
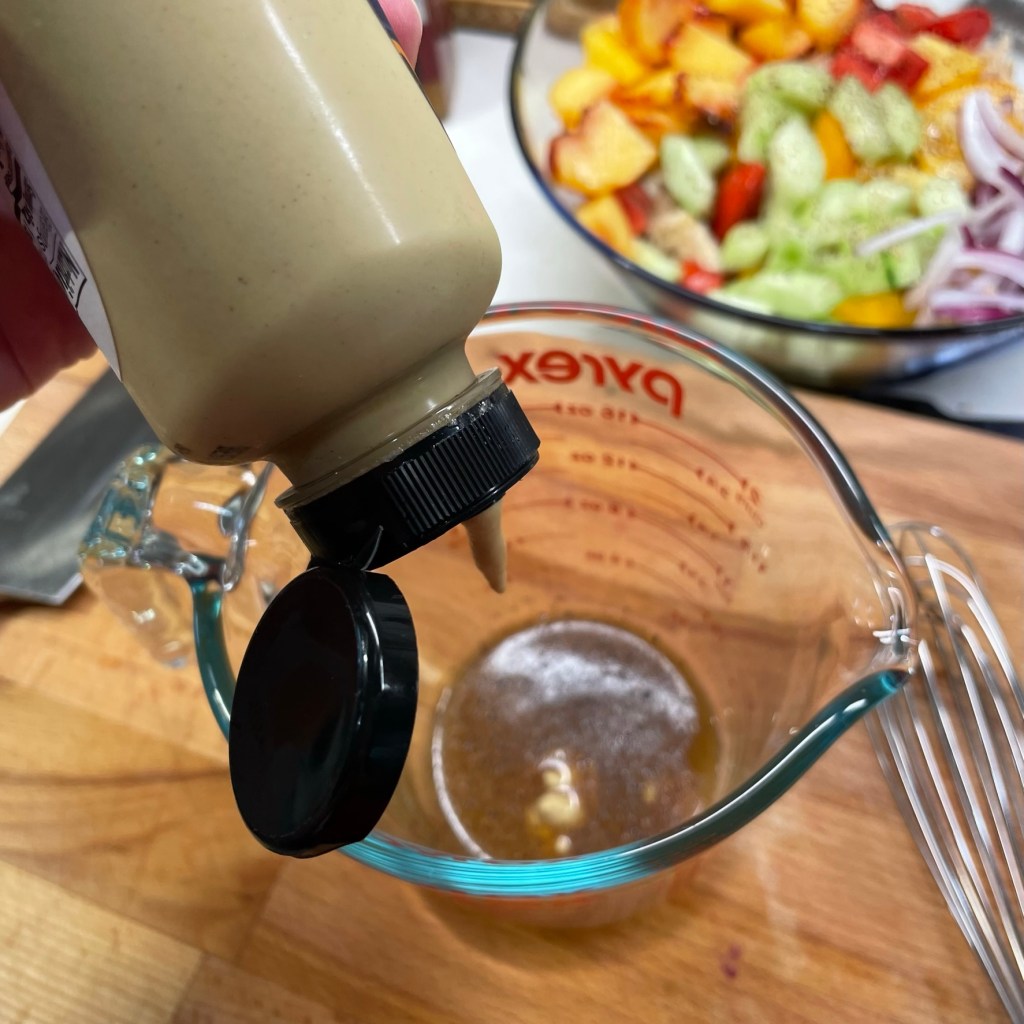
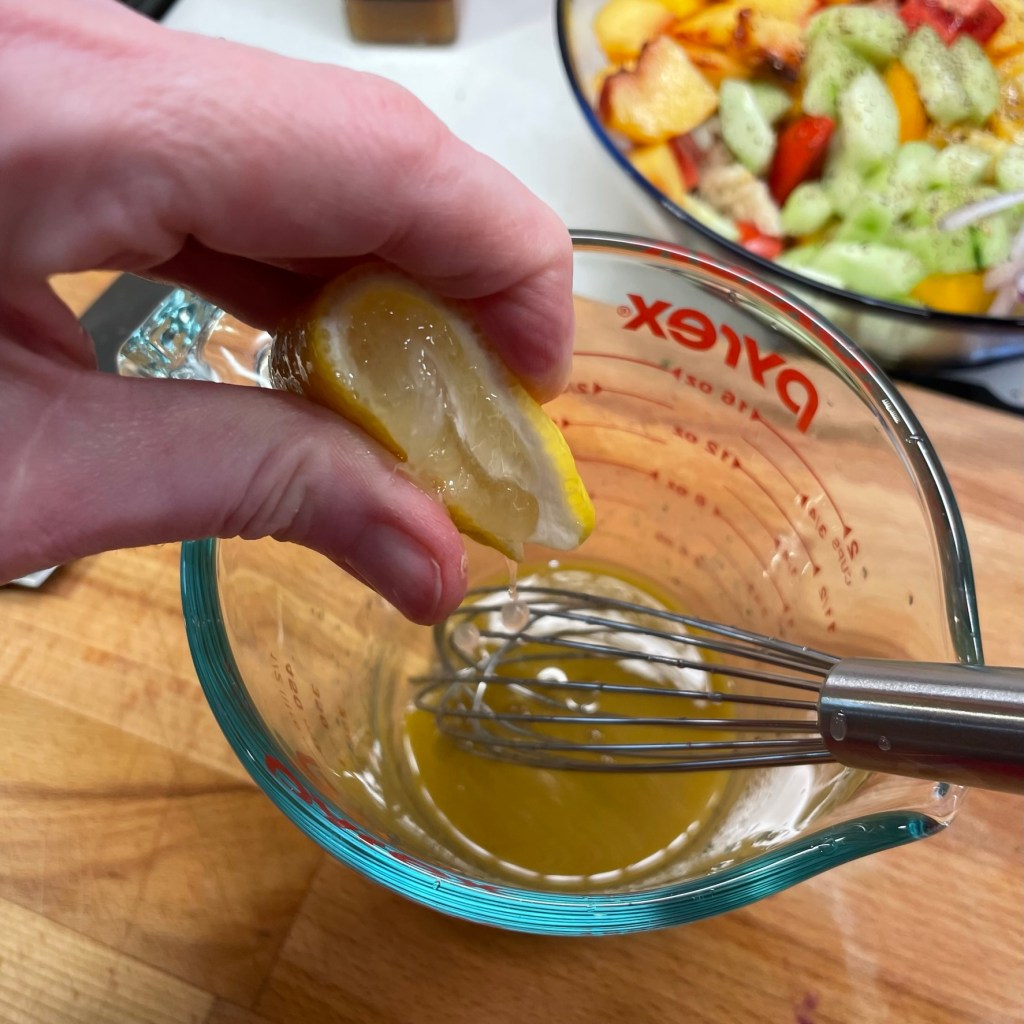
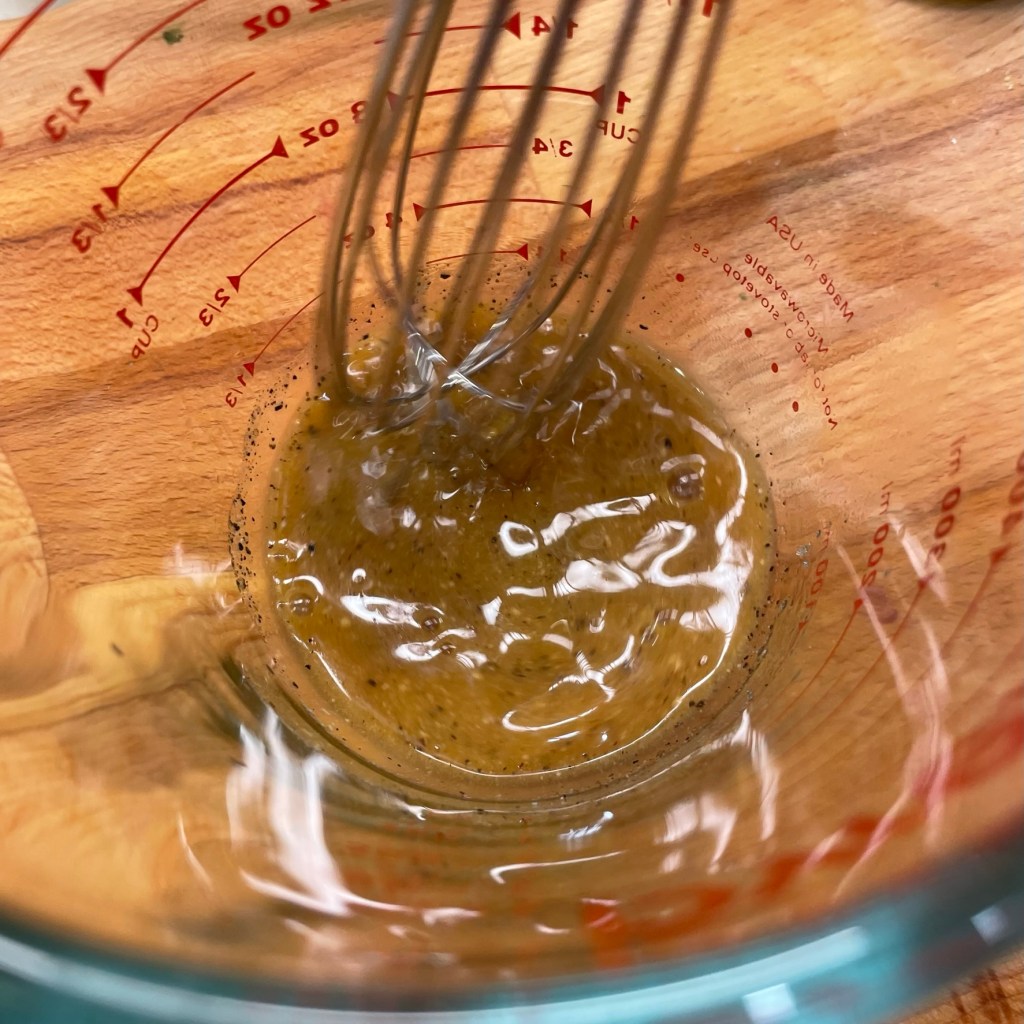
A classic panzanella would be strictly savory, so a vinaigrette with Italian herbs and garlic would be appropriate. But I wanted a lighter, fruitier touch for this one because of the sweet summer peach, so I started with a citrus-y vinegar from Trader Joe’s and jazzed it up with Dijon, a squeeze of fresh lemon and a generous drizzle of fruity, extra virgin olive oil. Any light, fruity vinegar would work well here, or even a white wine or champagne vinegar. If yours is tart and sharp, give the dressing a little balance with a bit of honey or a few pinches of cane sugar. And don’t forget salt and pepper.
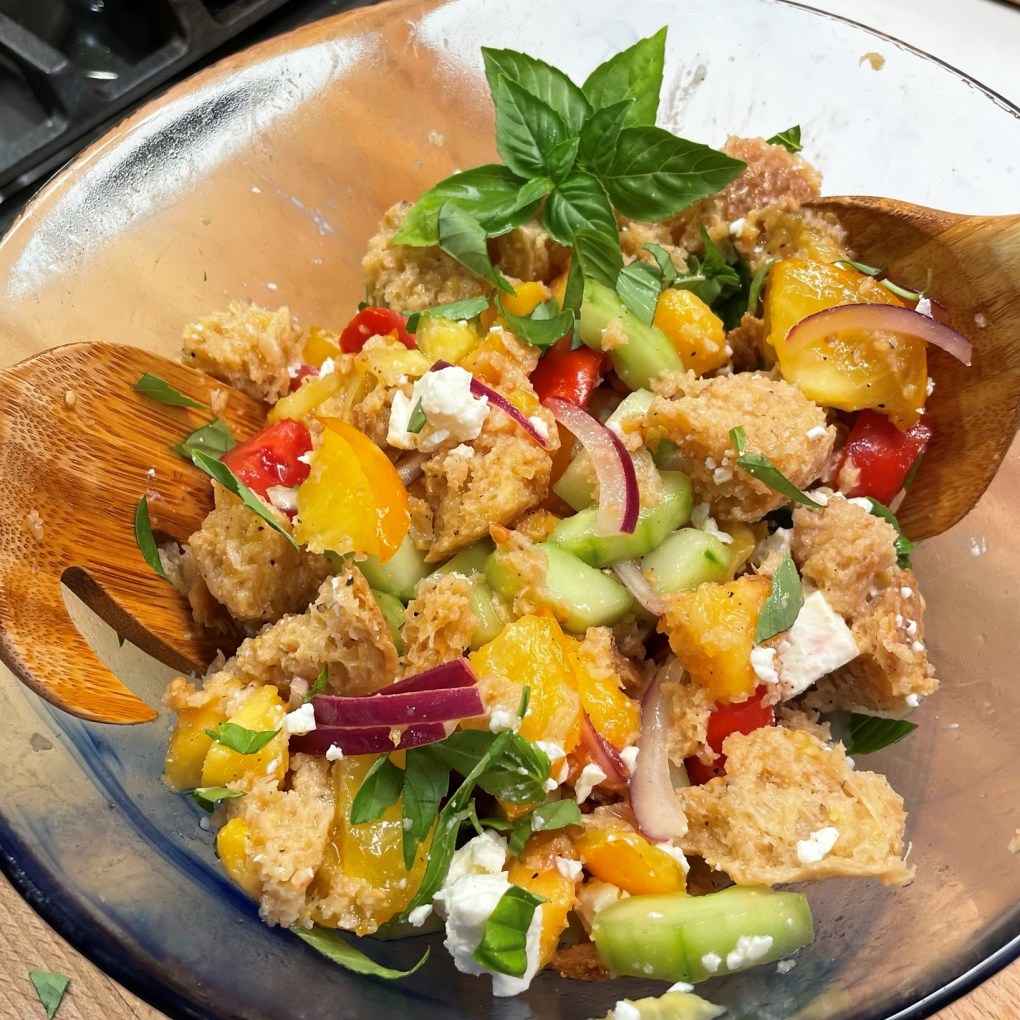
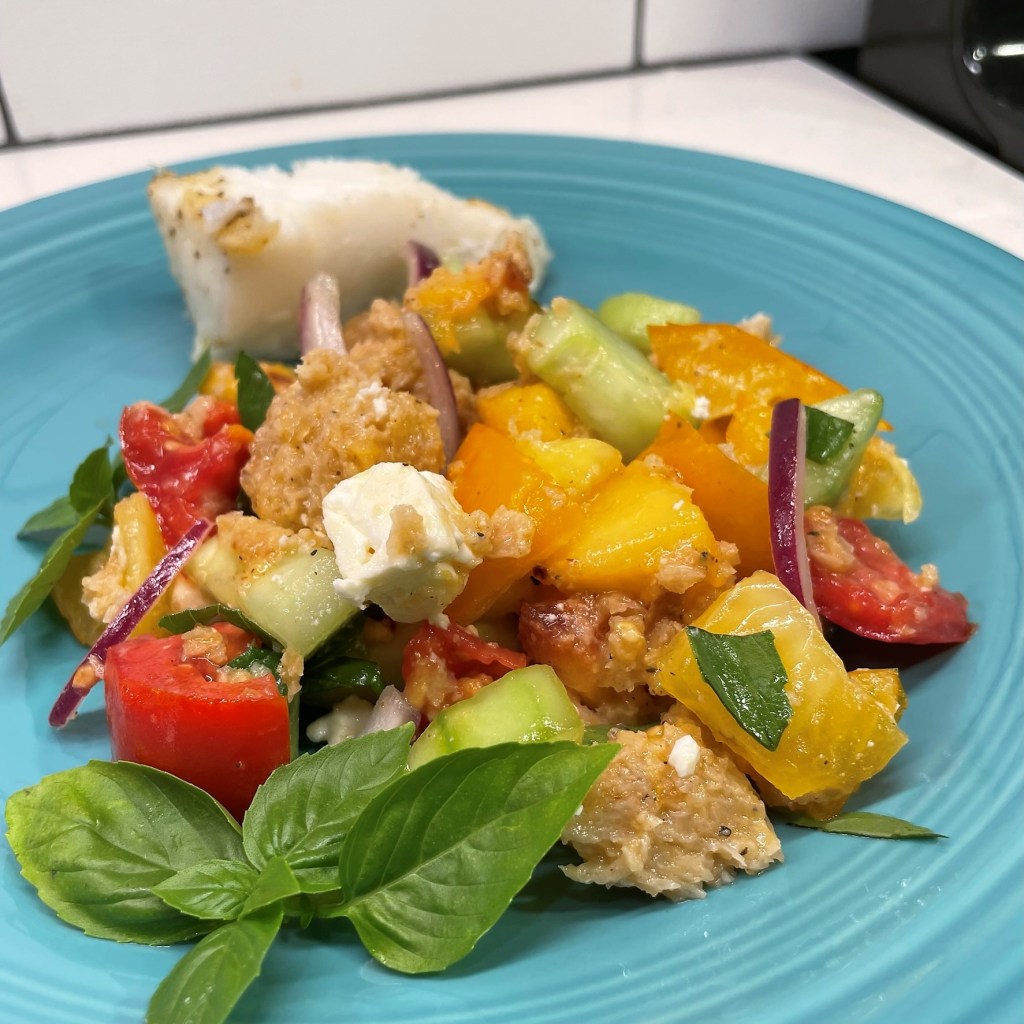
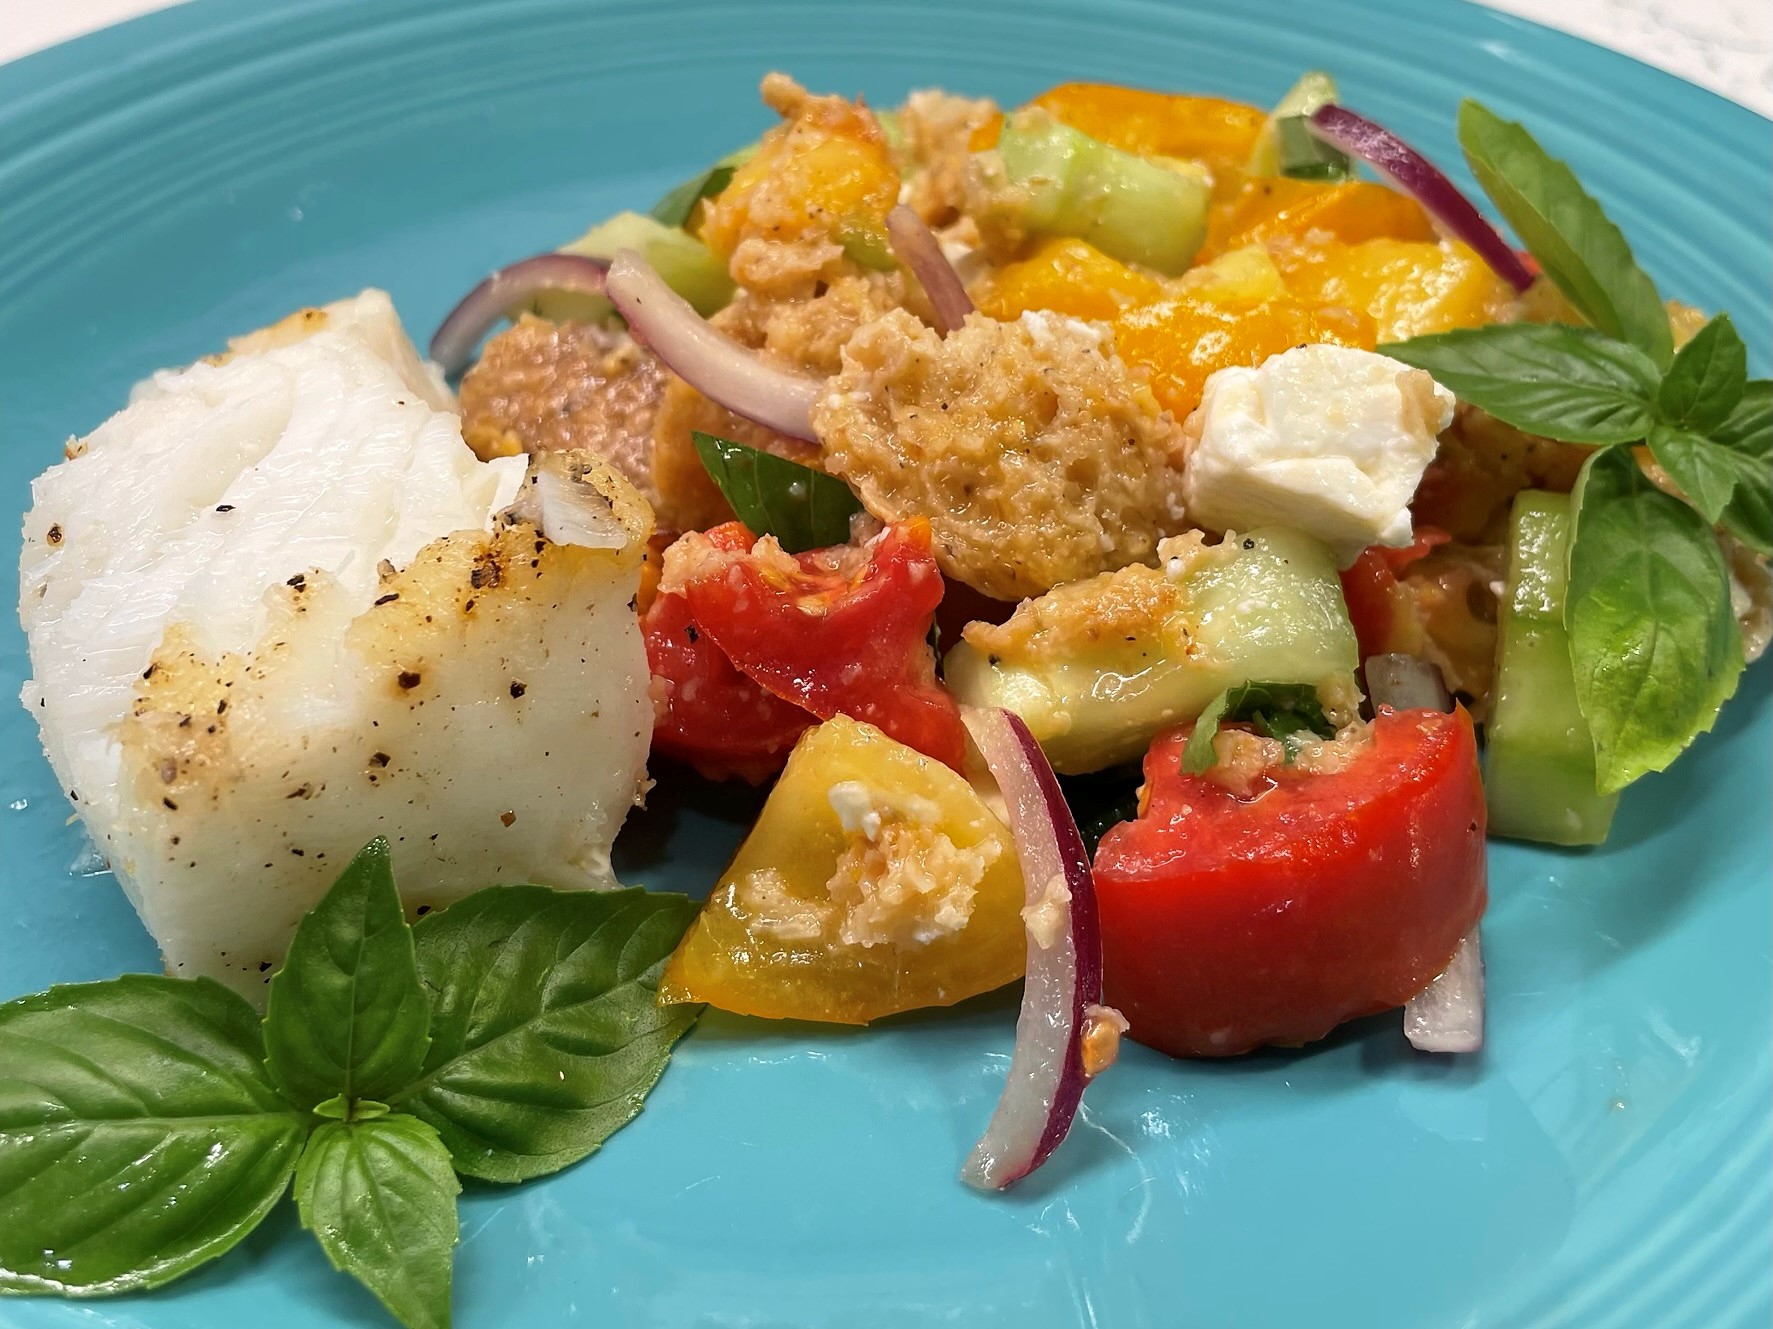
Here comes the best part! Drizzle that dressing all over the salad, and don’t worry if it seems like a lot— the stale bread will slurp it up so it won’t go to waste. Toss gently a few times to fully incorporate the dressing, and allow the panzanella to rest while you set the table. Just for fun, I sprinkled on some feta chunks and fresh, summery basil. Italian parsley would have been just as delicious, or even fresh mint to add another cooling layer.
I served my peach panzanella with petite fillets of halibut. They were super easy to make, seasoned with only salt and pepper and baked in the oven for a mere 15 minutes. Easy, quick and done!
A ripe and juicy summer peach puts a delicious and unexpected twist on a classic panzanella. It's a cool and tasty way to beat the summer heat!
Ingredients
3 cups torn sourdough bread (dry or stale)
1/2 slicing cucumber, peeled and seeded
2 small yellow tomatoes, halved and cut into wedges
1 Roma tomato, quartered lengthwise and cut into wedges
1 large ripe peach, peeled and pitted then cut into chunks
1/4 cup thinly sliced red onion
2 oz. real feta, crumbled or cut into cubes
Small handful of fresh basil, torn or rough-chopped for garnish
Vinaigrette dressing (see below)
The dressing for the panzanella can be made ahead if desired. Choose a vinegar that is light and summery, such as white wine vinegar or something infused with citrus.
Ingredients
3 Tbsp. Muscat orange-champagne vinegar (or something fruity and tart)
1 tsp. Dijon
Salt and pepper
1/4 cup extra virgin olive oil
1 tsp. honey or sugar if vinegar is very tart
Directions
Add all salad ingredients except feta and basil to a large bowl, in order, so that bread pieces are on the bottom. Season with salt and pepper and set aside while you make the vinaigrette.
Whisk together dressing ingredients. Adjust salt and pepper to taste.
Pour dressing all over salad. Toss gently to incorporate, and allow the bread a few minutes to soak up the dressing and juices.
Sprinkle with feta and fresh basil. Serve at once.
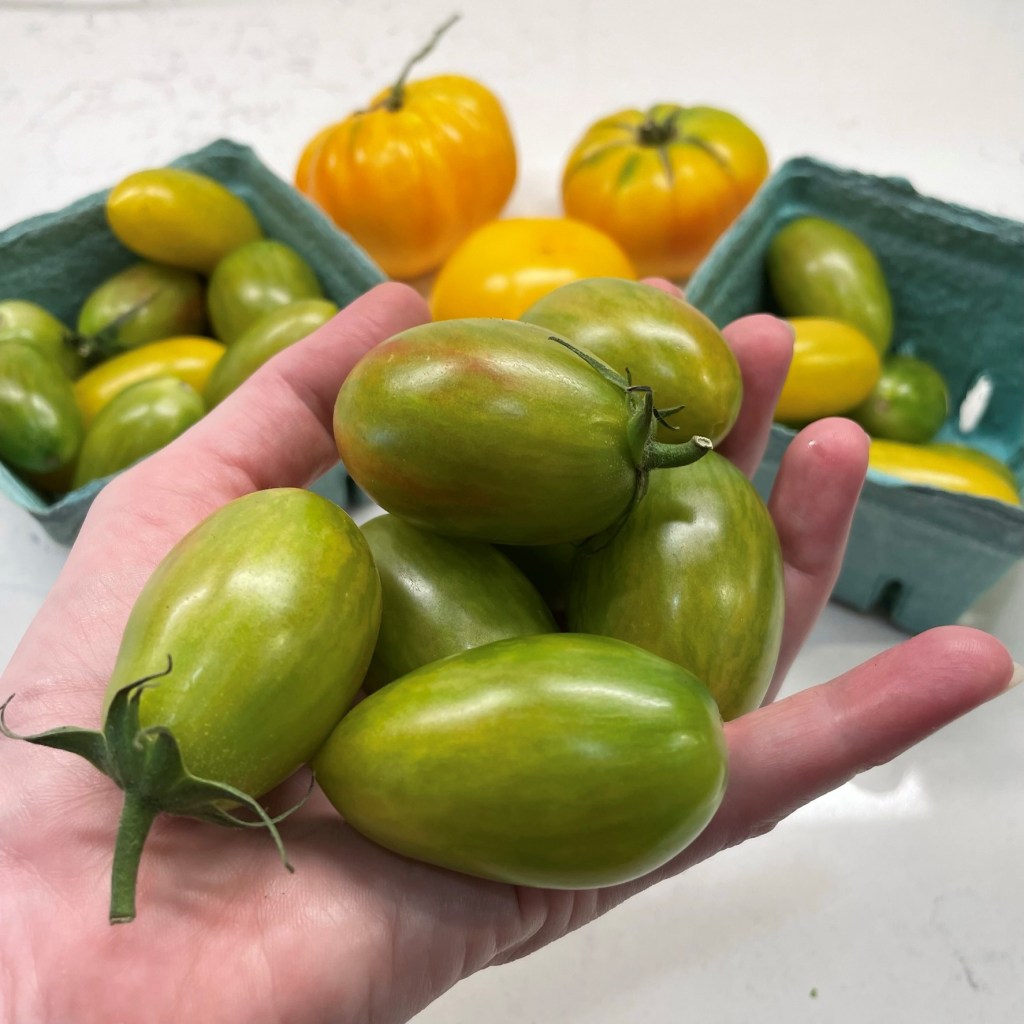
It isn’t easy being green—unless you happen to be this gazpacho! I know, you’ve probably only seen gazpacho in shades of red, and perhaps with a few green bits of pepper or scallion on top. But when I visited our farmers’ market last weekend, I discovered that most of the tomato vendors had sold out. That is, until I spotted these beauties at a booth near the back.
In the end, I was glad that all the red ones were sold out!
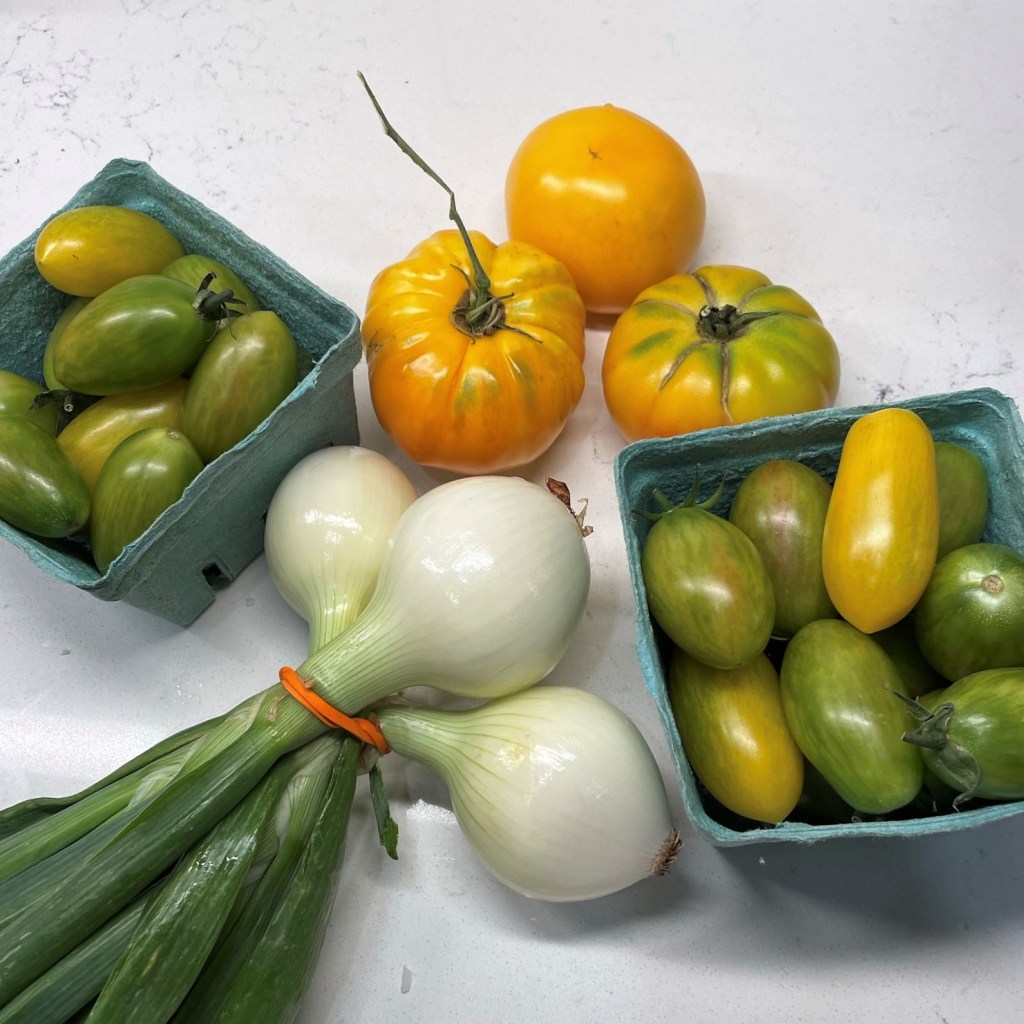
The grower assured me that these little gems were indeed ripe, and as sweet as any other baby tomatoes. I don’t remember the variety of the tomato (artisan-something-or-other), but I figured it would be, at the very least, a fun twist on the chilled summer soup I planned to serve at our 3rd of July shindig. I picked up some fresh spring onions and a few yellow tomatoes, too, figuring they would help supplement my gazpacho with garden-fresh goods. The soup wouldn’t be red, but it would be interesting, and I was committed to using farmers’ market ingredients as much as possible.
That raises an important point about shopping local and eating with the seasons—it puts you at the mercy of the harvest, and you either go with the flow or go hungry!
I consider every trip to the farmers’ market to be a treasure hunt!
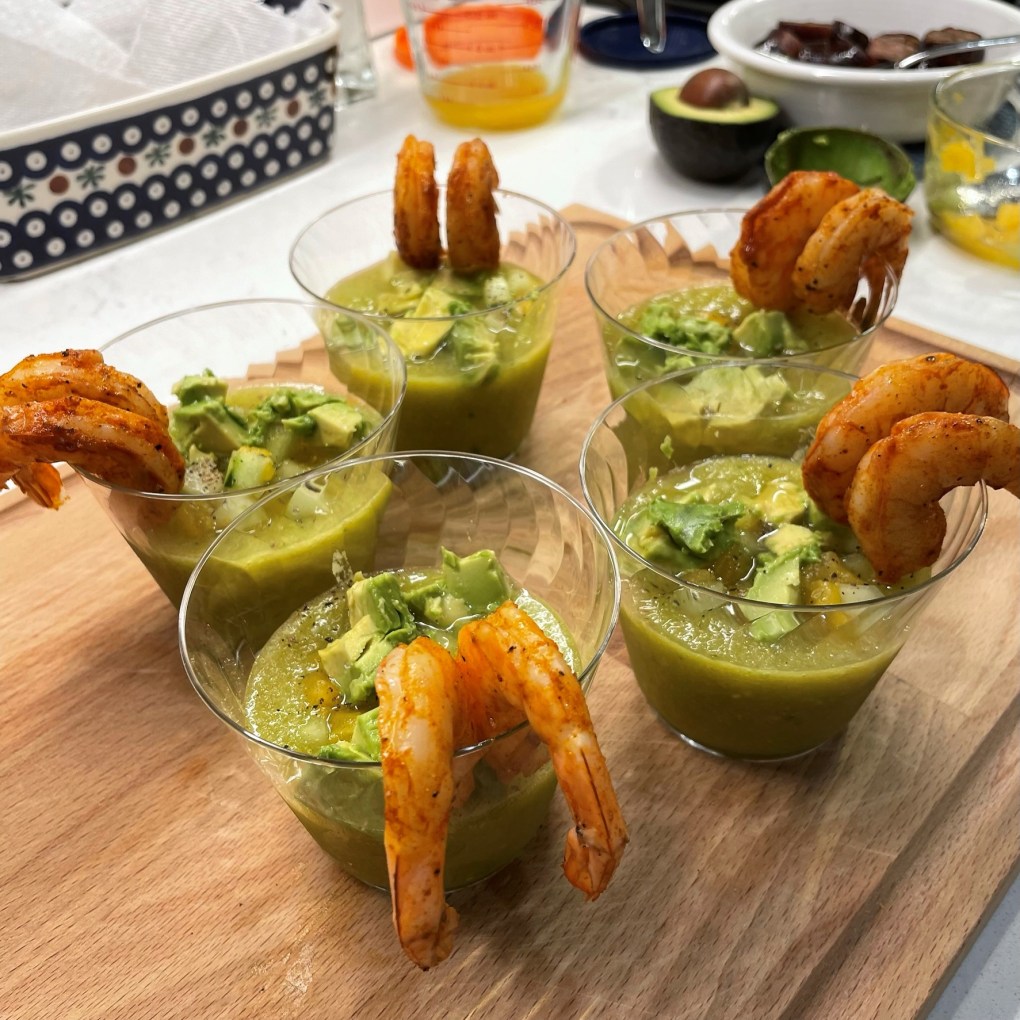
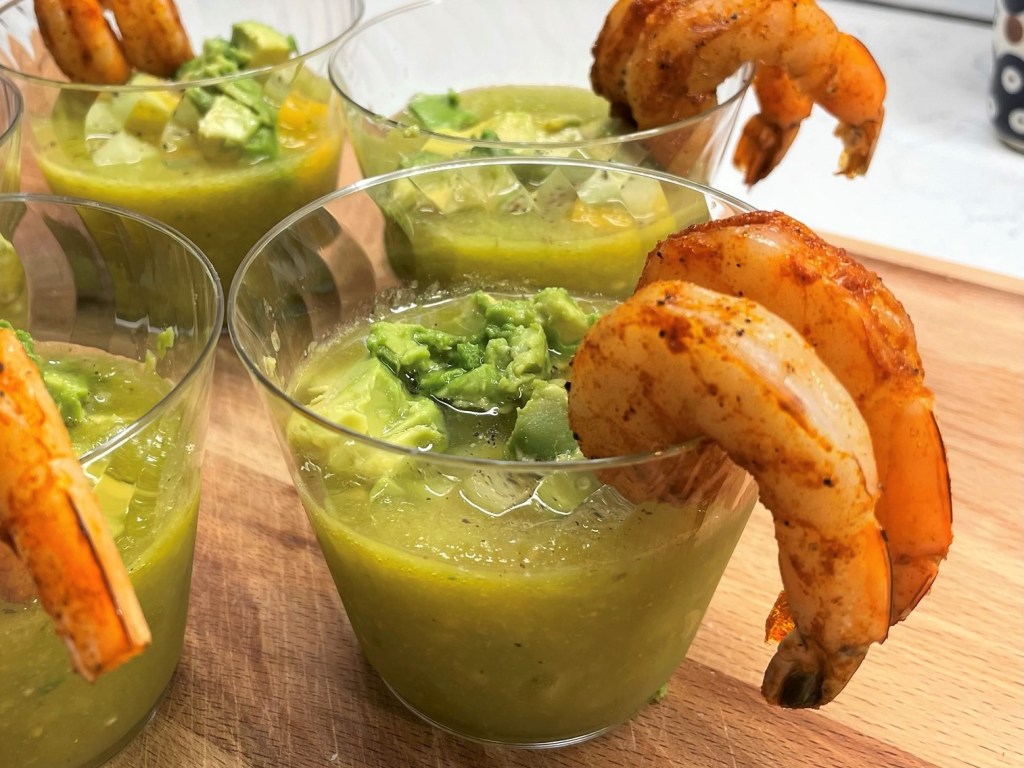
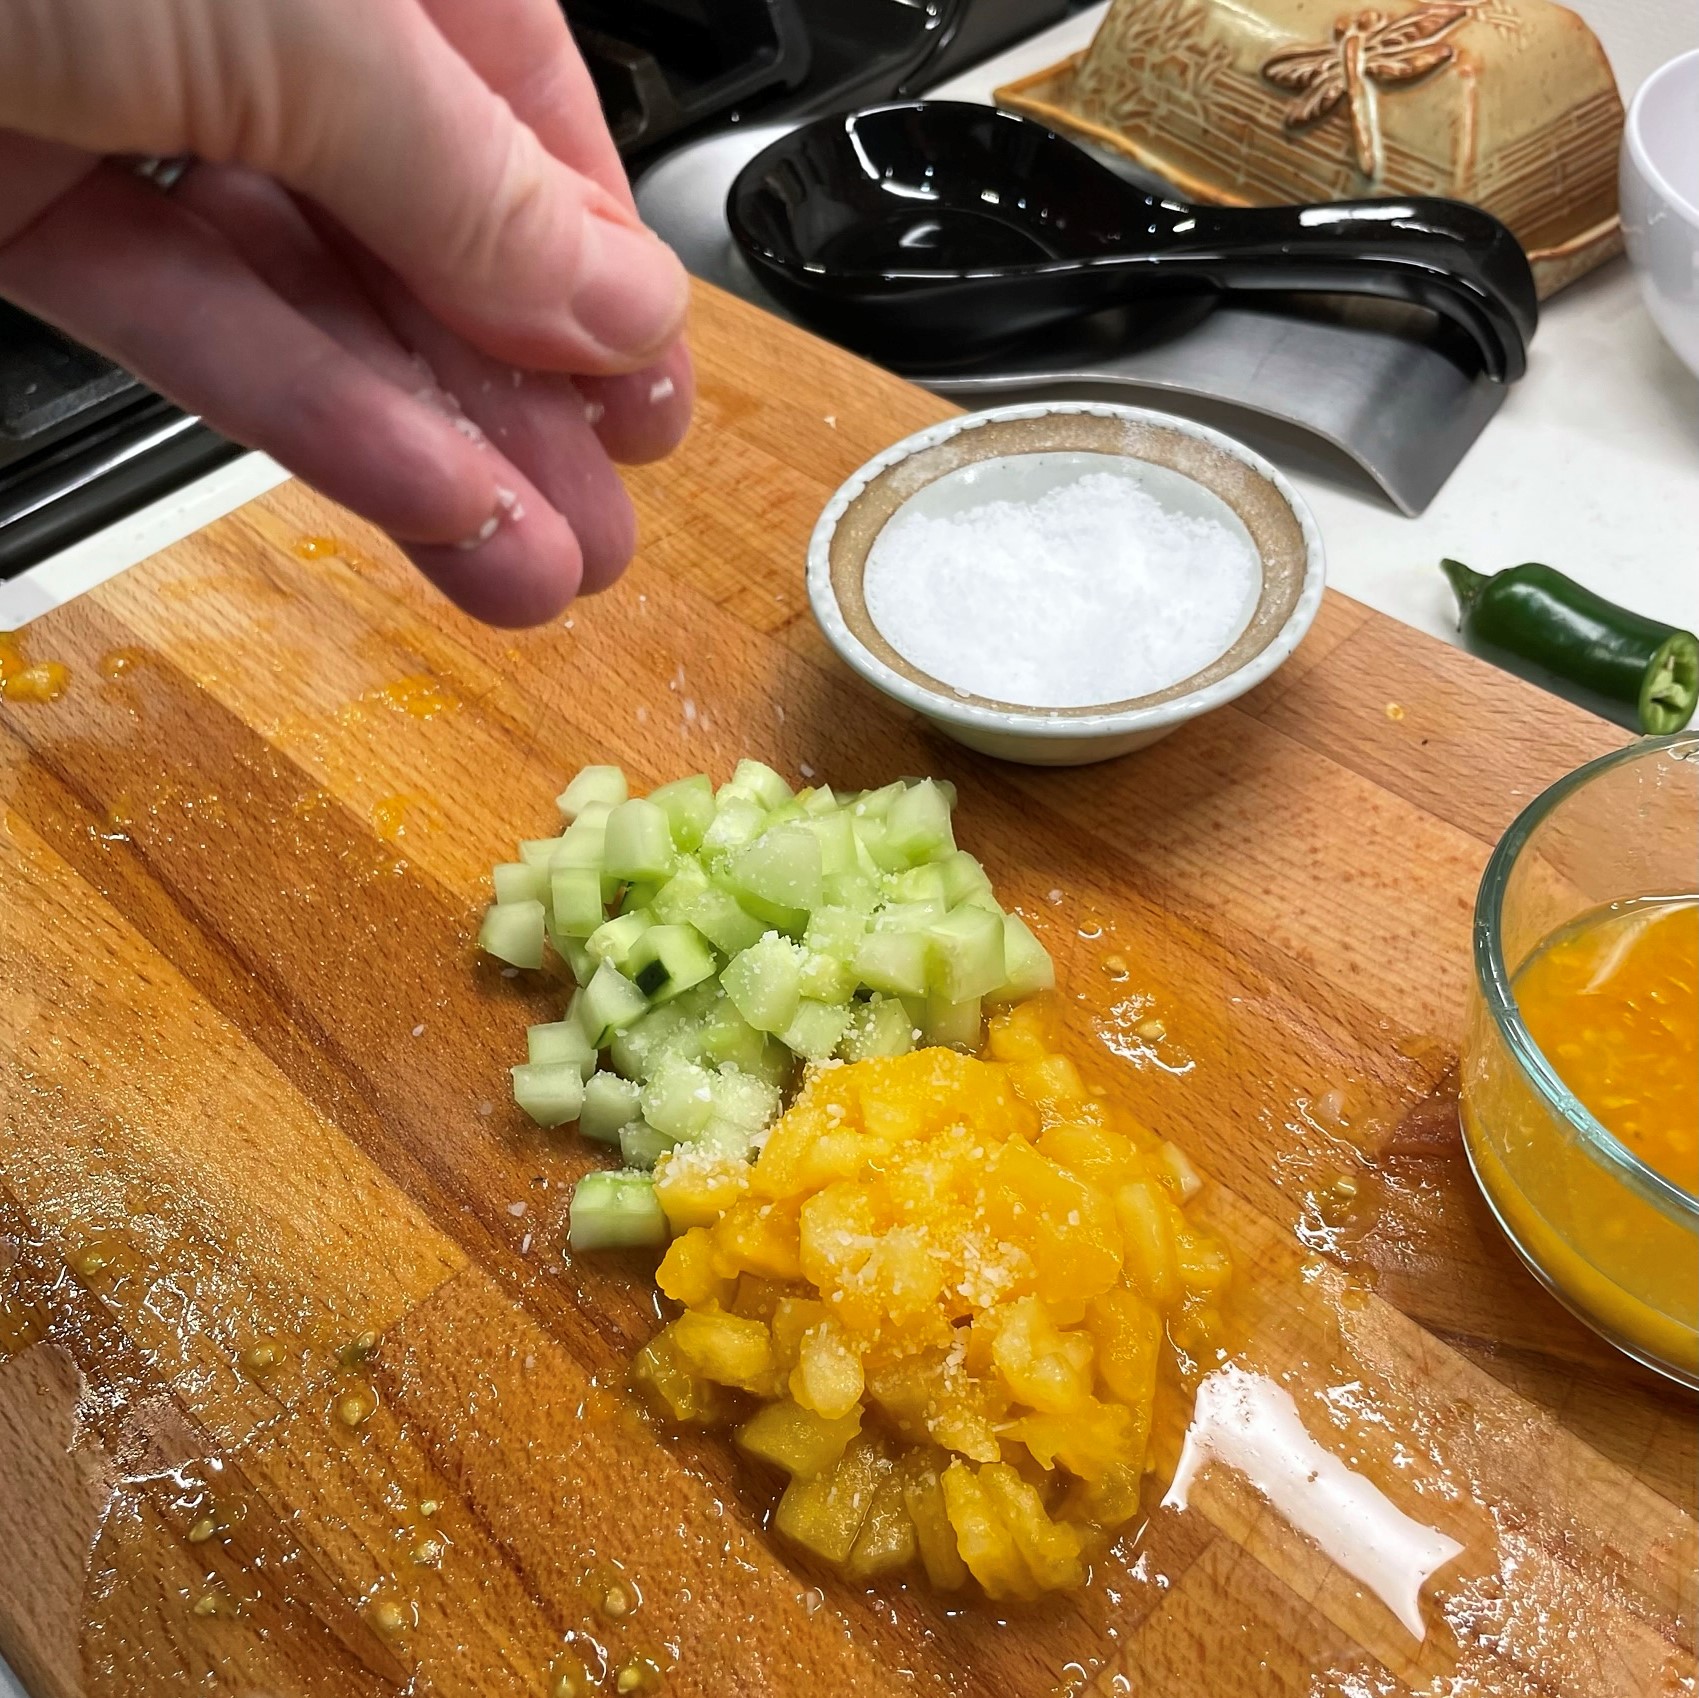
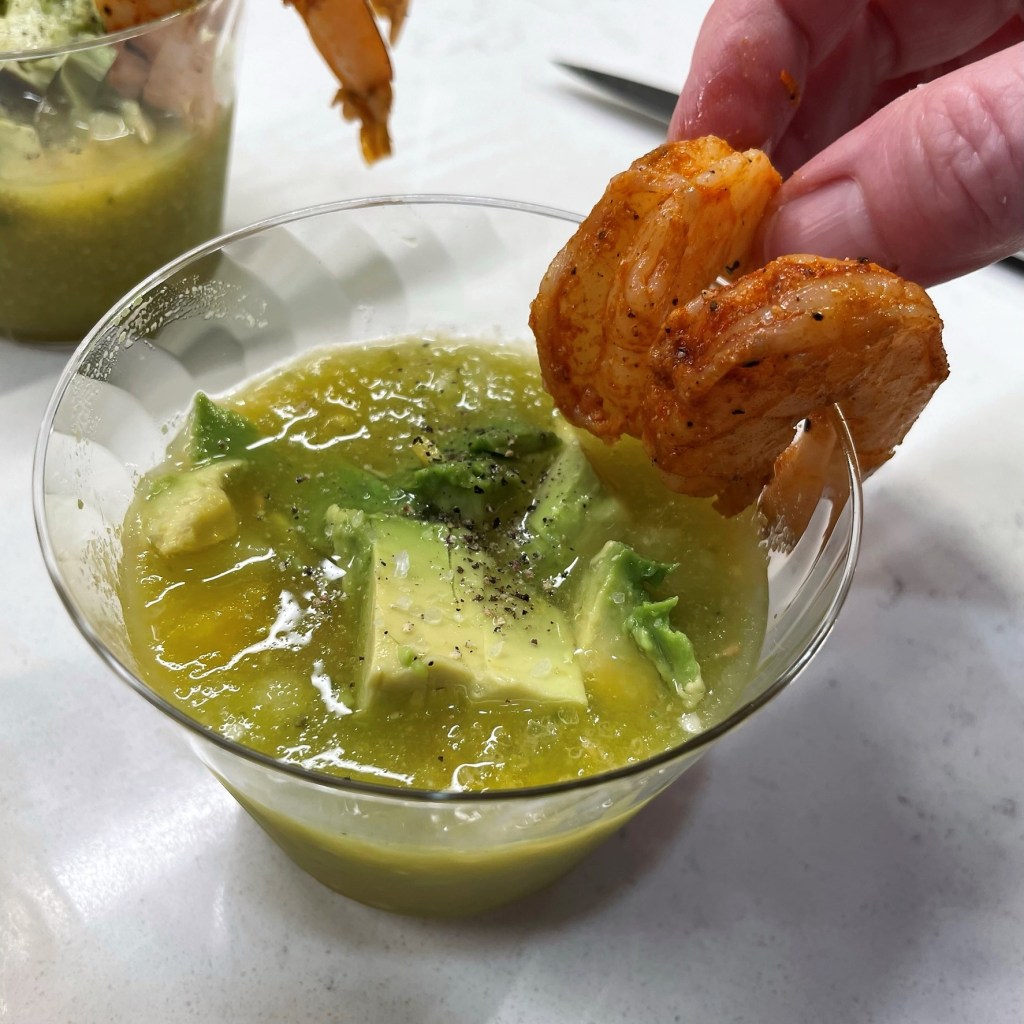
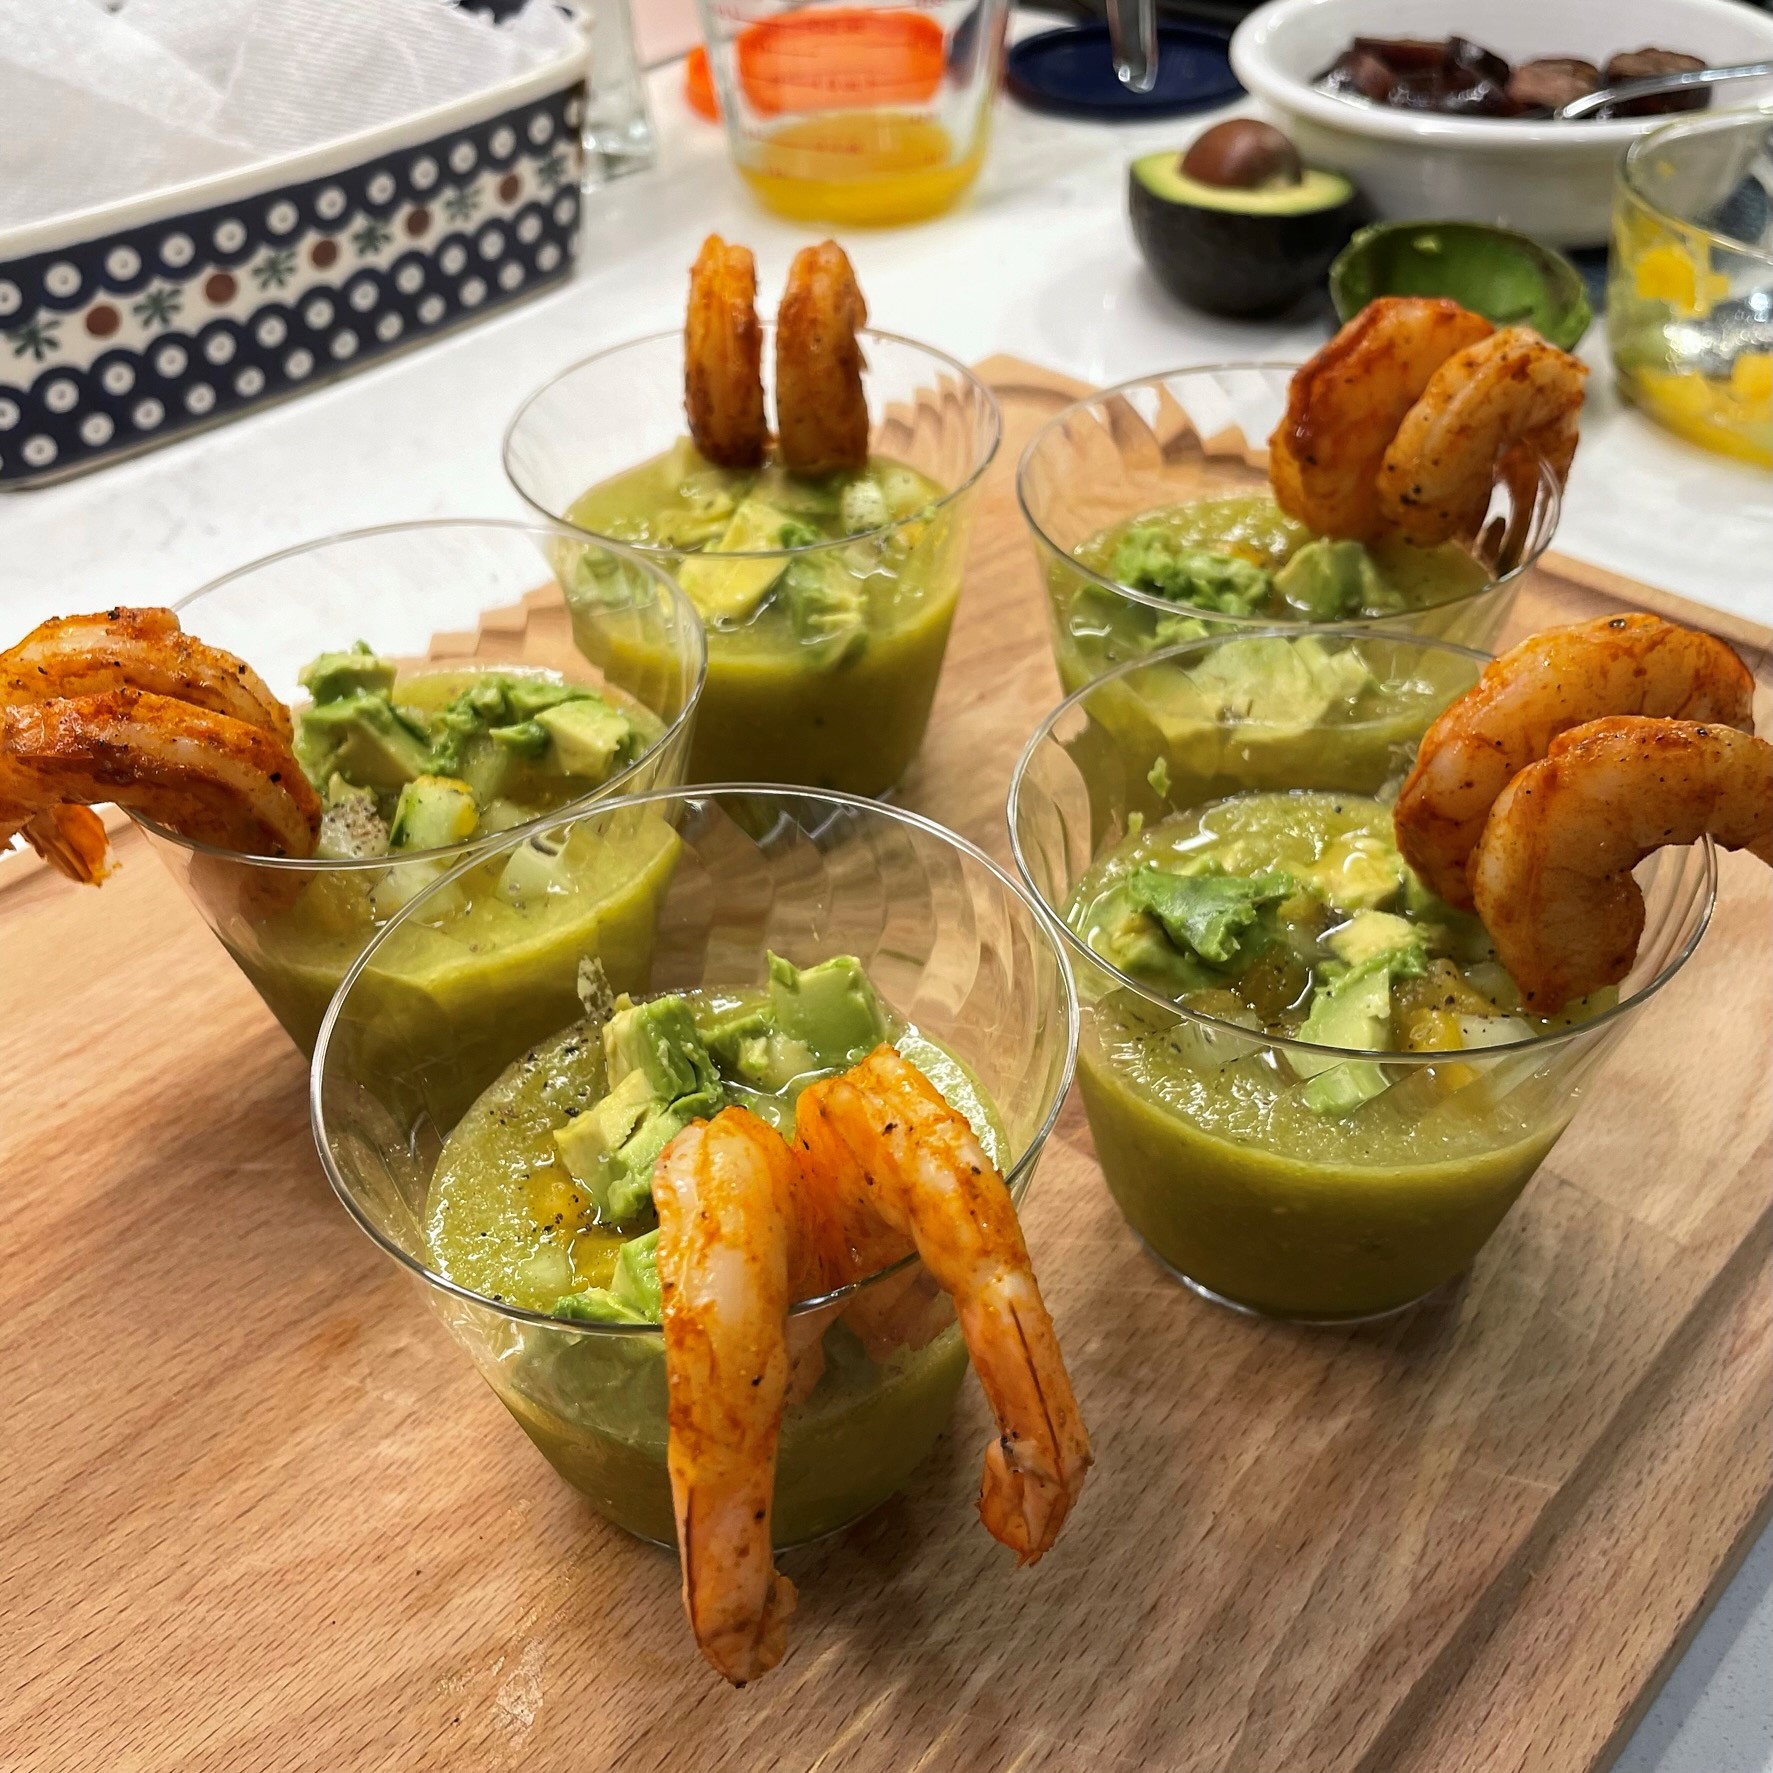
Fortunately, nobody went hungry at our house that evening, and this easy appetizer was the first thing we shared to get the party started. My instinct was to serve the gazpacho as “shooters,” a quick and simple starter that could be prepped ahead and served, sans silverware, as guests arrived. And I could have served them that way, if I had left off the delicate cubes of yellow tomato, cucumber and avocado, but those made the cups so much prettier, even if we did need to hand out spoons! An additional “garnish” of roasted paprika-dusted shrimp made the shooters substantial enough to hold everyone over for the feast that would come off the grill later.
This was a fun way to welcome guests with a fresh taste of summer!
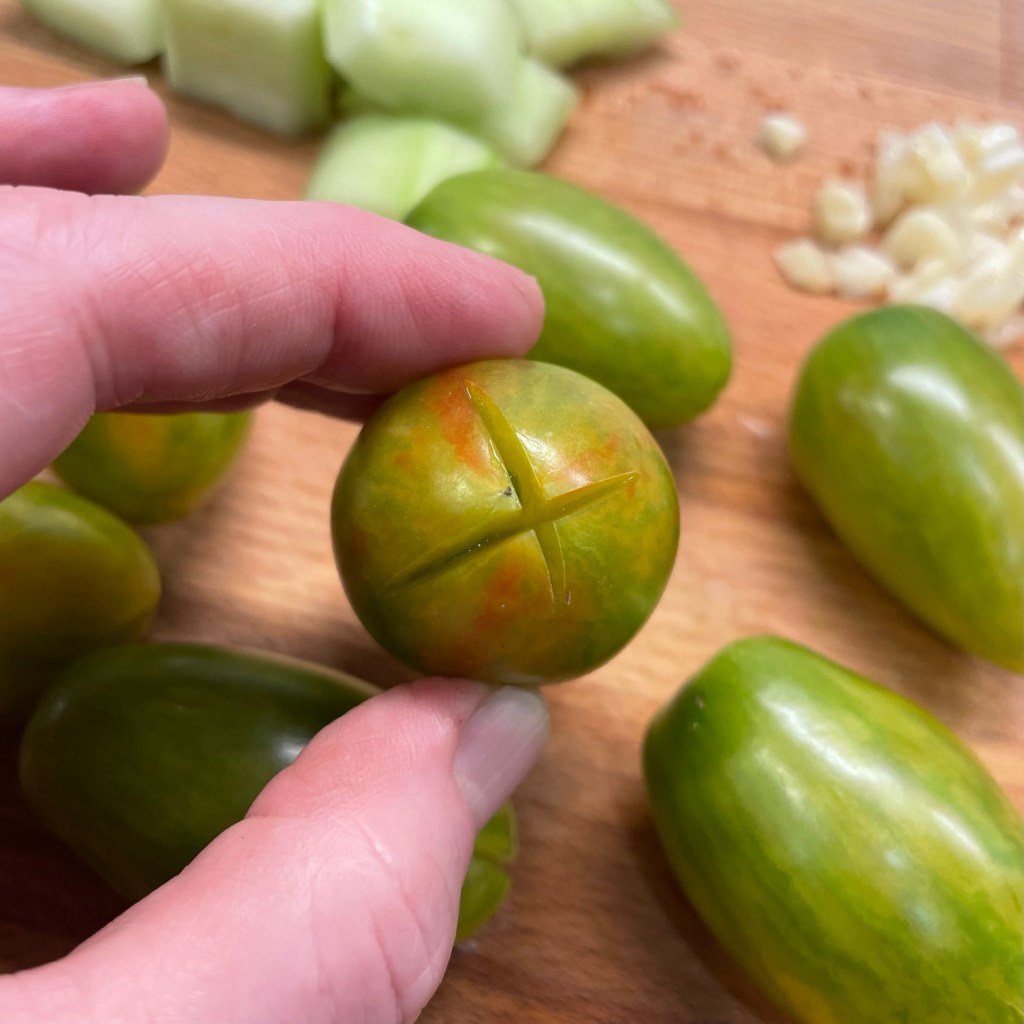
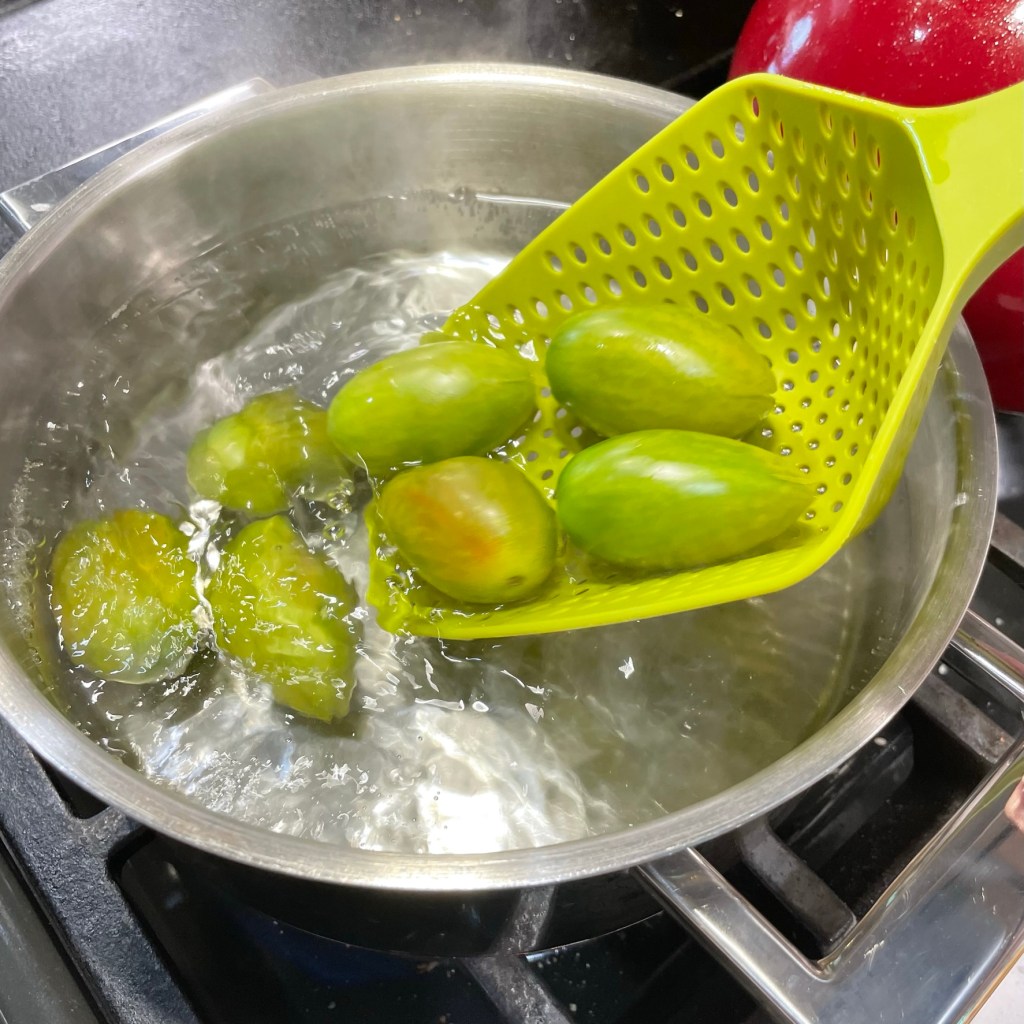
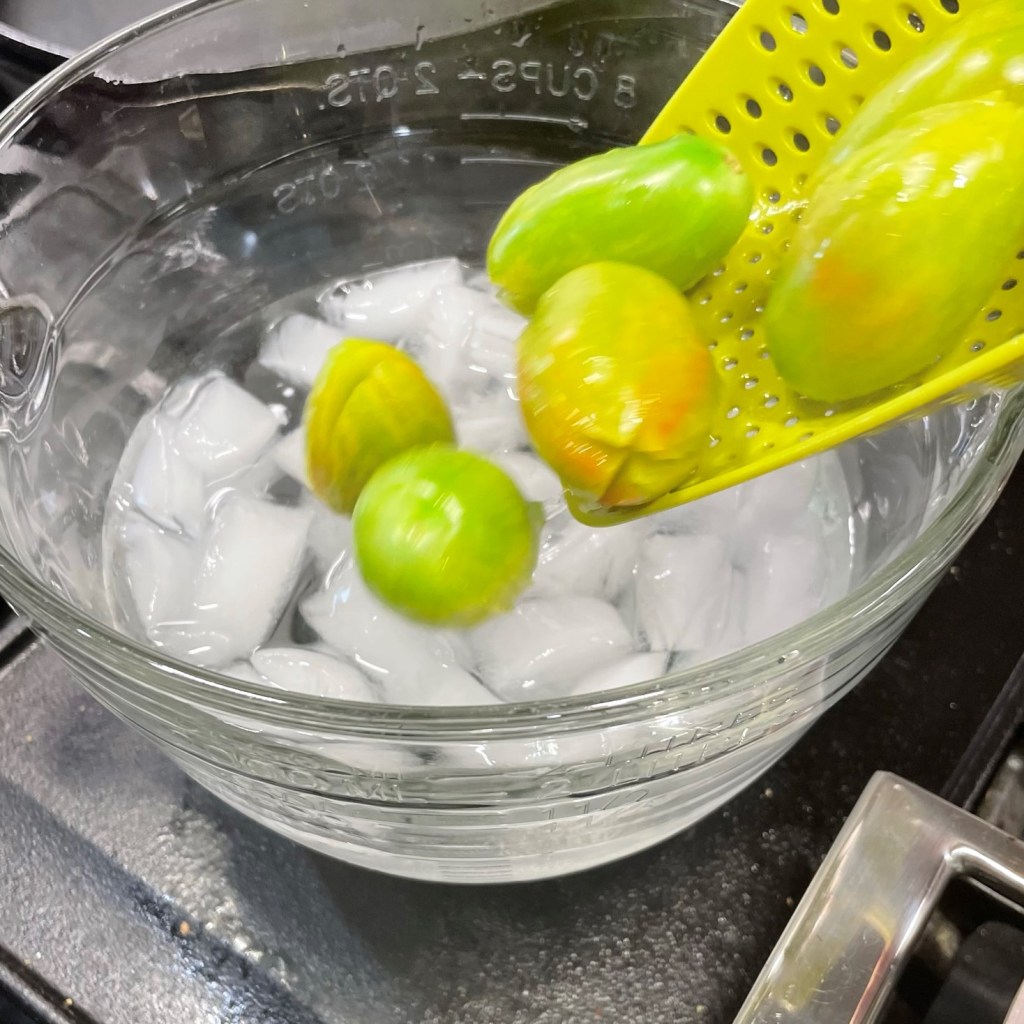
This recipe was very easy to make (gazpacho always is), and I prepped everything but the shrimp a day ahead, which worked well because gazpacho flavors really develop overnight. Step one was to strip the skins off the tiny tomatoes—you don’t want to put those in the processor, unless you like little bits of peel sticking to your teeth. For this task, I did a quick blanch-and-shock treatment. Bring water to a boil in a pot, and prepare a separate bowl filled with ice water. Cut an “x” on the bottom of each tomato to give the peel an easy place to break. Gently lower the tomatoes into the boiling water, a few at a time, and only for about a minute, and then immediately scoop and transfer them into the ice water. This immediately stops the cooking process, shocking the tomatoes so that the peels can be easily stripped away.
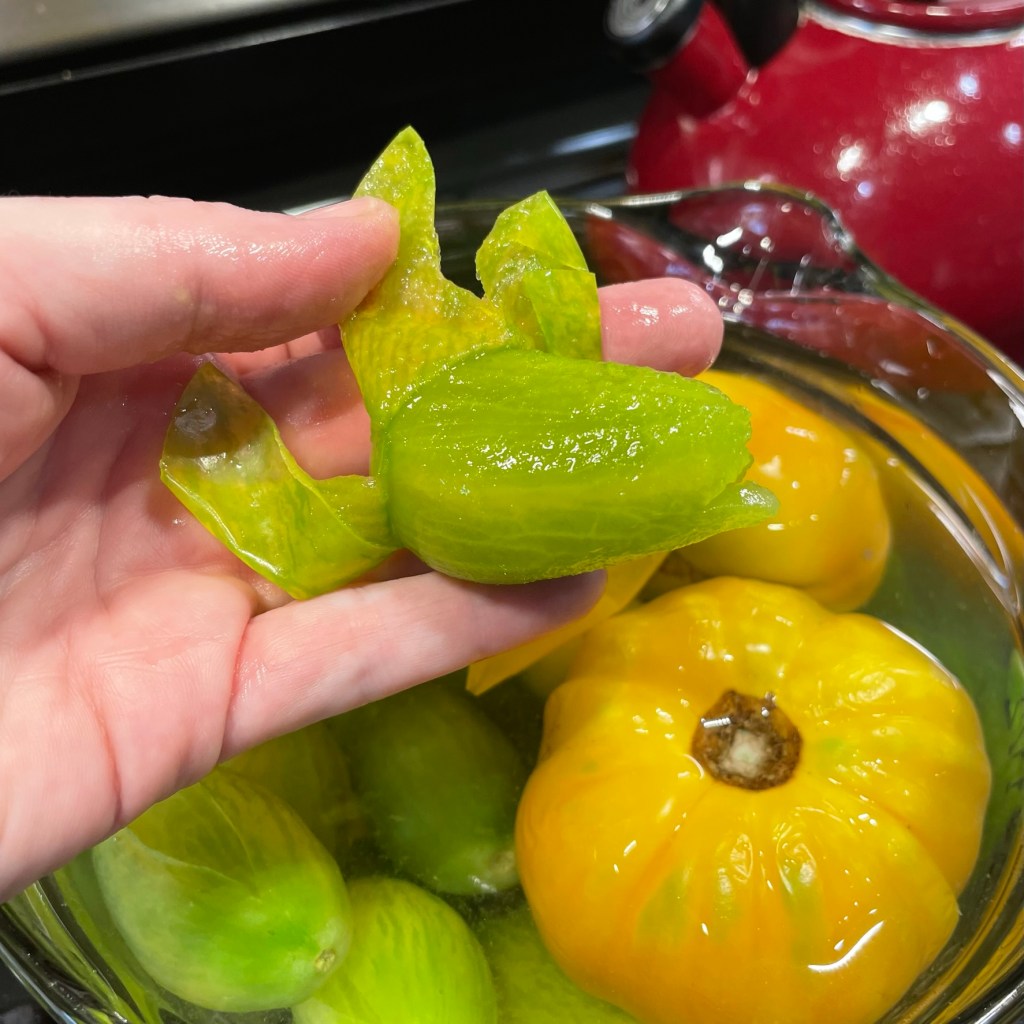
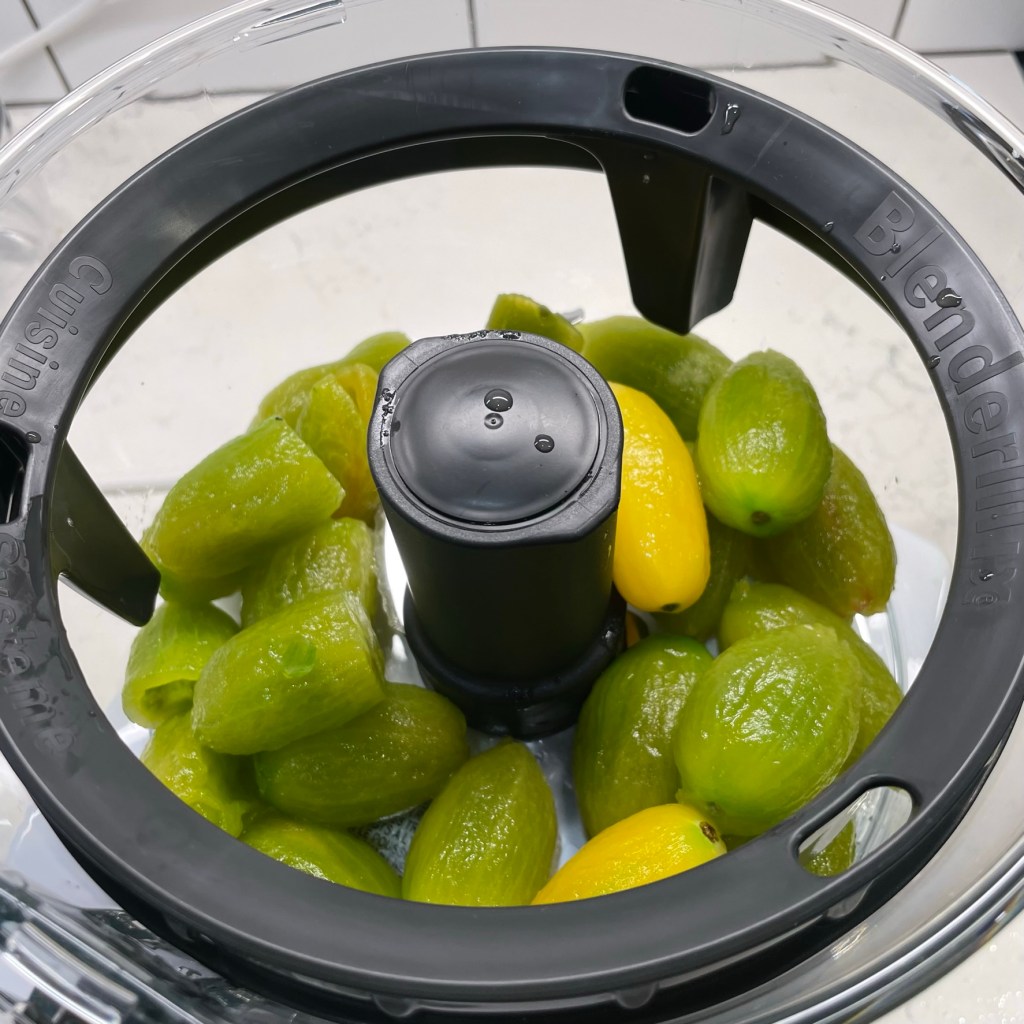
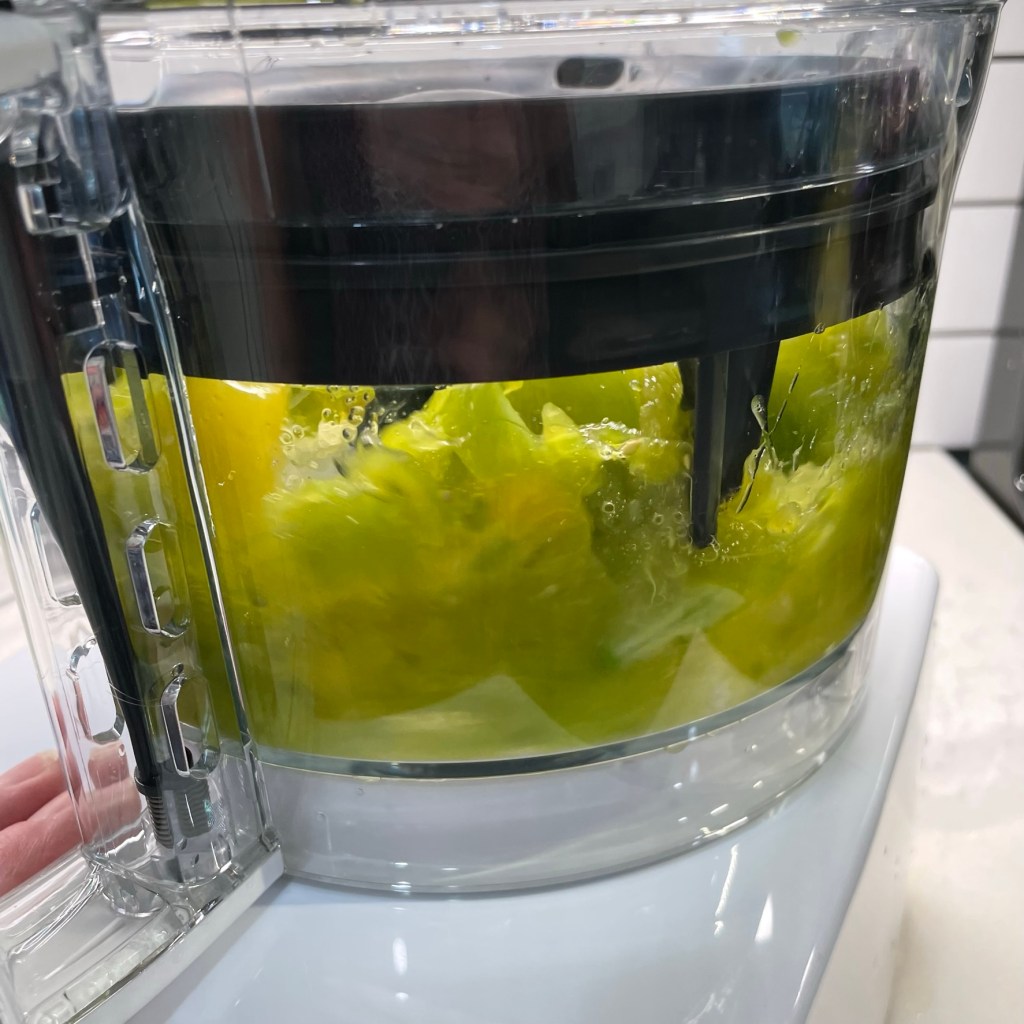
I repeated the process with the larger, yellow tomatoes, which I took time to de-seed first (I kept the seeds for another purpose). I held back the flesh of about half a yellow tomato to use later for garnish, and the rest went into the large bowl of my food processor with the little green tomatoes. A few of them had tougher stems, which I cut off, but most of them were tender enough to toss into the mix.
I haven’t shared much about my processor yet, as I’m still learning all the bells and whistles, but I promise I’ll give it a proper introduction soon. For now, I’ll say that it is quite large (14-cup capacity) and it has a cool “Blendermix” ring that is designed to keep the bowl contents in check when you puree ingredients. I love this because it eliminates the need to stop and scrape down the bowl during mixing. Less work for me is never a bad thing!
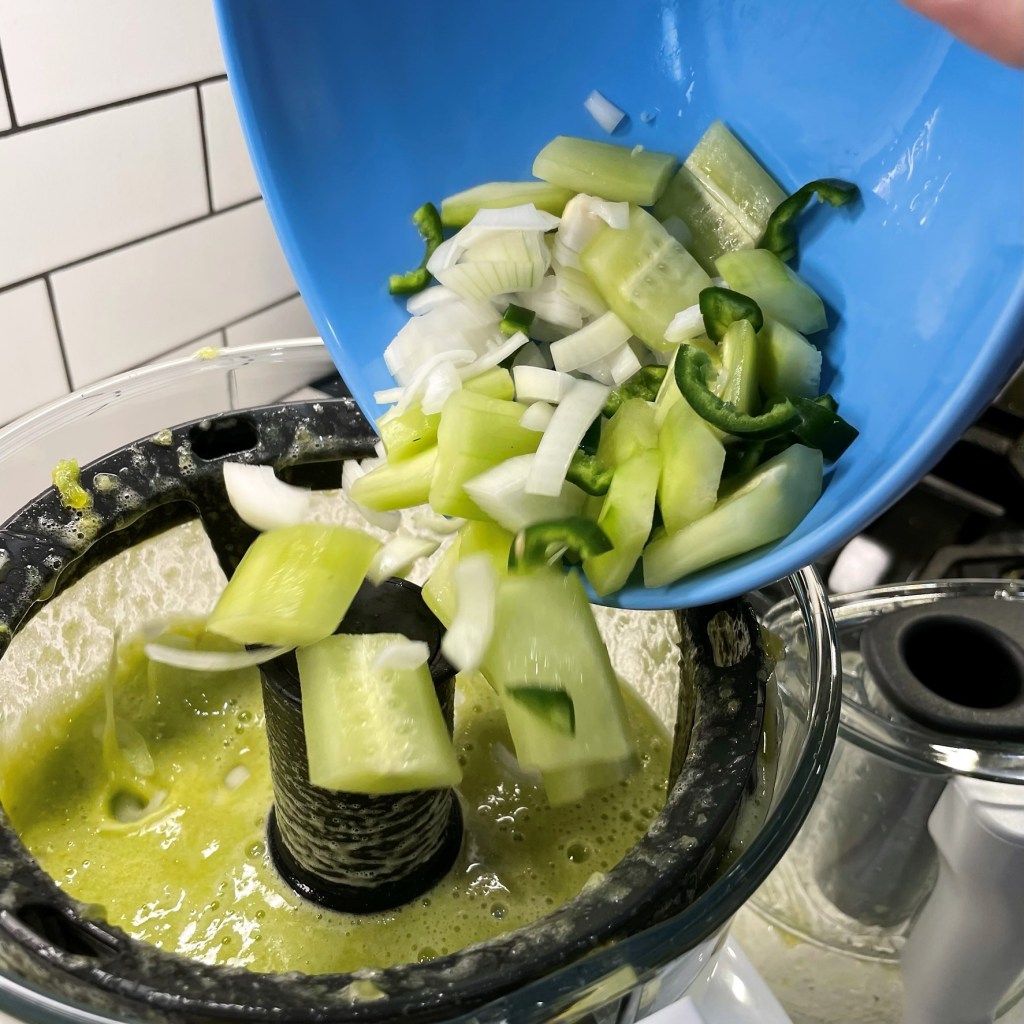
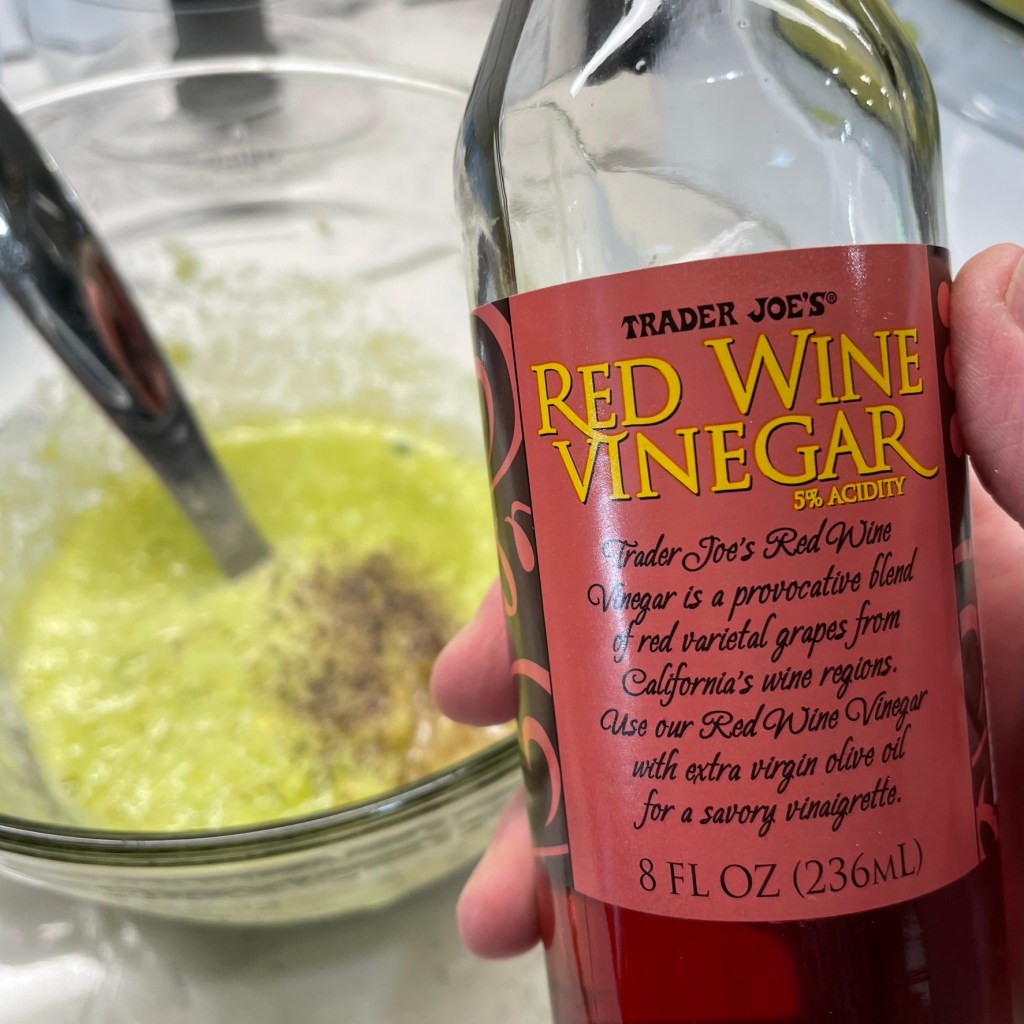
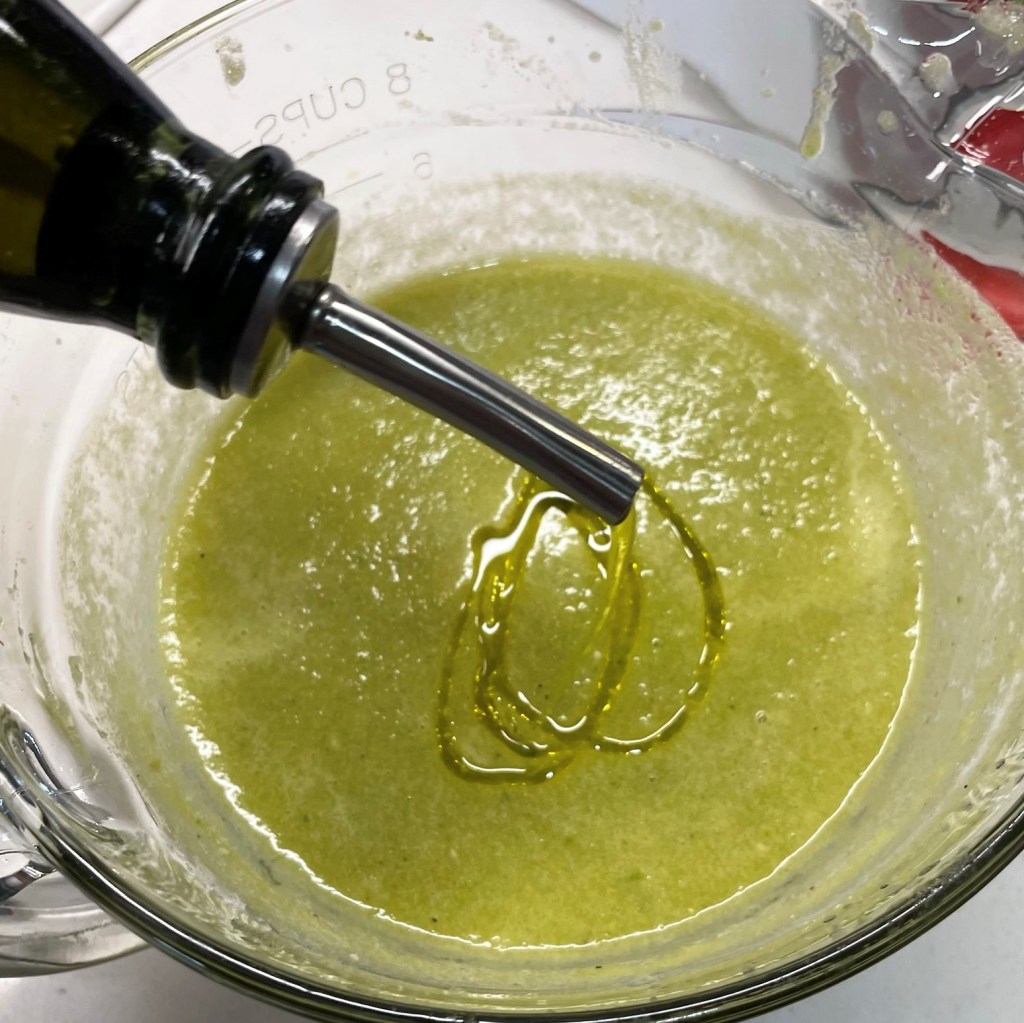
When I was satisfied with the smoothness of the tomatoes, I tossed in most of a peeled and seeded, cut-up cucumber (I reserved part of it for a topping), a chopped spring onion and about half of a chopped jalapeno. If you like heat, you can leave the seeds in the jalapeno for a bigger bite. I stripped them out to accommodate guests who may not enjoy heat as much. It’s always easier to add spice than to take it away! Depending on how much texture you want in your gazpacho, you could either pulse in these extra goodies or puree the dickens out of them. I went with plan B and whizzed it up nice and smooth, then transferred the soup to a pitcher bowl and stirred in a splash of red wine vinegar and a quick swirl of good, extra virgin olive oil (Spanish, of course).
Gazpacho is best when it has had some time to “relax” in the refrigerator, so at that point, I covered the pitcher bowl and chilled it overnight. Remember the yellow tomato I set aside earlier, and the last bit of cucumber that didn’t get pureed? My intention was to use them as a garnish/topper on the gazpacho at serving time, so I sprinkled them with salt and combined them in a small bowl that also went into the refrigerator. A little bit of texture on top of the gazpacho would add visual interest and something to tantalize the taste buds on those first few bites.
Even the yellow tomato was so juicy! I reserved the seeds and excess juice for another purpose.
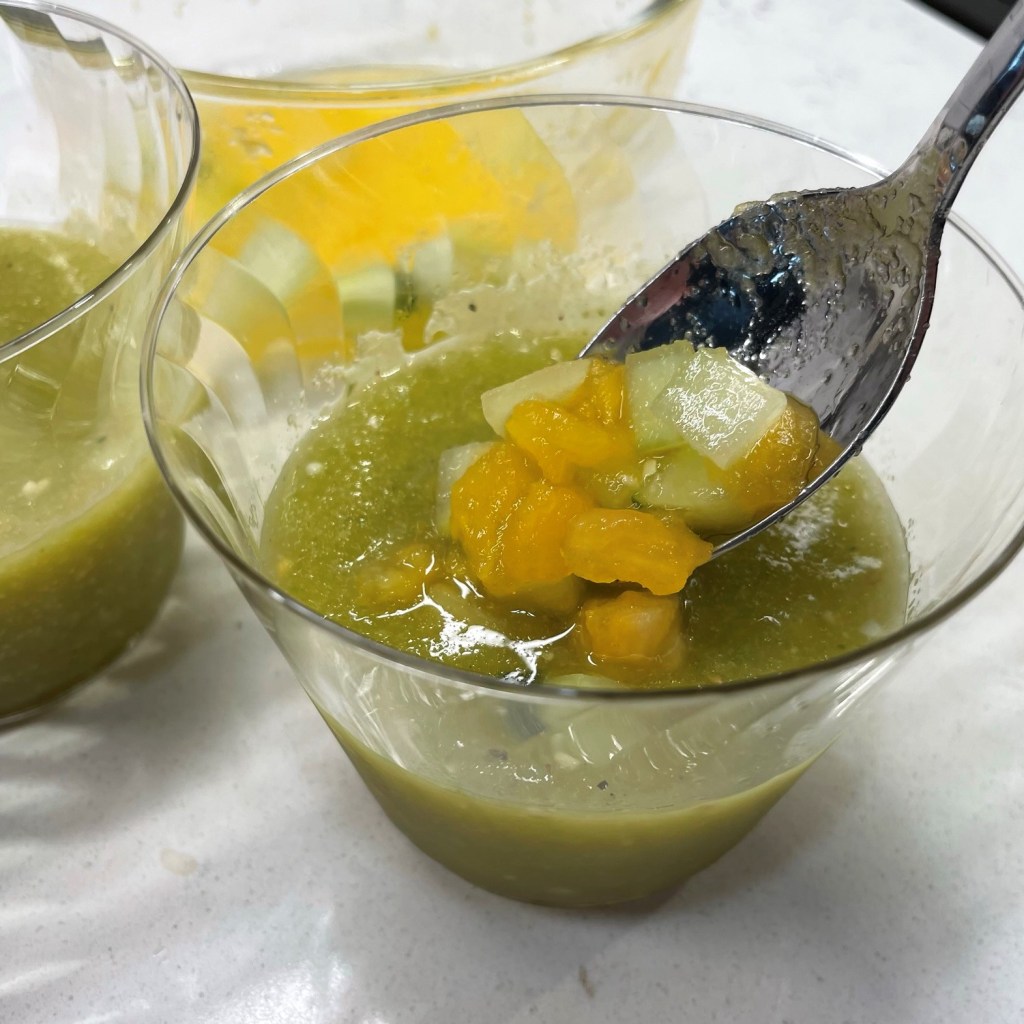
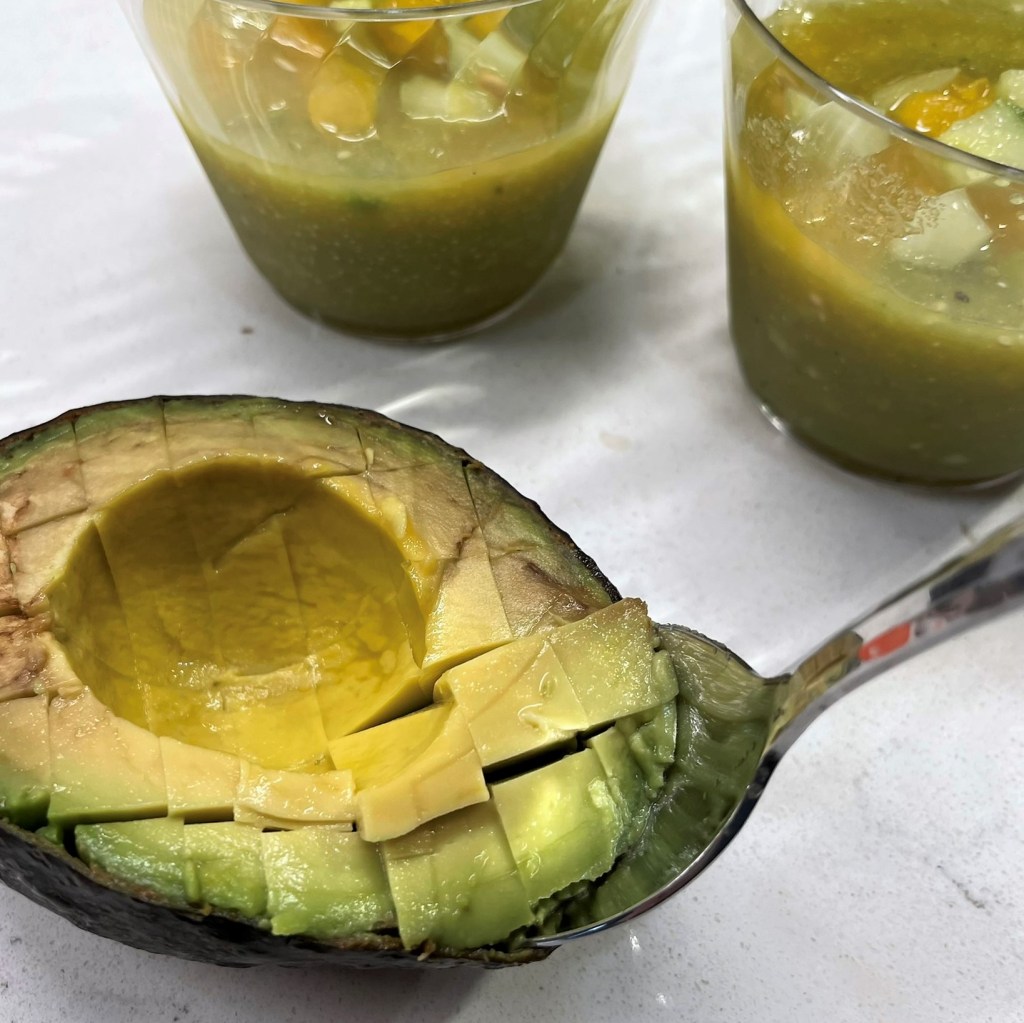
To serve the gazpacho, divvy it up into cute little cups or glasses. We did this an hour or so ahead of our friends’ arrival to save time and last-minute fussing, then tucked them back into the fridge. Top each cup with a few cubes of the reserved tomato-cucumber mixture, and a few cubes of fresh avocado. If you wish to garnish with the roasted shrimp, check out my previous post for Bloody Mary Shrimp Cocktail—the process was the same, but for this gazpacho recipe, I tossed the shrimp with a little bit of salt, garlic powder and sweet Spanish paprika.
Add the avocado topping immediately before serving, to keep its fresh color.
This green gazpacho was a perfect starter for the summer meal to come from the grill. It was light, flavorful and very refreshing, and though it was a simple course—from its short list of ingredients to its ease of preparation—everyone loved it so much, they were still talking about it as we hugged our goodbyes.
This easy green gazpacho can be made ahead in half an hour and is terrific as a starter course for a summer meal off the grill! This recipe requires a food processor, or it can be made in a blender, though you may need to process the tomatoes in batches.
Ingredients
2 dry pints of ripe baby tomatoes (green or otherwise)
3 smallish yellow tomatoes (one will be reserved to chop for topping gazpacho)
1 spring onion or small sweet onion, rough chopped
1 large cucumber, peeled and quartered with seeds removed (reserve a chunk of this for topping)
1/2 medium jalapeno, rough chopped (use the seeds if you like it hot)
Kosher salt and freshly ground black pepper
1 Tbsp. red wine vinegar
1 Tbsp. good quality, extra virgin olive oil (preferably a Spanish, fruity variety)
1/2 ripe avocado, cubed (this will be a garnish at serving time; do not add it to the blended gazpacho)
Roasted paprika-dusted shrimp, optional for garnish (cooking instructions included in note below)
Directions
Bring a pot of water to boil and fill a separate, large bowl with ice water.
Wash all tomatoes and use a paring knife to cut a small “x” on the bottom of each.
Carefully lower the tomatoes (a few at a time) into boiling water, and turn them a few times until the peels begin to loosen. This will only take about one minute, unless the tomatoes are less ripe. Scoop them out and immediately transfer them to the ice water bowl, taking care to fully submerge them. Repeat until all tomatoes have been blanched and shocked.
Drain the tomatoes of excess water and transfer them to the bowl of a food processor, fitted with the large blade. Season with salt and pepper. Pulse a few times to break up the large pieces, and then process continuously until the tomatoes are pureed to a smooth consistency.
Add the cut-up onion, cucumber, and jalapeno to the processor. Pulse, then puree continuously to desired consistency.
Stir in the vinegar and olive oil. Adjust salt and pepper to taste. Transfer gazpacho to a pitcher bowl and refrigerate several hours or overnight.
Dice the reserved yellow tomato and cucumber into bite-sized bits. Sprinkle with salt and pepper. Combine these in a bowl and refrigerate to use as a garnish on the soup.
To serve, divide the gazpacho into cups and top with reserved tomato and cuke bits, plus roasted and chilled paprika shrimp (below).
These paprika-spiced shrimp are very simple to make, and you may prep these up to a day ahead. Be sure to give them enough time to chill completely in the fridge before serving time.
Ingredients
12 to 16 shrimp (enough for two shrimp per gazpacho serving)
1 Tbsp. extra virgin olive oil
1 tsp. Spanish sweet paprika
1/2 tsp. garlic powder
1/2 tsp. kosher salt
several twists freshly ground black pepper
Directions
Preheat oven to 400 F, and line a baking sheet with parchment paper.
Peel and de-vein shrimp, keeping tails intact for presentation. Pat dry with paper towels.
Add shrimp to a zip-top freezer bag. Drizzle in olive oil and add seasonings. Seal and shake to evenly coat the shrimp with seasonings.
Arrange shrimp on baking sheet. Roast for about 6 minutes, or until shrimp are just barely opaque. Remove from oven and arrange in one layer on a plate. Place the plate directly into the fridge or freezer for a few minutes to stop the cooking process. Transfer to a covered container and keep chilled until ready to serve.
I’ve been trying to “lean in” to some positive lifestyle changes, to better care for my body after the less-than-ideal results of my recent bloodwork. What I have realized is that I have no problem adjusting my cooking to suit the health and dietary concerns of others, so I have the knowledge and ability to do it for myself. But taking care of me is something I have never been as good at, so this has been an important exercise for many reasons. The biggest bummer about this recent “watch what you eat” recommendation is, well, the timing.
The doctor meant no harm, I know, but his admonition to “cut back on fat intake” is not exactly what I want to be thinking about on the first day of National Ice Cream Month! As much I’d like to put my fingers in my ears and sing, “la-la-la-la-la,” I realize that doing so will only come back to bite me. If I put off getting healthier until August, I would only find an excuse to put it off until September, and so on. I gained a little more than 15 pounds since the COVID pandemic began, and that is not OK. My cholesterol numbers are “mildly elevated” for the first time ever, and to get a handle on that quickly, I am taking a new approach wherever I can, starting right here with my favorite summer treat.
My goal with this ice cream was to whittle back the fat content without losing all the creamy, indulgent texture that makes ice cream so enjoyable. I remember back in the day, my grandmother occasionally had something called “ice milk” in her freezer, and it was boring at best. A treat is only a treat if it satisfies—what I wanted was the best of both worlds, and friends, I think I have cracked the code.
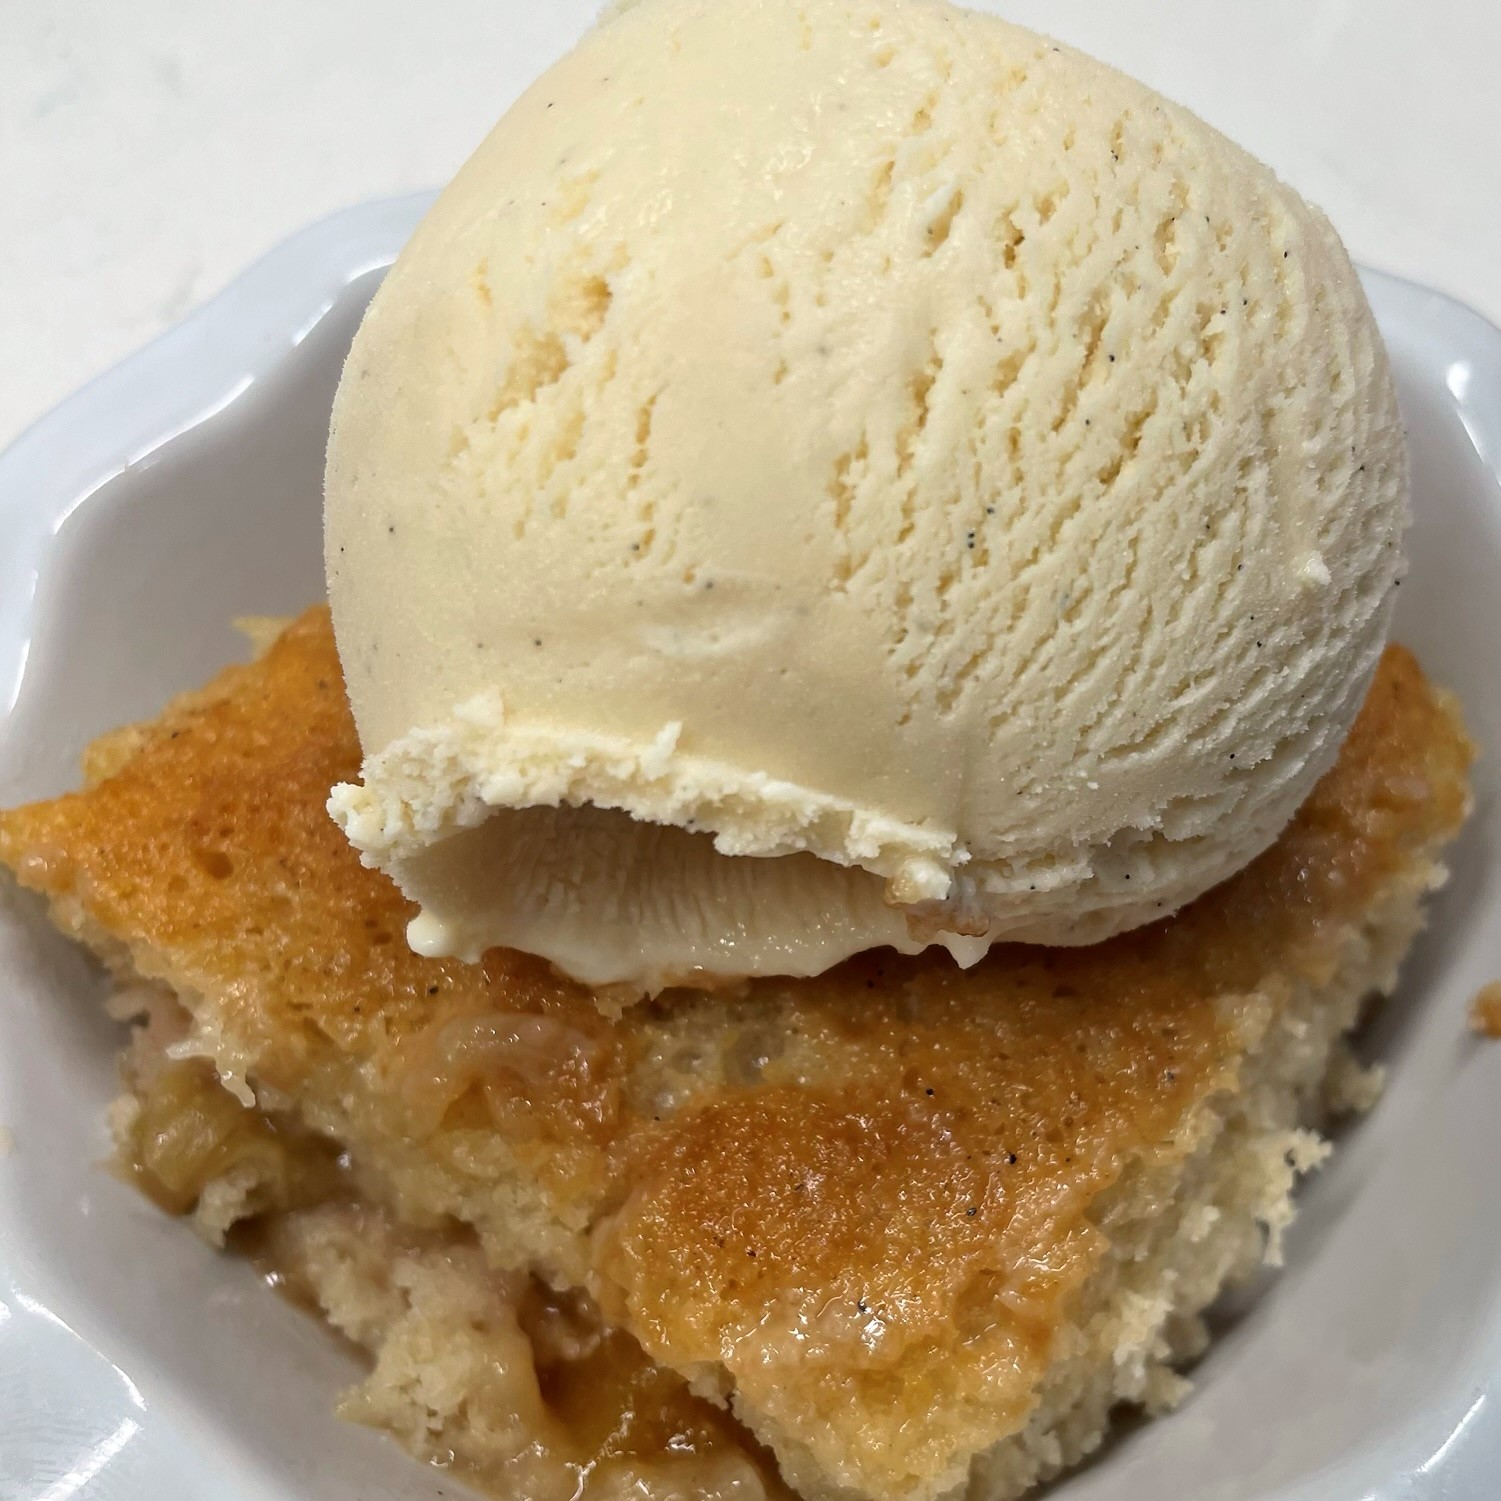
Serve this luscious ice cream by itself, or as a creamy pairing to cobbler, pie or cake!
I’m not going to claim that this ice cream is health food—it isn’t. But it does have lower overall fat than my usual sweetened condensed milk base and it was so easy to make, with only a few ingredients and an ice cream machine. This condensed milk style of ice cream was already on the fast track to becoming my go-to base recipe—it requires no eggs or cooking, after all—but now that I know that it can be lightened up and still be this delicious? Game over, and everyone wins!
A few easy swaps from my usual no-egg ice cream base, and it turned out terrific!
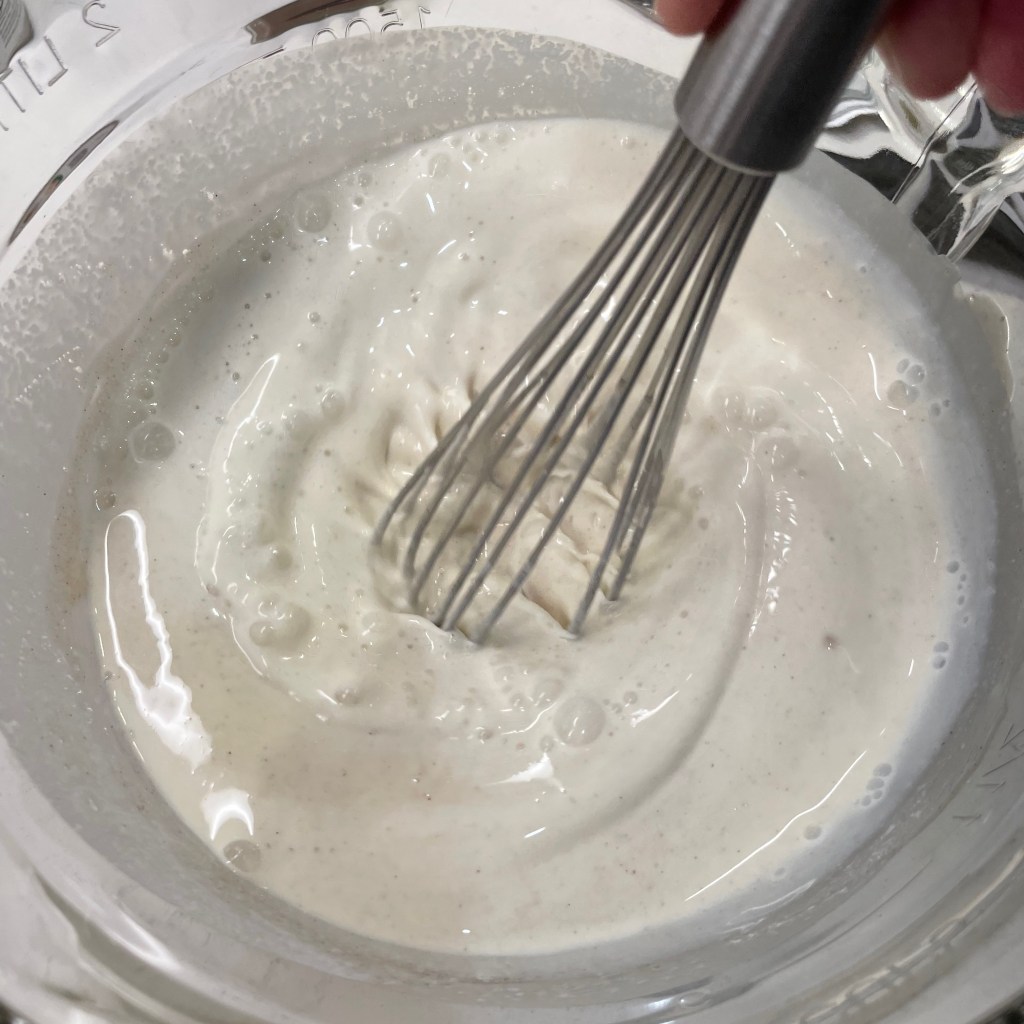
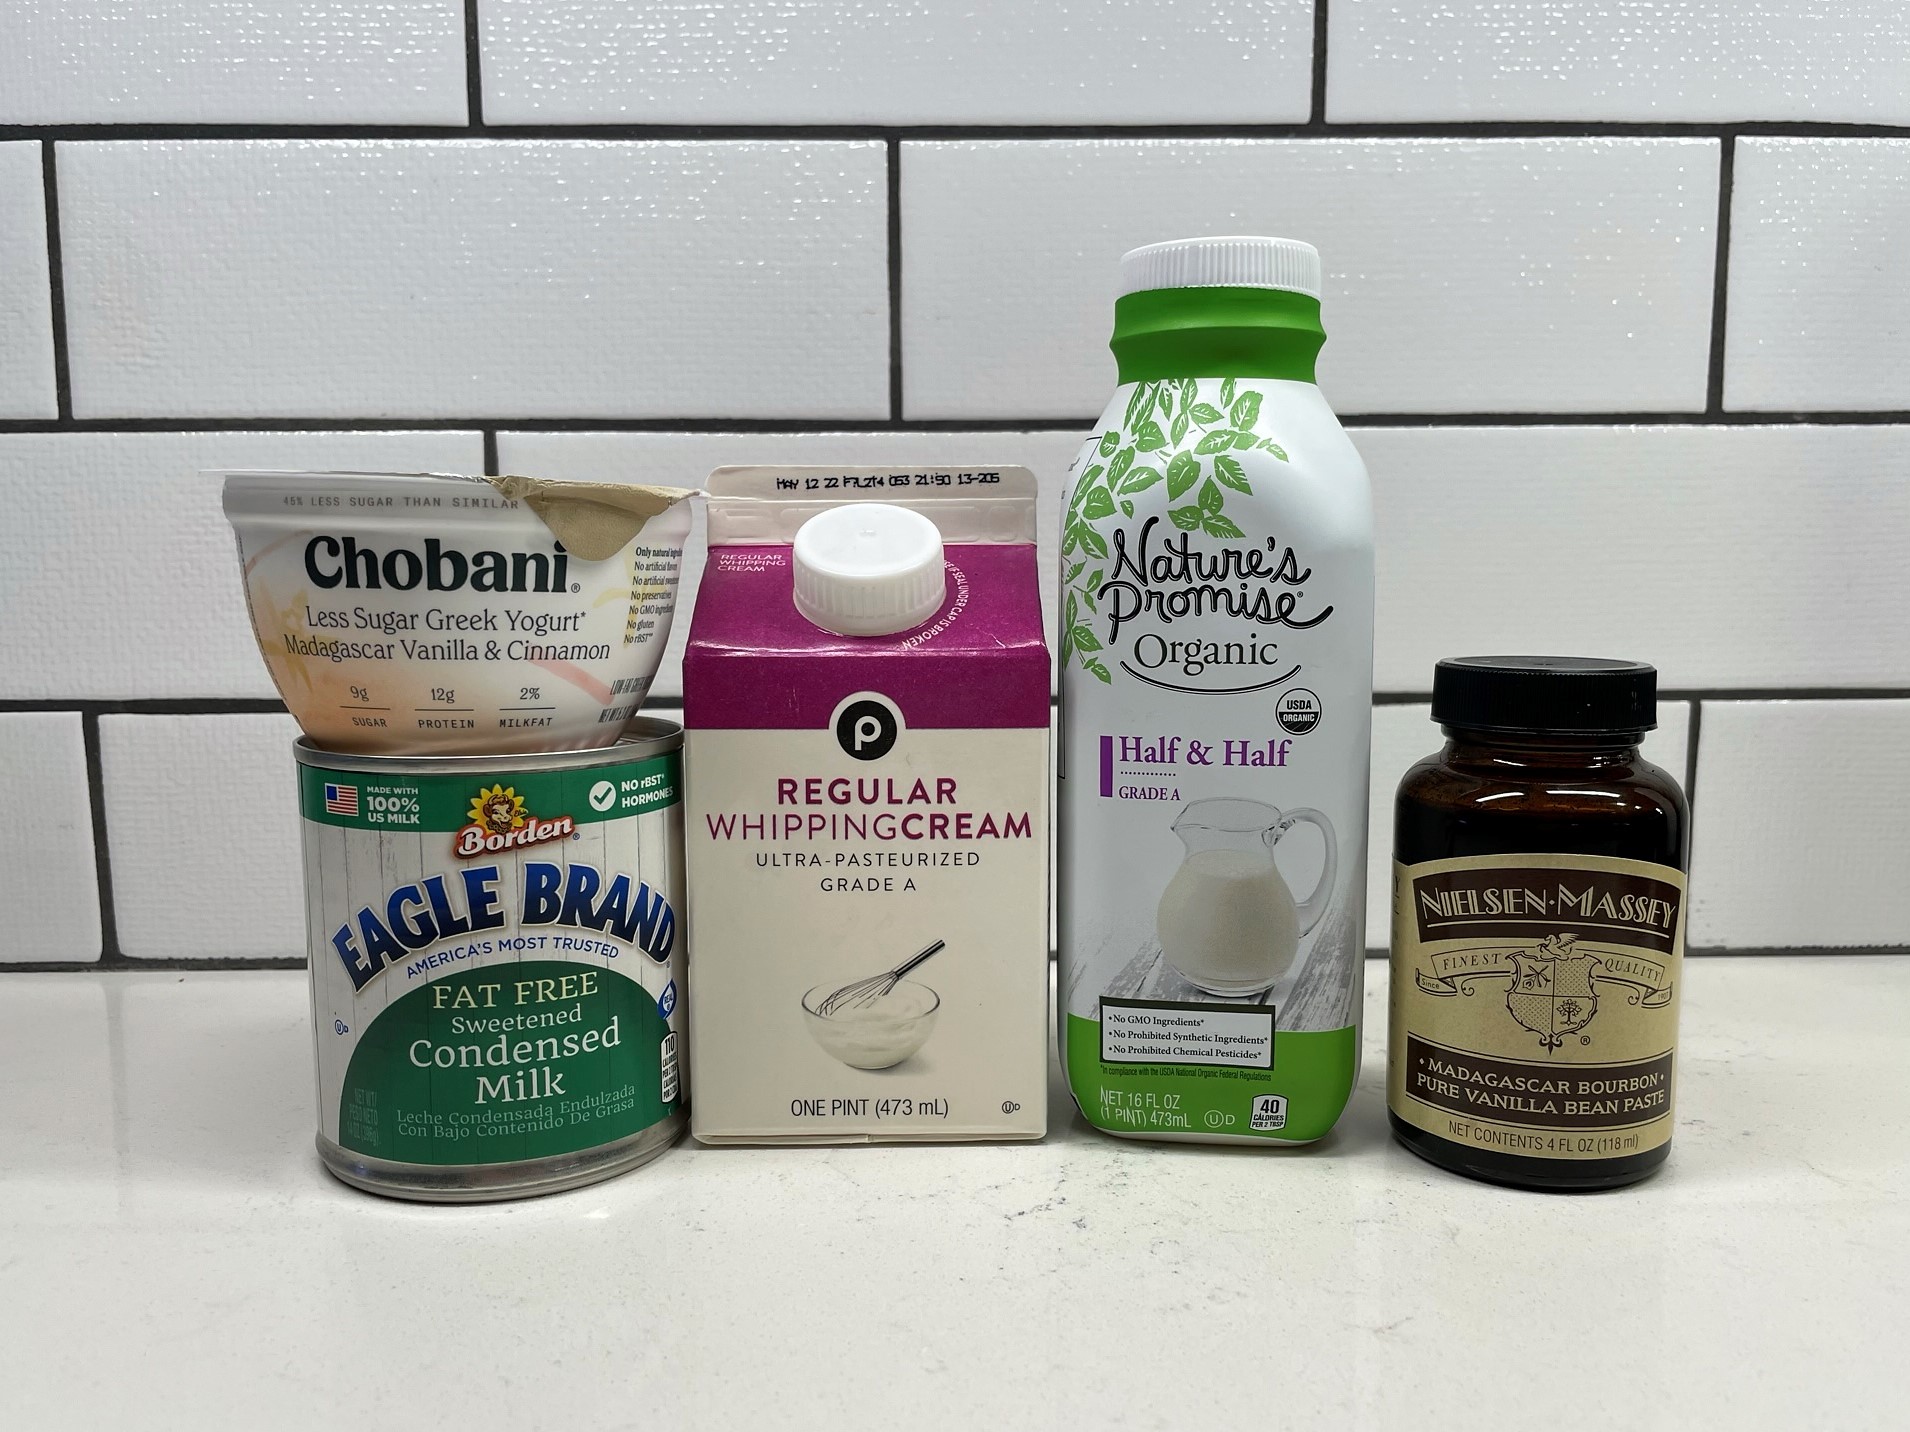
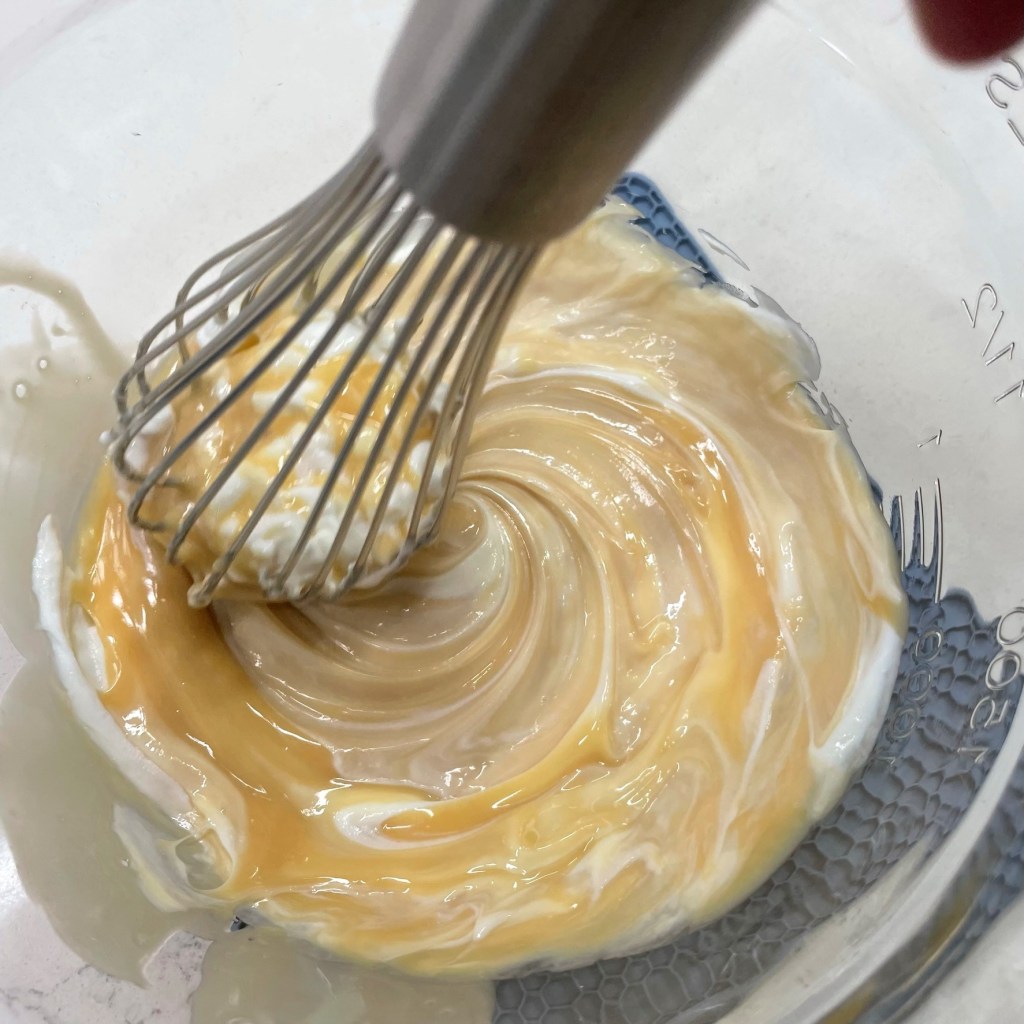
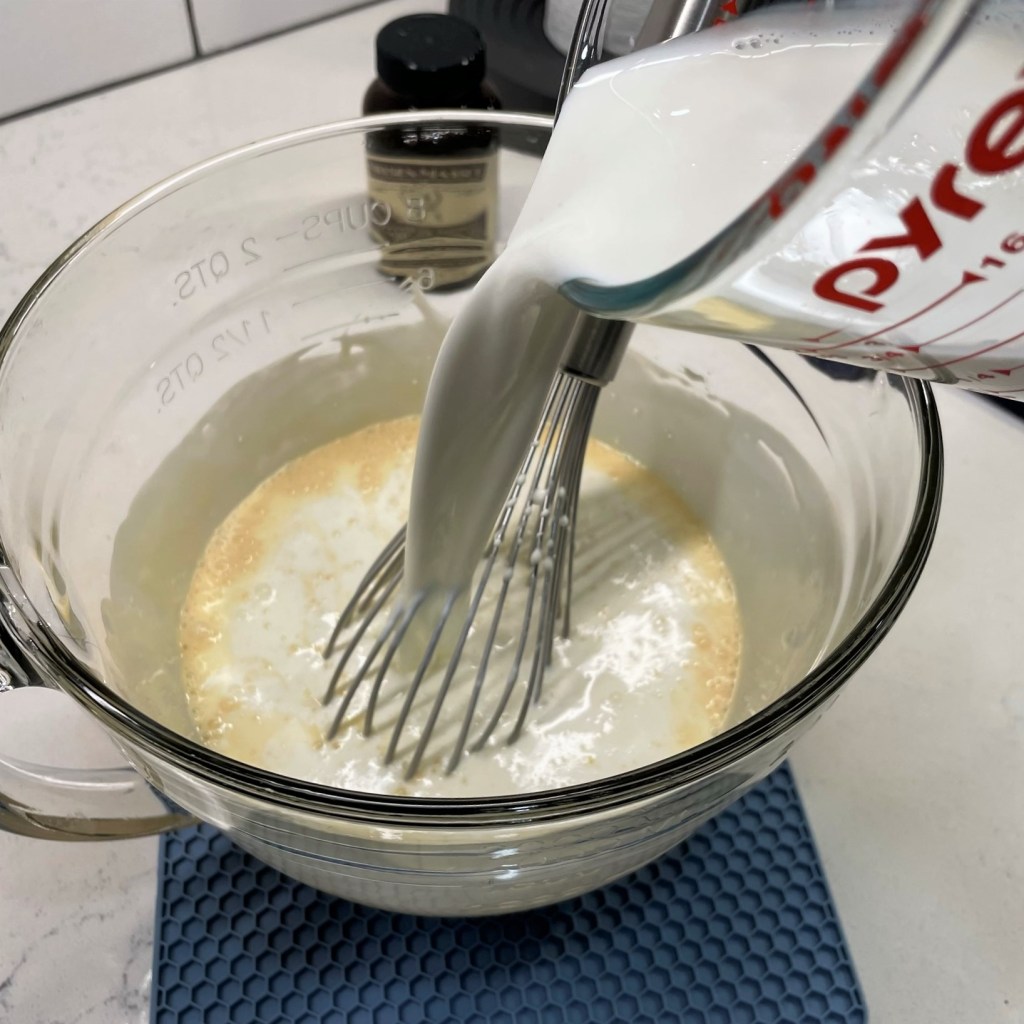
The first swap I made was the condensed milk itself—I opted for the fat-free version of this shortcut ingredient, figuring that the thick, syrupy texture would hold its own in the absence of the milkfat, and I was right. For extra body, I blended in a small container of Greek yogurt, which only added 3 grams of fat. Half and half was swapped in for the usual cup of heavy cream, which saved more than 50 grams of fat in the whole batch. And a half-cup of light whipping cream, which is decadent but still lighter than heavy cream, contributed a bit of silky richness. Here’s how easy it was to make:
Keep the whisk handy, to blend after each ingredient is added.
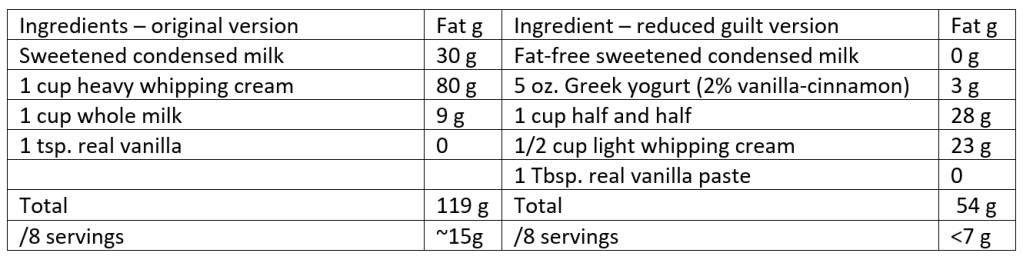
In case you’re wondering—no, your eyes are not fooling you; the condensed milk was more beige than cream-colored. I did a little research into this, and it turns out that canned milk can change to a tan color if it has been stored in warmer temperatures, but it isn’t a problem unless the can is bulging, or the milk has visible signs of spoilage (I checked the Eagle brand website to be sure). Mine was fine, and I actually appreciated the color, which lent a visual richness to my reduced-guilt ice cream. It was almost the same color as if I had used a high-fat custard base recipe. Were the substitutions enough to make a measurable difference in the fat content? I wasn’t sure yet, and frankly didn’t want to know the impact of my choices until after I tasted it.
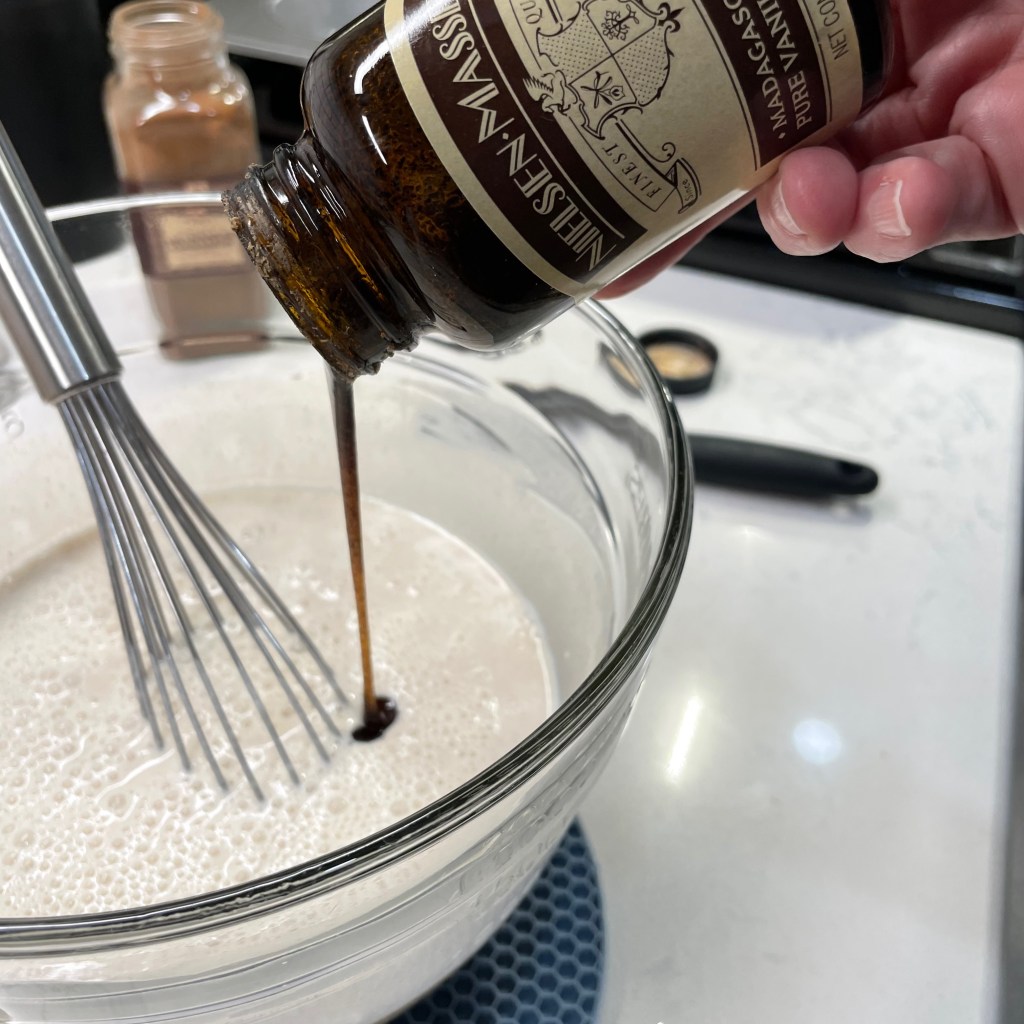
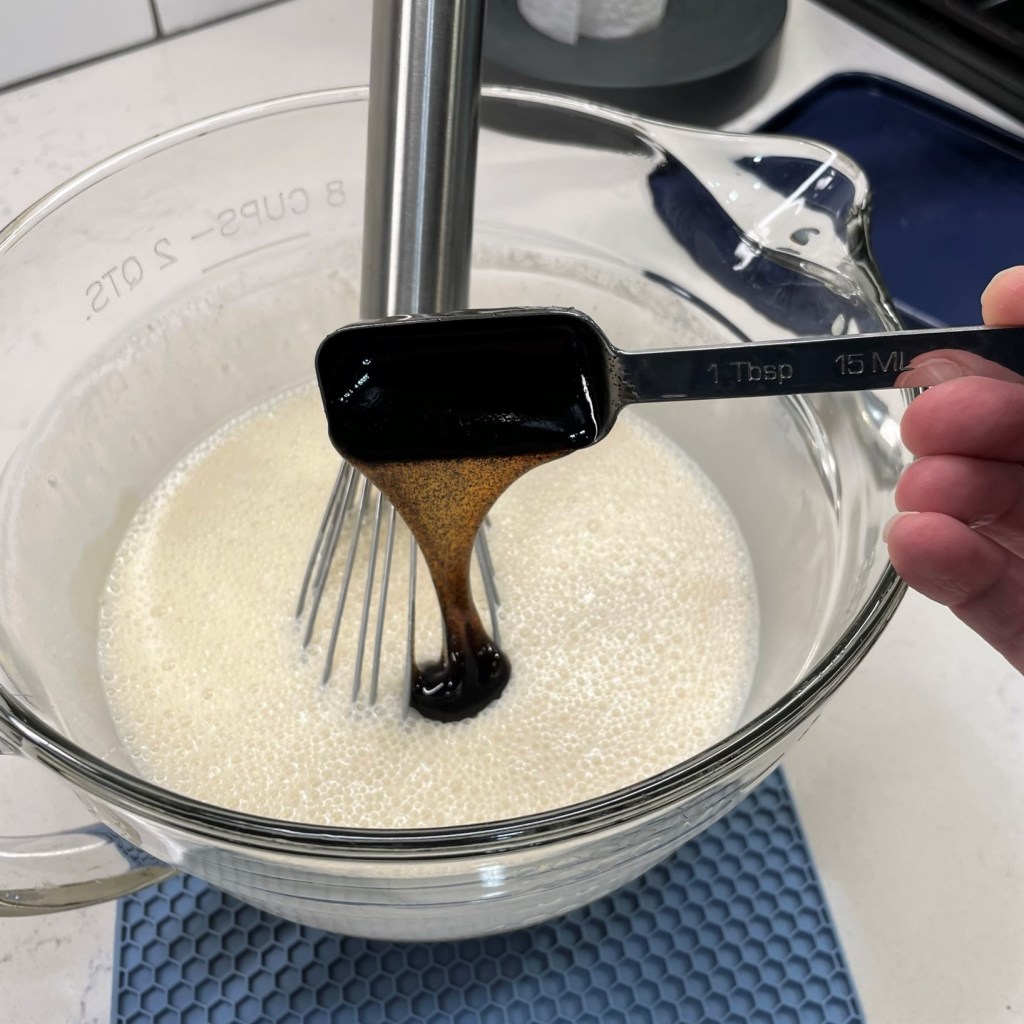
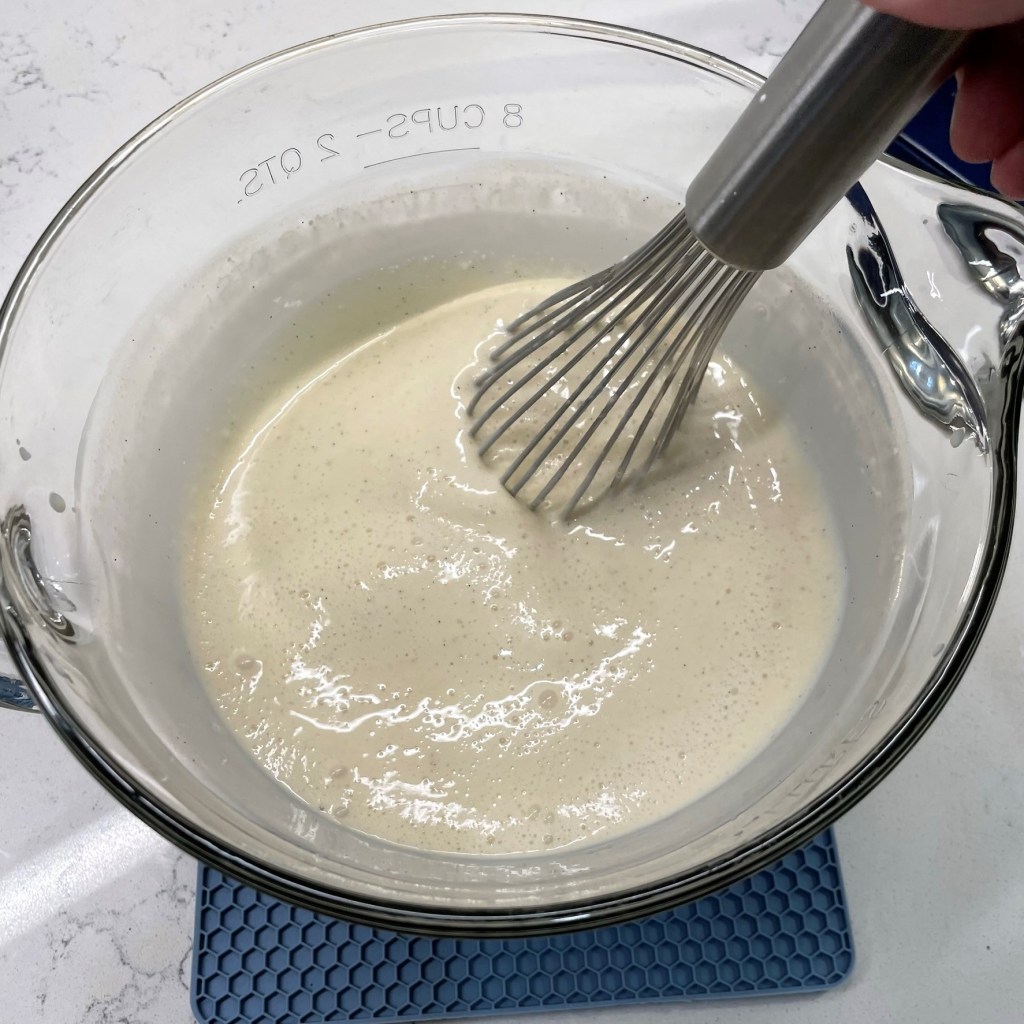
A generous tablespoon of real vanilla paste gave my ice cream the deep homemade flavor I crave. When my base was all mixed together (which only took FOUR minutes!), I covered it and sent it to the fridge to be completely chilled. No matter what ingredients you put into an ice cream, you want it to be really cold before you add it to an ice cream machine, churning it up into a frosty treat.
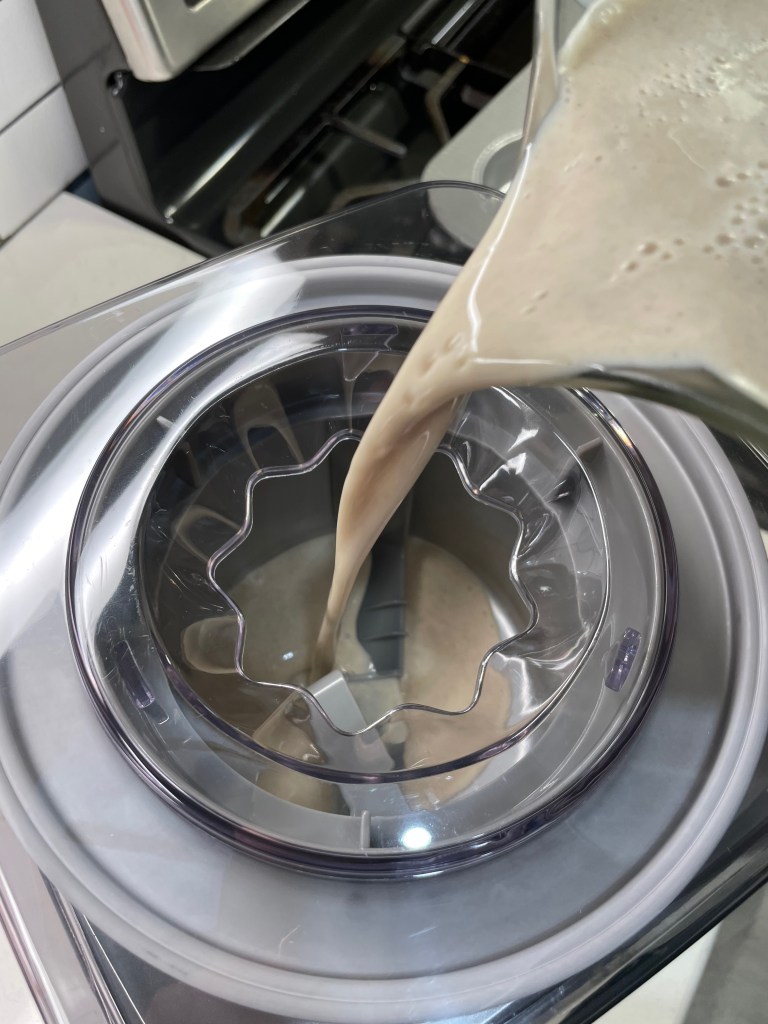
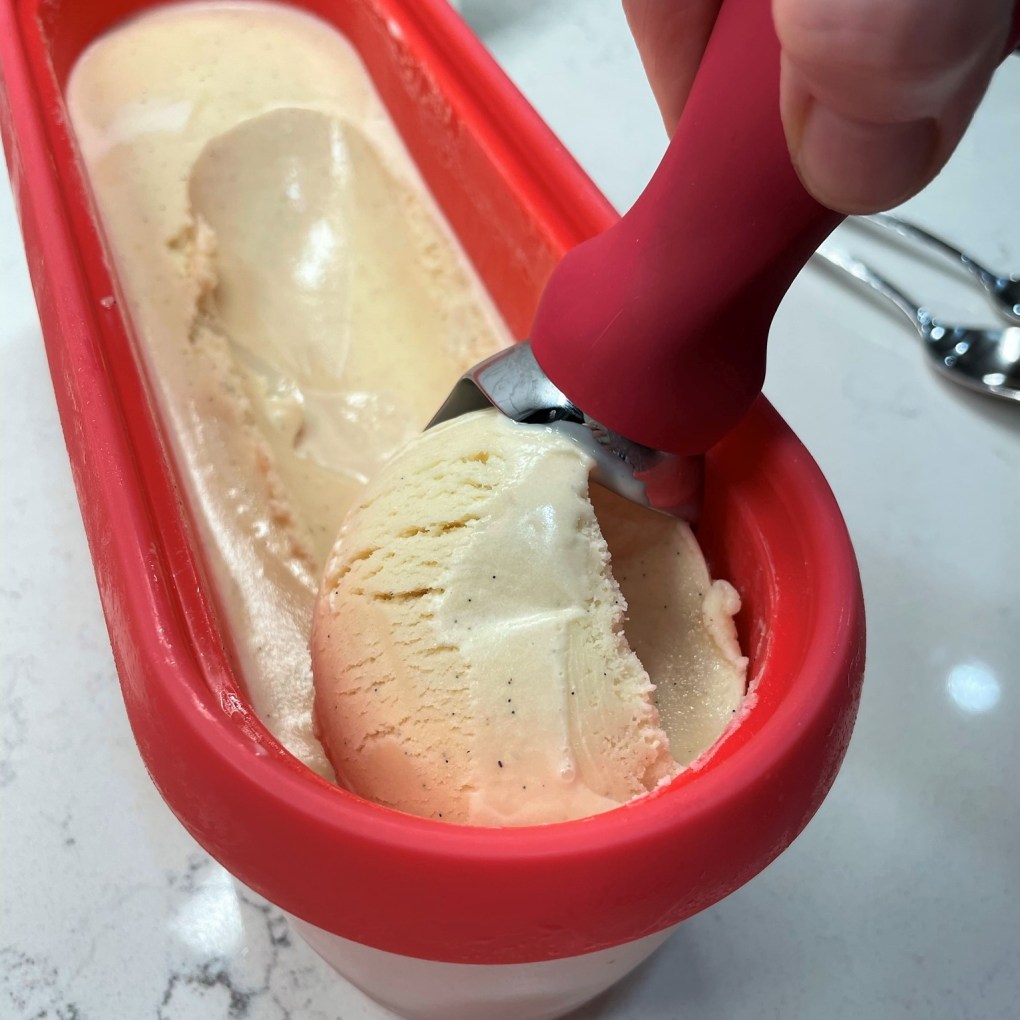
The recipe finished as easily as it started. I poured it into my ice cream machine and churned for 25 minutes, then transferred it to an insulated container and held my breath, hoping that my substitutions would not sabotage my desire for a rich, creamy treat.
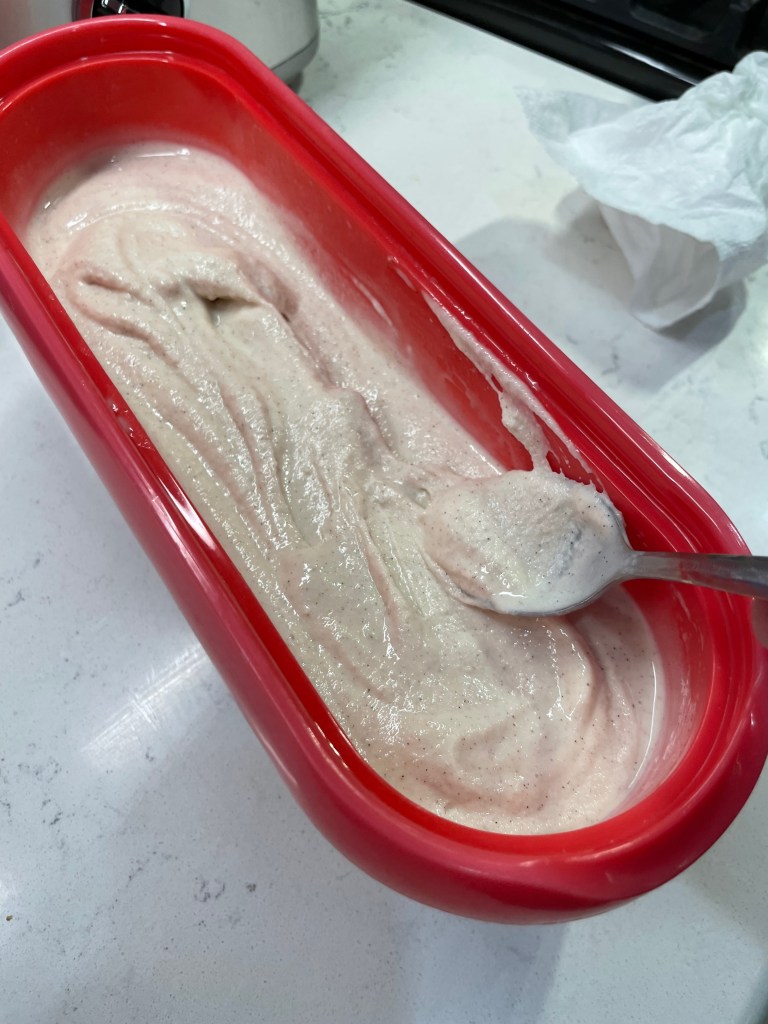
According to my calculations, and based on the actual product nutrition labels, this version of ice cream is almost exactly 50% lower in fat than the other, with less than 7 fat grams per serving!
Friends, it’s going to be a great summer! I’ll have more fun ice cream recipes to share during National Ice Cream Month.
A few simple ingredient swaps resulted in this creamy, indulgent ice cream that just happens to be half the fat of a regular condensed milk ice cream recipe.
Ingredients
14 oz. can fat-free sweetened condensed milk
5 oz. container Greek yogurt (2% works great)
1 cup half and half
1/2 cup light whipping cream
1 Tbsp. real vanilla paste (or 2 tsp. real vanilla extract)
Directions
In a large pitcher bowl, whisk together the sweetened condensed milk and Greek yogurt until evenly combined.
Stir in heavy cream and half and half, whisking to blend after each addition.
Stir in vanilla paste. Cover and chill the mixture for at least two hours.
Whisk mixture just before freezing, to reincorporate any ingredients that have settled. Freeze in ice cream machine according to manufacturer’s instructions.
Transfer to insulated container and place in freezer to firm up.
Because this ice cream is lower in fat than most, it’s best to consume it within 4 to 5 days. Longer storage results in a slightly icy texture.
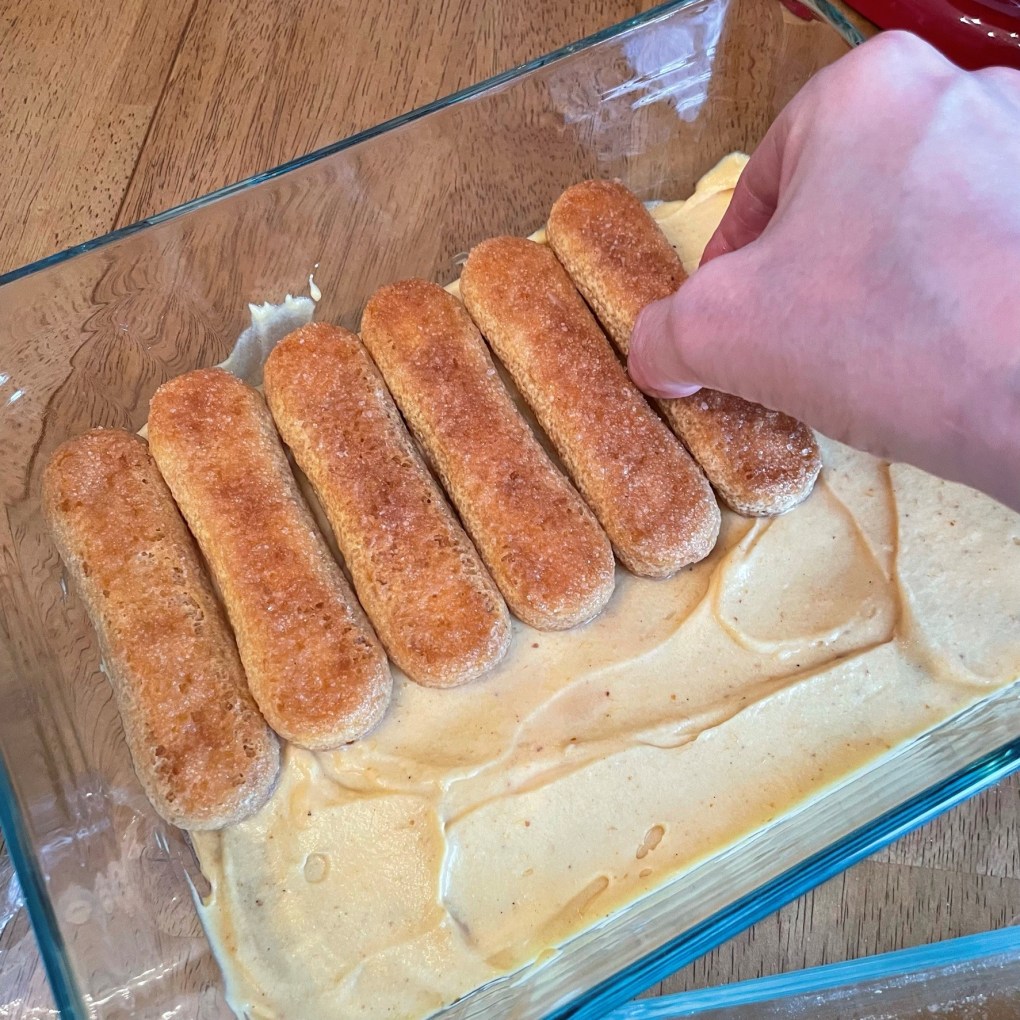
If I told you that you could serve up a pumpkin spice dessert for Thanksgiving that was creamy, indulgent, no-bake, no-cook and easy to prepare ahead with no special tools—well, you’d probably think I was lying or, at least, overpromising, right? But the proof is right there in the picture, and this tiramisu achieves all of that and then some.
As I surmised when I made the chocolate-cherry tiramisu at Valentine’s Day this year, the classic Italian dessert is basically a dressed-up version of an ice-box cake. Layers of sweetened mascarpone cream and espresso-soaked delicate ladyfingers are accented with a hint of rum or brandy, and dusted with pure cocoa for a chocolate-y finish. I am a huge fan of tiramisu, and I enjoyed it most recently in its traditional Italian style when my friend, Peg, and I traveled up to West Virginia and Ohio for the Fiesta Factory tent sale.
But I came home thinking, “why couldn’t I give this scrumptious dessert a little Thanksgiving twist?” And so I did. Note that I have made several substitutions from a typical tiramisu recipe:
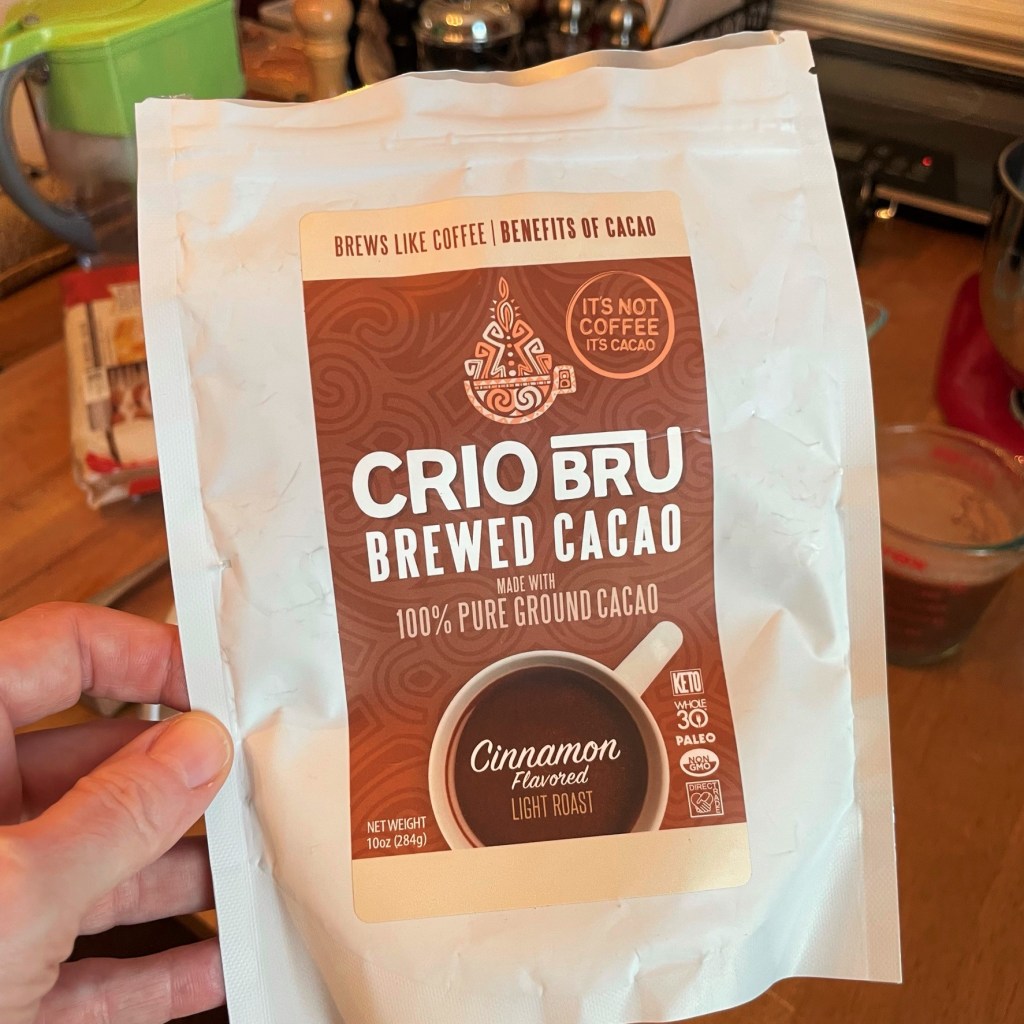
For the espresso, a brewed cacao beverage that’s flavored with cinnamon.
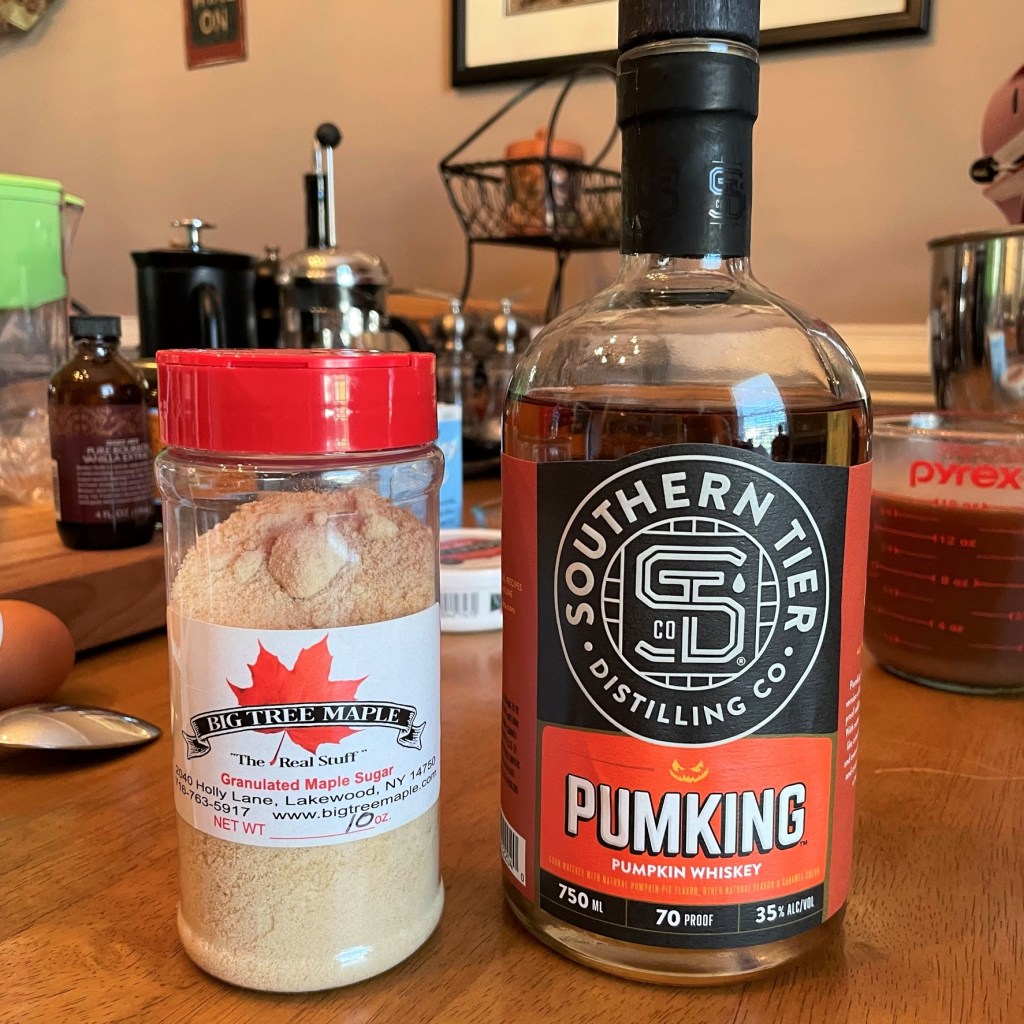
For the caster sugar, maple sugar, which tastes like autumn. For the rum, a pumpkin spiced whiskey, produced by Southern Tier Distilling Co. in Lakewood, N.Y.
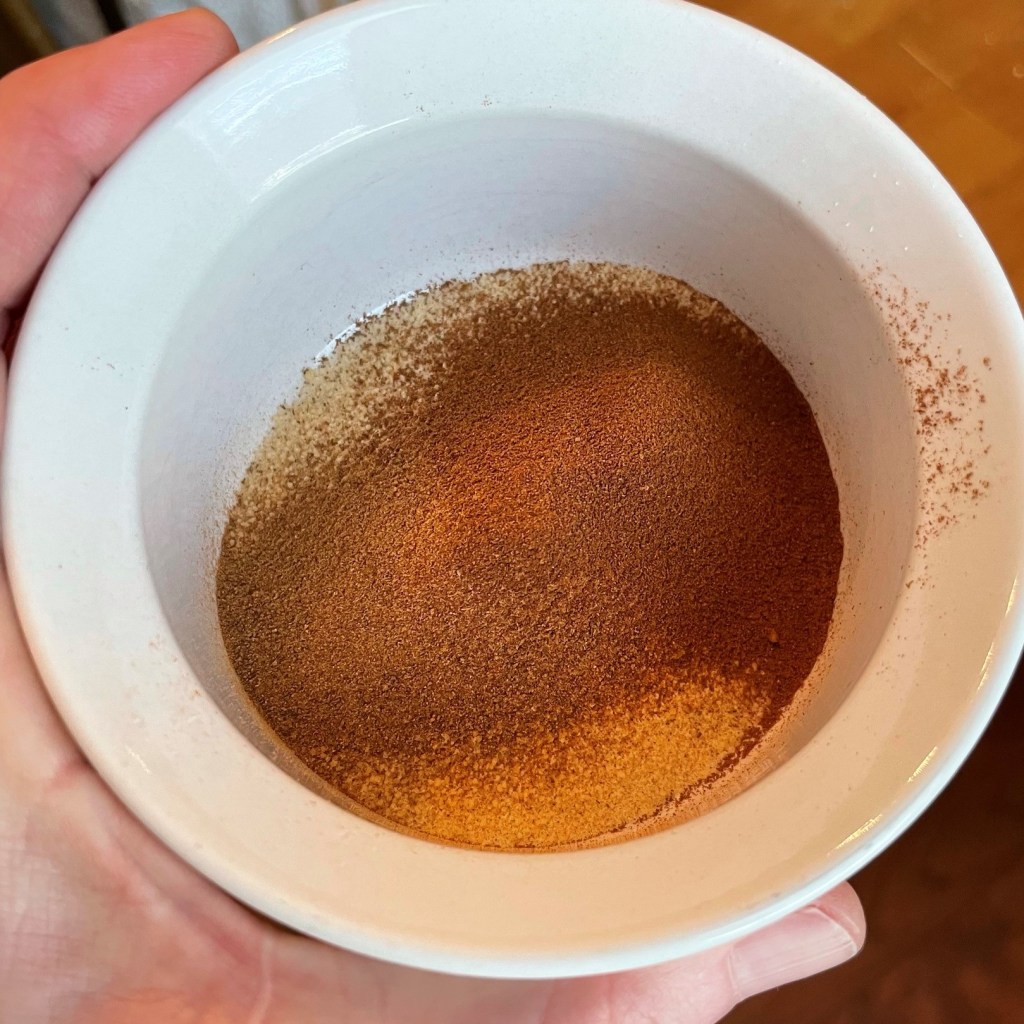
For the dusting cocoa, a blend of maple sugar, cinnamon and pumpkin pie spice.
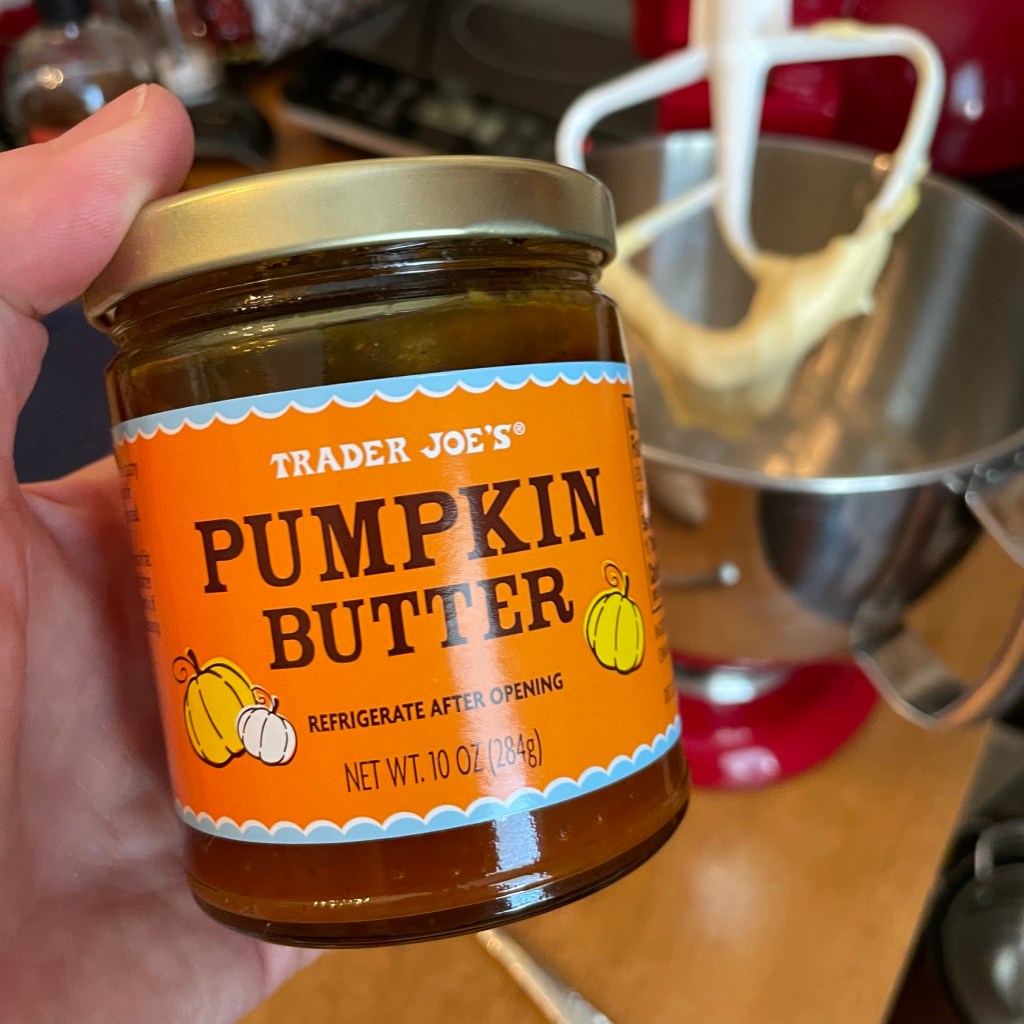
For an additional Thanksgiving twist, a bit of pumpkin butter, courtesy of Trader Joe’s.
The lighting in my dining room is the worst!
The recipe is made with raw egg yolks, so if you have health concerns about that, I’d encourage you to seek out an eggless or cooked egg recipe, or perhaps consider using pasteurized eggs. Also, planning ahead is more of a requirement than a convenience, as tiramisu improves after a 24-hour setup time. If you’re going to try the recipe for Thanksgiving, you might want to make it a couple of evenings ahead.
Ingredients (6 generous servings)
3 egg yolks, room temperature*
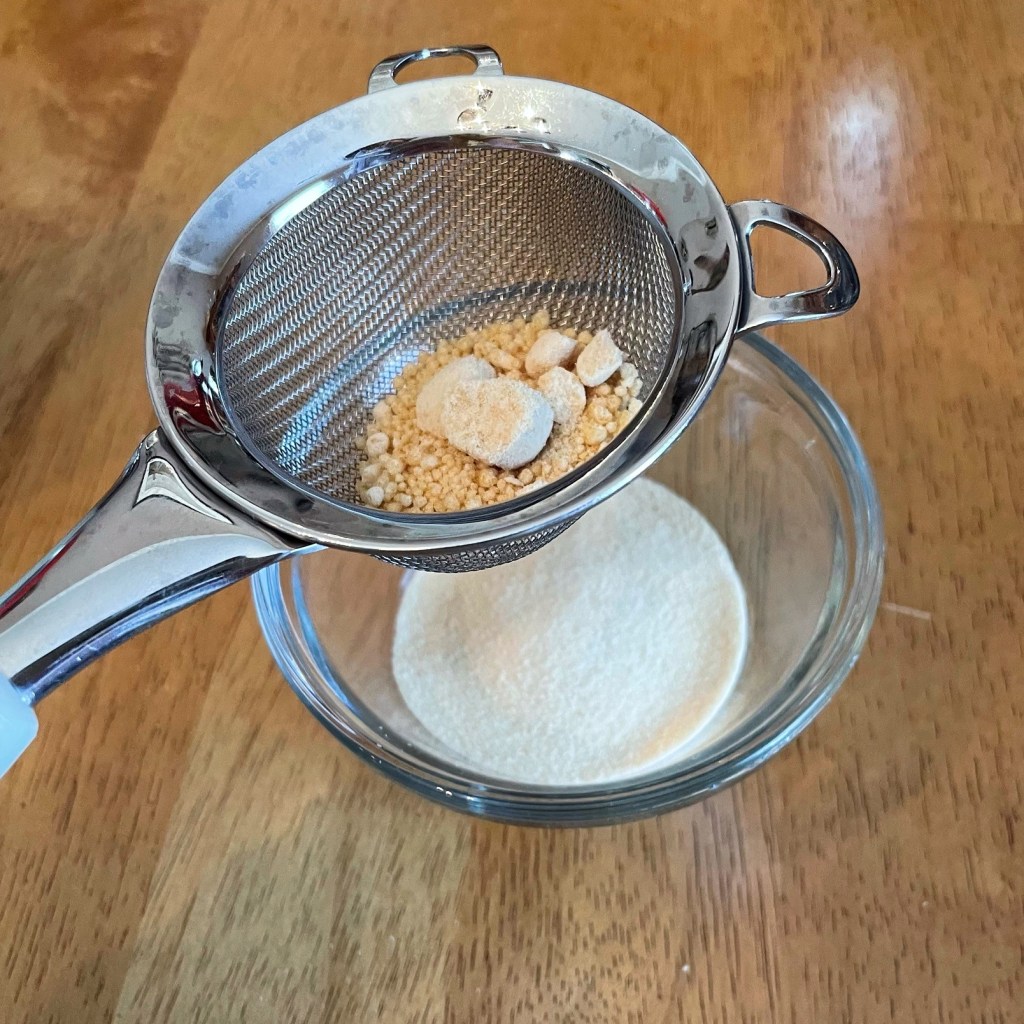
2 Tbsp. maple sugar (or use superfine if you can’t find maple)
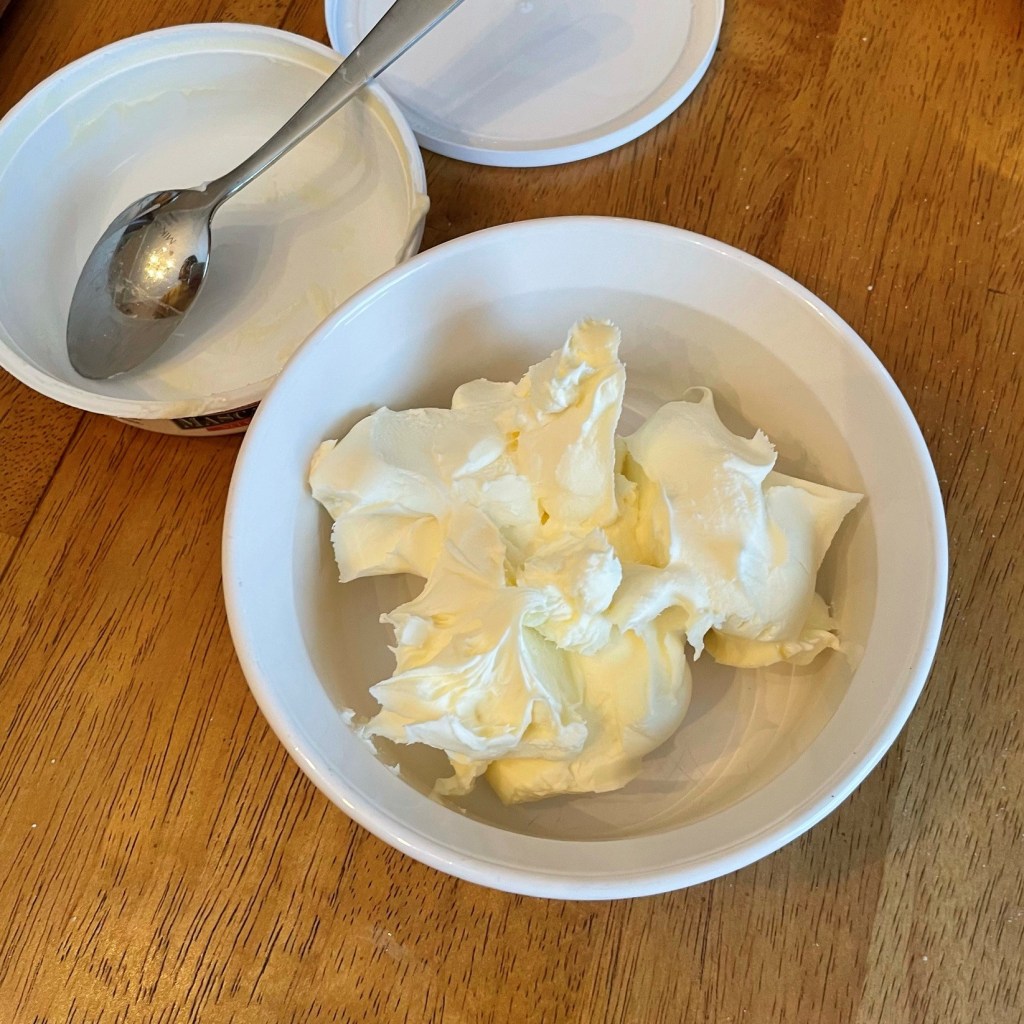
8 oz. tub mascarpone, room temperature
5 Tbsp. Trader Joe’s pumpkin butter*
1 tsp. real vanilla extract
4 Tbsp. Pumking whiskey, divided* (see notes)
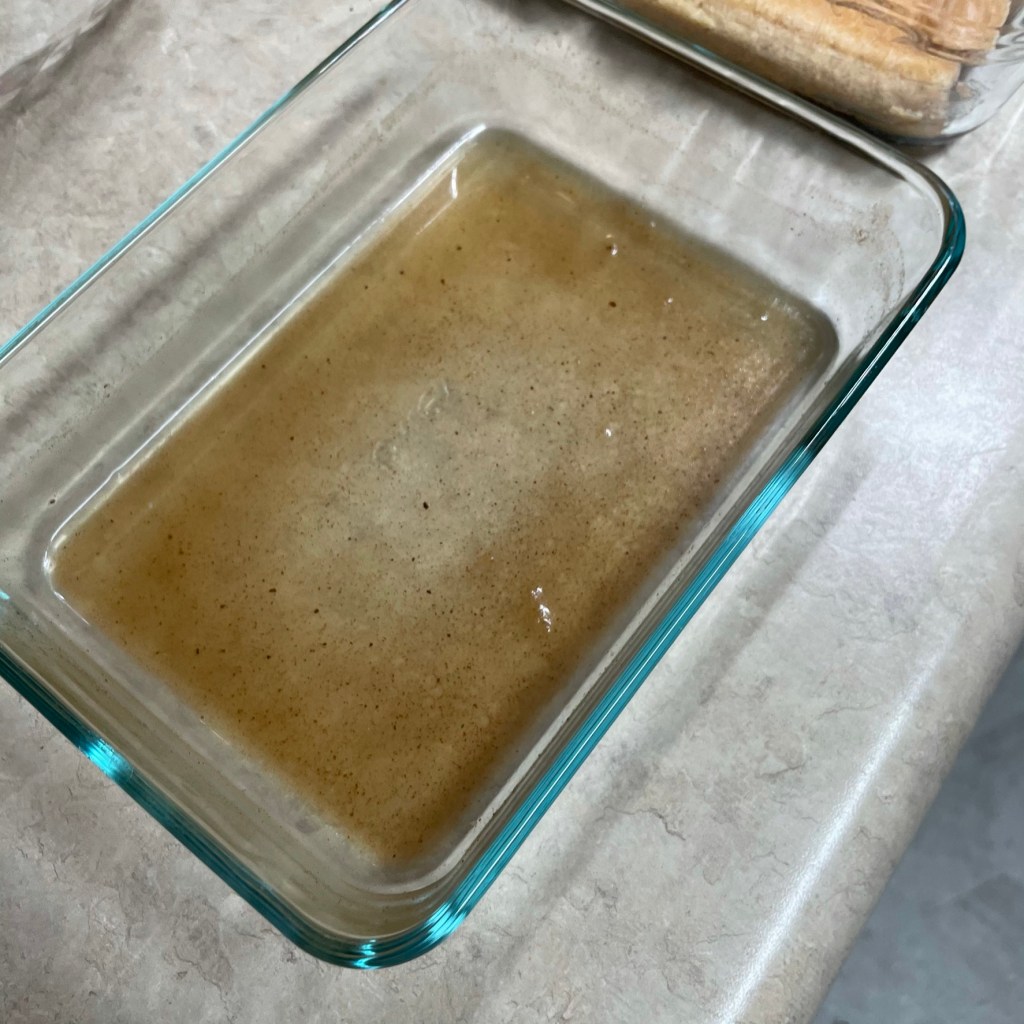
1 1/2 cups brewed light roast cacao with cinnamon*
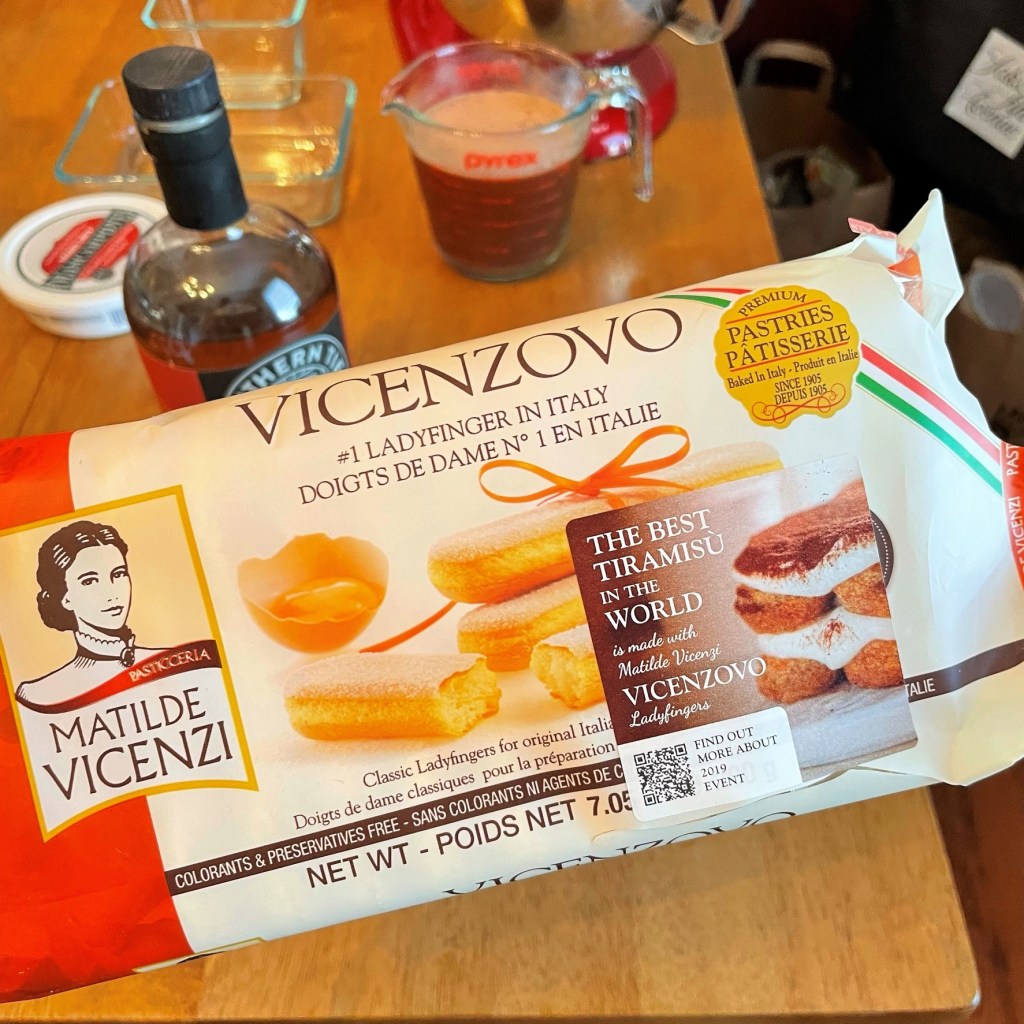
7 oz. package ladyfingers (this might be labeled as biscotti savoiardi)
2 Tbsp. maple sugar, mixed with 1/4 tsp. ground cinnamon and 1/4 tsp. pumpkin pie spice
*Notes
The egg yolks should be room temperature for this recipe, but it is easier to separate the eggs when they are cold from the fridge. Save the whites for your weekend omelet.
If you don’t have access to a Trader Joe’s store, any other brand of pumpkin butter will work just fine. Homemade would be even better!
I found the Pumking Whiskey completely by chance when my husband and I traveled through New Jersey and Connecticut at the end of summer, and it’s a real treat. Distribution from this craft distillery is limited, but readers in the northeast U.S. should have little trouble finding it. Otherwise, go with spiced light rum, or perhaps even Frangelico.
My first impressions of the Crio Bru brewed cacao were only so-so, but I’ve grown to really enjoy this as an occasional alternative to coffee. Since the time I first discovered the company, it has added an array of new seasonal flavors, and the cinnamon is one of my favorites. It’s a limited edition that is currently only available in a sample pack, but the company just added another flavor—you guessed it, pumpkin spice!
I made this in a Pyrex dish that measures 8 ½ x 7” inches, but I’m sure you could also make this recipe work in an 8 x 8” dish. Or double the recipe and use a 9 x 13.
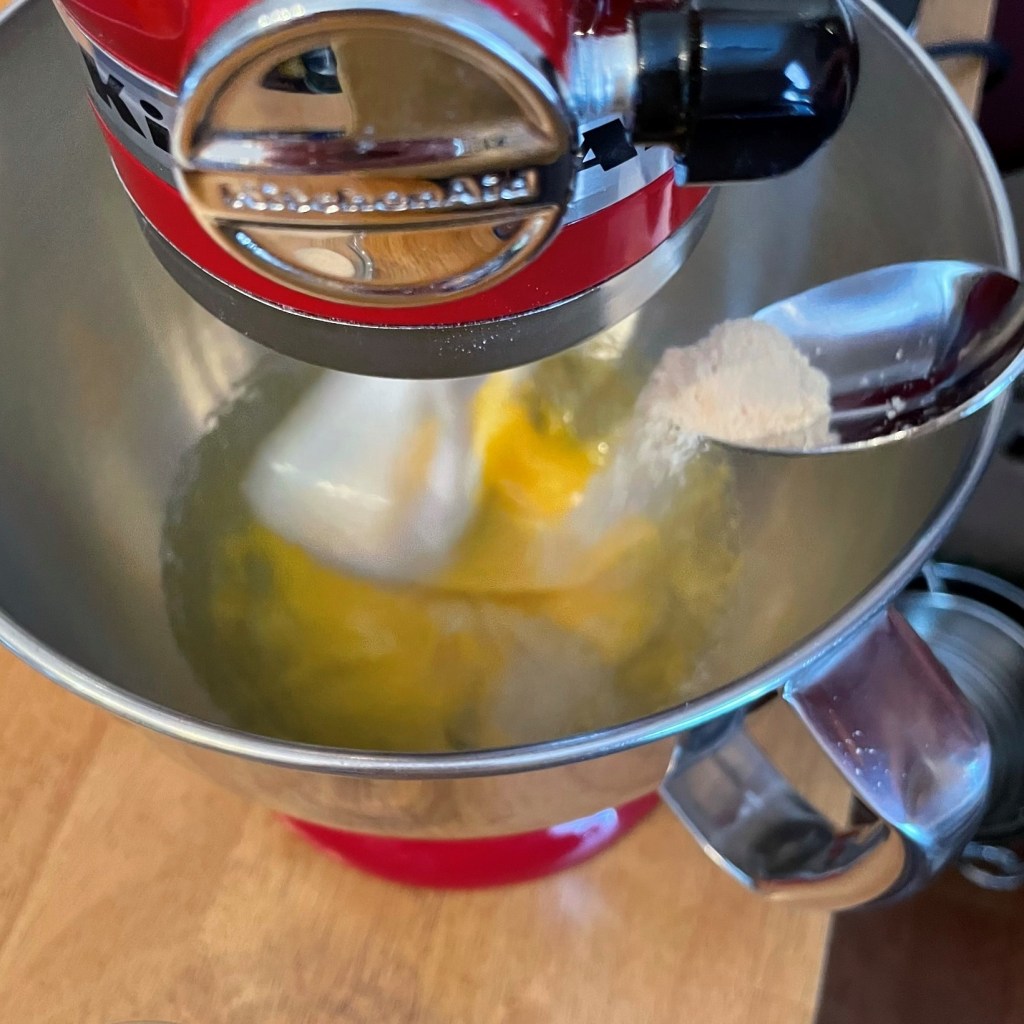
It helps to have an electric mixer (either stand or handheld) to make this dessert, but it can also be done with a whisk and a good strong arm. 🙂
Instructions
I spooned the mascarpone into a separate bowl to help it come to room temp.
I sifted the maple sugar to weed out the clumps. This sugar is very fine, just like caster sugar.
Add the sugar to the whipped egg yolks.
Whip in the mascarpone and spike it with two tablespoons of Pumking whiskey.
Mix in the pumpkin butter. That looks so pretty!
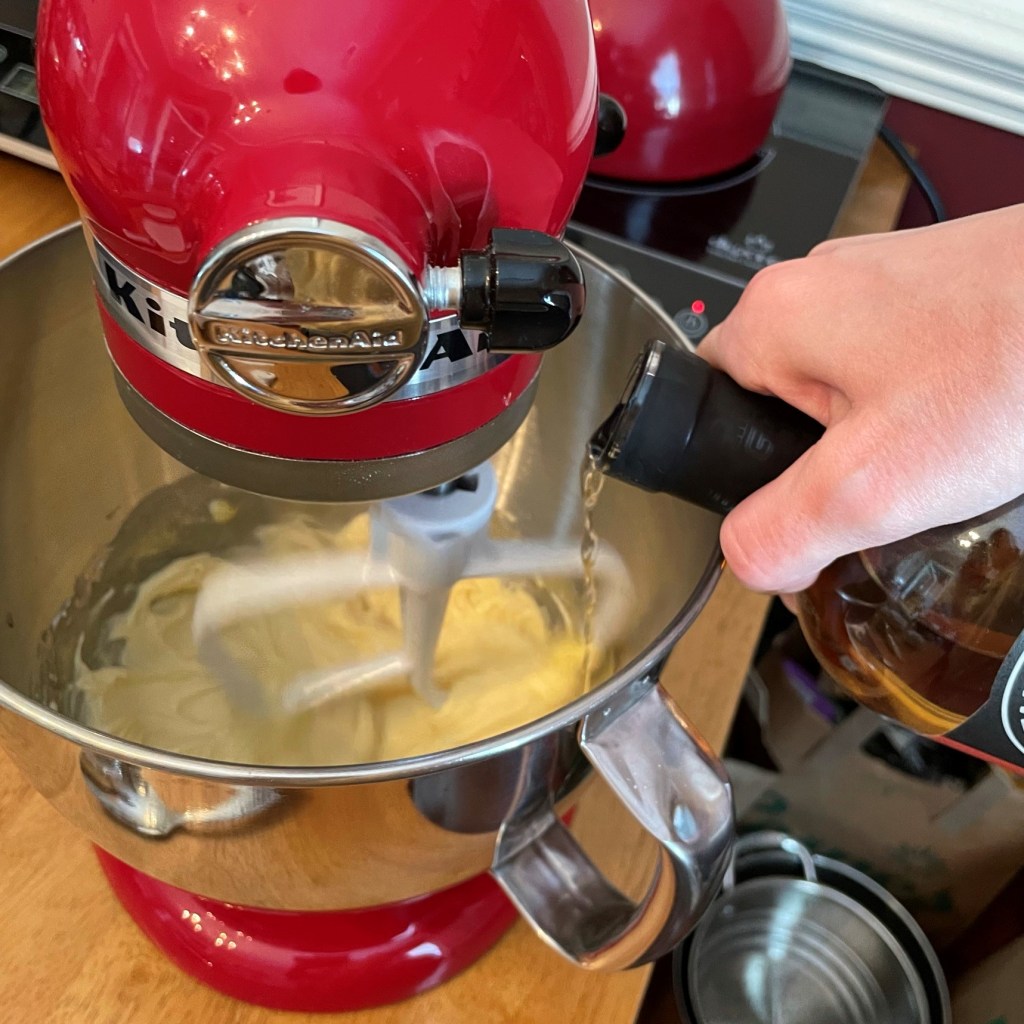
I used my trusty digital scale to measure out an ounce of the Pumking whiskey into the brewed cacao.
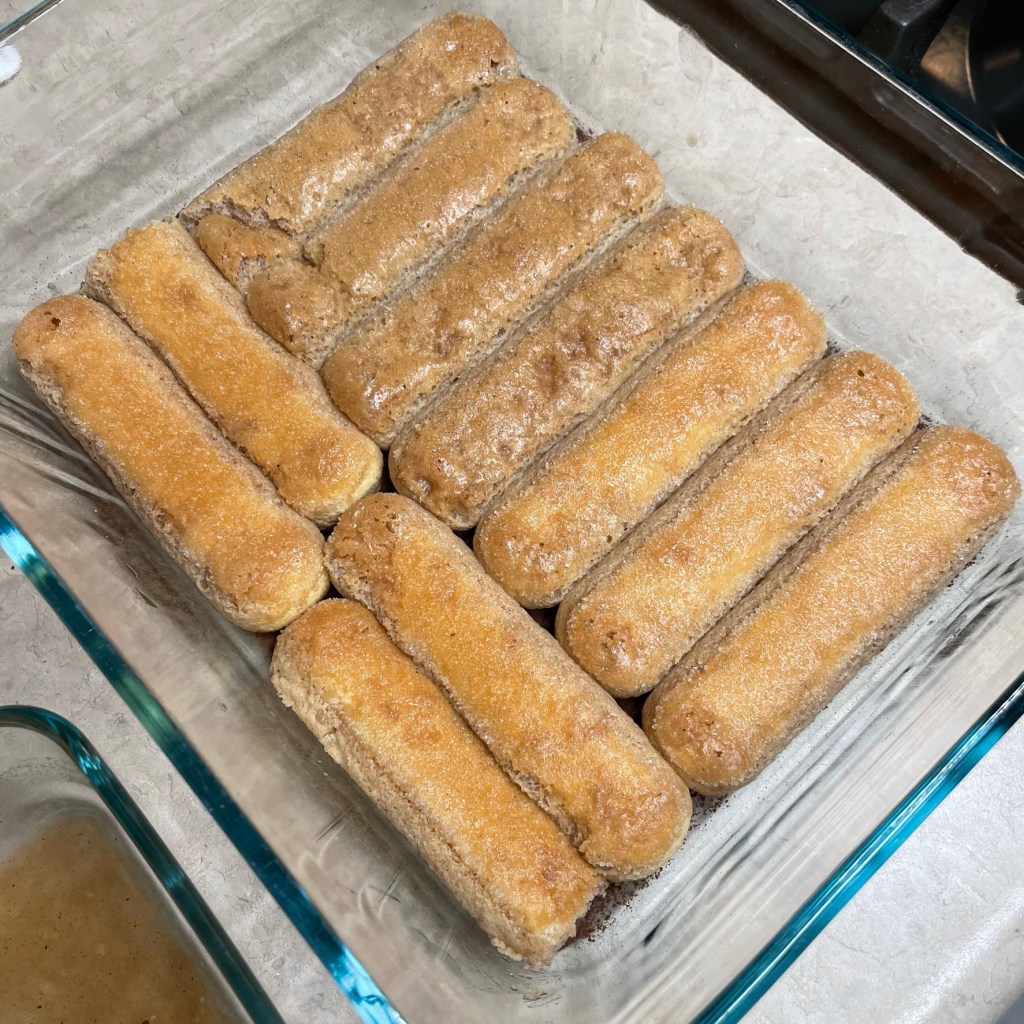
Ladyfingers are wispy little cookies, not very interesting on their own but amazing in tiramisu.
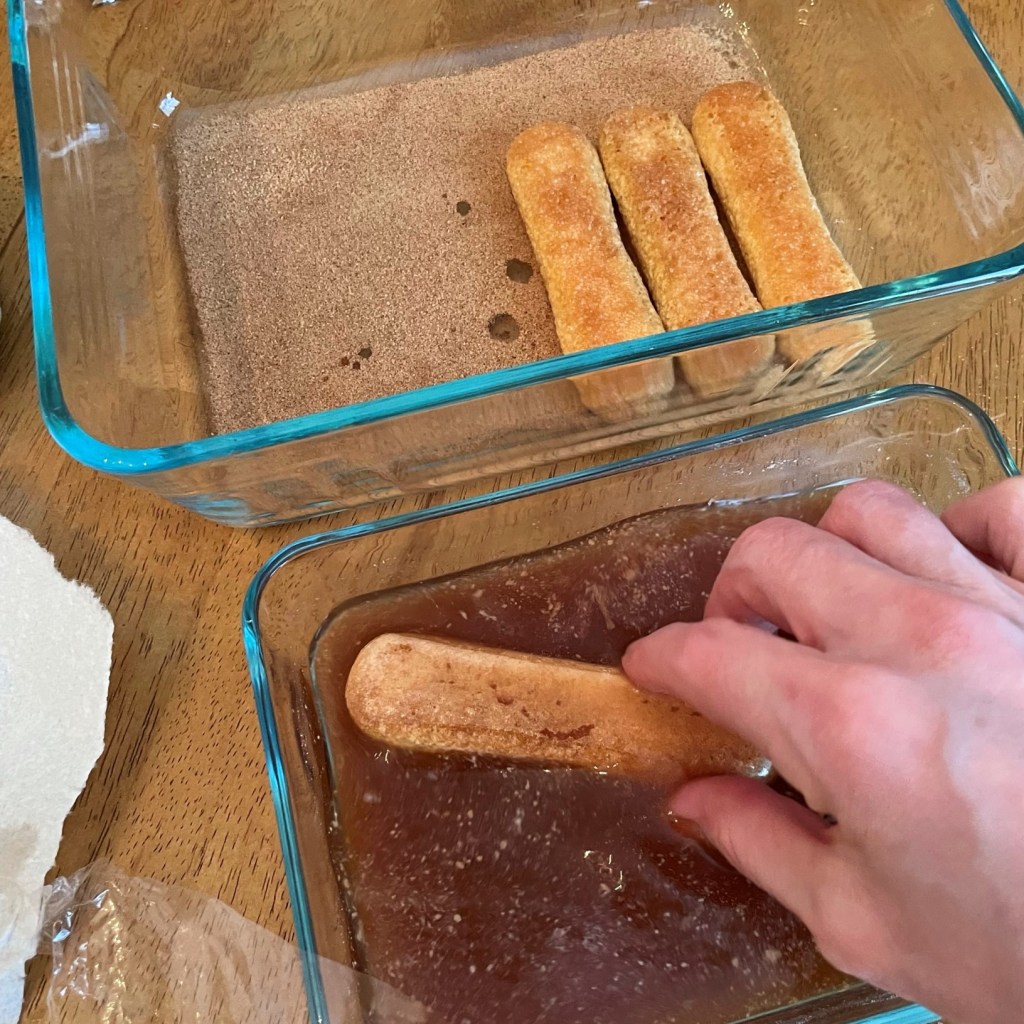
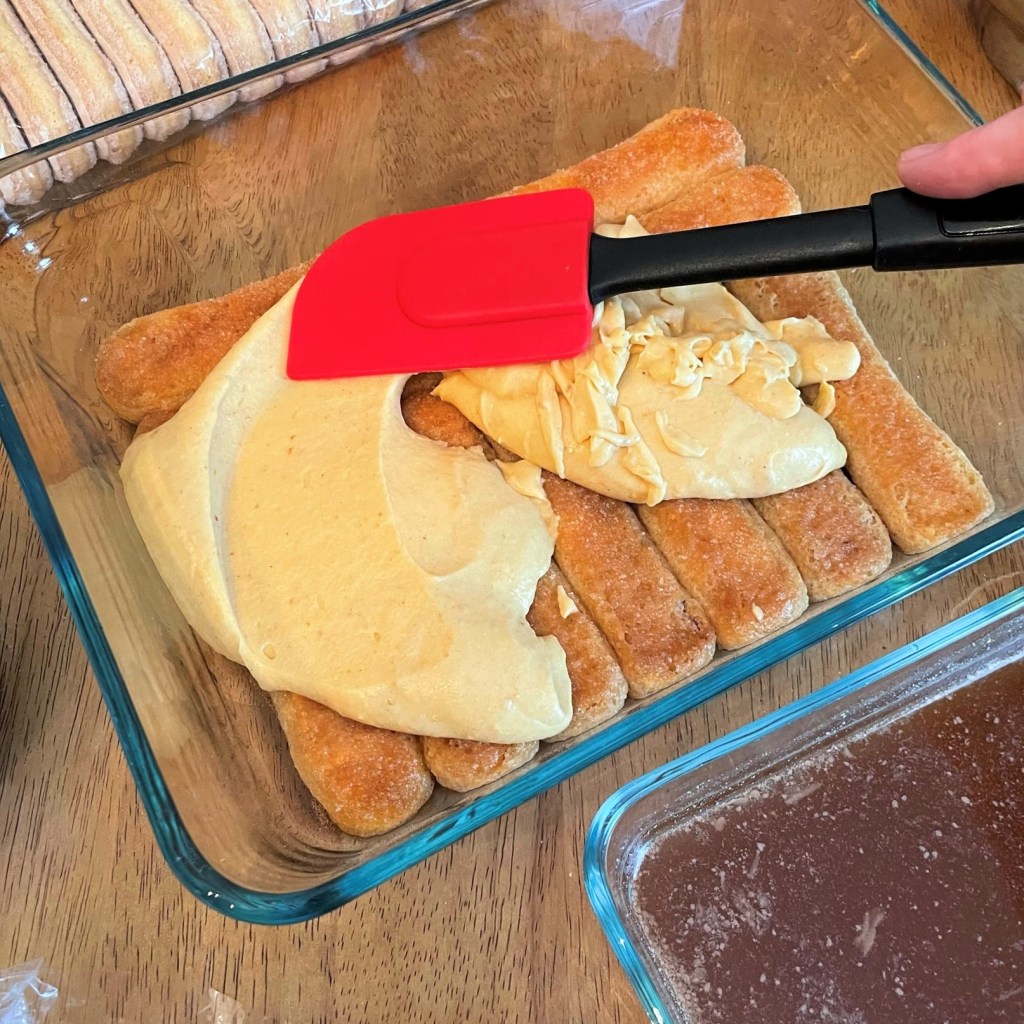
Give the ladyfingers a very quick spin through the spiked brewed cacao, then arrange in the dish. Don’t soak them too long or they will turn to mush in your hands!
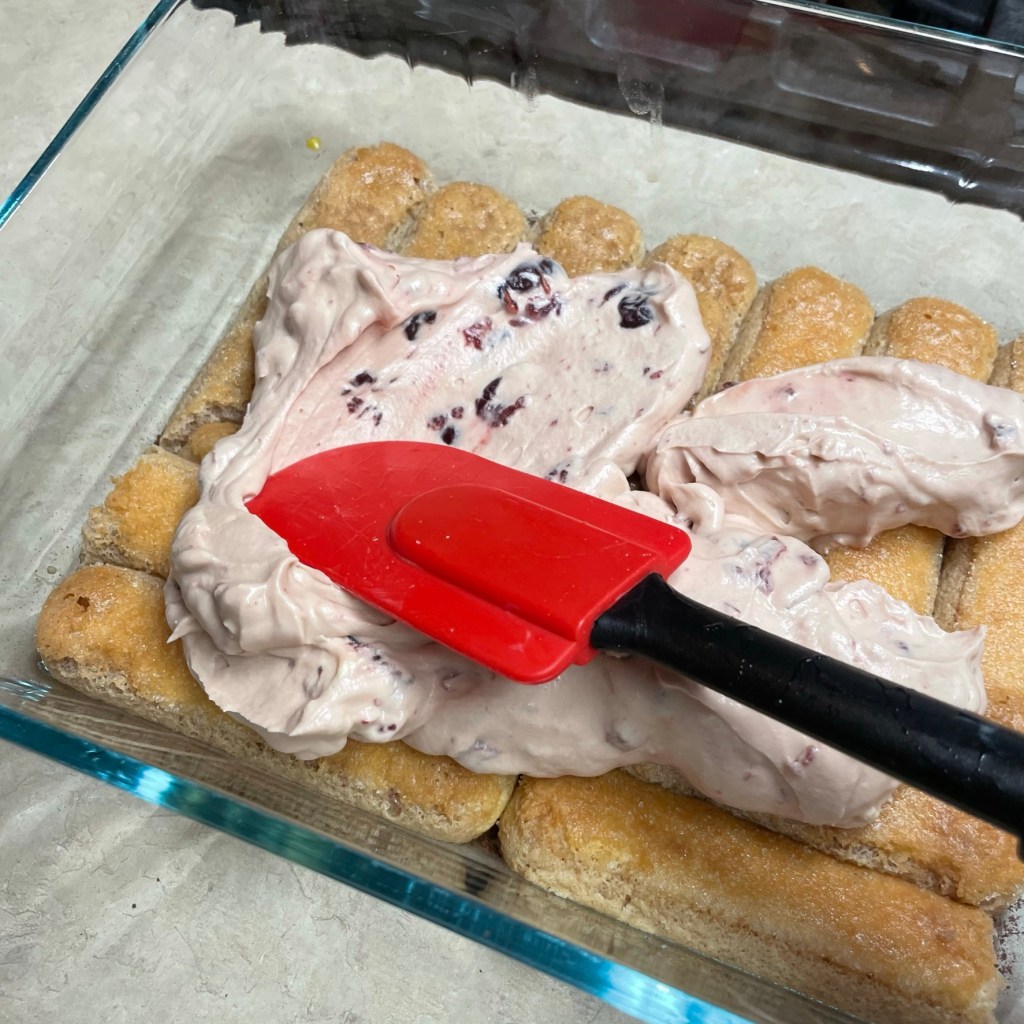
Evenly spread half of the mascarpone mixture over the first layer of ladyfingers.
Repeat with a second layer.
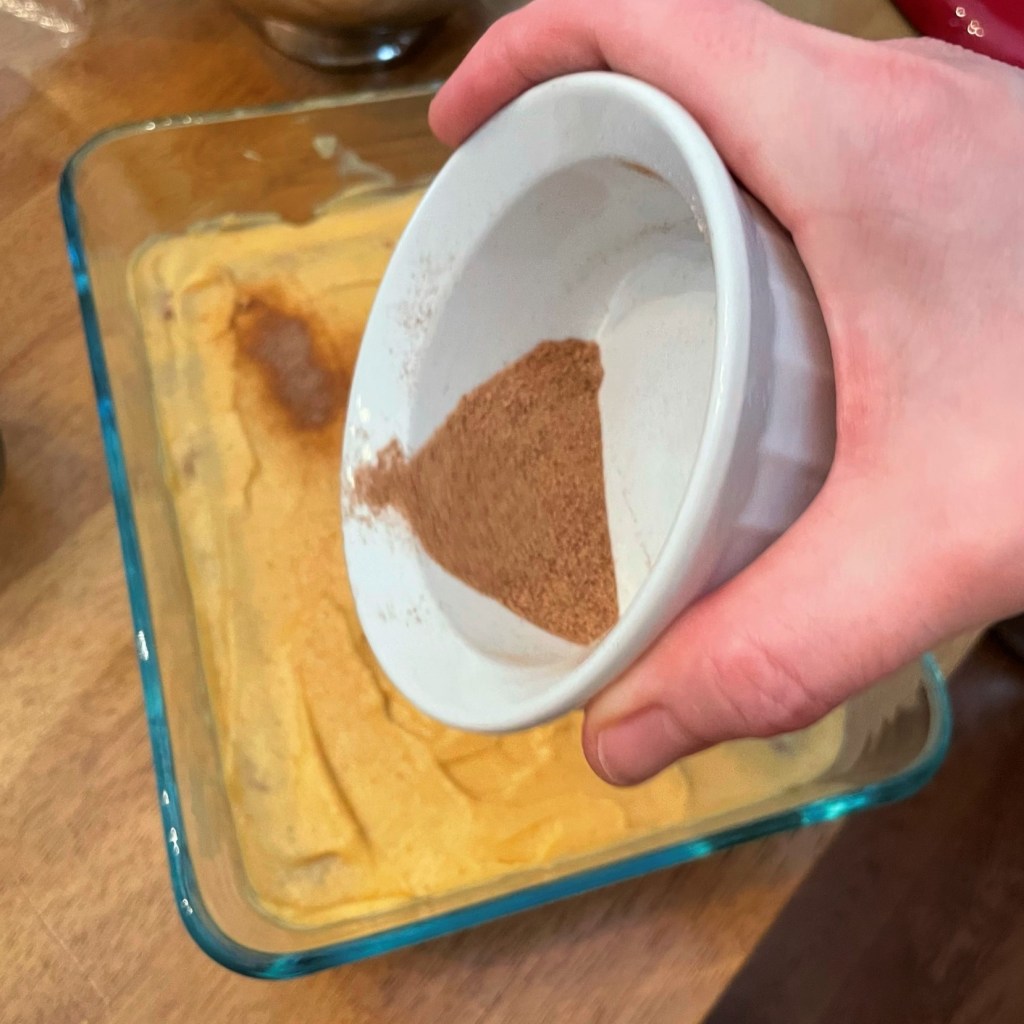
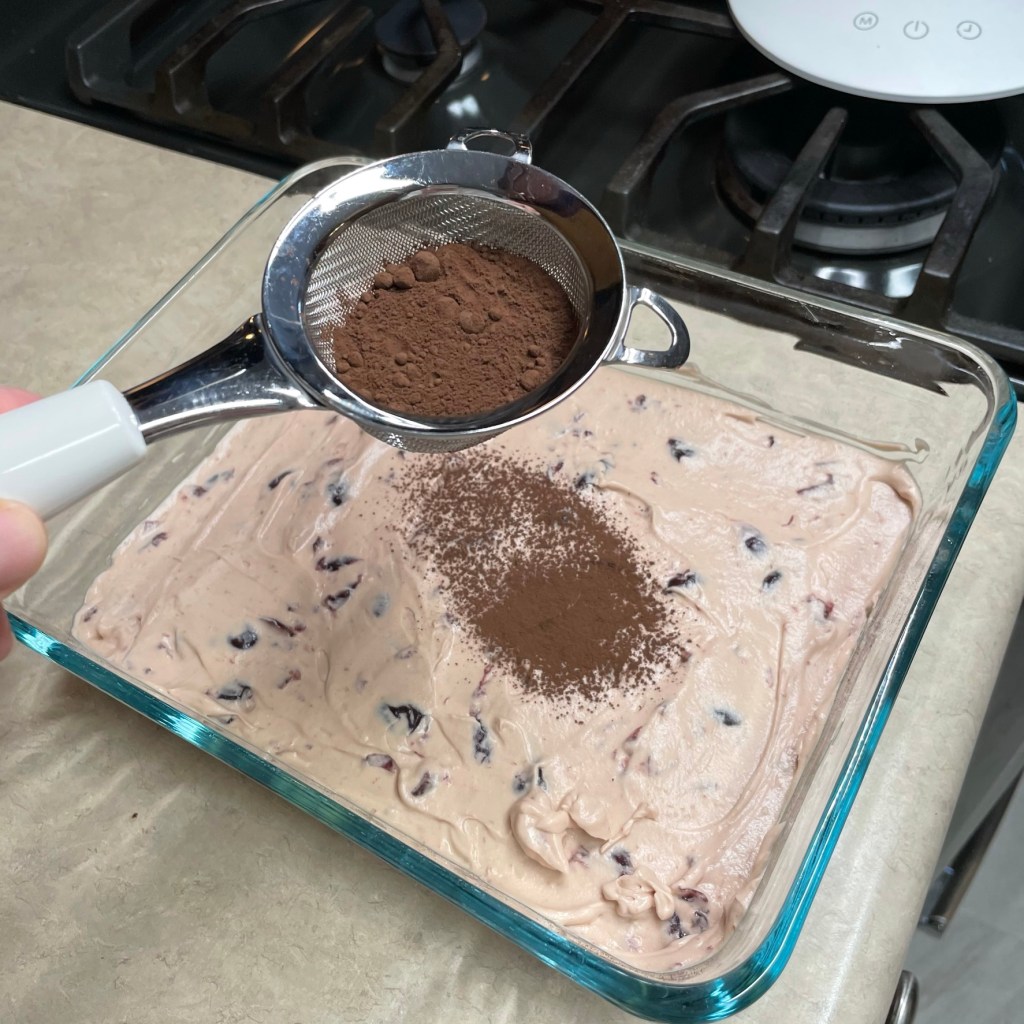
Sprinkle the remaining pumpkin spice sugar over the top of the dessert.
Lovely! Cover it and send it to the fridge for at least 24 hours.
In a mixing bowl or the bowl of a stand mixer, whip eggs until they are smooth. Gradually add maple sugar and continue whipping until all sugar is dissolved into the yolks.
Add mascarpone into the bowl and blend on low speed until the mixture is evenly mixed, smooth and glossy. Fold in 2 Tbsp. of the Pumking whiskey, plus the pumpkin butter and vanilla extract.
Using a mesh sifter, sprinkle about half of the maple-spice mixture into the baking dish.
Combine brewed cacao and remaining Pumking whiskey in a flat bowl. Carefully dip the ladyfingers, one at a time, into the liquid. Turn only twice before arranging the cookies in the dessert dish. I have learned that it is very easy to make the ladyfingers soggy, so err on the conservative side. Repeat until you have a complete single layer of ladyfingers in the dish.
Carefully spread half of the pumpkin-mascarpone mixture over the ladyfingers, smoothing it all the way to the edges of the dish.
Repeat with the next layer of ladyfingers, top with the remaining mascarpone mixture, and sprinkle the top with the remaining maple-spice mixture. Cover tightly and refrigerate at least 24 hours before serving.
It seems funny to me that the three most popular summer salads are based on the most economical ingredients—macaroni, potatoes or cabbage. Nothing fancy and yet we love them! As we wind down summer (which I can hardly believe is happening, even as I write this), I will share a few of my own twists on these three summer classic salads, beginning with the easiest—cole slaw.
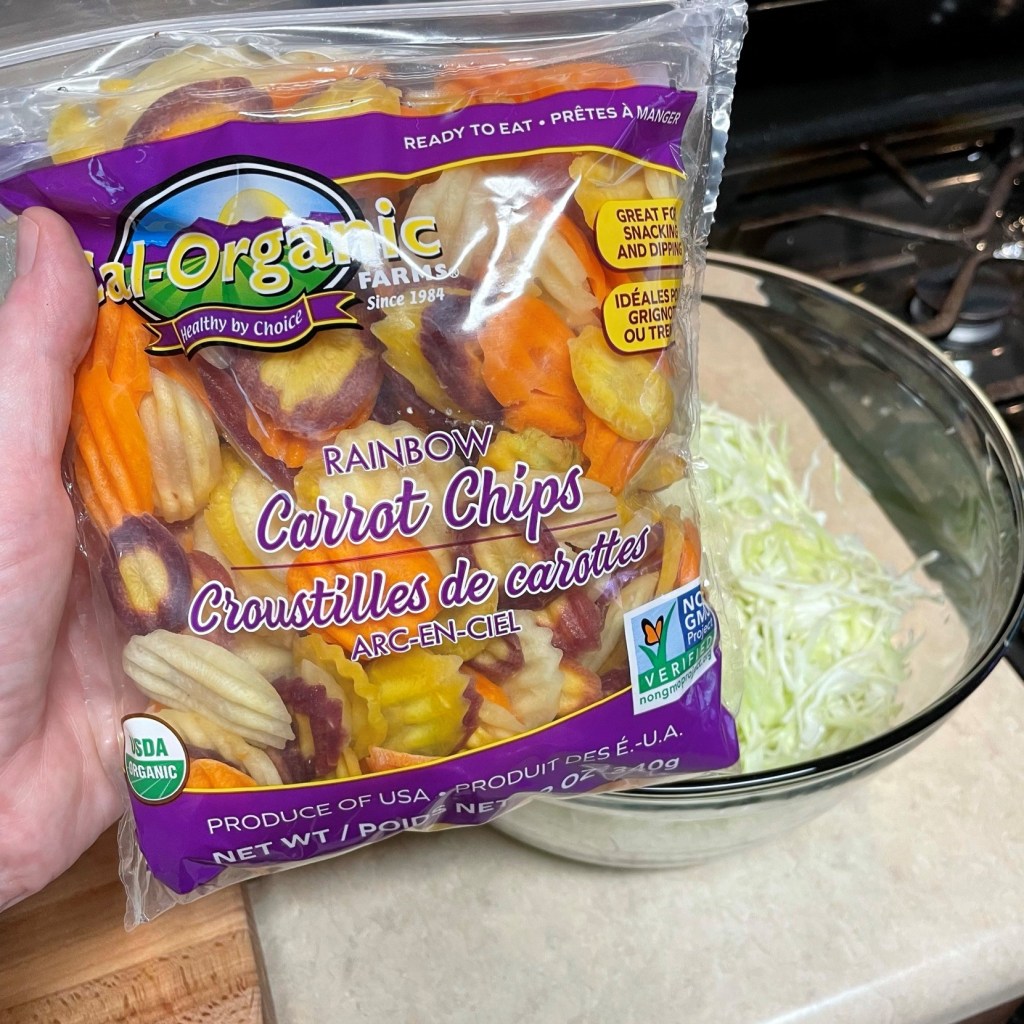
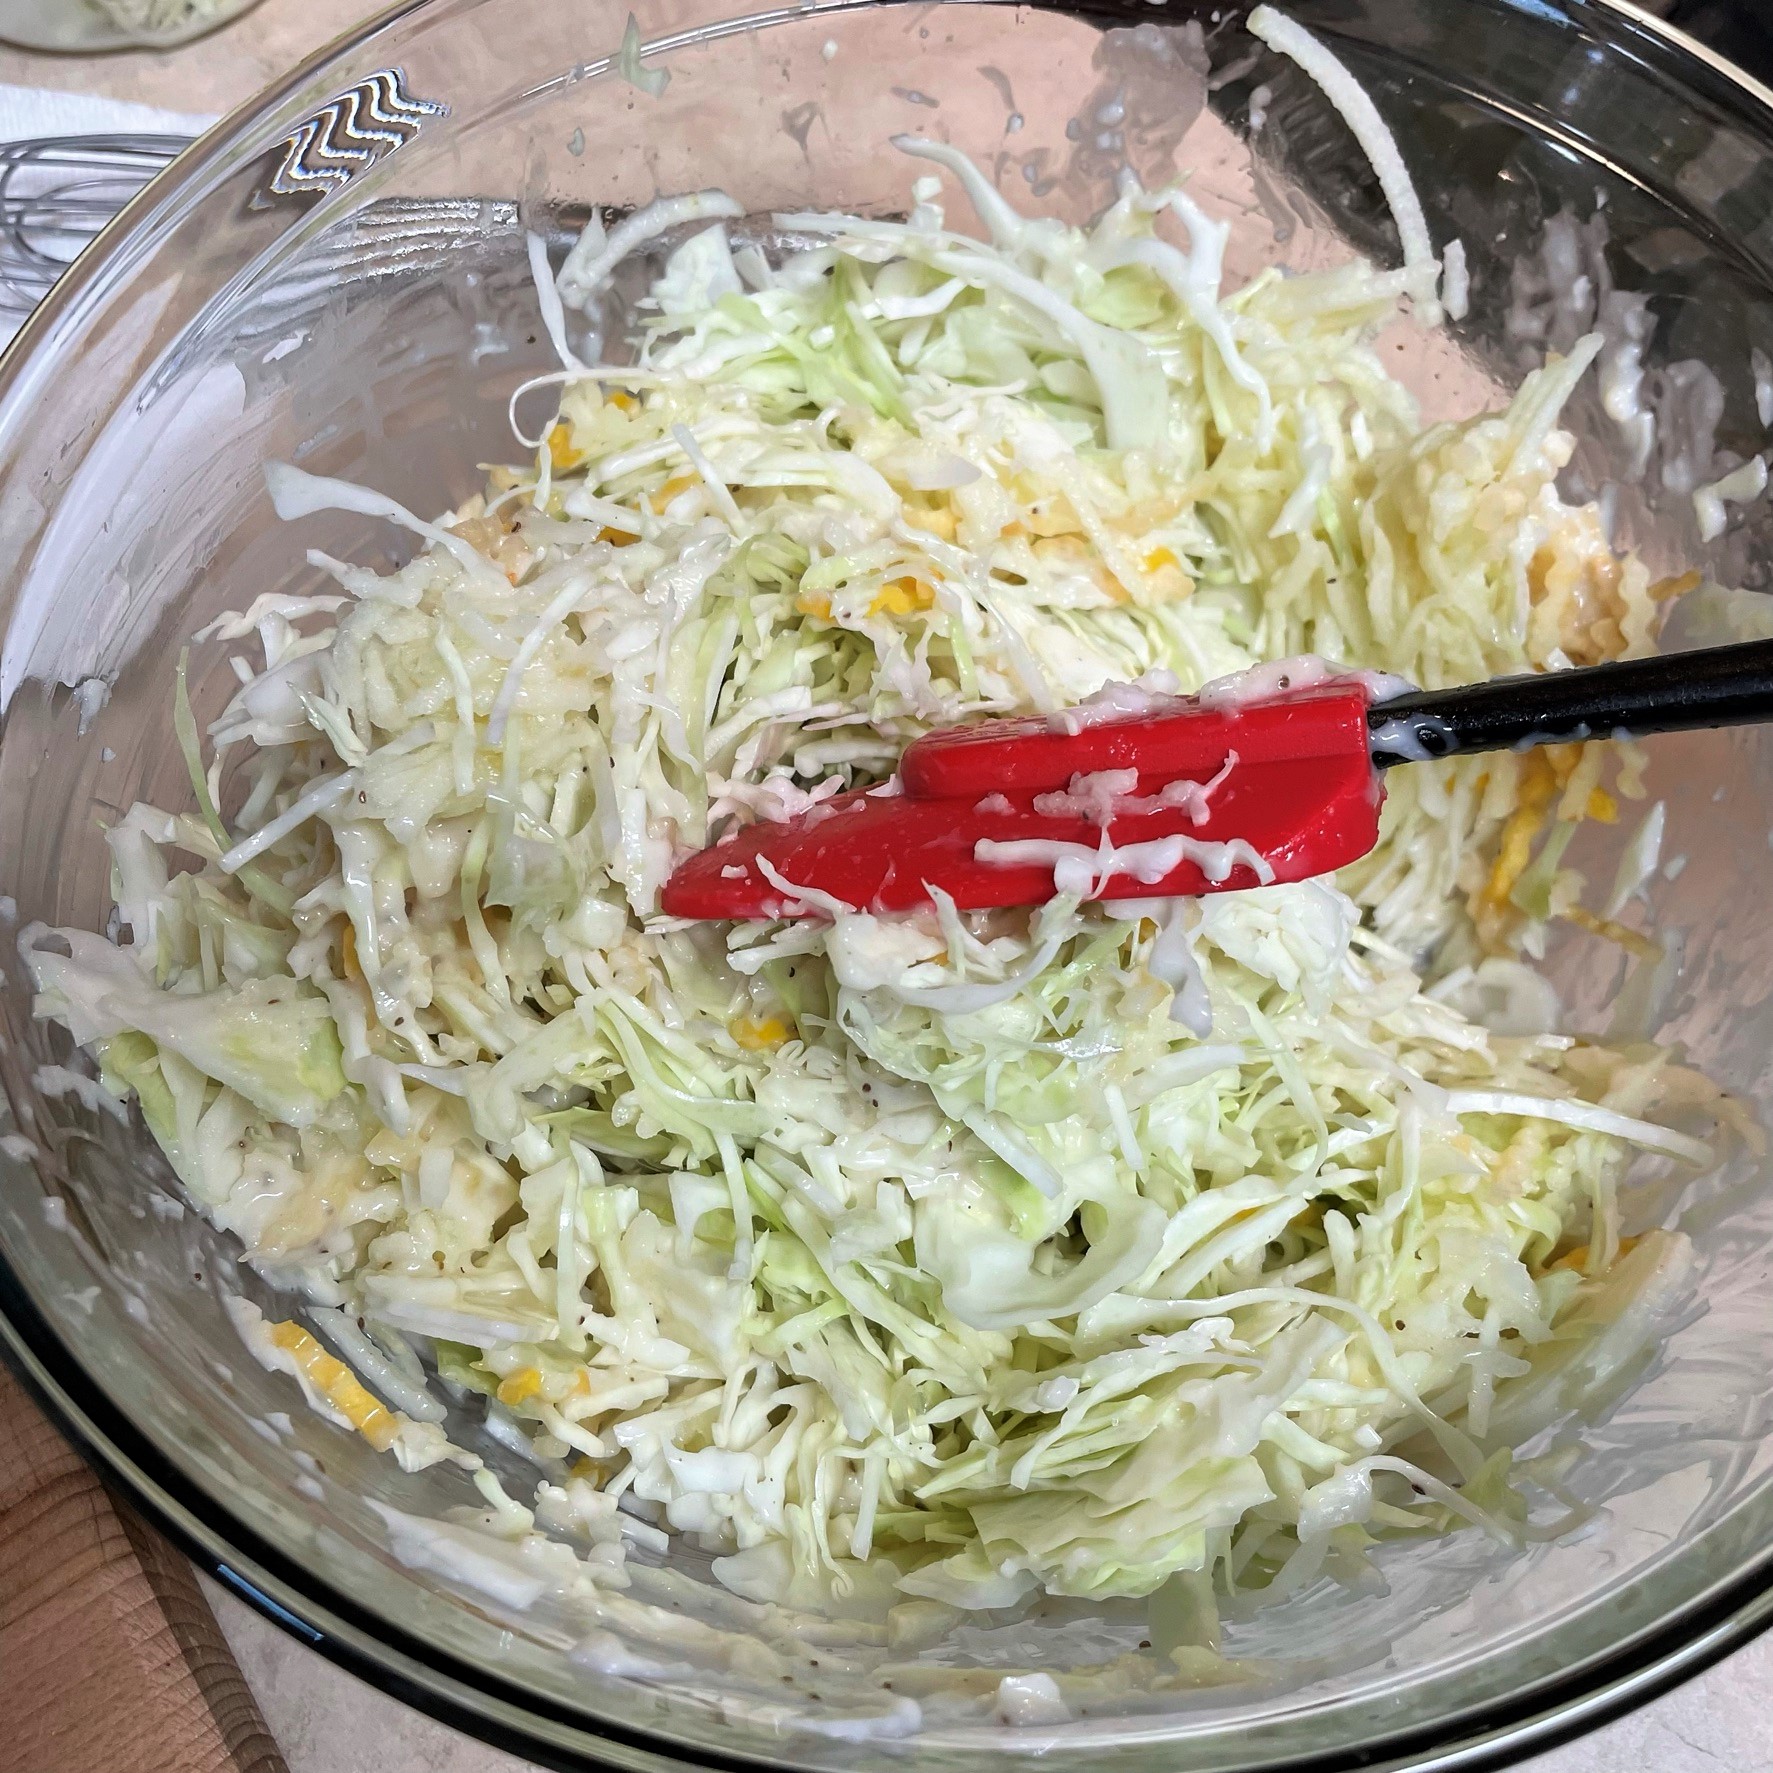
The most obvious benefit of cole slaw is that you don’t have to cook anything to make it. This easy summer side comes together lickety-split (especially if you buy the pre-shredded bagged cabbage), it pairs nicely with everything from grilled chicken to pulled pork to burgers and beyond, and with cabbage as the primary ingredient, it packs a pretty hefty nutritional punch, with loads of fiber, vitamins and minerals. If you don’t drown it in mayonnaise or sugary dressing, it’s pretty darn good for you.
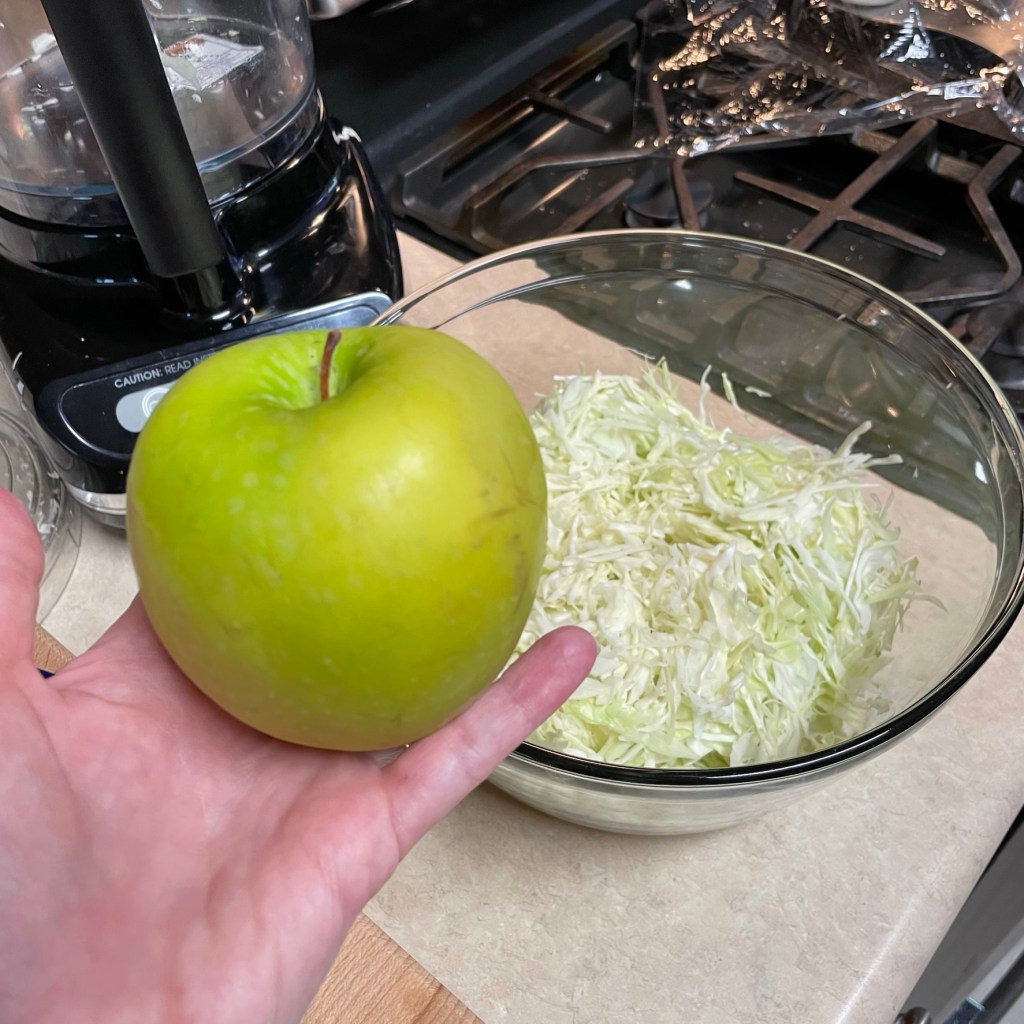
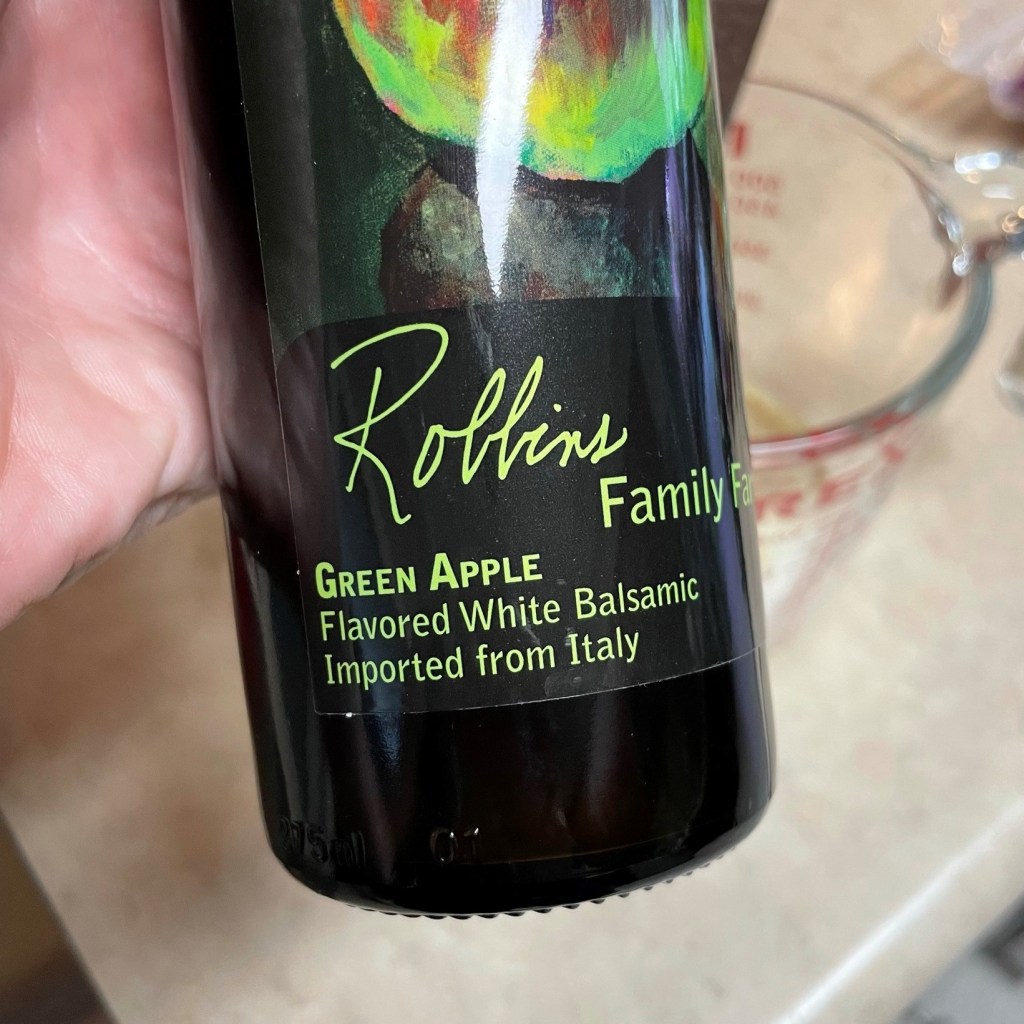
I’ve taken my standby “KFC-style” slaw in a slightly different direction with this recipe, keeping the cabbage and carrots (though I used yellow and white ones this time) and adding shredded Granny Smith apple for a little extra tartness. For my creamy-style dressing (which does have some mayonnaise but also cultured buttermilk and regular milk), I’ve swapped in a specialty white balsamic vinegar that echoes the flavors of the Granny Smith apple. The result is a tangier offering than usual, perfect as a side for anything rich or meaty that you might be pulling off the grill through the last days of summer.
Ingredients
I selected Granny Smith for the firm, crunchy texture and tart flavor. To peel or not to peel, this is your choice.
The stand at the farmers’ market described these fresh onions as “sugar bombs!”
This sweet-tart white vinegar reminds me of a green apple Jolly Rancher candy!
I usually look for whole rainbow carrots, but this time I used only white and yellow ones from these pre-cut rainbow chips.
About 6 cups finely shredded green cabbage
1 cup carrots, finely shredded or cut into thin matchstick pieces
1 large Granny Smith apple, peeled (or not), cored and shredded
Juice of 1/2 small lemon (to prevent apple browning)
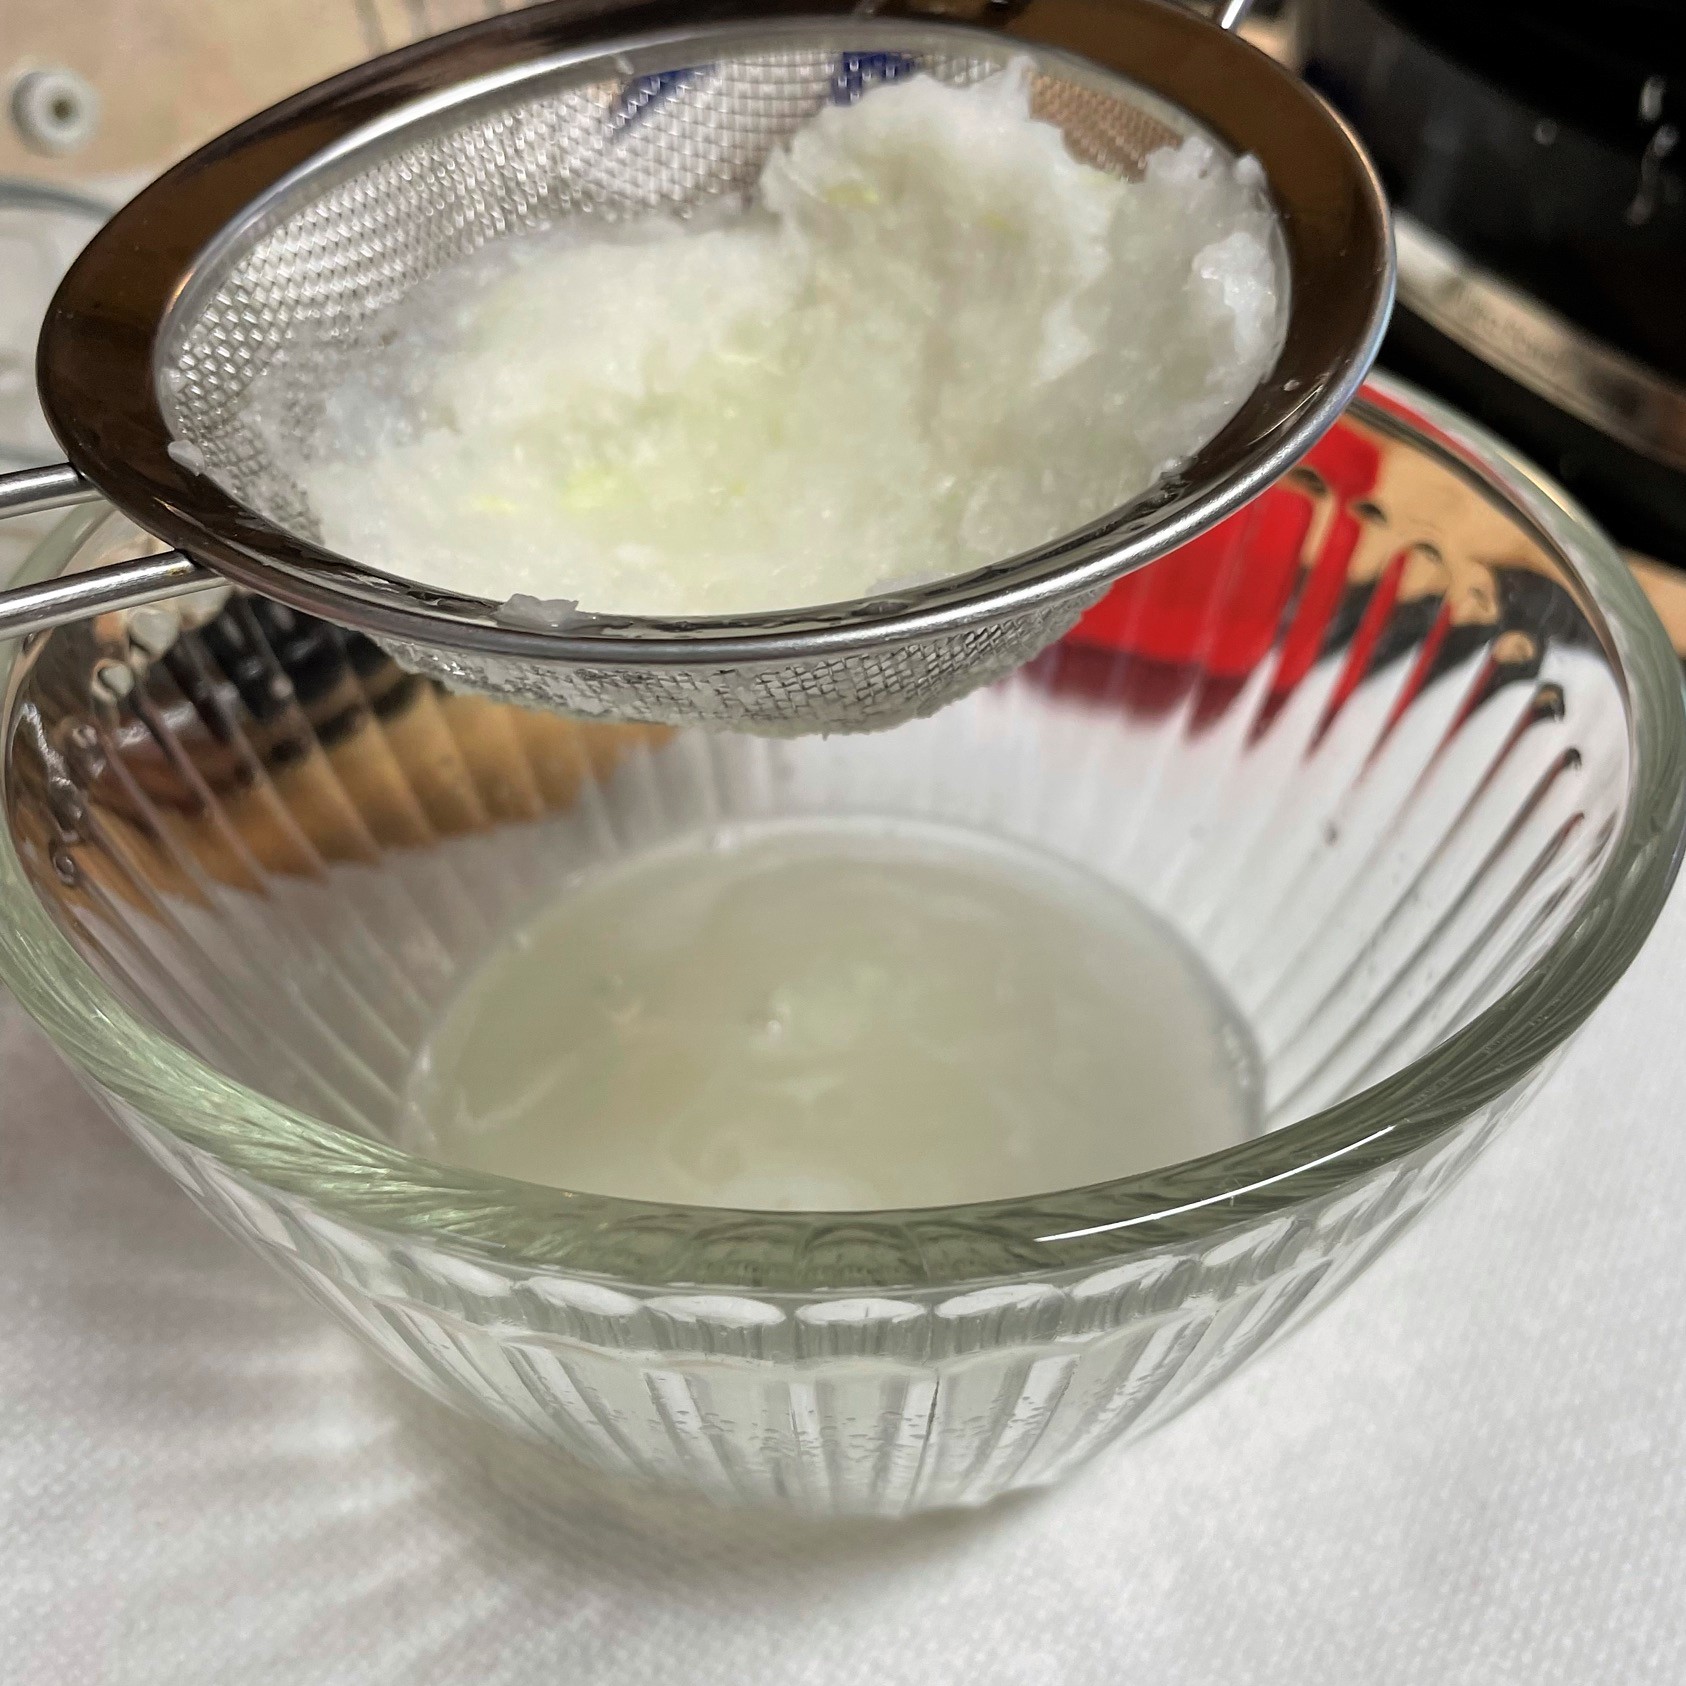
1/2 medium sweet onion, shredded and squeezed dry of juice* (see notes)
1/3 cup mayonnaise (I used canola mayo from Trader Joe’s)
3 Tbsp. whole milk
3 Tbsp. buttermilk*
3 Tbsp. green apple white balsamic vinegar*
1 tsp. kosher salt
1/2 tsp. white pepper
1/2 tsp. celery seed
*Notes
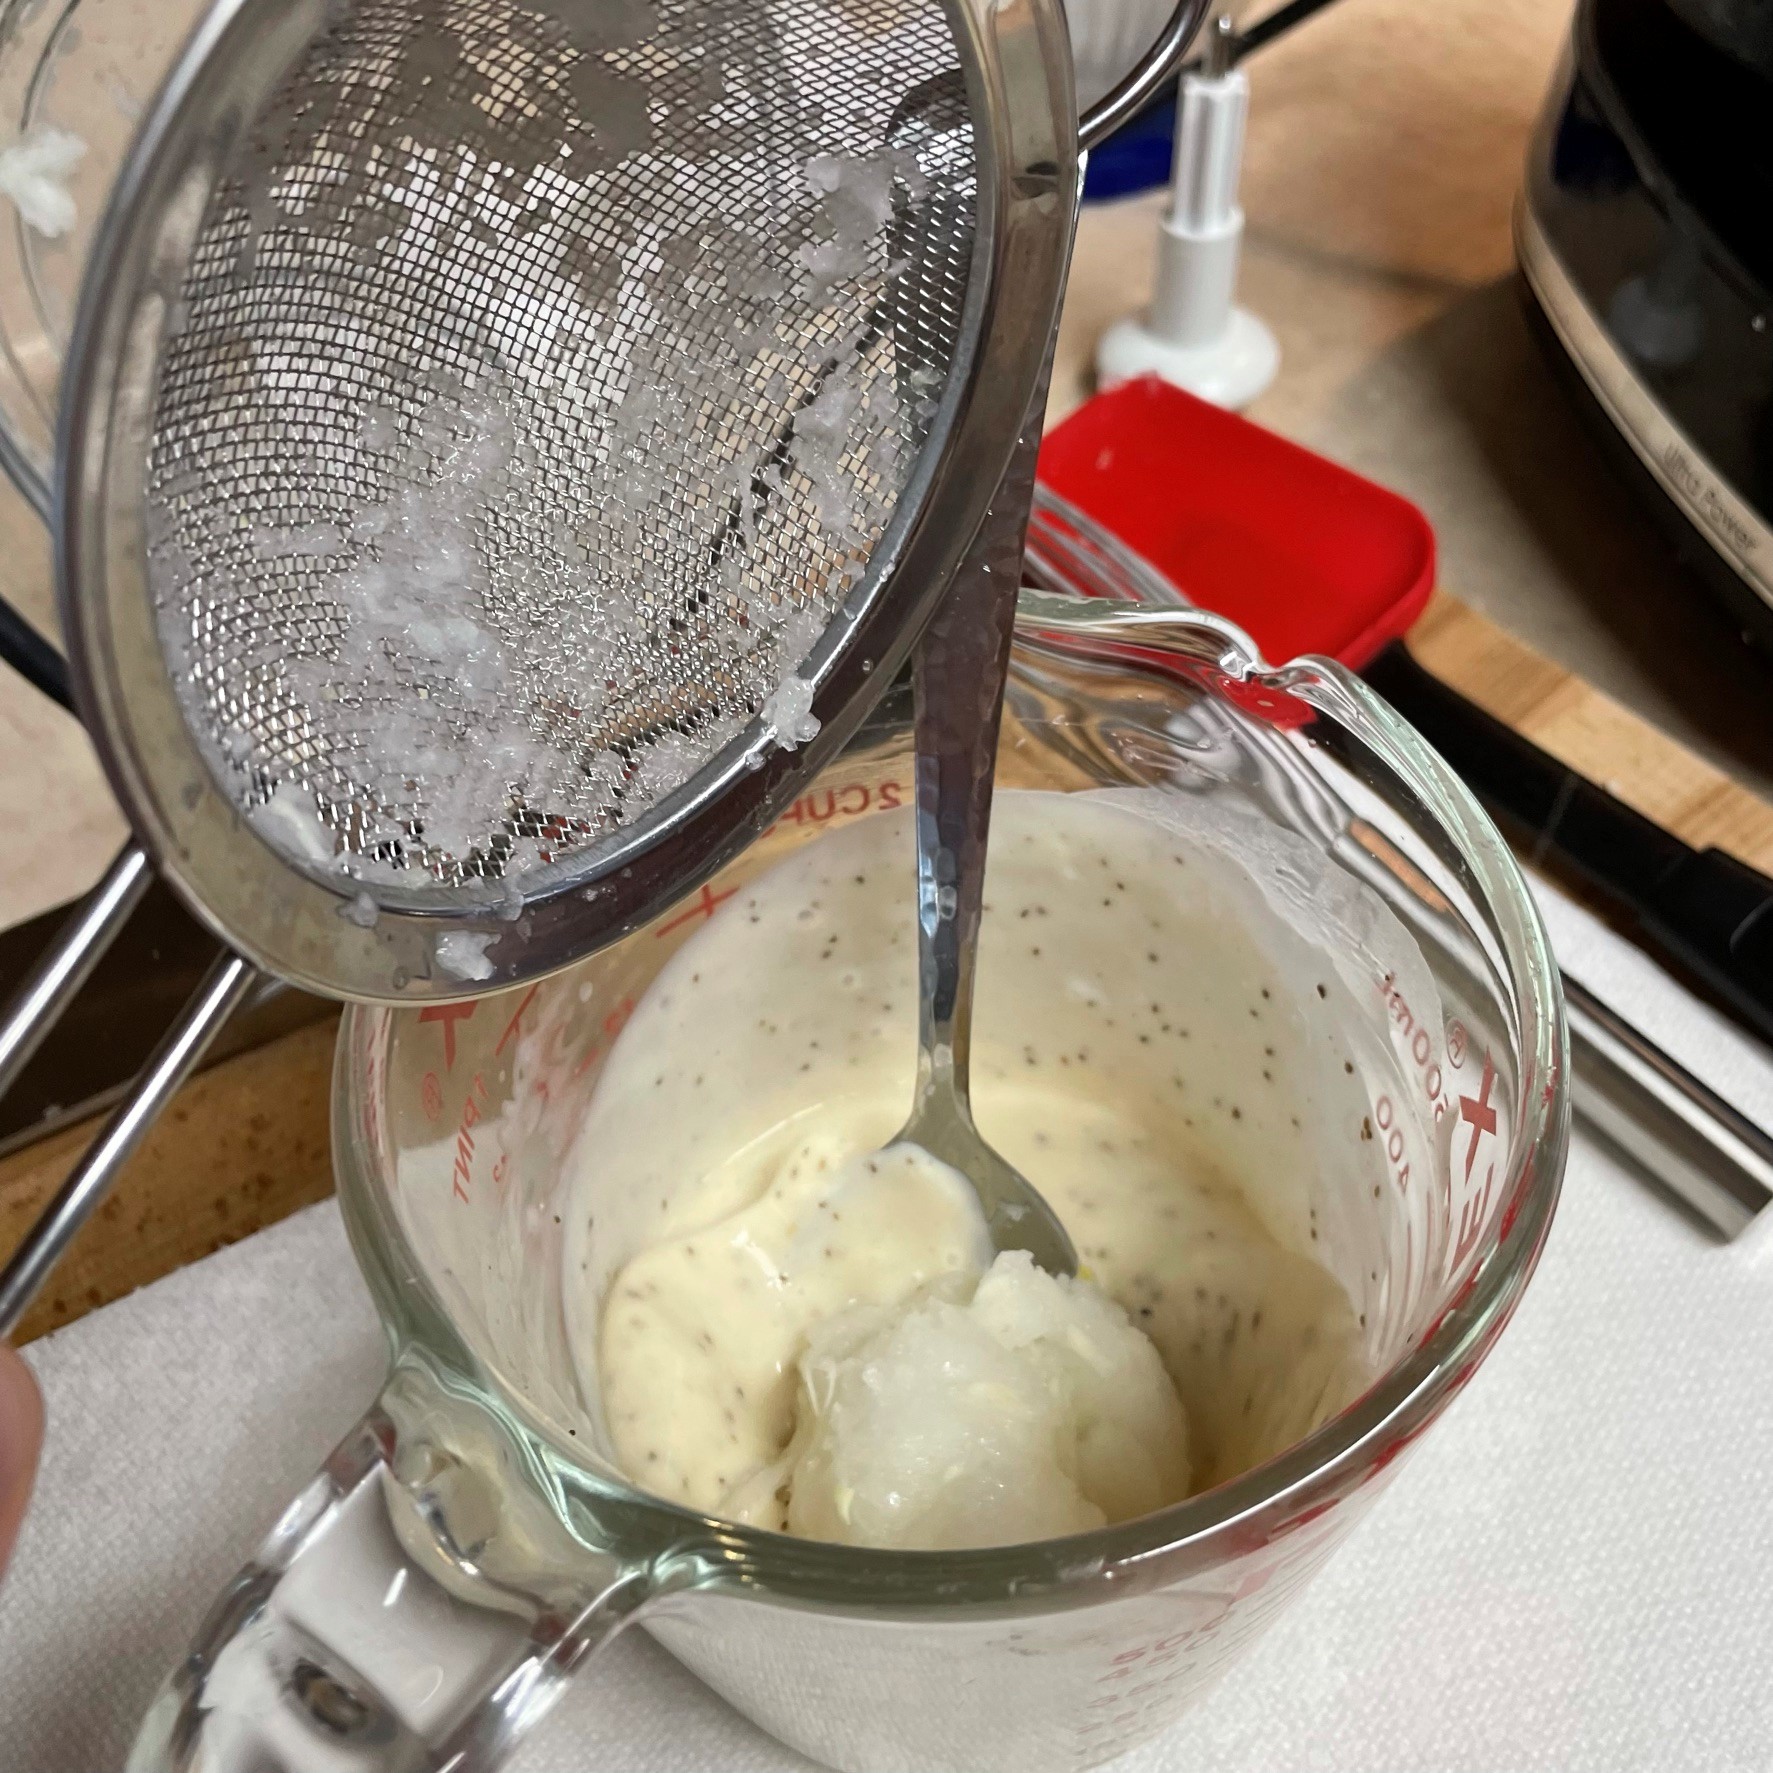
It is important that you press out as much of the onion juice as possible; otherwise the dressing will break down and become watery. I shredded the onion in my food processor and then pressed it through a mesh strainer. When assembling the salad, add the onion to the dressing rather than the cabbage blend.
Real cultured buttermilk works best, but you could have similar results with the same amount of plain, low-fat yogurt or Greek yogurt.
The green apple white balsamic vinegar is a specialty item that my husband picked up on a trip to California a few years ago. Check with a balsamic and olive oil shop in your area to see if it carries “Gravenstein apple” balsamic, as that would be a perfect substitution. Otherwise, use 2 Tbsp. apple cider vinegar and 2 Tbsp. sugar to mimic the balanced sweetness of the balsamic.
Instructions
When cut on the bias, my carrot chips look like tiny french fries!
I used the fine shred blade on my food processor, but you could also use a box grater to shred the onion. Either way, drain all the juice.
It would be difficult to evenly distribute the shredded onion into the cabbage mixture, so I blended it into the dressing instead.
I’ll bet this thick, oniony dressing would be good on other salads, too.
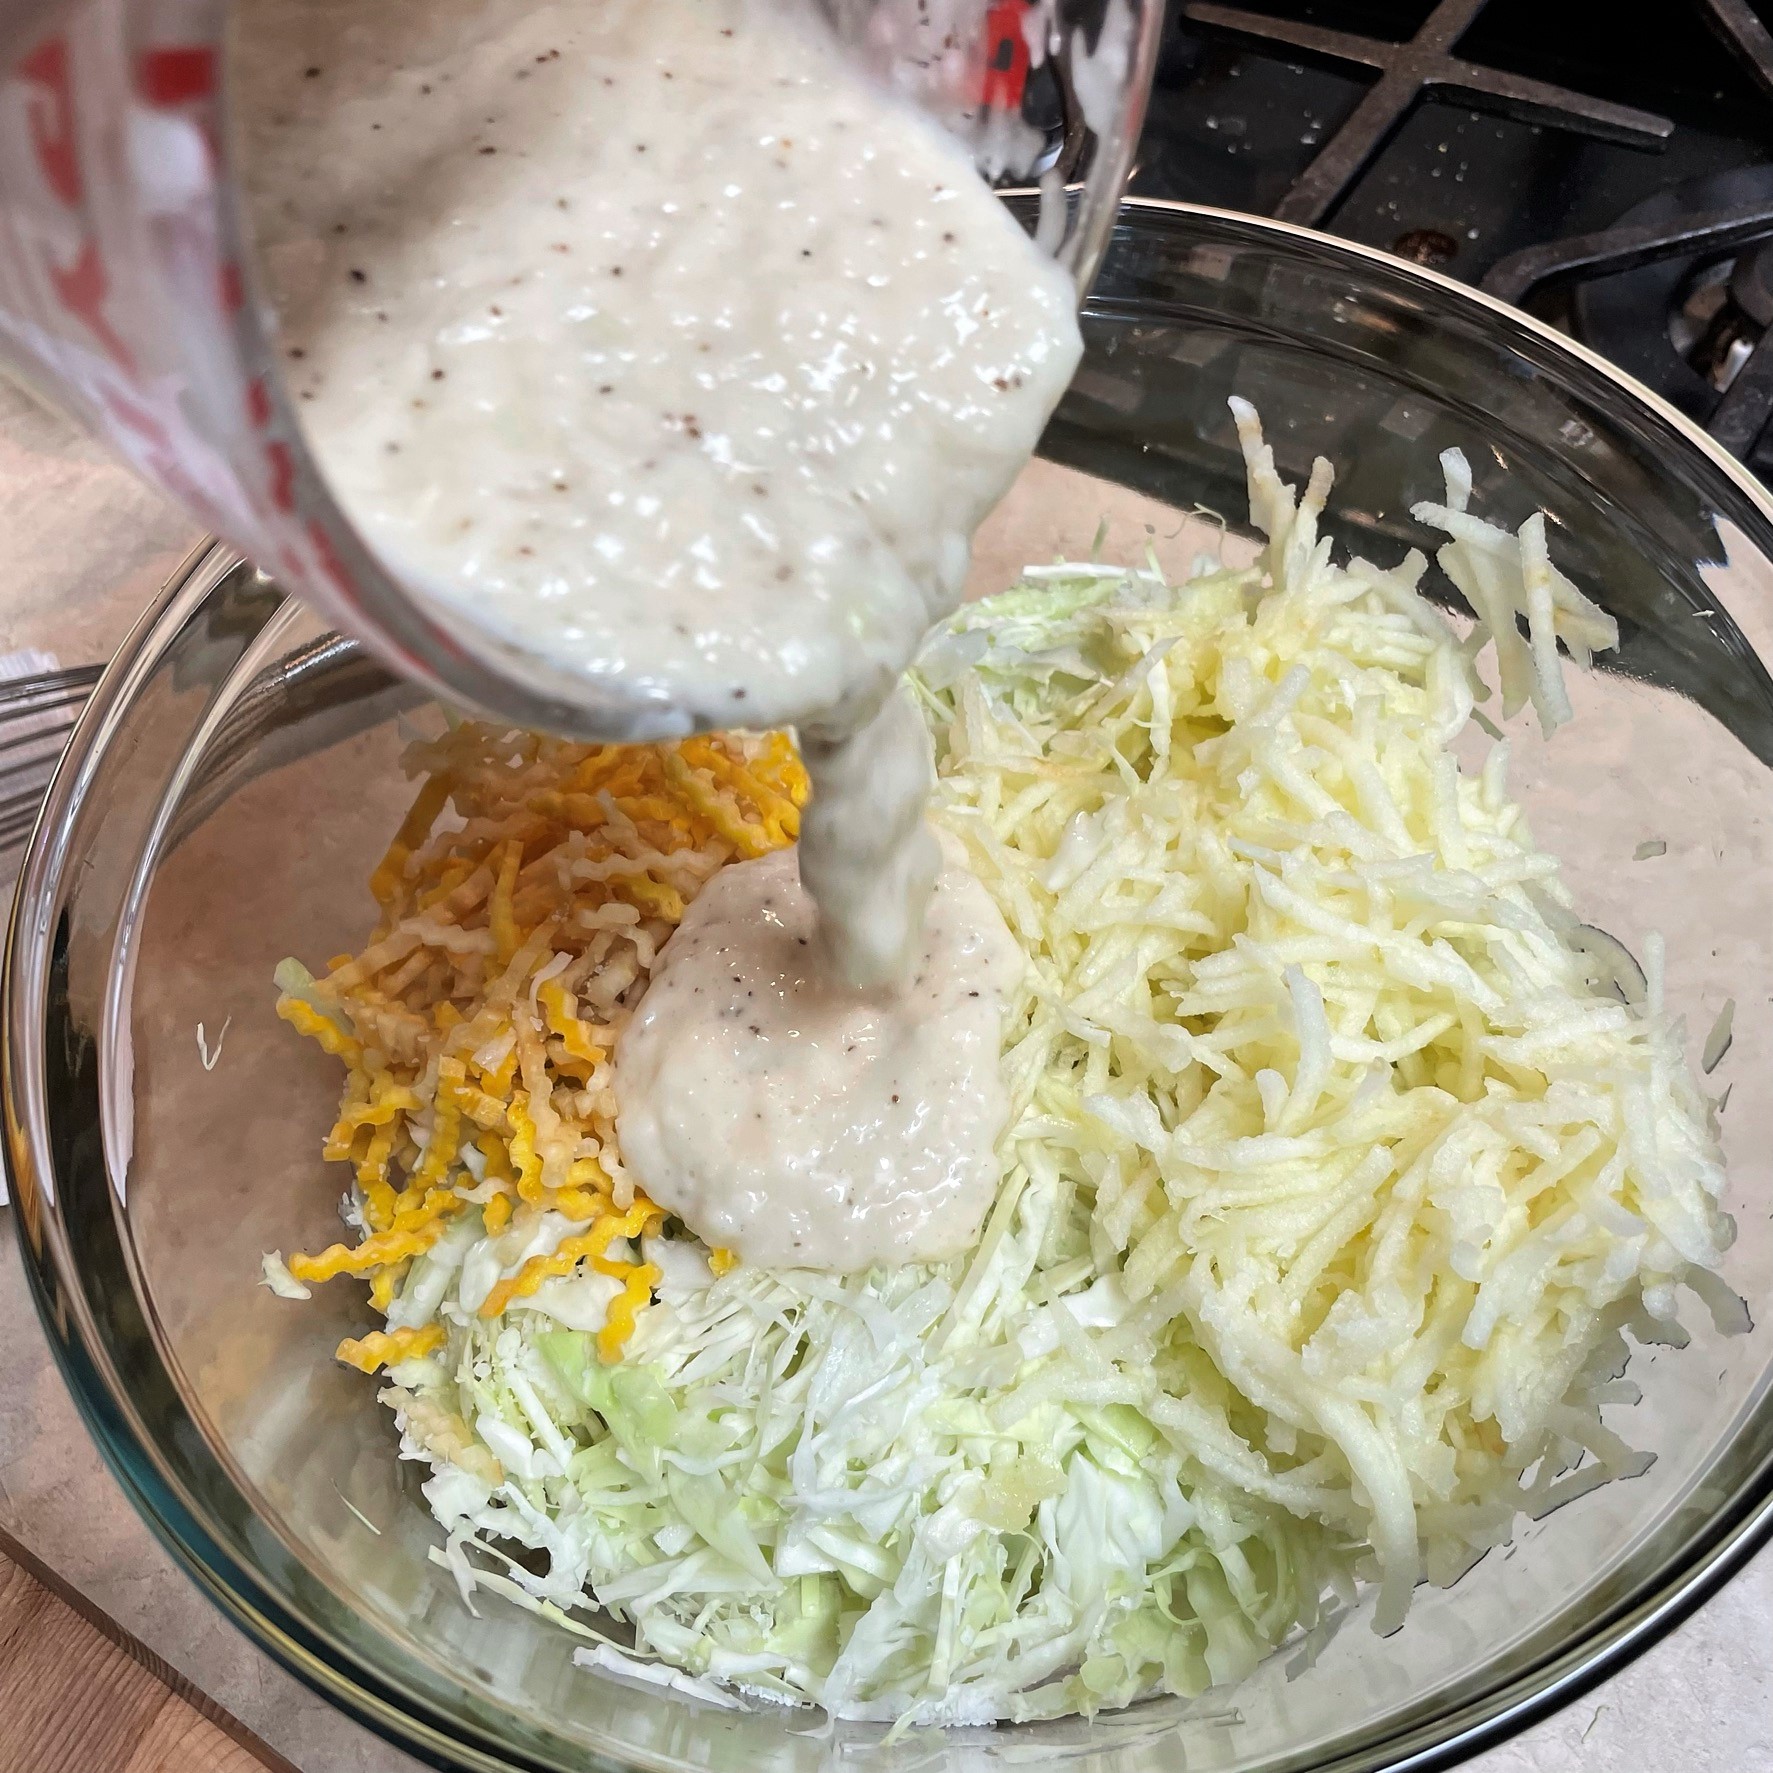
Toss and fold the salad to dress it evenly. I used a scoop spatula to scrape the sides of the bowl. Adjust salt to taste.
Combine the shredded cabbage and carrots in a large bowl. Add the shredded apple to the bowl, immediately squeeze the fresh lemon juice over the apple and then toss the apple to distribute the lemon juice. This will help prevent the apple from browning while you mix the dressing.
In a large glass measuring cup, whisk together mayonnaise, buttermilk and milk until the mixture is smooth. Add vinegar, salt, pepper and celery seed, and stir to blend. Add the shredded onion to the dressing and stir until it’s evenly distributed.
Adjust the dressing to your taste; if you find it too tart, add a teaspoon of sugar at a time until it is to your liking. Remember that sugar (or salt) needs a few minutes to dissolve in a dressing, so you may want to let it rest a few minutes to be sure you have adjusted correctly.
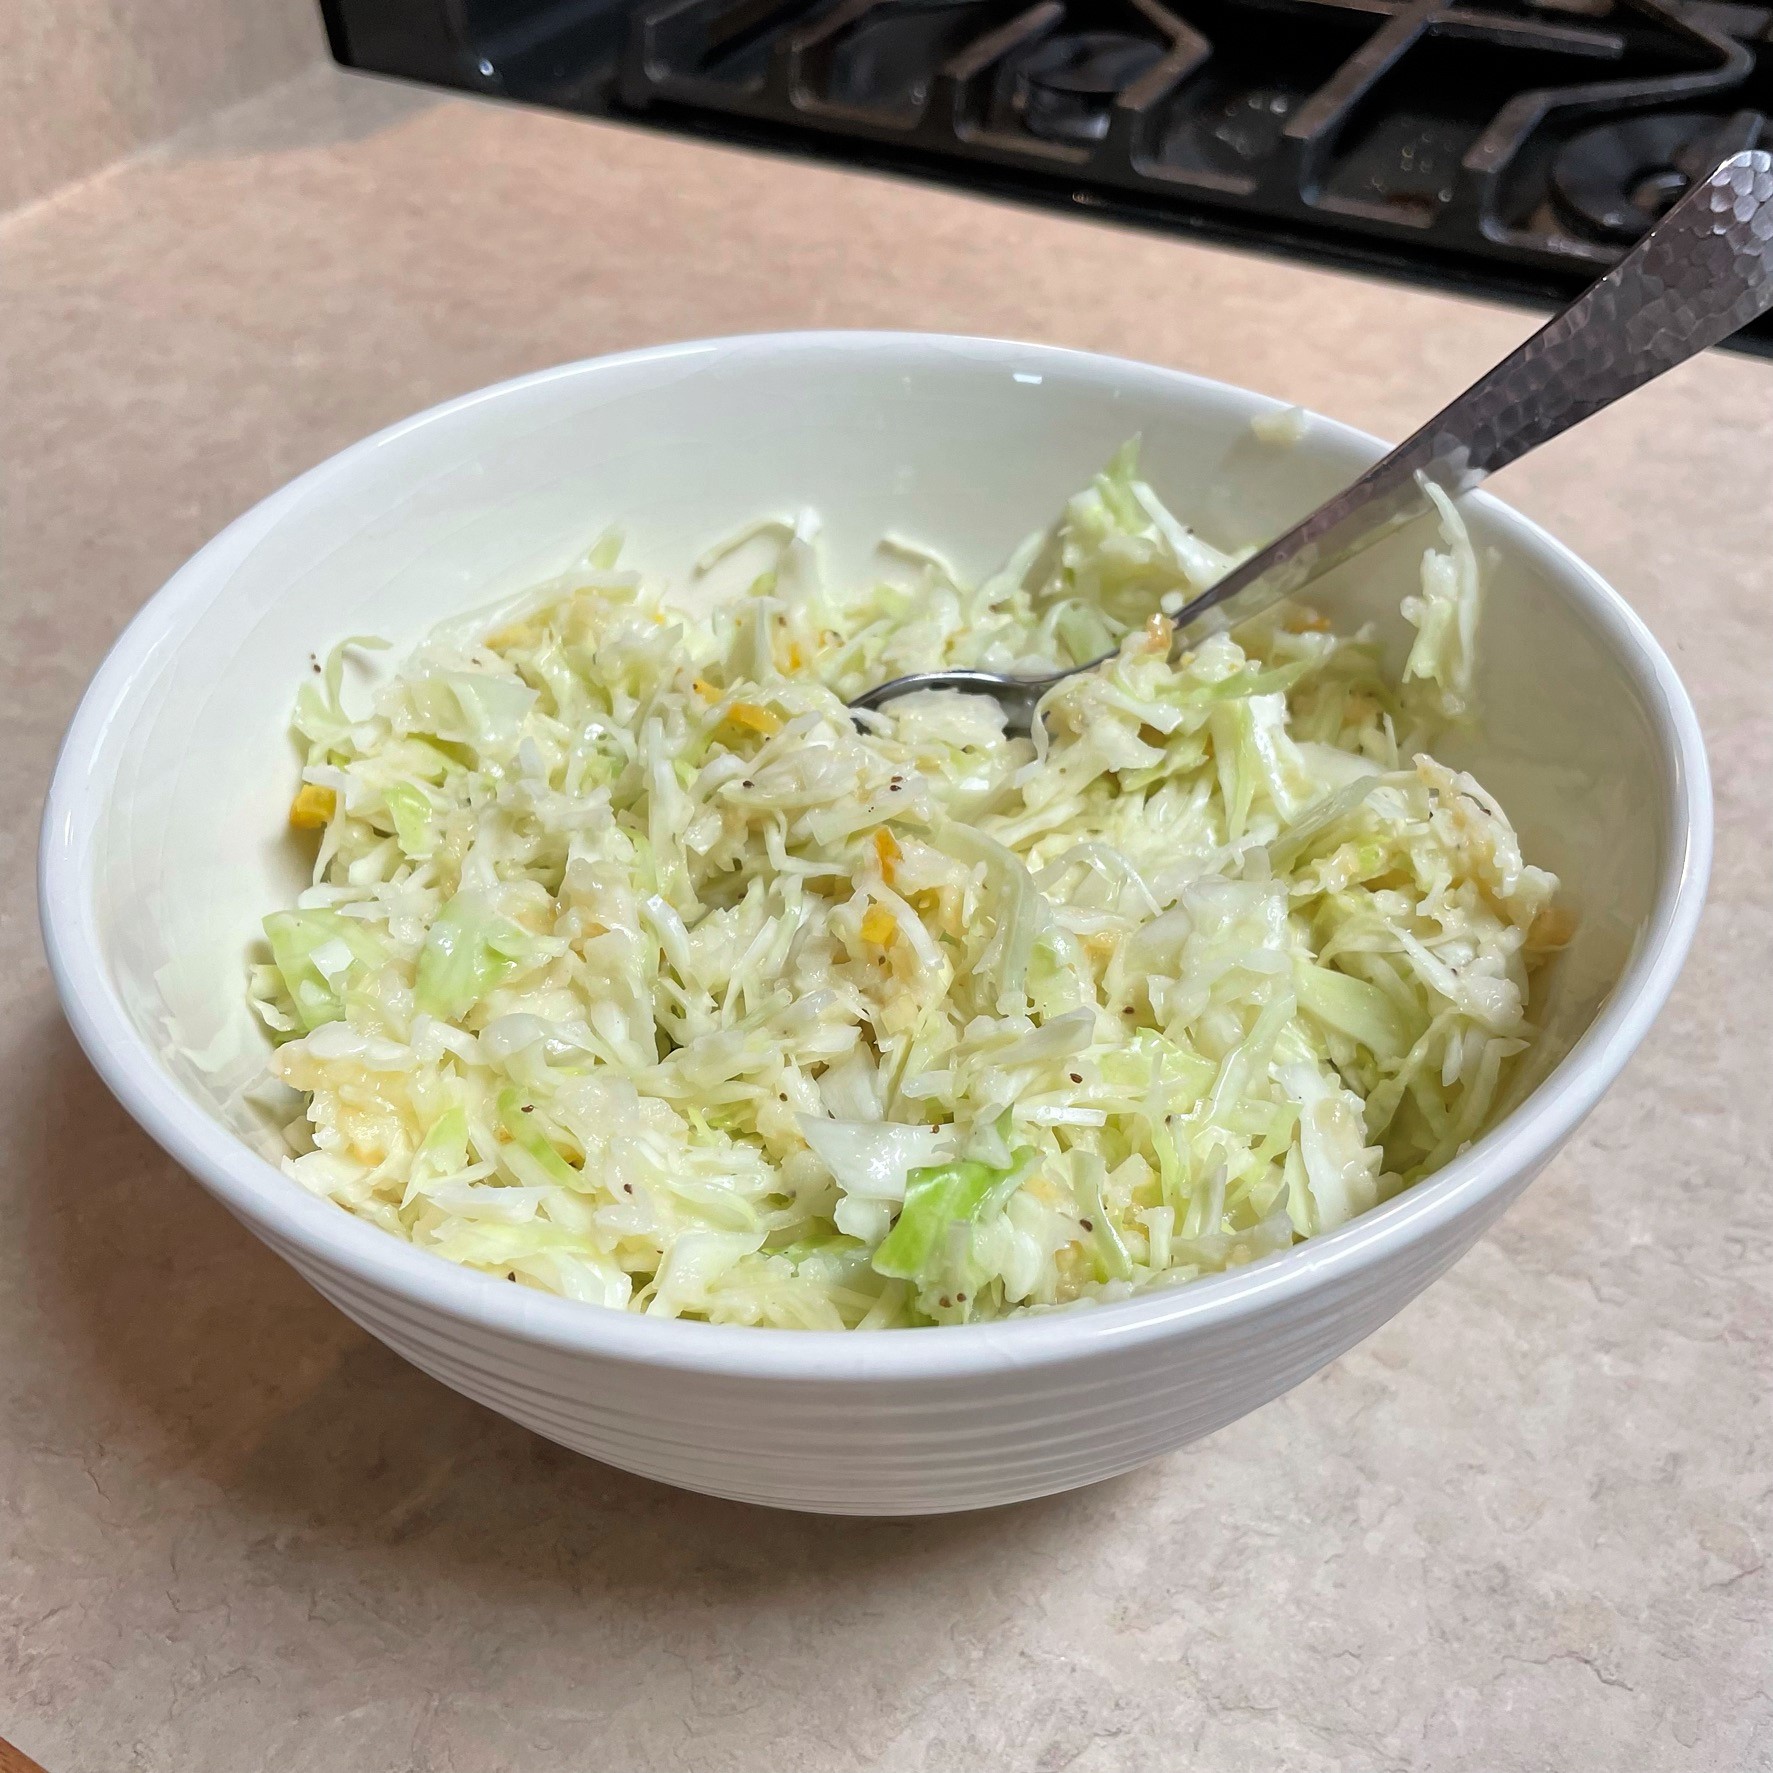
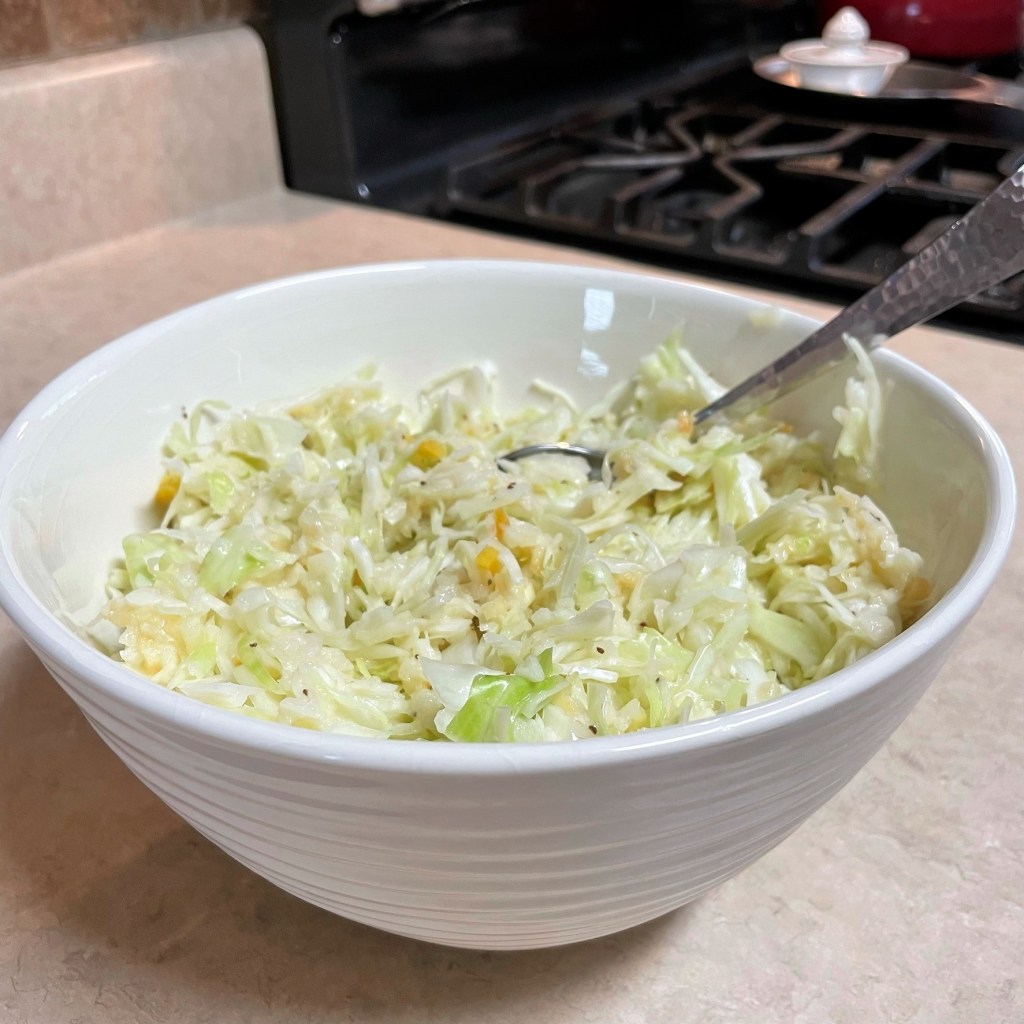
Pour the dressing over the cole slaw mix and toss to combine. Refrigerate at least an hour for best flavor, but this salad will also keep in the fridge for several days.
As we inch toward some new variety of normalcy in the aftermath of the COVID pandemic, my husband, Les, and I have been making an informal list of the top things that helped us get through the past year. Beyond the obvious things, such as face masks and avoiding crowds, we leaned into a few new routines as we fumbled through a year in lockdown.
Last week, I shared one of our favorite rituals—our Friday night menu of homemade pizza and smoked maple old-fashioned cocktails, our “quarantini” of choice. Today, I’m offering up a slice of this easy, no-cooking-involved spring dessert, in honor of the musical duo that has provided the soundtrack for our Friday nights at home for the past year.
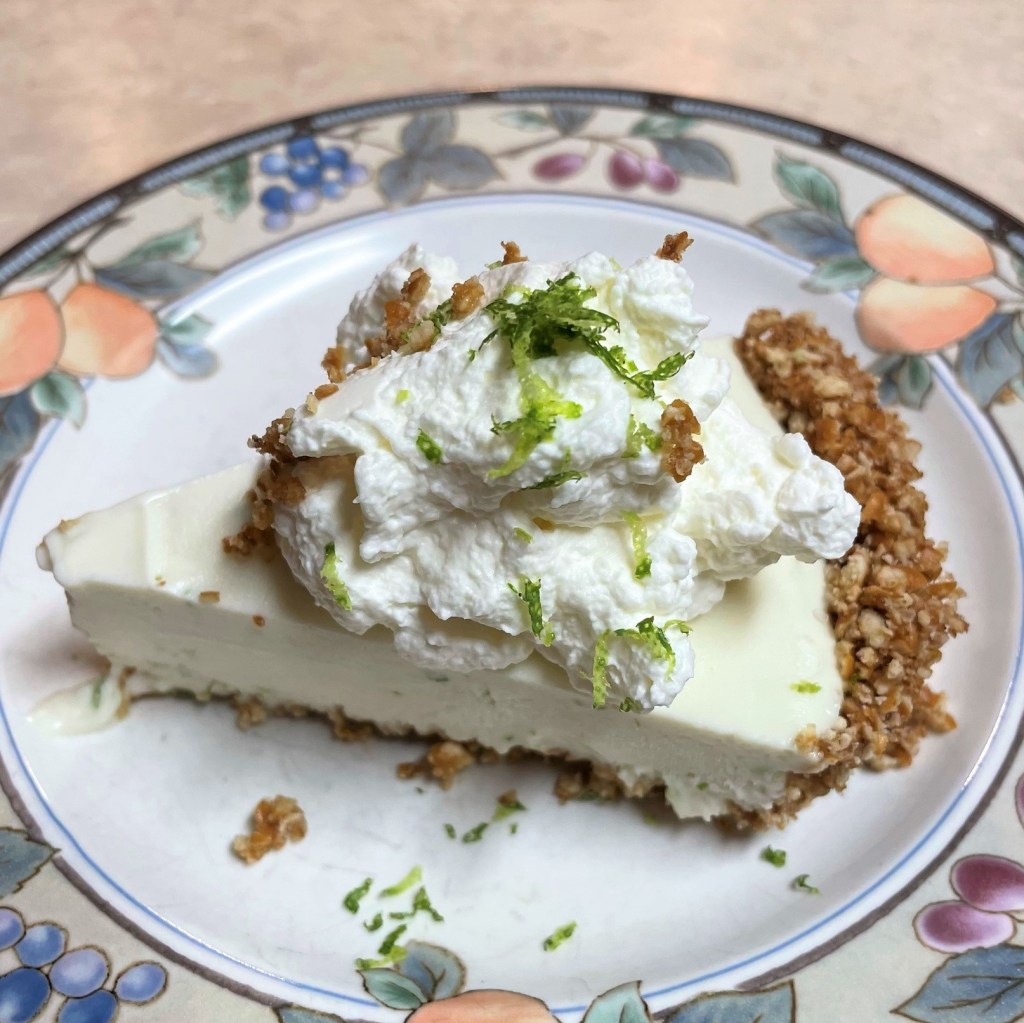
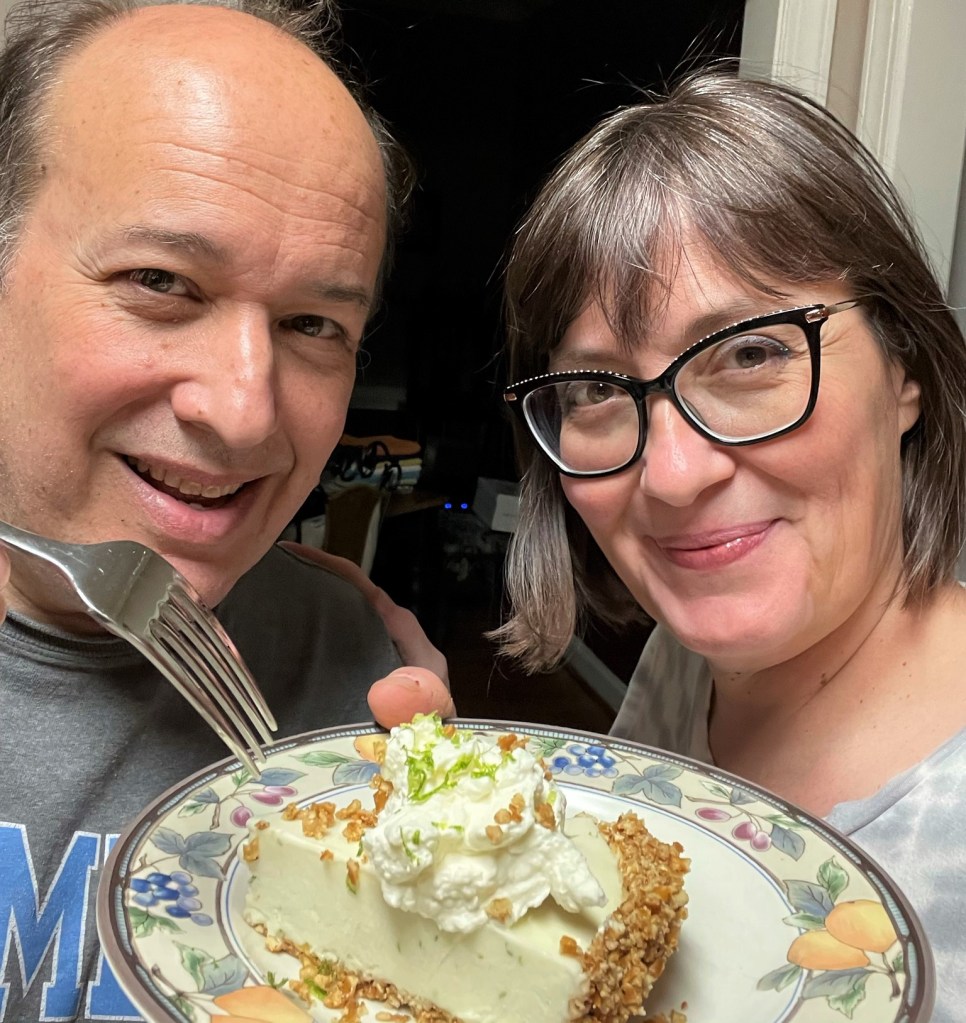
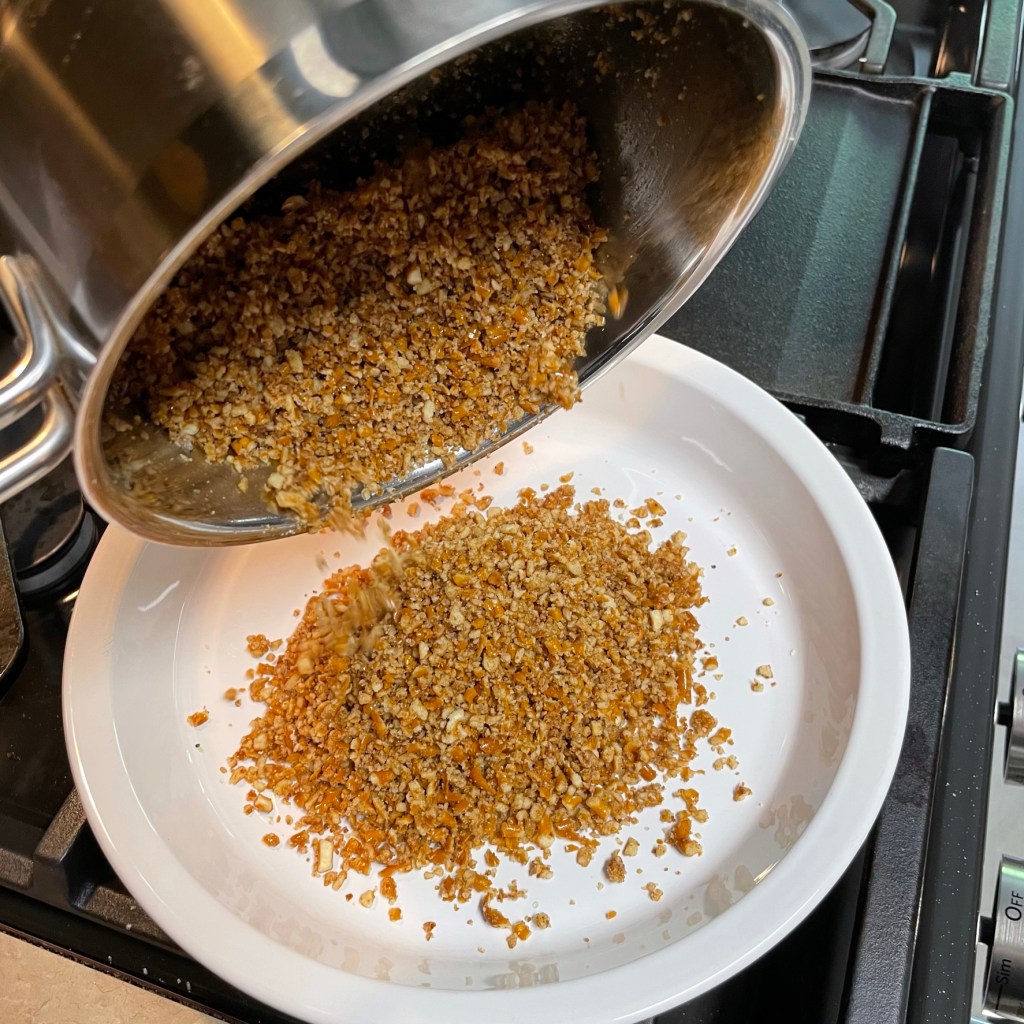
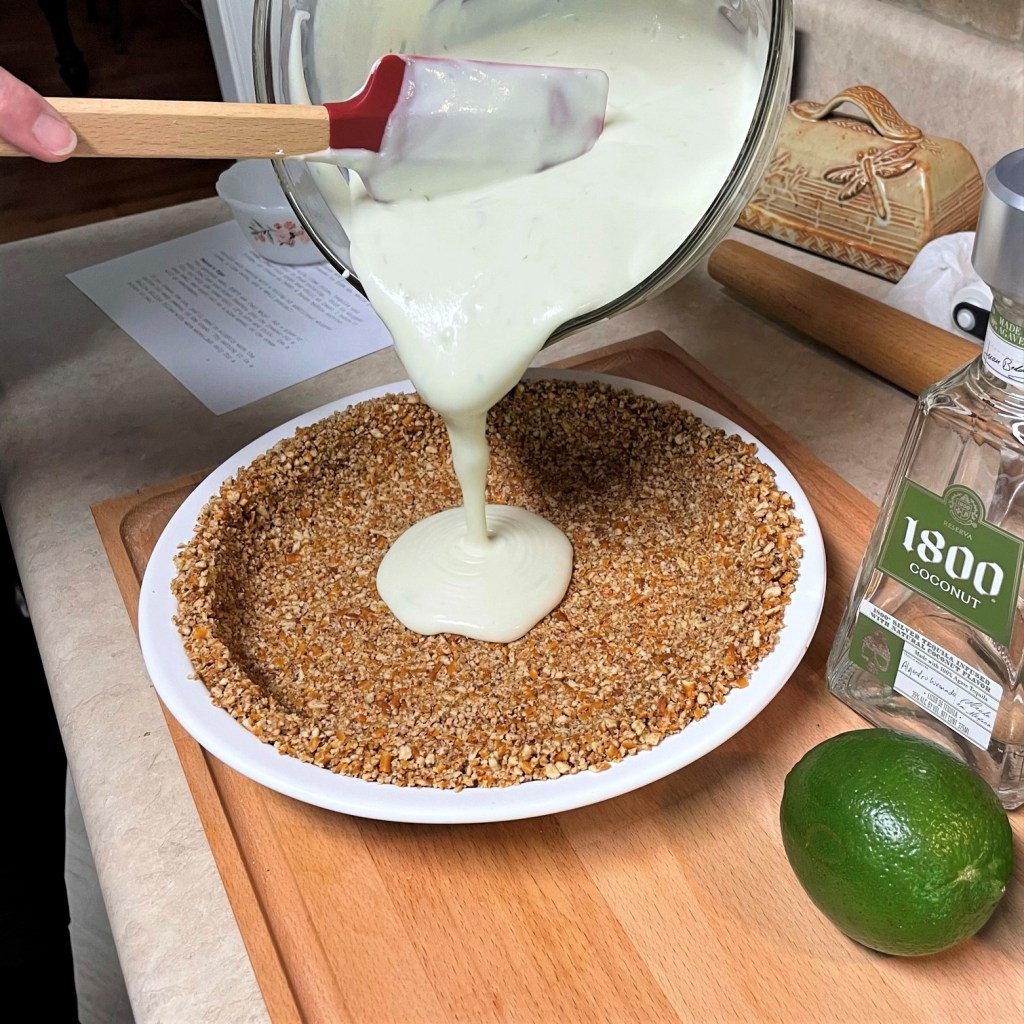
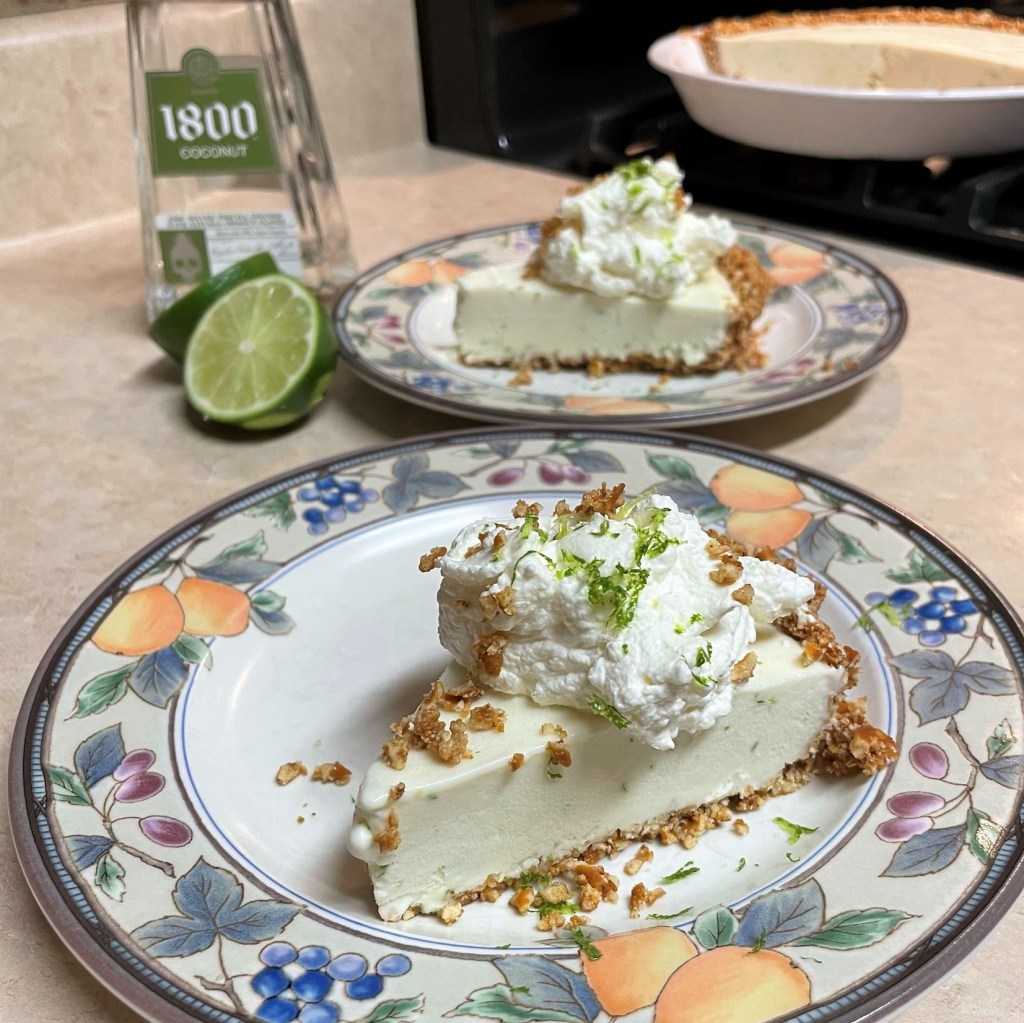
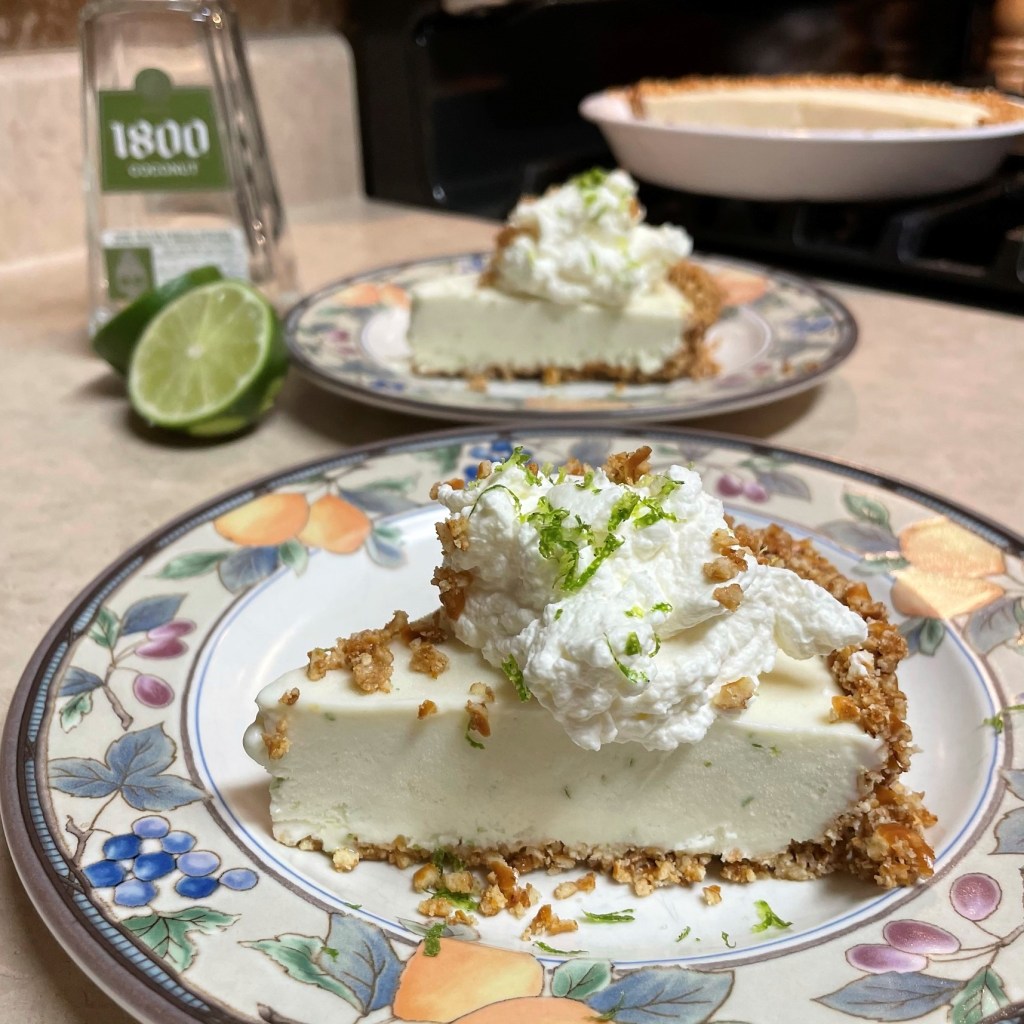
My “tequila and lime” pie is obviously a riff on a margarita cocktail. It is bright and citrusy, sweet but tart, with refreshing lime juice plus two shots of tequila and a splash of orange liqueur. The crust, though similar in appearance to a graham cracker cheesecake base, is made from buttery crushed pretzels, a salty accent just like the one you’d expect on the rim of your margarita glass. I’ve made this pie for many years and always called it “margarita pie,” but it shall be known henceforth by its new name, “Tequila and Lime,” which also happens to be the title of a song by our Friday night friends.
The tequila and lime pie is especially good when served frozen!
Nearly every week during lockdown, we have cozied up in front of our big wall-mounted TV for “Quarantunes,” streamed on Facebook Live by Glenn Alexander, an awesome musician and all-around good guy, and his lovely and talented daughter, Oria, who graces us with her phenomenal voice and occasional playing of flute and turkey legs. Yes, I said turkey legs—you must press “play” and see it to understand.
Glenn Alexander and Oria, with Dr. Fauci! 🙂
Together, they are “Blue Americana,” and both Glenn and Oria (pronounced “oh-RYE-uh”) are equal parts gifted and goofy, and their weekly concert, staged from a table in their home kitchen, has helped us maintain humor and a sense of normalcy throughout the turbulence of the past year. We first met Glenn from his role as lead guitarist for Southside Johnny and the Asbury Jukes, a Jersey-based bluesy rock band that my husband has followed for about four decades. Not coincidentally, a Southside concert was the first date that Les and I had in 2015, though Les insists it wasn’t a date and maybe it wasn’t for him, but I still remember how he looked in black jeans that night, and how I wondered to myself, “why have I not noticed this before?” But I digress.
When COVID was still making early headlines, Les and I had gone to one of our last live music shows—a “Jukes” concert, just one night earlier than the Little River Band show I wrote about in my previous post, “Reminiscing.” Yep, for two consecutive nights, just ahead of the first COVID surge, we were nuzzled next to strangers in busy music venues. The reality of the virus obviously had not yet hit us. At the start of the Jukes concert, Southside Johnny strolled onto the stage with his shirt untucked and his usual sense of humor, telling the crowd not to get too close, because they had found the first “coronavirus person” in North Carolina, and he pointed to his left, directly at Glenn Alexander, who replied with his own swagger and wit, “I’m more of a Dos Equis person.” And then they rocked the house.
When we learned later that Glenn was streaming Facebook Live shows on Friday nights, it was a no-brainer—of course we would be watching, whenever we didn’t have plans. Which turned out, of course, to be the whole next year. Little did we know that these two—Glenn, with his virtuoso guitar skills and a side shot of tequila and lime, and Oria, with her sultry, soulful voice and adorable, unapologetic silliness, would become part of the family.
Check out Glenn and Oria on Facebook Live!
If you are on Facebook, please check them out this Friday night. Because if Glenn and Oria are in your living room at the same time they are in our living room—well, that’s almost as good as being together. 😊 You can also check out their shows after live-streaming, on Glenn’s YouTube Channel.
Glenn and Oria, we love and appreciate you! Here’s a delicious slice of “vitamin T” for you and Dr. Fauci!
We feel fine, with our tequila and lime!
Ingredients
Crust:
1 stick (8 Tbsp.) salted butter, melted
1 1/4 cups finely crushed salted pretzels* (see notes)
2 Tbsp. coconut sugar (or regular sugar)
Filling:
14 oz. can sweetened condensed milk
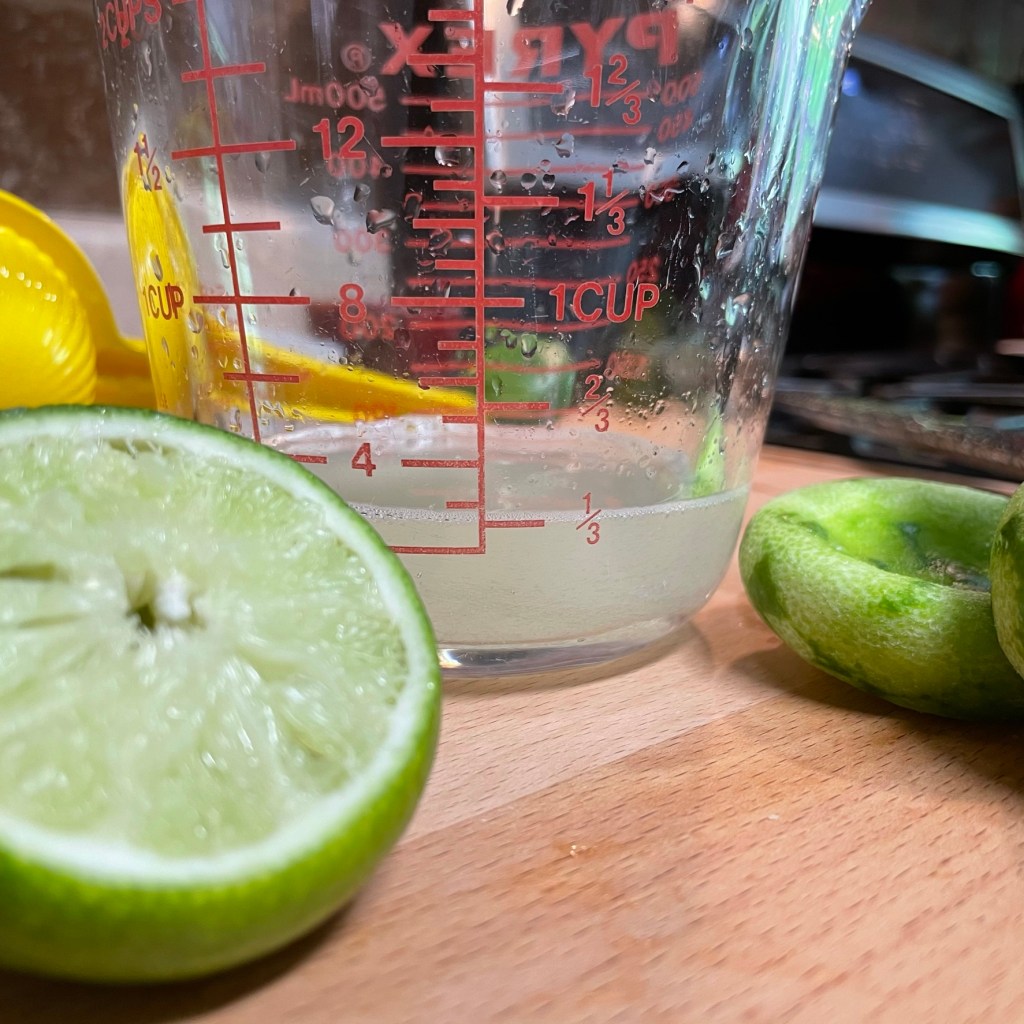
1/3 cup freshly squeezed lime juice, from about two large limes* (see notes)
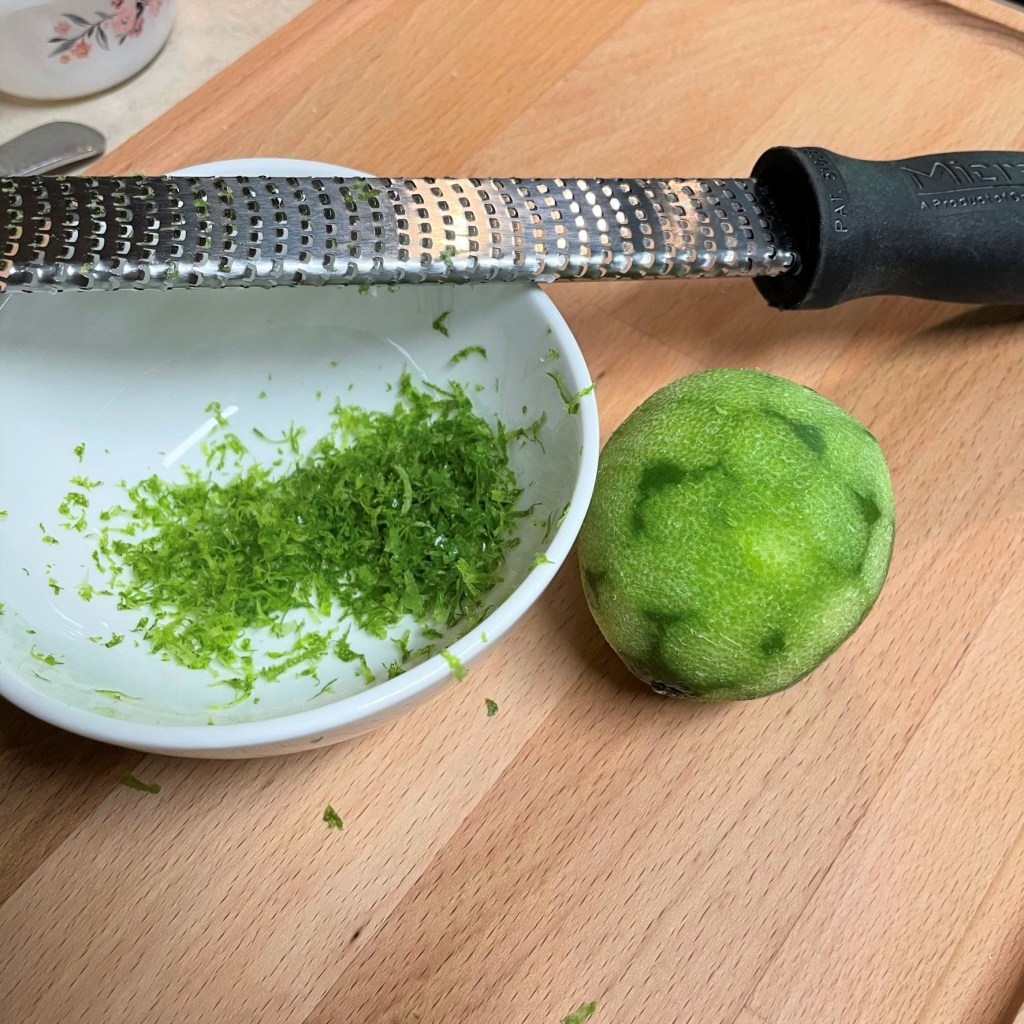
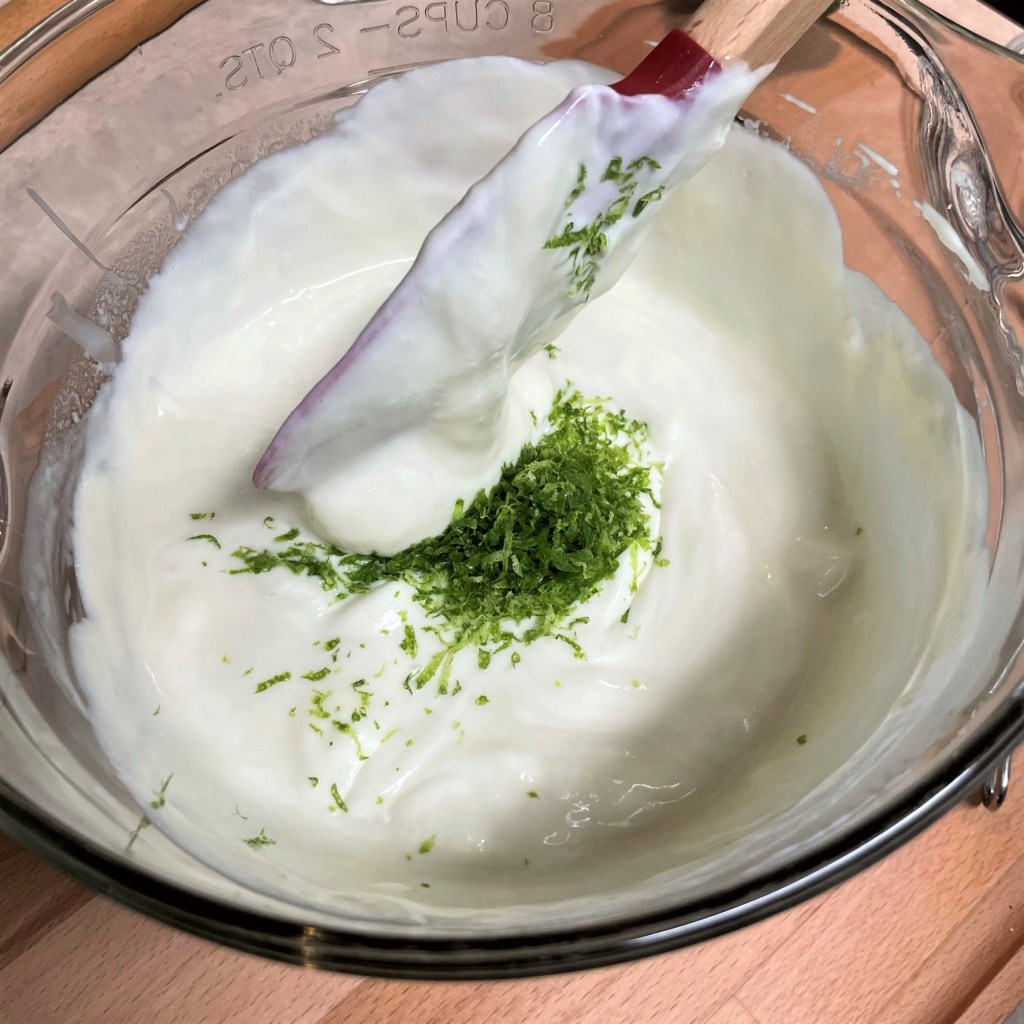
Zest of one lime*
2 oz. (1/4 cup) 1800 Silver tequila*
1 oz. (2 Tbsp.) Grand Marnier orange liqueur*
8 oz. heavy cream, whipped
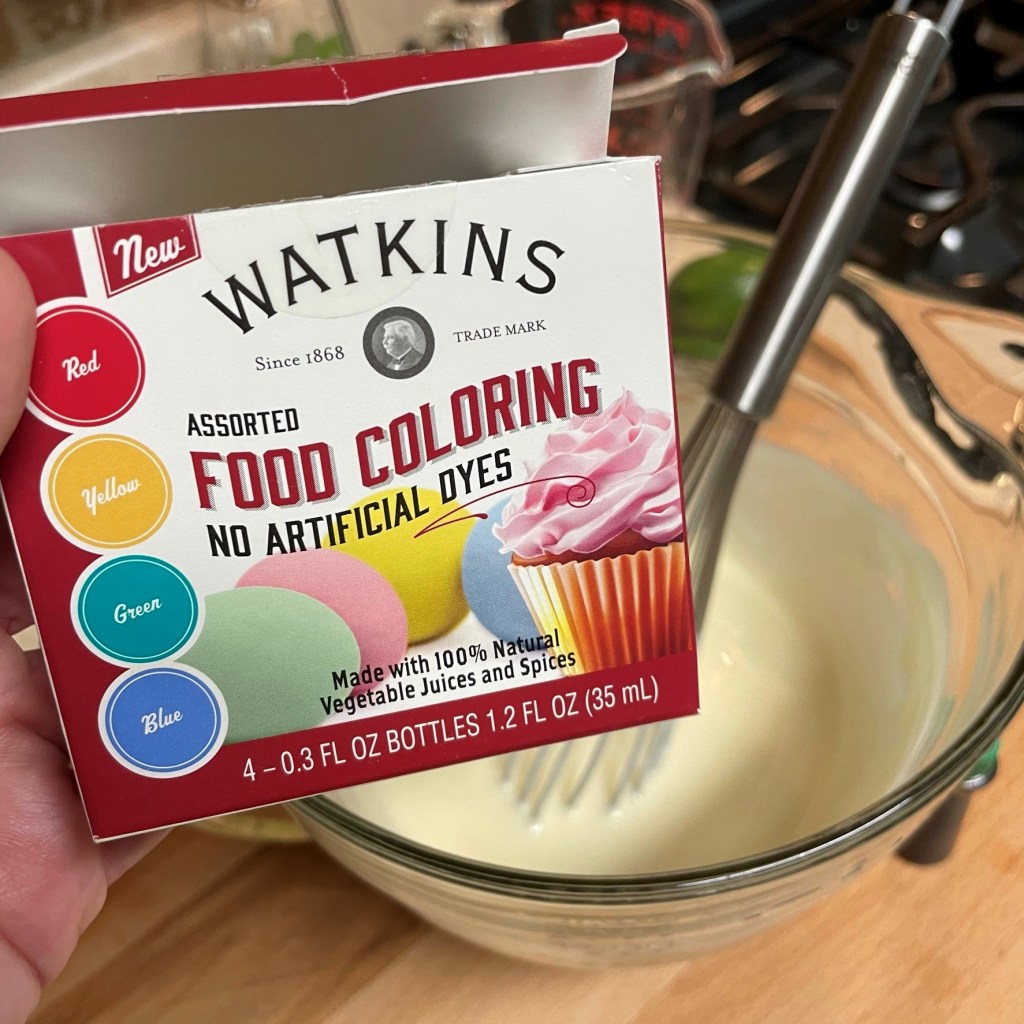
A few drops of green food coloring (optional)
*Notes
The measurement of pretzels is after crushing, so you will probably need to crush about 2 cups of loose pretzels to get this amount. Crumbs should be small and uniform, but not as fine as powder. If you have any leftover crumbs, you can use them to garnish.
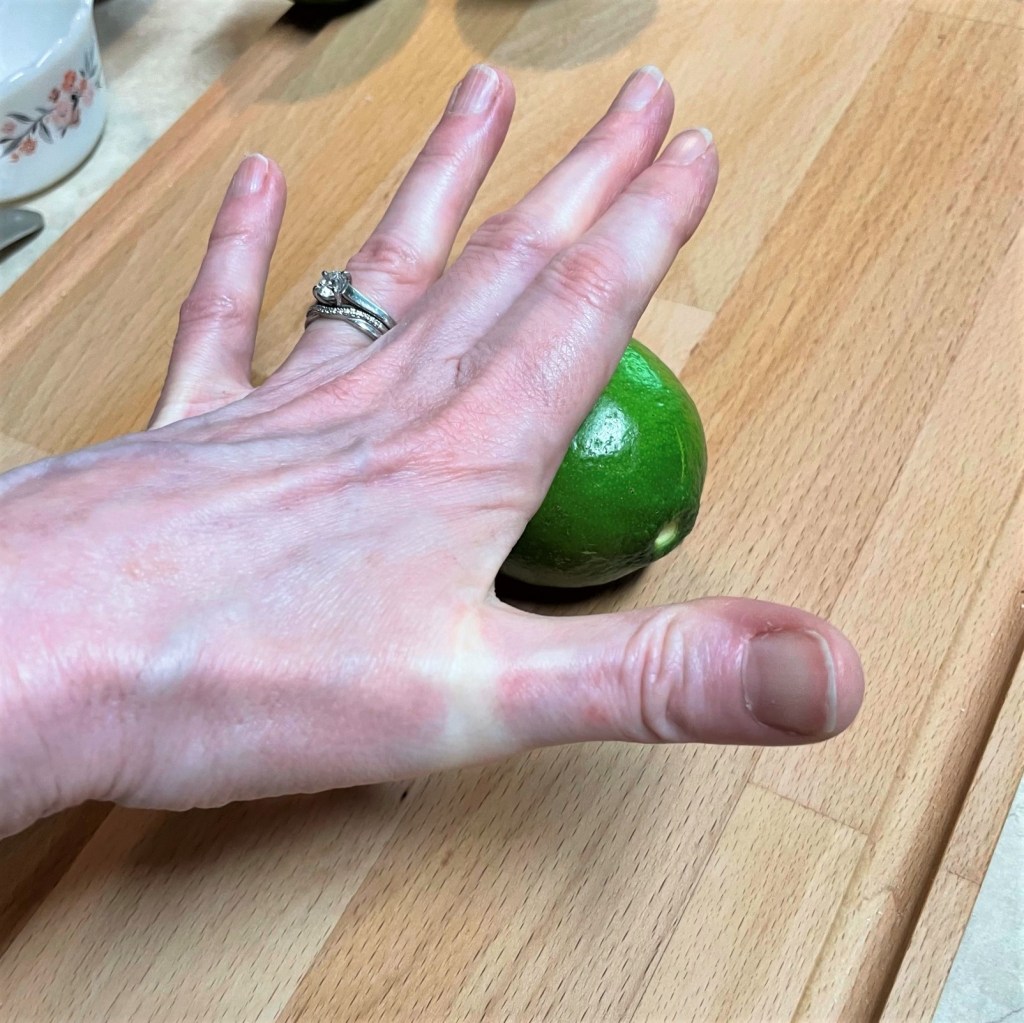
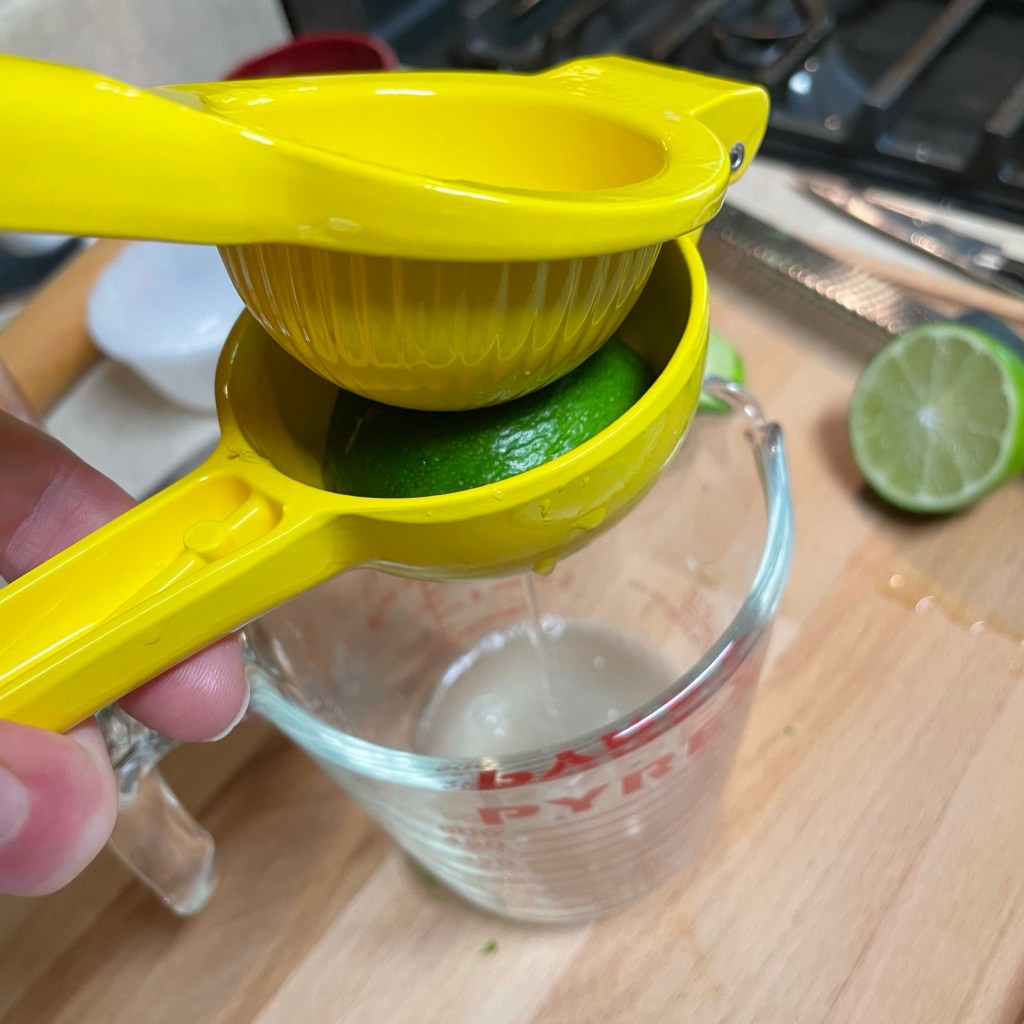
Use a microplane to remove the zest of one lime before you juice them, and it’s best to use organic citrus anytime you will be eating a portion of the peel. Here’s a tip for getting the most juice out of your fresh limes: microwave them on high for about 40 seconds. Cool until they are easy to handle, then roll under your hand on the counter before halving and squeezing them.
This time around, I used 1800 Coconut tequila, for a little extra tropical flavor. I have also used Cuervo gold tequila with excellent results, so use whatever brand is your favorite, but remember that with so many mixers in this pie, it is not necessary to use a top-shelf tequila. Save the really good stuff for Quarantunes!
I use Grand Marnier in my margaritas, so I have also used it in my tequila and lime pie. Use a splash of triple sec if you prefer or if it is what you have on hand.
Here we go!
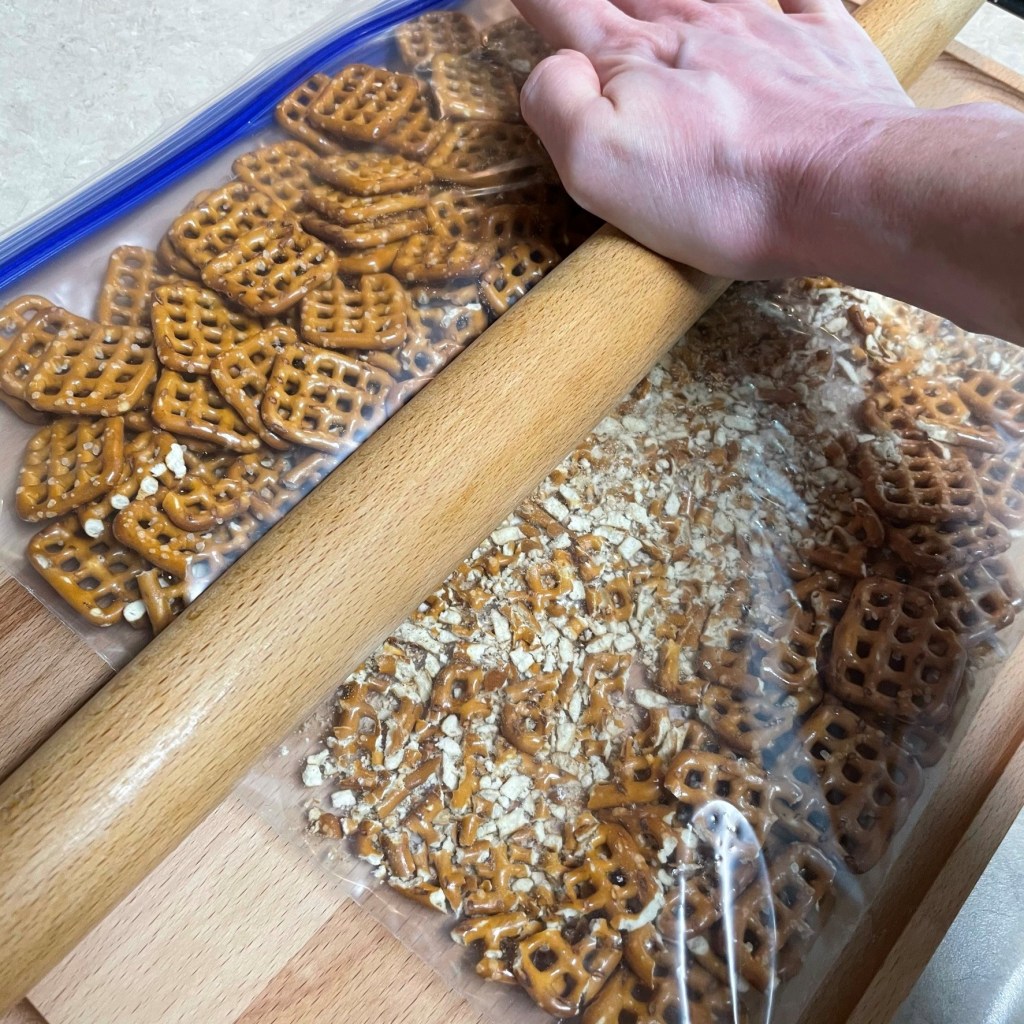
This time, I’m using a rolling pin rather than the food processor. I want small, uniform pretzel pieces, not powder.
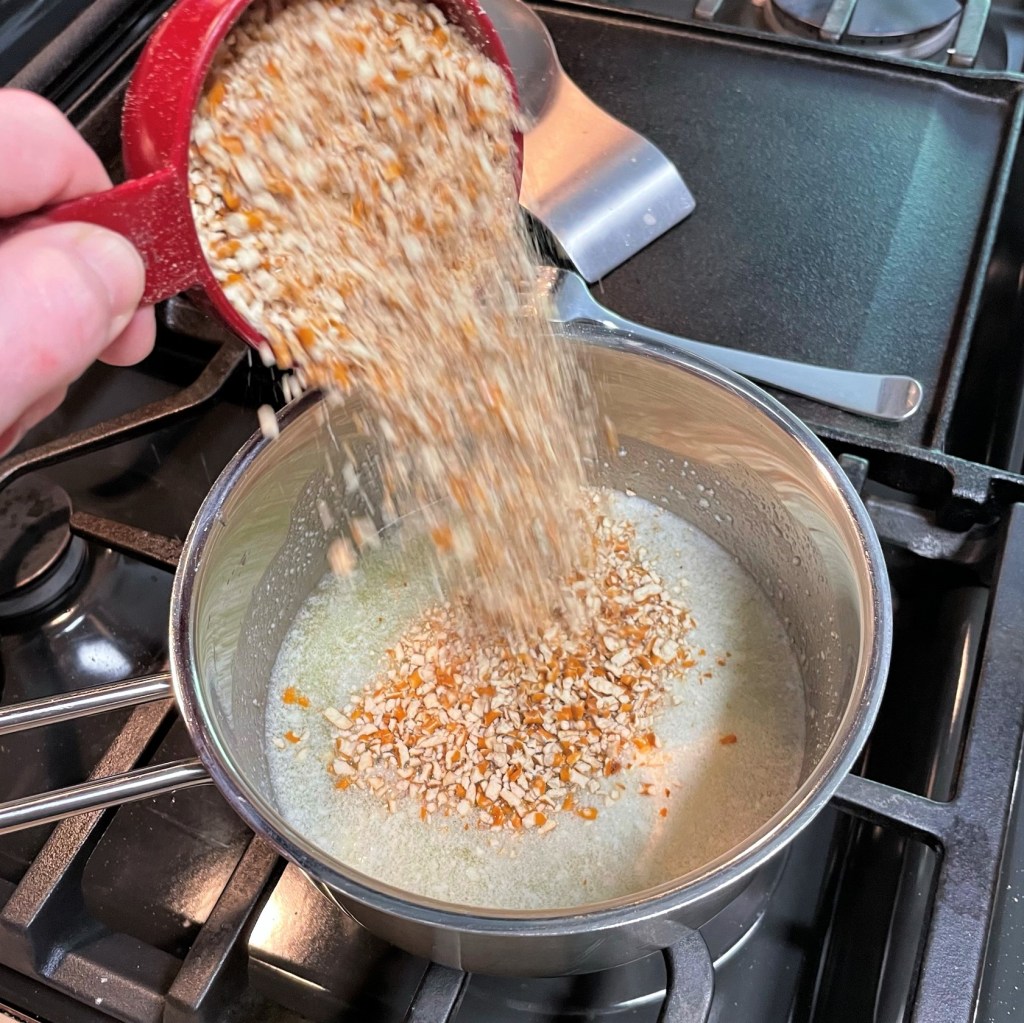
Add the pretzel crumbs right into the melted butter. If you end up with extra, save them for garnish.
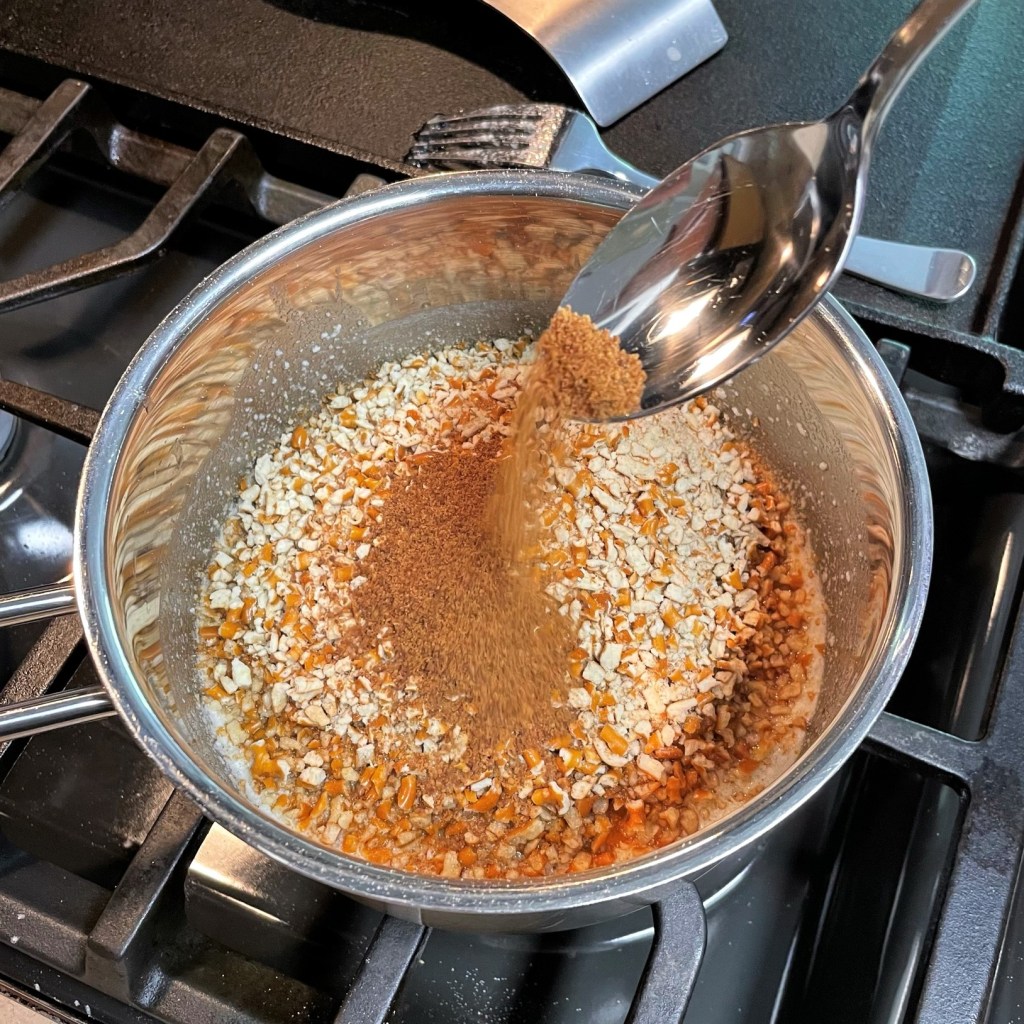
I used coconut sugar in the pretzel crust, to add another tropical twist, but regular sugar is fine, too.
Add the buttered crumbs into a 9-inch pie plate. I used a standard Pyrex plate, and had the perfect amount of crust and filling.
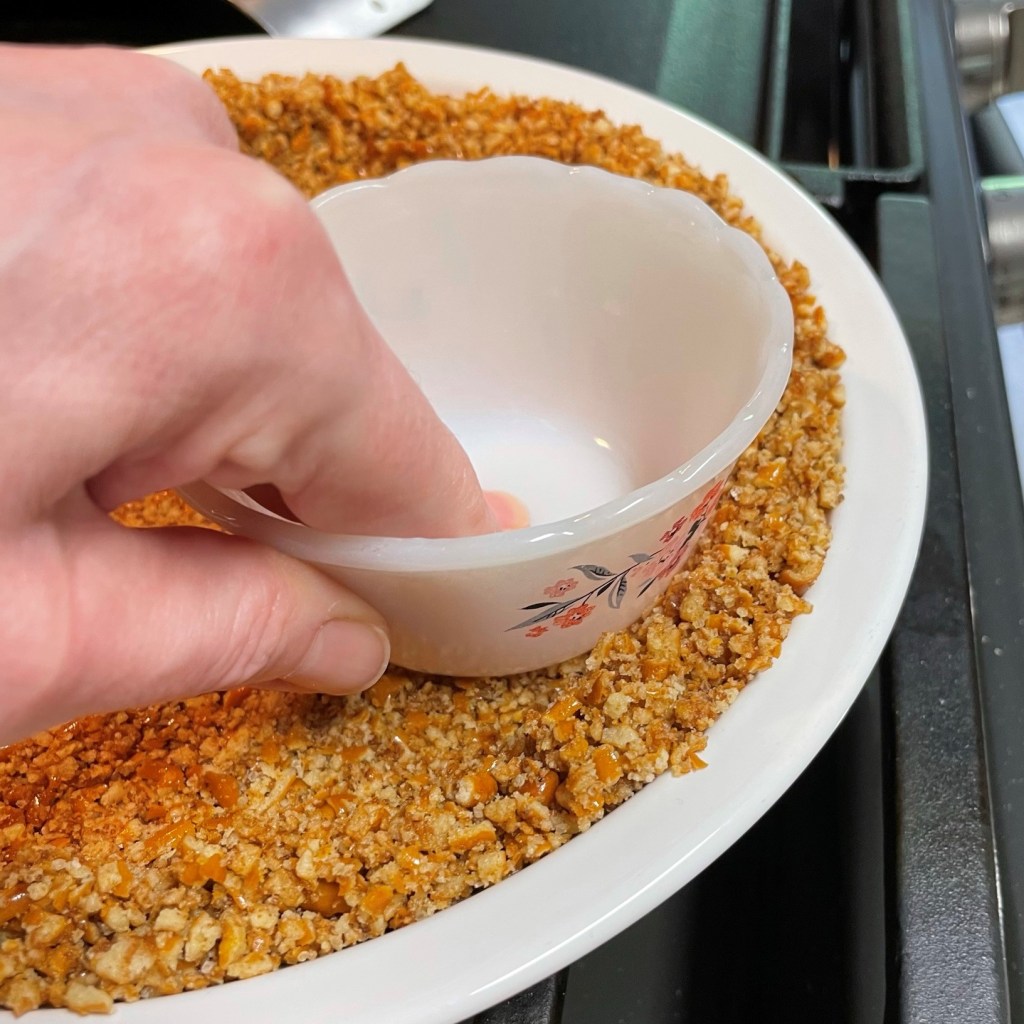
Use the bottom of a small bowl to compress the crumbs into the bottom of the pie plate. Take it slow to keep the crust base even.
My custard cup has a similar sloped side to match the shape of the pie plate. Some of the crumbs will remain loose near the top, and that’s OK.
The crumbs are all at once salty, sweet and crunchy! Put the pie plate in the freezer to firm up while you make the filling.
If you don’t have a microplane, use the smallest holes on a box grater, or use a vegetable peeler to remove just the dark green zest, then mince finely with a good knife.
To extract the most juice from your limes, put them in the microwave for about 40 seconds, then roll them on the counter before halving and juicing them.
My citrus juicers get a lot of action. I love that they squeeze out so much juice, but the seeds stay behind.
Two large limes gave me exactly what I needed, 1/3 cup of juice.
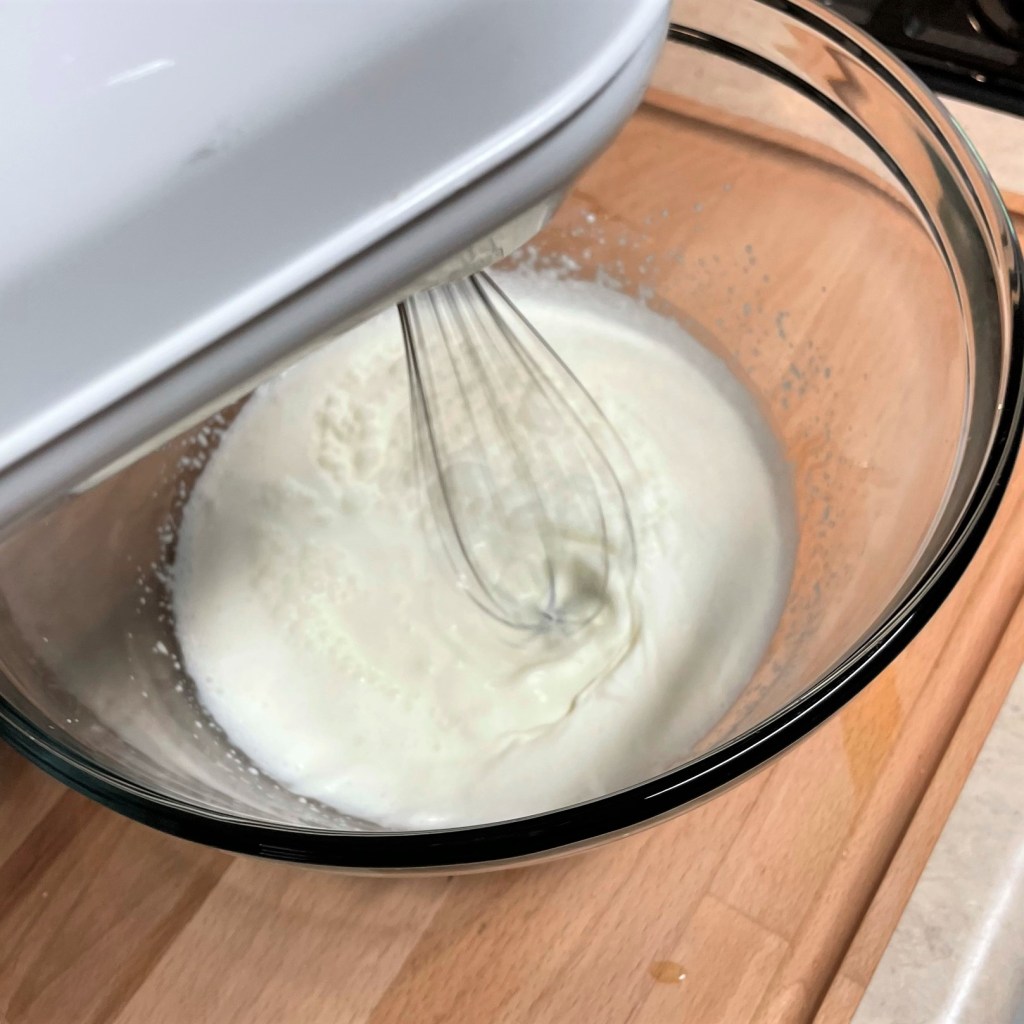
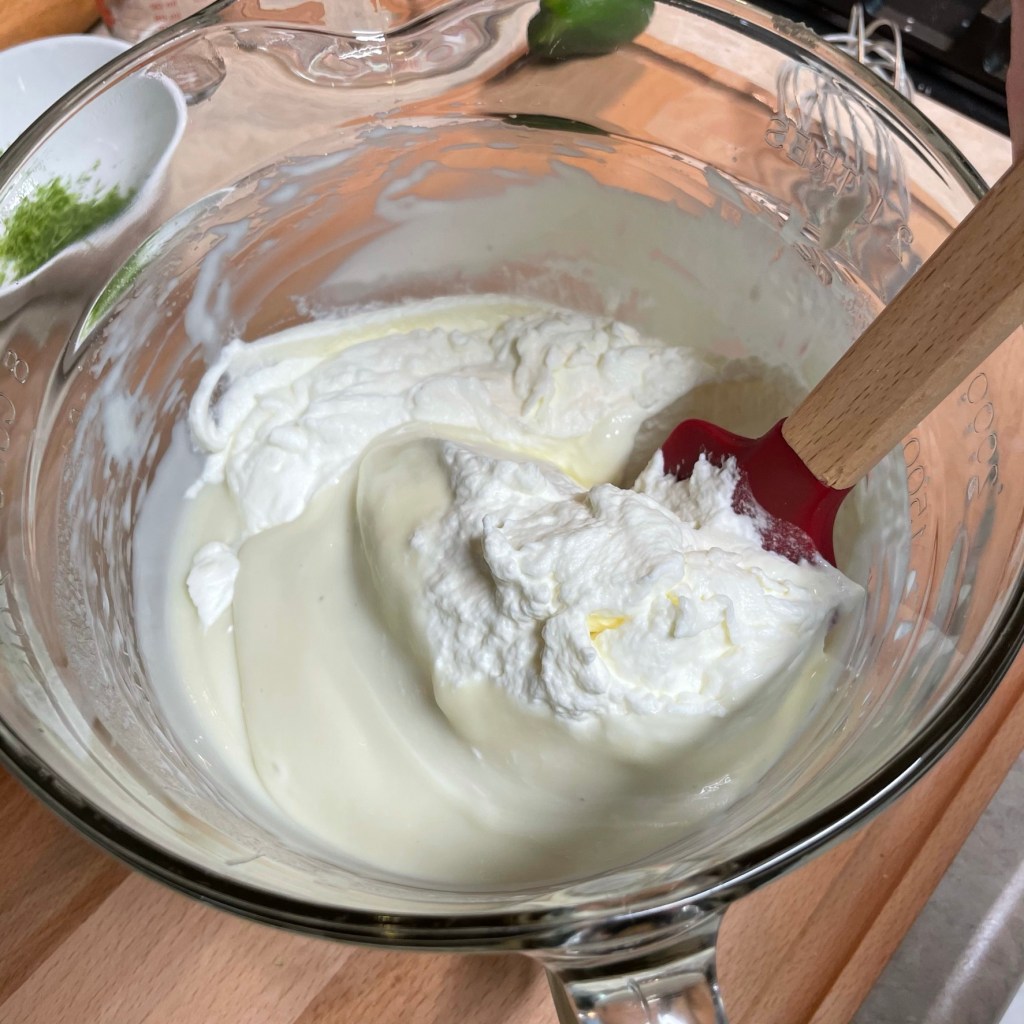
Whip the cold heavy cream with an electric mixer. You want it to be nice and thick, but not broken.
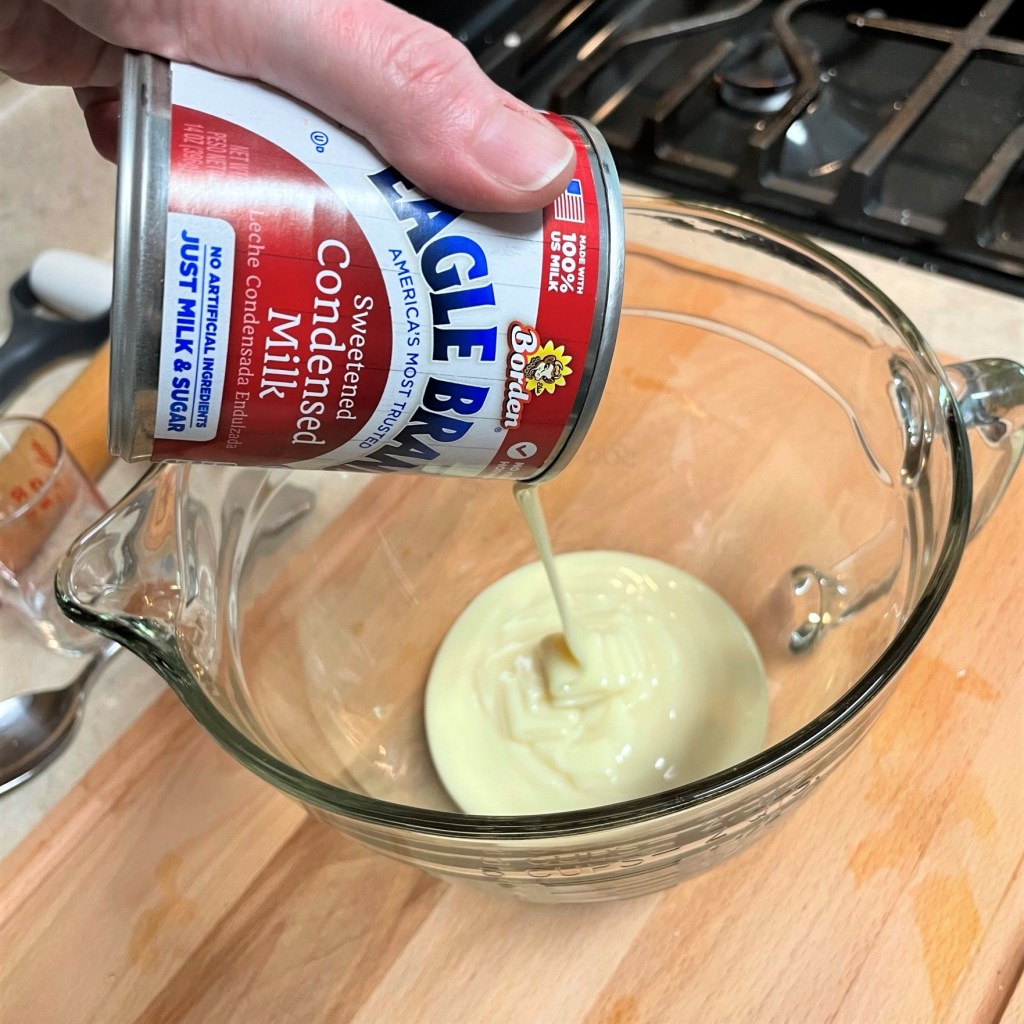
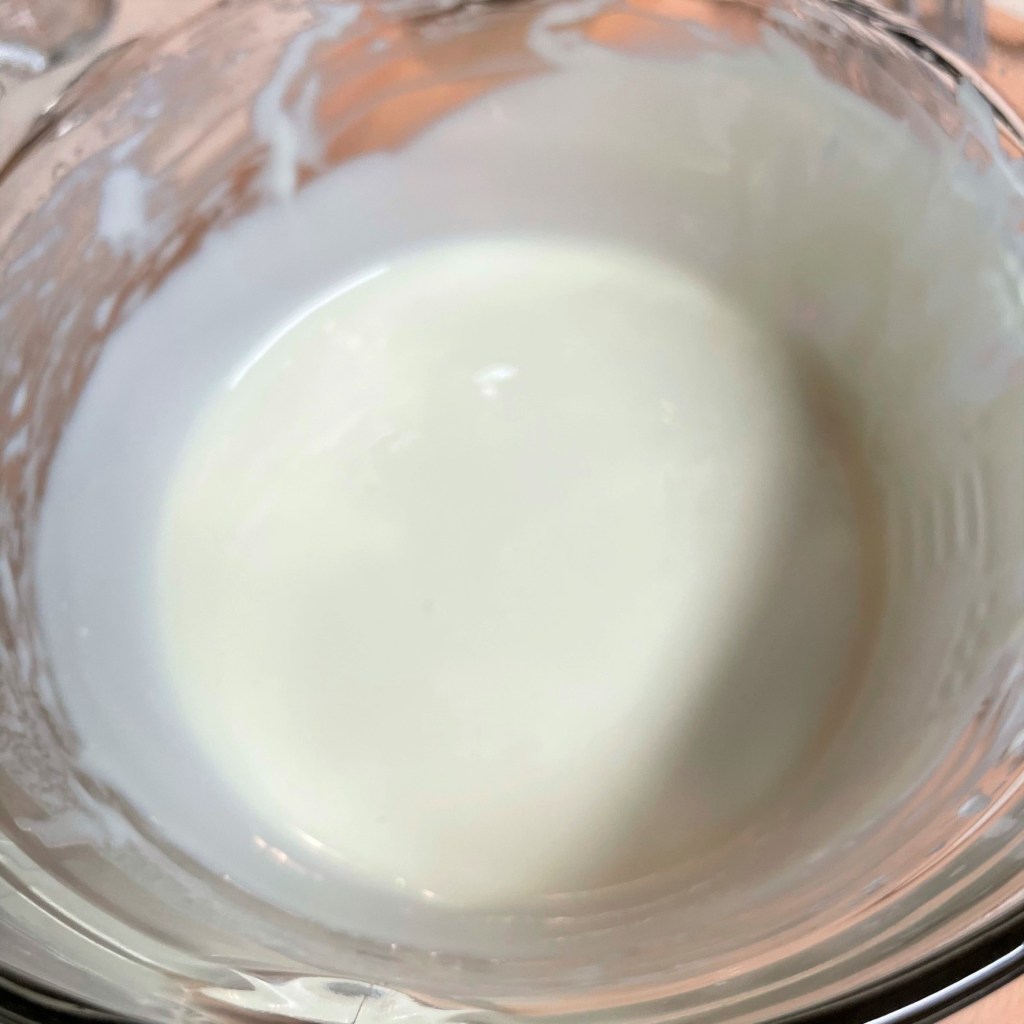
Sweetened condensed milk is very thick. Use a small spatula to scrape out the entire contents of the can.
Add the lime juice to the sweetened condensed milk. I used my large batter bowl, for easy pouring into the crust.
Pour in the tequila…
And the Grand Marnier, or triple sec, if you prefer.
It’s best to use a whisk rather than a spoon to mix these ingredients, because the textures are so different. Mix until fully blended and silky.
Green food color is not critical for this pie, and I’m not a fan of the artificial stuff, so I’m using this “natural” food coloring for the first time.
I added a total of SIX drops of green food color. Does this look green to you? I’m calling the natural food color a “fail.” 🙂
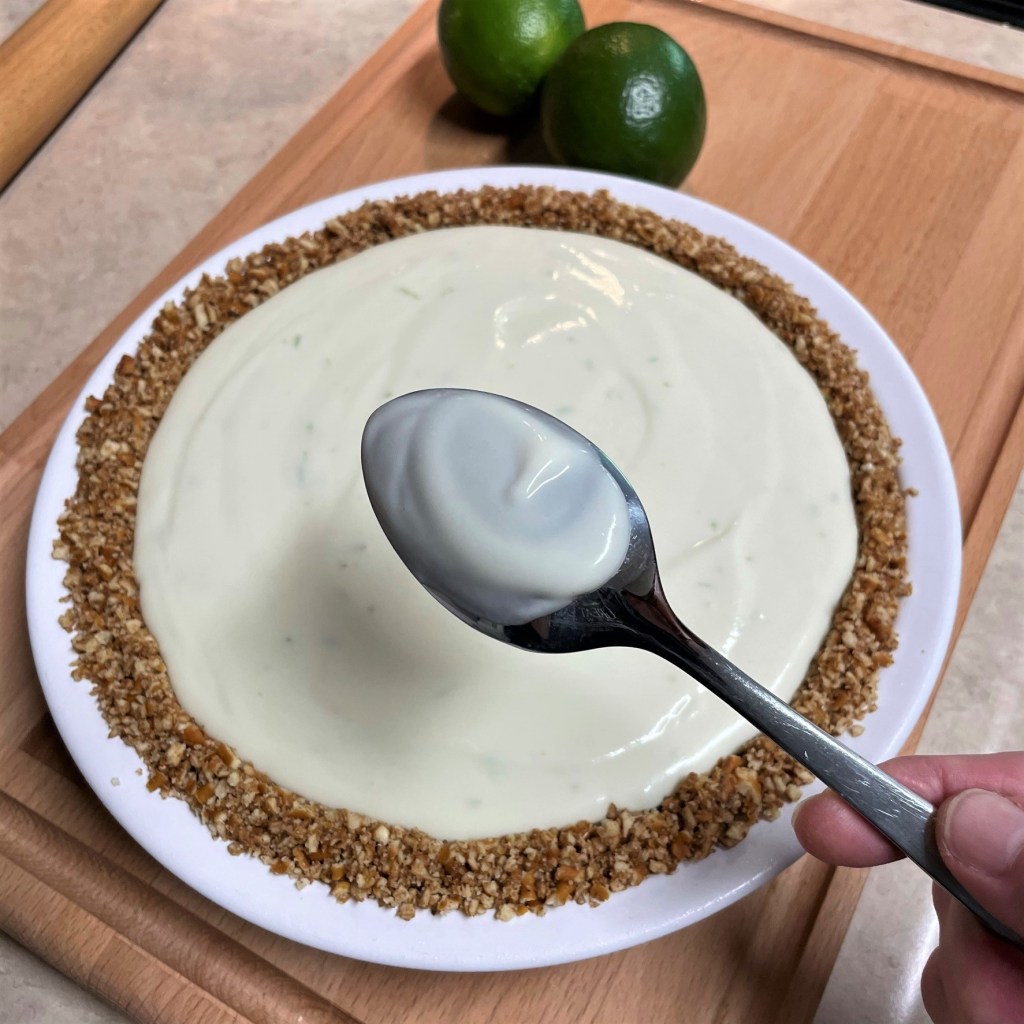
Gently fold in the whipped cream, using a spatula rather than a spoon, to keep the soft texture.
As I was finishing with the cream, I realized I forgot the lime zest! It’s best to stir this in first so you don’t overmix the cream. Still learning here!
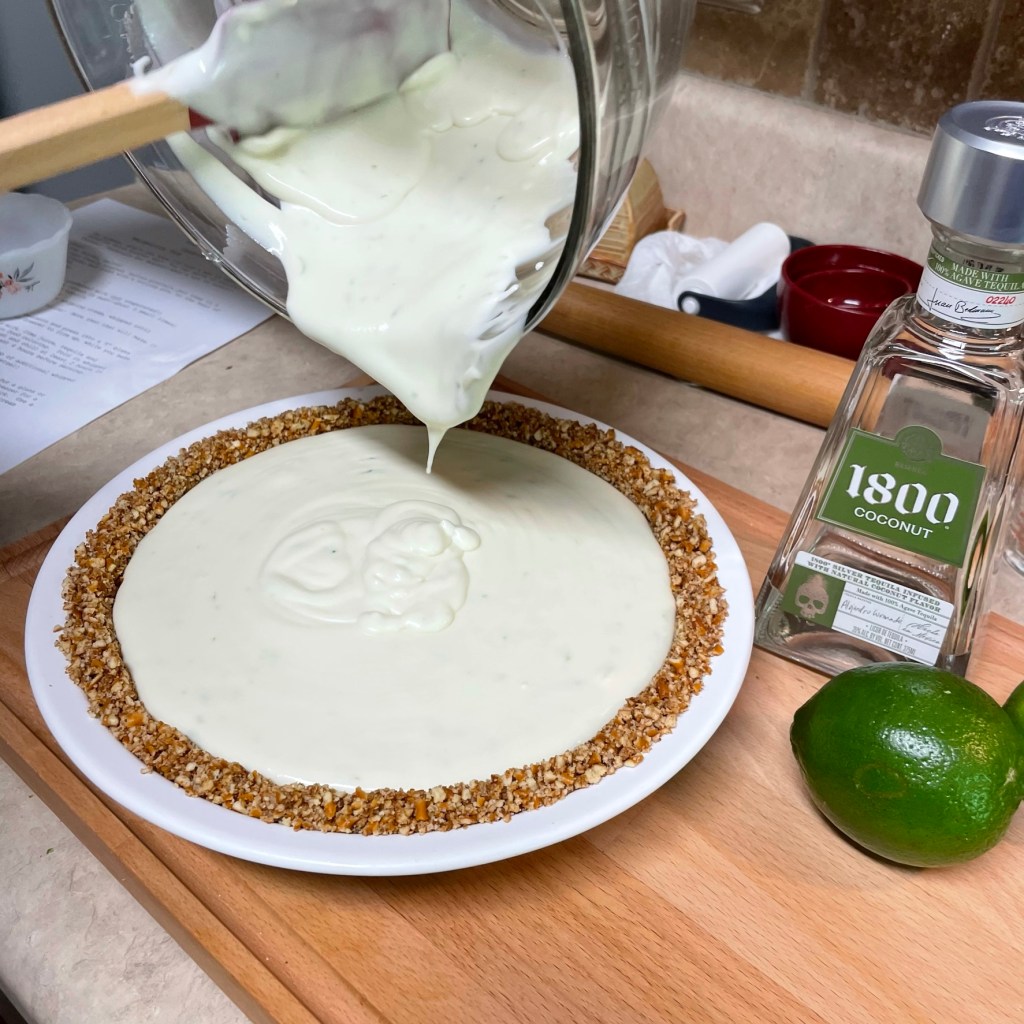
Gently pour the filling into the chilled pretzel crust. Take your time so that you don’t disrupt the firmed-up crumbs.
Scrape every last bit of filling into the crust. It’d be a darn shame if I had to lick the bowl, wouldn’t it?
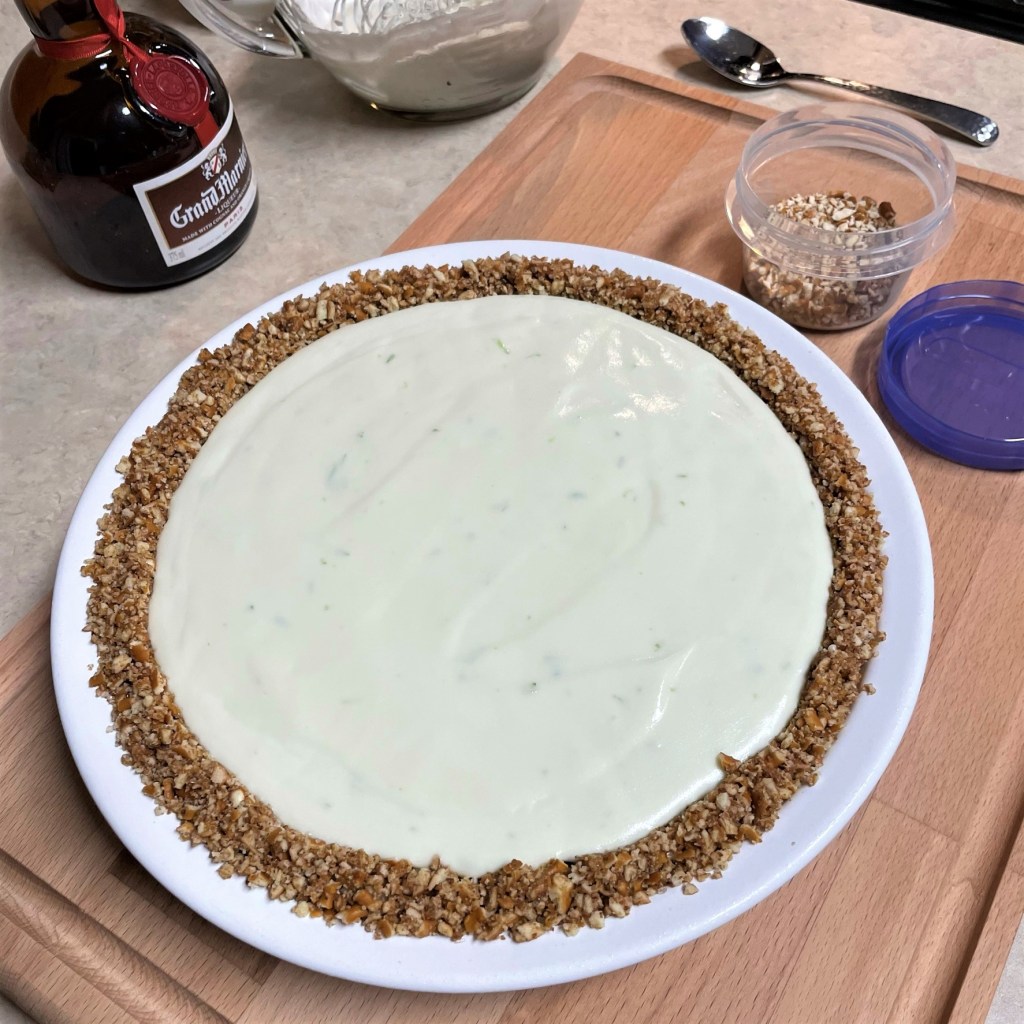
To my point, I smoothed the top with the back of a spoon. Yum! Cover the pie loosely with a foil tent and chill or freeze, depending on how you plan to serve it.
Cover the pie loosely with a foil tent and chill or freeze, depending on how you plan to serve it. We like frozen the best.
Top slices with additional whipped cream, lime zest and leftover pretzel crumbs. Cheers!
Instructions
Melt butter in a small saucepan. Use a fork to combine pretzel crumbs and coconut sugar into the butter. Press into a 9” freezer-safe pie plate, using the bottom of a small dish to compress the crumbs. Put this into the freezer for at least 20 minutes to firm up the crust while you make the filling.
In a large bowl, whisk together condensed milk, lime juice, tequila and triple sec. Stir in green food coloring (if using) and lime zest.
Use a spatula to gently fold in the whipped cream.
Pour mixture (slowly) into the chilled crust and chill or freeze until serving time. For a chilled pie, give it at least two hours in the fridge; for a frozen slice, freeze at least four hours, preferably overnight.
To serve:
Place the pie plate in a shallow skillet filled with about an inch of warm (not hot) water, just a minute or two until the buttery crust is loosened enough to remove.
Top each slice with a dollop of additional whipped cream (spike it with Grand Marnier if you wish), a little lime zest and leftover pretzel crumbs.
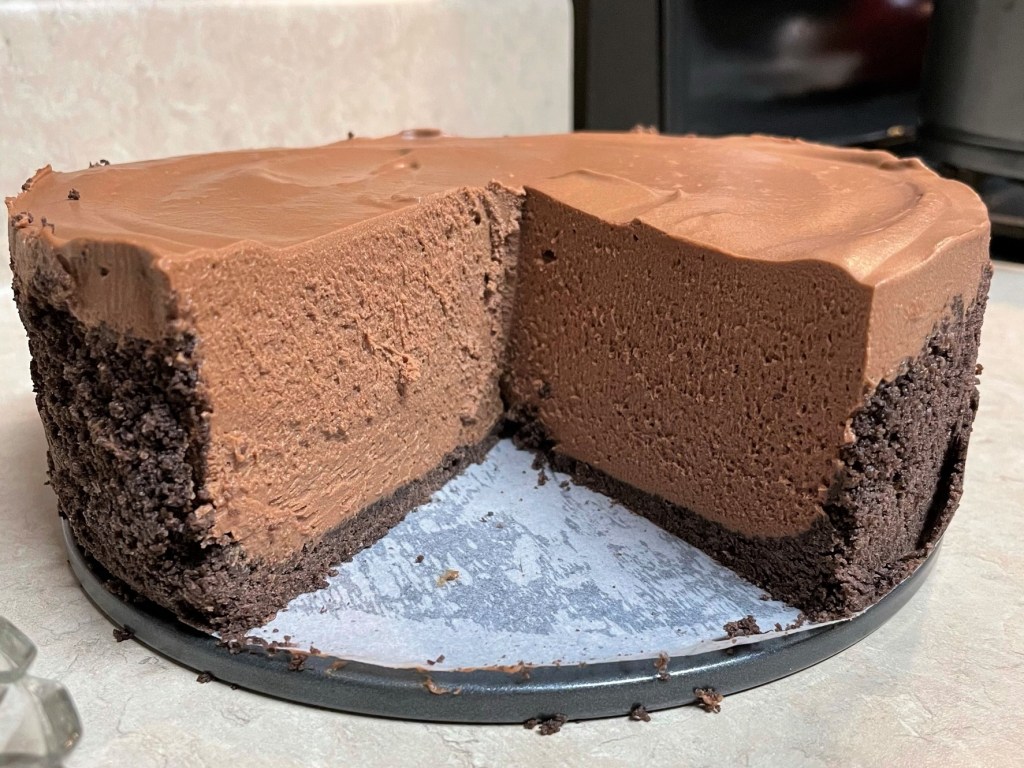
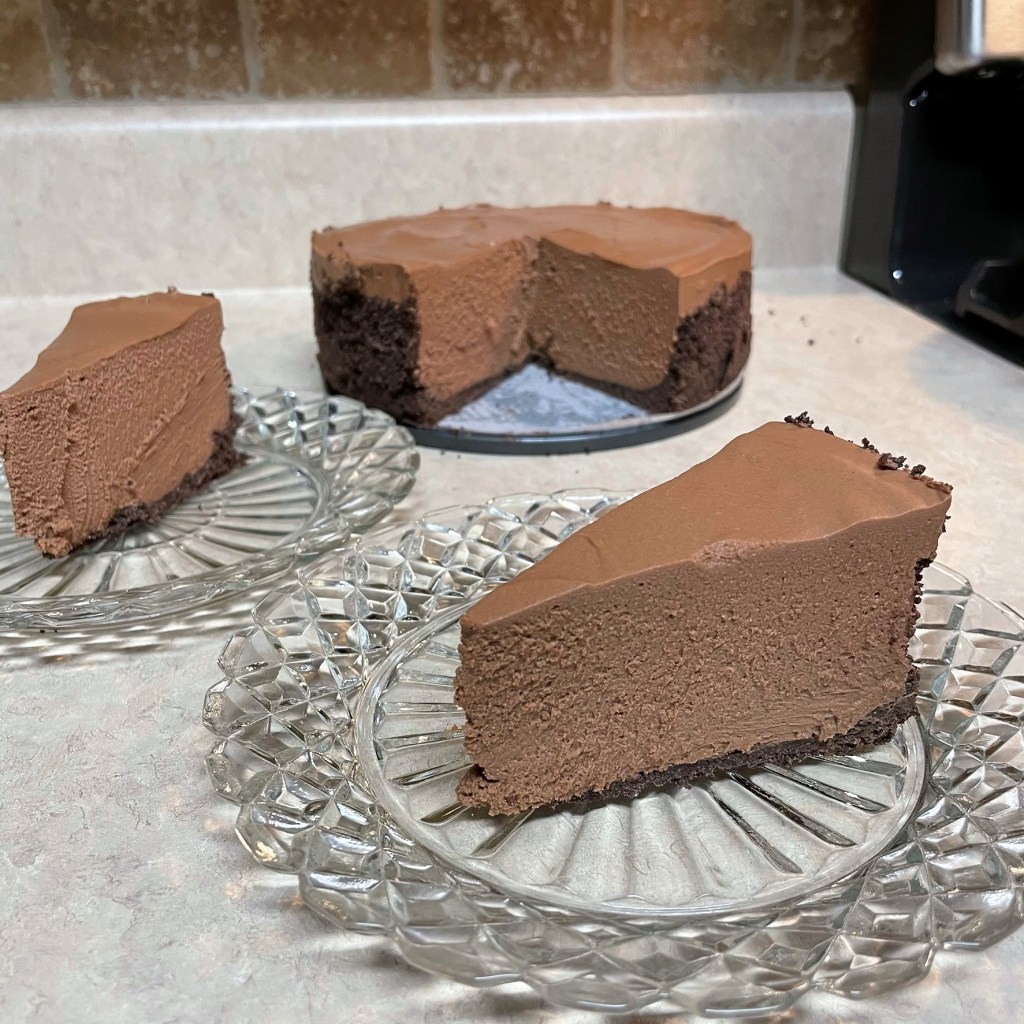
The only thing I can think of to make a chocolate cheesecake better is a little bit of booze, and the only thing that can top that is to make it no-bake. Done and done. This easy, no-fuss dessert comes together quickly, and it doesn’t require gelatin or any special measures to set up firmly. Chocolate-flavored graham crackers provide a dark, flavorful base for this cheesecake, and the filling is sweetened cream cheese accented with a ton of chocolate and a wee bit of Irish cream liqueur. I’ve used My Dad’s Homemade Irish Creme, the same as we made at Christmastime, but if you want to make it super easy, make a quick run to the liquor store for a small bottle of Bailey’s.
I used a springform pan for this dessert, but I’ll bet you could also make it in a pie plate with sloped sides for easy serving. Garnish with a dollop of sour cream and fresh berries or a little bit of Jameson-spiked whipped cream. Or, do what we did and just dig in.
This is a wonderful, sweet finish to our St. Patrick’s Day celebration!
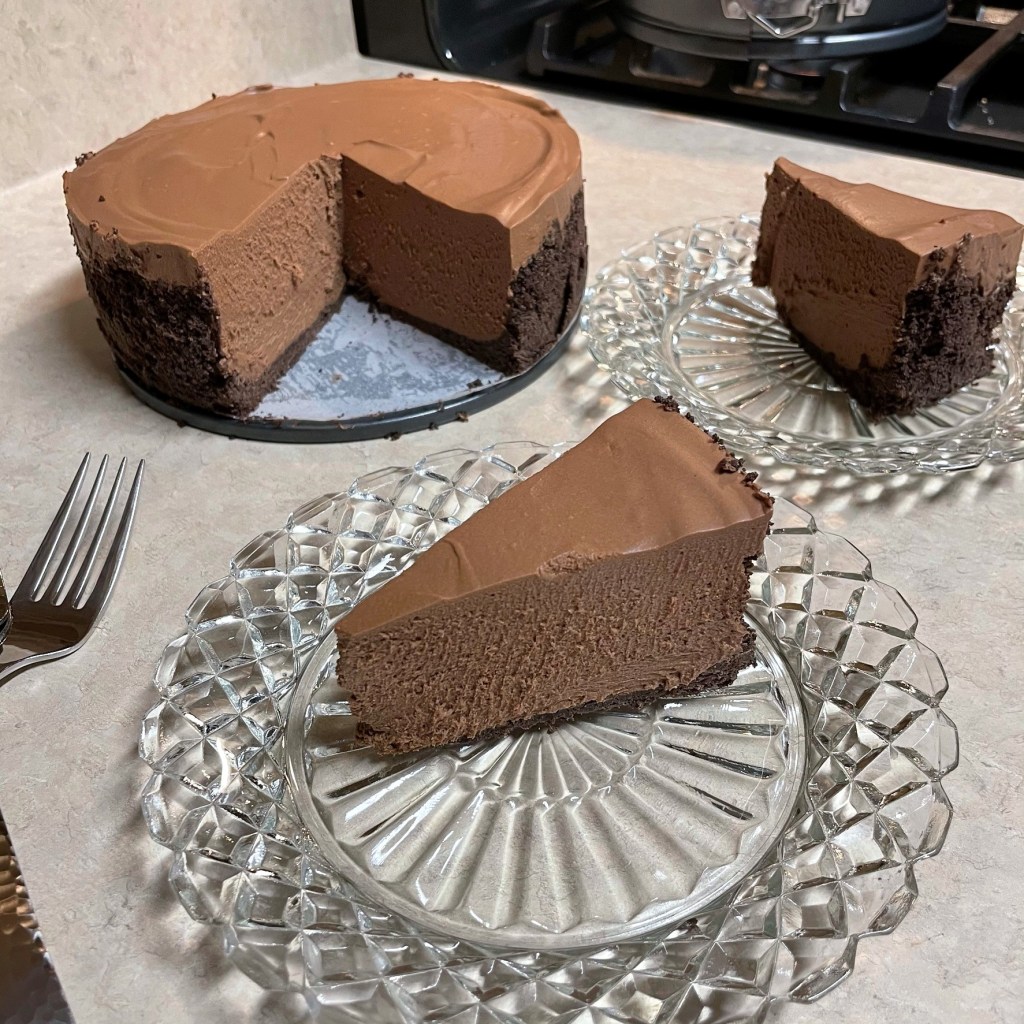
The filling is smooth, creamy, silky, dreamy. It is reminiscent of a mousse, but richer!
Ingredients
1 sleeve + 3 chocolate graham crackers
4 Tbsp. salted butter, melted
2 Tbsp. unsalted butter, melted (plus a bit extra to grease the pan)
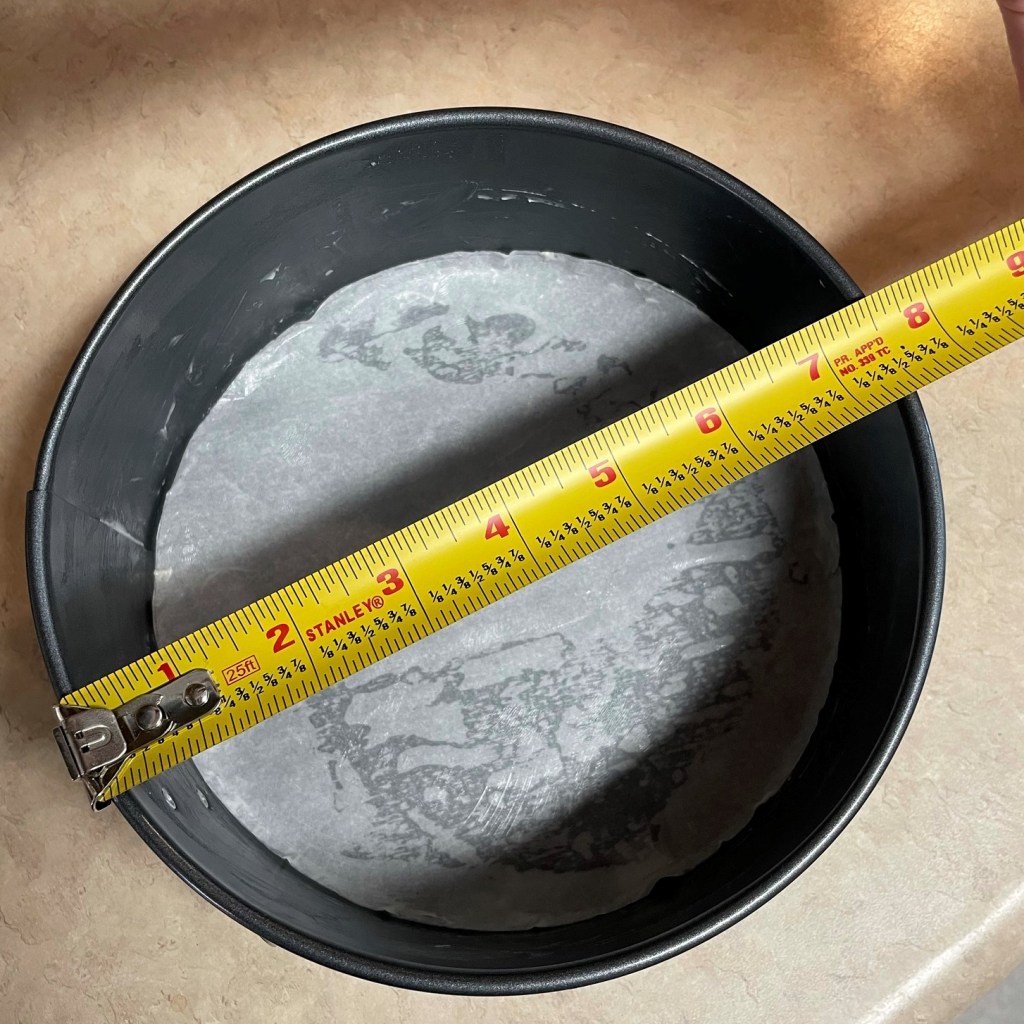
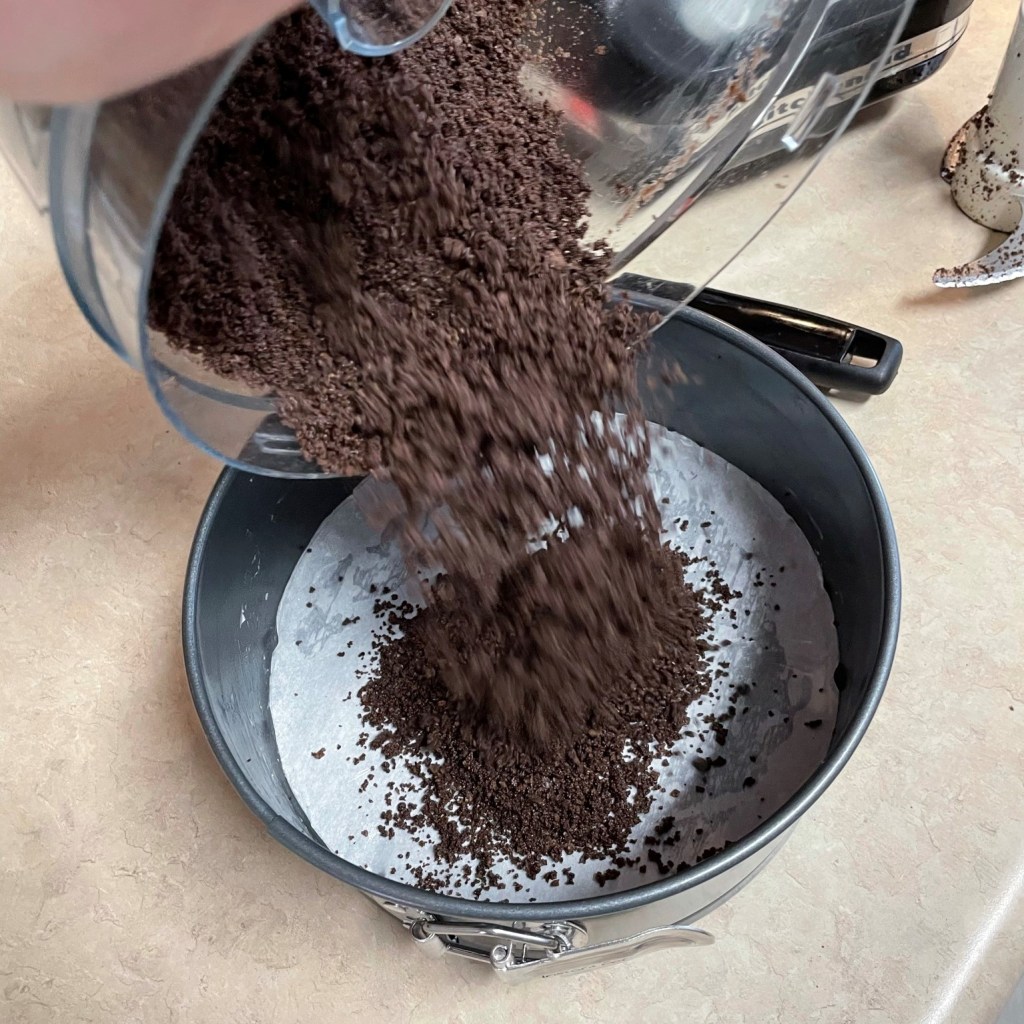
Line the bottom of an 8” springform pan with parchment paper, cut to size. Rub unsalted butter on the parchment and sides of the pan. Break up the graham crackers into a food processor and pulse into rough crumbs. Pour in the melted butter and pulse a few times to combine. The mixture should look like wet sand. Press the crumbs into the bottom of the pan and up the sides about an inch. Refrigerate the pan for at least an hour to firm up the buttered crumbs.
For best results, measure out your refrigerated ingredients ahead of time and allow them to come to room temperature before you begin.
Cheesecake filling:
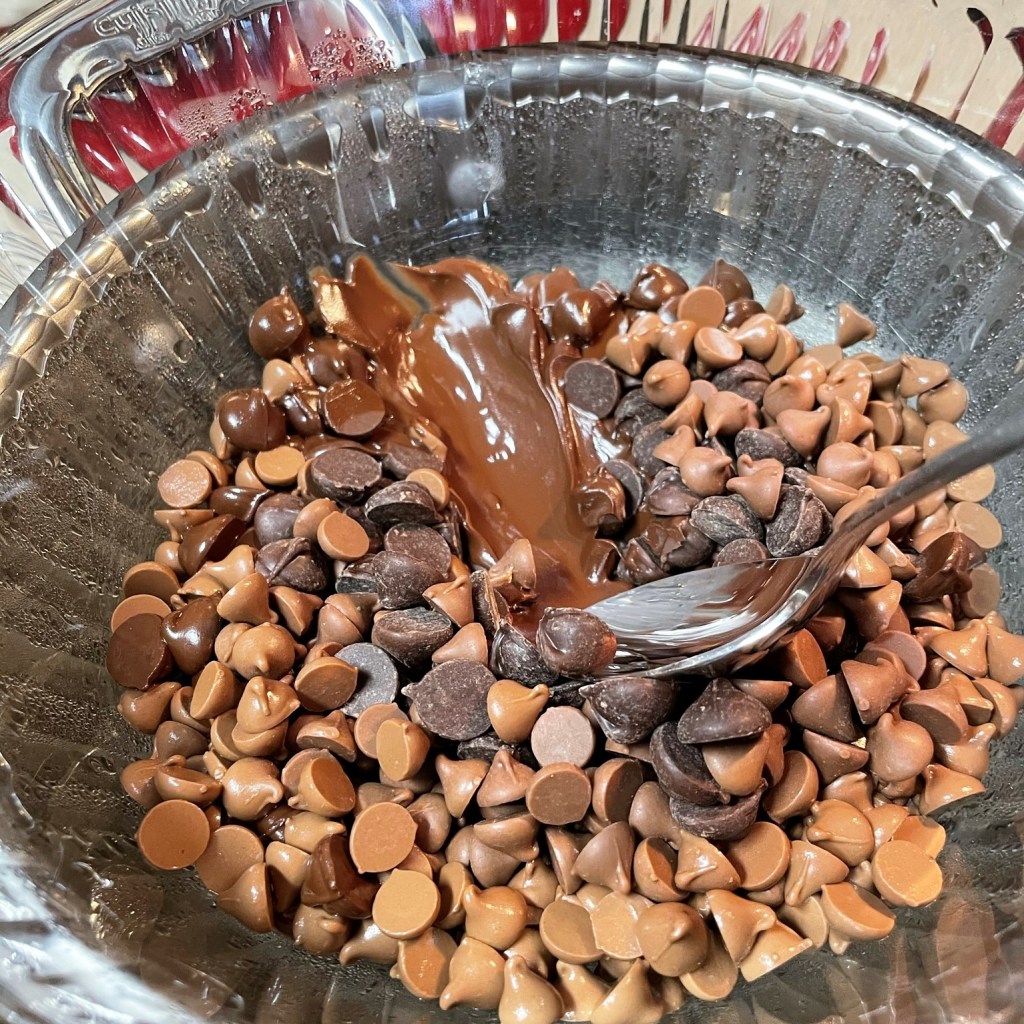
10 oz. semisweet chocolate chips
6 oz. milk chocolate chips* (see notes)
8 oz. pkg. plus 1/2 of second pkg. full-fat cream cheese, room temperature
1/4 cup (superfine) caster sugar
1 1/2 cups heavy cream, room temperature
1/4 cup Bailey’s Irish Cream liqueur*
*Notes
At our house, we really love the flavors of darker chocolate, but blending with milk chocolate is important for texture. Darker chocolate has lesser amounts of cocoa butter, and it can become gritty in recipes. To ensure the creamy, smooth texture that is a signature of cheesecake, it’s best to include some portion of milk chocolate.
Bailey’s Irish cream liqueur is the simplest thing to use in this recipe, but if you have time to make your own (using My Dad’s Homemade Irish Creme recipe), there’s an advantage to doing so. The homemade Irish creme is twice as thick (less watery), so I was able to incorporate two additional tablespoons of that crazy good flavor.
Instructions
Here we go with a visual walk-through, and full written instructions are included at the bottom.
Note that this recipe is for an 8-inch springform pan. Mine is a bit smaller, so I expect I may have some extra crumbs and filling.
For my crust, I had planned to add cocoa powder to regular grahams, but I found these heavenly chocolate grahams! You can count on me to use these for homemade ice cream sandwiches this summer!
The melted butter will help bind the graham cracker crumbs for my cheesecake crust.
The buttered crumbs should feel kind of like wet sand. Press them firmly into the prepared pan, then chill for at least an hour before filling.
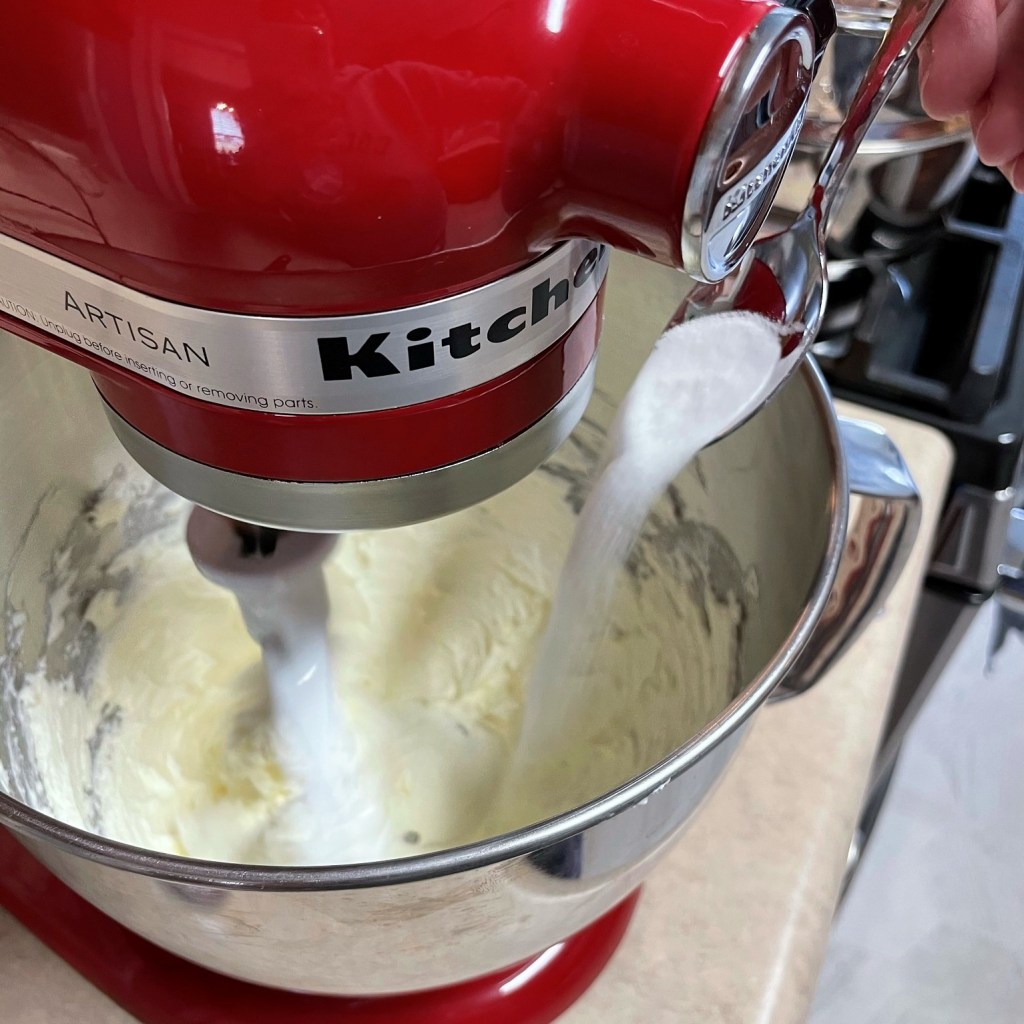
The superfine sugar blends easily with cream cheese, but it is still best to add the sugar gradually. Stop to scrape down sides of the bowl as needed.
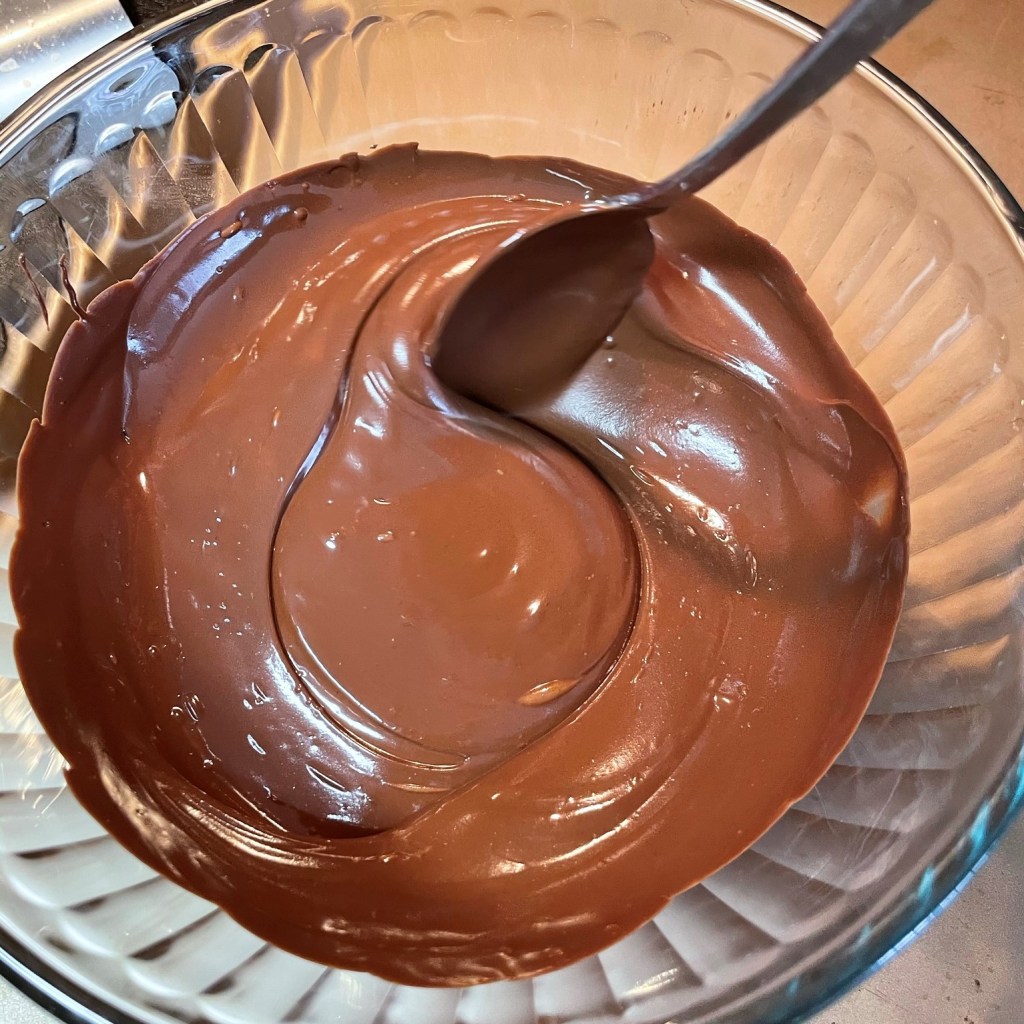
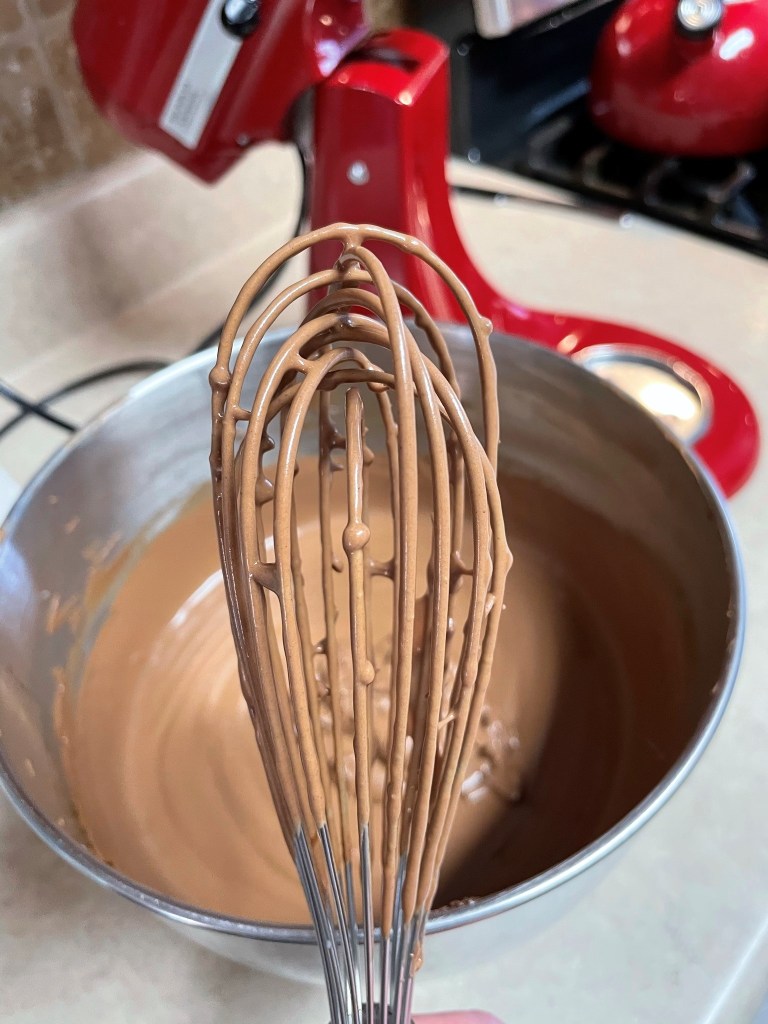
The chocolate chips hold their shape surprisingly well, but they are already at the melting stage here. Begin stirring them to even out the silky texture.
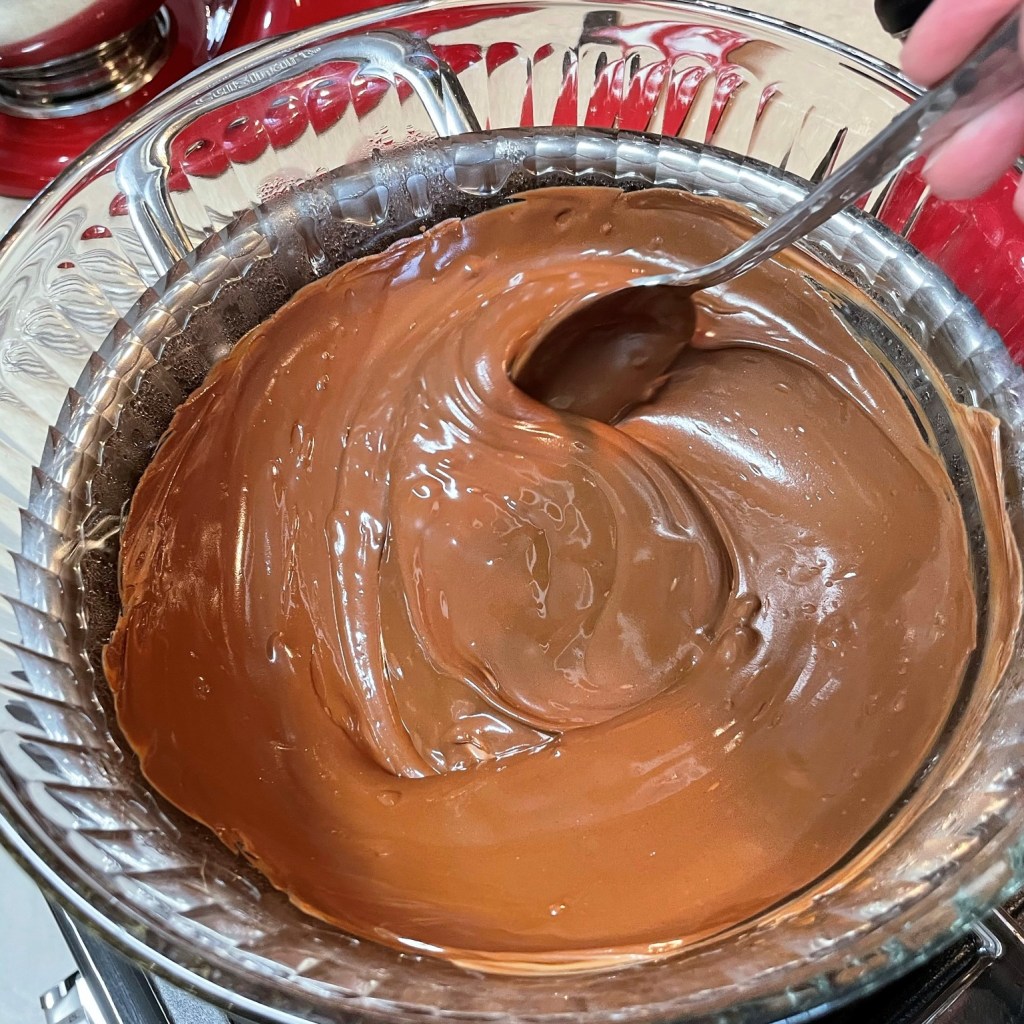
This picture was taken exactly one minute later!
I transferred the melted chocolate to another bowl to cool it down before adding to the sweetened cream cheese mixture. Ideally, you want the ingredients to be about the same temperature when you combine them.
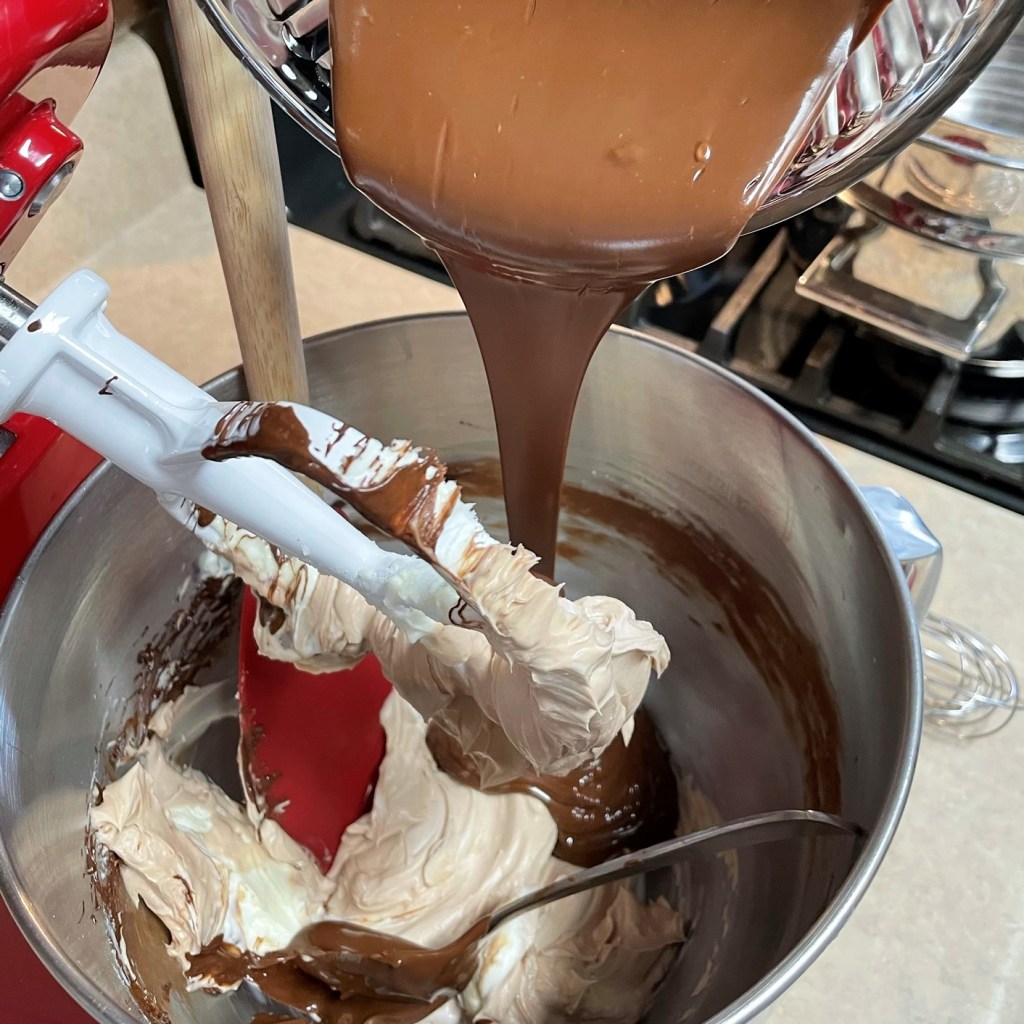
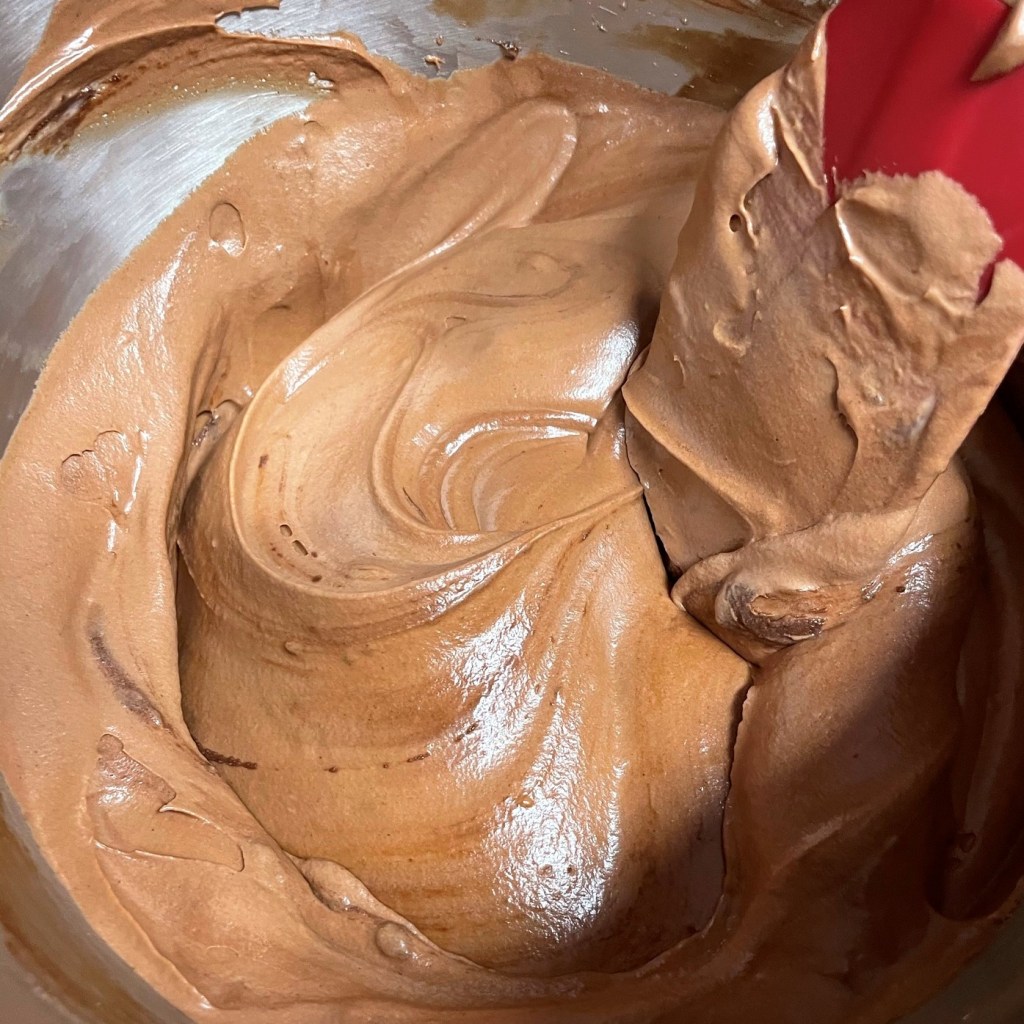
Blending the melted chocolate into the cream cheese mixture was a very messy step! Next time, I’ll skip the mixer and use my spatula to fold them together.
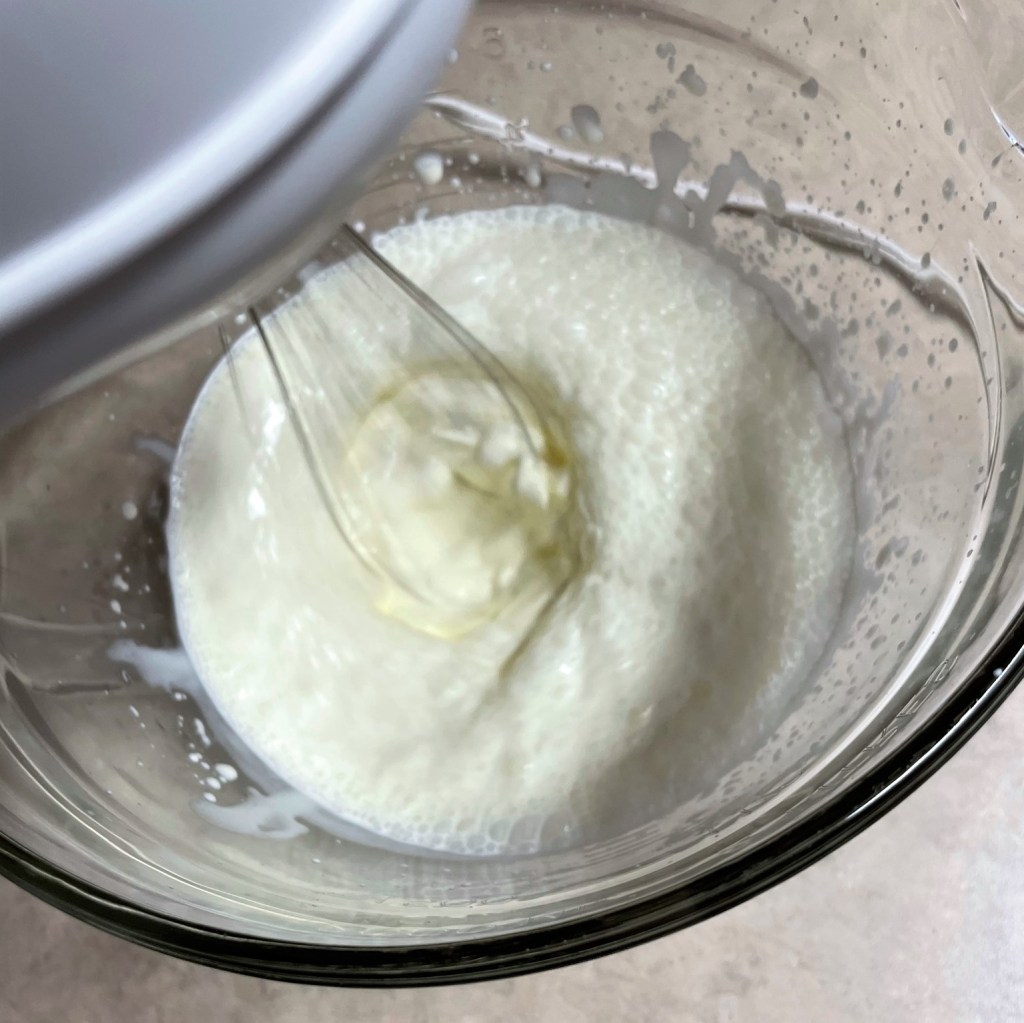
Use a whisk or electric mixer to lightly whip the heavy cream. It does not need to be whipped to the stage of peaks.
Folding in the whipped cream had its own challenges, and it is “strike two” for the stand mixer.
My expensive “Artisan” KitchenAid mixer is a disappointment at times. The beater did not reach the bottom of the bowl again (even though I have calibrated it). Time to call in a trusty reinforcement tool…
Thank you, beloved whisk. I can always count on you to get the job done. (Besides, now I can do another taste test.) 😉
Pour the silky chocolate filling into the chilled crust, and go slowly enough that you do not disturb the crumbs.
Smooth the top of the filling mixture, then cover and refrigerate until firm, several hours to overnight.
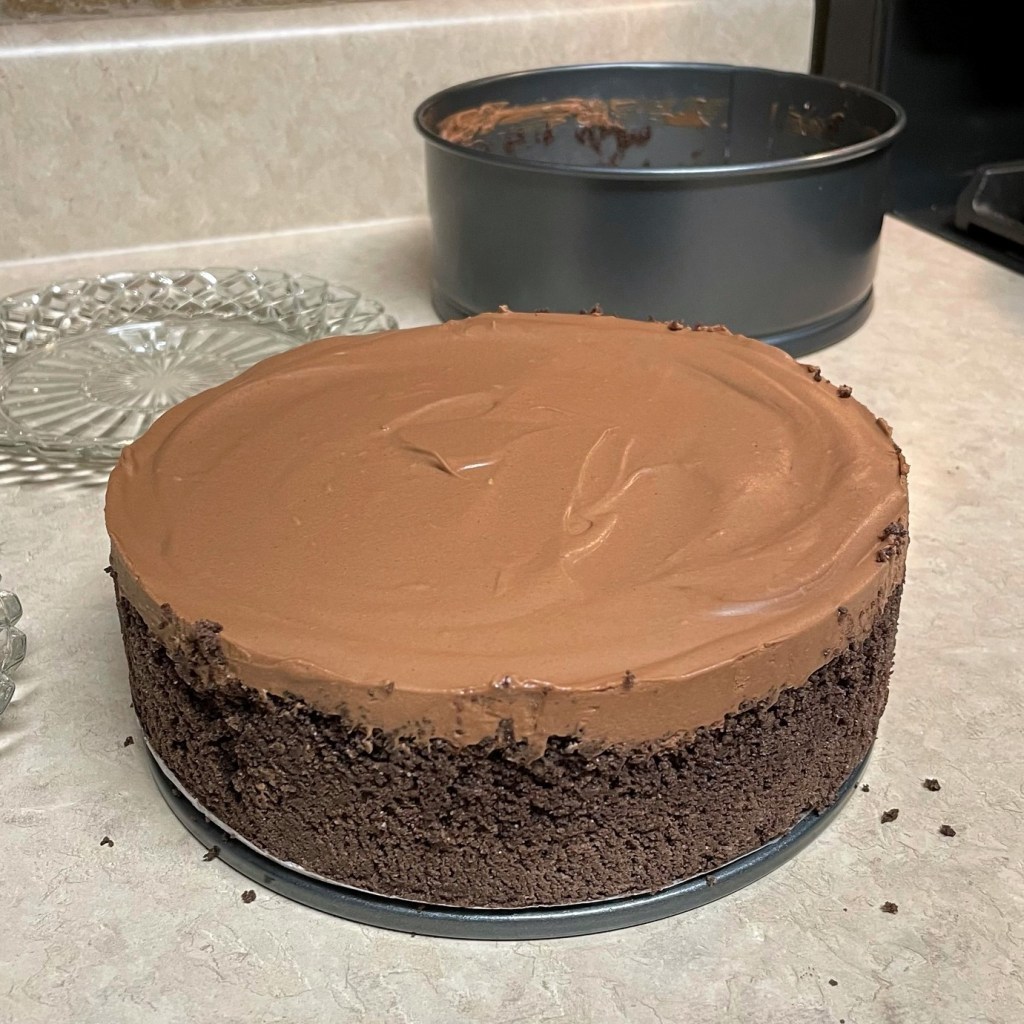
The springform ring releases easily, thanks to the butter I applied before pressing in the crust.
Even a slender slice of this rich no-bake cheesecake is enough to satisfy your post-dinner sweet tooth.
Bring a saucepan of water to a simmer. Place a heatproof bowl over the pan and add the semi-sweet and milk chocolate chips. I used a steamer insert in between, as an extra measure to keep the heating gentle. Do not let water or condensation into the bowl with the chocolate. Heat until chocolate melts, stir it smooth, then let cool slightly. I transferred the melted chocolate to a second bowl to cool it more quickly.
In a separate bowl, beat cream cheese with electric mixer until smooth. Gradually add caster sugar to the cream cheese, scraping down the sides as needed so that sugar is fully blended. The superfine sugar will dissolve pretty quickly.
Lightly whip heavy cream in another bowl until thickened, but not peaked. Stir in Irish cream.
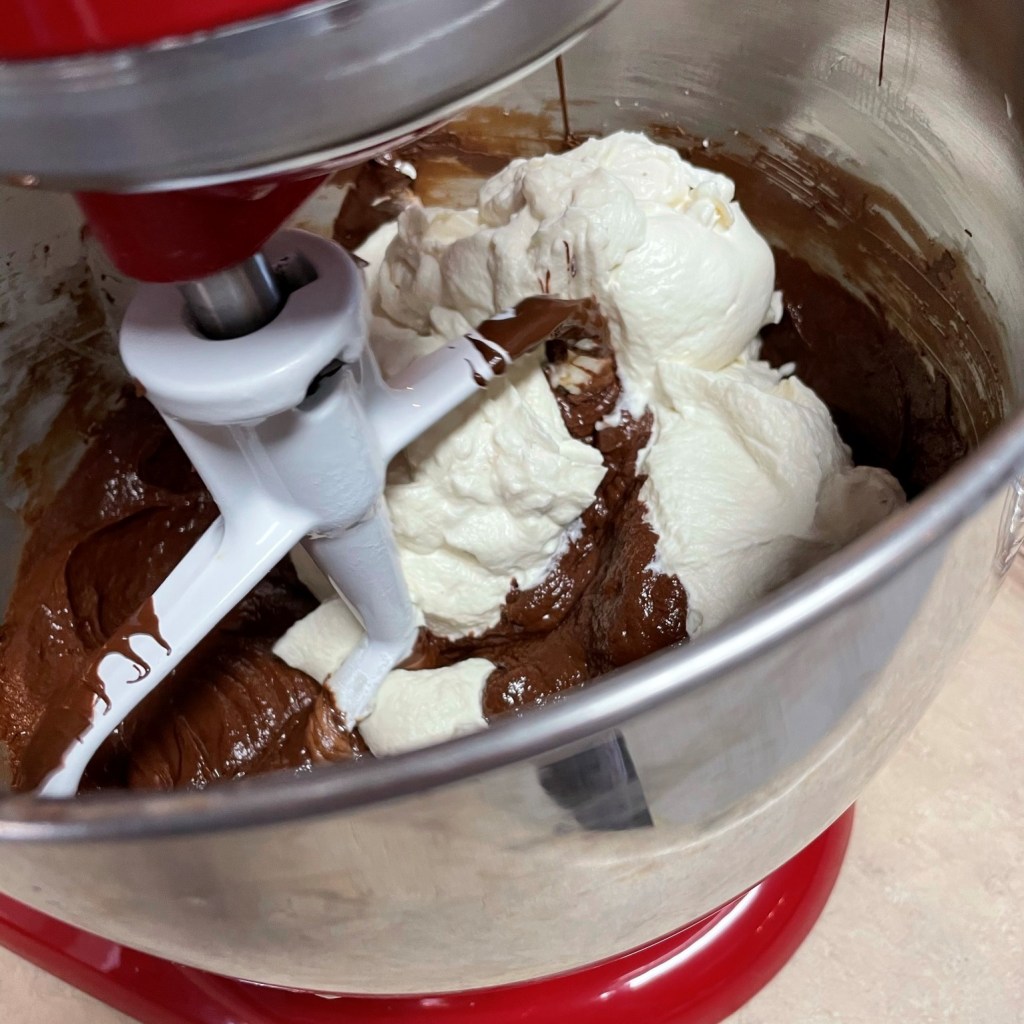
Fold cooled chocolate into cream cheese mixture, then stir in the spiked whipped cream mixture.
Spoon or carefully pour the filling mixture into the springform pan over the chilled chocolate crust. Smooth the top, cover and chill at least two hours, preferably overnight.
To serve, run a hot knife around the edge of the cheesecake filling to separate it from the sides of the pan. Carefully release springform ring and transfer cheesecake to a serving plate. Cut into slices as garnish as desired.
“No tiramisu for me, because I don’t like coffee.” This was the reply I’d come to expect from my husband, Les, who definitely does not share my love for a freshly brewed morning cup of java. The classic Italian dessert has long been one of my favorites—its not-so-sweet flavor is perfect for my not-so-sweet tooth. But this issue of coffee has been a real problem for my tiramisu goals. I could make it for myself, of course, but then I would have to eat the whole thing (yikes), and I really wanted to find a way to make it enjoyable for both of us.
Tiramisu is traditionally made of delicate biscotti cookies that have been soaked in rum- or liqueur-spiked espresso, layered with a rich and creamy mascarpone custard and dusted with real cocoa powder. It is, essentially, an Italian version of an icebox cake, and with no baking required, everything about it works—except, for my husband, the darn coffee.
A few months ago, I couldn’t help noticing the ads that kept popping up in my Pinterest feed: “brews like coffee, benefits of cacao.”
OK, I thought, a coffee substitute that might give me an occasional break from the caffeine crashes that disrupt my sleep. So, without any specific intended purpose, I ordered some. I wasn’t blown away by the flavor of it on its own, and though it was interesting, I couldn’t see myself actually trading in my beloved dark roast coffee. Until the day it suddenly hit me: this brewed cacao might work in tiramisu!
As with several other recipes I’ve delayed trying, tiramisu has turned out to be remarkably simple. I leaned on the expertise of Ina Garten, the “Barefoot Contessa” whom I admire not only for her seemingly effortless cooking style, but also for her absolute devotion to her husband. She is always preparing special cocktails and favorite foods for Jeffrey, and I can relate. Ina’s recipe for tiramisu seemed simple enough, and it was very easy to cut the ingredients in half for a smaller portion for the two of us. I made several swaps—cacao for espresso, amaretto for rum, and cherry juice and preserves to flavor some of the mascarpone filling. But the technique and ratios of ingredients are the same, and it turned out perfect for our at-home Valentine’s Day celebration.
Chocolate and cherry together, my valentine’s favorite! The unsweetened flavor of the brewed cacao was a perfect stand-in for the espresso, and I will definitely make this again!
If you’re considering trying this little “pick me up” (it’s what tiramisu means in Italian), here are a few helpful things I learned along the way.
Tips for Tiramisu Success
Eggs are more easily separated while they are cold, but the yolks should be room temperature when you begin whisking for the recipe. The eggs are not cooked in this mostly-traditional recipe, and if you’re concerned about health risks from this, you can find pasteurized eggs in a well-stocked supermarket. They will allow you to stick to the recipe but with complete safety.
The mascarpone, like the eggs, should be room temperature for this recipe. If it is cold, it will clump rather than blend into the yolk mixture.
Brew extra cacao beverage (or espresso) than recommended in case you need it for dipping ladyfingers. The delicate cookies absorb the liquid very quickly, even when dipped for no more than five seconds, and it’s good to have a little extra on hand. This should be cooled to room temperature.
As with most recipes, it’s helpful to have all your ingredients, tools and dishes ready to go when you begin. Ina’s recipe recommended a 9 x 13” glass dish; I halved the recipe and used a 2.75 quart Pyrex dish that measured 8 1/2 x 7″. The recipe yielded six generous portions of tiramisu. With some fiddling, I think you could split the cookies and make it work in an 8 x 8″.
You probably need an electric mixer, either handheld or stand mixer, for this recipe. It would be difficult to properly whip the eggs and mascarpone by hand.
Finally, this dessert needs several hours in the fridge to set up properly, so plan accordingly.
3 egg yolks, room temperature (save the whites for your next omelet)
2 Tbsp. caster sugar* (see notes)
1/4 cup amaretto, divided
1 cup brewed dark roast cacao*, cooled
8 oz. mascarpone, room temperature
2 Tbsp. cherry juice
4 Tbsp. premium cherry preserves*
7 oz. (200g) package ladyfingers (biscotti savoiardi)
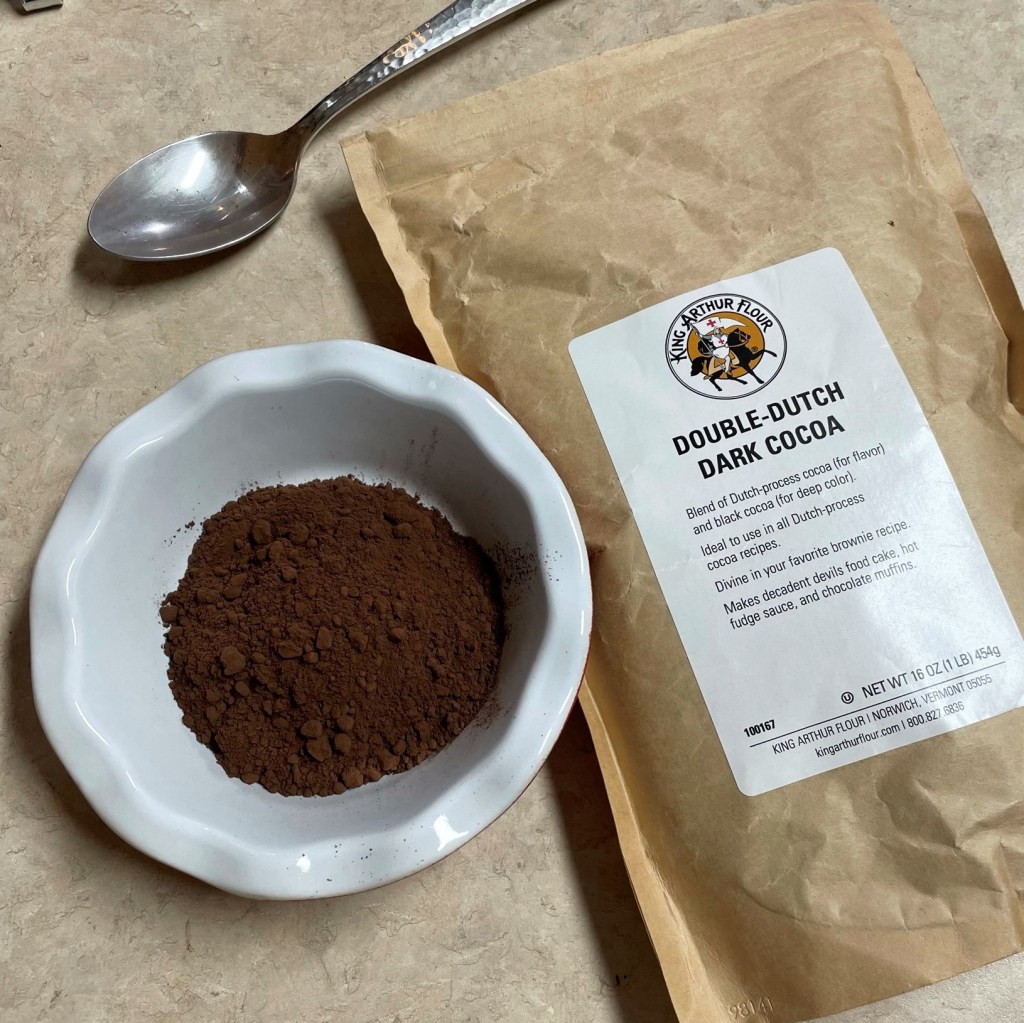
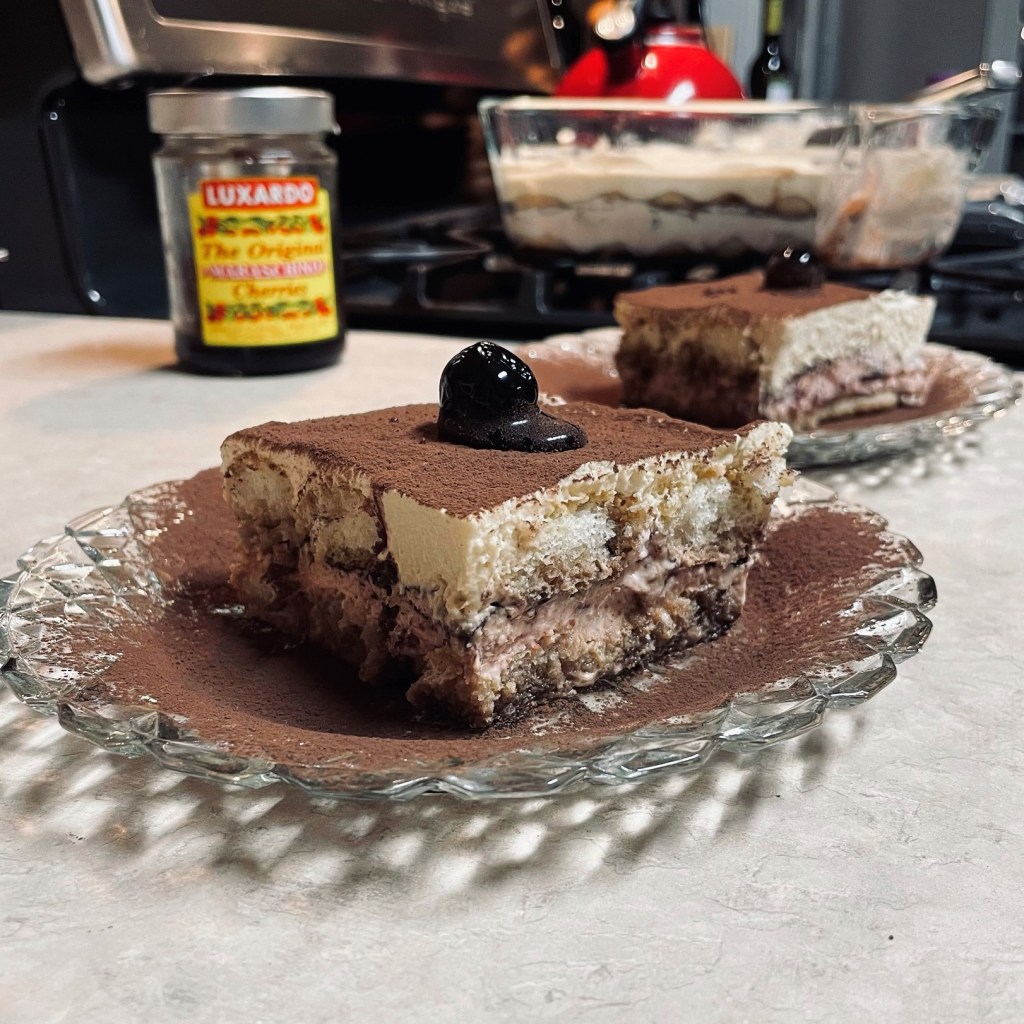
Double Dutch dark cocoa* for dusting between layers and top of tiramisu
Luxardo premium cocktail cherries, for garnish (optional, but fun if you have them)
*Ingredient Notes
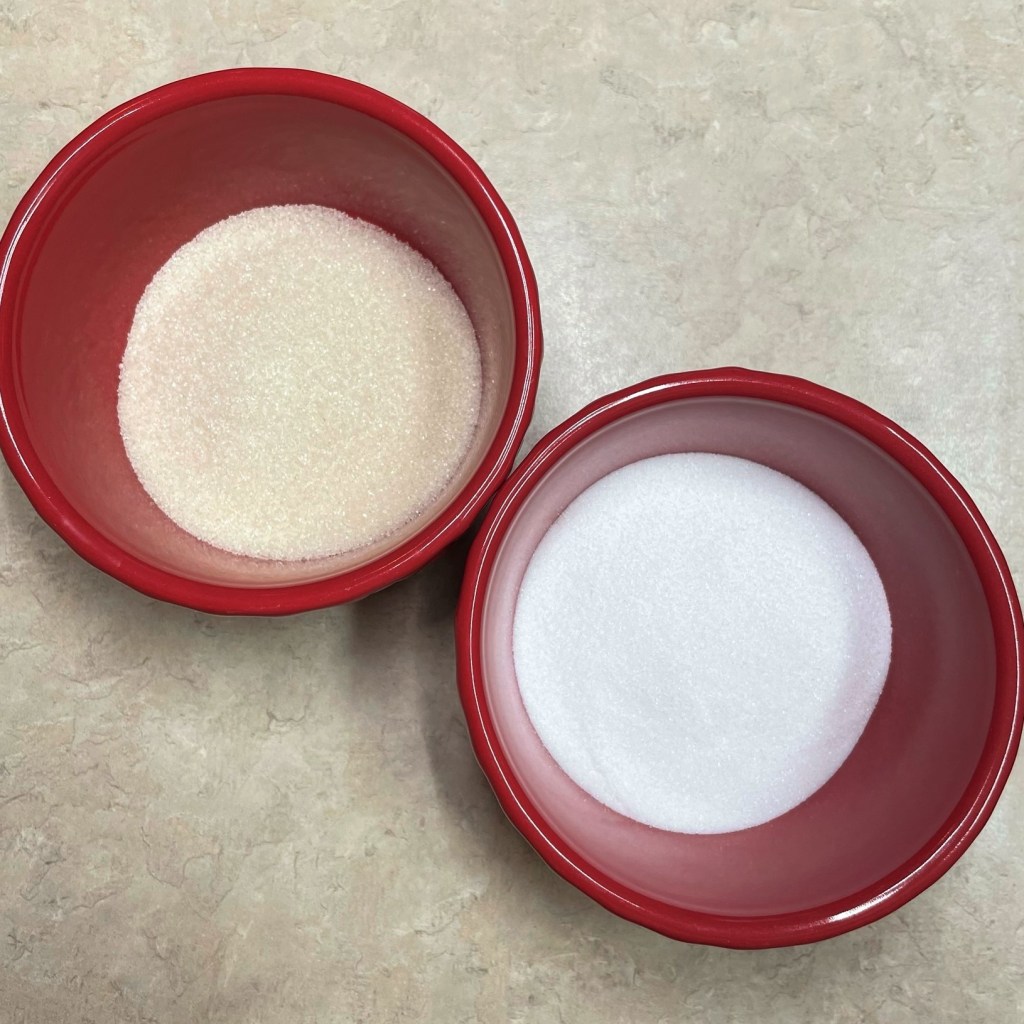
The caster sugar (on right) is more refined and easily dissolved, compared to regular cane sugar.
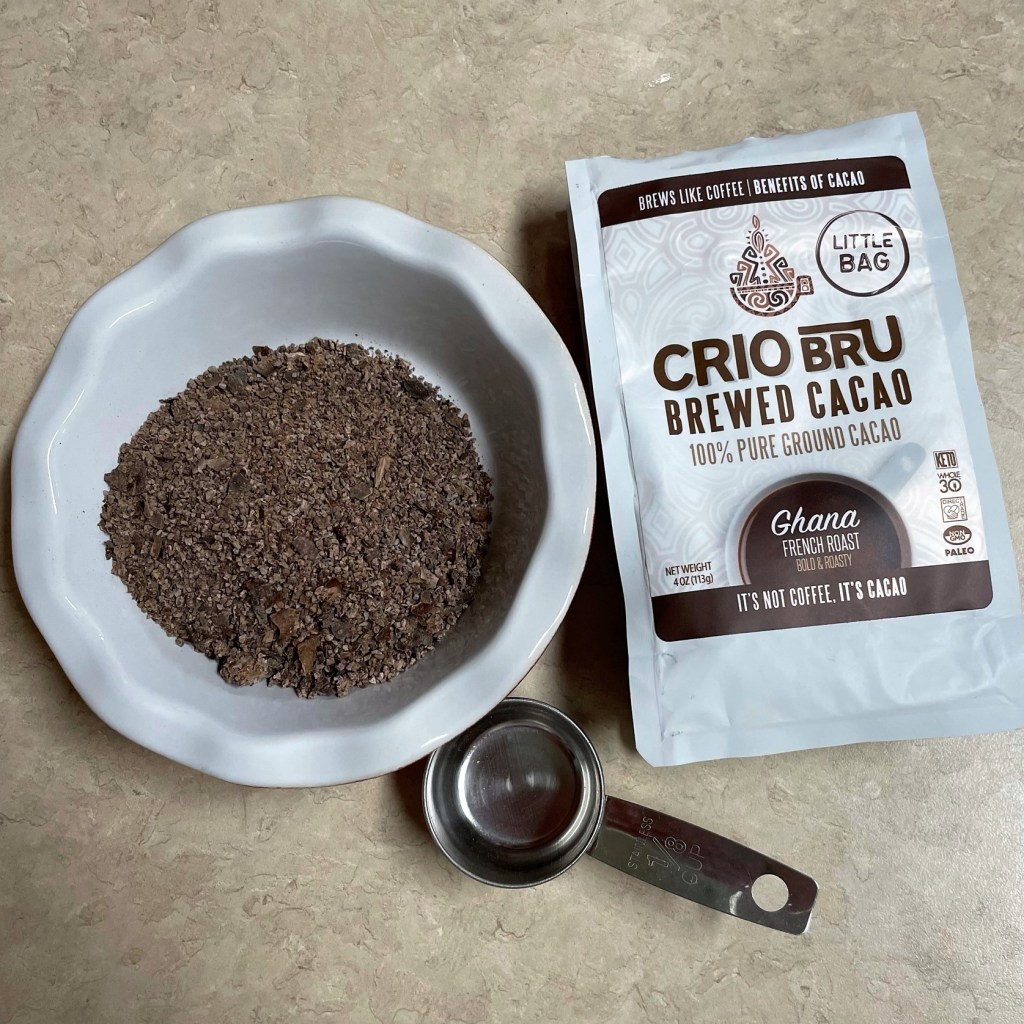
The roasted cacao looks and smells like shredded chocolate, but does not melt under boiling water.
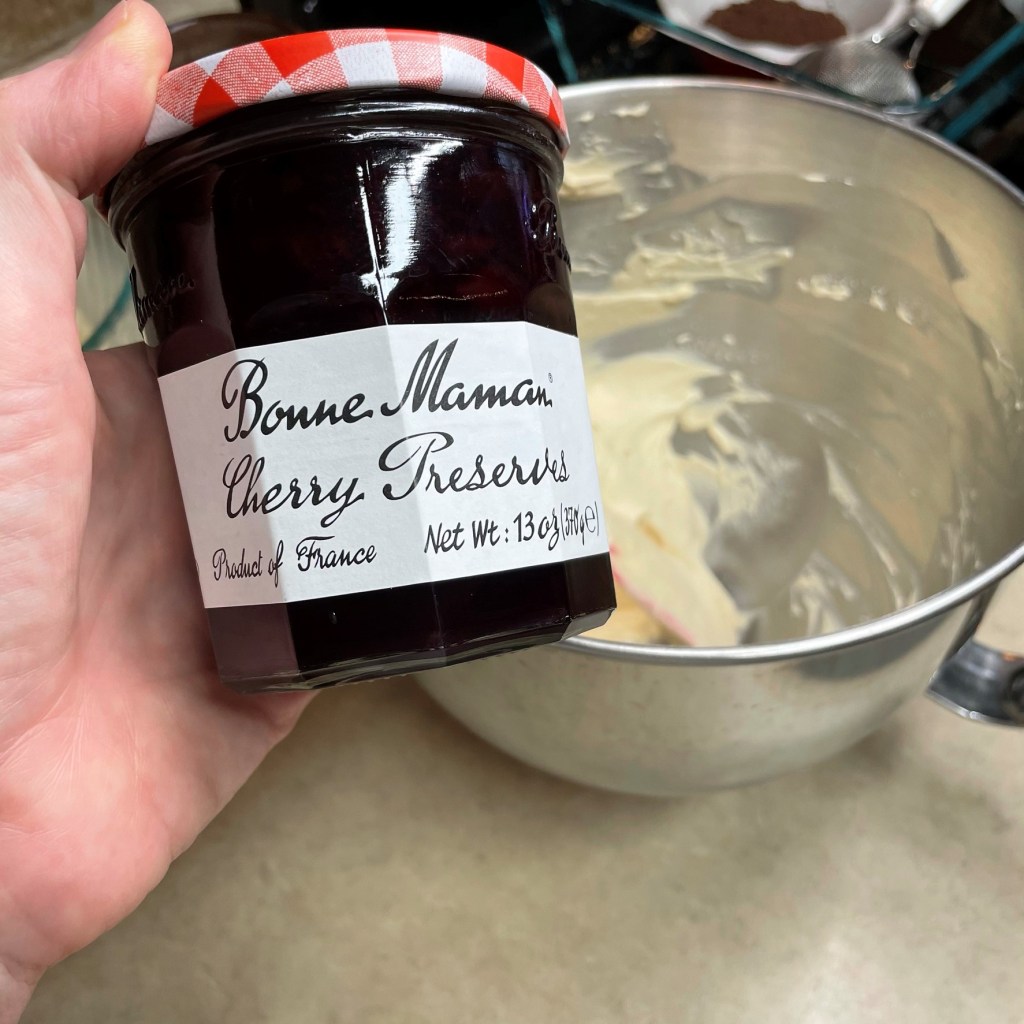
This brand of preserves is excellent, with big chunks of fruit and no weird artificial ingredients.
This dark cocoa from King Arthur Baking is deep, rich and decadent.
Caster sugar is sometimes called “superfine” sugar, and I’ve chosen it for this recipe because it dissolves more readily than regular cane sugar.
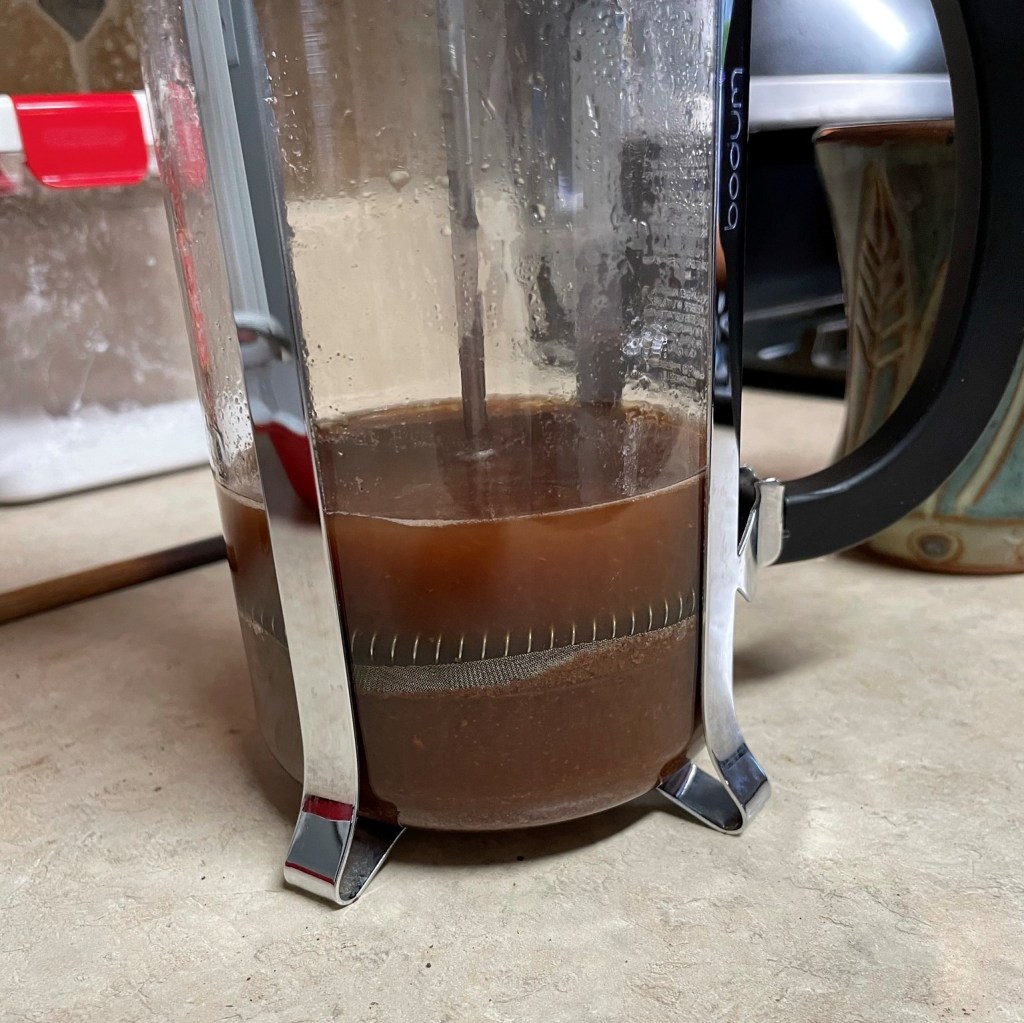
The roasted cacao is made very similarly to coffee, and I prepared it in my French press. You can find the product I used online (just search it once on Pinterest and you’ll get ads for the rest of your life), or check with a local chocolatier to see if they have a similar product. Of course, you could also make tiramisu with espresso, as is traditional.
I made a midstream decision to fold cherry preserves into part of the mascarpone mixture, given that Valentine’s Day was already a chocolate-and-cherry kind of day. This brand is delicious, but a similar thick fruit spread would also work.
The Double Dutch dark cocoa powder is a King Arthur Baking product; it’s a 50-50 mix of regular Dutch-processed cocoa and black cocoa, which is very dark and somewhat bitter. It’s a richer color and flavor than most grocery store cocoa powders, but you could certainly substitute Hershey’s dark or any other cocoa.
Instructions
I have pictures of my adventure, of course! See how it went, and keep scrolling for written instructions and a downloadable recipe for your files. 🙂
As with brewing coffee, the cacao solids say below the filtered plunger when pressed. I brewed a little more than a cup, and ended up using all of it.
These ladyfingers cookies are similar to biscotti, but very light and airy. I found them in the cookie and cracker aisle.
In a lesson I’ve learned from ice cream, I added the caster sugar in very small amounts at a time while whisking the eggs.
The whipping action bonds the egg yolks and sugar together and lightens the color, eventually to pale yellow.
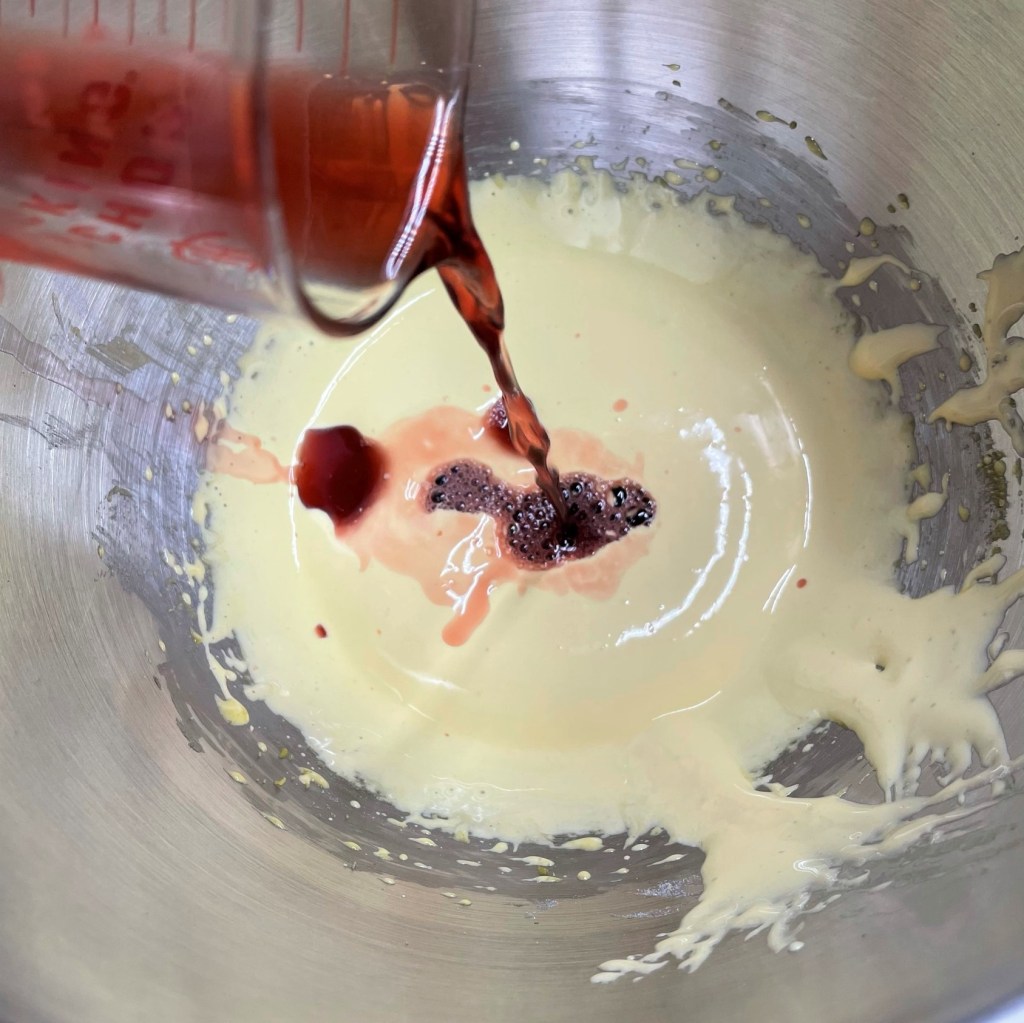
The pale yellow is about to turn pink! Addition of cherry juice is very non-traditional, but it was delicious in the finished tiramisu!
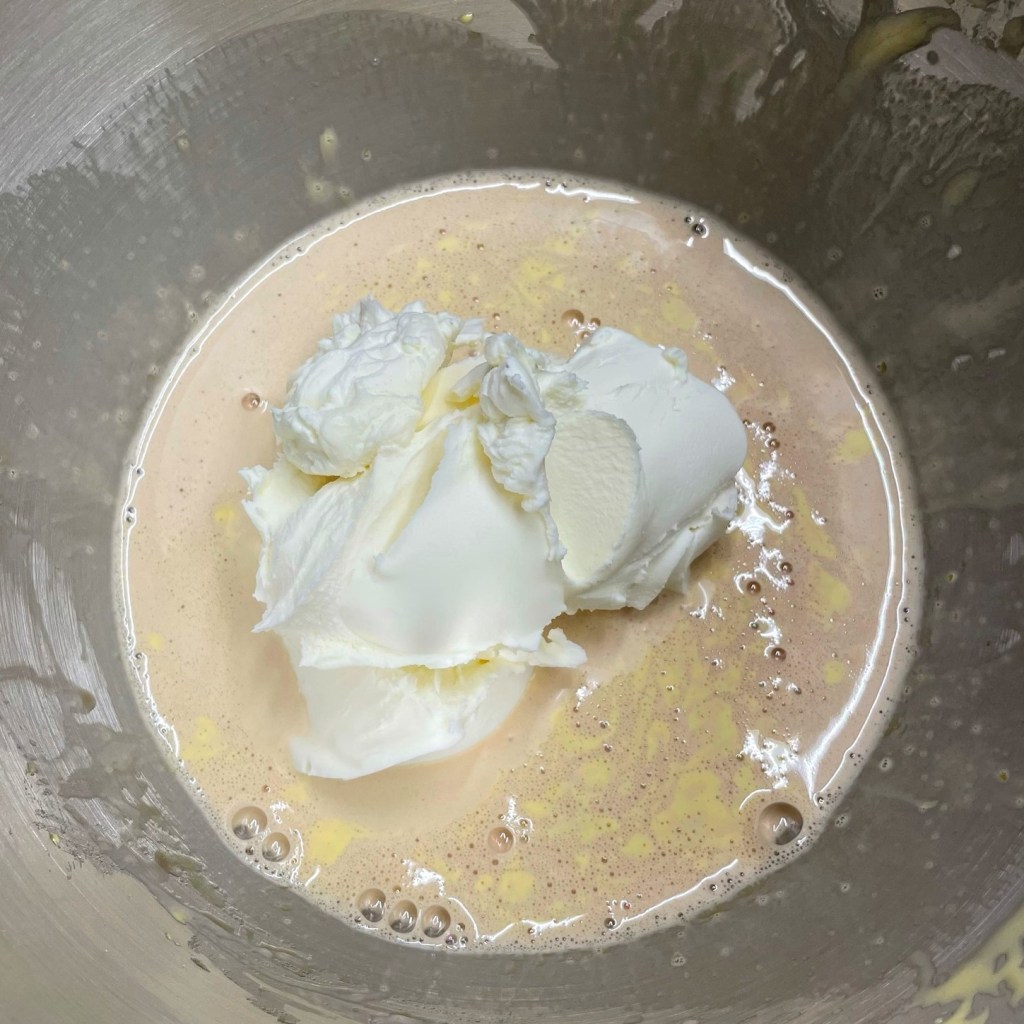
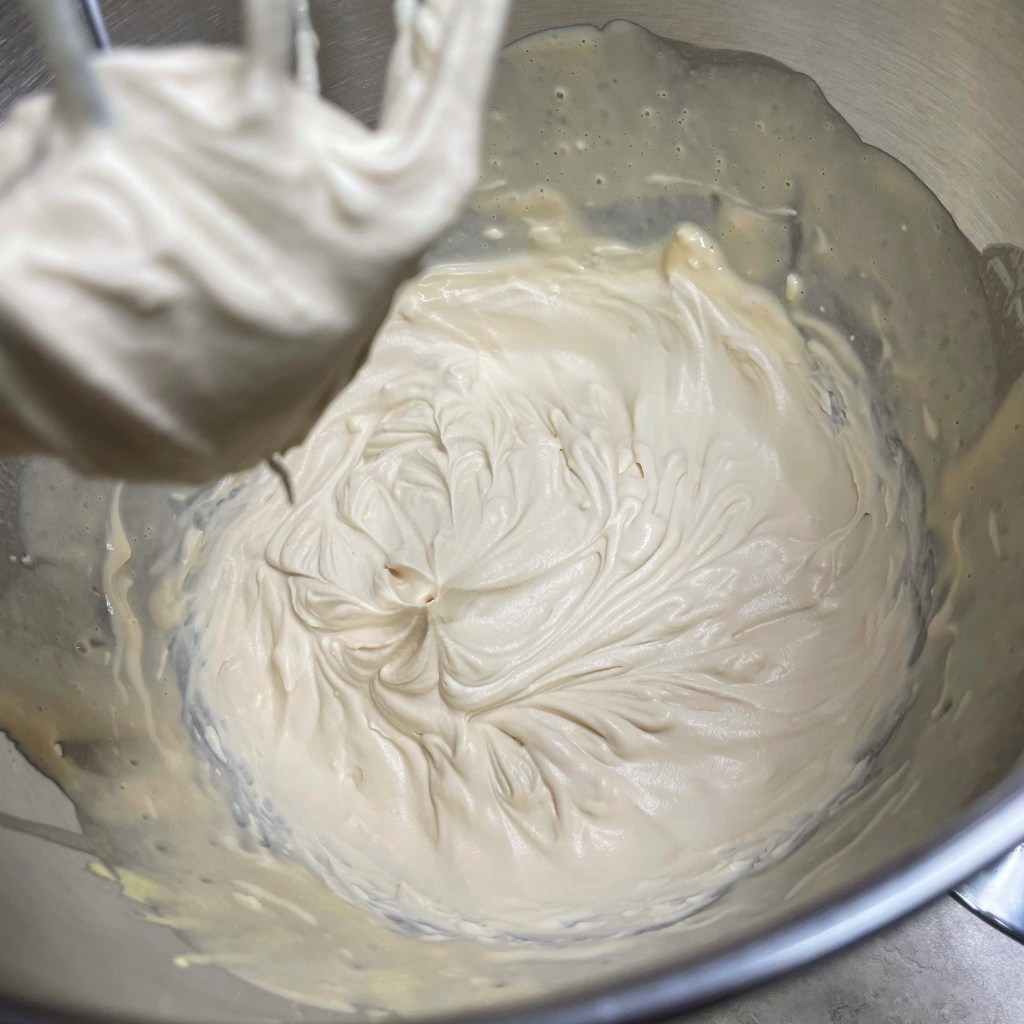
The room temperature mascarpone is added next, and whipped in the mixer on low speed until smooth and fluffy.
The finished texture was somewhere in between soft frosting and meringue. Overblending will result in “breaking” the mascarpone.
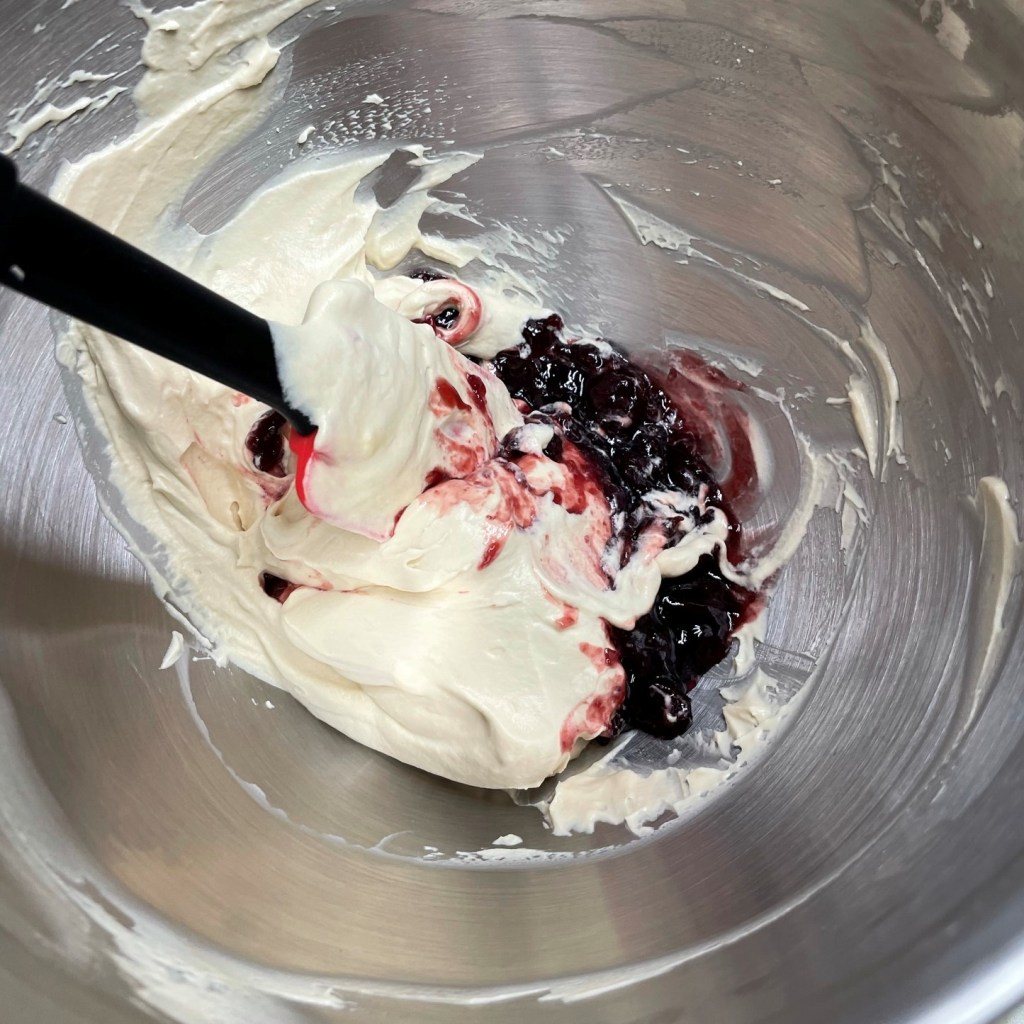
The preserves are also non-traditional. I folded them into half of the mascarpone mixture, for a cherry-infused layer in my tiramisu.
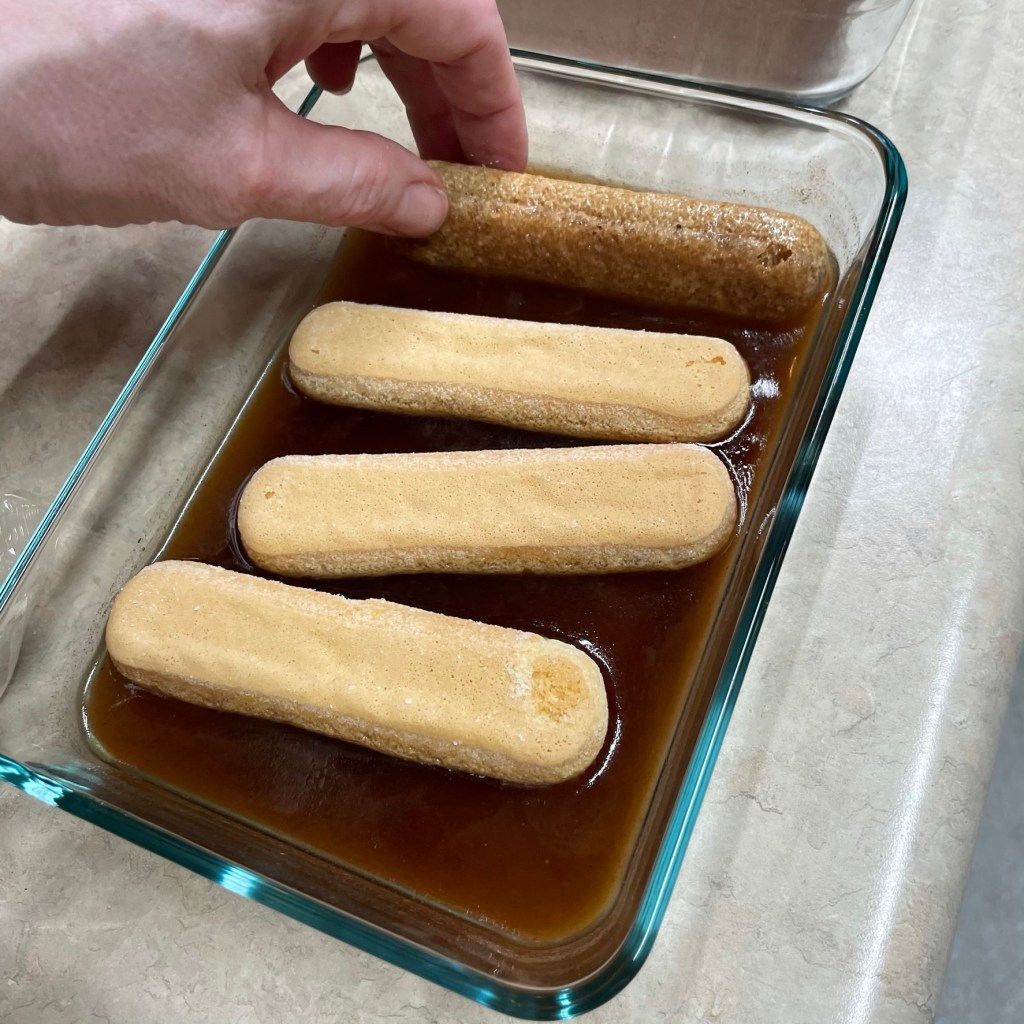
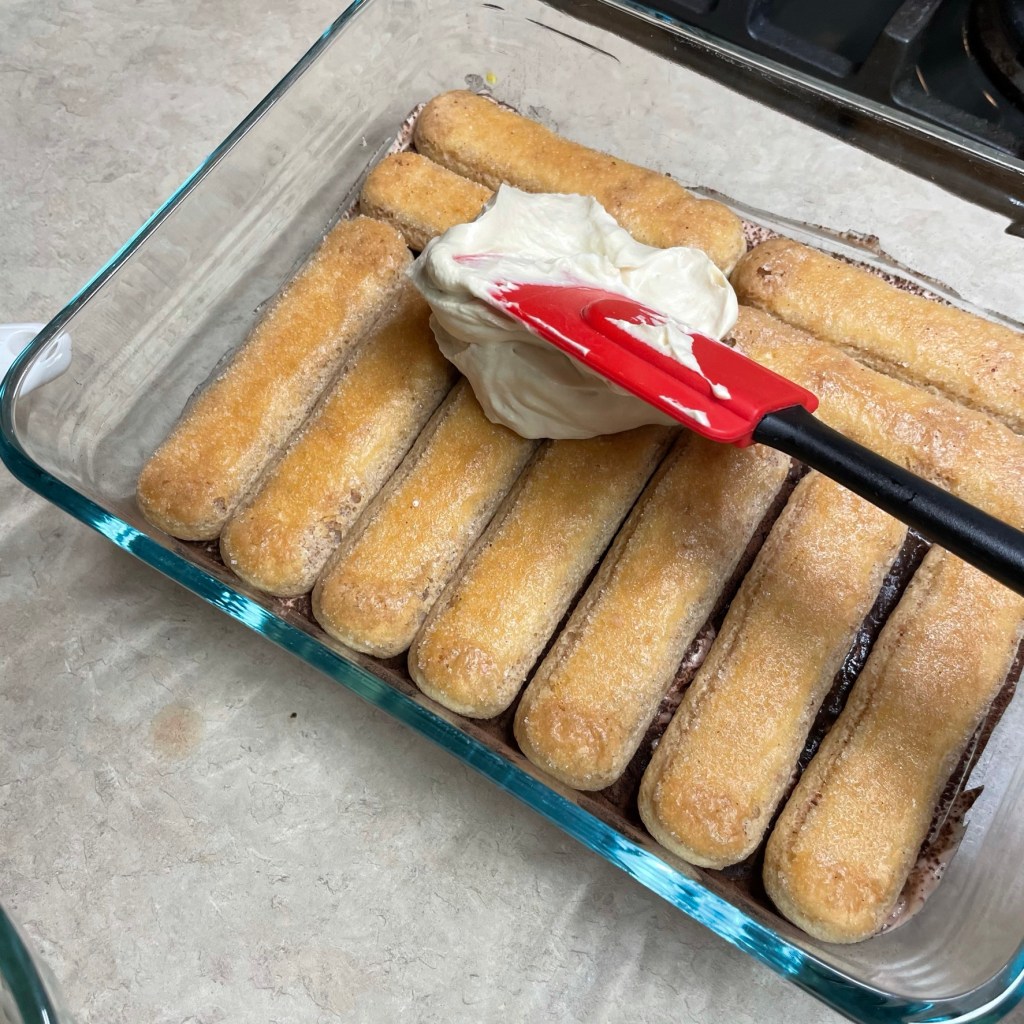
Don’t think you can outrun the clock and dip multiple ladyfingers at once. I was moving quickly, and these first four got soggy and nearly fell apart!
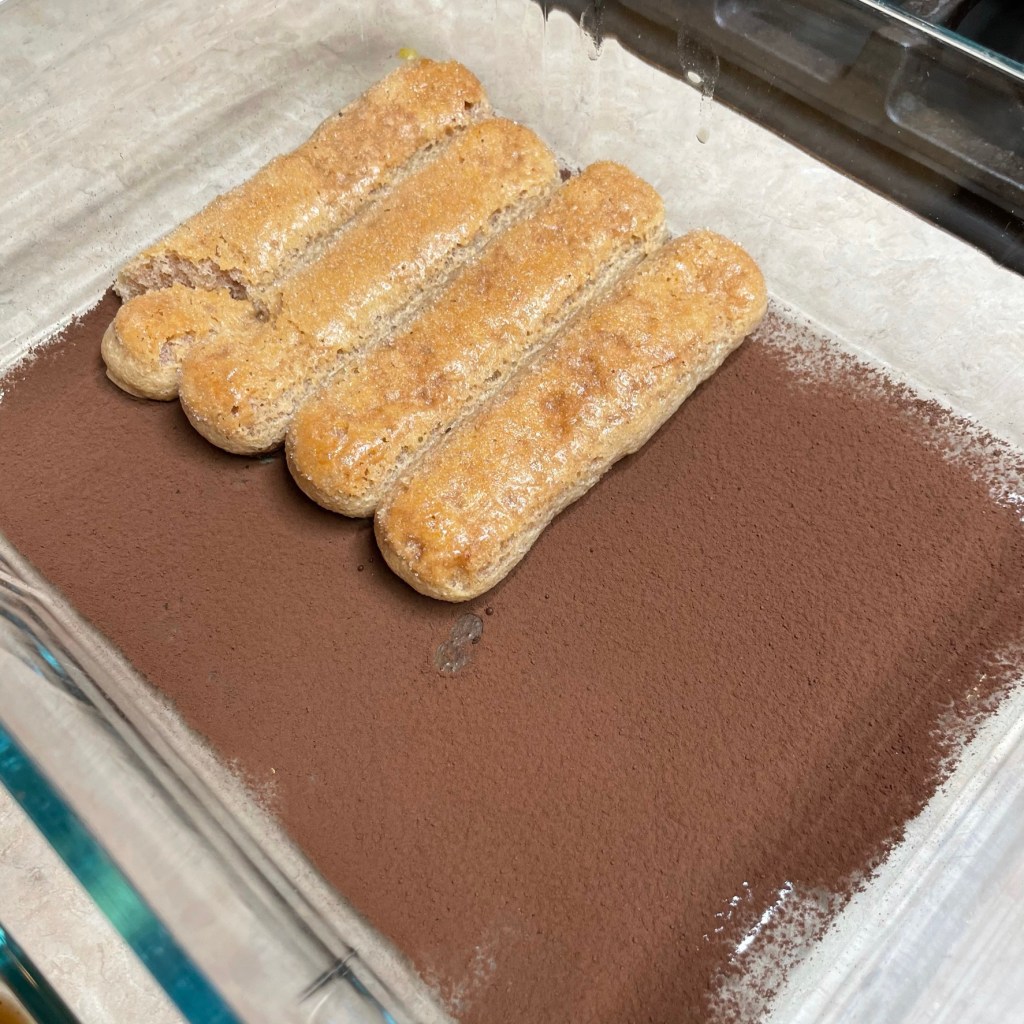
Layer the dipped ladyfingers over a dusting of cocoa powder in a glass dish.
See how different those first four ladyfingers look? The five-second rule on dipping is real.
The soaking action of the ladyfingers also depleted my original cacao-amaretto mixture. Glad I made extra!
The cherry layer of mascarpone went on first. Spread it gently over the ladyfingers, and all the way to the edges.
Dust the layer with cocoa powder.
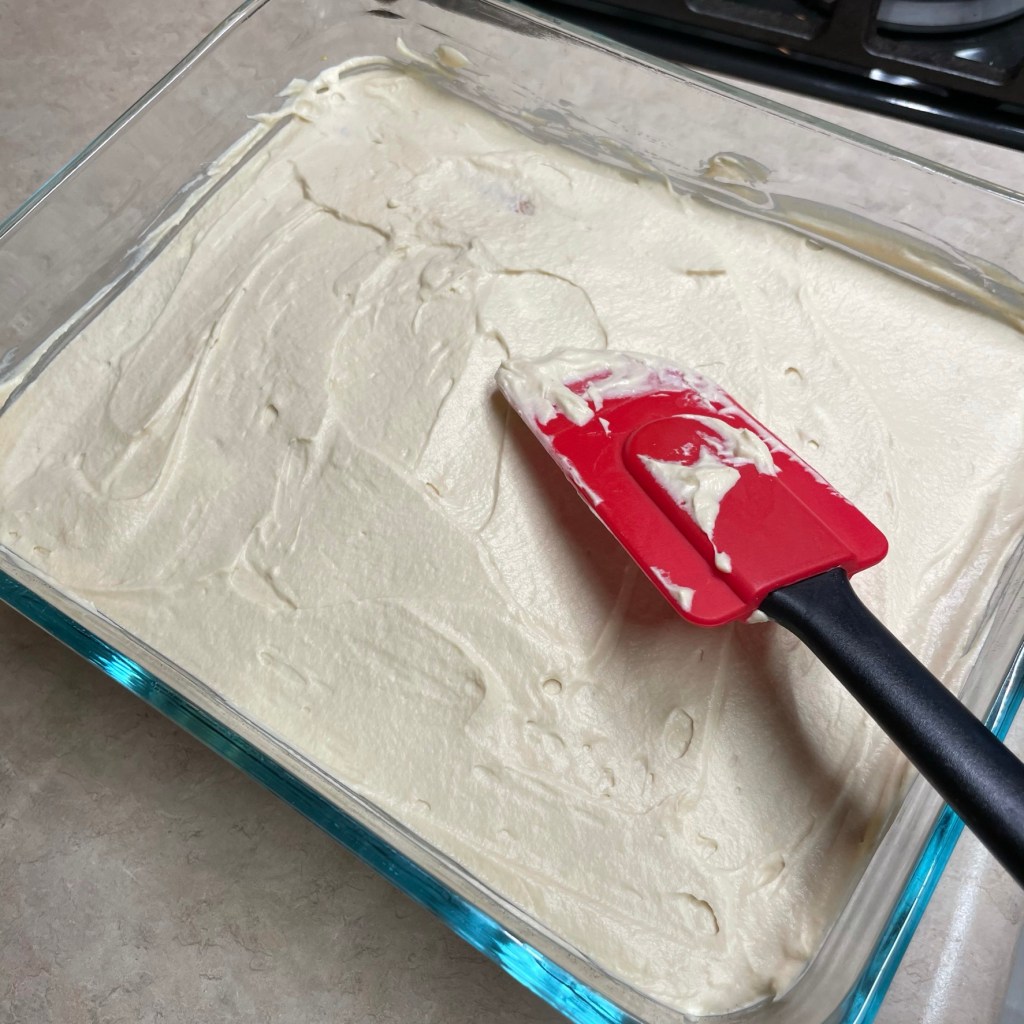
Then repeat, finishing with a layer of the non-cherry mascarpone.
Smooth the top layer, then cover with plastic and refrigerate at least six hours, but preferably a full 24. Our second serving the next day was noticeably improved texture.
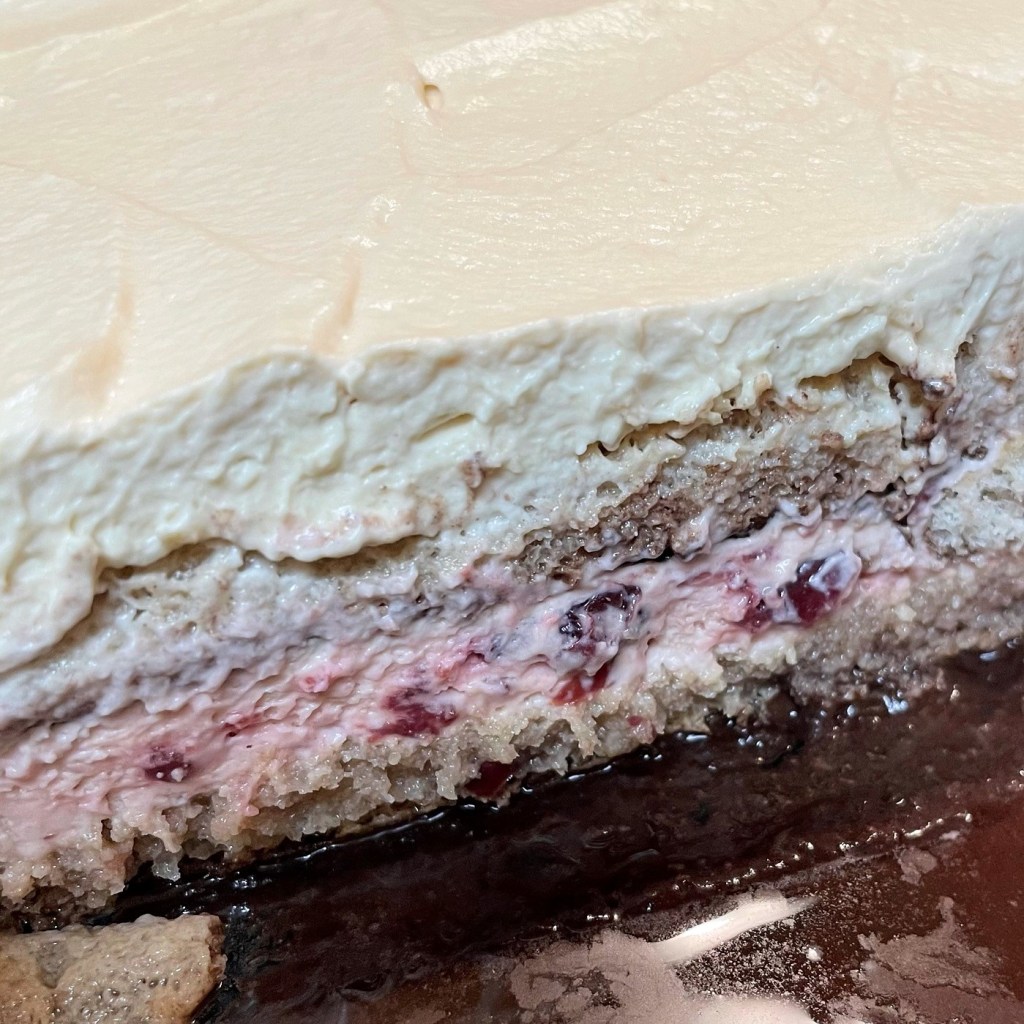
The cherry layer is so evident in this cross-section of the tiramisu still in the pan. I’m already thinking of other flavor twists.
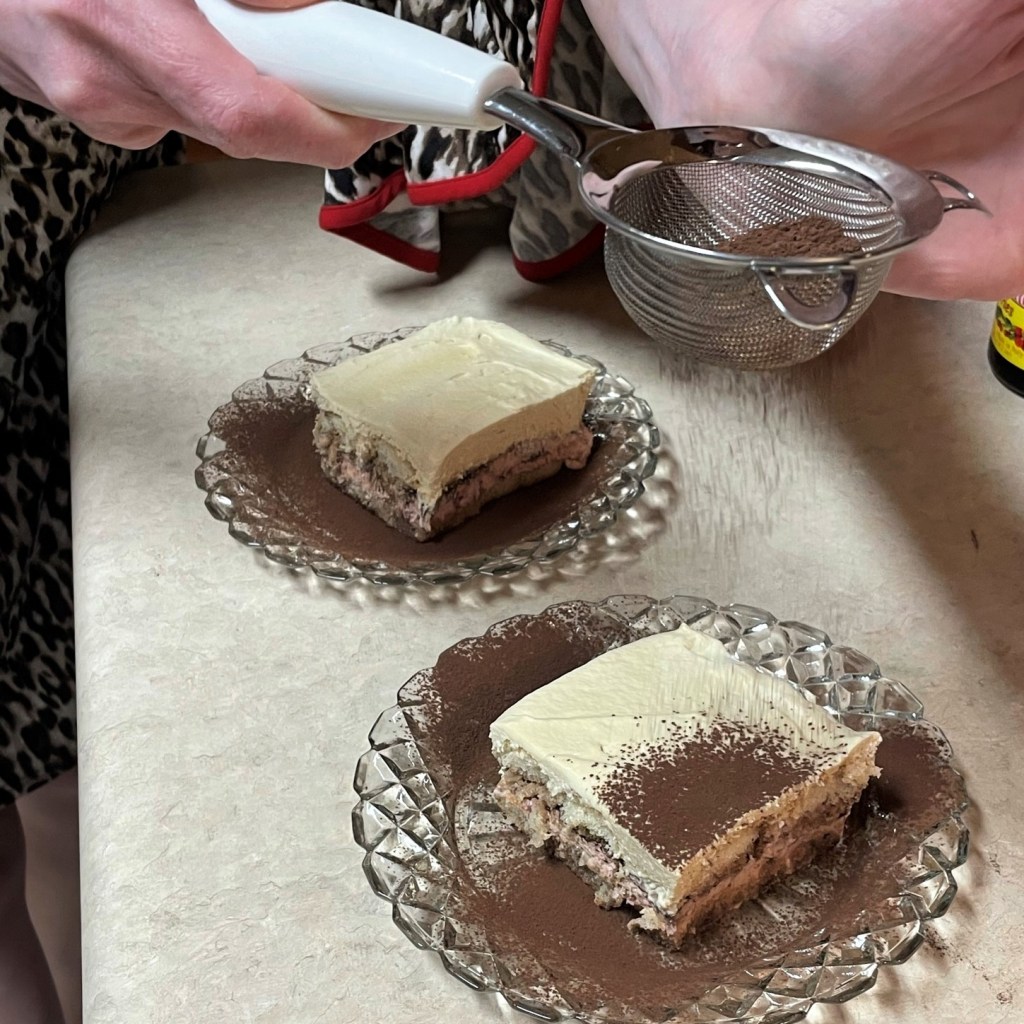
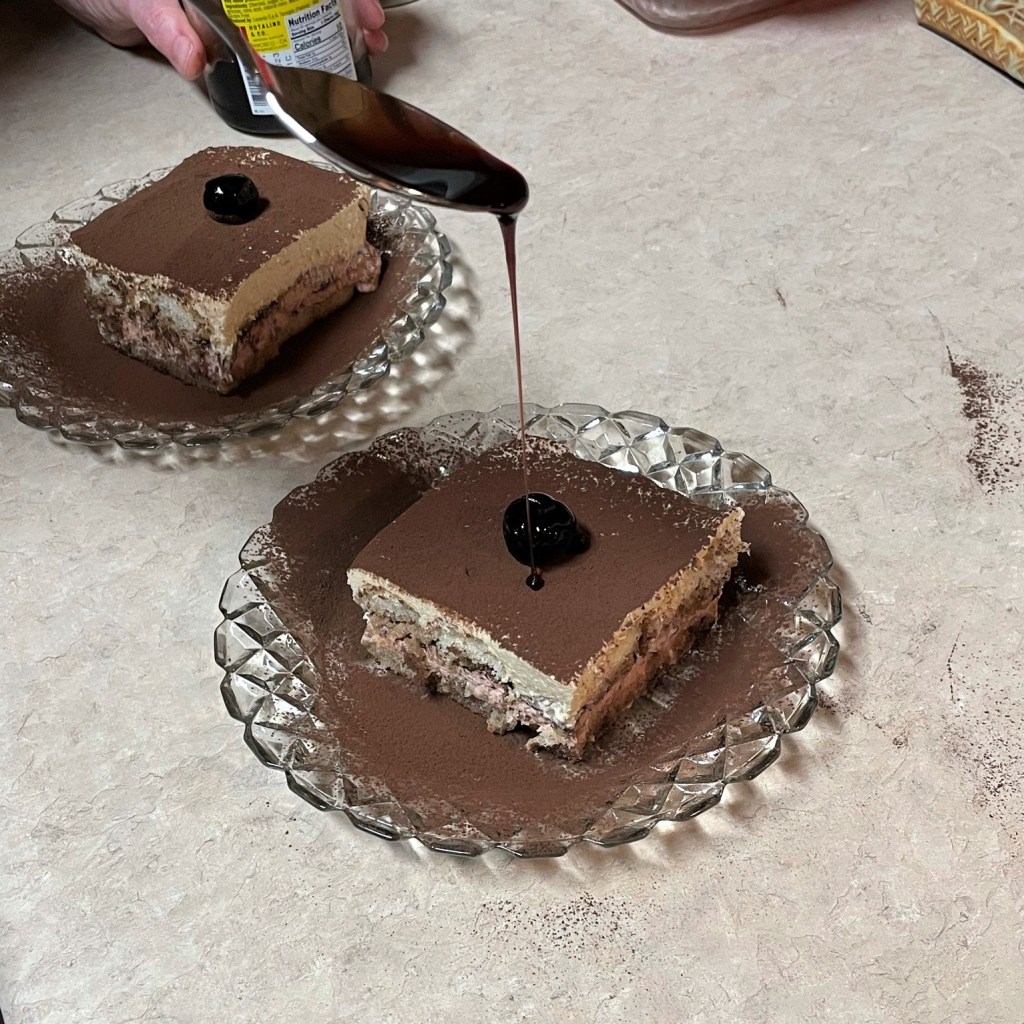
At serving time, cut tiramisu into squares and use a firm spatula to transfer it to plates. I dusted the plates and the tops with more cocoa.
How about a lovely Italian cocktail cherry on top of this Italian specialty dessert? And a little of the cherry syrup, too.
Prepare brewed cacao according to package instructions (or use espresso as instructed in a conventional tiramisu recipe. Combine brewed cacao with 2 Tbsp. amaretto in a shallow dish and set aside.
Using the whisk attachment for stand mixer, whip egg yolks at high speed until smooth and slightly thickened. Gradually add caster sugar while eggs are being whisked and continue until sugar is dissolved and the mixture is light, fluffy and lemon-colored.
Add cherry juice, 2 tablespoons of amaretto and mascarpone. Whip into egg mixture at low speed until the mixture resembles that of soft whipped cream.
Divide mixture into approximately half. Fold in cherry preserves to one half of mixture.
Sift cocoa over the bottom of glass baking dish.
Moving quickly, dip the ladyfingers (one or two at a time) into cacao-amaretto mixture, for no longer than five seconds. Arrange them in a single layer over the cocoa powder.
Spread the cherry-infused mascarpone mixture evenly over the ladyfingers, to the edges of the dish, and then sift cocoa over the layer.
Repeat with the remaining ladyfingers, topping the second layer with the remaining mascarpone mixture. Cover with plastic wrap and refrigerate for at least six hours, or preferably a full 24 hours ahead of serving.
At serving time, cut tiramisu into squares. Sift additional cocoa over the top of each serving and finish with a Luxardo cherry garnish.
You may be wondering if I’m a paid endorser for the products I spotlight on Comfort du Jour, and the answer is “no.” I do not receive money or products for my brand recommendations, and what that means for you is that you can count on me to give an honest opinion. If something changes, I will update my disclosures. Either way, you can still count on me to be honest in my recommendations, as I will only stand behind services and products I believe in. Fair enough? 😀