A shrug. That’s pretty much all I get from my husband when I mention that I might whip up a batch of cornbread. As a born-and-raised New York City guy, he’s more into bagels and dinner rolls than grainy, dense cornbread.
But that was before I decided to put jalapeño and honey into it. 😉
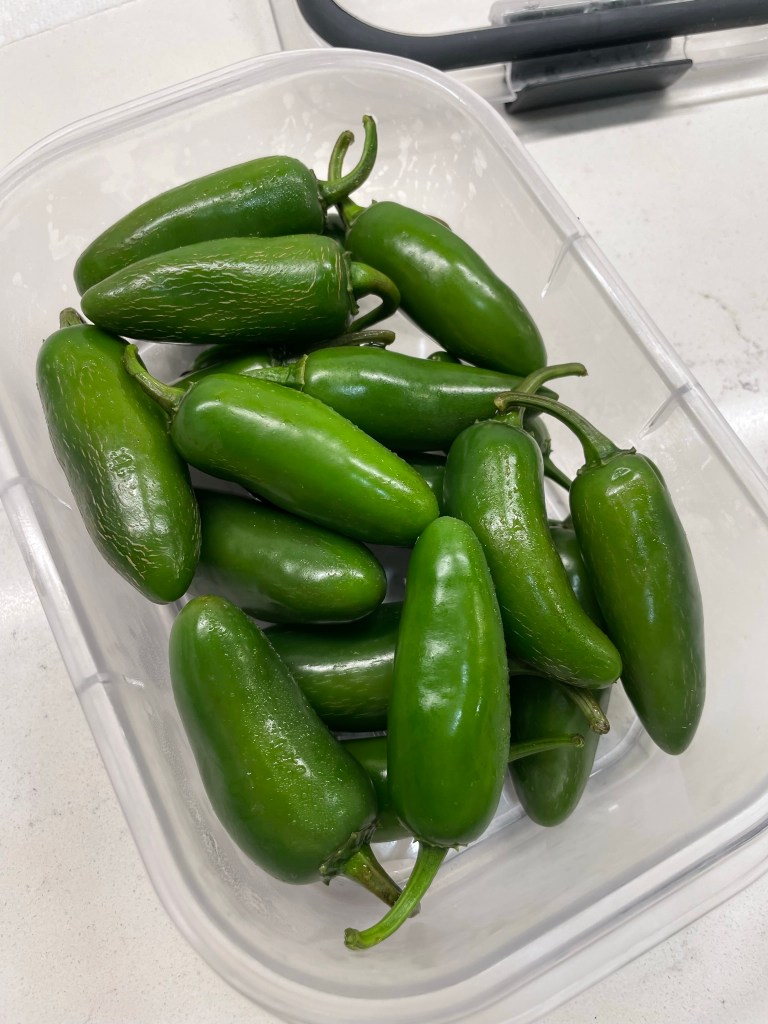
We are counting the days until we tear out what’s left of our “well, we tried” summer garden, and the jalapeños are making a valiant effort to compensate for the disappointment of everything else I attempted to grow this year. With four jalapeño plants, and plenty of post-summer full sun, I’m pretty much sneaking these spicy peppers into everything I can. That works out great for my heat-loving husband, and I found it easy to substitute honey for the usual sugar in my favorite cornbread recipe.
And that brings me to an important point— you don’t have to use my recipe to enjoy jalapeño-honey cornbread. If you have a favorite recipe already, a few simple adjustments might just make this a favorite at your house, too.
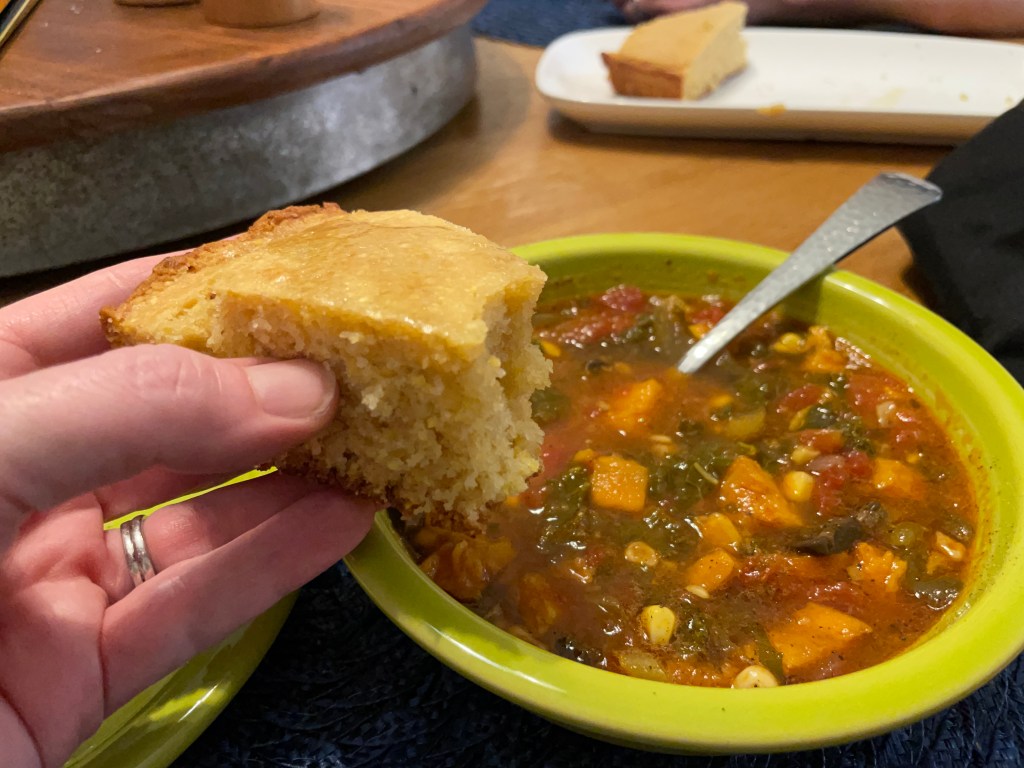
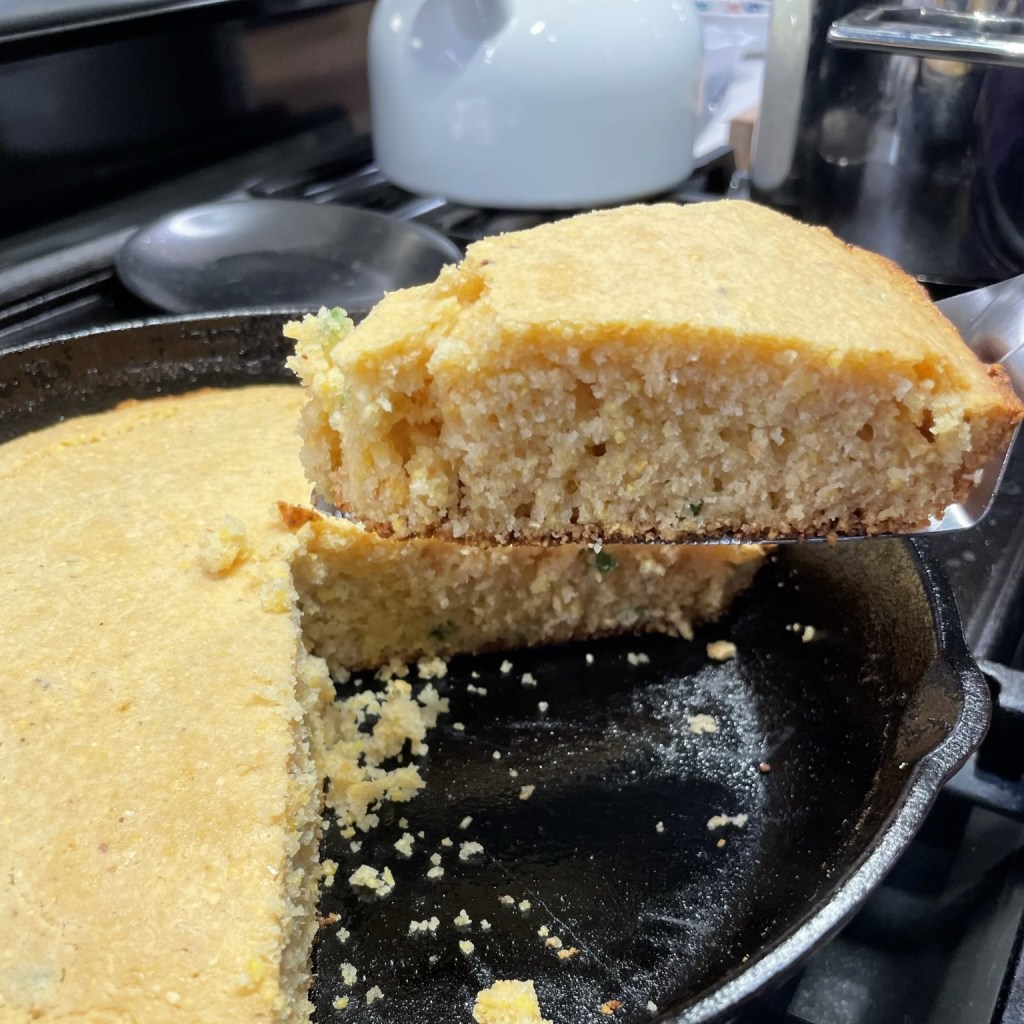
This was so good with leftover autumn minestrone! Imagine it with a bowl of chili or black bean soup. Mmm.
A couple of quick notes— jalapeño can range in Scoville units (the heat factor), but you can take charge of the overall intensity with a simple decision of keeping or removing the seeds and membranes. The other note is about the honey. I used a local wildflower honey, and because honey is sweeter than cane sugar, you can get away with using a little less than the amount of sugar called for in the recipe.
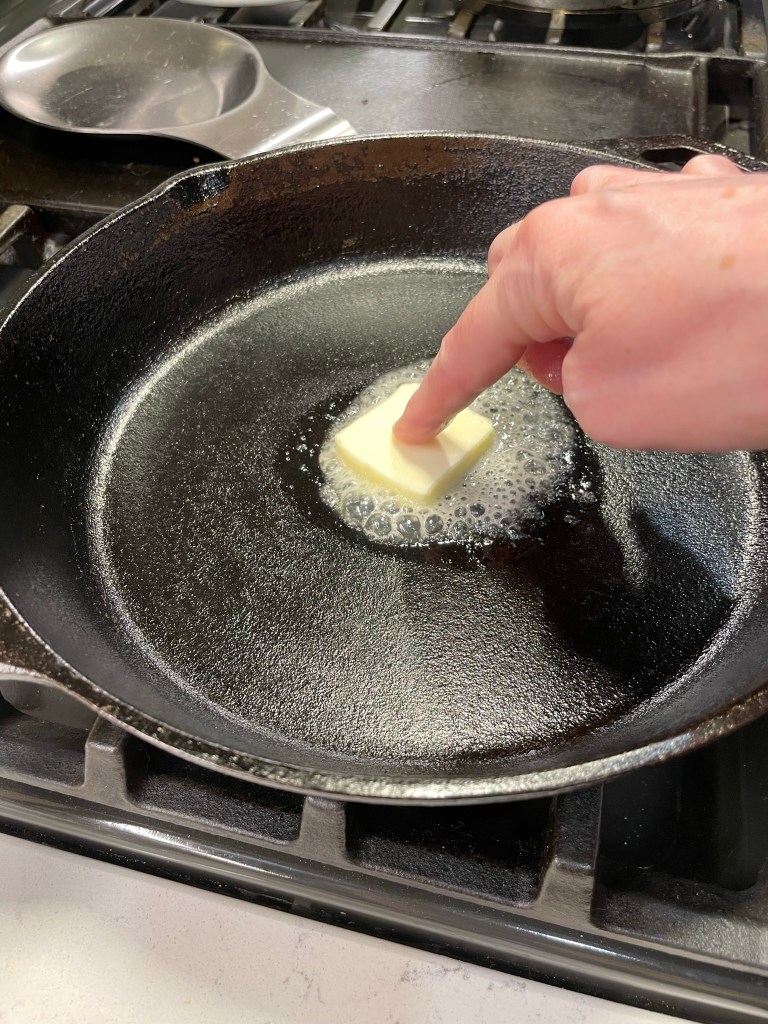
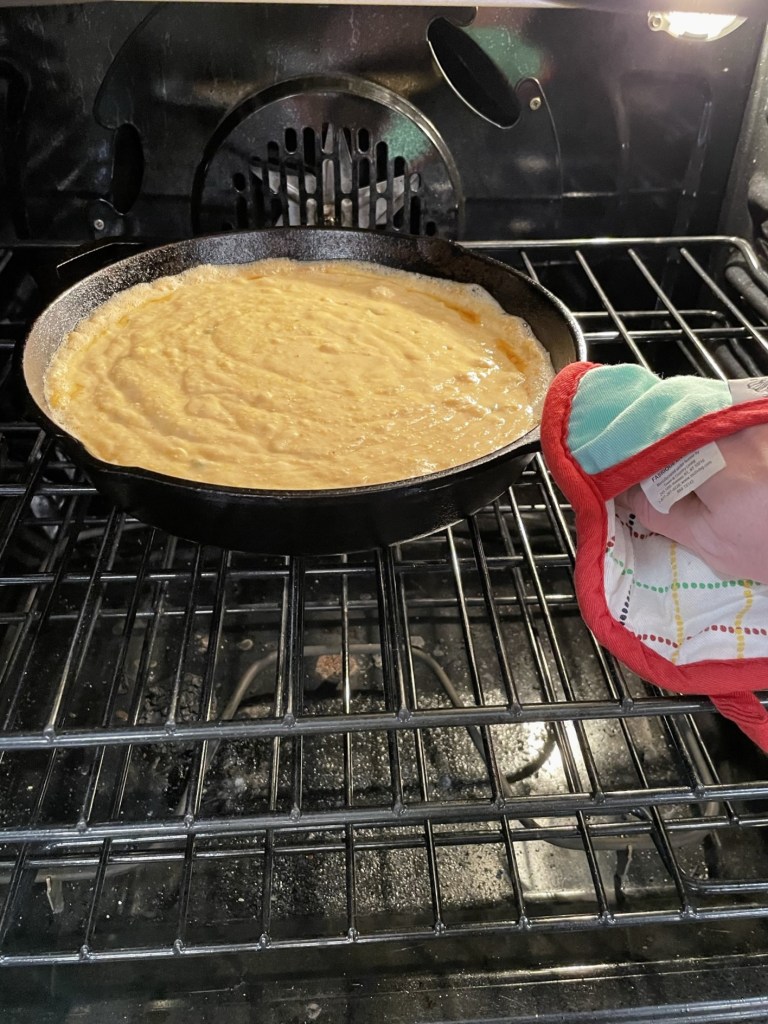
If you’d like to bake your cornbread in a cast-iron skillet, I recommend melting a tablespoon or so of butter in the skillet over medium heat before adding the batter and moving it to the oven. This extra butter will ensure clean, even wedges straight from the pan and almost no cleanup!
My inspiration recipe, as expected, comes from my favorite flour company, King Arthur Baking. I made a few modifications, including swapping honey for sugar and subbing in a portion of white whole wheat for nutrition and flavor. Plus, of course, the jalapeños! I also whipped up a small batch of honey butter for drizzling at serving time. 😋
Just two ingredient swaps are throwing a big flavor twist onto a classic cornbread. This will be great with almost any rustic soup you make this fall and winter!
Ingredients
1 cup all-purpose flour
3/4 cup white whole wheat flour
1 cup cornmeal
2 tsp. baking powder
1/4 tsp. baking soda
3/4 tsp. fine sea salt
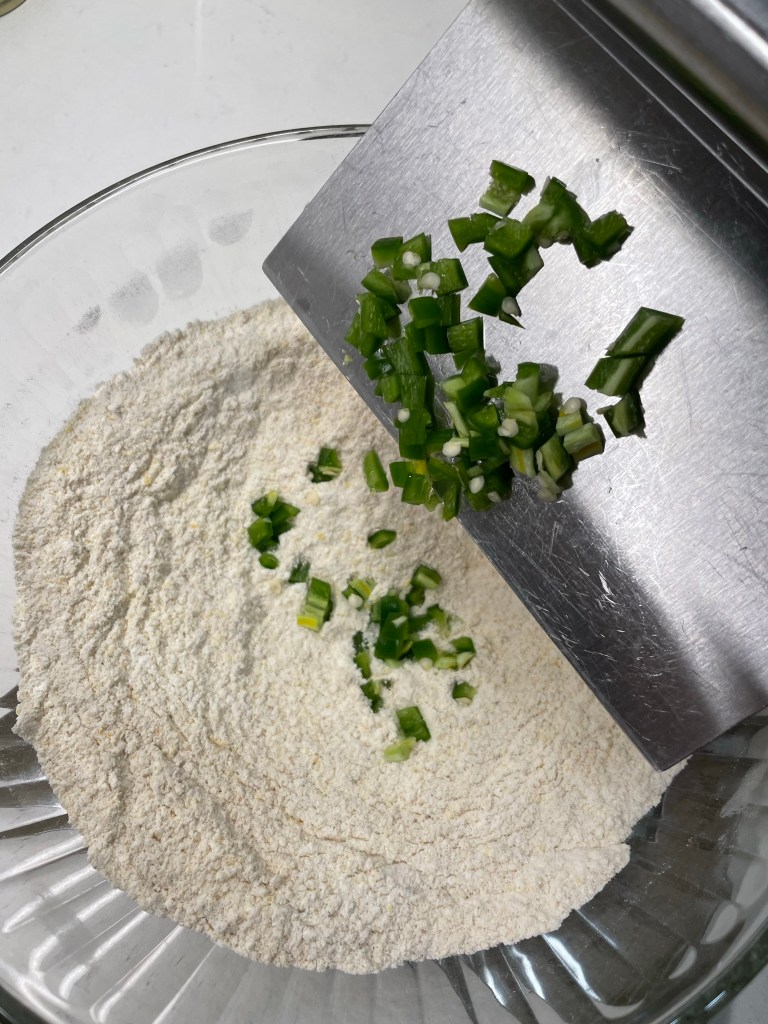
1 large jalapeño, diced (seeds or no seeds, depending on your heat tolerance)
1 1/4 cups milk, warmed (I used whole milk, but 2%, skim or plant milk would be fine)
3 Tbsp. local wildflower honey
1 large egg, room temperature
1/4 cup expeller-pressed canola oil
1/2 stick butter, melted (plant butter would be fine)
1 additional tablespoon butter for melting in the skillet (or buttering a baking dish)
This is delicious drizzled with honey butter. To make some, stir honey into softened, salted butter until smooth. At room temperature, it will drizzle nicely over the warm cornbread. If chilled, it will be more firm but still spreadable. Store leftover cornbread wrapped tightly in foil, or freeze for later.
Directions
Preheat oven to 350°F, with rack in center position. Place a cast iron skillet over medium heat and melt the extra tablespoon of butter into it.
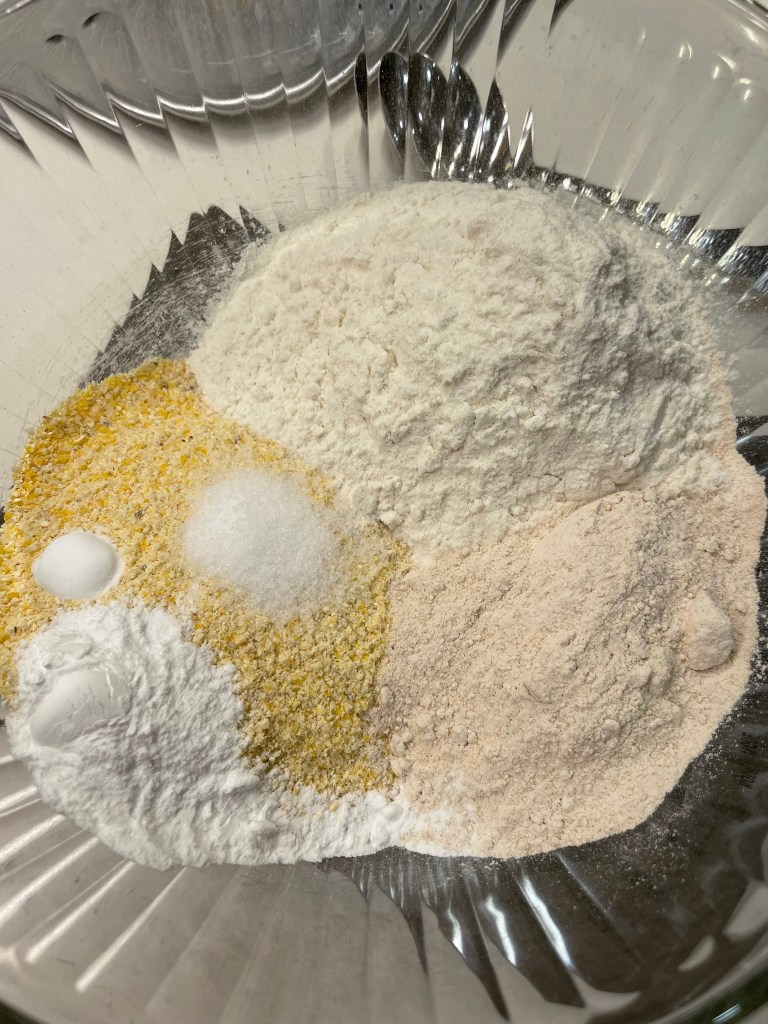
Measure out and whisk together the dry ingredients in a large batter bowl. Toss the jalapeños into that mixture as well.
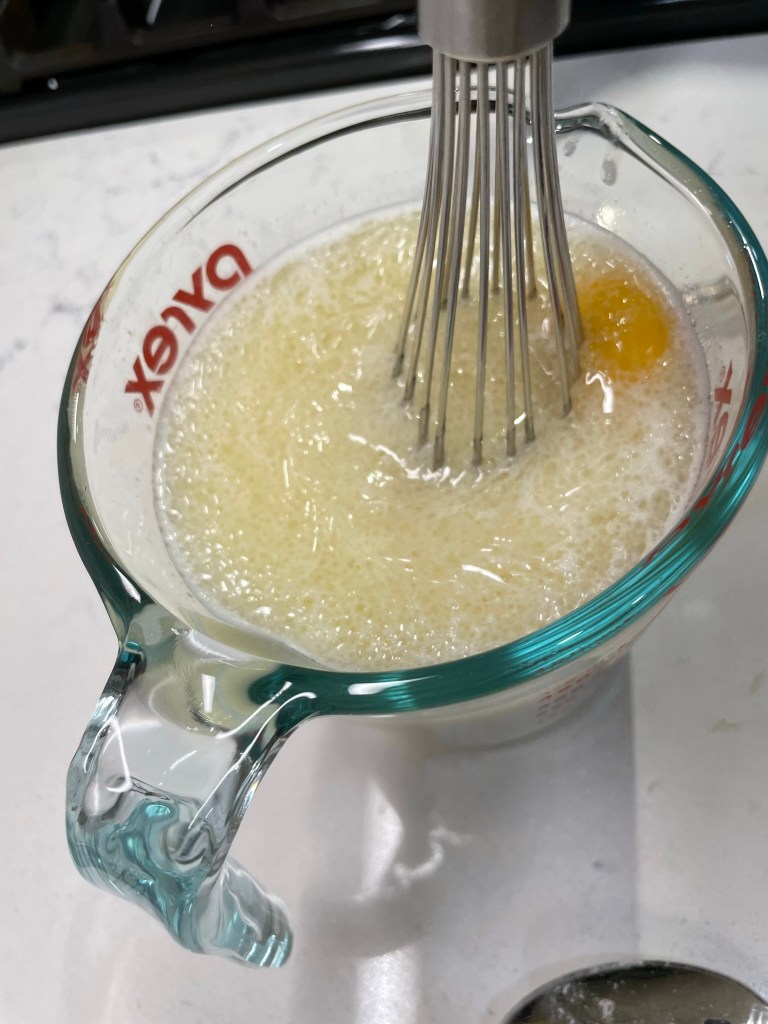
Combine the wet ingredients, blending well to completely mix in the honey.
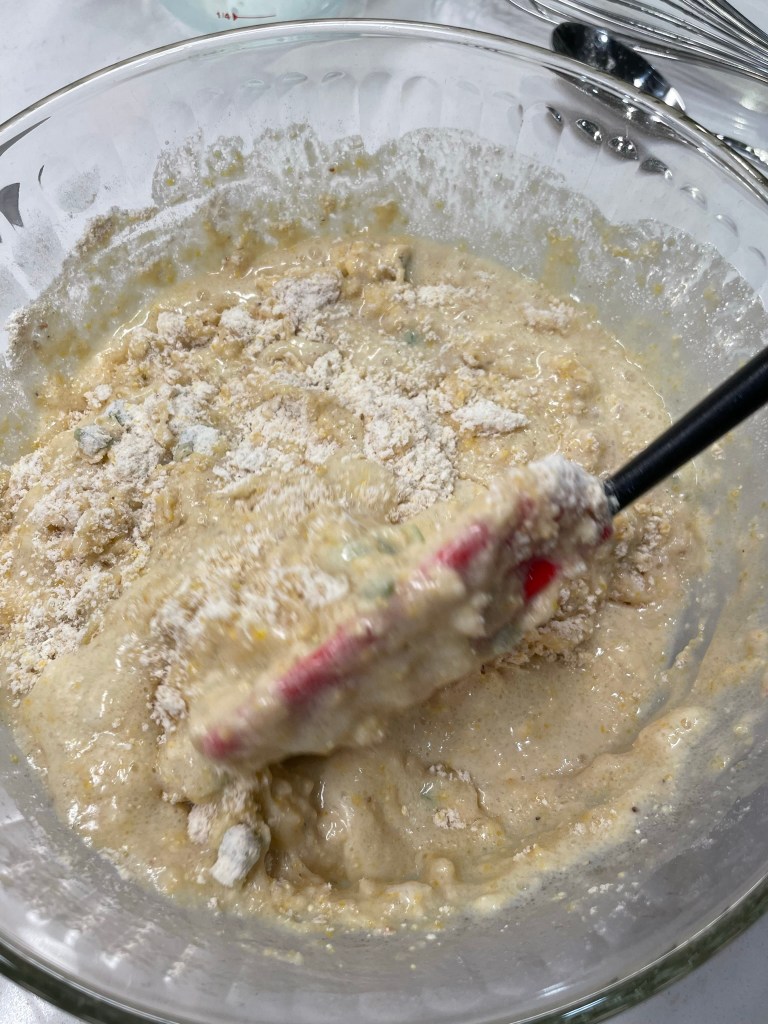
Pour the wet mixture into the bowl with the dry ingredients and fold gently several times until dry ingredients are fully incorporated.
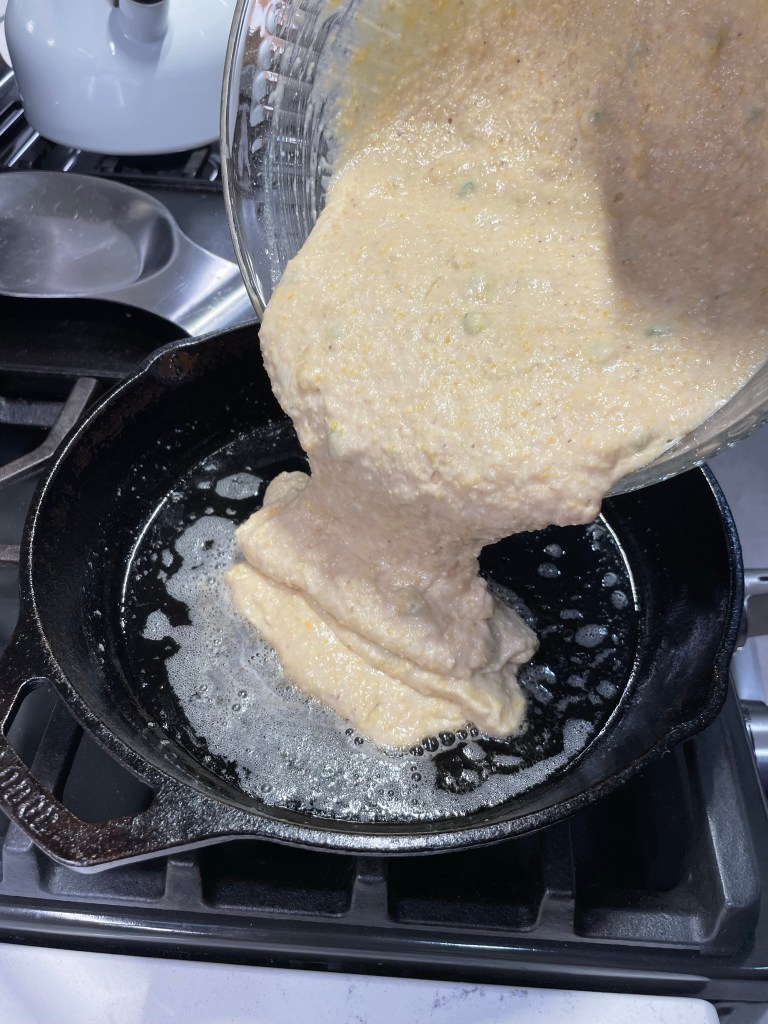
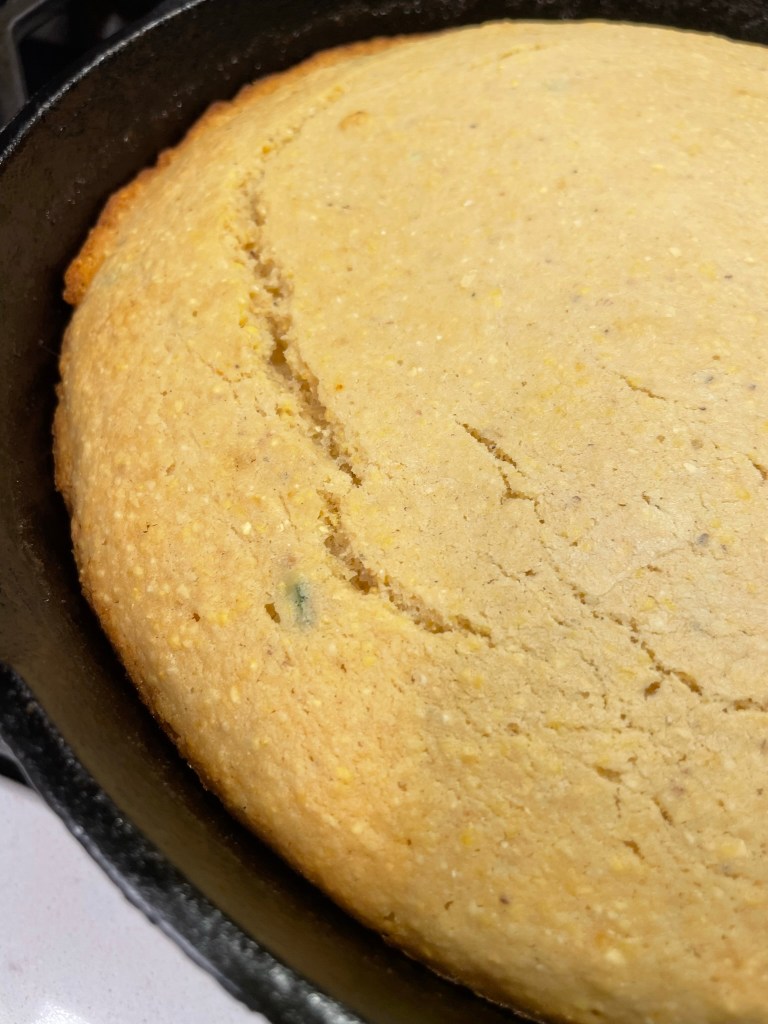
Pour the batter into the hot, buttered skillet and slide the pan into the oven to bake for about 20 minutes. Cool for a few minutes, then cut into wedges and enjoy!
If you have ever thought, “I can’t make bread,” then this is one recipe I hope you will try. Not only are the ingredients simple, but the method is also very different from a yeasted bread. Baking soda and buttermilk react quickly to give rise to the bread, so you don’t have to wait around for the dough to double in size. No kneading is required or even desired, as the delicate nature of the dough can be toughened with too much handling. Heck, you don’t even need an oven, because soda bread can be “baked” inside a cast-iron Dutch oven, right over an open fire if necessary.
This quick bread, long believed to be original to Ireland, is actually drawn from the history of Native Americans, who were first on record to use soda ash to leaven breads. Early Irish immigrants to the new country took notice of the chemical reaction the soda had with sour milk, and with the eventual advent of modern baking soda, the recipe found its way into a cookbook, which launched soda bread into popularity all over Europe. Today, it is closely linked to Irish-American culture, and very much associated with St. Patrick’s Day.
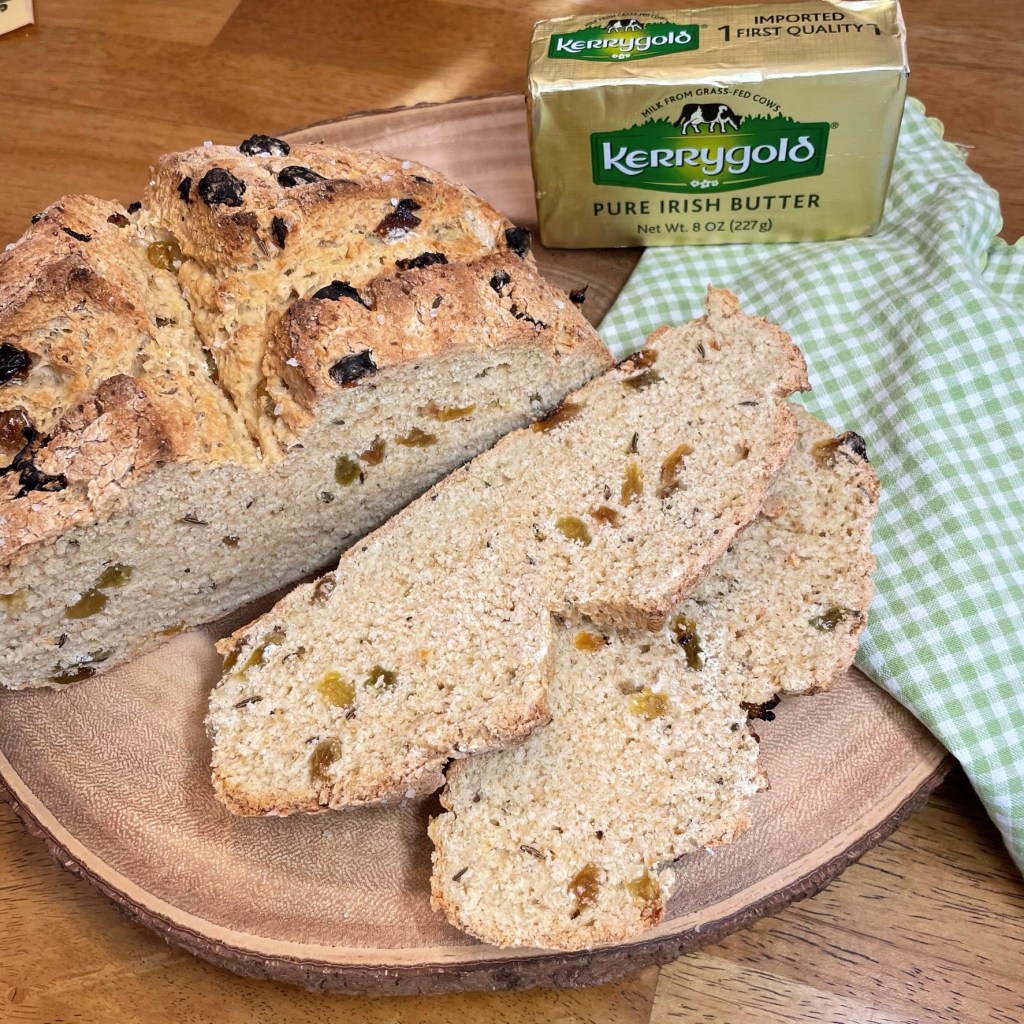
As if the ease of making it wasn’t attractive enough on its own, this easy-breezy soda bread is also remarkably flexible, and it can take you on a flavor journey to either end of the spectrum of sweet-to-savory. You can make it plain and simple, or dress it up with herbs, oat grains, spice seeds, dried fruit, honey or just about anything else that makes you happy. Other quick breads usually have a moist, tender interior. But soda bread, which has no eggs, butter or oil, is better described as soft and somewhat crumbly. My favorite flavor combination—and the one I’m sharing today—is golden raisins and caraway seeds. It may sound unusual, but it is delicious, especially toasted at breakfast with a generous smear of good Irish butter. I cannot wait to taste it again! 😊
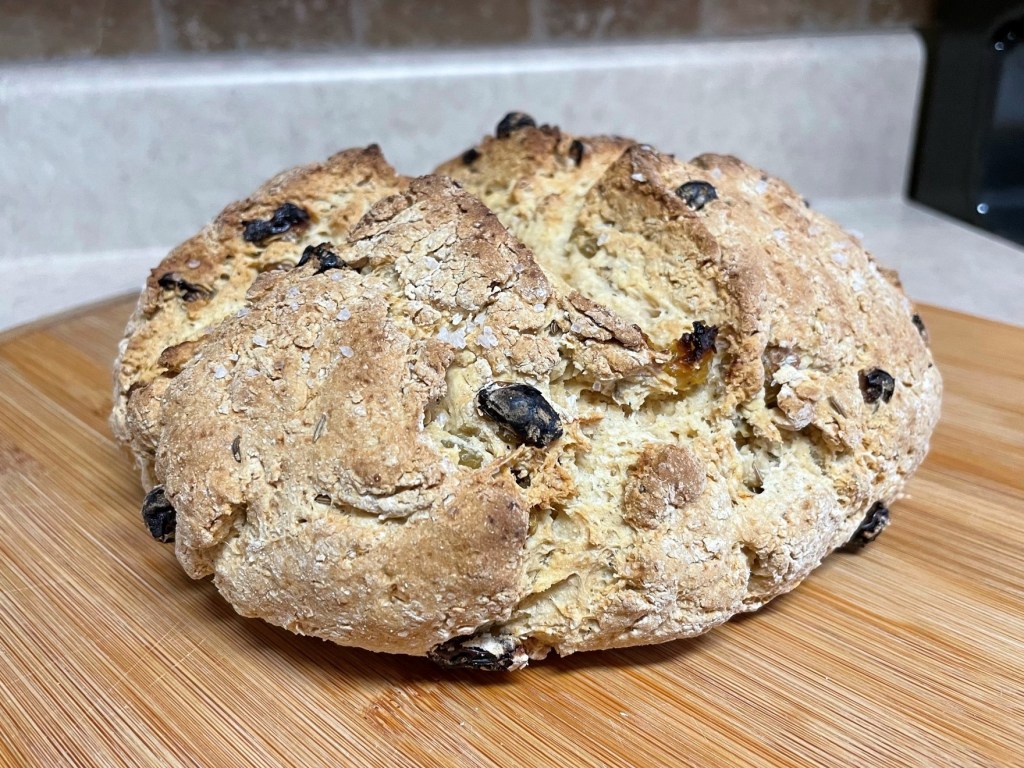
Fresh from the oven, and smells so good!
Ingredients
2 1/2 cups all-purpose flour, plus some extra for dusting
1 1/2 cups whole wheat pastry flour* (see notes)
1 Tbsp. sugar
1 tsp. salt
1 tsp. baking soda (not baking powder)
1/2 cup golden raisins
1 tsp. caraway seeds
1 3/4 cups thick cultured buttermilk*, at room temperature
*Notes
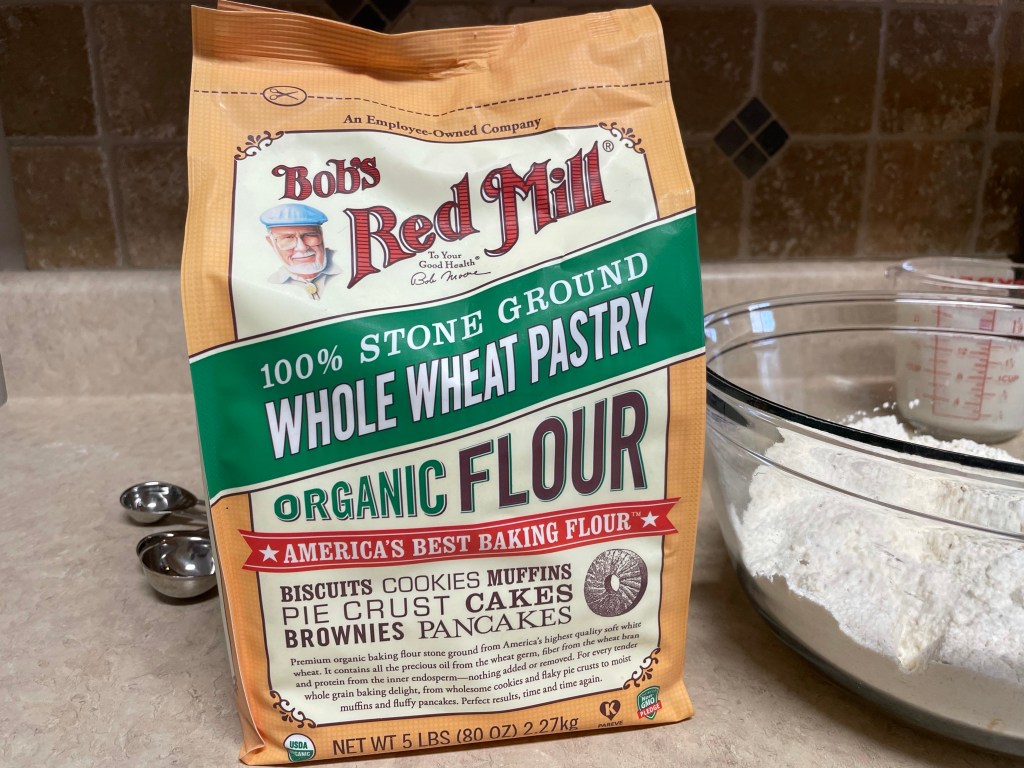
Whole wheat pastry flour is lighter in protein (and texture) than regular whole wheat flour, so it is perfect for a quick bread such as this one. I love this brand, which is available online but sometimes difficult to find in stores. If you cannot find it, don’t worry—just substitute for a total of 4 cups all-purpose flour.
Made from soft white wheat, this type of flour is lower in protein. It’s less suitable for yeast-risen breads, but perfect for pancakes, biscuits, cookies or quick breads.
Buttermilk is an important ingredient for this recipe because its acidity activates the baking soda to leaven the bread. Regular dairy or plant-based milks will not work on their own, but if you must substitute, add about 1 tablespoon of lemon juice or white vinegar for each cup of other milk to achieve similar results. You only need enough buttermilk to sufficiently moisten the dry ingredients, so you may not use it all, but have it ready just in case.
Before we begin, do you remember doing this in science class, back in the day? I still love to have fun in the kitchen, so here’s a little reminder of what happens when baking soda and vinegar come together. The reaction between soda and buttermilk is very similar, and helps explain what makes this simple bread rise.
I’ve put about 1/4 teaspoon of baking soda in my measuring glass.
And pouring in about two ounces of white vinegar.
Whoooweeee! 😀
Instructions
Mix together the dry ingredients first, so that the baking soda is evenly distributed throughout.
Additional ingredients are optional, but I love the combination of golden raisins and caraway seeds. These are the same seeds that give deli rye bread a distinct flavor.
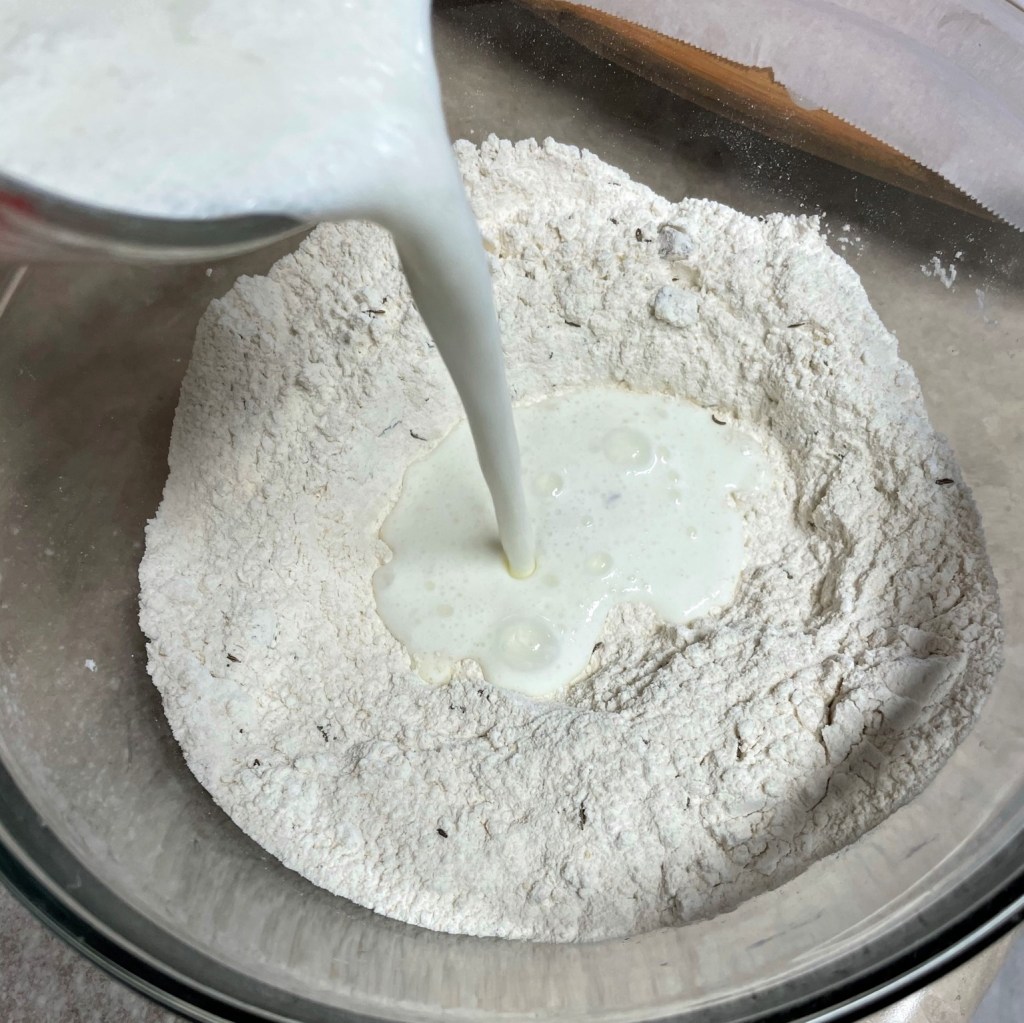
Pour in most of the buttermilk, and keep the rest ready in case you need more to moisten the dry ingredients.
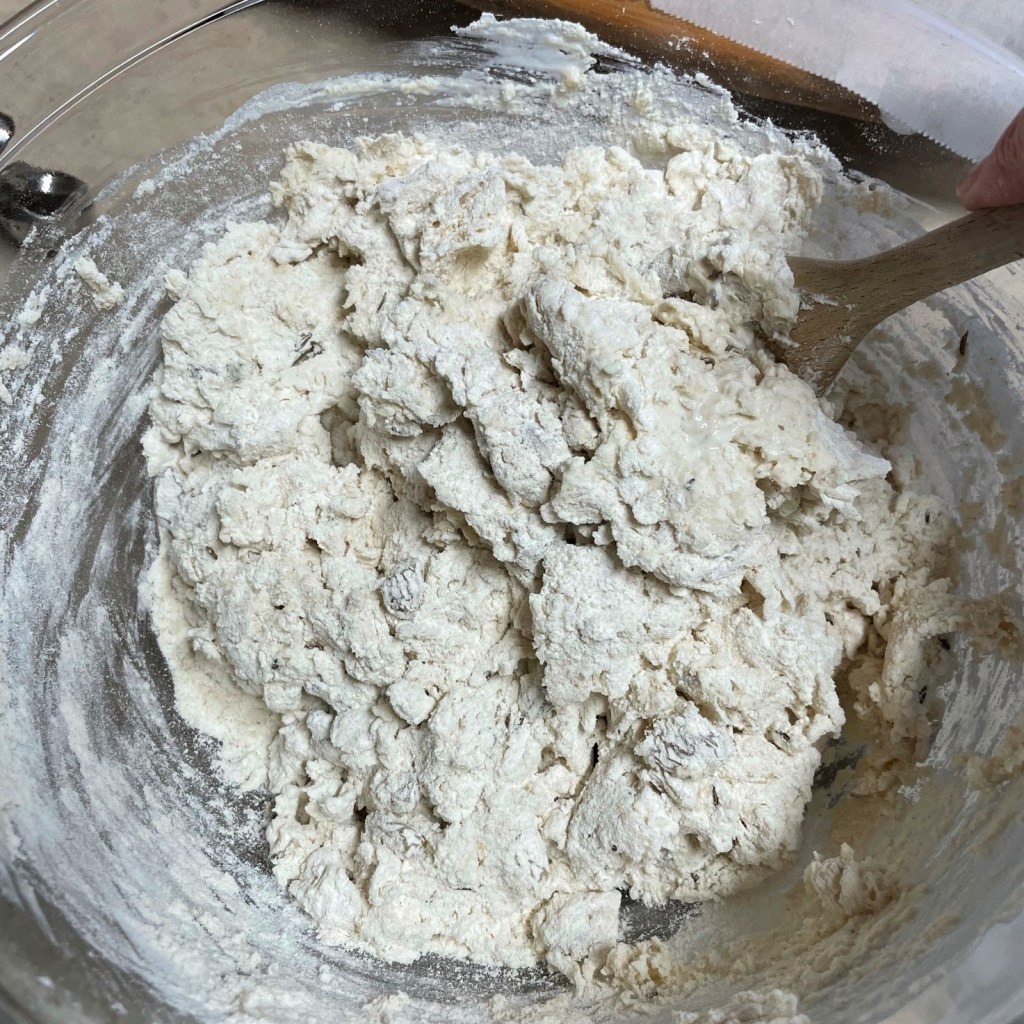
Several variables can affect how much buttermilk is needed. Age and type of flour, humidity, temperature in your kitchen are all factors, so you need to play it by ear. This is too dry.
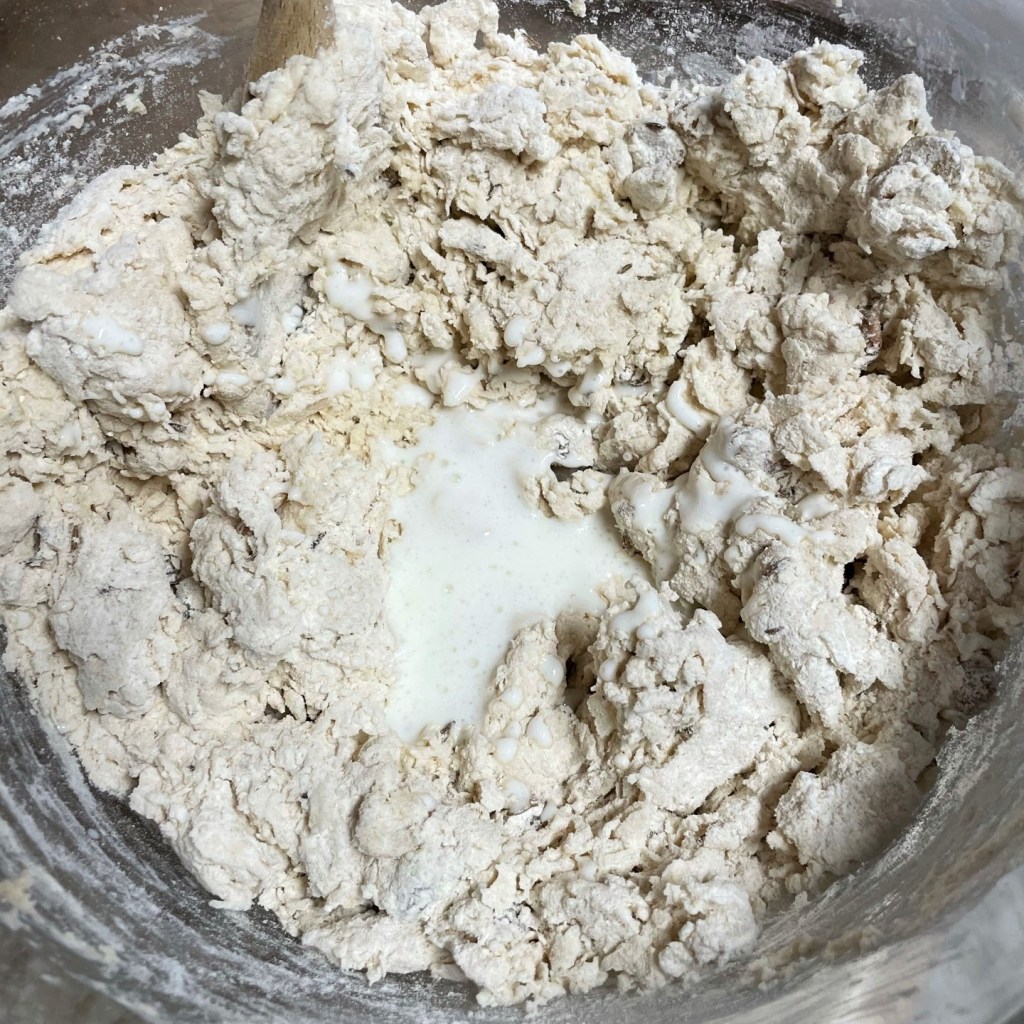
The rest of the buttermilk should do it. I don’t want the dough to be wet, but I should not see large dry spots of flour, and the dough needs to be cohesive enough to shape into a round.
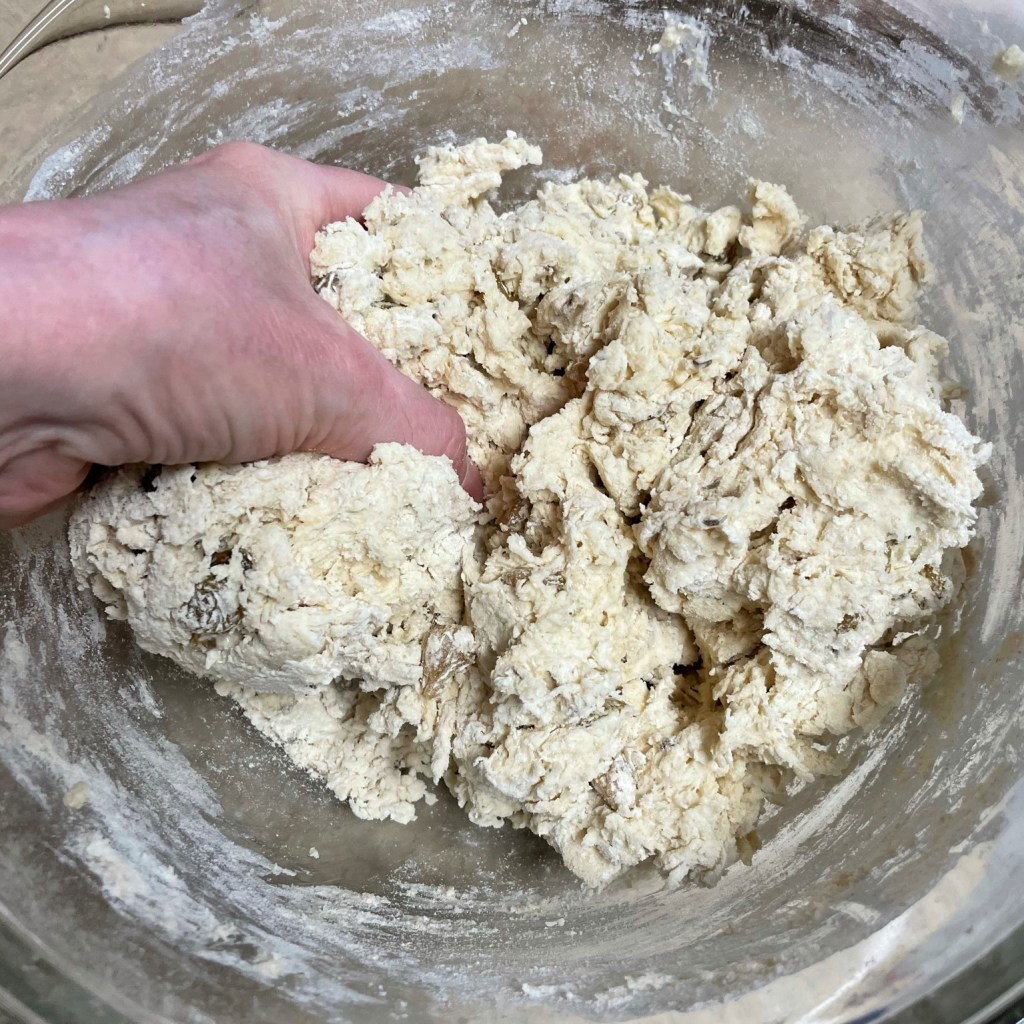
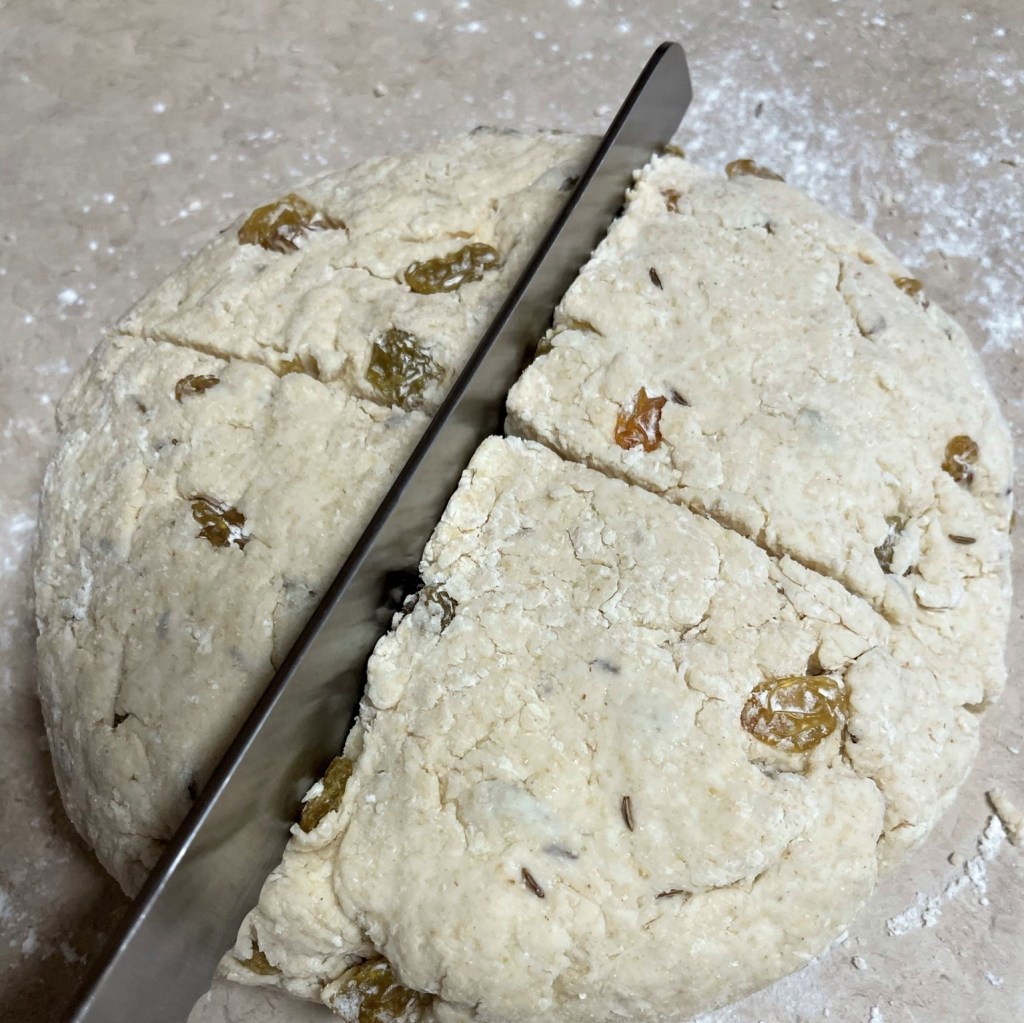
It feels a little like biscuit dough, and I’m going to work it the rest of the way with my hands. Light, quick mixing will do it, then I’ll shape it into a round, about 8 inches across.
Use a sharp, serrated knife to cut a deep “X” on top. A baking expert might tell you this allows the oven heat to cook the dense dough more evenly, but Irish folklore explains the real reason is to “let the faeries out.” 🙂
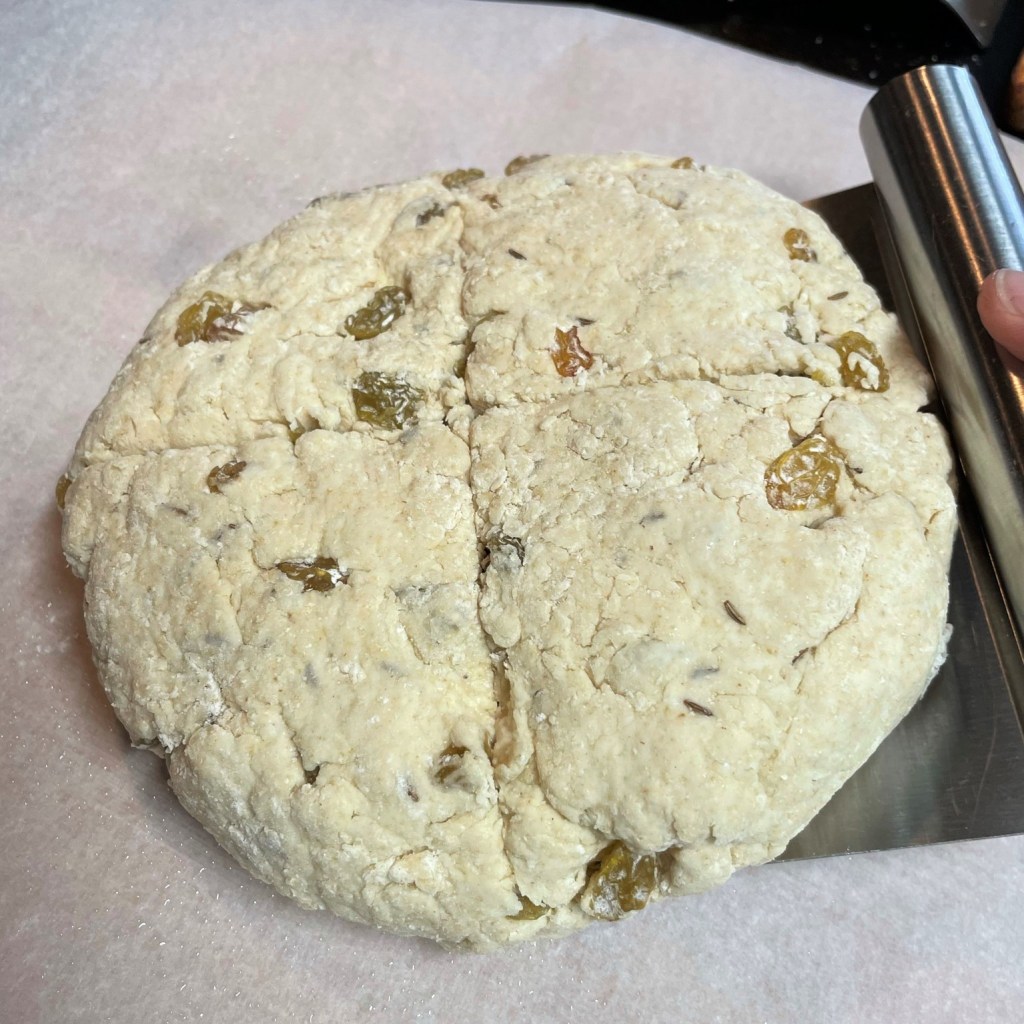
Transfer the dough to a parchment lined baking sheet and it’s ready for the oven!
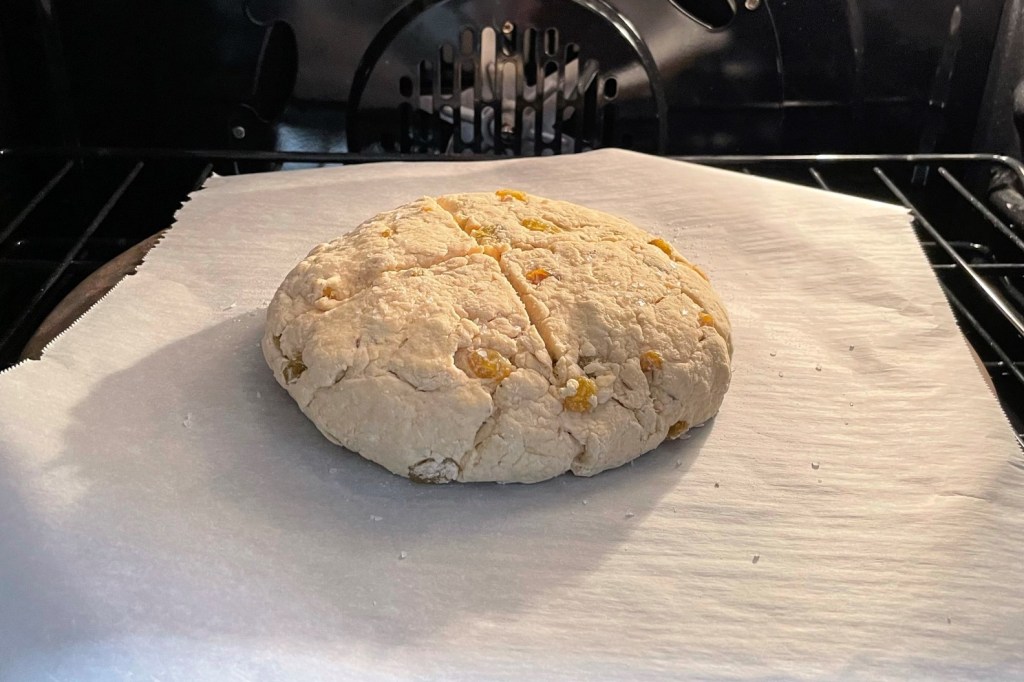
I’m baking mine on a preheated bread stone, which should give a really nice bottom crust. Give it 25-30 minutes.
Perfect. The bread looks a little craggy, but it has a crisp exterior and sounds hollow when I tap the bottom.
Preheat oven to 425°F, with rack in the center of the oven. I’m baking my soda bread on a baking stone, so that gets preheated with the oven.
Combine flours, sugar, salt, baking soda, raisins and caraway seeds in a large bowl.
Make a well in the dry ingredients and pour in most of the buttermilk. Use a wooden or heavy spoon to mix at first, then switch to mixing with your hands when the dough begins to feel stiff. If needed, add the remaining buttermilk, but only enough to moisten and incorporate all the flour.
Turn the dough out onto a lightly floured countertop or board and knead very briefly, until dough is cohesive but still “shaggy” in appearance. Shape dough into a round ball, about eight inches across. Transfer the dough to a parchment lined (or oiled) baking sheet.
Use a sharp, serrated knife to make deep cuts in the shape of an X or cross on top of the dough.
Bake 25-30 minutes, until golden brown and crunchy on the edges. If you tap the bottom of the loaf, it should sound a bit hollow.
Transfer soda bread to a cooling rack for a few minutes. Enjoy warm or room temperature.
When Meghan Markle sits down with Oprah this weekend for a “tell-all” interview about what it was like joining—and then separating from—the royal life, I doubt she will be spilling the tea in a way that the British tabloids (and several American news outlets) would have us believe. Frankly, I doubt the interview will be scandalous at all, given that she and Prince Harry (whom I’ve adored since the day he was born) have plenty of reasons to remain close with the rest of the royal family, not the least of which are their adorable son and the new baby that’s on the way. Honestly, can a girl please just have her fairy tale for a minute?
Mark my word, when this interview with Oprah is over, the only things Meghan and Harry will have disclosed is that they love and respect the Queen, and that they have no hard feelings for anyone in the family, and that they have aspirations in life that cannot be fulfilled while living in a royal fishbowl. Oh, and that the British tabloid media is awful—but we already knew that because we all remember the gut-wrenching evening that Princess Diana died while being chased through Paris by the paparazzi. God bless Harry for wanting to protect his wife and family from all that crap.
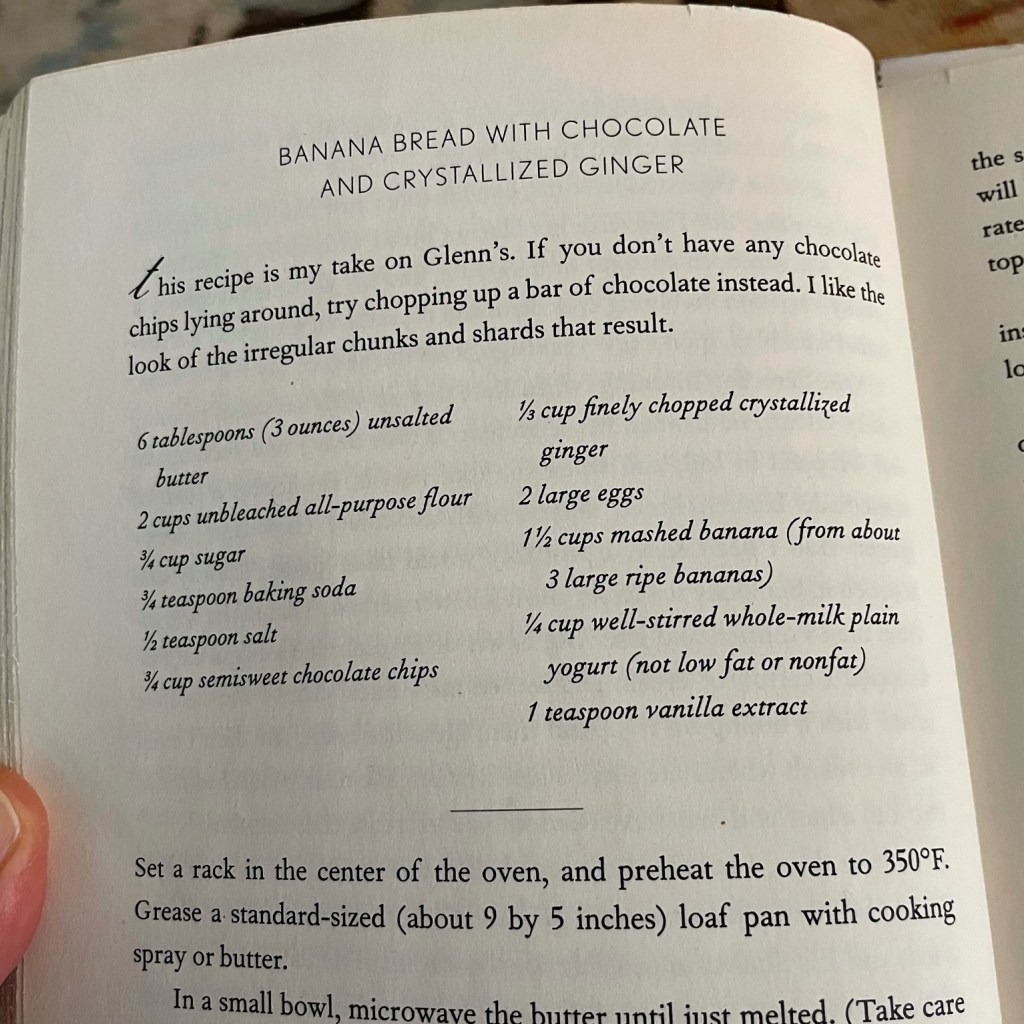
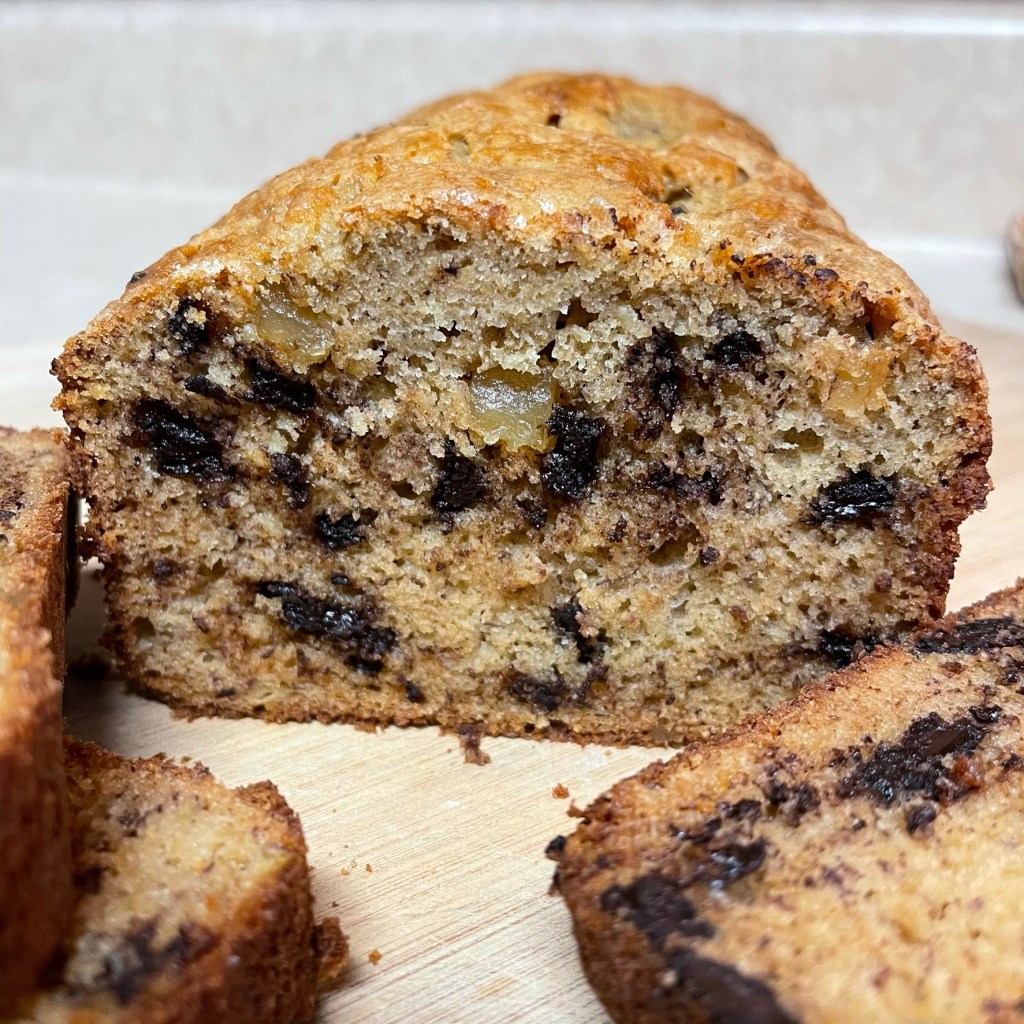
Here’s another thing Meghan probably won’t spill the tea about: her recipe for banana bread. I clicked on a headline in my news feed recently, intrigued about the idea that Meghan had a “secret surprise” in a banana bread she had shared while on Royal Tour in Australia a couple of years ago. In addition to her previous career as an actress, Meghan had a lifestyle blog before she became engaged to Harry (just one of many things she had to give up), so I knew that she was a maven in the kitchen, and who doesn’t love a fun twist on banana bread? My hopes were dashed, however, when I read that the two “secret” ingredients she uses are chocolate chips and crystallized ginger. Well, I thought, what’s so secret about that?
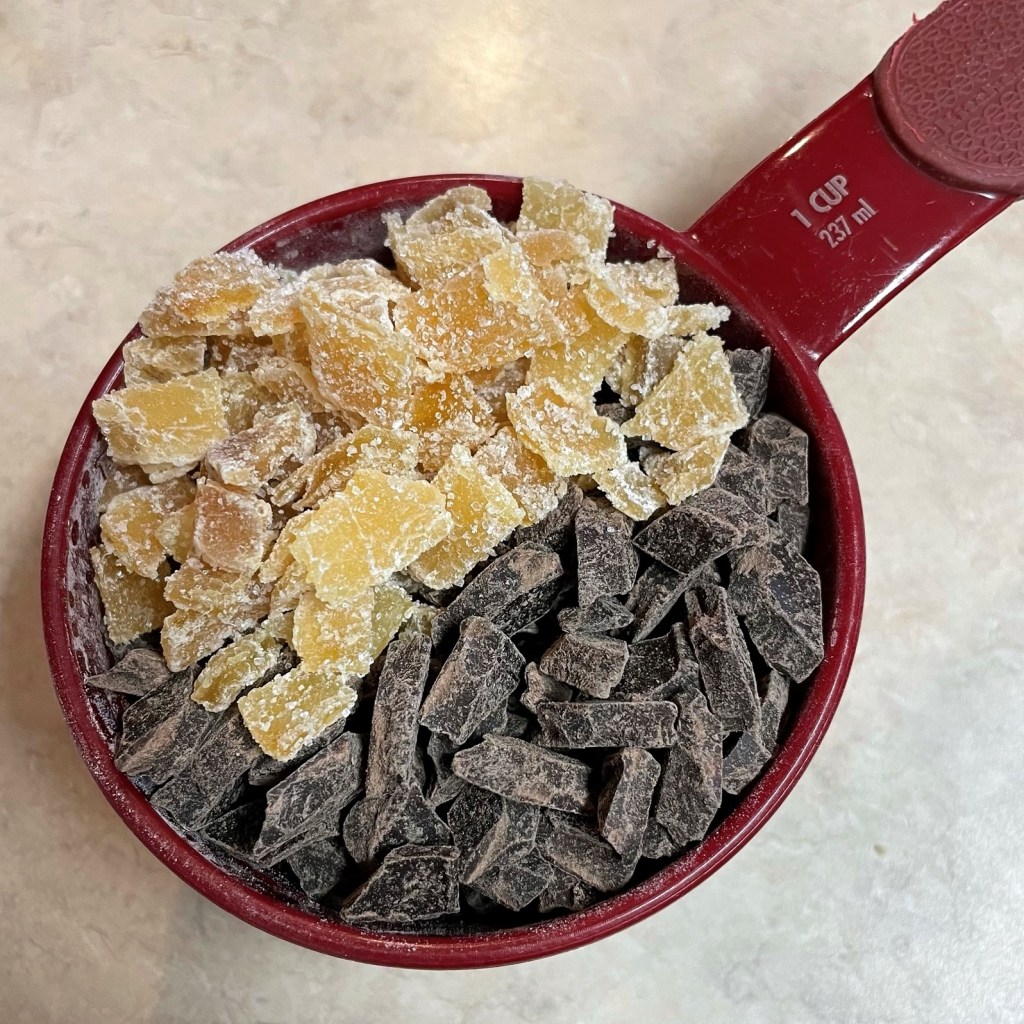
Look at these two lovebirds! Dark chocolate is packed with antioxidants and ginger is good for digestion. Good for me AND tastes delicious…yes, please!
First of all, this is not Meghan’s recipe—it’s been around a long time, and I’ve actually been making it this way myself since around 2010, when I had picked up a copy of Molly Wizenberg’s bestseller, A Homemade Life. Molly is also a former blogger and past contributor to Bon Appetit magazine (among other things), and she described this recipe in her book as one that she had adapted from the recipe of a friend of a friend. And that’s how recipes go—we hear about or taste something we like, we ask for the recipe, perhaps we tweak it and send it forward to someone else, and then they share it however they choose. Not much is original in the world of food anymore, but that doesn’t mean it isn’t delicious. And this bread is definitely delicious.
My recipe is a take on Molly’s, which is a take on somebody else’s. 🙂
I’ve been craving the combination of dark chocolate and ginger ever since my new foodie friend Dorothy posted a dark chocolate and ginger tart on her own blog at Valentine’s Day. I haven’t made the tart yet, but I cannot find enough words to describe how much I love these two flavors together. The rich but slightly bitter flavor of dark chocolate holds its own against the spicy bite of crystallized ginger, and the two swirl around each other in an exquisite tango across the taste buds. The friendly and familiar background of an otherwise classic banana bread is a great venue for these two flavors to strut their stuff.
My recipe, of course, is slightly altered from Molly’s, which is slightly altered from somebody else’s, and I have no idea how it may be different from Meghan Markle’s because—as with every other single thing in her life since she met Harry—she has not personally shared her recipe. Somebody else spilled her tea. We only know that Meghan’s banana bread includes some form of chocolate and ginger, and that is enough to convince me that she has excellent taste. But we already knew as much, didn’t we?
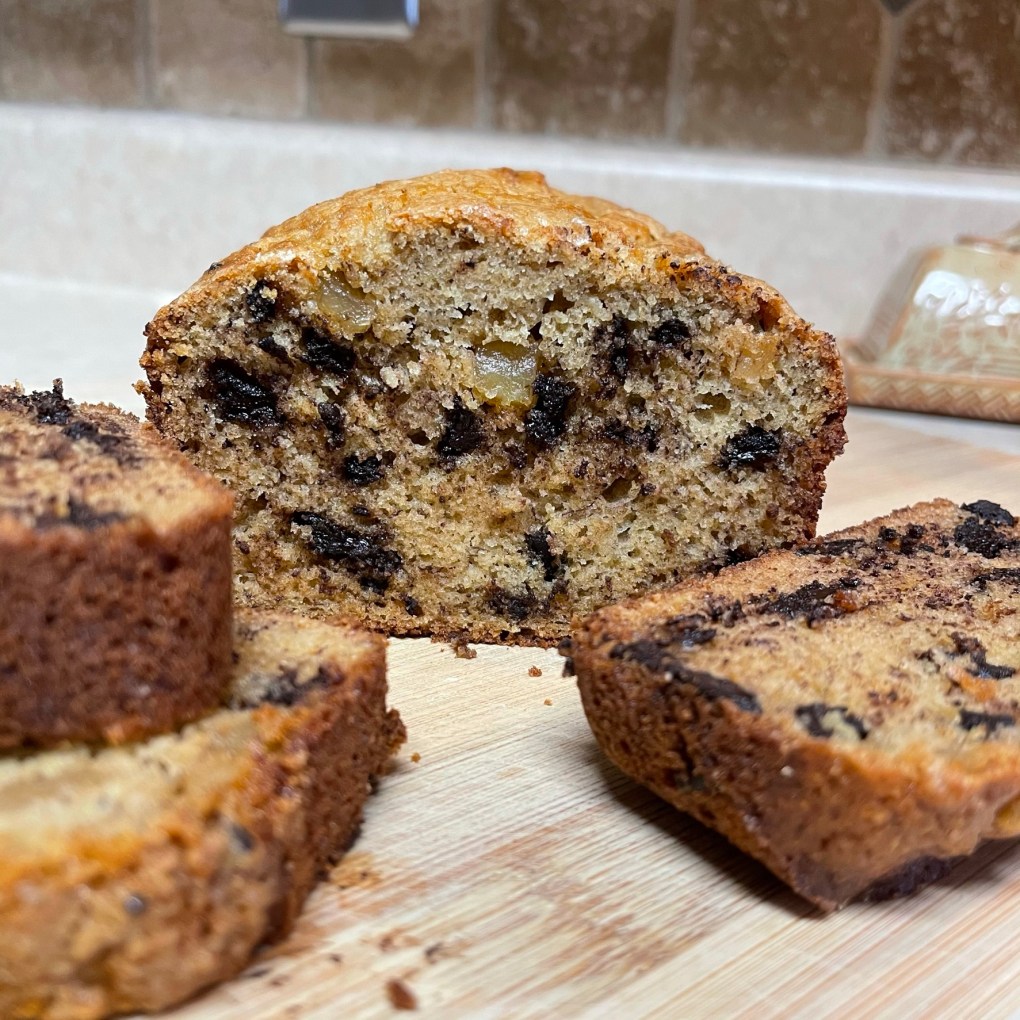
You can see the generous bits of ginger peeking out of the banana bread. And all that dark chocolate! Mmm.
Ingredients
1 cup all-purpose flour* (see notes for measuring tips)
1 cup whole wheat pastry flour*
2/3 cup organic cane sugar (reserve 1 Tbsp. to sprinkle on top)
3/4 tsp. baking soda
1/2 tsp. salt
1/2 tsp. ground cinnamon
6 Tbsp. unsalted butter, melted and cooled (plus extra butter for greasing pan)
2 large eggs (room temperature)
1 1/2 cups mashed ripe banana* (about 3 large bananas)
1/3 cup Greek yogurt
1 tsp. vanilla extract
3/4 cup semi-sweet chocolate chips or chunks
1/3 cup finely chopped crystallized ginger
*Notes
For proper measuring, follow the “fluff, sprinkle, level” method. Scooping directly into the flour bag or container can result in a dense batter.
Whole wheat pastry flour is softer than regular whole wheat or even white whole wheat. It’s perfect for pie crust, cookies and quick breads, such as this one. If you don’t have it, or if you prefer all white flour, combine for a total of 2 cups all-purpose flour.
When I say “ripe” bananas, I don’t mean a few spots on a golden banana. They get sweeter as they age, and if you prefer, you can peel and mash them in a bowl and leave them to brown and sweeten a couple weeks in the fridge. But please, use ripe bananas.
The older the bananas, the sweeter the flavor. This is how my grandmother taught me (as long as there’s no mold)!
Instructions
I always sneak some whole wheat pastry flour into this kind of recipe. Its light, soft texture is perfect for quick breads. All the dry ingredients are mixed together.
Some banana bread recipes call for oil, but melted butter adds incomparable richness! Here, it is mixed with the mashed bananas, eggs and yogurt.
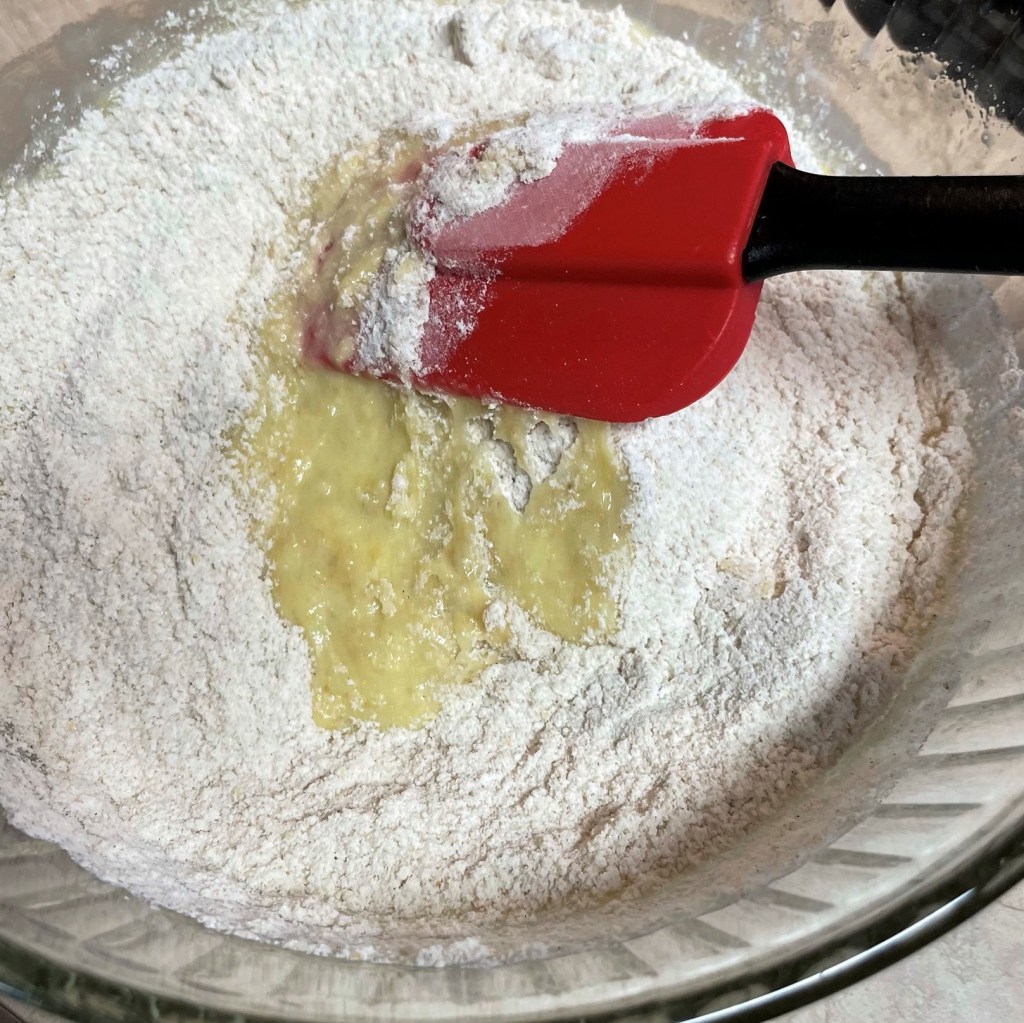
Easy does it when folding the wet and dry ingredients together. Only mix long enough for the flour to be fully incorporated.
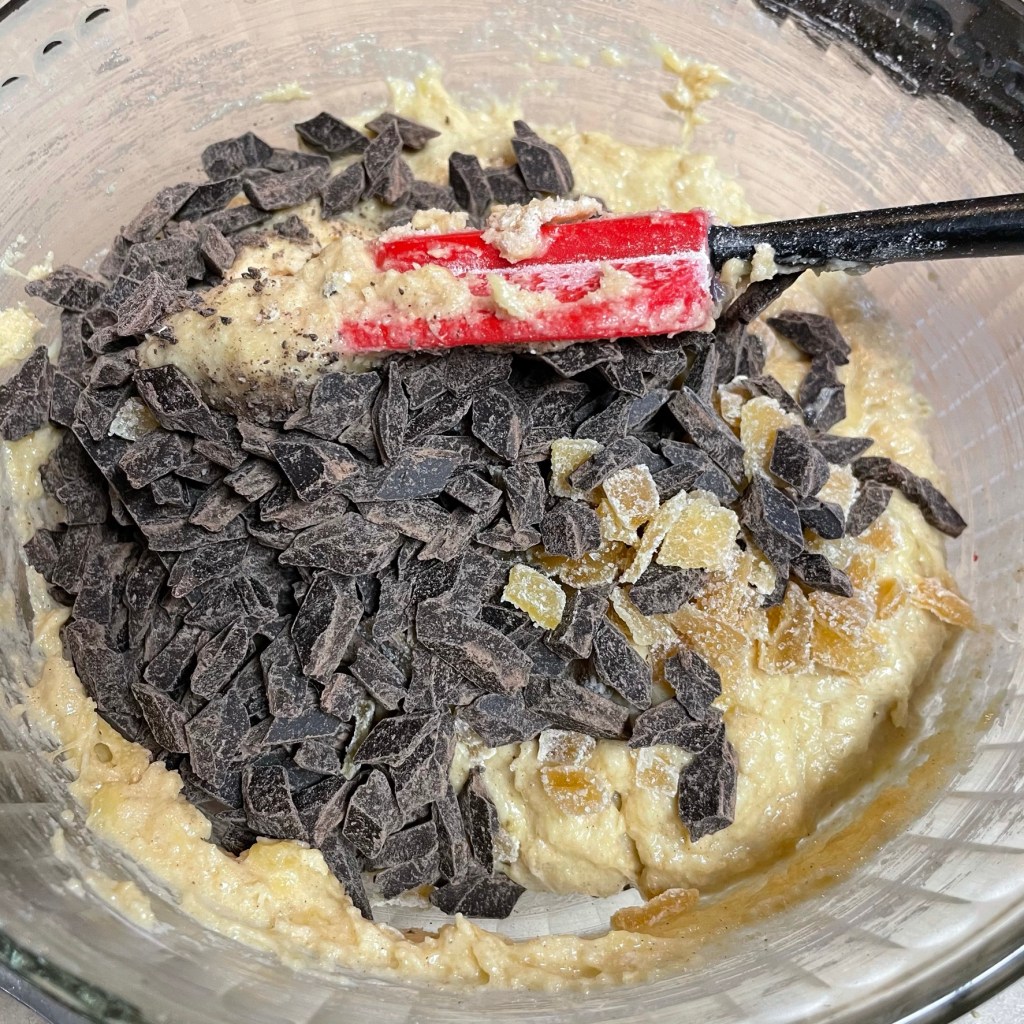
Gently fold again to distribute the chocolate chunks and chopped crystallized ginger. Six folds should do it.
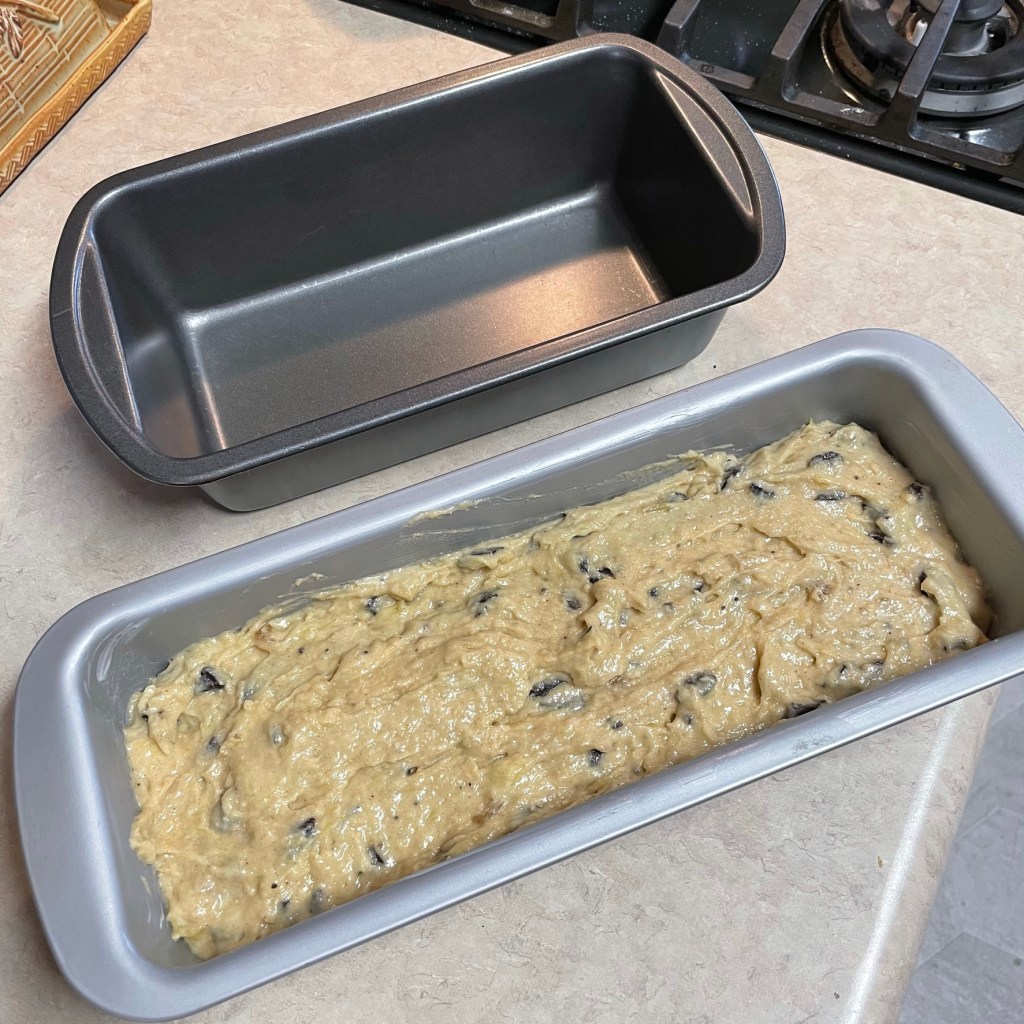
Transfer batter to a bread pan that has been buttered on the sides and bottom, for easy turnout to a cooling rack.
I used a “tea loaf” pan this time. The overall volume is the same, but when you swap pans (or make muffins), you may also need to adjust the baking time.
My banana bread passed the “toothpick” test at the one-hour mark.
After a five-minute cool in the pan, transfer the loaf to a cooling rack.
Preheat oven to 350° F, and position rack in center of oven. Grease a 9 x 5” (or equivalent volume) loaf pan generously with butter.
Combine dry ingredients and whisk together in a large bowl.
In a second bowl, lightly beat the eggs with a fork. Add mashed bananas, yogurt, melted butter and vanilla; stir with fork or whisk to fully combine.
Add wet ingredients to dry ingredients and gently fold with a rubber spatula to combine. Easy does it here, just be sure that all flour is incorporated.
Fold in chocolate chunks and ginger bits, being careful not to overmix.
Transfer the batter into the prepared pan and sprinkle the top with reserved sugar.
Bake about 55 minutes (give or take a few) until the loaf is nicely browned and a toothpick comes out clean. The toothpick test may be tricky because of all the chocolate, so you may need to poke in more than one spot.
Cool the loaf in the pan about 5 minutes, then turn out onto cooling rack and cool completely.
The sugar I sprinkled on top of the batter created a delicate, crispy crust on the banana bread.