When families gather for Thanksgiving in a few weeks, there will be an array of traditions on display— from formal and elegant catered affairs, to casual and easygoing drop-ins, and even a few backyard shenanigans (probably involving a deep fryer). Too many families are still brainstorming how to make ends meet, with the government continuing to play tug-of-war with the benefits that help them stay afloat, and this distresses me greatly. How can we ever be a great nation if we don’t care for our neighbors? Sigh.
One of my own “traditions” for Thanksgiving is that we break tradition by rotating dishes and switching things up. I know, everyone has their “favorites” for Thanksgiving, and we do keep the standards on the playlist to avert an uprising— the bird, some kind of dressing, cranberry sauce and mashed potatoes with gravy. Beyond that? Anything goes!
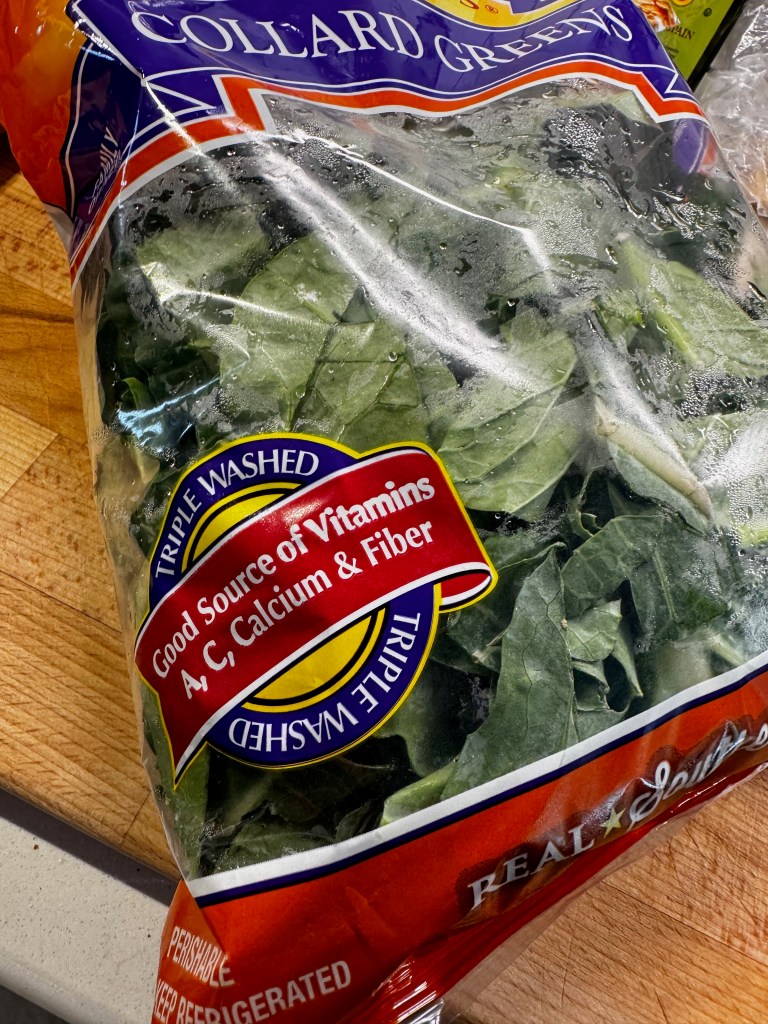
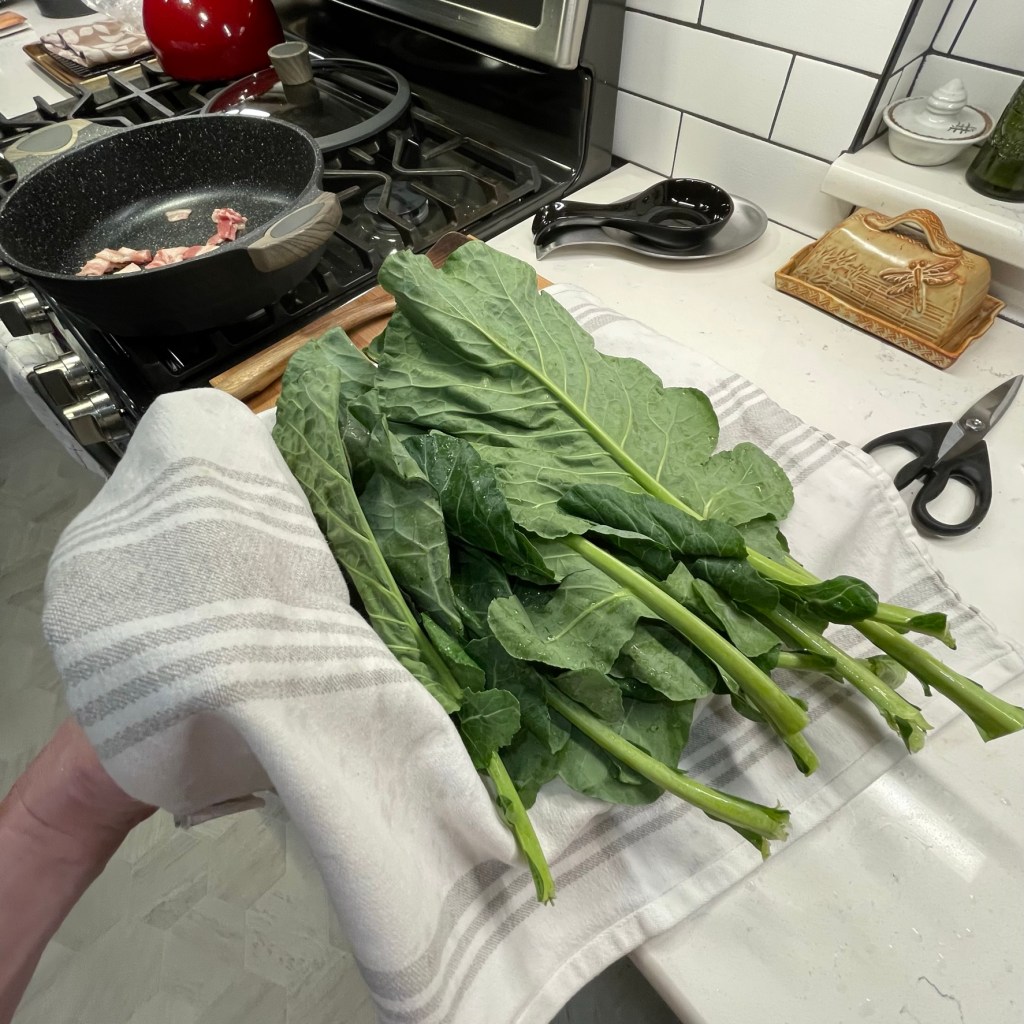
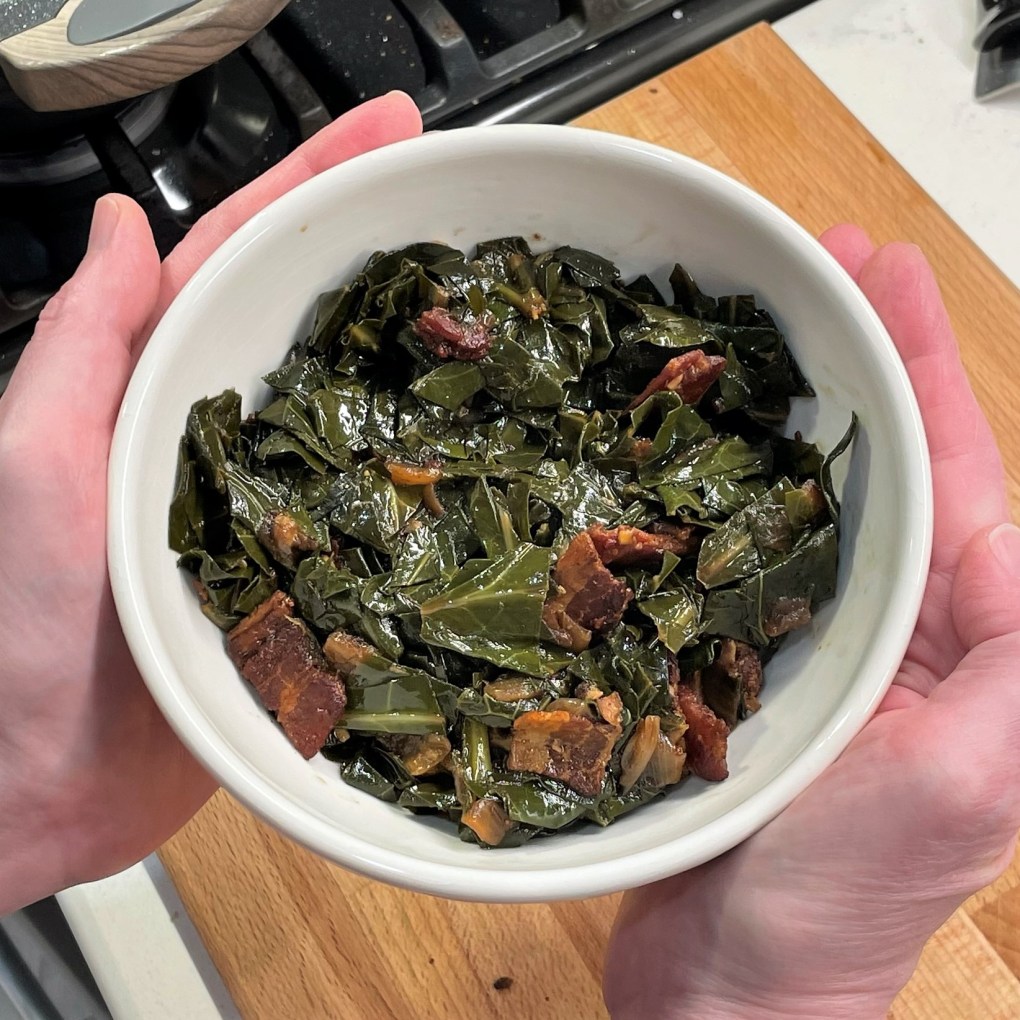
This year, I have a seasonal cake in mind for dessert (still thinking it through), and I intend to include collard greens in the lineup. Their earthy composure will be most welcome, and in these parts of the American South, they are on a short list of comfort foods. I also love that collard greens are inexpensive (always a bonus), and they can be made a few days in advance and warmed up in time for the big dinner. Anything that makes the meal more “homey,” and allows for more time chatting and less time fussing, is good with me!
Making collard greens 101
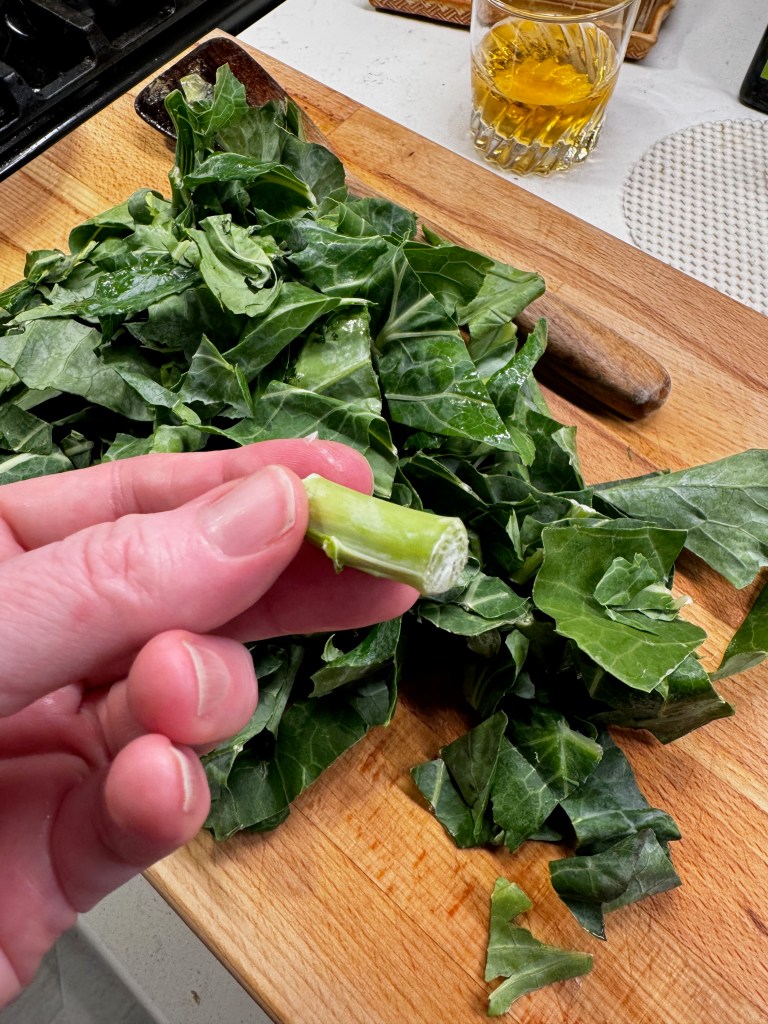
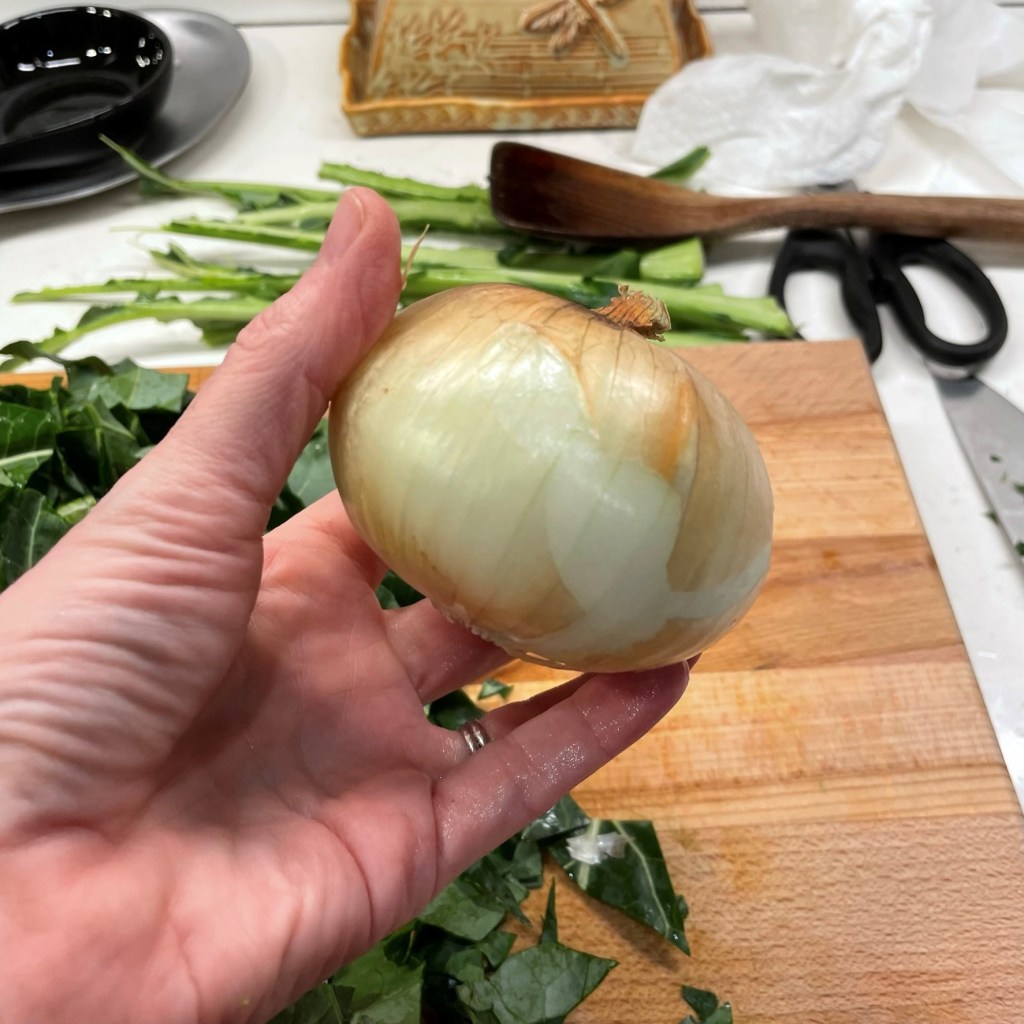
I’m amused recalling that I once shied away from making collard greens at home. I liked them, but had no idea how to transform the thick, leathery leaves into something tender and edible. There are two schools of thought on this, and the first was daunting enough that I kept my distance for years. It involves a dense, salty hunk of what our locals call “fatback,” and boiling (or even pressure cooking) the collards for hours on end, until they no longer resemble a vegetable. Some people love it; I do not.
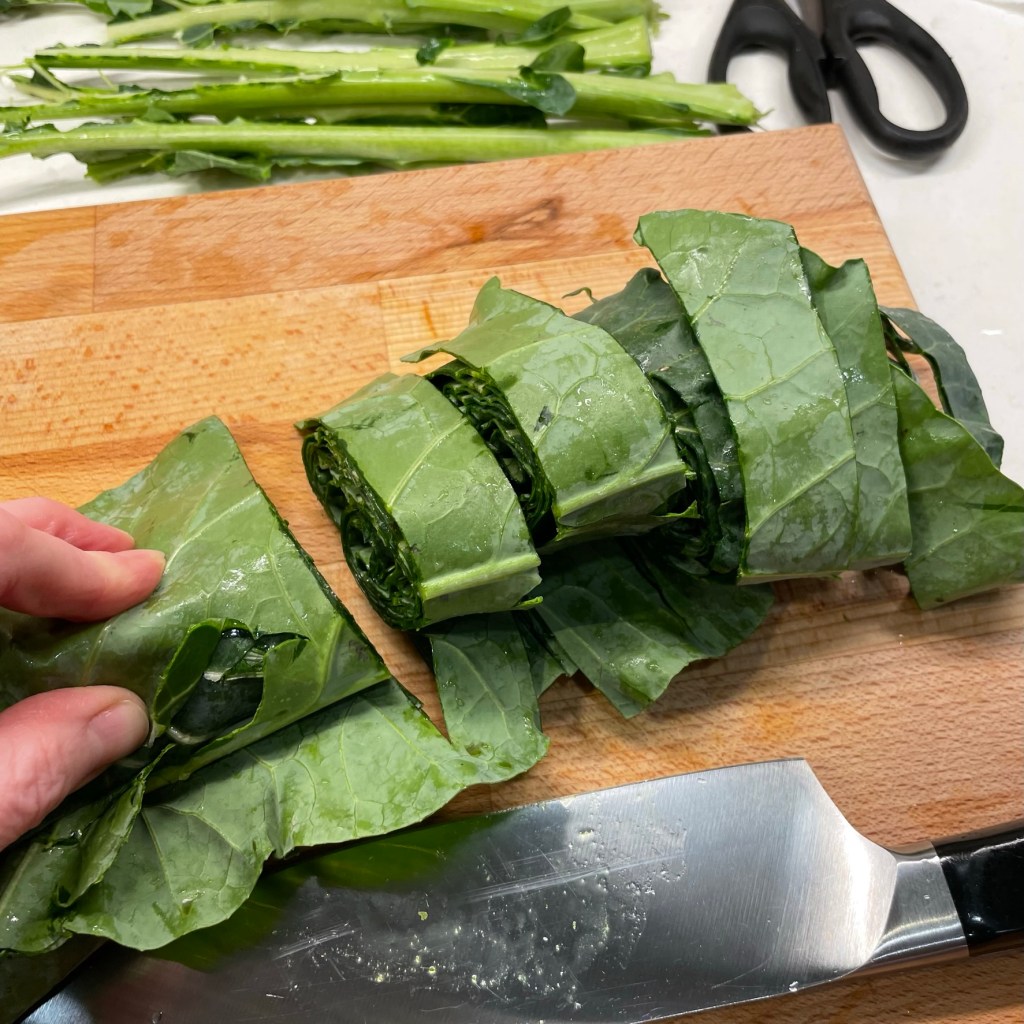
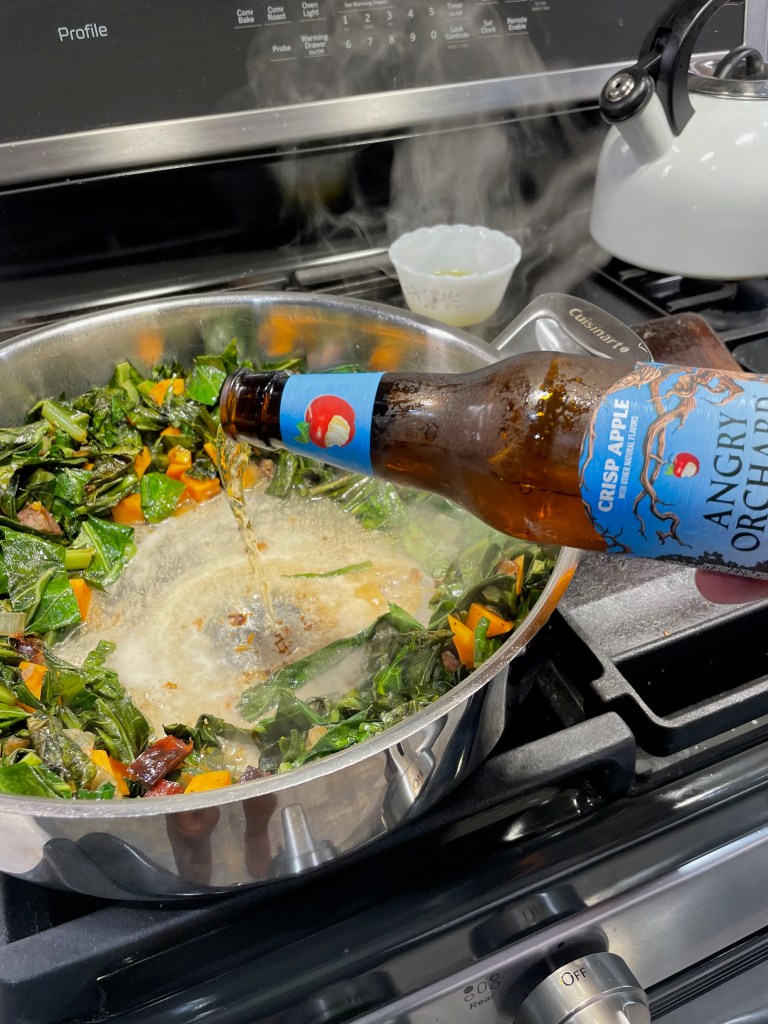
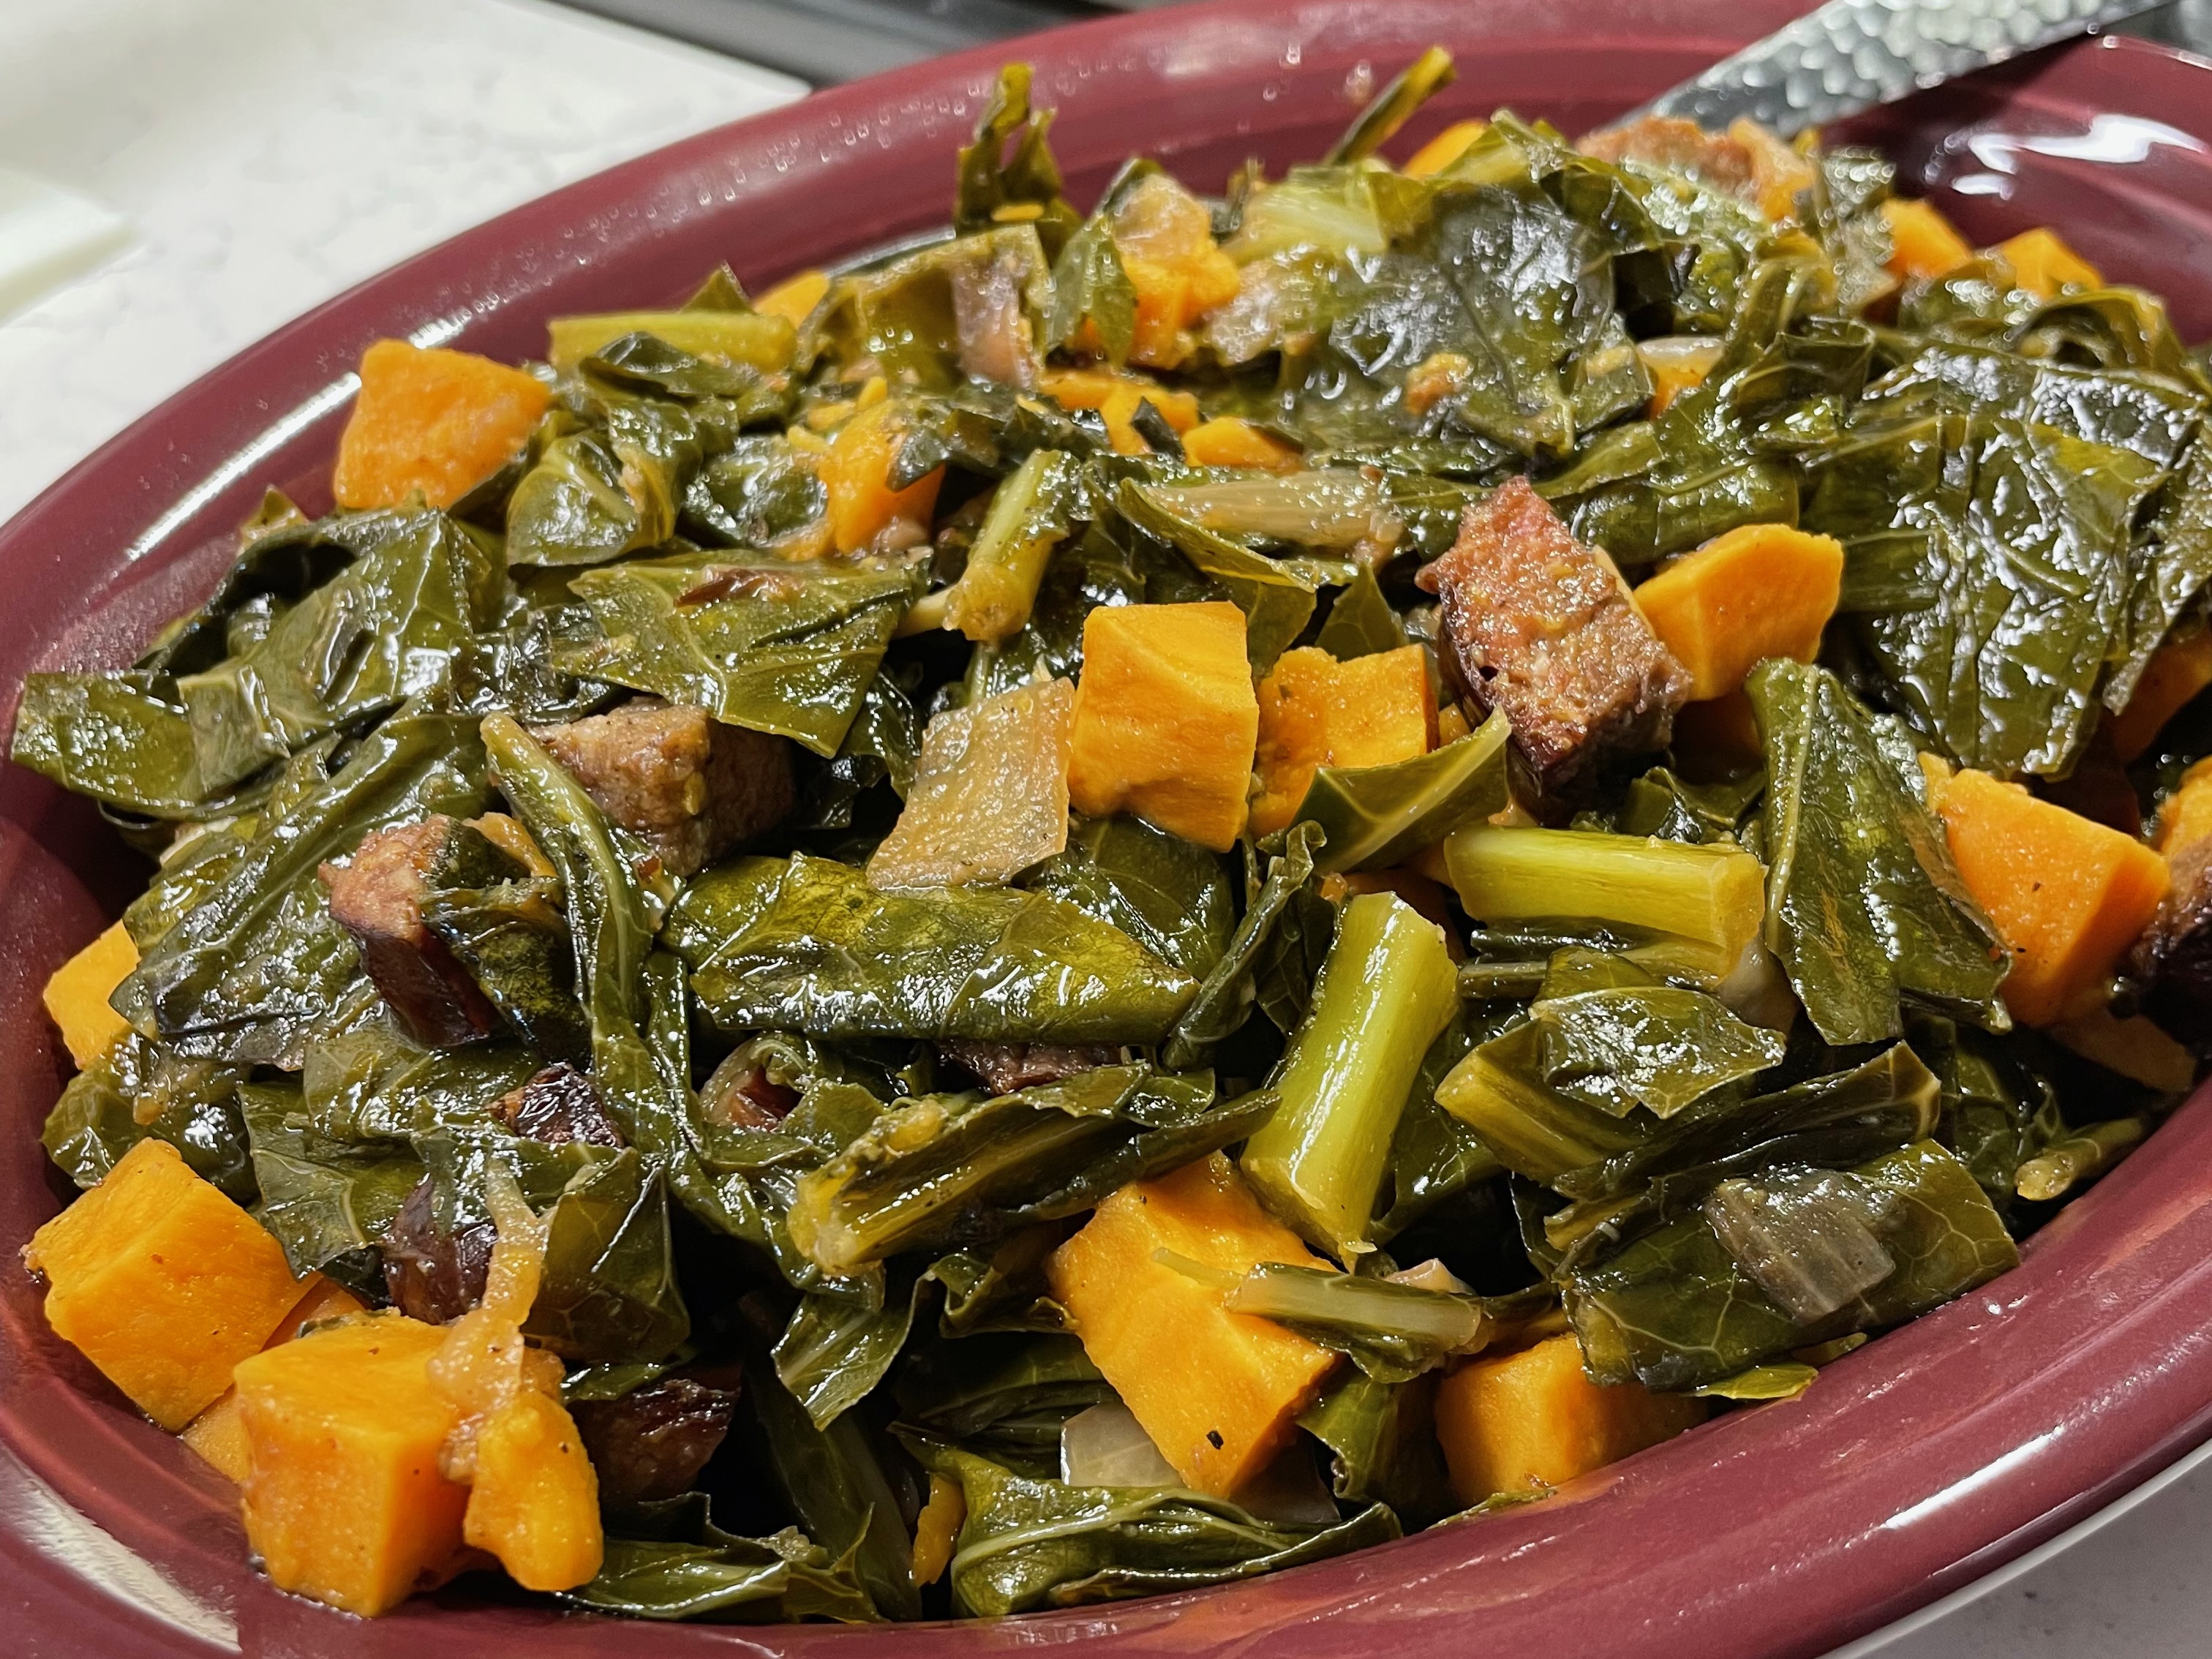
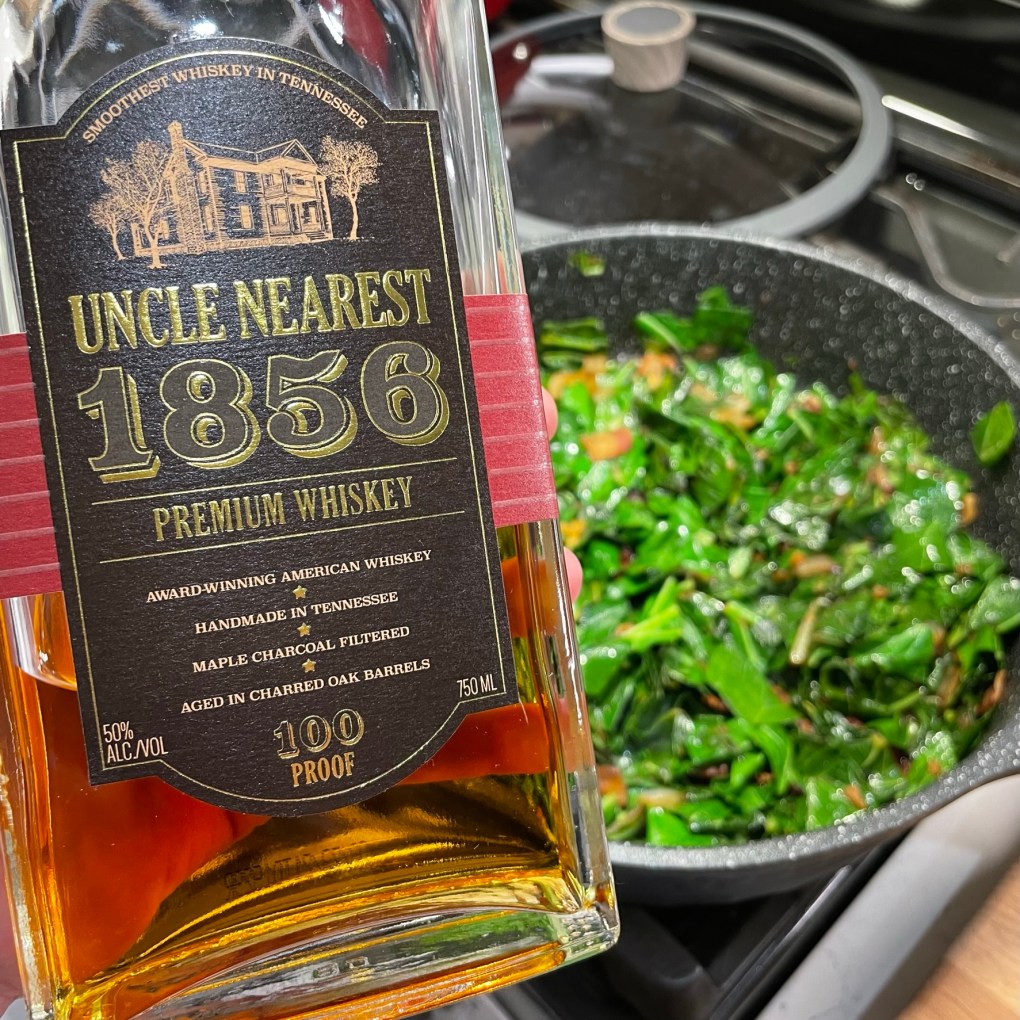
But the other method, shared with me by a kind lady in the grocery store, is not only quicker and easier— it also tastes better and leaves plenty of room for creative interpretation. This method involves briefly frying the trimmed collard greens in a small amount of oil or fat and then simmering for half an hour or so in whatever braising liquid makes you happy. To date, I’ve used broth, beer, whiskey, tequila and hard cider. And I’ve tossed a variety of flavor modifiers into my collard recipes, too, including bacon, tomatoes, mushrooms, onions, garlic, and even sweet potatoes (which was great). I guess what I’m saying is that collard greens are finding their way onto my list of “blank canvas” foods, and that isn’t at all a bad thing.
My sausage and beer malt version
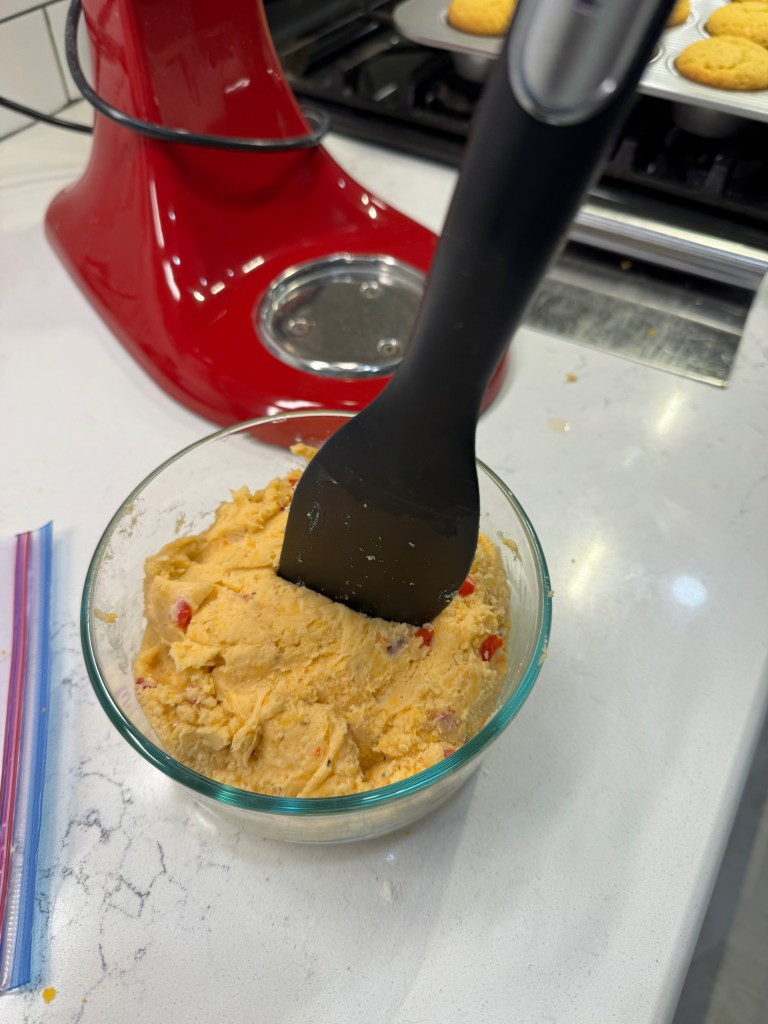
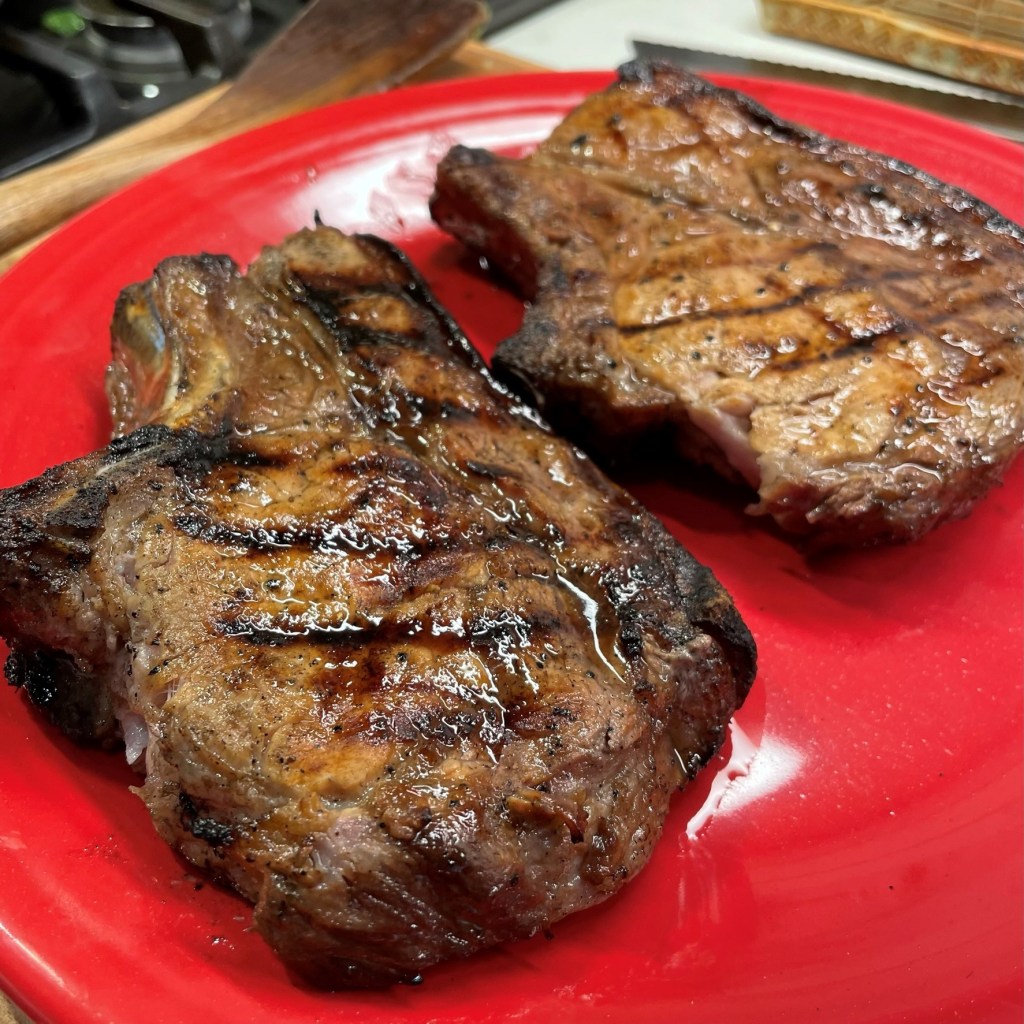
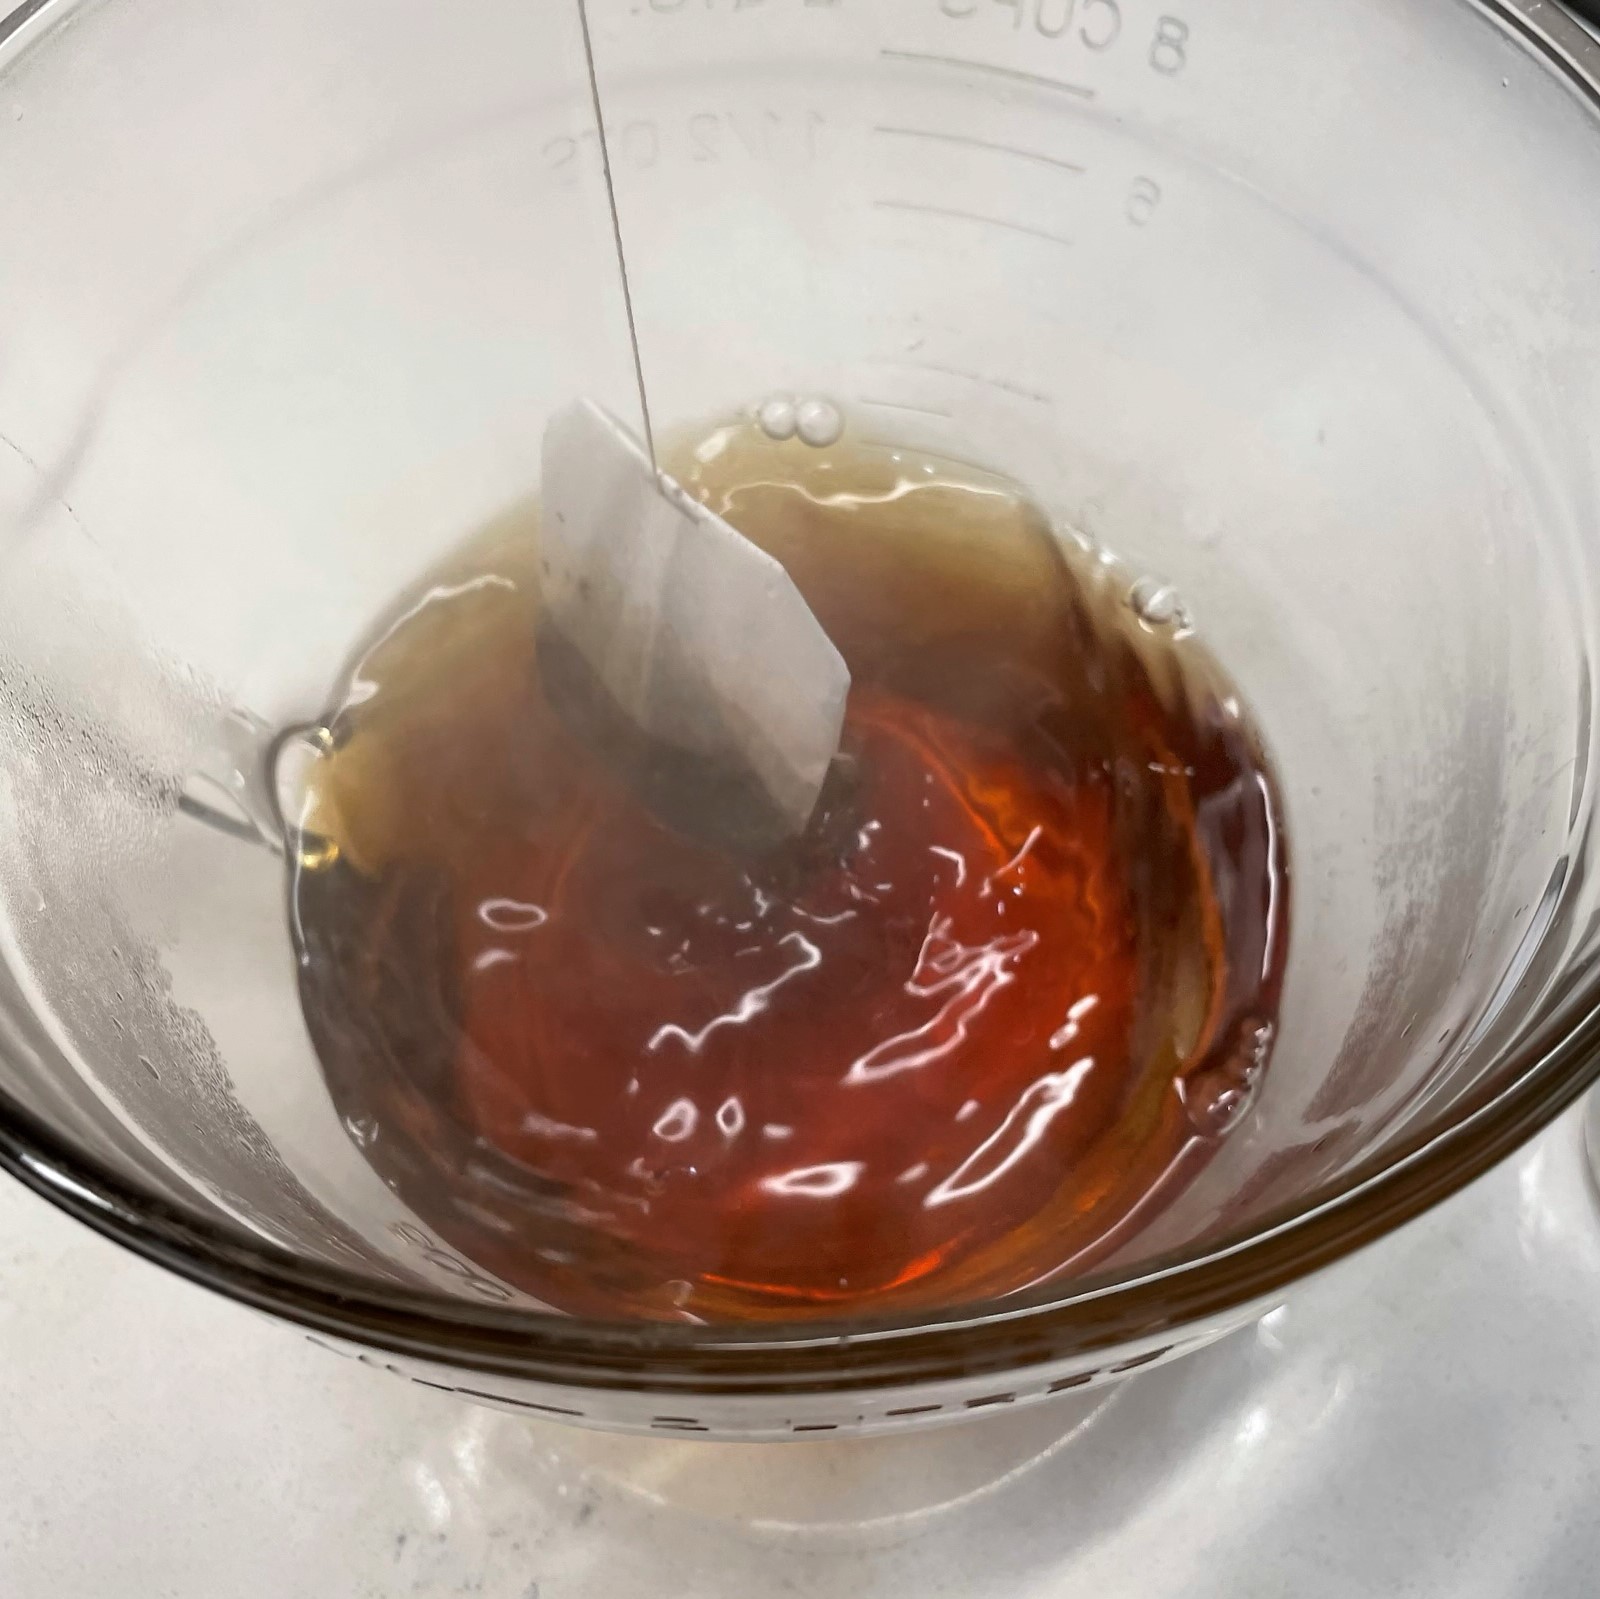
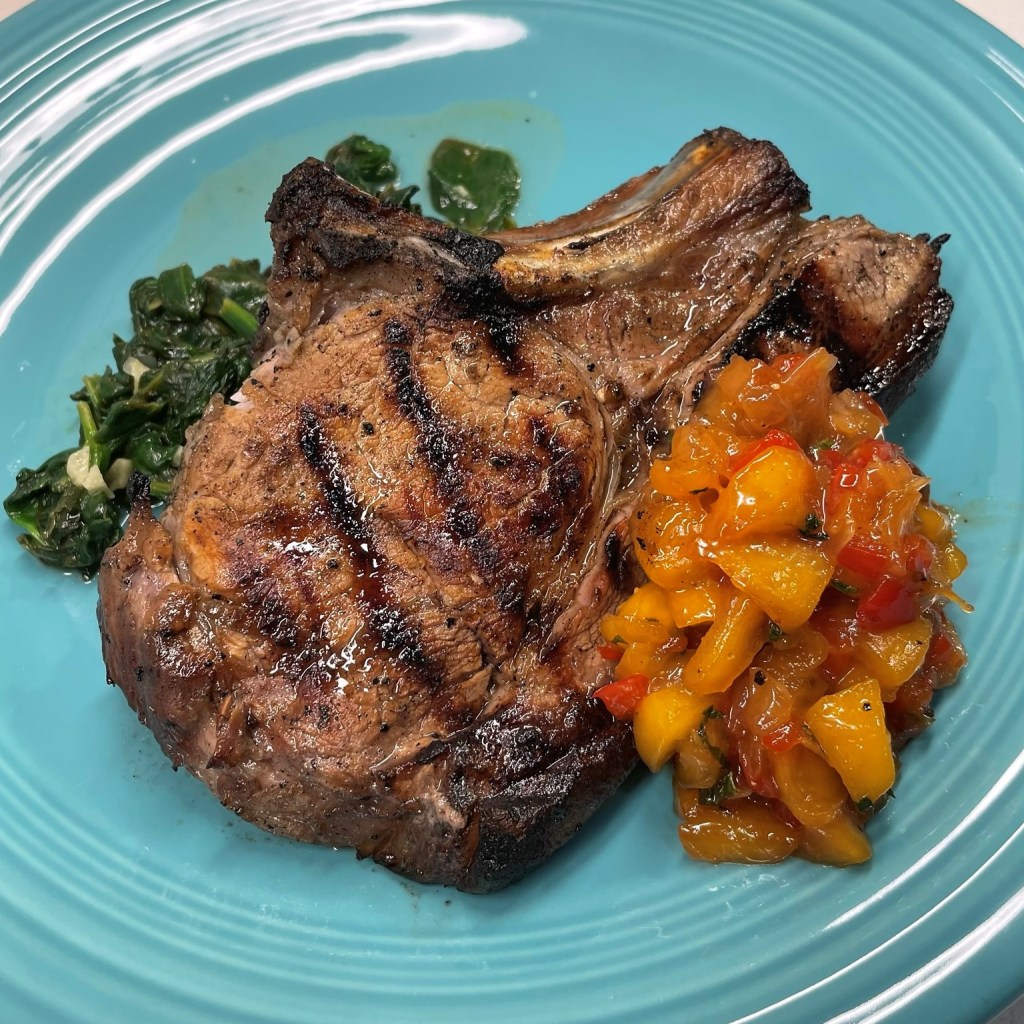
My collards are usually intended as a casual side for roasted chicken, grilled pork chops or meatloaf. But this time, I knew I’d be using some of the leftovers in the collard dip recipe I shared a few weeks ago in memory of our friend who passed away unexpectedly earlier this year. He was a big-time foodie, always sharing cool food stories and interesting products that he found in his many travel adventures. About a year ago, I was surprised to receive a package that Jerry had ordered for me— it was a sampler of specialty vinegars from American Vinegar Works, which he described as “doing it the old-school way, handcrafted and aged.” And I suppose you can guess which one caught my eye first.
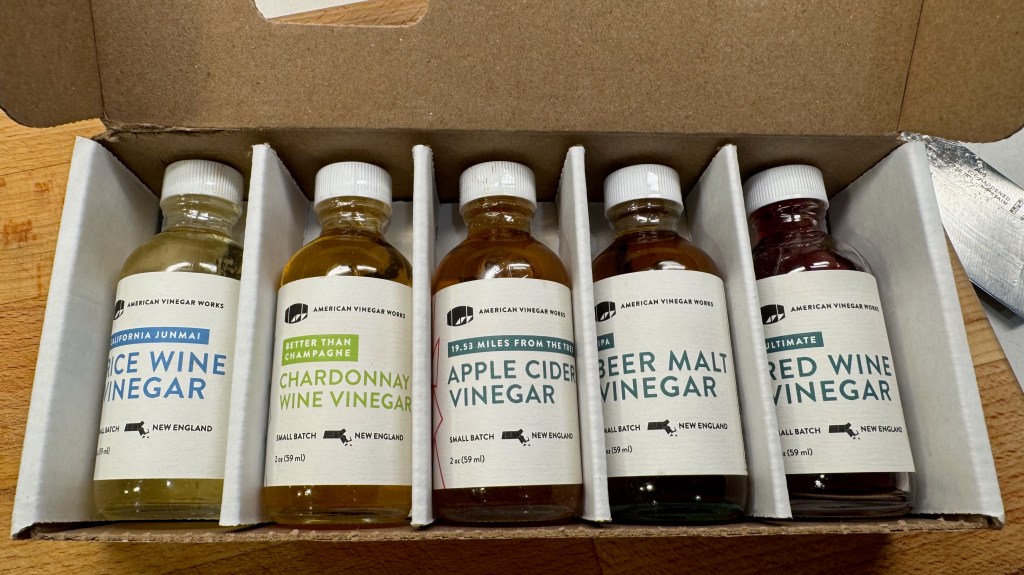
I’d never heard of beer malt vinegar before, but I knew it would be complex and delicious. And using it for the collards that would become part of the collard dip was a great way to honor the memory of my friend who gifted me the sample collection of vinegars.
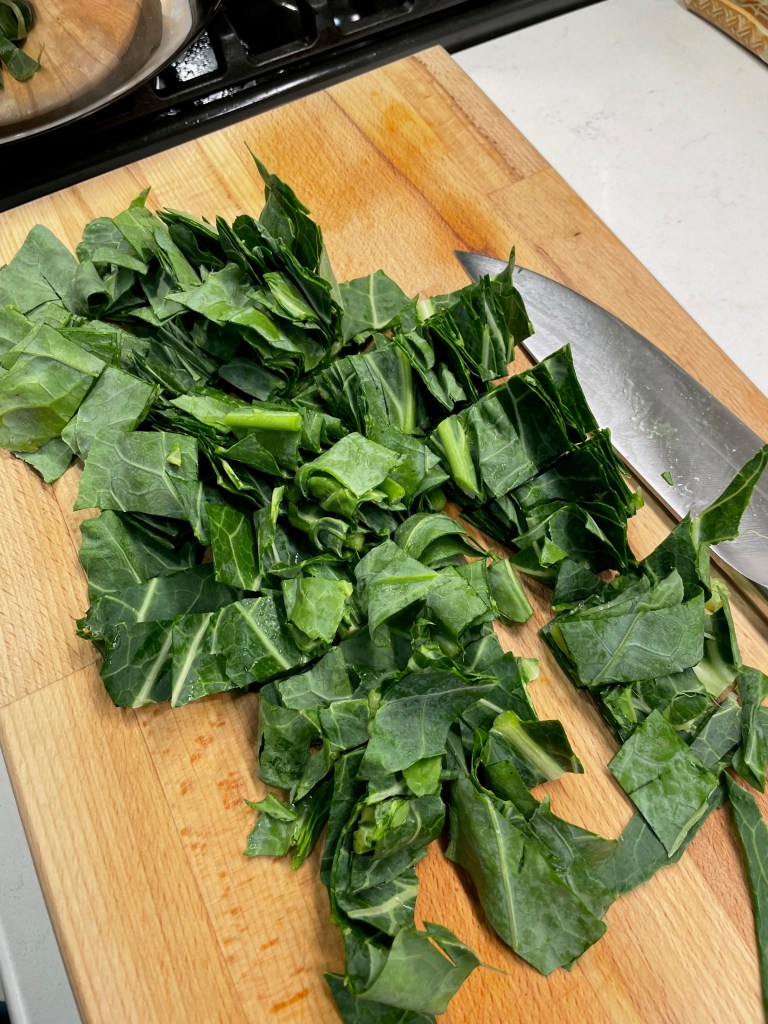
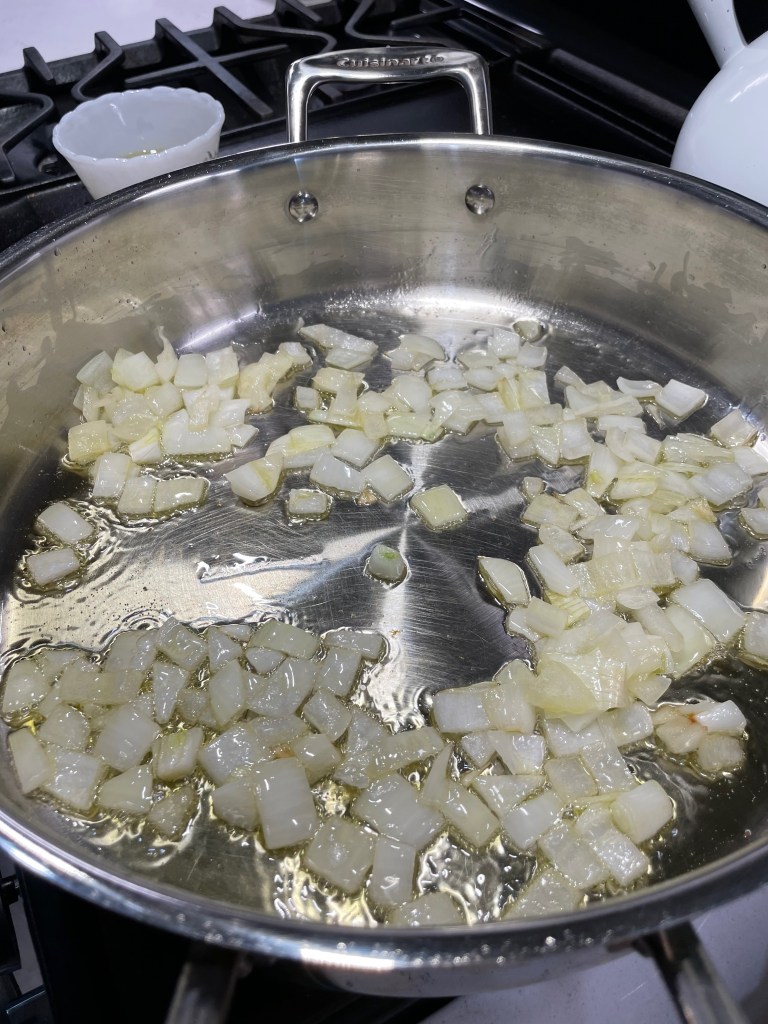
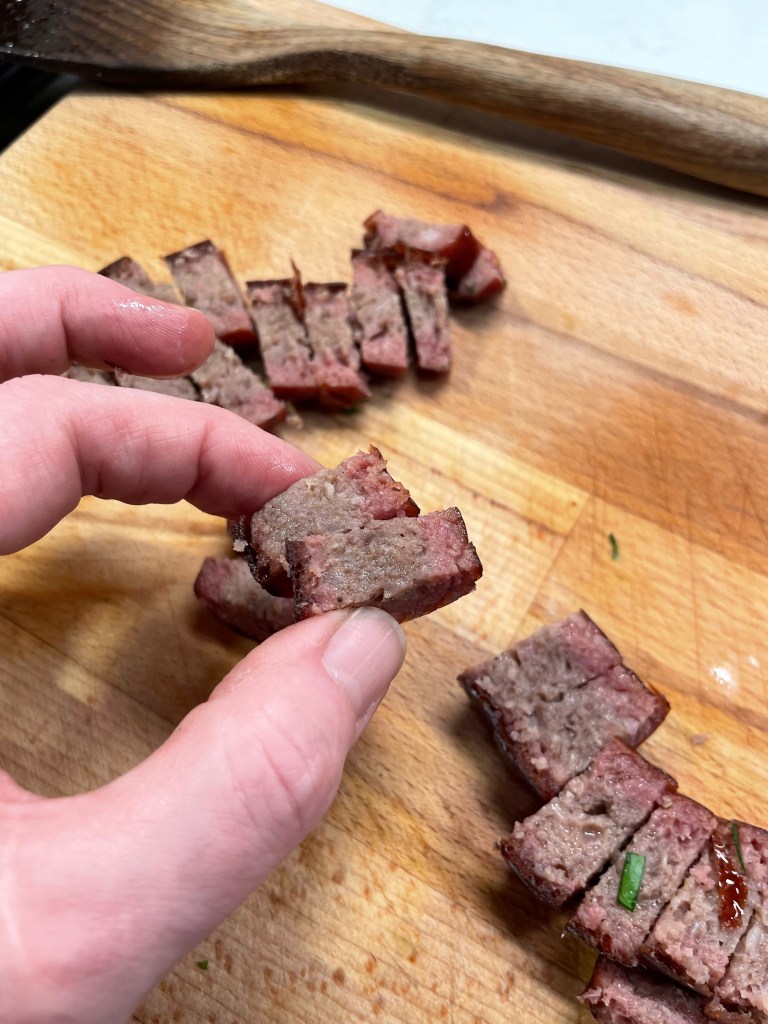
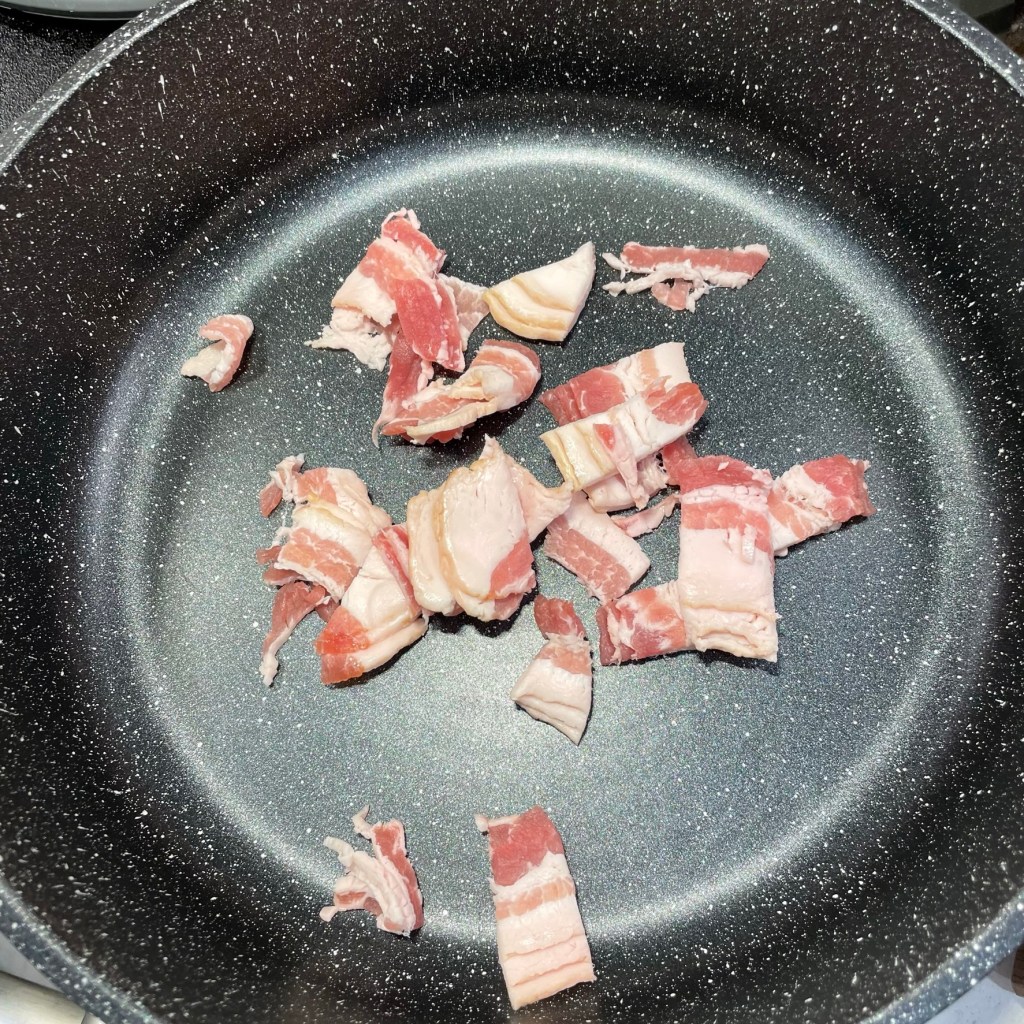
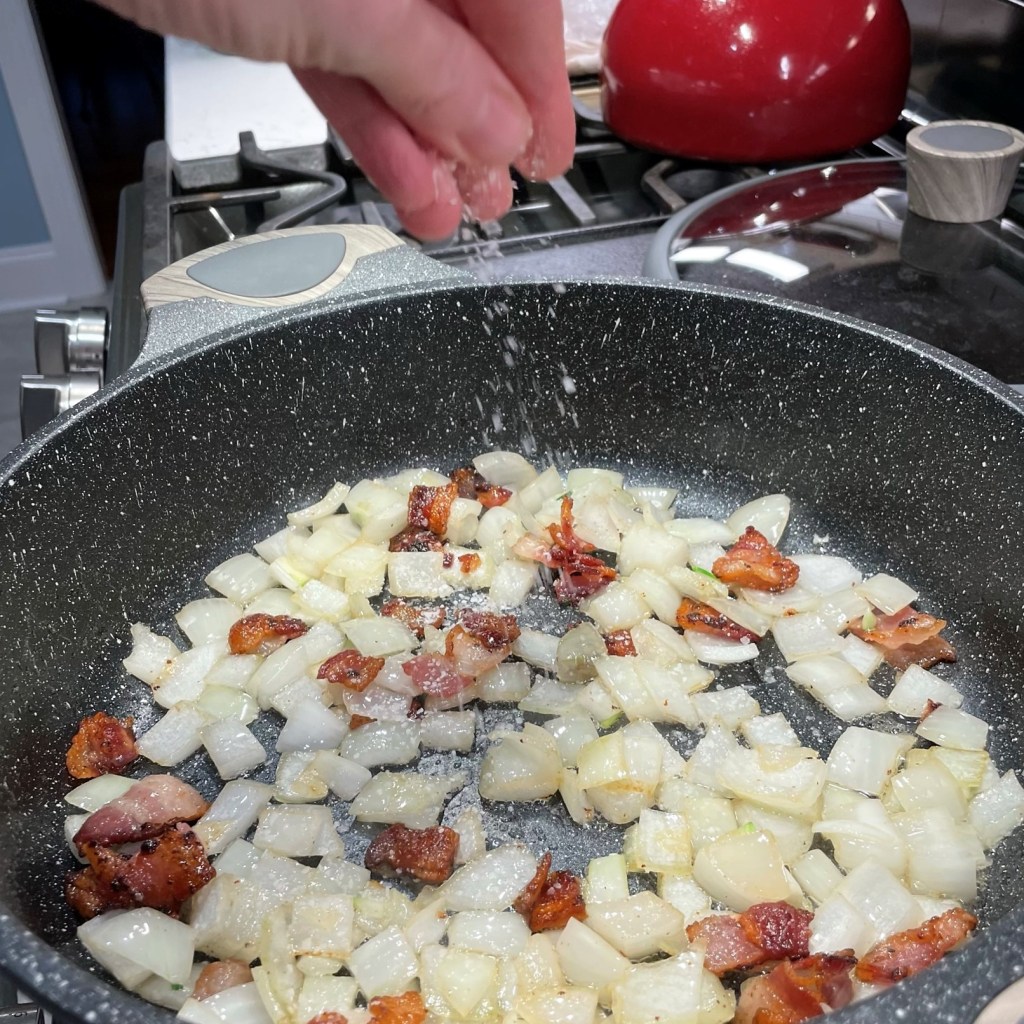
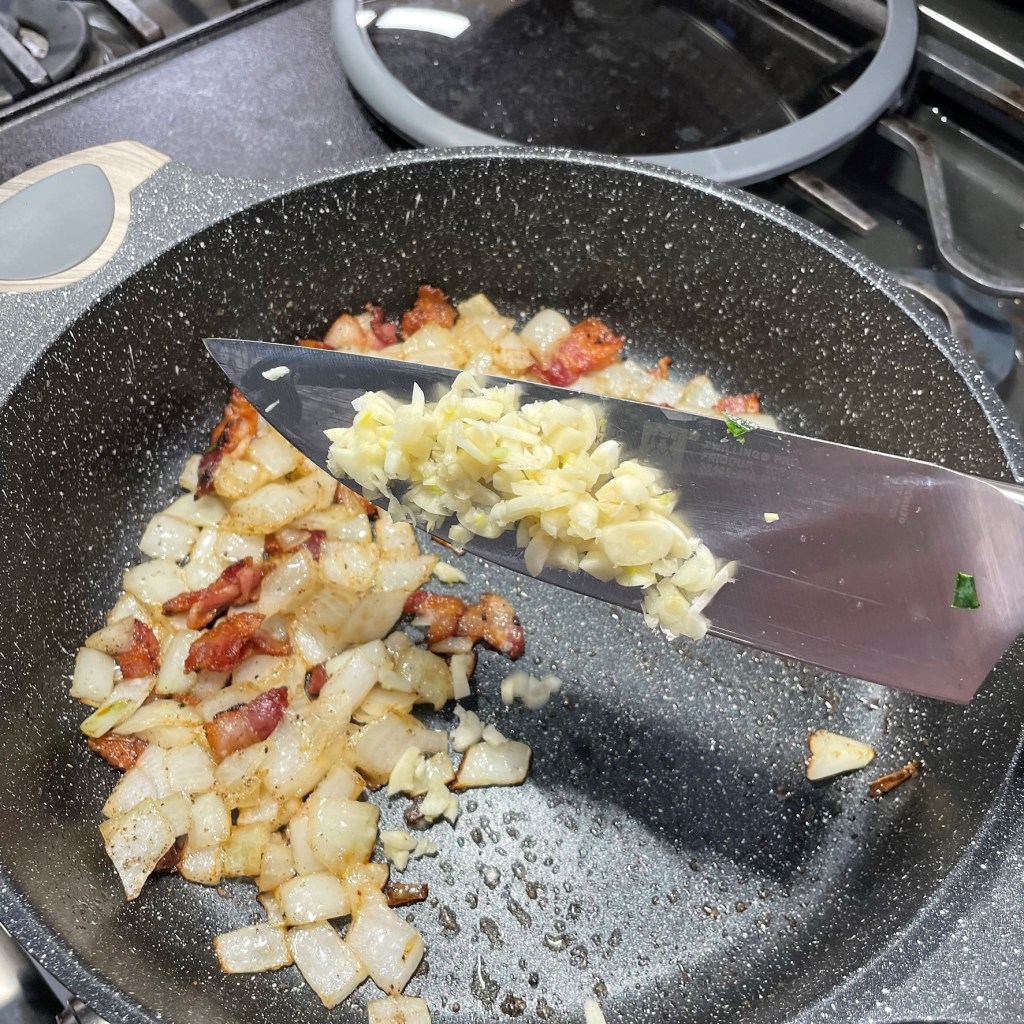
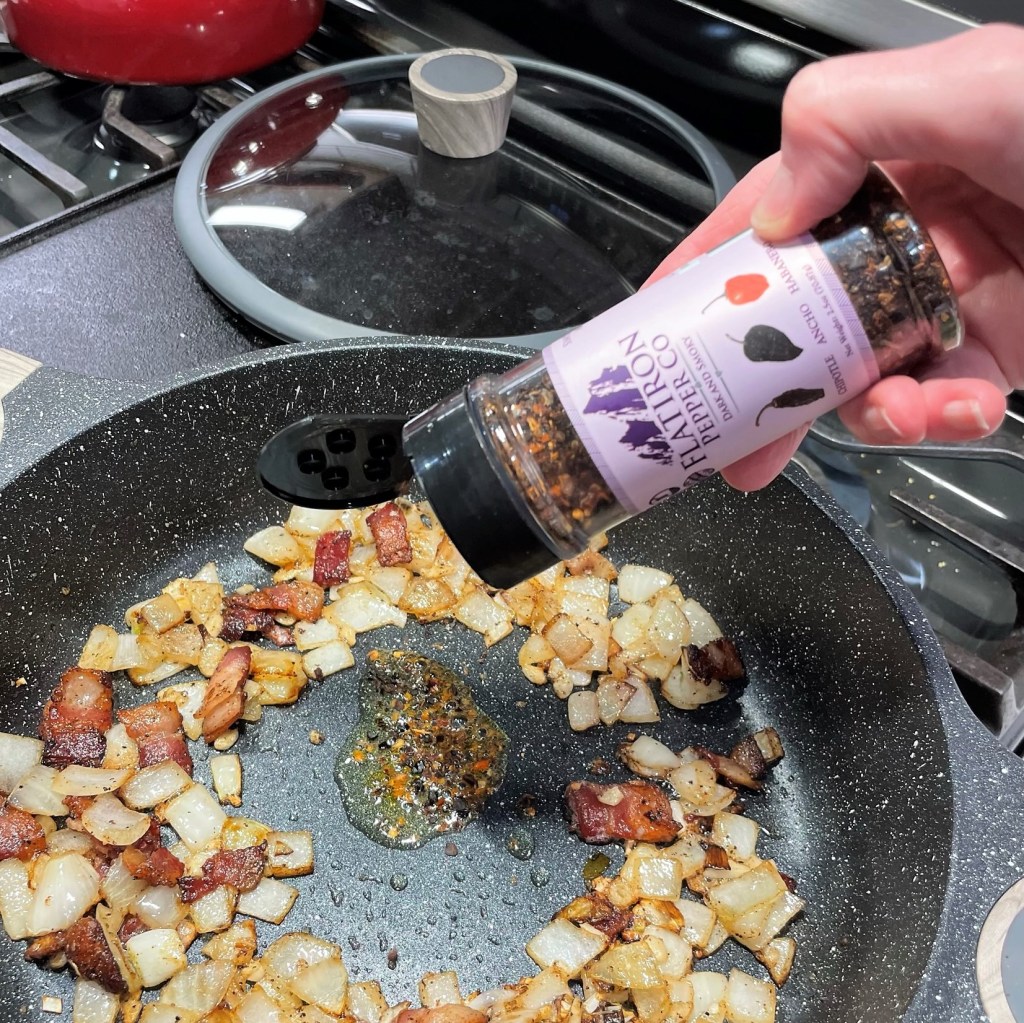
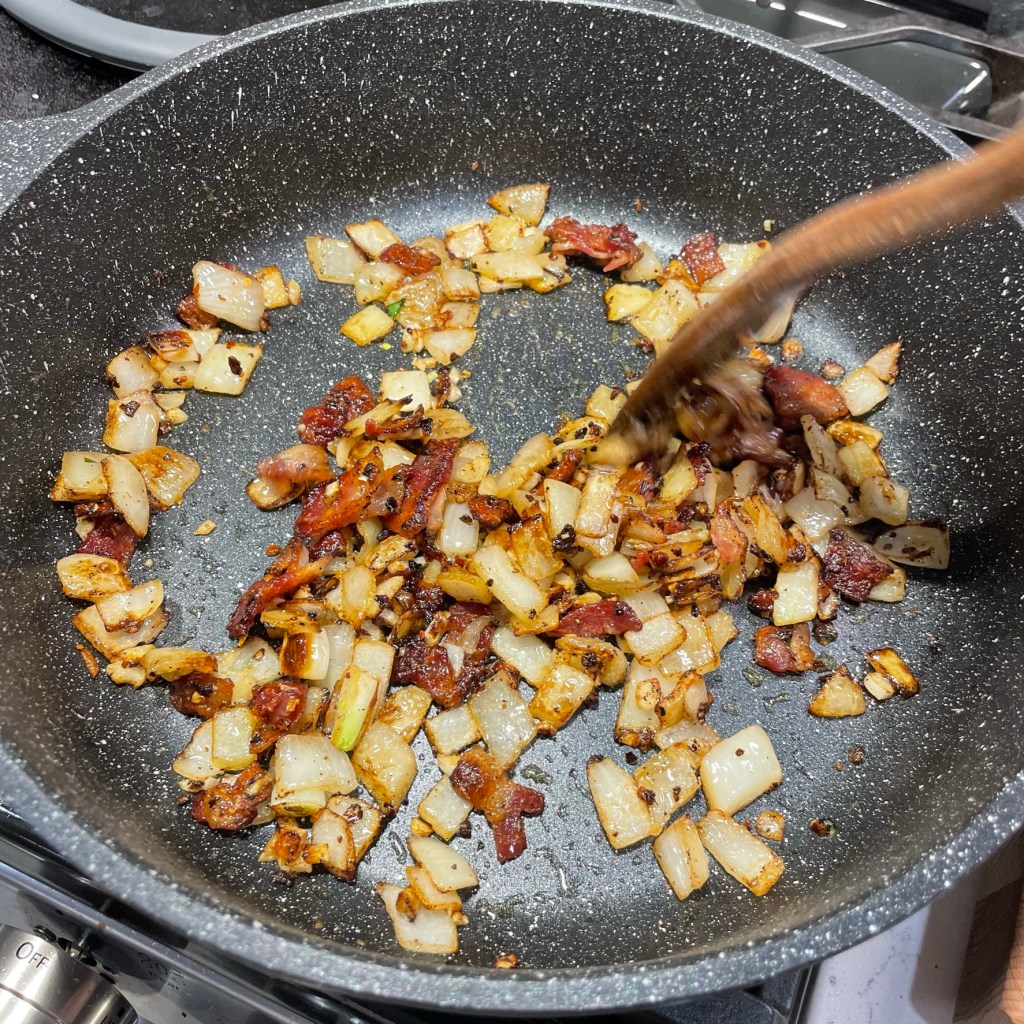
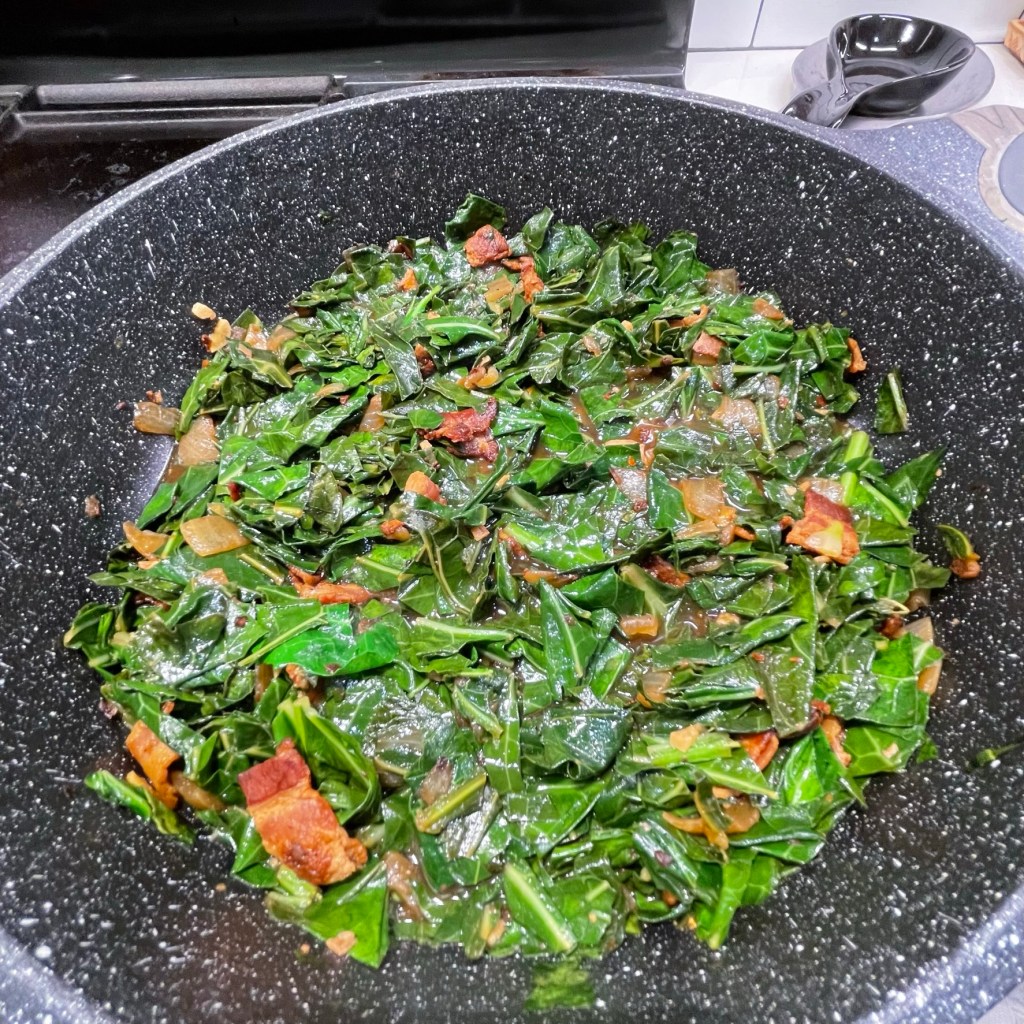
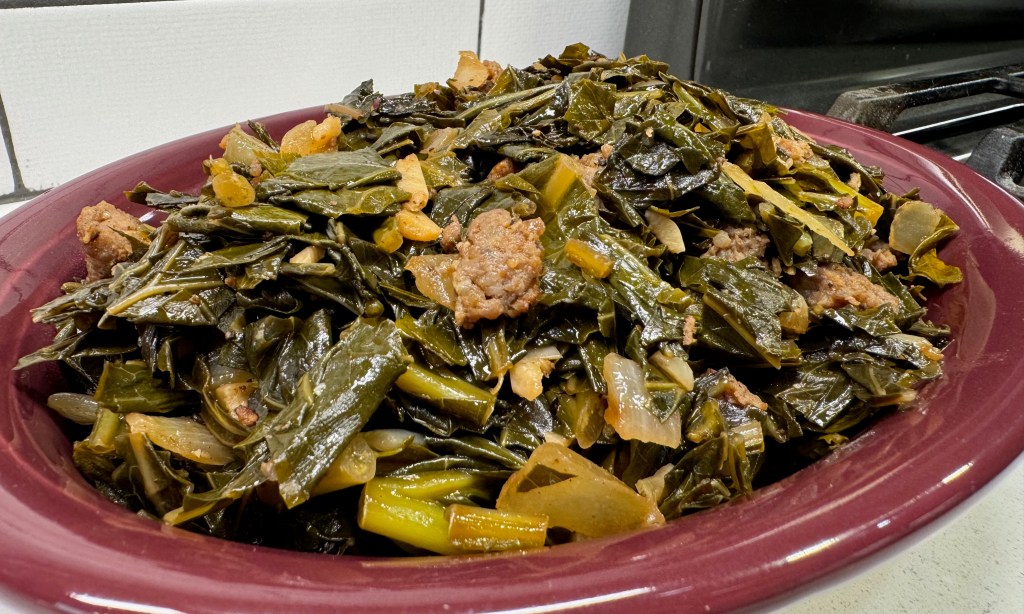
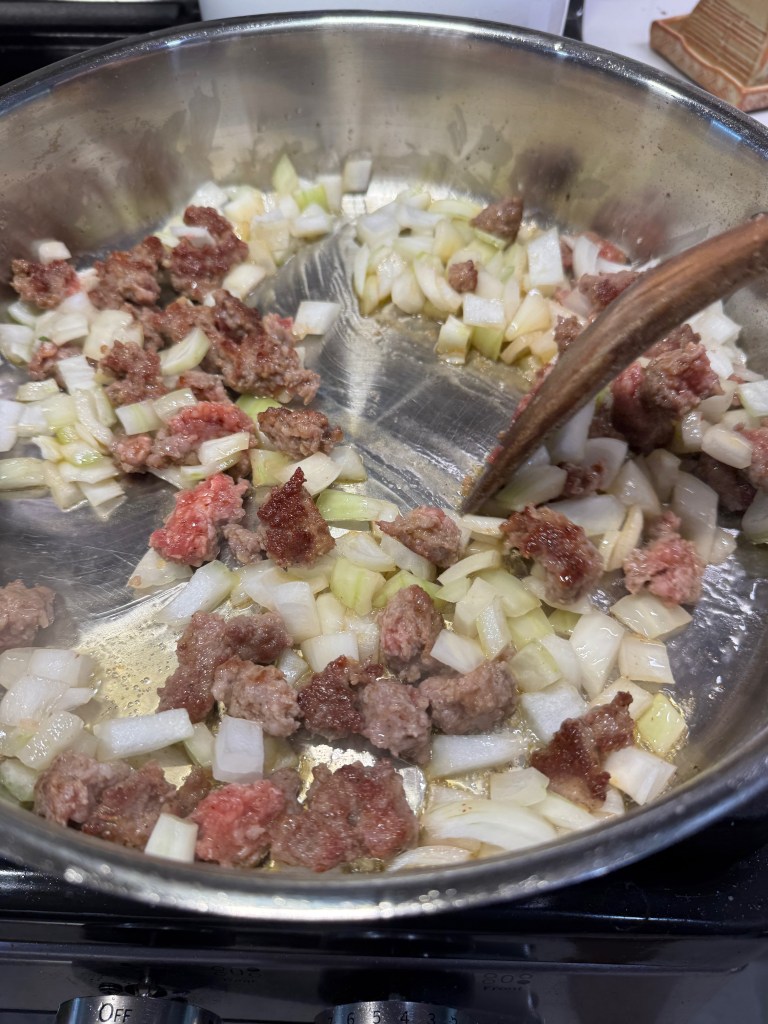
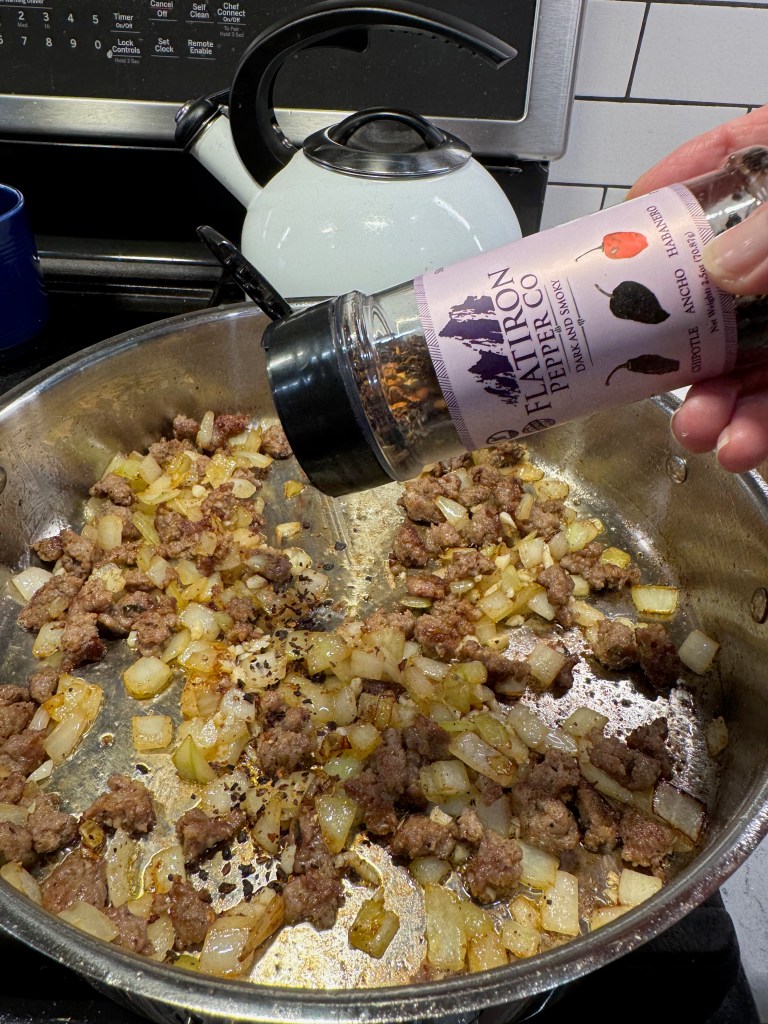
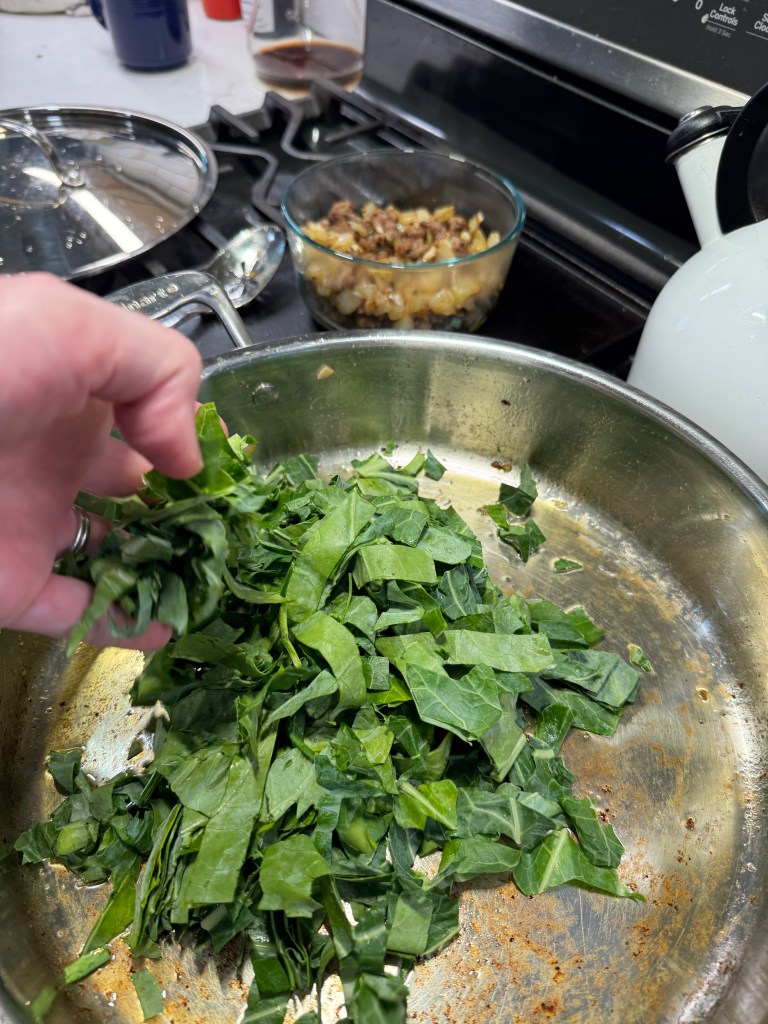
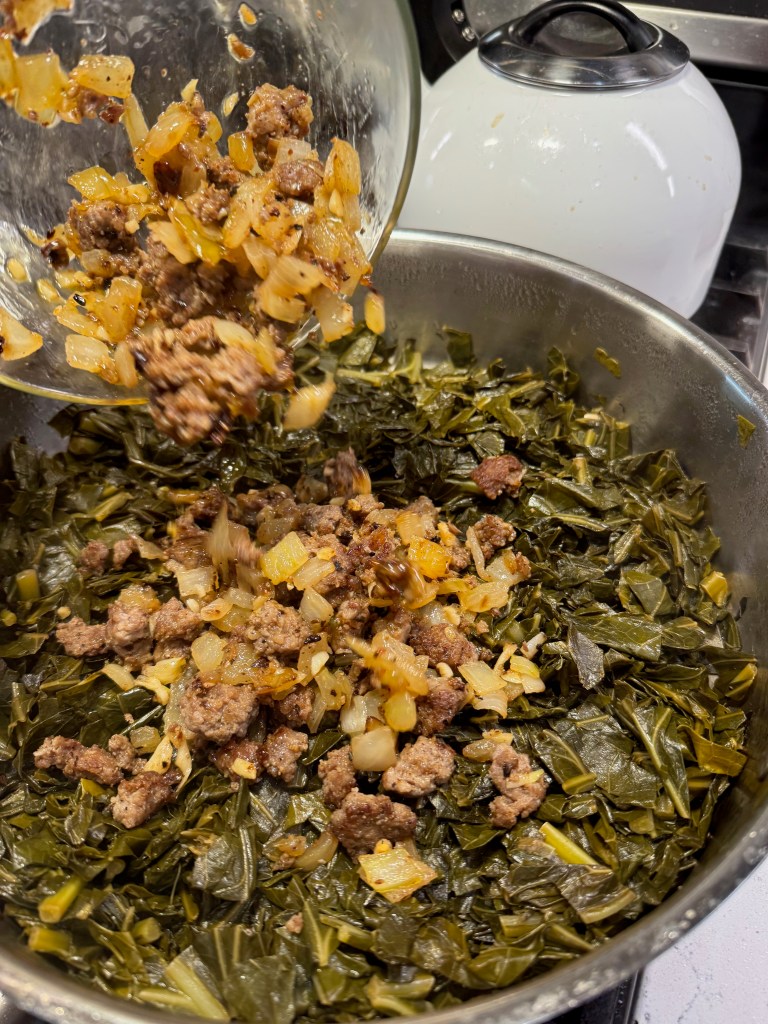
For this iteration of collard greens, I started with a local spicy pork breakfast sausage, browned up in bulk with chopped onions and a few garlic cloves, plus a smoky pepper seasoning. When I was happy with the browning, I transferred the meat mixture into a separate bowl while I sautéed the collards, one handful at a time, just as the nice grocery lady told me.
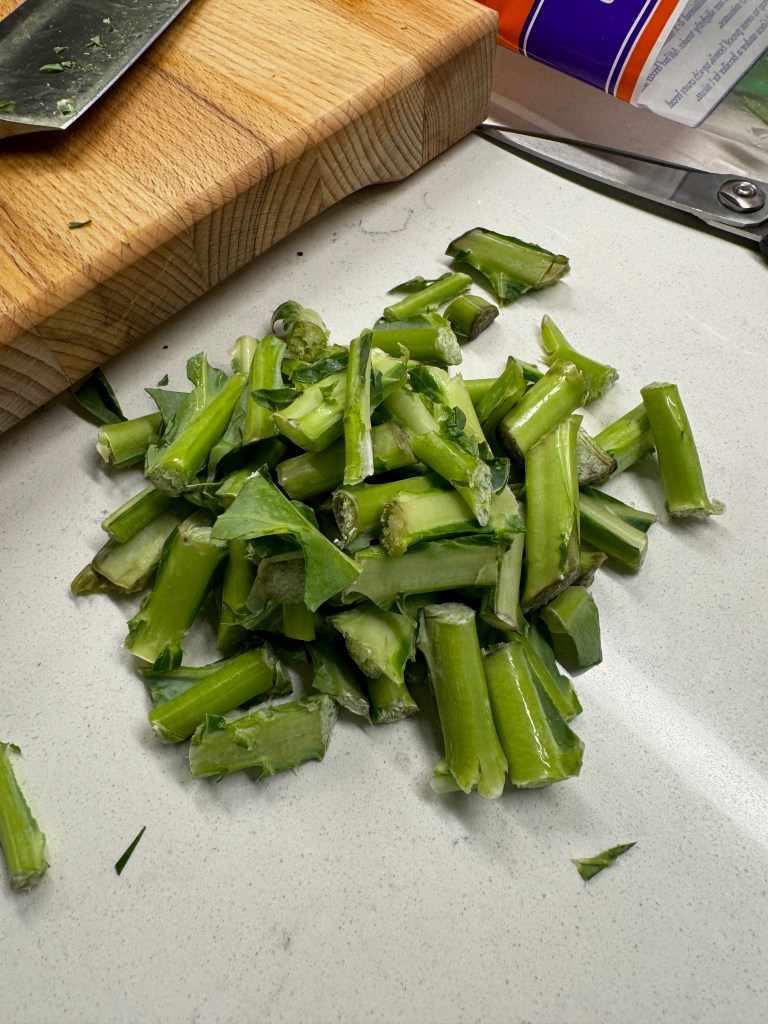
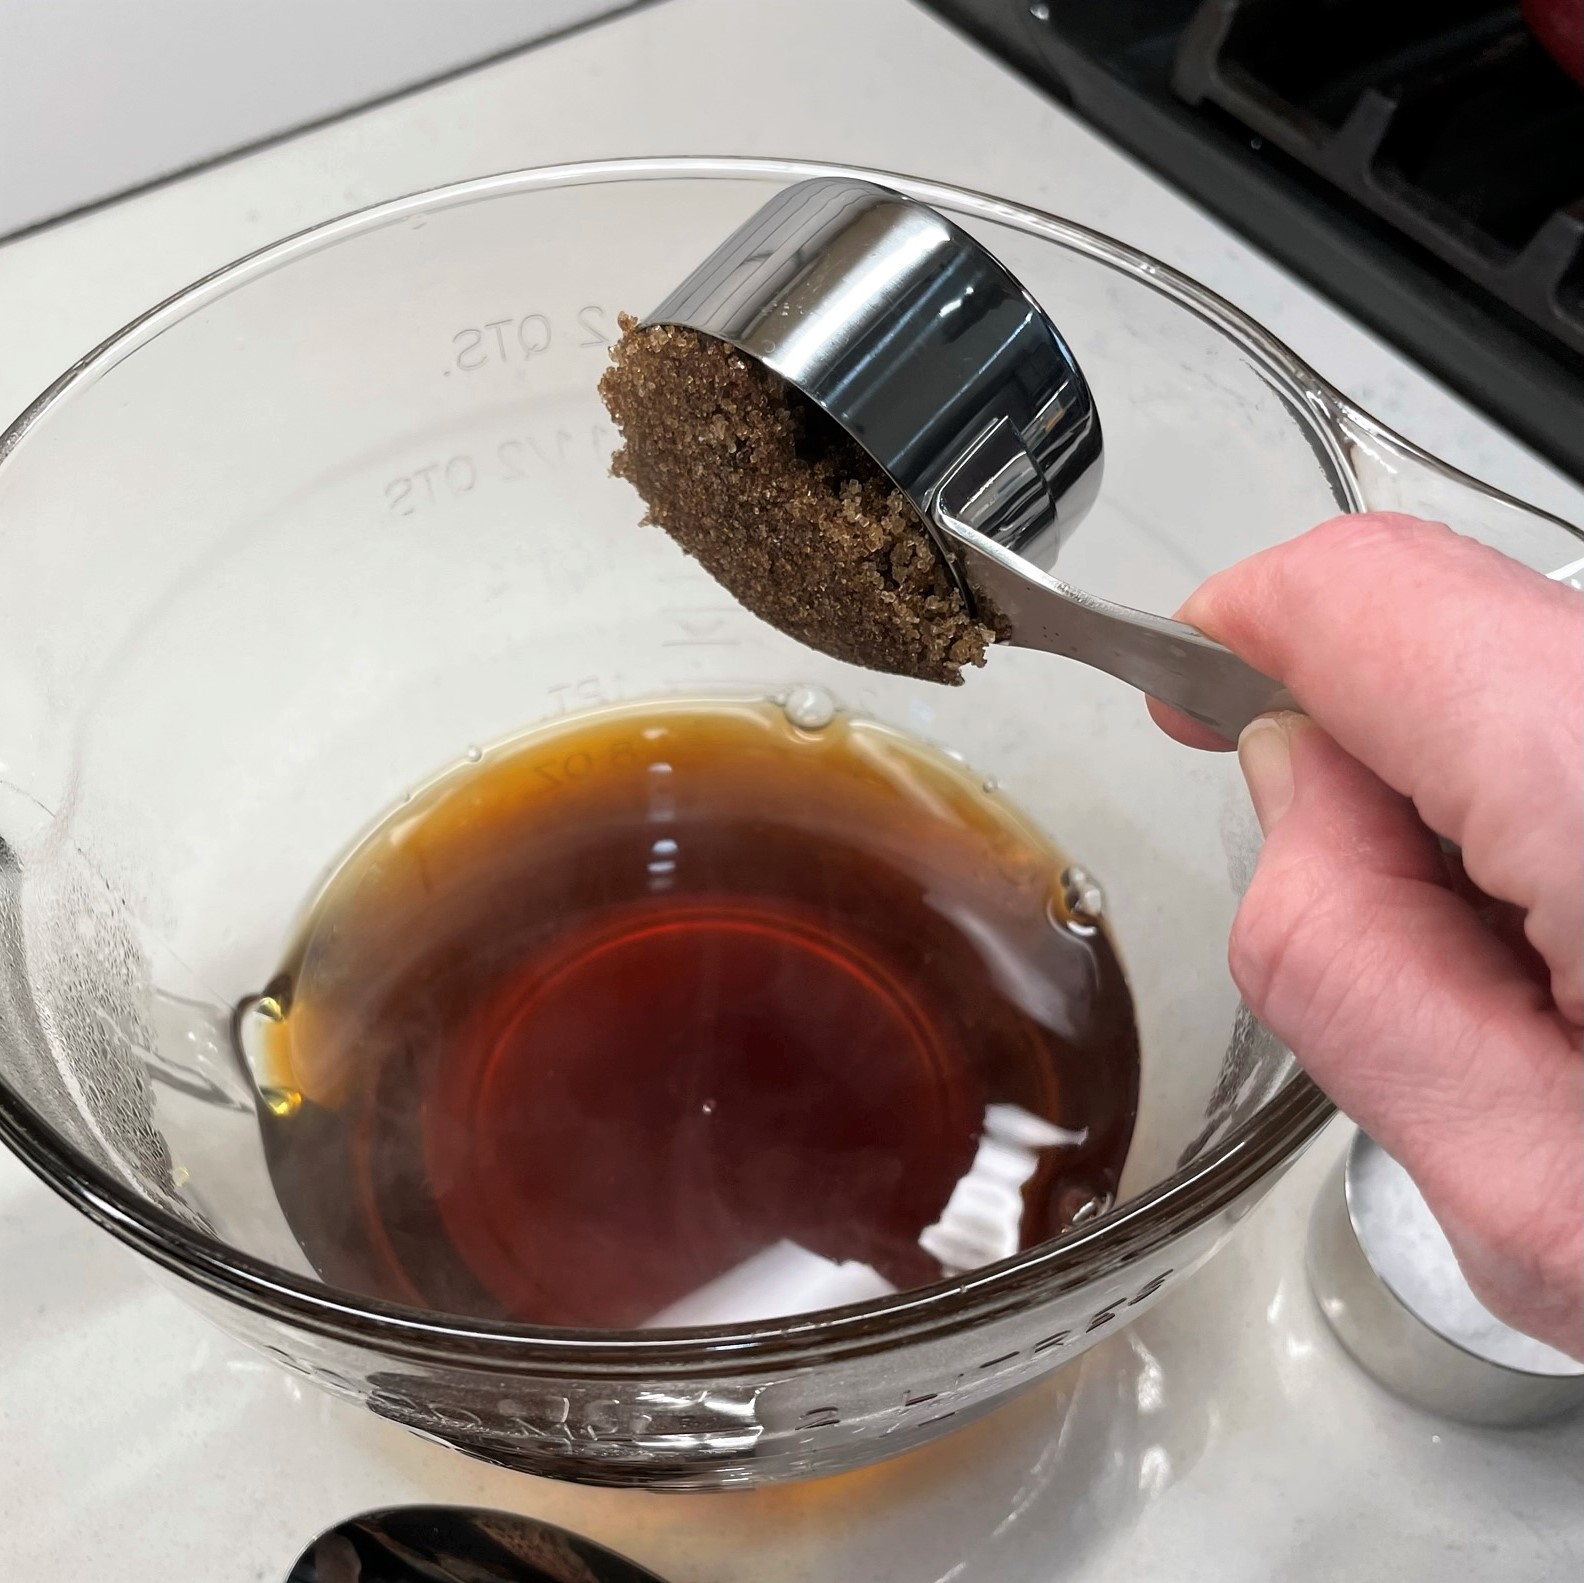
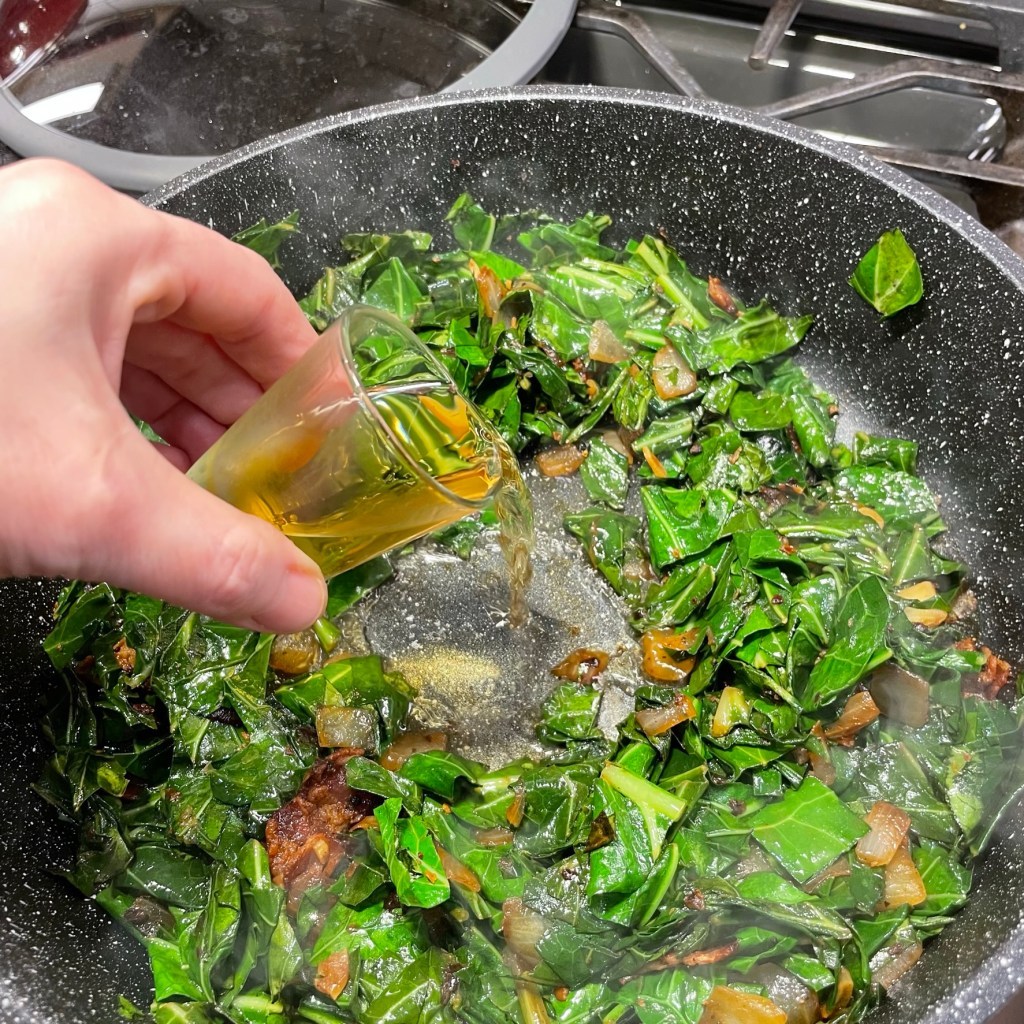
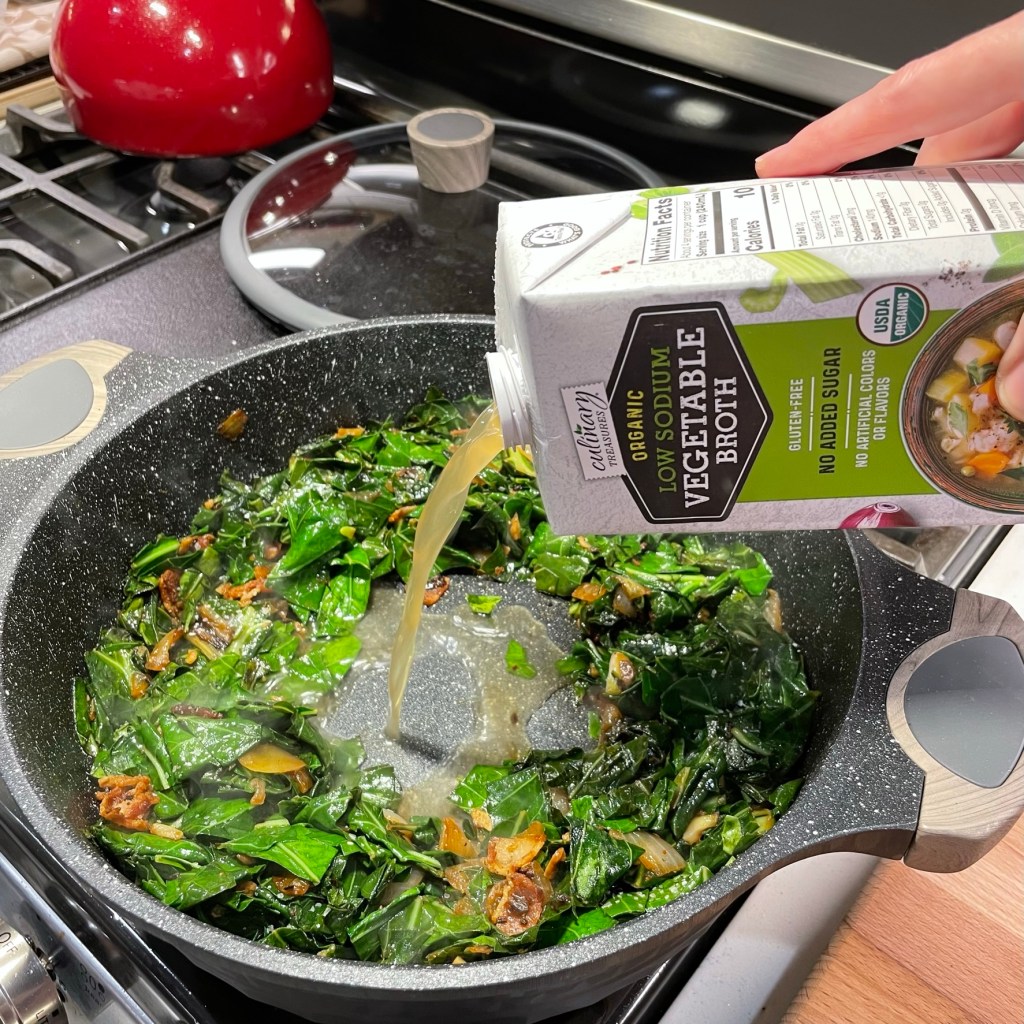
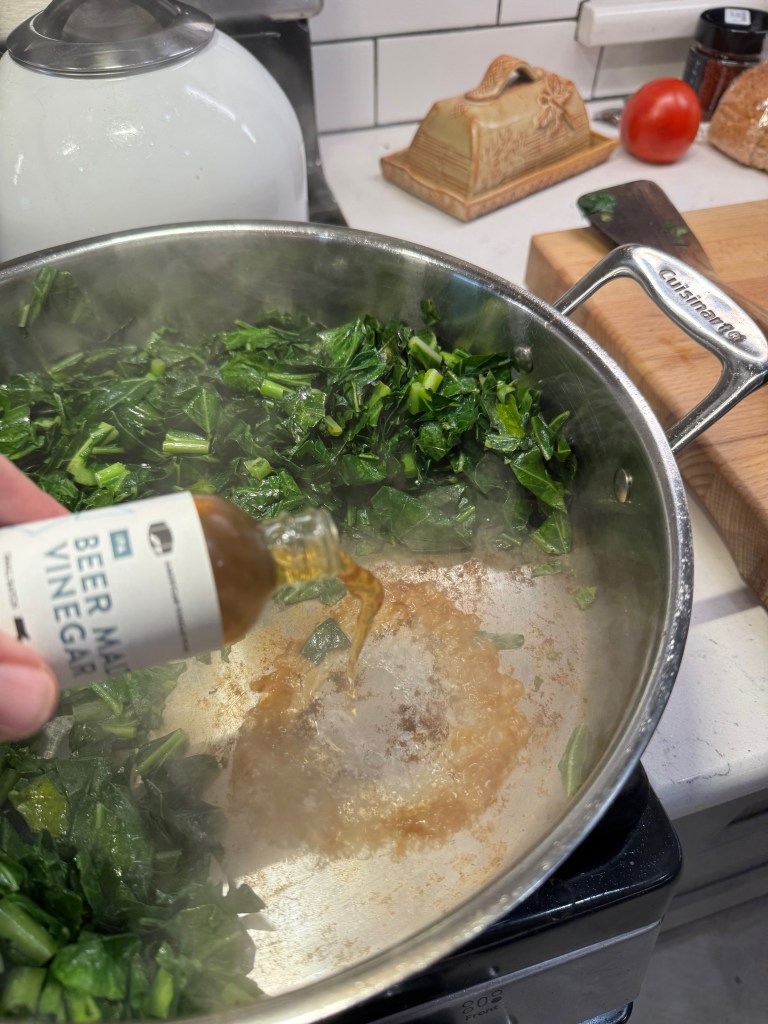
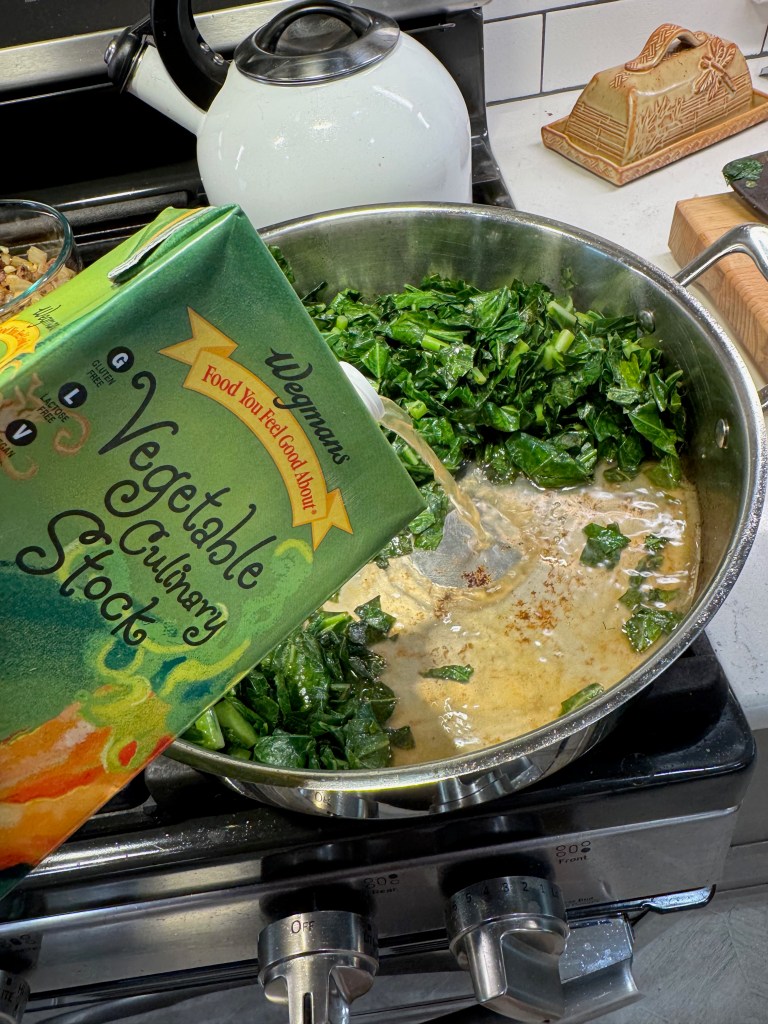
I chose the beer malt vinegar to deglaze the pot before simmering the collards to tenderness, and it was an excellent call. These greens are very fibrous, and a shot of acidity is helpful for breaking them down more quickly (plus it’s delicious). A generous splash of veggie broth finished the job with a 40 minute simmer, and then I stirred the sausage and onion mixture back in at the end, just long enough to heat the dish through.
If your Thanksgiving table needs another vegetable side, and you want something easy and hearty that won’t break the bank, give collard greens a try. Below today’s click-to-print recipe card, you’ll see a few other recipe options for this powerhouse green vegetable. And if your family has a similar tradition of “breaking tradition,” let’s hear about it in the comments!
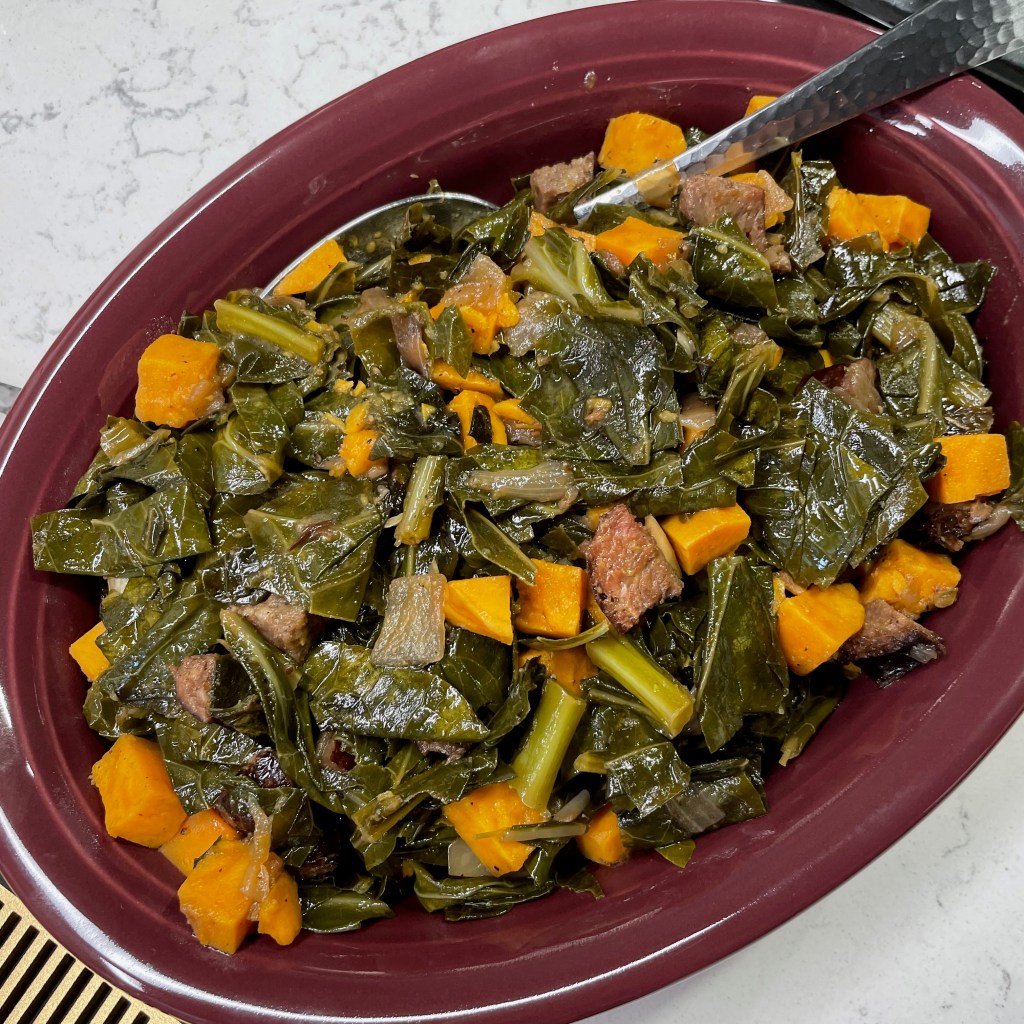
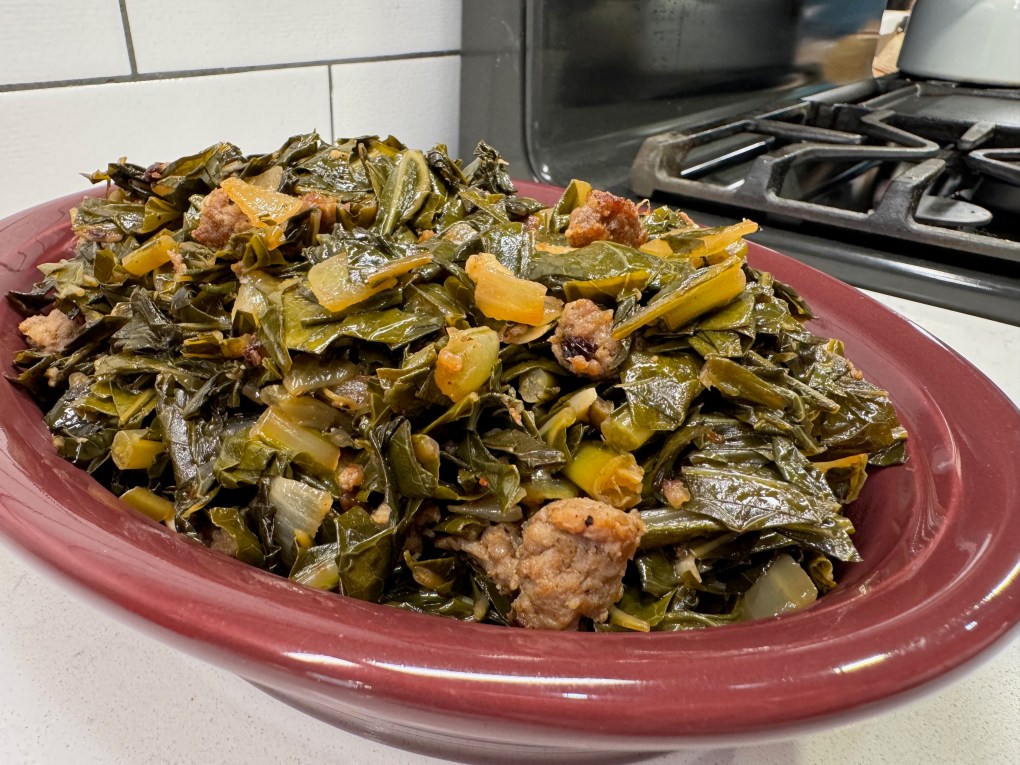
Collards with Sausage and Beer Malt Vinegar

Beer malt vinegar gave my collard greens a savory twist, making them a great option for Thanksgiving.
Ingredients
- 1/2 pound bulk breakfast-style sausage (spicy is great here)
- 1/2 large onion, chopped
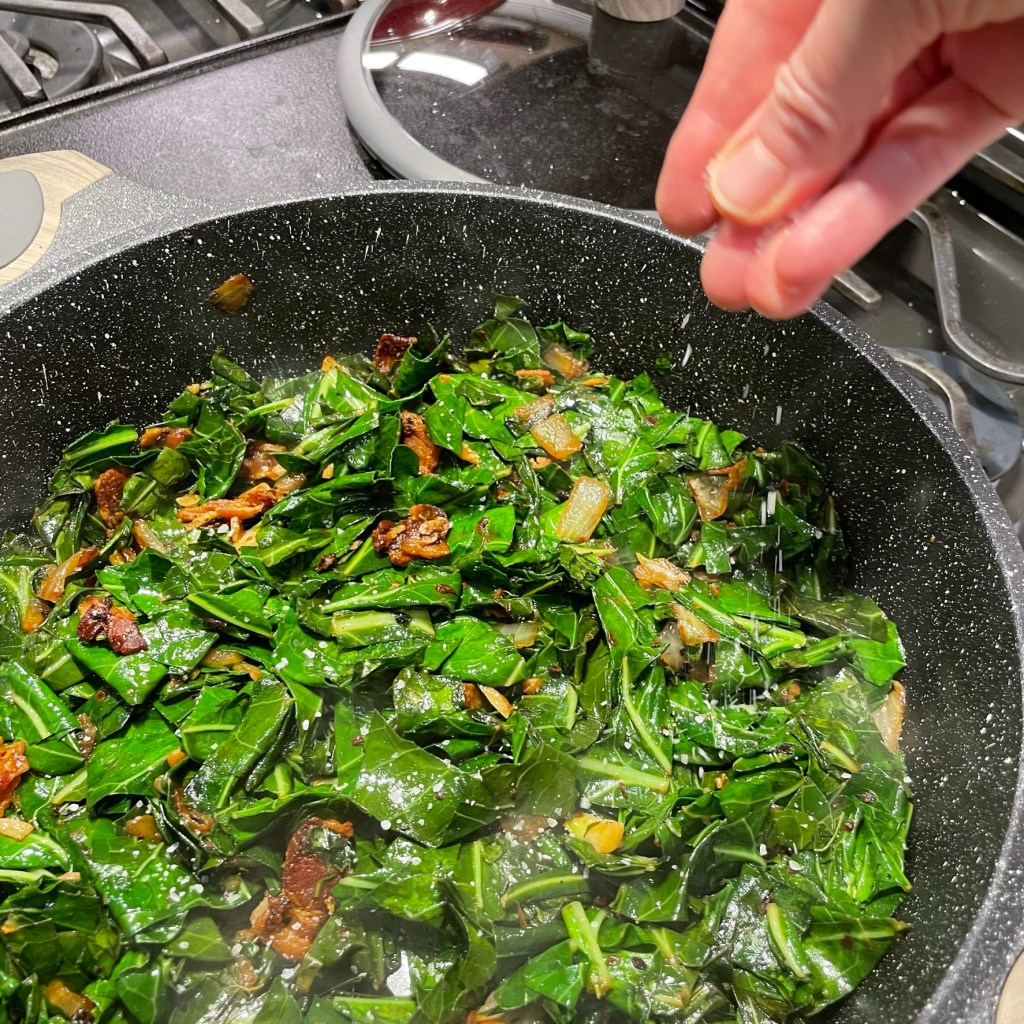
- Salt and pepper
- 2 cloves garlic, minced
- A few shakes of dried pepper flakes (mine were smoky chipotle)
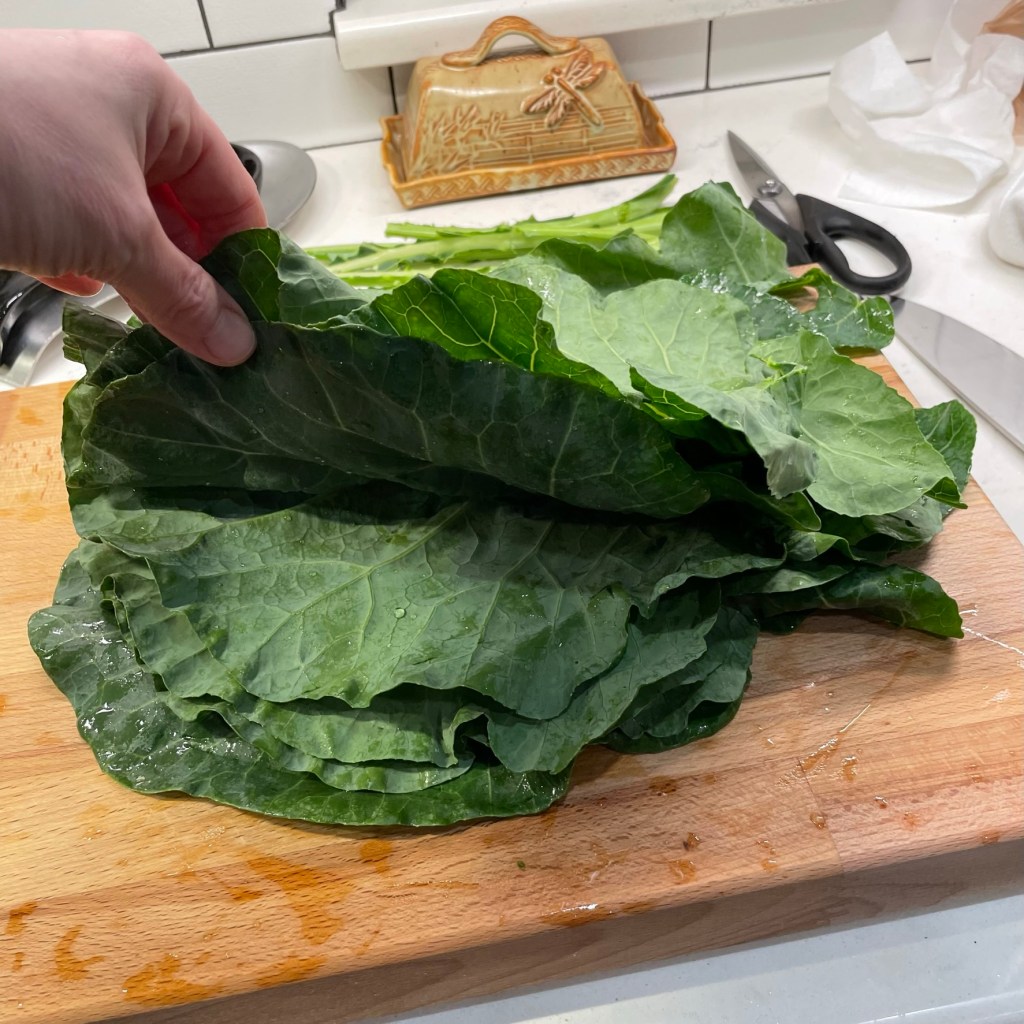
- 1 large bunch fresh collard greens, cleaned and trimmed (see notes)
- 1/4 cup beer malt vinegar (see notes)
- 1 cup low-sodium vegetable broth
Directions
- Place a wide, shallow skillet or pot over medium heat. Add a swirl of olive oil and crumble up the sausage into the pan. Let it be for a couple of minutes before you toss it with a utensil, to allow browning to happen. Once the sausage begins to brown, add the onions and continue to cook until the meat is fully browned and the onions are tender. Add garlic and the smoky pepper seasoning. Transfer the sausage mixture to a separate bowl and set aside until after the next step.
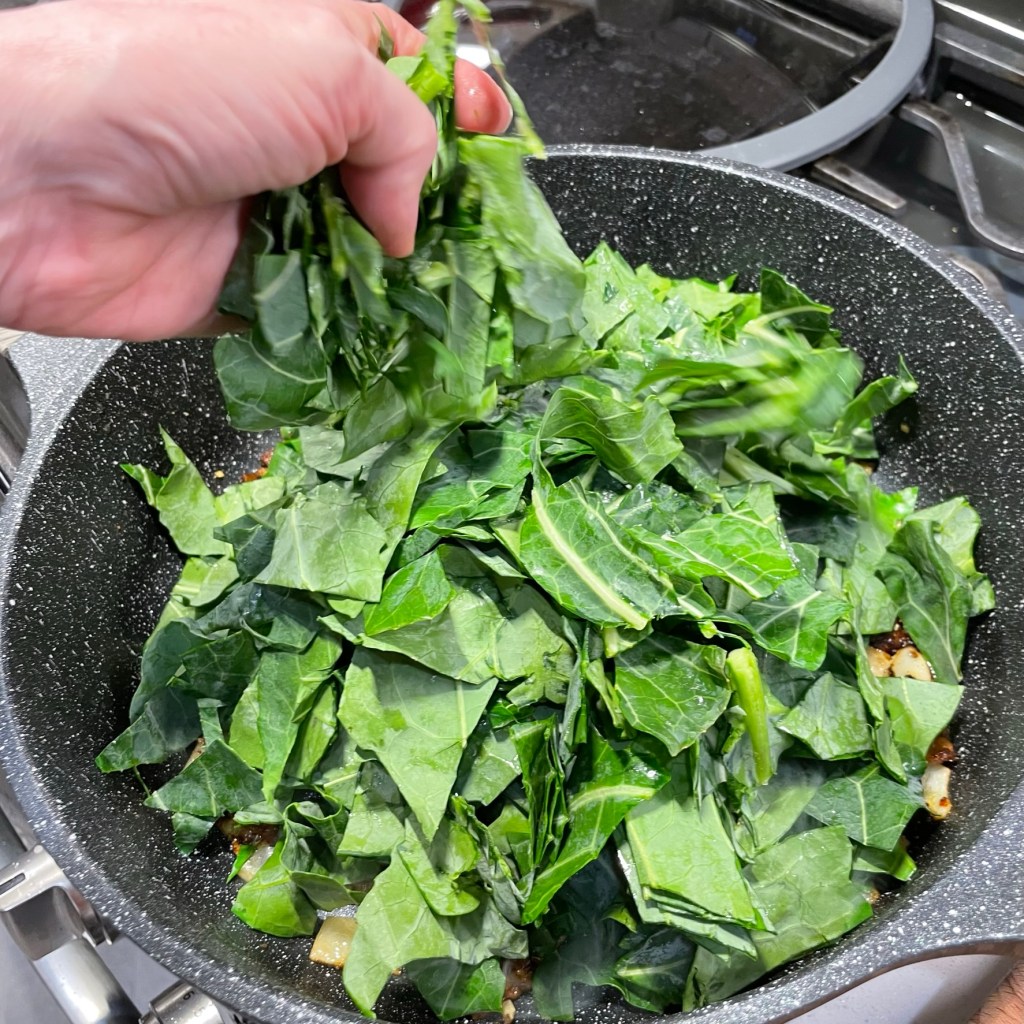
- Add the collard greens, a handful at a time, tossing until each is wilted before adding the next handful. Once all the greens are wilted and bright green in the pot, pour in the beer malt vinegar. Use your utensil to scrape any browned bits from the pan. Add vegetable broth and stir to blend. Reduce heat to low, cover the pot and simmer for 30 to 40 minutes, depending on how tender you like your greens.
- When greens are done to your liking, return the sausage and onion mixture back to the pot with the collards, just long enough to heat it through.