It took me nearly 10 years, but I’ve finally found a way to persuade my husband to appreciate cornbread. I love this humble side for its texture, its subtle sweetness and its perfectly rustic personality alongside a bowl of chili, a hearty Brunswick chicken stew, or even a plate of pulled pork barbecue and baked beans. But the grainy texture of plain cornbread, or maybe its simple flavor, has been a turnoff to Les as long as I’ve known him. As a result, I don’t make cornbread very often because I can’t (or shouldn’t) eat the whole batch myself. But now!
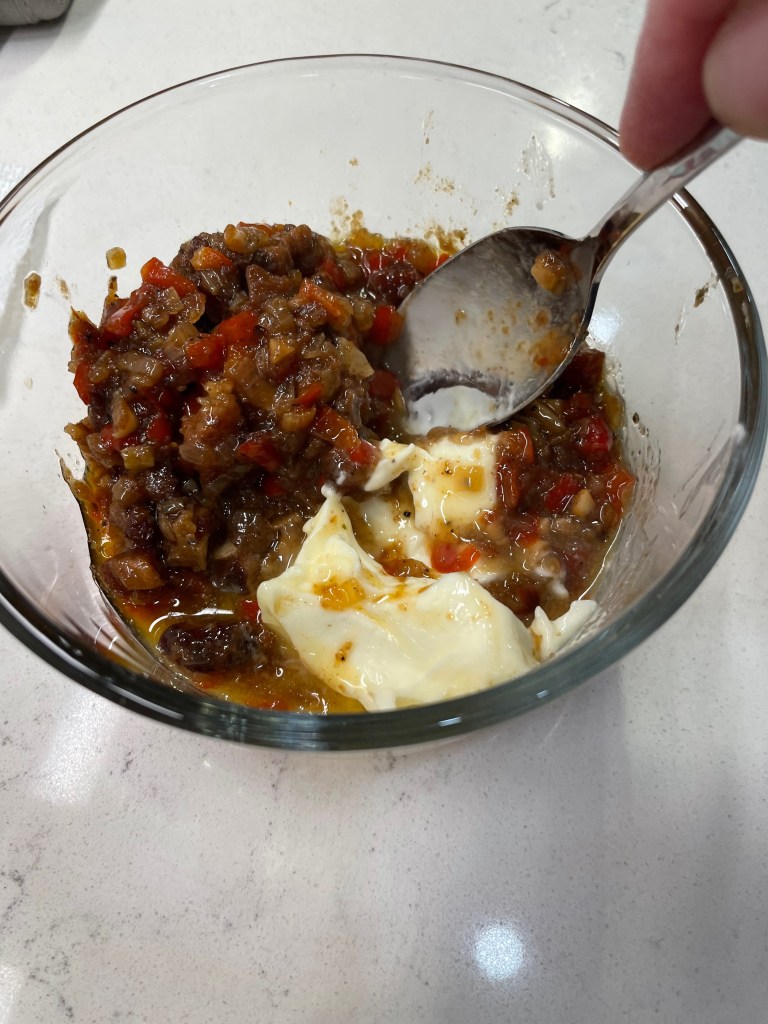
This version, featuring tangy pimentos, hot cherry peppers and a hefty amount of cheddar cheese, has made my husband a believer. He actually liked it! This is my adaptation of a recipe that dropped into my email inbox a few weeks ago from NYT Cooking. The NYT version called for roasted red peppers and feta cheese— flavors I also love, and a light bulb went off in my head, perhaps because Les had made a batch of pimento cheese the weekend before New Year’s, and I just knew that the same pimento cheese flavors would work in a cornbread. Did they ever!
What I changed to make it mine
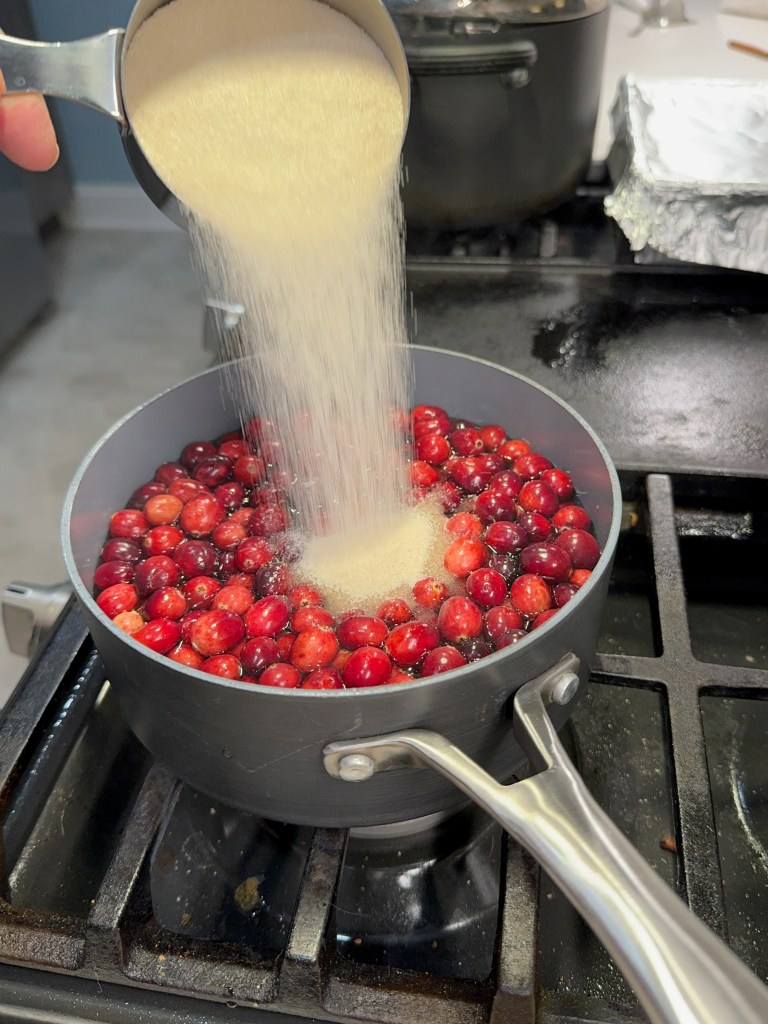
The substitution of pimentos and cheddar is straightforward, but there were a couple of other things I modified from the NYT recipe to suit our preferences. I cut the suggested sugar in half, as recommended by many people who took time to comment on the NYT recipe. Many southerners do not use sugar in their cornbread at all— weird, given that we put it in literally everything else, but I’ll let the dissenters duke that out in the comments. My version had a quarter cup, and that was plenty.

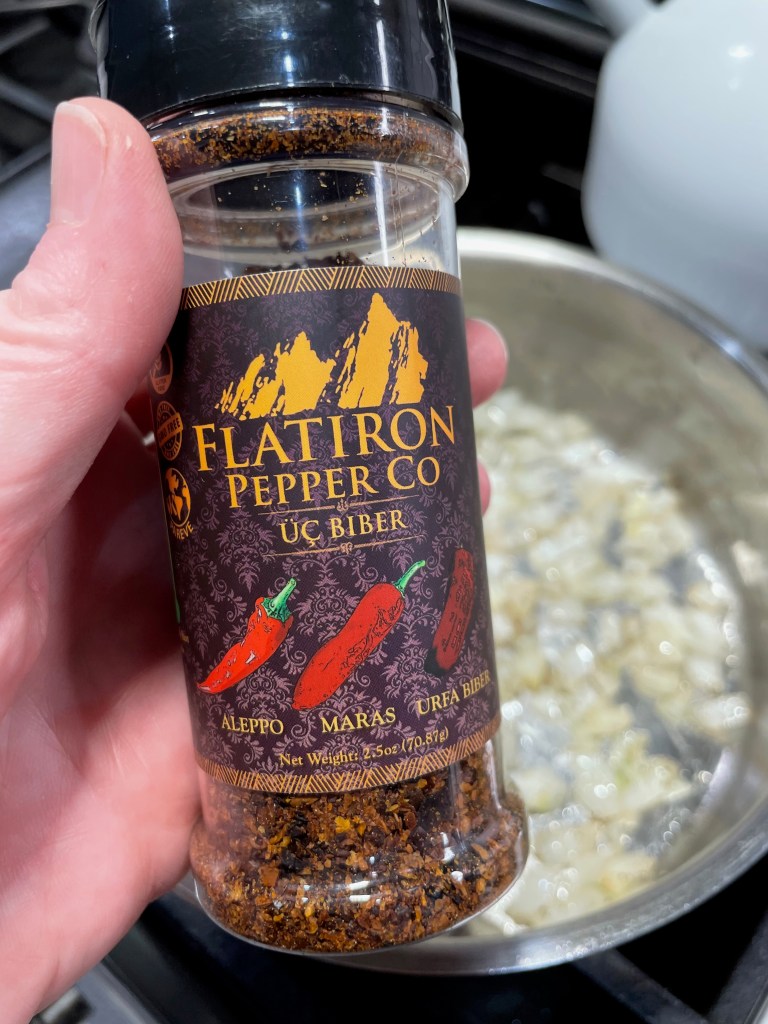
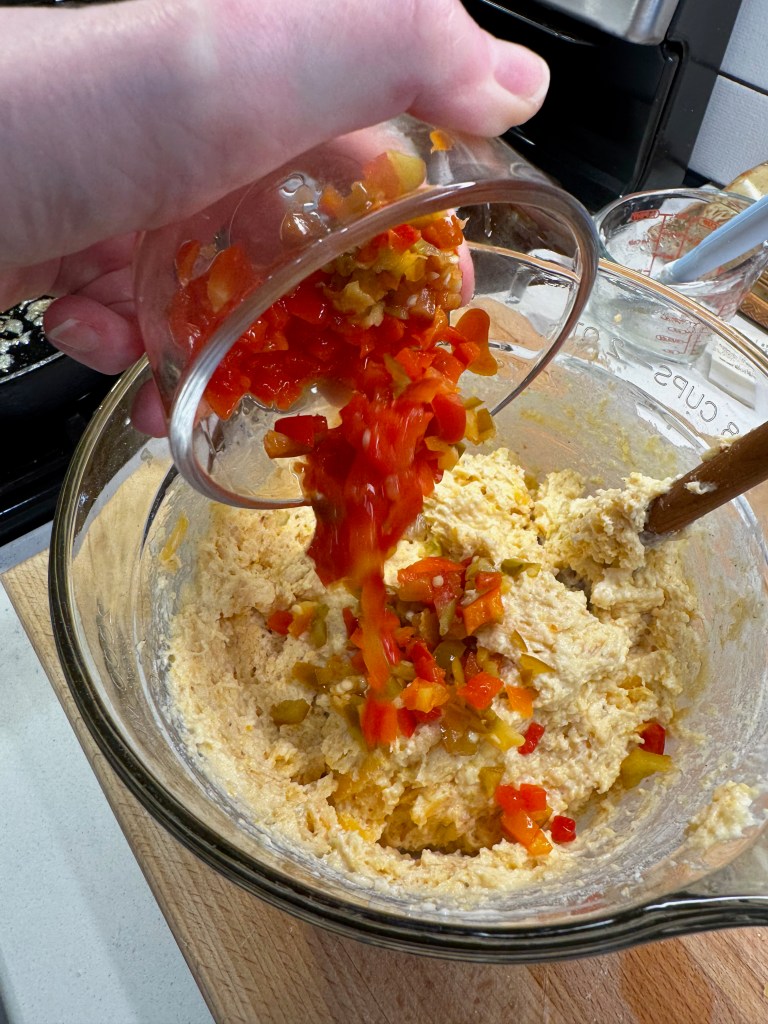
Les loves spicy foods, so along with pimentos, I subbed in some hot cherry peppers, which made for a nice flavor kick. I only had a bit of sour cream, so I went halvsies with plain Greek yogurt. I’m grateful that the two are almost always interchangeable, but in this case, I had a very heavy batter so I splashed in a bit of buttermilk, too. It’s good to be able to pivot in the kitchen!
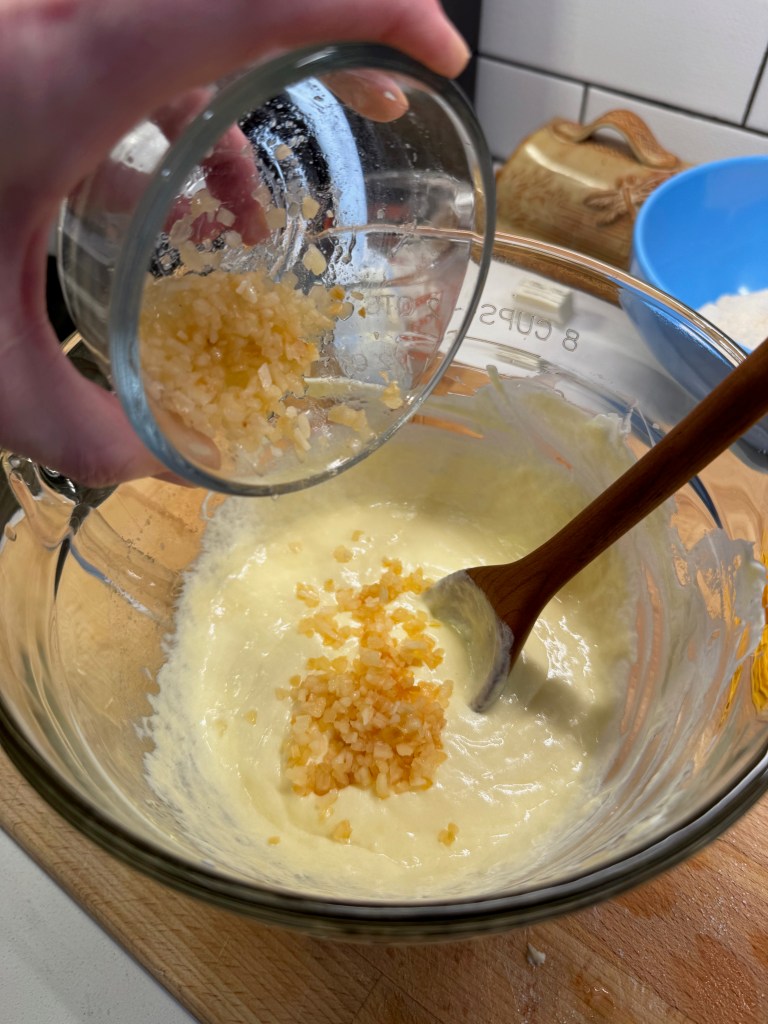


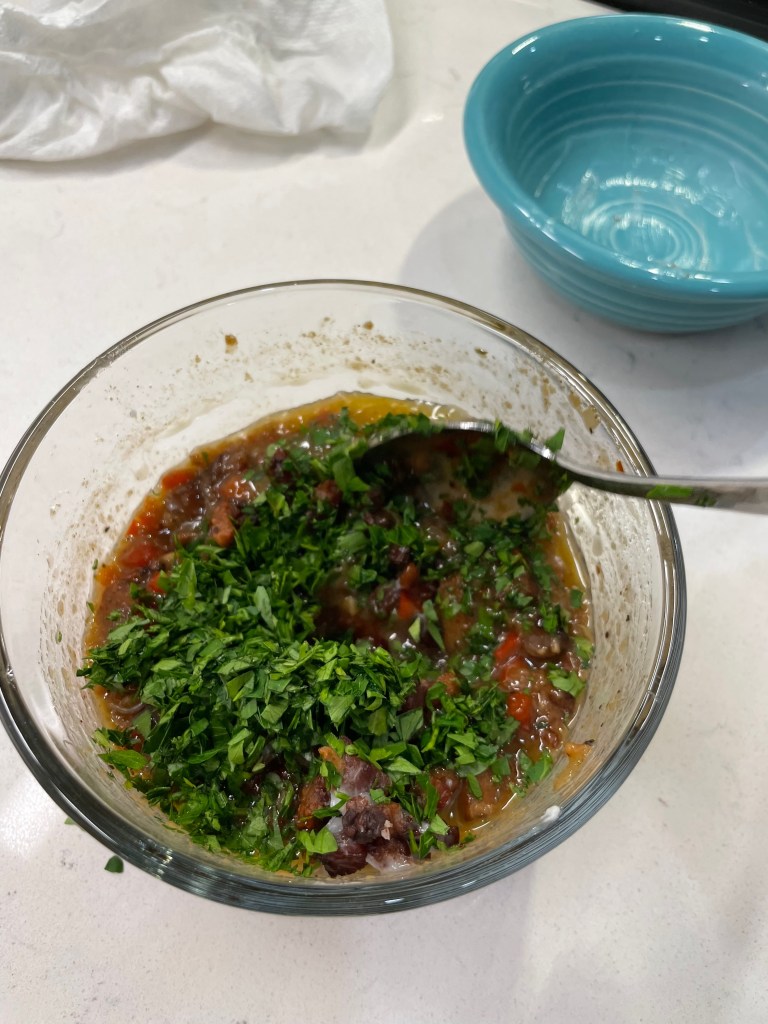
A quick shake of sweet paprika in the dry ingredients lent additional color and a touch of smoke. I didn’t want green flecks in my cornbread, so minced onion stood in for the scallions called for in the NYT Cooking recipe. I rehydrated the onions with hot water so that they wouldn’t steal moisture from the batter. If I’d had a Vidalia onion, that would have been even better— sautéed first, of course.
Bringing it all together
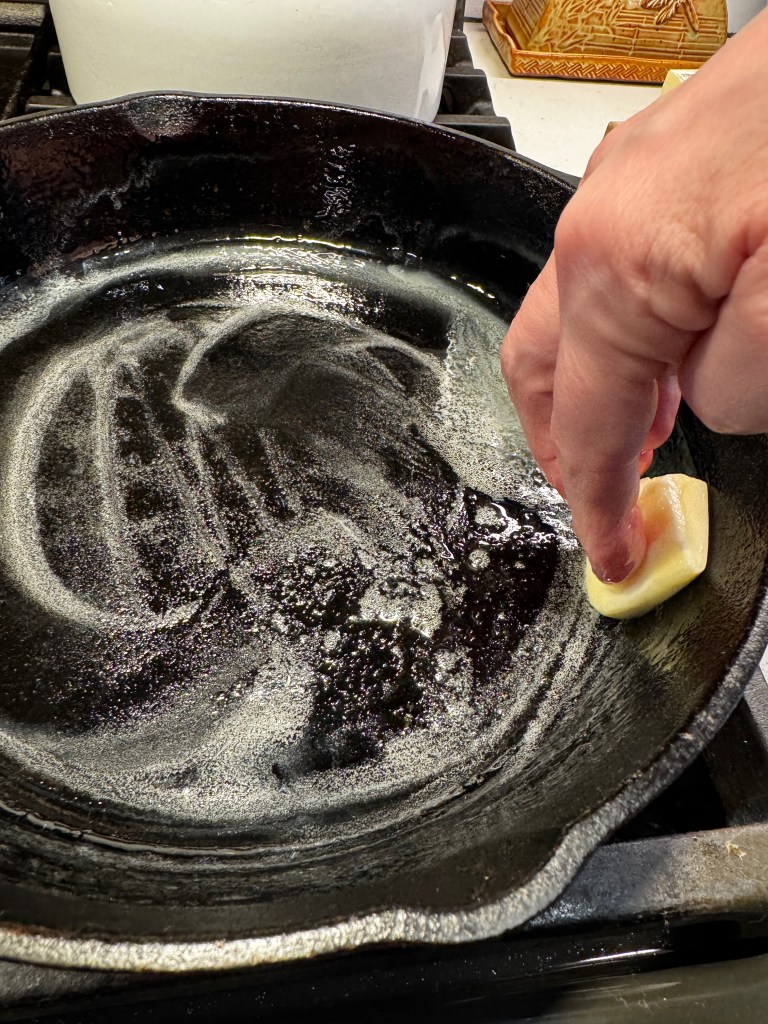
Finally, rather than mess with lining a baking dish with parchment, I chose to bake my cornbread directly in a cast iron skillet. I love the crusty edges achieved this way, and in the South, everything is better in cast iron. To be successful with this, melt two tablespoons of butter in the skillet until it’s bubbly and starting to brown. Then pour the batter into the hot skillet and transfer it to the oven for the recommended baking time, 35 minutes.

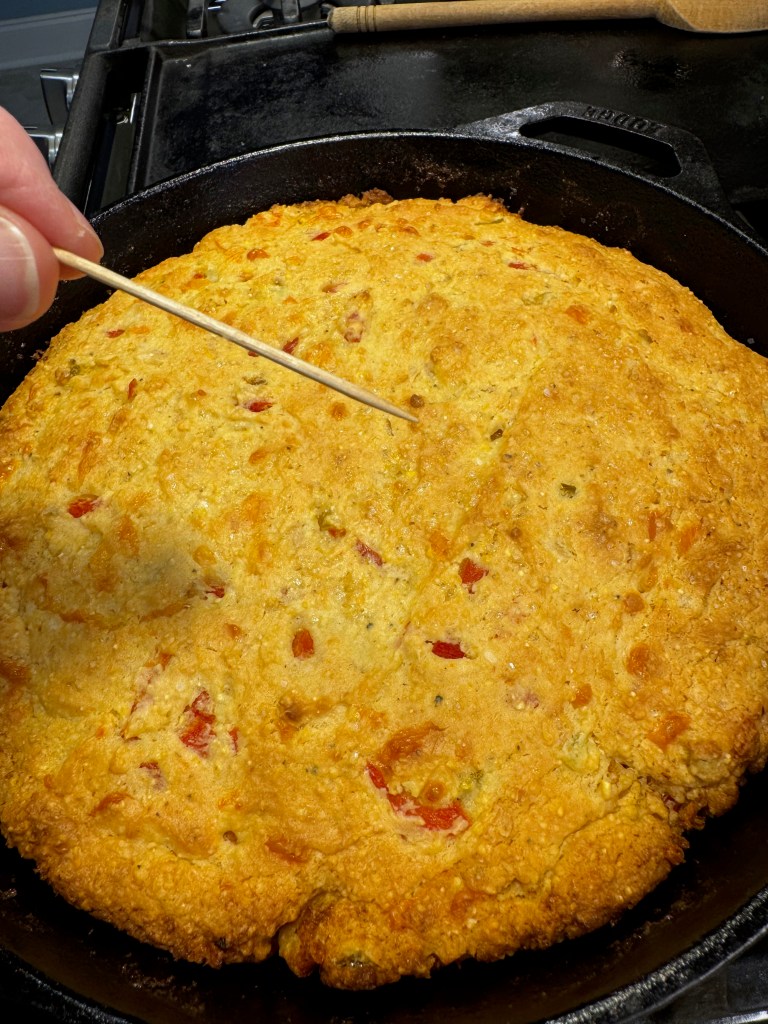
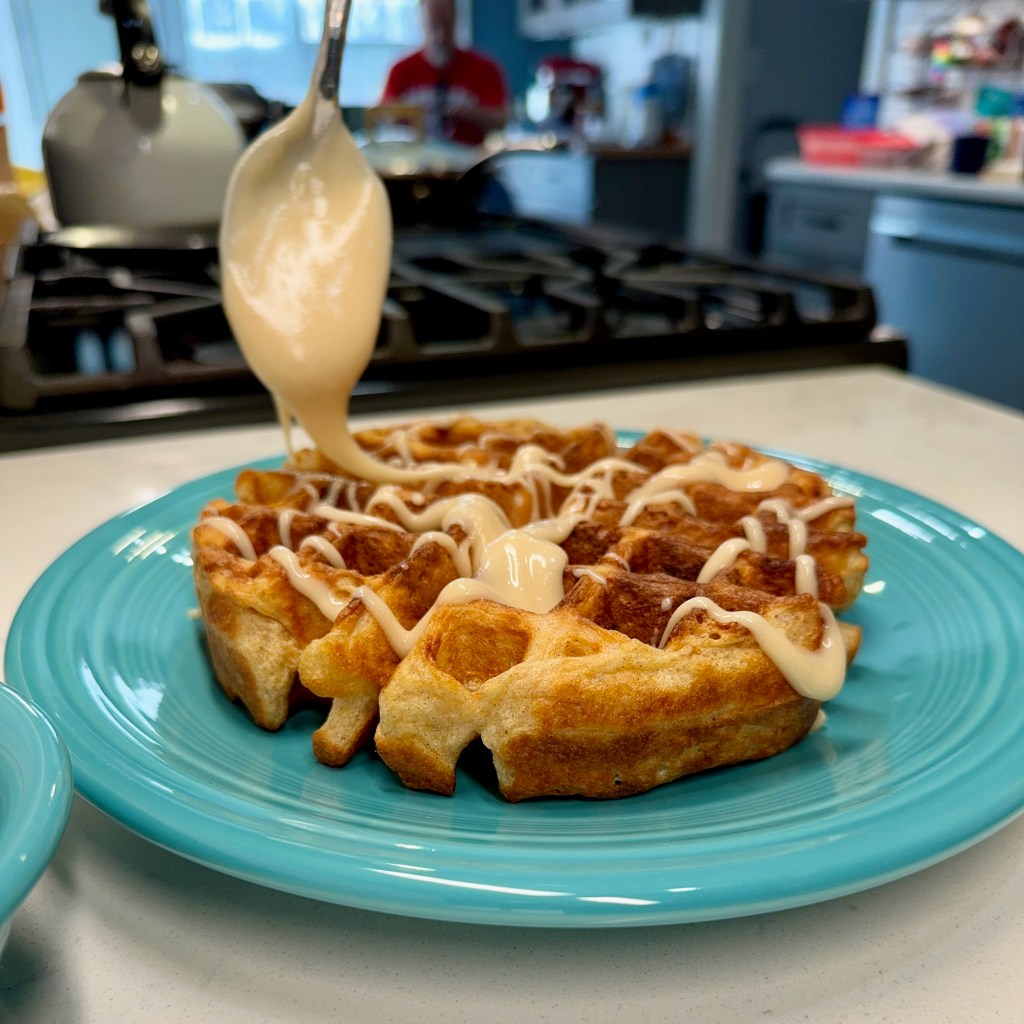
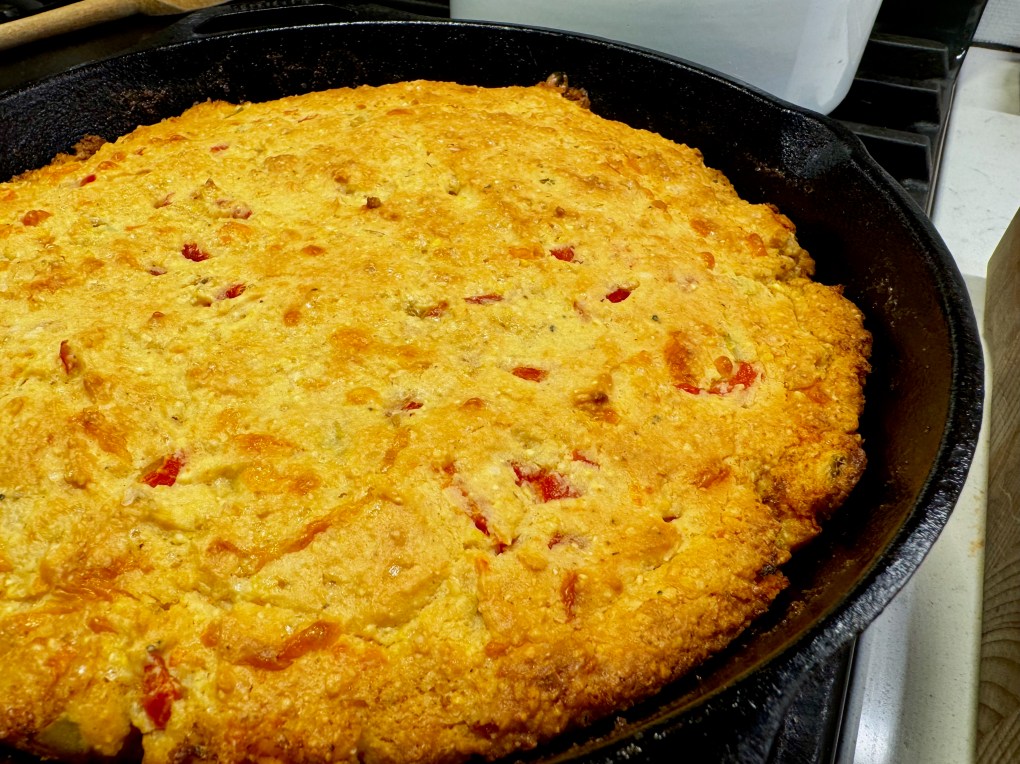
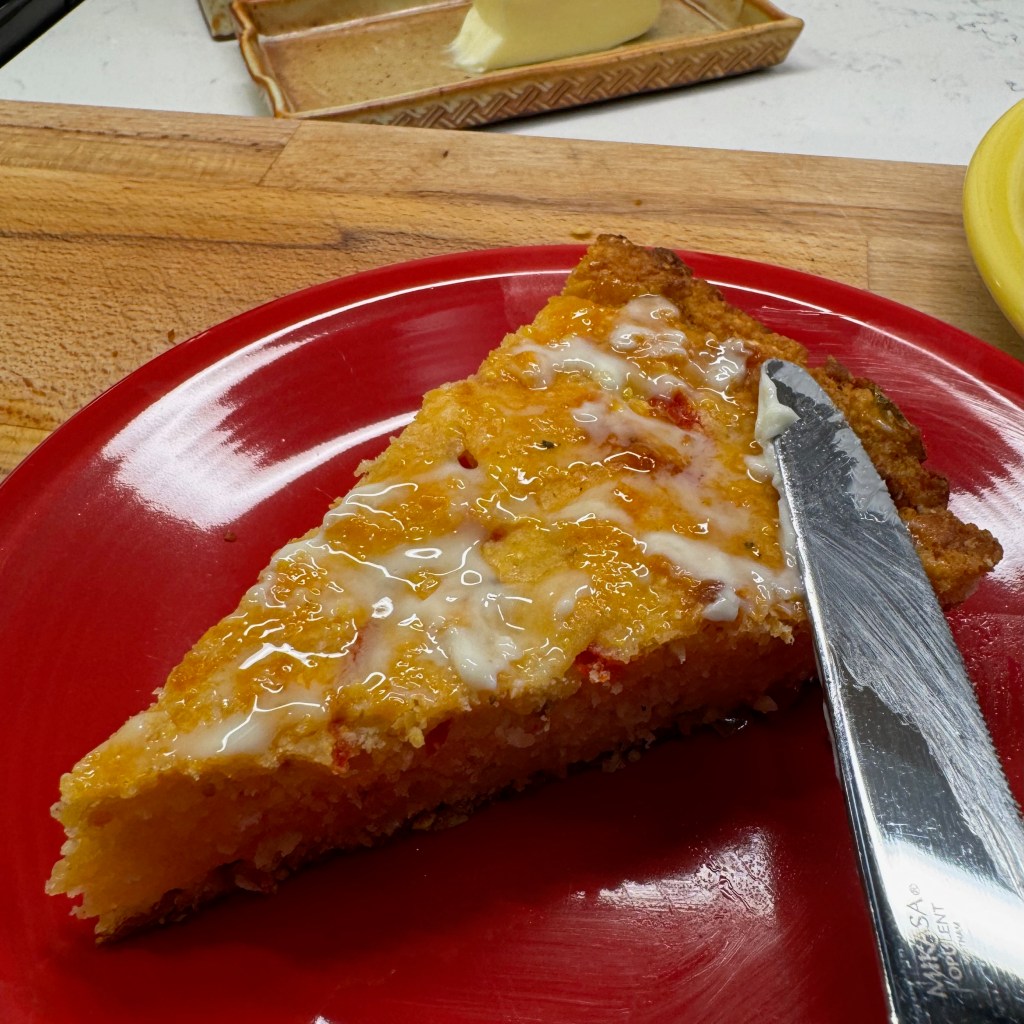
This cornbread smelled amazing when I pulled it from the oven. The cheddar melted throughout, and the pimentos and hot cherry peppers gave the whole thing a “pimento cheese” vibe. The only thing I plan to do differently next time will be trade the melted butter for mayonnaise, which will serve the same purpose and bring it even closer to true pimento cheese.

Our pimento cheese cornbread was a perfect side to our New Year’s Day “good luck” meal that also included spicy collard greens and black-eyed pea soup. How would you enjoy it?
Pimento Cheese Cornbread
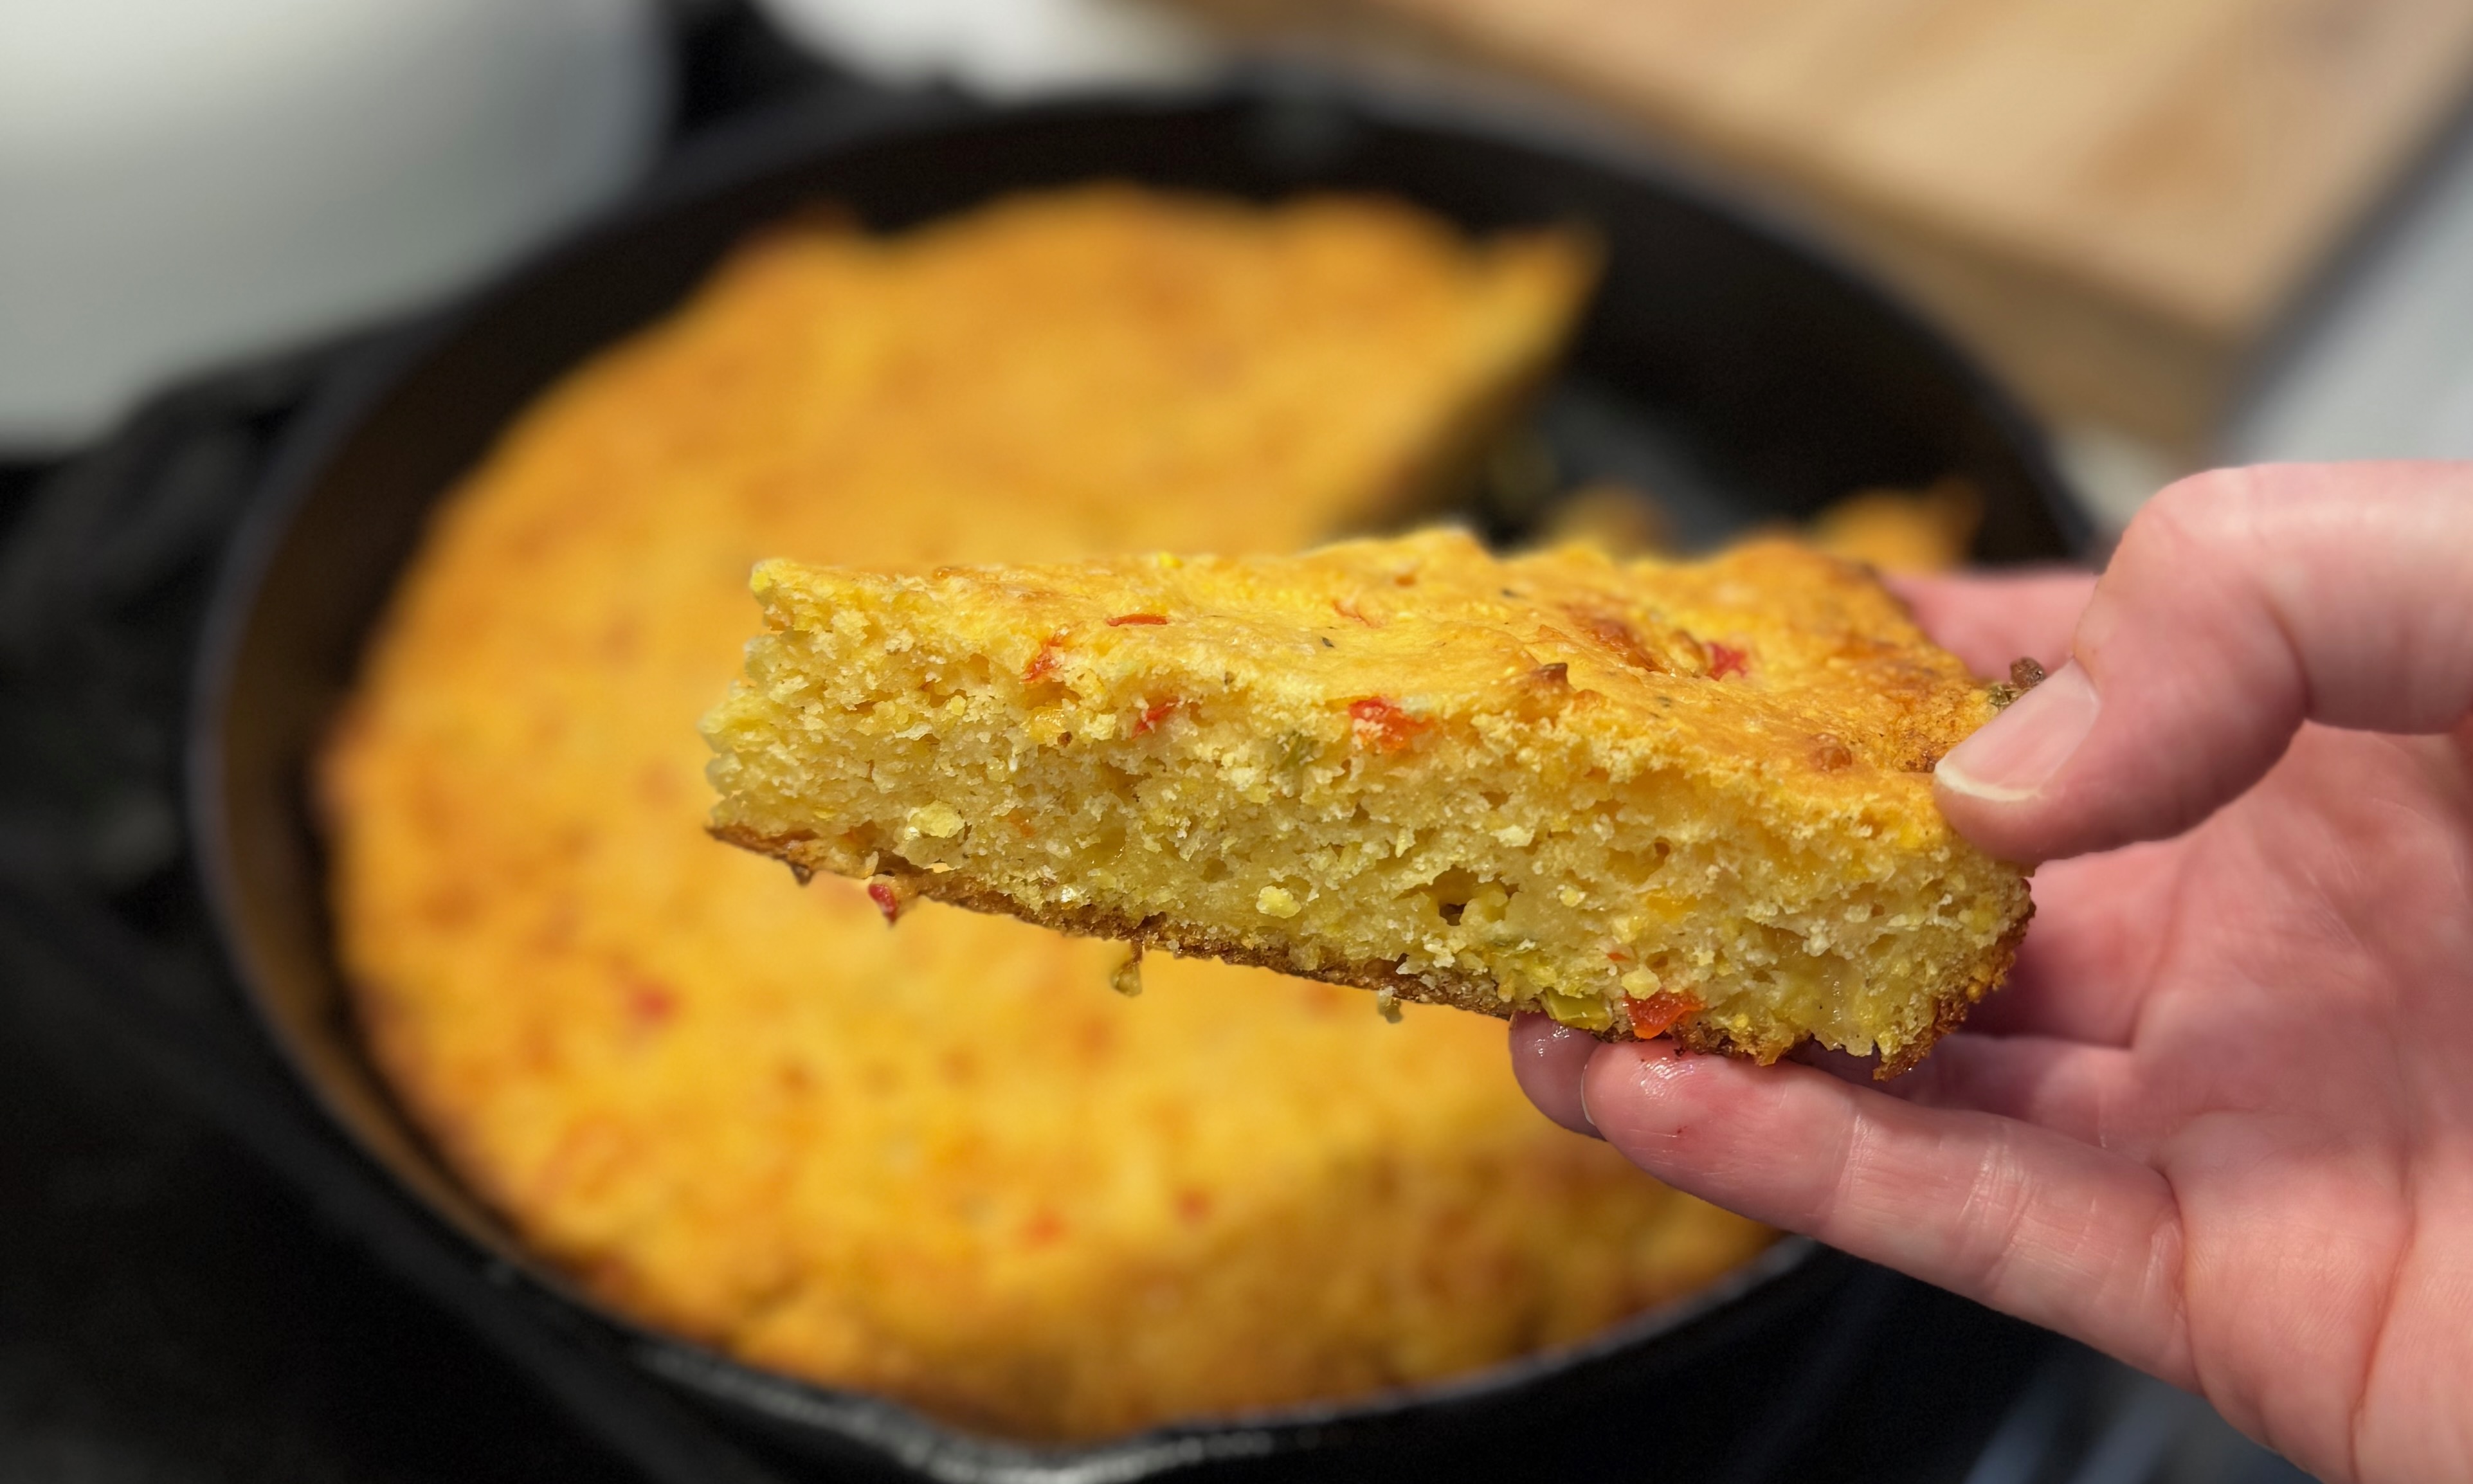
Sharp cheddar and diced pimentos have transformed a classic cornbread into something utterly addictive. If you're adventurous, swap in a few hot cherry peppers for even more great flavor.
Ingredients
- 1 cup all-purpose flour
- 1 cup medium grind cornmeal
- 1/4 cup organic cane sugar
- 1 Tbsp. baking powder
- 1 tsp. kosher salt
- 1/4 tsp. sweet paprika
- 6 Tbsp. butter, melted
- 1/2 cup sour cream
- 1/2 cup Greek yogurt
- 1 large egg
- 2 tsp. dried minced onion, rehydrated in hot water
- 1/3 cup pimentos, drained (or mix it up with diced hot cherry peppers)
- 3/4 freshly shredded extra sharp cheddar
- 1 tsp. coarse sea salt for sprinkling on batter before baking
- 2 Tbsp. cold butter, for cast iron skillet
Directions
- Preheat oven to 375° F, with rack in center position. Place a 10-inch cast iron skillet over medium-low heat and add cold butter, rubbing the butter along the side of the skillet to grease it. Keep the skillet on low heat while you prepare the batter.
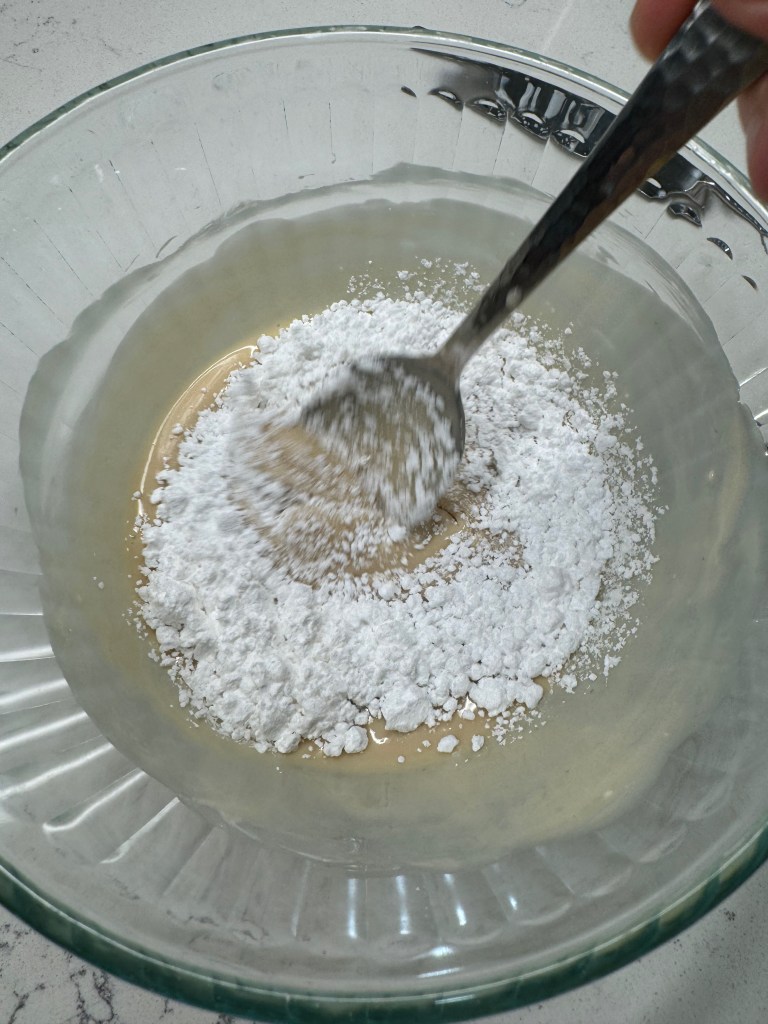
- Whisk together flour, cornmeal, sugar, baking powder, salt, pepper and paprika. Set aside.
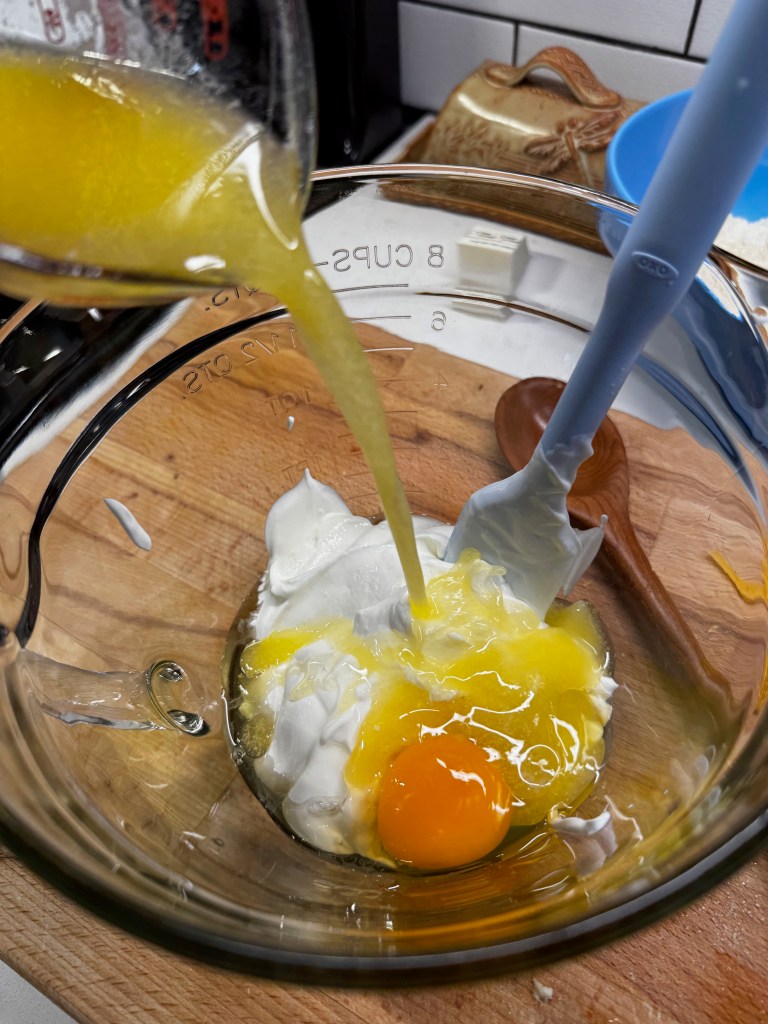
- In a large mixing bowl or batter bowl, combine sour cream, yogurt, egg and melted butter. Stir in rehydrated onion.
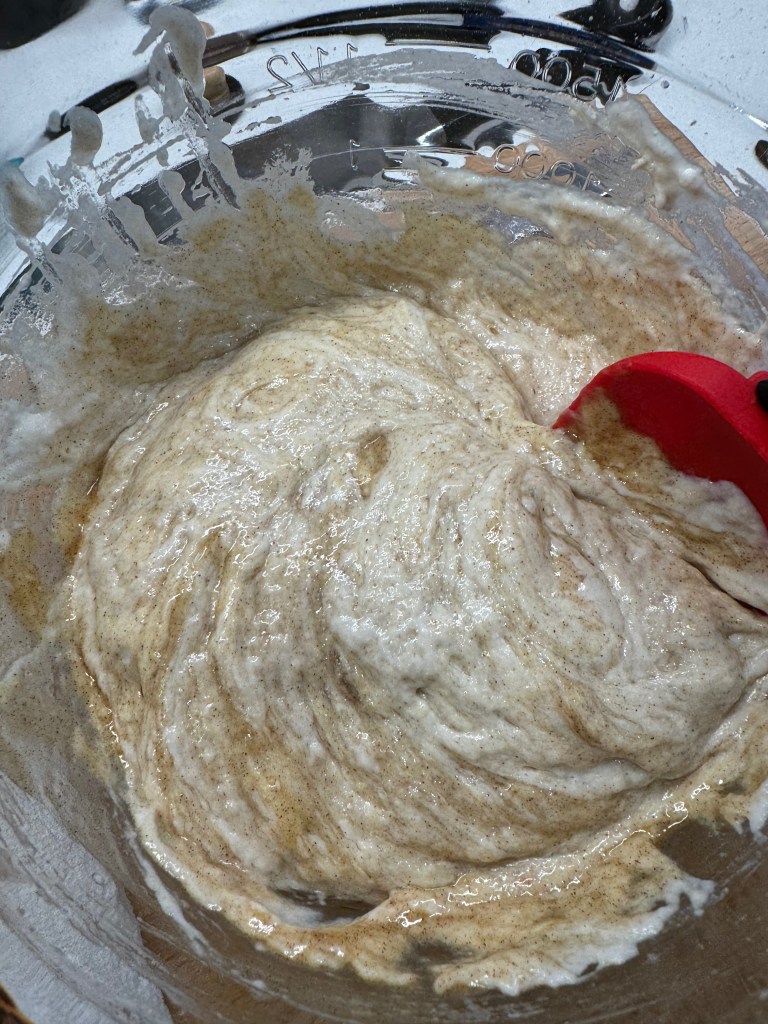
- Stir dry ingredients into wet mixture, half at a time, only until flour is fully incorporated. If batter is too thick or dry, don’t hesitate to stir in a splash of milk. Use a silicone spatula to fold in the cheddar cheese and pimento/pepper mixture.
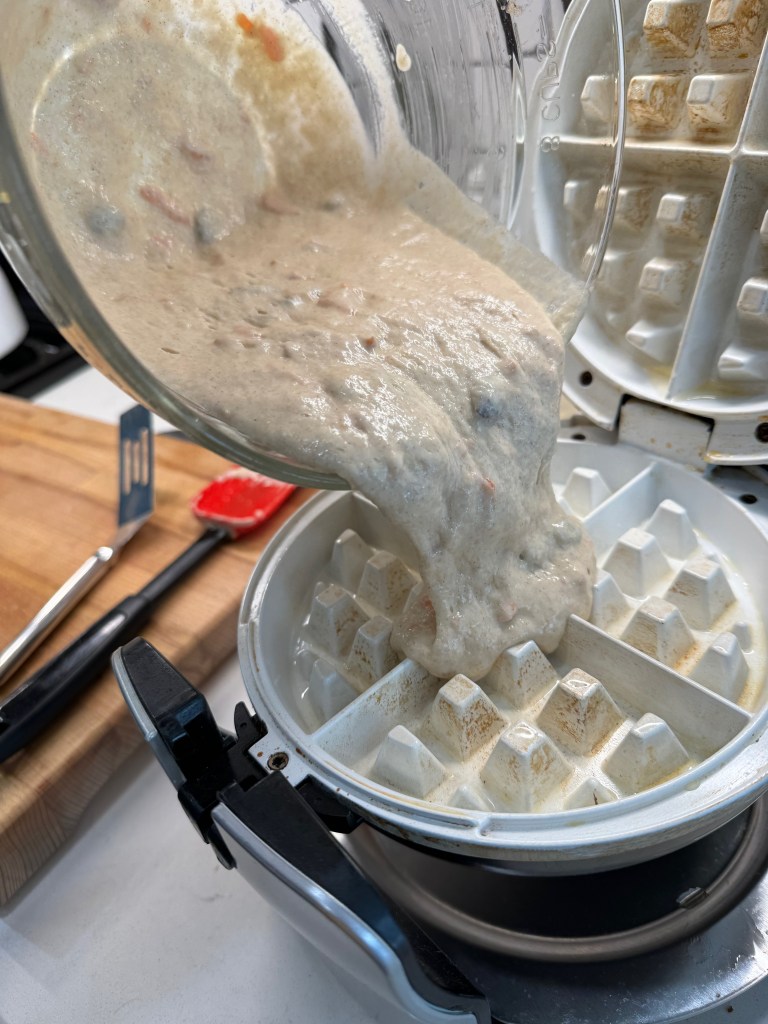
- The butter in the skillet should be completely melted and beginning to brown. Transfer batter to the hot skillet and lightly smooth the top with a spatula. Sprinkle coarse salt over the batter and bake 30 to 35 minutes, until edges are crispy and center passes the toothpick test. Serve warm, and then cool leftovers completely before wrapping and storing for up to three days.