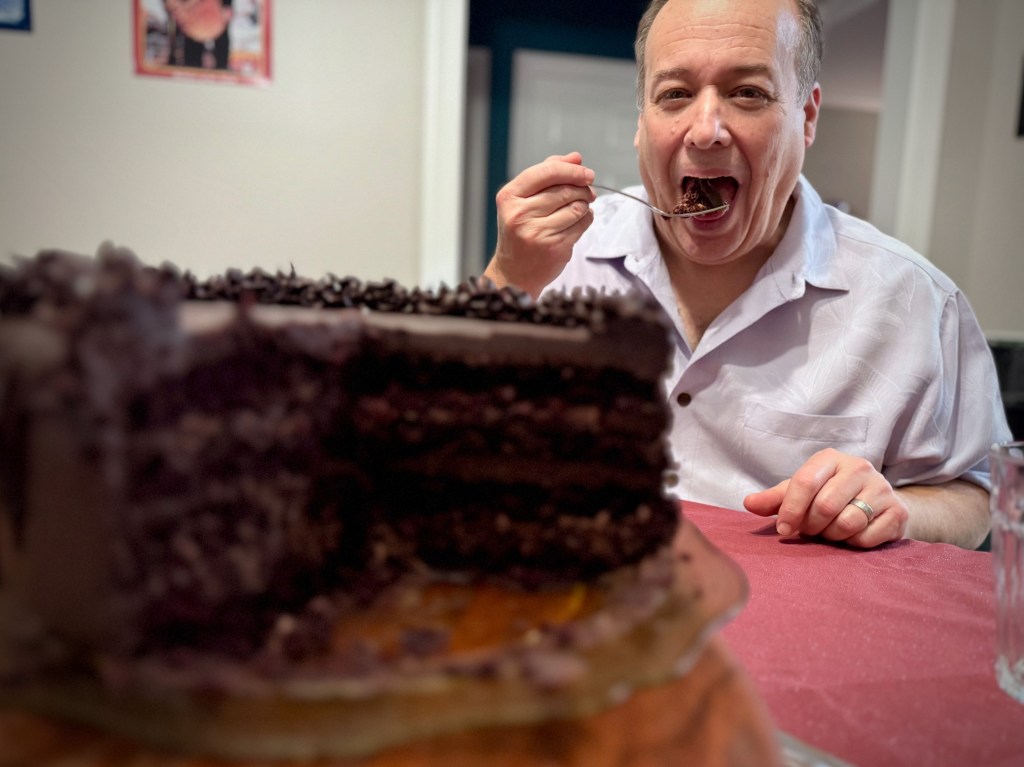
The path to my husband’s heart is not complicated. It isn’t paved with words of affirmation, nor physical touch, nor any of the other love languages, though he would not reject most of those. For Les, it’s simply chocolate— lots and lots of chocolate. Sometimes he wants it paired with another flavor, cherry especially, but when I was pondering plans for a New Year’s Eve showstopper a few weeks ago, it occurred to me that I had never made a cake that was only chocolate. So I did, and— well, does he look happy?
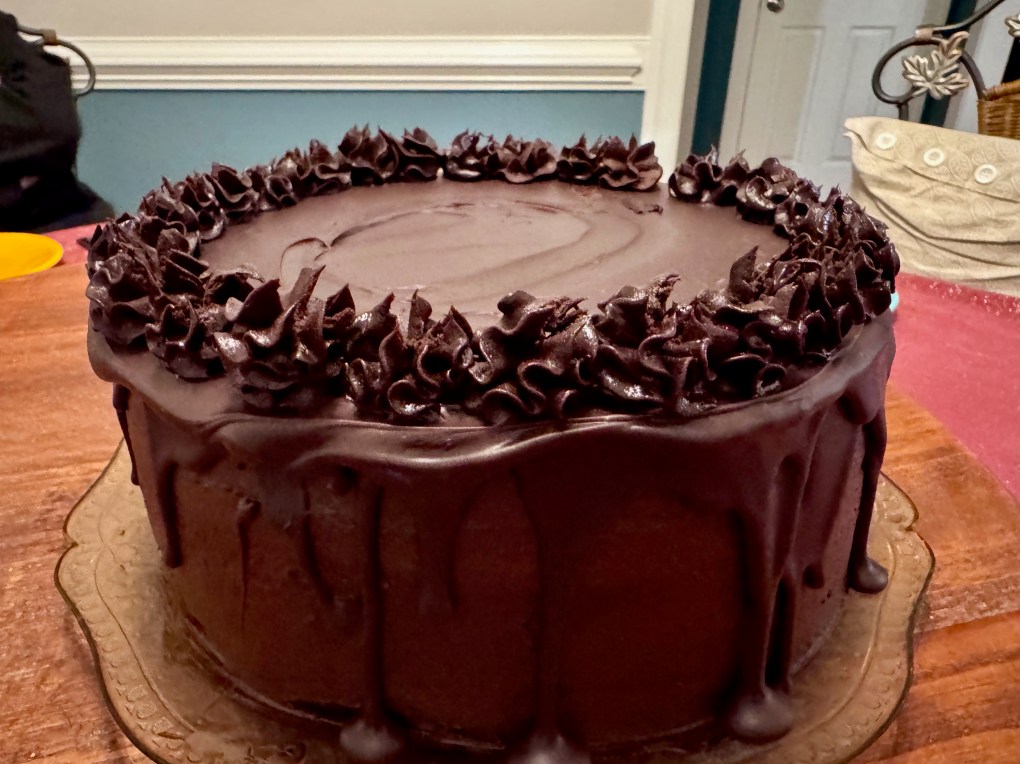
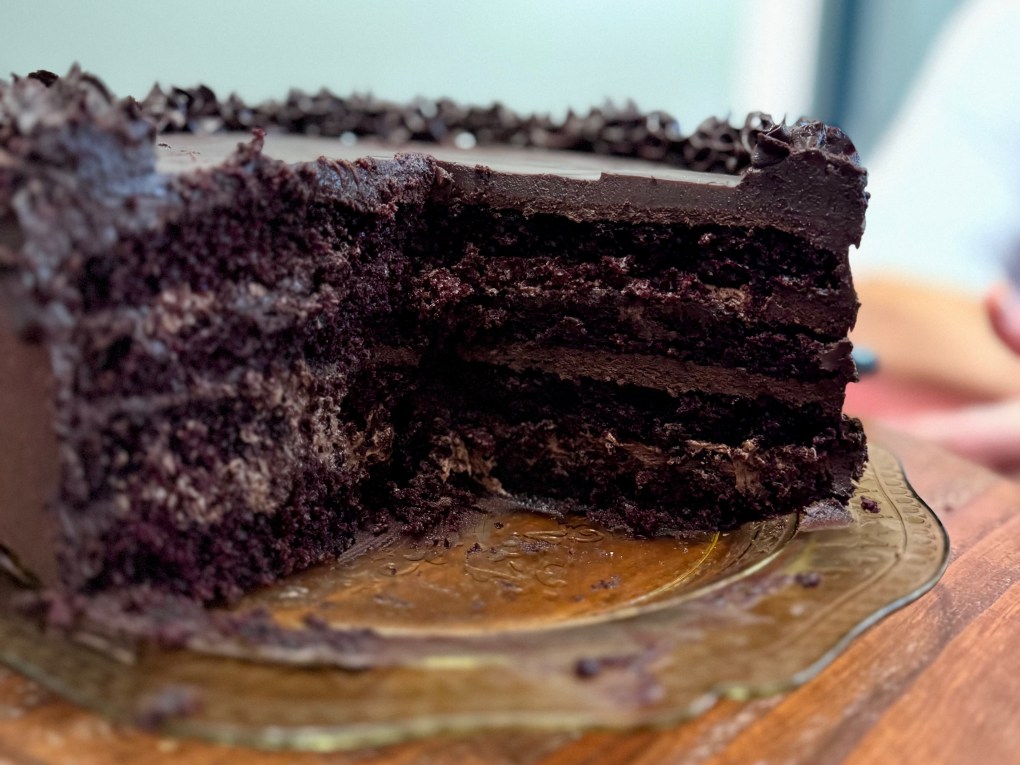
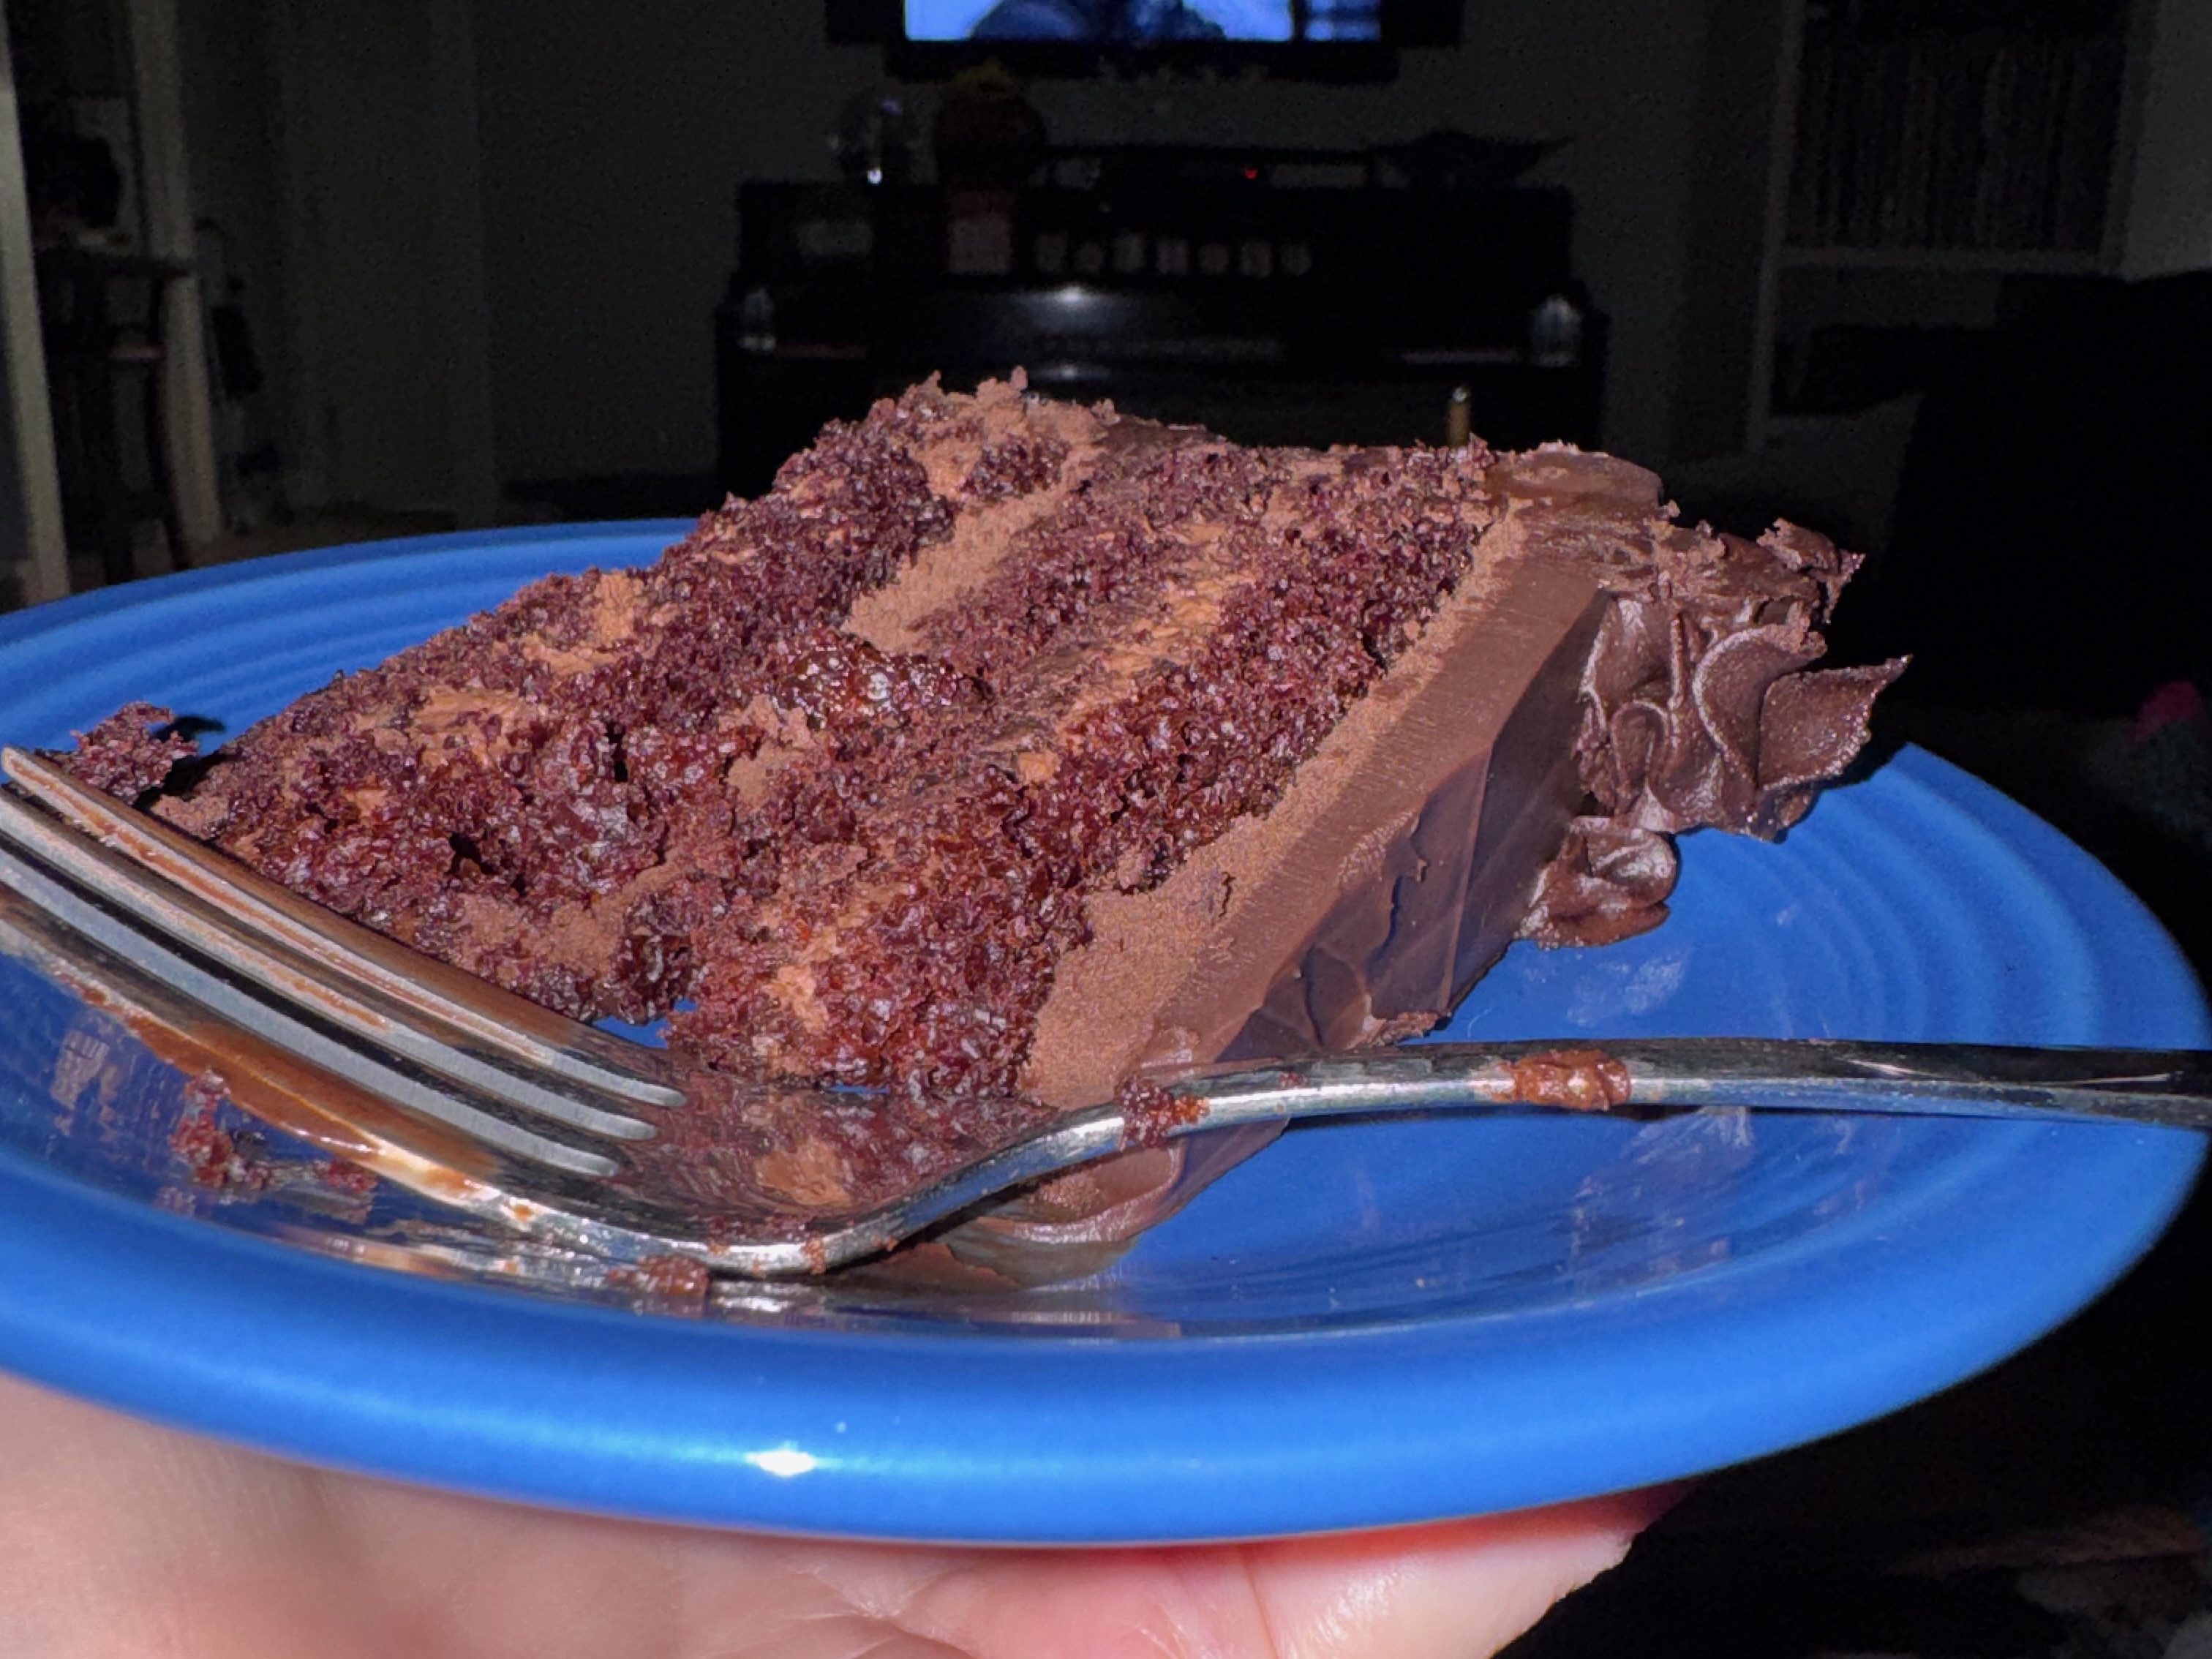
This was not a project to take lightly, as we were hosting friends who also worship chocolate, and I hate to disappoint. I wanted a decadent cake— go big or go home— and we all got my wish. This was rich, moist and oh-so-chocolatey, with alternating layers of fluffy chocolate mousse and double chocolate buttercream, then draped with a coat of dark chocolate ganache and blossoms of more chocolate buttercream to decorate the edges.
Piecing together my recipe
Knowing what kind of cake I wanted to make and knowing how to make it were two separate matters. I am prone to underestimate my baking skills, but I at least had a sense of what kind of recipe I could manage. The trouble was, I didn’t find one recipe that covered all the parts I imagined, so I had to mix and match components.
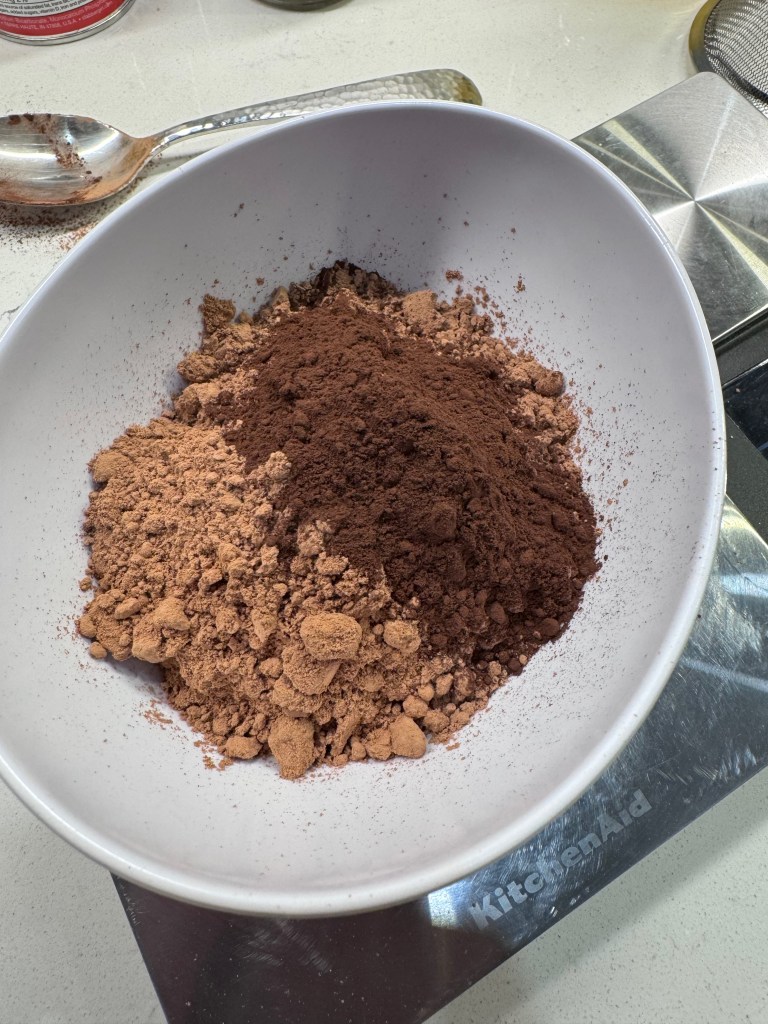
This cake recipe (by Sally’s Baking Addiction) called for oil rather than butter, which would allow me to store leftovers in the fridge to keep the ganache intact. I subbed in some dark cocoa with the natural type, with those flavors underscored by a half cup of strong coffee. Sour cream added richness and kept the cake moist. It was phenomenal!
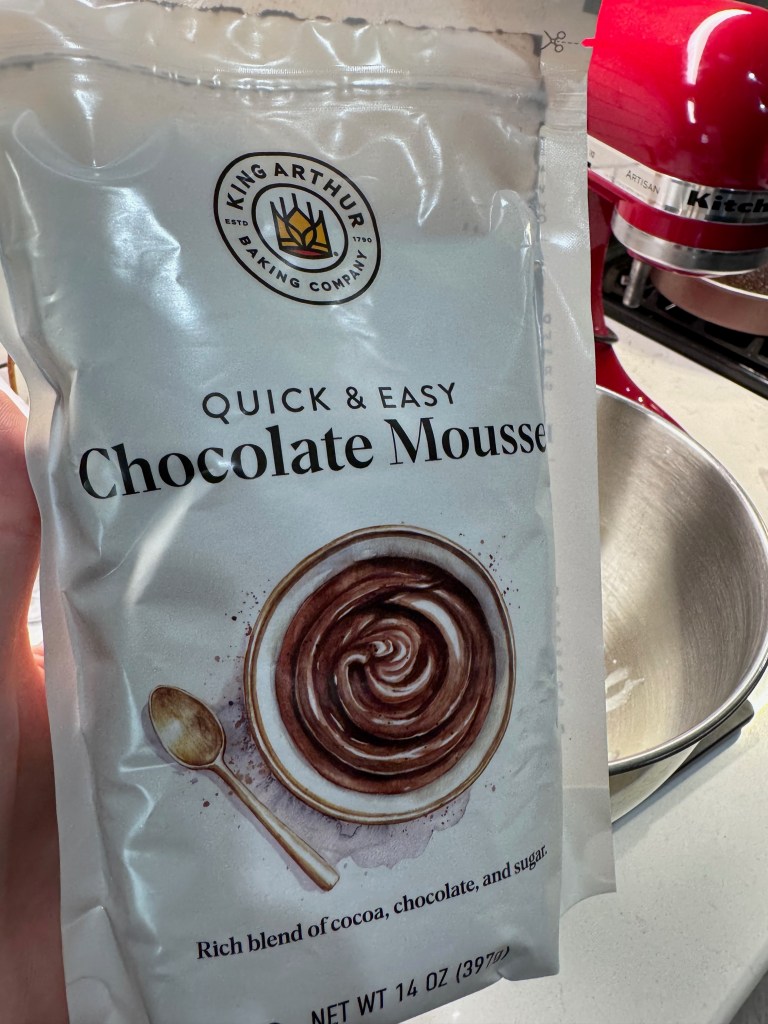
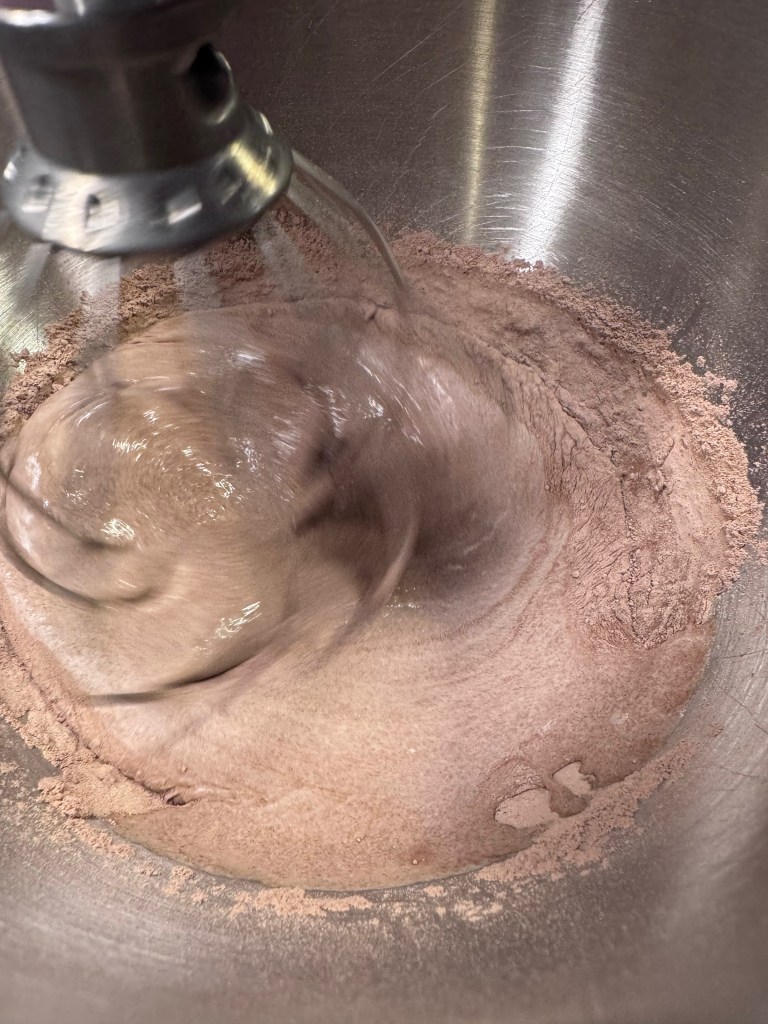
I had never made a fluffy chocolate mousse before, so I relied on a mix that turned out to be utterly amazing (thanks King Arthur Baking)! If you can’t get this product where you live, I’m certain that any quality mousse recipe will be a good substitute. For me, it was all about the texture.
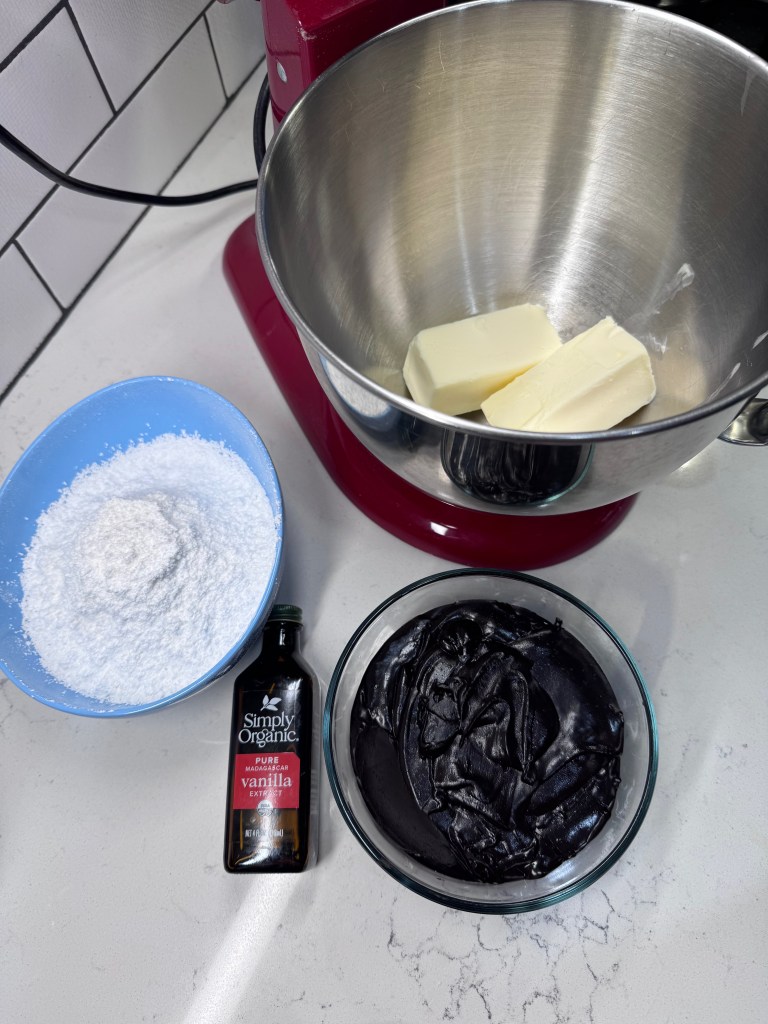
I wanted a chocolate buttercream that wasn’t grainy, as so many I’ve had in the past, so I searched out a recipe that involved blending the cocoa powder with hot cream first—brilliant! King Arthur Baking Company calls this a “super simple chocolate frosting,” which feels a bit misleading, given that it requires extra steps. But for real, this was well worth the extra effort!


And for the dark chocolate ganache, I wanted shine, so I added a bit of corn syrup to my usual formula of hot cream and dark chocolate wafers. This whole process made me so happy!
Assembly of my chocolate cake
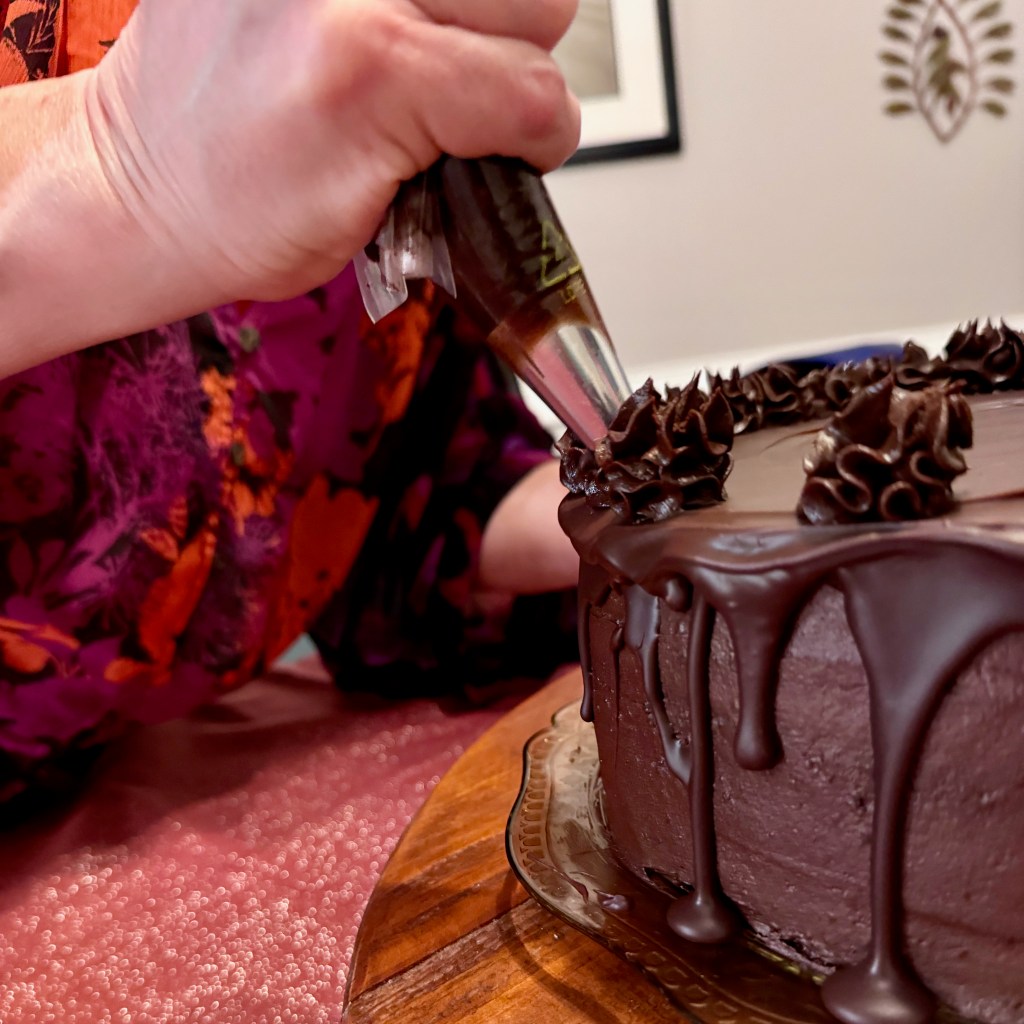
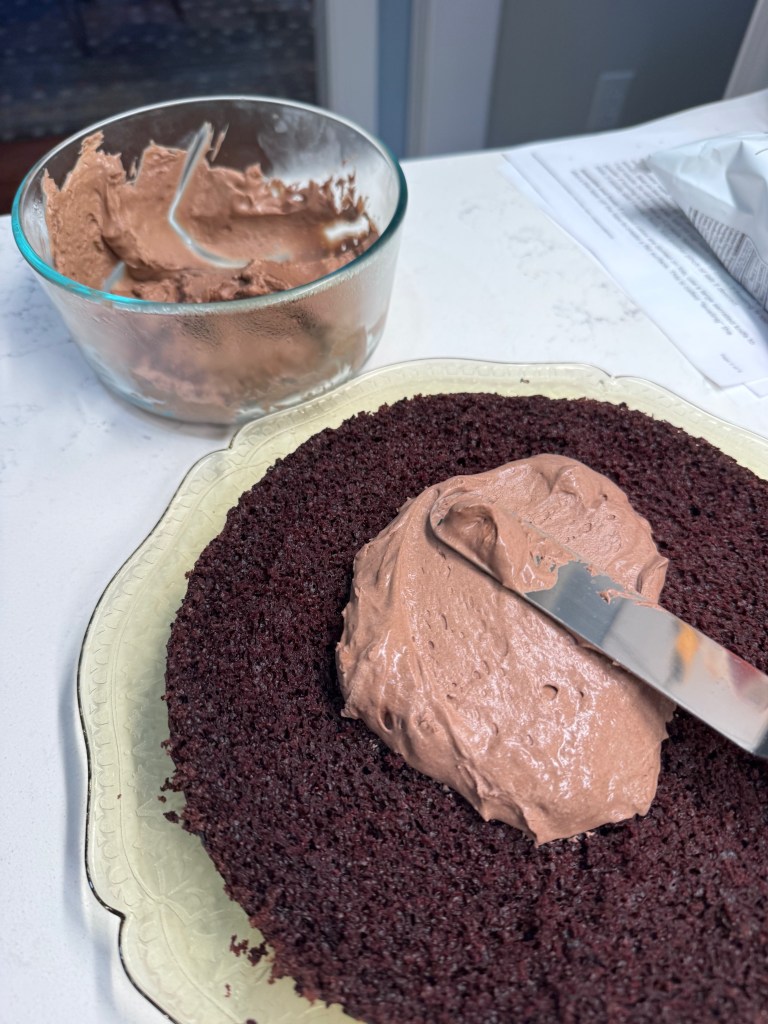
I made a last-minute decision to split my two cake layers for a four-layer cake, but then I found that I didn’t have quite enough mousse for three in-between fillings, which is probably a direct result of me having done so many taste tests— you know, to be sure the mousse was as delicious as I thought it was. Fortunately, I had more than enough of the buttercream, so it went like this: bottom cake layer, mousse, cake layer, buttercream, cake layer, mousse, top cake layer, buttercream. And then, of course, the ganache pour, and finally those buttercream blossoms.
I’m thankful for the great recipes I found, and they really worked great together for this exquisite chocolate cake. Next time, I will try the cake with only natural cocoa, for a sweeter chocolate flavor than the alkalized dark cocoa. Or maybe I’ll leave the cake as-is and change up the frosting with only natural cocoa. Maybe both. Practice really does make perfect, and though I already have changes in mind for next time, I will (not so) humbly admit that this was a fine cake. Perfect for the love of my life!
Death by Chocolate Cake
This cake is so far beyond decadent, I had to give it an extreme name. It has layer upon layer of chocolate, with a silky ganache topping the whole thing off. If you really, really love someone this Valentine's Day, make them this cake.
Ingredients
- 1 3/4 cups all-purpose flour
- 1/2 cup unsweetened natural cocoa powder
- 1/4 cup King Arthur brand Double Dark Cocoa Powder
- 1 2/3 cups organic cane sugar
- 2 tsp. baking soda
- 1 tsp. baking powder
- 1 tsp. salt
- 2 tsp. espresso powder (optional)
- 1/2 cup vegetable oil (or canola oil)
- 2 large eggs, at room temperature
- 2 tsp. real vanilla extract
- 1/2 cup real buttermilk
- 3/4 cup full-fat sour cream
- 1/2 cup strong brewed coffee (cooled)
- 2 cups prepared chocolate mousse, for layering if splitting the cake layers into four)
Directions
- Preheat oven to 350° F, with rack in center position. Generously butter two 9-inch cake pans, then line each with a round of parchment, and butter that, too. Dust with cocoa powder if desired.
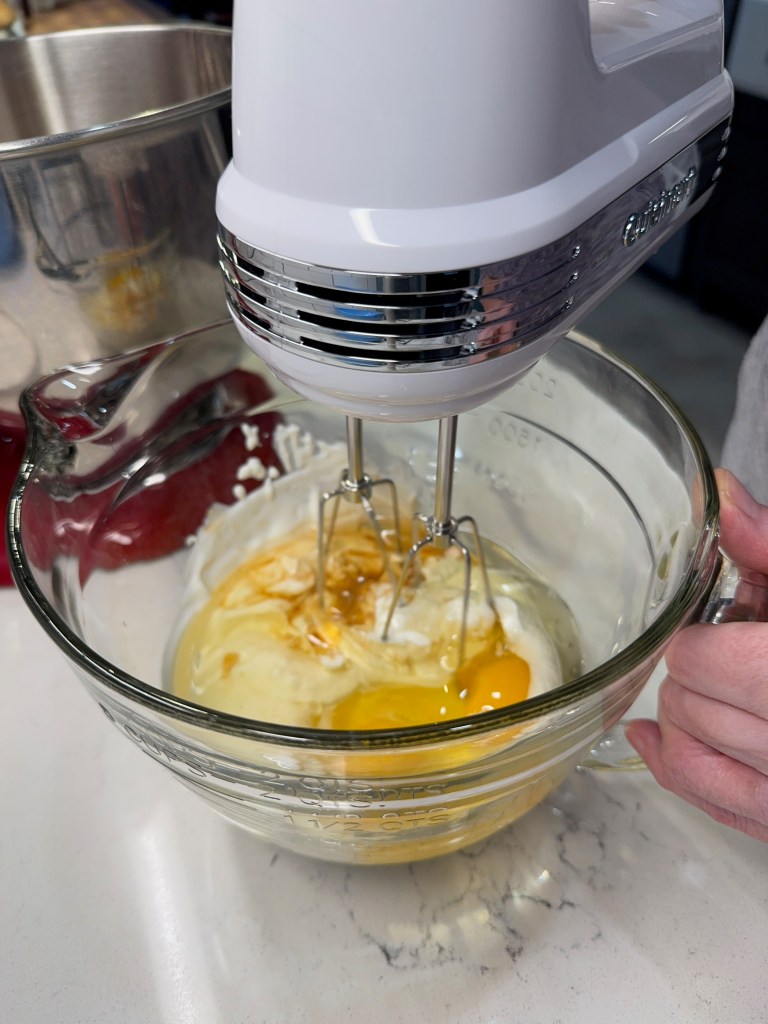
- In the bowl of a stand mixer, sift together the flour, cocoas, sugar, baking soda, baking powder, salt and espresso powder. In a separate bowl, user a hand mixer to thoroughly blend the oil, eggs, vanilla, buttermilk and sour cream.
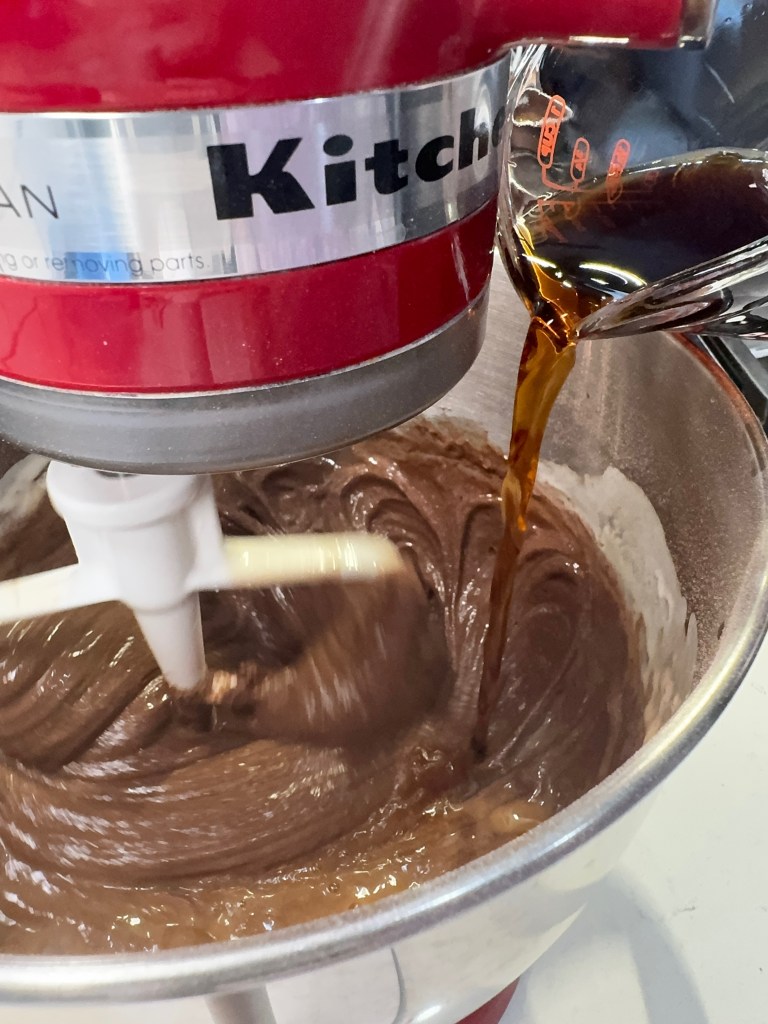
- With the stand mixer fitted with the paddle attachment, blend on low speed while gradually adding the blended wet ingredients to the bowl. Mix on low only until all dry ingredients are fully incorporated. Scrape down sides and bottom of the bowl, then slowly mix in the brewed coffee.
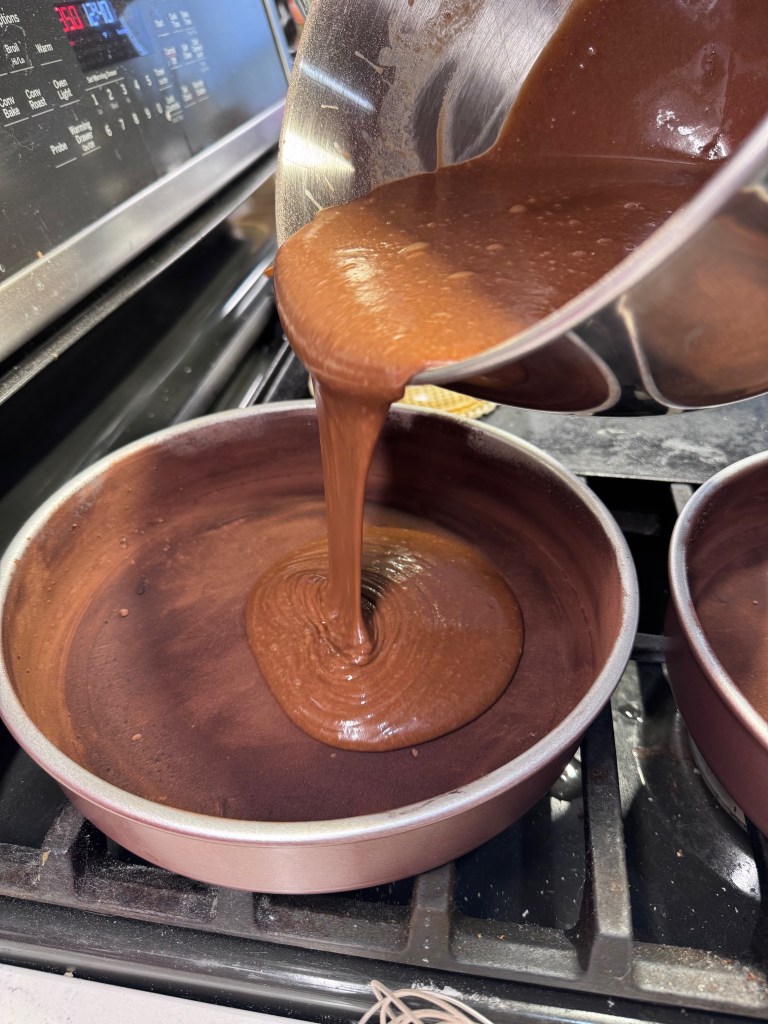
- Divide the batter evenly between prepared cake pans. Bake for about 24 minutes, until cake is set in the middle and passes the toothpick test. Cool the cakes completely in the pan, set on wire racks.
Ingredients
- 1 cup unsweetened natural cocoa
- 3/4 cup King Arthur Double Dark Cocoa Powder (or another dark Dutch-processed)
- 3 1/2 cups powdered sugar, divided
- 1 tsp. espresso powder (optional, but recommended for enhanced chocolate flavor)
- 1 cup heavy cream, heated to a simmer (DO NOT LET IT BOIL!)
- 2 sticks (one cup) unsalted butter, softened but not room temperature
- 1/8 teaspoon table salt
- 2 tsp. real vanilla extract
Directions
- In the bowl of a stand mixer, sift together the cocoas, plus 1 1/2 cups of the powdered sugar. Fit the mixer with the whisk attachment and, running on the lowest speed, slowly pour in the hot heavy cream. Whisk about two minutes, scraping down the sides of the bowl after one minute. This mixture will be rough at first, but will smooth out and soften as the cocoa absorbs the cream and dissolves. Set this mixture aside, or refrigerate overnight and bring to room temp when you’re ready to proceed.
- In the clean bowl of a stand mixer, fitted with the whisk, cream the butter until it’s lighter in color and somewhat fluffy. Add the salt and the remaining powdered sugar, one cup at a time, whisking until smooth. Beat in the vanilla.
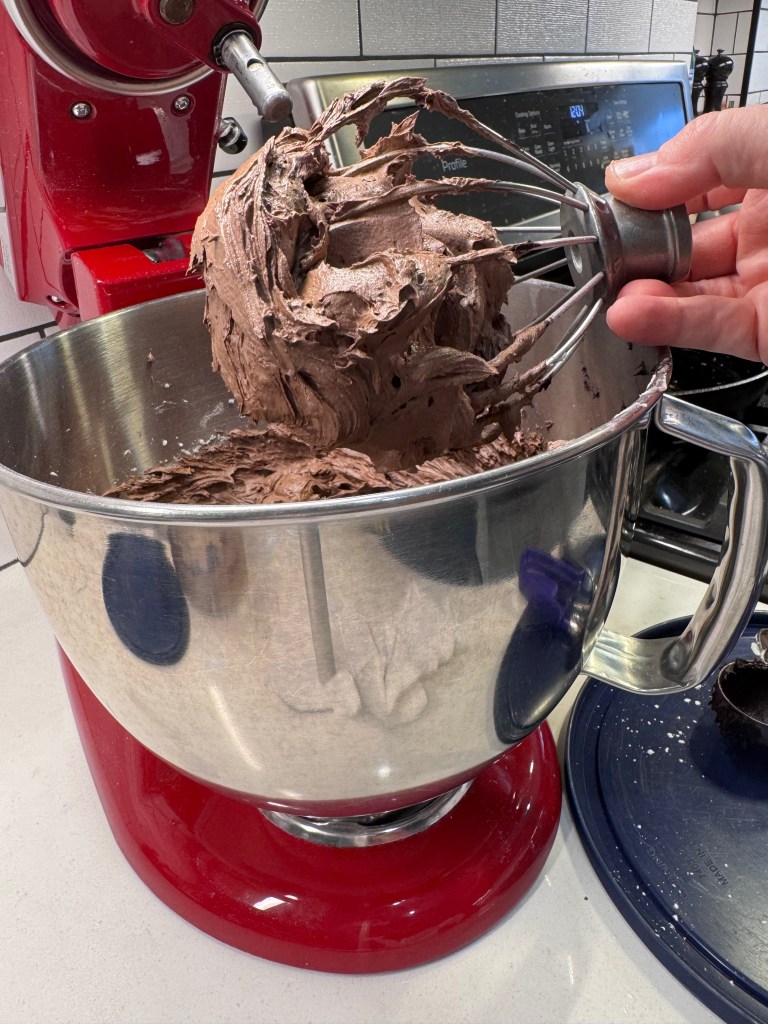
- Here comes the fun part! Add a cooked cocoa mixture, a dollop at a time, whisking until smooth after each addition. It’s super important that the cocoa mixture is room temperature at this stage. Too warm will melt the butter, and too cold will not blend well. Whip the mixture until it’s soft and fluffy to your liking. If you’re working ahead, you can cover and refrigerate the frosting; bring it back to room temperature when you’re ready to frost the cake.
Ingredients
- 8 oz. dark chocolate wafers (I like Ghirardelli brand)
- 8 oz. (1 cup) heavy cream, heated until steaming (DO NOT BOIL!)
- 2 Tbsp. light corn syrup
Directions
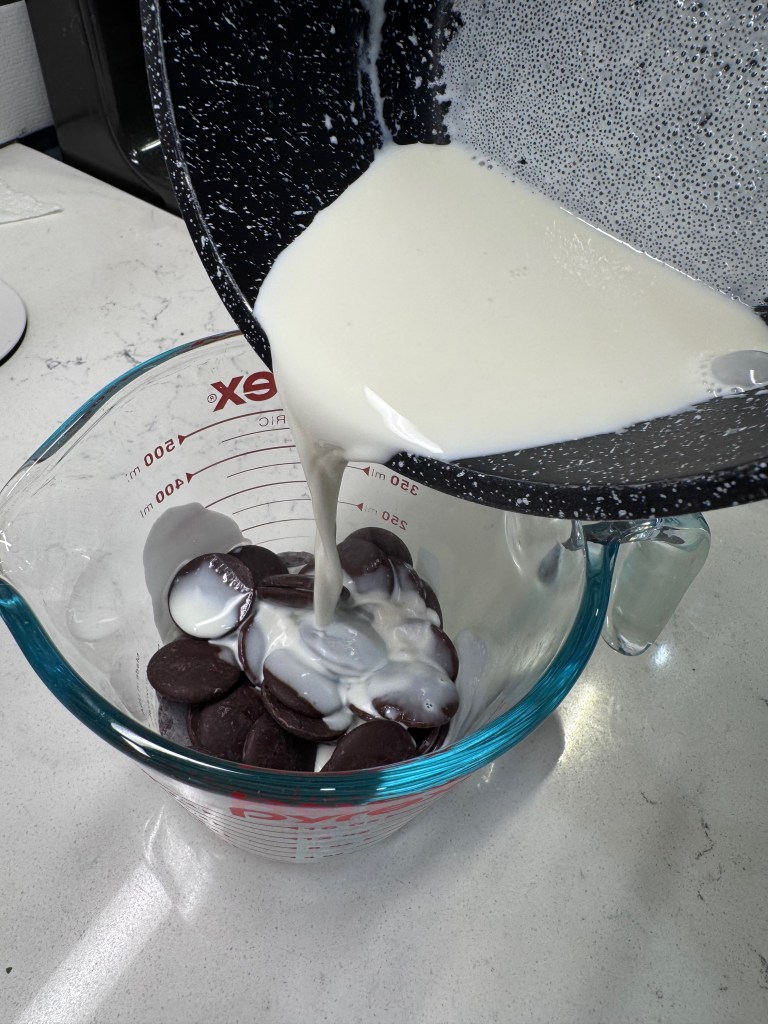
- Place the chocolate wafers in a large glass measuring cup. Pour cream over the wafers, pushing them under to fully melt under the cream. WALK AWAY for at least 8 minutes, 10 is better.
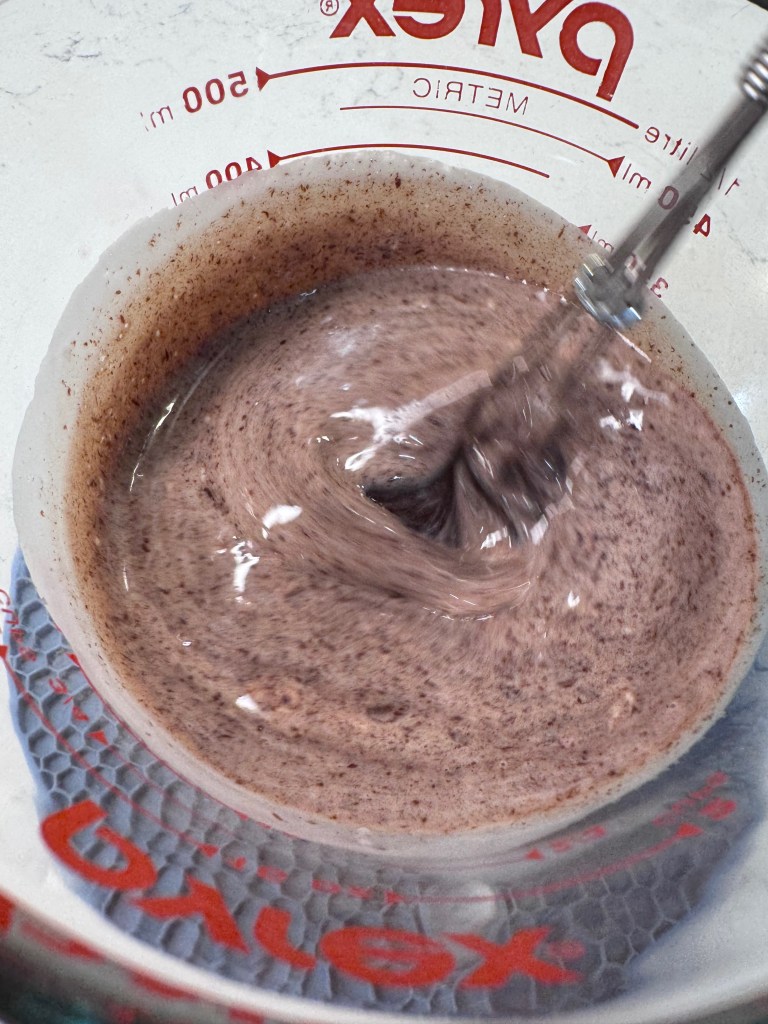
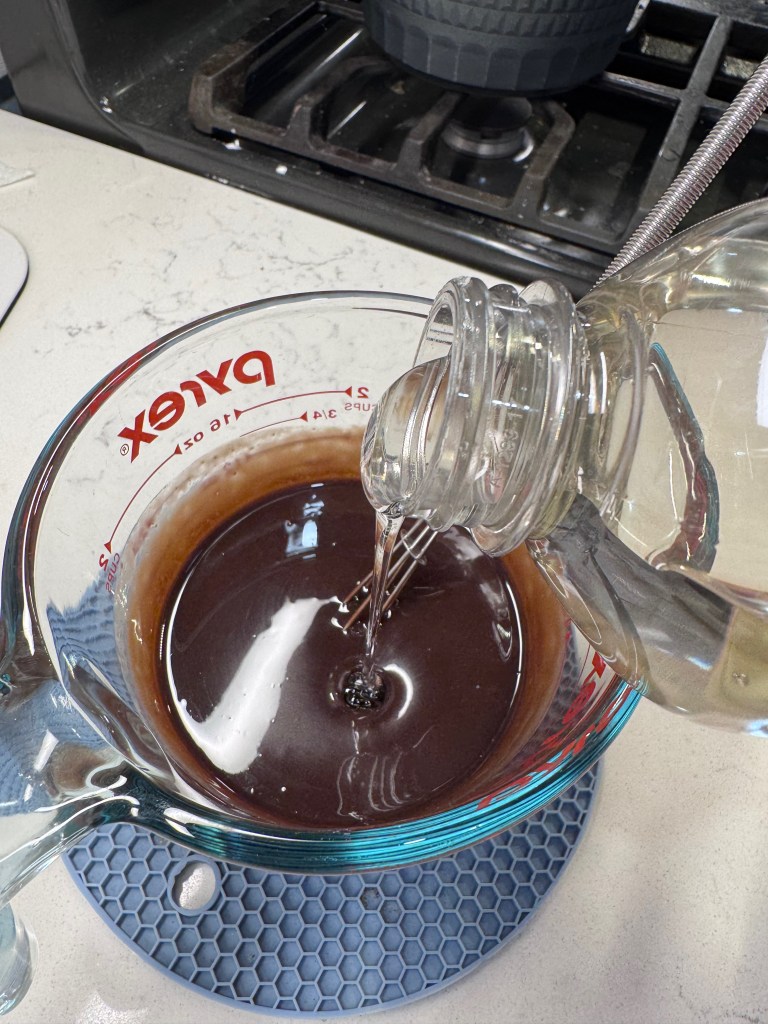
- Use a small whisk or spoon to gently stir the mixture, starting in the center of the measuring cup. It will look terrible at first, but keep stirring. After a few seconds, the mixture will even out and look silky. Be sure to whisk all the way to the bottom of the cup and up the sides to blend all the chocolate. When the mixture is perfectly smooth, stir in corn syrup. Allow the ganache to cool to “just barely warm” state, so that it is pourable, but not so warm that it melts your buttercream.
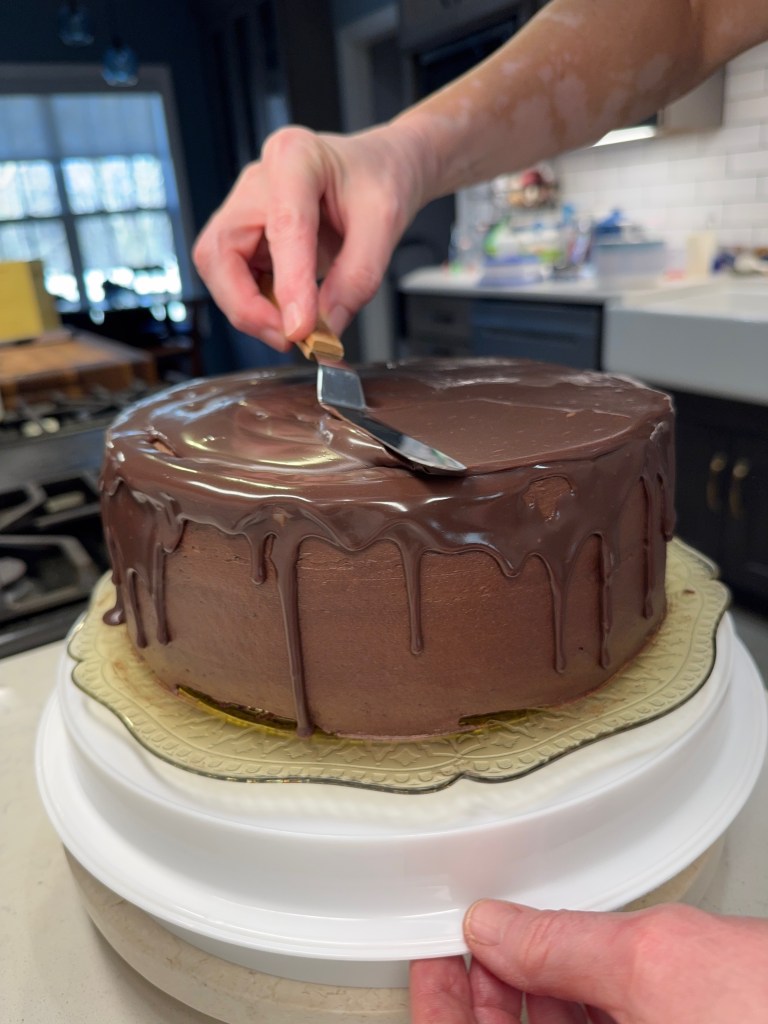
To assemble your cake, cut the two cake layers horizontally, making four layers total. Spread prepared chocolate mousse over the first layer, then apply the second layer and spread that with chocolate buttercream. Repeat with another layer of cake and mousse, then top with a final layer of cake. Frost the top and sides with more buttercream, reserving just enough for embellishment on the top of the cake. Cover and refrigerate the cake for at least a couple of hours. Carefully pour the ganache over the cake, encouraging it to run down the sides over the buttercream. Refrigerate the cake again until the ganache is firm. Add remaining buttercream to a piping bag fitted with a star tip. Pipe decorative rosettes around the edge of the cake if desired. Refrigerate leftover cake.
Discover more from Comfort du Jour
Subscribe to get the latest posts sent to your email.

8 thoughts on “Death by Chocolate Cake ❤️”