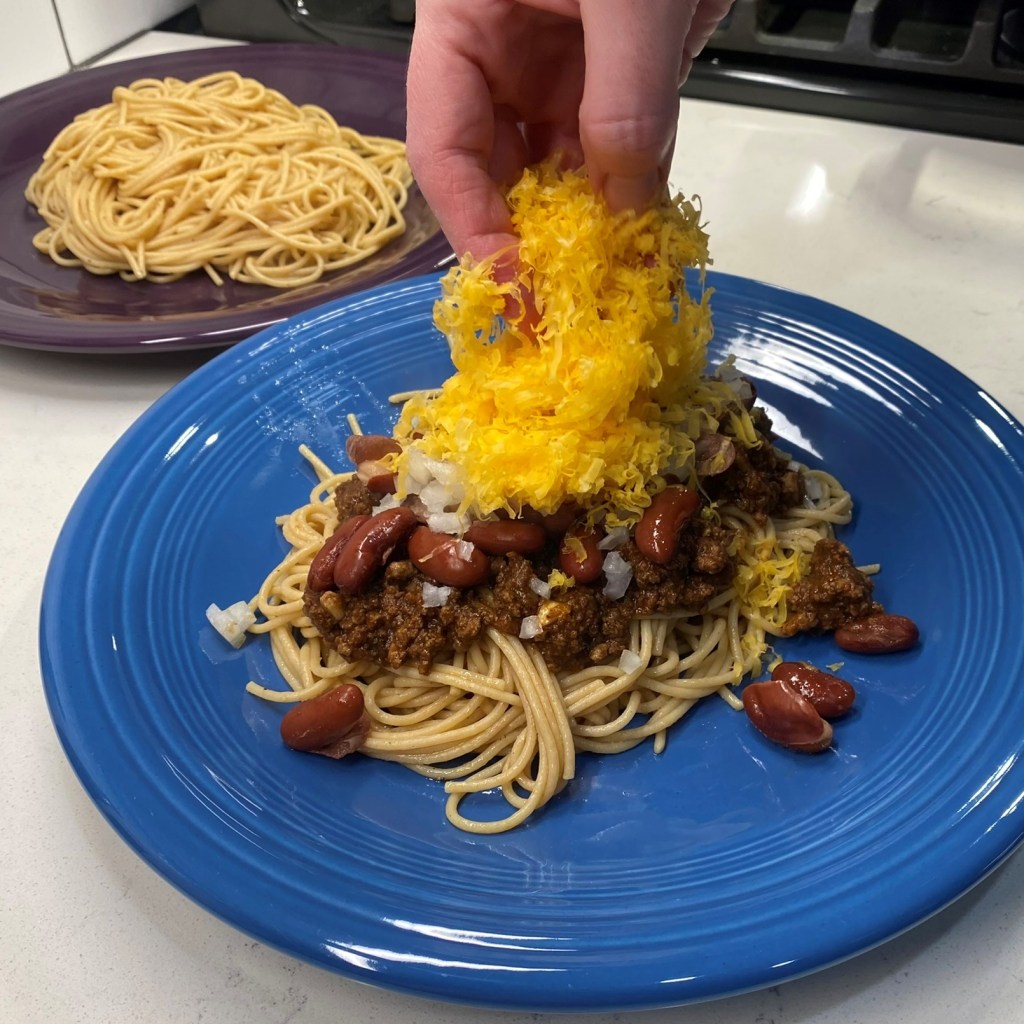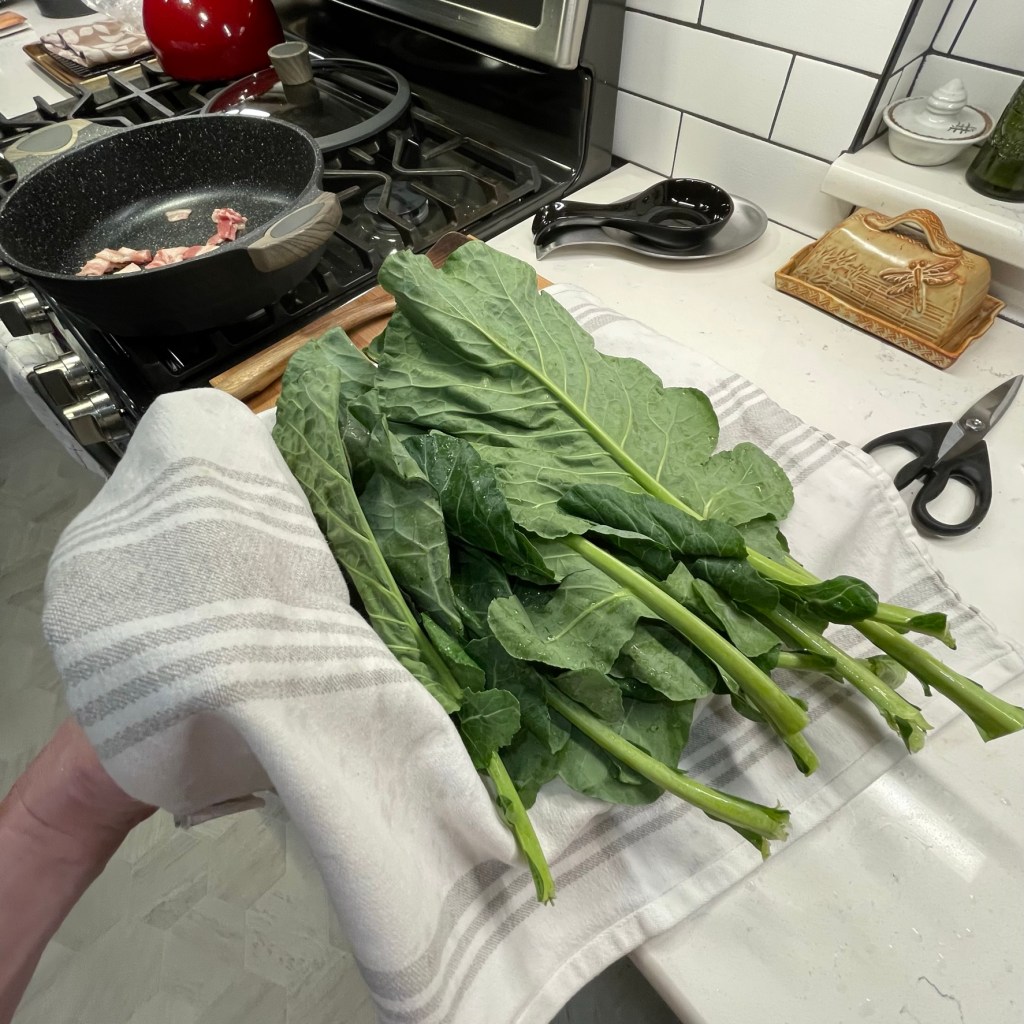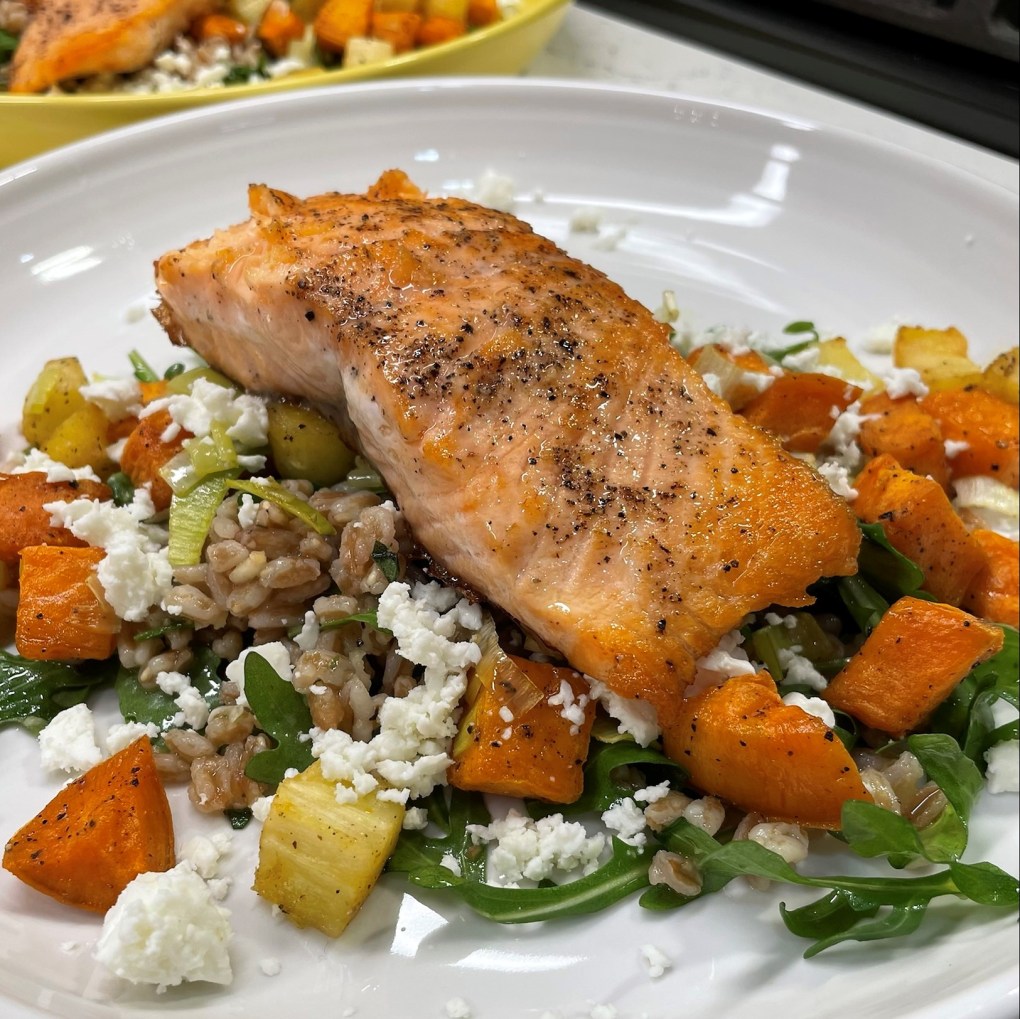
Comfort foods come in many shapes and sizes, though I usually think of them as rich, creamy sauces or over-the-top pizzas or decadent ice creams. But this entrée, despite being inherently light and healthful, is also very comforting, thanks to the variety of textures and flavors in the mix.
I designed this pretty plate from memory after a brunch with co-workers during the holiday season. It was the farro salad and roasted root vegetables that caught my eye on the menu that day. I loved the tender chew of the farro and the warmth and earthiness given by the sweet potatoes and parsnips. If you are not familiar with farro, please allow me to introduce you.

What is farro?
Farro is an ancient grain that is native to Italy. It is perhaps better described as a category of grain, given that three distinct varieties—spelt, einkorn and emmer—are frequently described as “farro.” In its most basic state, farro is a hard kernel that can either be cooked whole in water or ground into meal or flour. But it may also be partially or fully pearled, meaning that some or all of the bran has been removed. The pearling process results in altered cooking time, but the grain would still be suitable for the same kinds of dishes.
What does farro taste like?
When cooked as a whole grain, farro has a warm, nutty flavor that is similar to that of brown rice. Unlike most conventional wheat grains, farro has not been greatly hybridized from its ancient state, and some people find it more easily digestible for that reason. But as a botanical relative of wheat, farro does contain gluten and should be avoided by people with gluten sensitivity or celiac disease.
How do you cook farro?
To cook partially pearled farro (the most common form you’ll find in stores), give it a rinse under running water and inspect the grains to weed out any small debris that may have missed screening during packaging. Add the farro to double the amount of water and heat until boiling, then reduce heat and simmer about 20 to 25 minutes for al dente, or longer if you want it more tender. Farro that has not been pearled may take twice as long, and some packaged farro is par-cooked for quicker preparation, so always check the label instructions for recommended cooking time.
What can you use farro for?
Farro is a versatile grain that can be used in pilafs, salads or soups. If ground into flour, it can be used in baking recipes, though the resulting texture would be more dense than baked goods made with typical wheat. If you want to try farro flour in a favorite bread recipe, consider substituting only about one-fourth of the total amount of flour, and increase the amount the next time when you better understand its properties.
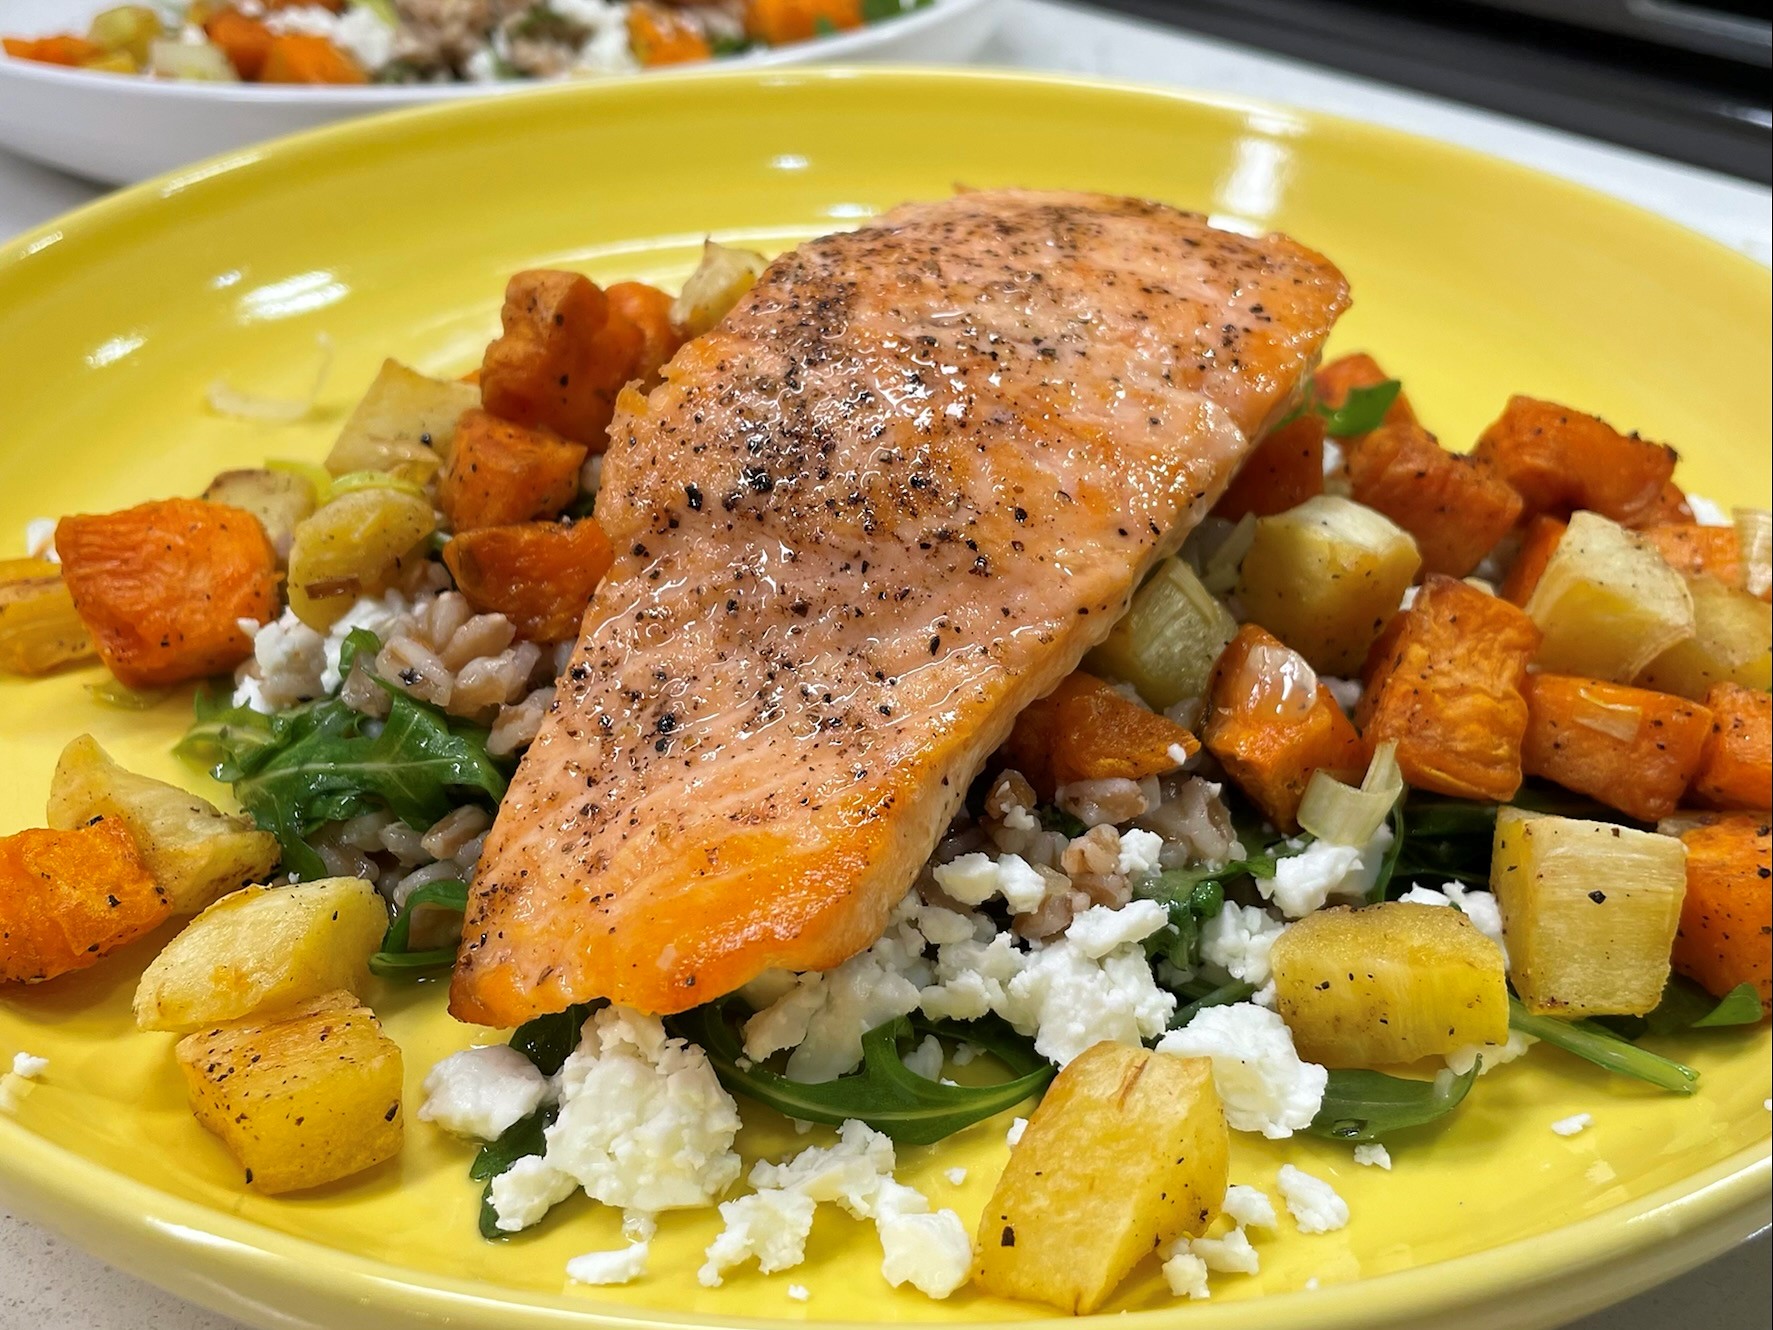
The rest of this recipe is straightforward and simple—the sweet potatoes and parsnips are tossed lightly in olive oil and roasted until tender and browned, and the salmon is lightly seared in a skillet with nothing more than salt and pepper. A quick vinaigrette of lemon, garlic and oregano ties the whole dish together with a fat handful of peppery arugula greens.
Ingredients
1 large sweet potato, peeled and cut into large chunks
2 parsnips, peeled and cut into large chunks
2 Tbsp. extra virgin olive oil
Kosher salt and freshly ground black pepper
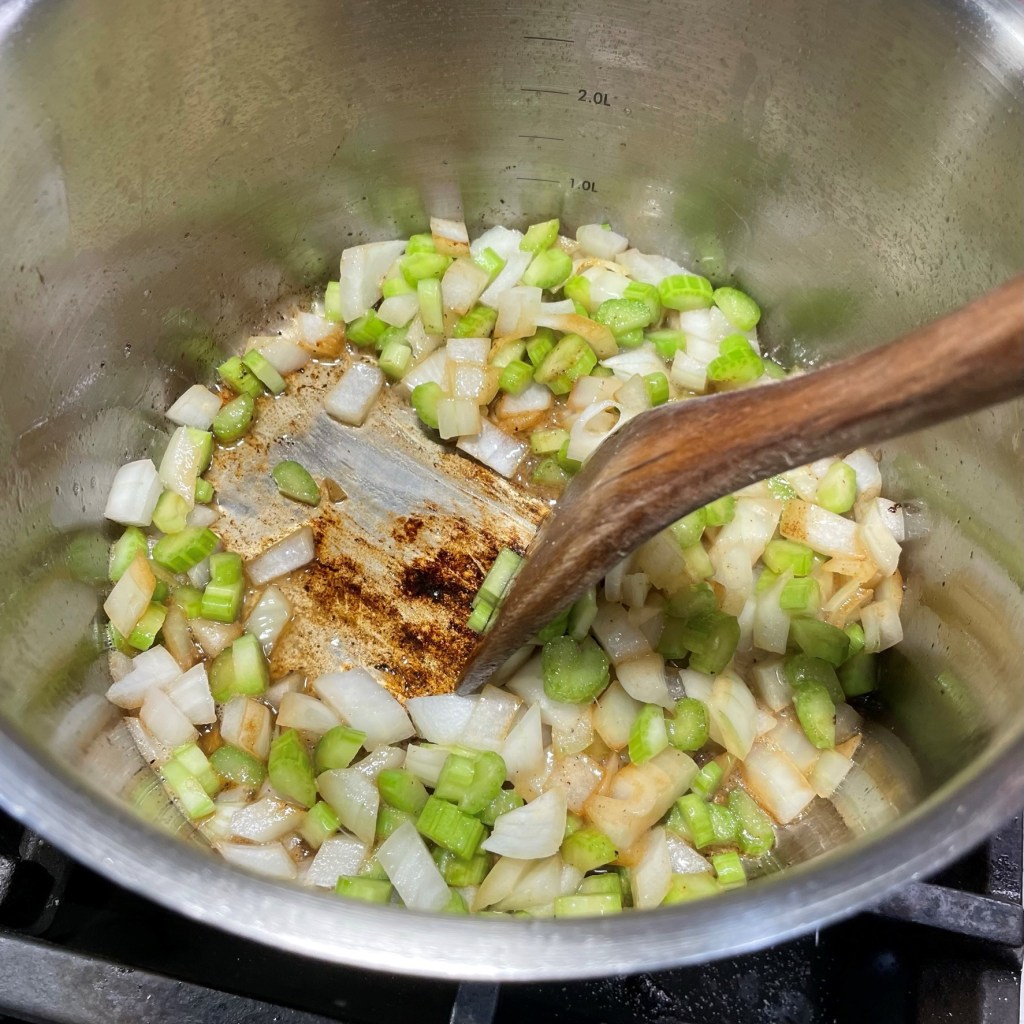
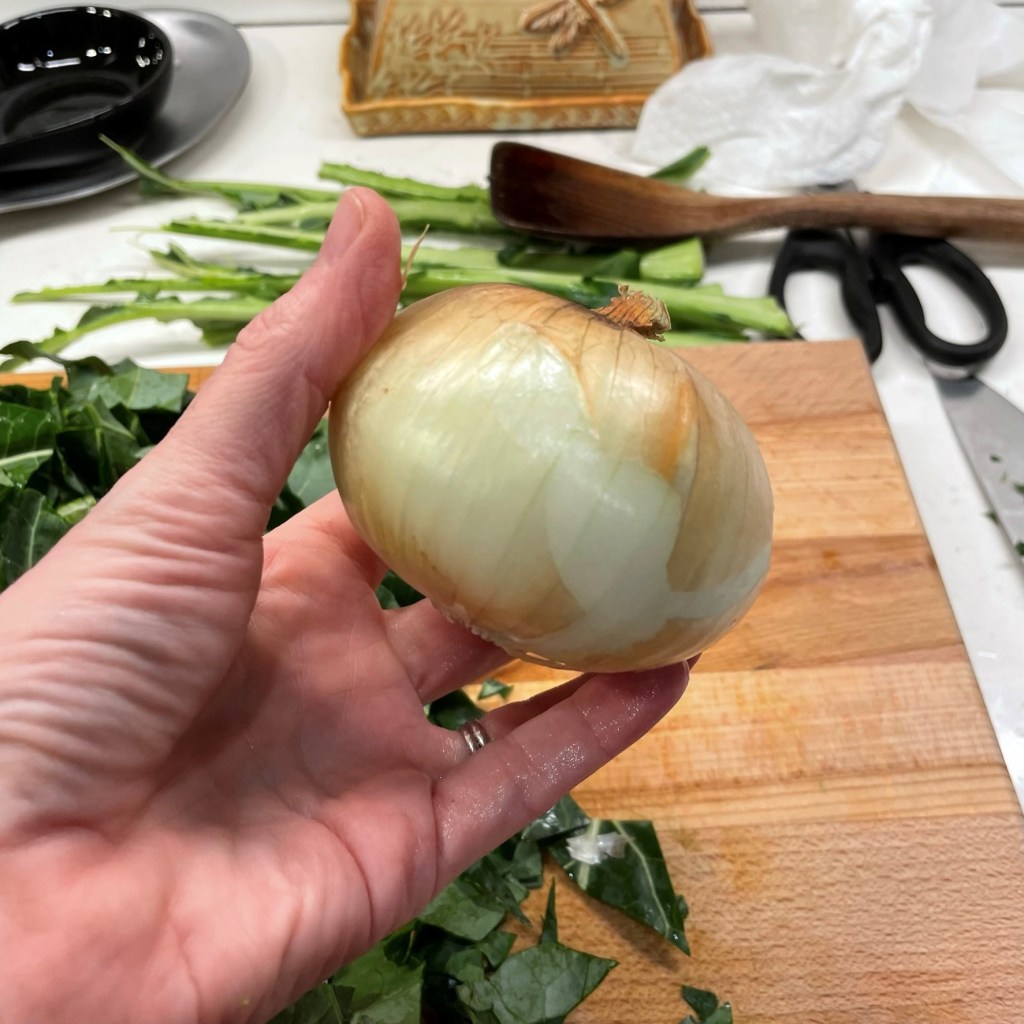
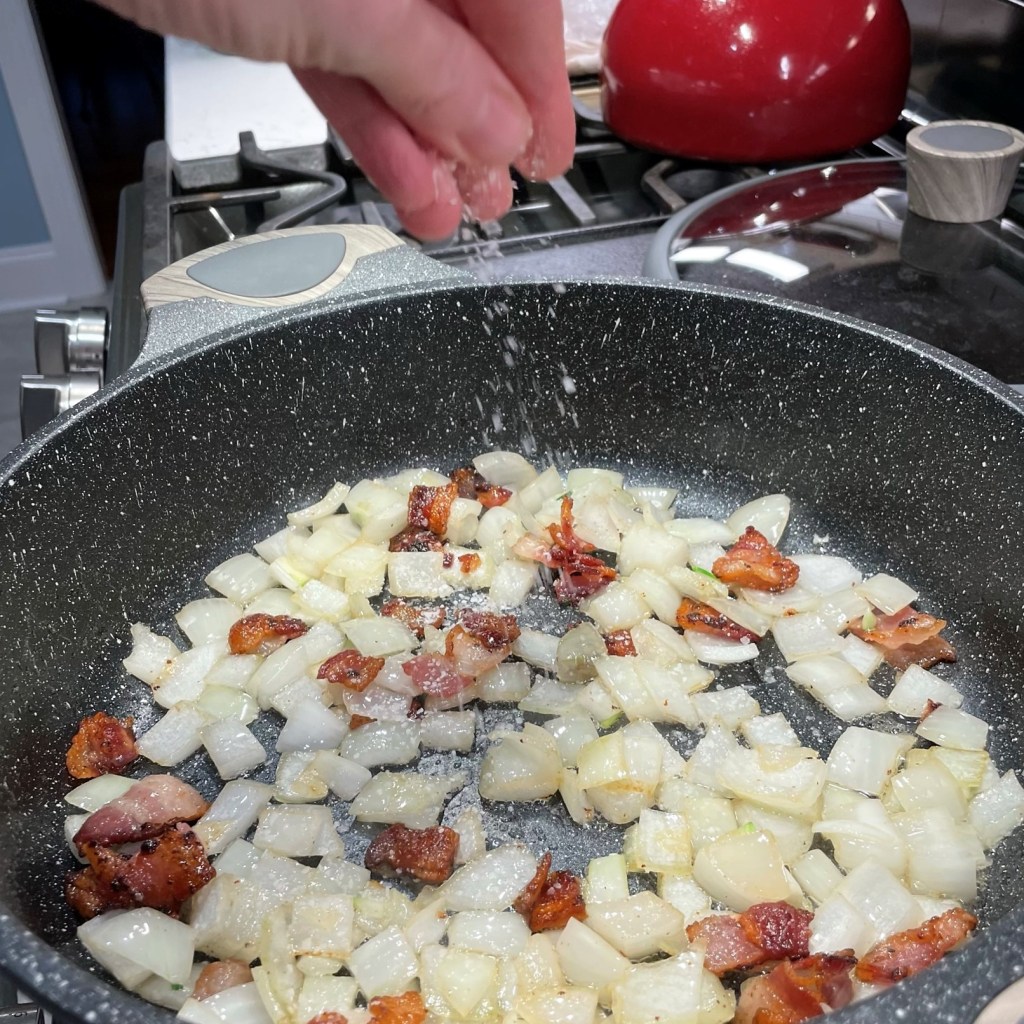
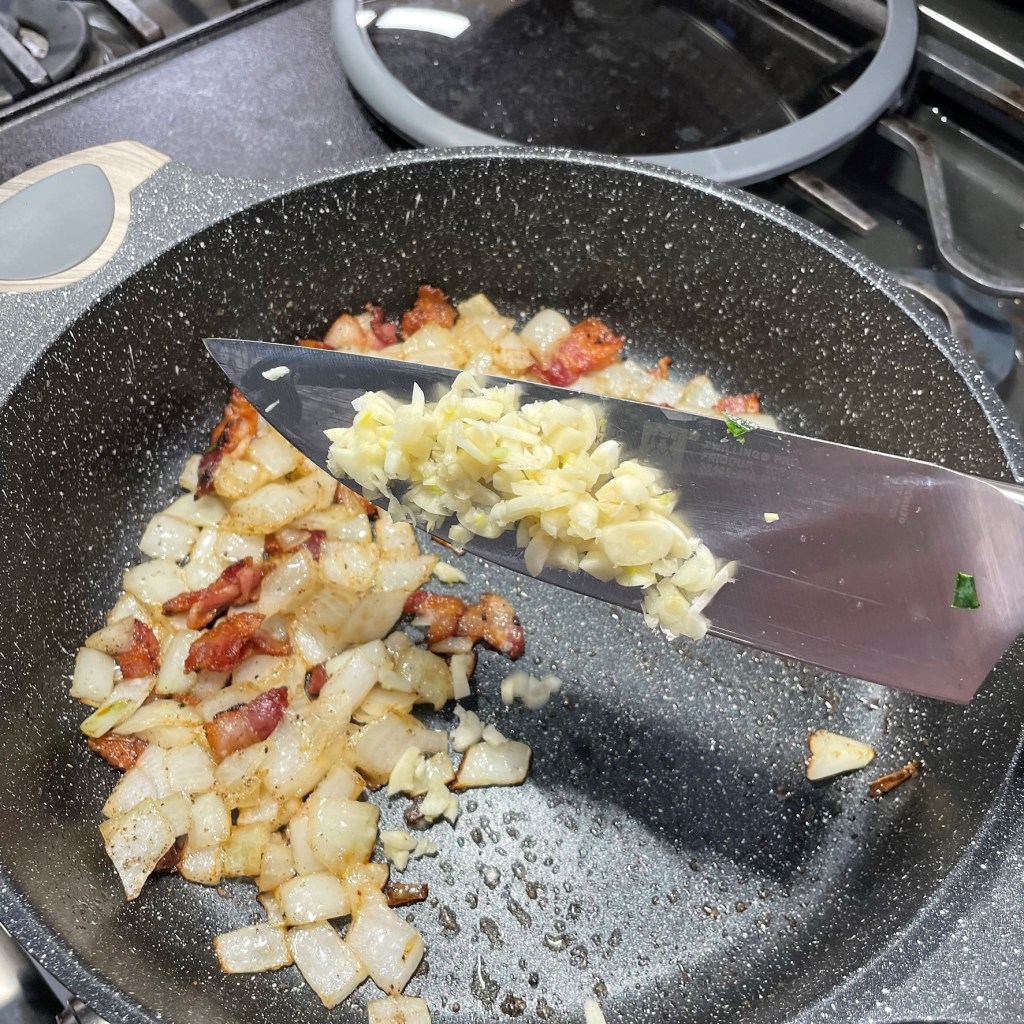
1/2 cup sliced fresh leeks (or chopped sweet onion)
1 cup cooked farro* (see recipe notes)
A fat handful fresh baby arugula leaves, washed
Garlic-oregano vinaigrette*
2 fillets fresh salmon, skin removed
1/4 cup crumbled feta (or goat cheese)
*Recipe Notes
As noted above, some farro products have been par-cooked for convenience. Follow the instructions on your package to cook the farro to “al dente” stage, so that it is soft but still has a bit of chew to it.
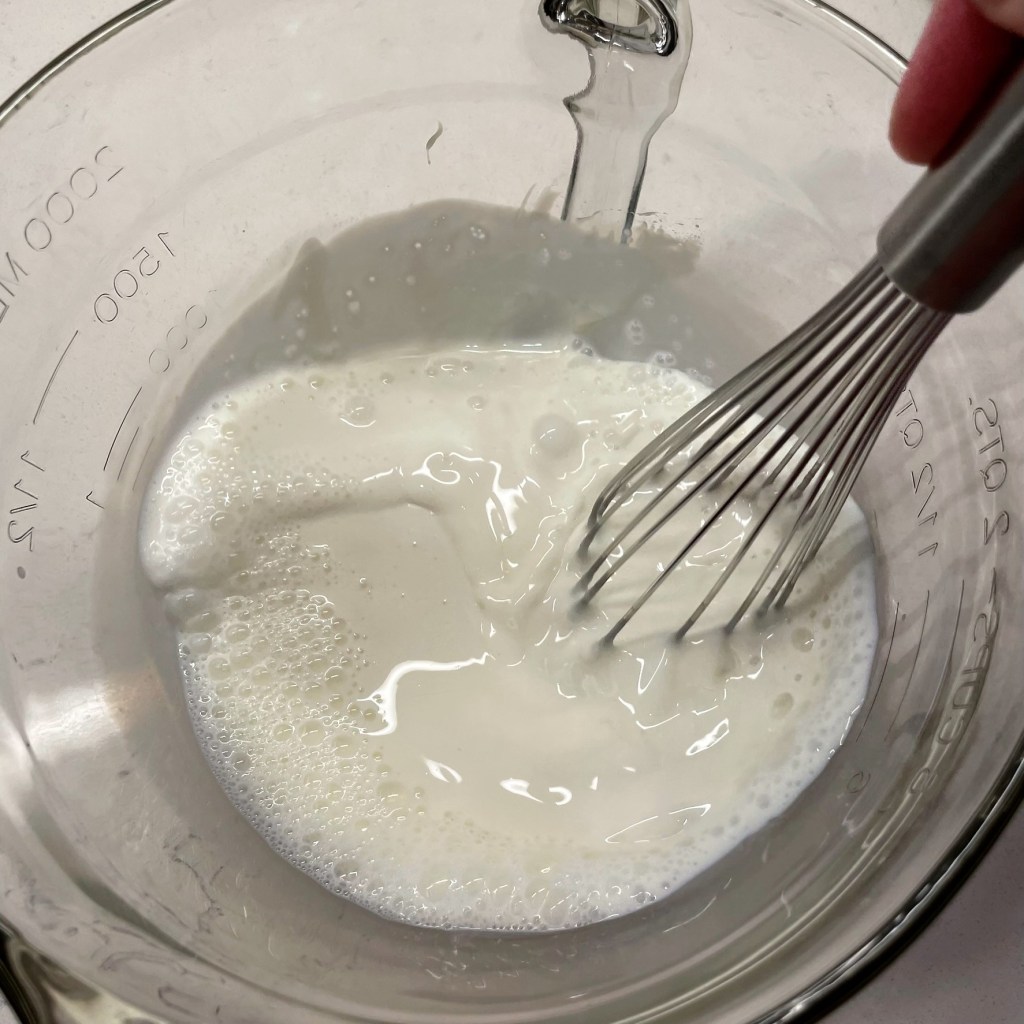
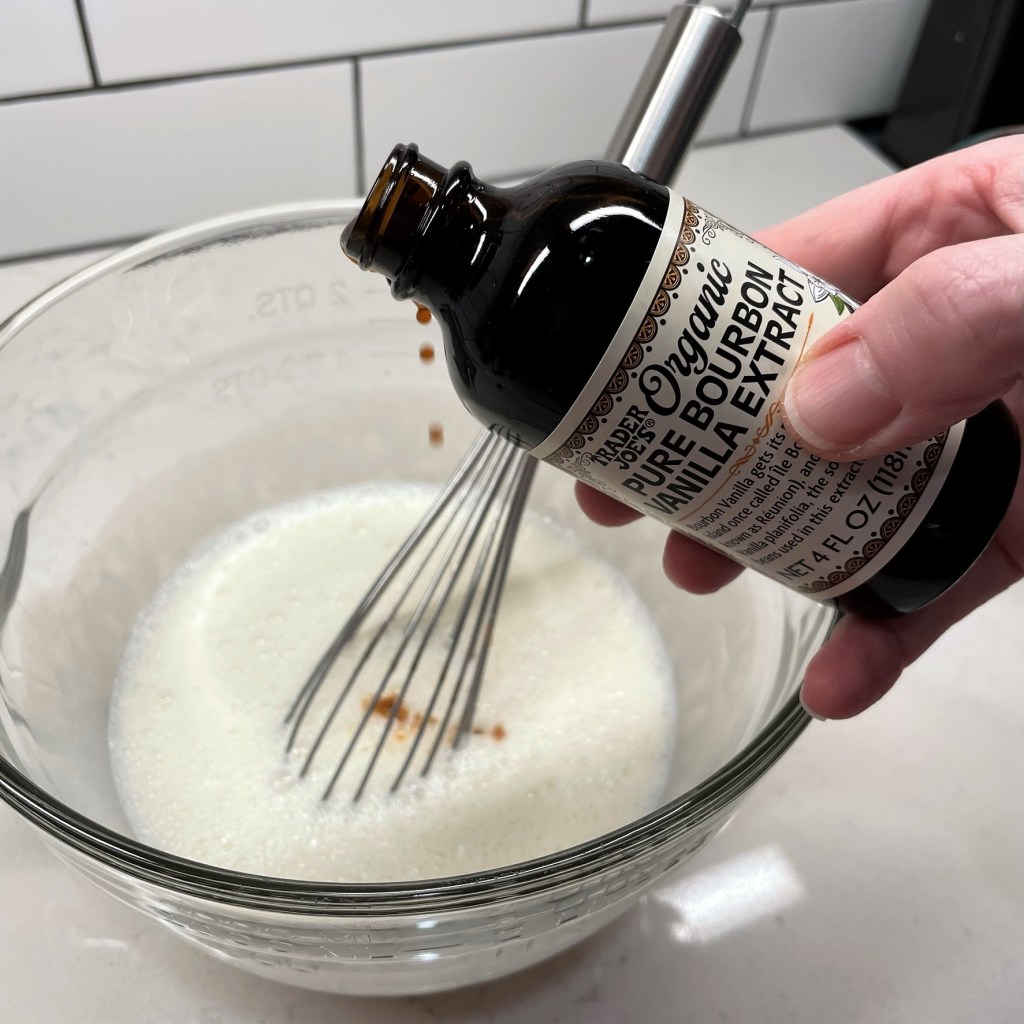
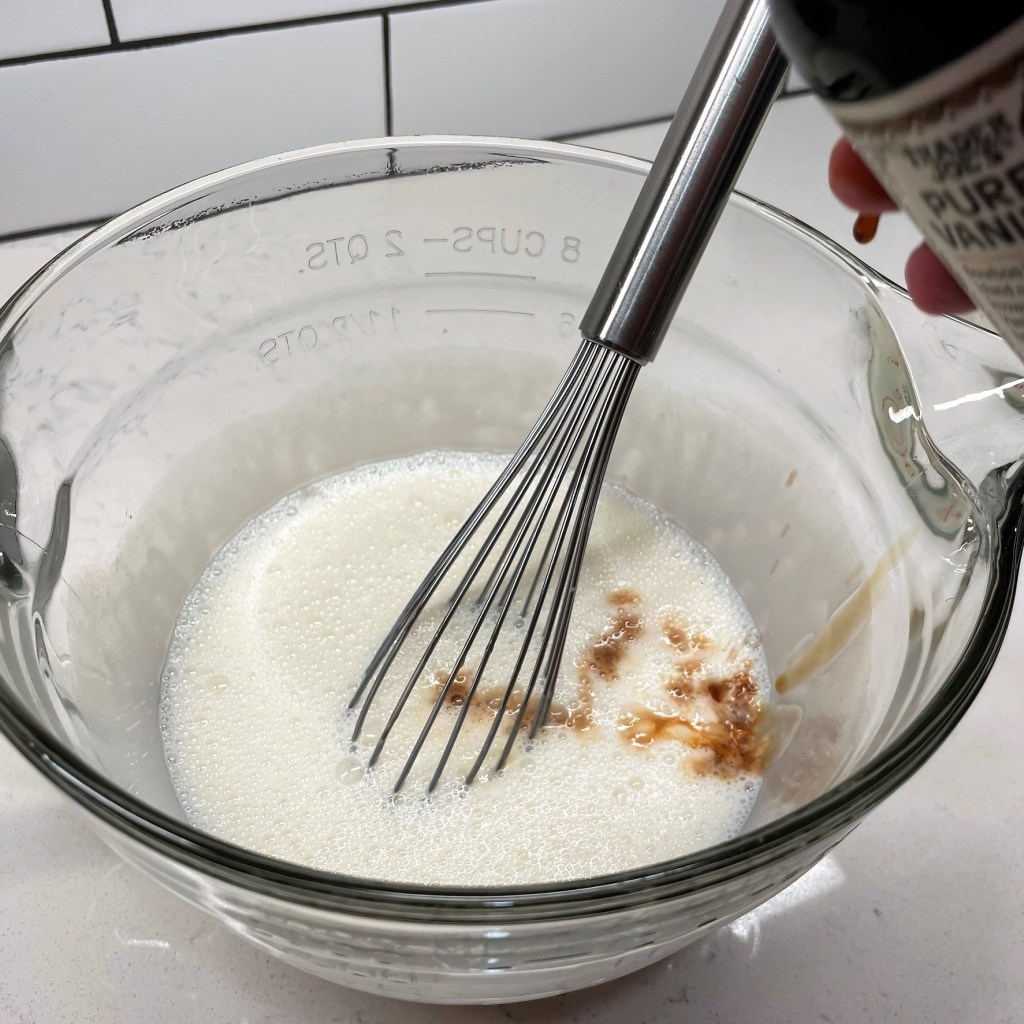
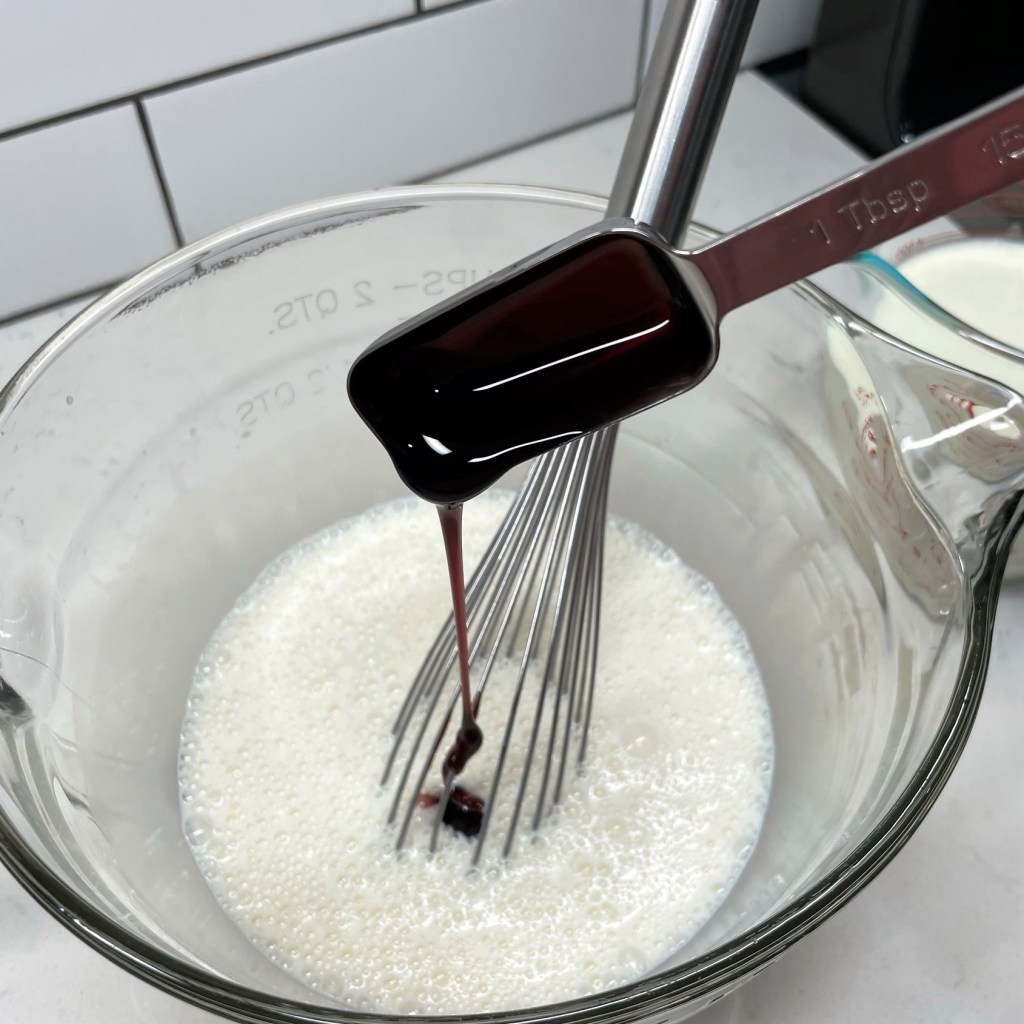
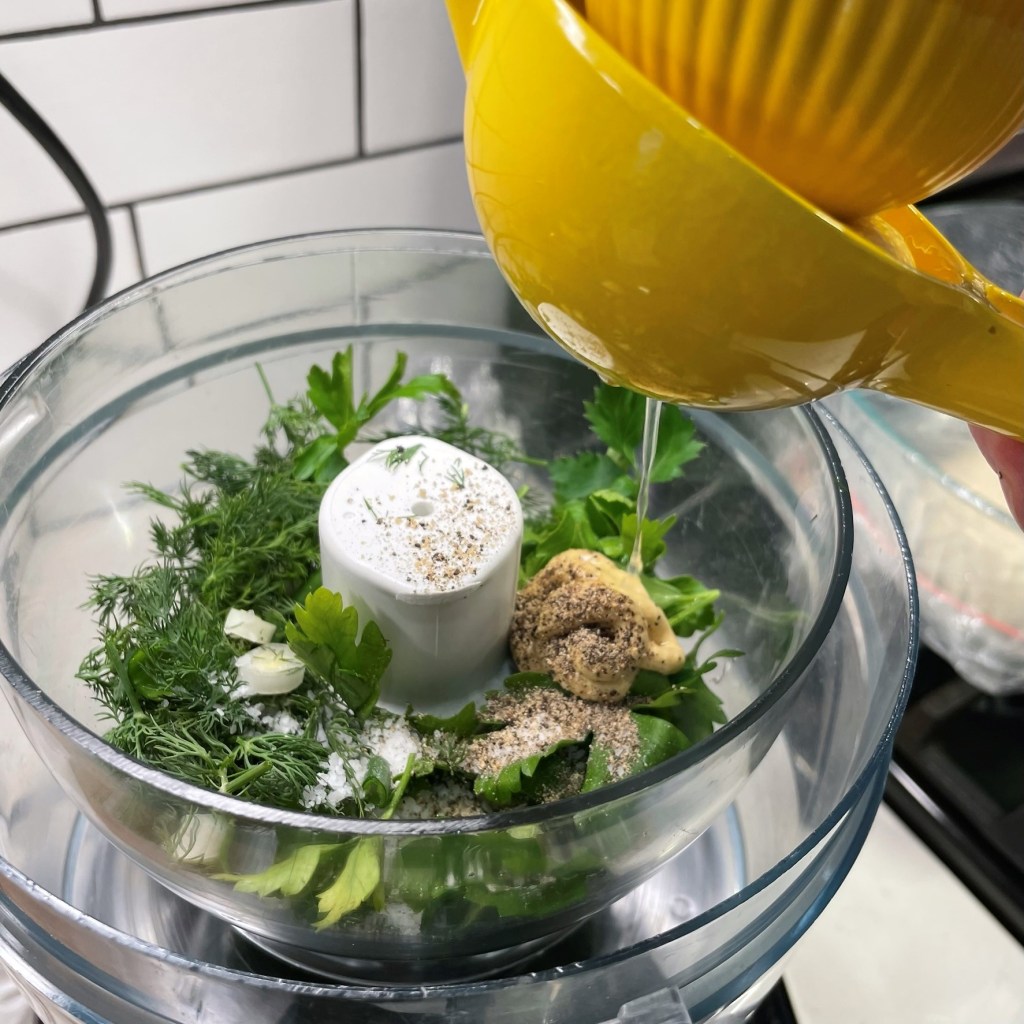
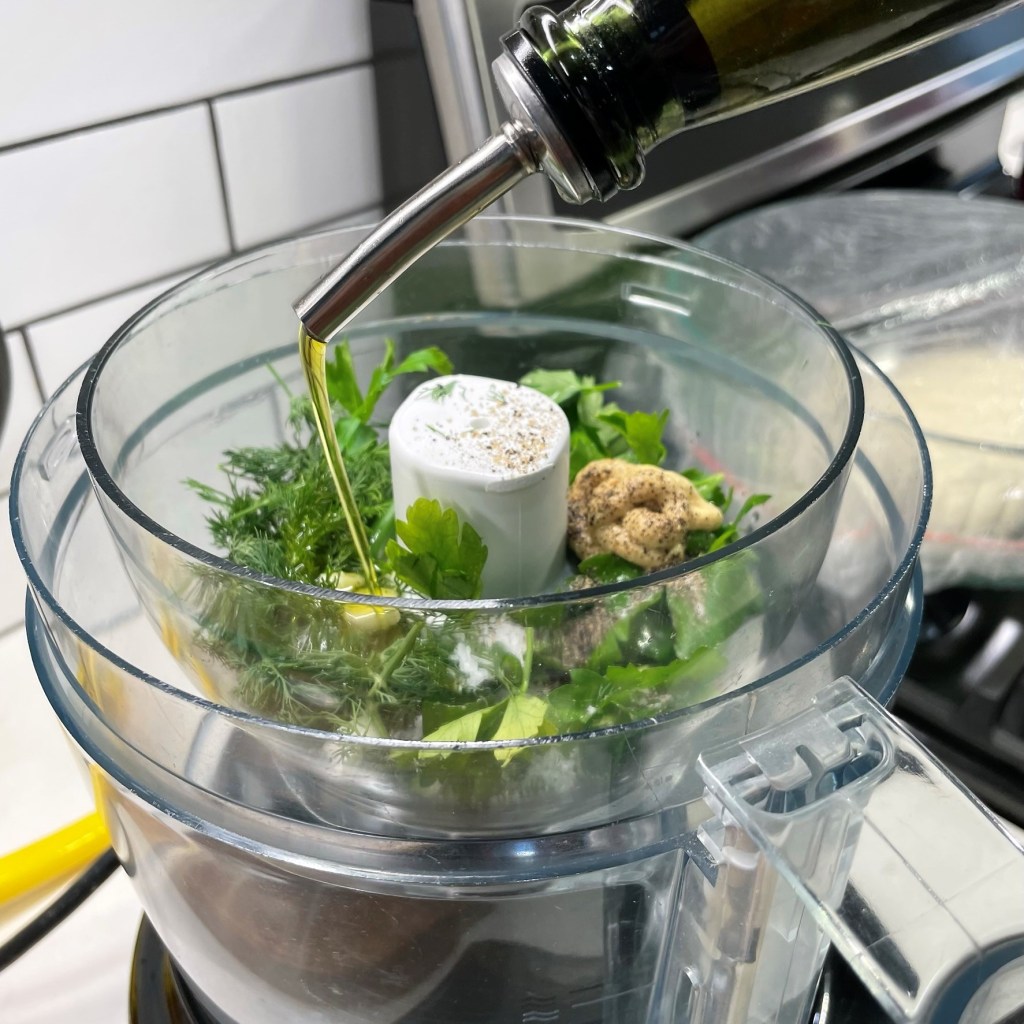
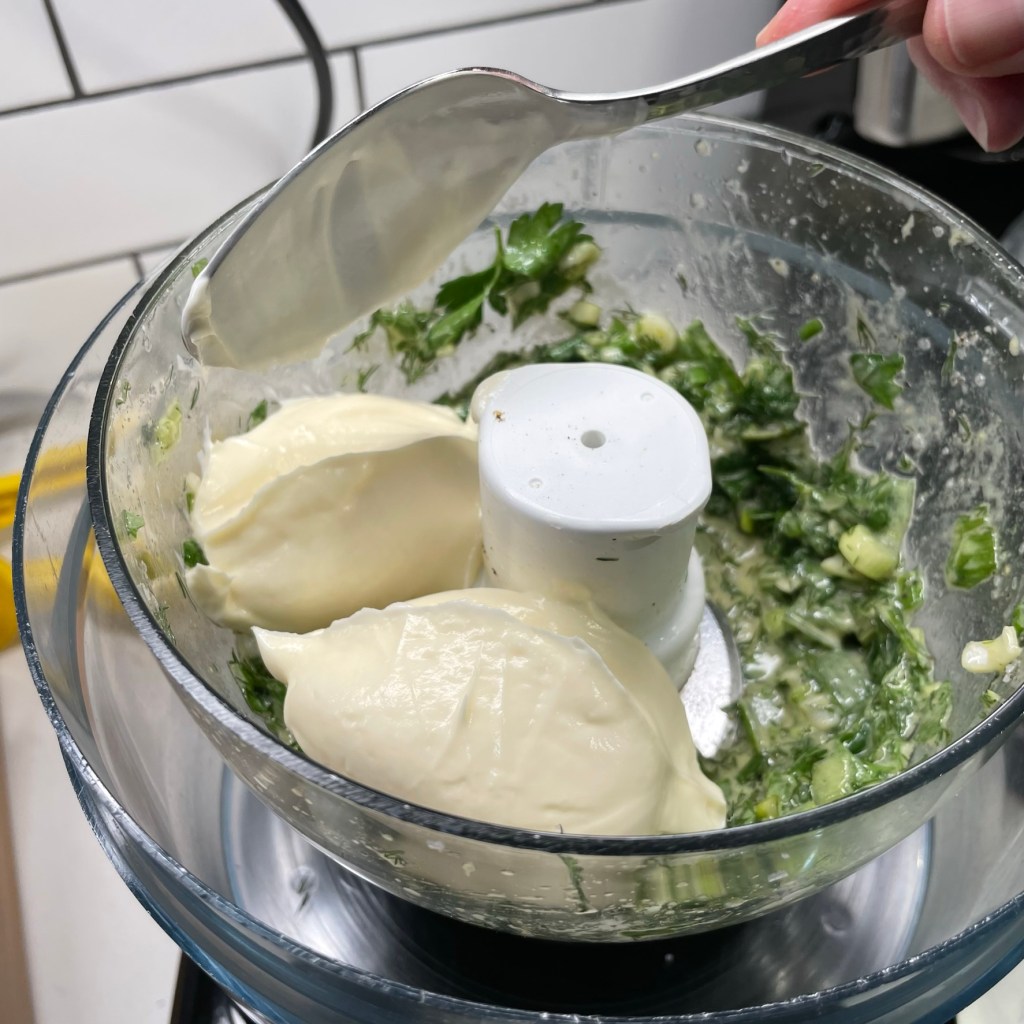
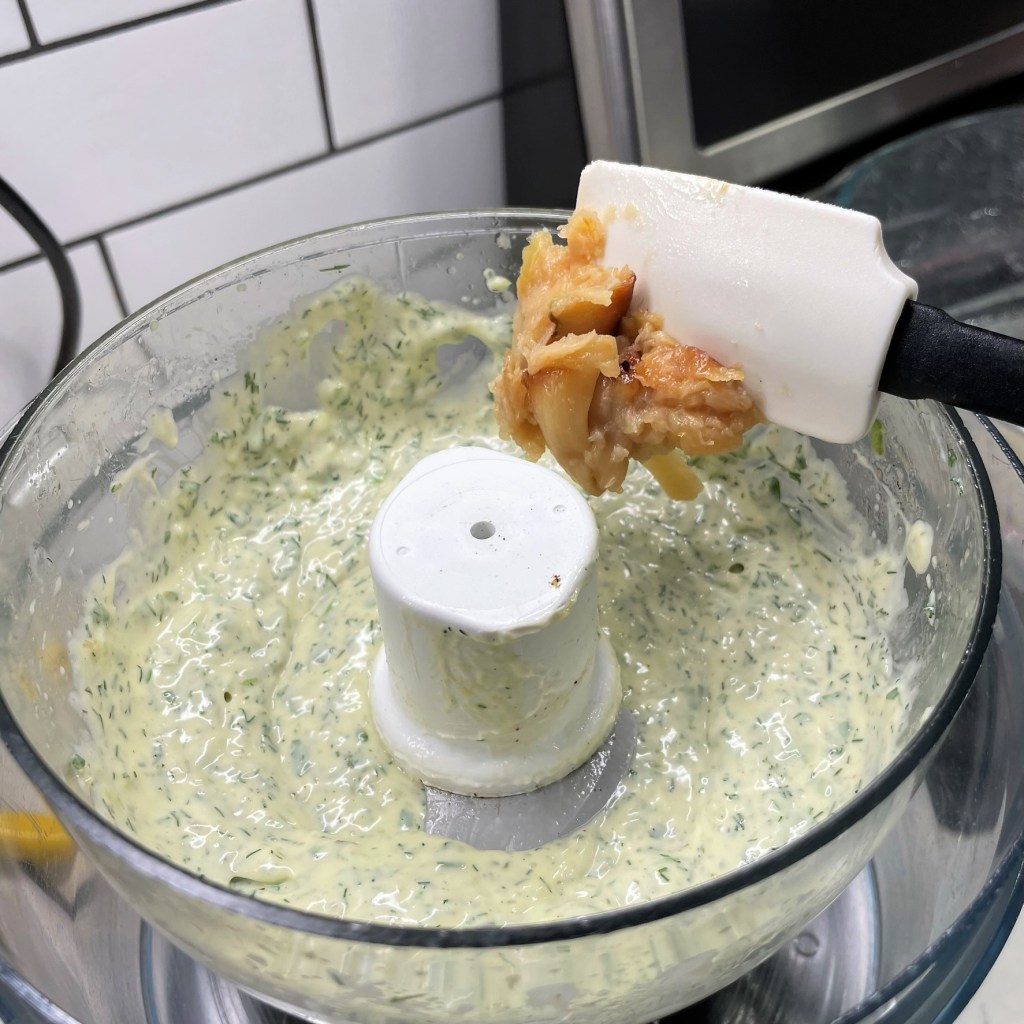
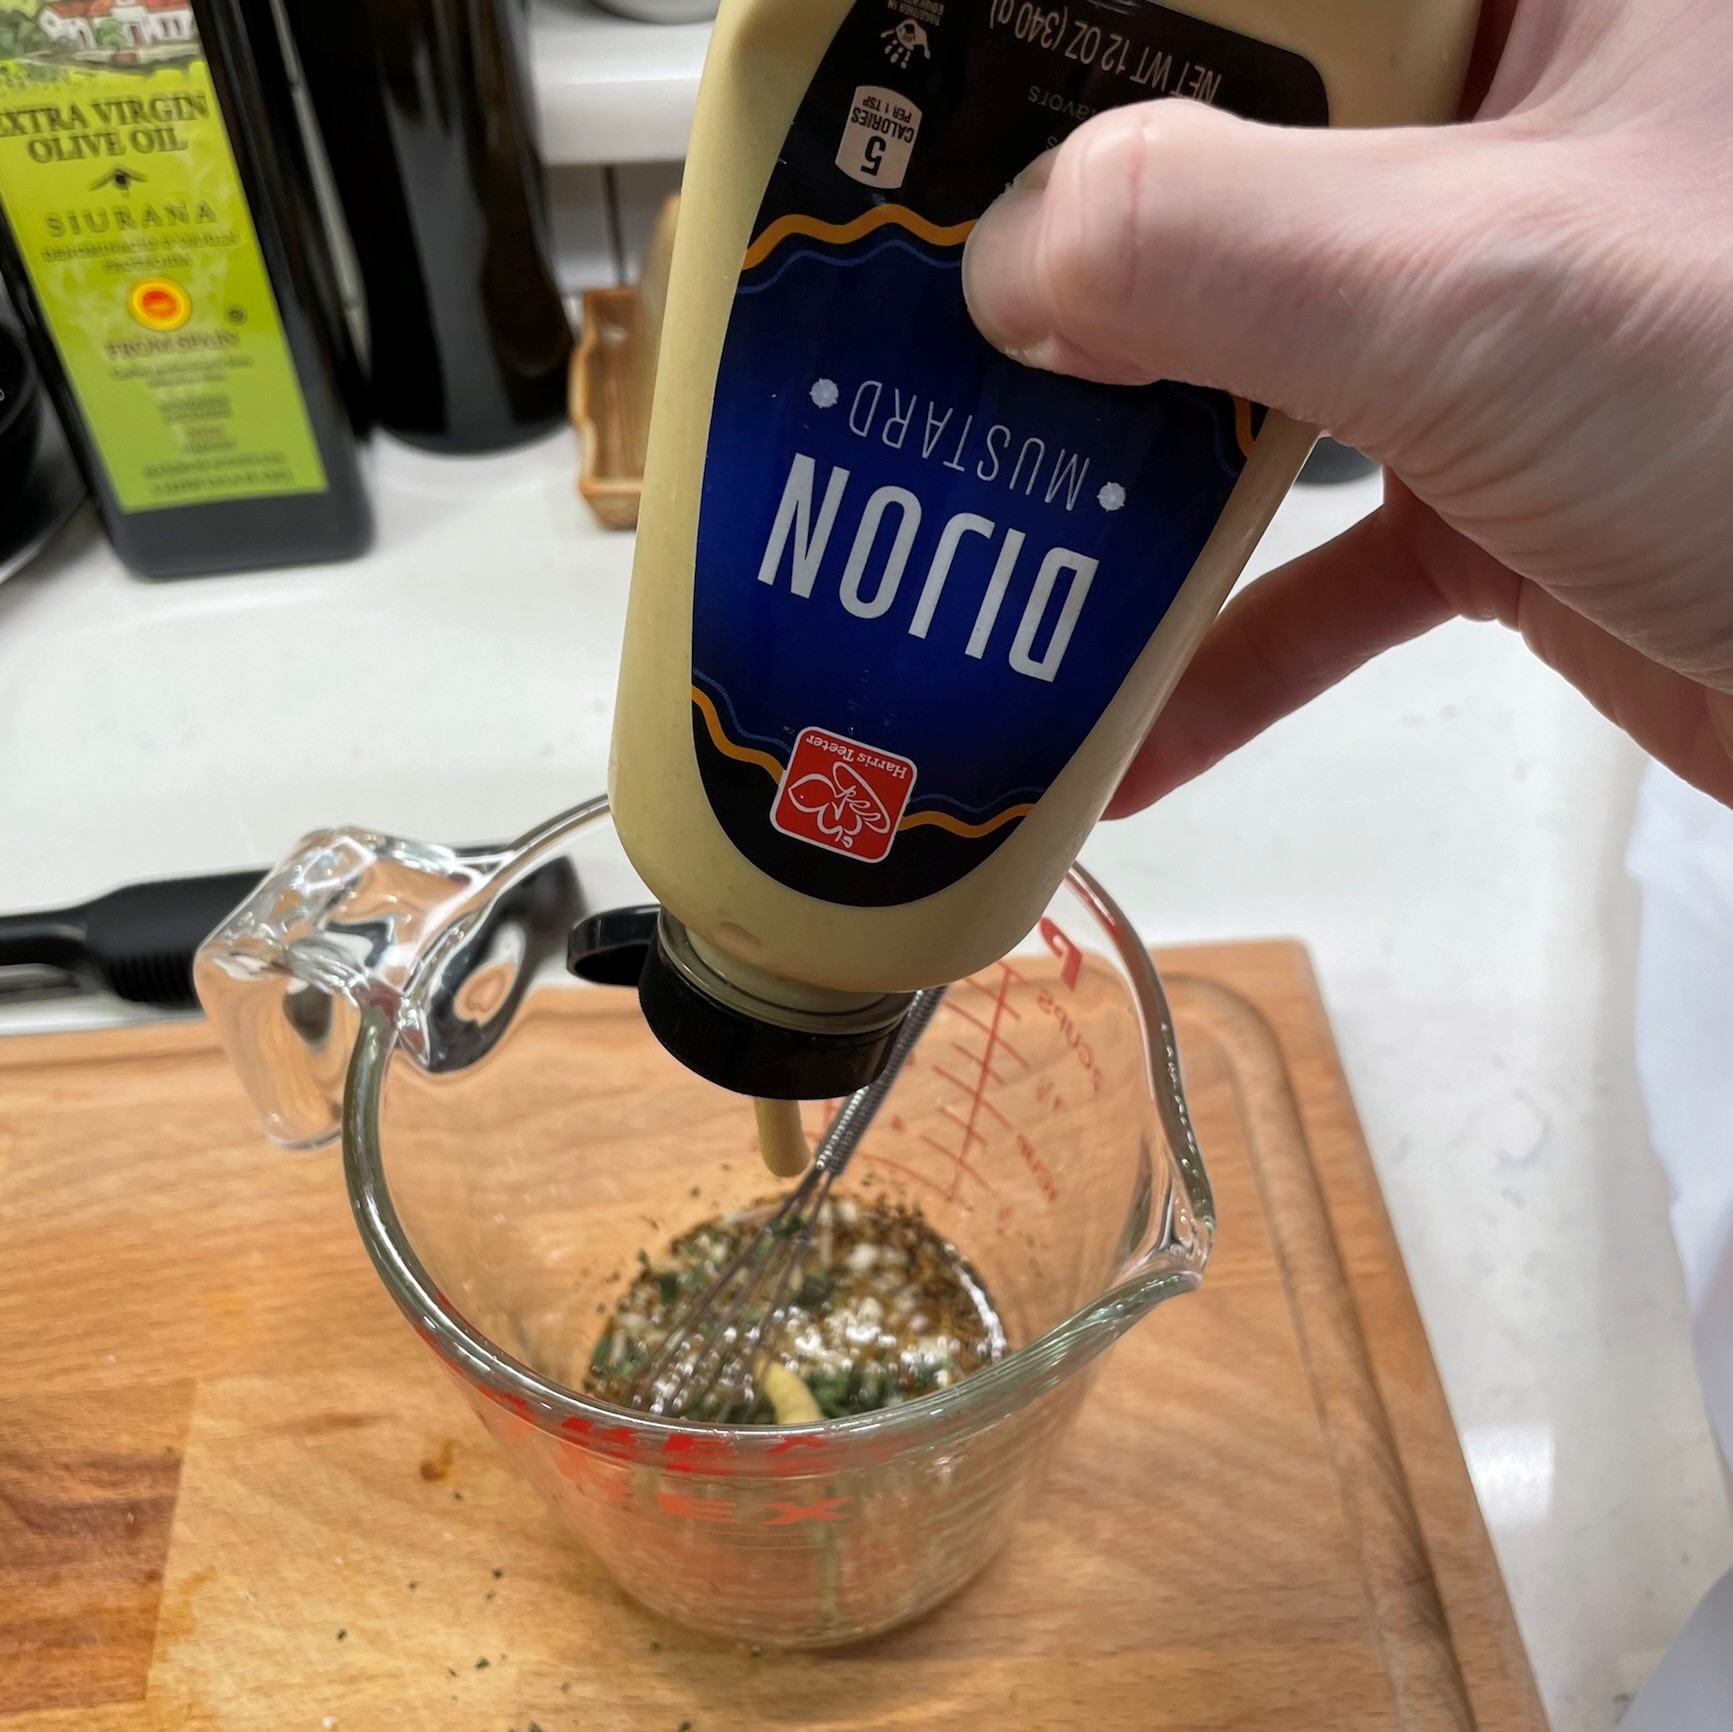
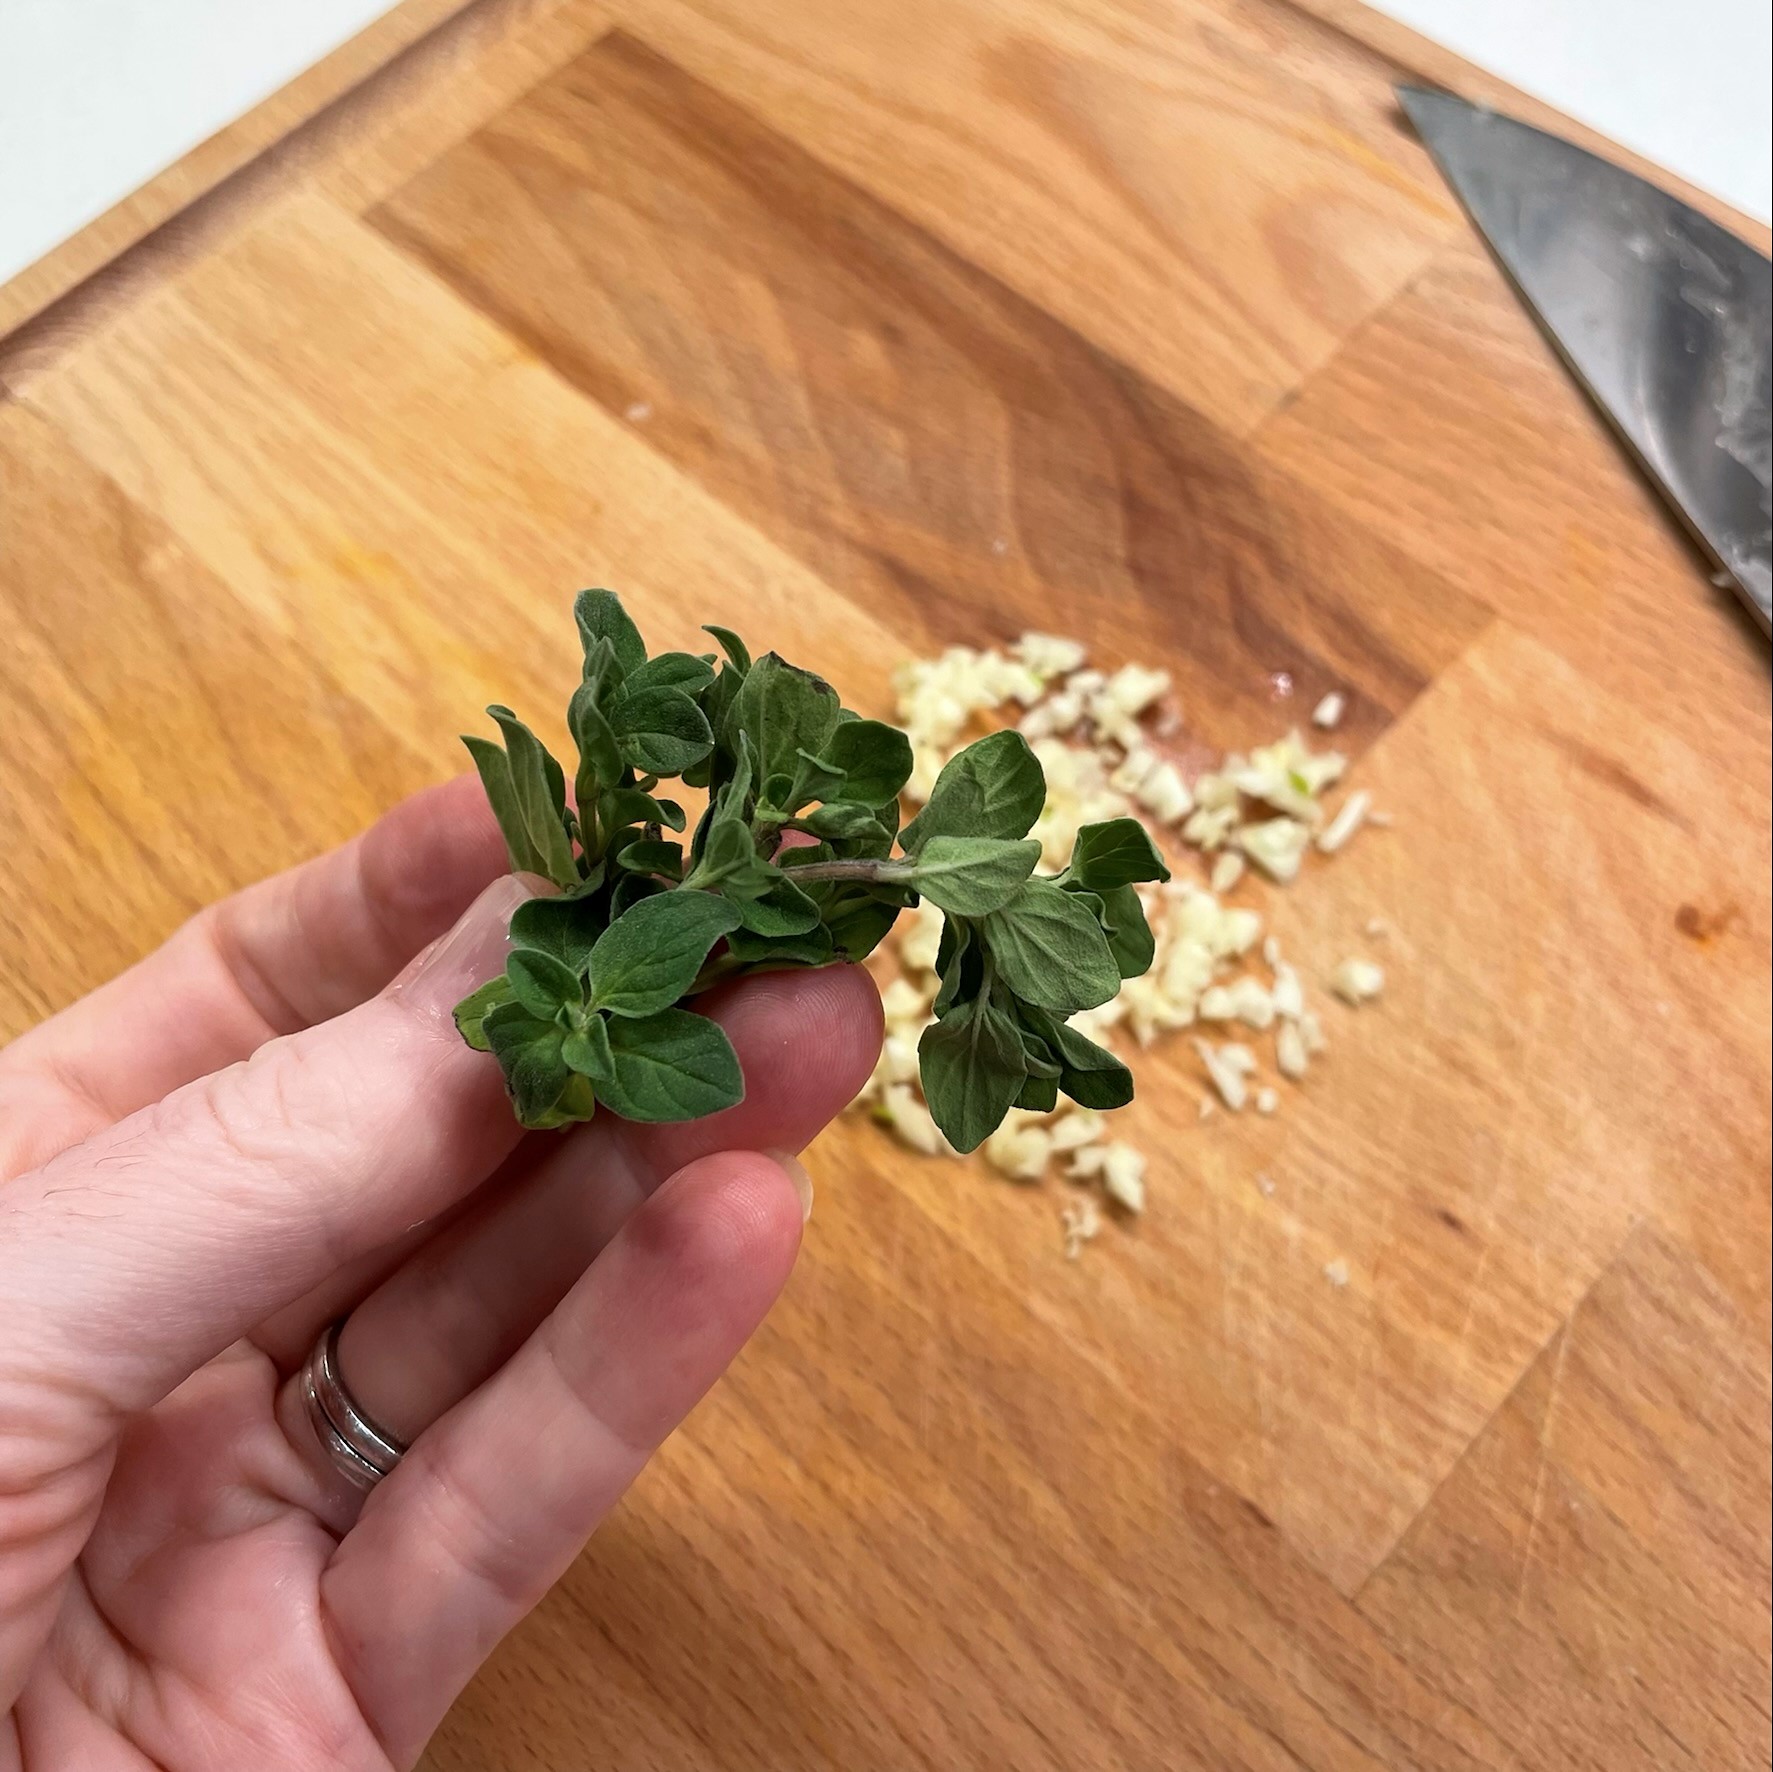
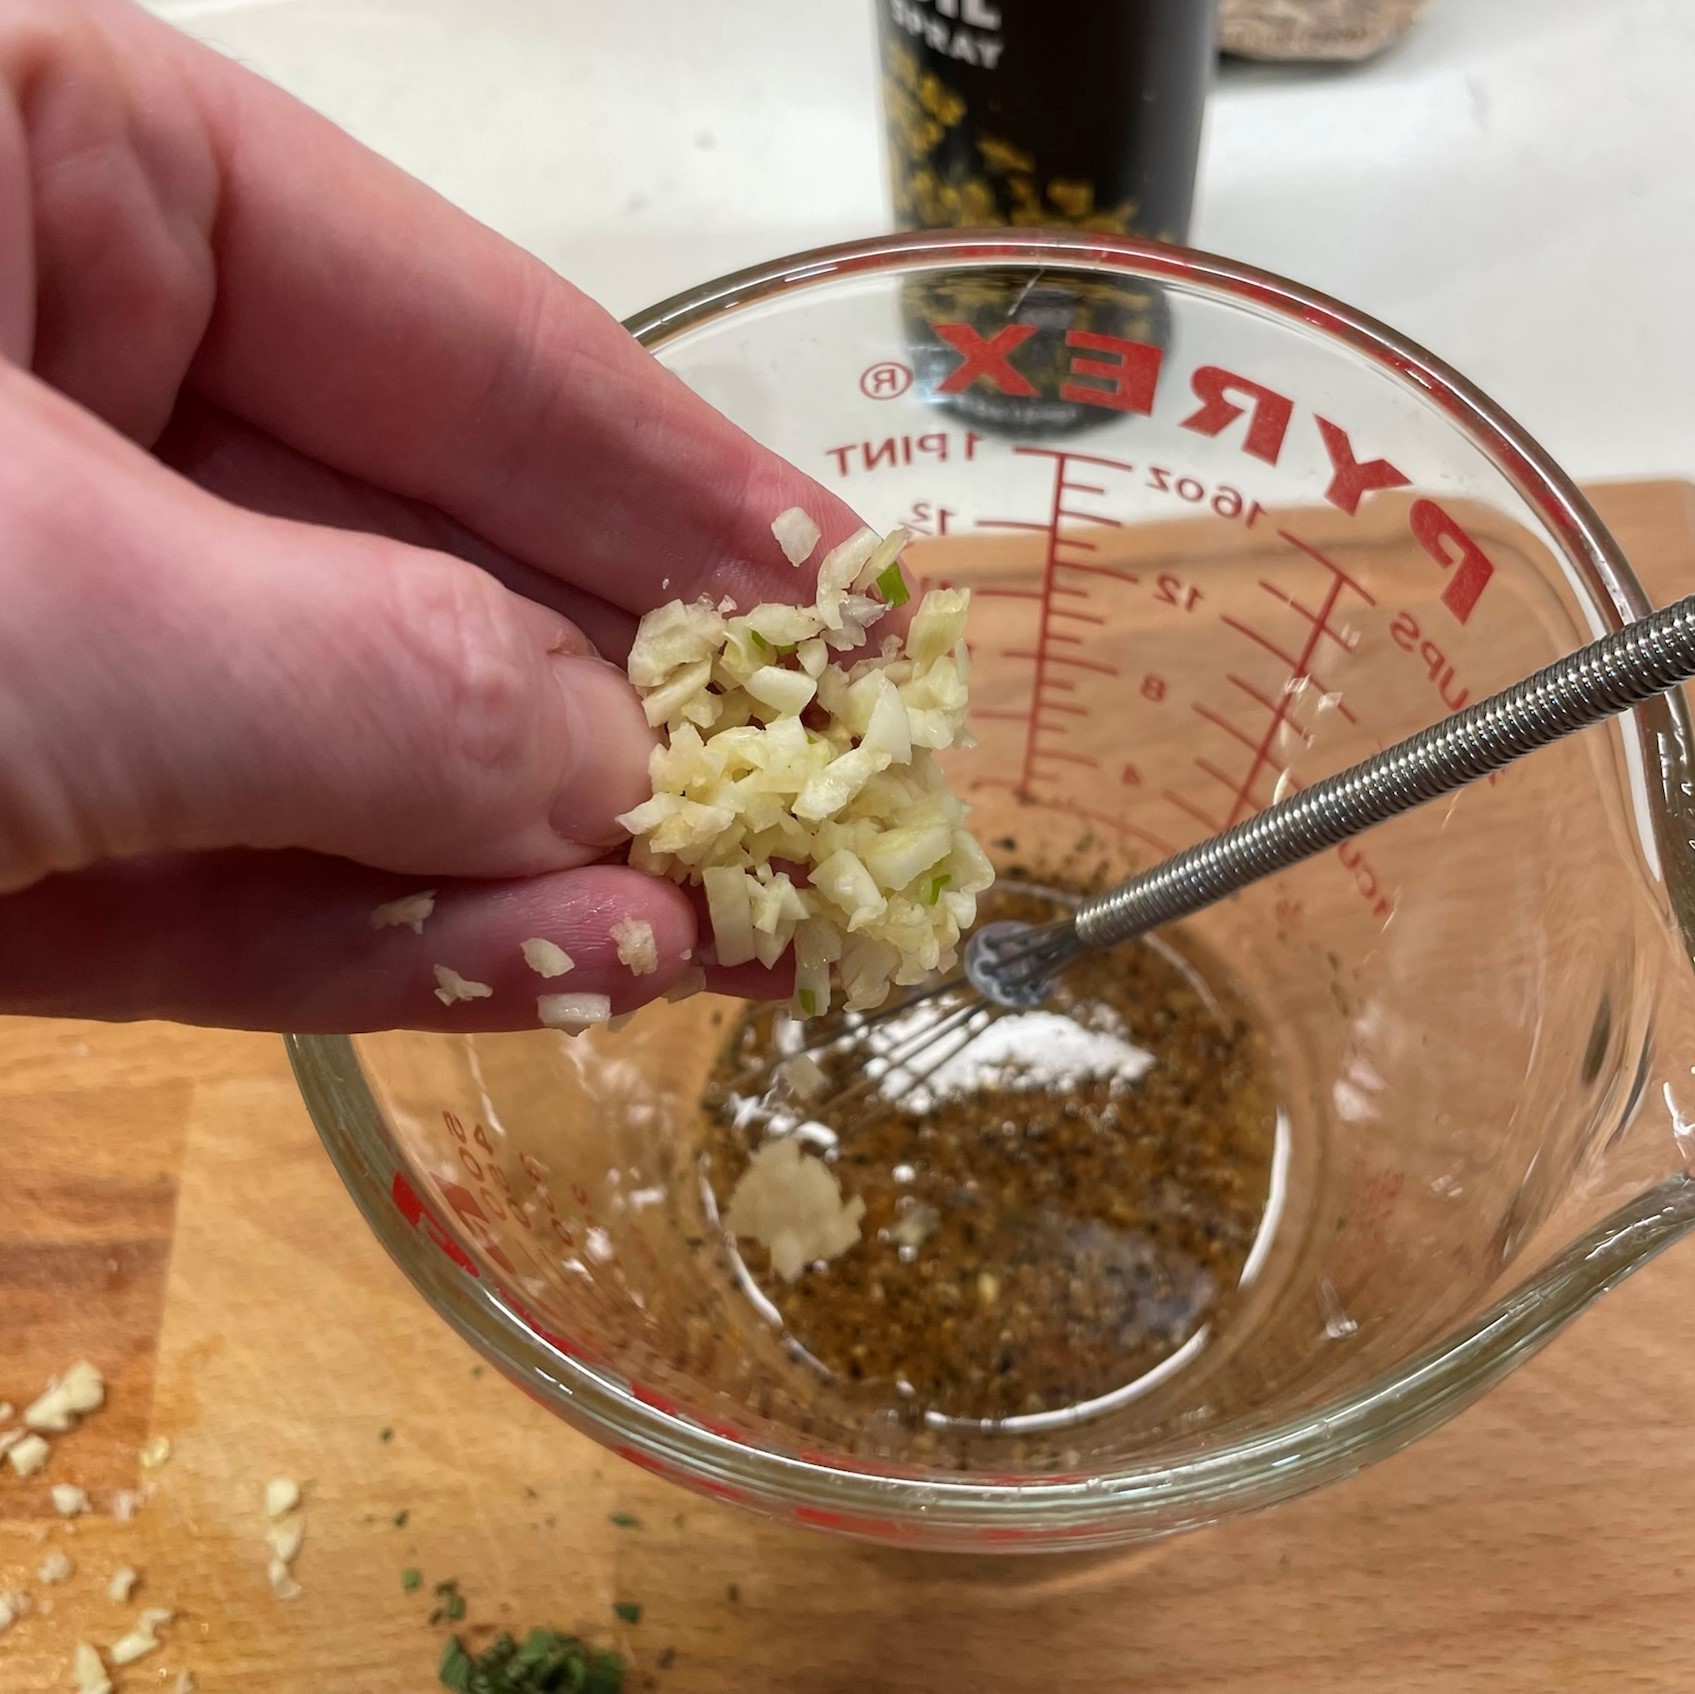
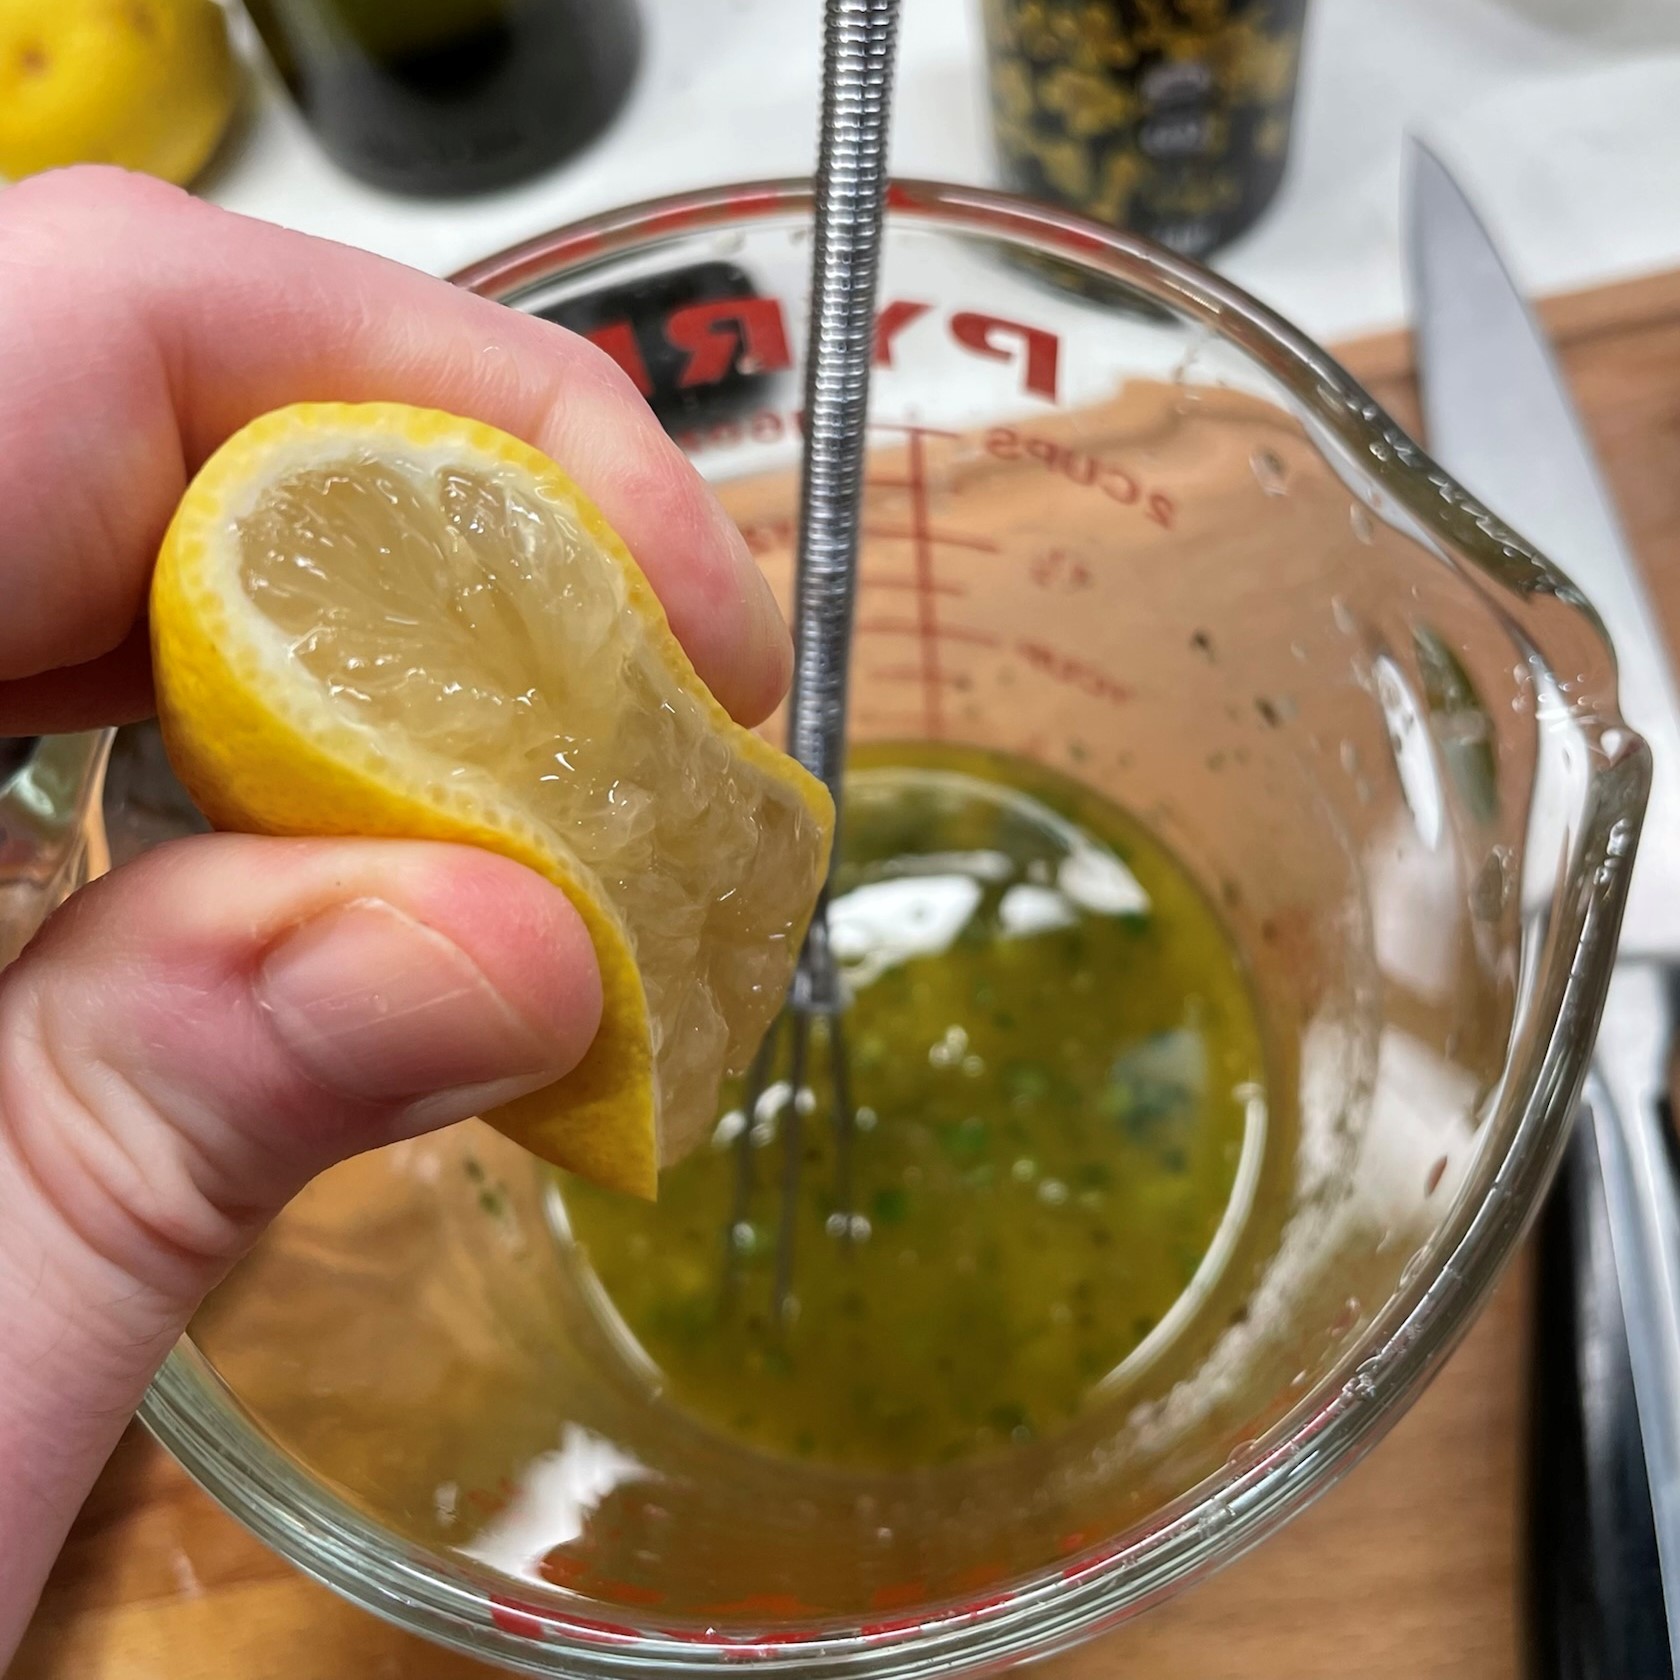
Vinaigrette is one of the simplest salad dressings to make at home. I usually make it in a glass measuring cup for easy pouring, but if you want to make it even easier, put all the ingredients into a small jar with a lid and shake the dickens out of it. My recipe for this vinaigrette is included in the downloadable PDF at the end of this post. You’ll need a light vinegar, Dijon, fresh garlic, oregano and lemon, and extra virgin olive oil.
Instructions
Follow along as I show you how I made this tasty, healthful comfort food. Scroll to the bottom for a downloadable version you can print for your recipe files.
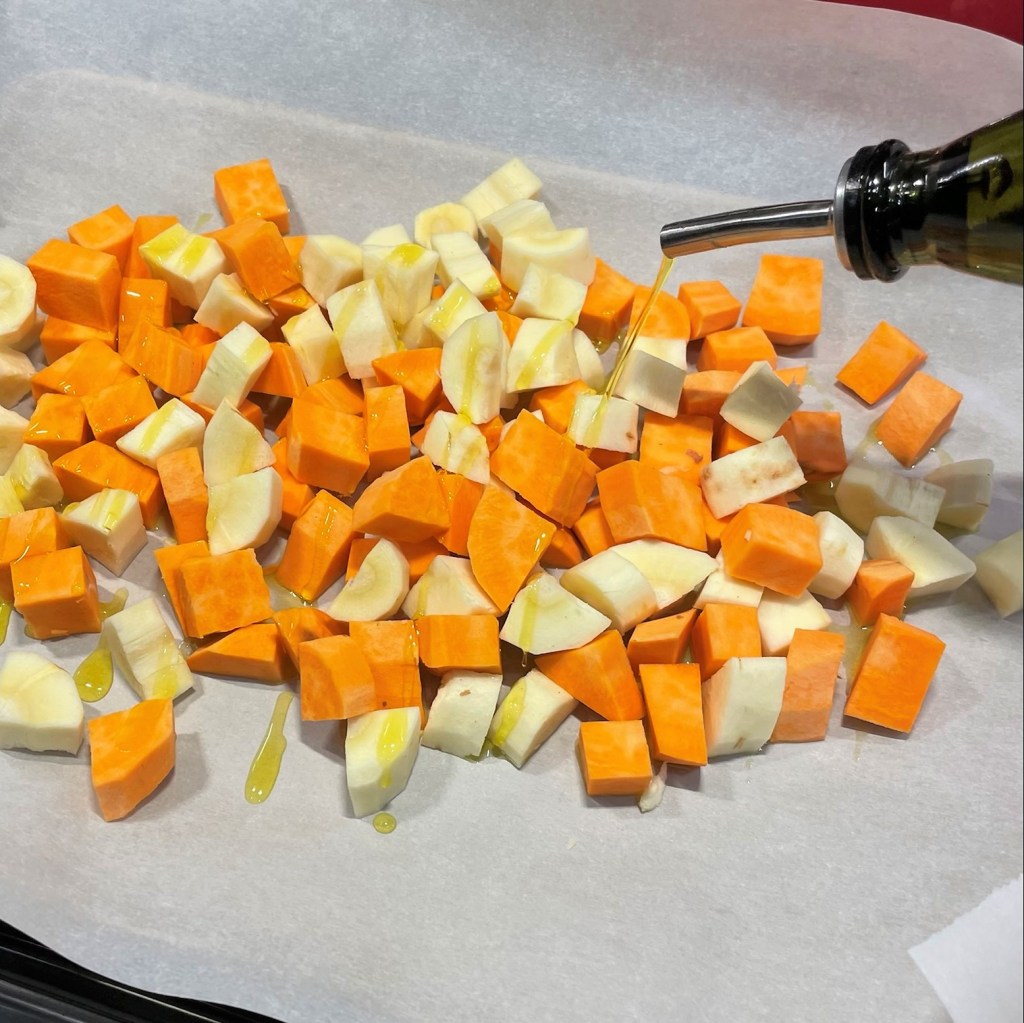
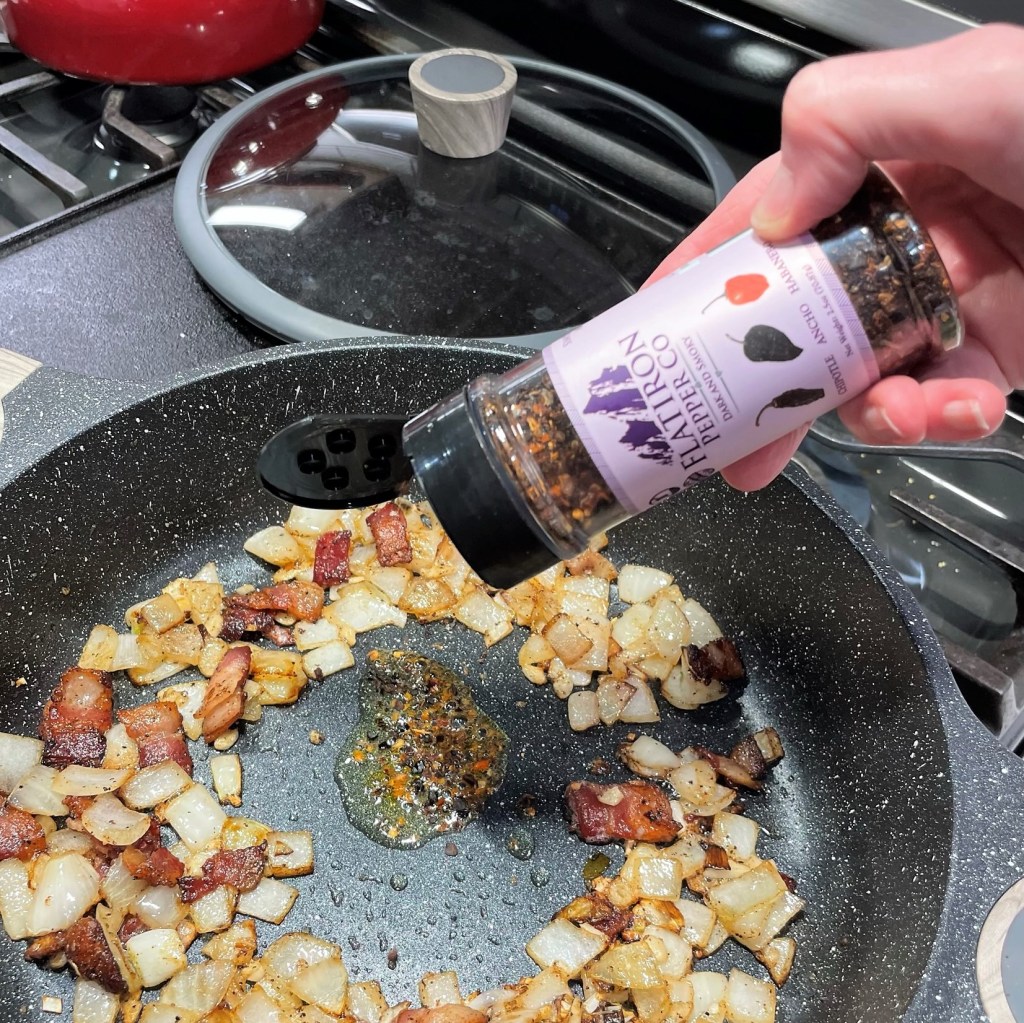
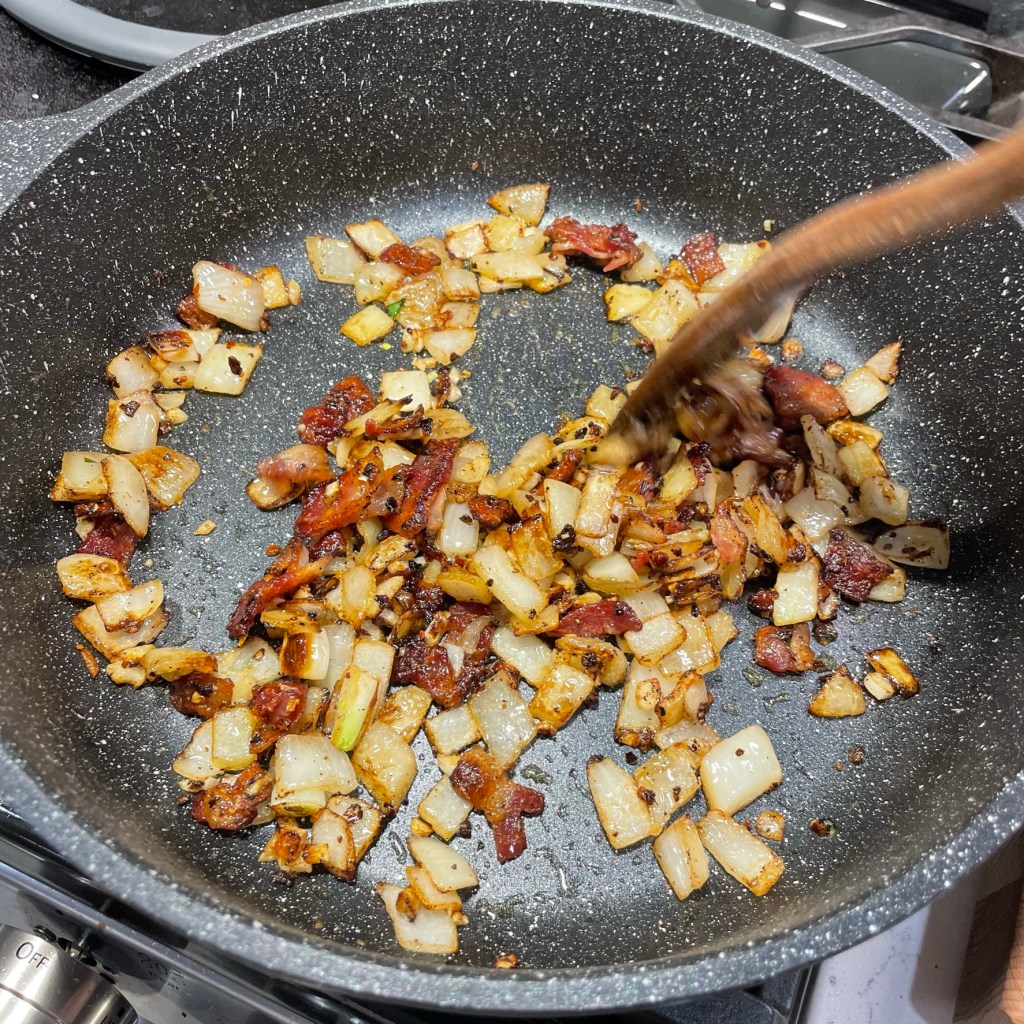
Toss the cubed sweet potatoes and parsnips with a little bit of olive oil, salt and pepper. 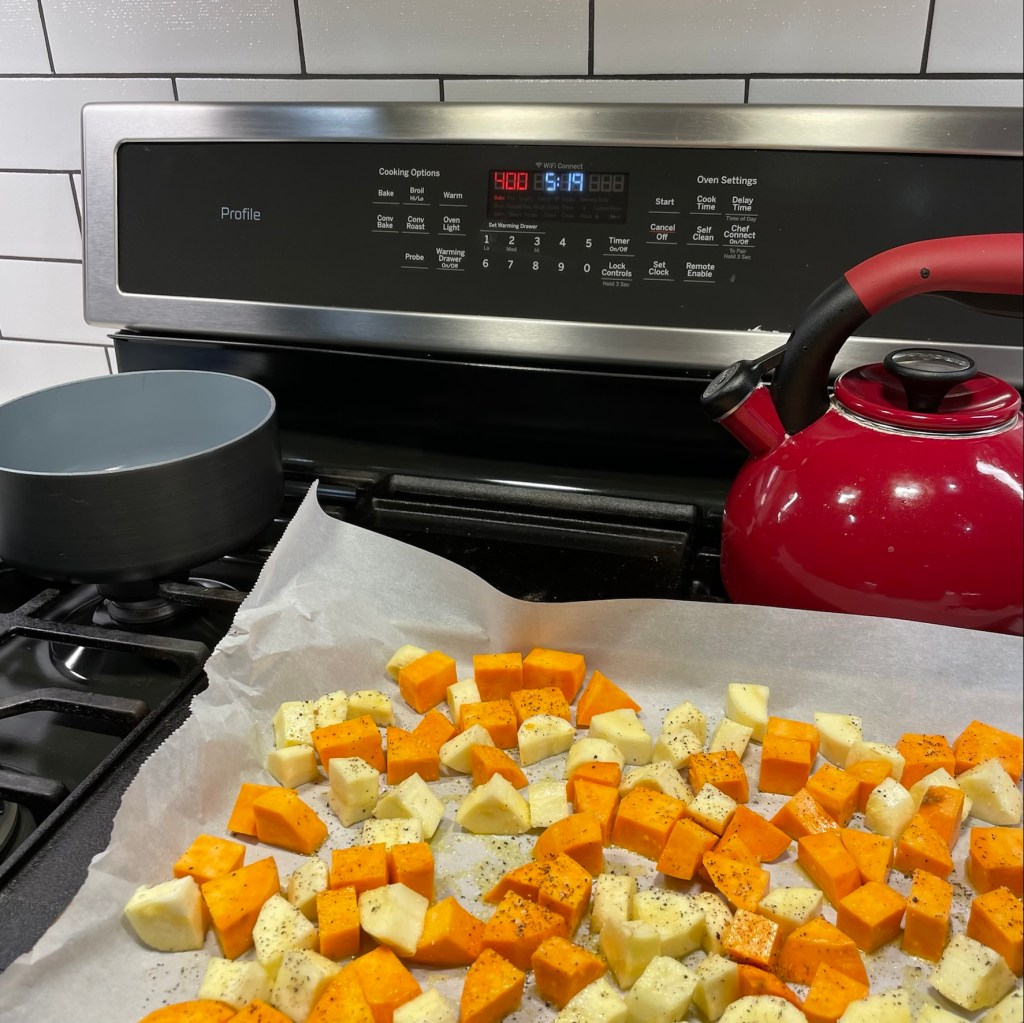
Roast the root vegetables at 400° F for about 25 minutes, or until they can be easily pierced with a fork. 
Scatter the chopped leeks onto the roasted root vegetables, and roast another 10 minutes to soften and brown them. 
Some packaged farro is par-cooked for faster preparation. Check label instructions to be sure. 
Add the fresh arugula greens to the warm farro and give it a toss with the garlic-oregano vinaigrette. 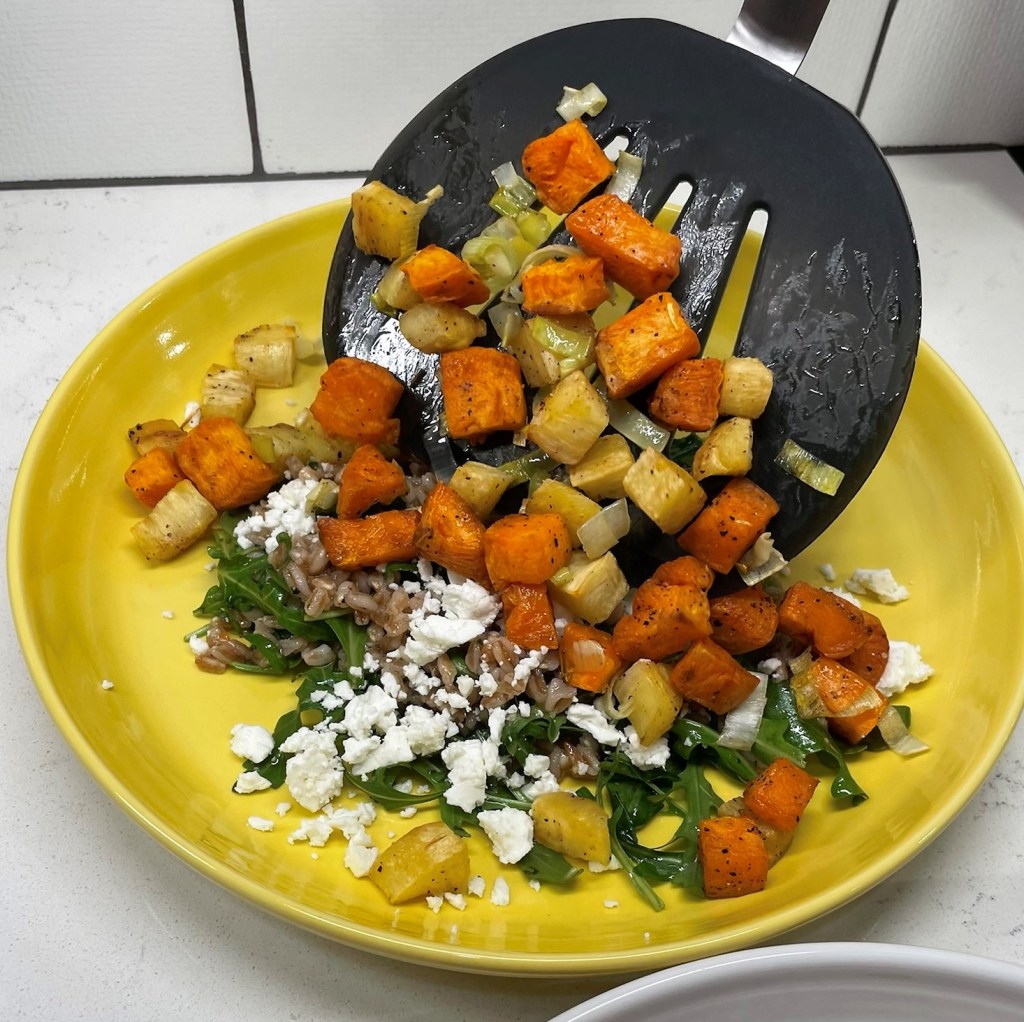
Plate the farro salad, then sprinkle with feta and top the salad with the roasted vegetables. 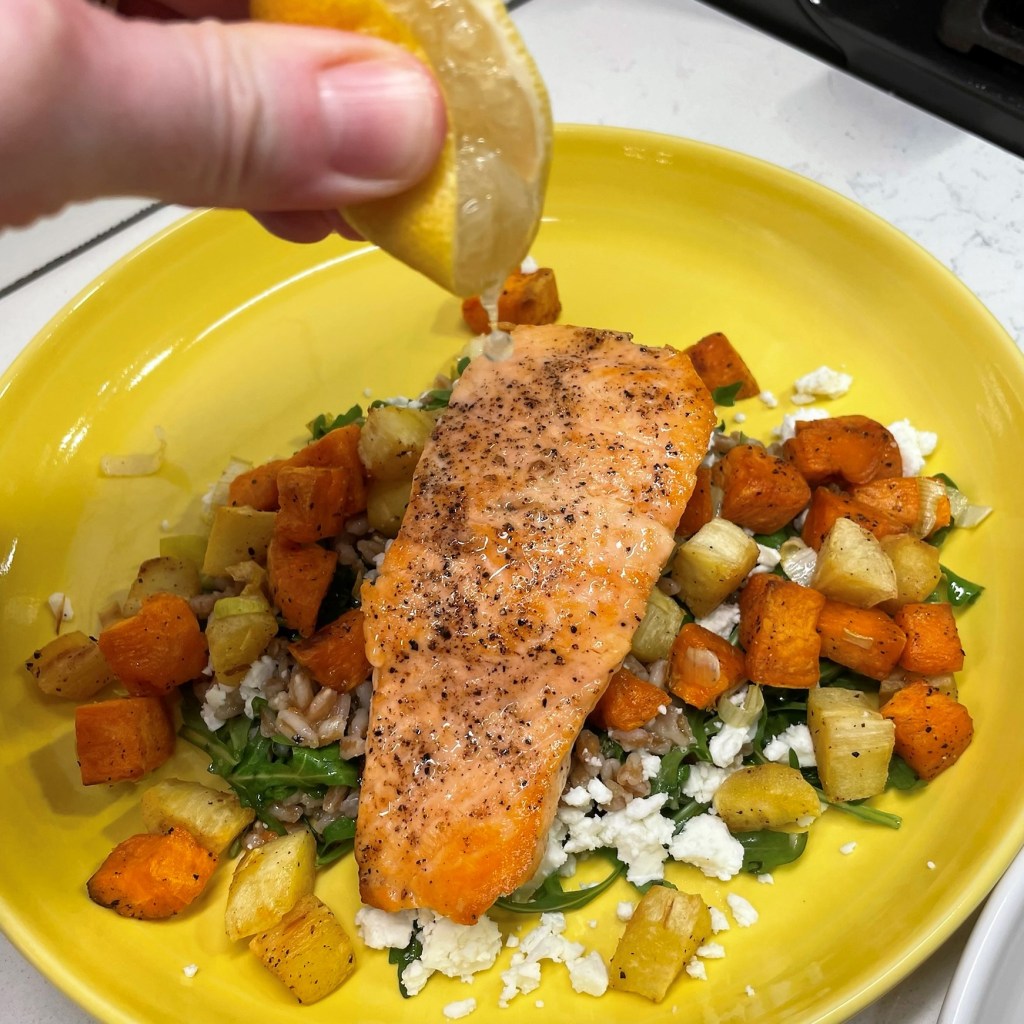
A fresh squeeze of lemon over the salmon brightens the flavors just before serving. 
Delicious, healthful and comforting!