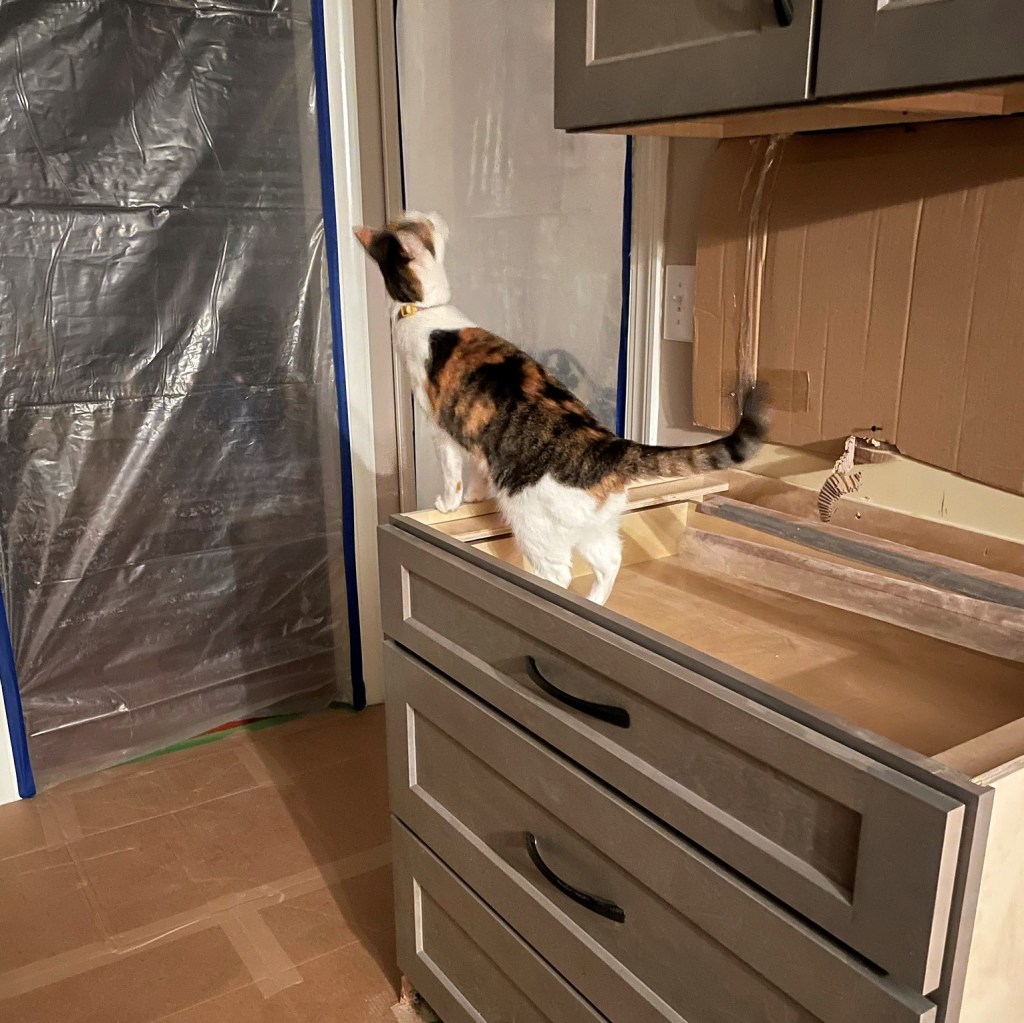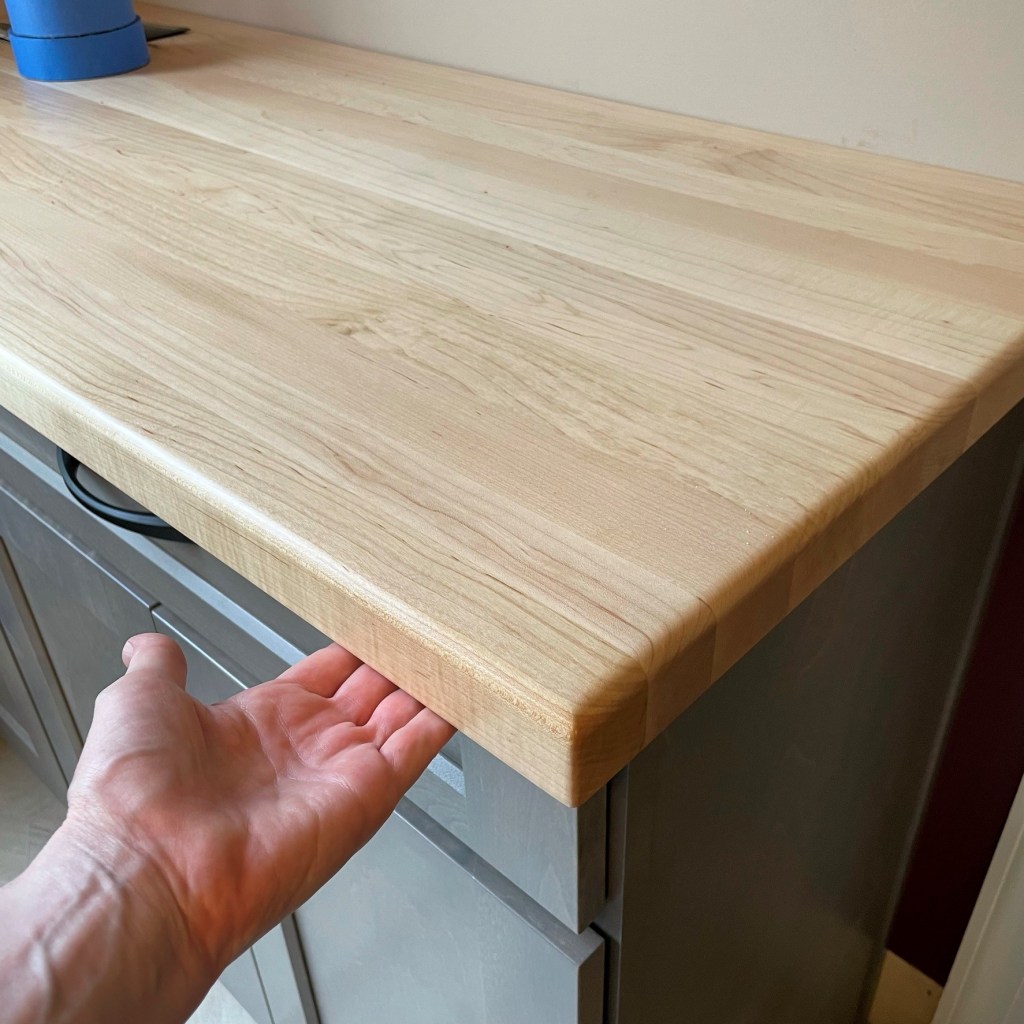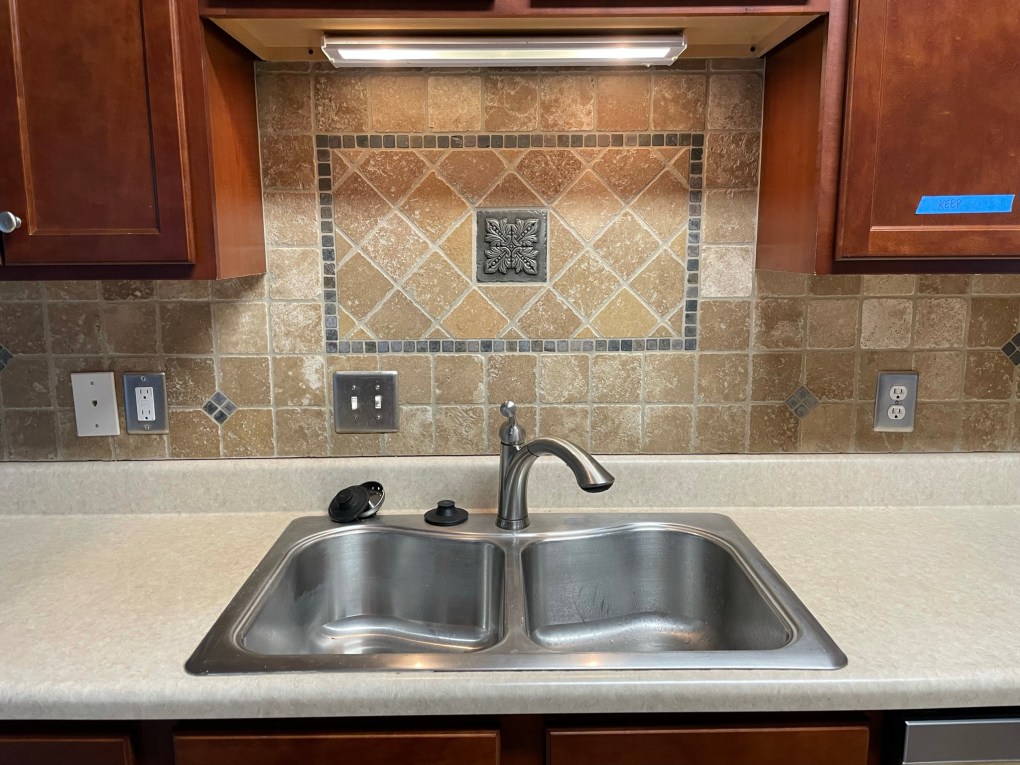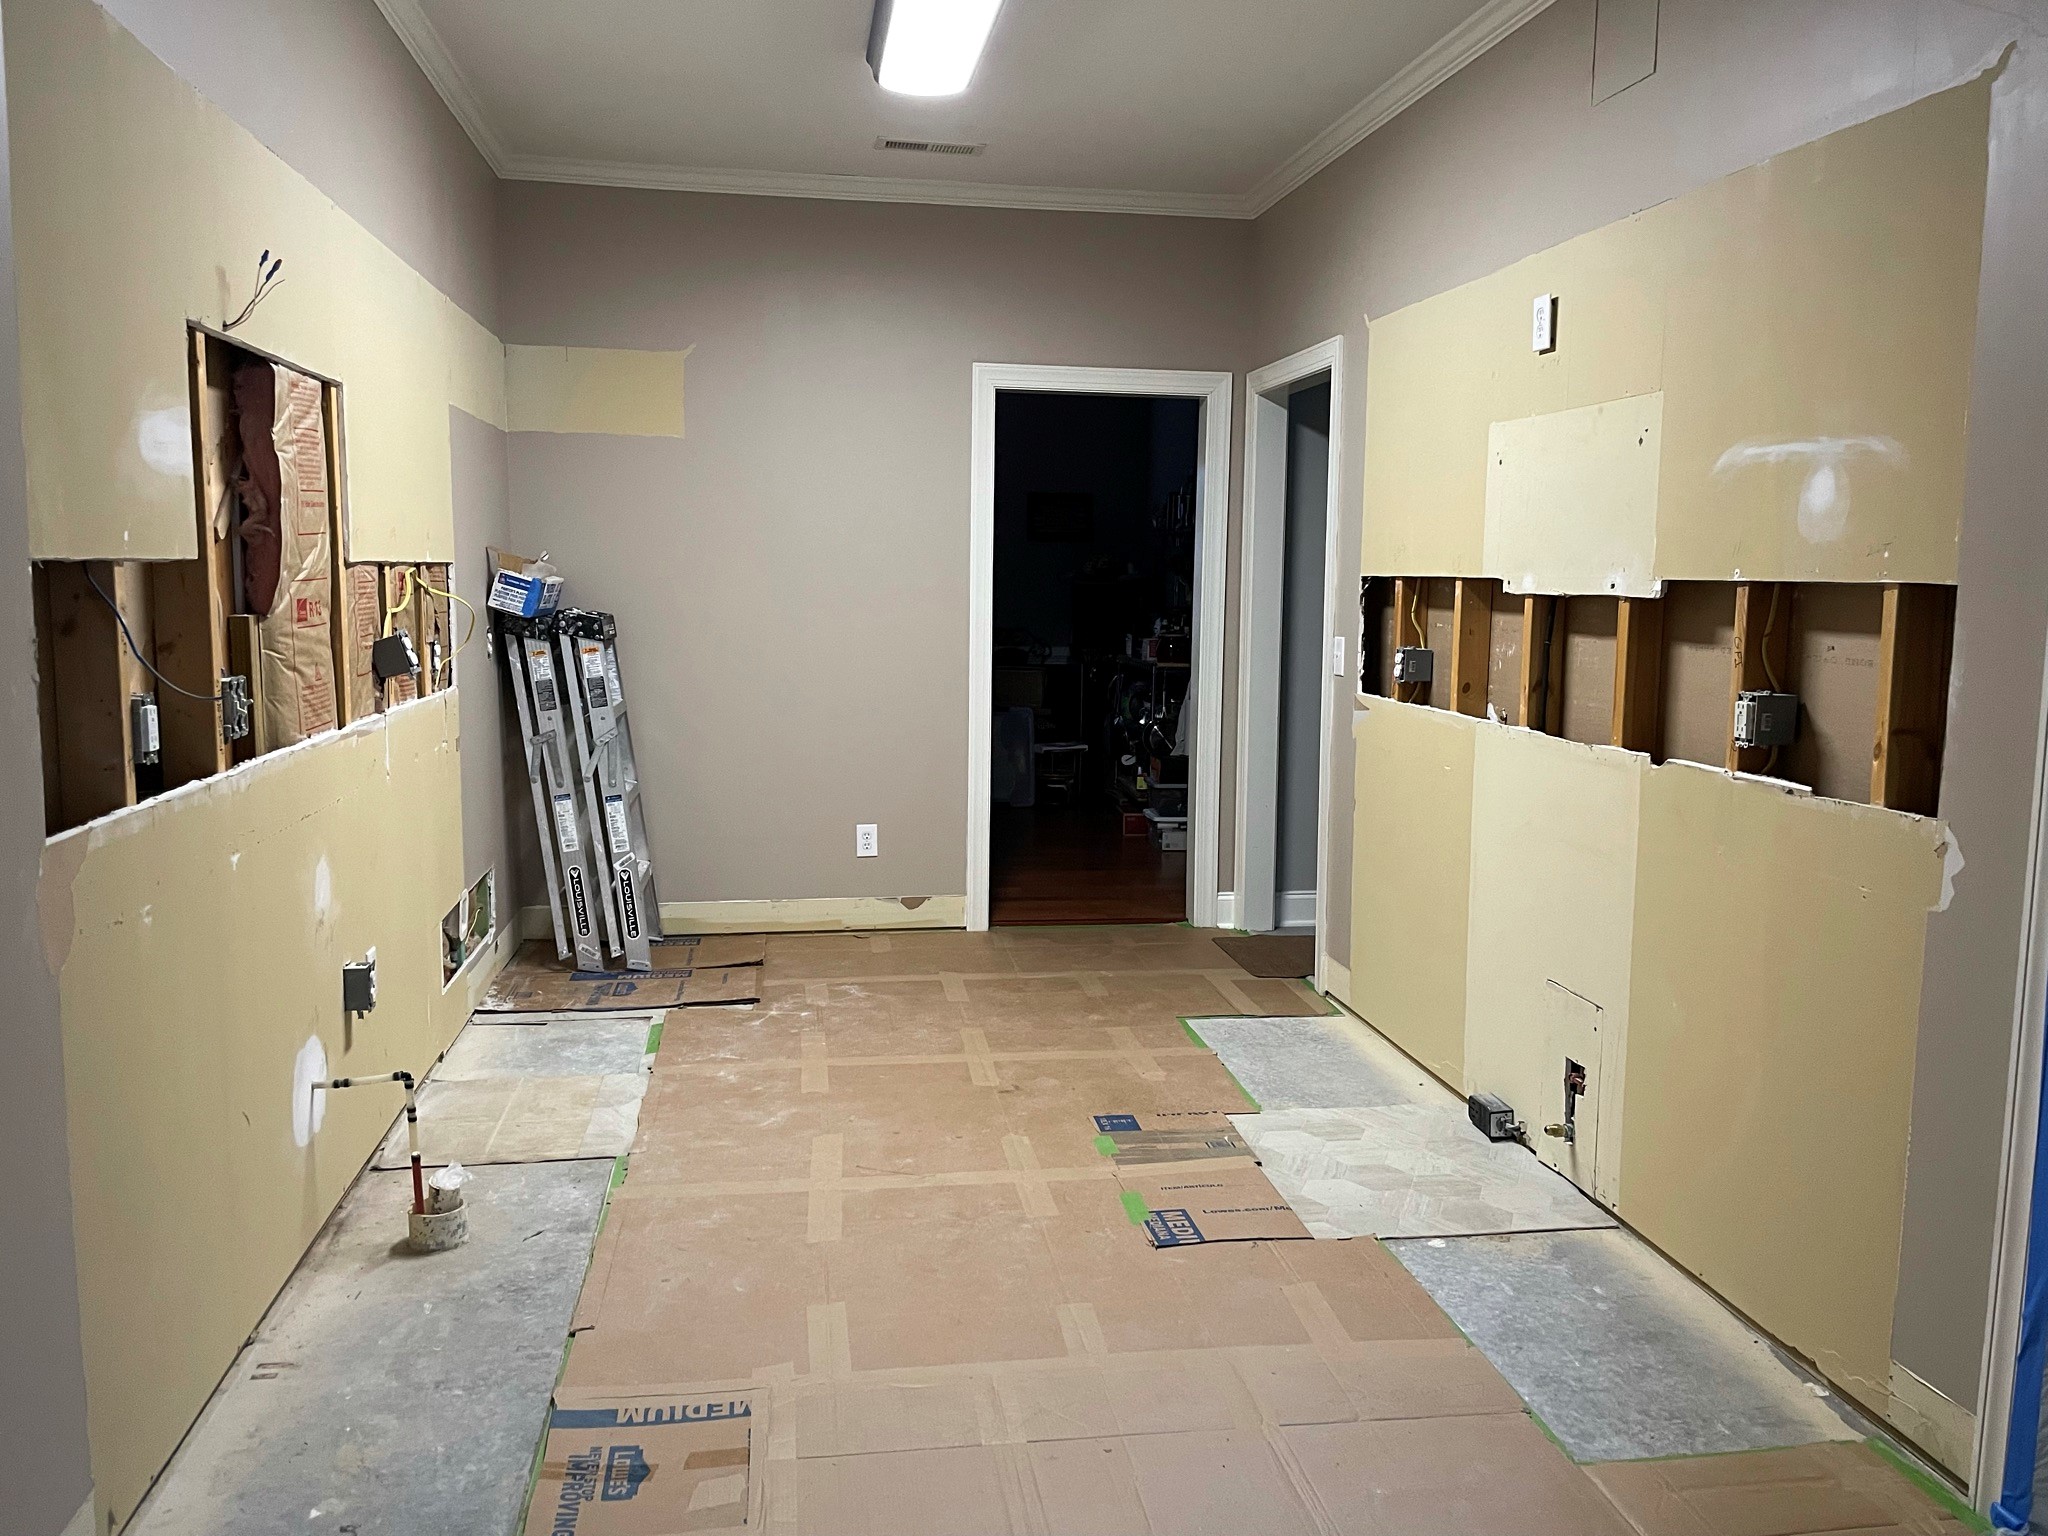
First of all, our kitchen remodel is going well overall. We are beginning to realize our dreams as it relates to having more storage, counter space and lighting. The quartz countertop was installed successfully last week, though they rattled something loose on a couple of the drawers which will require adjustment. I am already excited about this five-foot long stretch of counter space, which will likely become my husband’s primary spot for prepping when we work together in the kitchen. Everything about our new plan is designed to give us more freedom to be in there at the same time, without bumping fannies or otherwise getting in each other’s way. We especially can’t wait for Thanksgiving in this new kitchen!

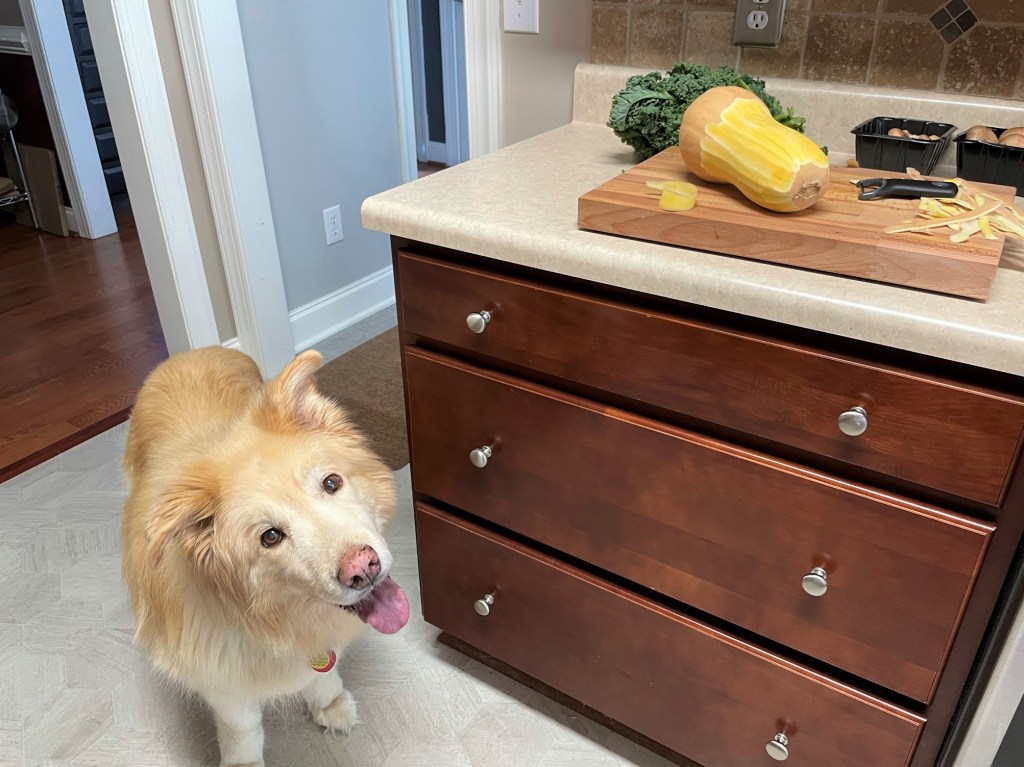
There have been a few snags, of course, many of which I suspect could have been avoided, but what do I know? As I write this, an electrician is spending a second full day working to achieve our wishes for under-cabinet plug molds and lighting, a tricky proposition because some of the old outlets and junction boxes were capped off and covered by new cabinets before these guys had a chance to do their “rough-in.” While they have wrestled with that, I’ve been holed up in our home office with our nervous-about-noises dog, Nilla, listening to the soothing intonations of Melody Gardot. If you have never heard of her, it’s time you did. Click play on the video below and you will understand at once why I play her music during high-stress situations. Go ahead and subscribe to her YouTube channel while you’re at it—you can thank me later.
One of the hardest things for me to endure amid the ruckus of this remodel is not anxiety for the renovation itself—our general contractor has been very responsive to our concerns—but mainly for not having enough time to keep my usual schedule of posting here on Comfort du Jour. I had more than a dozen completed recipes in archive that I wanted to share with you during this time, but I haven’t had time to write them up, send them to Les (my talented copy editor/husband), edit and caption the photos, format the whole thing on WordPress and hit “publish.” Whew. A lot goes into maintaining my blog, and I love every second of it, though I have not had enough consecutive seconds lately to manage it all. Unexpectedly, I have appreciated these two days of electrical work for giving me a bit of time to catch up. And breathe.
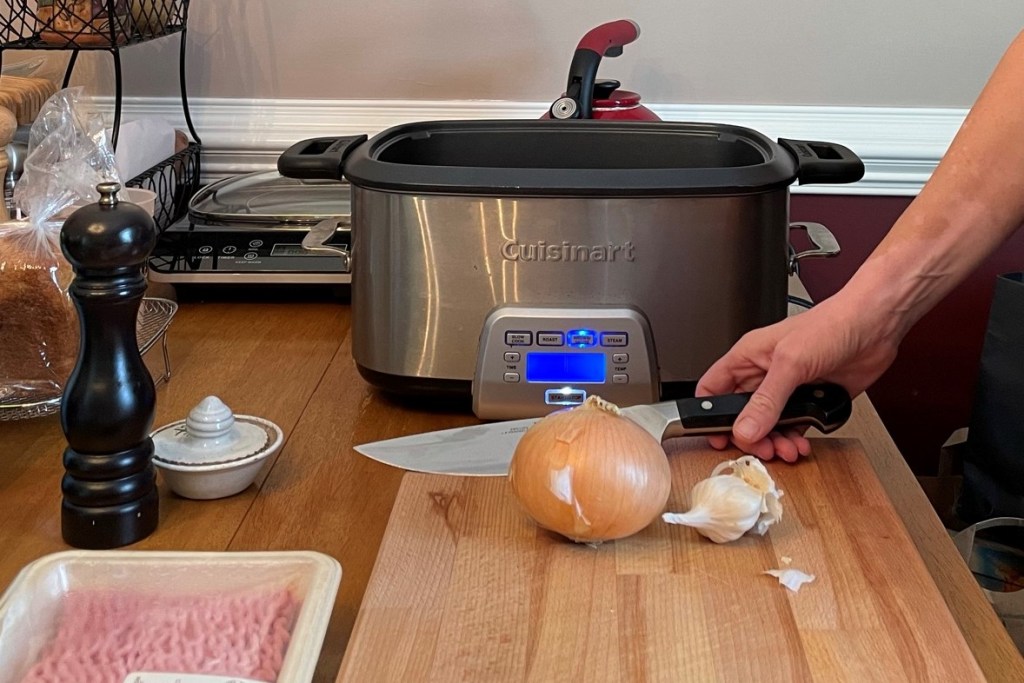
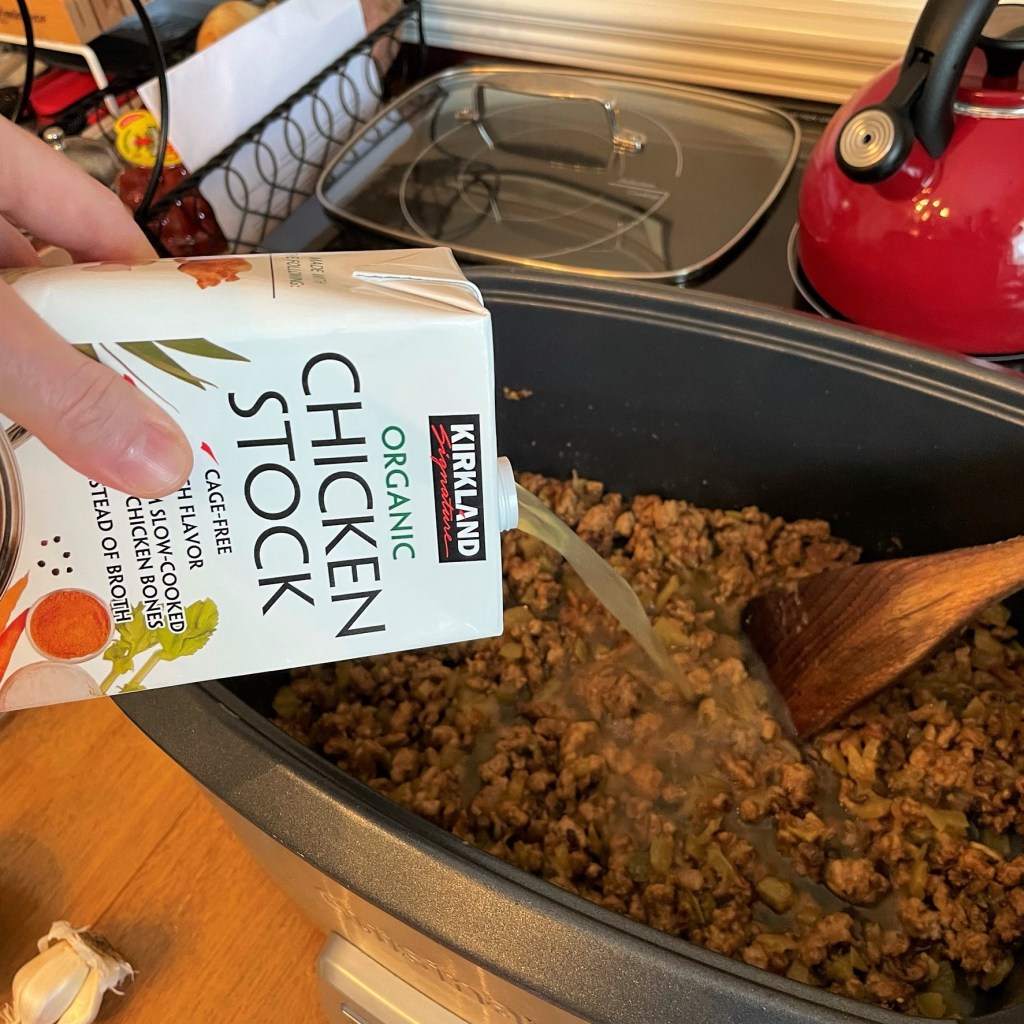
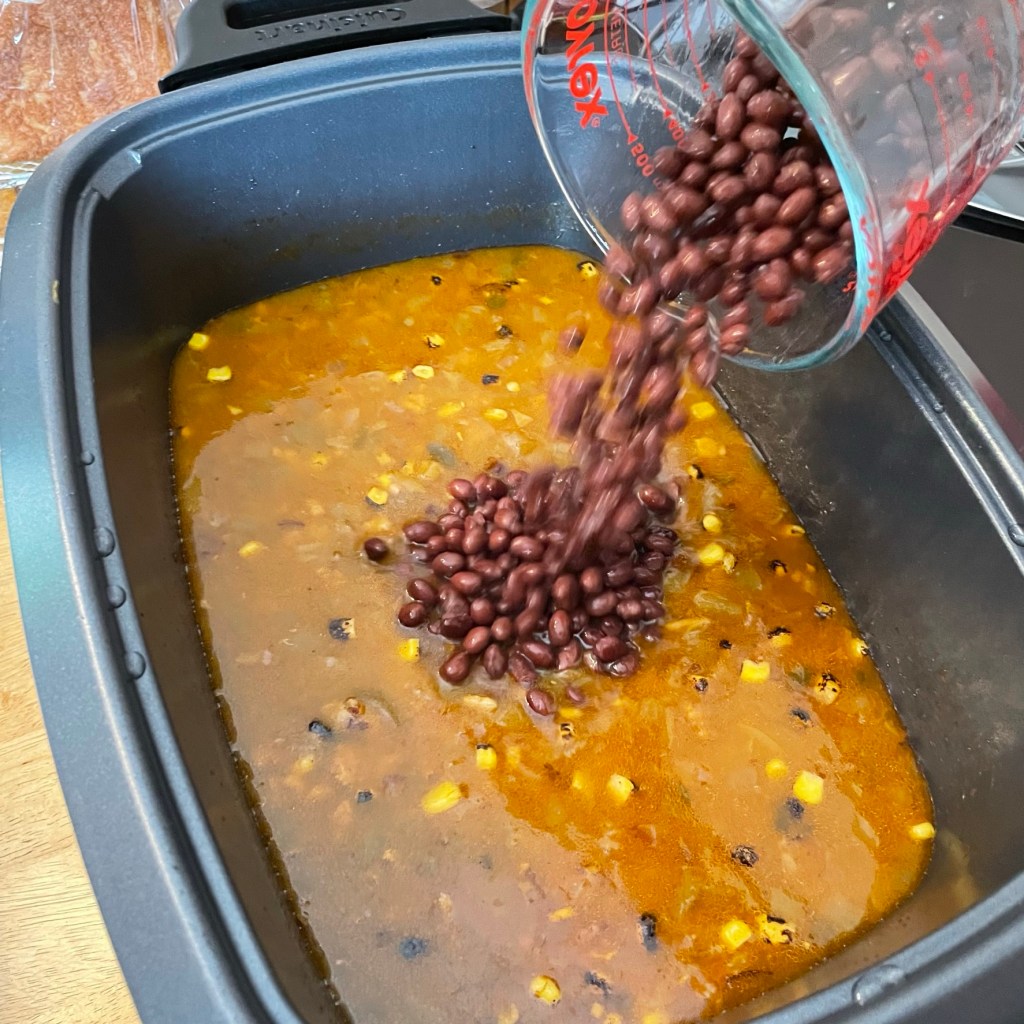
When I originally sat down to contemplate how to cook without a kitchen, I expected we would make a lot of soup-and-sandwich meals, and that has been true to some degree. But I also wanted to stretch myself to explore other methods of cooking, and this recipe is one of the resulting meals. My shopping list recently included ground beef, as I wanted to try making meatloaf in the multi-purpose slow cooker, otherwise known as my new best friend. But then, right next to the packaged grass-fed beef I was reaching for, this caught my eye, and I thought, “why not?”
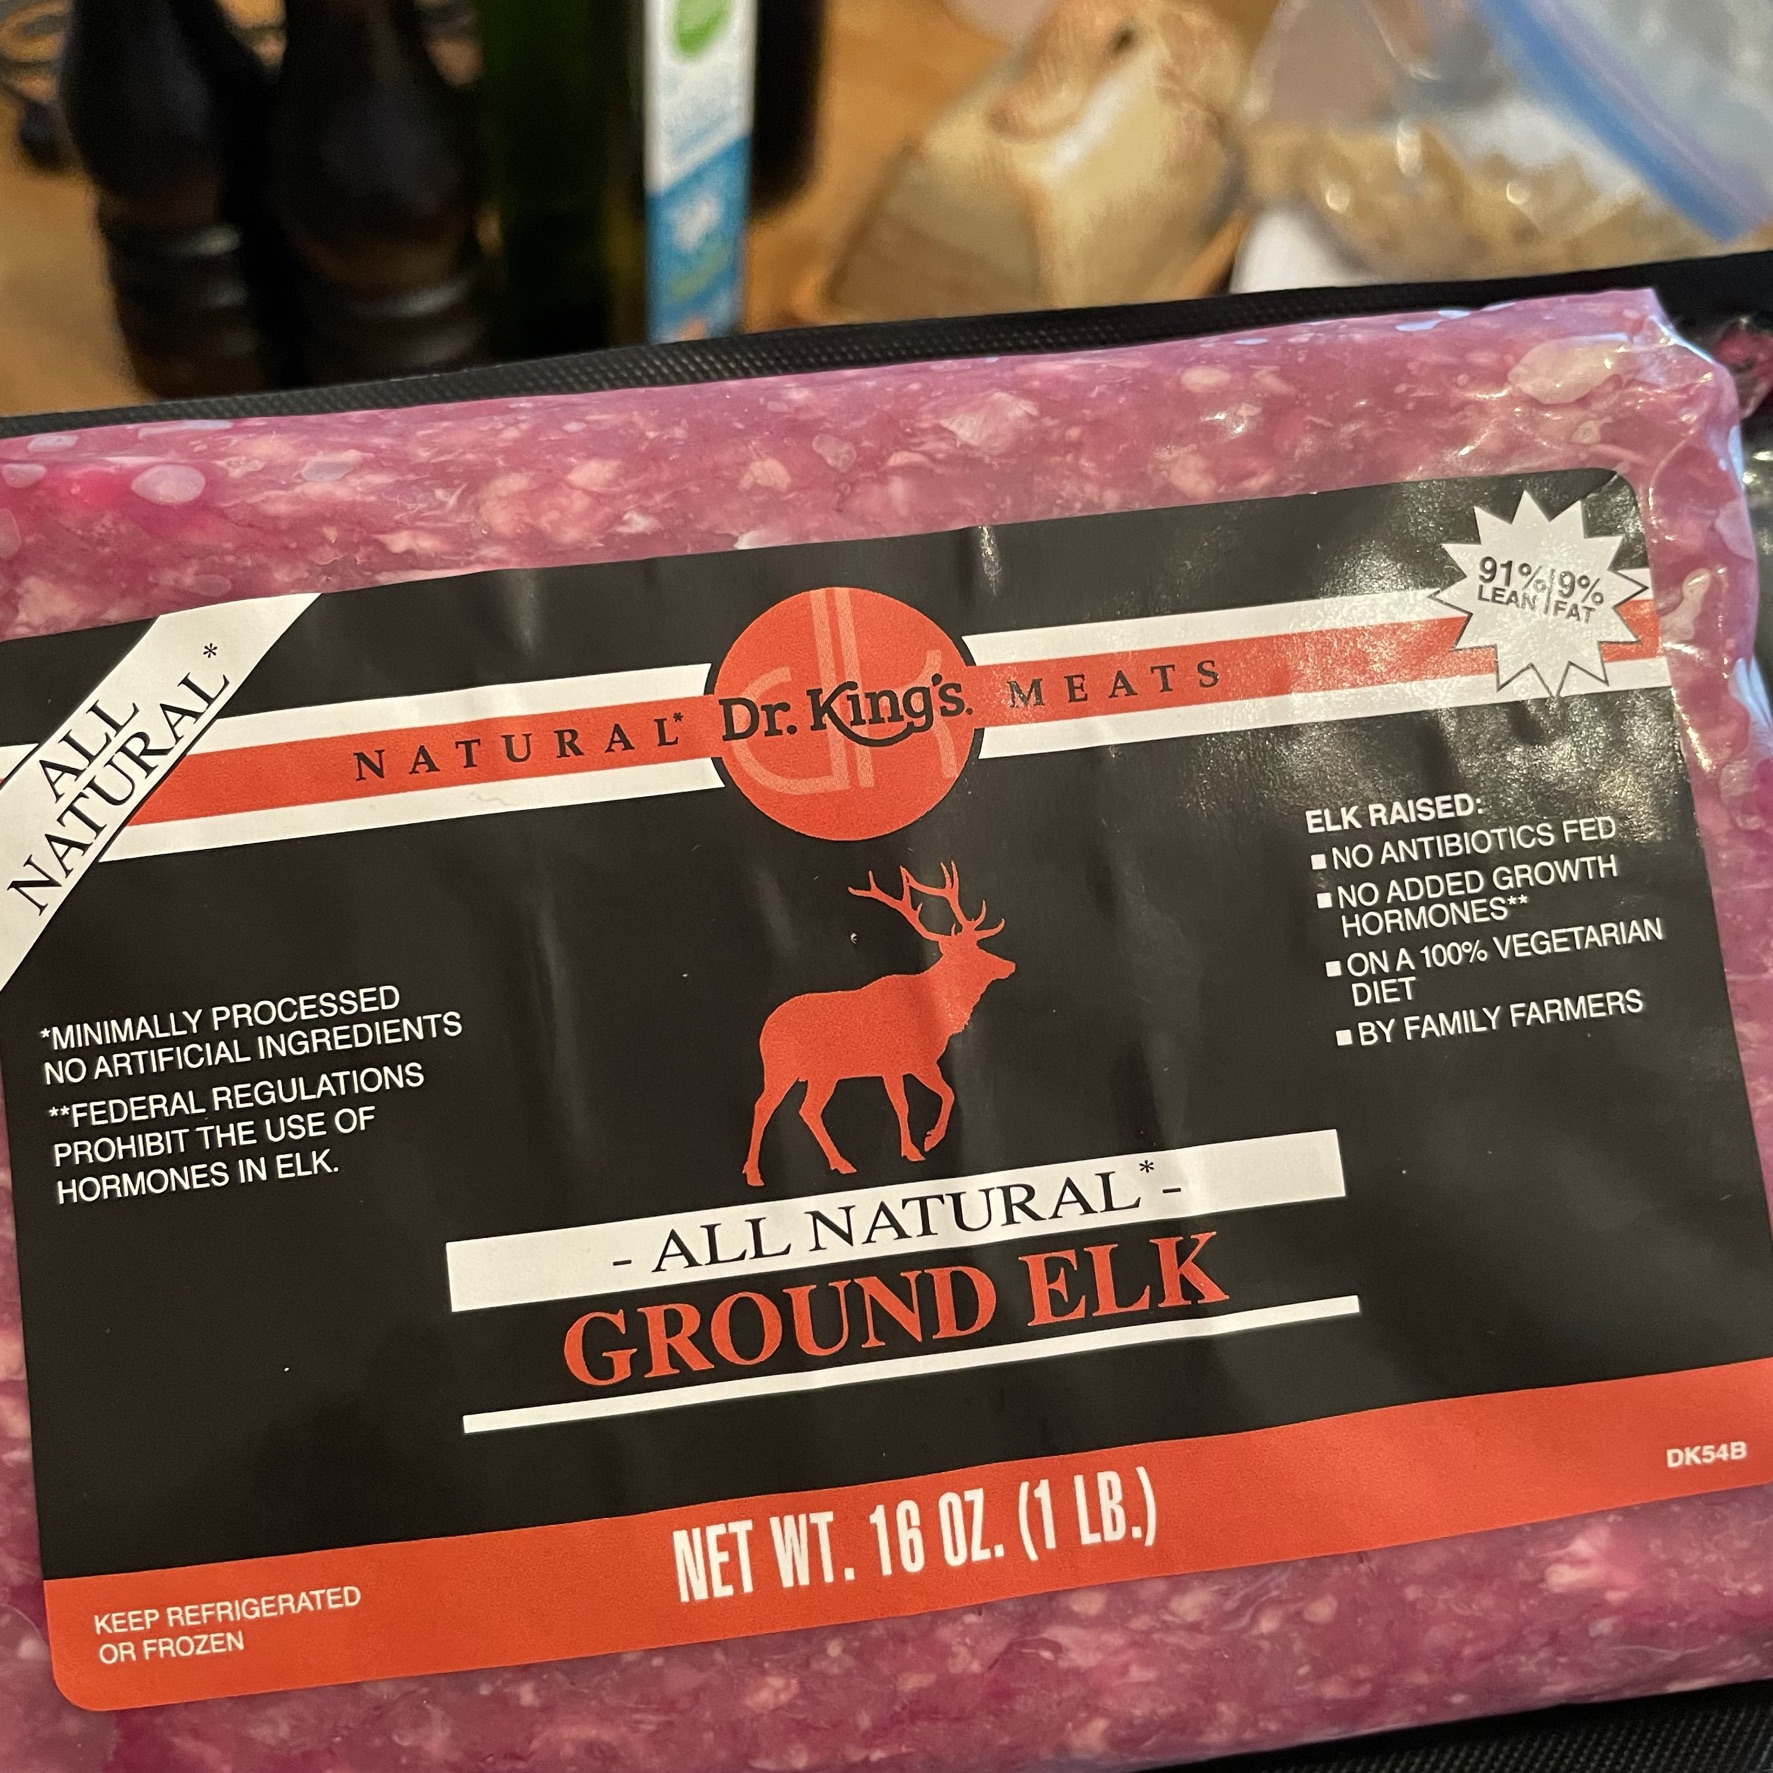
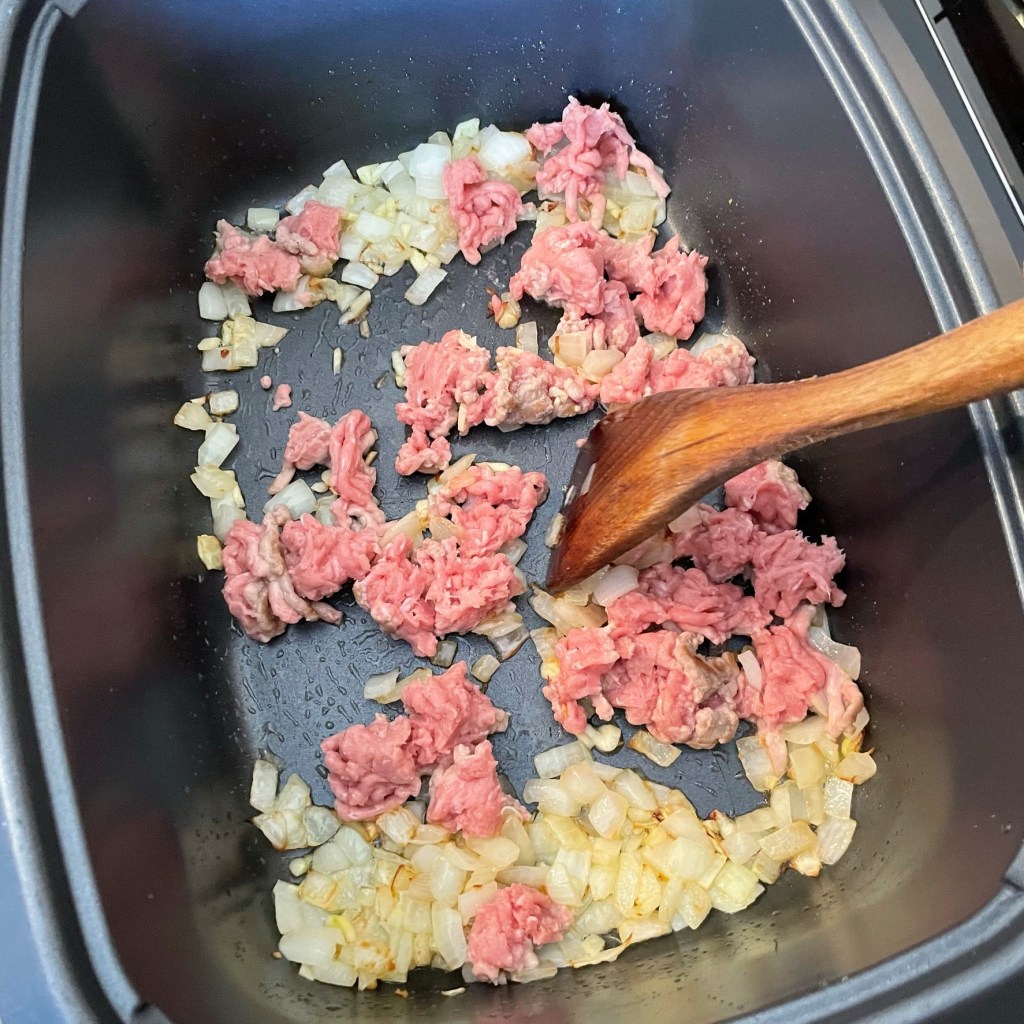
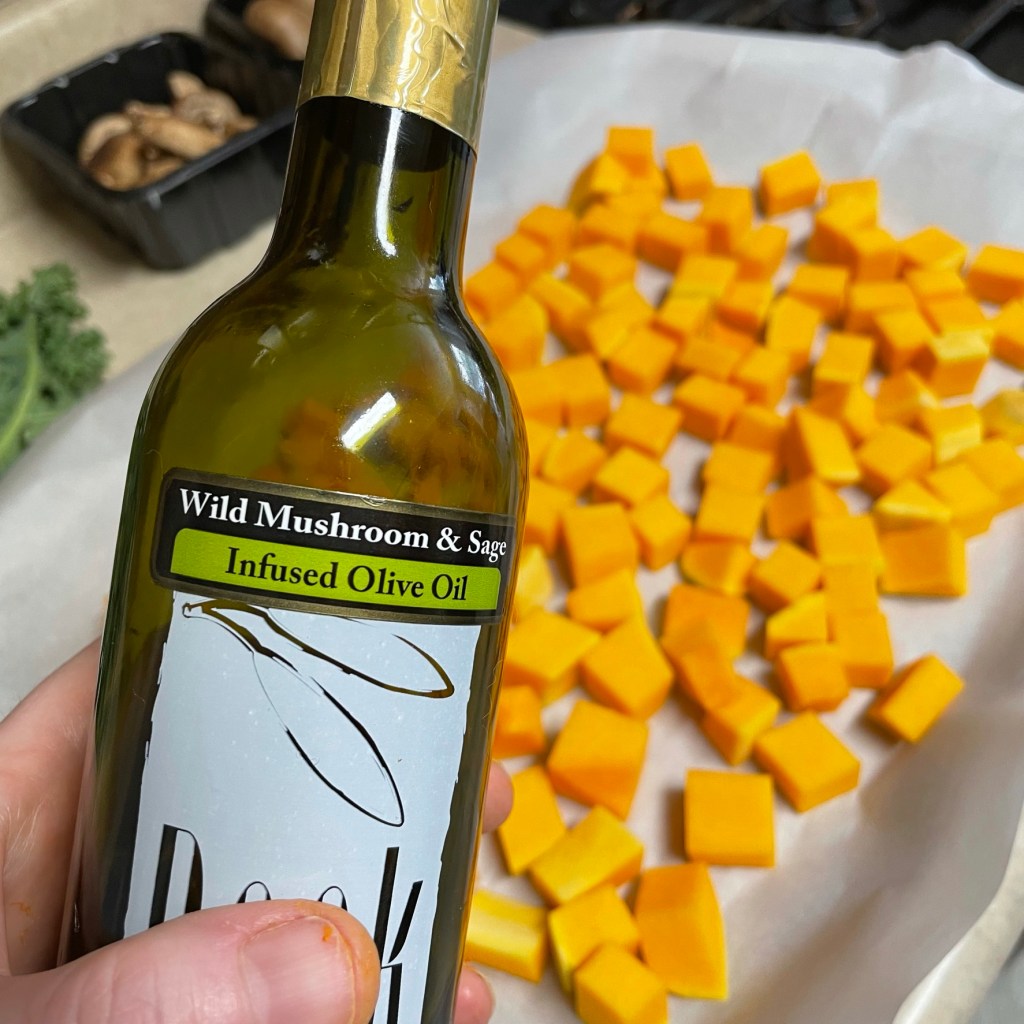
A few years ago, I tasted elk for the first time in a restaurant burger, and I found it delicious—similar to beef but richer and more flavorful. Elk is a very lean meat (91%, as noted on the package I bought), but I had a few ideas in mind for keeping the meatloaf moist and they all worked together perfectly. First, I used a more generous glug of olive oil than usual to sauté my onions on the “browning” feature of the slow cooker. Some chunky sautéed mushrooms created pockets of moisture throughout the mixture. The egg I used as a binder also added moisture, thanks to the natural fats in the yolk. Finally, the glaze on top helped protect the surface from drying out during baking, which is true for an oven meatloaf as well.
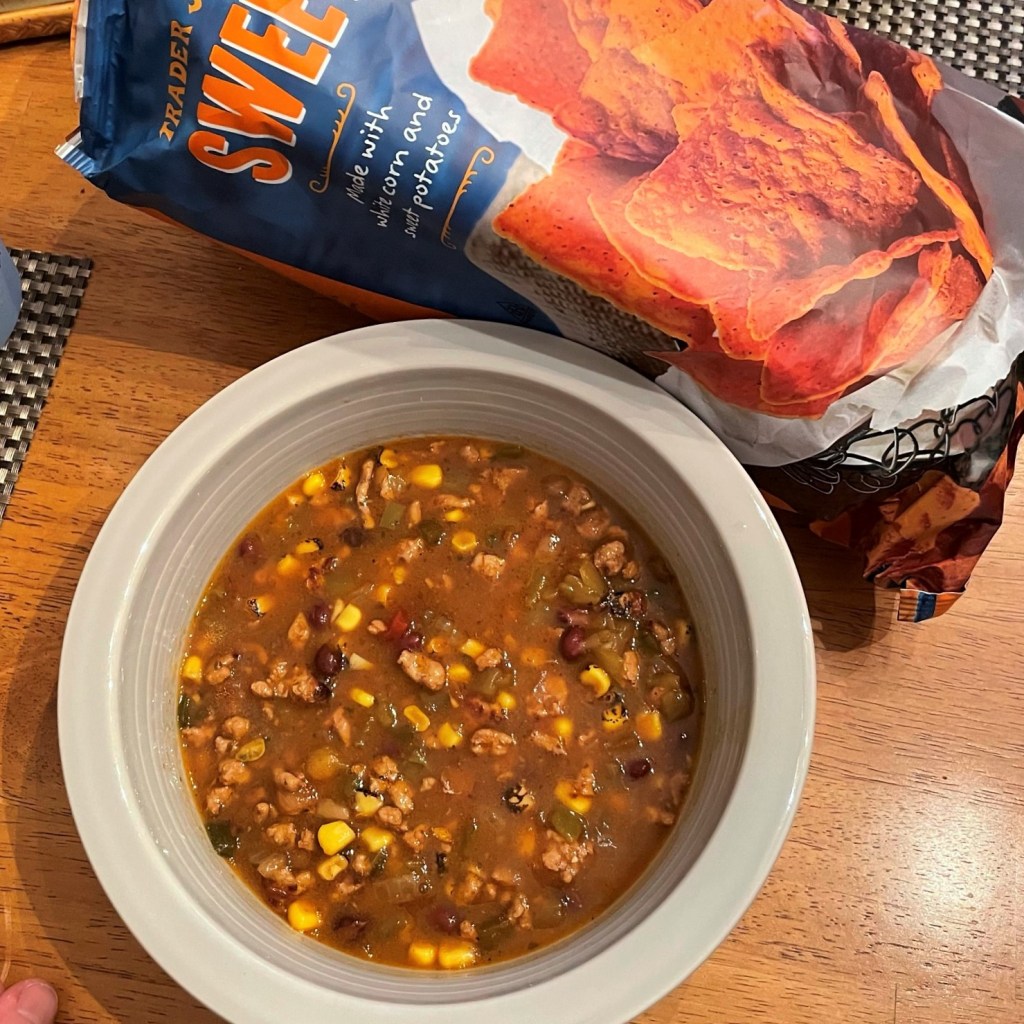
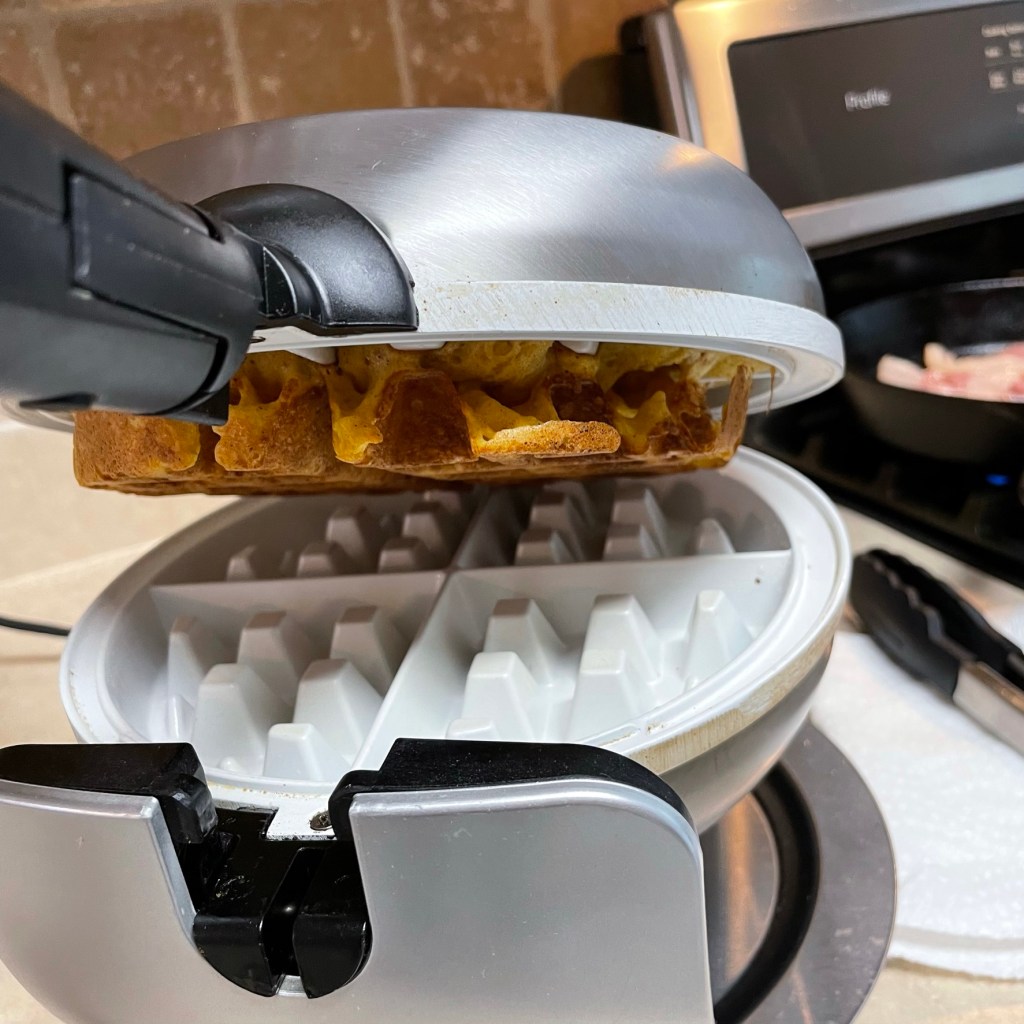
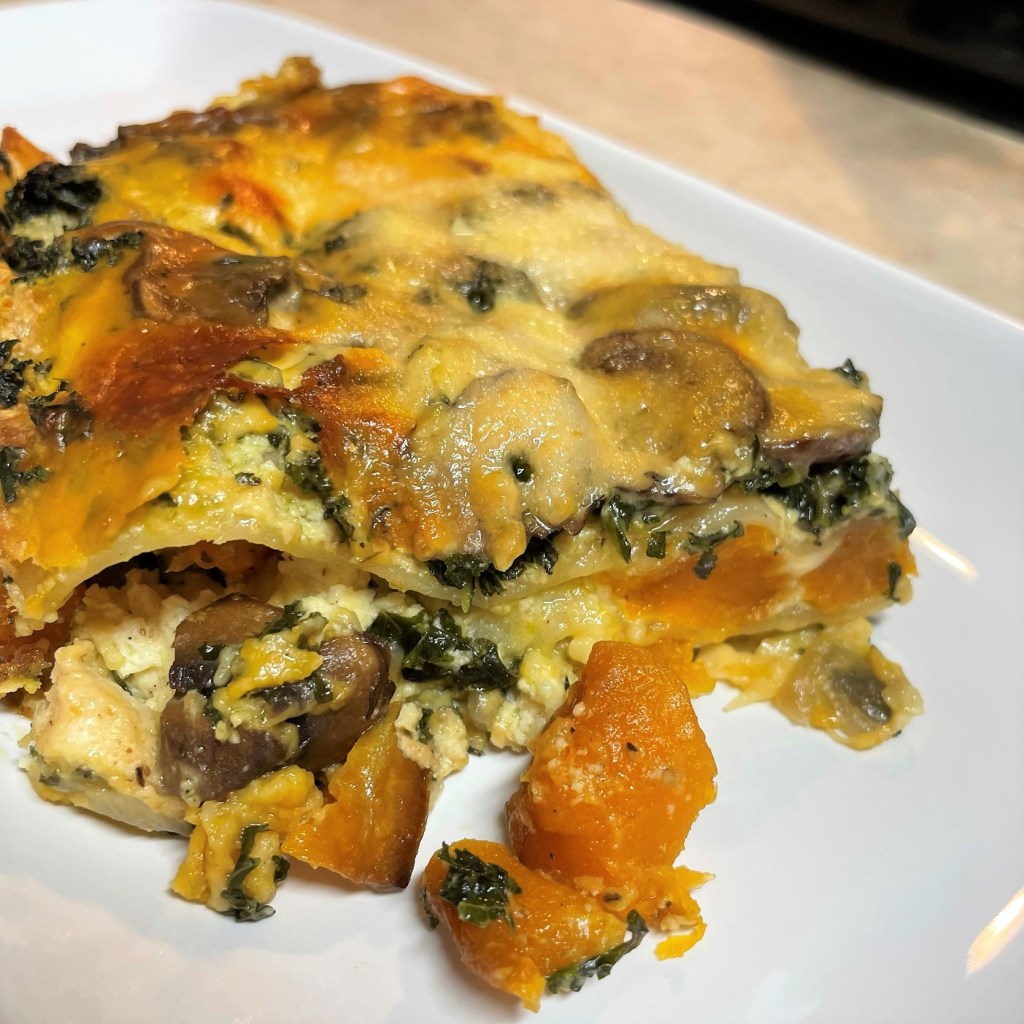
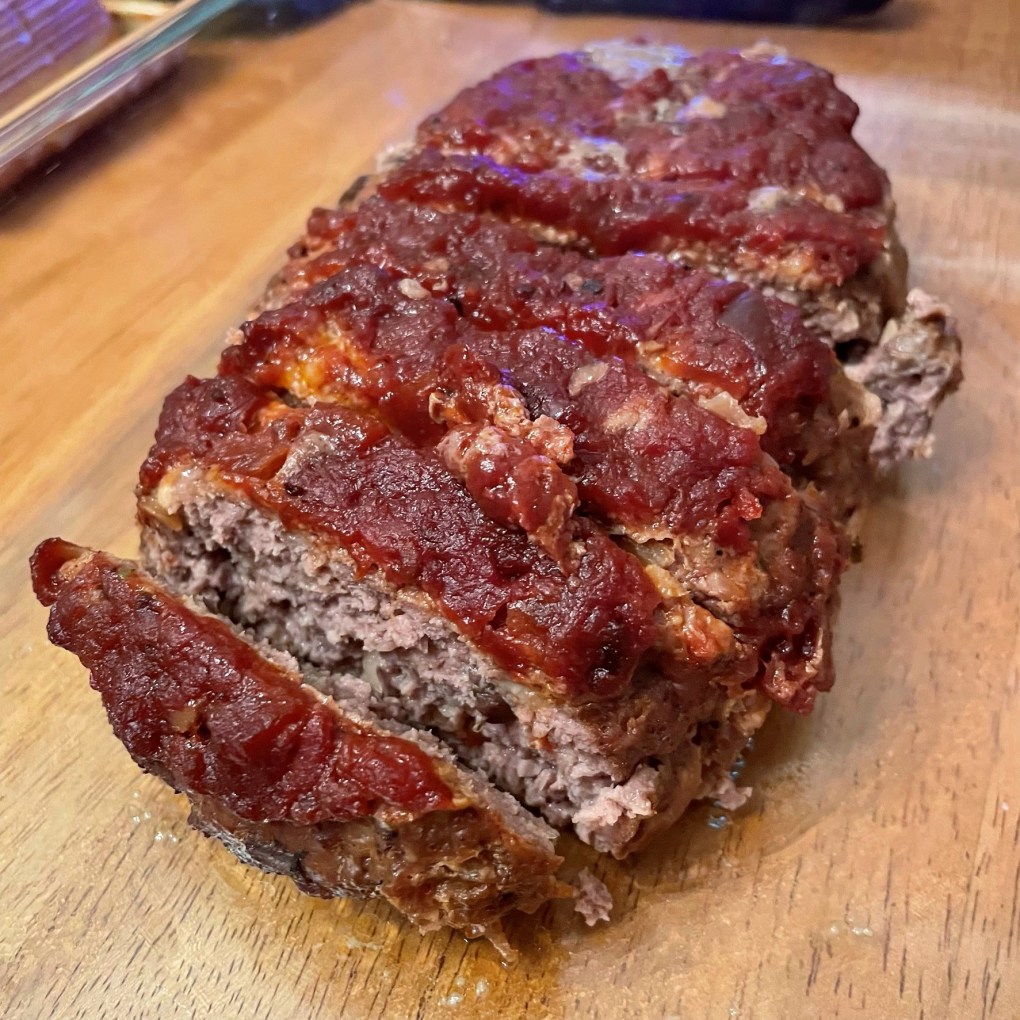
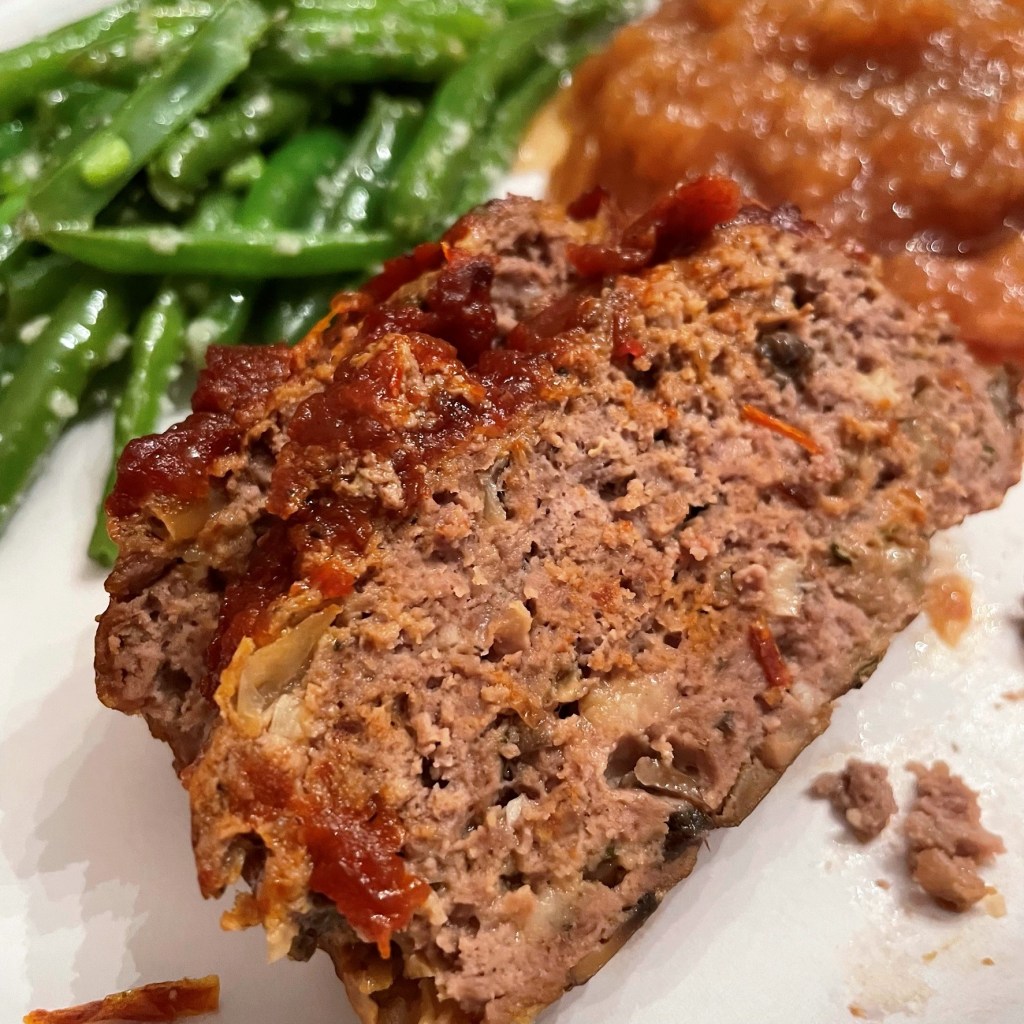
I can’t say for sure that meatloaf would be successful in every kind of slow cooker, but I’ve seen some evidence on Pinterest to support that idea, and most of those recipes involve lining the cooker with foil and pressing a double batch of meatloaf mixture into the shape of the cooker insert. Our Cuisinart slow-cooker, which is quickly gaining major respect in my eyes, also has a “roast” feature that is said to function just like any oven, so I gave it a try. See for yourself how it turned out—looking so sexy on our fancy Chinet plates!
Ingredients
1 lb. lean ground elk (or any other ground meat with similar fat content)
1/3 cup panko crumbs
1/3 cup whole milk* (see notes)
4 Tbsp. olive or canola oil
1/2 large sweet or yellow onion, chopped
About 5 cremini mushrooms, cleaned and chopped
2 cloves garlic, finely minced
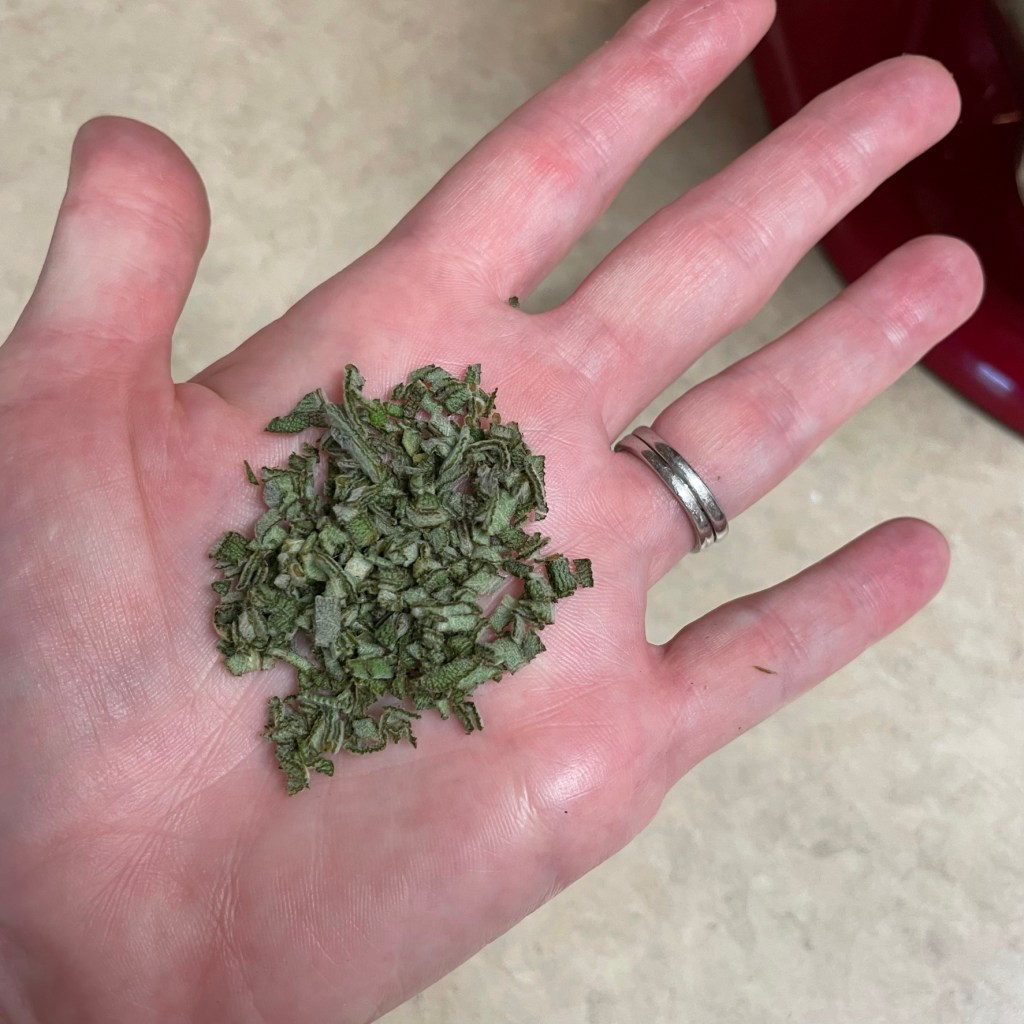
1 tsp. fresh rosemary leaves, minced
1 large egg
Salt and pepper
1/2 cup bbq sauce, chili sauce or whatever you like as a meatloaf topper*
*Notes
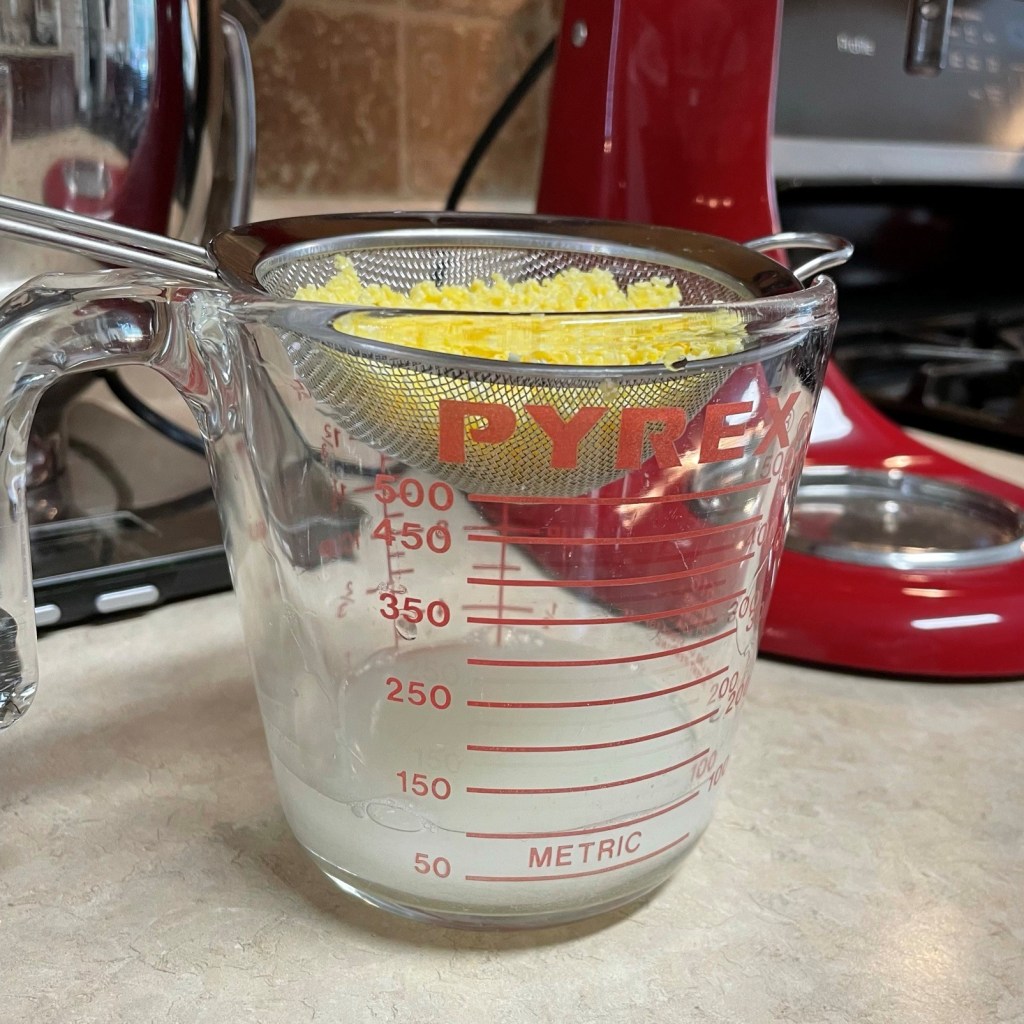
I used whole milk to moisten the panko crumbs, but if you are dairy-sensitive, I have also had good luck using aquafaba, the liquid drained off a can of garbanzo beans. The purpose of the milk is to help convert the crumbs into a sticky binder to hold the meatloaf together, and the aquafaba is a fine stand-in.
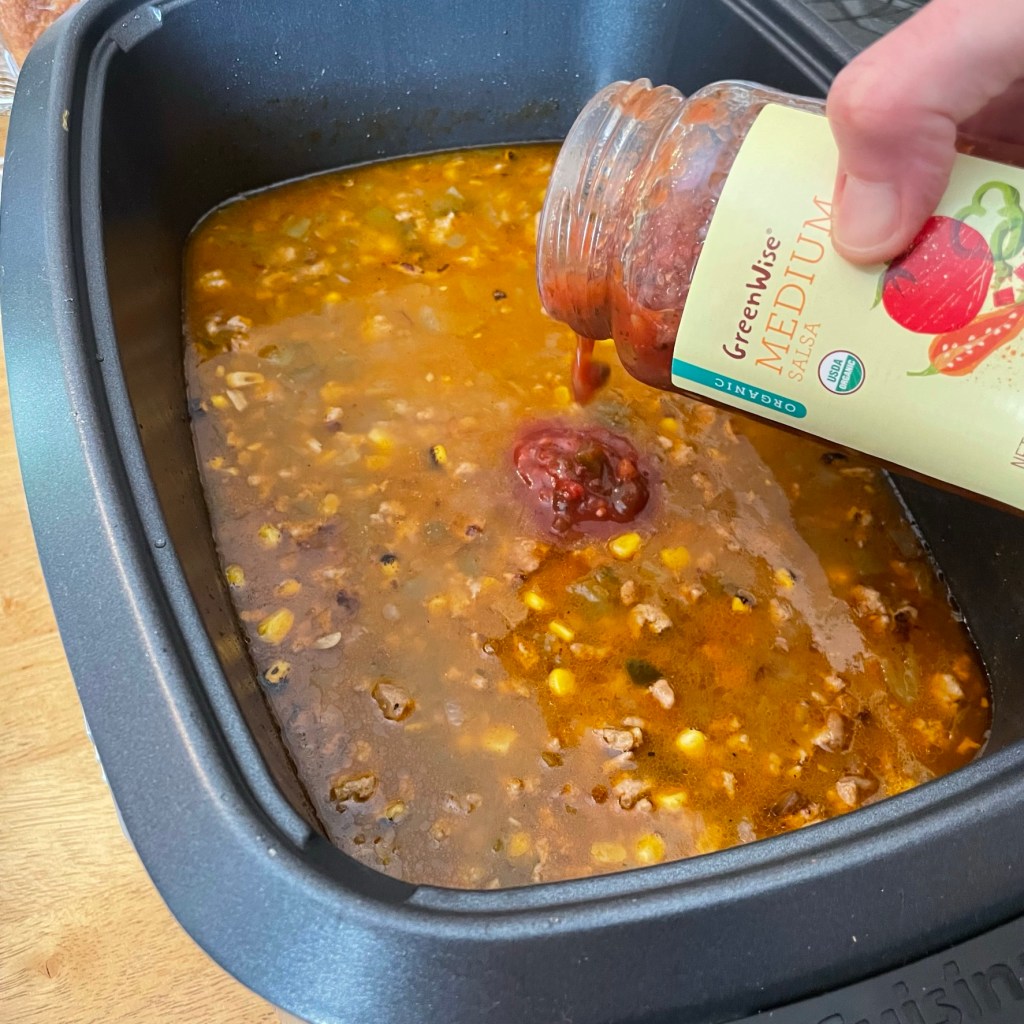
My sauce for this meatloaf was left from the kielbasa bites I made from that crazy “Chopped” challenge. It was chili sauce mixed with grape jelly, so it had a tomato base with a bit of heat, onions and spices, plus the sweetness and stickiness of the jelly. I enjoyed the combination so much that I saved the sauce after we finished the kielbasa. And of course, now I want to re-create it, just not with three pounds of kielbasa.
Instructions
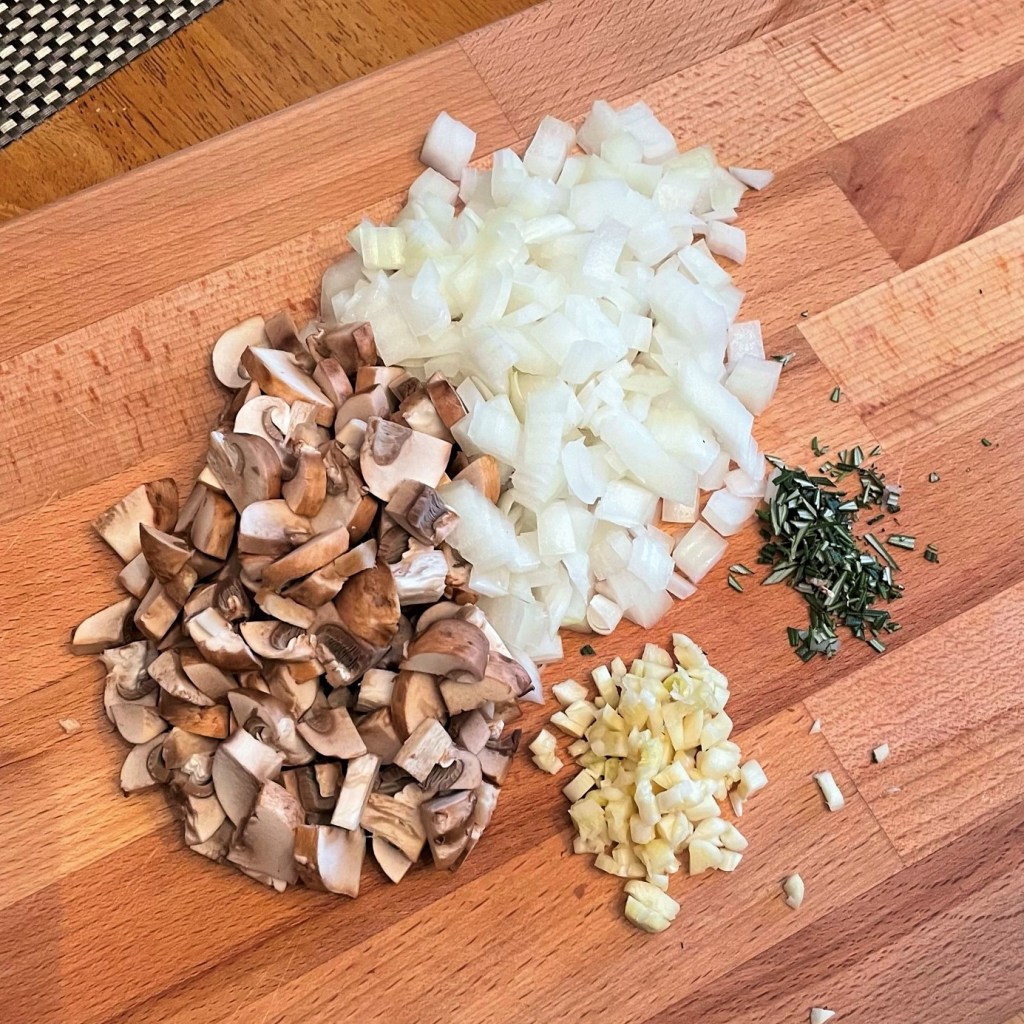
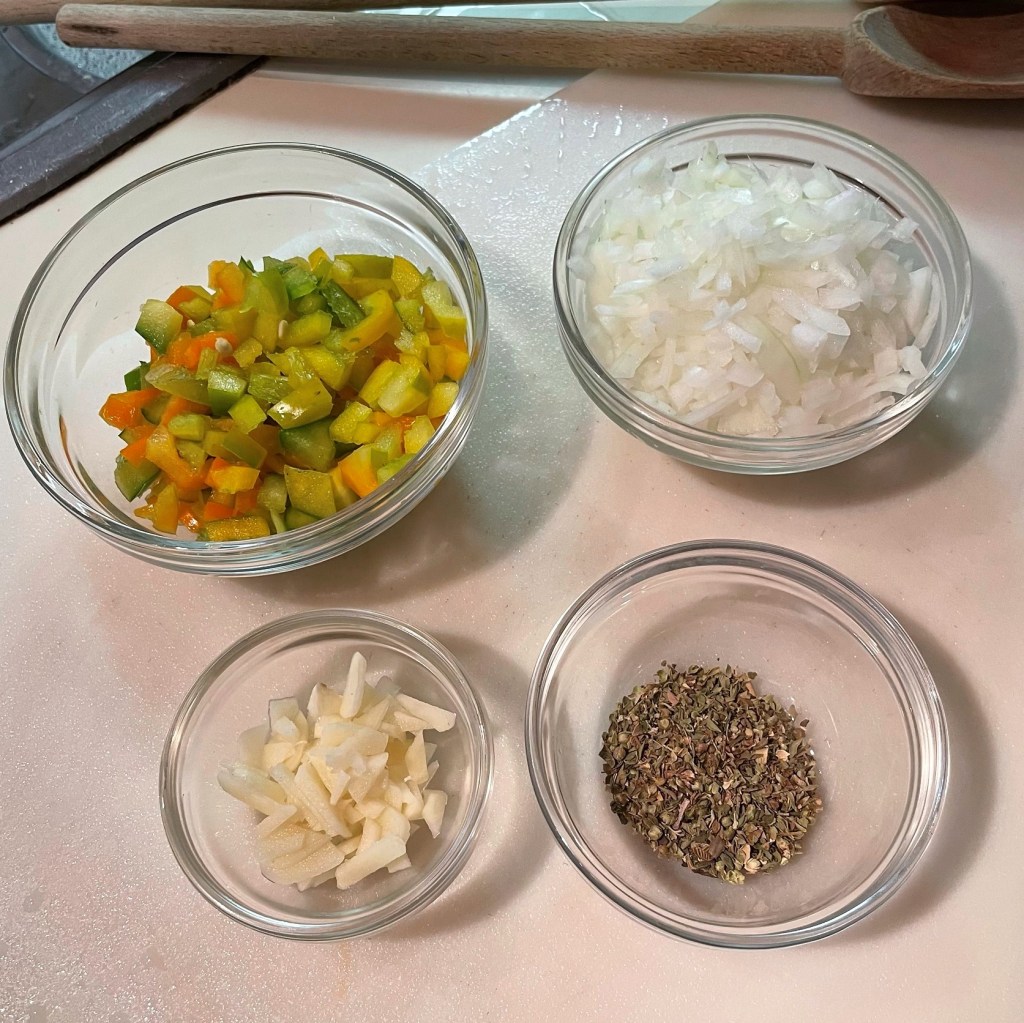
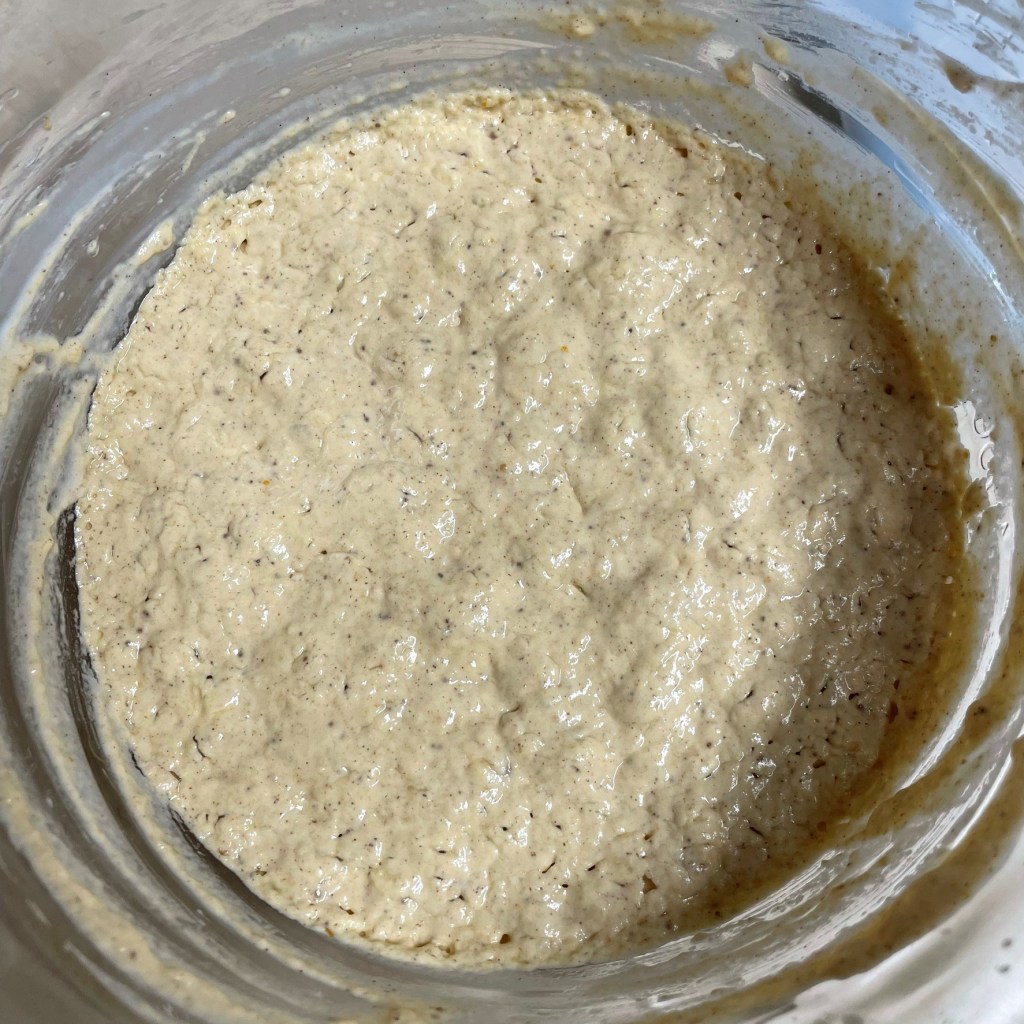
I kept the add-ins for my meatloaf simple, and chopped the mushrooms fairly large so they would hold moisture better. 
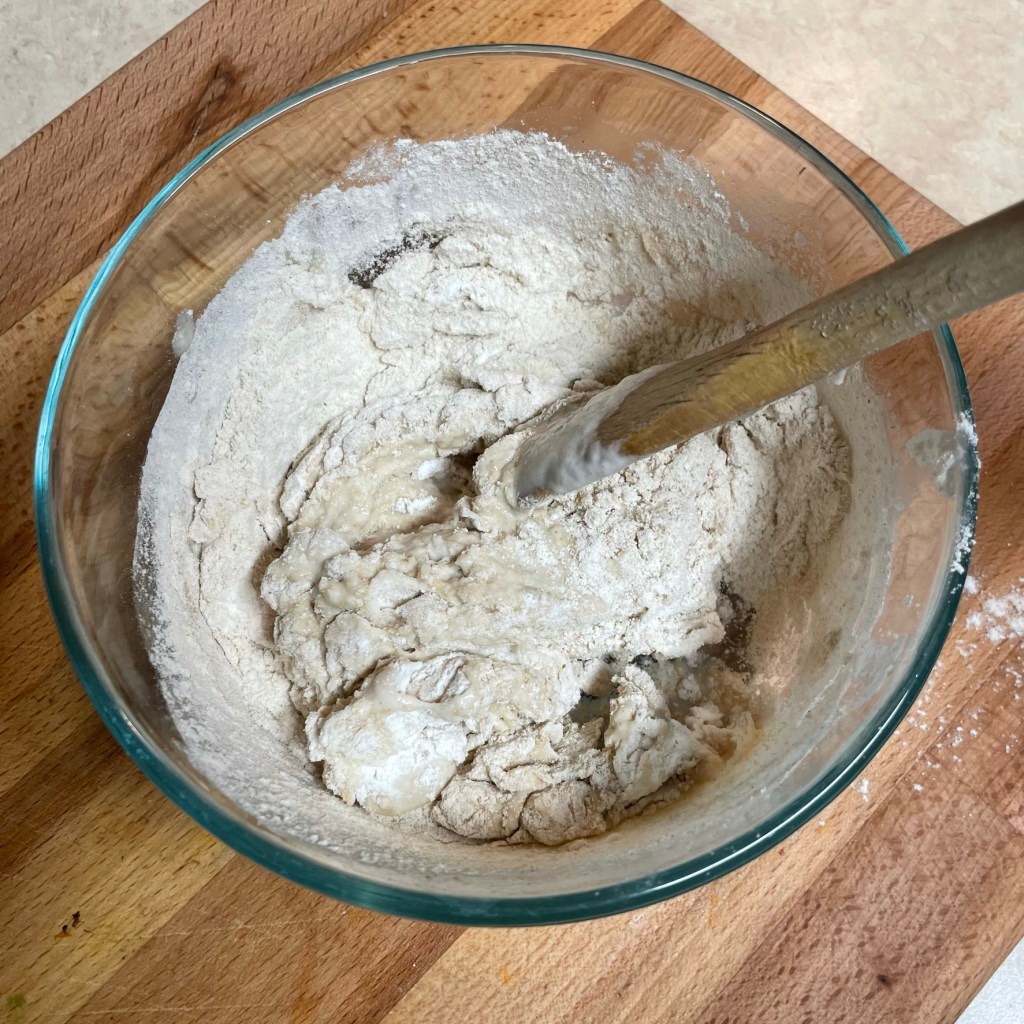
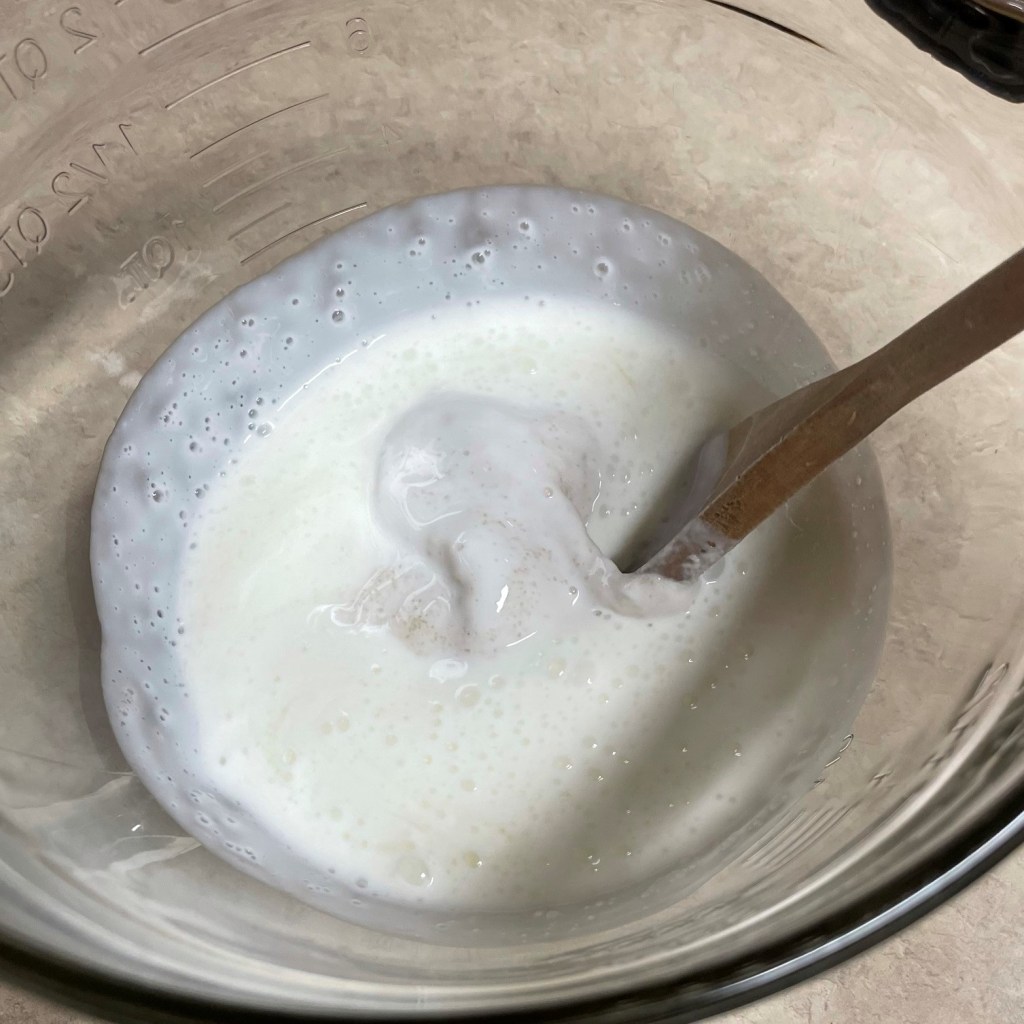
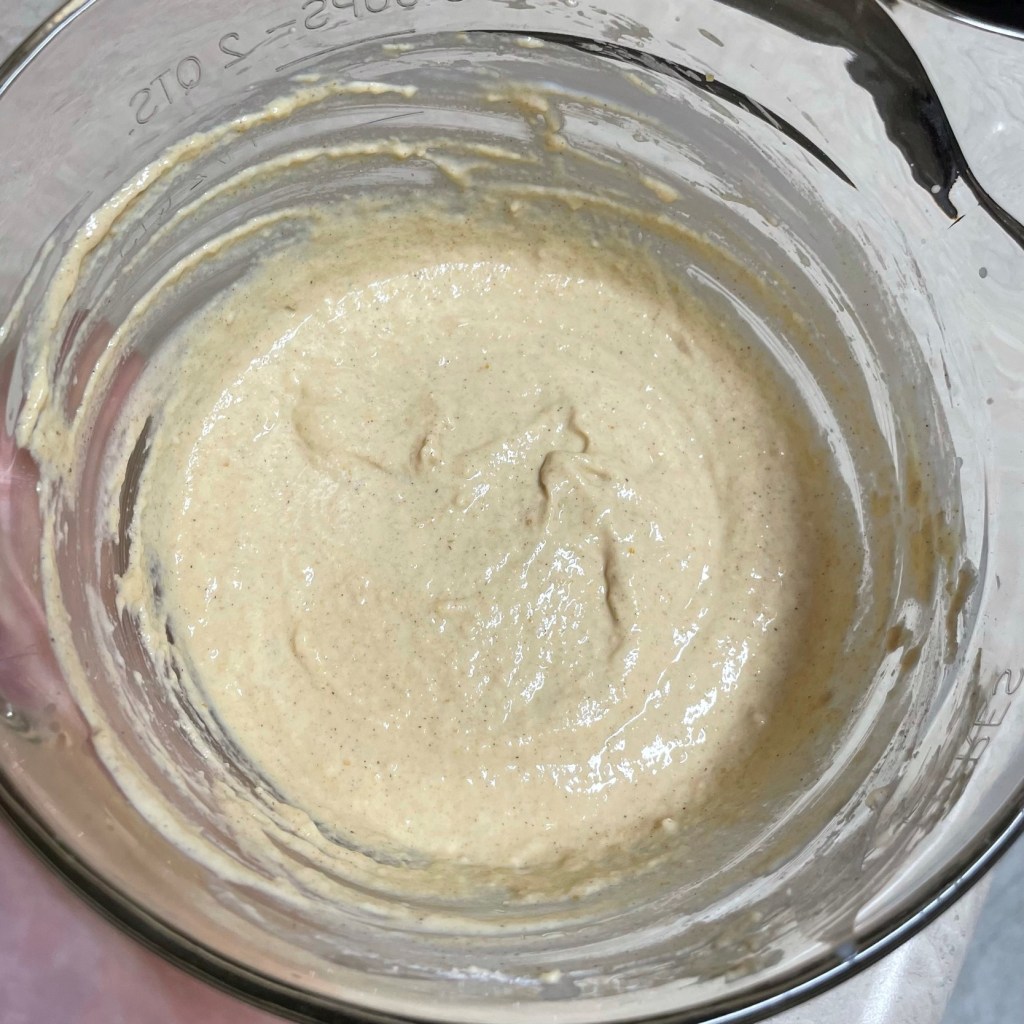
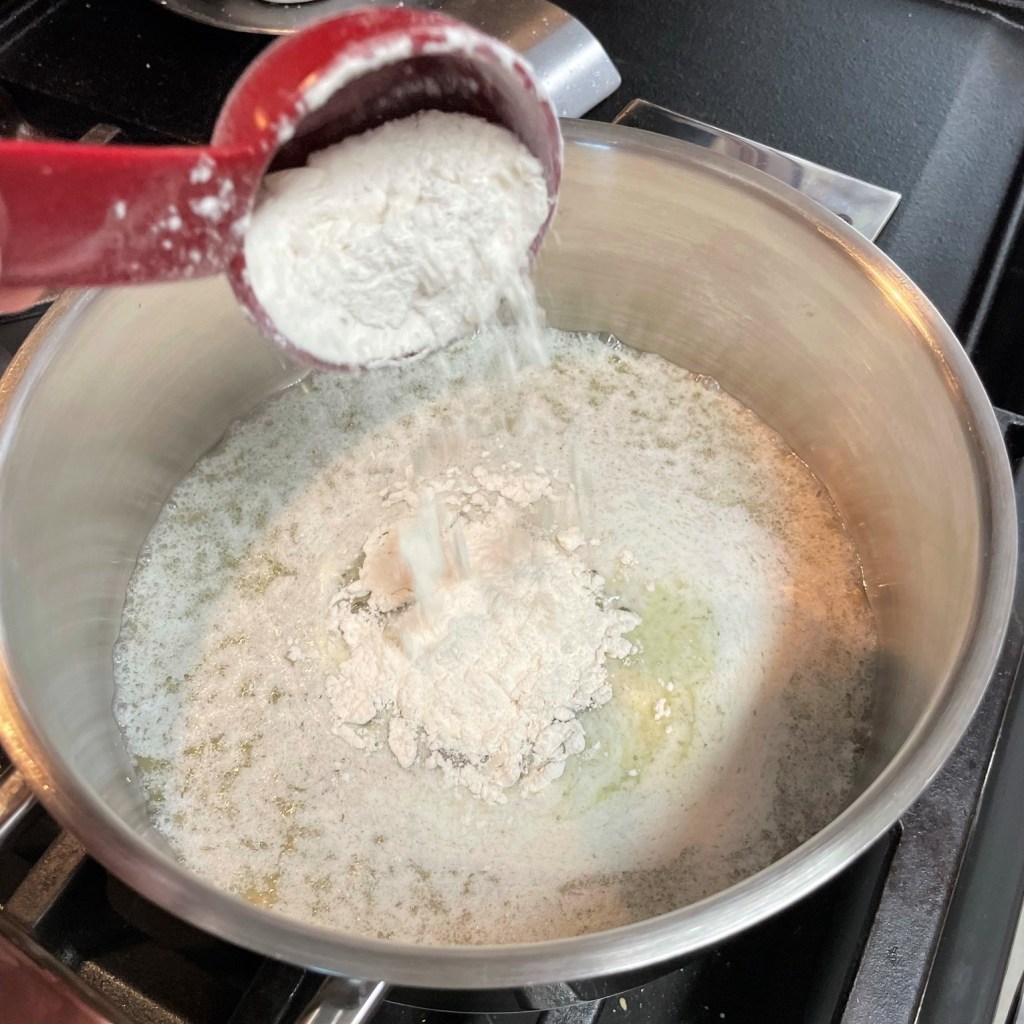
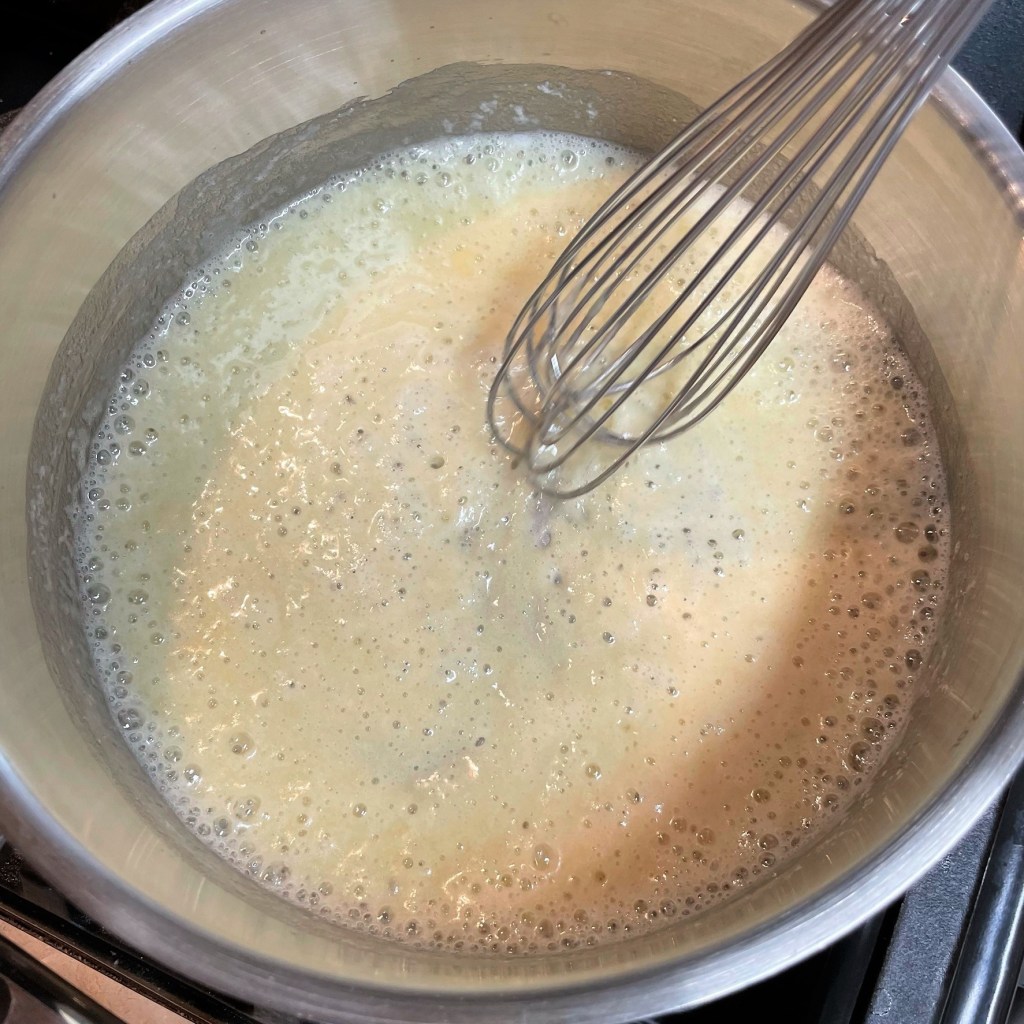
The panko crumb and milk mixture is called a “panade” and it goes a long way toward binding a meatloaf mixture together. 
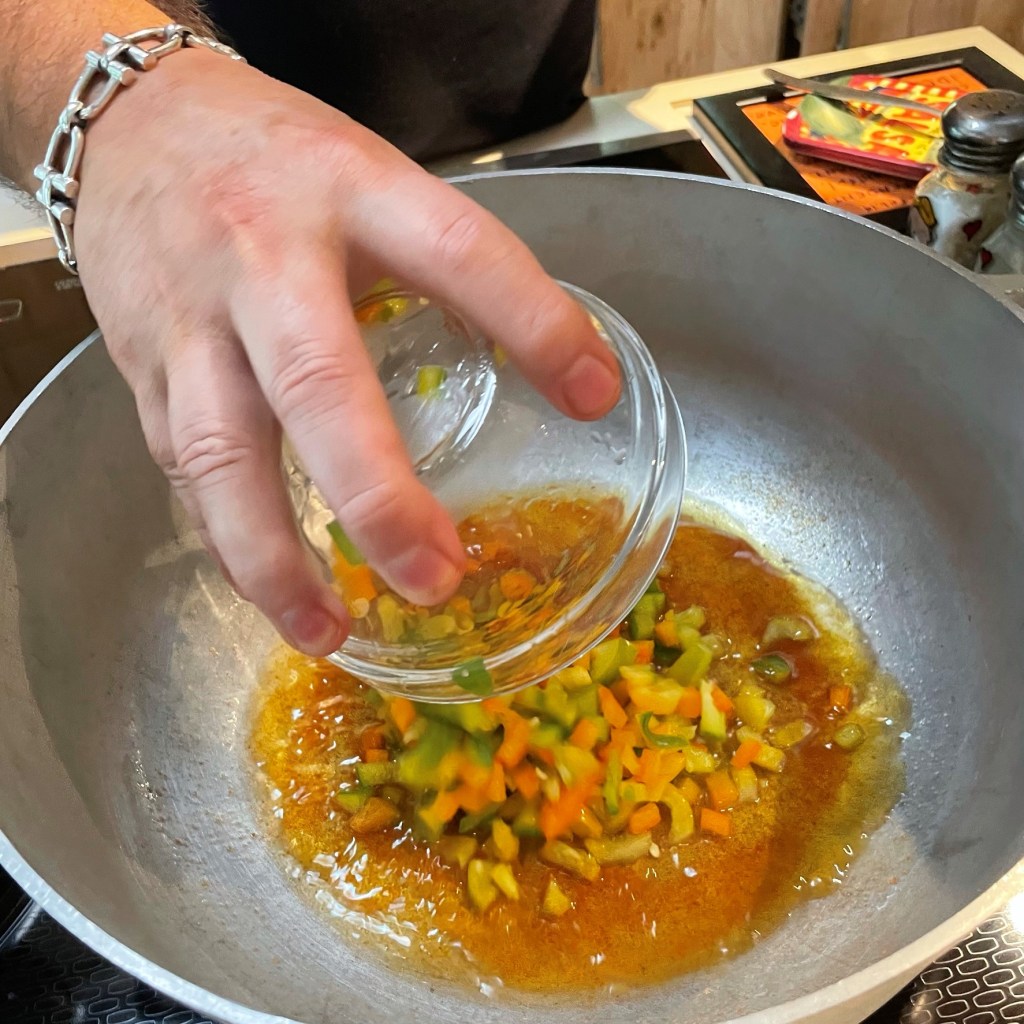
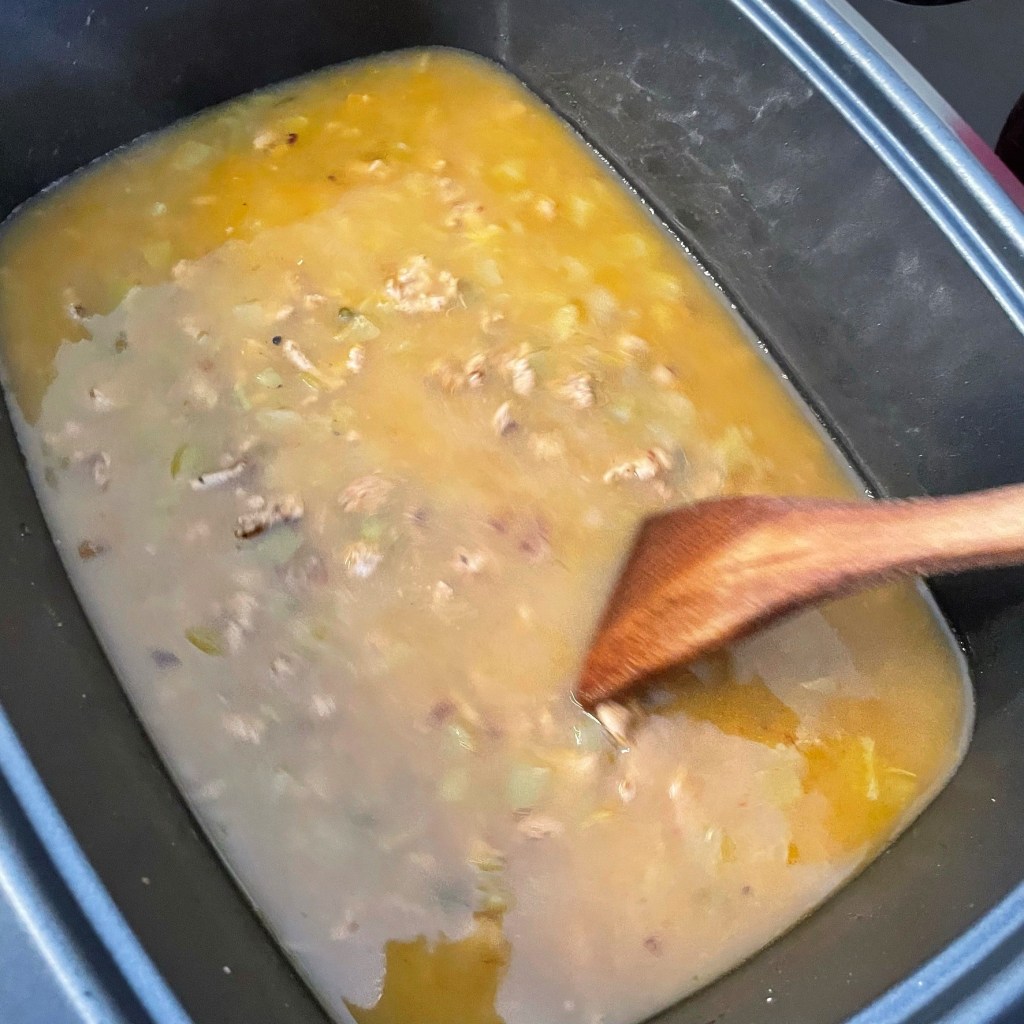
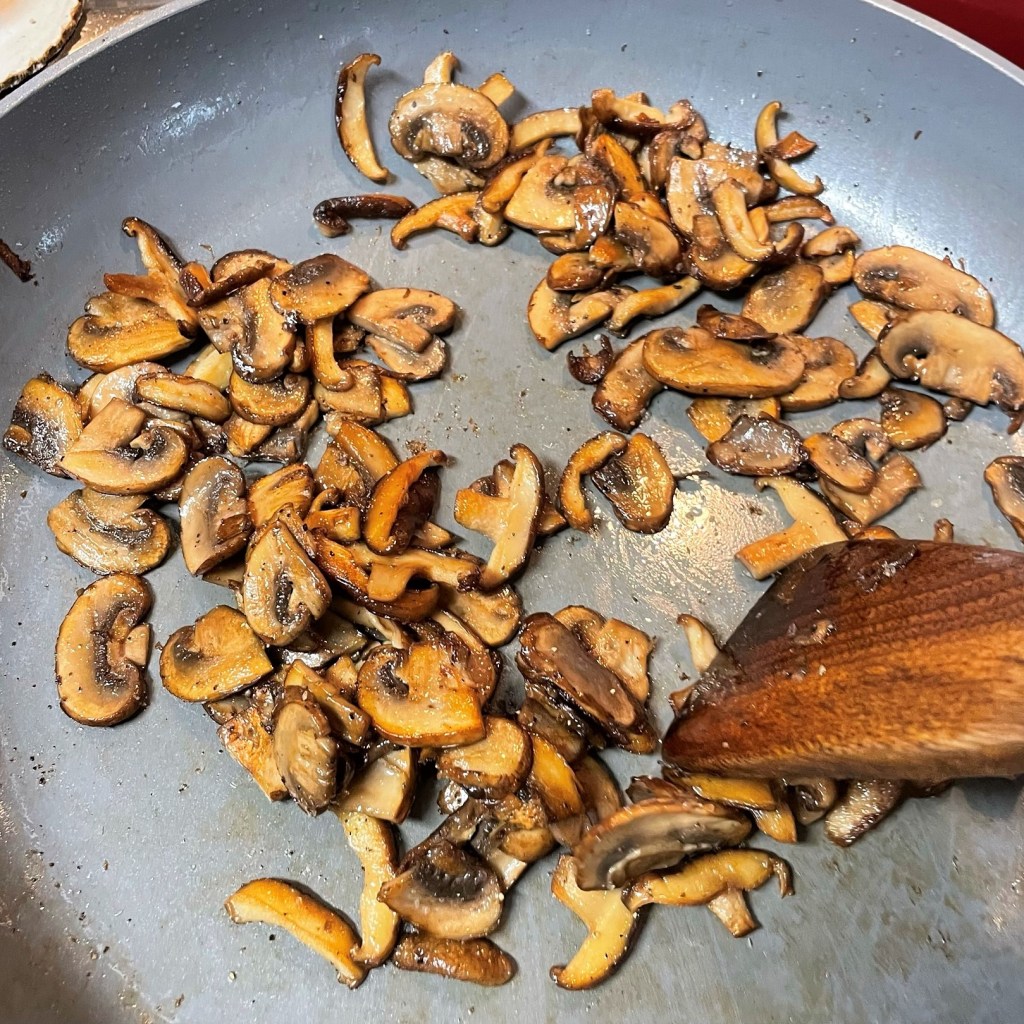
I sauteed the onions first, then added the mushrooms and finally the garlic. 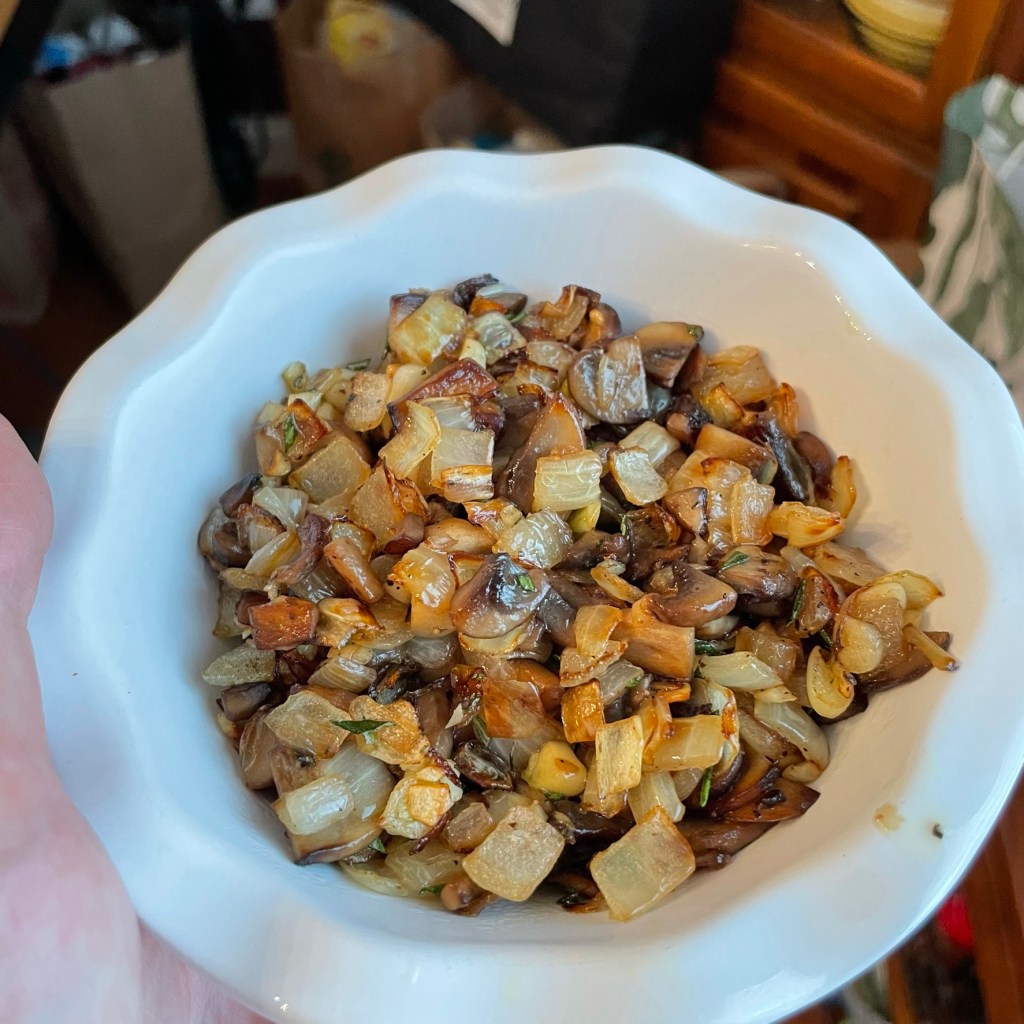
I cooked the onions and mushrooms until they were soft and golden in color. 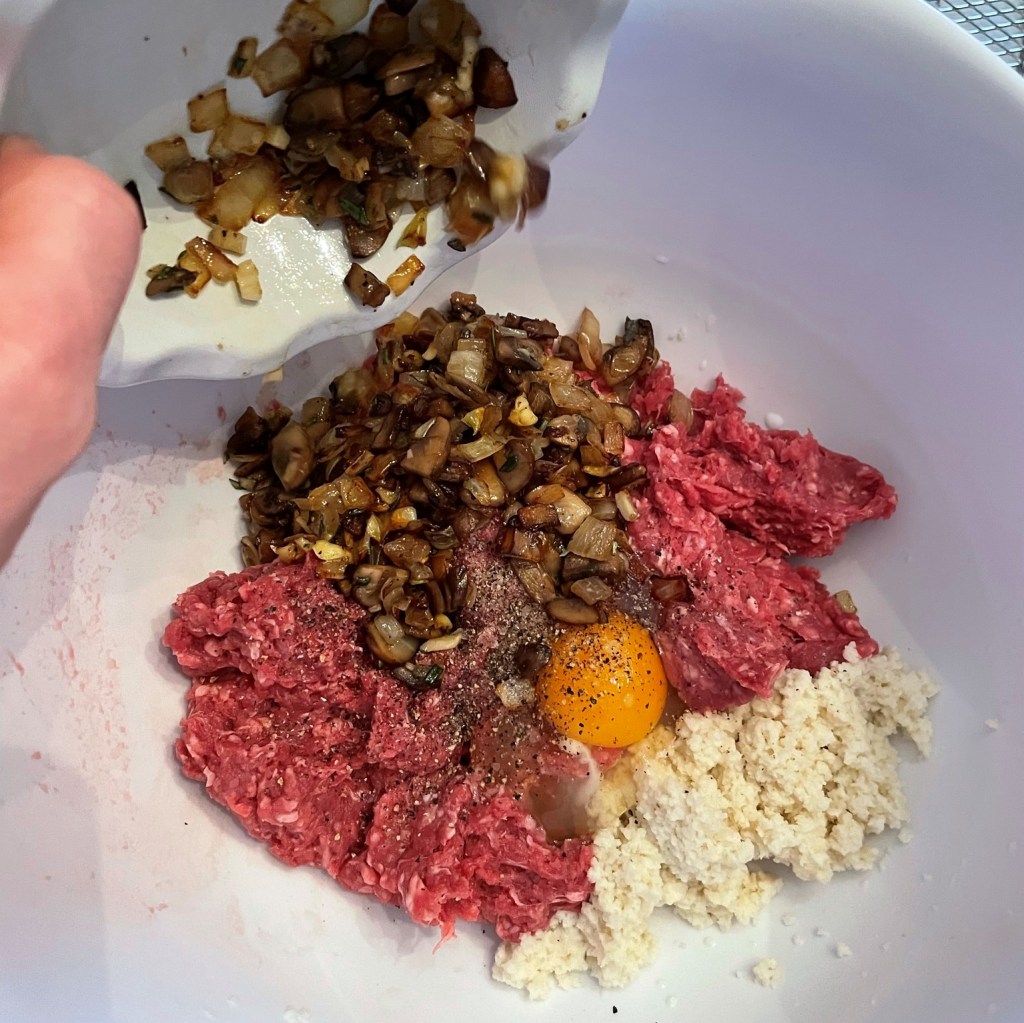
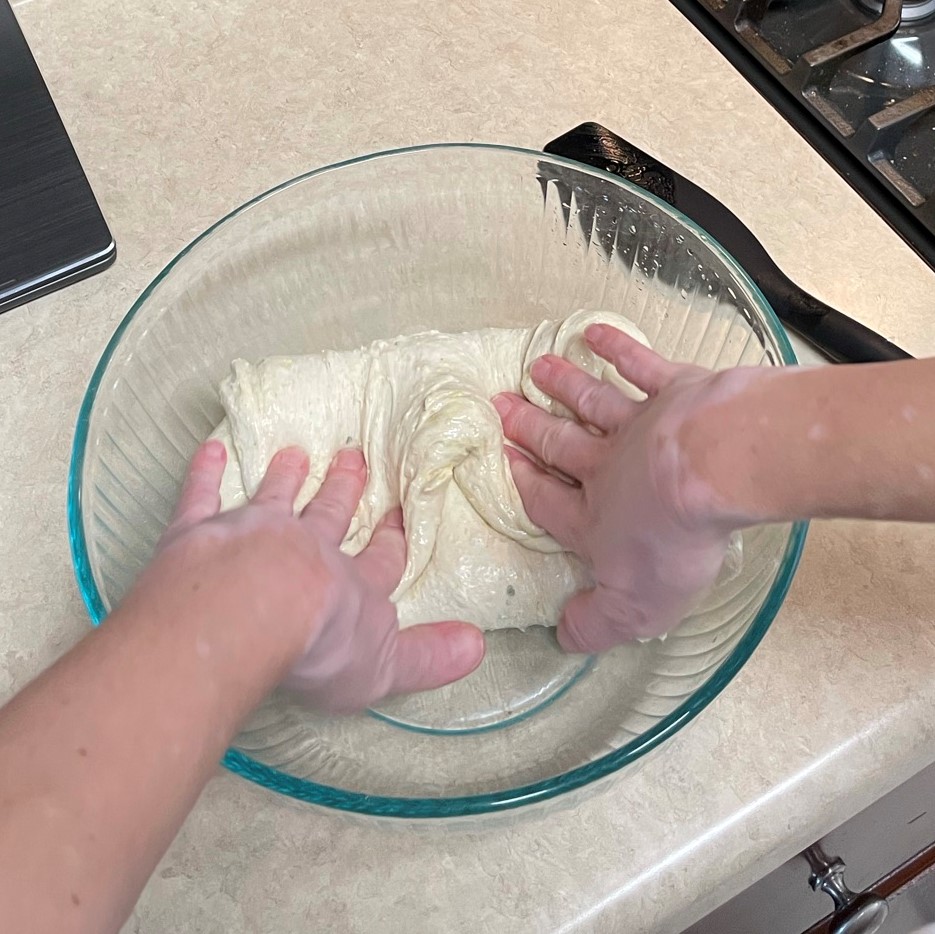
OK, everyone into the pool! I mixed everything up with my hands, which explains why there is no picture for that step. 🙂 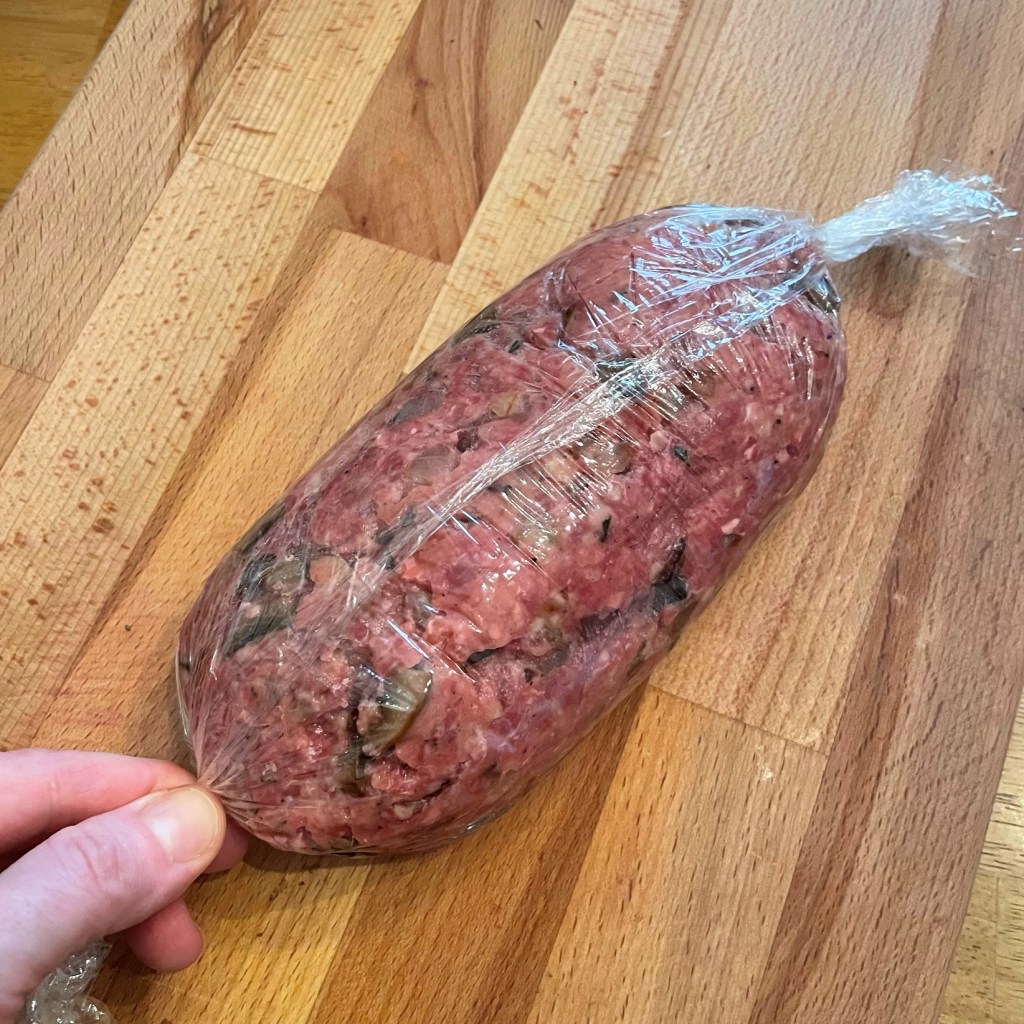
I always do this with meatloaf, and an hour in the fridge helps it keep its shape and structure during baking. 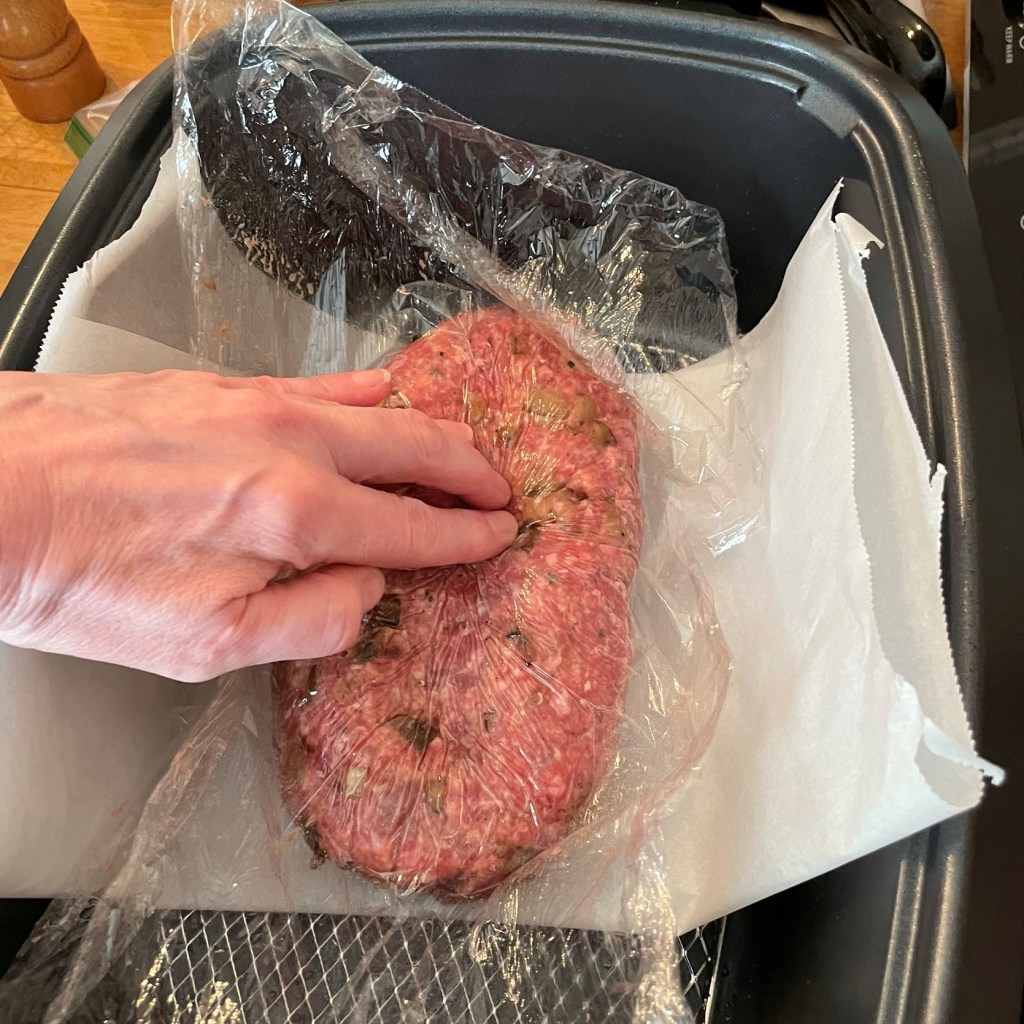
I used the plastic wrap to press a shallow “valley” in the surface of the meatloaf, to hold my glaze. 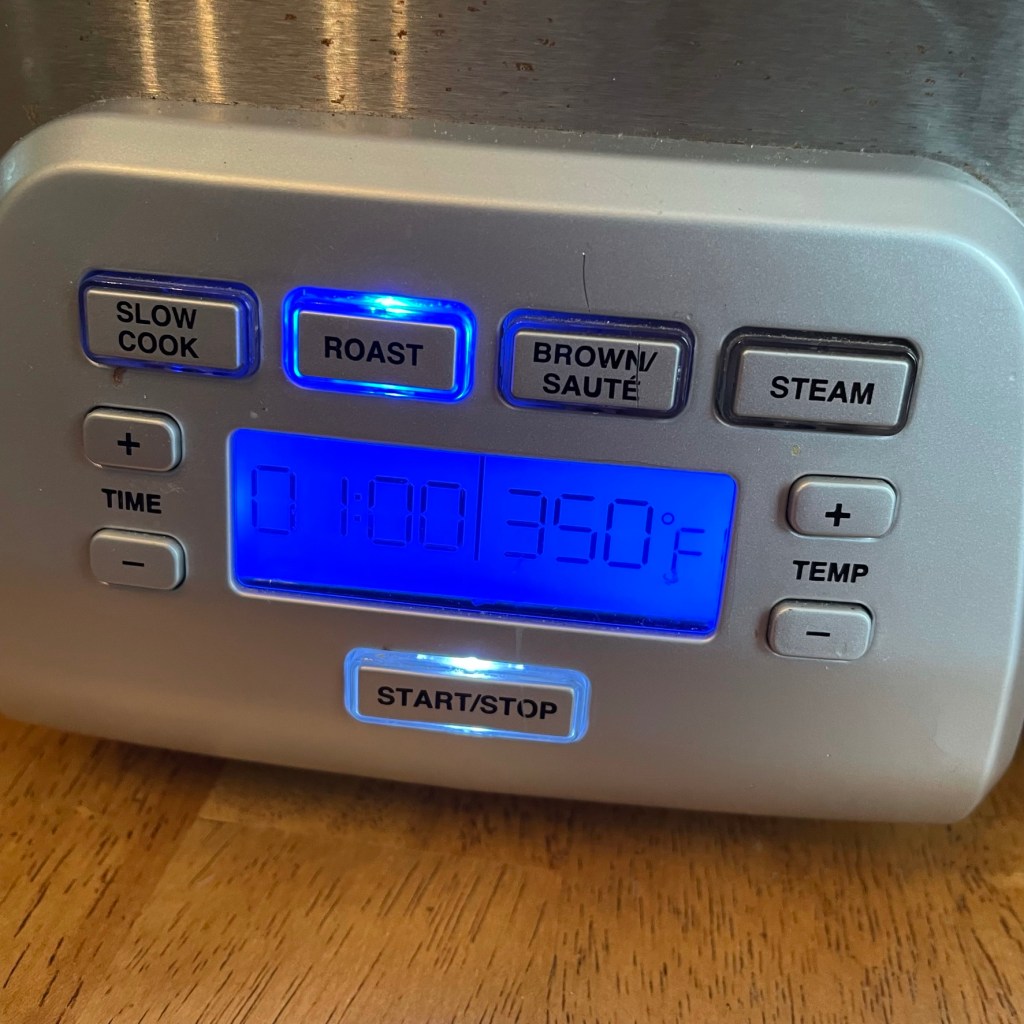
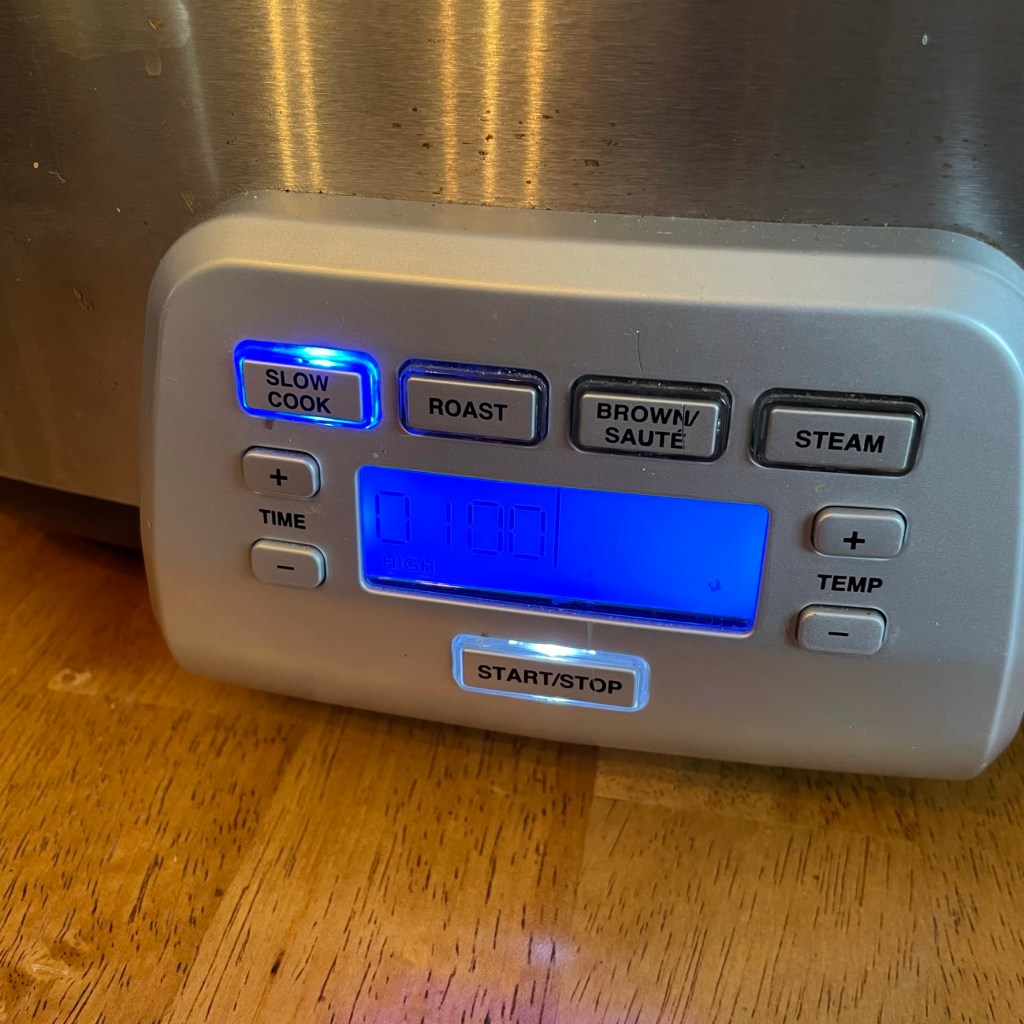
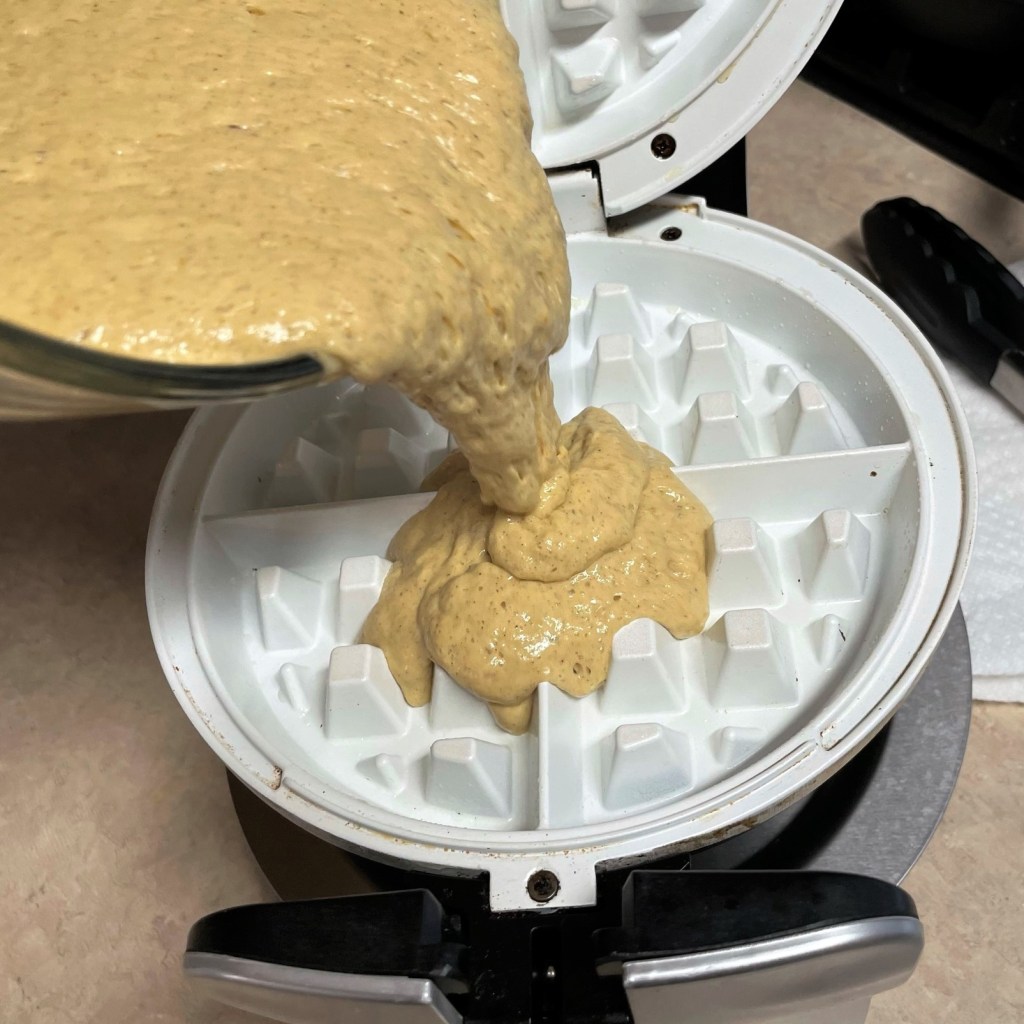
Cuisinart says the “roast” feature lets me use the cooker like an oven. This thing is winning me over! 
Any kind of sauce can go on top, but I usually use a combination of tomato flavors with sweet, spicy and savory. 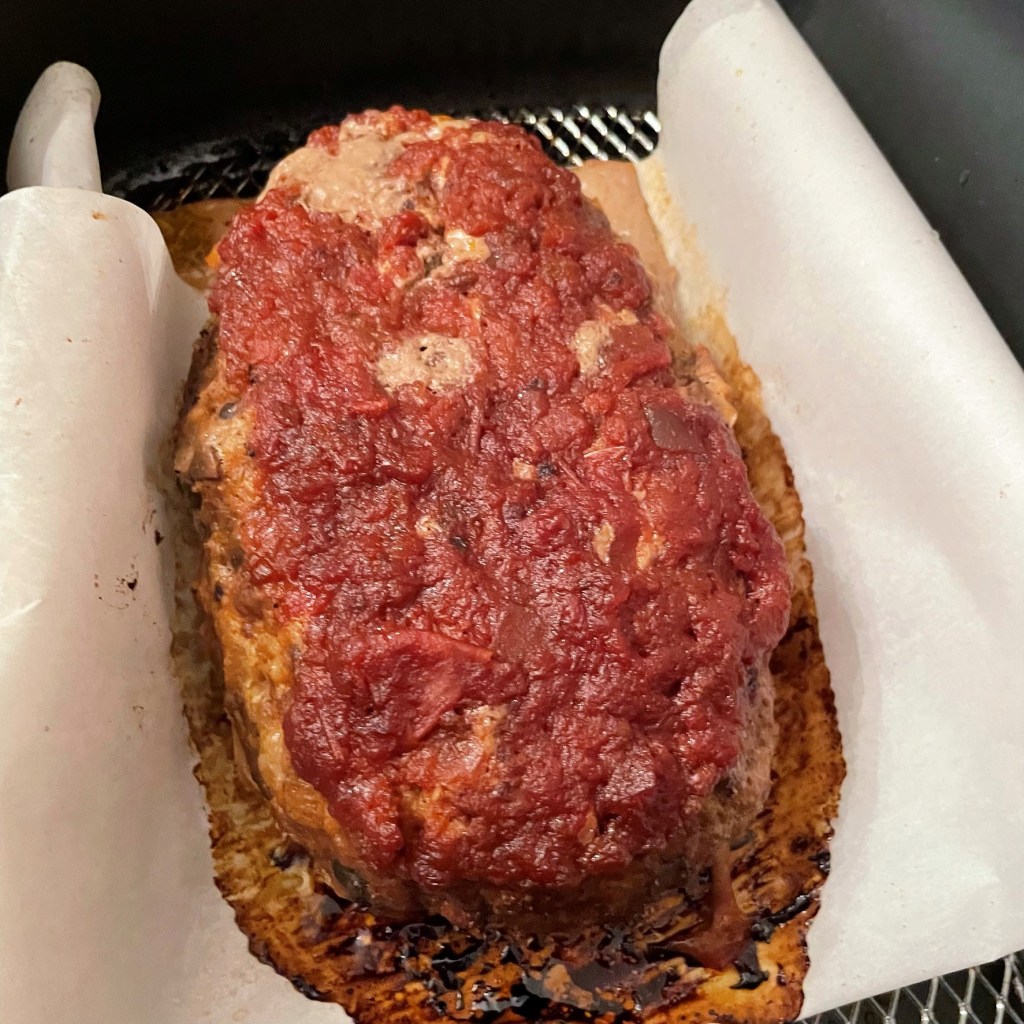
I “baked” the meatloaf for an hour, then the slow cooker switched to a warm setting, keeping it cozy until Les got home for dinner.
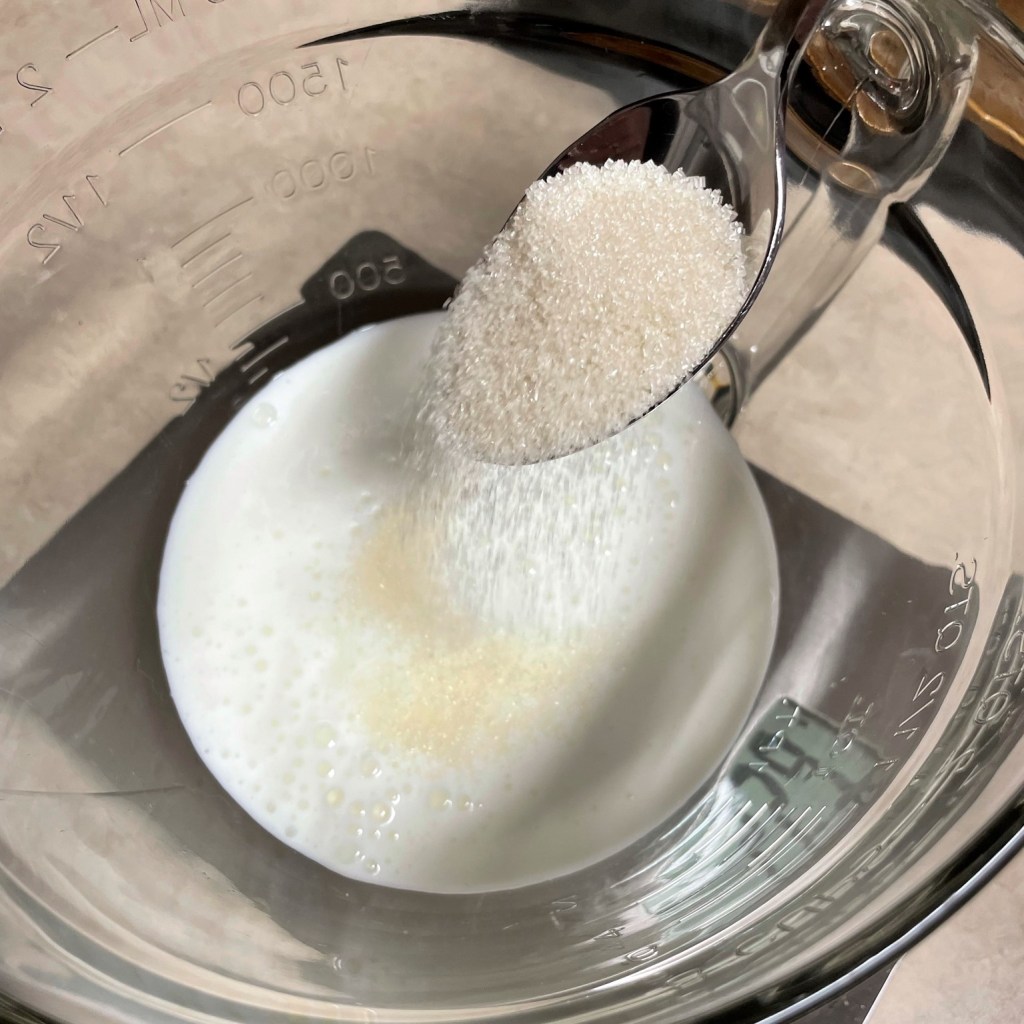
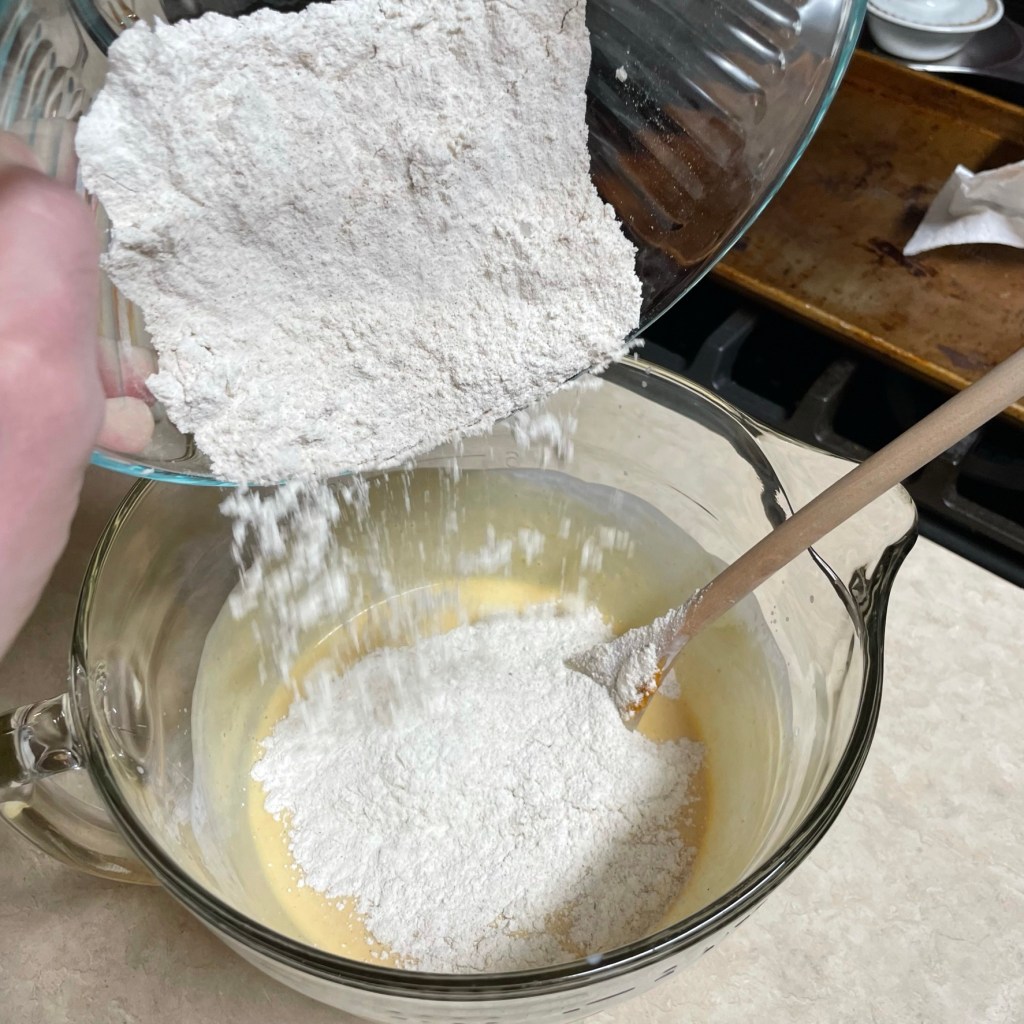
- In a bowl large enough for combining the full meatloaf mixture, moisten the panko crumbs in the milk. I usually eyeball the amounts, but it is approximately 1/3 cup of each. Give the mixture (called a “panade”) enough time to hydrate, then push it to one side of the bowl.
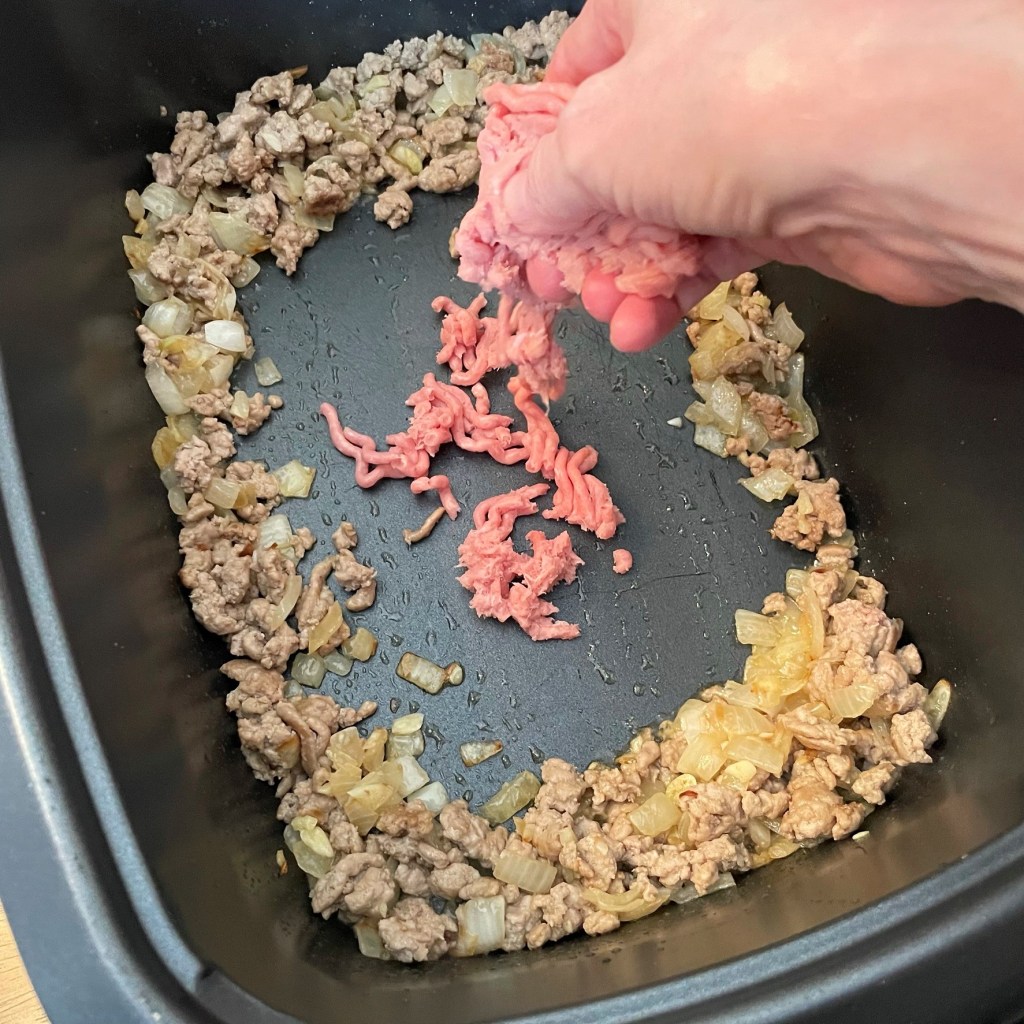
- Crumble the ground elk meat into the other side of the mixing bowl, so that blending with the other ingredients will not require a heavy hand.
- Heat 2 Tbsp. olive oil over medium heat (this was 350° F on my slow cooker setting). Add onions and cook until softened. Add the rest of the oil, plus the mushrooms and garlic, and sauté until everything is golden and caramelized, but not so long that the mushrooms dry out. Turn off the slow cooker and transfer the mixture to a bowl to cool several minutes.
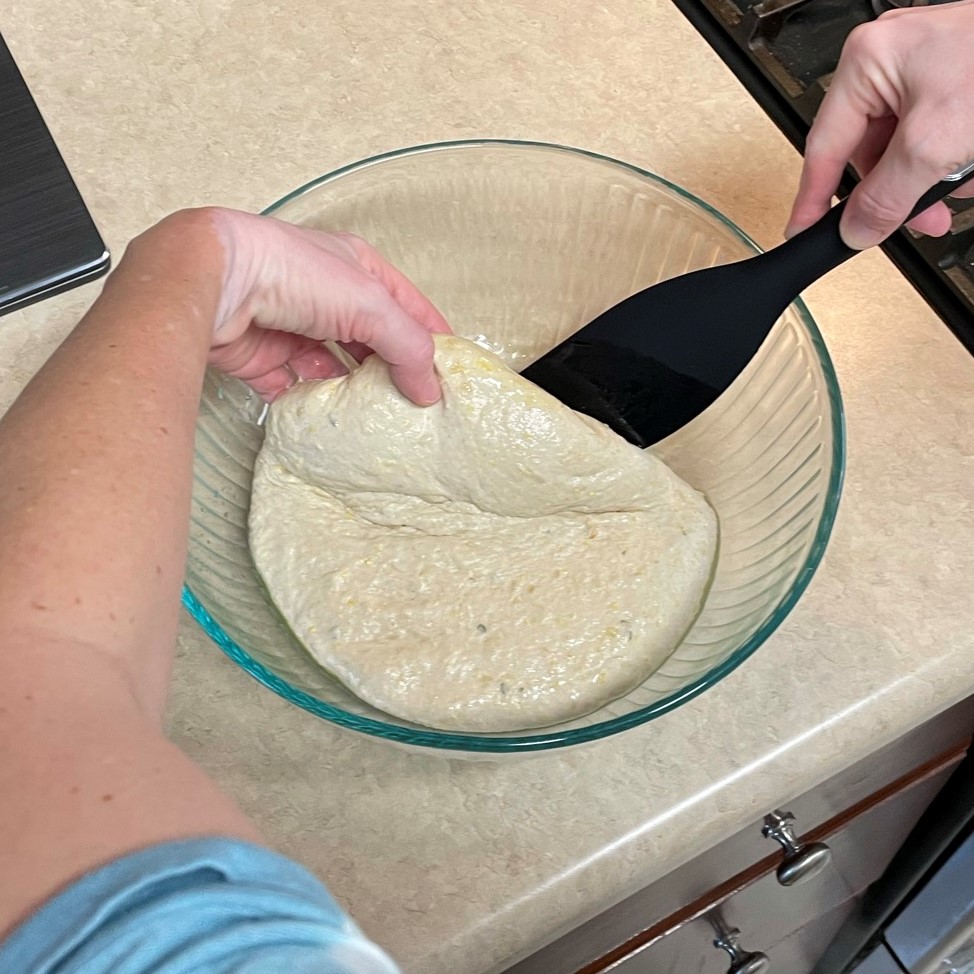
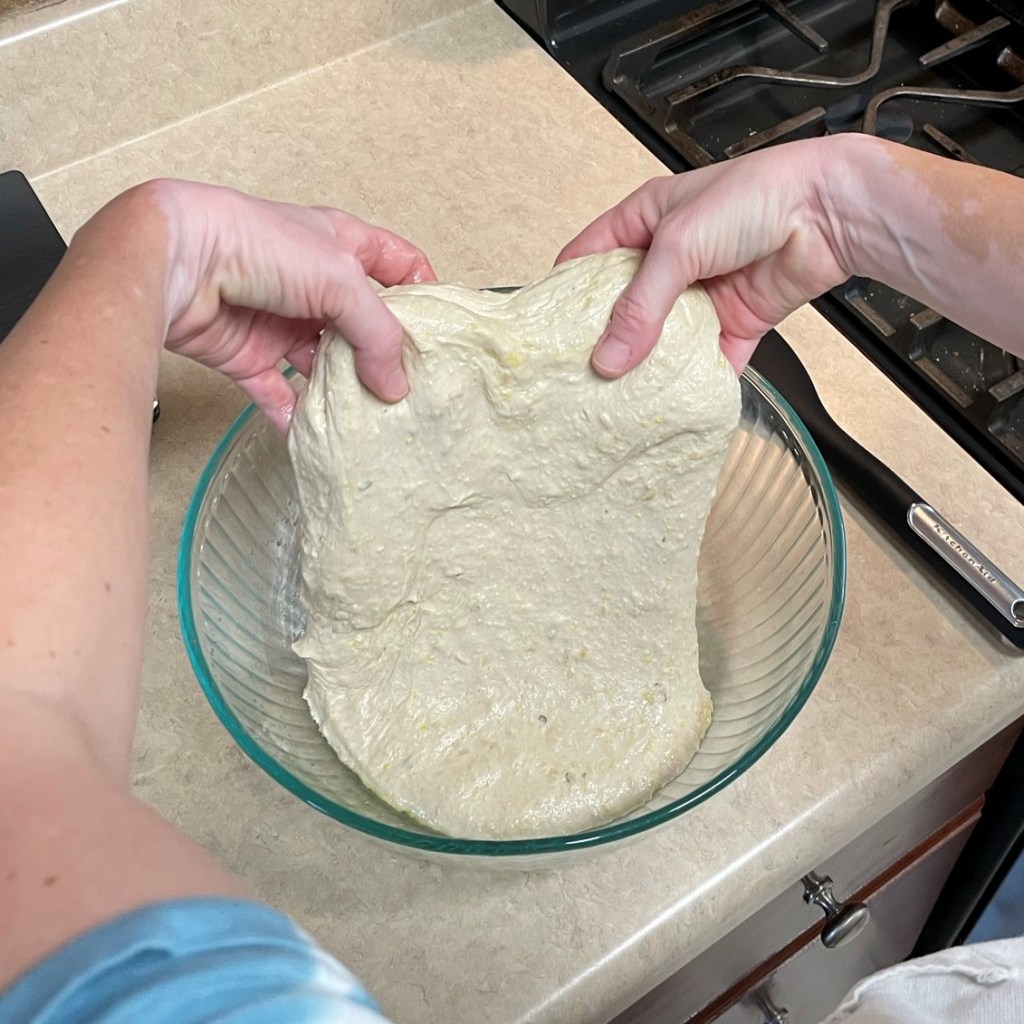
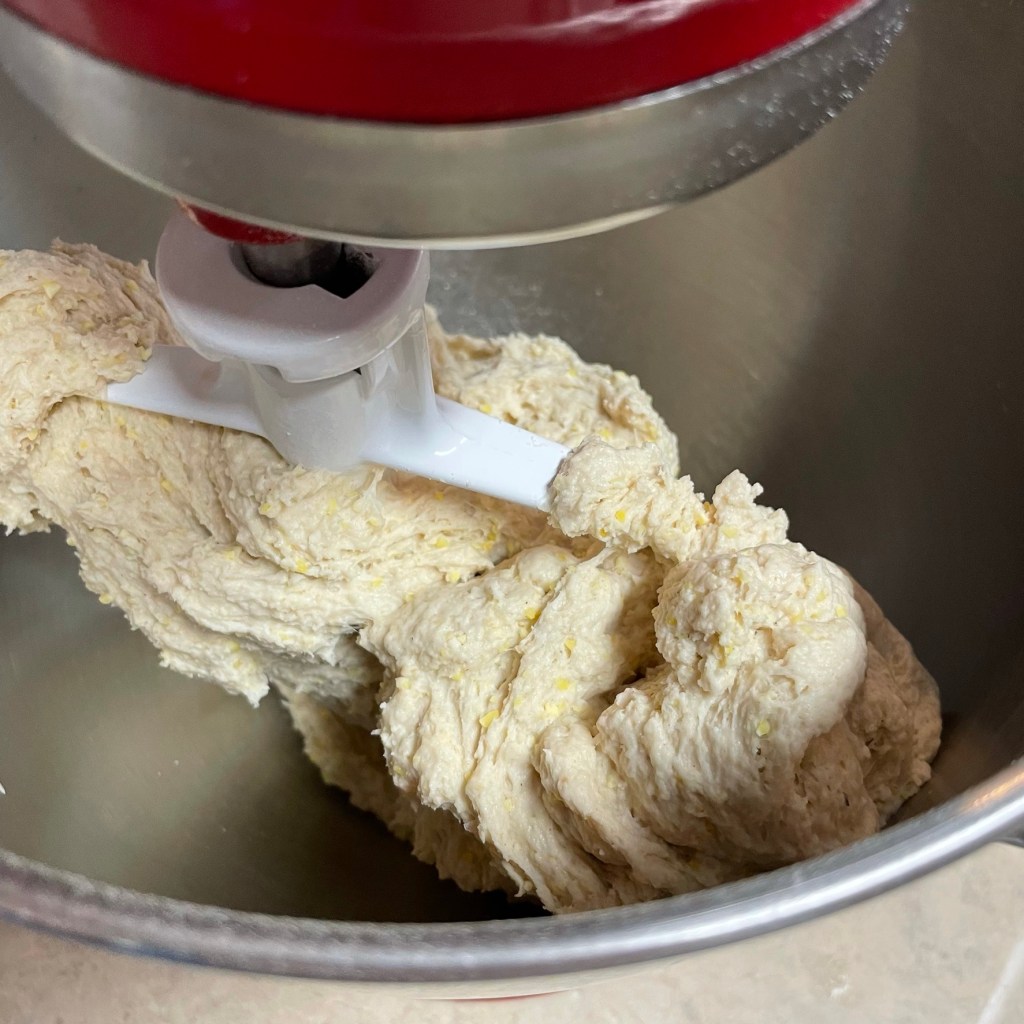
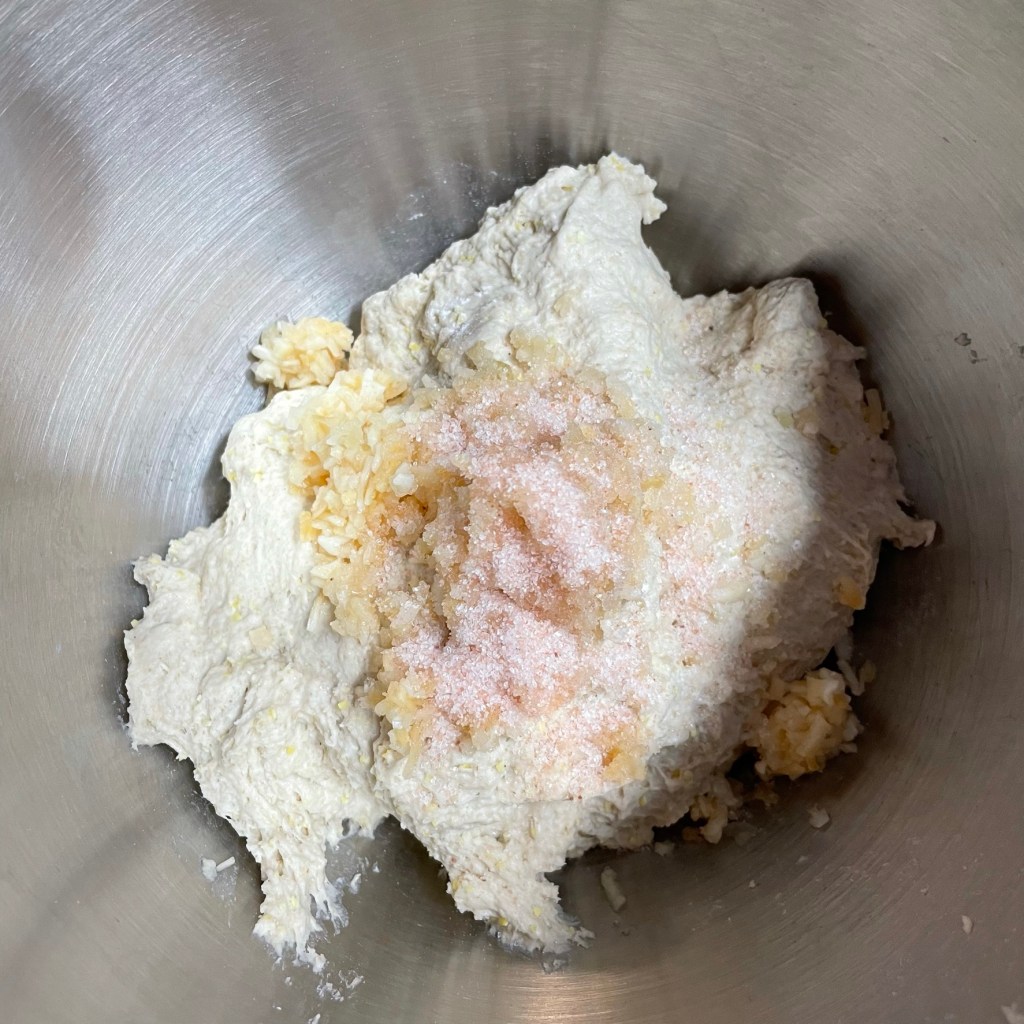
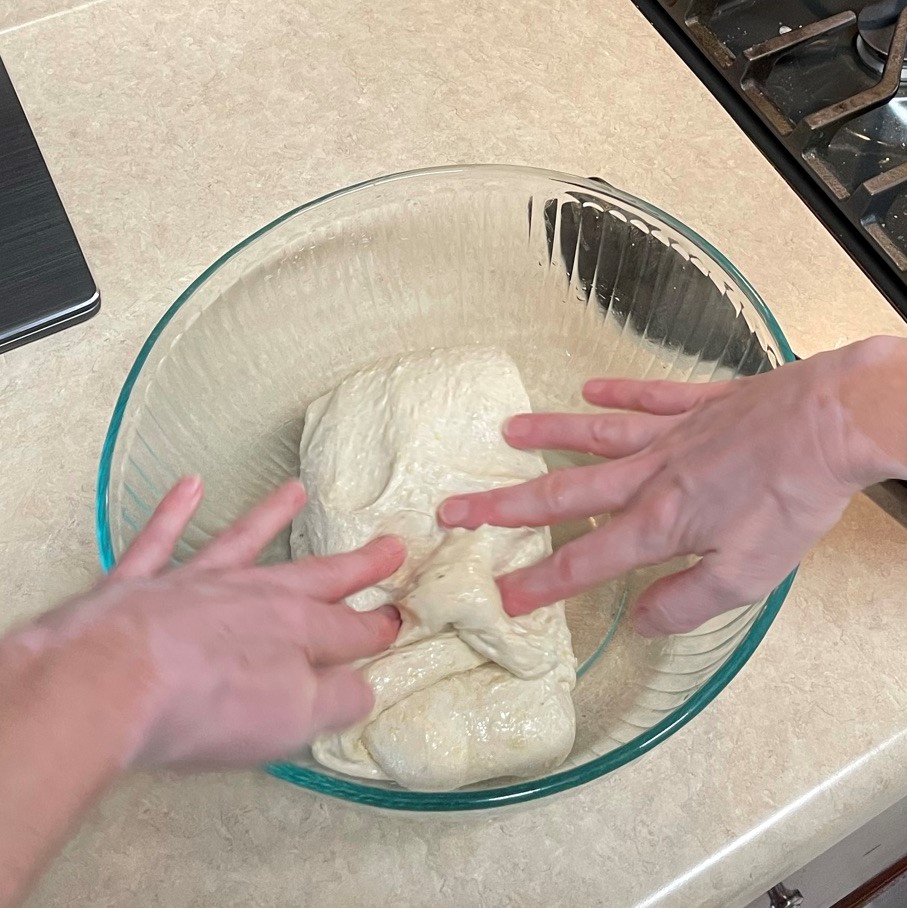
- Add the onion mixture to the bowl with the meat and panade. Add the egg and chopped rosemary, and season with salt and pepper. Combine everything as evenly as you can without mixing too heavily. My method is to plunge both hands into the bowl, twisting away from each other as if adjusting faucets or stereo knobs. It seems to get the job done quickly and it’s also a good way to work out any aggression you may have over your kitchen remodel. When the meat mixture is sufficiently blended, shape it into a log on a large piece of plastic wrap and twist the ends up like a sausage chub. Tuck it into the fridge (or a lunchbox with some ice packs, if you can’t sneak past the electricians that are taking for-freaking-ever) and let it chill for about an hour. I do this for any meatloaf because it seems to improve the structure and texture during baking. Plus, it gives me time to clean up my workspace before the next steps.
- Prepare your slow cooker if you’re using one, or preheat the oven to 350° F. The notes from Cuisinart suggested turning the insert rack upside down for roasting, and I laid down a piece of folded parchment paper to keep the meat from oozing through the mesh rack. Unwrap the meatloaf and place it on the parchment, tucking extra paper edges underneath.
- Spoon the sauce topper over the meatloaf. Bake on roast setting for one hour, then reduce temperature to keep warm until you’re ready to serve.