A few weeks ago, my husband, Les, and I had the unfortunate experience of being forced to empty and clean out what we call our “downstairs” fridge. The term is a misnomer, for sure, given that our home is built on a slab, and we have no downstairs—unless you consider the main level as “downstairs,” and that would only make sense if you were standing in the loft. No, our extra refrigerator lives in the garage, just through the laundry room, about six steps from the kitchen. The confusion is built on Les’s occasional reference to the spaces of a home he once owned in Connecticut, where he apparently did have a downstairs fridge. He also sometimes mistakenly tells me he was listening to “K-ROQ” on the drive home, which was his favorite radio station when he lived in Southern California (which, by the way, was only 28 years ago), but I digress.
What happened that night recently was a flat-out mess, as a forgotten glass bottle of “nitro” cold brew coffee was shoved into one of the uneven cold spots in the back of the extra refrigerator, and the darn thing exploded all over everything. There was broken glass and sticky cold coffee on the shelves and walls of the fridge and spattered on several food and drink containers that were sitting beneath the mishap. It was not exactly the way we intended to “clean out” the fridge, but it did force us to dump some things and gave us a chance to properly inventory the ridiculous quantity of stuff that has piled up in the overflow fridge, which we frankly would not need if it were not for my impulse purchases, especially, it seems, the beverages.

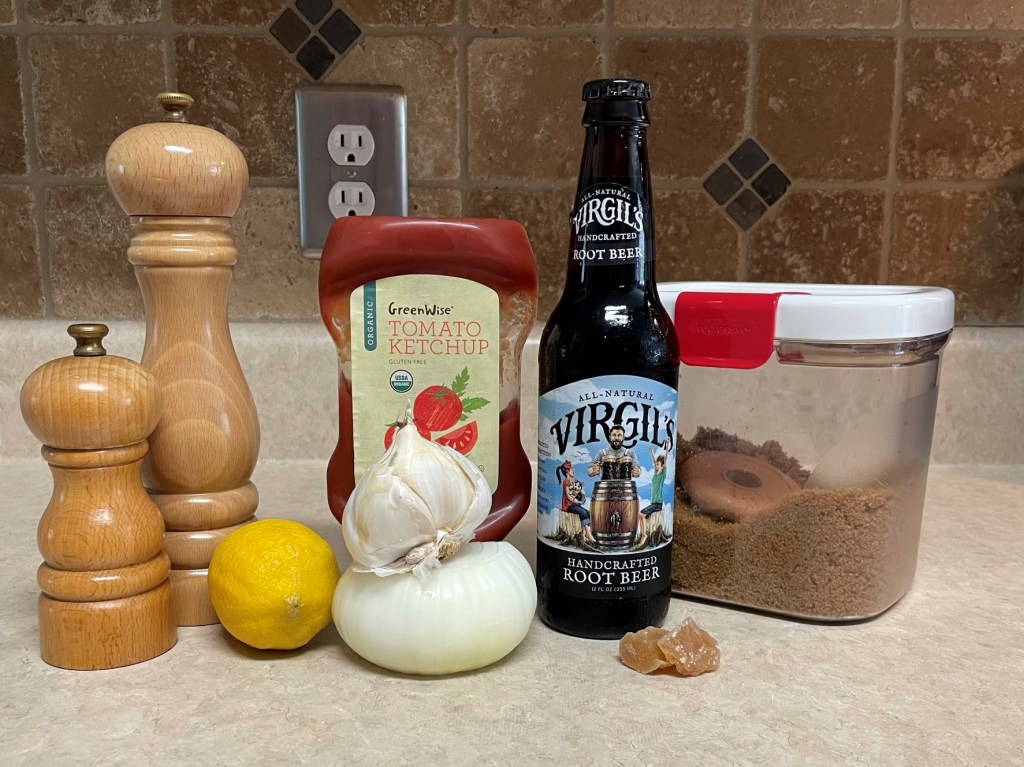
One such impulse buy stood out as a bucket list item for me, and the forced fridge cleanup gave me a push on my culinary intention of making a root beer-based barbecue sauce. I will admit that neither Les nor I are fans of carbonated soda. I have not had a Coca-Cola or 7-Up or anything like them in years (maybe decades), and I don’t miss them. My aversion is based partly on the fact that they are carbonated and leave me feeling bloated and uncomfortable, but more on the fact that nearly every soda on the market is made with high-fructose corn syrup. And that, my friends, is a total deal breaker for me. Diet sodas are no better, because I cannot abide the aftertaste of alternative sweeteners, including the plant-based stevia.
But when I had spotted this small-batch, handcrafted root beer a few months ago, I thought again about my desire to make a root beer sauce or maybe root beer-braised pulled pork. This specialty root beer is sweetened with cane sugar, and on its own, it is sweet. Like, melt-your-teeth sweet. When I reduced it down, however, and simmered it with ketchup and spices and onions, it was exactly right for dressing up baby back ribs on the grill. As with most rib recipes, I started with a brine to give the meat a jump start toward tenderness and flavor, and I got some good advice from chef Bobby Flay about what to put in the brine—cinnamon, star anise and molasses were a giant echo for the root beer flavor that would be slathered on the ribs near the end of cooking. There are a couple of things Les and I agreed we would do differently next time, and I’ll explain that at the end. But overall, this was a successful adventure!
Another bucket list item has been moved to the “done” column, and because I discovered that I also really like the essence of root beer, I used two more bottles of it from the “downstairs fridge” to make syrup for bourbon cocktail experiments. Alas, my friends, that will be a post for another day.
Inspired by BBQ Ribs with Root Beer BBQ Sauce Recipe | Bobby Flay | Food Network
Ingredients – the ribs
1 large rack baby back ribs (ours were pasture-raised from the local farmers’ market)
1/2 cup kosher salt
1/4 cup molasses
2 whole cinnamon sticks
2 star anise
1 Tbsp. oak-smoked black peppercorns* (see notes)
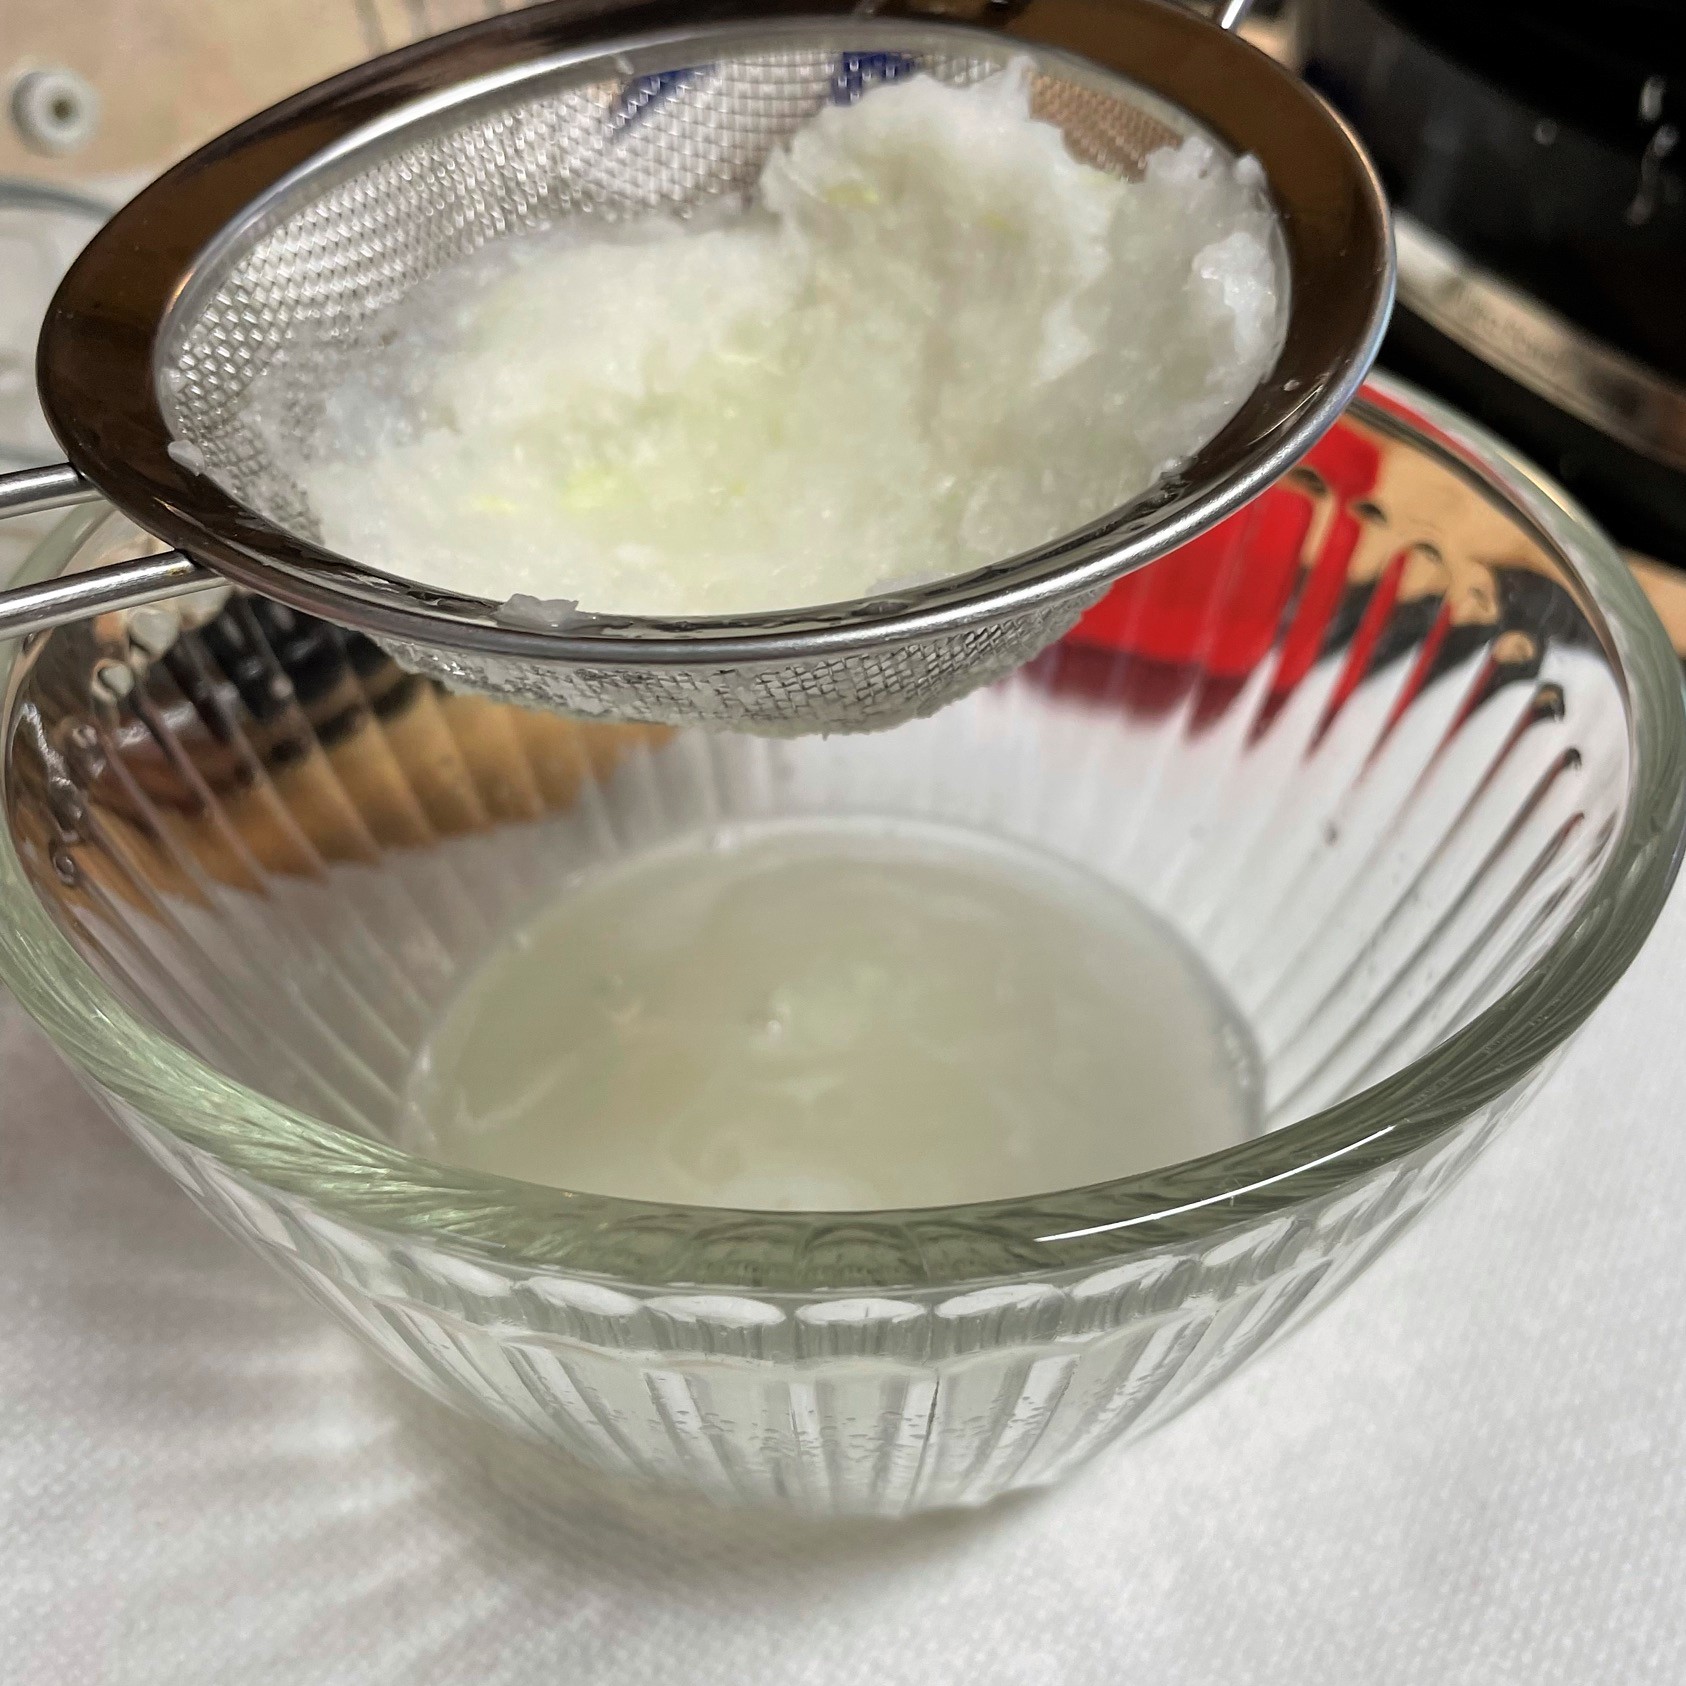
1/4 cup sweet onion juice, optional*
Enough ice and water to make 8 cups of brine liquid
*Notes
The smoked peppercorns are made by McCormick and sold in a tall jar with a built-in grinder top. I am thoroughly addicted to their flavor and have used them in various food and cocktail recipes whenever I want to add a smoky flavor.
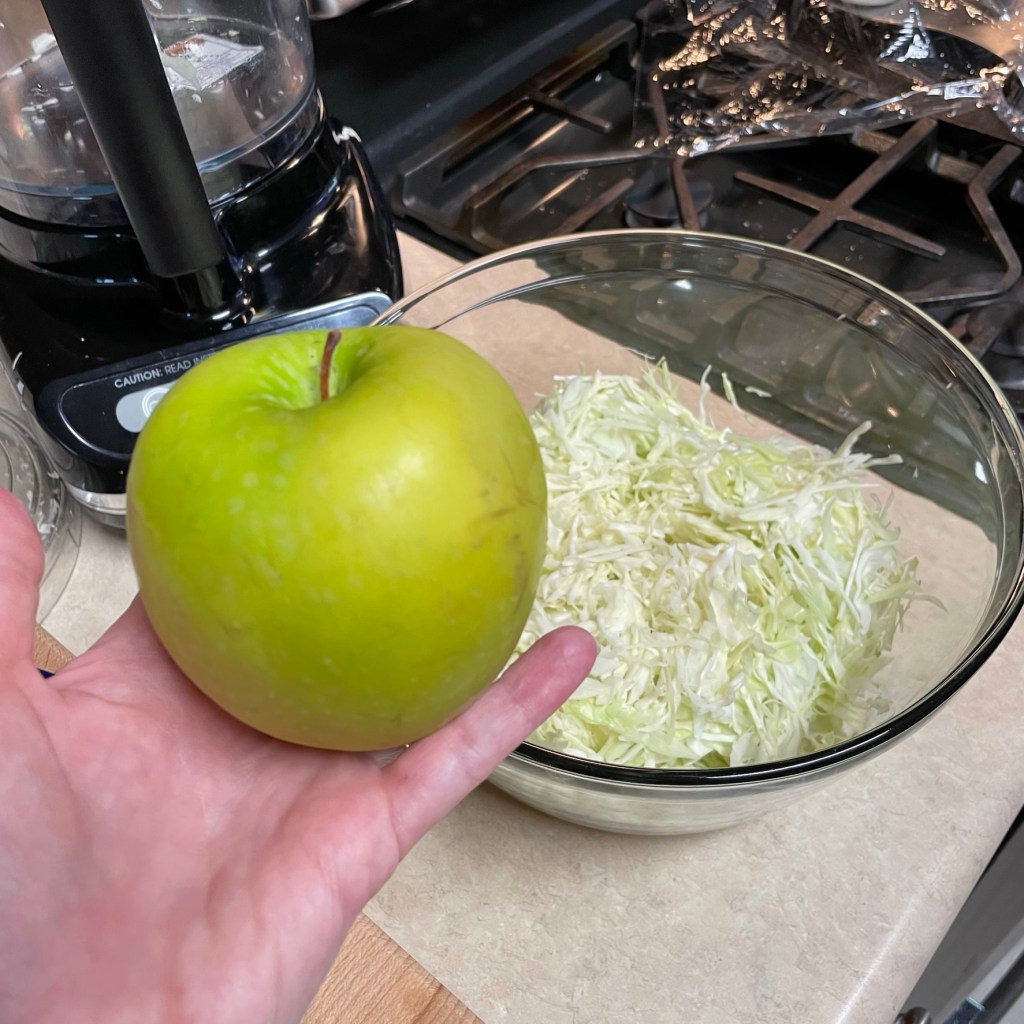
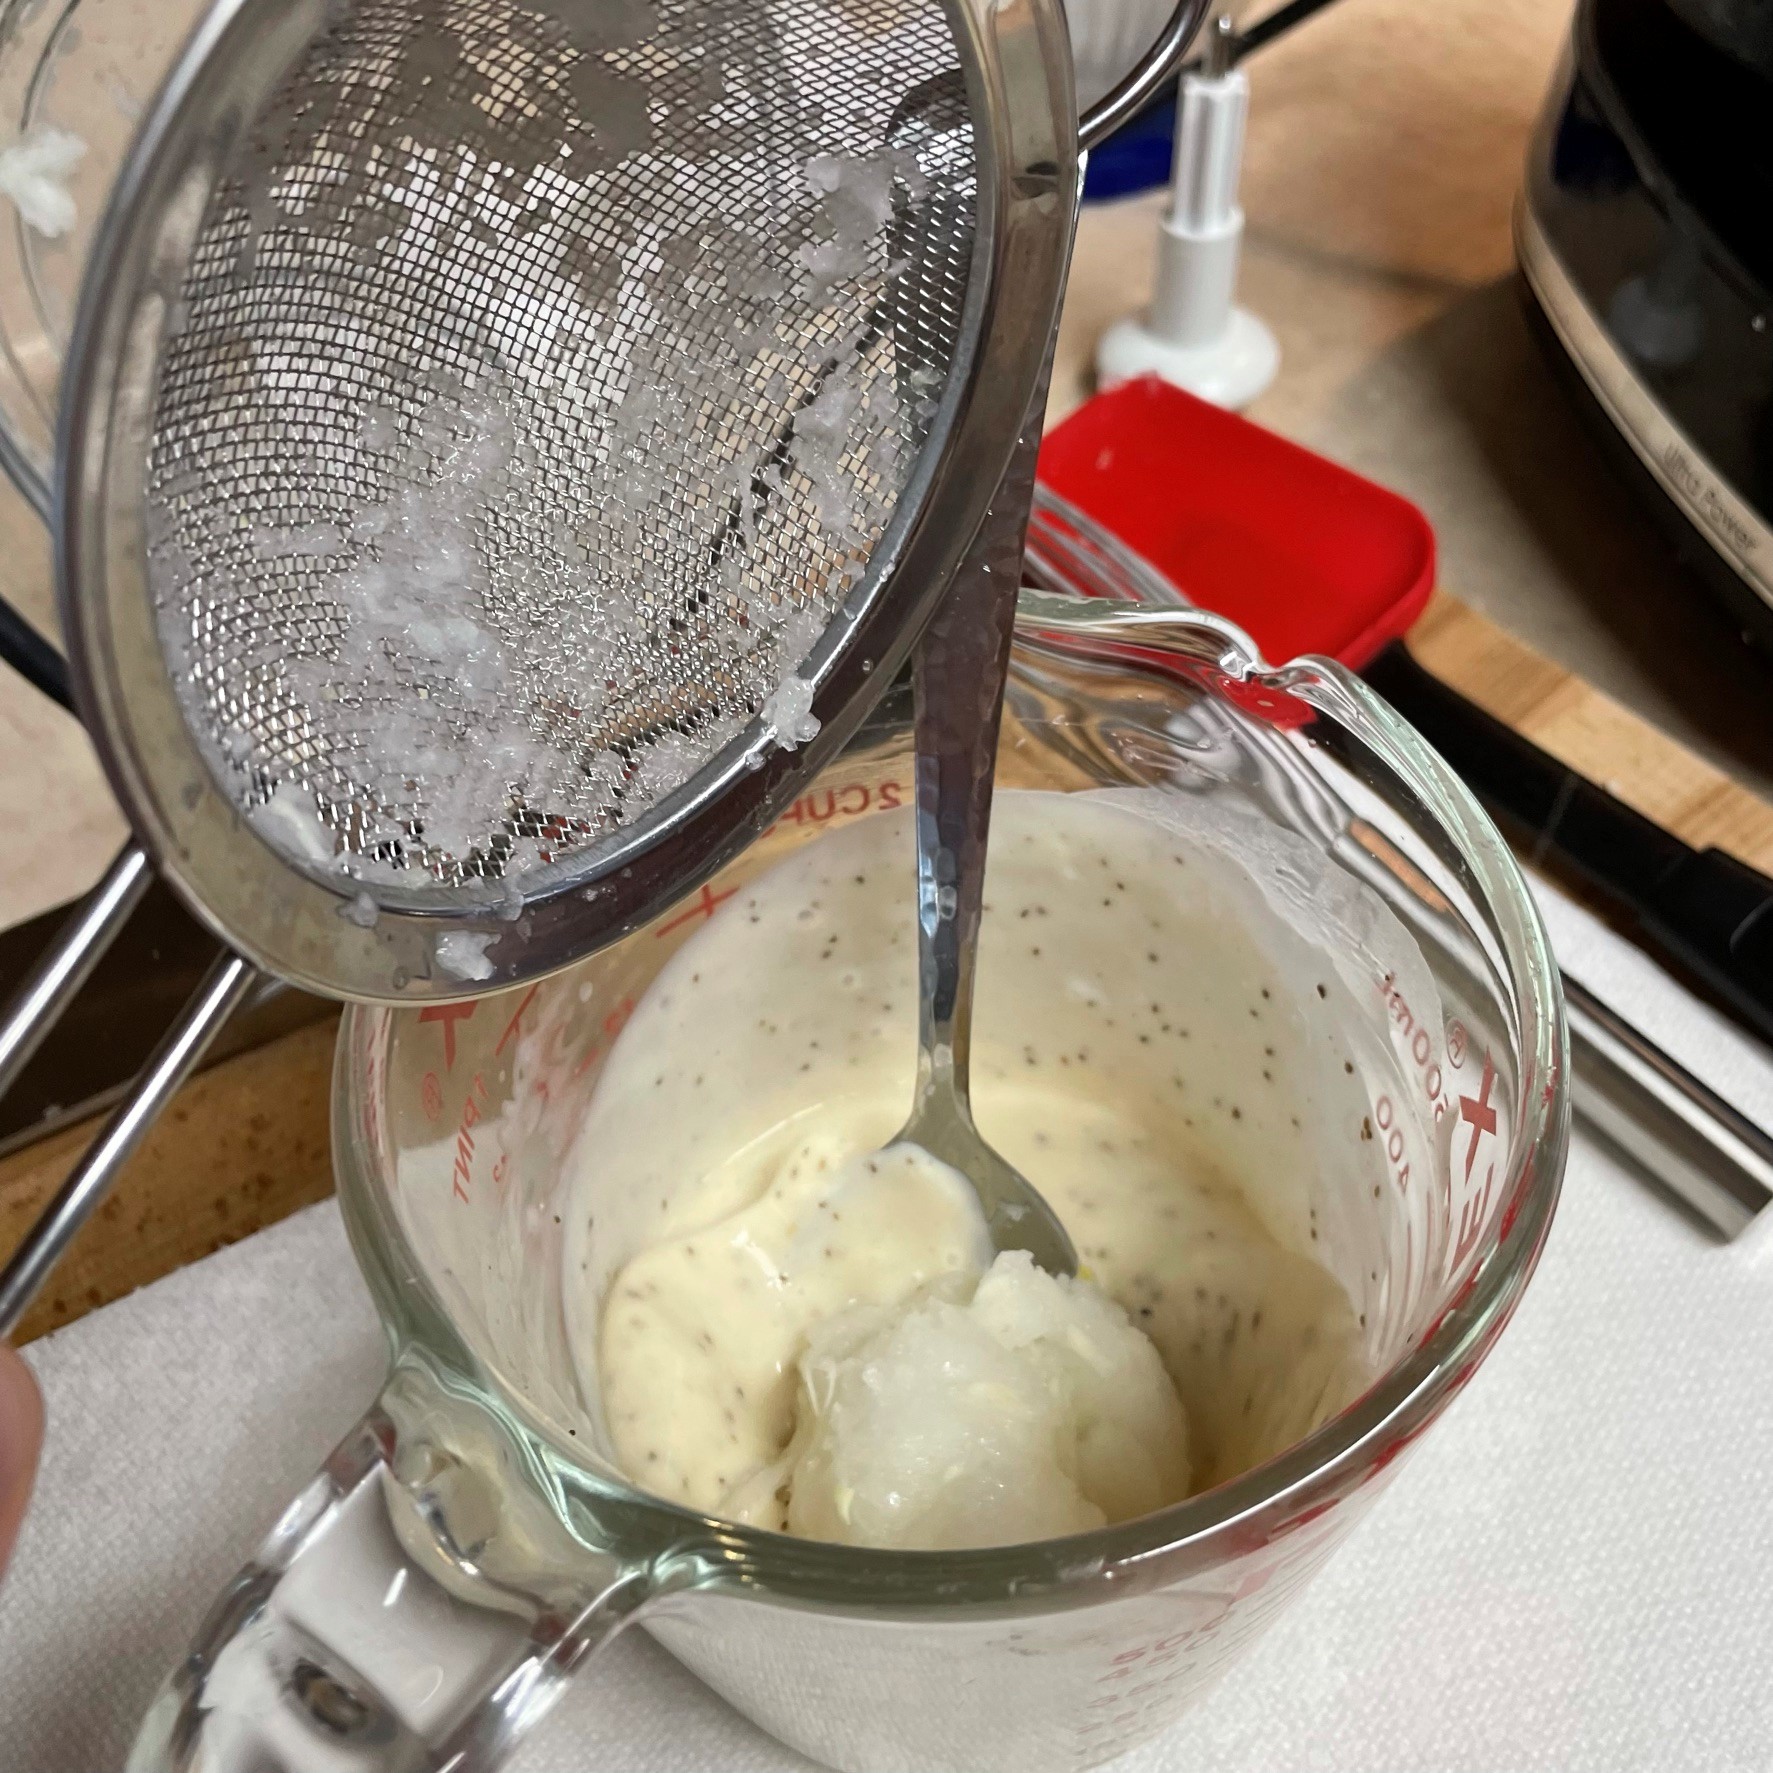
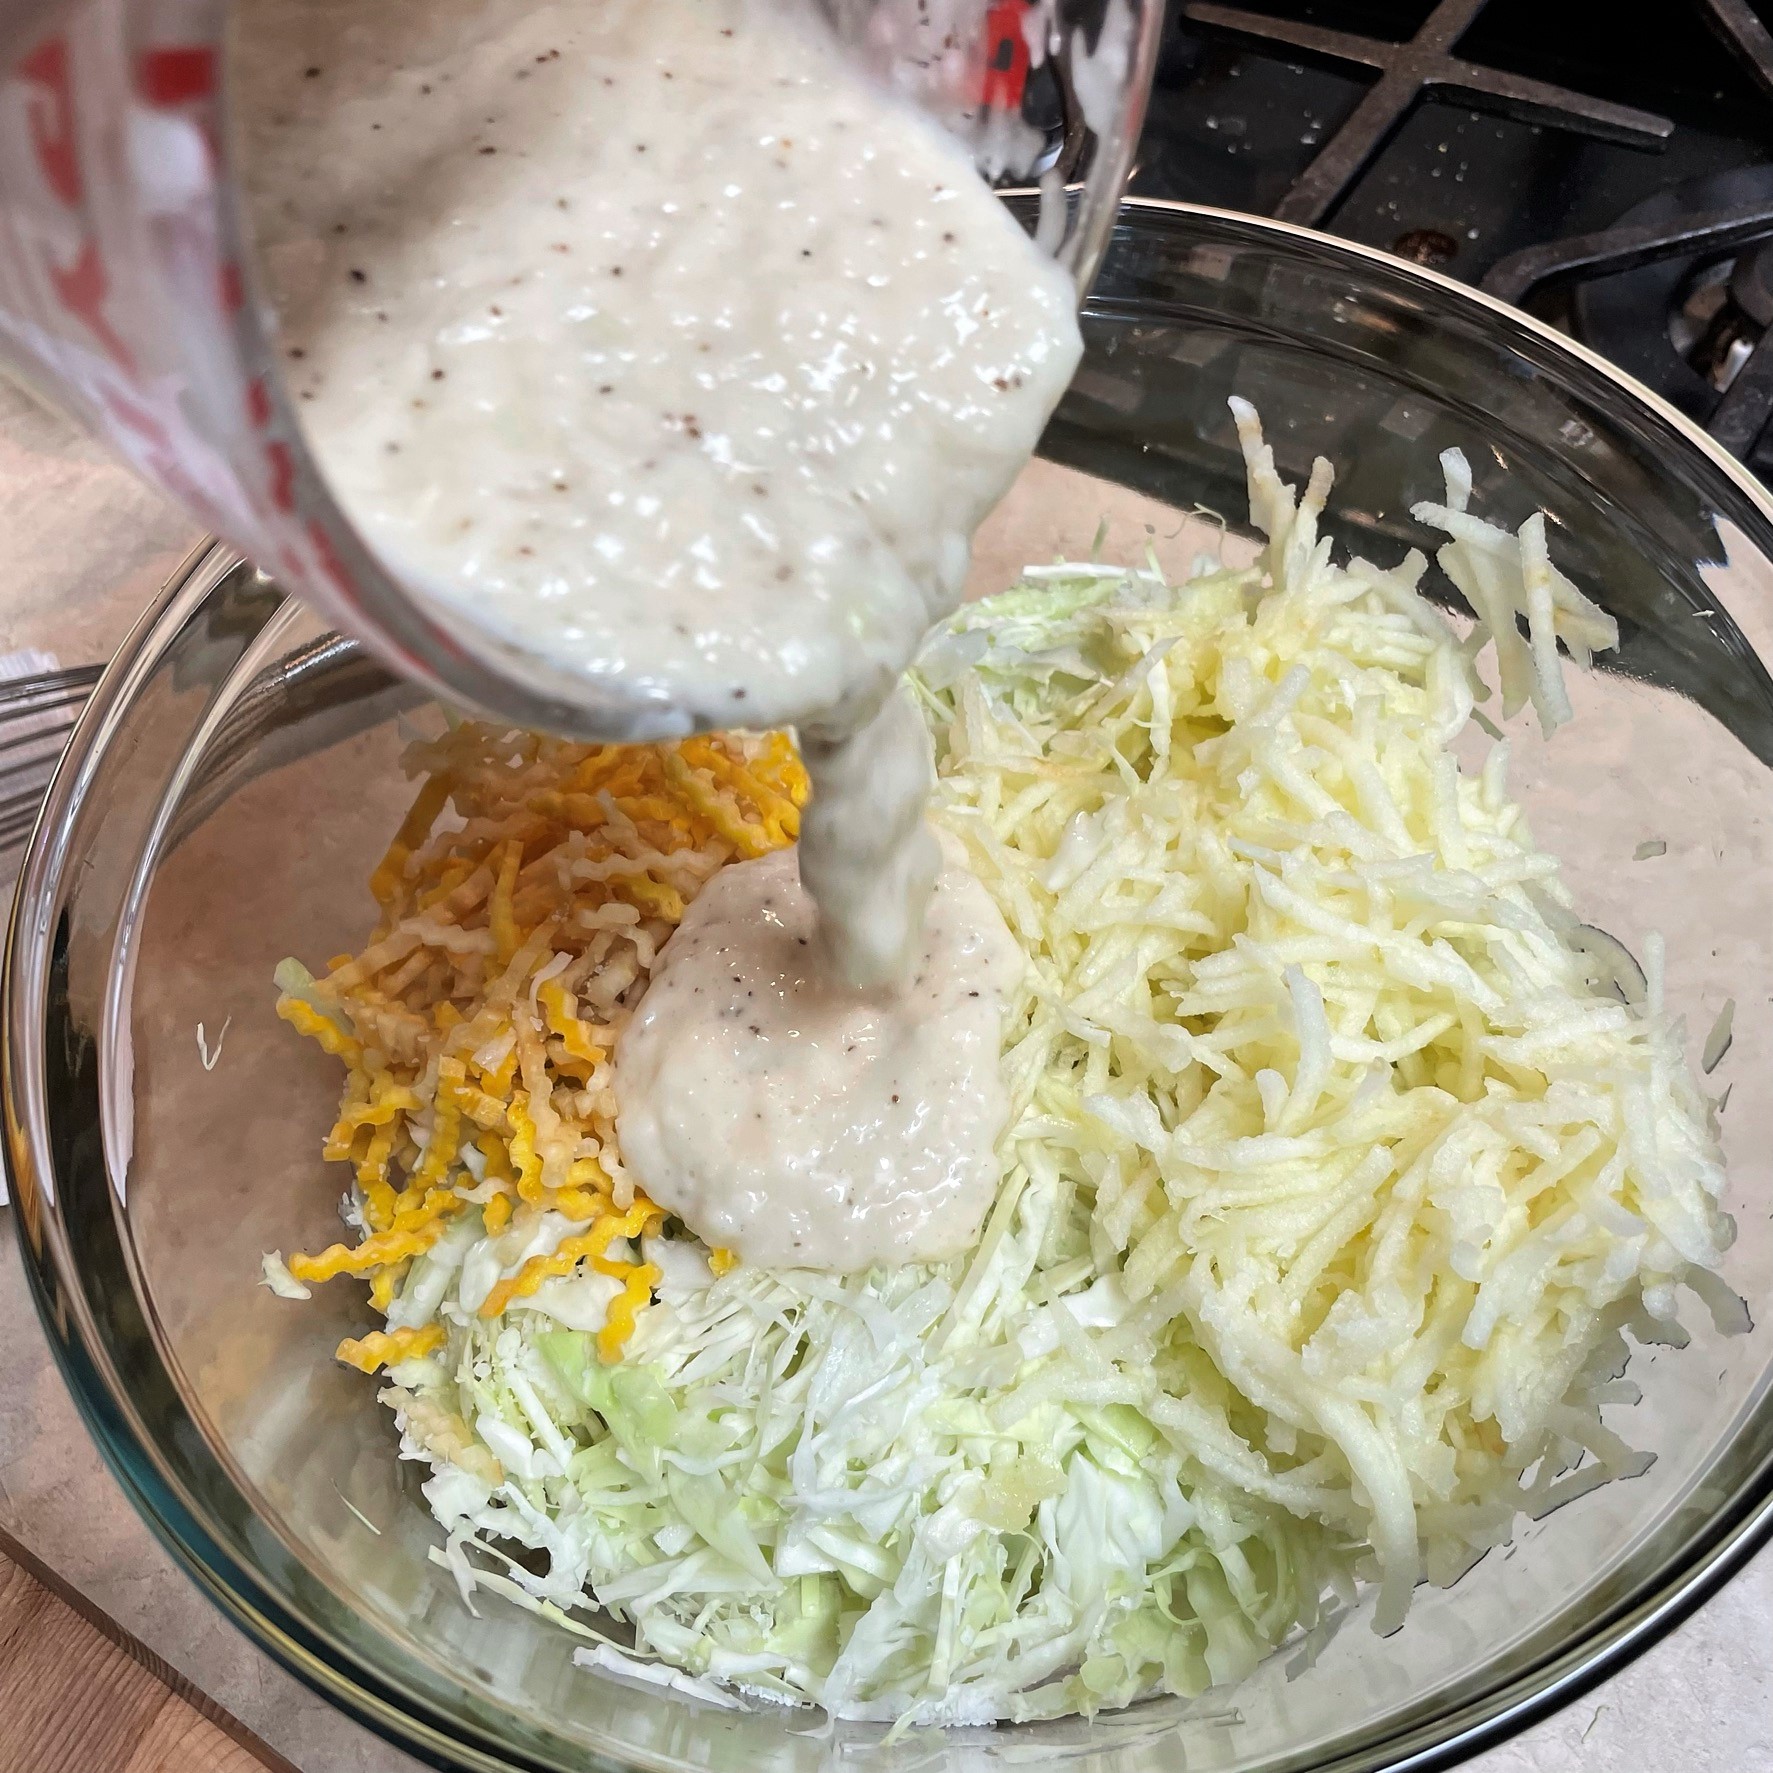
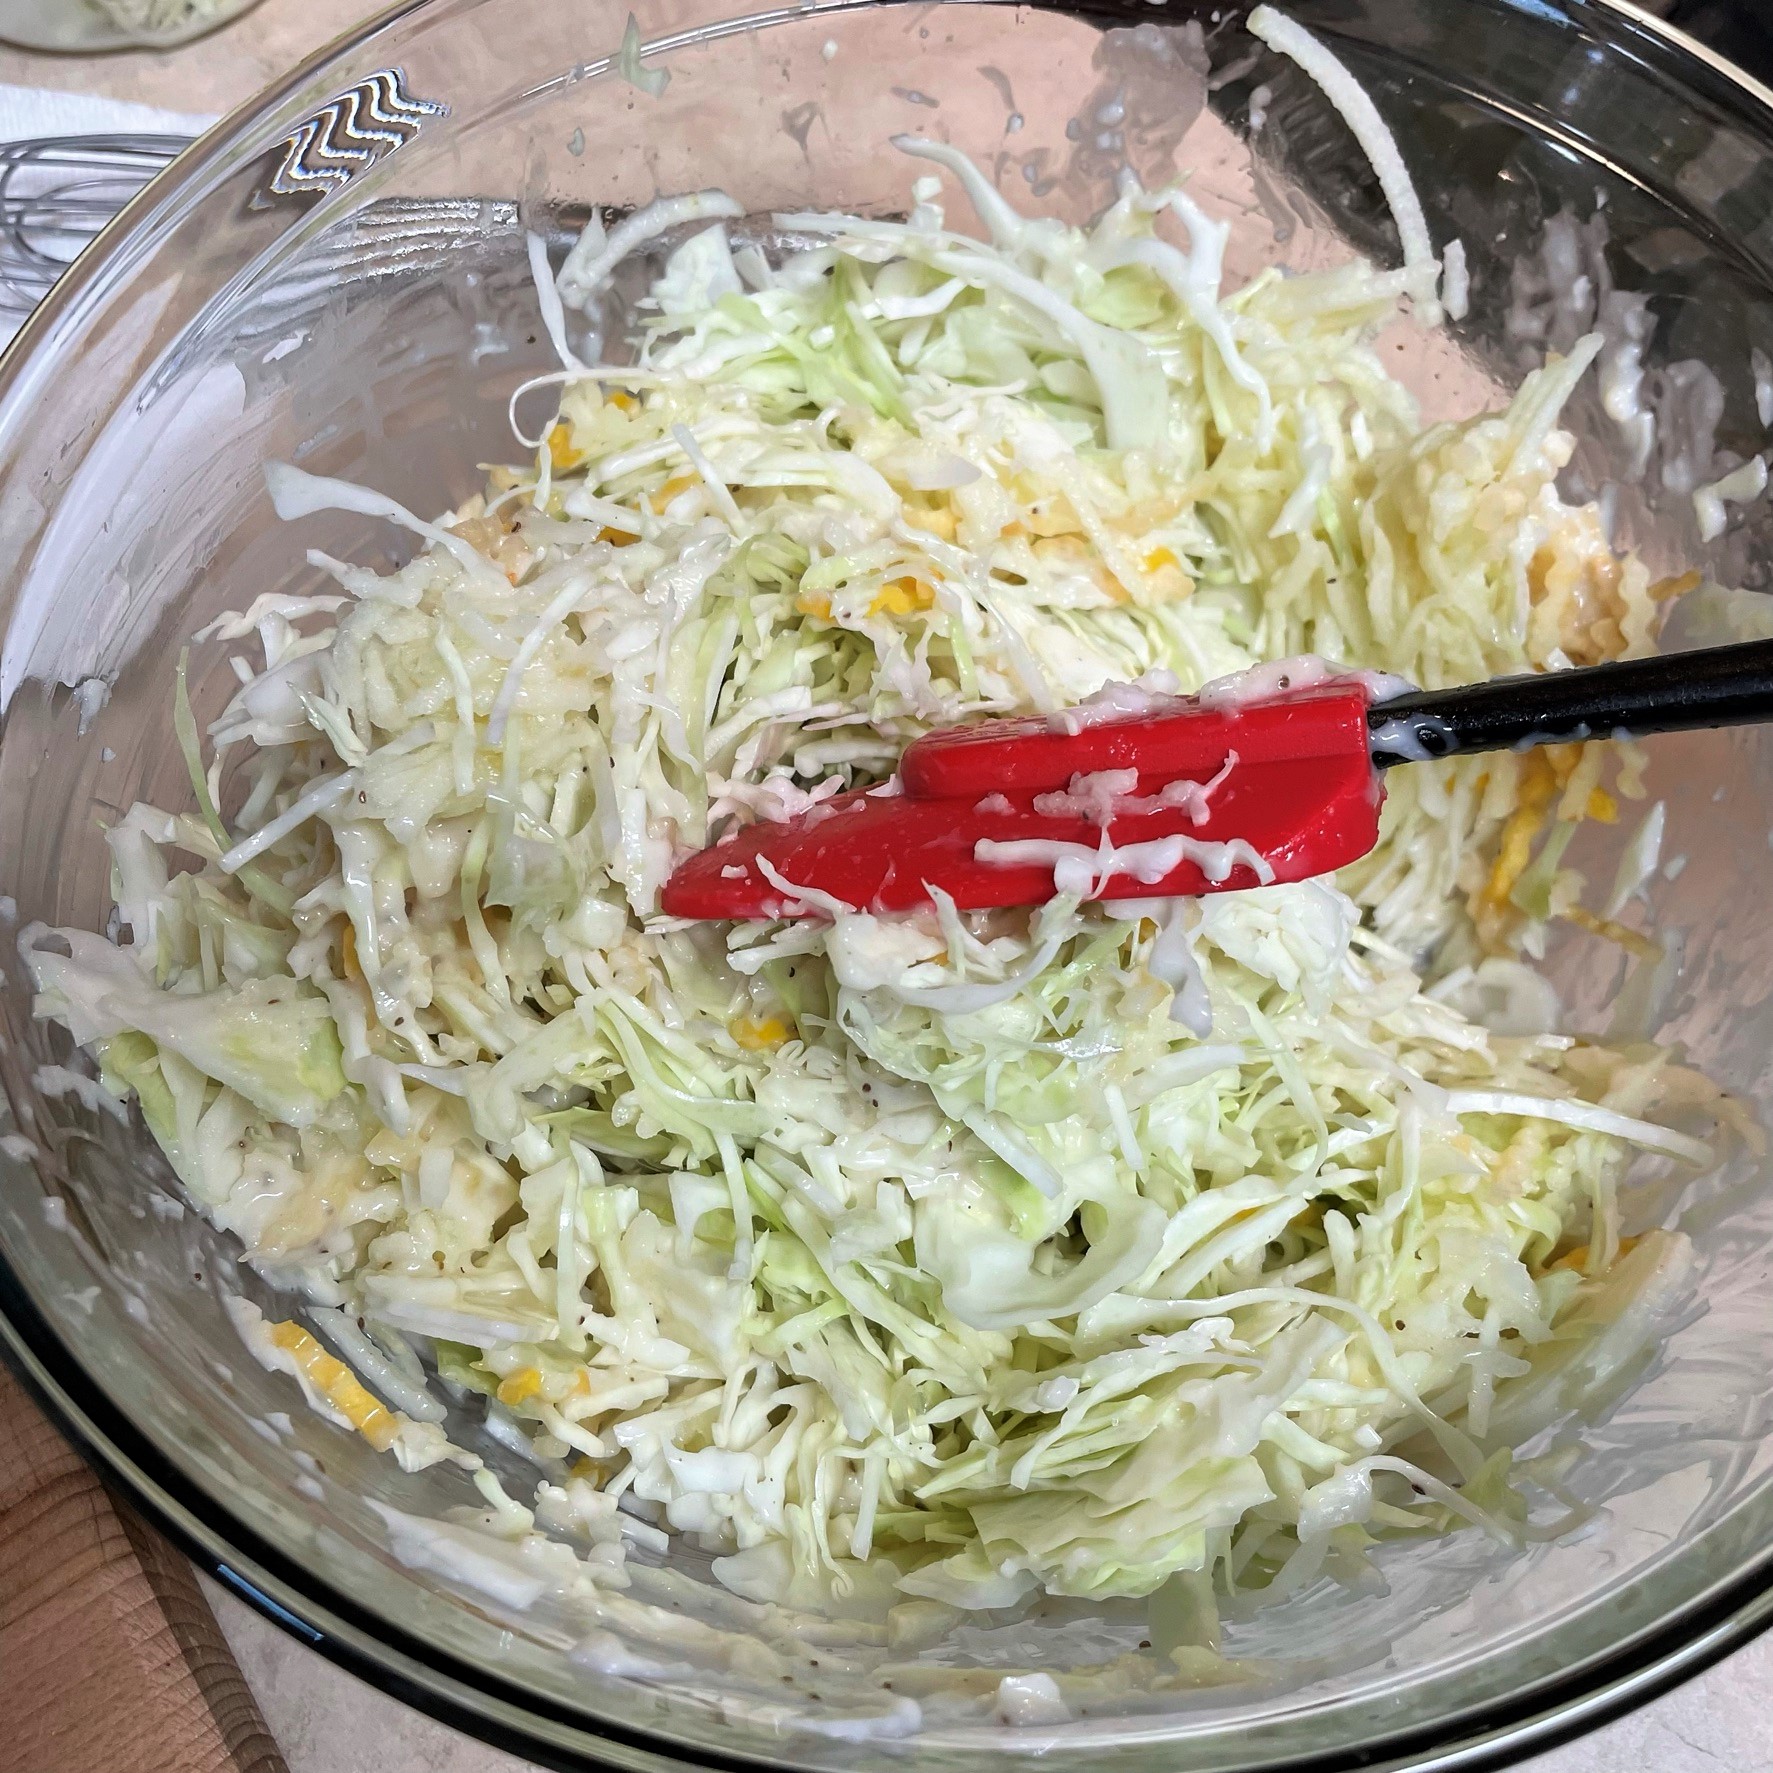
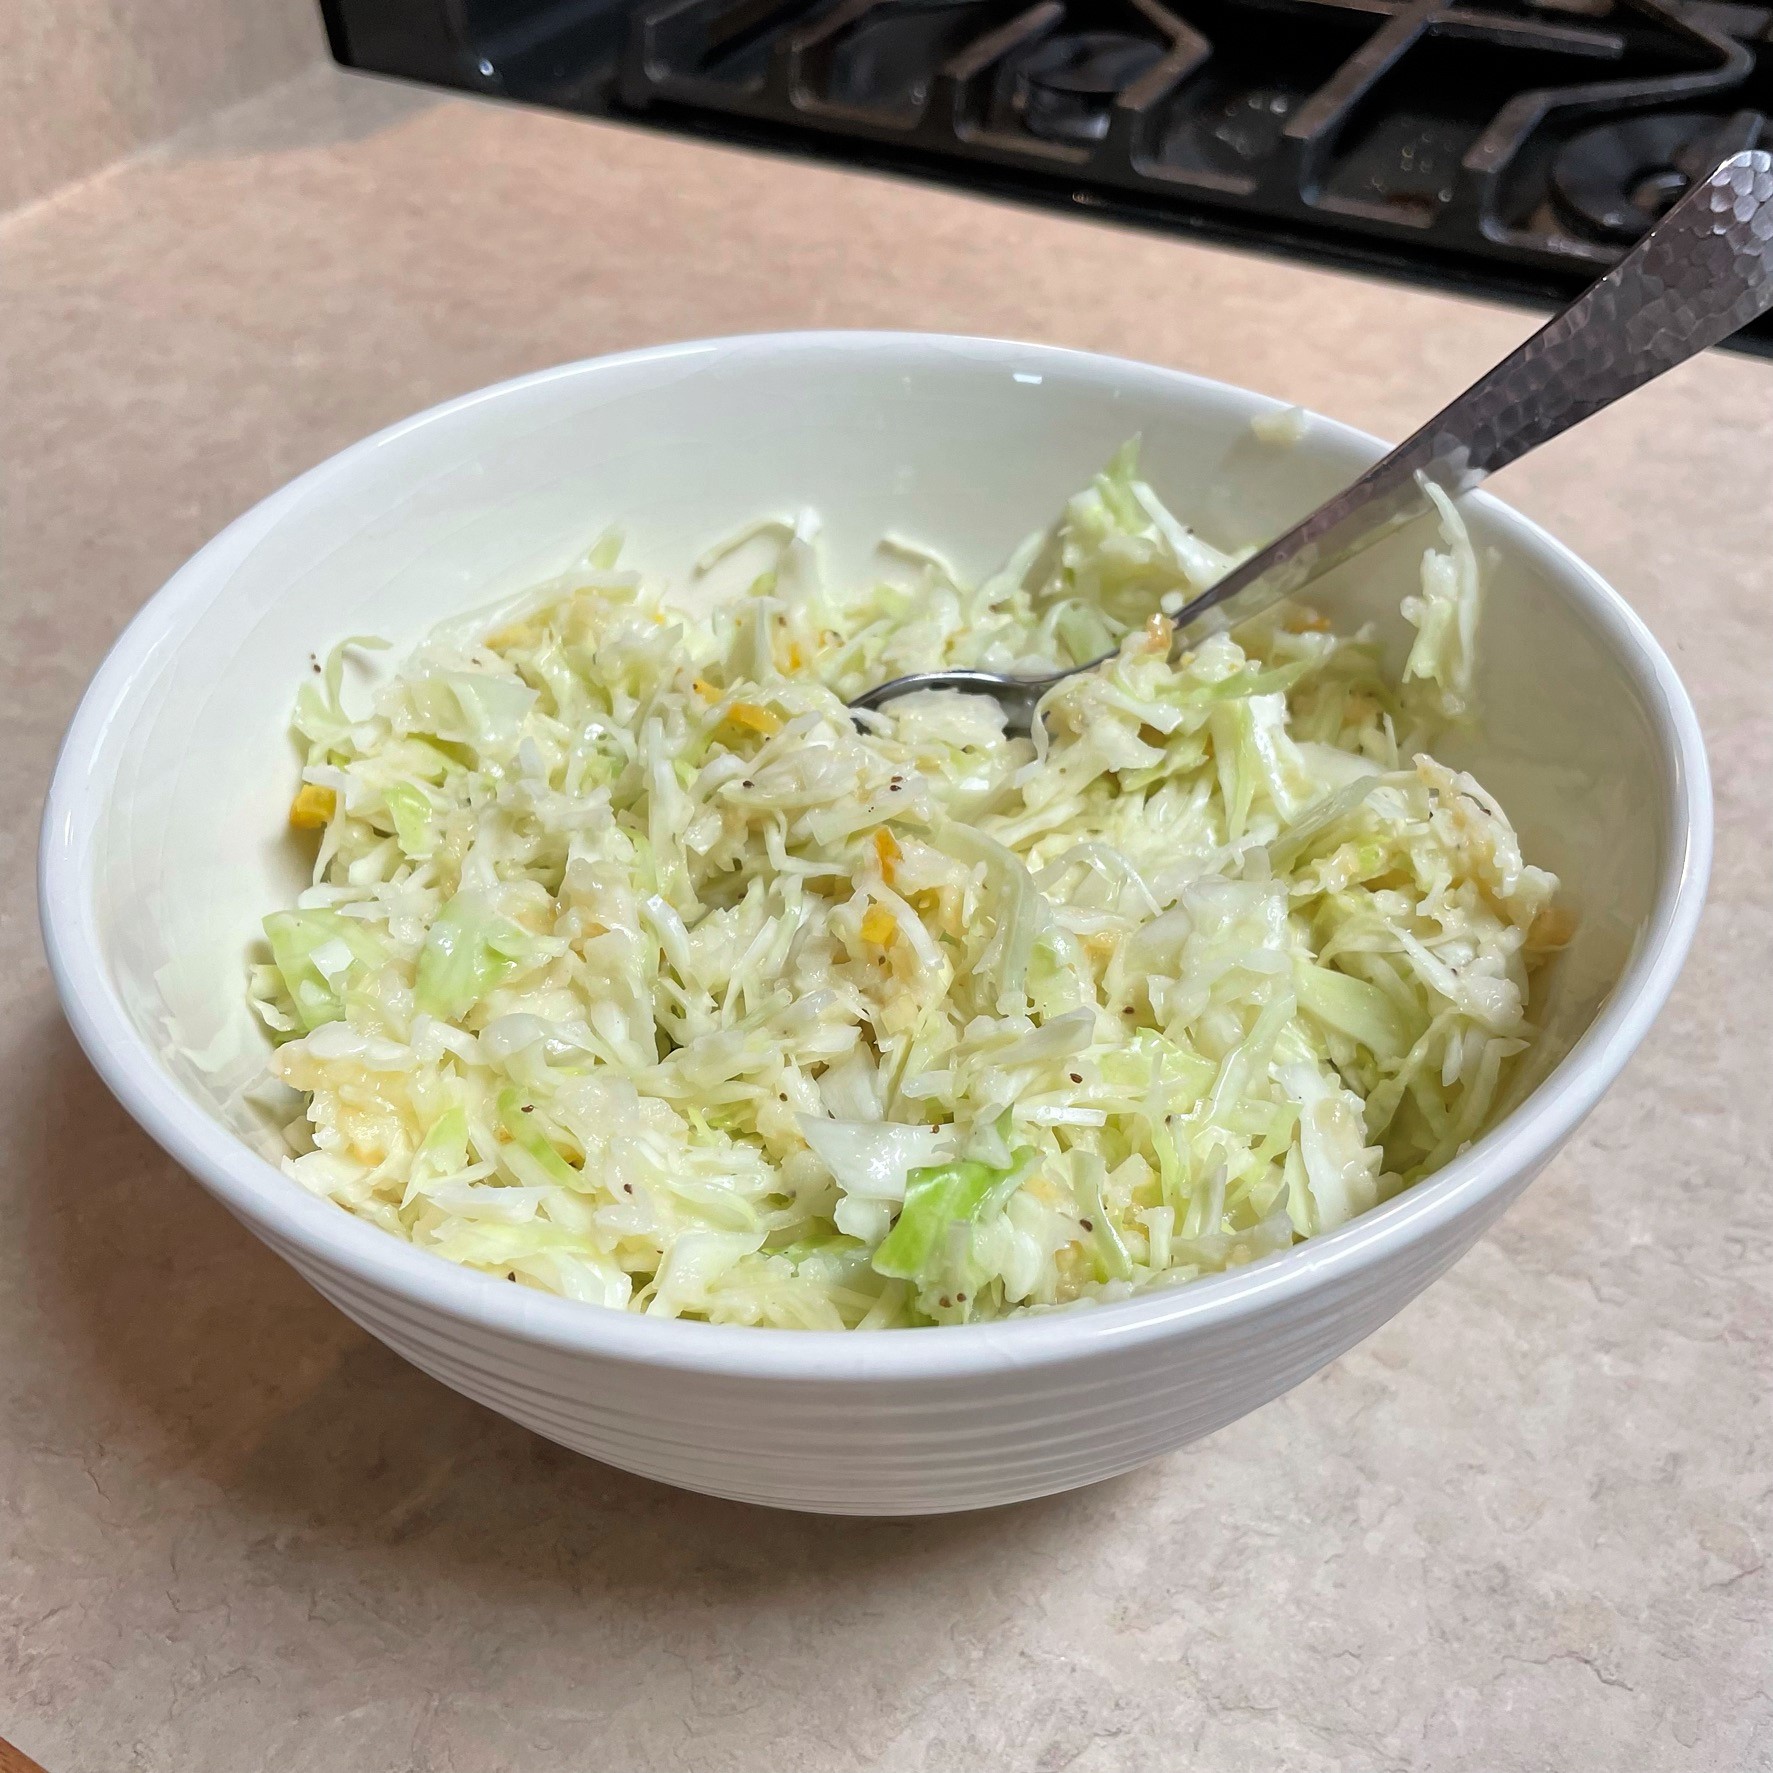
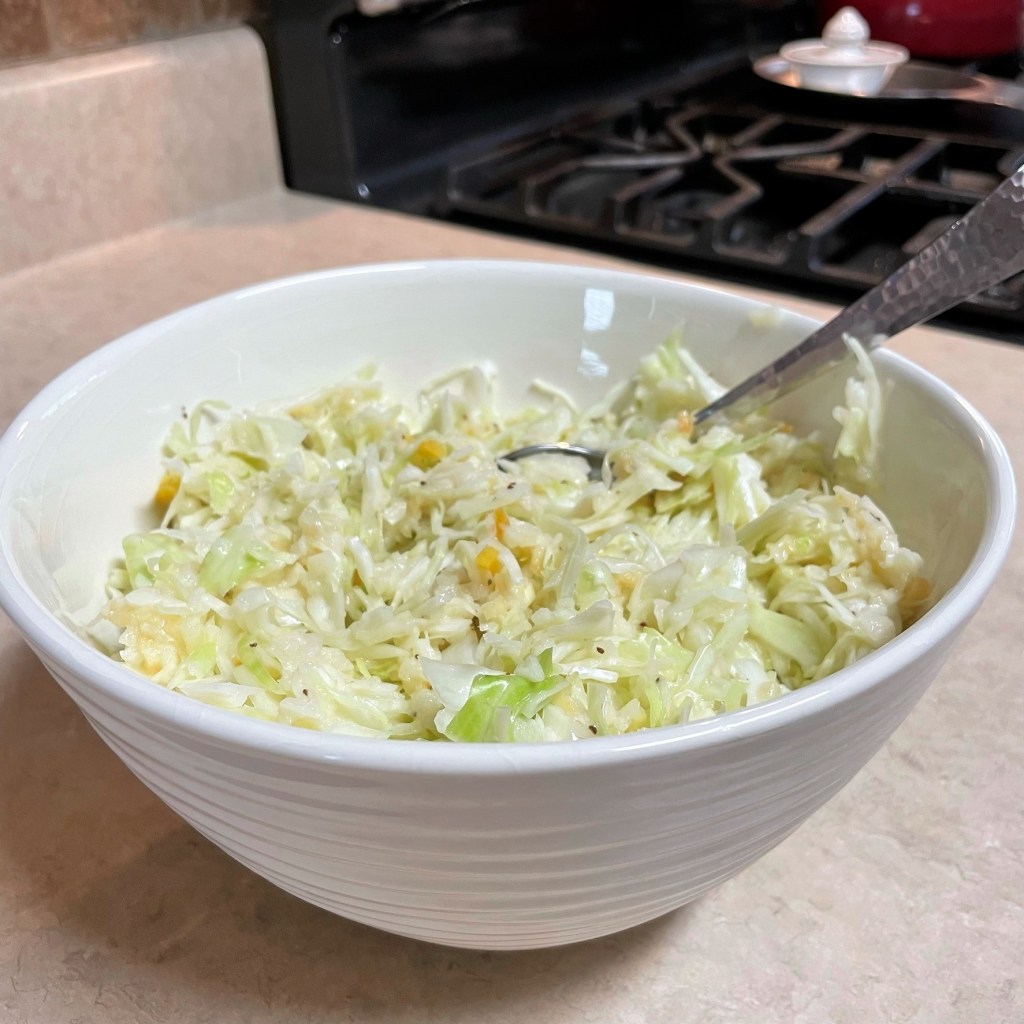
I made these ribs the same weekend as the tangy apple cole slaw that I shared a few days ago, and the onion juice was the discard from the shredded onions in the slaw. Waste nothing, right? 😉
Prepping the ribs
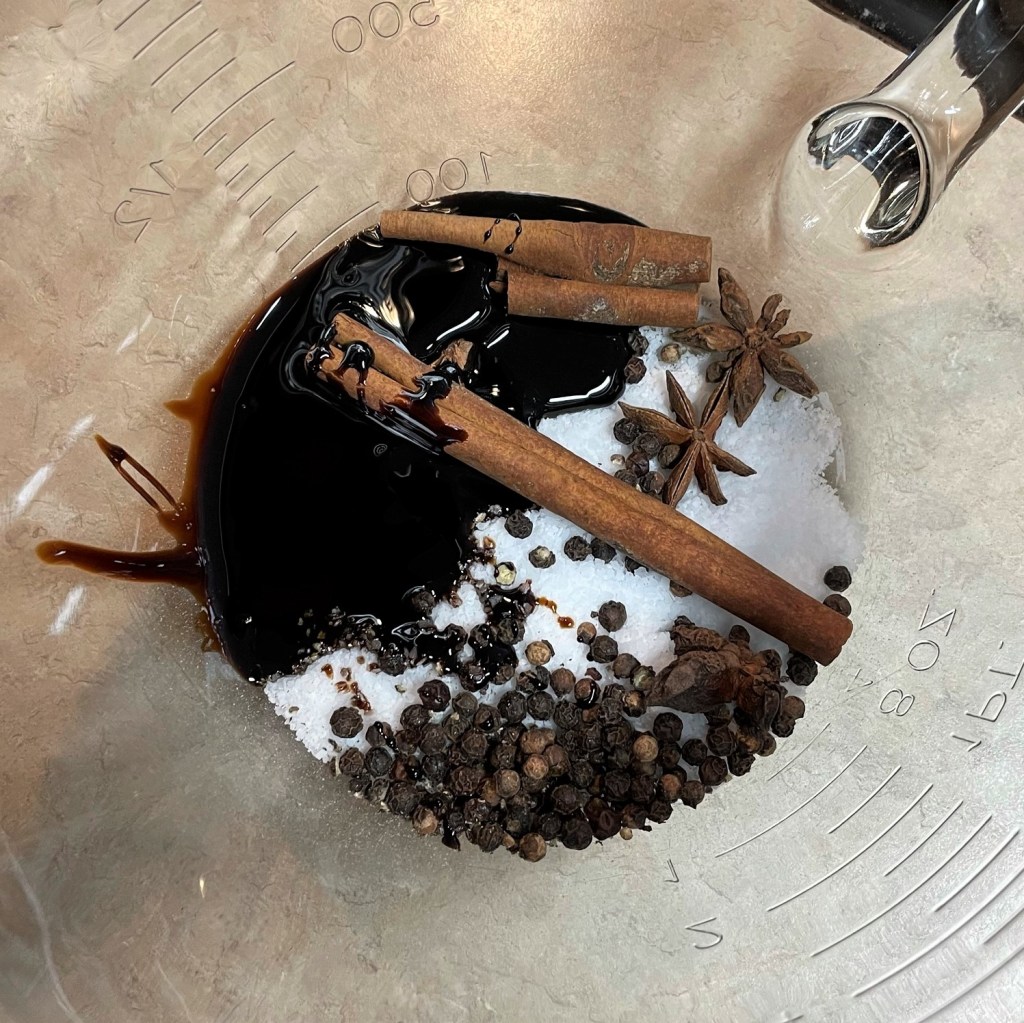
The molasses, cinnamon, star anise and smoked peppercorns gave incredible flavor to the ribs before we even started cooking them! 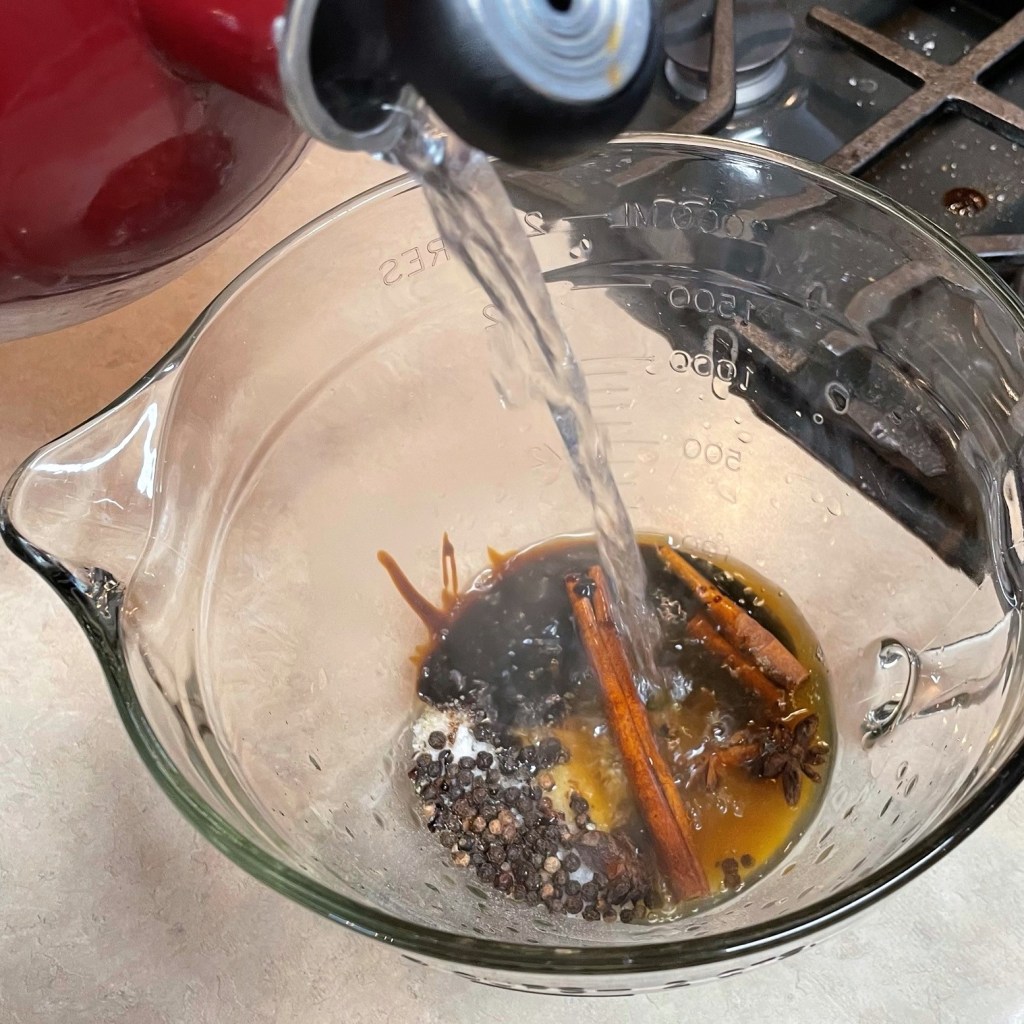
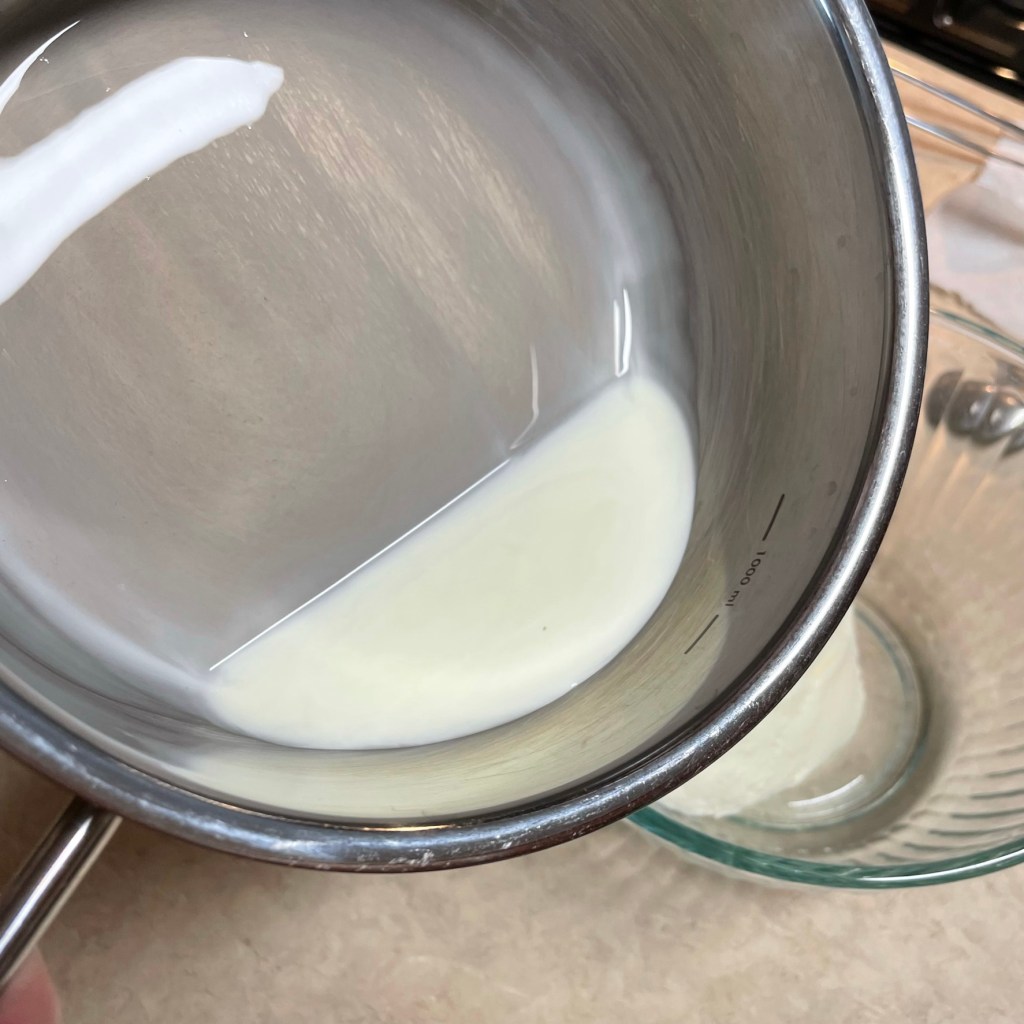
To make the brine quickly, I used only enough boiling water to dissolve the salt and molasses. Next, I added ice and cold water to chill it down. 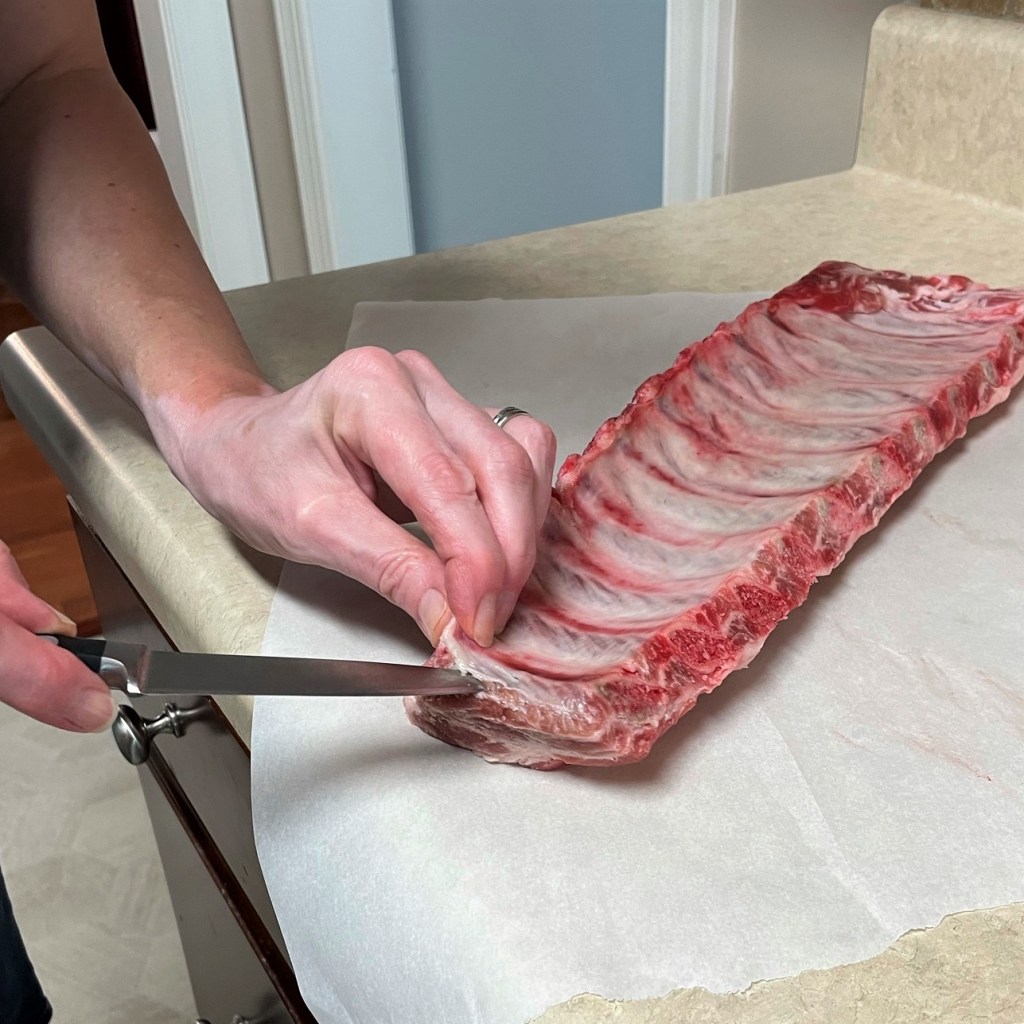
Don’t skip this step of removing the membrane from the back side of the ribs. Use a paring knife to get under it, as close to the membrane as possible without tearing it. 
Rather than cut, I wiggled the knife back and forth to loosen the membrane, enough to grab hold of it with a paper towel. 
Then, simply peel it off and discard it. This will allow the ribs to cook more evenly, and they will be easier to eat, too! 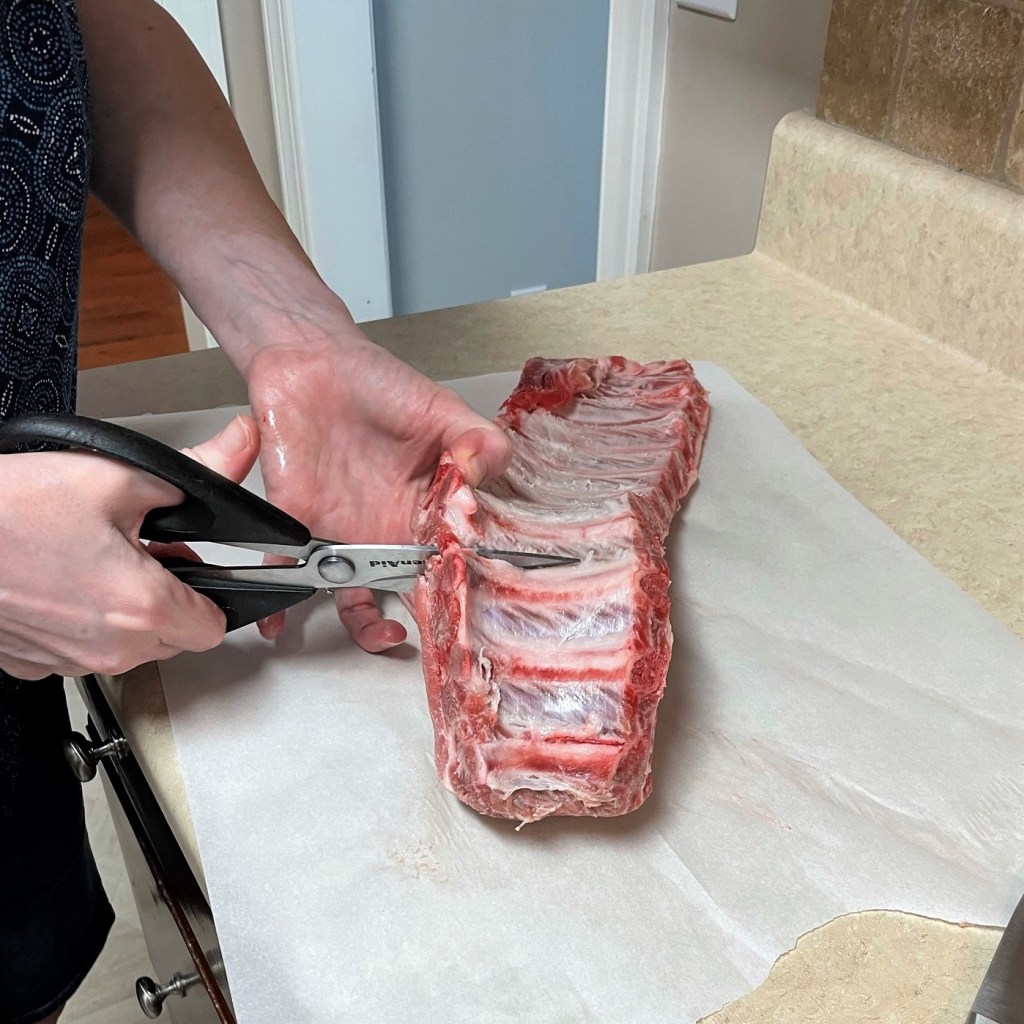
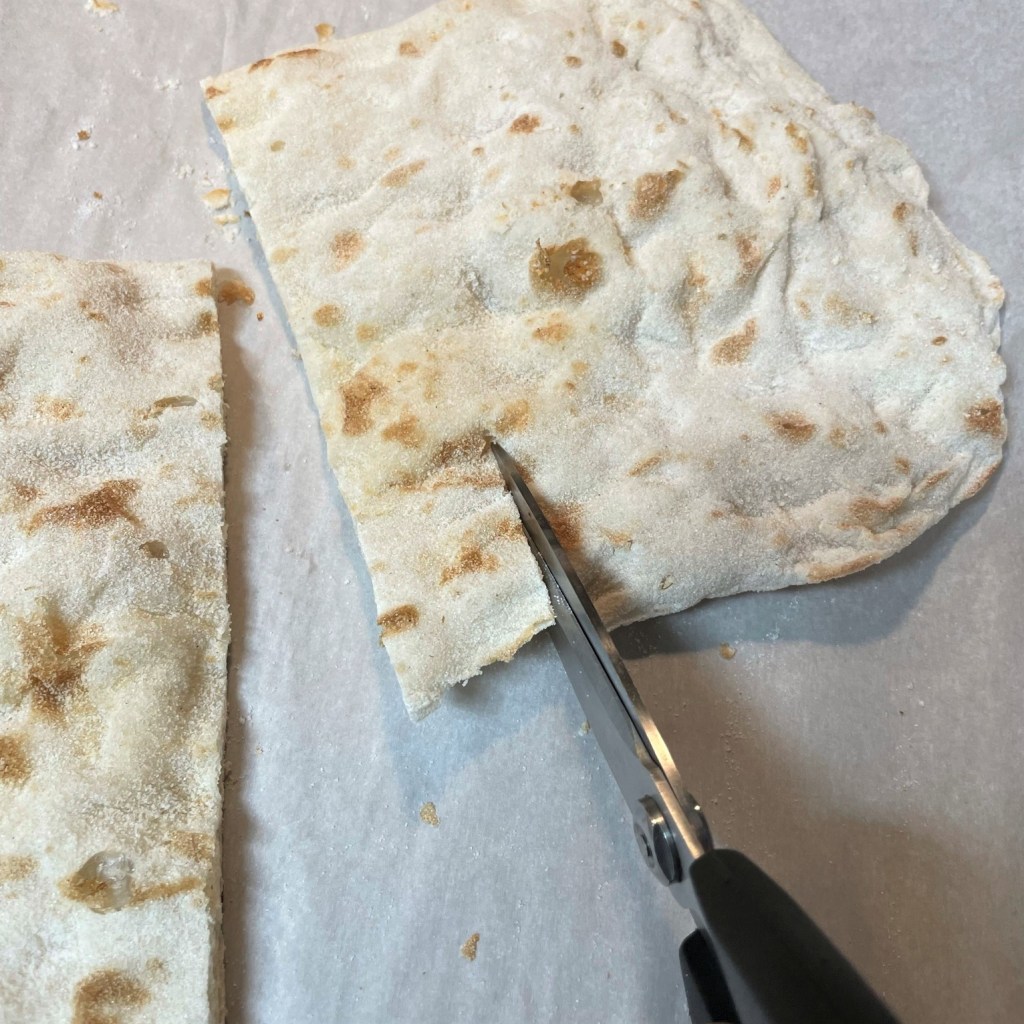
I used kitchen shears to cut the ribs into portions. 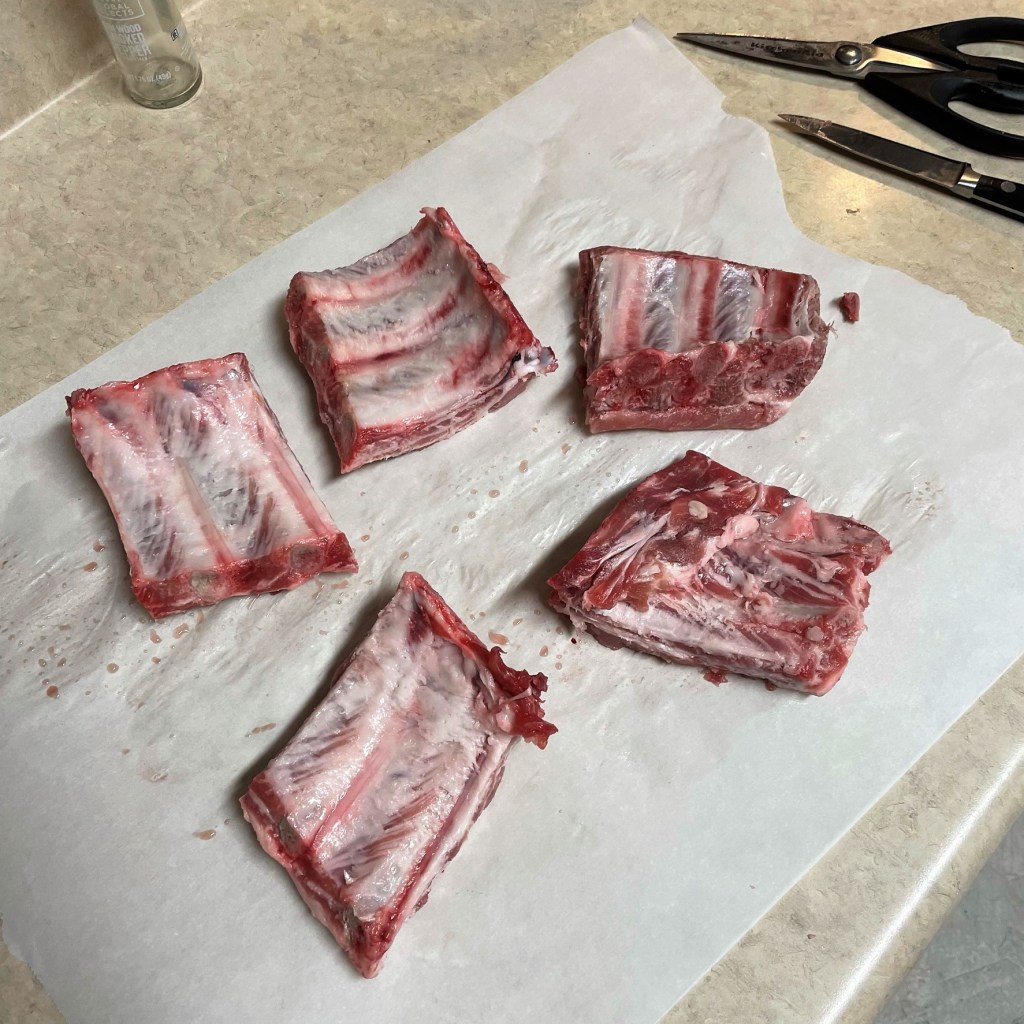
I was less concerned about the number of bones in each piece; my goal was to make them roughly the same size. 
I had saved the onion juice from another recipe, and added it to the chilled brine for some extra pizzazz. 
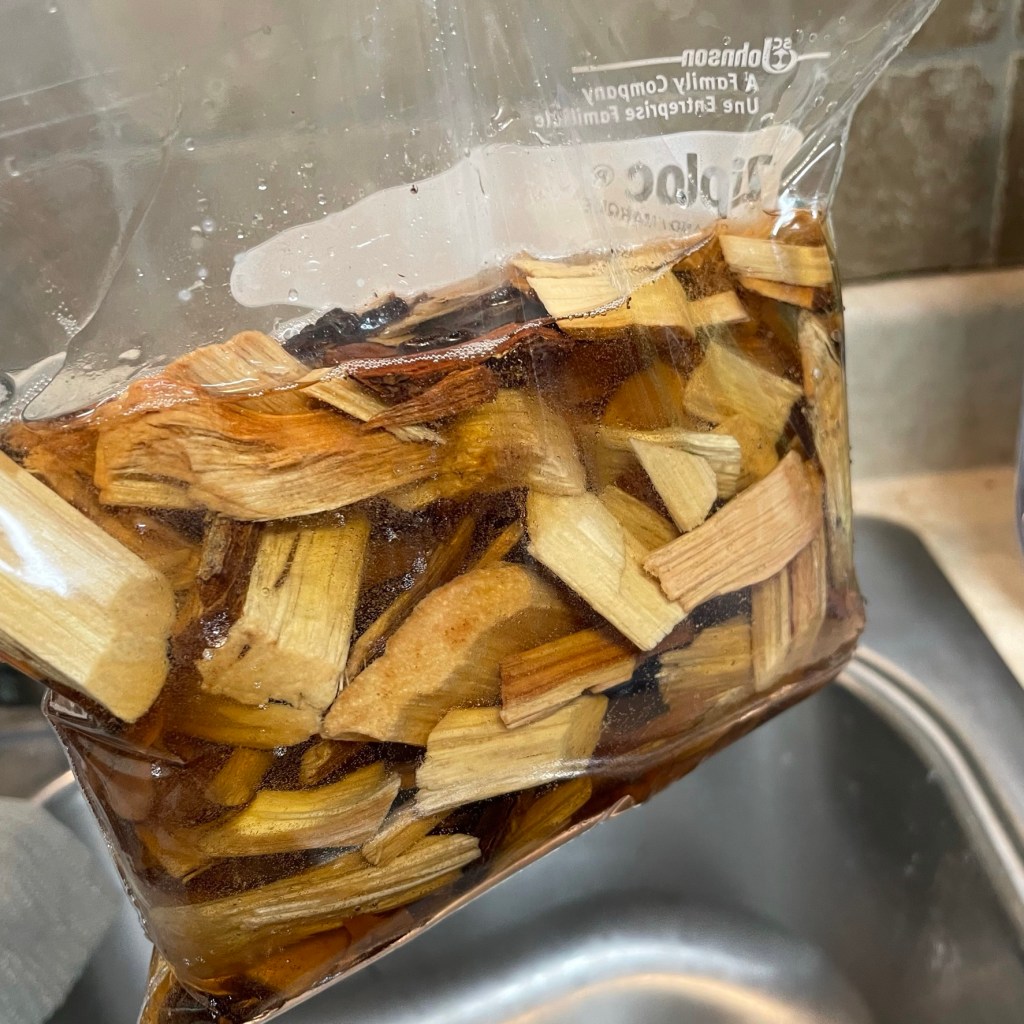
I put the ribs and brine in a heavy zip top bag, and placed the bag in a container large enough to hold everything if the bag should burst. Into the fridge for 8 to 24 hours! 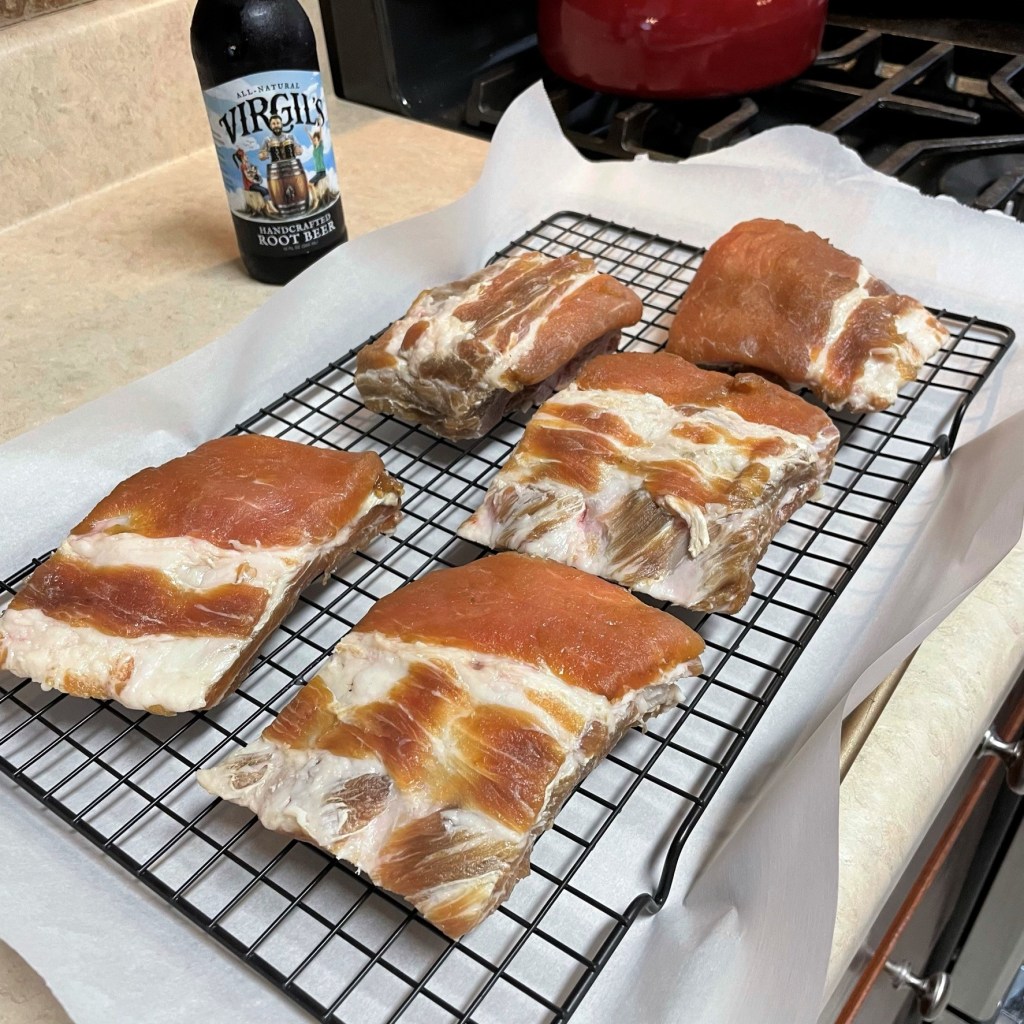
The brine gave the ribs a rich color and incredible aroma! No need to rinse them; just pat them dry, put them on a rack and send them to the fridge (uncovered) for a few hours before grilling.
- Prepare the brine by combining kosher salt, molasses, cinnamon, star anise and black pepper in a large glass pitcher bowl. Add two cups of boiling water and stir to dissolve the salt and sugar. Add ice cubes and enough cold water to make 8 cups total.
- Remove the tough membrane from the back side of the ribs. Begin by slipping a sharp paring knife under the membrane on the smaller end of the rack. Separate enough of it to grab onto with a dry paper towel, and then slowly but steadily lift it up and away from the ribs.
- Use kitchen shears or a sharp knife to separate the ribs into portions. Transfer the rib portions to a 2-gallon zip top freezer bag, placed in a container large enough to contain the brine if the bag should happen to leak. Pour the cold brine over the ribs, squeeze out as much air as possible and send them to the fridge to marinate at least overnight, and up to 24 hours.
- When the brine is complete, remove the ribs and pat them dry. Place them on a rack over a baking sheet and refrigerate, uncovered, for a few hours. This prepares the surface of the meat for more flavorful grilling.
Root Beer BBQ Glaze
2 Tbsp. canola oil
1/2 sweet onion, finely chopped
2 cloves garlic, minced
Zest of a fresh lemon
2 pieces crystallized ginger, finely minced
3 Tbsp. light brown sugar
1 cup tomato ketchup
12 oz. bottle naturally sweetened root beer
1 tsp. smoked Spanish paprika
Kosher salt and oak-smoked black pepper
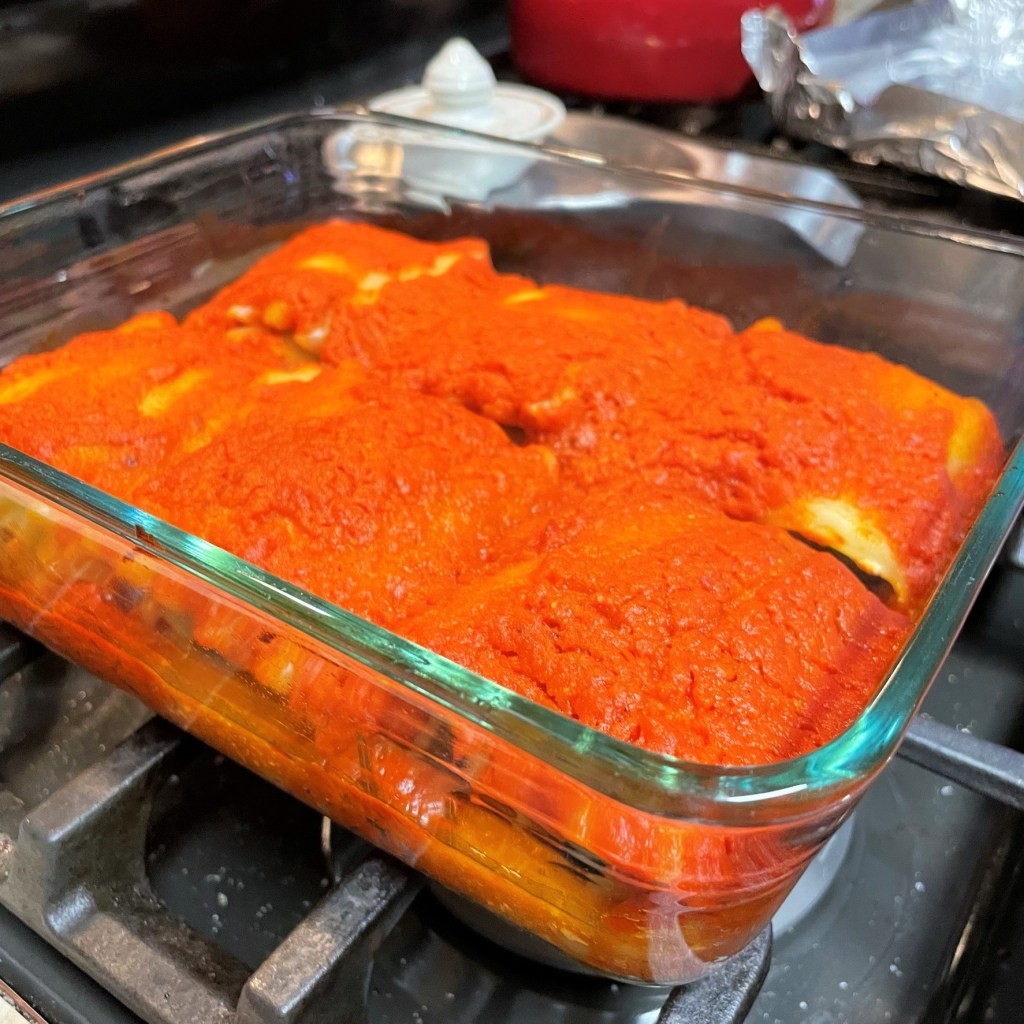
Make the glaze
Several reviewers of my inspiration recipe said the lemon juice made the sauce very tart, so I only used the lemon zest. I appreciate when people are specific with feedback! 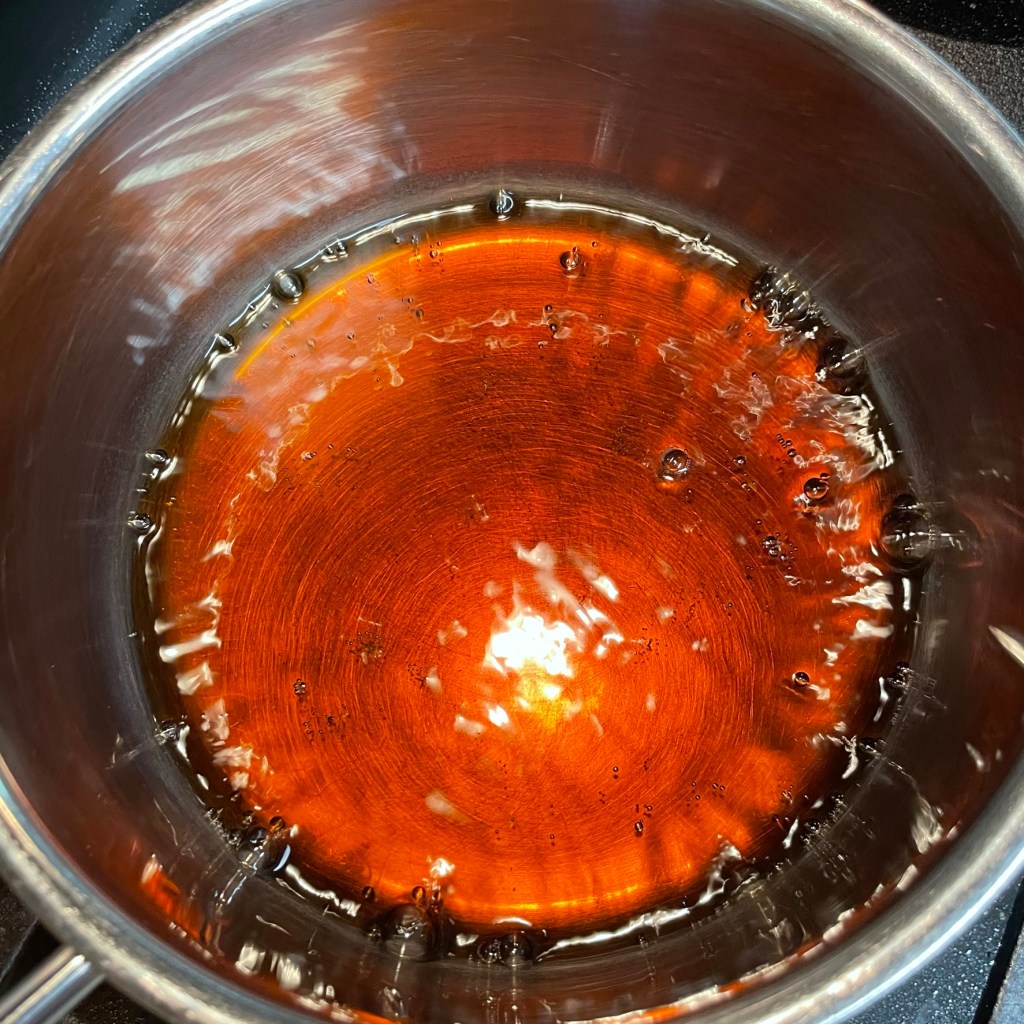
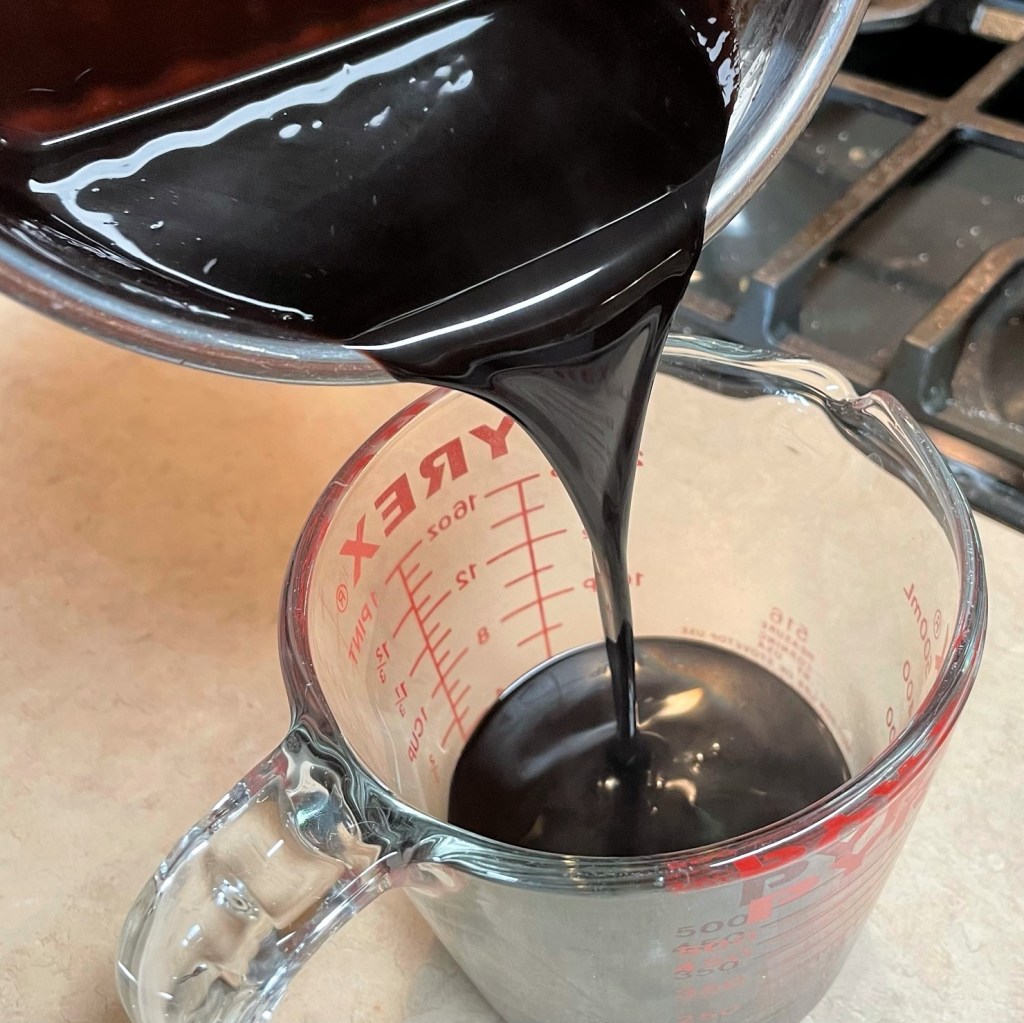
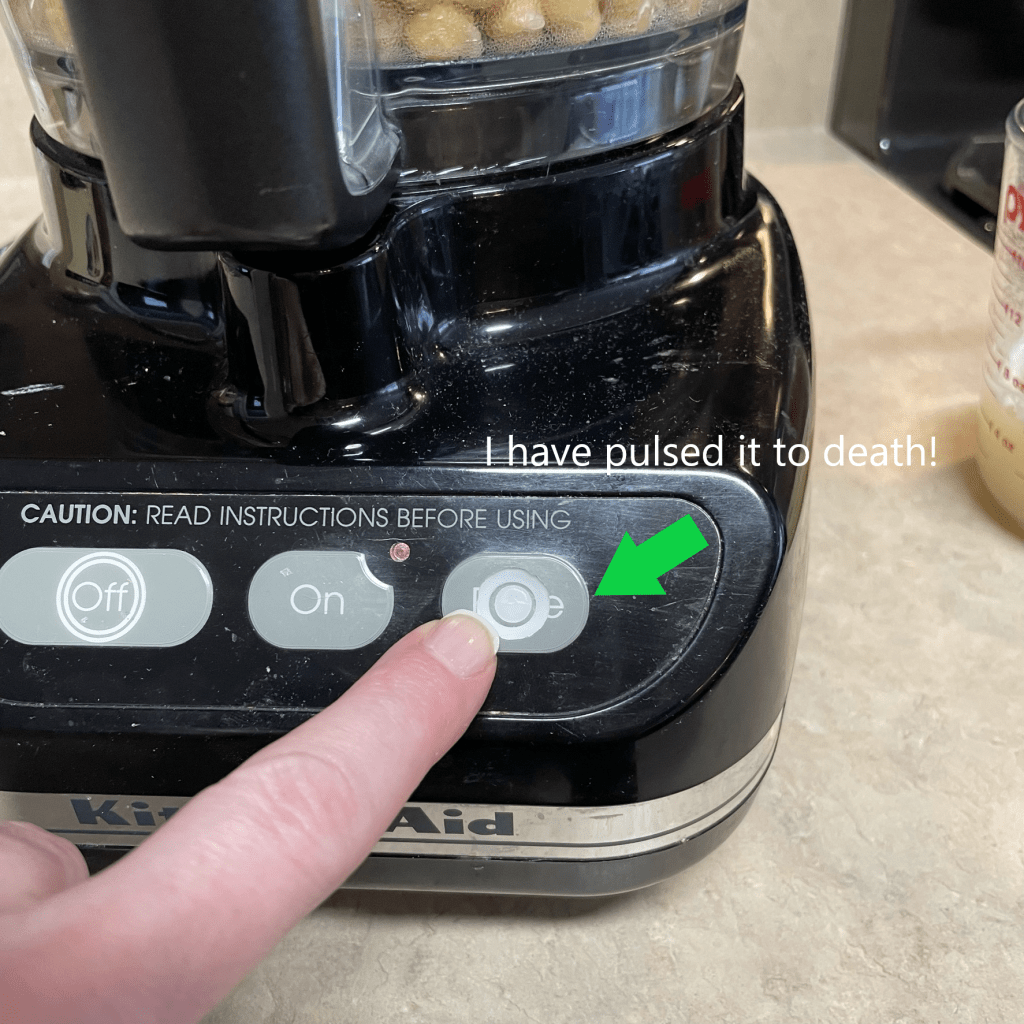
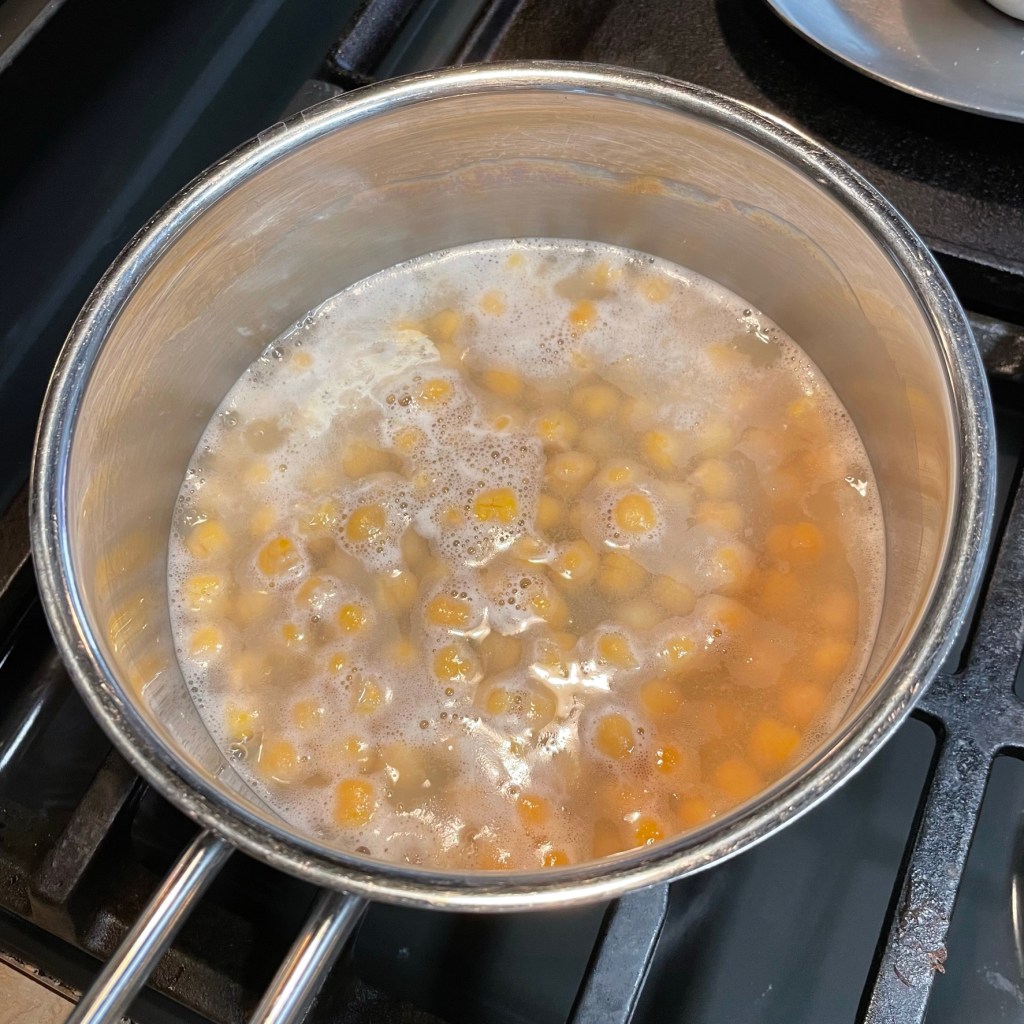
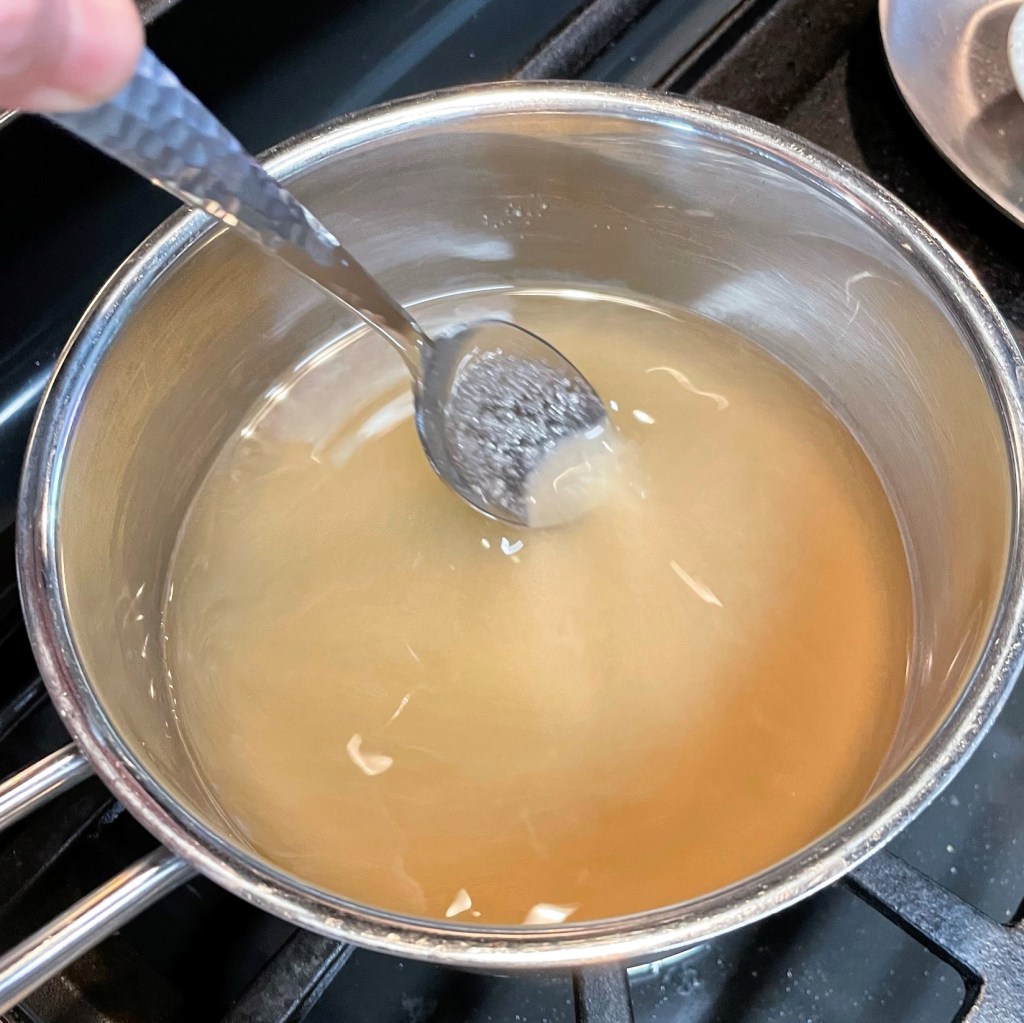
Simmer the root beer over medium-low heat until it reduces and turns syrupy. 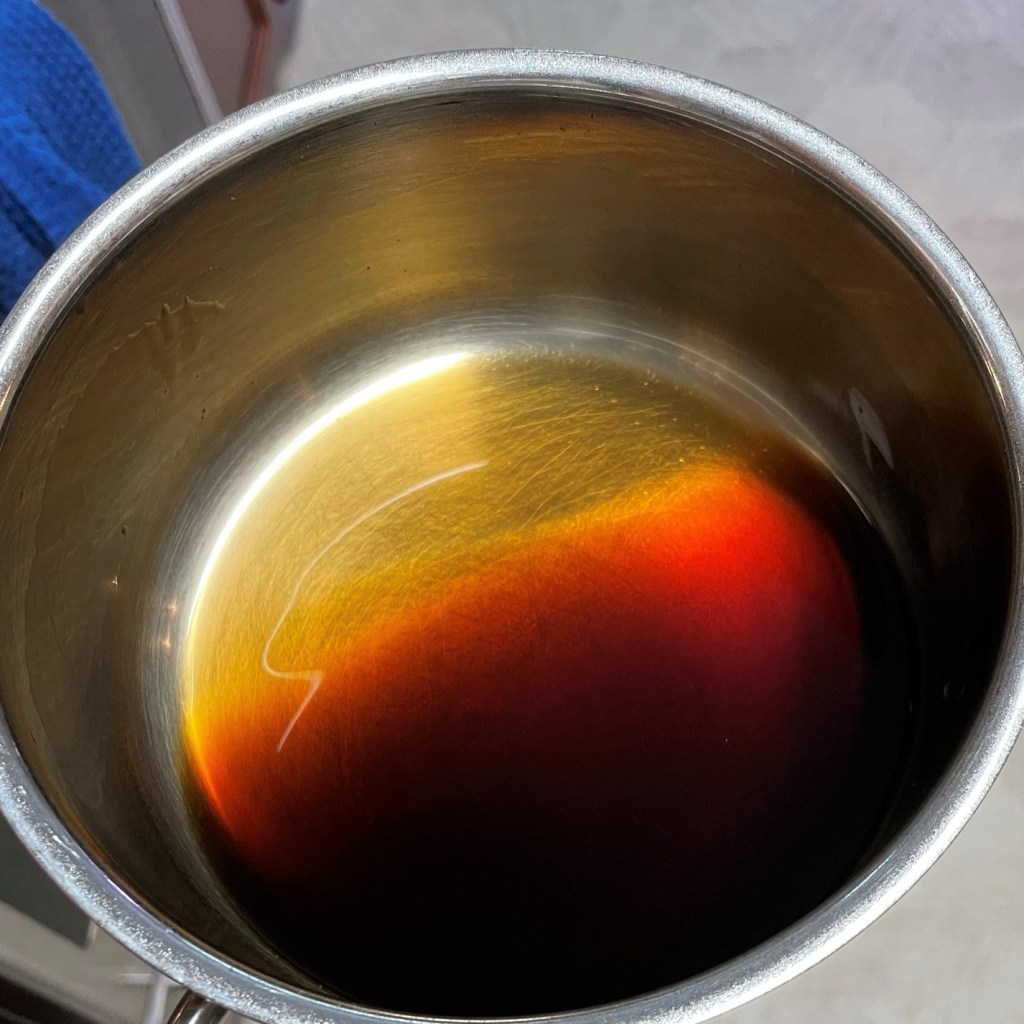
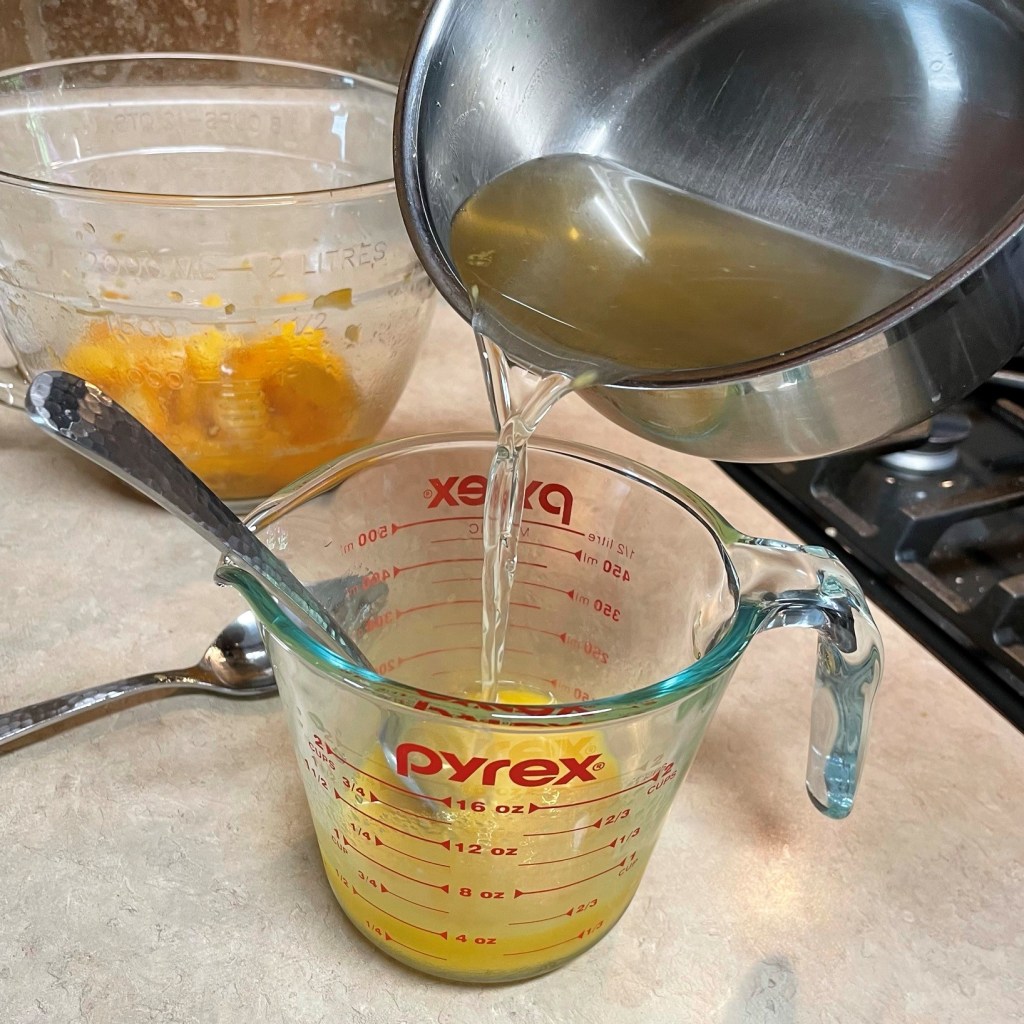
The root beer is slowly simmered until it measures about 1/2 cup. 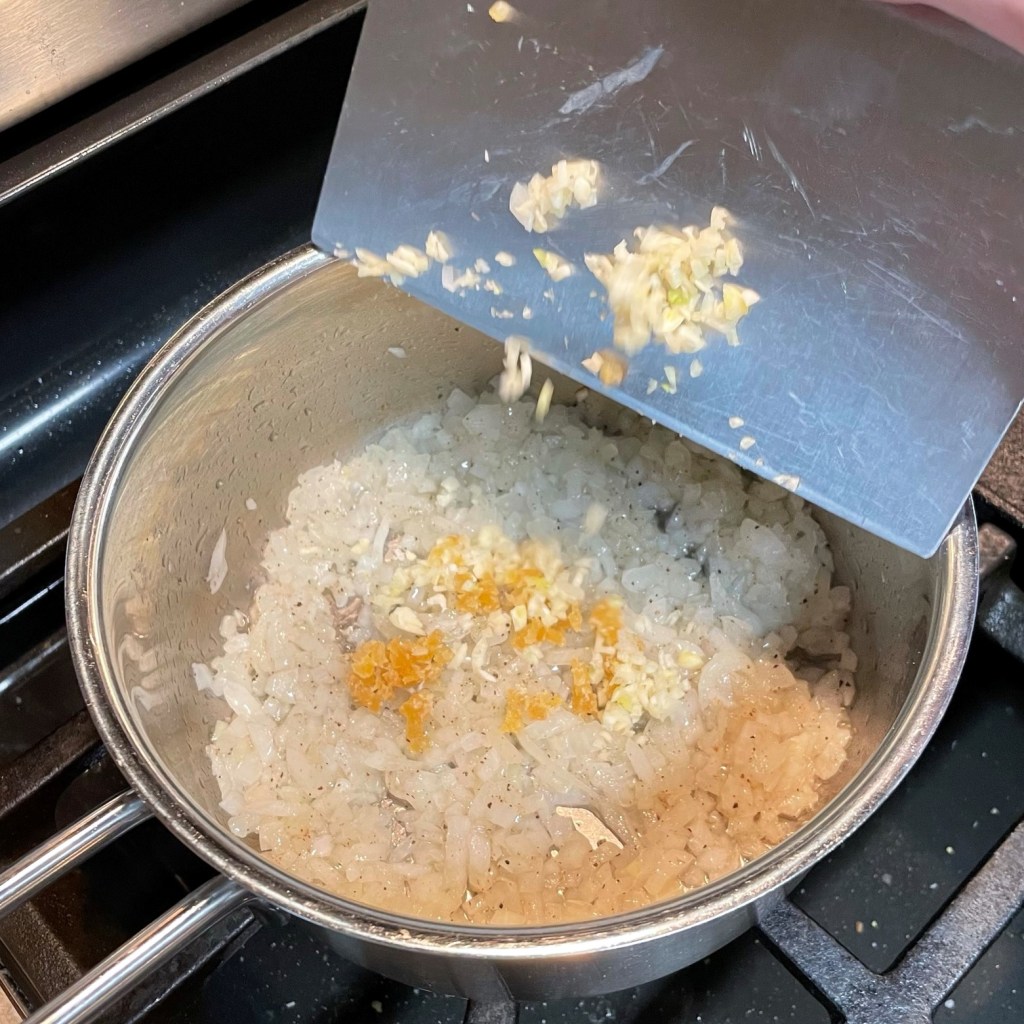
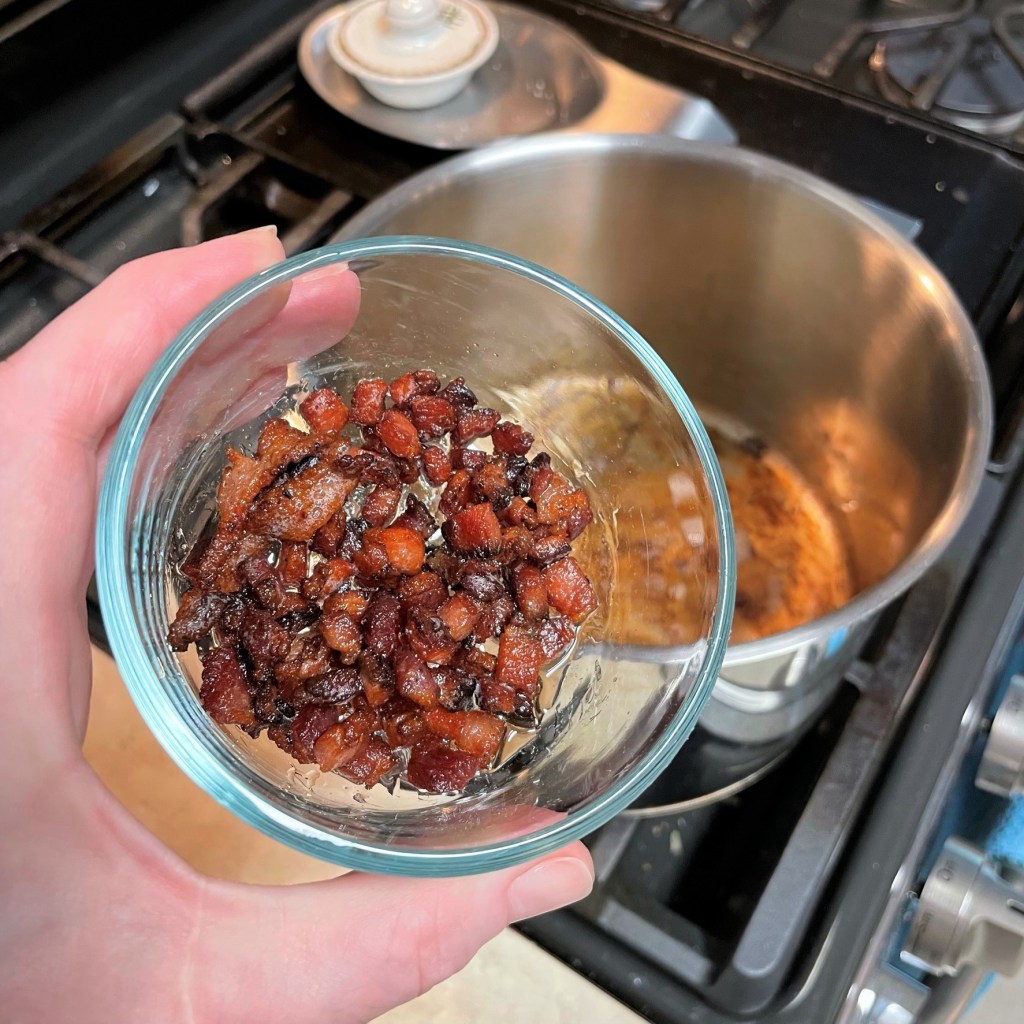
Saute the minced onions in a bit of canola oil, then add the garlic and minced ginger. 
I love the depth of flavor you get from smoked paprika. Sweet paprika would be fine also. 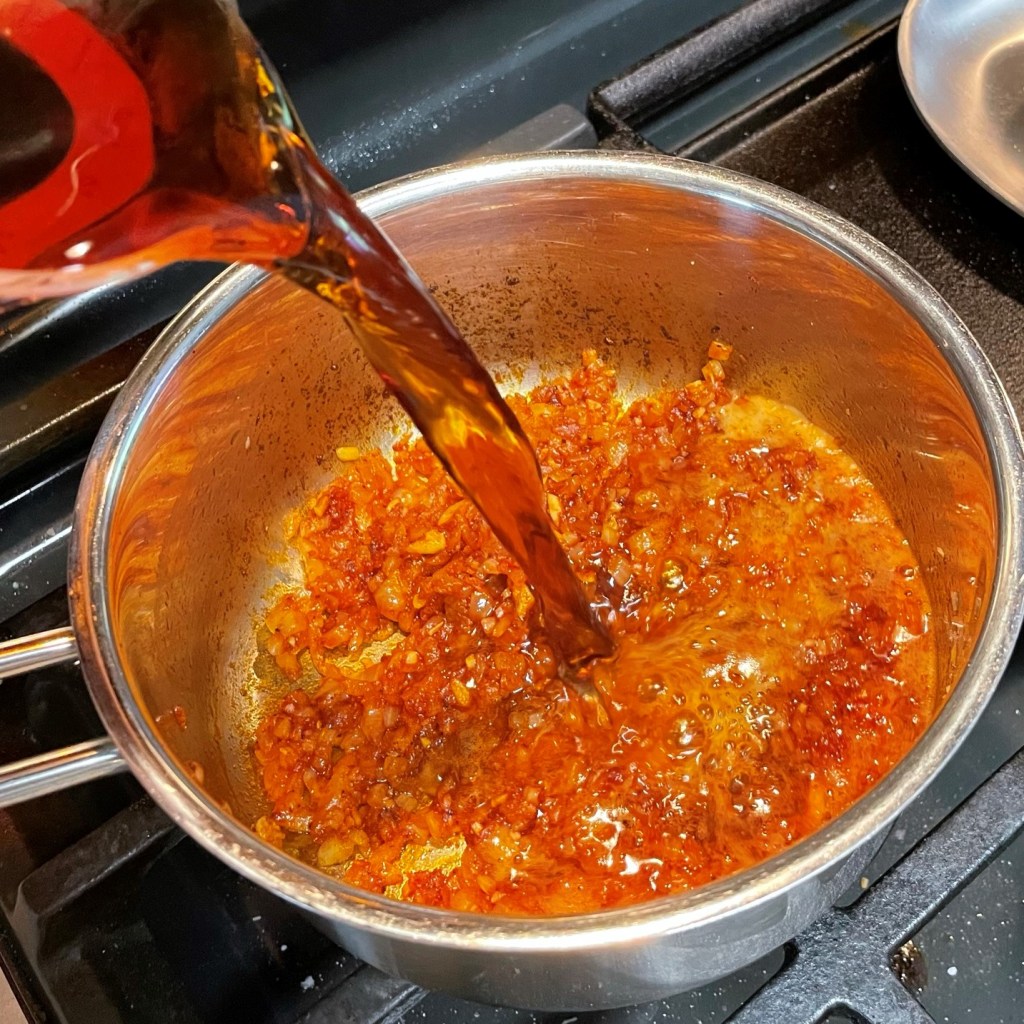
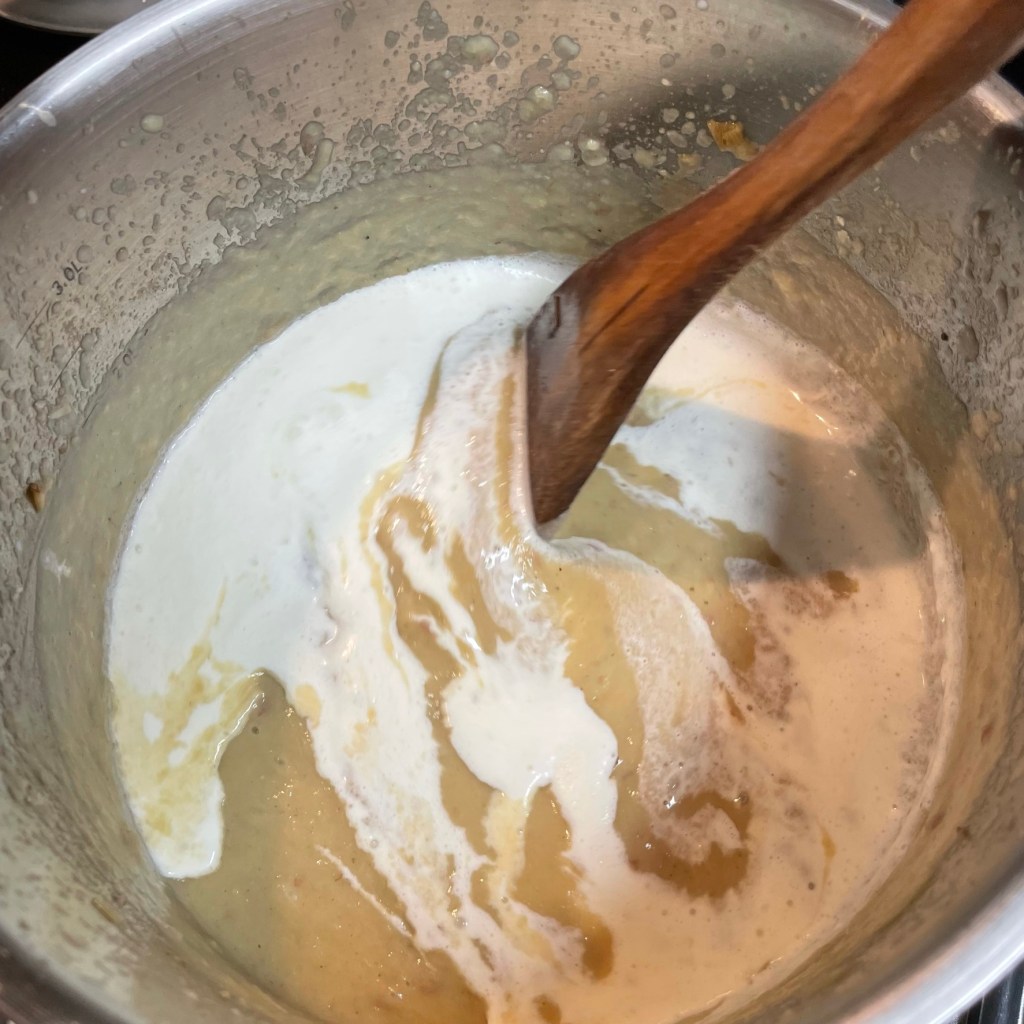
The reduced root beer helps to de-glaze the sauce pot, and the aroma of this hitting the pan with the onions and paprika was incredible. 
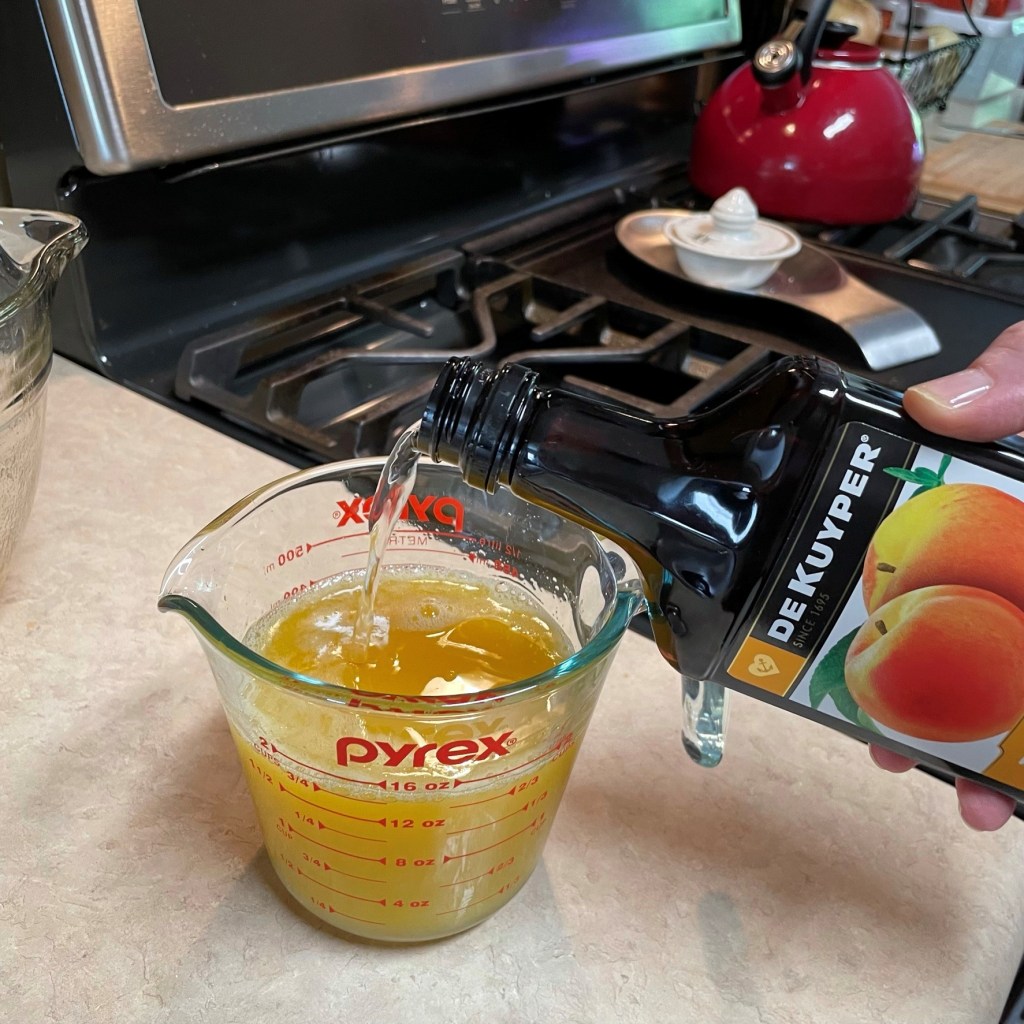
I had just enough ketchup left in my bottle, and I used a little more root beer to shake out the dregs. 
I used half the amount of brown sugar in the inspiration recipe because the root beer reduction was very sweet on its own. 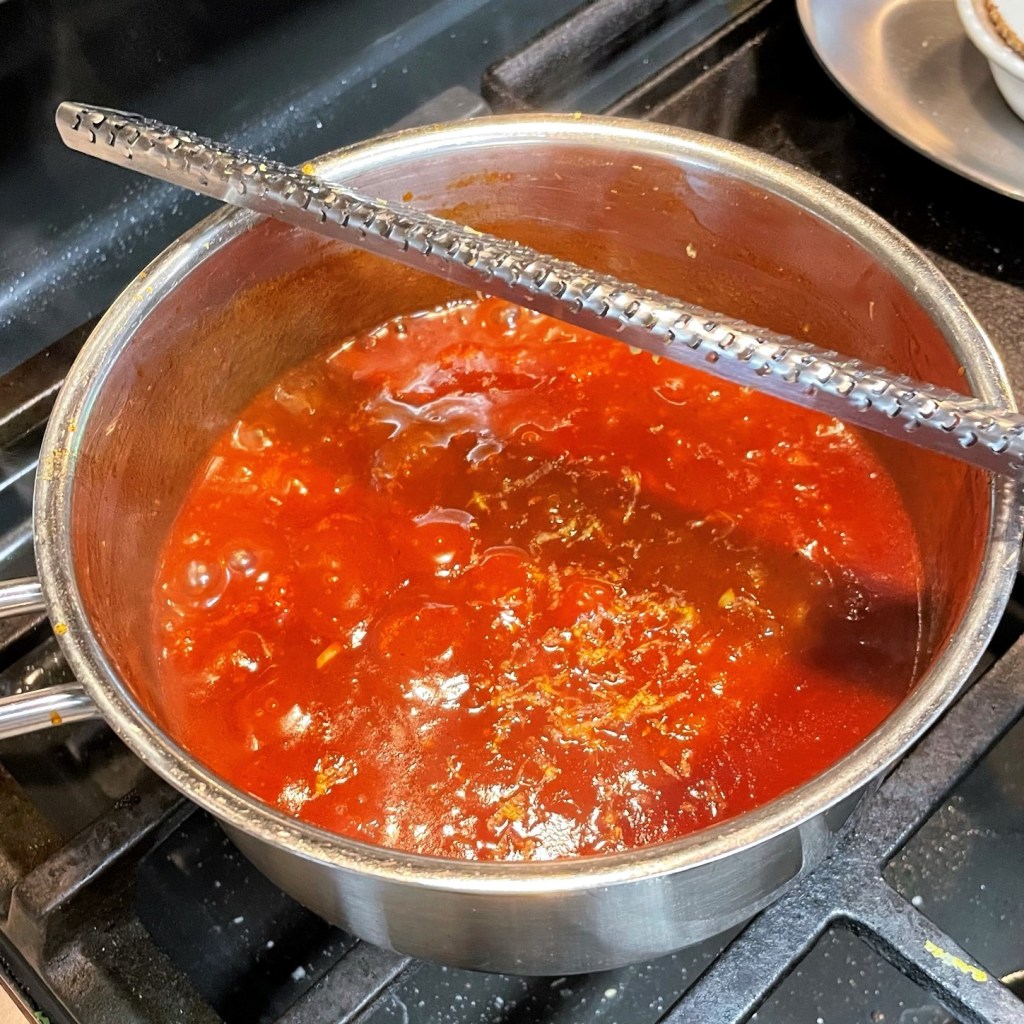
The lemon zest brightened up the sauce, but I passed on the juice. 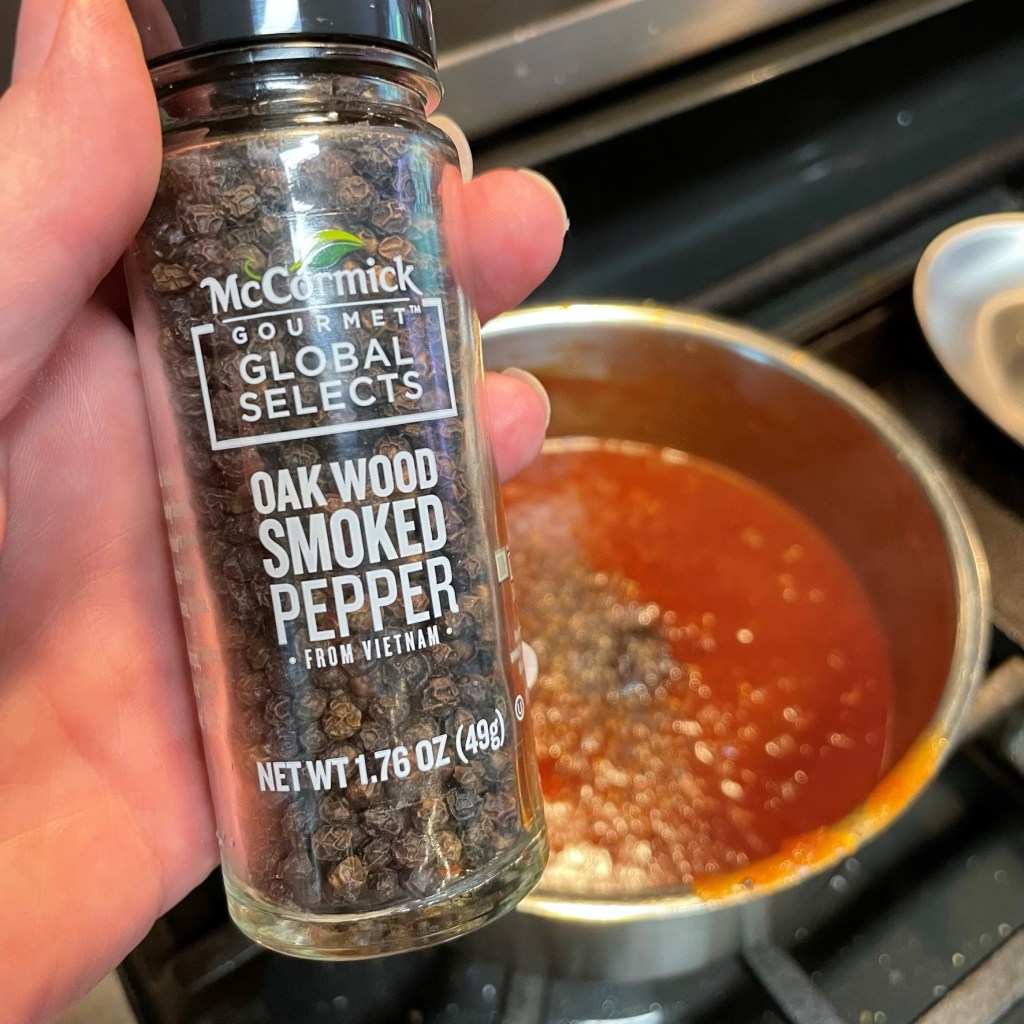
In lieu of cloves (which I did not have), I added some oak wood smoked pepper to my sauce. This stuff is so versatile! 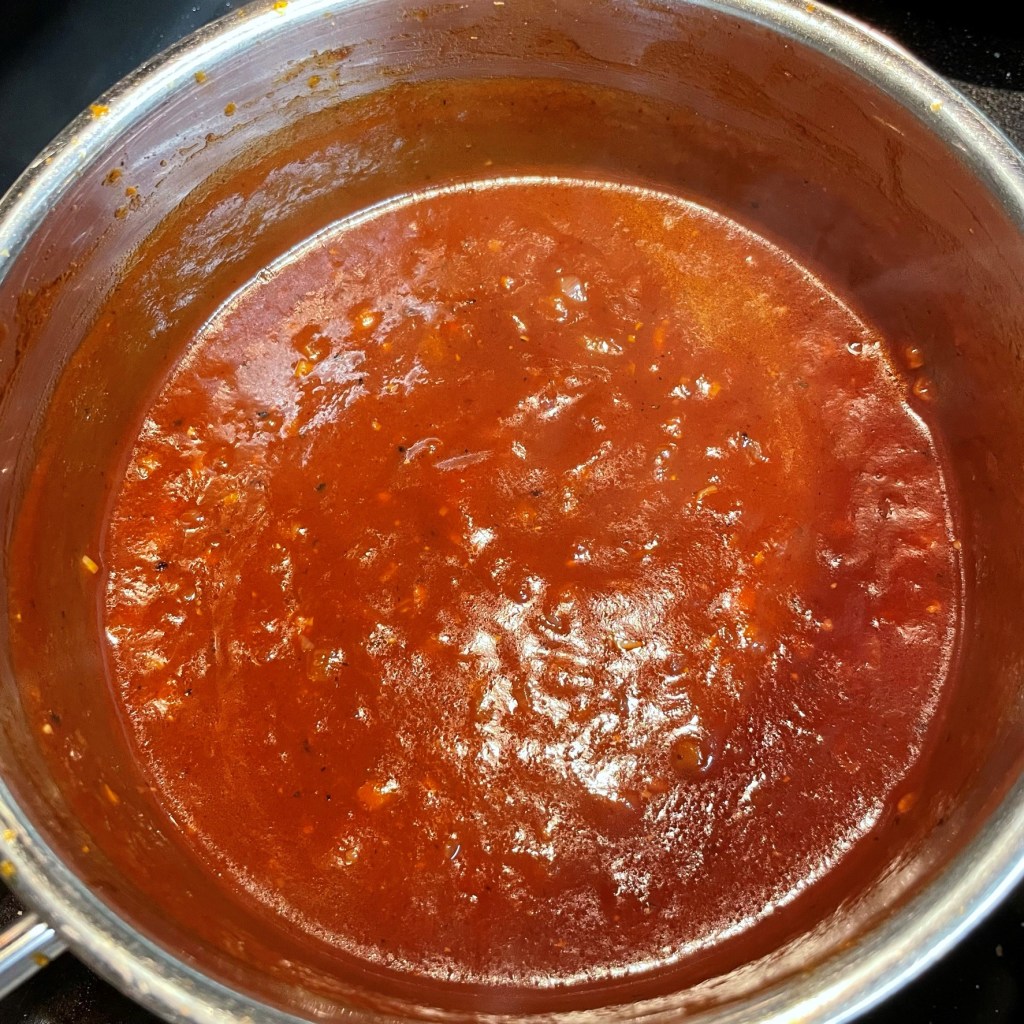
Simmer the sauce until it is reduced to a glaze-like consistency.
- Empty root beer into a heavy-bottomed saucepan, and simmer over medium-low heat until the liquid is reduced to about 1/2 cup. Transfer to a measuring cup.
- In the same saucepan, heat canola oil and sauté onions about two minutes, until slightly softened. Add minced garlic and crystallized ginger and cook one to two minutes more.
- Add smoked paprika to the pan and cook just until the paprika becomes fragrant. Add root beer reduction and simmer on low heat several minutes until the mixture is syrupy.
- Add the ketchup and brown sugar, stirring to combine. Add lemon zest and smoked black pepper. Simmer on low heat until just bubbly at the edges. Adjust salt, pepper and sweetness to taste. I wanted it a little bit sweeter, so I added a splash of additional root beer.
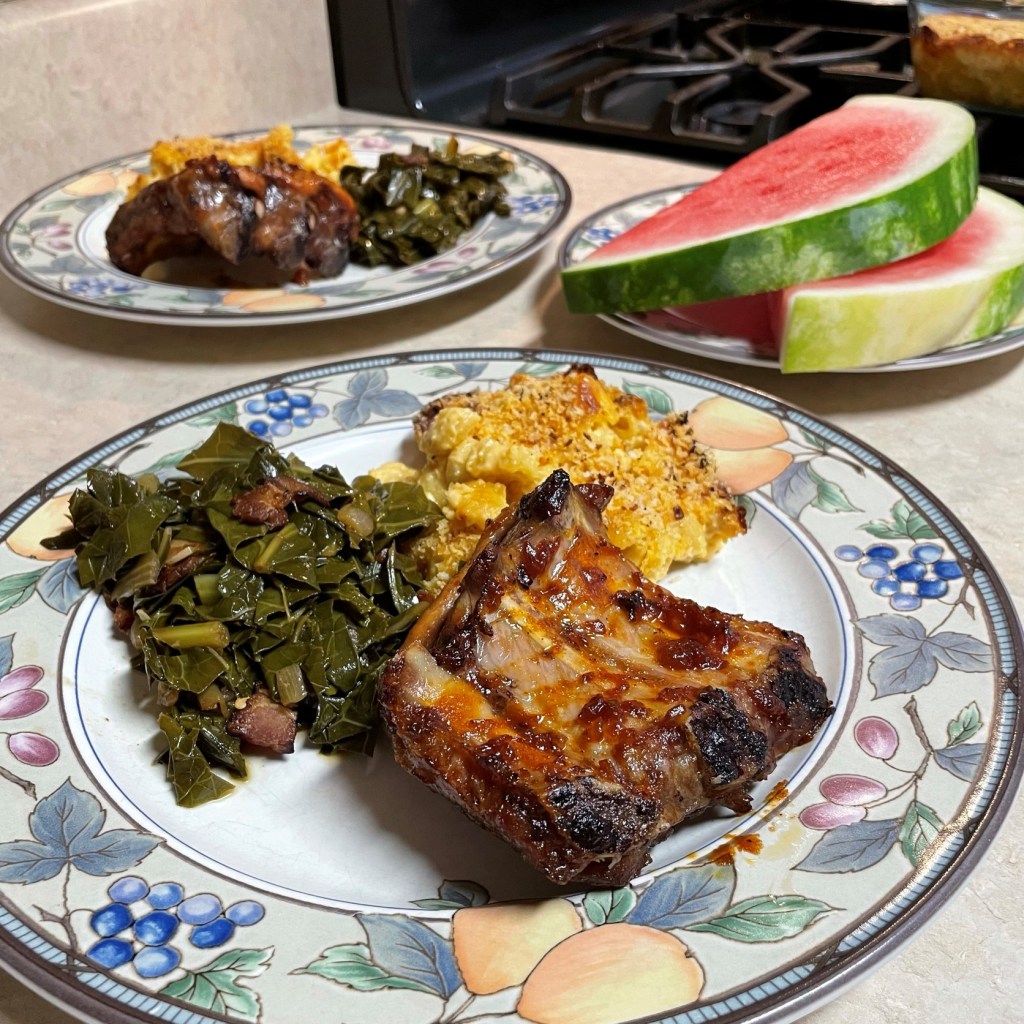
Time to grill the ribs!
We wasted half an hour soaking the hickory chips; they did not add a thing to the flavor of the ribs. I’m sure the problem was our “smoker” box. 
As suggested, Les grilled the ribs over low, indirect heat for about two hours. Maybe it was our grill, but this was nowhere near long enough. 
The sauce was slathered on for the final half hour of grilling time. When it caramelizes, glaze them again. 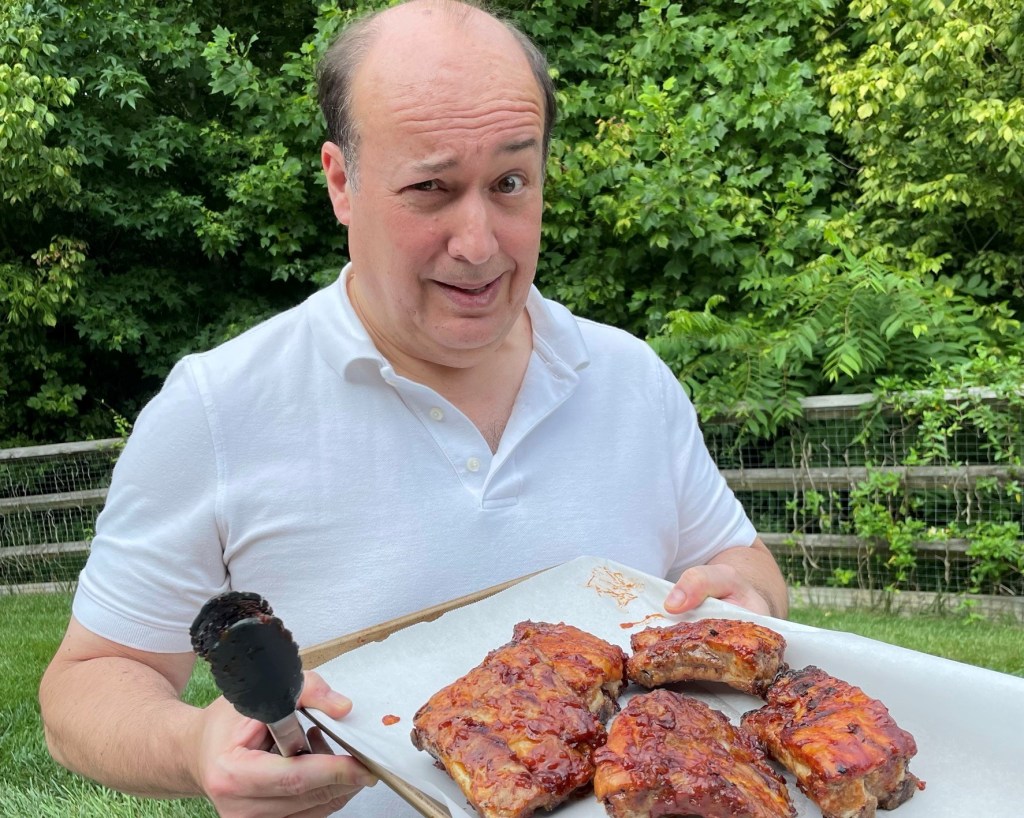
Les was skeptical about the cooking time, and (as usual) he was right!
My hubby, the grill master, questioned the instructions I handed him from the Bobby Flay recipe, and I darn sure should have listened. We followed the gist of the original recipe, grilling the ribs naked over indirect heat at about 250° F for two hours, then glazing them with the root beer BBQ glaze for the last 20 minutes or so. Granted, we do not have a “kamado-style” charcoal grill, but I had hoped
This was enough time to cook them, but not enough to make them fall-off-the-bone tender, which is what my root beer-loving heart desired. We had also soaked some hickory chunks in cold water and root beer, and tried out the small smoker box we had purchased for the grill. Friends, let me just say, “don’t bother,” because we did not get even a hint of smoke on the ribs. It would have been terrific, though, on a regular smoker. Overall, The meat was tasty (I think the brine did wonders) and the sauce was just as I imagined—root beer was present but not too sweet.
We have had more tender ribs without following a recipe, and next time we make these, I will hand the reins over to Les to grill or smoke the ribs however he chooses. We also agreed that low and slow roasting in the oven would probably have resulted in more tender ribs, and I sure would not mind the aroma in the house!