There is nothing new under the sun, as they say, and when I start to feel flummoxed over what side dishes to make for summer meals, one of the best things I can do is revisit a classic and modernize it for my grown-up palate.
About the same period of time I became enthralled with the immense variety of baked beans at my great grandmother’s Fourth of July celebrations, there was a popular salad showing up on everyone’s dinner table. It might have been called a three-bean salad, including cut green beans, dark red kidney beans and little round garbanzo beans, which my dad always called “ceci beans.” But once in a while, yellow wax beans would also be in the mix, technically making it a four-bean salad but with generally the same flavors. This salad was often purchased ready-made, and as I recall, it was a popular item in the deli department of the grocery store where I worked as a young adult. The main thing I remember about it, besides its ubiquitous presence, is that it was sweet. Too sweet, in my opinion. I have no problem with a touch of sweetness in a salad dressing, but if it’s too sweet, it counters the benefit of eating vegetables.
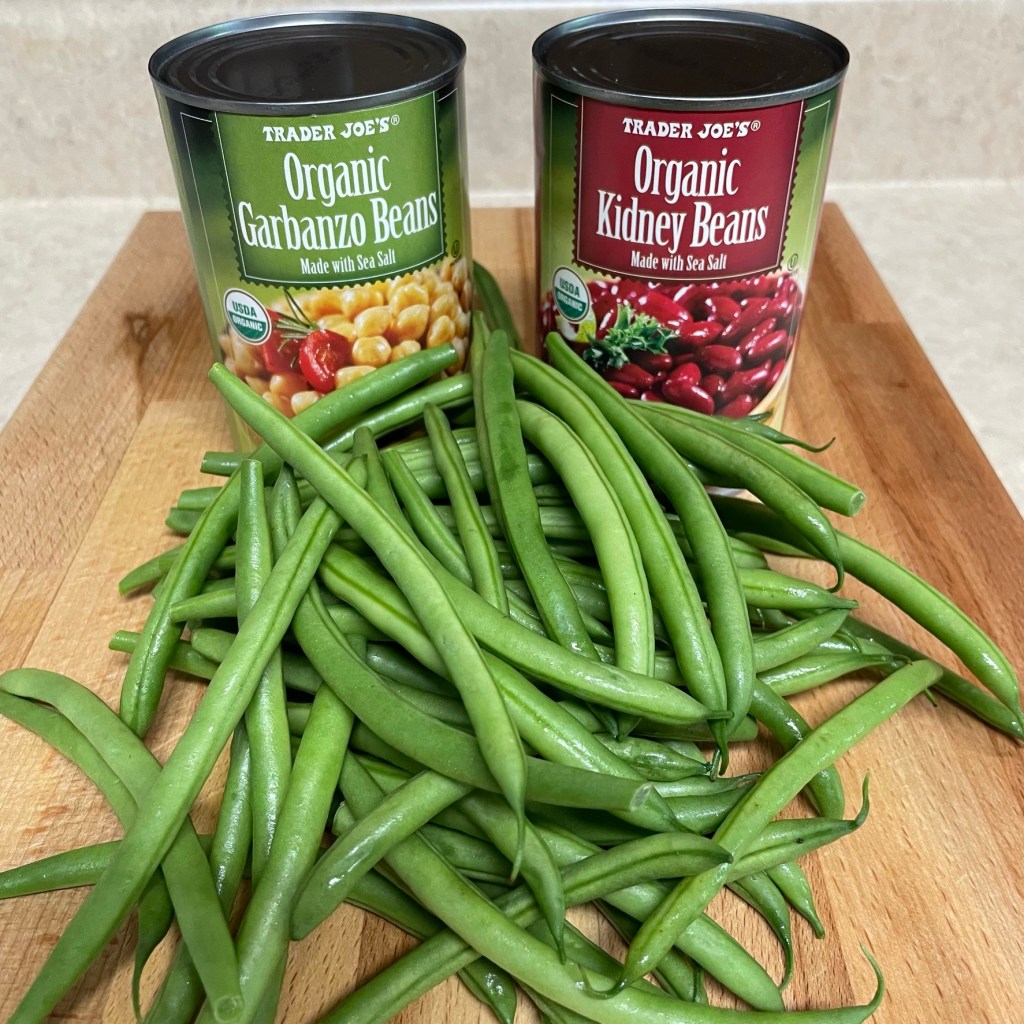
So this summer, I have created an updated version of this otherwise good-for-you salad, shifting the flavor profile from sweet to zesty and herbaceous. The sugar in the recipe is nominal, and I’ve amped up the other side of the salad flavors with a hefty addition of minced garlic and a good bit of chopped fresh parsley and basil. The salad is quick and easy to make, as it relies somewhat on canned beans, and I’ve used ready-to-go fresh green beans to save time. If you’re lucky enough to have garden-fresh green beans, well, that would be awesome.
Ingredients
3/4 lb. fresh green beans, trimmed and cut into 1 1/2 inch pieces
15 oz. can dark red kidney beans, drained and rinsed
15 oz. can garbanzo (ceci) beans, drained and rinsed
1/2 cup sweet onion, finely diced
1/2 cup green bell pepper, finely diced
1/2 cup red bell pepper, finely diced
3 large cloves garlic, finely minced
1 handful fresh Italian parsley, chopped
Small handful fresh basil leaves, chopped
Dressing ingredients
1/4 cup red wine vinegar
2 tsp. Dijon mustard* (see notes)
2 tsp. cane sugar
1/2 tsp. celery seed
1/2 tsp. garlic pepper seasoning
2 Tbsp. cold water
1/4 cup extra virgin olive oil
*Notes
In lieu of regular Dijon mustard, I used the recently-discontinued Honey Pale Ale mustard from Trader Joe’s. Does anyone besides me have a gripe about how they pick and choose which products to keep? If you happen to have a jar of it, I think it’s terrific in salad dressings. Otherwise, just use regular Dijon.

Instructions

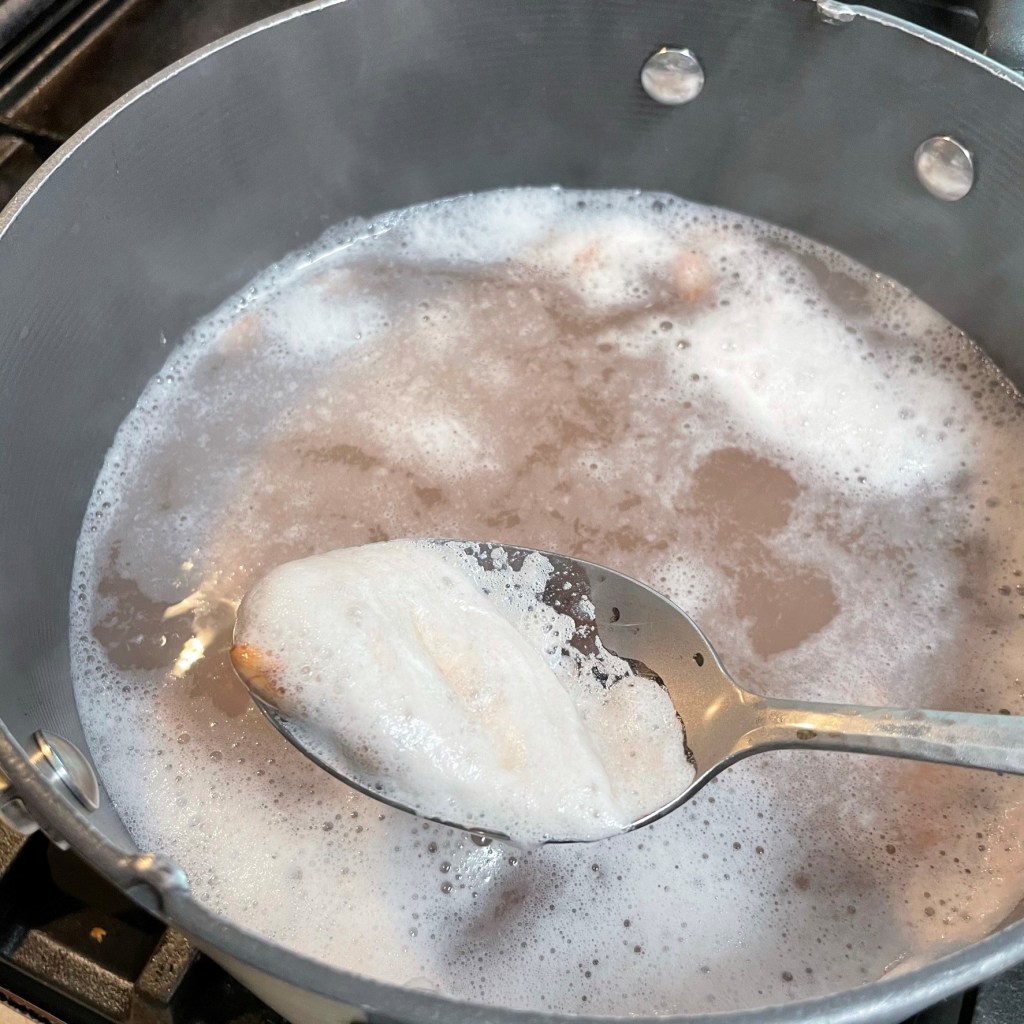
Here’s a little trick I’ve learned for retaining bright color; add 1/2 tsp. baking soda to the simmering water before blanching vegetables. 
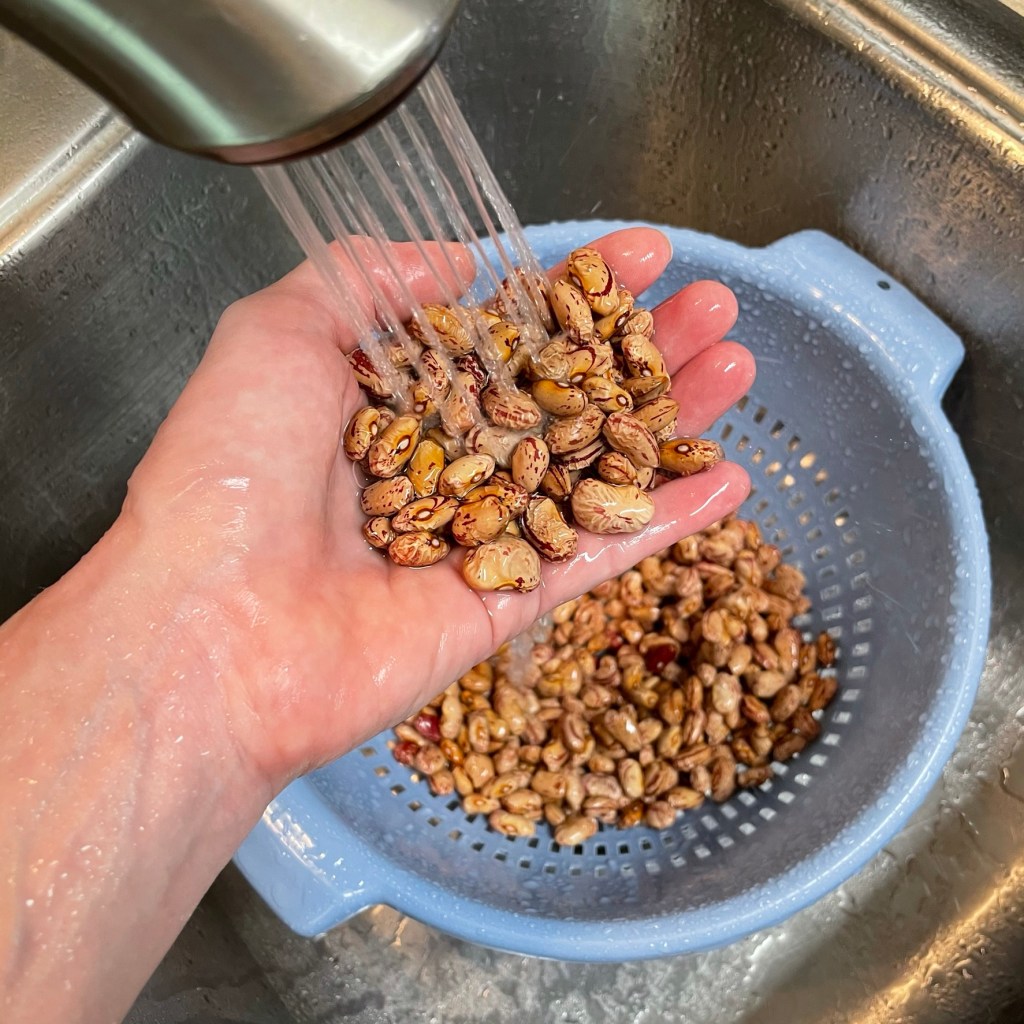
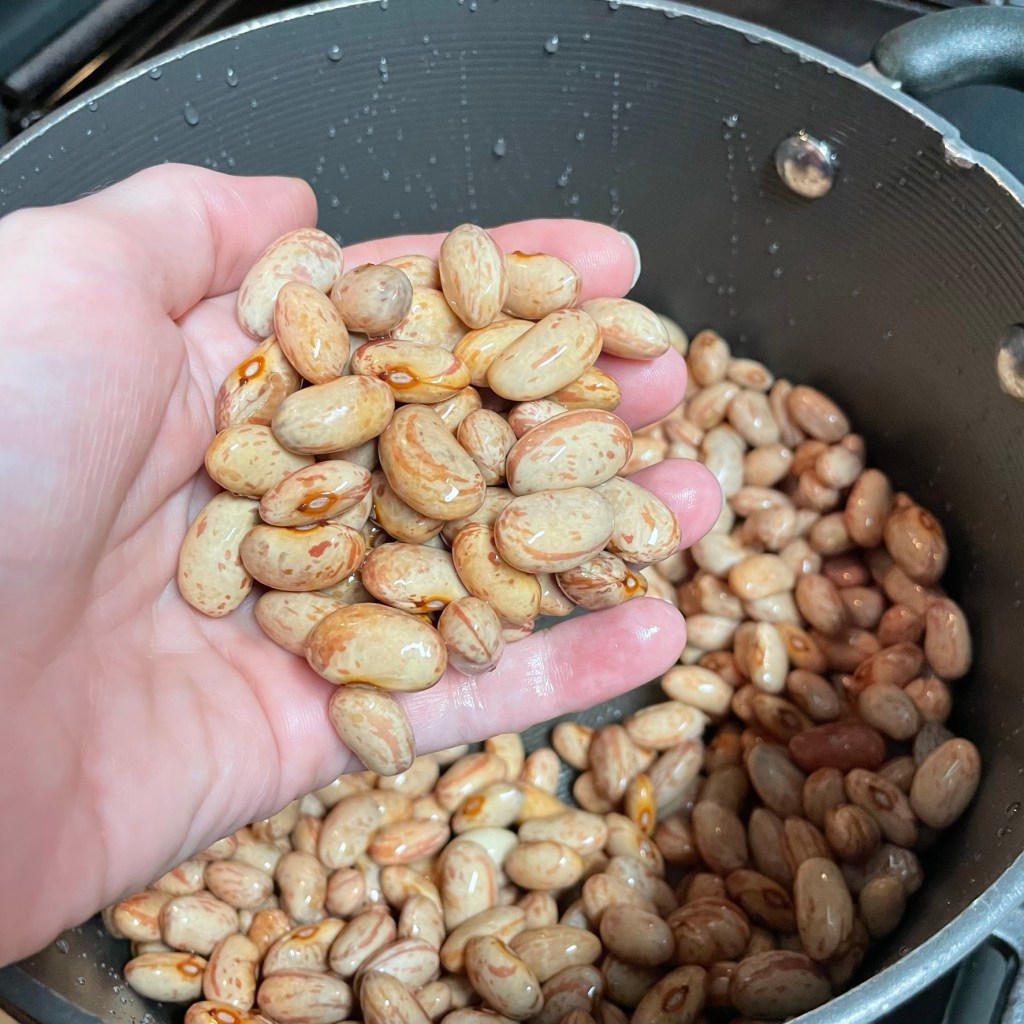
Rinse the canned beans under cold water to remove the unpleasant “goo,” and then drain thoroughly. 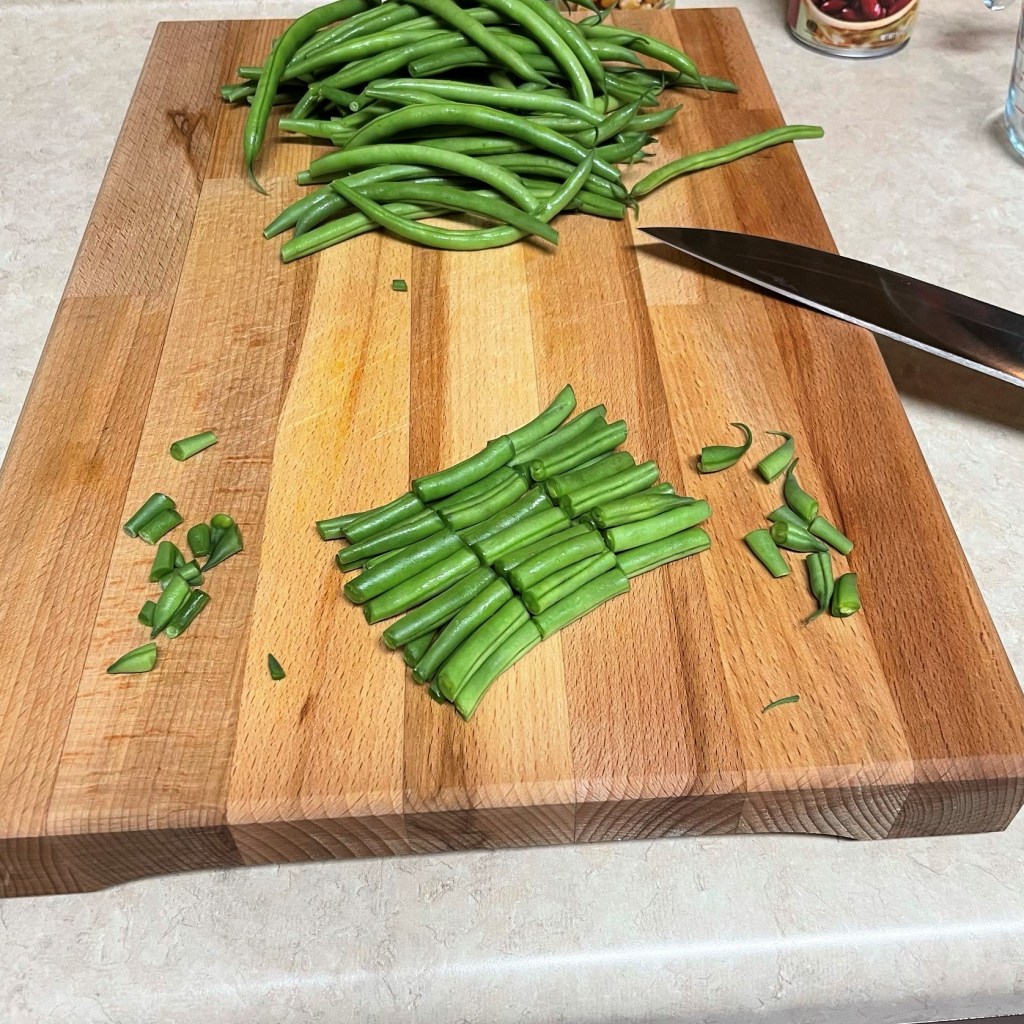
To pretty up the green beans, I’ve trimmed the tips and cut them into three pieces, each about 1 1/2 inches long. 
Carefully drop the green beans into the boiling water for about six minutes. 
Scoop the blanched beans out of the water and drop them into an ice bath. This will abruptly stop the cooking process, and help retain the bright color. 
If I had celery in the fridge this day, I would have added 1/2 cup of that, too! 
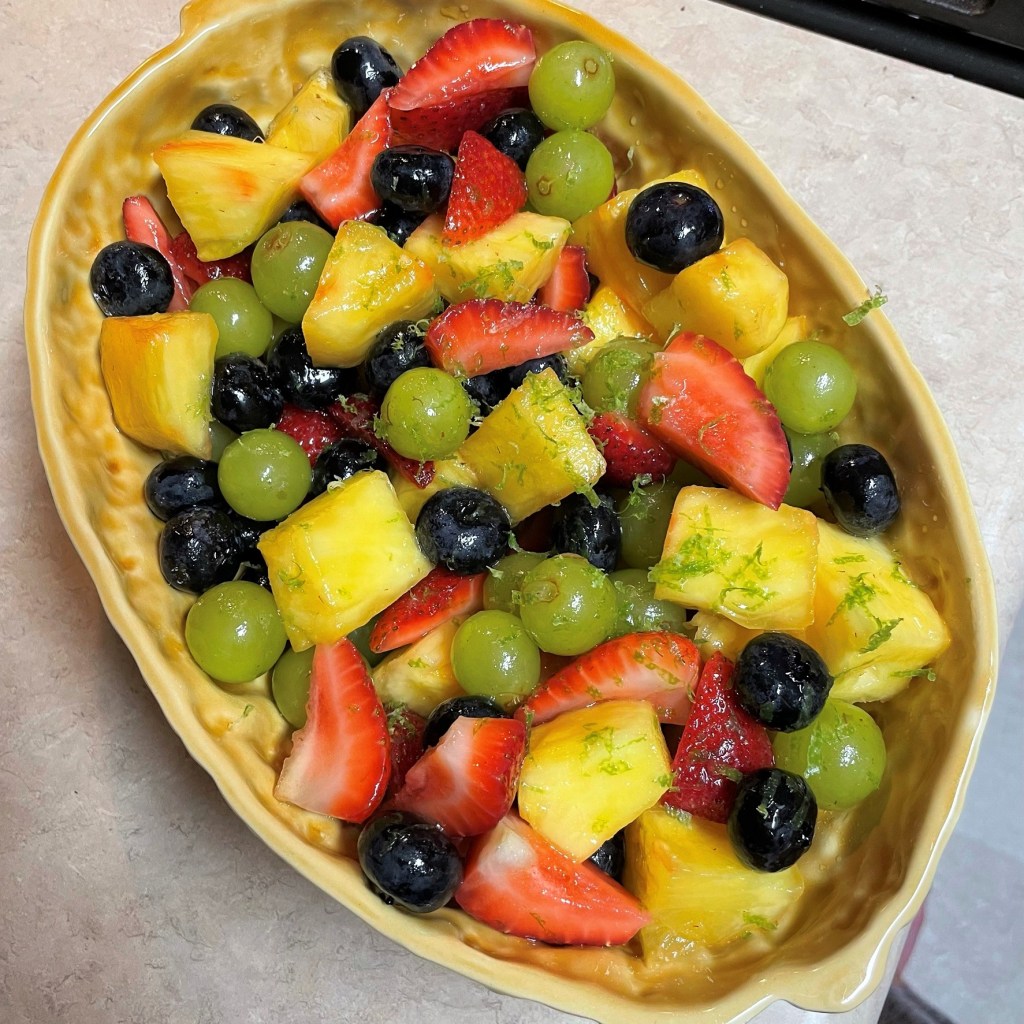
This is the easy part; pour the dressing over the salad veggies and give it a gentle toss. 
Add salt and pepper to taste and toss with the fresh chopped parsley and basil. 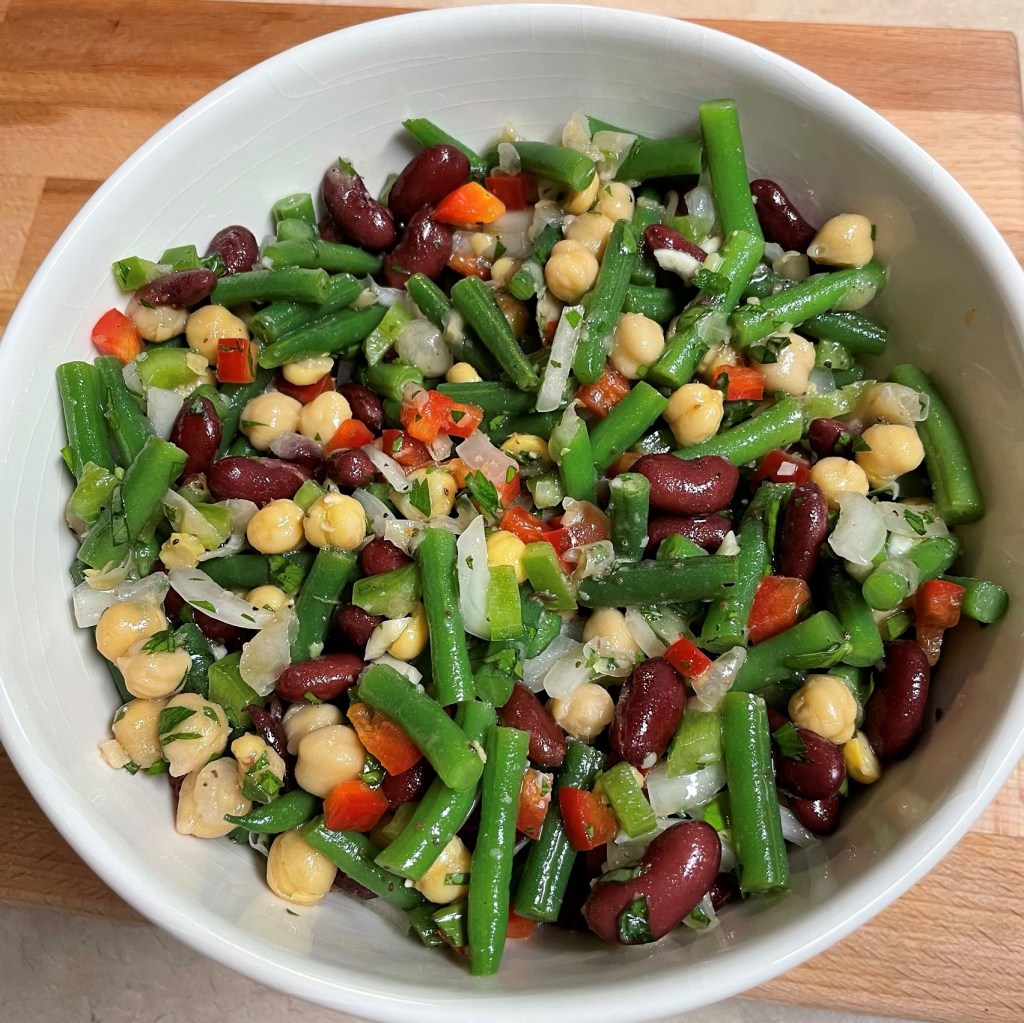
Hello, summer flavor! 🙂
- Heat a pot of water to a gentle boil. Add a generous pinch of kosher salt to the water, along with a half teaspoon of baking soda, which will help the beans retain their bright color.
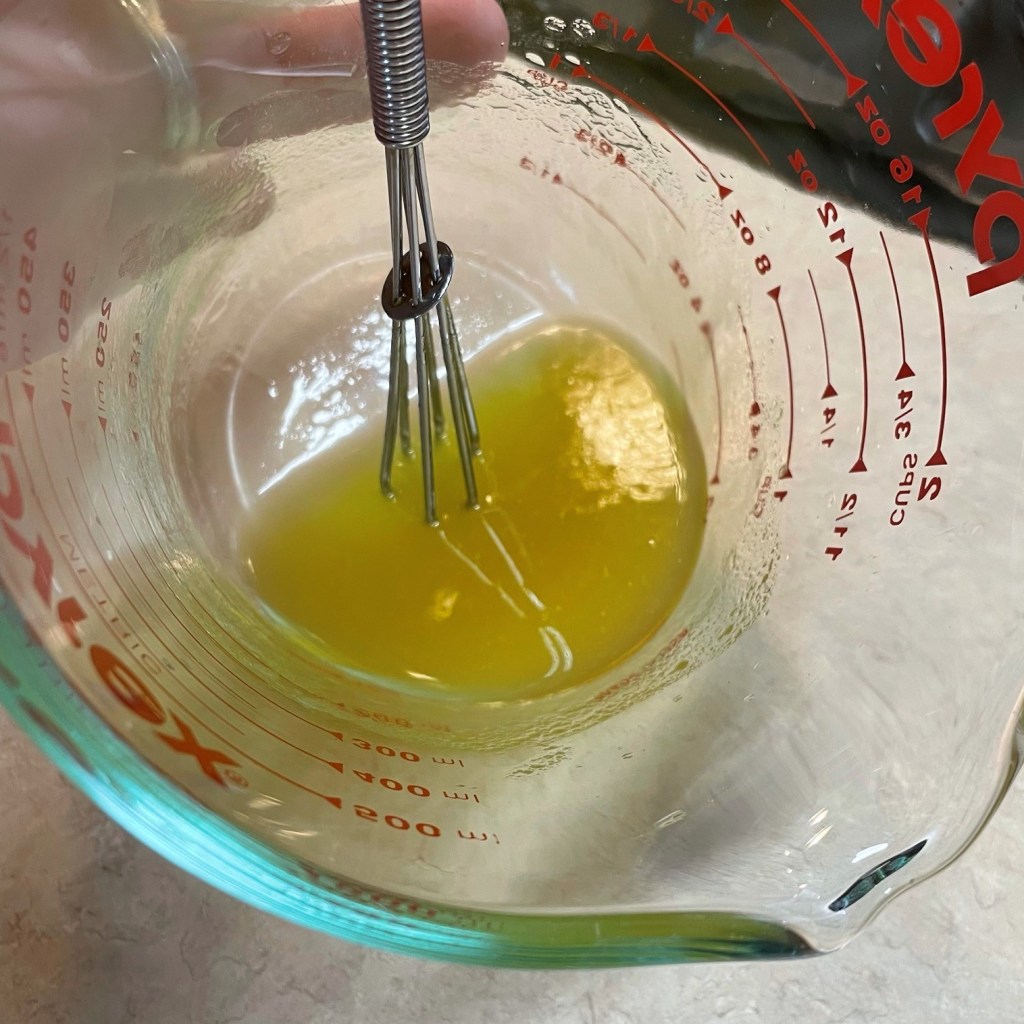
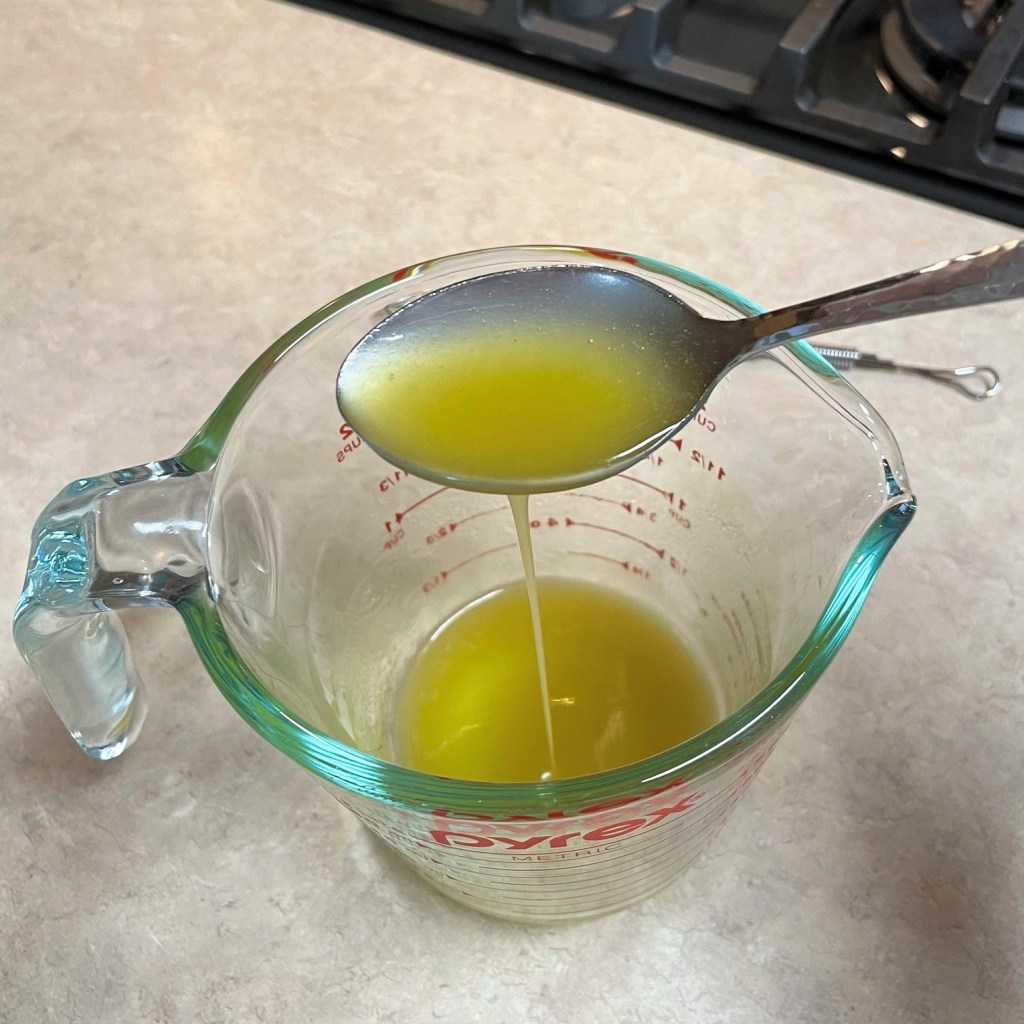
- Make dressing for the salad; combine all ingredients except the olive oil. Whisk in olive oil gradually to create an emulsion. Salt and pepper to taste.
- Spoon the trimmed green beans into the simmering water and cook for about 6 minutes, or just until beans are tender enough to bite. Immediately spoon the cooked beans into a bowl of ice water to stop the cooking process. Drain beans to remove excess water.
- Combine green beans, canned beans, peppers, onions and garlic in a large mixing bowl.
- Pour in dressing and toss gently to combine. Adjust salt and pepper to taste. Add fresh herbs and toss again. Chill salad several hours and toss lightly to redistribute dressing just before serving. The olive oil in the dressing will solidify in the fridge, so plan to remove the salad at least ten minutes before serving for best presentation.

Apropos of nothing

When my new kitchen is installed, I believe I’ll replace these measuring spoons, which are always crazy-tangled! 
It’s like one of those mindbender puzzles. They don’t line up by size anymore, and how in the world did two of them get interlocked??