Every year, I say that I want to make something elaborate for Mardi Gras—a king cake or jambalaya or étouffée (which my computer just tried to auto-correct as “toupee”)—but I usually miss my chance because I’m tied up making things for Super Bowl or Valentine’s Day. As much as I try, I simply can’t do everything at once.
But because Easter has a floating date (blame it on the moon), so does Ash Wednesday and so does Mardi Gras—and as luck would have it, I have had a little free time after Super Bowl to get my act together in time for this year’s Mardi Gras, which will be March 1. Frankly, I wonder whether I am qualified to make something as traditional as a king cake, given that I have never actually been to New Orleans. I do make a good gumbo, and there was that jambalaya deep-dish pizza last year that was pretty awesome, but I am not prone to do too many repeats, and my craving for a dessert was getting the better of me.
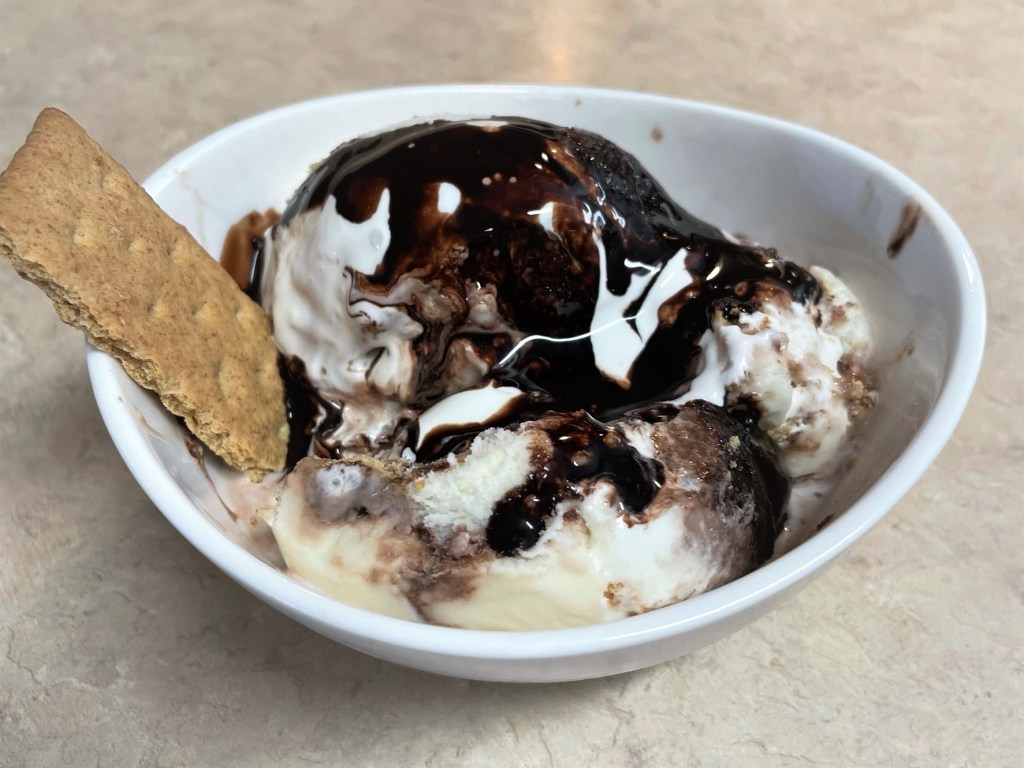
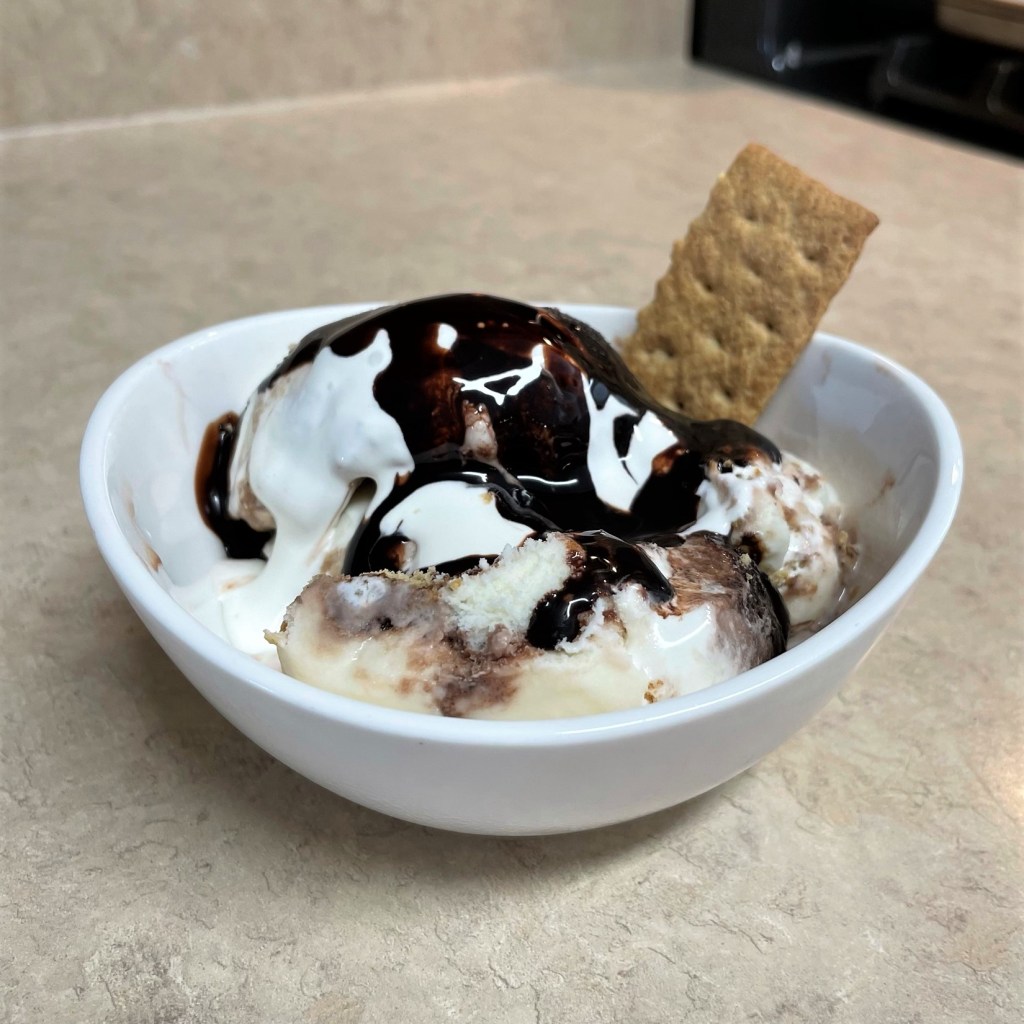
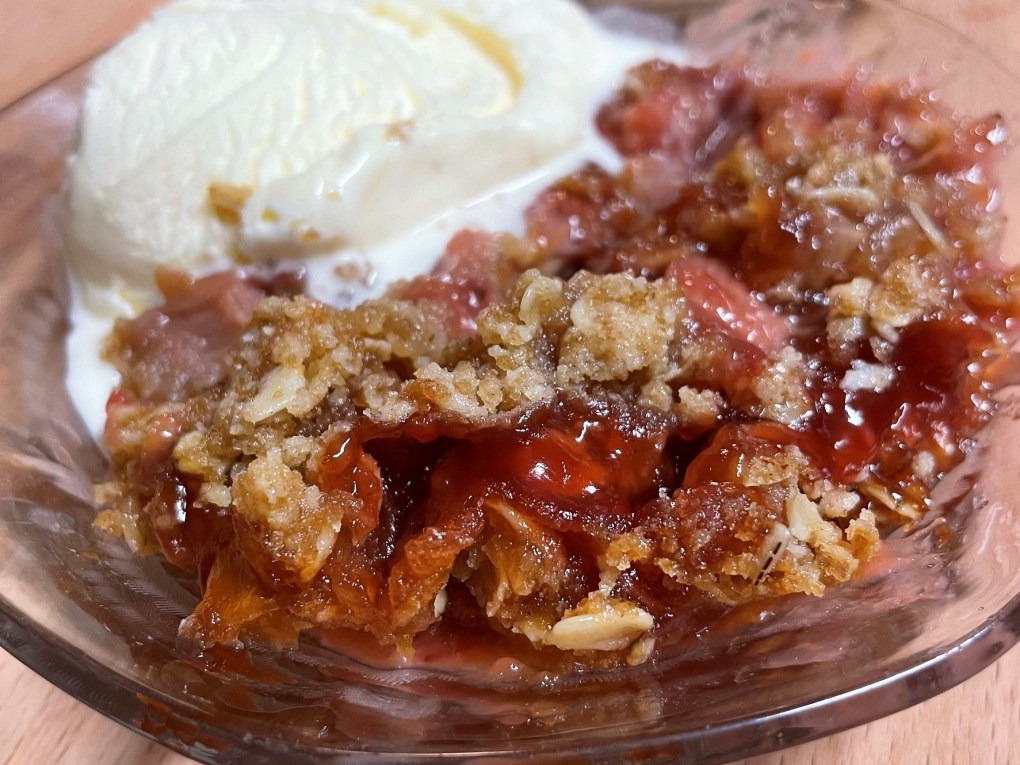
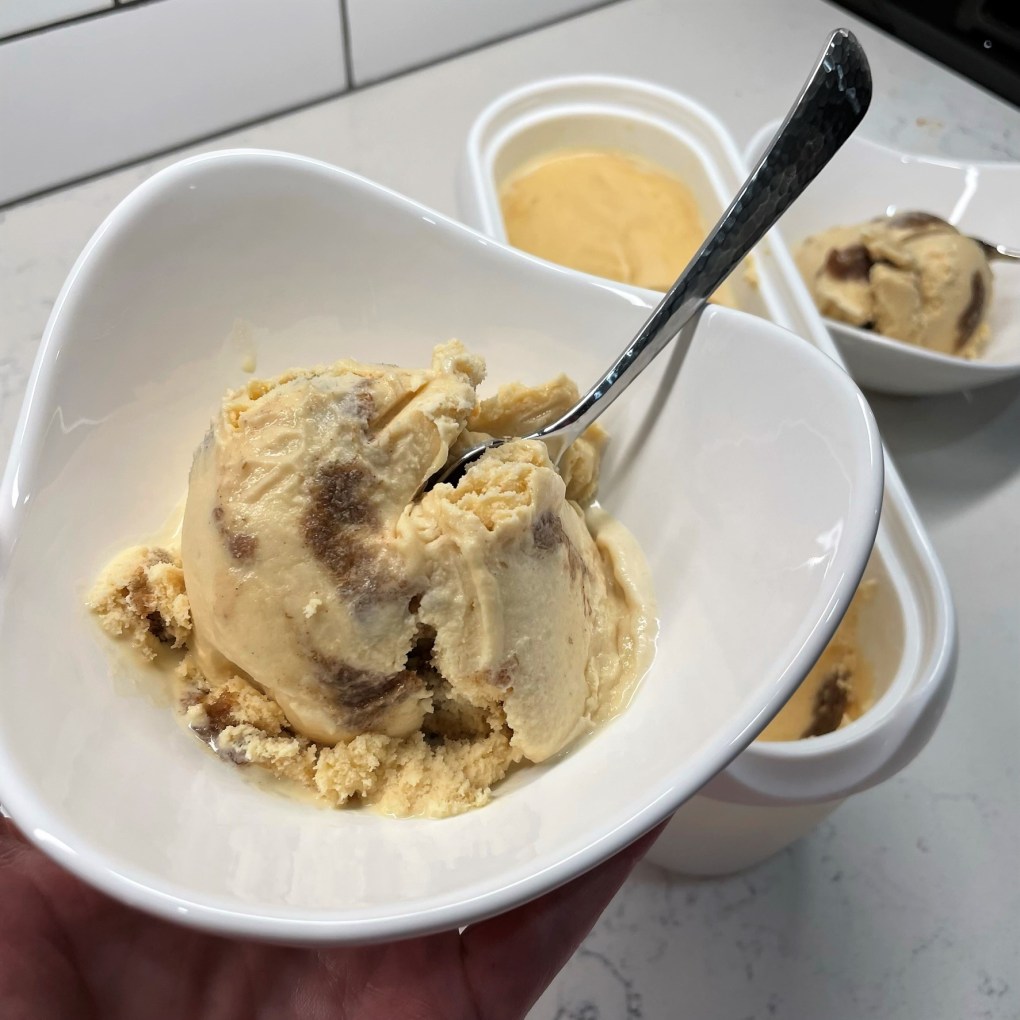
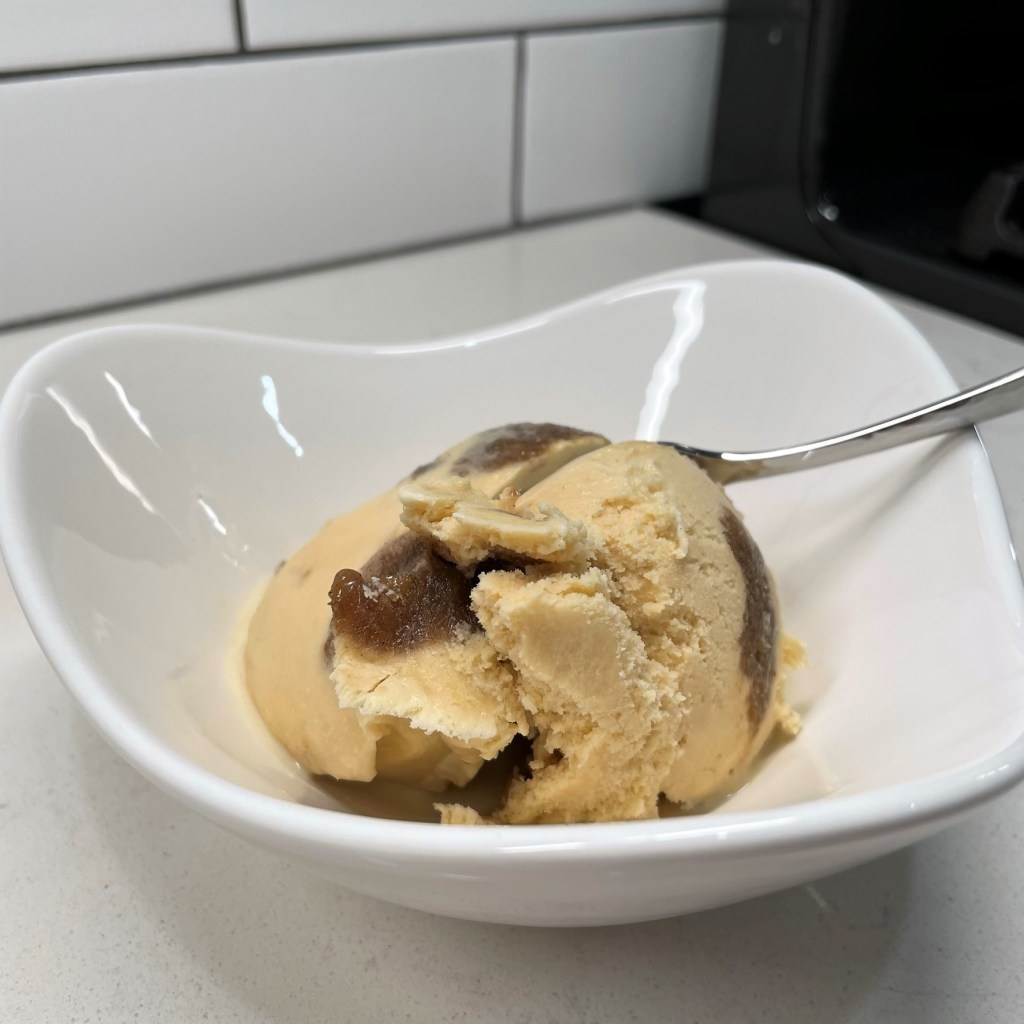
And that’s how this Bananas Foster ice cream came to be.

Bananas Foster is a decadently sweet dessert, native to New Orleans. The traditional recipe involves flaming rum-soaked syrup including brown sugar, cinnamon and butter—all spooned over caramelized bananas and served with a scoop of creamy vanilla ice cream. In a previous season of my life, I experienced the pure joy of having Bananas Foster prepared tableside, and those flavors never quite cleared my imagination. It was all at once tropical, sweet, warm, cold, sensual, creamy, boozy and flat-out amazing. What could possibly go wrong, I thought, in skipping the flambé and just adapting that whole mix into an ice cream?
For the richness factor, I started with my go-to custard base for the ice cream, but I used brown sugar rather than white to lay a foundation of warm, molasses-y flavor. I caramelized a couple of ripe, mashed bananas into a mixture of brown sugar, butter, cinnamon and freshly grated nutmeg, then I poured in a shot of aged dark rum from Jamaica (the same rum I used recently in those “air fryer” jerk wings). Both components got an overnight chill, and then I froze the ice cream and layered in the bananas foster filling the next day.
One of these days, I’ll get to New Orleans to celebrate Mardi Gras properly. Until then, I’ll just put on some beads and some zydeco music and enjoy another scoop of this frozen delight.
Ingredients
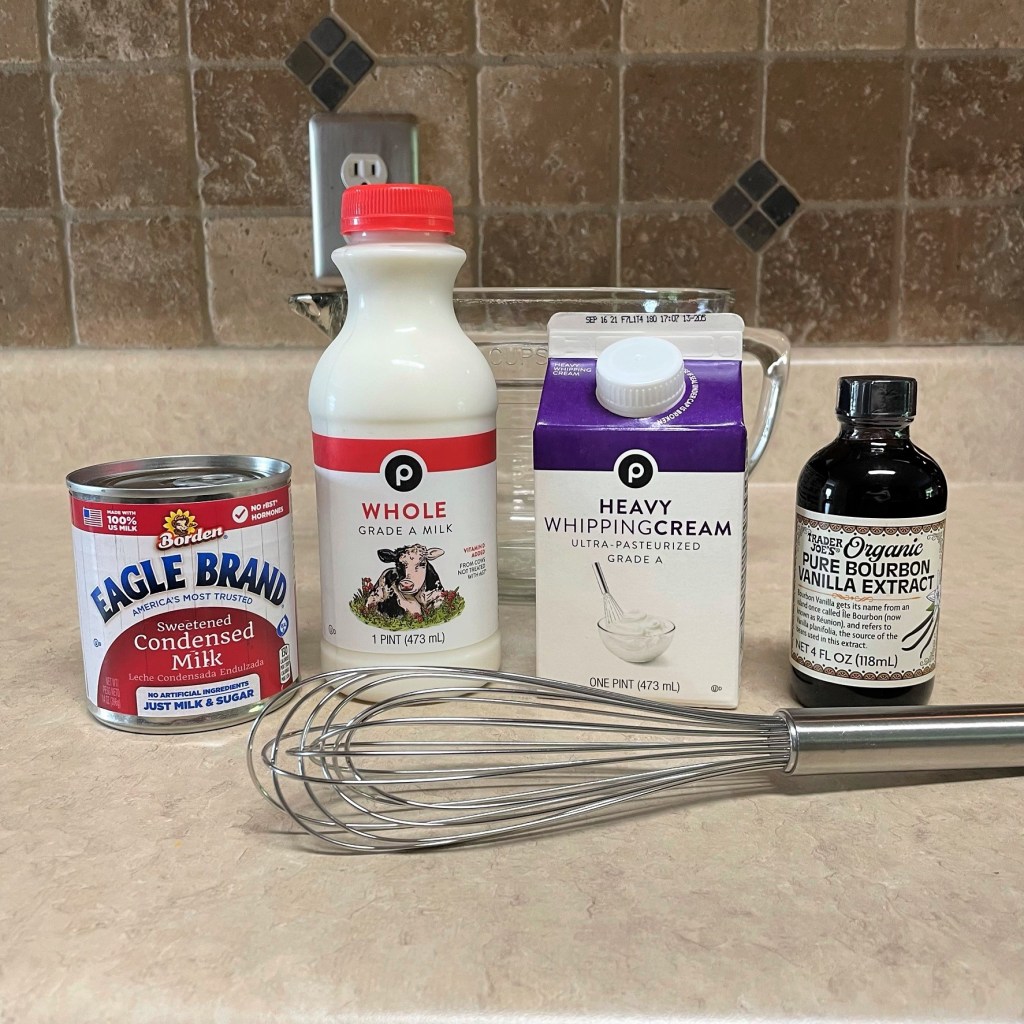
1 1/2 cups whole milk
2/3 cup light brown sugar (packed)
3 egg yolks (room temperature is best)
1 1/2 cups heavy cream
Pinch of kosher salt
1 tsp. real vanilla extract
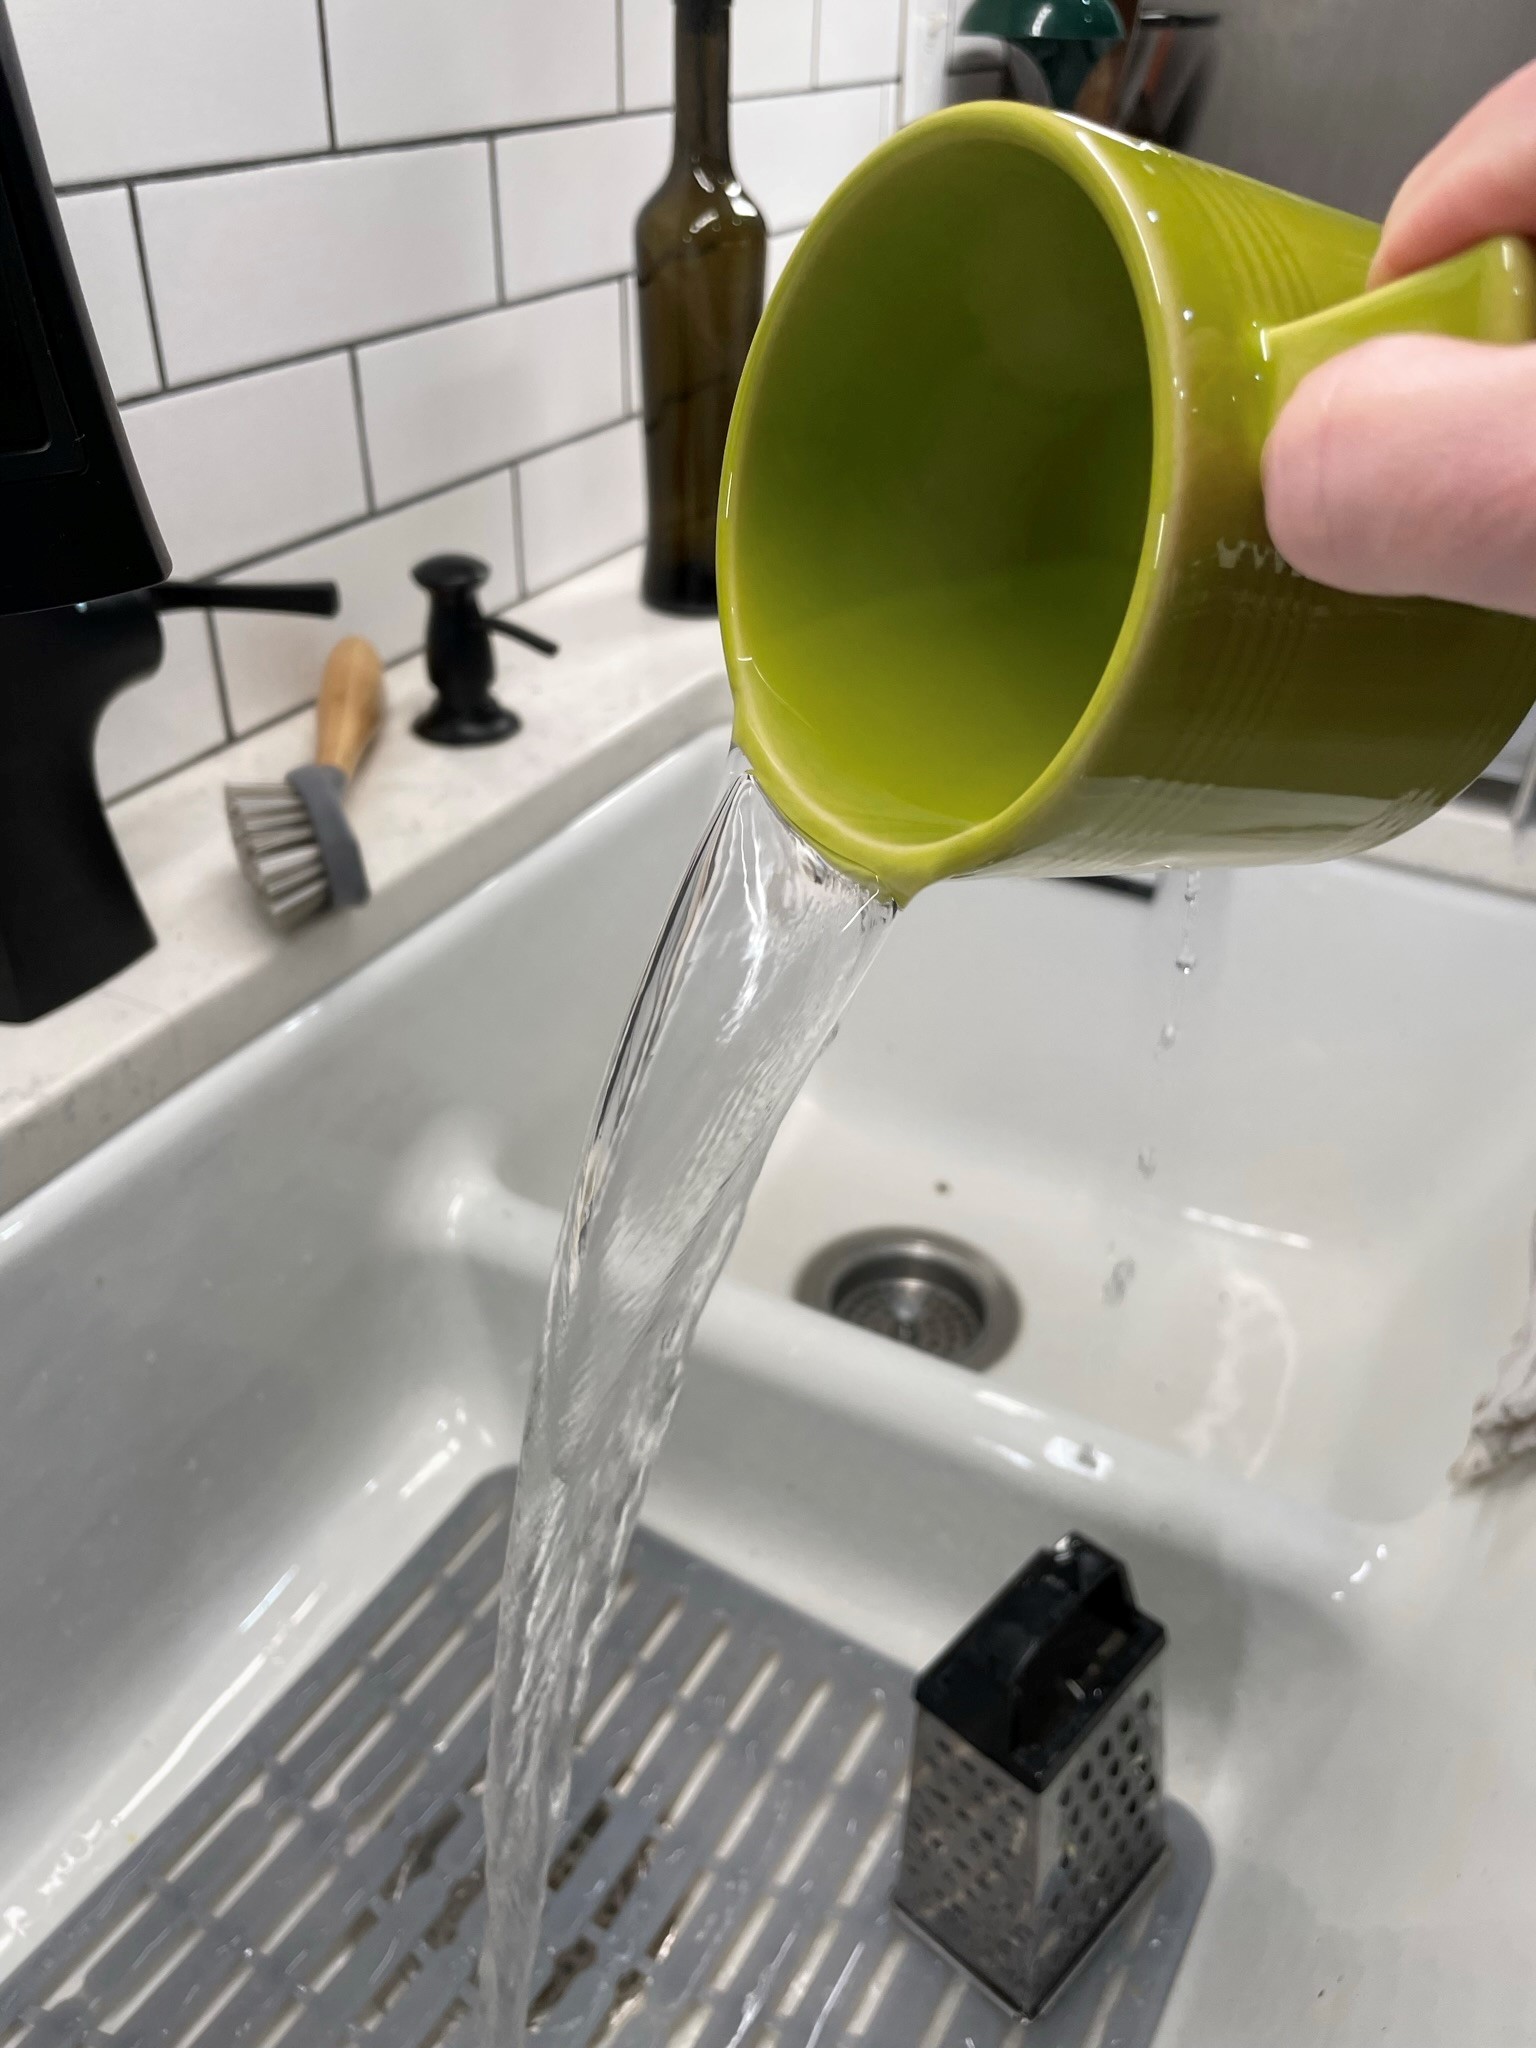
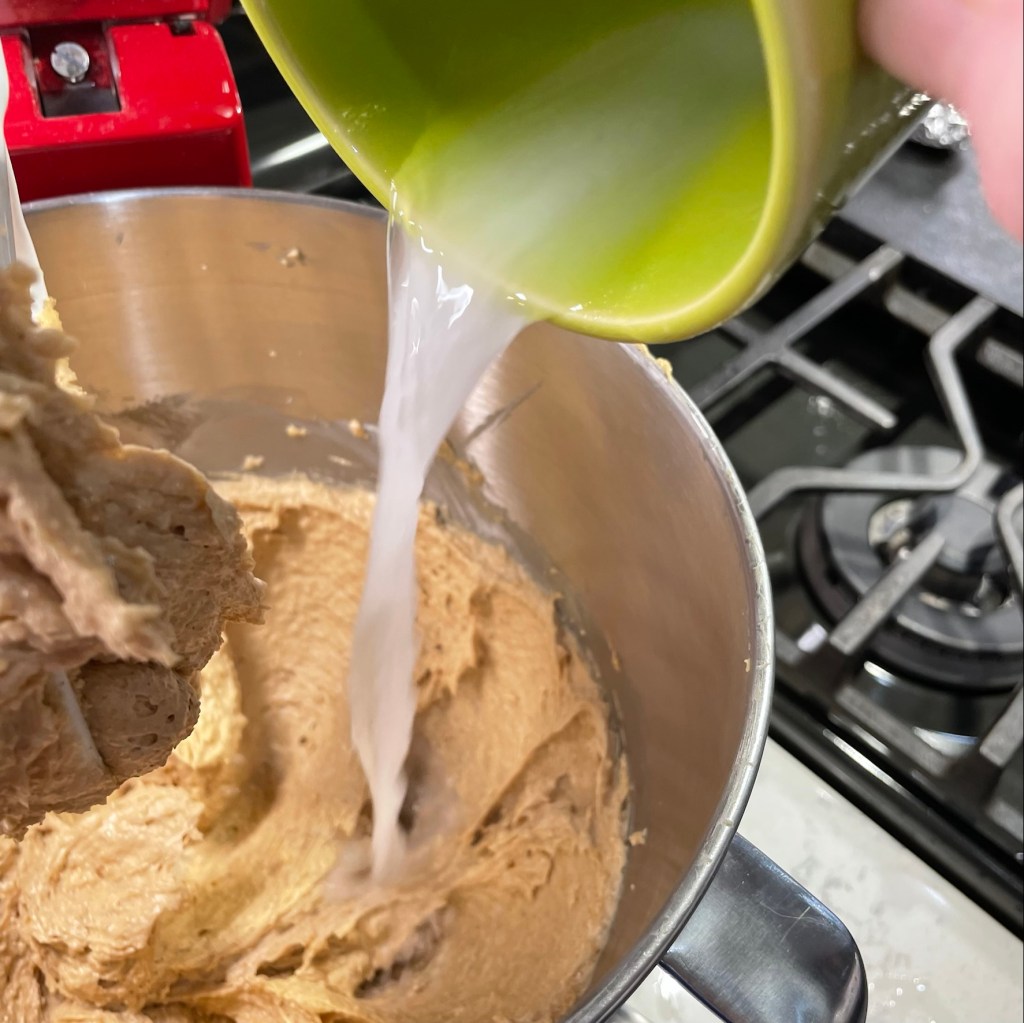
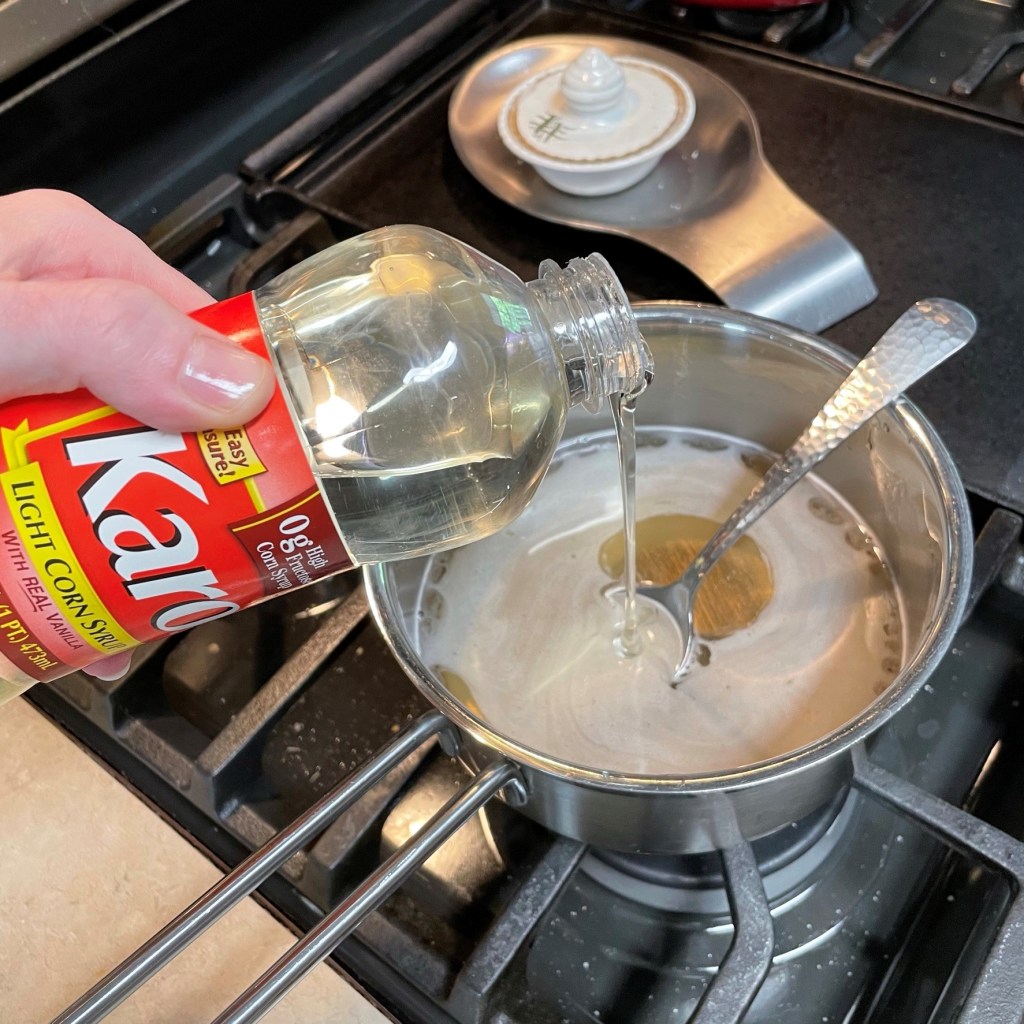
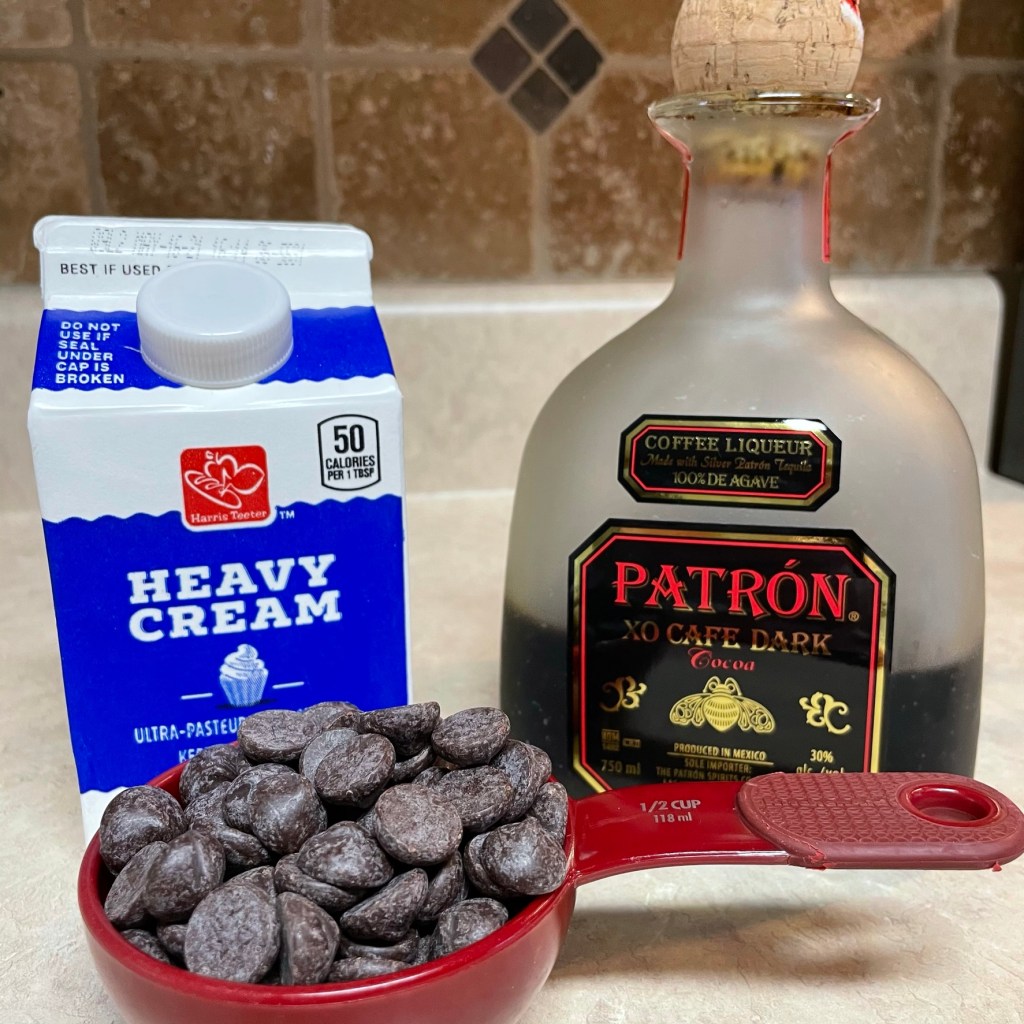
1 Tbsp. vodka or dark rum, optional (added at the end of freezing)
Bananas Foster Swirl
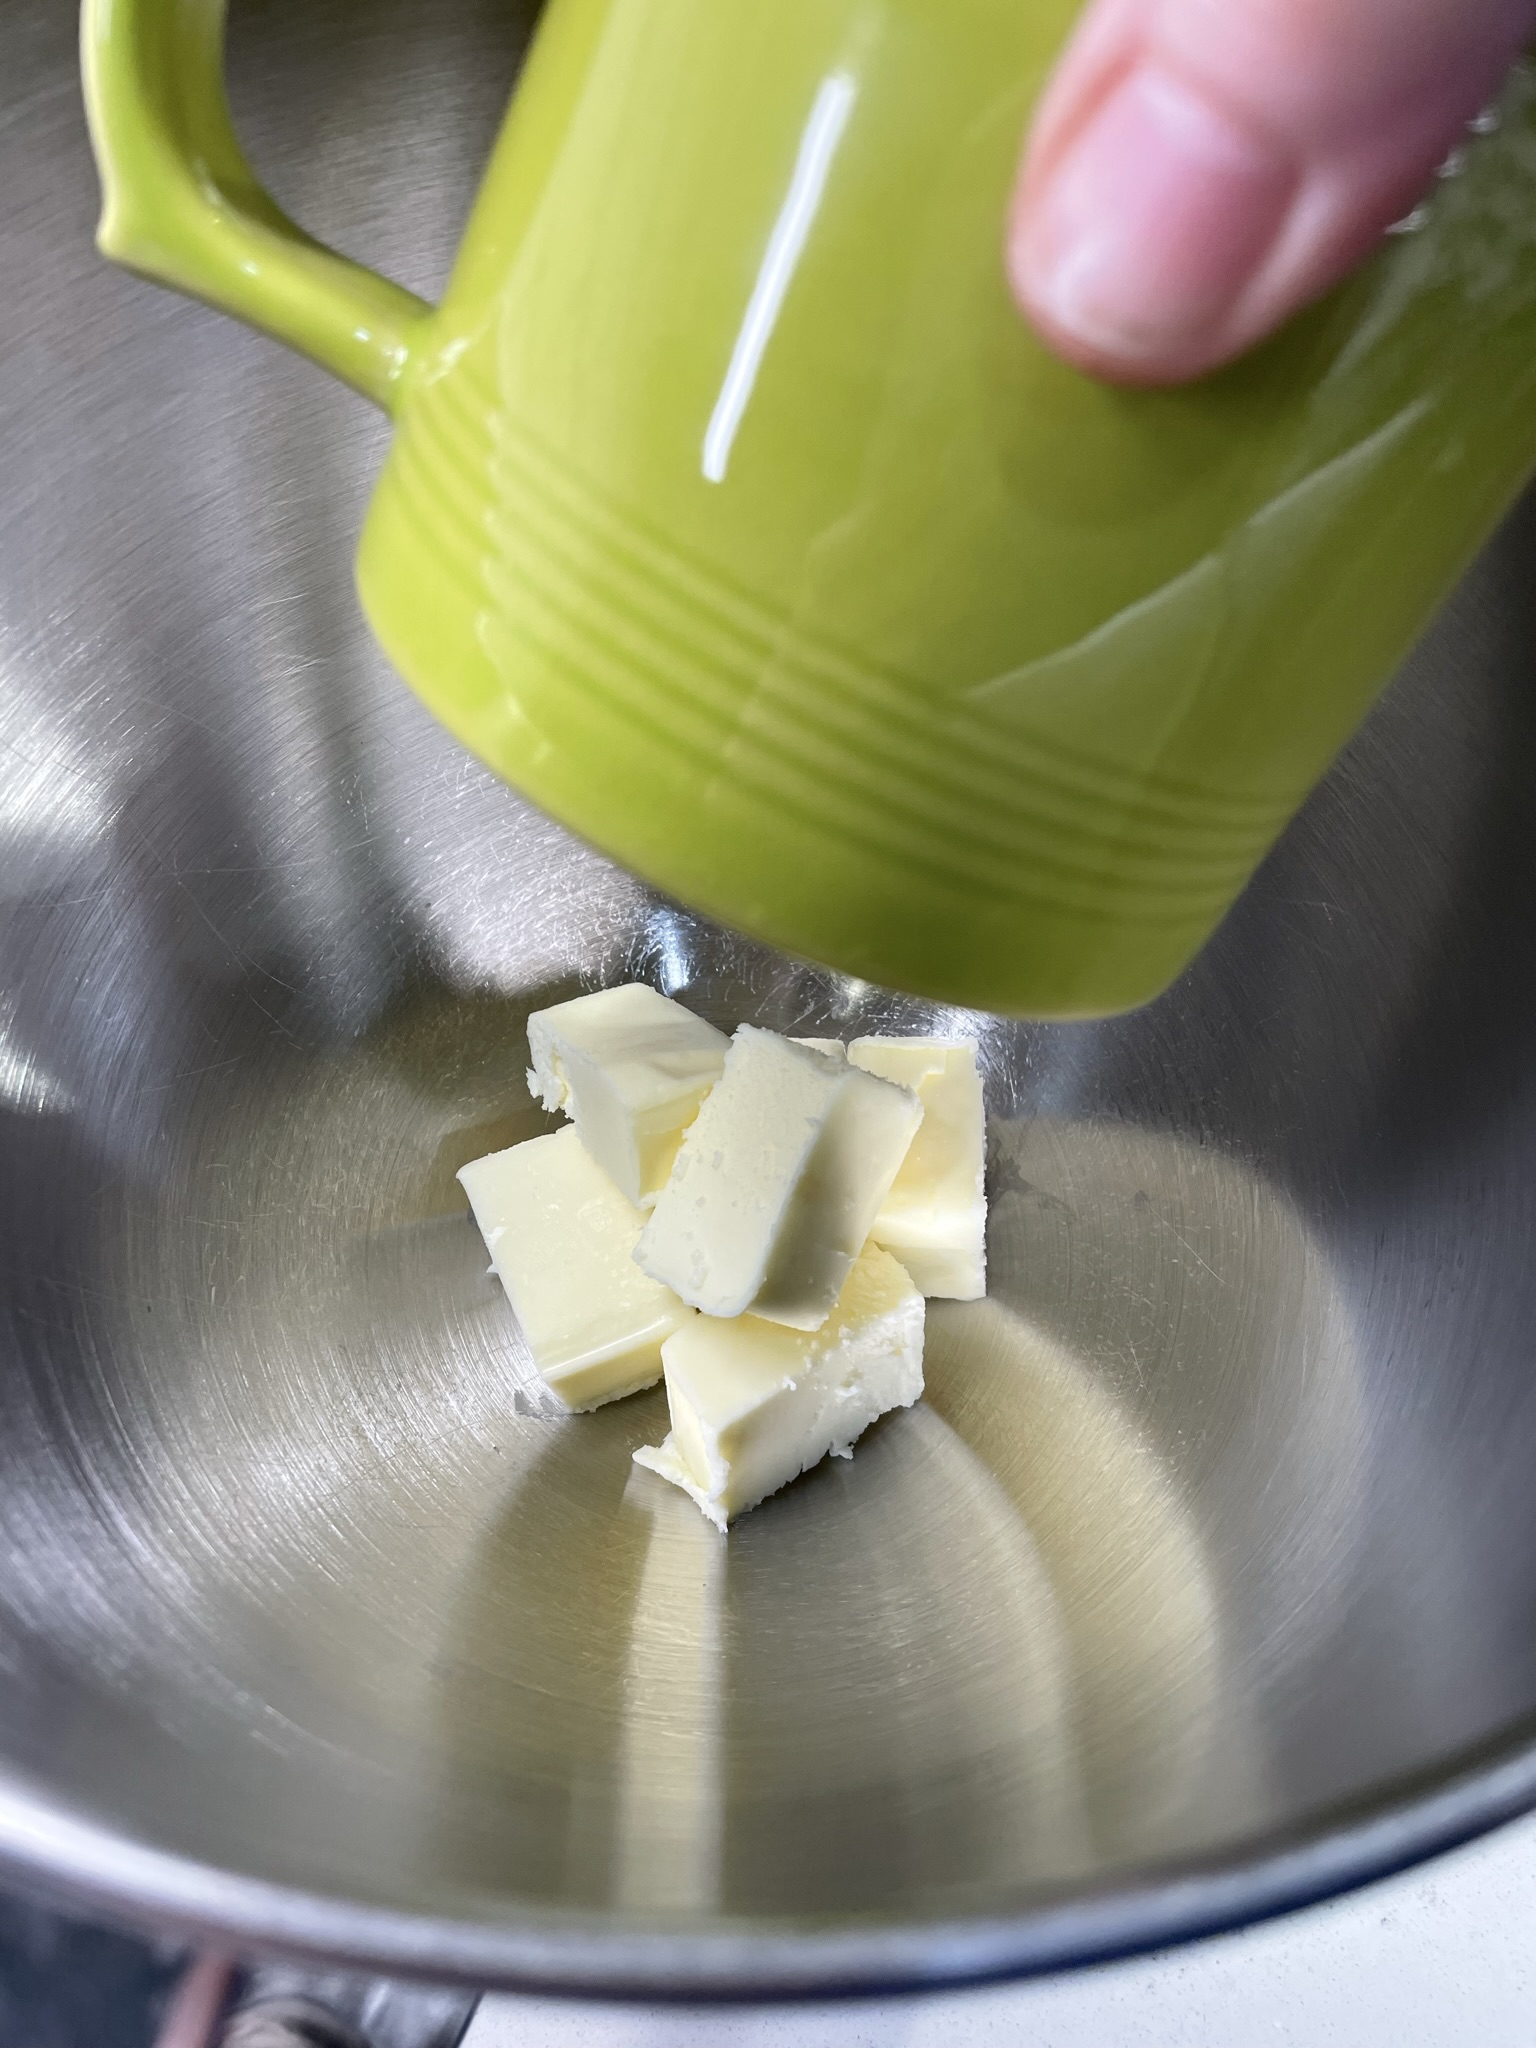
3 Tbsp. salted butter
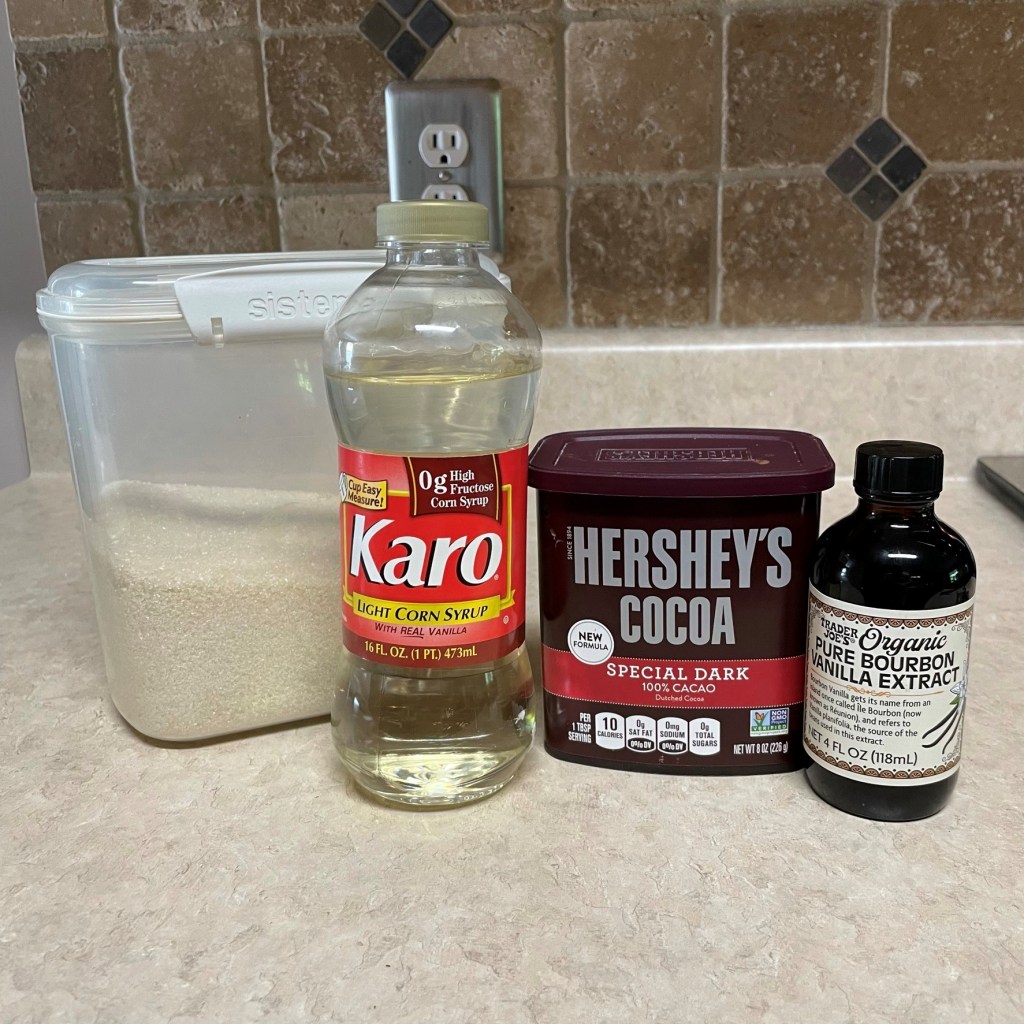
1/3 cup light or dark brown sugar
3/4 tsp. ground cinnamon
A few shavings whole nutmeg
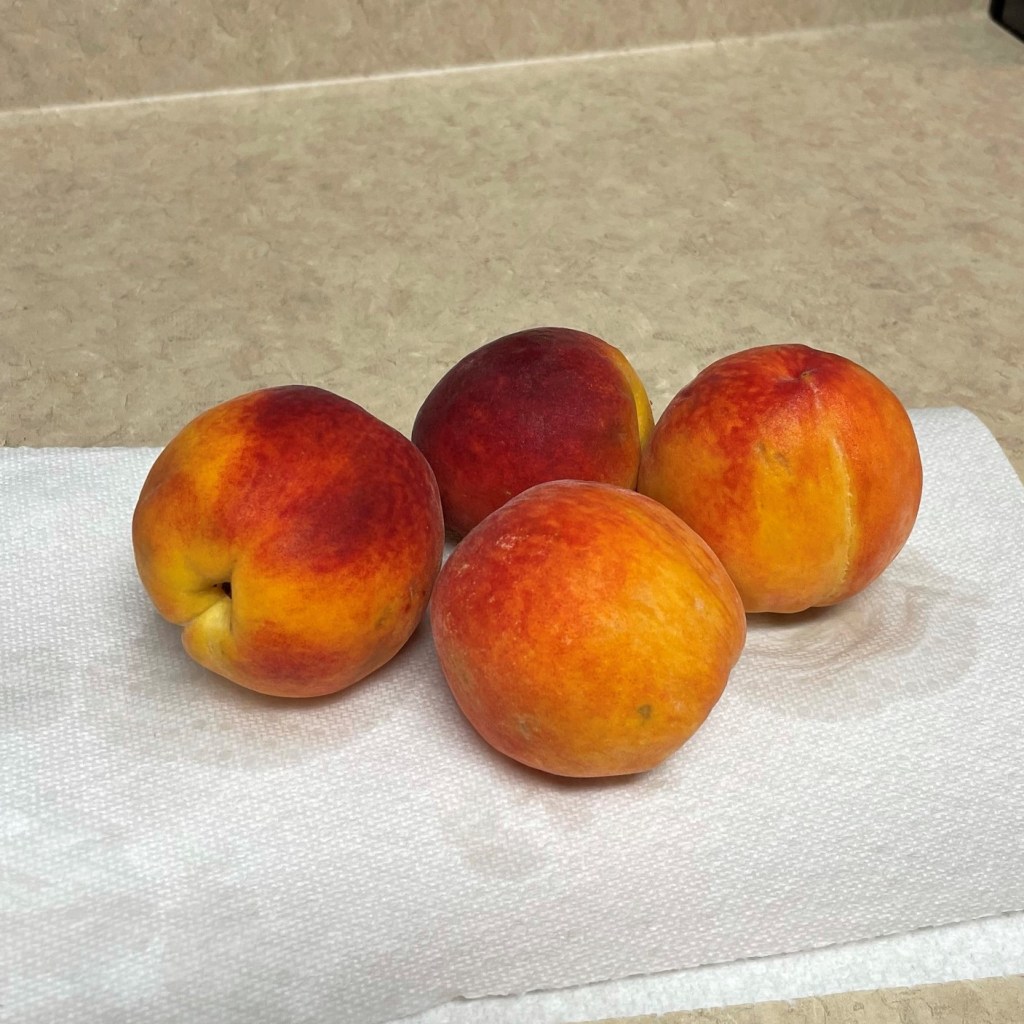
2 very ripe bananas
1.5 oz. dark rum or spiced rum
Instructions for Custard
Full disclosure: I have made my custard-based ice cream many times, and never had this much trouble with foam. Most of the time, the custard cooks up silky and rich. But I got carried away and whipped my egg yolks too much! The ice cream turned out great, but don’t try to replicate this mistake. 🙂
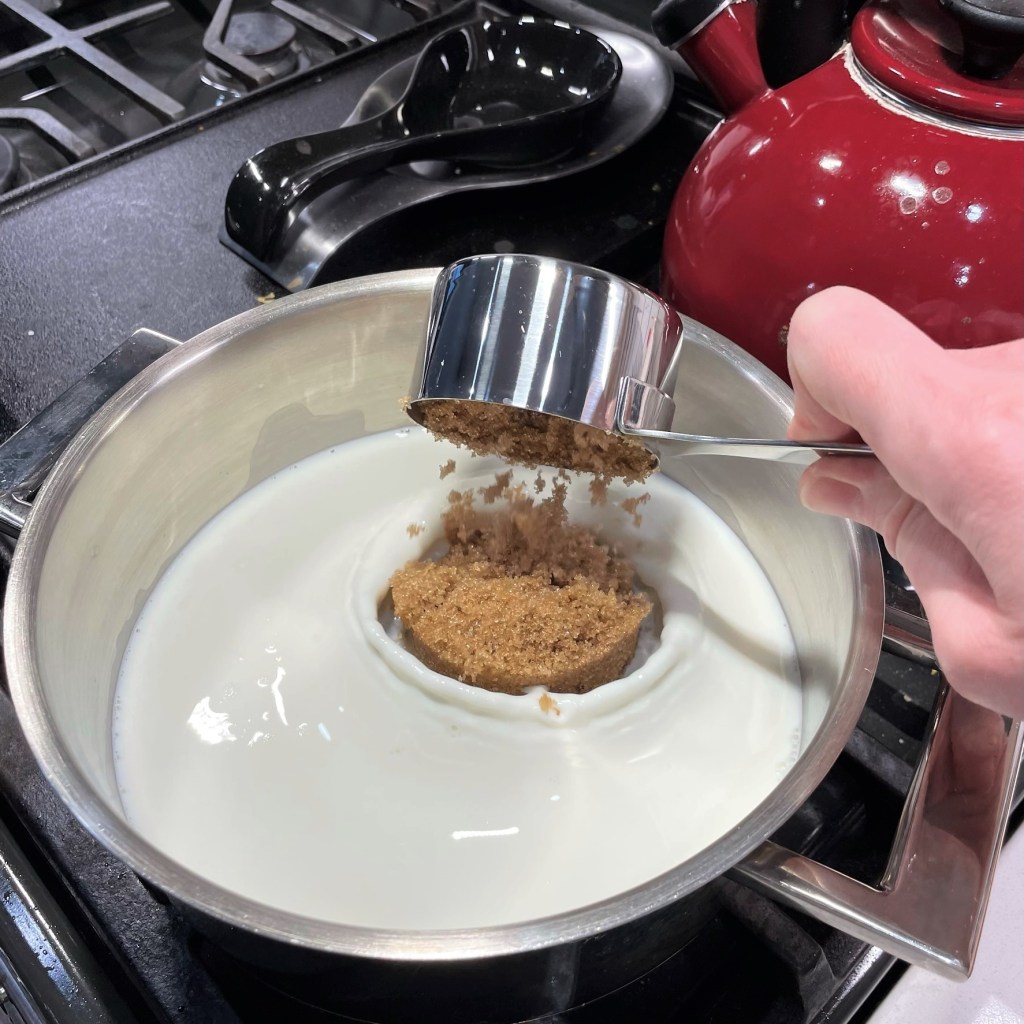
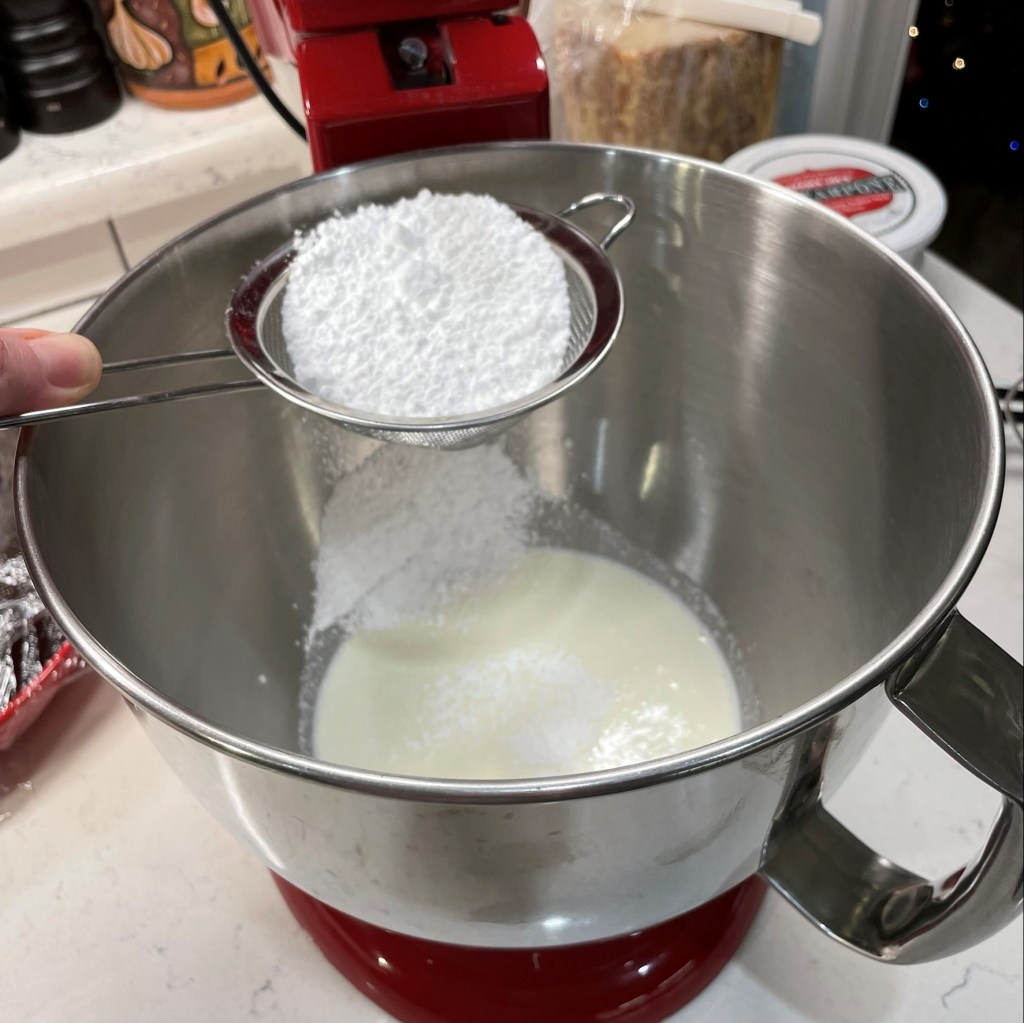
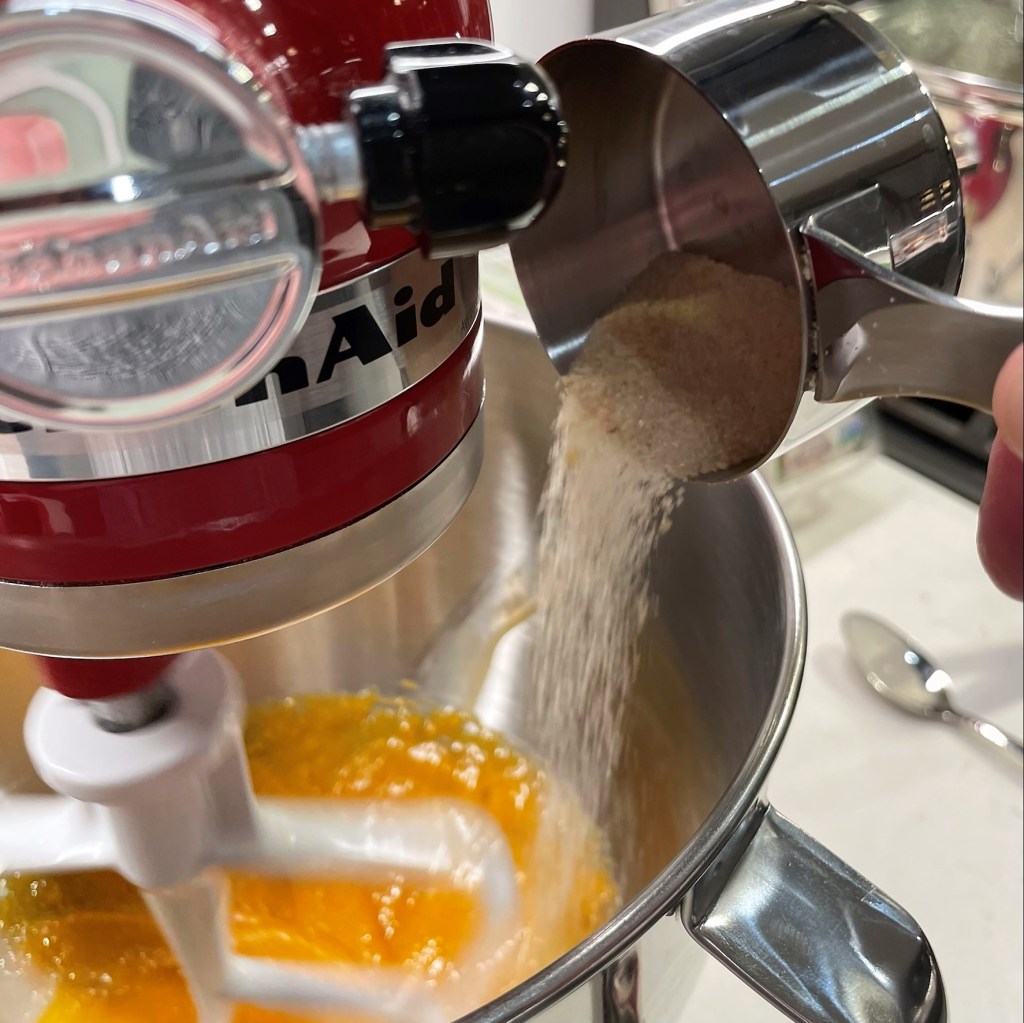
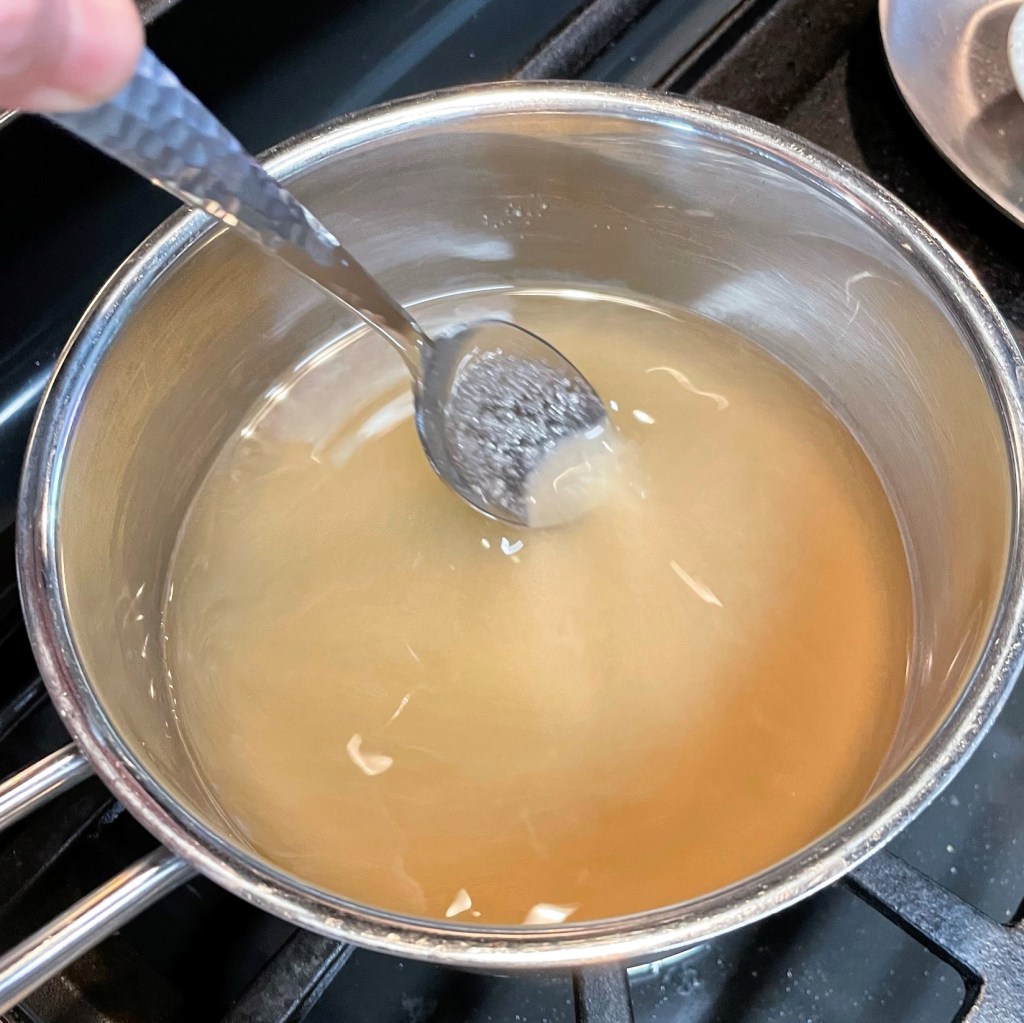
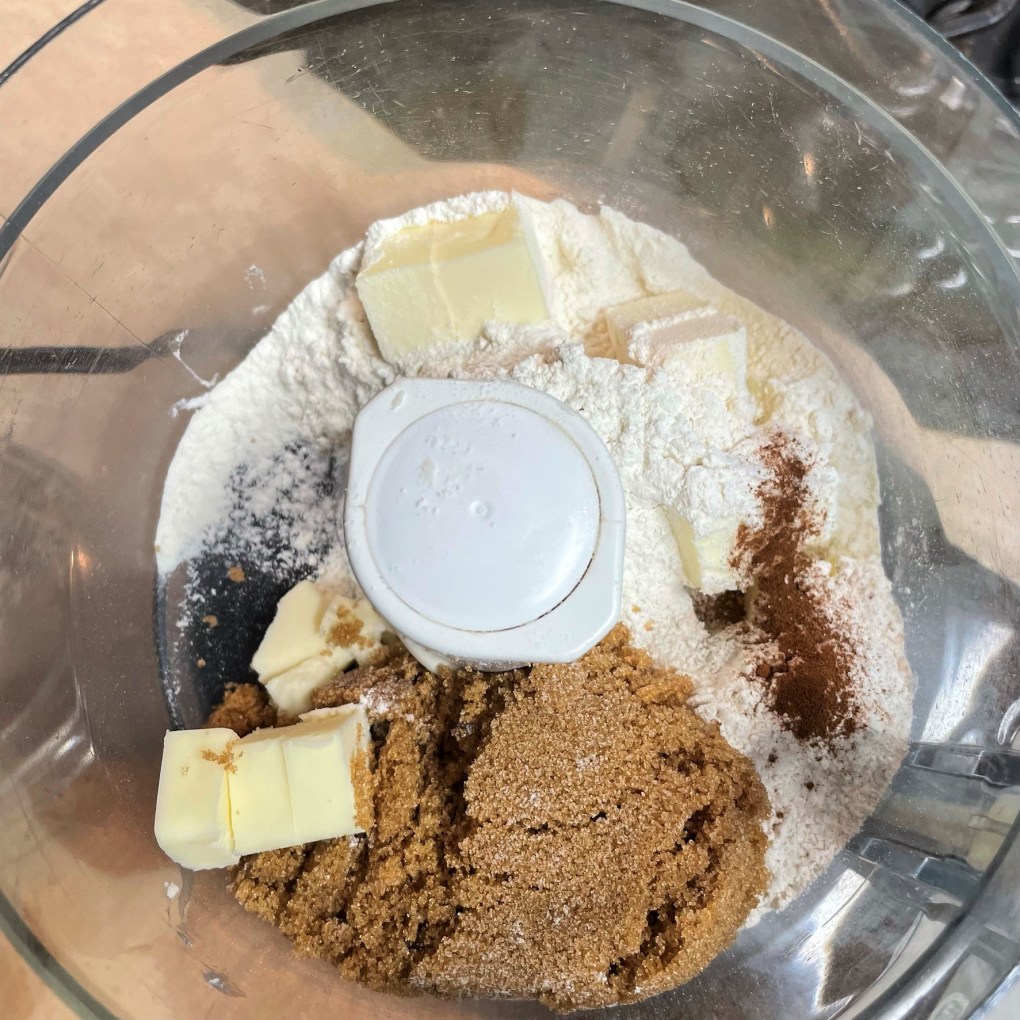
For a caramel-like flavor, I sweetened the milk with brown sugar rather than white. 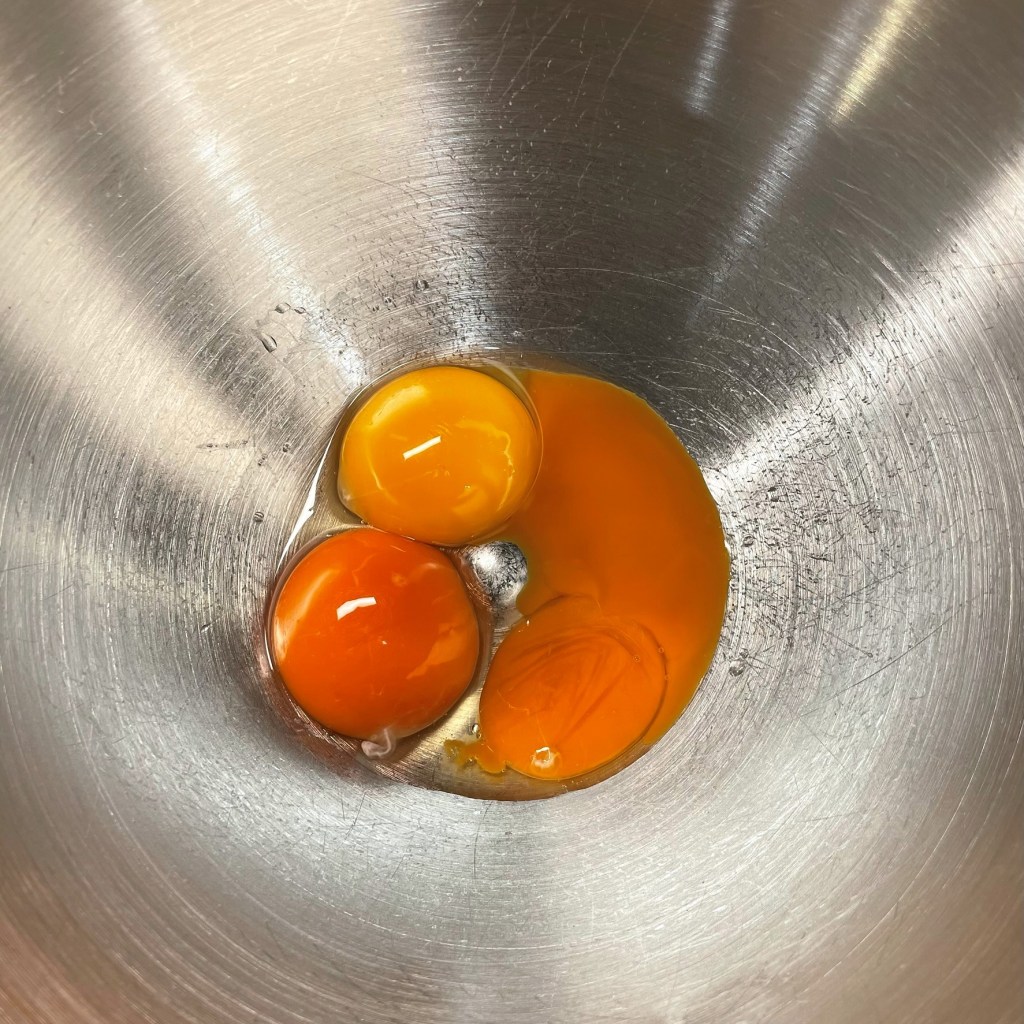
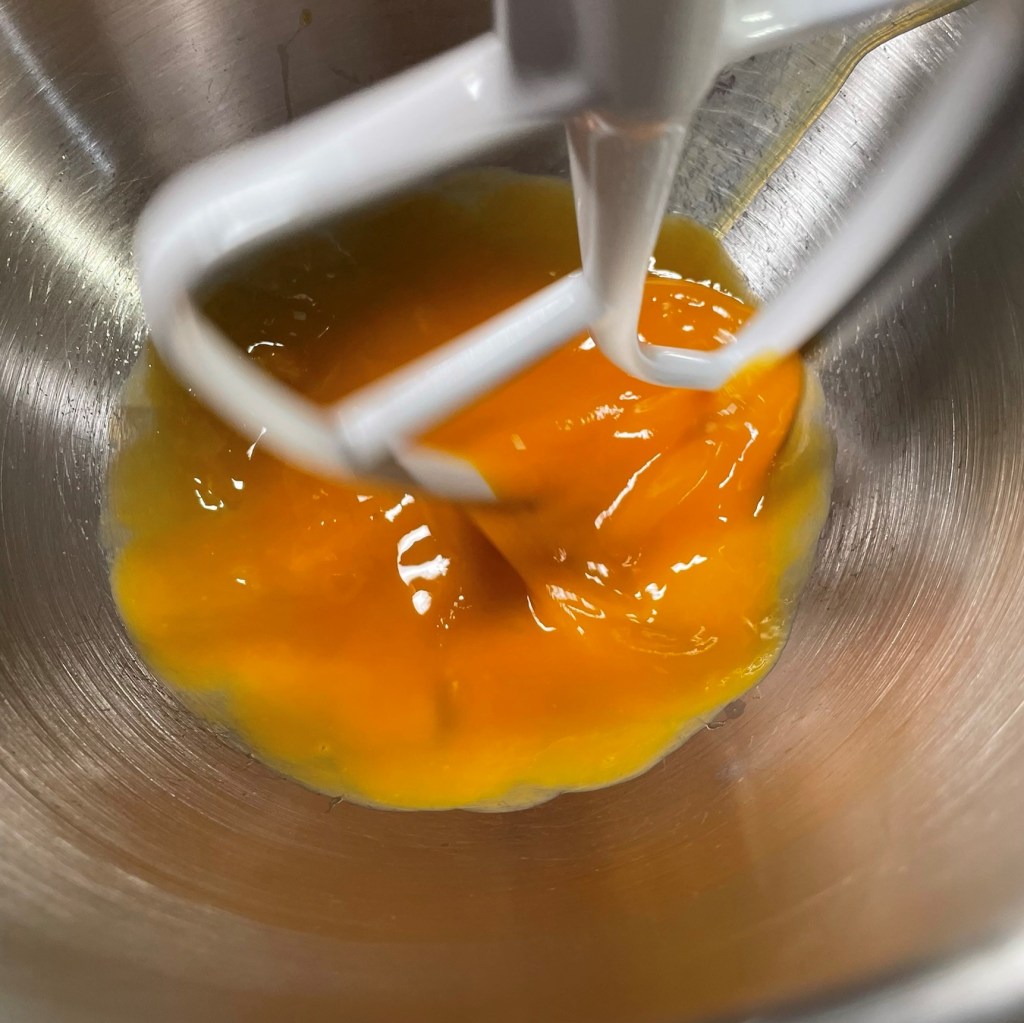
My free range egg yolks are going to tint my ice cream a lovely golden color. 
Temper the beaten egg yolks with about half of the hot milk. 
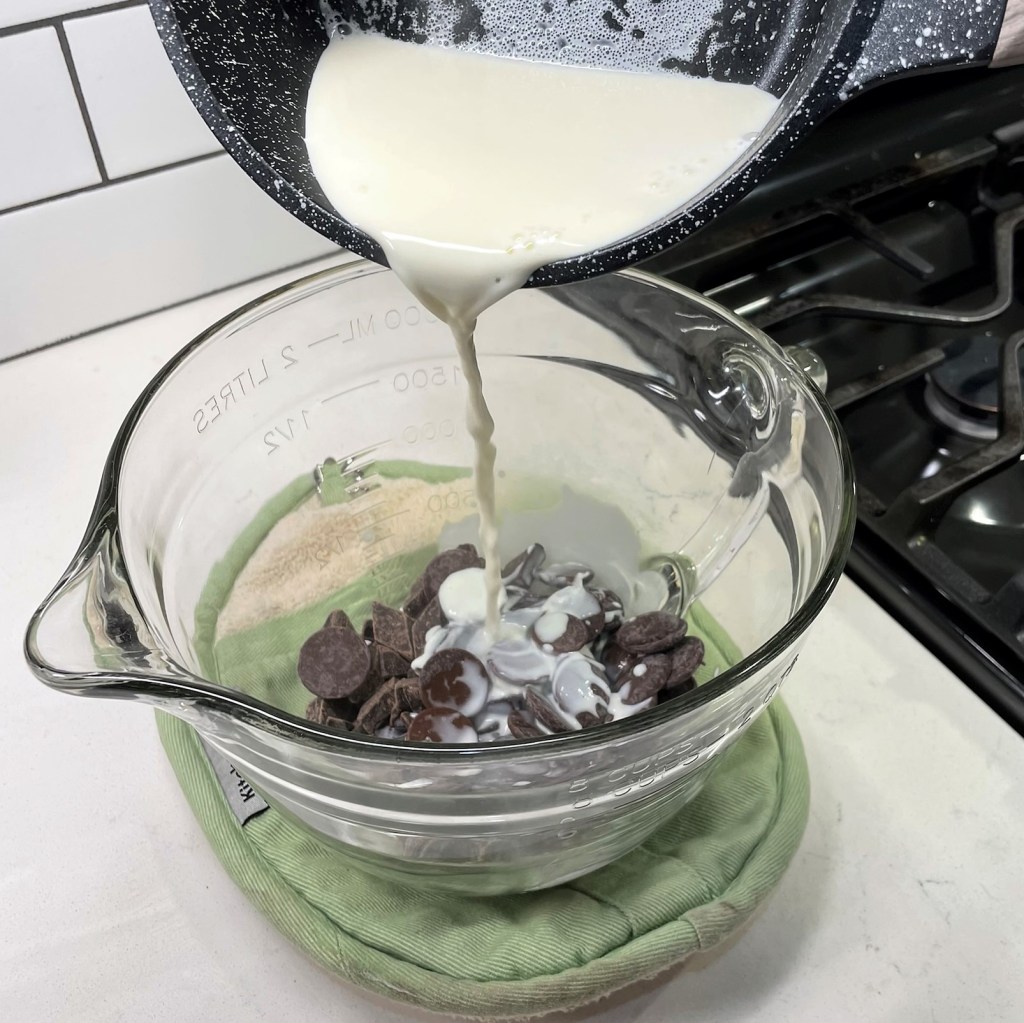
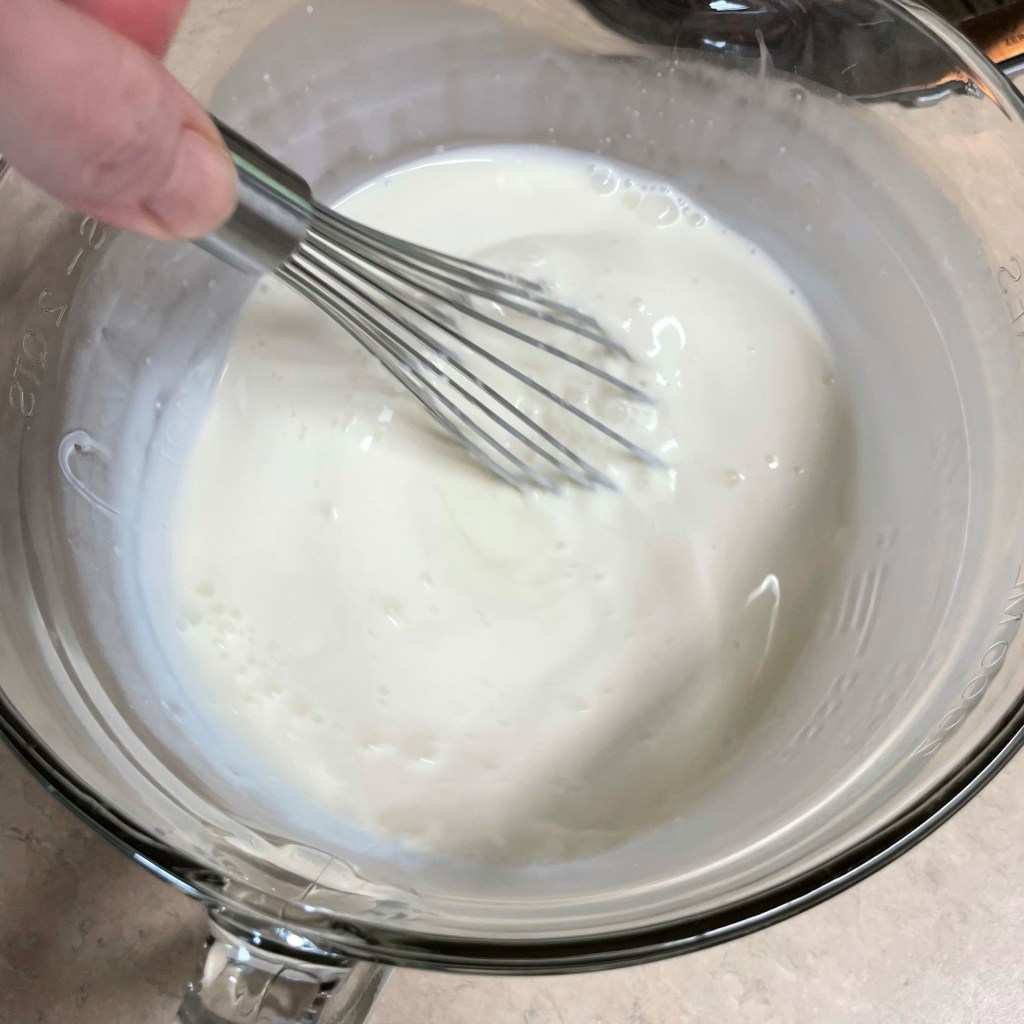
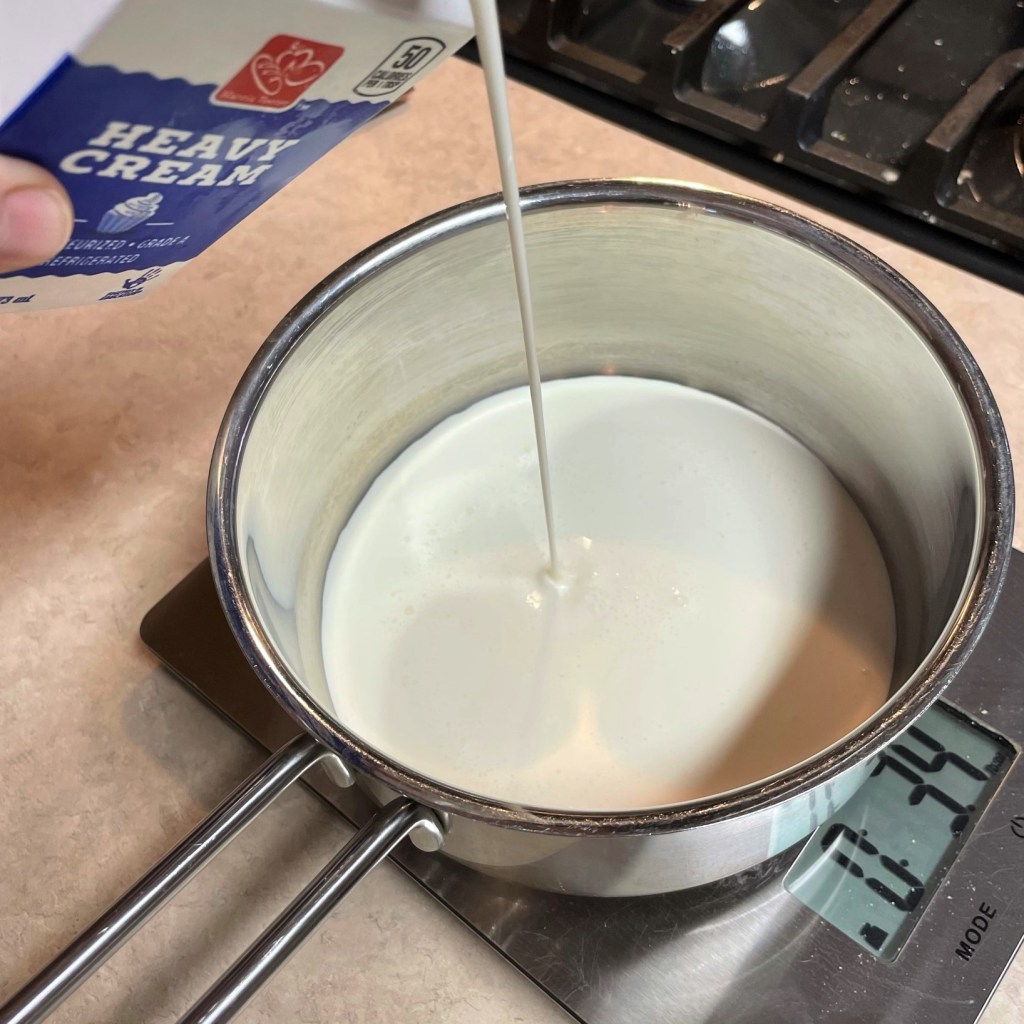
Add the cream to the pot while you temper the egg yolks, and bring the pot back up to a low simmer. 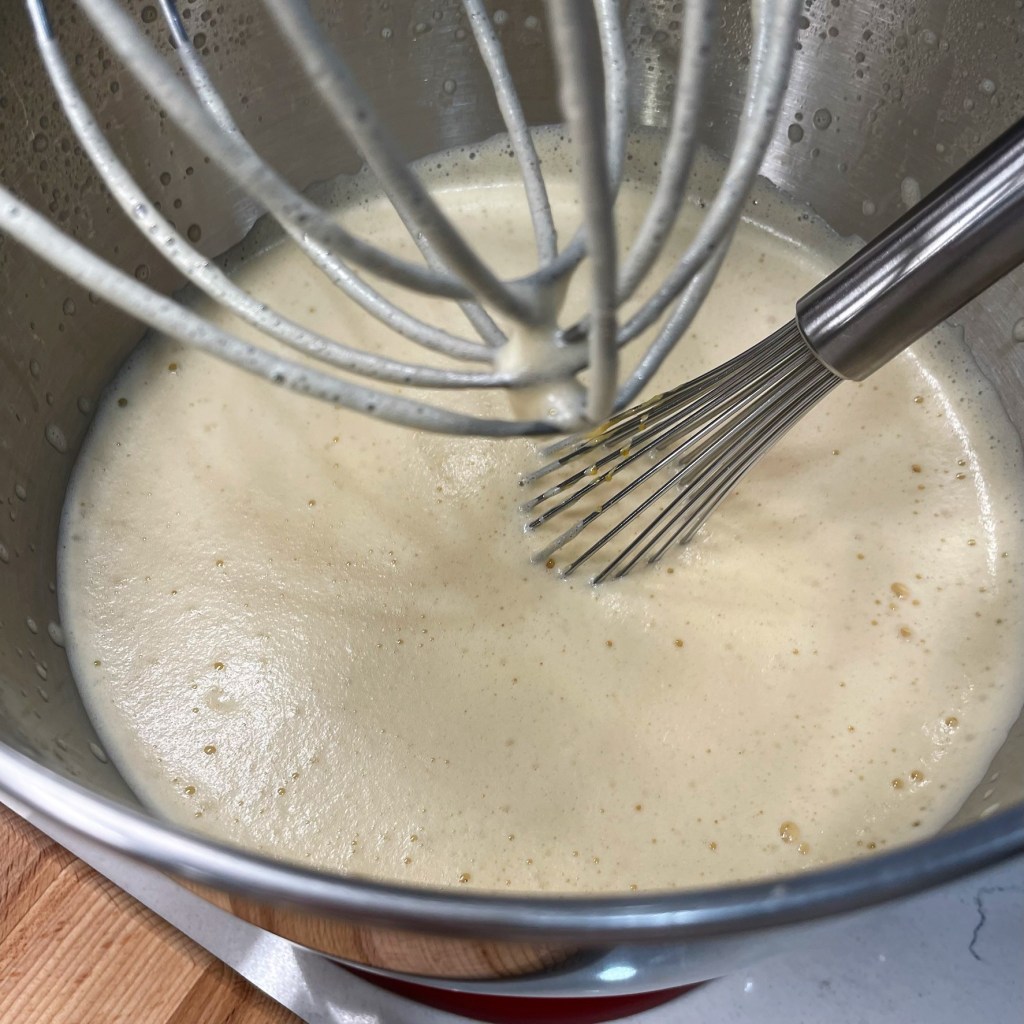
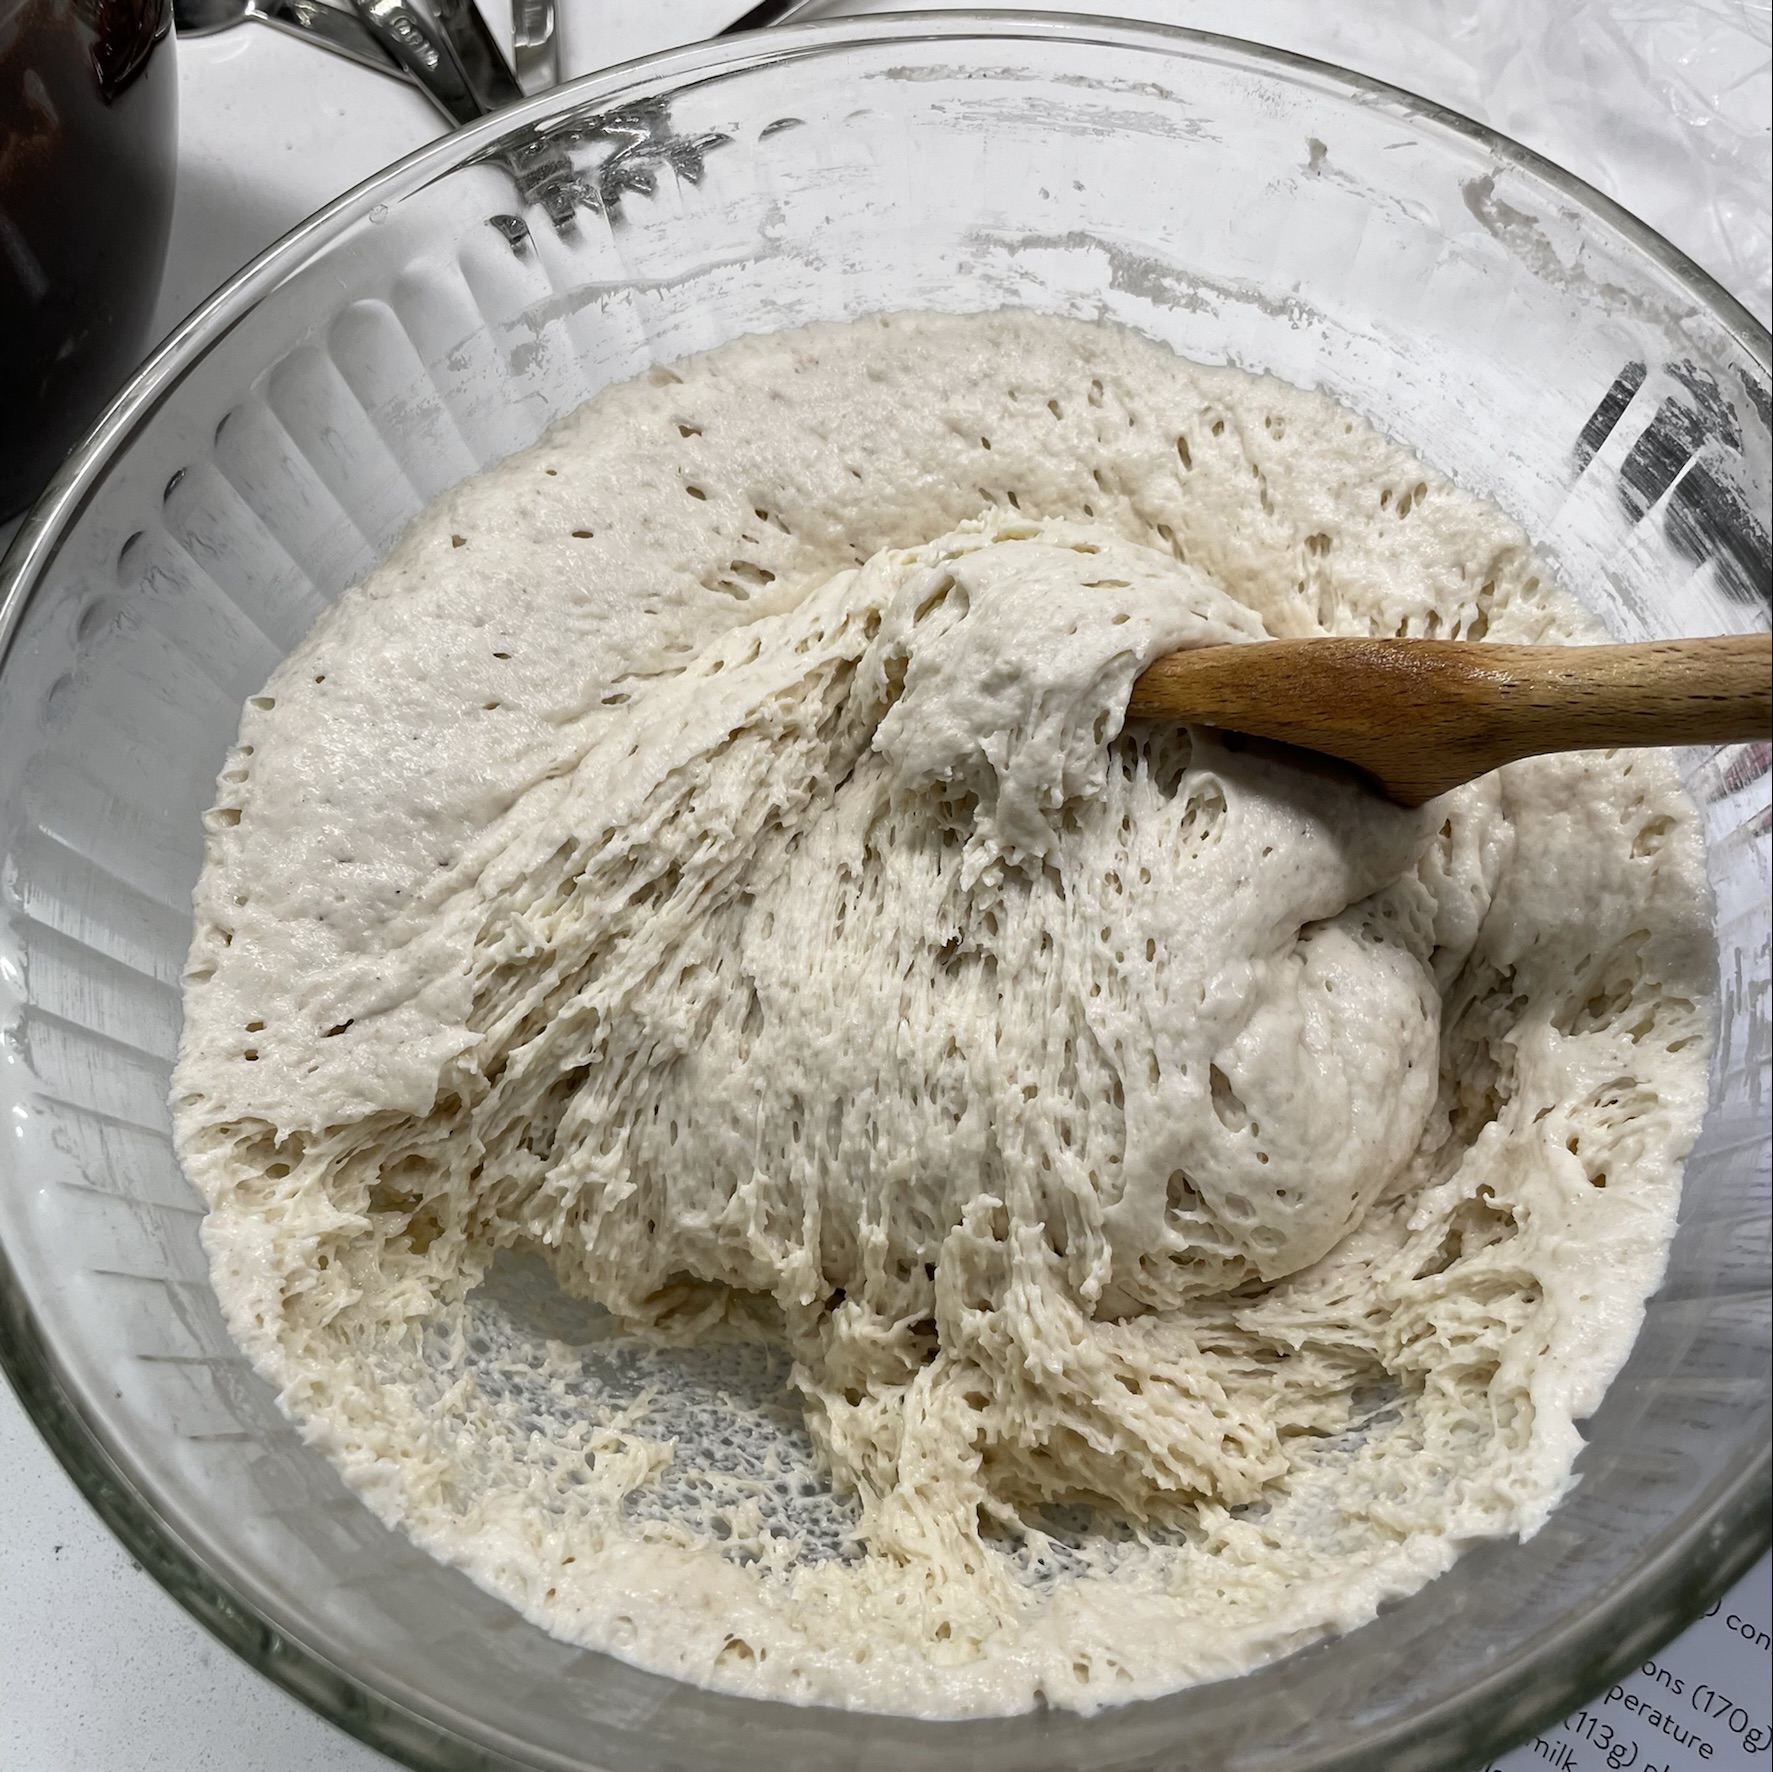
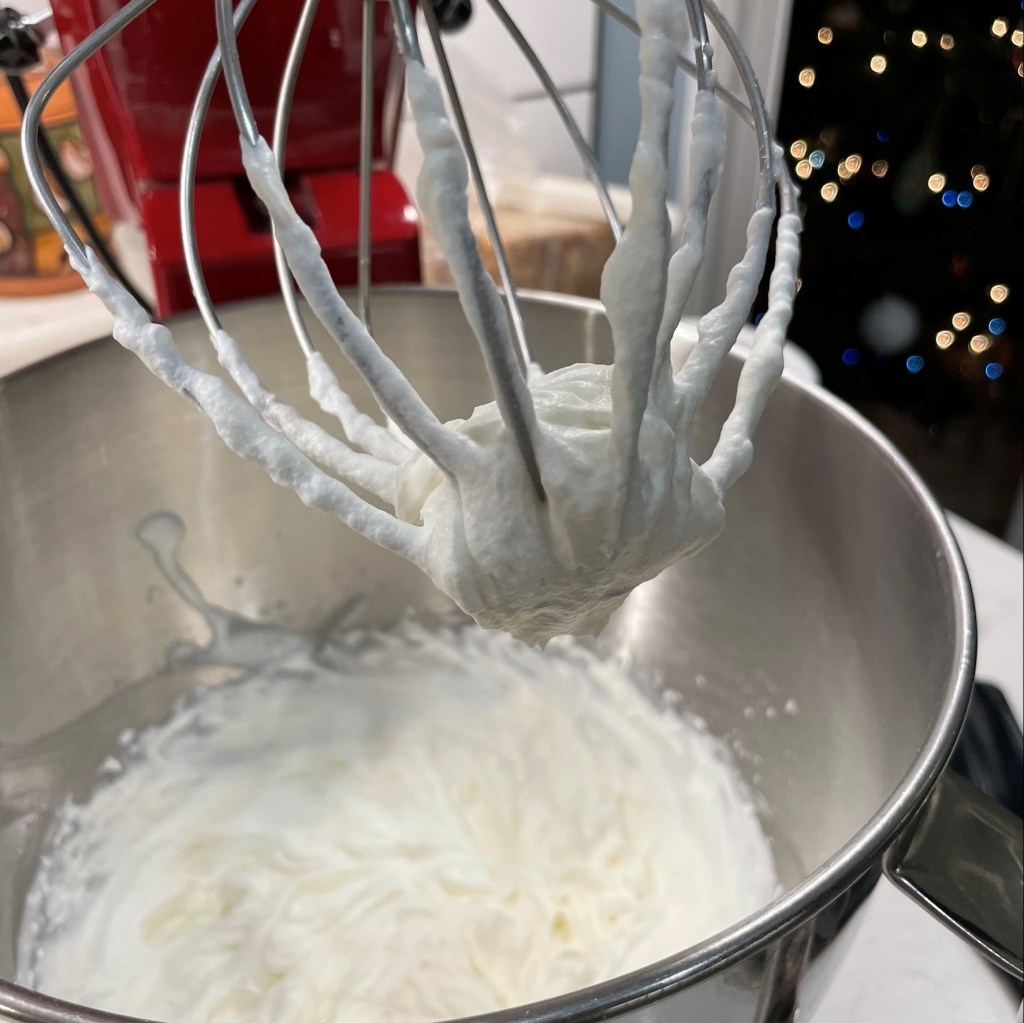
I must have been whipping it good, because my tempered egg mixture was very foamy. 
Return the tempered mixture to the pot to cook a few more minutes. This foam was a bit of a problem! 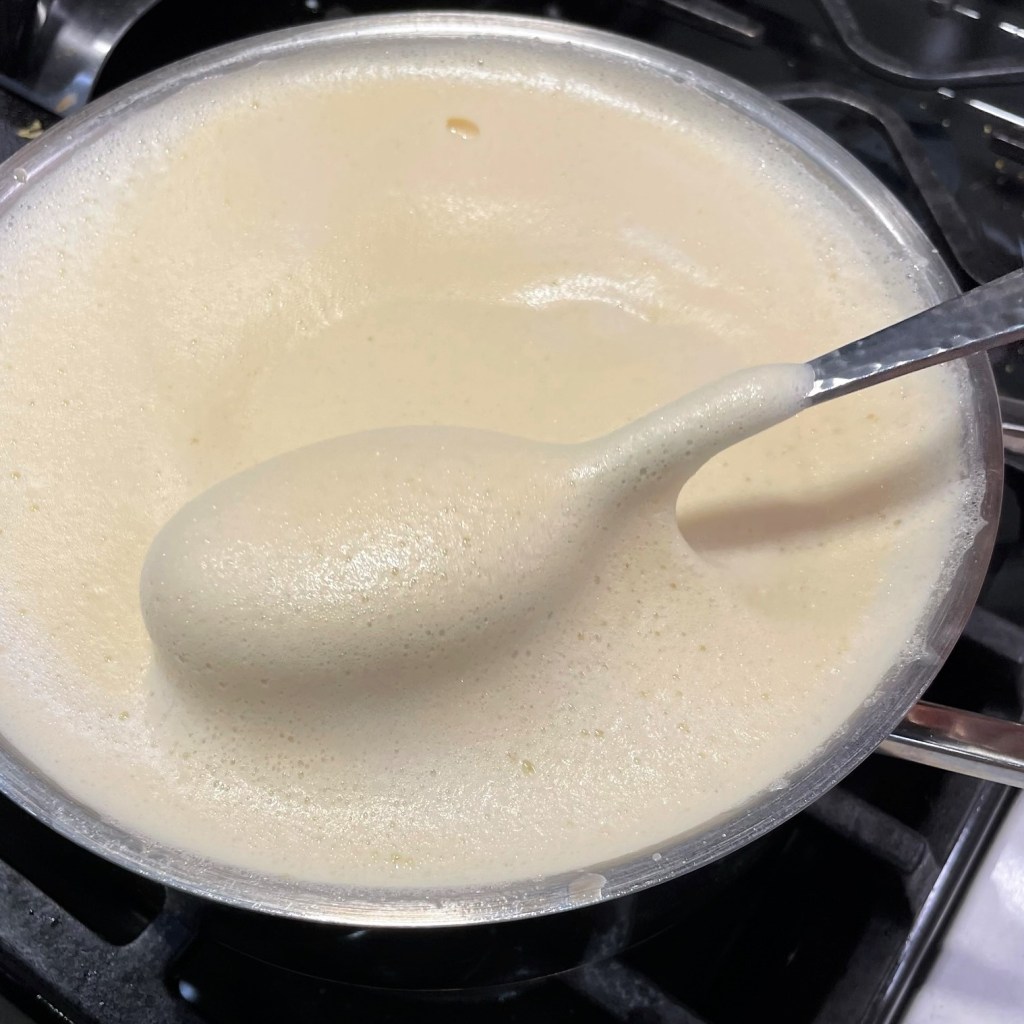
I had no way to tell (through all that foam) when the custard was properly cooked, so I probably cut it short. 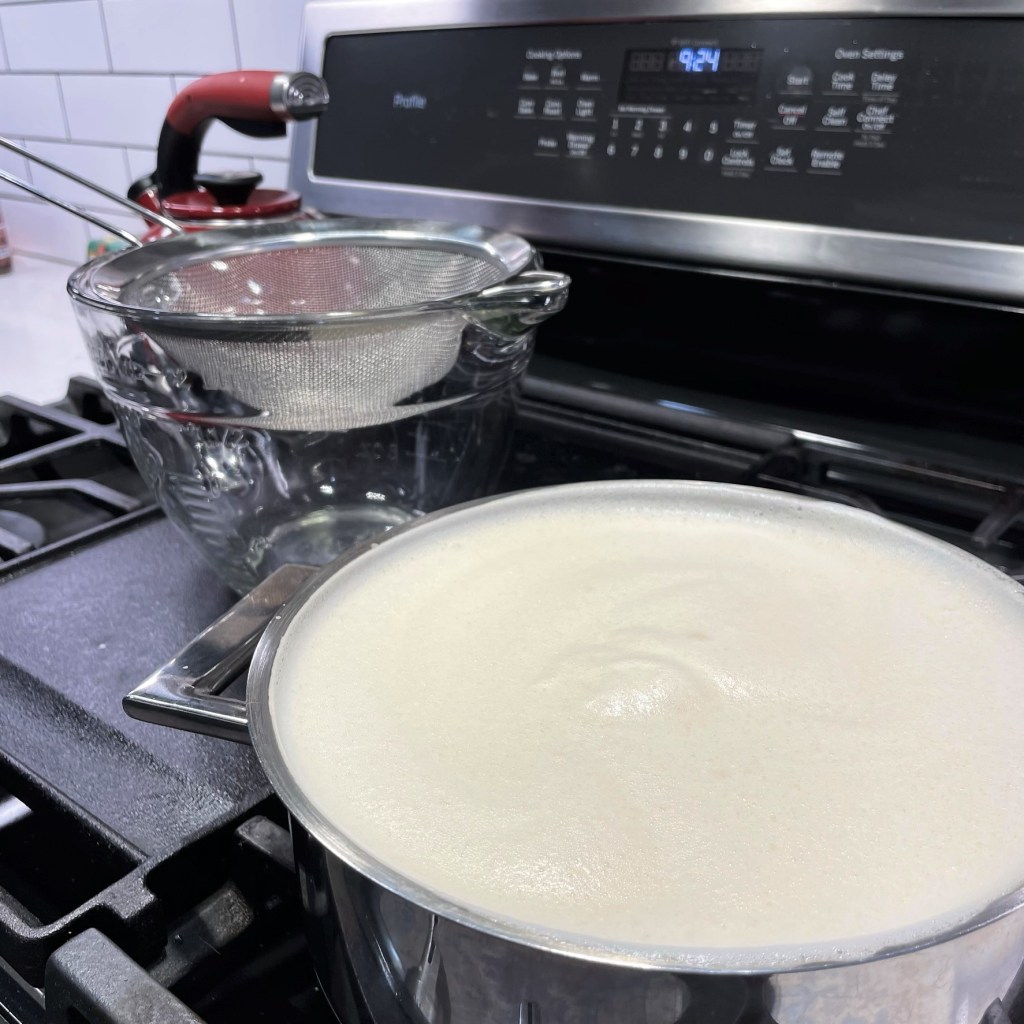
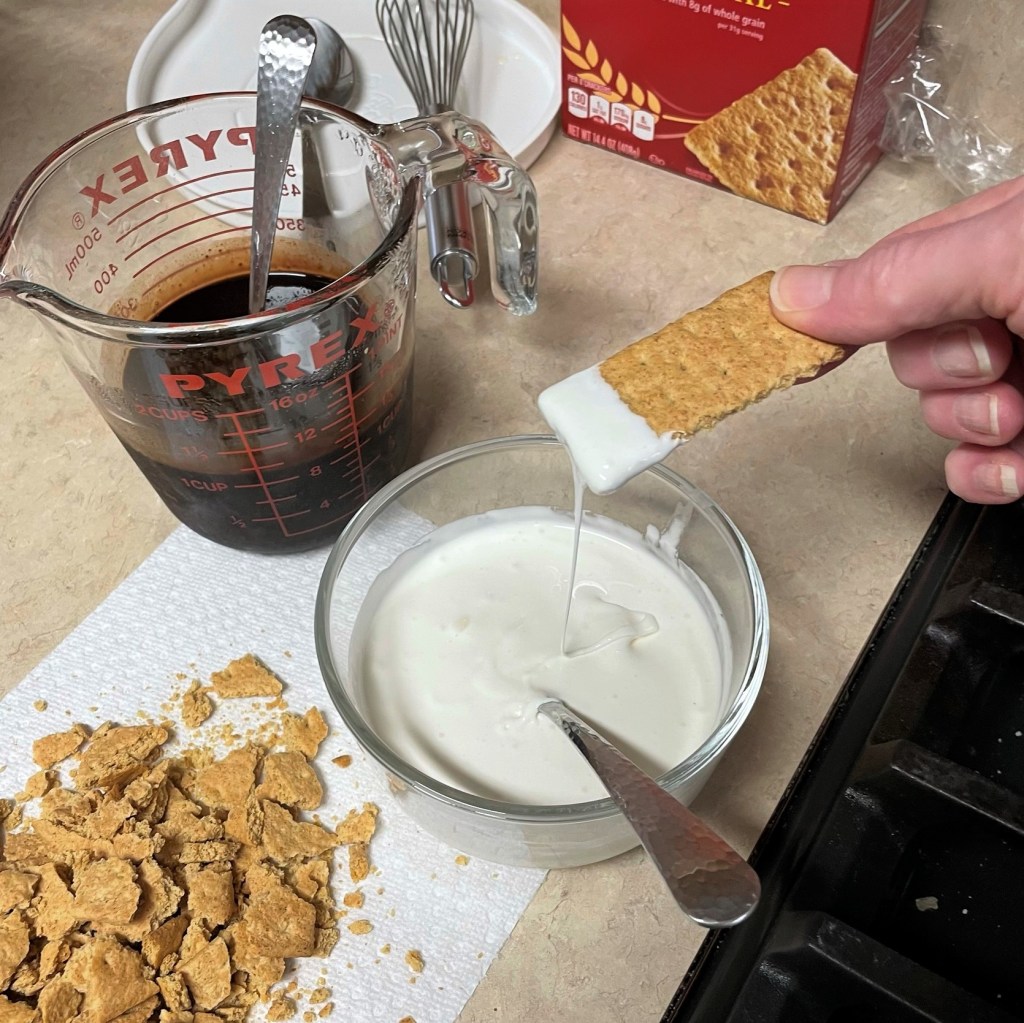
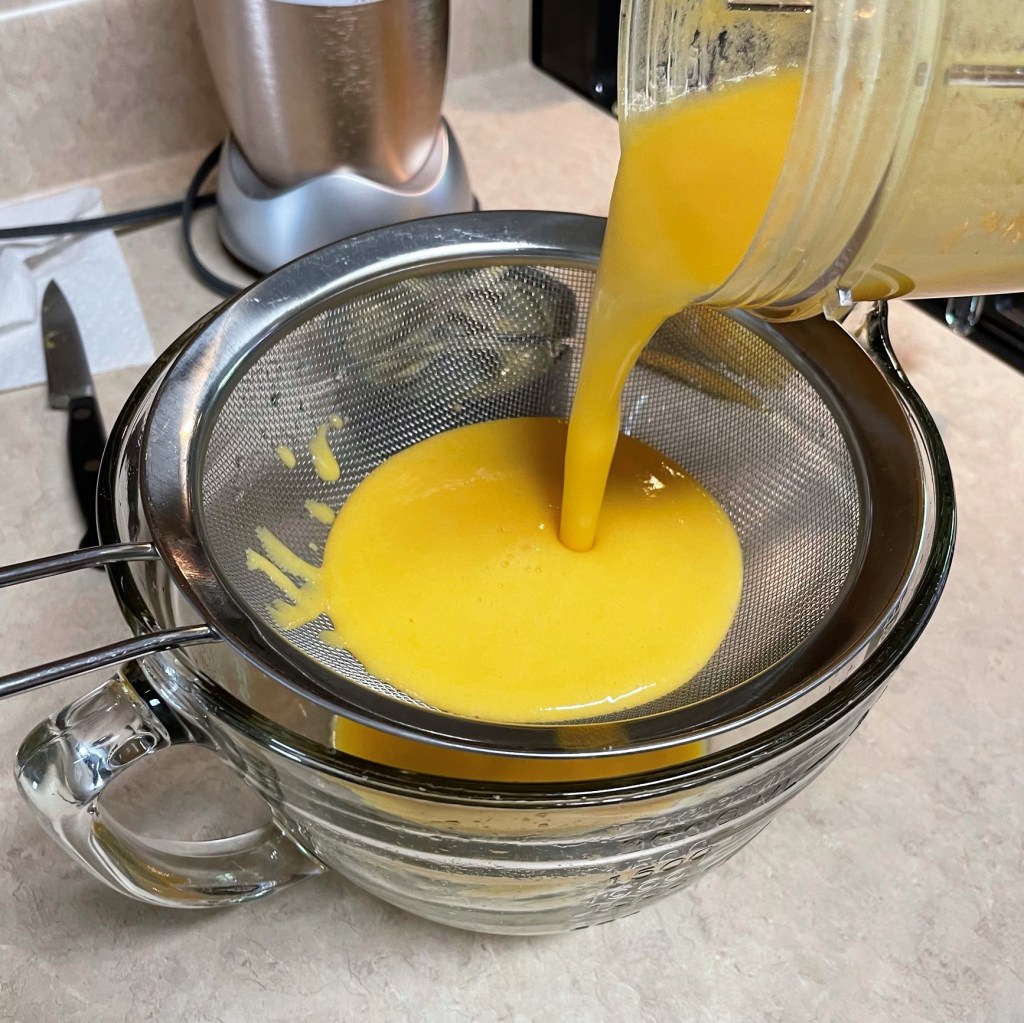
You’ll have to imagine the straining, because I ran out of hands to hold the camera! 🙂 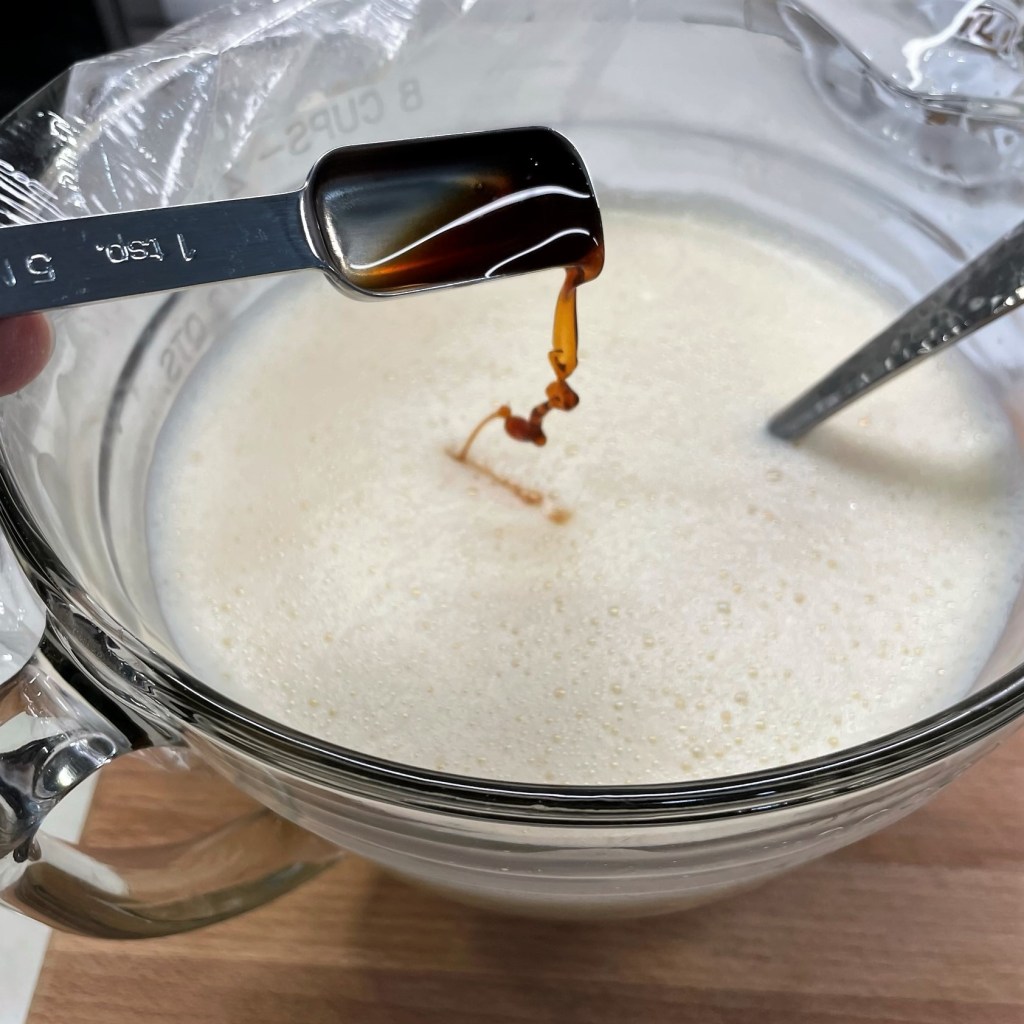
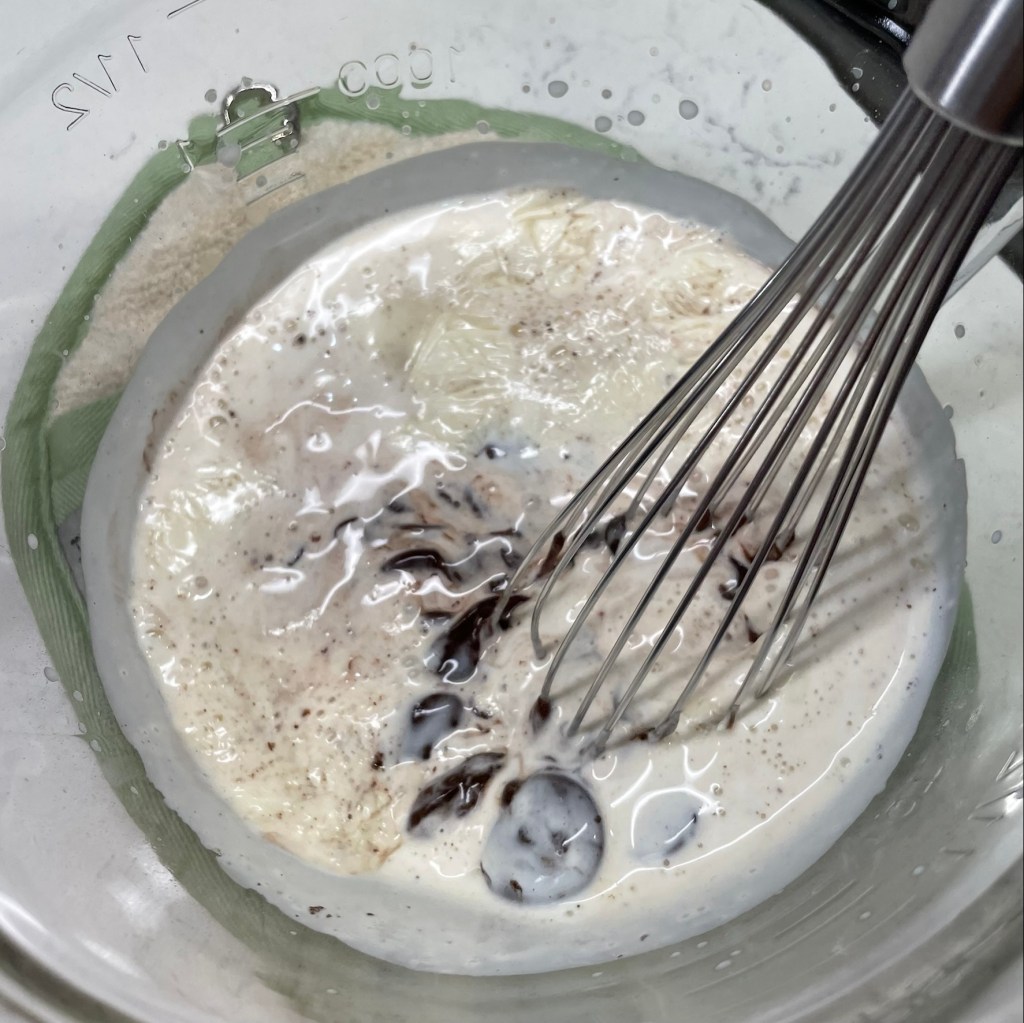
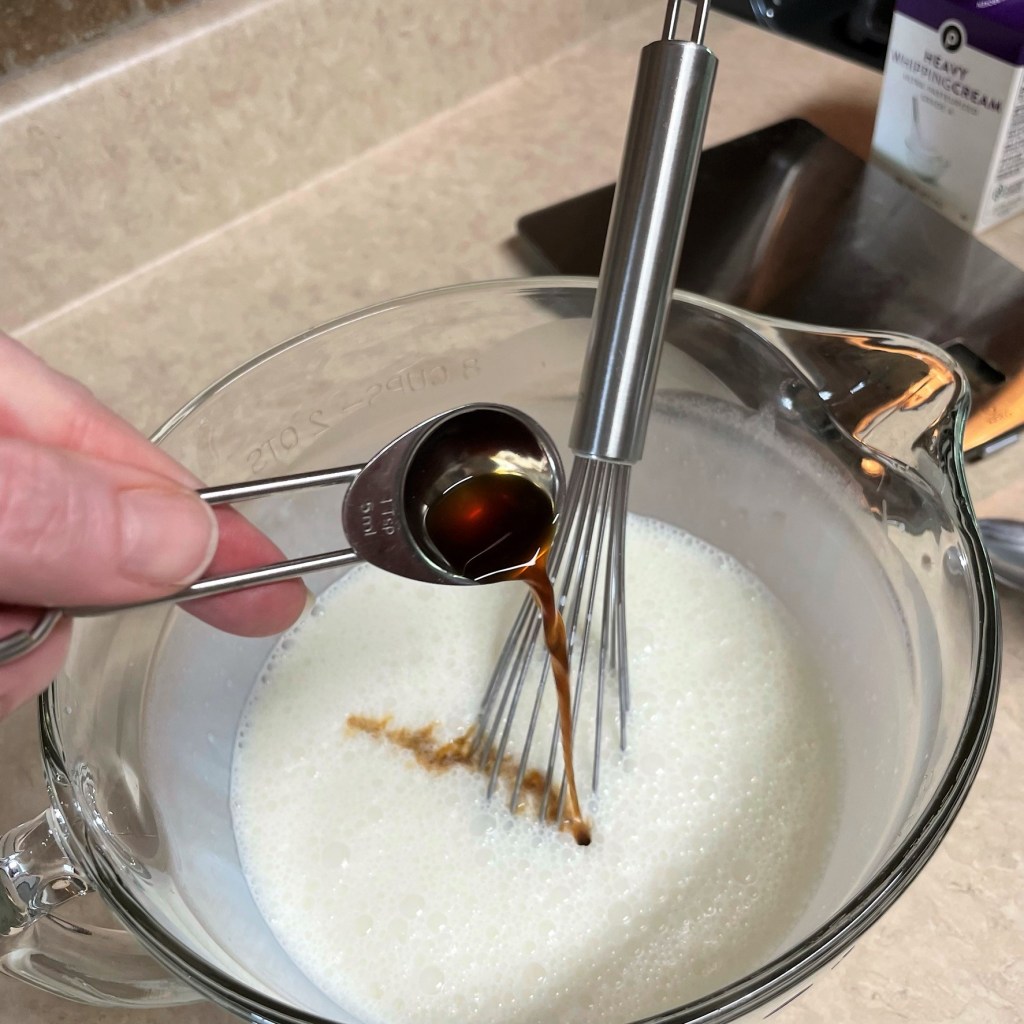
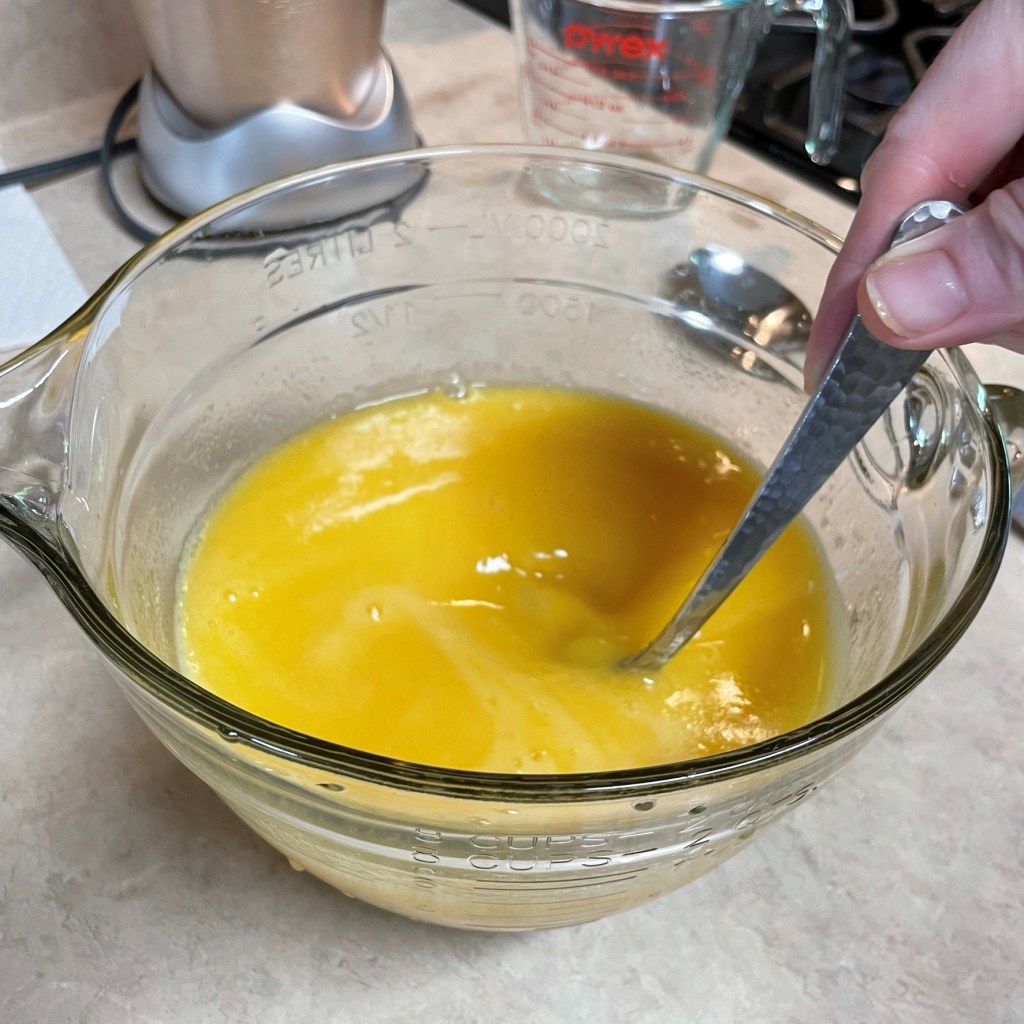
Blend in the vanilla after straining. 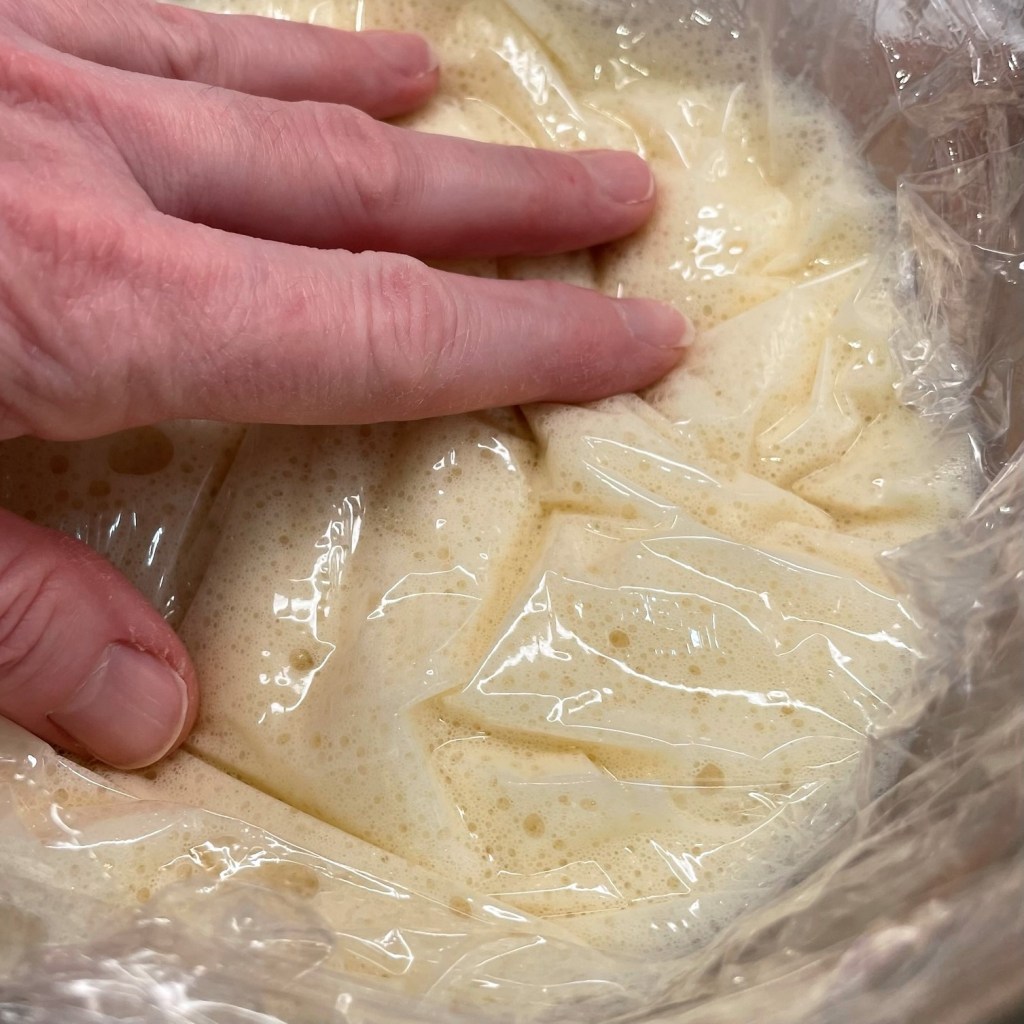
Oh, that foam! Lay plastic film directly onto the surface of the custard and refrigerate it overnight.
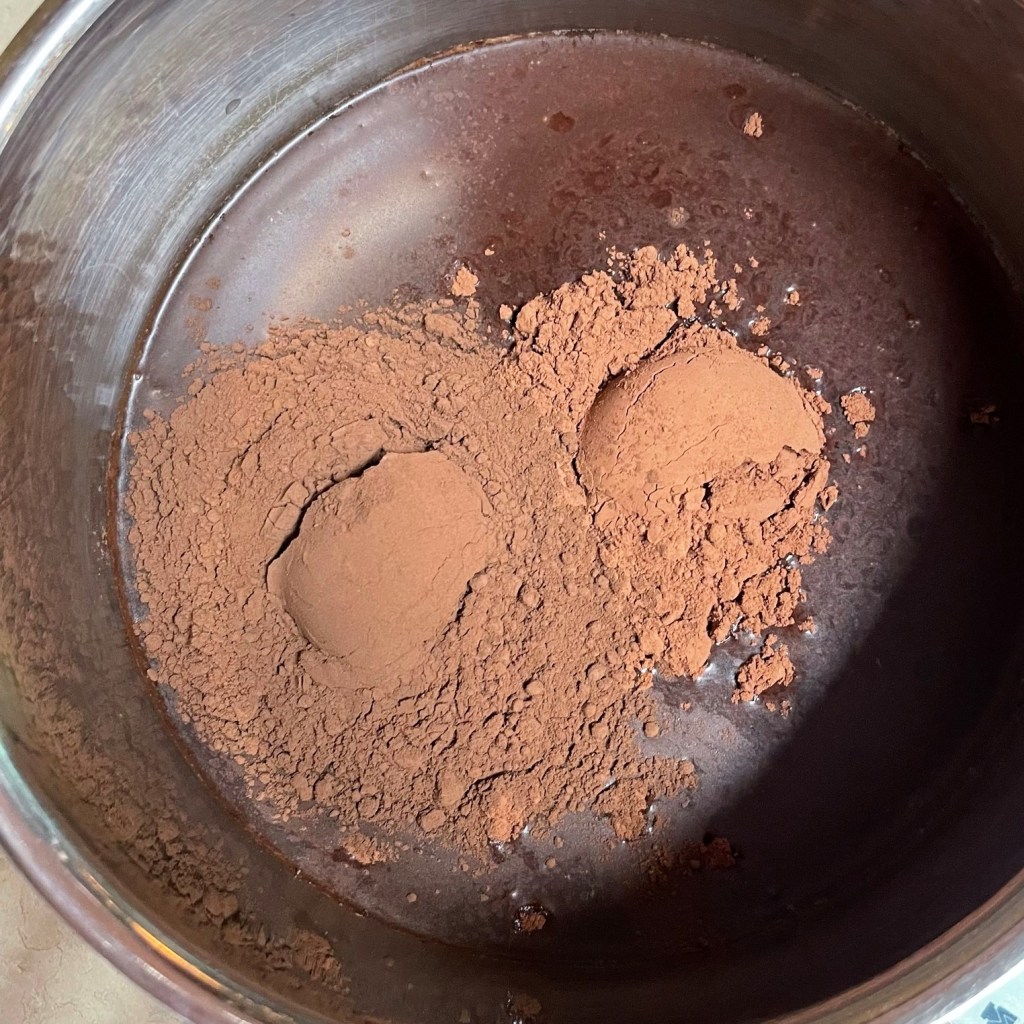
Place a medium, heavy-bottomed pot over medium heat. Combine milk and brown sugar and cook, stirring frequently, until sugar is fully dissolved and milk is steaming.
Using an electric mixer, lightly whip the egg yolks until they are lighter and somewhat airy. This usually works best with a bit of fine sugar in the bowl, but I skipped that step this time because I was using grainy brown sugar in the recipe.
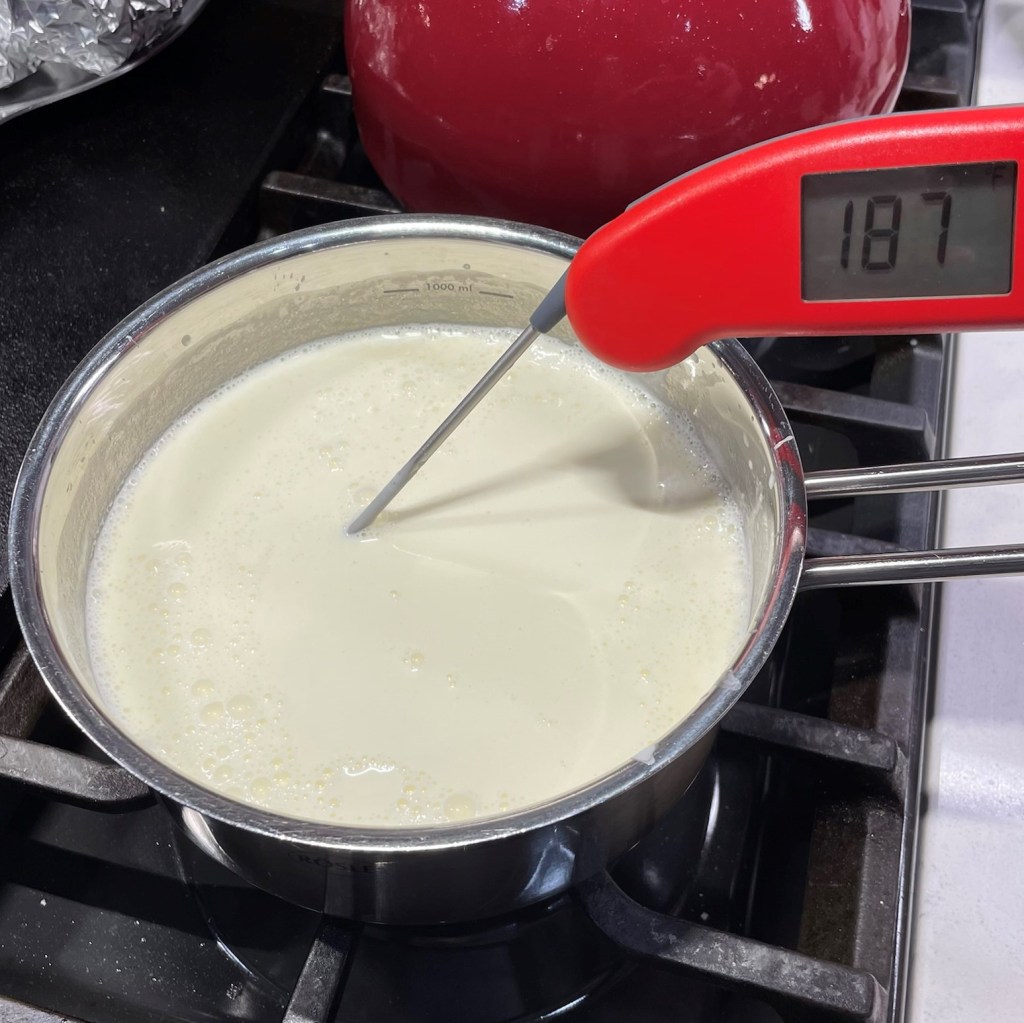
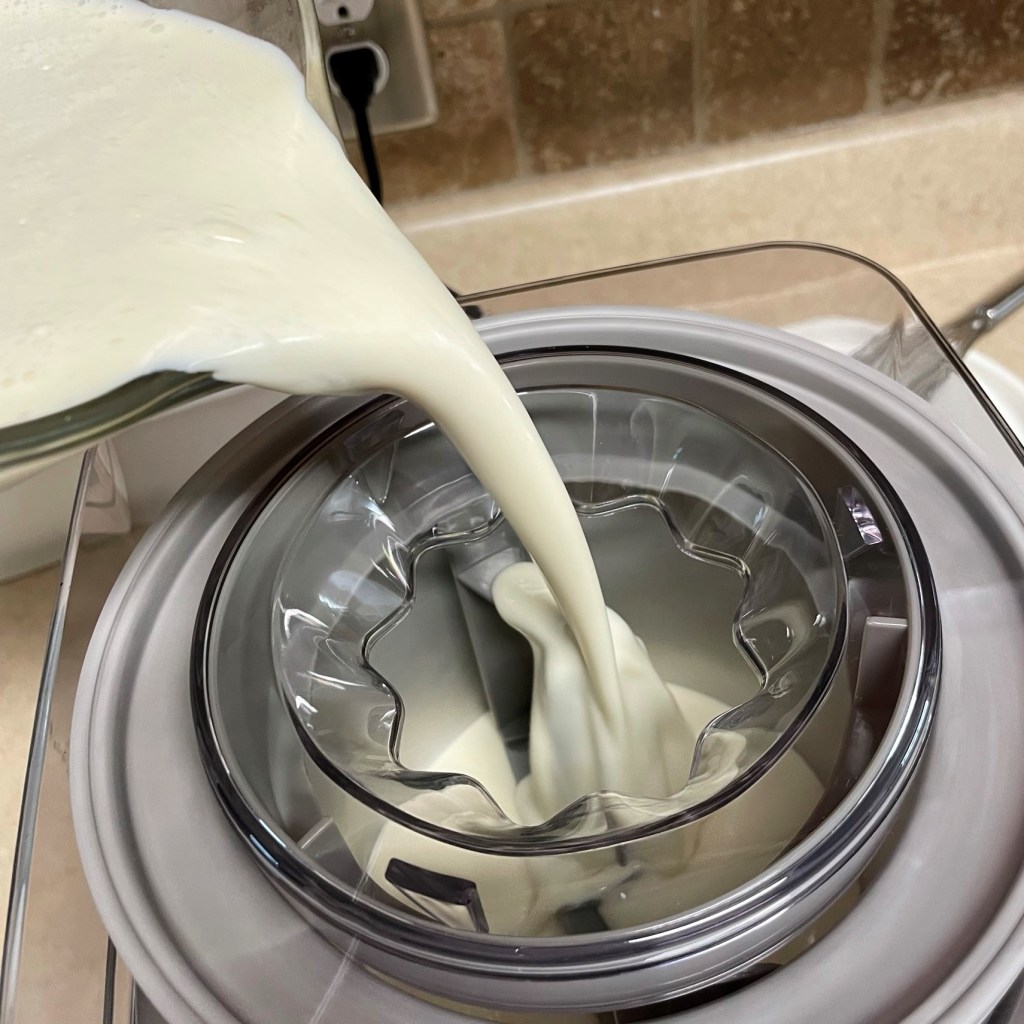
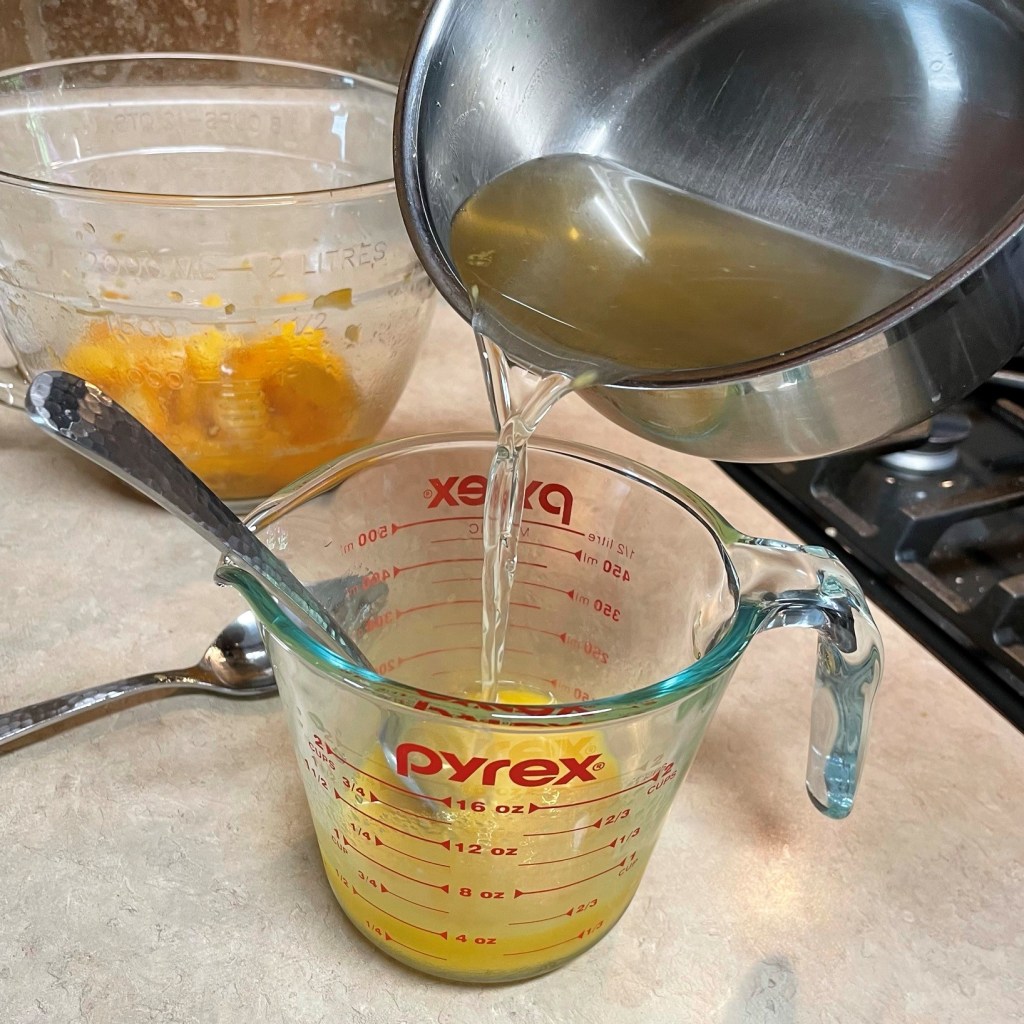
When the milk mixture begins to barely bubble around the edges, transfer about half of it into a measuring cup. Add the heavy cream to the pot and bring it back up to the steaming temperature.
While that’s going, slowly and gradually add the measured hot milk mixture to the egg yolks (with the mixer running constantly). This step is called “tempering,” and it raises the temperature of the eggs slowly to cook them without scrambling them.
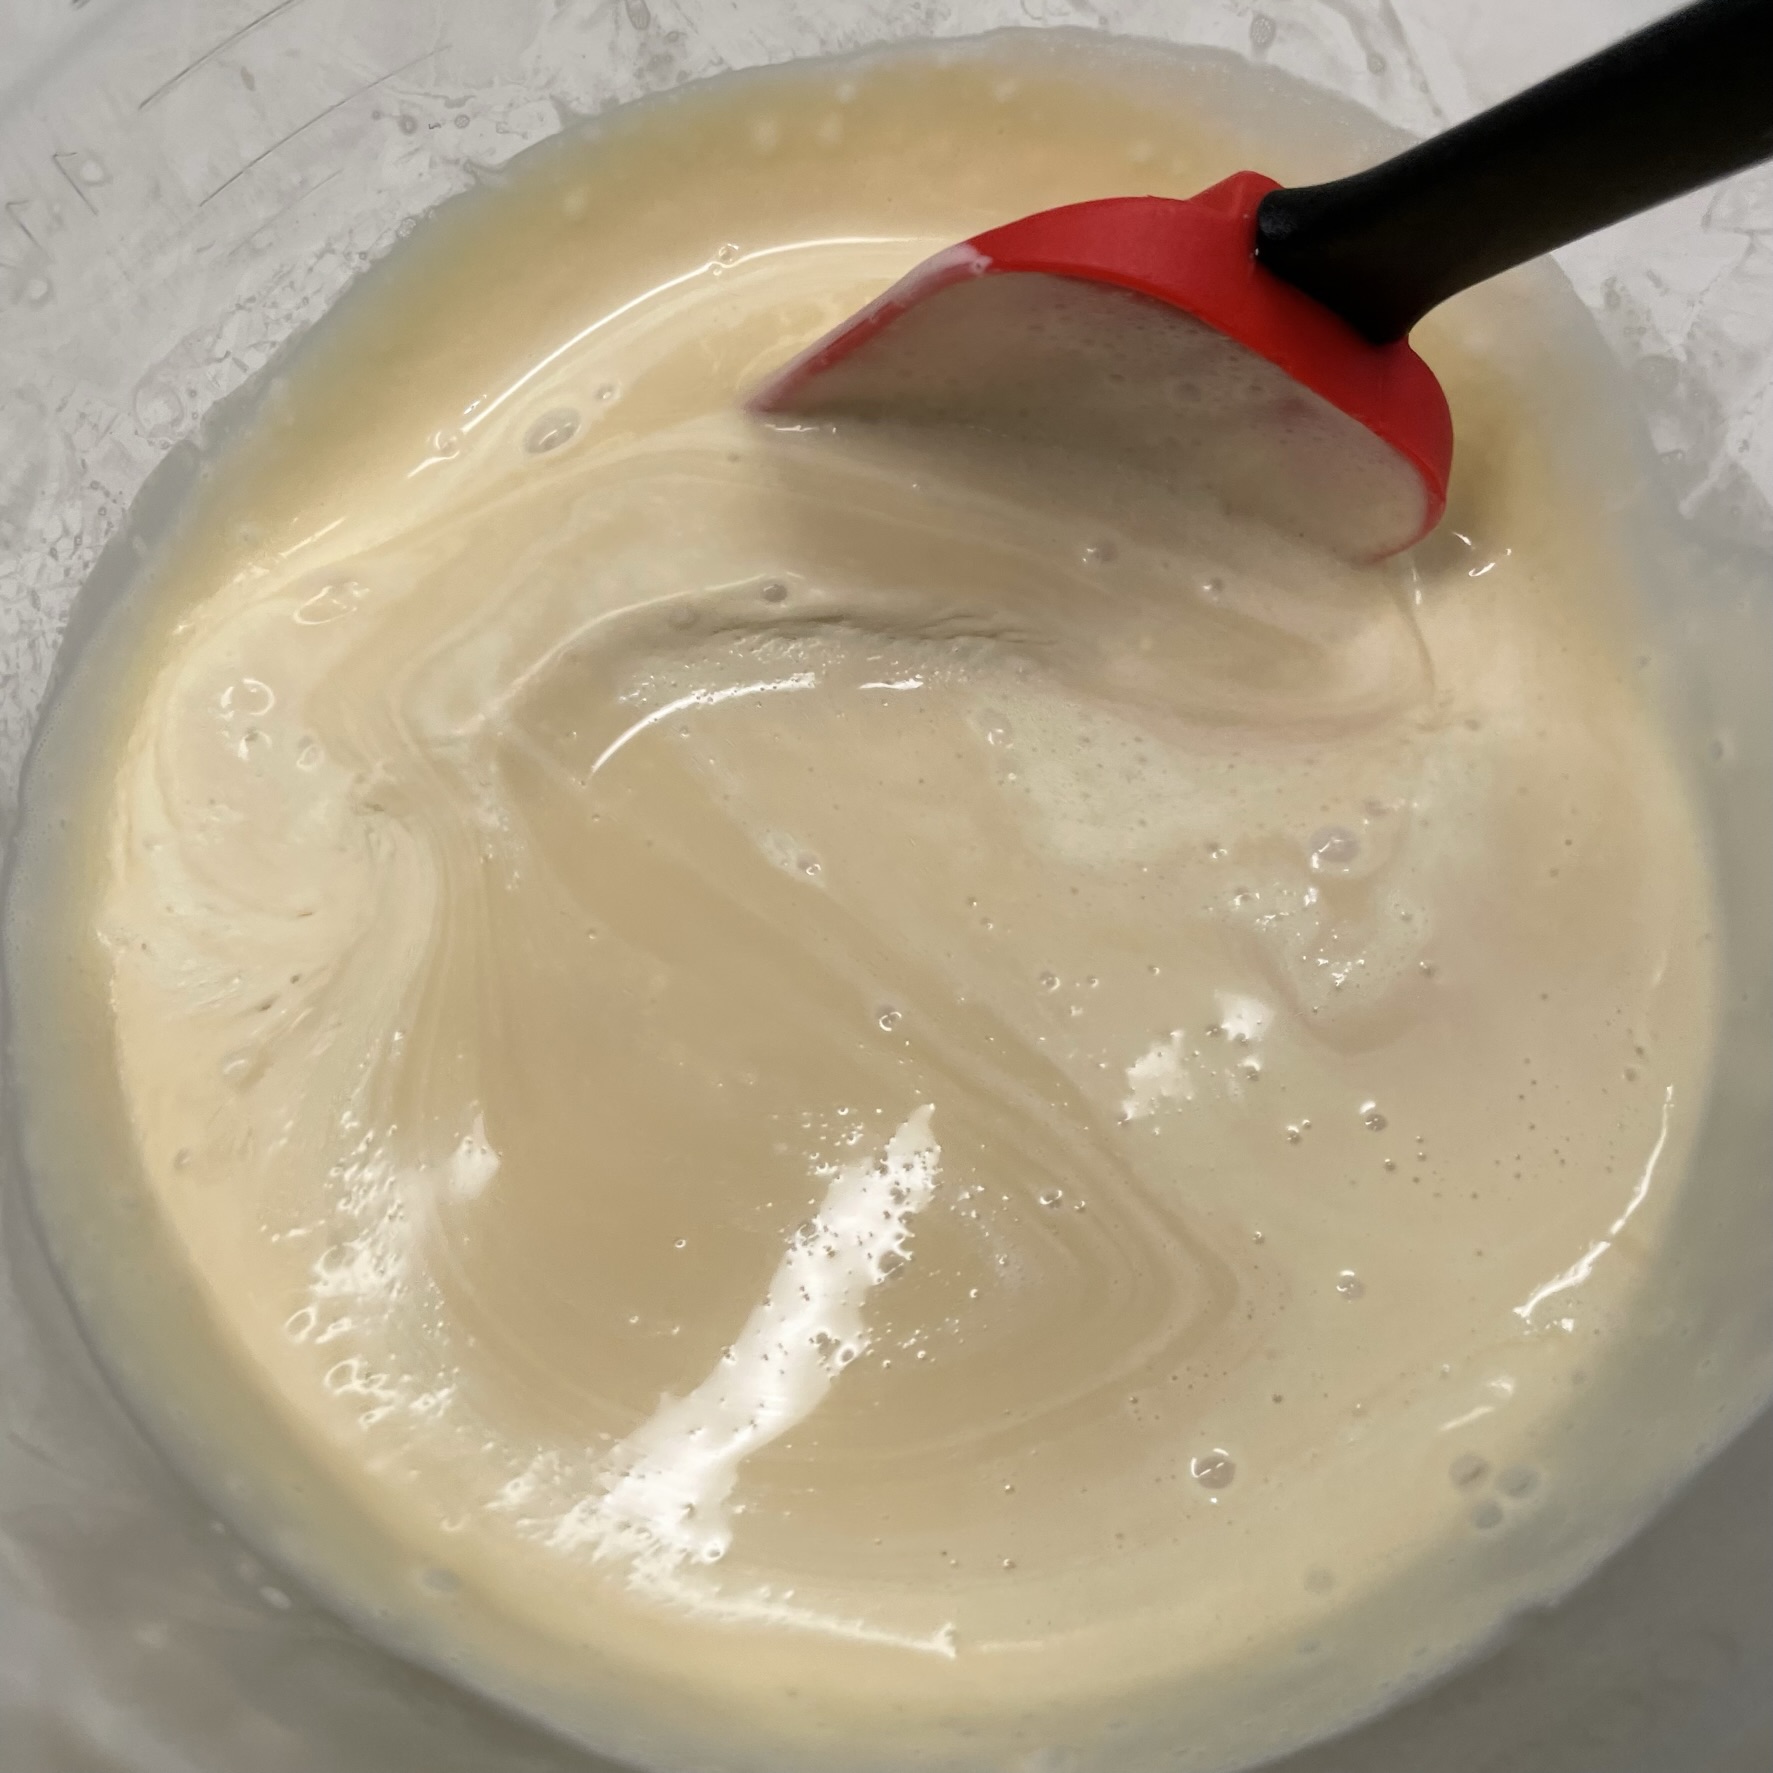
Pour the tempered egg mixture back into the saucepot and cook the whole mixture over medium heat, stirring constantly, until it is steaming again and the custard has thickened enough to coat the back of a spoon. Remove from heat and strain the custard mixture through a mesh sieve to a clean bowl. Stir in the vanilla and let it cool for a few minutes. Taste it, because oh my goodness. I must make more brown sugar ice cream!
Carefully lay a piece of plastic wrap directly onto the surface of the custard. This serves two purposes—it prevents a skin from forming on the surface, and it prevents condensation from building and dripping into the mixture. Moisture droplets have a way of making unwanted crystals in the finished ice cream. Seal up the bowl, or cover it with an additional layer of plastic. Refrigerate overnight.
Bananas Foster Swirl

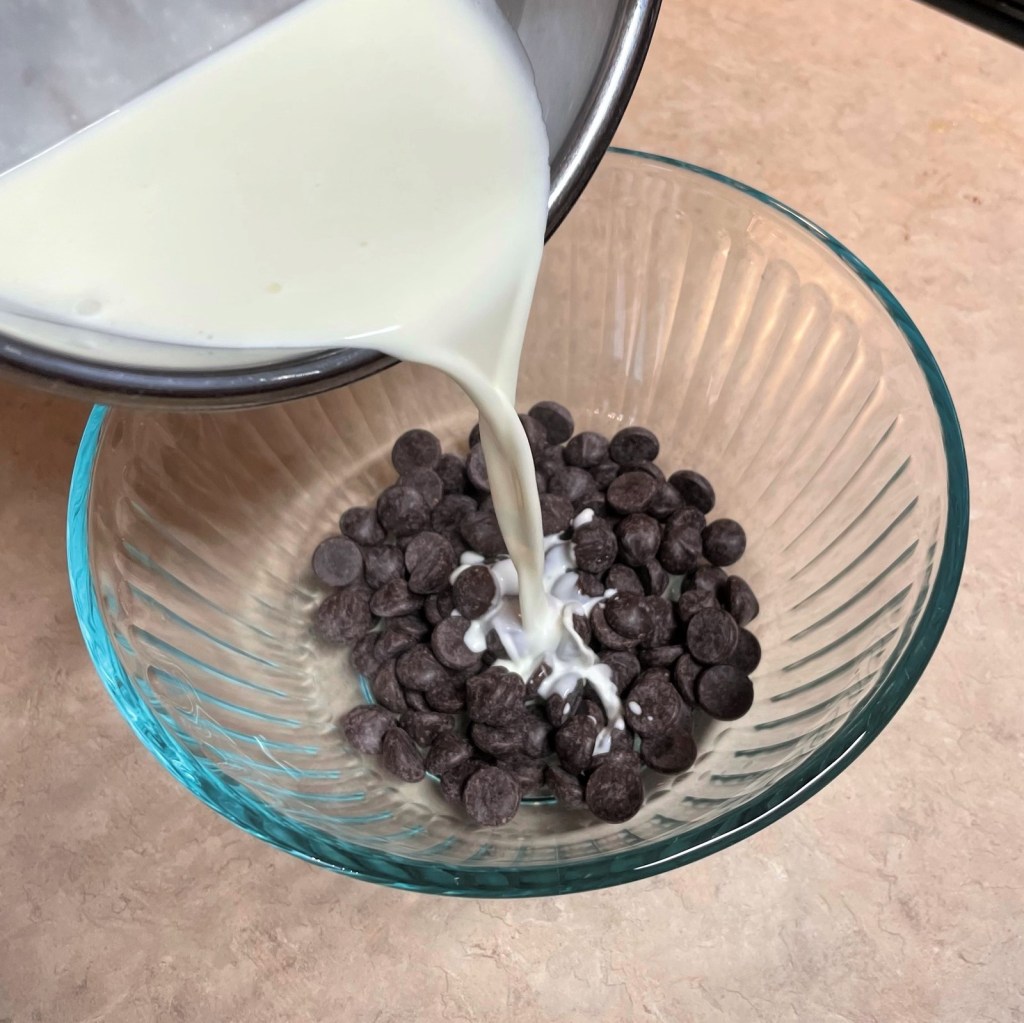
Melt butter and stir in the brown sugar to begin the Bananas Foster swirl. 
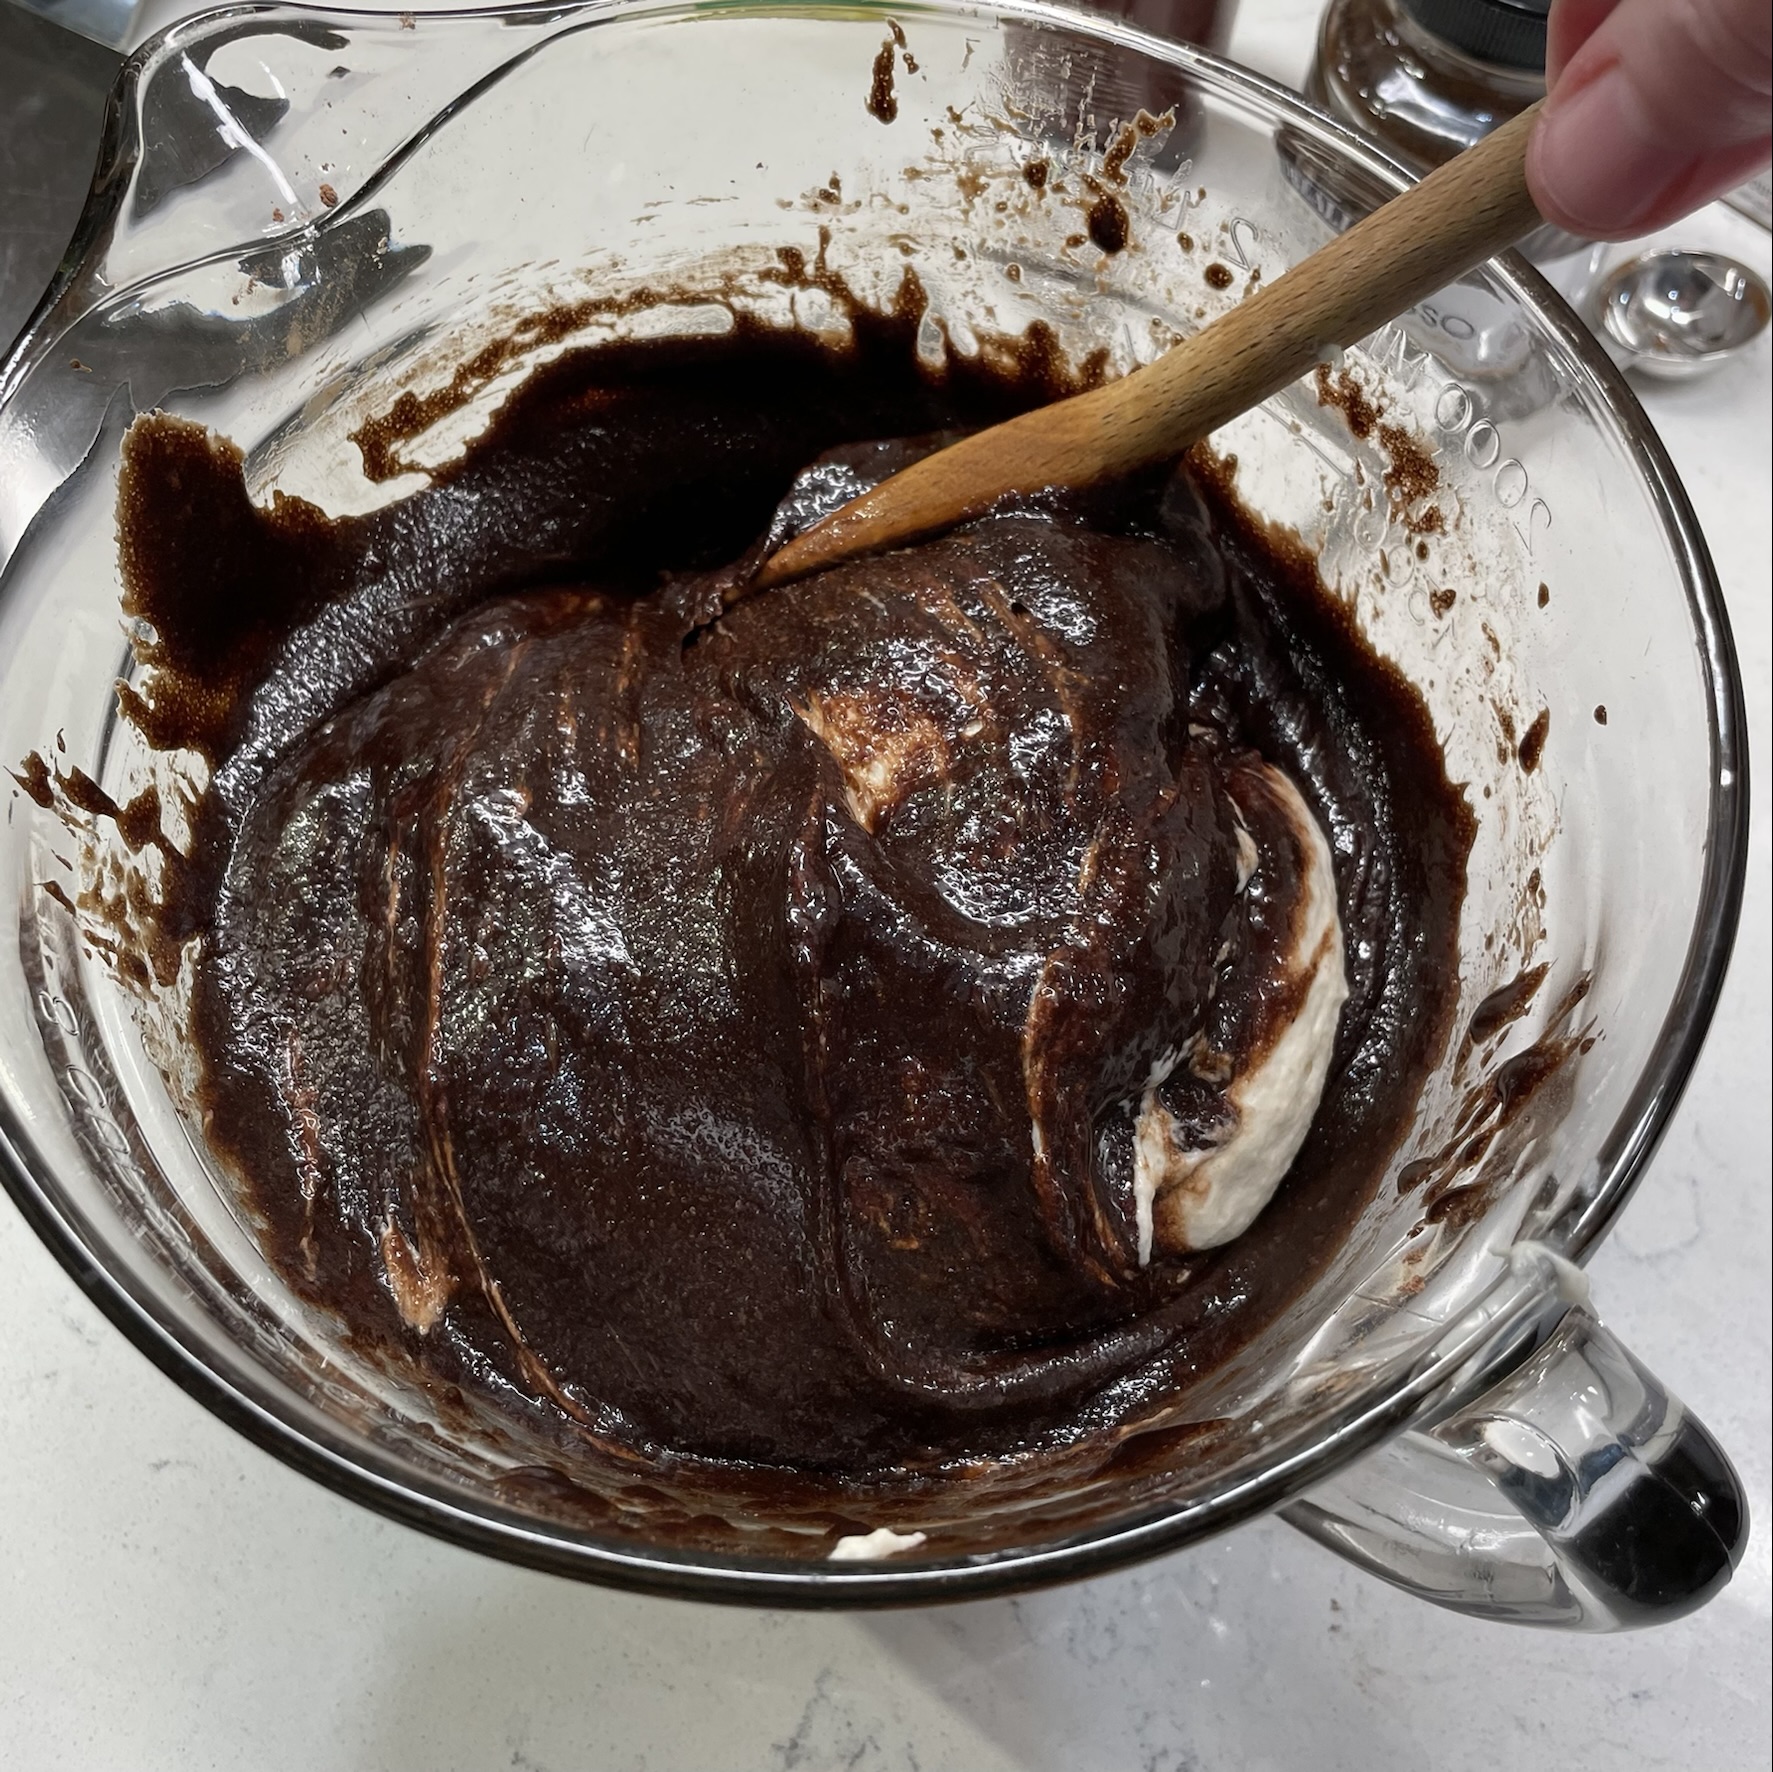
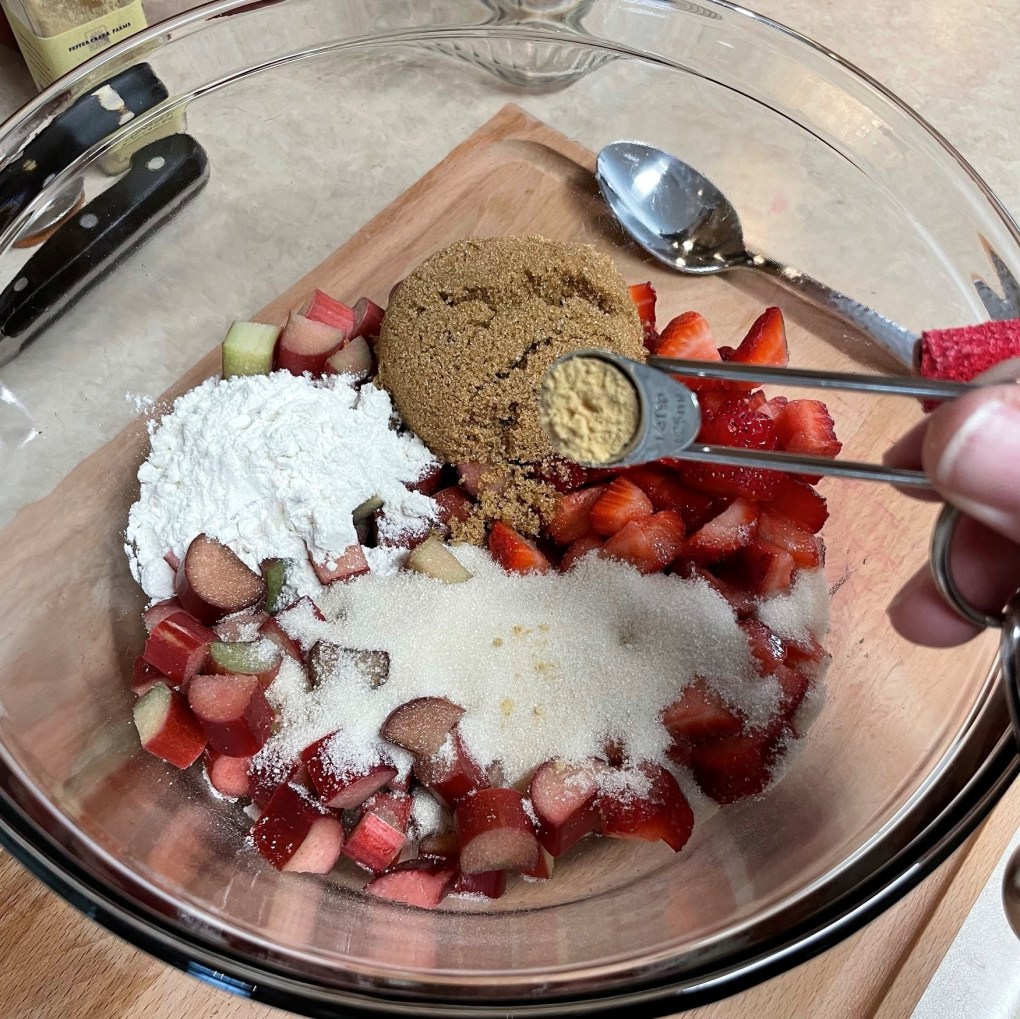
Smash the bananas into the syrup, keeping a few chunks here and there. 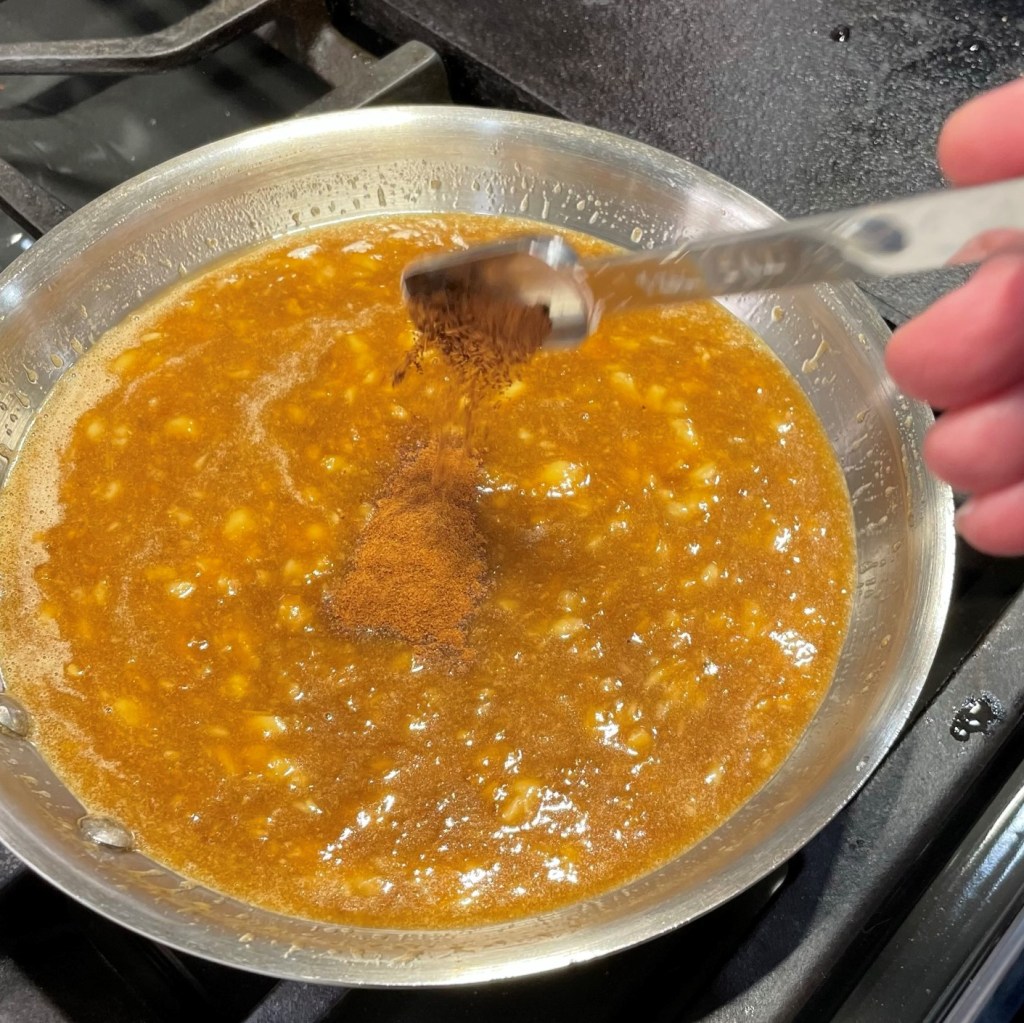
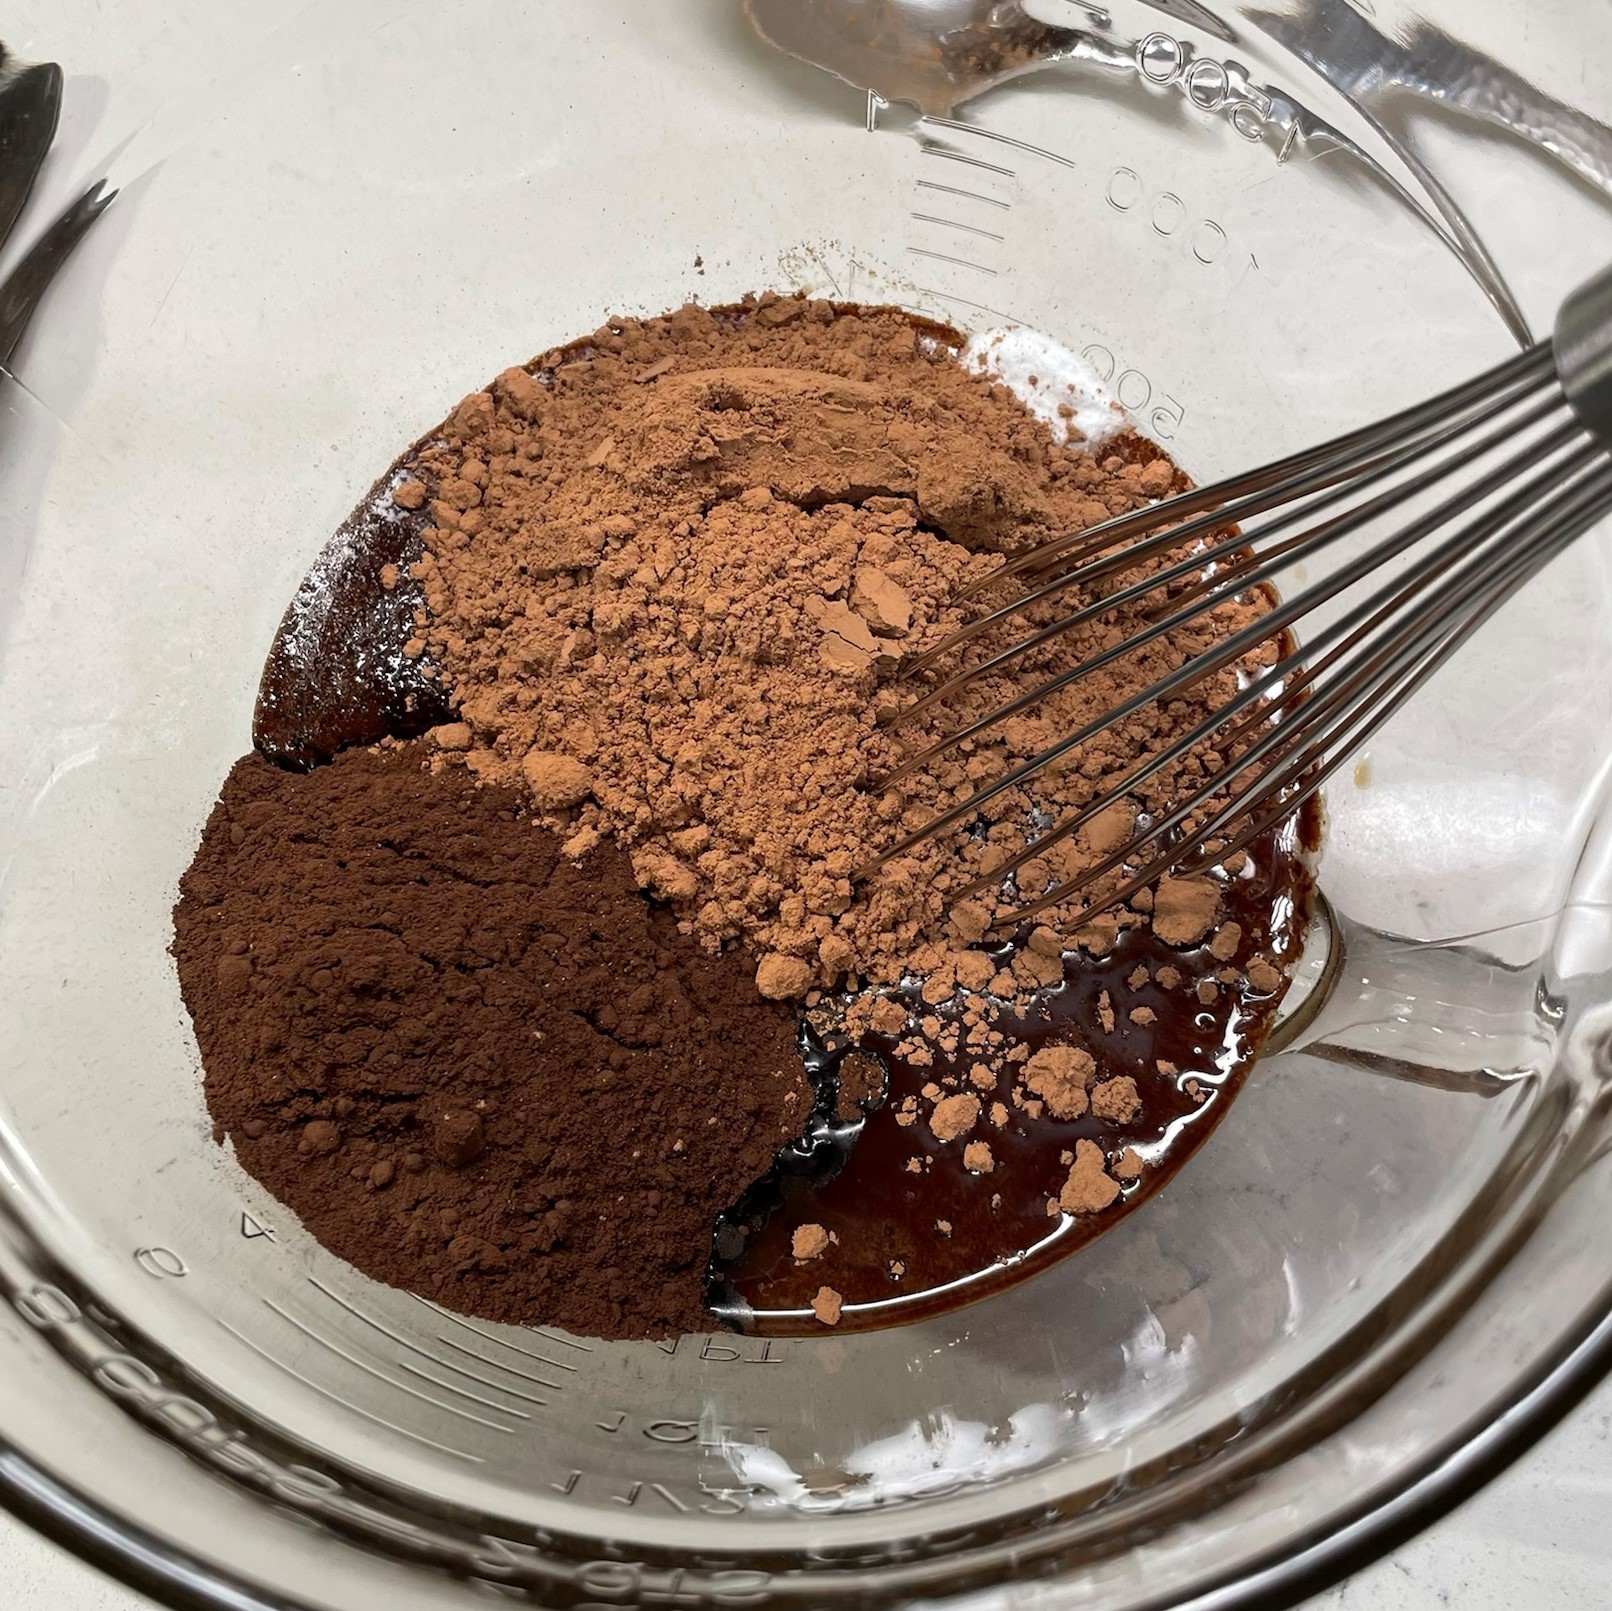
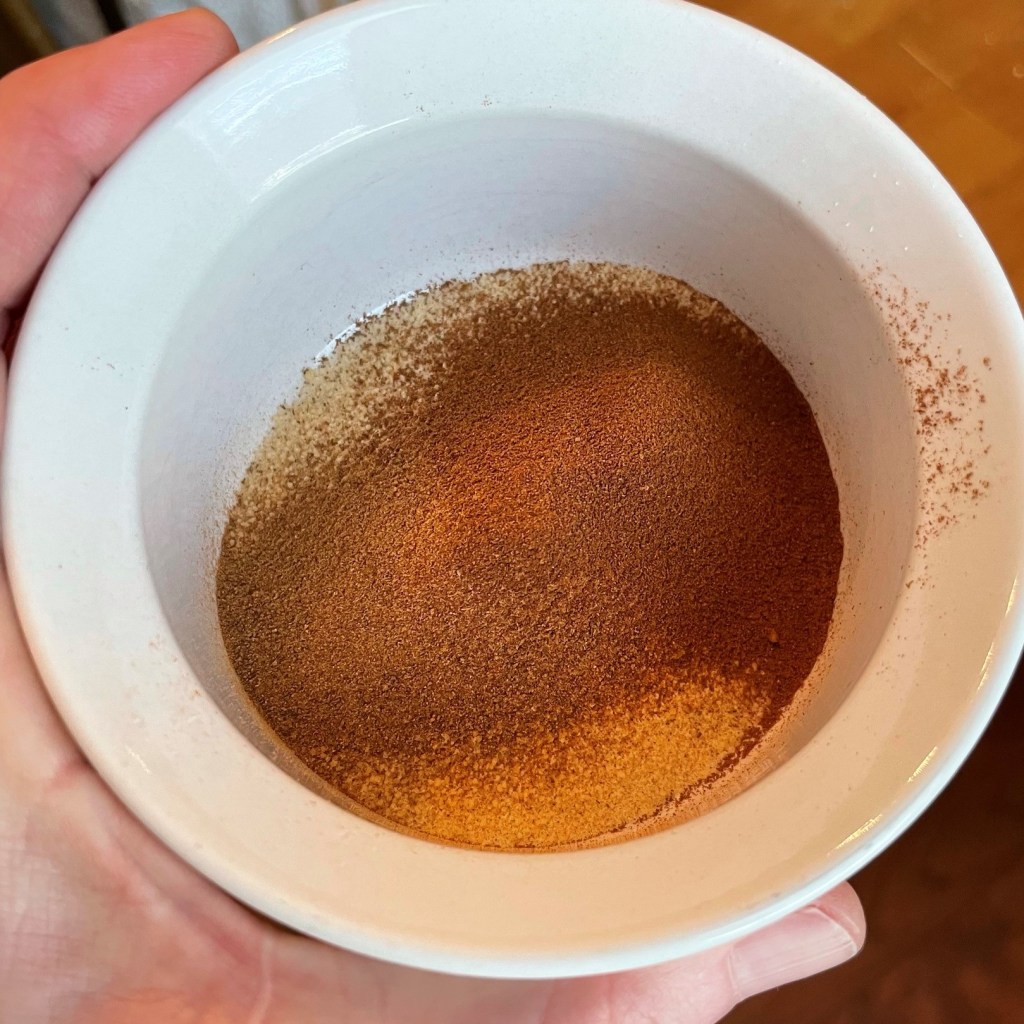
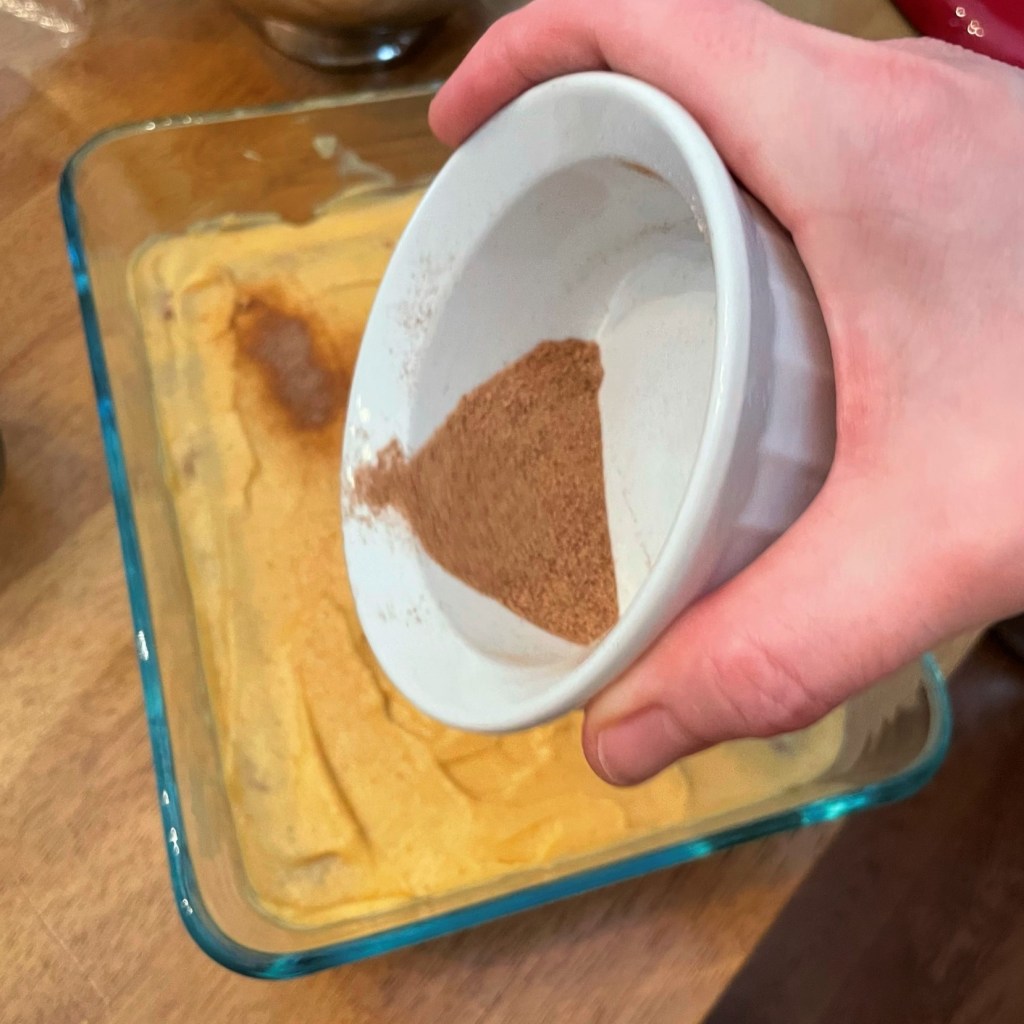
Add cinnamon to the banana syrup. 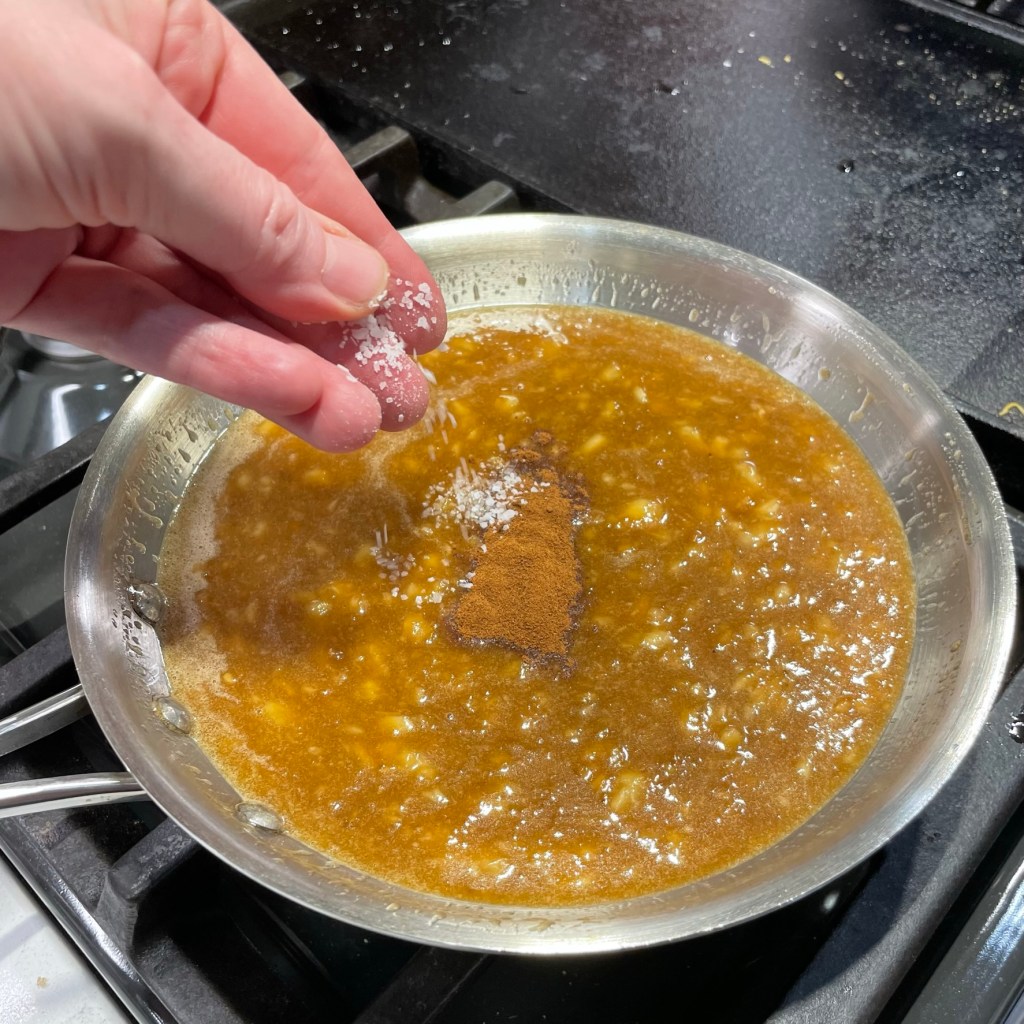
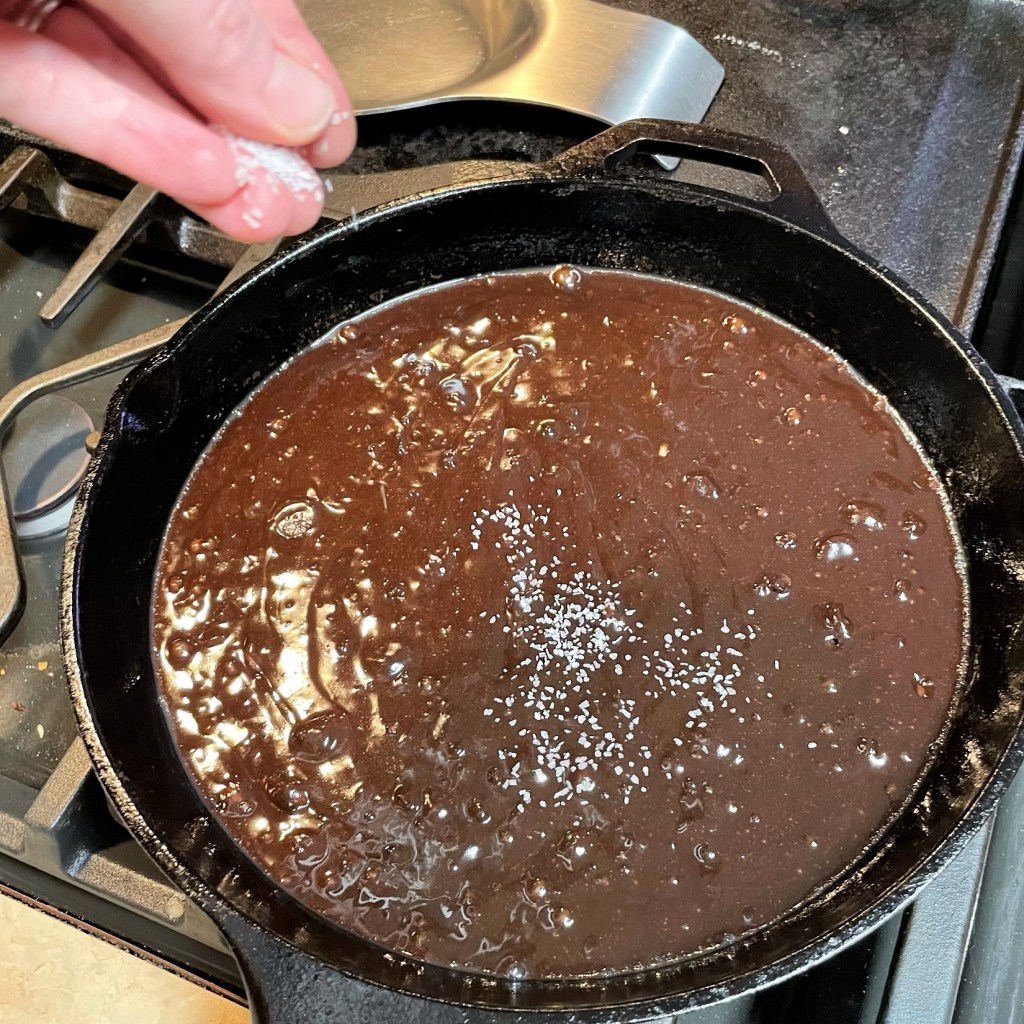
A pinch of kosher salt will help to highlight the amazing flavors. 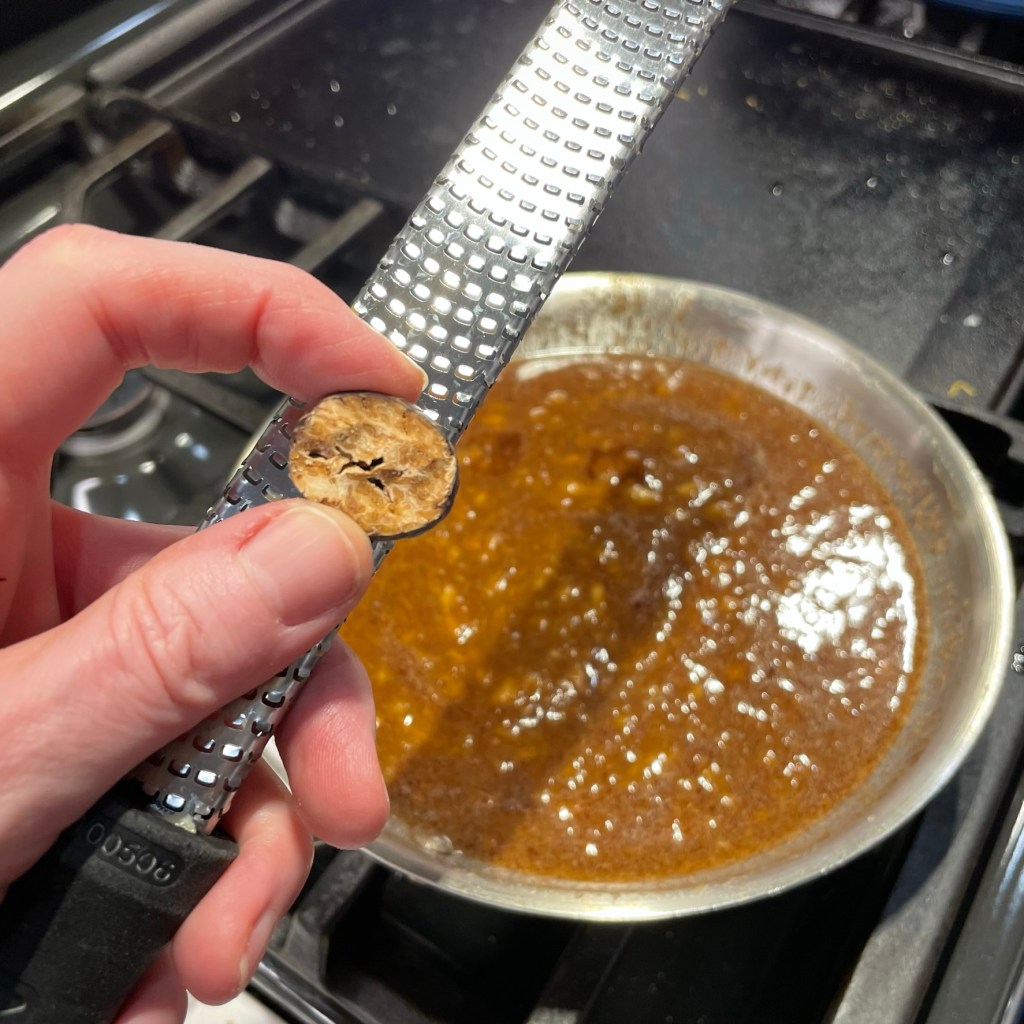
A few scrapes of nutmeg add another layer of spice. Use whole nutmeg if possible. 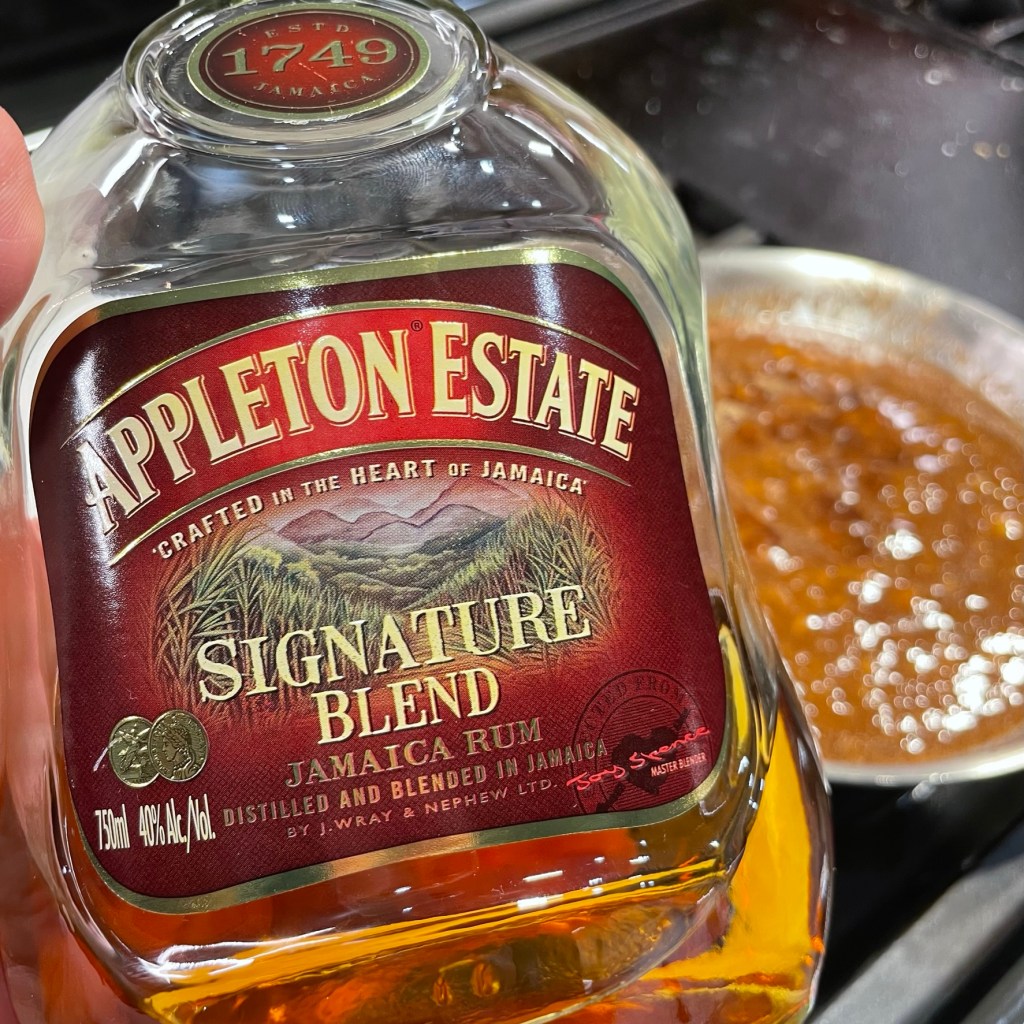
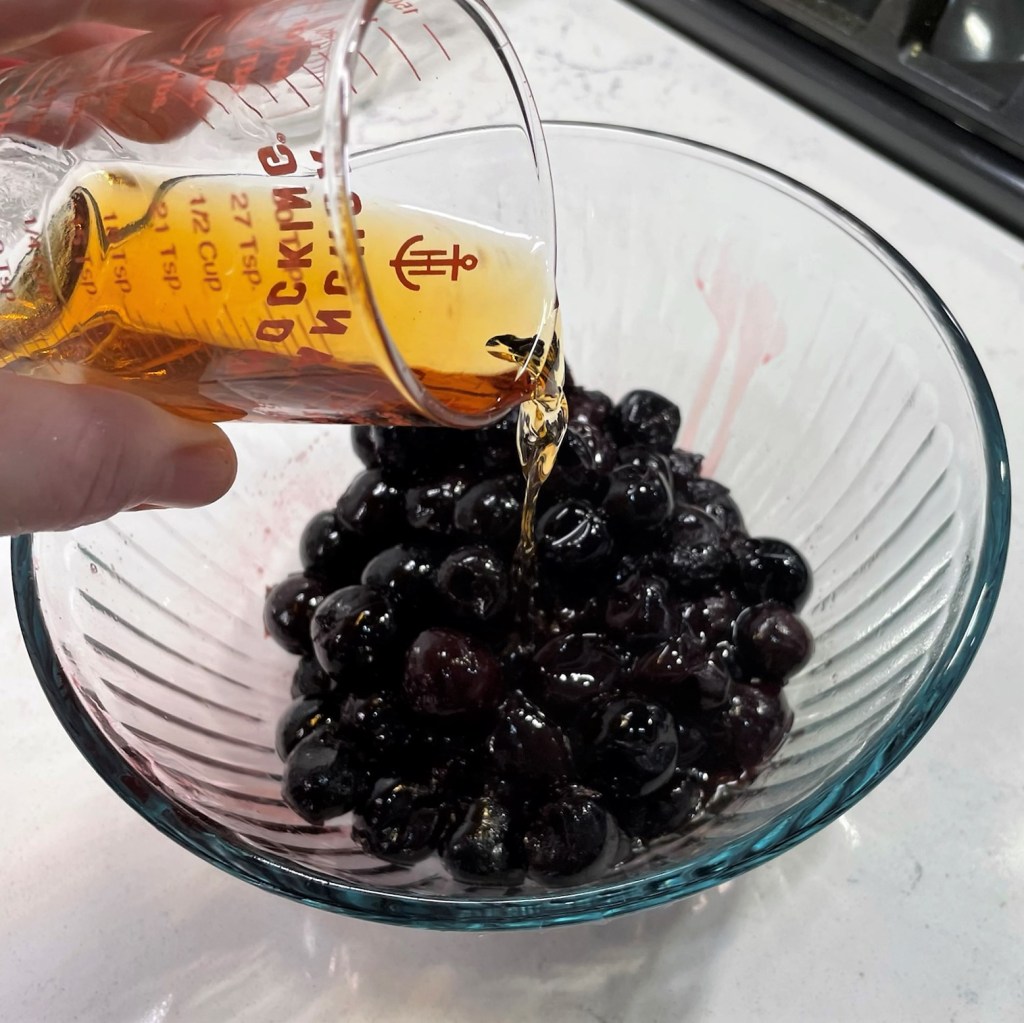
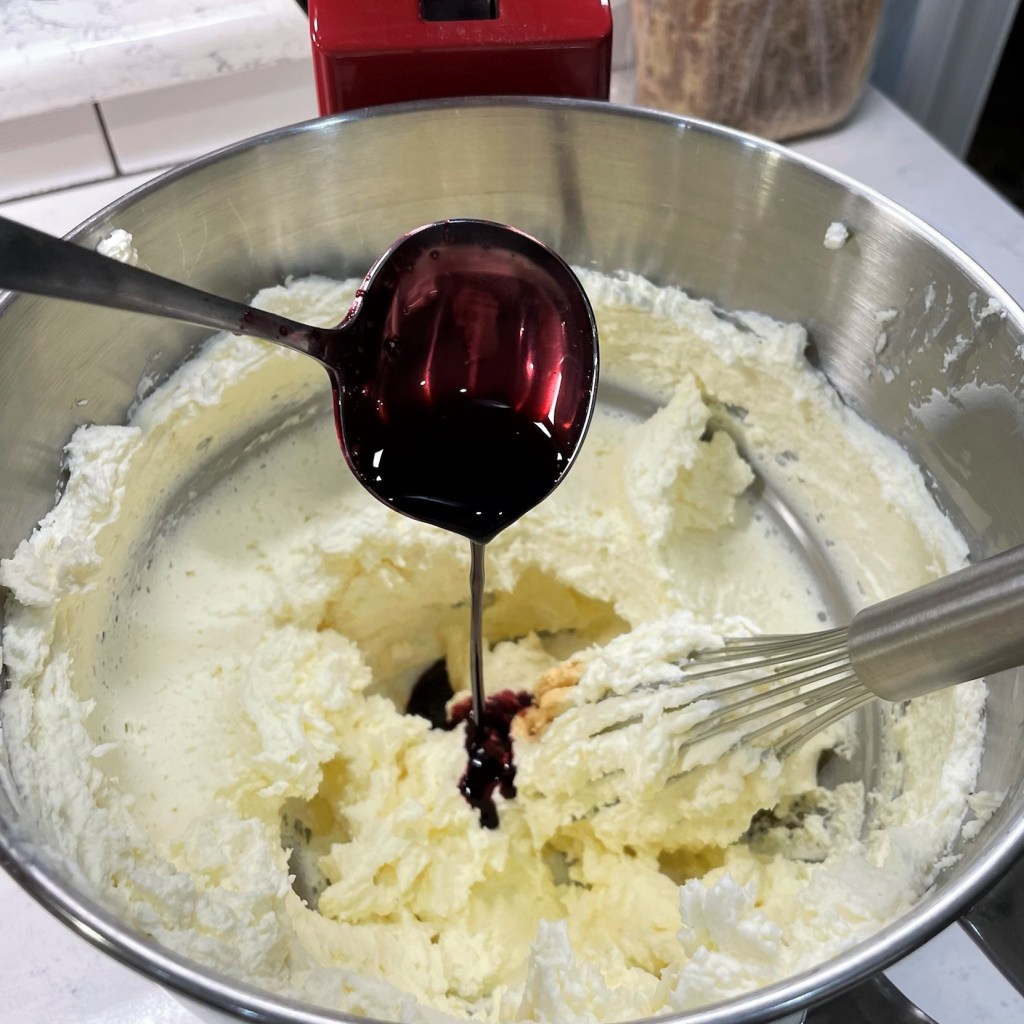
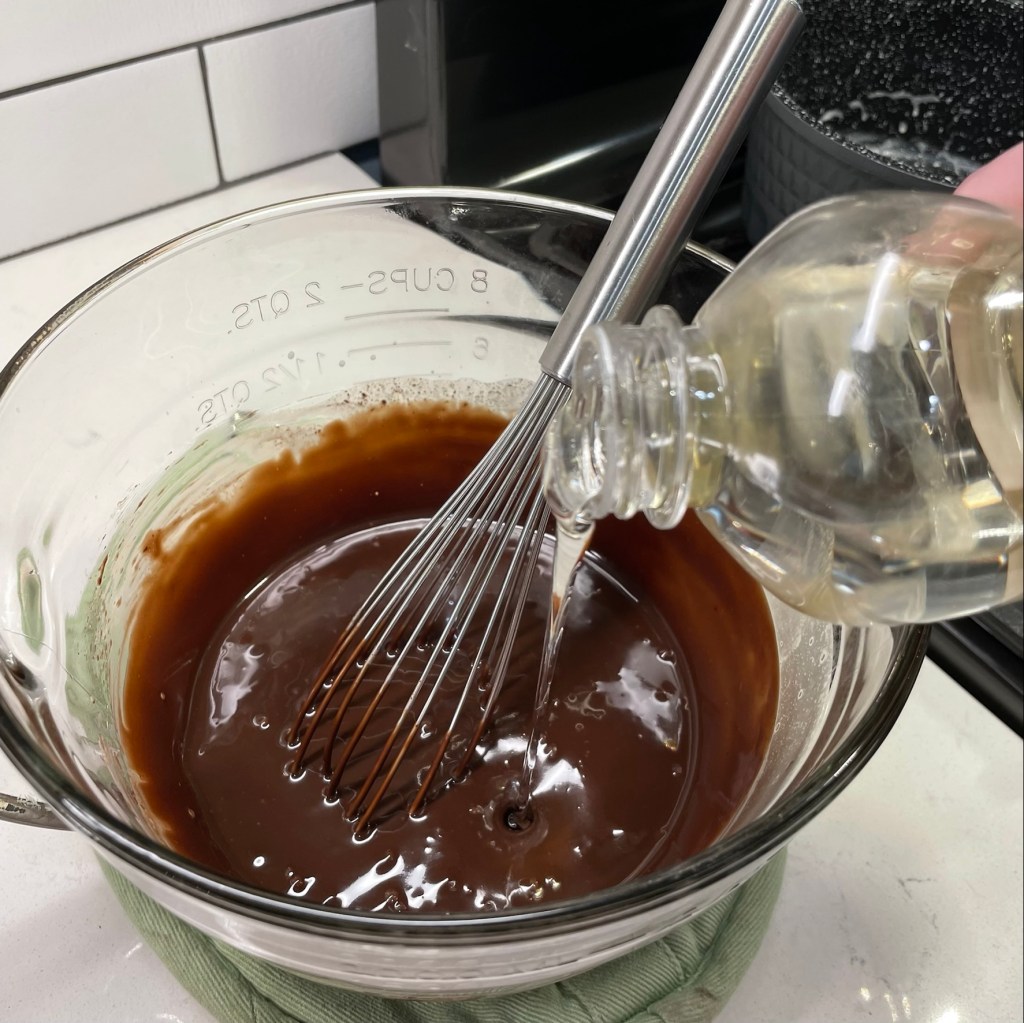
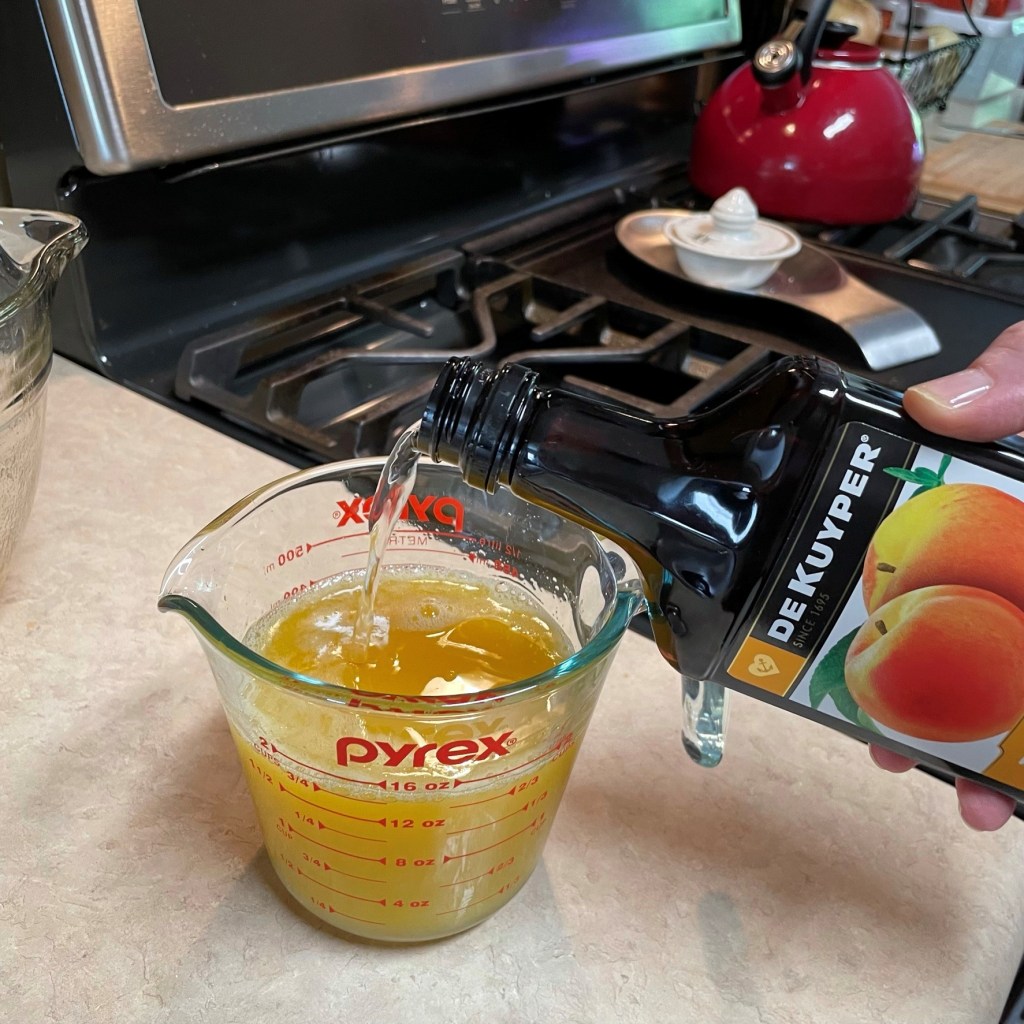
Real Bananas Foster would use spiced rum and banana liqueur, but a simple shot of my dark Jamaican rum was just right in this ice cream. 
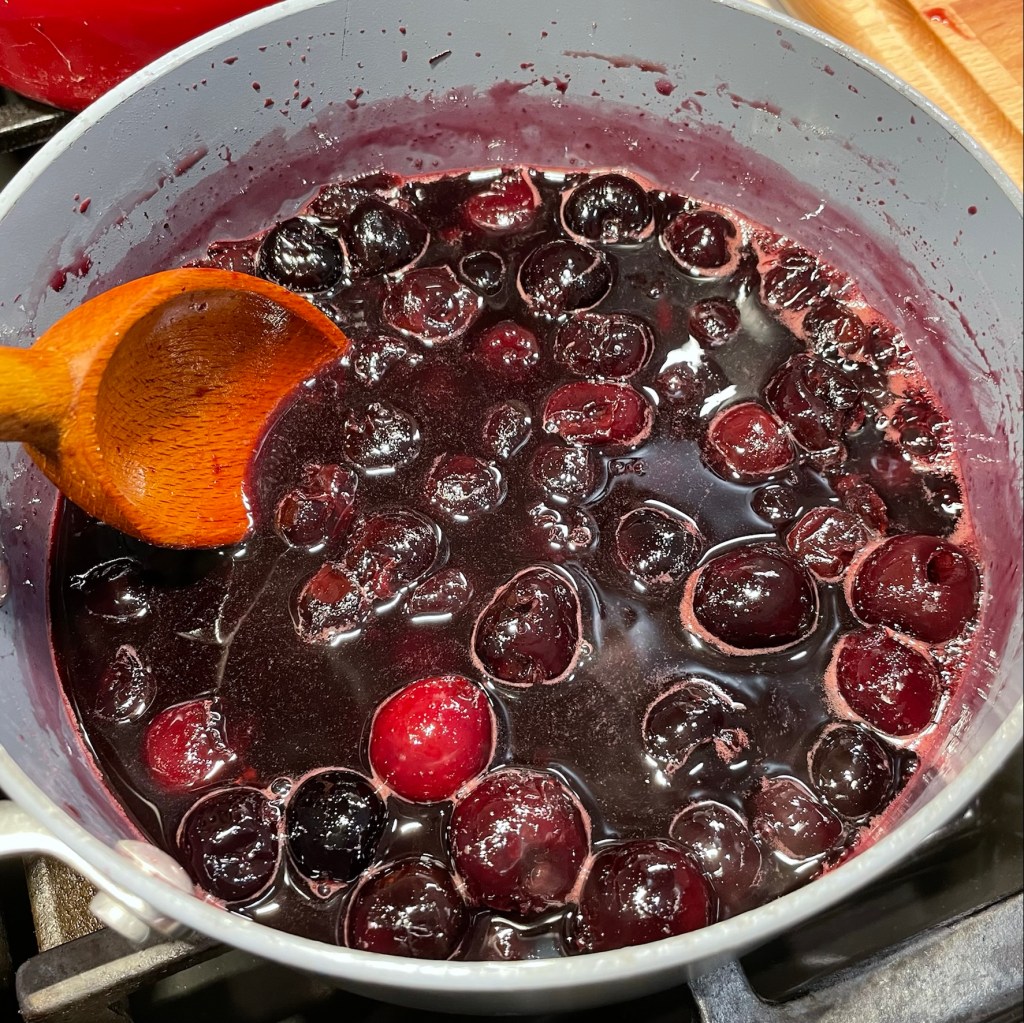
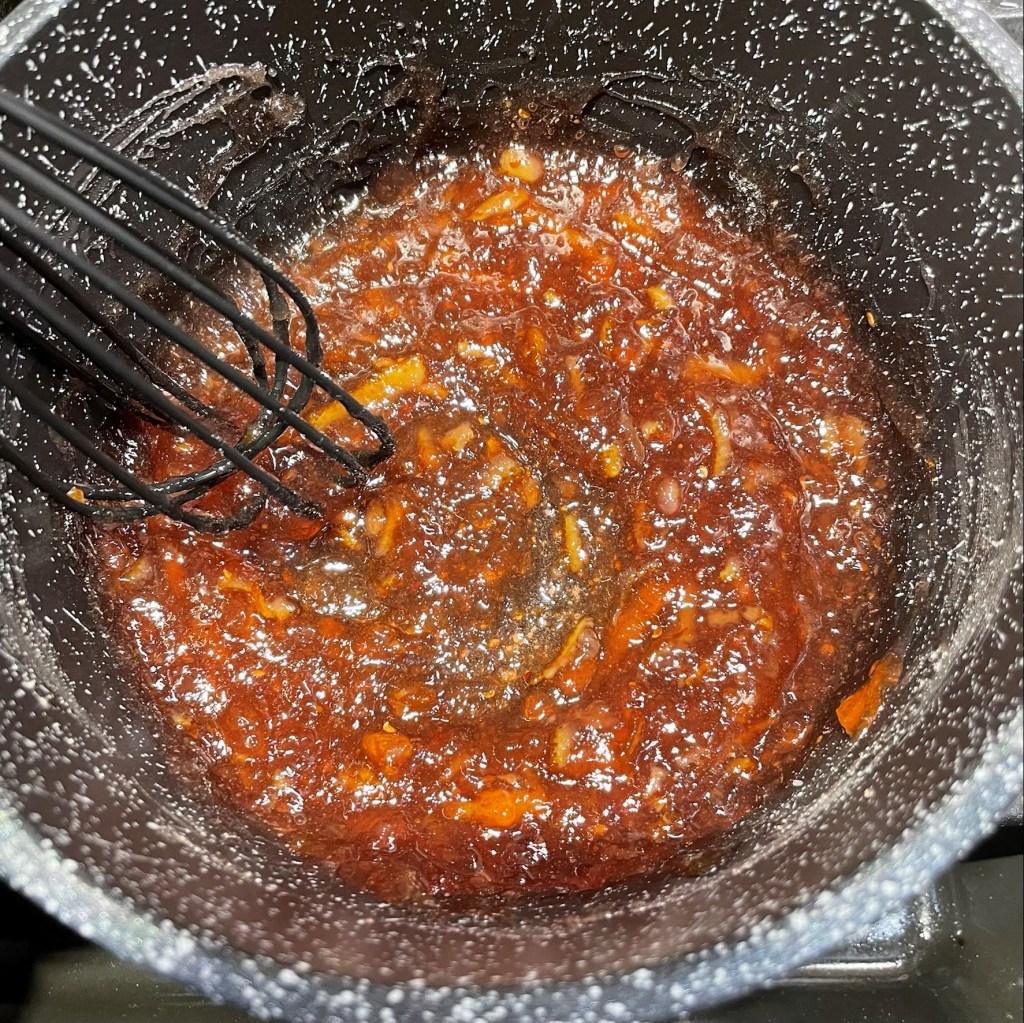
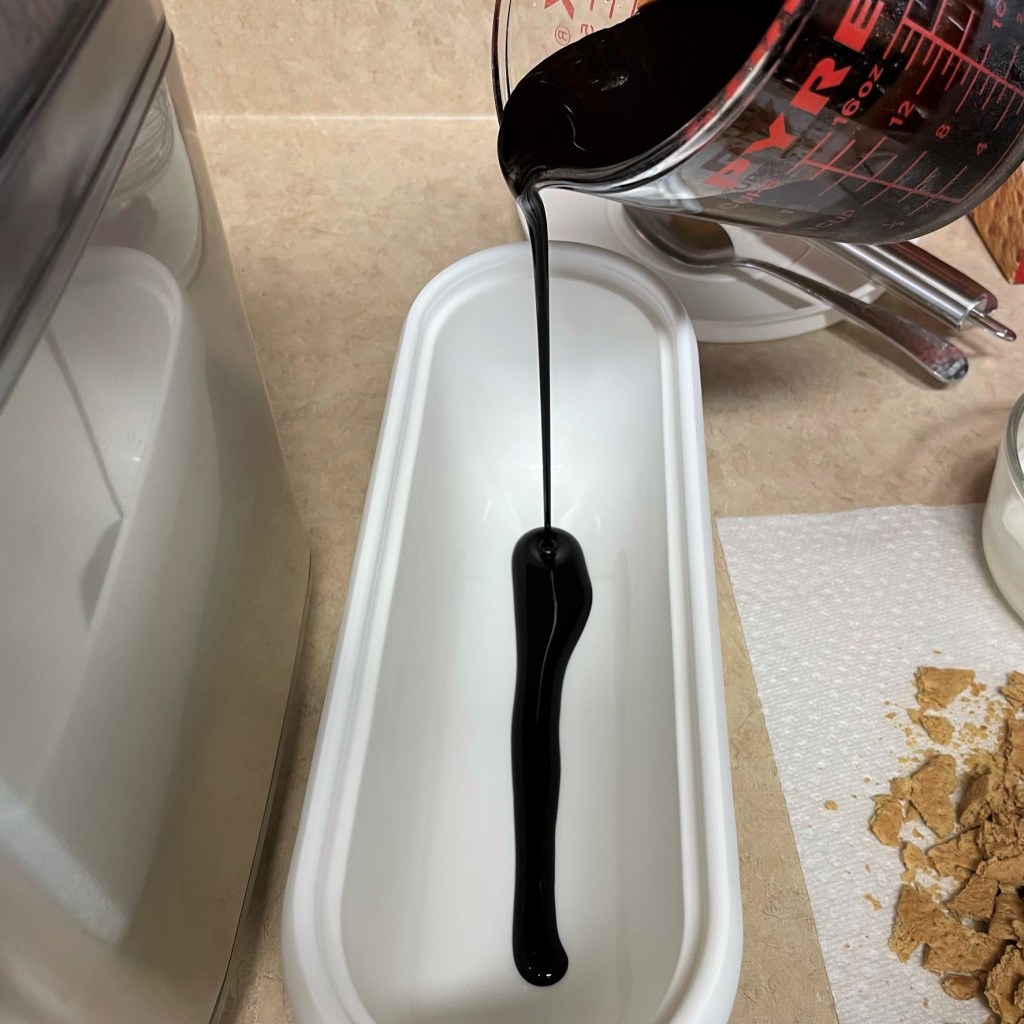
Add the rum when the syrup mixture appears bubbly, and bring it back to a low boil. 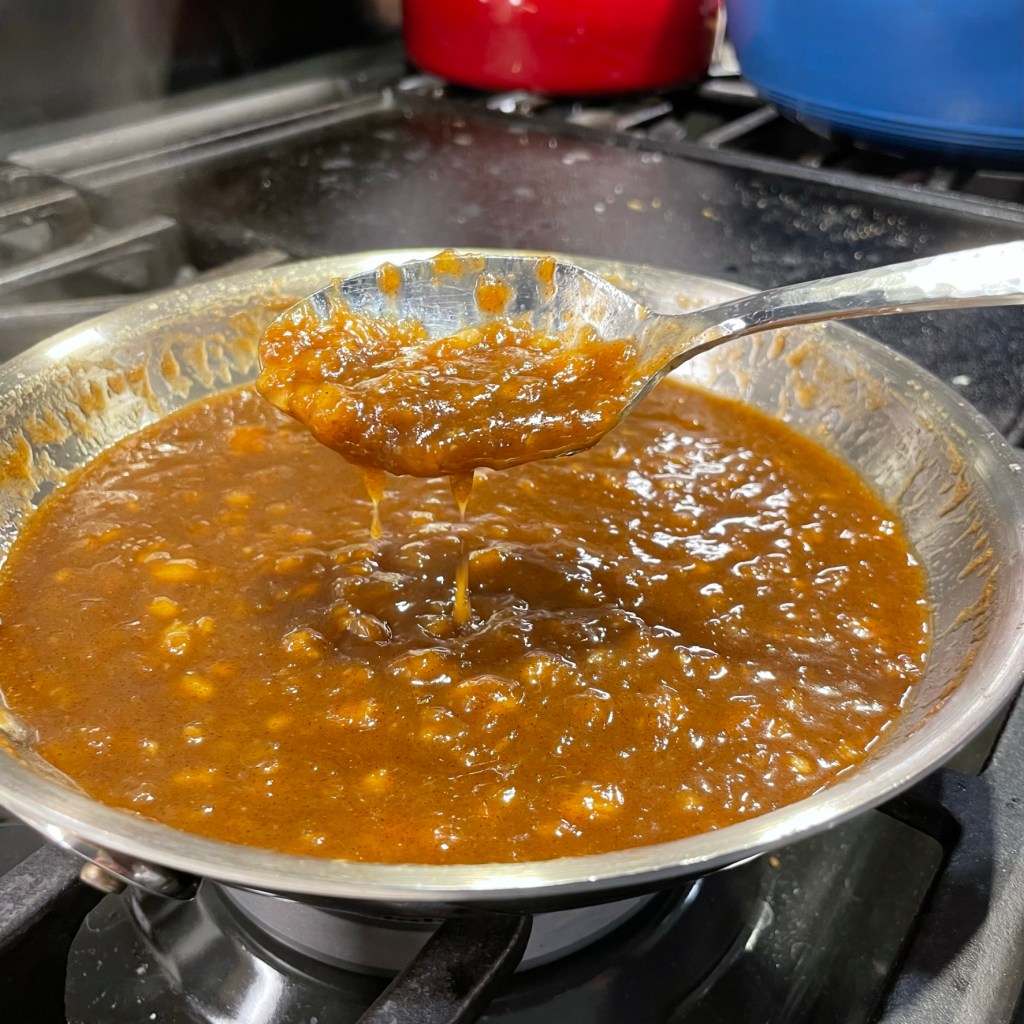
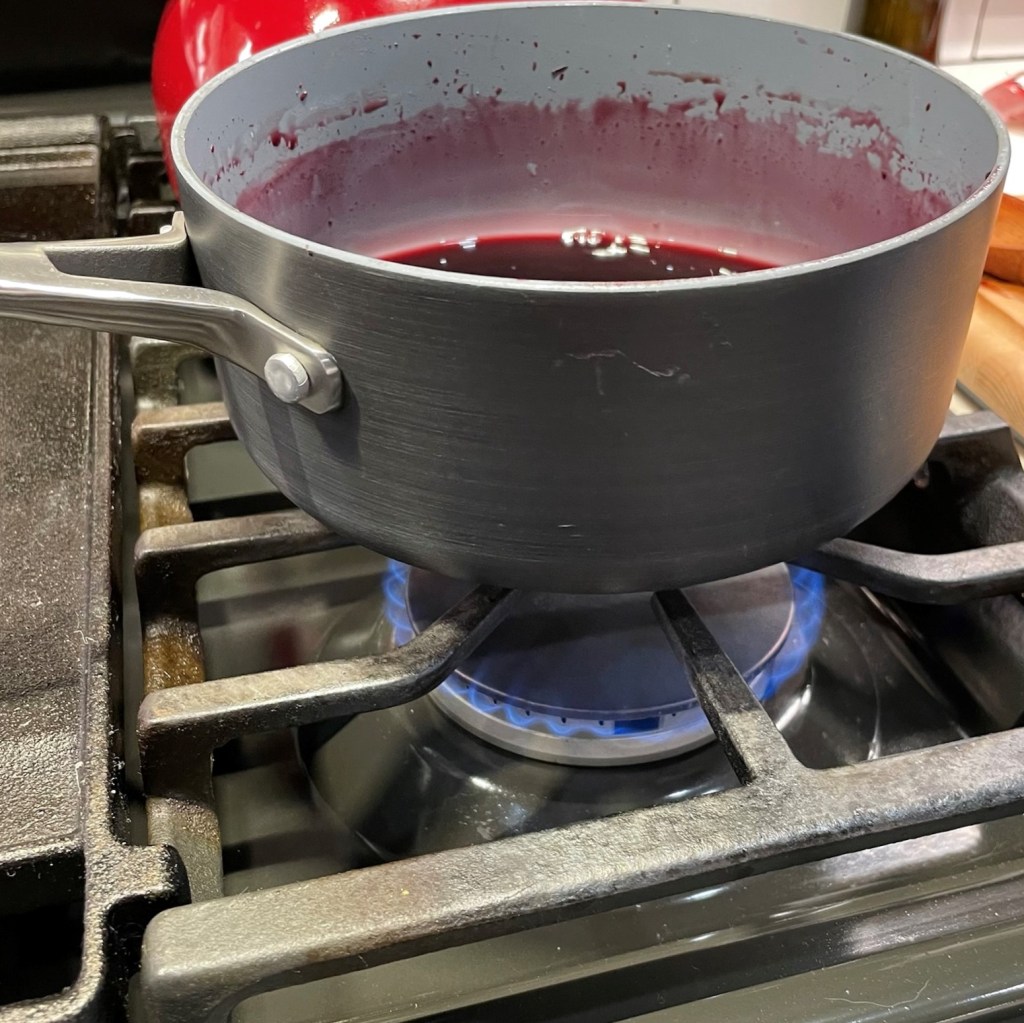
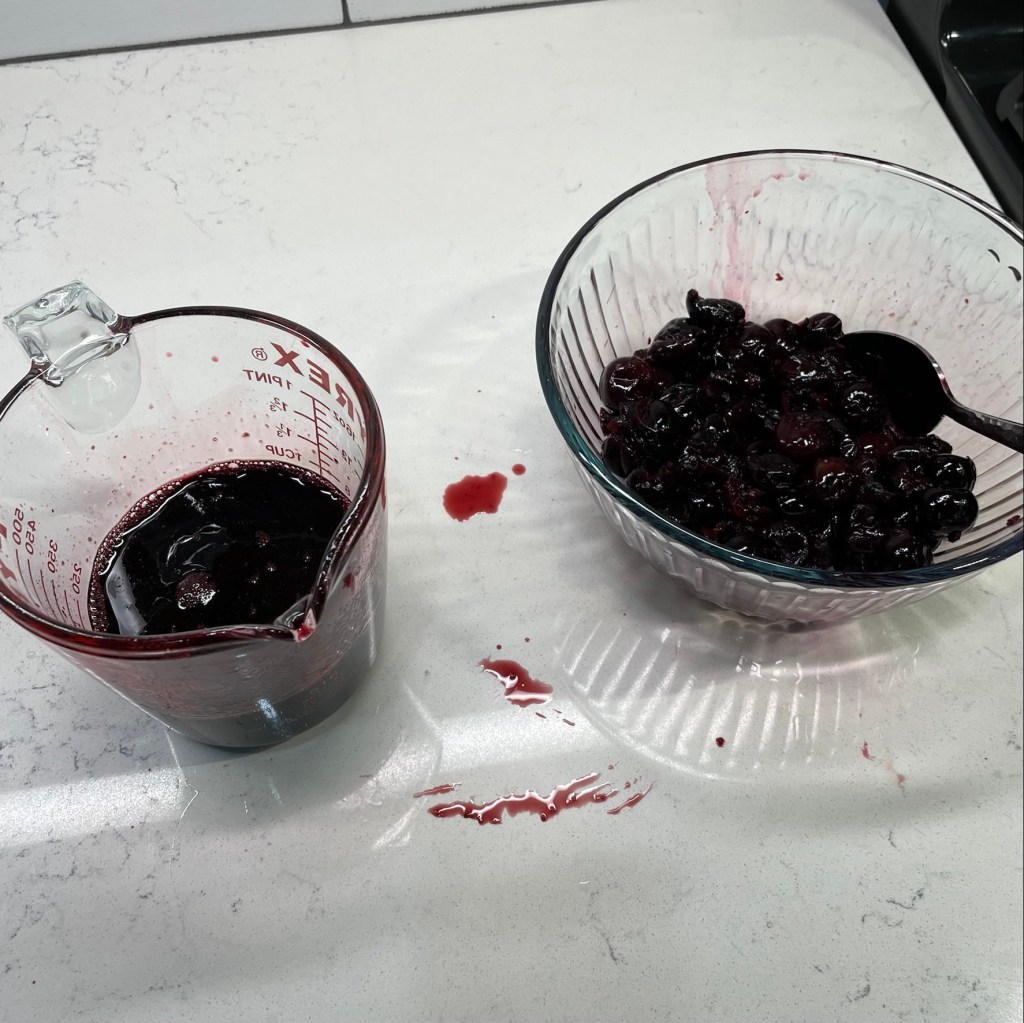
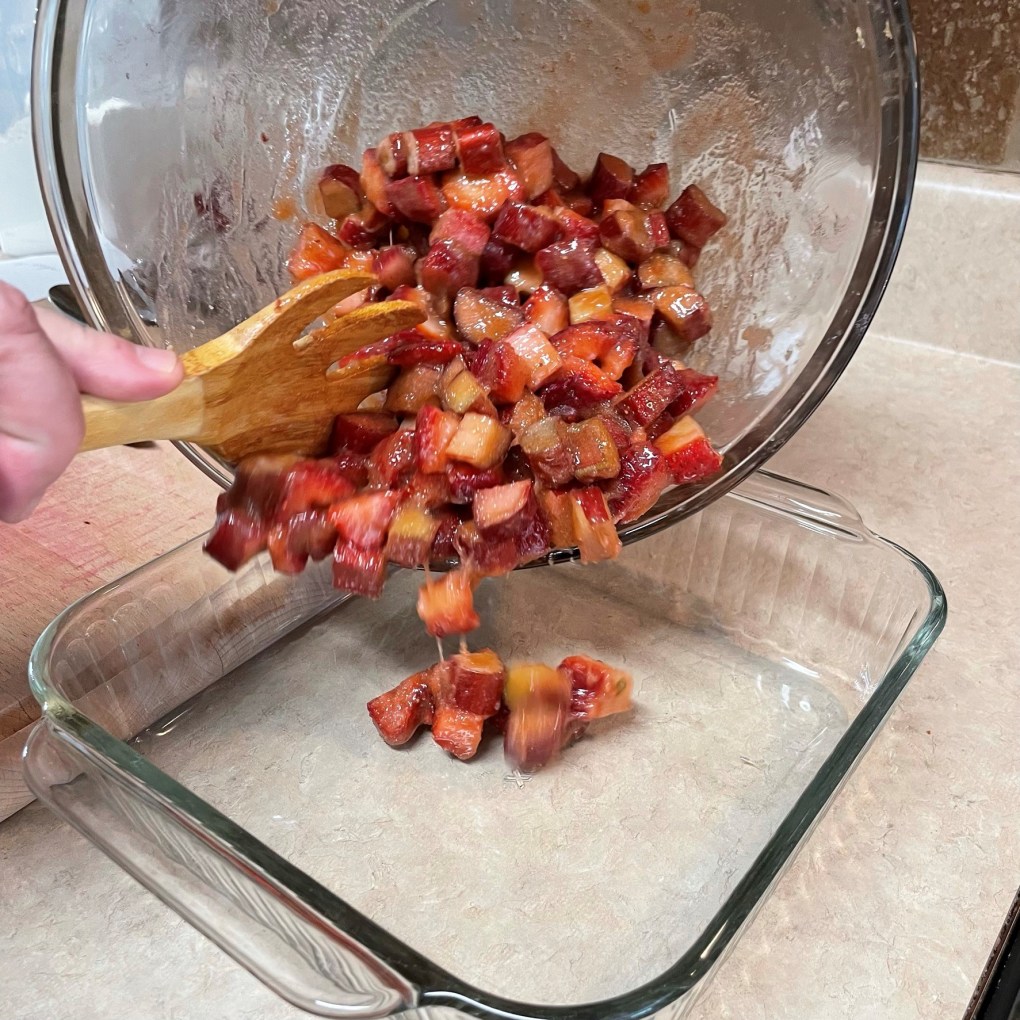
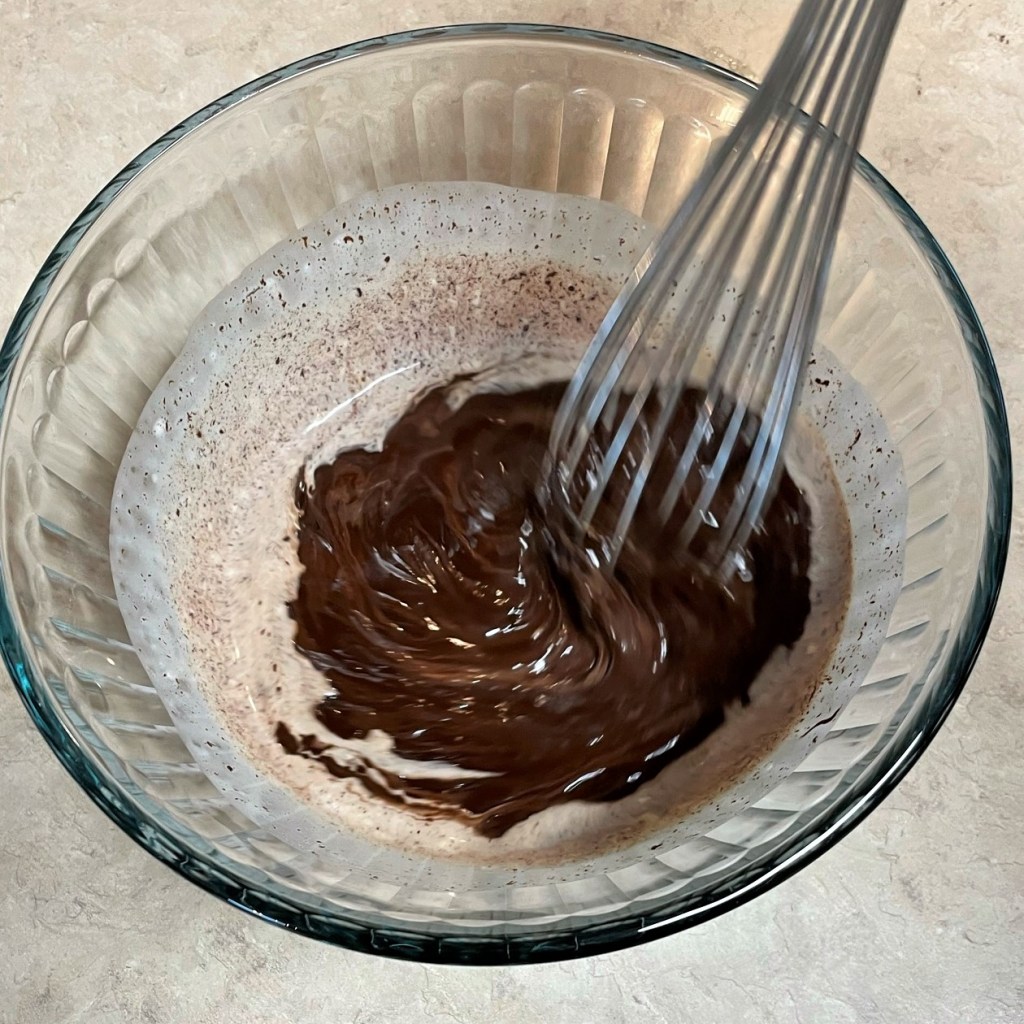
When the mixture is syrupy and thickened, remove from heat and cool completely. Refrigerate overnight.
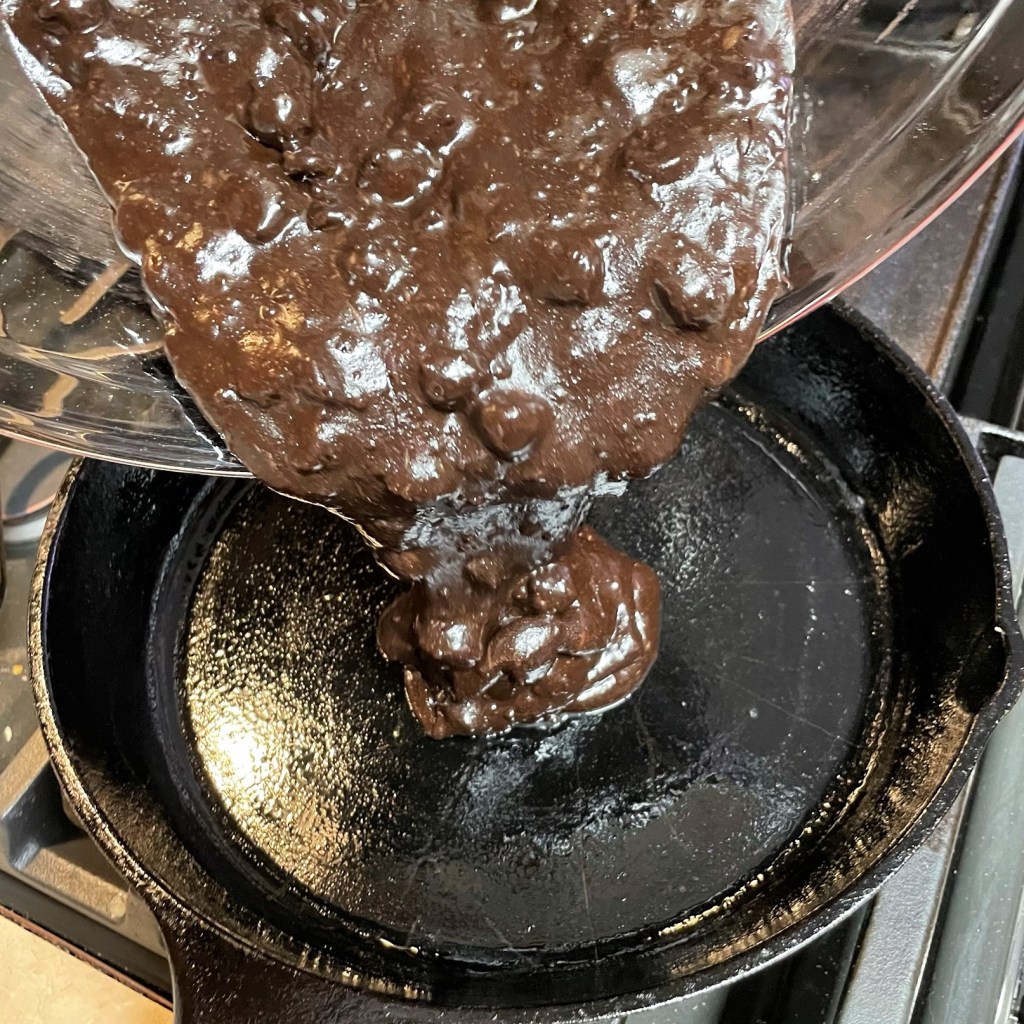
Melt the butter in a medium skillet. Stir in the brown sugar until it seems dissolved and a bit syrupy. Stir in the cinnamon and nutmeg.
Add the bananas to the skillet, one at a time, and mash them into the syrup with a fork. It’s OK to keep a few visible chunks of banana—in fact, I recommend it. When the mixture is bubbling all over, stir in the dark rum until evenly blended. Cook a few minutes longer, until it begins to bubble again, and then remove from heat and let it cool.
Transfer the mixture to a bowl and refrigerate it overnight.
Finishing the Ice Cream
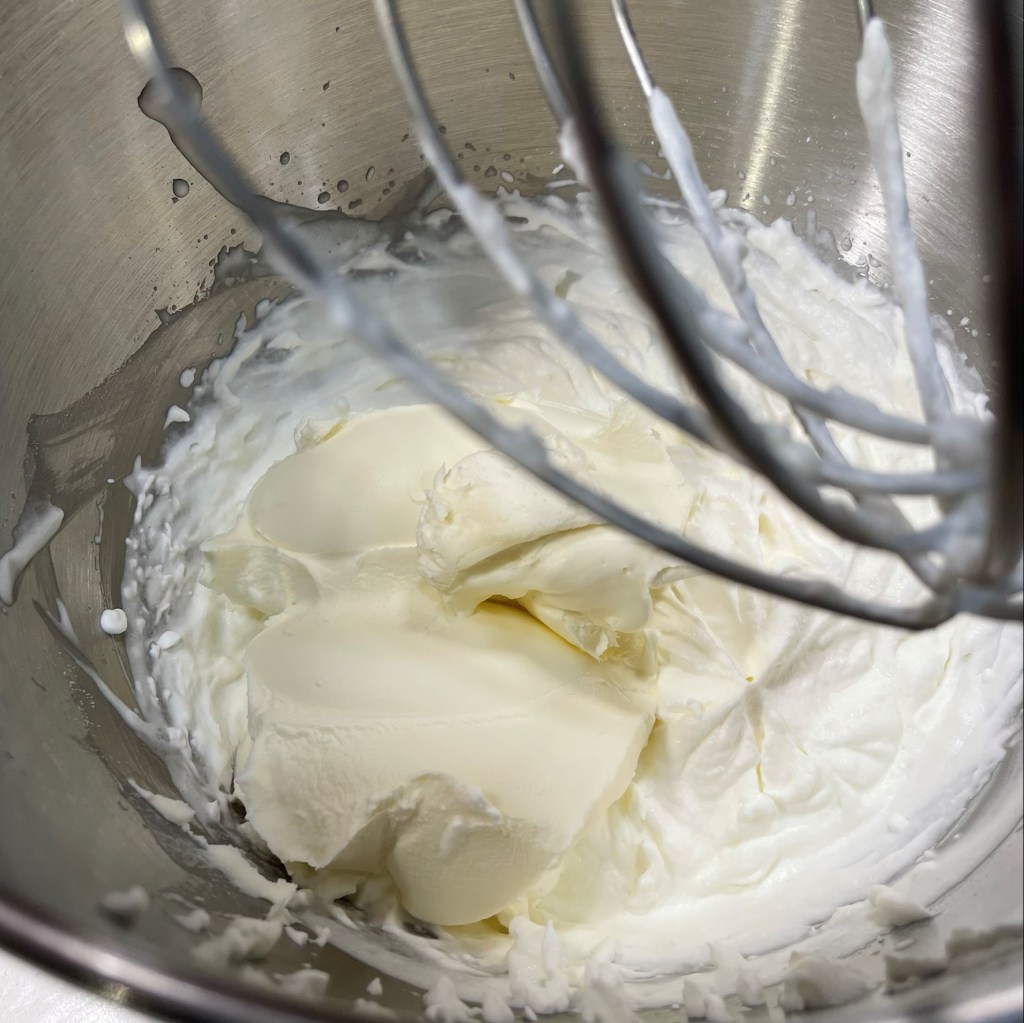
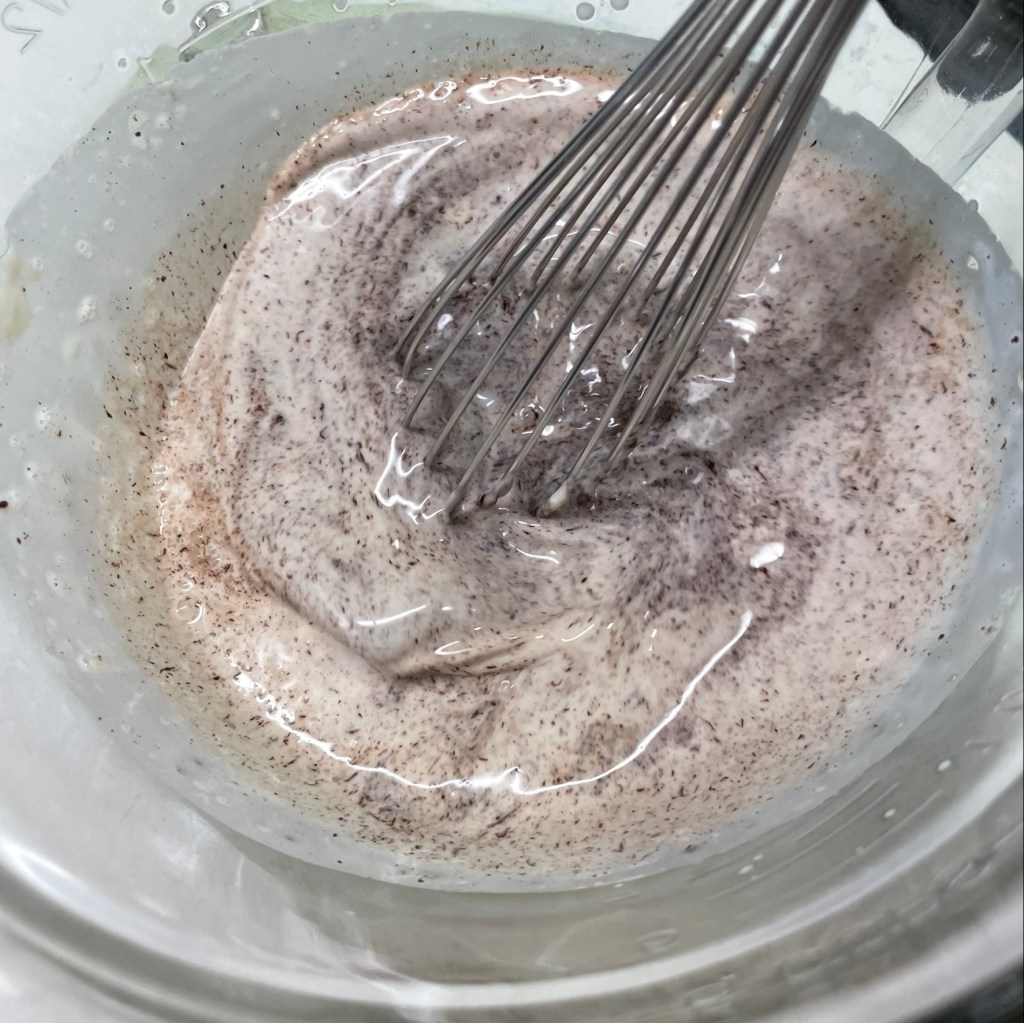
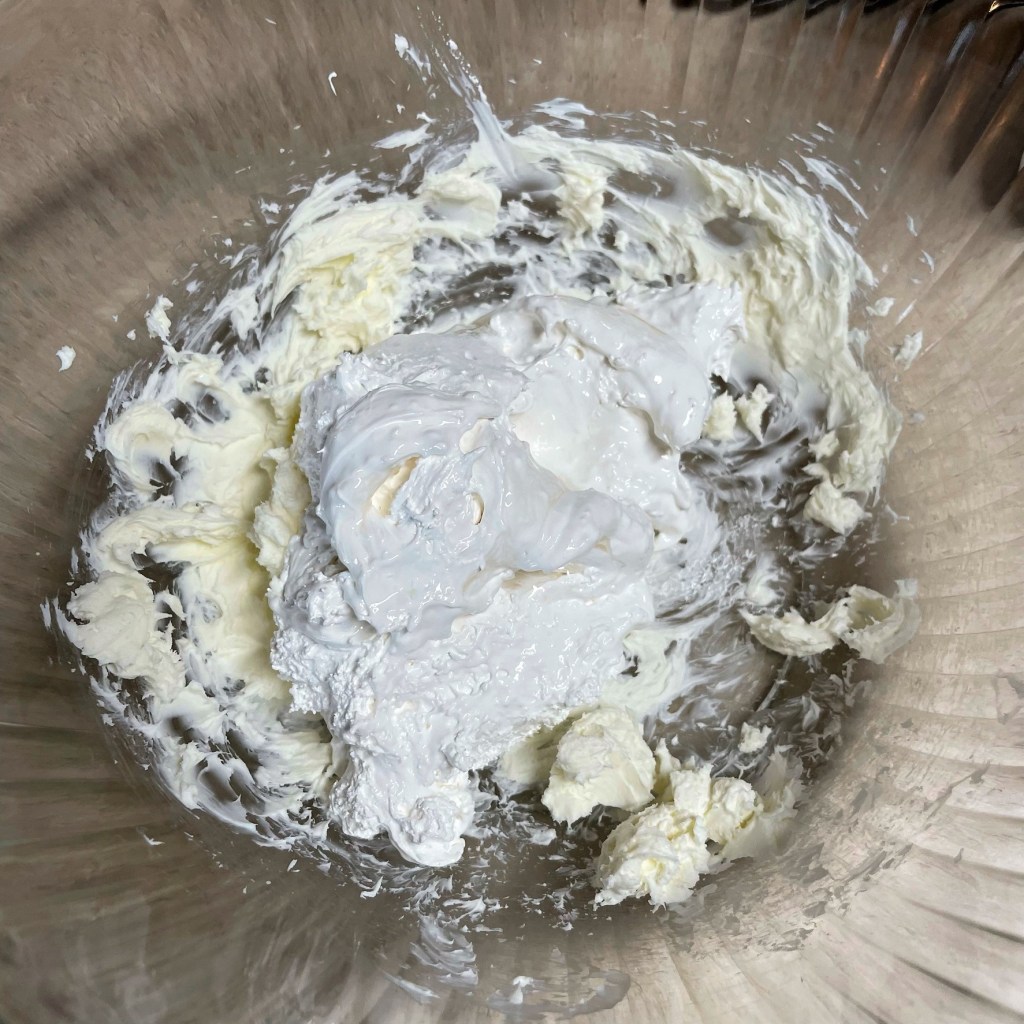
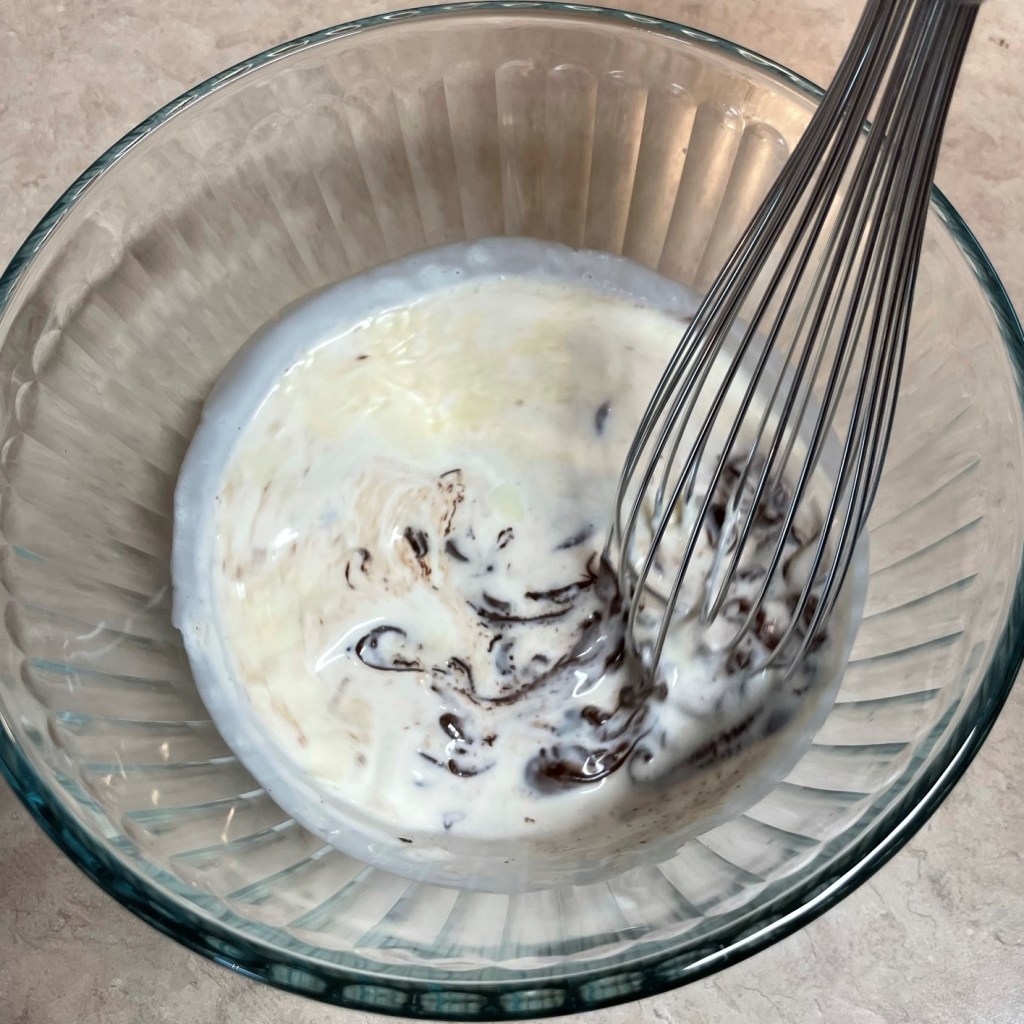
The overnight chill finally calmed down that foam! Stir to reincorporate any settled ingredients. 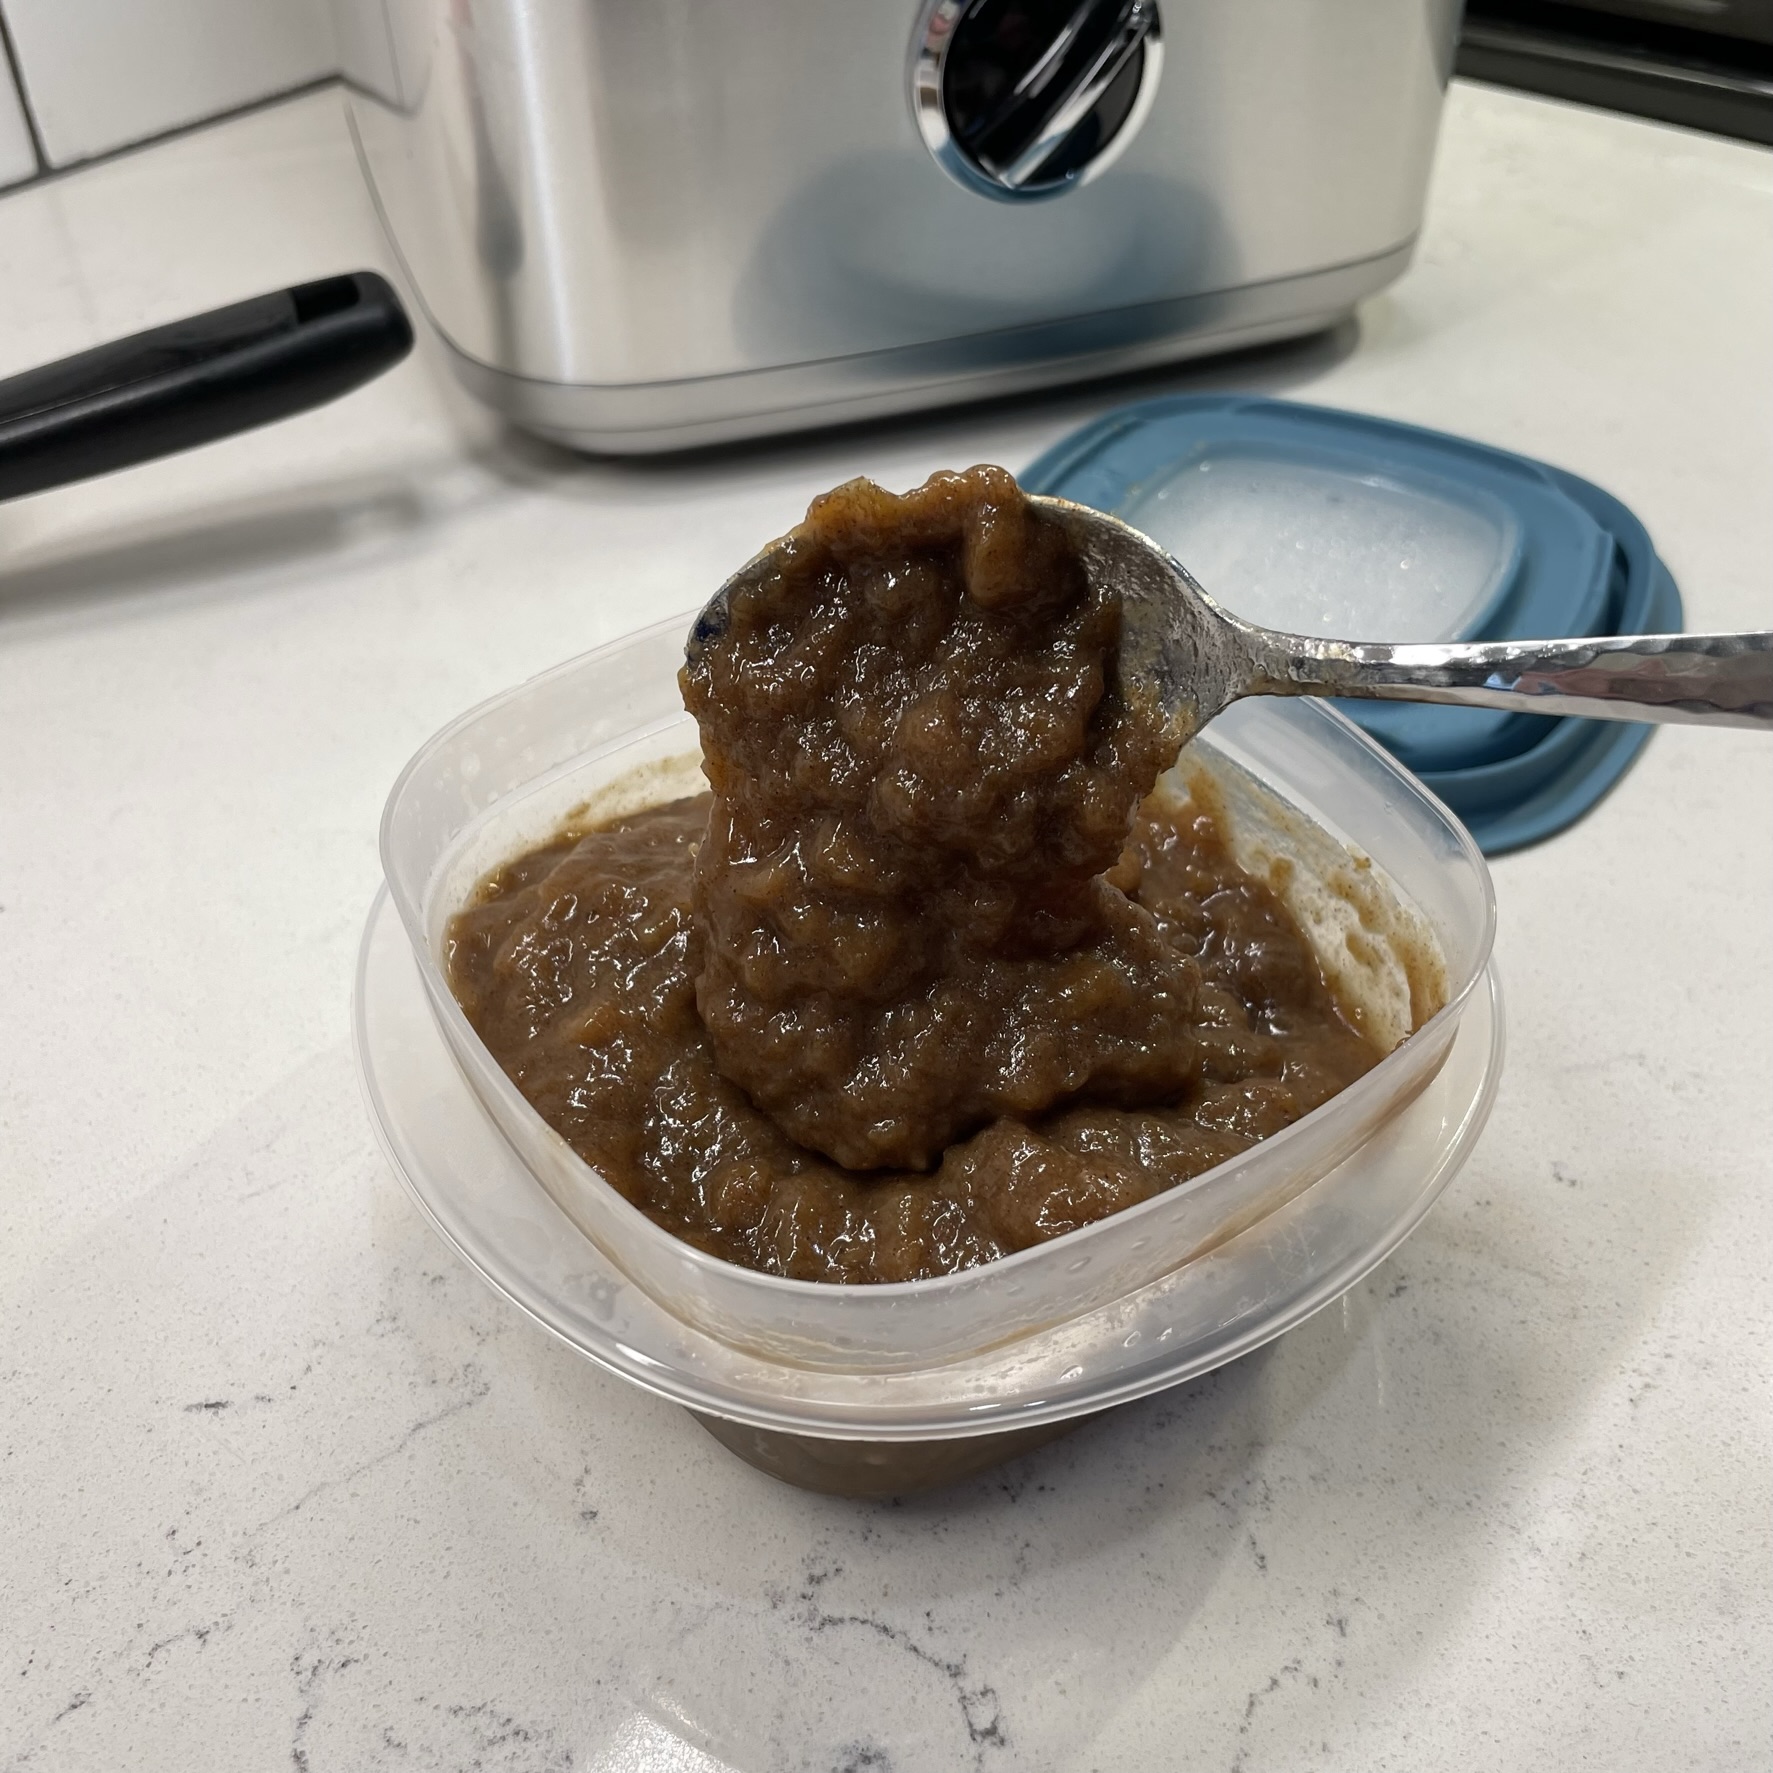
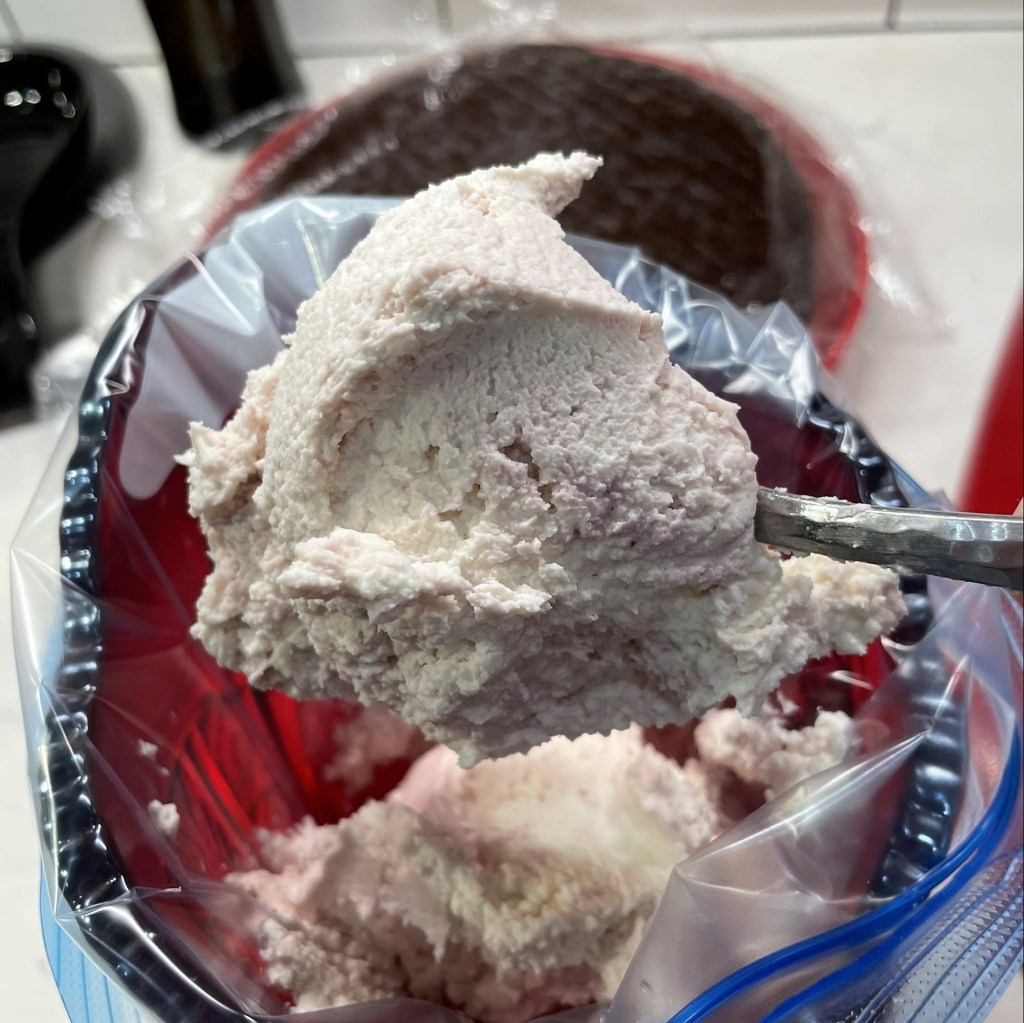
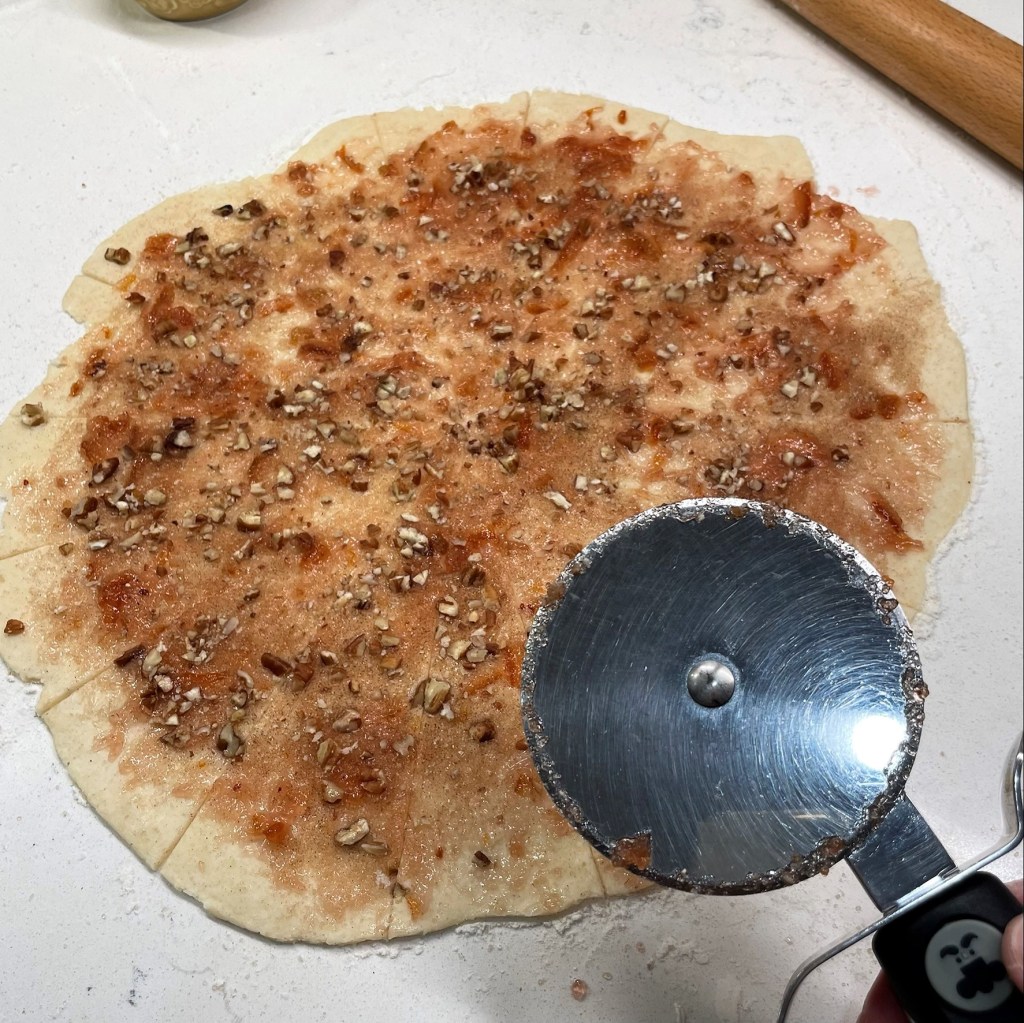
The spiced banana mixture was thick, so I placed it in a zip-top bag for easy layering when the ice cream was churned. 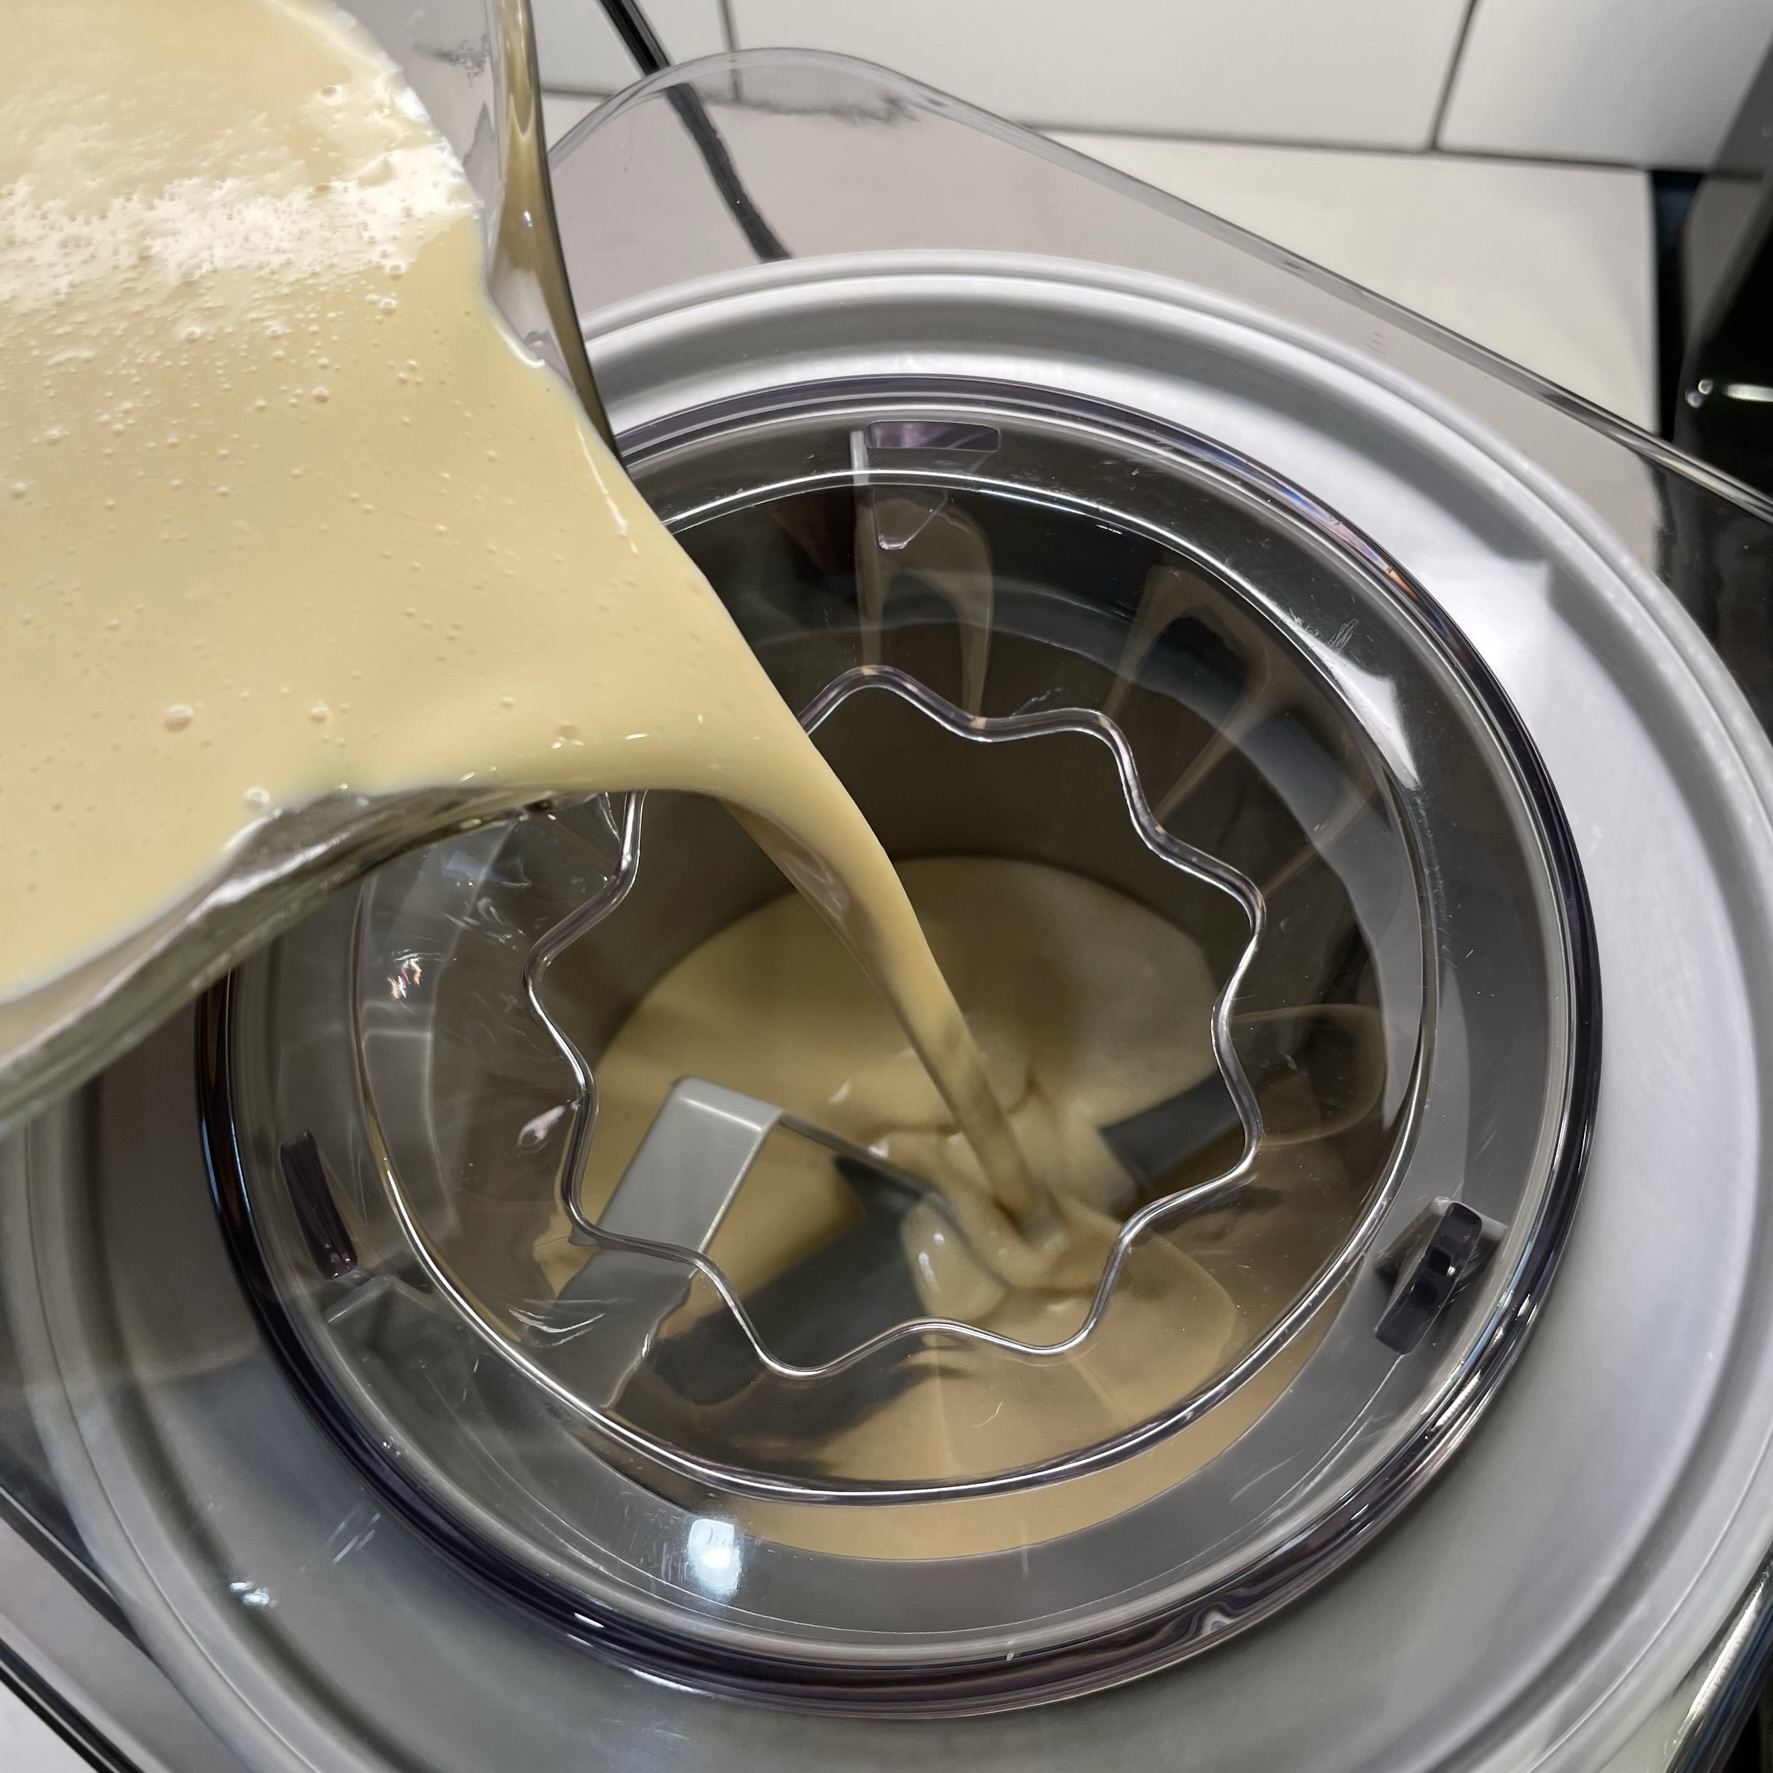
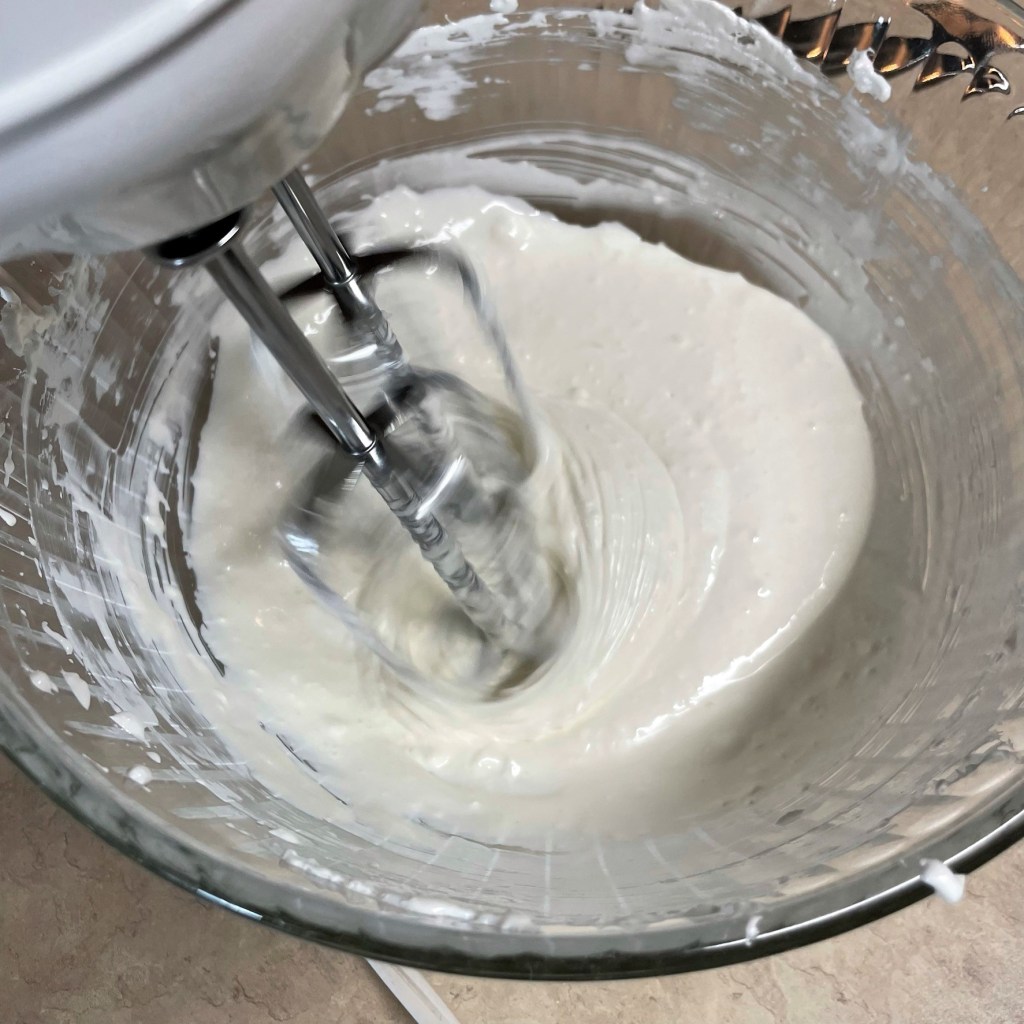
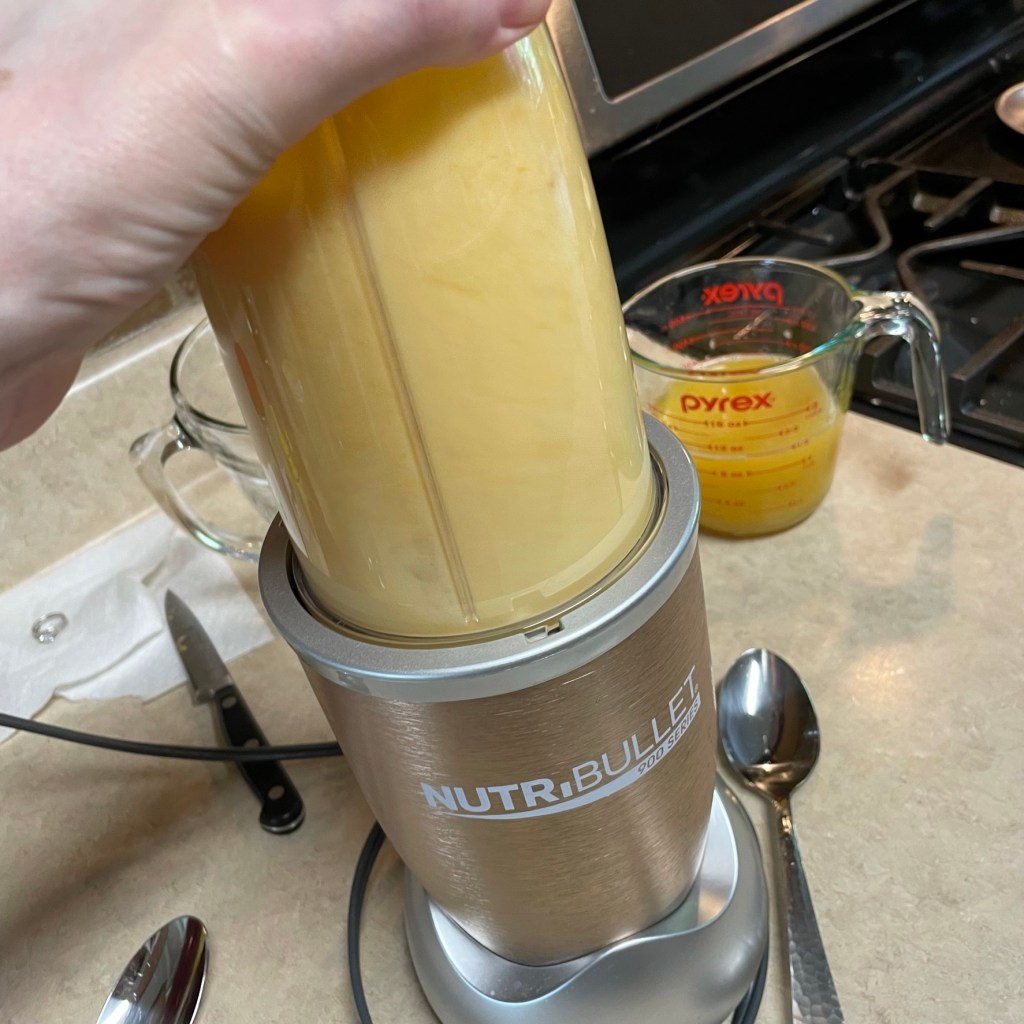
Freeze the custard, following the instructions for your ice cream machine. 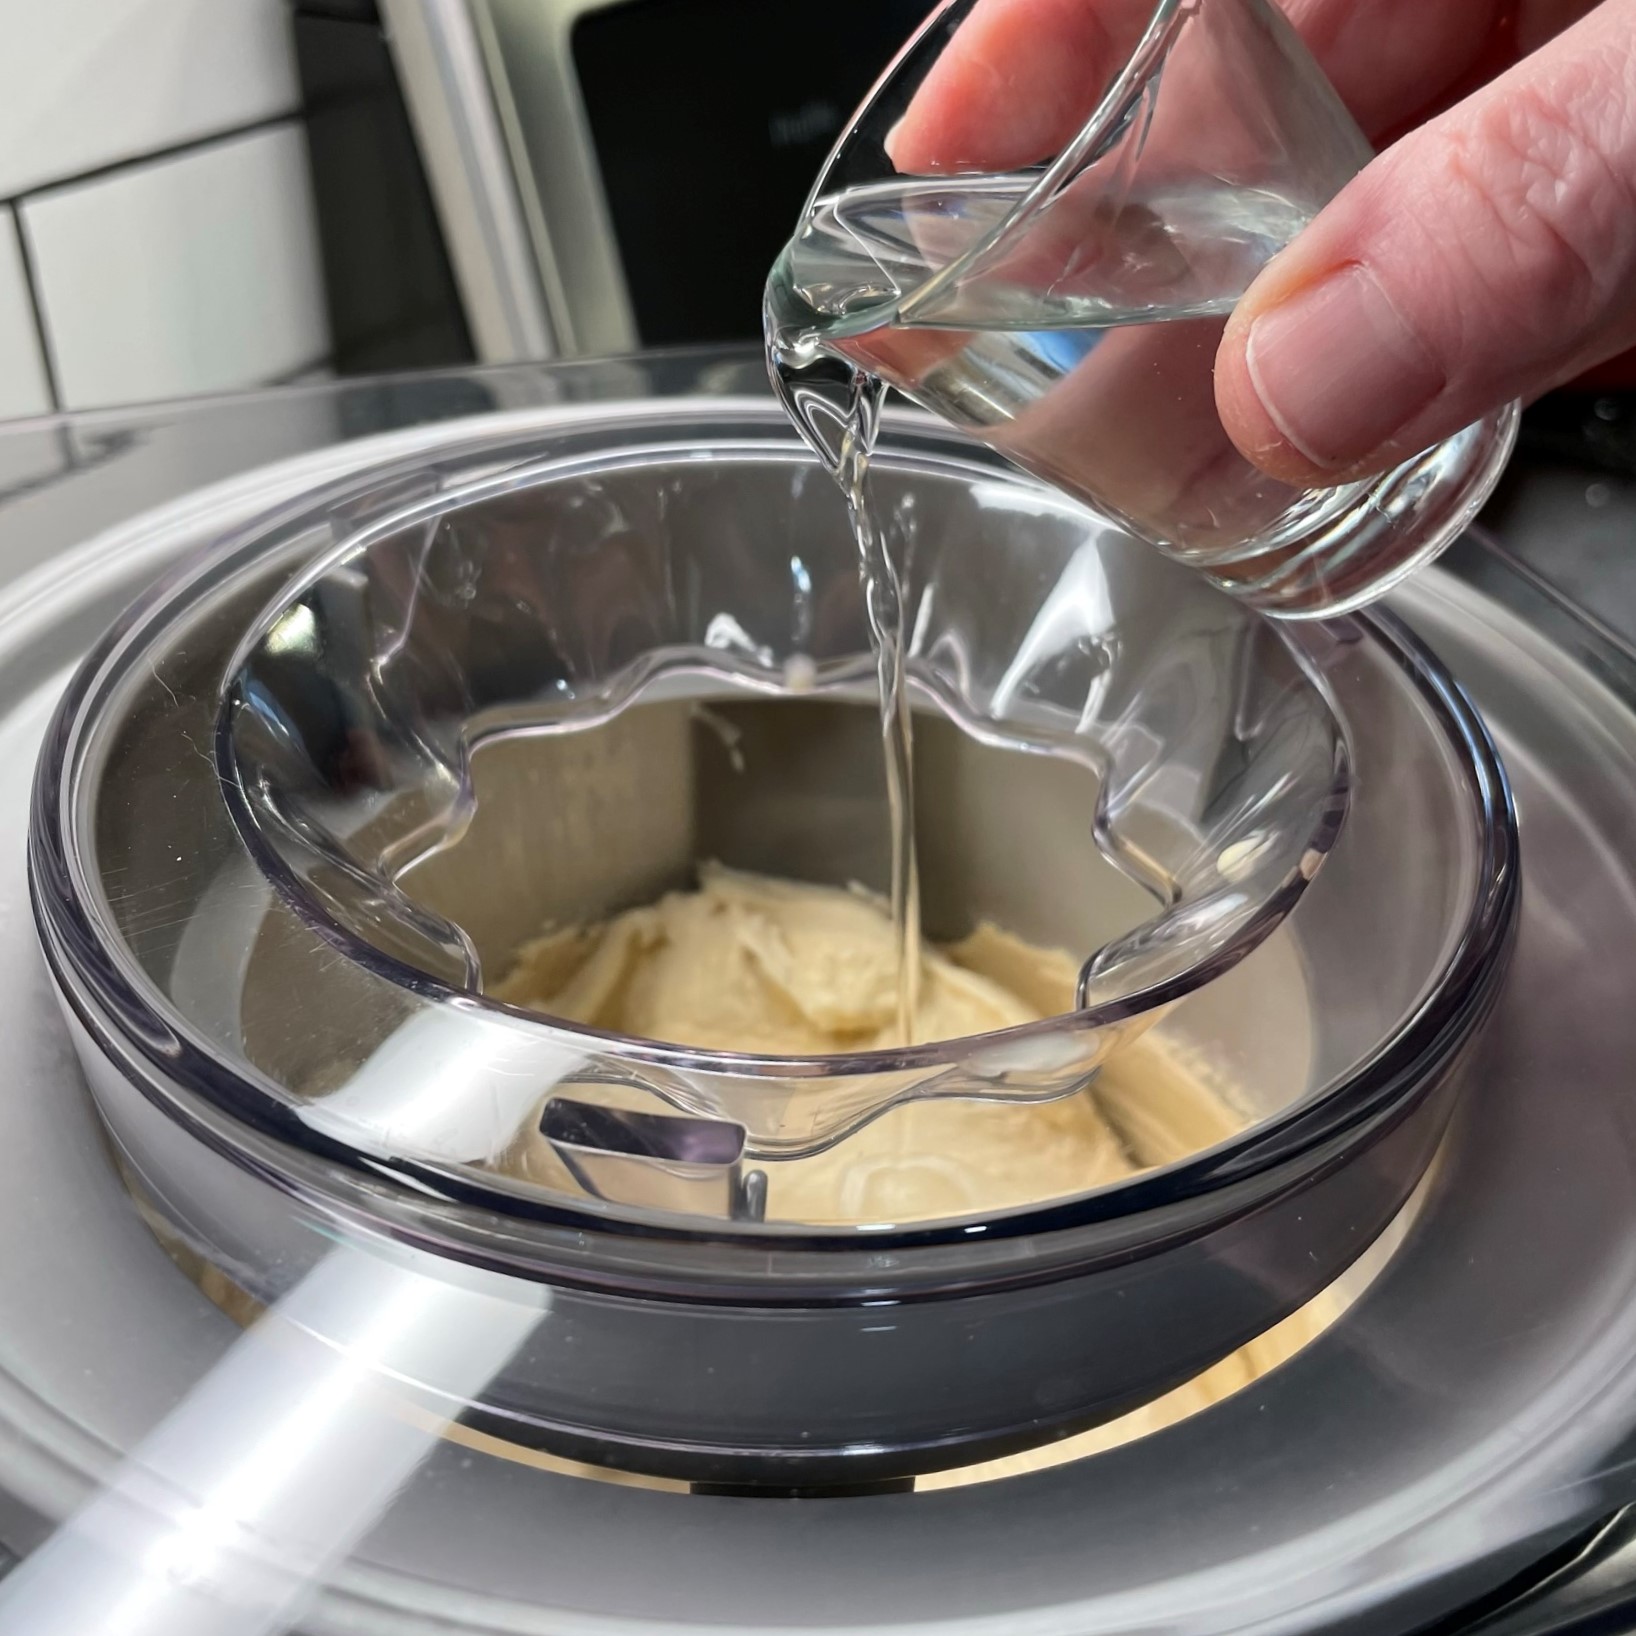
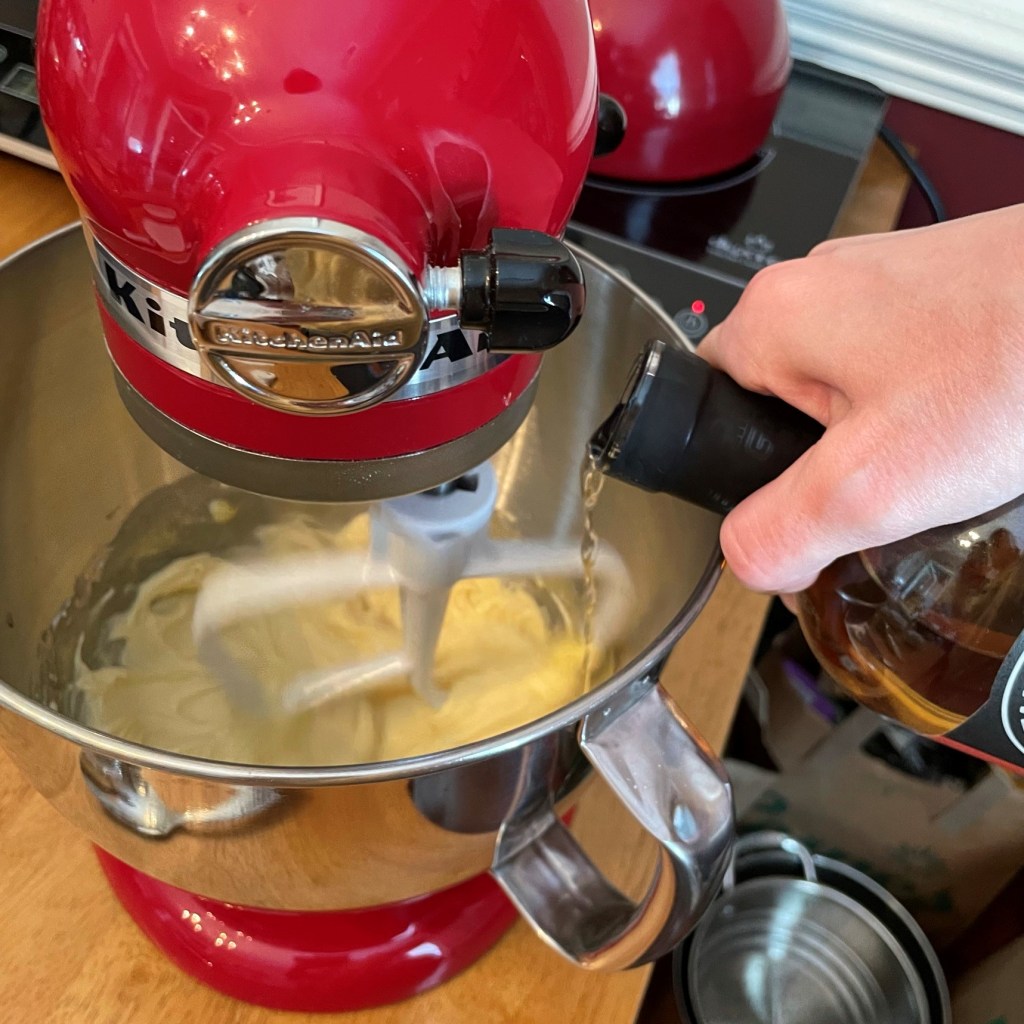
When the ice cream is soft-serve consistency, blend in the optional vodka, which improves the texture for easy scooping. 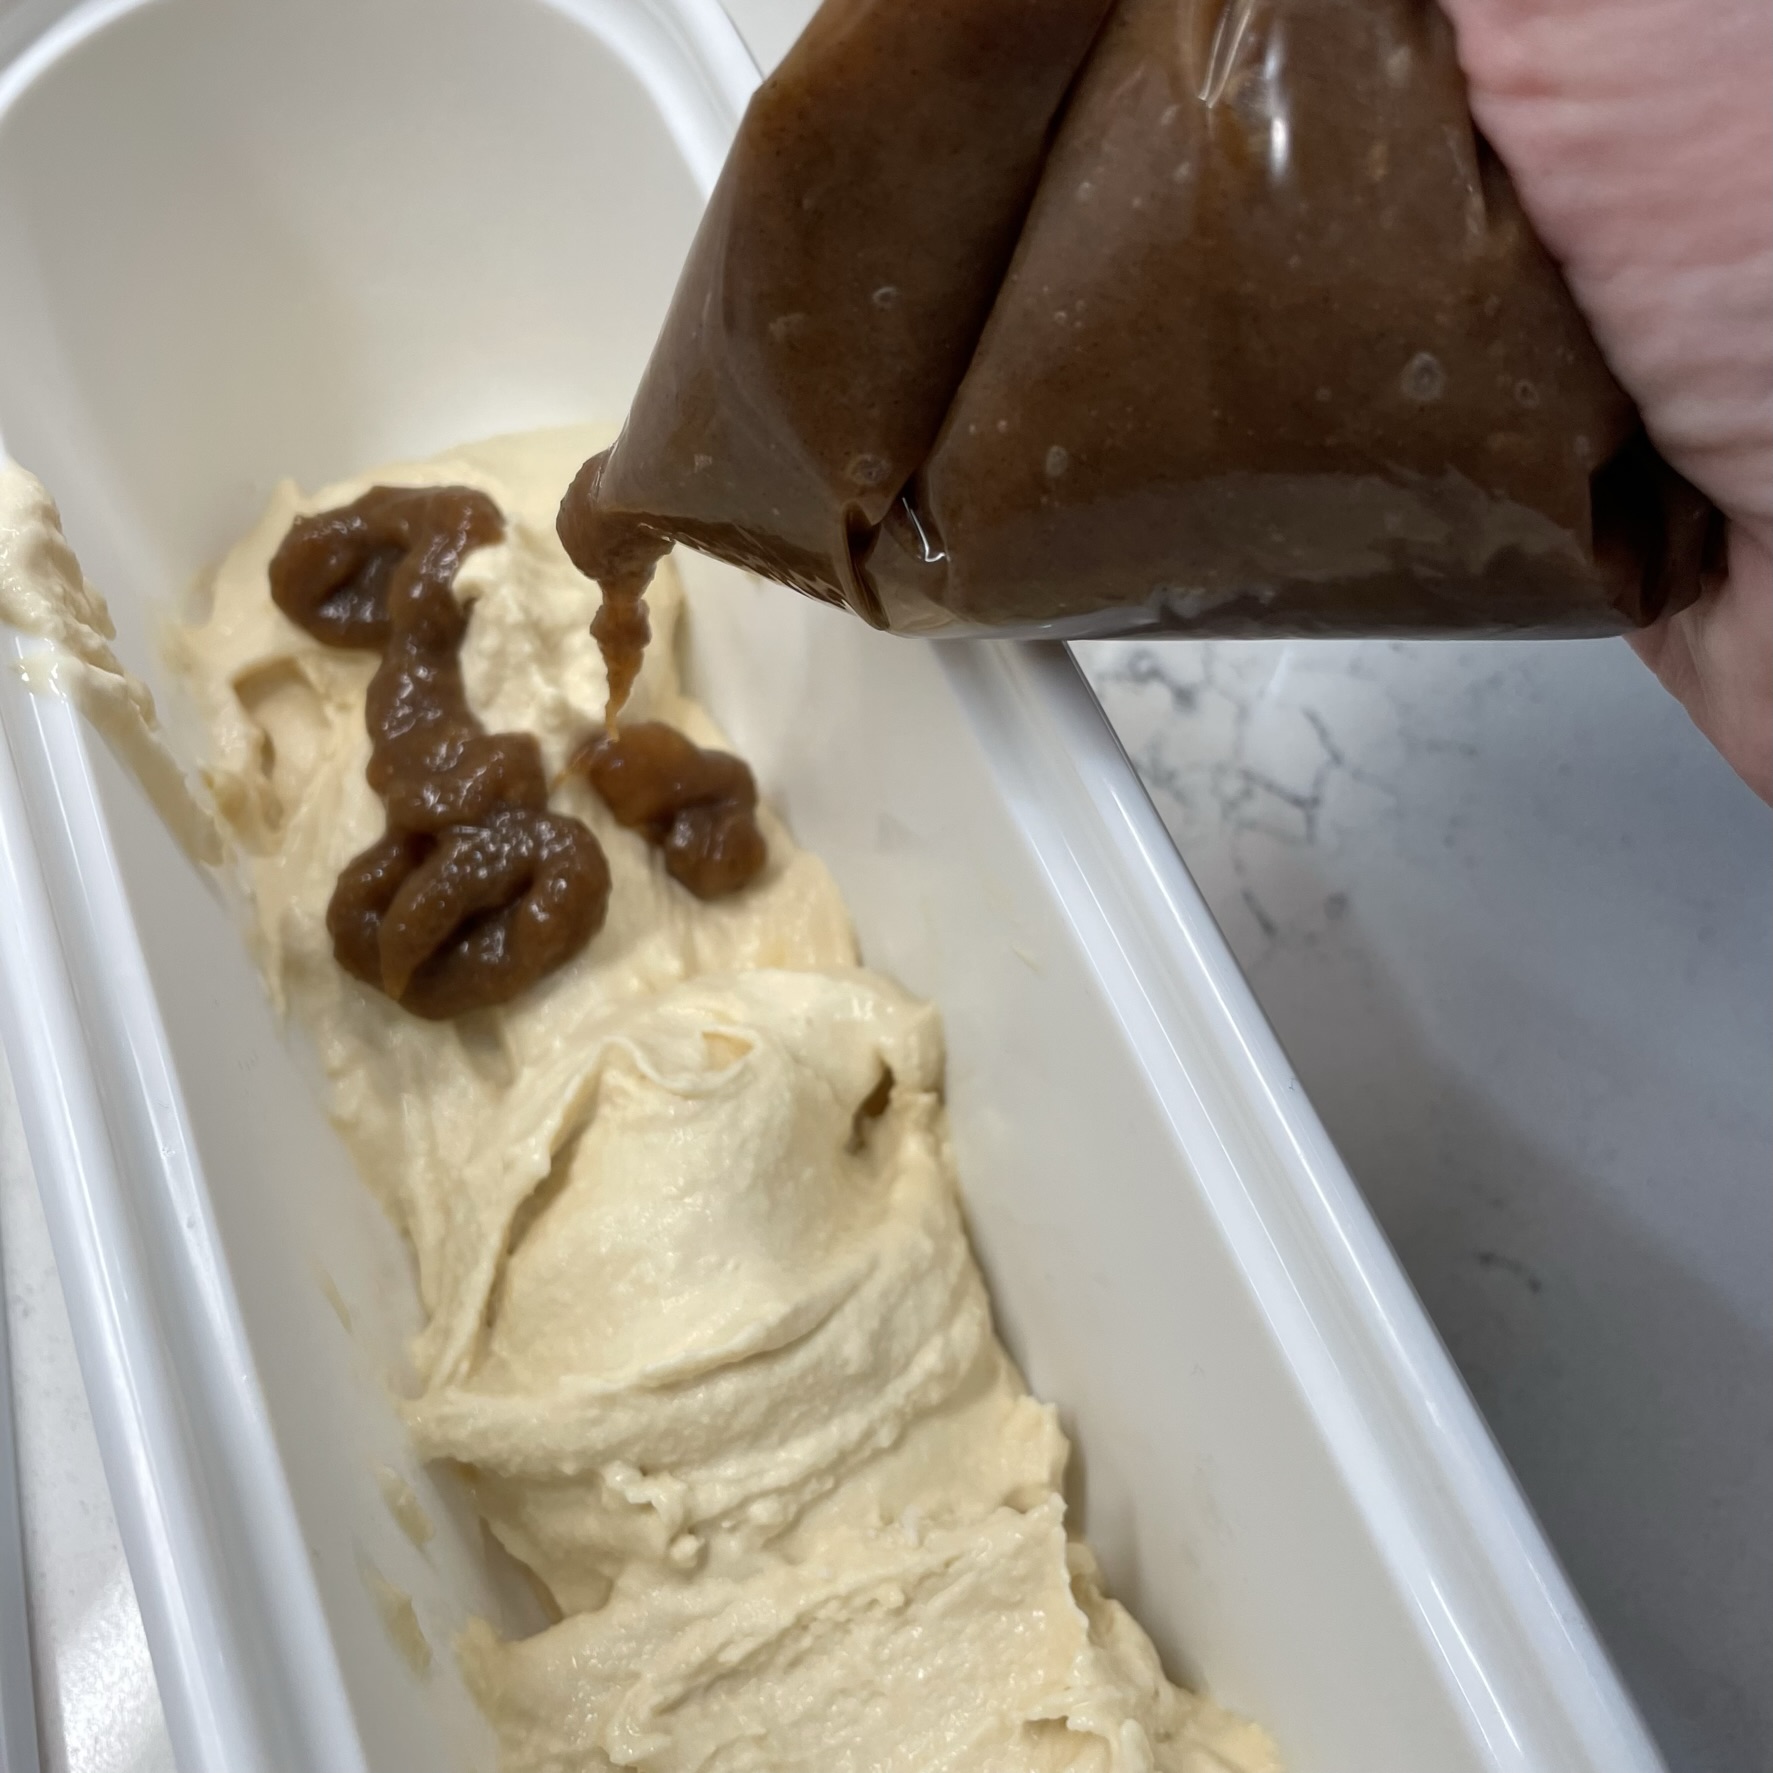
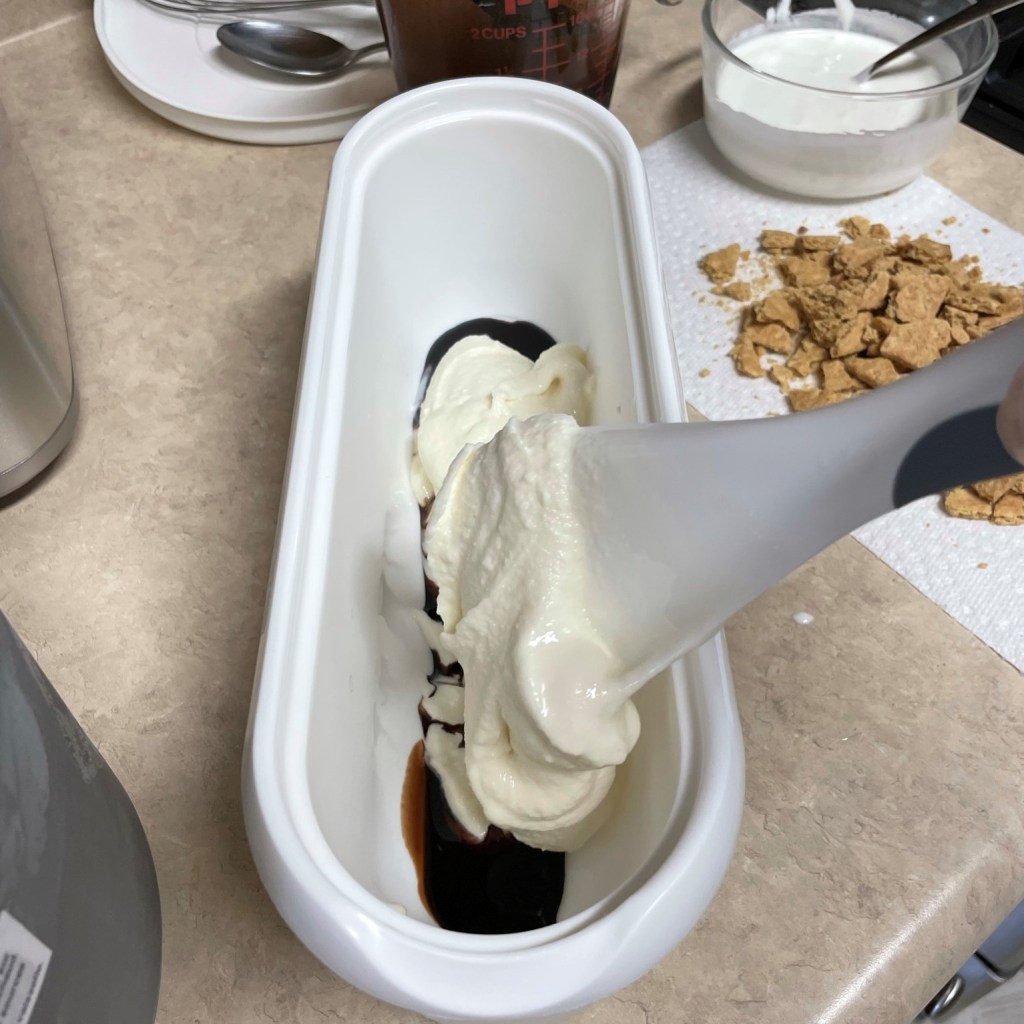
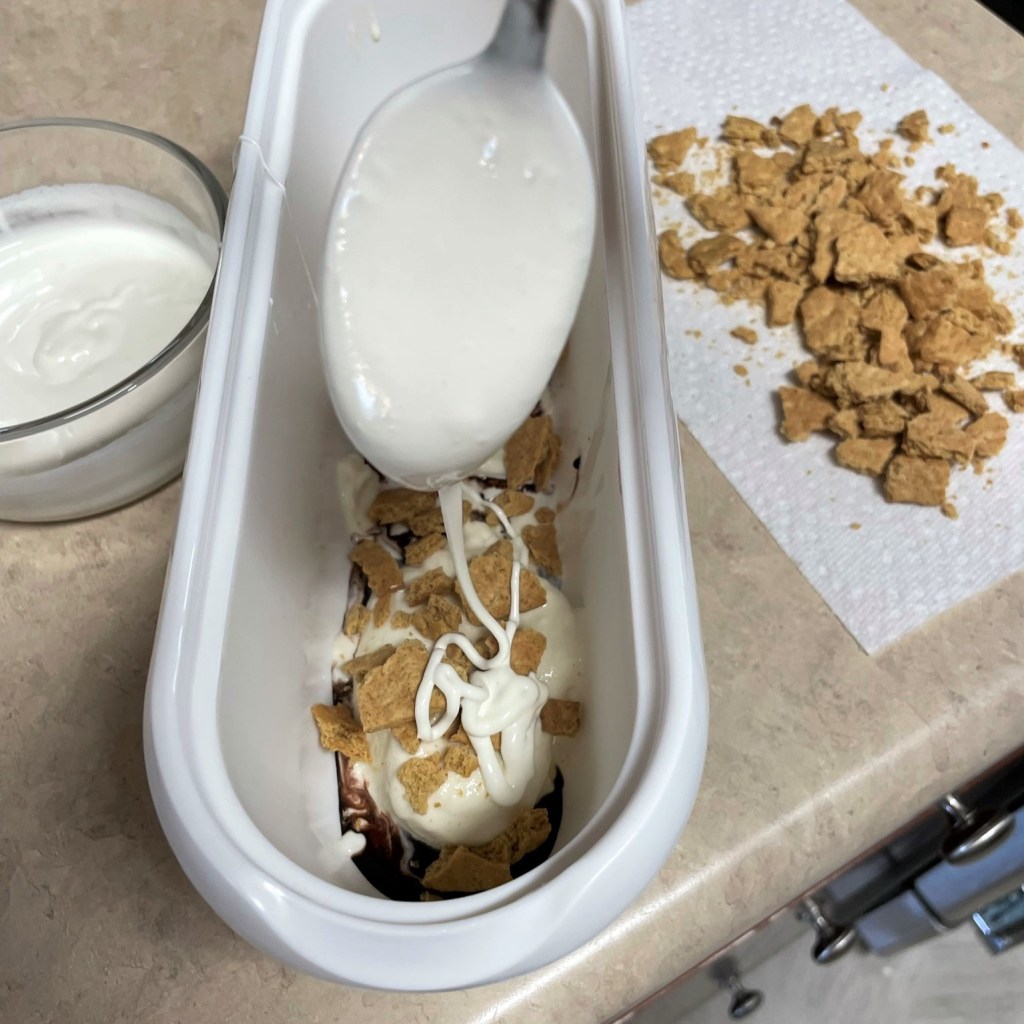
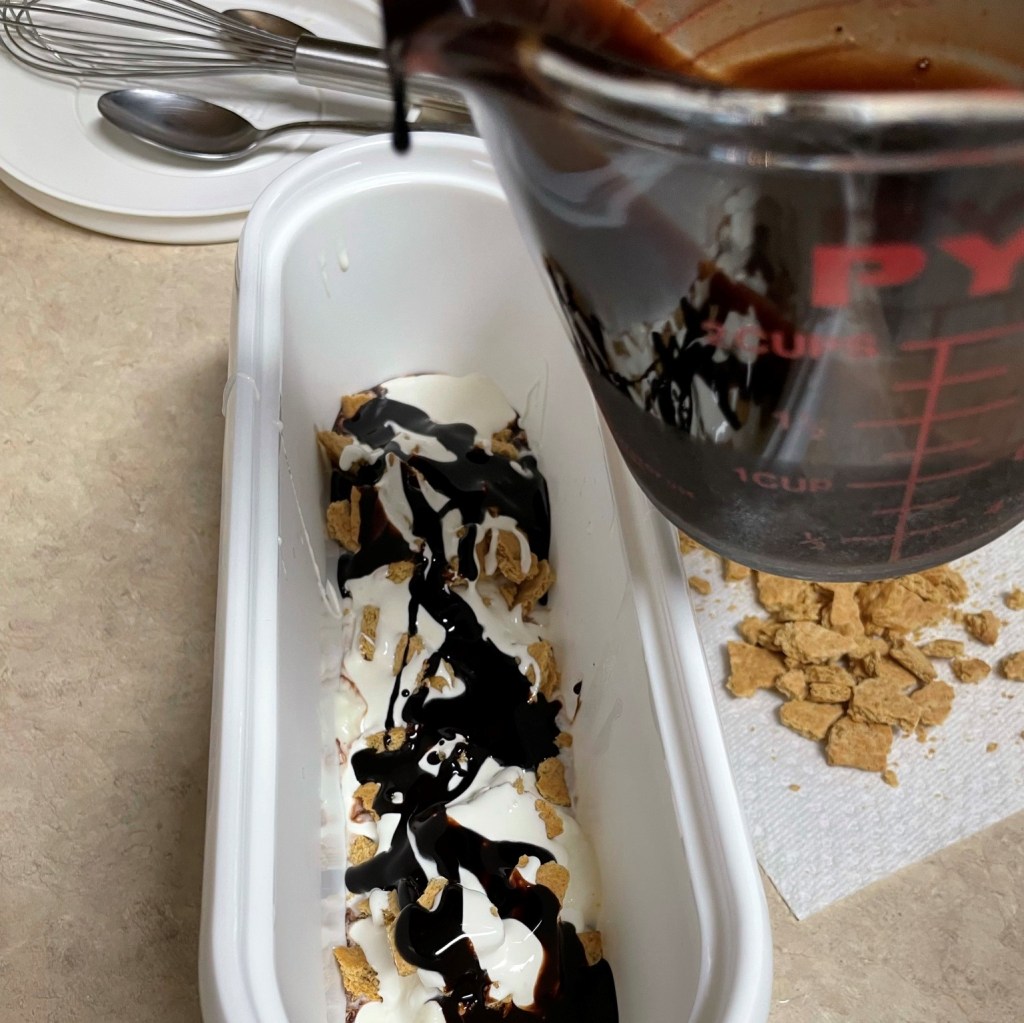
Layer about 1/3 of the ice cream into an insulated container. I left it in dollops and piped the spiced banana mixture over and around the dollops. Repeat these layers. 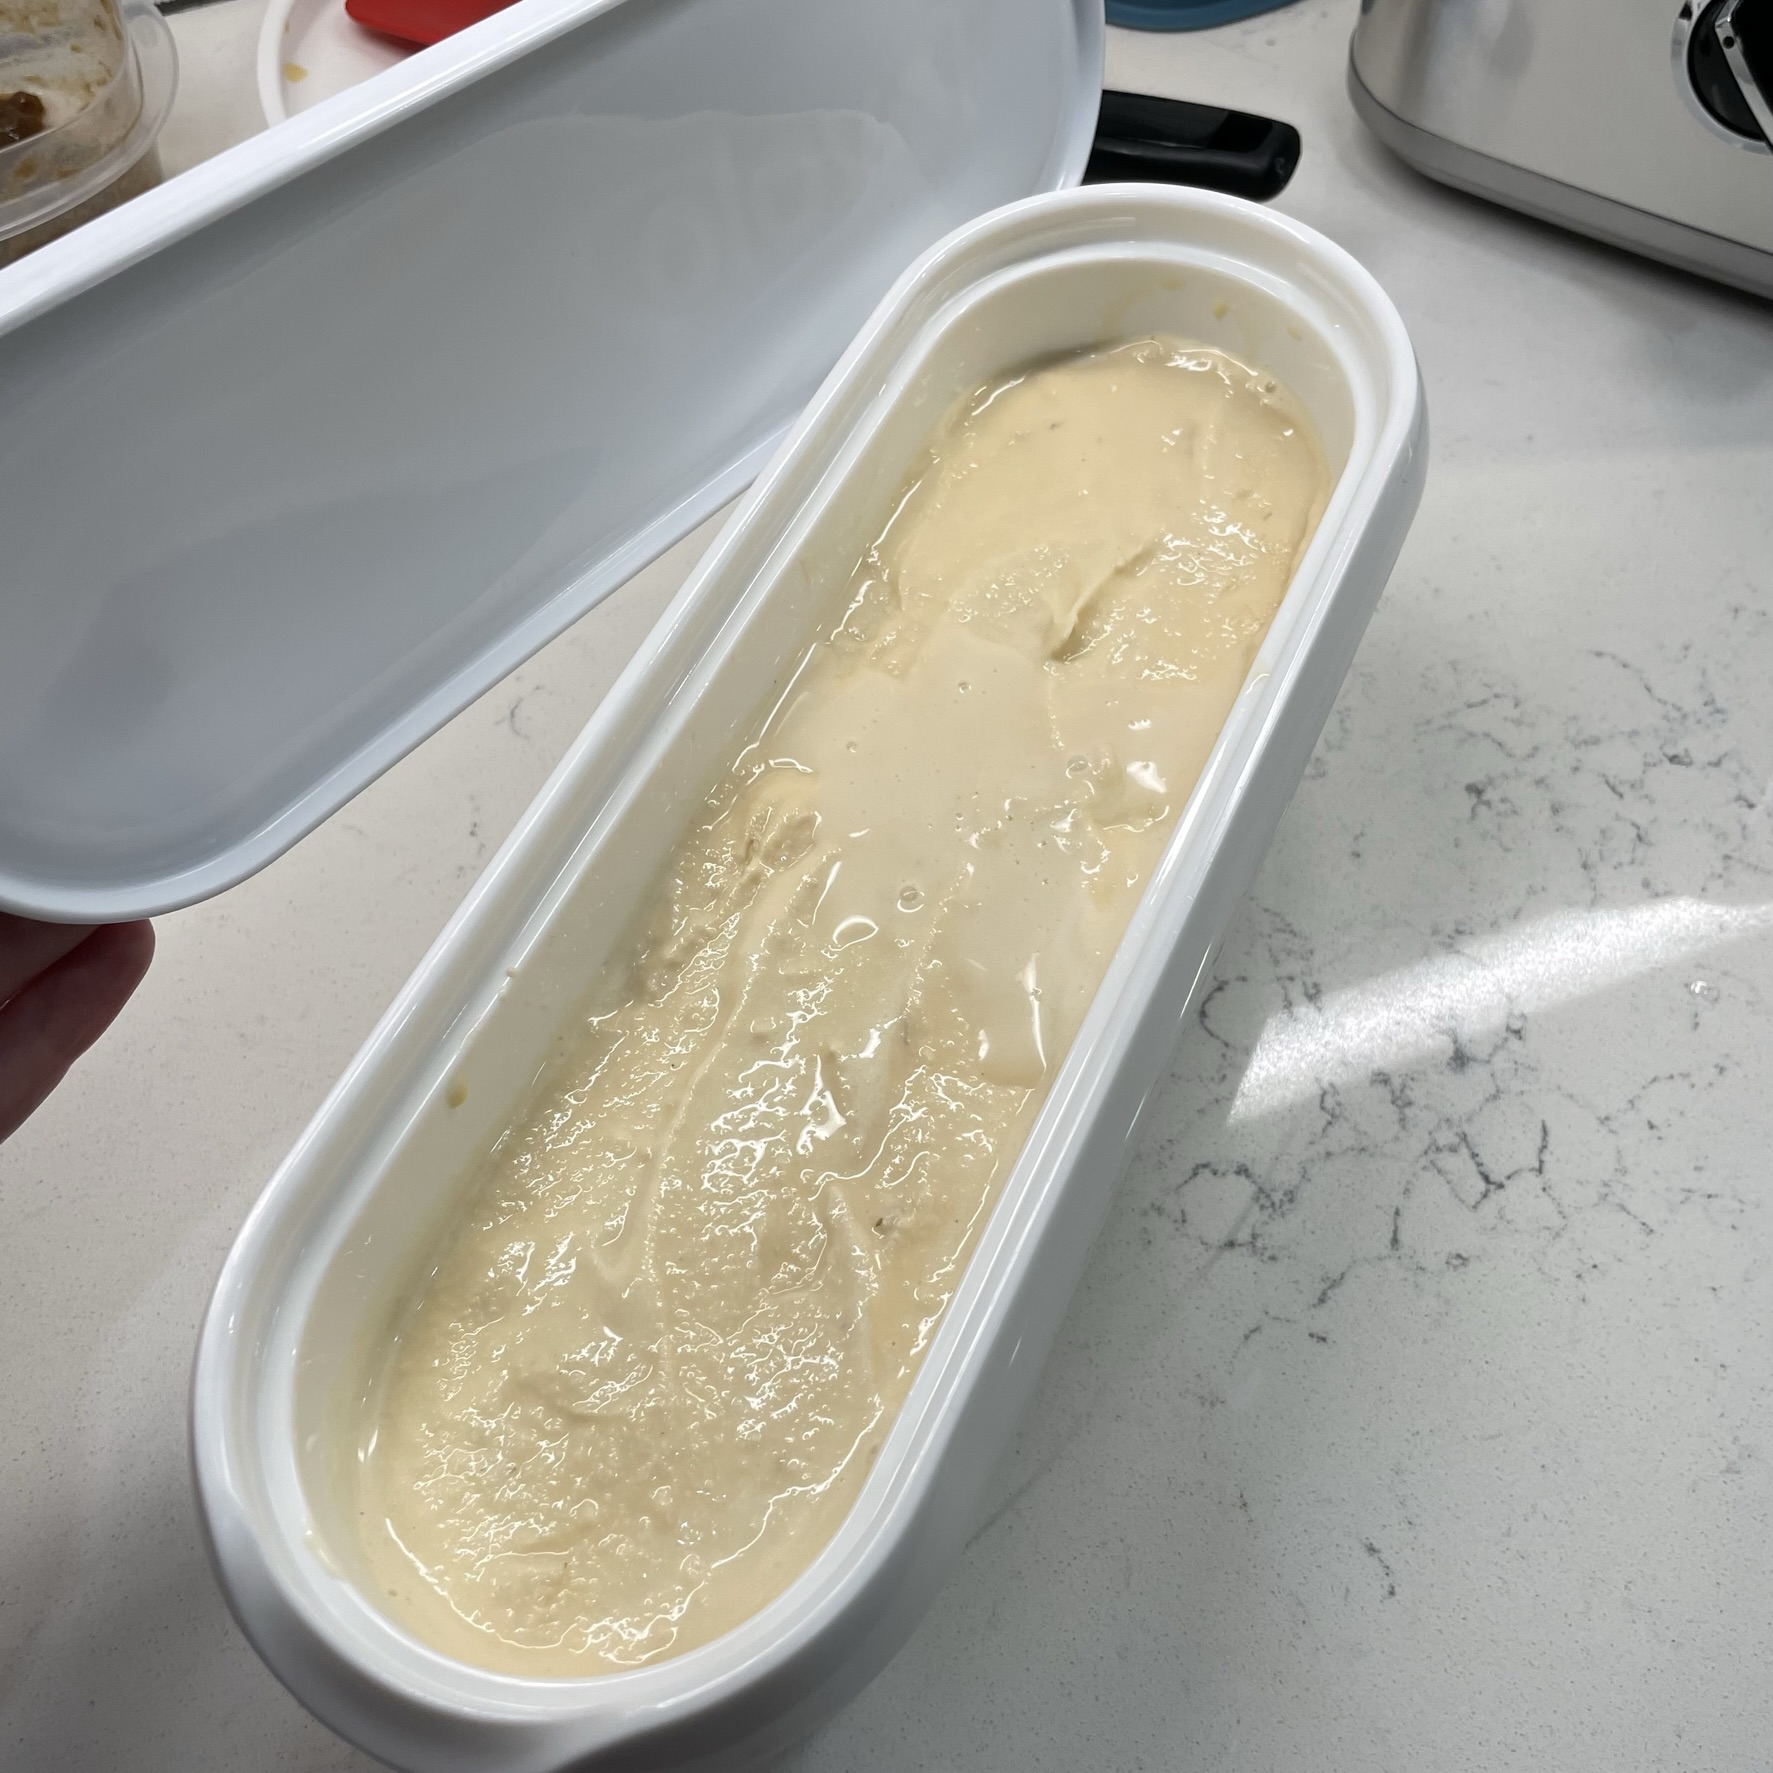
Finish with the remaining ice cream. Cover and send it to the freezer overnight for ripening.
Stir the custard to reincorporate any ingredients that may have settled to the bottom of the bowl. Freeze according to manufacturer’s instructions. When the ice cream has reached the consistency of soft-serve, add the vodka or rum (if using) and churn another minute until it’s fully blended.
Layer 1/3 of the ice cream in an insulated container, then spoon or pipe about 1/3 of the banana swirl mixture over it. Continue with another 1/3 of the ice cream, then another 1/3 of the remaining swirl mixture*. Finish with the remaining ice cream. Freeze several hours to overnight.
*Note
When this recipe was finished, I had about 1/4 cup extra Bananas Foster Swirl mixture left over. You can discard this, or mix it into some muffin or pancake batter, or stir it into Sunday morning oatmeal!