As we near the end of this year’s Mardi Gras celebration, which wraps up on Feb.13, I’m presenting a pizza twist on the muffuletta, a sandwich that has its origin in New Orleans. You may recall from some of my previous Mardi Gras posts that my travels have not led me to The Big Easy (yet), though it is certainly on my bucket list of foodie places to visit. Still, I love a theme party, and I have a vivid memory of muffuletta, thanks to a part-time job I had more than two decades ago.
Allow me to back up a bit to explain about muffuletta for those who may not be familiar, and why it ties to New Orleans, which we usually associate with Creole-inspired and French cuisine. One glimpse of the muffuletta ingredients list— cured salami, mortadella, ham, provolone and a chopped giardiniera-olive spread— would make one think of Italian food, and rightly so. The muffuletta is said to have been created by a Sicilian immigrant who settled in New Orleans about the turn of the previous century. It is usually presented with loads of layers on a large, round, focaccia-like bread topped with sesame seeds.

My first experience of muffuletta came during my two-year stint in a catering kitchen in Greensboro, N.C., where a friend had recruited me to be a kitchen helper during busy periods. The kitchen was jamming during wedding season, the winter holidays and the twice-a-year High Point Furniture Market, and I was happy to jump in to help fulfill orders.
At some point in those two years, one of our regular customers must have hosted a Mardi Gras-themed event, because I was charged with making approximately four quarts of the chopped olive and vegetable mix that was to be used for muffuletta sandwiches. Not knowing anything at all about that sandwich, I followed the instructions on the recipe card I’d been given. Green olives, black olives, capers, pickled vegetables, olive oil, vinegar and dried Italian herbs— what in the world was this concoction? And then Rodney, our smart-ass head chef, labeled the giant plastic jar “Muff Stuff.” You can imagine the chaos that ensued over the nickname in our kitchen of mostly immature amateurs.
“Muff stuff” was the briny, pickled relish for muffuletta, and you can easily make this condiment in just a few minutes with a food processor, though my task was to chop up the ingredients by hand. It was delicious on its own, though not very pretty to look at, and it wasn’t until Rodney whipped up a miniature version of muffuletta for the kitchen crew to sample that I understood the importance of what I had made.
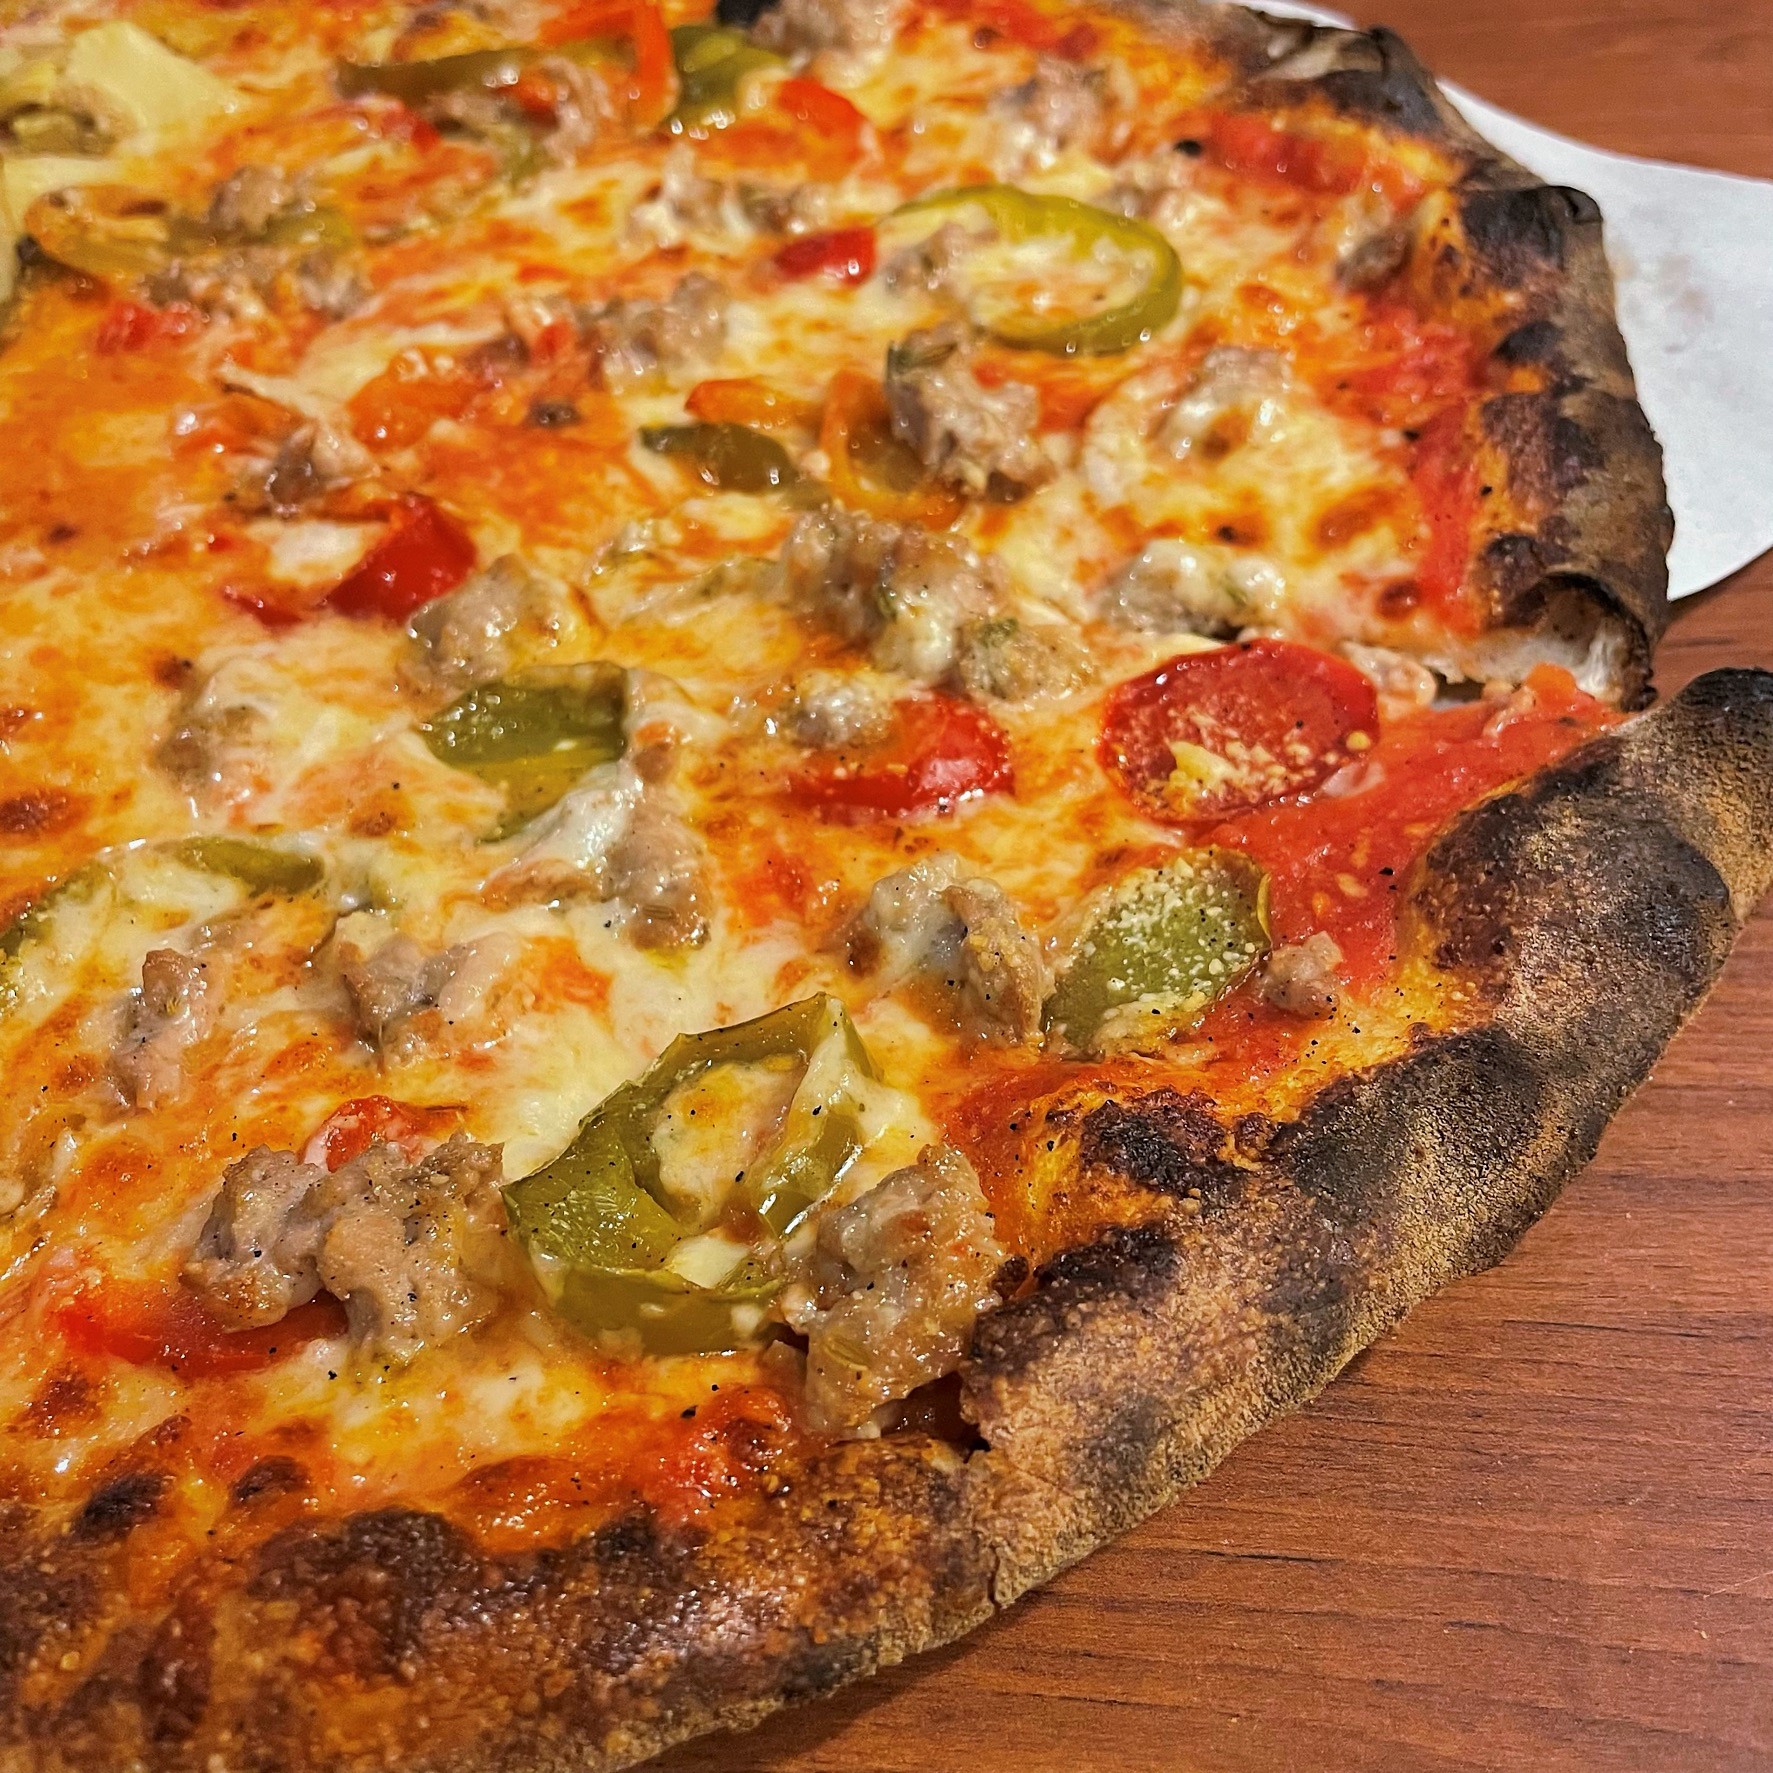
It was like an Italian sub on steroids. A salty flavor explosion that is both rich and fatty, and only makes you feel guilty until you go in for another bite. It’s so good! I’ve wanted to put these flavors on a pizza for a long time, and here you go. Mardi Gras is all about indulgence and excess, and this meat-and-cheese lover’s pizza is doing its part, in the spirit of New Orleans!

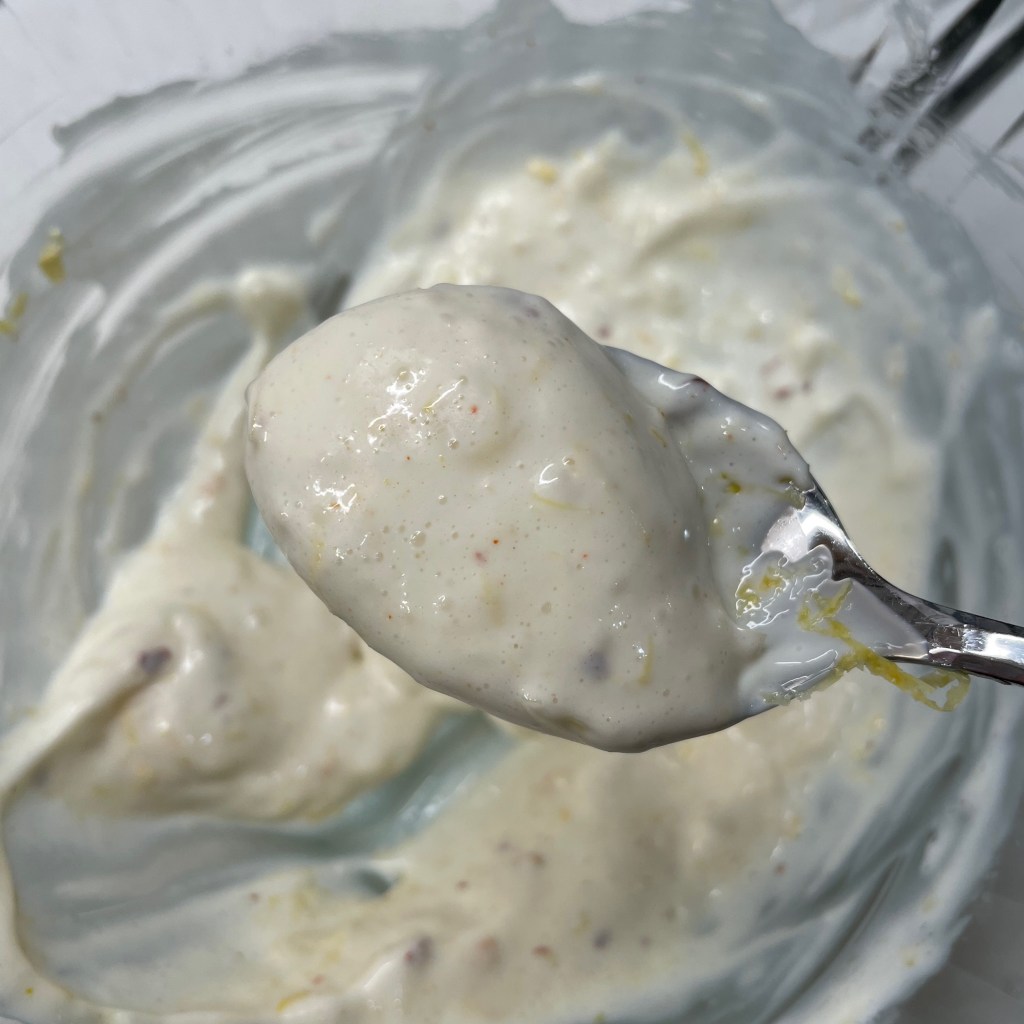
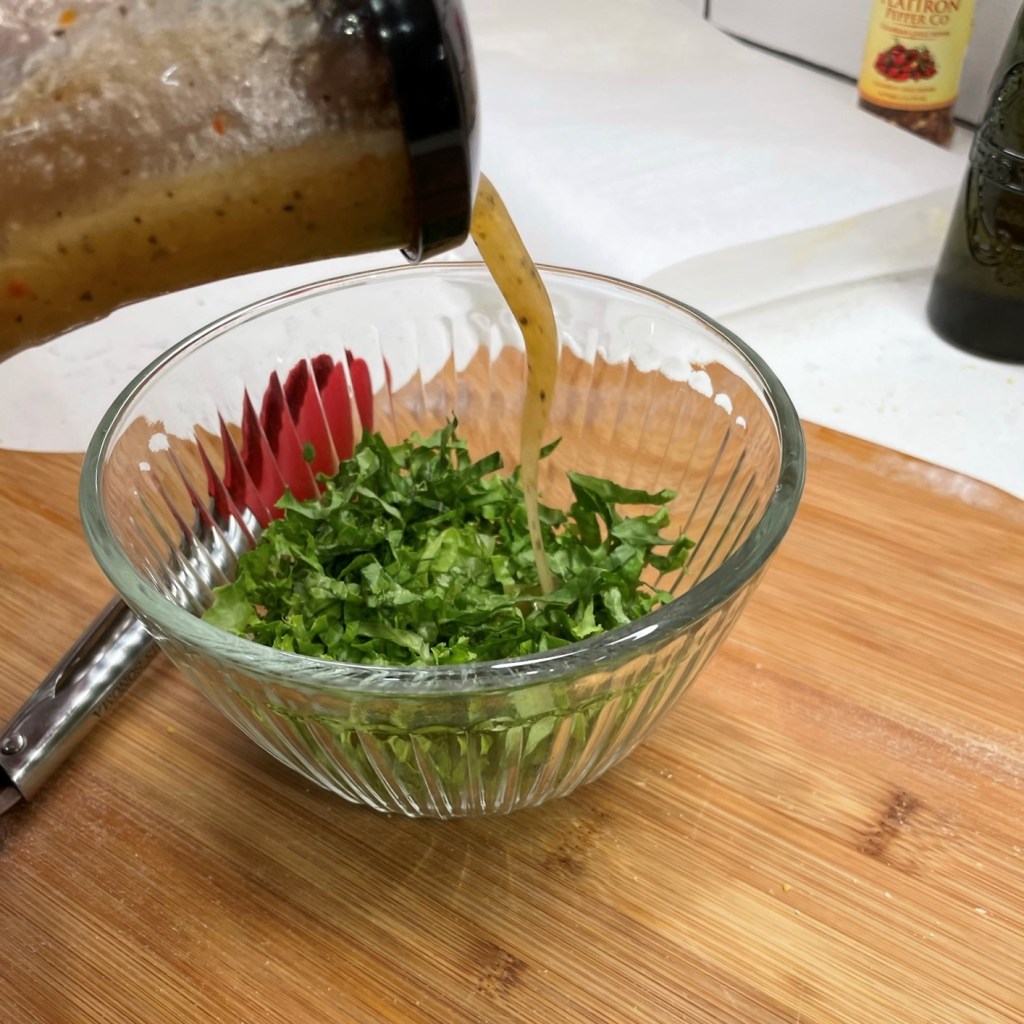
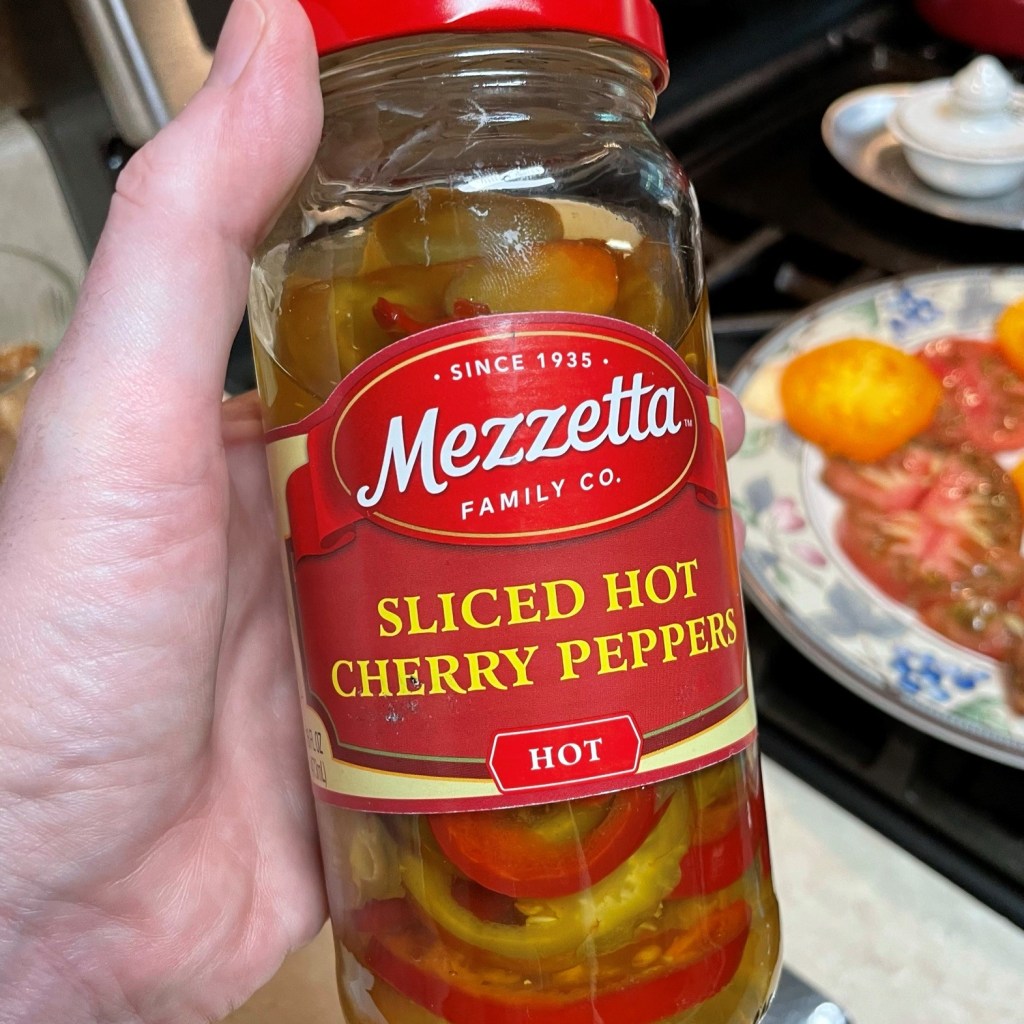
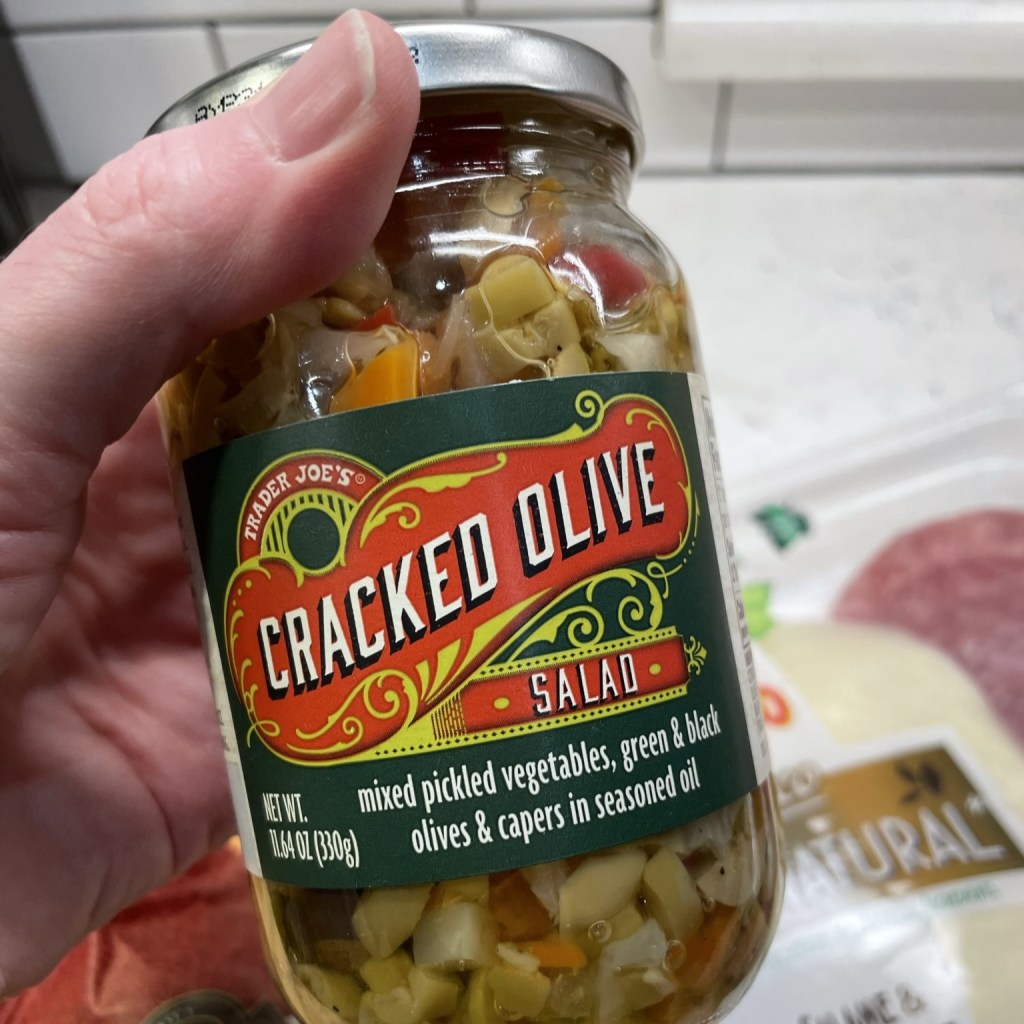
For my muffuletta pizza, I did not delve into making the muff stuff from scratch. Rather, I took advantage of the Trader Joe’s product that pushed me over the finish line to tackle this culinary bucket list item. They call it “cracked olive salad,” and yes, I checked to be sure that TJ’s still sells it, given the store’s tendency to cancel items without notice. Having said that, if you cannot find the cracked olive salad or don’t have a TJ’s nearby, there are similar products in other supermarkets—check the pickle section. If you still can’t find it, check out this recipe on Serious Eats, where my culinary idol Kenji López-Alt will be happy to walk you through making the olive salad, or indeed, the entire muffuletta.
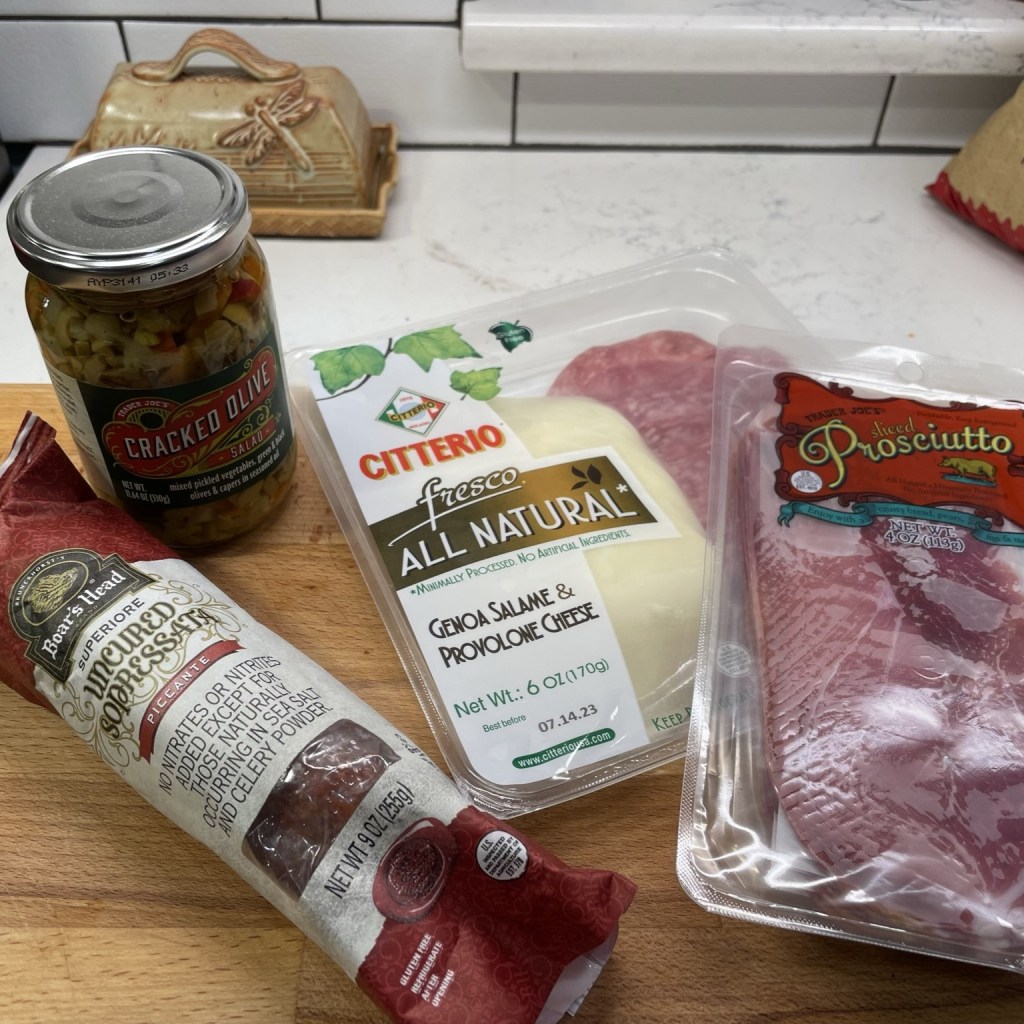
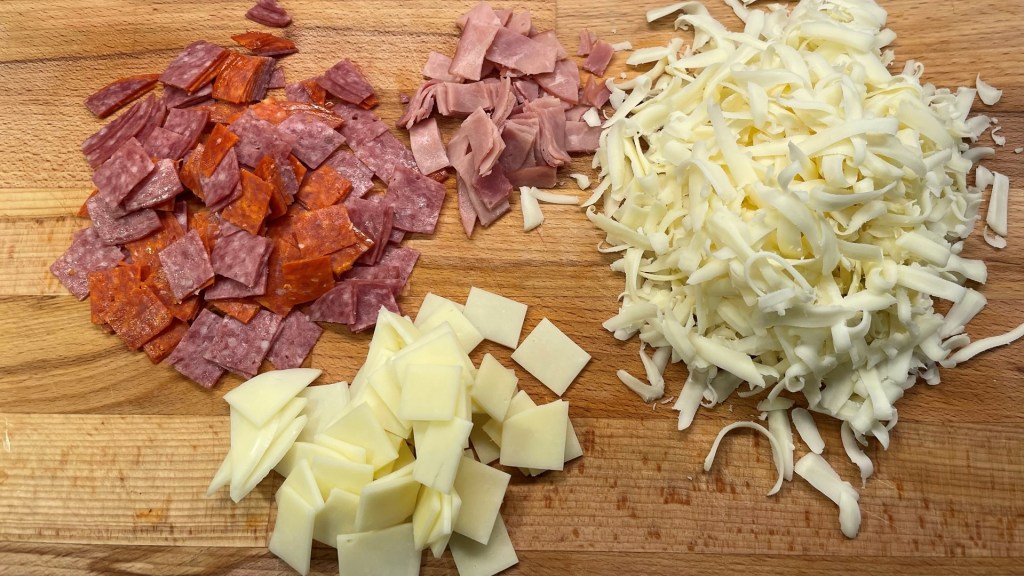
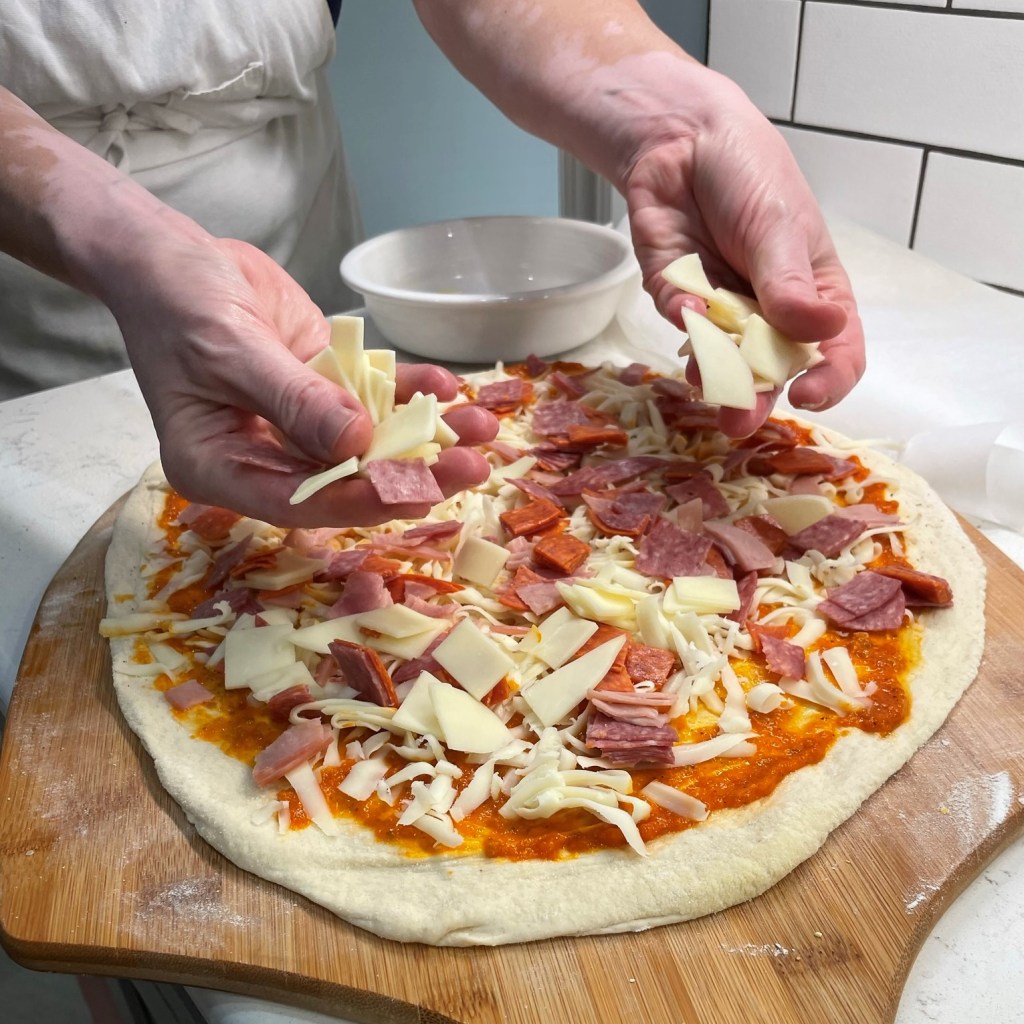
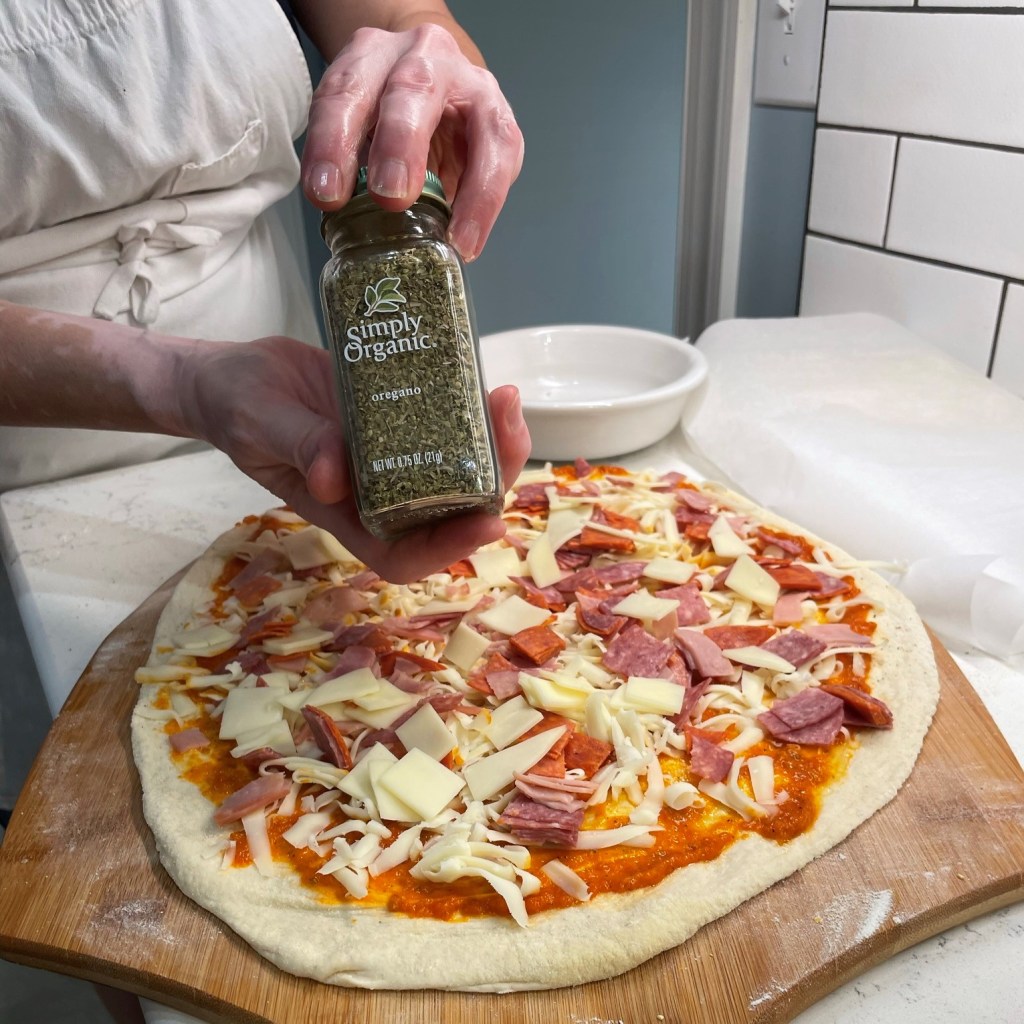
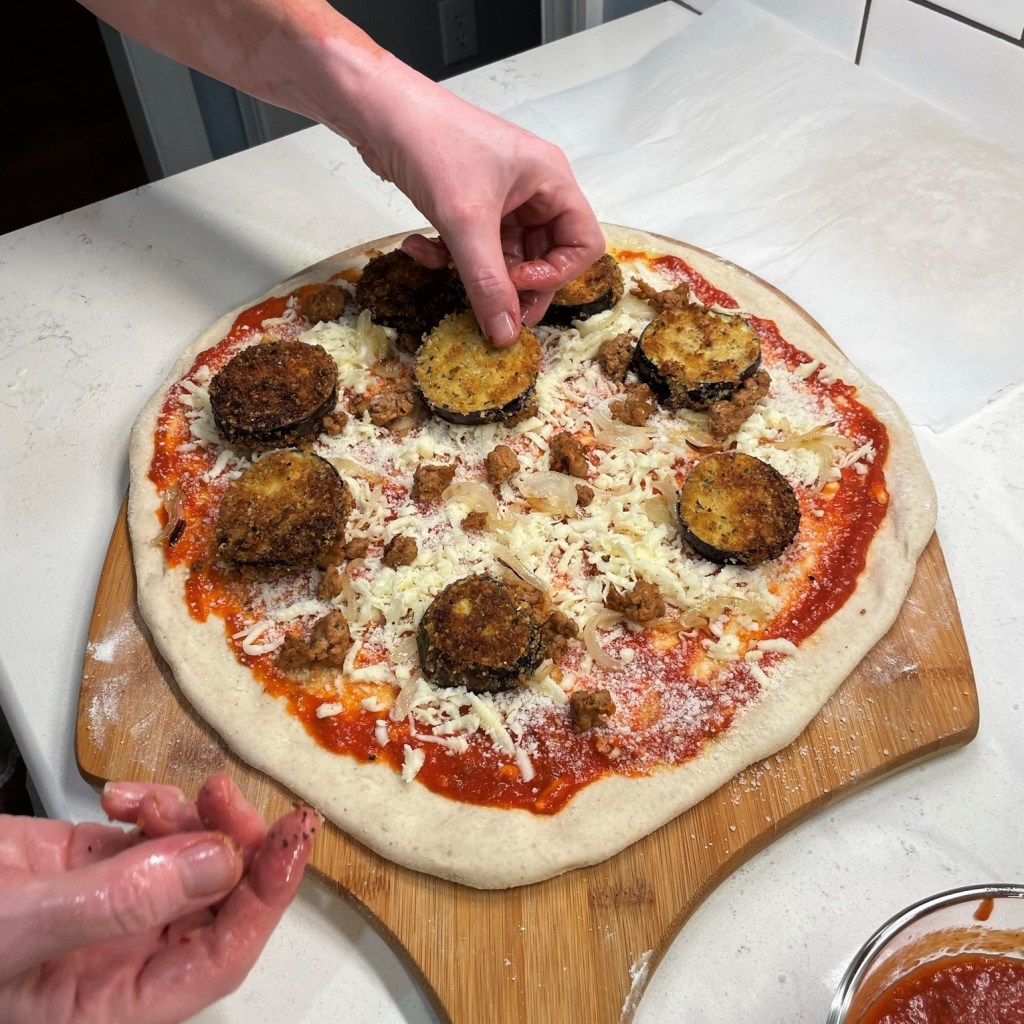
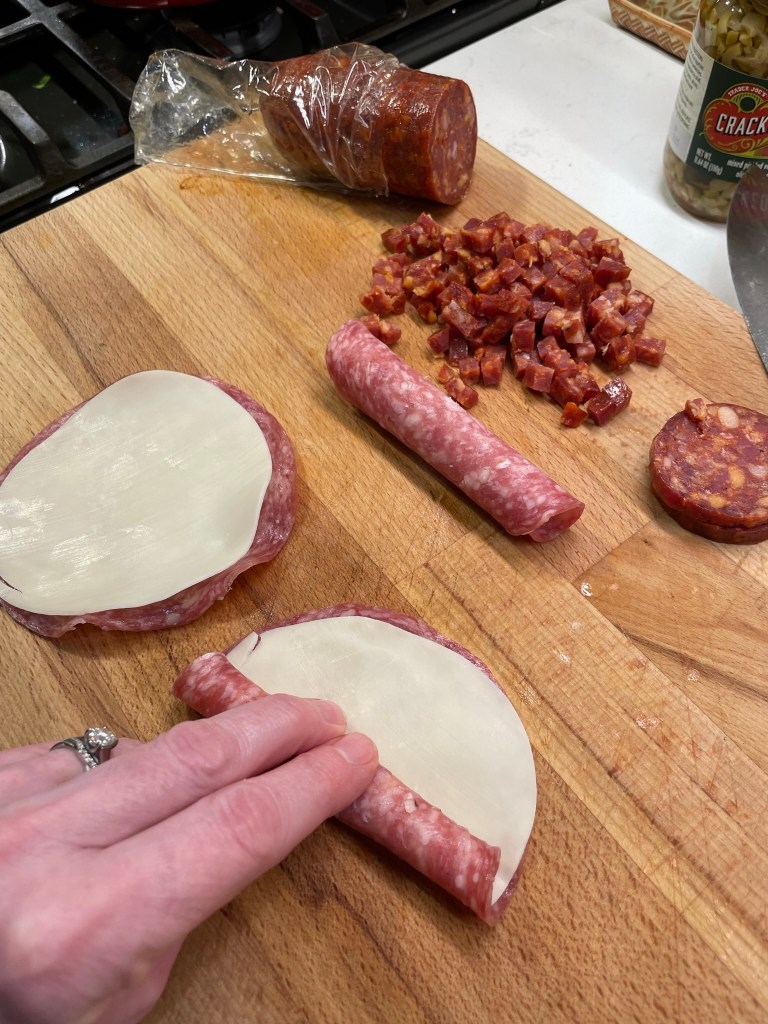
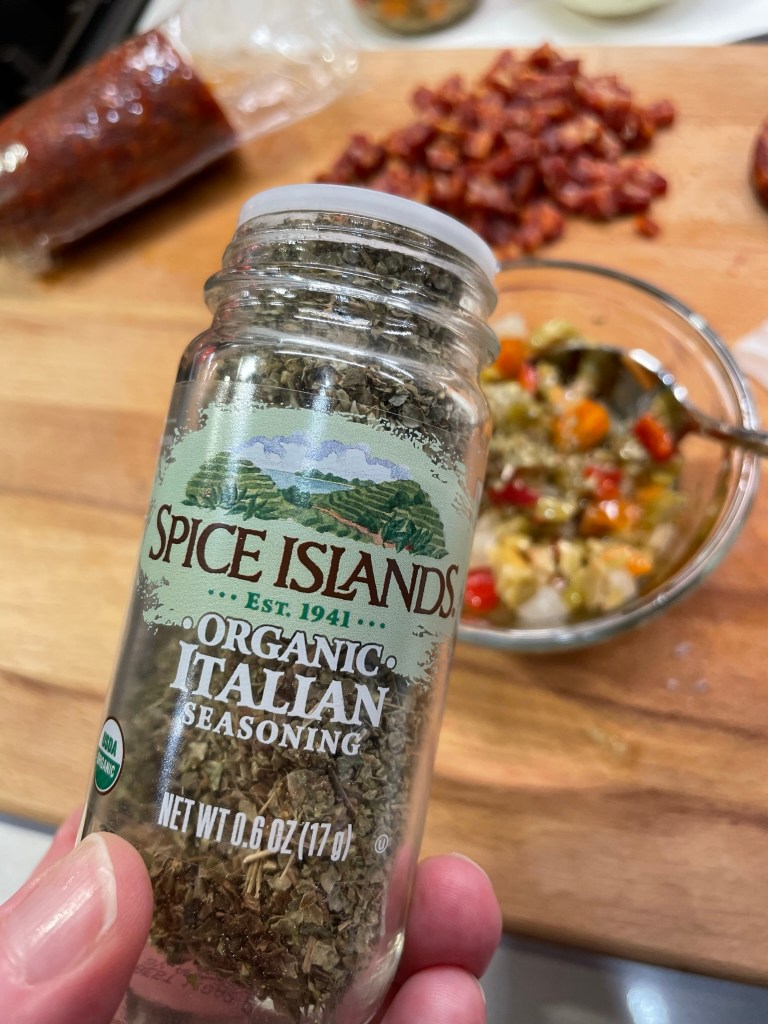
I wanted my muffuletta pizza to have as many authentic flavors as possible, so I considered the three categories of meat recommended by Kenji in the aforementioned article. Mortadella, a fatty, emulsified deli meat, is hard to come by in my city, and bologna was out of the question for me, so I went with three of our favorites from the other two categories— Genoa salami, spicy soppressata and thinly sliced prosciutto. Provolone was in the package alongside the salami, and I rolled them up together for an impression of layers, like on the sandwich. I wrapped the rolls snugly in plastic wrap and stuck them in the freezer for an hour or so to help them keep their spiraled shape after slicing. The soppressata was cut into cubes, and the prosciutto into thin strips, so that my pizza would have plenty of interesting texture. I also bumped up the flavor of the olive salad with a few shakes of dried Italian seasoning.

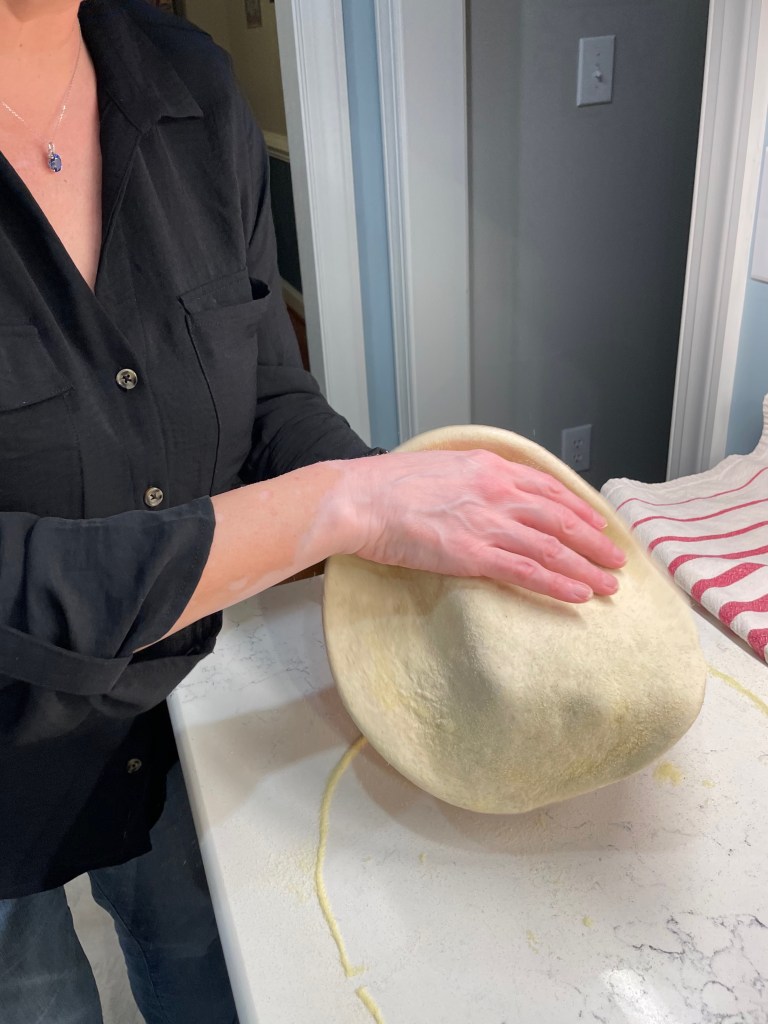
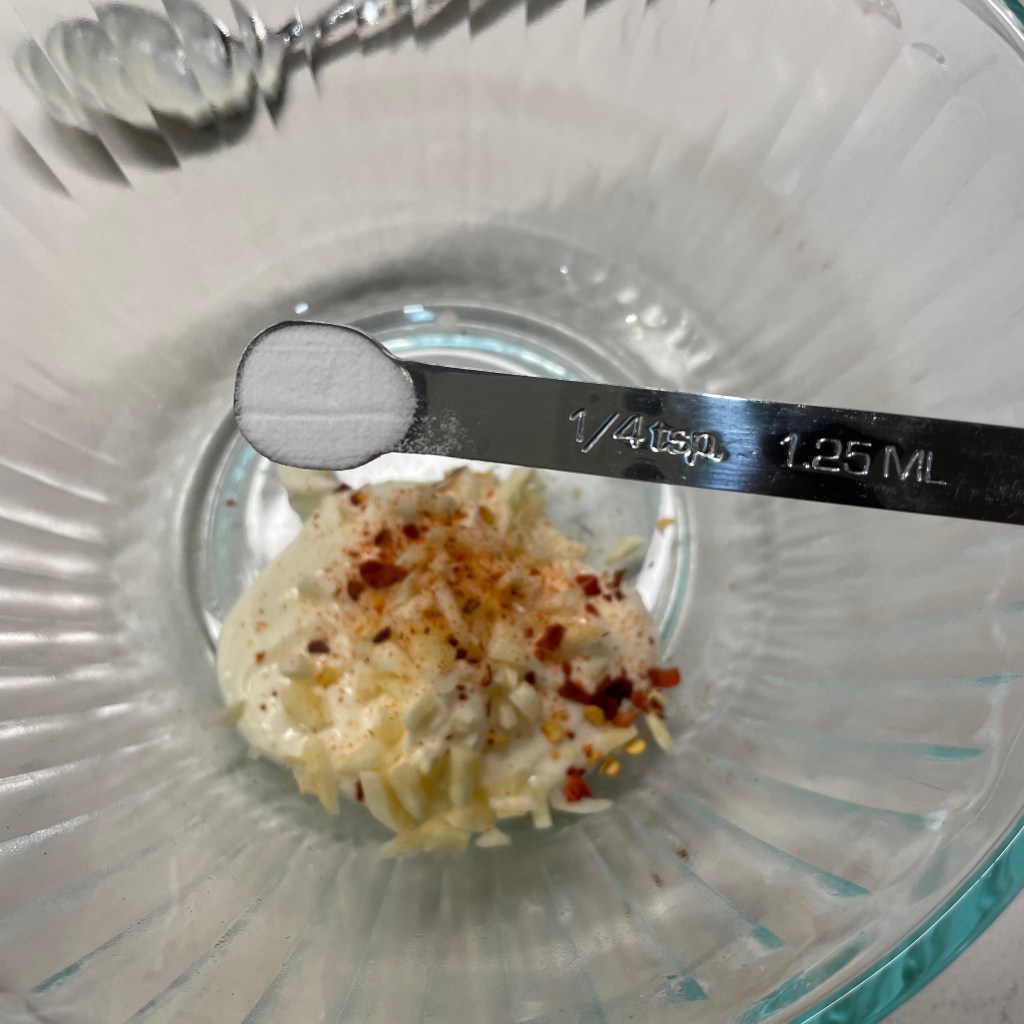
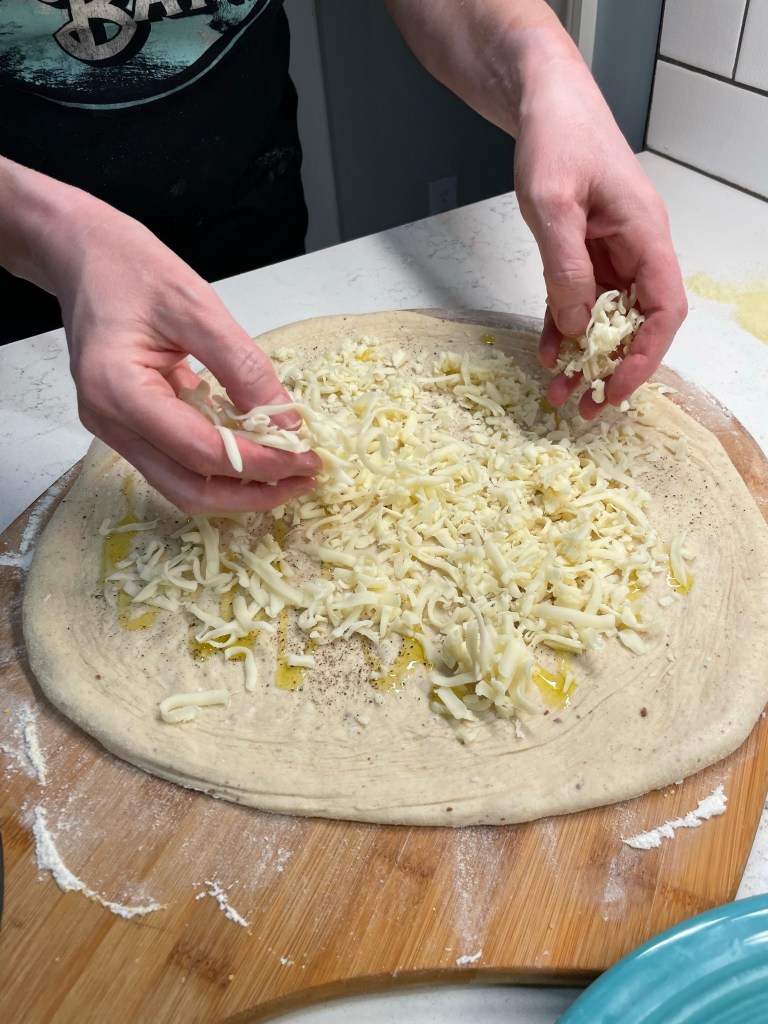
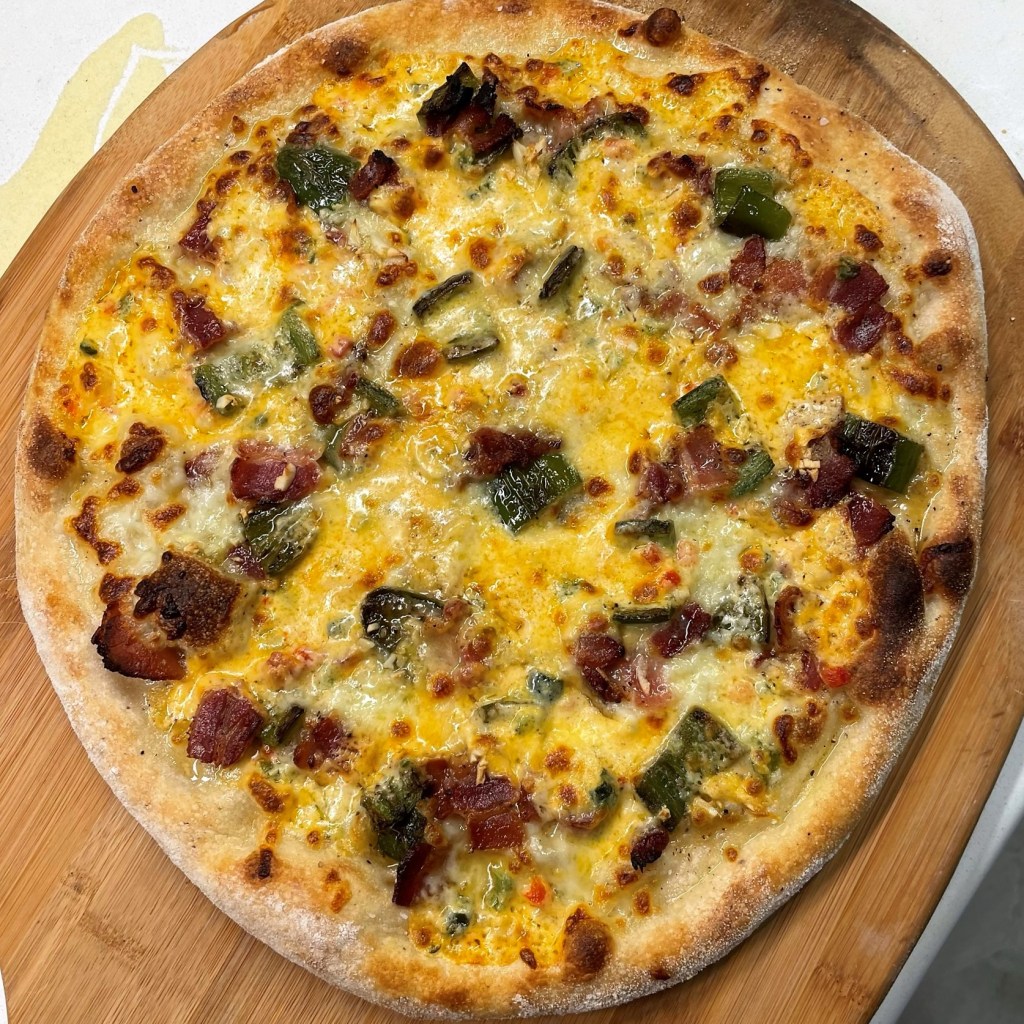
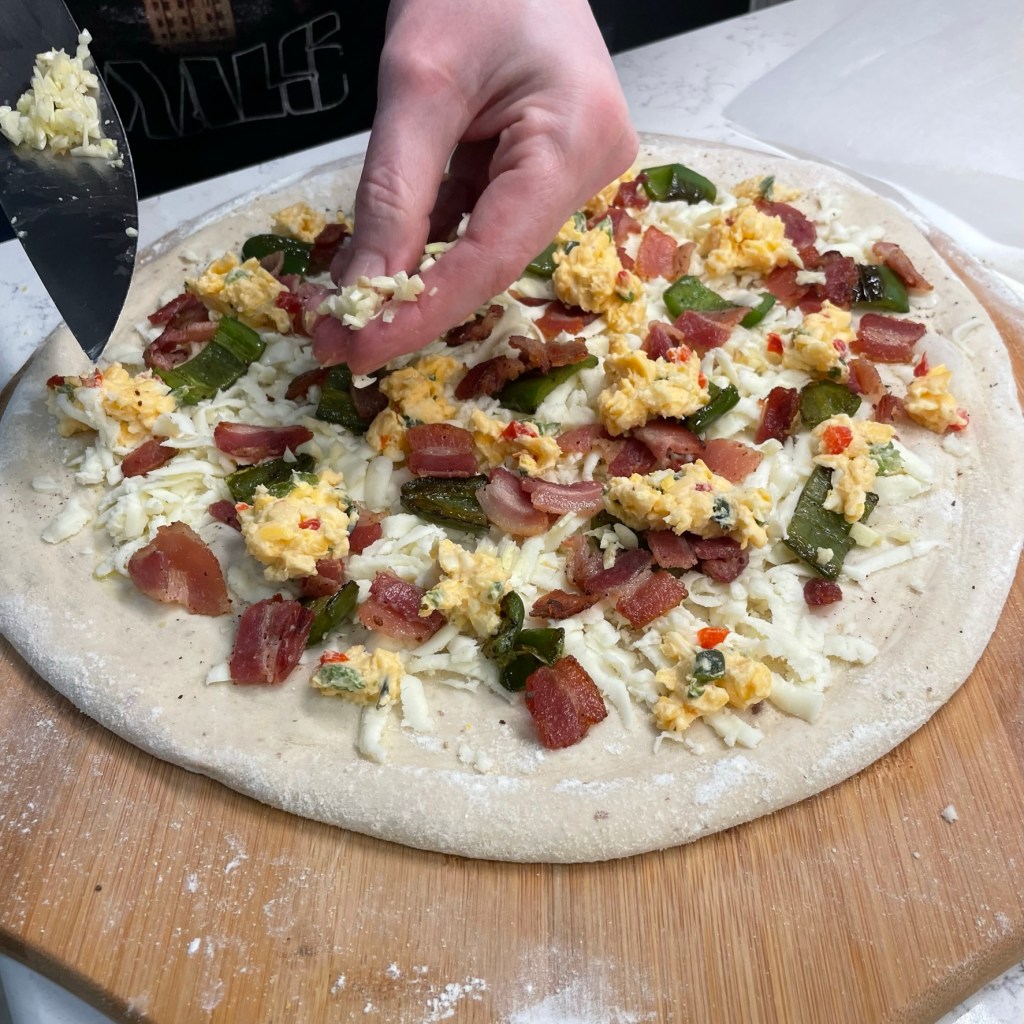
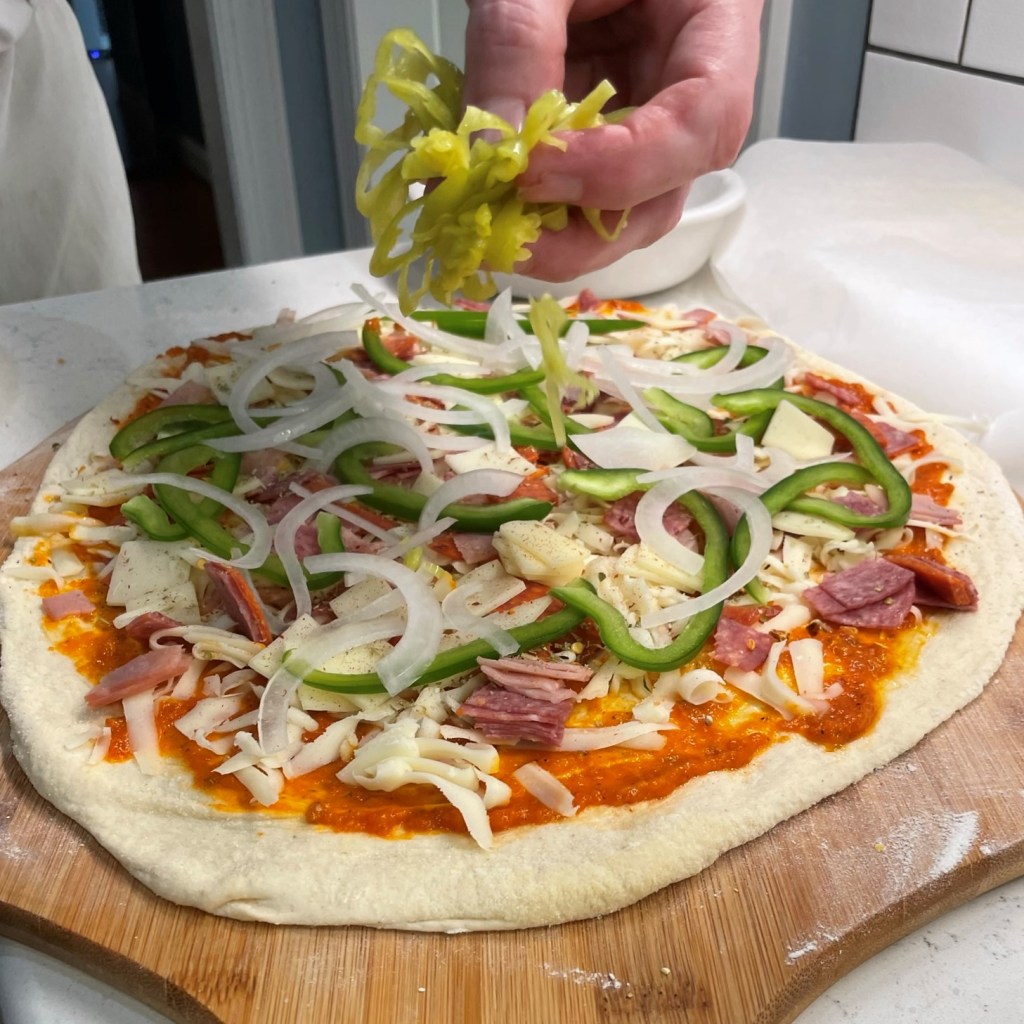
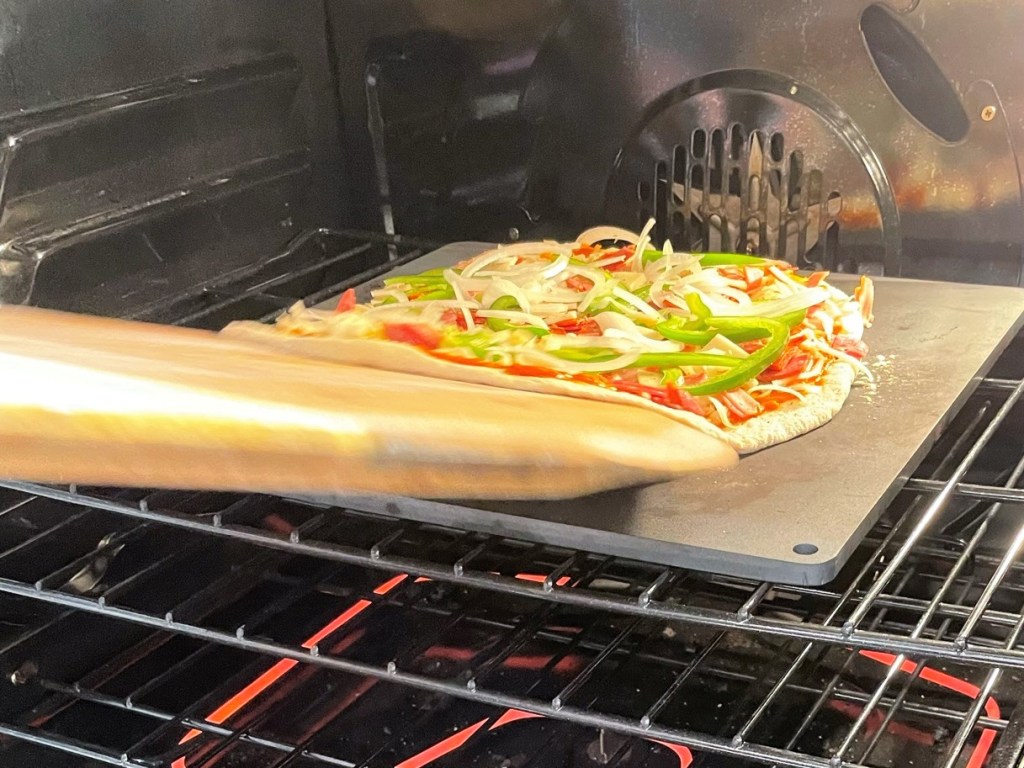
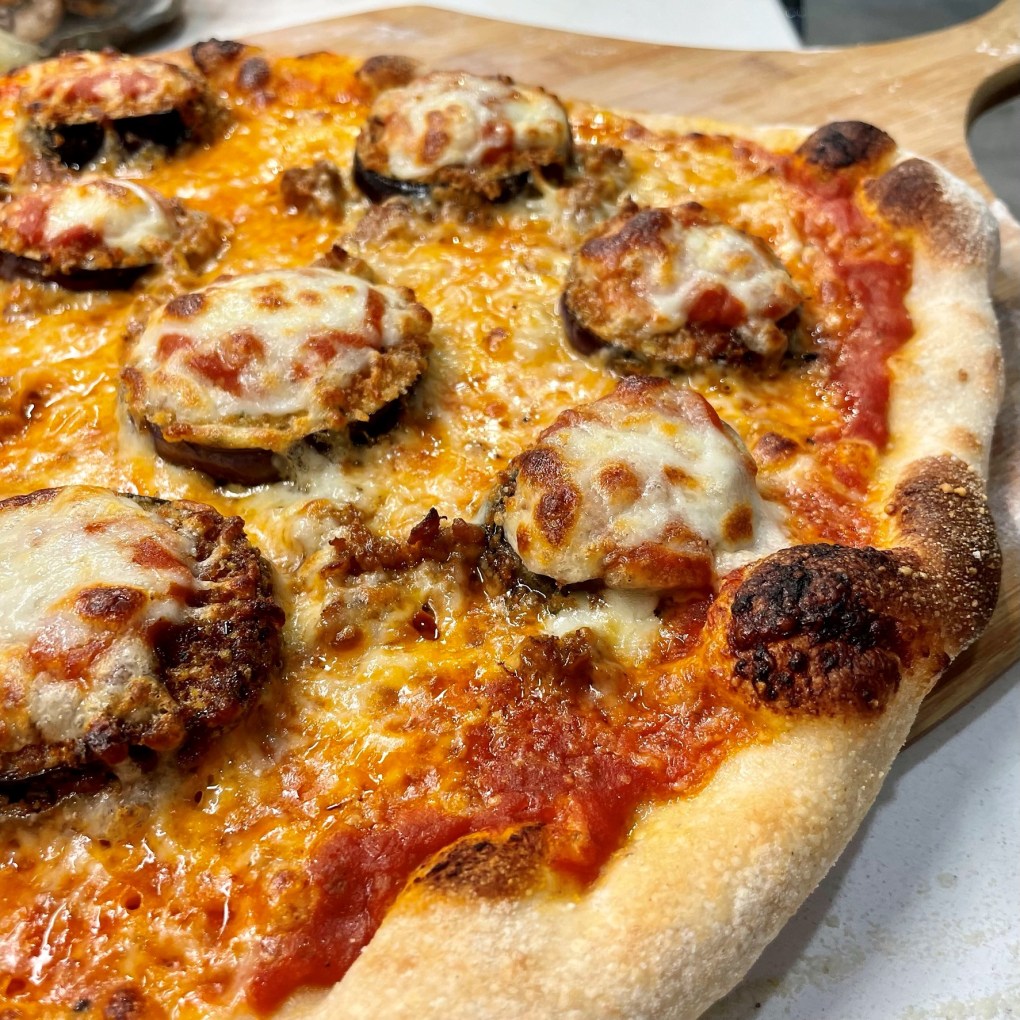
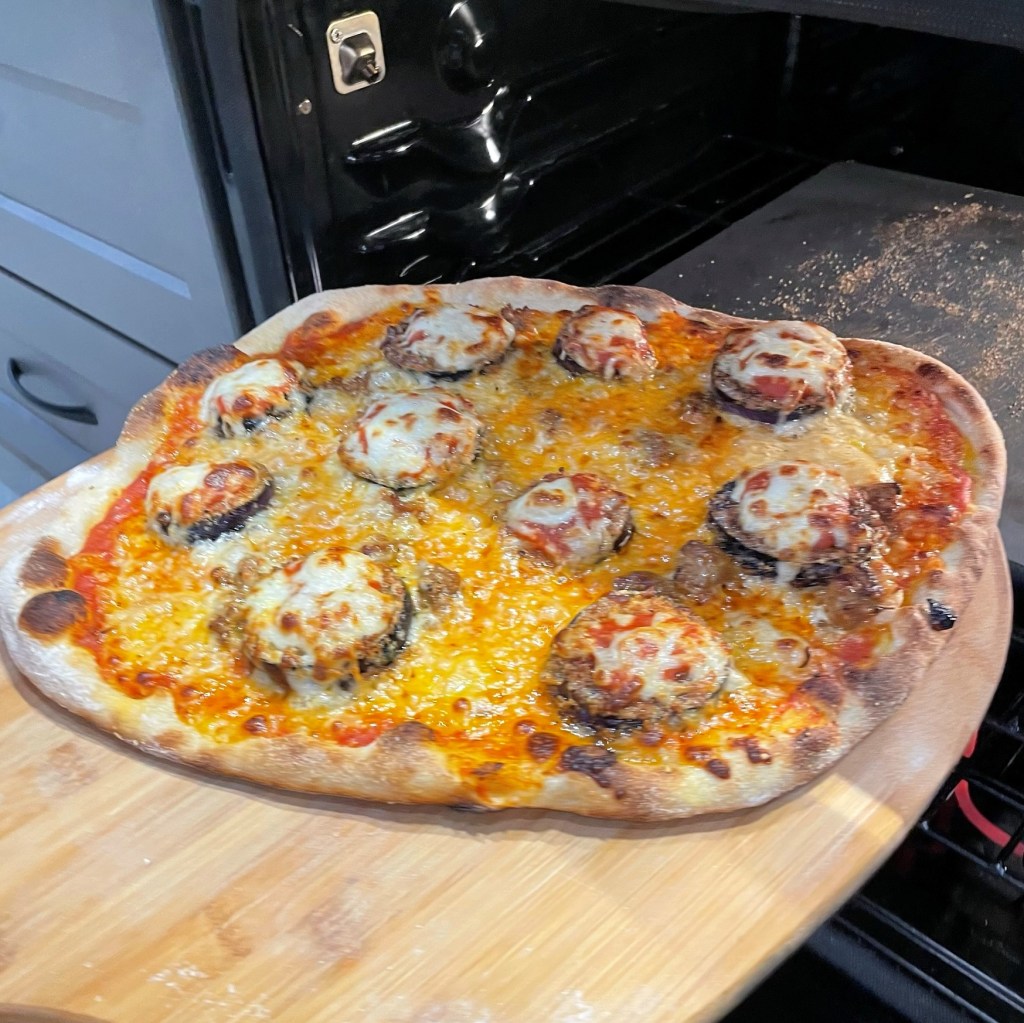
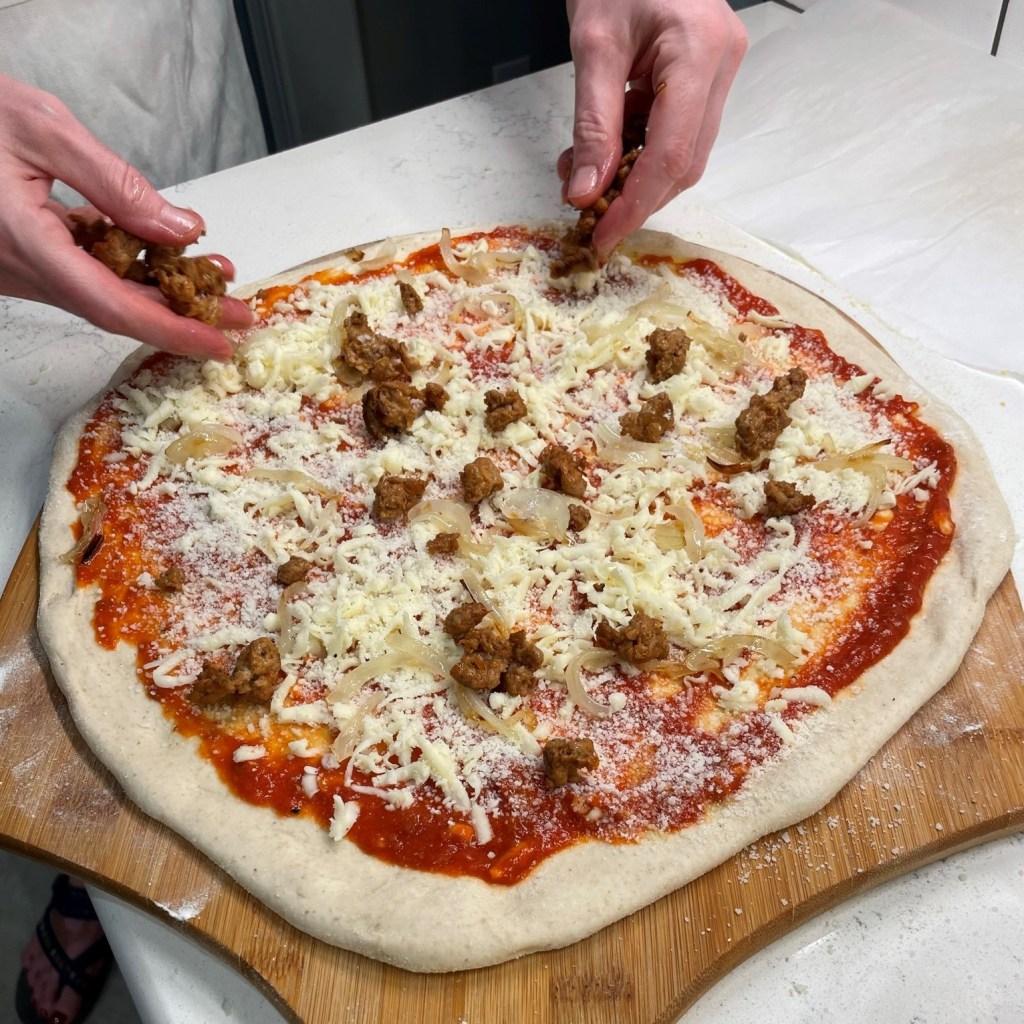
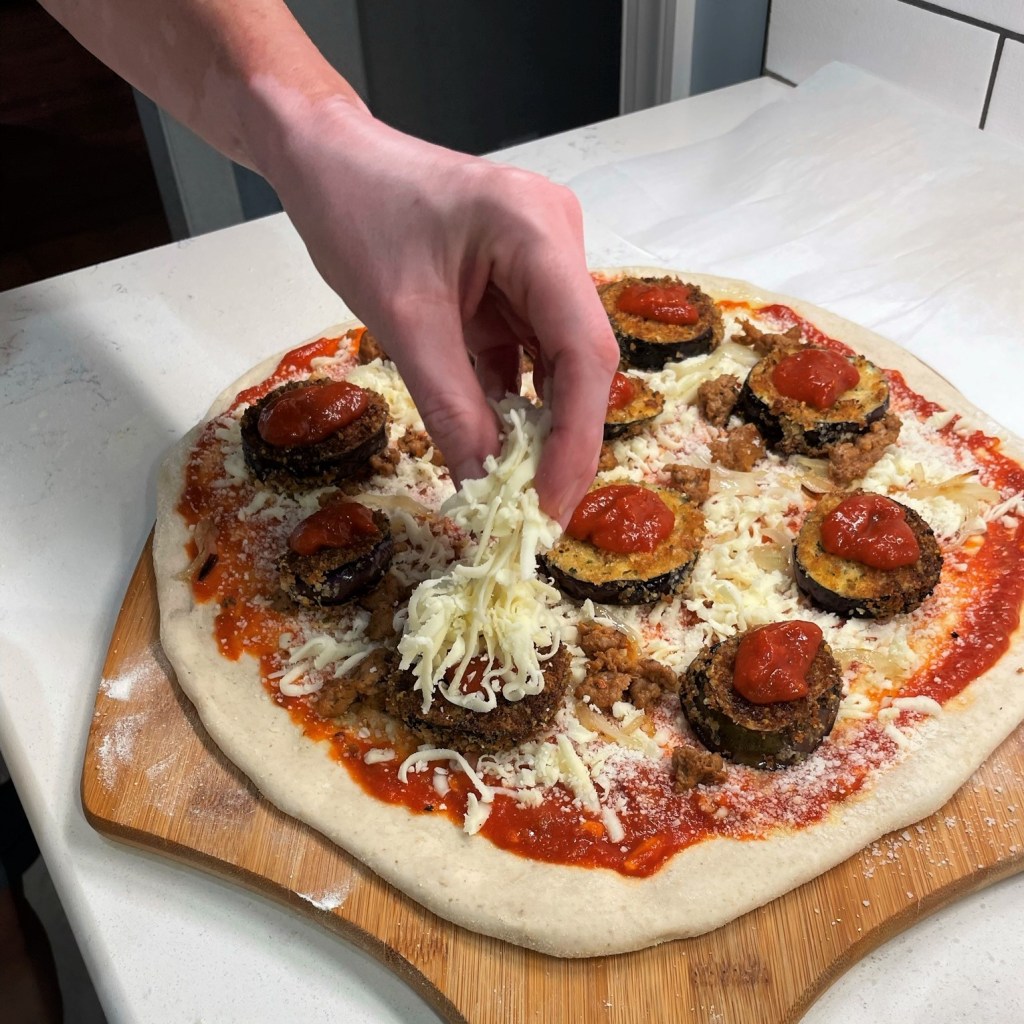
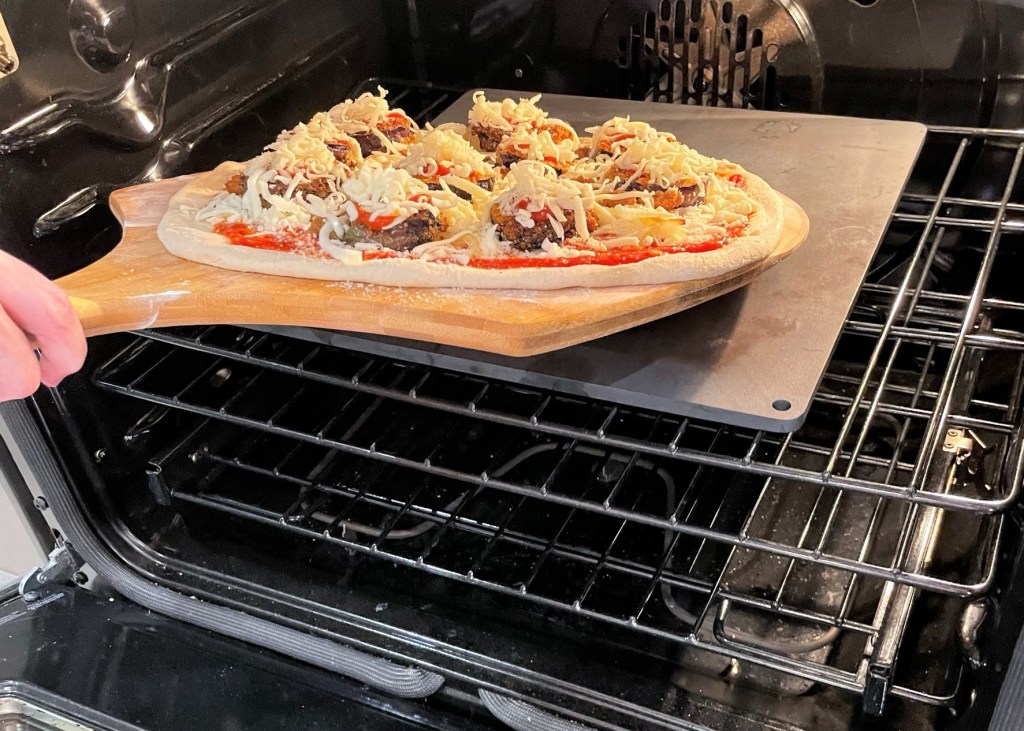
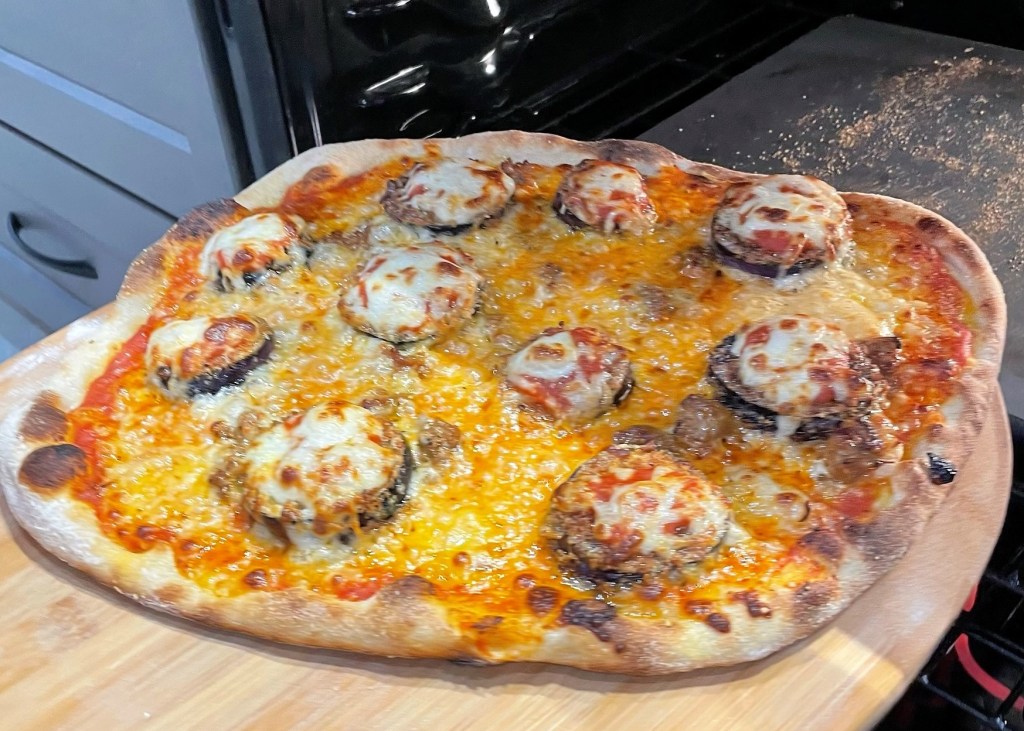
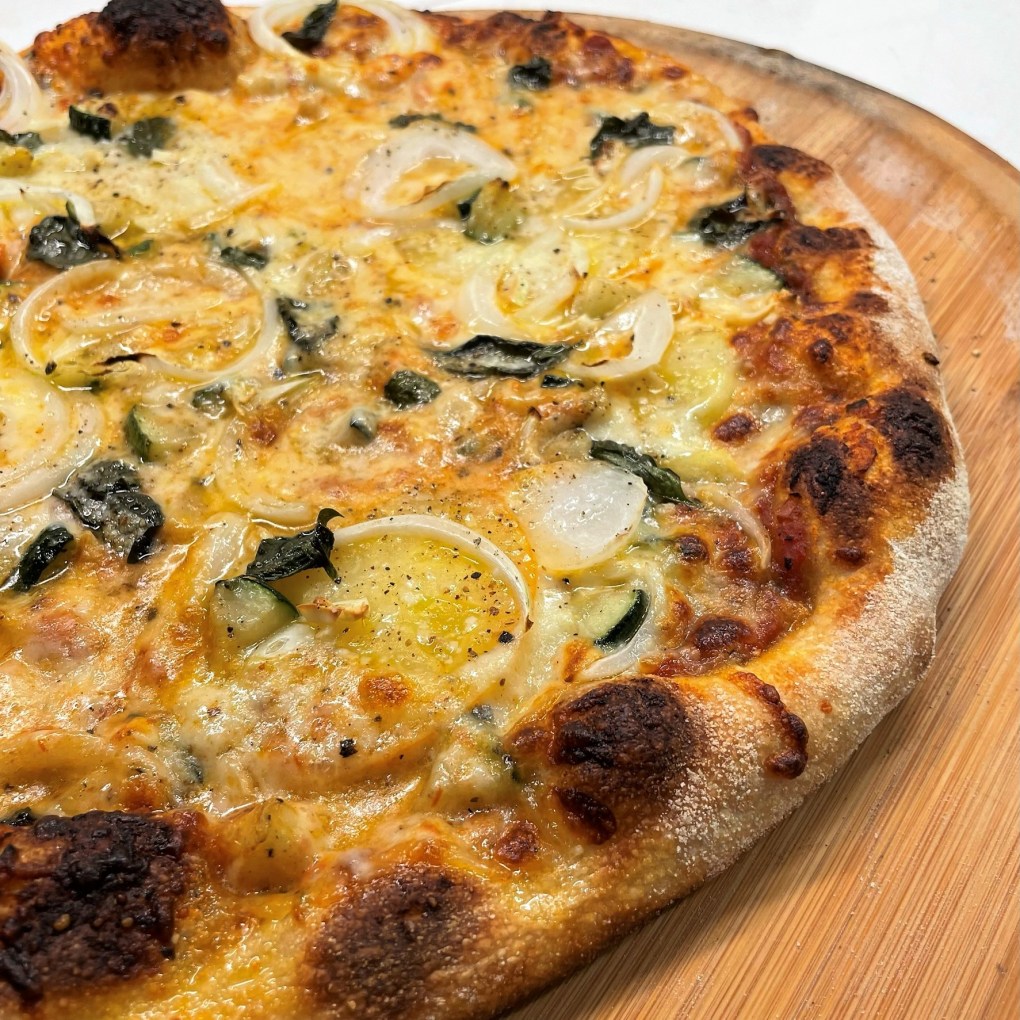
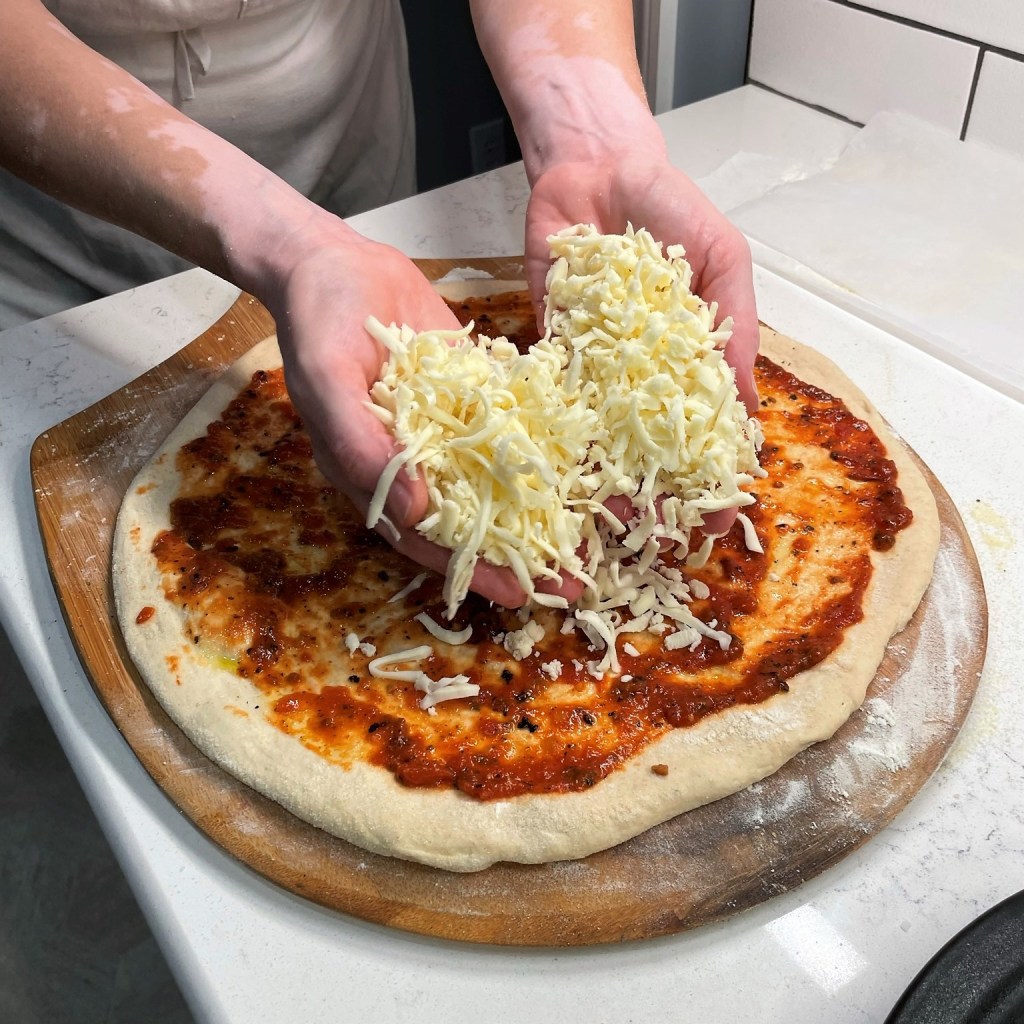
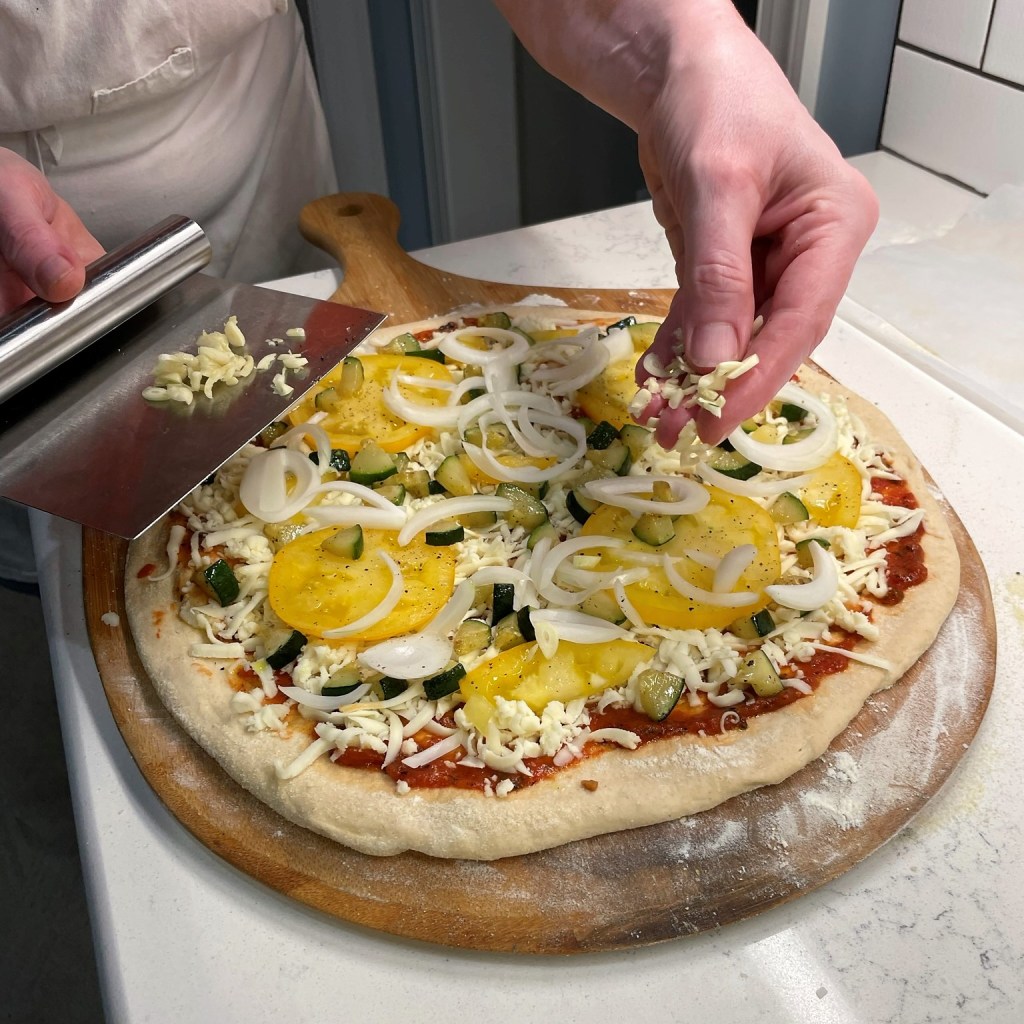
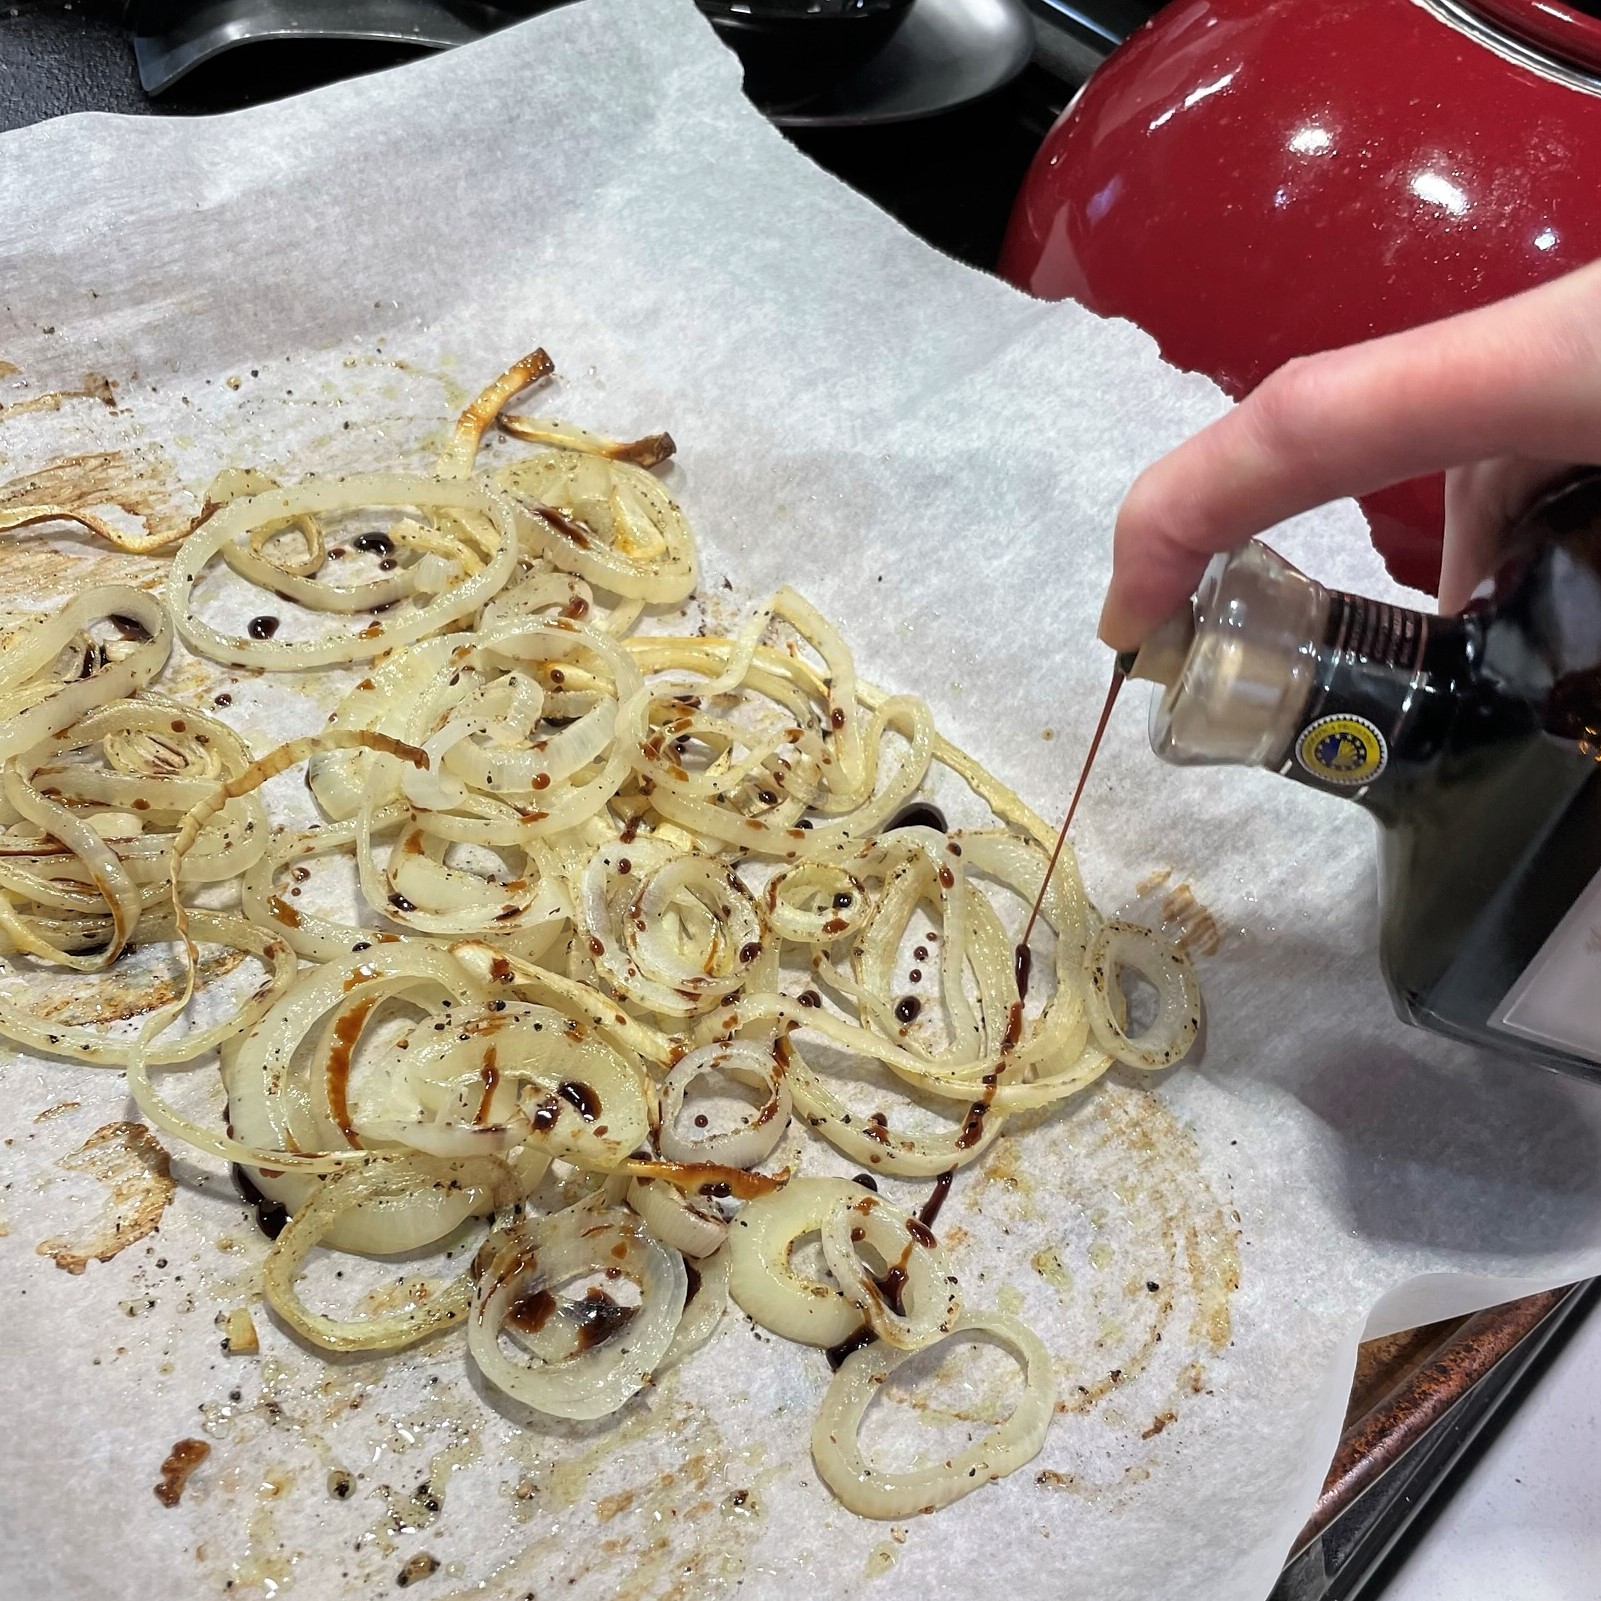
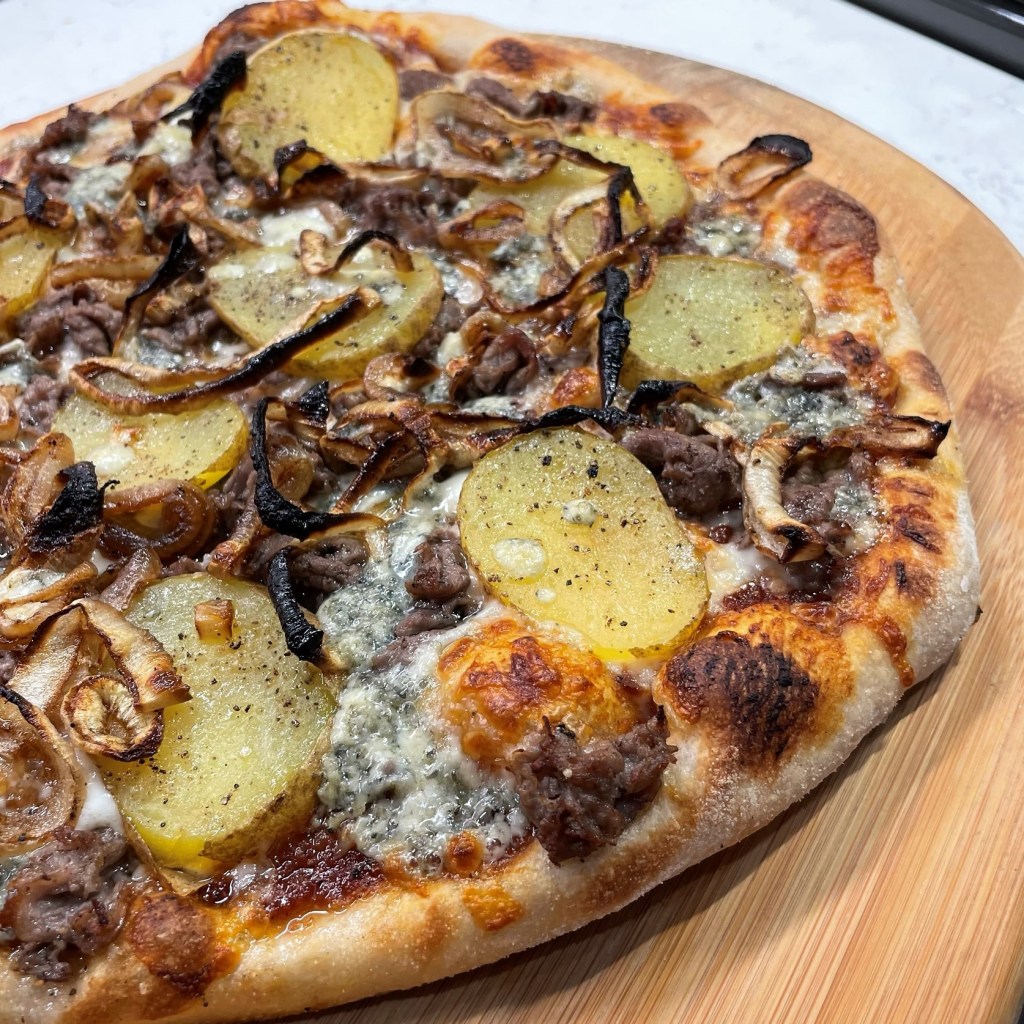
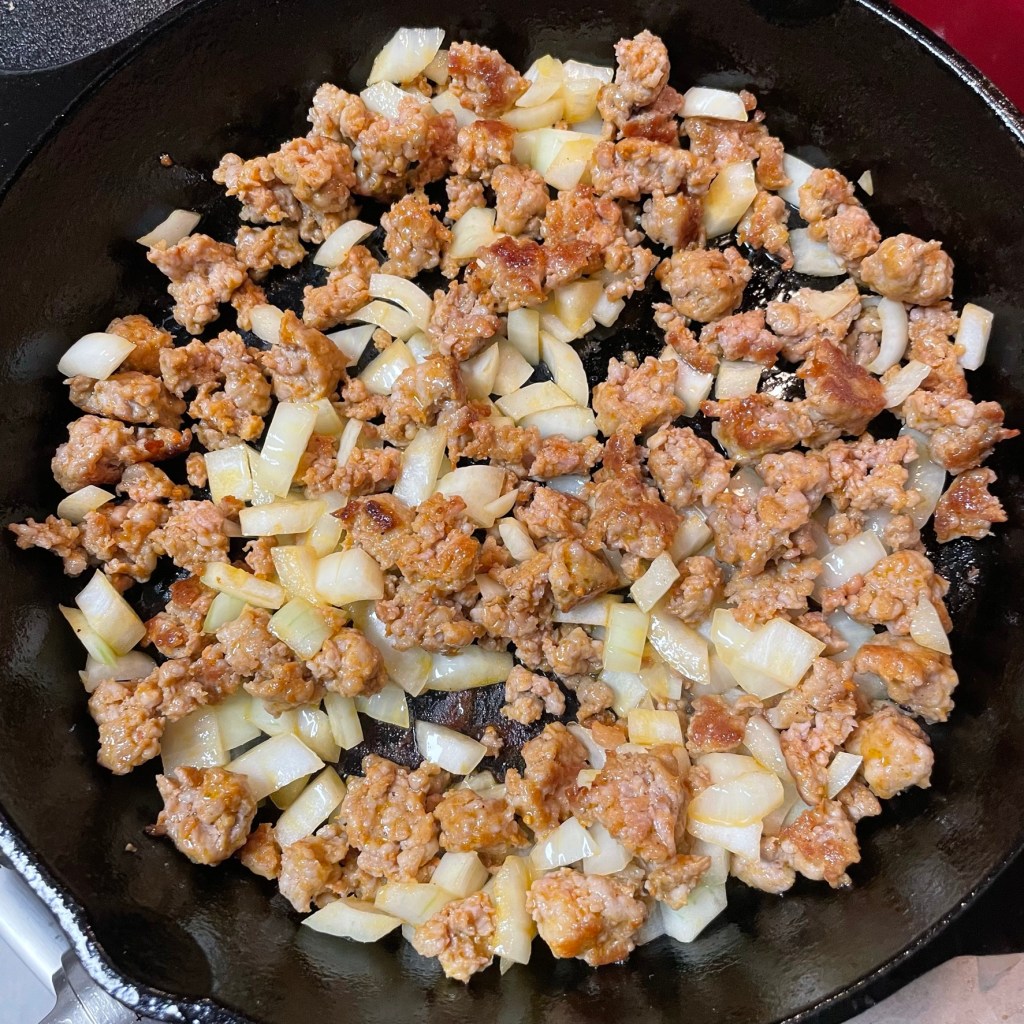
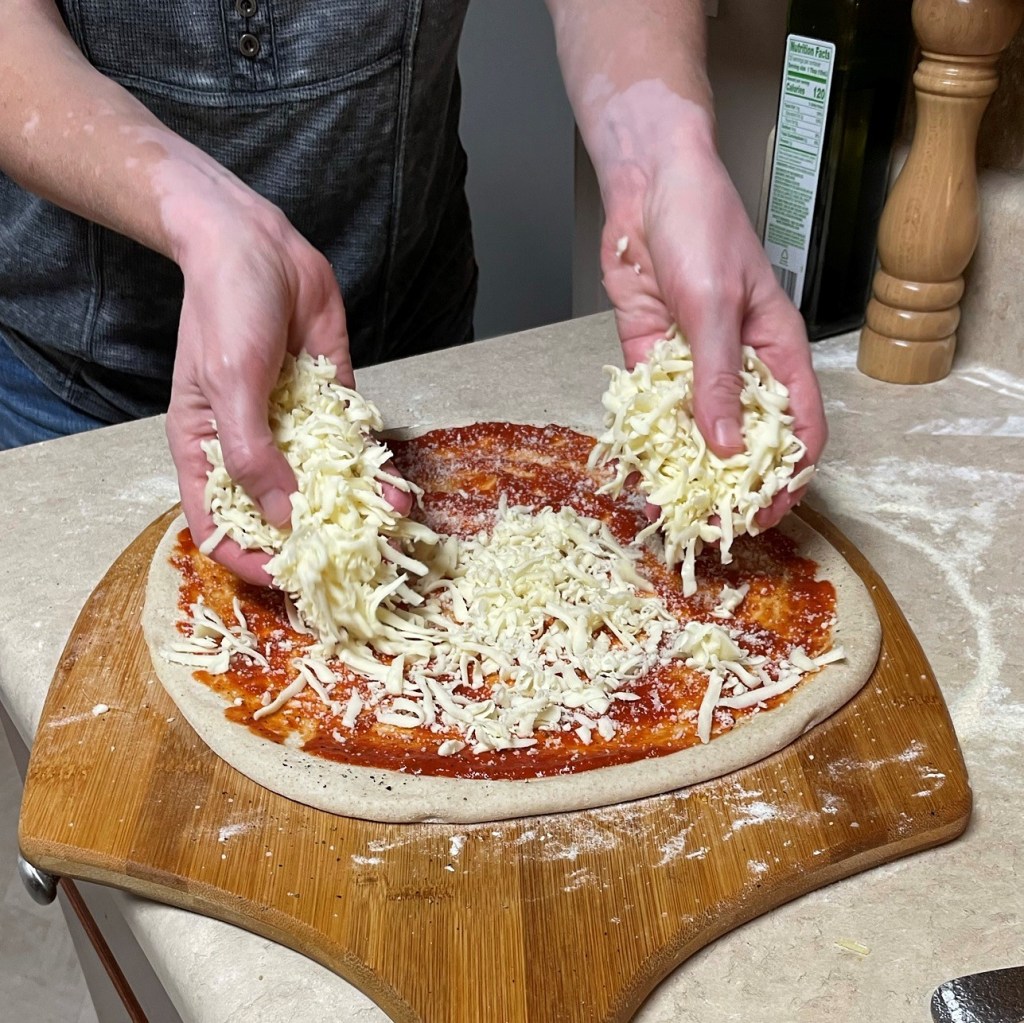
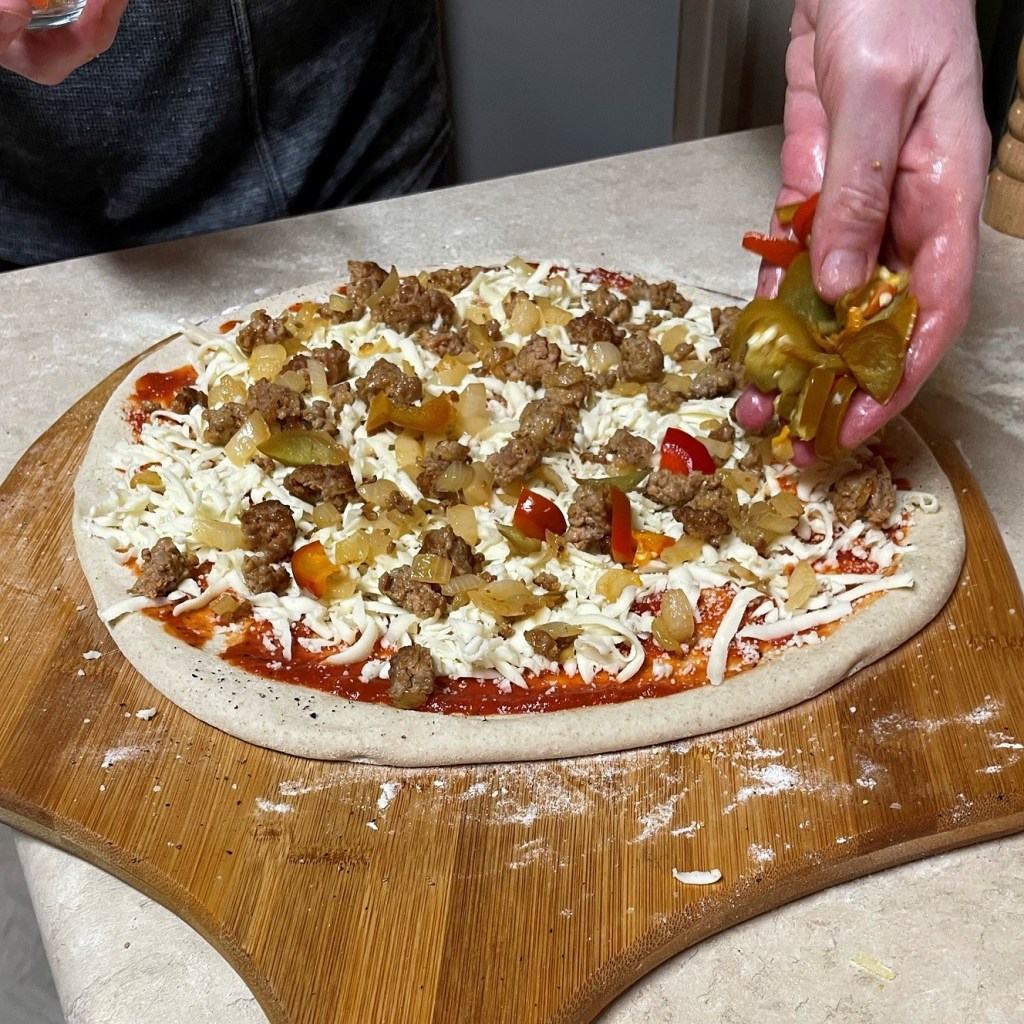
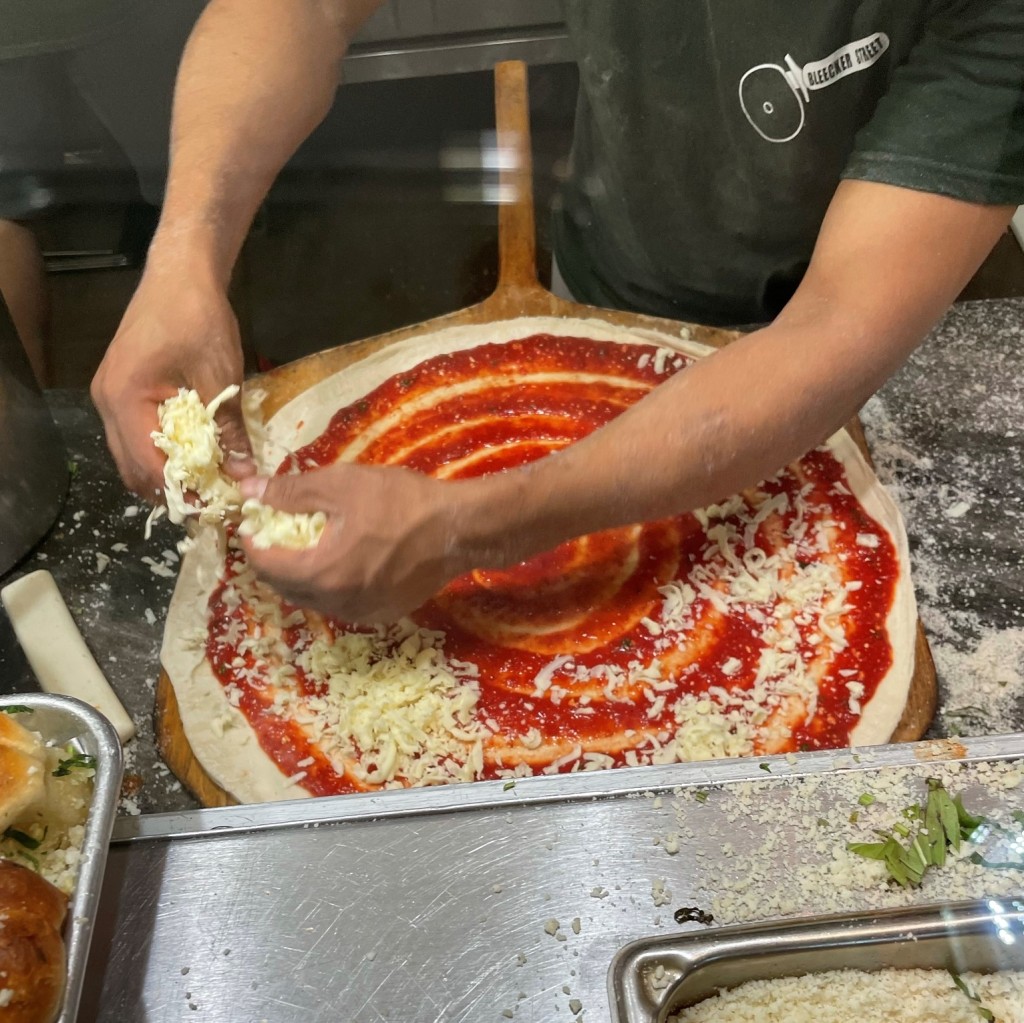
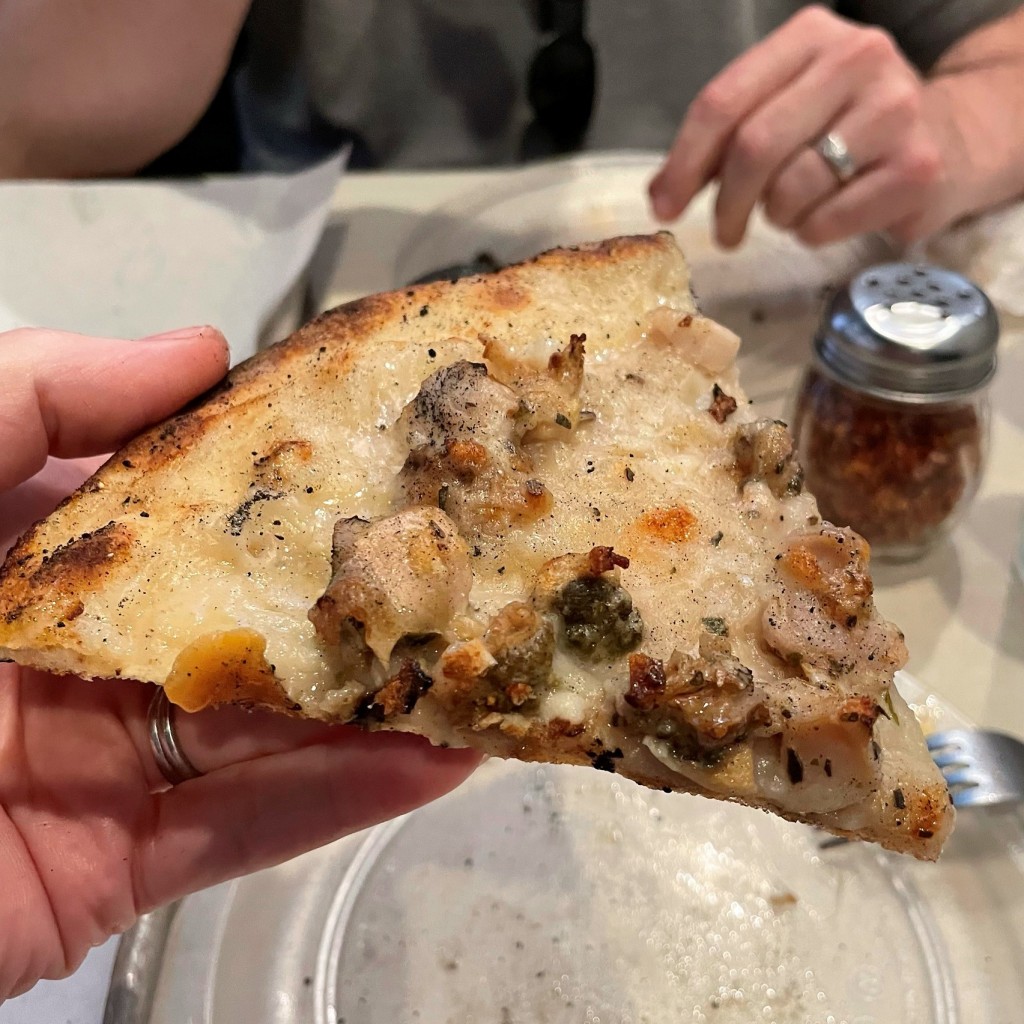
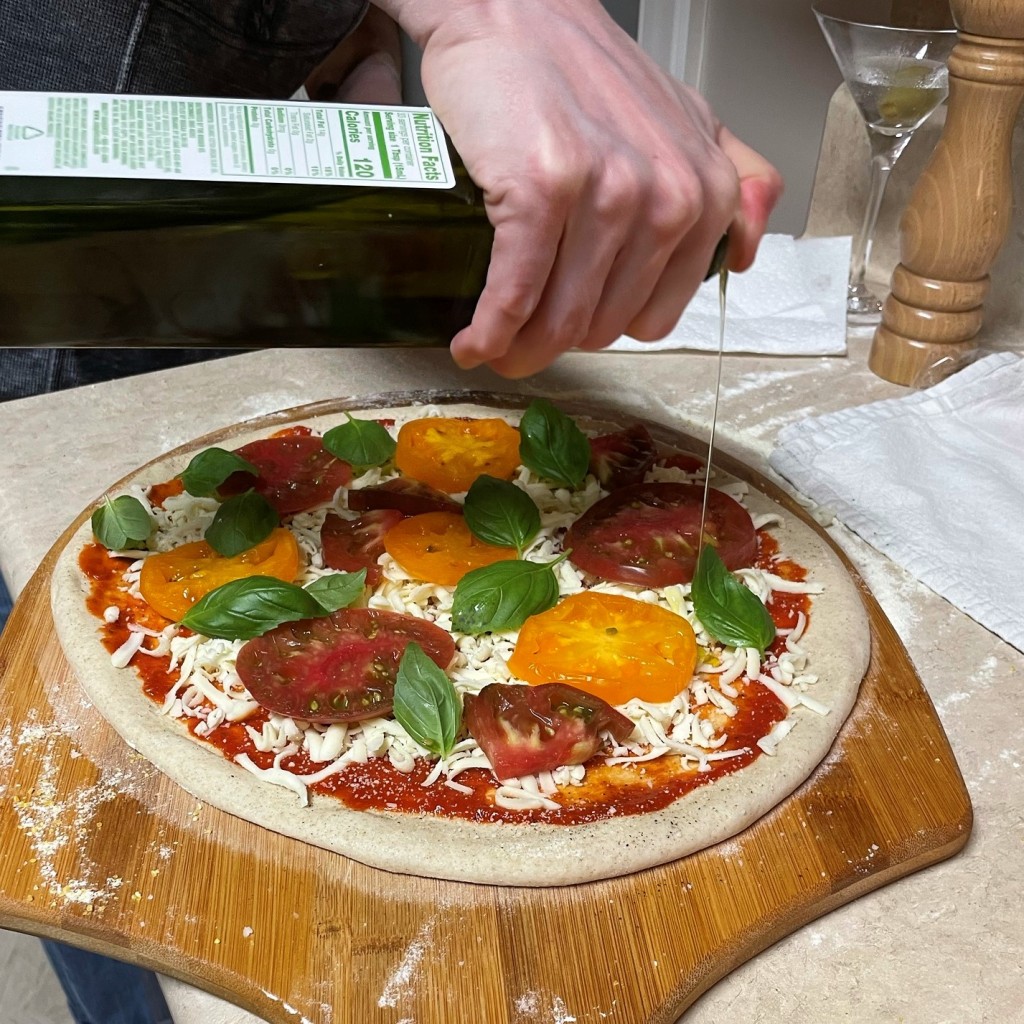
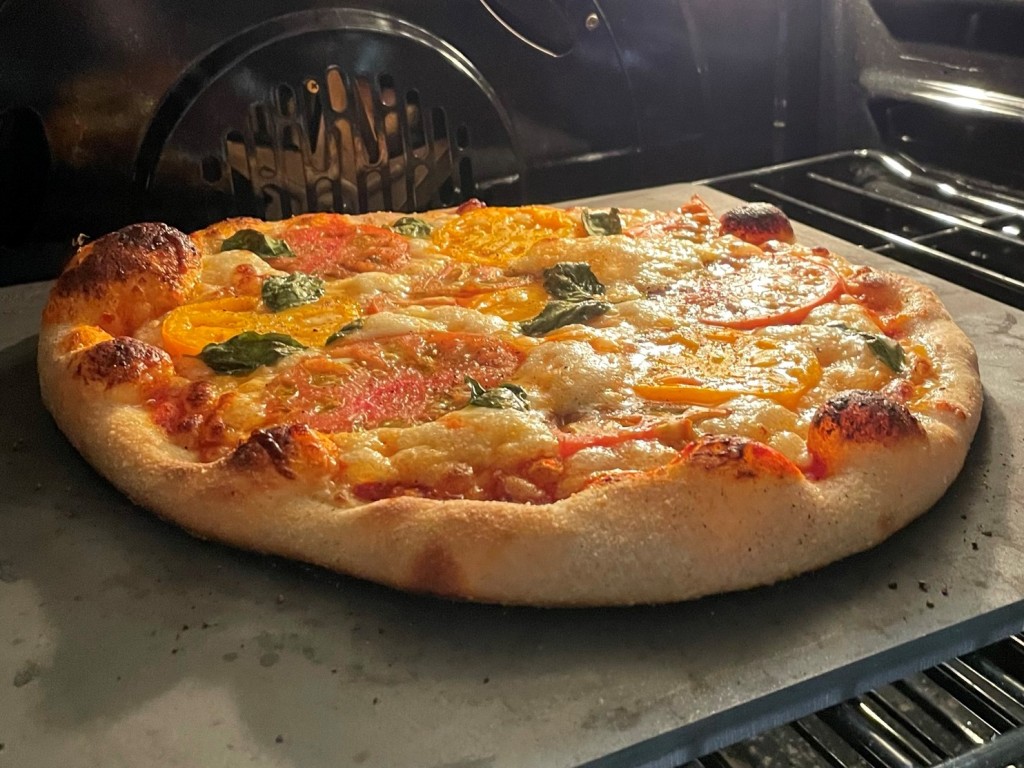
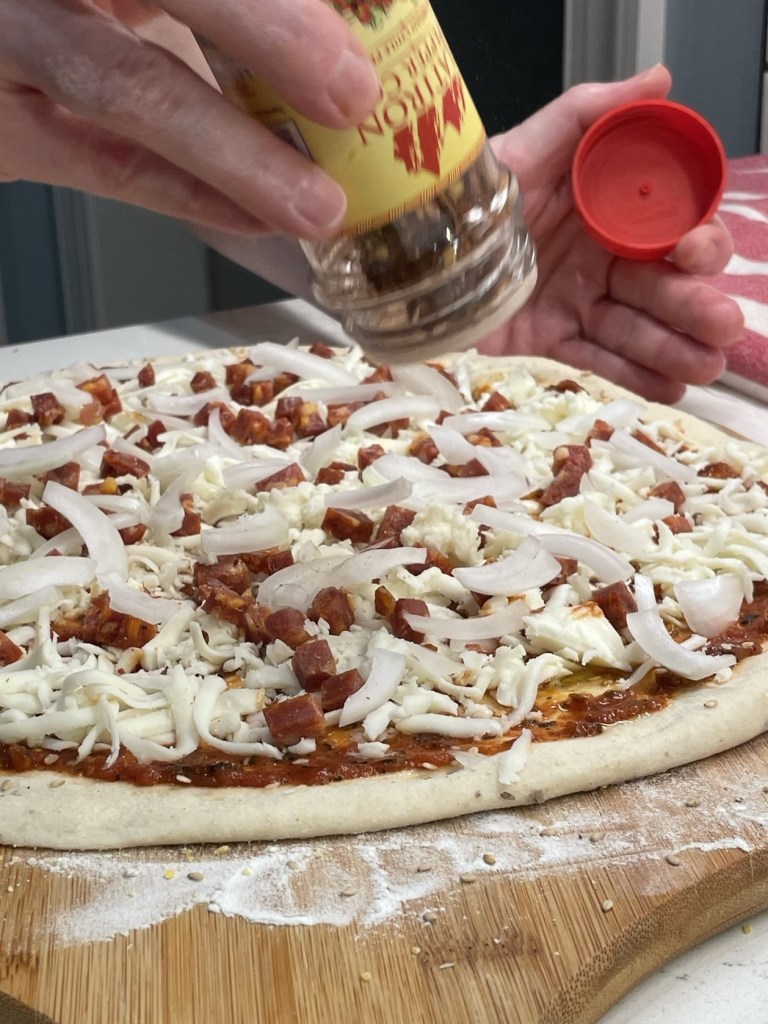
All my pizzas are made with sourdough crust and baked on a screaming hot pizza steel for a brick oven-like finish, but you could replicate the idea of this pizza on any crust you like, perhaps even fresh dough you pick up at the deli. I sprinkled sesame seeds all over the dough, which was more symbolic than anything because we couldn’t detect them on the finished pizza. Sauce went down next, followed by copious amounts of freshly shredded mozzarella, the cubed soppressata, fresh sliced onions and Calabrian chile flakes. Then, the rest of my muffuletta-inspired flavors!


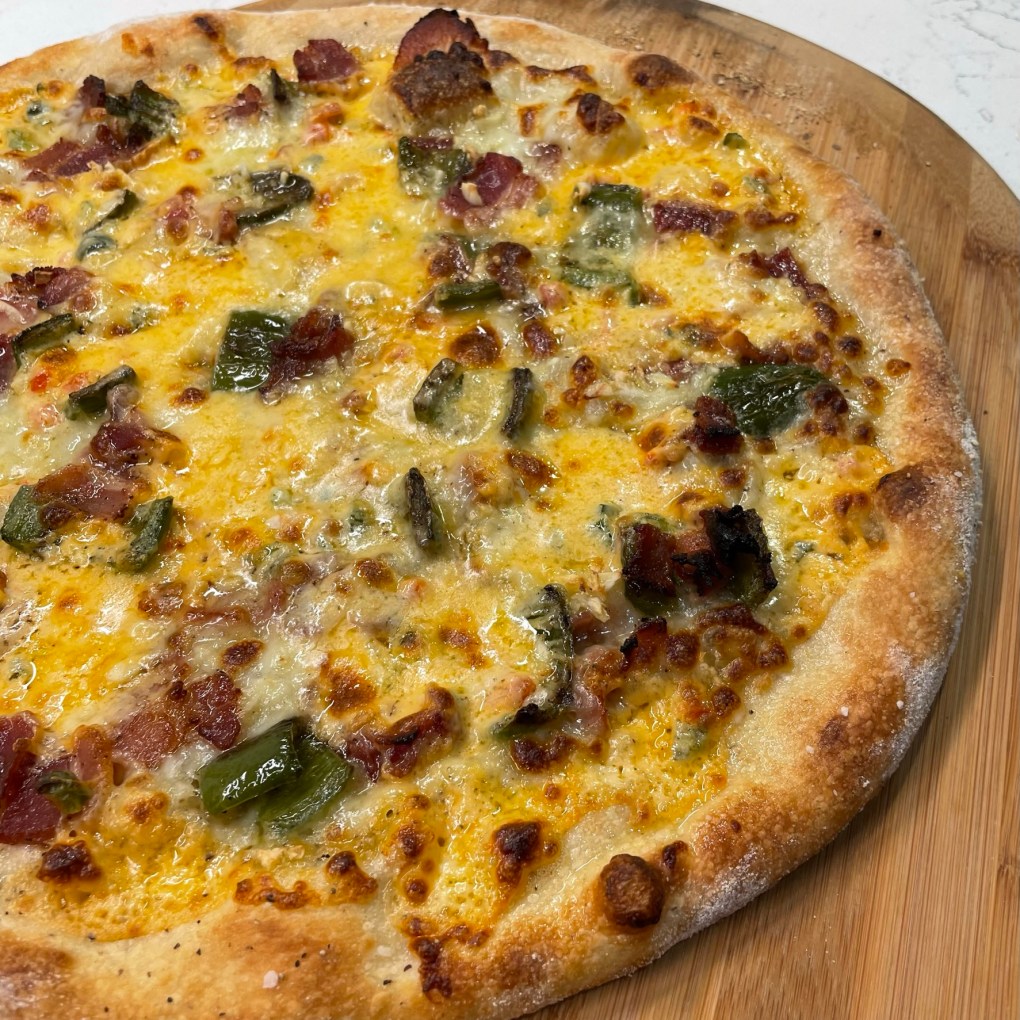
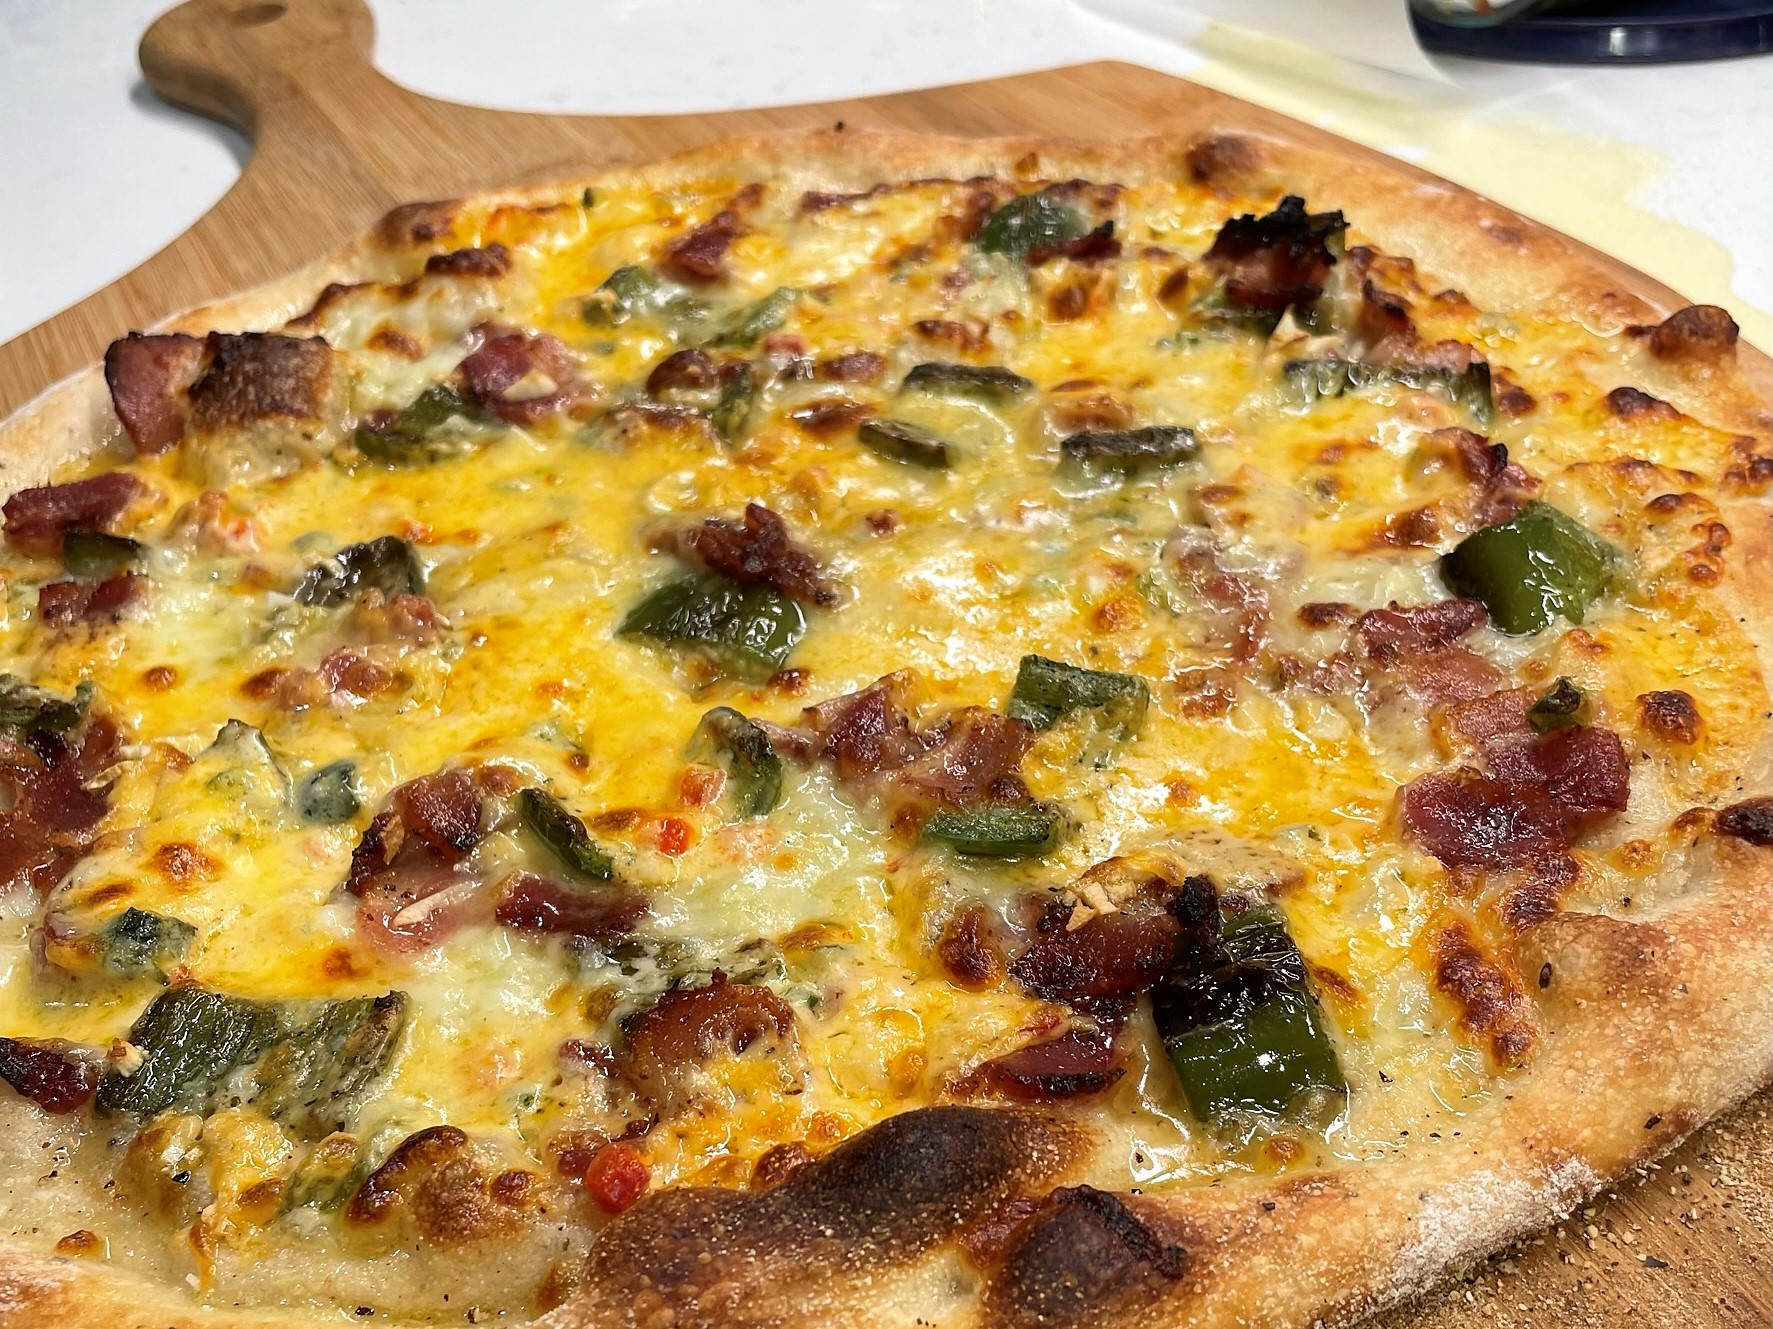
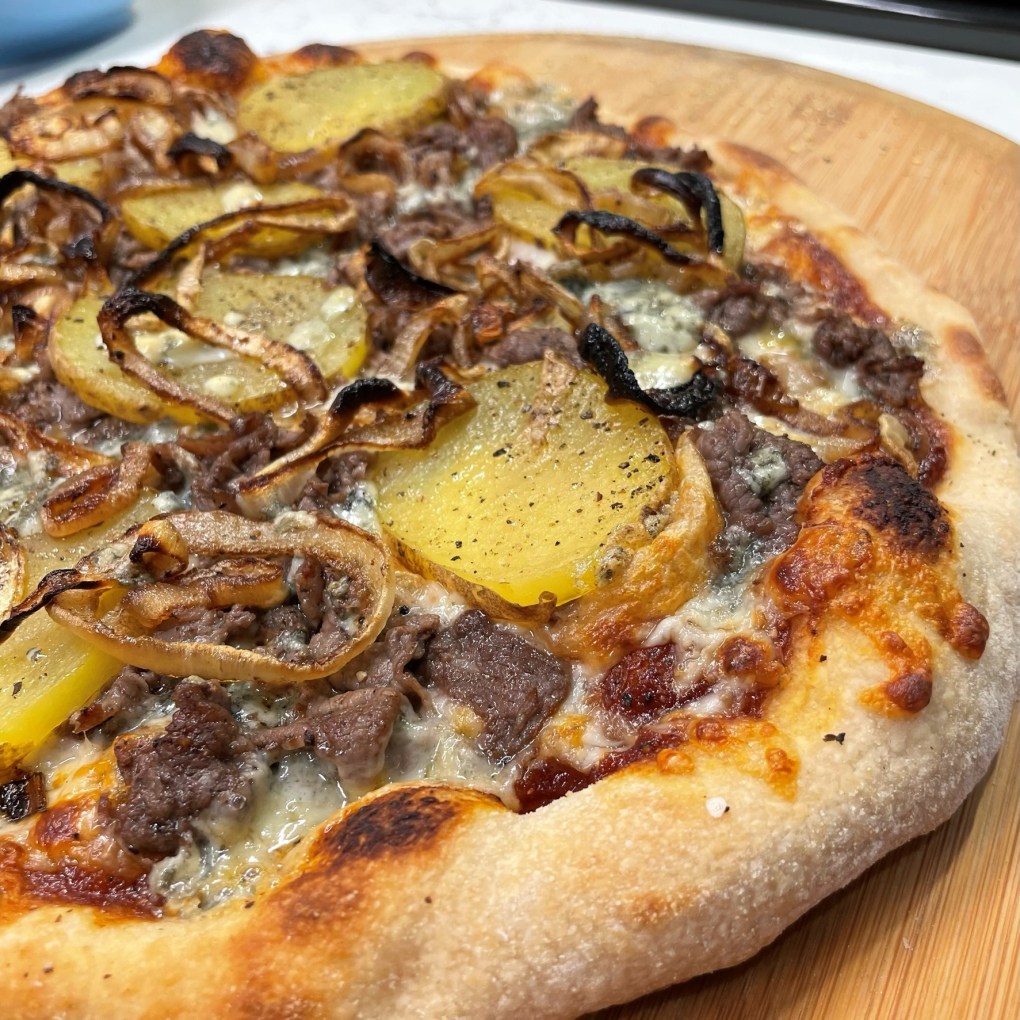
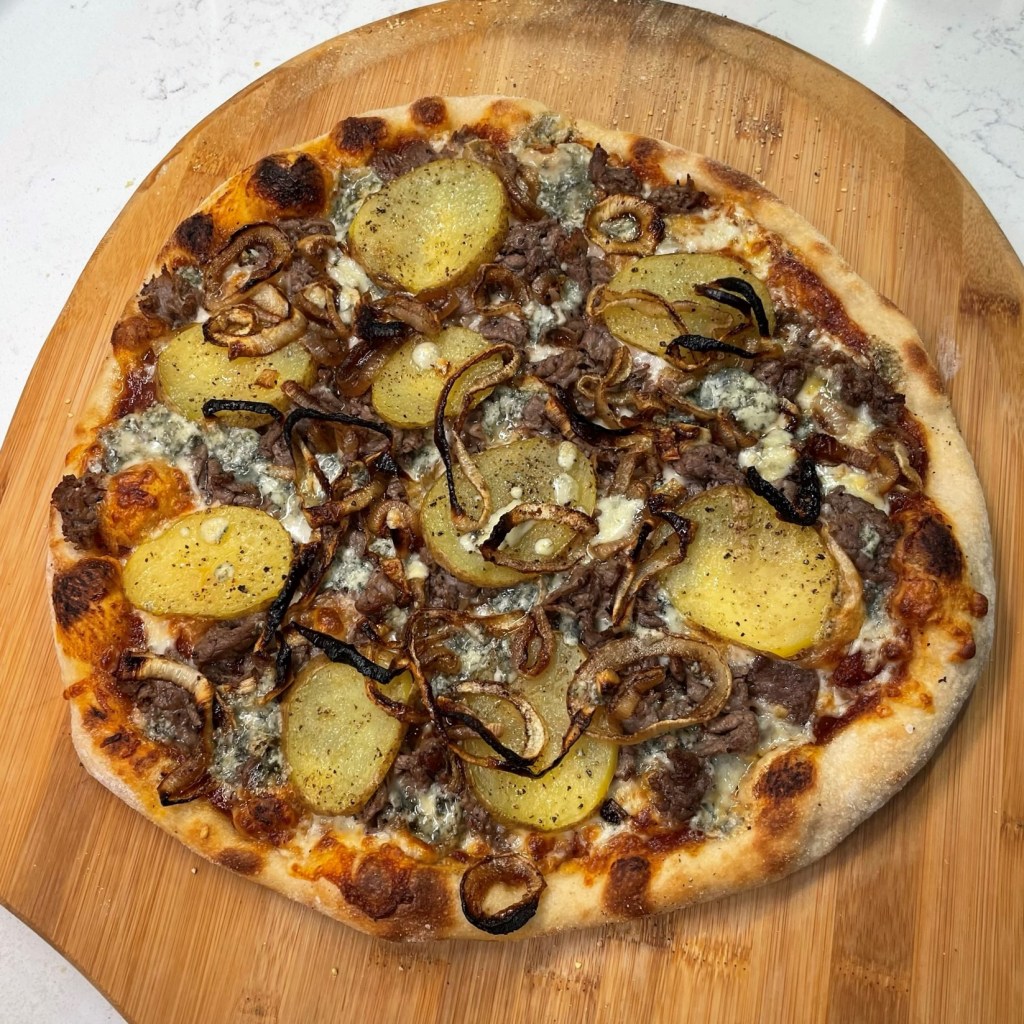
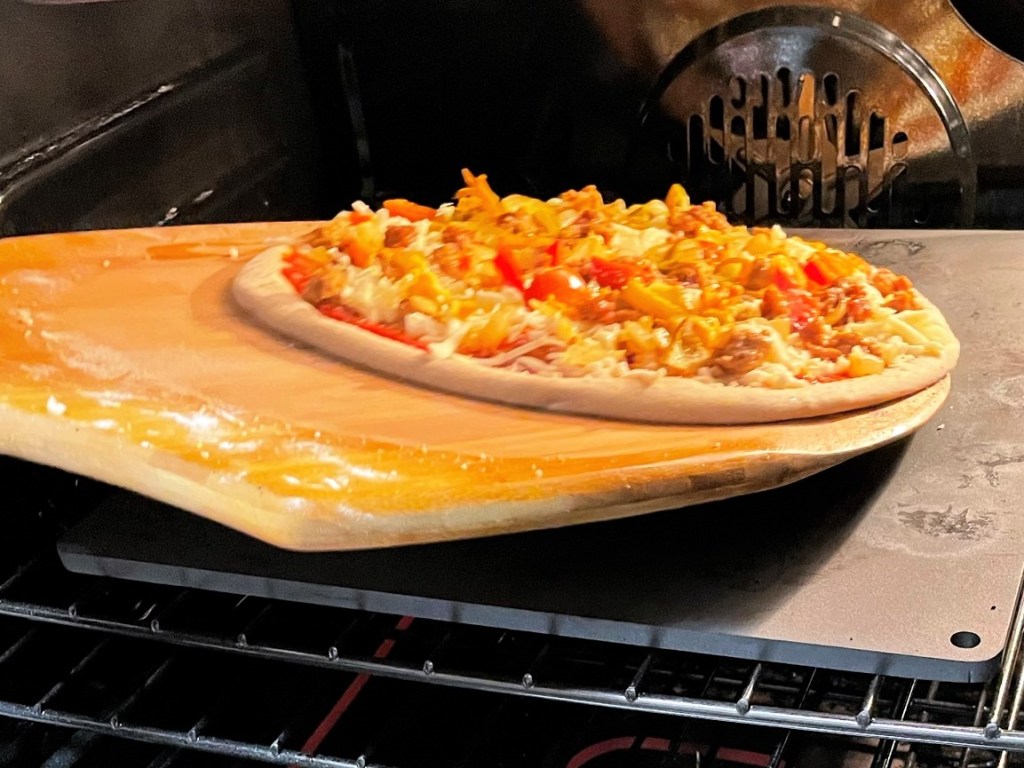
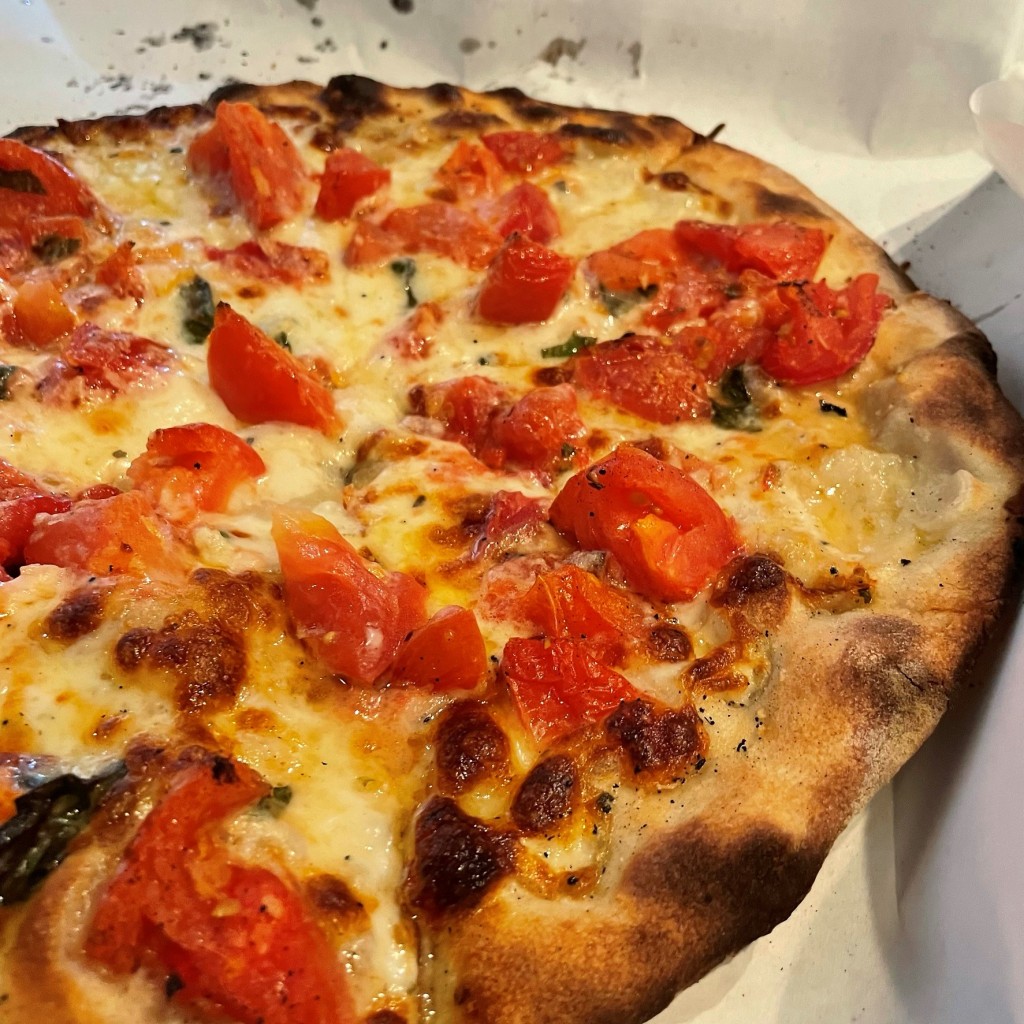
A sprinkle of Parm-Romano blend was a finishing touch, and then into the oven for six minutes— oh, how I love our Dough Joe pizza steel!— and this was possibly one of the most delicious pizzas I’ve ever made. I had some jitters about having “too much meat” on this pizza (my husband would say there’s no such thing), but the flavors worked really well together and the pickled vegetables in the cracked olive salad kept the richness in check.
One of these days, I’m going to get down to New Orleans. Maybe next year. But for now, I’m satisfied to let the good times roll with as many Mardi Gras-inspired foods as I can dream up. What should I make next?
Muffuletta Pizza

It's an Italian meat lover's dream come true, and with special ties to New Orleans, a fun pizza for Mardi Gras!
Ingredients
- 3 large slices Genoa salami
- 3 thin slices smoked provolone
- 1/3 cup Trader Joe’s “cracked olive salad,” or something similar
- A few shakes of dried Italian herb blend
- 1 pizza dough ball, at room temperature
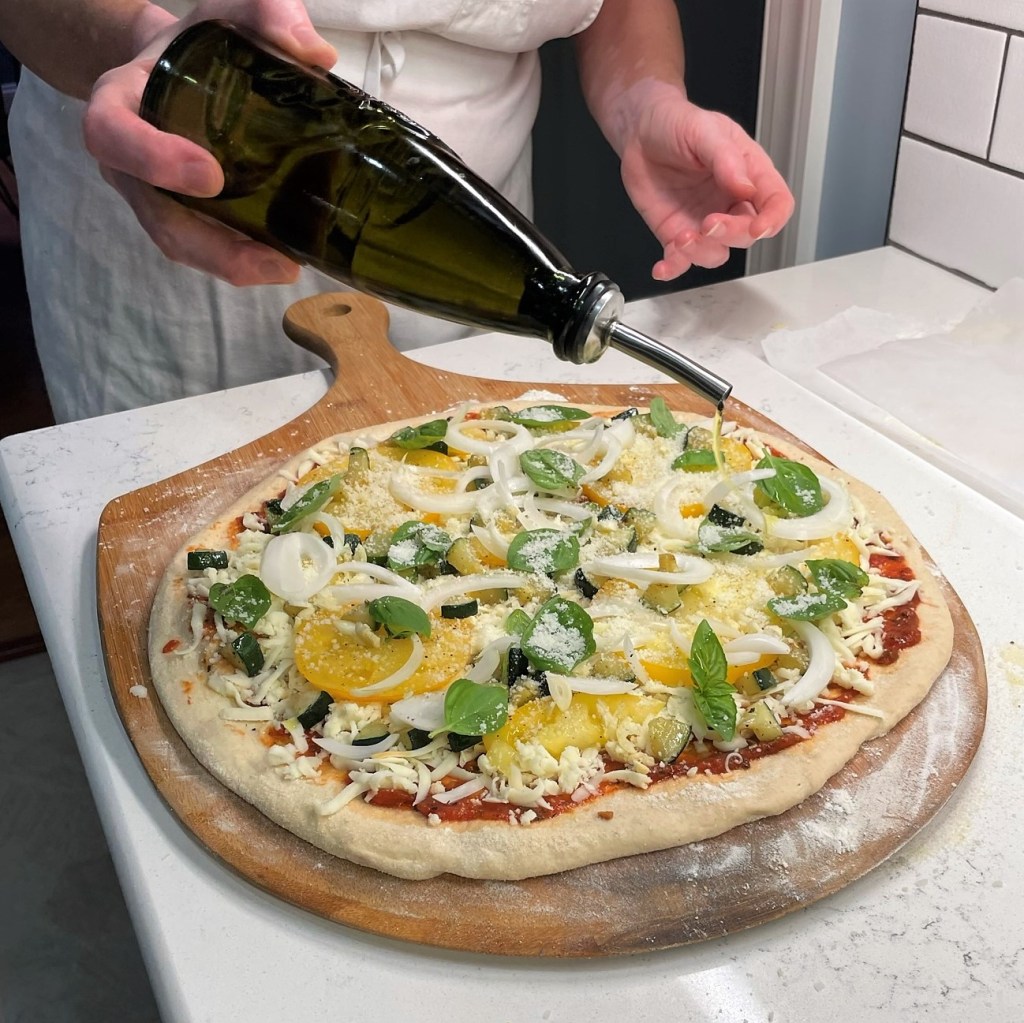
- Extra virgin olive oil, for drizzling
- 1 Tbsp. sesame seeds (optional, for effect)
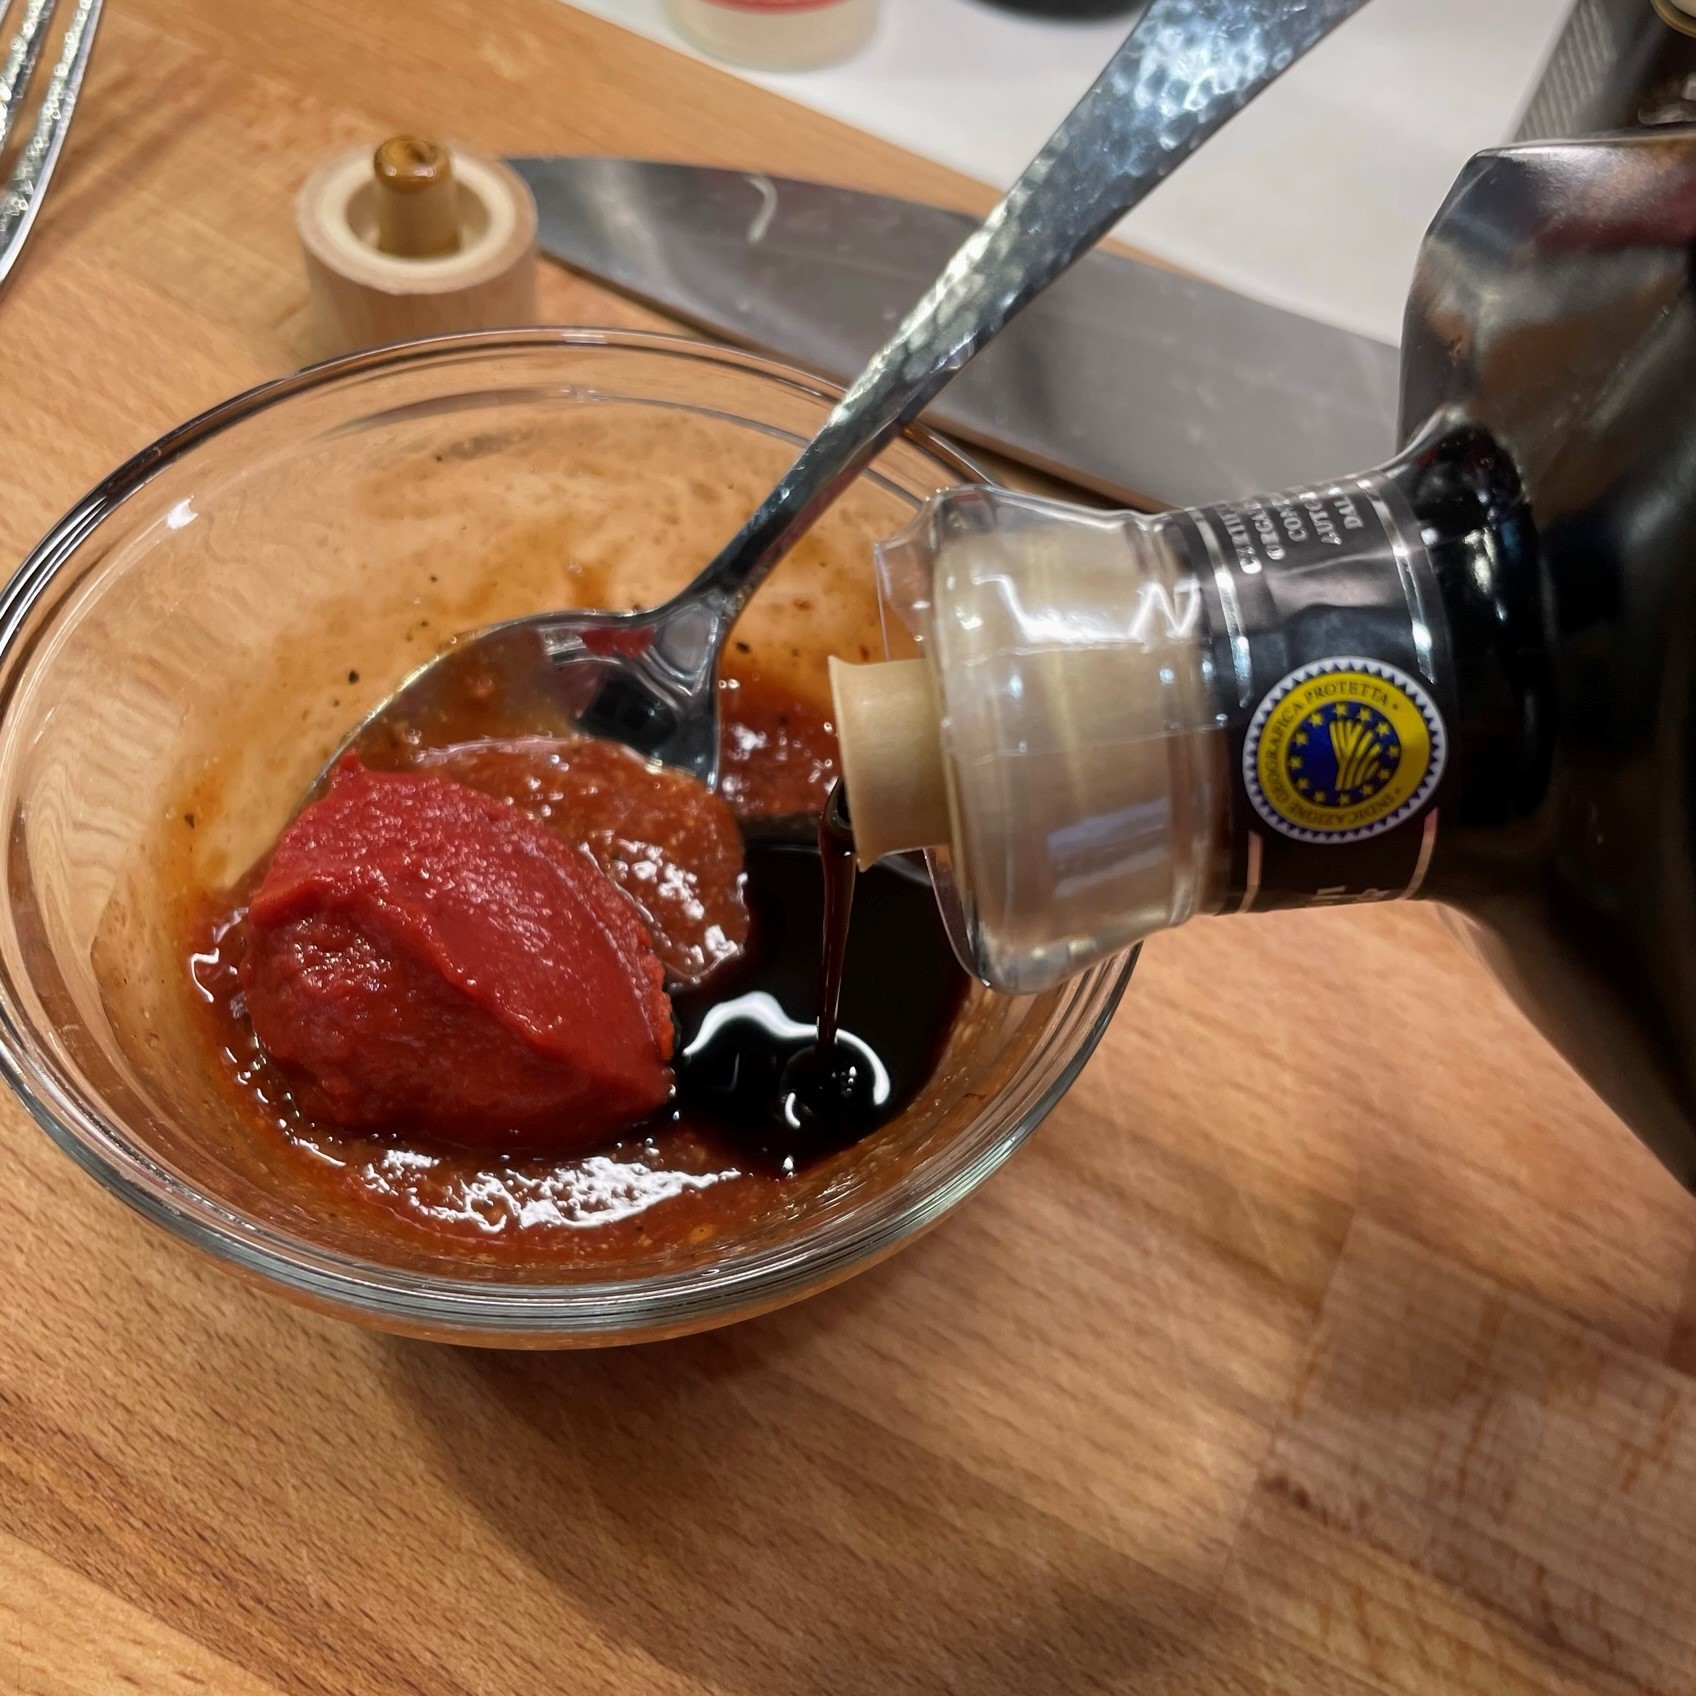
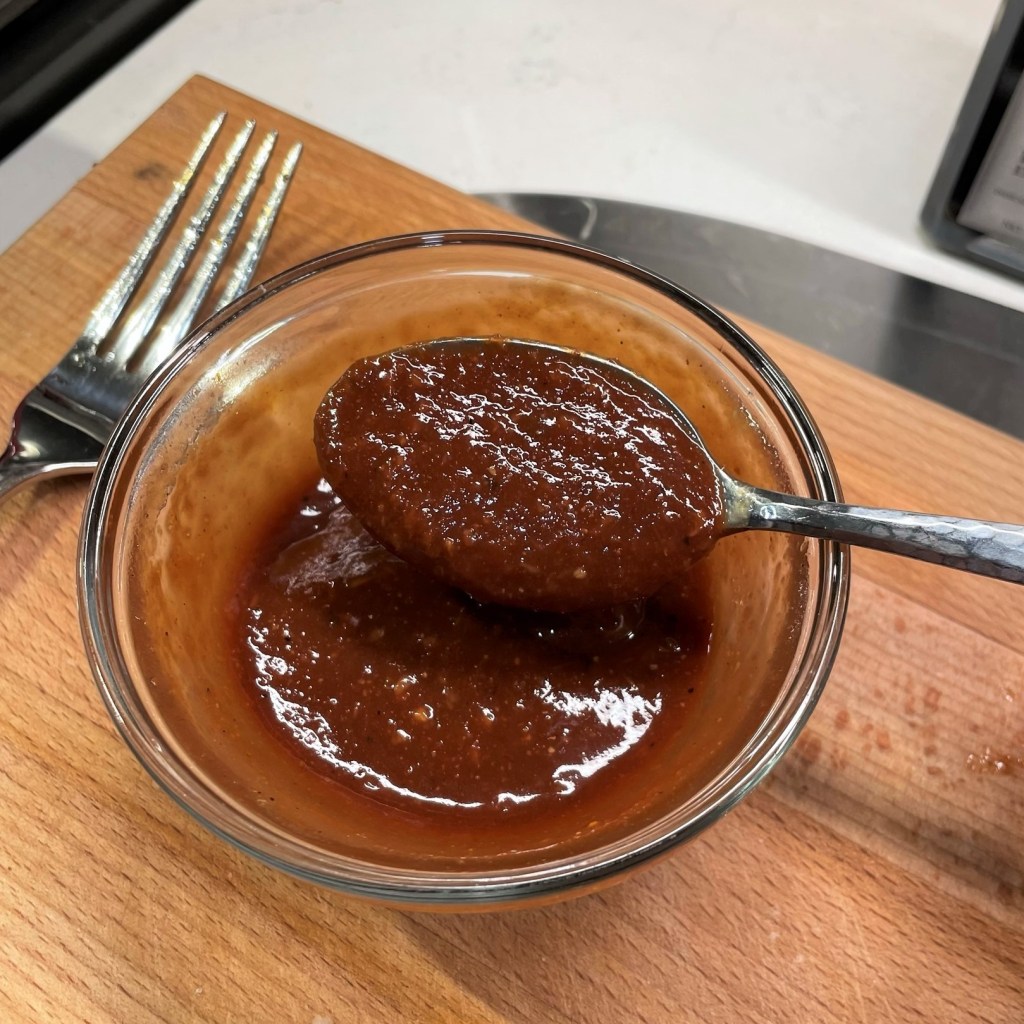
- 1/4 to 1/3 cup favorite pizza sauce (mine was Dei Fratelli fire-roasted)
- 1 cup freshly shredded, low-moisture mozzarella
- 1/3 cup cubed spicy soppressata
- 1/2 sweet or yellow onion, sliced into crescents
- A few shakes crushed red pepper, if desired for extra spice
- 2 slices prosciutto, cut into ribbons
- About 1/4 cup grated Parm-Romano blend cheese
Directions
- While the oven preheats, layer each slice of salami with a slice of provolone. Roll up into cigar shapes and wrap tightly together in plastic wrap. Tuck this into the freezer for an hour before slicing, so that the twirls keep their shape on top of the pizza. Add a few shakes of Italian seasoning to the olive salad and set aside.
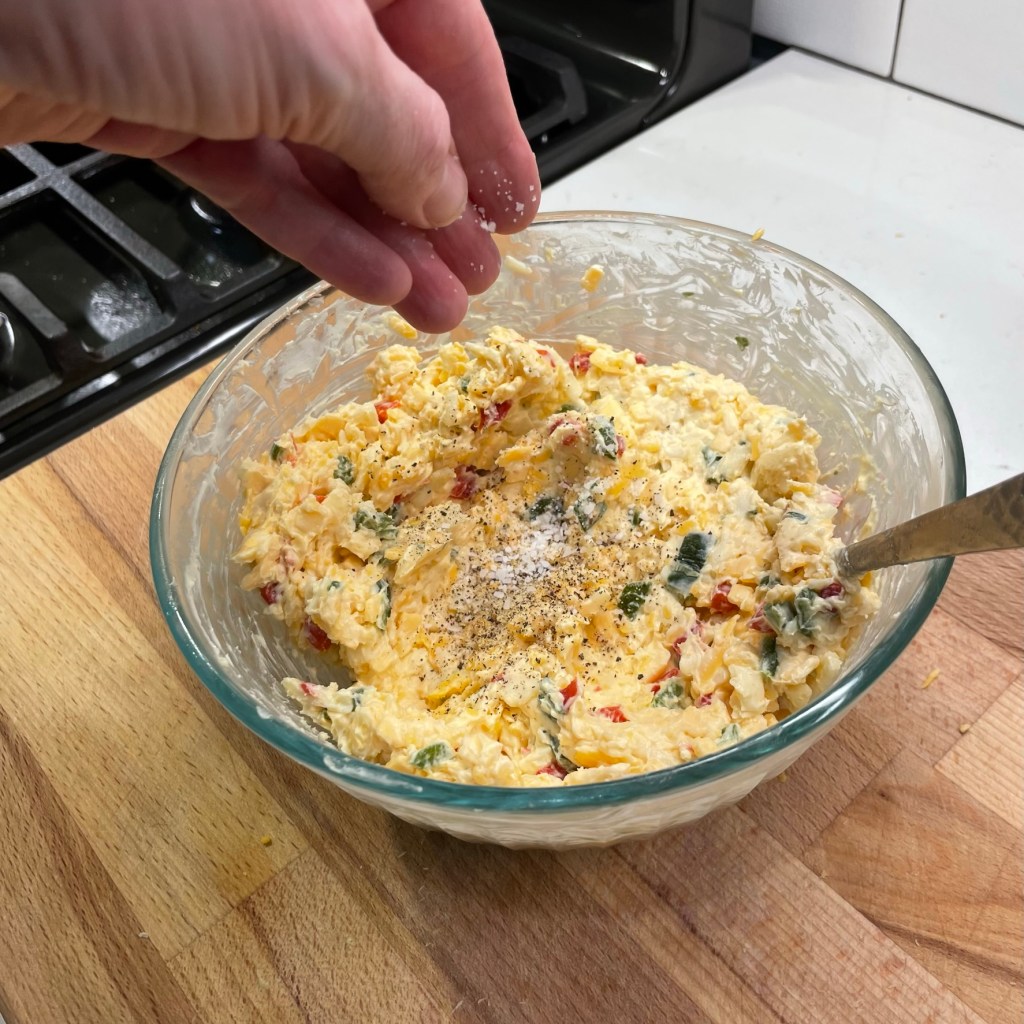
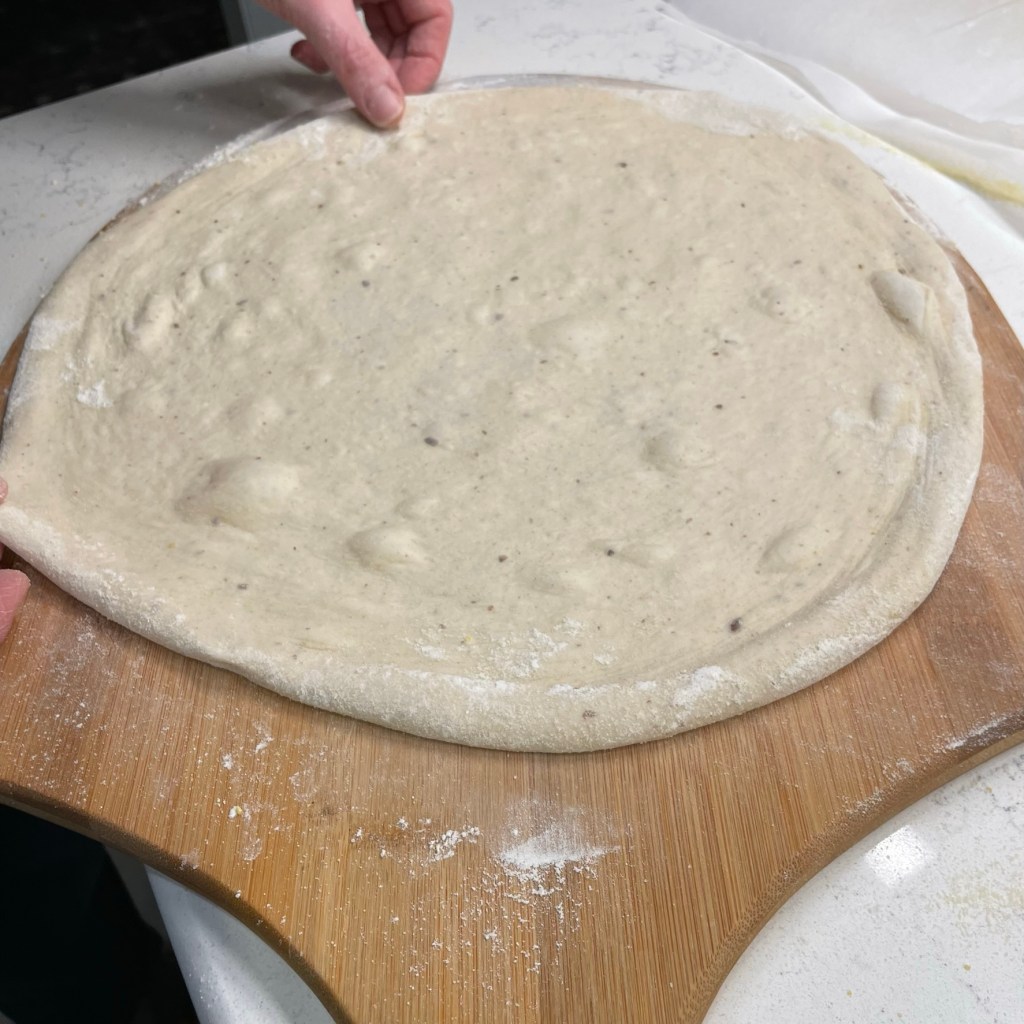
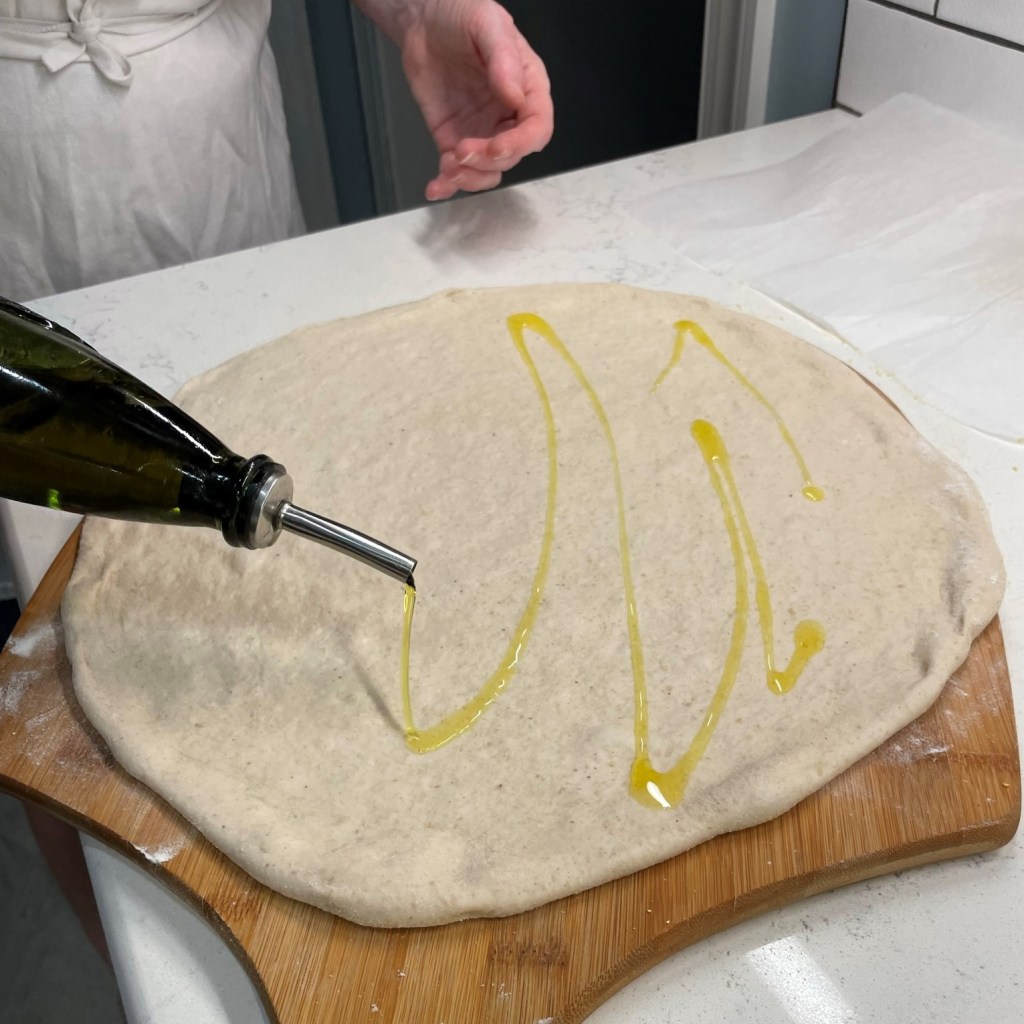
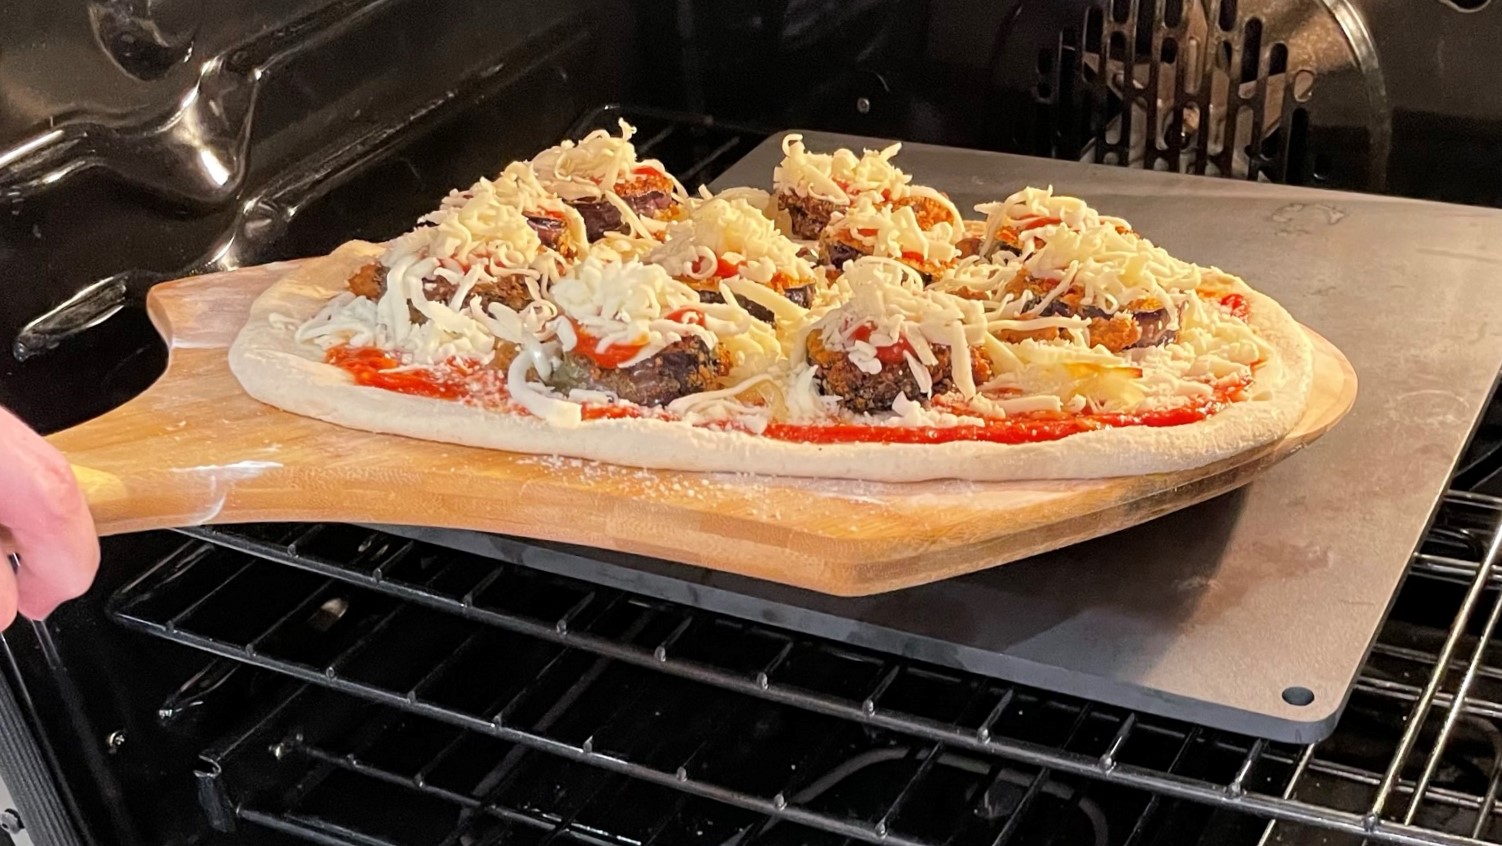
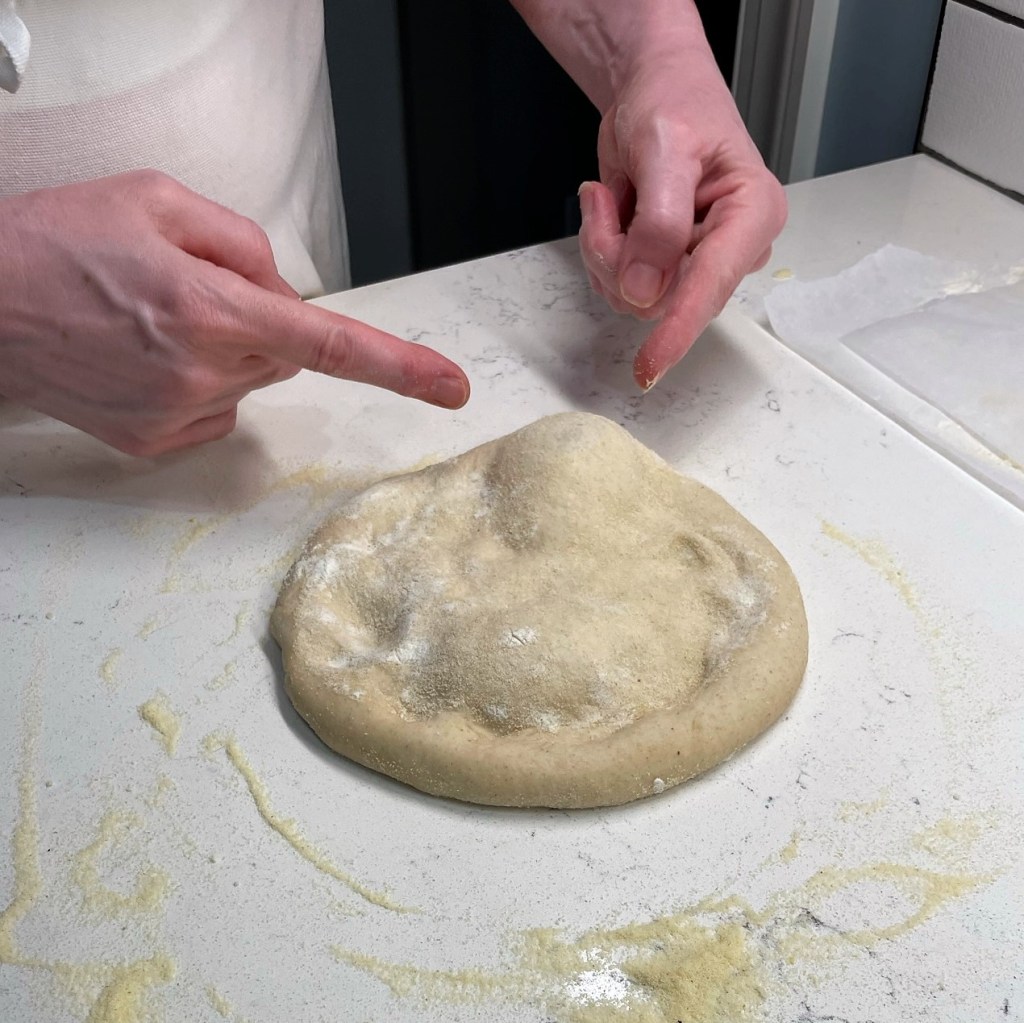
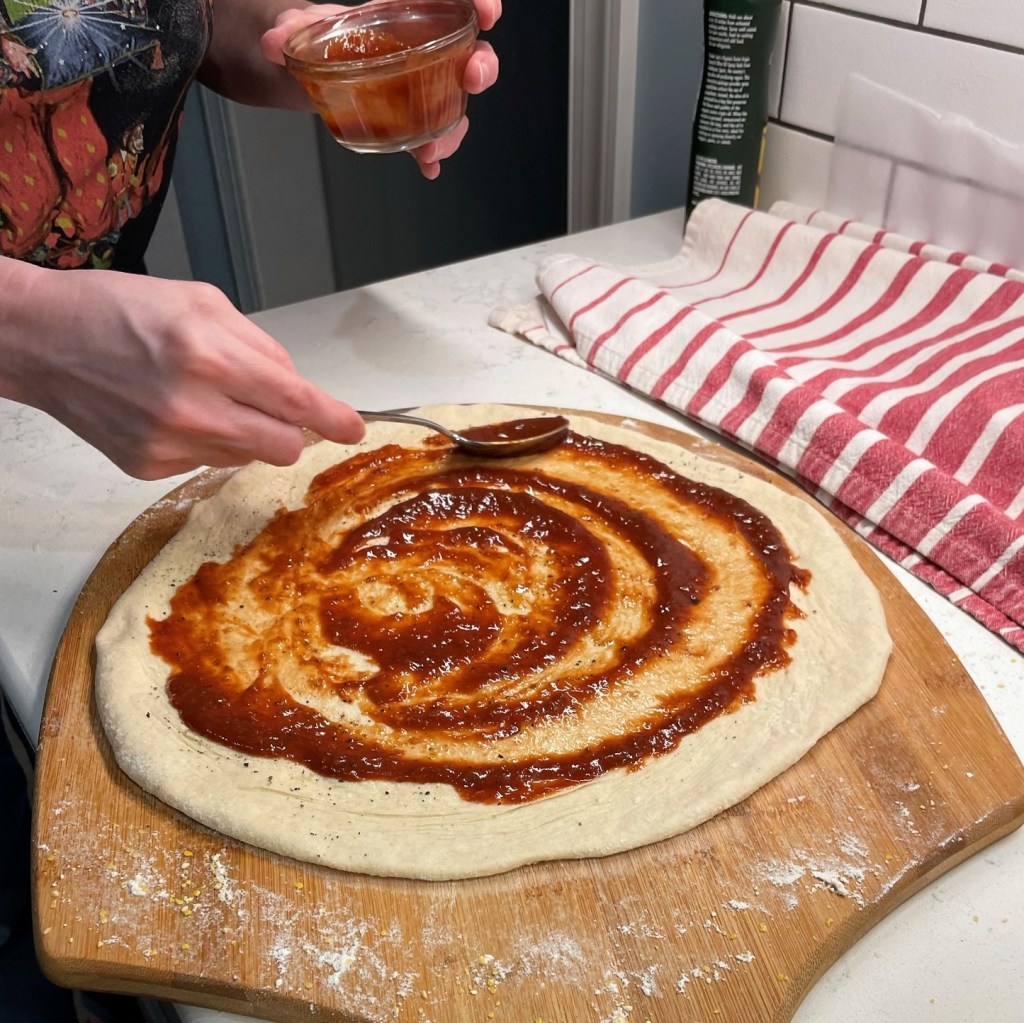
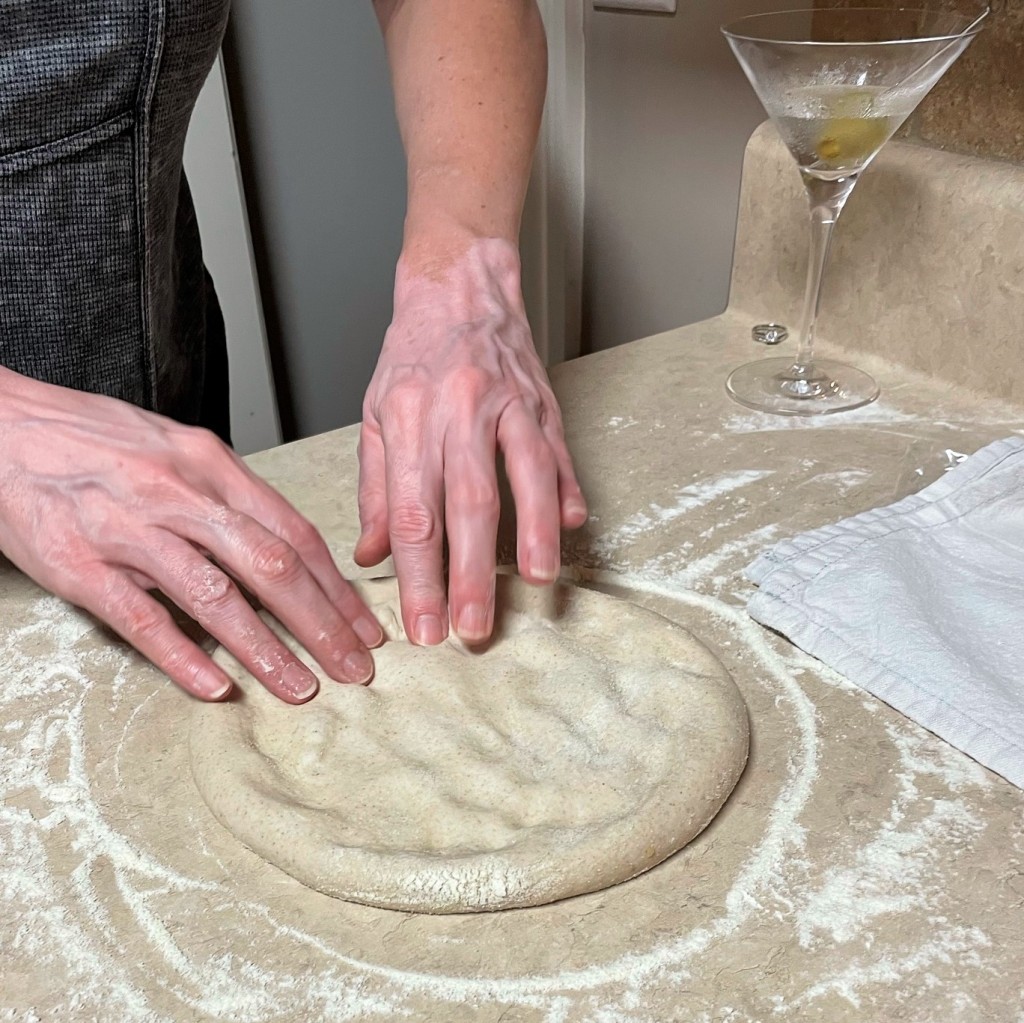
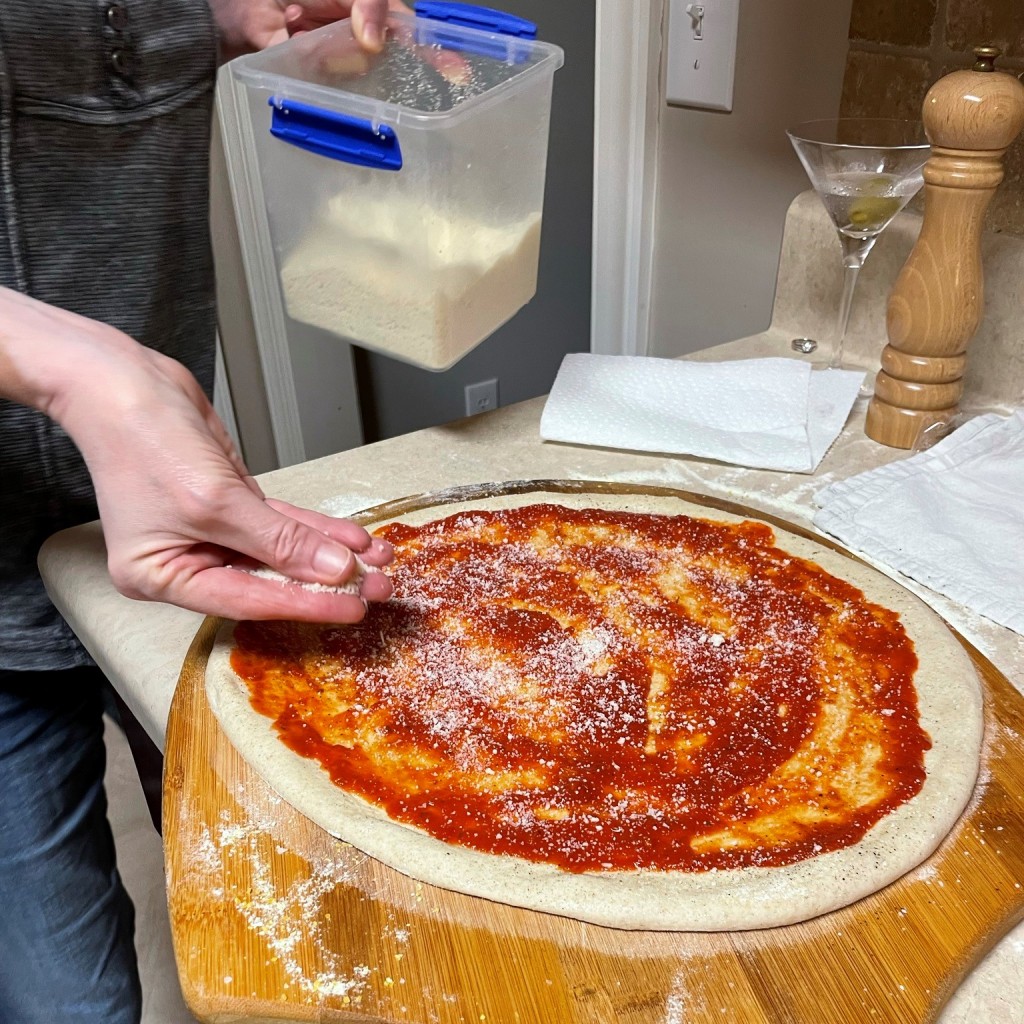
- Shape dough into a 14-inch round and place on a flour and cornmeal-dusted pizza peel for easy transfer into and out of the oven. Drizzle the dough with olive oil and season with salt and pepper. Sprinkle all over with sesame seeds, if desired.
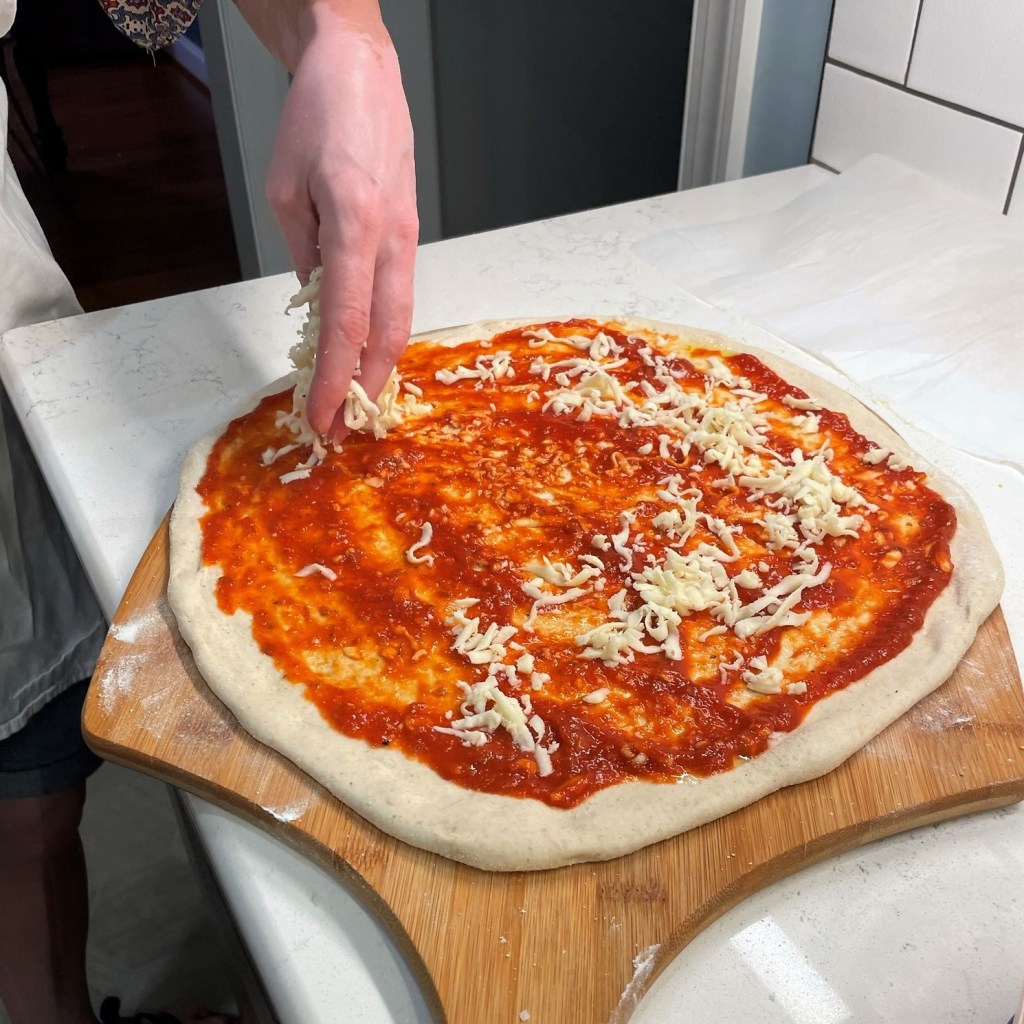
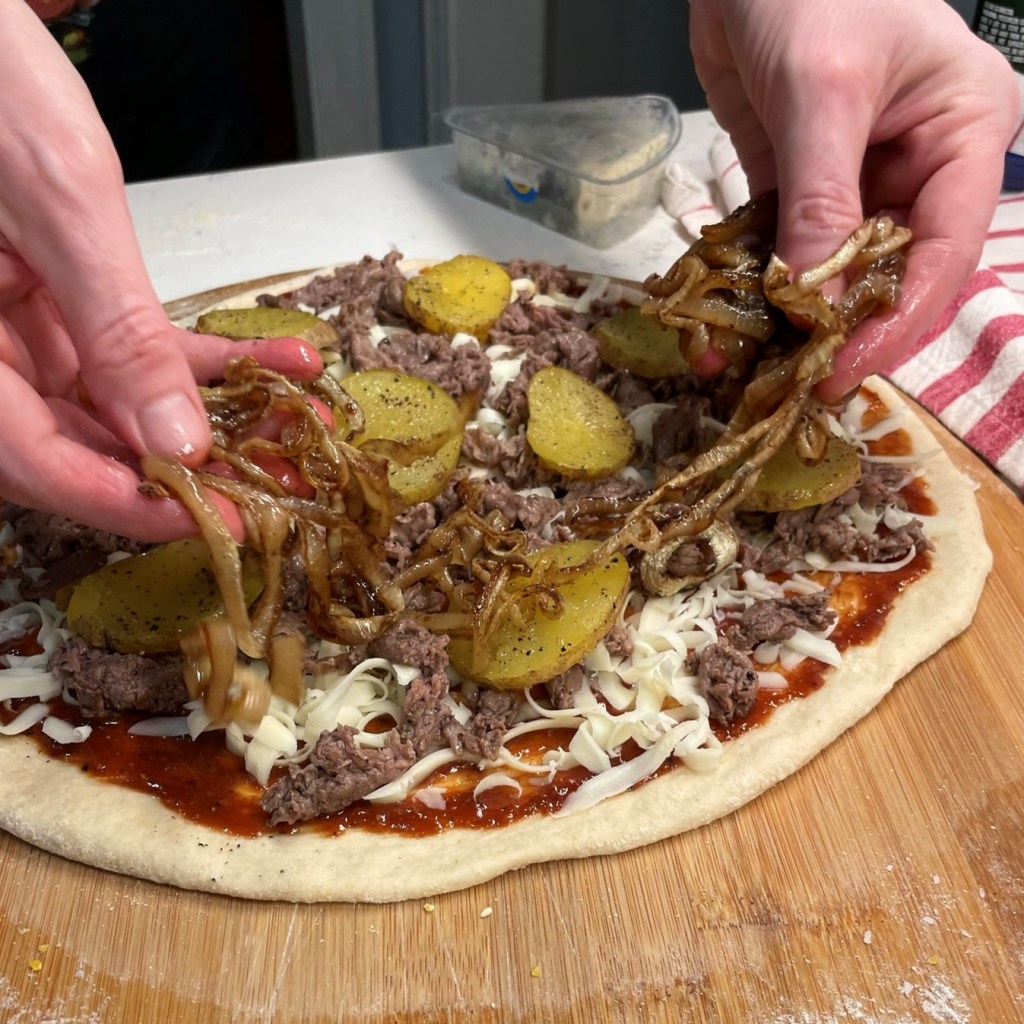
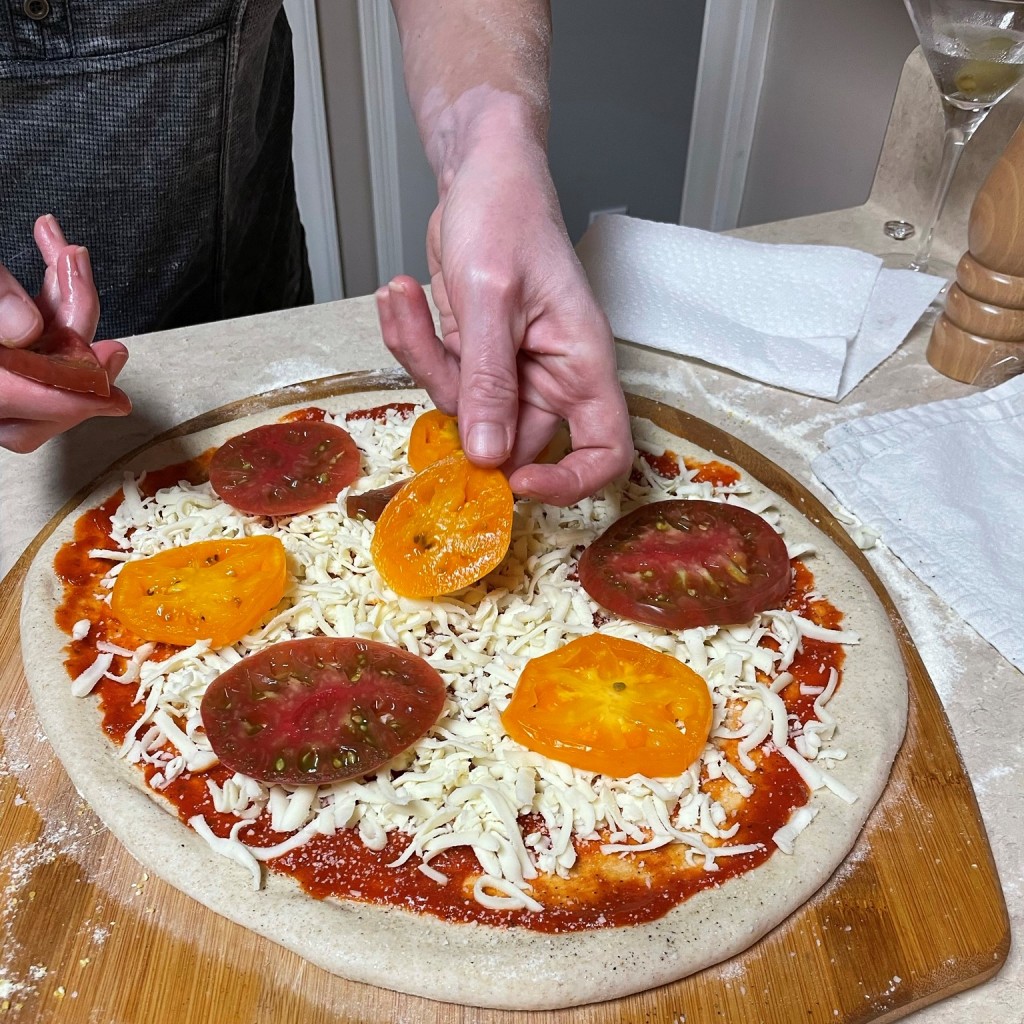
- Spread sauce over dough to within one inch of the edges; you should be able to see the dough through it. Layer mozzarella generously over the sauce, then scatter the soppressata cubes and onion slices. Shake on crushed red pepper.
- Distribute the olive salad evenly over the pizza toppings, then top with the prosciutto and swirls of salami-provolone. Scatter Parm-Romano lightly over the entire pie and slide it into the oven.
- Turn pizza 180° after about four minutes to ensure crust is evenly blistered. Remove from oven and transfer to a pizza tray. Serve immediately.