We are turning a corner on our side-yard vegetable garden, and I am finding myself a bit flummoxed because for the first time in years, we actually have a tomato harvest! When I made the decision to plant this year—and it was definitely my decision, given that I’m the one who is home more during the day to tend to it—I swore that I would pull out all the stops in repelling the deer that reside in the woods behind us. Nothing I had tried in the past worked for more than a week, and dammit, I wanted tomatoes this year! If you have a similar problem, stop playing around with sprays and wind chimes (they don’t work anyway) and stop scattering human hair and soap shavings and whatever else you’ve tried, and just go get one of these—order it now, I’ll wait.
The yard enforcer motion-activated sprinkler is by far the smartest thing I’ve bought this year, and friends, we are about to reap the benefit of so many tomatoes!
I planted an heirloom variety this year, called “Brandywine,” and they are large, sweet and juicy—perfect for tomato sandwiches and caprese salads. I am fond of the color of the Brandywine tomato—it’s sort of a blushy pink-red color, rather than the orange-red that is typical. They have a pleated sort of appearance, and a few wrinkly lines on the skin, but I don’t mind it and it certainly doesn’t affect the quality.

Right next to those is a grouping of four Roma tomato plants, and I have been astonished to see how many fruits developed on these plants. They are extra-long fruits, compared to the wimpy Romas at the grocery store, and we are planning on canning a few things with those when they are ready—mainly homemade pizza sauce, I suspect. The Roma tomato is a determinate plant, which means they will likely overwhelm me by ripening all at once. I hope we’re ready!

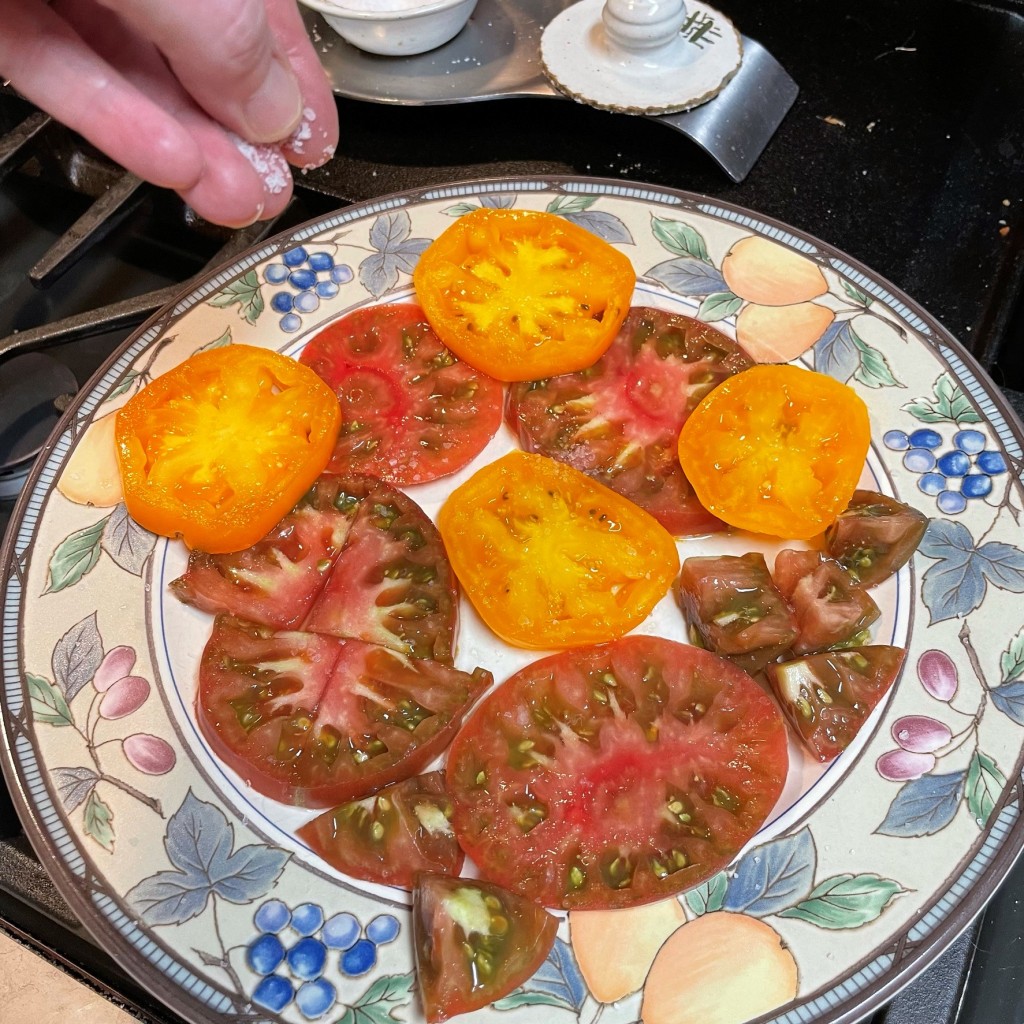
Finally, the luscious, yellow “Lemon Boy” tomatoes, which were the first ones to ripen, and I love the slight tang they bring to my plate, despite being lower acidity than many other tomatoes. Lemon Boy is a hybrid variety, and it is indeterminate, so I’ll have plenty of fruit to harvest for a few weeks, which I love.
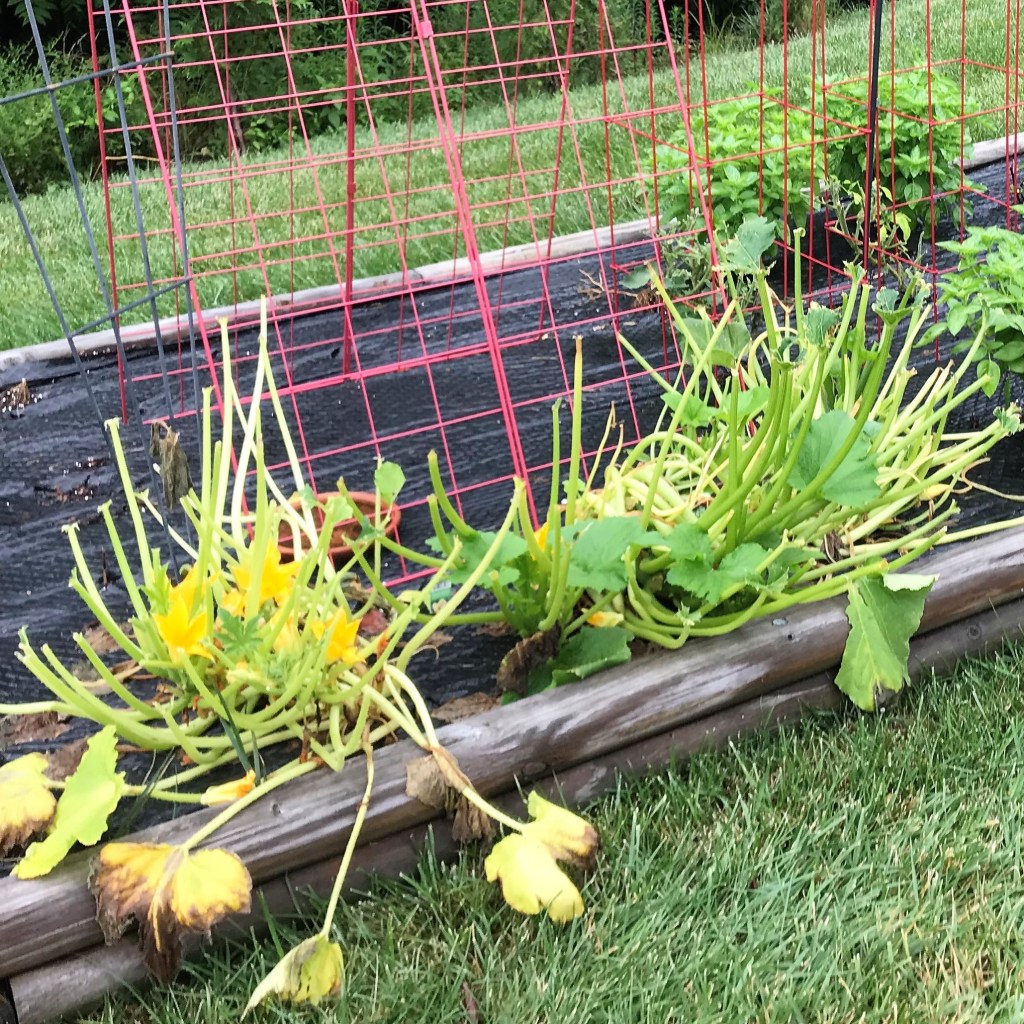
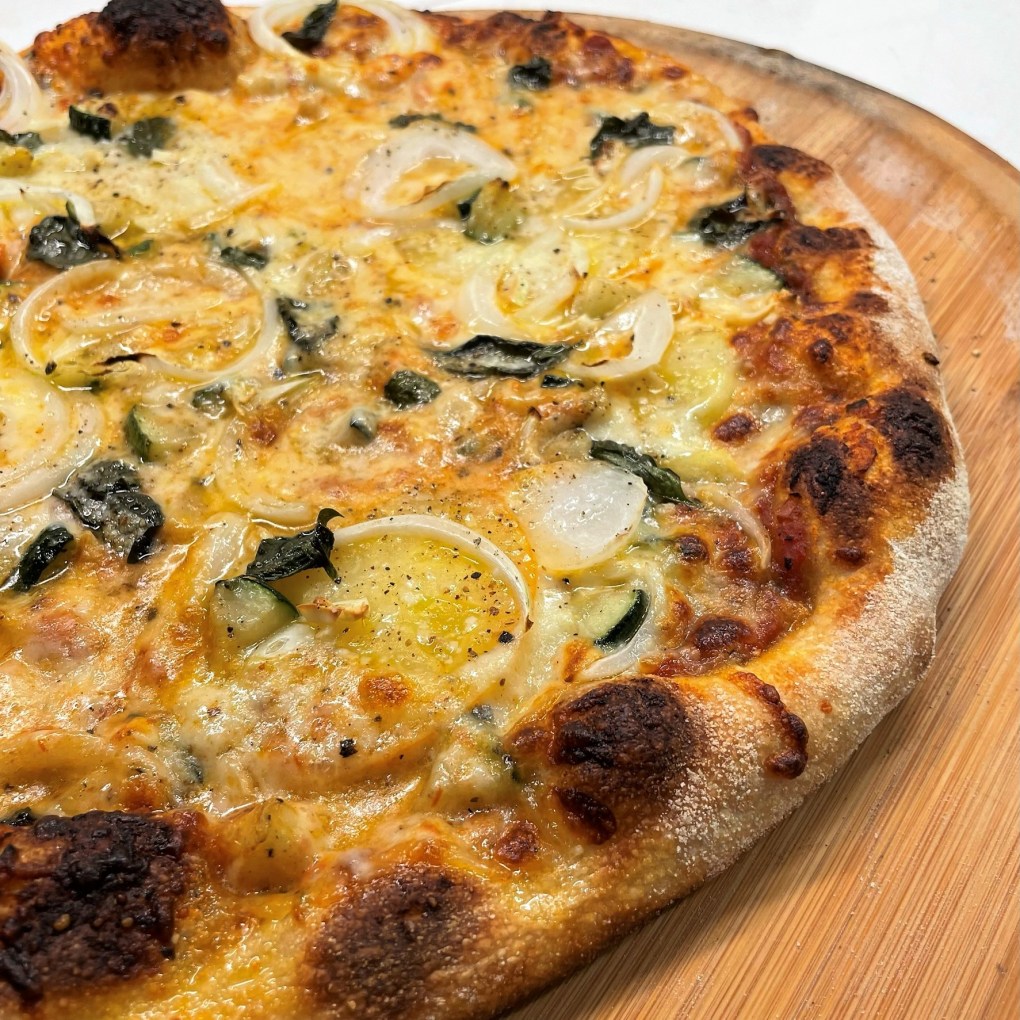
These Lemon Boys are the tomatoes I’m excited to share today, and of all the dishes I’ve made with them recently, this pizza stands out as a favorite because it really speaks to the transition of my garden. To date, I had struggled to keep up with the zucchini yield, and you can bet I won’t ever plant four of those again! It was about three weeks ago that I noticed vine borers had attacked my vibrant squash plant, and you know what that means—game over. I hate those things!
But we had a few squash that were near-ready, so I let them mature before I yanked the infested plants out of the garden. And just about the time I did so, I spotted this perfectly ripe, ready-to-enjoy Lemon Boy.

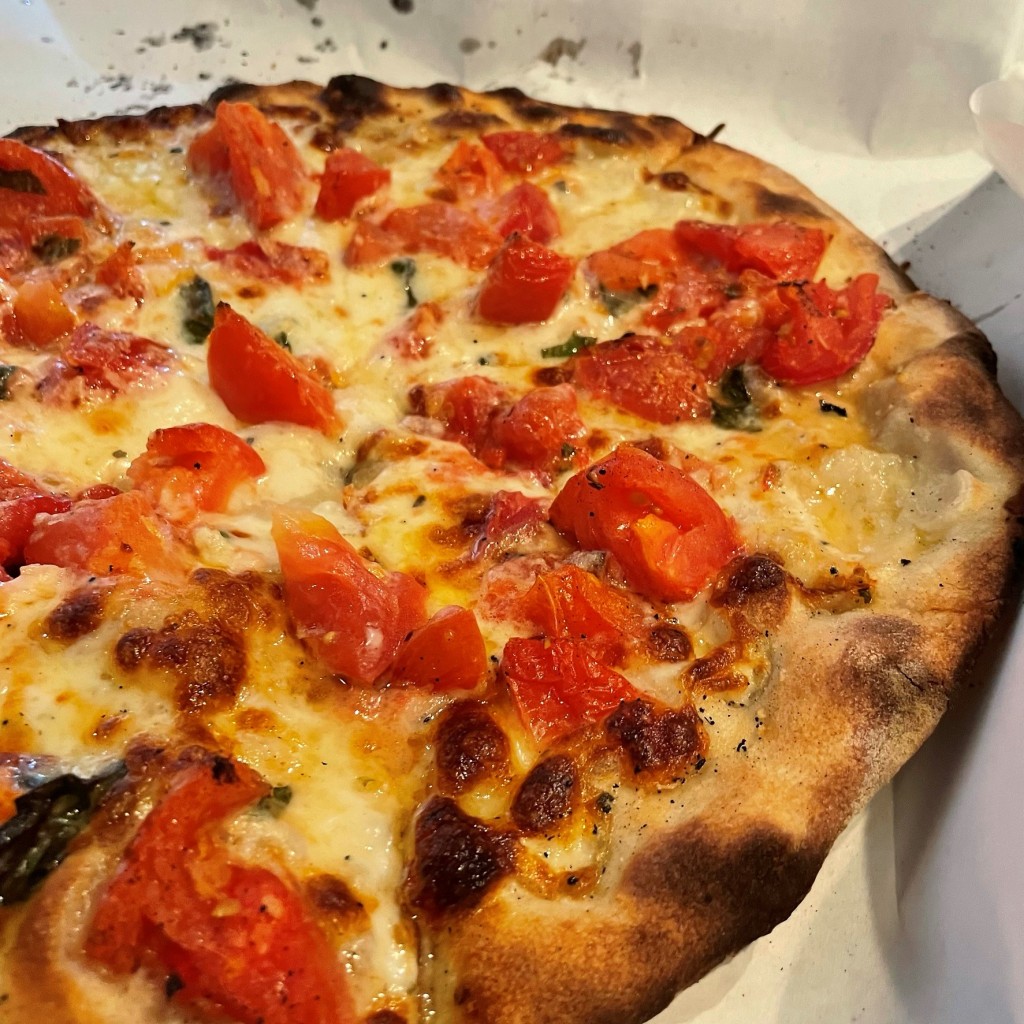
I wanted to slice it on the spot and savor it with nothing but a sprinkle of sea salt and black pepper, but I restrained myself and made it a co-star with one of the last zucchini of the season on this summer pie. This dish felt like a passing of the baton in my garden. As my summer squash takes its final bow, the tomatoes are right on cue for center stage, and they were terrific companions on this fresh pizza. I just love this part of summer!

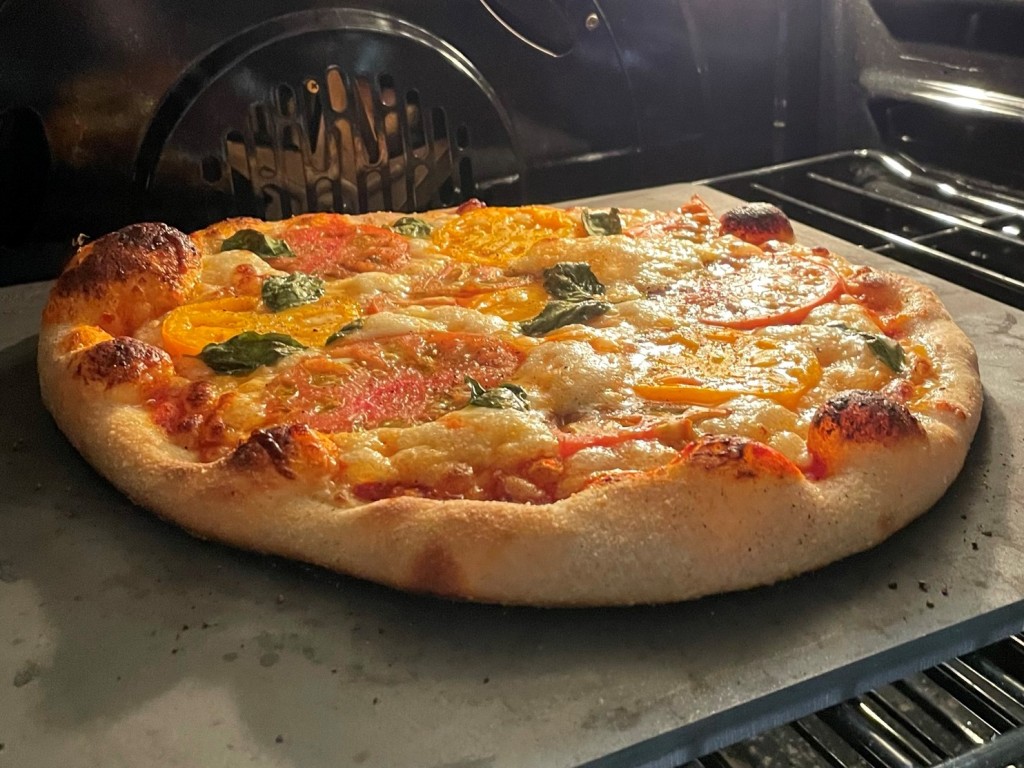
This is a thin crust pizza and it begins with my favorite sourdough base. The sourdough starter and the long, slow ferment in the refrigerator gives my dough a deep, complex flavor and the texture is always just right, thanks to our beloved pizza steel. If you want to level up your pizza game with only one move, this is the thing, right here. It takes the hottest temperature your home oven can put out and intensifies it to make the most beautifully blistered crust that is crisp on the bottom and chewy on top. It’s the closest you can get to brick oven at home.

The zucchini was cut up into bite-sized bits and lightly sautéed in a bit of olive oil, and I salted the yellow tomato slices a few minutes ahead, giving the juice and flavor plenty of time to bloom. I didn’t bother taking pictures of these steps because it’s simple enough to figure out. The rest of the pizza is also straightforward, including a store-bought sauce that we love (at least until our Romas are ready), plenty of freshly shredded hard mozzarella, some thinly sliced spring onions that I picked up at the farmers’ market and a scattering of basil leaves, which have also been good to us in this year’s home garden.
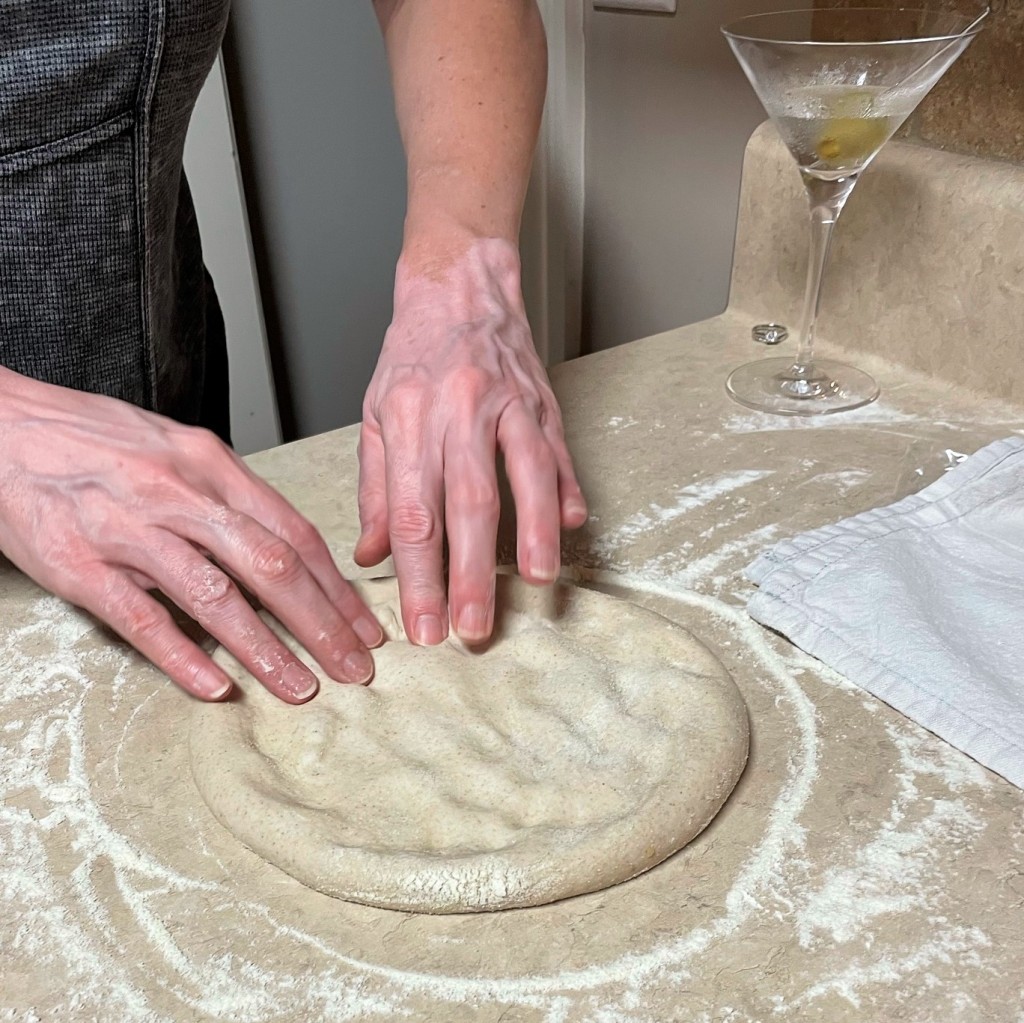
Here’s how it goes, beginning with shaping the ball of sourdough. As always, thanks to my dear husband for his photography skills for this part of the show.
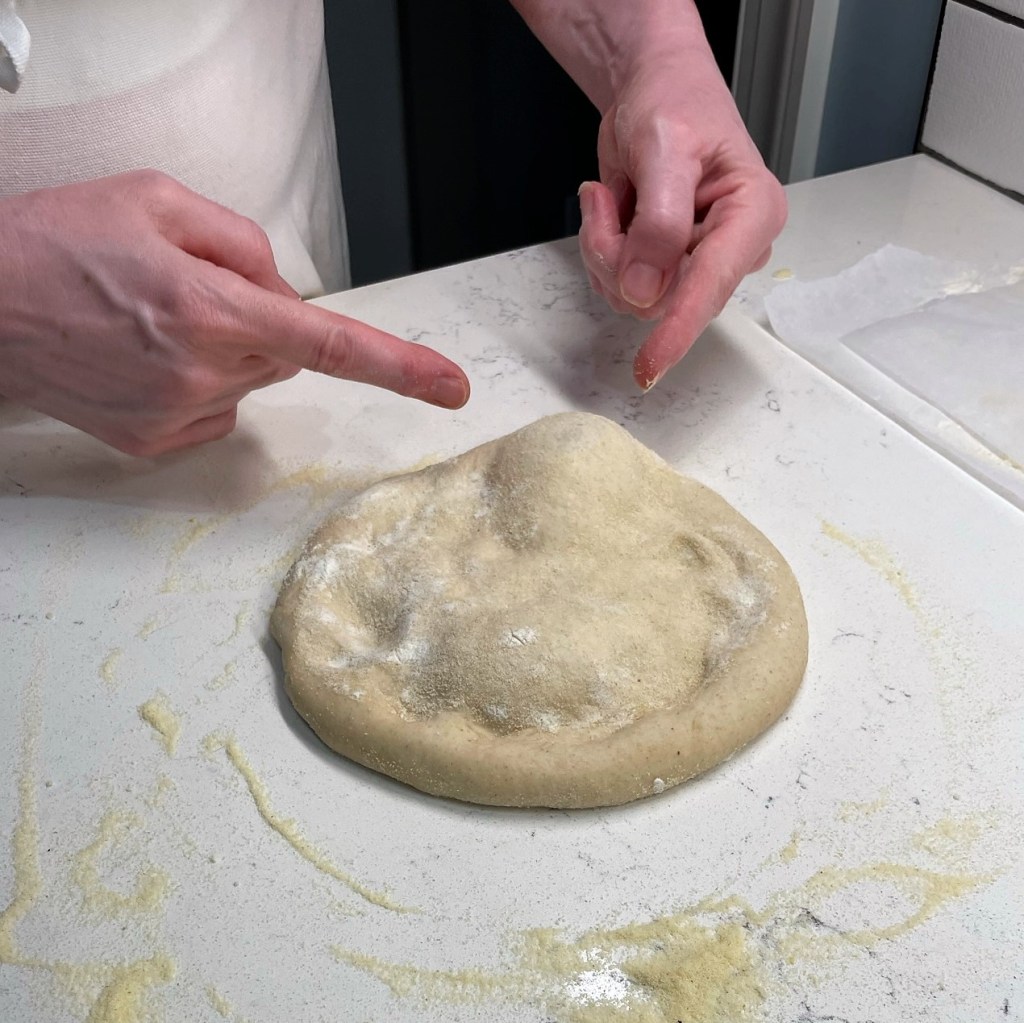
My dough developed huge air bubbles! I did my best to shape around them. 
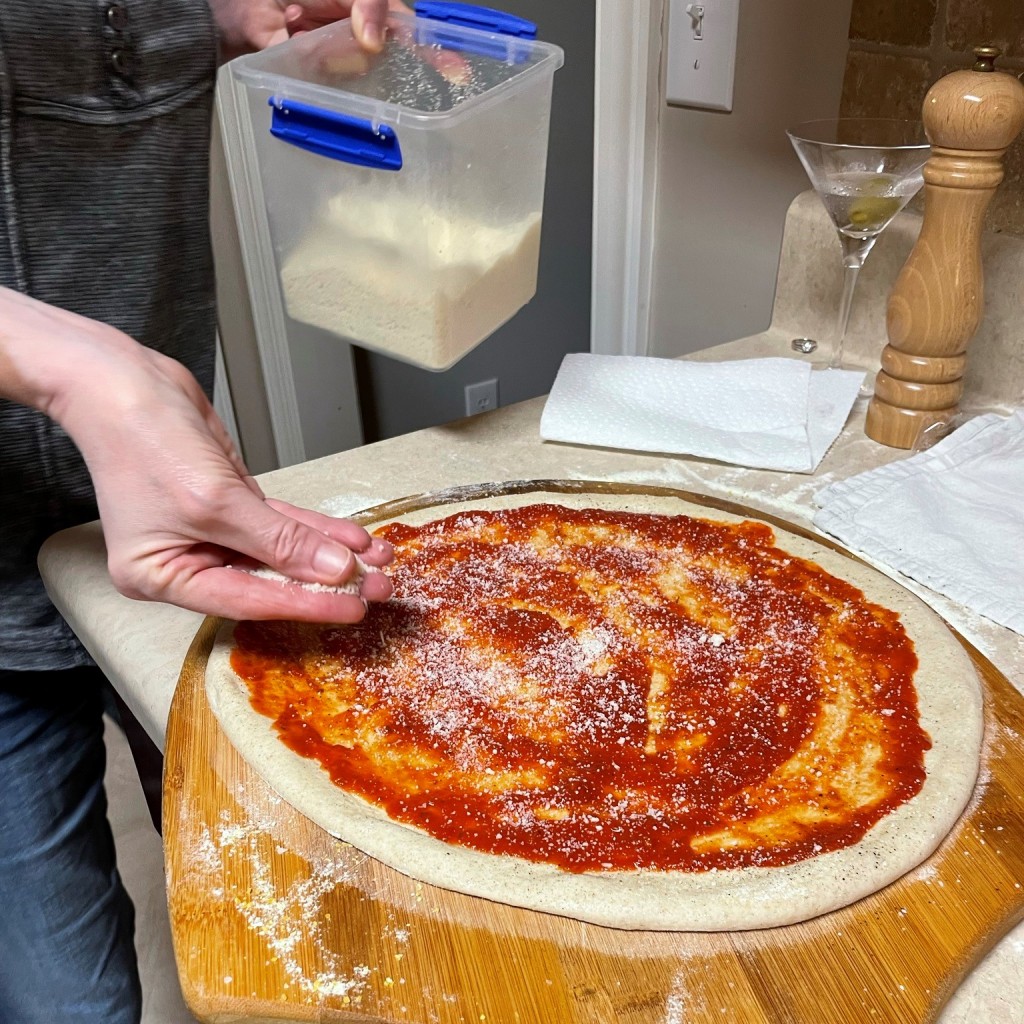
A little oil on the dough adds a layer of healthy fats and flavor. 
Season every layer! You’ll be amazed at the difference. 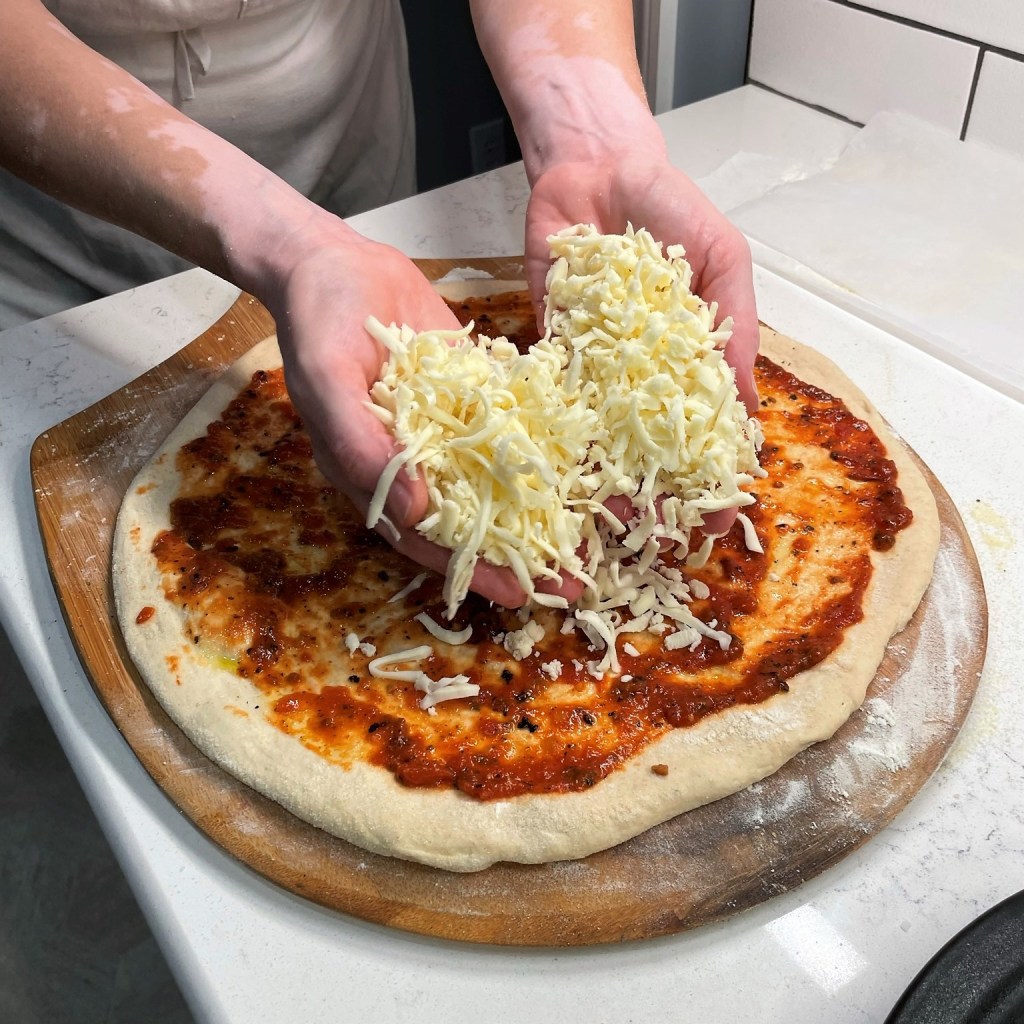
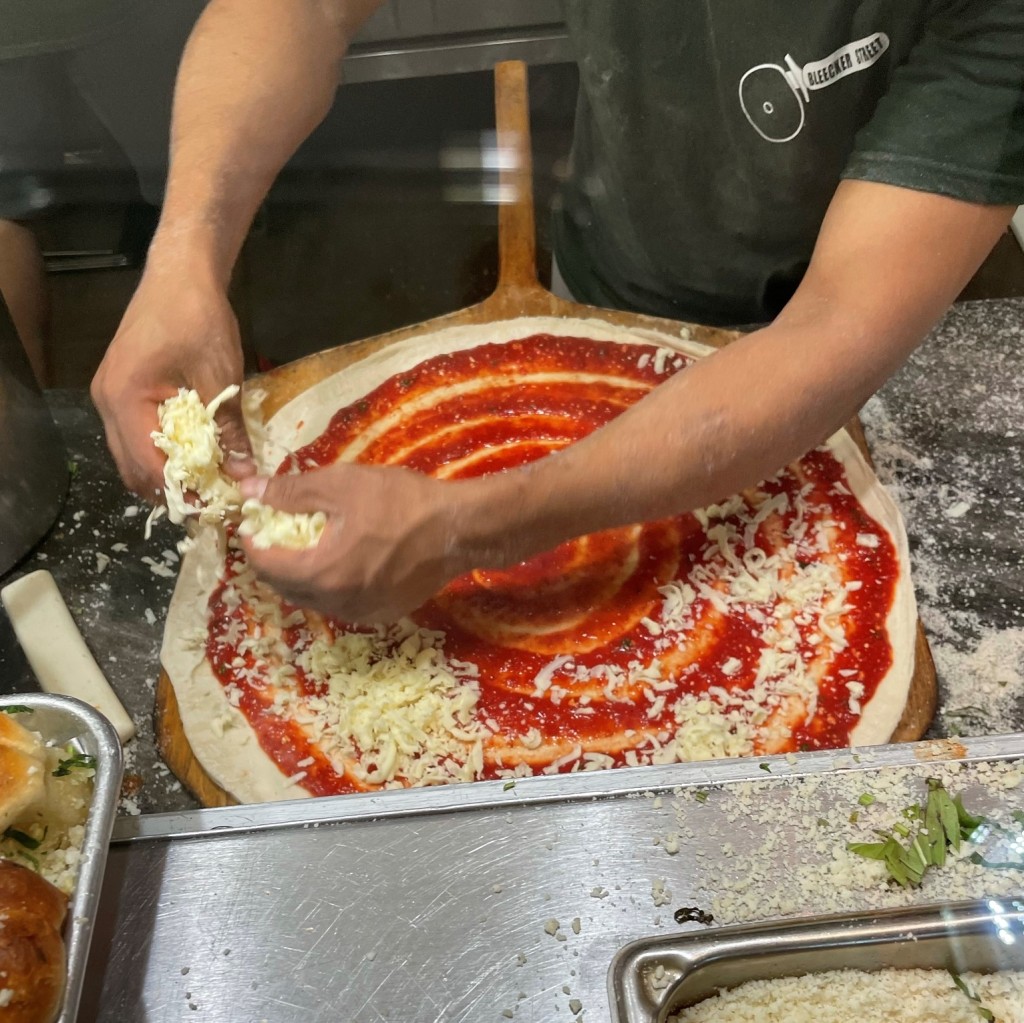
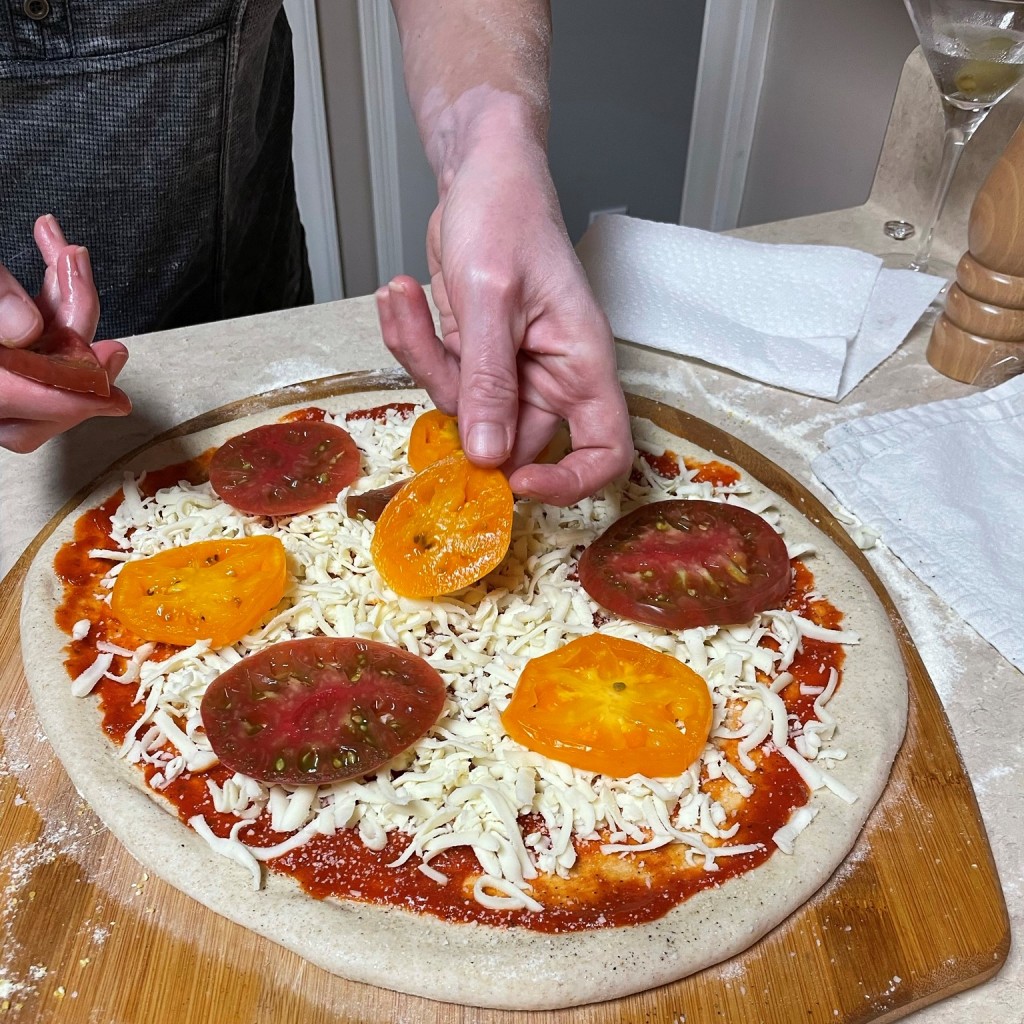
A thin spread of fire-roasted tomato sauce, then scatter the shredded mozz. 
Arrange the tomatoes first, then apply other ingredients around them. 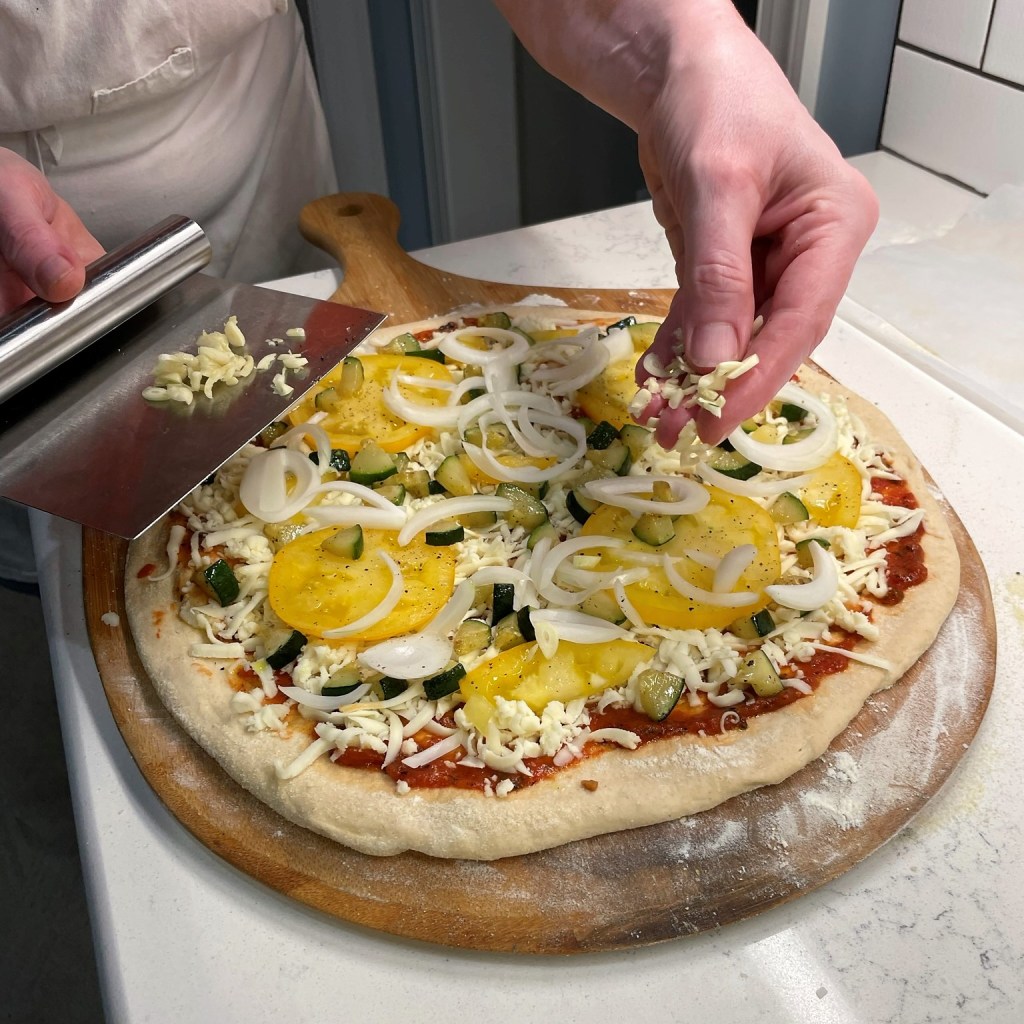
I have been putting fresh garlic on all my pizzas lately. So good! 
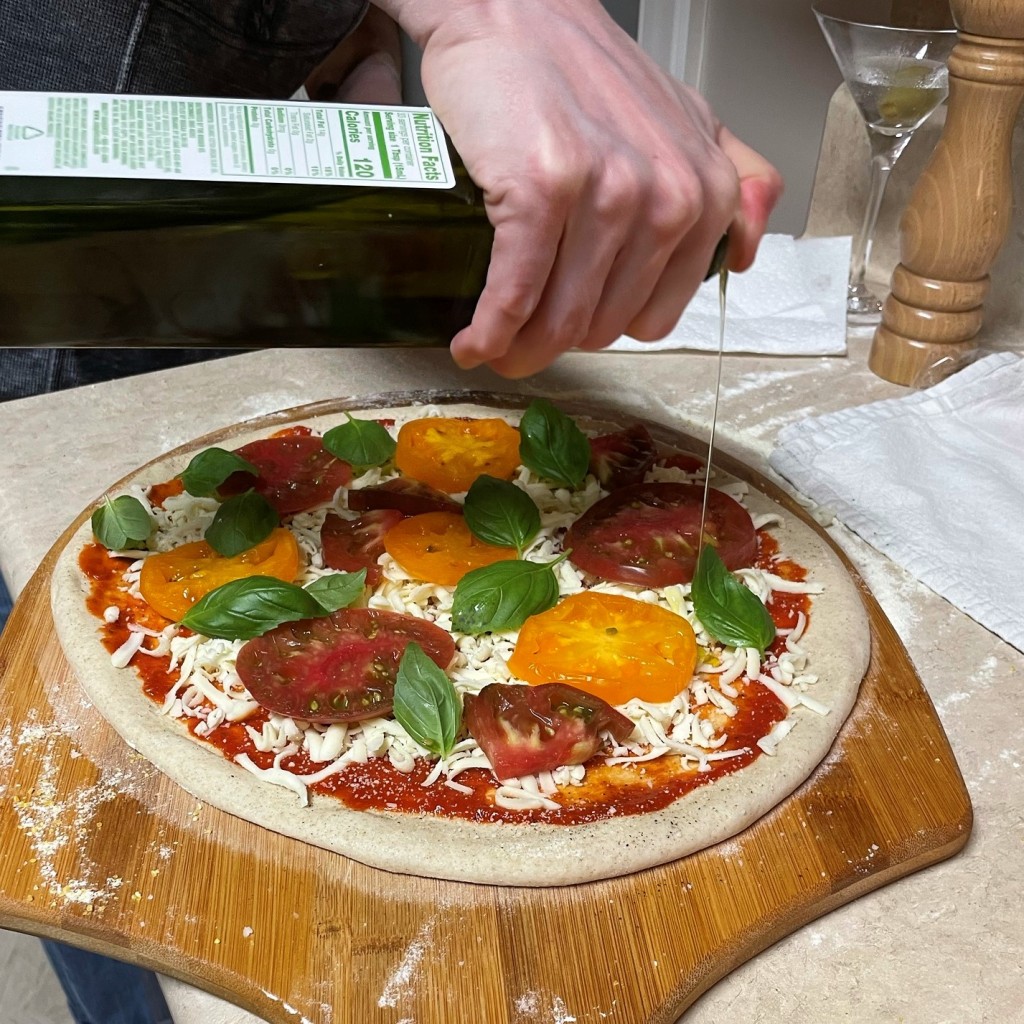
Use small basil leaves if possible, or tear them into smaller pieces. If you don’t love basil, oregano would also be good. 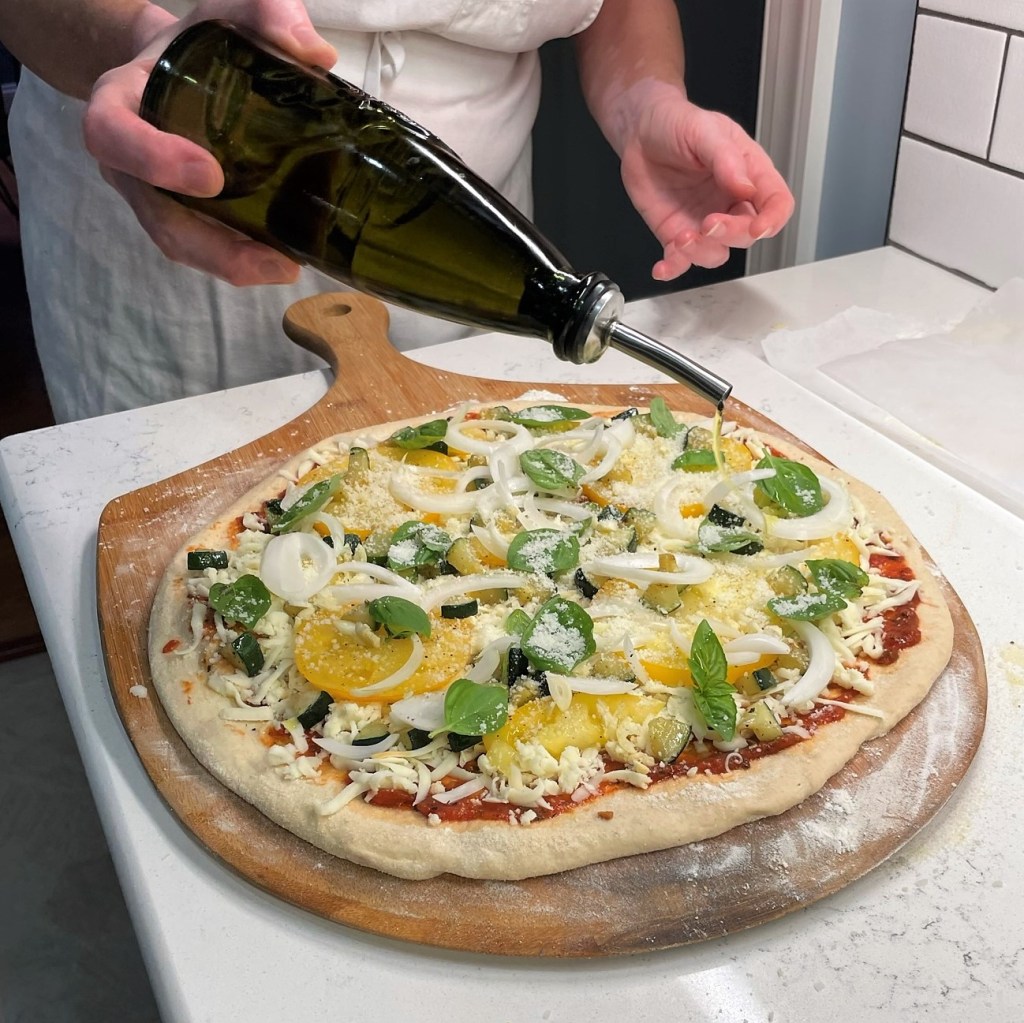
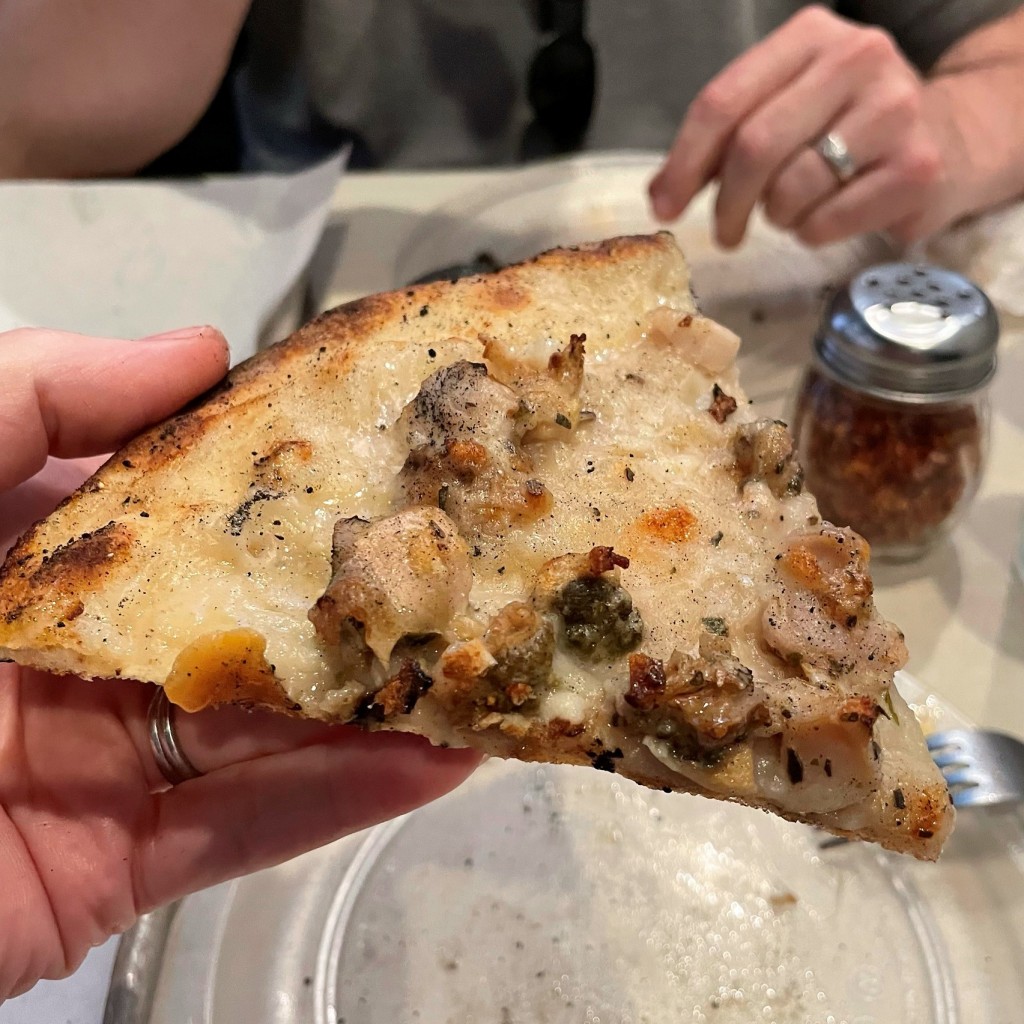
The final drizzle of oil is something I learned from the pizza experts at Modern Apizza in New Haven.
Zucchini & Yellow Tomato Pizza

Ingredients
- 1 medium zucchini, trimmed and cut into small wedges
- 1 Tbsp. extra virgin olive oil, plus extra for drizzling onto pizza
- 1 large yellow tomato, sliced and salted to release excess moisture
- 1 small spring onion (or sweet onion), thinly sliced
- 2 cloves garlic, chopped
- 1/3 cup favorite pizza sauce
- 1 cup shredded, low-moisture mozzarella
- Salt and pepper
- 2 Tbsp. finely grated Parmesan or parm-romano blend
- Small handful of fresh, small basil leaves
Directions
- Place a small skillet over medium heat. Swirl in olive oil and saute zucchini until tender. Transfer to a bowl and let it cool to room temperature. Use a paper towel to blot excess moisture from the tomato slices.
- Shape pizza dough into 14″ round, and place on a flour and cornmeal-dusted peel for easy transfer to the oven. Drizzle on a small amount of olive oil and season the dough with salt and pepper.
- Spread on the sauce, keeping it at least 1/2″ inch from the edges of the dough. Scatter shredded mozzarella over the sauce
- Arrange the vegetables on the pizza, beginning with the fresh tomato slices. Follow with the zucchini bits, sliced onions and garlic.
- Finally, tuck in the basil leaves for a fragrant bite of summer. Sprinkle the parm-romano blend over the pizza and finish it with a quick zig-zag of olive oil.
- Slide onto the preheated pizza steel and bake for 6 minutes, until crust is golden and blistered and cheese is bubbly all over.
- Transfer to serving pan, slice and enjoy!
As a side note, it looks like I will be purchasing a second yard enforcer for next year, to keep the squirrels out of the low parts of the garden!