When I set out last week to make a somewhat traditional Rosh Hashanah meal to enjoy with my semi-observant husband, I felt a bit of a knot in my belly. What if I get it wrong and ruin Rosh Hashanah? Dramatic, I know, but this is me. I have no Jewish heritage myself— at least not that I’m aware of— and I always worry that my effort might be disrespectful to someone else’s tradition. Les says this is silly, and has at times even suggested that in all my diligence, I might even be more Jewish than he is.
Still, I gave much thought to our meal for Rosh Hashanah (the Jewish New Year) and I settled on roasted chicken with a bevy of root vegetables, including carrots, red potatoes and parsnips with a simple pan dripping gravy. Delicious! And for dessert, kugel, made with noodles, sugar, eggs and various forms of dairy. I want to emphasize that in a kosher household, this dessert would not be served with chicken because Jewish dietary law prohibits meat and dairy together on the table. This rule is born from the commandments in Exodus and Deuteronomy that you should not cook a young goat in its mother’s milk— which over time expanded to “no kind of meat with any kind of dairy, even if said meat doesn’t make milk.” Don’t blame me, I don’t make these rules.
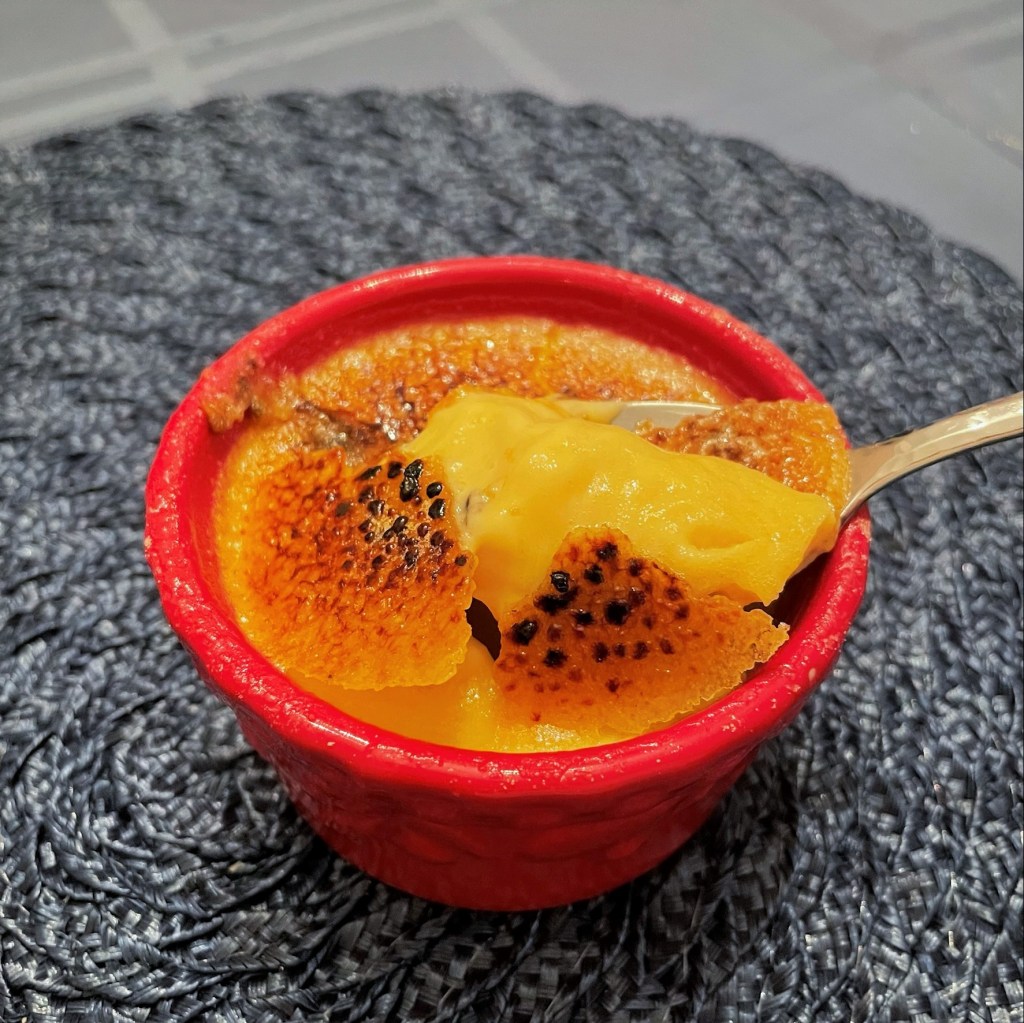
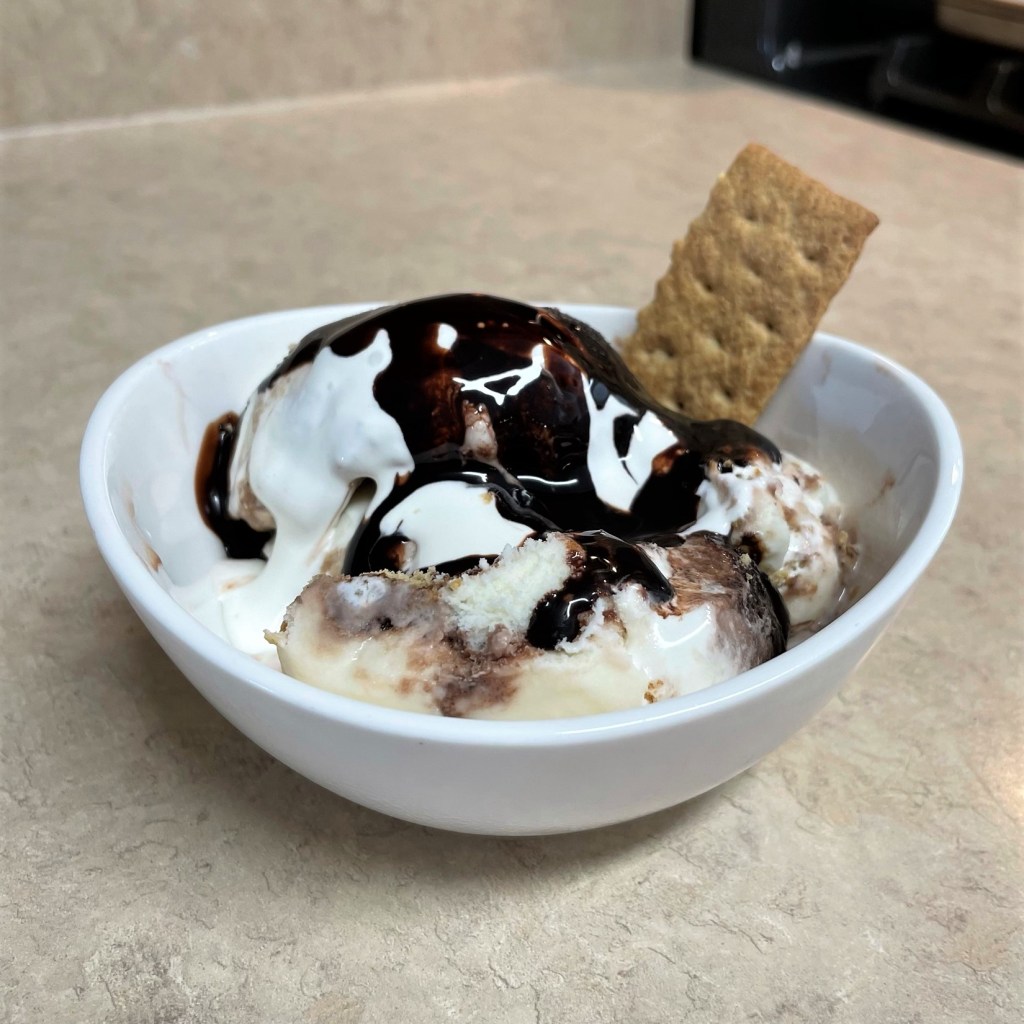
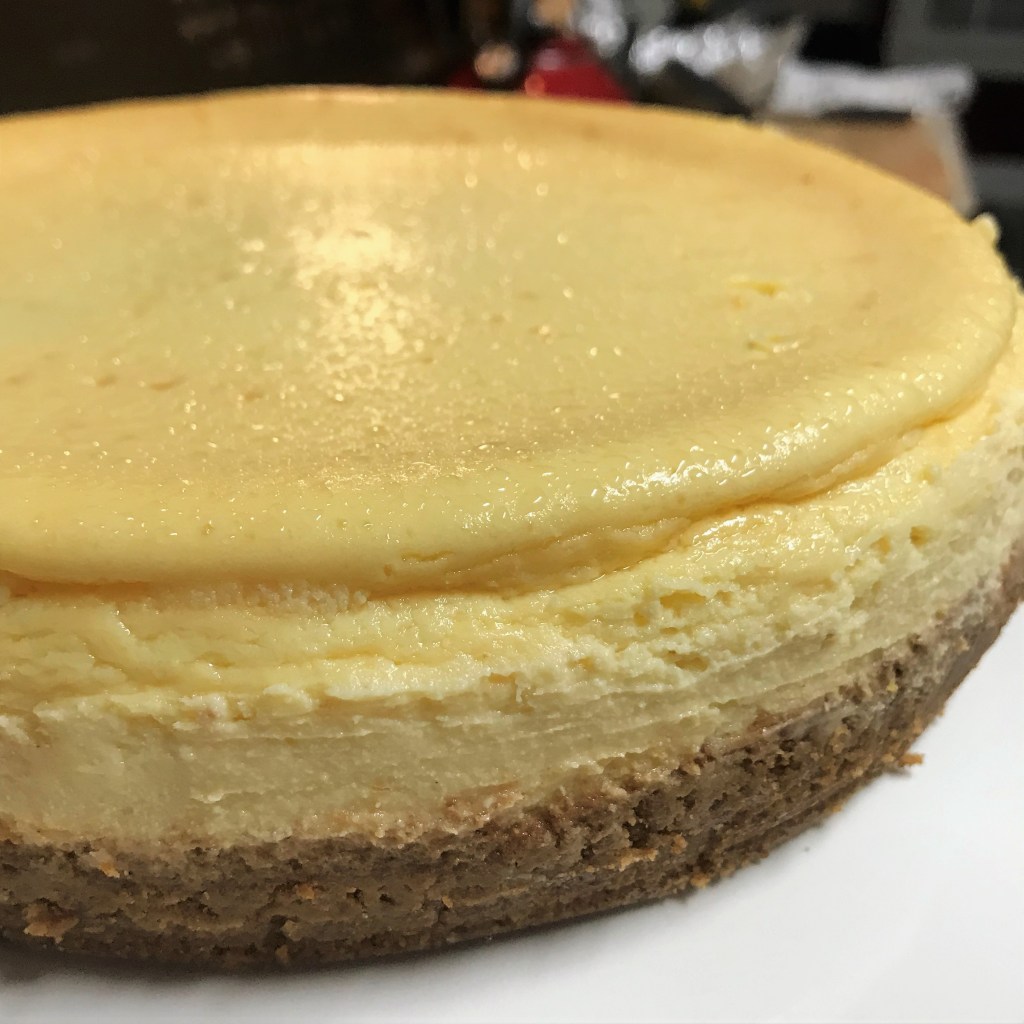
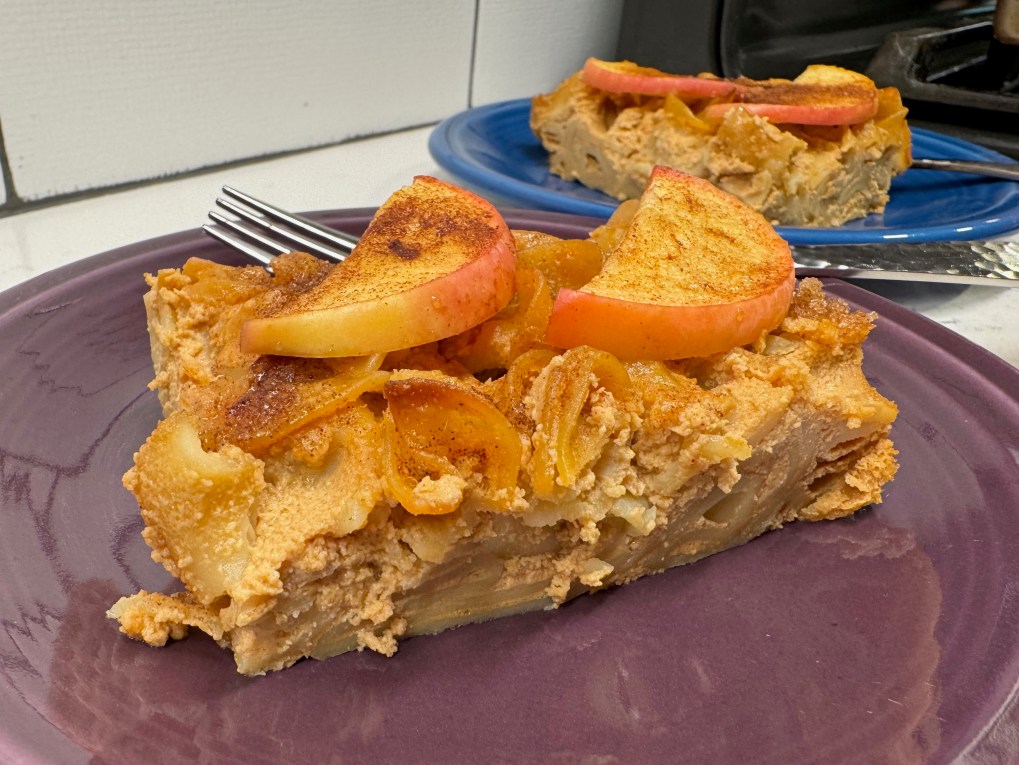
Our meal was delicious and fully representative of autumn, especially with this kugel, with all the flavors of a sweet caramel apple from the county fair.
Apples are traditional at Rosh Hashanah, usually paired with honey and symbolic for sweet wishes in the new year. I had been thinking about apples and caramel together in a dessert after spotting a caramel apple display at the supermarket. Kugel is a dish perfected by the Ashkenazi (ASH-kuh-NAH-zee) Jews of Eastern Europe, and it is a blank canvas of sorts for any combination of sweet ingredients. It may seem strange the first time you make one; I mean, noodles in a dessert? But trust me, it’s delicious!
Here’s how my dish came together. Enjoy!
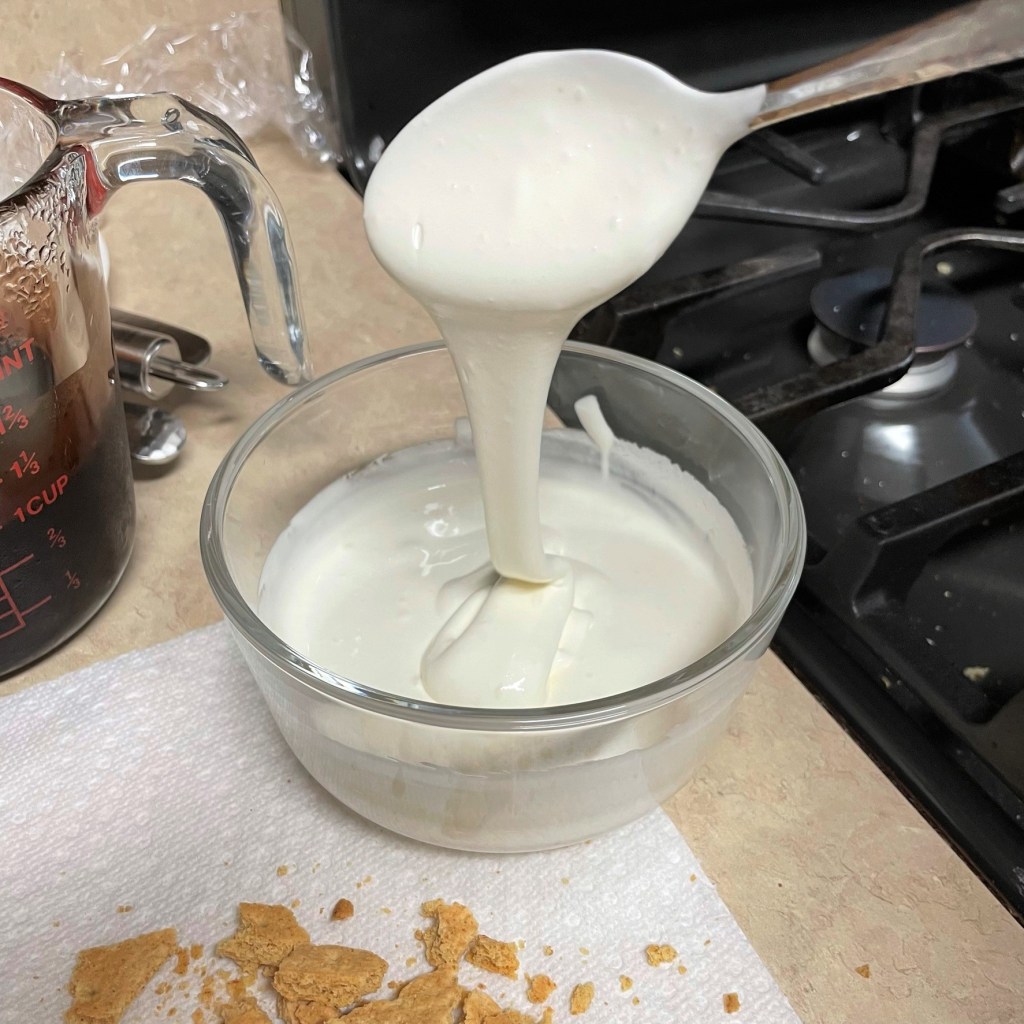
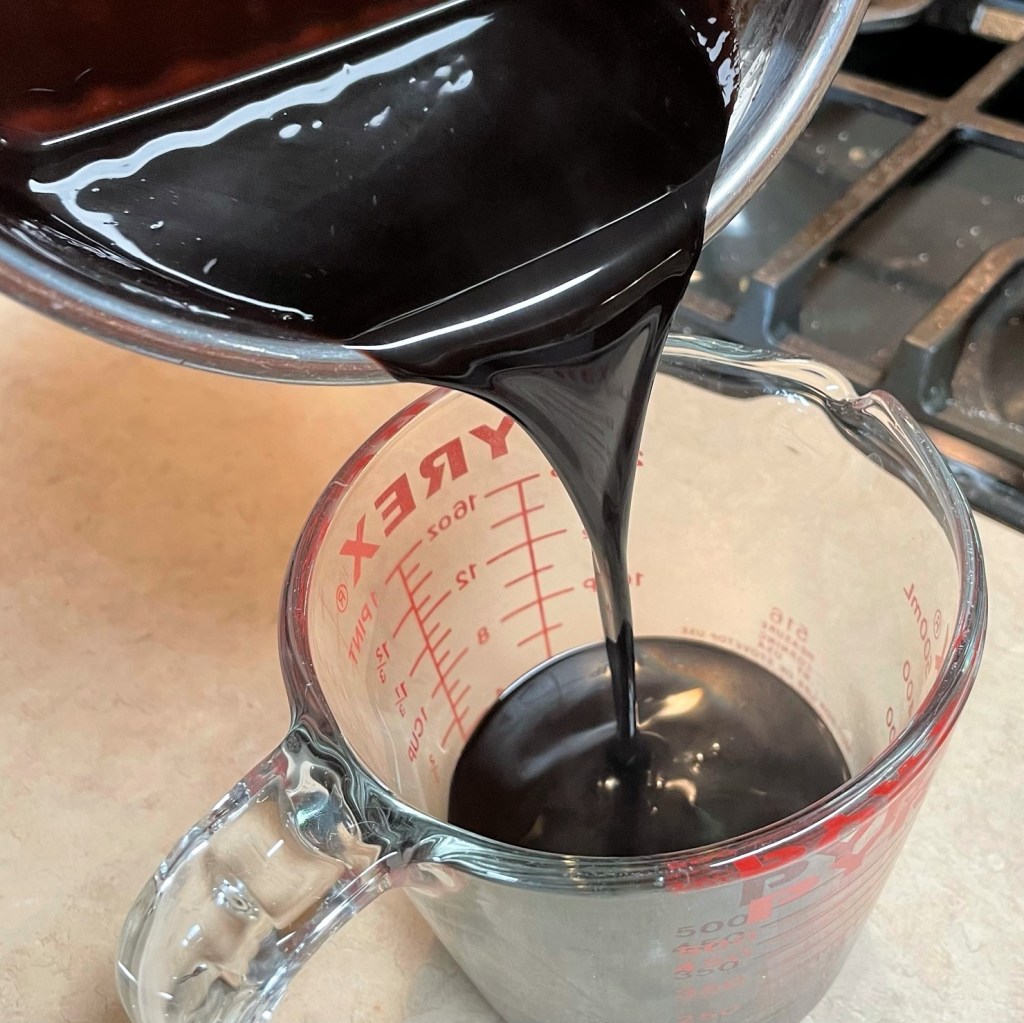
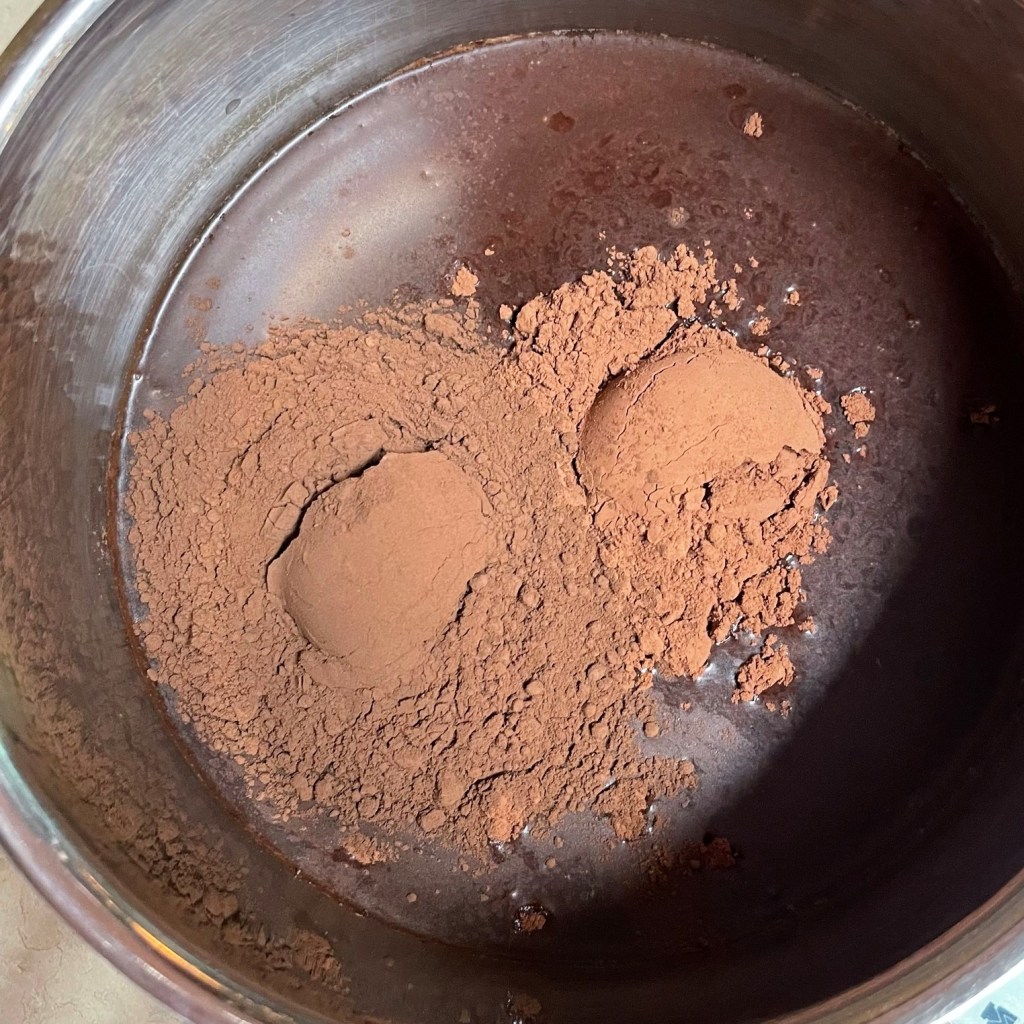
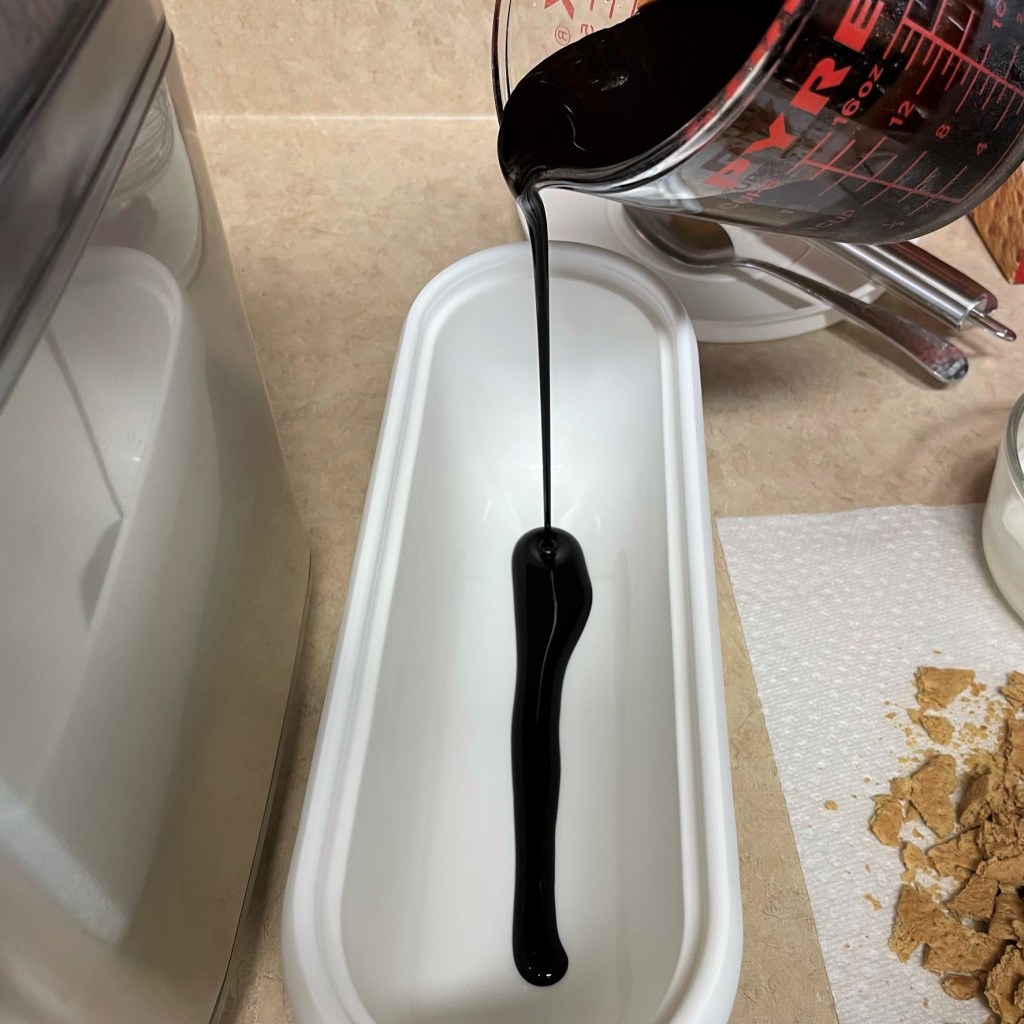
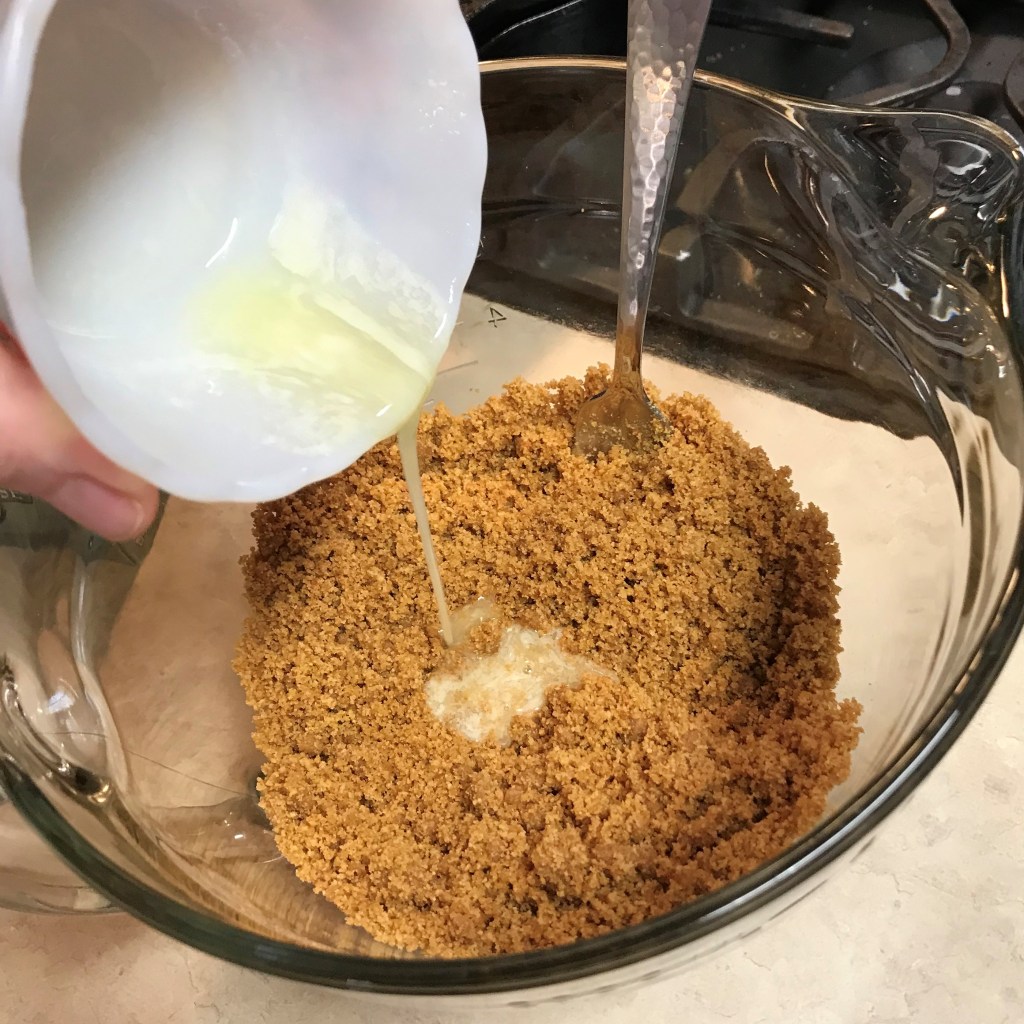
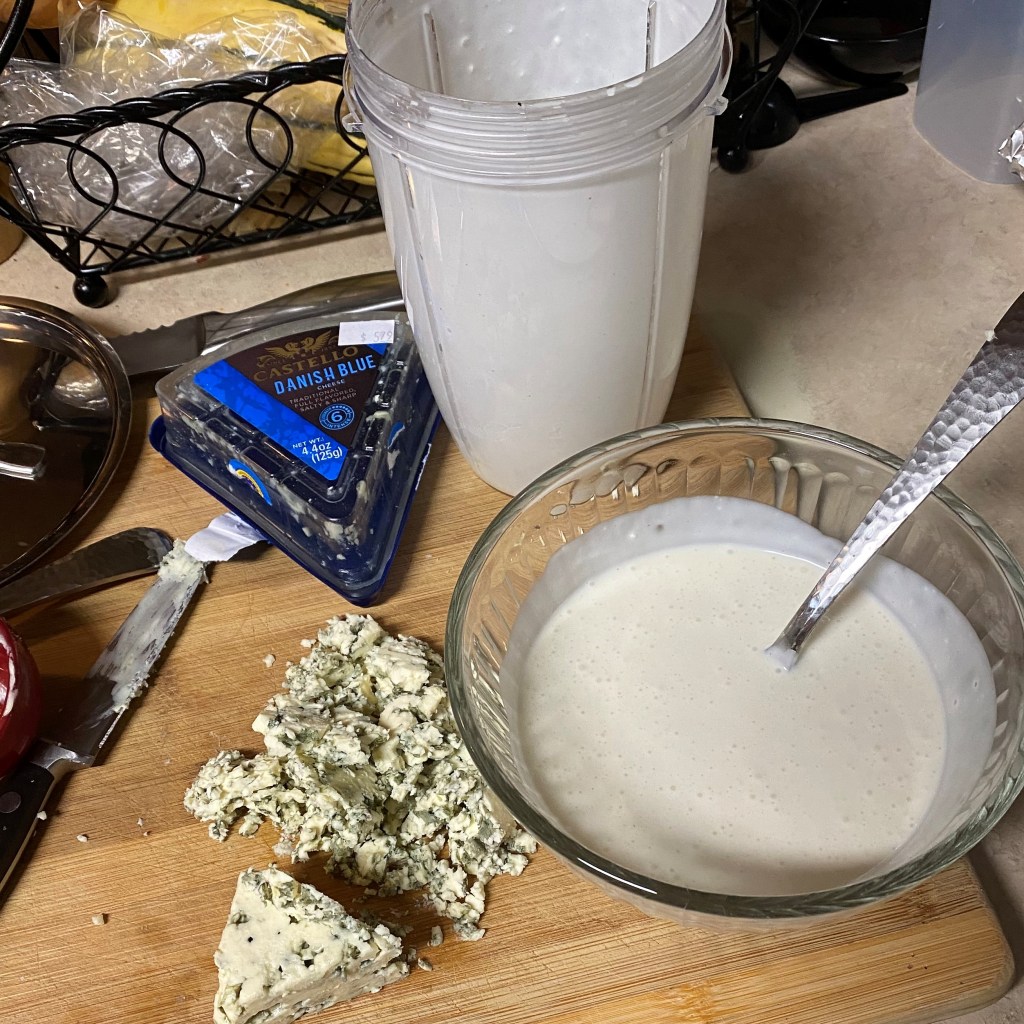
The caramel
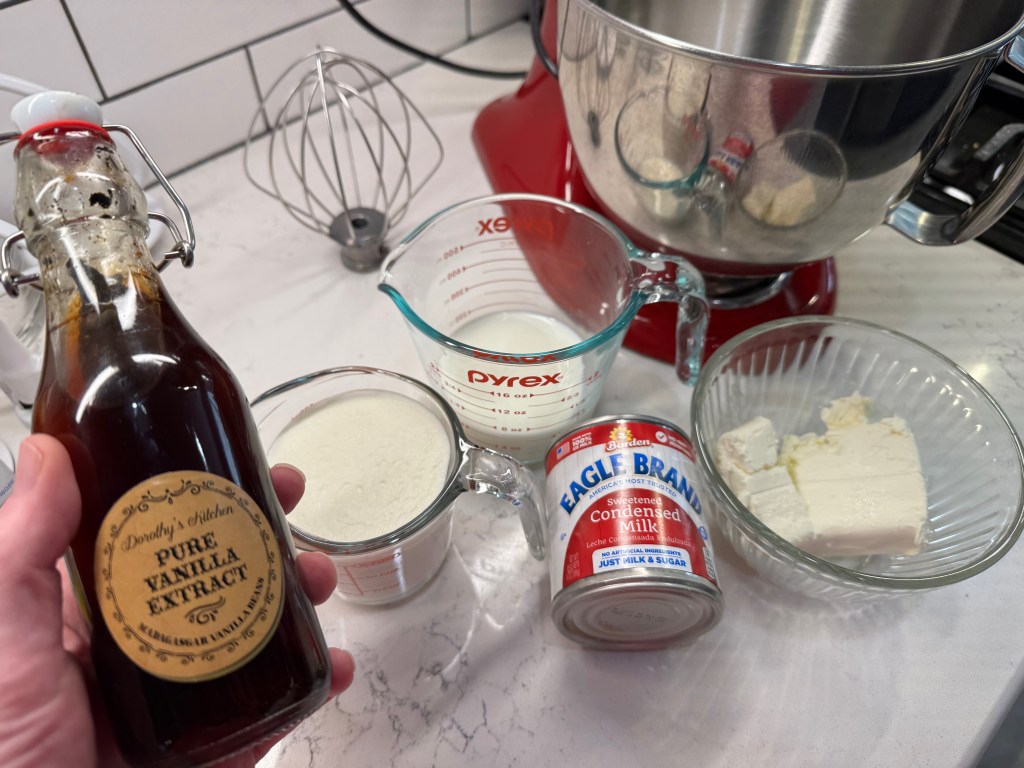
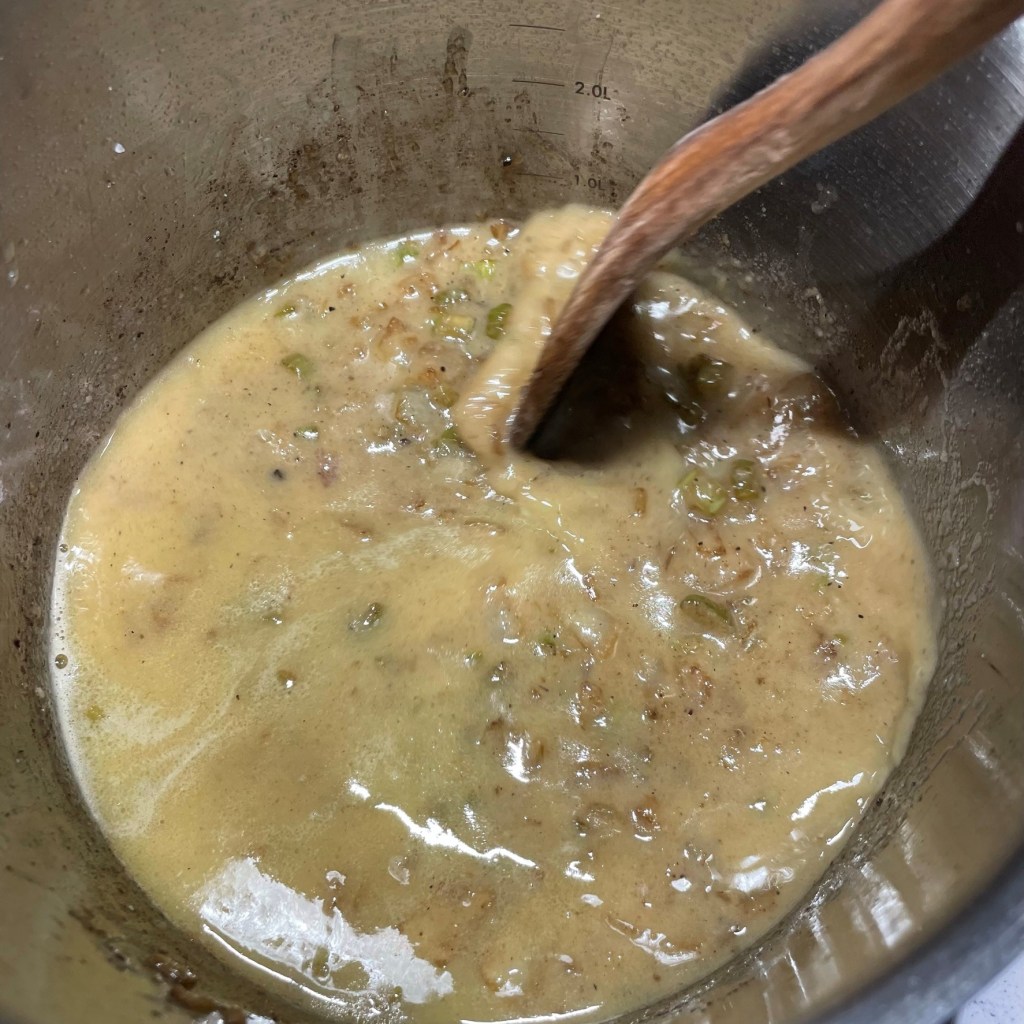
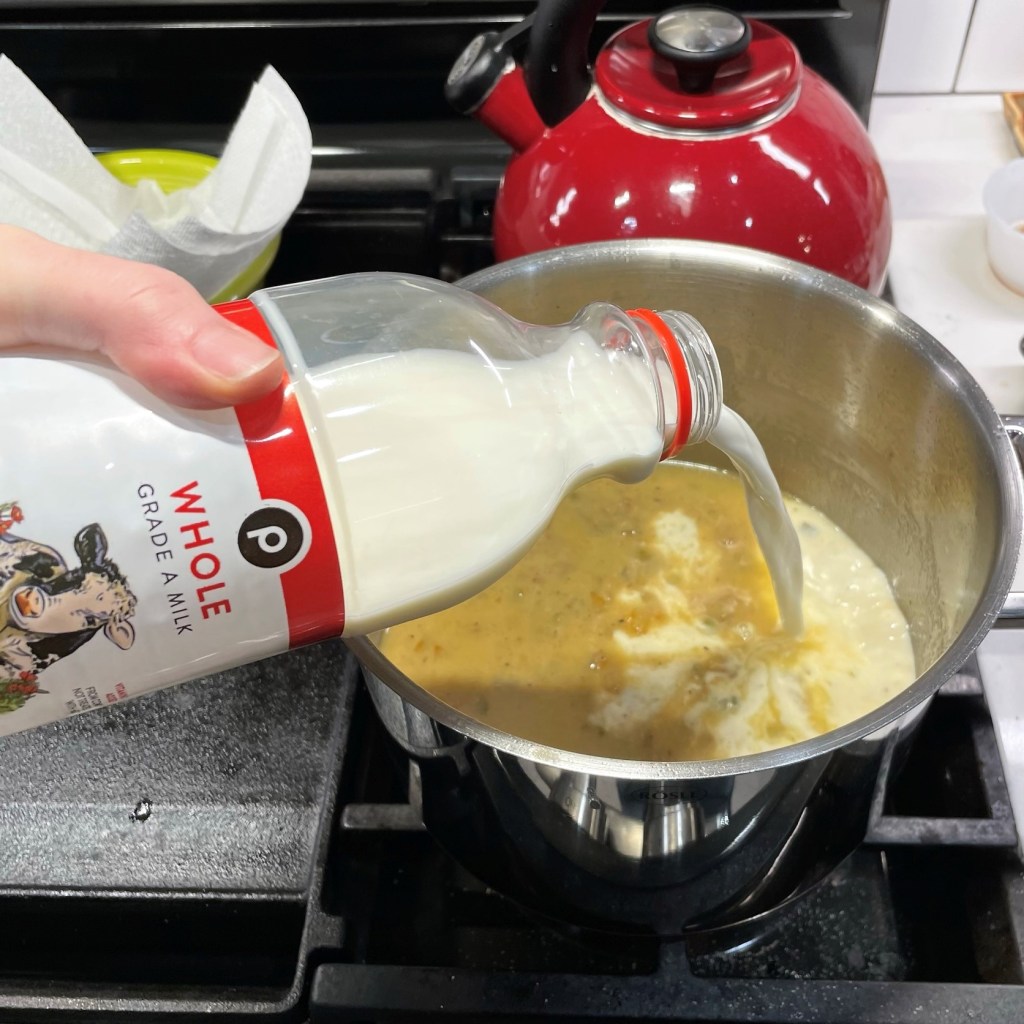
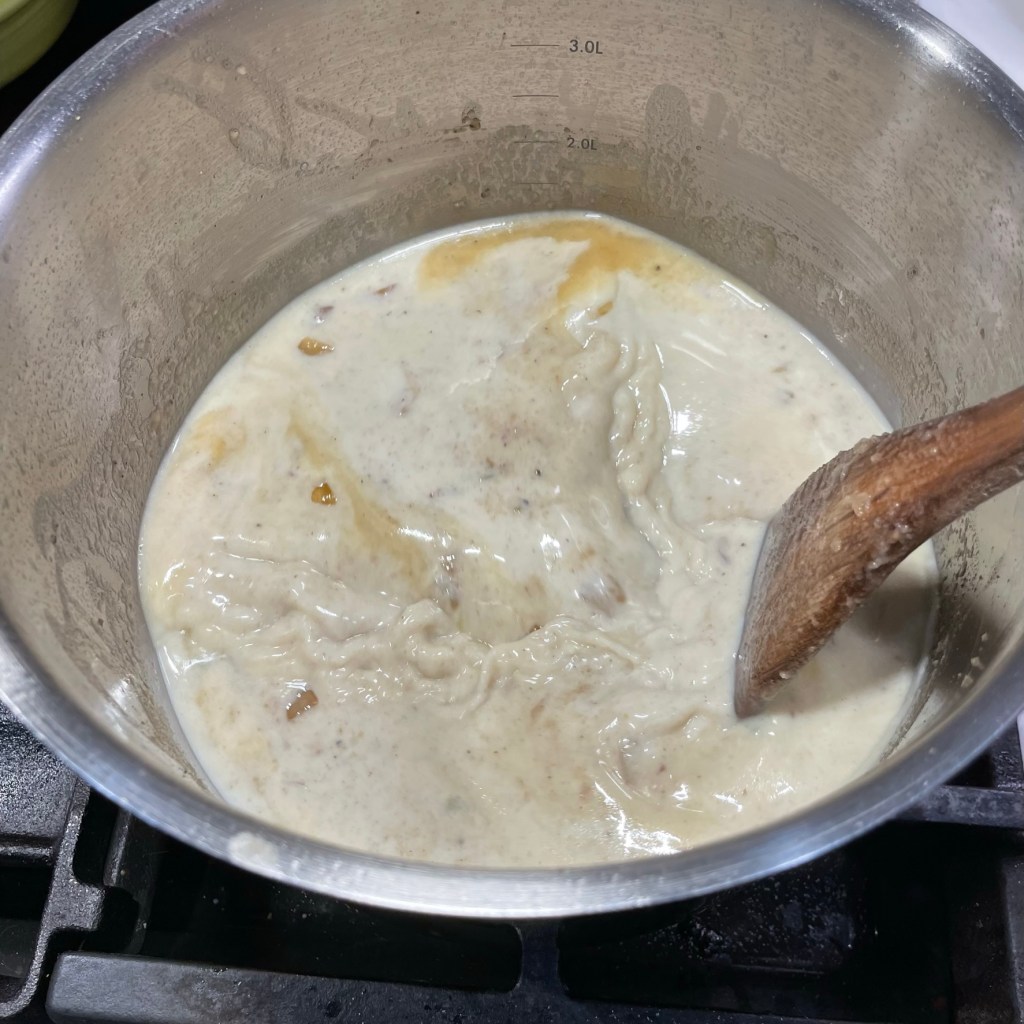
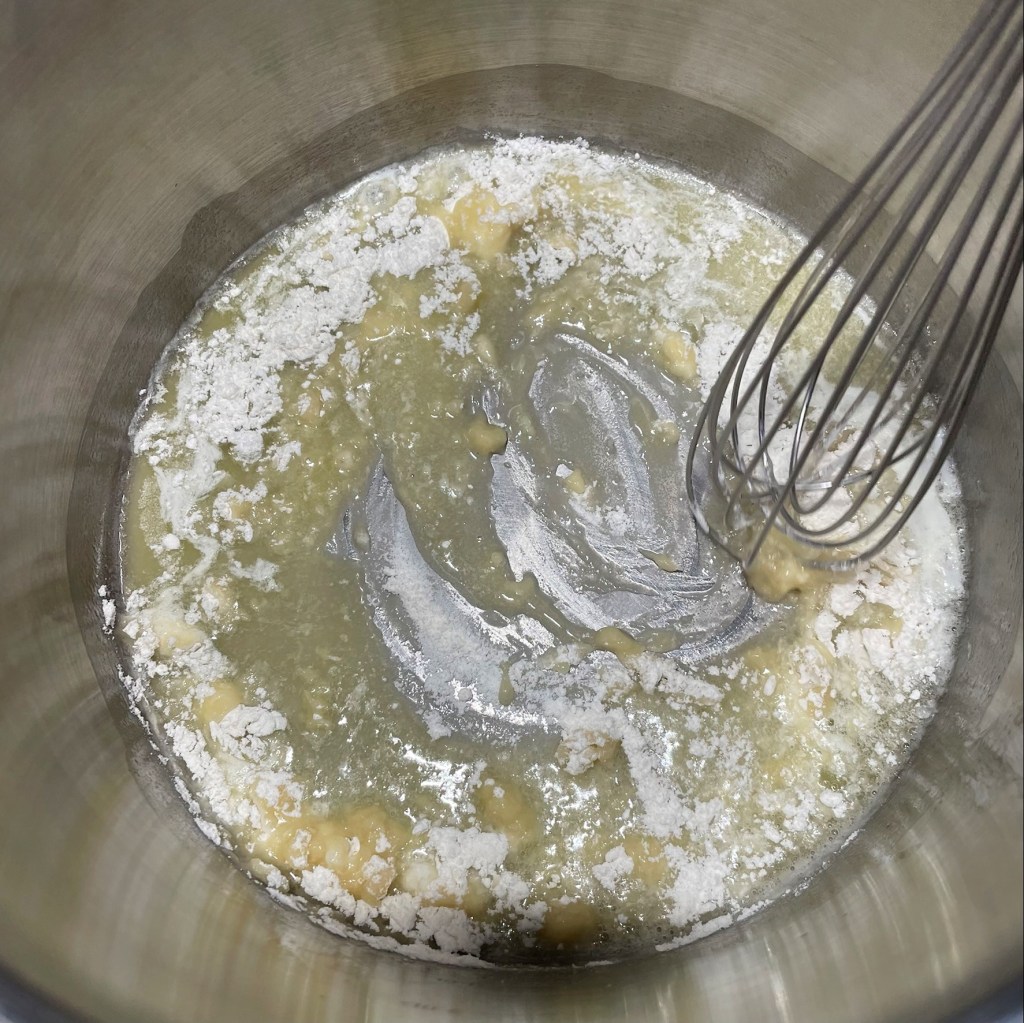
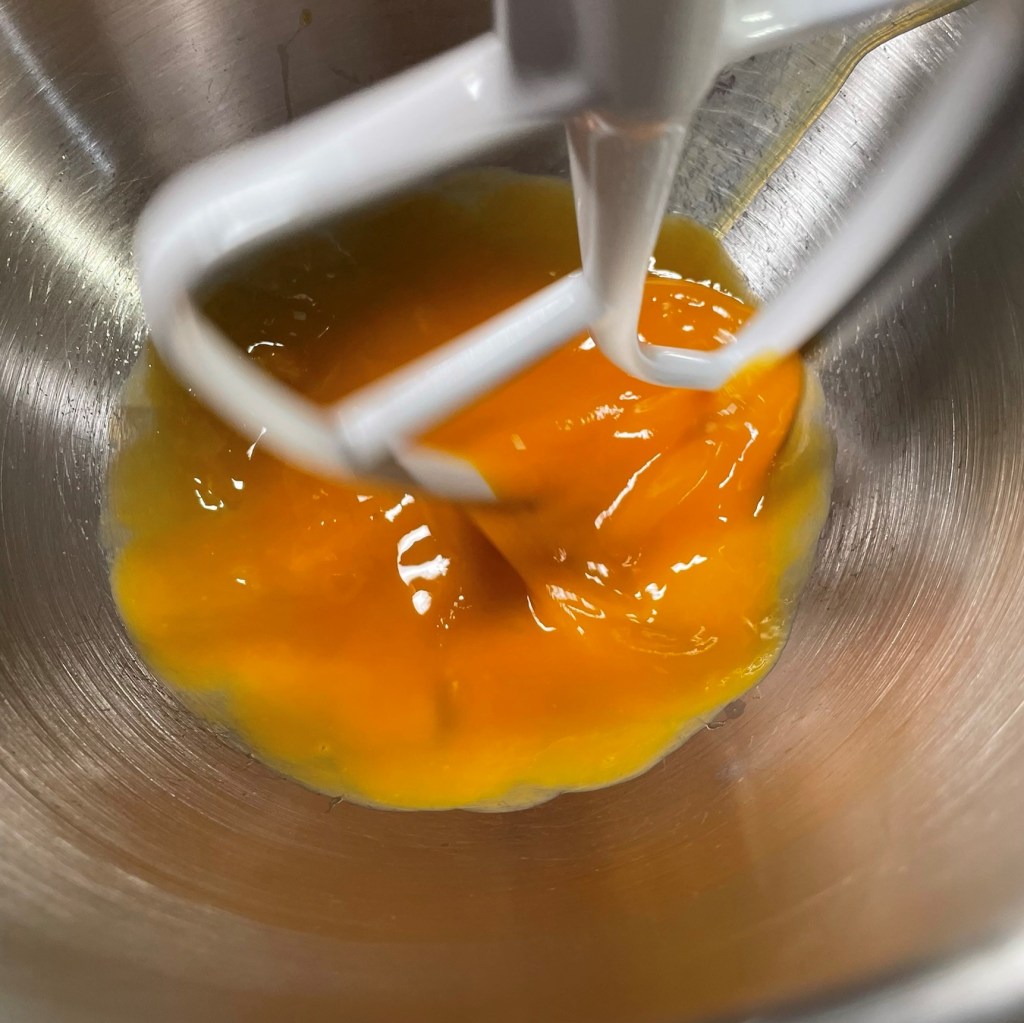
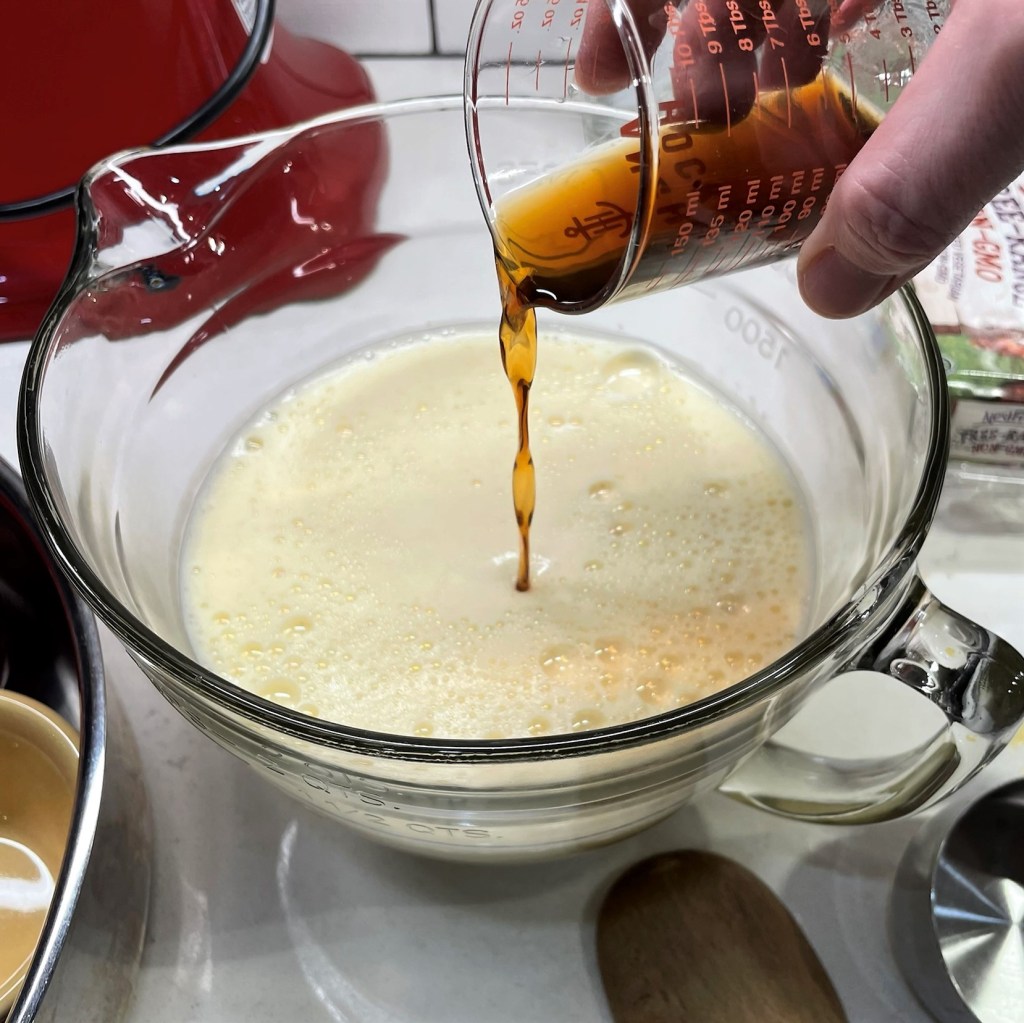
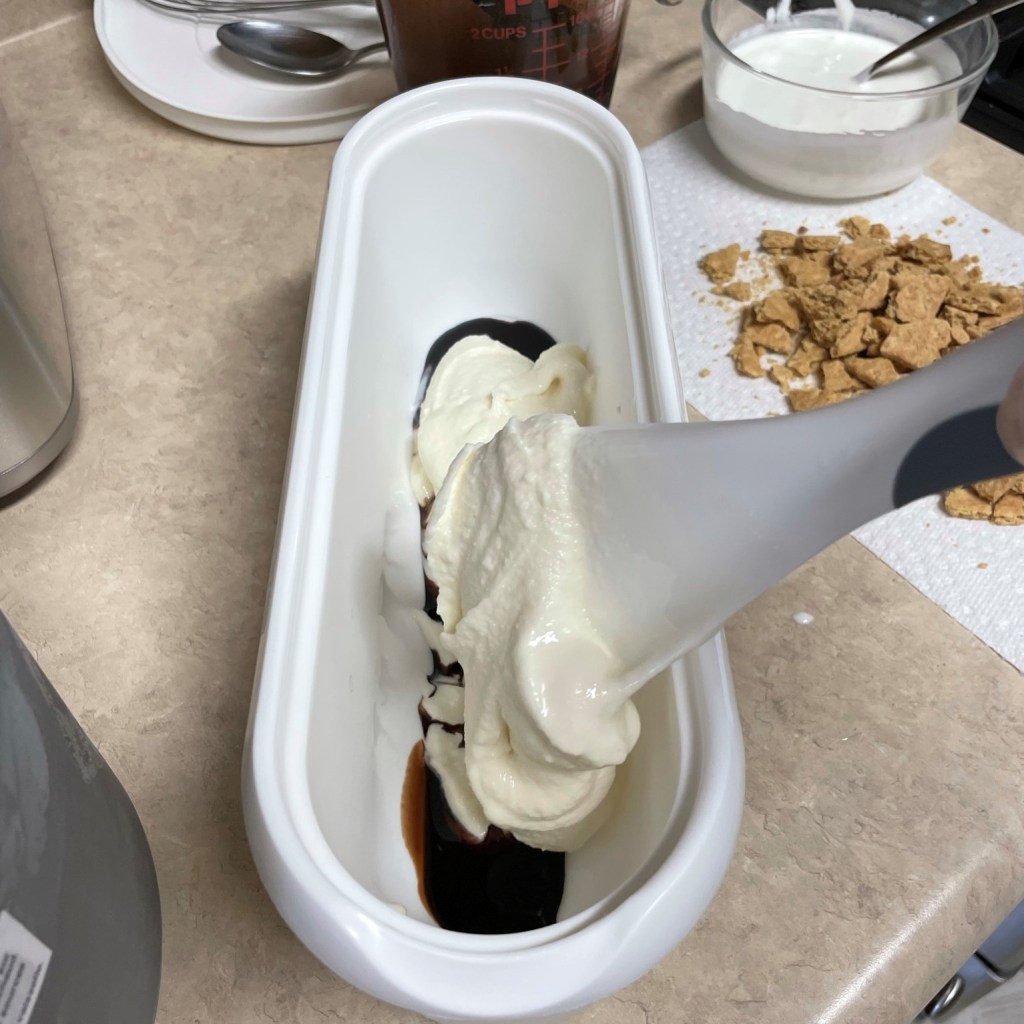
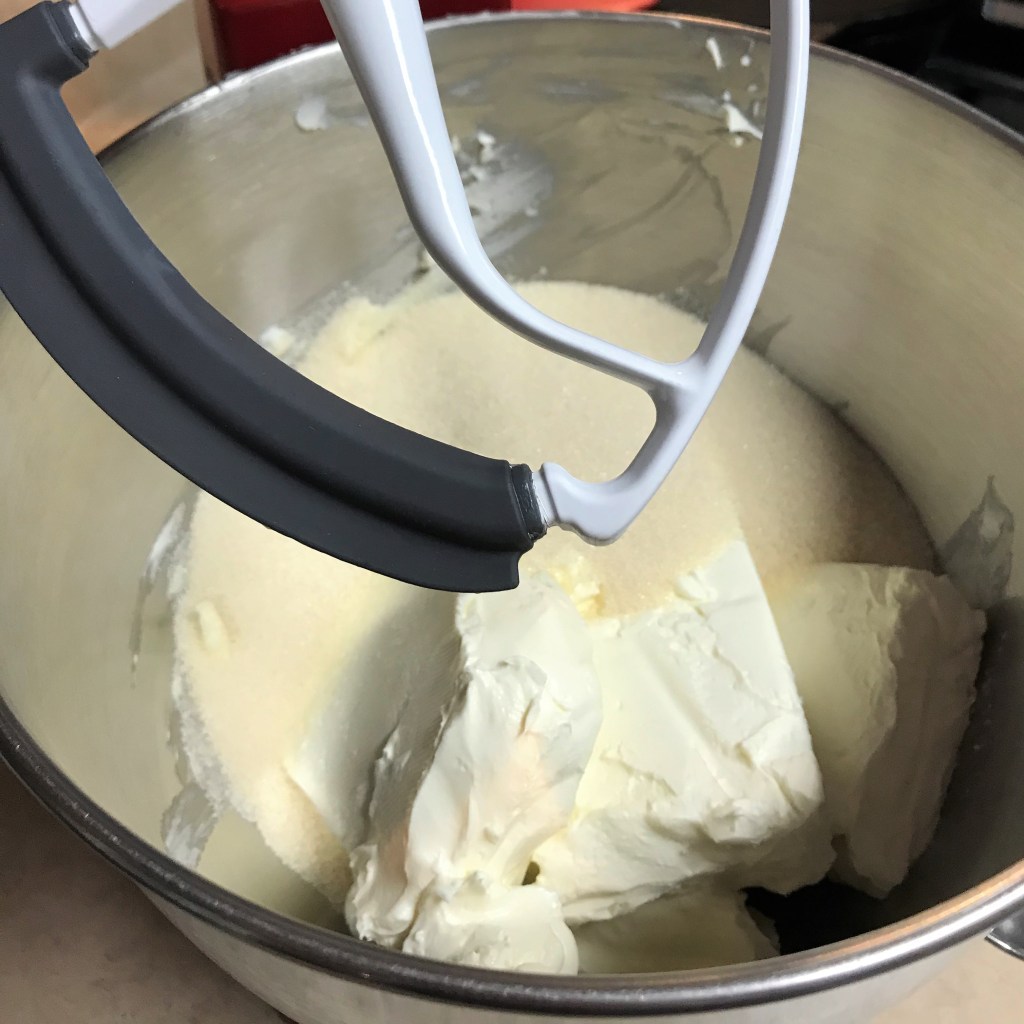
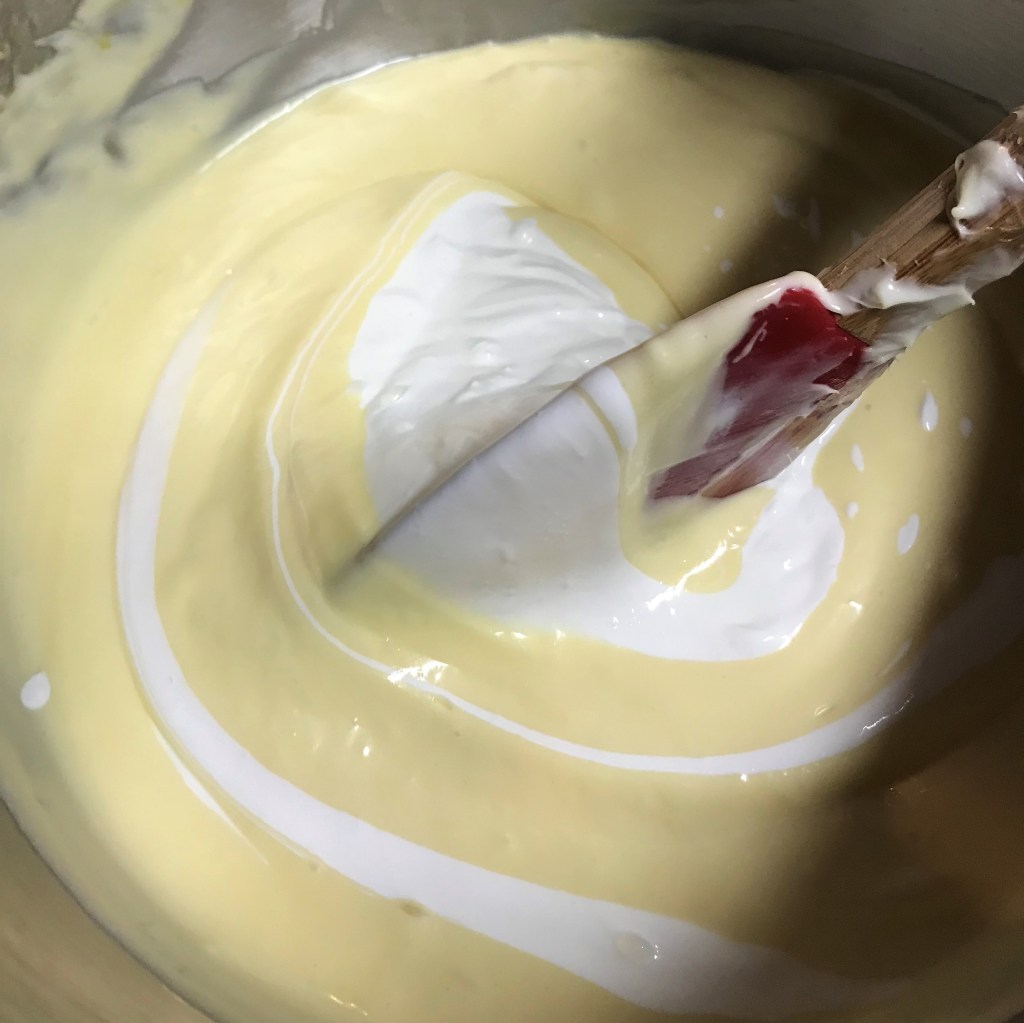
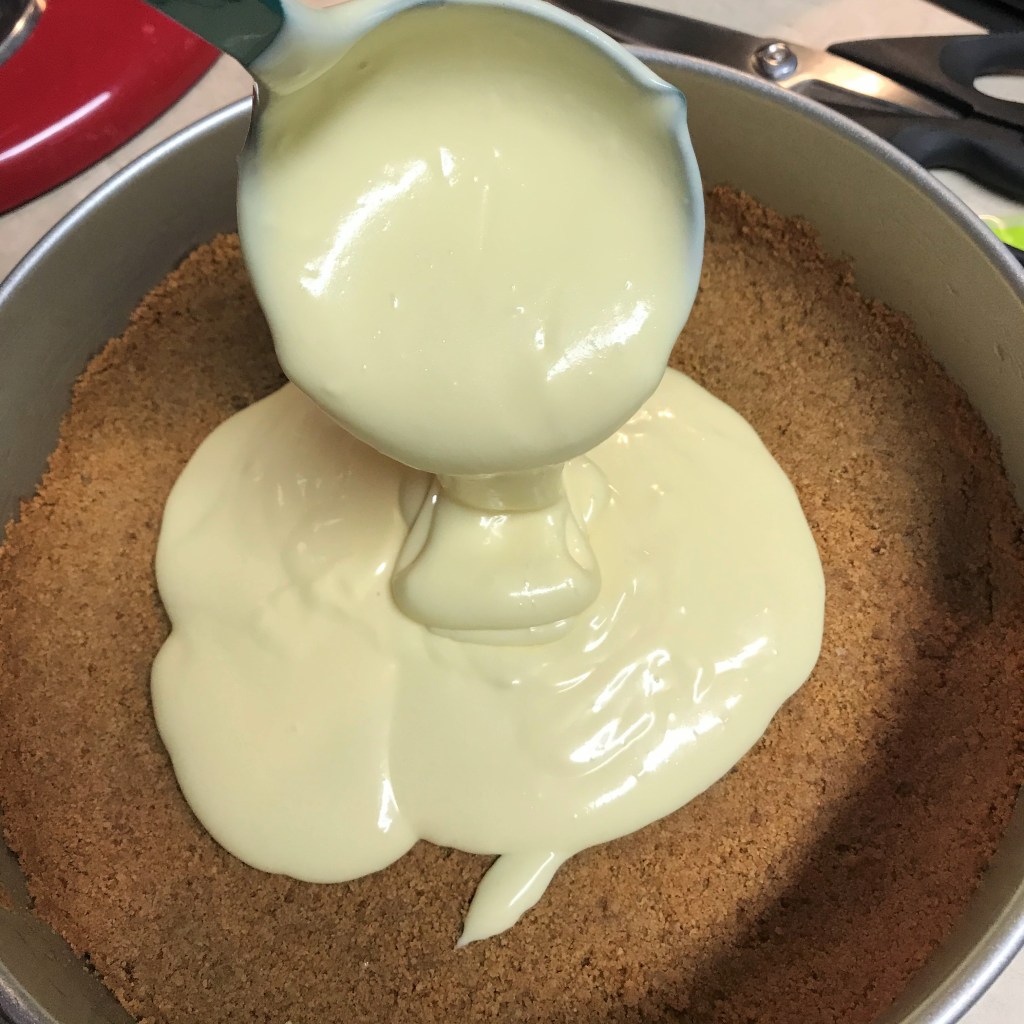
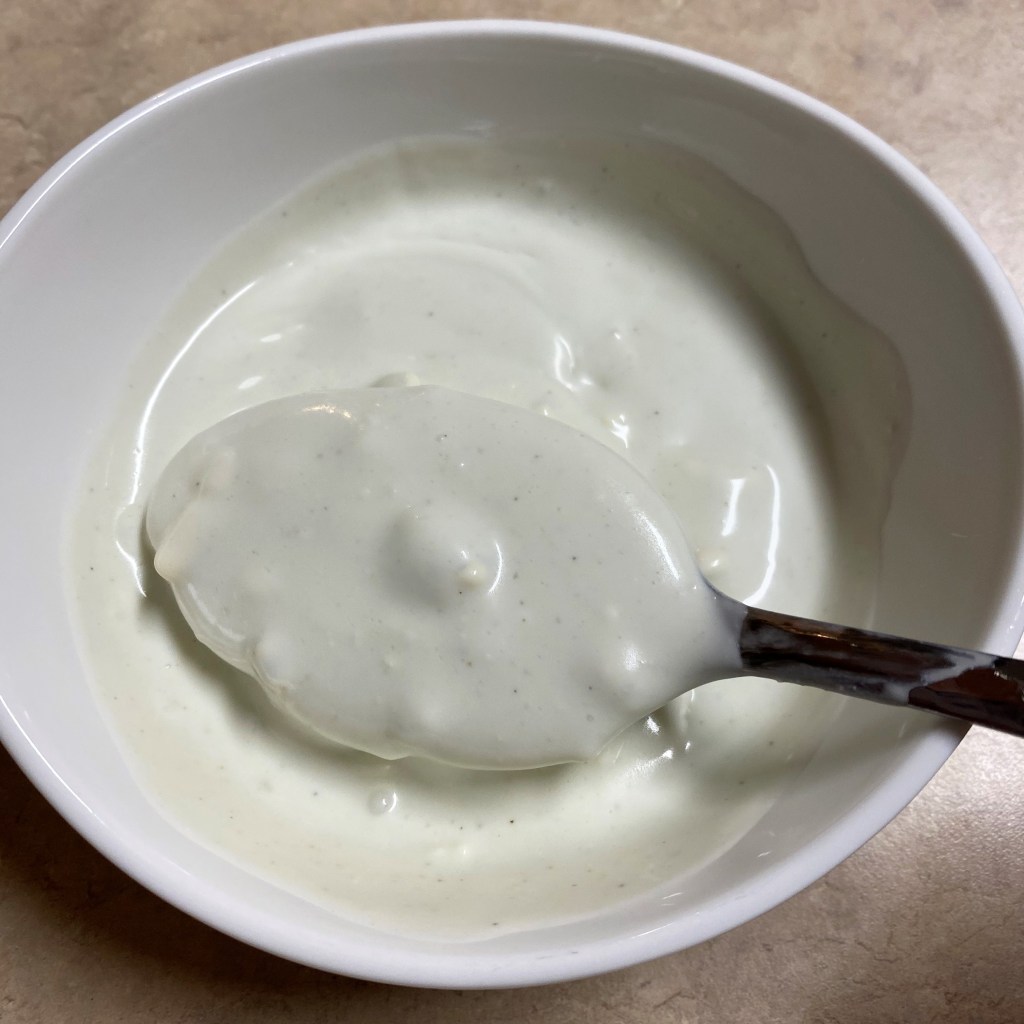
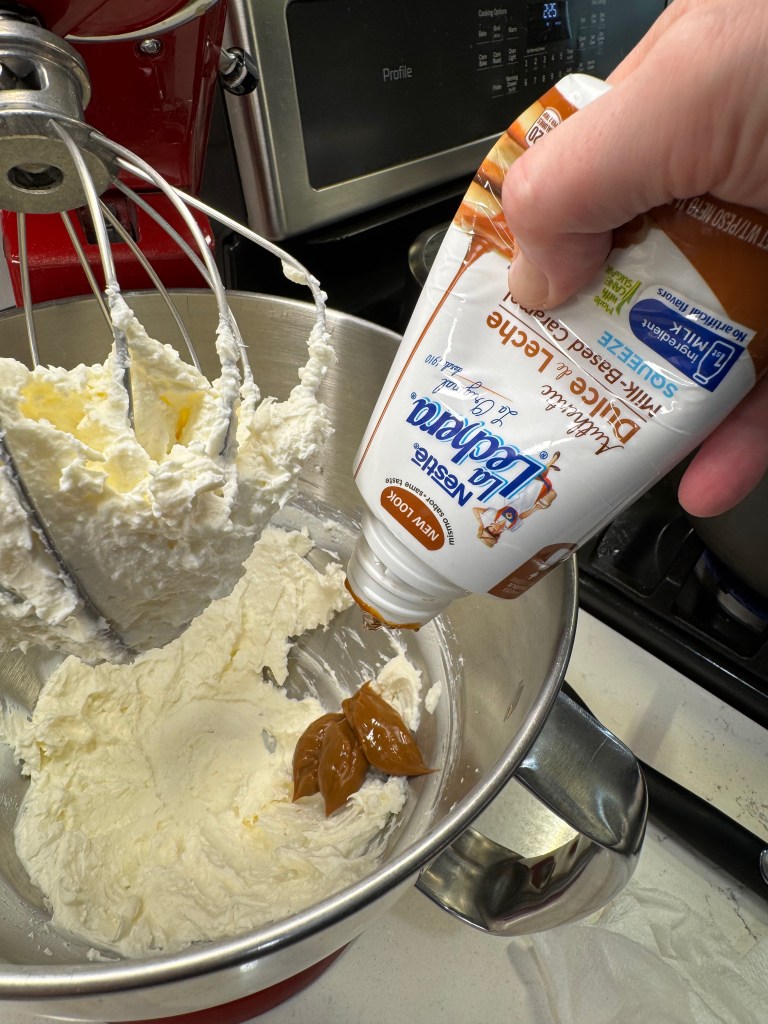
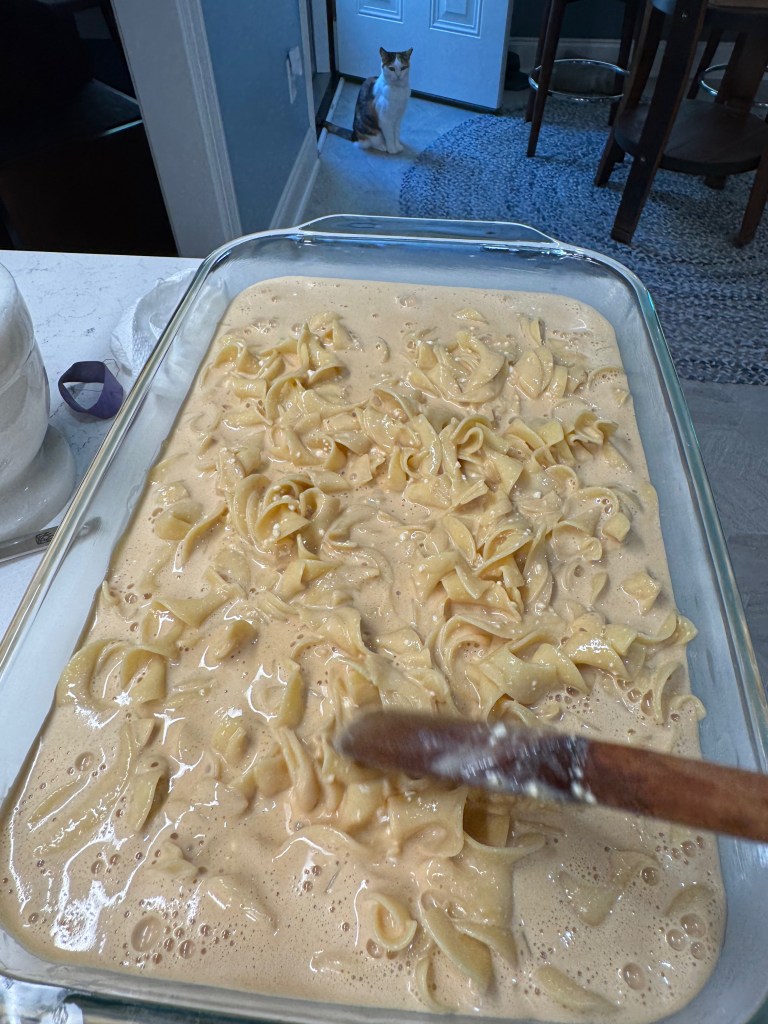
Now, I may not be Jewish, but I come from a long line of improvisers, and my instinct told me that dulce de leche, a thick, rich caramel sauce, would be a reasonable stand-in for most of the sugar in the basic kugel recipe I had found, and for some portion of the milk as well. I blended the thick dulce de leche with cream cheese, cottage cheese, milk, eggs, sour cream and vanilla, and folded in the buttered egg noodles, hoping that some measure of Ashkenazi wisdom would emanate from the wooden spoon that we had rescued from Les’s mother’s condo after she passed. Surely the spoon had done this before.

The apples
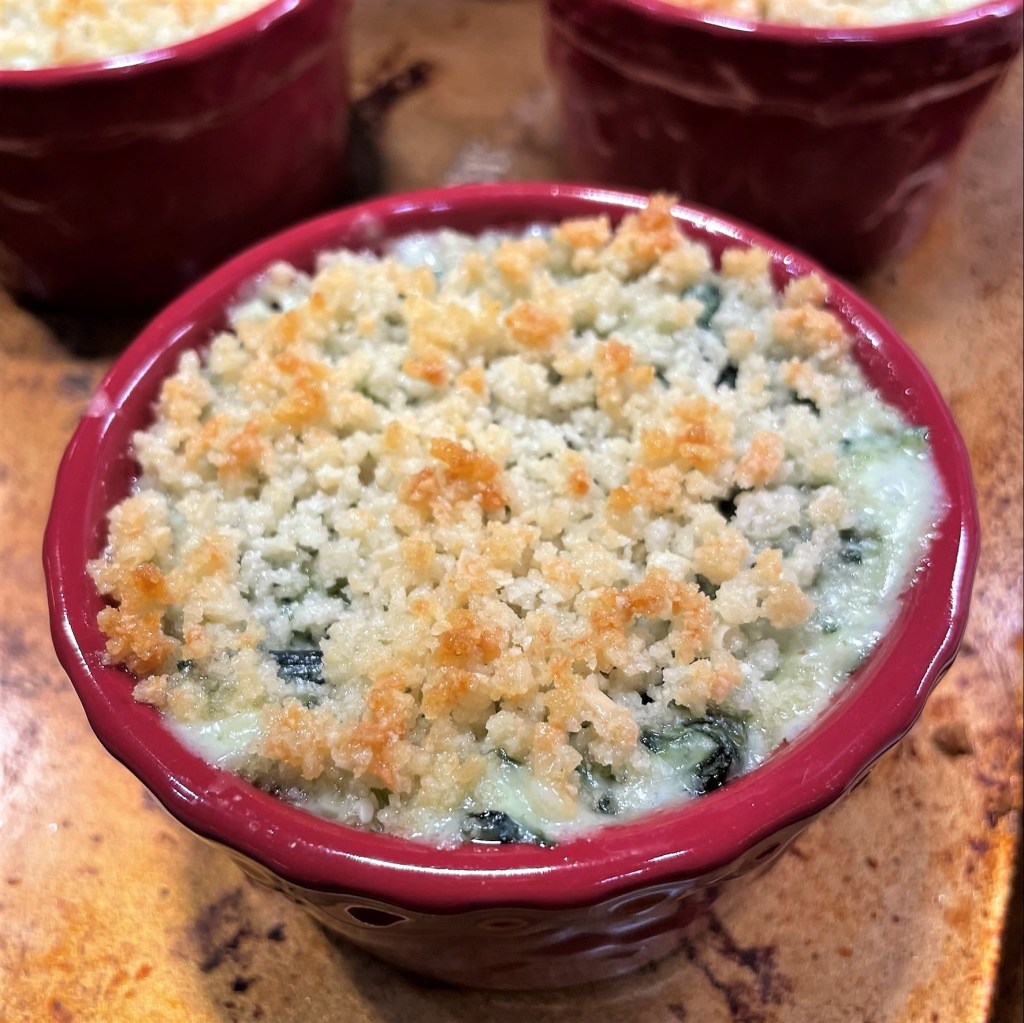
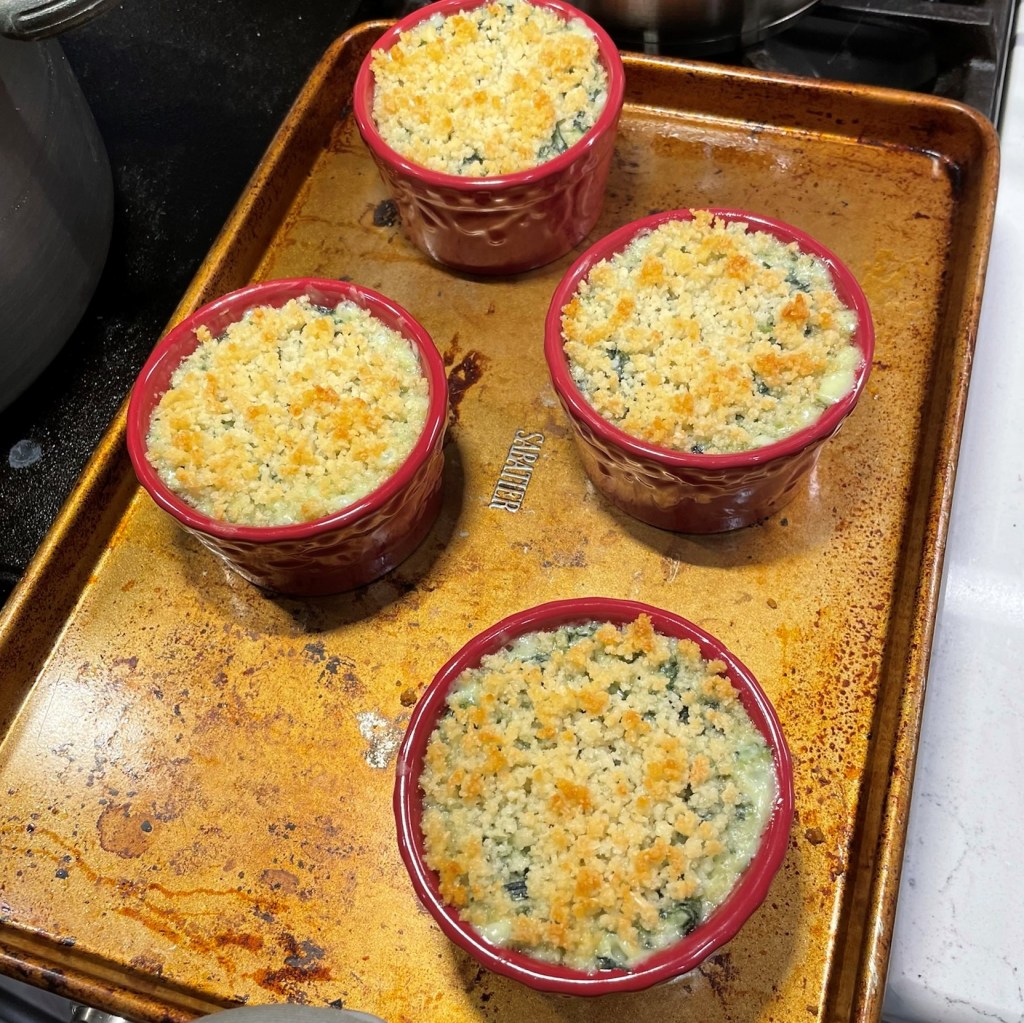
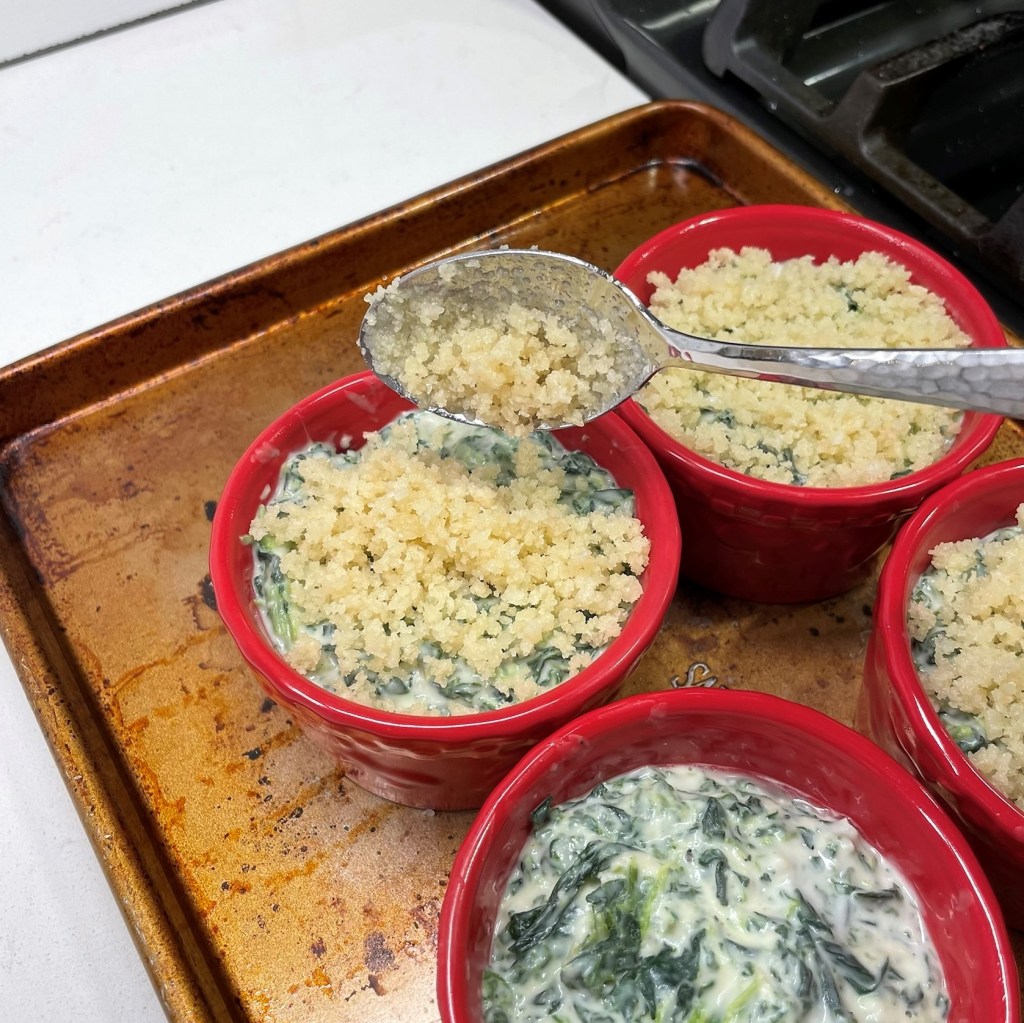
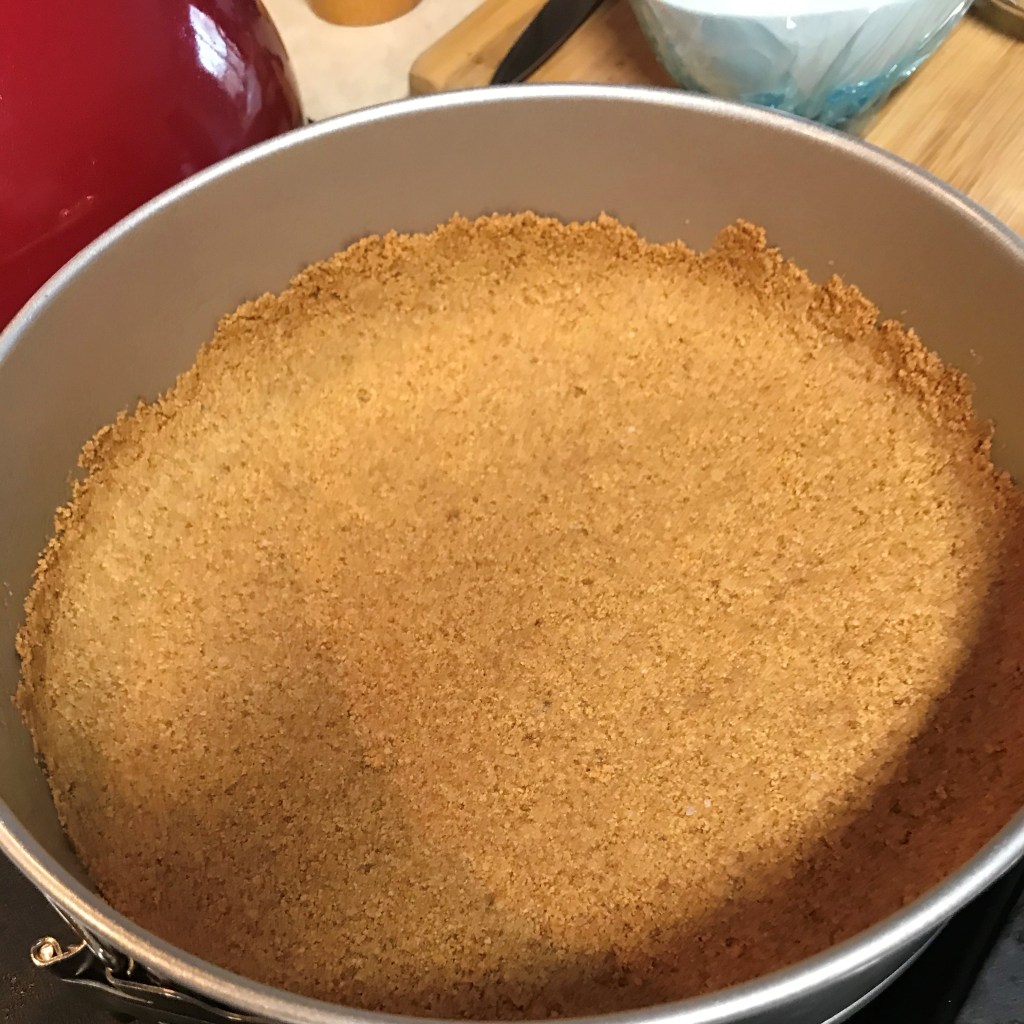
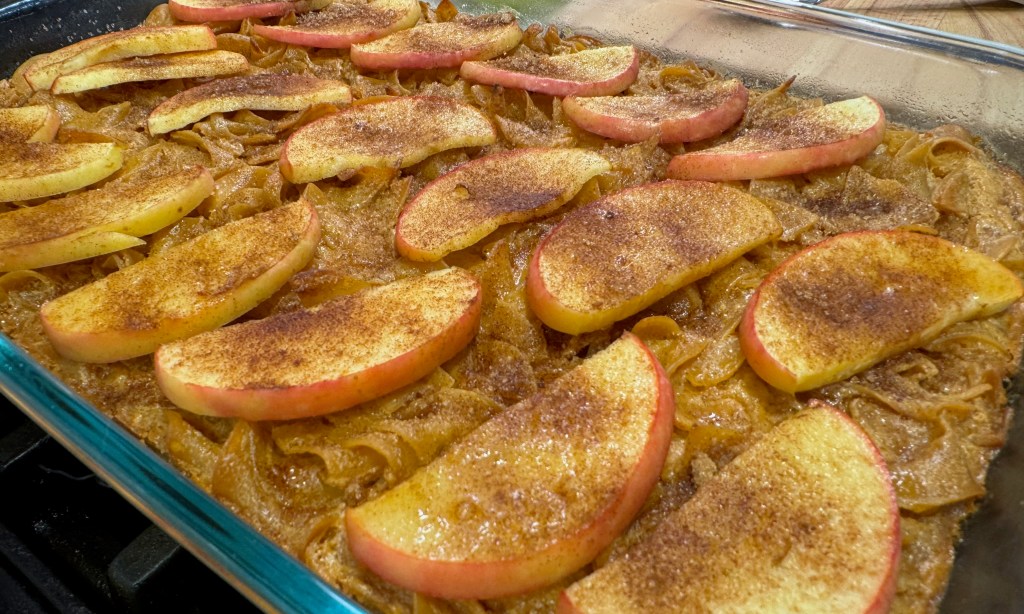
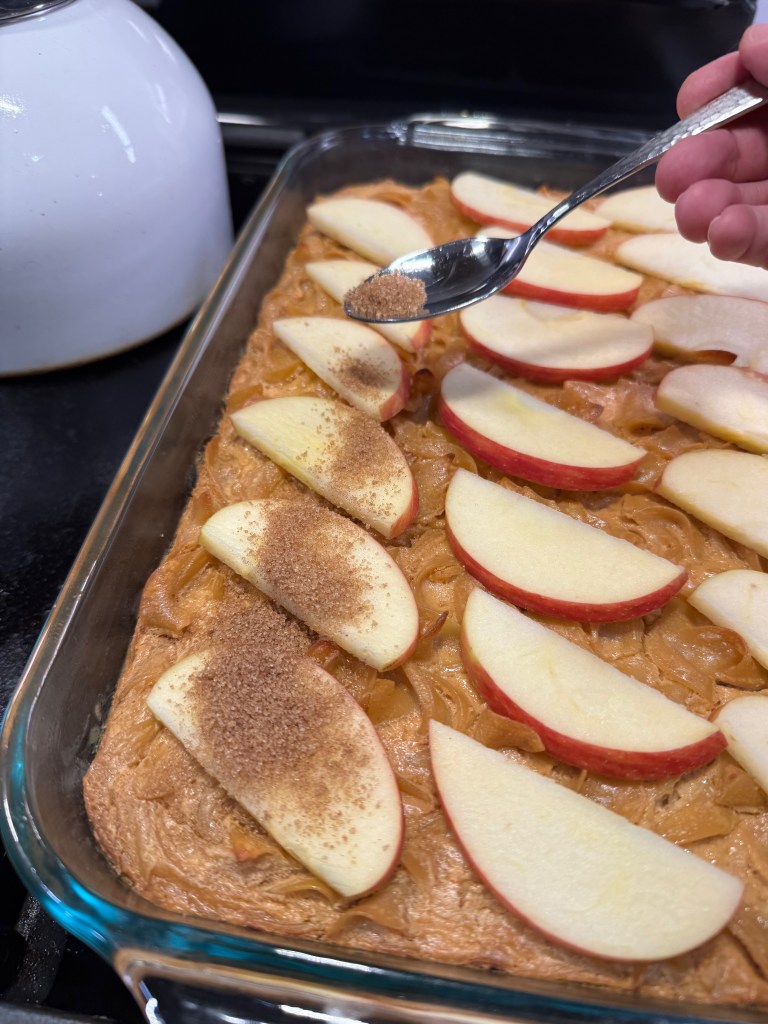
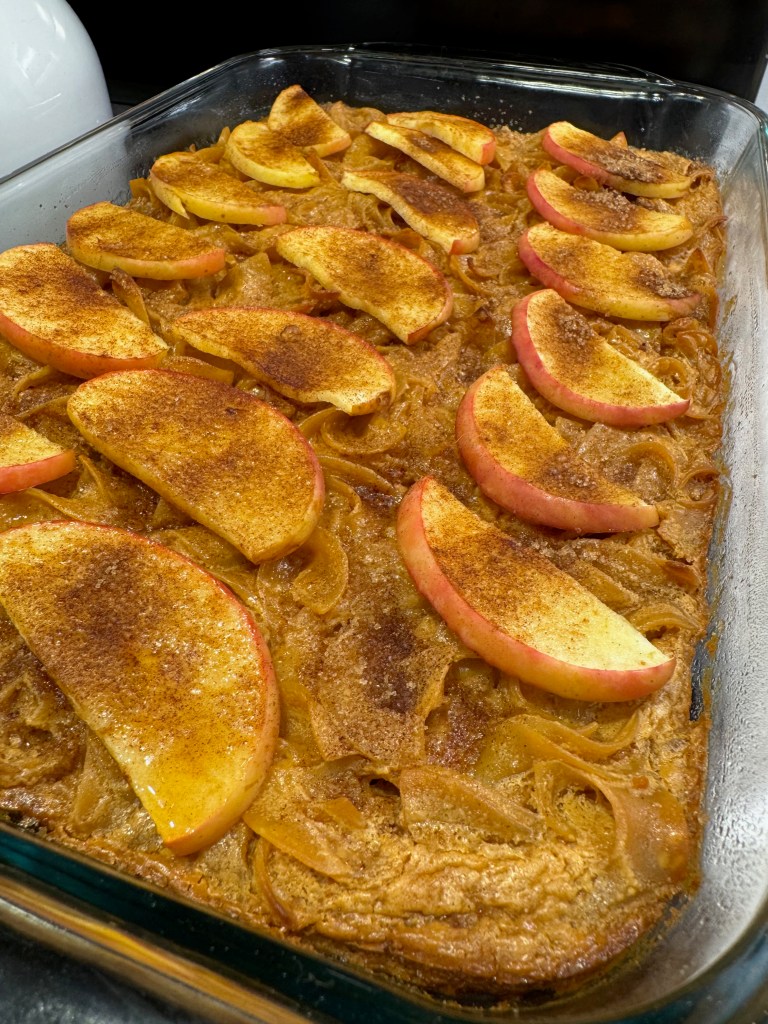
My doubts set in again about the apples because kugel is usually dotted with dried fruits such as raisins, prunes or apricots. Should I cook the apples first? Or dice them up and stir them into the custardy noodles, or would the moisture cause the whole thing to become a big mess? In the end, I decided to par-bake the noodle custard, top it with thin slices of apple and a sprinkling of brown sugar and cinnamon and then bake it again. It turned out to be just the right amount of apple, and the brown sugar-cinnamon topping emphasized the caramel flavors inside.
This kugel was very well-received by my hubby, who had made his own version of kugel a few years back when we were clearing out the pantry for our kitchen remodel. We enjoyed this caramel apple version at Rosh Hashanah and again straight from the fridge later in the week, and I think we may even have a couple of slices left for our “break the fast” meal when Yom Kippur ends tonight.
Shana Tova!
Caramel Apple Kugel
Jewish New Year calls for a celebratory dessert, and I chose apples and caramel to bring in some comforting fall flavors.
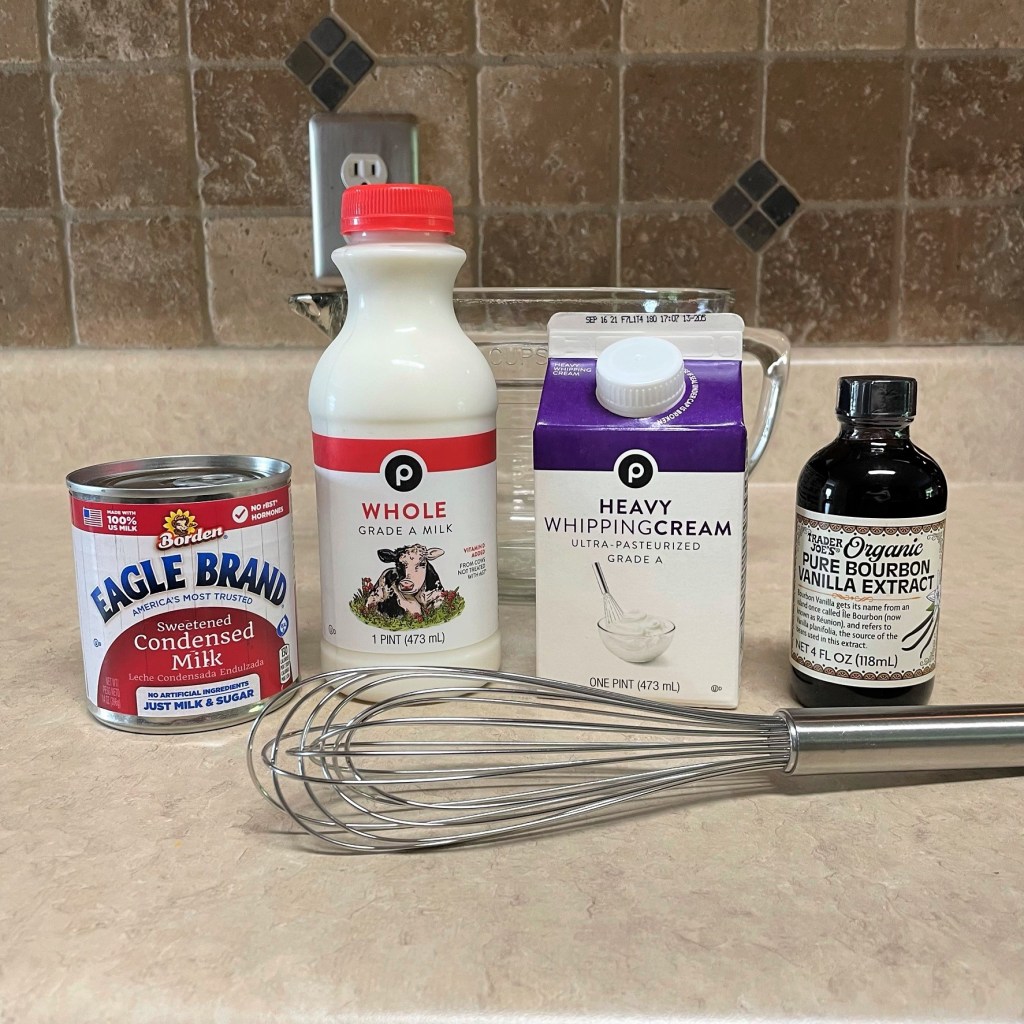
Ingredients
- 8 oz. cream cheese, softened to room temperature
- 1 cup small curd cottage cheese
- 1/2 cup (or more) dulce de leche
- 2 Tbsp. brown sugar
- 1/4 cup sour cream (or plain Greek yogurt)
- 1 1/2 cups whole milk
- 3 large eggs
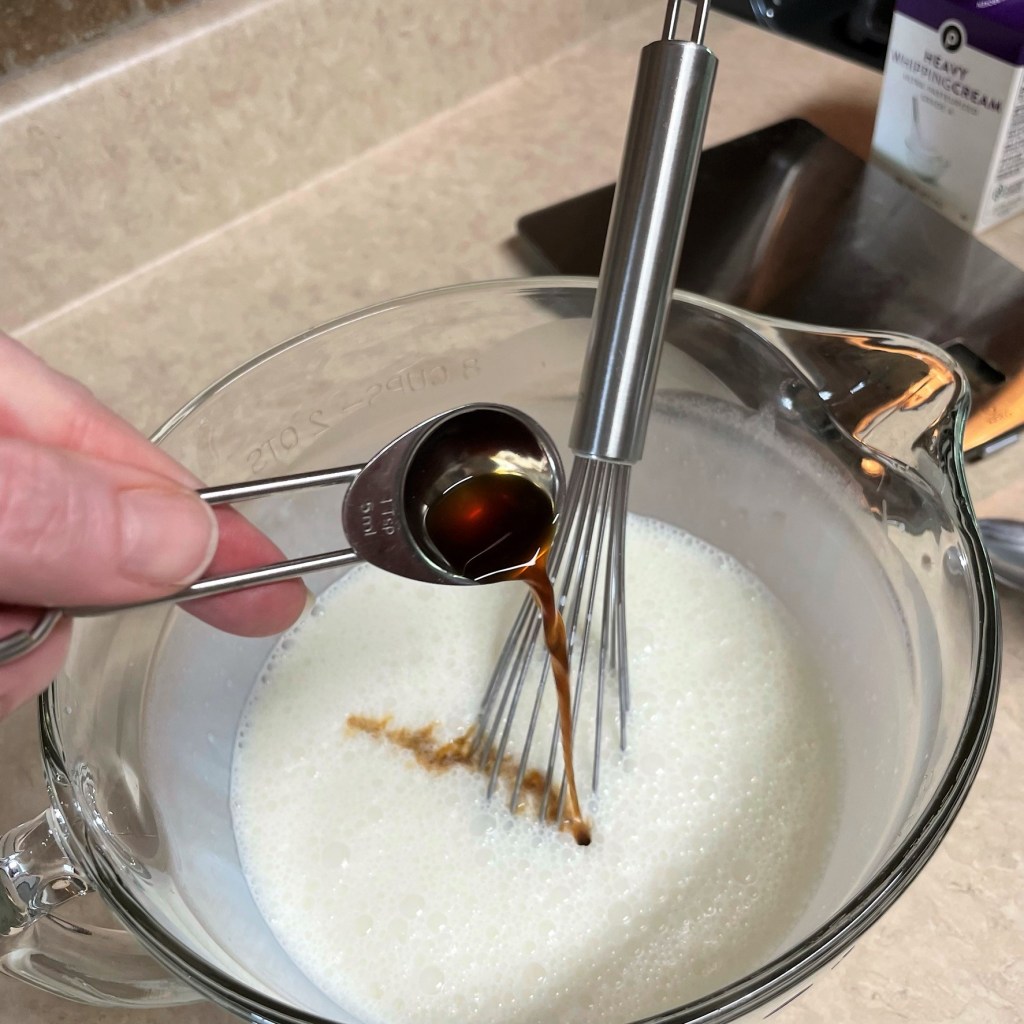
- 1 tsp. vanilla
- 12 oz. package extra wide egg noodles
- 6 Tbsp. butter, room temperature (I used salted)
- 1 large Honeycrisp apple, cored and cut into thin slices
- 1 Tbsp. brown sugar, mixed with 1/2 tsp. ground cinnamon
Directions
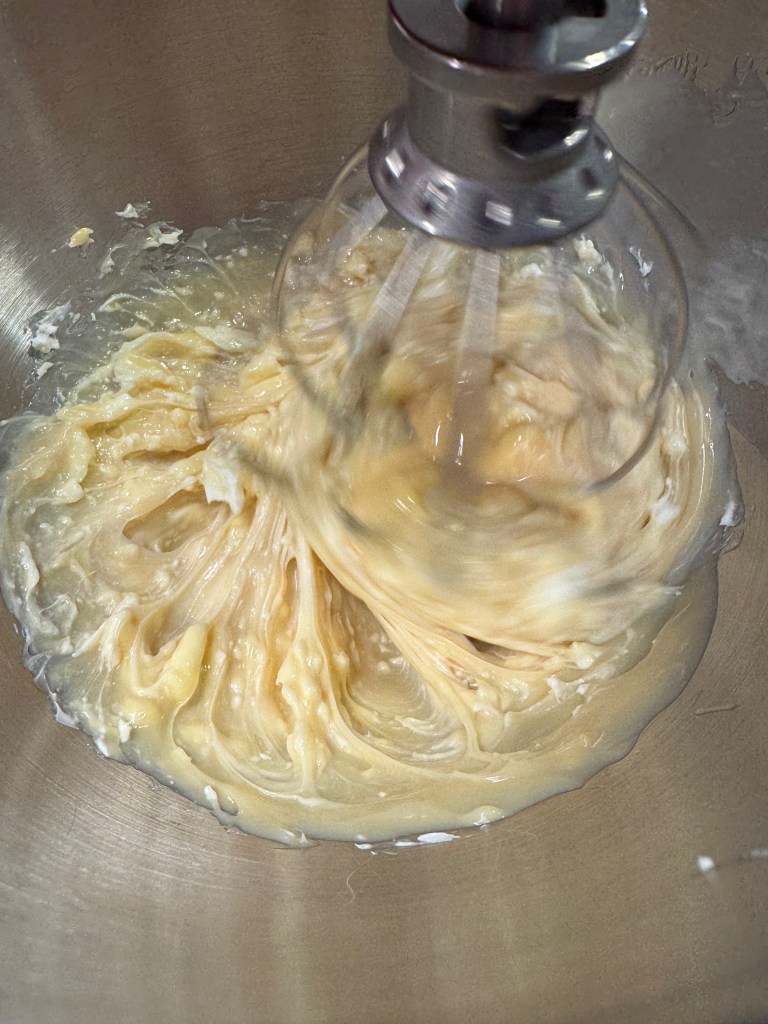
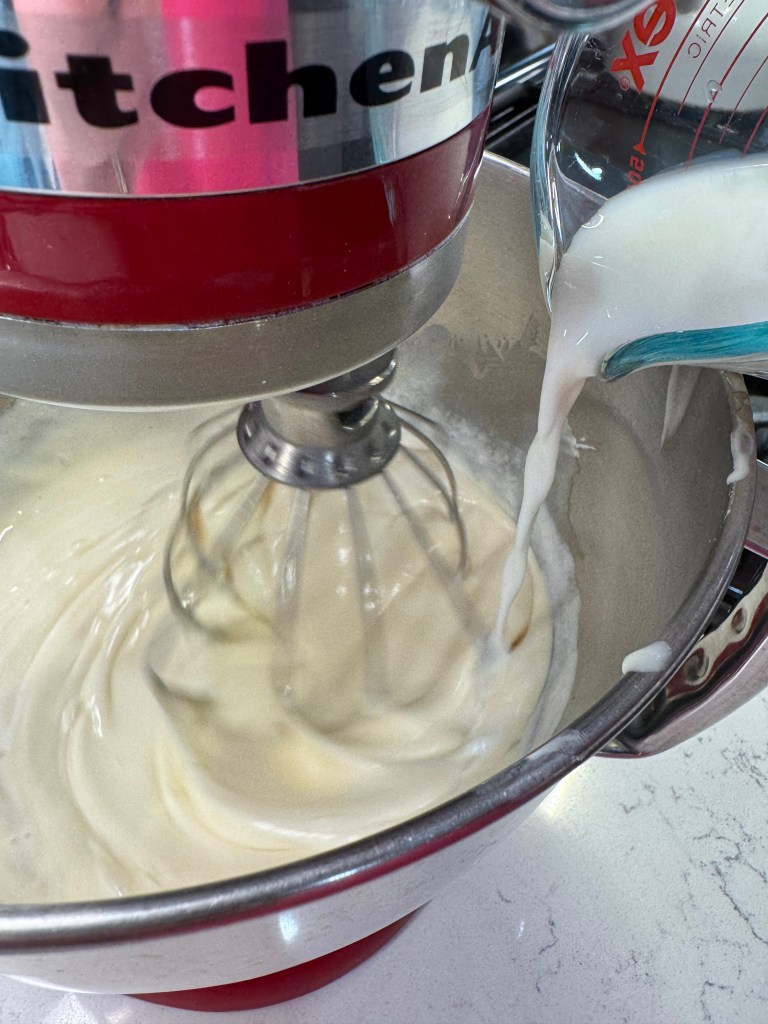
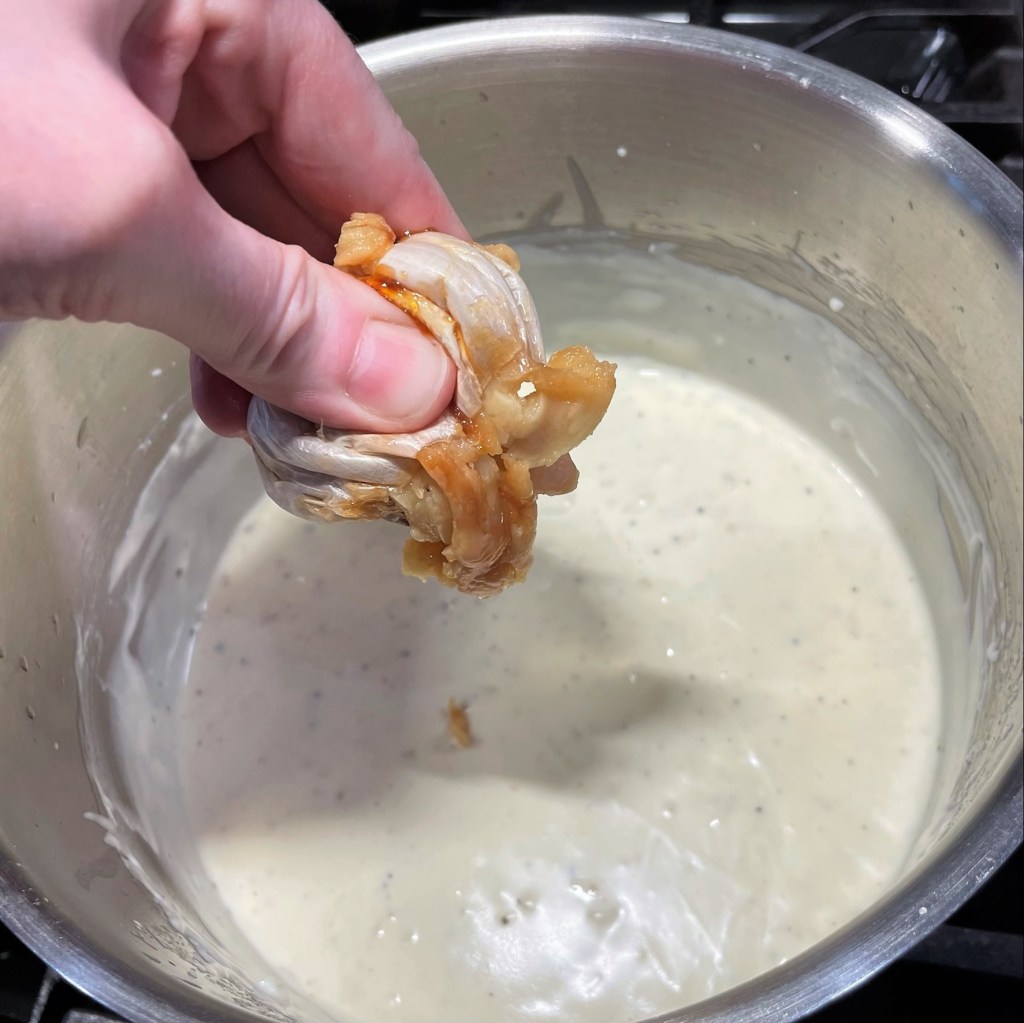
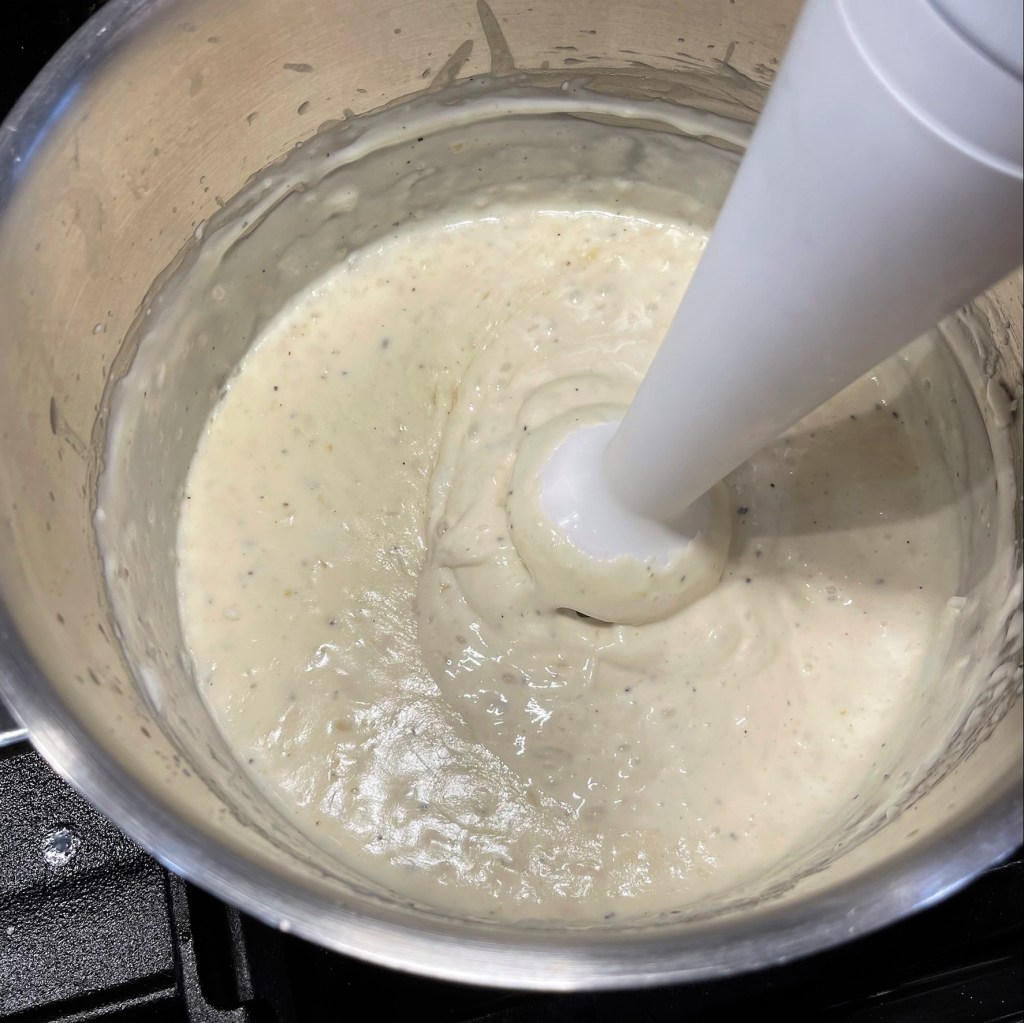
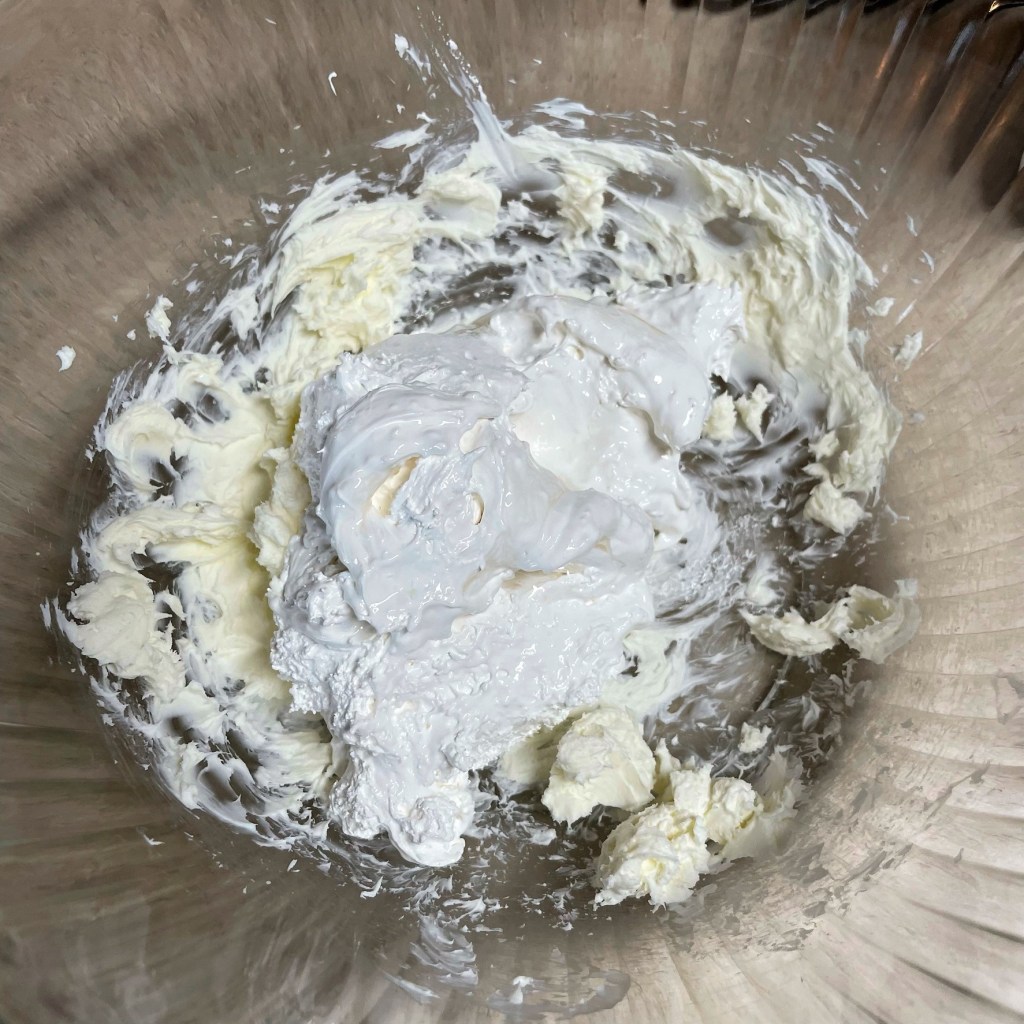
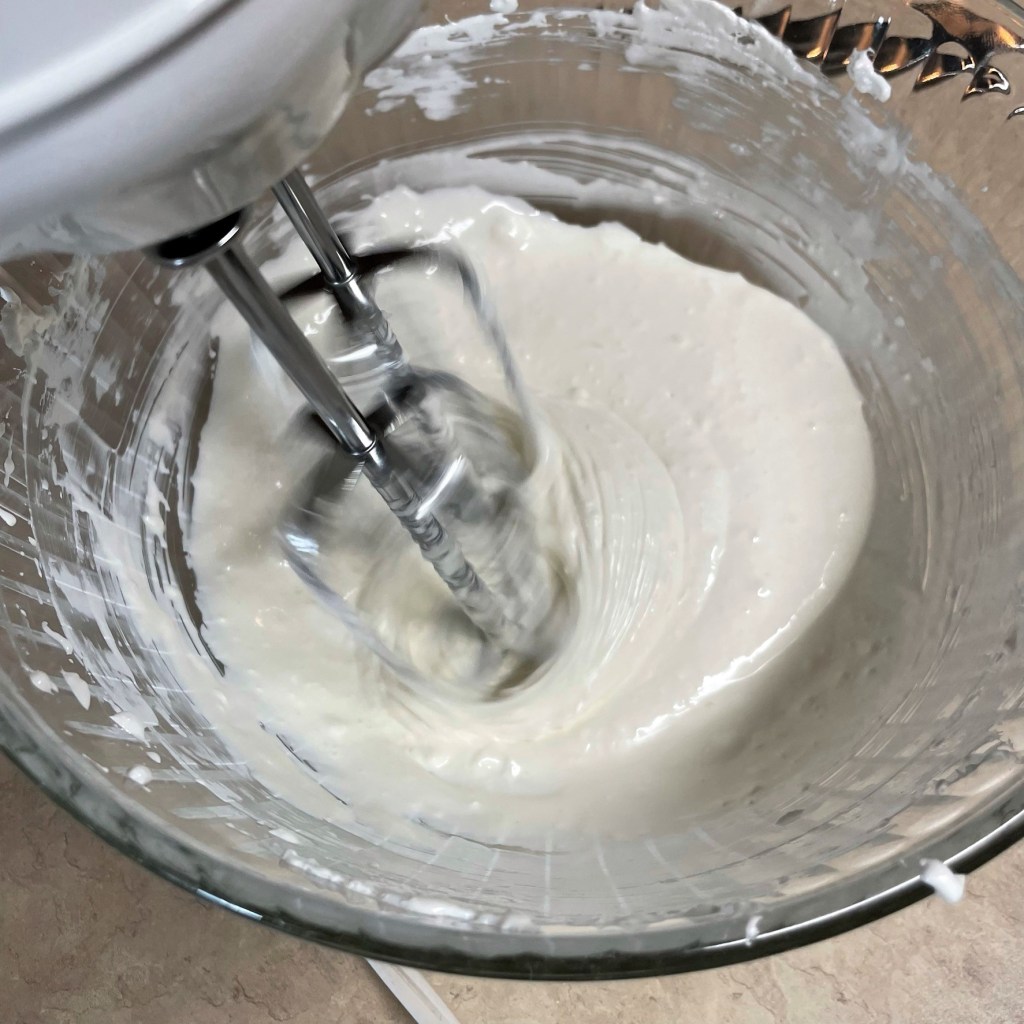
- Add cream cheese, cottage cheese and dulce de leche to the bowl of a stand mixer, fitted with the whisk attachment. Blend together on speed 2 or 3 for about two minutes, or until the mixture is evenly combined.
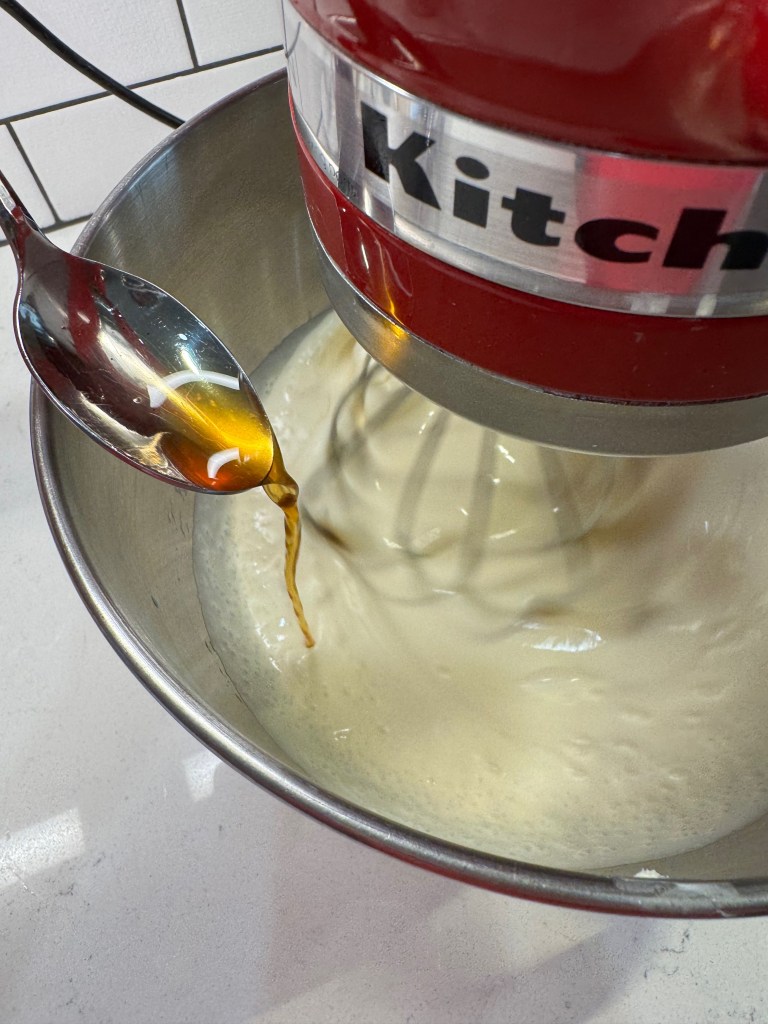
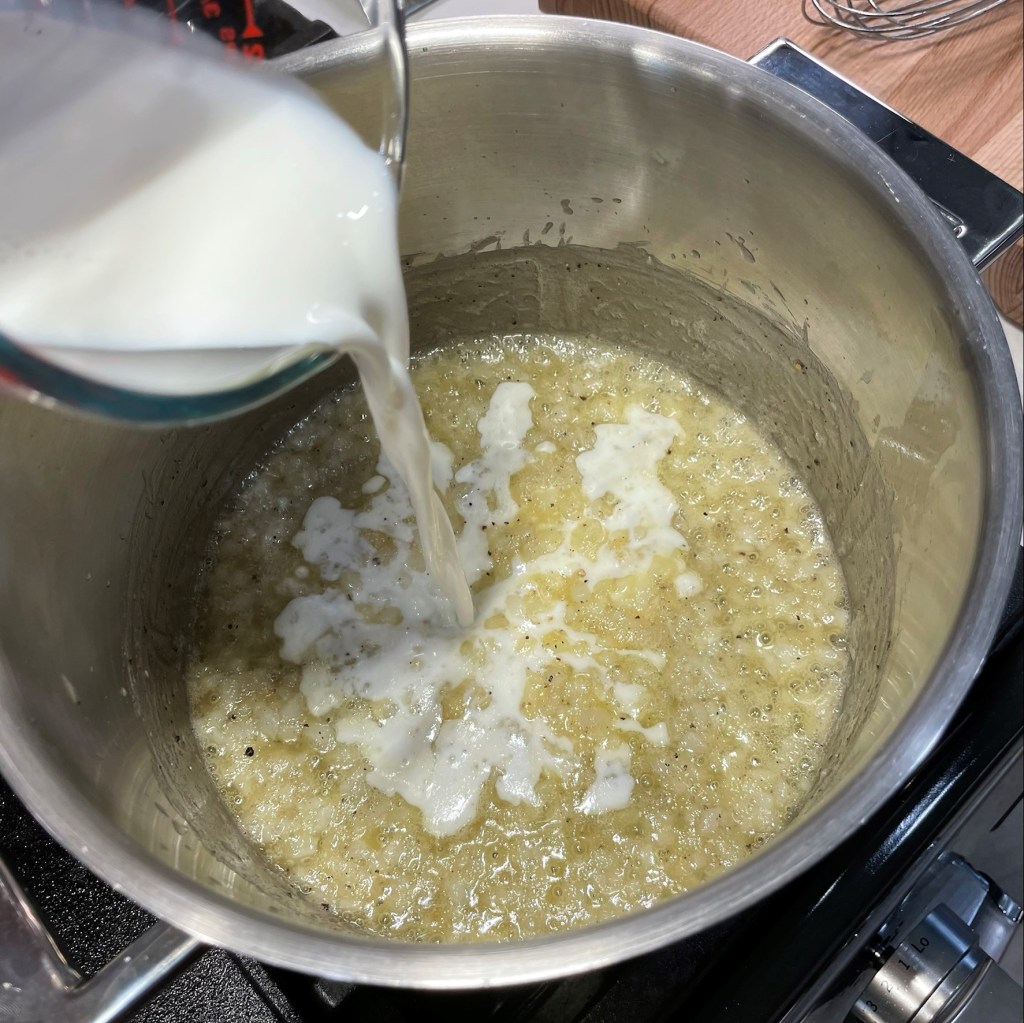
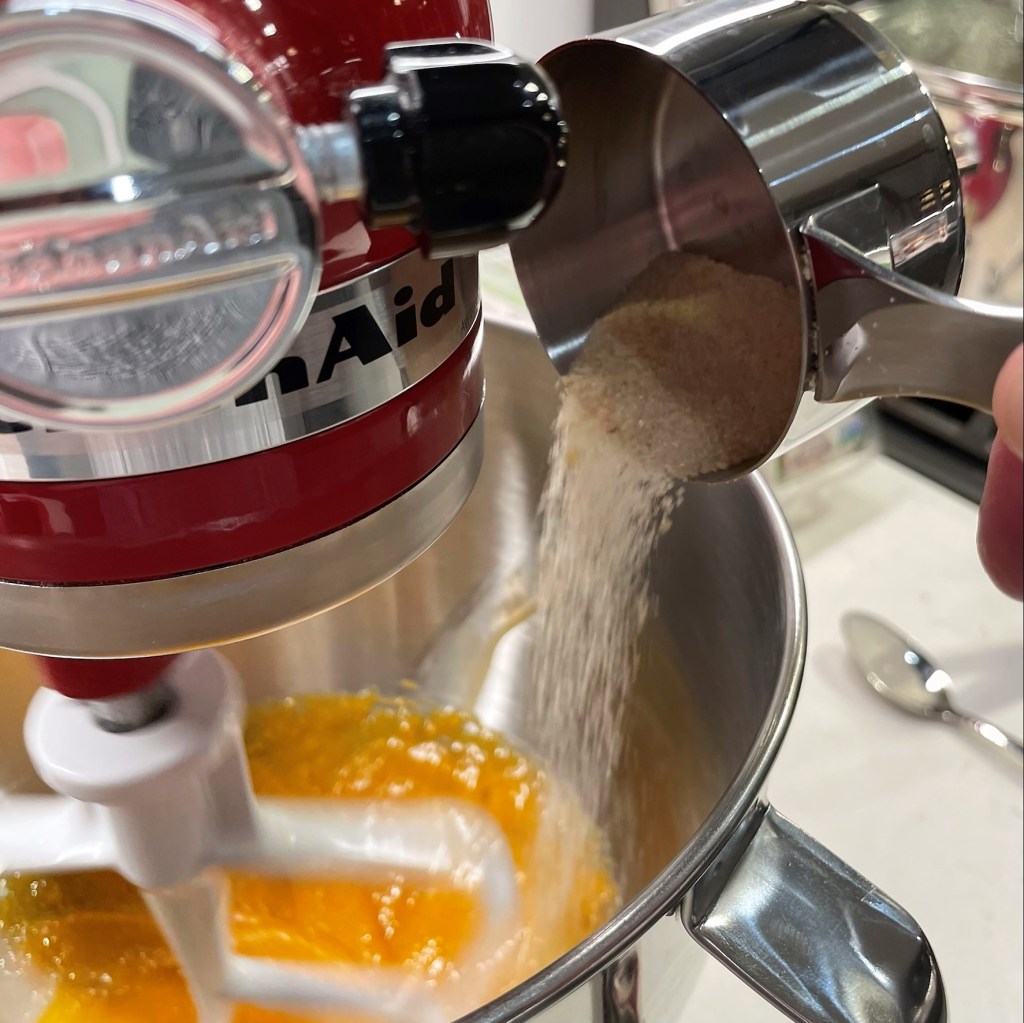
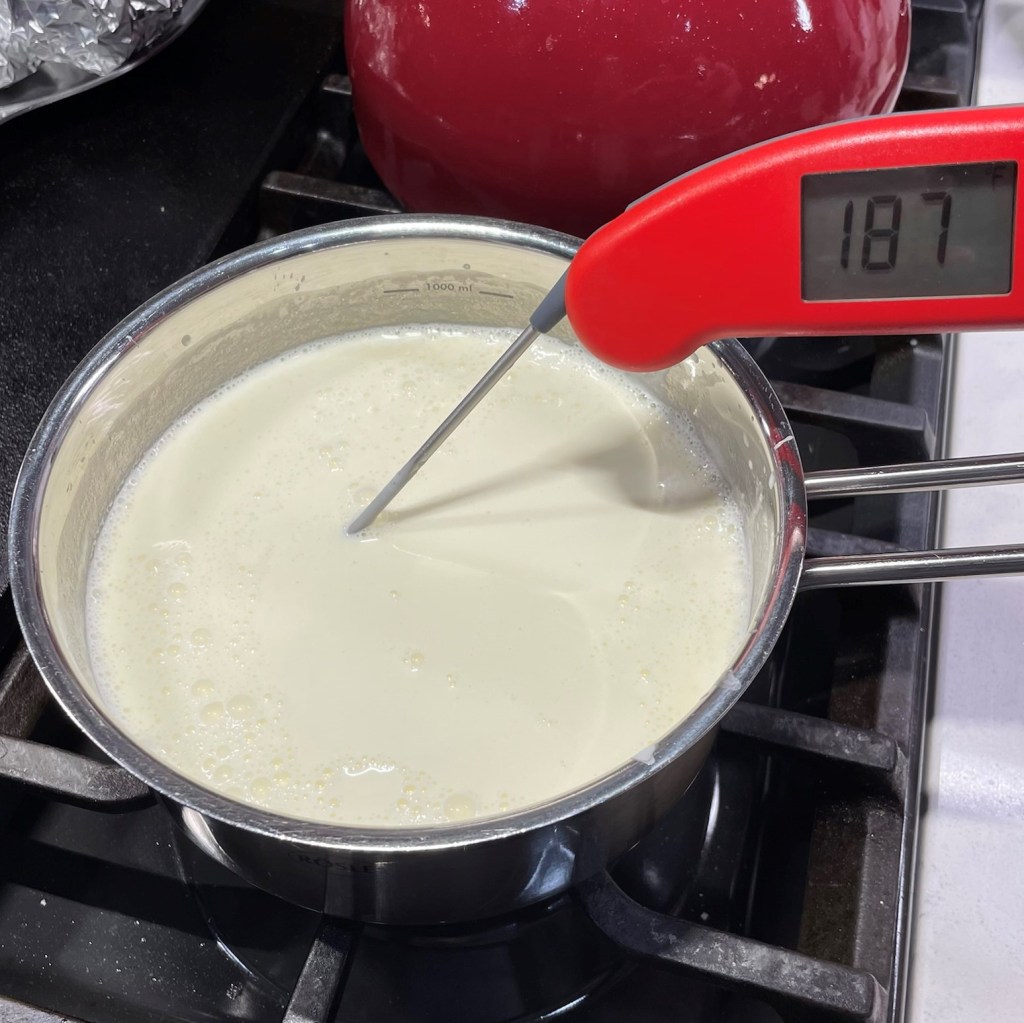
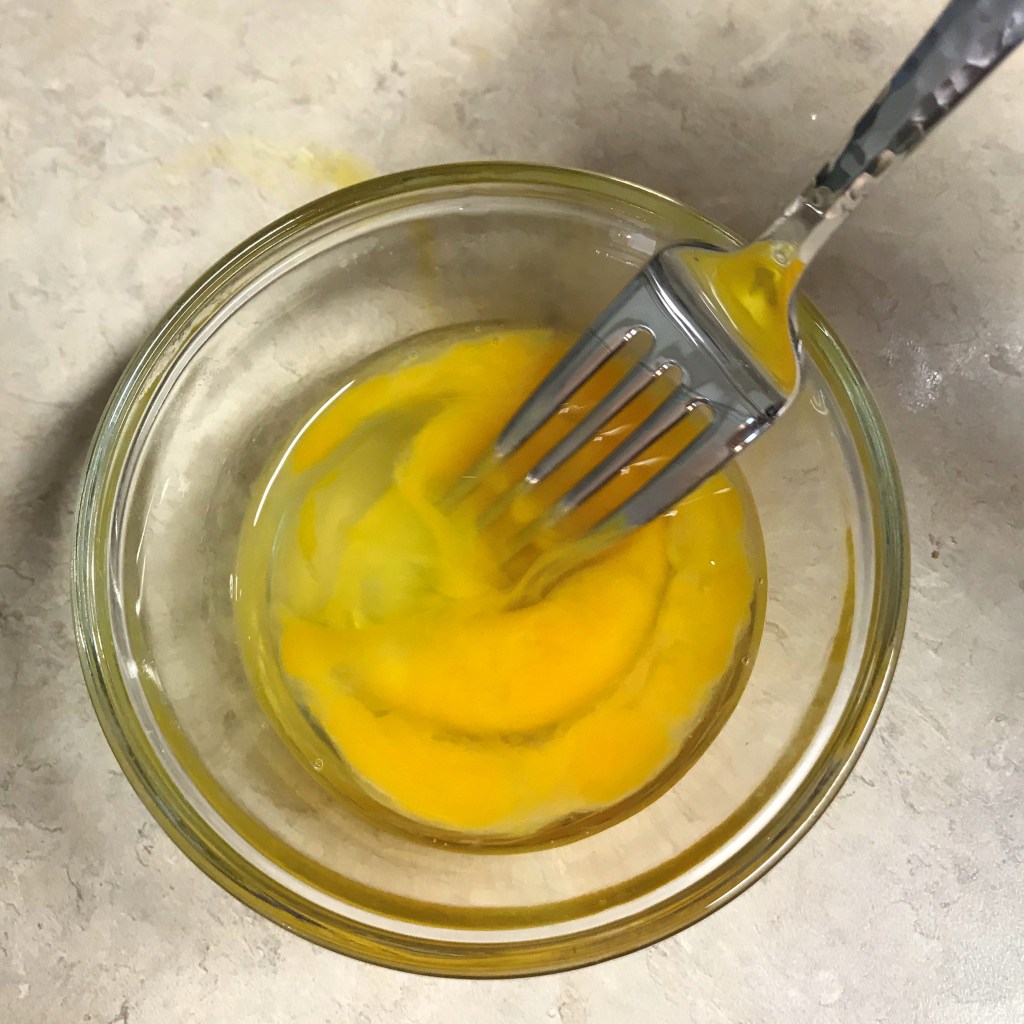
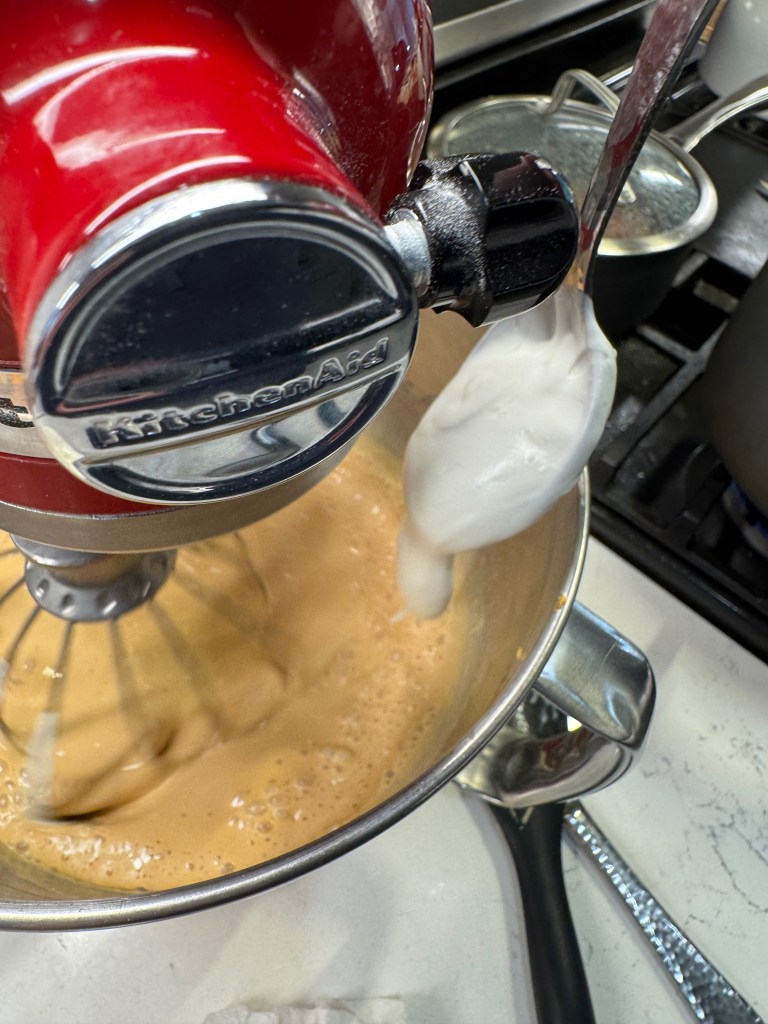
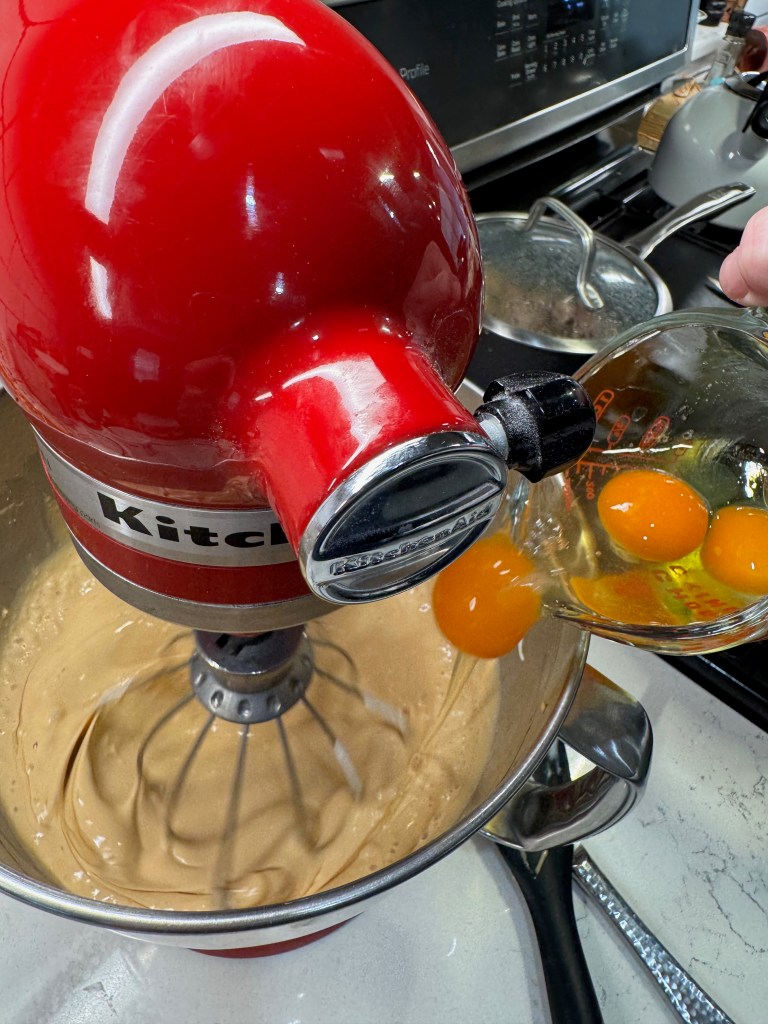
- Add brown sugar and sour cream, whisking on low speed until blended. Gradually pour the milk into the bowl while the mixer is running, to avoid splashing. Add the eggs, one at a time and then stir in vanilla.
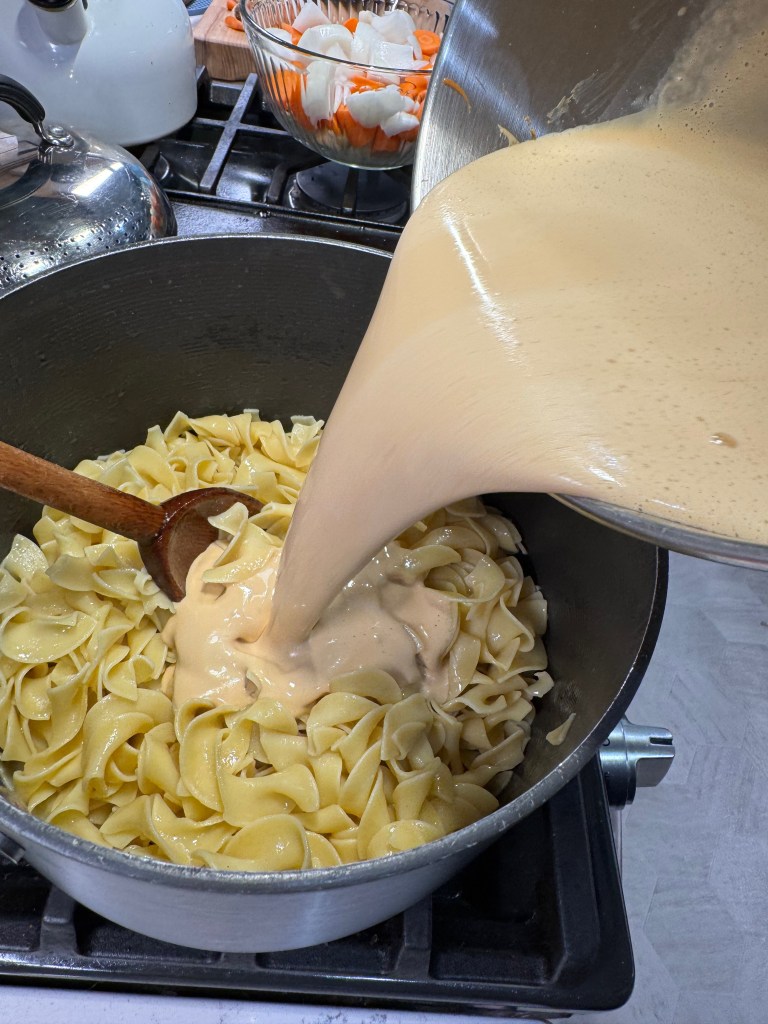
- Meanwhile, cook the egg noodles until just tender, according to package instructions. Drain the noodles and toss with butter until fully melted.
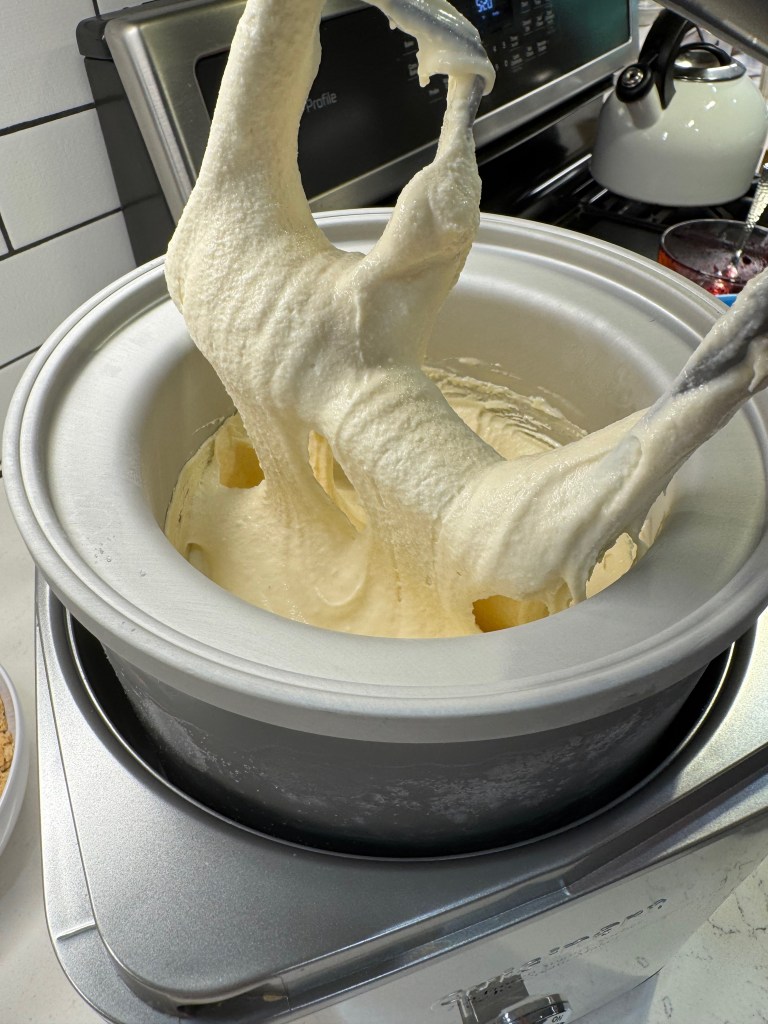
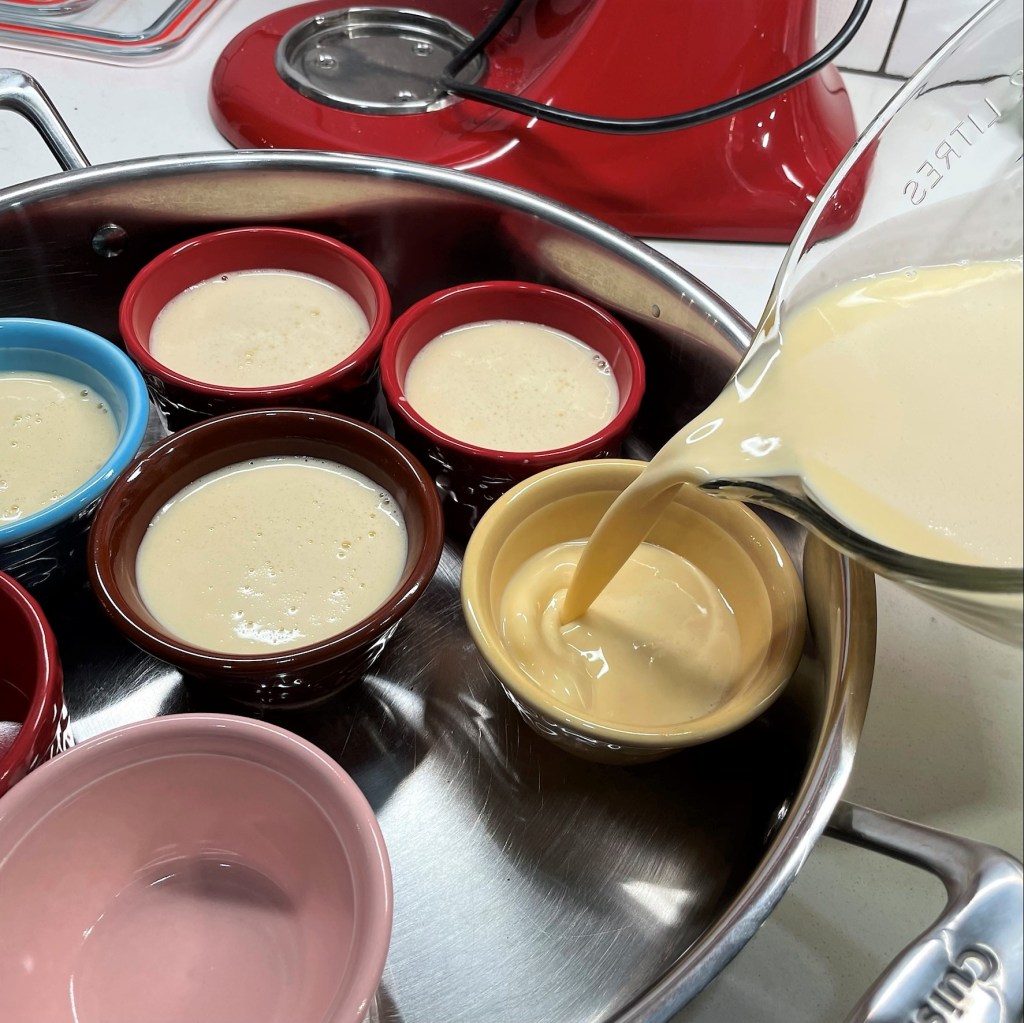
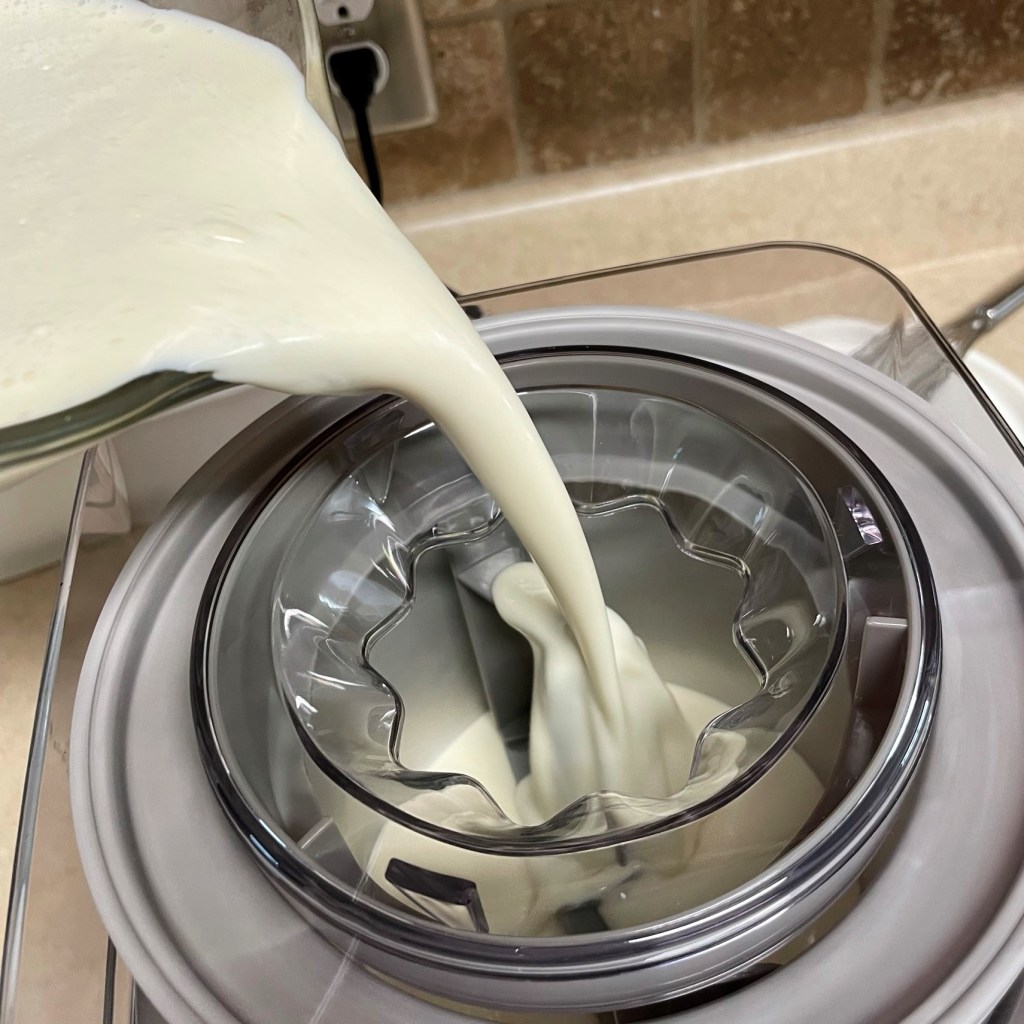
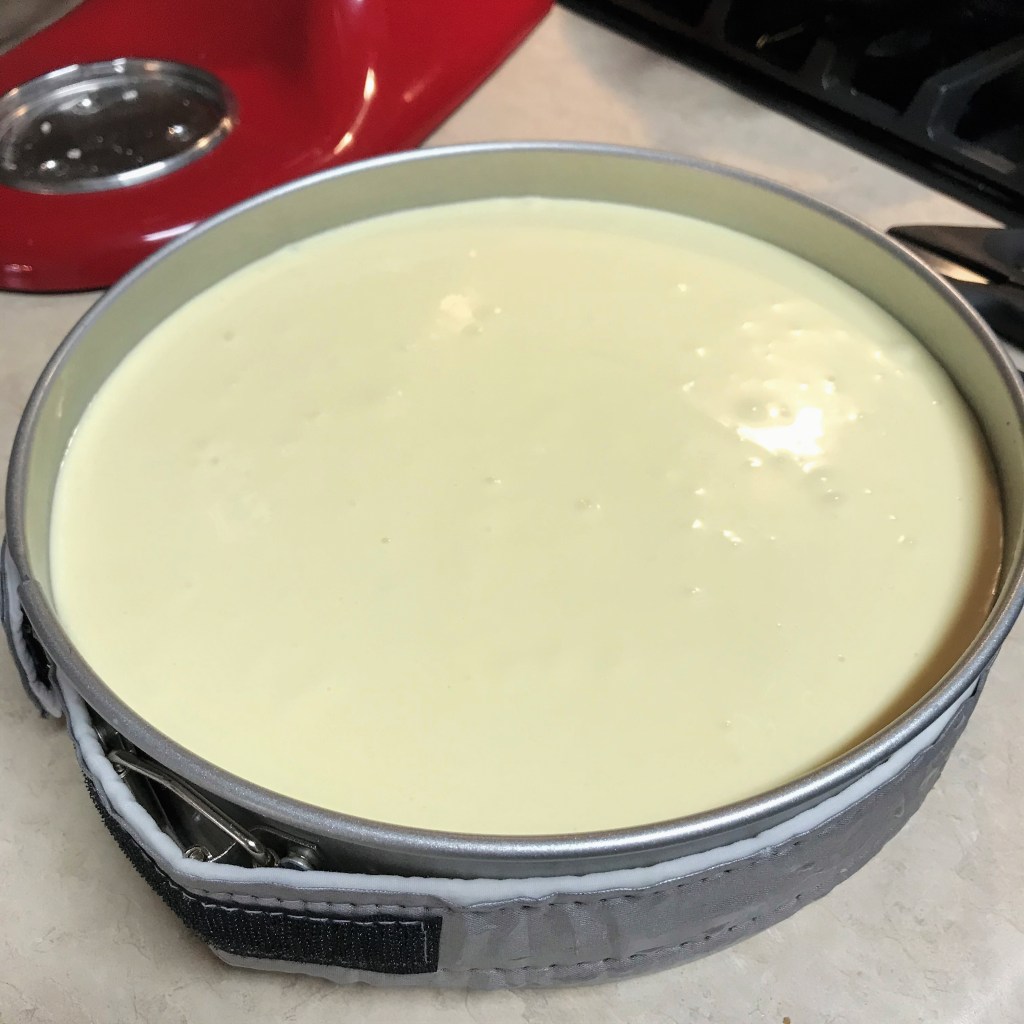
- Pour the caramel mixture into the warm noodles and toss to combine. It will seem very liquid-y. Transfer this mixture to a buttered 9 x 13 glass baking dish and spread it out until even. Cover the dish and refrigerate for a couple of hours or overnight.
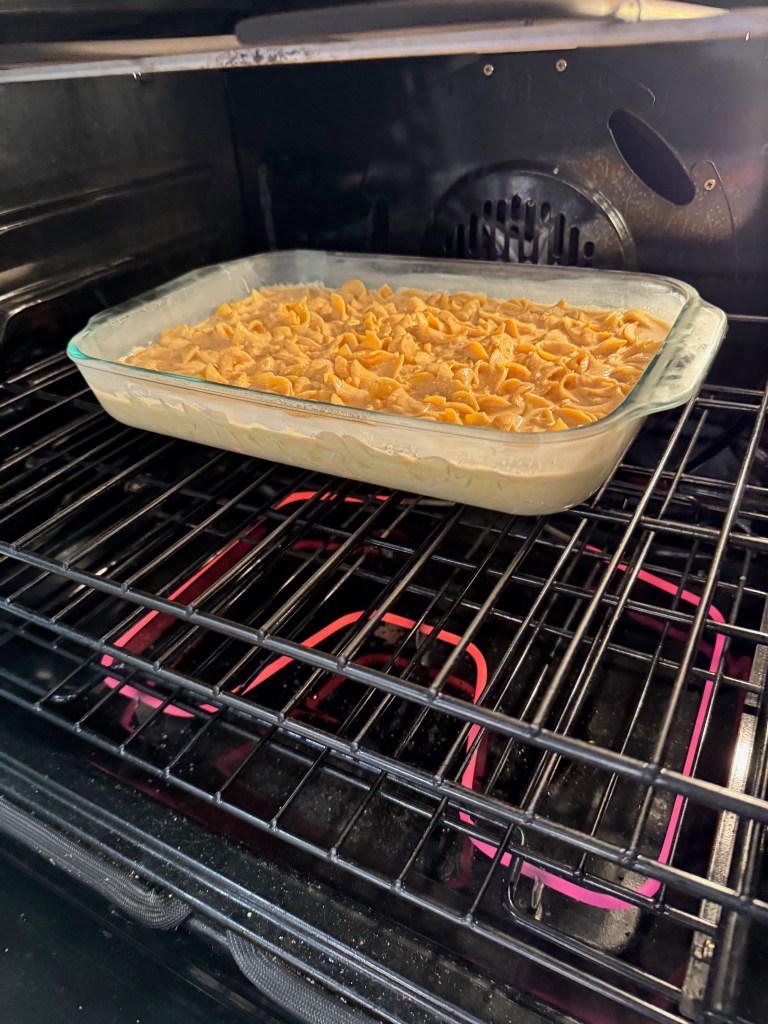
- Preheat oven to 350° F, with rack in center position.
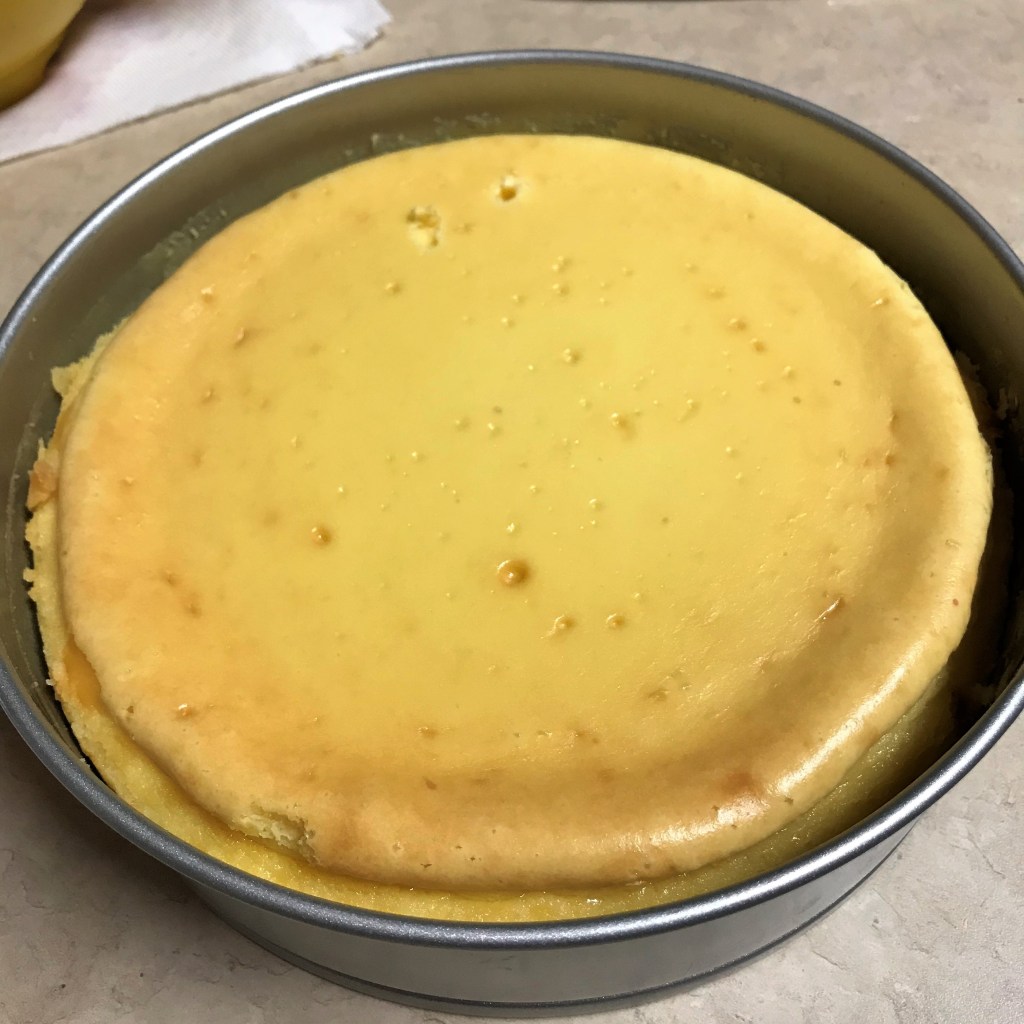
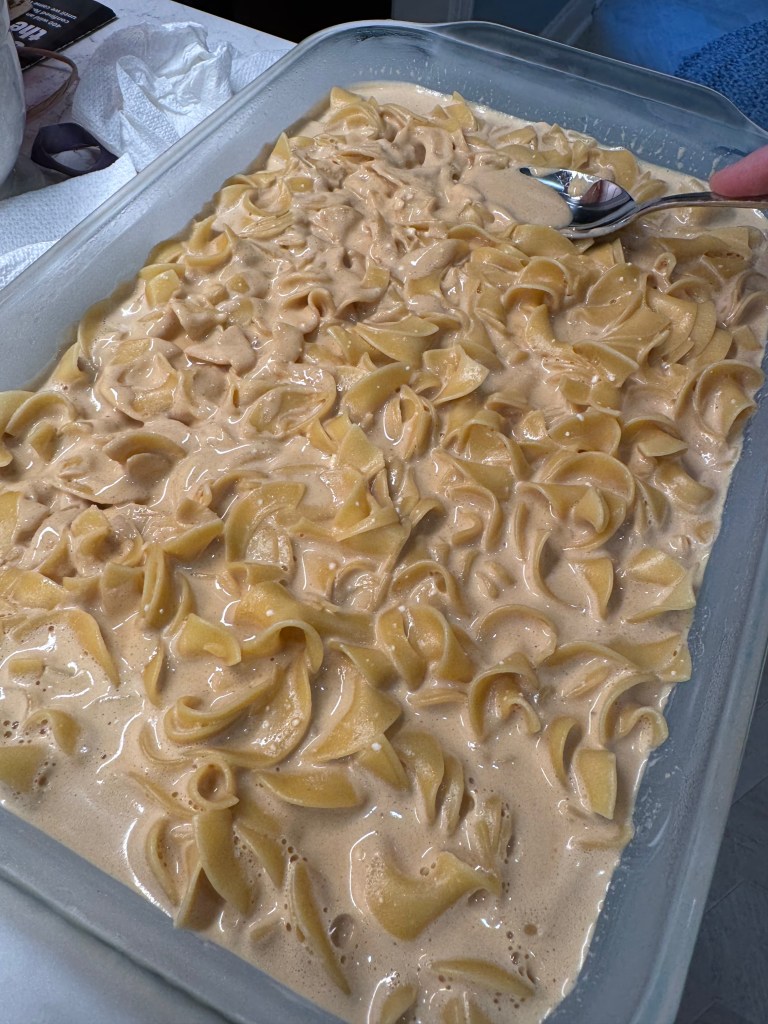
- Uncover kugel and use the back of a spoon to press down any noodles that have emerged from the caramel custard mixture. Bake uncovered for 35 minutes. Remove from oven, arrange sliced apples evenly over the top and sprinkle the surface with the brown sugar-cinnamon mixture. Return to oven for 15 more minutes.
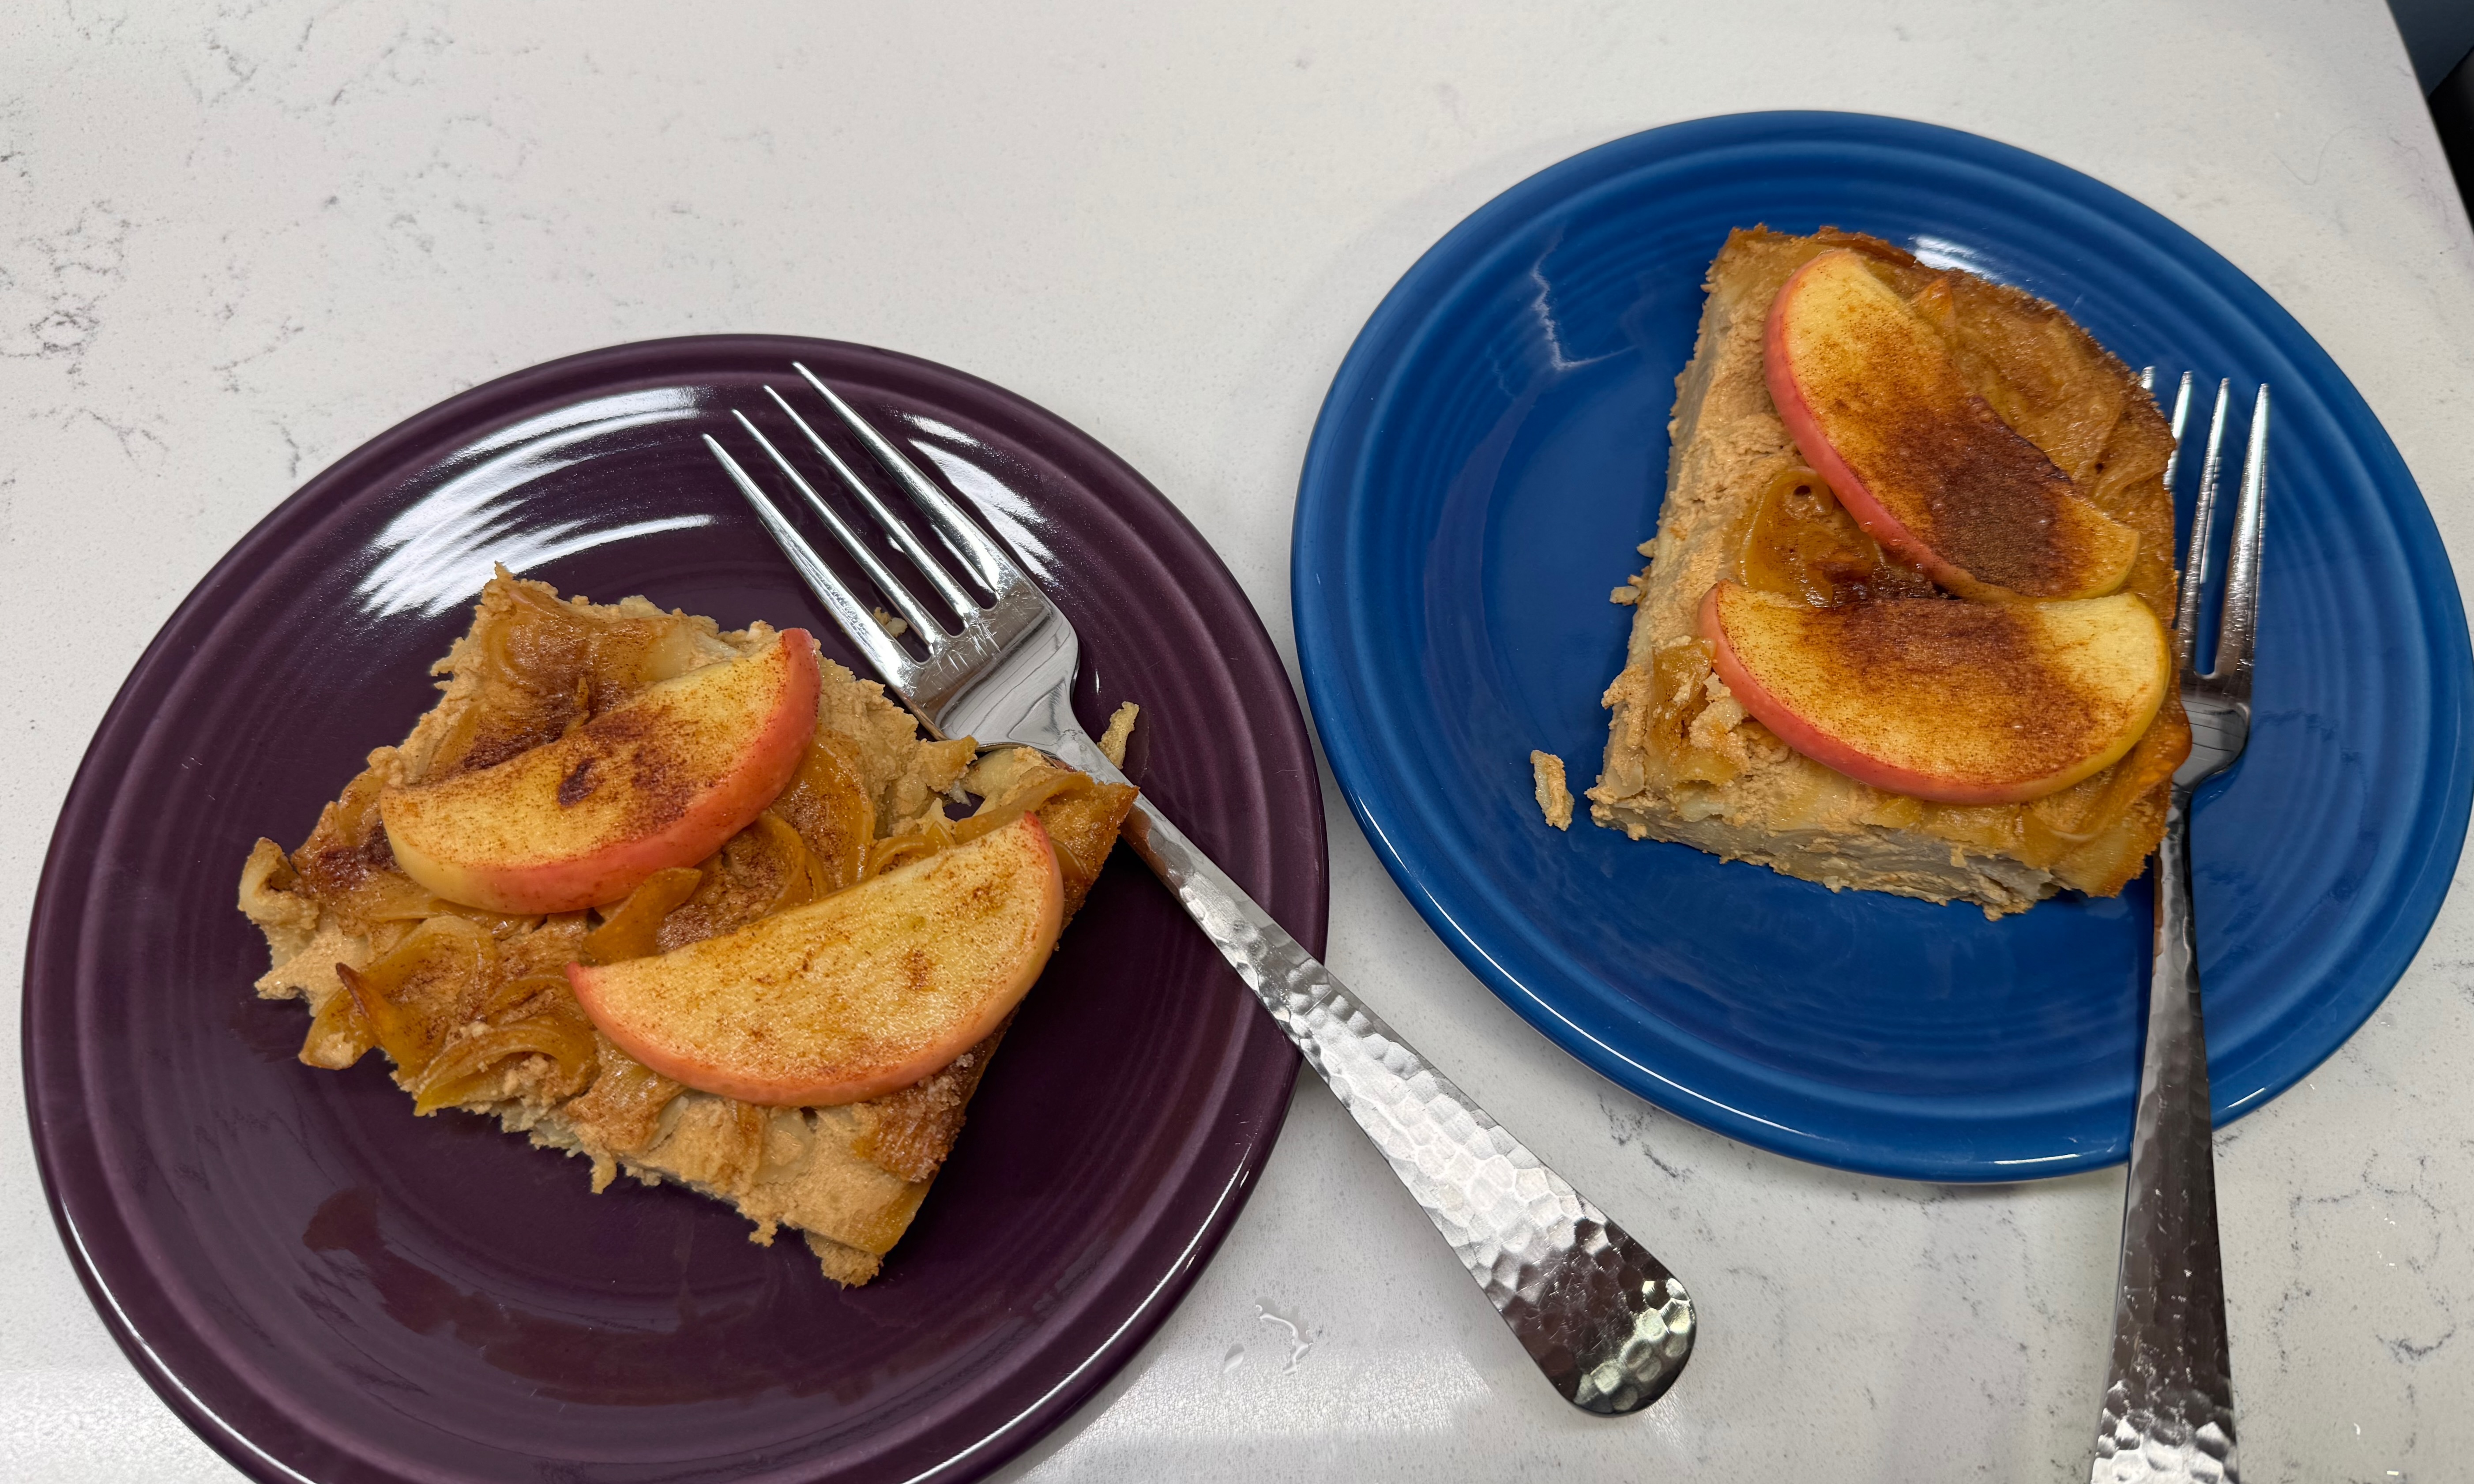
- Cool to room temperature before enjoying, and refrigerate leftovers. When chilled, the kugel can be cut easily into squares and served almost like brownies.
Just for grins
As desserts go, this one packs a substantial amount of protein with cream cheese, cottage cheese, eggs, sour cream and milk. It also doesn’t have as much sugar as you might expect, with only three tablespoons, plus the sugar in the dulce de leche. Les and I got into a lukewarm debate about the protein content of this dish, with him asserting that the ingredients are spread out across 12 portions, making each portion skimpy on protein. I disagreed, so I did the math to bolster my case and here’s the result:
| INGREDIENT | PROTEIN GRAMS |
| cream cheese, full-fat | 16 |
| cottage cheese, 2% | 28 |
| whole milk | 12 |
| dulce de leche | 6 |
| eggs | 18 |
| sour cream, full-fat | 4 |
| noodles | (this number surprised me!) 40 |
| butter | 2 |
| Total grams protein | 126 |
| divided by 12 servings | 10.5 |
Each square contains 10 1/2 grams of protein, significantly more than you can say for most desserts. A serving of vanilla ice cream, for example, typically contains 2 to 3 grams and a slice of chocolate cake is around 4 grams. I’m not claiming this to be a health food by any stretch of imagination. The fat and sugar content are high, and there are irrefutable downsides to that. I’m only suggesting that this could be considered something of a power dessert, if there is such a thing. 😉