If I had a nickel for every time this year that I’ve told my husband, “I really wanna make some homemade pasta,” well, I’d have at least $1.35. Handmade pasta is a time-consuming project, but it’s so satisfying and gives me such joy that I just had to find the time. Ravioli is my favorite kind of handmade pasta because it gives me creative license not only for the pasta dough but also the filling that gets tucked inside. And— bonus points— I married it with ratatouille, my favorite summer dish. Yeah, this one was extra fun!

Ratatouille— a stew of eggplant, zucchini, peppers, onions and tomatoes— was indeed the inspiration for my ravioli adventure. I adore the melded flavors of the vegetables, along with the subtly floral Herbs de Provence that is traditional for ratatouille, and I look for new ways to enjoy it every summer. Once the idea hit me to pair all of that with handmade ravioli, there was no going back.
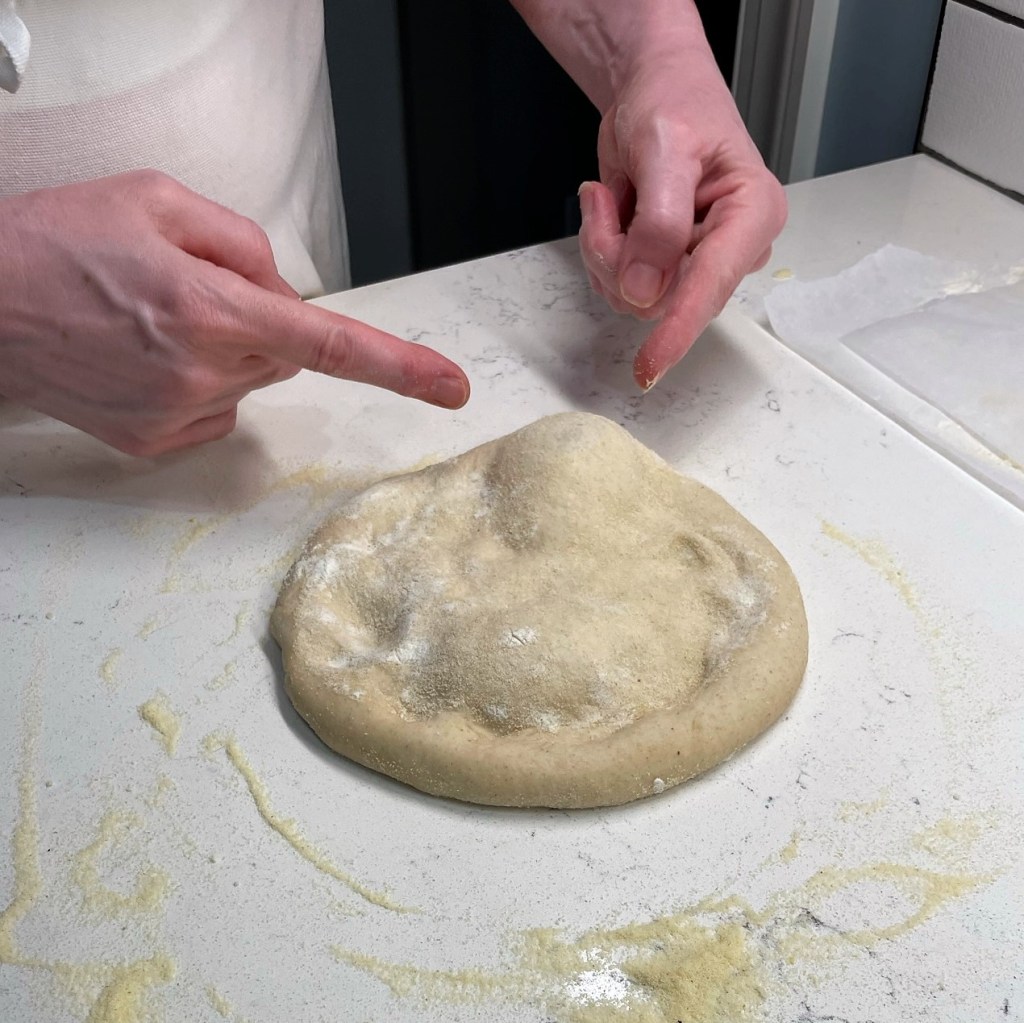
First, the pasta dough
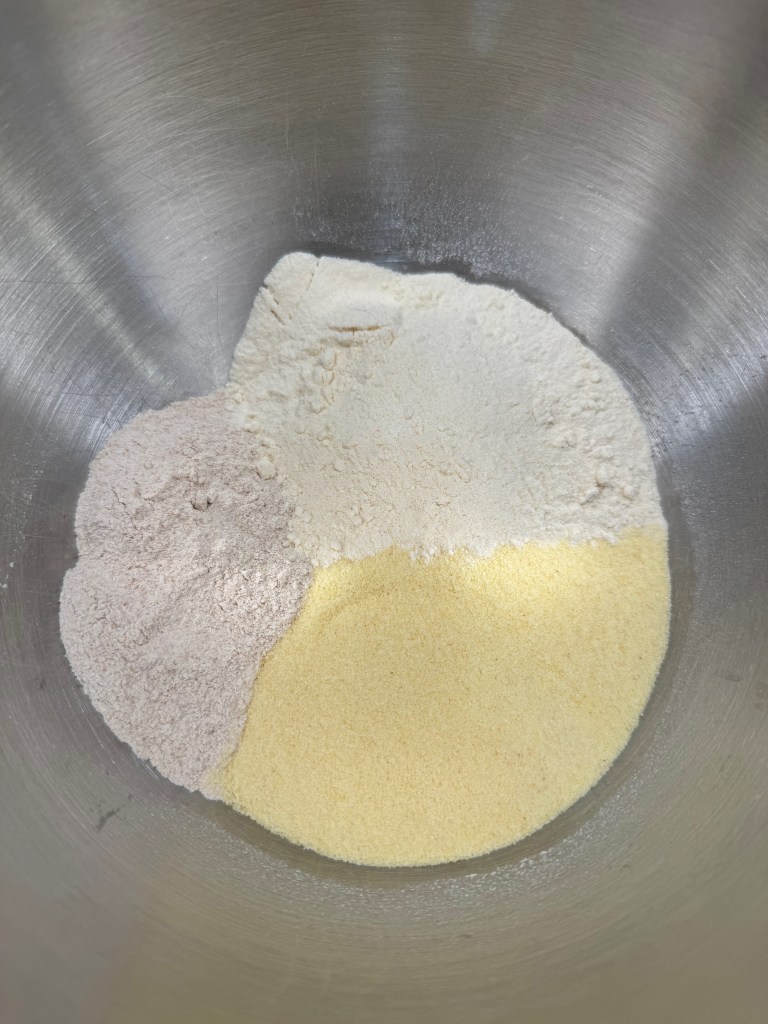
I used a mix of flour, including all-purpose, white whole wheat and semolina. A generous sprinkle of onion powder gave the dough an underlying flavor to support the ratatouille theme, and I gave it a good long kneading to build strength in the dough. I wrapped it up and tucked it into the fridge for a few hours to rest. If you need to save time, you could make the dough a day ahead.
The ravioli filling
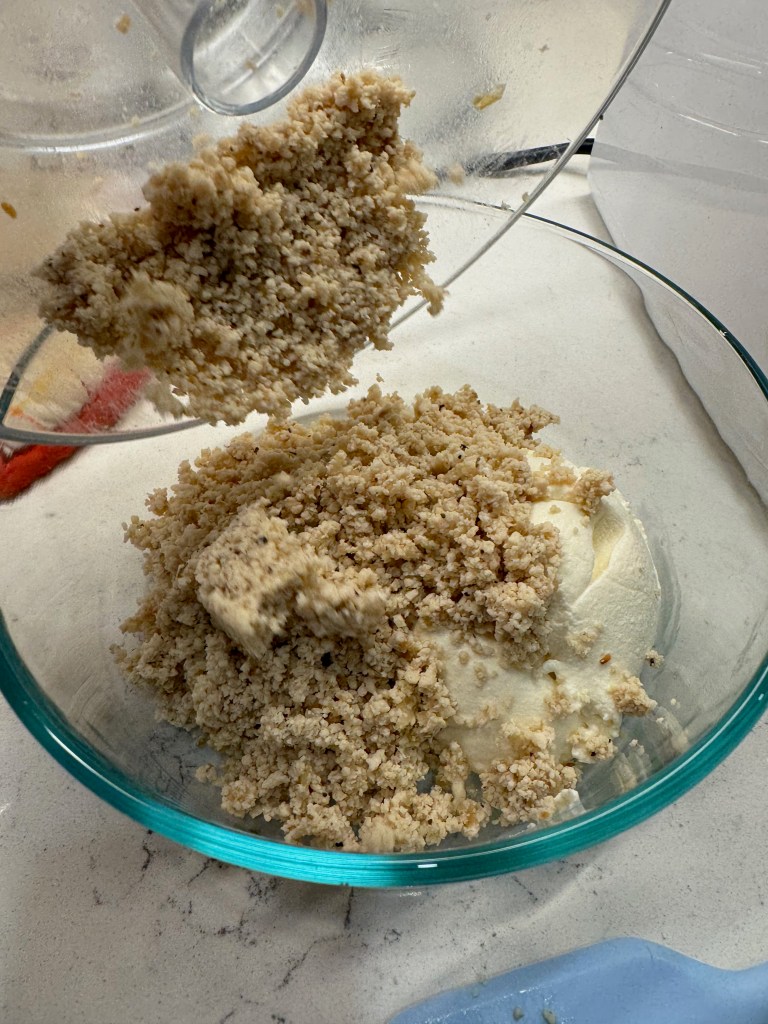
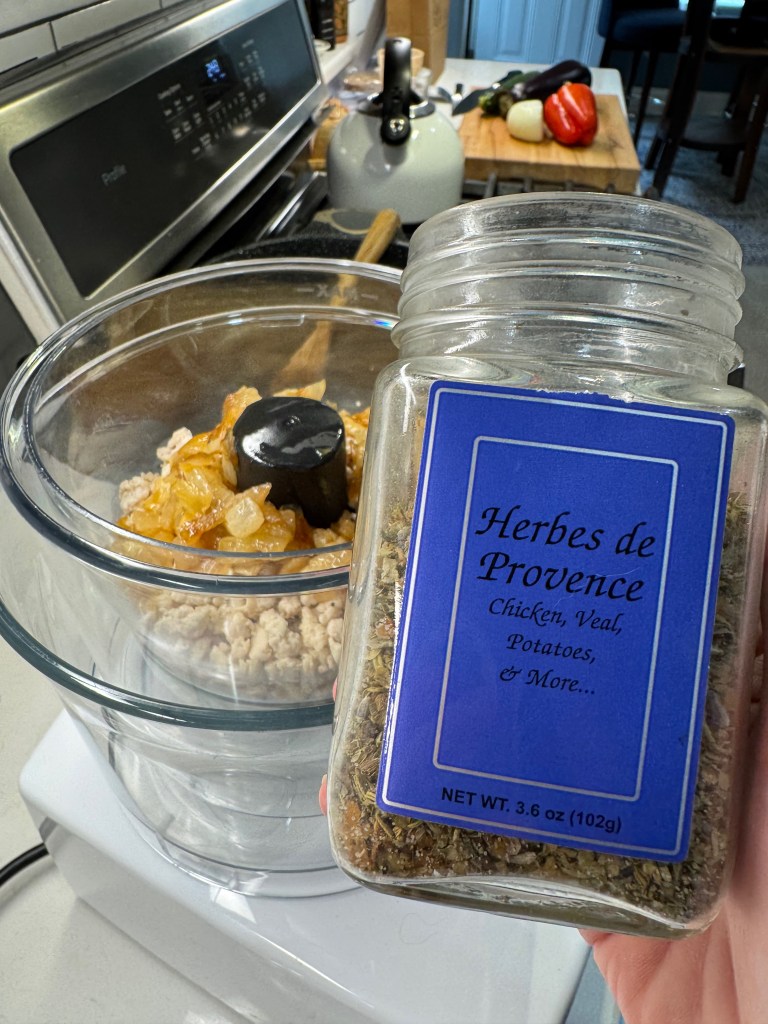
Next up, I pondered the filling for ravioli, which had to be more than just ricotta. After my less-than-great lab report this year, I’ve been more conscious of the saturated fat I consume, and so it occurred to me that maybe I’d incorporate a different protein into the mix. Lean ground chicken worked great, and I pulsed it in the food processor to make it as fine as possible. Also in the mix were golden caramelized onions and a pinch or two of Herbs de Provence, plus some lemon zest, and I blended all of those with strained ricotta and an egg to hold it together. This part of the recipe could also be done a day ahead.

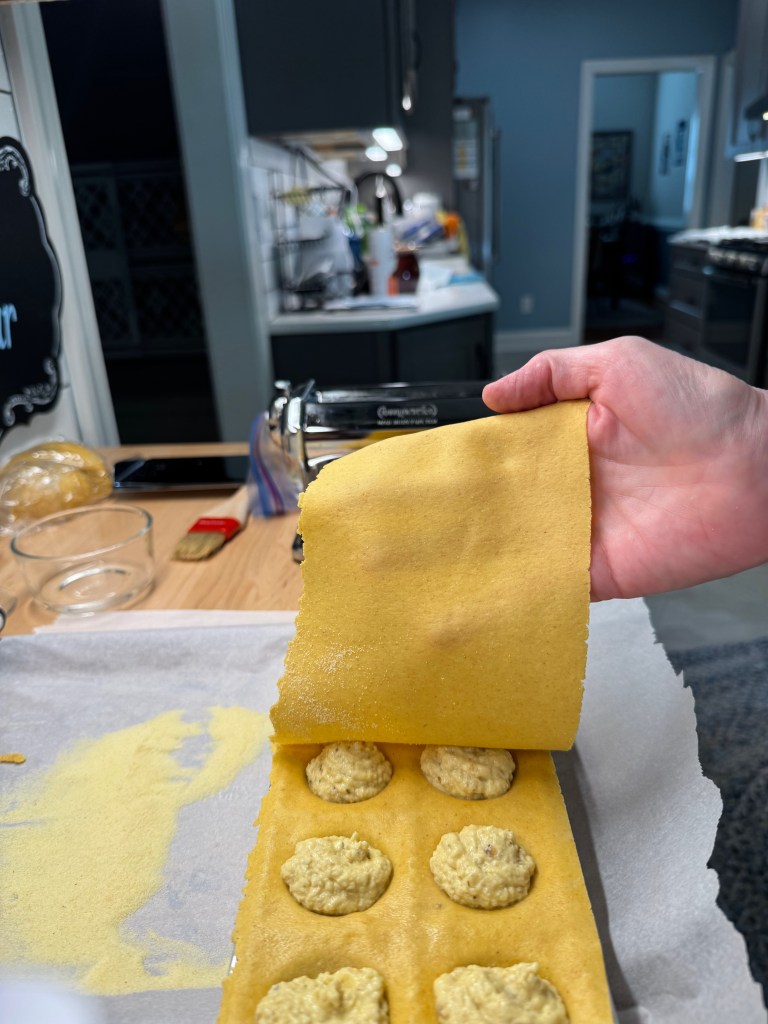
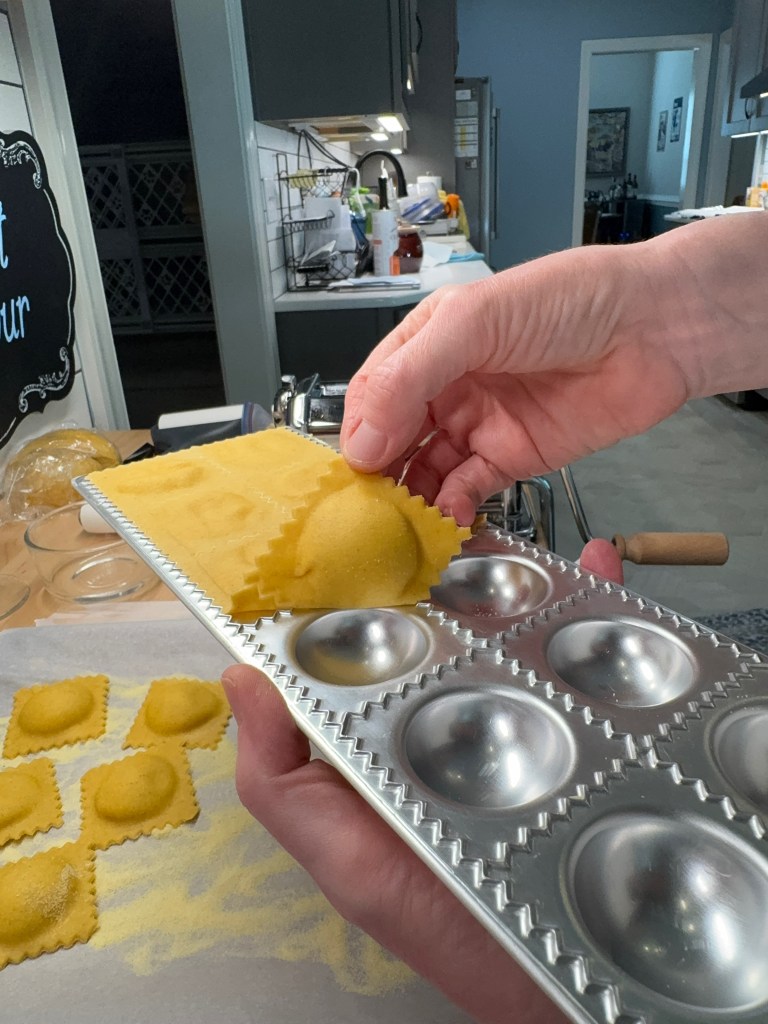
Bend me, shape me, anyway you want me
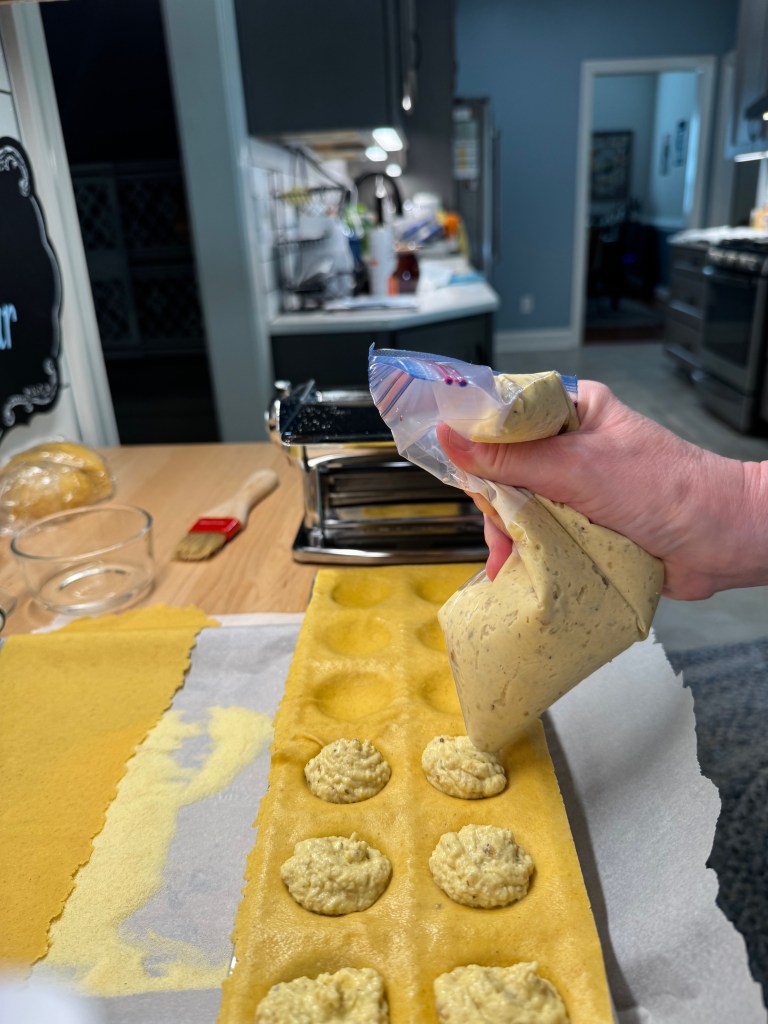
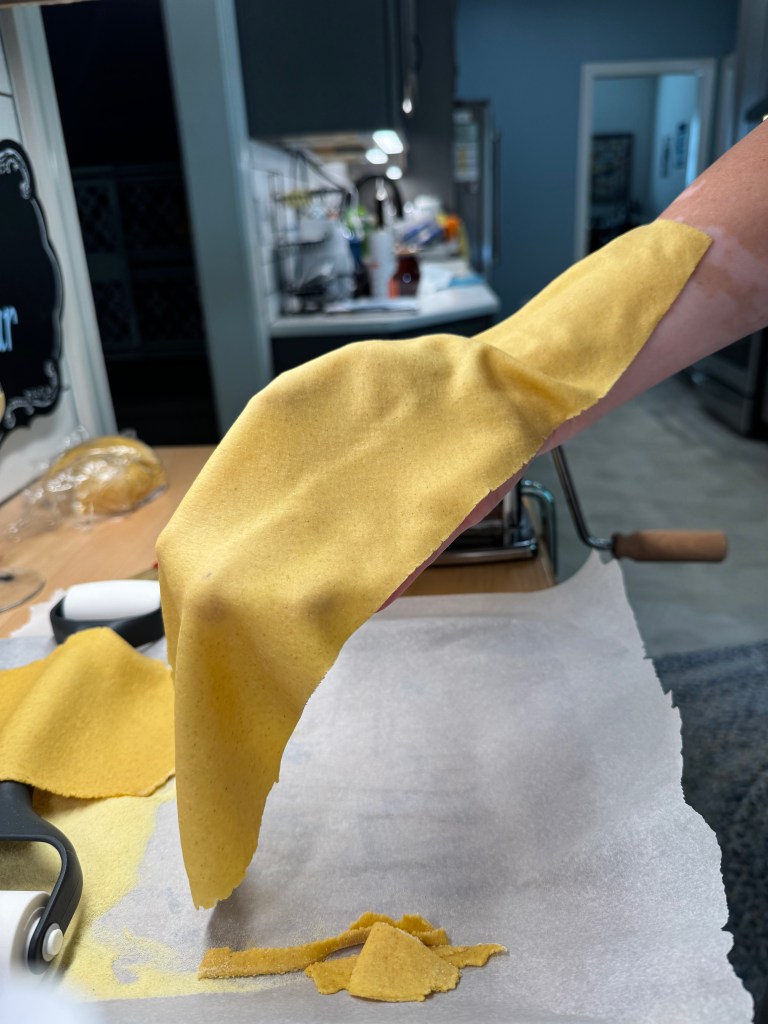
By the time the filling was prepared, I was ready to roll out the pasta dough into thin sheets, and I used my handy ravioli mold to make uniform little pillows. This is the fun part! It’s important when you make handmade pasta that you give it a little bit of time to dry before dropping it into boiling water, so when the ravioli were done, I placed them on a semolina-dusted cookie sheet. For more detailed instruction on how to make ravioli— with or without special gadgets— check out my post for handmade spinach ricotta ravioli, which includes tons of photos and tips, along with lessons I learned myself along my pasta-making journey.

Ratatouille = EZ-POT
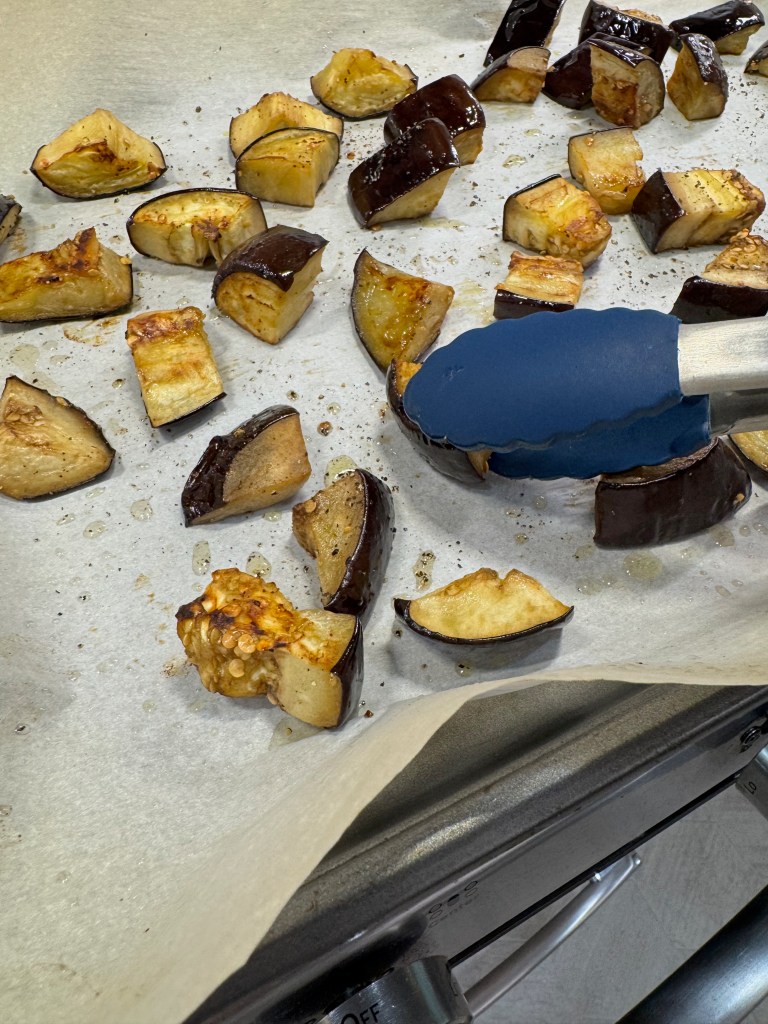
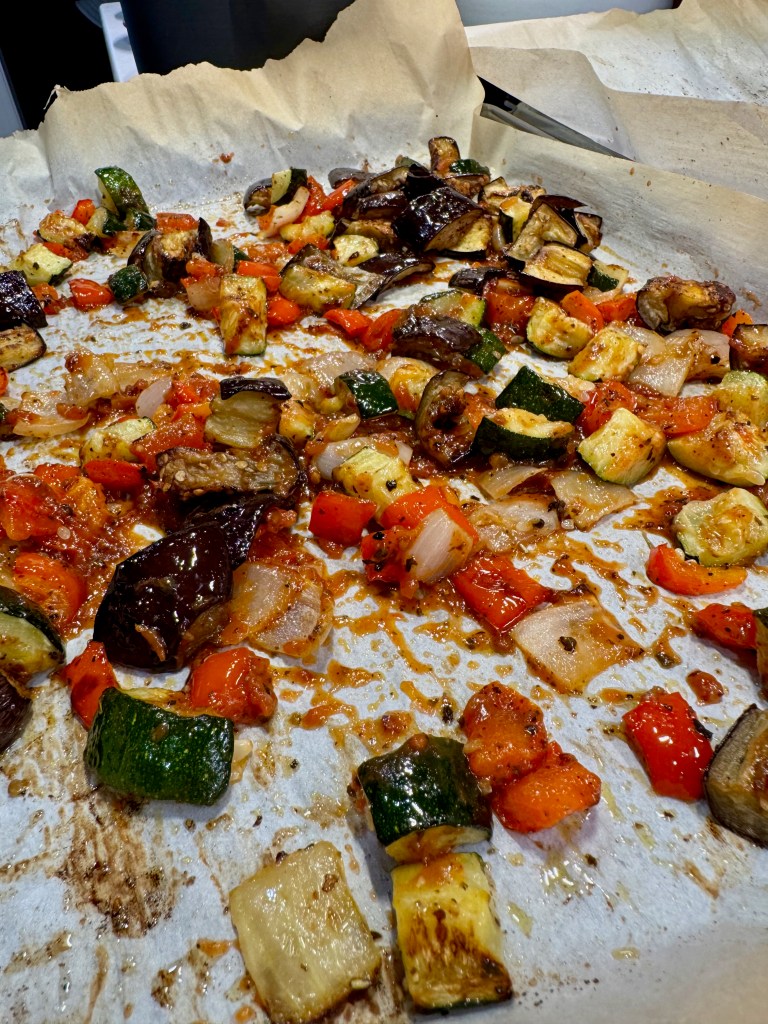
Finally, I made the ratatouille itself, which is delicious as a stew but perfection when roasted. I always remember this French country dish by the acronym “EZ-POT” because of Next Food Network Star season 5 winner, Melissa D’Arabian, who simplified the ingredients of into a five letter description of a dish that really is “e-z,” and usually is made in a “pot.” This little memory trick has saved me on more than one occasion when I craved ratatouille but forgot to make a farmers’ market shopping list. 😉
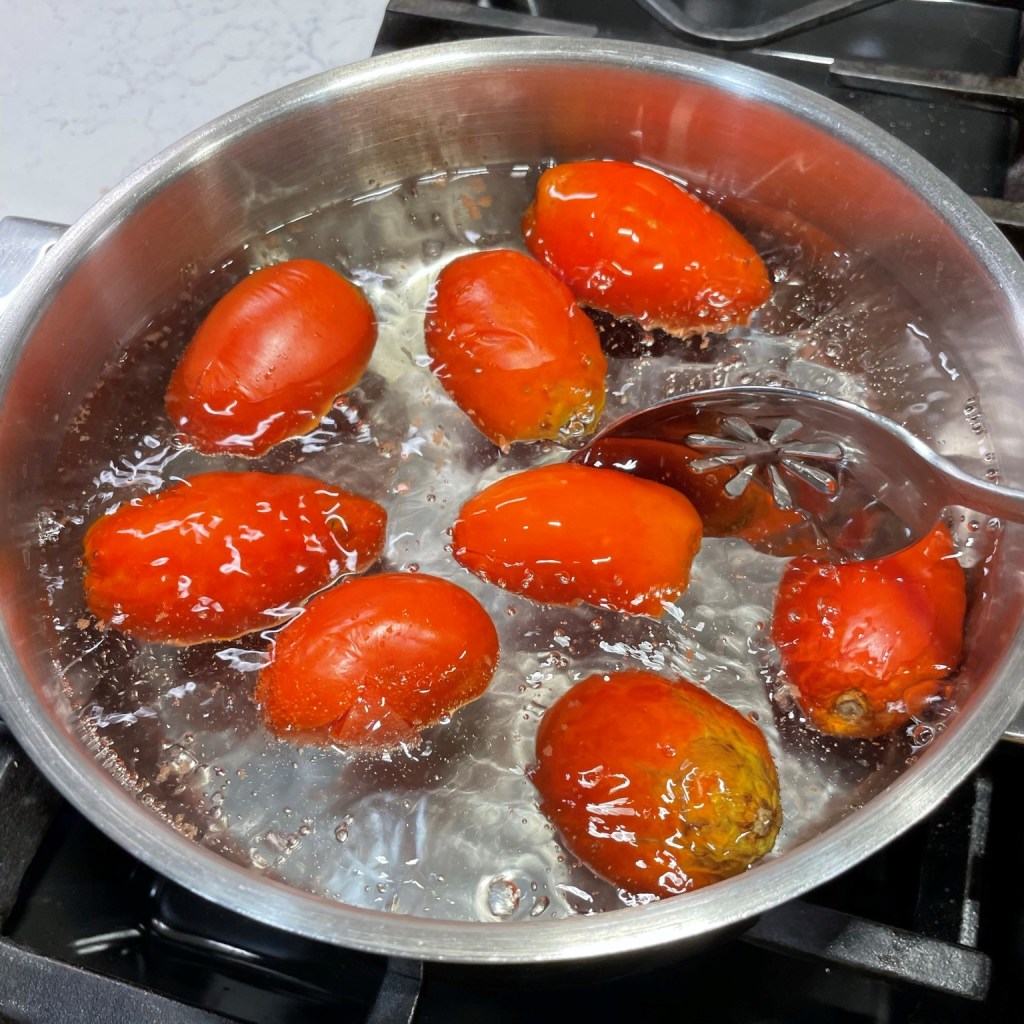
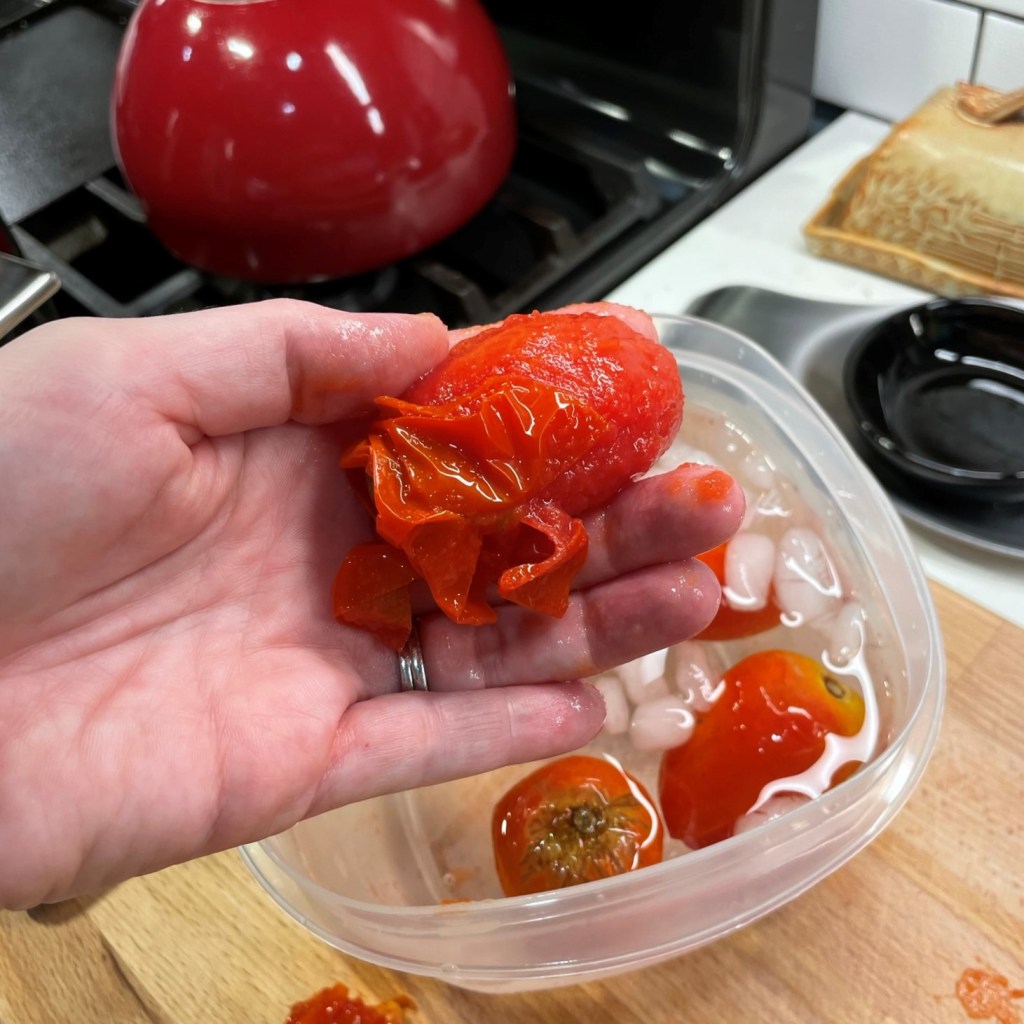
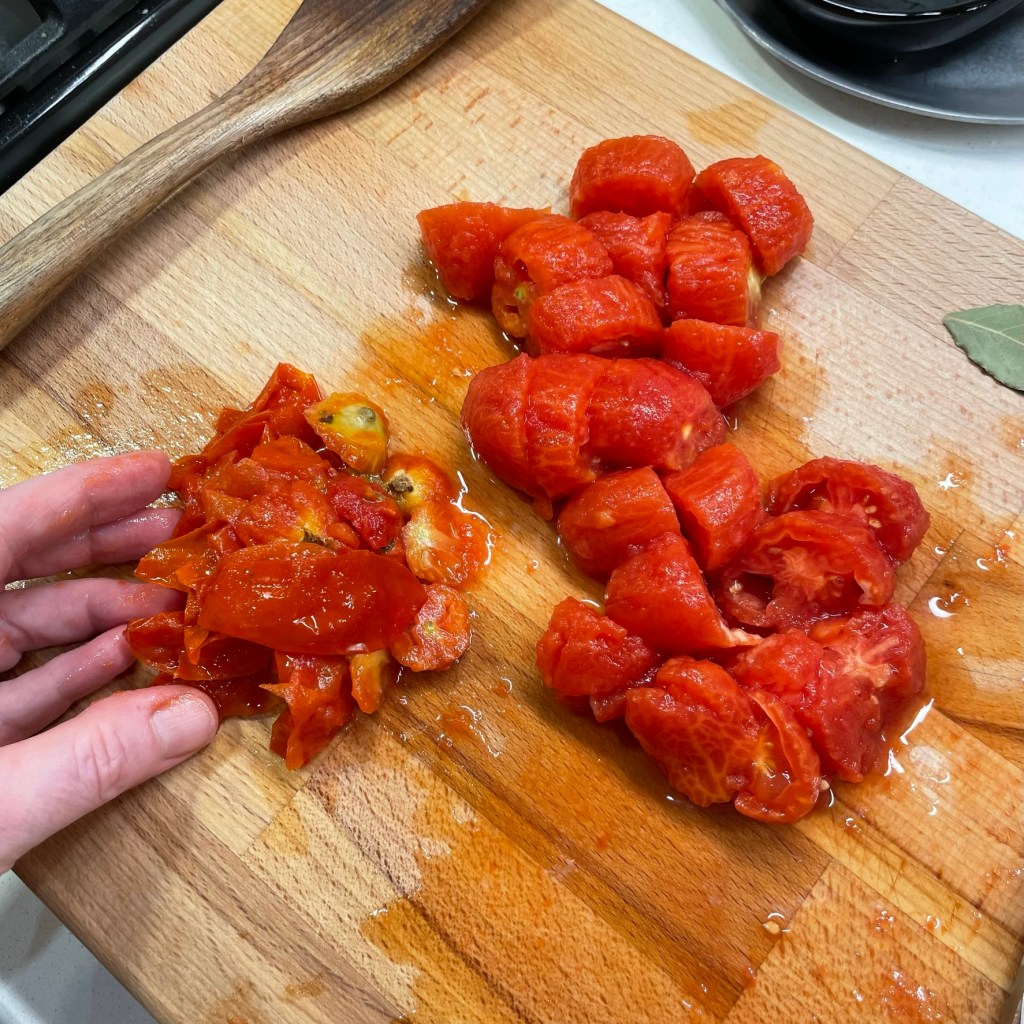
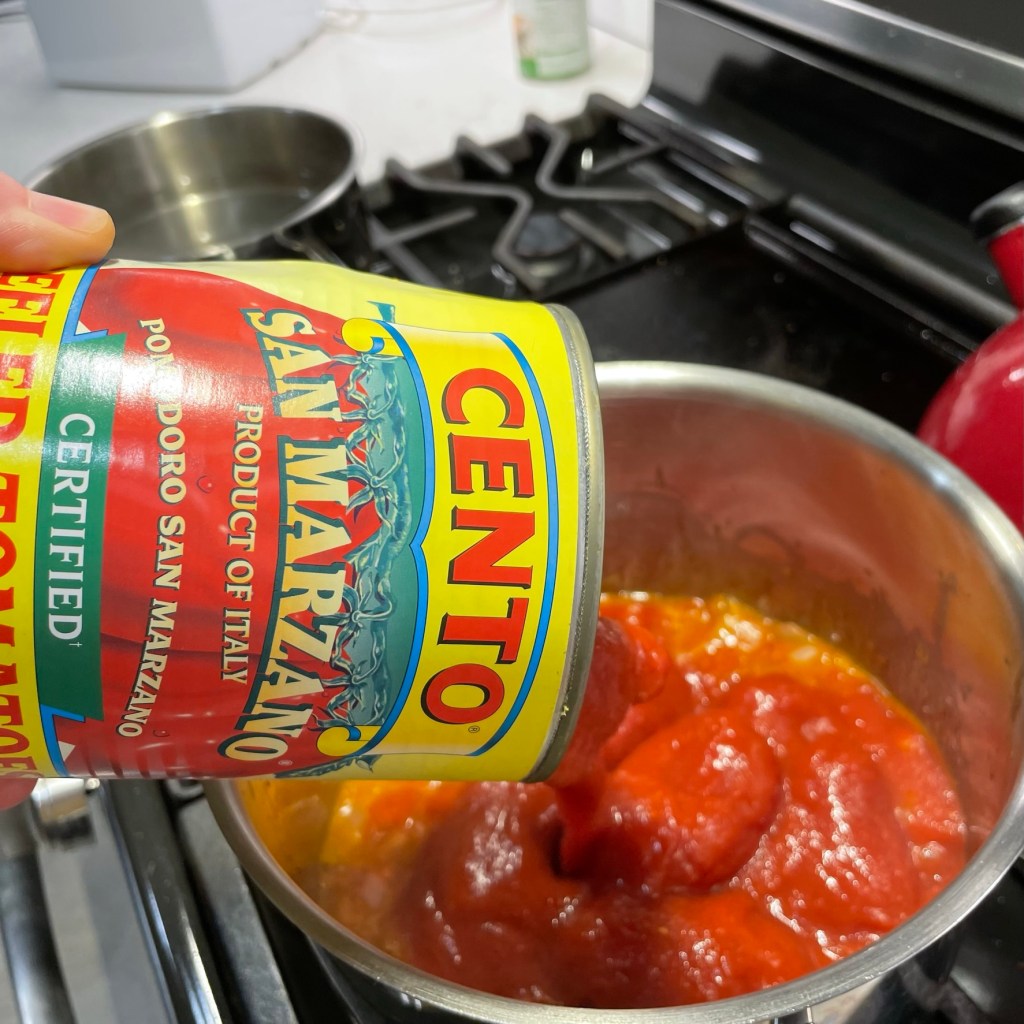
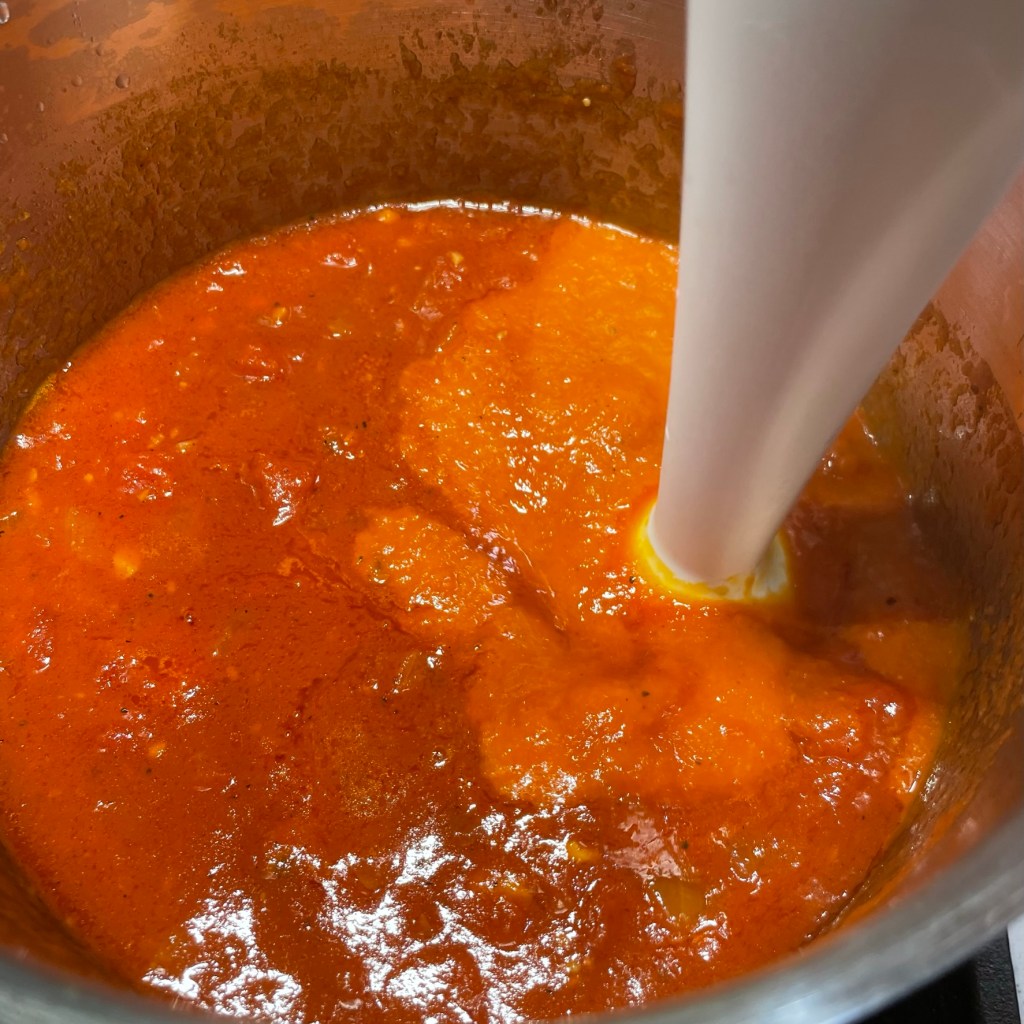
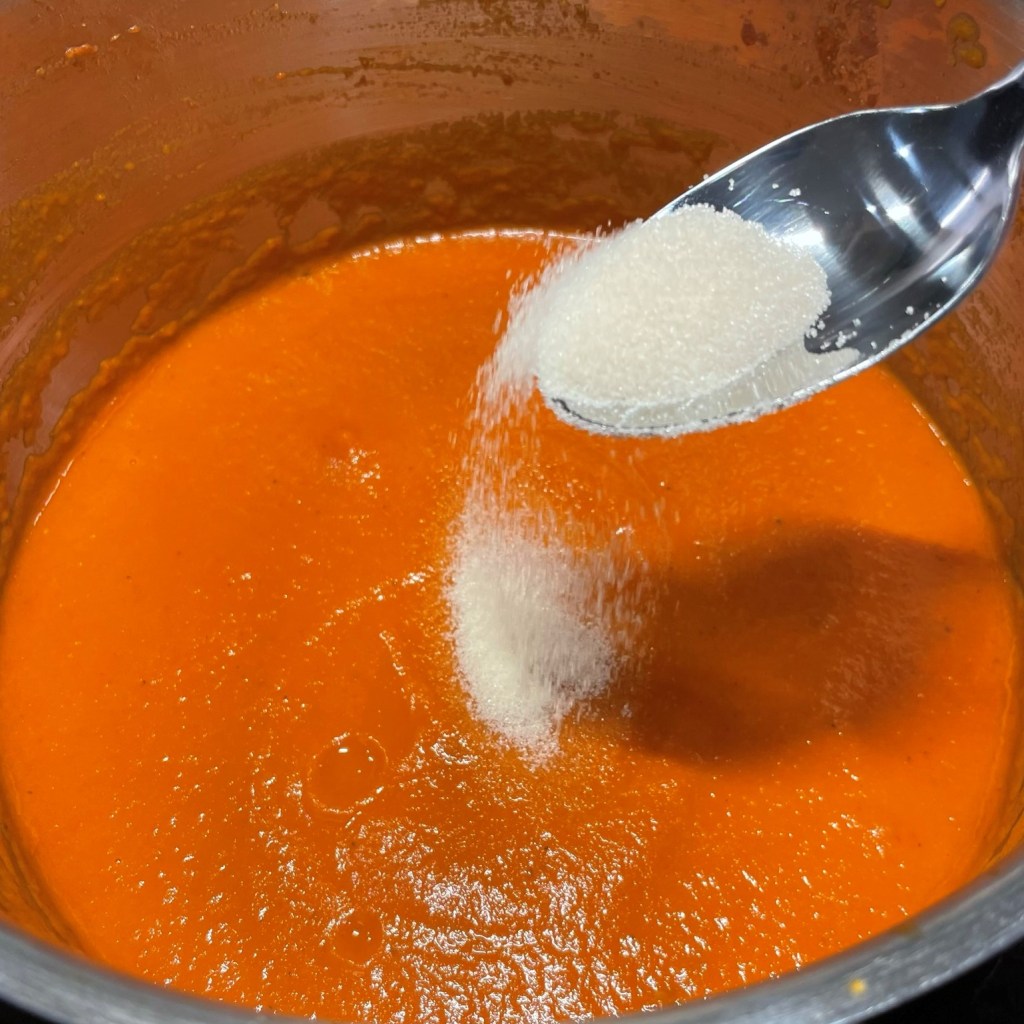
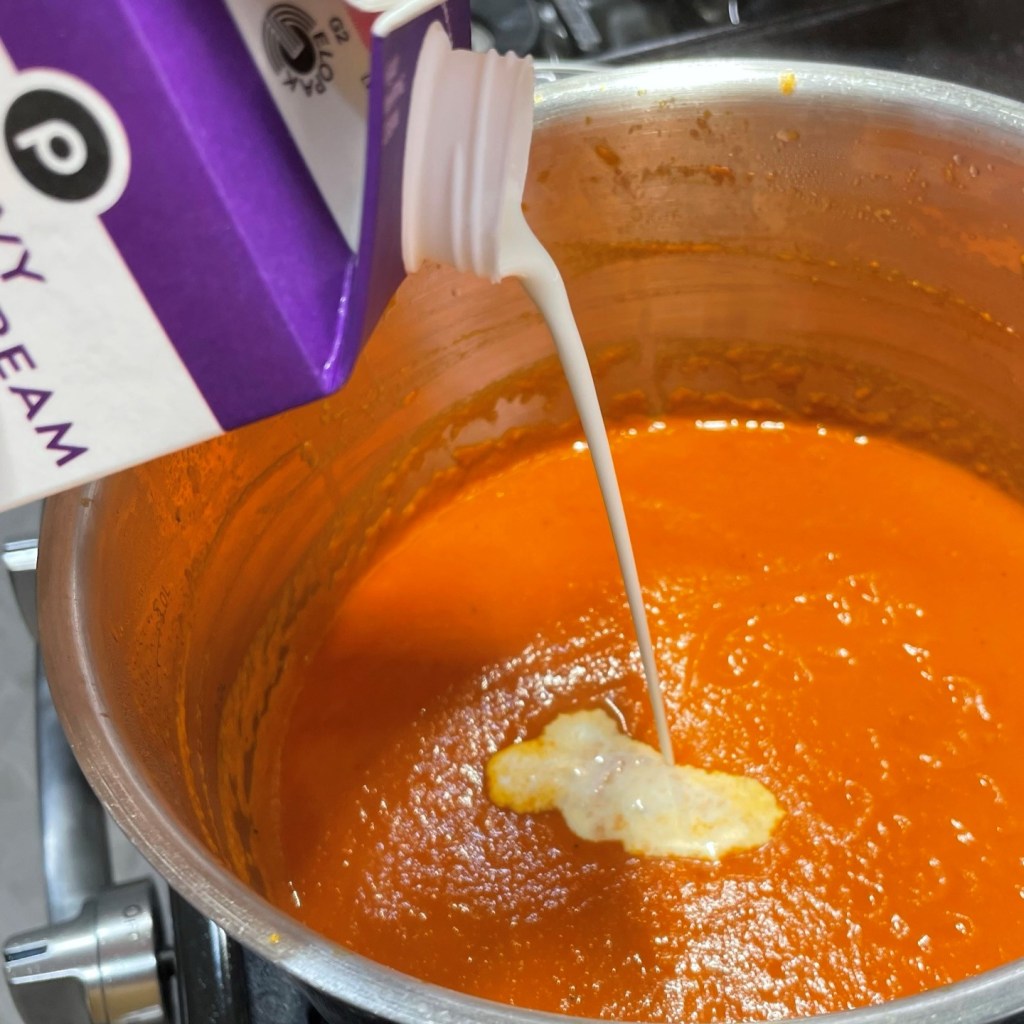
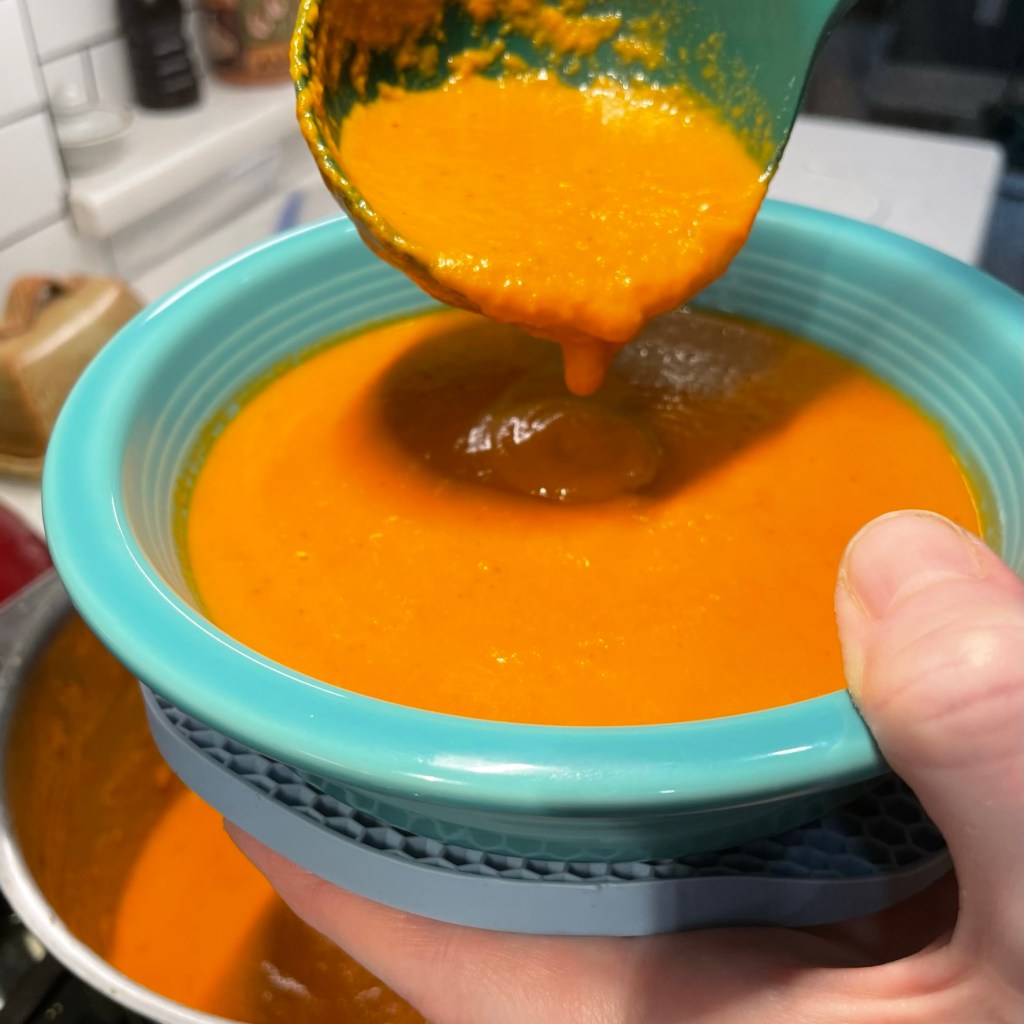
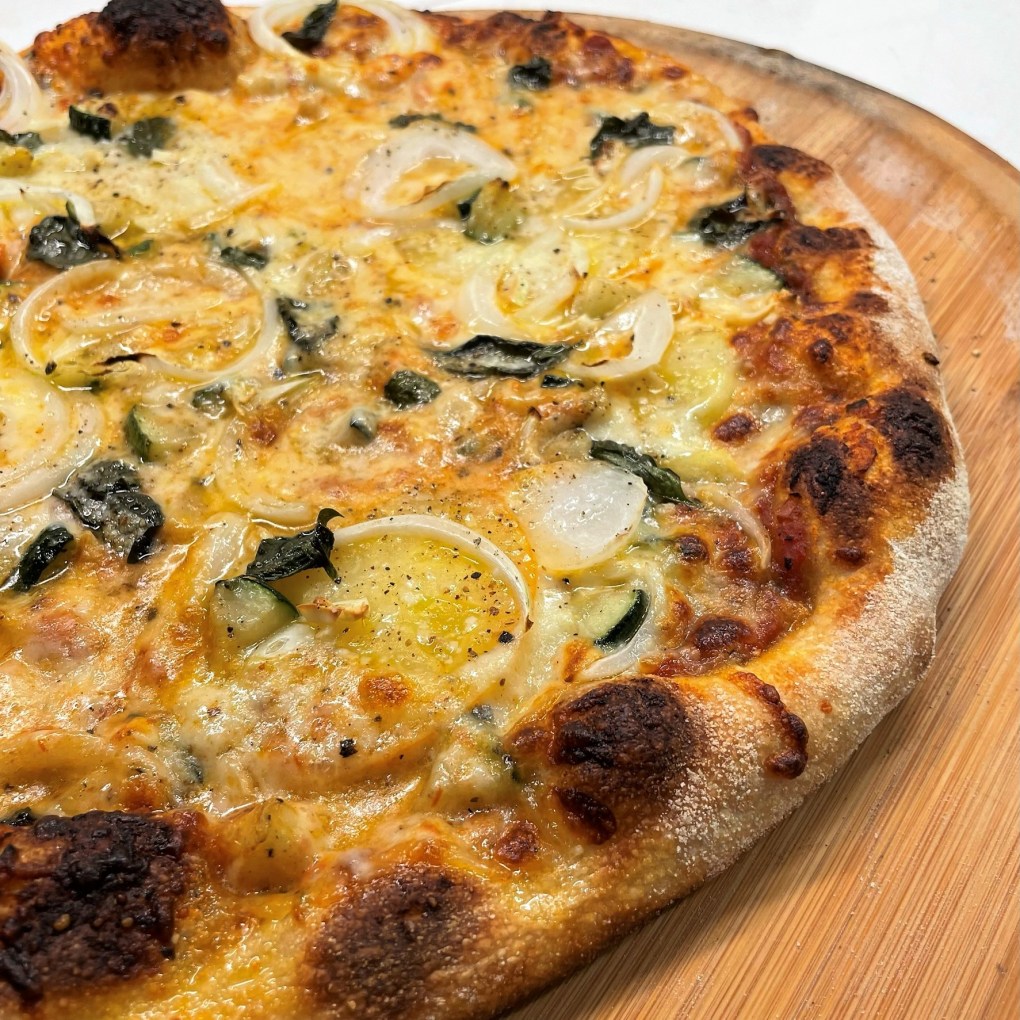
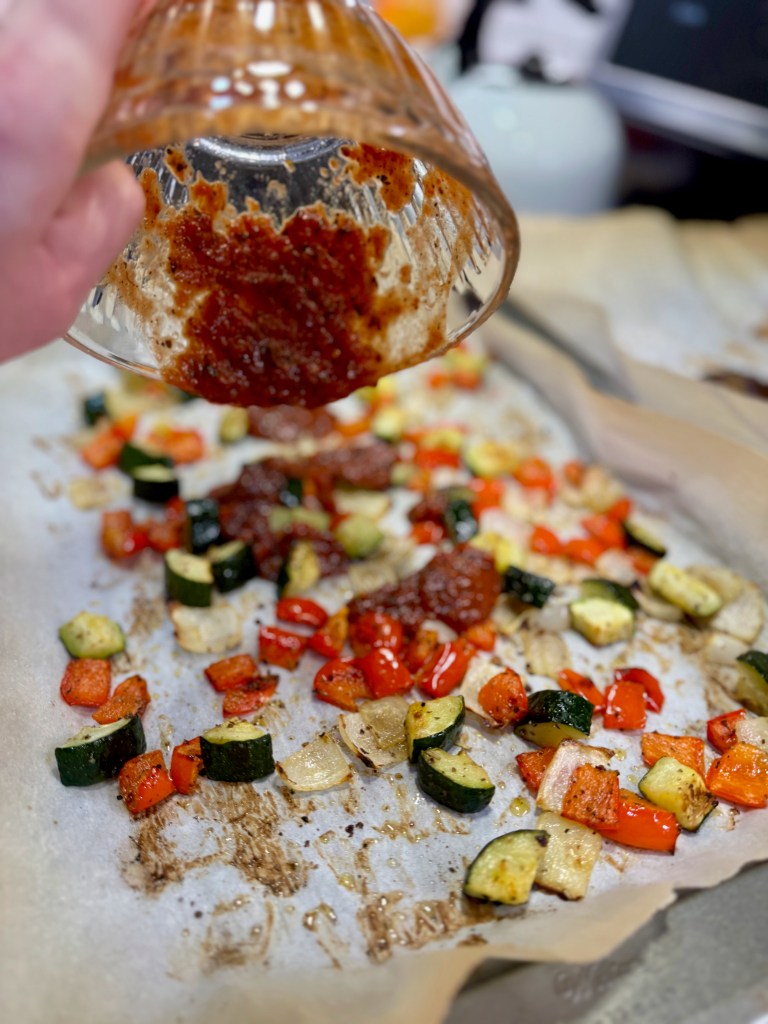
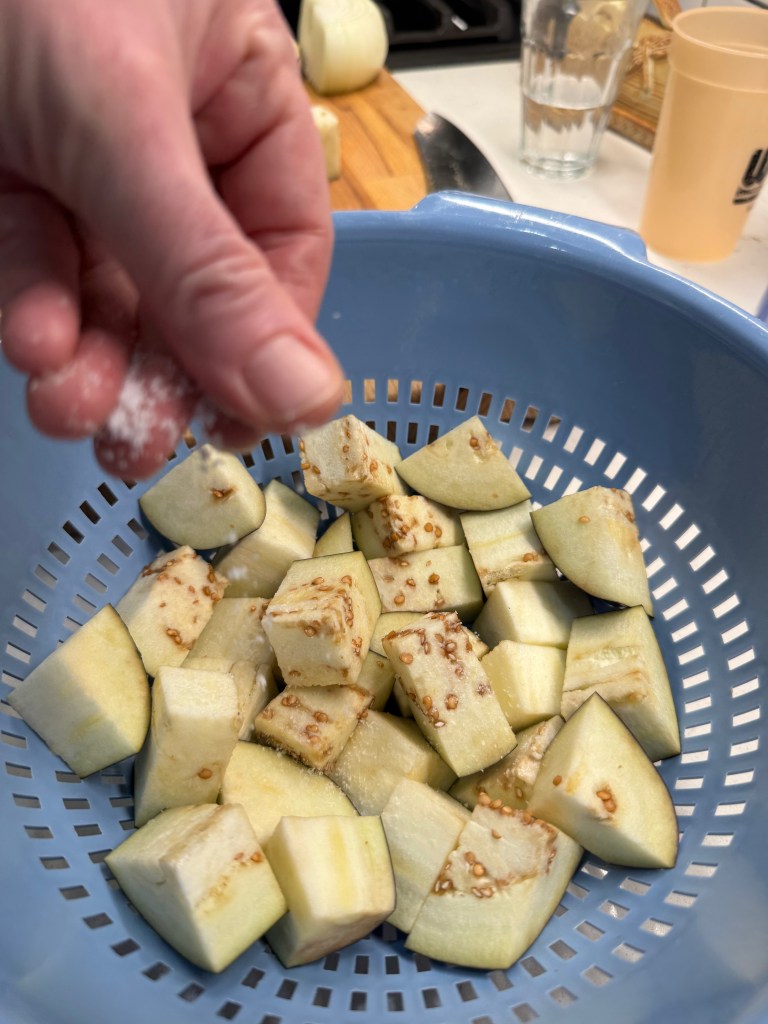
I salted my eggplant chunks for a few minutes first, to help draw out excess moisture, and this worked really well for achieving crispy edges when they roasted. The other vegetables were roasted on a separate sheet, and then I tossed everything gently in a fire-roasted tomato sauce which, if you can believe it, was from a can! Sure, I could have made my own sauce, but I was trying to be thrifty and use up some leftover pizza sauce, and it was a winner! If you make your own sauce, keep the flavors simple and try to make it on the thicker side.

While all of this was happening, I had the water on to boil for the pasta. I love this part of seeing a meal come together, especially one that I’ve pondered for a while, and though it satisfied my desire to make handmade pasta, it somehow also inspired me to want to make more handmade pasta. Stay tuned!


What pasta should I make next?
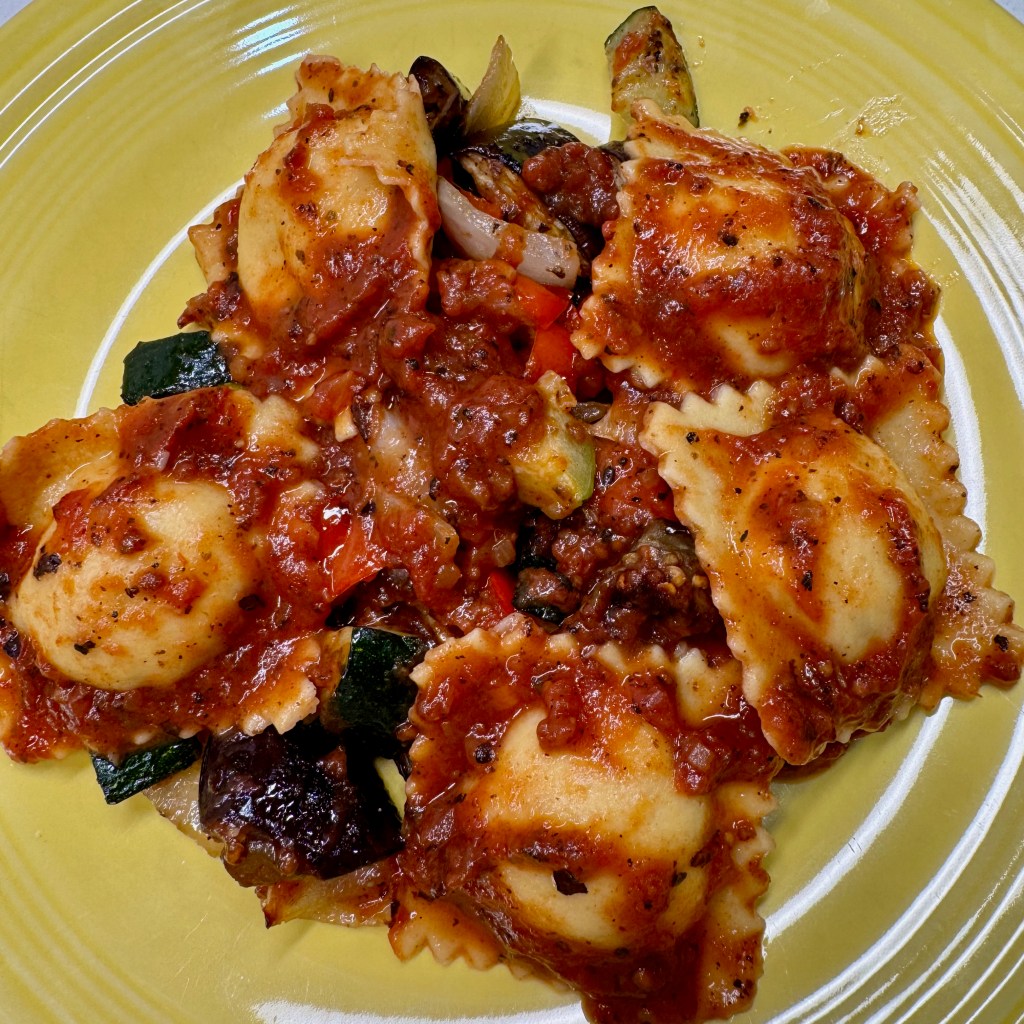
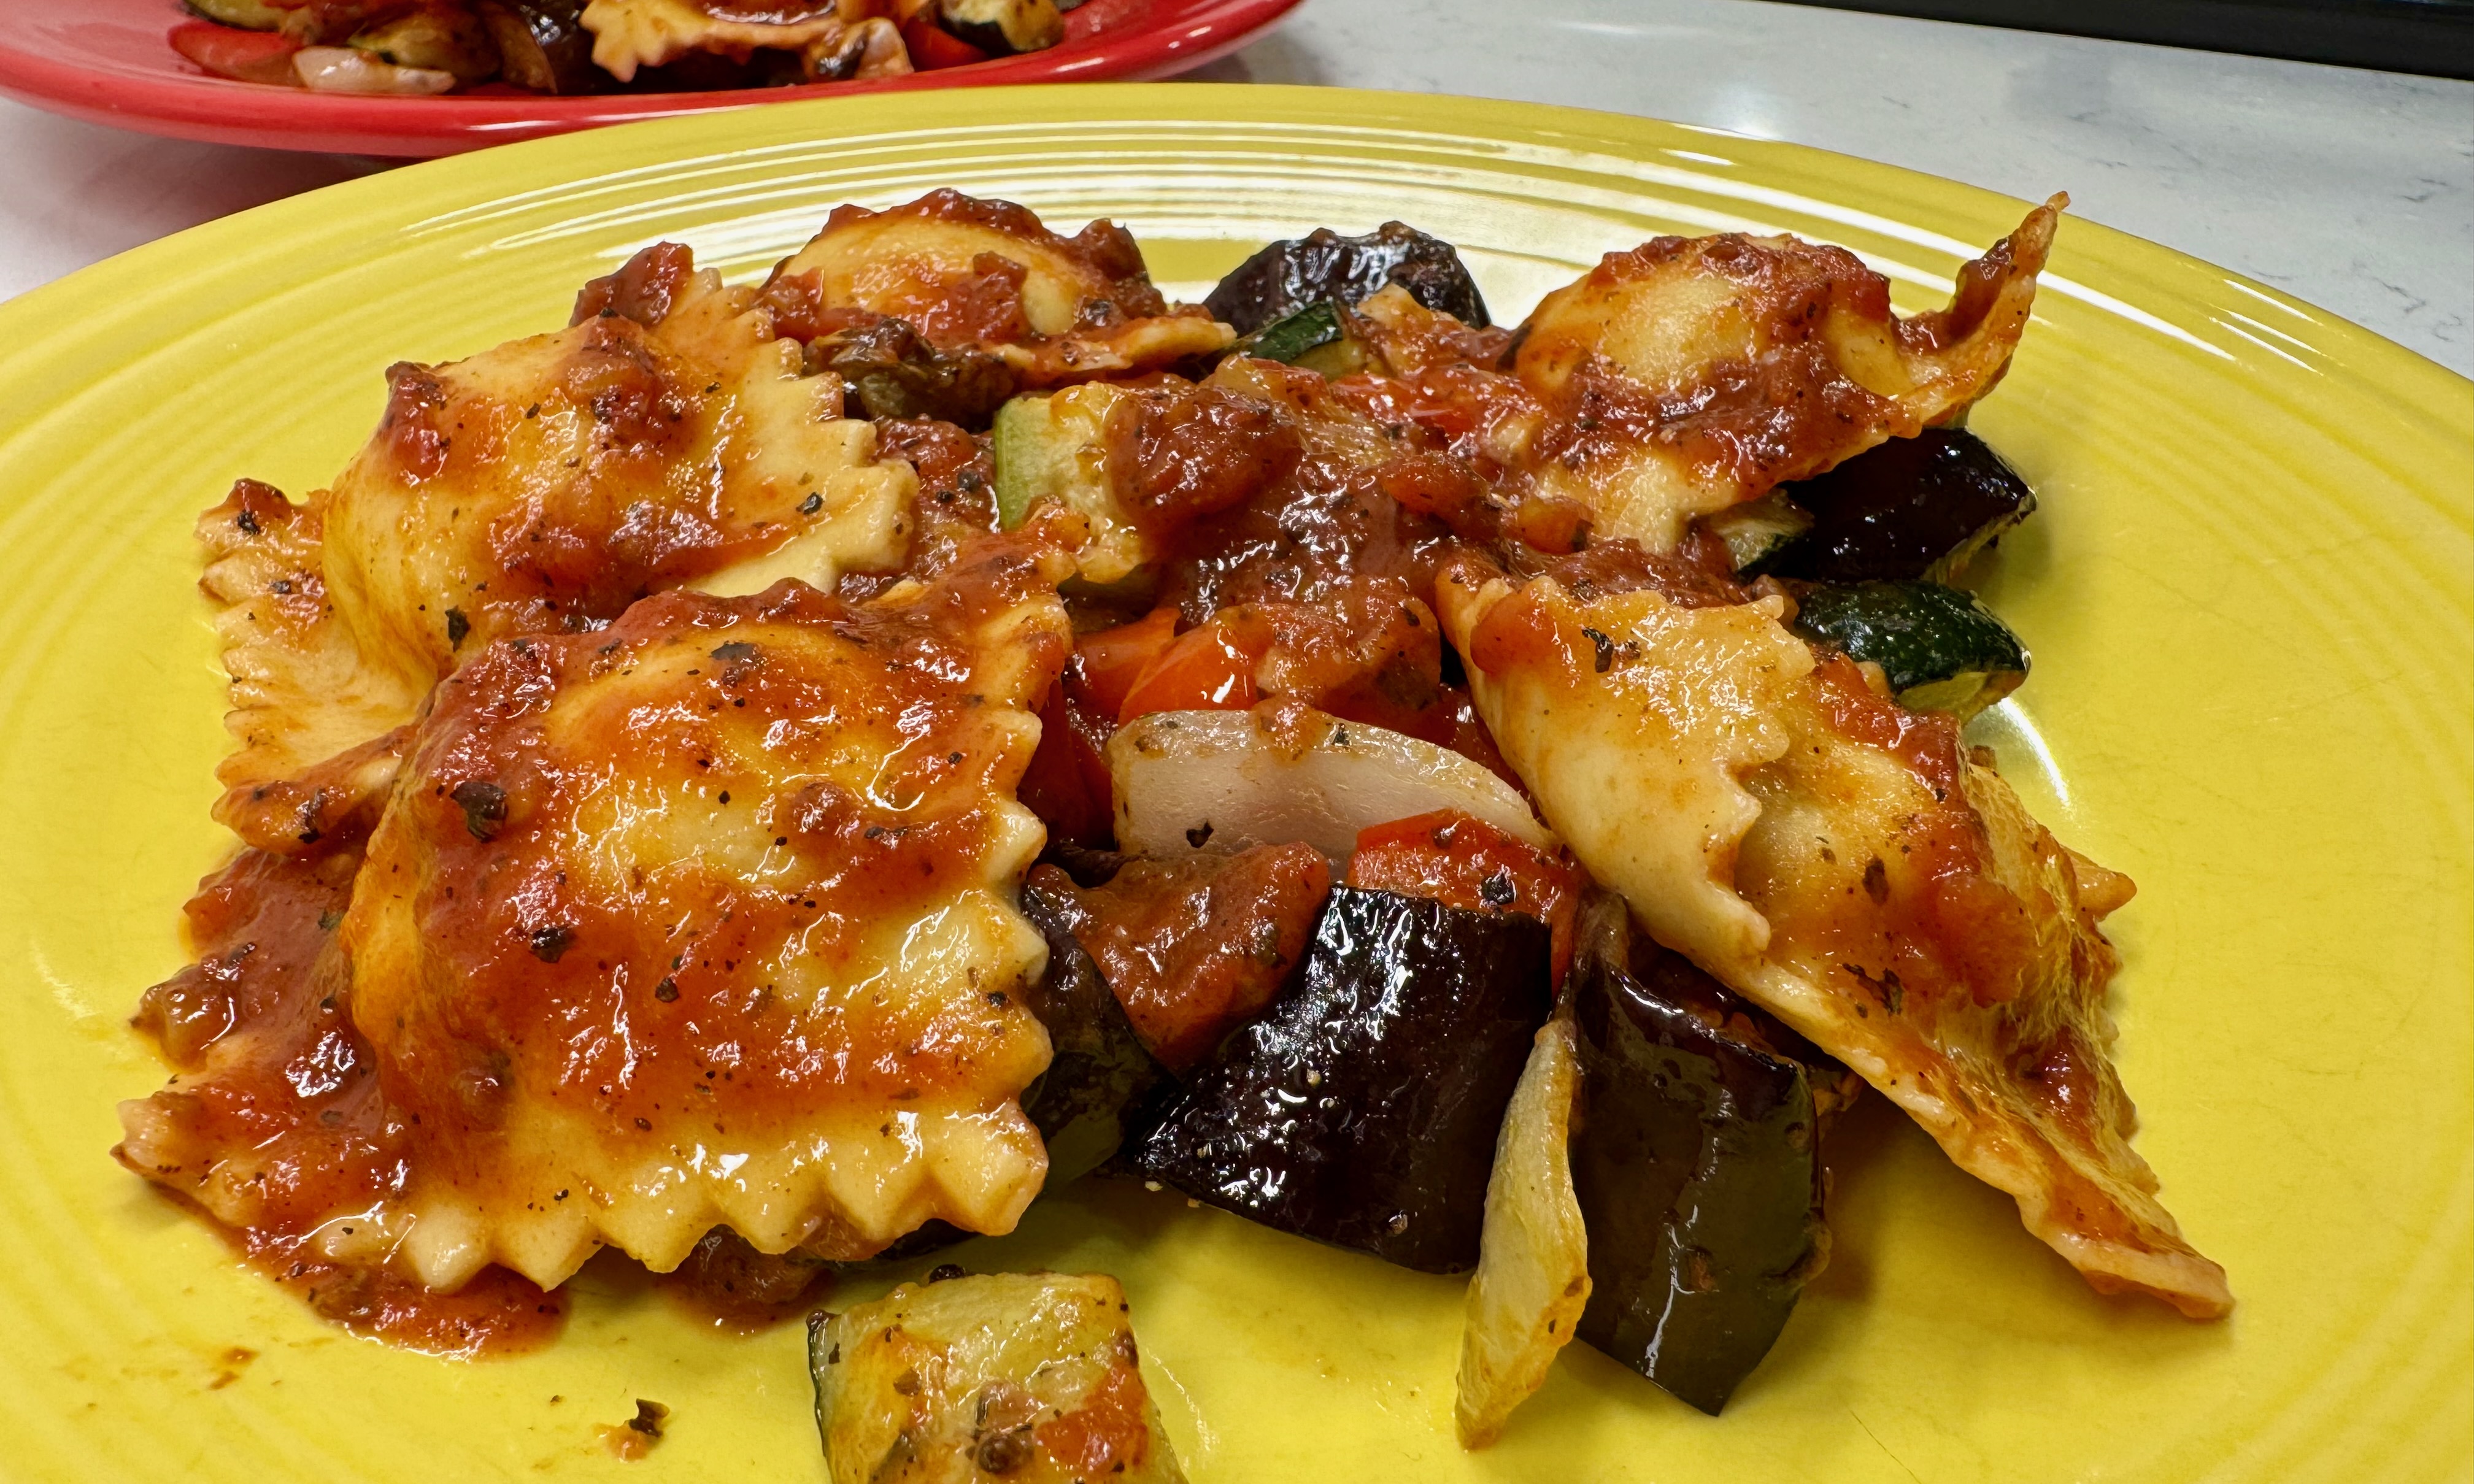
Roasted Ratatouille Ravioli
This recipe is split into three parts for the pasta dough, the ravioli filling and the ratatouille vegetables with sauce. If you love the hands-on experience, this is worth the trouble. If the steps are too much for you, it's easy to make the pasta dough and filling ahead and finish the dish one or two days later. Not ready to make your own pasta? No problem! The chicken-ricotta filling and roasted vegetables would be awesome in a lasagna, using store-bought noodles. Adapt it however makes you happy.
Ingredients
- 165g all-purpose flour
- 60g white whole wheat flour
- 45g semolina flour
- 1/2 tsp. onion powder
- 3 large eggs, at room temperature
- 50g to 70g room temperature water
Directions
- Combine flours and onion powder in the bowl of a stand mixer, fitted with the dough hook
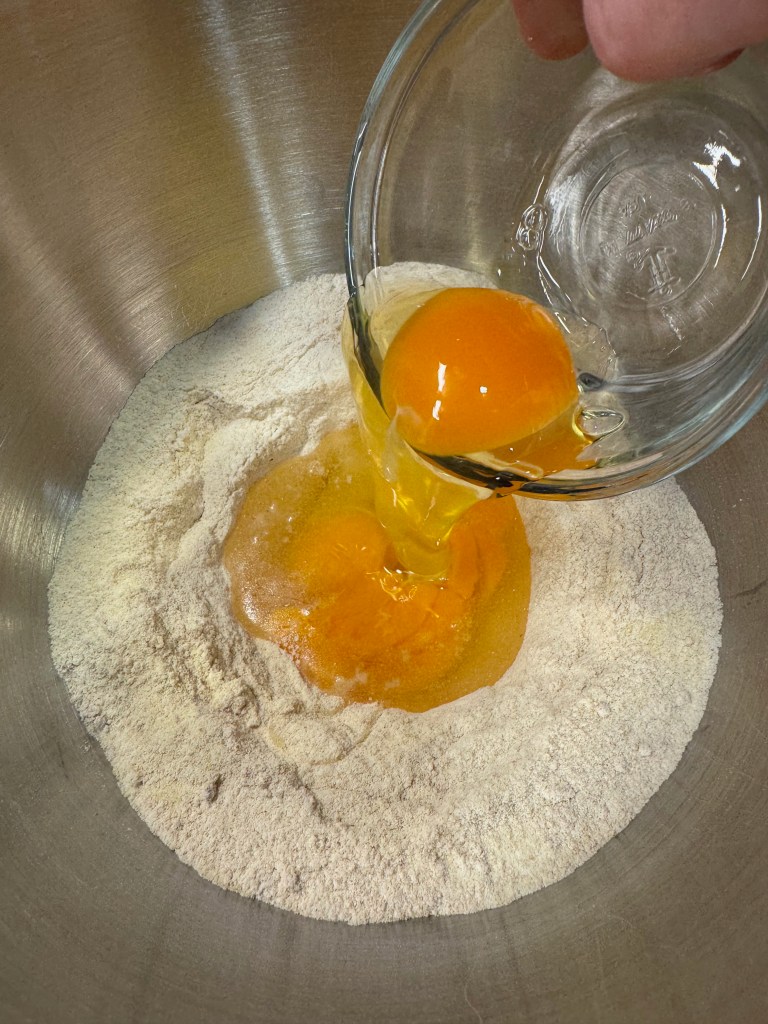
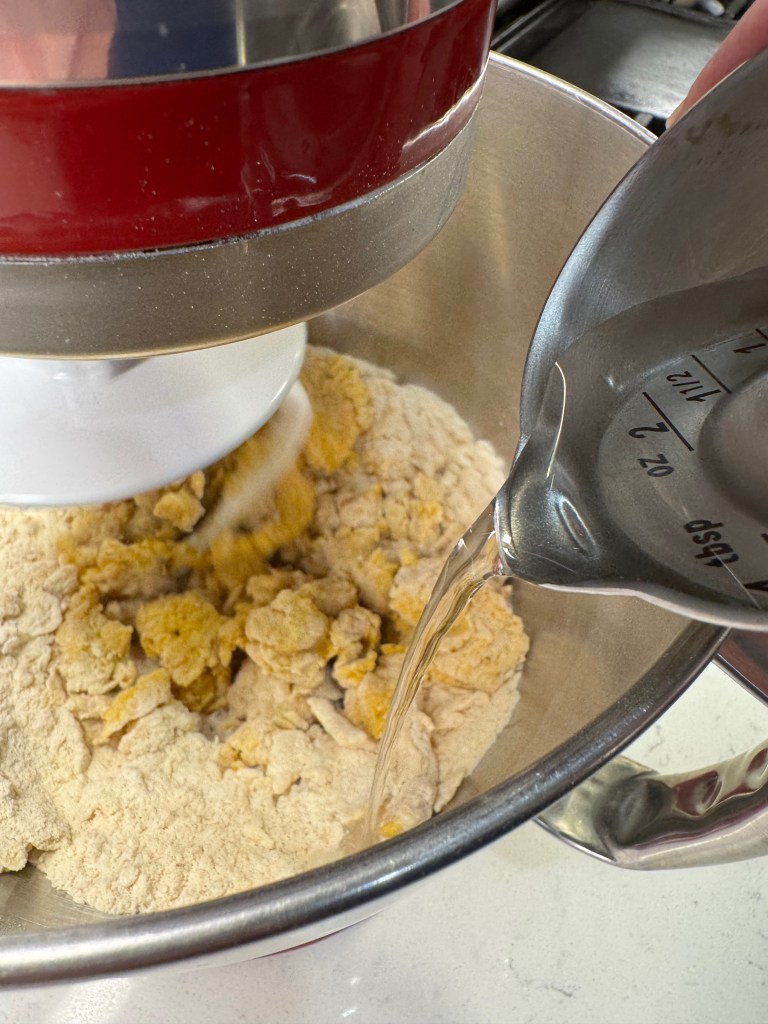
- Make a well in the center of the flour mixture and add eggs. Knead with the dough hook on speed 3 until dough starts to come together (it will be dry). Drizzle in water, a little at a time, until all flour is incorporated and dough is gathered up on the hook. This may take extra water.
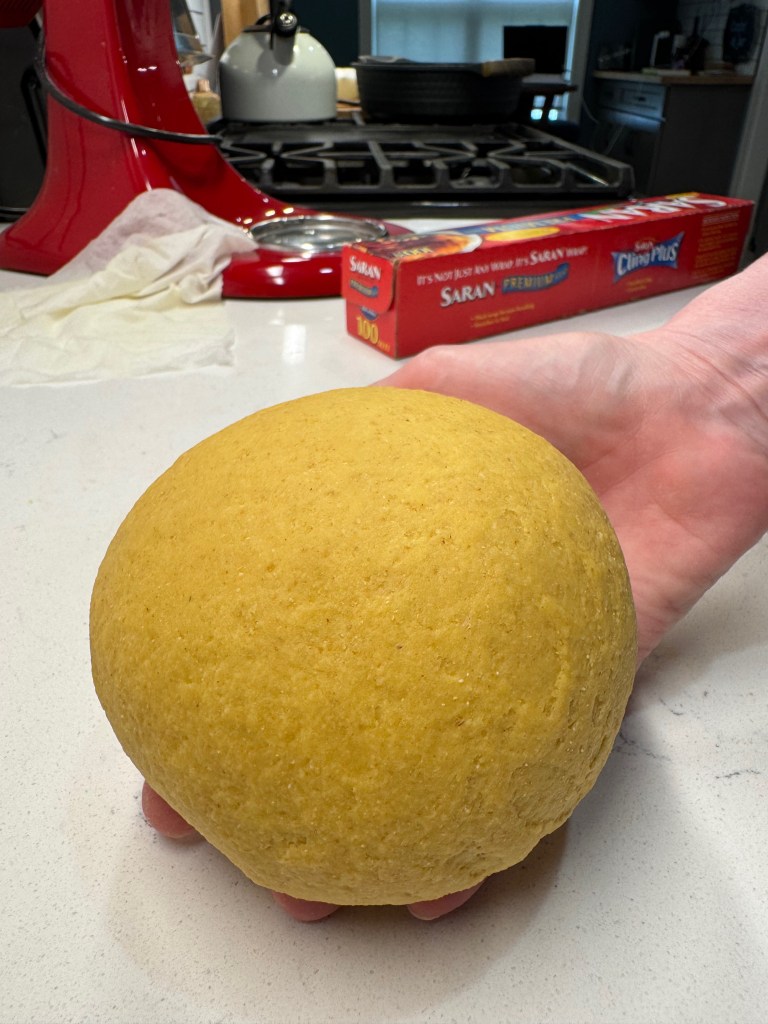
- Transfer dough to the counter and knead by hand for about eight minutes, until smooth, firm and supple. Wrap dough tightly in plastic wrap and refrigerate at least 30 minutes or up to a day before rolling and shaping.
- Divide dough into sections and roll out with a pasta machine or rolling pin to approximately 1/16″ thickness. Use a piping bag to apply filling, then lightly brush another sheet with cold water and seal up each pillow, pushing out any air as you go. Transfer raviolis to a parchment-lined cookie sheet sprinkled with semolina.
Ingredients
- 1 medium sweet onion, chopped
- 1 Tbsp. extra virgin olive oil
- Kosher salt and pepper
- 1 lb. ground chicken breast
- 1/2 tsp. Herbs de Provence seasoning
- 1 tsp. lemon zest
- 1 cup whole milk ricotta, strained for 30 minutes to remove excess moisture
- 1 large egg
Directions
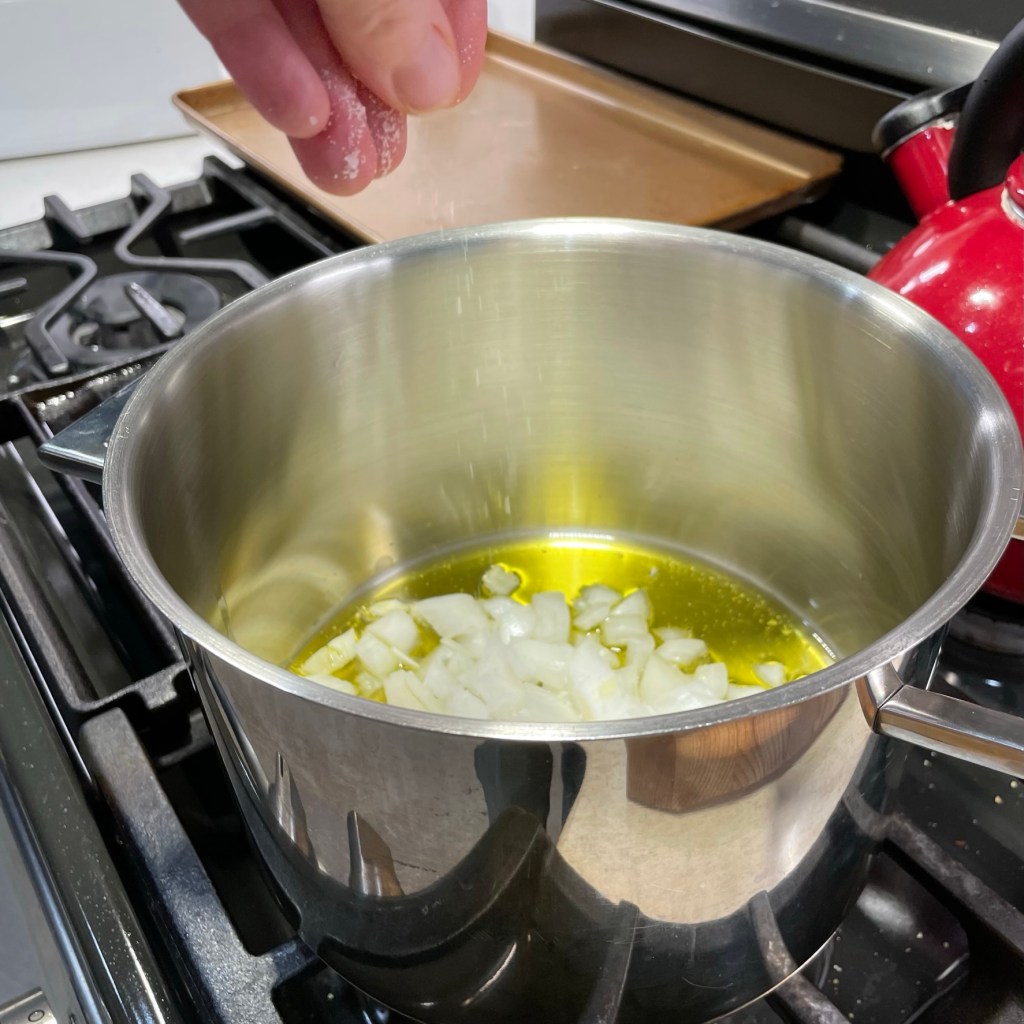
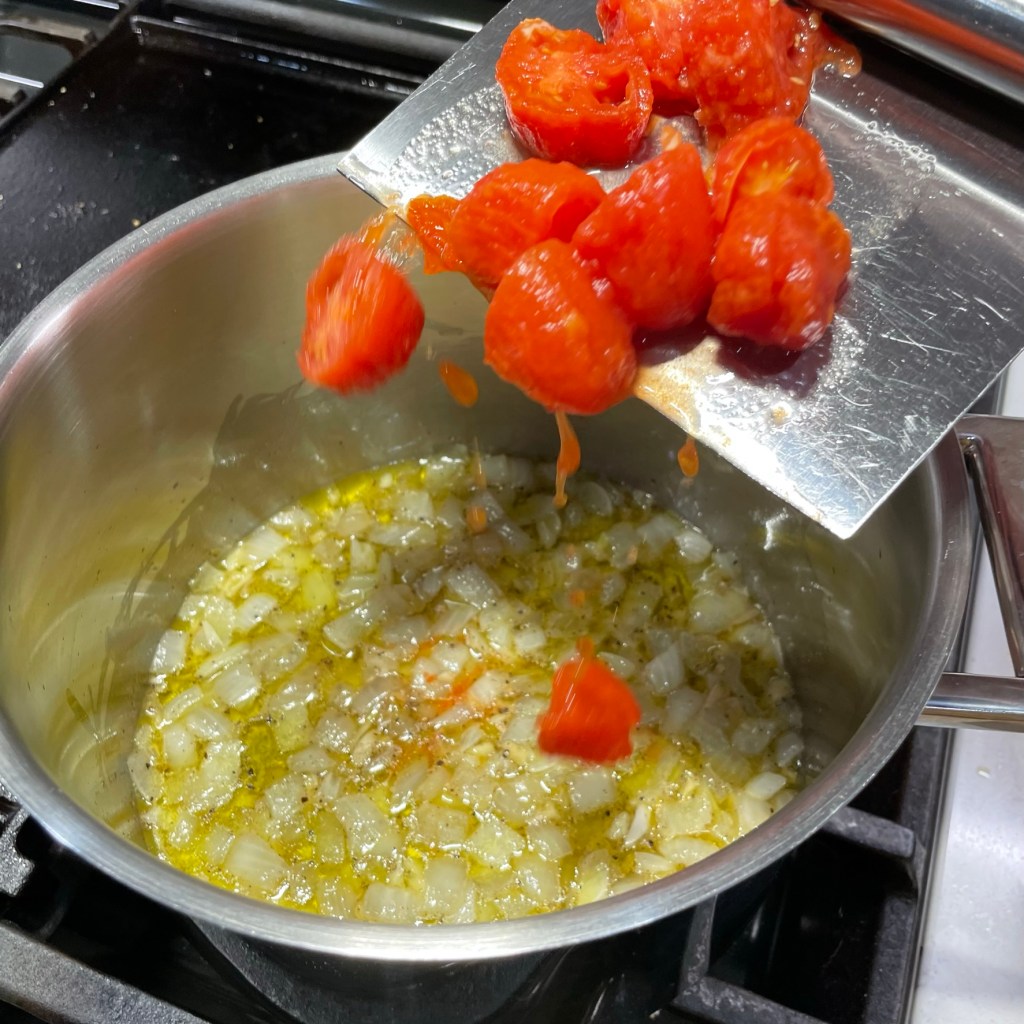
- Sauté onions in olive oil over low heat with a sprinkle of salt. Toss frequently, until all the moisture has evaporated and onions soften and take on a deep golden color. Transfer to a bowl and increase heat to medium.
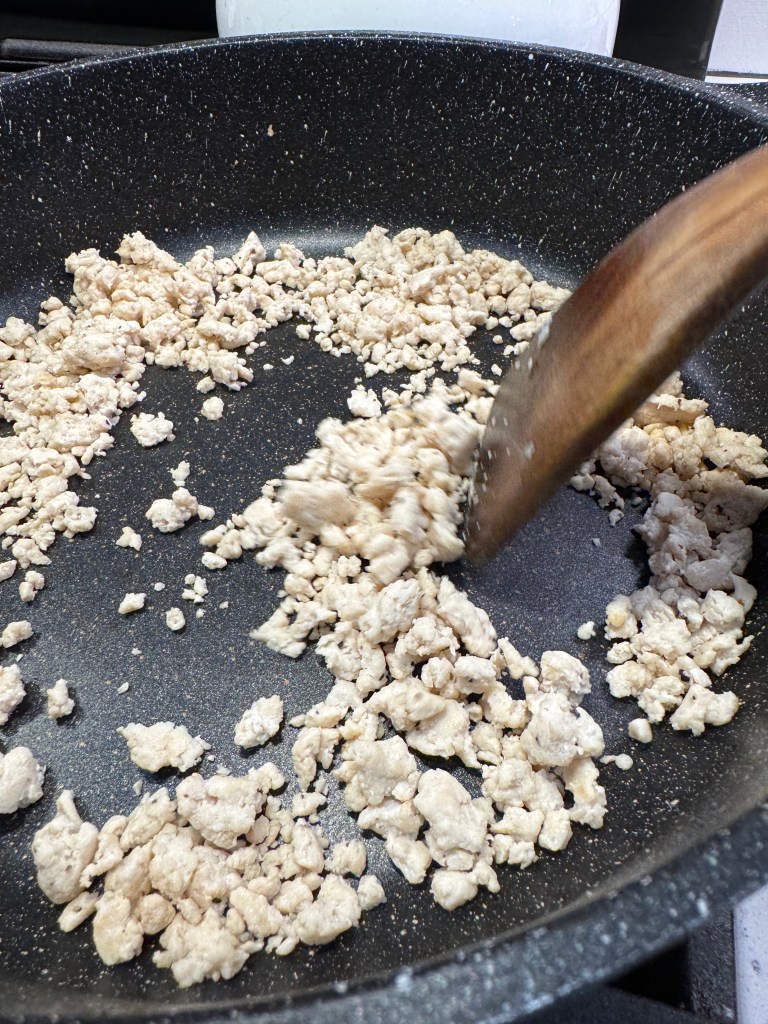
- Add ground chicken to the same pan, cooking gently until meat is no longer pink, but do not let it brown. Season the meat the salt and pepper and allow it to cool.
- Add meat mixture and caramelized onions to the bowl of a food processor. Add Herbs de Provence and lemon zest. Pulse a few times until the meat is ground to a fine texture and onions are no longer visible in whole.
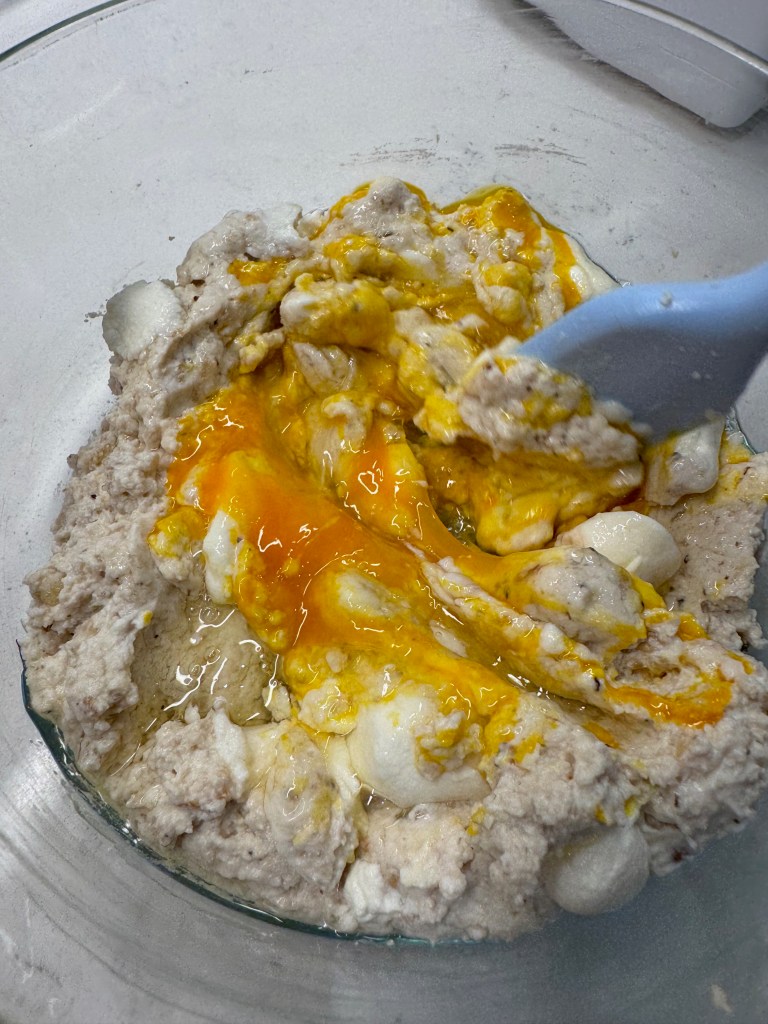
- Transfer processed mixture to a bowl with ricotta and egg and stir together until evenly blended. Refrigerate this mixture until you’re ready to fill the ravioli.
Ingredients
- 1 small eggplant (keep the peel on), cut into large cubes
- 1 medium zucchini, but into large chunks
- 1 red bell pepper
- 1/2 medium sweet onion, cut into chunks
- Extra virgin olive oil
- Kosher salt and pepper
- A couple pinches of Herbs de Provence seasoning
- 2 cups fire-roasted tomato sauce (ours was a thick pizza sauce)
Directions
- Heat oven to 450° F, with rack in center position. Prepare two baking sheets by lining with parchment paper. Place eggplant cubes in a colander and toss gently with 1/2 tsp. salt. Let it rest half an hour, then gently rinse and pat dry before proceeding. Toss with a tablespoon of olive oil on one of the baking sheets and season with pepper only (they will have plenty of salty flavor from the prep stage).
- Toss zucchini, bell pepper and onion chunks in a tablespoon of olive oil on the second baking sheet. Season with salt, pepper and Herbs de Provence. Roast both sheets of vegetables for about 30 minutes, turning pieces over halfway through.
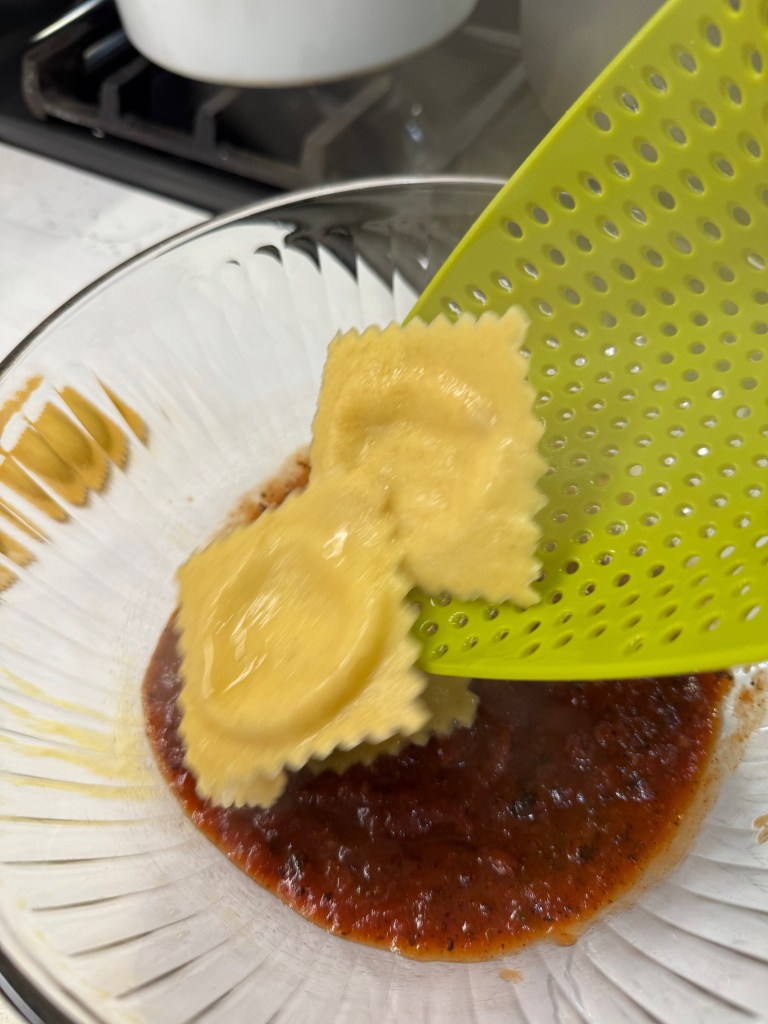
- Meanwhile, bring a pot of salted water to a gentle boil and add the ravioli by hand to prevent sticking. Cook for six to seven minutes; the pillows should all be floating and the sealed edges of pasta should be tender.
- Retrieve the pasta with a vented spoon and transfer directly to the tomato sauce. Toss gently and arrange the ravioli on serving plates. Toss the roasted vegetables in the remaining sauce and spoon over the ravioli portions. Serve at once.