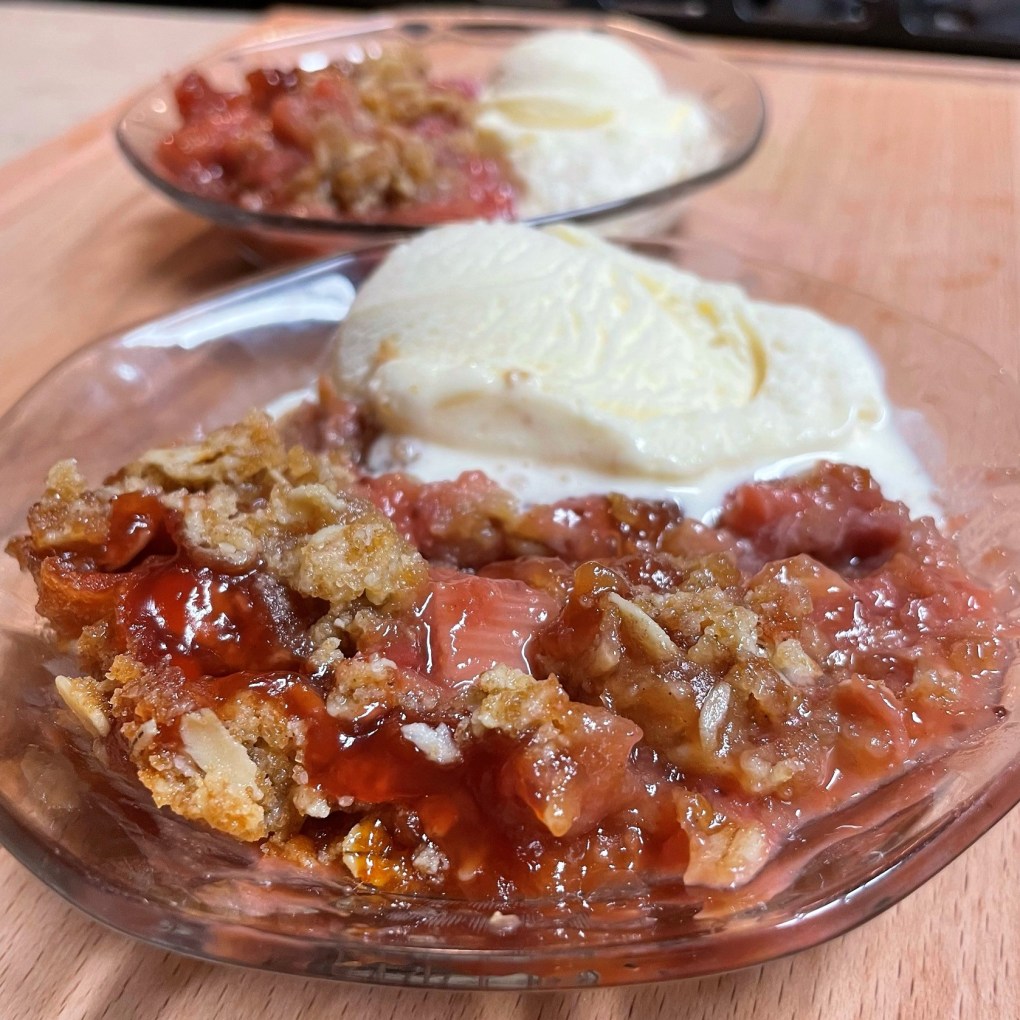
There are some recipes that look almost too good to eat. Friends, this ain’t one of them. 😏
I have spent a lot of time sharing other people’s traditions here on Comfort du Jour, but today I’m paying tribute to my dear grandmother, whose hands made this recipe, just as her mother’s hands before her, and her grandmother’s, and so on. As I tried to describe to my foodie friend, Dorothy, what crub, my family’s favorite food tradition looked like, it became crystal clear that this is a dish I love not for its splendor, but for the family history it represents.
“Imagine a gray, lumpy, salt pork-filled potato and oatmeal dumpling blob,” I said, further noting that the lumps are boiled in salted water for two hours until they are done through. Dorothy replied coyly that she was salivating at the very thought of it. 😂 There’s no denying, crub does not have instant appeal. My cousin, Dave, rightly proclaims that crub is, at best, an “acquired taste.” In our case, though, as fourth-generation descendants of Norwegian immigrants, we are naturally prone to like it, just as Italian descendants are born to love pasta.
From my earliest memories, a visit to my maternal great-grandparents’ home in rural Upstate New York would have sometimes meant being greeted at the door by the aroma of these gray, lumpy blobs simmering on the stove. Despite its appearance, crub is hearty, filling and deeply satisfying. I don’t expect oohs and aahs in the comments section, but I will say that anyone who has ever waxed nostalgic over family tradition can appreciate the place that this humble food has in the hearts (and bellies) of my people.
It’s a family thing
I had special reason to enjoy making crub recently, as I spent a few days with my Aunt Joy at her home in Montana. In the days ahead of my first visit in 13 years, our anticipation for this familiar meal became stronger, and rolling up our sleeves to make crub together proved to be a wonderful way to share happy (also sad, and sometimes funny) memories of our loved ones. We pulled out various spatter-stained recipe cards and attempted to decipher all the “helpful” notes in parentheses, knowing that we would ultimately have to channel the wisdom and experience of our ancestors to get it right. There are specific rules that must be followed, as I painfully learned a few years ago when I tried to make this on my own. That first effort resulted in a sticky mess and very dense, gummy crub.

Oofundamy, what a mess!
What are the ingredients for crub?
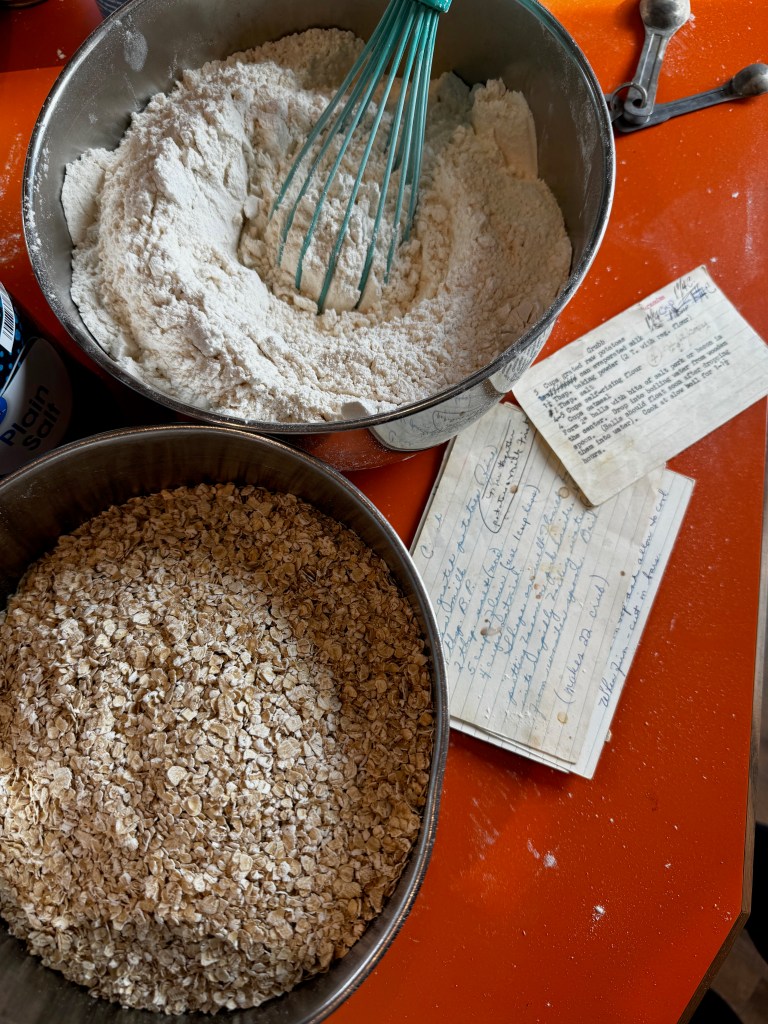
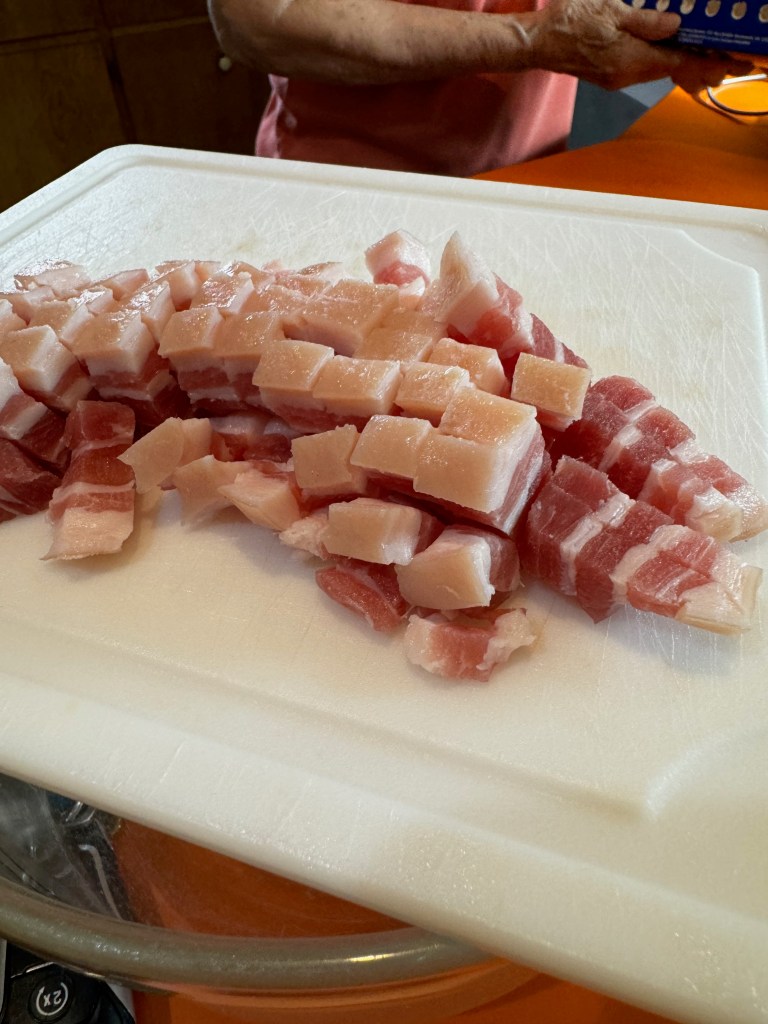
“Use old potatoes,” suggested one of Aunt Joy’s recipe cards, and this is likely for the starch content in older potatoes vs. new ones. Also, it has to be russet potatoes— waxy ones just won’t do. Quick oats work much better than old-fashioned rolled oats, as their smaller size and pre-cooked form allows them to more easily take up the recipe’s liquid. Your baking powder must be fresh, of course. Finally, the amount of evaporated milk must be sufficient for moistening the dry ingredients without overdoing it, and this was a tough point, even for Aunt Joy, because the amount on the recipe card was in “cans.” But did that mean the 5-ounce can or the 12-ounce can? We imagined that my great-grandmother was there with us, coaching us to “add enough to make it look right,” and we figured out the larger can is the standard. Salt pork is ideal, both for stuffing inside the crub dumplings and also for adding flavor to the cooking water.

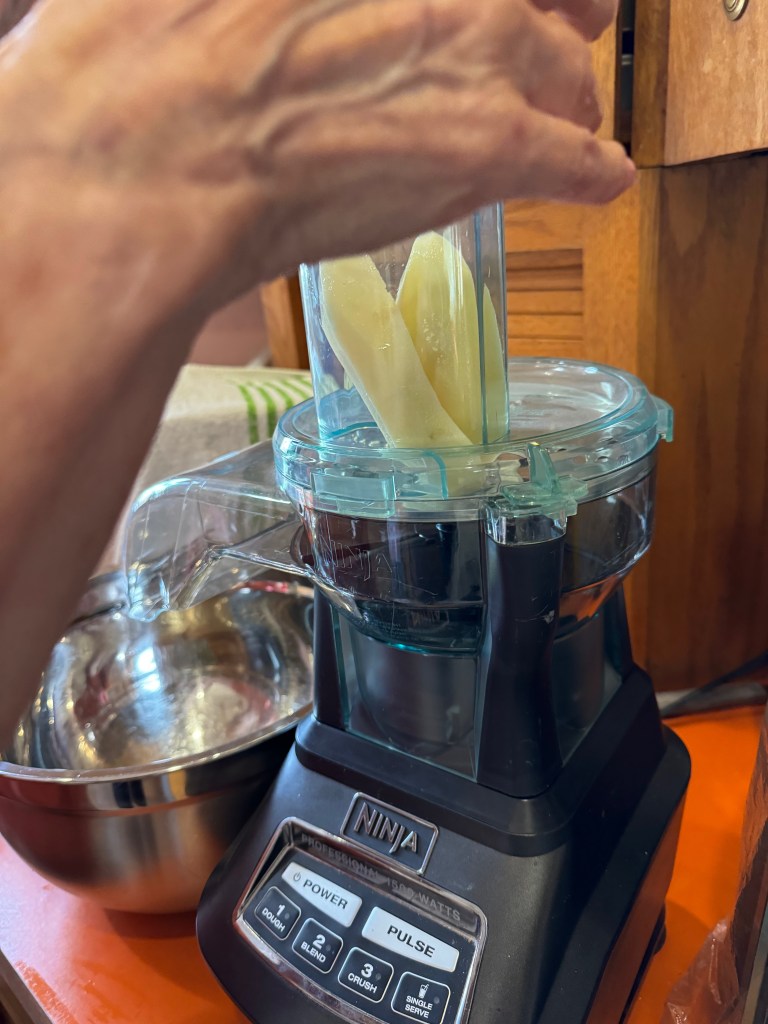
As with many traditional family recipes, crub is a bit of an ordeal to make (which helps explain why it was not an “every Sunday” kind of meal). It requires multiple bowls, large cooking pots and several square feet of counter space. It takes as long as two hours to prep and two more to cook. And don’t expect cleanup to be a breeze, either. The recipe involves peeling, grating and blending lots of potatoes, which inevitably turn pink from oxidation no matter how quickly you work.

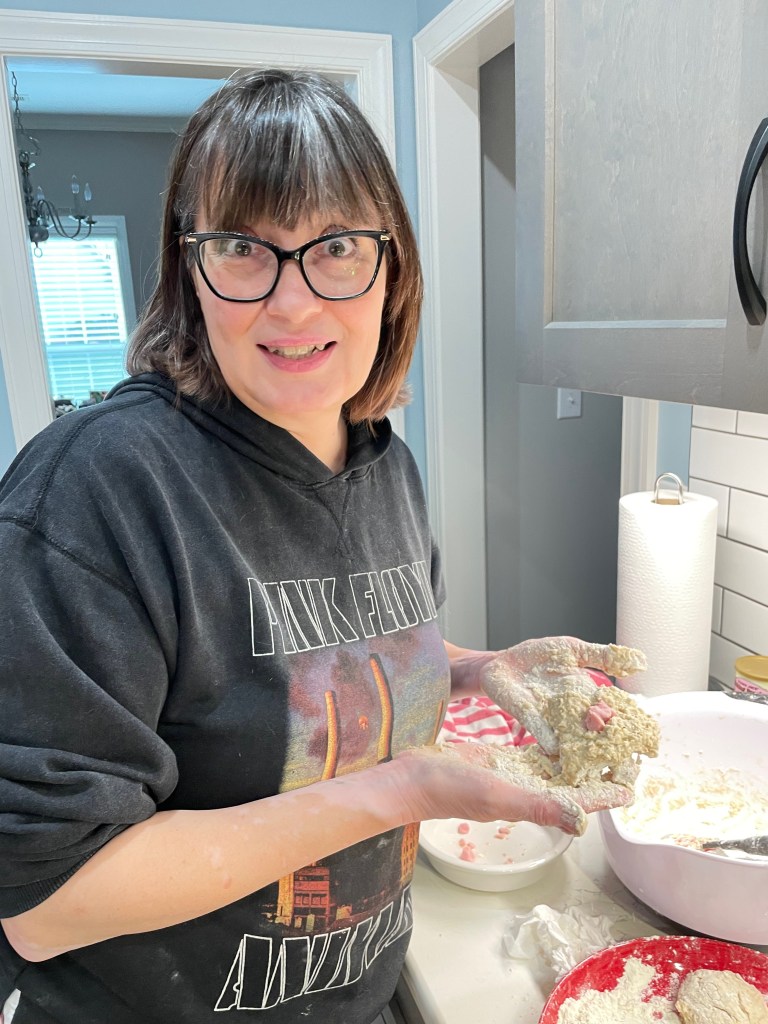
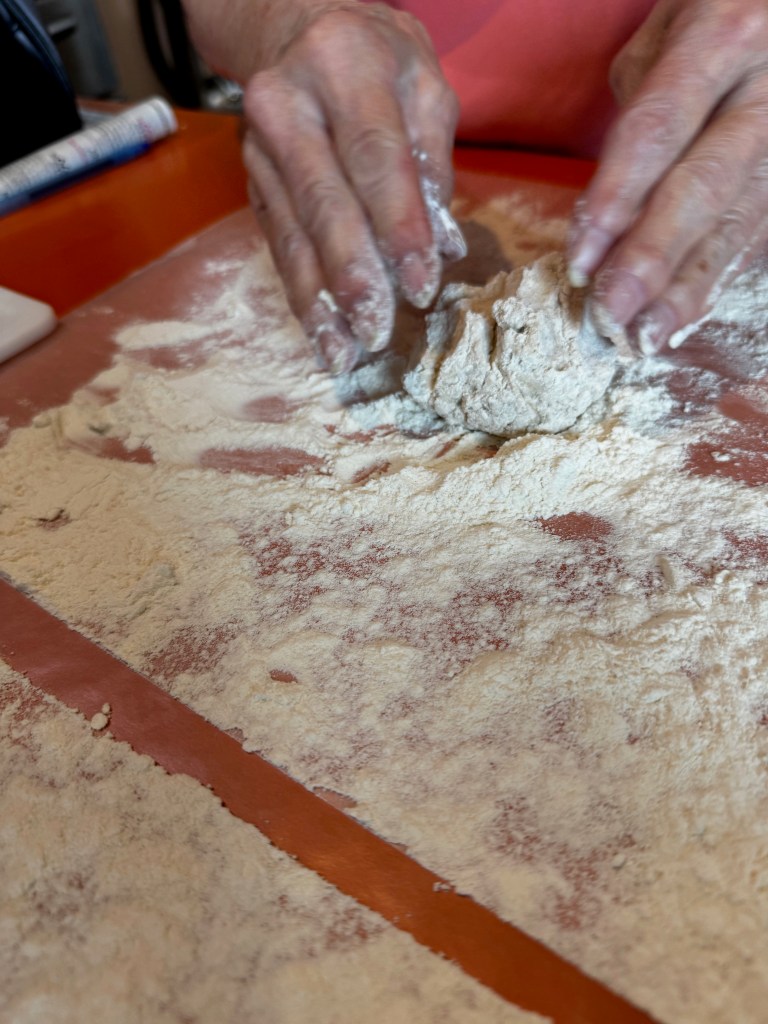
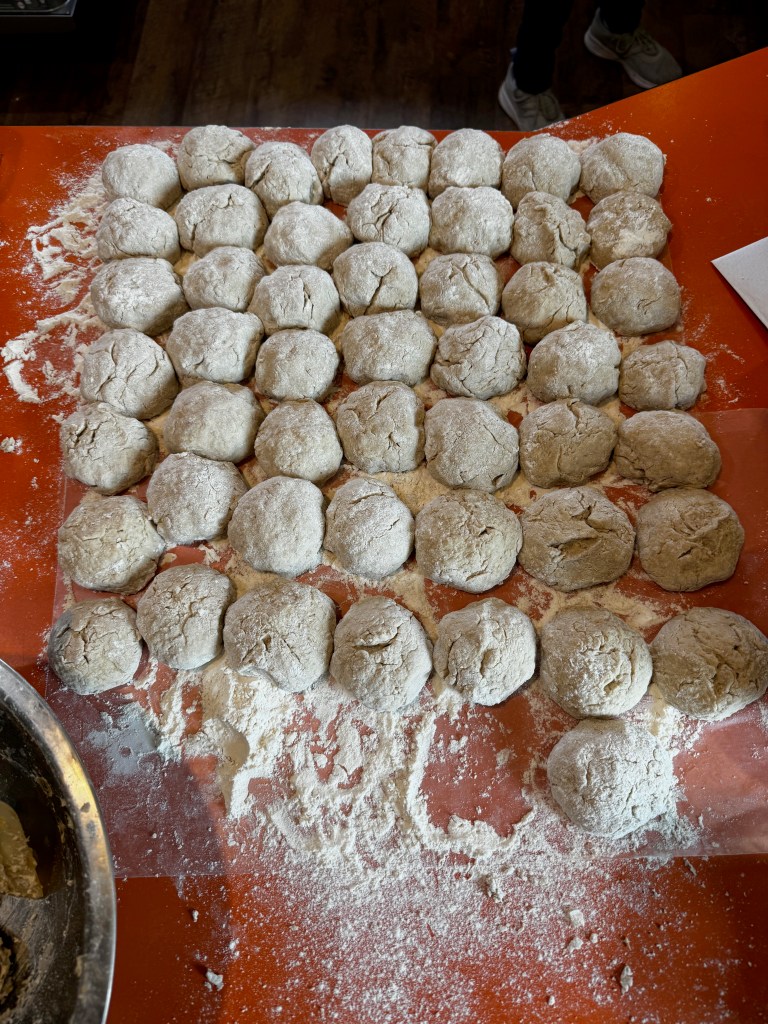
It helped a lot to have our tools and ingredients mise en place, and this was especially important for not making a mess of everything with our very sticky hands! A couple of sheets of waxed paper did the trick for keeping the flour where we needed it.
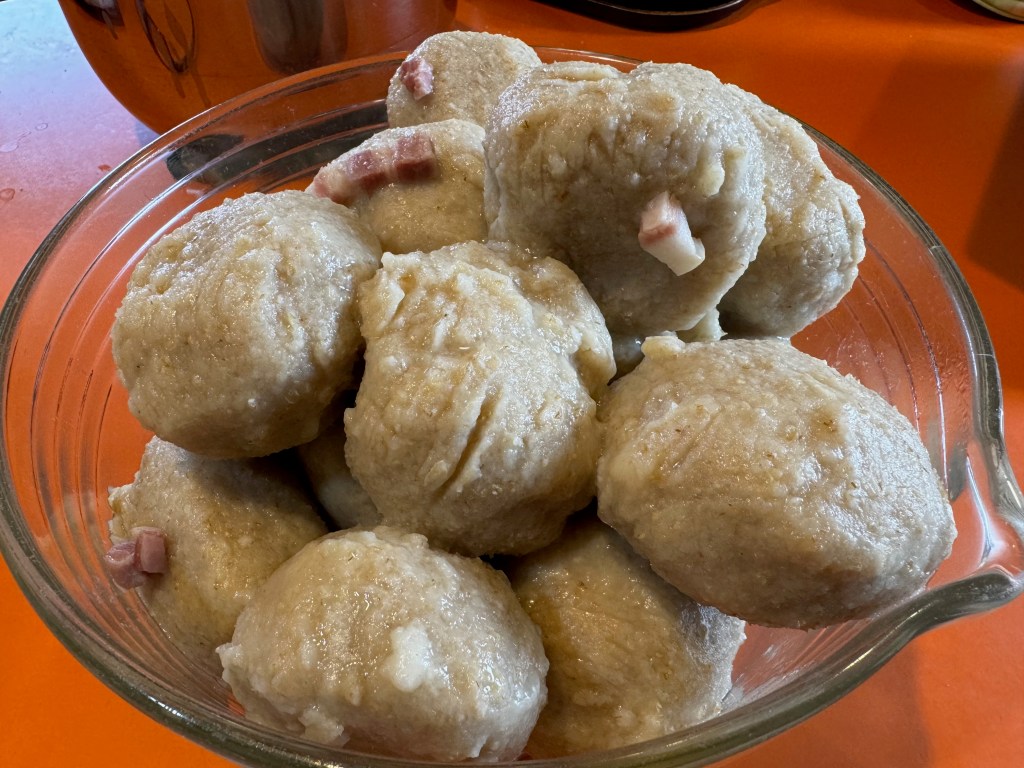
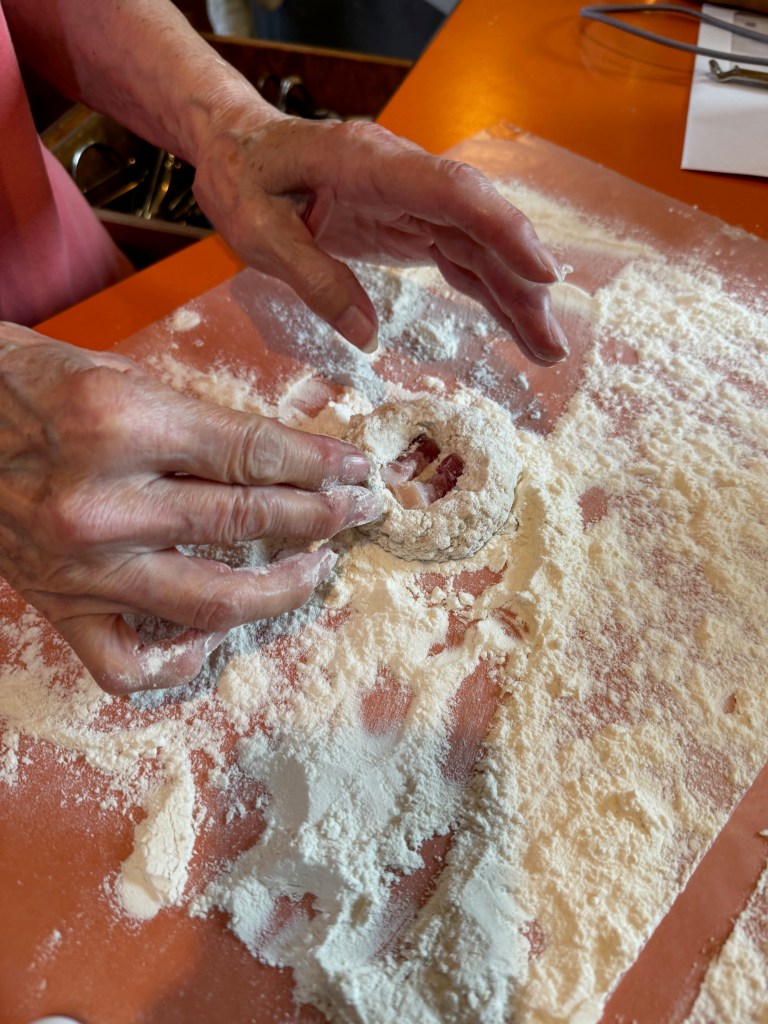
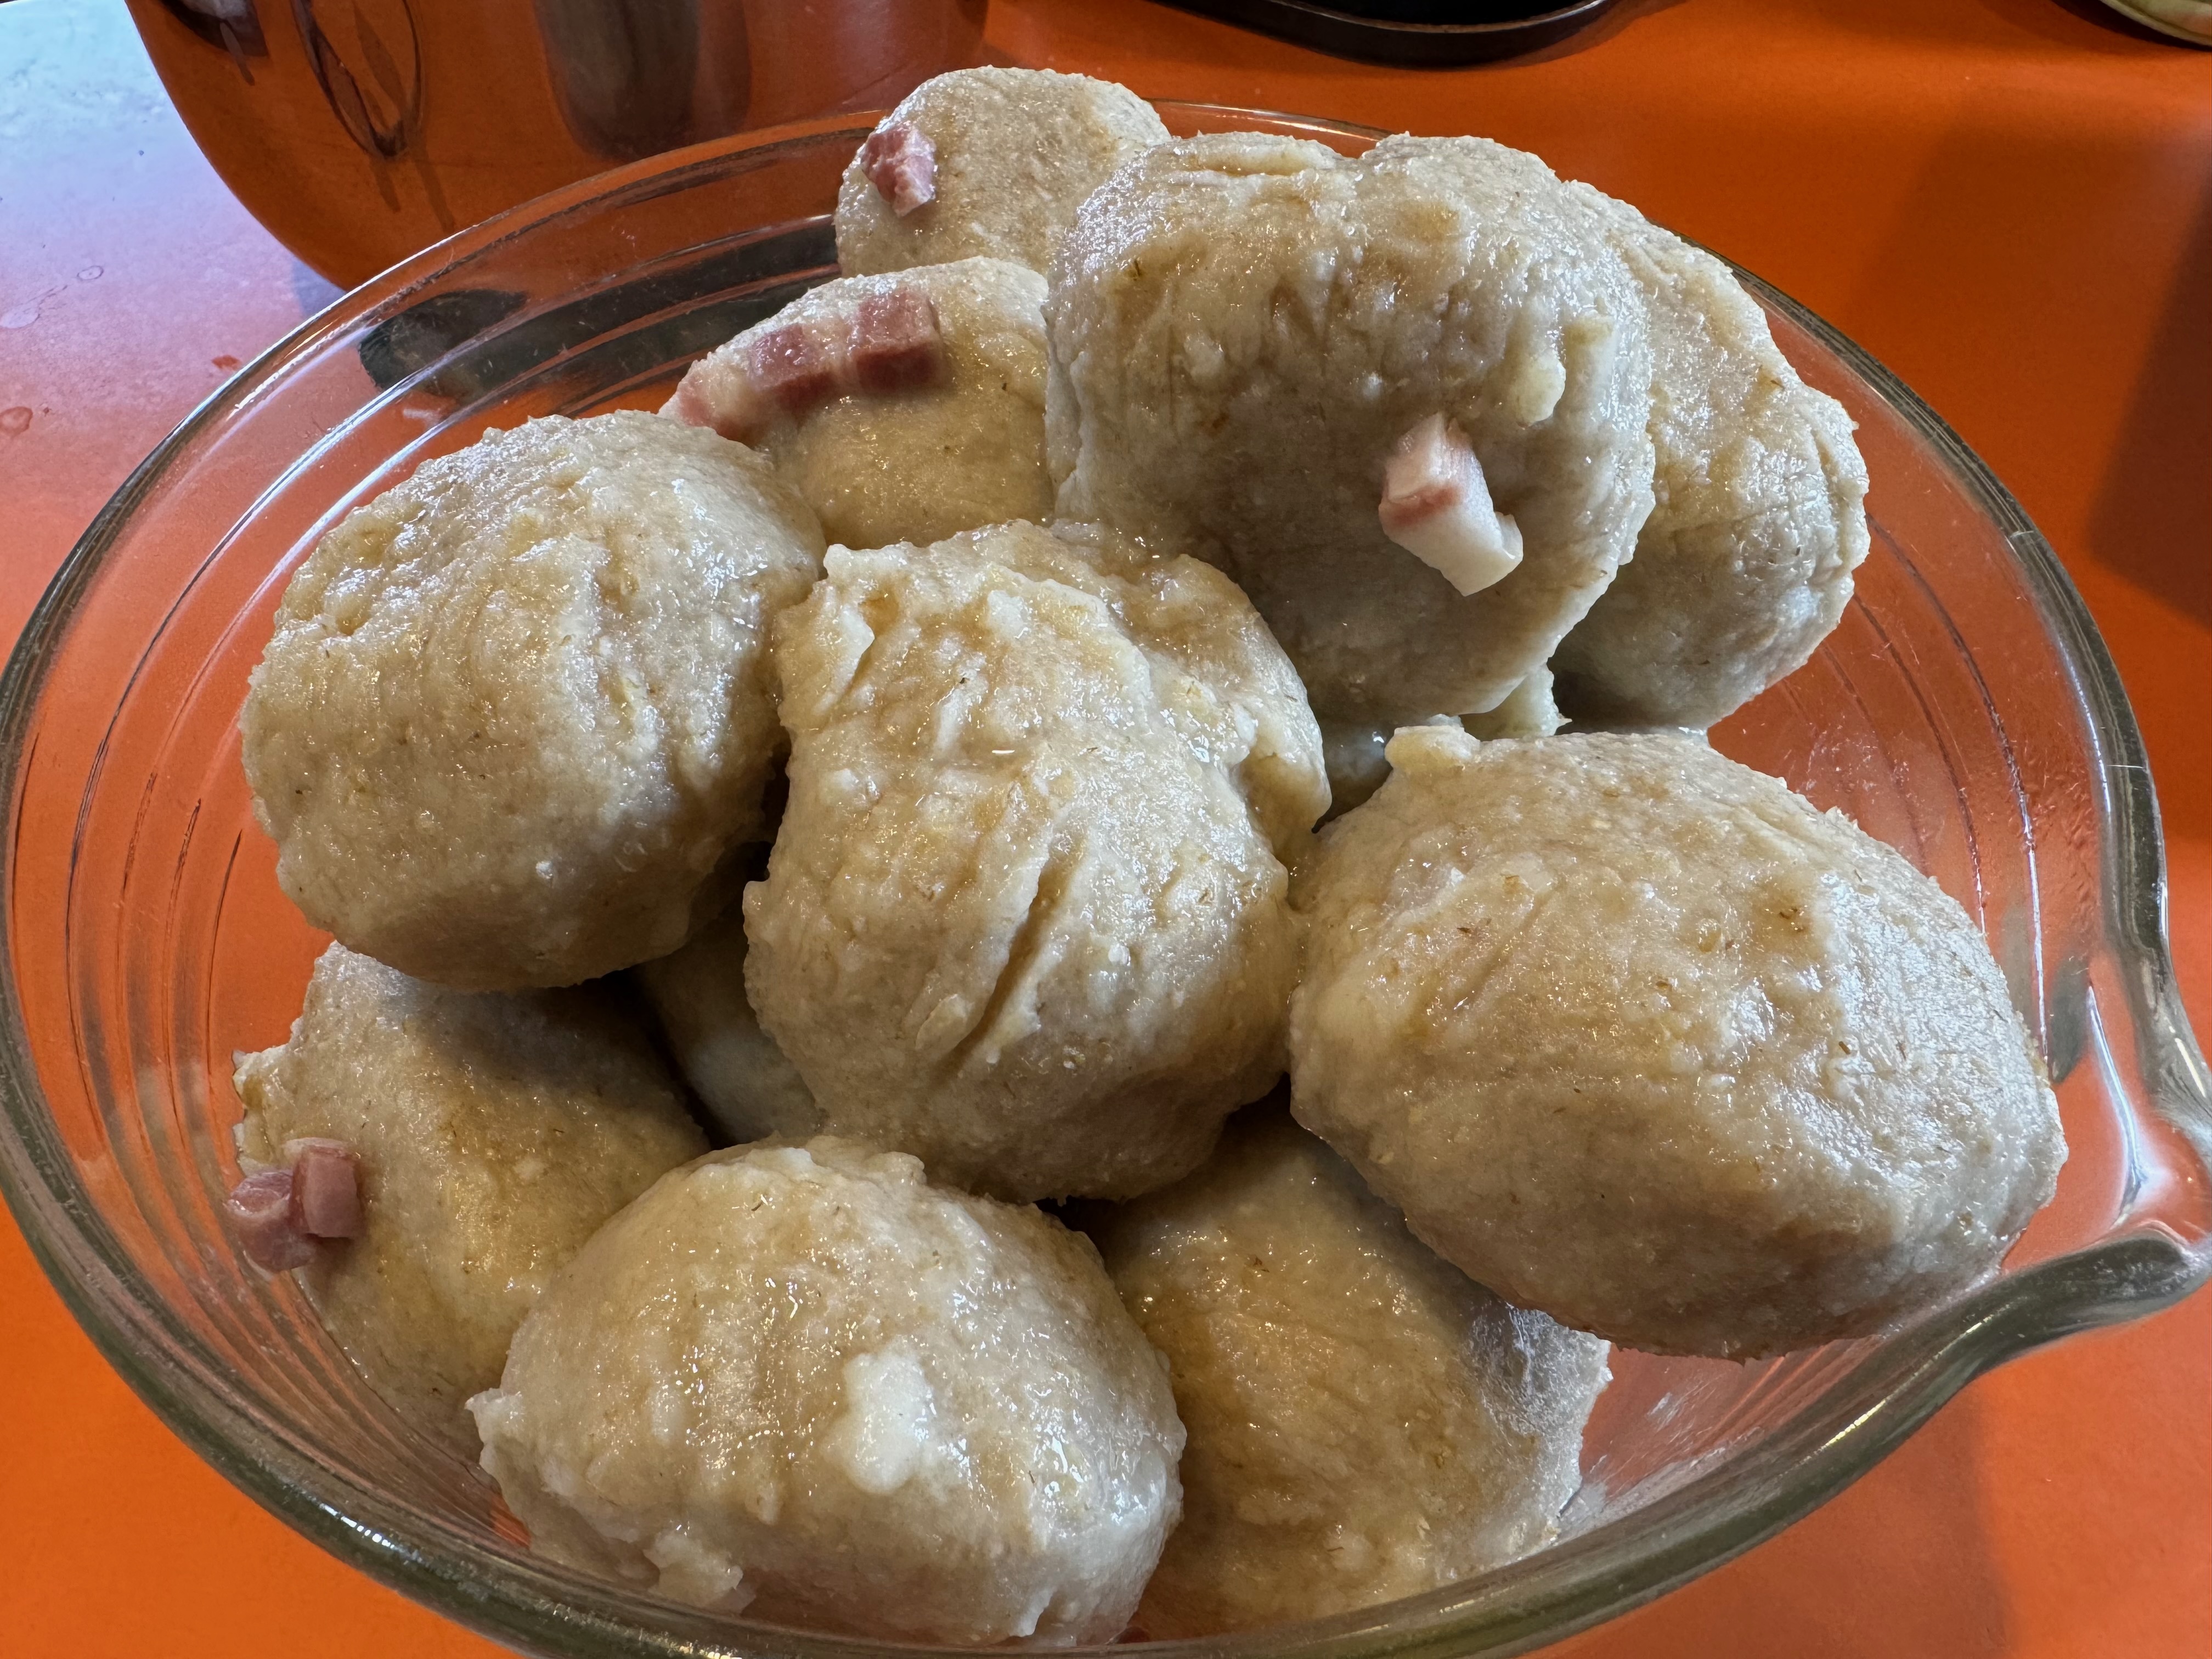
Aunt Joy broke out her big ice cream scoop to measure out the crub dough into equal lumps, and then, with floured hands, we pressed to make an indent in each for a piece of salt pork. Shaping the crub into balls was easy to do with plenty of flour, and we lined them up until the pots were at a good, steady boil.
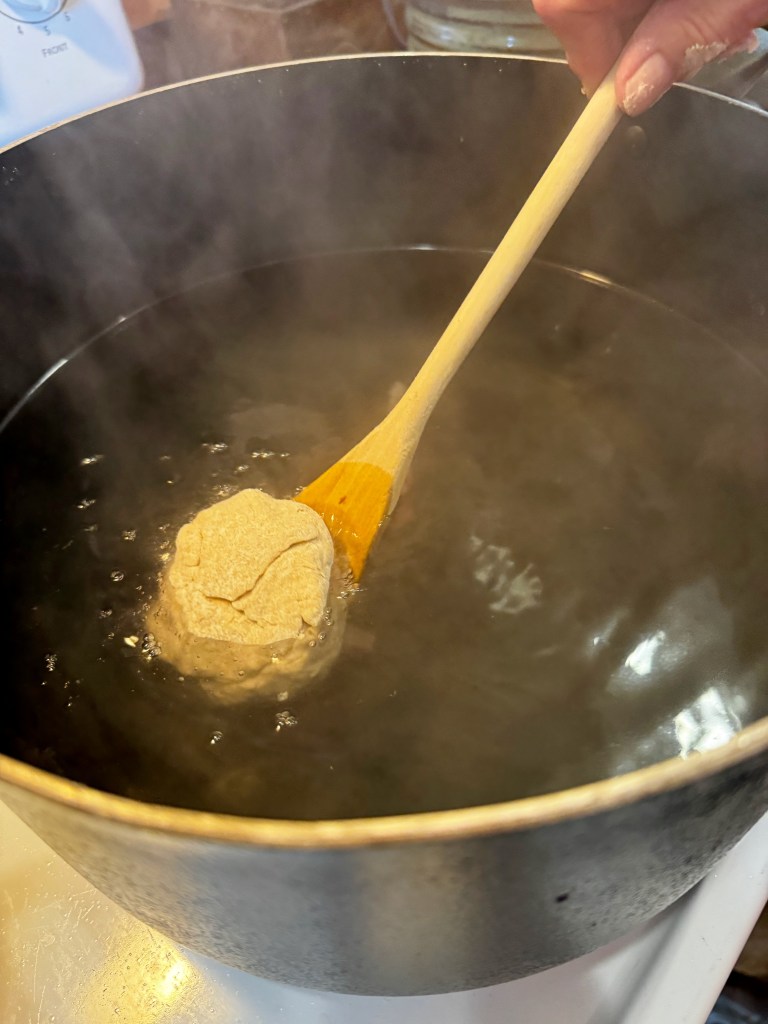
The first few crub clung for dear life to the long-handled wooden spoon we used to transfer them into the boiling pot, but eventually the spoon developed a slippery layer of cooked dough and the remaining crub slid right off with almost no effort. After every few crub, we gently nudged the ones that had settled onto the bottom of the pot, loosening them to float up into the water. We made a double batch and ended up using three very large pots.

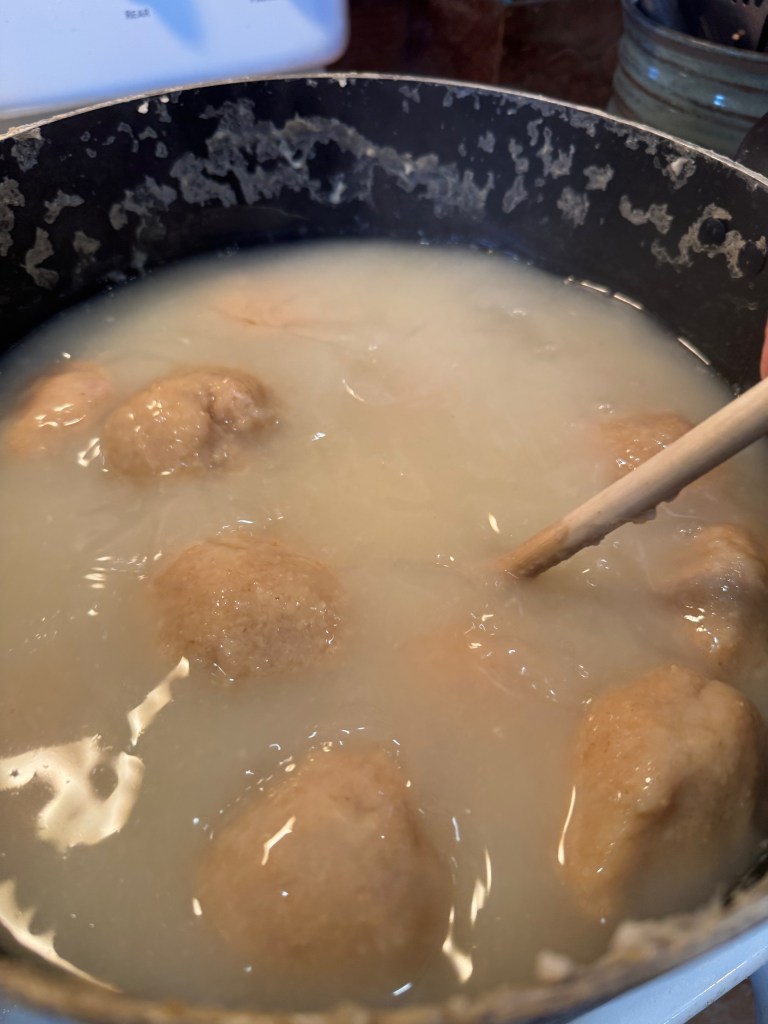
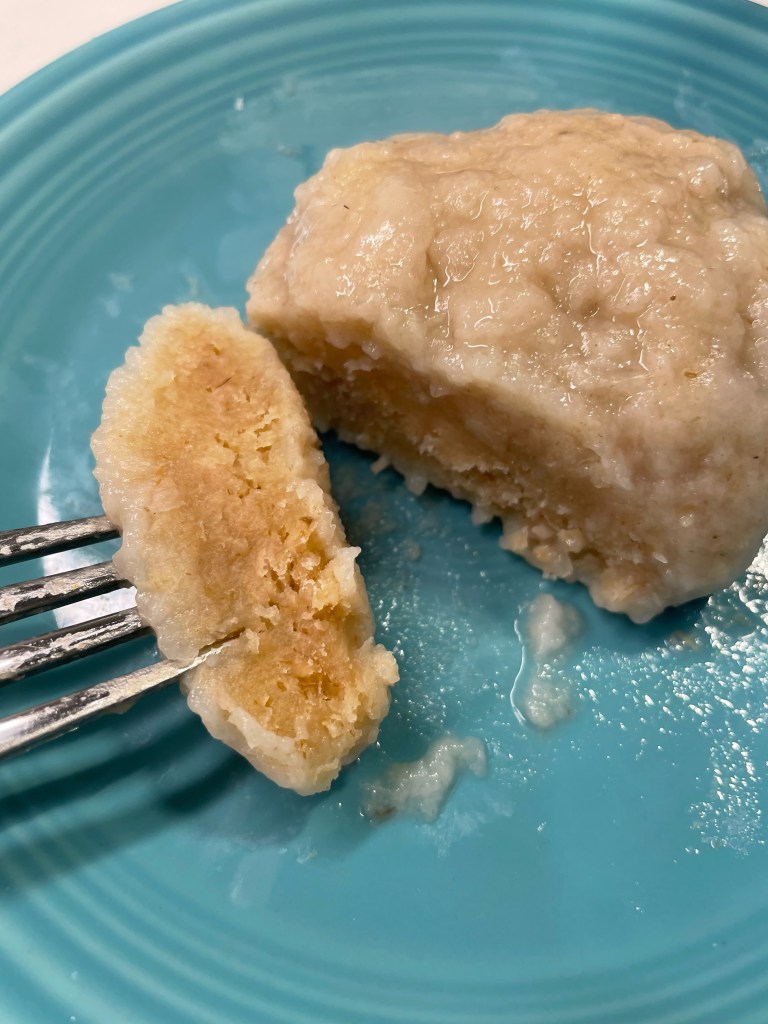
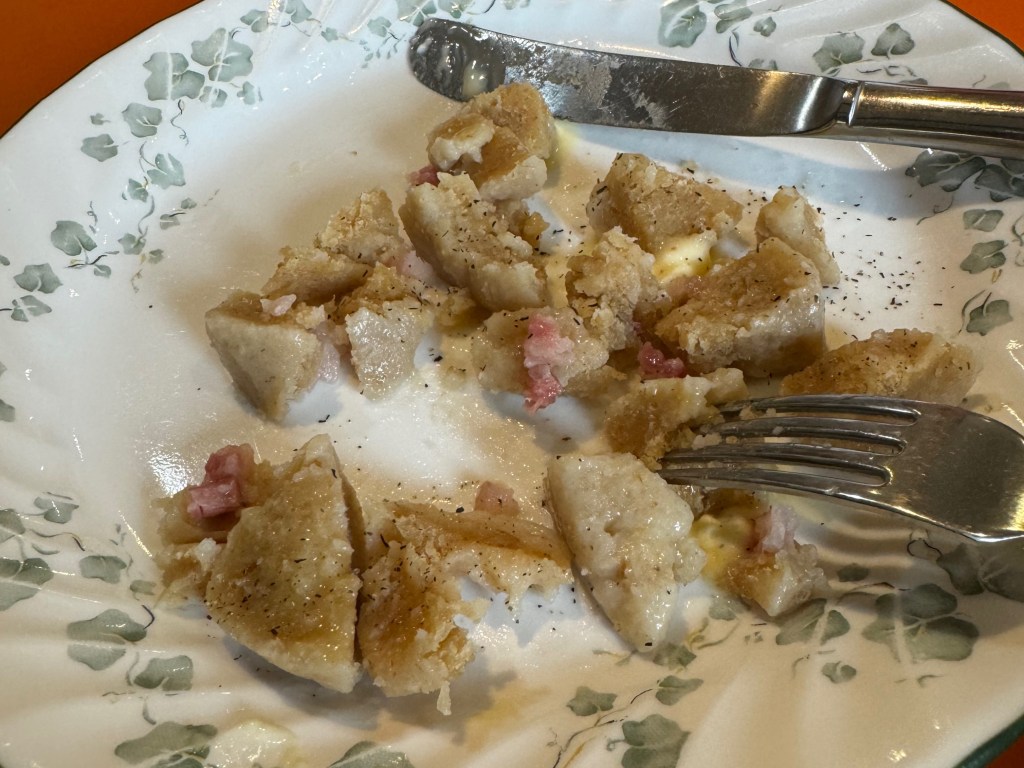
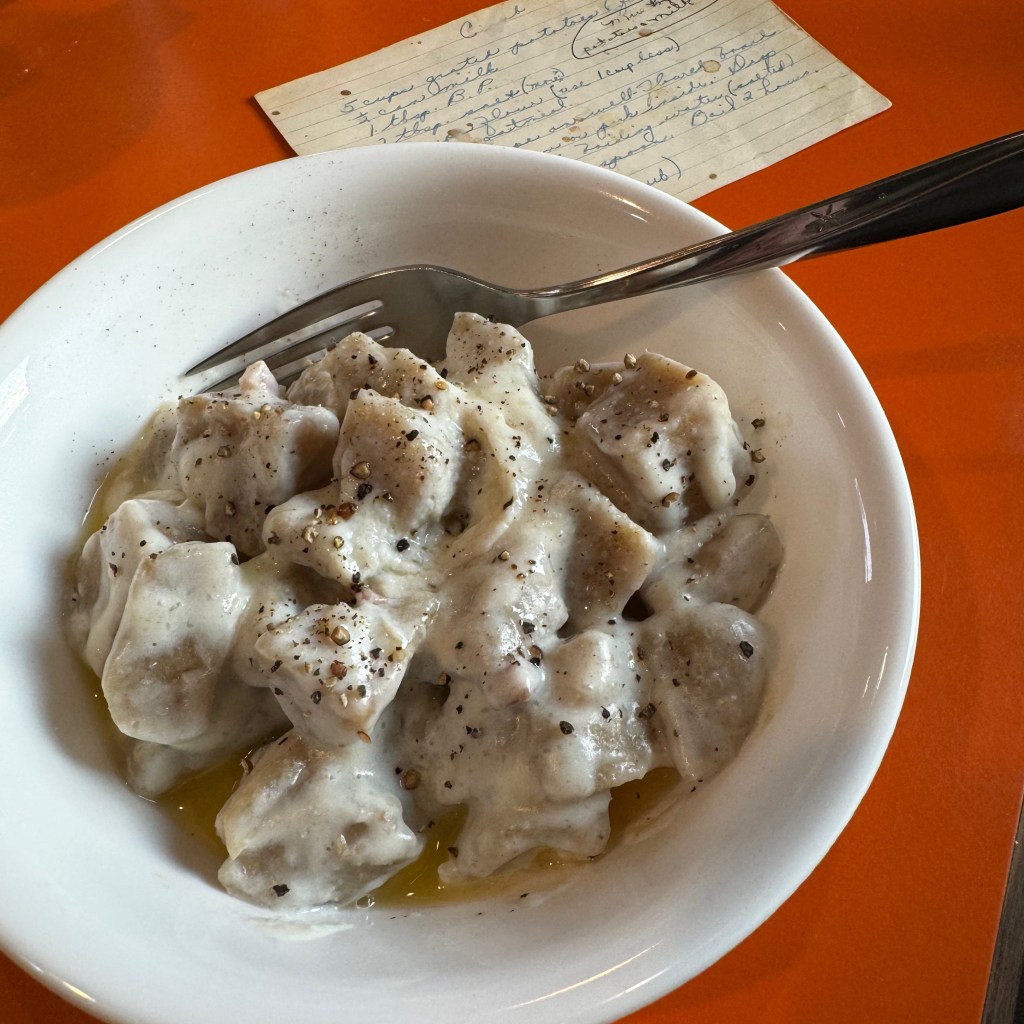
The dumplings simmer for as long as two hours, until a cross cut reveals that they are cooked all the way through. If they seem dense and very firm inside, they need additional simmer time. Once done, enjoy them with butter, salt and pepper.
Transfer leftovers to a large covered bowl and refrigerate, or load them into a gallon size zip top freezer bag and freeze for later.

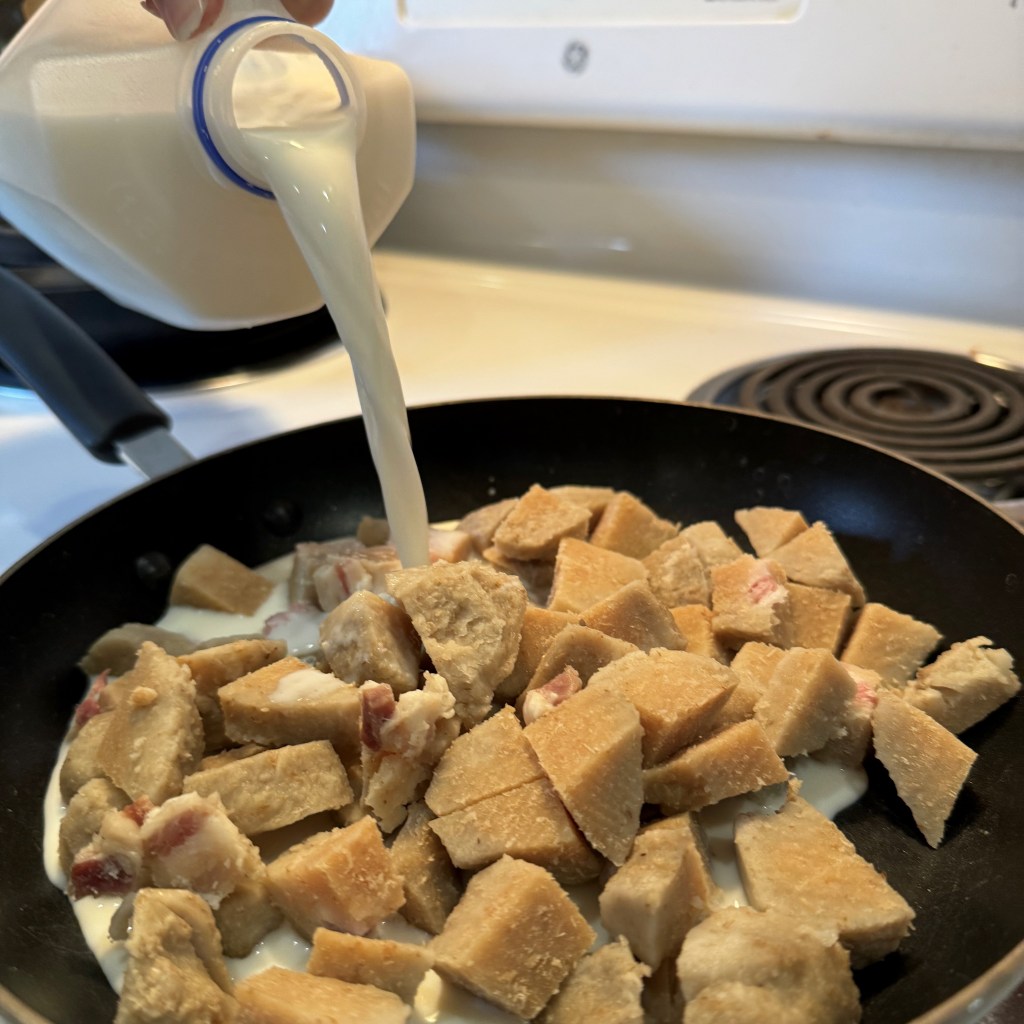
Reheat by cutting crub into chunks or slices. It’s best simmered in a bit of milk and then served with butter, salt and pepper. If you’re feeling ambitious, you can bring a pot of water to boil and simmer them again until they are warmed through. Or, if you’re in a hurry for crub, place cut-up pieces on a plate and microwave until warmed through.
Norwegian Crub
This is one of the truly traditional recipes that my maternal family has made for years. Why, you might ask, would we spend all day for these gray-beige lumps? Easy, because they taste like home.
Ingredients
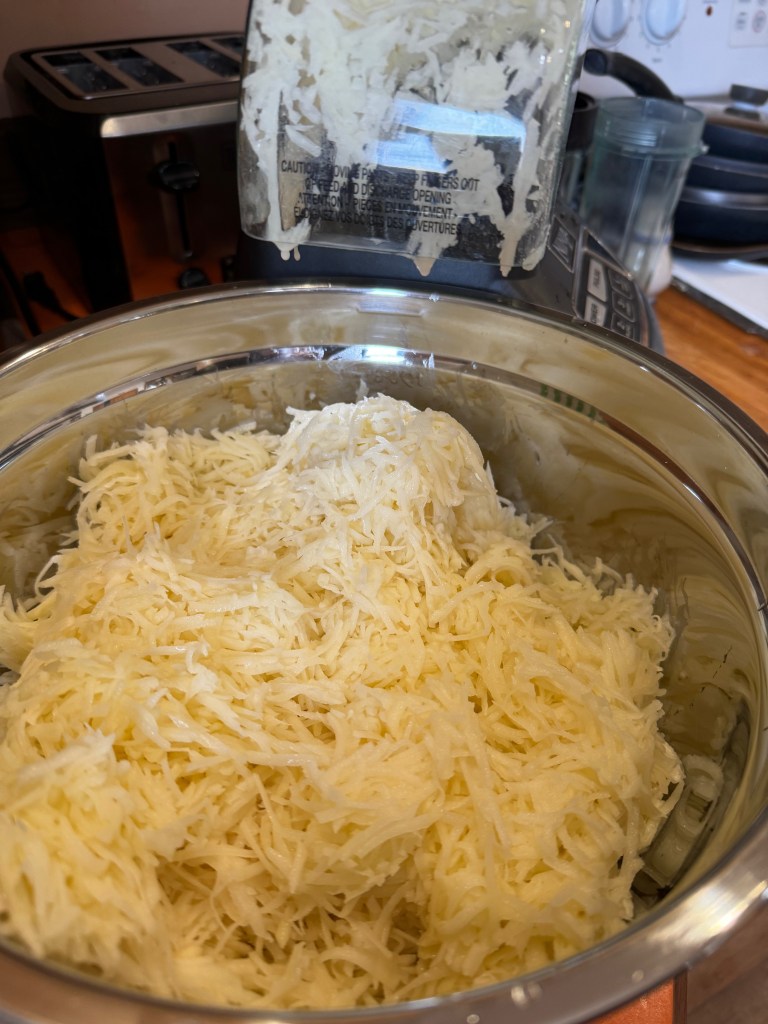
- 5 cups peeled and finely grated russet potatoes (this will be about 3 pounds)
- 12 oz. evaporated milk, or equivalent amount of plant milk (oat milk would be just right)
- 5 cups all-purpose flour (scooped directly from bag)
- 4 cups quick-cooking oats
- 2 Tbsp. baking powder
- 2 Tbsp. table salt
- 1/2 pound salt pork, cubed (optional for stuffing inside crub)
- About one cup additional flour, for rolling and shaping
- Additional salt, for seasoning the cooking water
Directions
- Bring one or two very large pots of water to boil on the stove while you prep the crub. When the water comes to boil, salt it generously and add a few pieces of the salt pork or even a pork bone if you have one.
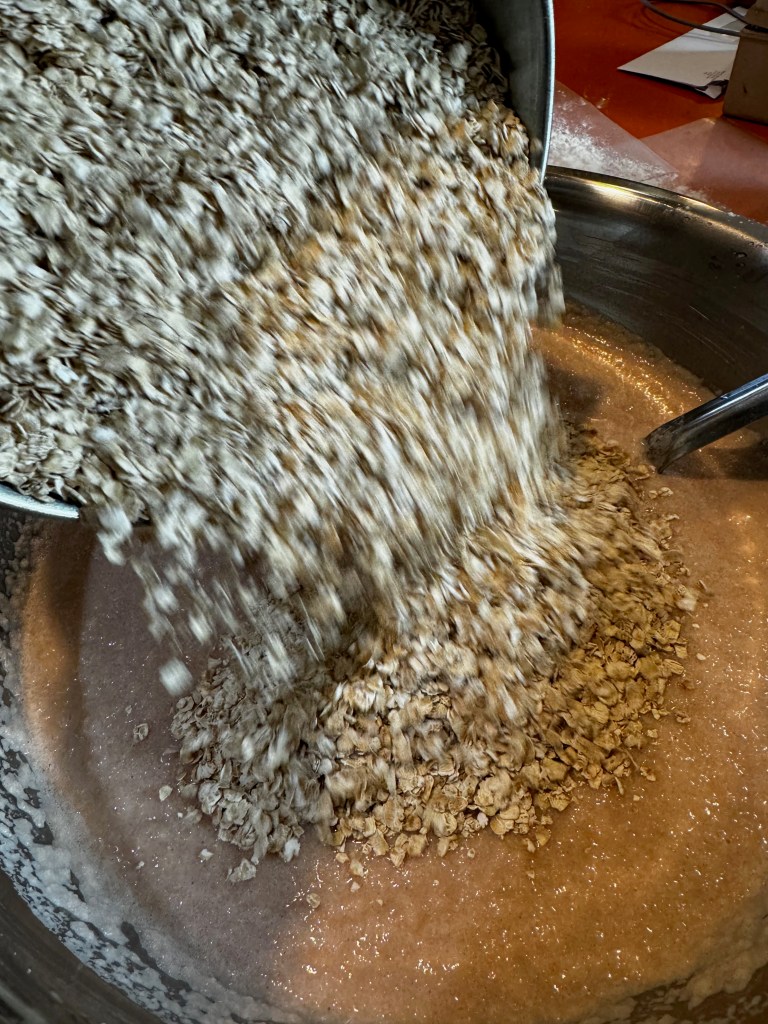
- Combine flour, baking powder and salt in a large bowl and whisk to distribute the leavening ingredients. Measure the oats out into another bowl, so that the proper amount is ready to be added all at once to the potatoes.
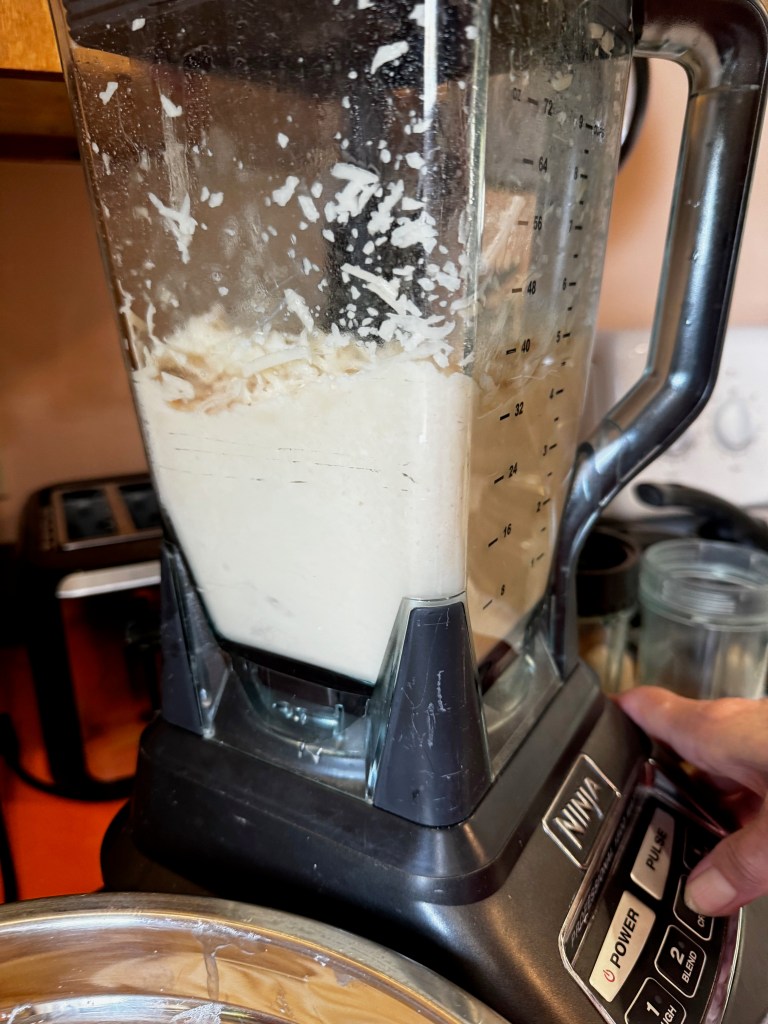
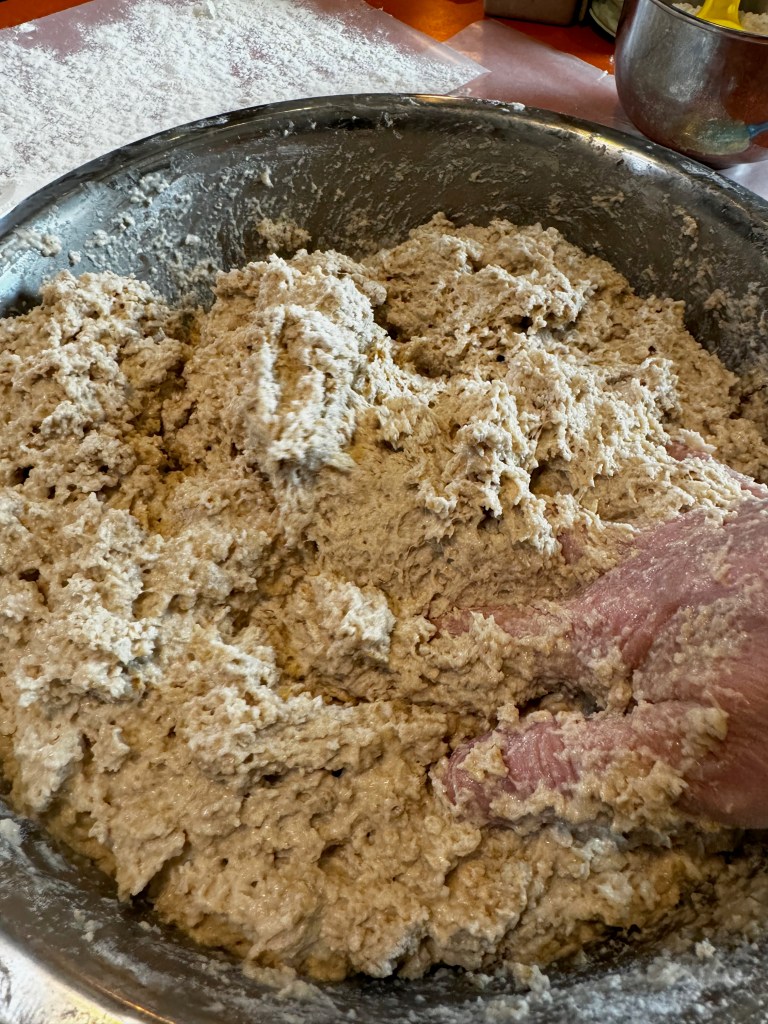
- Process the shredded potatoes by pulsing in a blender or food processor. You don’t want a puree, but a coarse, wet mixture of finely ground potatoes.
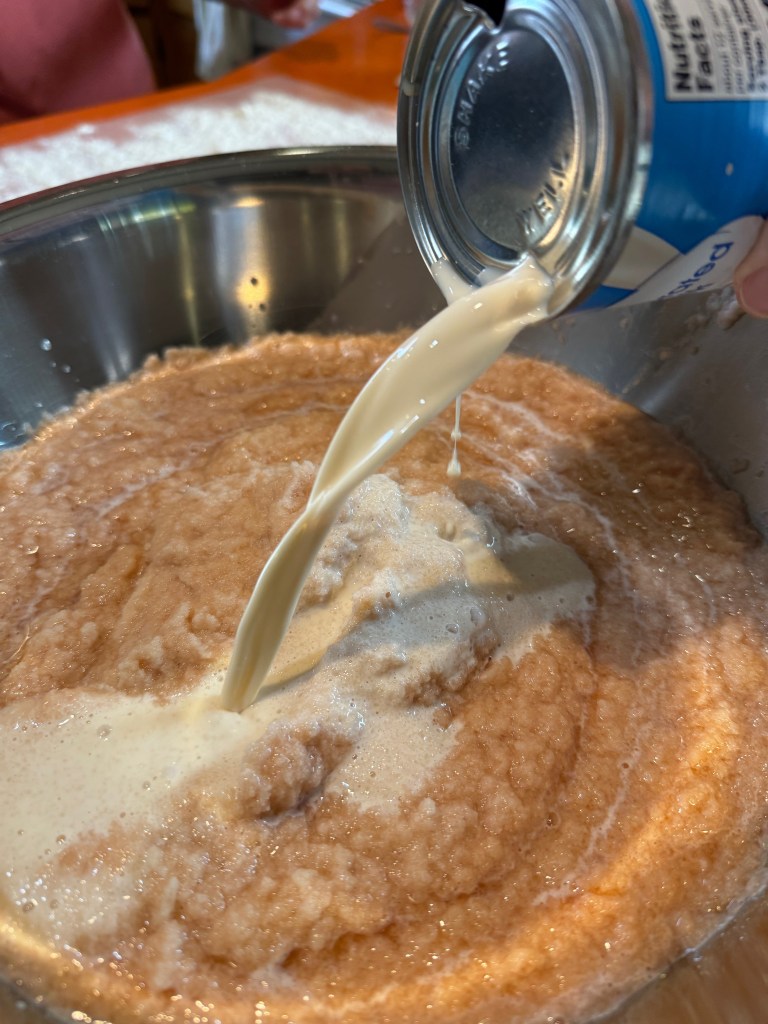
- IMPORTANT: Measure the ground potatoes (with liquid) into a very large mixing bowl. You need five cups, no more and no less. If you have potatoes leftover, consider adding them to a chowder or soup. Add evaporated milk to the measured potatoes and stir to blend.
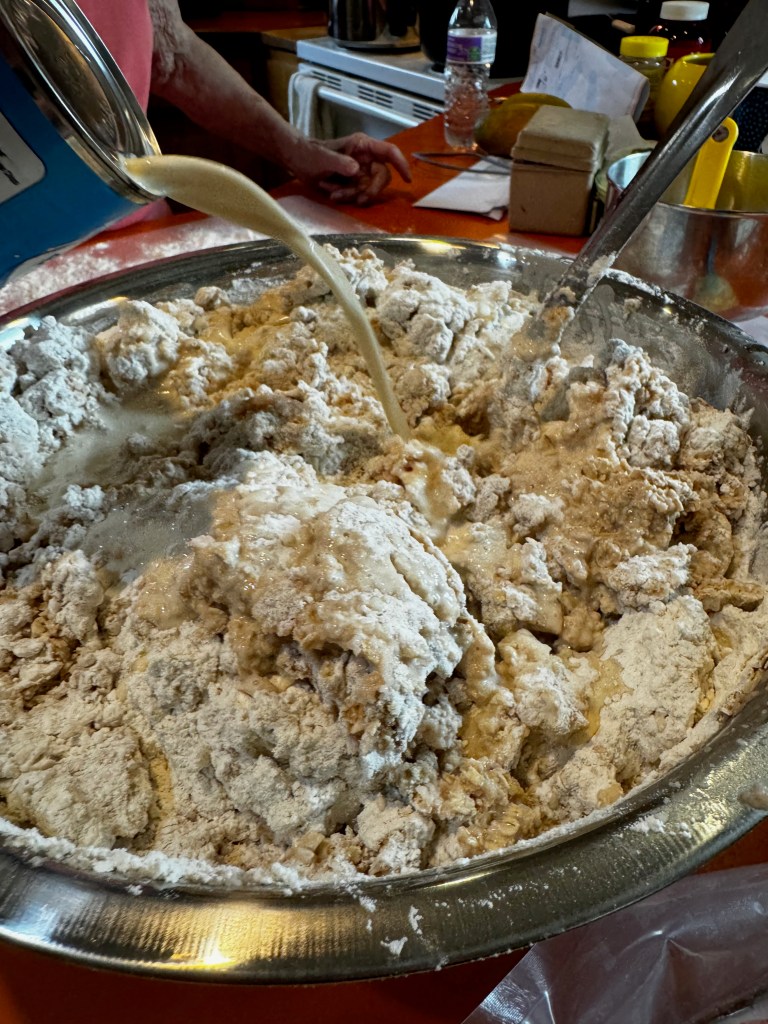
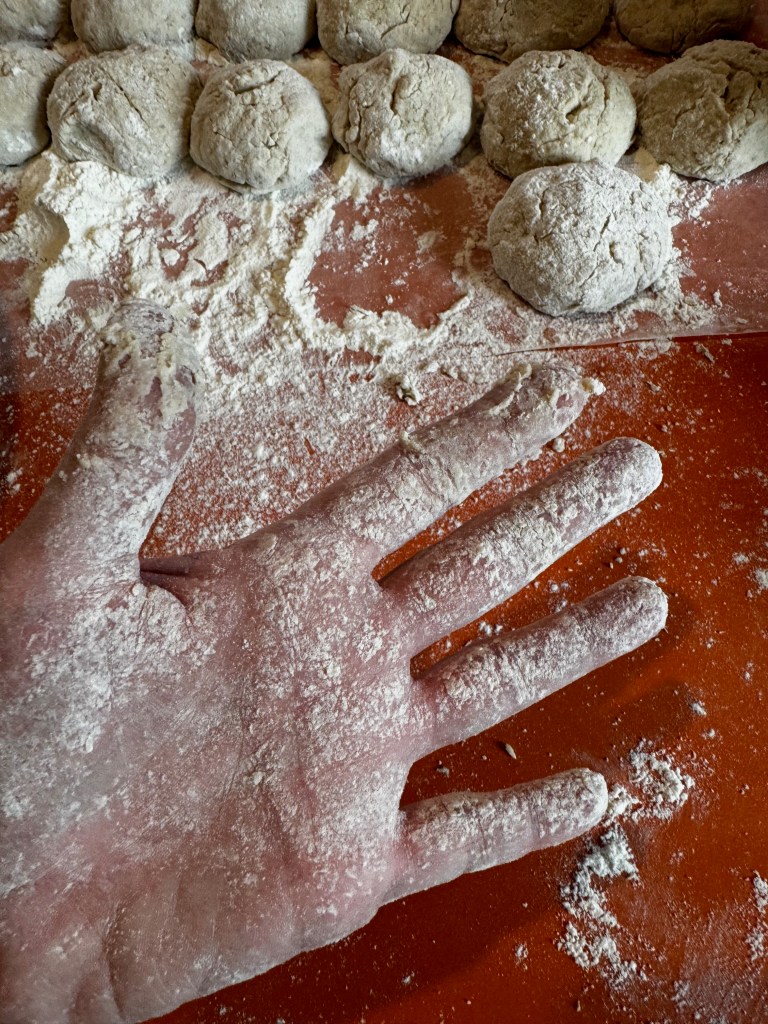
- Add oats and flour mixture to the potato bowl all at once and stir, fold or mix by hand until the dough is evenly mixed with no unincorporated flour. Use an ice cream scoop to measure out evenly sized dumplings onto a heavily floured counter or board. Each crub should be approximately two and a half inches across.
- As you go, press a shallow hole into the center of each dough ball and add a piece or two of salt pork inside. Use floured hands to shape the dough ball around the pork, forming the balls into tight, meatball-shaped dumplings. Line them up on waxed paper until all dumplings are formed.
- Use a long-handled wooden spoon to gently transfer the dumplings into the seasoned boiling water. Work quickly until all dumplings are in the water. After every few dumplings, gently nudge any that remain stuck near the bottom of the pot. They should begin to float fairly soon after introduction to the water.
- Bring the pot(s) to a full boil, then reduce heat and simmer at a gentle boil for about two hours. Sample a crub when you think they may be cooked all the way through. It should be somewhat dense but not heavy or sticky.
- Crub can be served immediately, but it also keeps very well in the refrigerator or freezer. Leftovers can be warmed in a number of ways; dip them into simmering water to revive them, cut them up and simmer in milk or (as a last resort) place cut up crub on a plate and warm in the microwave until heated through.