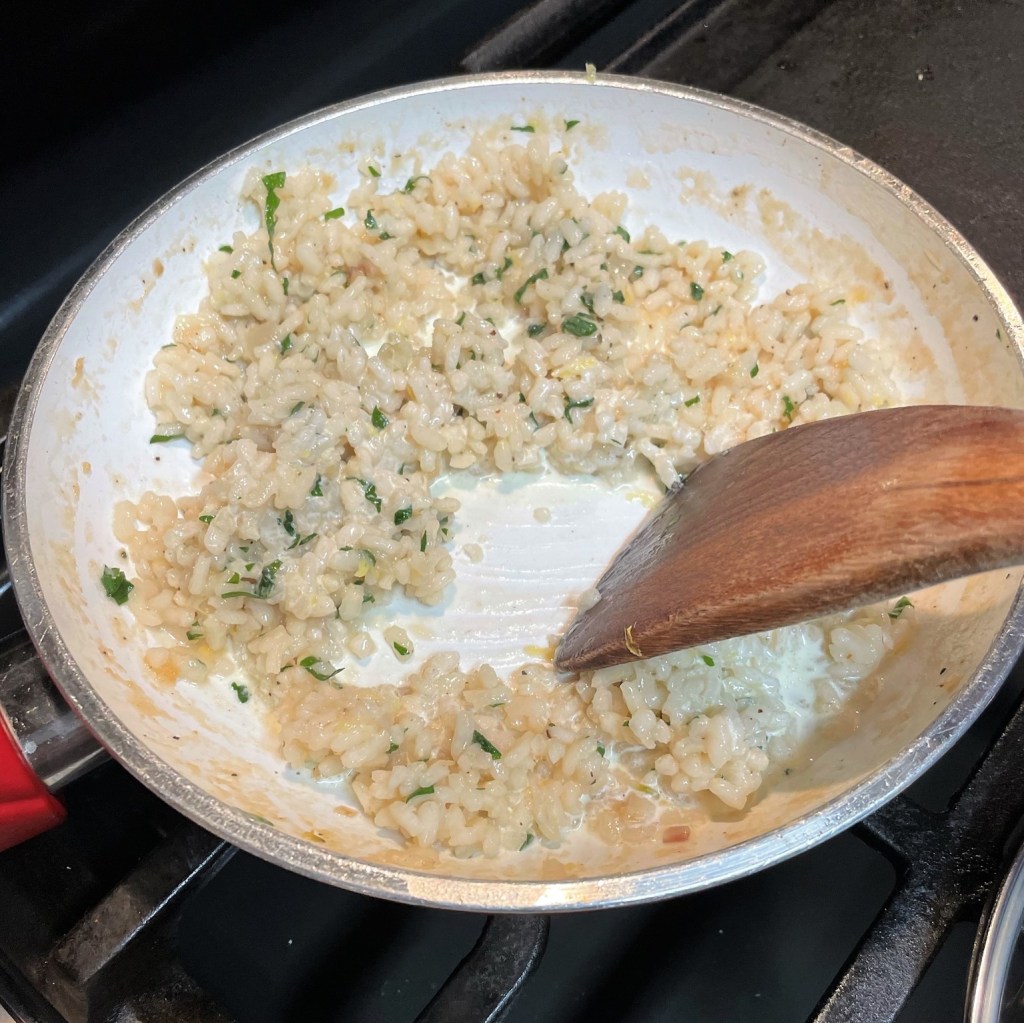
There is a special meal tradition at our house on New Year’s Eve. Our annual celebration of fancy pizzas began in 2018, right around the time that I was working to perfect my sourdough pizza crust. Les had shared his memories of the amazing White Clam Pizza he enjoyed while living near New Haven, Connecticut, and we decided to try one at home for New Year’s Eve. It turned out so good that we repeated it the next two years, and in 2020, we added a second specialty flavor to our repertoire— the Oysters Rockefeller Pizza. Last year, we tweaked tradition yet again, trading in the white clam pie with this creative twist on the classic Italian pasta dish, shrimp scampi. Why wouldn’t the flavors of garlic, shrimp, parsley and lemon be amazing on a blistered sourdough crust? Turns out, they most definitely are.

As with most of my specialty pizzas, this one takes a little time to prepare, but the good news is that you’ll do most of it in advance so that you have plenty of time to relax with a cocktail or mingle with guests (or both). There are three components to this pizza, and I’ll break down the details in photos ahead of the click-to-print recipe card at the end. You’re going to love this pizza!
My method for pizza baking
First things first, we bake all our pizzas in a regular home oven, preheated to 550° F with a baking steel on the rack. This combination of slab steel and maximum temperature helps us replicate the effect of a brick oven. If you don’t have a steel, you can get similar results with a pizza stone, but be sure to follow the manufacturer’s guidelines so that you don’t accidentally crack your stone under this extreme heat. With this method, you also need a pizza peel, which looks like a long-handled paddle. It’s helpful for easy transfer of the pizza into and out of the oven.

Whichever you choose, you’ll need a peel for easy transfer of the pizza.
About the pizza dough
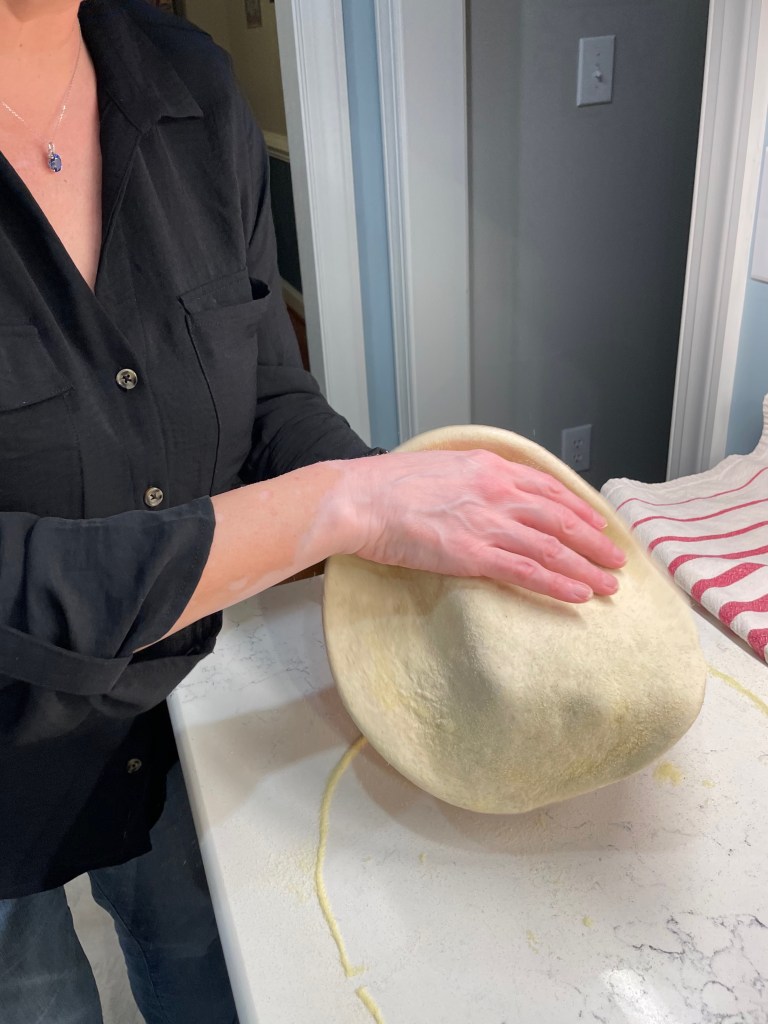
Second, my pizza dough is homemade from sourdough starter, and the shaping method is crucial to the kind of texture you see in my photos. We never use a rolling pin on the dough, as this deflates all the lovely air pockets. If you aren’t on the sourdough train, it’s no problem— you can use a yeasted dough or even a store-bought dough if you have a favorite that you trust. The link for my pizza dough also includes a yeast option, if you want to make your own without sourdough. Bring the dough to room temperature when you’re ready to bake.


Cheez, Louise
Traditional scampi— the kind that’s piled onto a dome of angel hair— would not have any kind of cheese. But for my pizza, which does not have a base sauce, I’ve opted to scatter a bit of freshly grated mozzarella over the dough so that the shrimp curls have something to rest on. This is the firm variety of mozz, not the soft variety that is common for Caprese salad. Skip the pre-shredded stuff from the grocery store, as it is packed with an anti-caking agent that also prevents even melting.
My recipe also calls for parm-romano blend cheese, which we make in bulk at home because we use so darn much of it. A good Italian-made Parmesan is acceptable here, but again, do not use the pre-grated stuff. A special occasion pizza deserves the freshest cheese, and a few flicks of a microplane grater will bring big results, I promise.
The star of the show— shrimp
Finally, choose the right shrimp and for the love of flavor, don’t use pre-cooked. Choose fresh large shrimp— somewhere in the 20 pieces-per-pound range is just right— and buy them with the shells and tails on, as you’ll use those parts for the scampi sauce. Be sure to remove the “vein” from the curled back of the shrimp, and take note of the steps below for marinating them a few minutes before baking.
Let’s get cooking!
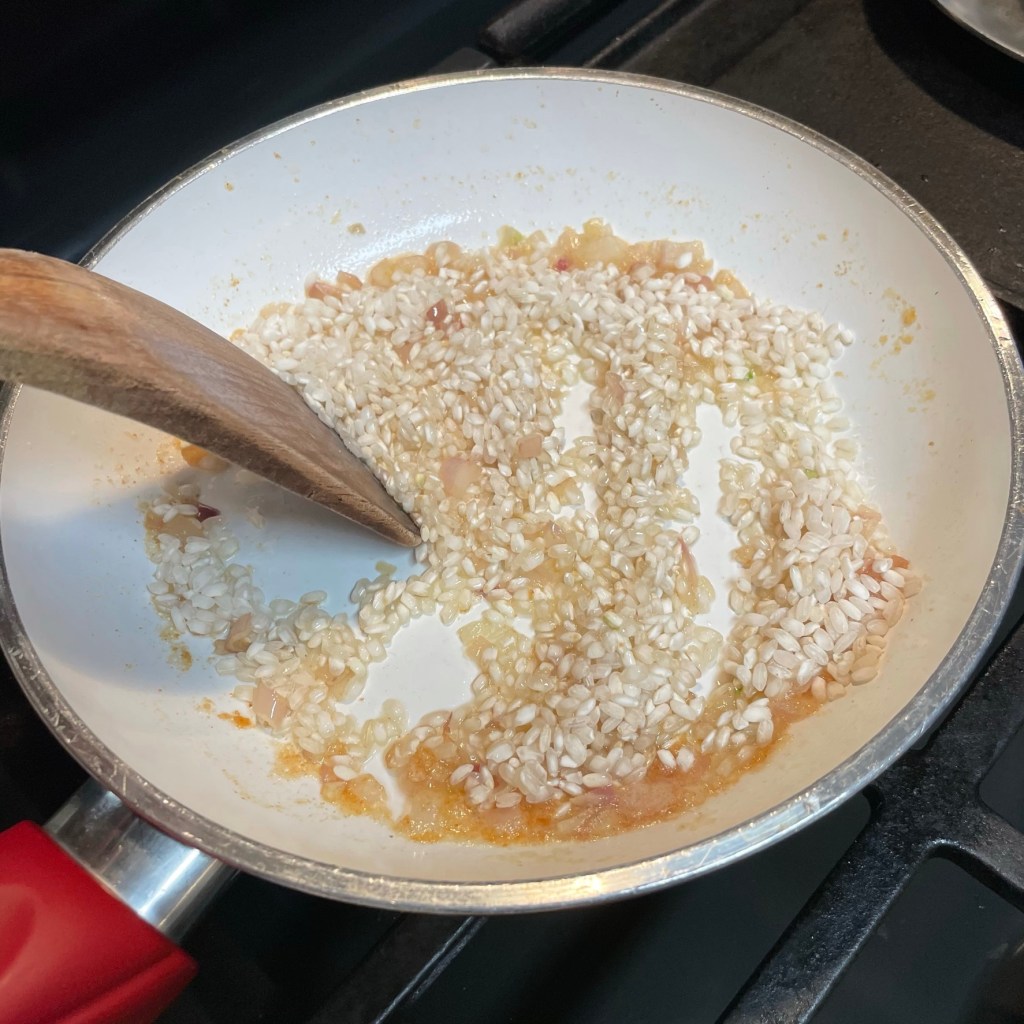
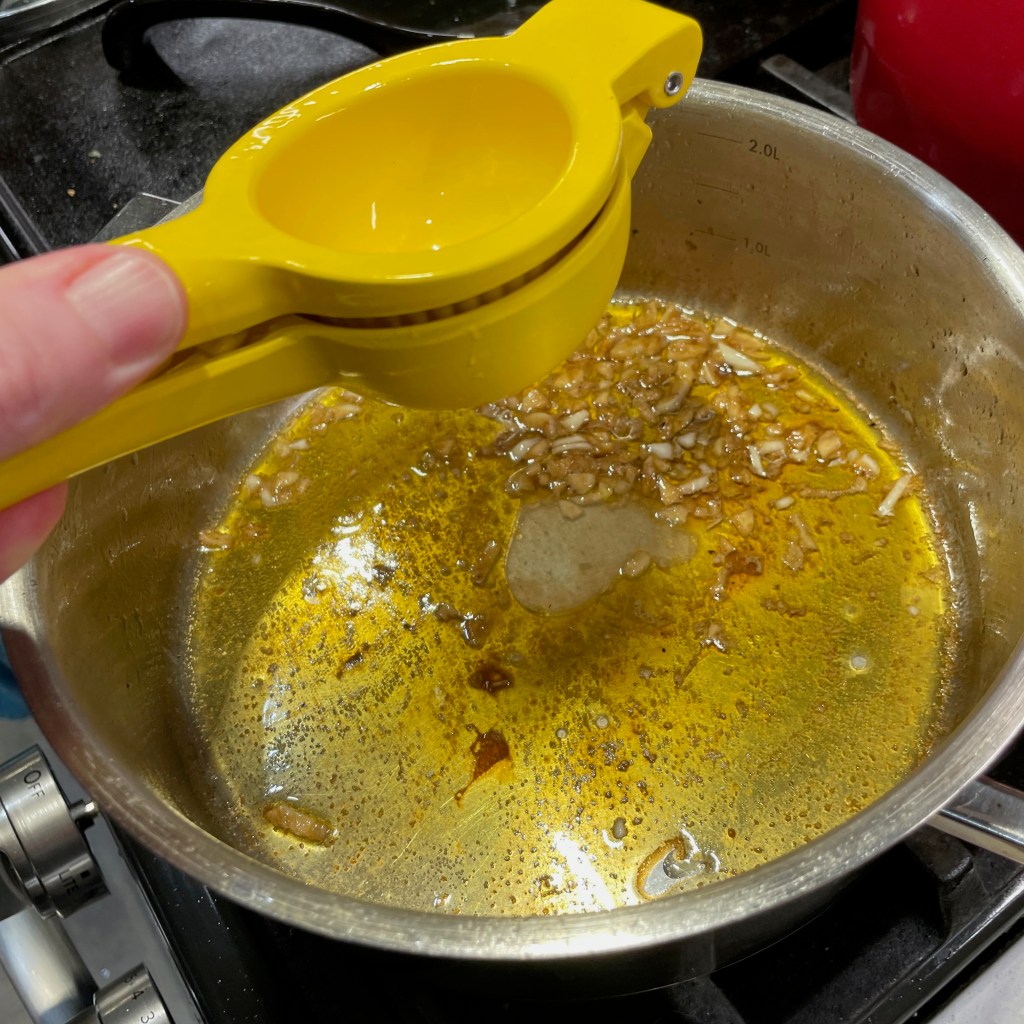
The sauce happens in two stages, beginning with what will seem like a ton of garlic and the parts and pieces that remain after you clean and set aside the shrimp. You’ll sauté the garlic at very low temperature for about 20 minutes, and then you’ll toss in the shrimp shells and tails for a gentle braising in dry vermouth.


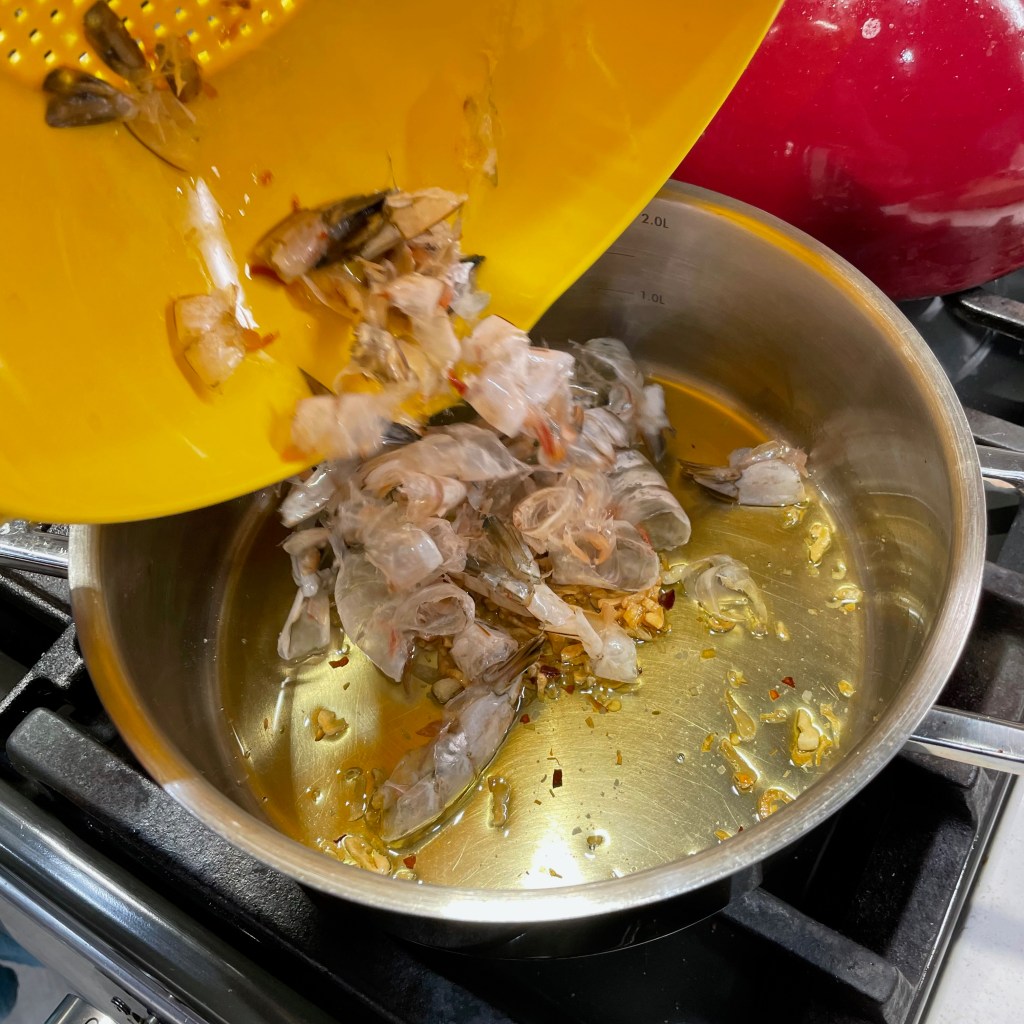
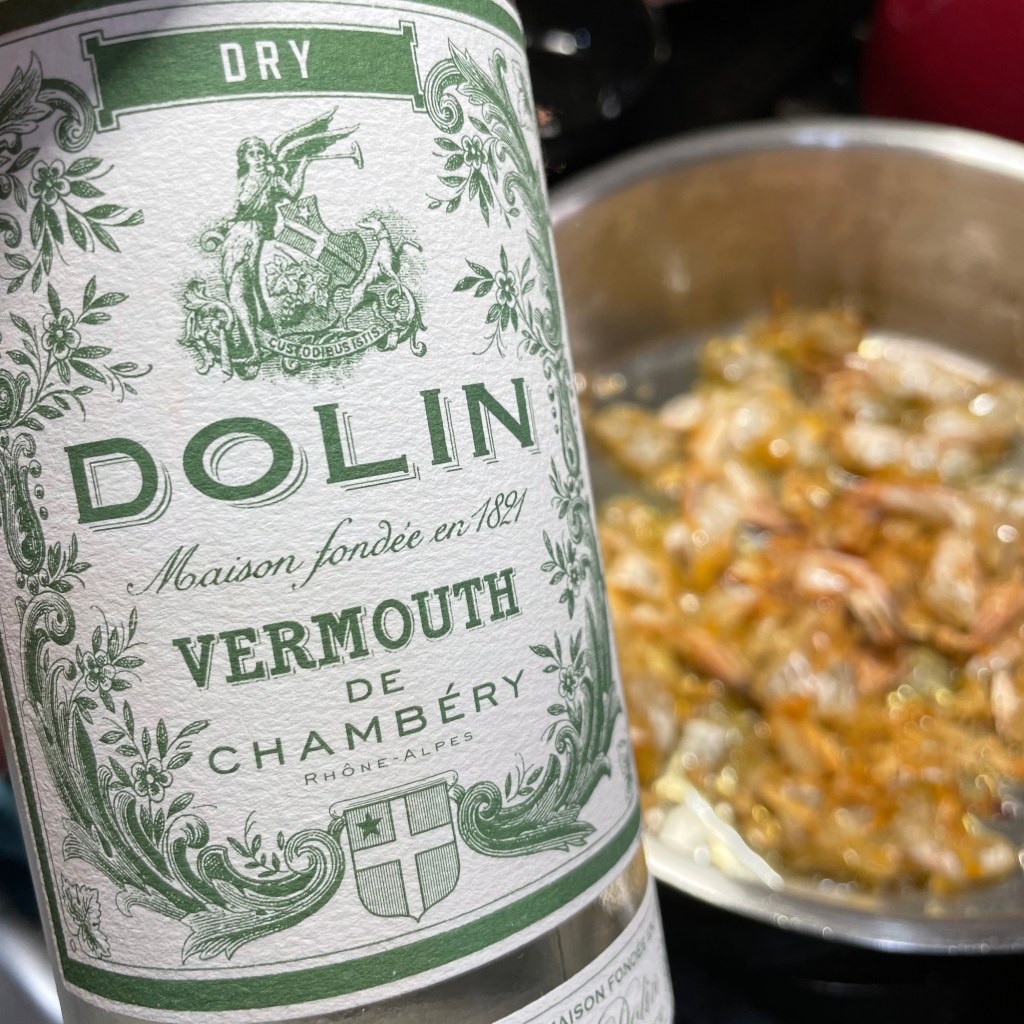
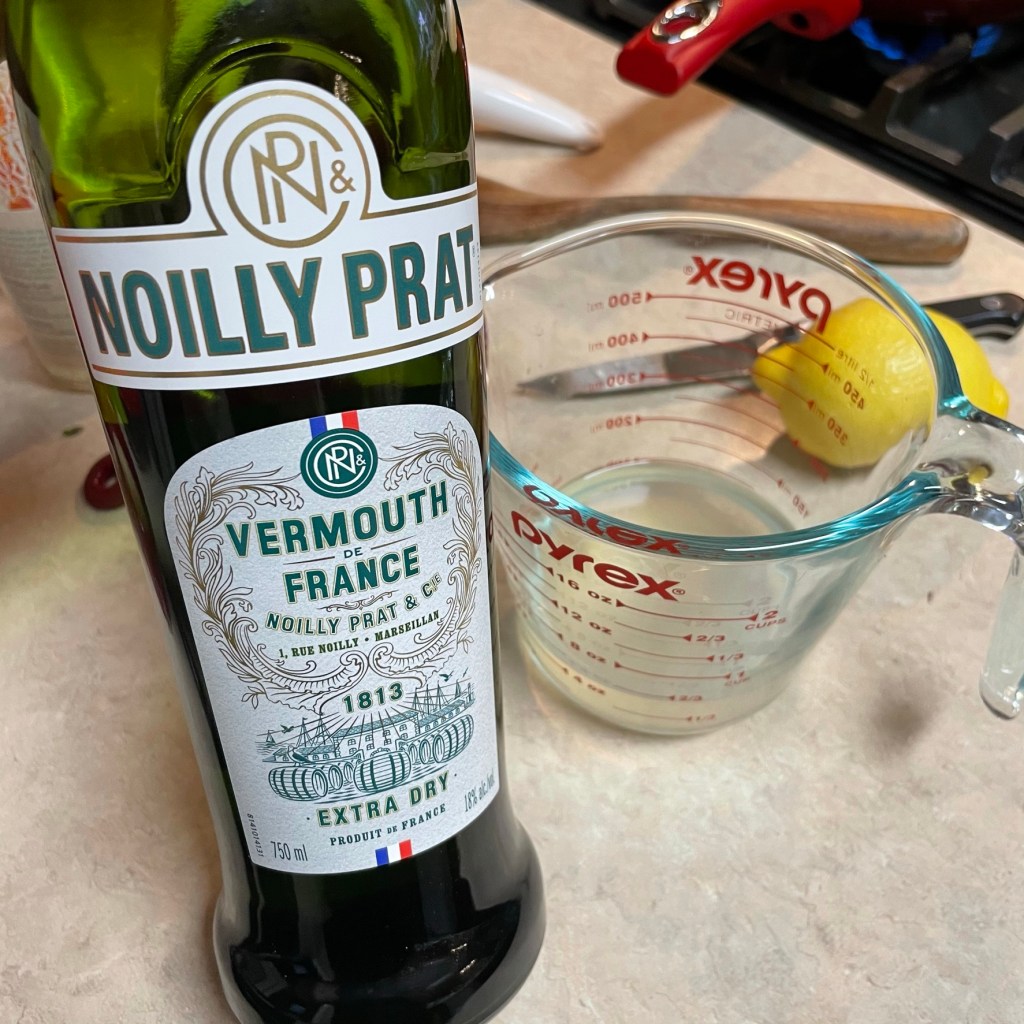
Vermouth— one of the primary ingredients in a martini— is what I always have open, but you are welcome to use a dry white wine such as pinot grigio if that’s more your style. Either way, add only enough to cover the bottom of the pot, and be sure that each shell is at least partially submerged. This will go for about 30 minutes at low heat, until most of the liquid has evaporated. Strain out and discard the solids, and you’ll be left with a small amount of deeply flavored, shrimpy-garlicky oil.


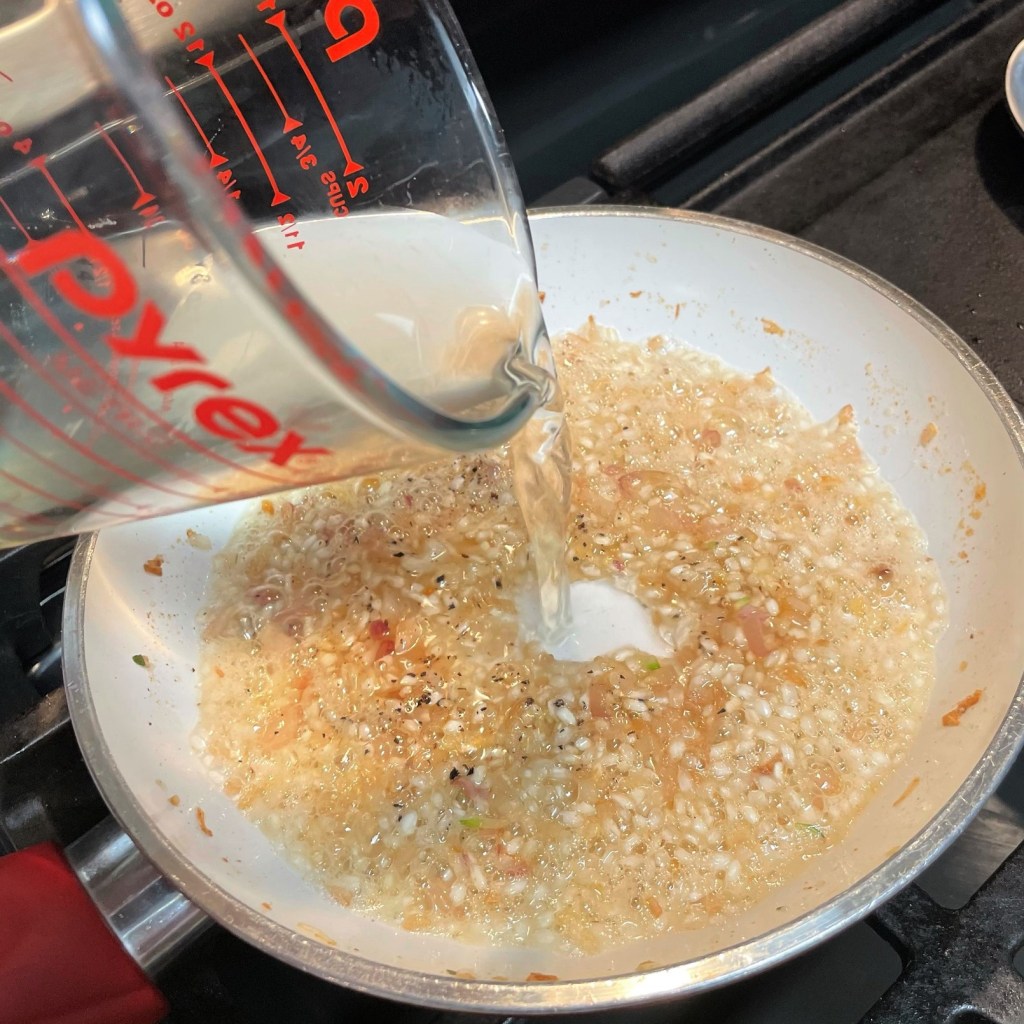
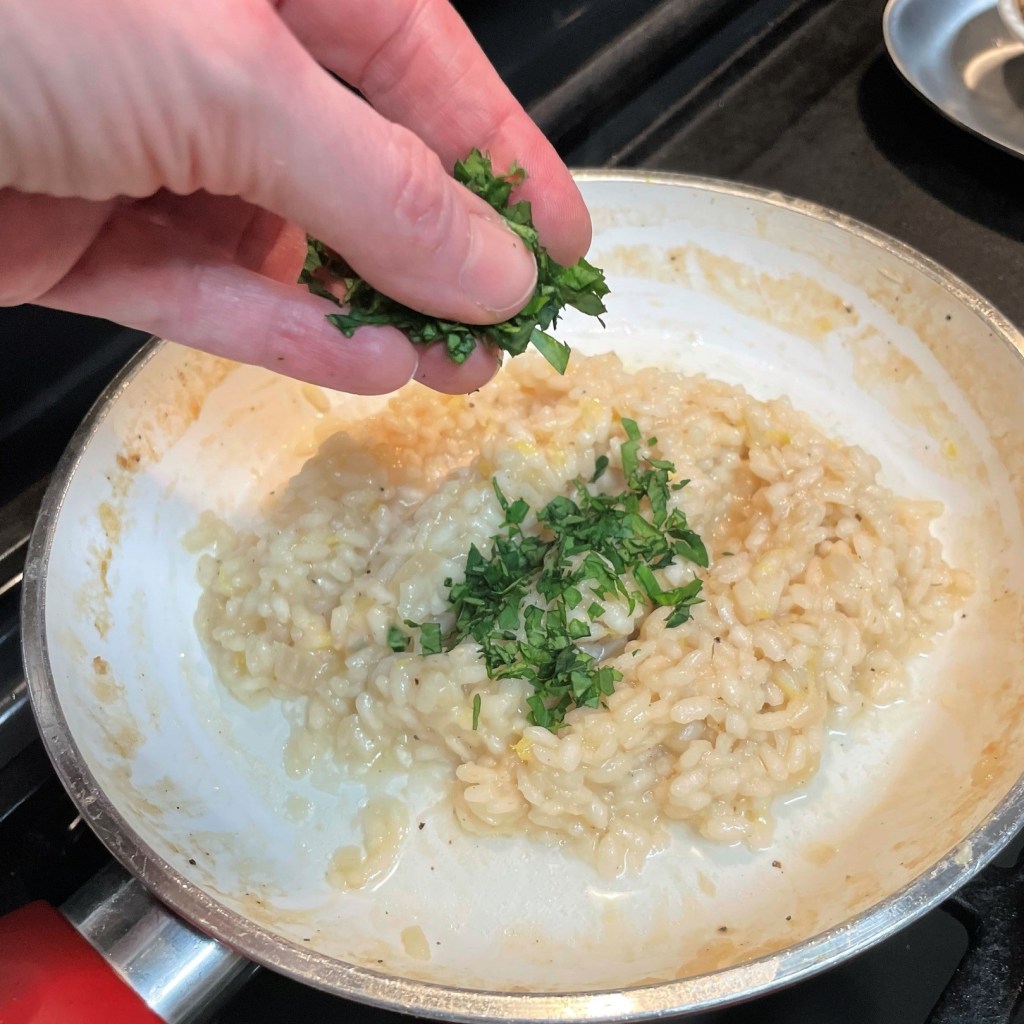
Next, transfer the strained base back to the pan over medium heat and add more minced garlic to it. Squeeze in the juice of half a lemon and simmer this until the garlic is softened (don’t let it burn!), and then turn off the heat. Add finely chopped parsley and swirl in a tablespoon of butter. Transfer to a straight-sided jar and use an immersion blender to whiz this mixture up into a smooth, garlicky butter sauce that you’ll drizzle onto the pizza when it’s hot from the oven. If you’re working ahead, this can be refrigerated and then brought to room temperature just before pizza baking.


Marinate the shrimp
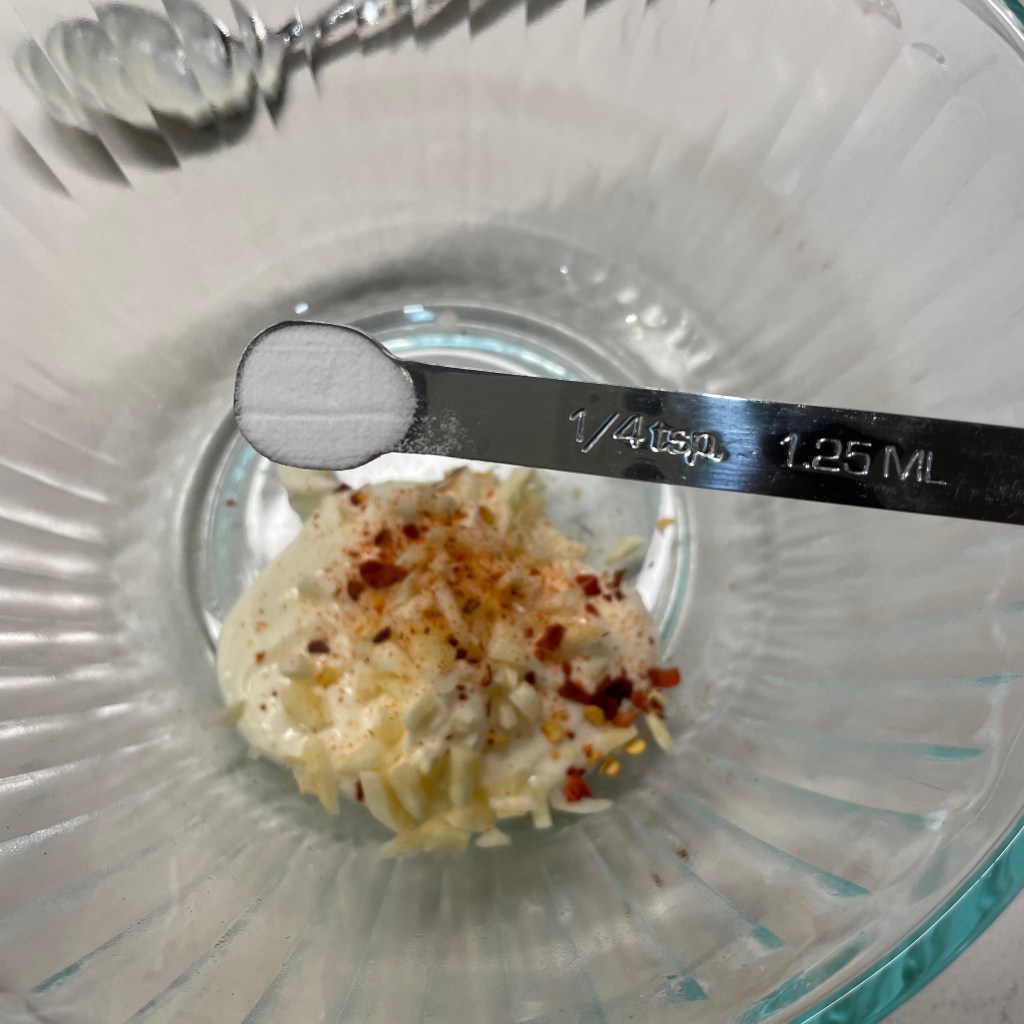
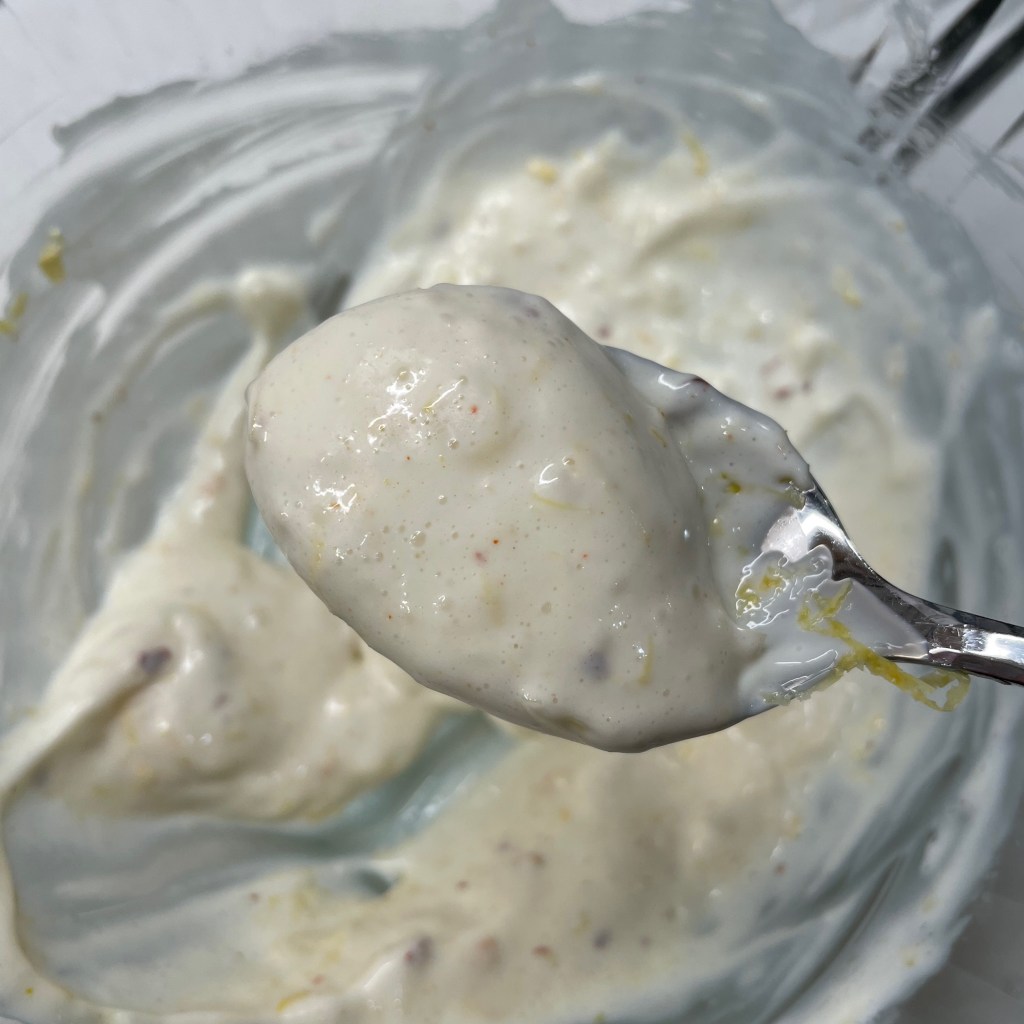
Now, do you remember the temperature this pizza will bake? Five hundred, fifty degrees! Under such extremes, the delicate shrimp needs a little protection, and I’m treating it with the mayonnaise trick I learned from rock star chef Kenji Lopéz-Alt. There is yet another clove of minced garlic in here, plus the zest of a small lemon and a shake of red pepper flakes. And then, the magic ingredient— baking soda! You can read all about my discovery of this technique here, if you wish, but suffice to say that it transforms the marinade to flavor the shrimp and protect it from the high heat. Twenty minutes will do it, but wait until just before pizza time for this step.


Time to build the pizza!
Prep a pizza peel by rubbing in flour and then medium grind cornmeal, and hand-shape the pizza dough into a 14-inch round. Drizzle it with olive oil and season with salt and pepper. Next, scatter a sparse amount of the freshly grated mozzarella onto the dough as a base for the shrimp, and a quick shake of red pepper flakes. Arrange the shrimp (including that mayo marinade) onto the pizza. Give the whole thing a dusting of parm-romano cheese and slide it into the oven. Set a timer for 6 minutes (or longer, if using a pizza stone).


The preheated baking steel retains a great deal of heat, and the high temp of the oven ensures that the crust as well as the toppings will be perfectly browned in this time. Drizzle on the garlic-shrimp butter sauce, toss on more fresh parsley and one more dose of parm-romano blend cheese.


The cheese and garlic butter will melt into the pizza, creating a perfect bite of tender shrimp, intensely flavored butter and garlicky goodness! This will be one of the two pizzas on our table this year as we count down to 2024.
Now, care to guess what other pizza I’ll be trying this New Year’s Eve? Hint: it’s more seafood. Stay tuned! 😉
Shrimp Scampi Pizza

Don't let the number of steps scare you away from making this insanely delicious pizza. None of them are difficult, and you'll be greatly rewarded for your effort!
Ingredients
- 1/4 cup extra virgin olive oil
- 5 to 6 cloves fresh garlic, peeled and sliced thin
- Kosher salt
- A few shakes red pepper flakes
- Shells and tails of 3/4 pound uncooked shrimp
- 1/4 cup dry white wine (or vermouth, as I prefer)
- 2 additional cloves garlic, minced
- Juice of 1/2 lemon
- 2 Tbsp. fresh parsley leaves, finely chopped
- 1 Tbsp. butter
Directions
- Add olive oil to a heavy-bottomed pot placed over very low heat. Add first amount of garlic, salt and red pepper flakes and steep for about 20 minutes. Watch this carefully to be sure the garlic doesn’t burn; it should just barely simmer around the edges of the garlic.
- Add shrimp shells and tails to the pot and toss until shells begin to turn pink. Raise heat slightly to medium-low. Add dry vermouth and simmer until liquid is mostly evaporated. Cool to room temperature and then strain out solids through a mesh strainer.
- Wipe out the pot and add strained shrimp stock, minced garlic and lemon juice. Cook over low heat until garlic softens. Turn off heat, stir in parsley and whisk in butter.
- Transfer sauce to a straight-sided jar and use an immersion blender to puree until smooth. Set aside or refrigerate and bring to room temperature before baking pizza.
Ingredients
- 1/3 cup mayonnaise
- 1 clove garlic, peeled and minced
- 1 or 2 shakes red pepper flakes
- 1/4 tsp. baking soda
- Zest of 1 small lemon
- 3/4 pound wild-caught shrimp, peeled and deveined
Directions
- Combine mayo, garlic, red pepper and baking soda in a bowl large enough to hold the shrimp.
- Stir in lemon zest and toss shrimp in the mixture. Set aside for 20 minutes before assembling the pizza.
Ingredients
- 11 oz. pizza dough ball, at room temperature
- Drizzle of olive oil
- Salt and pepper
- 1/3 cup freshly shredded hard mozzarella
- A few shakes red pepper flakes
- 2 Tbsp. parm-romano blend cheese
- Additional parm-romano and chopped Italian parsley (for final garnish)
Directions
- Shape dough by hand into a 14-inch round and place it on prepared peel. Drizzle oil all over dough and give it a quick seasoning of salt and pepper.
- Scatter mozzarella over pizza and shake on red pepper flakes. Arrange shrimp over mozzarella. Sprinkle parm-romano cheese all over pizza.
- Slide pizza onto hot steel and bake for 6 minutes. Remove from oven and spoon over the garlic sauce, concentrating on the shrimp (don’t worry, it will melt and ooze everywhere). Sprinkle with parsley and additional parm-romano cheese. Serve immediately.