Breakfast for dinner is one of my favorite meal categories, and now that I have discovered the joy of shakshuka— the Mediterranean dish that combines vegetables and sauce with gently cooked eggs— there seems a world of possibilities beyond the standard rearrangements of eggs, bacon and pancakes.
Shakshuka, which is very popular in Jewish culture, is typically made with a tomato sauce base and any variety of vegetables. The ingredients are stewed together in one pot, and eggs are simmered on top until set. It’s quick, hearty, simple and inexpensive (depending on egg prices, of course). My husband and I have enjoyed many versions of this dish since I first learned to make it in 2017, including last summer when I made a Ratatouille Shakshuka that was so, so good.
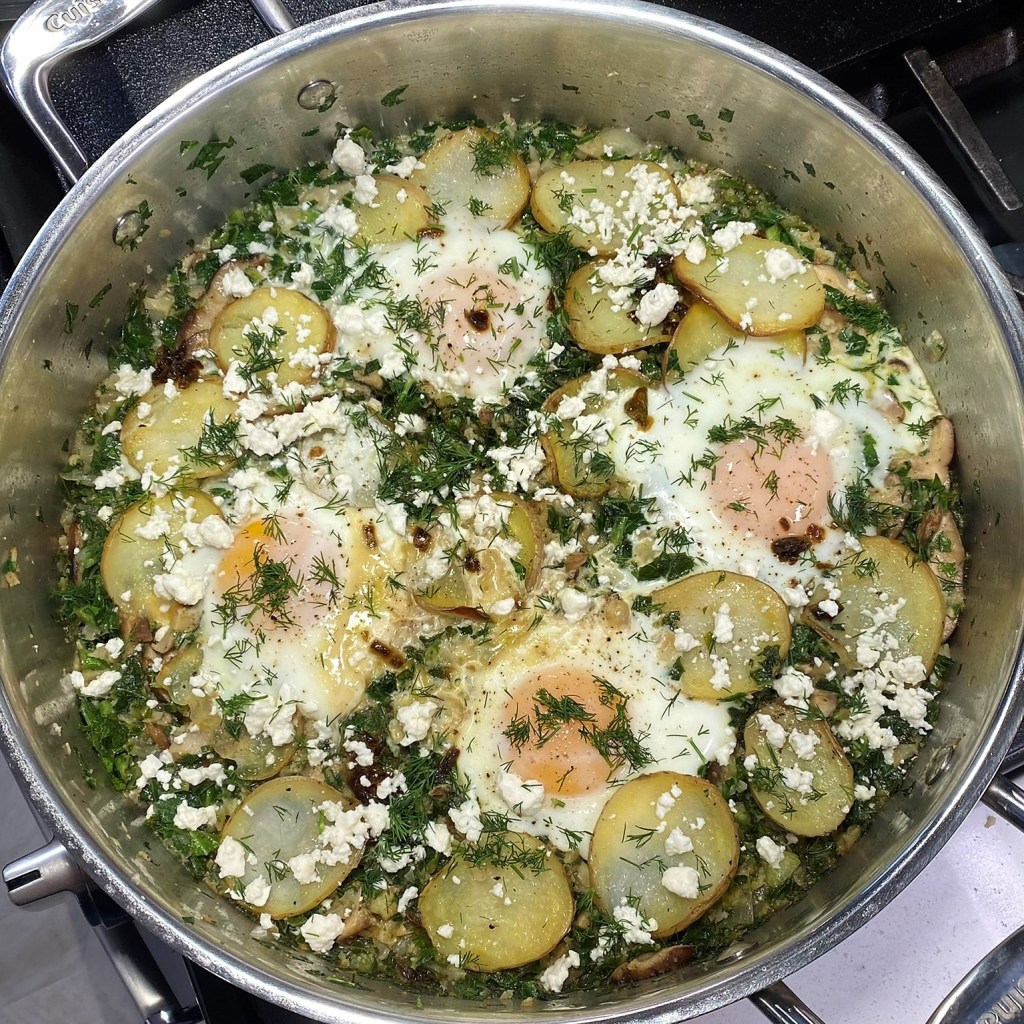
This time, however, my shakshuka is missing the bright red color of tomatoes because I have swapped them out in favor of hearty green ingredients.
Tis the season to be green!
In Spring, it’s only natural that cooks everywhere would begin to lean into the freshness of green vegetables. This past week, I opened my email to find a Green Gumbo, posted by my blog buddy Maylee at Beyond Gumbo. I had never heard of “green gumbo,” made with ham and every leafy green under the sun, but if this is what they’re doing with food in Louisiana, then I’ve got to get down there as soon as possible!
We are still some time away from harvesting the tender vegetables of spring, but consider all the cool-weather vegetables that can carry us until then— broccoli, kale, collards, spinach, leeks and bok choy would all be very easy to incorporate into shakshuka, which is a cook’s choice kind of dish anyway. The main consideration is knowing how long your chosen vegetables need to be cooked so you can plan your time accordingly. The rest is subjective, so find what you like and get cooking!
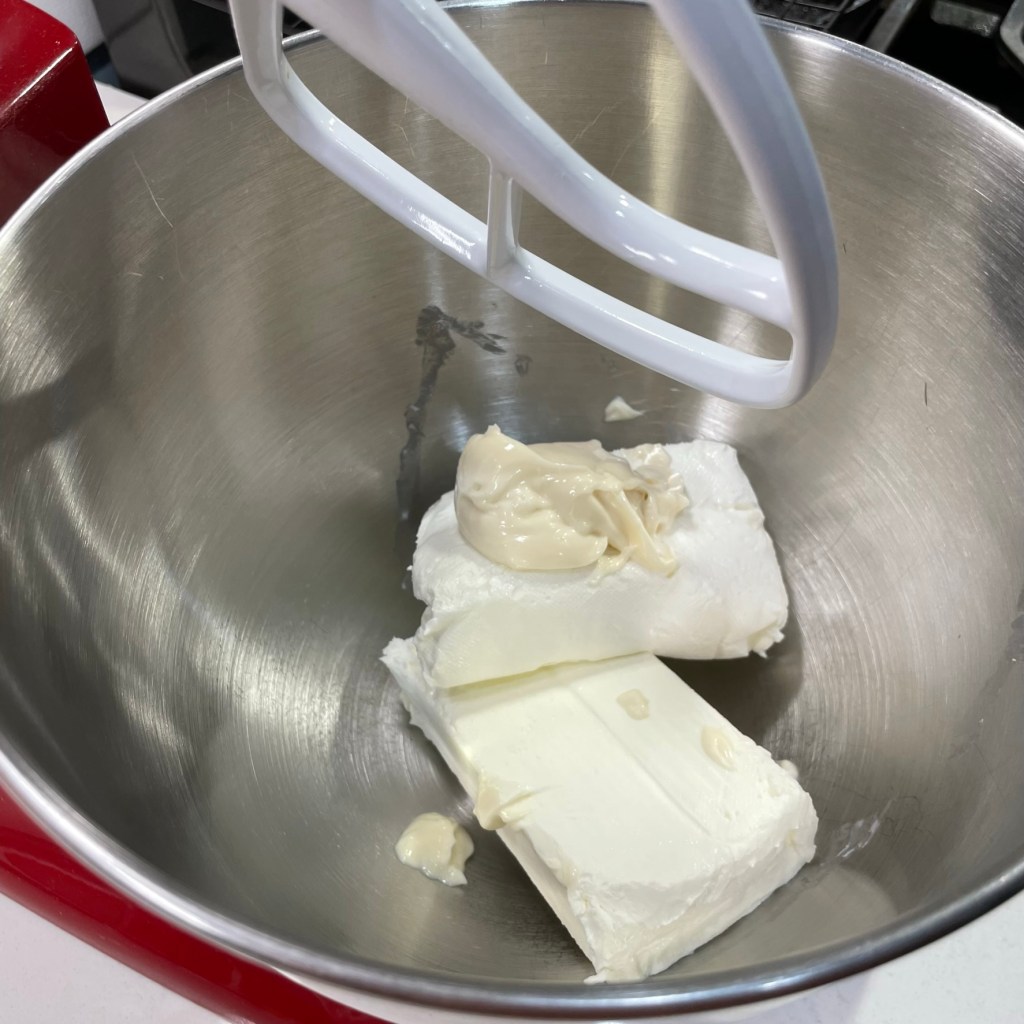
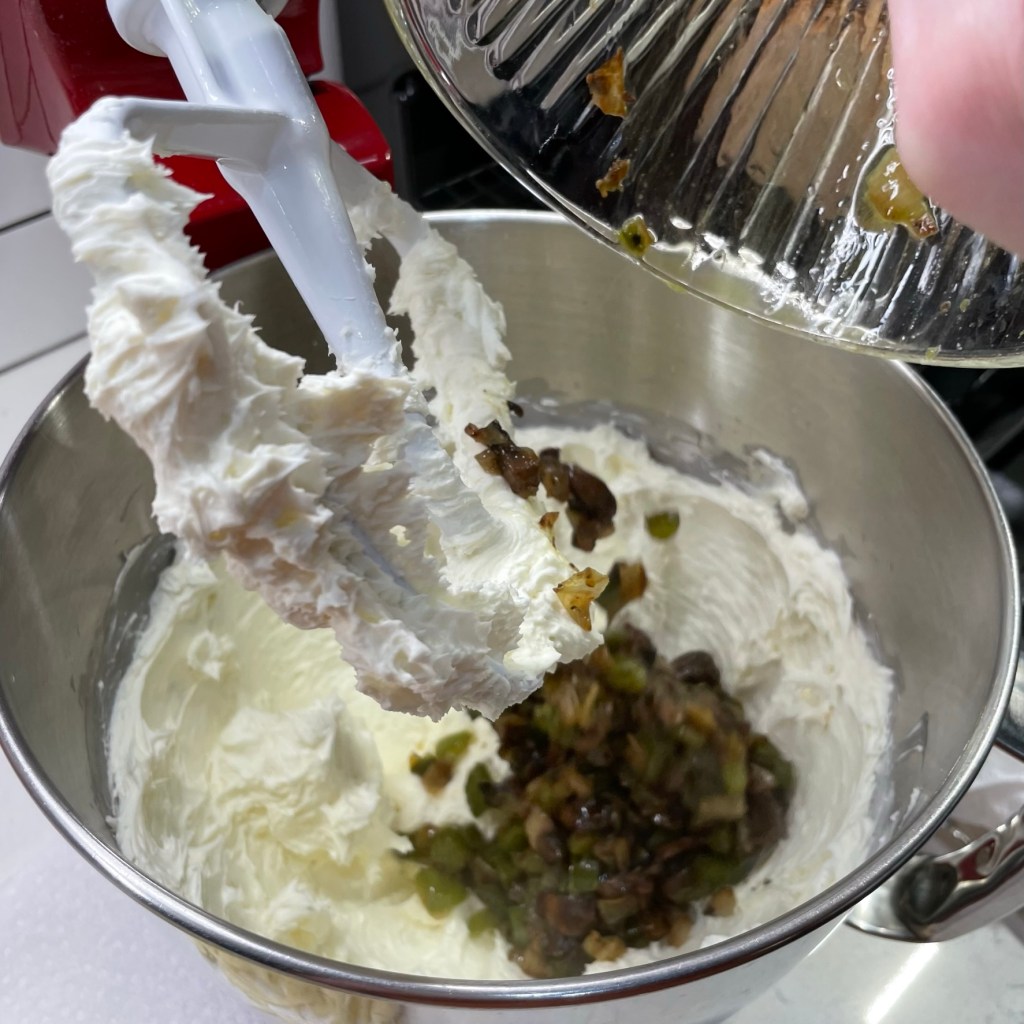
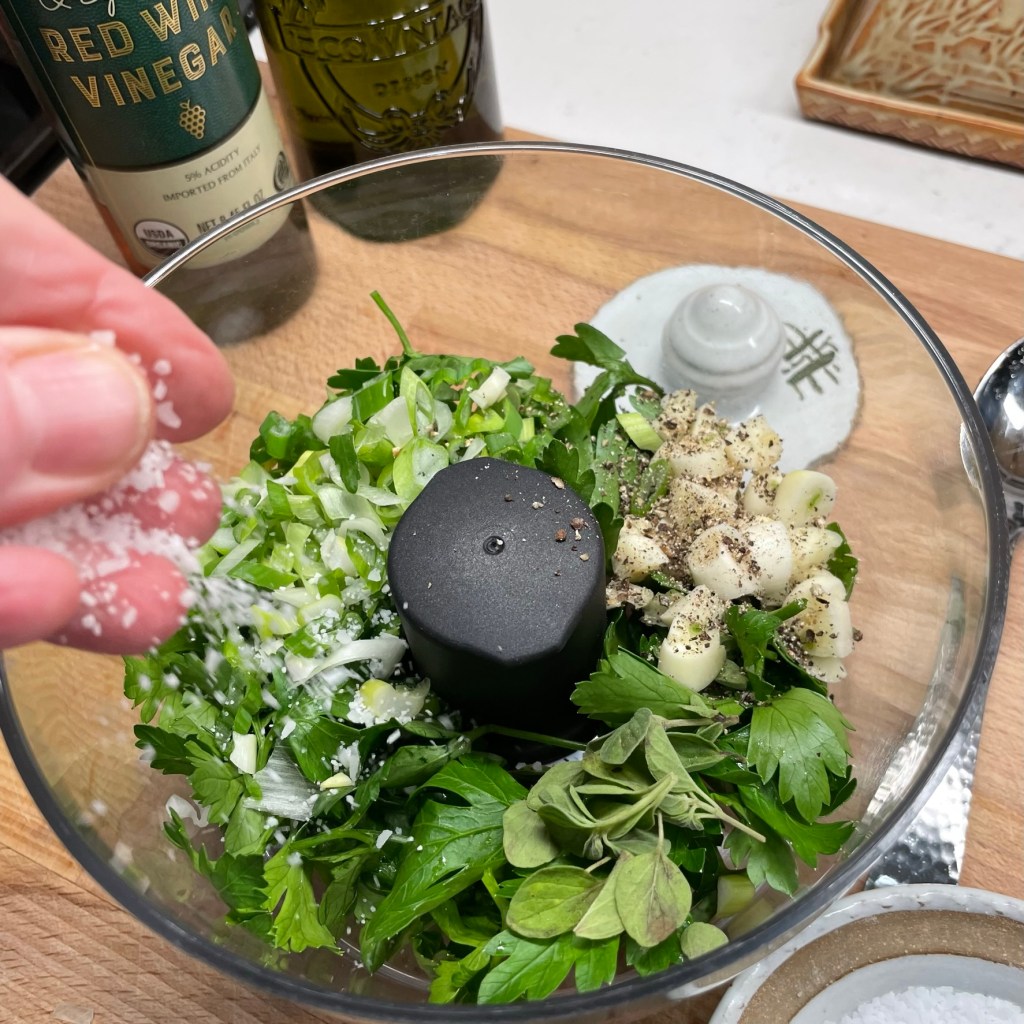
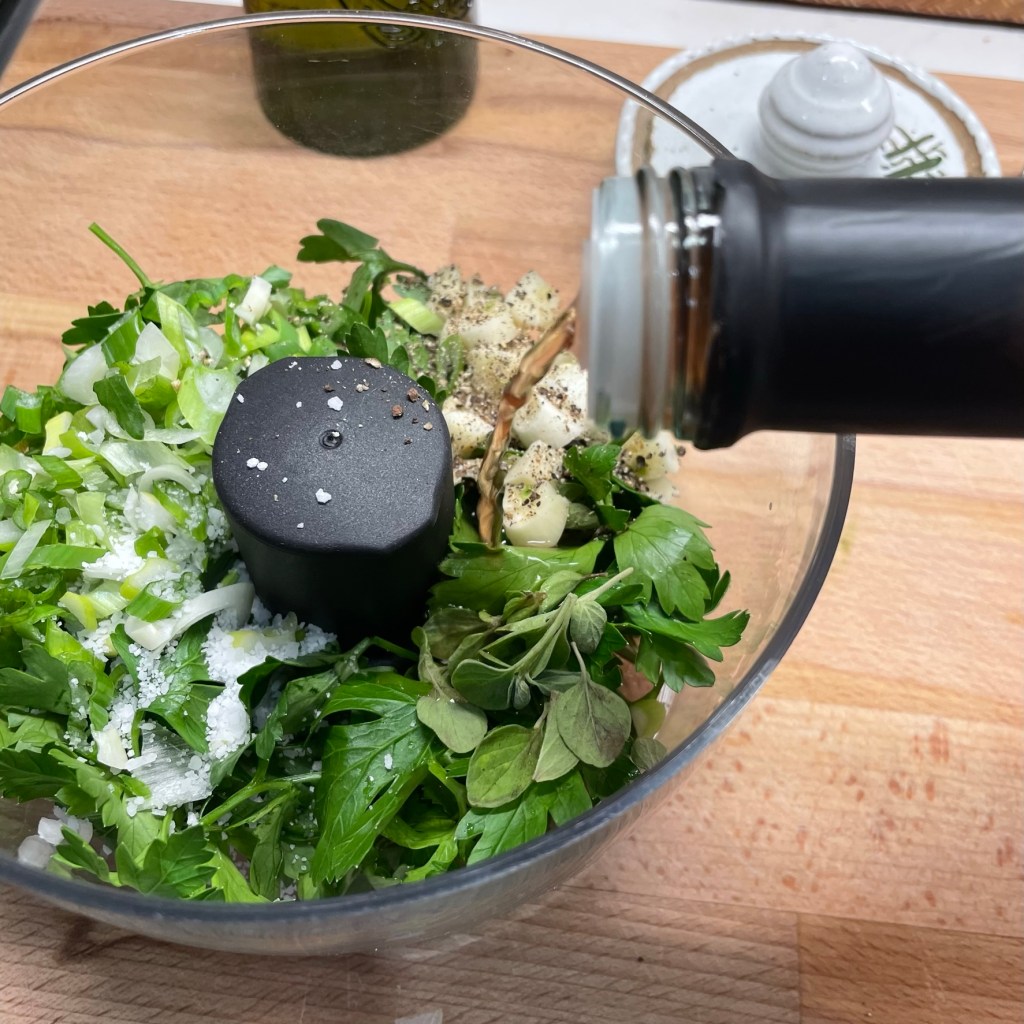
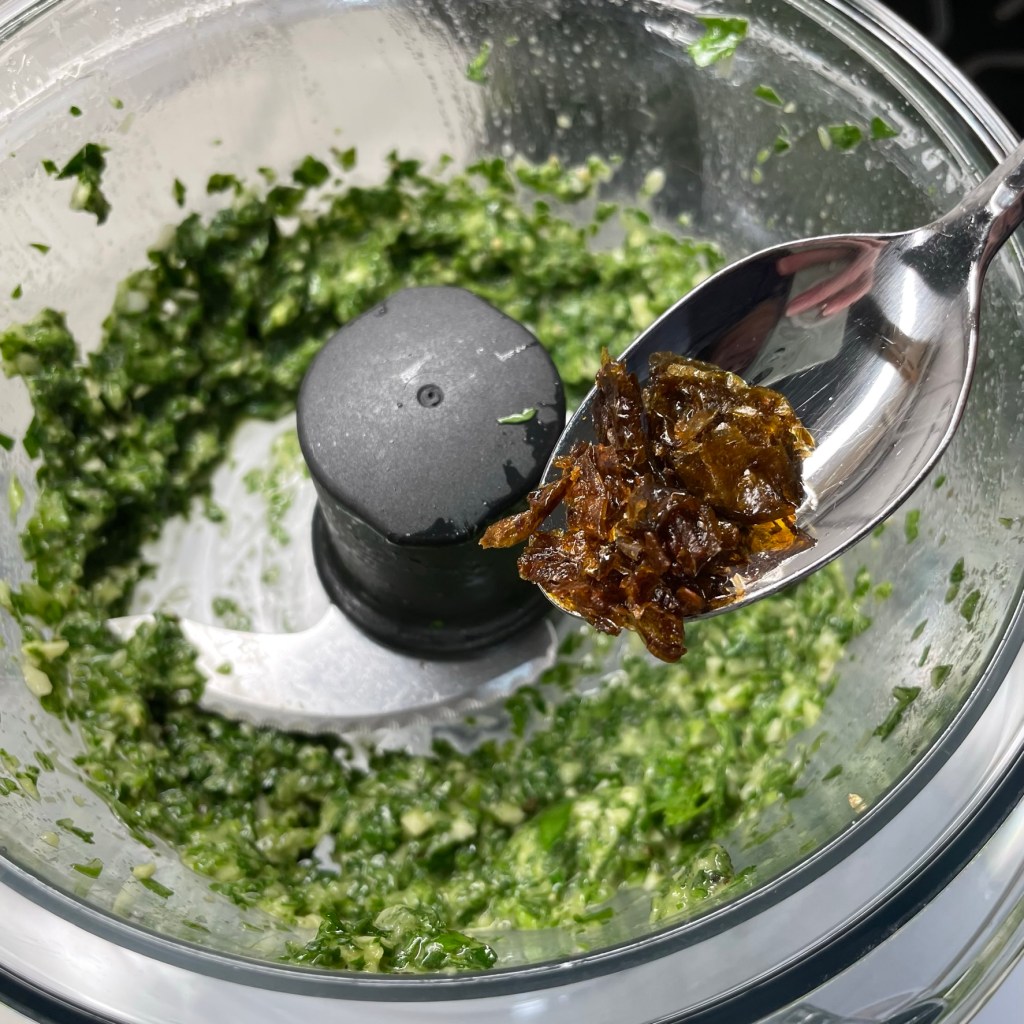
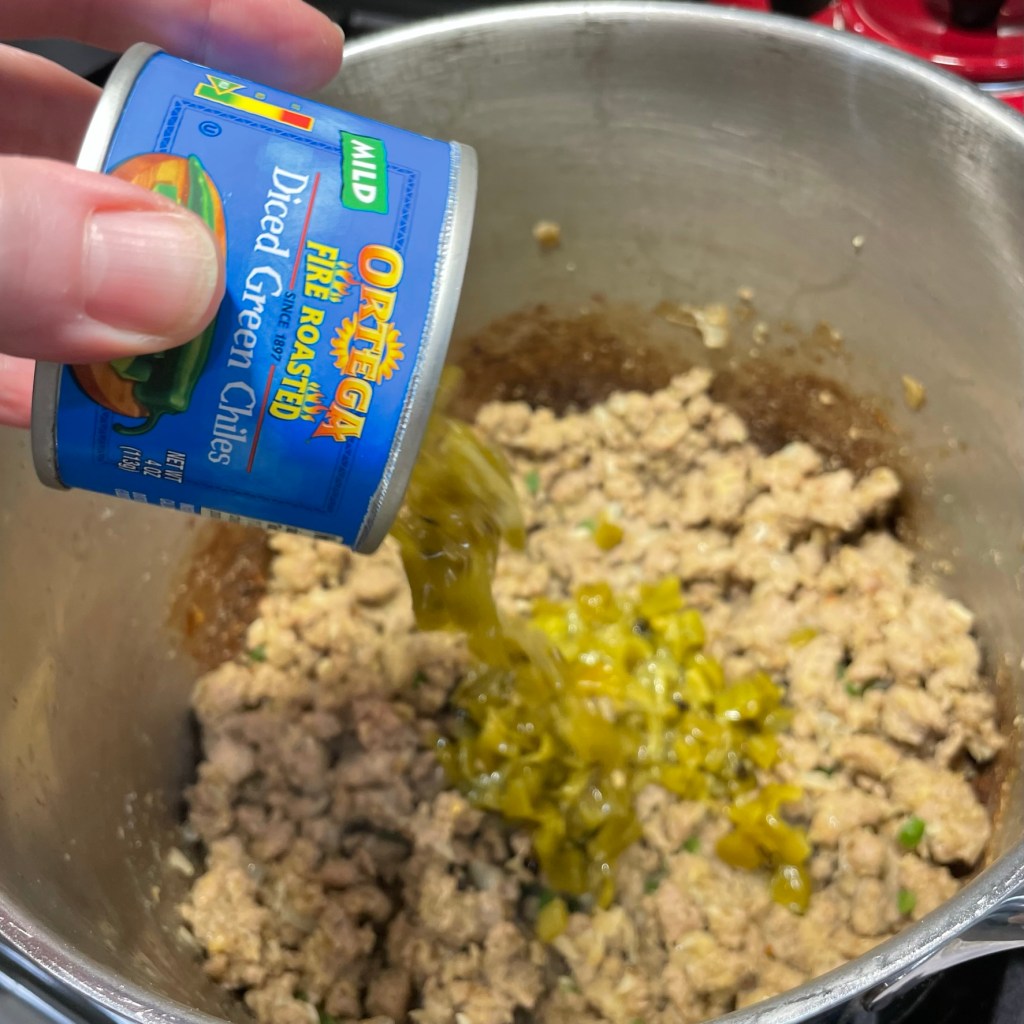
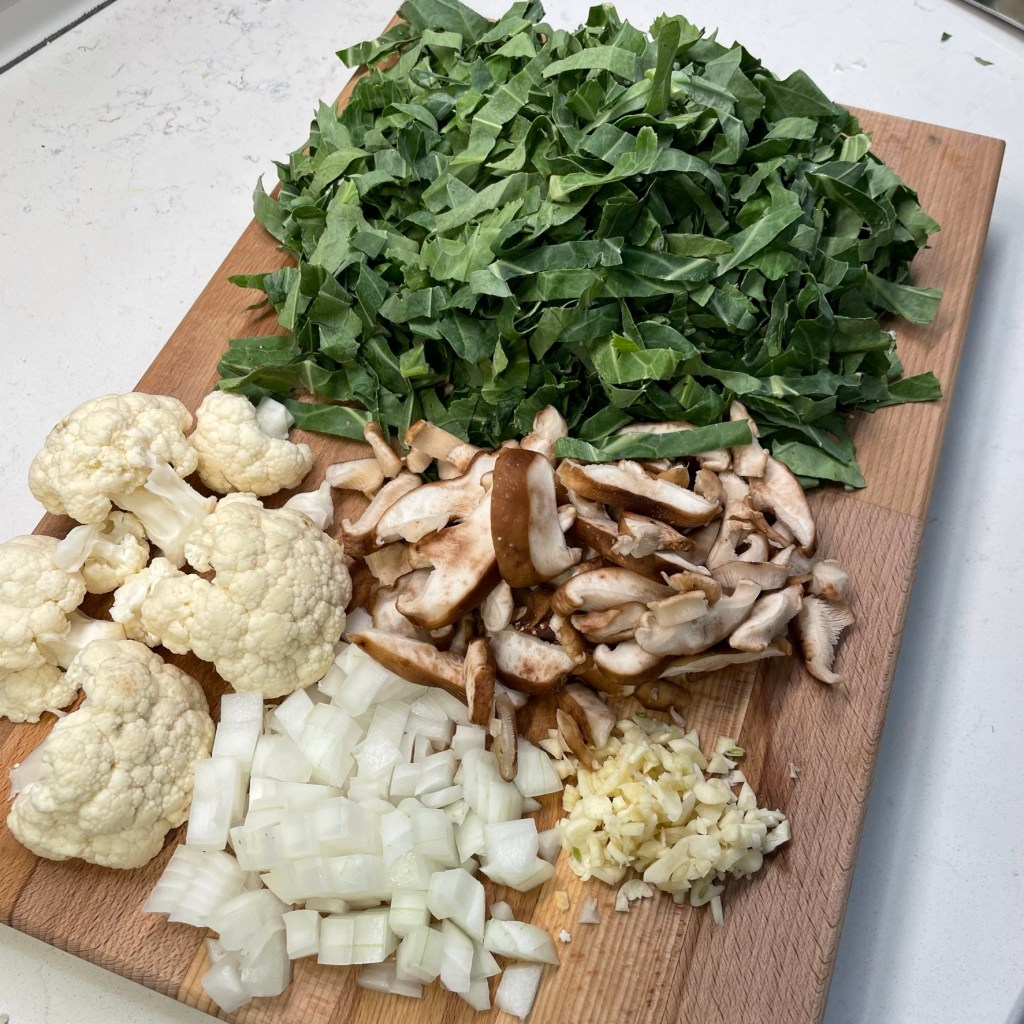
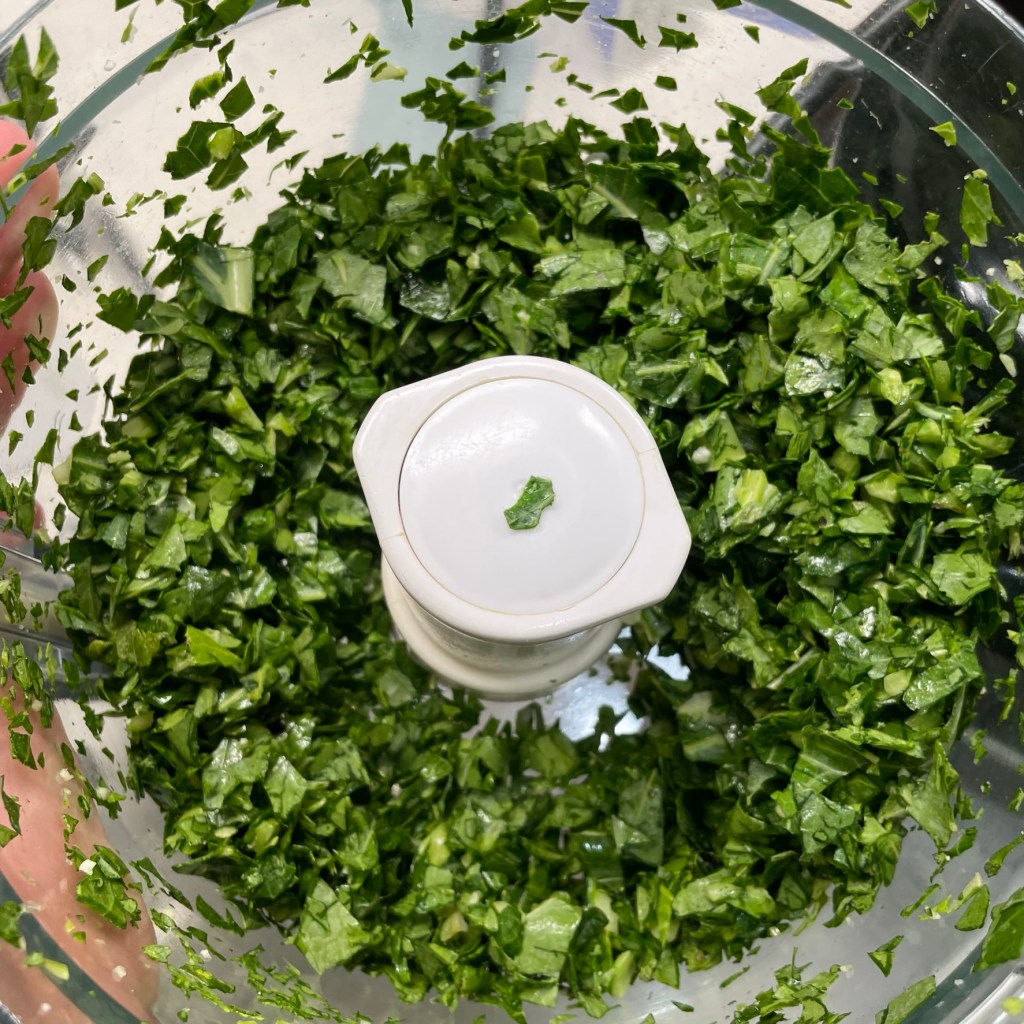
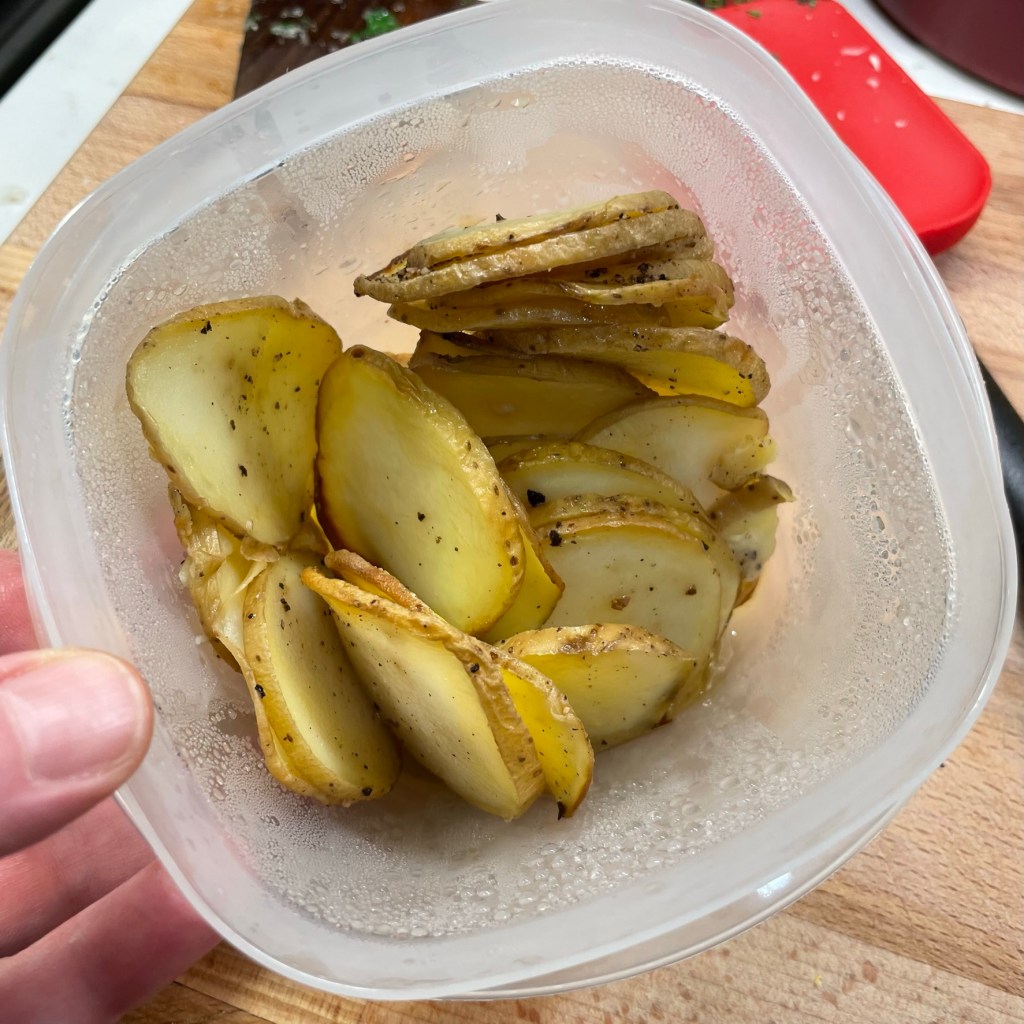
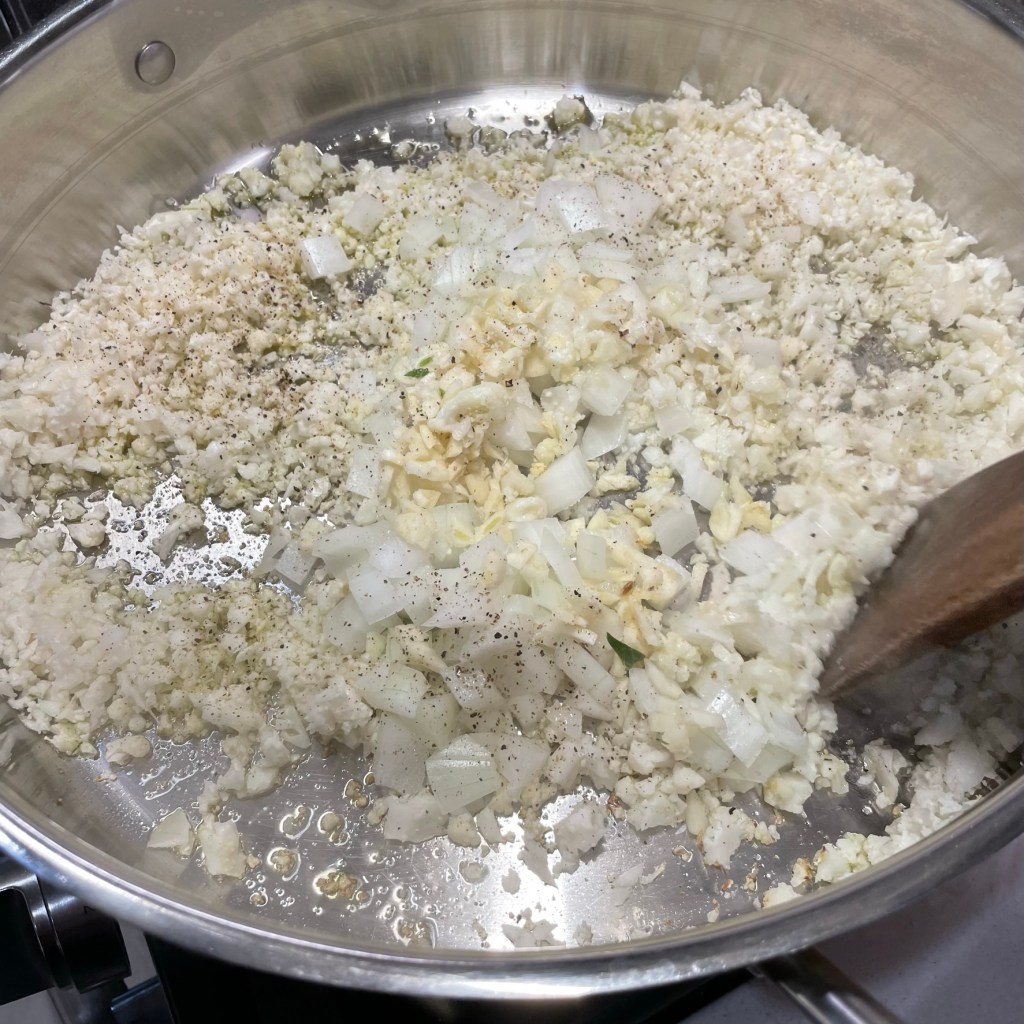
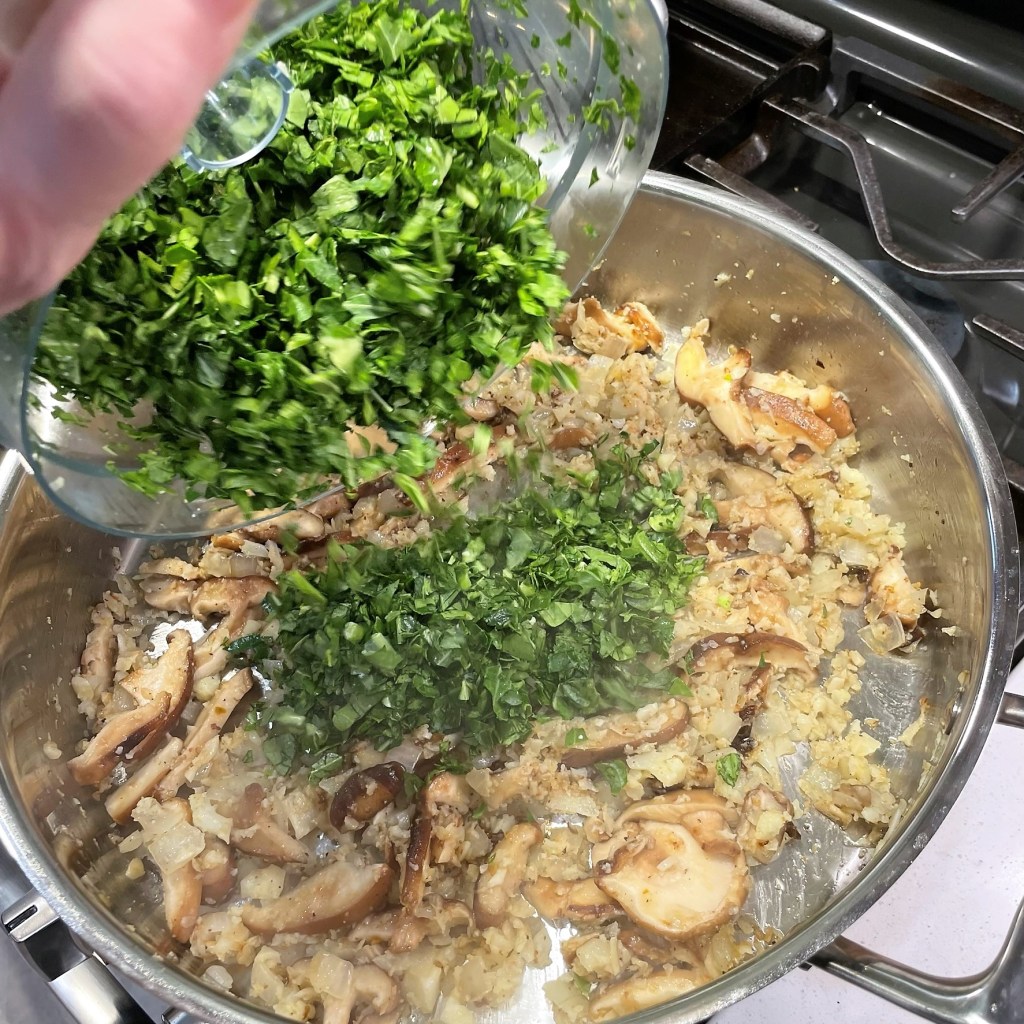
I like a dish to be texturally interesting, so I went with cauliflower, which I pulsed down into “rice” in the food processor, collard greens, also processed into smaller bits for quicker cooking, and shiitake mushrooms for a little bit of chewy, almost-meaty goodness. Onions and garlic, of course, and some sliced cooked potatoes, just because I had a few left over from another meal. They were a good addition. For kicks, I also tucked in a spoonful of the crazy-hot habanero chili crisp that I picked up at Trader Joe’s. They are no longer selling it, but if you bought a jar, you know that it keeps for a long, long time, and it adds a serious punch of spicy flavor to a dish. I’m still looking for ways to use it and it worked here, but you could sub in any other kind of seasoning you like.

An easy approach to shakshuka
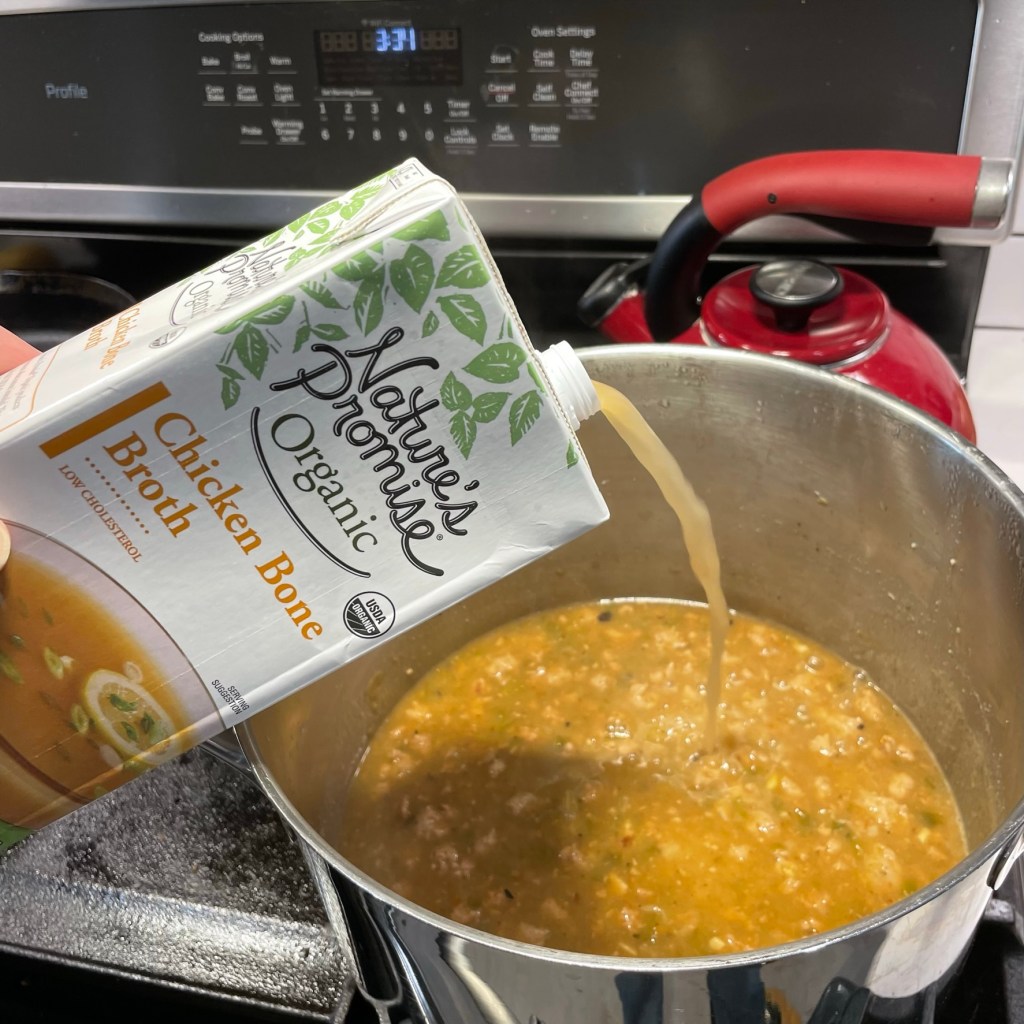
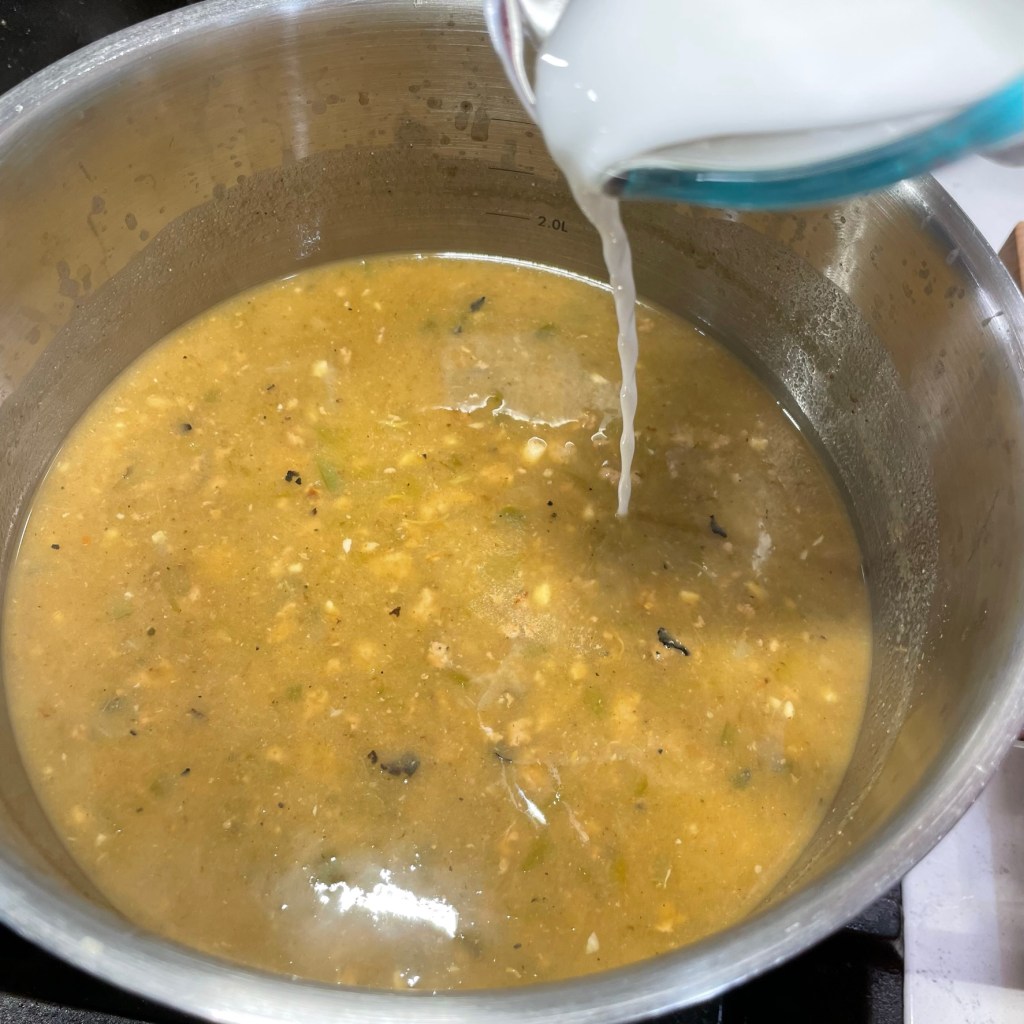
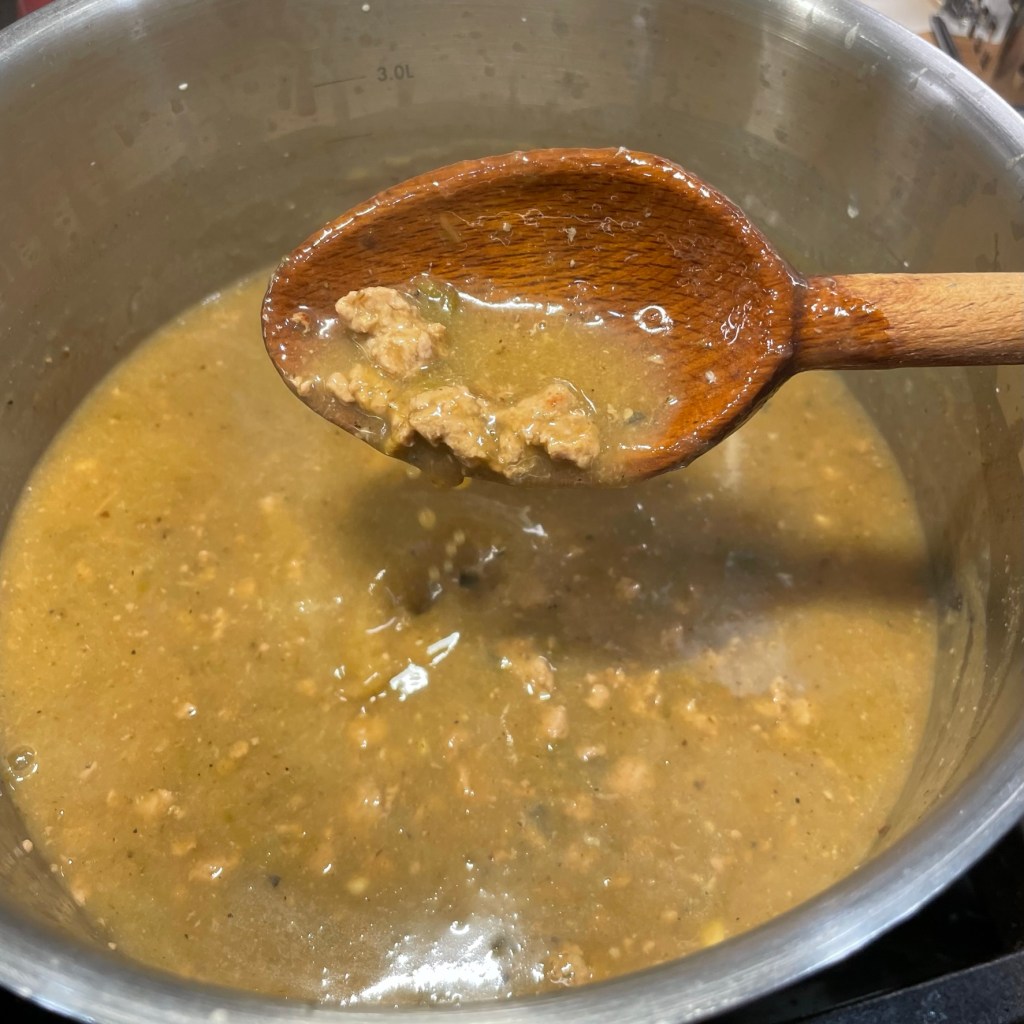
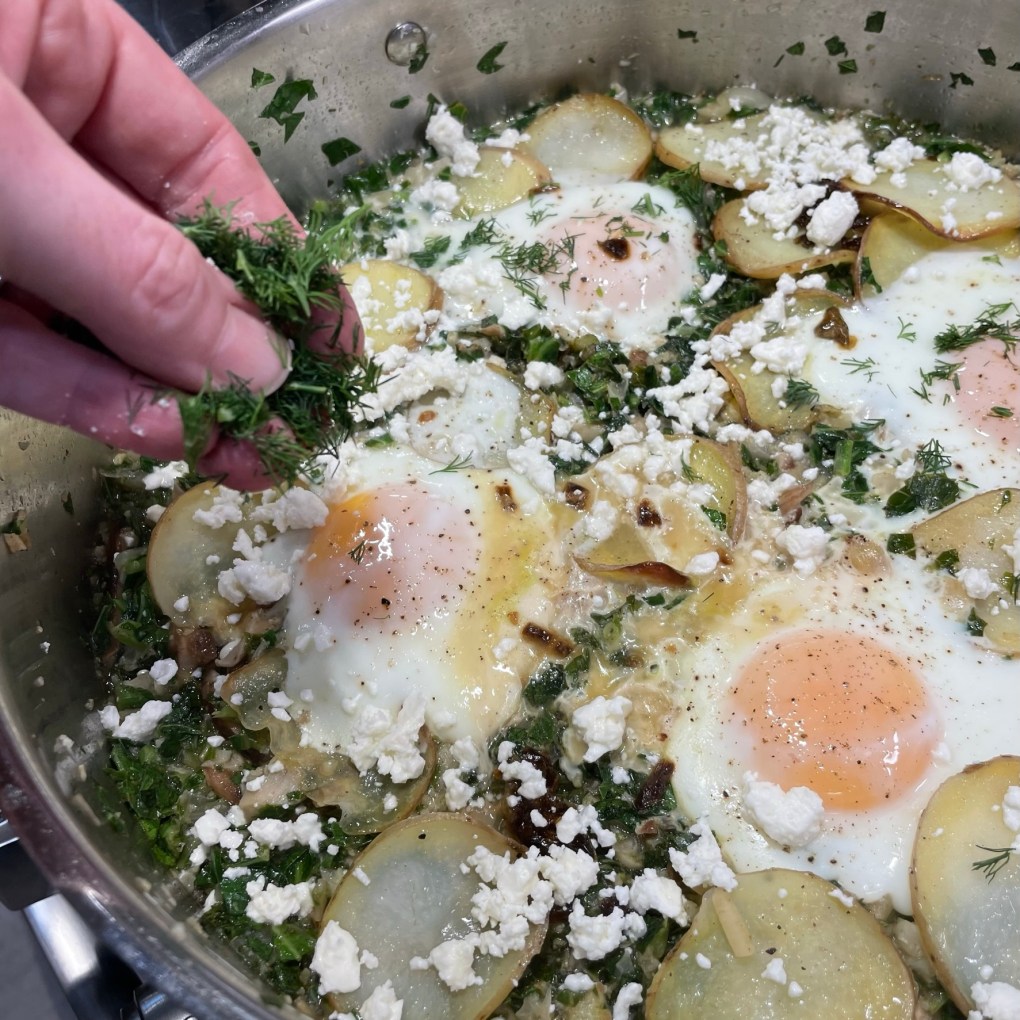
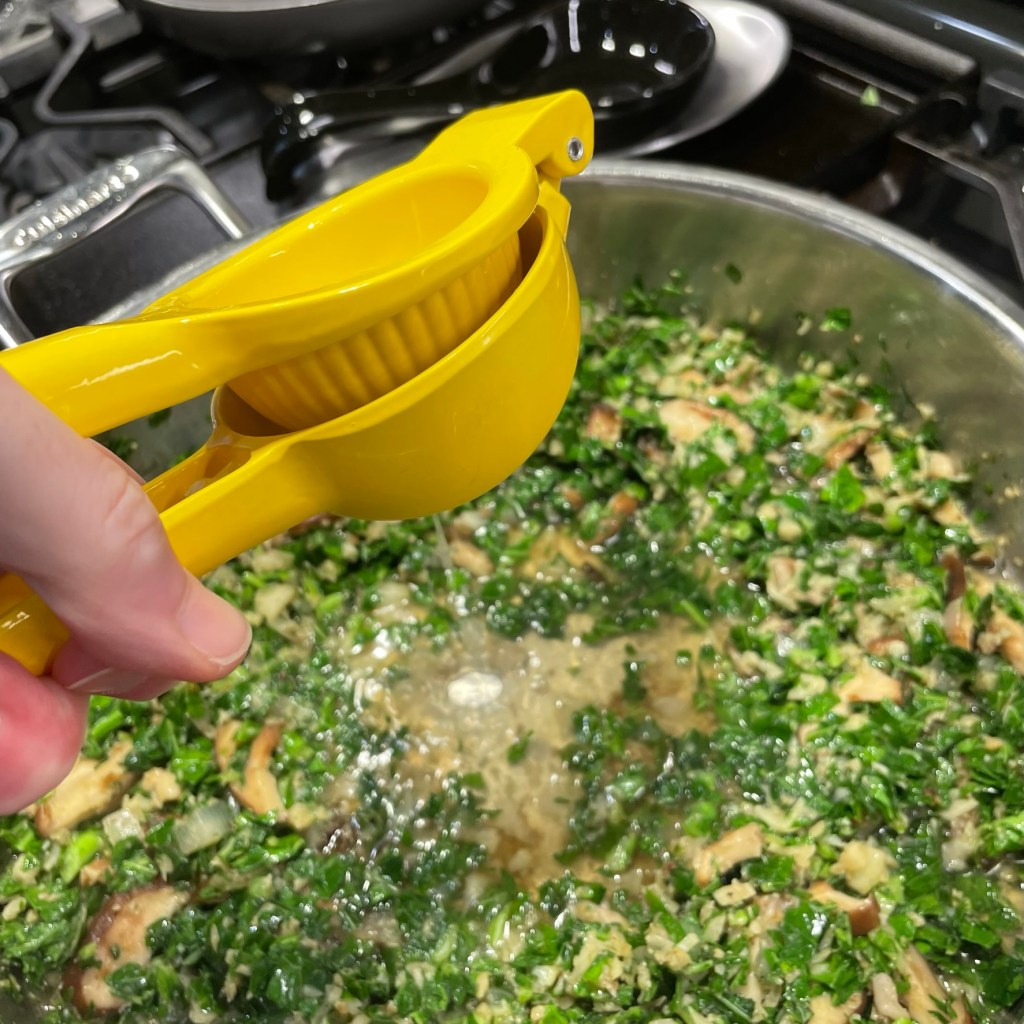
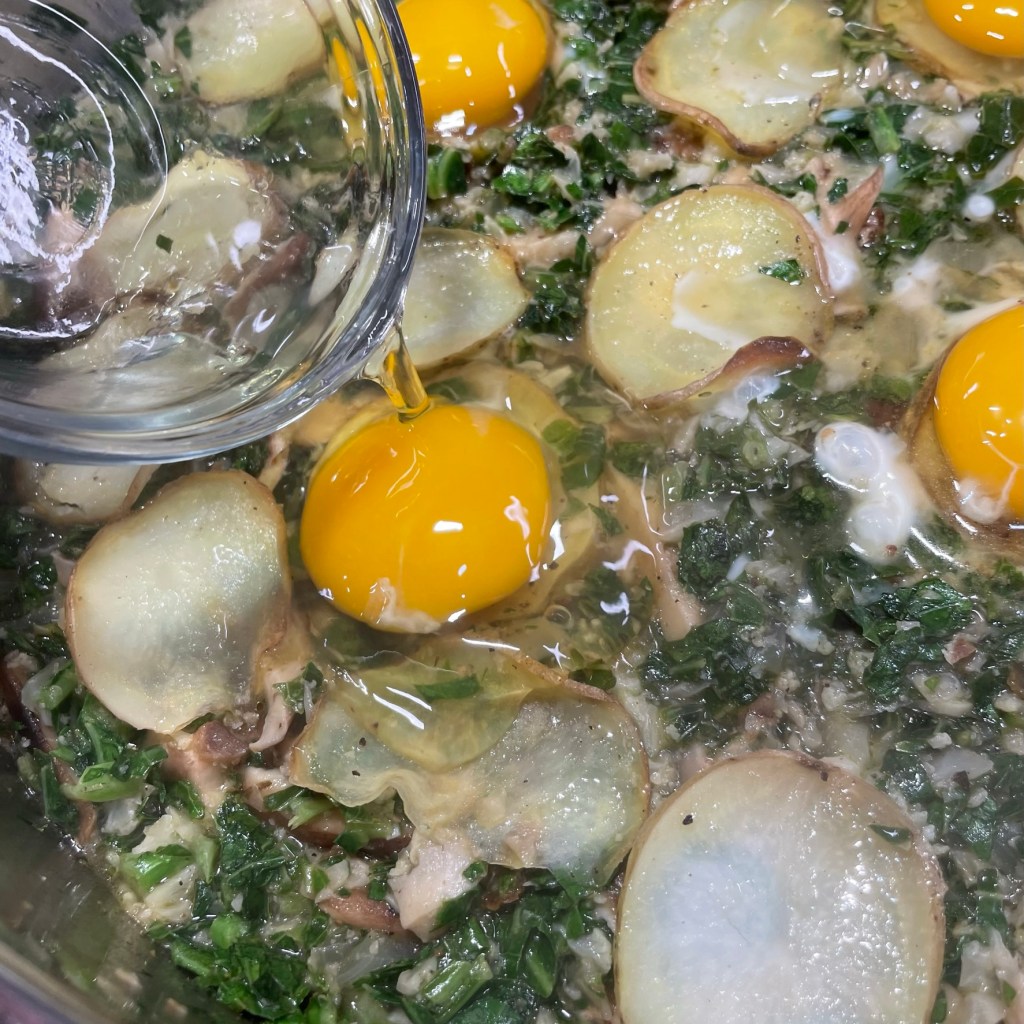
The easiest way to approach shakshuka is to build it in layers, starting with a quick saute of the firmer ingredients and aromatics. Next, I added my mushrooms and chopped collards and steamed the mixture down in a half cup of vegetable broth, plus a squeeze of lemon to balance the slight bitterness of the greens. I spread the potato slices out over the top with a little more broth, and then slipped the eggs into the mixture. This stage of the recipe can be done in the oven, but I have found it simpler and quicker to put a lid on it and keep it stovetop. The eggs cook within a matter of a few minutes, and the meal can be served straight from the pot.


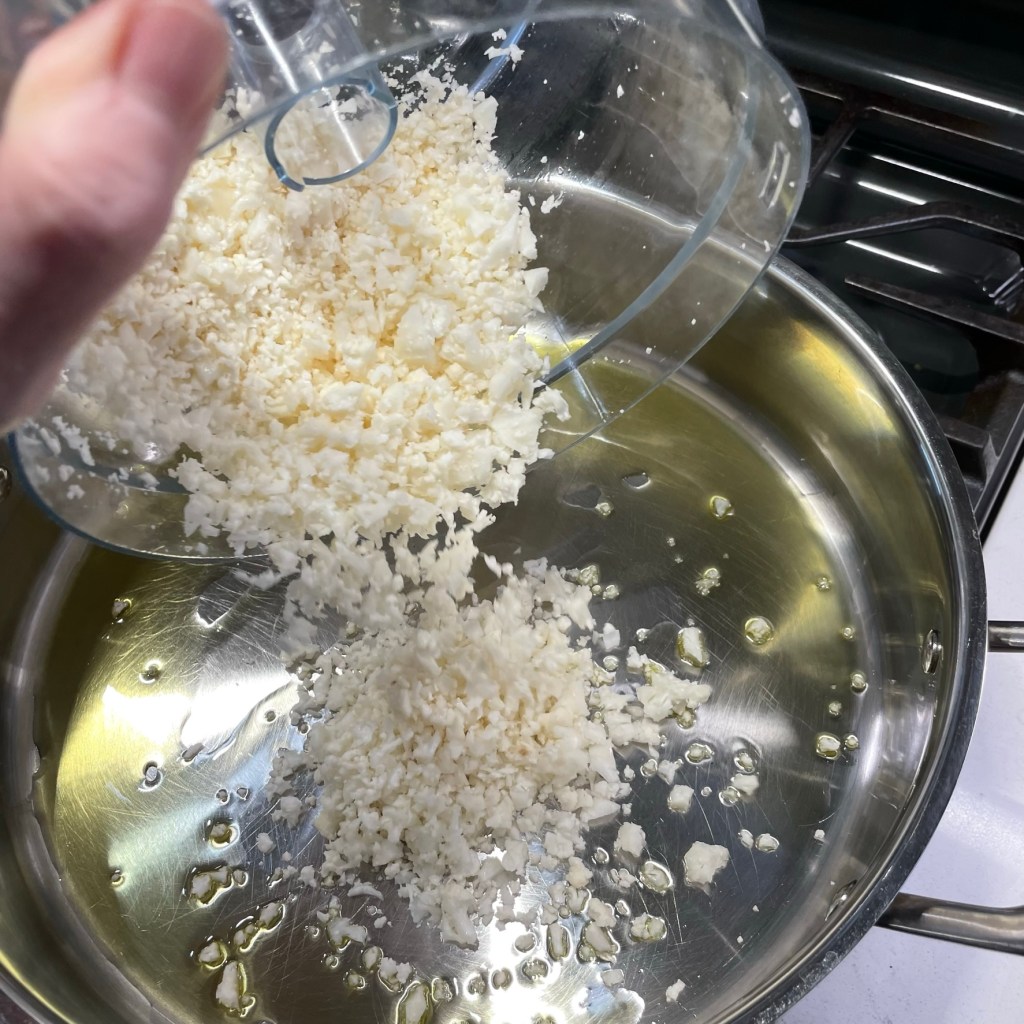
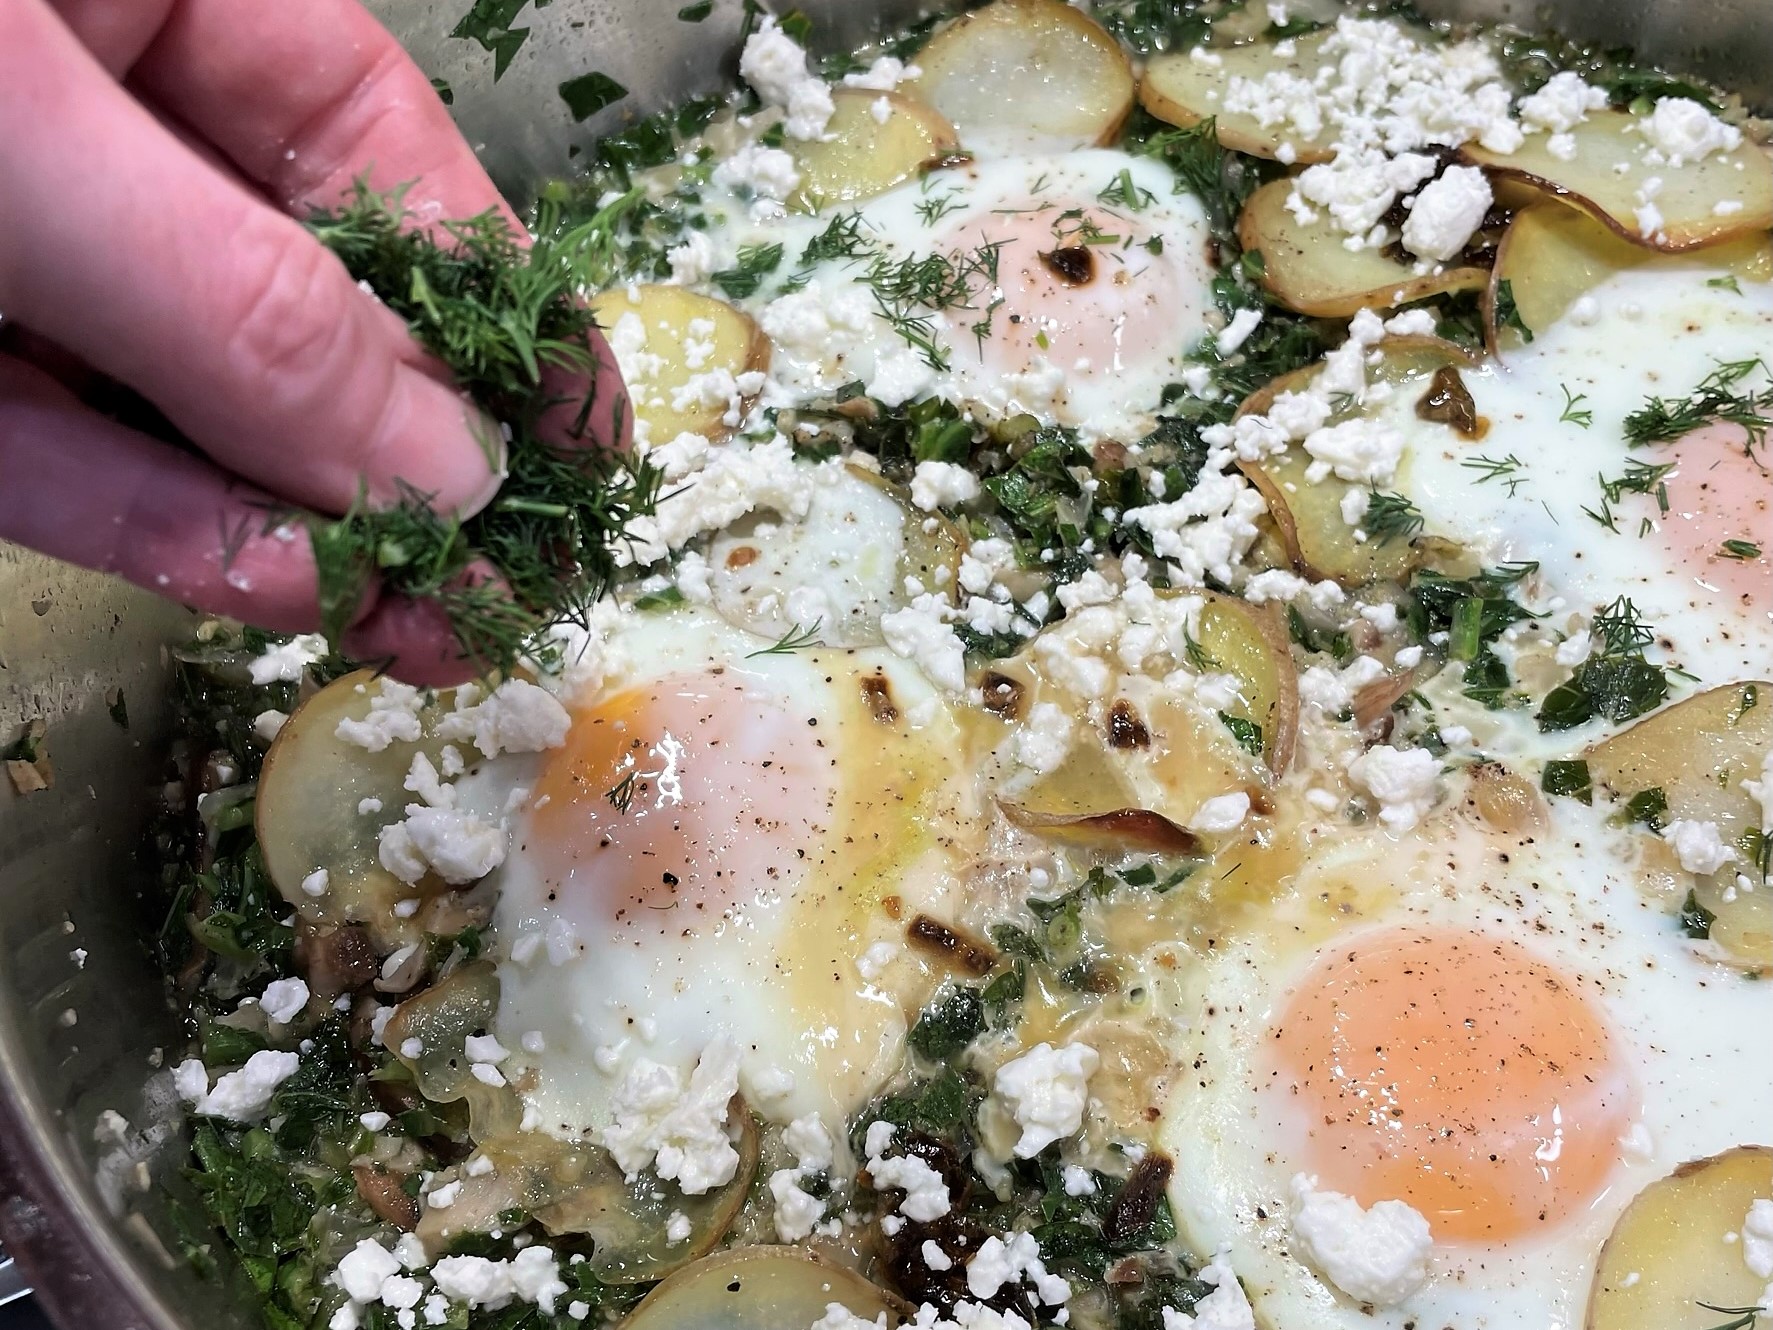
Feta crumbles and fresh chopped dill were a nice final flavor touch to this twist on a classic. We enjoyed our green shakshuka with one of our final pieces of store-bought matzo left over from Passover. We are always so glad to see it go. 😉

What creative twists would you like to see in shakshuka, or which have you already tried? I love reading your comments and I’m always up for a challenge, so please let me know what you think below the printable recipe.
Green Shakshuka
Ingredients
- About 2 cups of fresh cauliflower florets
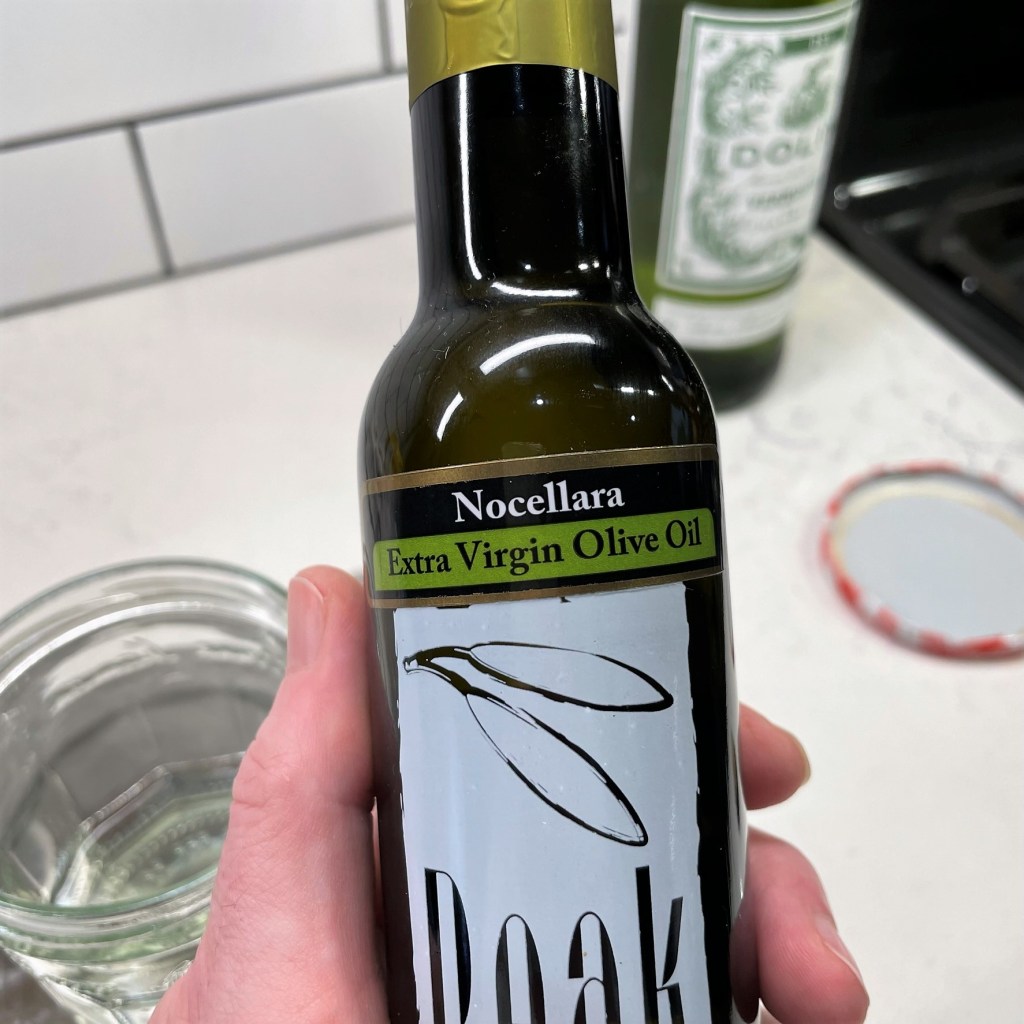
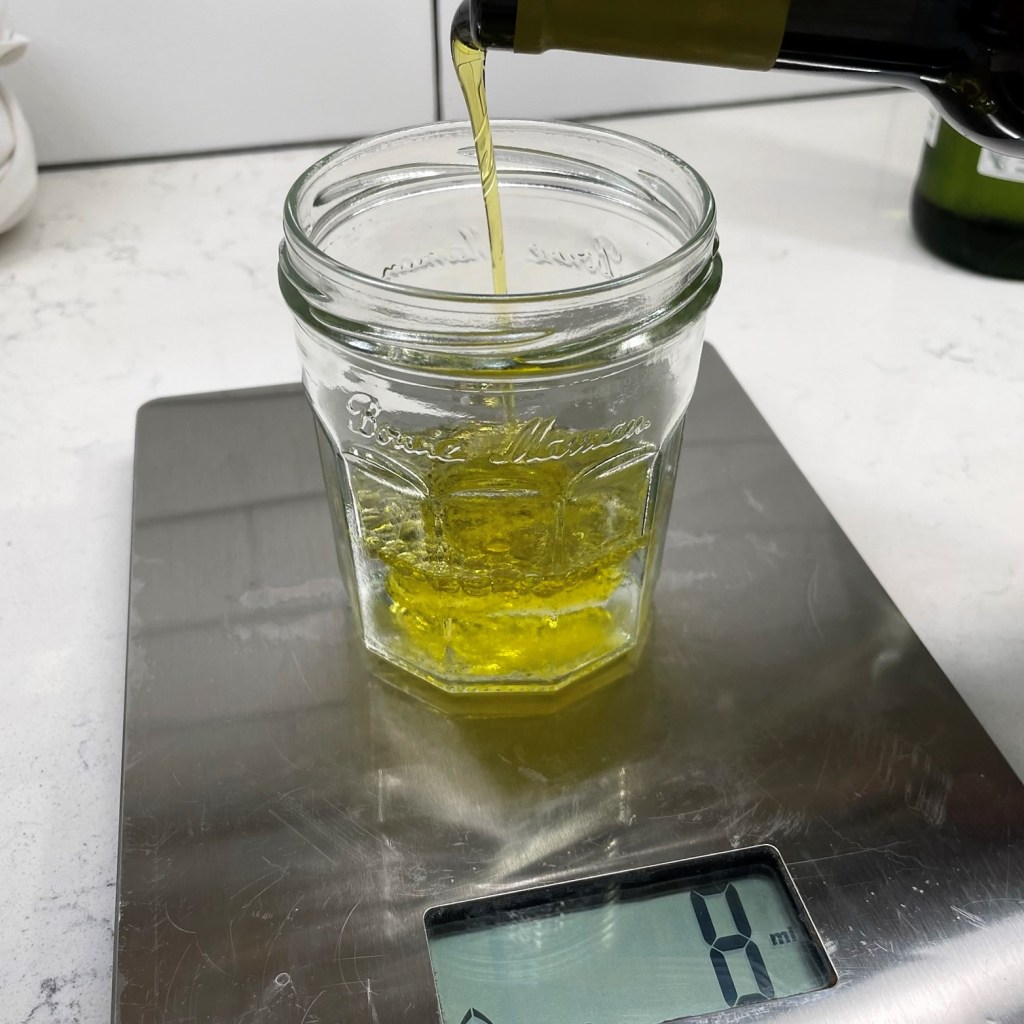
- 2 Tbsp. extra virgin olive oil
- 1/2 medium sweet or yellow onion, chopped
- 2 cloves garlic, minced
- Salt and pepper
- 1 cup sliced shiitake mushrooms
- 1 tsp. spicy chili crisp (mine was Trader Joe’s habanero)
- 1 small bunch fresh collard greens, cleaned and rough-chopped
- 3/4 to 1 cup low-sodium vegetable broth, divided
- Juice of 1/2 small lemon
- 1 cup cooked sliced potatoes
- 4 large eggs, room temperature
- Crumbled feta and fresh dill, optional for serving
Directions
- In the bowl of a food processor, pulse the cauliflower into small bits. Heat oil over medium heat in a wide, heavy-bottomed pot or skillet. Add cauliflower, onions and garlic and season with salt and pepper. When onions and cauliflower are softened, add the mushrooms and chili crisp and saute to cook off some of the moisture.
- Pulse the collard greens in the food processor to the size of cereal flakes; this will help them cook quickly and will prevent the shakshuka mixture being too chunky. Add greens to the pot and toss to combine. Pour in about 1/2 cup of the broth plus the lemon juice and reduce heat to simmer, until the greens begin to tenderize (about 5 minutes).
- Arrange potato slices all over the top of the mixture and pour over additional broth as needed to just cover them. Cover the pot with a lid and steam until potatoes are hot.
- Use the back of a large spoon to create four indents in the shakshuka mixture. Carefully slip an egg into each of the indents. Season with salt and pepper and cover the pot with a lid. Steam for about 10 minutes, or until the eggs are set to your liking. Sprinkle with crumbled feta and fresh chopped dill and serve immediately.