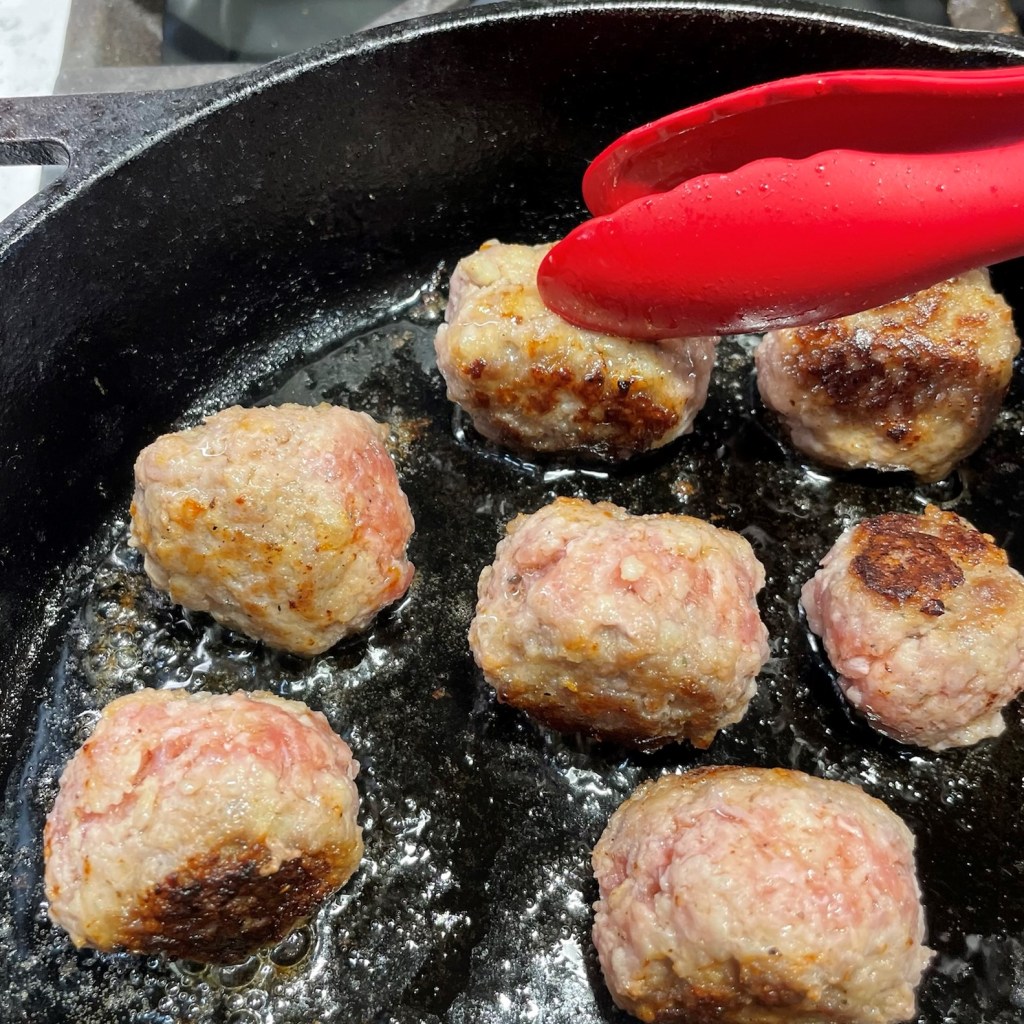
For the first year in a long time, I did not do my usual DIY Corned Beef for St. Patrick’s Day. The continued time warp caused by COVID, combined with yet another home renovation project that has just begun at our house, has left me a little flustered and out of my routine. So, there’s that, plus a discovery that I made in our freezer.
Last year, we did two huge briskets in my homemade corned beef brine—one was fated to be a classic corned beef with cabbage and carrots, and the other went the extra mile to become smoked pastrami—and I recently uncovered not one, but two packages of said meat that have been hiding in the depths of our freezer drawer. I couldn’t justify making more until we finished what we already had, but what does one do with a pound of vacuum-sealed, sliced corned beef, other than the obvious sandwiches?
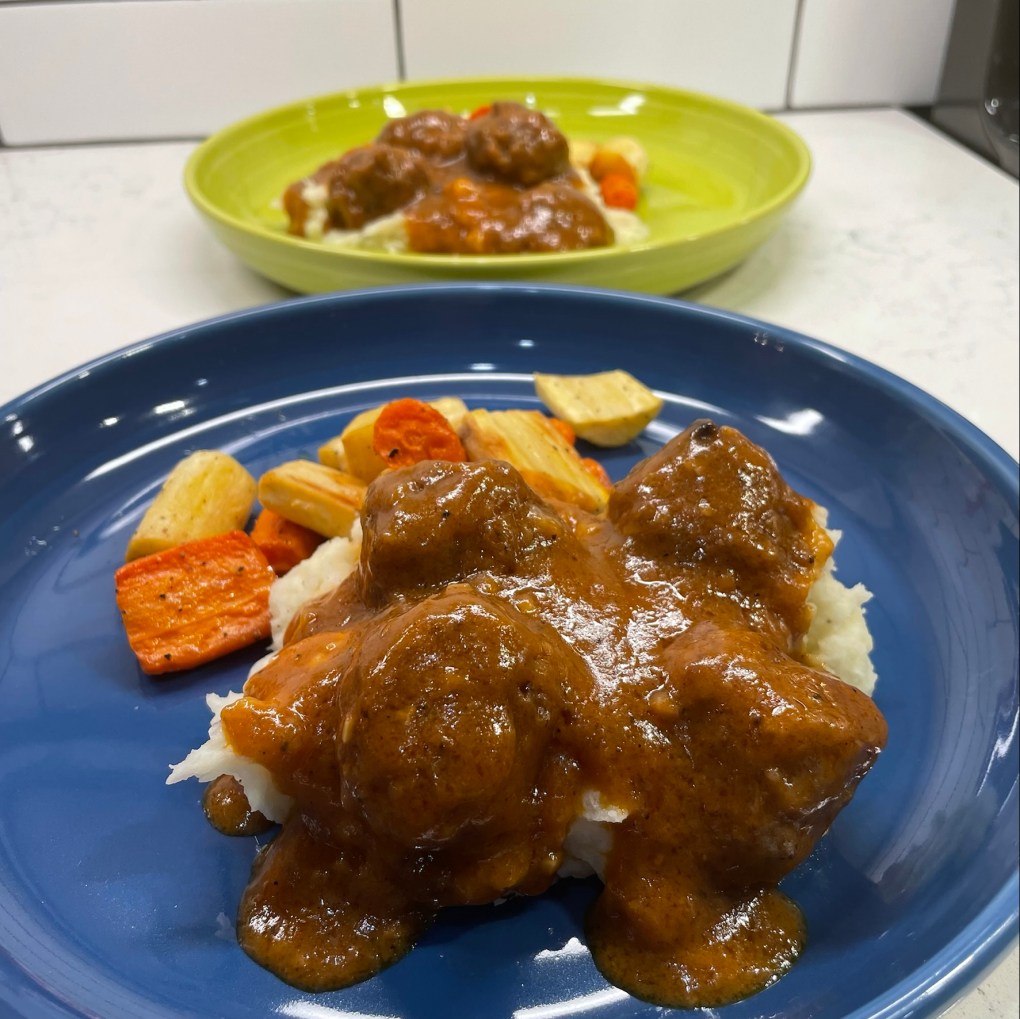
I love cooking up fun foods for special occasions, and shepherd’s pie is a classic for St. Patrick’s Day. A typical shepherd’s pie is made with ground meat (usually lamb or beef), peas, carrots and mashed potato topping. But I could not pass over the entire St. Pat’s celebration without the old standby of corned beef and cabbage. Last year, I shared my recipe for colcannon (which I also love), so I whipped up a new batch of that as my pie topper, and I picked up two fun (and Irish) ingredients to give the colcannon extra body and a boost of sharp flavor. Irish white cheddar was a no-brainer, and when I sought out a package of Irish butter (which I only splurge on this time of year), this embellished version jumped right into my basket!

Well, that was lucky! Butter that is already flavored with fresh herbs would make this dish even quicker to prepare.
I channeled my grandmother a little bit in making this dish. She was the absolute queen of leftovers, a real whiz at transforming a random thing from the freezer into a full-blown meal that had leftovers of its own. The shepherd’s pie was delicious, perfectly festive for the occasion, and finally helped me use up the frozen corned beef that I forgot I had.
If you’re staring down your own corned beef leftovers, give this dish a go. If you happen to have leftover cabbage and carrots, or leftover mashed potatoes, too—well, you’re way ahead of the game.

Ingredients
There are three specific components to this easy dish, and I’ll break down the ingredients list and instructions accordingly. Follow along with the slides and scroll to the end of the post for a downloadable version you can print or save for your recipe files.
Corned Beef & Cabbage Filling
2 Tbsp. garlic and herb Irish butter
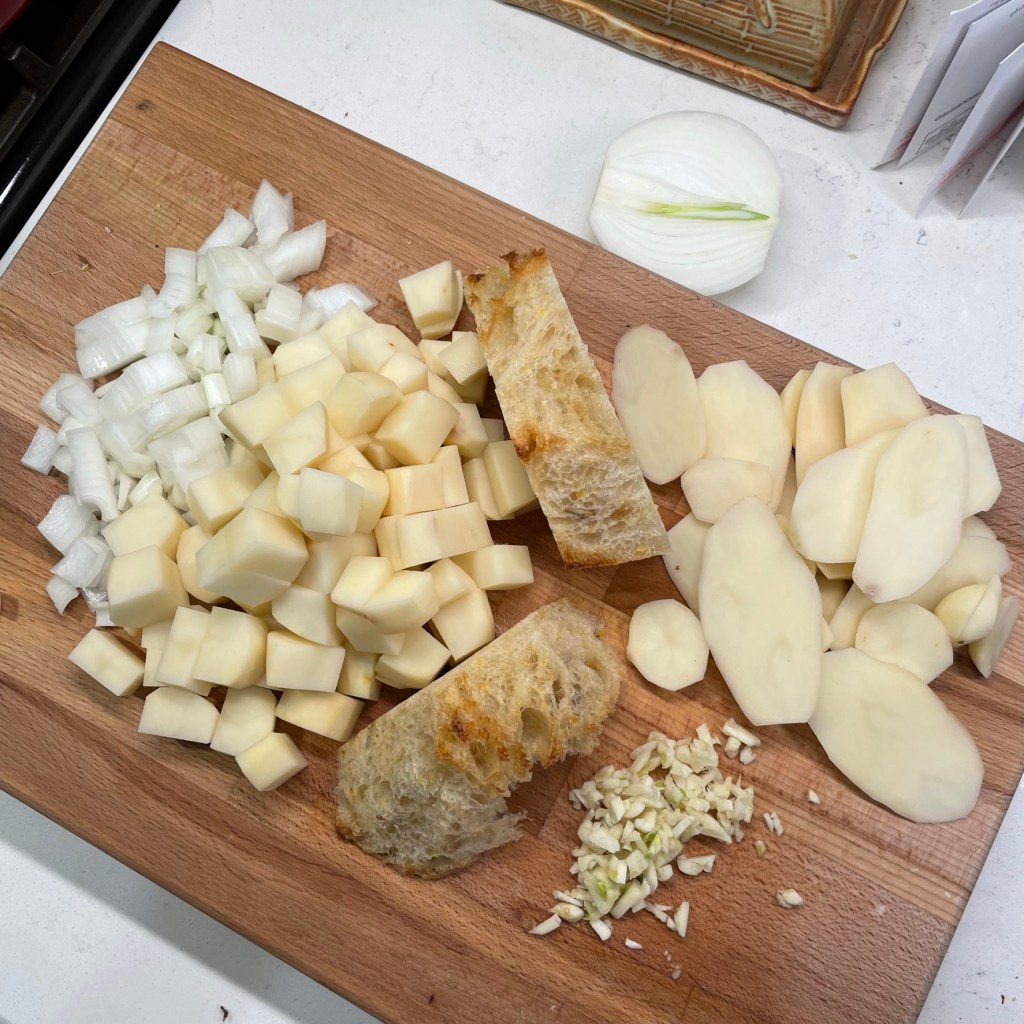
1/2 small head green cabbage, chopped
1 cup baby carrots, cut into bite-size chunks
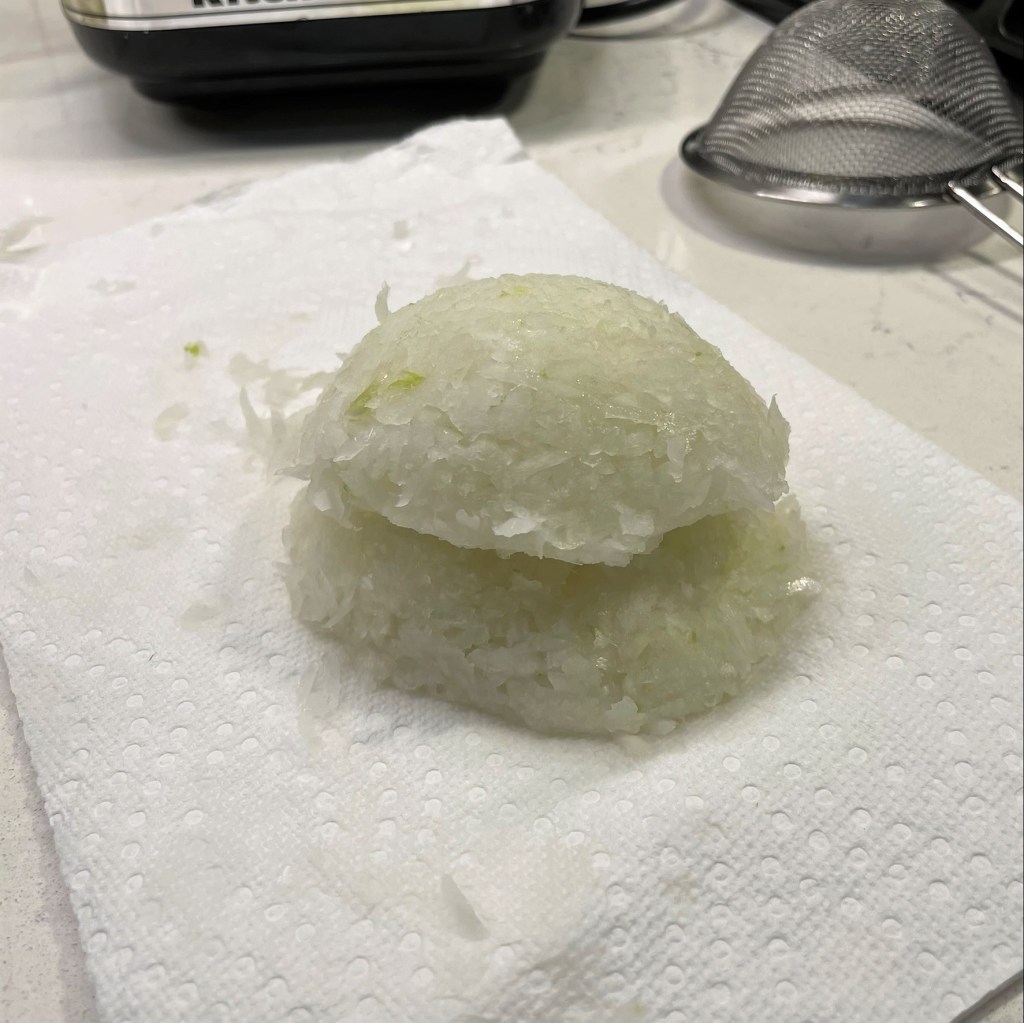
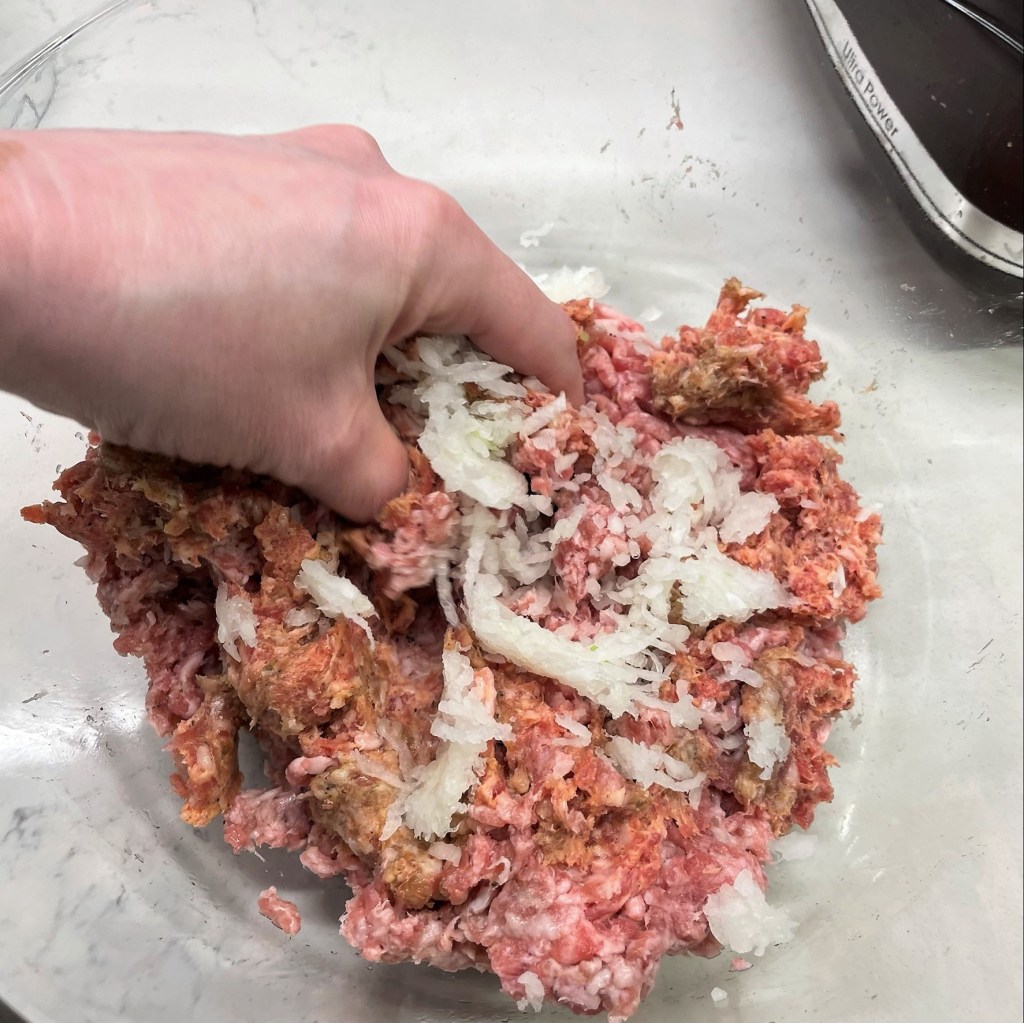
1/2 large onion, chopped
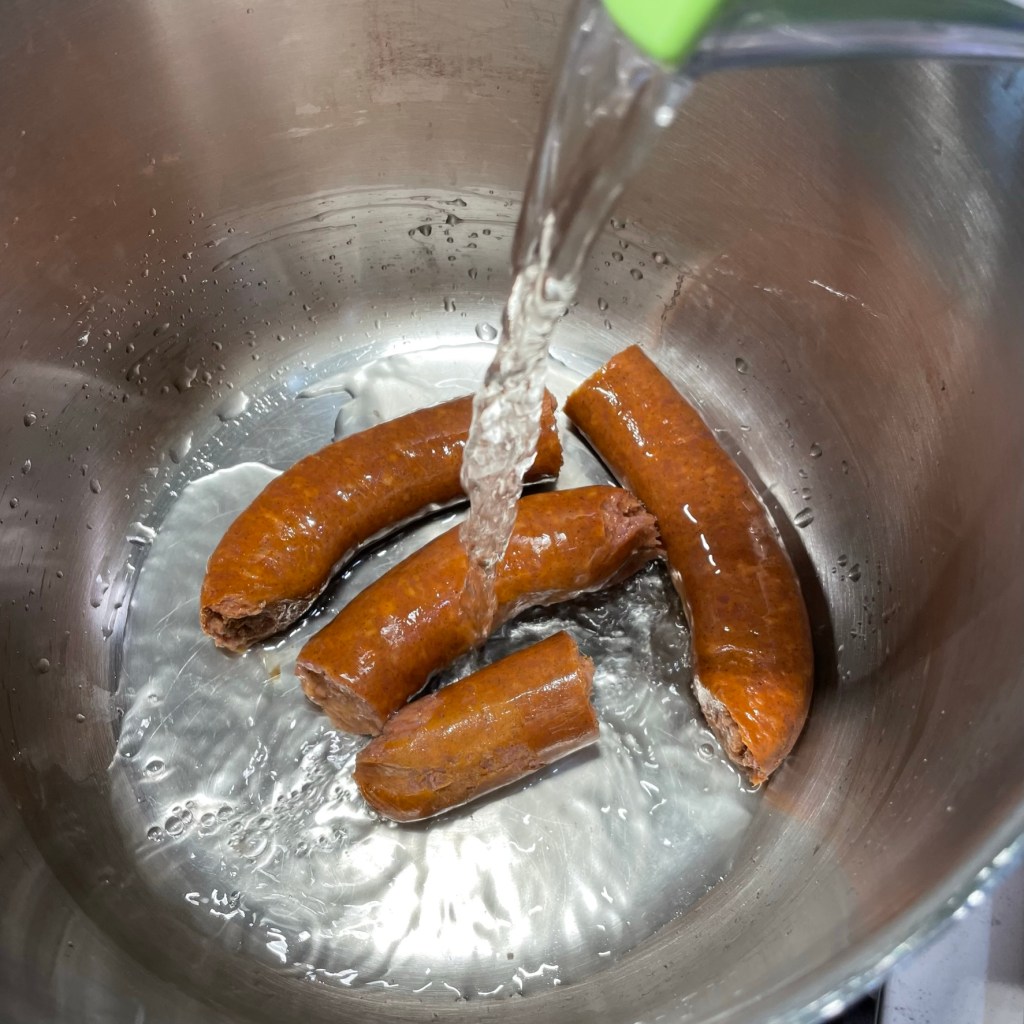
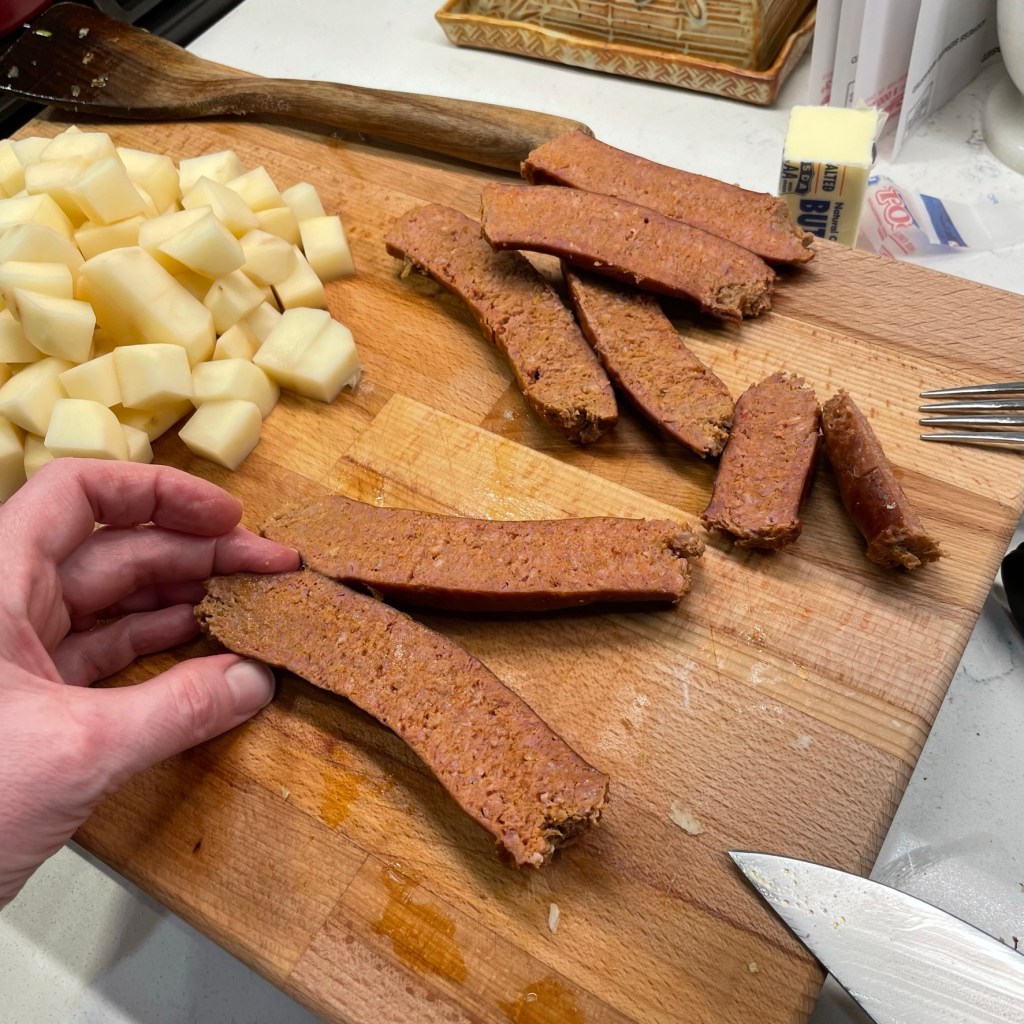
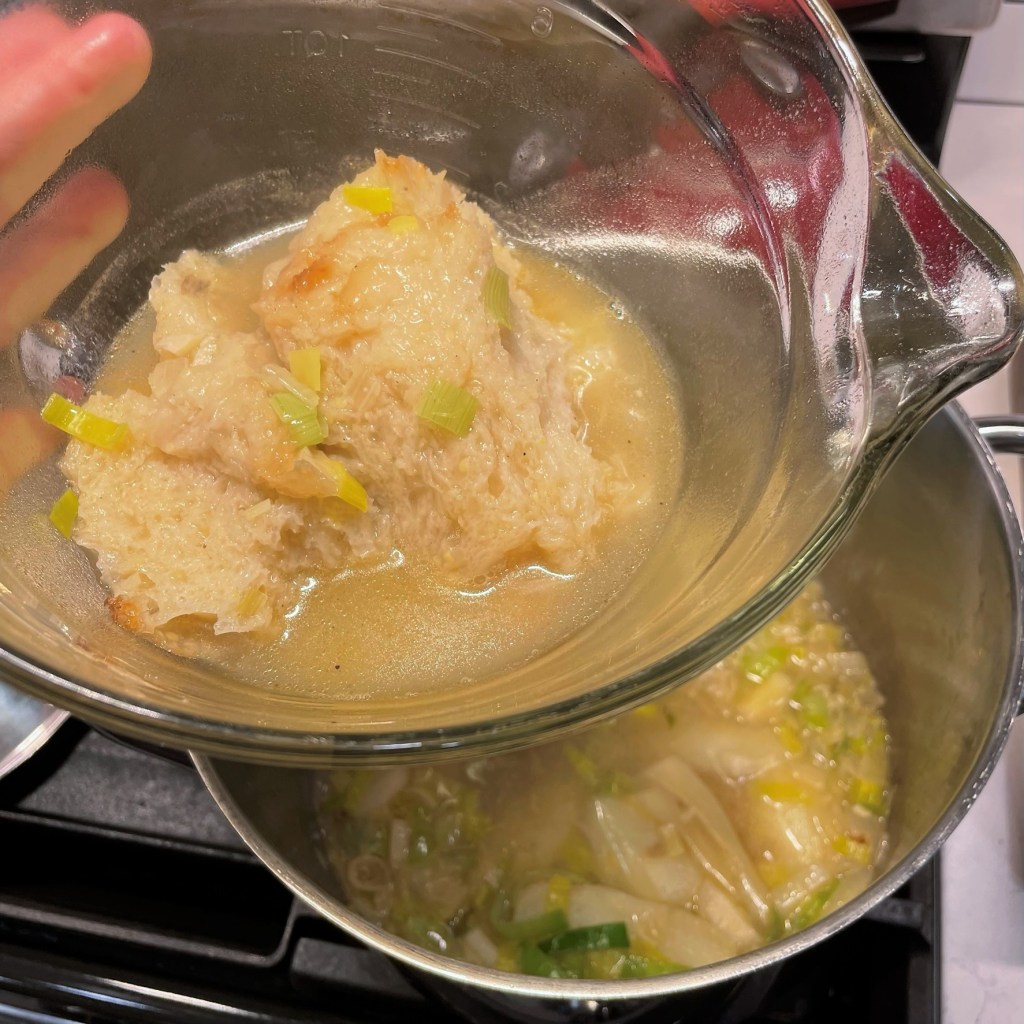
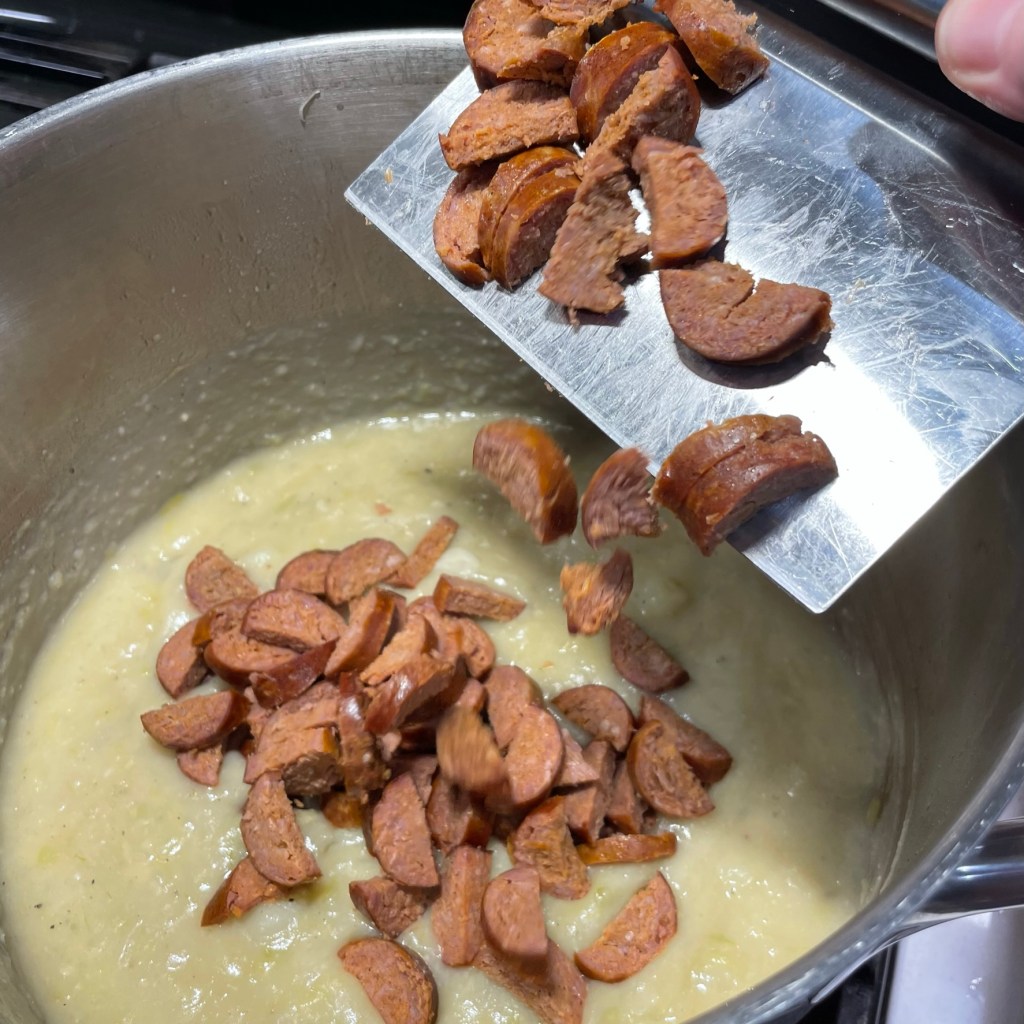
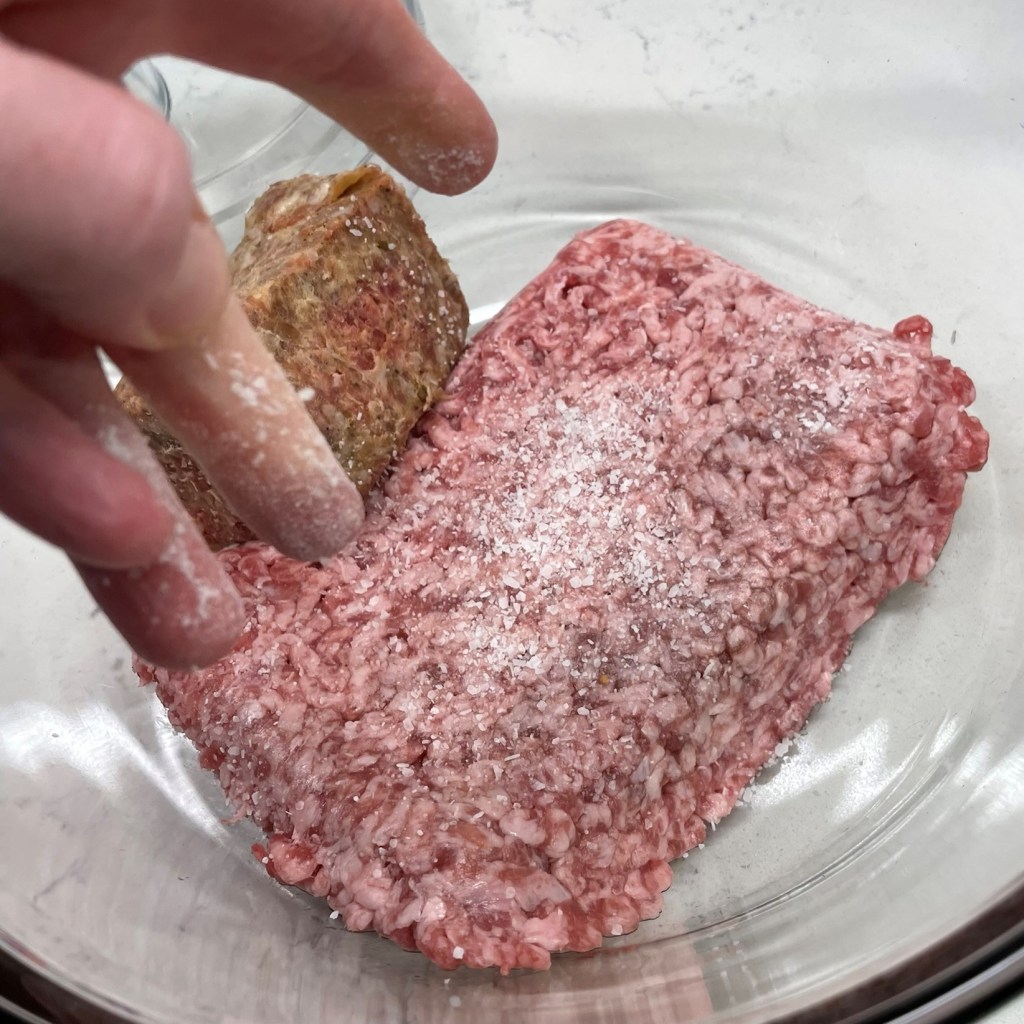
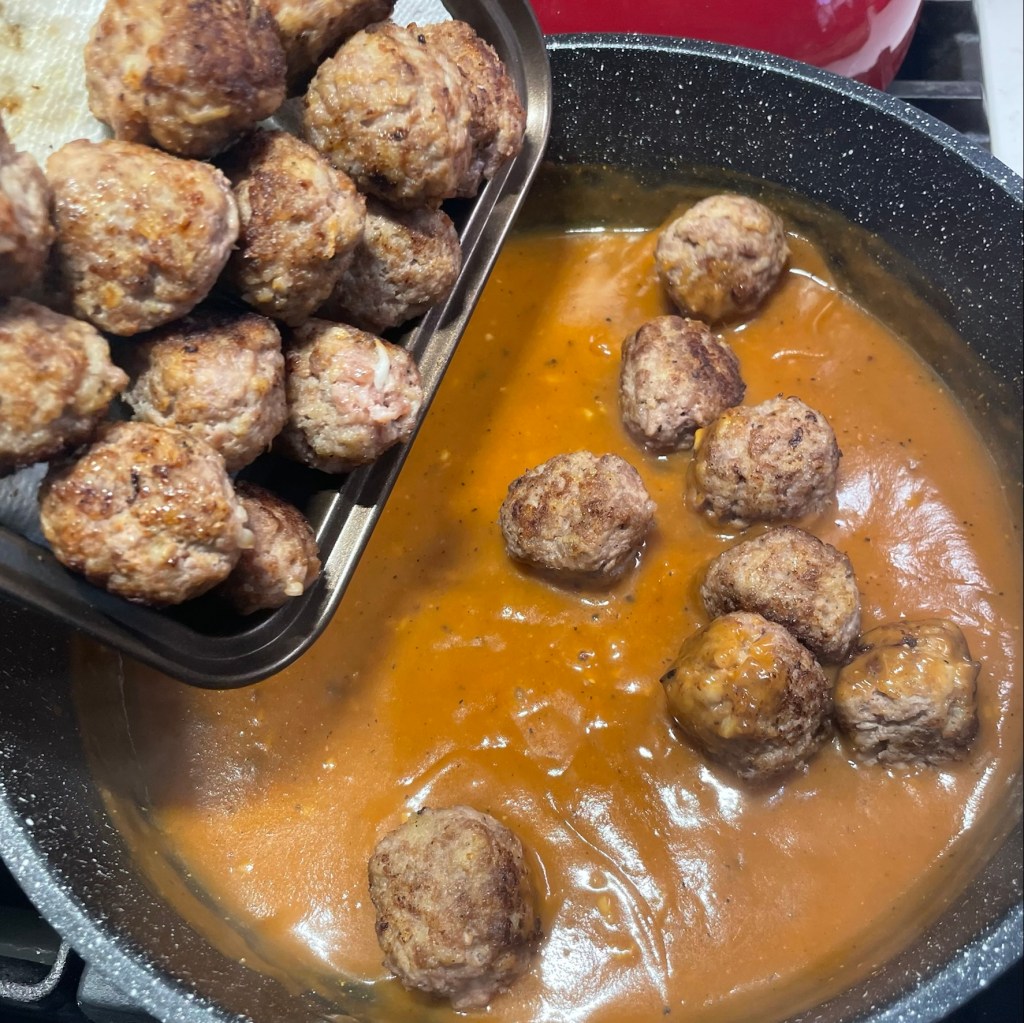
1 lb. leftover corned beef, sliced or cubed
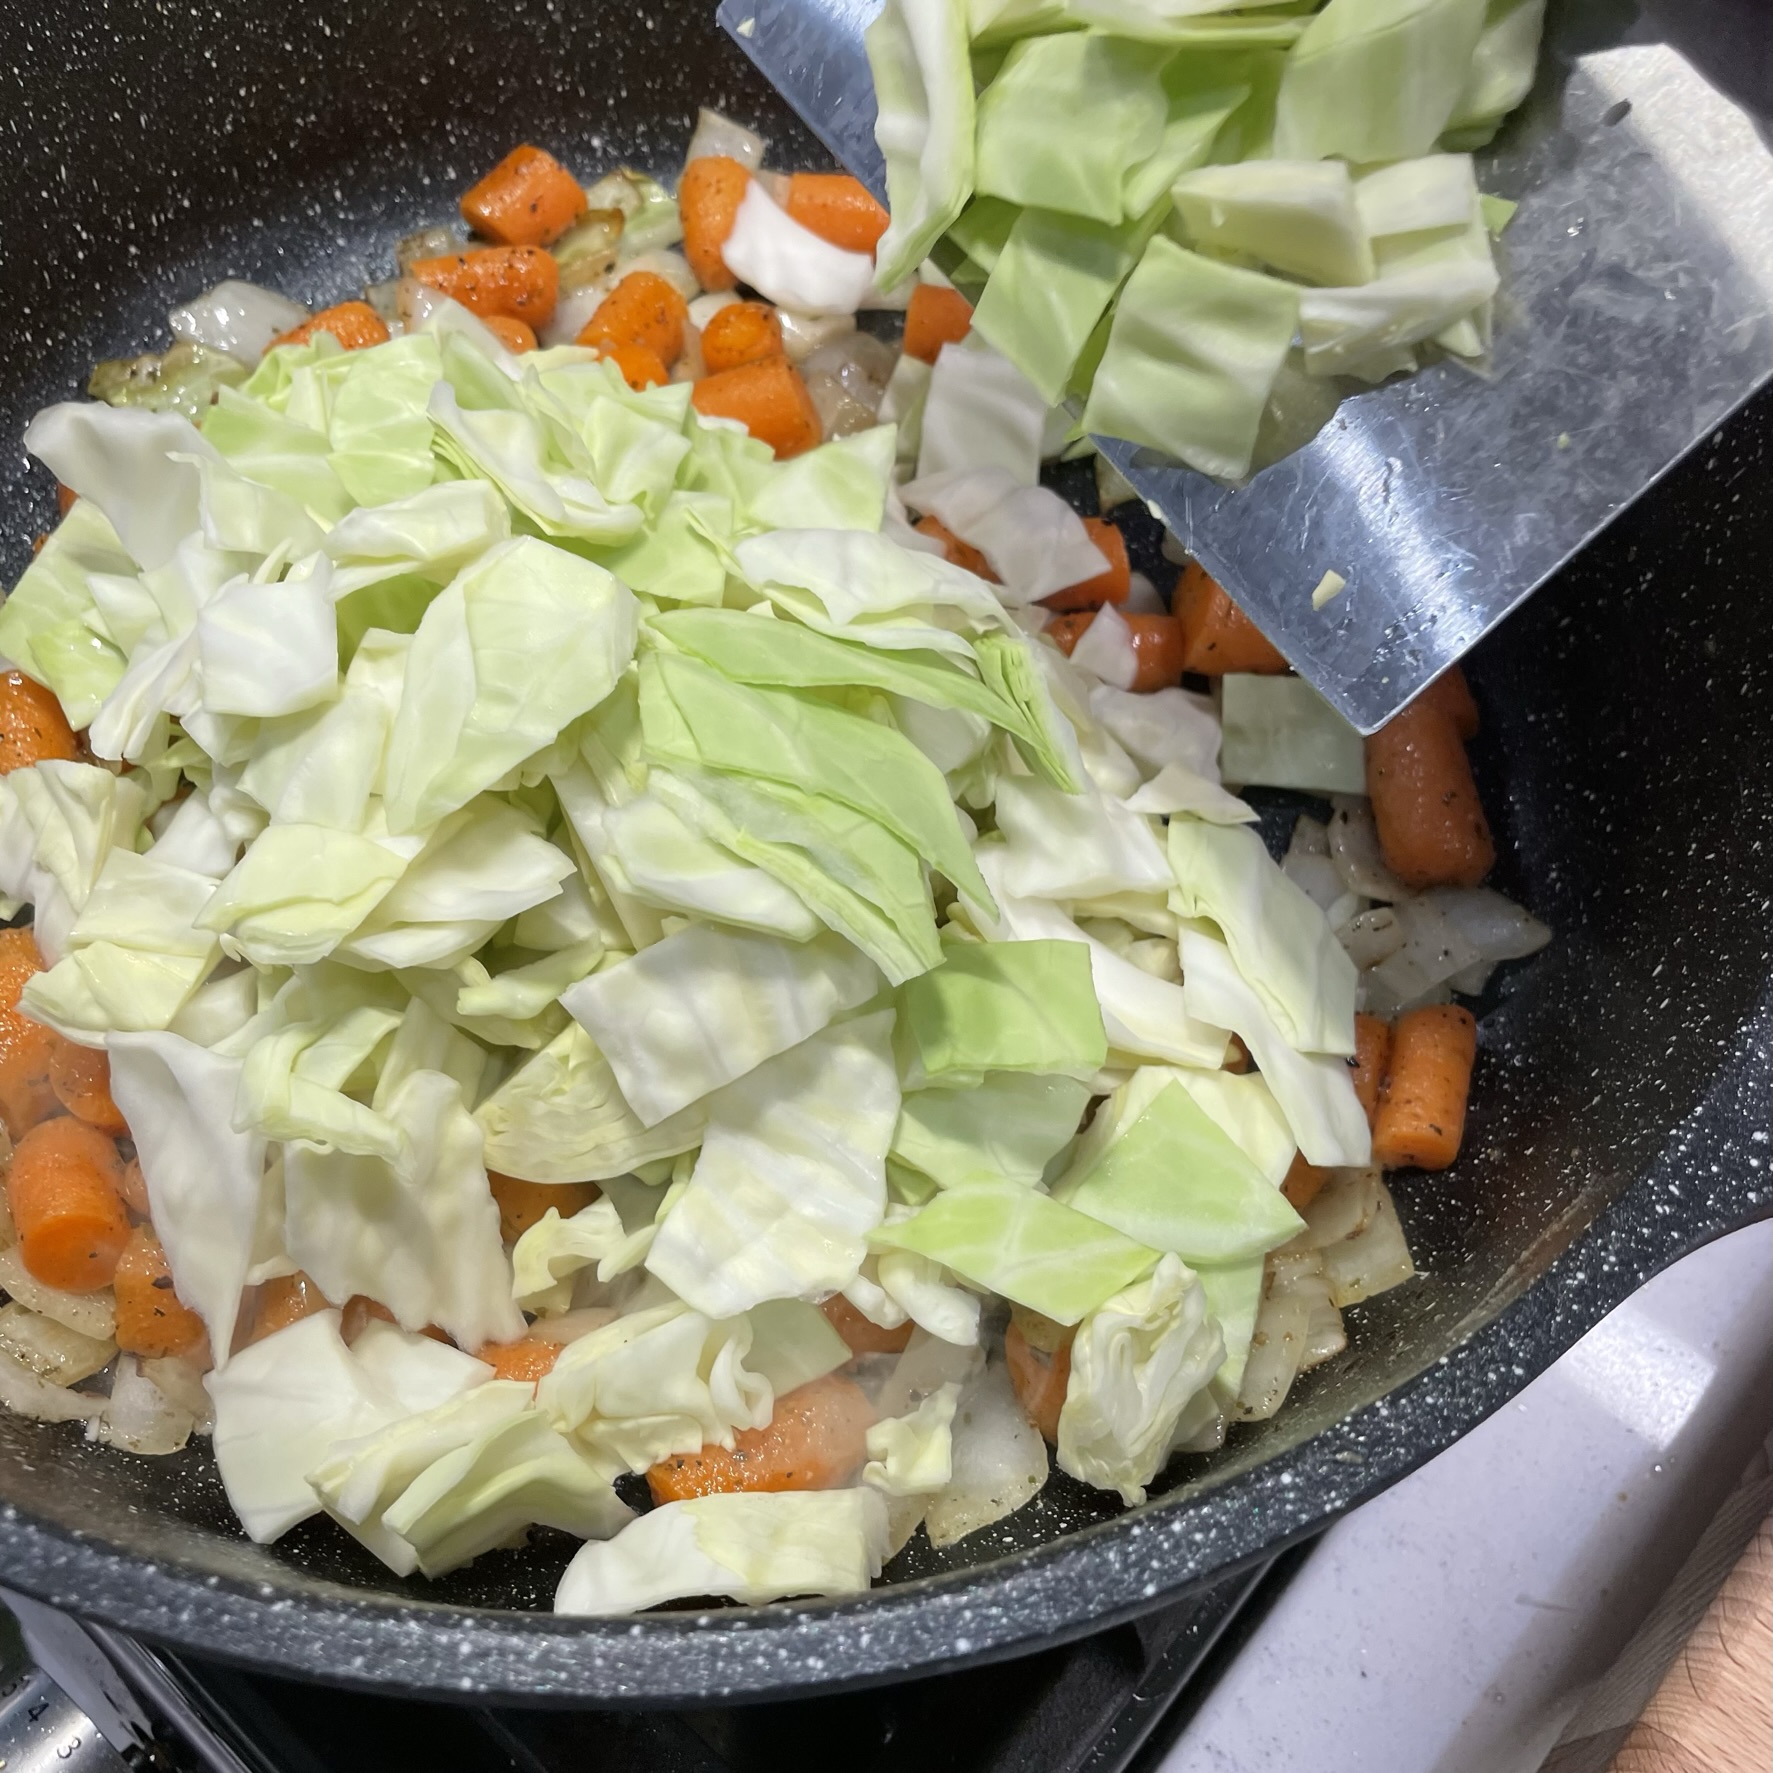

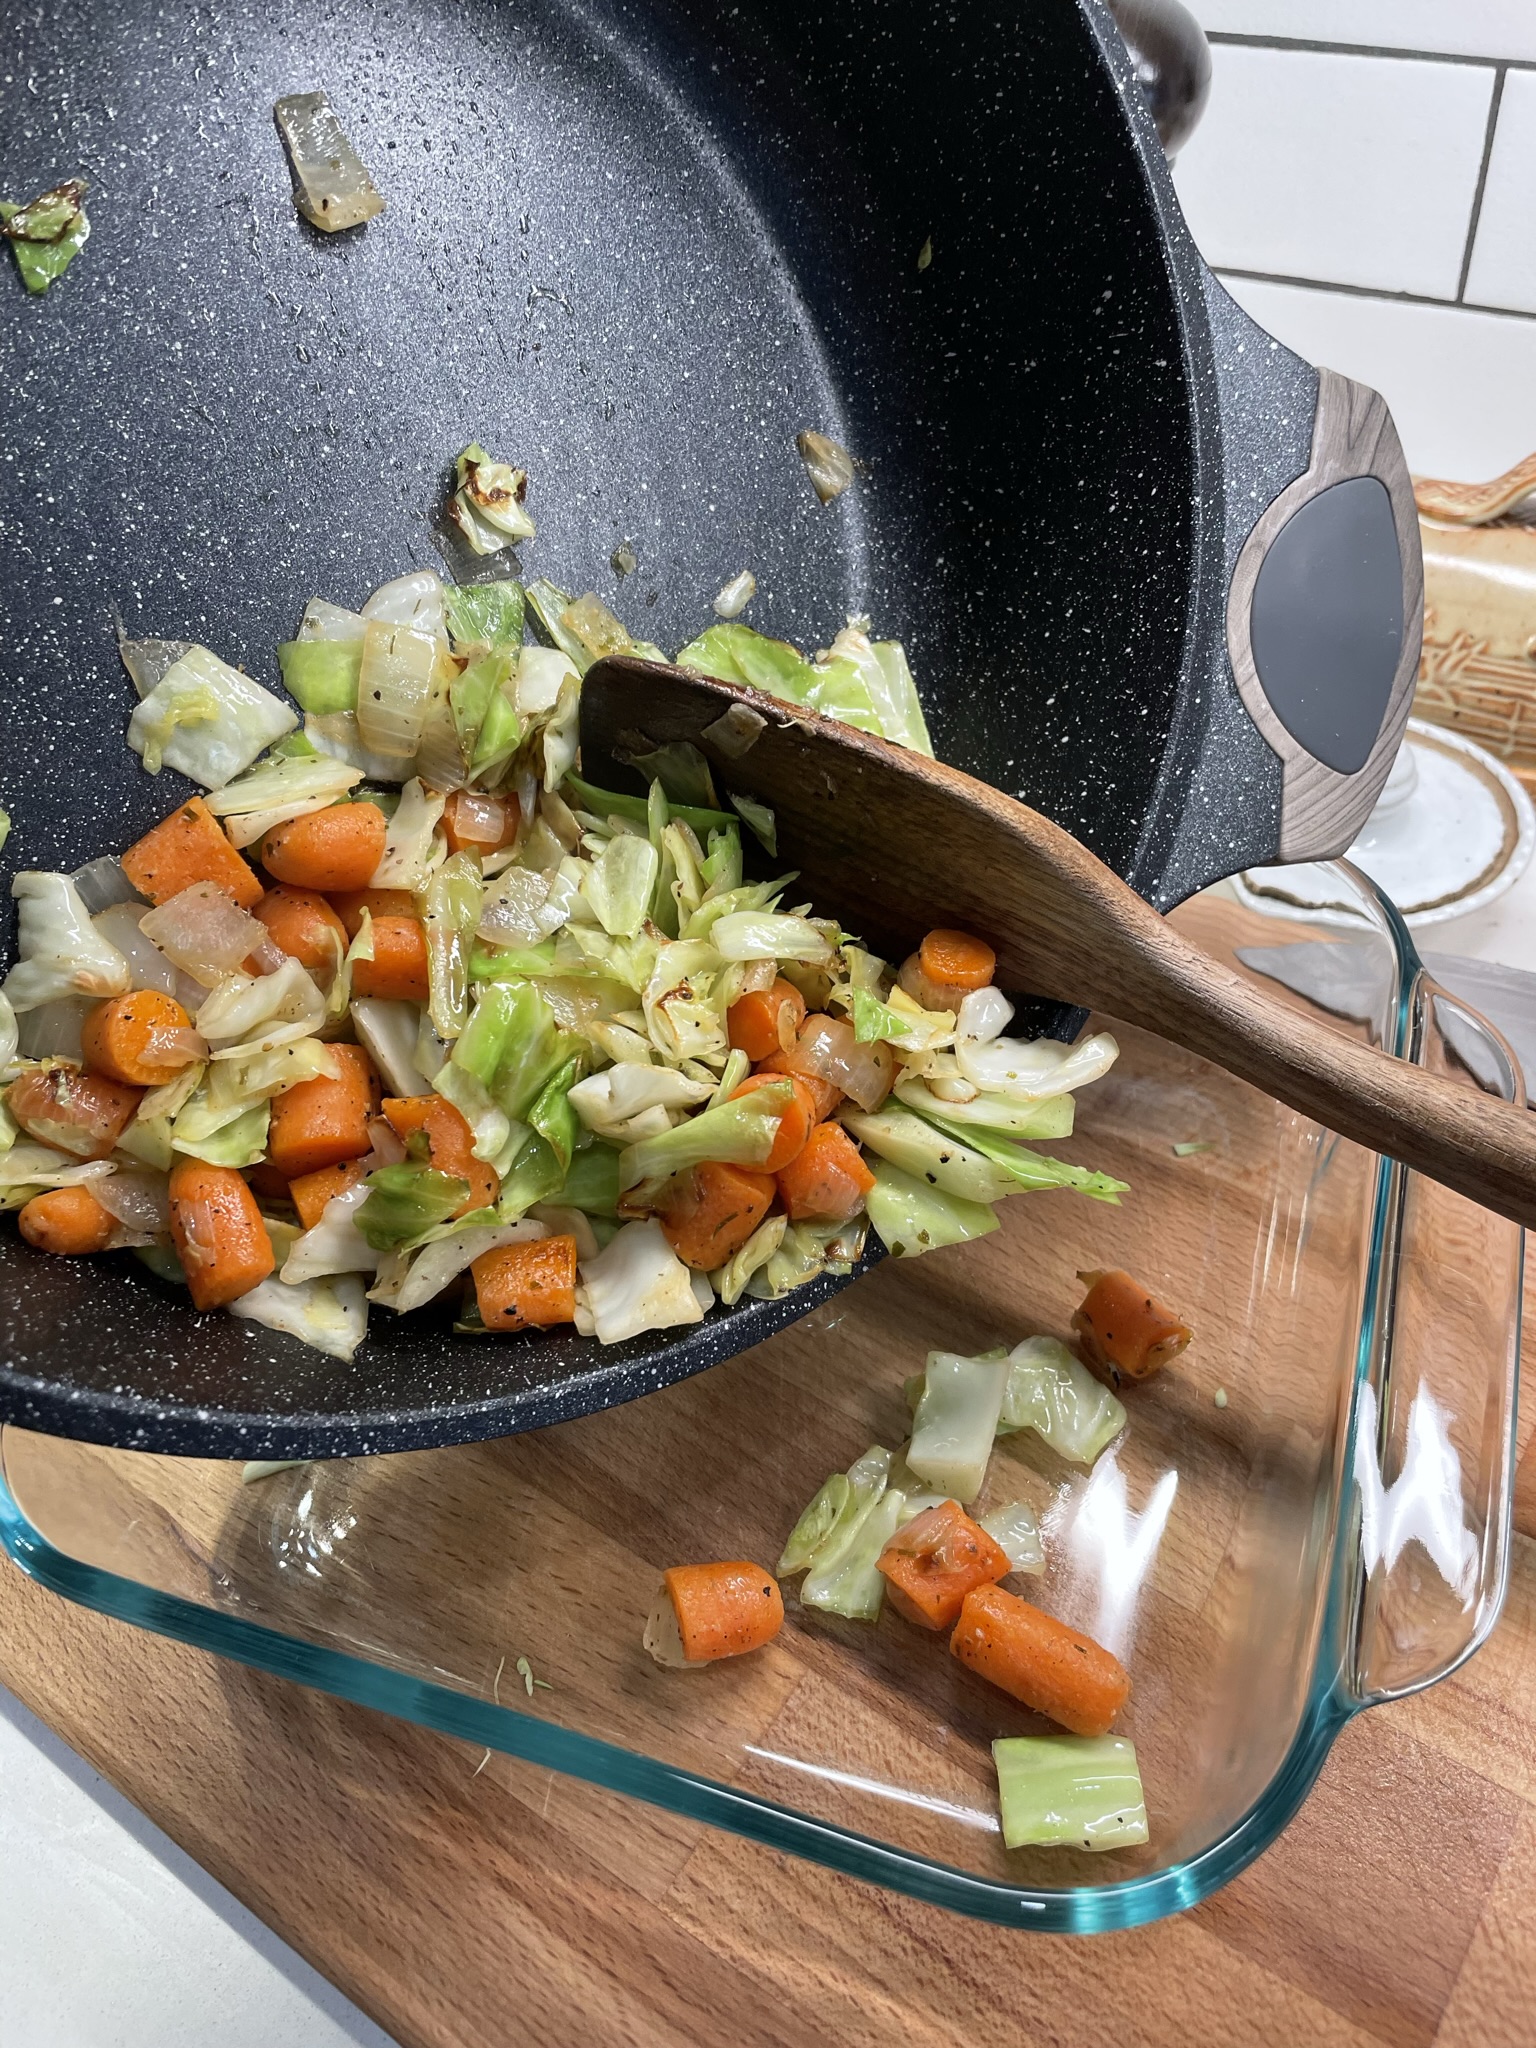
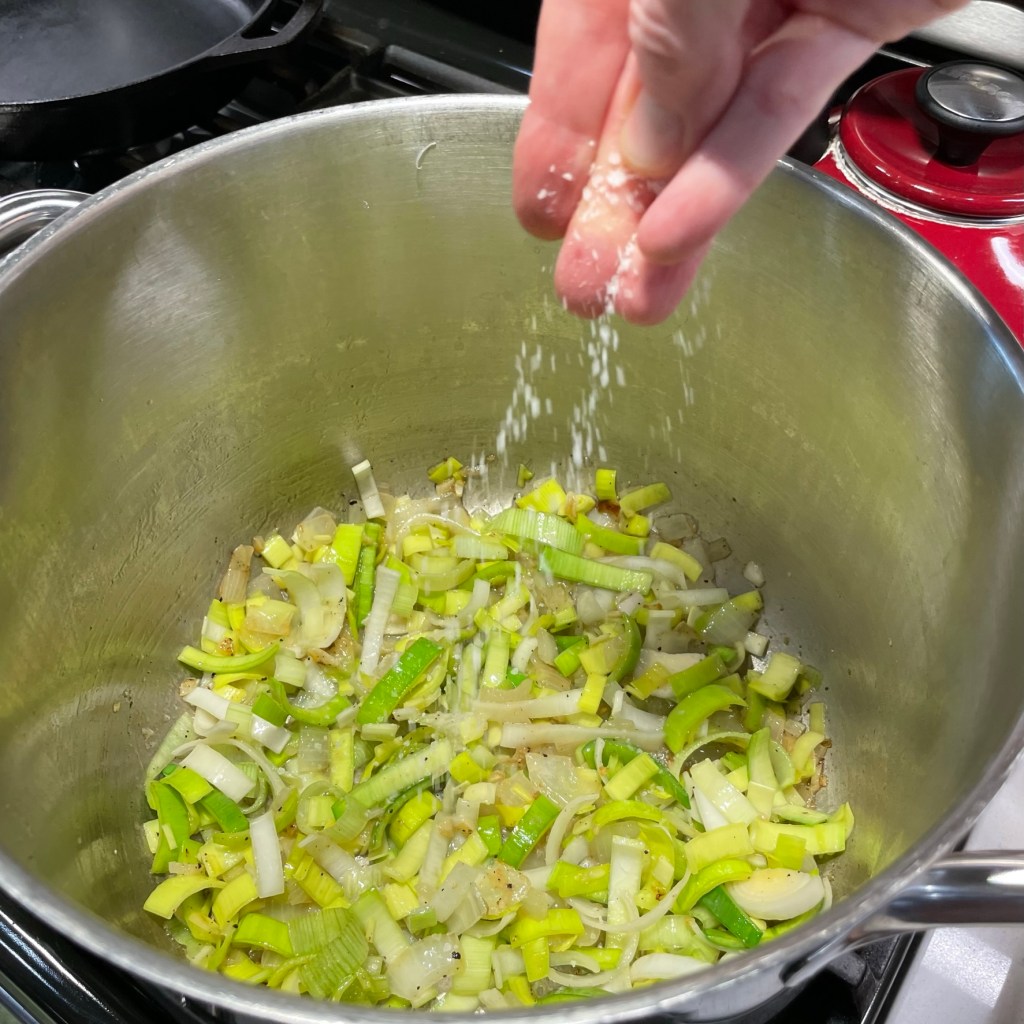
Melt the butter in a large sauce pot or skillet. Sauté the carrots, onion and cabbage until the onions are translucent and the cabbage is soft. Season with salt and pepper and transfer to a glass 8×8 oven-safe casserole dish. Set aside, adding the corned beef later when you are ready to assemble the dish.
Colcannon with Irish Cheddar
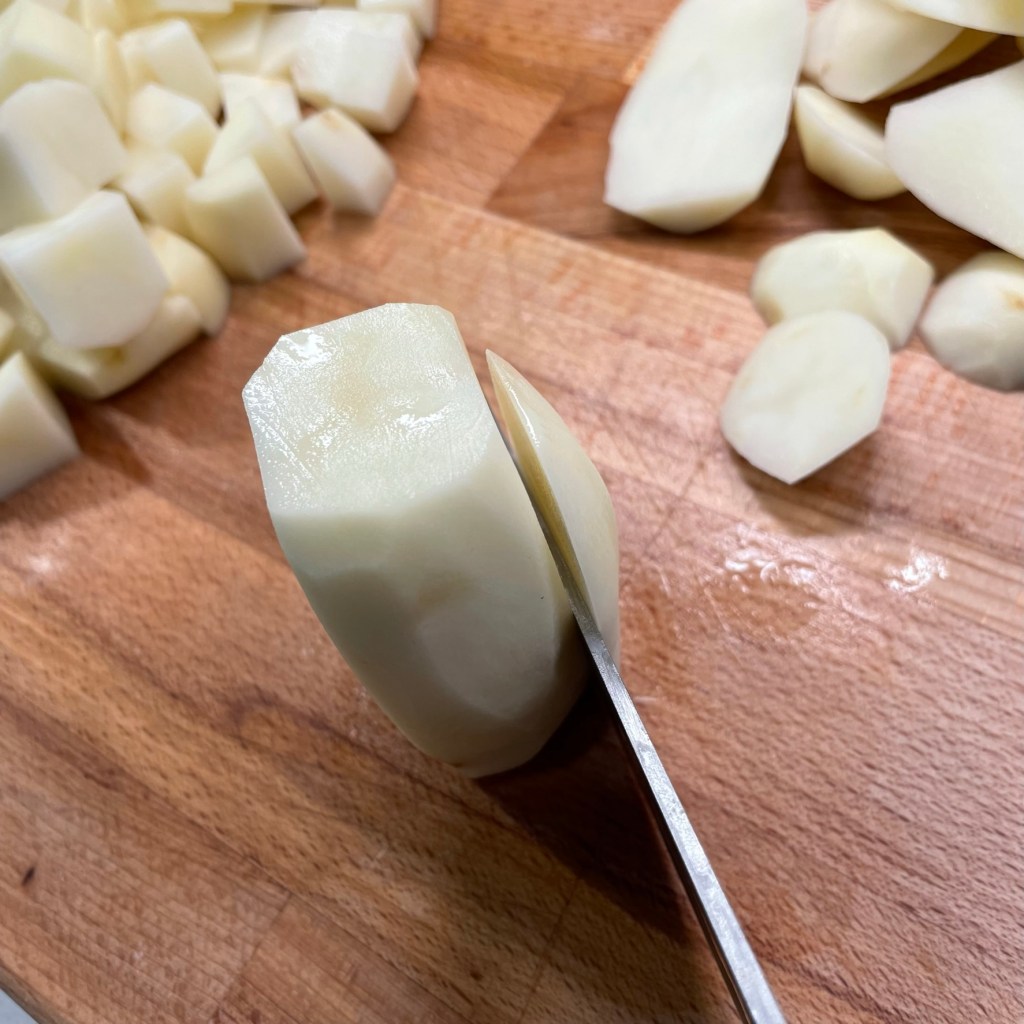
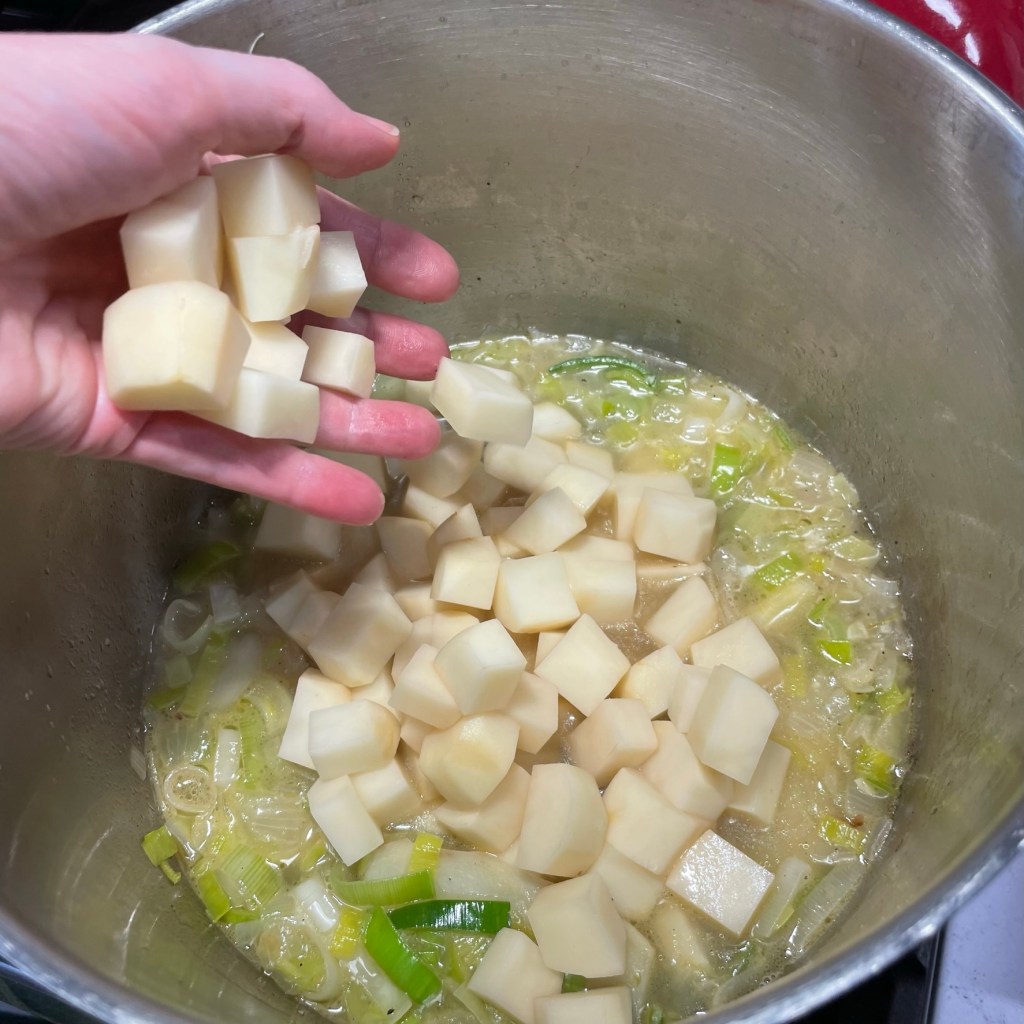
1 lb. peeled potatoes, cut and cooked until tender (I used 50/50 russet and Yukon gold)
2 Tbsp. garlic and herb Irish butter
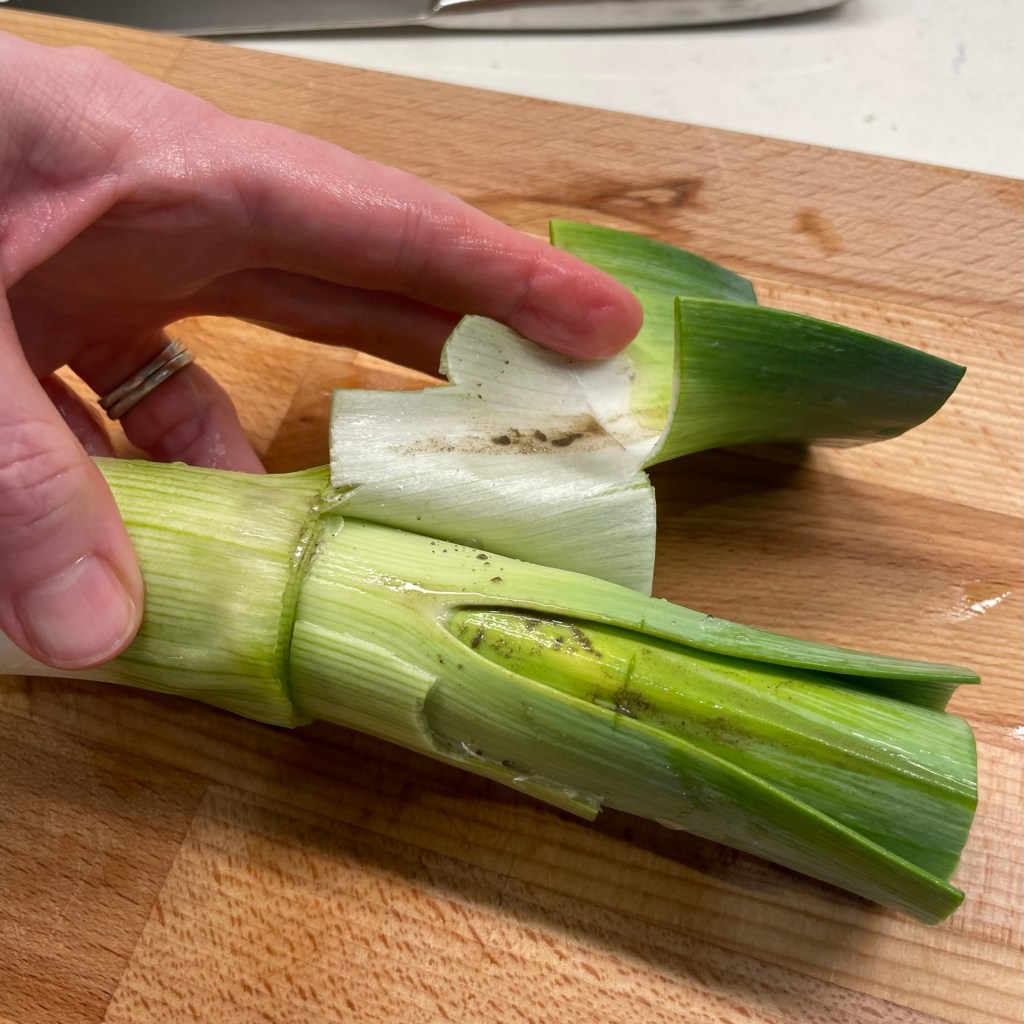
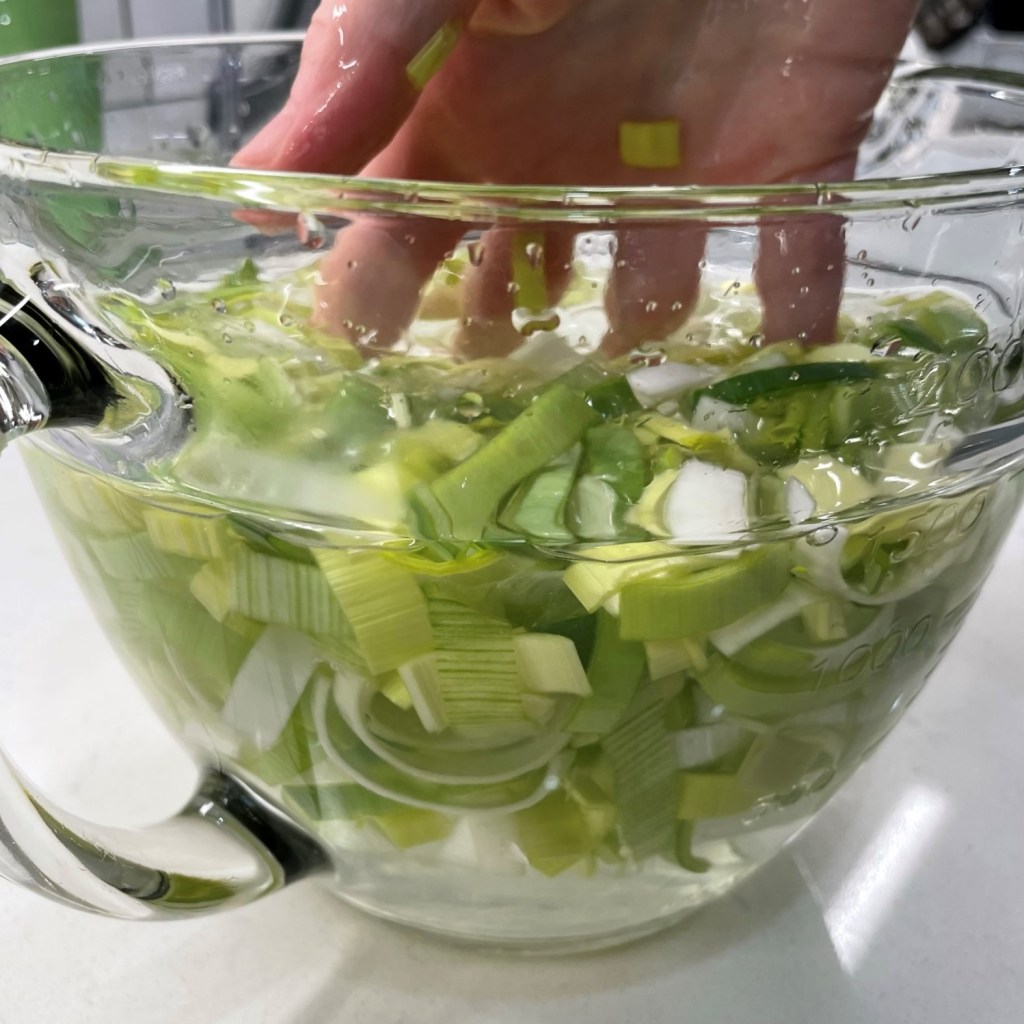
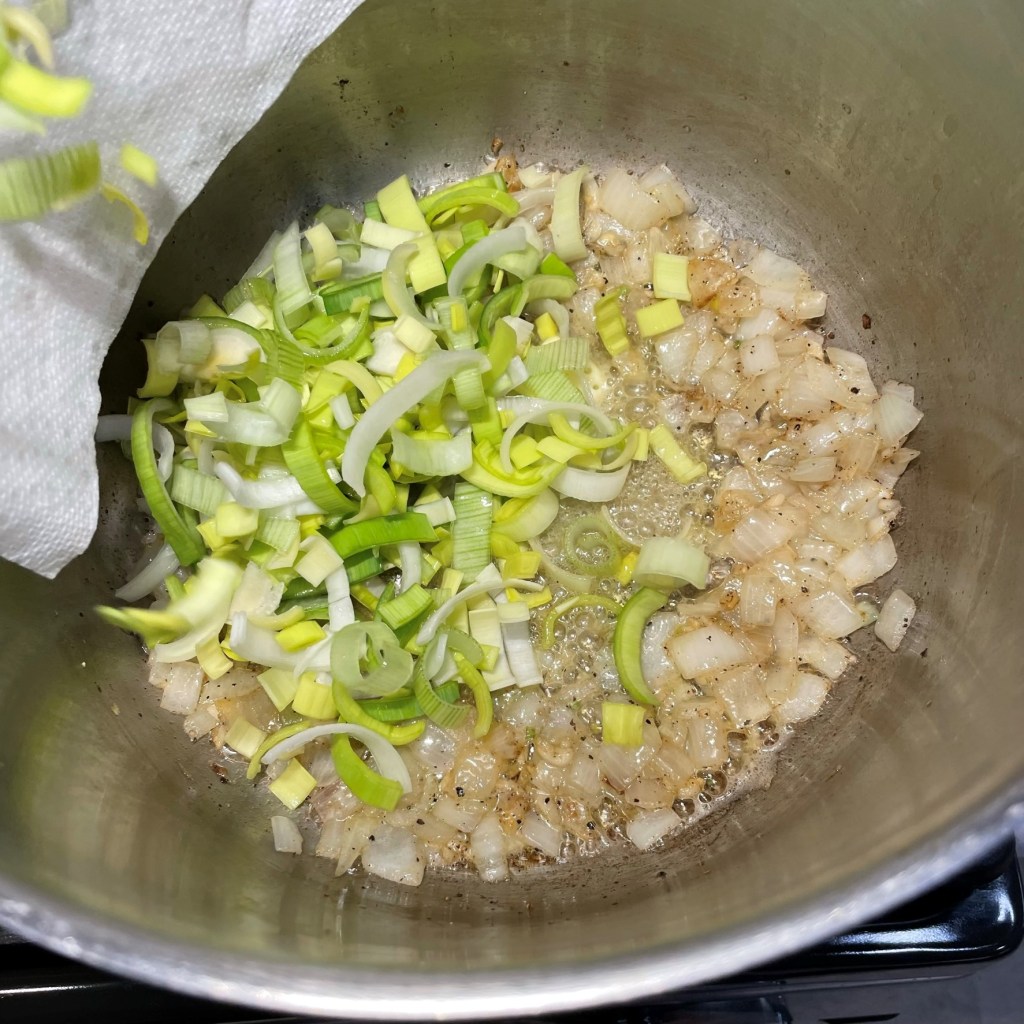
1 leek, cleaned and sliced into half-moon shapes
1/2 small head green cabbage, sliced thin
A fat handful of baby spinach leaves, rough chopped
1 cup shredded Irish white cheddar
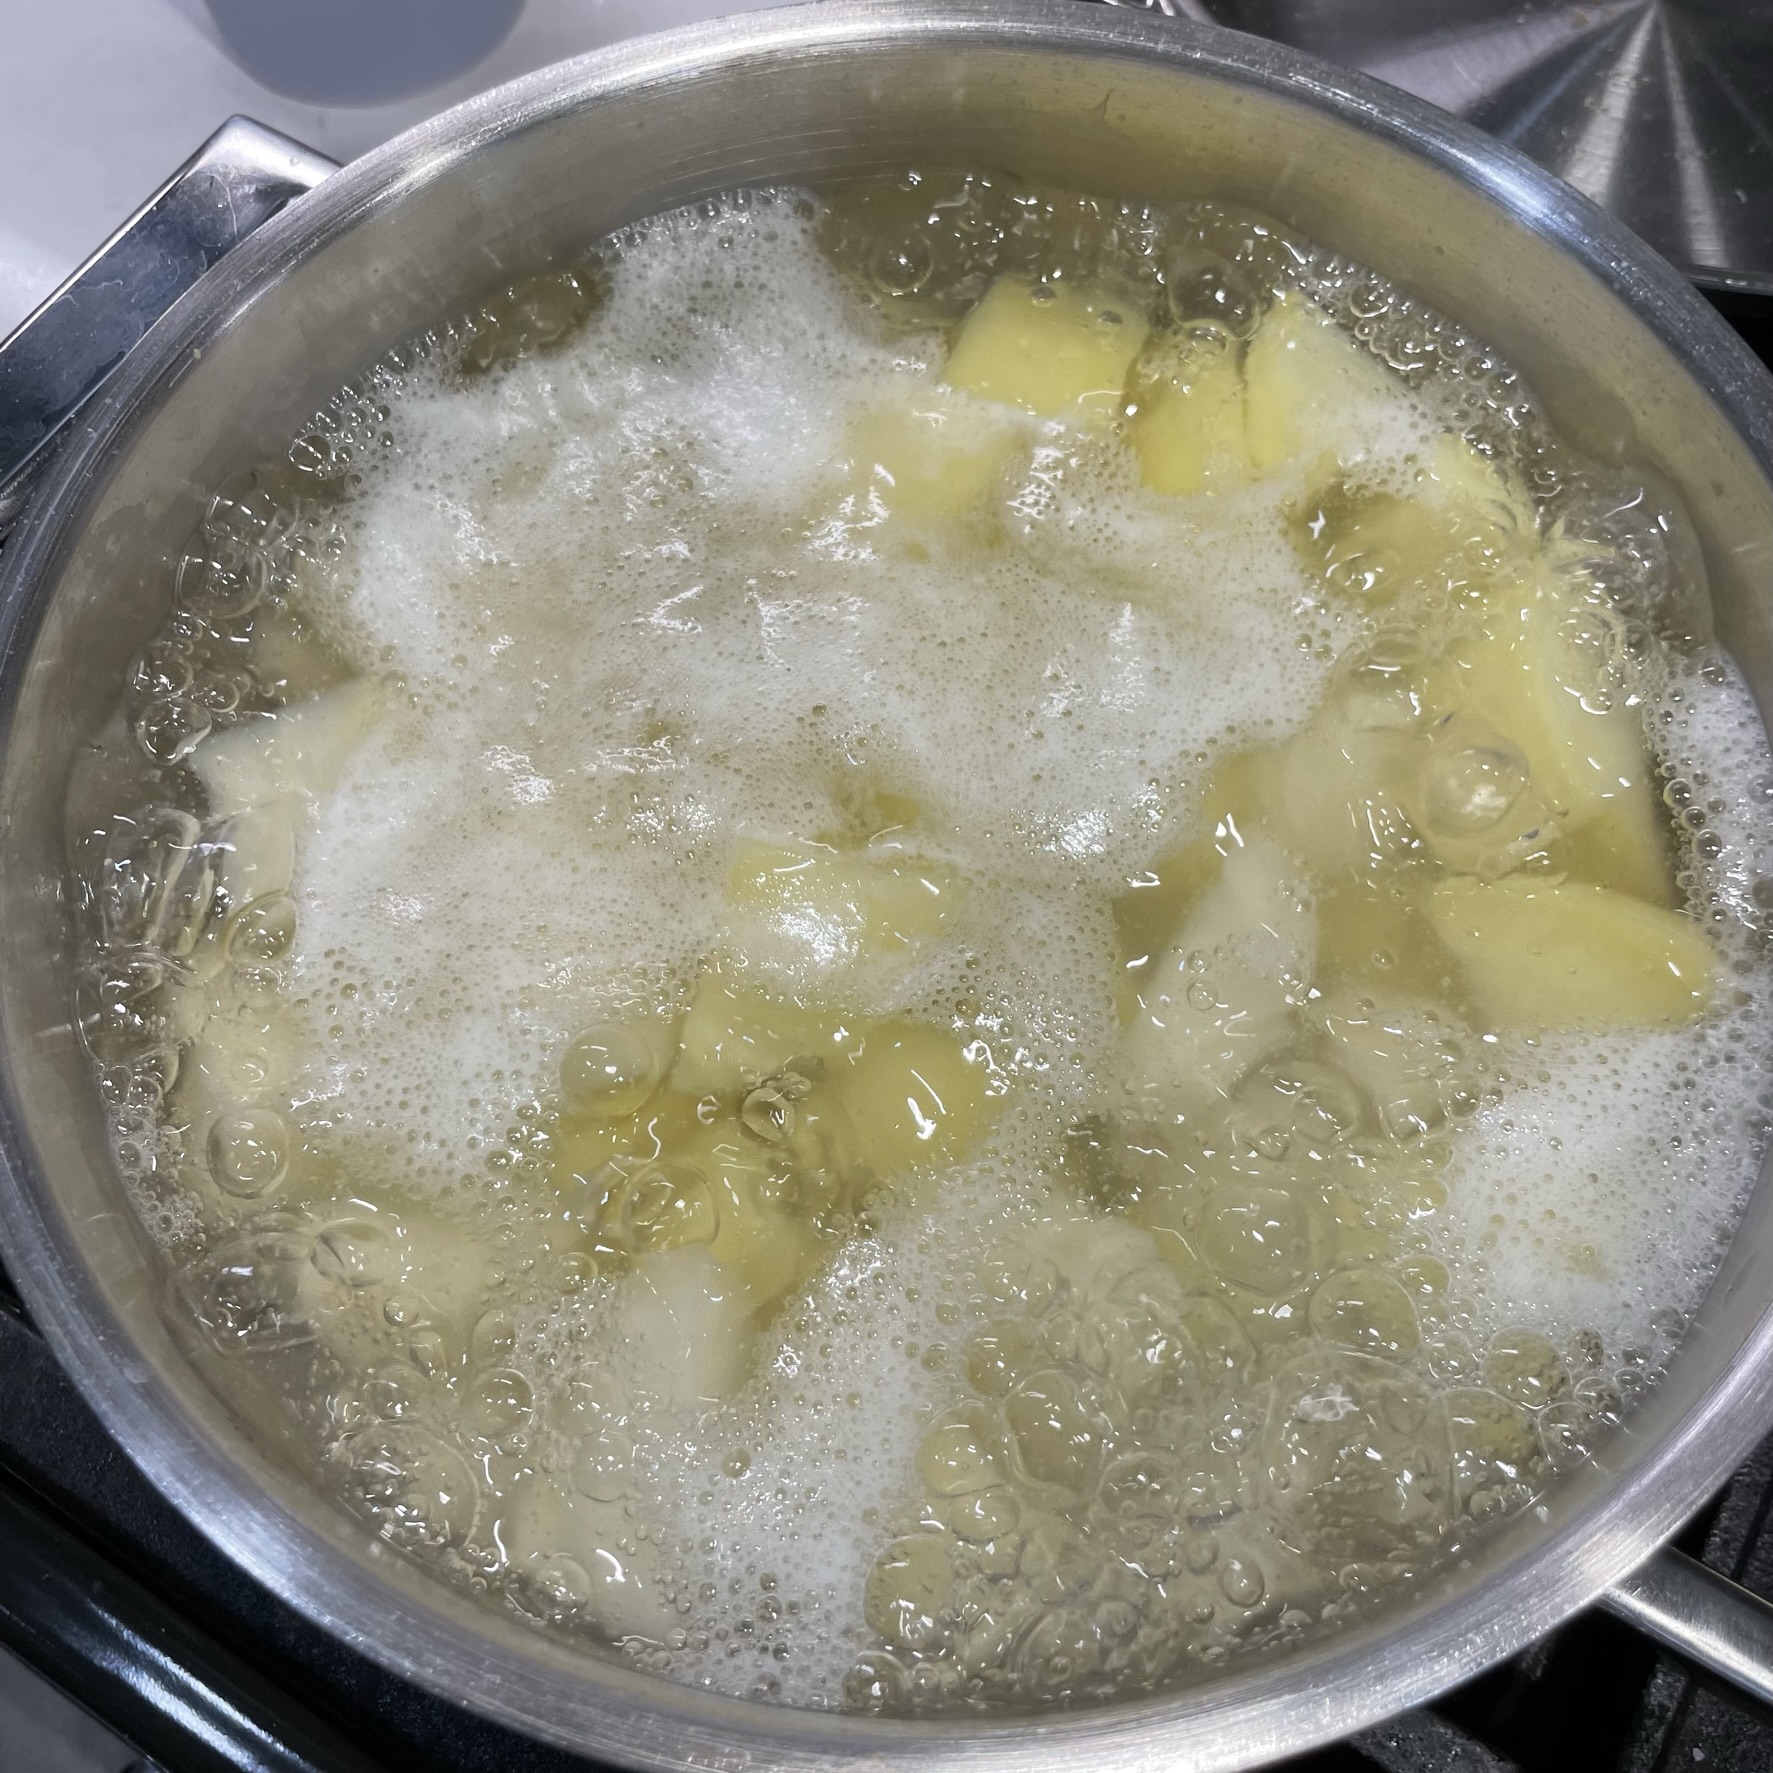
Get those potatoes boiling! I used a mix of russets and Yukon gold potatoes. Cook until they can be easily pierced with a knife tip. 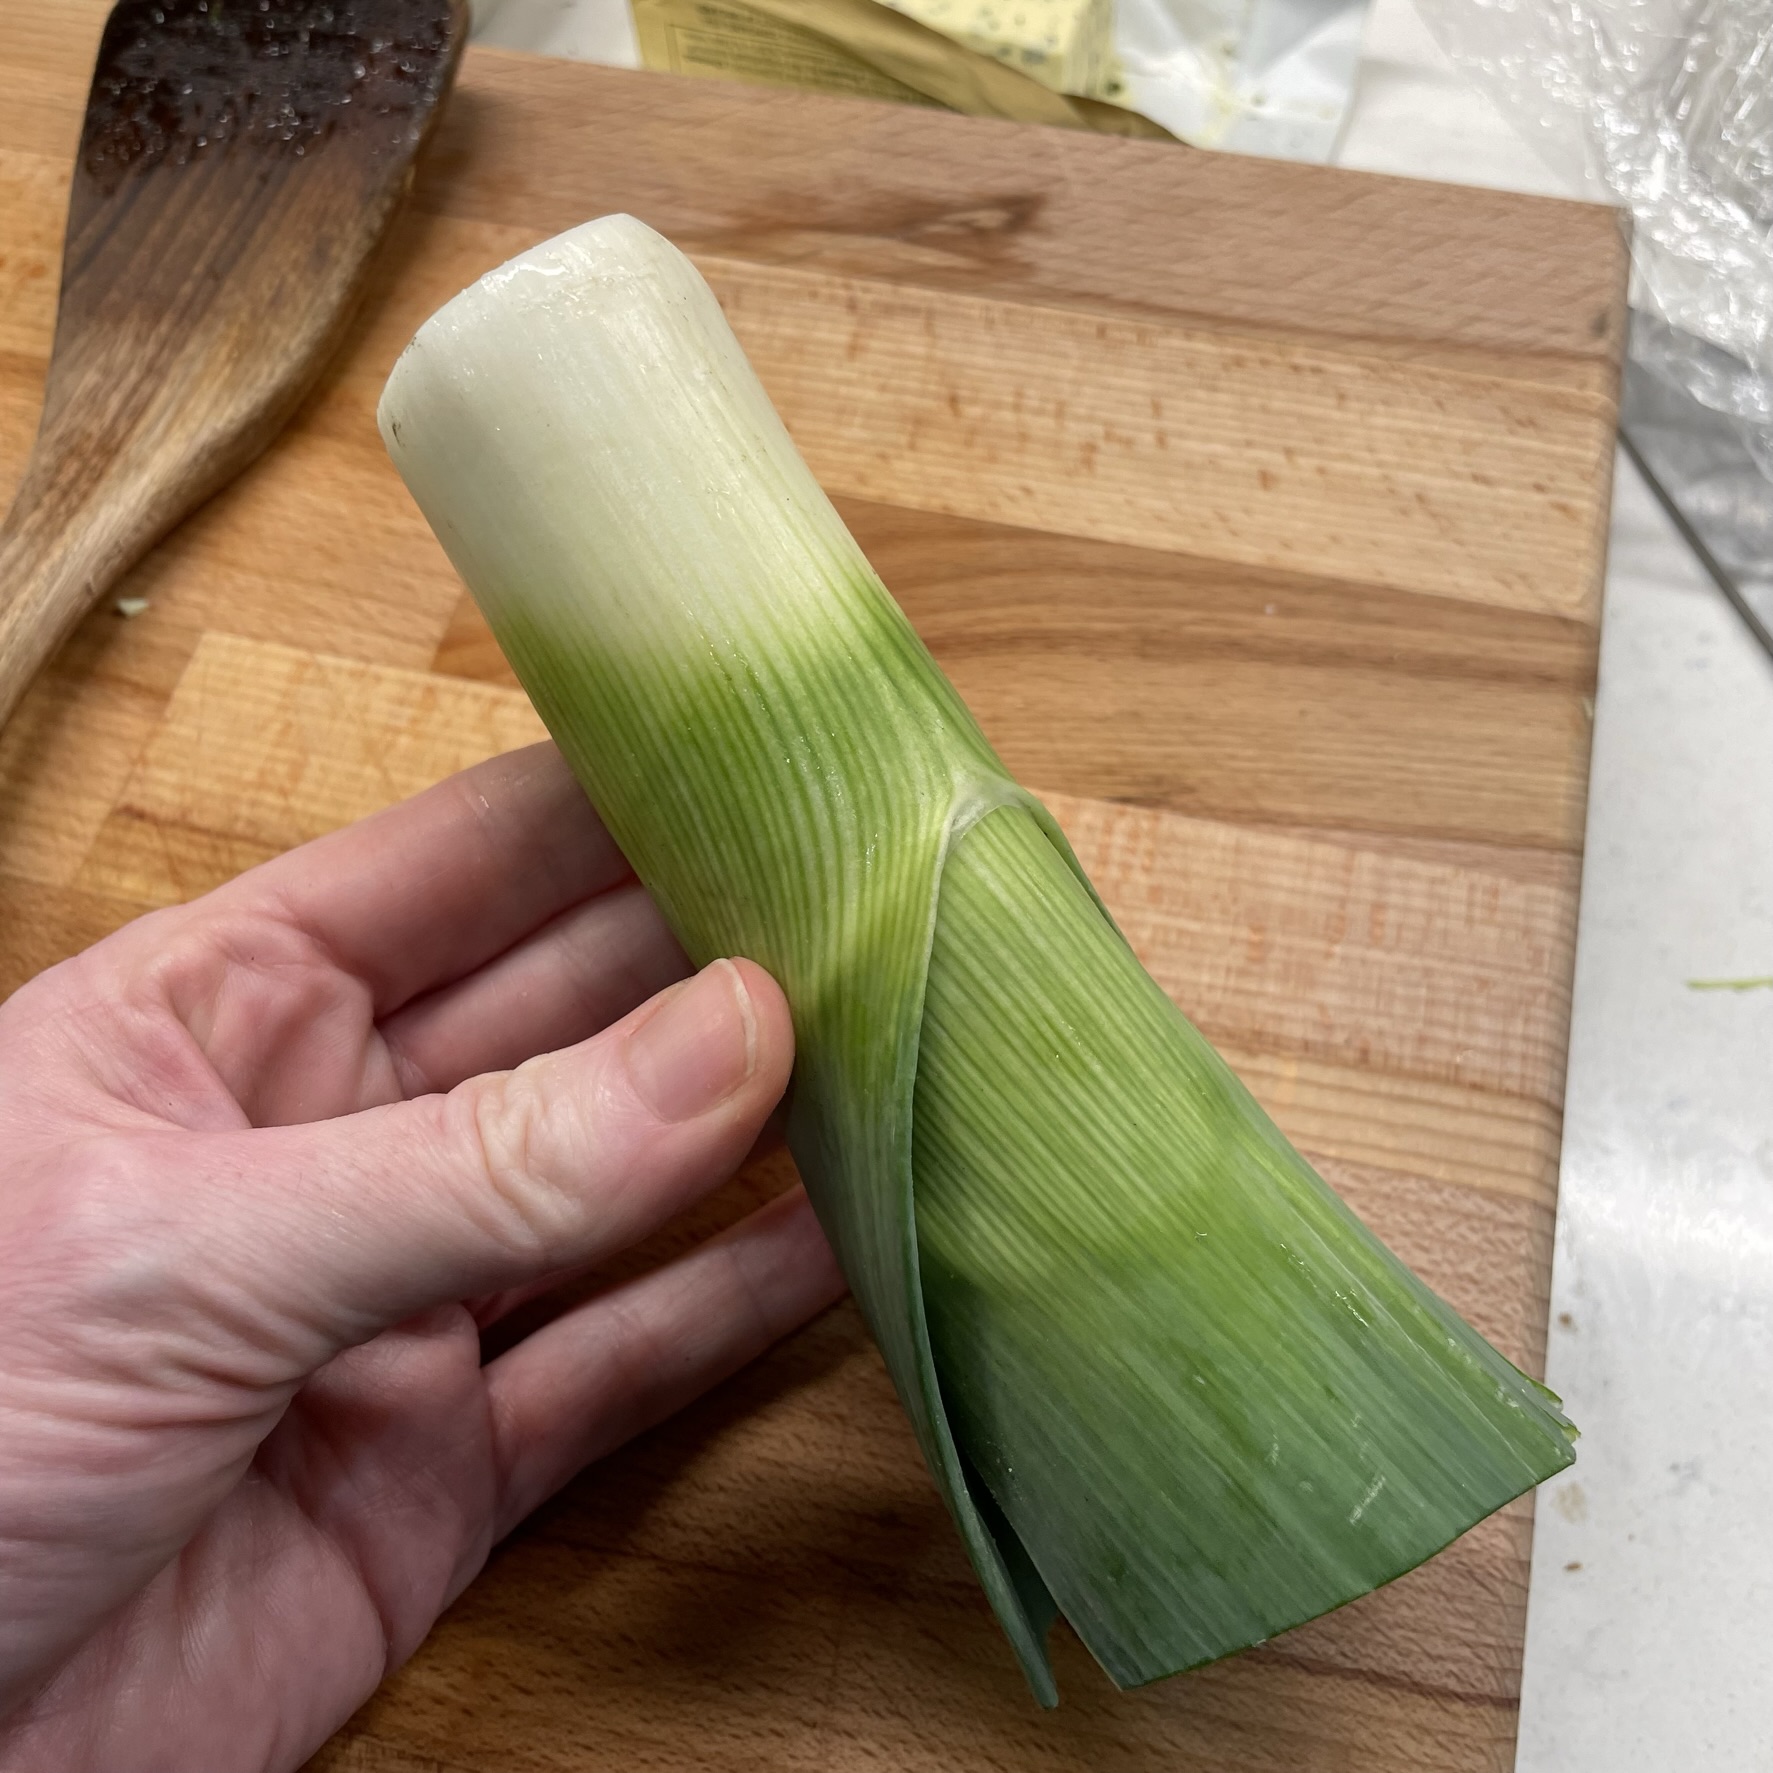
Use only the white and lighter green parts of the leek. Be sure to clean it properly to remove the sandy grit that lurks between layers. 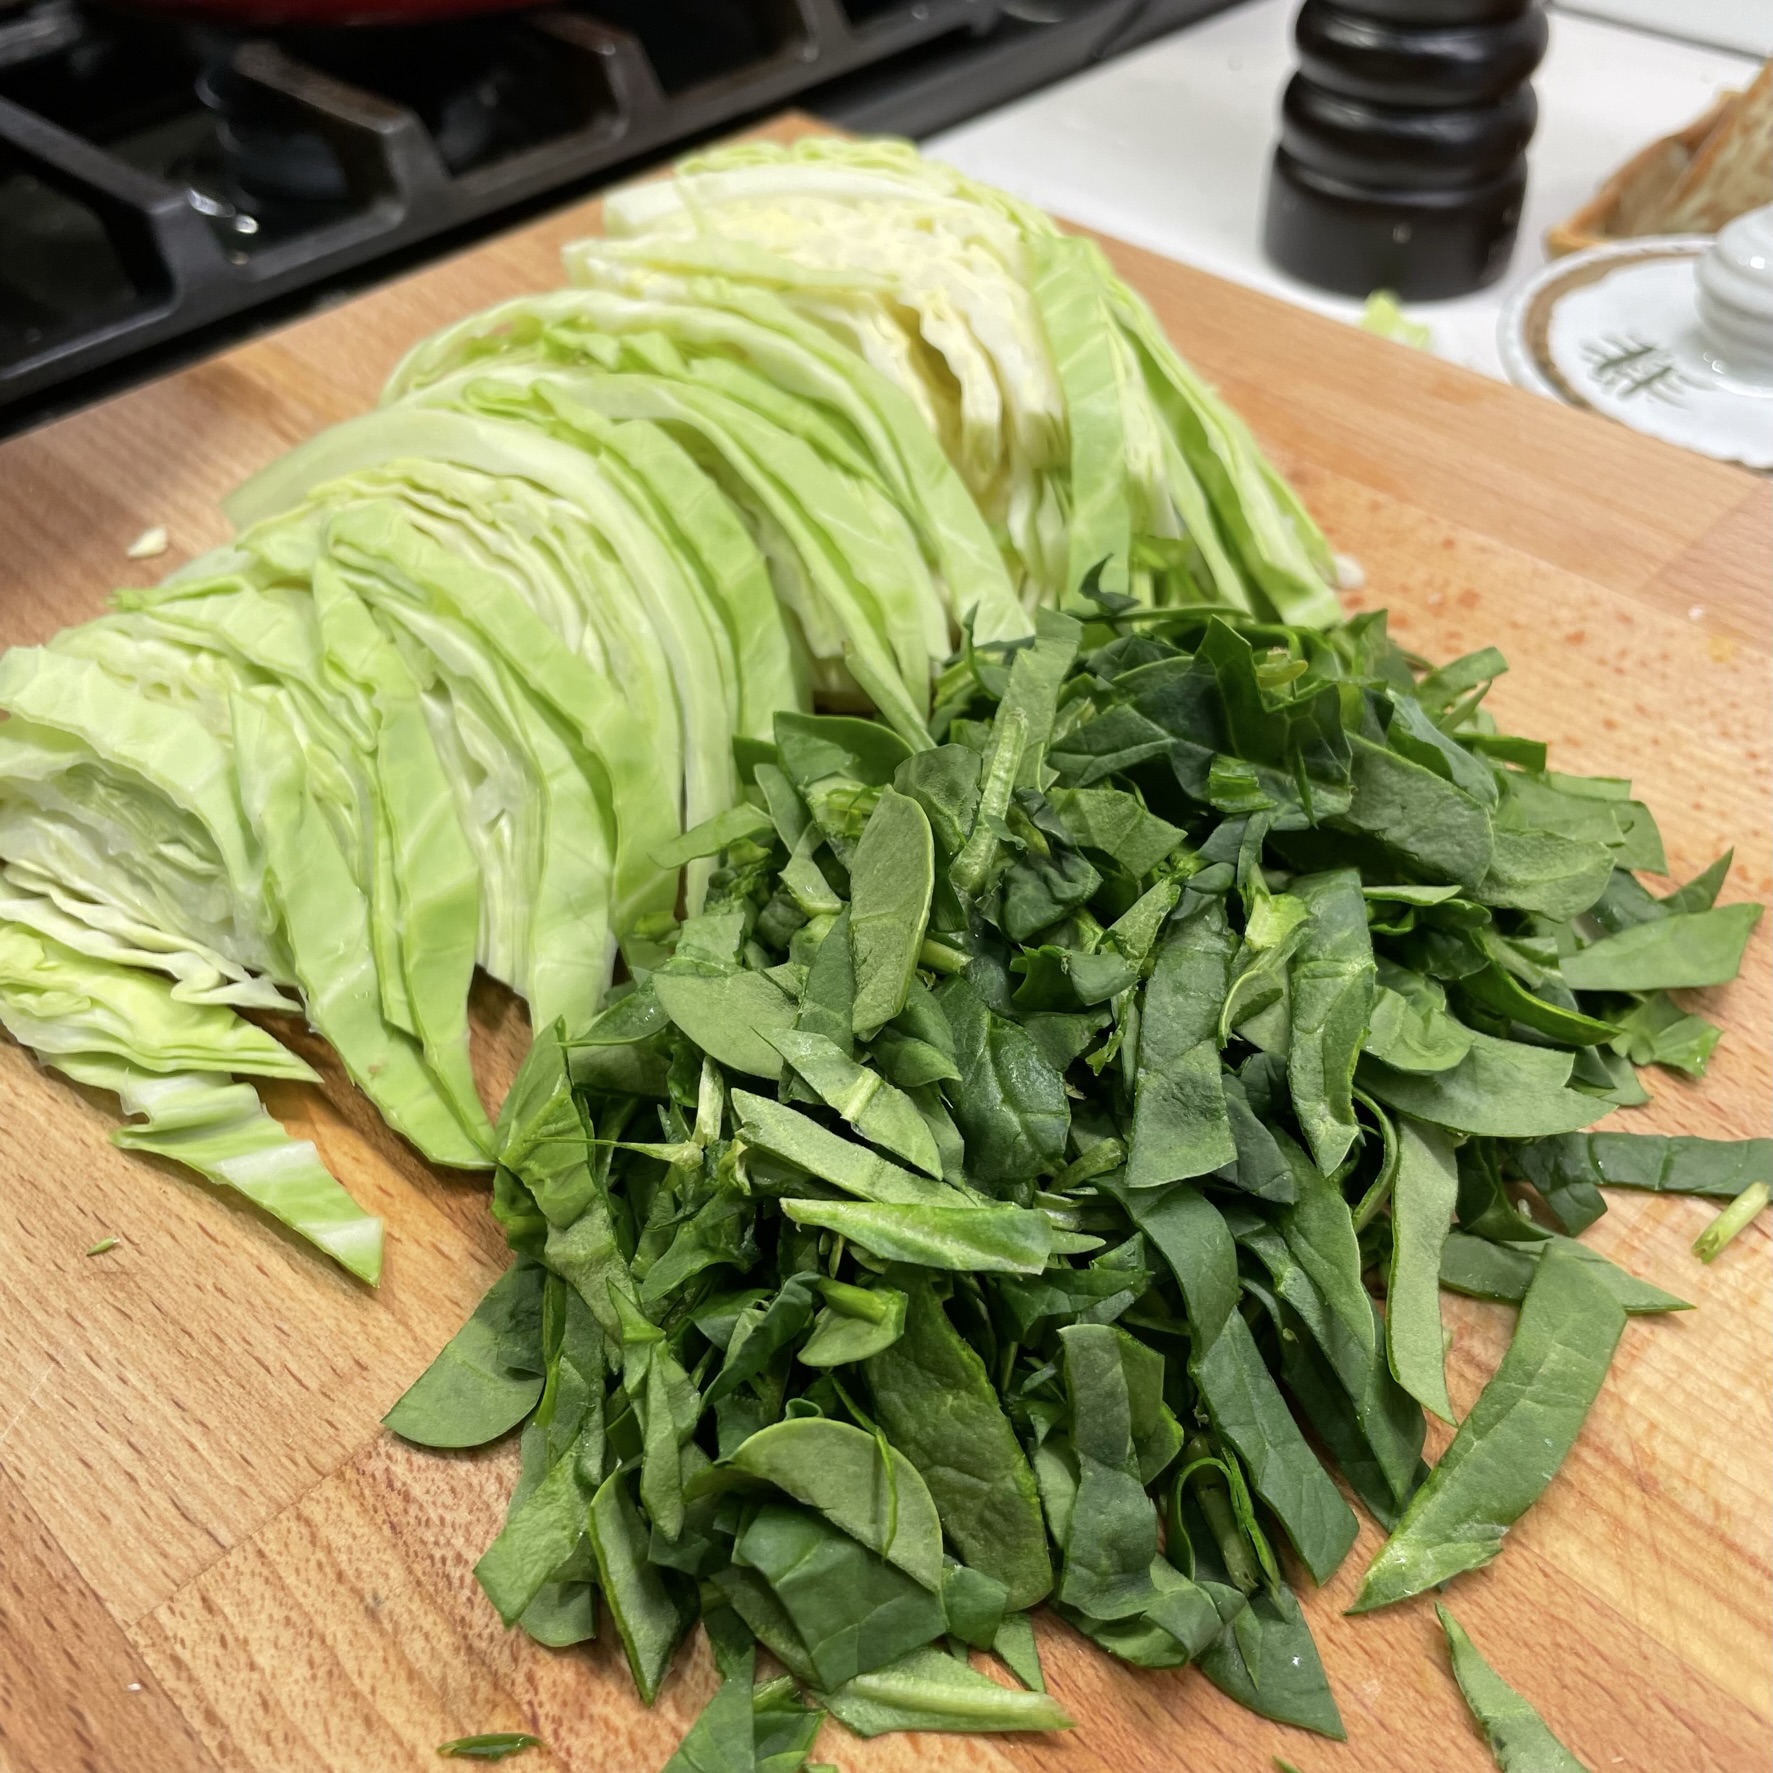
Let’s make it extra green! Alongside the sliced cabbage, I tossed in some baby spinach leaves. 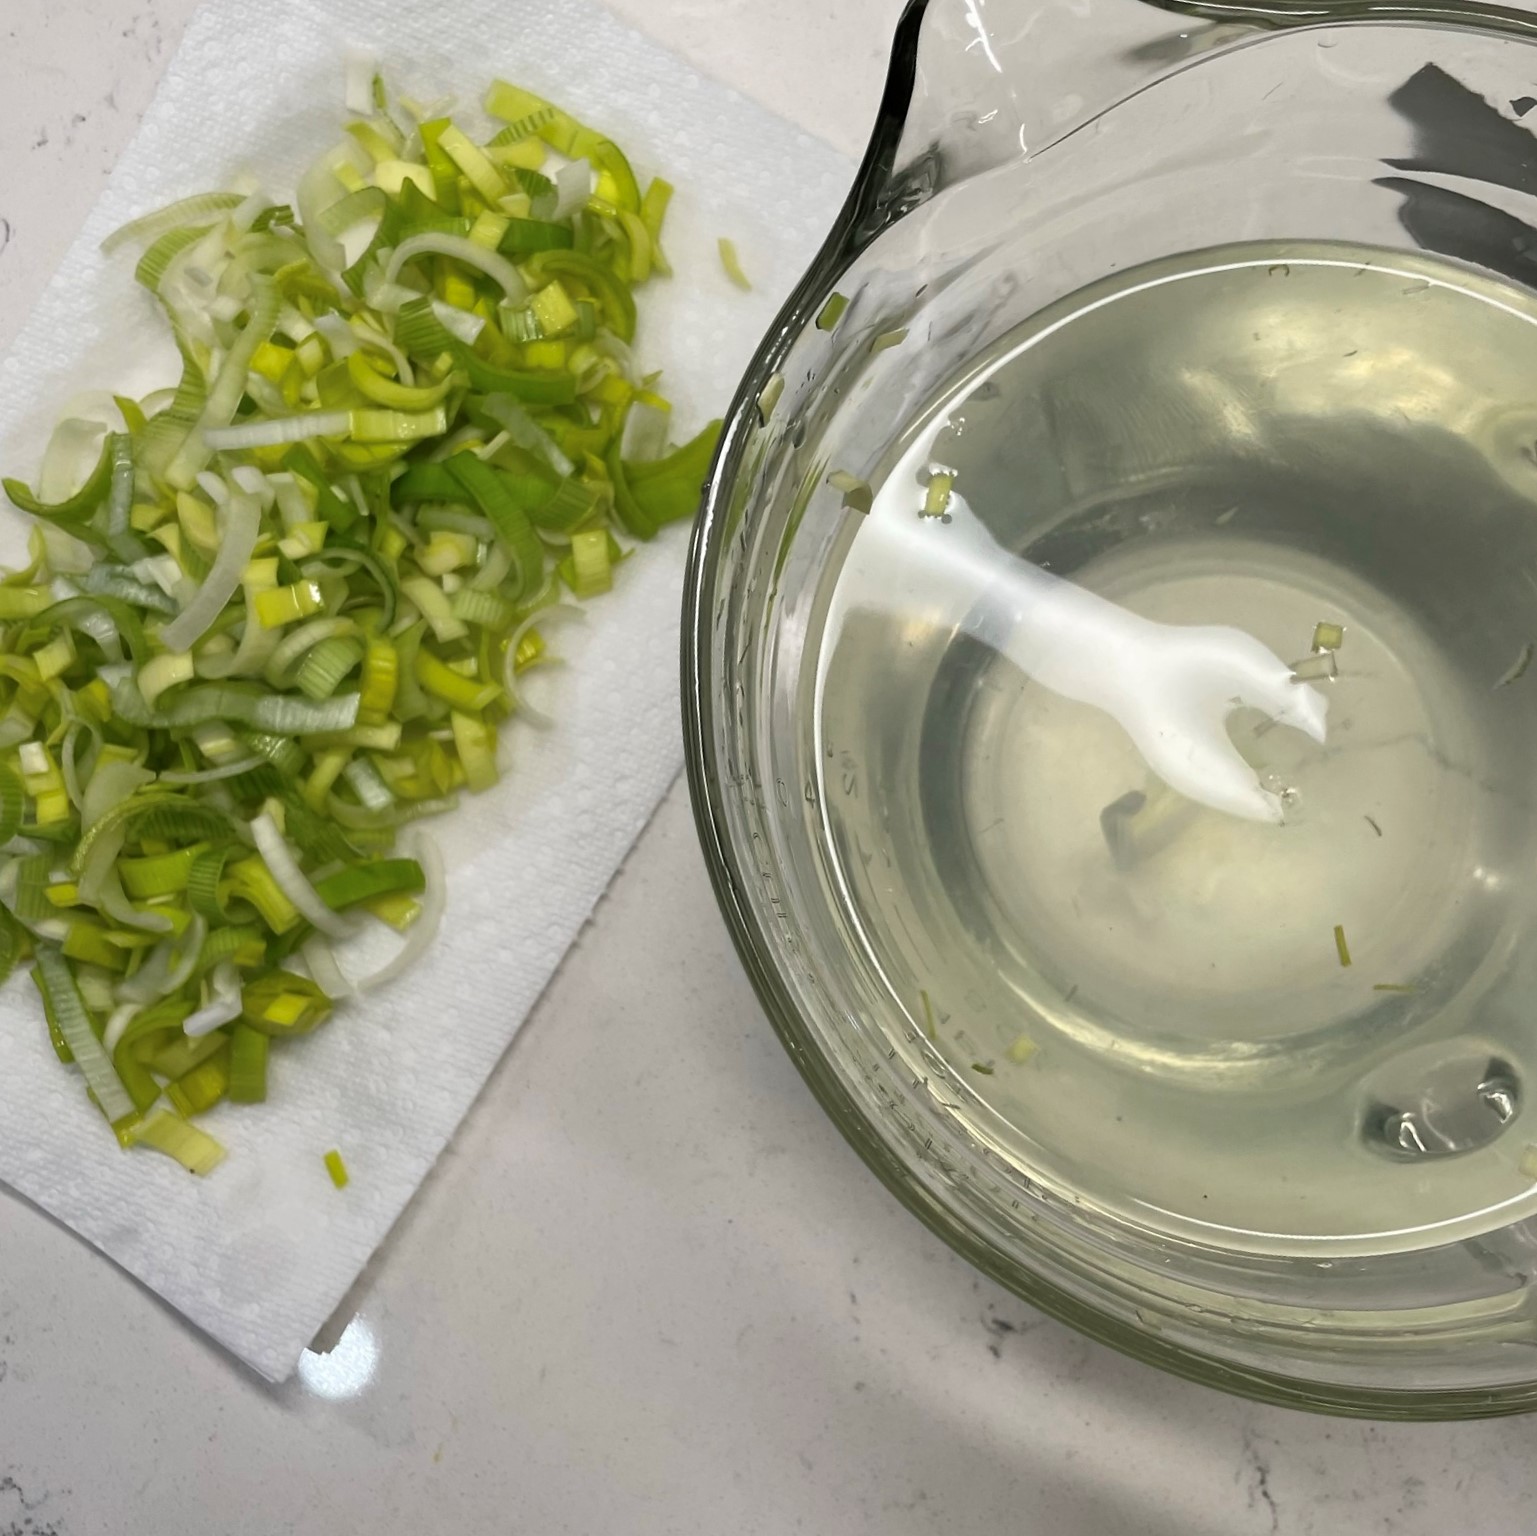
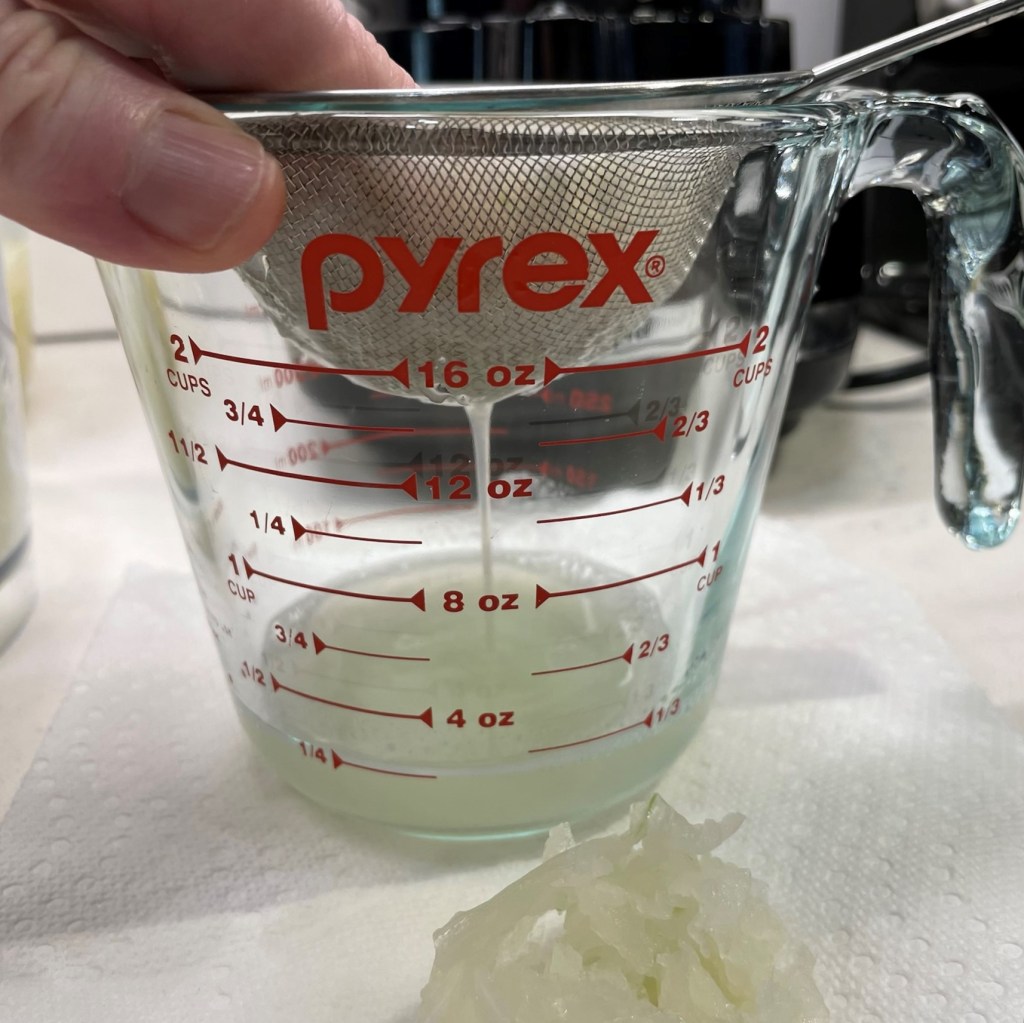
The soaking water is always a little murky after removing the rinsed leeks. Pat them dry on a towel before cooking. 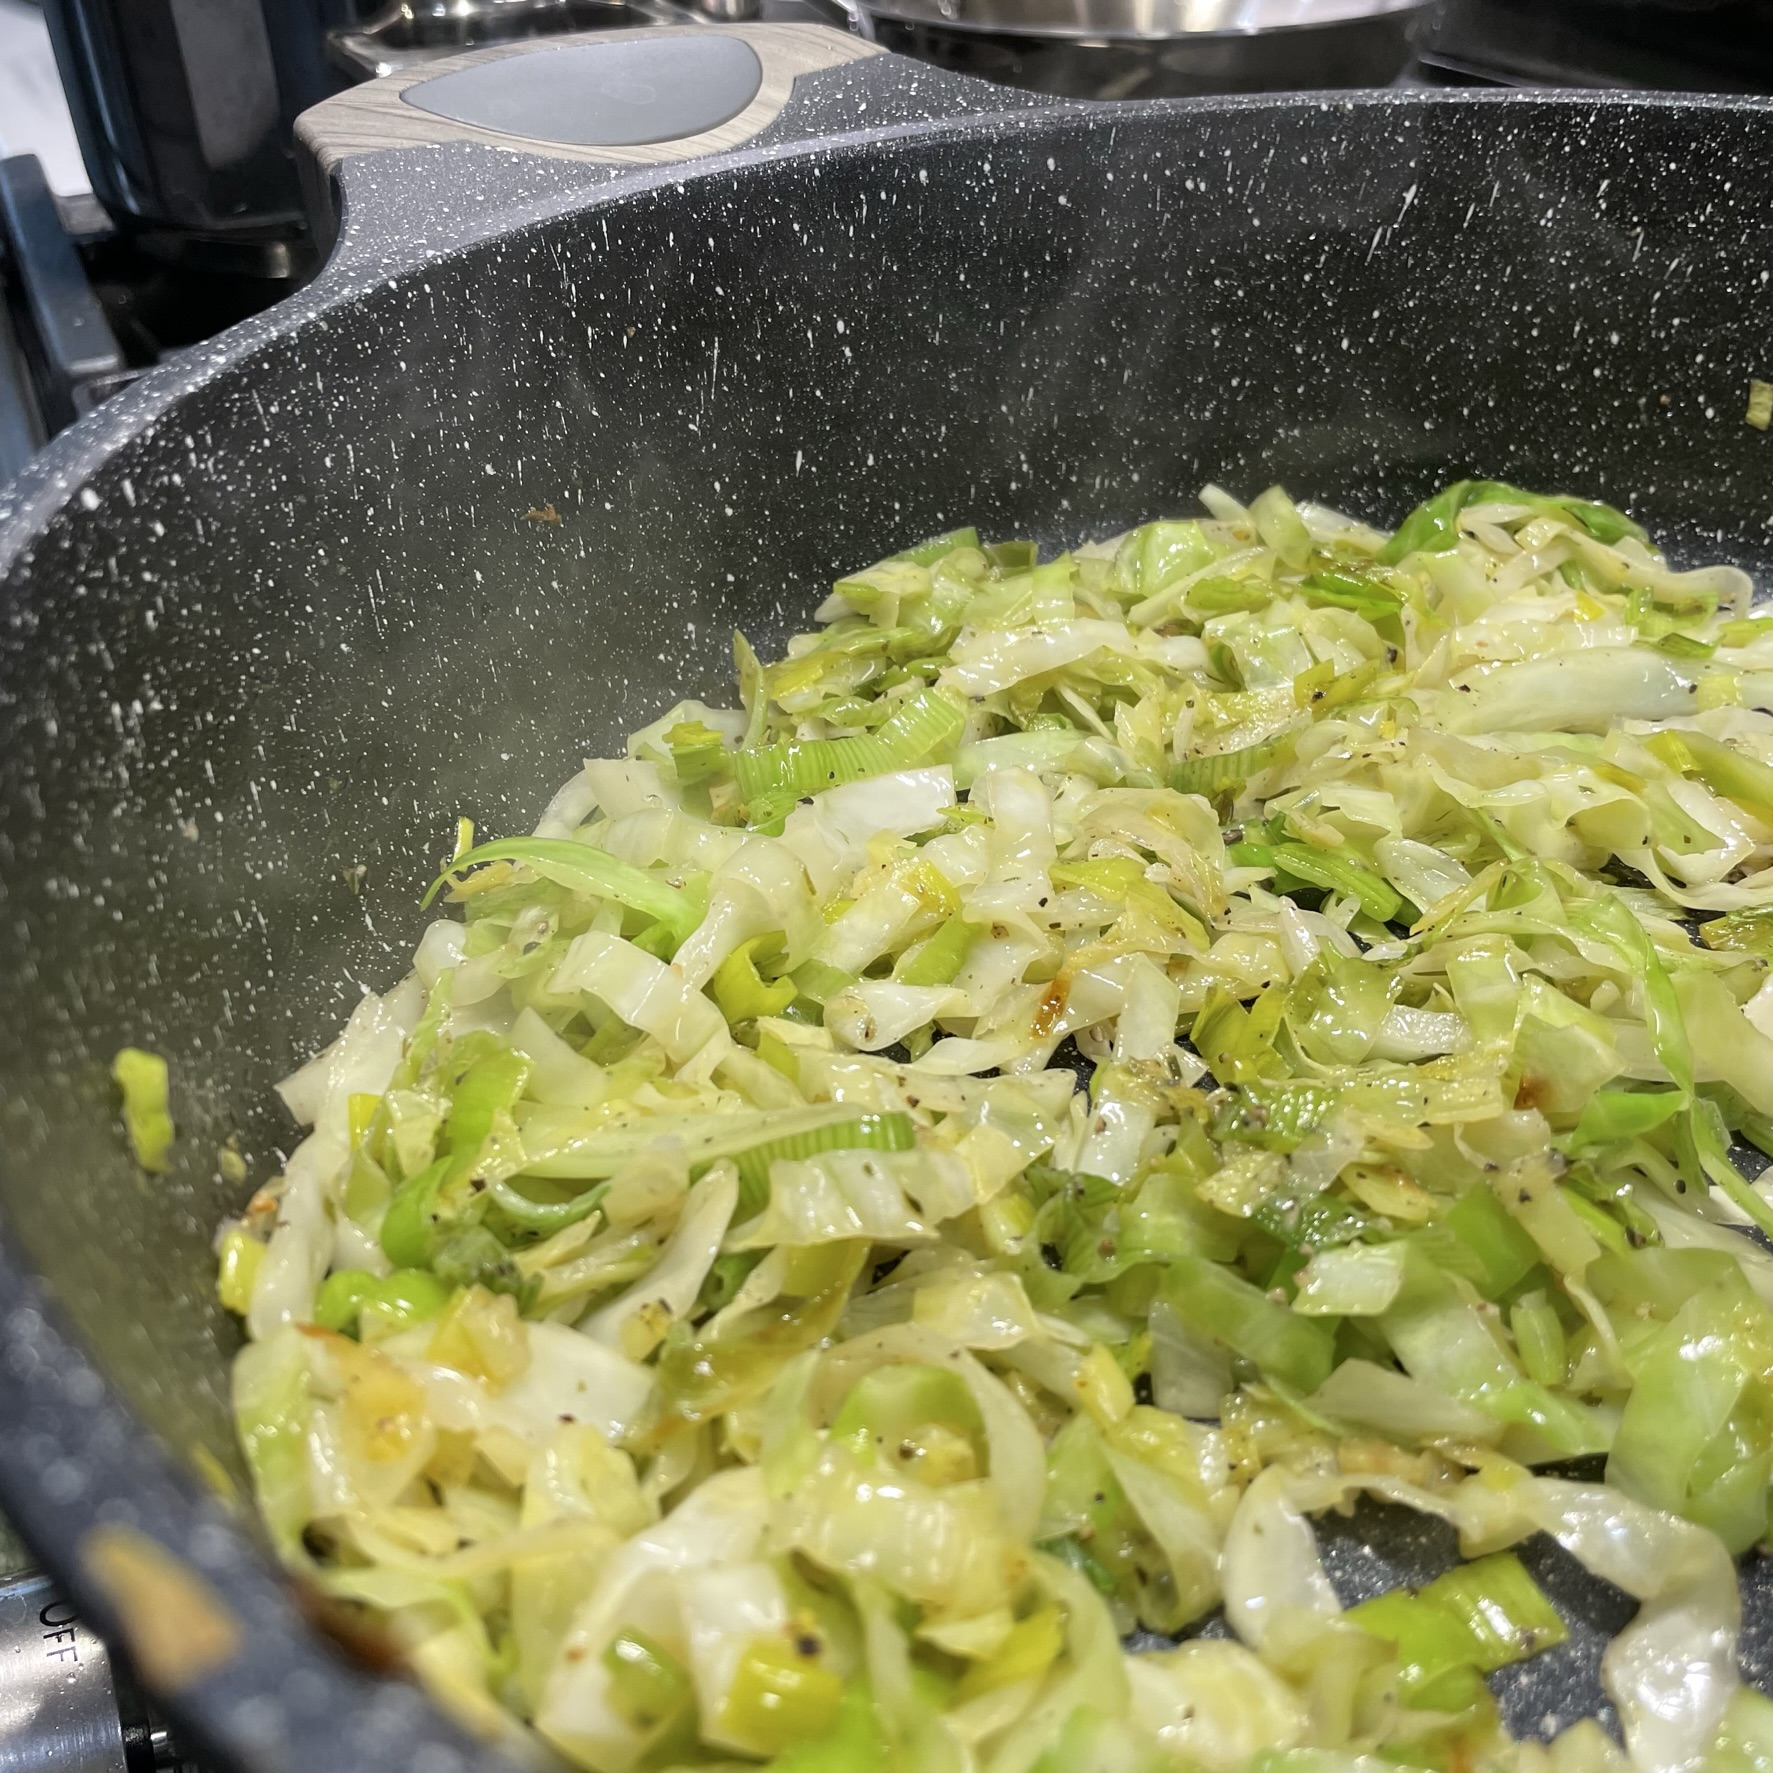
Saute the leeks and cabbage in two tablespoons of the garlic herb butter. When softened, turn off the heat and stir in the spinach. 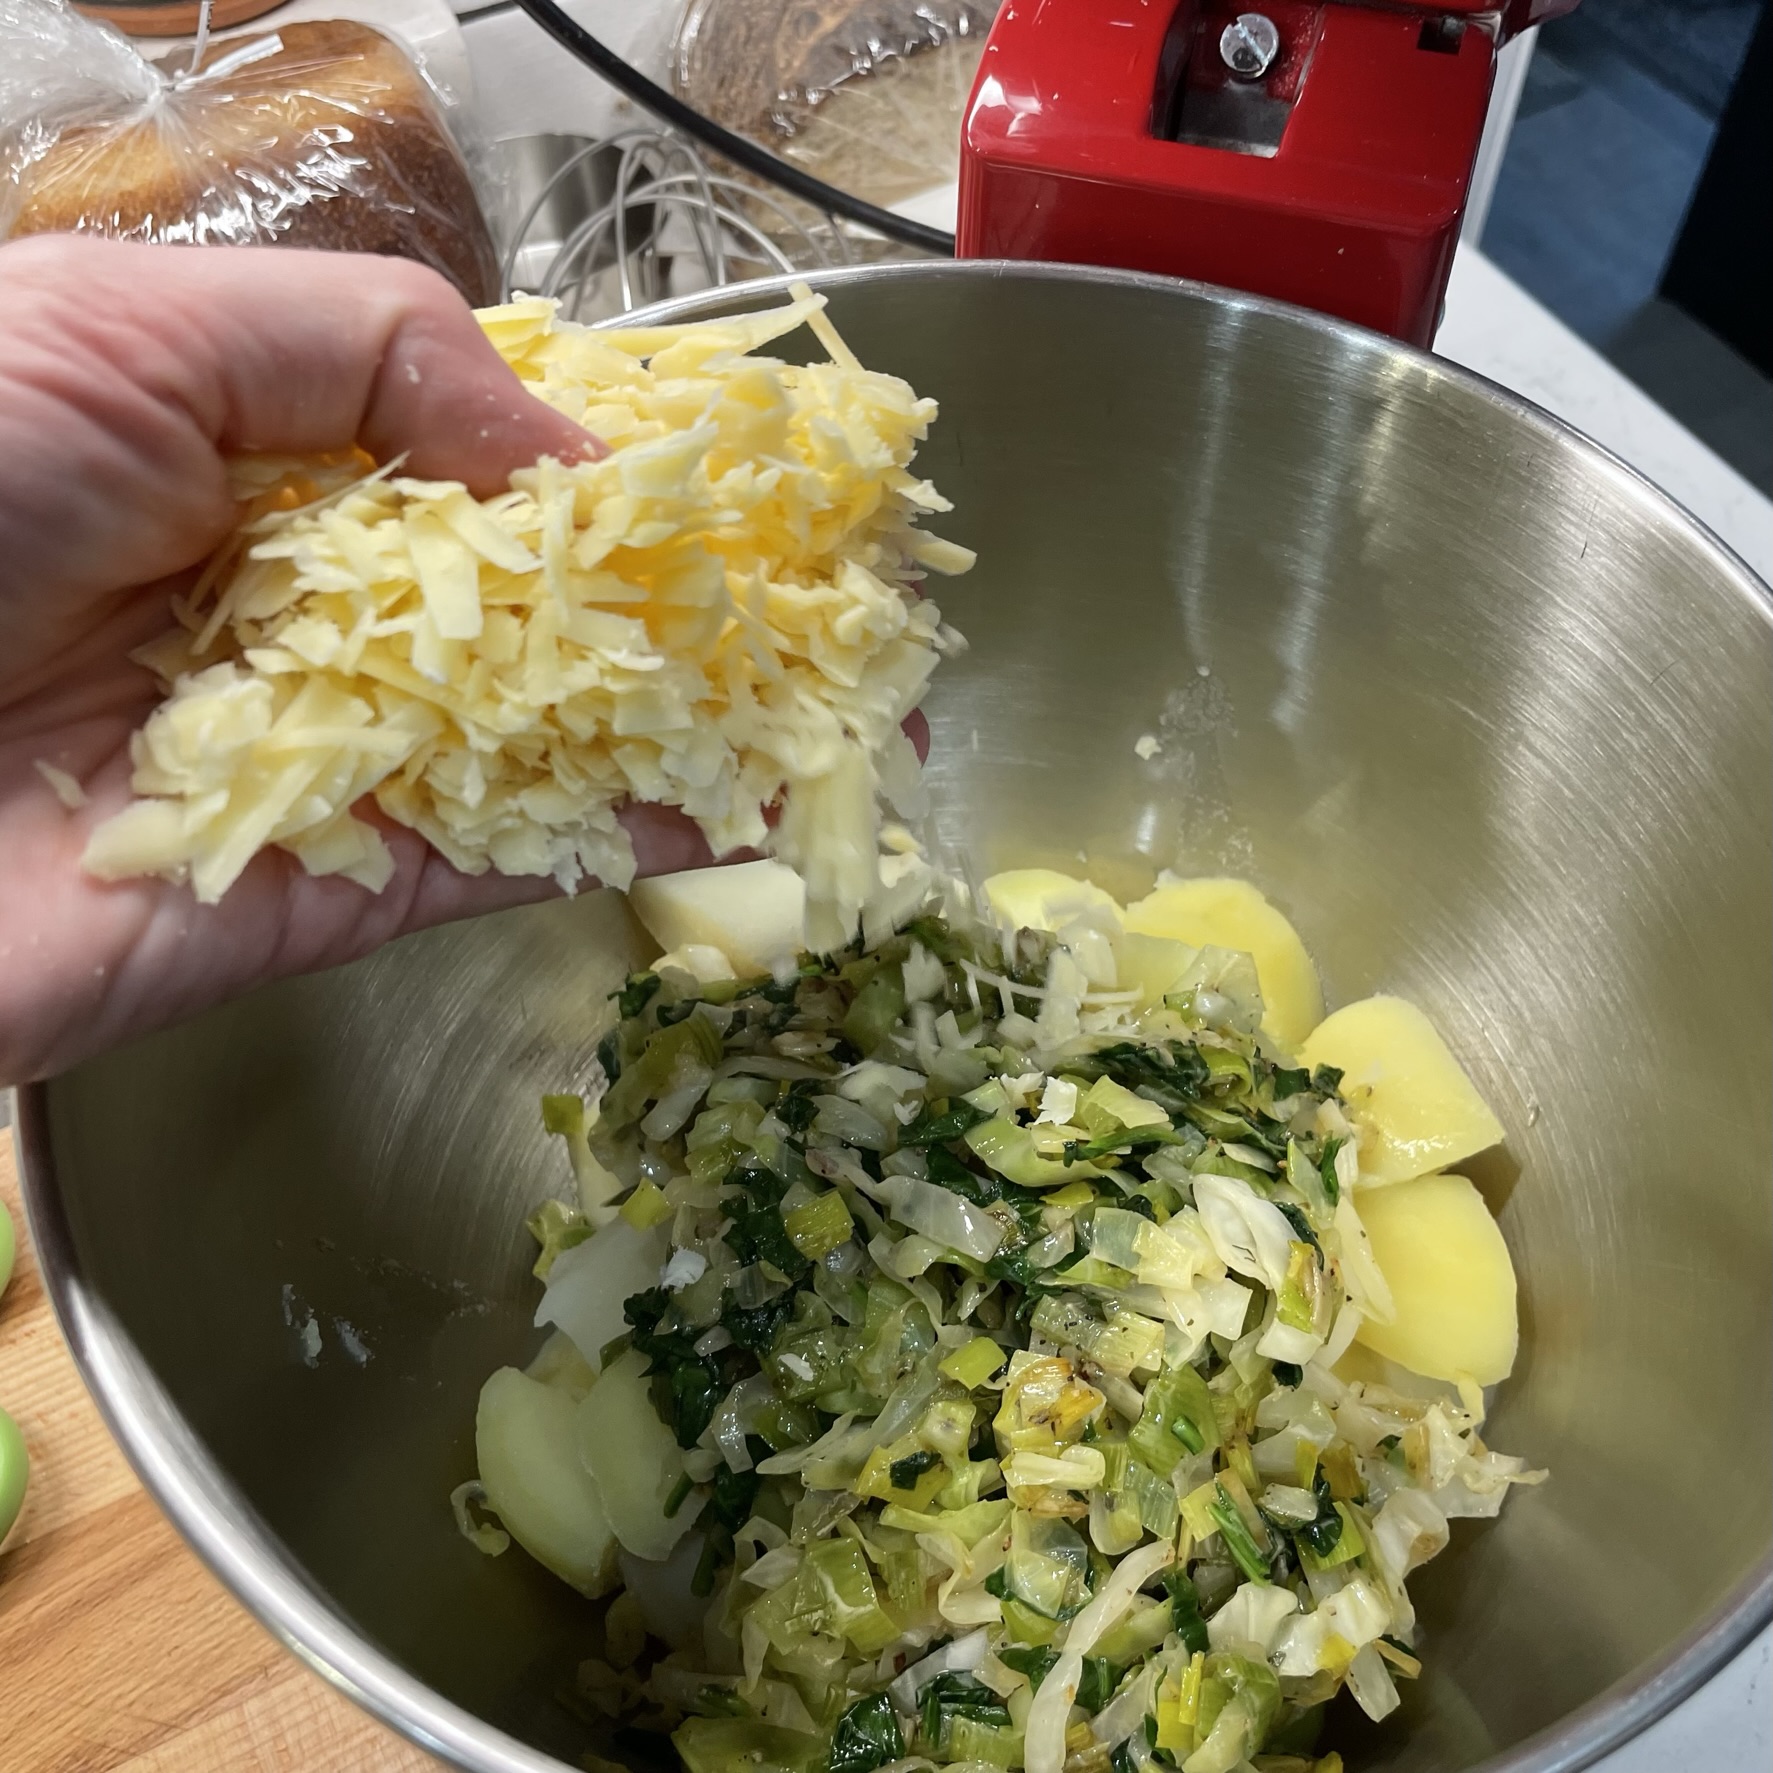
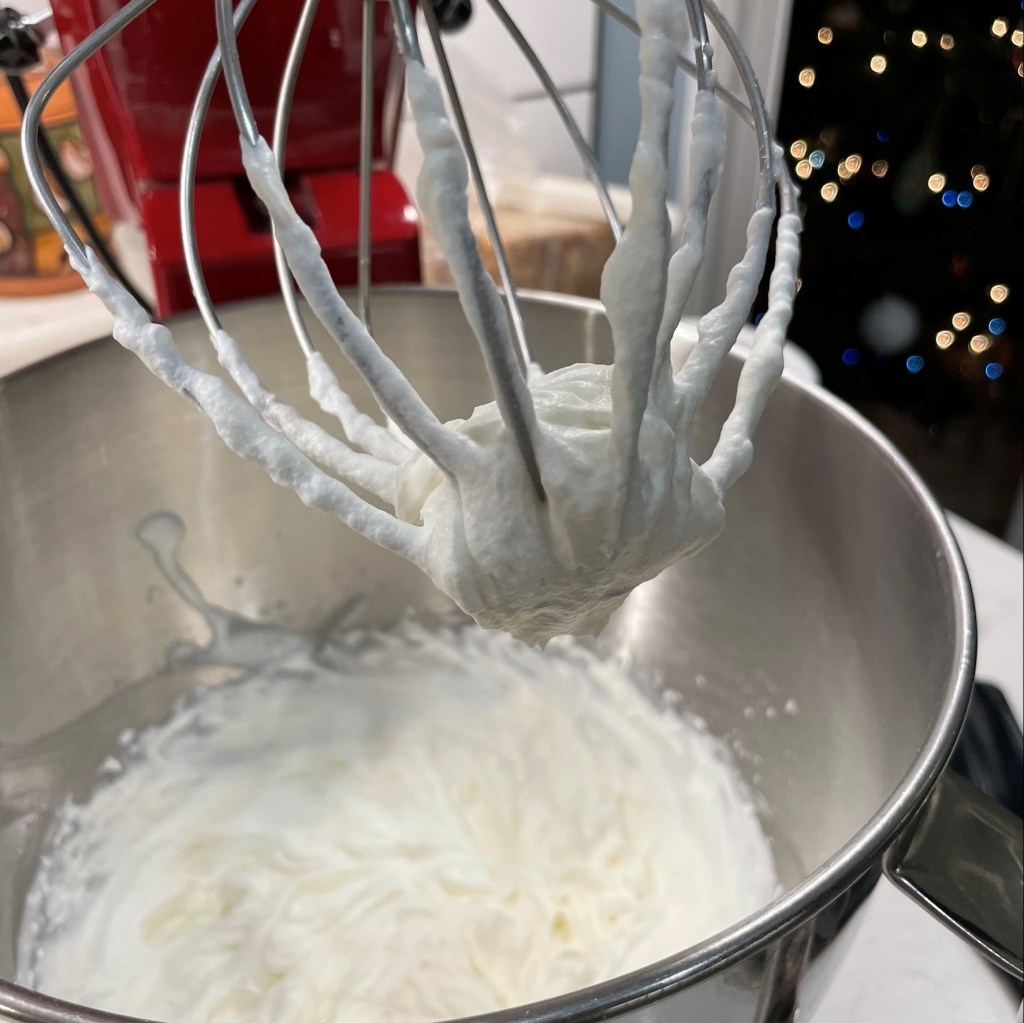
Add the vegetables to the drained potatoes and toss in the shredded Irish cheddar. 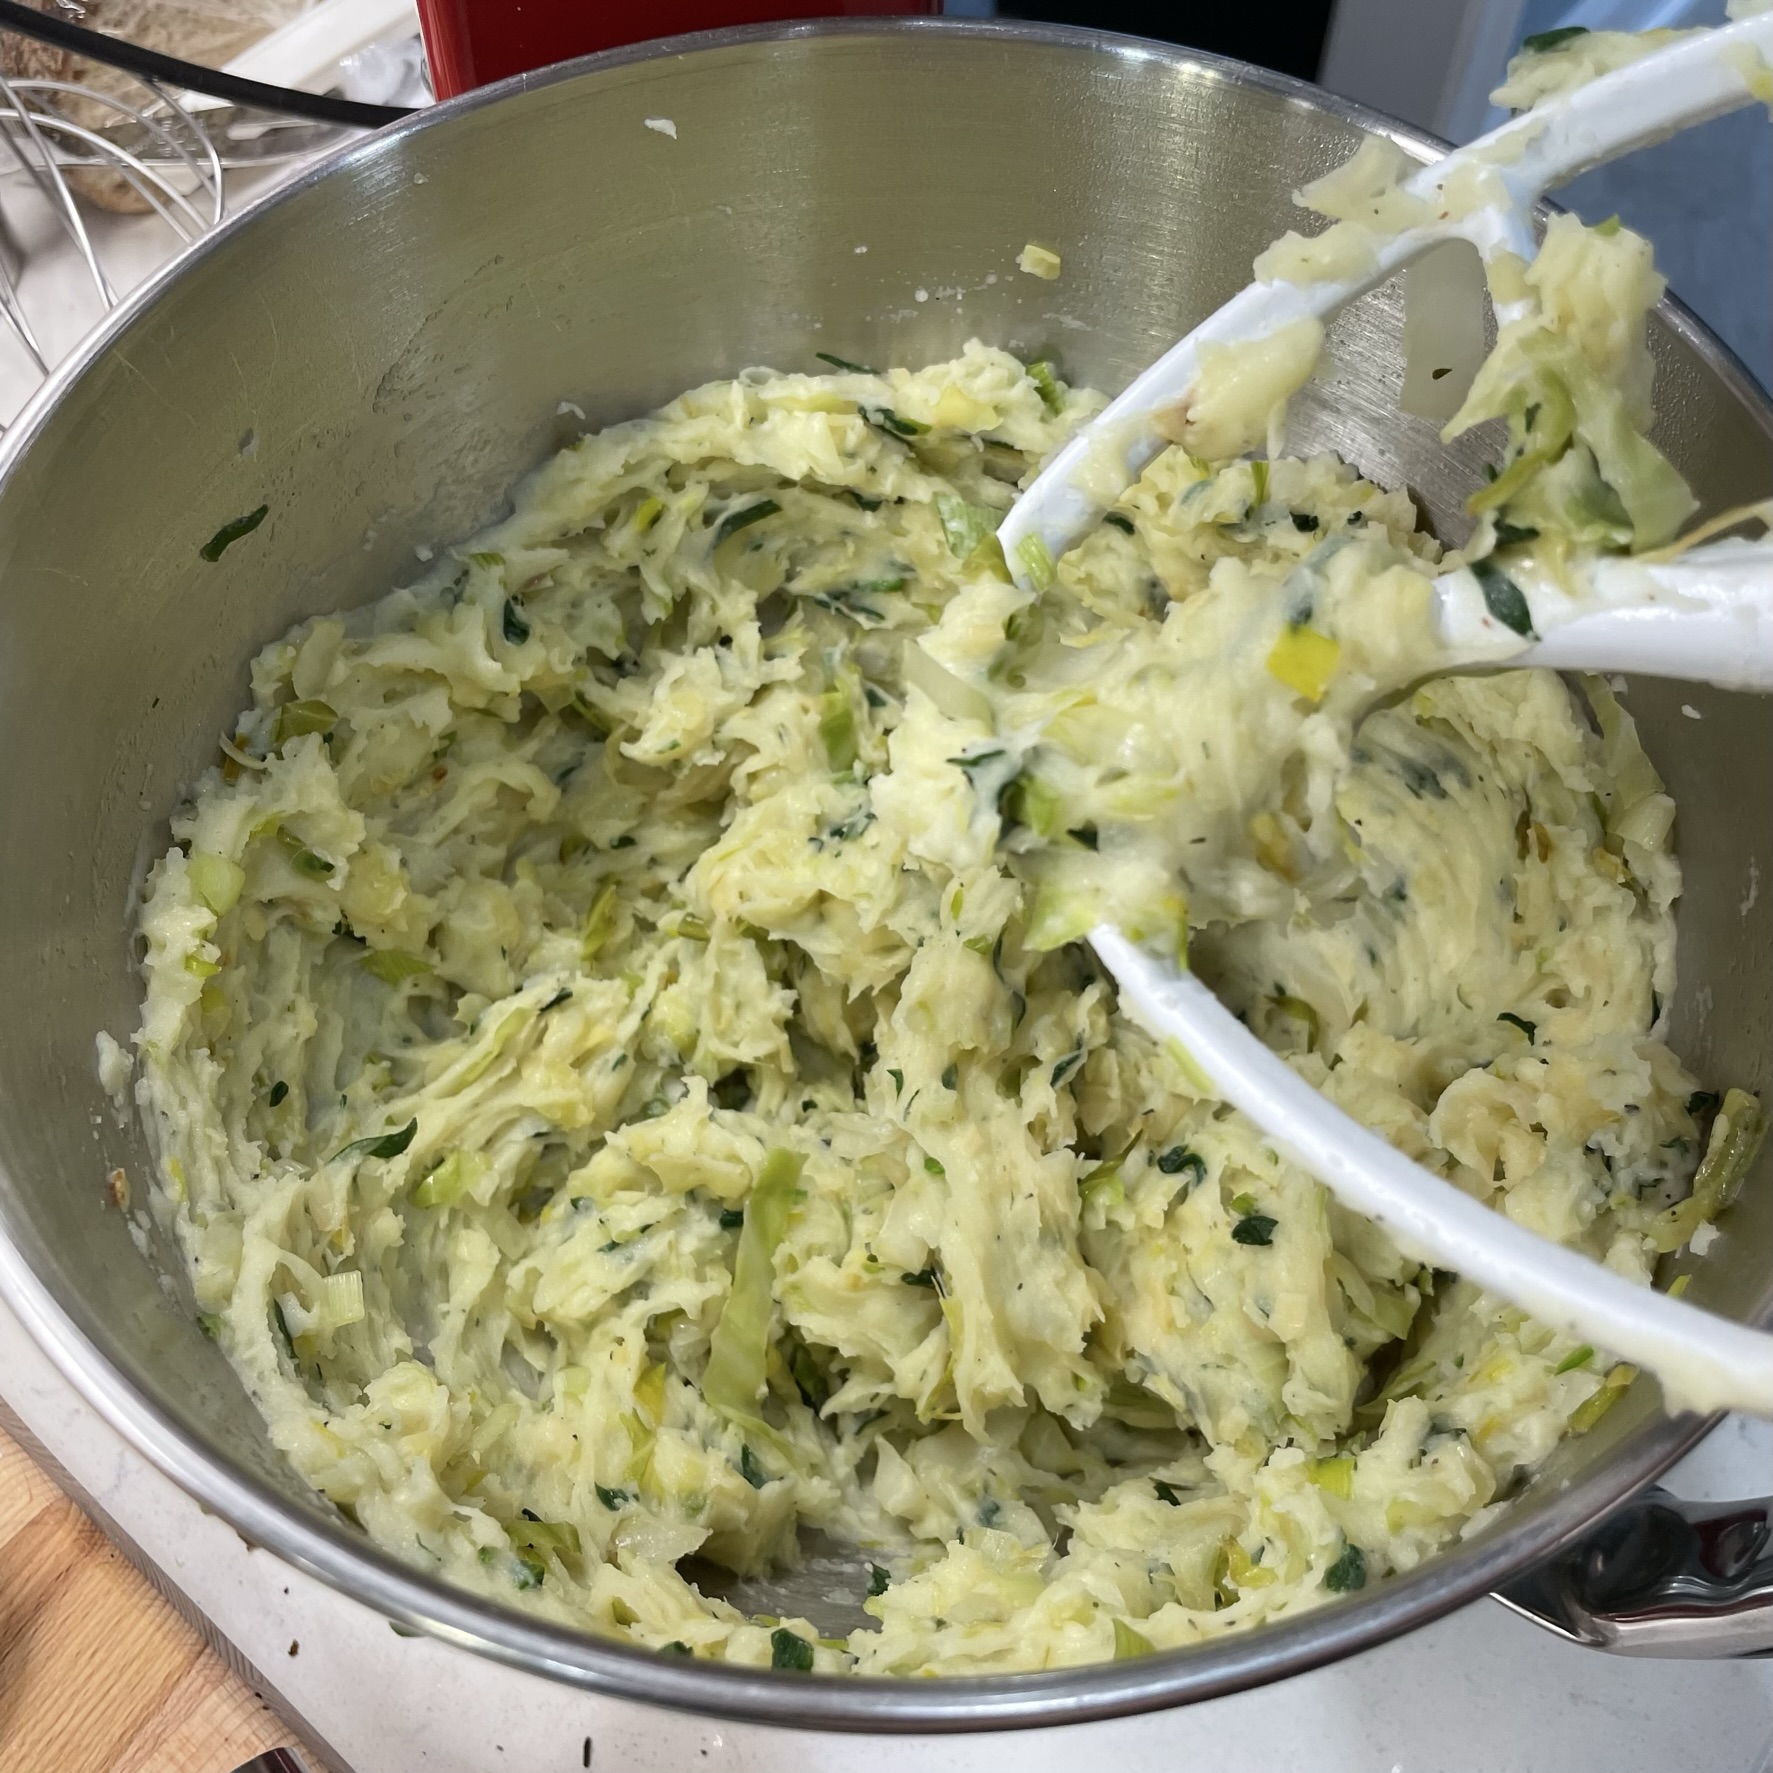
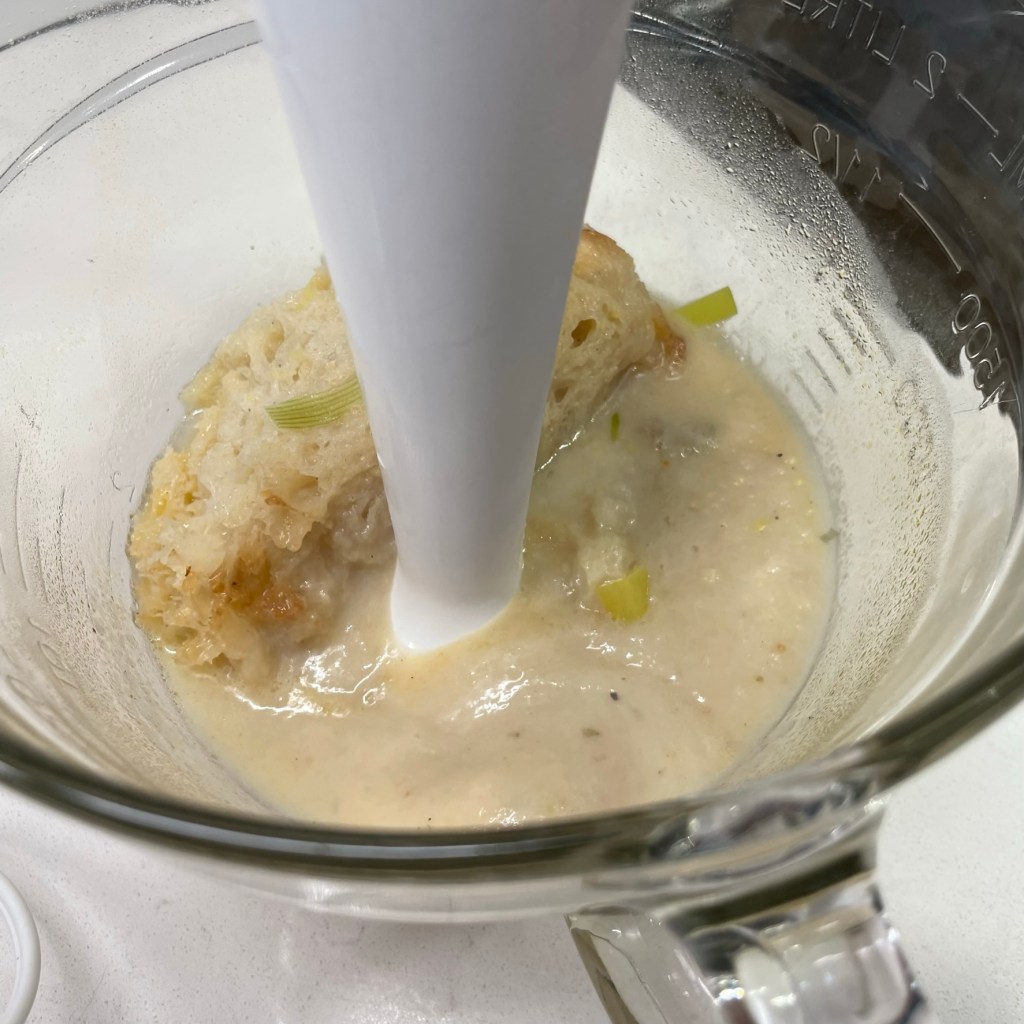
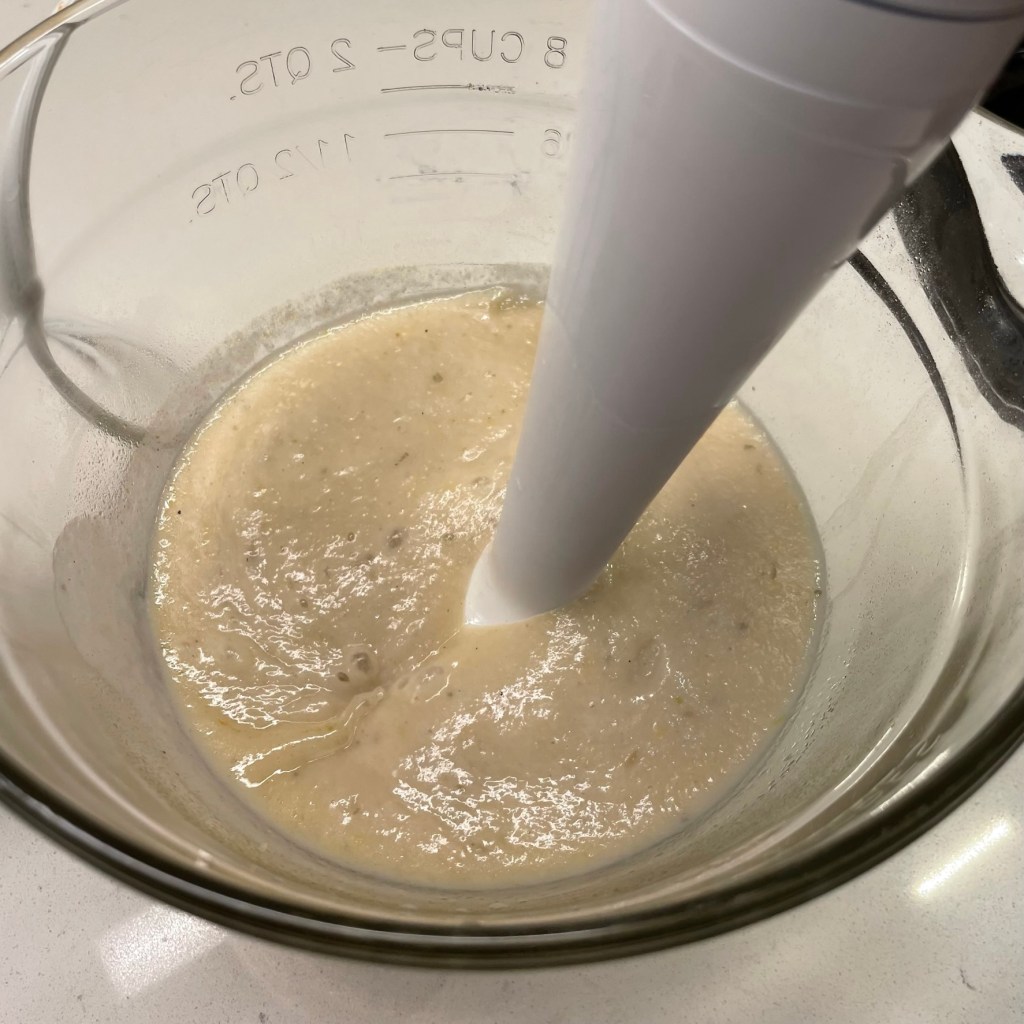
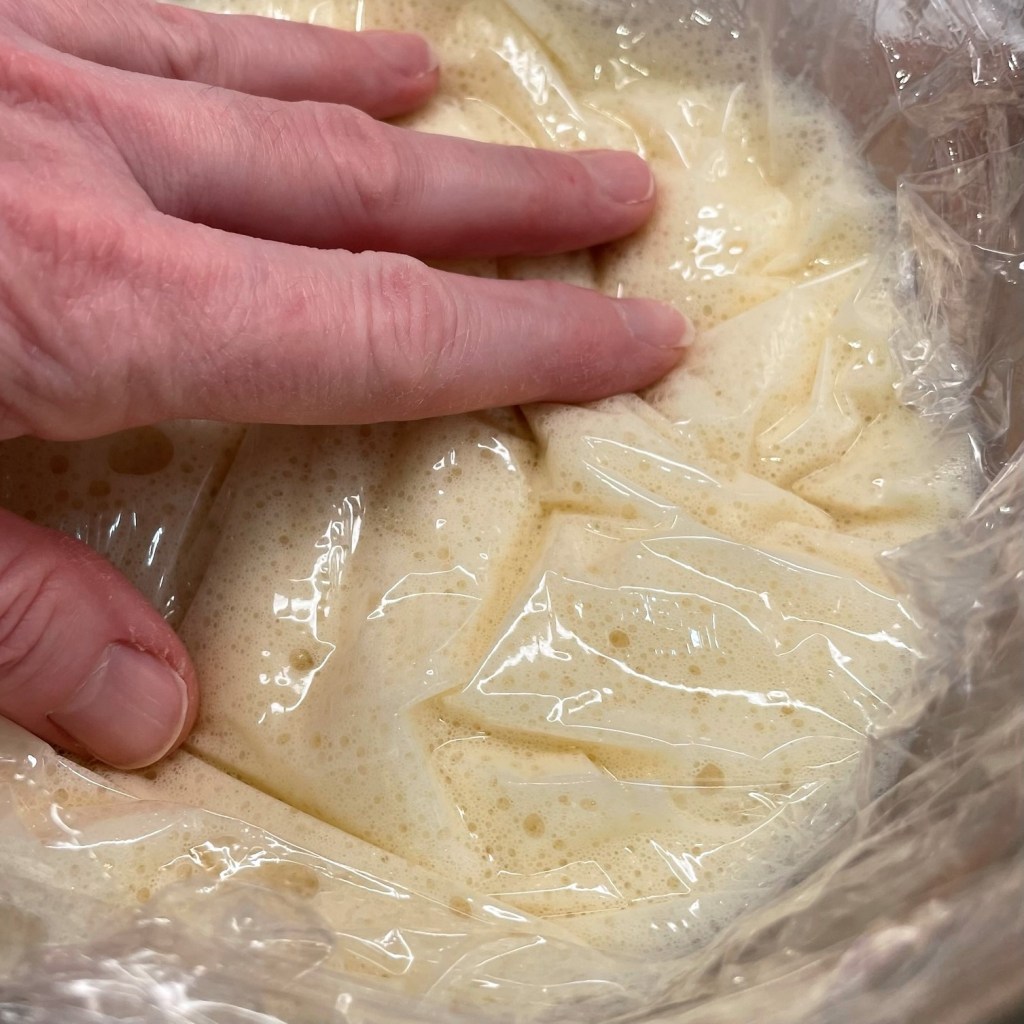
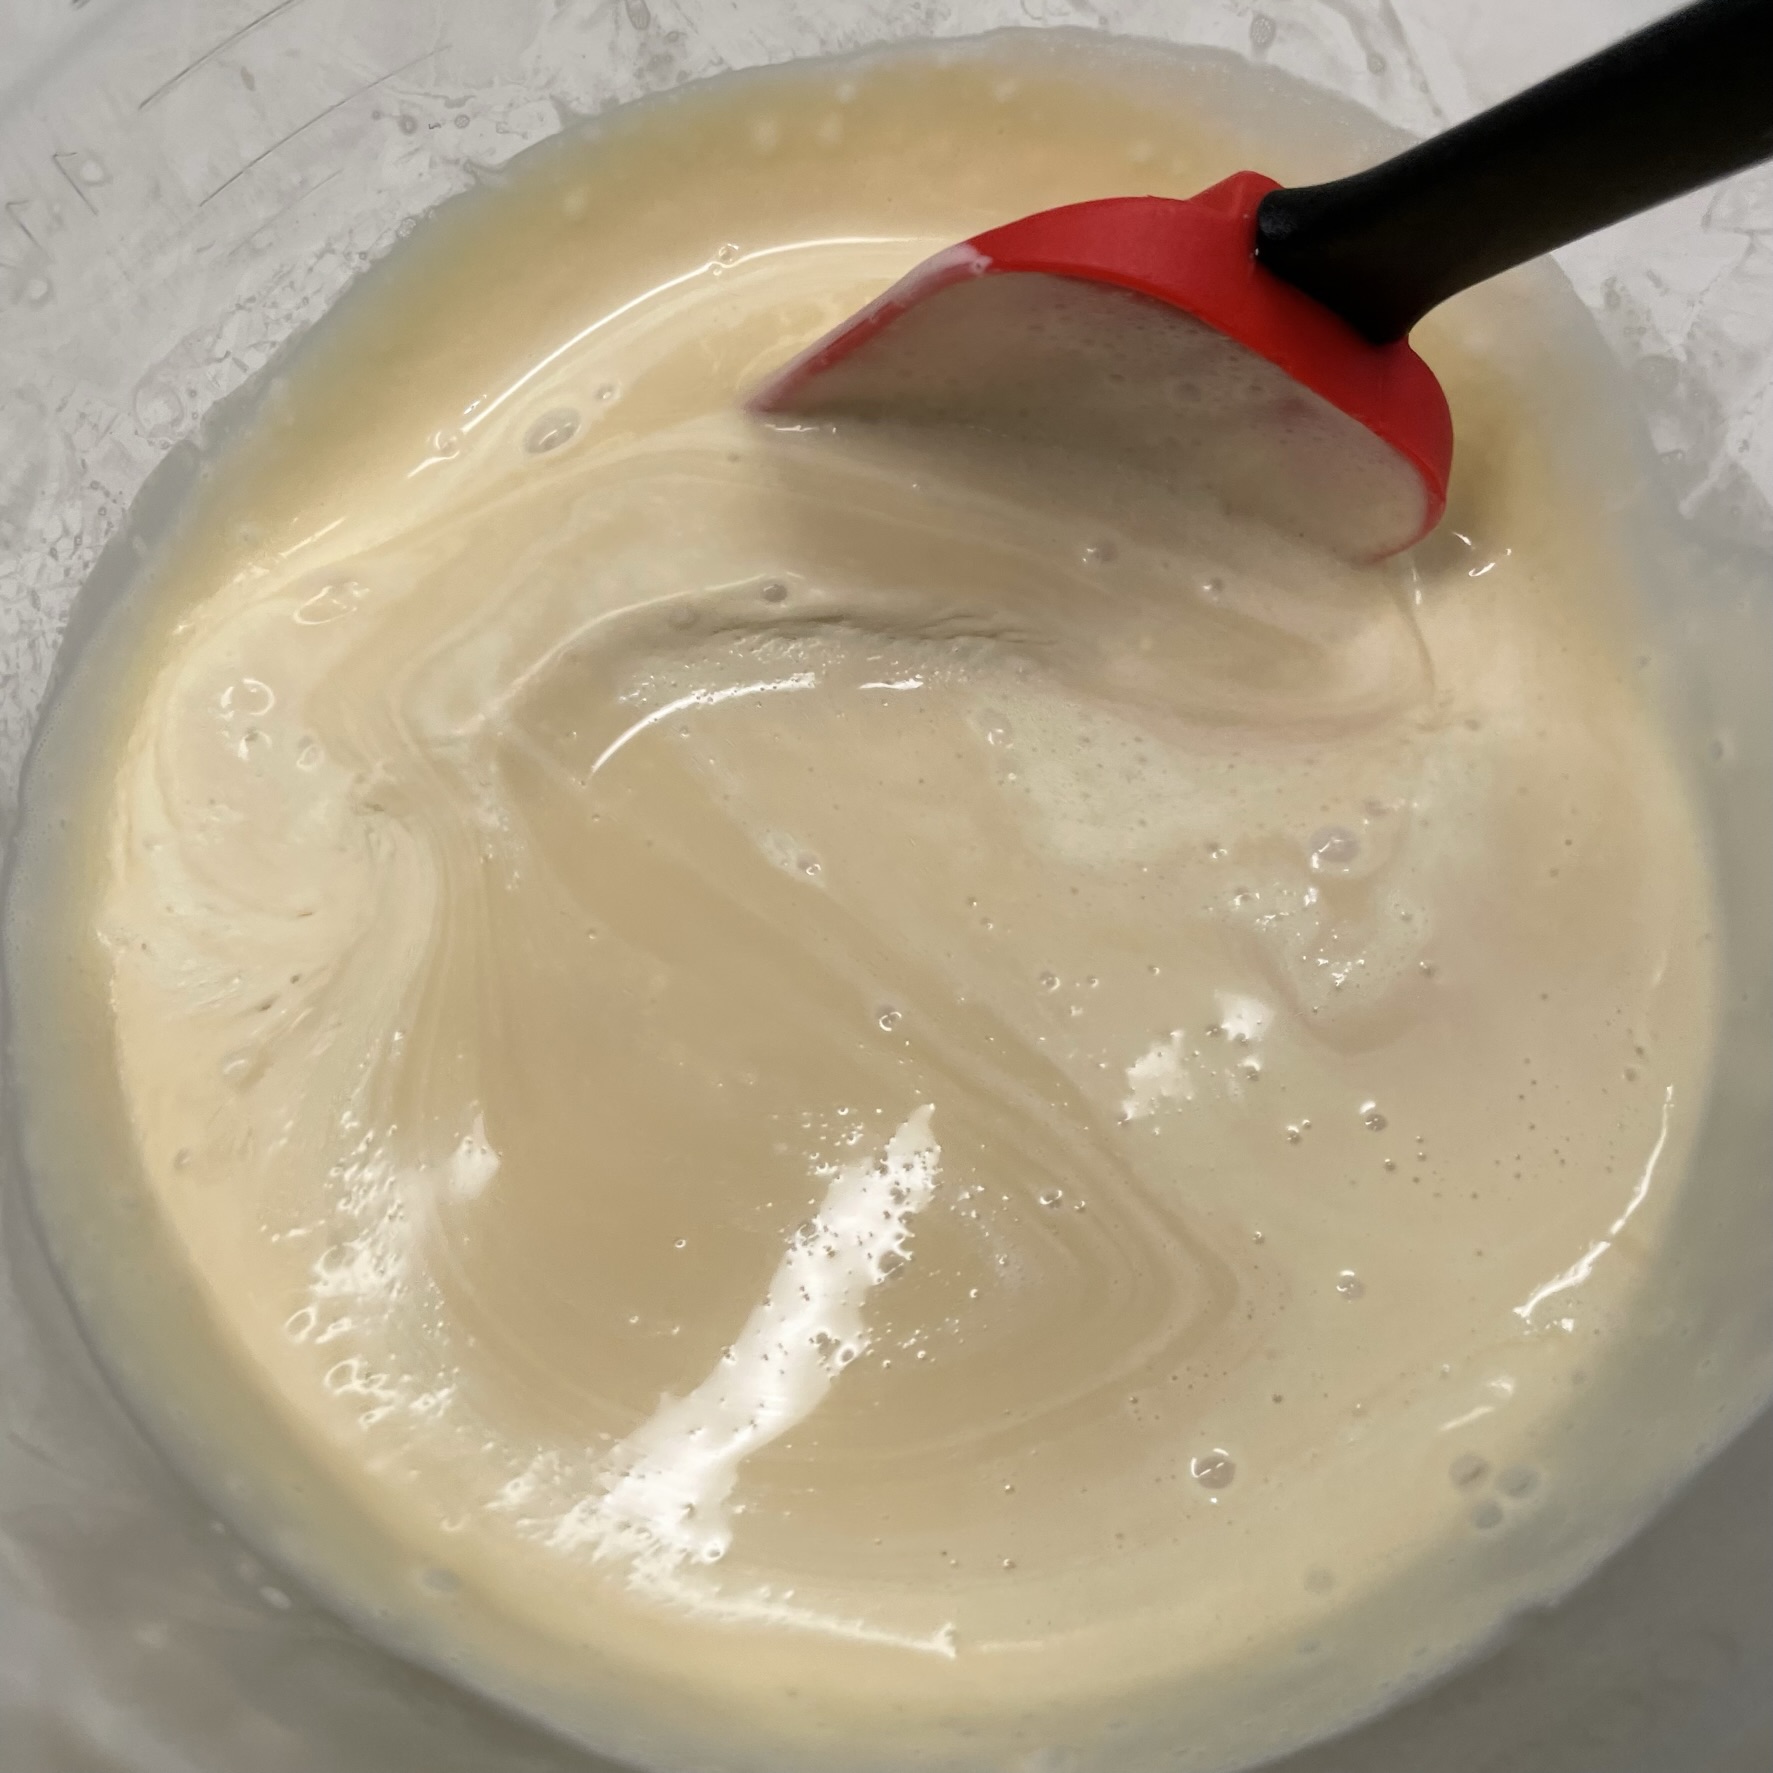
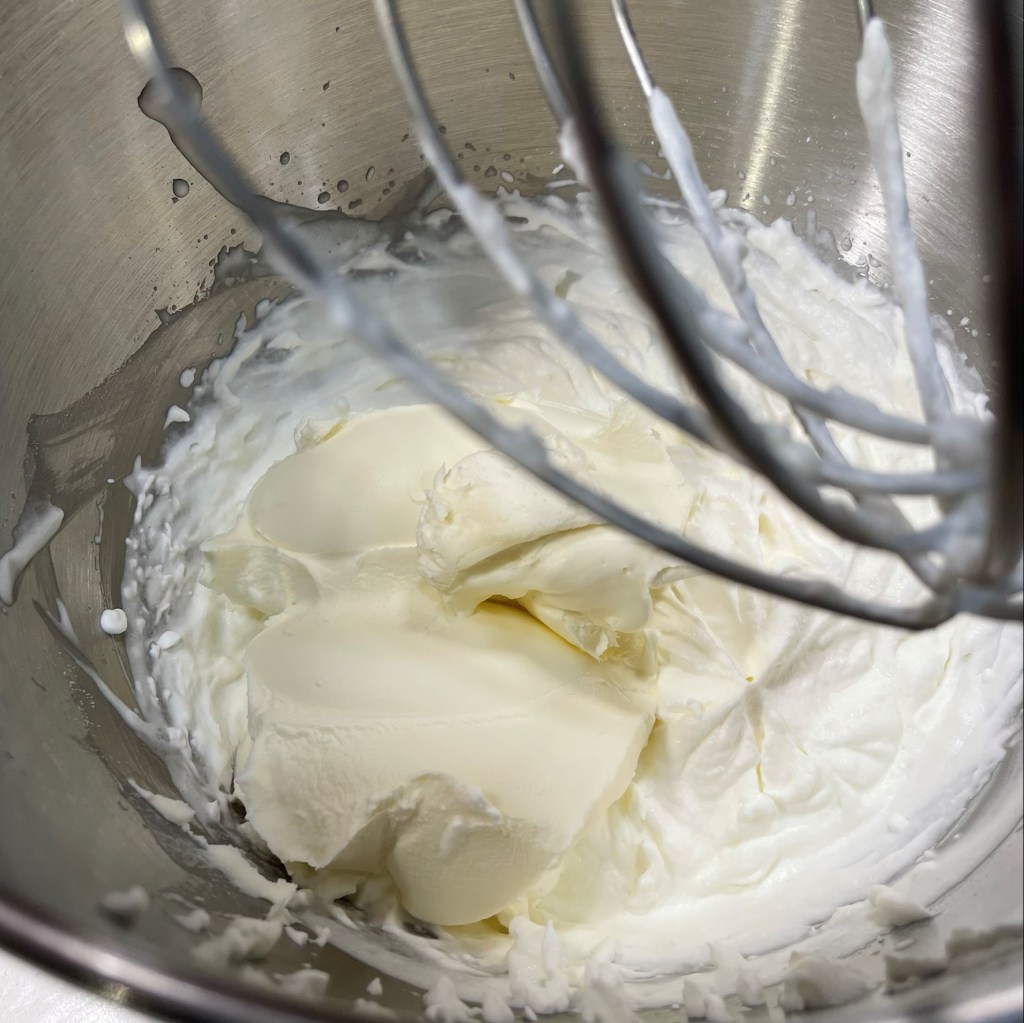
For quick mixing, I used my stand mixer to blend the colcannon. Use a potato masher if you prefer, and don’t worry about lumps.
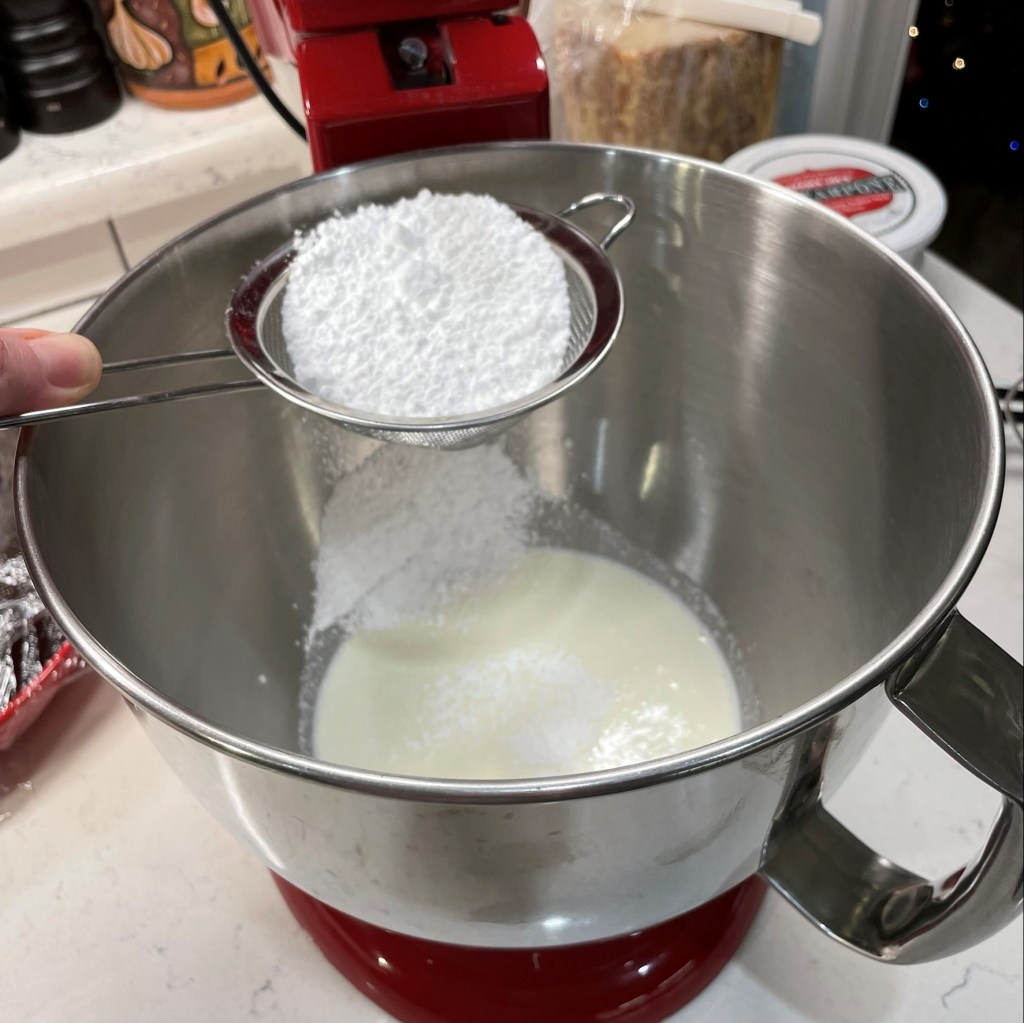
Get the potatoes cooking (don’t forget to season the water with a generous pinch of salt!) and drain them when they reach fork-tender stage.
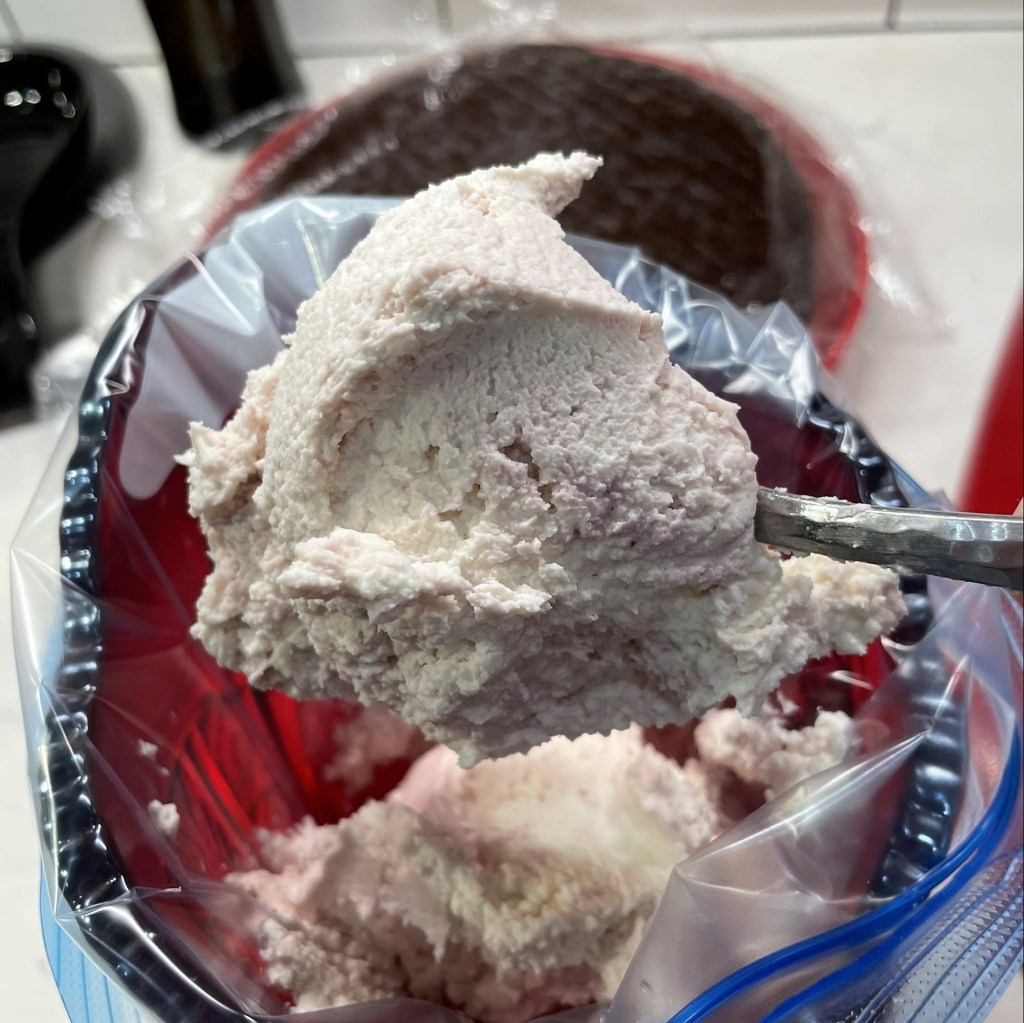
Meanwhile, melt butter in the same sauce pot or skillet used for the corned beef and cabbage filling. Add the leeks and cabbage and cook until tender (season them). Turn off the heat and add the spinach to the pan. Toss it around to wilt the spinach. When the mixture is somewhat cool, add it to the cooked potatoes and mash them together. Stir in the white cheddar and set aside.
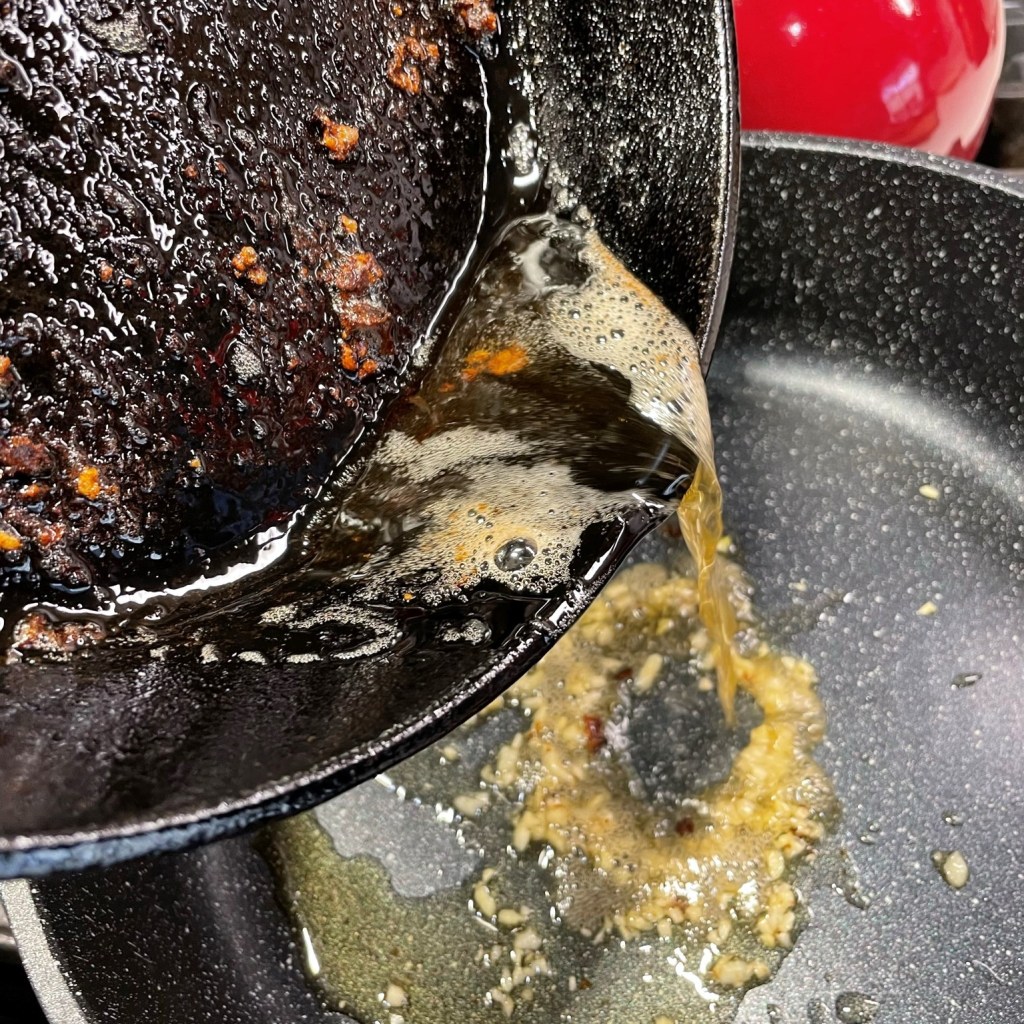
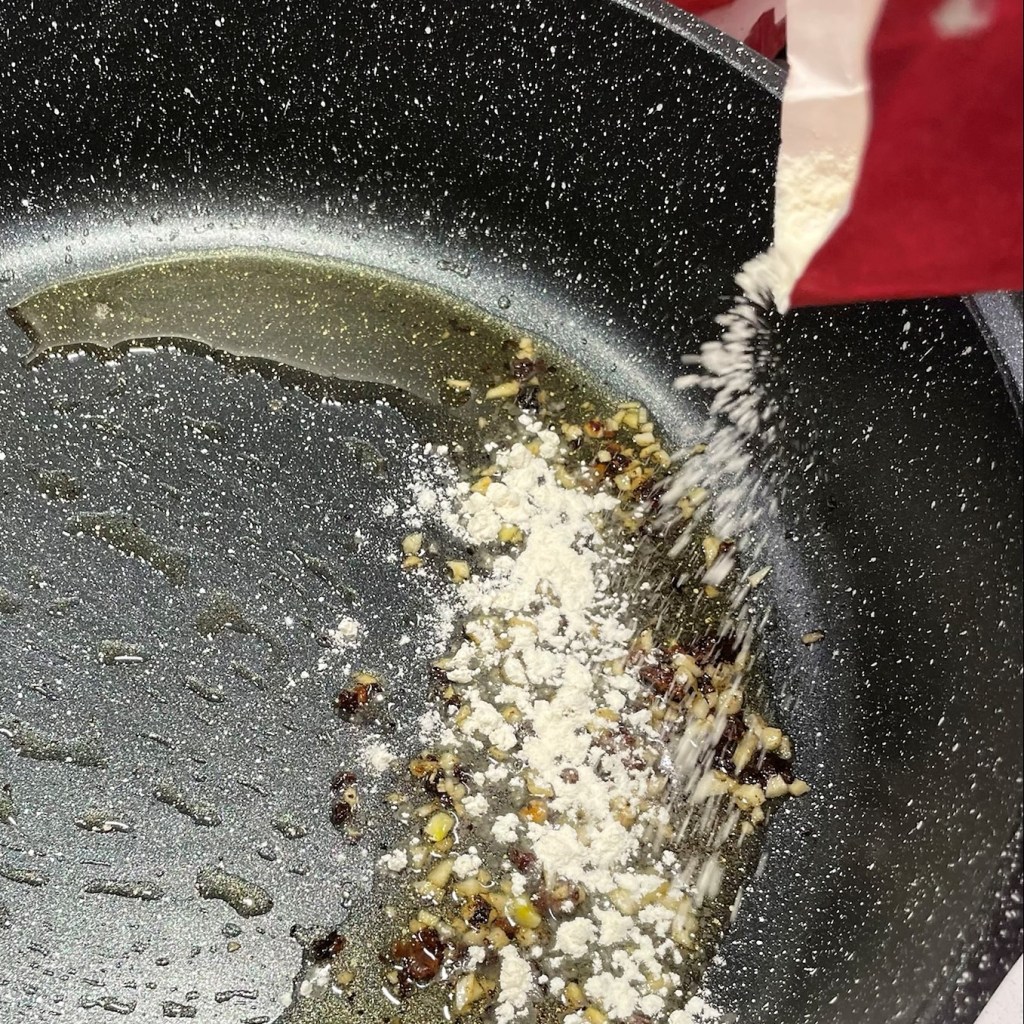
Gravy
2 Tbsp. garlic and herb Irish butter
2 Tbsp. all-purpose flour
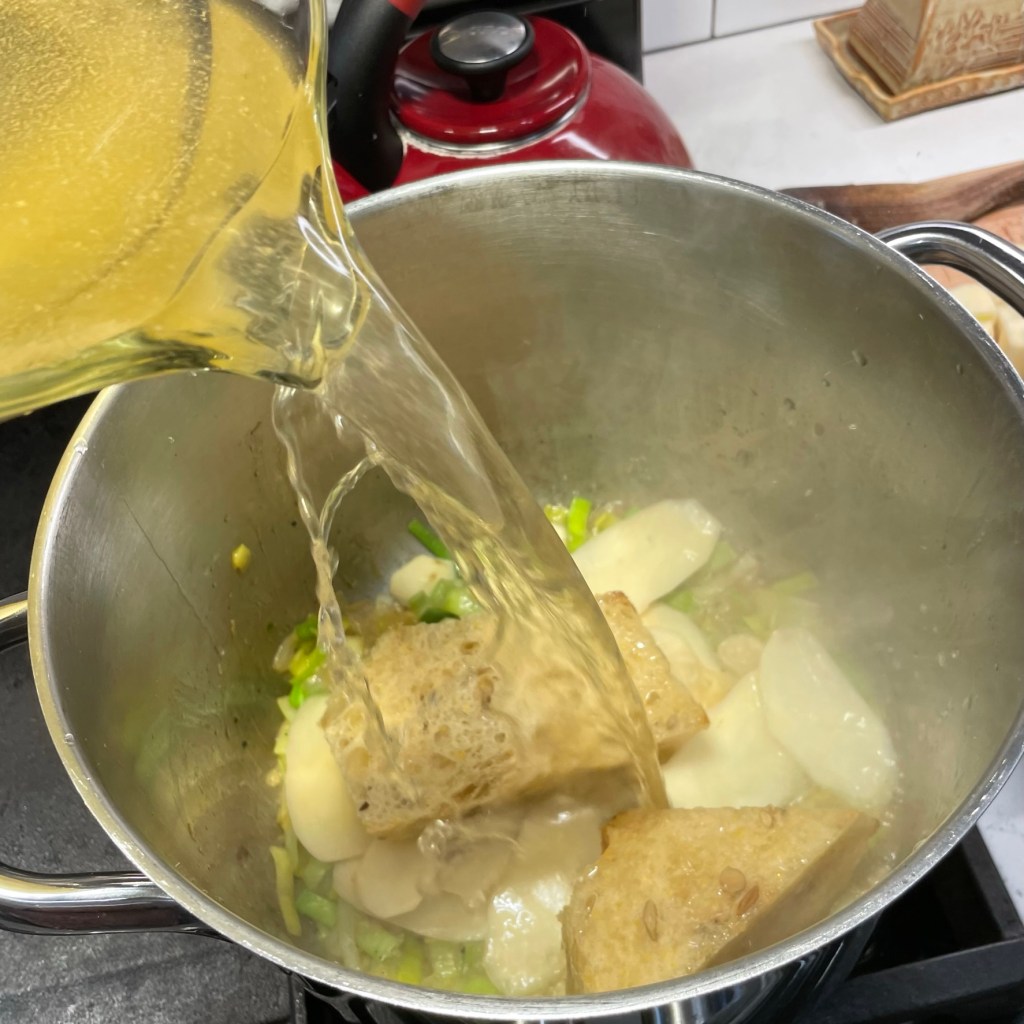
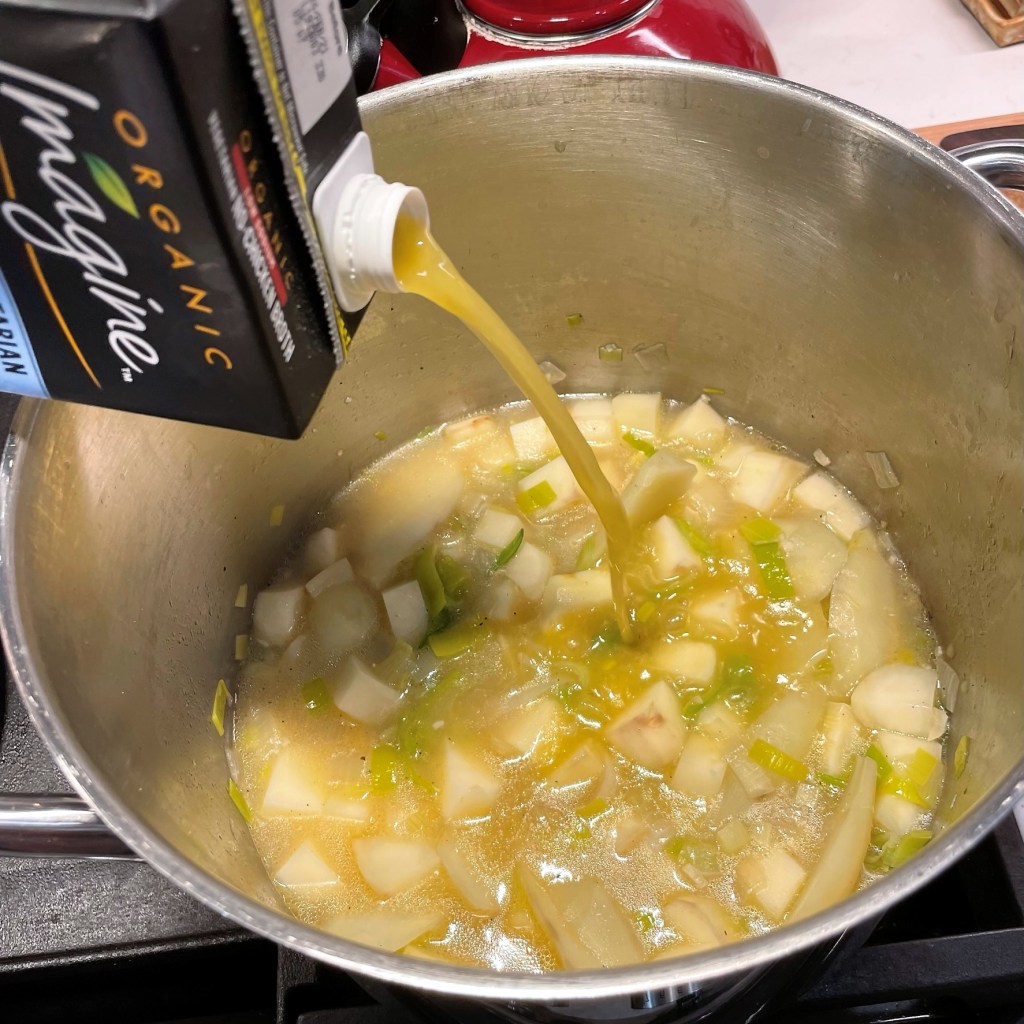
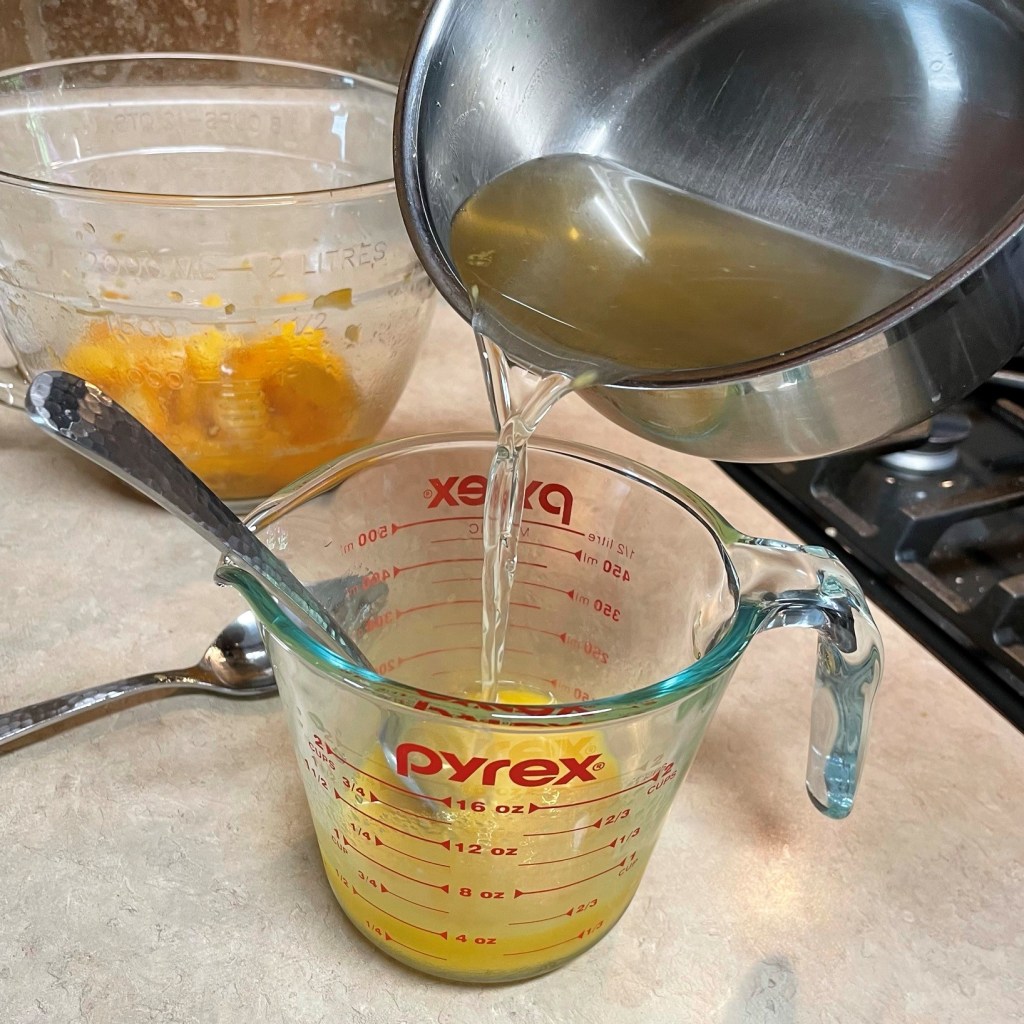
2 cups low-sodium vegetable broth (or beef broth)
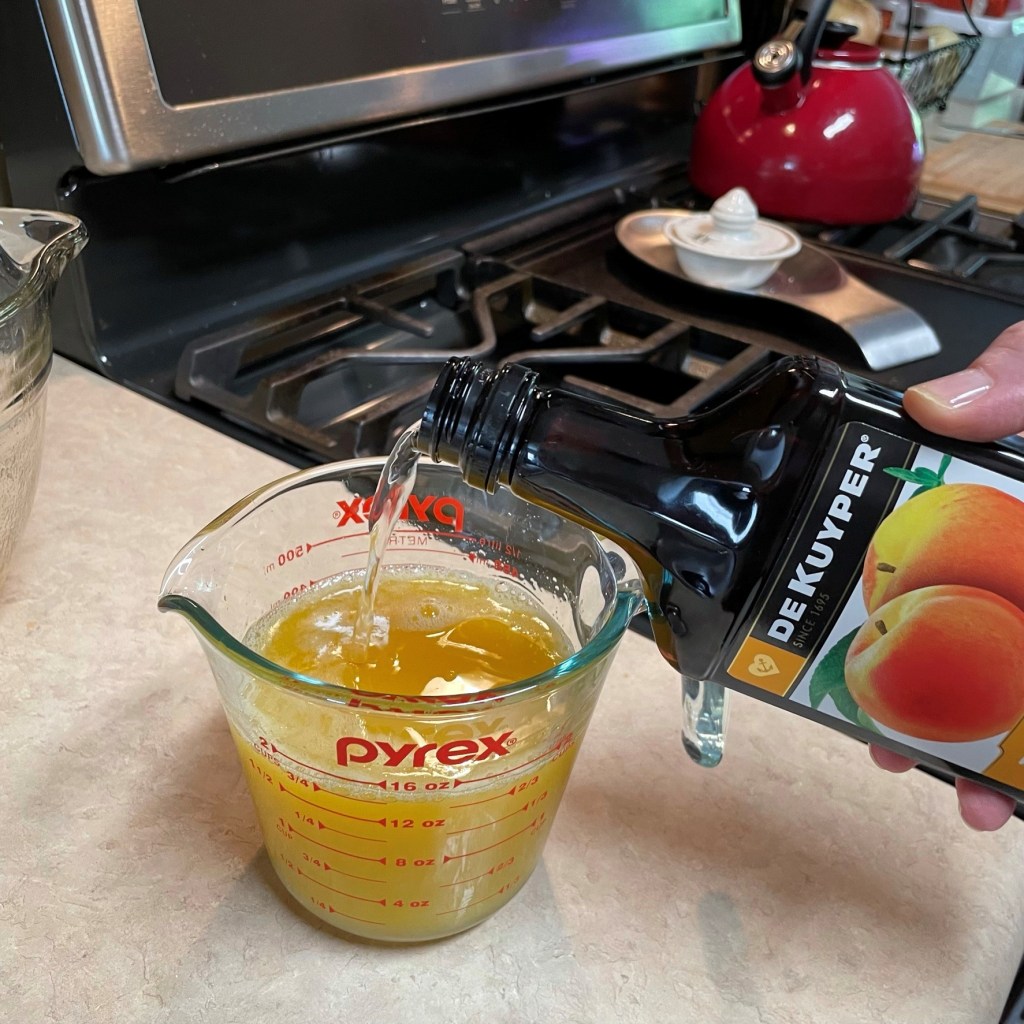
2 tsp. beef base (optional, to boost beef flavor if using veg broth)
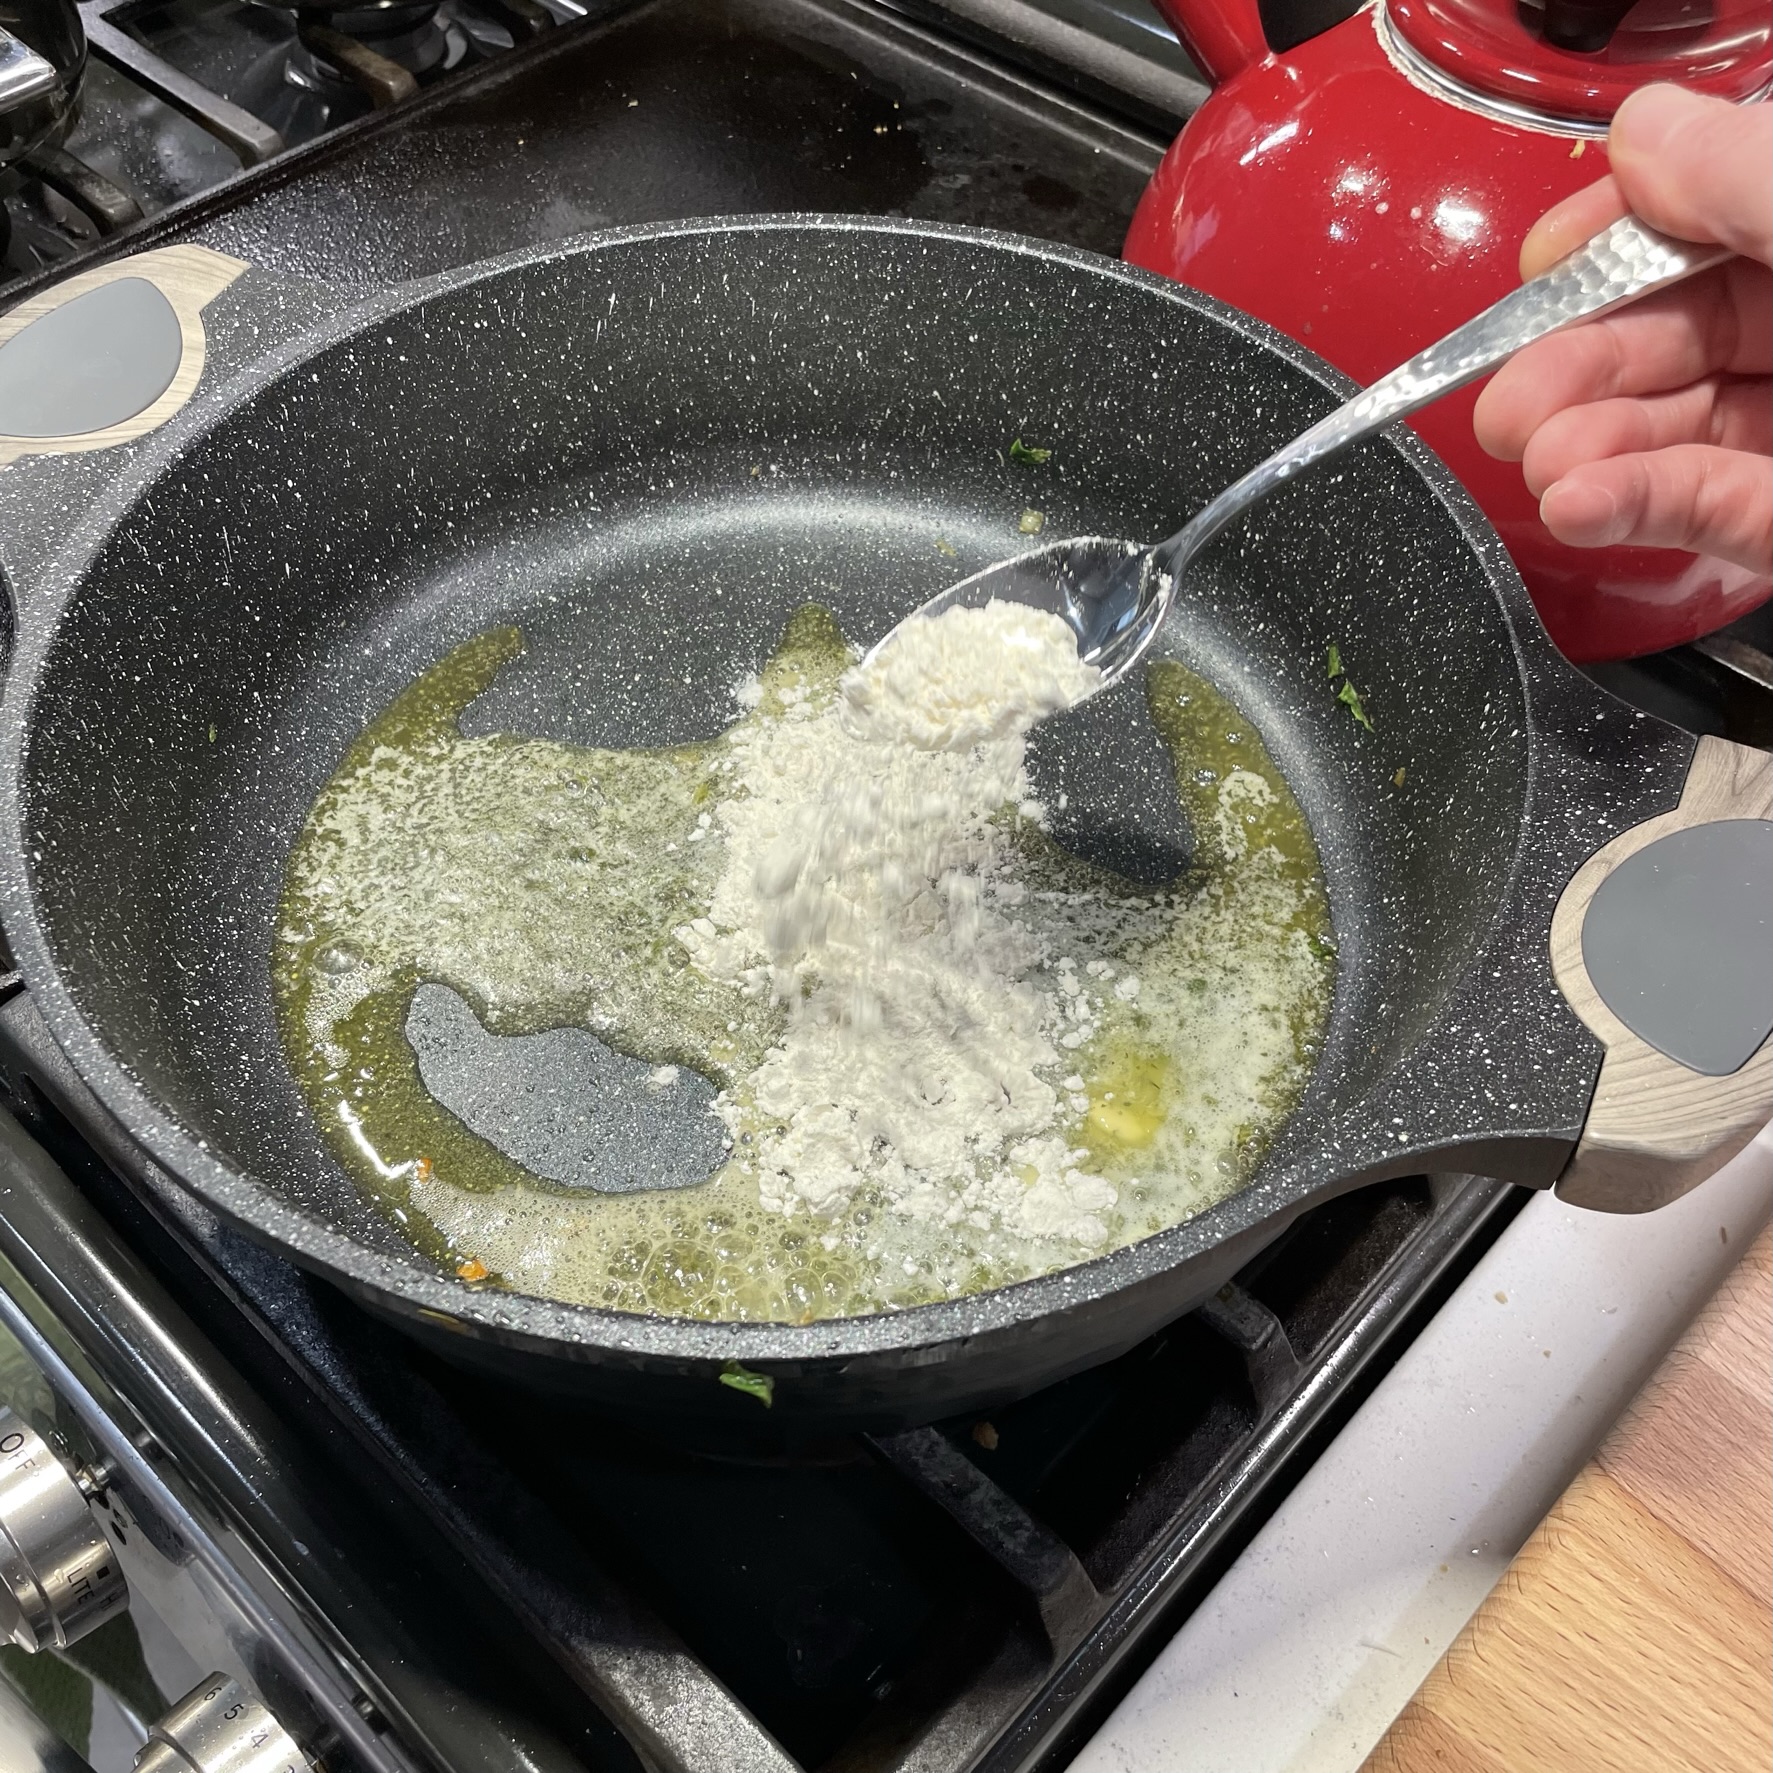

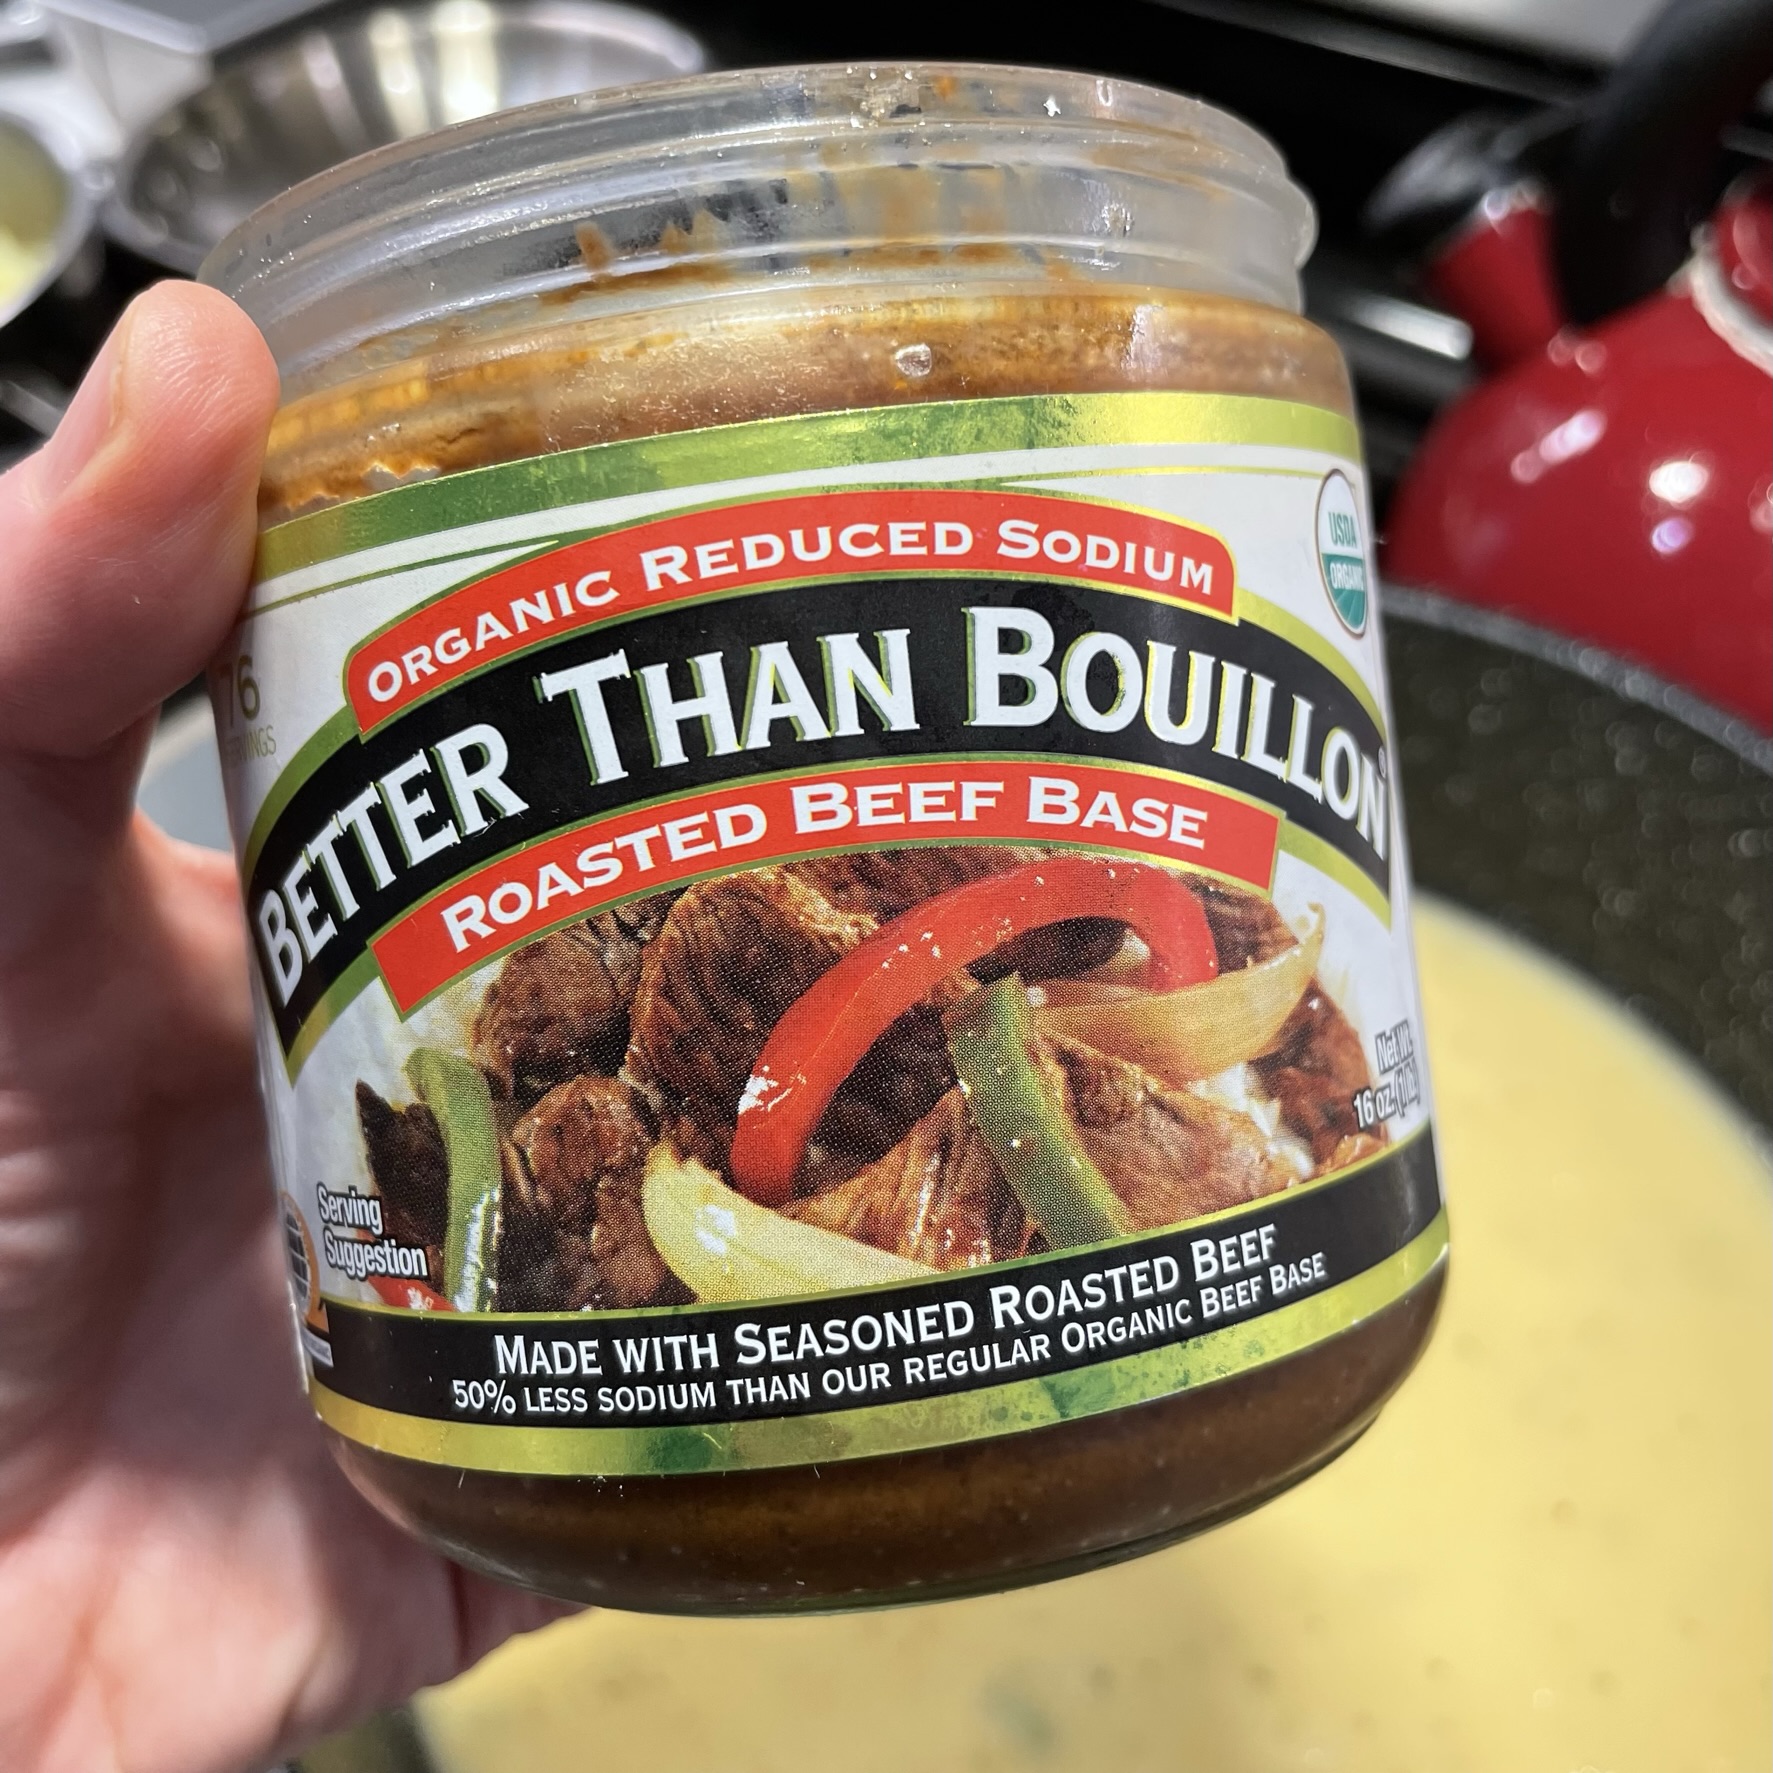
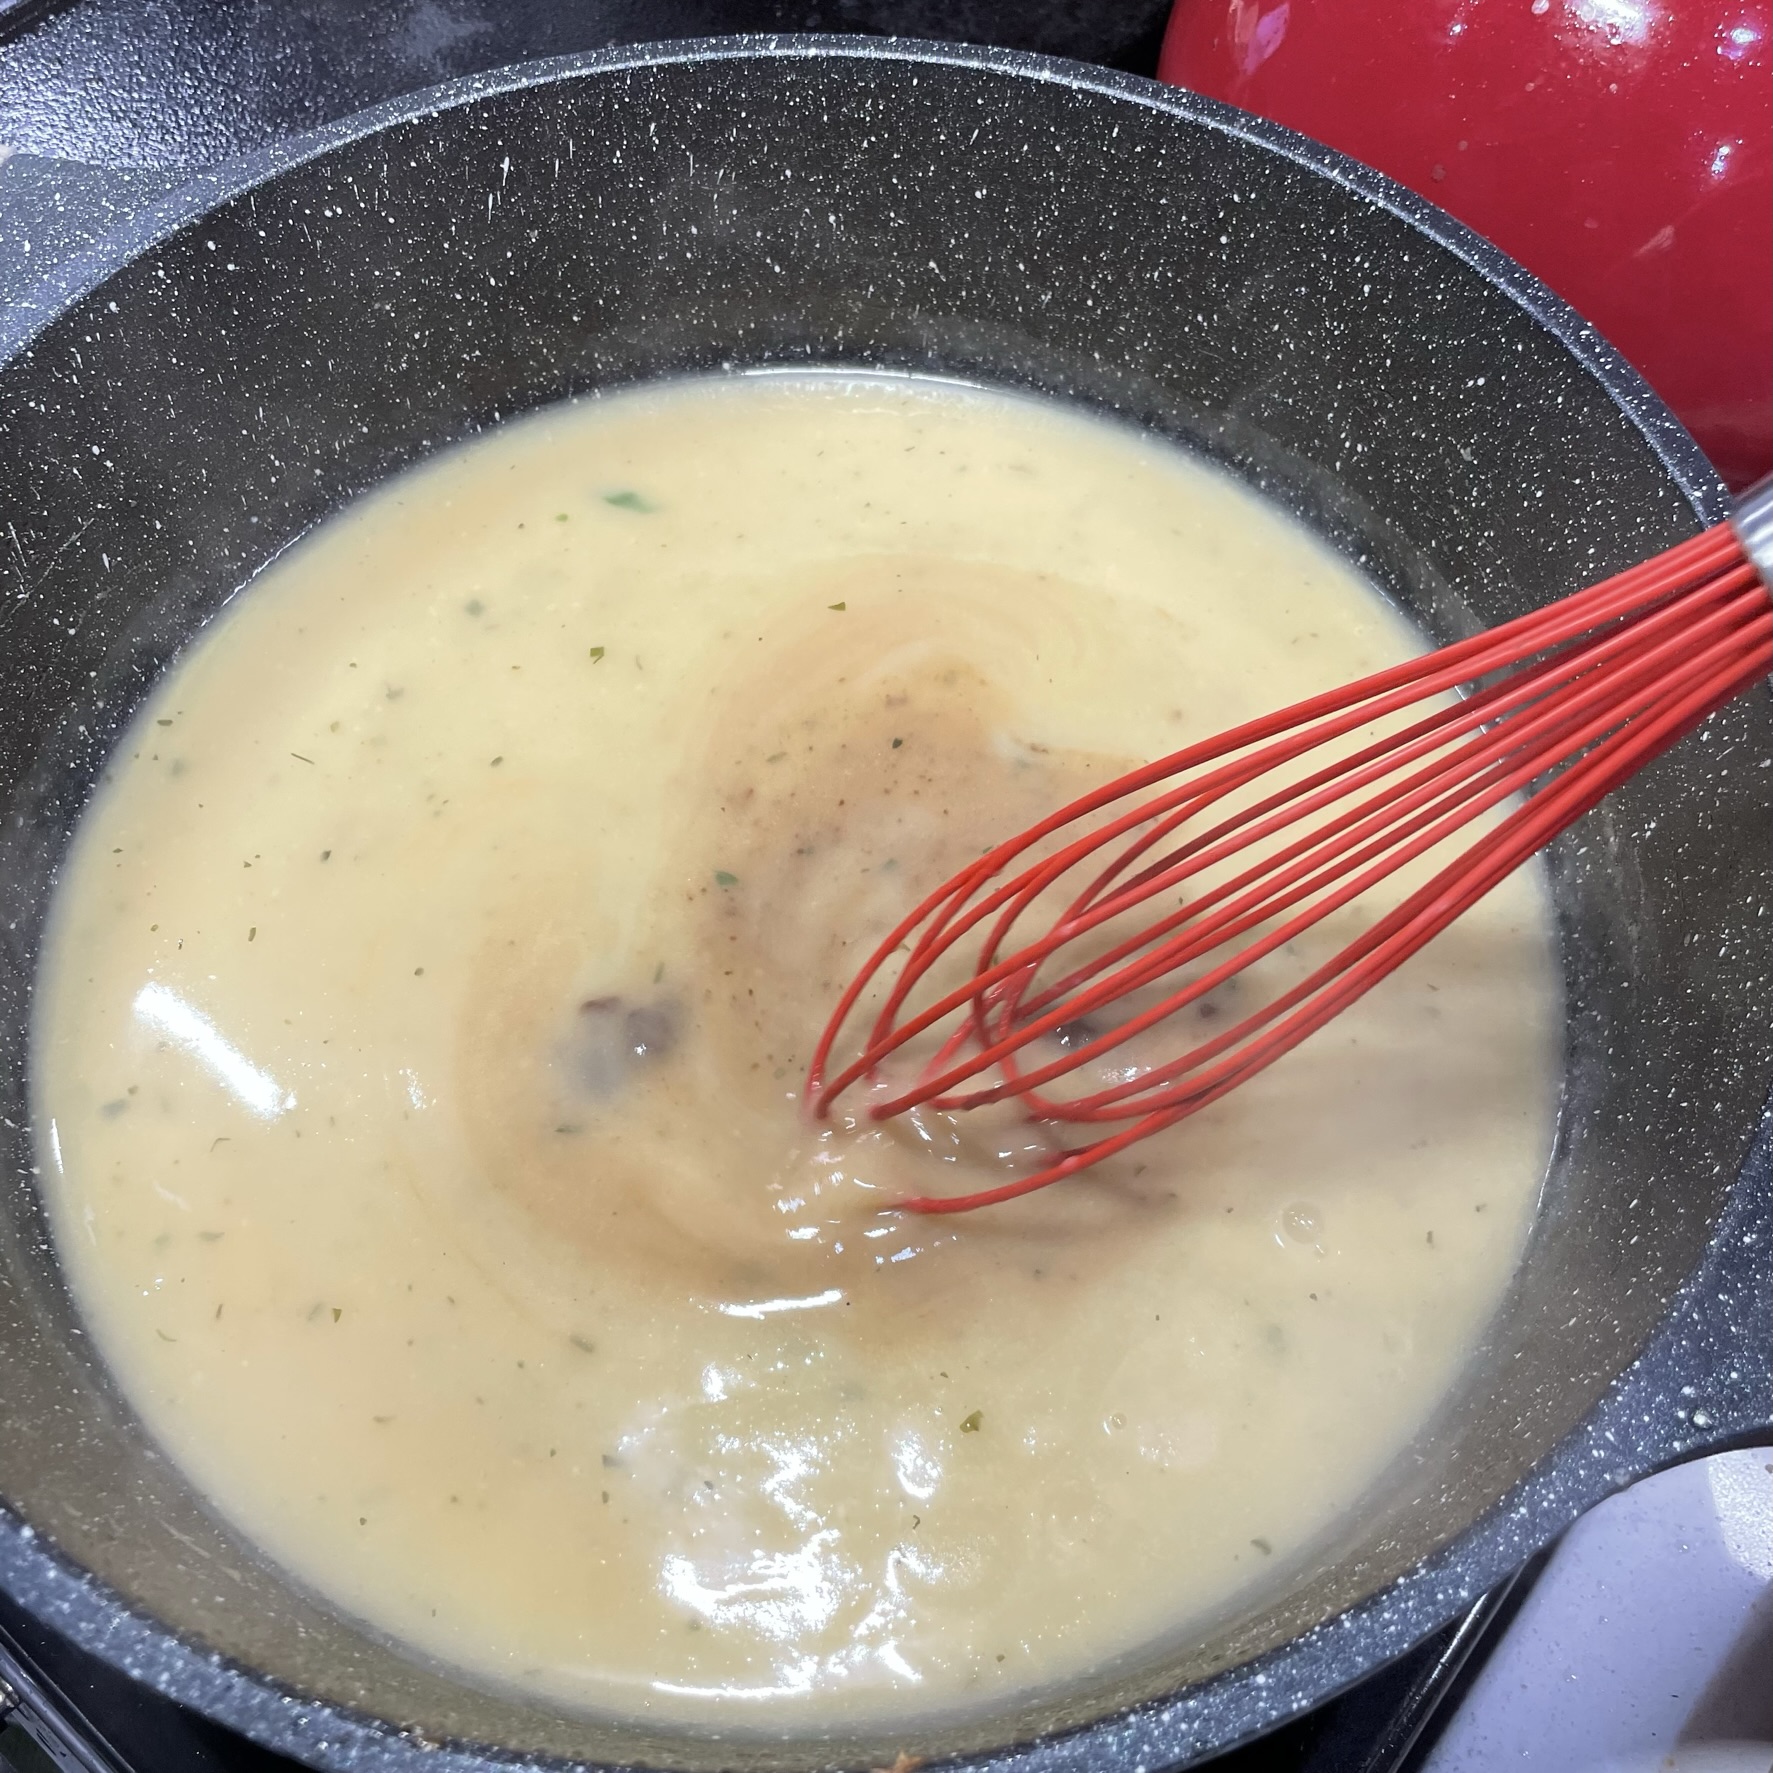
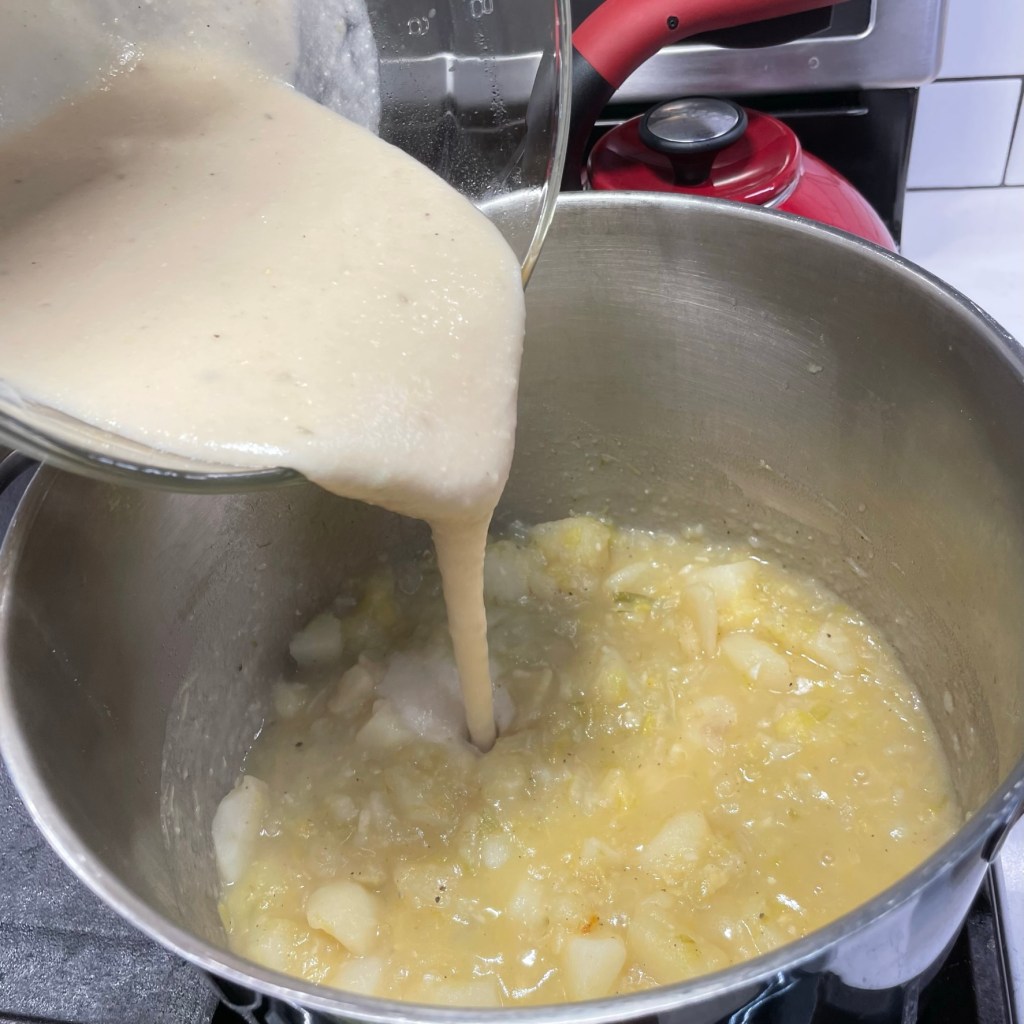
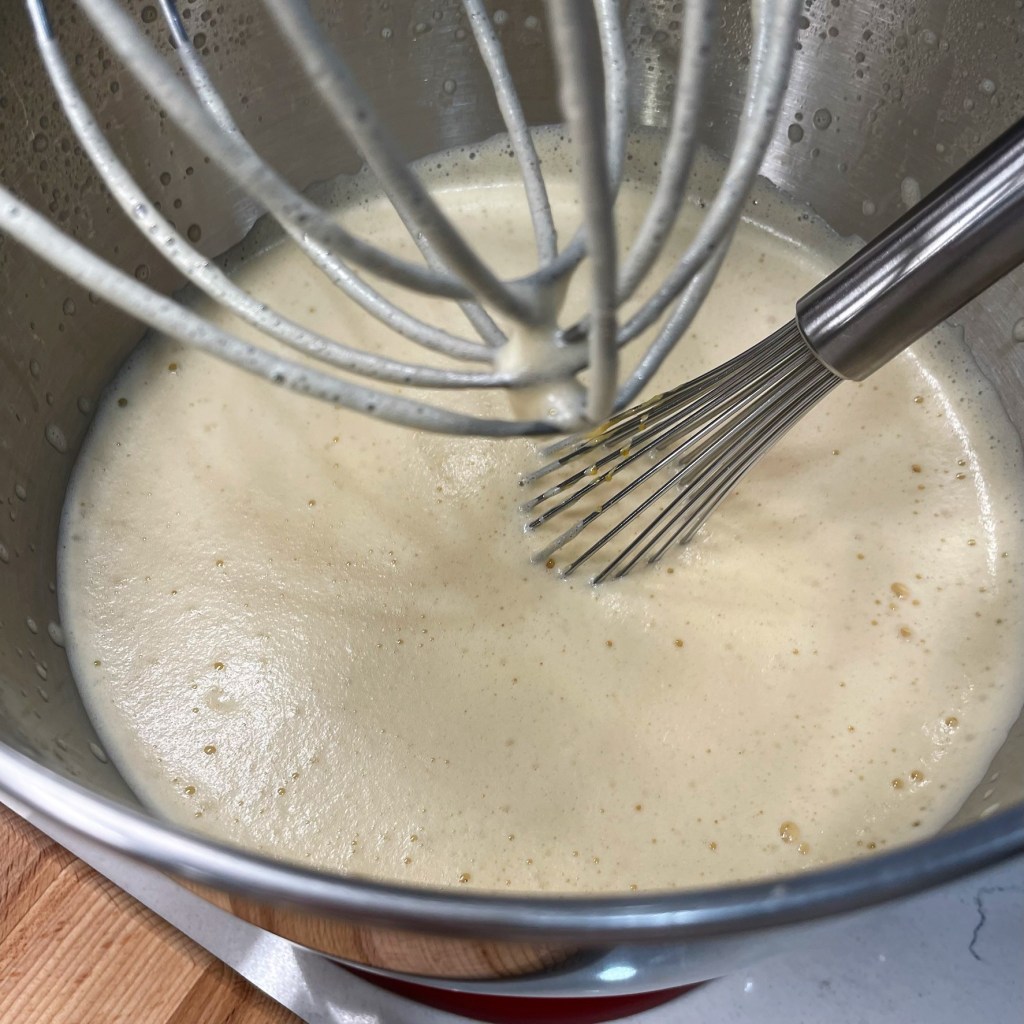
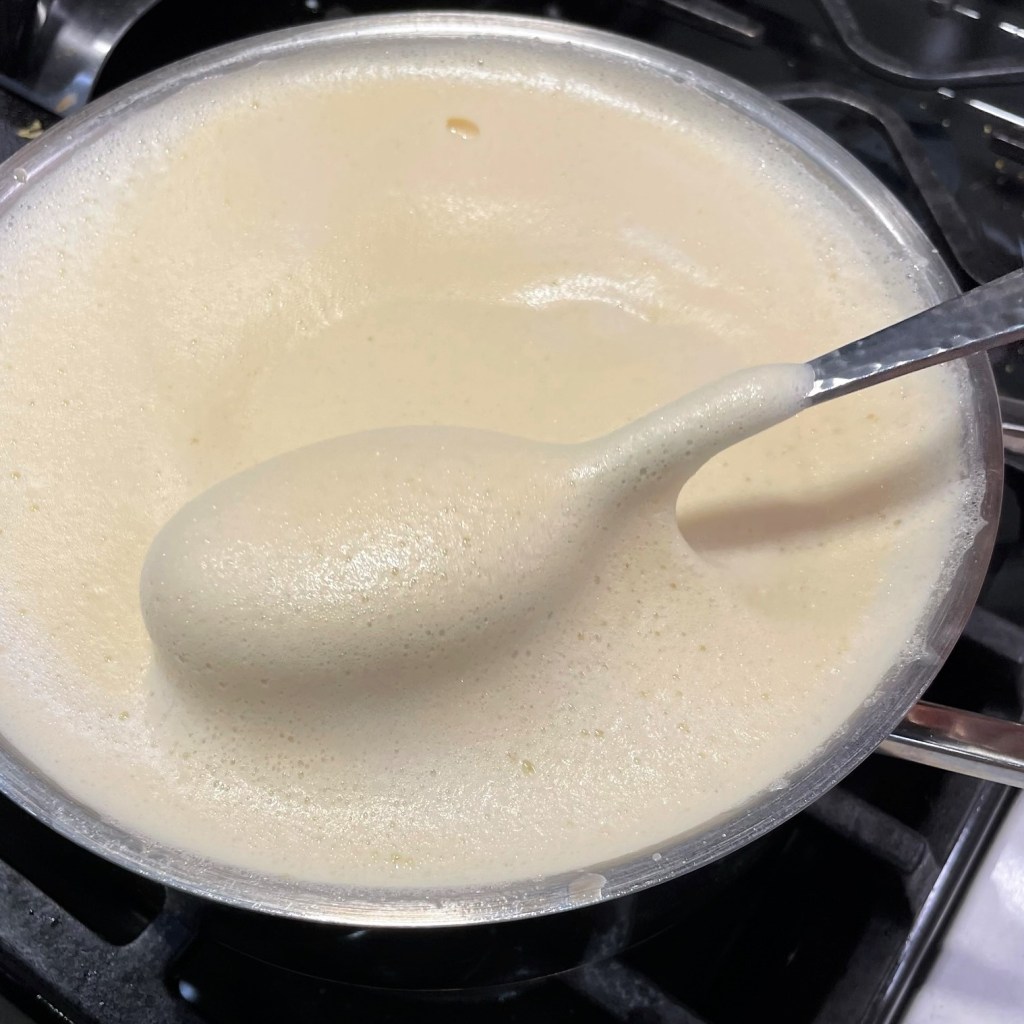
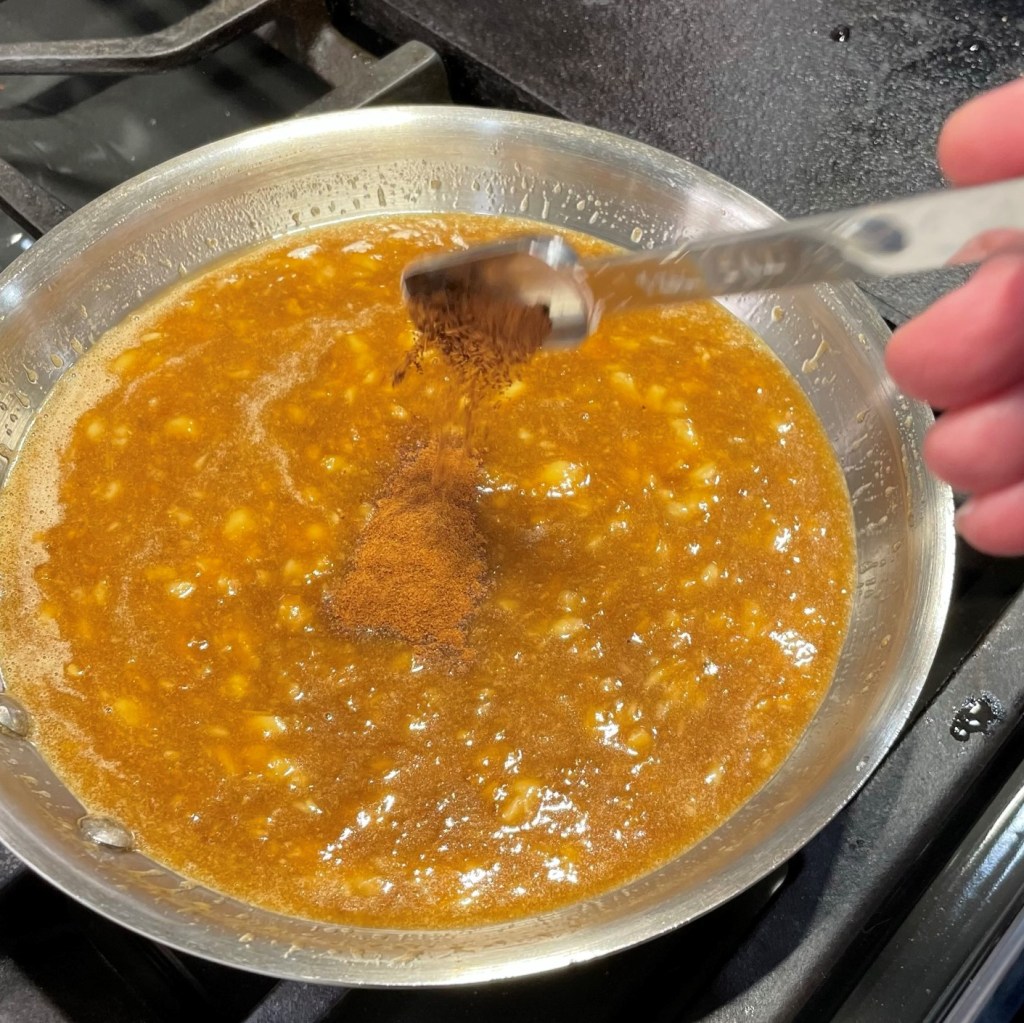
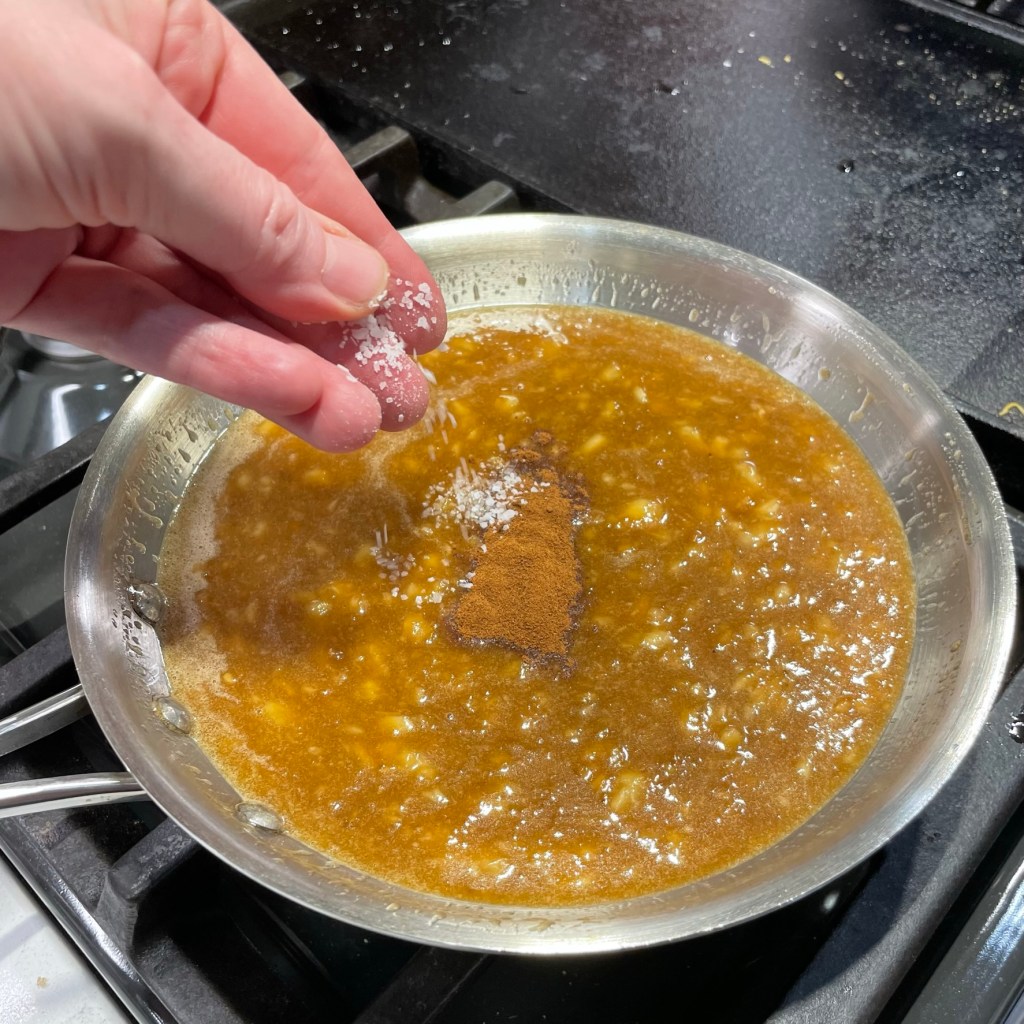
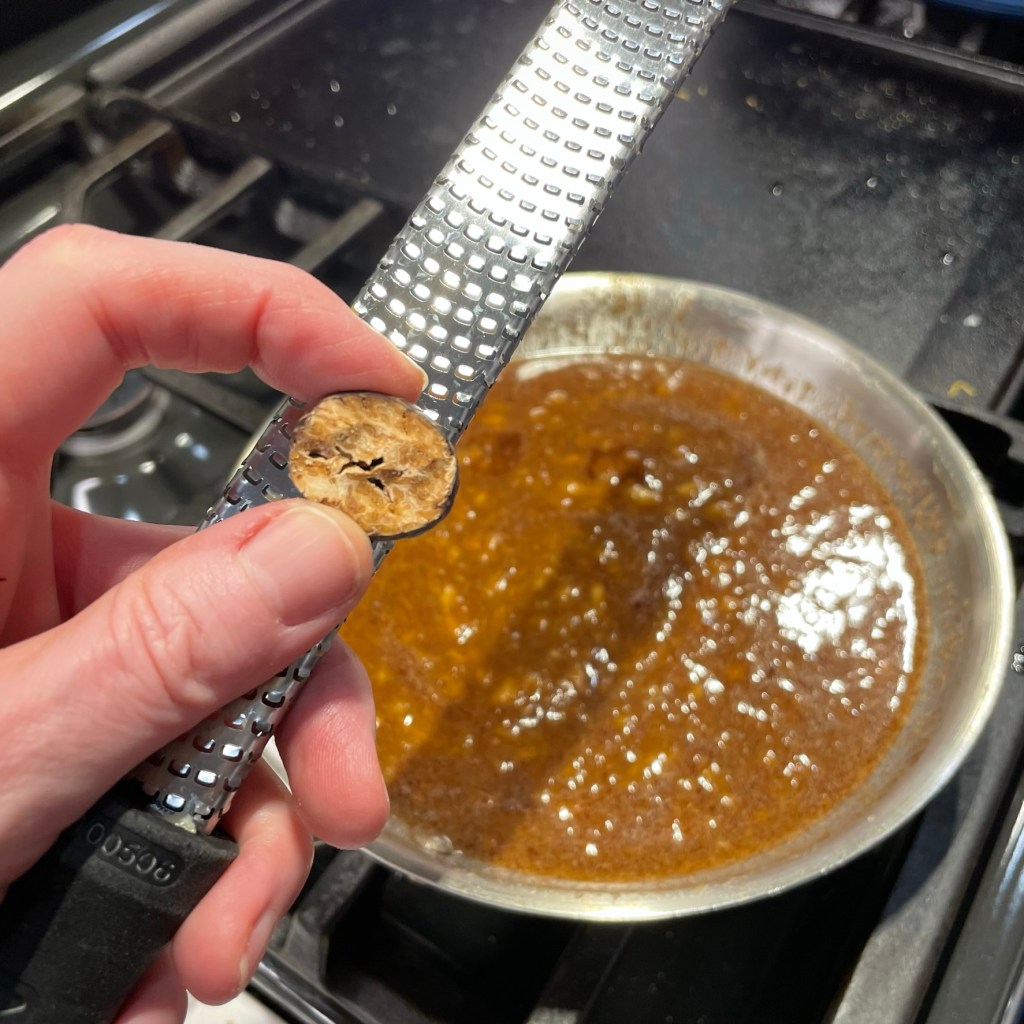
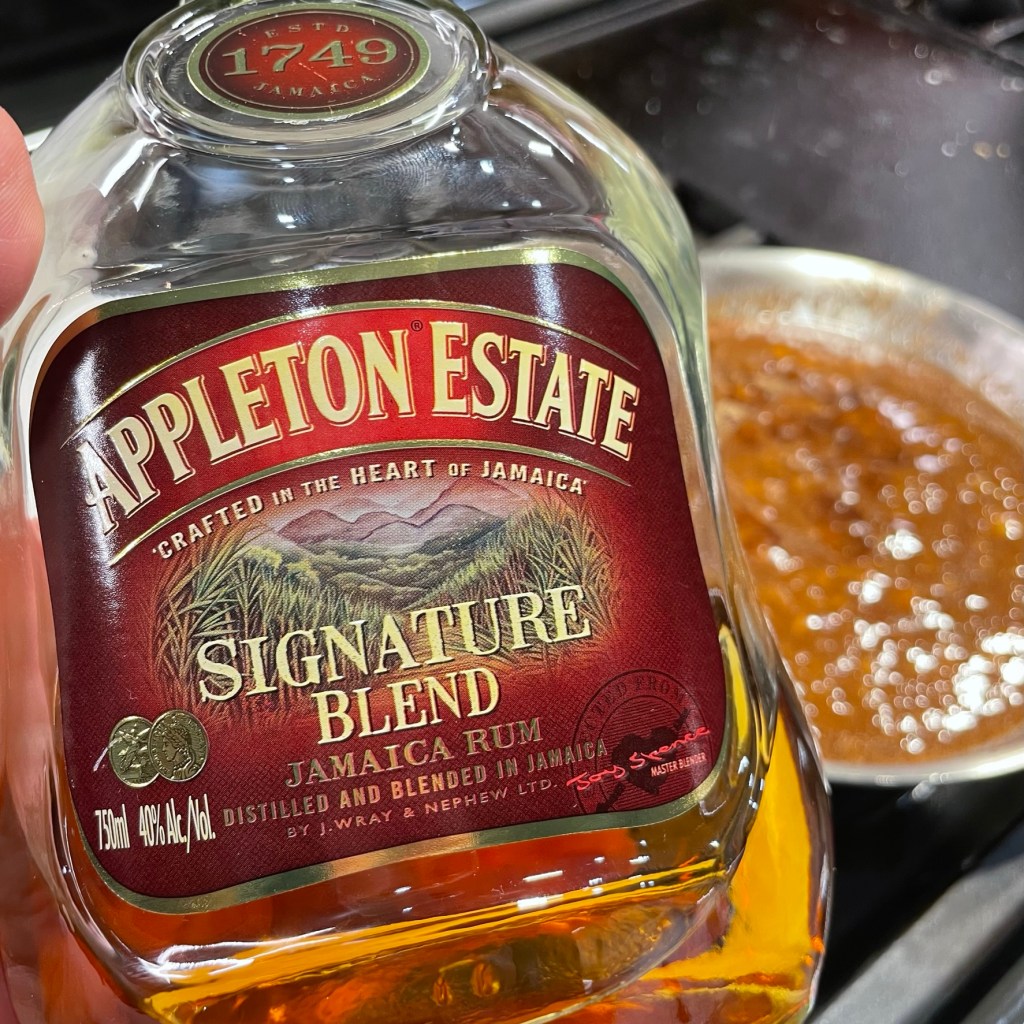
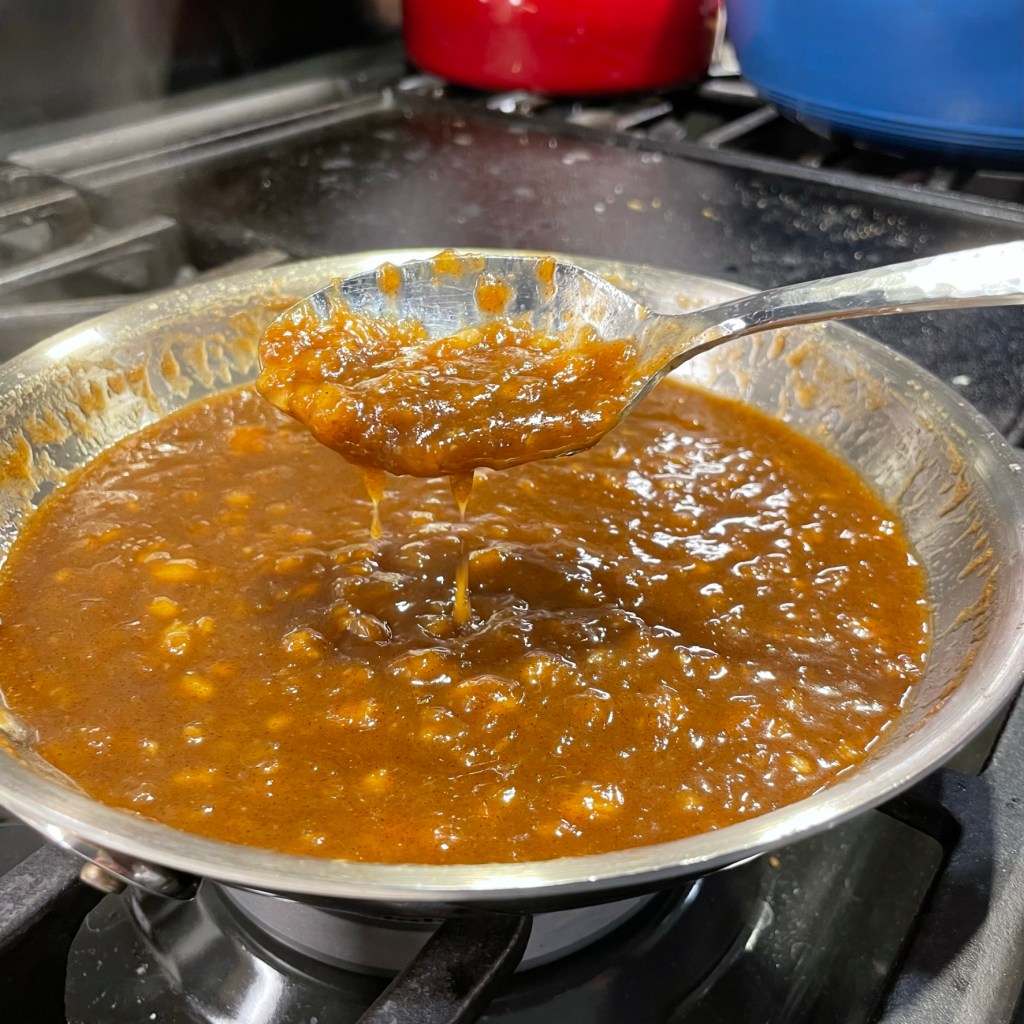
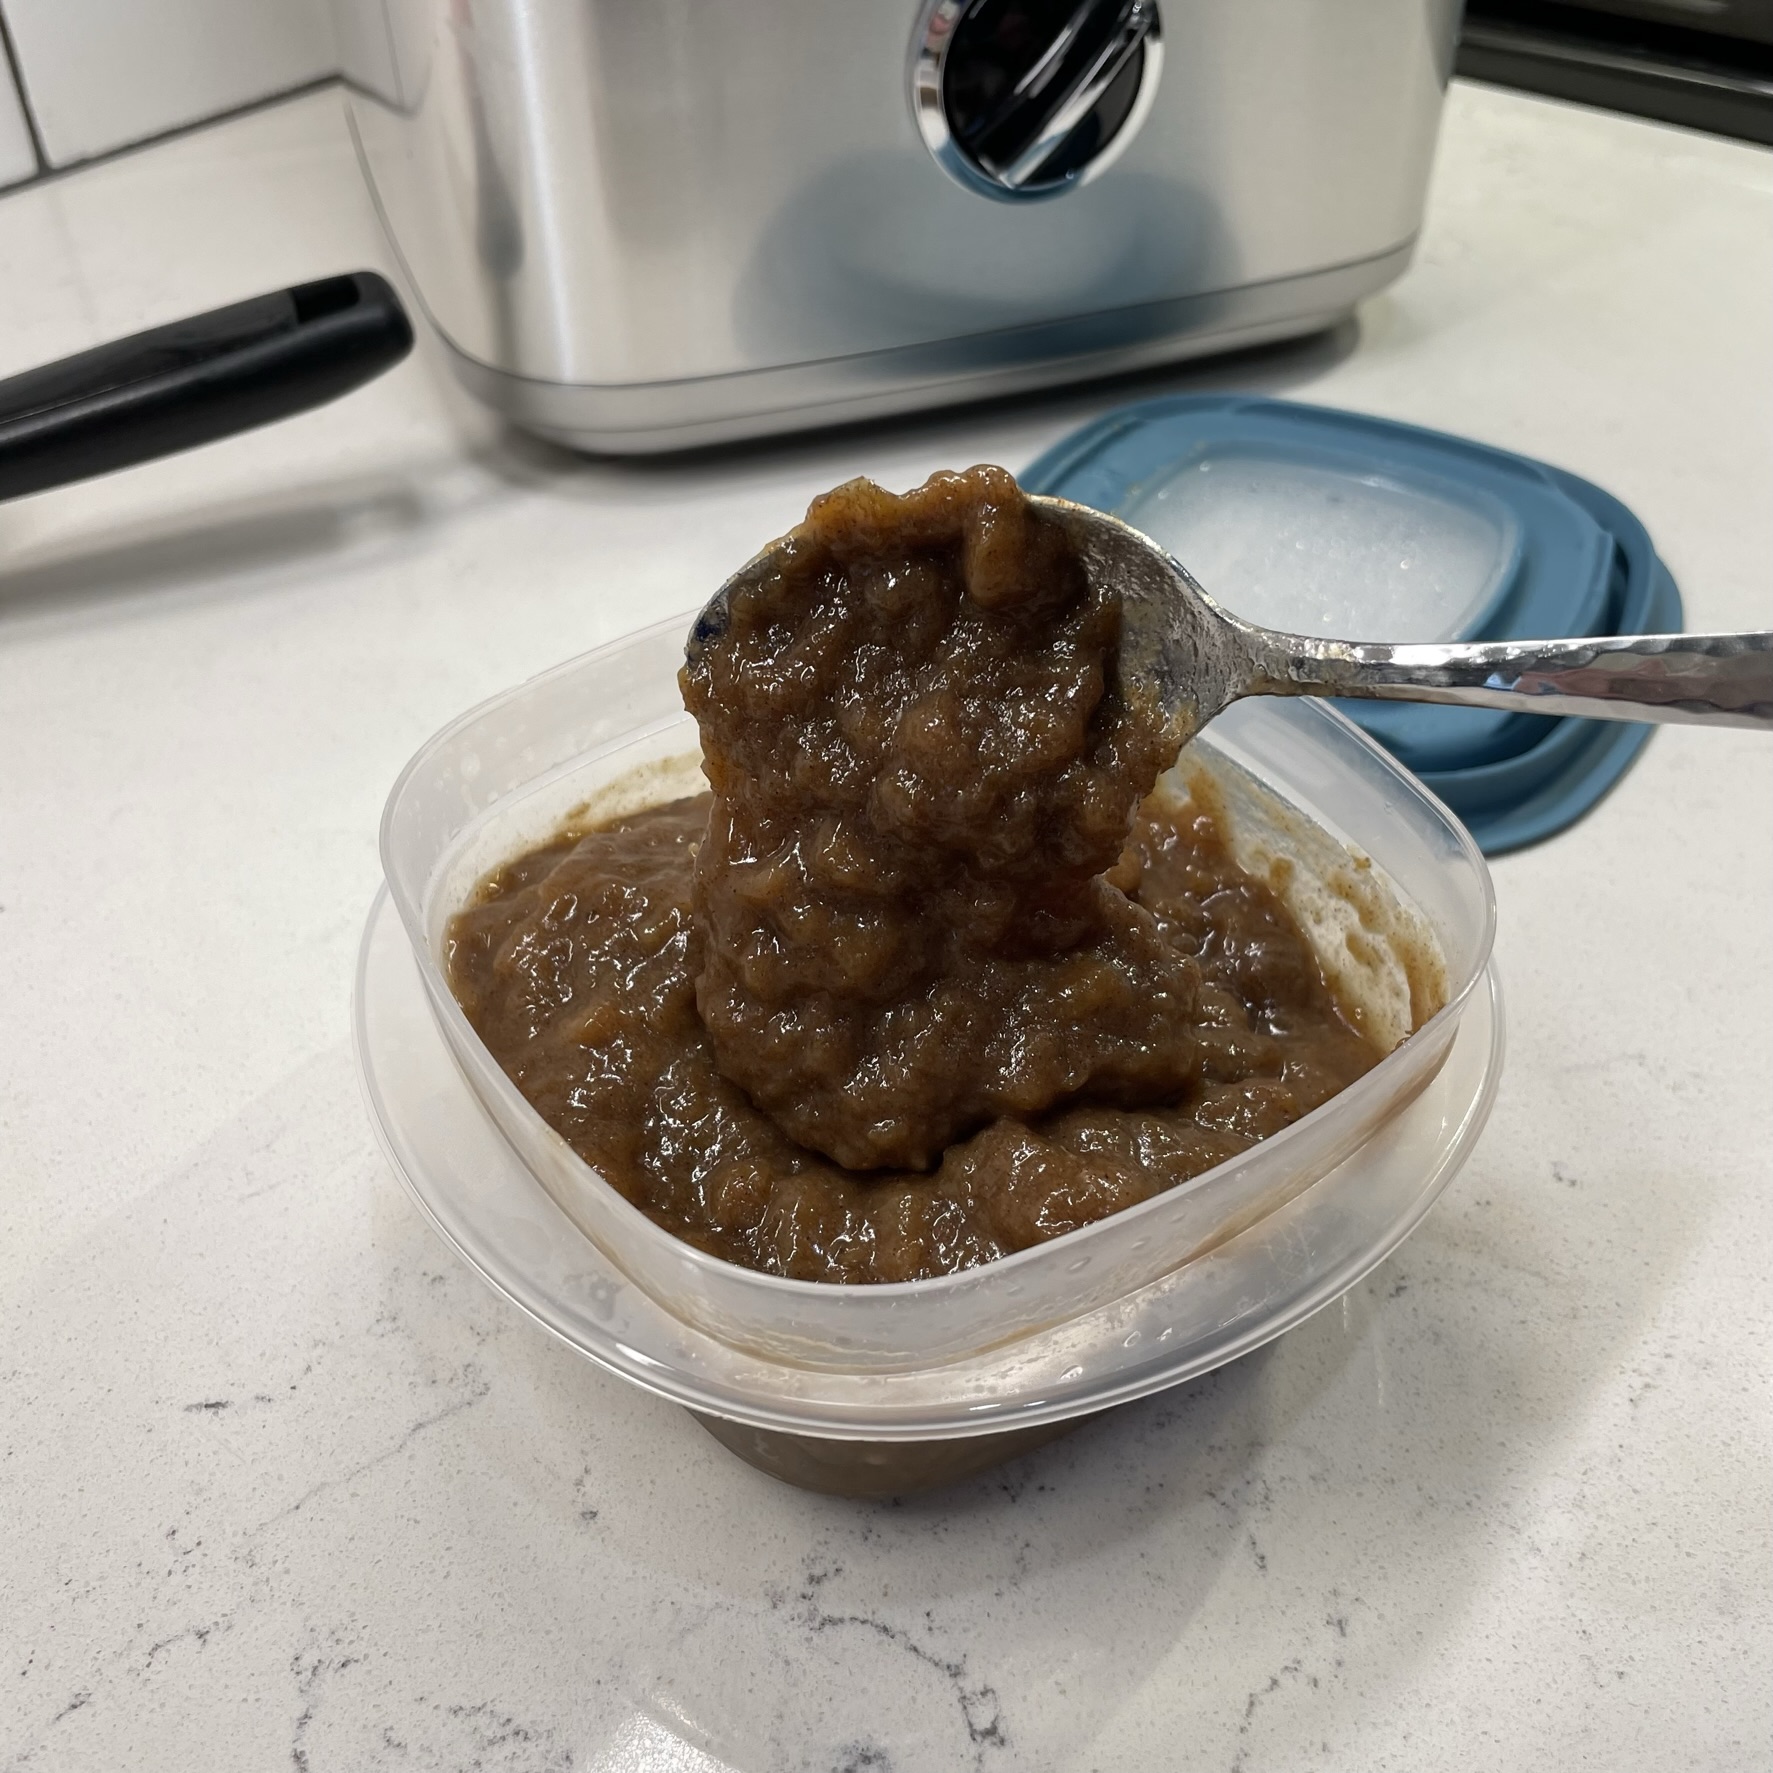
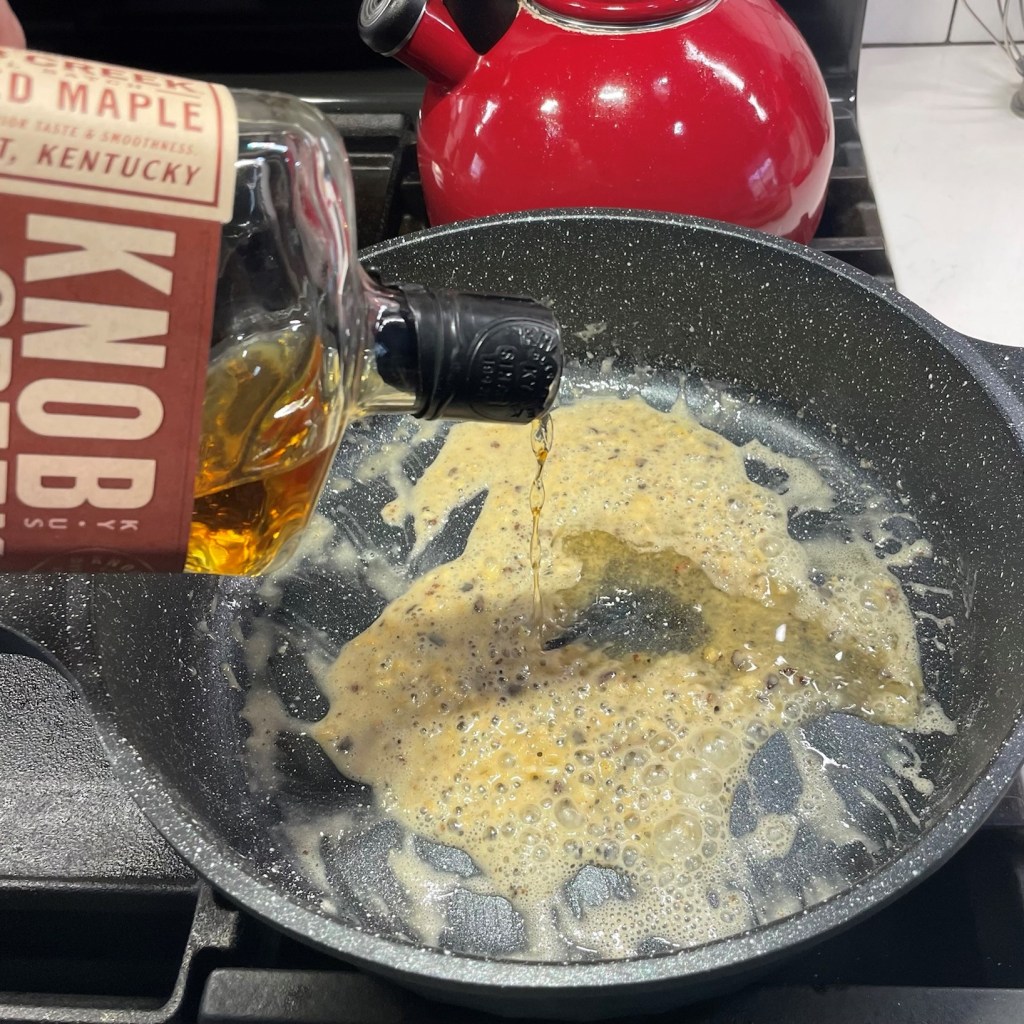
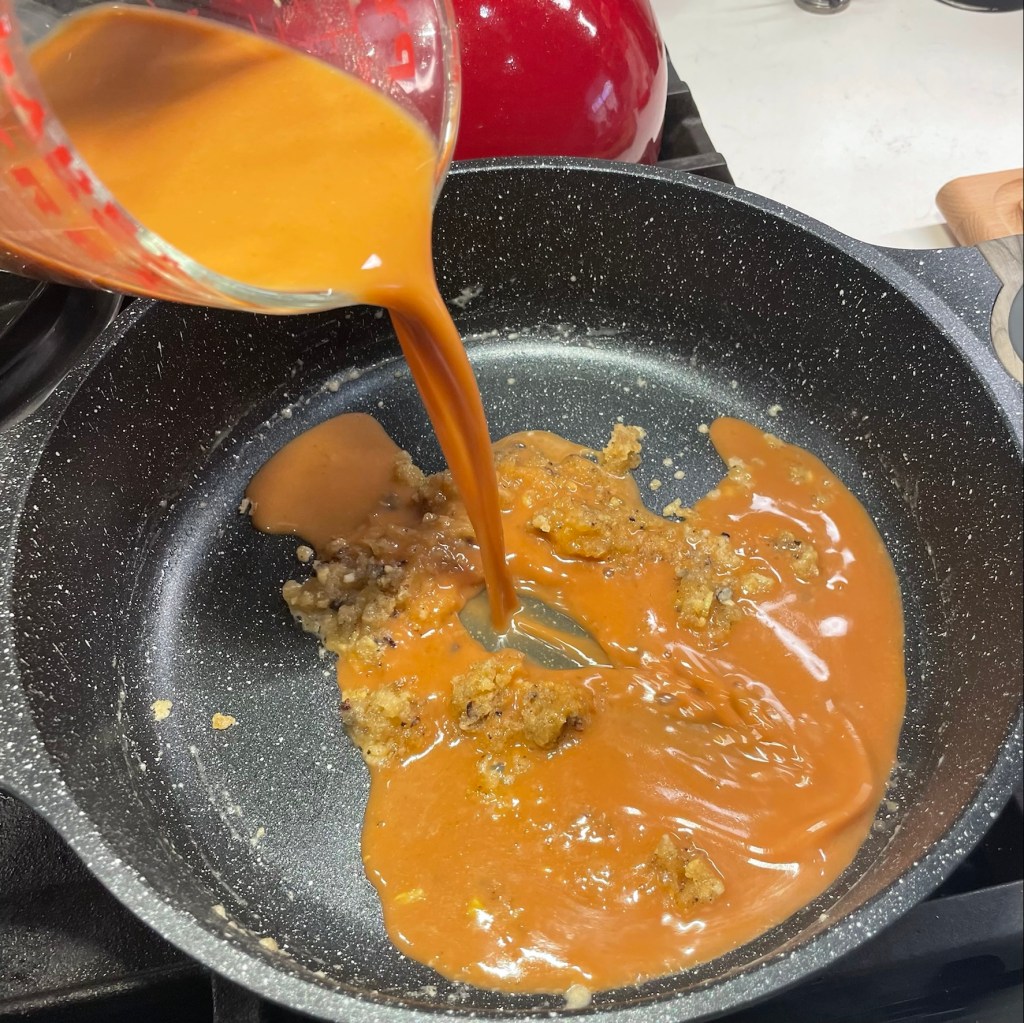
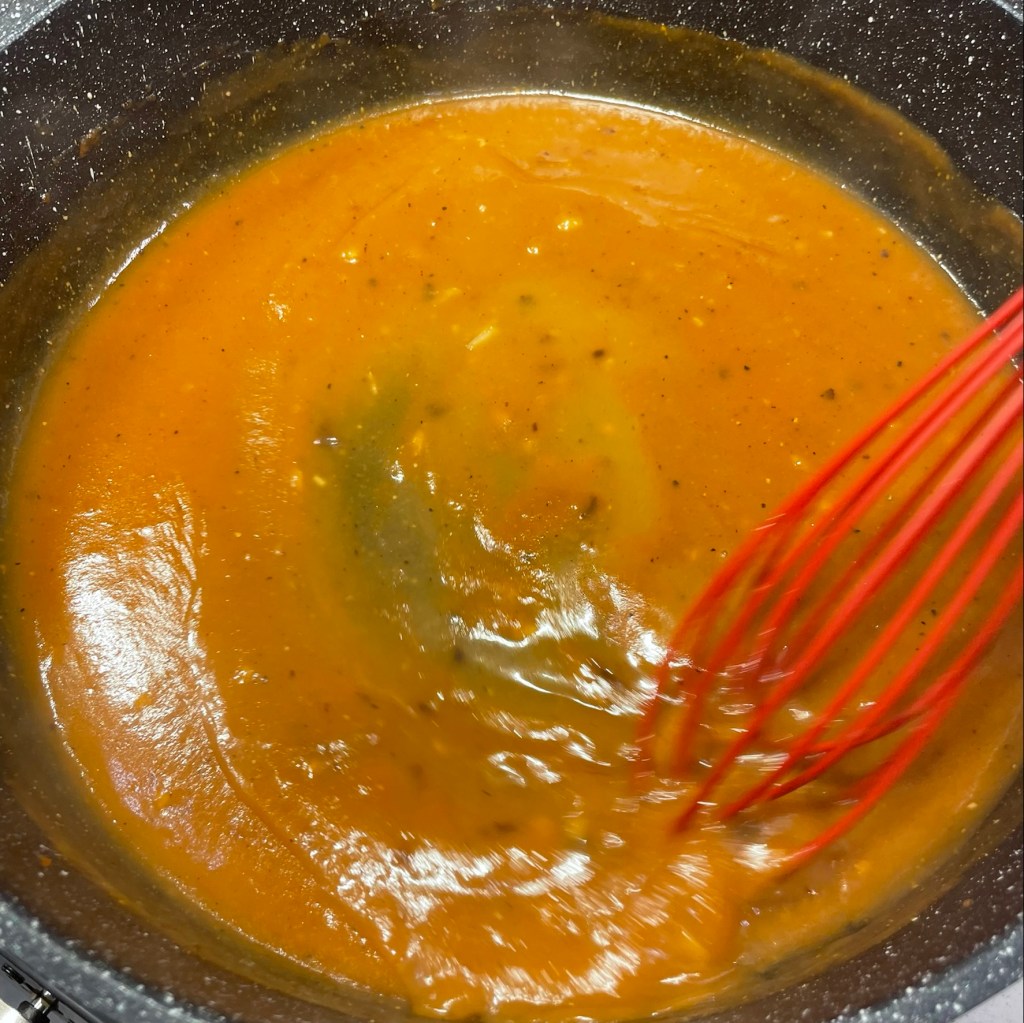
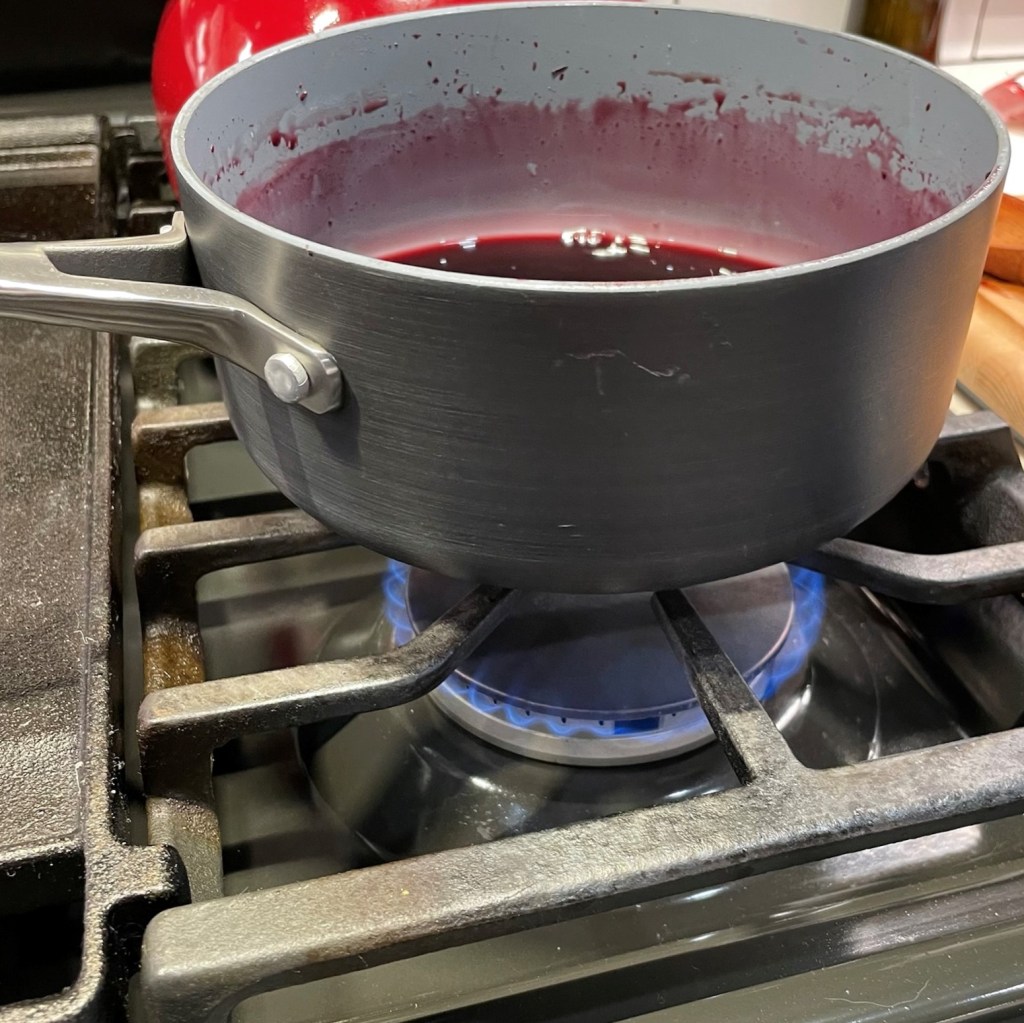
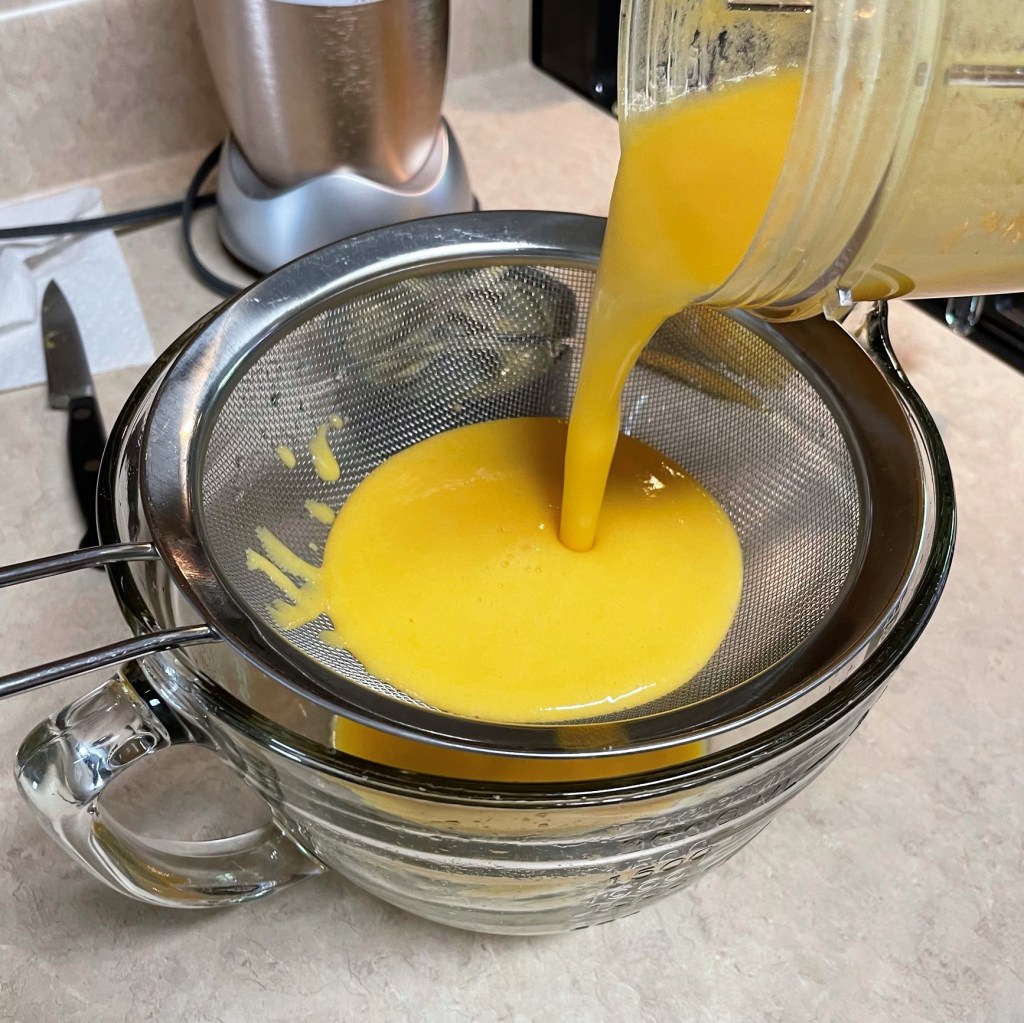
Melt the butter in the same skillet and add flour, whisking until the mixture is foamy with a slightly nutty aroma. Whisk in broth, cooking and stirring until the mixture is thickened. Add beef base, if desired, to deepen the flavor. Or, if you happen to have a Guinness in the fridge… I’m just sayin’.
Put it all together – Preheat oven to 350° F.
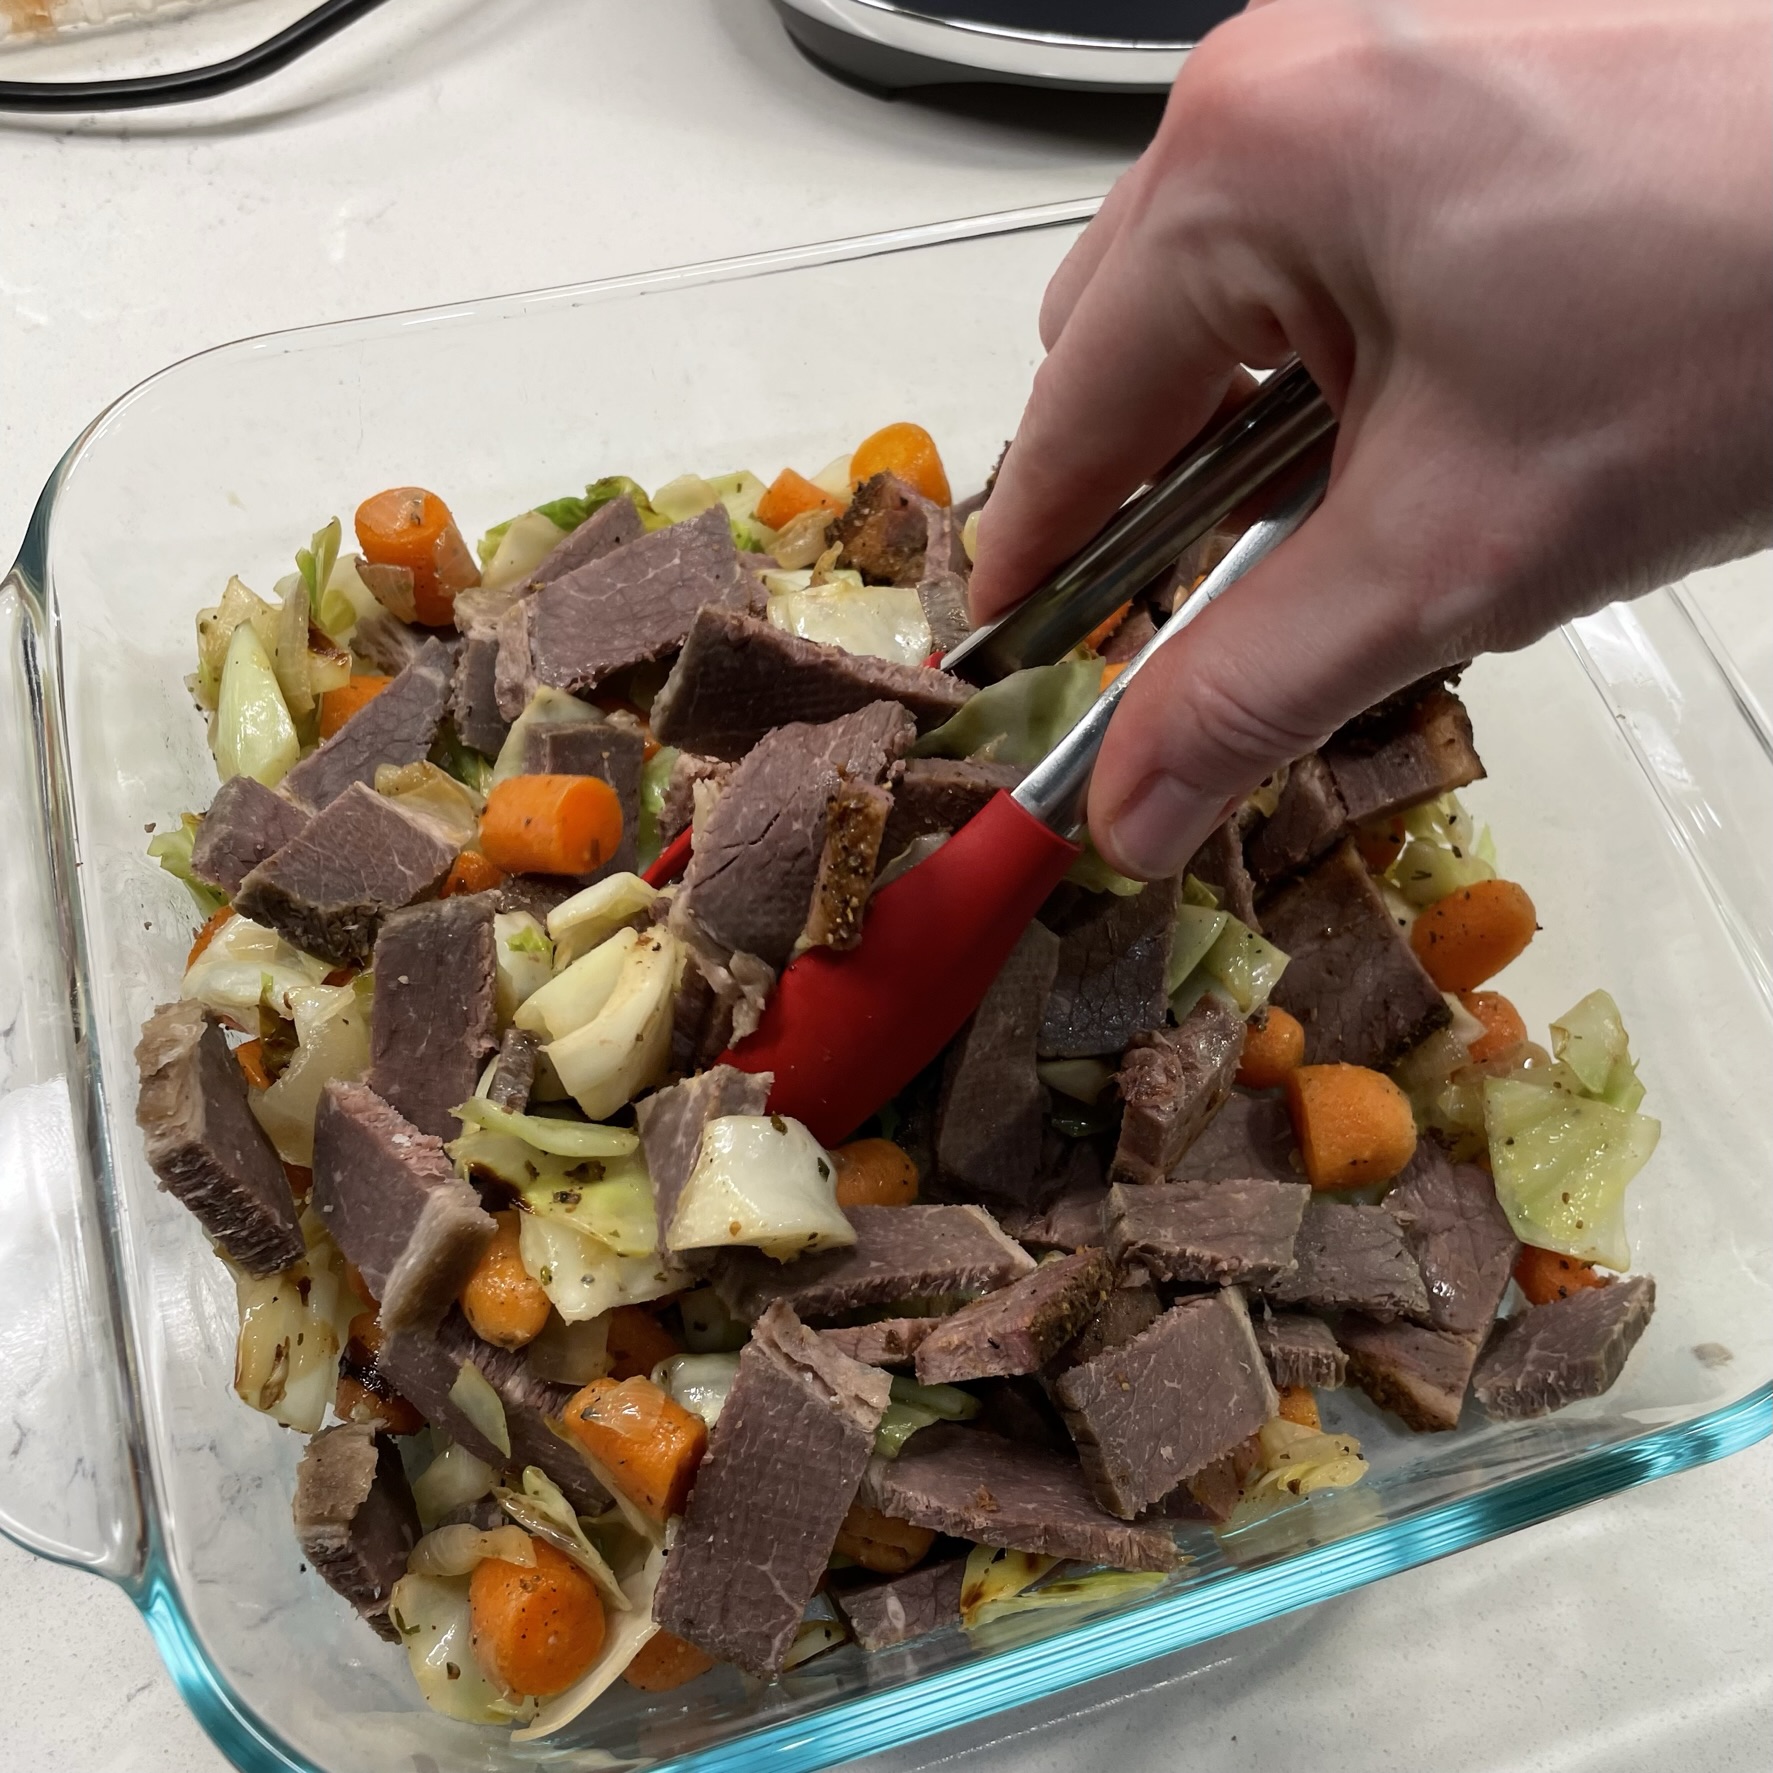
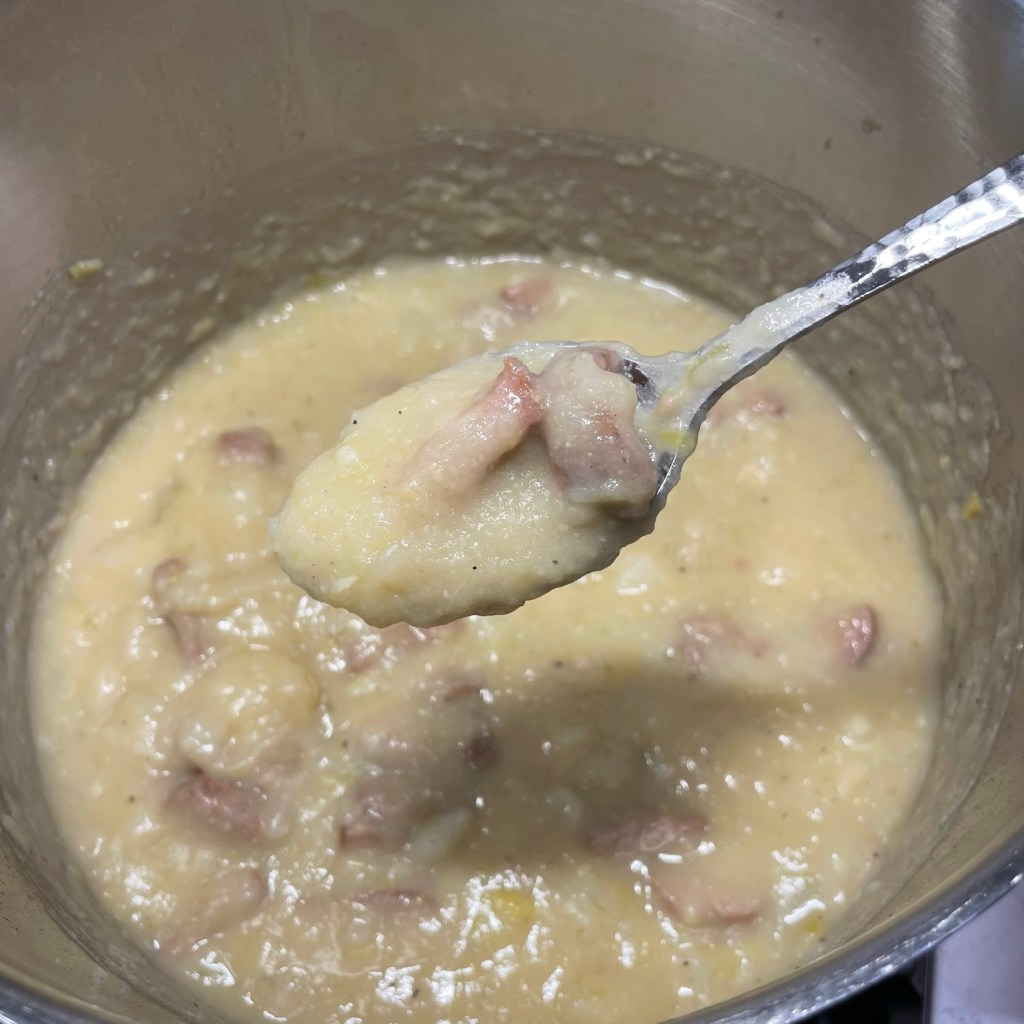
Mix the cut up corned beef with the vegetables. Mine is not pink because I don’t use nitrites in my homemade corned beef brine. 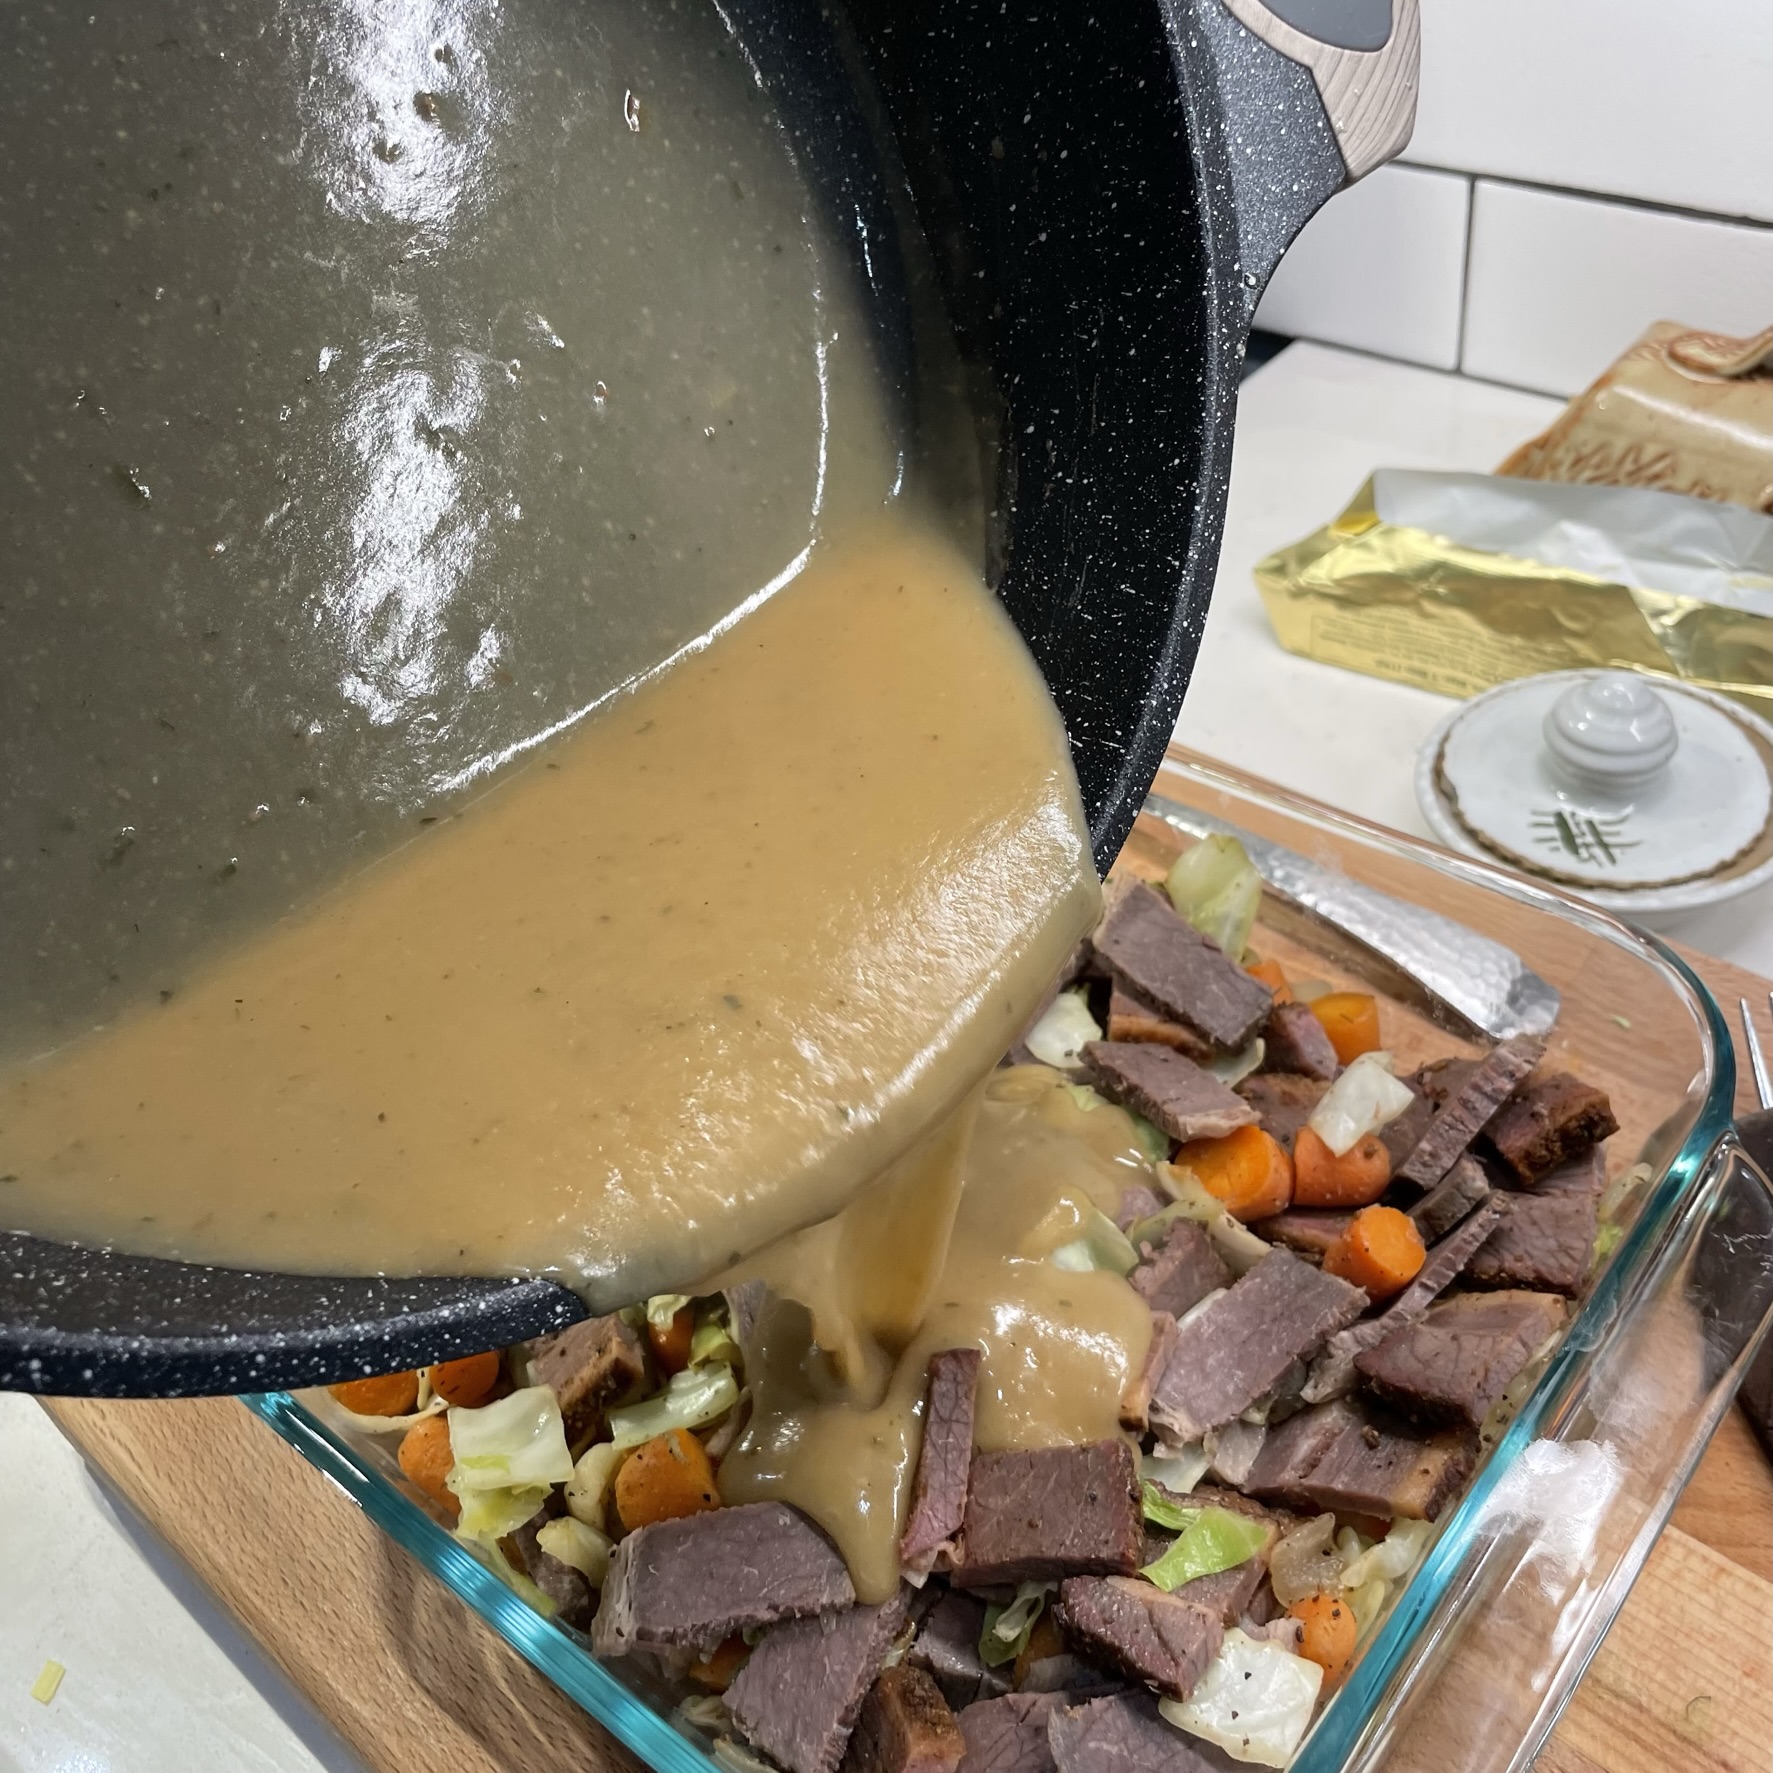
Pour the gravy over the filling and give it a jiggle or two to evenly distribute it. 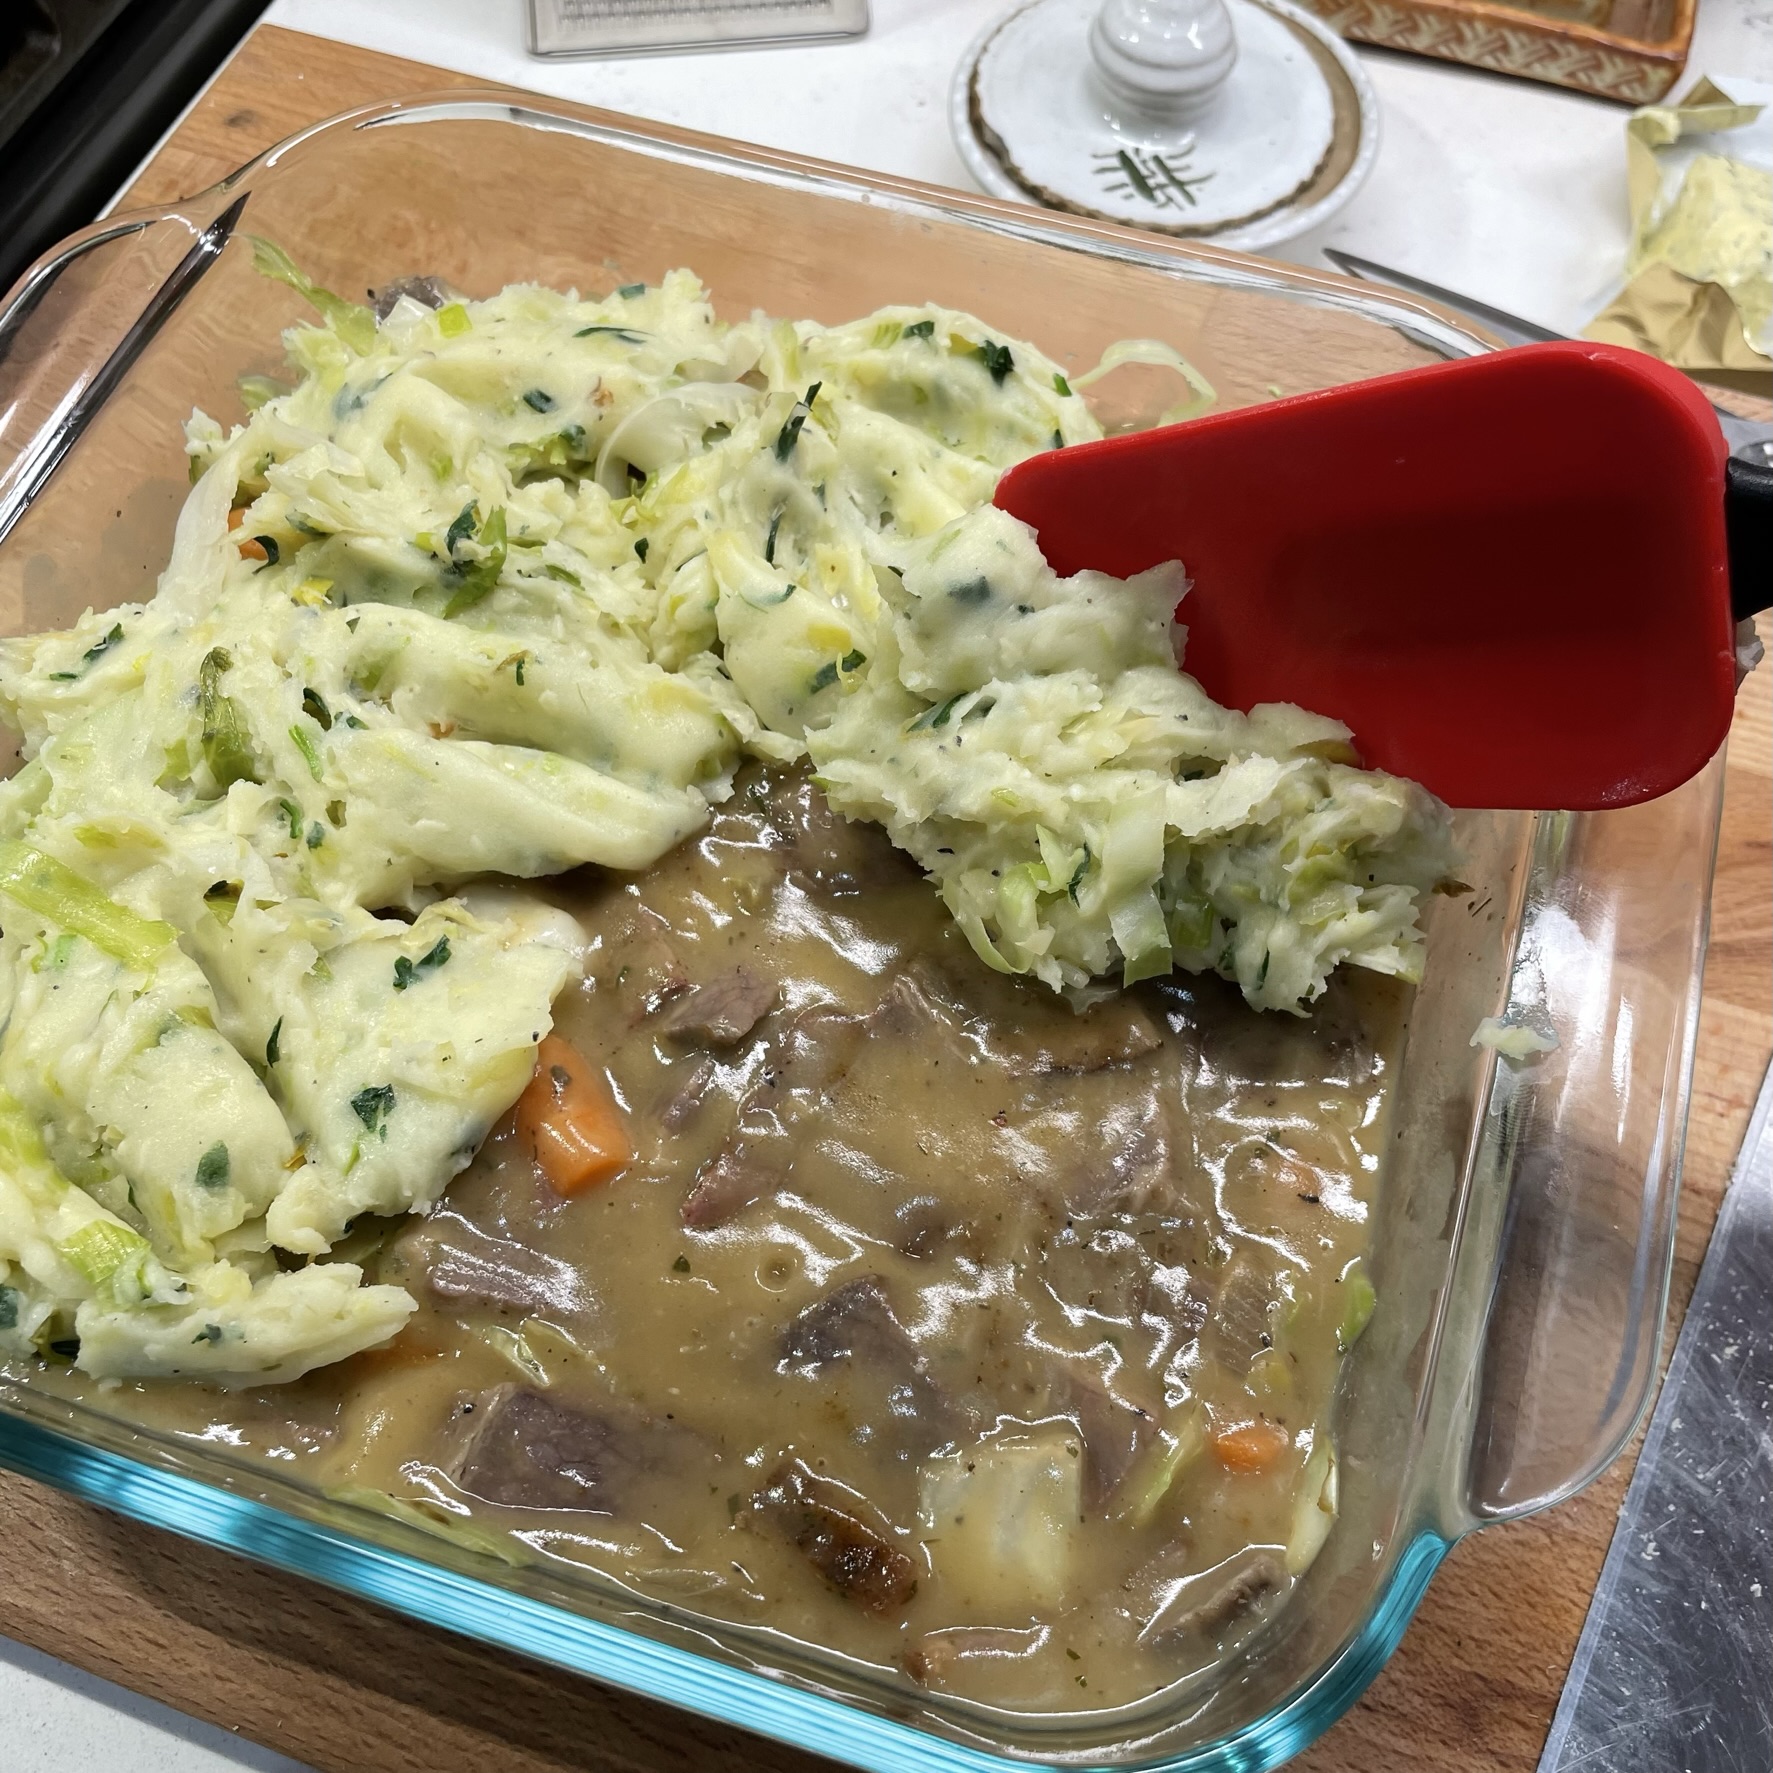
Spoon dollops of the colcannon over the filling. For a nice, rustic appearance, don’t smooth the potatoes, and don’t worry about the edges. 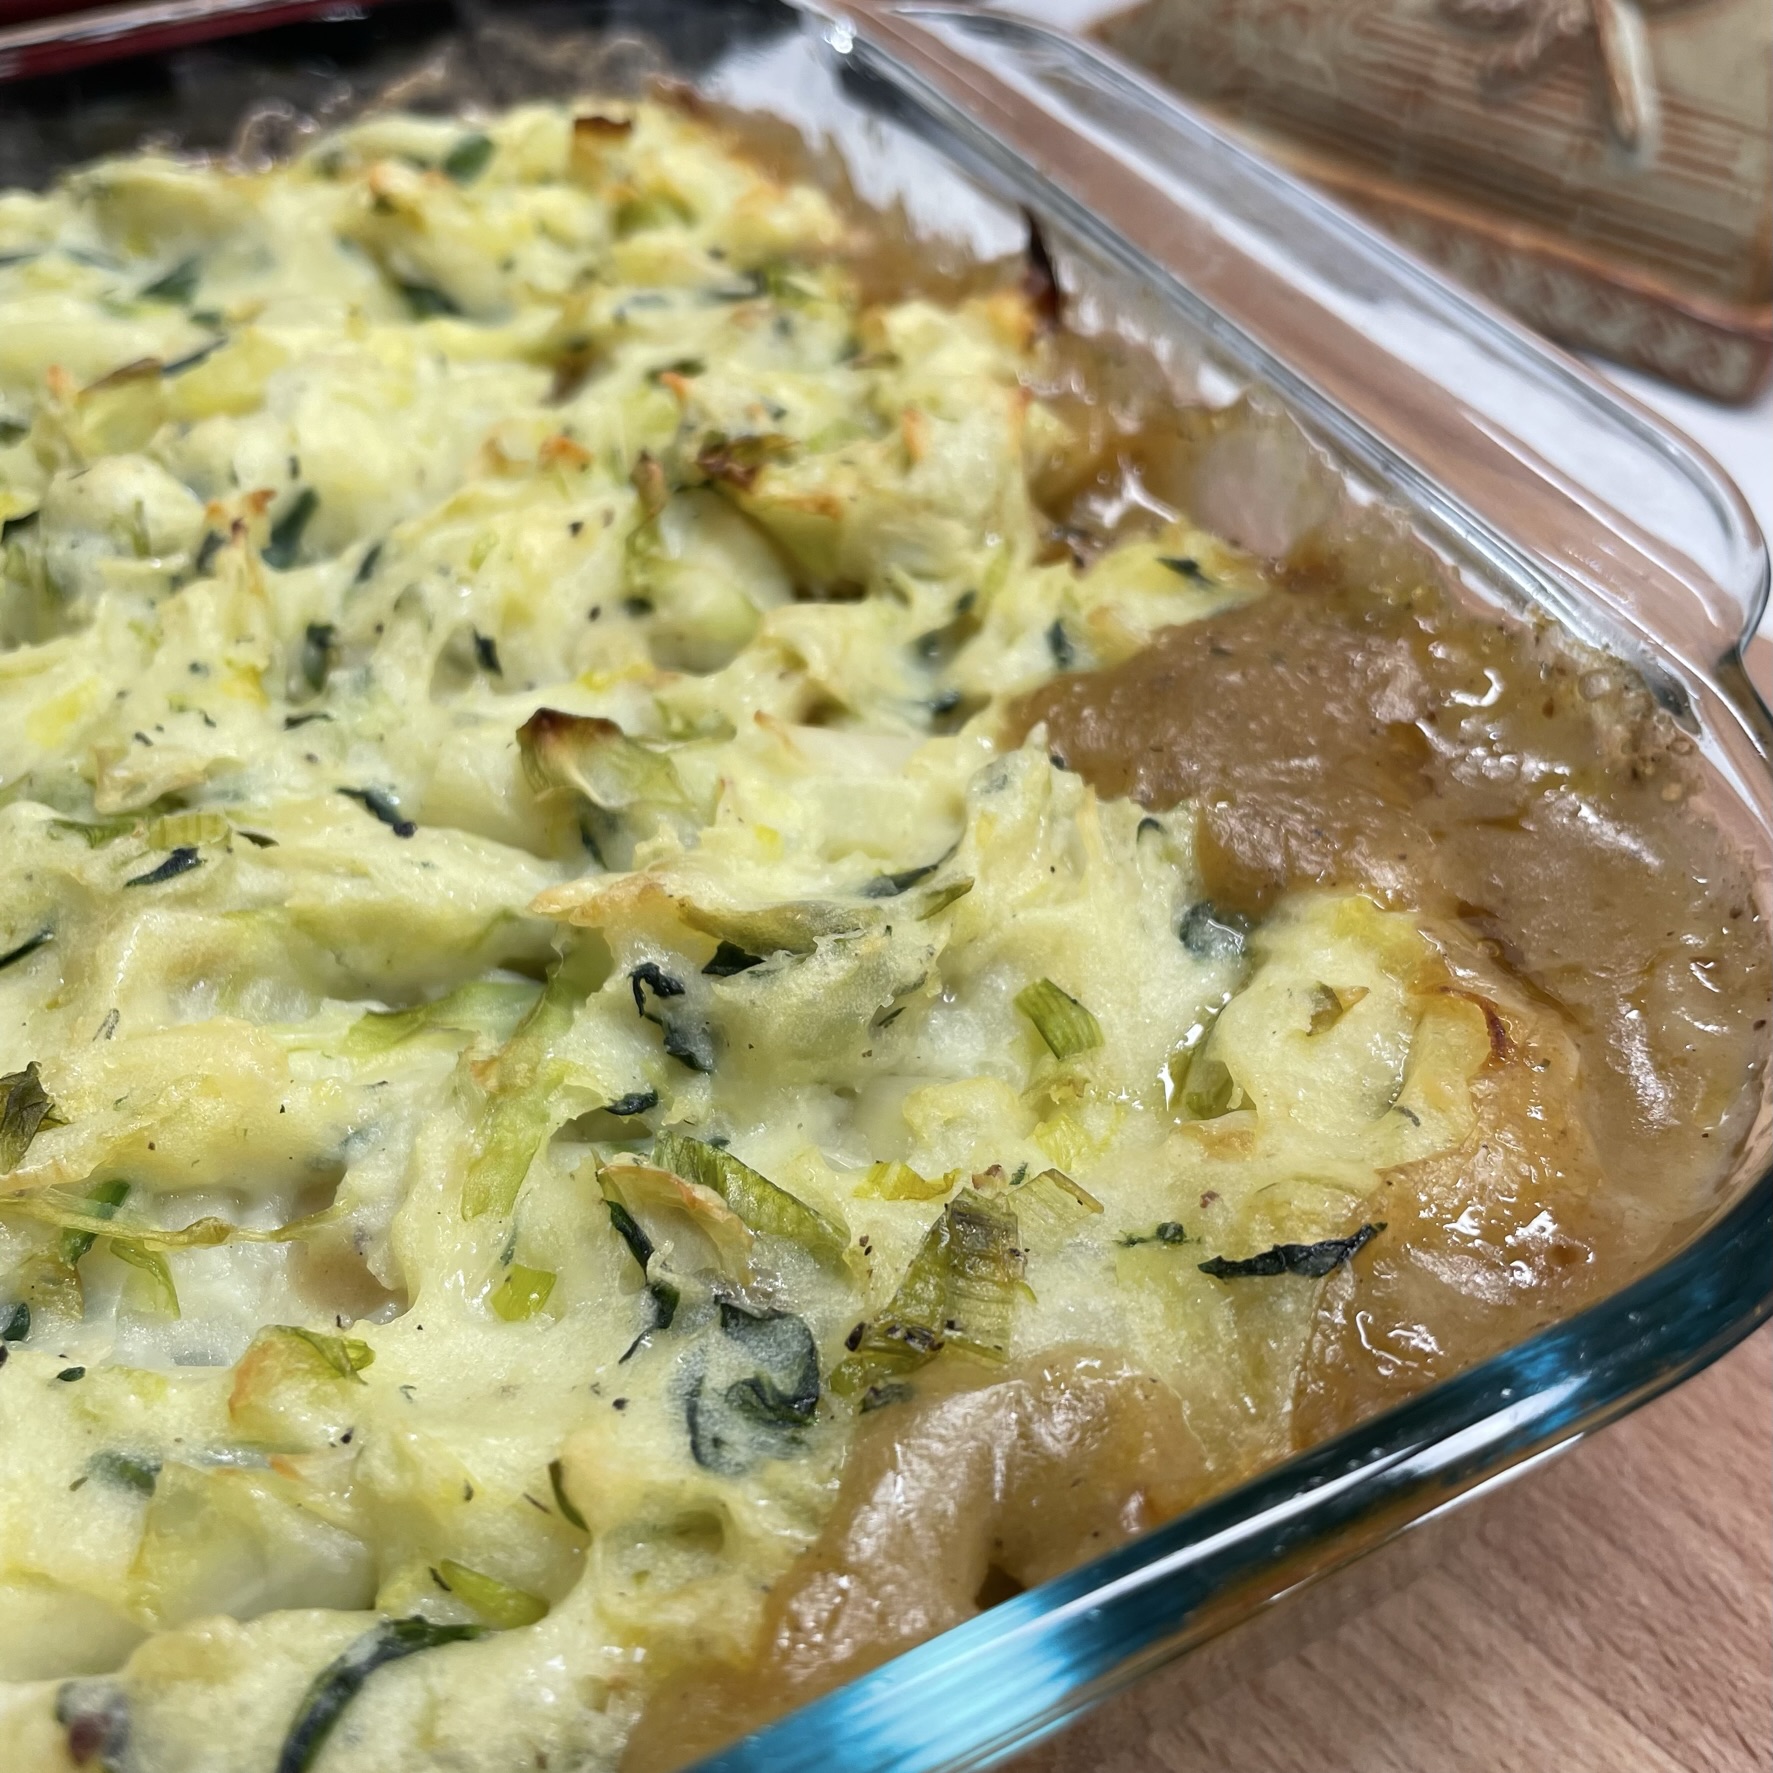
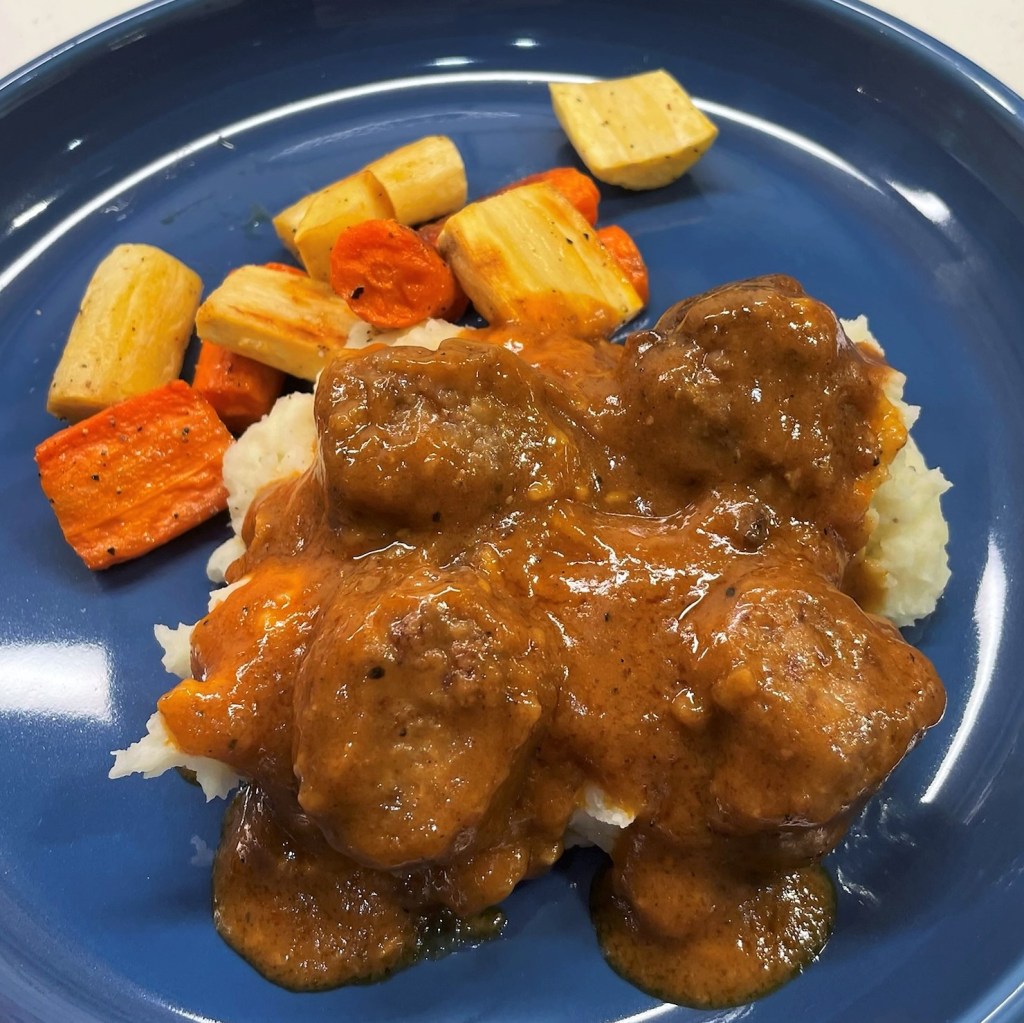
Half an hour in the oven at 350° F, and the filling should be bubbling out around the edges. And look at the lovely roast on the cheesy colcannon peaks!
Add the corned beef chunks to the cabbage and carrot mixture and toss to mix it in the casserole dish. Pour the gravy evenly over the filling. Top with dollops of colcannon (don’t smooth it) and bake for 45 minutes, until gravy is bubbling from underneath and colcannon has turned lightly crispy on its peaks.