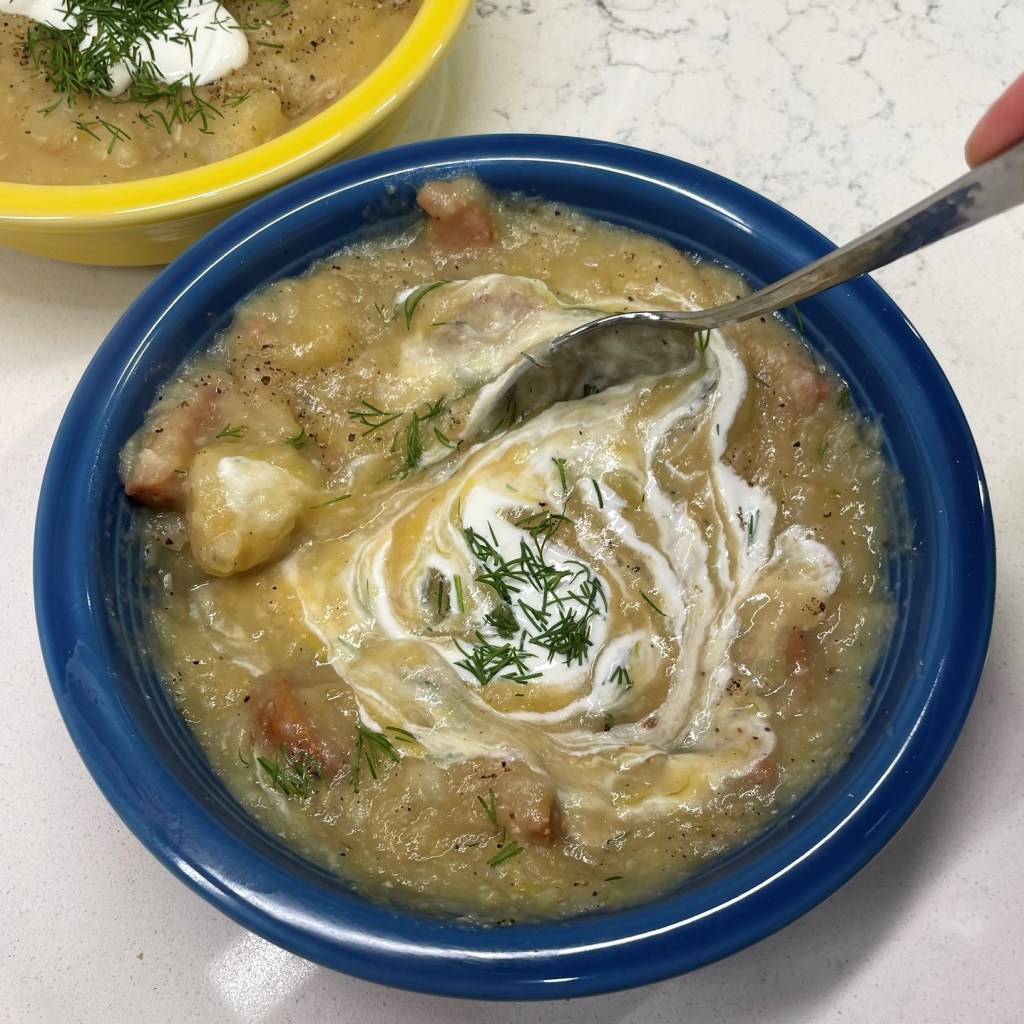
It only ranks third in America’s overall favorite comfort food (behind pizza and burgers), but here in the South, mac and cheese reigns supreme. It was the first dish I posted on Comfort du Jour when I finally got the nerve to start my blog and, as you can see, we enjoy making fun variations of it at our house! This simple, versatile side dish is like a blank canvas—you can apply so many flavors to it and, with all the different pasta shapes available, hardly ever have a repeat.

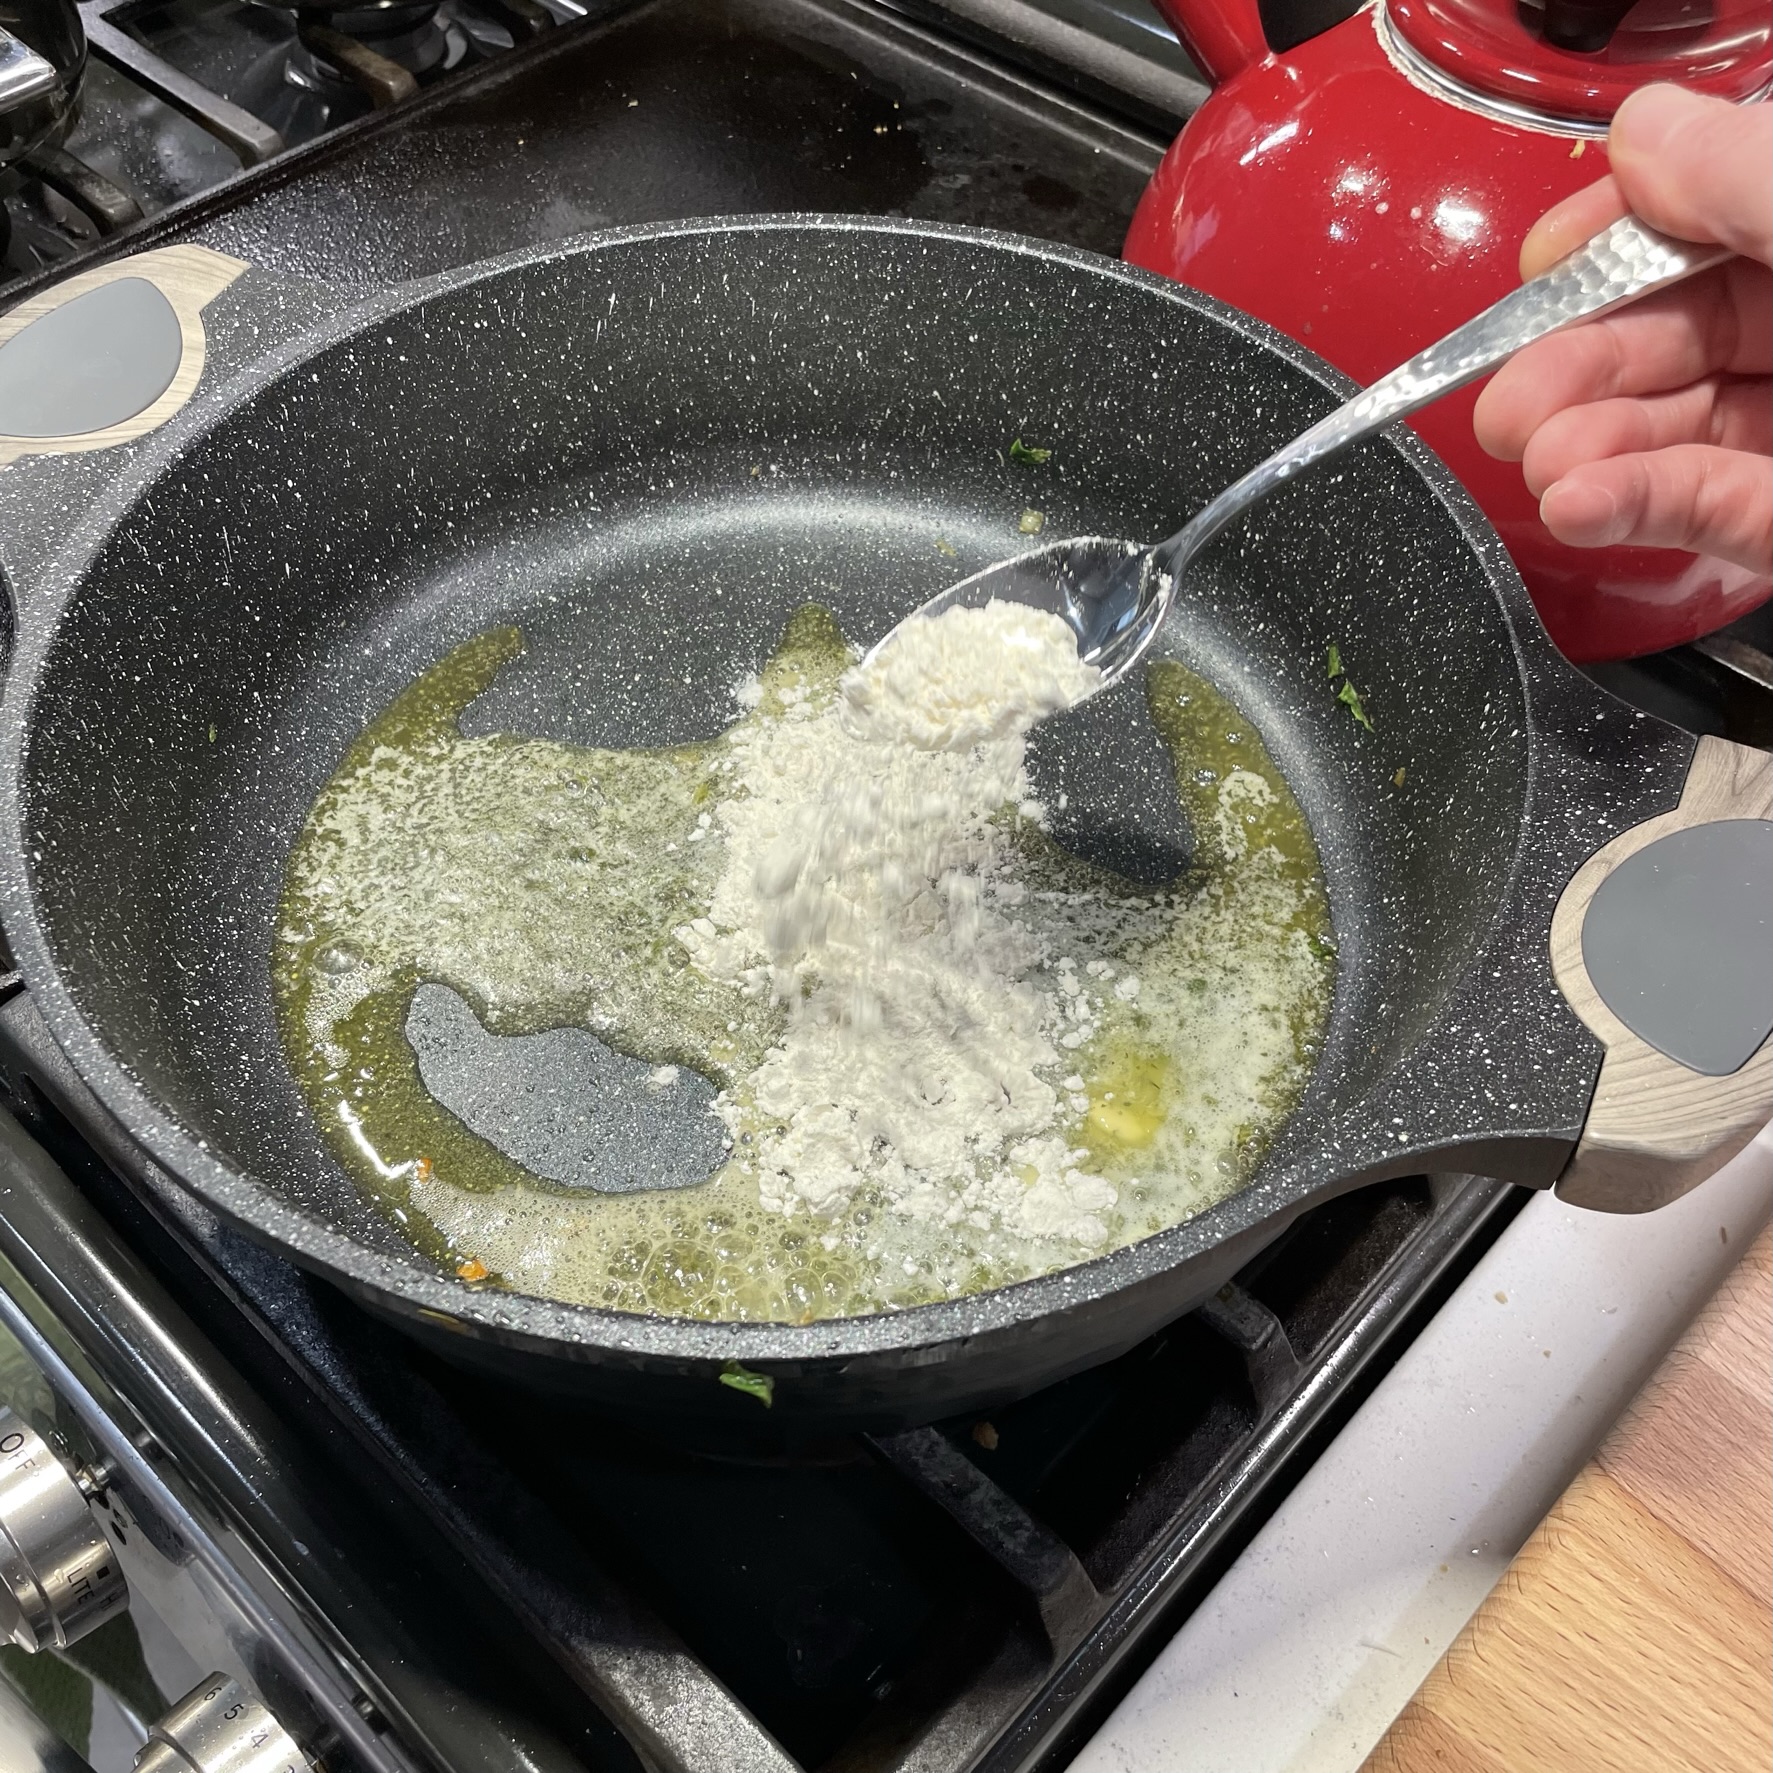
The main thing you need for super creamy mac and cheese is a velvety base, and for me, that means a bechamel—which is just a fancy French word that describes “white sauce.” Bechamel is one of the five so-called mother sauces, because it serves so many purposes. The key ingredients of a classic Bechamel are butter and flour (cooked together in equal parts), and milk. The fat in the butter coats the starch in the flour, and the resulting paste serves to thicken whatever liquid is added to it—in this case, milk.
This butter-flour magic is called a “roux,” and it’s one of the first things I remember really learning from time spent in my grandmother’s kitchen. When she first told me about this important technique, I thought Gram was calling it “Roo”—like Kanga’s baby from the Winnie and the Pooh books (that’s how young I was). Since that very early lesson, I’ve learned how to spell roux, and how to adjust it for different applications.
The intensity of cooking on the roux changes its properties, and you can easily use this to your advantage, based on what you are making. For a thick, creamy white sauce, cook the flour in the butter over medium heat, just long enough to achieve a foamy appearance, then add milk all at once and whisk until it is thickened. Season it with salt and pepper, perhaps a little grated nutmeg (essential, in my opinion, for a real bechamel) or another seasoning you like, to match how you plan to use it. If I were to layer this creamy sauce with thinly sliced Yukon gold potatoes and onions, I might substitute ground cumin for the nutmeg, because I love the flavor of cumin with potatoes. Slide that into the oven for about an hour, and you’d be enjoying scalloped potatoes. Melt cheese into the sauce before layering, and you’d have potatoes au gratin.
Cook the flour and butter a bit longer to the point of being brown and toasty-looking, and you’ll have a roux with more complex flavor, but slightly less thickening power. This is what I usually do when I make mac and cheese, because I don’t need the bechamel to be quite as thick on its own (the melted-in cheese makes up for that), and because the browned butter in the base lends a warm, nutty aroma and flavor to the dish.


Incidentally, it does not have to be real butter. A roux can be made with any type of fat, including plant-based butters, cooking oil or even lard or bacon grease. I have also found success using gluten-free flour, as there is usually enough starch in it to produce similar results as one made with regular, all-purpose flour. I have even read that almond flour can be used in roux (though I have not tested this). As long as the starch and fat molecules play nice, you’ll end up with a roux that will thicken.
For a roux with even more heft and complexity, such as for gumbo, cook the flour in oil rather than butter, and do it low and slow—even in the oven, if you want to go hands-free—and you’ll have a developed flavor that can’t be equaled with any add-in ingredient. More on that another day. 😊
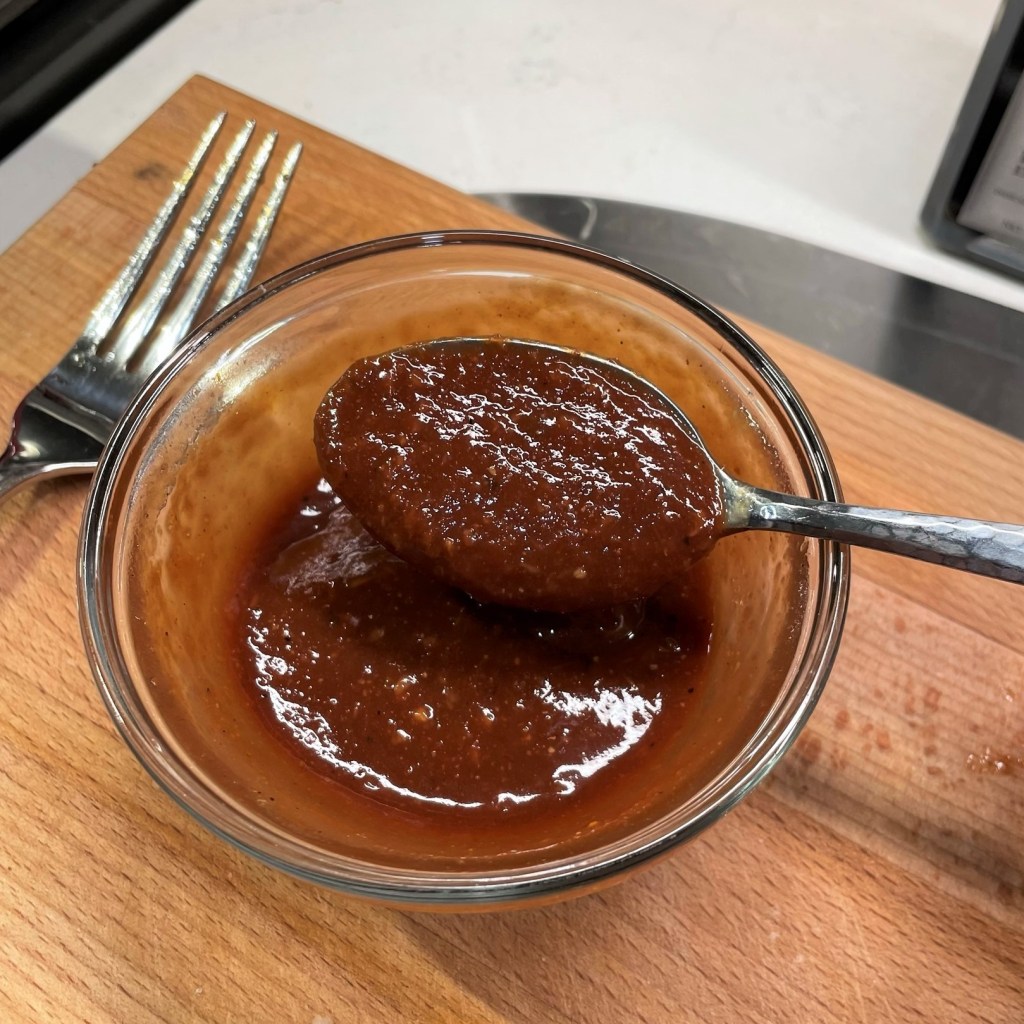
The dish I’m sharing today is another spin on my basic mac and cheese, with the addition of chipotle, one of the most favored flavors at our house. Though a subtle touch of chipotle could be added with a few sprinkles of ground chipotle powder (either before or after the cheese is added to the roux), I’ve opted to use a couple of spoonsful of pureed chipotle with adobo sauce. These are the little cans you find in the “international” section of the supermarket. Chipotle peppers are essentially dried, smoked jalapenos that have been rehydrated to a plump state. We dump the entire contents of a small can into the food processor, to be used in a variety of Mexican-themed dishes, including Les’s Smoky Guacamole and my South of the Border Crab Cakes.
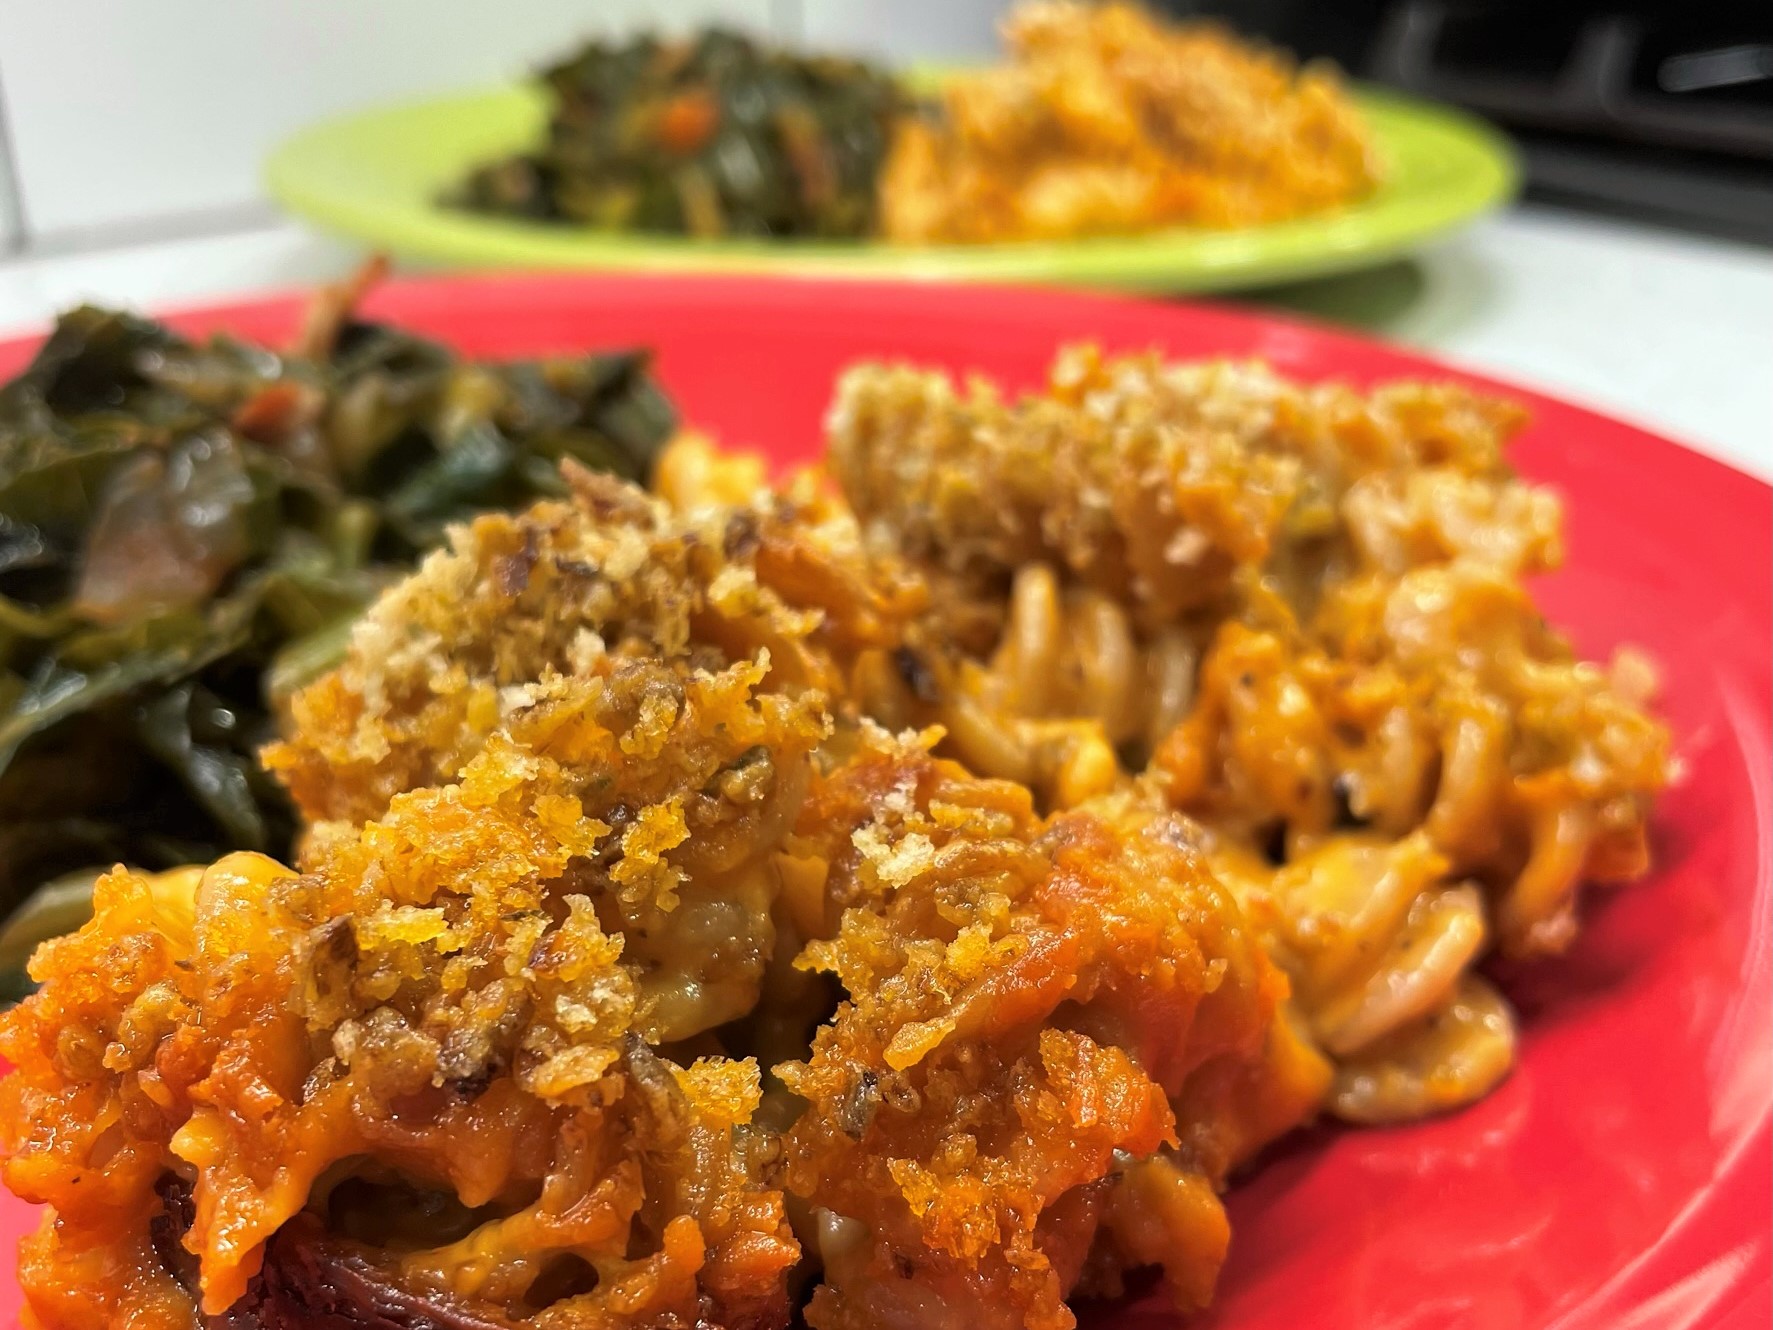
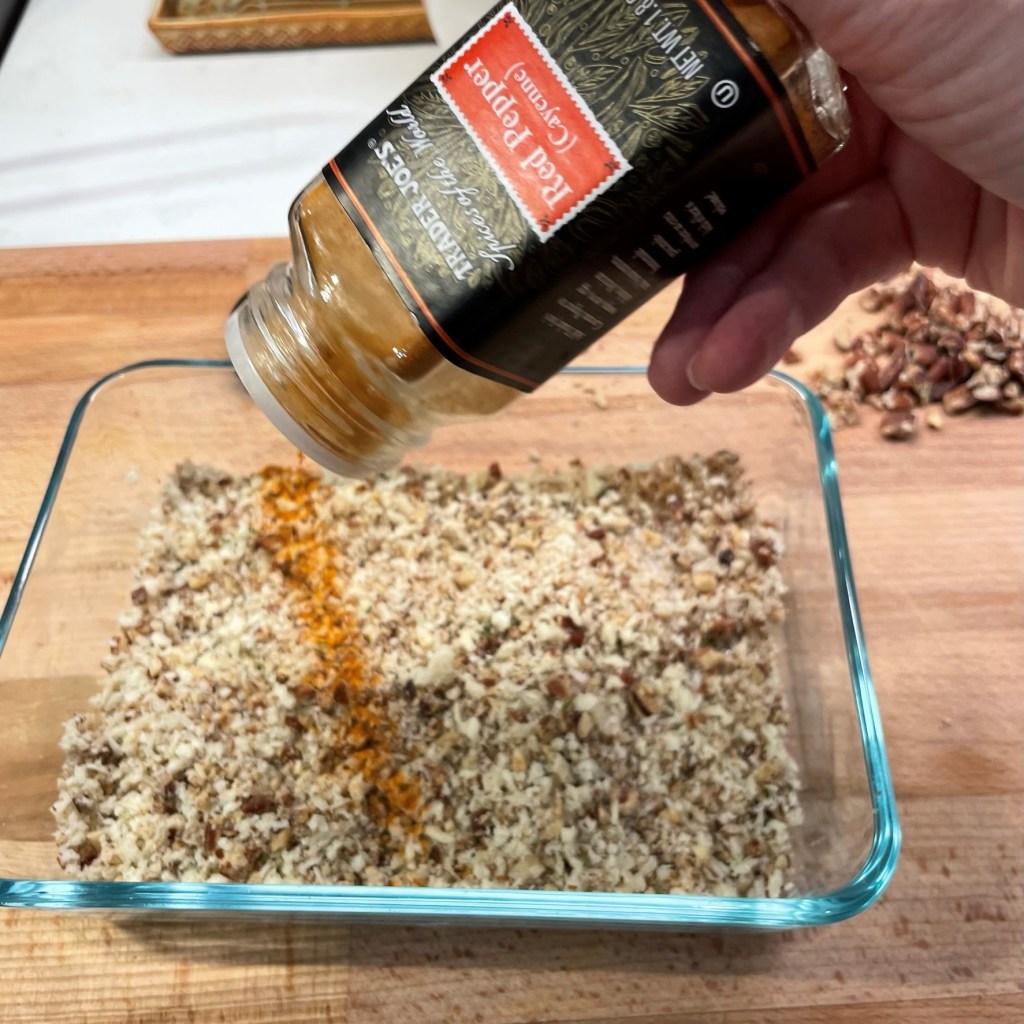
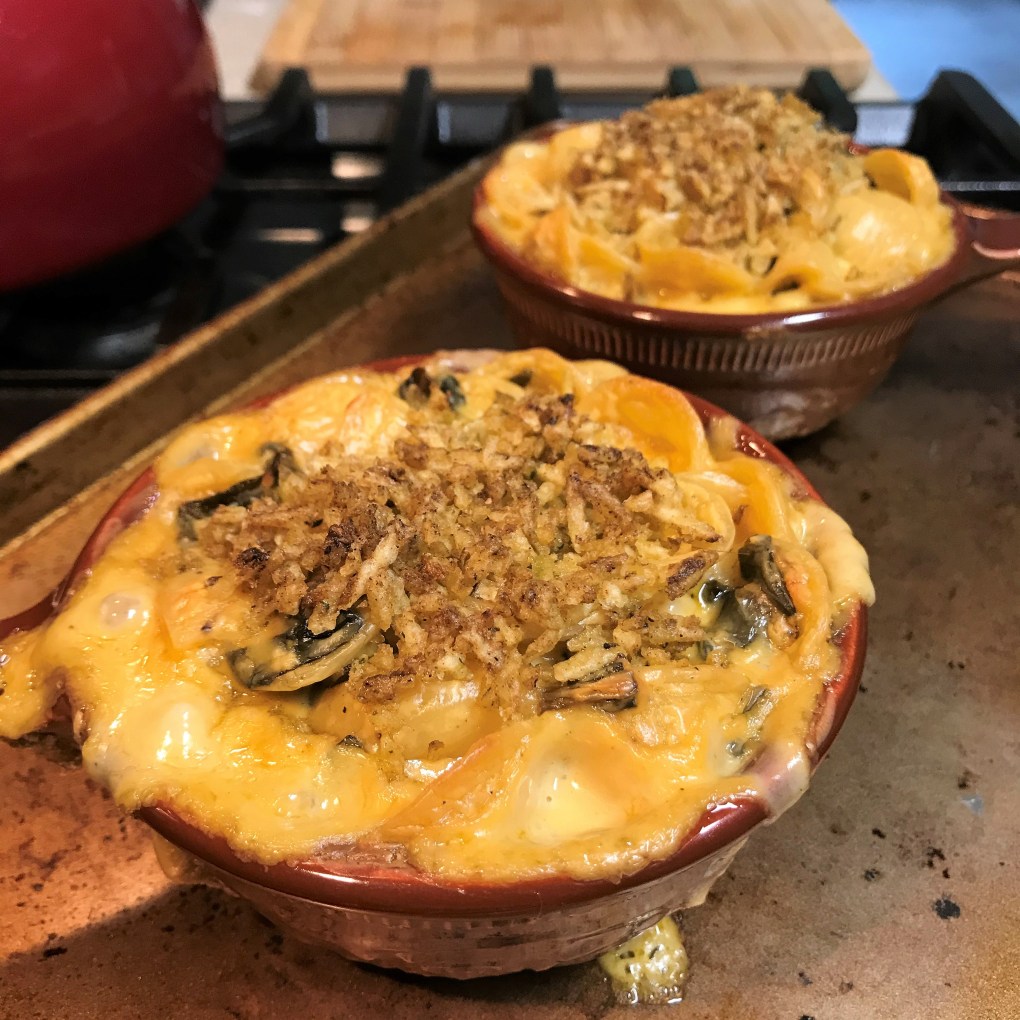
For this batch of mac and cheese, I chose whole grain rotini because of its heft and texture. When you choose a pasta with lots of surface area, you should expect to adjust the pasta-to-sauce ratio (all those twists and curves are going to need extra sauce). I topped the dish with a mixture of crushed crispy fried jalapenos (from Trader Joe’s) and plain panko breadcrumbs.
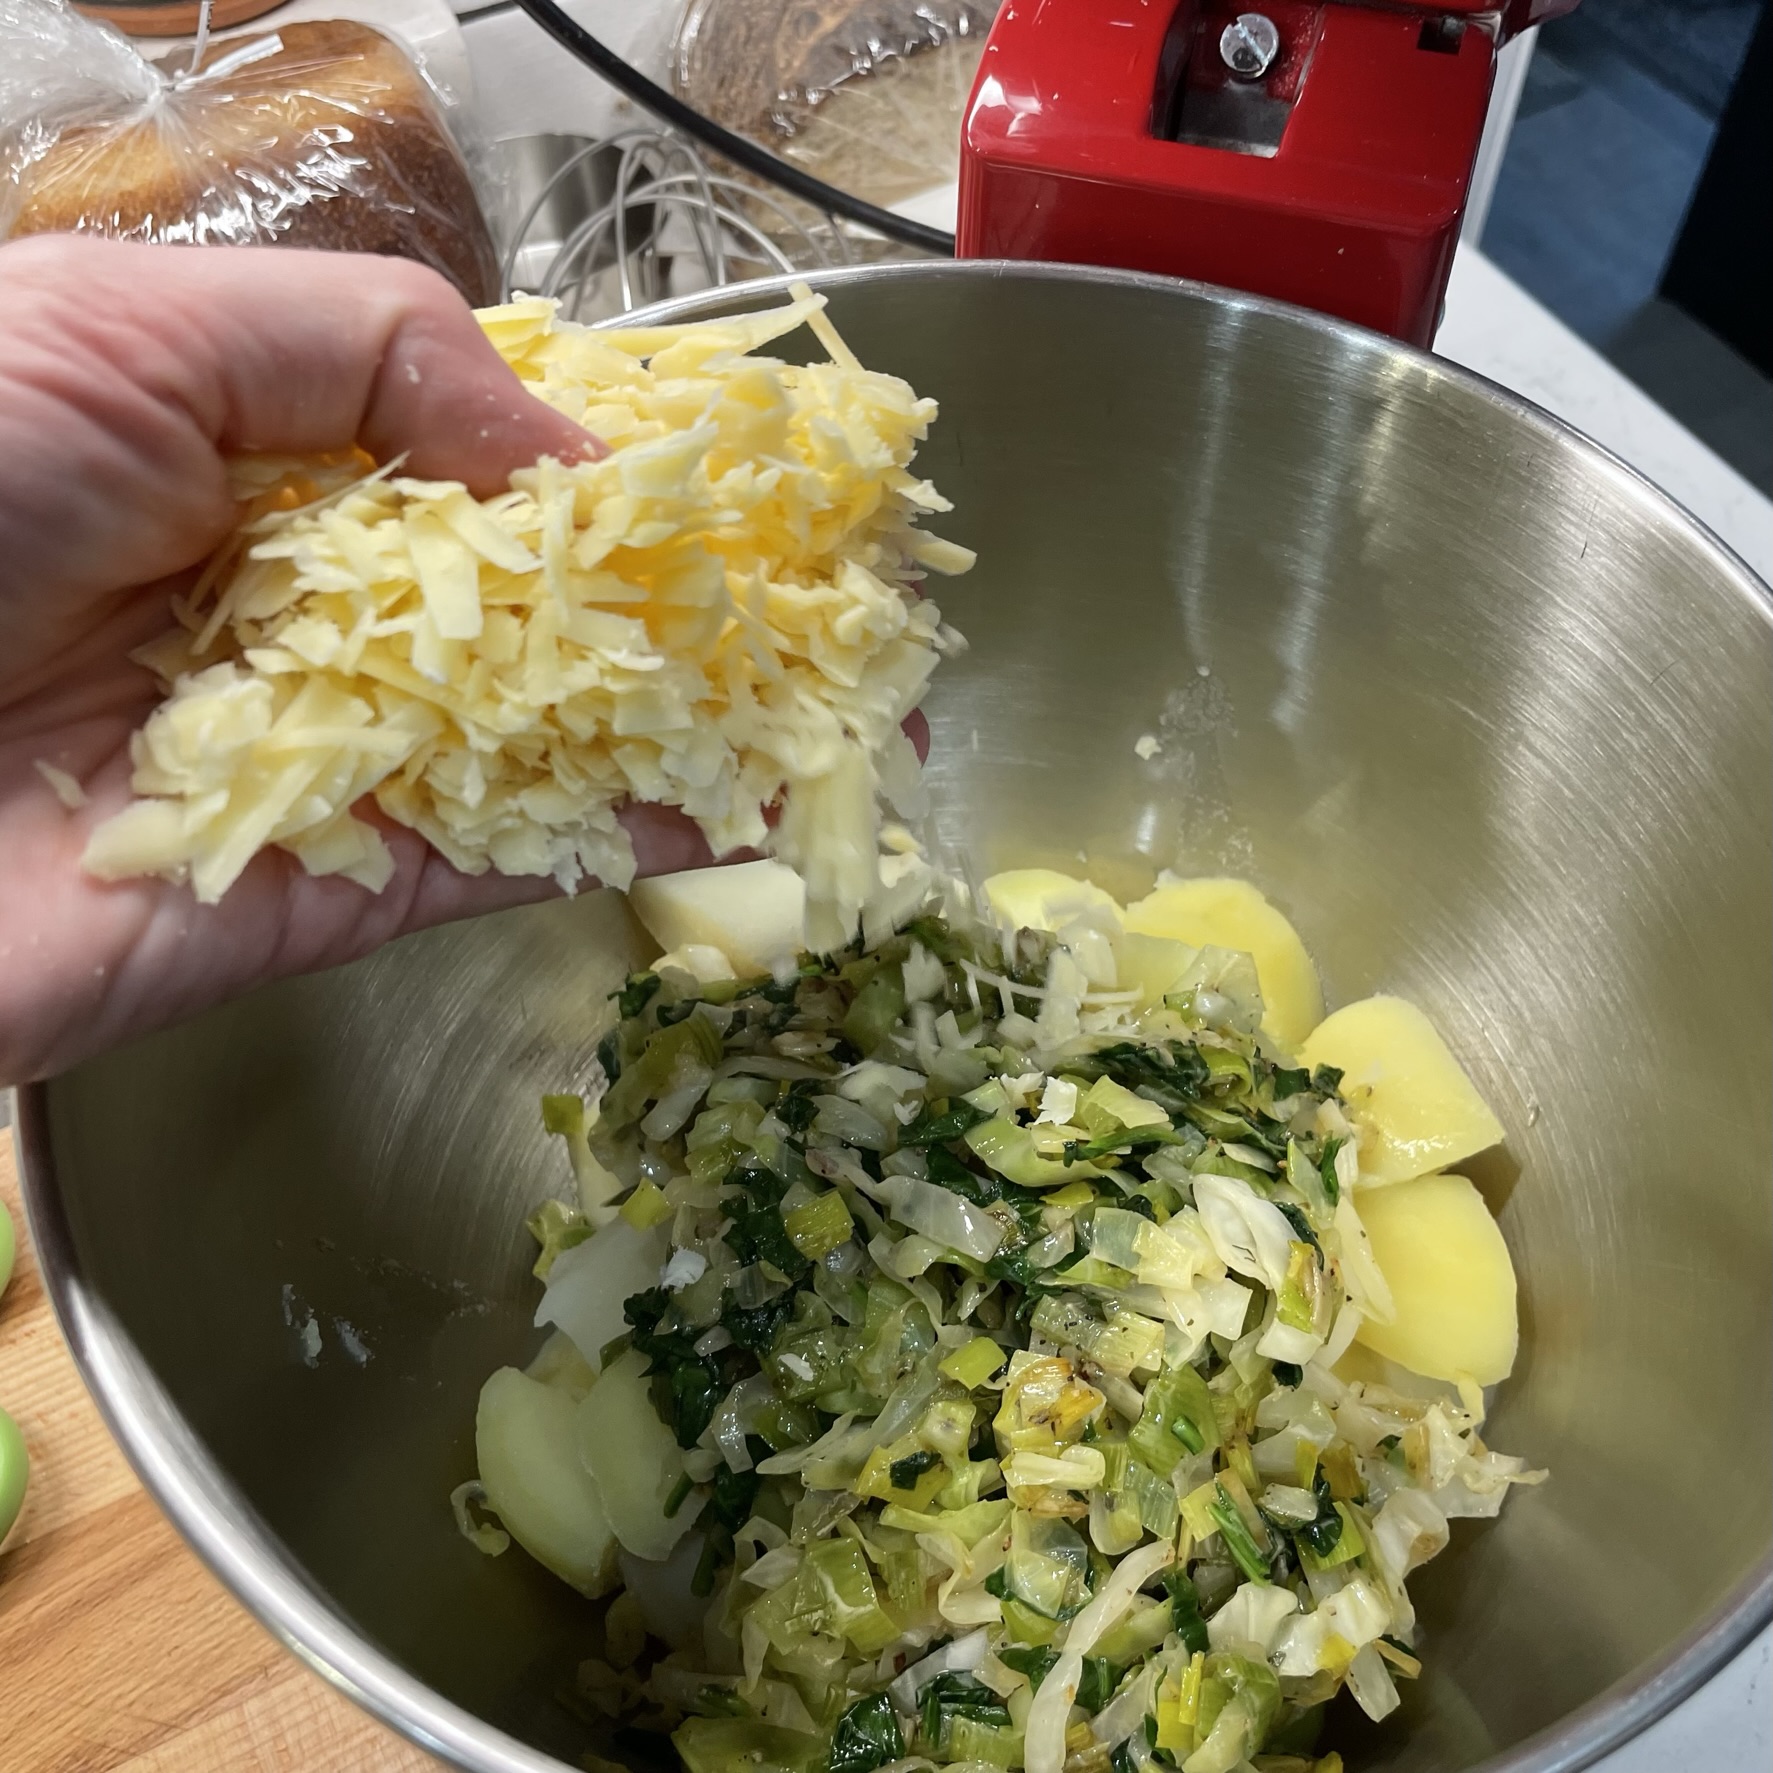
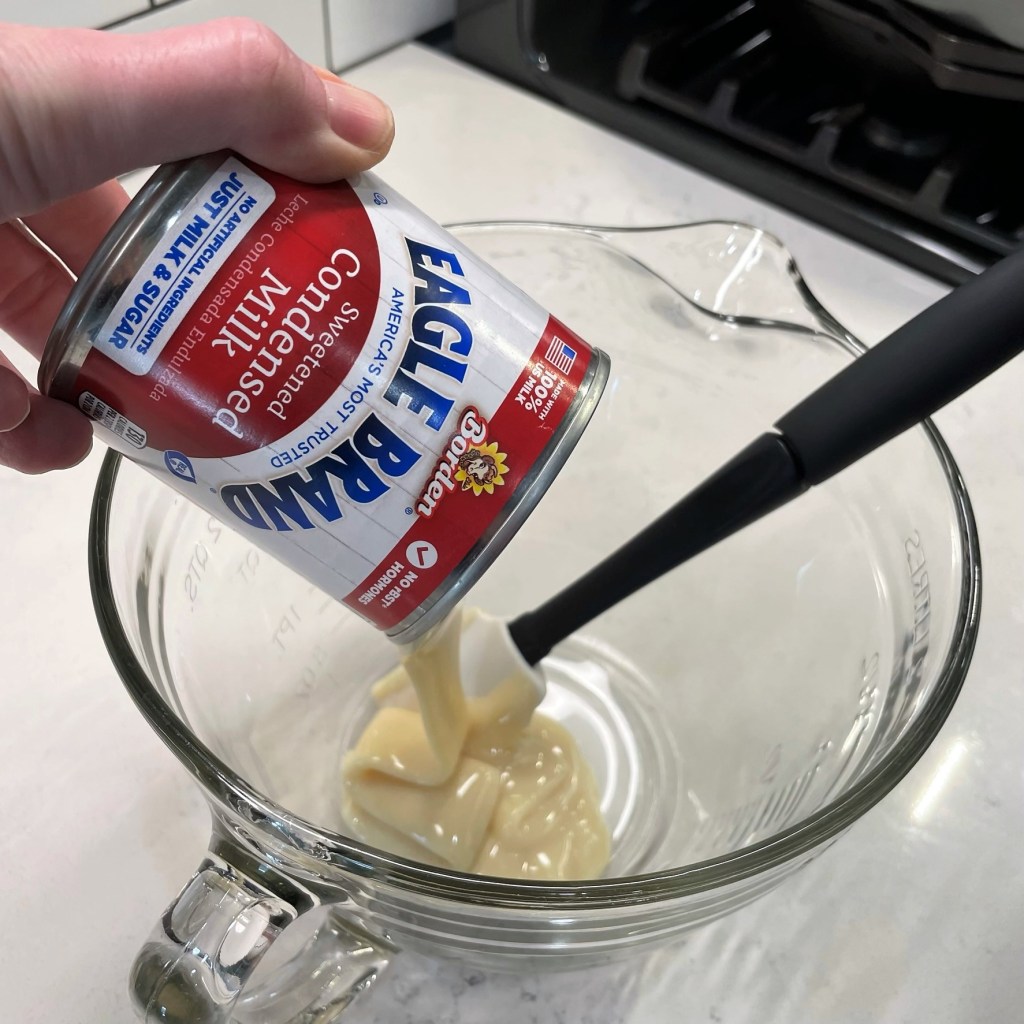
As for the cheese, I went with a medium-sharp cheddar as the main flavor, but the base cheese is yellow American. You probably already know that very sharp cheeses do not melt as well as their milder counterparts. And I’m sure you know about the exquisite melting qualities of American cheese, despite its bad rap, which is not fairly earned.
Saying “American cheese is not cheese” is like saying “meatloaf is not meat.”
J. Kenji Lopez-Alt
Ingredients
2 Tbsp. extra virgin olive oil
1/2 large onion, diced fairly fine
3 Tbsp. salted butter
4 Tbsp. all-purpose flour
2 cups milk
6 oz. yellow American cheese, cubed* (see notes)
10 oz. medium-sharp yellow cheddar, shredded
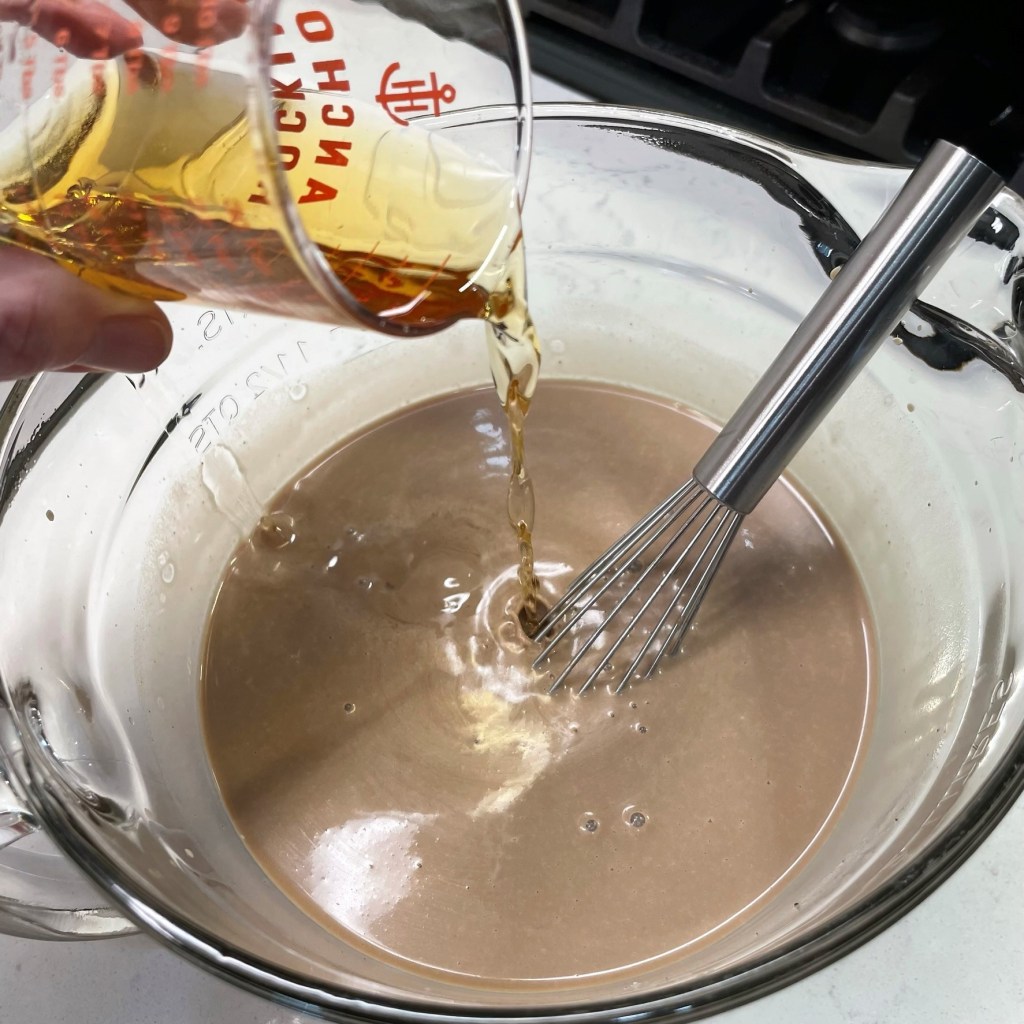
2 Tbsp. chipotle w/ adobo puree (more or less, depending on your tolerance for heat)
A few shakes of ground cumin, for added smokiness
Salt and pepper to taste
2/3 lb. whole grain rotini (if using smoother pasta, use an entire pound)
Topping:
1/3 cup crispy fried jalapenos (or fried onions, if you prefer less heat)
1/4 cup plain panko breadcrumbs
*Notes
I used to think that American cheese was fake food, but this article on Serious Eats convinced me otherwise. Yes, it is processed, but it is not made up of ingredients and chemicals pretending to be cheese. It is real cheese, processed with special salts to result in a smooth, creamy texture when melted. I do not feel this way about the brand that begins with a V (and I think you all know which one I’m referring to), but I am OK with American cheese now and then, and I consider it essential as a melting base for my mac and cheese. Yeah, what J. Kenji said.
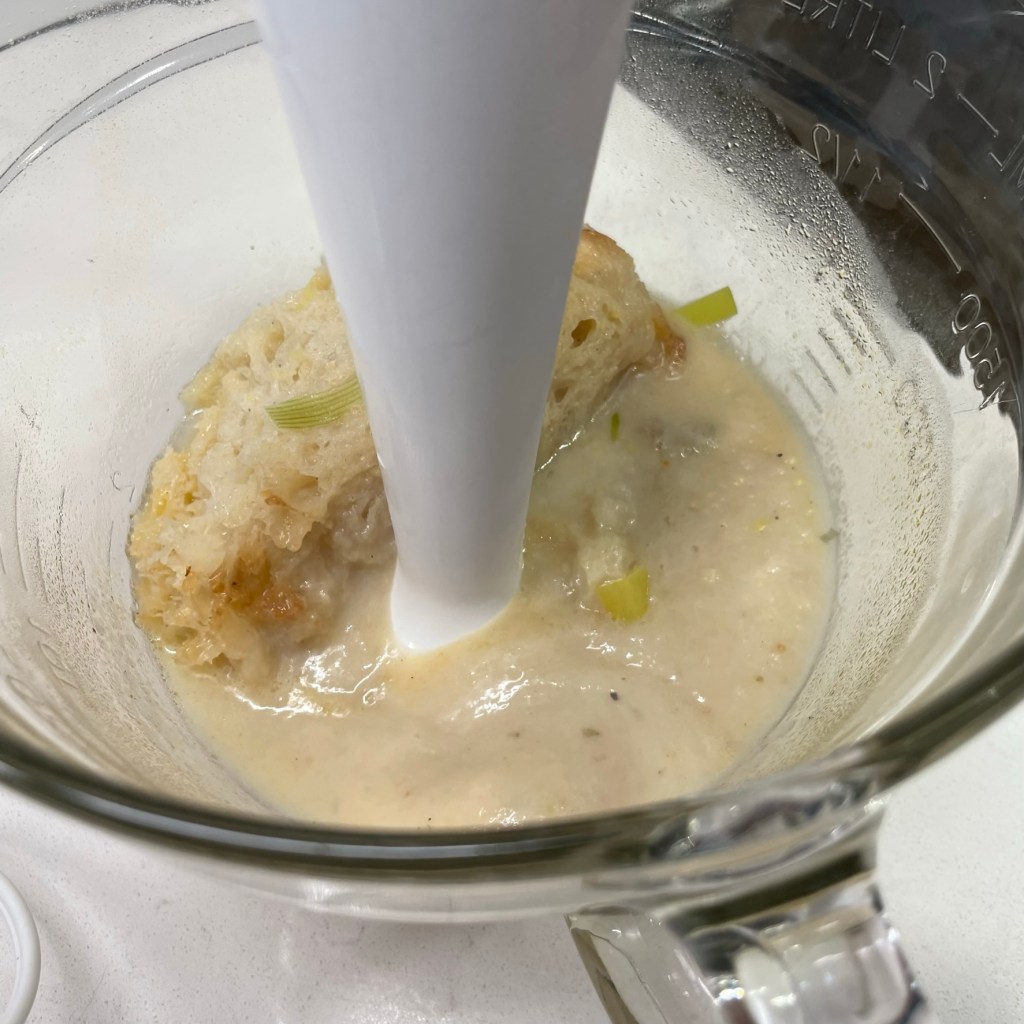
If you have an immersion blender, I encourage you to take the step I’ll describe for whipping your cheese sauce into ultra-creamy territory. It is optional, of course, but a total game changer in my mac and cheese endeavors.
Instructions

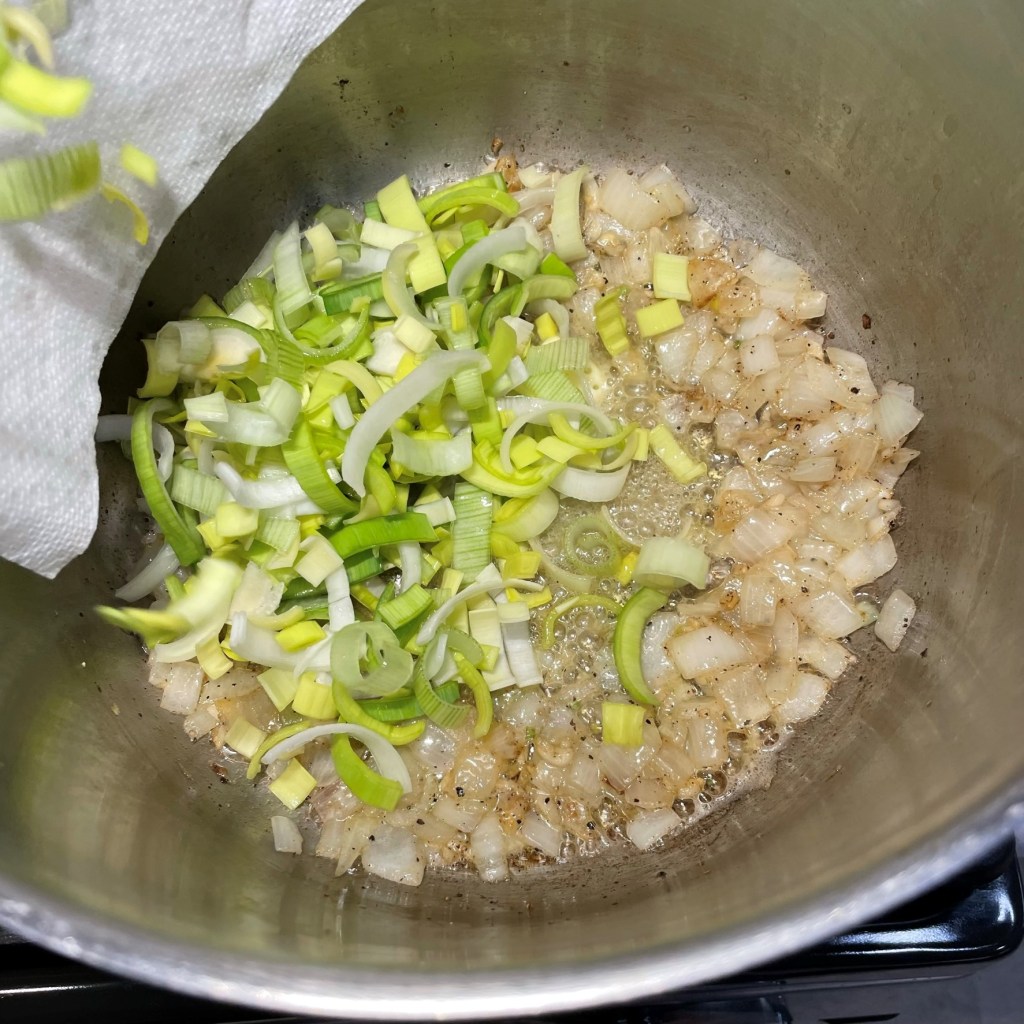
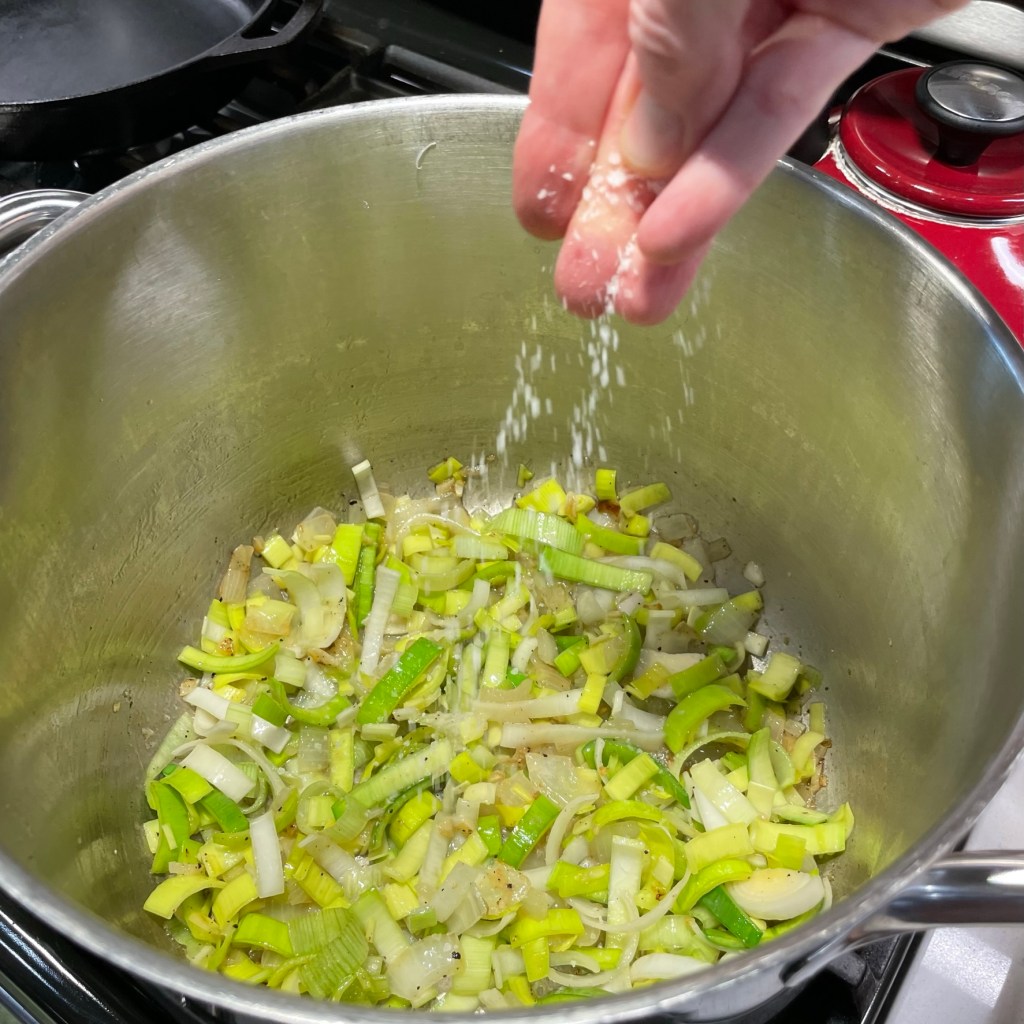
Cooking the onions and garlic into the roux ensures layers of flavor. 
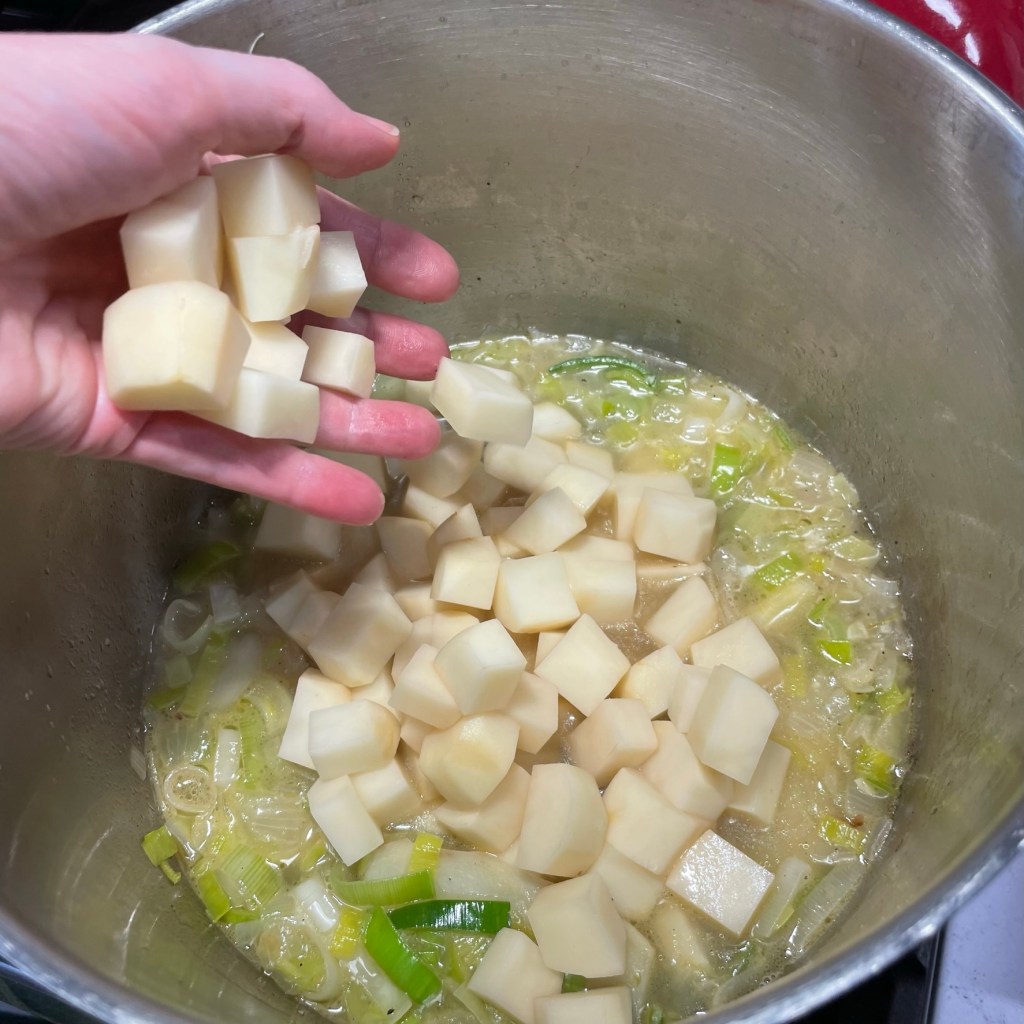
If you intend to use the immersion blender on the sauce, remove half of the onions to stir into it later. The remaining half will get pulverized into the creamy sauce. 
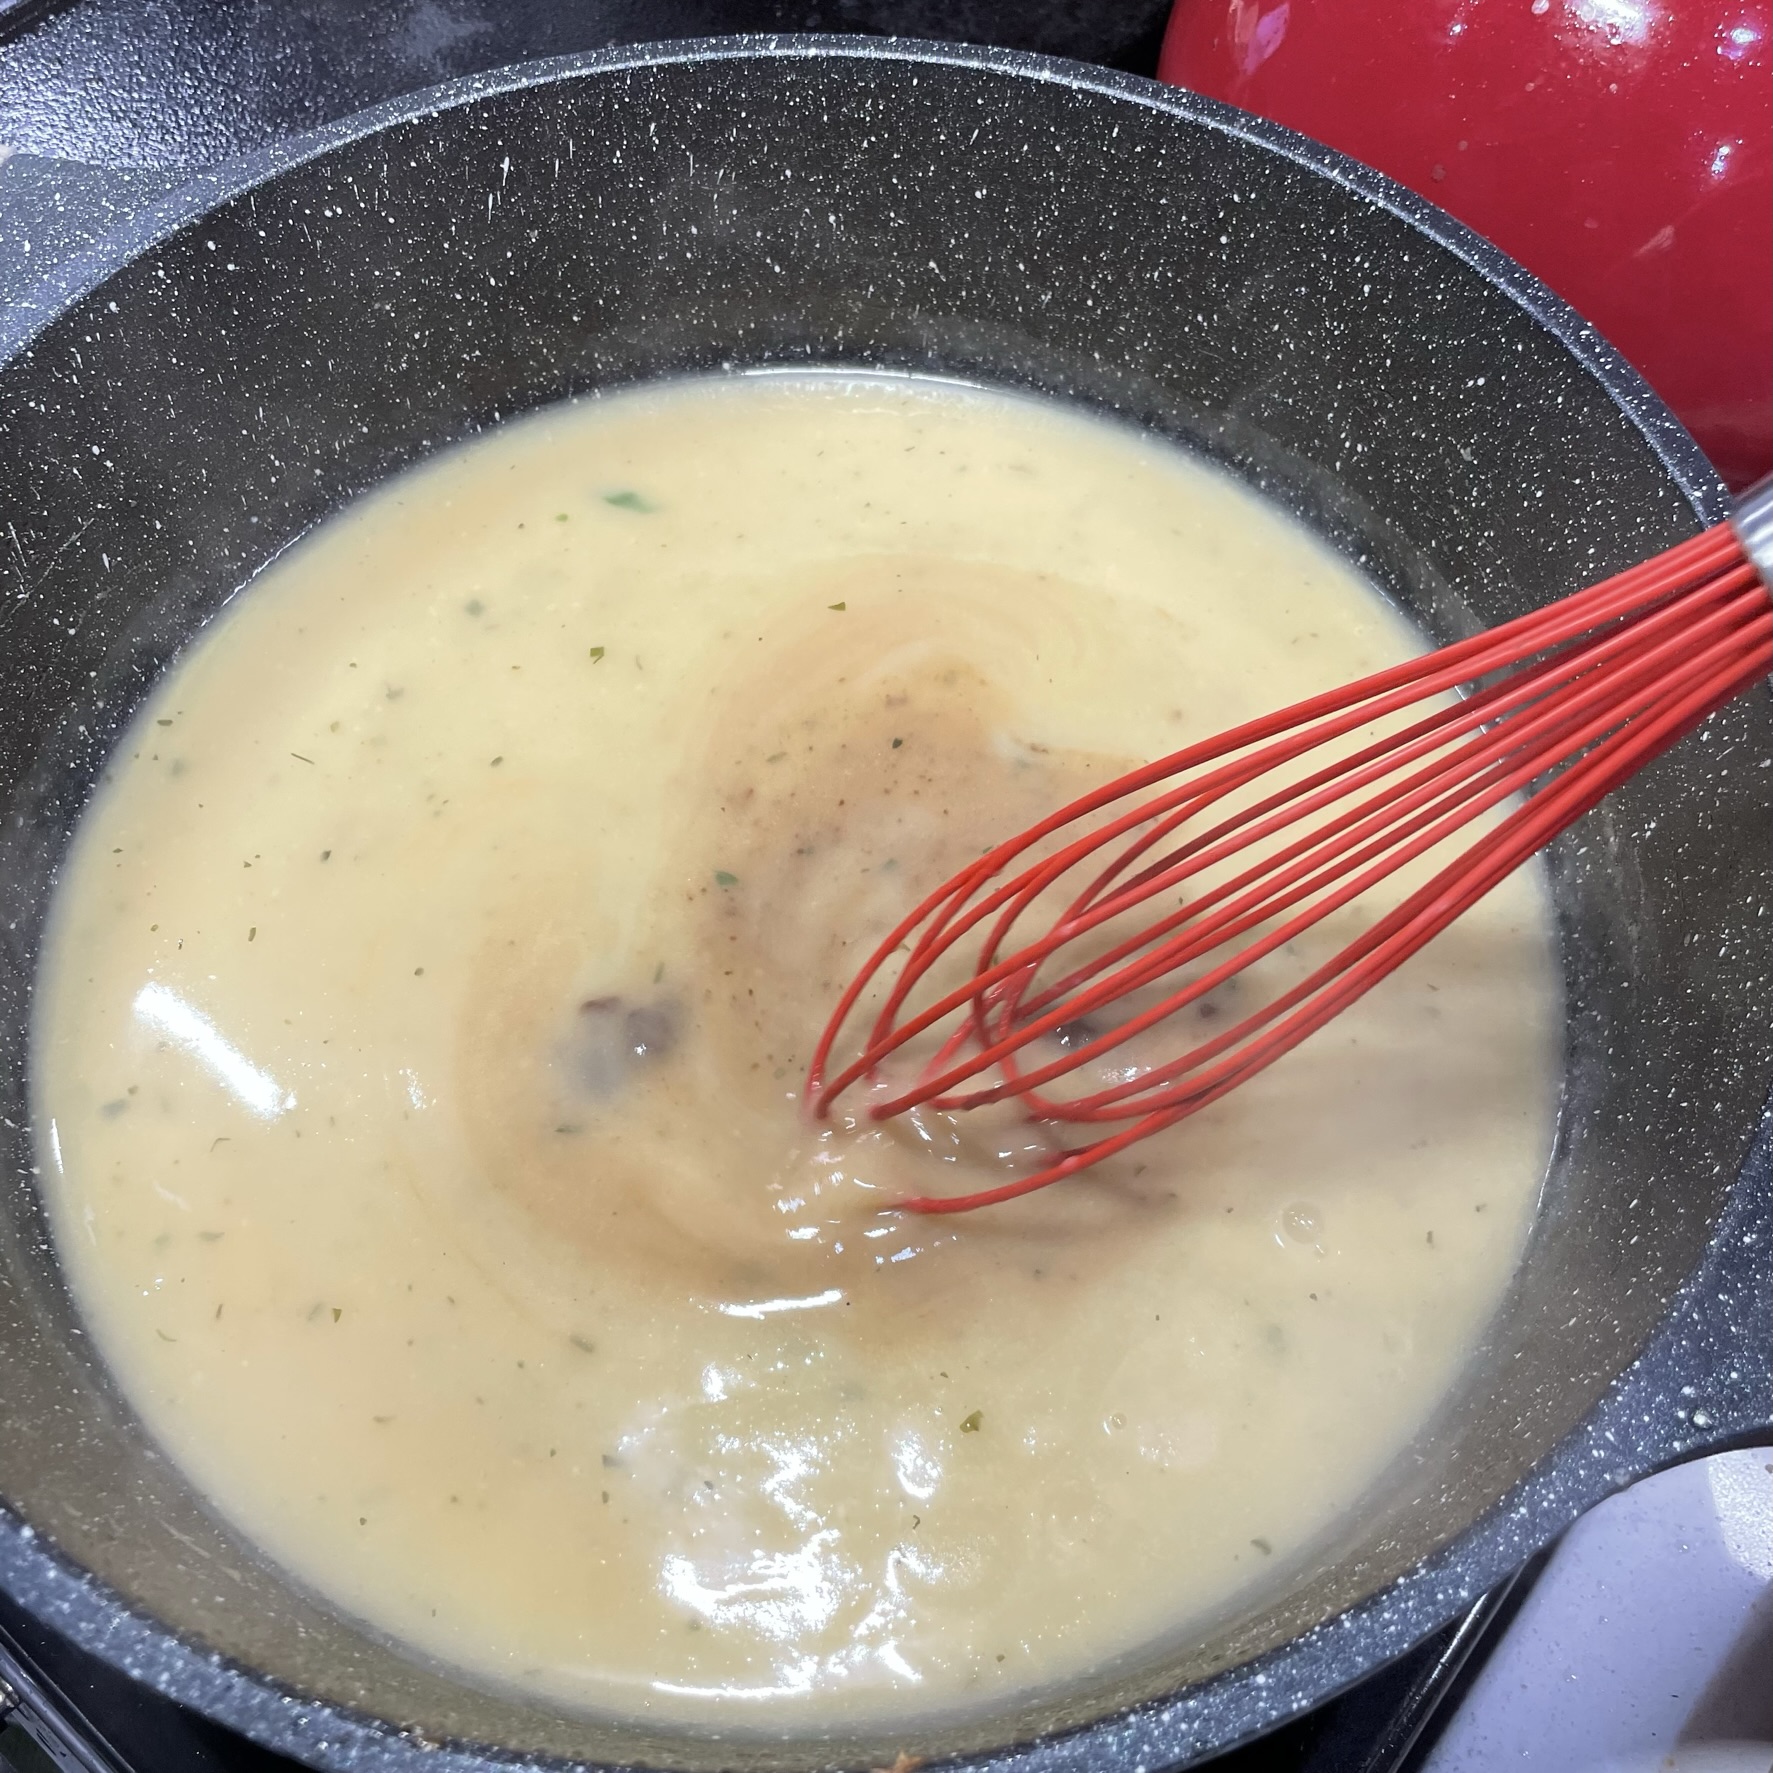
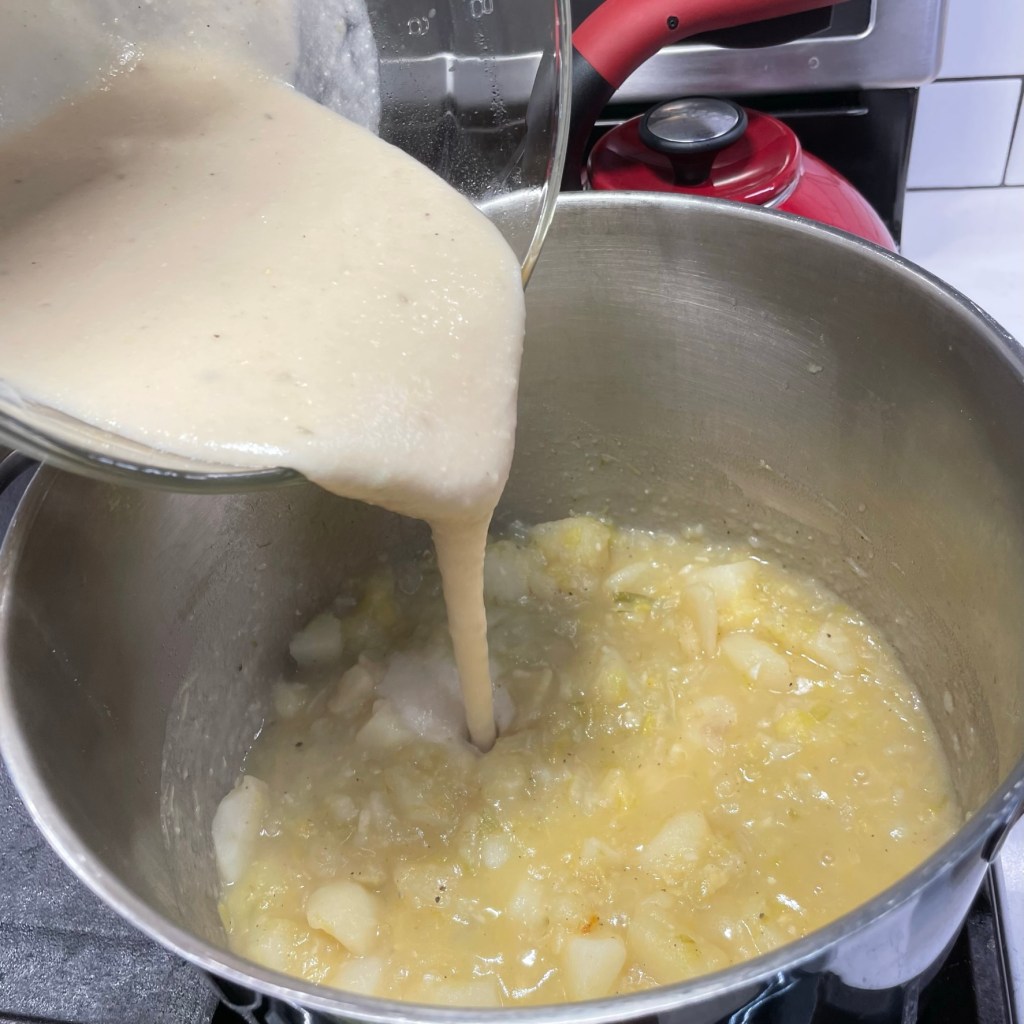
When the butter is nice and bubbly, sprinkle in the flour and whisk to combine. Cook it until the whole mixture is bubbly again. 
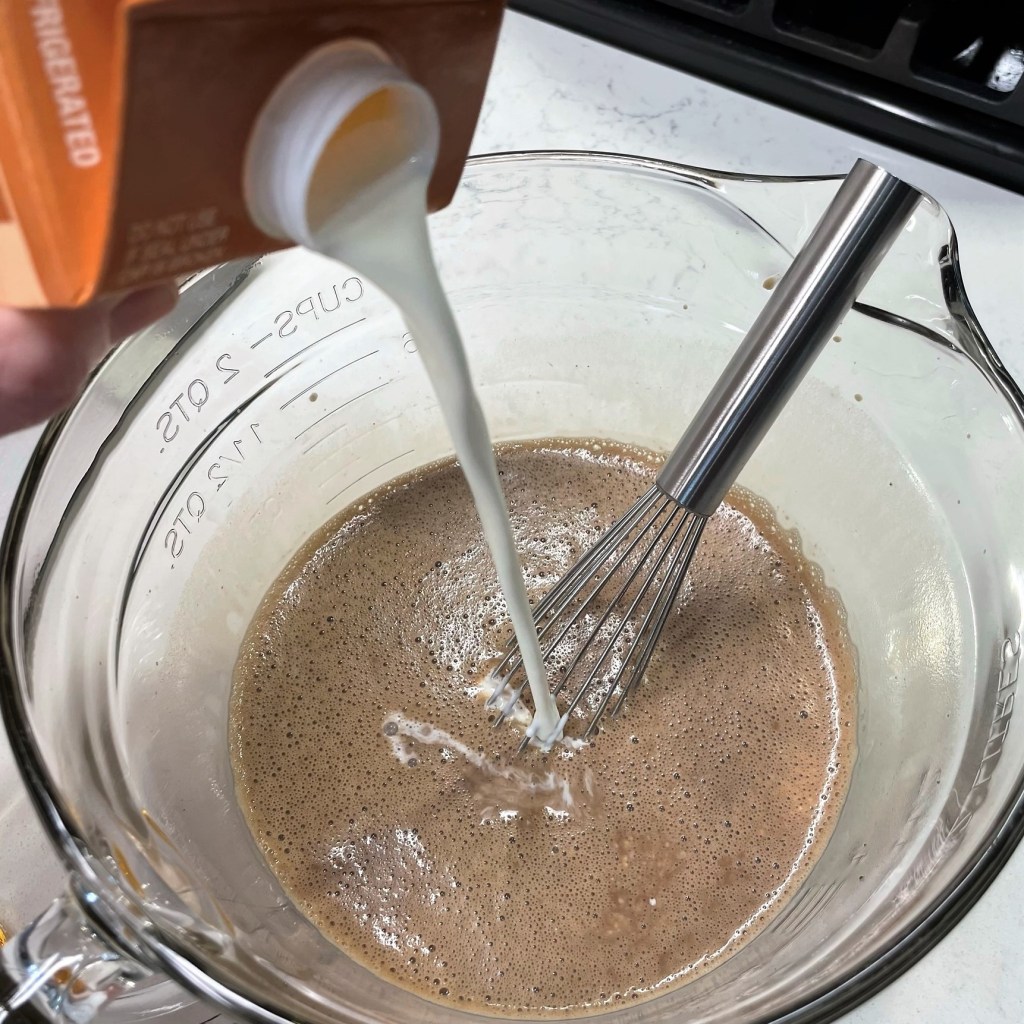
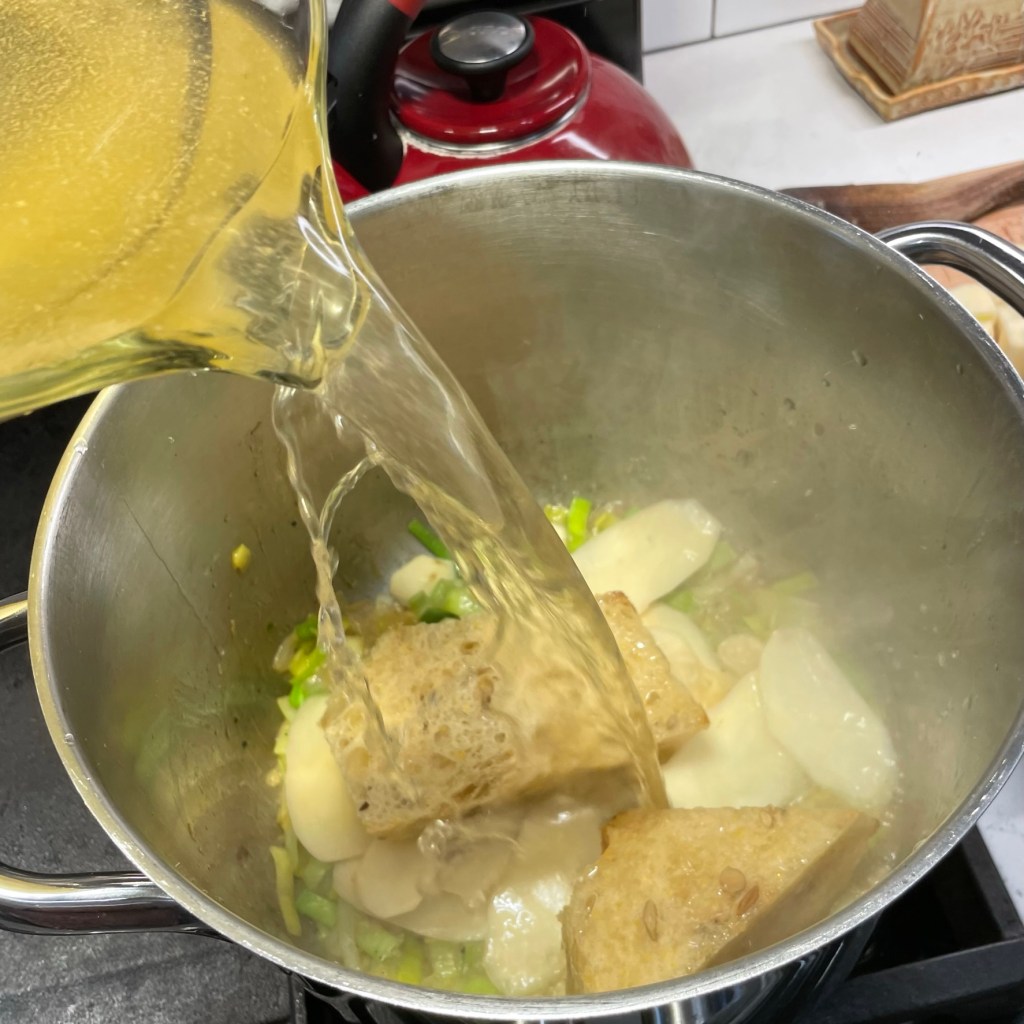
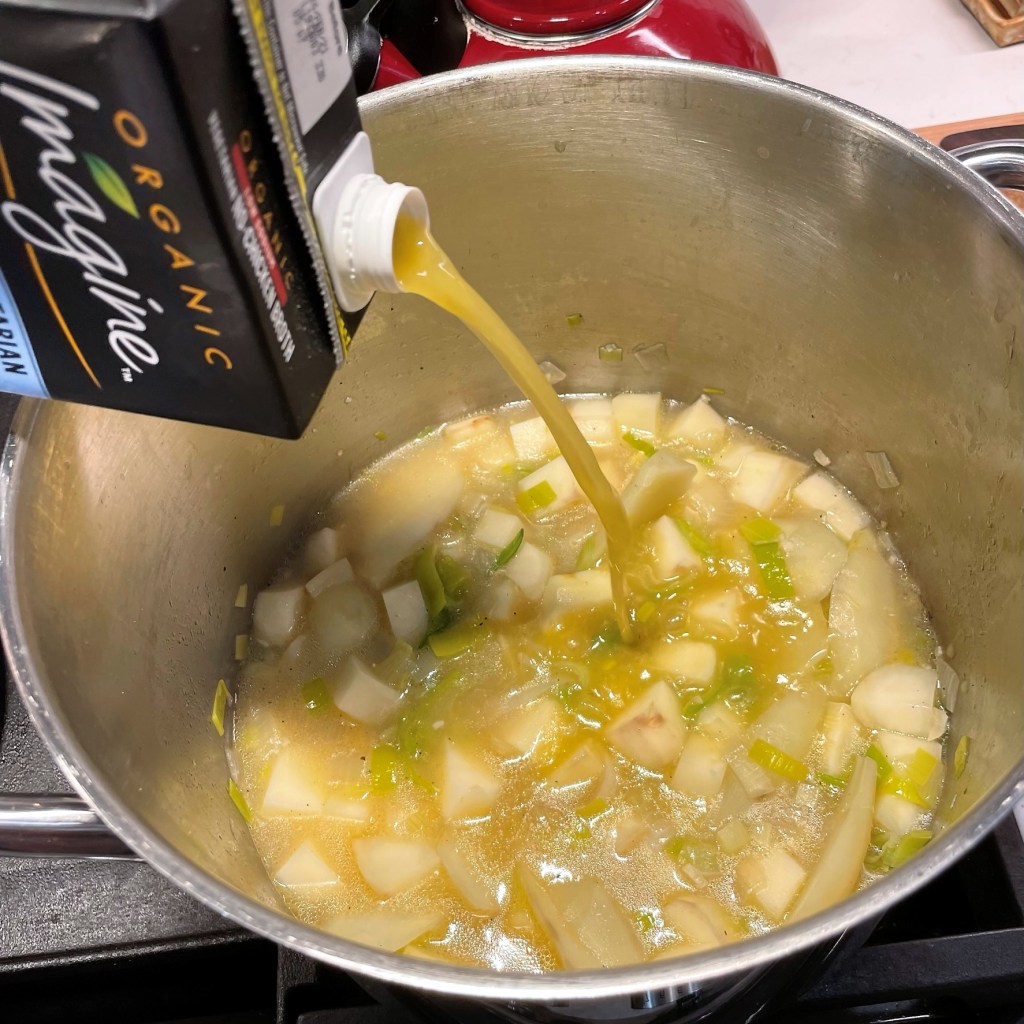
Add the milk, all at once or in batches, as you wish. I generally do half at a time for easier whisking. 
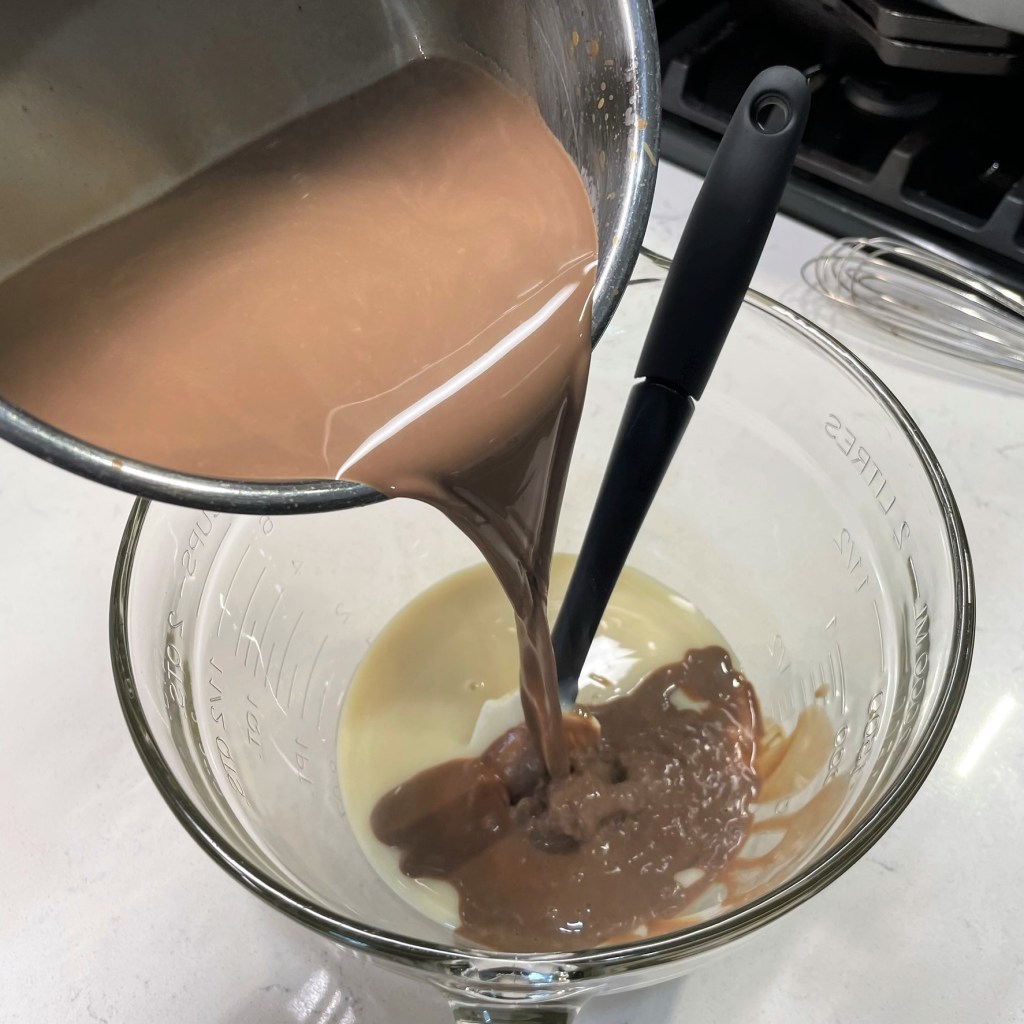
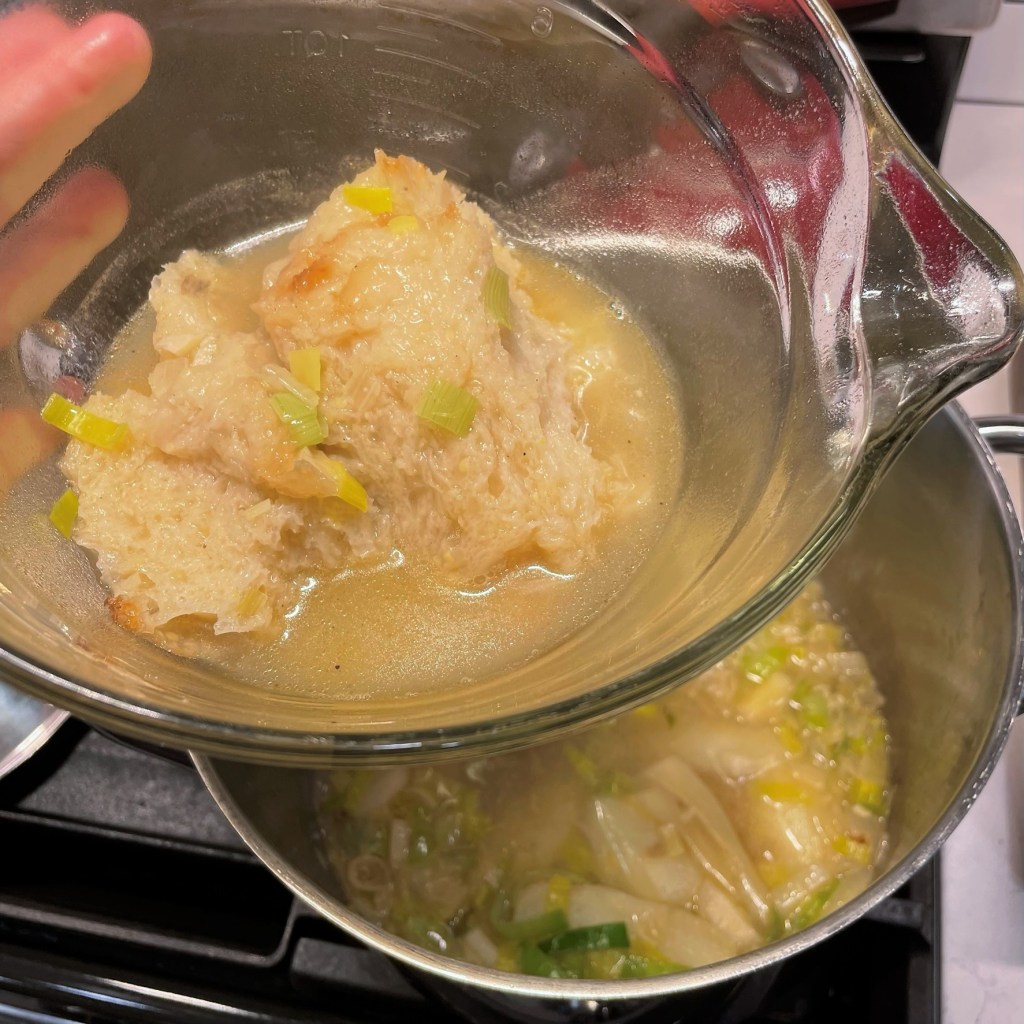
The fat-and-flour roux mixture thickens the milk into a flavorful sauce that’s perfect as a base for mac and cheese. 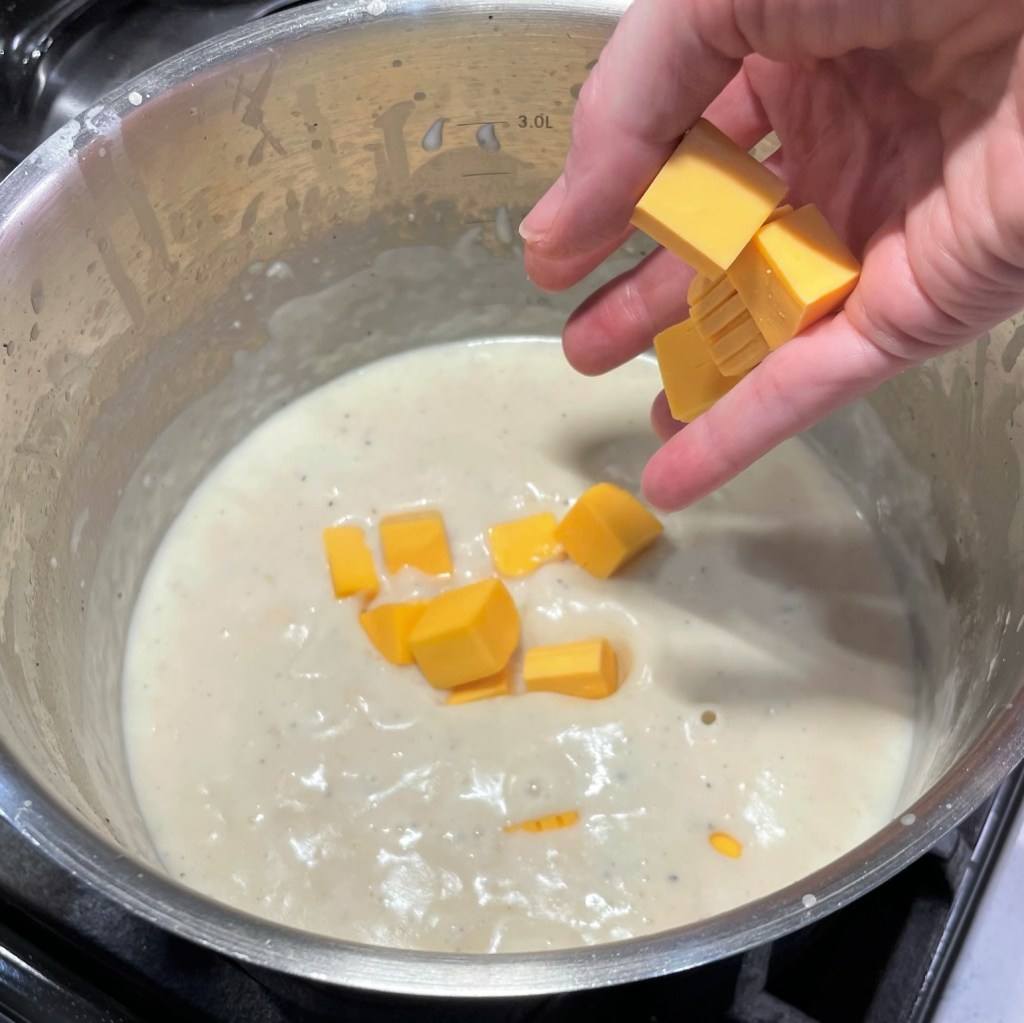
American cheese melts up super creamy and smooth and yes, it is real cheese. It’s just processed with special salts that change the structure of the fat molecules. 
Sharper cheeses in general do not melt as smoothly as milder cheese. For this mac and cheese, I chose a medium sharp cheddar and shredded it myself. 
The amount of chipotle puree is directly related to your tolerance for heat. My husband and I both love the flavor and spice, so I used 3 tablespoons. 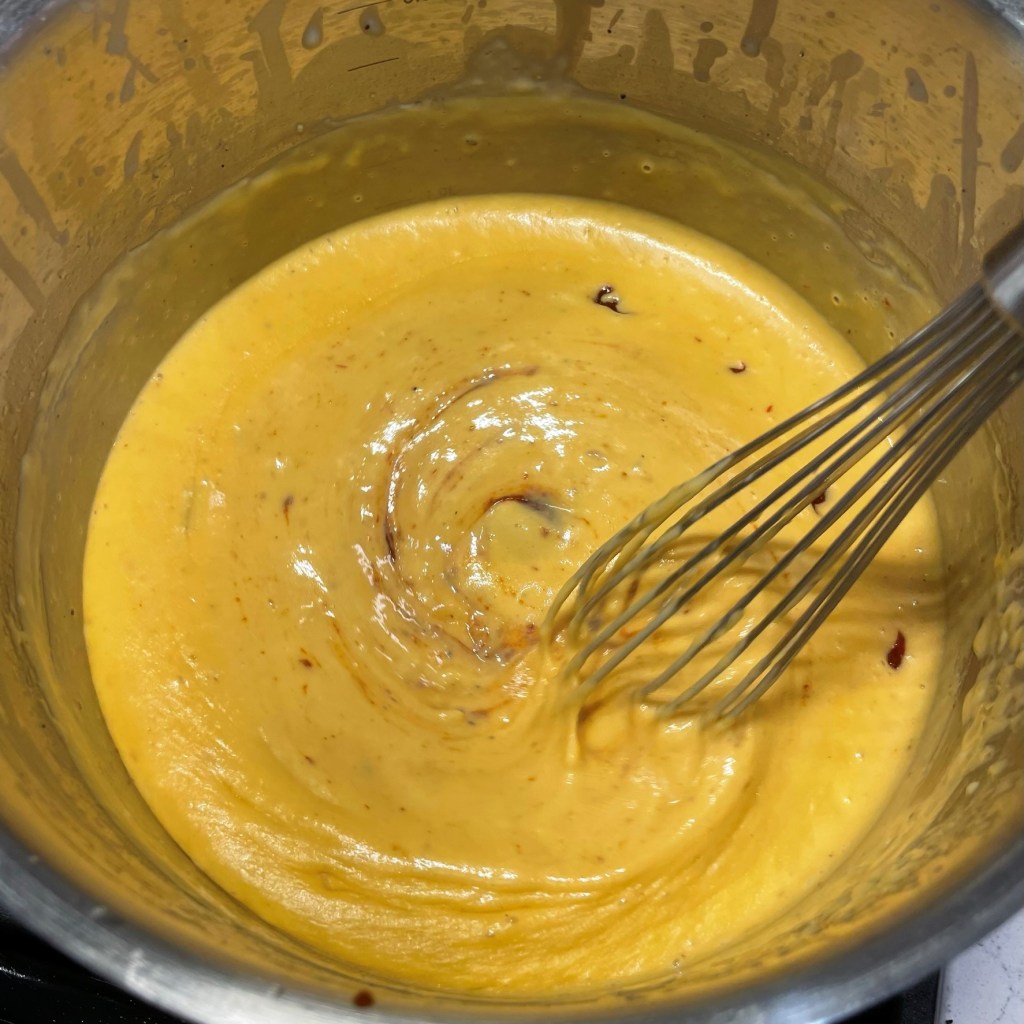
The chipotle really gave the cheese sauce a boost in color as well as flavor! 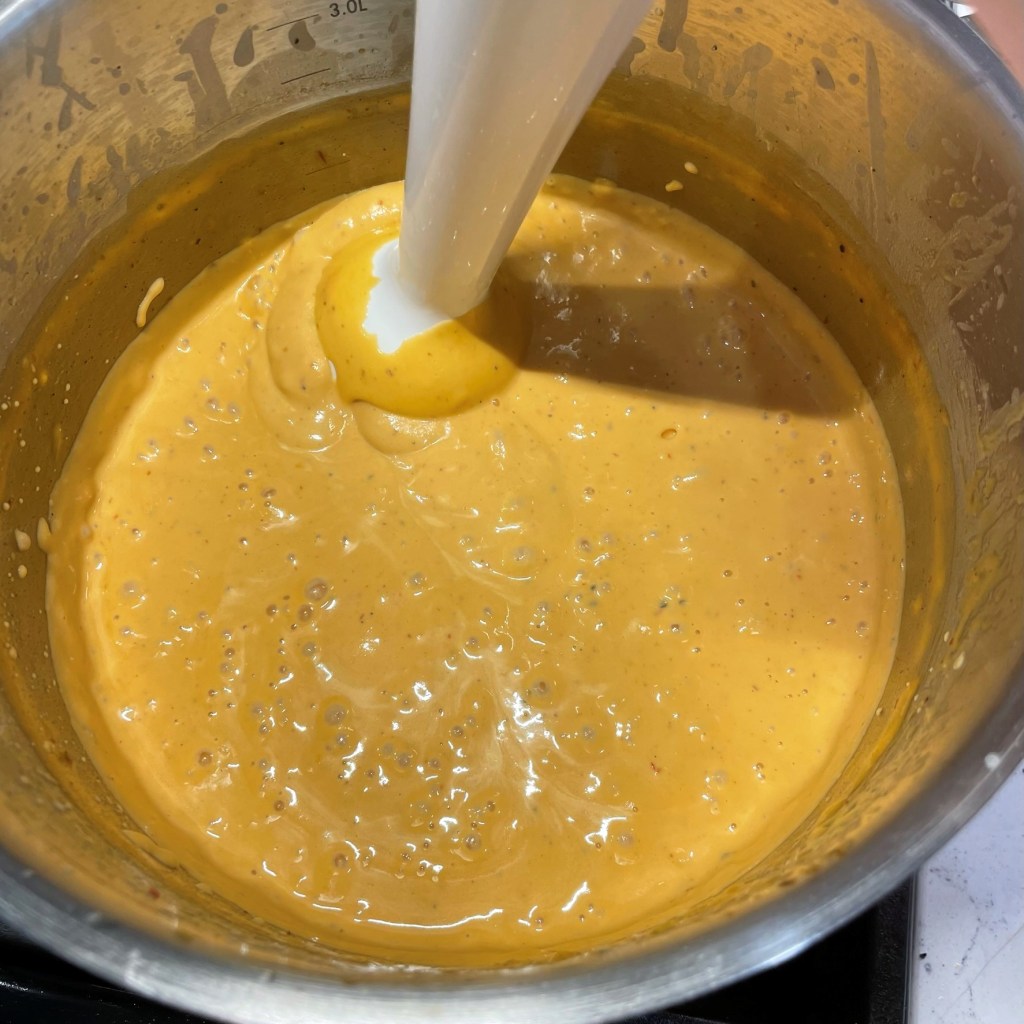
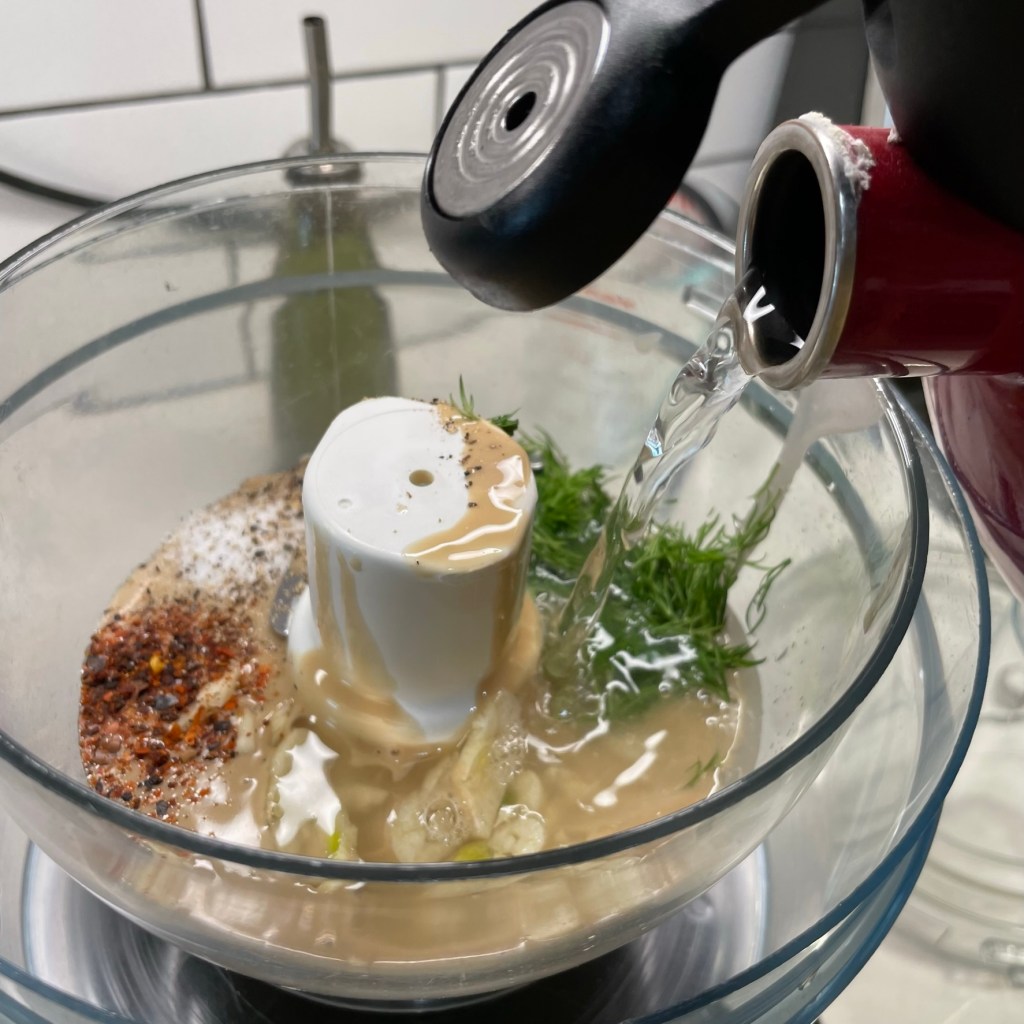
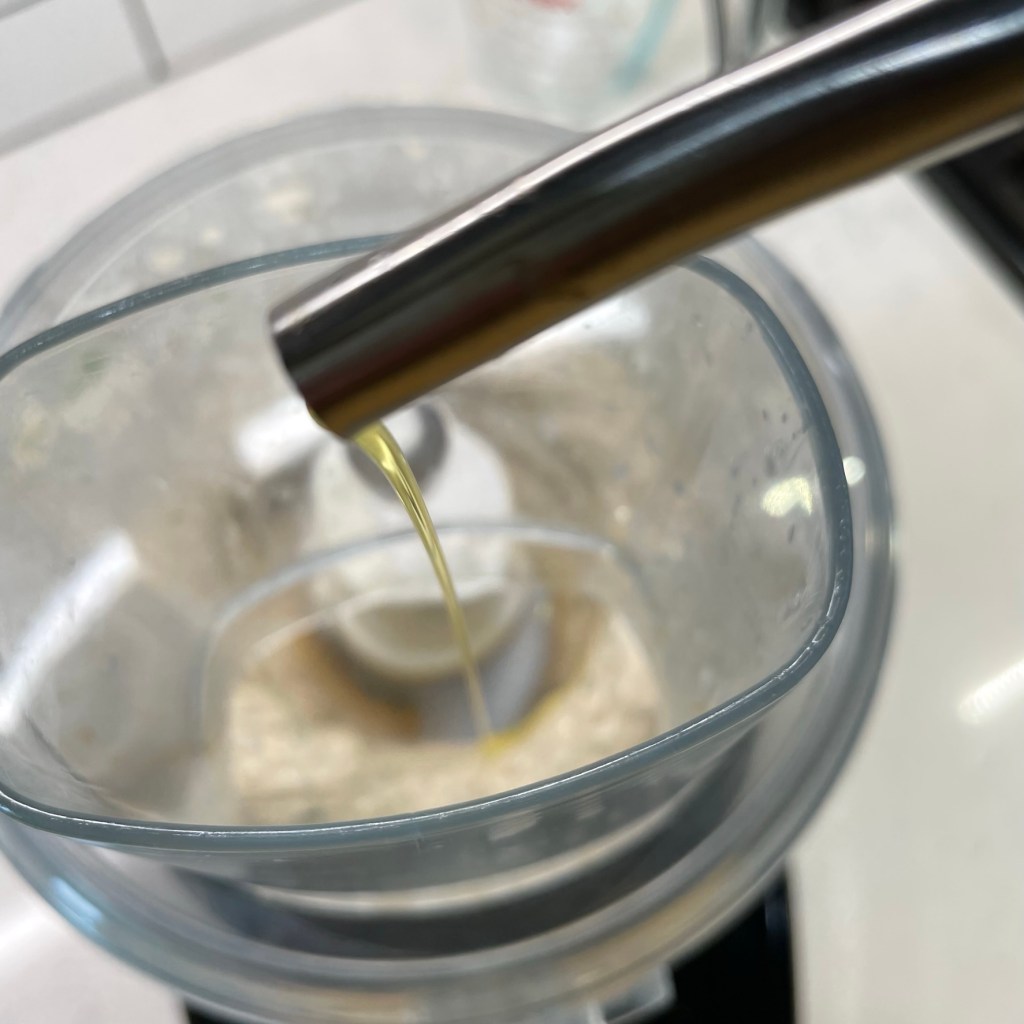
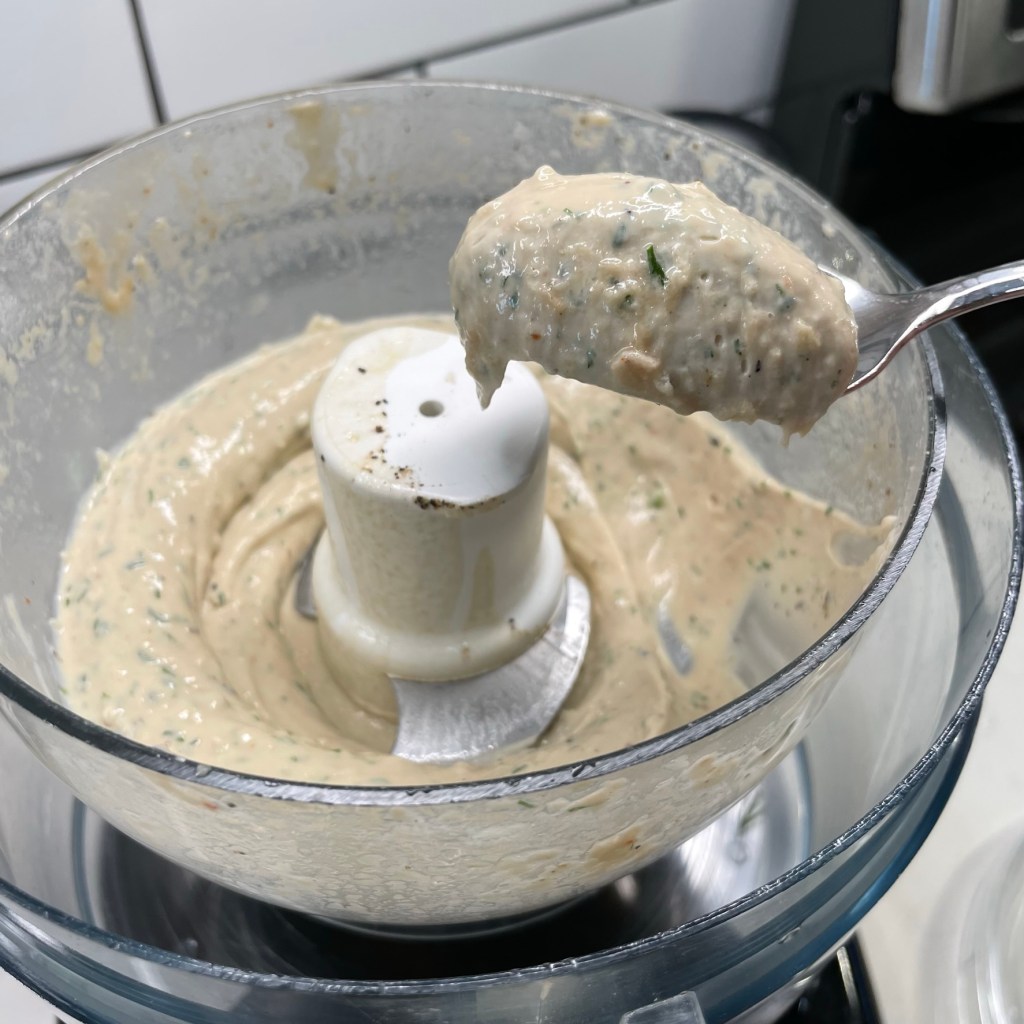
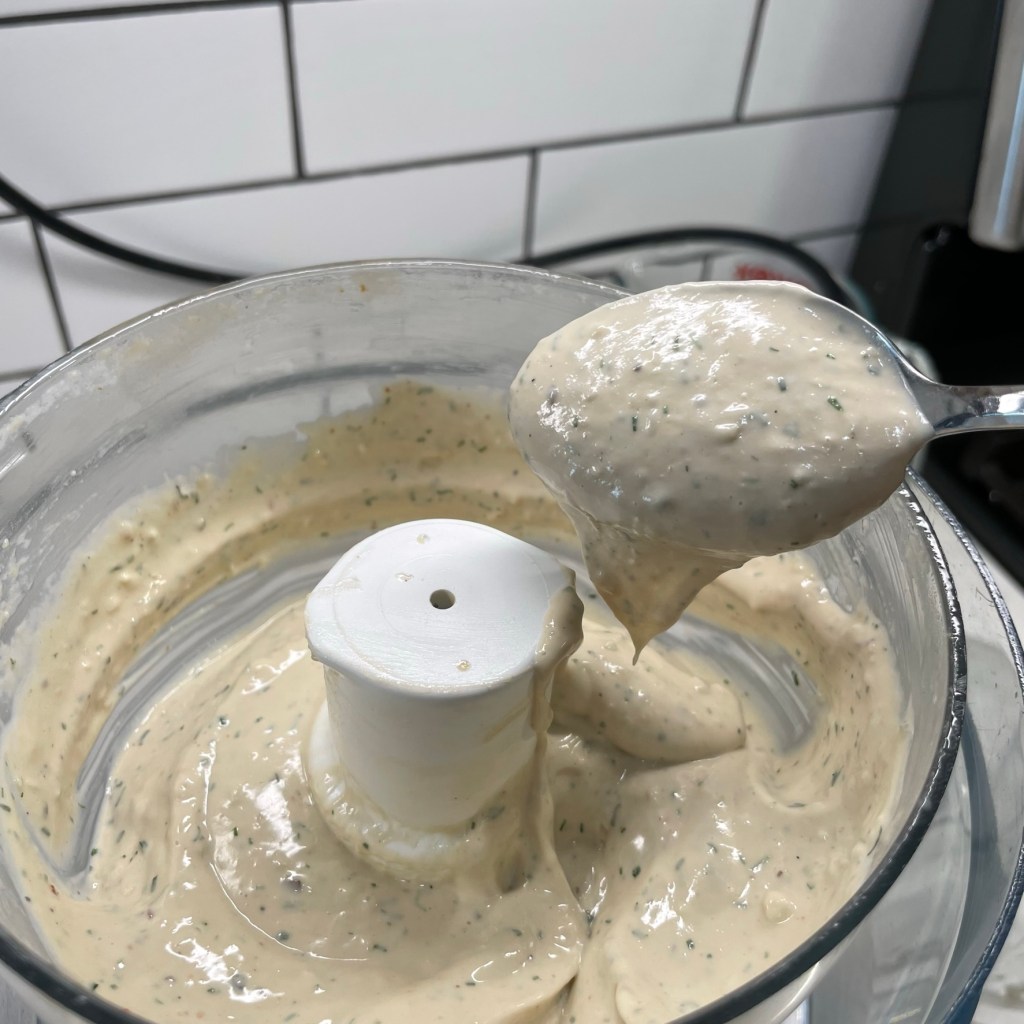
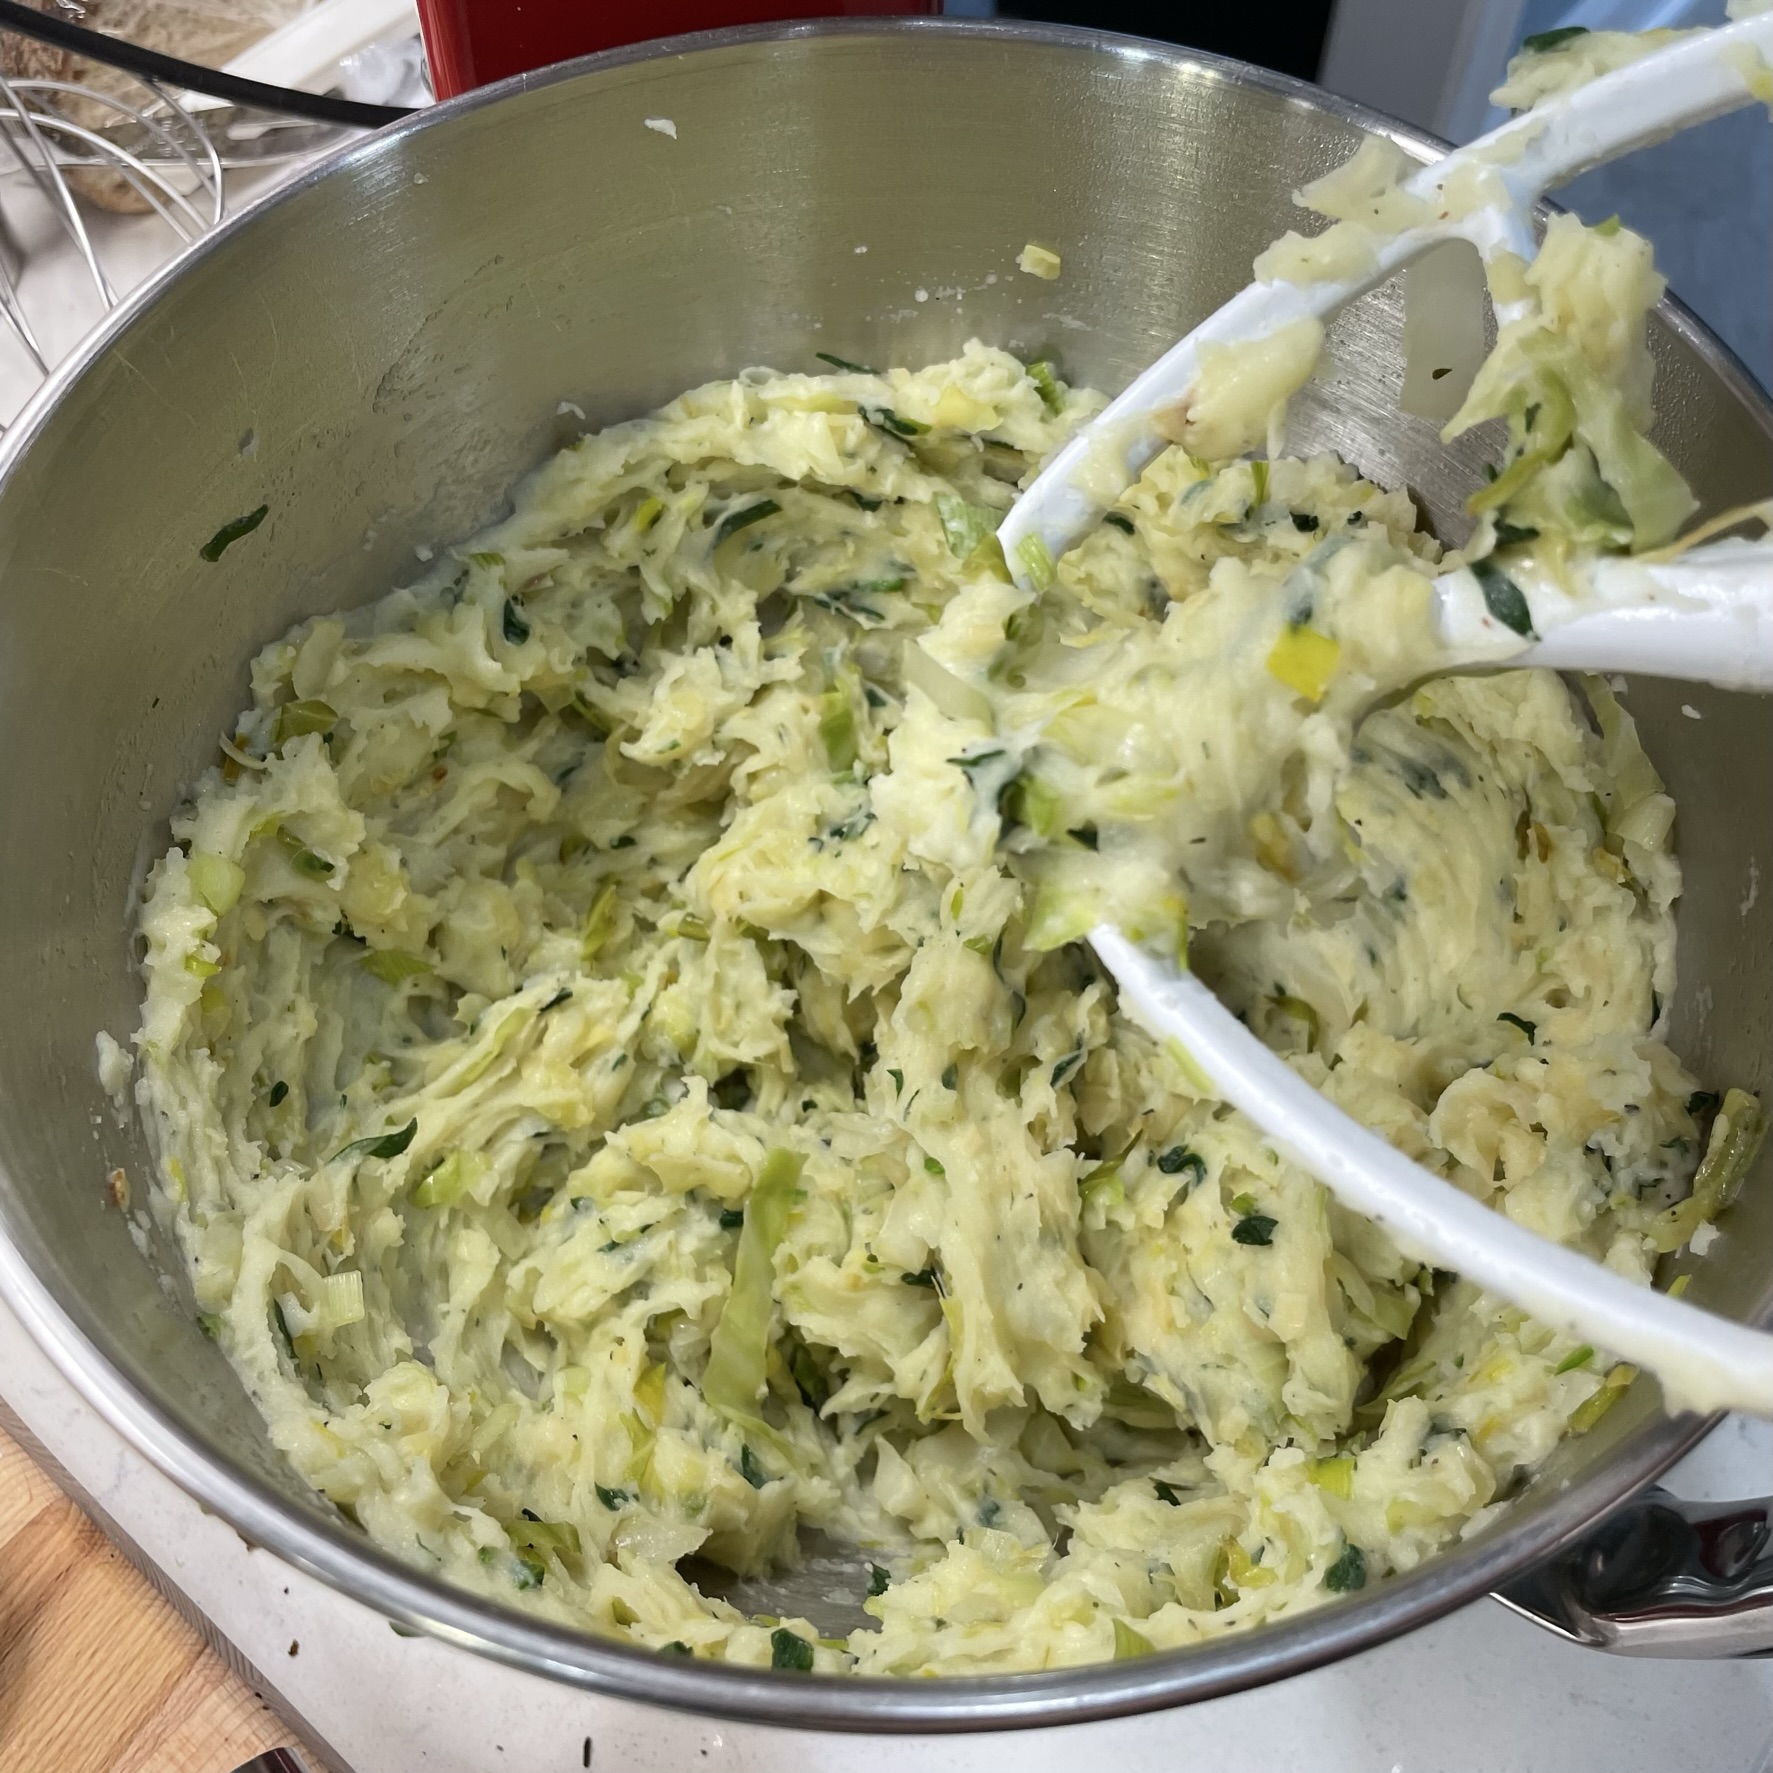
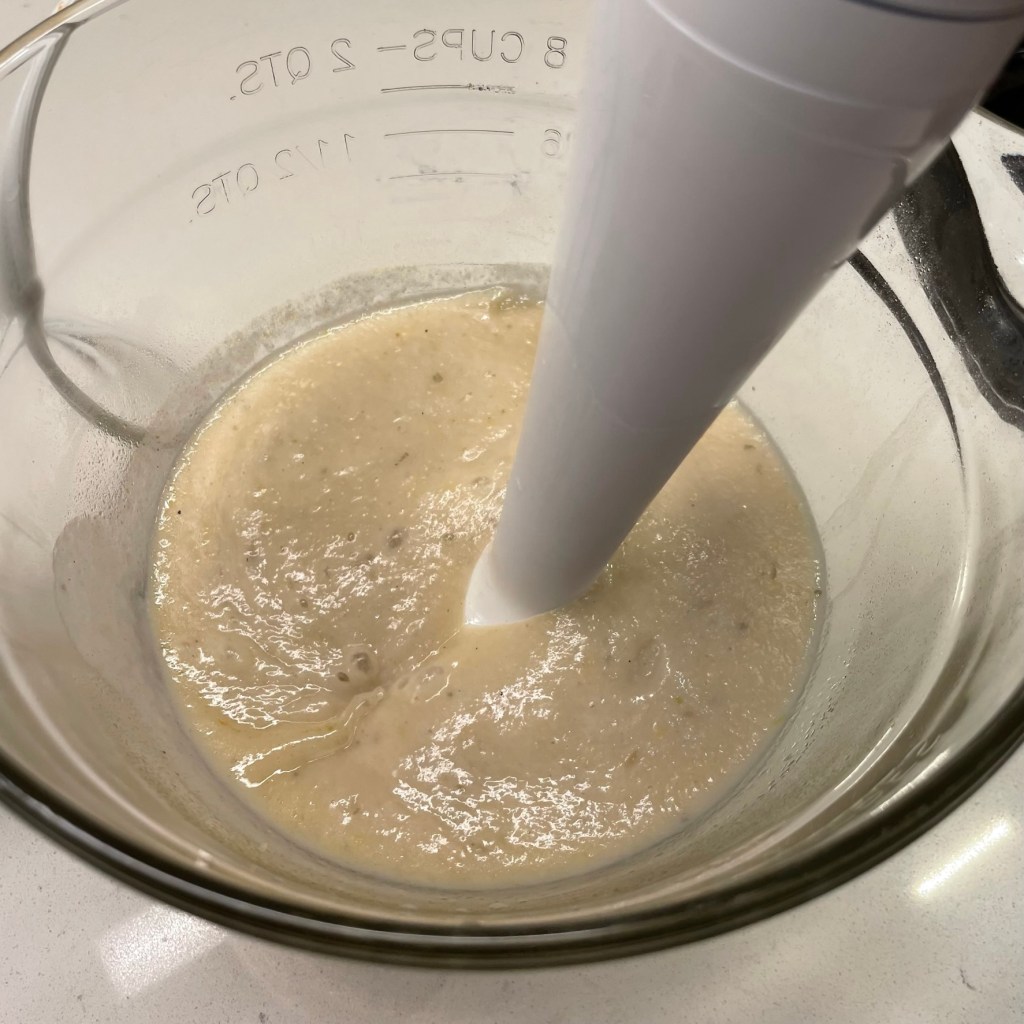
This is optional, of course, but I do love hitting my cheese sauce with an immersion blender. The resulting sauce is unbelievably creamy. 
Time to add the reserved onions back into the sauce. 
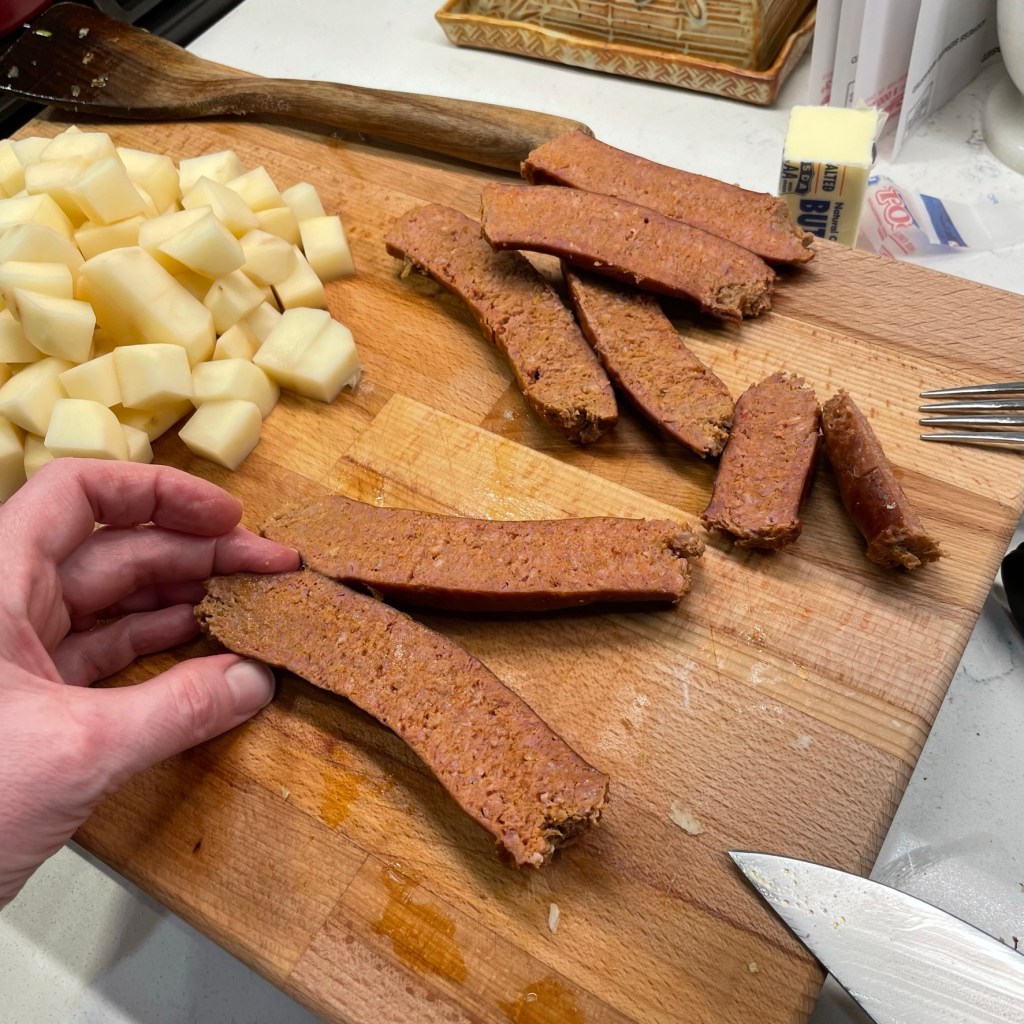
All the twists and curves in this pasta choice will have an impact on my finished dish. 
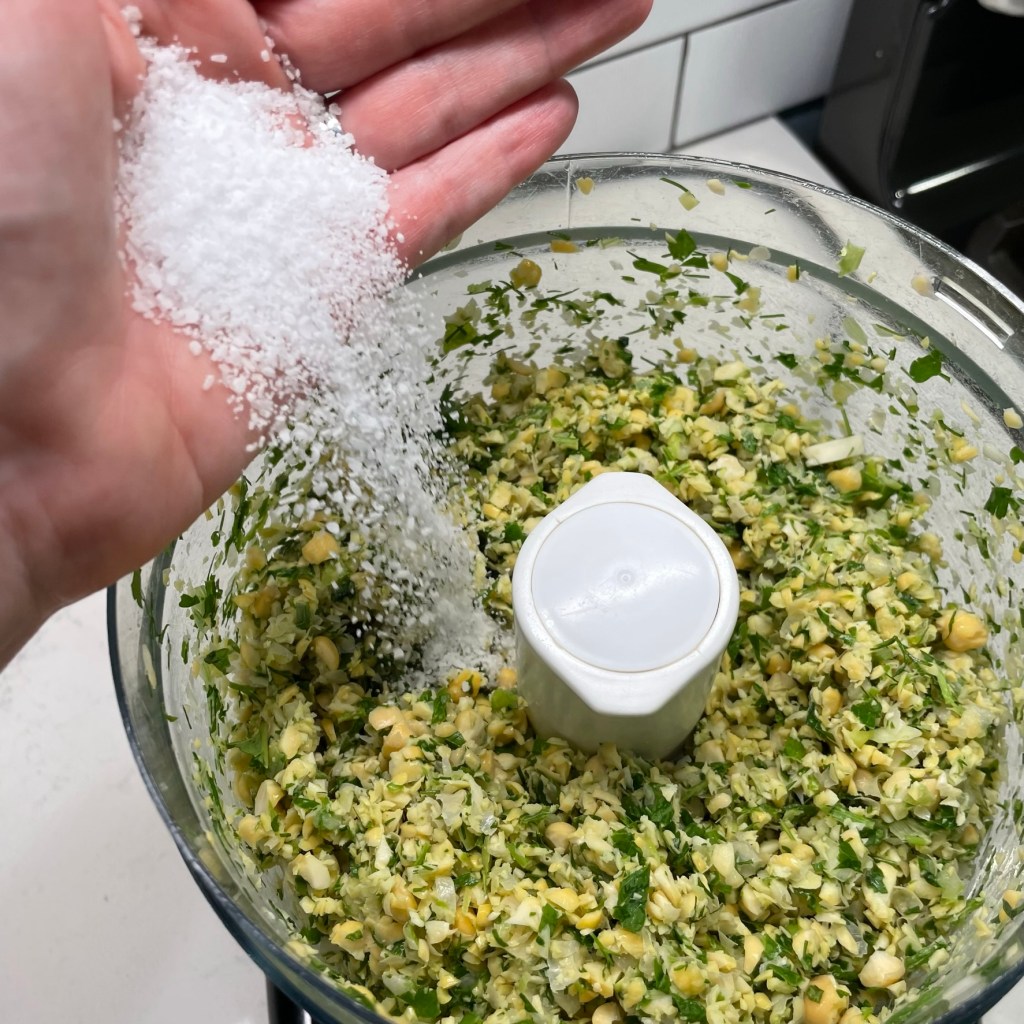
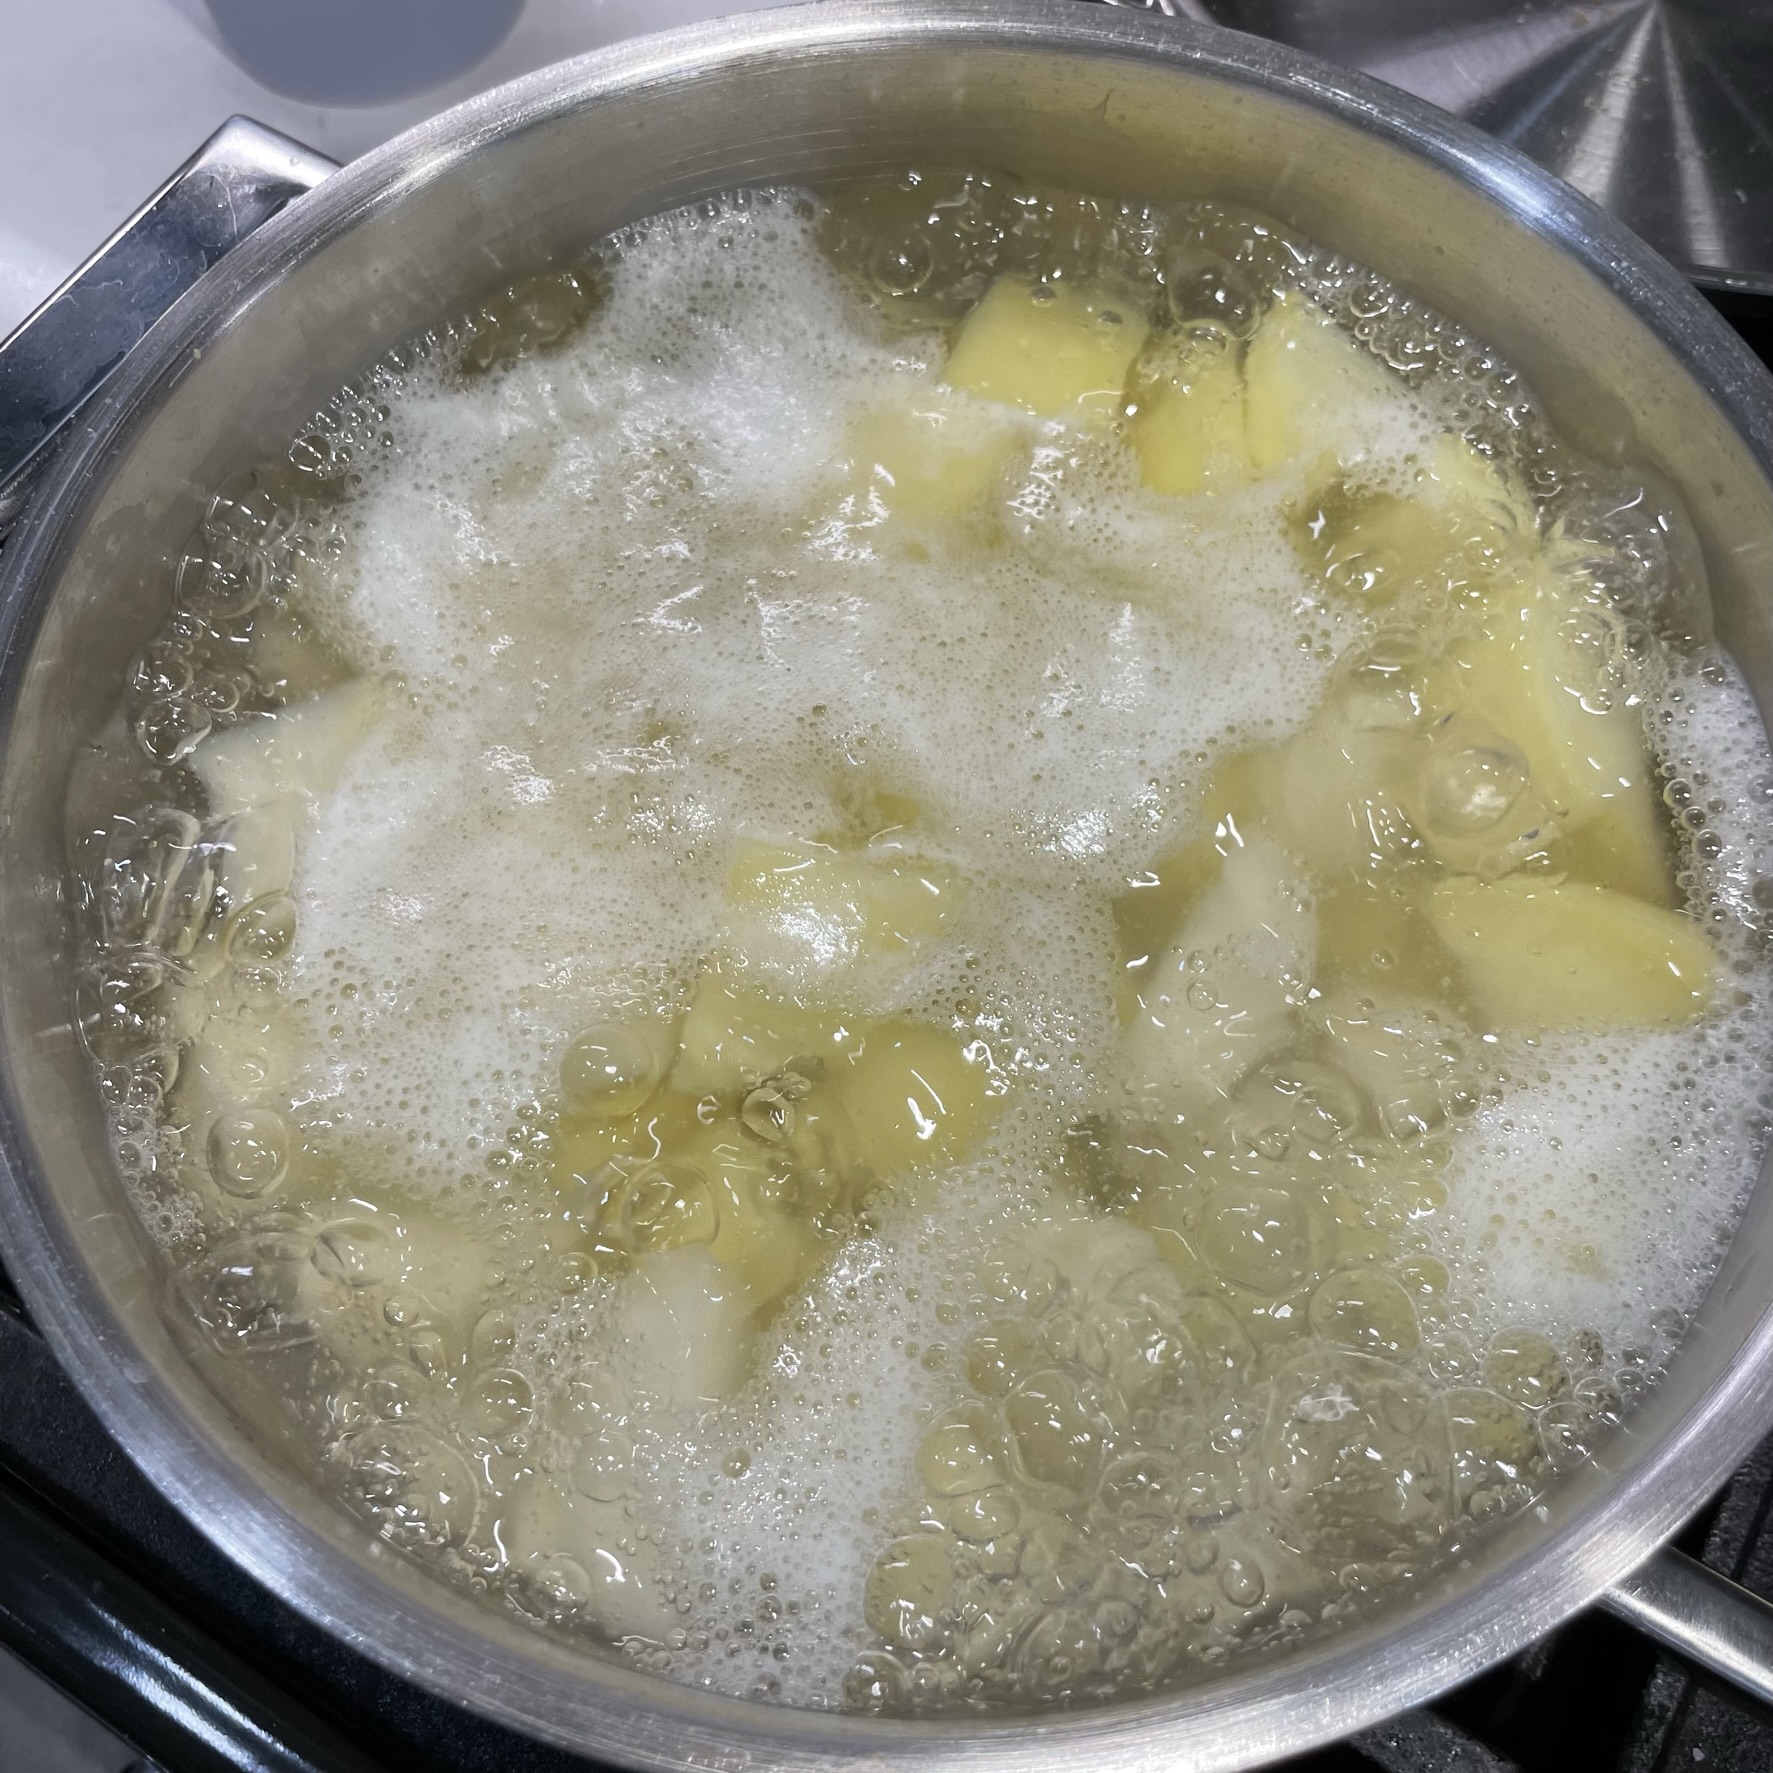
You have one chance to get seasoning into your cooked pasta. Be generous with the salt in your cooking water! 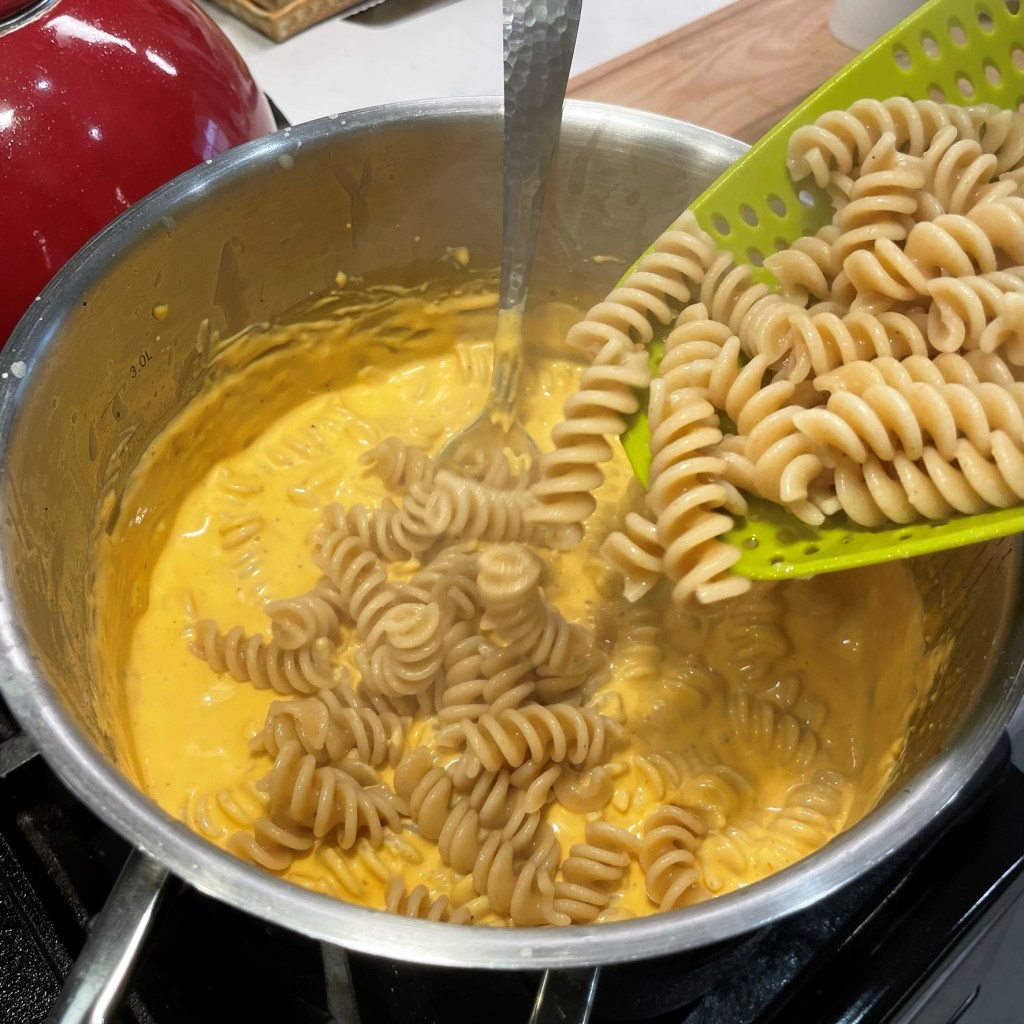
Cook your pasta just shy of al dente if you plan to bake the mac and cheese, because it will continue to cook in the sauce during baking. 
Transfer the cheesy goodness into an oven-safe baking dish. This recipe is good for an 8″ square dish. 
For most of my mac and cheese dishes, I like to add a crunchy topping. This time, I reached for these crispy jalapeno pieces from Trader Joe’s. 
Pulse them in the food processor, then pulse in a handful of plain panko crumbs for extra texture. 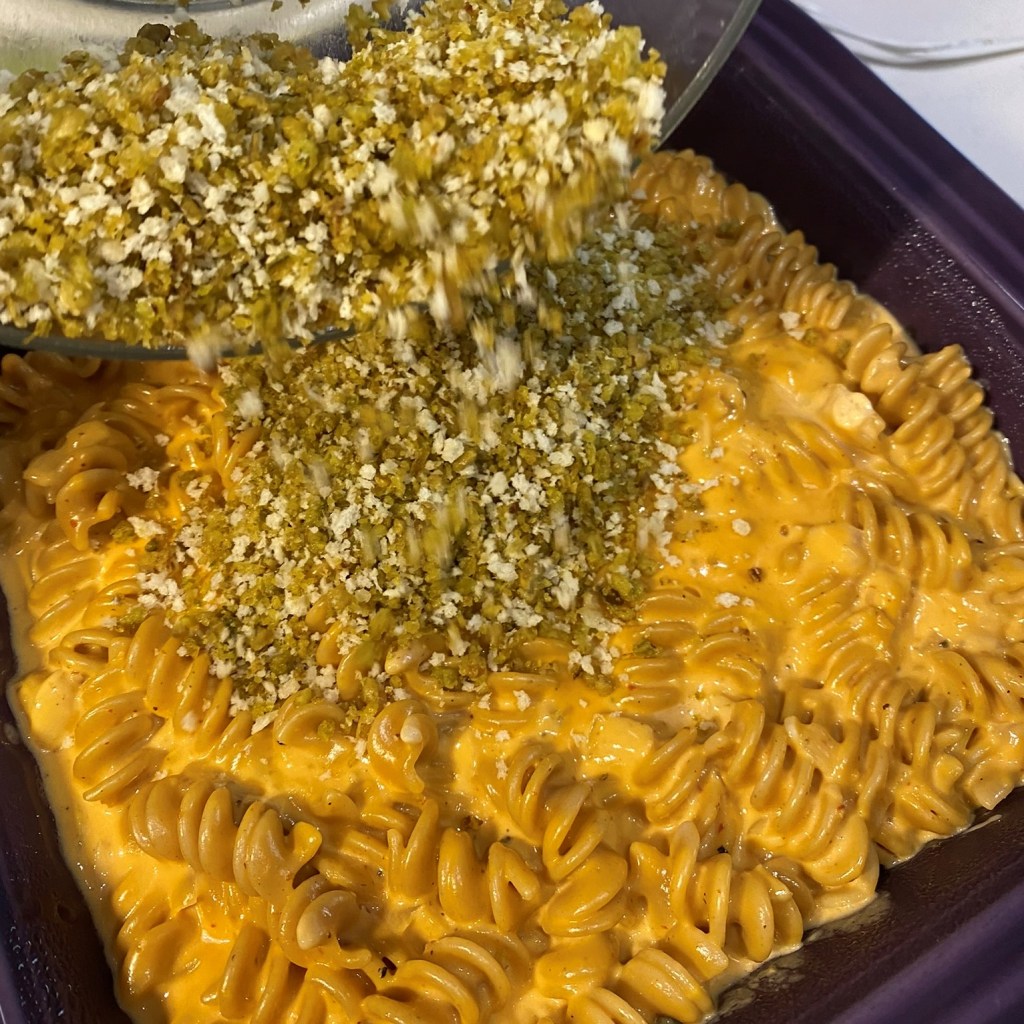
Just before baking, top the mac and cheese with the jalapeno-panko crumbs. Cover the pan with foil and bake at 350°F for 15 minutes. Remove the foil and bake another 20 to 30. 
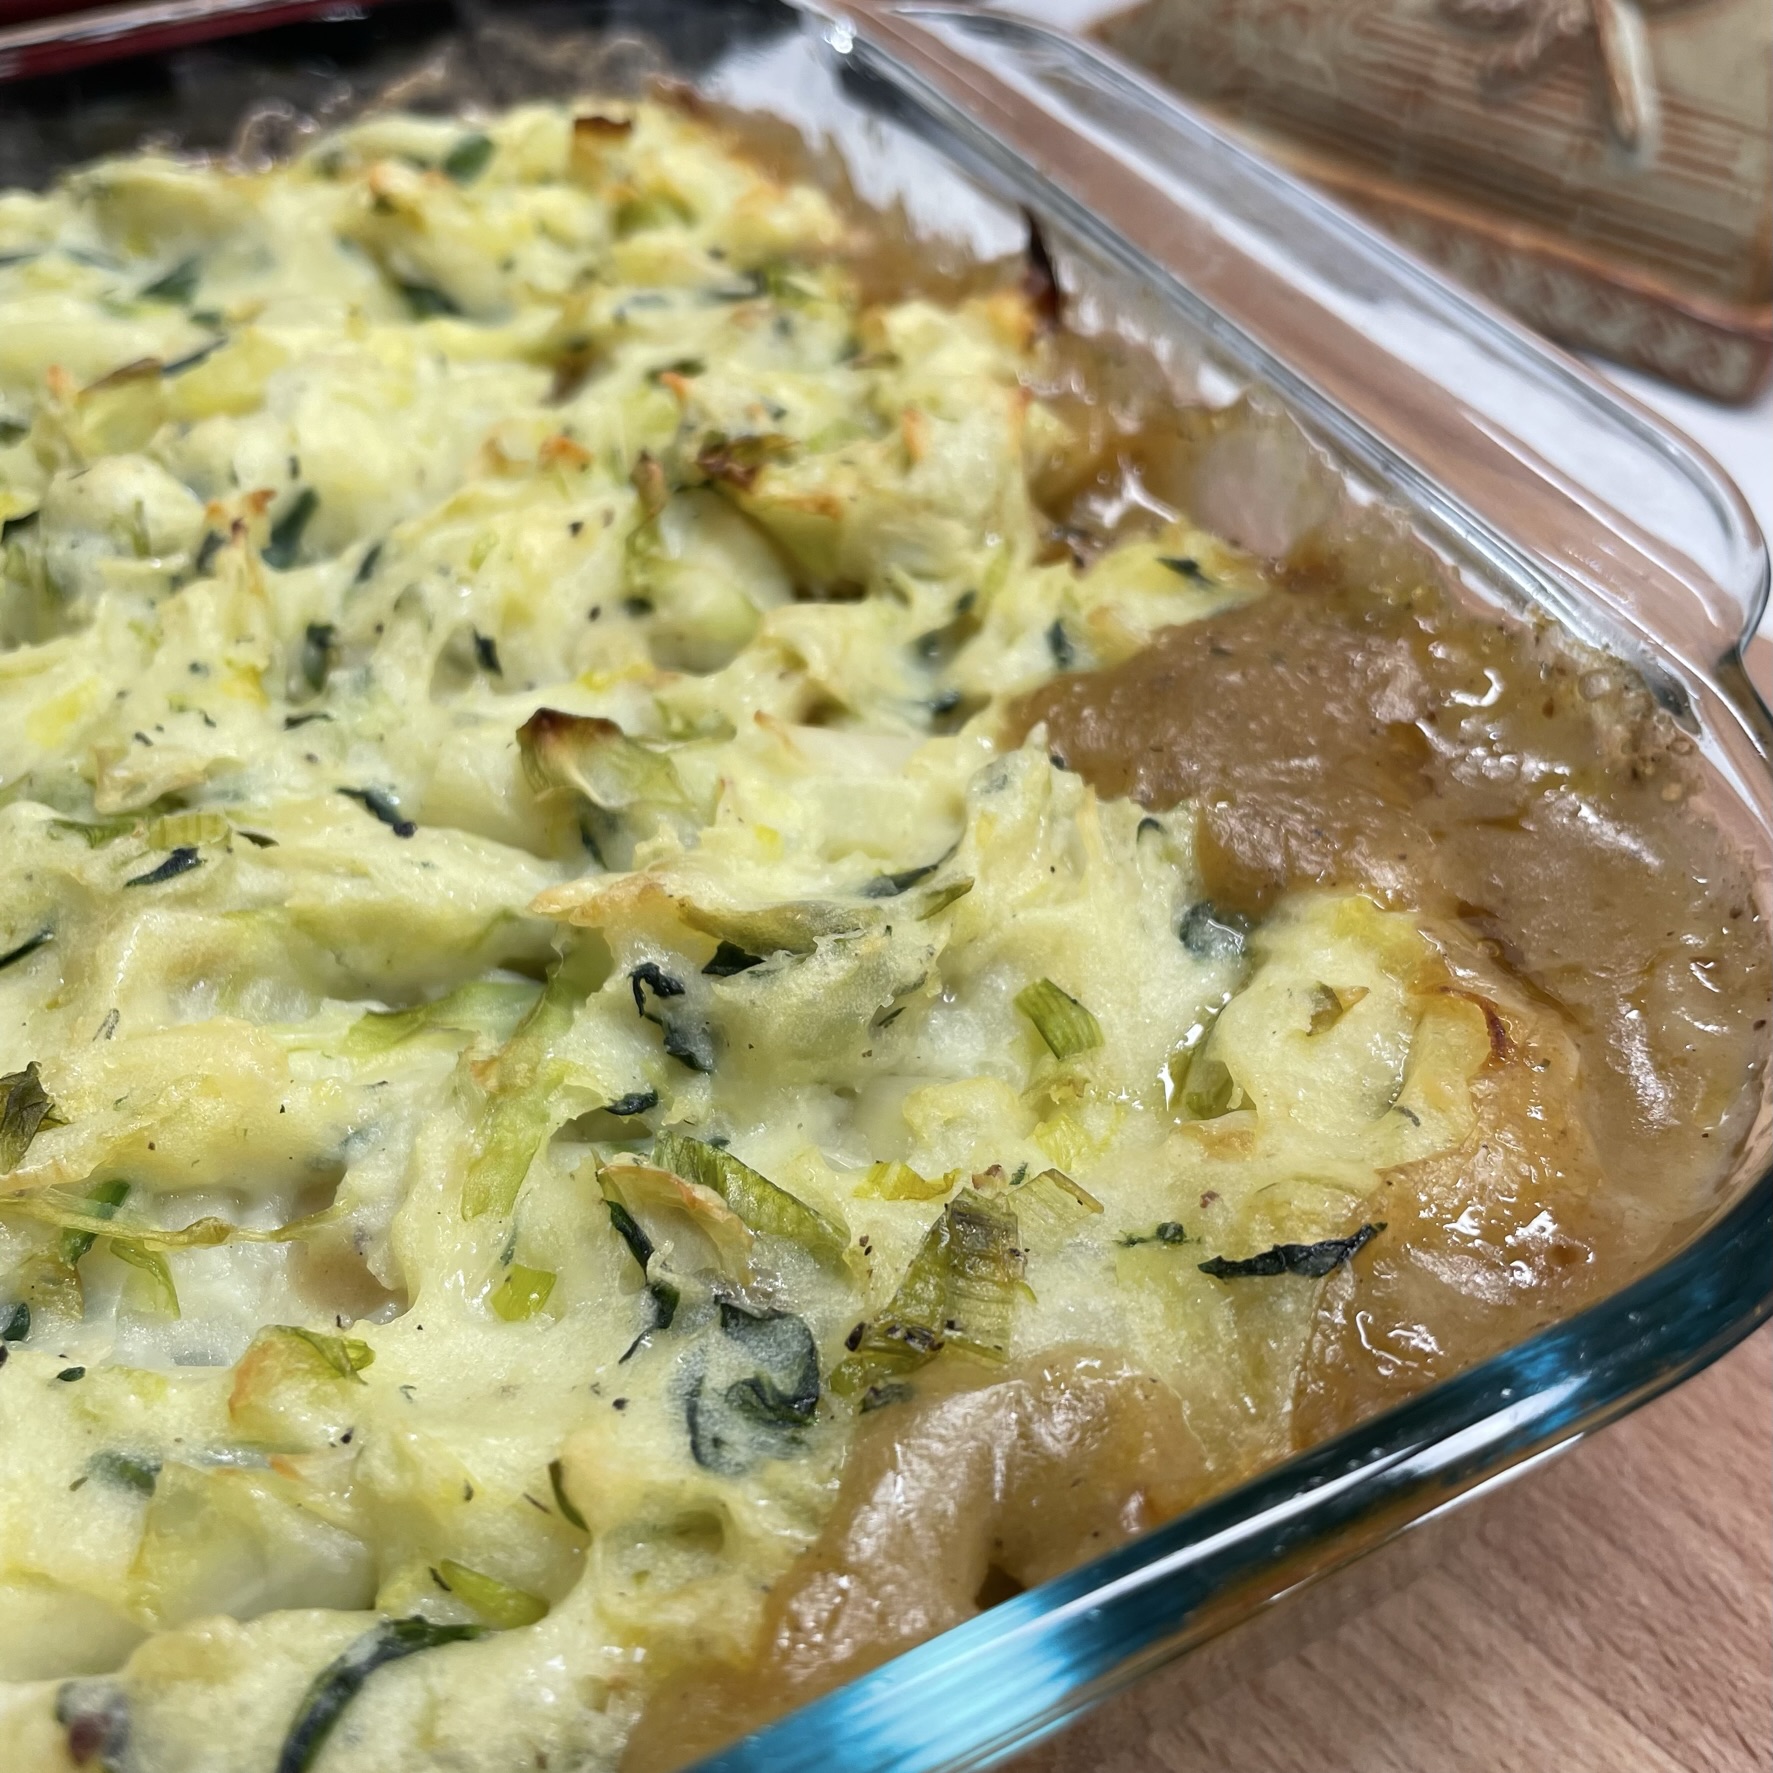
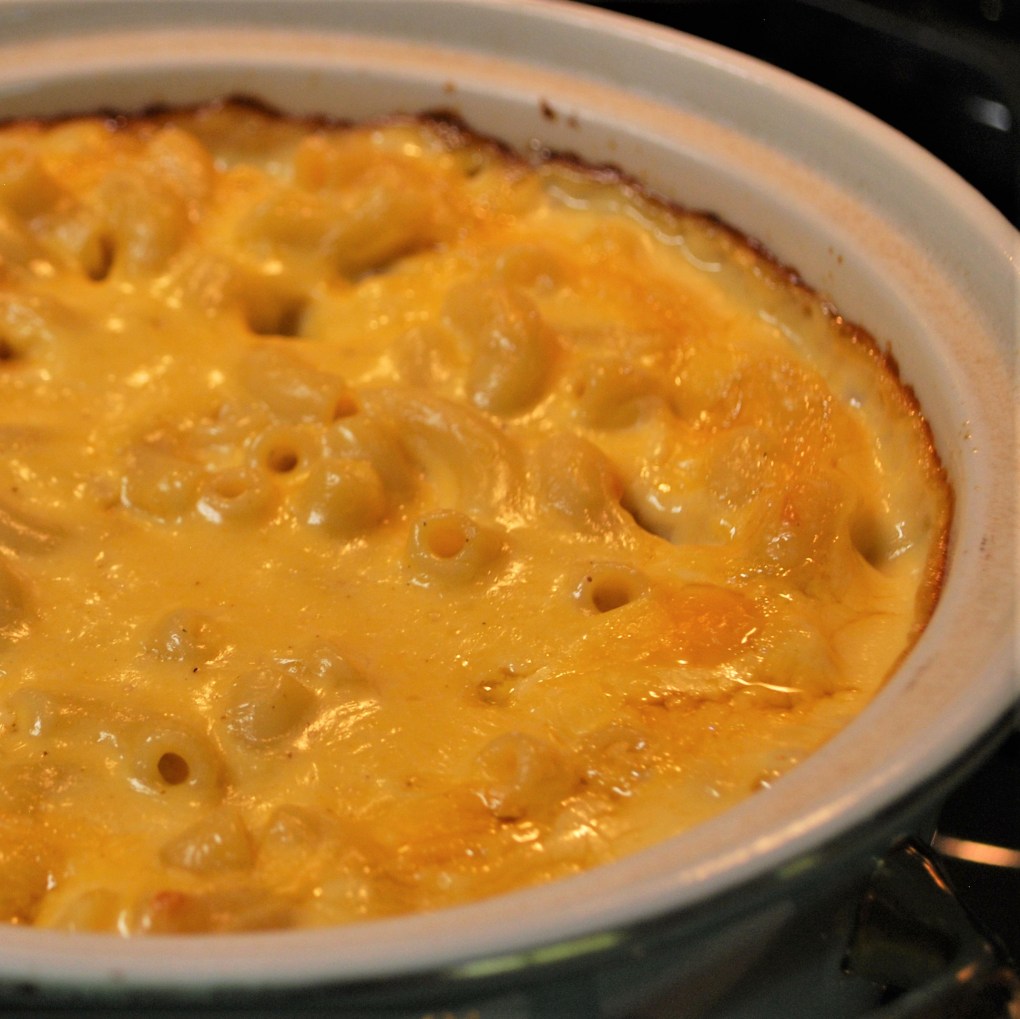
When the mac and cheese is baked, the hot sauce will bubble up around all the edges of the pan. The topping should be golden and crispy.