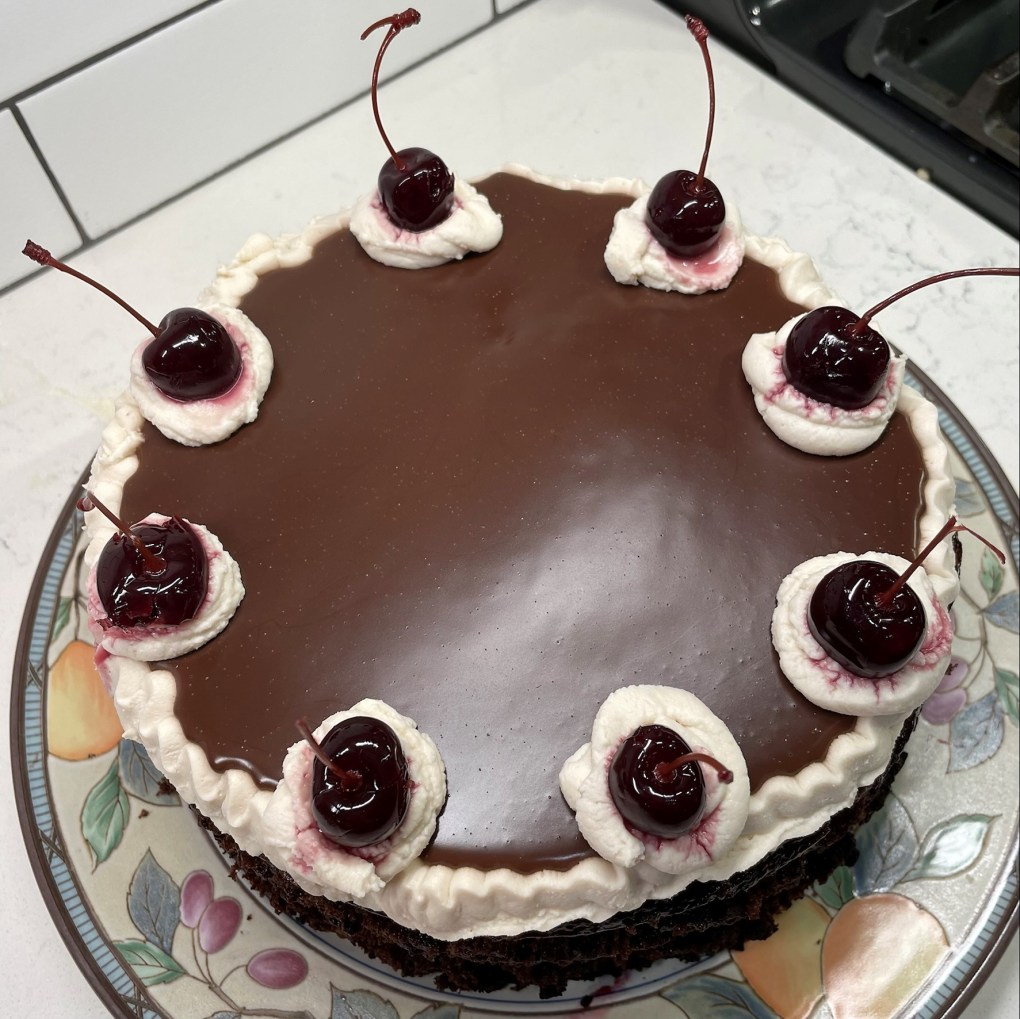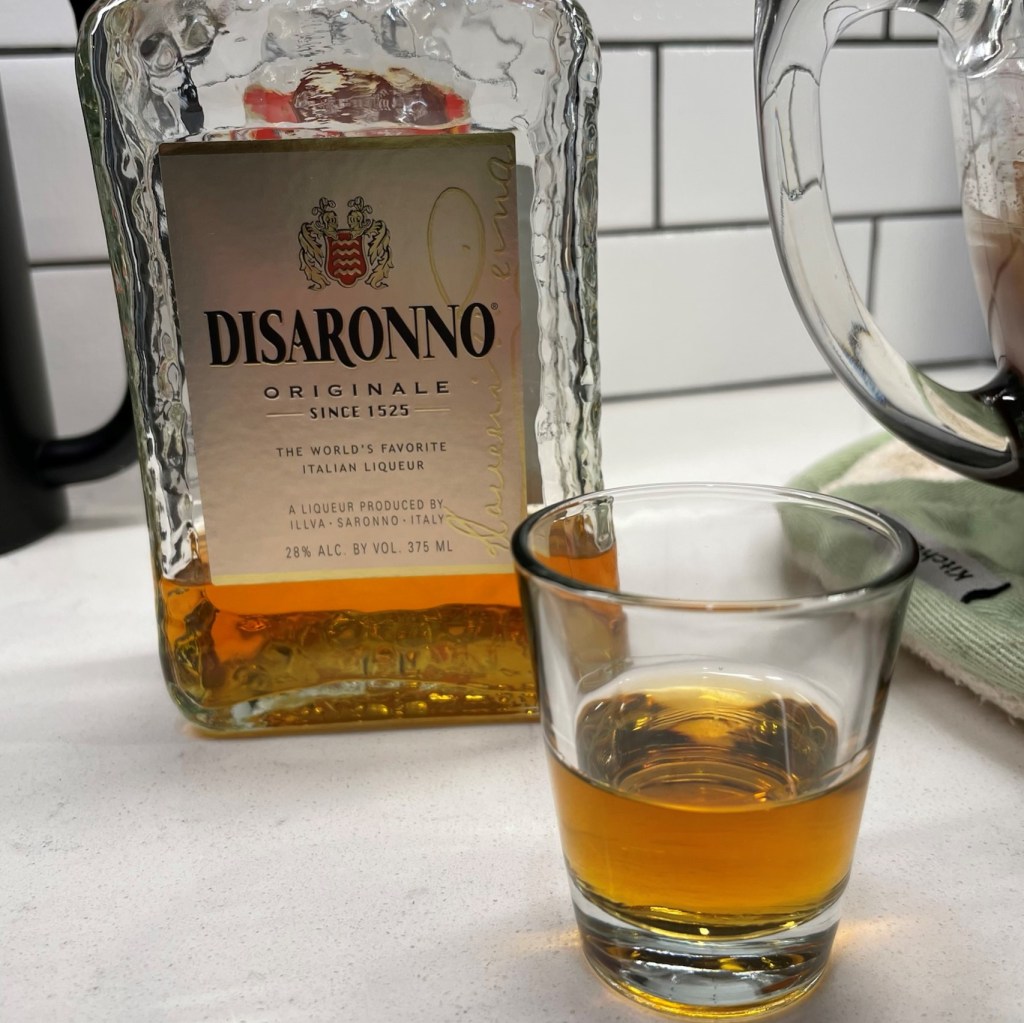
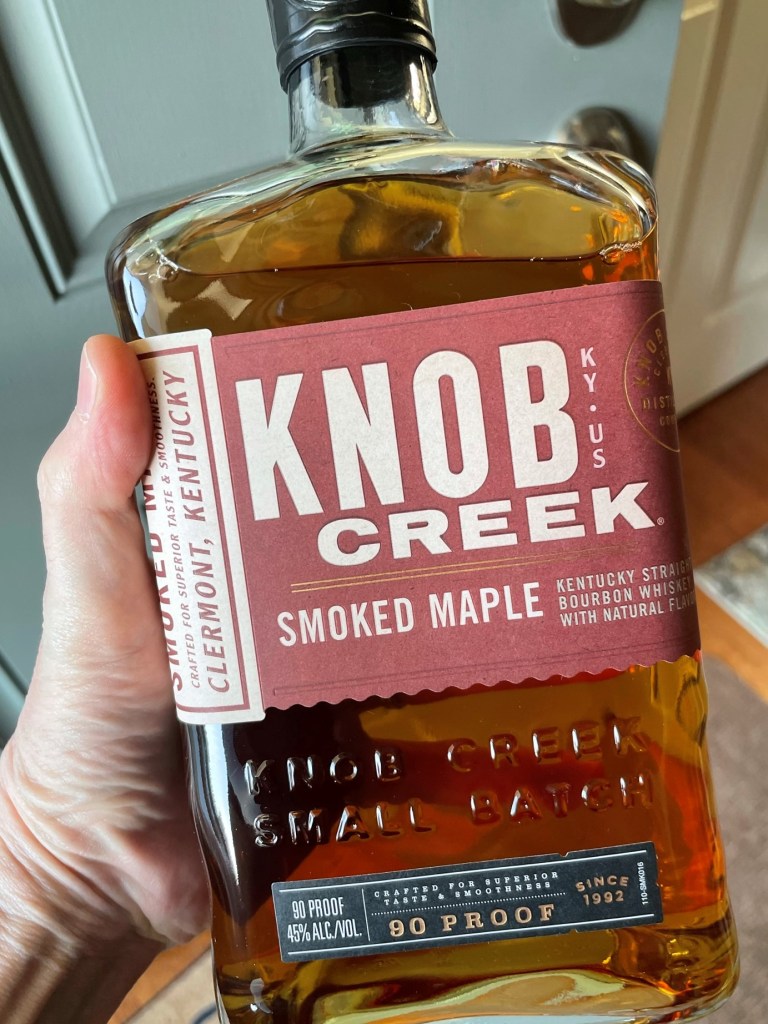
During the holiday season, right smack between Thanksgiving and Christmas, I shared my recipe for Smoked Maple Bourbon Crème Brûlée. That dessert was divine, with all the silky creaminess you’d expect and a generous splash of smoked maple bourbon, a Knob Creek product that my husband and I had recently discovered. The culinary possibilities of this bourbon seem limitless, as we have enjoyed it now in cocktails, dessert and these meatballs, which were inspired by a comment made by a friend on that crème brûlée post.
My friend and blog buddy, Michelle, cannot tolerate alcohol in drinks but she enjoys the flavors of booze in food (including the Tequila & Lime Chicken Tacos she inspired me to make last summer). Michelle commented that the maple-bourbon combination in my dessert reminded her of a signature appetizer made by an old friend. Can’t we all relate to that—a dish so good that we can still taste it in our minds, even years later? That simple comment about her friend’s “maple mustard mystery” meatballs got my own creative juices going. I was bored with ground beef (and it isn’t always easy to find fresh grass-fed in the store), so I turned to ground pork instead and modified a recipe I already had for Marsala-braised pork meatballs. I had been thinking about making those, but maple and bourbon sounded much more interesting.
Maple is one of the most versatile sweeteners I know—it is not a flat kind of sweet, as sugar is, but complex, with a warmth and depth that you can’t get from brown sugar or even honey. Maple plays nicely with tangy, spicy and smoky as well as it does with creamy and buttery. If you have only enjoyed maple with weekend pancakes, this recipe may help you break out of a flavor rut. The maple and mustard was a terrific combination for early December, which is when I made the meatballs. Yes, we are hanging in there with dry January, so I suppose you could say I am enjoying bourbon vicariously through myself from last month.
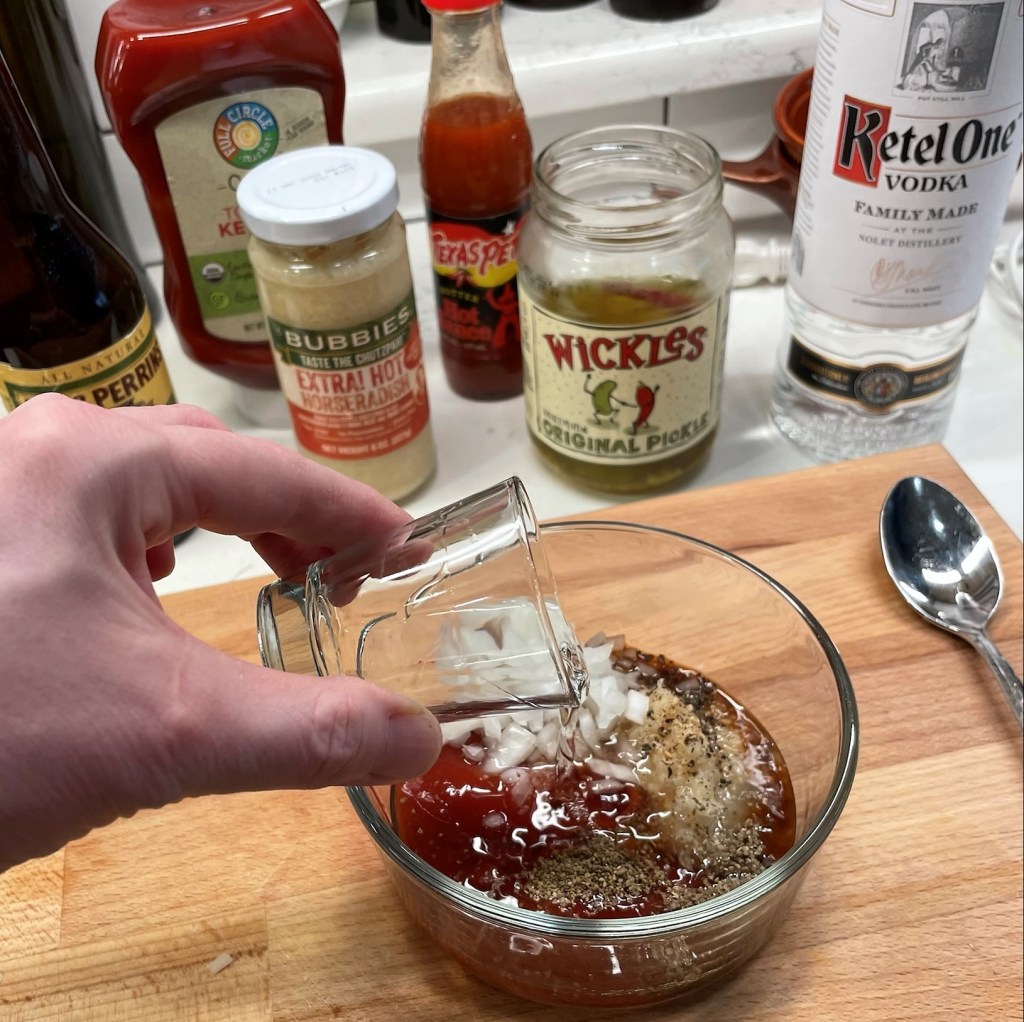
For this meatball recipe, I paired a spicy maple syrup with Dijon mustard, a bit of tomato paste, onion juice and some of the smoky maple bourbon we had bought for the Smoked Maple Cranhattans at Thanksgiving. I resisted the urge to add cream to this sauce, because cream tends to soften other flavors and I really wanted the maple and mustard to enjoy the spotlight.
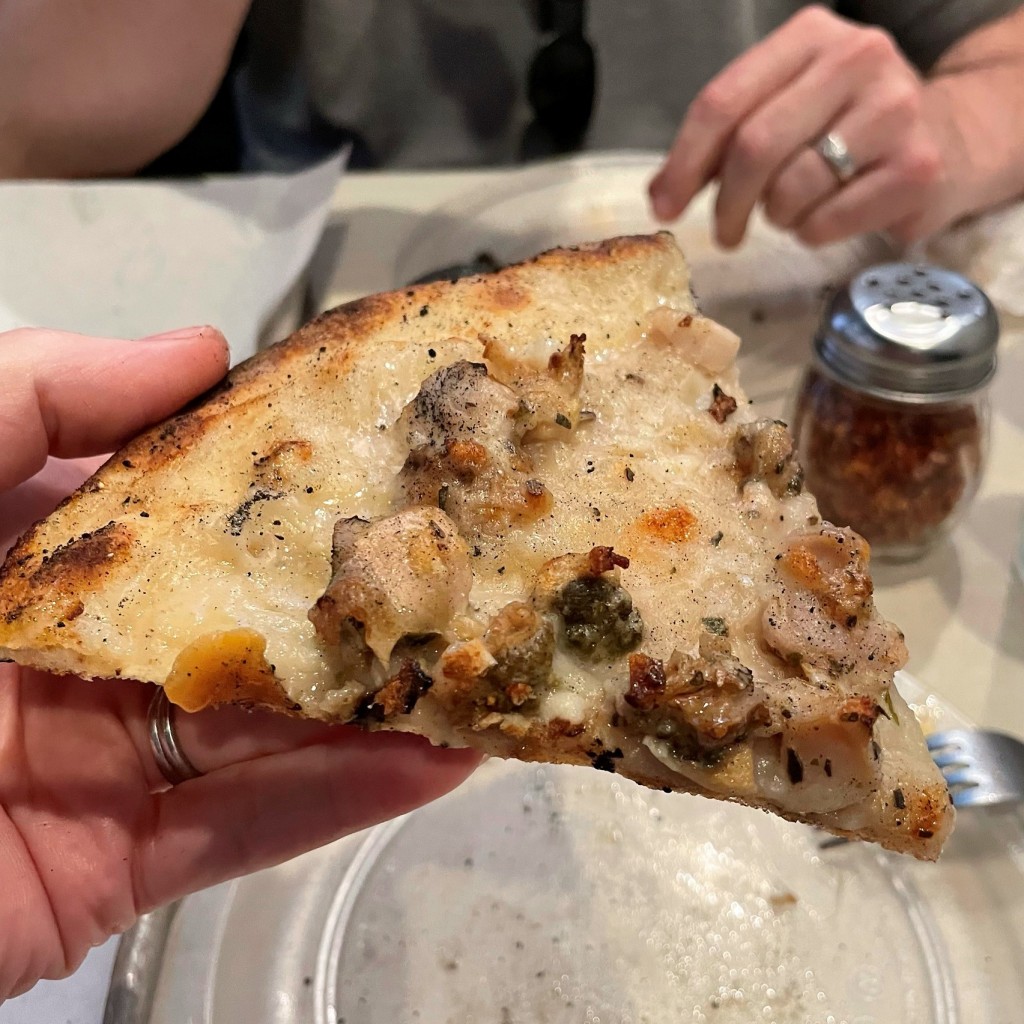
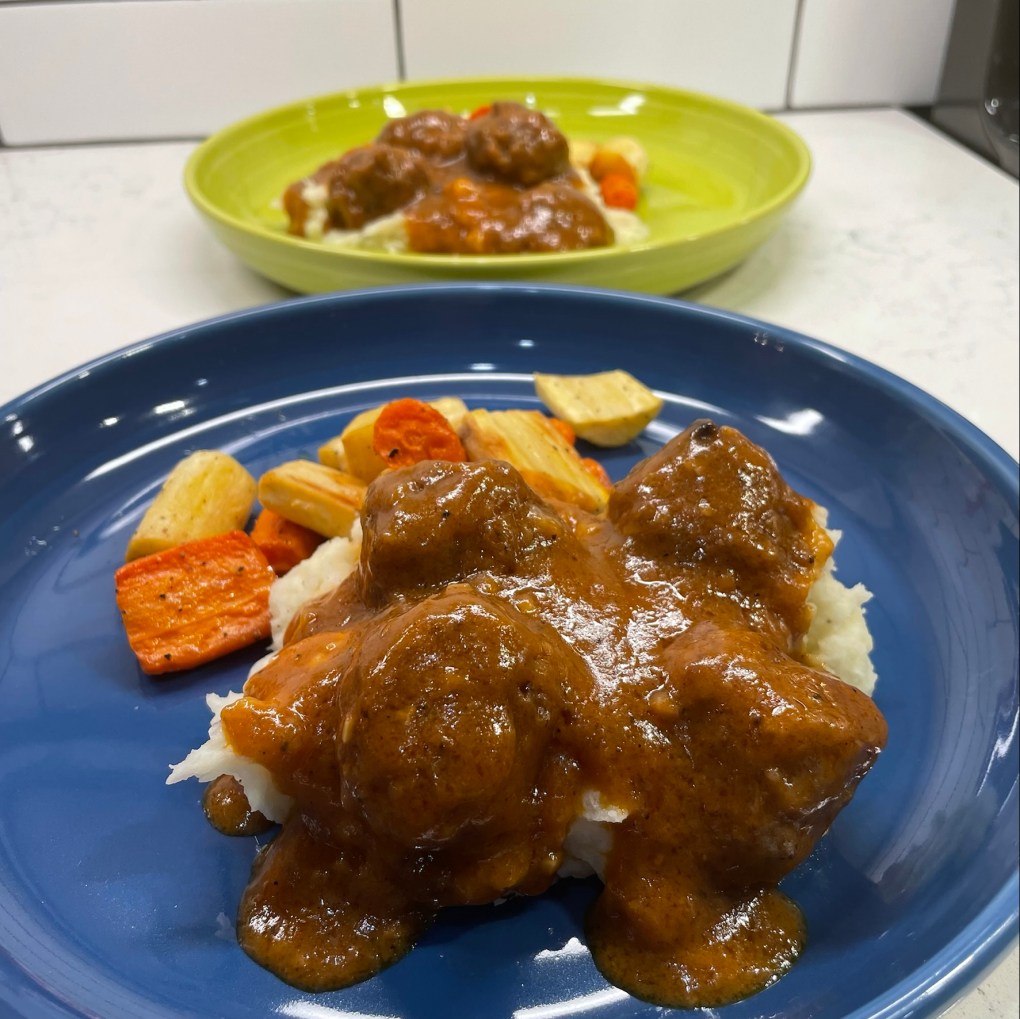
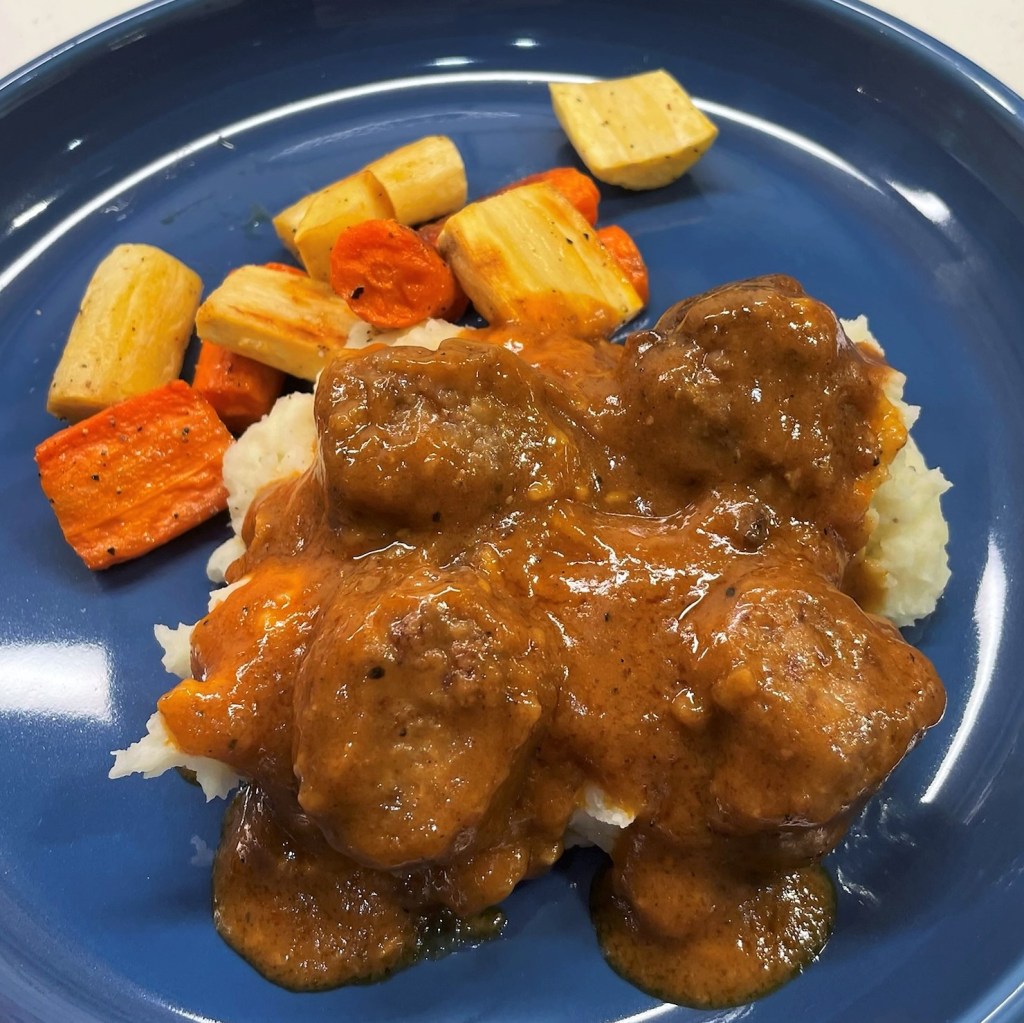
Mission accomplished—they were delicious! I served them over a bed of simple mashed potatoes and with a side of roasted root vegetables, but I couldn’t help thinking they would also be delicious on toothpicks as an appetizer, as my friend remembered them. Super Bowl, maybe?
Ingredients
1 large, sweet or yellow onion* (see notes)
1 lb. fresh ground pork
1/3 lb. bulk breakfast sausage
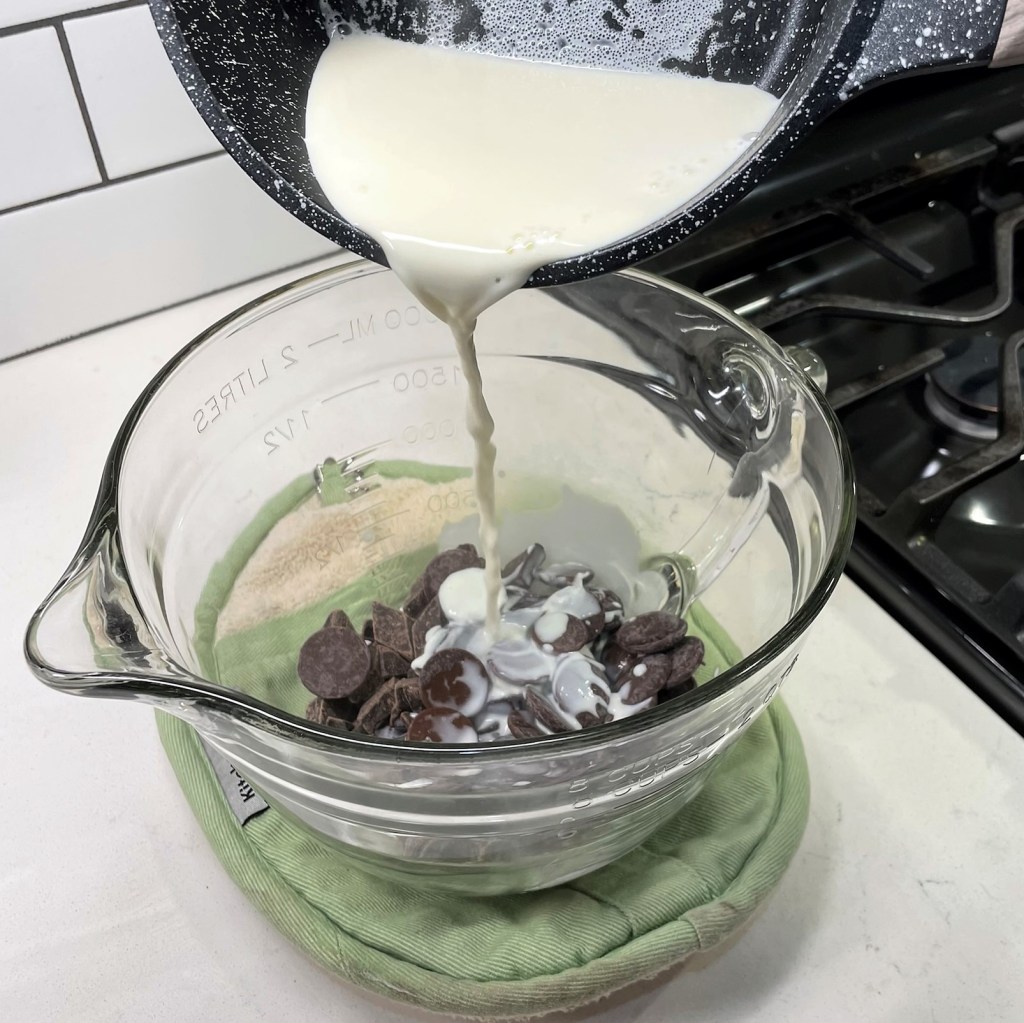
1/3 cup panko breadcrumbs
1/4 cup milk
2 Tbsp. all-purpose flour
2 Tbsp. Dijon mustard
1 Tbsp. tomato paste
2 tsp. Worcestershire sauce
2 Tbsp. real maple syrup*
2 cloves garlic, finely minced
Up to 1/2 cup low-sodium vegetable broth
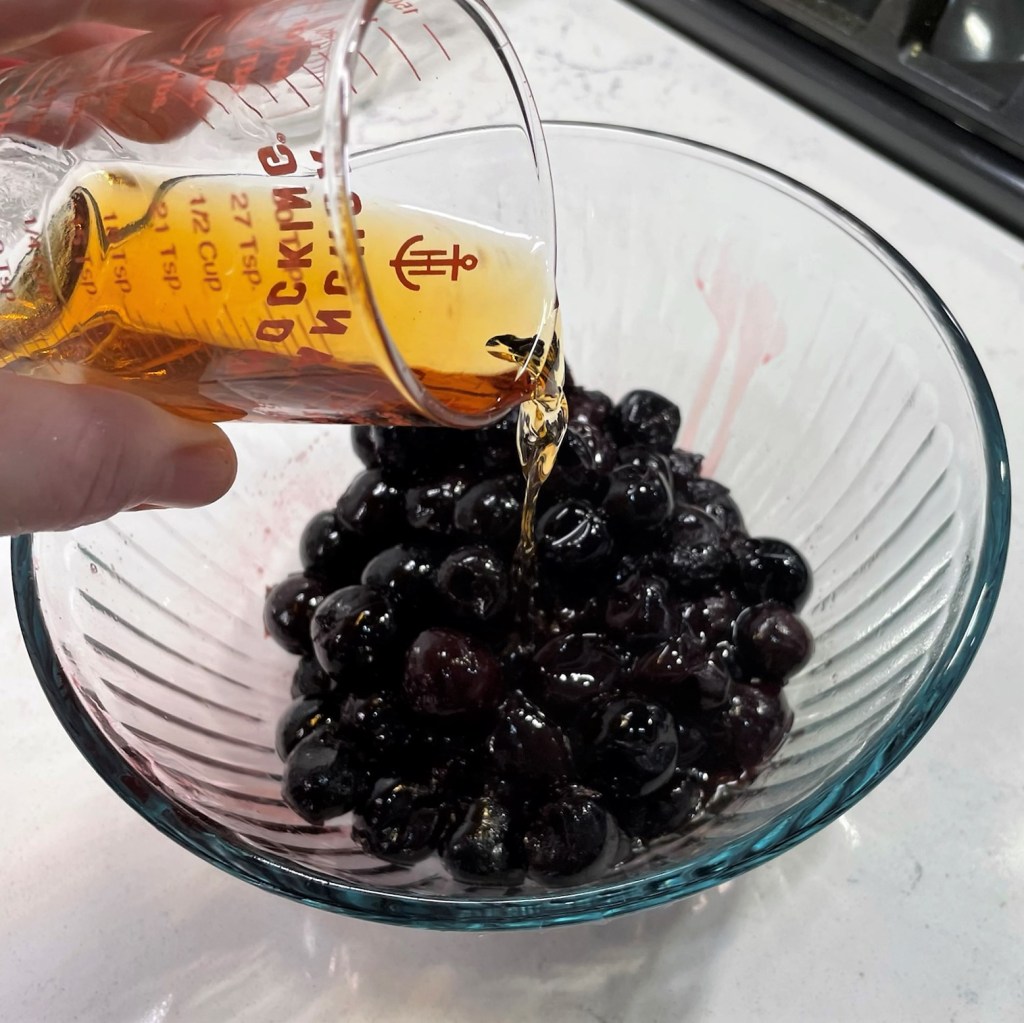
2 Tbsp. smoked maple bourbon*
*Notes
When I made these meatballs, I had reserved onion juice from the Classic Crispy Latkes I had made for the first night of Hanukkah. You will only use half of the large onion in this recipe, but you need the juice of the whole onion to flavor the simmering sauce.
I used a habanero-infused maple syrup for this recipe because my husband and I enjoy spicy foods. Any maple syrup would be delicious—but choose real maple for the best flavor. If the idea of spicy flavor appeals to you, try using regular maple syrup and add about a teaspoon of cayenne or sriracha sauce for similar results.
The smoked maple bourbon is a Knob Creek product. It’s completely optional in this recipe. If you avoid alcohol, simply omit this and add an extra splash of vegetable broth.
Instructions
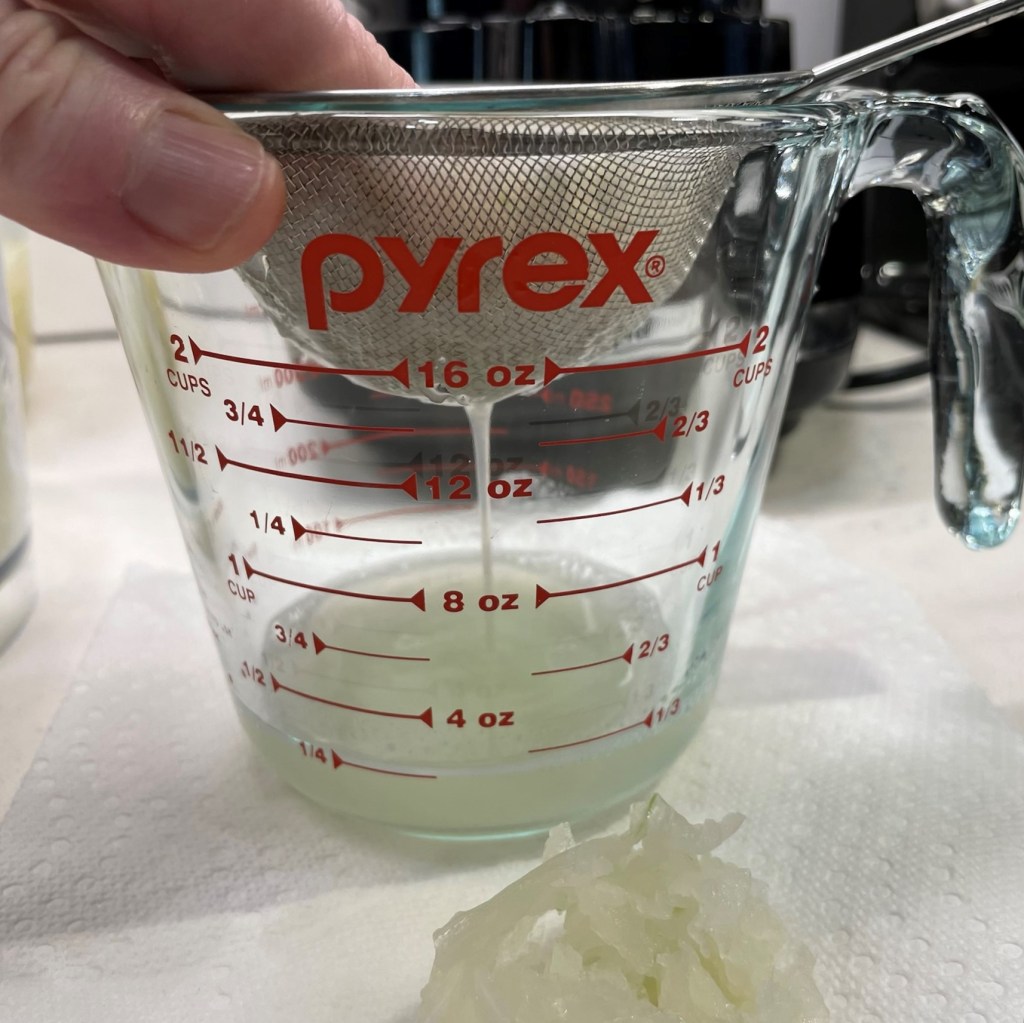
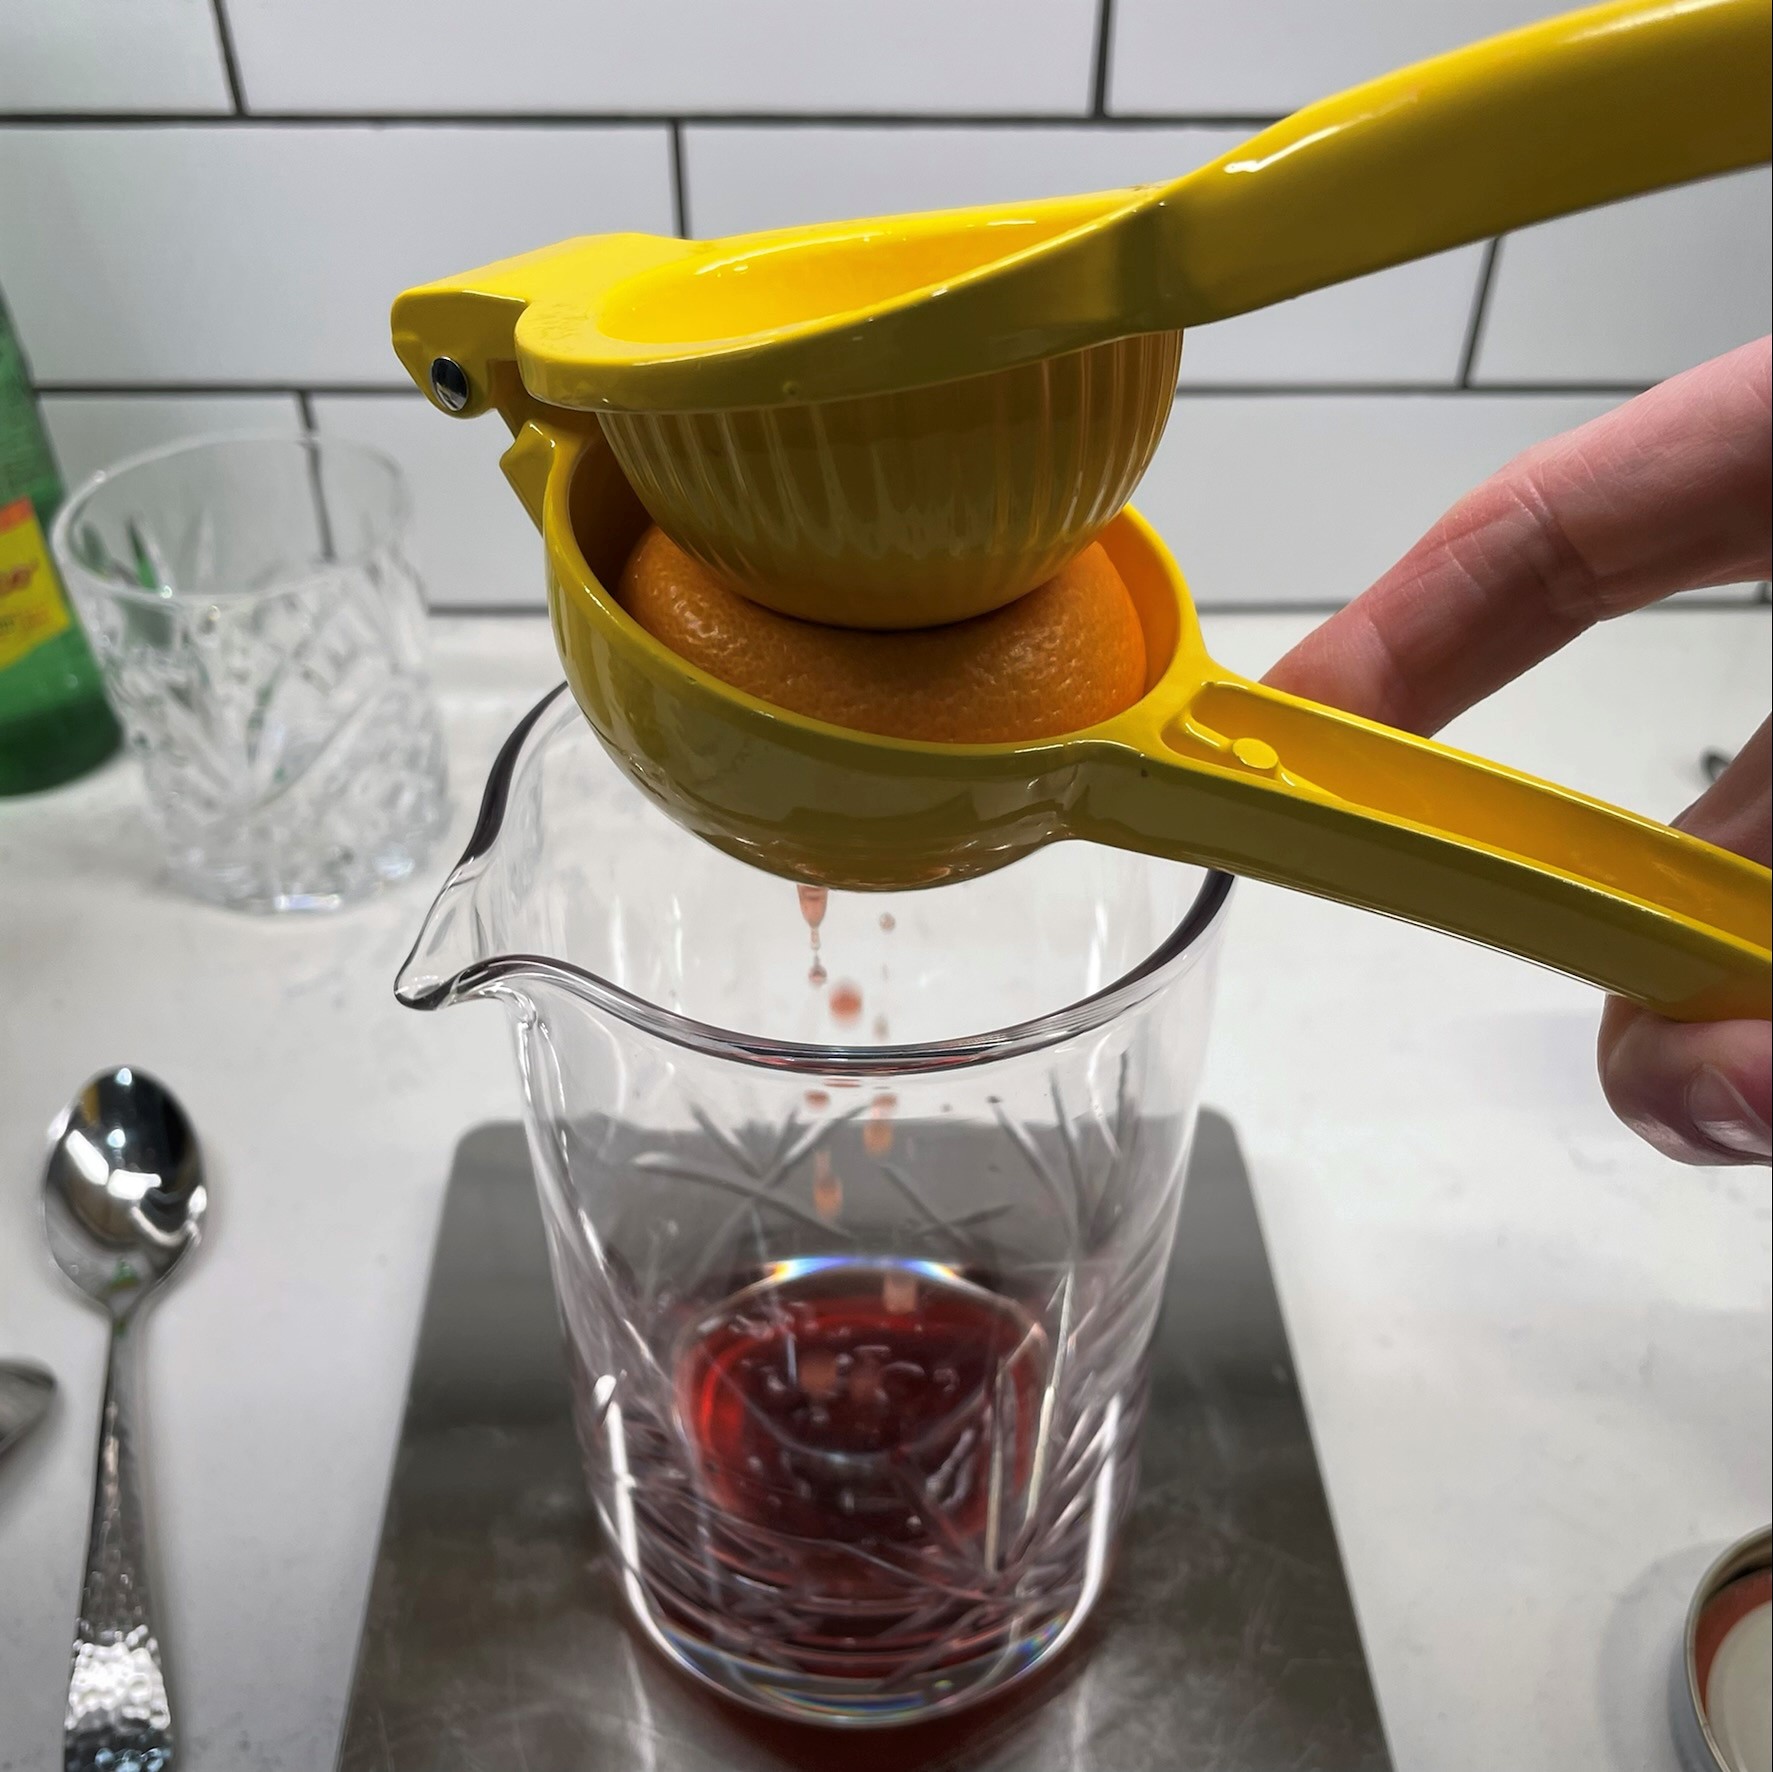
Shred a large onion and press it through a mesh strainer to separate (and reserve) the juice. 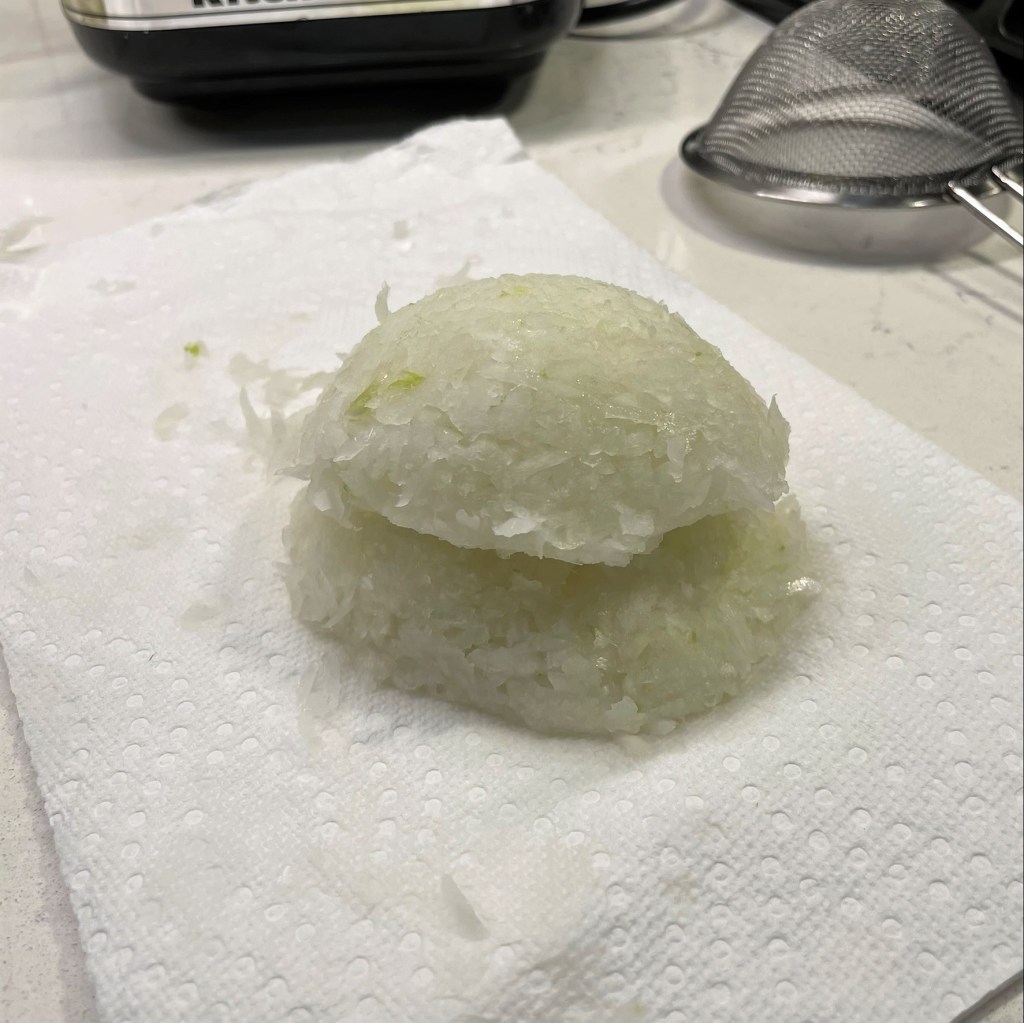
Set aside half of the onion for another use. You will only use half of it in these meatballs, but you will use all of the juice in the sauce. 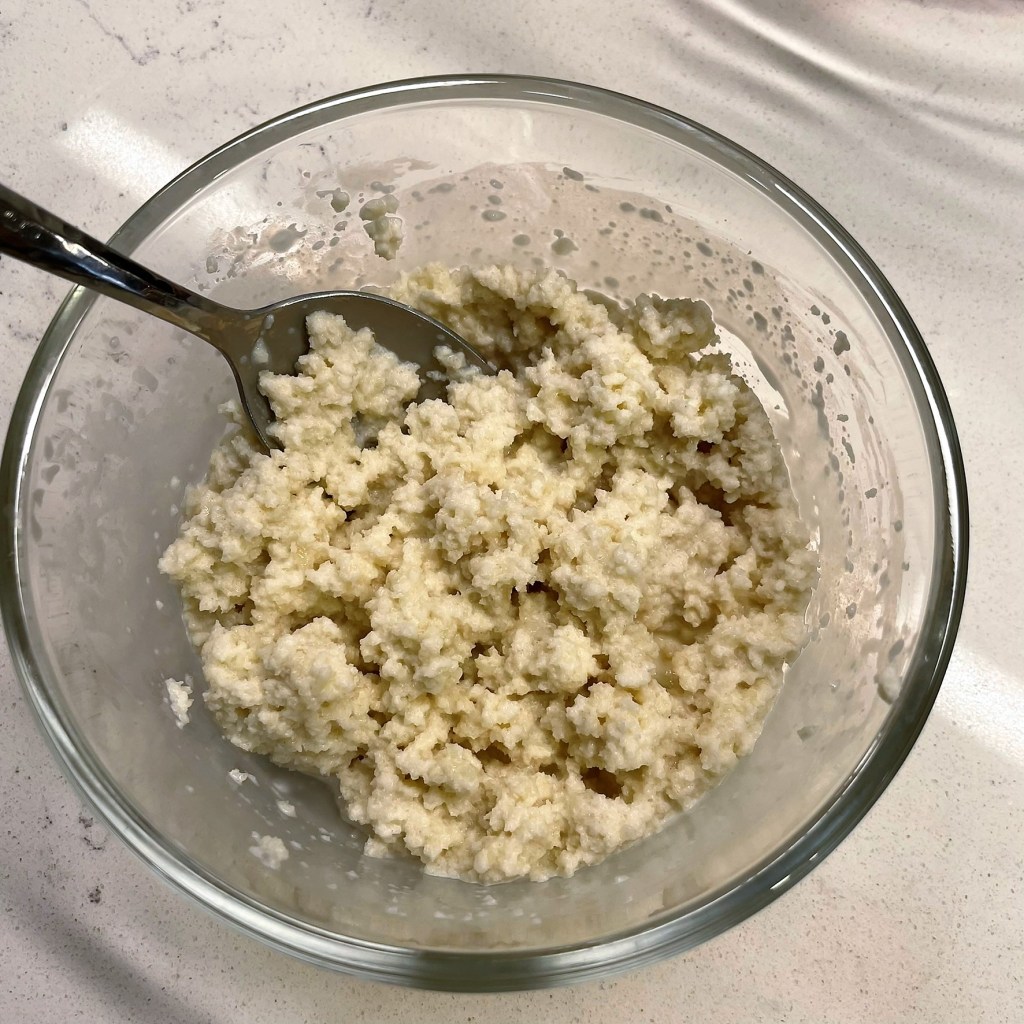
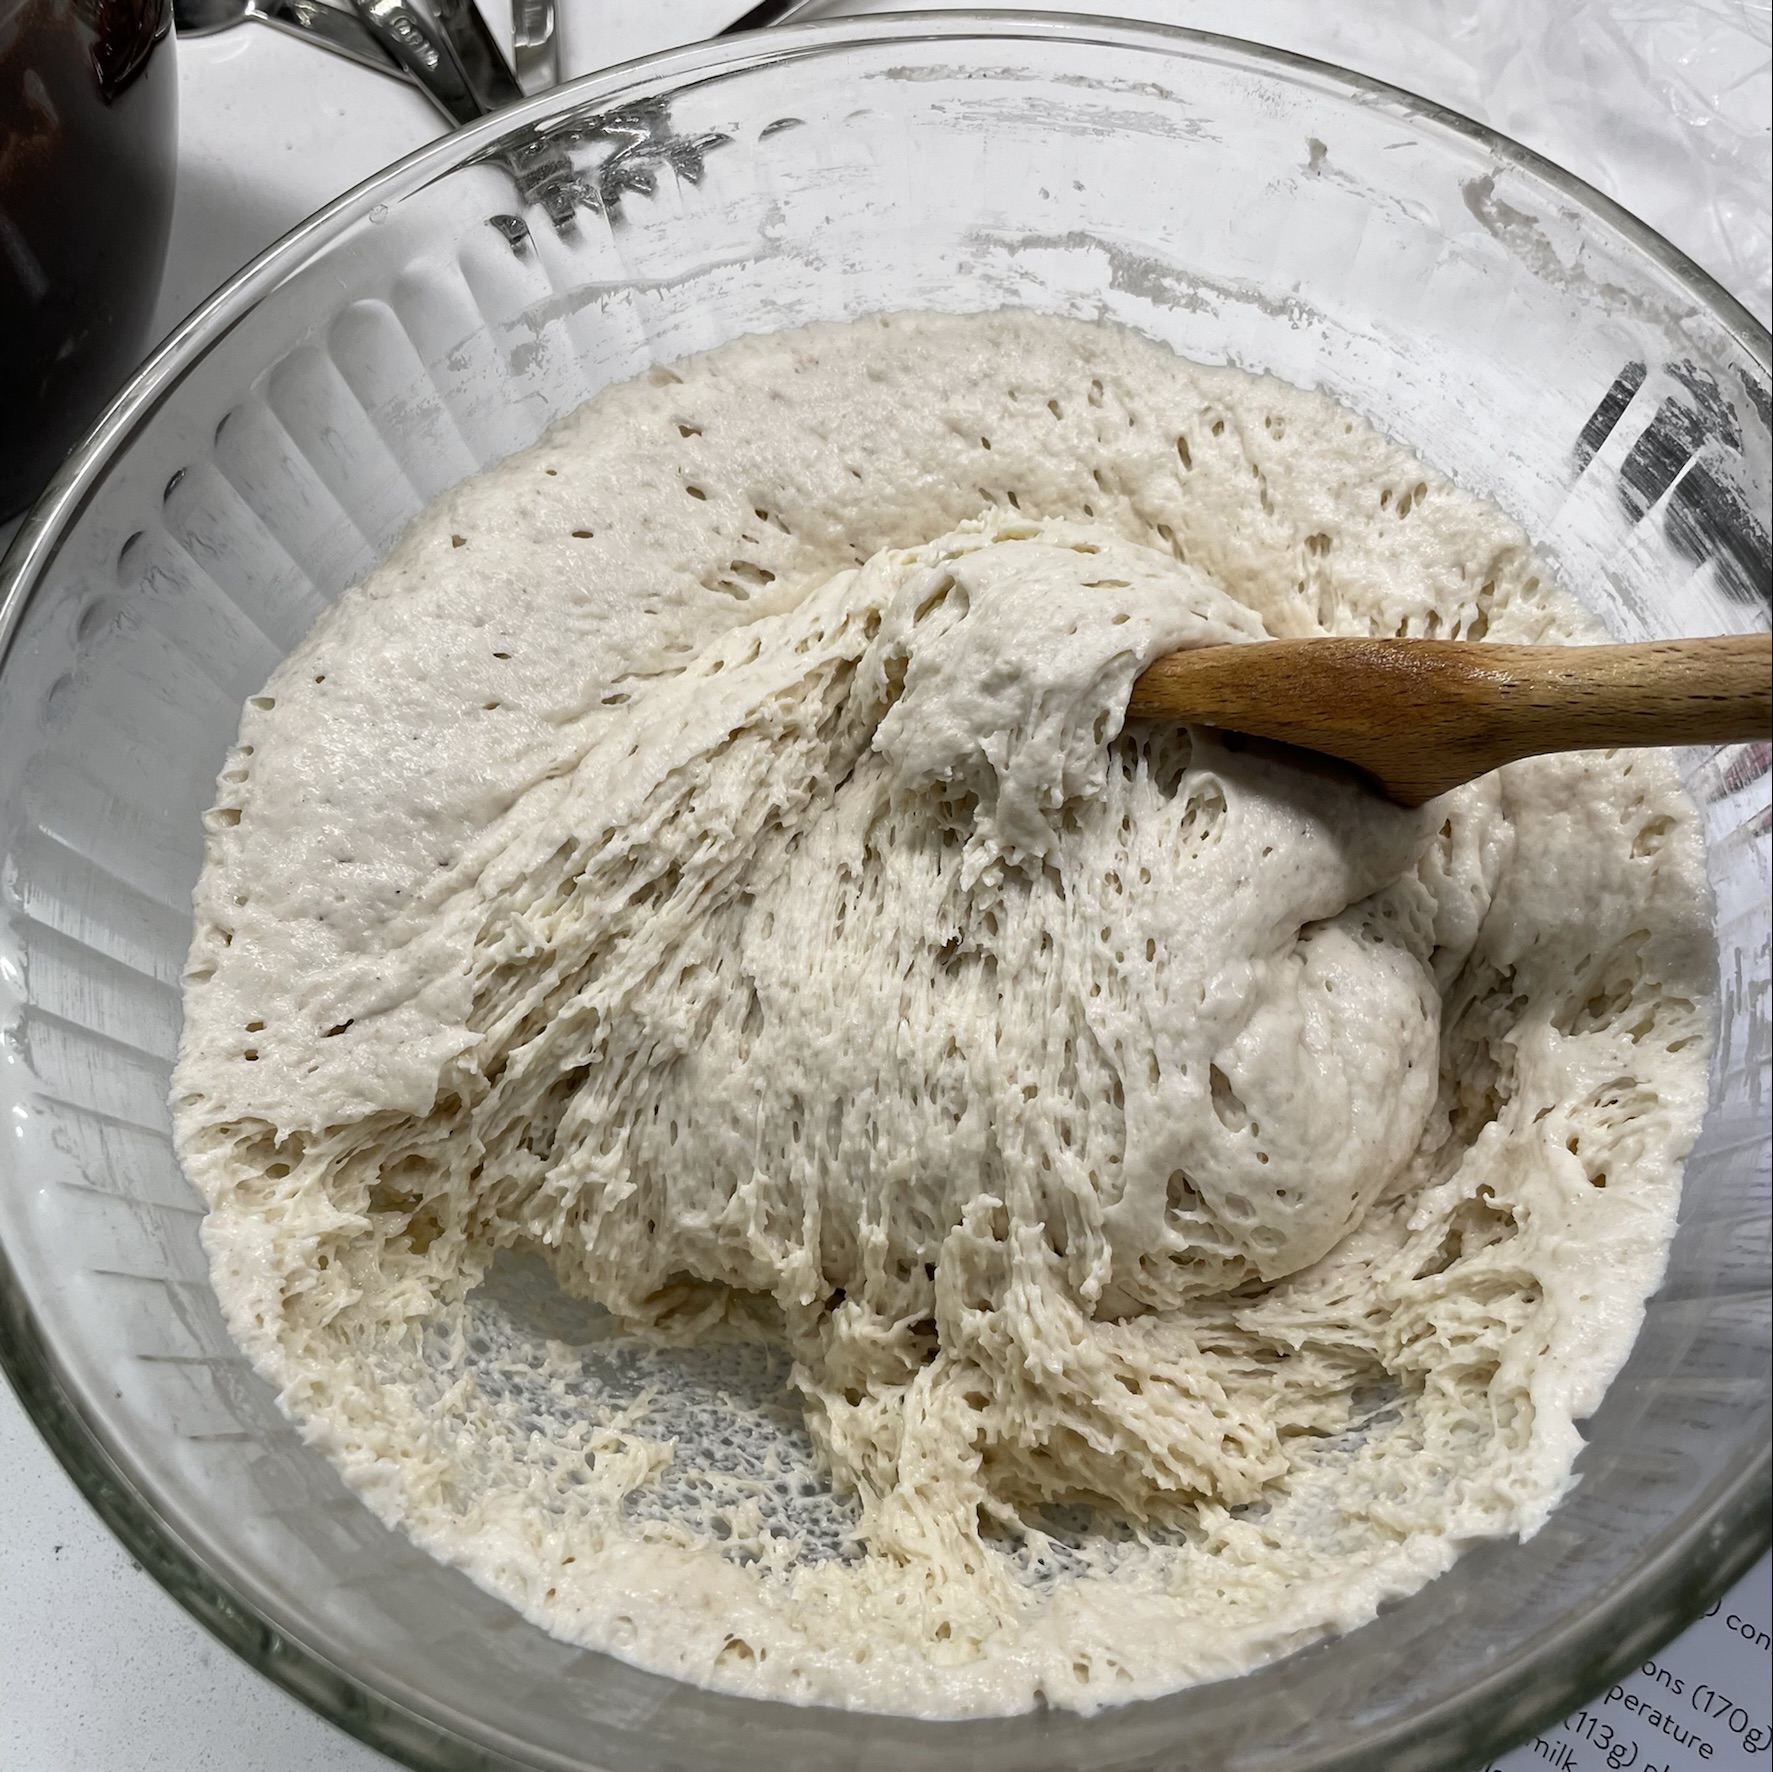
Combine the panko crumbs with just enough milk to cover them, and give the mixture a few minutes to soak. 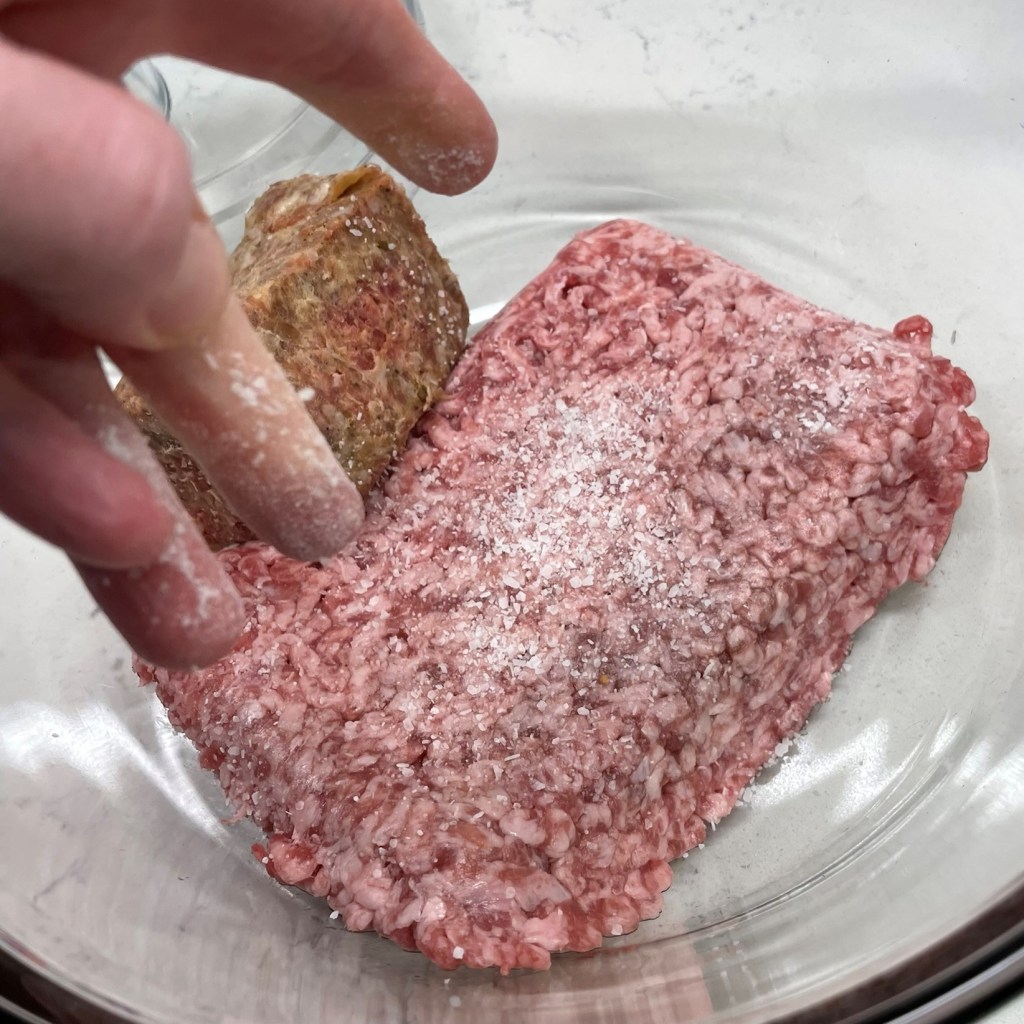
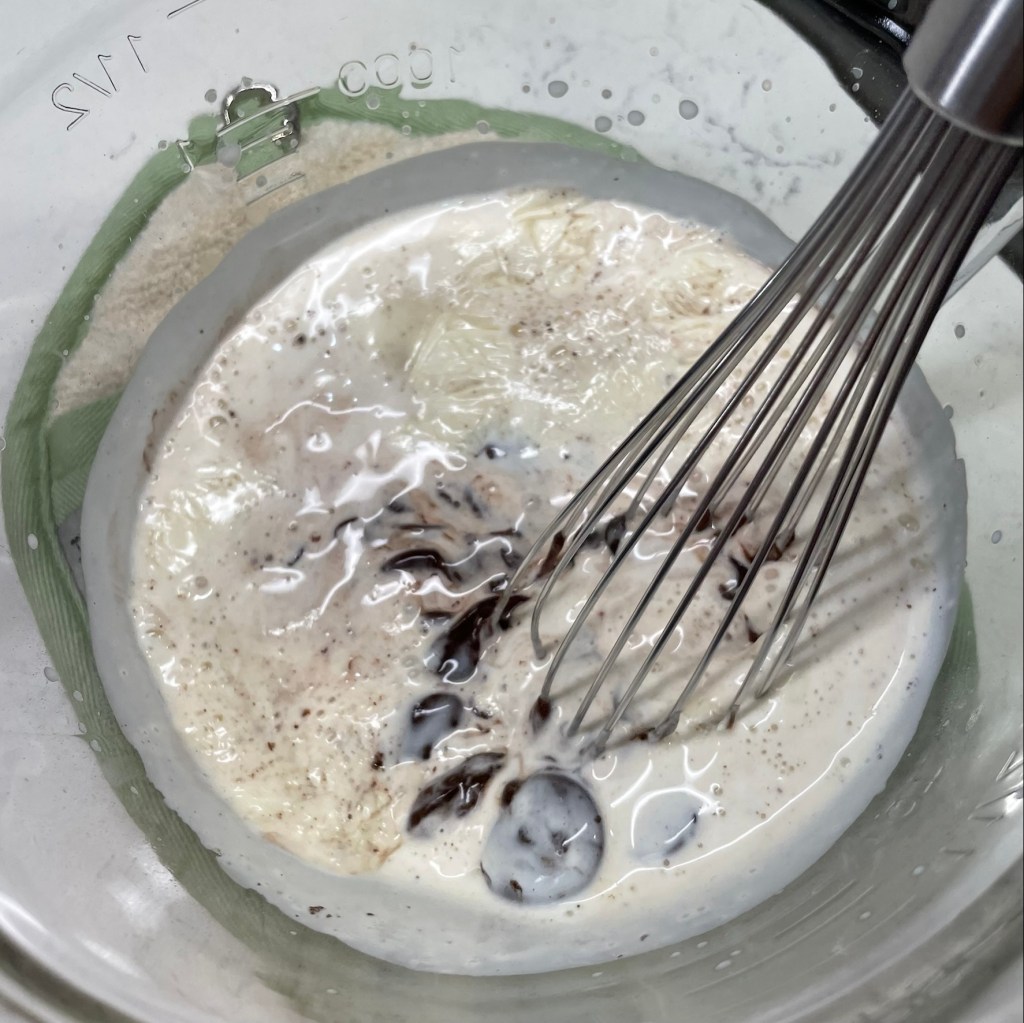
Season the meats with salt and pepper before adding the panade. 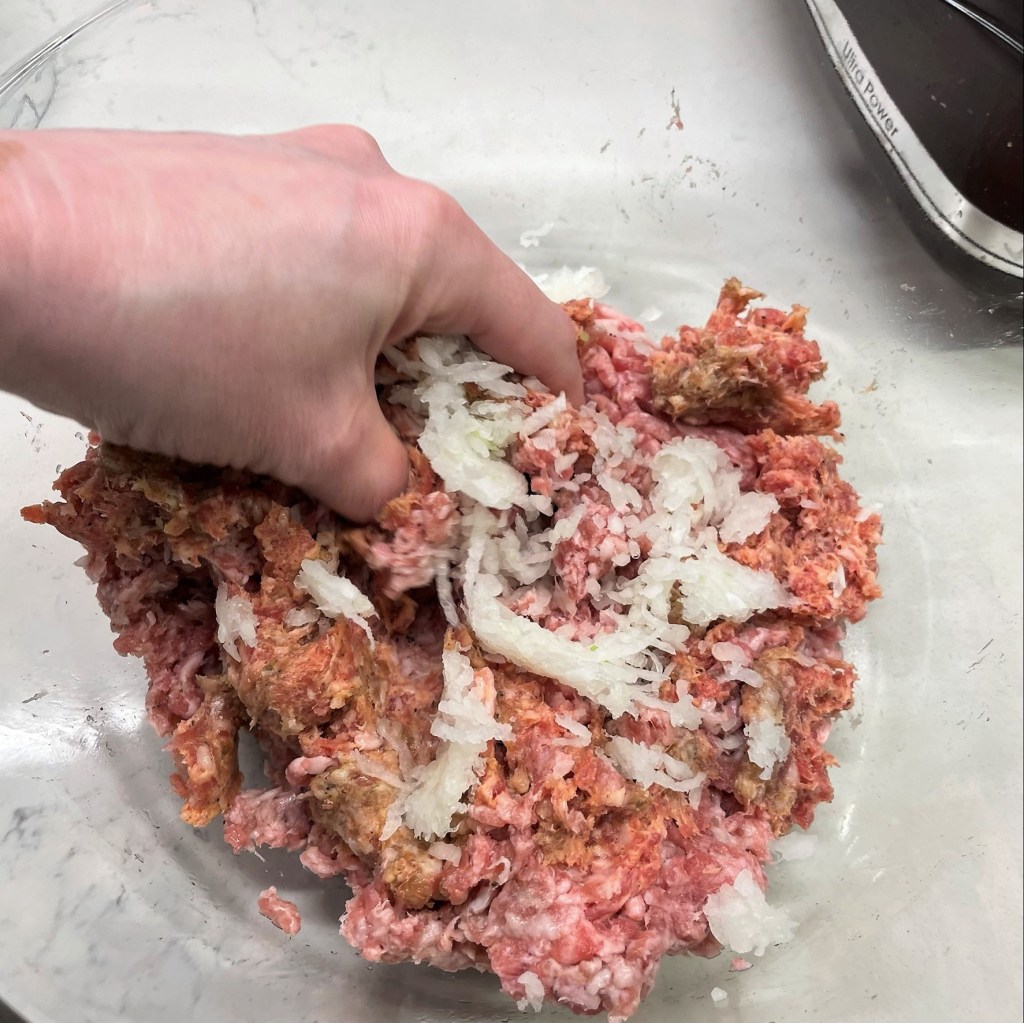
The shredded onions went into the meatball mixture, but the onion juice was reserved for the sauce. 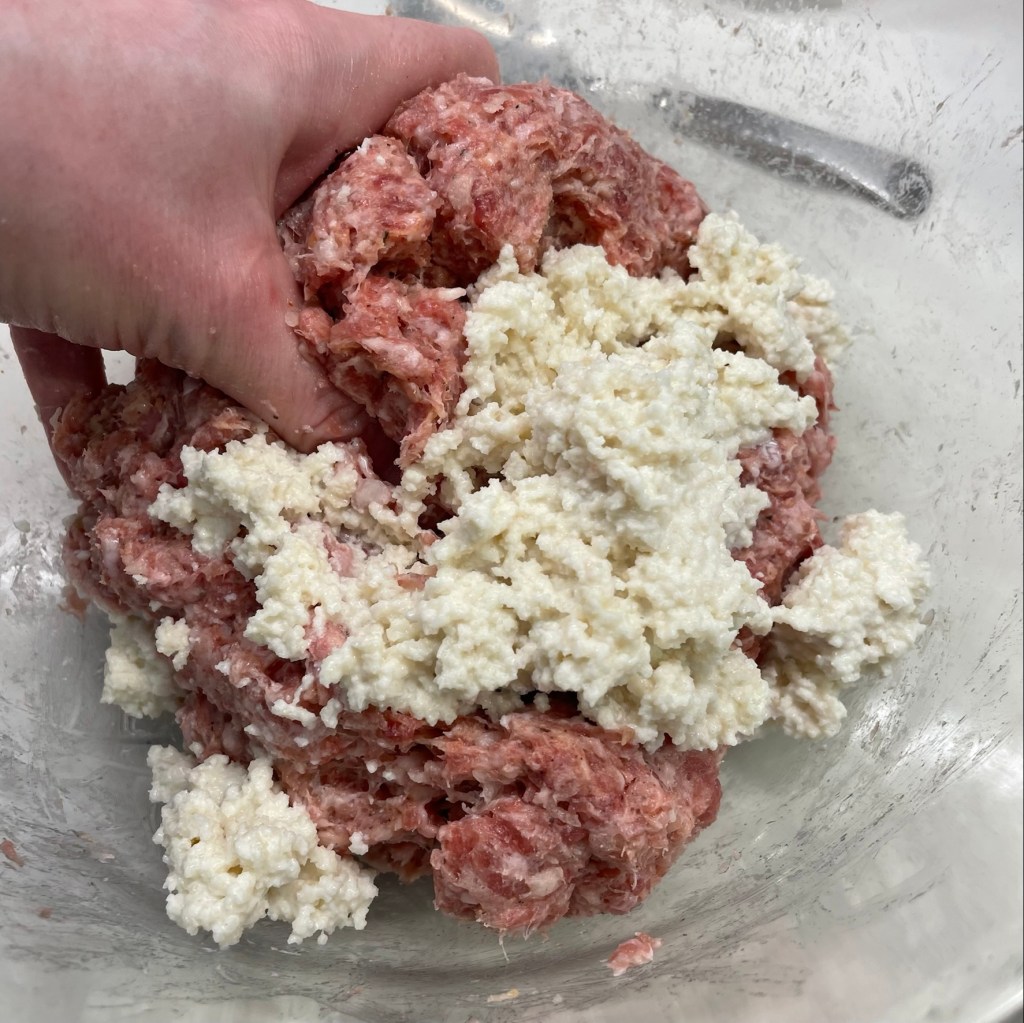
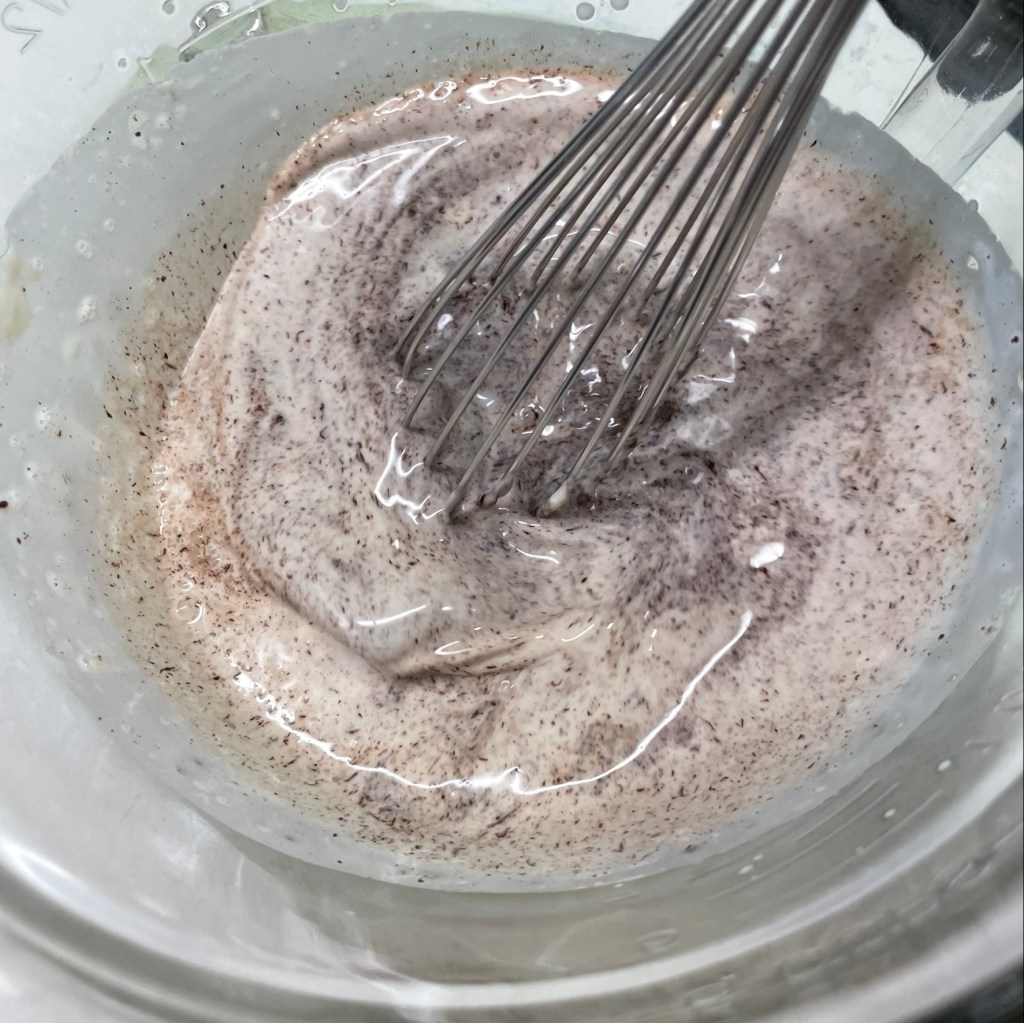
Mix the panade into the meat mixture and knead gently to blend. 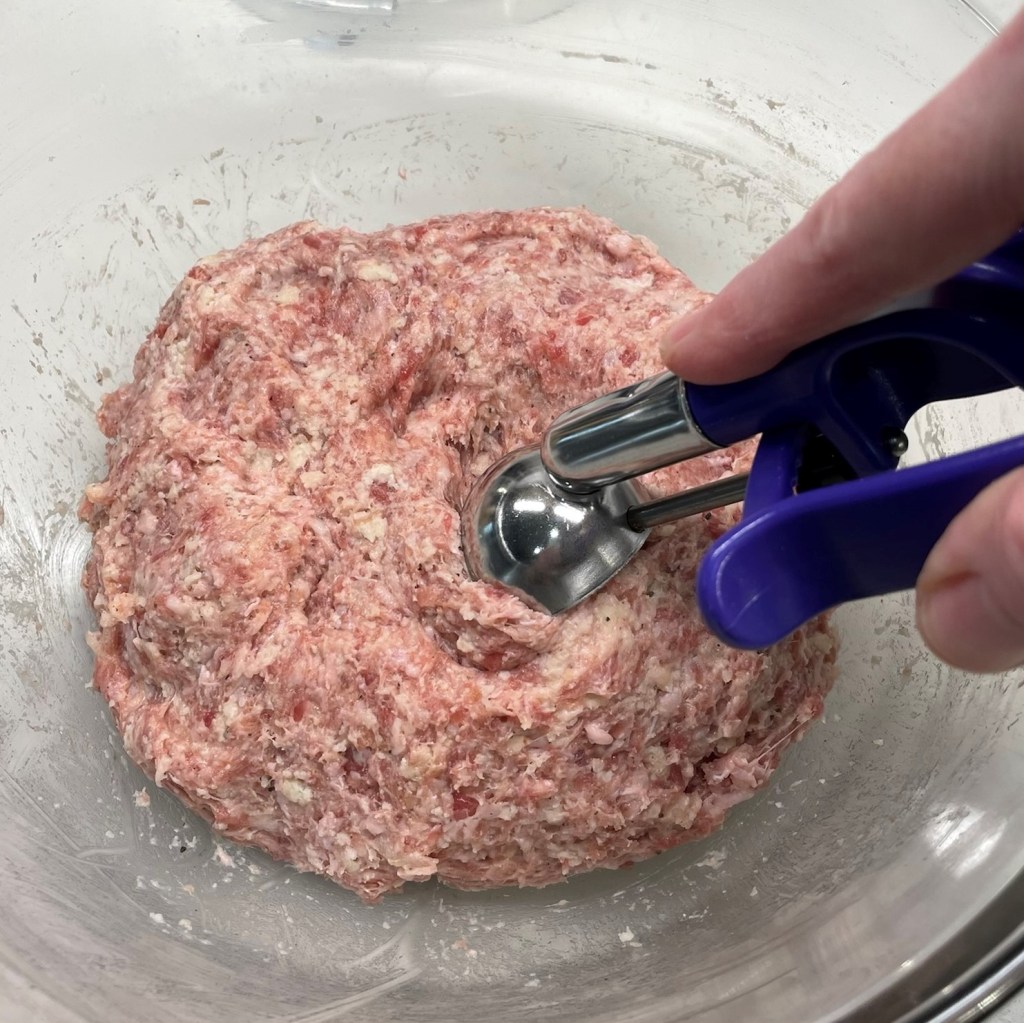
I used a cookie scoop to measure out my meatballs. 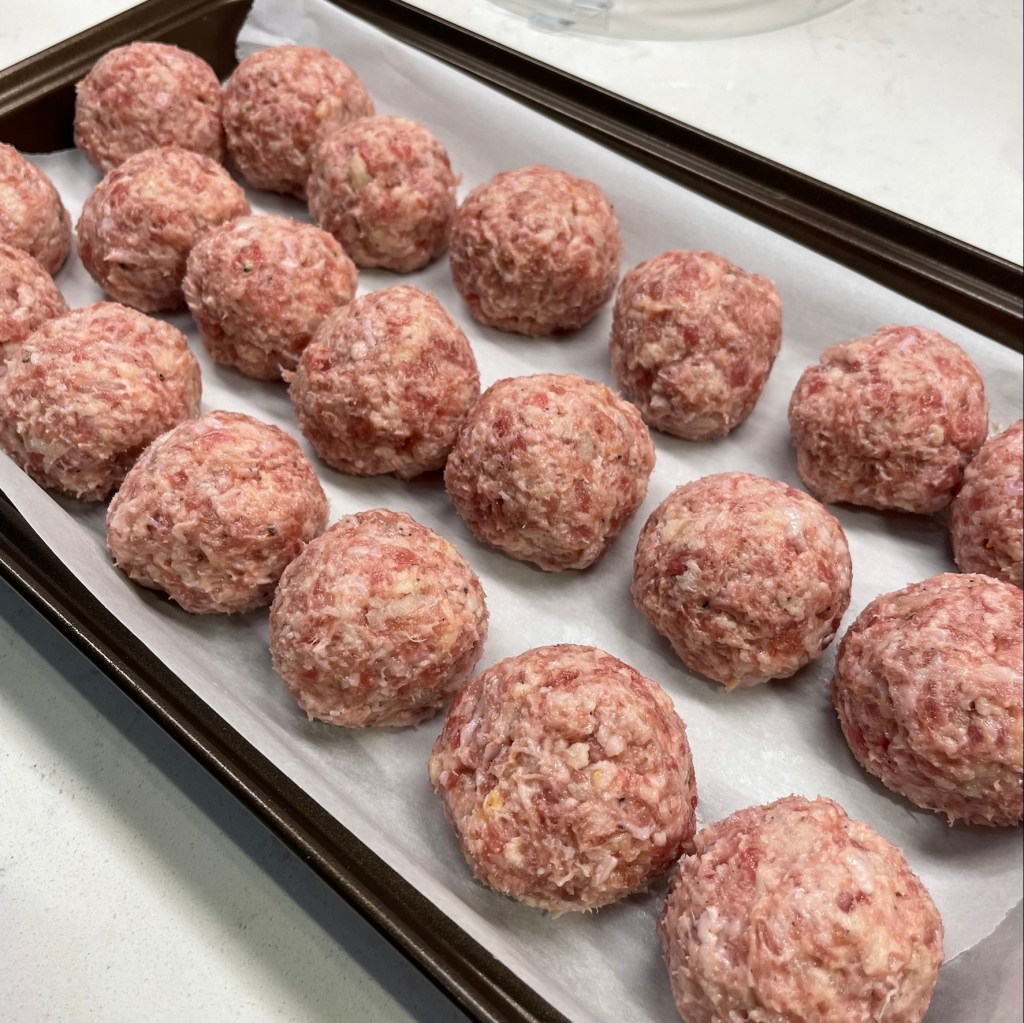
Shape them to about the size of a ping pong ball and let them chill in the fridge for about 20 minutes to firm up. 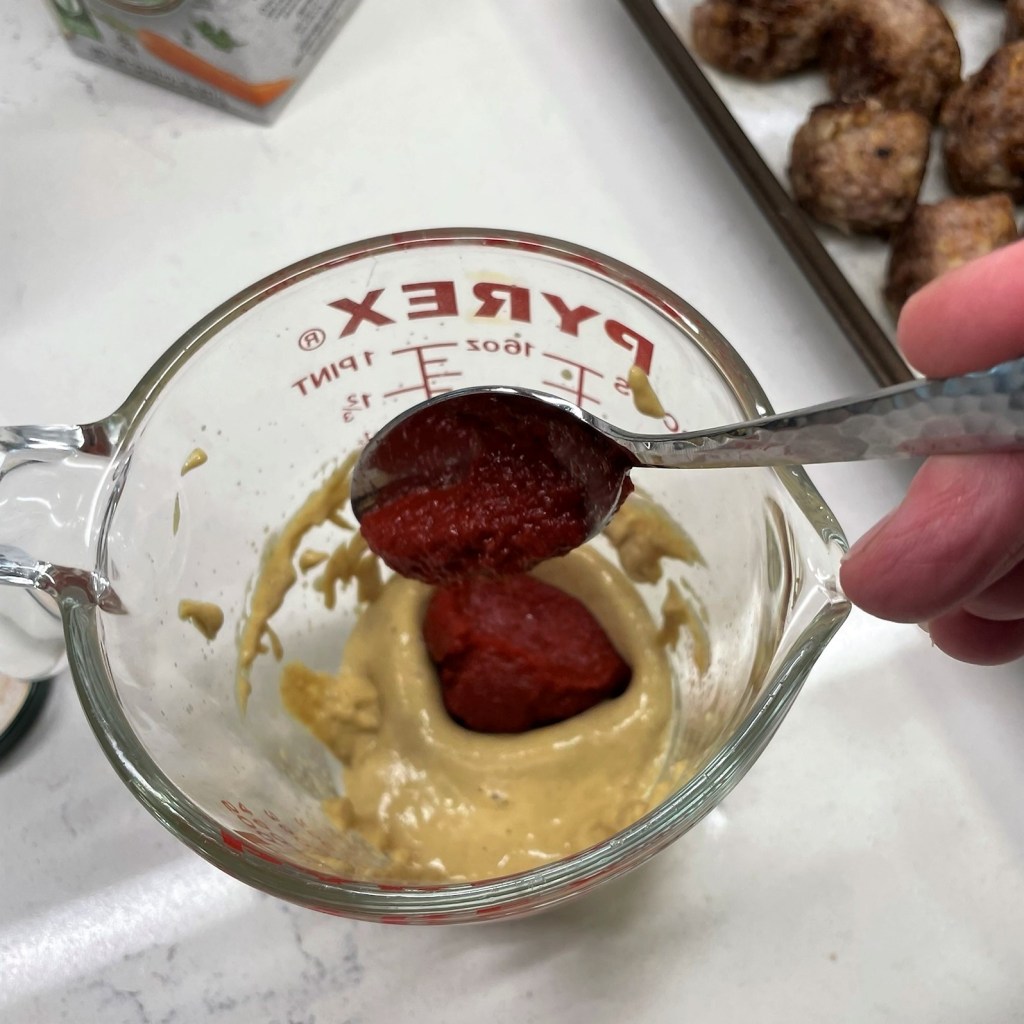
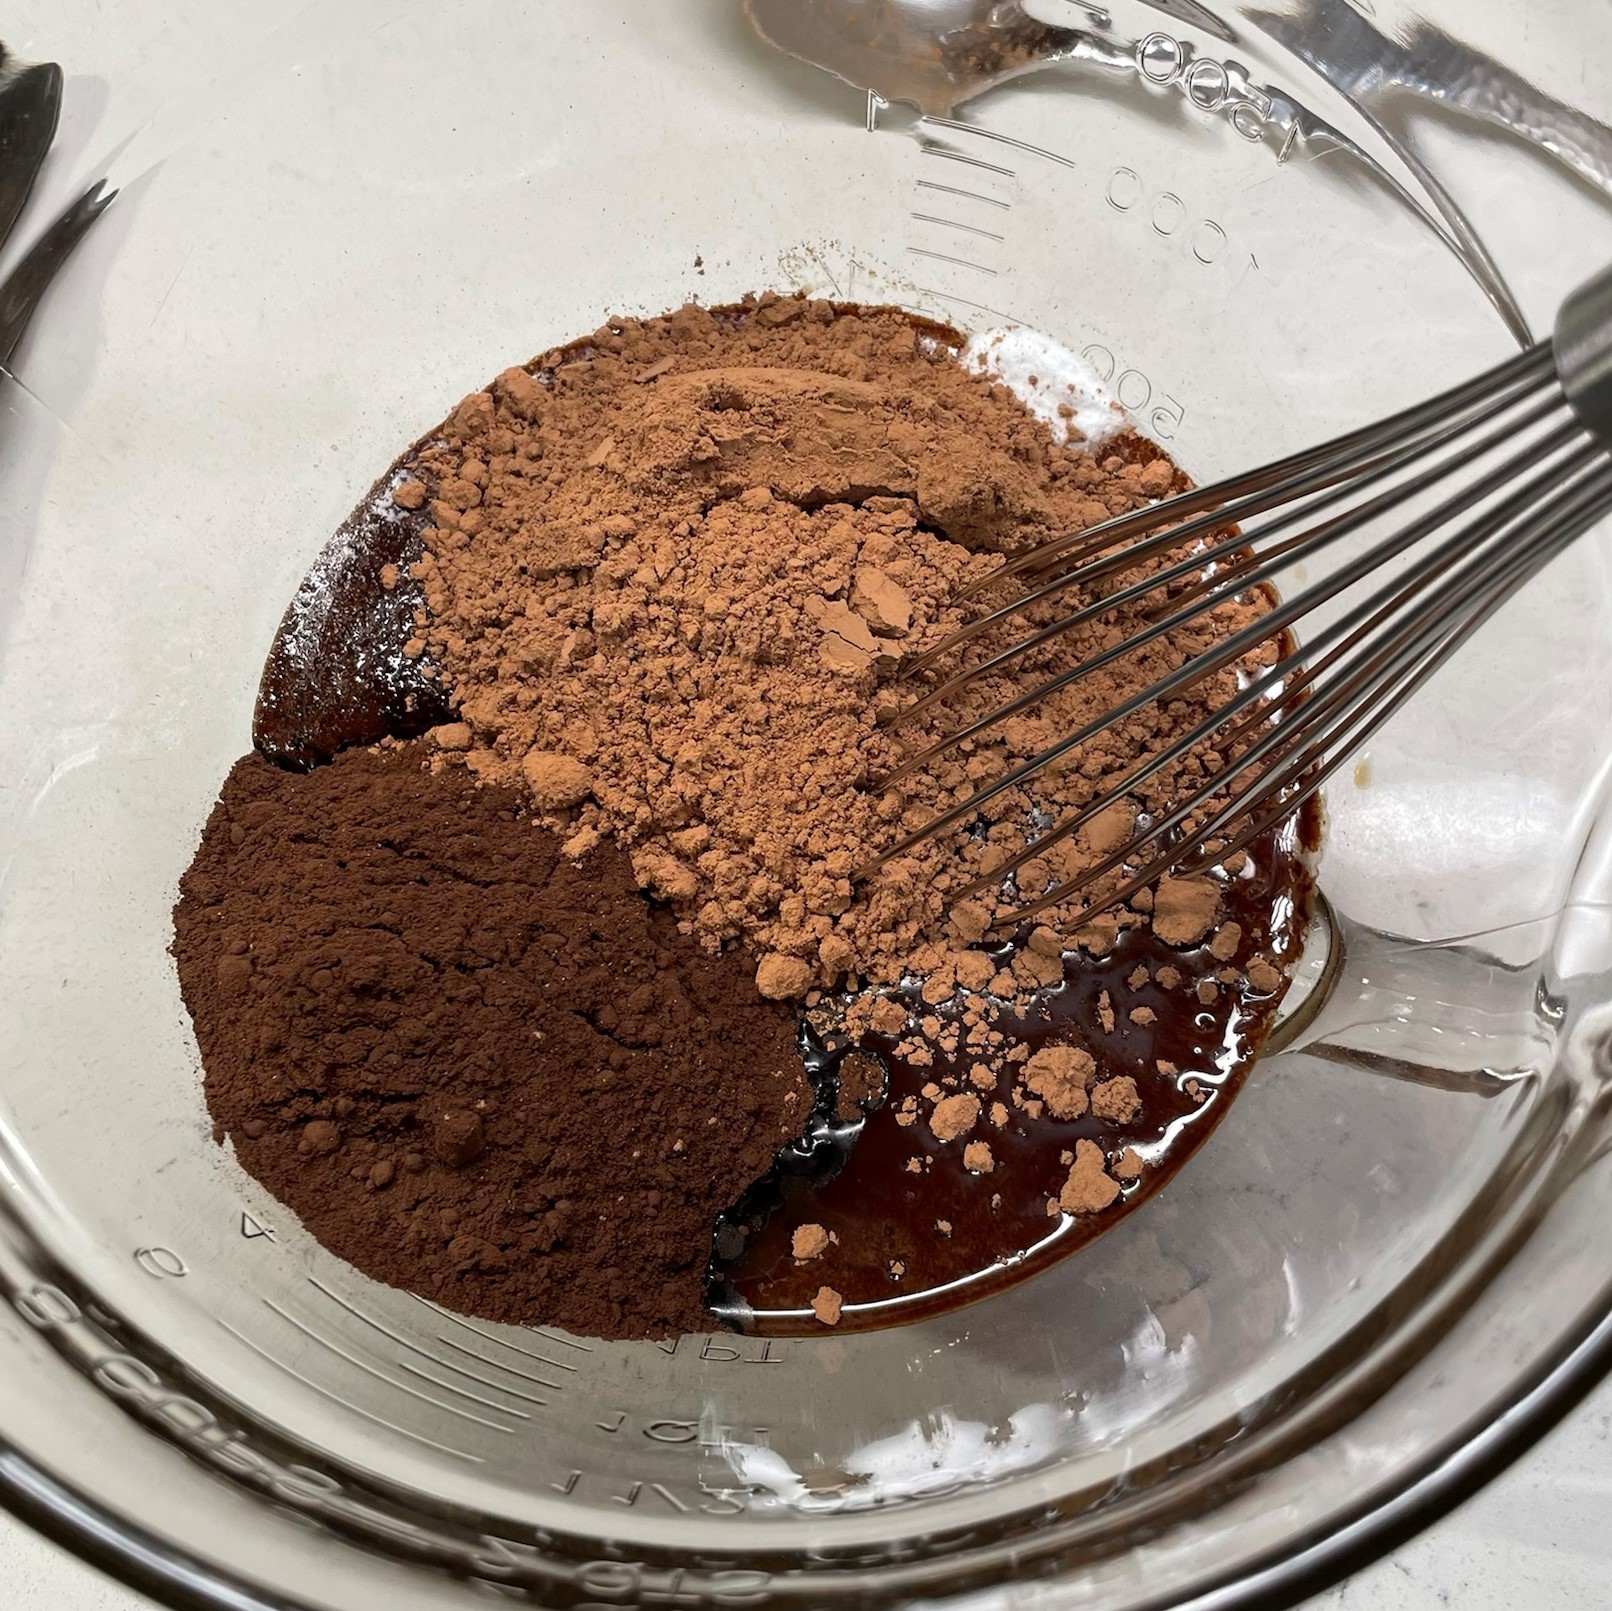
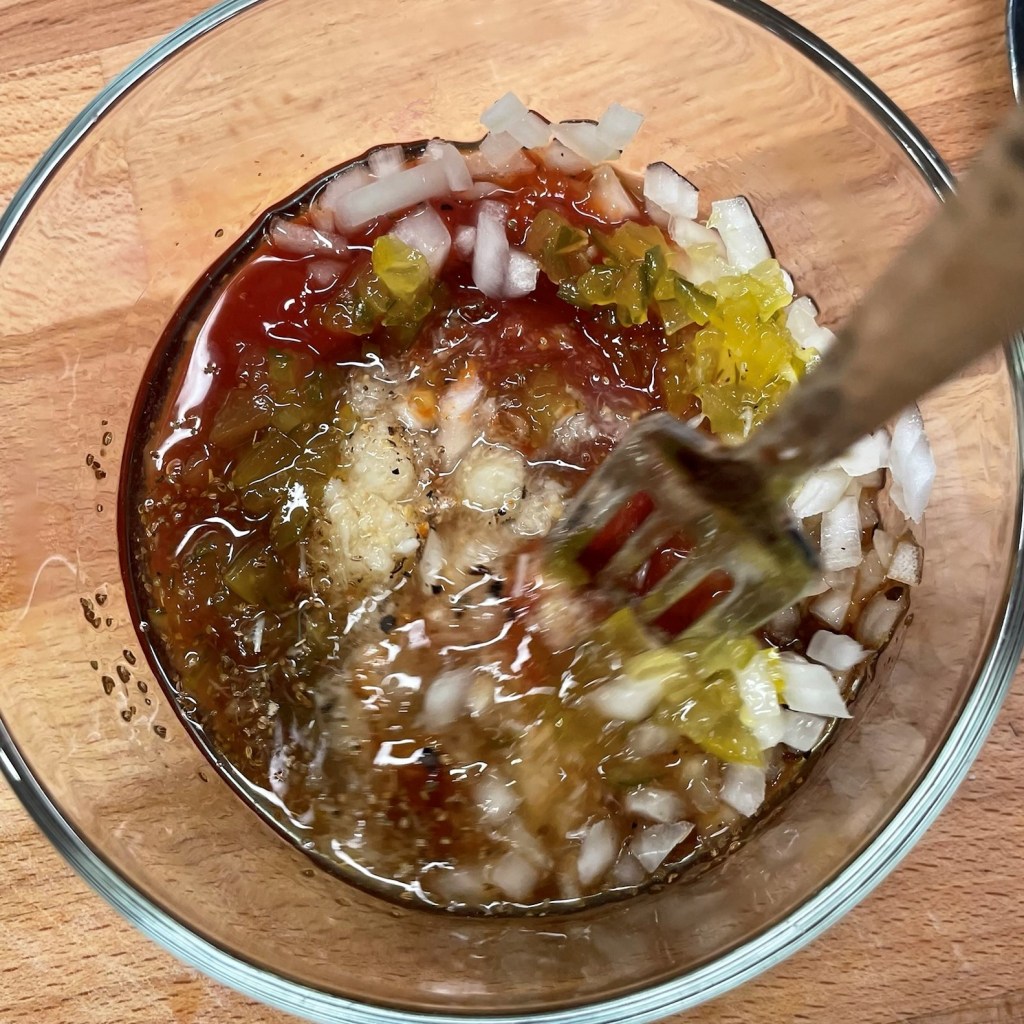
Tomato paste will add some acidity to the dijon mustard. 
Worcestershire adds flavor and depth. 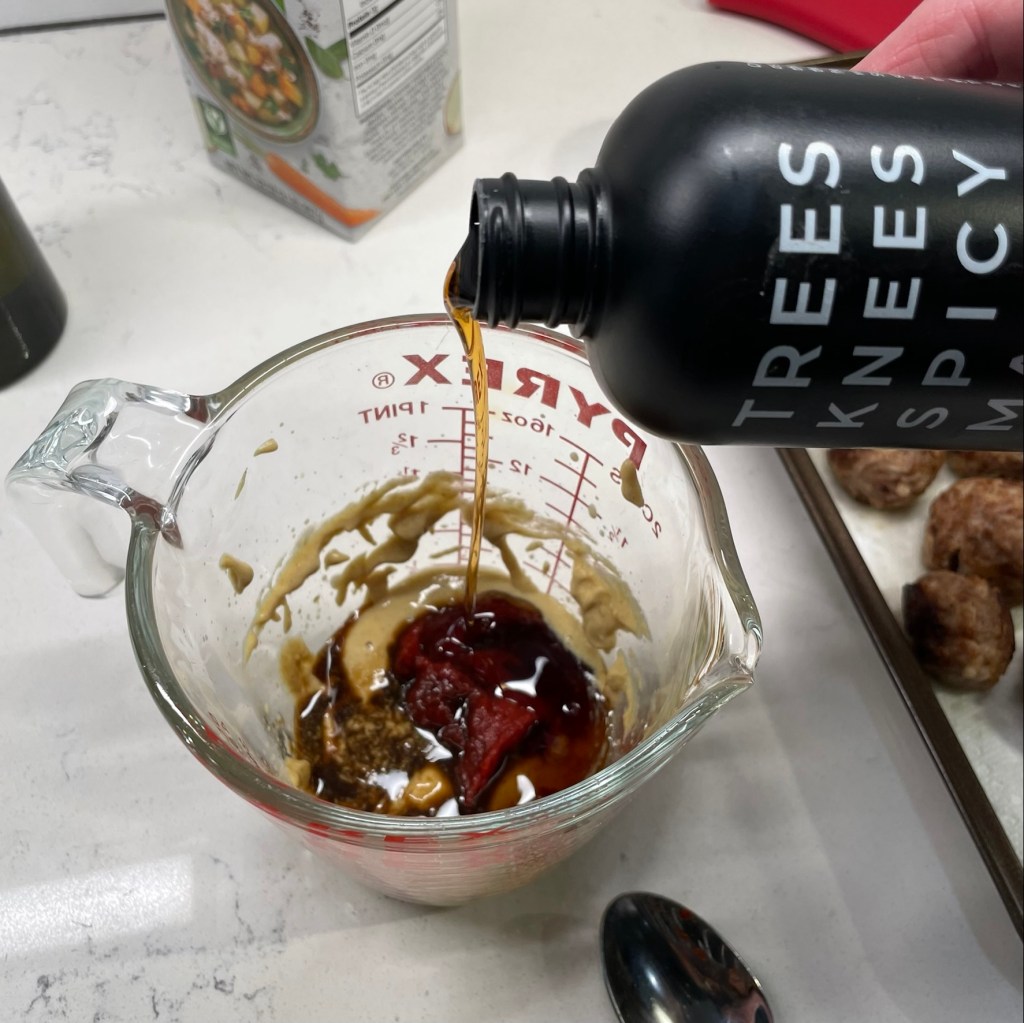
The maple syrup lends a warm sweetness (and in my case, with the spicy maple, heat). 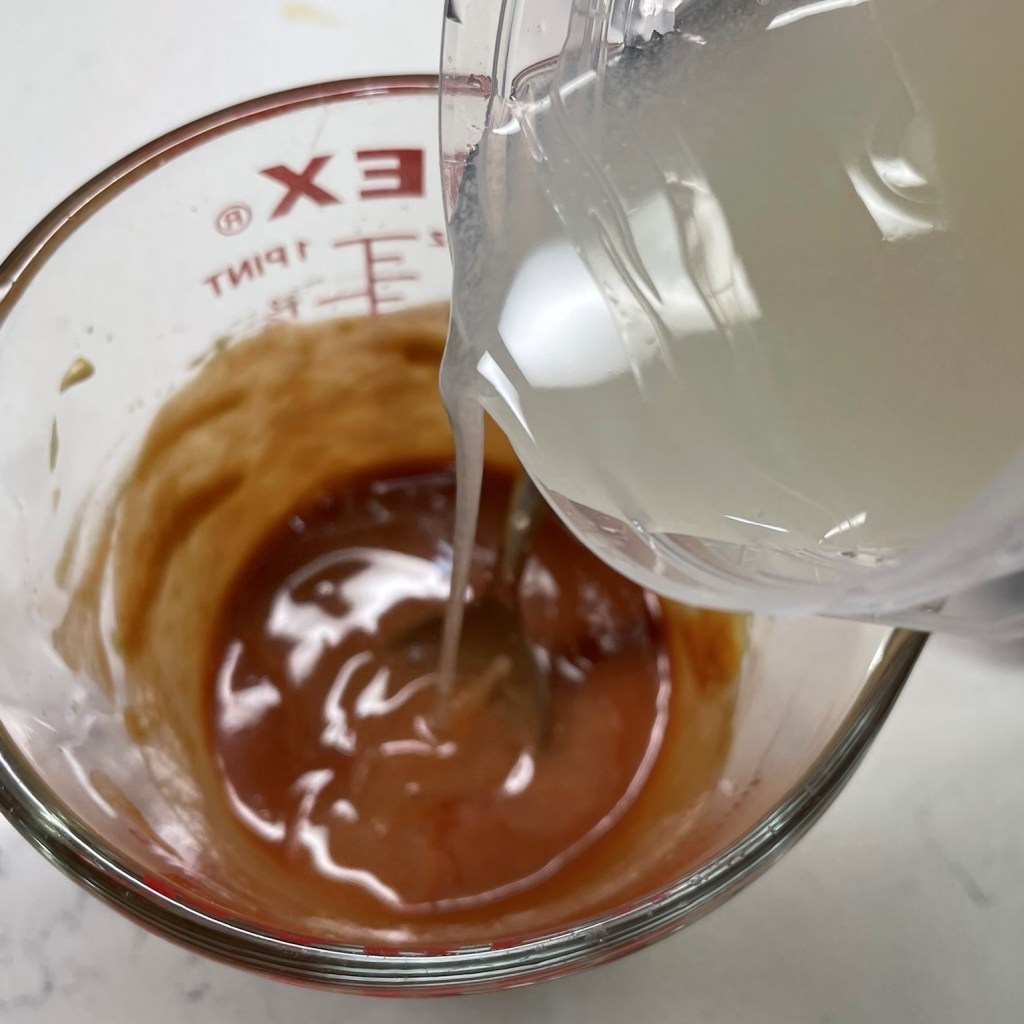
Add onion juice to the sauce blend to boost the aromatic flavors. 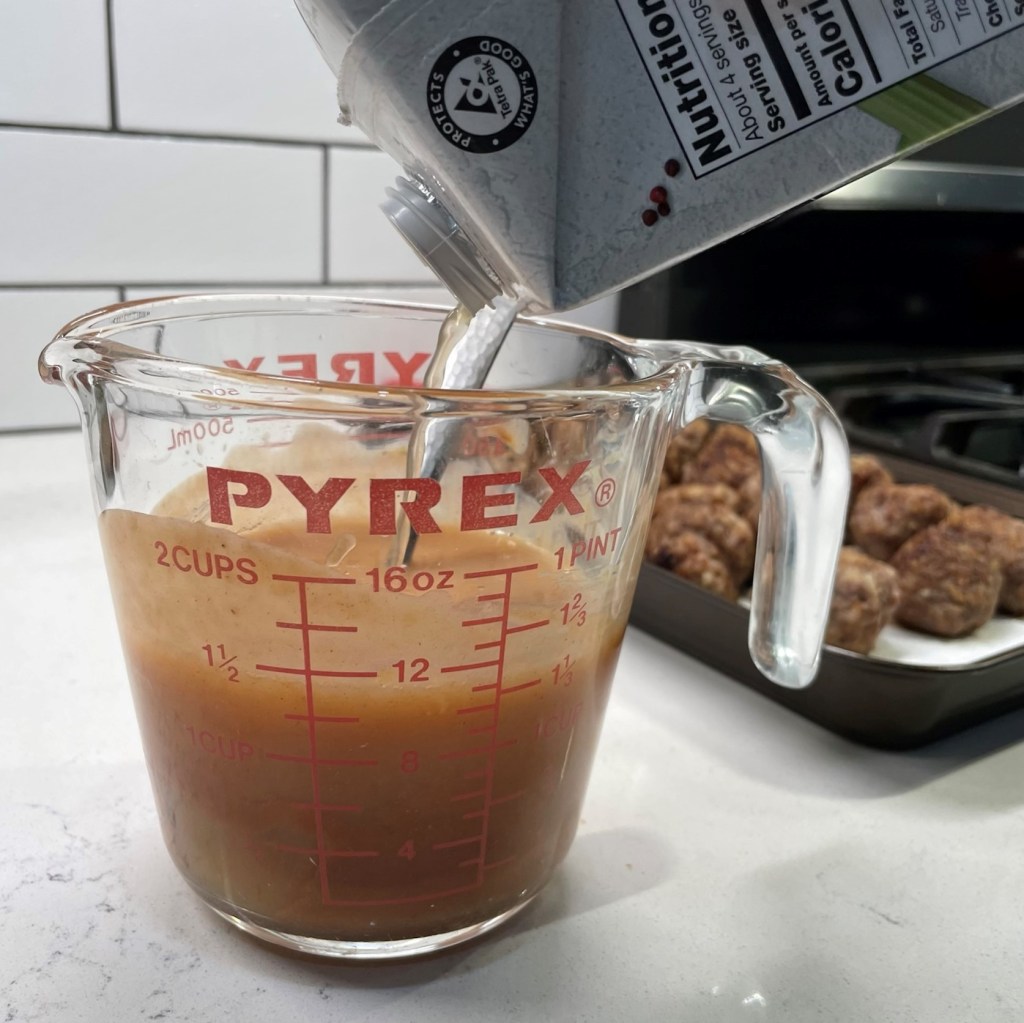
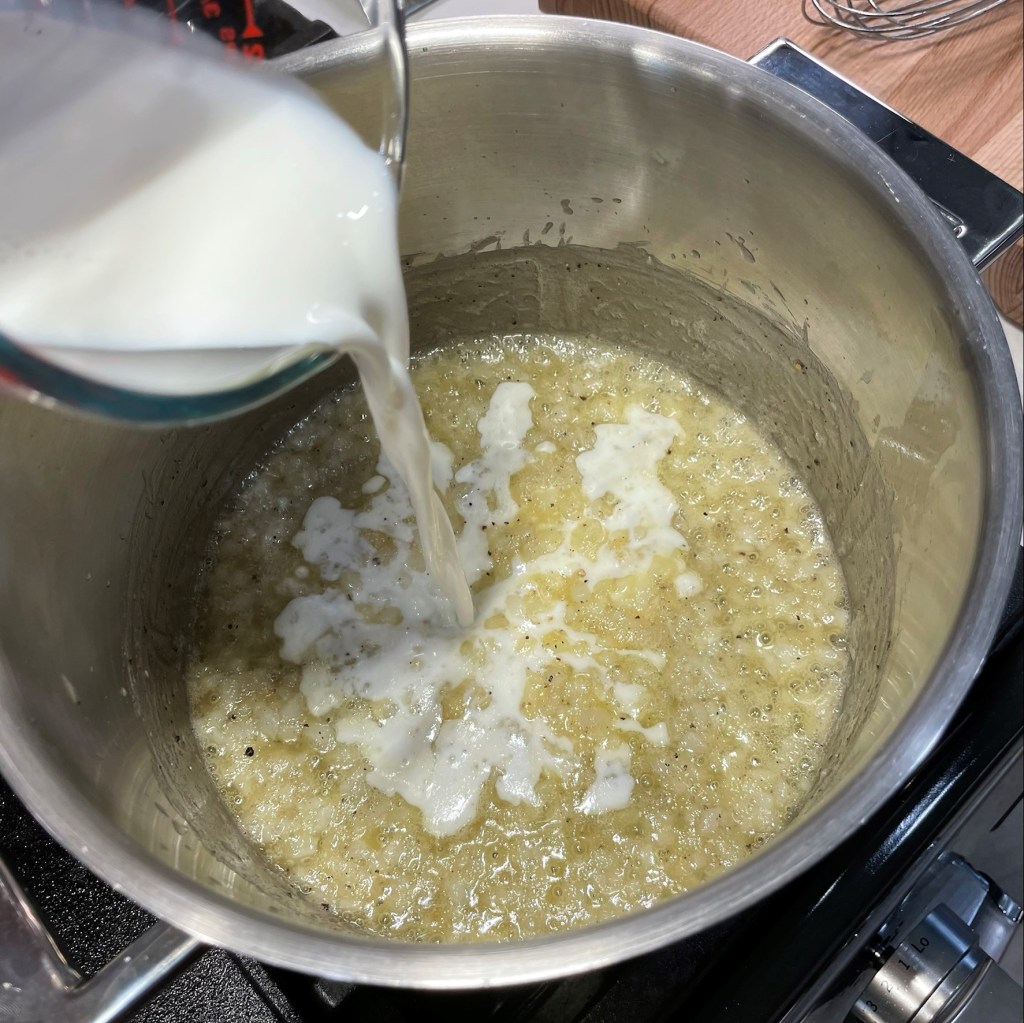
Stir in enough vegetable broth to total 1 1/2 cups. 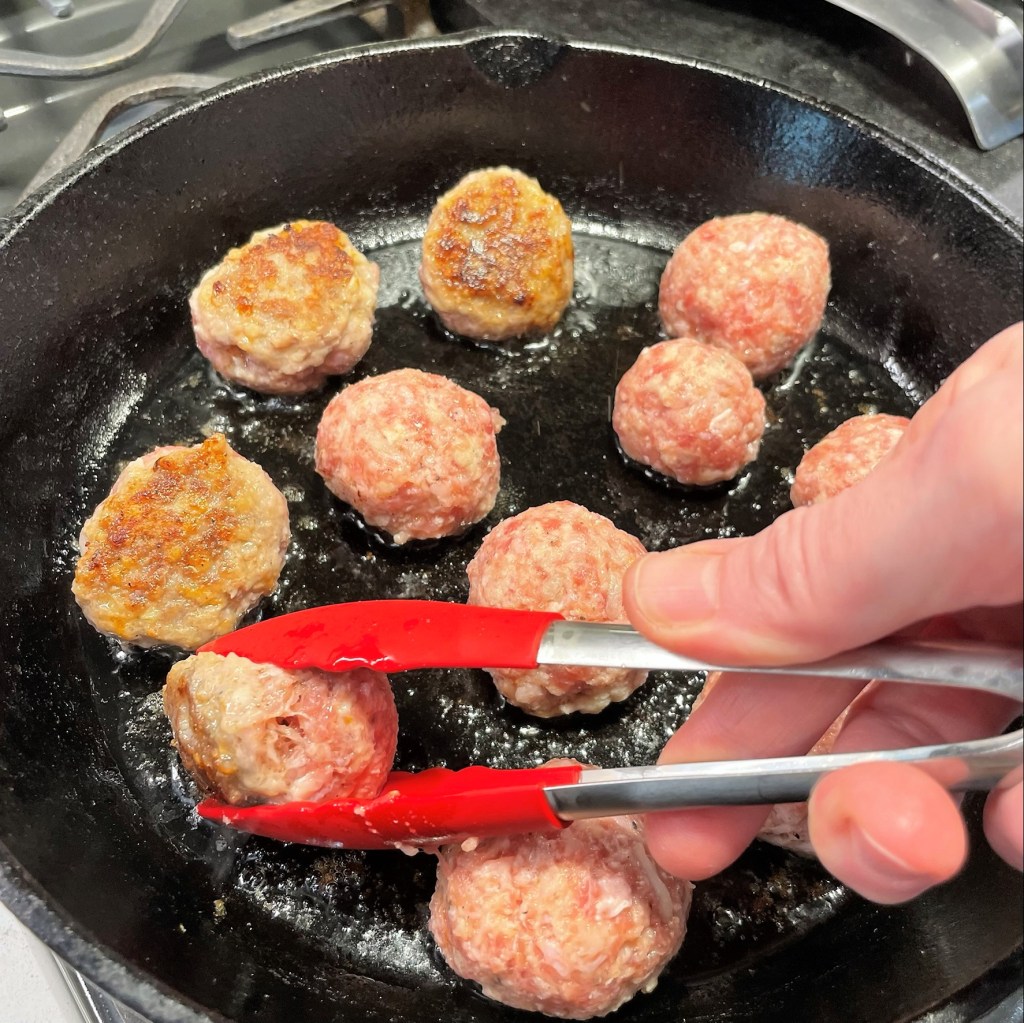
Brown the meatballs in an oiled skillet, but do not cook all the way through. 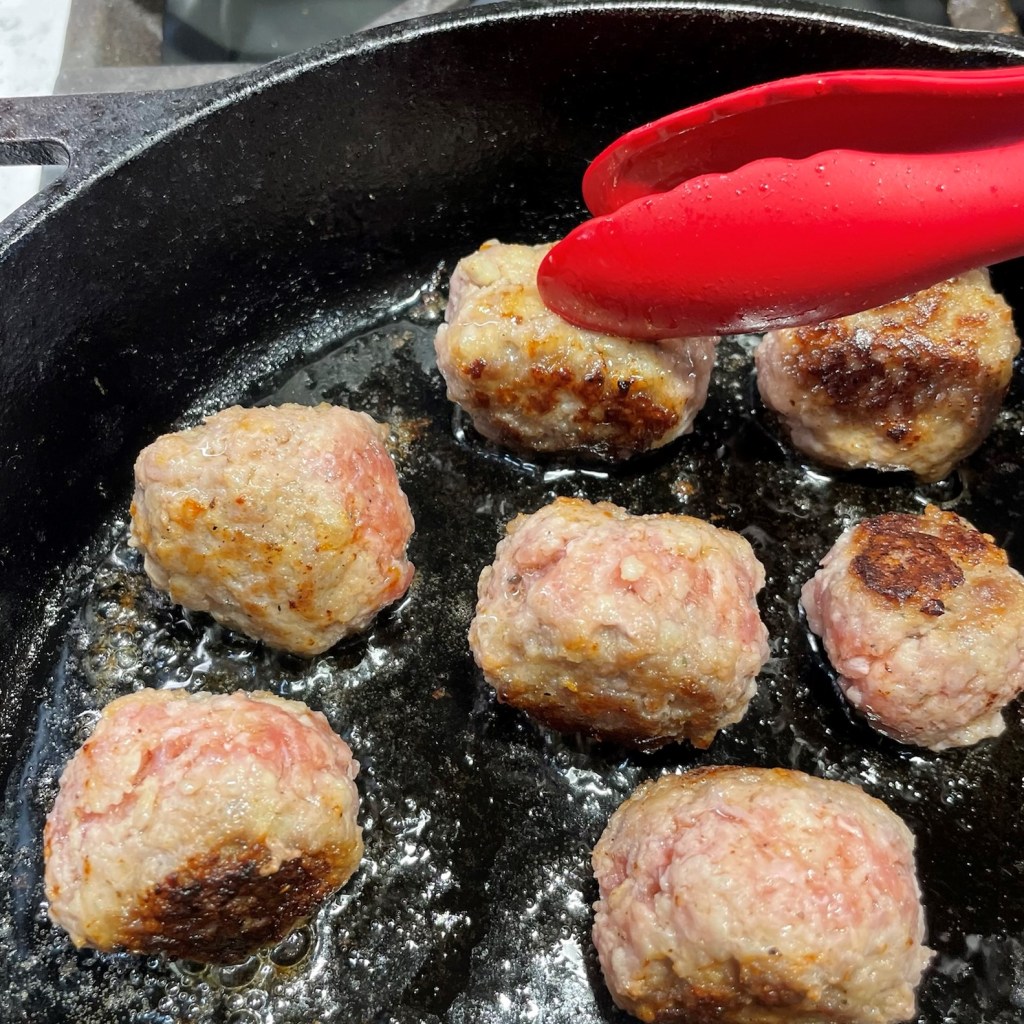
Turn them gently to brown every side. I used a small set of tongs to move them more easily. 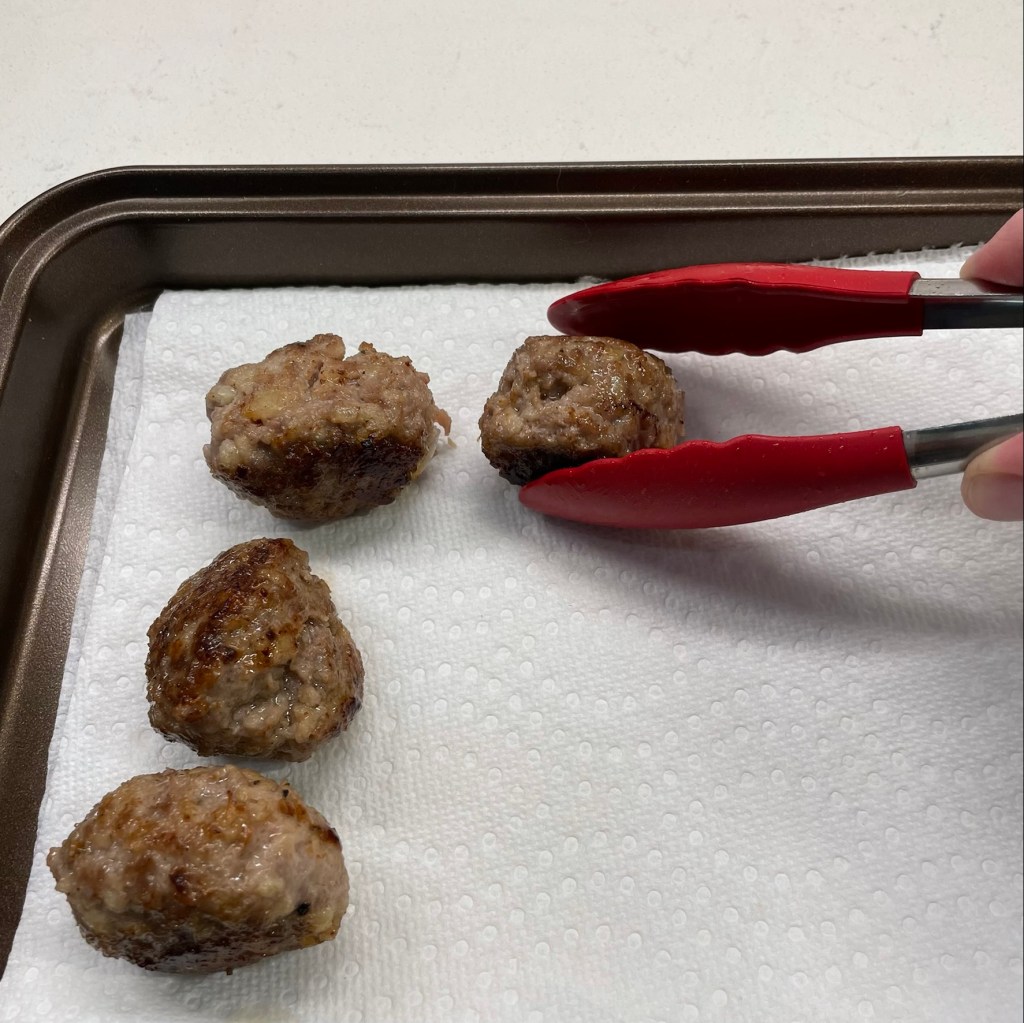
Drain the browned meatballs on layered paper towels. 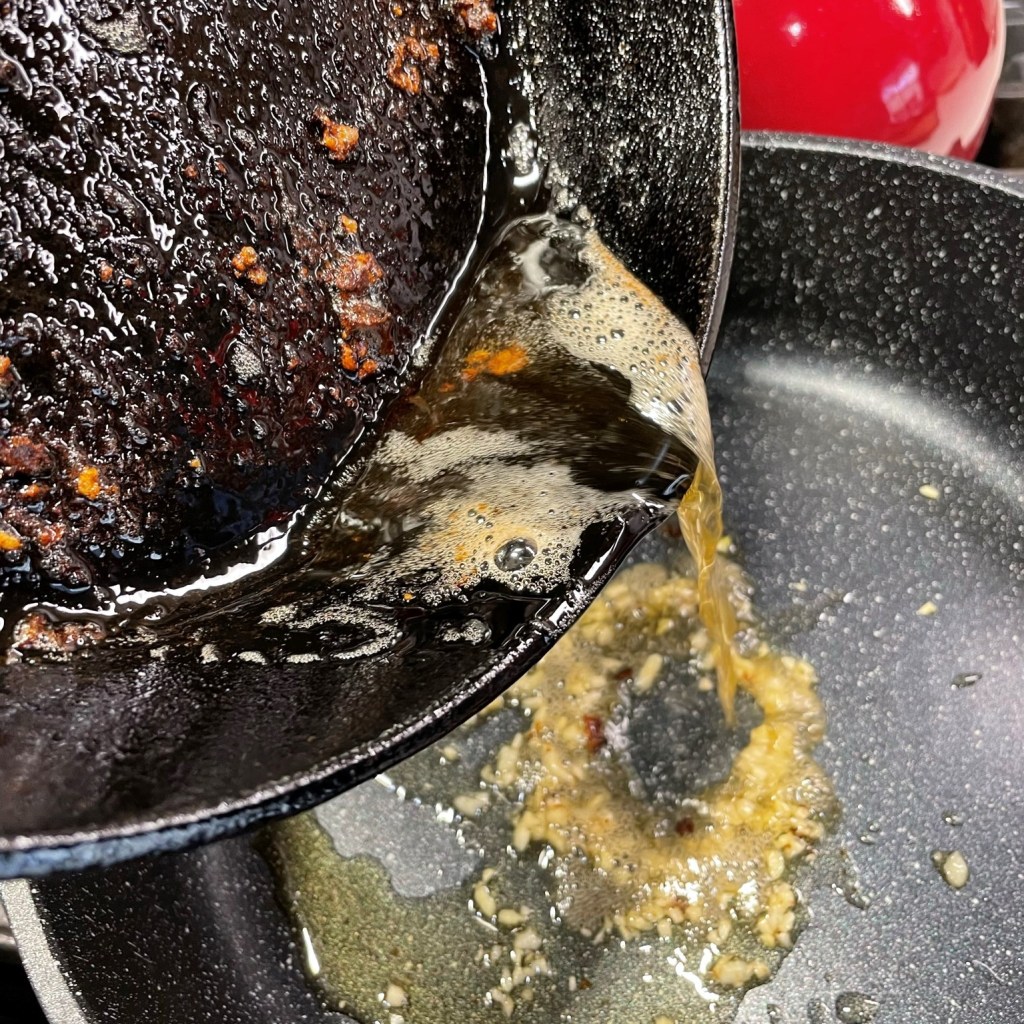
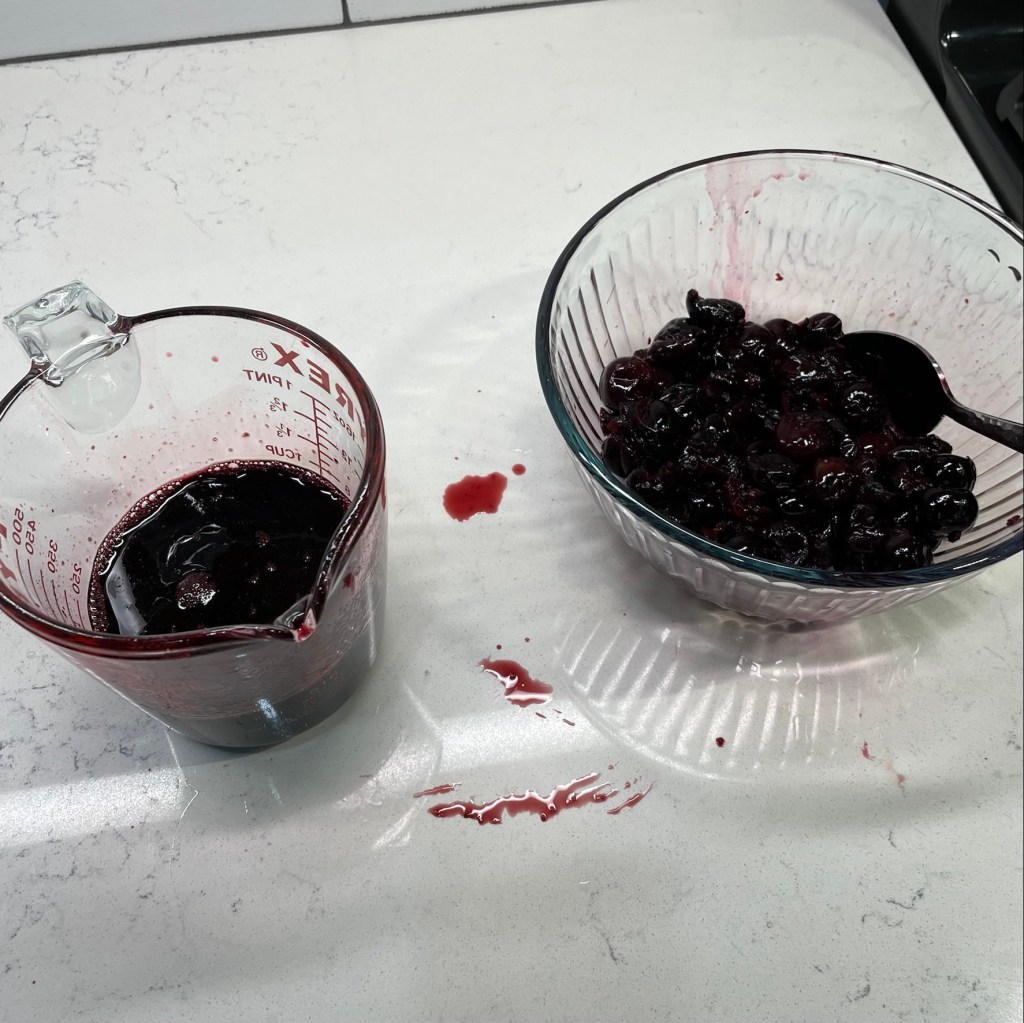
Drain about 2 tablespoons of the grease into a sauce pot to build the sauce. We will come back to the browned bits in the skillet! 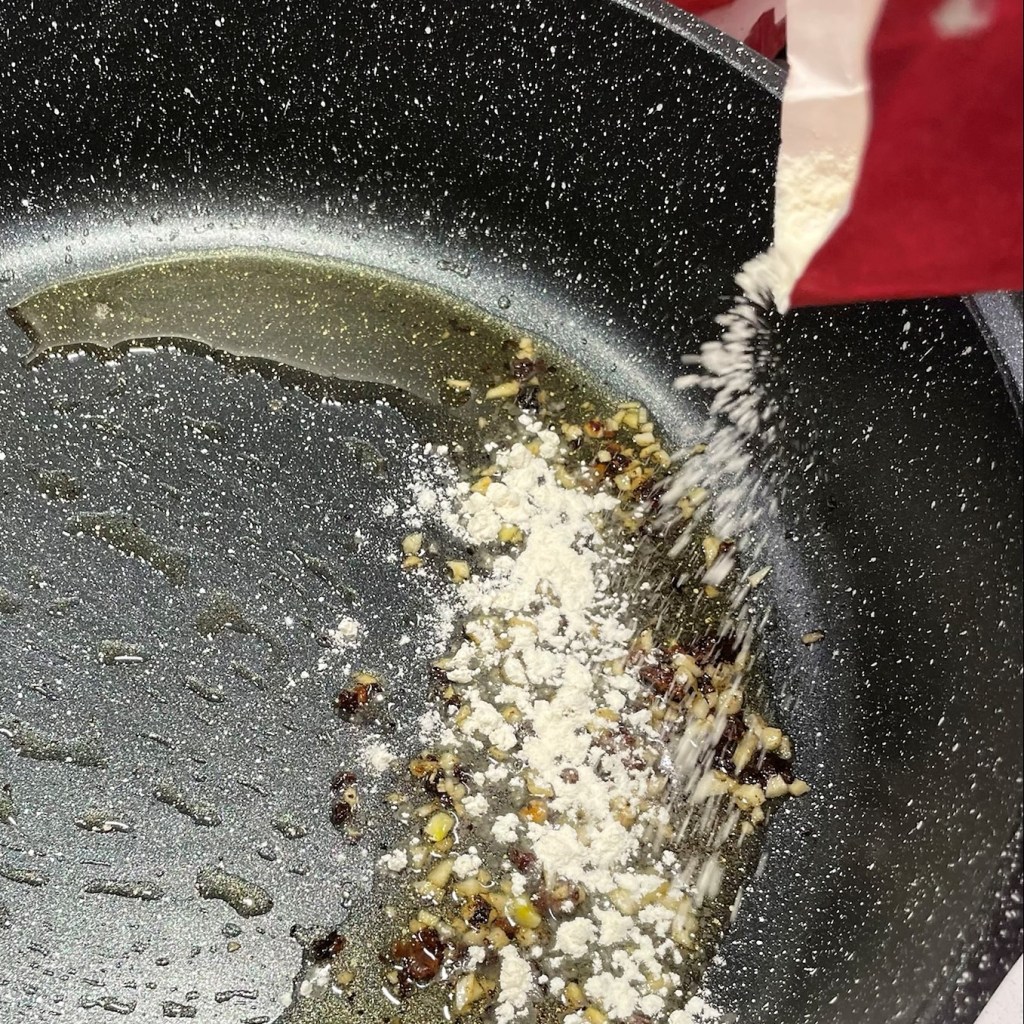
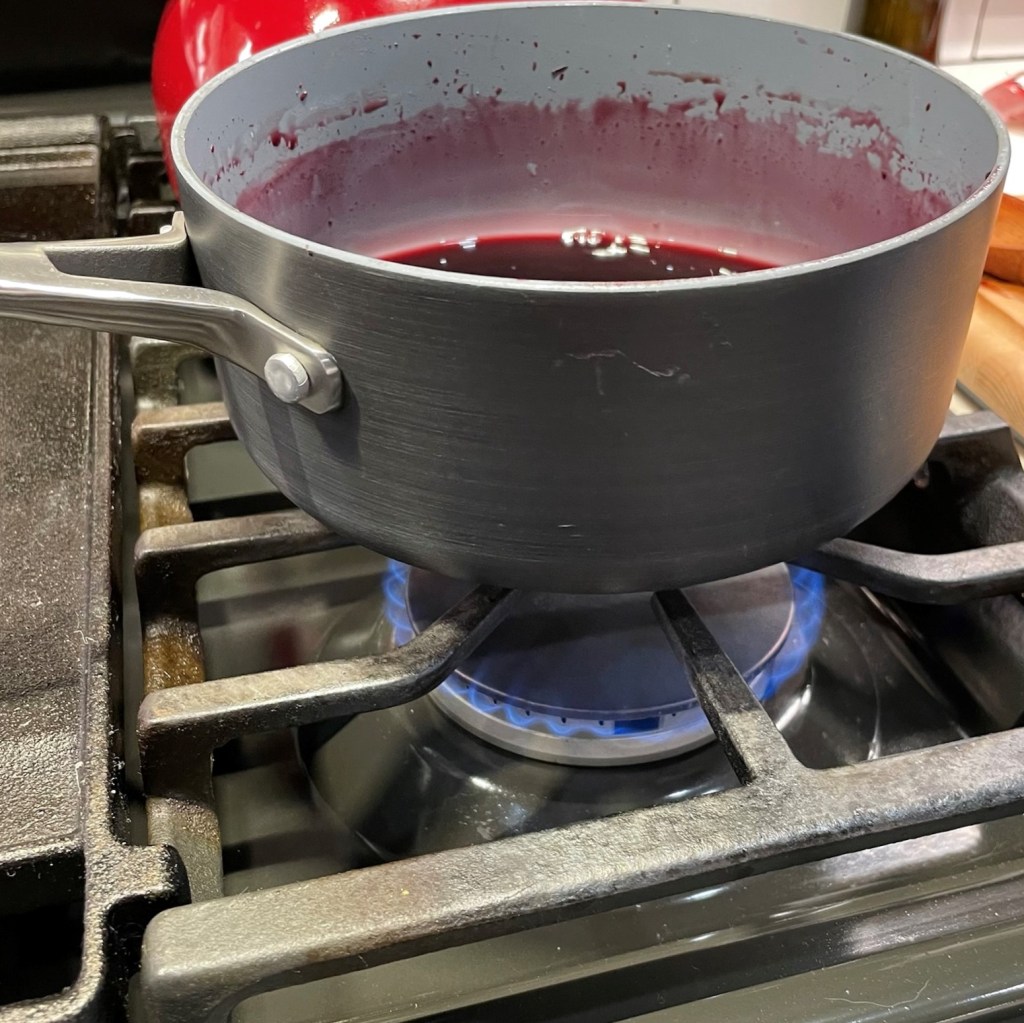
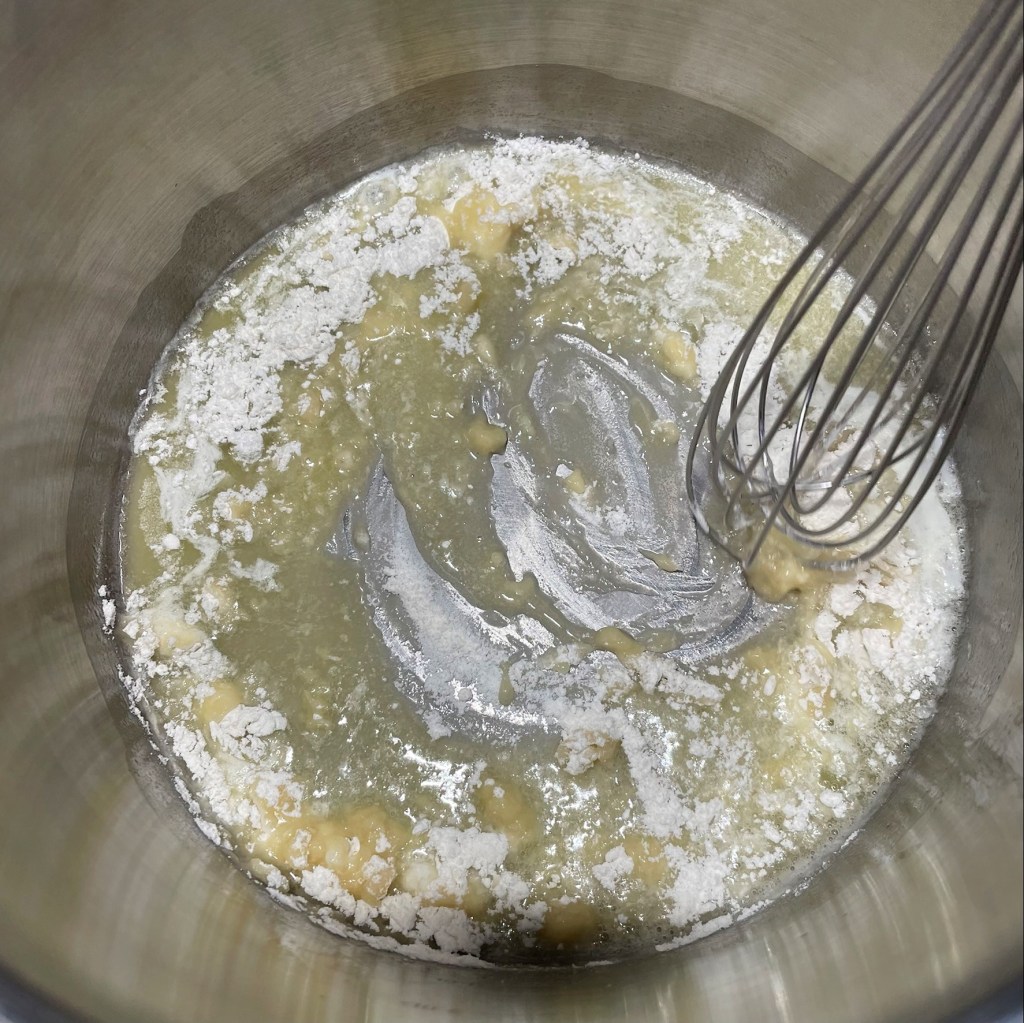
Sprinkle 2 tablespoons all-purpose flour into the pot and whisk to create a roux. 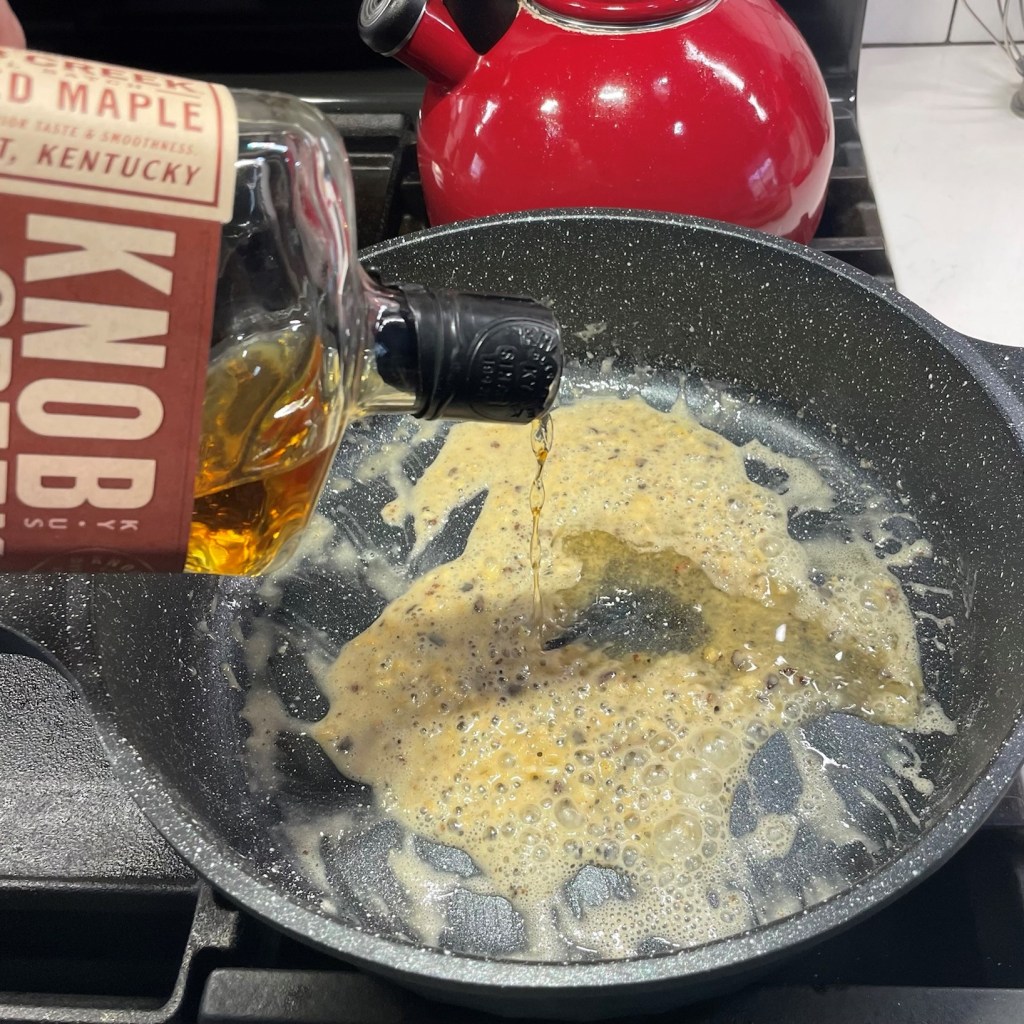
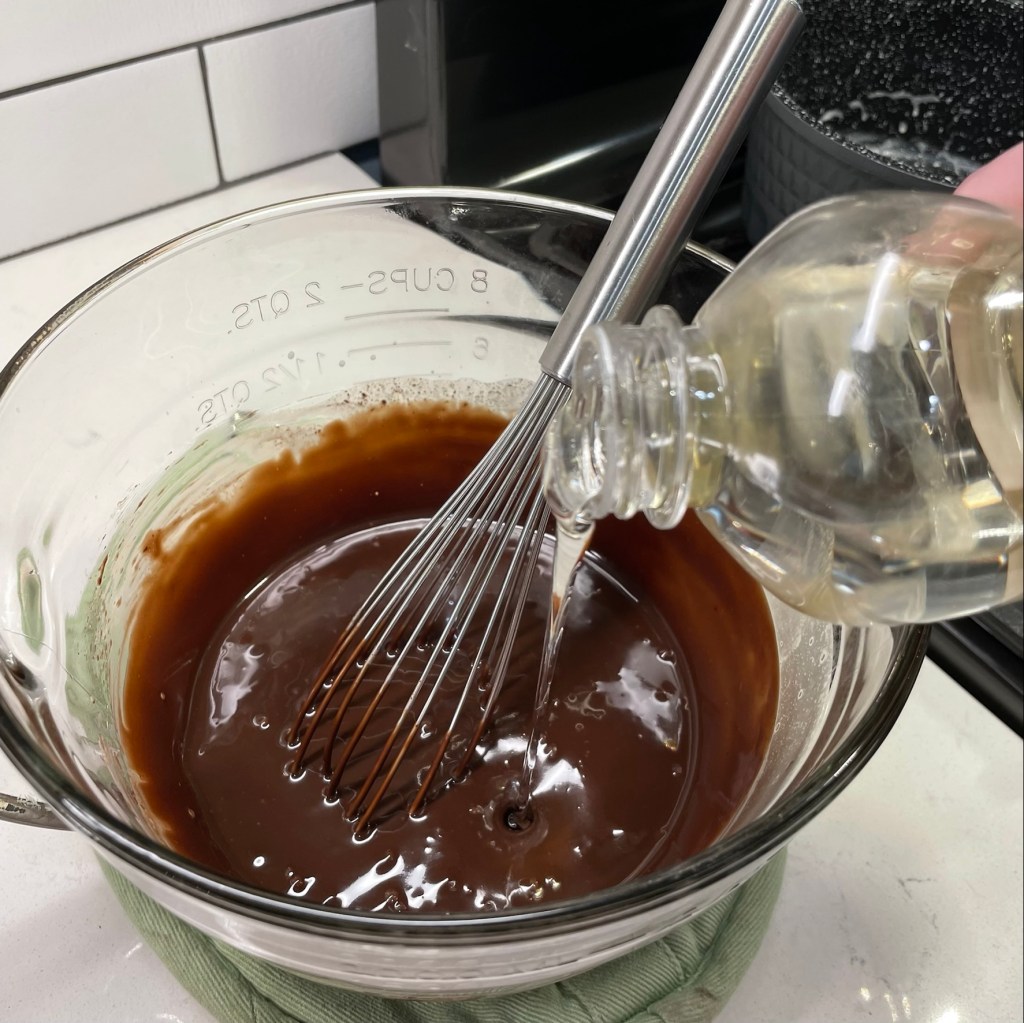
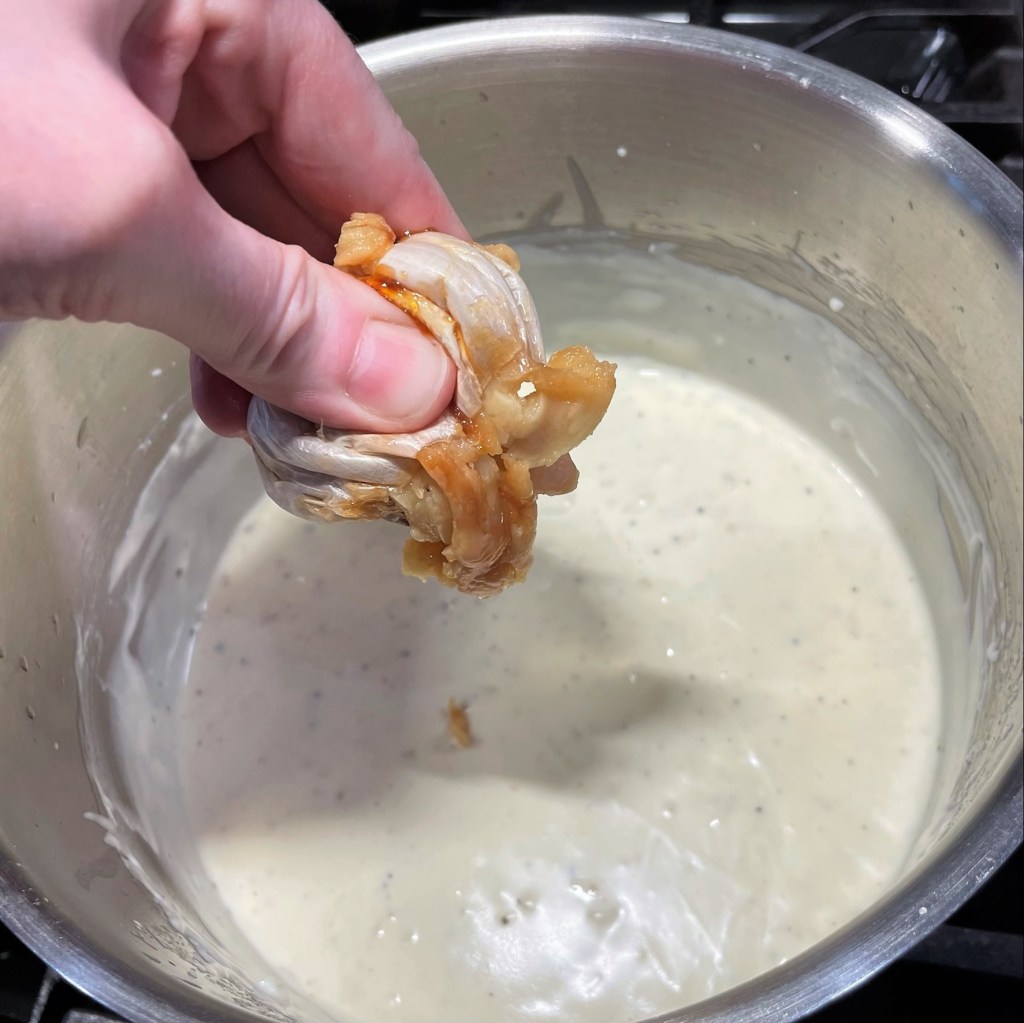
Pour a splash of bourbon into the roux. I also poured a splash into the skillet to pick up all those browned bits. I forgot to snap a picture of that! 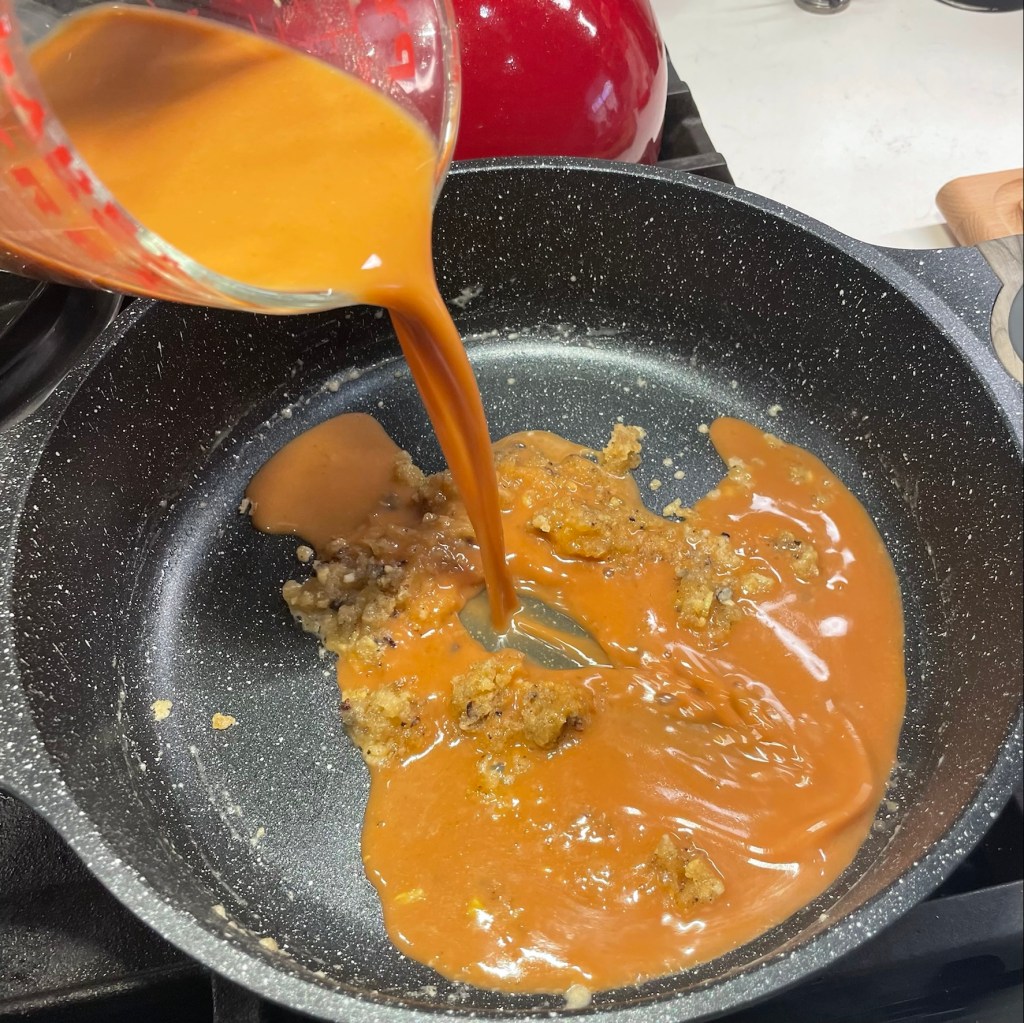
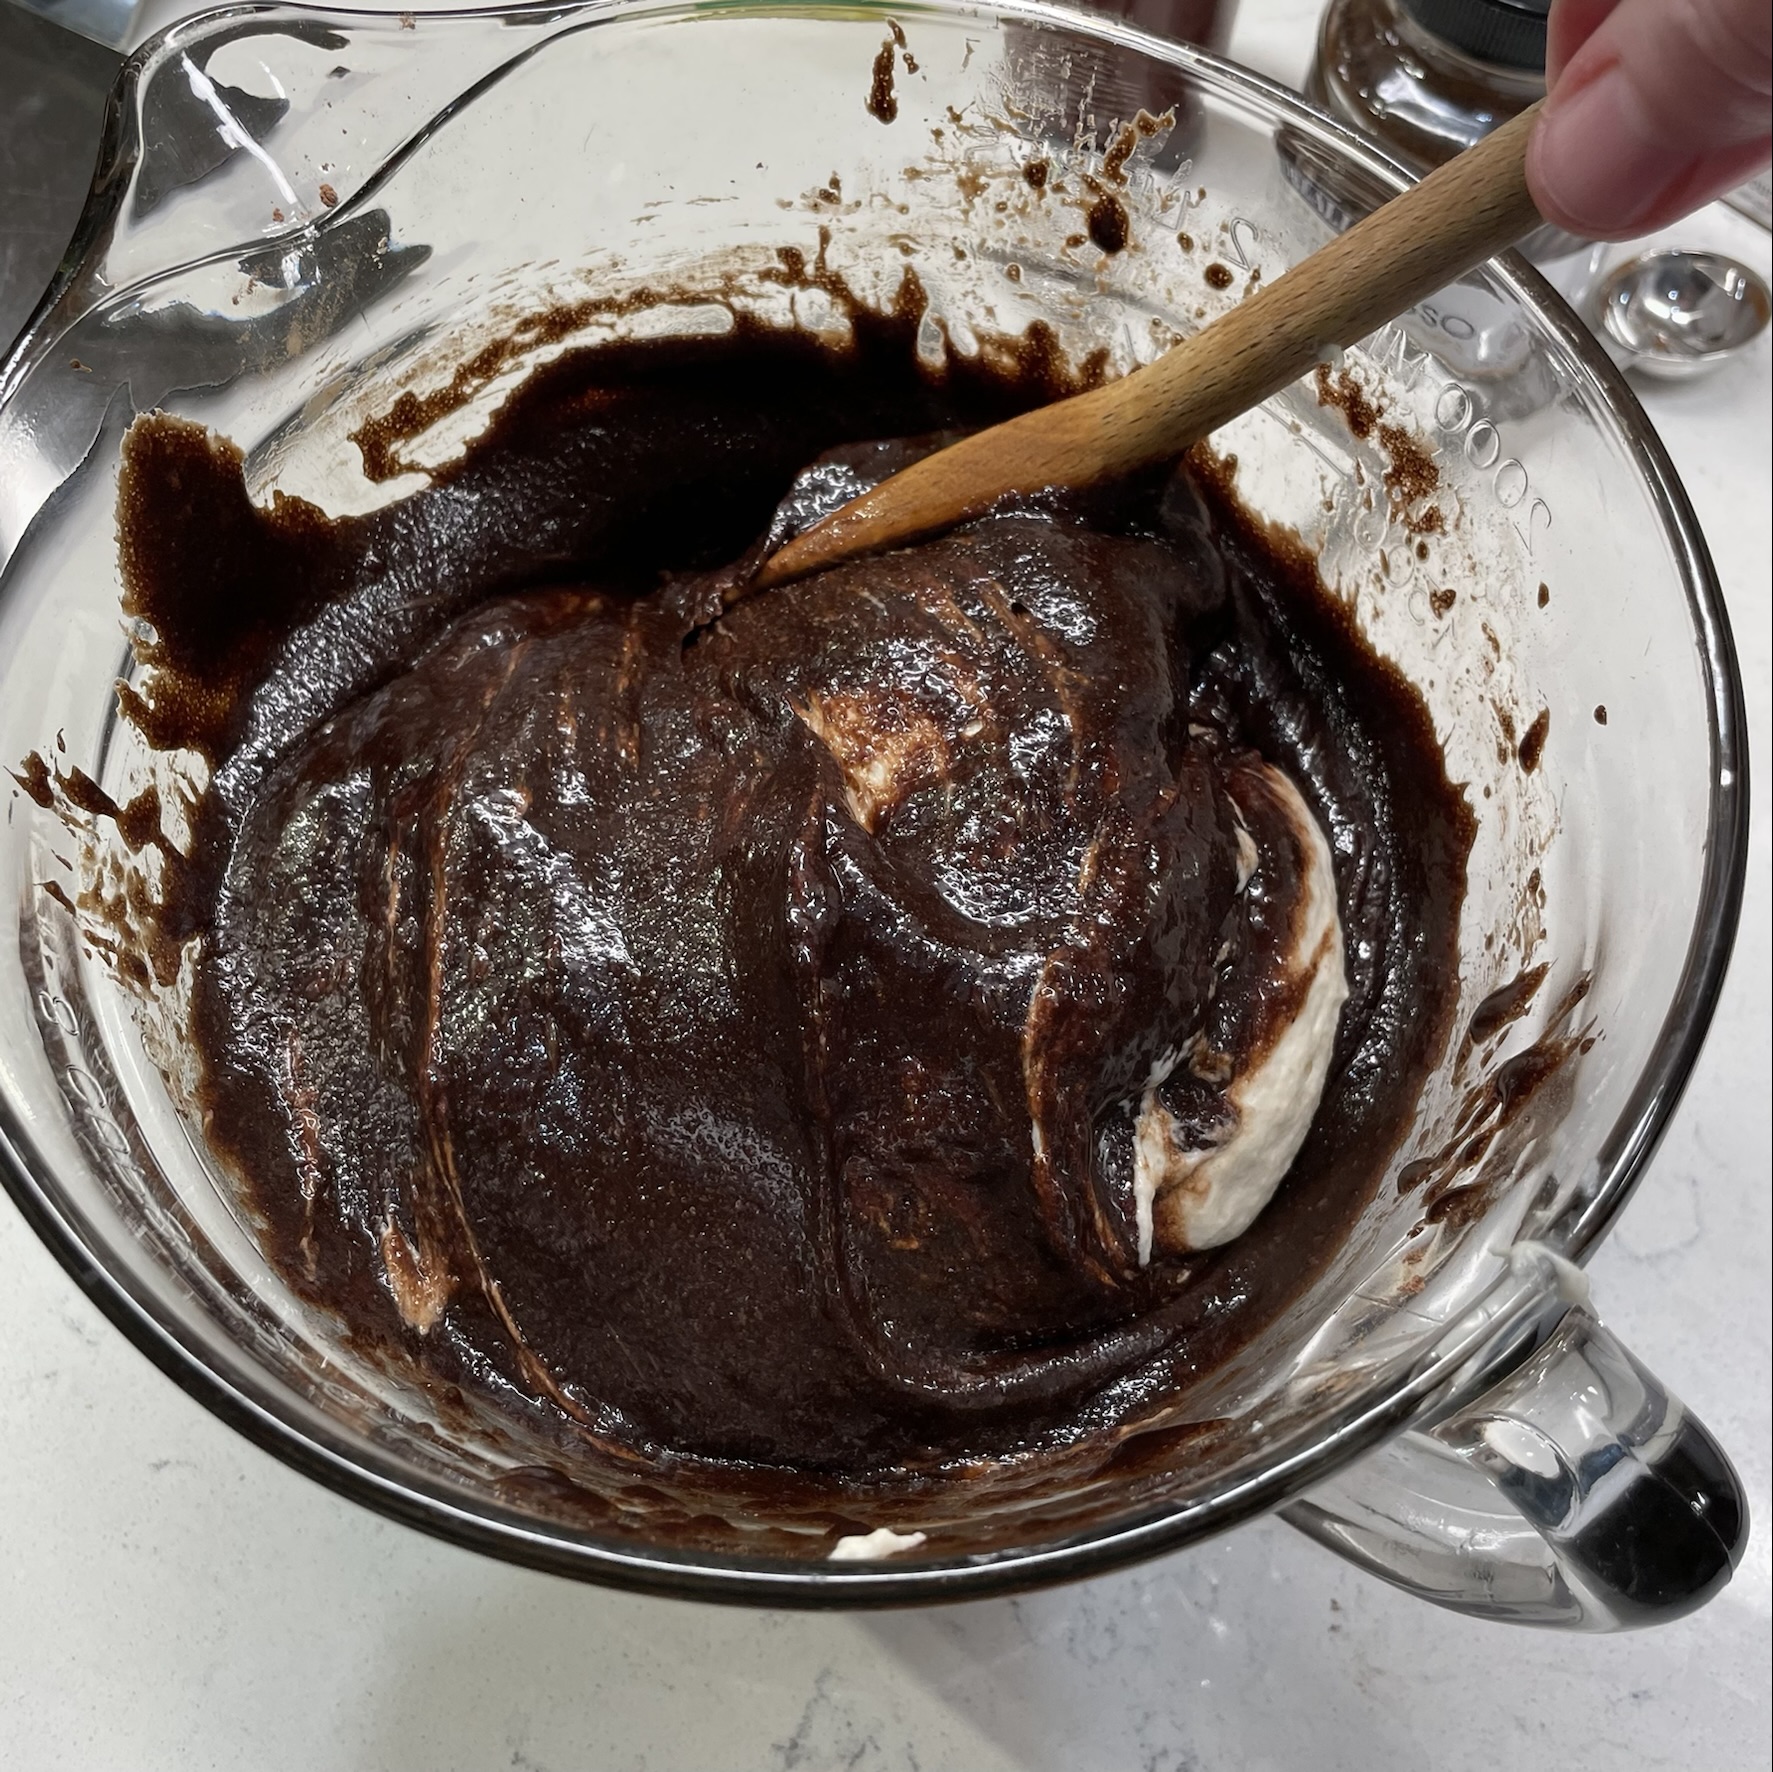
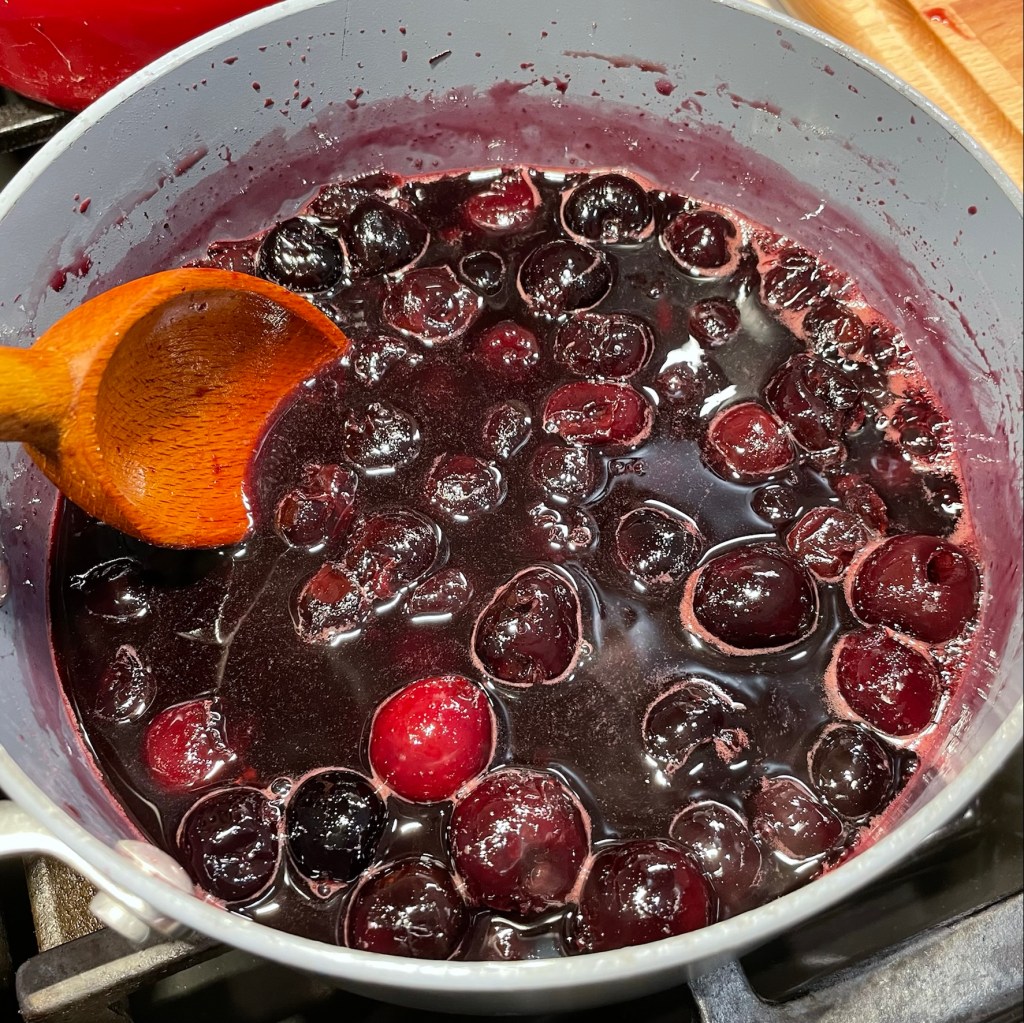
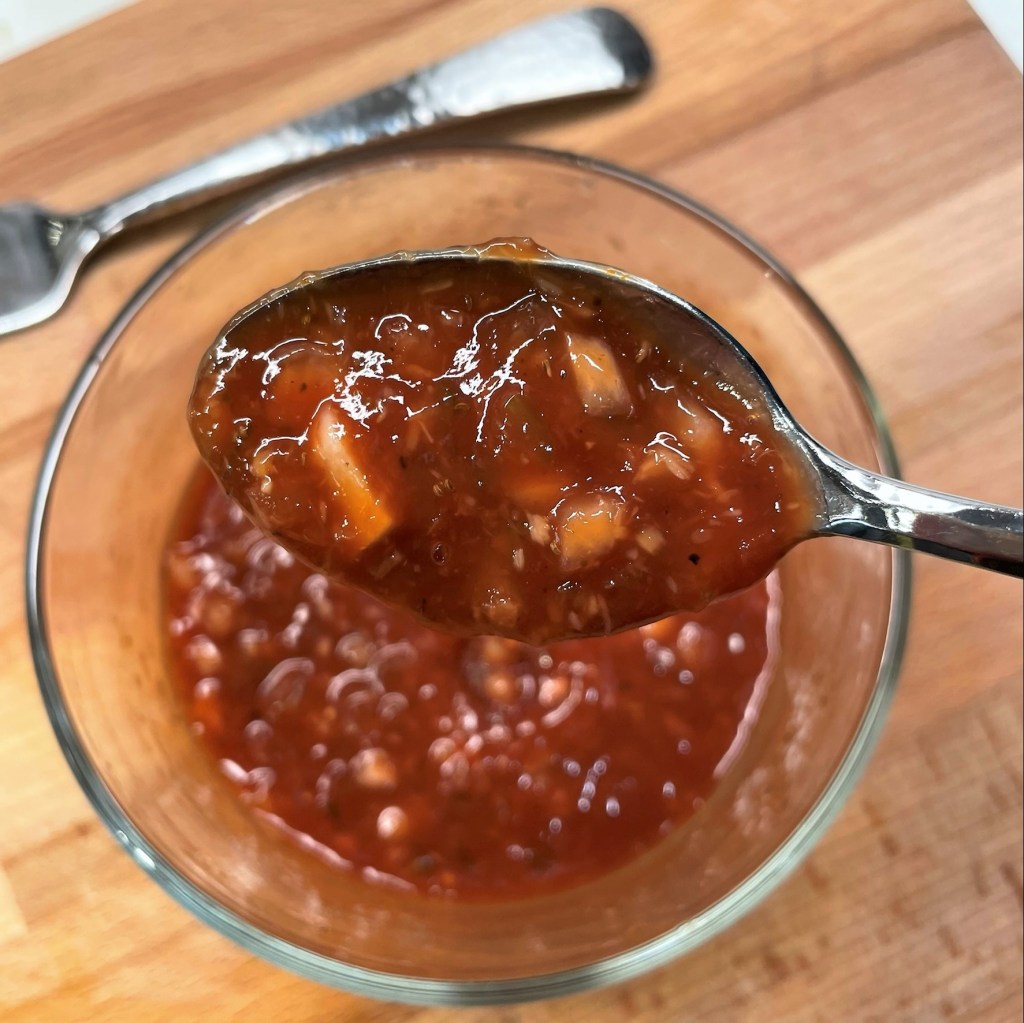
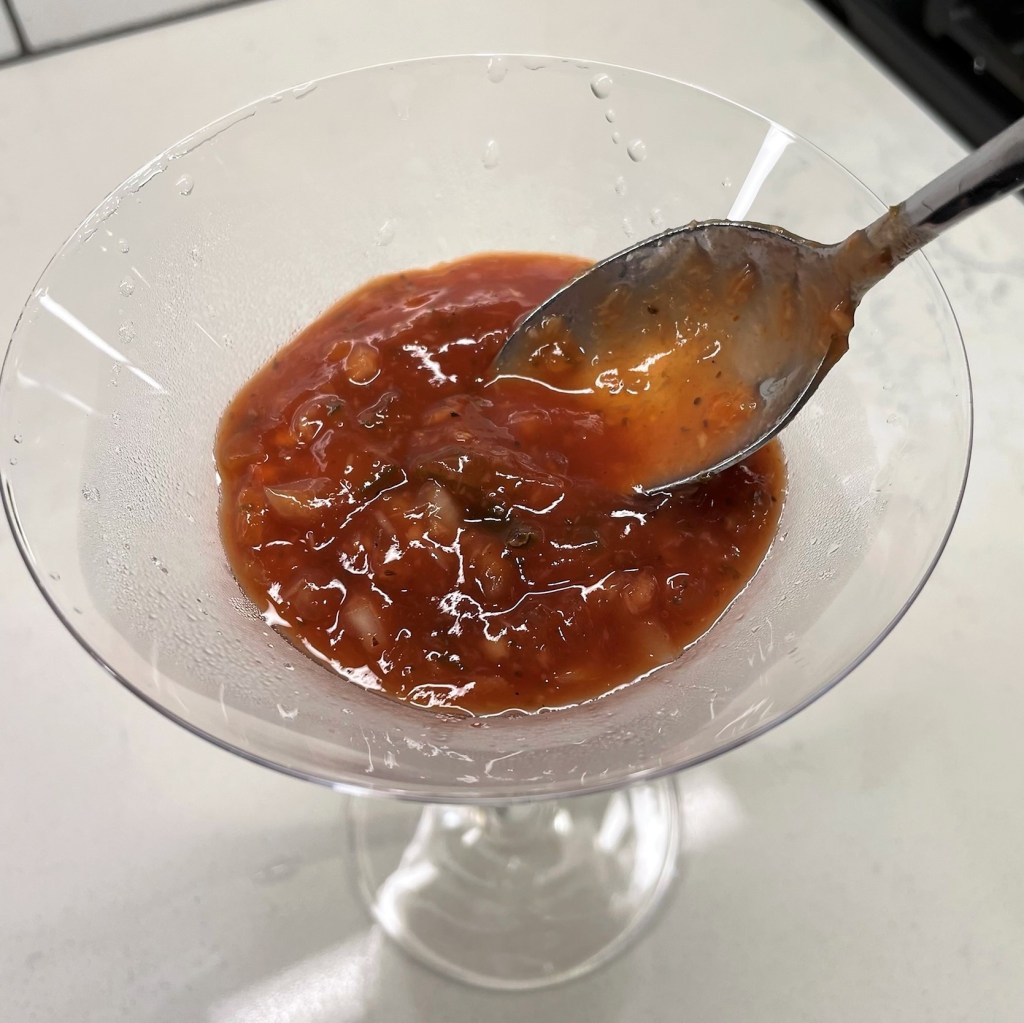
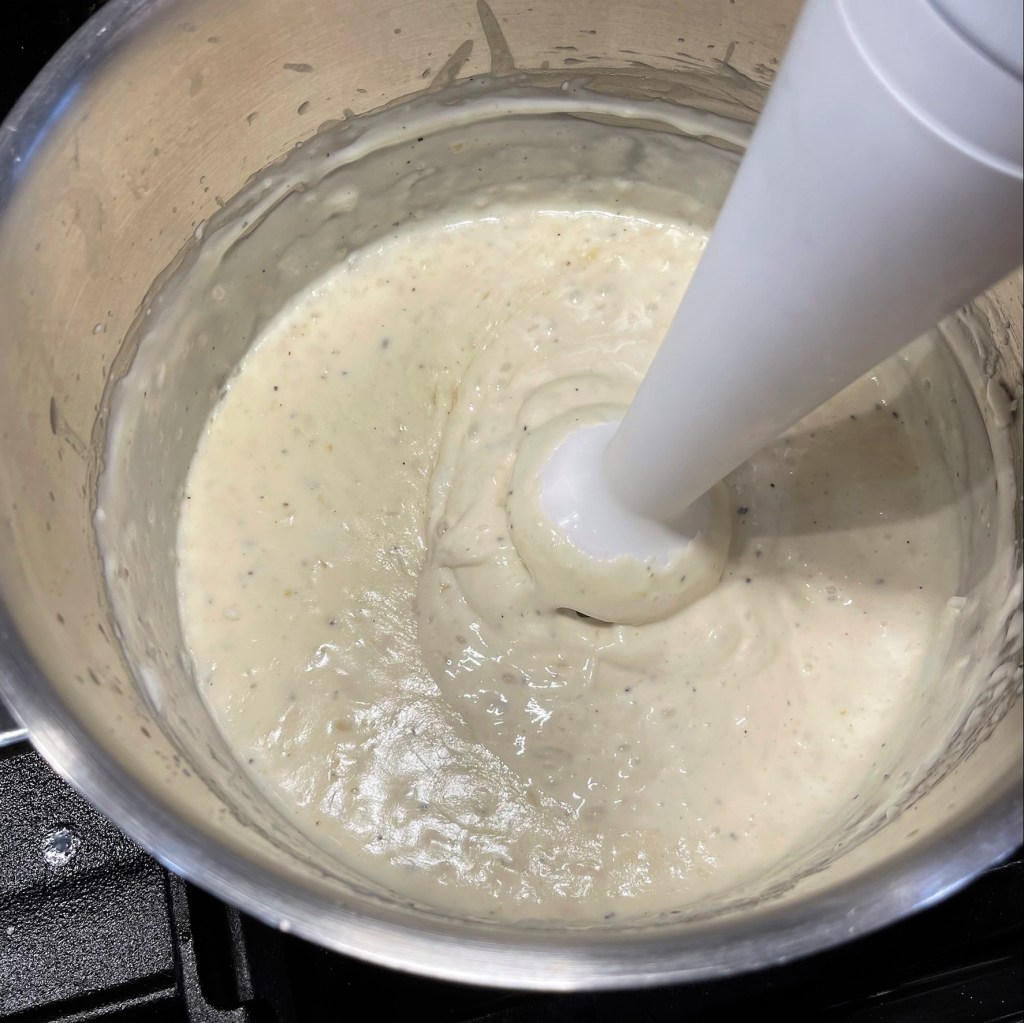
Pour all of the maple mustard sauce into the pan and whisk gently until the roux thickens it. 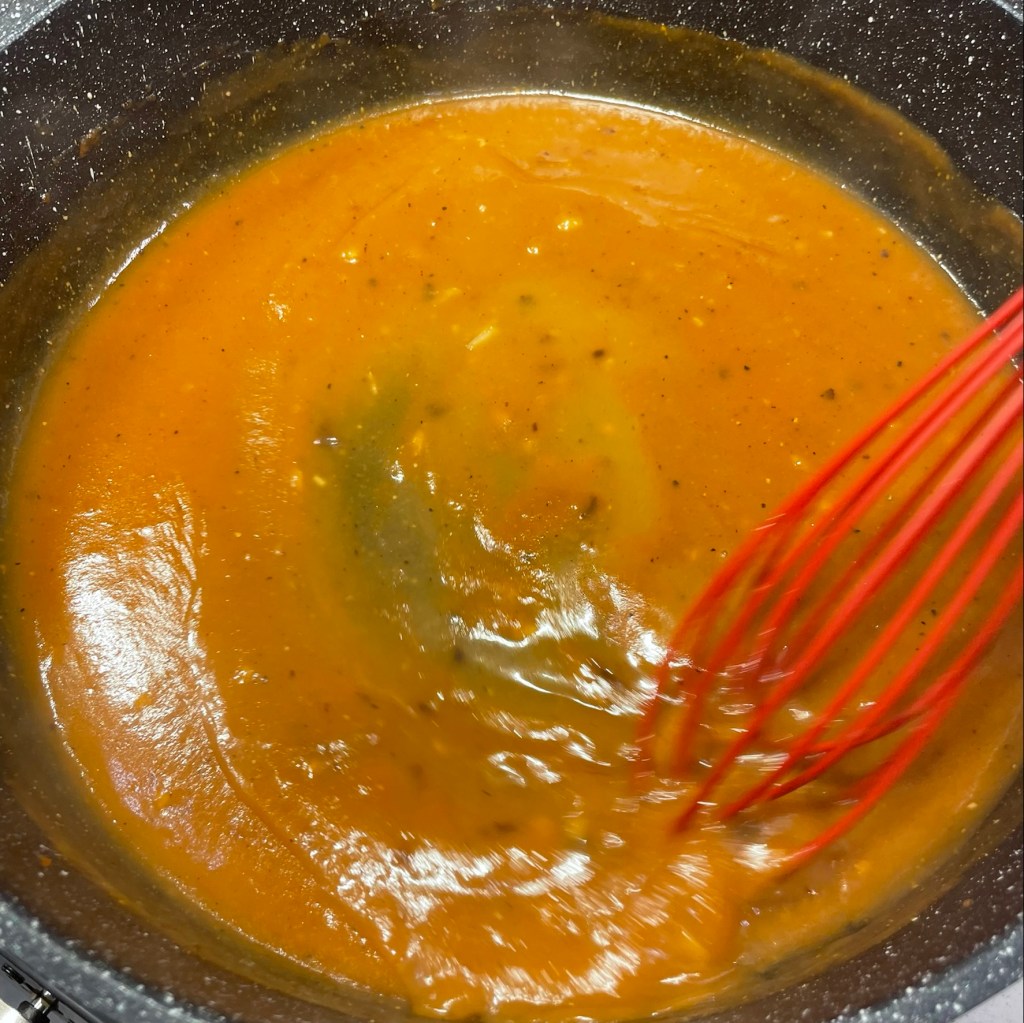
Whisk until blended. The roux will thicken the sauce. 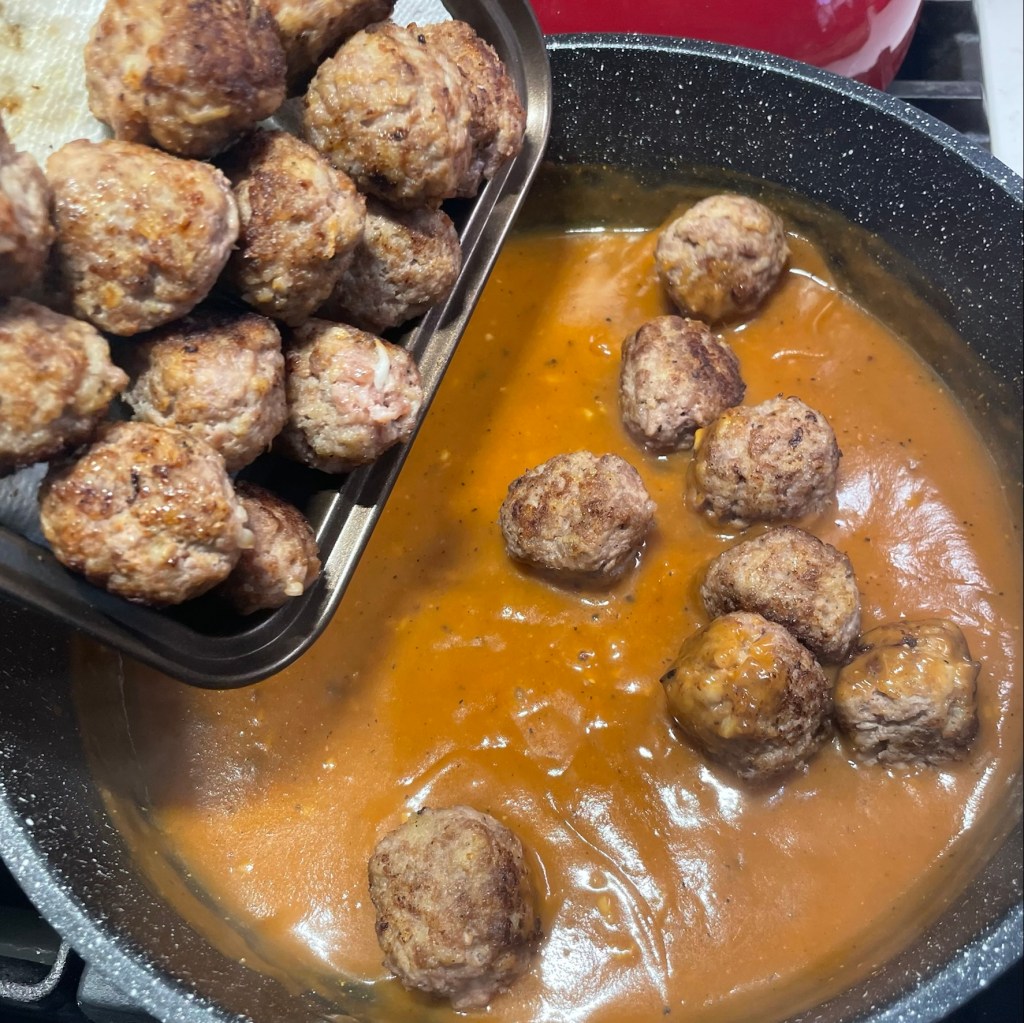
Add the browned meatballs to the sauce and turn to coat them. 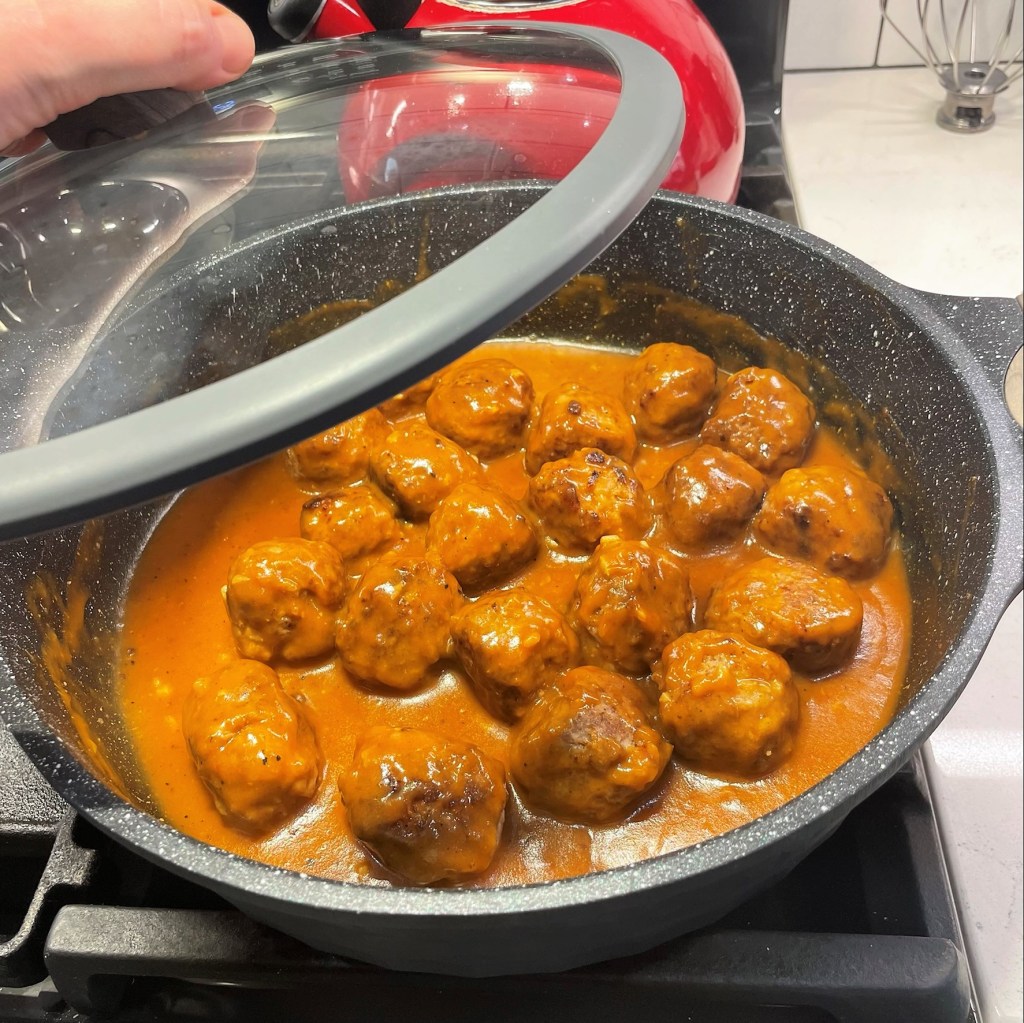
Reduce the heat to a simmer and cover the pot, checking them only occasionally, like kids in a slumber party. 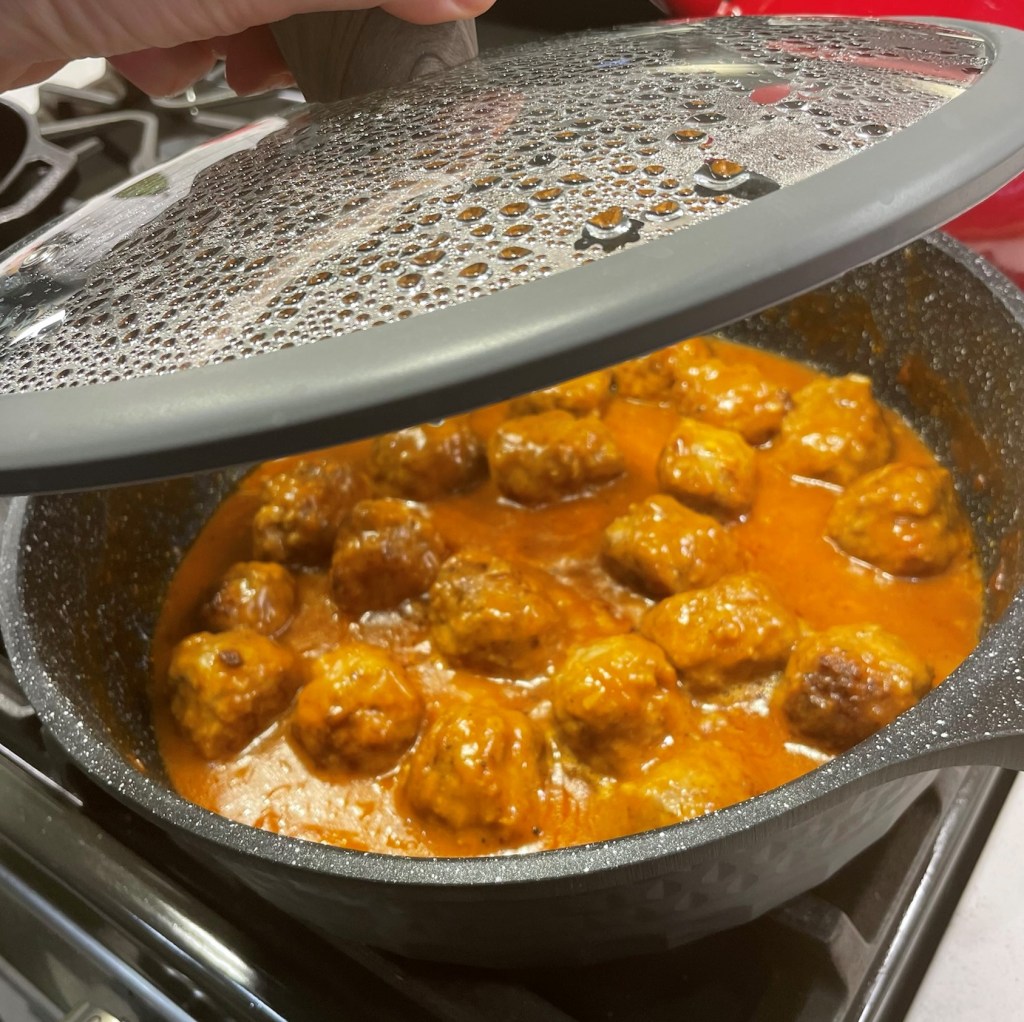
You guys okay in there? Need anything? Cover and simmer for about an hour.